DEC ANH Hero Blaster Kit Builds

Re: Simplified, cheaper DEC ANH Hero Blaster Kit parts (posted with permission fr...

Thanks for the compliments. Once the dial was painted matt black, I took Vallejo gloss white acrylic paint (slightly thinned) and carefully painted the numbers with a thin brush. If the lines were overshot, I quickly take my thumb and wipe away the excess. Once finished, I used 0000 steel wool to gently remove any final residue of the white paint.

Good? Looks AWESOME so far! How's you get the white into the engraved numbers exactly, if you don't mind me asking? :thumbsup
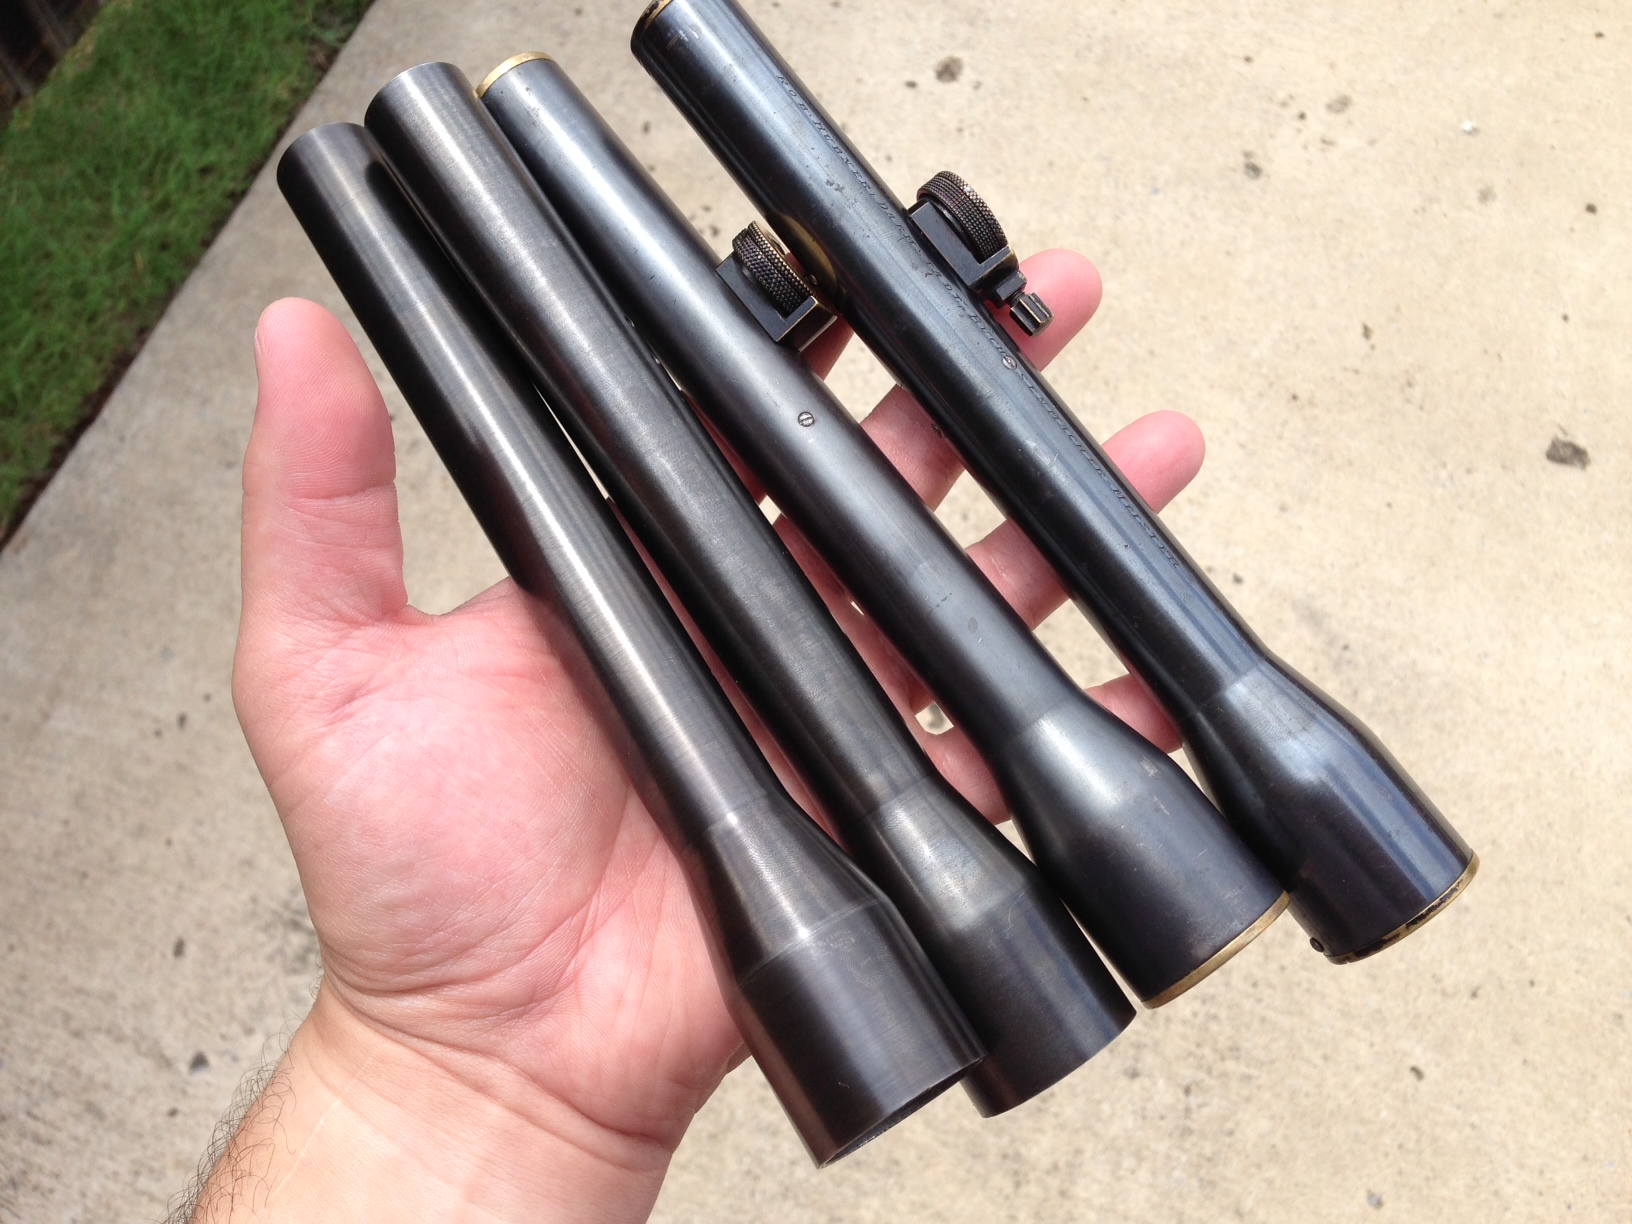
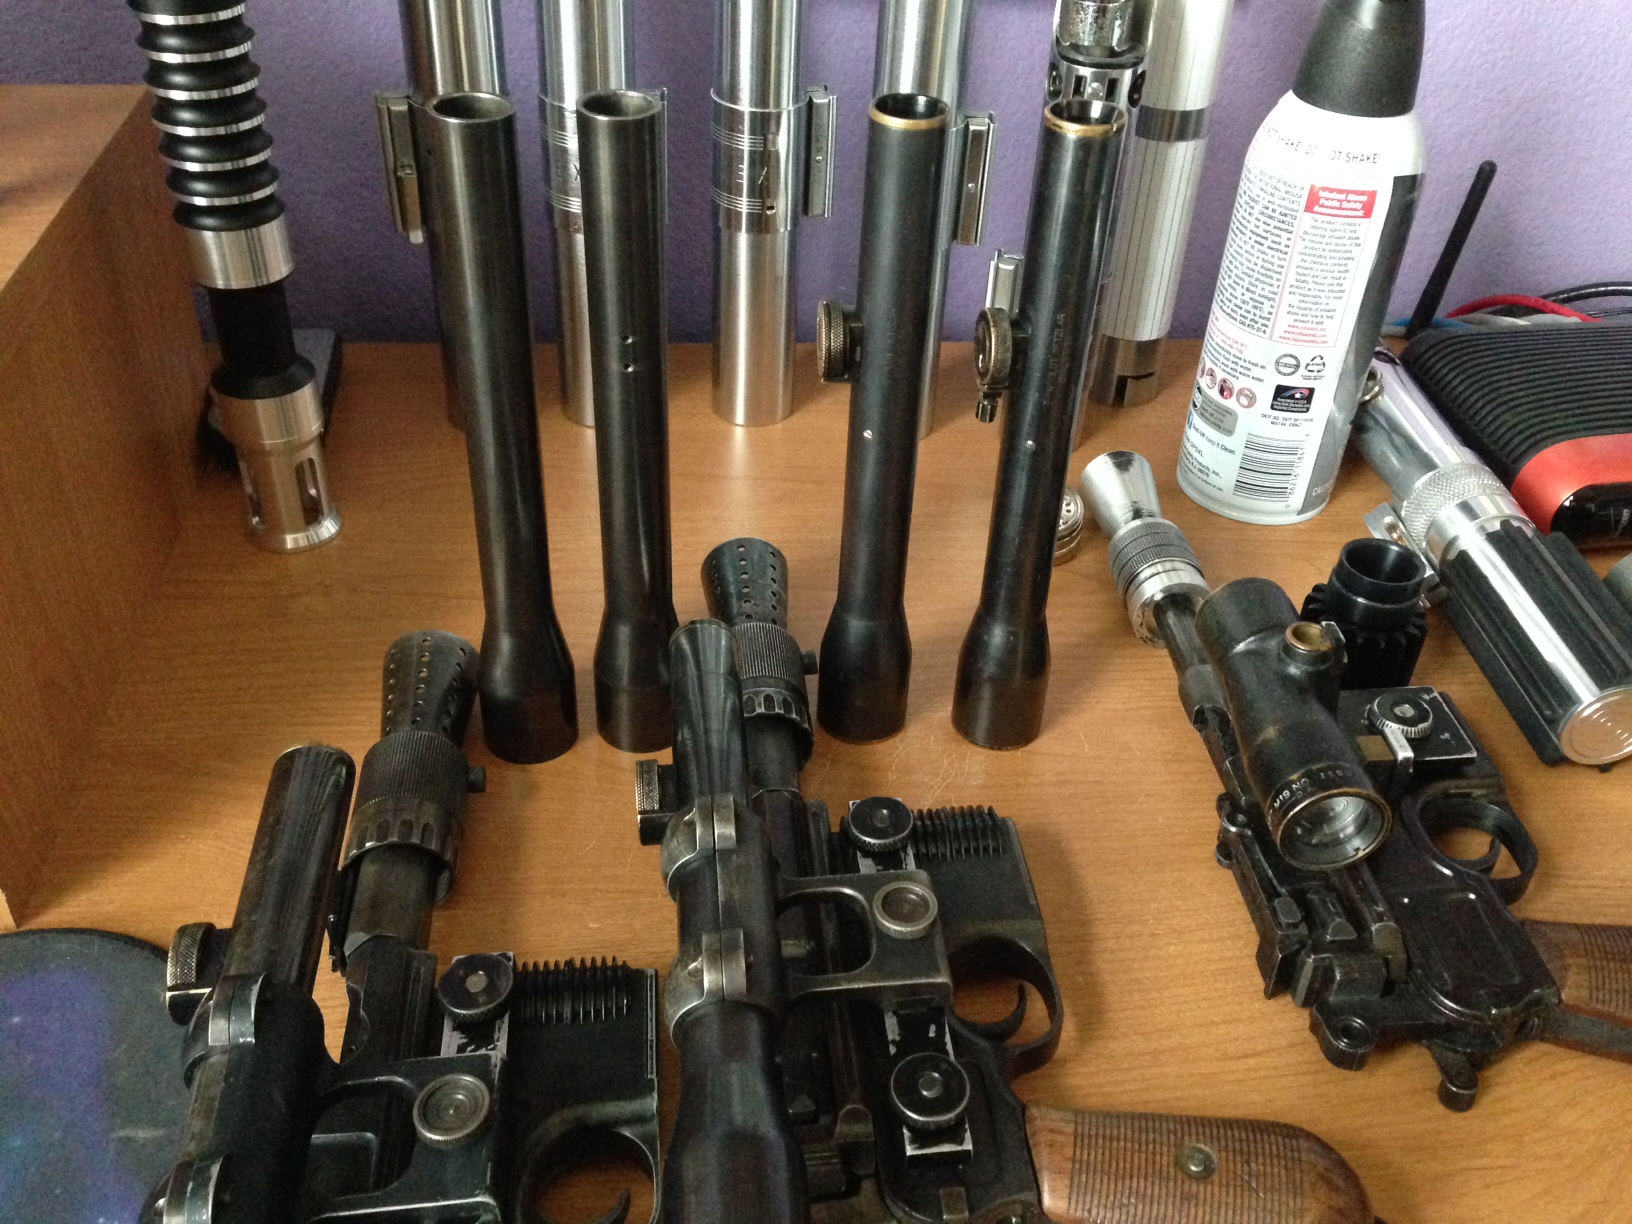
 
Re: Simplified, cheaper DEC ANH Hero Blaster Kit parts (posted with permission fr...

Update on the Jax Pewter Black.

It is very similar to the Super Blue but it isn't as harsh. The first pass I did with a cottonball I was pretty impressed with the results but it was a steel color once again, just a bit darker. I tried 6-7 more passes with the chemical and the results were..mehhh. I removed the Jax with quadruple ot but this time I did one pass with the Jax followed up by 2 passes with the Super Blue. No good.

I then tried the Jax on a smaller piece, the scope holder ring. This time I poured the Jax into a plastic bag similar to what Scottjua did with the FH. The results looked promising as it was dark in color but it was oxidized and rubbed right off. I continued this process four additional times with the end result being the same as the first.

So far the chemical route is not very good in darkening the pewter pieces to what I have seen in other projects. It looks like I may go the route that zeroginc posted but I was hoping to stay away from paint on the scope, mount and rings. I am curious to see what other members have done because right now I'm striking out and very frustrated.
 
Re: Simplified, cheaper DEC ANH Hero Blaster Kit parts (posted with permission fr...

I was considering having the scope blued with Super Blue, and then painted overtop it. The scraped off paint that represents the weathering would reveal traces of bluing underneath it, with deeper scratches showing silver metal. I imagined that would produce a desired result. Has anyone also considered using Rub N Buff either? For the scope mount itself, once polished and filed to specs, I was considering just having it either painted black, or even having it anodized black, and then weathered after that-The real scope mount was blued, as seen in the pre production photos, but was clearly later on painted, as evidenced by post production photos. The Flash Hider used will be the Aluminum one, so that will take Aluminum Black just fine. The only thing I'm hung up on is the bull barrel-because I want to blue my MGC base as well, I don't know what will blue the zamak body and aluminum bull barrel the closest possible tones that still look nice. I'm all for parts that don't match tones, as the real one was like that too, but the real DL-44 had the bull barrel as a part of its body, not an add on-, so I don't want mine to look like an add on either, just most other parts. Any thoughts on what I've got planned so far?
 
Re: Simplified, cheaper DEC ANH Hero Blaster Kit parts (posted with permission fr...

Just for a little perspective.

bluing is a chemical oxidation or controlled rust if you will , which is why on steel you need to oil it after to stop the rust or oxidation from continuing.
While it may seem like it is "dyeing" the metal it is only a surface transformation and will and does scratch, rub and wear off on steel, or Zamak or anything else.
It really is no better than paint for durability.
Laquer type sprays or even brushed on can achieve great results. And you can apply thinned coats and wet sand...very fine, and buff.
RbbyRbt did a great job. Take your time and it will look great ...and can always be easily touched up!
BBQ grill or engine black spray will give a great overall even color. Steel wool and clear or wax over and Viola!

dont forget a little gold rub n buff or paint rubbed on the scope knob!
 
Re: Simplified, cheaper DEC ANH Hero Blaster Kit parts (posted with permission fr...

What kind of "wax" do you recommend?

"Laquer type sprays or even brushed on can achieve great results. And you can apply thinned coats and wet sand...very fine, and buff.
RbbyRbt did a great job."

I may have to try the laquer paint next. A test run if you will. I assume when you say "buff" you suggest 4 ot steel wool? I was really hoping for a blued finish that way you could see the metal finish without it being covered up by paint.
 
Last edited:
Re: Simplified, cheaper DEC ANH Hero Blaster Kit parts (posted with permission fr...

yes, if you use lacquer the finish is very hard and you can use 0000 steel wool.to scuff and show some worn metal edges. No Primer. Thinned paint will be translucent and give a nice effect...but a NEW blued finish was supposed to be BLUE! no metal showing thru. ; )

Its like painted real wood doors. With real wood, painted doors we try to get the paint smooth like glass so we don't see any wood grain.
With faux wood door, made out of metal or fiber, they put exaggerated grain in it so it "looks" like wood!
funny.
 
Re: Simplified, cheaper DEC ANH Hero Blaster Kit parts (posted with permission fr...

Morgan, the real scopes were all BLUE steel... and the brass parts (rings, and knob) were painted.
 
Re: Simplified, cheaper DEC ANH Hero Blaster Kit parts (posted with permission fr...

yeah painting the mount and hitting it with 0000 steel wool gives it a great look IMO
10477958_767742263257744_1486344952257584173_n.jpg10303872_767742286591075_2373635424200892366_n.jpg
10435588_767742333257737_2713261751346974837_n.jpg10494650_767742379924399_2423396355543937043_n.jpg
 
Re: Simplified, cheaper DEC ANH Hero Blaster Kit parts (posted with permission fr...

No problem.

On another note... you guys made me curios, and while I was working on the Obi Wan Reveal today, I did two scopes of the new run.

So I did the baggy trick with super blue, and then did lots of blue/buff/blue/buff passes after sanding and polishing the bare metal first, and they came out GREAT!

Just like steel.

I wiil post pics and video later.
 
Re: Simplified, cheaper DEC ANH Hero Blaster Kit parts (posted with permission fr...

Ok I will post the video as soon as it's done processing... Warning... it's boring.

So FIRST I sanded the scope body down with 320 grit... then 600, then an old worn sanding foam that gave a nice finish. Then dry 0000 steel wool, then WD-40 soaked Steel wool.

Only one light pass... I stopped to get the original texture pics
IMG_6476.jpg


IMG_6477.jpg


Sanding
IMG_6478.jpg


Looking purty
IMG_6479.jpg


Then I did the baggy with super blue... looked like rusty crap until you take the top layer off.

Then you just blue then buff lightly with steel wool... and repeat over and over and over and over and over and over.
IMG_6474.jpg


The video will show the whole process... and bore you to death.

 
Last edited by a moderator:
Re: Simplified, cheaper DEC ANH Hero Blaster Kit parts (posted with permission fr...

Nice tutorial Scott. I'm really surprised on how dark it actually got! I know what I'm doing with the scope now ;) Thanks!
 
Re: Simplified, cheaper DEC ANH Hero Blaster Kit parts (posted with permission fr...

I'm all for parts that don't match tones, as the real one was like that too, but the real DL-44 had the bull barrel as a part of its body, not an add on-

Hmm...not sure the broomhandle was produced with a bull barrel. I think it was an add-on after all.
 
Re: Simplified, cheaper DEC ANH Hero Blaster Kit parts (posted with permission fr...

Great Job on the scopes scottjua :thumbsup And many thanks for sharing your knowledge :thumbsup
Hope i can get mine, doing it all be hand, as close as possible to yours :cool Anyhow, good to see that the
SuperBlue will do its job on the casted parts :D
 
Re: Simplified, cheaper DEC ANH Hero Blaster Kit parts (posted with permission fr...

Thanks guys! Hope it helps. I cut about 10 minutes out of the video where I wasn't talking. It's a longer process on these vs. steel for sure, but the results are nice.

I've left them to soak in barricade overnight, but I'll try to get AFTER pics today with the Flash hiders I've done and the scope knobs I did with rub and buff.
 
Re: Simplified, cheaper DEC ANH Hero Blaster Kit parts (posted with permission fr...

Hmm...not sure the broomhandle was produced with a bull barrel. I think it was an add-on after all.

The original Mauser C96 had no known model that incorporated a flat bottomed bull barrel yes, but my assumption of it was that the upper receiver was custom machined to have the bull barrel as an original part of the Mauser's frame. Given that if you look closely at the pre production photos, which are about the best quality images that you can get of the original, I don't see anything that would indicate that the bull barrel was added on. There's no weld marks, no minute gap, and the barrel and receiver both look to have their original bluing on them, both of which look to match each other, in my opinion. My belief was that the Mauser was custom made for the Movie, as I don't think that it's the same Mauser from the Naked Runner. It was probably either a backup bull barreled Mauser, or another custom made one, given the differences between both in the hexagon chamferings, the slide groove depths, and the sight rail humps. It was probably originally done that way to look cooler for the Naked Runner movie, and then they used the back up bull barrel Mauser for Star Wars.

^_^
 
Re: Simplified, cheaper DEC ANH Hero Blaster Kit parts (posted with permission fr...

Thanks for the video Scott, very helpful & you got great results

sadly I'm going to fall in to the bluing by hand (stroking :lol) camp

got most of my parts close to where I'm ready to start, but still need to sand my denix, having to do this in a snatched hour here & there,

I take it you didn't heat the parts you were bluing?

i couldn't tell from the video but how often did you have to rinse the parts in water (back when I did my denix for my ESB I remember I kept having to dunk in water & then dry before going on)

how much Super Blue & Alu black are people going through? I've only got 1 3floz bottle of each & was wondering if I'll have enough if we're doing lots of passes

Do you recommend the barricade I've used silicone gun oil before is it the same idea

finding this a very helpful sales thread :)
 
Re: Simplified, cheaper DEC ANH Hero Blaster Kit parts (posted with permission fr...

Yes, both heating the parts and sanding before bluing helps to both even out the tones and make the bluing a little more durable. Again, after experimenting, subjecting the zamak to 300 degrees Fahrenheit for about 10 minutes produced the best results in bluing a Denix body.
 
Re: Simplified, cheaper DEC ANH Hero Blaster Kit parts (posted with permission fr...

The bull barrel and upper receiver is , at best guess the same as the naked runner upper. It is not part of the receiver. These type of barrels are screwed on.
They most likely turned off the original Mauser barrel and added threading to be able to attach the bull barrel which was part of the longer rifle barrel.
Since the bull barrel actually would contain the bullet chamber this is not an issue.
there are other production guns using a threaded barrel of this type. The DL44 bull barrel was prob was never intended to be removed but the detail images show that there is a clear line and jumped edges

if it was machined as part of the upper there would be a smooth tradition and no break line just like the normal original Mauser c96

guys are doing a great job with this kit!
 
Re: Simplified, cheaper DEC ANH Hero Blaster Kit parts (posted with permission fr...

Thanks for the video Scott, very helpful & you got great results

sadly I'm going to fall in to the bluing by hand (stroking :lol) camp

got most of my parts close to where I'm ready to start, but still need to sand my denix, having to do this in a snatched hour here & there,

I take it you didn't heat the parts you were bluing?

i couldn't tell from the video but how often did you have to rinse the parts in water (back when I did my denix for my ESB I remember I kept having to dunk in water & then dry before going on)

how much Super Blue & Alu black are people going through? I've only got 1 3floz bottle of each & was wondering if I'll have enough if we're doing lots of passes

Do you recommend the barricade I've used silicone gun oil before is it the same idea

finding this a very helpful sales thread :)

other than heat from sanding, nothing added. Just Cold Blue pretty much.

I only rinsed the one time after the baggy... the rest was apply, buff, apply, buff... then oil straight away. No more rinsing. And I cut out MANY many passes. Hahaha It's really about patience and diligence.

I only have a small bottle left, but I don't use a ton... after the baggy it's just a tiny bit on a small piece of shop towel. that's all..

here's today a few mins ago. I wanted you guys to see them in direct sunlight... the most telling light possible. In the house or fluorescent it looks almost identical to steel... in the sun... it's very close as you can tell to the Real Hensoldts.

So there's about as good as I'm gonna get. If you rub the oil down a bit more, it'll lighten and get a tiny bit more blue... but that was after a couple wipes... hence the finger and palm prints.

photo.JPG


In fact... here they are next to the other real ones in normal house light... pretty much on.

photo%201.JPG


photo%202.JPG
 
Last edited:
This thread is more than 6 years old.

Your message may be considered spam for the following reasons:

  1. This thread hasn't been active in some time. A new post in this thread might not contribute constructively to this discussion after so long.
If you wish to reply despite these issues, check the box below before replying.
Be aware that malicious compliance may result in more severe penalties.
Back
Top