Flektor
New Member
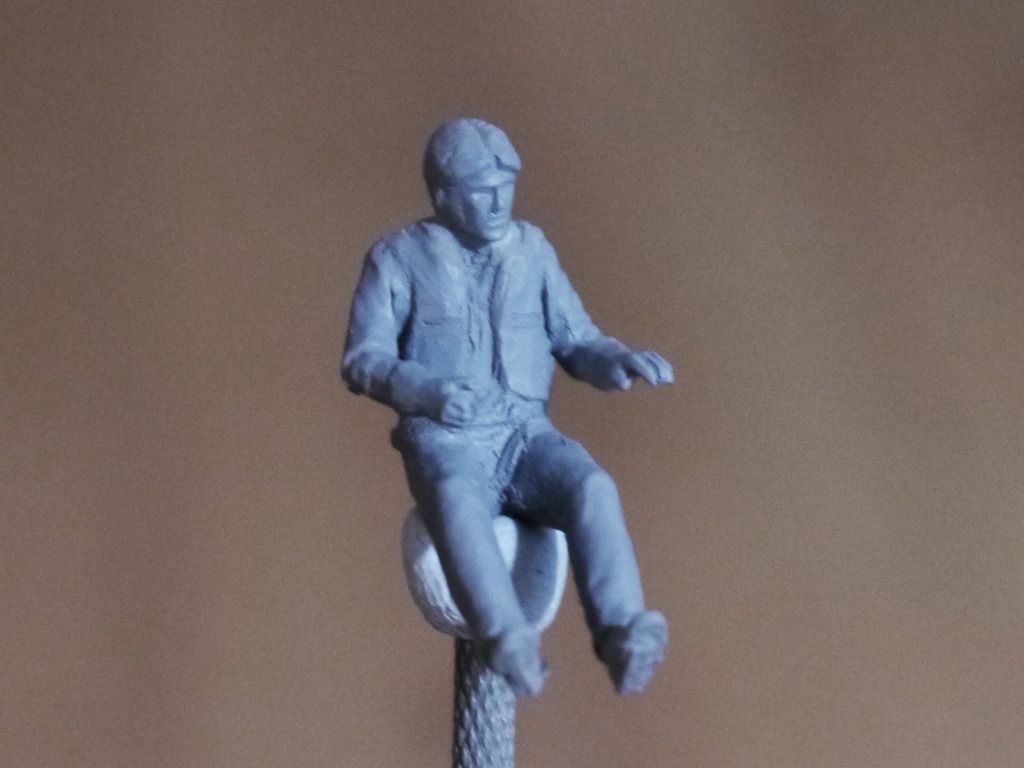
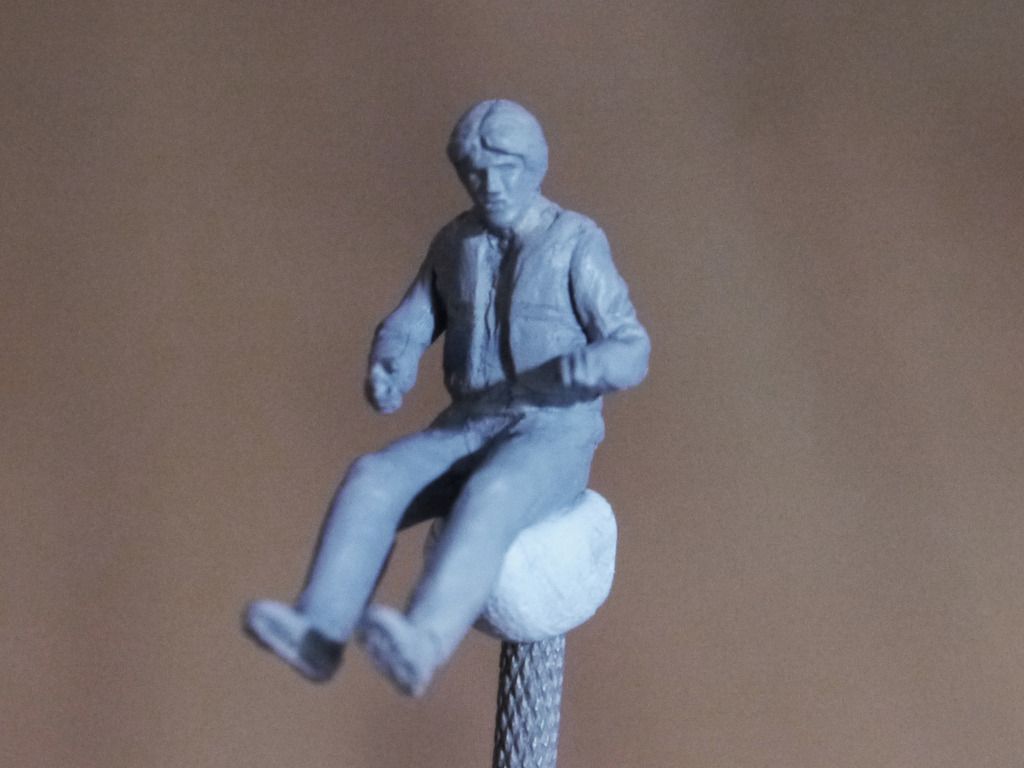
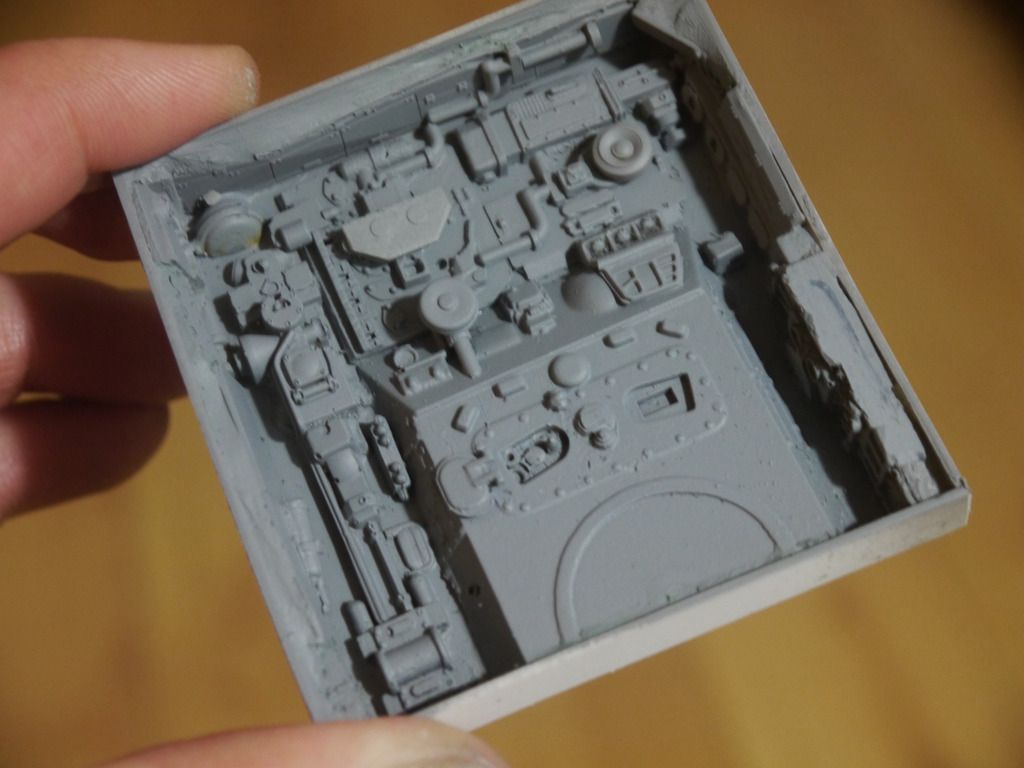
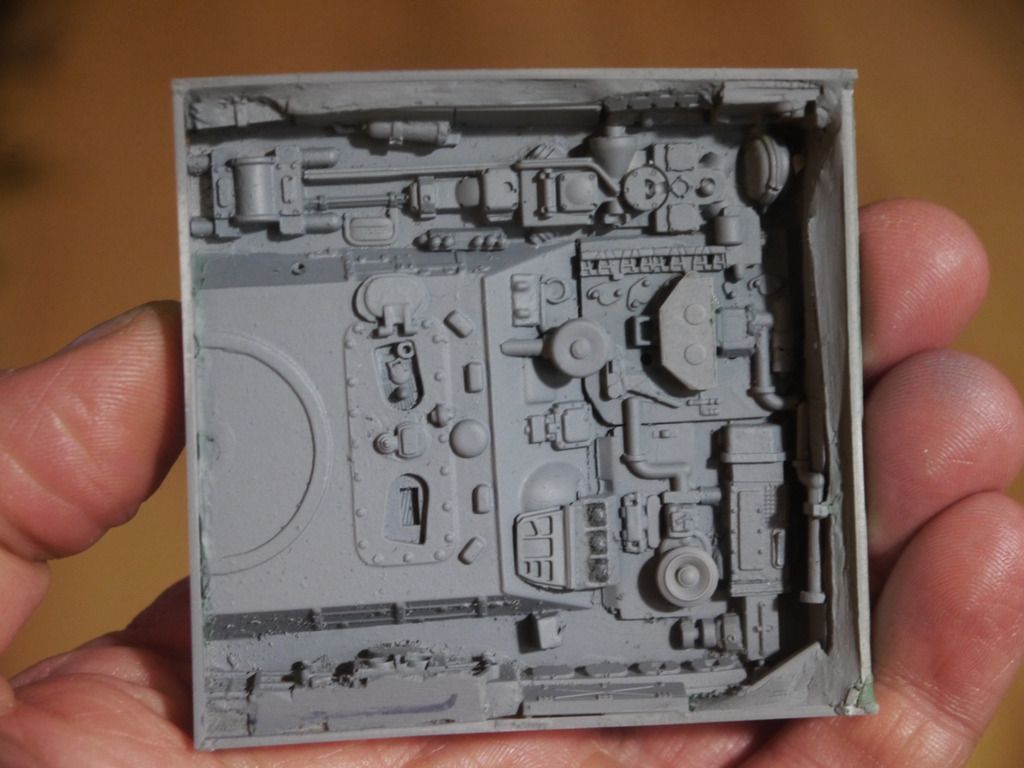
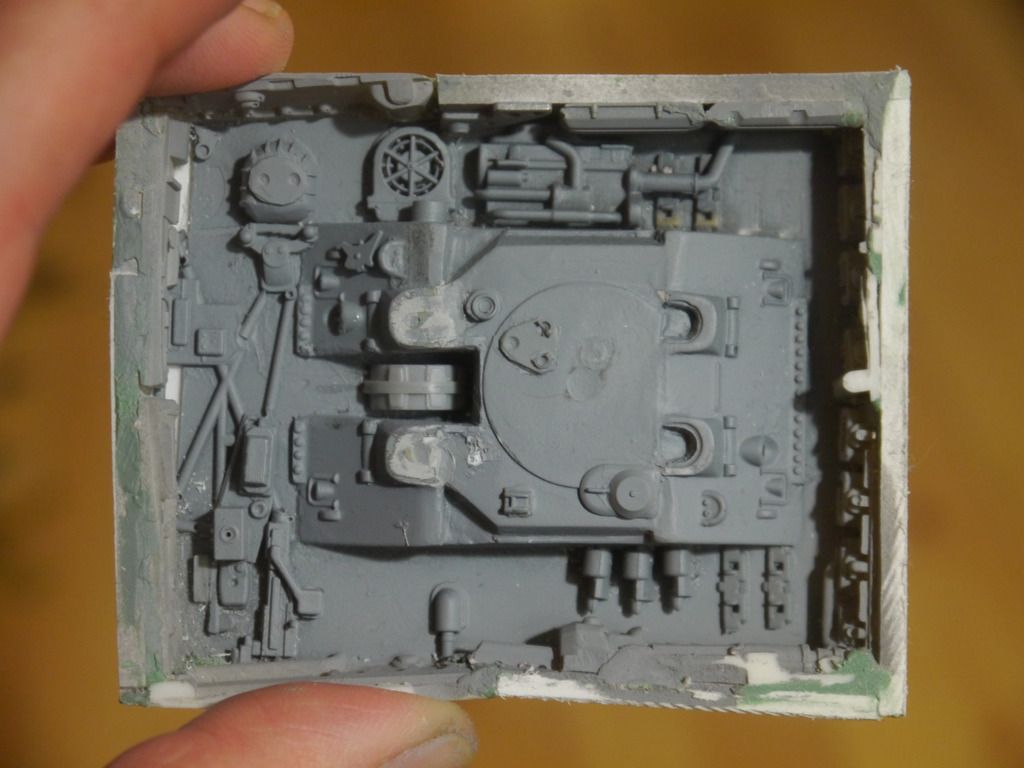
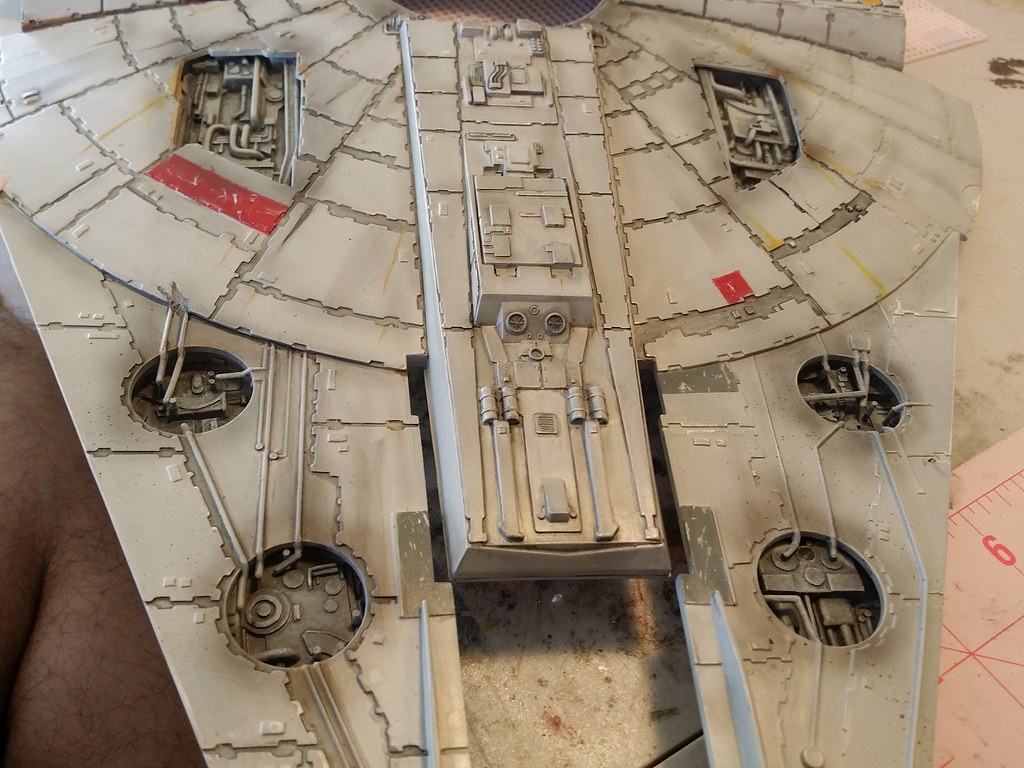
I've taken some pics of the weathering effect (using dry brushed stamp pad ink). I've not done too much, just exaggerated where the more vertical surfaces would catch quite a bit of debris but the more horizontal surfaces just get a slight blown over look. I also mentioned on another furum that I'd made casts of the inner jaw surfaces using airdry modelling clay. I will make better ones but I've included a pic to show the detail which is hidden in the recesses.
]


]

")