Warhammer 40k Grey Knight Terminators

No comments from anyone in almost six months? Sometimes I wonder why I post at all...

Did another quick rigging test with the stilts:

I think it'll work.

The kid in the armor in that pic is about 5'3". Maybe a bit shorter:


In fact, we can almost fit her into the shin if she kneels:


In other news, I cast a bunch of the hinge details:


Here's a pair installed on the left shoulder:


And one of the two on the right shoulder:


Now the only huge thing I'm working on is smoothing out the chest:


And finishing up the hand sculpts:


Then it'll be on to the force halberd.
 
Well, this is just seriously impressive and crazy madness all in one. I've had to go back over the posts several times to take it all in, and then I went back over again to check out the treasure trove of items in the background of the pics !! Really enjoying the build - looking forward to more :thumbsup
 
The scale of this monster is amazing! Have you rented a warehouse to store all the molds for this and ED-209 and the other warhammer knights? Your backroom has to be full to the top!!!
 
I'm waay overdue for an update on this thread.

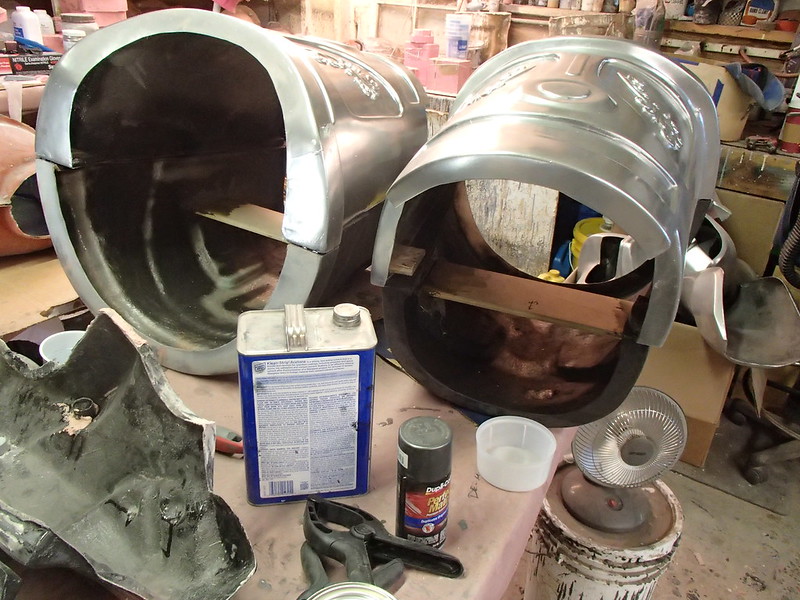
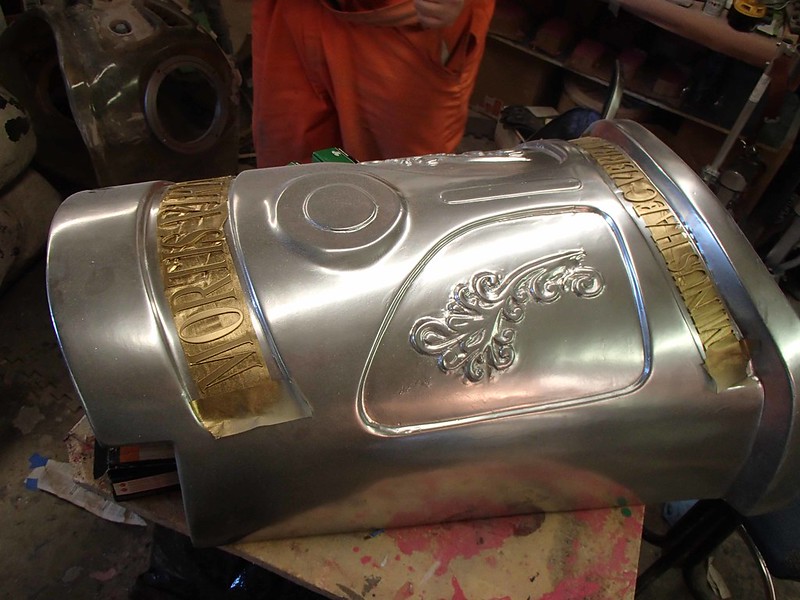
For starters, painting has happened. Here's one of the shoulders:


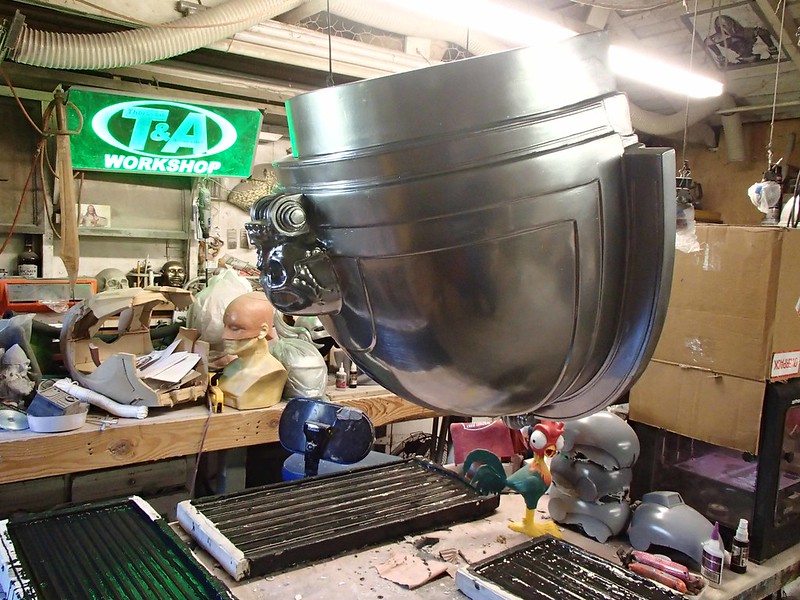
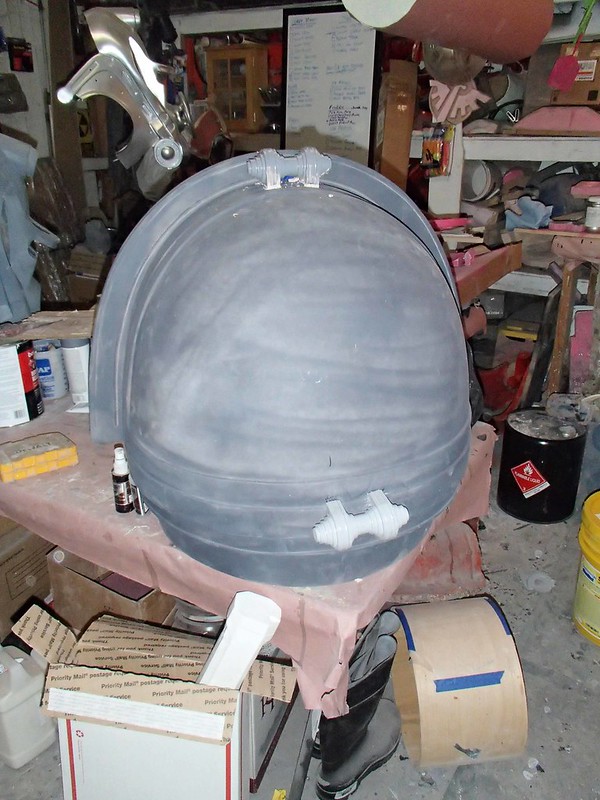
That's not much of a view, but it doesn't matter much because all you're looking at is the shiny silver basecoat. Just like you can see here on the pelvis:


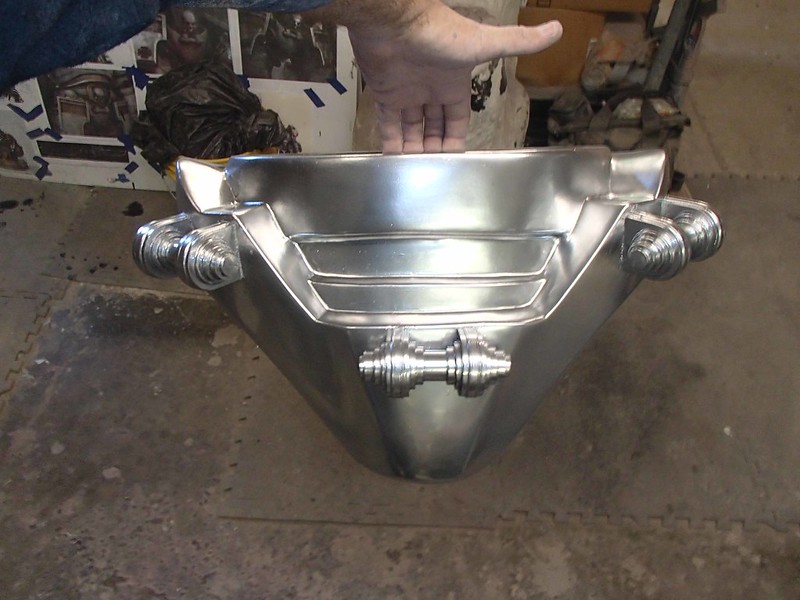
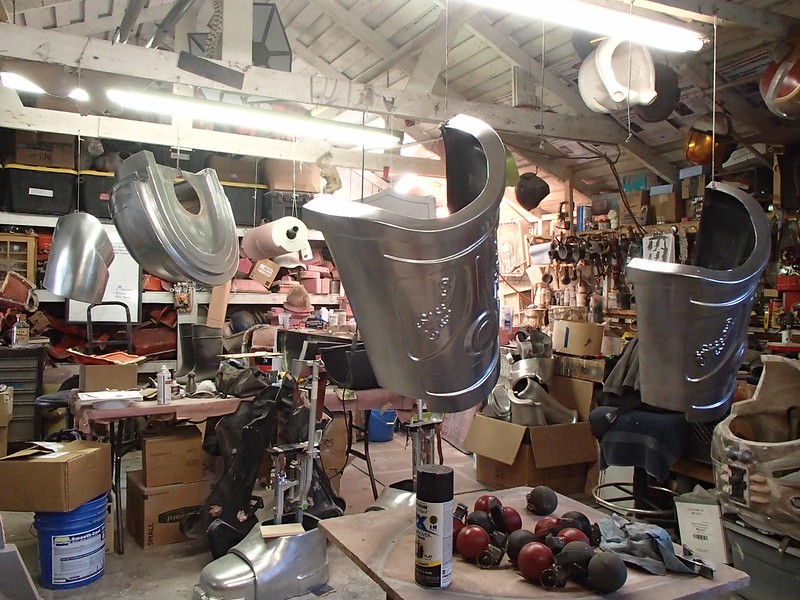
And these other parts:


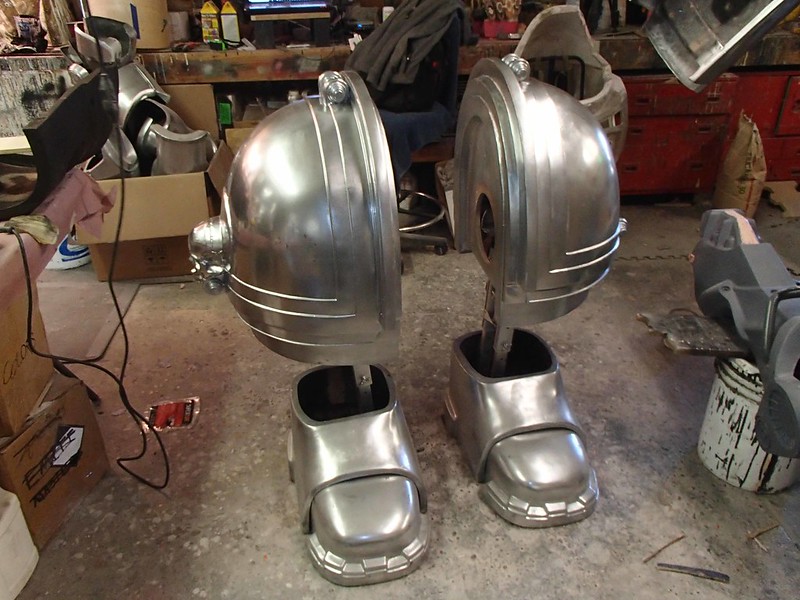
The back of the lower legs were fitted with plywood flats to allow them to bolt onto the stilts:


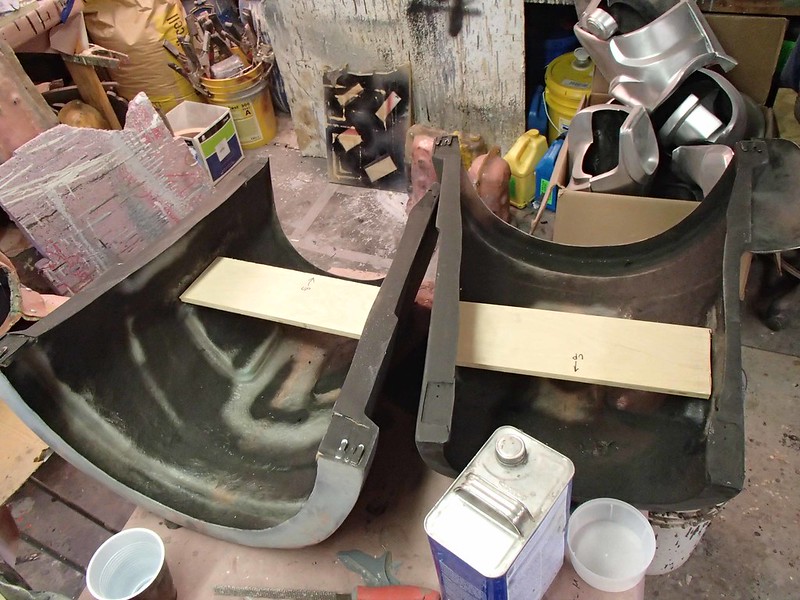
These were fiberglassed into place with the shin plates clamped on to ensure that everything would align properly once the glass had cured:


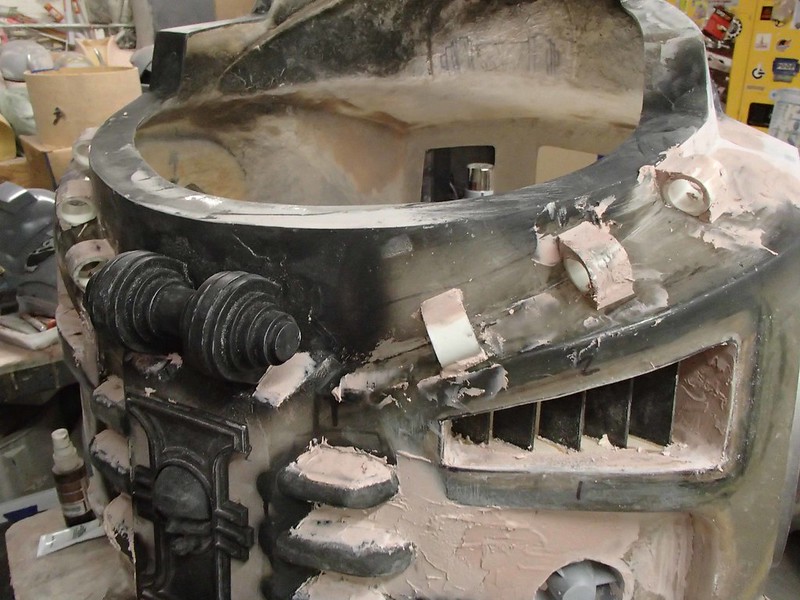
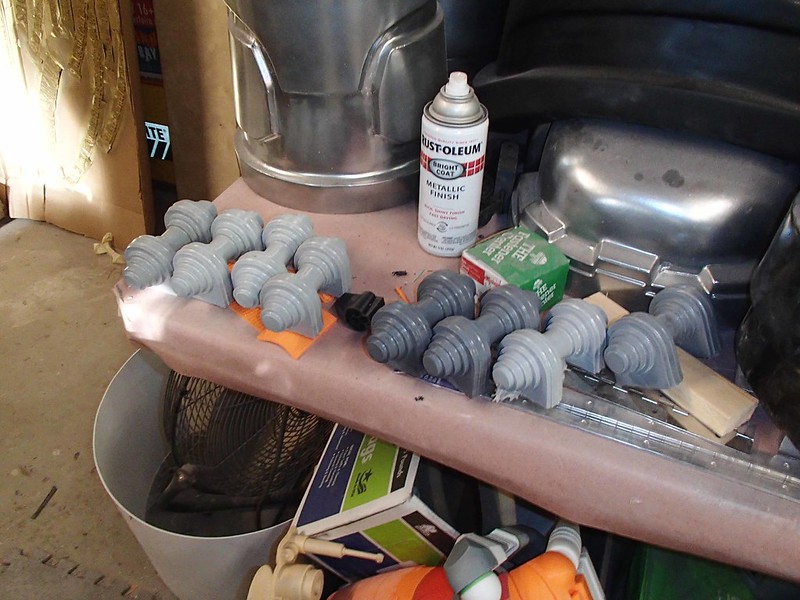
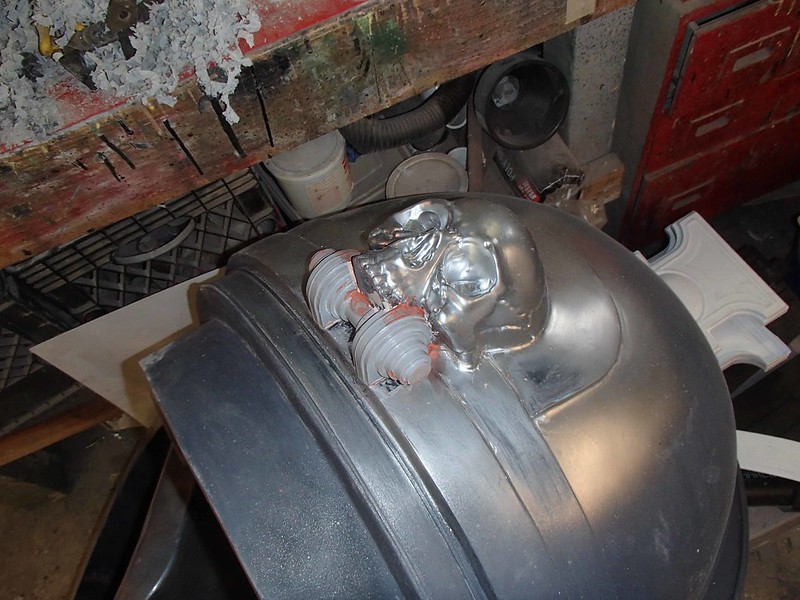
I also went ahead and cobbled together the vent details for the chest:
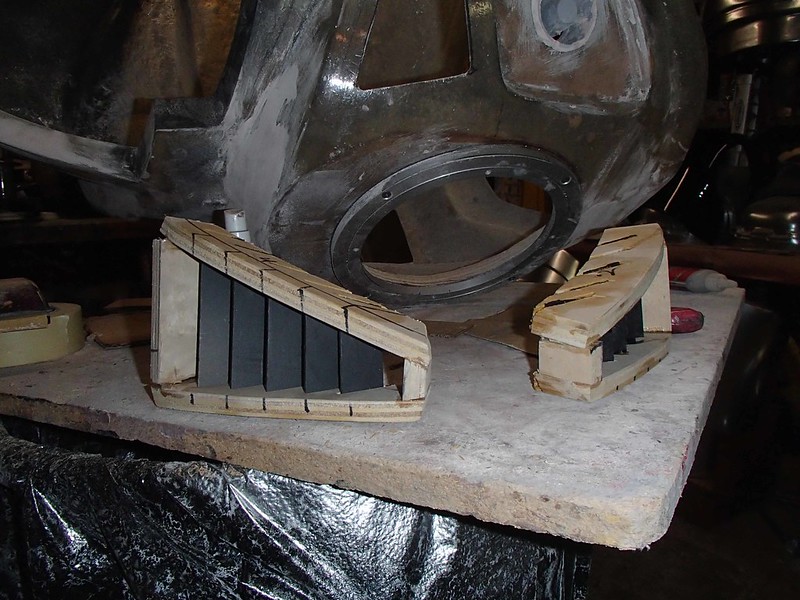
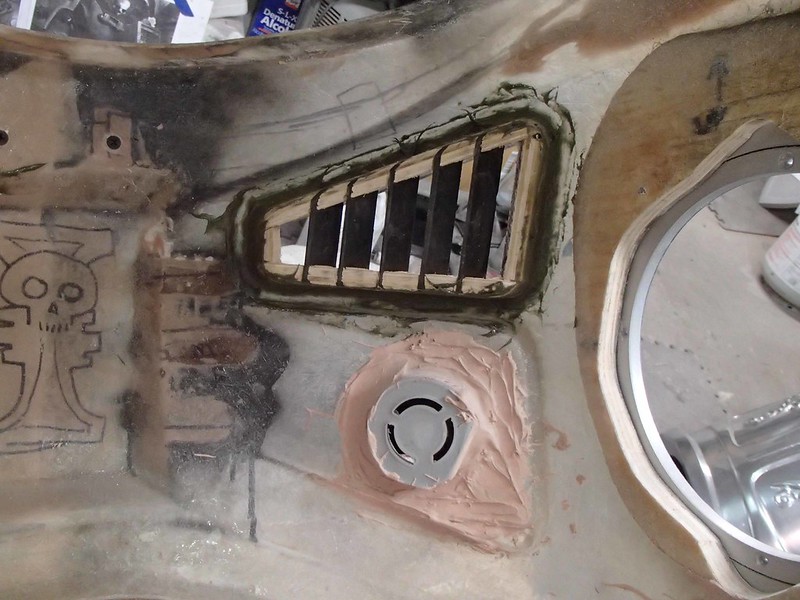


They came out okay:


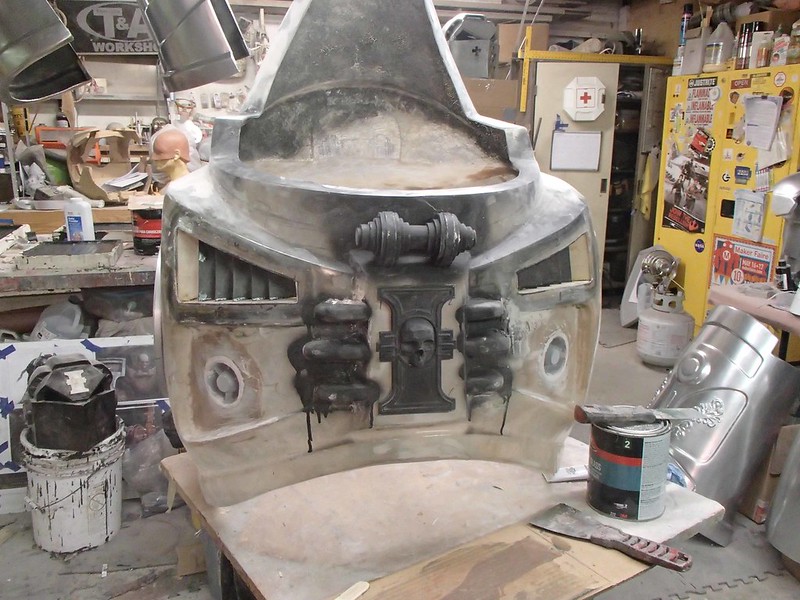
Somewhere along the way I also installed a series of rings to hold the hoses on the upper chest:


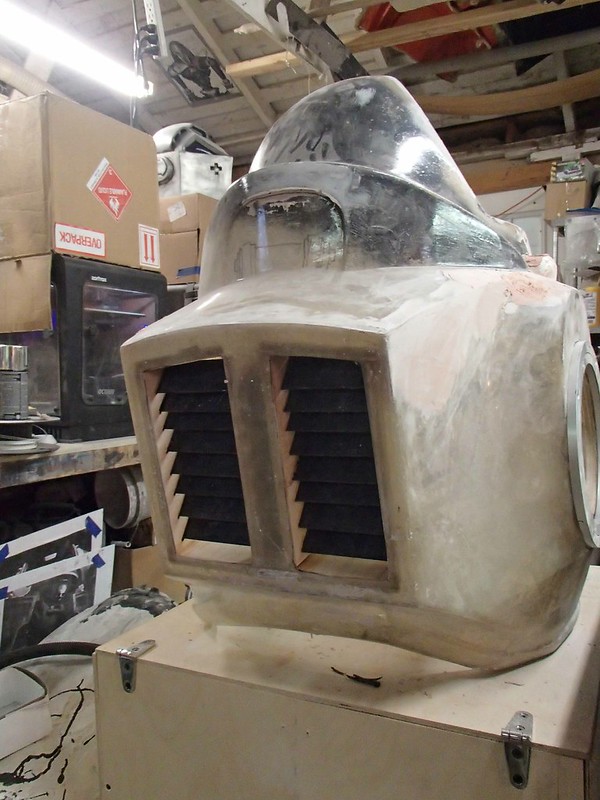
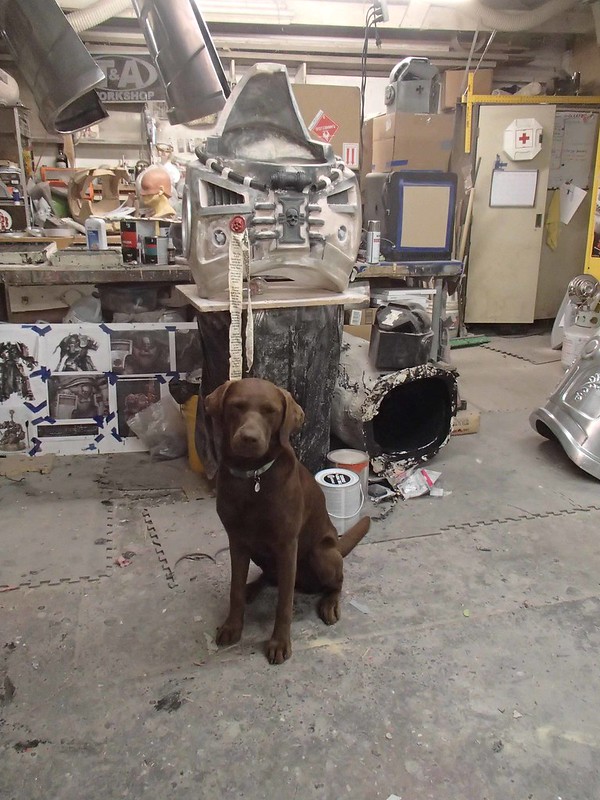
I also installed the vent louvers in the back:


They came out okay, but my chocolate lab "Tiki" (aka "Moop the Spastic Dog Noodle") was not impressed:


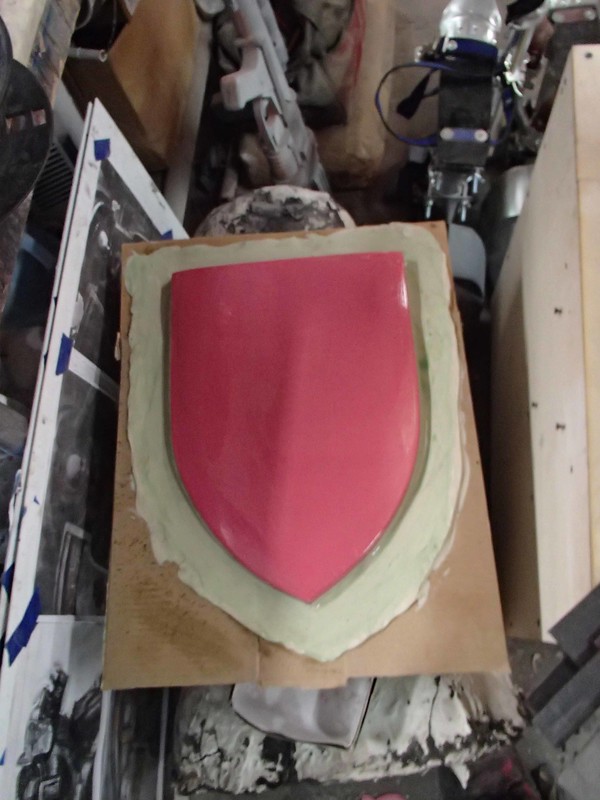
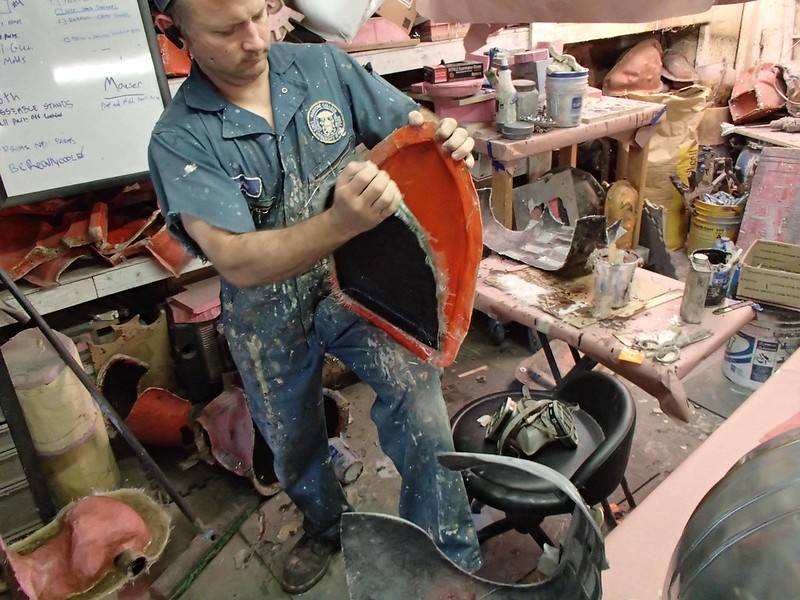
I also made a quick and dirty version of the heraldry shield for the left shoulder:


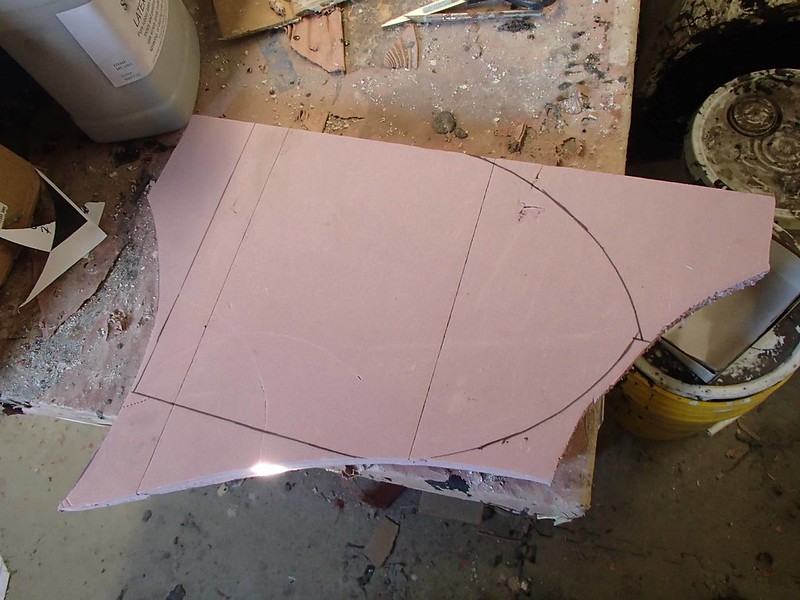
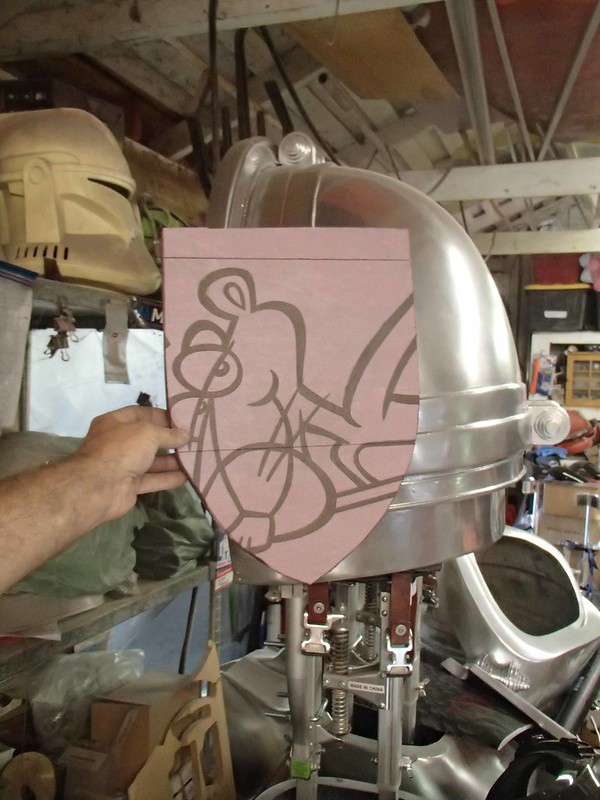
This simple piece of foam was sanded to about the right contour, skinned over with Bondo, then sanded furiously:


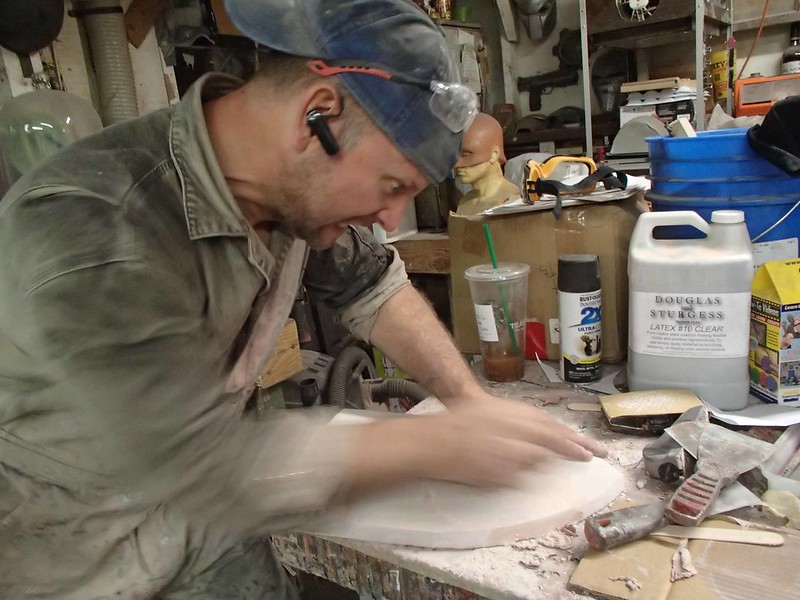
A few coats of primer and it was good to go:


Once it was glossy and waxed, I prepped it for molding:


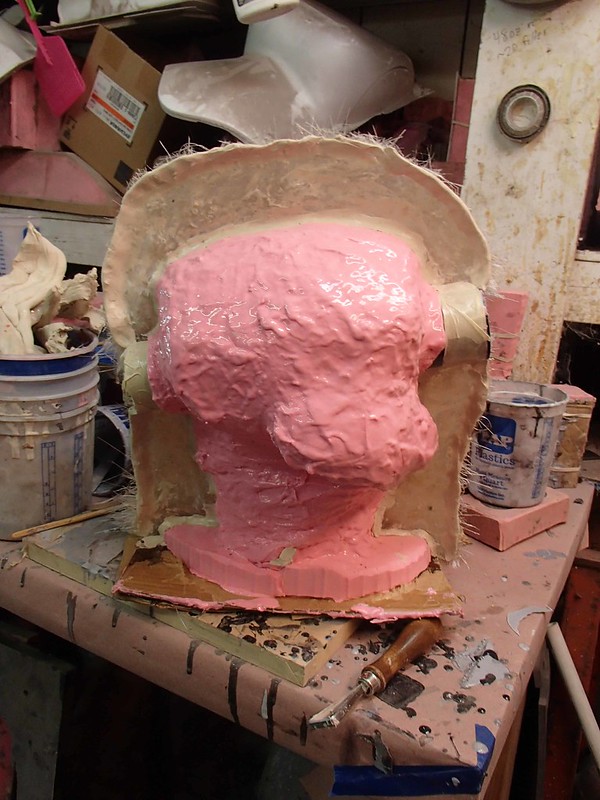
The mold was a simple, one-piece, fiberglass job:


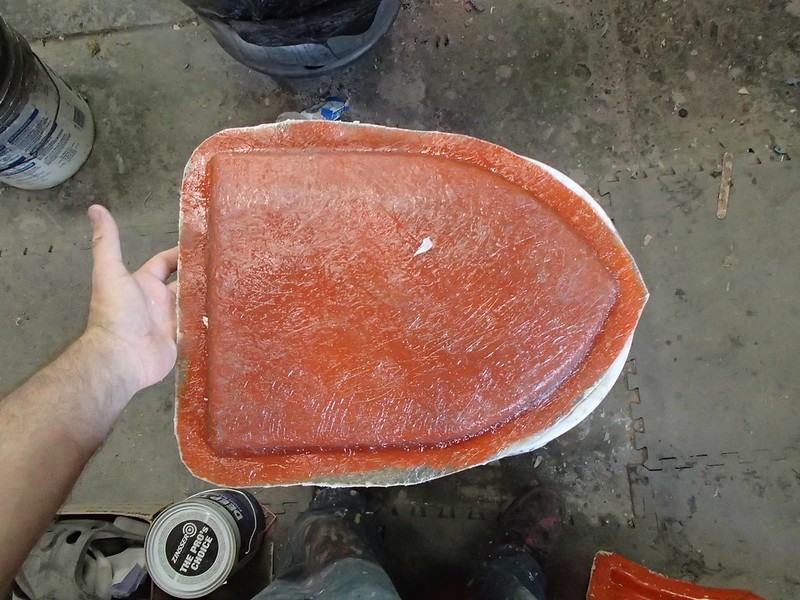
Which separated from the original prototype cleanly:


Thanks to a copious layer of mold release:


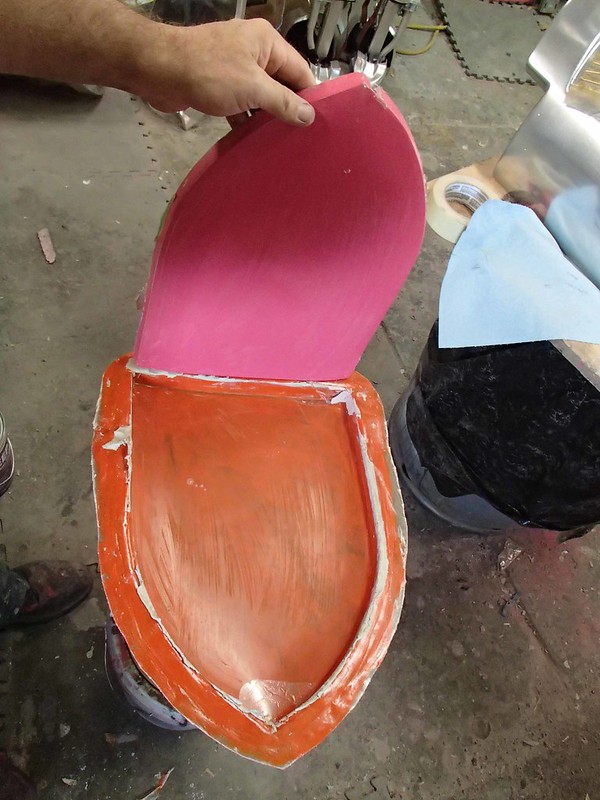
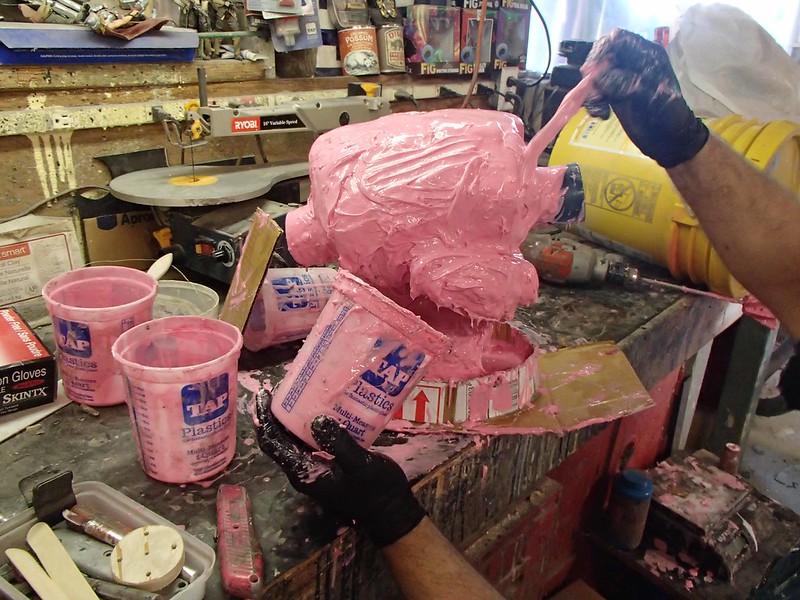
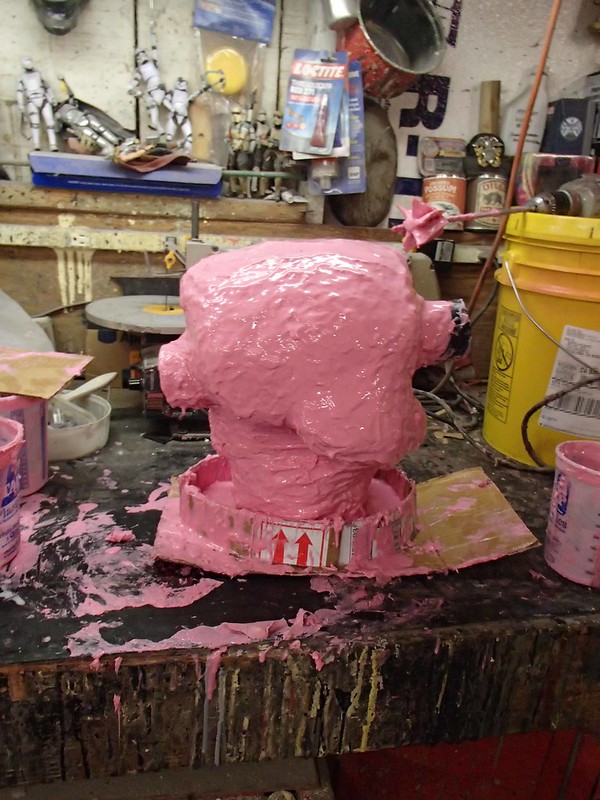
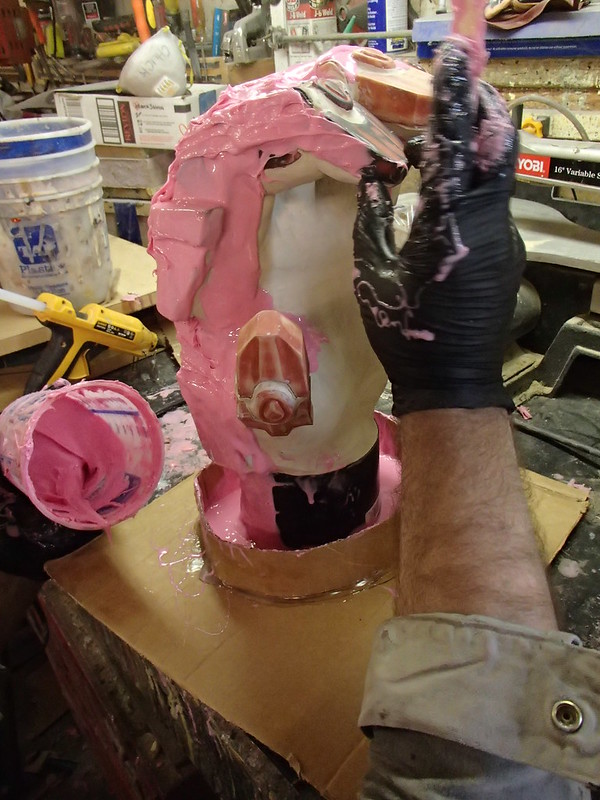
Then I polished up the mold, coated it with more release agent, and laid up a copy of the shield:


It too came out of the mold easily:


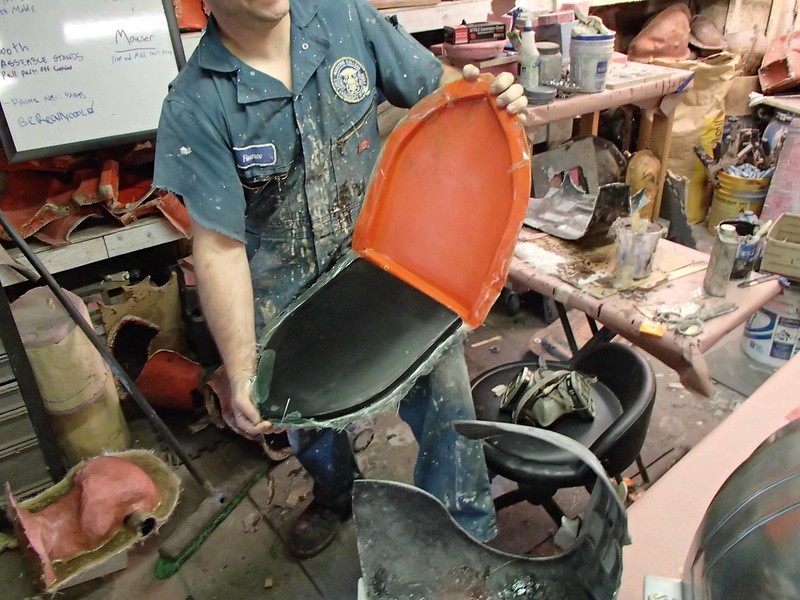
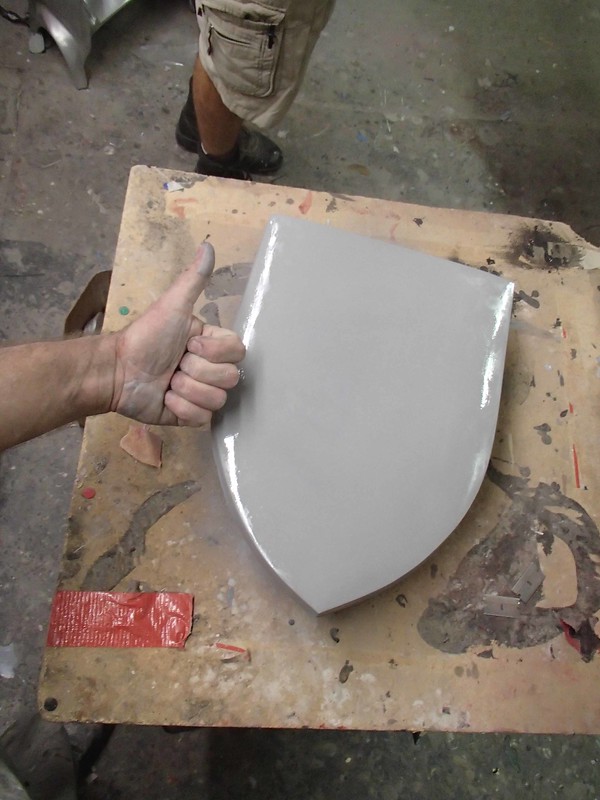
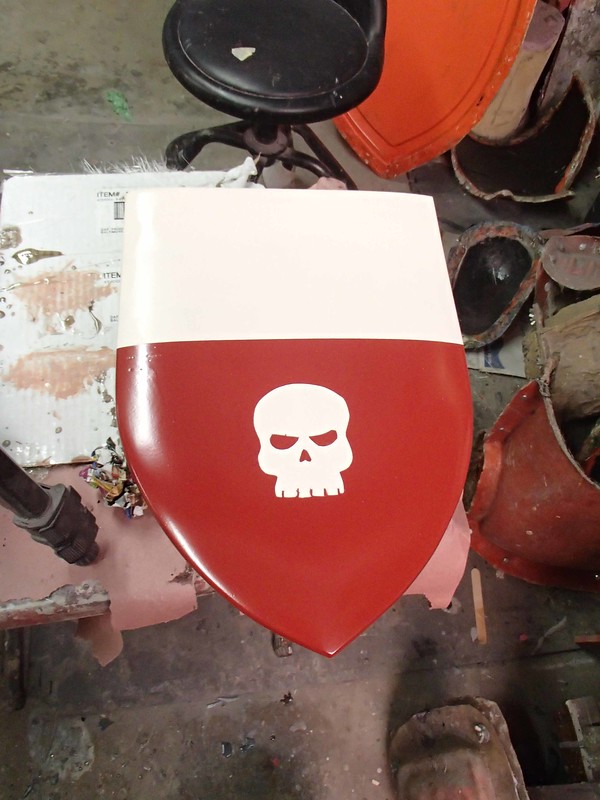
Then it was just a matter of trimming and painting. Here it is nearly done and ready to mount:


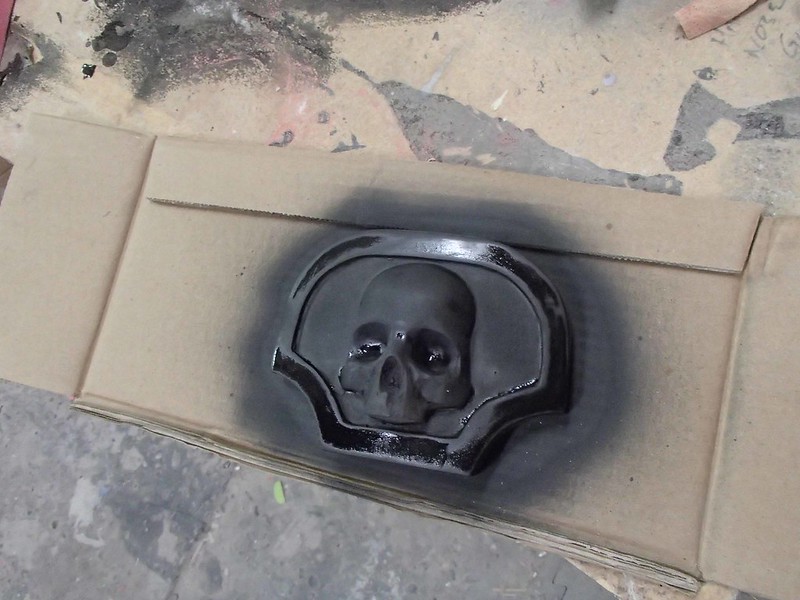
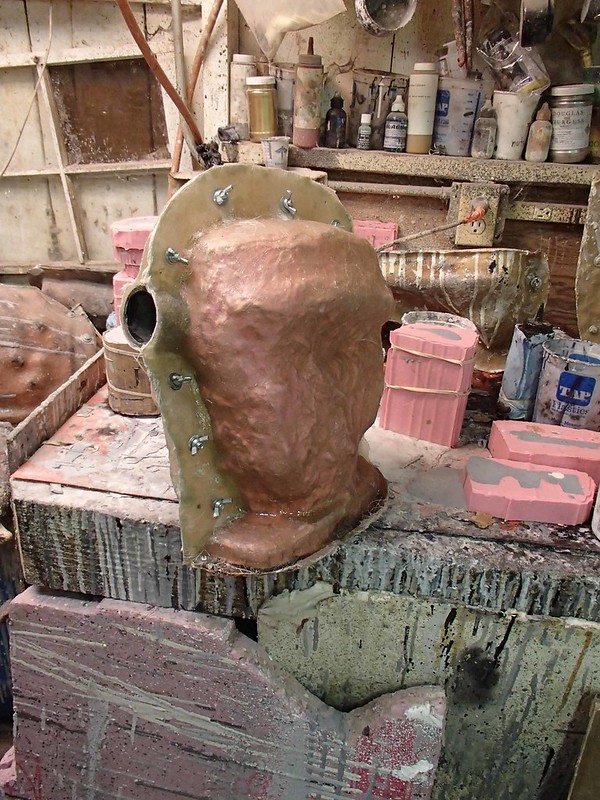
I also sculpted out a quick and dirty belt buckle detail with the help of a 3D printed skull:


Along the way, my friend Sierra helped me out by tuning up the last bits of the sculpt for the right hand:


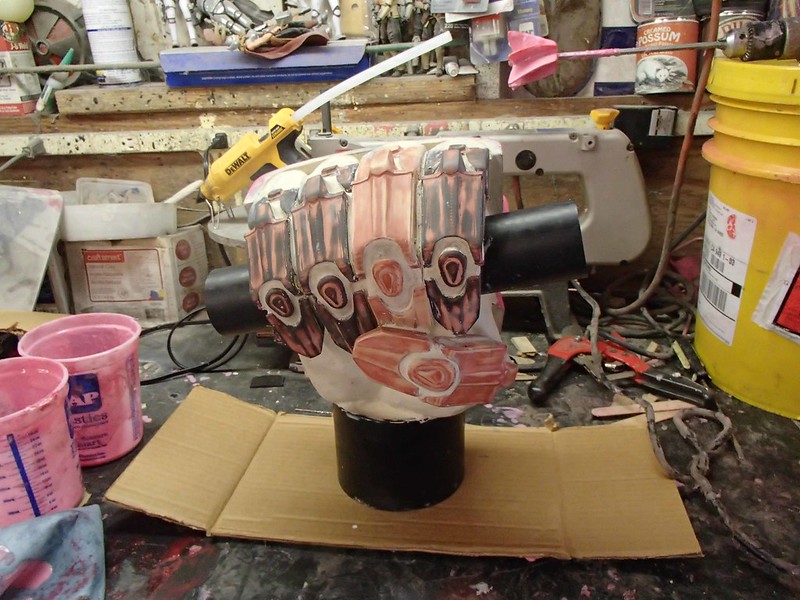
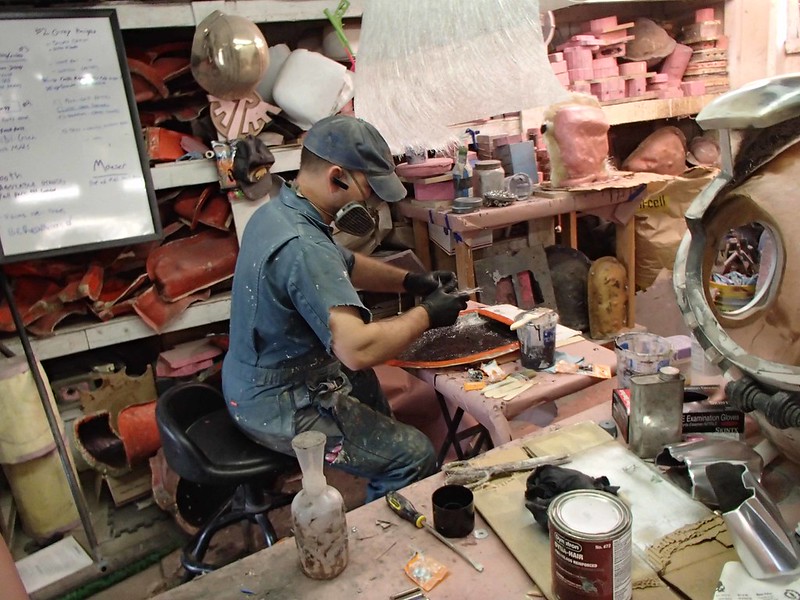
Then I made one of the ugliest rushed molds I've ever made:


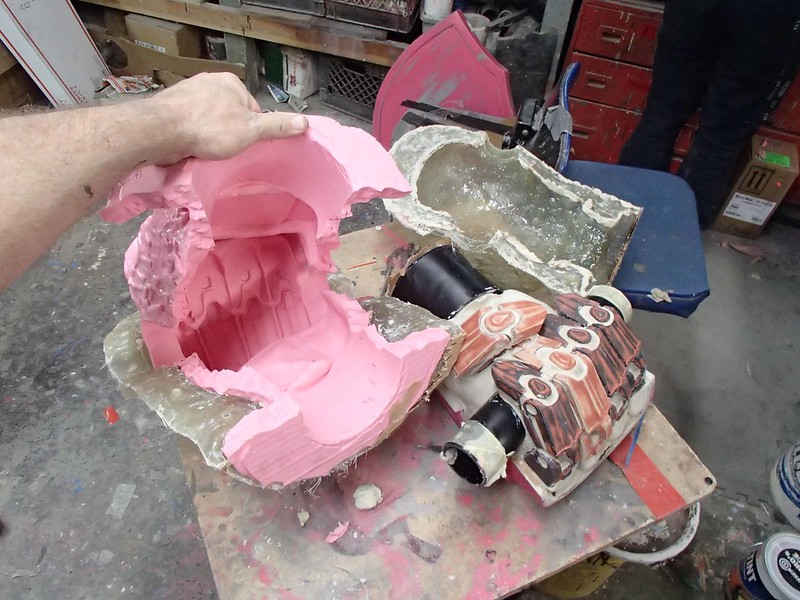
The first cast came out okay:


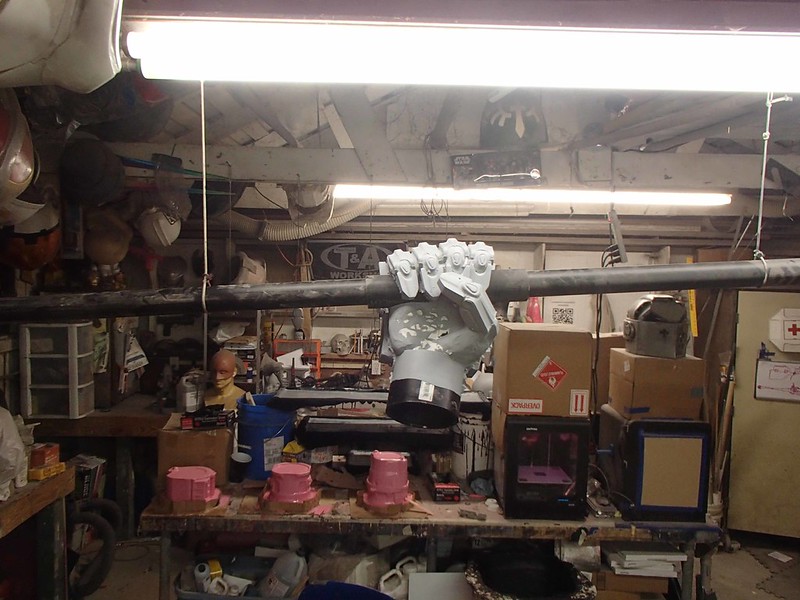
Then it was time to get started on converting the right hand sculpt into a left hand sculpt:


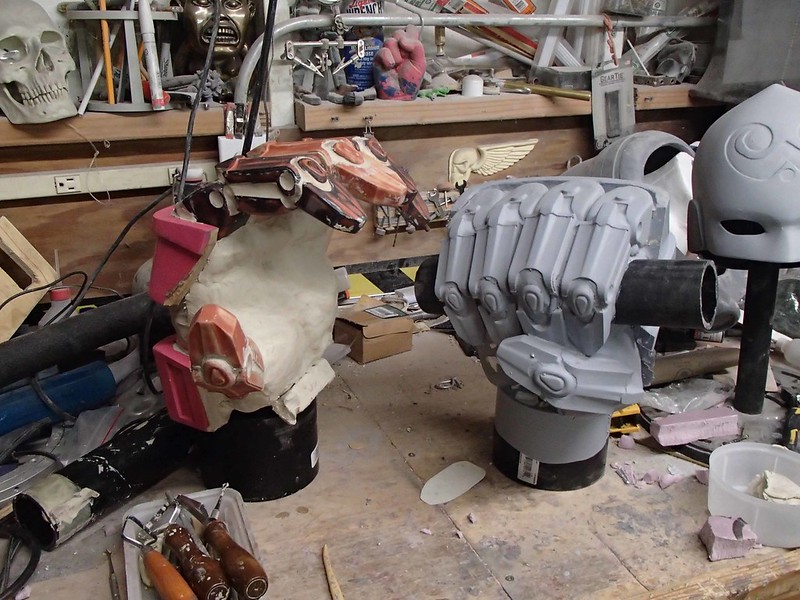
Again, Sierra took the lead on that:


Then I molded it too:


But I was getting into crunch mode for the Maker Faire, so photography became less important.

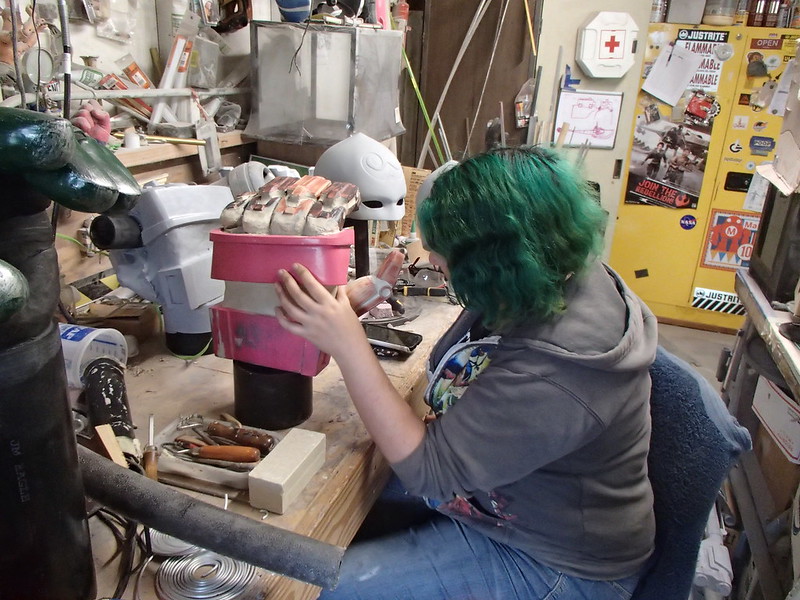
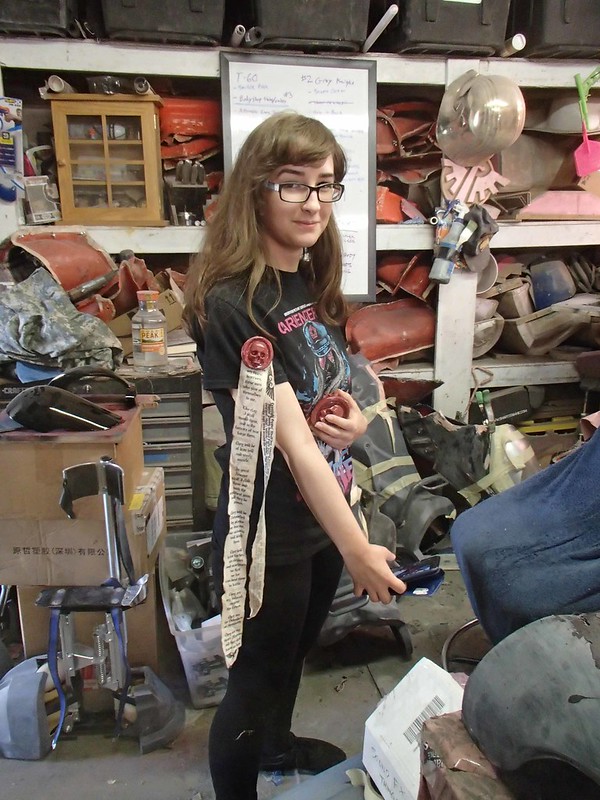
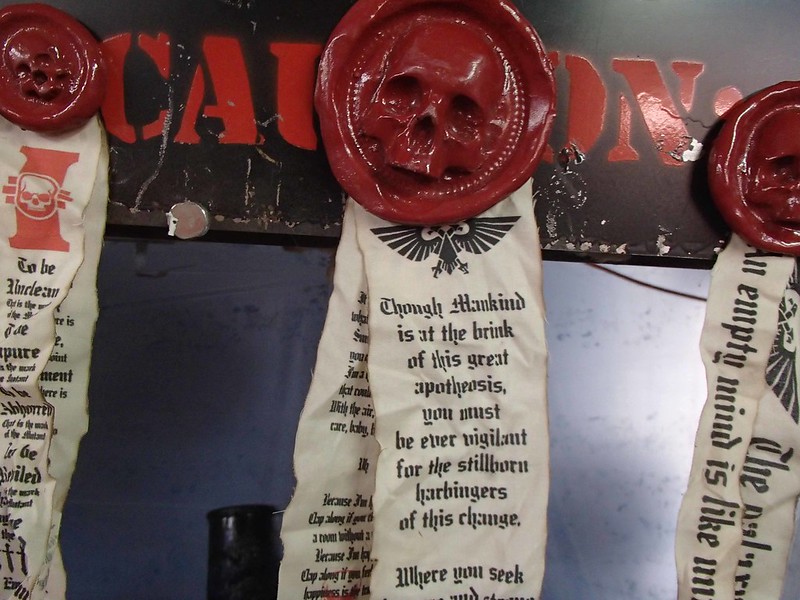
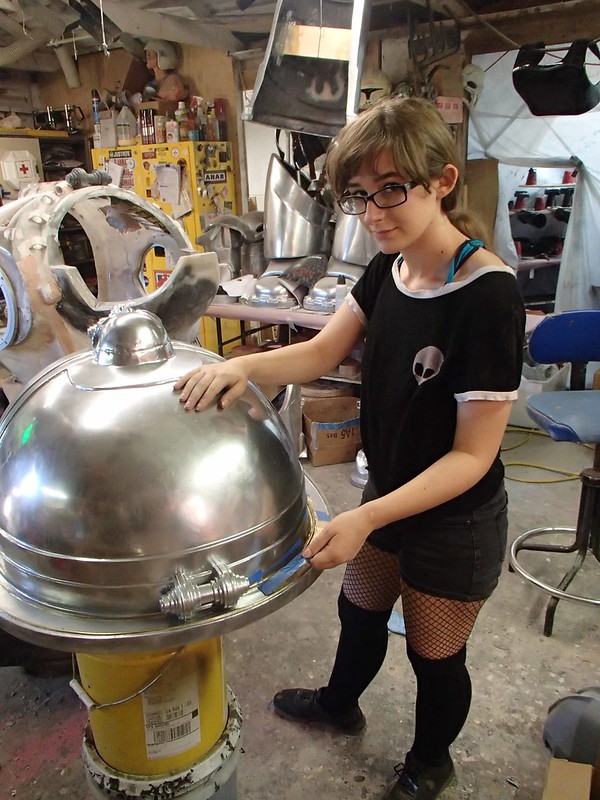
While all of this was going on, I put my new assistant Madison to work making magnetic purity seals:


The wax seals are just resin casts with holes drilled into the backside to fit rare earth magnets before painting and adding the fabric text strips:


We may have gotten carried away:

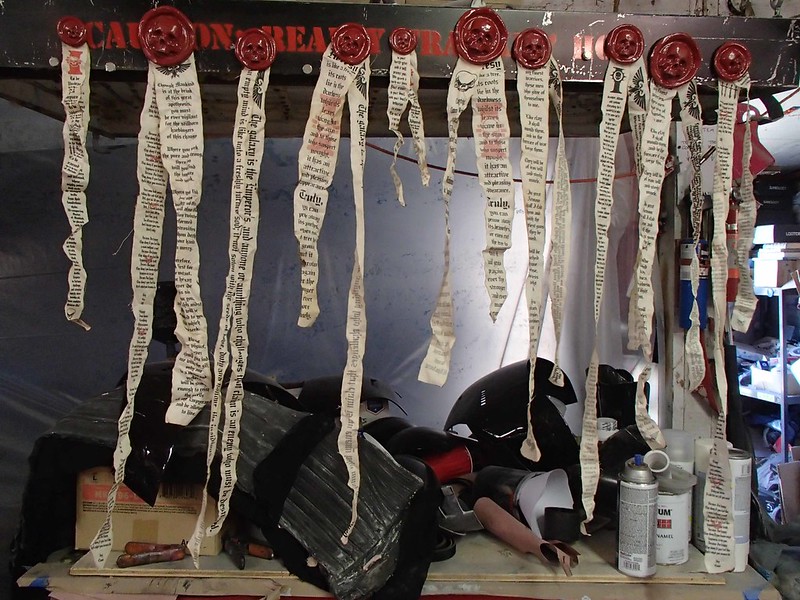
Not pictured: the first round of fifteen purity seals tucked away in a bag somewhere.

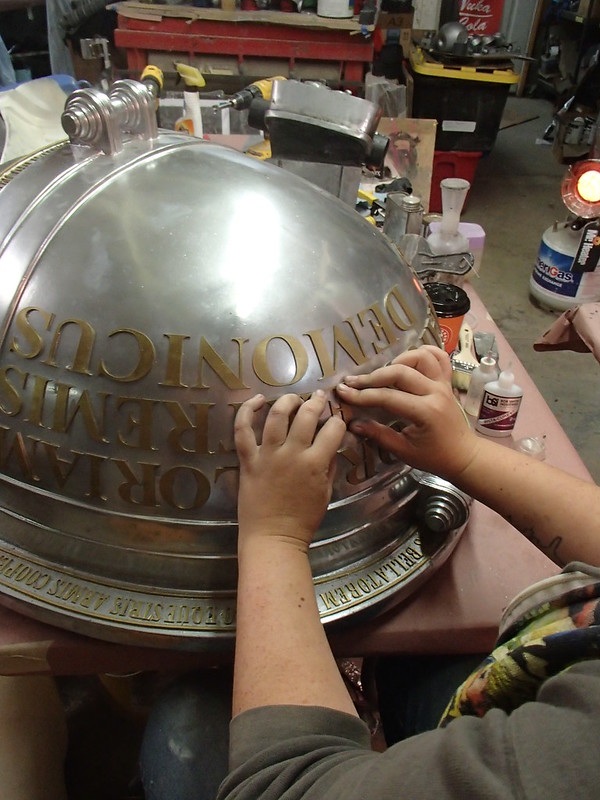
The real nightmare though, was the lettering. You may remember that I had a huge pile of laser-cut styrene letters that I'd painted gold. Now it was time to start gluing them in place. The first step was to arrange them in their assigned spaces:


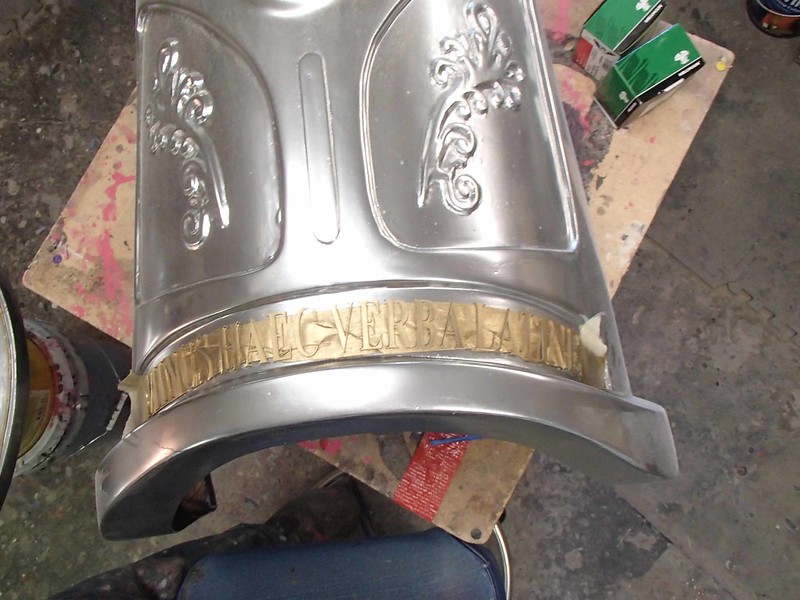
Each row was then covered with painter's tape so the backing could be peeled off:


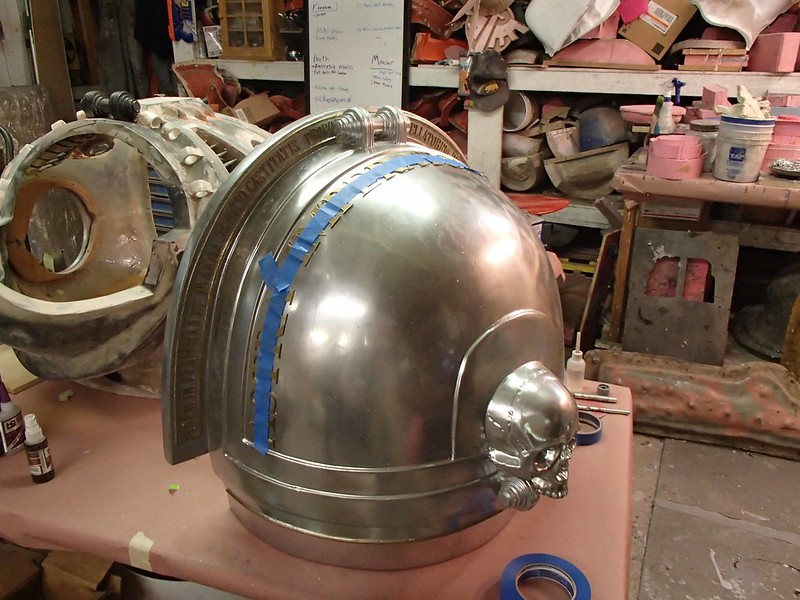
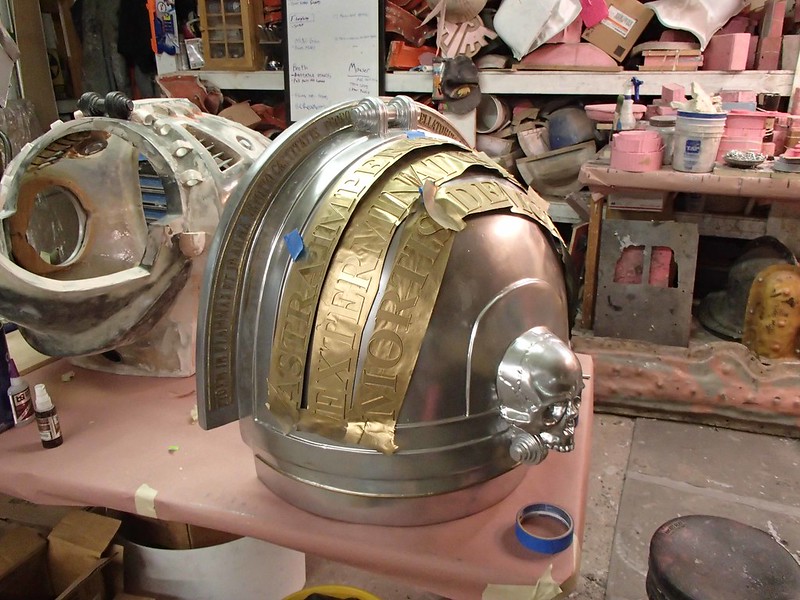
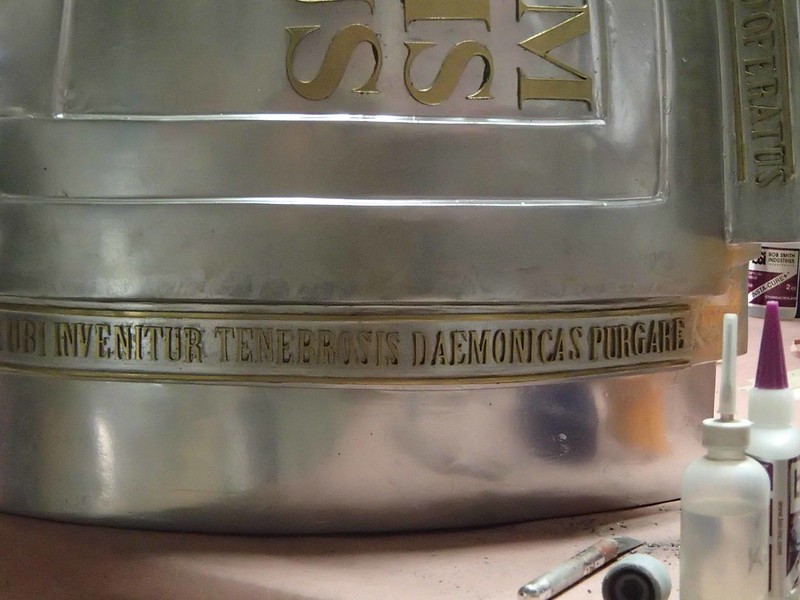
Then, one by one, the outline of each letter was scored into the part below, the paint was scratched off so the glue could adhere directly to the part, the letter was bent slightly by hand to conform to the curve of the part it was glued to, and then, finally, it was glued in place. It was kind of a pain:

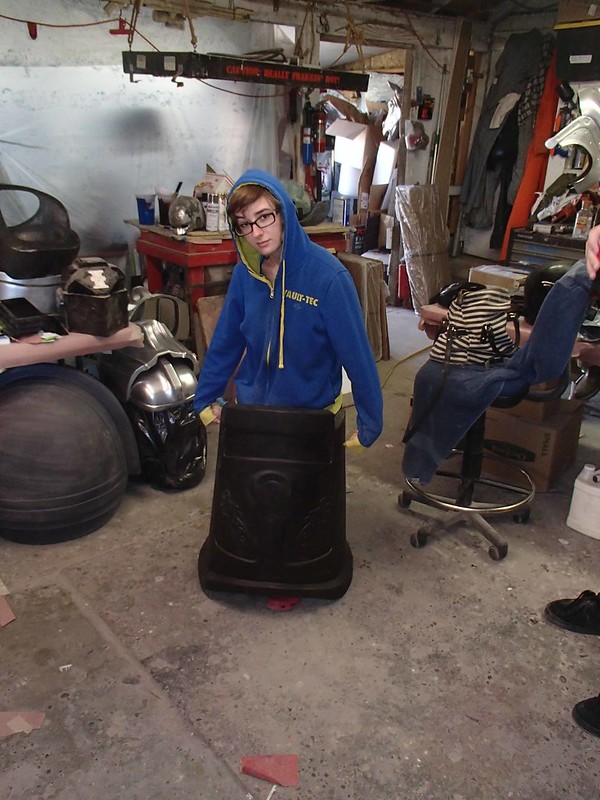
Moop the Spastic Dog Noodle was not impressed.

Not at all:


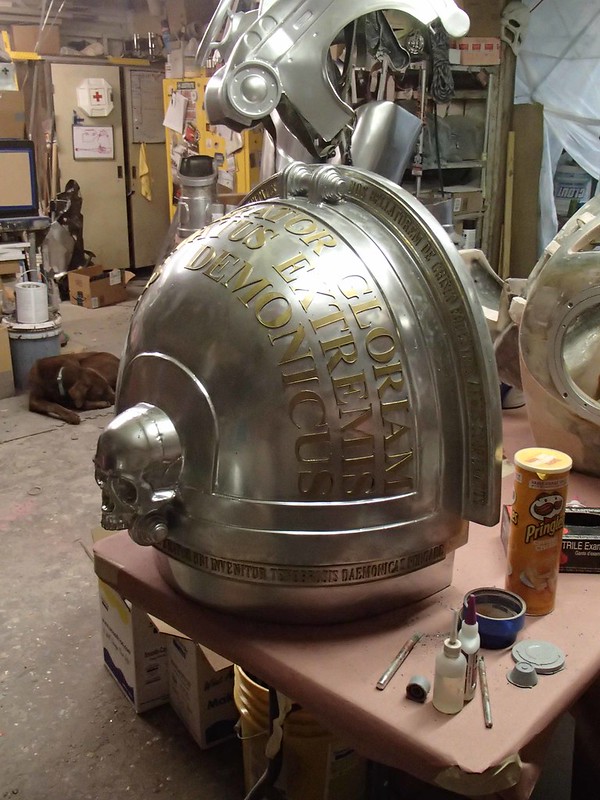
The little letters were truly a pain:


But given that there were three or four of us doing the work, it could've been worse:


It was Sierra who had the dubious honor of installing the very last letter:


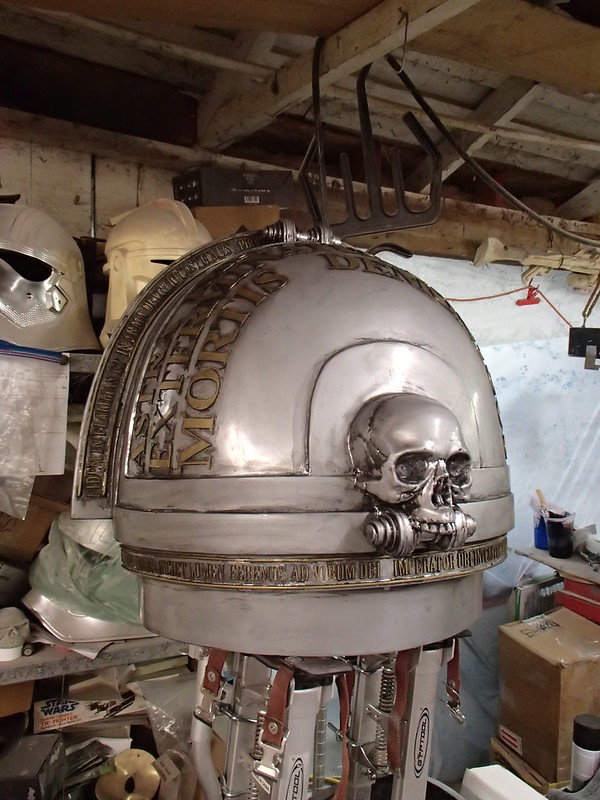
With all of the lettering in place, I could finally get a start on the weathering. For this project, it was just a simple matter of a quick blackwash to bring out the details and dumb down the chrome paint to look more like old, well-polished steel, while tarnishing the gold to an appropriately old look as well:


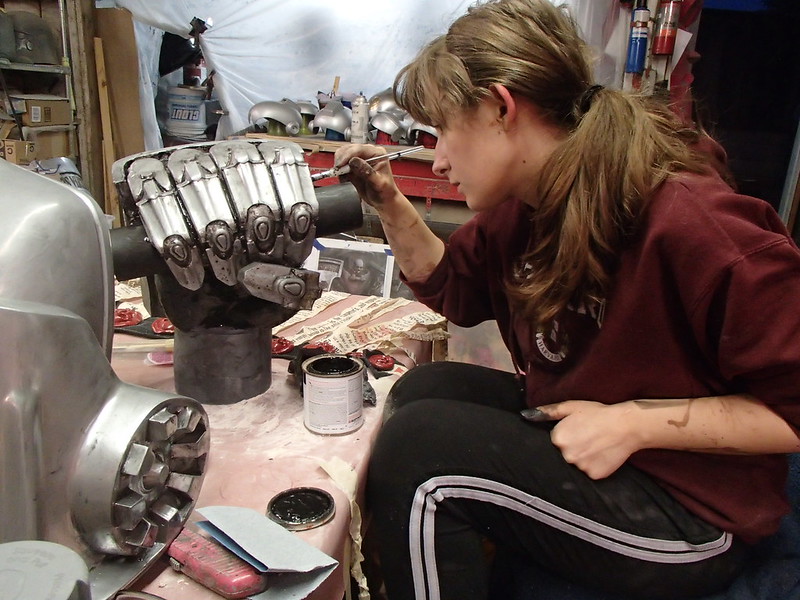
Then Madison picked out a few details on the hands with flat black:


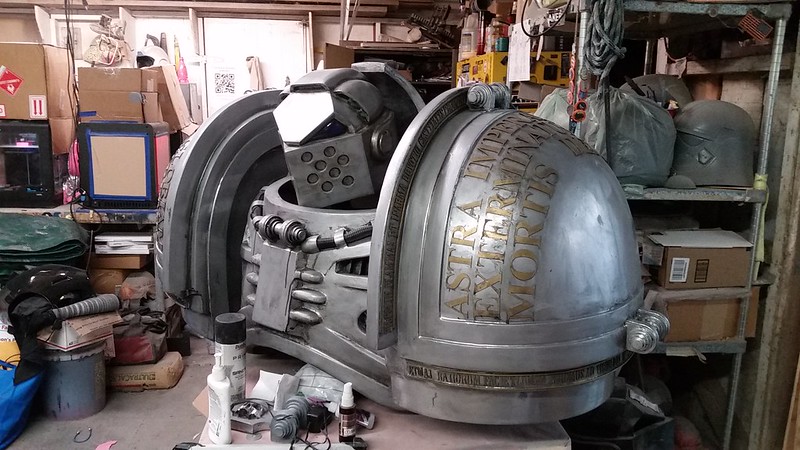
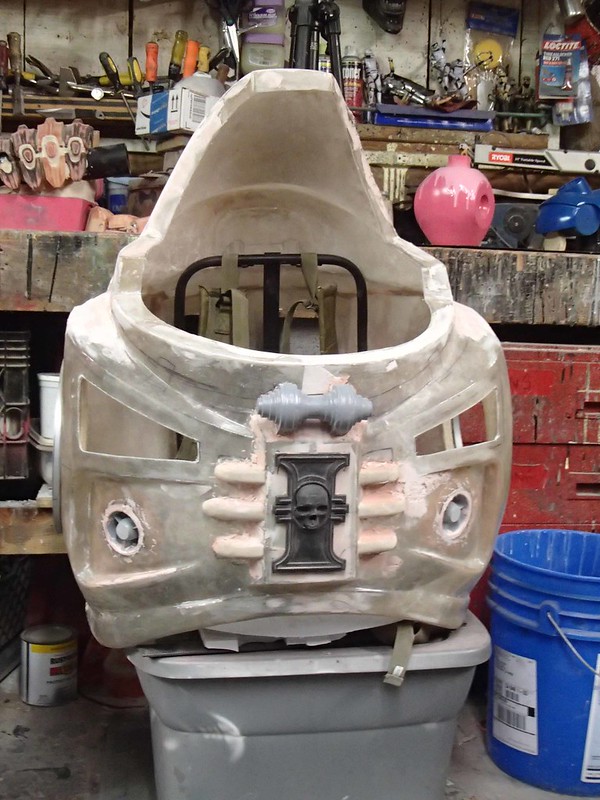
Here's a snapshot of the chest with the shoulders bolted on and the helmet wedged in place:


While I still had a few more pieces to make before doing the final rigging to make it wearable, I did manage to get this guy tied together enough to at least work as a statue for the Bay Area Maker Faire last month. He looked about like so:
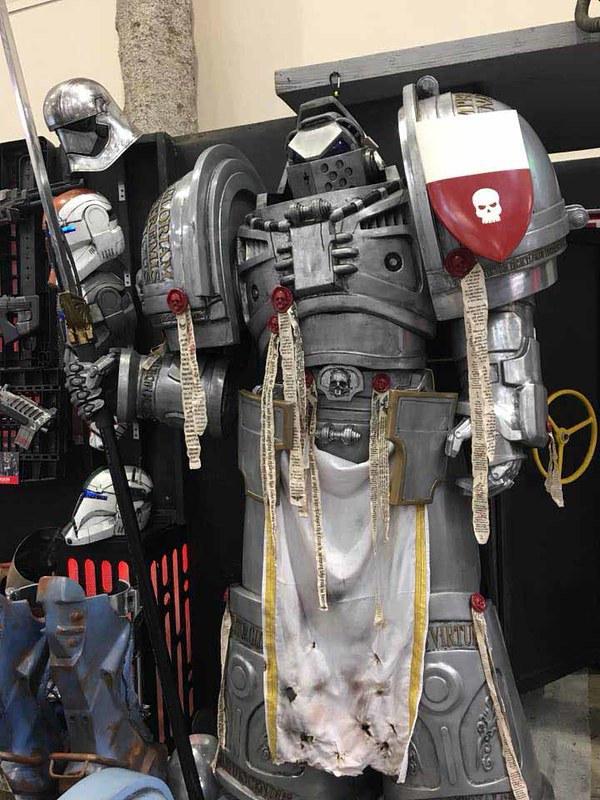
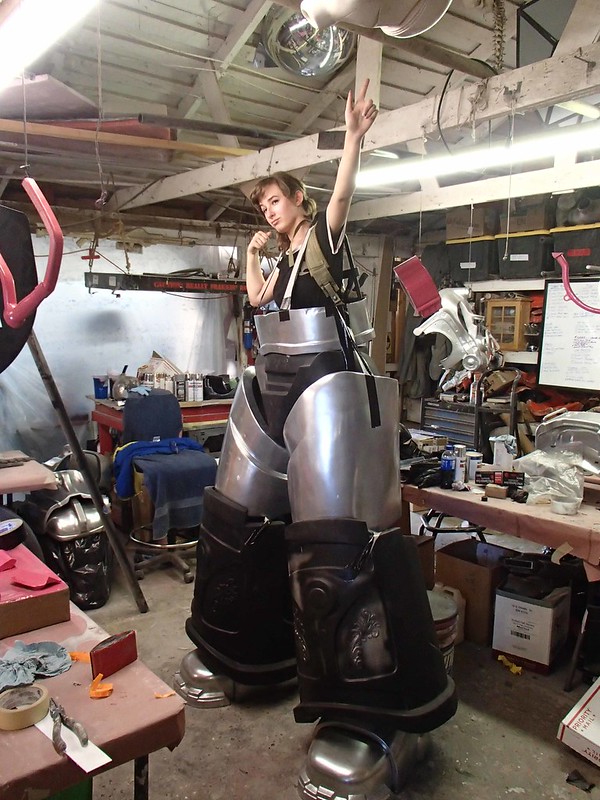

Mortal for scale:


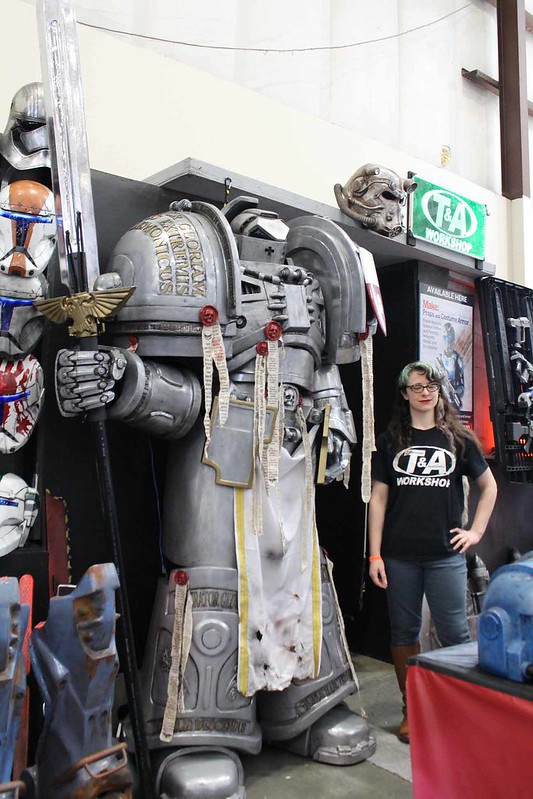
I know the polearm is wrong. Right now I still need to make proper upper arms, the correct force halberd, and the wrist-mounted storm bolter.

That last one I'm almost done with:


Stay tuned...
 
I'll put the lack of noise on vacation;)...As one member has said before: you'll need a bigger shed :D!! And that armor really rocks big time for sure:cool
 
wow, probably one of the most impressive build I have seen here. Phenomenal work. The fact that it will be wearable makes it even more impressive.
 
It’s great to see these things brought to life, you imagine them in the books but you don’t get a sense of awe from 38mm models. Fantastic effort and thanks for sharing your builds with us to follow along with. It’s the closest I’ll ever get to one.
 
Alright, so it's been too long again since I've posted an update.

For starters, I decided it was time to make the final version of the force halberd. I started by making some vacforming bucks out of MDF:
42725479412_93acb65825_c.jpg


28901465098_a3737c8667_c.jpg


The parts were formed in styrene. Then I trimmed out the vent holes and lined them with screen mesh:
43852388481_cc9d5673b8_c.jpg


Somewhere along the way I 3D printed this little widget:
41441298980_1a9d94347f_c.jpg


So here's the hilt section of the halberd all together:

43804283532_a87379c89f_c.jpg


With the handle installed, it was just a bit too big for me to be able to take pics in my shop:
28915893997_65078e7dcf_c.jpg


But that didn't stop me from taking silly pics:
43852388021_b82caba4a6_c.jpg


Eventually I got around to putting a coat of primer on it:
44002078331_6c6e831b74_c.jpg


44002077871_d182751163_c.jpg


But it didn't start to really pop until I began putting on the base colors:
44002077671_6f881a1bfa_c.jpg


44002077261_c443425bfe_c.jpg


30133512408_57d6c33ce8_c.jpg


With the weathering done and the purity seals added, it really looked the part:
43506283214_0a361ddfd9_c.jpg


43506282024_ae62462ce2_c.jpg


I also finally got around to priming and painting the storm bolter parts:
29287946907_0f20d2f96d_c.jpg


Here it is mounted to the left forearm:
43318199575_dc6cd21efd_c.jpg


Which prompted a bit more silliness:
43318198805_fb86c29390_c.jpg


Then it was time to re-rig the thighs to the pelvis:
43318192545_24177e01f1_c.jpg


And set them back on the lower legs:
30356164038_1247cdbb96_c.jpg


This beast is still not small. Even with the legs all scrunched up:
43506271984_e4004eaf9f_c.jpg


Somewhere along the way I also added this little book detail to the left shoulder:
43506281354_527e33c1d7_c.jpg


A few days later I was visiting a friend's shop with a truckload of goodies and decided to try this guy on:
43270412265_351a0d2b4a_c.jpg


There was a bit of silliness:
44128220442_af4d18dce6_c.jpg


43270415395_64a09a4136_c.jpg


Sadly, I didn't get any pics of me wearing the whole thing. This is as close as we got:
30309315788_bde47bf58e_c.jpg


I did get a few good pics of him in statue mode though:
44176192321_97fbbf6ced_c.jpg


30309297658_3d027103be_c.jpg


43270394065_ee4026781c_c.jpg


30309309288_32c734b9e8_c.jpg


Then I decided to park him at a friend's house where he'll be displayed for the foreseeable future. I had to shorten the halberd though, since the ceiling wasn't high enough:
43318371425_48903ed864_c.jpg


42416057470_354f1dfc16_c.jpg


So that's basically a done thing.
 
Thanks for all the progress! This is my favorite suit yet!

However... this guy seems kind of small. Have you considered a Terminator? [emoji23]
 
This thread is more than 5 years old.

Your message may be considered spam for the following reasons:

  1. This thread hasn't been active in some time. A new post in this thread might not contribute constructively to this discussion after so long.
If you wish to reply despite these issues, check the box below before replying.
Be aware that malicious compliance may result in more severe penalties.
Back
Top