The Ultimate X-Wing Pilot Thread

Just to clarify my point. He is wearing it in a different direction.

Ya that was costume issue, its in sideways LOL I just found these pics too, seems to be from the Holiday Special as MJF pointed out! He is even missing his ejection harness and his belt is on wrong... :facepalm
luke_r2.jpg


I like the blue, but I am all about details and if we can get one that is closer to what it should be I am all for it!
 
Last edited:
...Check out how they attached the hose to the coverall...

Speaking of the hose. It would seem that the black elbow tube was removed for ESB so the pilots could wear the coats. The hose was stuck into the suit's pocket.

But what happened in ROTJ? I have been checking images to see if I can tell what connections are used. It does not appear the elbow was reattached. When I look at this pict of Wedge, it looks like the suit has a slit and the tub was inserted:

http://images3.wikia.nocookie.net/_...s-ROTJHD.jpg/250px-WedgeHelmetless-ROTJHD.jpg

But here, the hose goes to the other side and seems to just get tucked away.

http://4.bp.blogspot.com/-OmHNV3pdy...28/s400/Jedi+Card+06+Congratulating+Wedge.jpg

Anyone got better picts of the attachment for ROTJ?
 
My intention as usual is to share the model to 3D print. Have to do some of them for my local base future squadron. We are around 4 right now. Will do at least 10 to keep 2 for me. Have to decide about the final material. Colors will like the ones I already presented below.

- - - Updated - - -

From SW Identities Canada:

IMG_0917.jpg


Crystal Clear
 
Okay, that's what I thought. The suit on display at MoM had the whole stitched up. I assumed they stitched it up after they removed the elbow connector for ESB. Maybe they did, maybe they didn't. I'd hazard to guess for the most part, they simply left the hole in most the suits and then for ROTJ, just shoved it inside (maybe some simple pinning method as well).
 
Found out these 2 screen caps:

20130621_221234.jpg

20130621_234559.jpg


Will have the prototype painted on Sunday. Found a spray paint that looks like plastic or acrylic when dried. Will do the trick. Keep you posted guys.
 
Rainy weekend in Buenos Aires. So, I did paint the first prototype using Humbrol enamel paint. Here is what came out:
Note: They were hand painted, so some bobbles did appear at the surface. Have to practice more with that technique.

20130908_130335.jpg

20130908_130505.jpg

20130908_130915.jpg


So, basically I realized that square boxes were 1mm or so smaller. Did some mods and tweaks here and there and came out version 3.0:

30.jpg

31.jpg

32.jpg


This is so far my last model and probably will send it to print in a high quality 3D printer for molding. Humbrol colours are spot on, won't change a bit about that. Will do a flat rtv mold with the option to bending it meanwhile the resin cures. Will try both ways, but I do believe flat will be better. As usual will make this model available online at Shapeways. Will keep you posted guys.
 
This is were you can get into the argument of how was it intended to look and how did it really look in person. The camera hides a lot more flaws then did back then. Now day the props are made of better quality materials. If you wanting to have the raw mistakes made by the original props or how did Lucas invasion them to look?
 
I want it idealized, so how was intended to look having screen measurements and shape. Meanwhile I wait to this to be printed, I present you my next part on this project: Created a 3D model part based on the rocker switches measured from DV chest box and came out with this:

10.jpg


12.jpg


13.jpg


Final model will be a mix of MDF and 3D printed parts:

20130909_224201.jpg


20130910_101403.jpg


20130910_133353.jpg


Have to buy some router accessory for my Dremel rotary tool to create those slots and insert the 3D printed parts. Keep you posted guys.

PS:If you are wondering about the inner shape of the slot, here you have a screen cap:

20130621_183419.jpg


Pretty sure from other photos taken at some exhibits that both of them are the same way.

- - - Updated - - -

Got some 3D parts. Those will make y job easier

20130912_095910.jpg


20130912_095953.jpg
 
A member from Rebel Legion forum noticed that I misunderstood a button shape. Long story short story, I modified my model and I am offering this:

This kit will include both buttons. They will be easily located and glued into the base. You will have to add a flexible base WTB, otherwise will do the model even expensive to 3D print.

40.jpg


https://www.shapeways.com/model/1312861/x-wing-pilot-comm-pad-or-wrist-panel.html?li=aeTabs

Screen Accurate version: with the weak vacuum formed button:
42.jpg


Idealized version: as intended to be.
41.jpg


You decide which one to assemble. I always do my best and I really appreciate your feedback.
 
It seems that nobody care about screen accuracy these days.
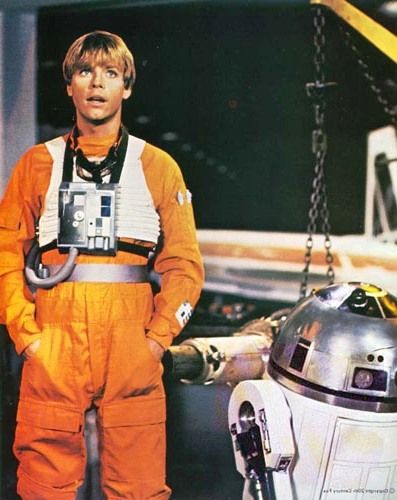
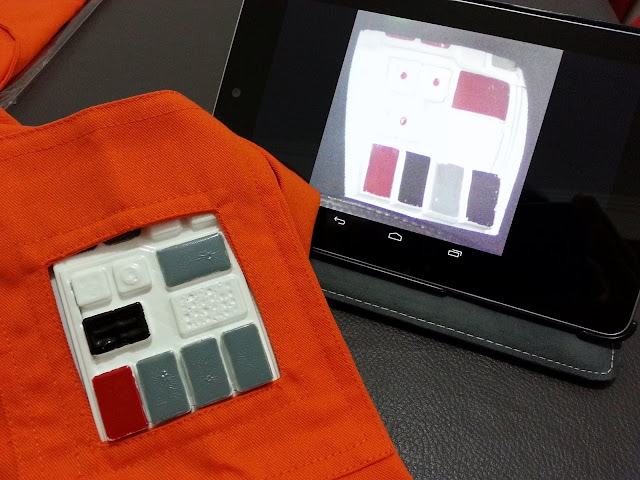
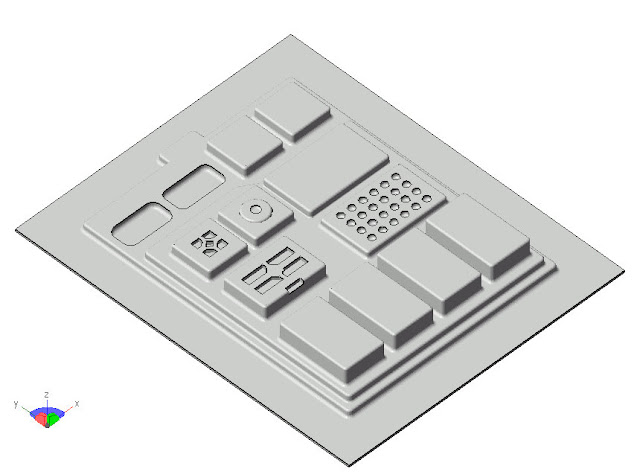
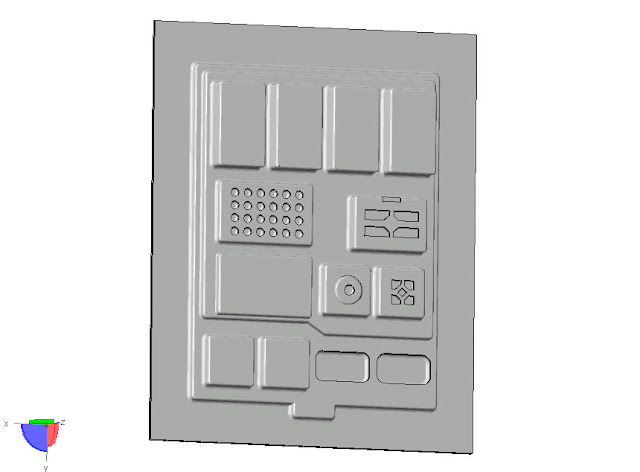
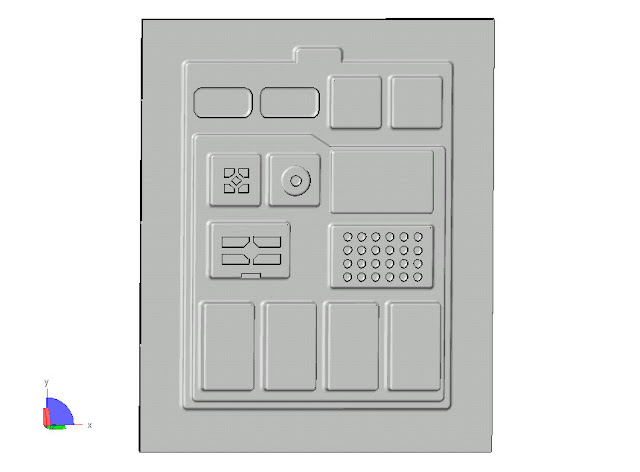
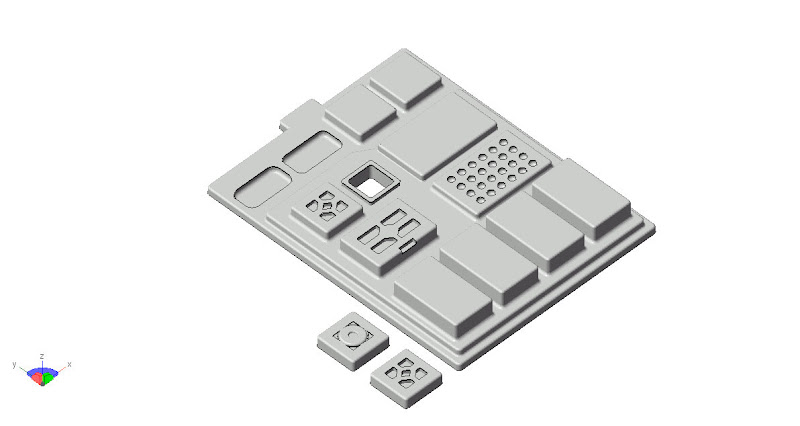
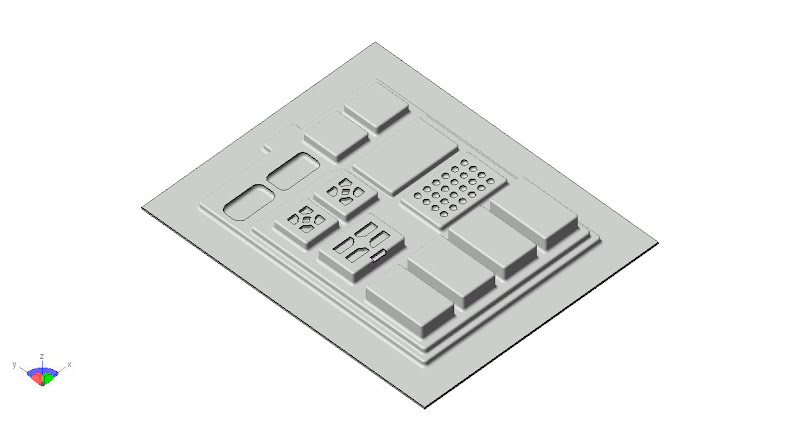
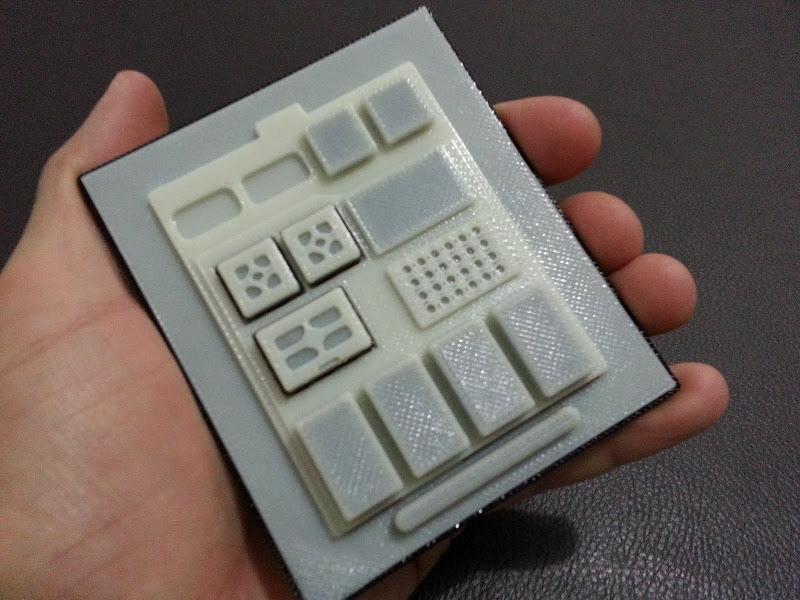
This is a comm pad that I cast in resin from my mould. I had sculpt it to be as accurate as possible to the original vacuuformed comm pads, complete with warts and all. There are three holes below the two buttons at the top. The sides of some of the buttons are deliberately wonky, trying to replicate the angles on the real props. I have also drilled the holes in the speaker grille at different depths to match pictures of the real props.
I made the first master in 2007/2008 for trooping, but have modified it a bit since then. I have sold a few a few years ago, otherwise I make them only at cost for people in my RL base and 501st garrison. The problems are first that I don't have that much space and second that prices are higher in Sweden, so I won't get them sold easily when there are people overseas making them for less. Also, not everyone cares about screen accuracy - they want idealized props.


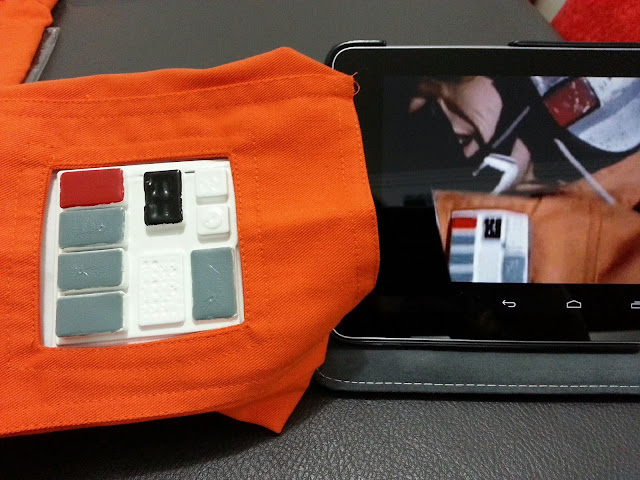
However, only a year or two ago, I came across this picture of a picture (...) of a guy building Dengar armour, which shows there being yet another detail below the four buttons on the bottom.


I have added that to onto my latest casts as a piece of styrene. (BTW. the TIE comm pad's paint job was not approved by my 501st GML)


I think that it would be cool if someone would cast comm pads in some flexible material. I find it a bit weird that Clonetrooper costumes have comm pads that are supposed to be rigid in the movies replicated in flexible urethane foam rubber but X-wing and TIE fighter pilot costumes don't. :p
Some clone costume parts are cast in urethane rubber with white or grey pigment.
 
Last edited:
I think you are absolutely right about this. I have this photo: Was not sure about the raised bar, I thought It was a shadow or a light trick

Commpad.5.jpg


Now, I found this one:
24929209.jpg


Will do the mod to my model. Thank you very much for chime in. Wondering where else they put this comm pad. I rally appreciate your help, you are the ones that really care about screen accurate props these days.
 
In the light of new evidence, I updated the model.

Idealized version:
50.jpg


Screen accurate like:
51.jpg


Will be updating the model at Shapeways too. What do you think?
 

Your message may be considered spam for the following reasons:

If you wish to reply despite these issues, check the box below before replying.
Be aware that malicious compliance may result in more severe penalties.
Back
Top