trekriffic
Sr Member
Update...
I've spent the past few days working on the upper bridge dome, the shuttle bay, and the shuttle itself.
For the bridge dome I wanted to add some interest to the underside.
I figure no one ever saw the actual ceiling of the bridge so I was free to add whatever I wanted.
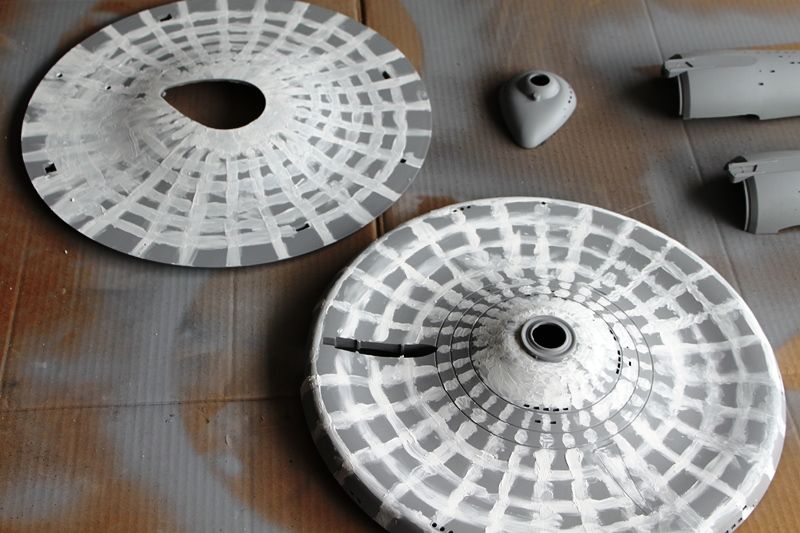
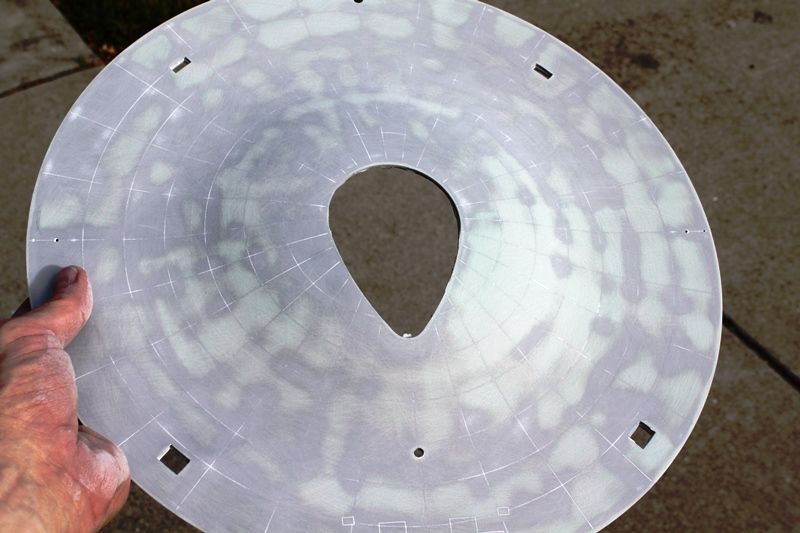
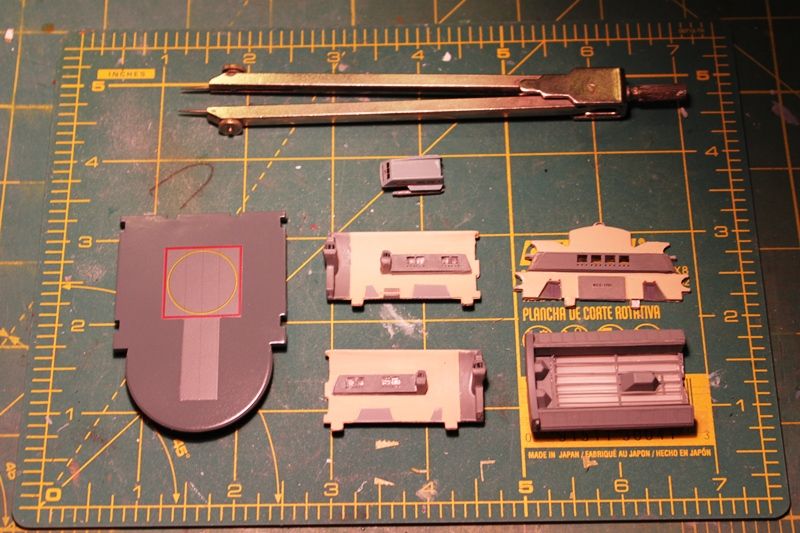
For starters I drew a geometric design on some scrap sheet styrene.
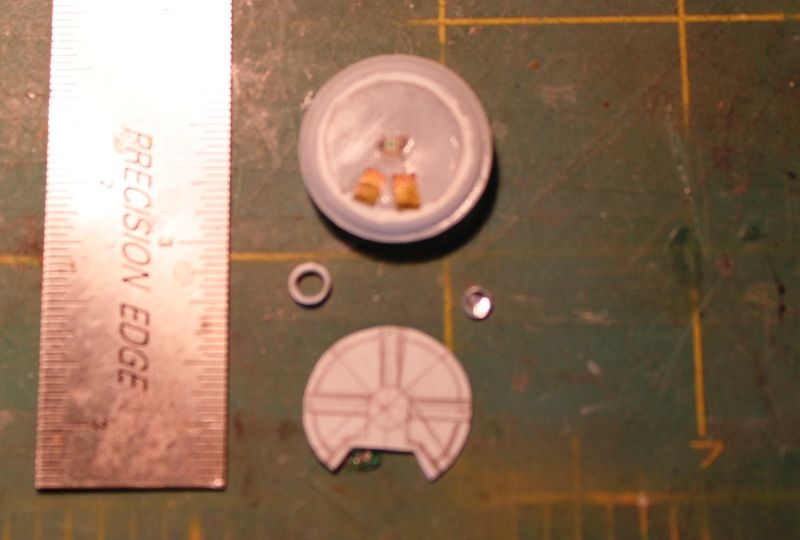
I also cut a hollow disc from Evergreen tubing to go in the center.
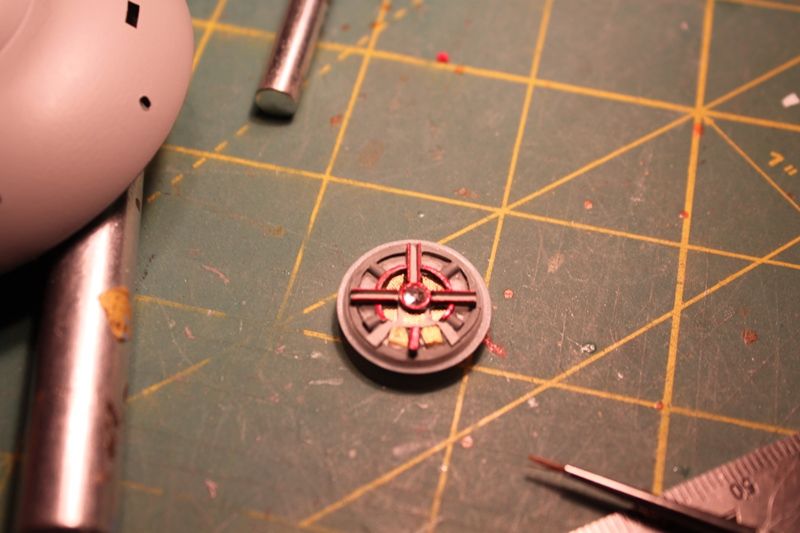
A rhinestone fit inside the disc very nicely:
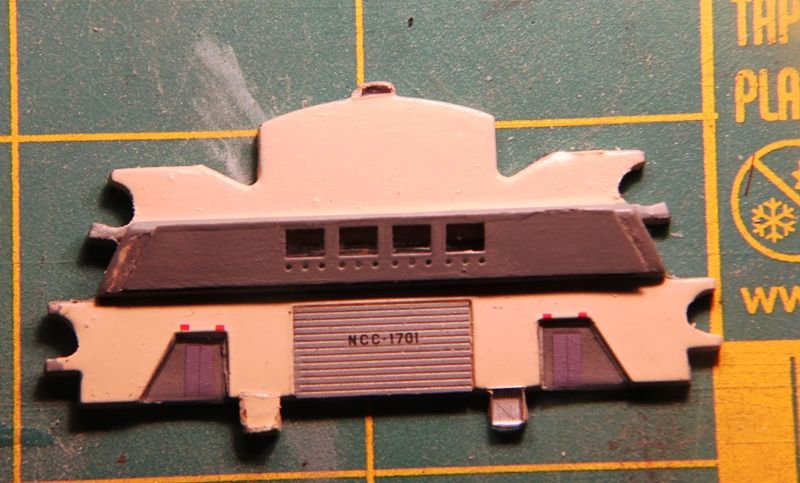
I also found some decals in my stash that looked like gold screening which I cut out and applied to the front of the housings around the "A" deck contacts. I know they liked the look of screens on the original series so it fit into my sense of the design ethos back then:
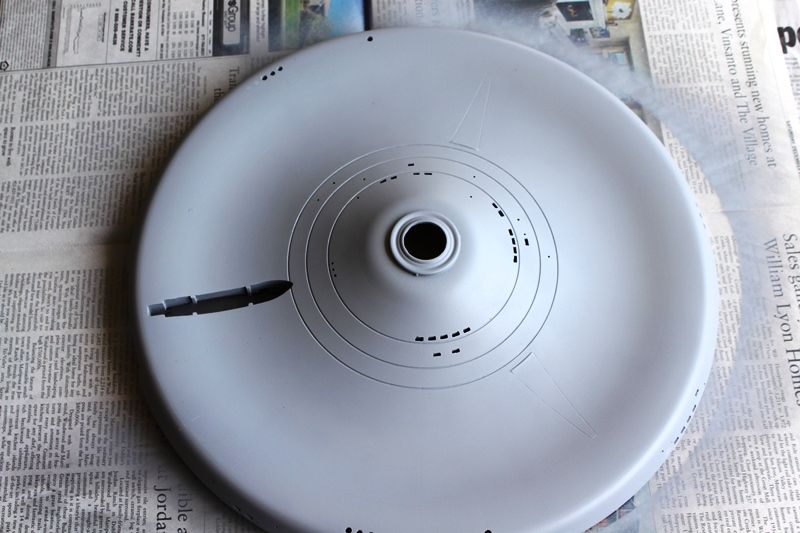
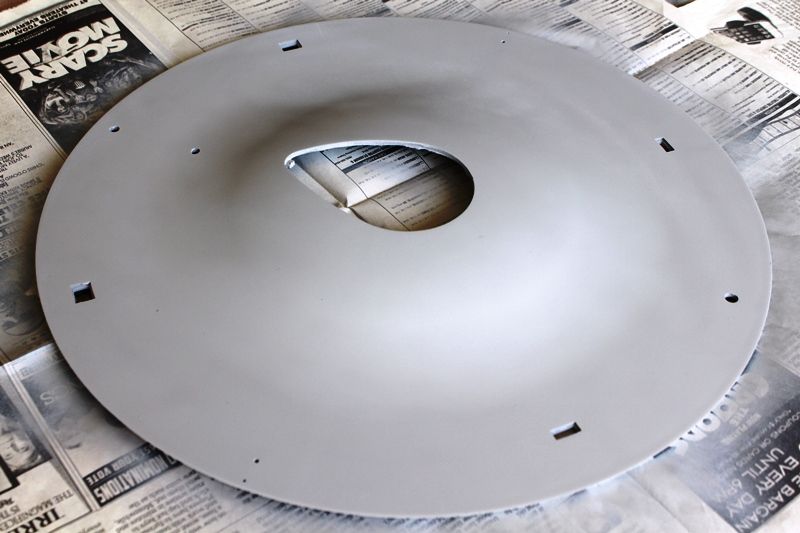
The finished underside of the bridge dome. I went with a grey and red color scheme to match the look of the bridge below.
I also used the gold screen decals in the center pie sections:
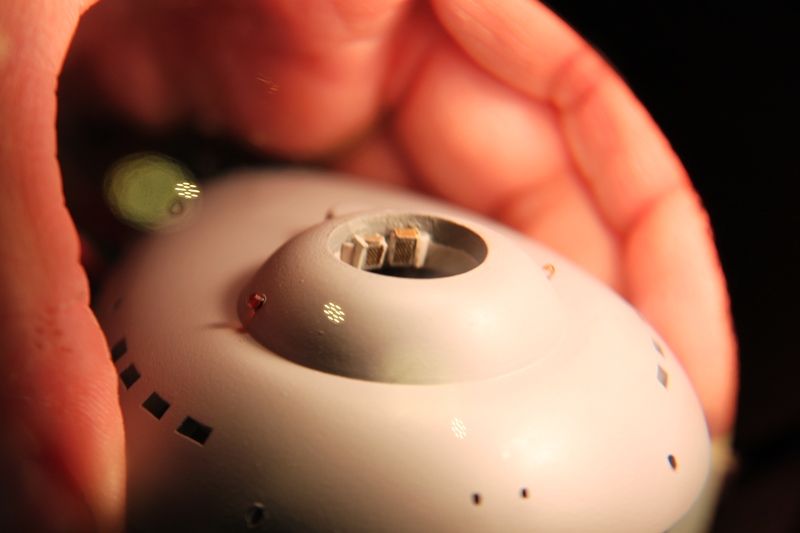
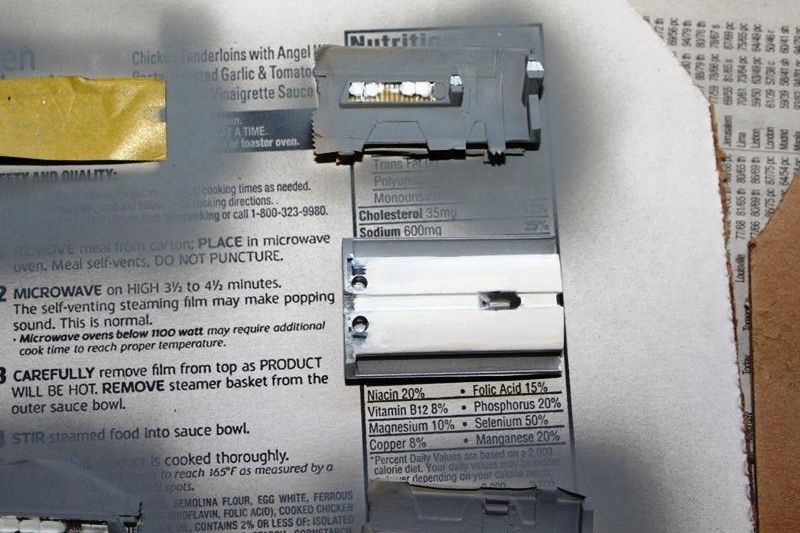
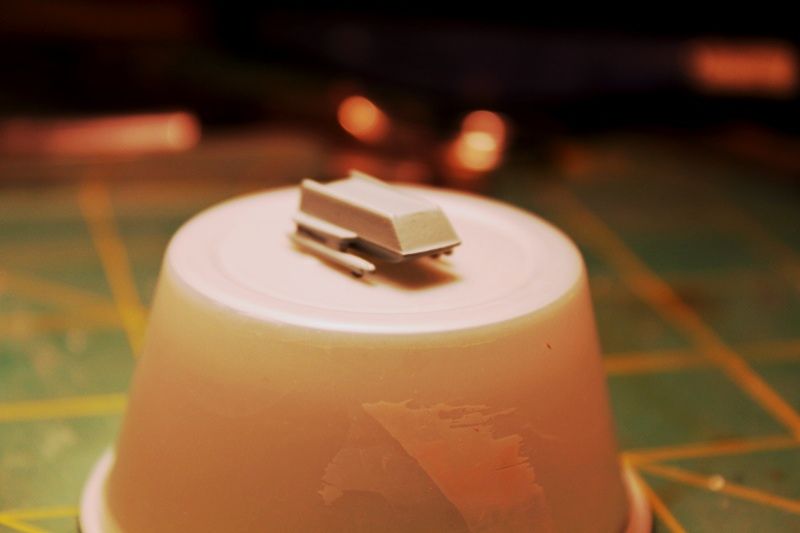
I had two rectangular rare earth magnets that looked like they might fit inside the shuttle cavity:
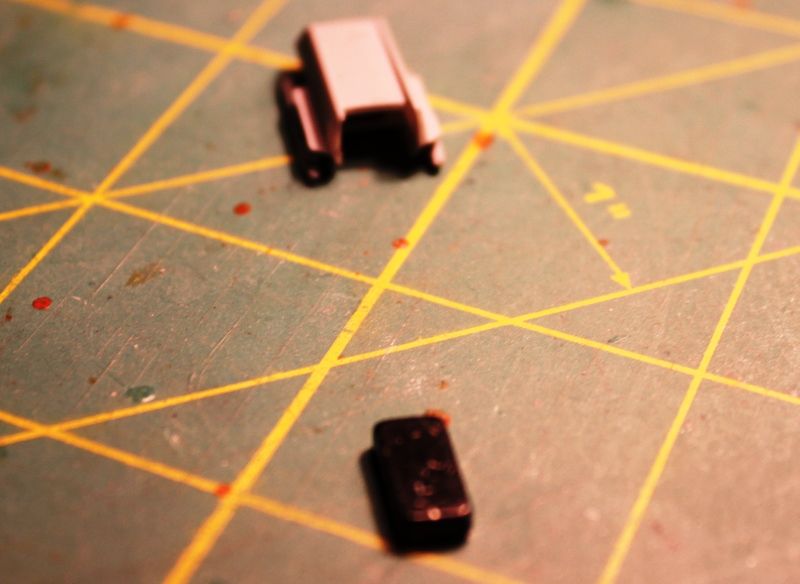
Sure enough, they were a perfect fit:
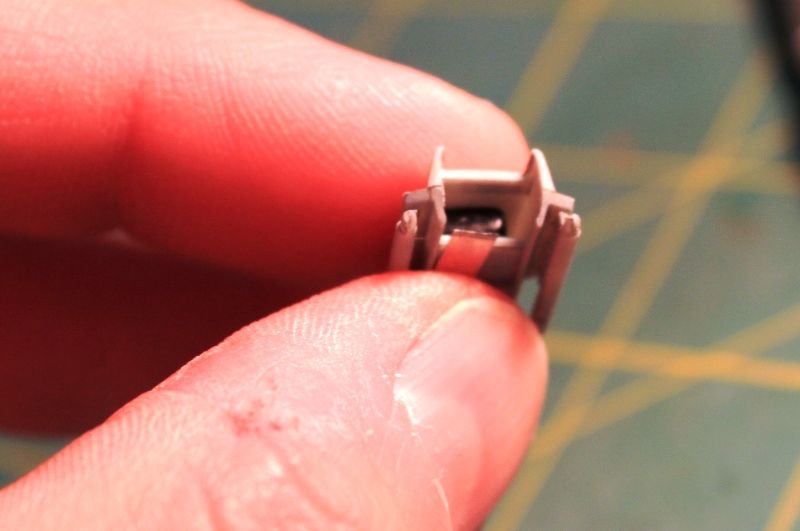
I glued the second magnet to the underside of the shuttle bay floor using Devcon 5-Minute Epoxy:
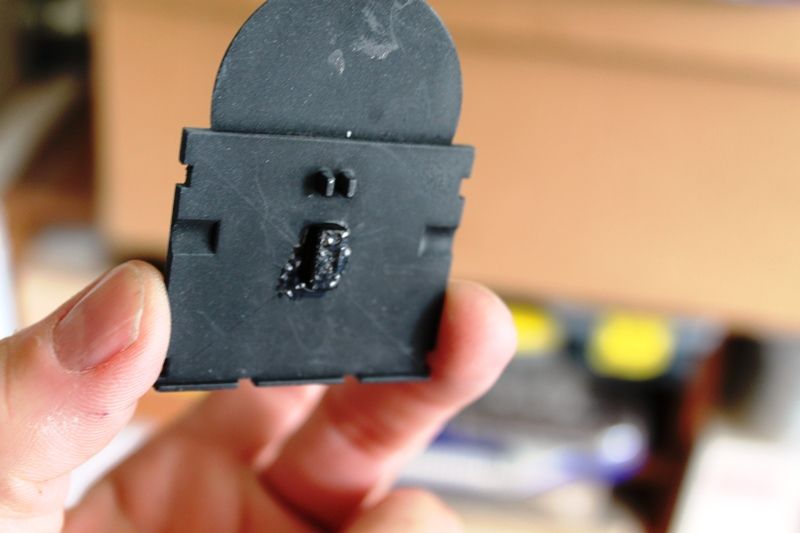
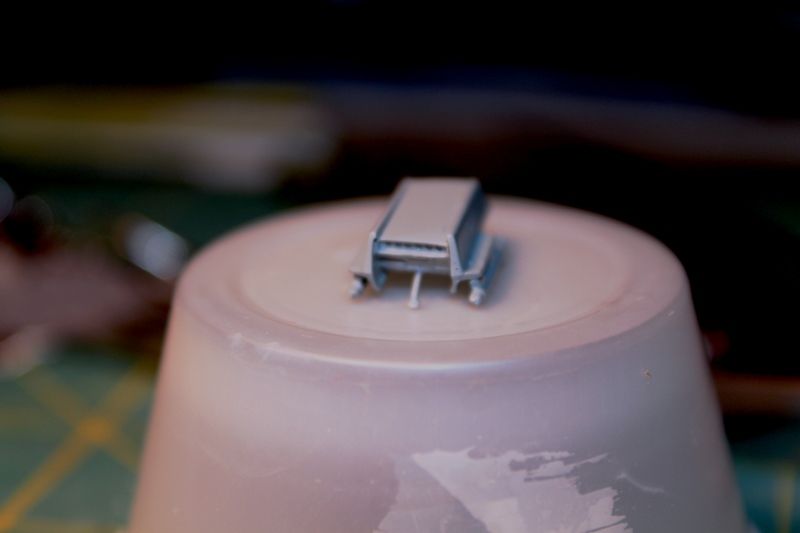
I noticed there were no landing pads on the shuttle so I cut the heads off some small pins and glued them into holes drilled into the front underside of the nacelles:
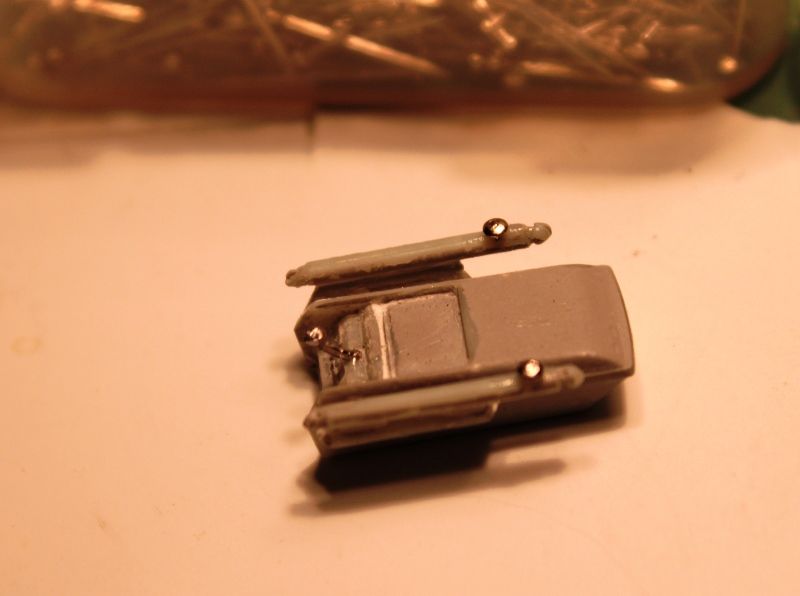
For the rear landing strut I bent a pin near the head and cemented it into a hole drilled into the stern undercut:
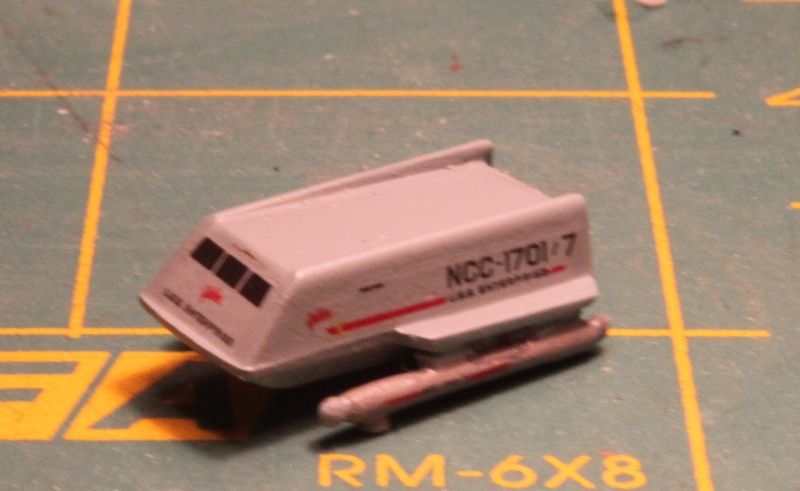
The shuttle in profile. It has just the right degree of tilt now I think.
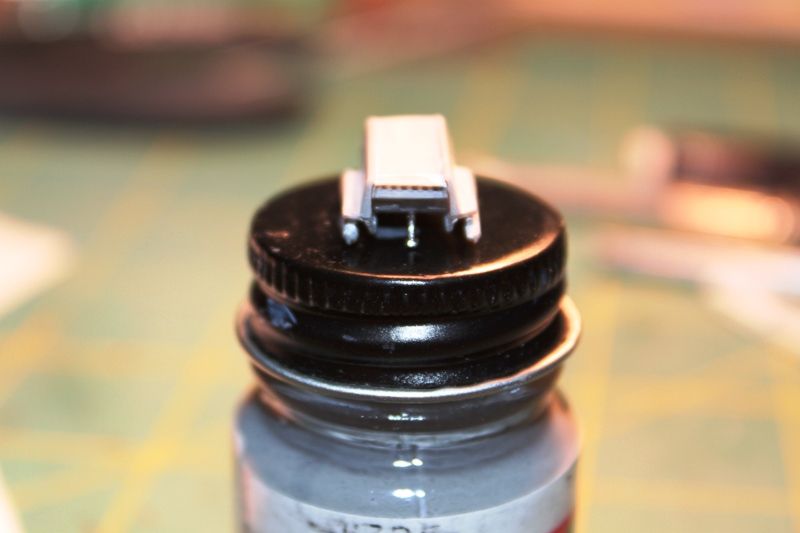
The magnet inside really grabbed the cap on this bottle of paint... or needle files... or pins... or tweezers... or any ferrous metallic surface:

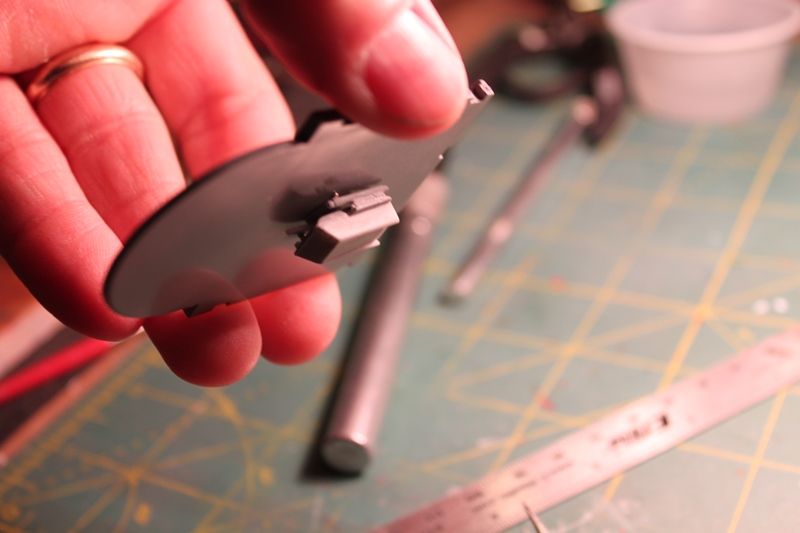
As you can see here, the shuttle can be placed on the floor of the bay and held upside down without fear of falling due to the attraction between the magnet inside it and it's mate under the shuttle bay floor:
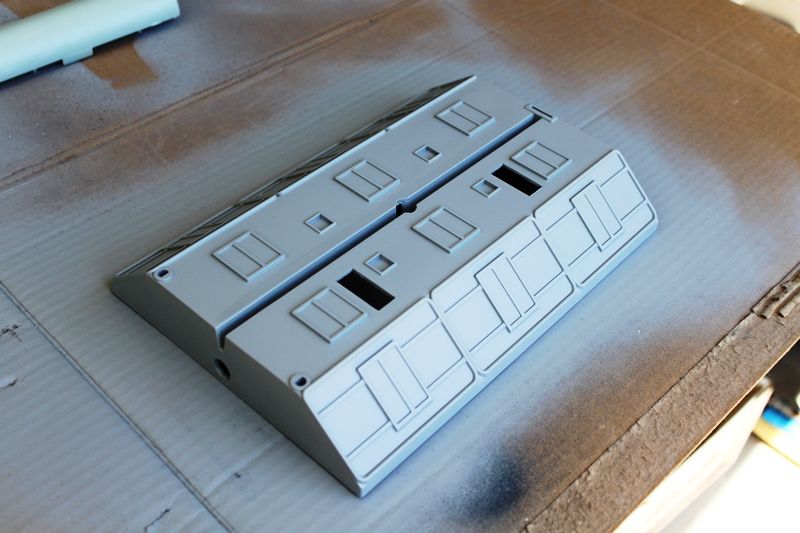
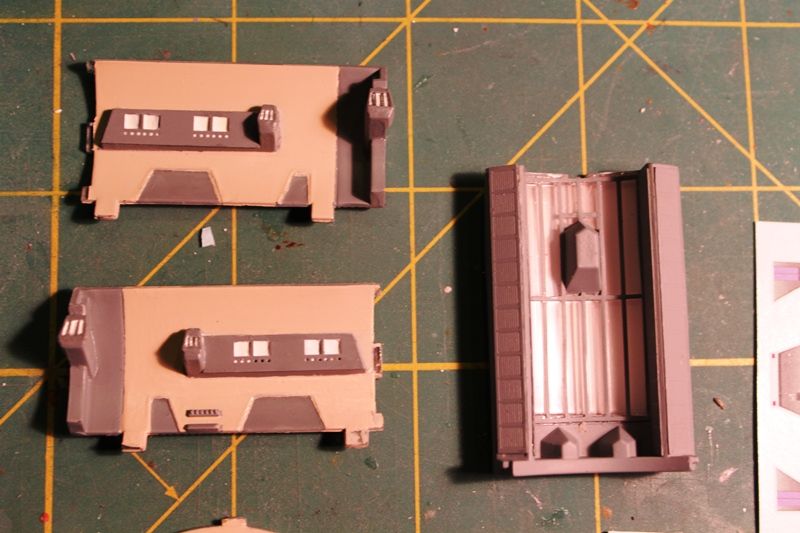
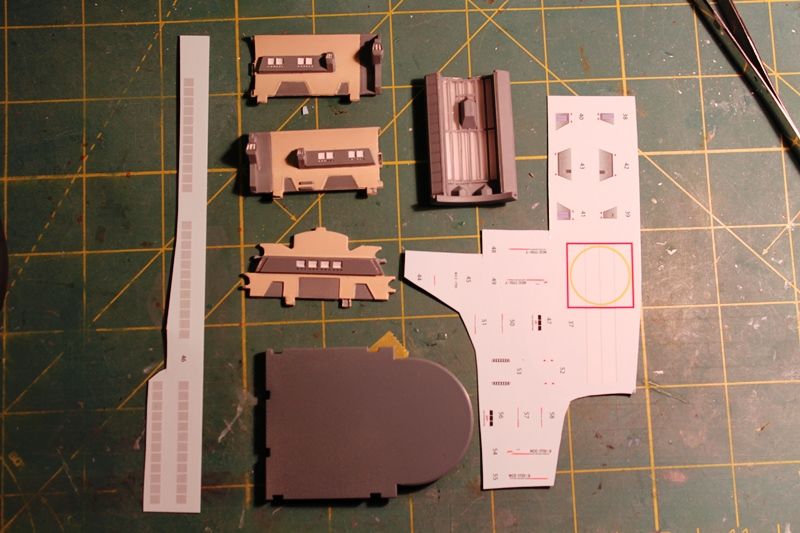
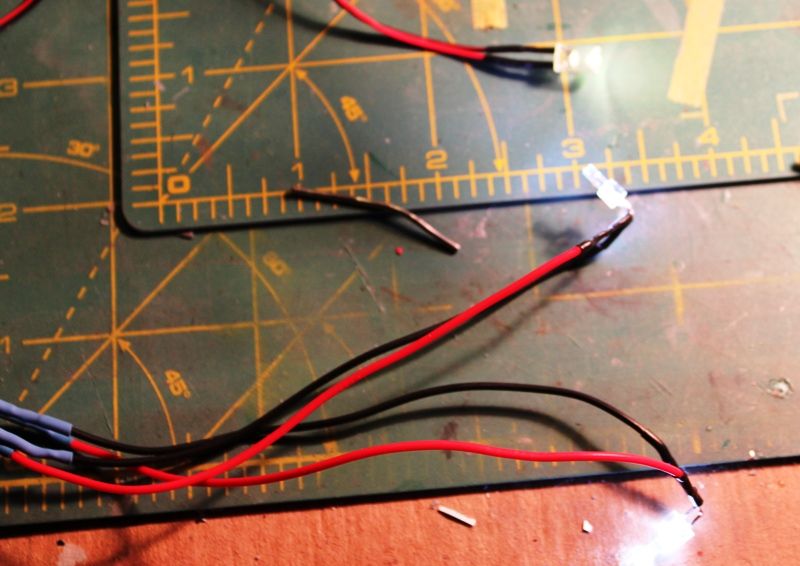
Moving on, for the shuttle bay parts, I masked off the sand colored areas on the walls and airbrushed them with a 50/50 mix of Dark Ghost Grey and Neutral Grey. Then I removed the tape on the windows and brushed them with fluorescent white acrylic paint. This included the ceiling too:
I've already painted the photo etch parts with the 50/50 grey mix and will glue them to the walls and ceiling next.
Thanks for reading!
I've spent the past few days working on the upper bridge dome, the shuttle bay, and the shuttle itself.
For the bridge dome I wanted to add some interest to the underside.
I figure no one ever saw the actual ceiling of the bridge so I was free to add whatever I wanted.
For starters I drew a geometric design on some scrap sheet styrene.
I also cut a hollow disc from Evergreen tubing to go in the center.
A rhinestone fit inside the disc very nicely:
I also found some decals in my stash that looked like gold screening which I cut out and applied to the front of the housings around the "A" deck contacts. I know they liked the look of screens on the original series so it fit into my sense of the design ethos back then:
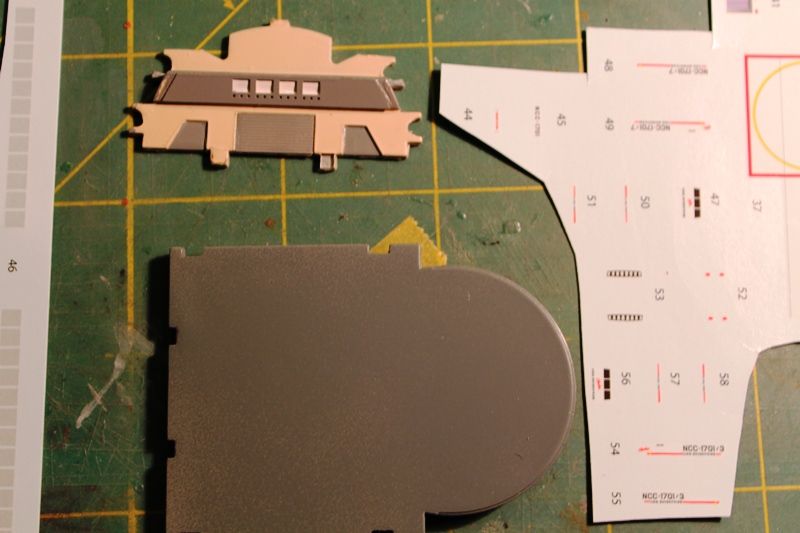
The finished underside of the bridge dome. I went with a grey and red color scheme to match the look of the bridge below.
I also used the gold screen decals in the center pie sections:
I had two rectangular rare earth magnets that looked like they might fit inside the shuttle cavity:
Sure enough, they were a perfect fit:
I glued the second magnet to the underside of the shuttle bay floor using Devcon 5-Minute Epoxy:
I noticed there were no landing pads on the shuttle so I cut the heads off some small pins and glued them into holes drilled into the front underside of the nacelles:
For the rear landing strut I bent a pin near the head and cemented it into a hole drilled into the stern undercut:
The shuttle in profile. It has just the right degree of tilt now I think.
The magnet inside really grabbed the cap on this bottle of paint... or needle files... or pins... or tweezers... or any ferrous metallic surface:
As you can see here, the shuttle can be placed on the floor of the bay and held upside down without fear of falling due to the attraction between the magnet inside it and it's mate under the shuttle bay floor:
Moving on, for the shuttle bay parts, I masked off the sand colored areas on the walls and airbrushed them with a 50/50 mix of Dark Ghost Grey and Neutral Grey. Then I removed the tape on the windows and brushed them with fluorescent white acrylic paint. This included the ceiling too:
I've already painted the photo etch parts with the 50/50 grey mix and will glue them to the walls and ceiling next.
Thanks for reading!
 eek:eek