Helmet Build

Wow, that is gorgeous! Too good to weather! So - how about making another one and weathering it? Come on, you know you want to! :D
 
Thanks for the comments guys,

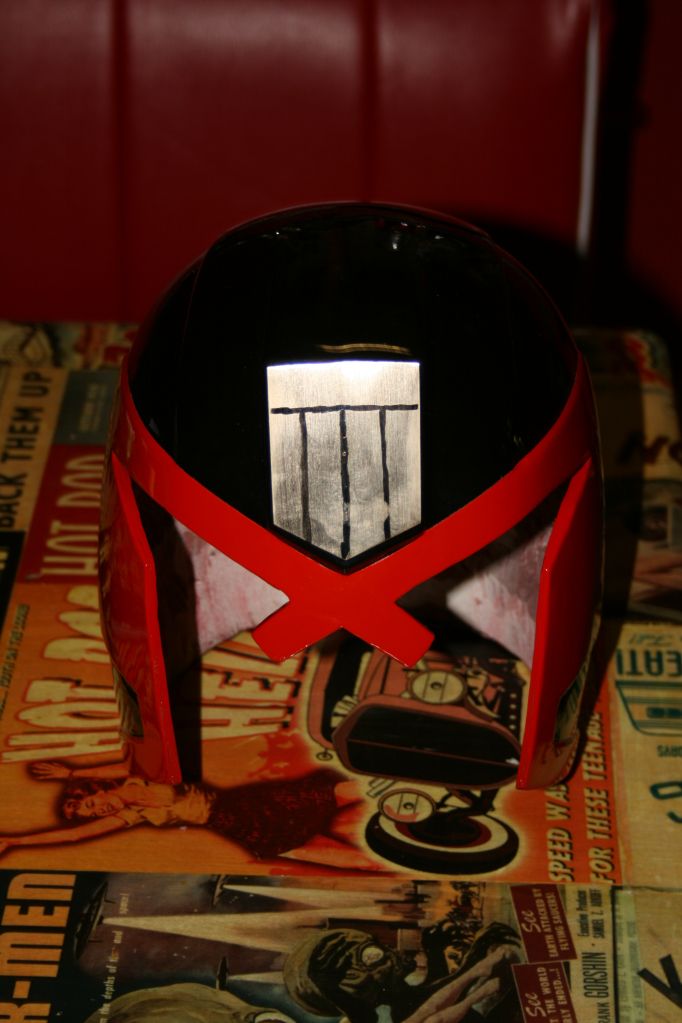
Let me finish this one,the ABC head and the Boba Fett and then well see if I want to build another, there are so many things to make that it will take me a long time to get to redo things

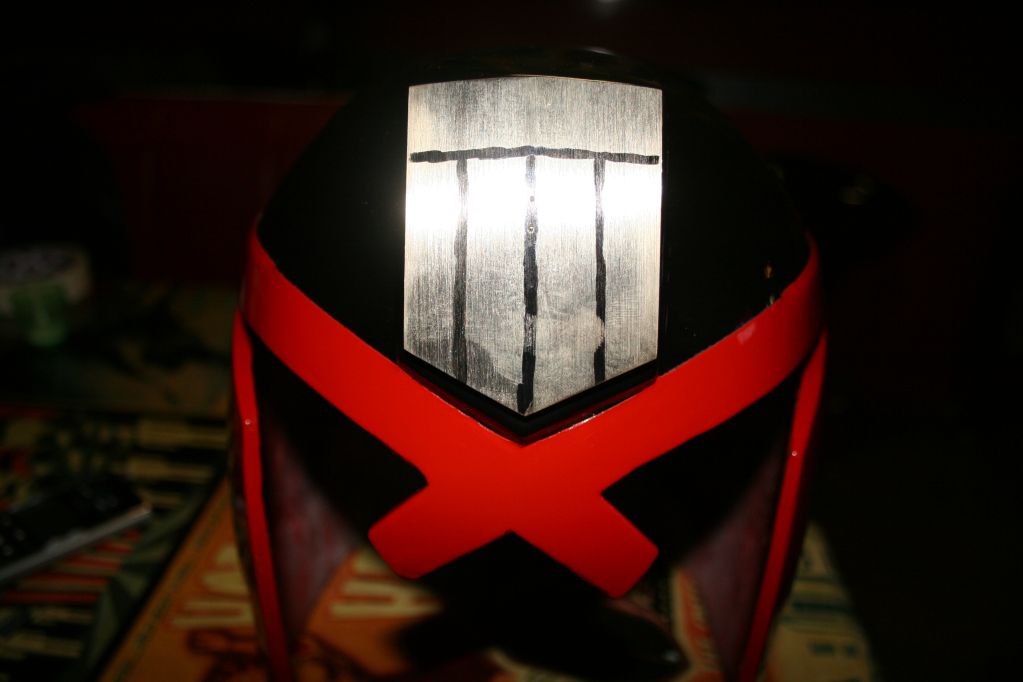
Now the hunt for a visor, will be stopping at my local welding shop later to have a look there
 
Found some old brass my grandfather used to make model trains with, a little narrow so I welded them up, not to shabby after a quick dressing. Now just to figure out a way to cut the slots

B542B99C-BE41-473D-A2E6-D831BDBC57C9-24454-0000052FA9432616.jpg


33D80E1B-753A-4EAF-9E7E-F8F527C9FFC3-24454-0000052FB76D02B1.jpg


E9D38A0F-AEEF-48FD-A596-93C0C4CB7D0E-24454-0000052FD535DA76.jpg


6563809b0bdd4e010a5607f62f38a3d4.jpg


b0738848ee65976df1ca7251a6264133.jpg
 
Etching!

My current brass helmet badge was made in five different pieces, but if I had to do it over again I'd use one solid piece and etch the gaps.
 
I love your painting skills....wow, that is one awesome mirror finish! I could swear I could see my face in it. Regarding the weathering, (just my preference)you may want to consider knocking that beautiful gloss back a bit. I usually start with a semi-gloss paint because it will save a step...that being a light sanding with 400 to 6oo grit sand paper. If you can afford to at least repaint the black part with semi gloss it will save lots of effort. Then you only need to sand the red. Many people actually start with a silver base coat, then the top coats. That way when you get nicks and scratches you will see what looks like metal beneath the paint. That said, you don't need to start over. you can, after the present paint dries, scratch through the surface, into the base material, and , using a fine line brush, apply thinned down silver paint into the scratch and , holding a tissue to catch the overflow, tip the helmet and let it run the length of the scratch. If you used lacquer paint on the helmet, use enamel for the silver scratch paint.You can wipe off any excess with paint thinner without harming the lacquer finish. You can chip paint by gently tapping a nail head against the surface with a mallet. Any oops slips will merely add to the effect. If you have one, a Dremmel style tool will be useful to add deeper gouges, but it isn't critical. Heck, I've heard of people tossing the helmet around in gravel and dirt to weather it. You can buy actual weathering paints from model railroad hobby supply stores. A company called Floquil makes paints with names like "dirt", "mud", "dust" and "rust". There are also powders with similar colors, or you can go to an art supply store and select pastel chalks, rub them over sand paper until they produce powder, then dust them onto the helmet with a dry paint brush. A very light dusting of hair spray (spray can is better than pump) will keep the dust in place so it doesn't rub off. If you are unsure of any of the foregoing techniques, I always paint another item with all the same base material and use that as my playground. Try it first on that and see if you like the results. Weathering is the easiest part since it is hard to do it wrong. If there is a wrong, I'd say it is usually "over doing " it. A little goes a long way. Hope that helps.:)
 
Great work with mirror like finish... but what is the actual helmet color?
Looks like matt black to me.... but the shinny one really looks brand new and fresh... :D
 
This thread is more than 10 years old.

Your message may be considered spam for the following reasons:

  1. This thread hasn't been active in some time. A new post in this thread might not contribute constructively to this discussion after so long.
If you wish to reply despite these issues, check the box below before replying.
Be aware that malicious compliance may result in more severe penalties.
Back
Top