Iron man motorised faceplate electronics tutorial!!!

Well, moving away from bread board.
Working out how to provide power to the various components in the most efficient method. How to hook things up without breadboard. Containing the parts (i assume you can't just put the circuit board straight into the helmet without covering it). As mentioned, I've given a tutorial for the electronics, but moving from here is something that I don't know yet.


well I can try to help.. should we do it in this thread?

The breadboard, in this instance, isnt really doing much..
*holding a switch that will need to be mounted on the prop/suit...not an Arduino/breadboard concern.. (just needs wires run to it)

*holding a resistor..which can either be in-line.. or on the PCB for the eye leds.. (not sure what is the direction you gusy want to take on this..some only use one.. some use many.. some make pcbs for them...etc)

other than that .. is just wires.. that in the end woudl need to be soldered together.

I think there are a few things people need to agree/decide on first.

1.) what & how many leds are you going to be using (per eye)..
------ are these going to each have their own pcb? or you are just going to want to tape/glue them somewhere/somehow?

2.) just so I know what voltage are the servos you have running at? 5v?
------ this will help us decide on the battery pack we need.

3.) where are you mounting this switch to open/close the helmet at? palm? helmet location?


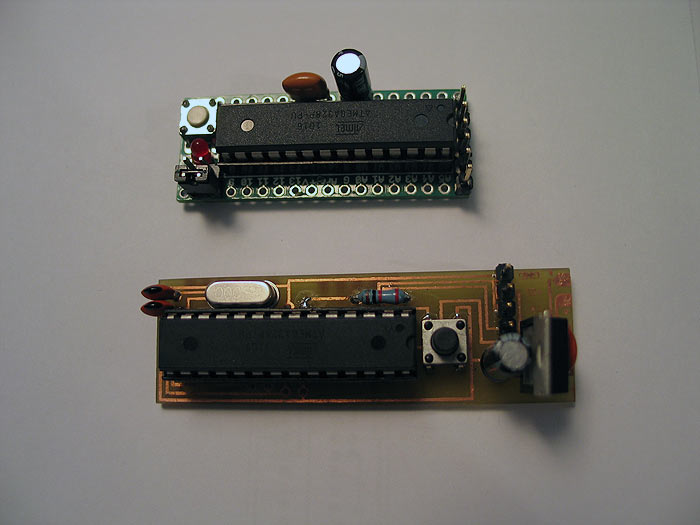
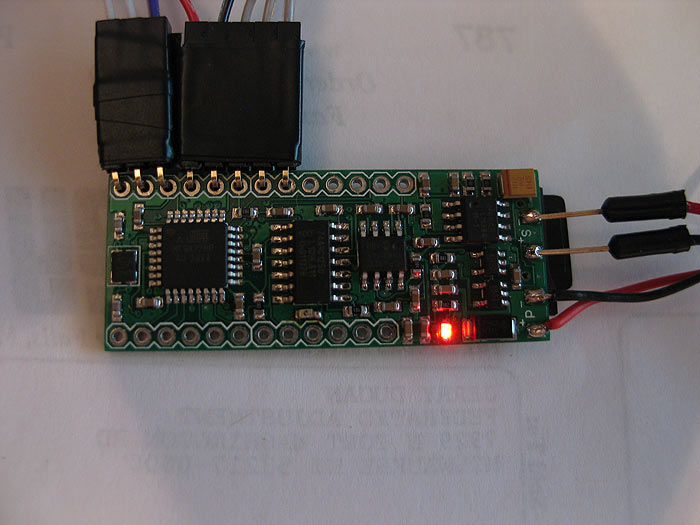
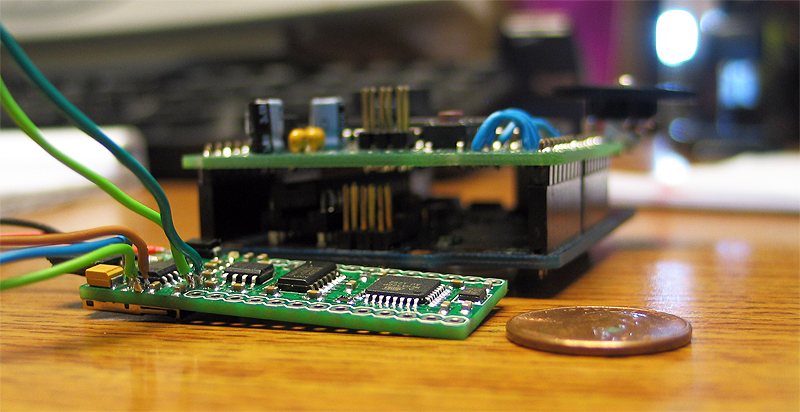
IMHO... I would buy a SIMPLE, small Arduino kit..

like this one (or similar)
compare_1.jpg


if you need smaller you can seek out or design an all SMD version..

it depends on the costs, time and skill you have and want to put in..

once that is determined.. it will help narrow down choices.. and give us a direction. :)

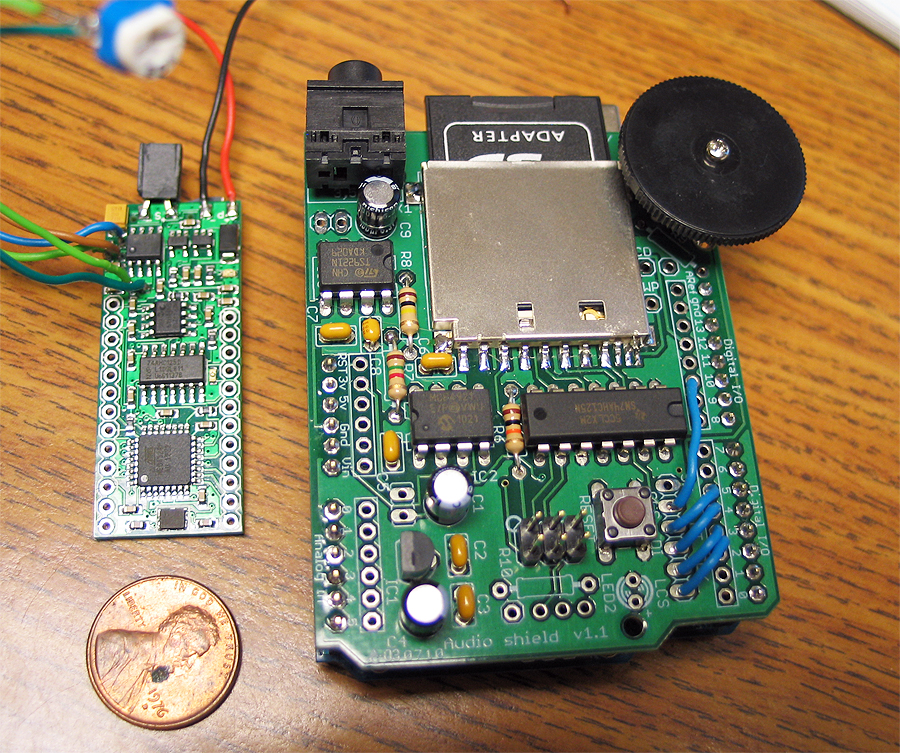
If you decide t go custom route... I would possibly put some thought into 'audio' output then too.. :)

(some jarvis quotes.. gears whirring/playing..etc) :thumbsup


edit:

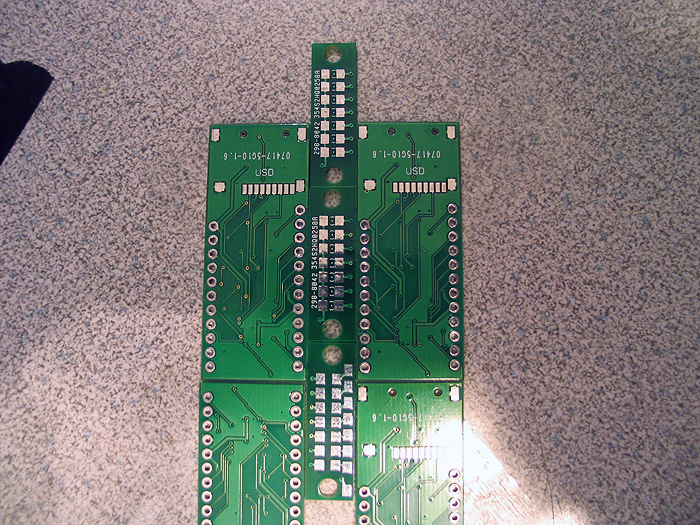
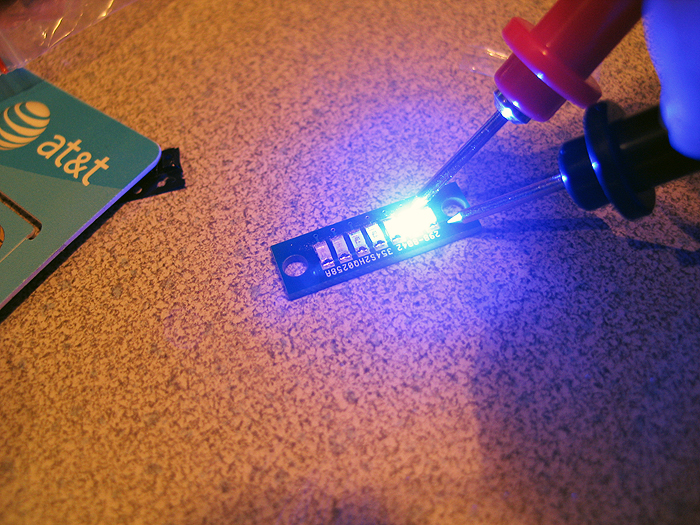
for the eyes.. I just remembered.. I have soem of these (and can order/make more if needed)..

but they are pcbs for SMD leds.. (bar graphs really).... I bet these would be perfect for the eyes..

I actually have two sizes/lengths.. 1in and a longer 1.75 long version

how big are the eye slots in the helmet? (length?) how are people mounting them?
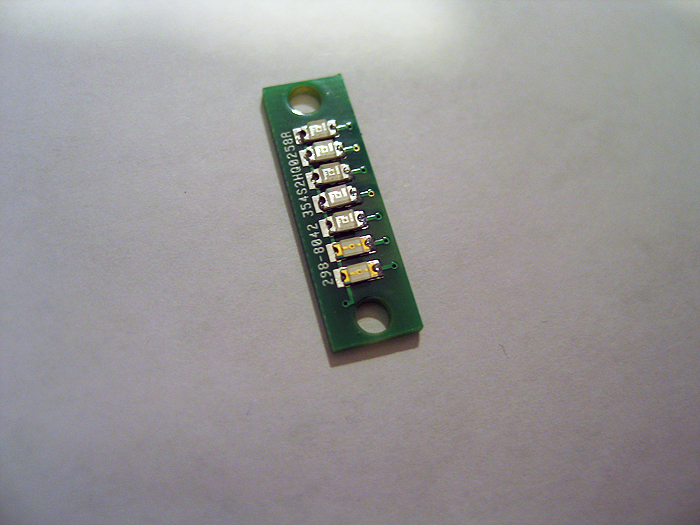
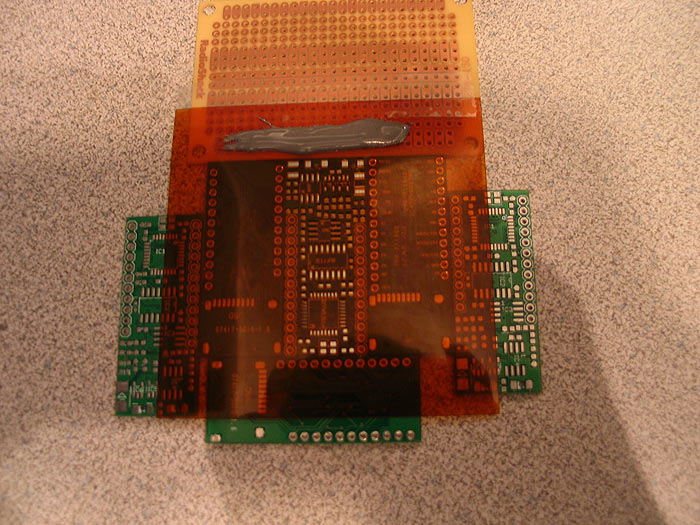
pics:

setting them up to apply solder paste:
smd_barGraph-001.jpg


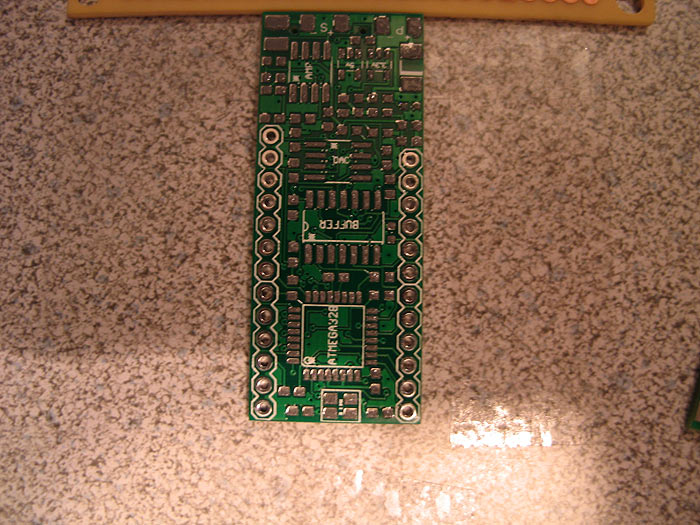
place smd leds on the board:
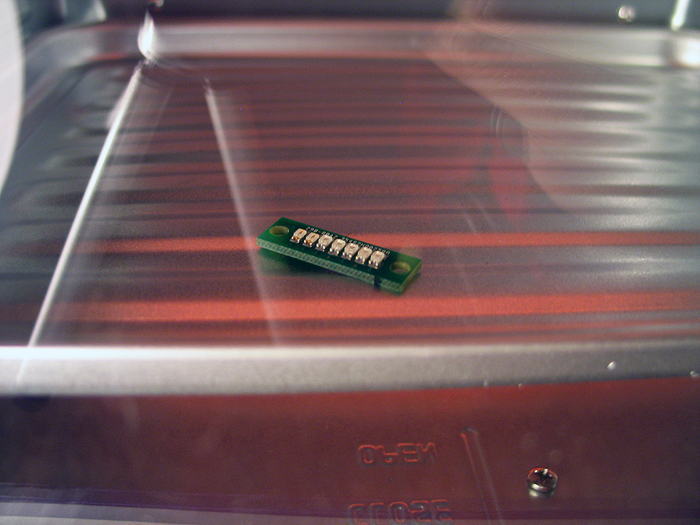
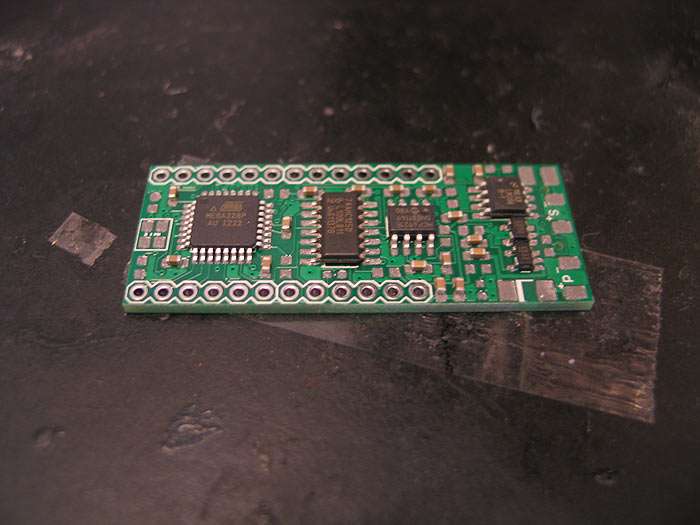
smd_barGraph-009.jpg


bake in oven:
smd_barGraph-011.jpg


light test:
smd_barGraph-013.jpg


are you guys using lens or any kind of diffusion for the elds behind the eyes?

I'll make a test using a few of these.. :love
 
Last edited:
How about the arduino nano? I have no idea how to make a circuit board. Nano seems to be small and do the necessary job.
I personally intend on having just a couple of LEDs taped above each eye with a white piece of plastic to defuse the light.

Nano located here:
Arduino Nano

Or the Arduino Mini:
Arduino Mini
 
Last edited:
sure.. nano.. or pro mini would work..

whatever fits your 'space' I guess.. :)

nano looks like it has USB..so it will be just as easy/same to program (update)..

I think the pro mini might need an FTDI cable.. ($3.00 and really.. just as easy) lol


what helemet are you using as your base?

Im kinda getting the itch to get one and mess around with myself now.. :)

anything 'cheap'? LOL

anyways.. if there is anything I can help with.. let me know. I like community projects where everyone pitches in for the greater good.. and we 'all' learn different things.

thanks!
 
I'm using a foam helmet. I've never really been interested in dead-on accuracy, the kinda people that will be seeing it wouldn't know the difference anyway. So foam is fine for me. Foam helmets can be built in less than 3 hours.

To be totally honest the UNO will fit in my helmet just fine, but the NANO looks better for soldering on to. Is this the case? Myself and Ironleoman did wonder what the next stage was after prototyping. Surely breadboard cables arent the only way of attaching stuff to an UNO?

sir you can use pcb with connections, make the switch circuit and other stuff like the pins for servo's and LED :)
im to busy now :D im making my ironman suit with home made jarvis :D
check this out :) Ironman suit with jarvis test + Packingtape software - YouTube
 
the UNO has pin headers.. so it makes it easy to prototype on (stick wires into quickly)..

the others are more 'breadboard friendly'...meaning they are USUALLY having pin headers soldered to them and stuck on a breadboard with other stuff..

however you do NOT need to solder on the header pins and just solder on the wires directly if this works for your application :)


As far as the UNO goes.. well yep.. it is. :)

(sorta).. I mean it is developed for this.. easy/quick prototyping.. on board voltage regulator, USB/TTY converter, USB port,..barrel jack for external power..etc)

most of this stuff is stripped of boards/pcb's in the end as it isnt needed and to keep costs down for production...

these final boards are also more 'solder' friendly.. where as they have pads and through holes/vias for parts and for soldering directly to.

in the pic above.. the little green board with chip and holes along sides.. is an 'Arduino' circuit.. bootloader...etc runs all the same programs..

1 difference is that it has no voltage regulator..

that whole things costs $9.00 USD I believe....

the pin header is how you program it (much like you would the mini/pro-mini's).. using an FTDI cable.. instead of USB cable..

again.. no real difference in the end..except you only spent $9.00 USD for your 'brain'..

:)
 
pretty cool!..

how are you doing your audio output? (I coulnt see)..

Arduino & Waveshield?


oh I just caught the title.. whats packing tape software?

yes sir i use arduino 1280 (gizduino x) and wave shield :)
packing tape is the name of my group hahahha LOLS i just include on my start up sound effect :D the name of my jarvis is packingtape :D
 
great job!..

here is my custom 'Arduino & Waveshield' merged into one board:

flash_board.jpg


so I dont have to use a full Arduino board "AND" a Waveshield on top of it every time..

(plus this is WAAAAAY smaller)

size compare of all-in-one board vs Arduino w/Waveshield on top:


all-in-one_1.jpg


all-in-one_2.jpg


its only .80" x 1.75" in length...

wow i like your wave shield, my shield cause a lot of trouble to me :cry
i buy it form ebay came from china... where did you buy the small one.. i want that :) i also have mp3 shield has a stereo output and 3 watts amps but i don't know yet how to use it :D
 
ohh btw i used only 1 servo in my helmet.. the servo torque is 6.5kg, i put it at the center of the (i don't know what you call it) red part of the faceplate xD
 
I cant find one of these micro controllers in the UK without the header pins. Those things are so damn annoying. I do want the USB attachment though.
 
@guitarakizta -

hi.. I made it myself.. ordered the pcb's... got sold mask/stencil...populated it.. re-flowed it in a toaster oven.

ie:
apply_paste.jpg


paste_on_board.jpg


populate_board2.jpg


baked in toaster oven after for a few minutes.. :)


I also do not have any sound FX really.. =(... heck I dont even have a helmet yet! lol
(been working on/off on a tron disk upgrade/mod) :)


@7sinzz -

I think most kits COME with the headers.. but Im not sure if they are installed/soldered?
I think they are just loose header pins in the package..

you dont have to use them.. :)
 
Well.. you have a few options.. :)

1.) de-solder the pin headers.. (after you slide off the 'plastic' housing for them.. its just a simple piece of straight metal.. heat it up..slides right out)

2.) (much more recommended).. get one of these: CP2102 USB 2 0 to UART TTL 6pin Module Serial Converter | eBay

you can use this to program any/all Arduino circuits that lack any USB/Serial converter chip/support...

the computer side still goes to USB port..

but on the Arduino side.. you have 4 wires you need to hook up..

+5v
GND
RX
TX
*(maybe reset/dtr pin)

thats it.. everything else is the same..

you can see a pic of it above.. where I am flashing/uploading a sketch to my custom arduino/waveshield board.. (I call it the: S.C.A.B = Some Custom Arduino Board)

there is no usb on my boards (hard to solder, costs more money..etc)
I simple use the FTDI cable.. (which is more or less the same as what the USB cable is/does).. :) different for factor...etc


update:
looking more.. I dont think the mini has a vReg on it.. (read some comments that mention it/.but desc says otherwise?)..either way read-up or ask to make sure it works for your intended purposes. :)

and I think most run @ 3.3v / 8Mhz.. which wouldnt work for your set-up anyways..(servos need +5v)
 
Last edited:
This thread is more than 4 years old.

Your message may be considered spam for the following reasons:

  1. This thread hasn't been active in some time. A new post in this thread might not contribute constructively to this discussion after so long.
If you wish to reply despite these issues, check the box below before replying.
Be aware that malicious compliance may result in more severe penalties.
Back
Top