Angelus Lupus
Sr Member
Love the stargate helmet and Wall-E! Hard to believe that they're 'just' foam.


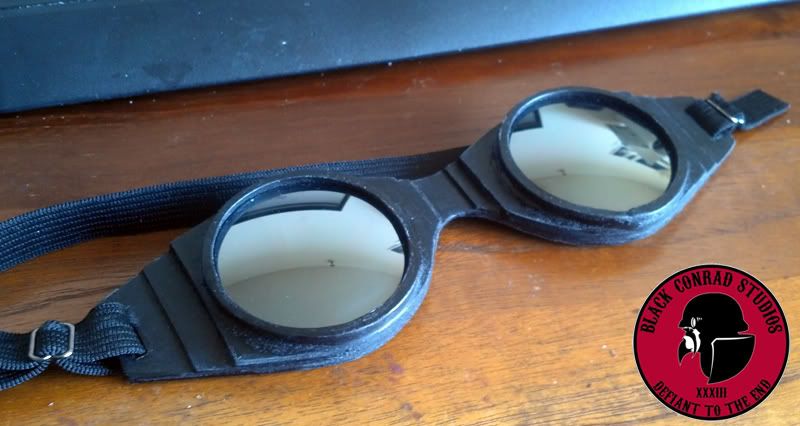
Heres a few things I have made for next to nothing. Mostly out of foam floor tiles.
Halo costume for my son.

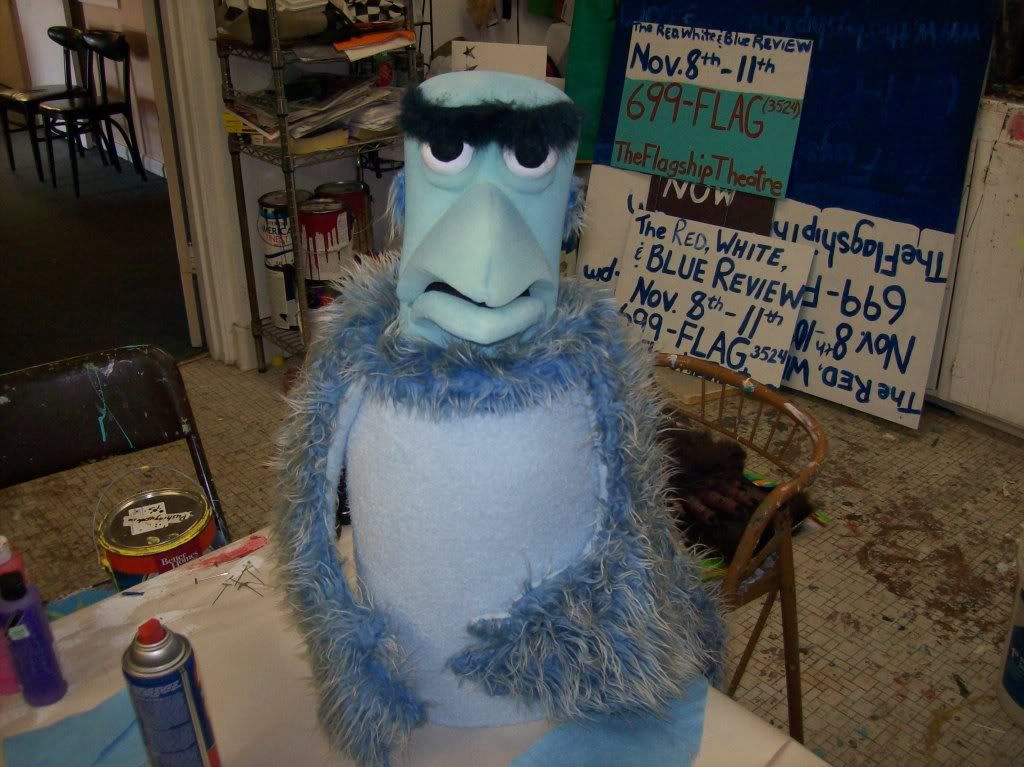
Life size wall-e


Life size R2-D2

Foam Predator Mask.


OK, since you asked, I'll show off my stuff
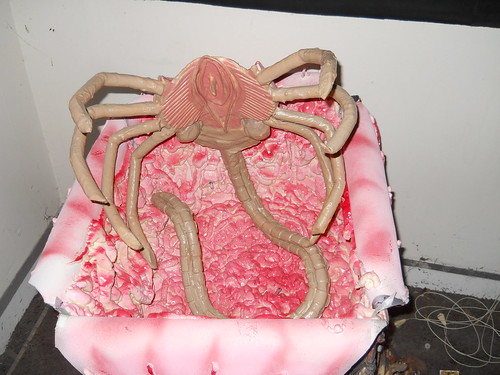
My facehugger. The body is made from two layers of craft foam with a wire frame in between, and two balloons; the legs and tail are foam backer rod coated in latex. Cost around ten bucks.
WOW!!:eek I absolutely LOVE the WALL-E! how'd you build it!?
:eek :eek :eek
OMG OMG OMG . . . . Can you PLEASE create a "HOW TO" thread for this ???
PLEEEEEEEEEEEEEEEEEEEEEEASE ?????
:thumbsup
") Alas, I don't have any build photos because I did the whole thing in a few hours while watching TV one night, and I wasn't really sure it would work until the very end.
Alas, I don't have any build photos because I did the whole thing in a few hours while watching TV one night, and I wasn't really sure it would work until the very end.THANK YOU for this - seriously !!!Glad you like it.
But the basic process was:
1. I built a framework out of some wire I had lying around, by using a short length for the central "spine" and then attaching four long pieces for the legs, which ran from the toe of one leg, across the spine, all the way to the toe of the leg on the other side.
2. I used two sheets of 1/4-inch foamie to make the top and bottom of the body, cut them to fit to each other, added the foamie greeblies to make all the mouthparts and spine ridges and stuff, then glued the two halves together with the wire framework sandwiched in between. (I also sandwiched a couple of balloons I had lying around to make the "lungs"--looking at it now I wish I had used bigger balloons).
3. The legs were then done with lengths of foam backer rod that were cut to fit along the wires, and wrapped with tape. I used fiberglass resin to stiffen the length of leg between the joints.
4. The tail was done with three lengths of foam backer rod glued together, and short lengths of foamie glued on crosswise at intervals to give it a ribby sort of appearance. I did consider inserting a length of wire along the tail to make it poseable, but (1) I was a little short on wire, and (2) I found that it held its shape pretty well anyway without it.
5. the final step was to coat the whole thing in liquid latex, and paint it.
Thanks man. Not sure if I still hve all the pics in my build thread here on the boards but you can go visit my site. Costumes are cool..... - Home I have a page on the building of it there along with R2 and other creatons. It's in the Robots menu.
Here's a screen-accurate prop I made from "The Dark Knight." It cost 10 cents and took 0 seconds to build.
lol:lol I really needed that today!
Made a Sting replica (the sword, not the singer :behave) out of MDF:
Made a build thread, too. Total cost for materials was probably in the range of $20.
Made a Sting replica (the sword, not the singer :behave) out of MDF:
Made a build thread, too. Total cost for materials was probably in the range of $20.