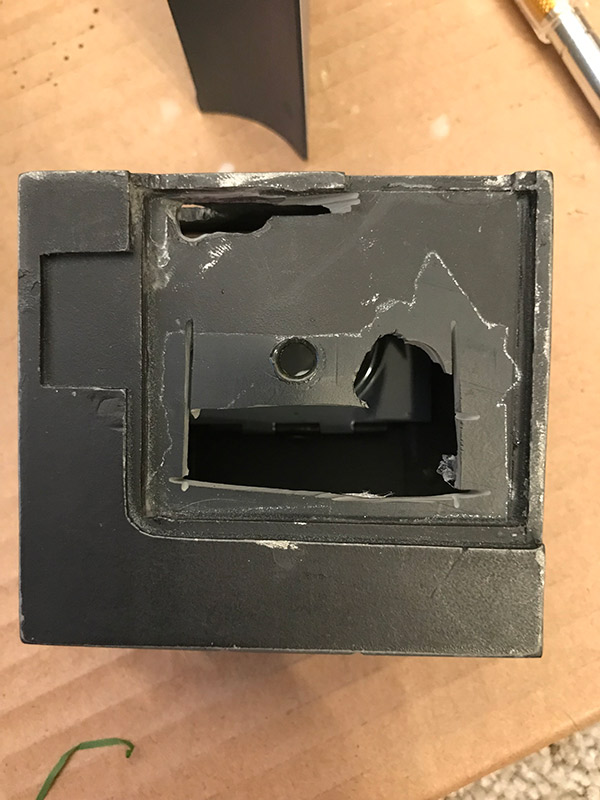
Cutting a hole behind each lens so you could put optics behind them.
The one I am selling now (https://www.therpf.com/showthread.php?t=288118) had a solid lens plate
so when Steve built it for me he put holofoil behind the lenses to make it look more interesting.
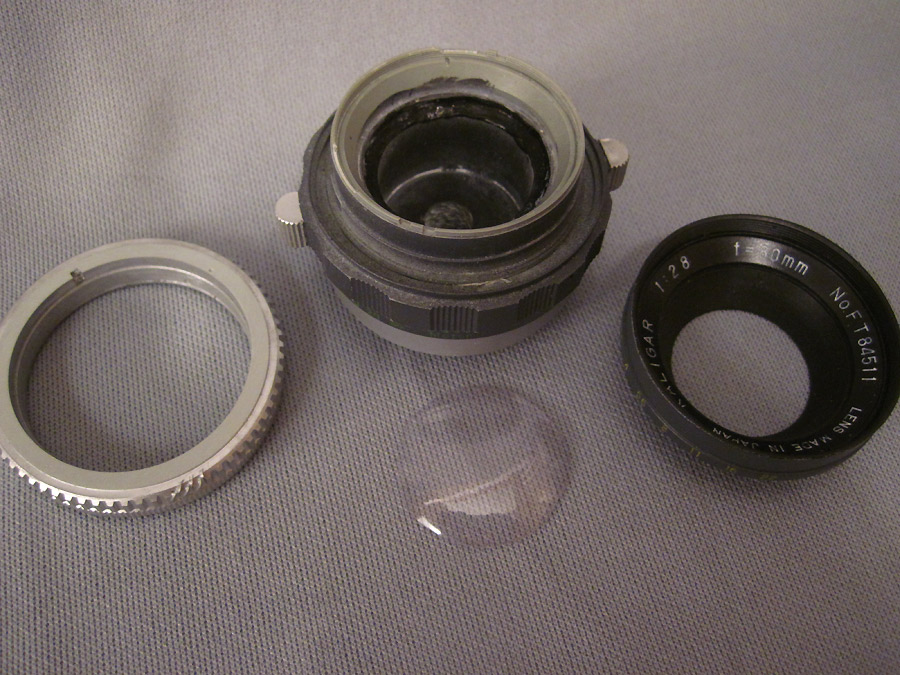
If you can see thru the lenses might as well.
If you have a Kalimar one could conceivably remove the iris and put it behind the lenses.
The one I am selling now (https://www.therpf.com/showthread.php?t=288118) had a solid lens plate
so when Steve built it for me he put holofoil behind the lenses to make it look more interesting.
If you can see thru the lenses might as well.
If you have a Kalimar one could conceivably remove the iris and put it behind the lenses.


")
![IMG_5281[1].JPG](https://therpf-f28a.kxcdn.com/forums/data/attachments/457/457728-4c72b807679c3e40c36607de97cfffb8.jpg "IMG_5281[1].JPG")
![IMG_5282[1].JPG](https://therpf-f28a.kxcdn.com/forums/data/attachments/457/457729-ba7a2af66f215dfacd0b087ae5b816b5.jpg "IMG_5282[1].JPG")
![IMG_5283[1].JPG](https://therpf-f28a.kxcdn.com/forums/data/attachments/457/457730-fcc1bcff78de99f8c76af99cdca2b7d8.jpg "IMG_5283[1].JPG")
![IMG_5284[1].JPG](https://therpf-f28a.kxcdn.com/forums/data/attachments/457/457731-de15972fe937ea346c1836e33da94d63.jpg "IMG_5284[1].JPG")
![IMG_5286[1].JPG](https://therpf-f28a.kxcdn.com/forums/data/attachments/457/457732-6a456544af406756960a12595af6c273.jpg "IMG_5286[1].JPG")


![IMG_5333[1].JPG](https://therpf-f28a.kxcdn.com/forums/data/attachments/458/458829-112400fd08b6095e81a0189a9f8f5a4f.jpg "IMG_5333[1].JPG")
![IMG_5334[1].JPG](https://therpf-f28a.kxcdn.com/forums/data/attachments/458/458830-189e05e0832a140096bf1c6379e6bb8e.jpg "IMG_5334[1].JPG")
![IMG_5335[1].JPG](https://therpf-f28a.kxcdn.com/forums/data/attachments/458/458831-3c4fb68dd31c4013e394d8af5e9ed5d7.jpg "IMG_5335[1].JPG")
![IMG_5336[1].JPG](https://therpf-f28a.kxcdn.com/forums/data/attachments/458/458832-66c6265ca086a714a234666f50a6a6f4.jpg "IMG_5336[1].JPG")