Another MPC Millennium Falcon Modification

Jaitea

Master Member
Hi everyone,

I joined in for the 'Scale Model Addict Millennium Falcon group build' at the beginning of the year, and am still working on the Falcon kits that I have shown at various stages of construction (& destruction) over there.

I would like to show you one of my Falcon projects....the MPC kit.
I've been inspired by quite a few talented people over there (who also hang out here),...Ozzy, Captain Han Solo (BeatlePaul) & Scratchy for their customising and MerseaJohn for his painting skills.

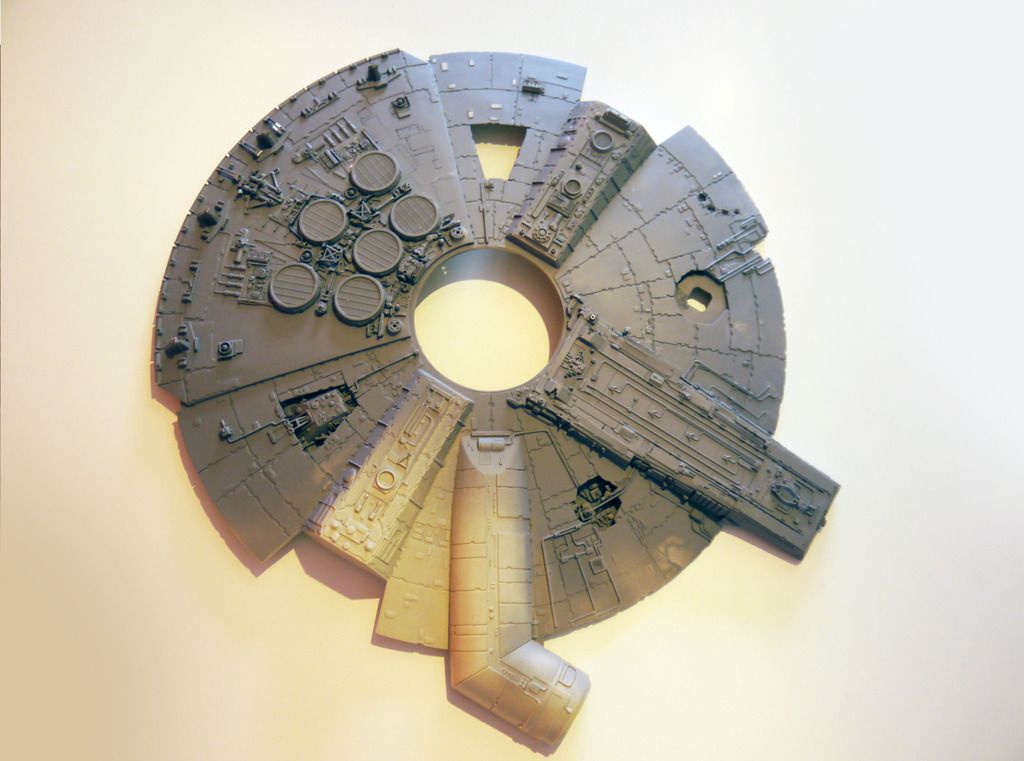
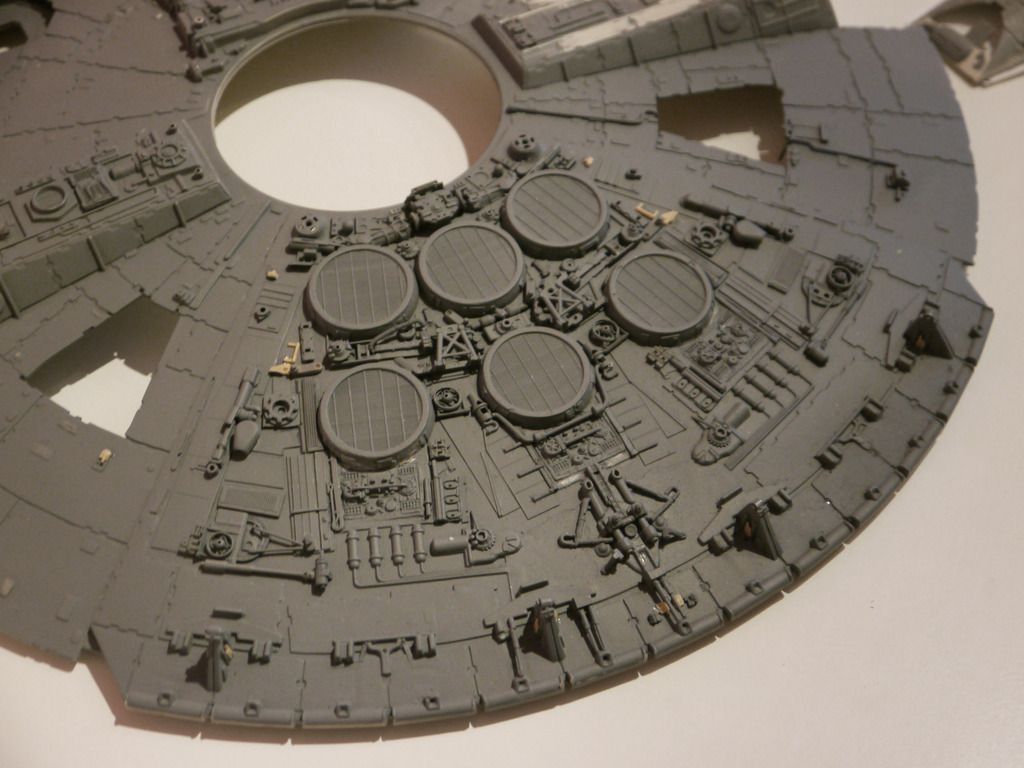
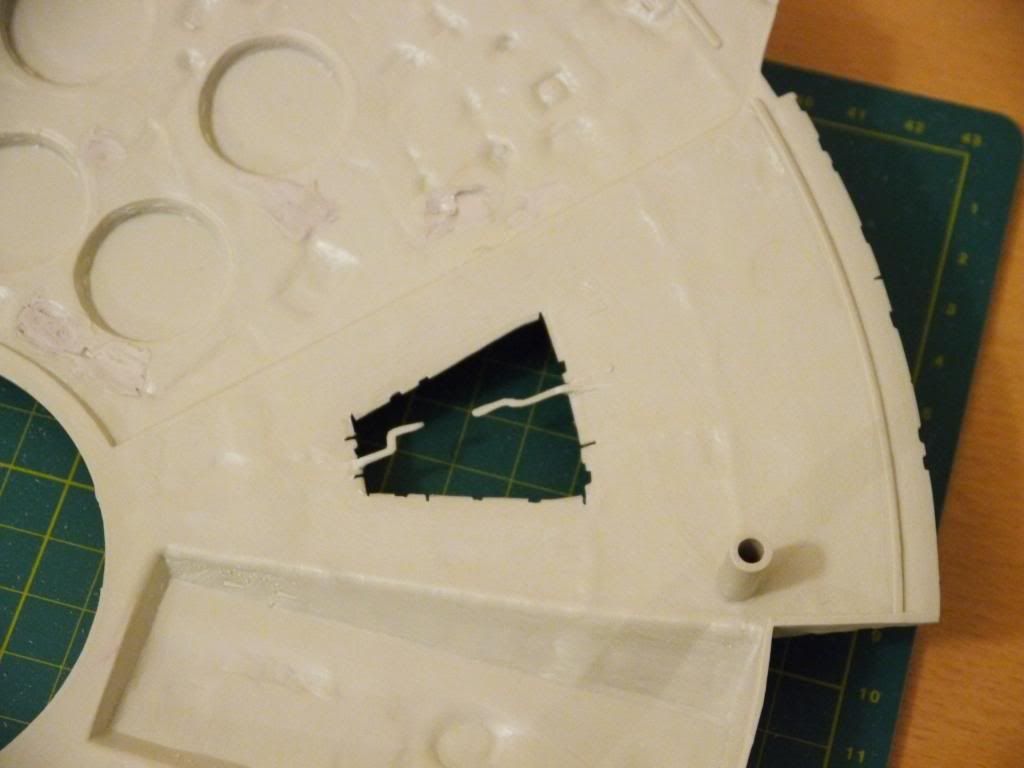
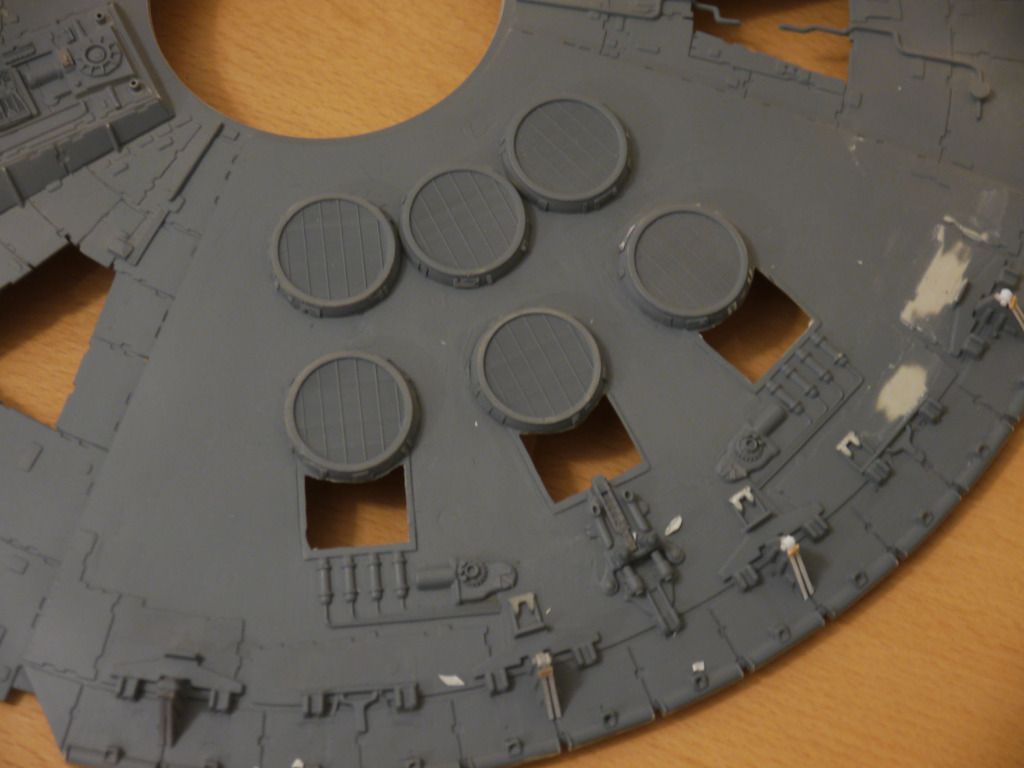
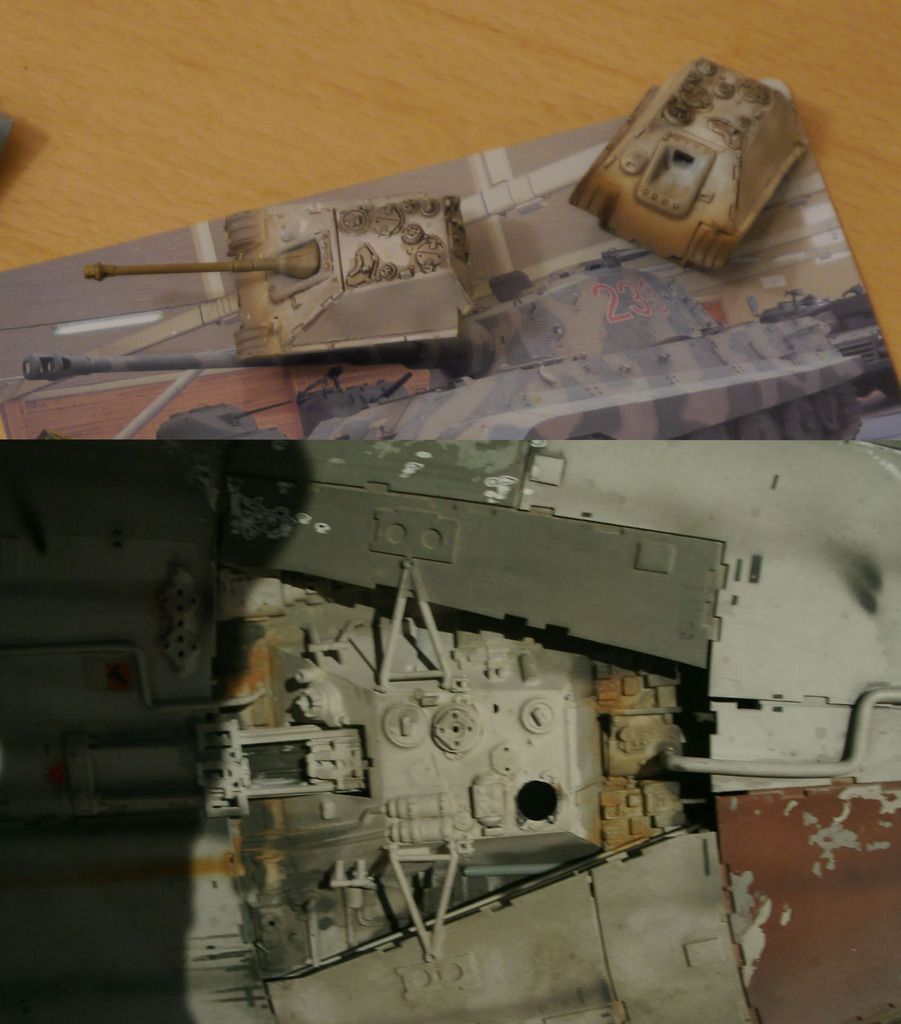
This was the first image back in Feb, I'd removed most of the details on the engine deck:
P1000841b.jpg


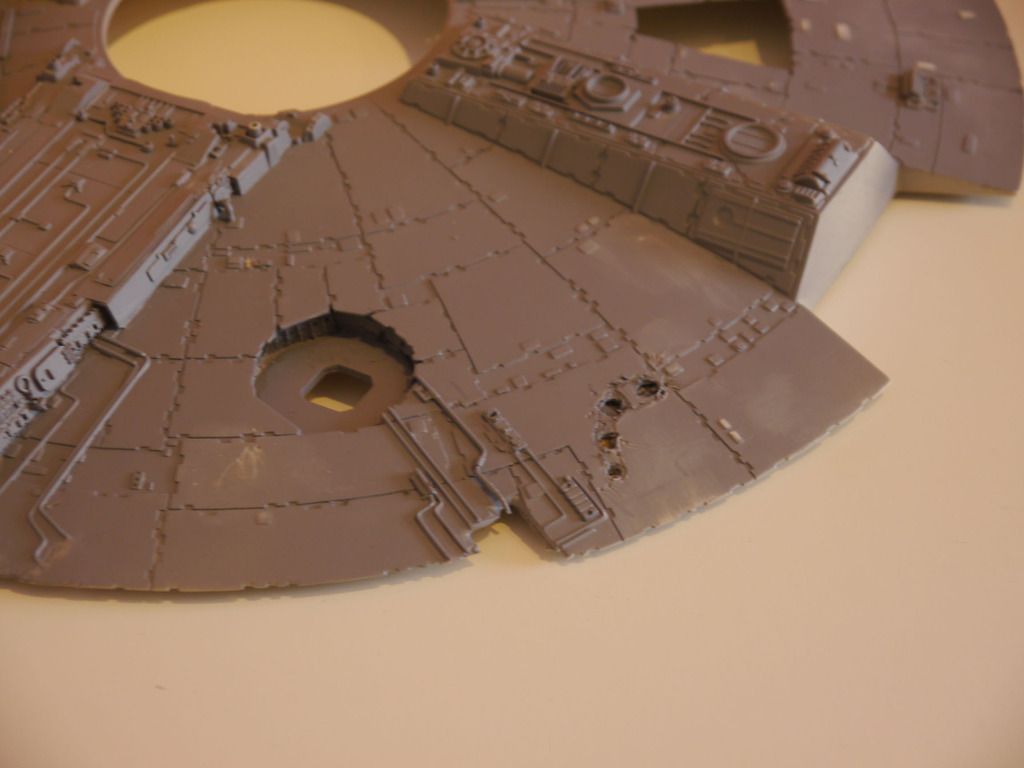
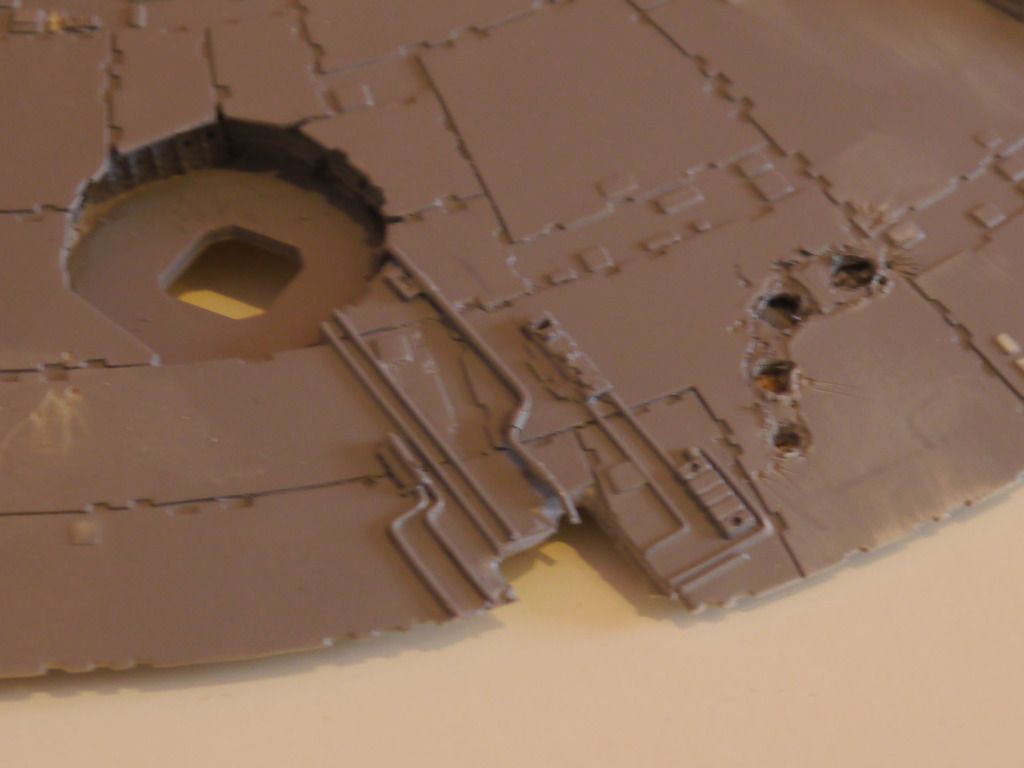
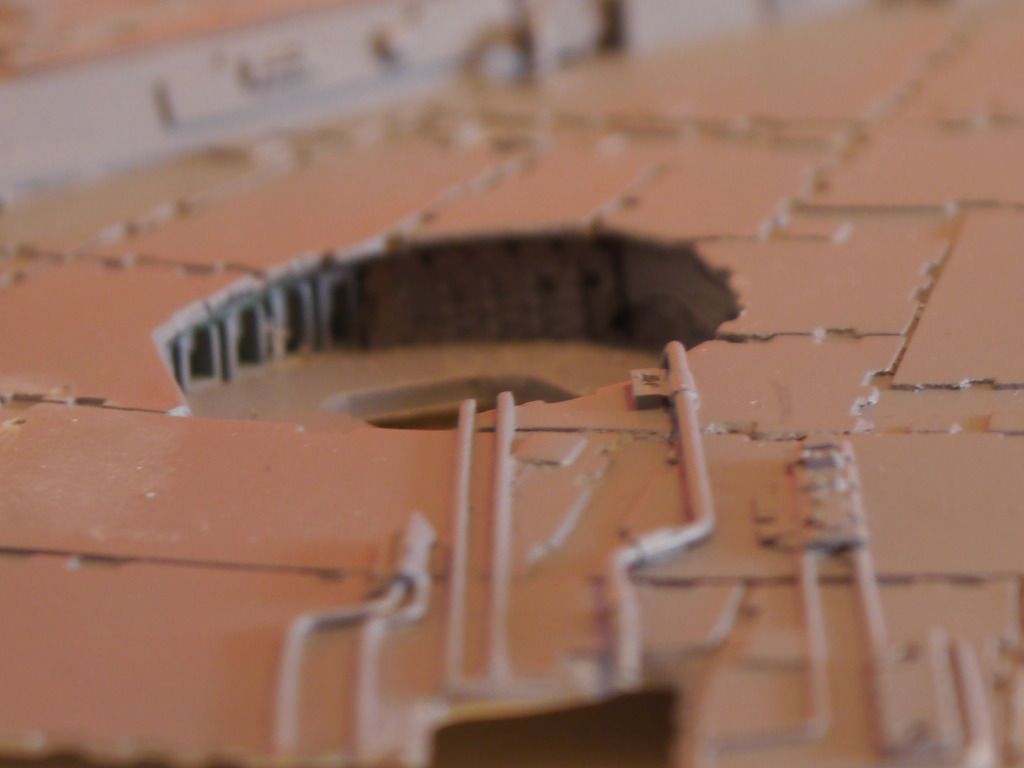
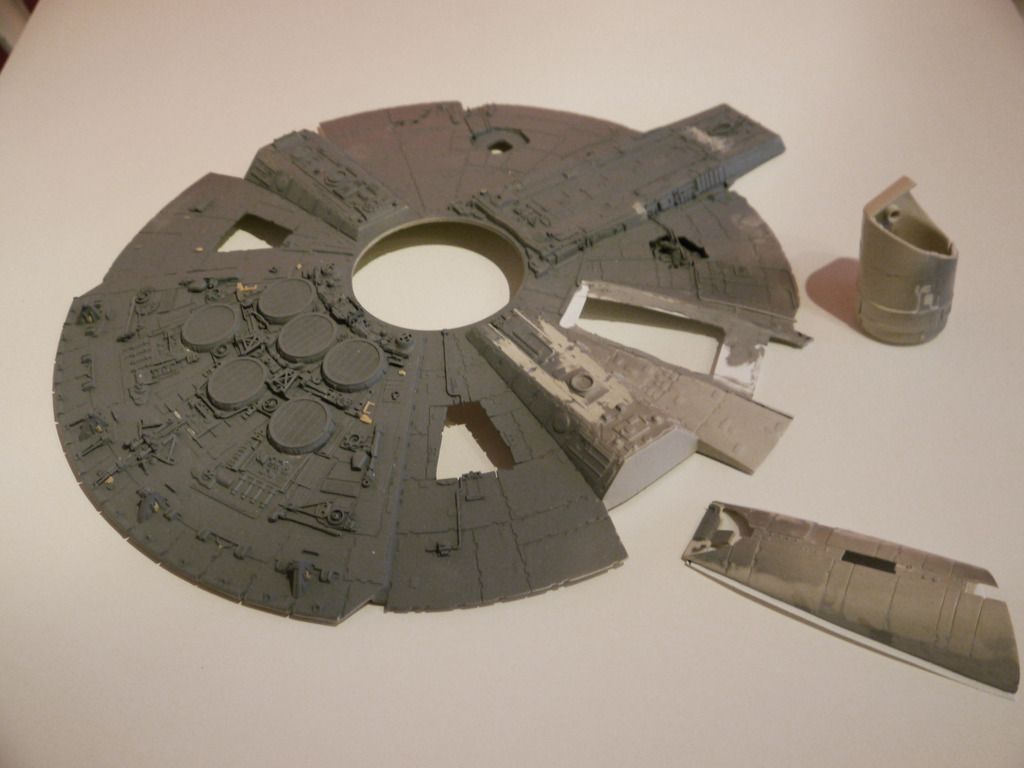
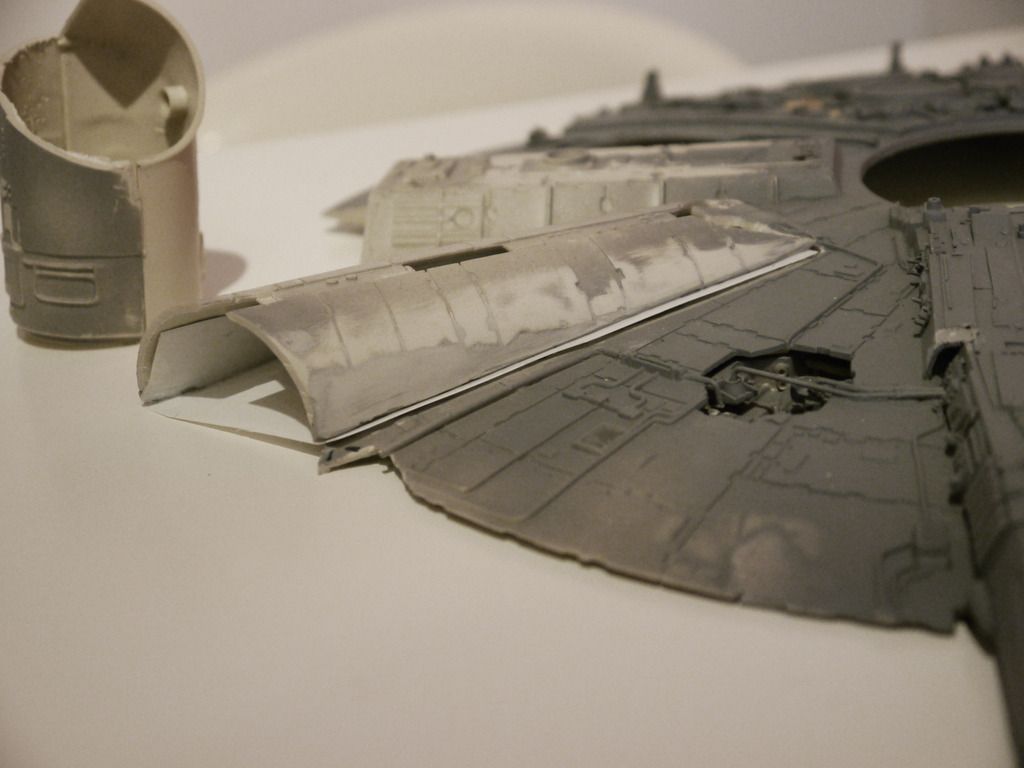
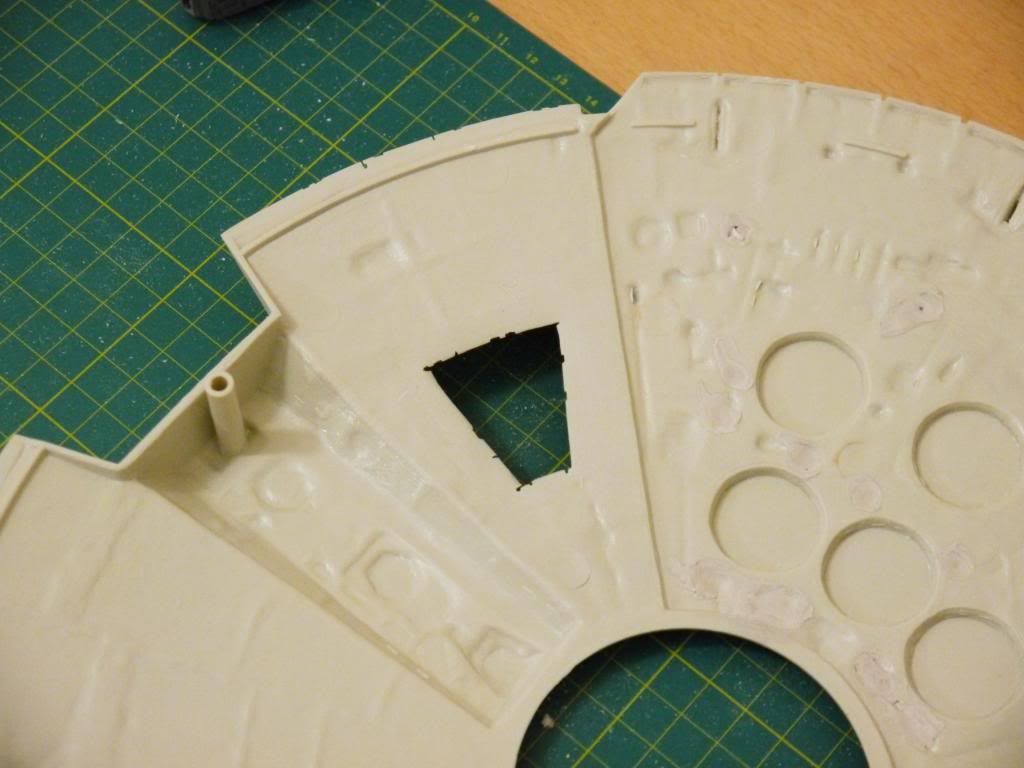
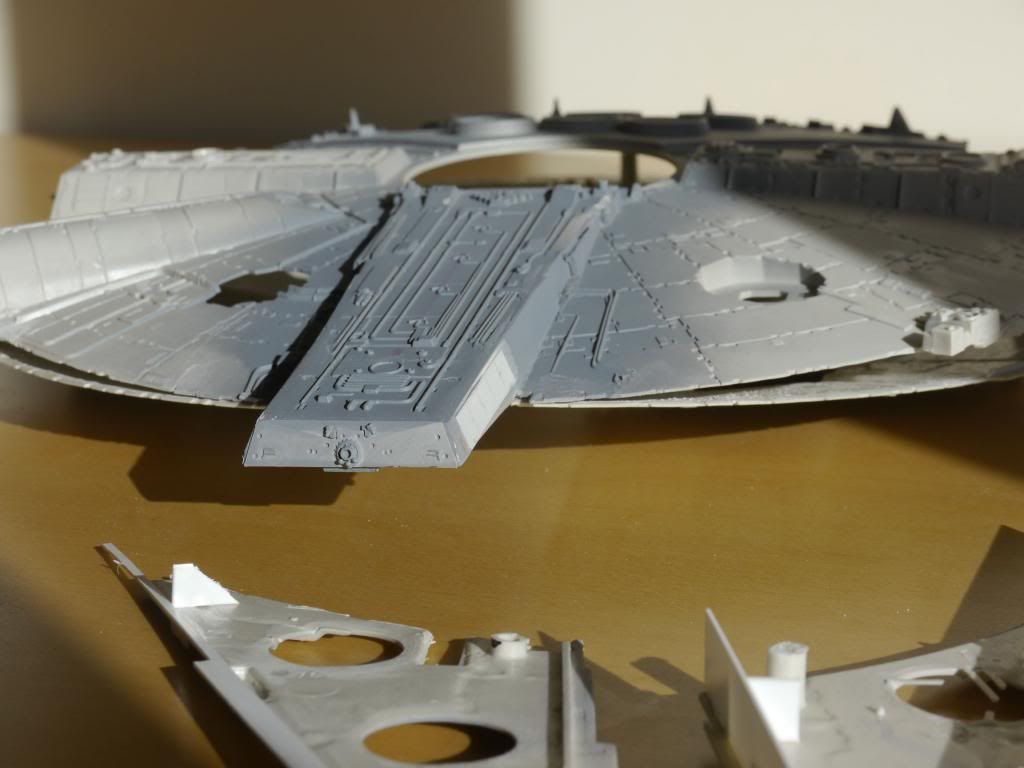
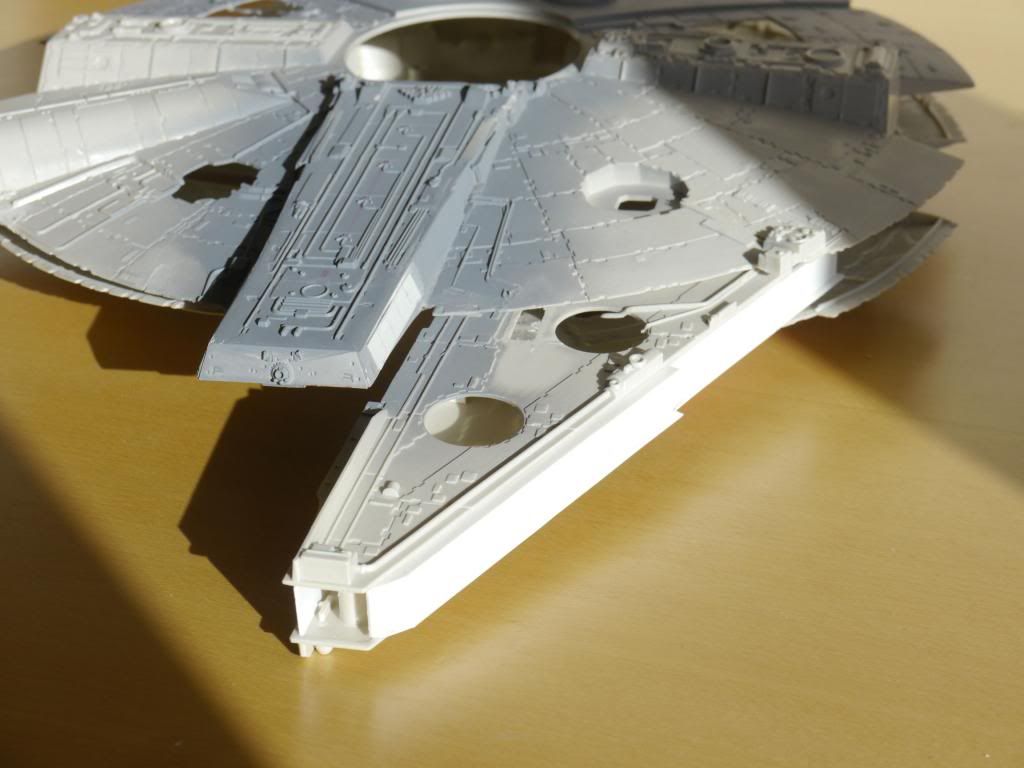
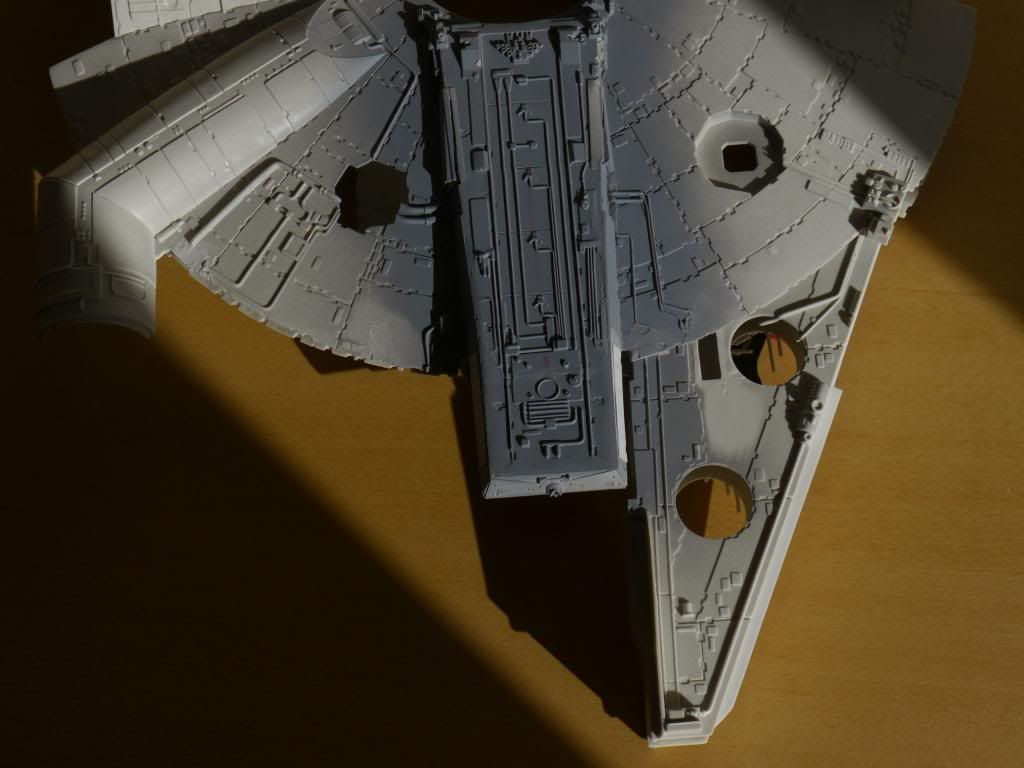
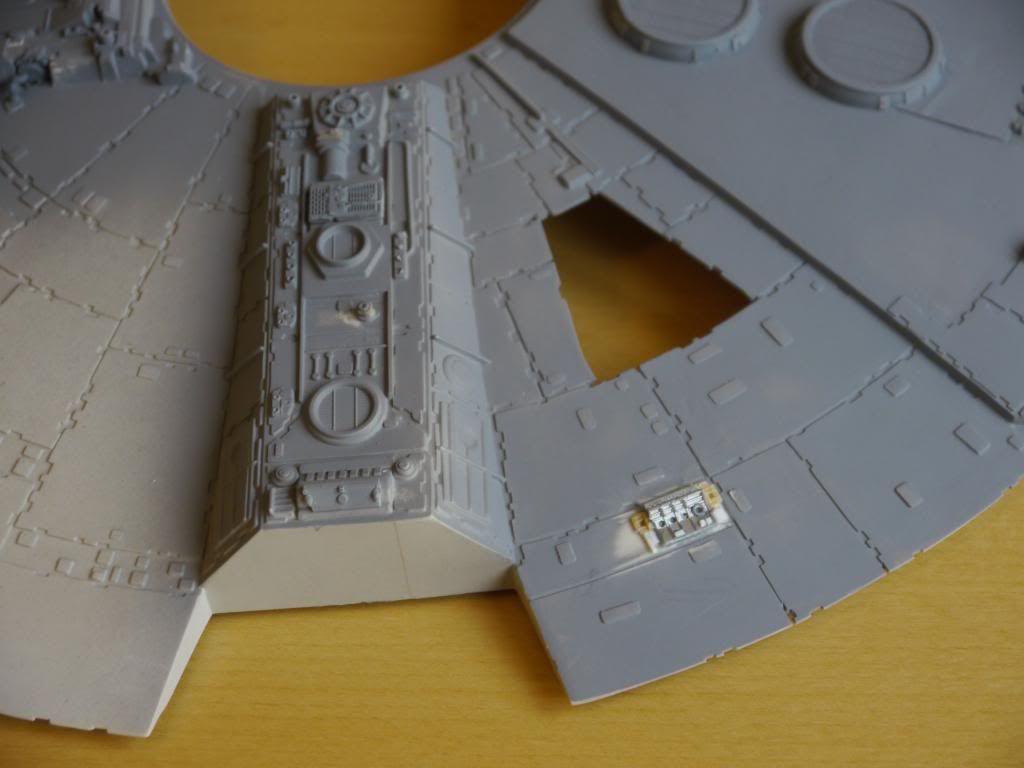
I had thinned down the hull and cut out notches in the armour panels:
P1000850b.jpg

P1000849b.jpg

P1000849b.jpg


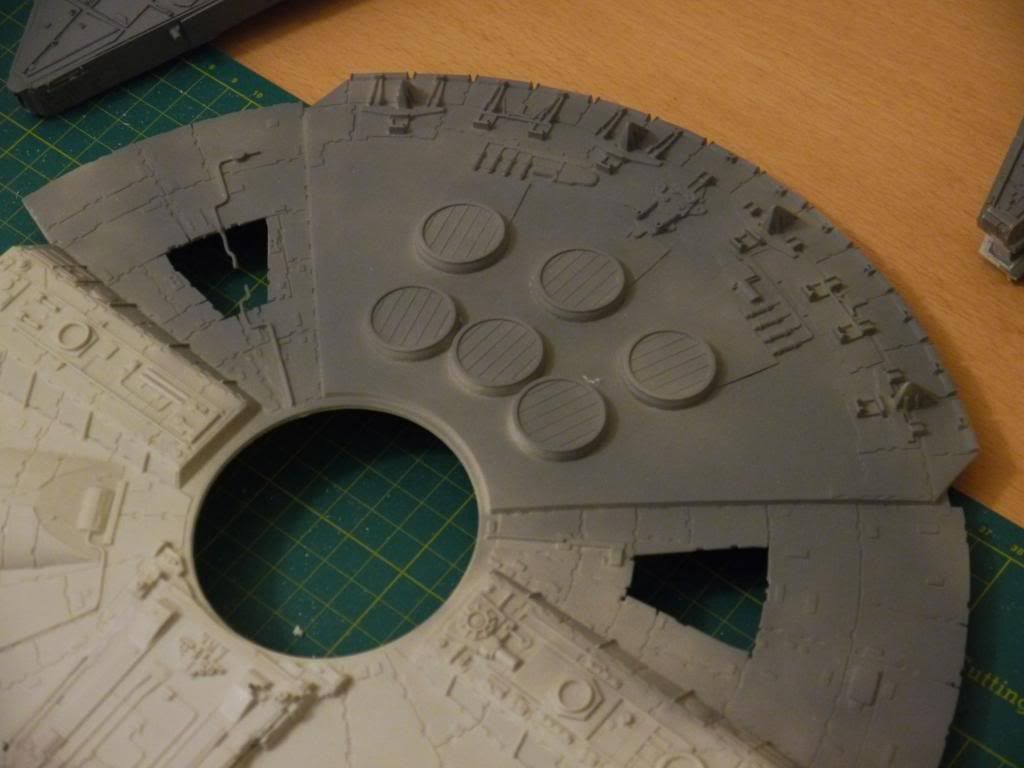
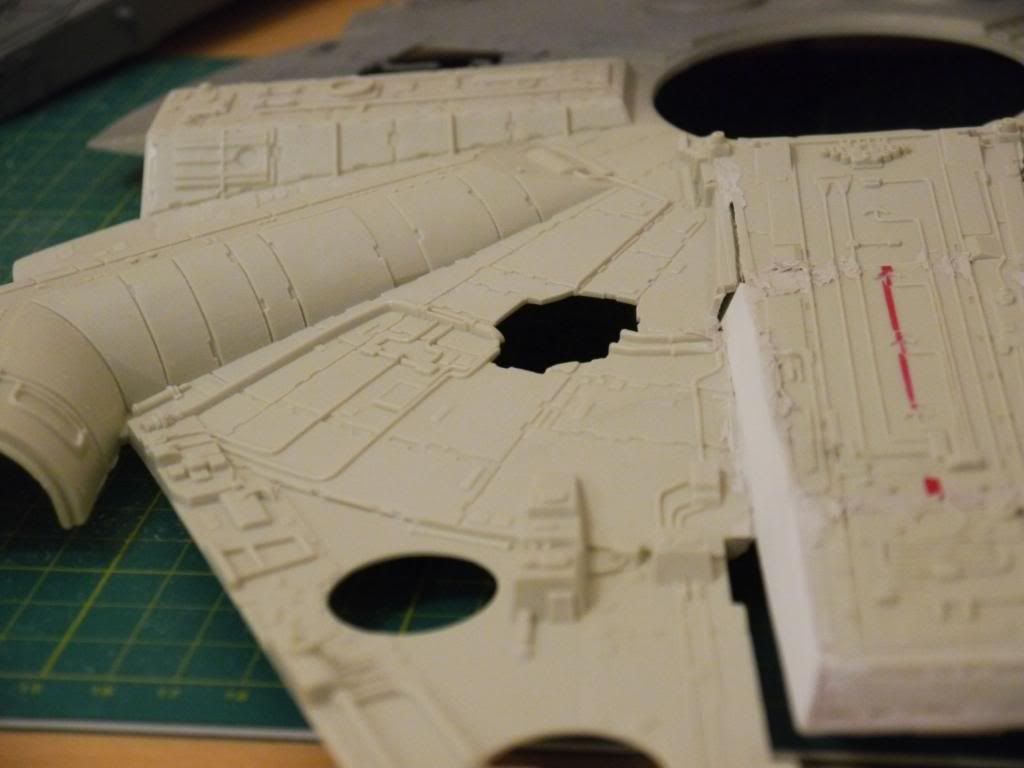
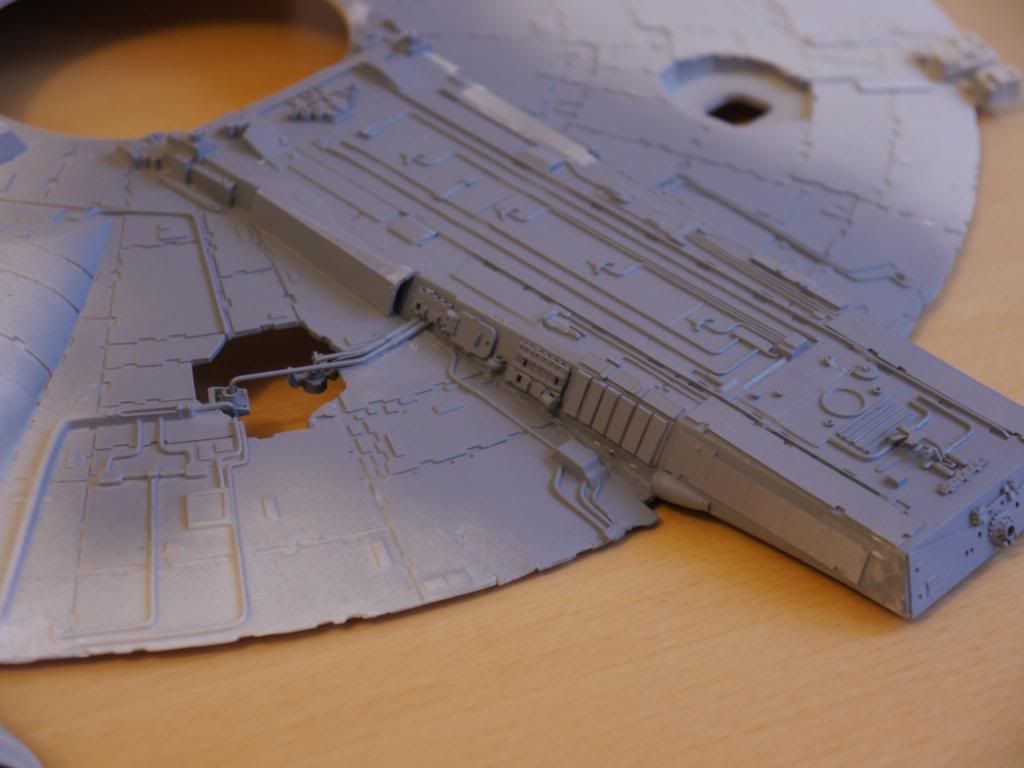
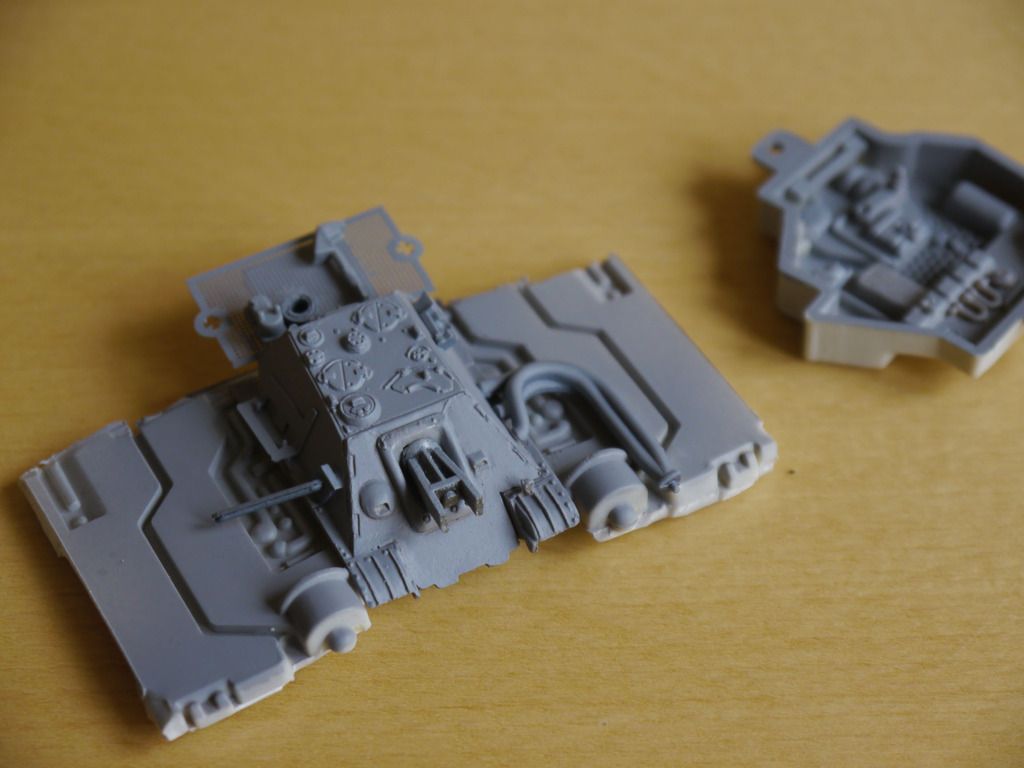
I also scaled down the jawbox slightly:
P1000843b.jpg

P1000848b.jpg


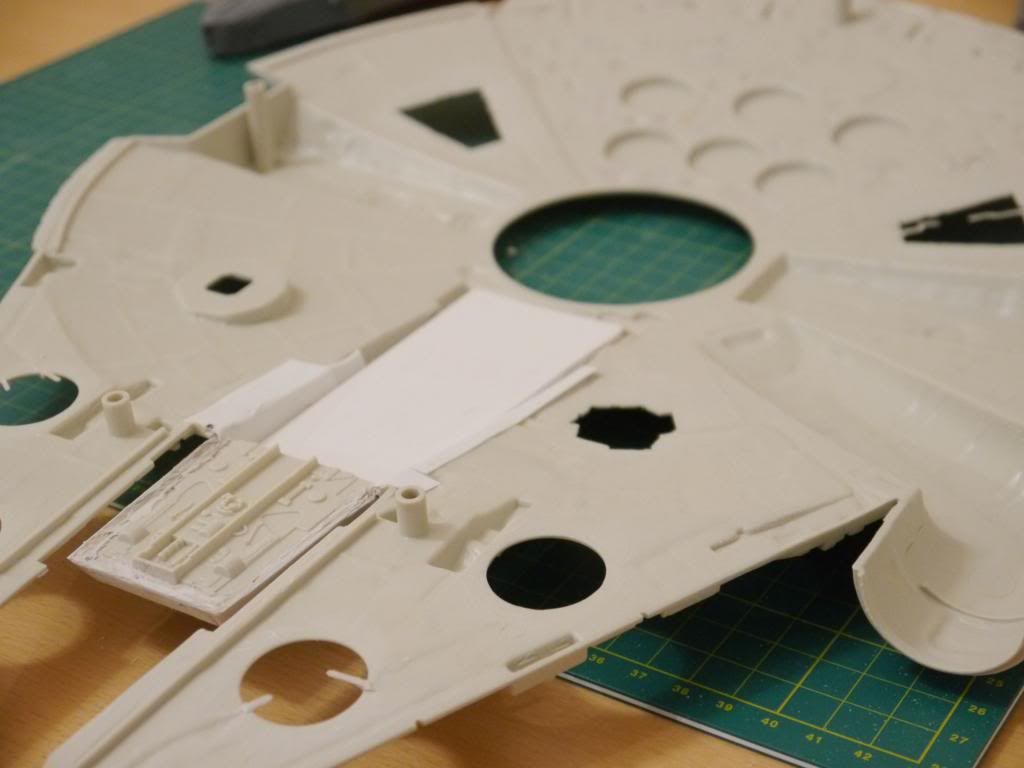
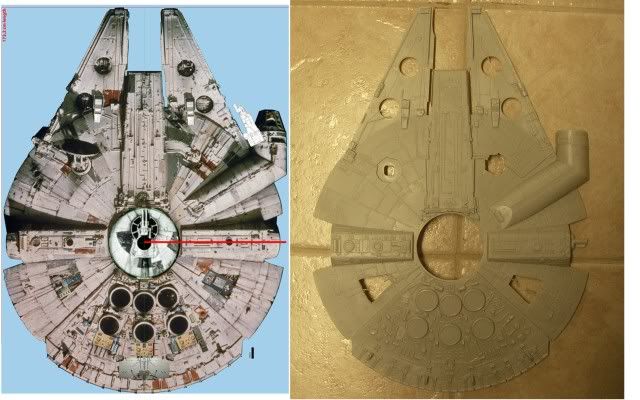
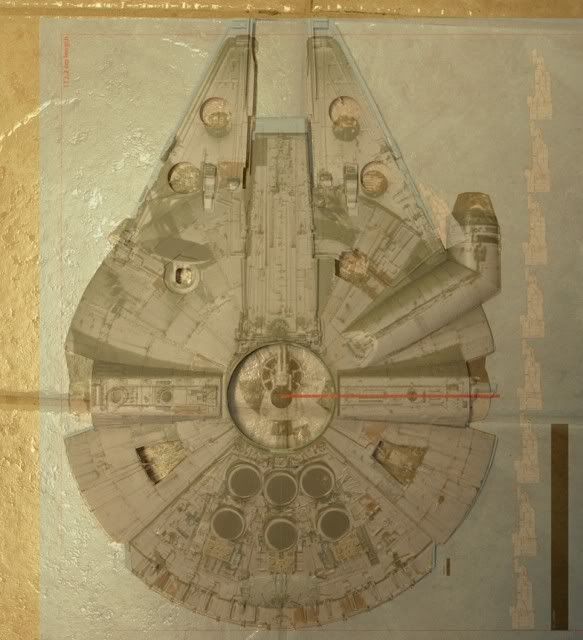
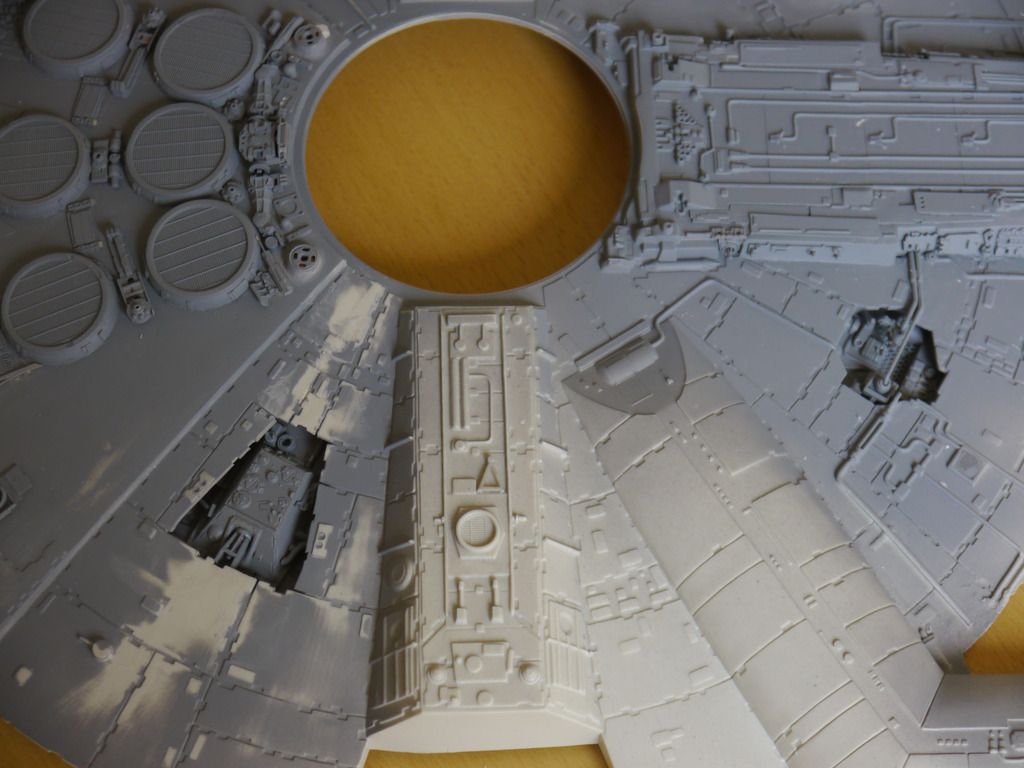
Over a week later I still wasn't happy with the Jawbox size, I compared it to images of the top view of the 5ft Studio Falcon and I decided that the Mandibles were way to long, I found these images on Ozzy's thread to back this up:
01RodmartstopviewvsAMT.jpg

02Extendsabitlonger.jpg

03Overlay.jpg


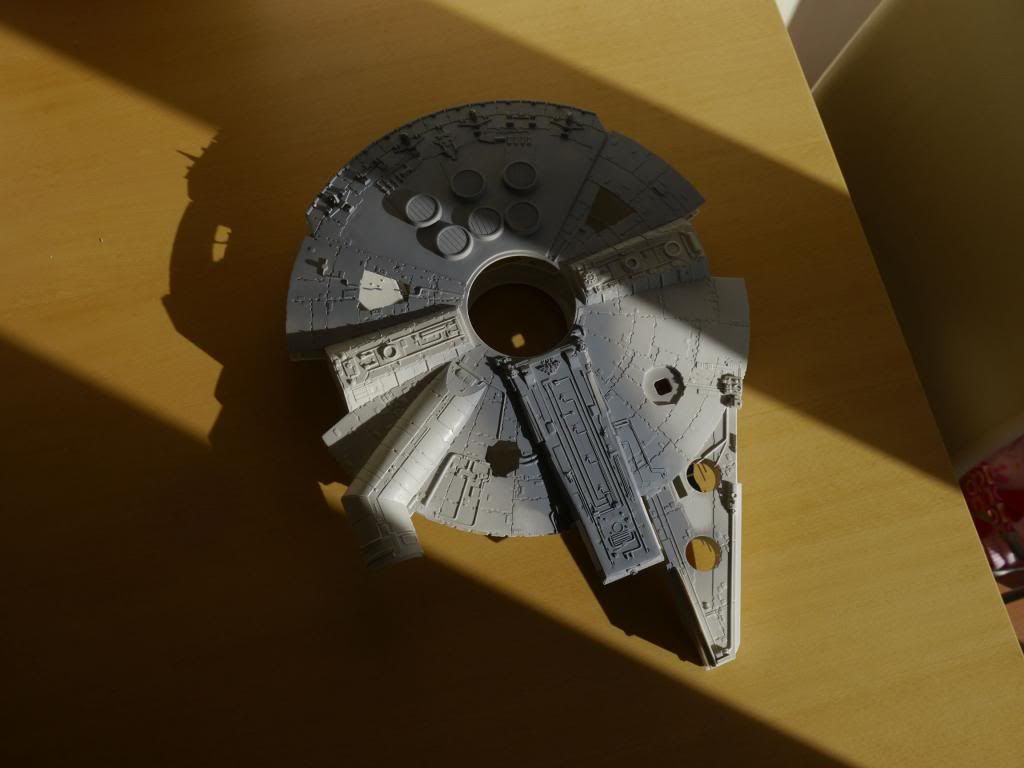
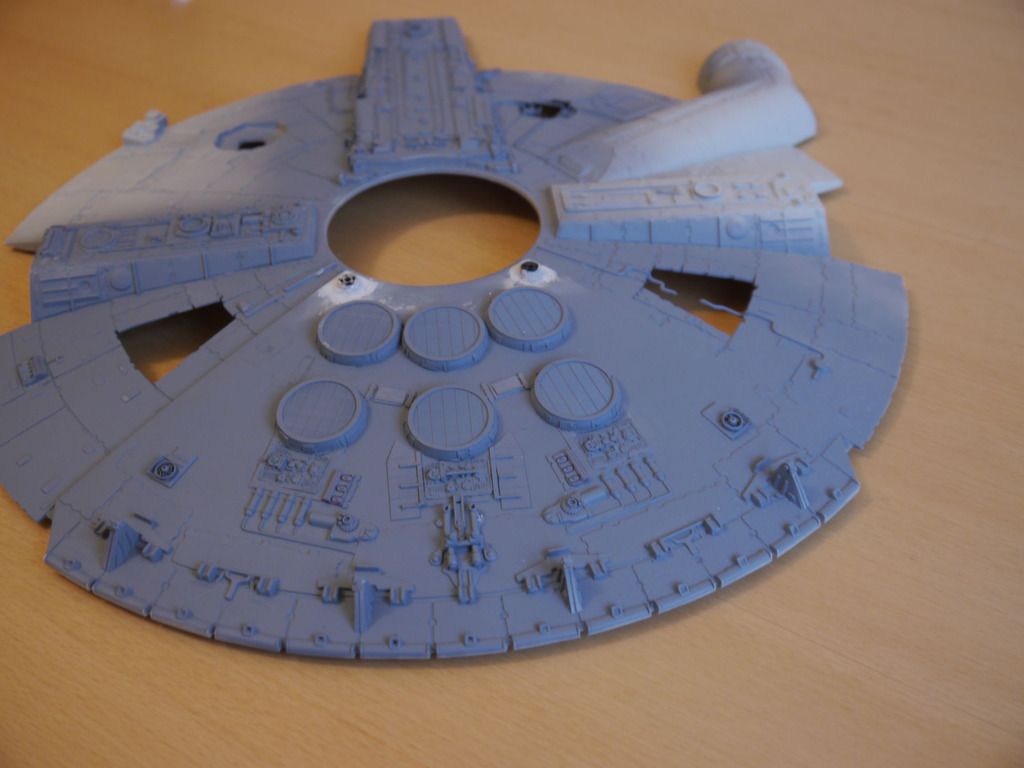
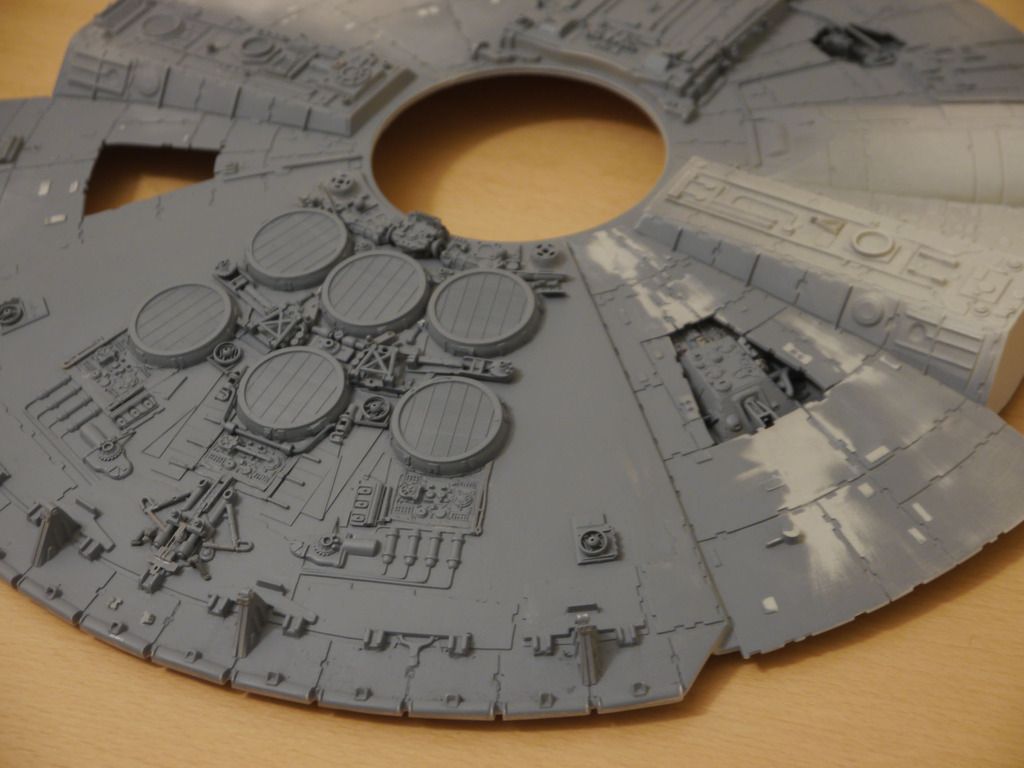
So I decided to cut the mandibles off

Offwiththemandibles.jpg

Offwiththemandibles2.jpg

Offwiththemandibles3.jpg

Offwiththemandibles4.jpg

Offwiththemandibles5.jpg


J
 
Last edited:
Thanks tek2graphics,

Some more photos from Febuary, I began adding details, I started collecting some 1/72 armour kits....Panthers etc.....the sort of materials ILM used on the 5 Foot, I also had quite a lot of spares & electronic parts:

Offwiththemandibles5.jpg

cut%20outs.jpg


Walkways.jpg


I ordered a pack of 3 Jadg Panther 1/144 models off ebay from China

tanks.jpg

cut%20outs.jpg

Build-up.jpg

engine%20deck%20more.jpg

birds%20eye.jpg


Other parts of the tanks were useful too, The Top of the Panther used to create details in the opening:

Panther.jpg


Tank%20part.jpg

parts%20test%20fit.jpg

New%20tank%20Part.jpg

New%20Tank%20Part%20in%20Place.jpg


I'll post some more photos tomorrow, thanks for looking

J
 
Last edited:
Jaitea, Welcome to the RPF, and wow man, you have done some work on the falcon,since I last visited SMA. (Have not been online much over the last months) I couldnt wait to see what else you had done so I went over to SMA to check it out. Fantastic work. I will be using some of your ideas when I get back to my falcon.

Outstanding stuff, looking forward to your updates here, and to how you approach the docking rings.

PS: I love the fact you use anything that works. The press studs were what I went for as well with my original build. Awsome!!!

Regards

Ozzy
 
Thanks Ozzy,

Thanks for the feedback, your builds are what drove me on to buy an MPC (if you look back at SMA, I started off with the Revell kit for the group build)

Yeah those press studs were removed last week, I bought a model HMMWV Troop carrier and I liked the look of the wheels.....I'll post some photos.

Thanks again, J
 
Hey, its my old buddy Vaderios, yeah, I'm here.....having a break from the virtual model kits, good to hear from you

J
 
Holy Crap!!!! Wow! That is far more work than what I would ever have expected anyone to do with an MPC Falcon. But I am really liking the progress thus far.
 
Thanks Scratchy & JMChladek,

Some pipework added:

Dish%20gap.jpg

Dish%20support%20detailpsd.jpg

Dish%20Support%20Detail%202.jpg

Top%20View%20March.jpg


More added to the engine deck:
1_1.jpg


Next was the task of widening the diameter of the cockpit tube:

2_1.jpg

3_1.jpg

4_1.jpg


Thats all for tonight, thanks for looking

J
 
Last edited:
This is shaping up to be one of the best MPC Falcon modifications ever.

The work you've done is great. I like the fact that you've hacked off the mandibles which, by the way, you are the first person I know of who has done that. Excellent stuff.

Can't wait to see more.
 
Wow, thanks for the comment Junk Pilot.....yeah hacking off the mandibles was a bit daunting, but inspired by the radical mods that Ozzy has accomplished, I had to do it

After seeing how Captain Han Solo (BeatlePaul) tackled the 'koolshade' on the cockpit, I went on the search for a material which I could use, I went to a fabric shop and eventually found this stuff in the curtain section, its called 'Monsoon Slot Tape Clear':
monsoonslottape2.jpg


I cut off all the moulded seams to free up the strands....I used a blade to dig out some of the vertical strands and leave a ladder style Koolshade effect, I then cut out a frame to surround the material

koolshade.jpg

ksinplace.jpg


More details added to the walkway
newdetails.jpg

distant.jpg

closeupdvd.jpg

walkway.jpg

walkway2.jpg


Need to still work underneath
bellow.jpg


Just making sure that the new walkway fits the adjusted height of the sidewalls
Putting in blank sidewalls to test the measurements
lowerhull.jpg

testfit.jpg

testfit2.jpg


I also have the 1/72 FineMolds Falcon which I had bought clear resin engine nozzles for, so the plastic ones that came with the kit are going to be used on this MPC one.
enginecl.jpg

engine3ao.jpg

engine4.jpg


Here's a video of the engine lights:

I took a cheap LED inspection lamp apart that I bought in a 'Home Bargains Store' for £4, I had a power supply the same voltage & ampage as the lamp, so that keeps everything nice & bright

I also added LED Xmas lights to use for Cockpit & Turret lighting.....you can see them taped up in a bundle

Falcon lights - YouTube

Now here's were things go in a direction away from the filming models, my concept of this build is to try and make a version of the Falcon based on the 5 foot ANH model....only make it with the same artistic licence ILM used in making the 32" for ESB.

I have made compromises only to go back and un-do them, (it would always bug me to know it's there...don't think I've got OCD though)

I also want to superdetail the ship especially in areas where ILM knew it didn't matter, I added some more details to the inside of the thruster plates.....ILM didn't need to detail this area as it would never be seen

enginedetails.jpg

enginecloseup.jpg


More details
reardetails.jpg

walldetails.jpg

walldetails2.jpg


Some more scratch built bits
pipesm.jpg

pipes1j.jpg


I moved onto the cockpit, the cone was made by wrapping thin plasticard around original cone
wip1h.jpg

wip2m.jpg


Added some styrene strip
tapedon.jpg

newshot.jpg

newcockpit2.jpg


After a few days I added the centre window frame to the cockpit
newframe.jpg

newframe2.jpg

newframe3.jpg


Compared to the kit part
cockpitcone.jpg


Thanks for looking

J
 
this makes me want to throw my fine molds falcon into the garbage!!!!

When you're done, I'd love to see a list of other things you cannibalised in your creation!
 
This thread is more than 8 years old.

Your message may be considered spam for the following reasons:

  1. This thread hasn't been active in some time. A new post in this thread might not contribute constructively to this discussion after so long.
If you wish to reply despite these issues, check the box below before replying.
Be aware that malicious compliance may result in more severe penalties.
Back
Top