bird in flight or not

eh up all.
well it's time for another update,
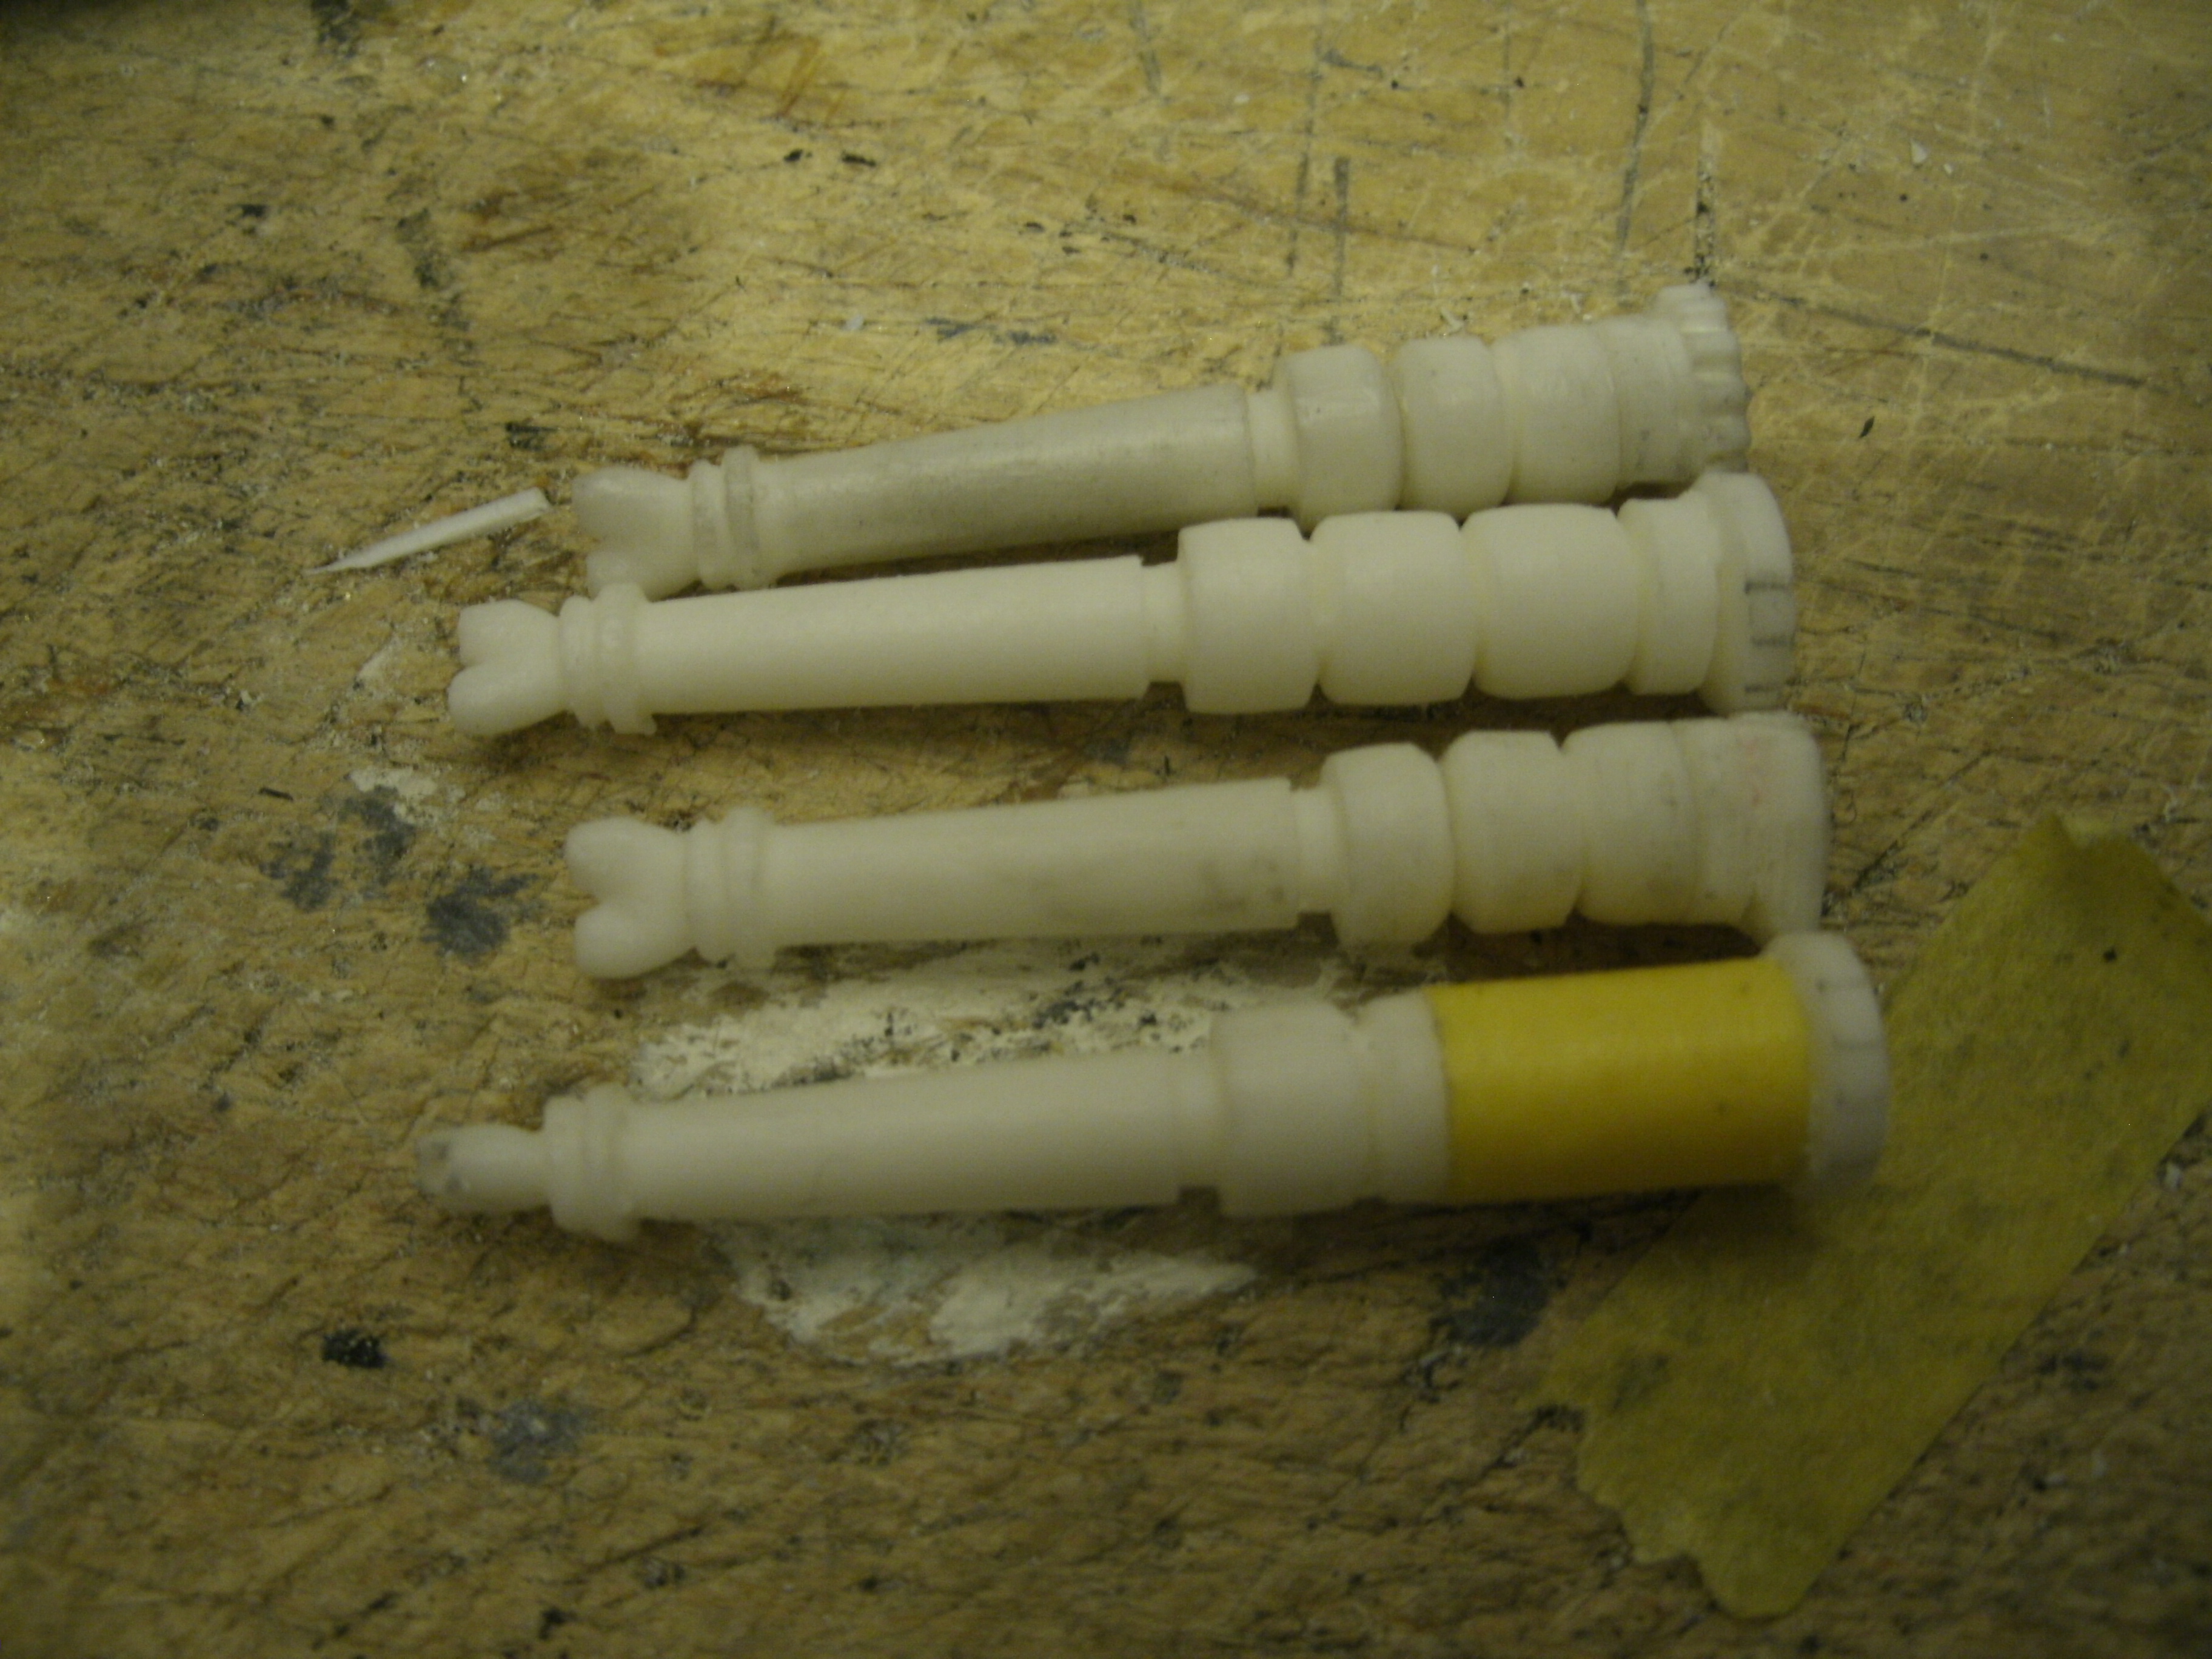
firstly i got my cast cannons back and after mocking them up 2 things happened,firstly i broke the mountings for the cannons(arms)
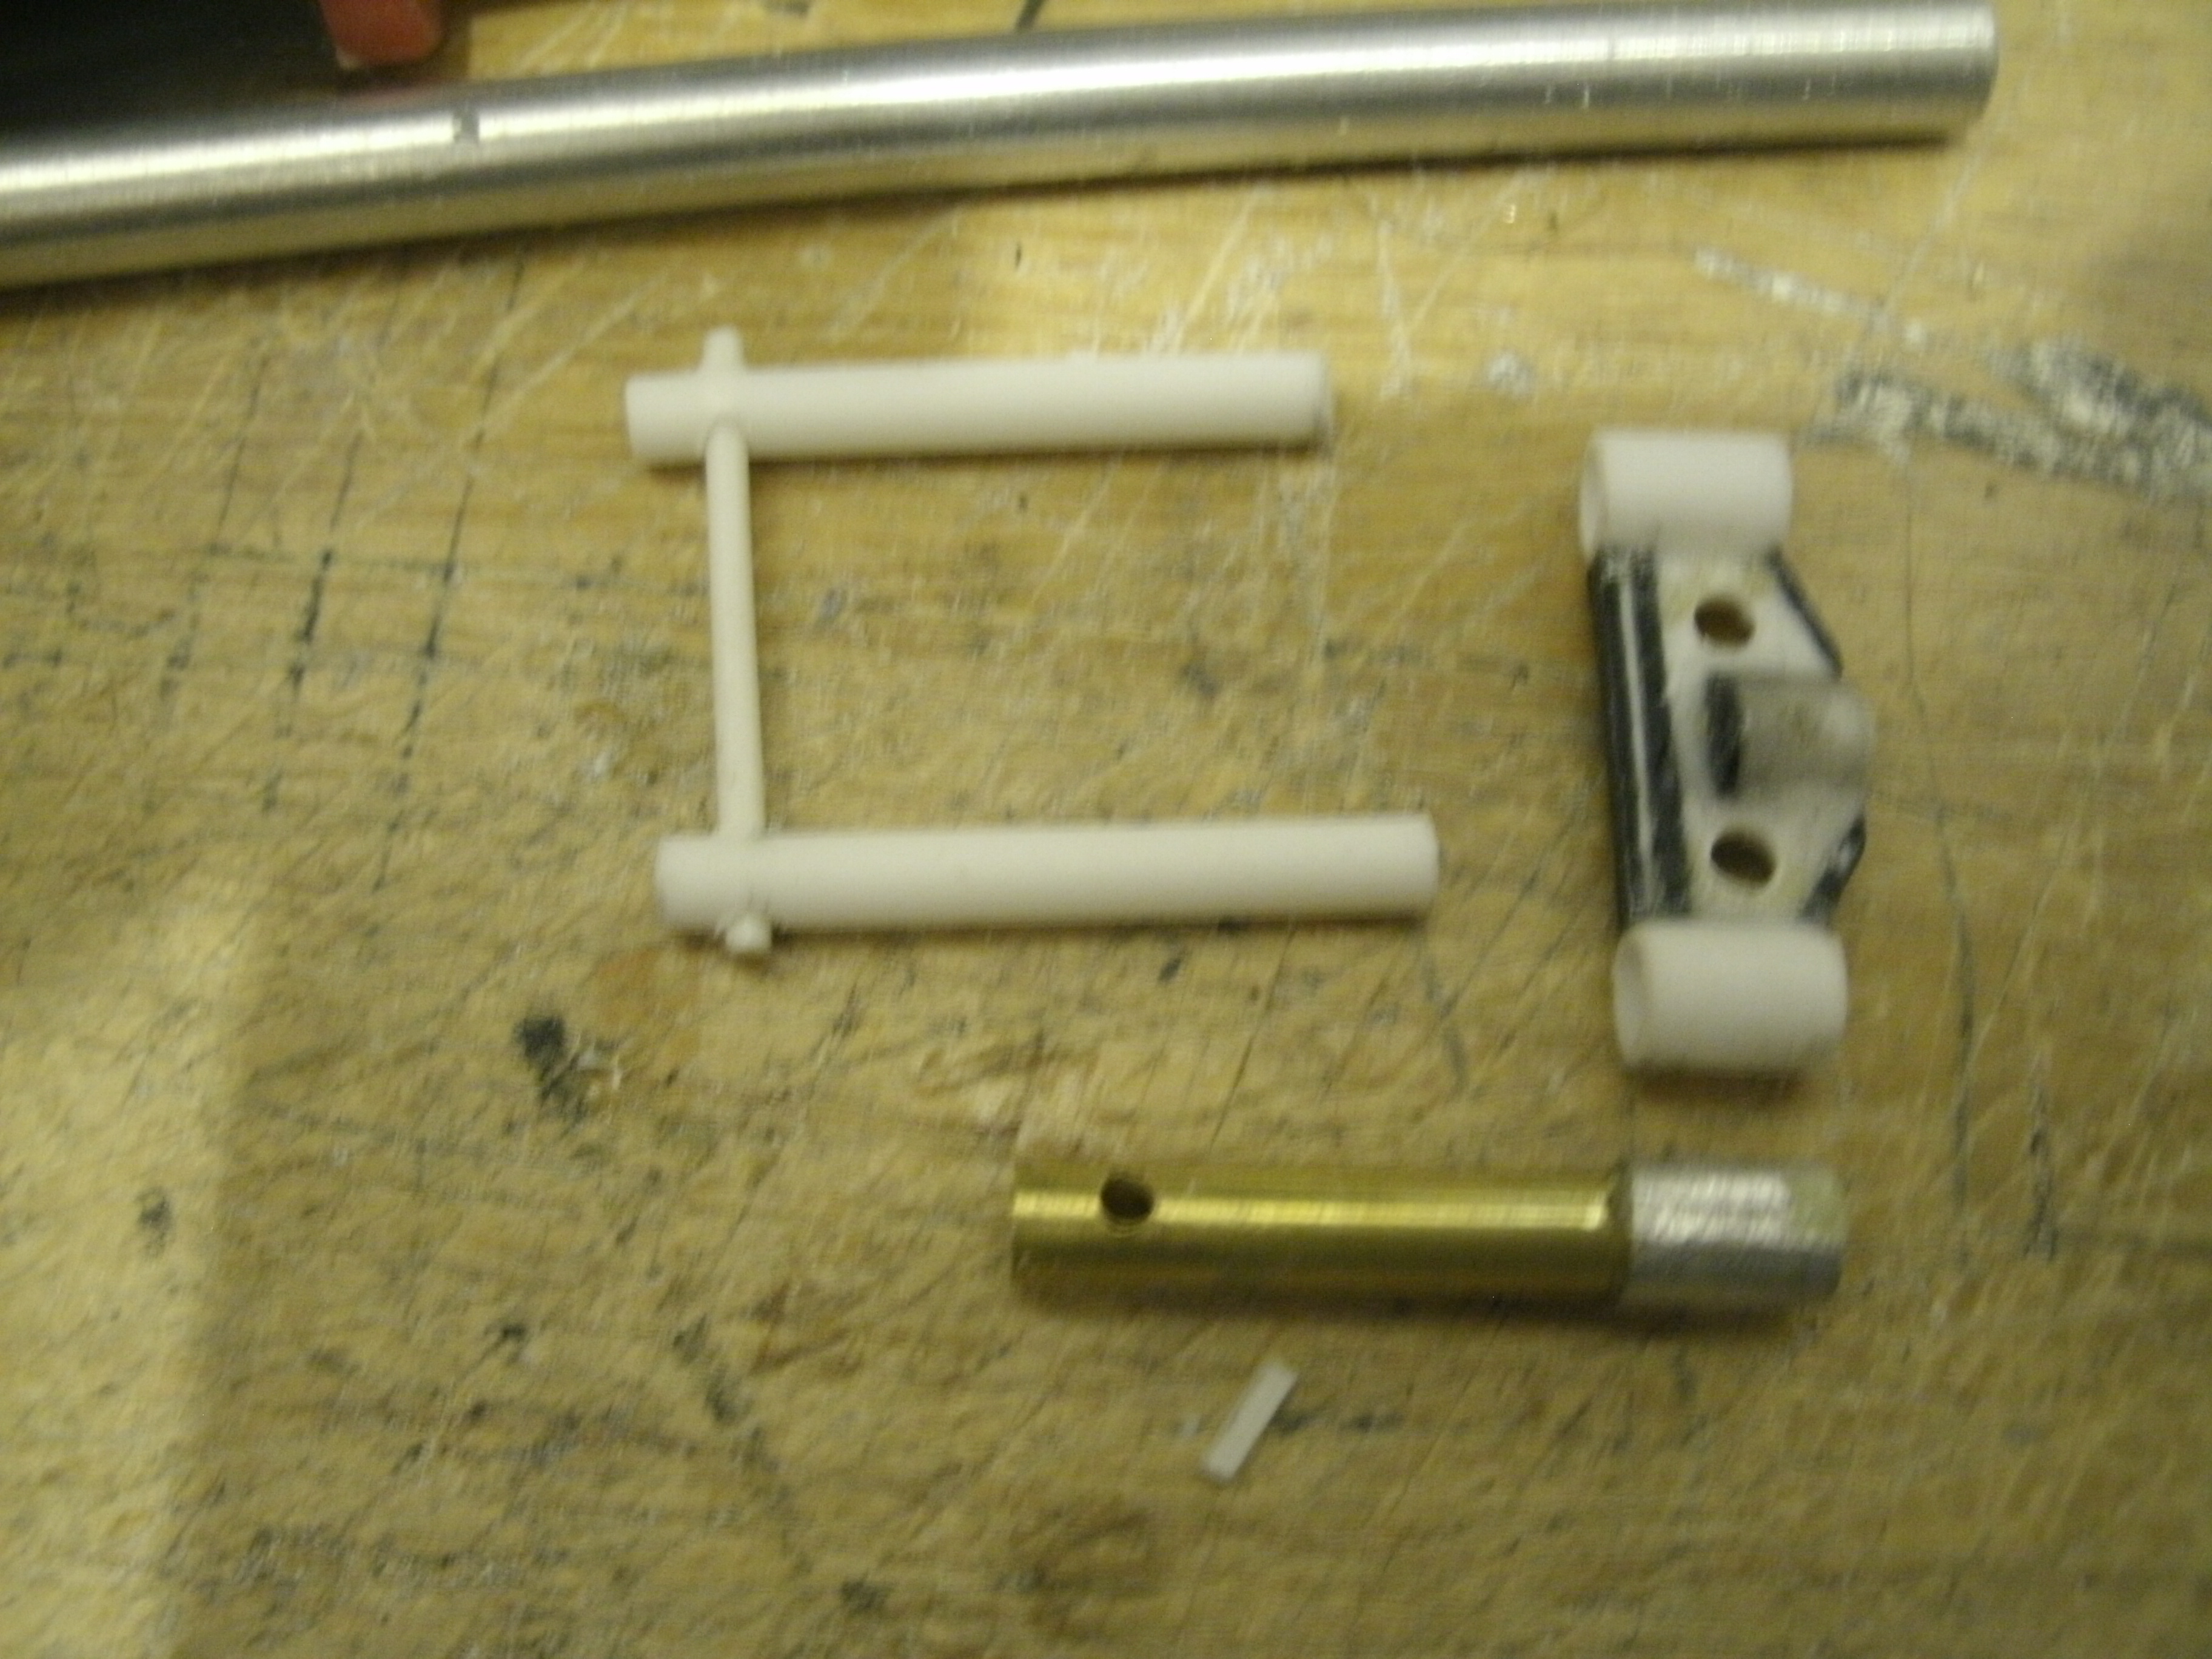
and i noticed that the guns were 4mm too long. so to fix the first problem i remade the mounts this time using styrene rods and tubing
which i should of used the first time:facepalm
on this first image you can see that i've cut down 2 and 2 are original,i had to cut down the 3 segments at the back of the cannons
as the rest of the cannons is either tapered or i'd lose detail.
attachment.php

i'm very impressed with jaitea's castings......and he did warn me that they looked abit too big!
my second problem i just remade all together.
attachment.php

i just couldn't get a decent bond with the metal and brass.
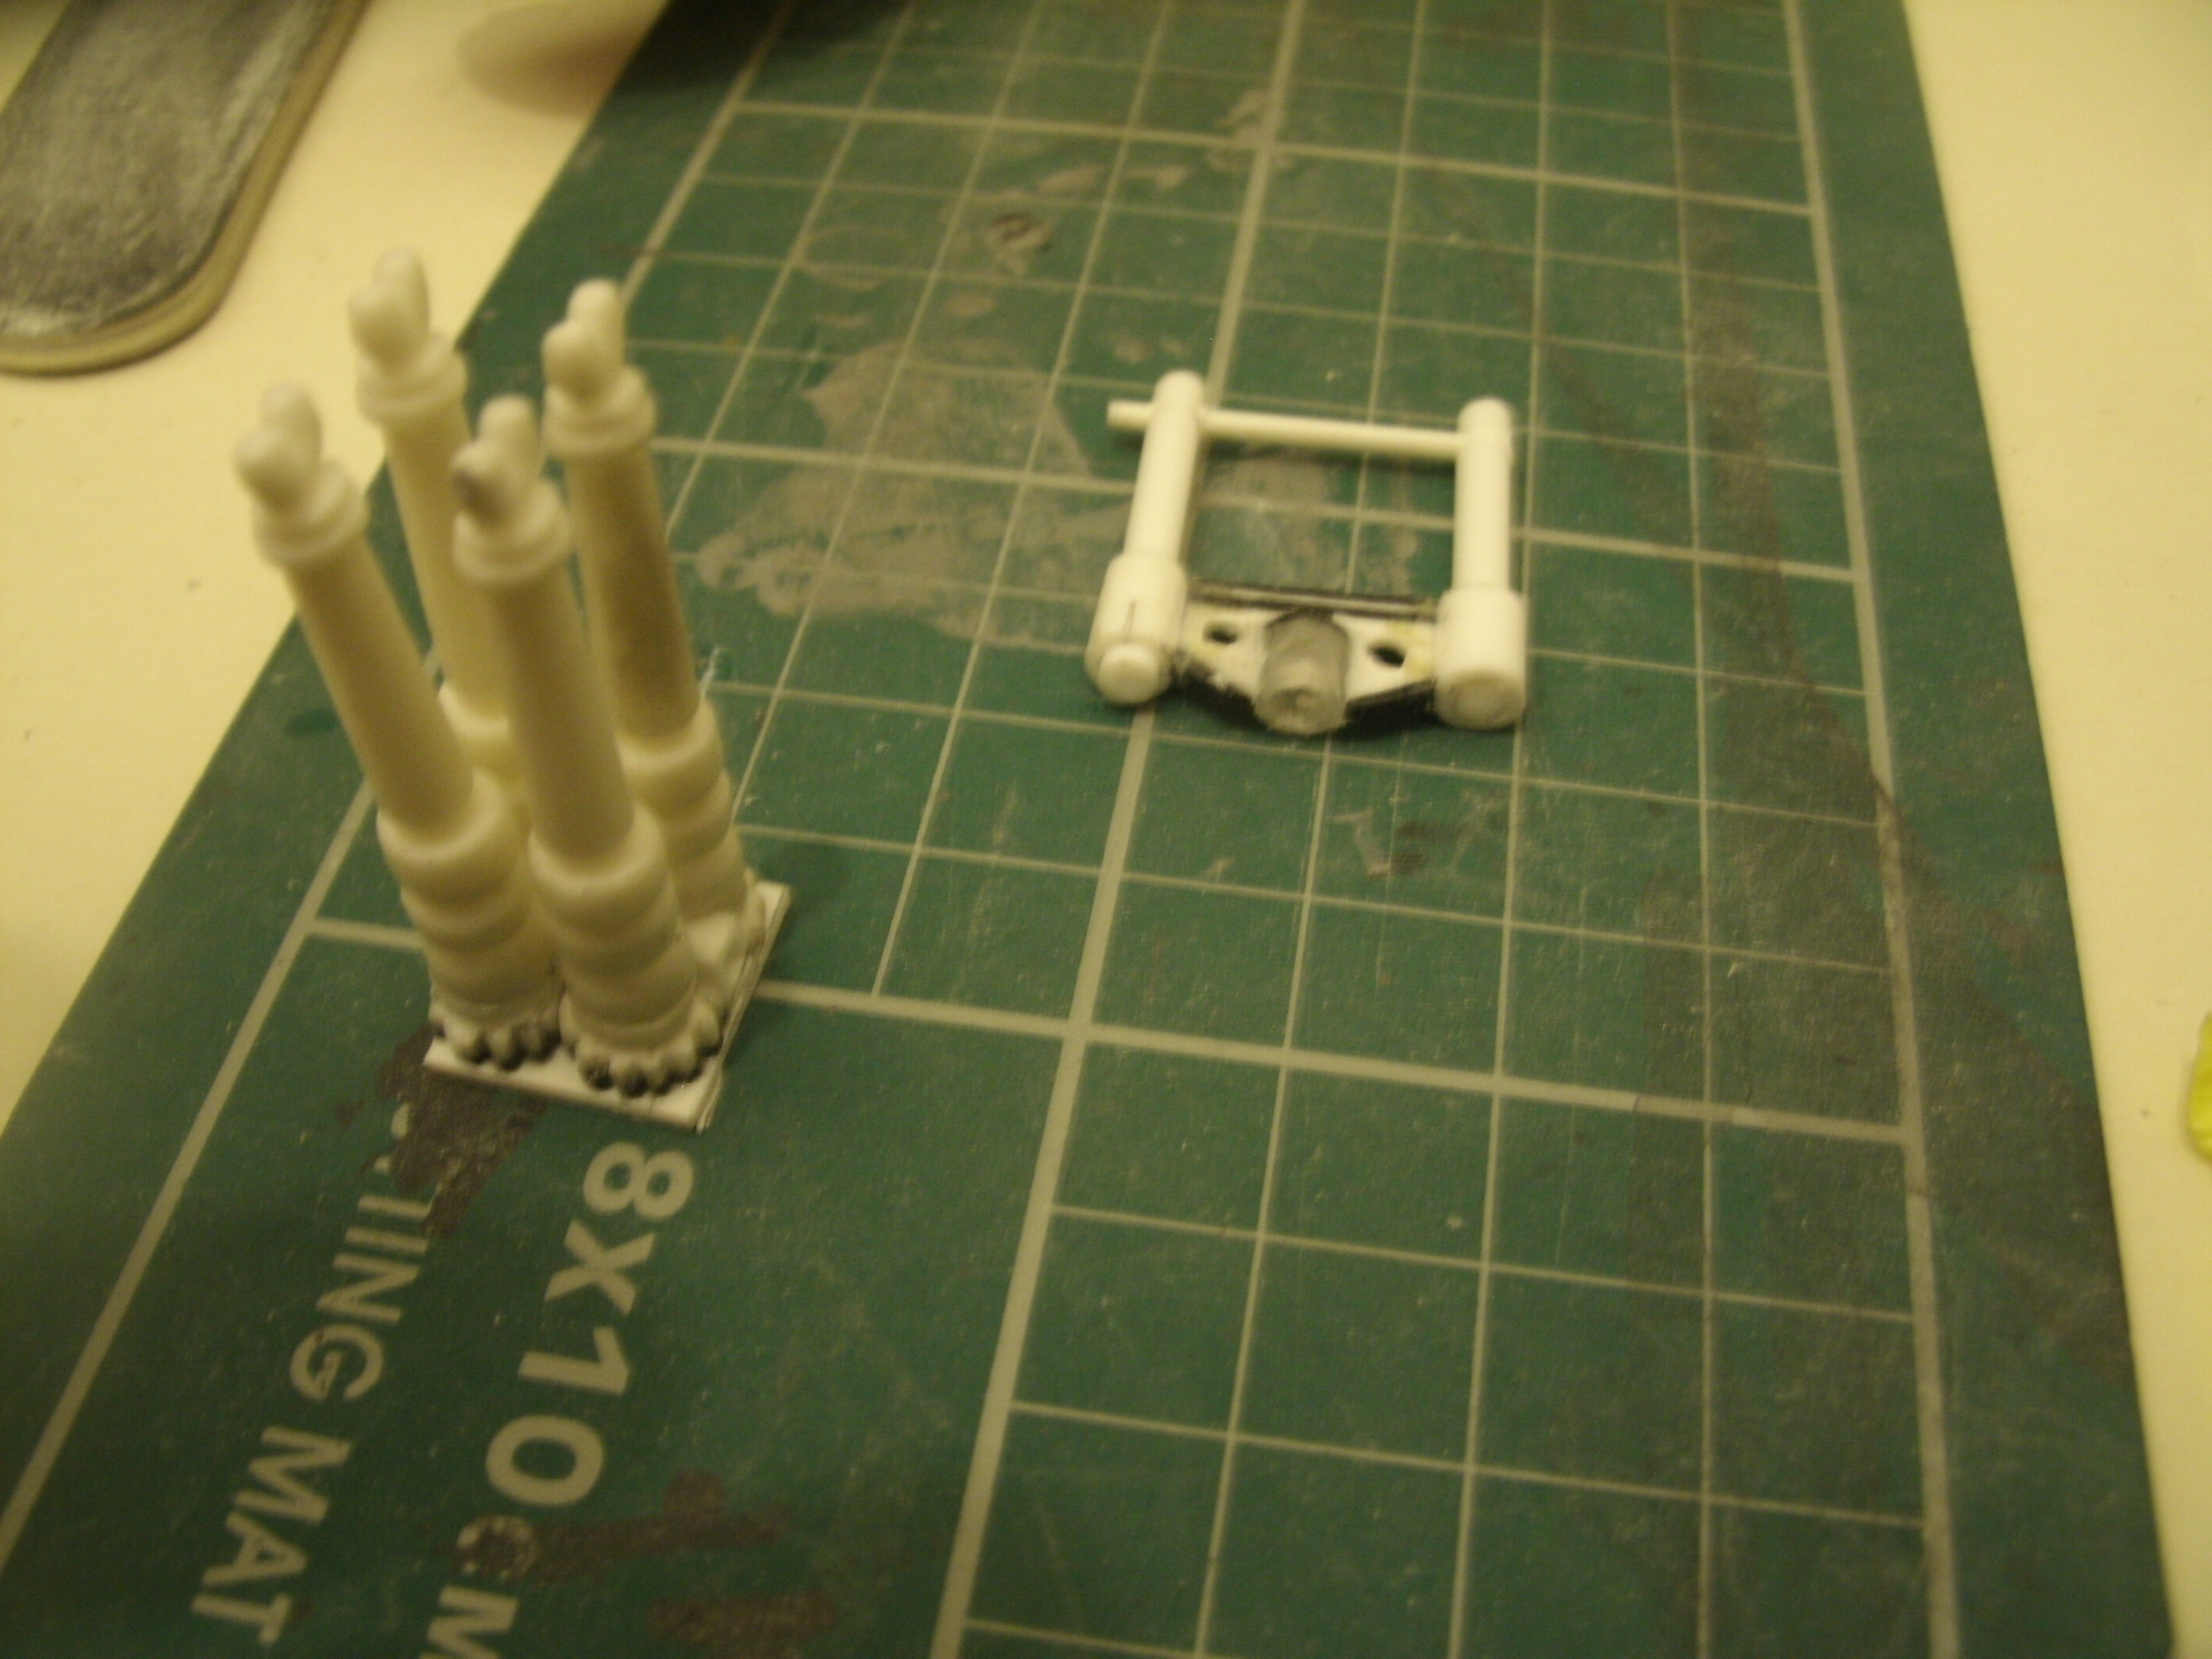
next i got the 4 cannons mounted on a backing plate with some evergreen box tubing inbetween to allow it to articulate,but i found that all it wanted to do was lie
flat and not in position so my simple fix was to put alittle blue tack inside the box tubing and it worked a treat.
attachment.php

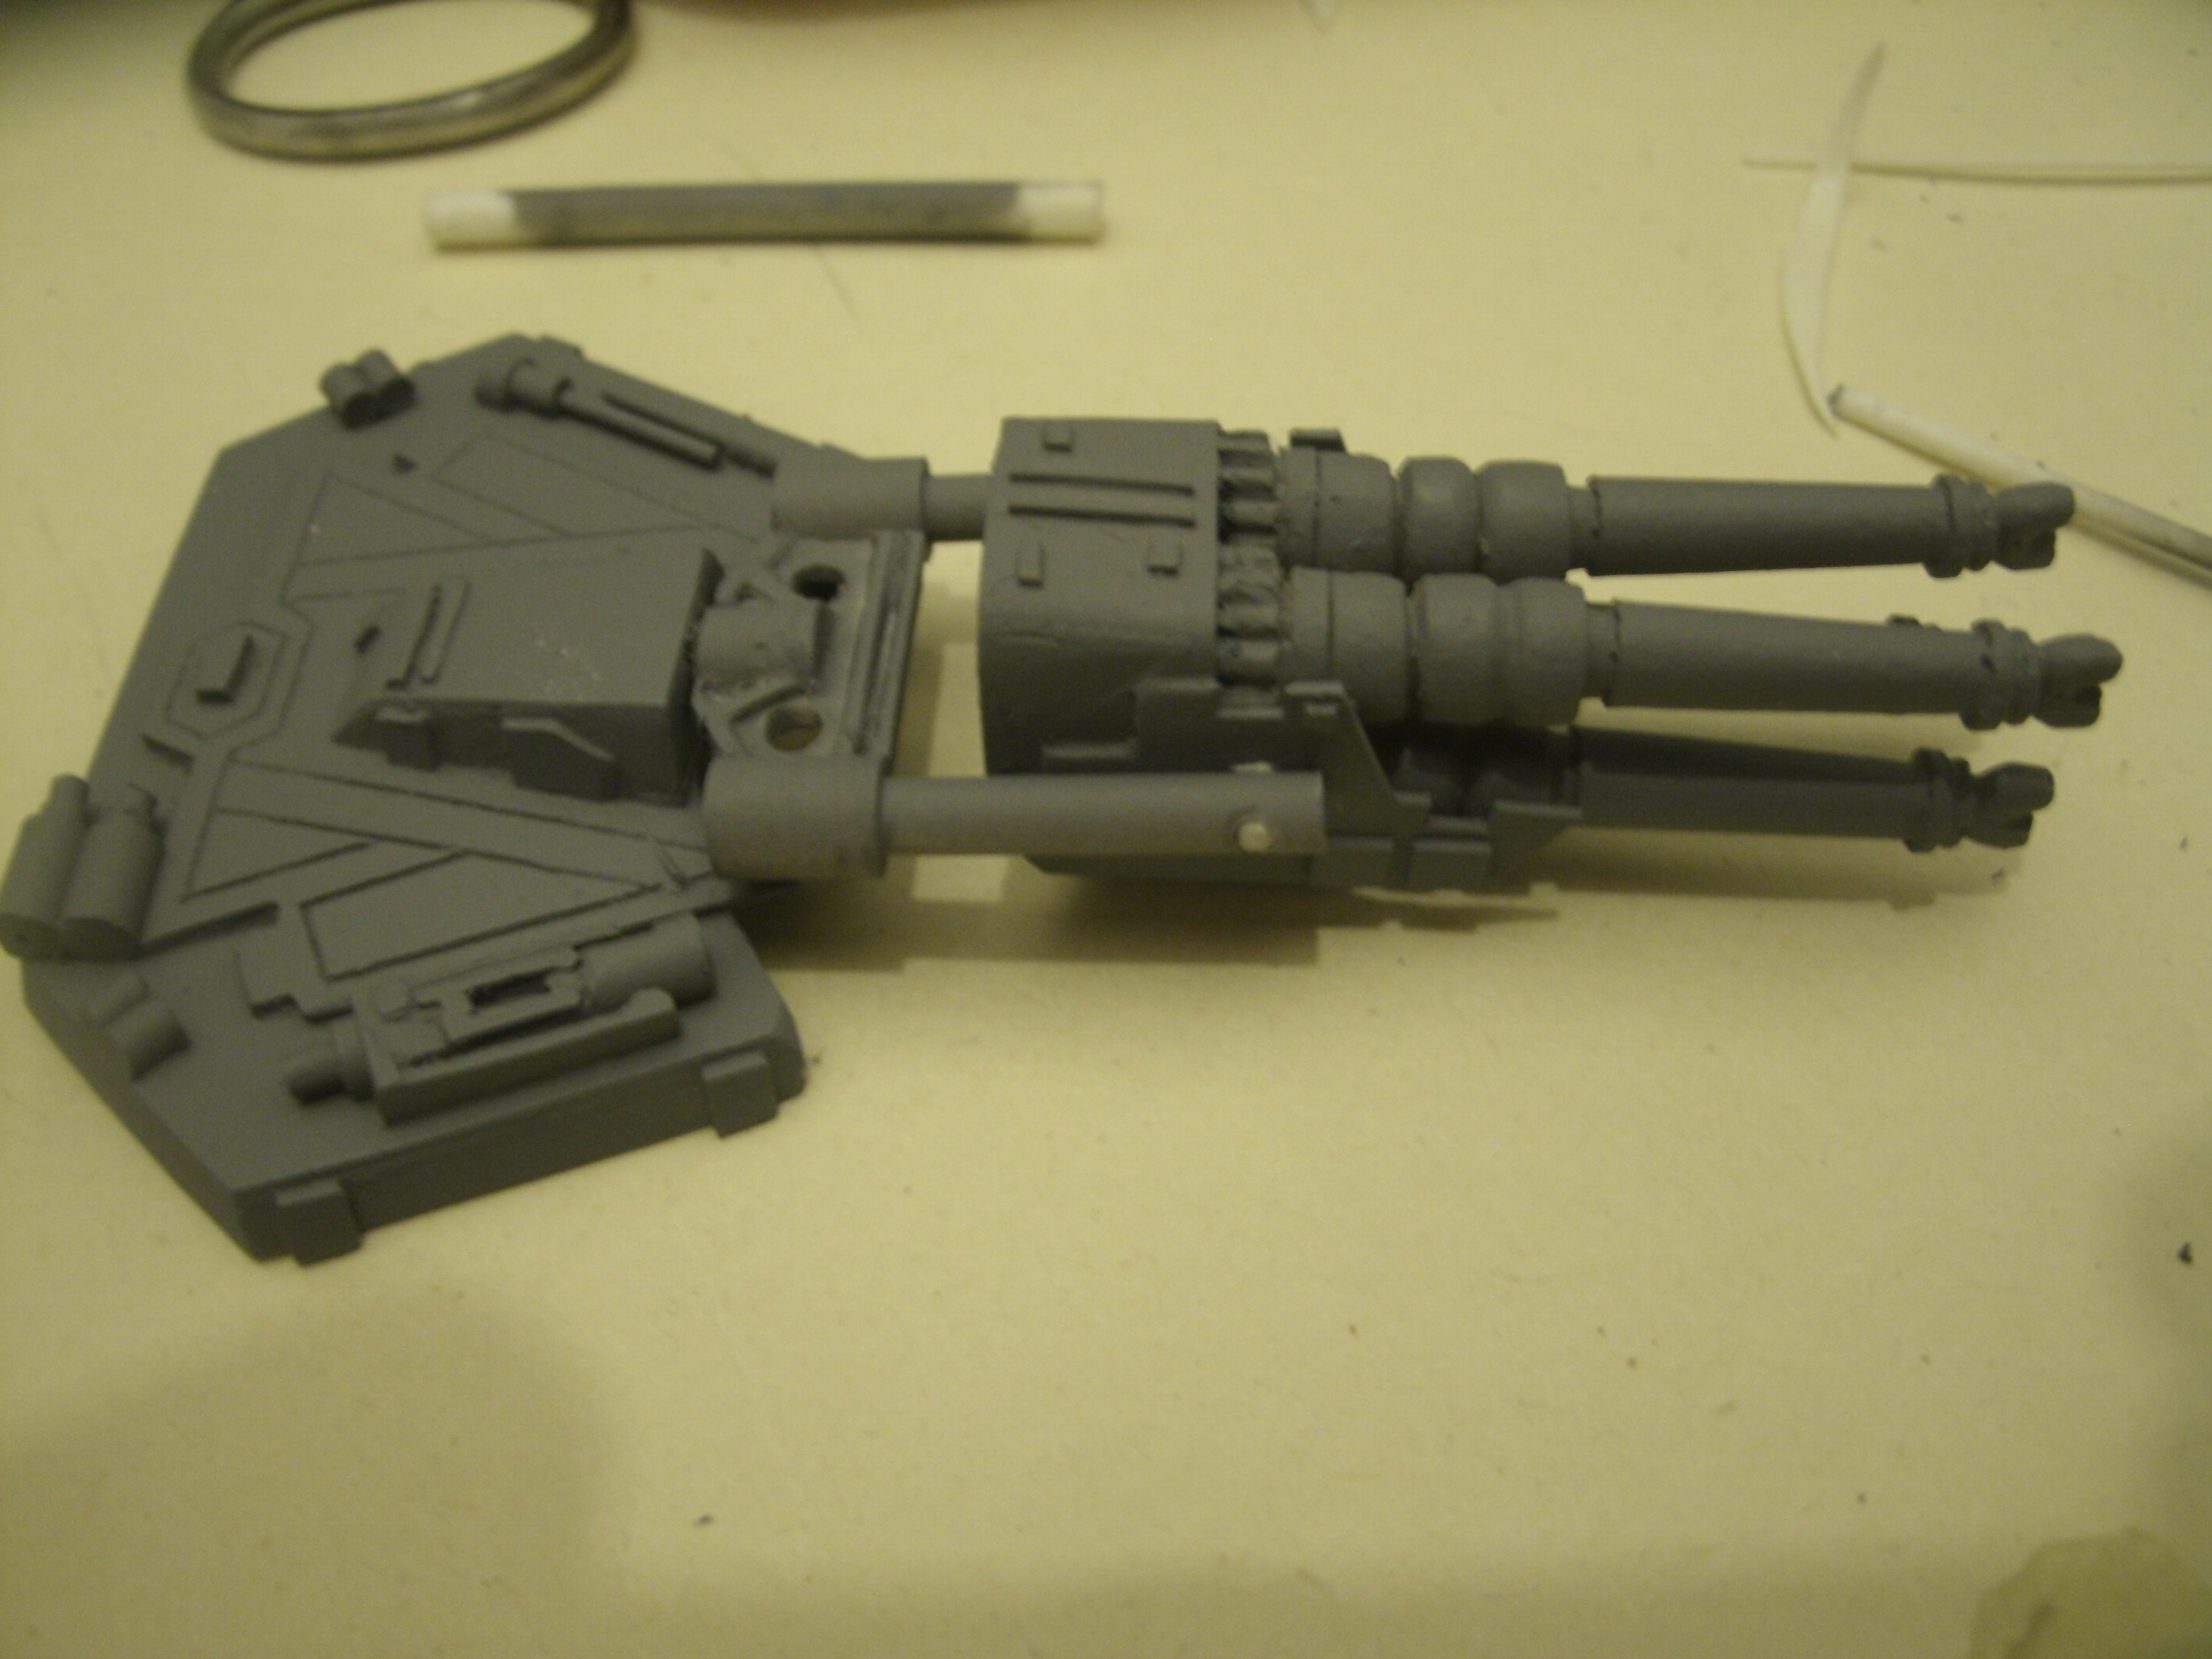
after doin all this with the front of the cannons i decided to remake the back section of the cannons as i wasn't that happy with the detail and look of them,
so after making the cannons i gave it all a coat of primer just to get a look on if there was any bits that needed filling or repairing,but it all looked ok.
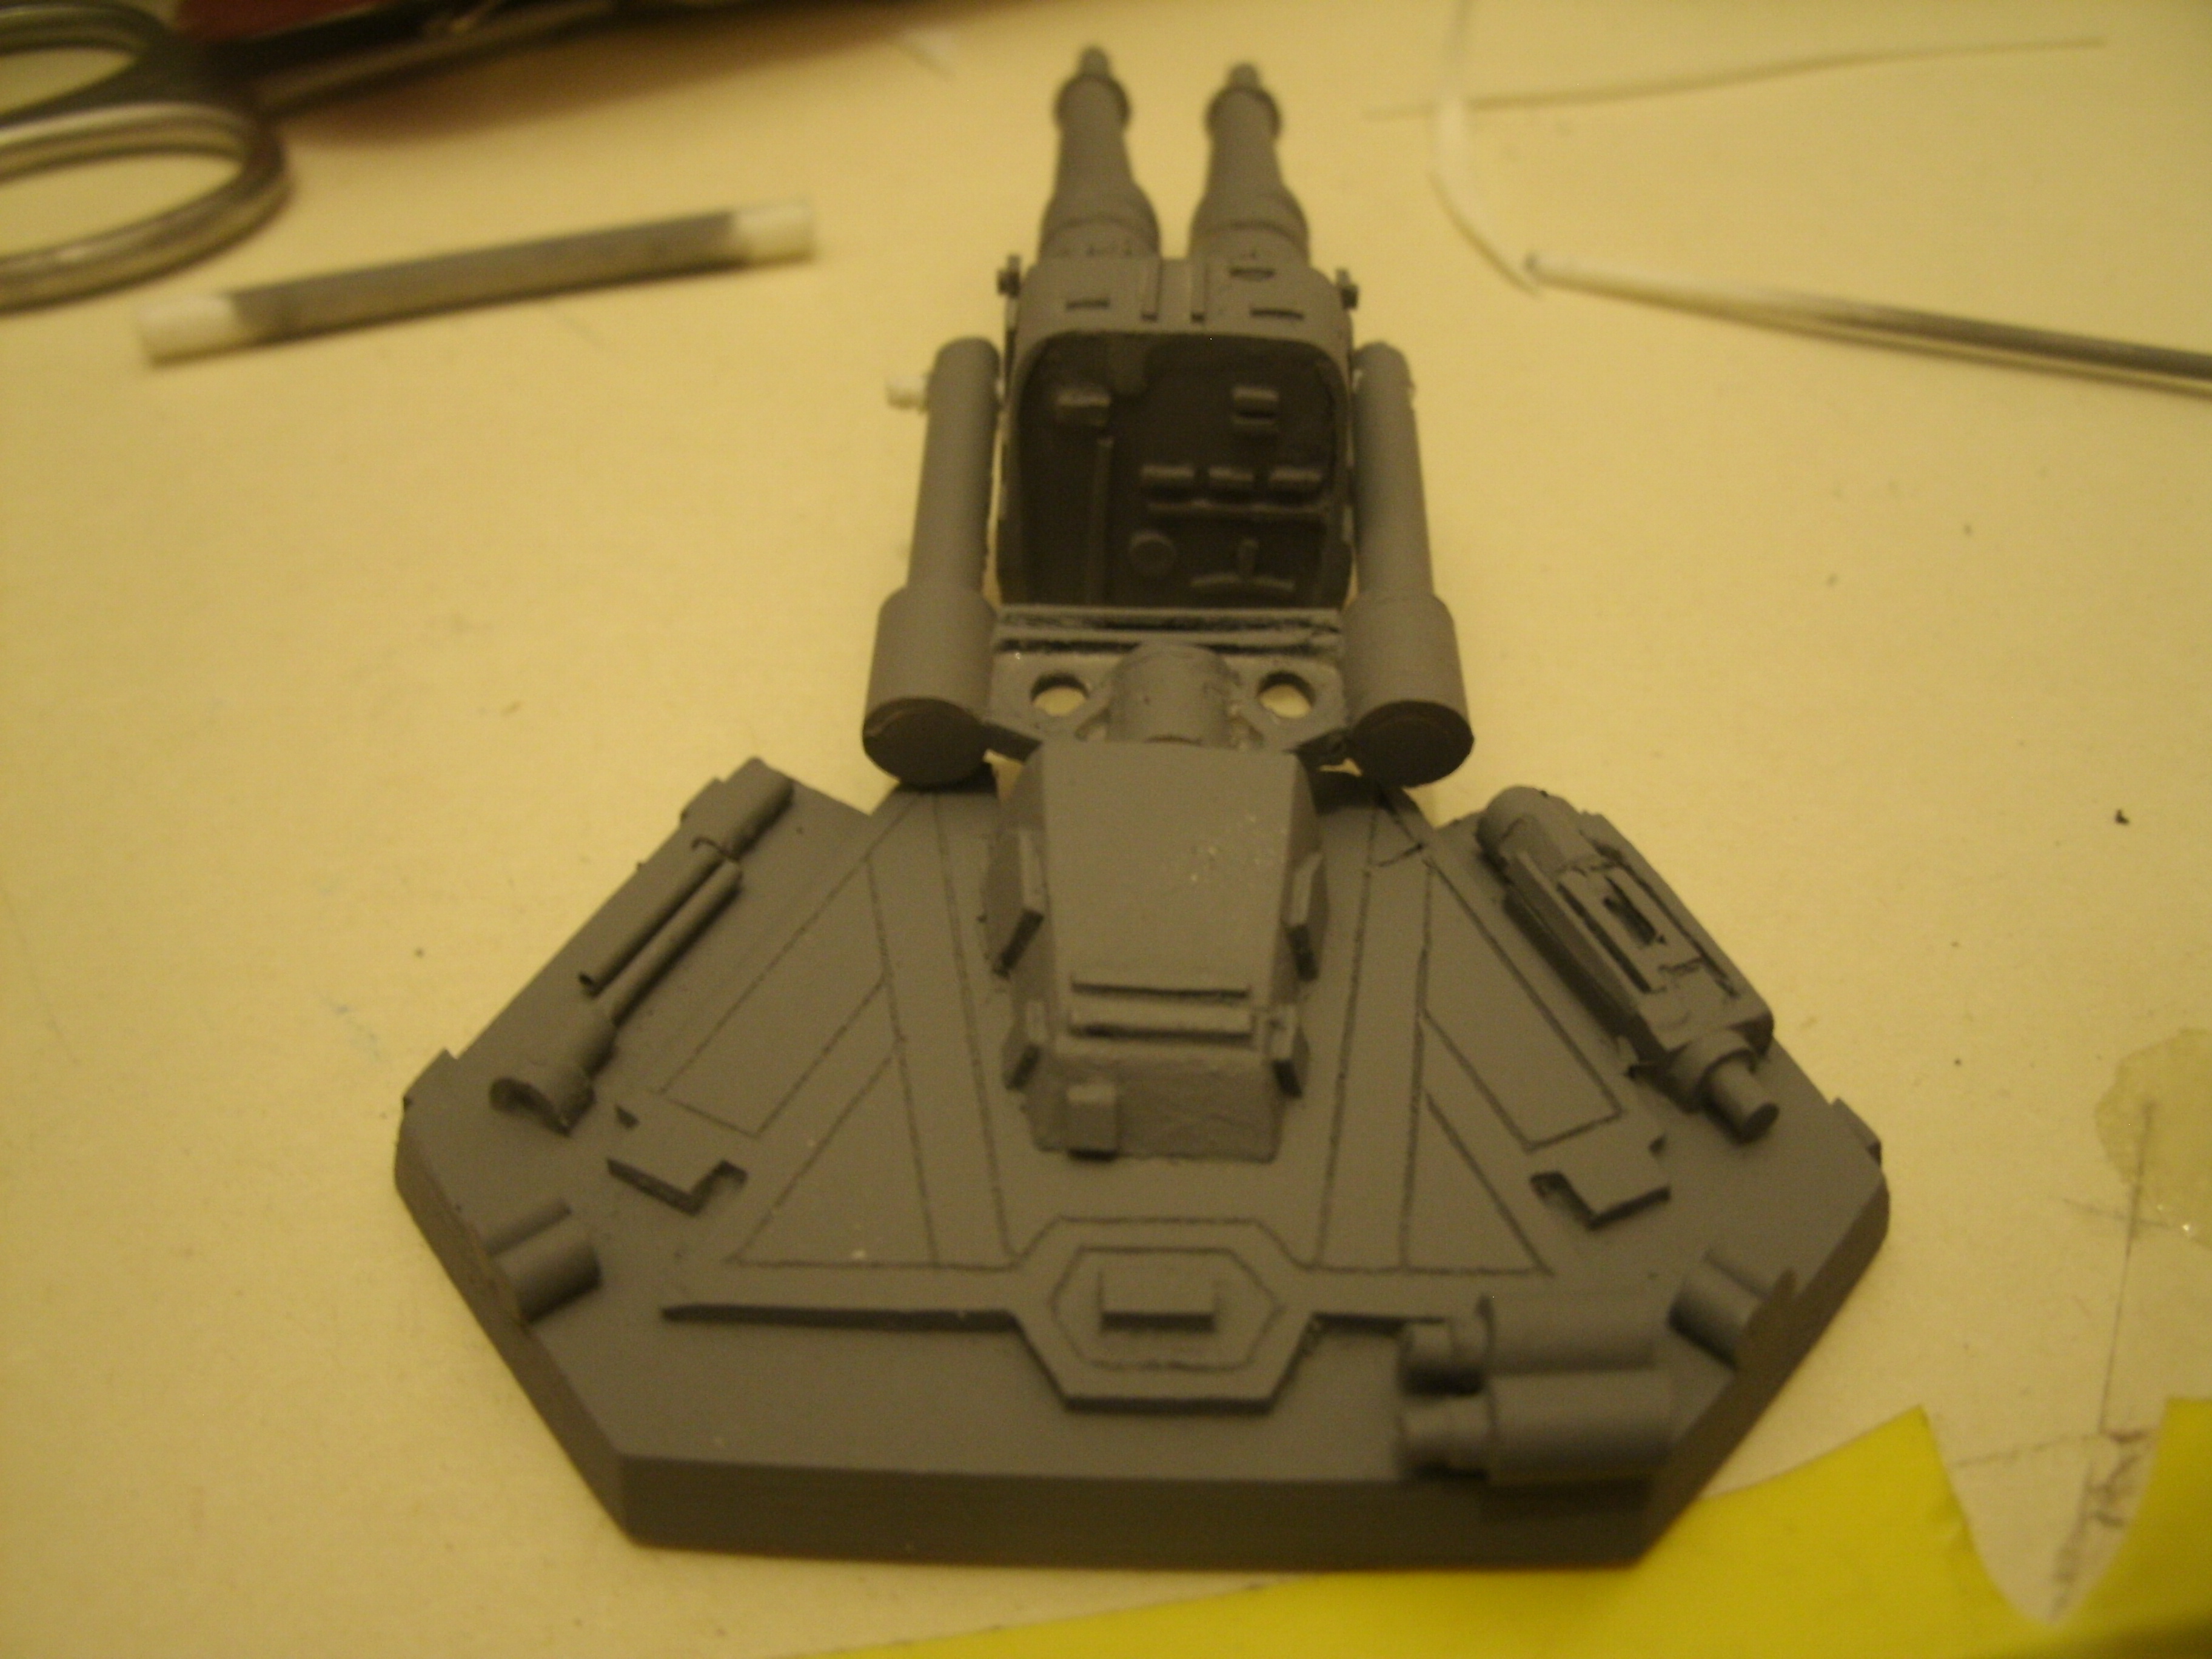
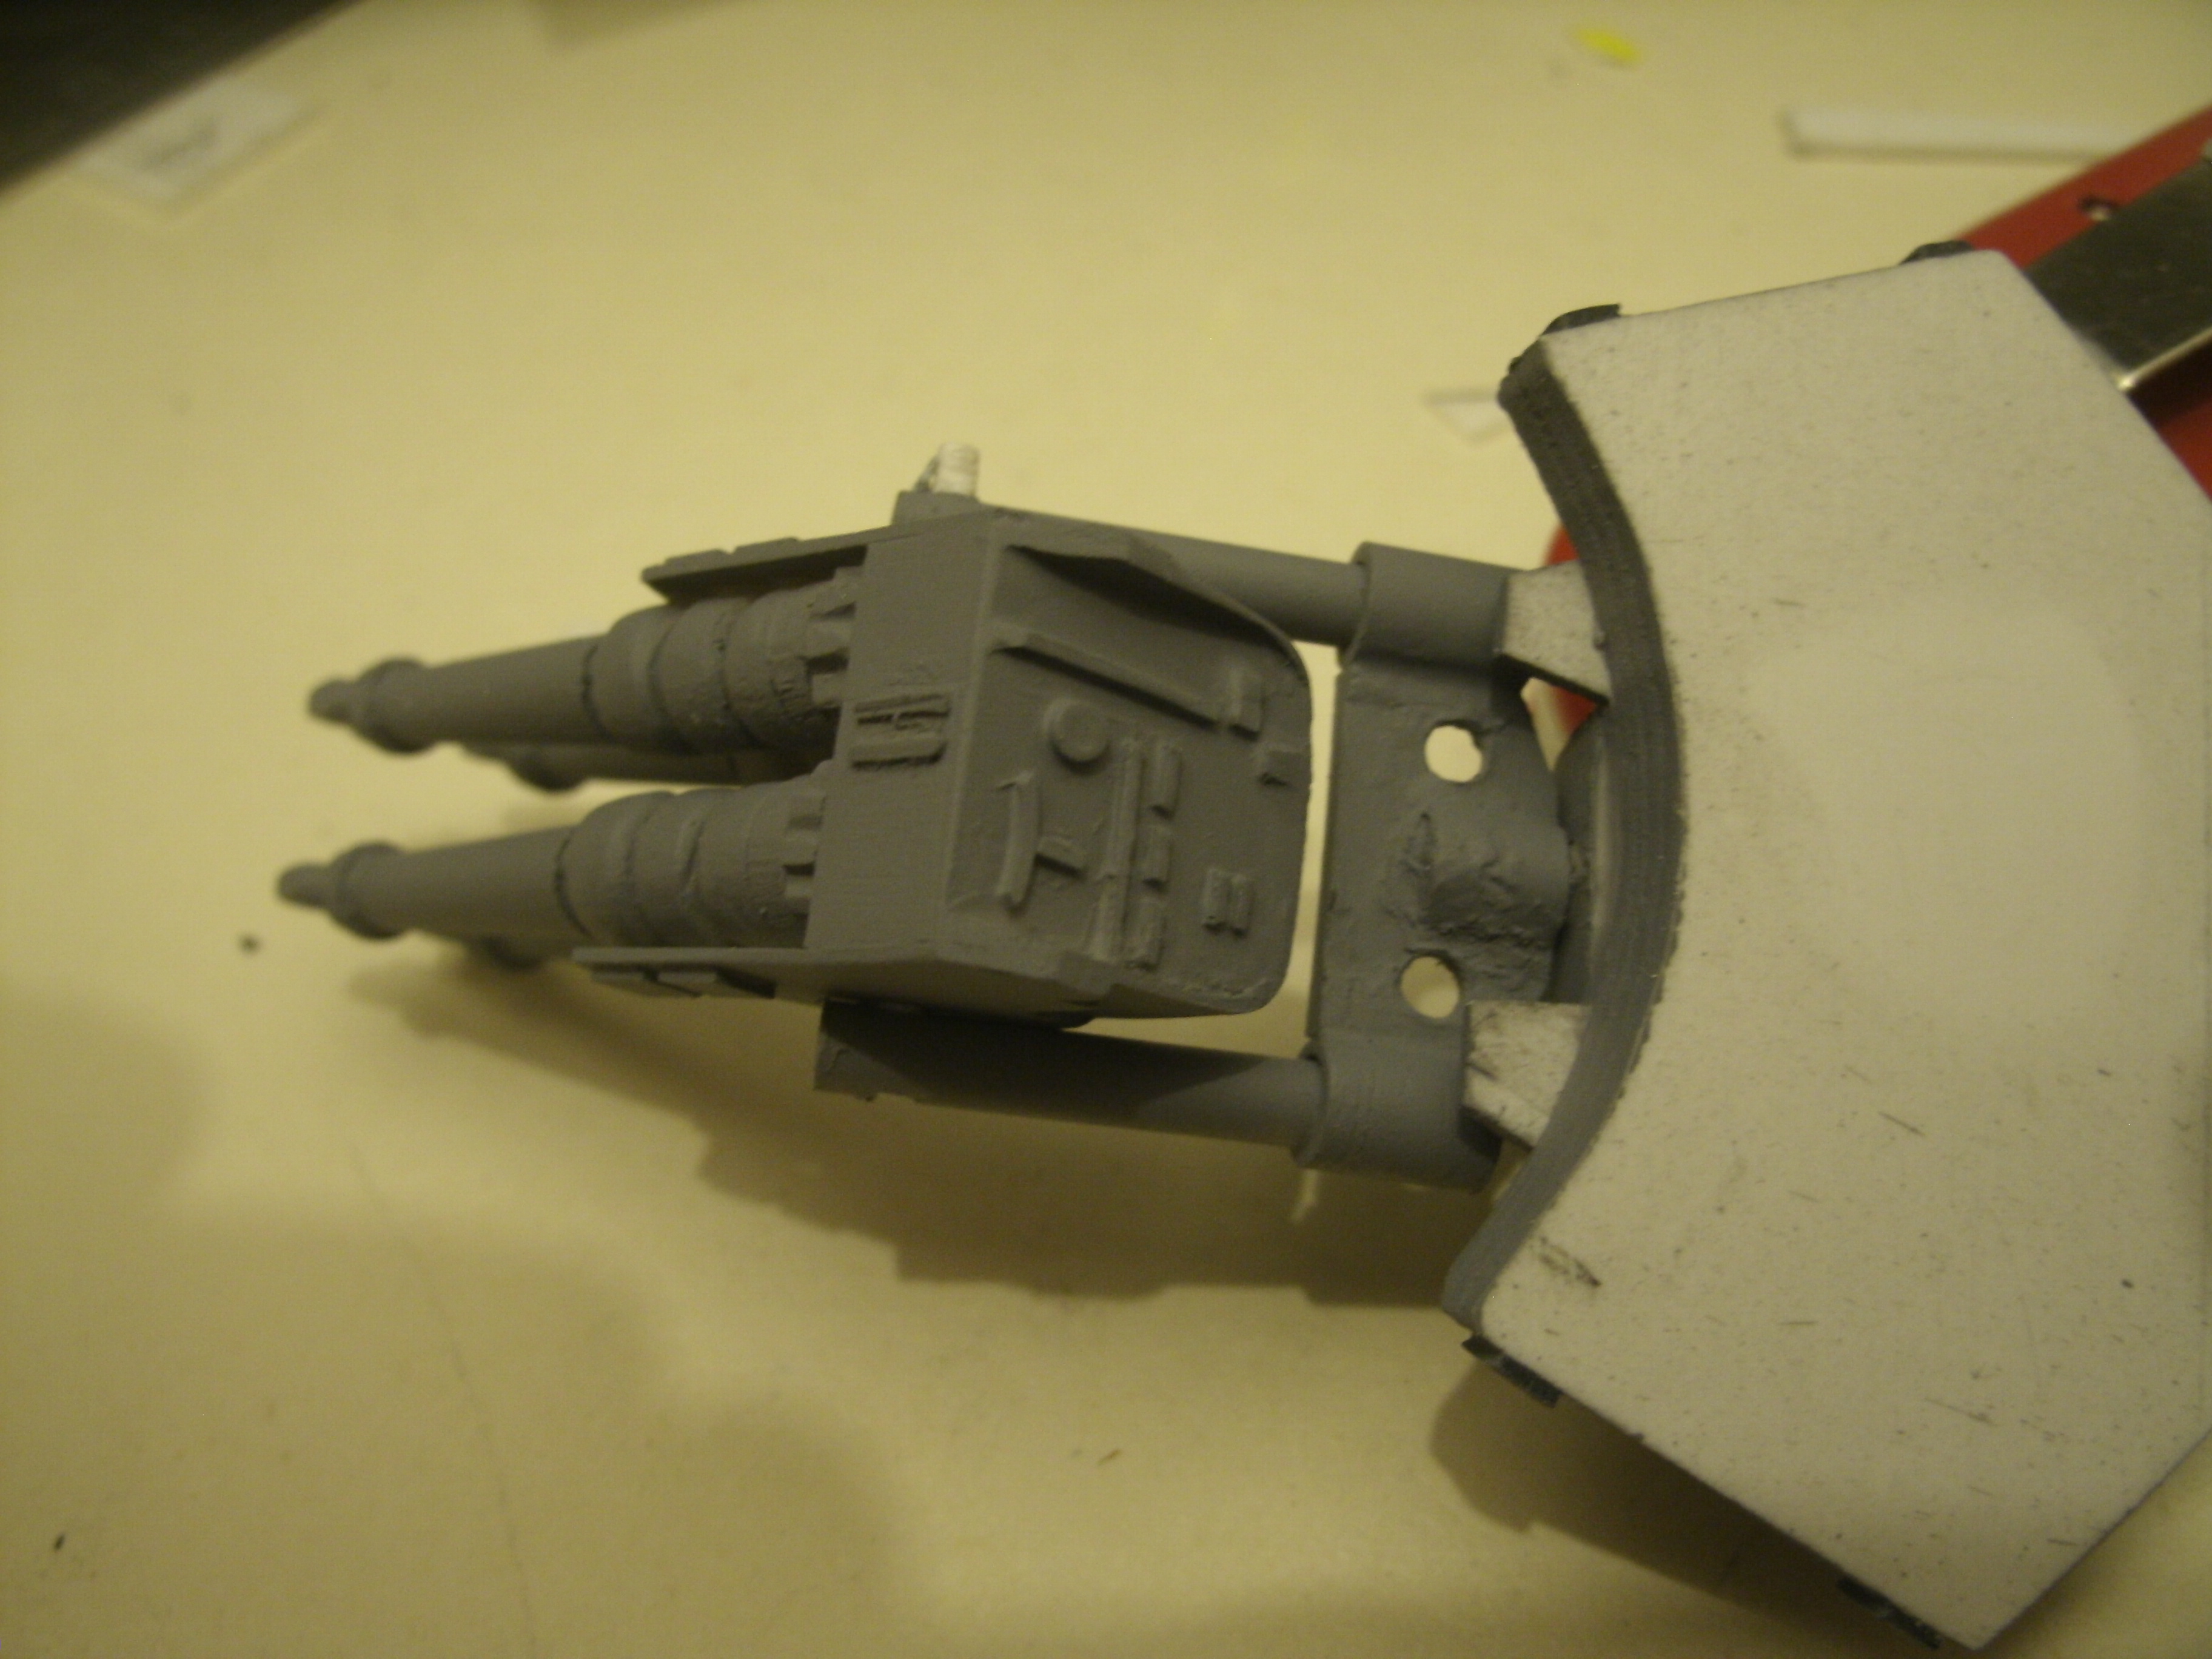
so here are some images of the finished cannons as yet,i still have a few little details to add on but you can get the jist.
attachment.php

attachment.php

attachment.php

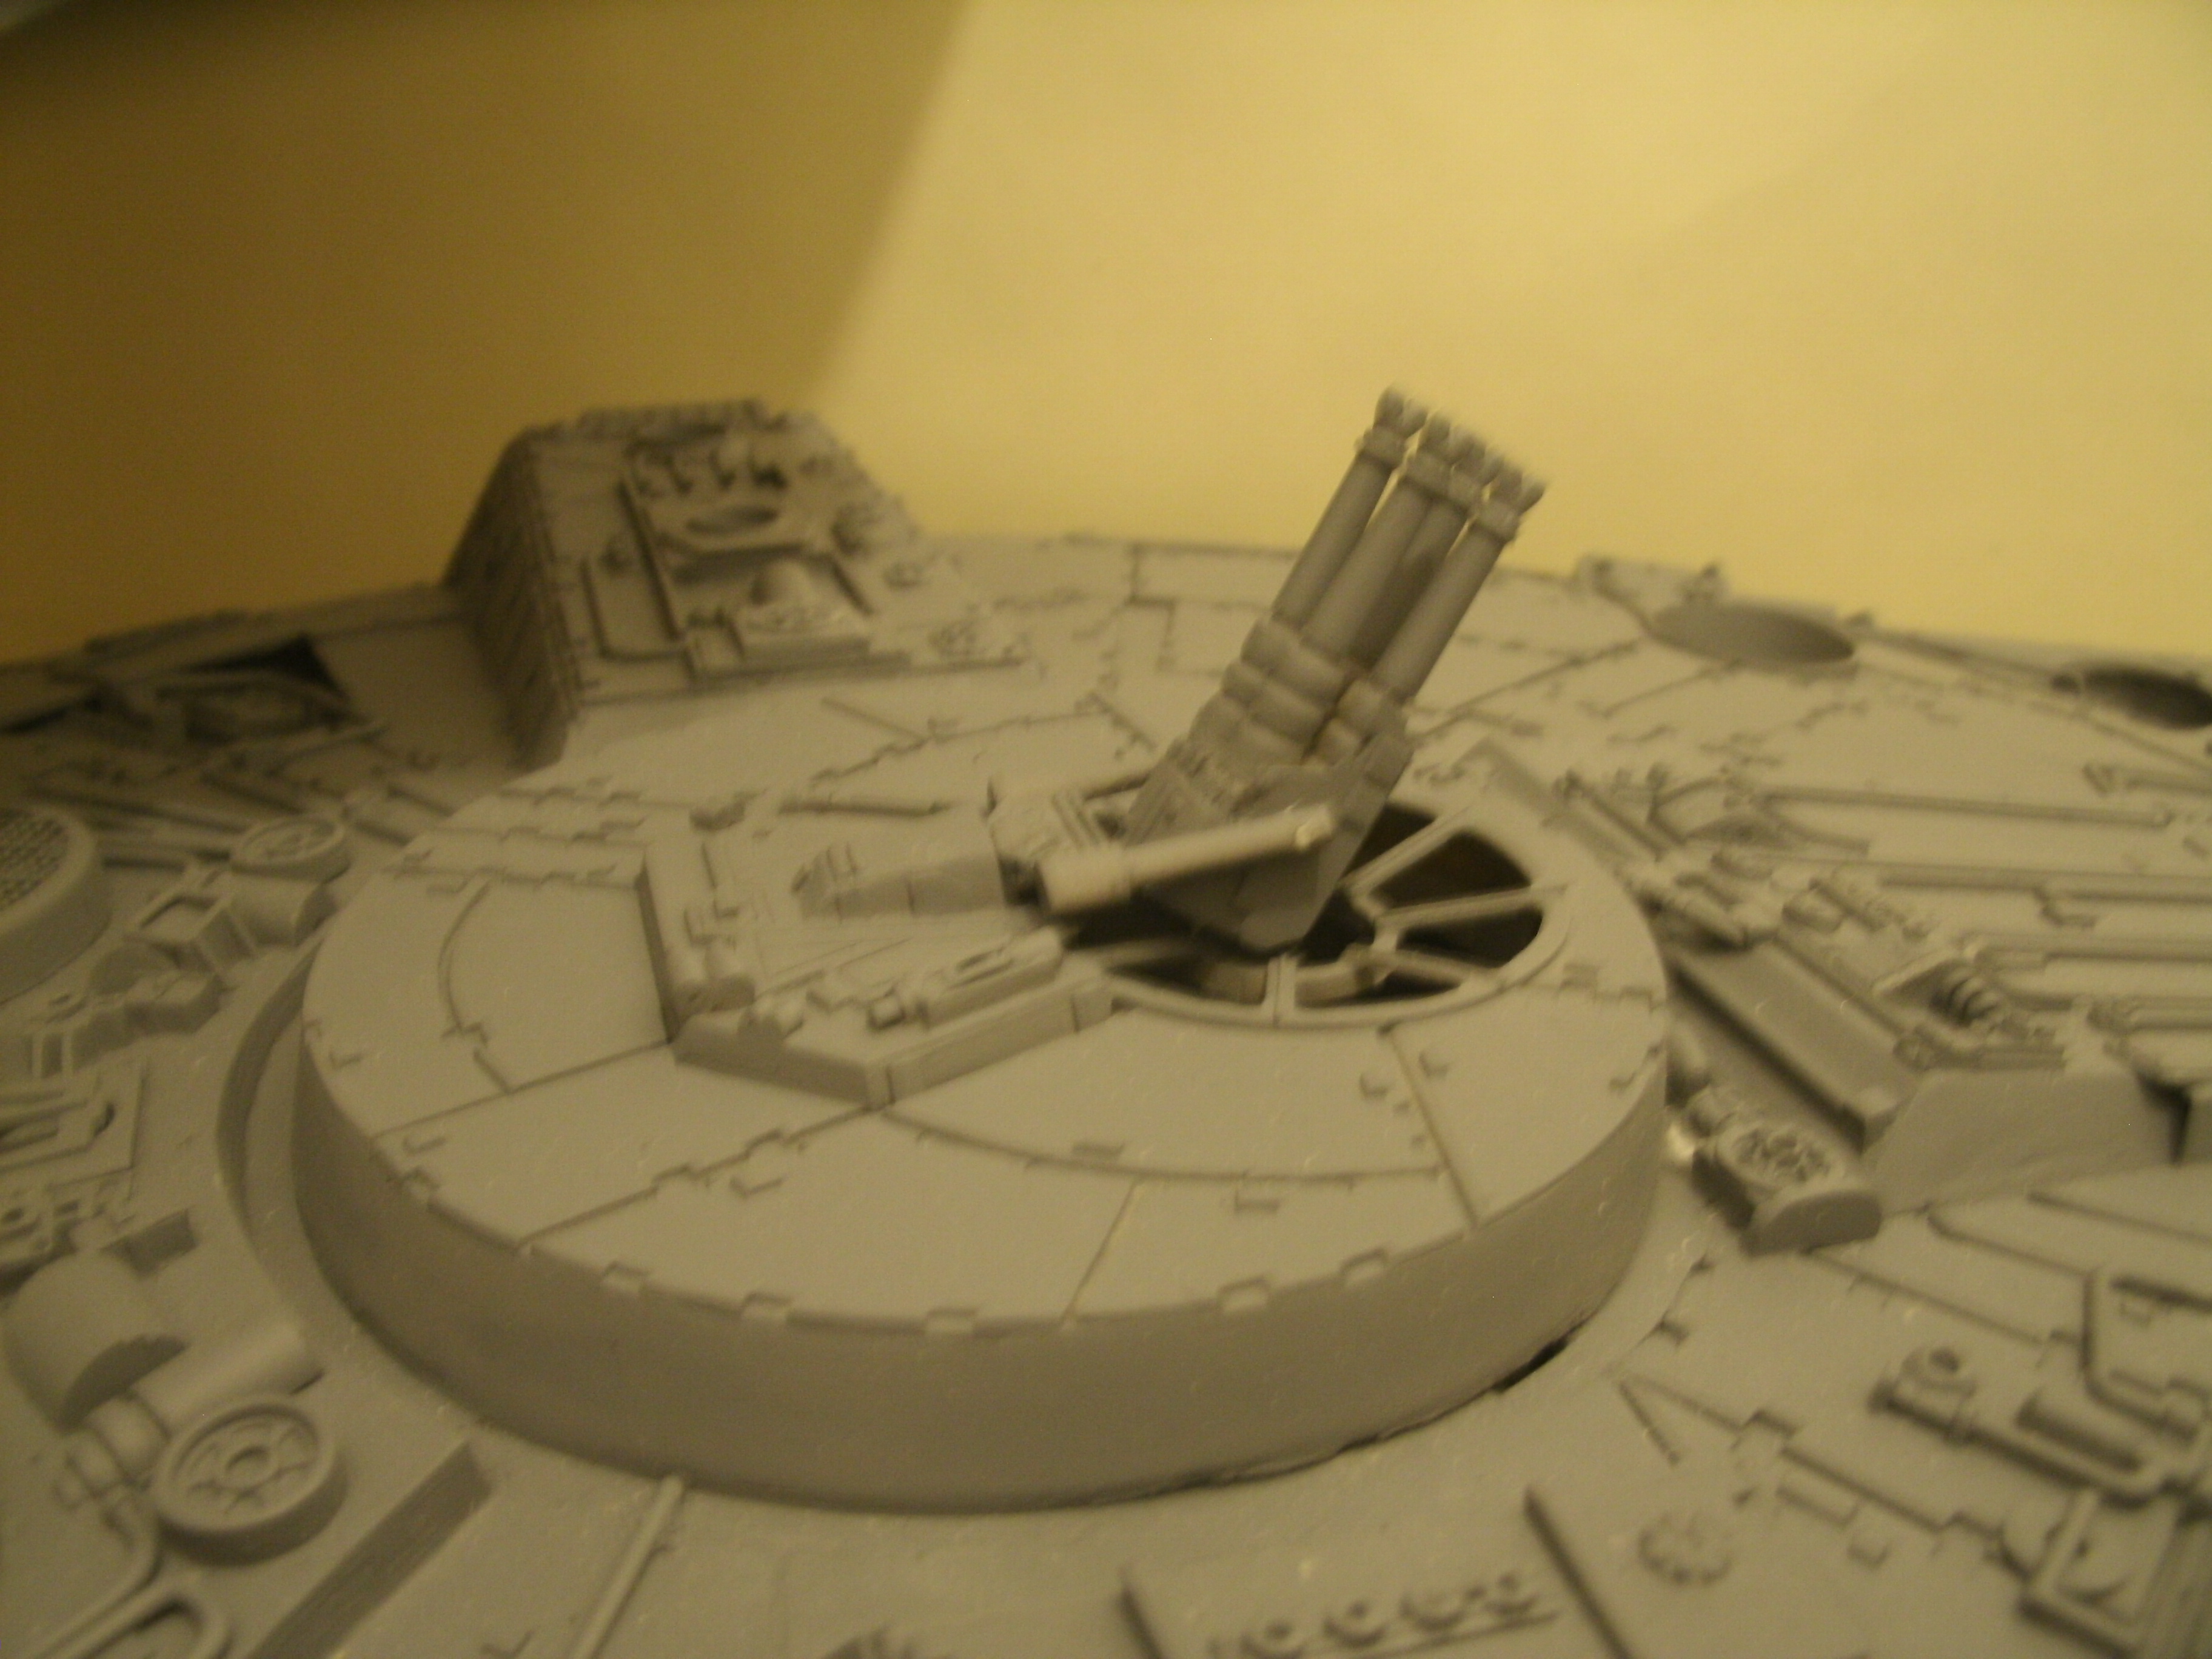
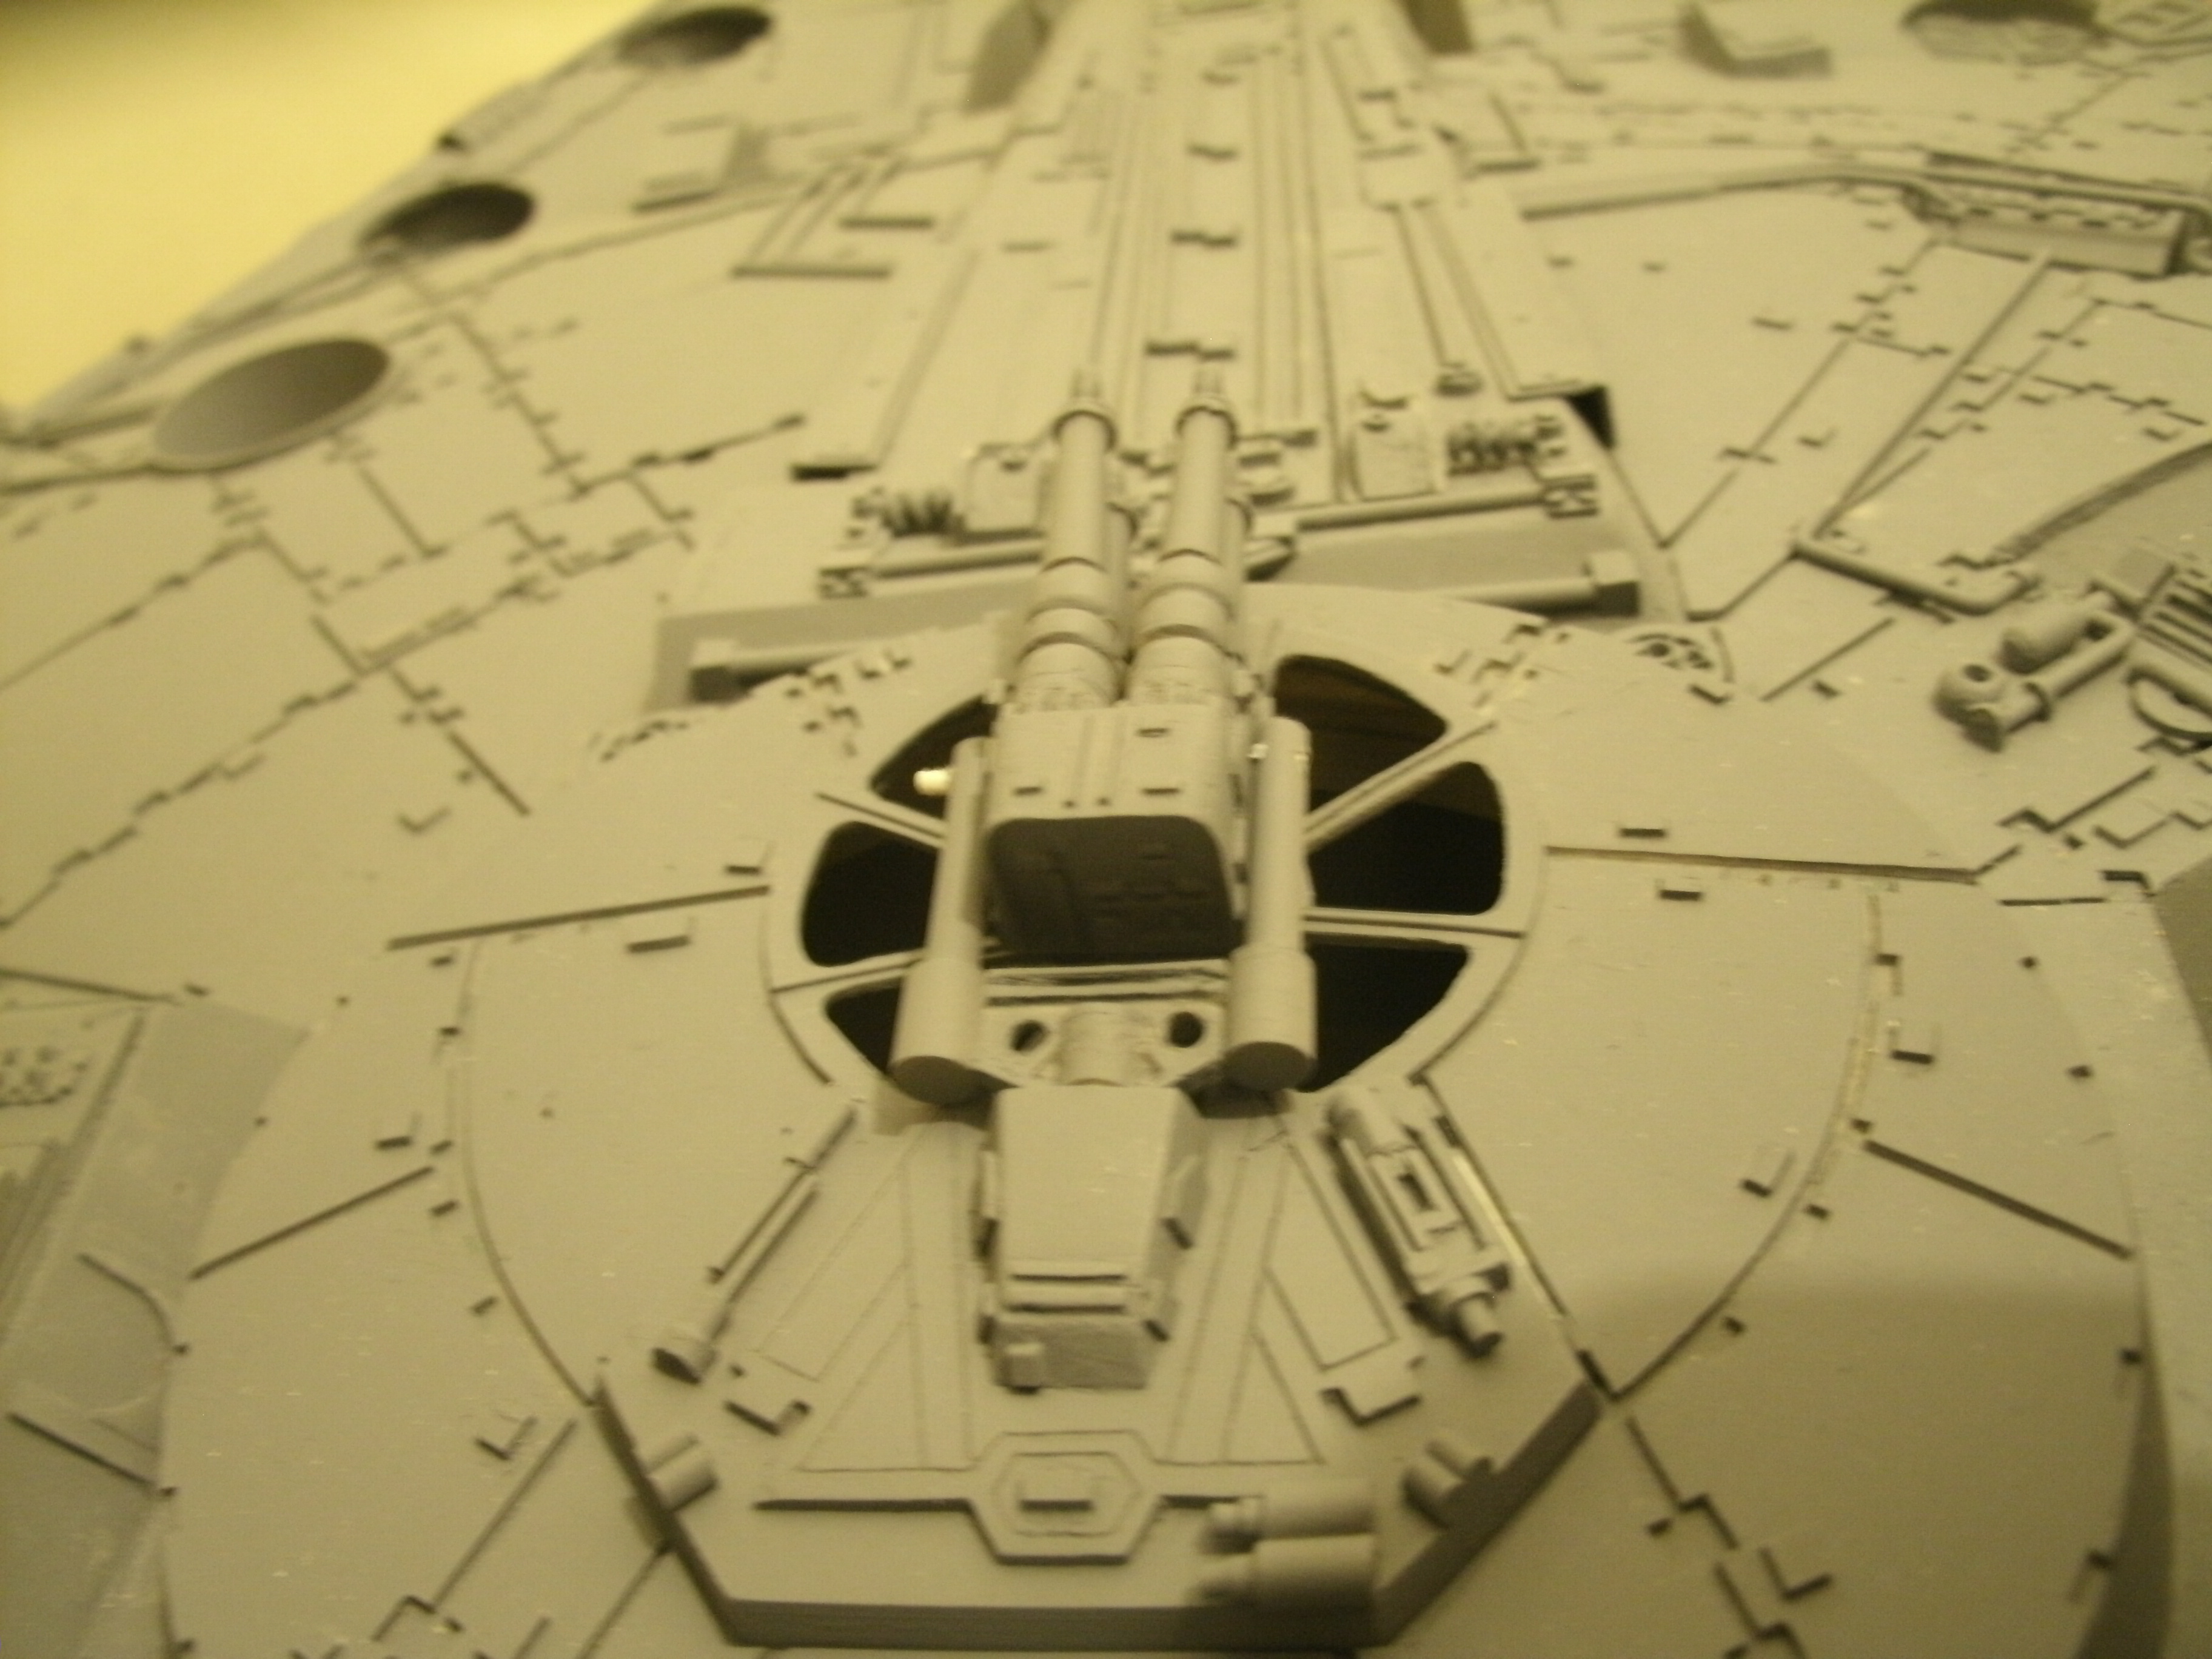
and finally here are acouple of images of the cannons mounted in position.
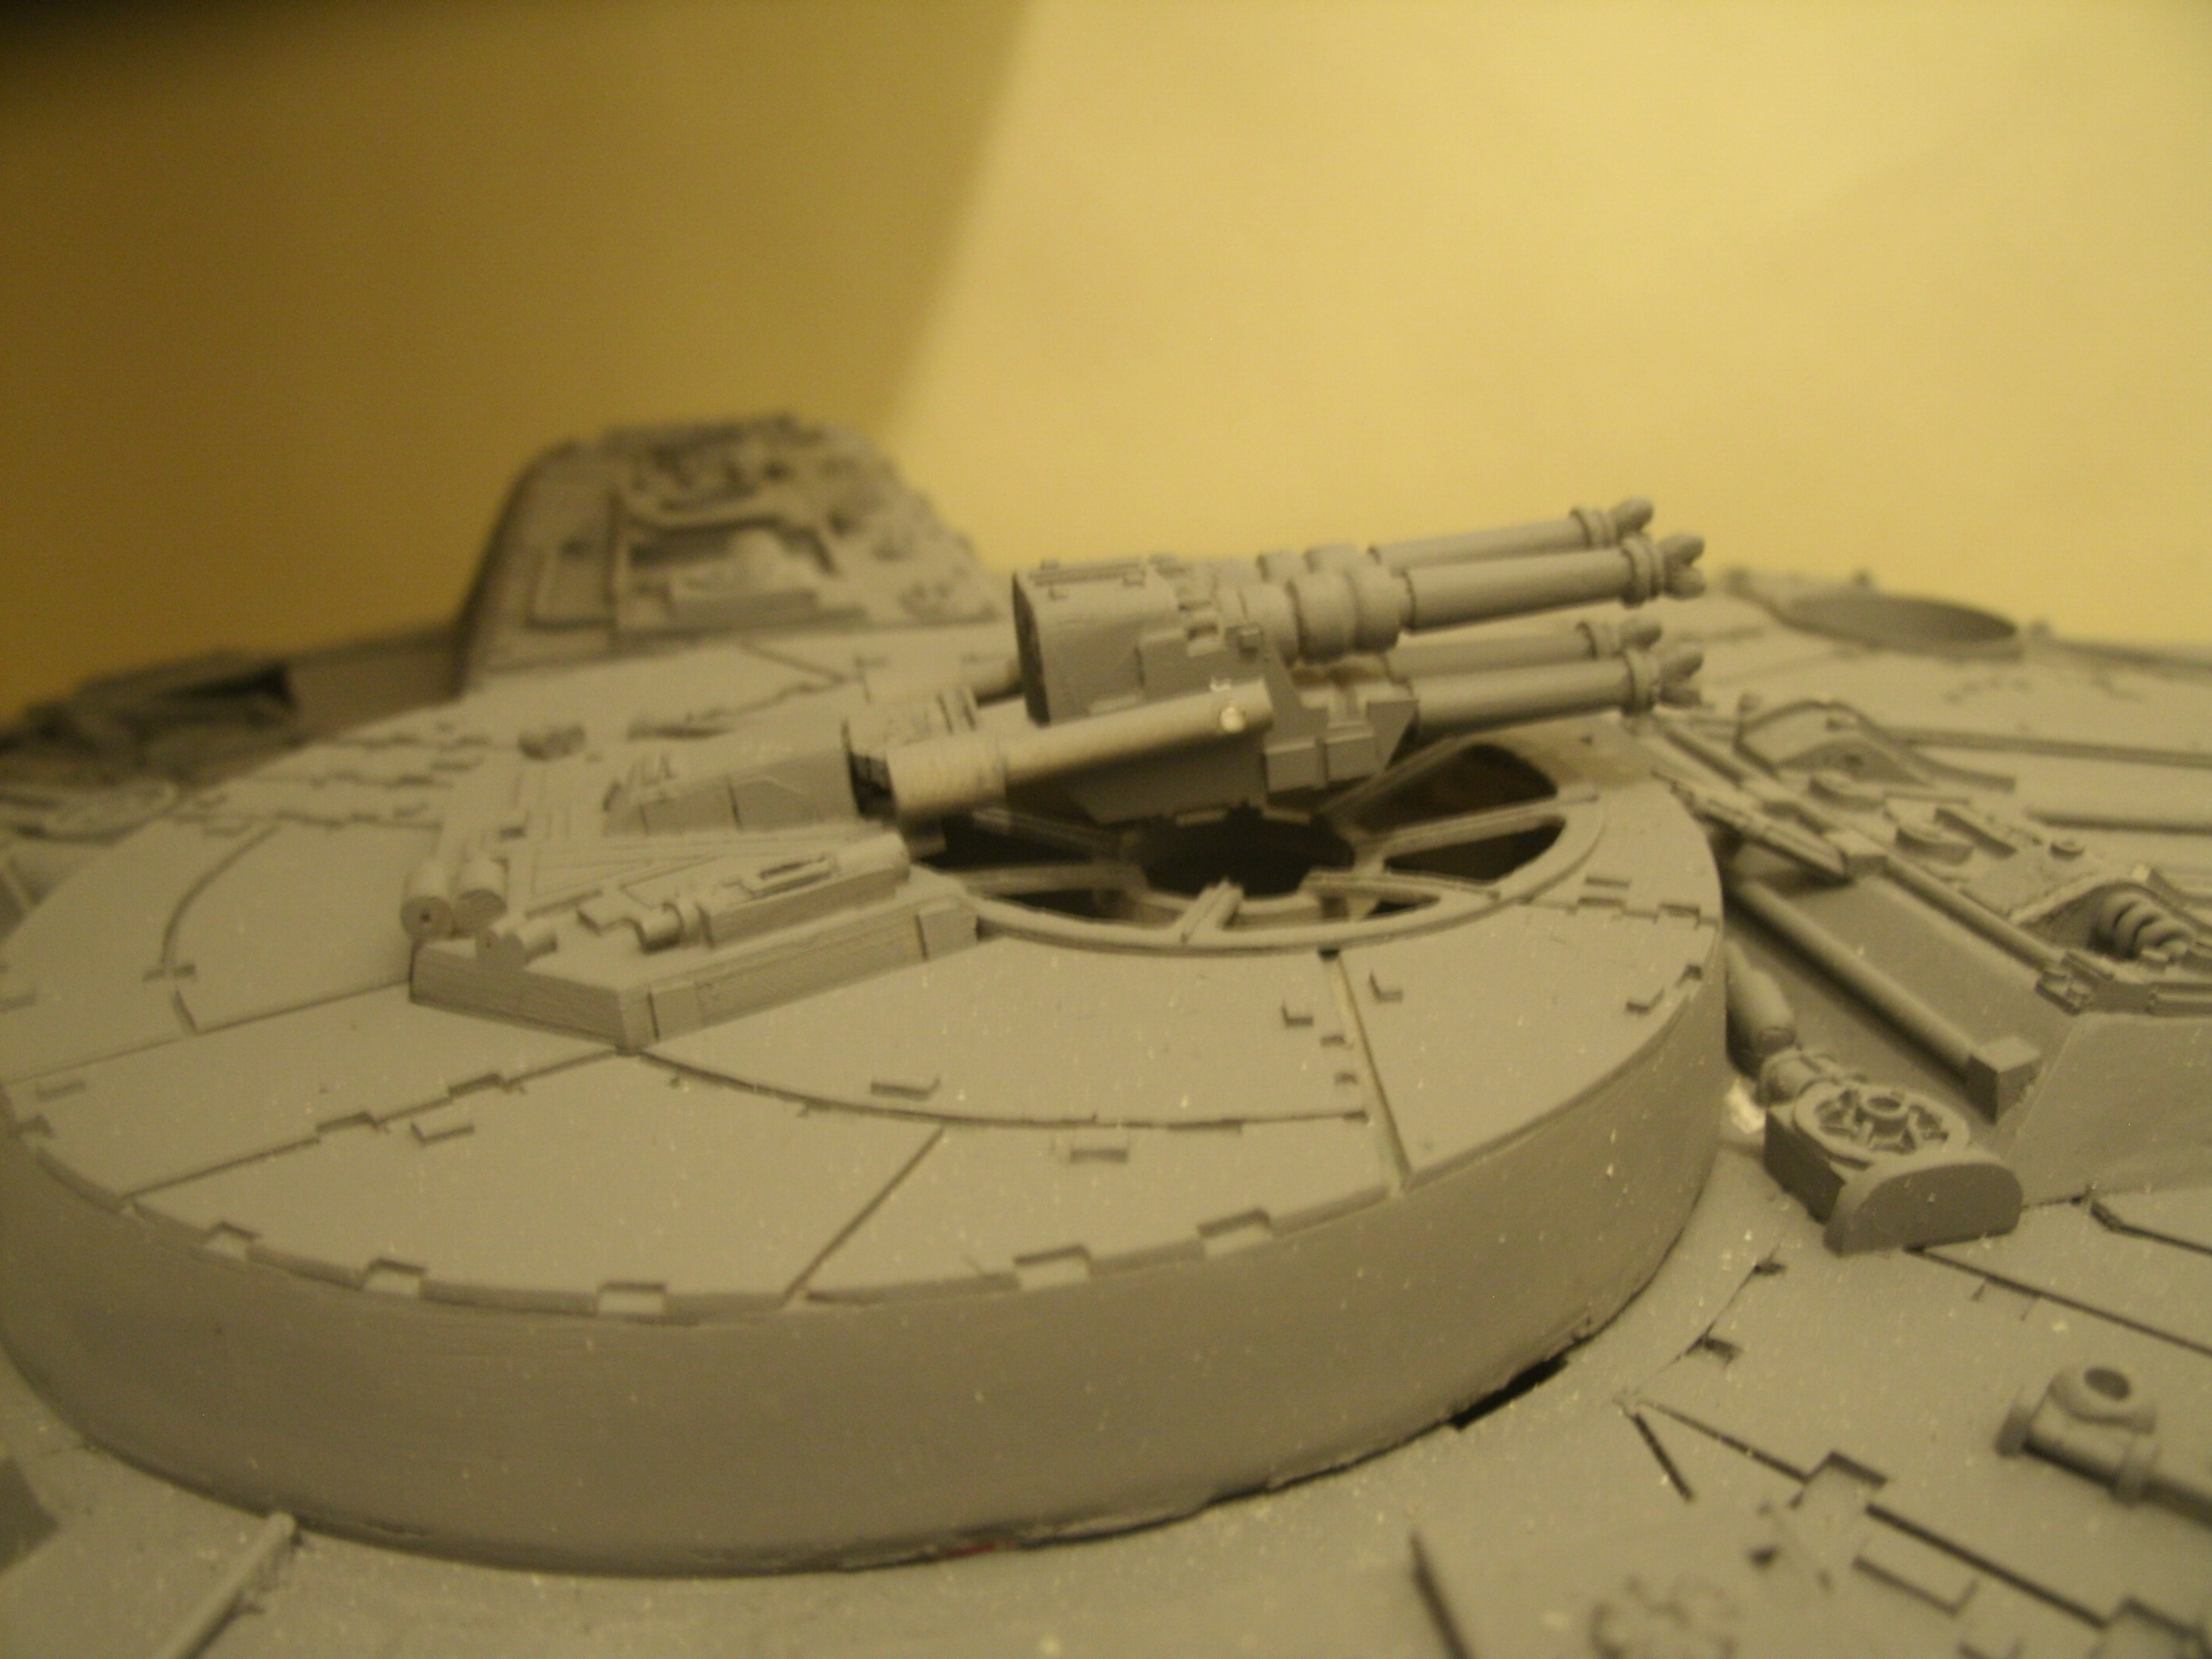
attachment.php

attachment.php

attachment.php

well thats it for this update folks,hope ya like the progress.
not sure which bit to concentrate on next but i'll figure it out...cheers for lookin peza
 

Attachments

  • GEDC3257.JPG
    GEDC3257.JPG
    2.2 MB · Views: 918
  • GEDC3259.JPG
    GEDC3259.JPG
    2.1 MB · Views: 907
  • GEDC3264.JPG
    GEDC3264.JPG
    2.1 MB · Views: 907
  • GEDC3266.JPG
    GEDC3266.JPG
    1.8 MB · Views: 893
  • GEDC3268.JPG
    GEDC3268.JPG
    1.9 MB · Views: 894
  • GEDC3269.JPG
    GEDC3269.JPG
    1.9 MB · Views: 882
  • GEDC3271.JPG
    GEDC3271.JPG
    2 MB · Views: 822
  • GEDC3270.JPG
    GEDC3270.JPG
    2 MB · Views: 840
  • GEDC3272.JPG
    GEDC3272.JPG
    1.8 MB · Views: 829
eh up all im sorry for bein away for a good while but i,ve been busy getting ready for the burnley family fun day which was on the 4th of may.
BIG thanks to r kid,chris,phil cutthumb and guy nice to everyone....and another good day.

well i,ll get started on the updates,first off i get the sides done,well skinned and the magnets in so it seals up.
attachment.php

attachment.php

next i made a start on the other docking ring,which due to the armature i had to make changes to in the way i built this one.
first off i made the backing plate and mounted it on to the model.
attachment.php

next i cut it in two for the top half and bottom and made the docking ring shape using a Mc,donalds becker again.
attachment.php

next i skinned it and put the magnets in the back.
attachment.php

attachment.php

next i made a temp cover for the engines just a mock up to hide the insides for the show,but still took a lot of work and i can work on it later
attachment.php

this is clear styrene but i left the light blue backing sheet on just as a cop out.

my last job was to make the inner jaw between the mandibles,but i wanted to put lights in the front so first i drilled out the holes where there goin and fitted the two 2mm fibre optics in.
attachment.php

attachment.php

my final job was to make myself a little light box and fit the detail on.
attachment.php

and finally with it all lite up.
attachment.php

well thats it for this update,hope you like,cheers for lookin...peza
 

Attachments

  • GEDC3273.JPG
    GEDC3273.JPG
    2 MB · Views: 765
  • GEDC3274.JPG
    GEDC3274.JPG
    2 MB · Views: 752
  • GEDC3275.JPG
    GEDC3275.JPG
    2 MB · Views: 744
  • GEDC3276.JPG
    GEDC3276.JPG
    2 MB · Views: 692
  • GEDC3278.JPG
    GEDC3278.JPG
    1.9 MB · Views: 698
  • GEDC3280.JPG
    GEDC3280.JPG
    2 MB · Views: 687
  • GEDC3303.JPG
    GEDC3303.JPG
    2.4 MB · Views: 662
  • GEDC3293.JPG
    GEDC3293.JPG
    1.9 MB · Views: 638
  • GEDC3294.JPG
    GEDC3294.JPG
    2 MB · Views: 650
  • GEDC3301.JPG
    GEDC3301.JPG
    2.1 MB · Views: 636
  • GEDC3298.JPG
    GEDC3298.JPG
    1.7 MB · Views: 637
Wow, such inspiring work! I cant believe your level of scratch-building talent. Just amazing.......
Chris Jake,I think if you take the time anythings possible! Thanks for the kind words.....peza

- - - Updated - - -

Amazing peza

Got those guns done for you,....I'll post them this week

J
Cheers dude,thanks for everything mym8,
Ya daza.......peza
 
eh up all,it's that time again,,
another progress report...one step forward one step back!
i was doin some tinkering and snapped one of the LED landing lights so i had to change one,but i desided to change the lot due to the old ones were old out of a torch,so i got myself some new LED's.so i changed all the landin lights bulbs,and then thought i should do the mind ya head lights while im at it cos i wanted the two to run off the same circuit.
first off i was gonna use some 2mm fibre optics,but in the end i used some 3mm red LED's,which had to be filed down and shaped up.
attachment.php

here you can see all the lights workin both the landin and the mind ya head ones,i have got two more to do on the front landin leg bay but run out of bulbs at the mo:facepalm.
here on the next image you can see all 31 bulbs in action.
attachment.php

attachment.php

the hardest ones to do were the ones on the boardin ramp,to keep it functional and still look ok,without the docking ring on the bubs stuck out quite abit
attachment.php

but with the dockin ring assembly on it came out sweet.
attachment.php

finally here is the wiring circuitry on the inside of the model all new,even the boarding ramp got a new bulb.so the final count of bulbs so far...........33
attachment.php

well that's it for now speak or post soon....thanks for lookin in!....peza
 

Attachments

  • GEDC3308.JPG
    GEDC3308.JPG
    2 MB · Views: 558
  • GEDC3326.JPG
    GEDC3326.JPG
    2.2 MB · Views: 592
  • GEDC3325.JPG
    GEDC3325.JPG
    2.2 MB · Views: 1,035
  • GEDC3329.JPG
    GEDC3329.JPG
    2 MB · Views: 537
  • GEDC3330.JPG
    GEDC3330.JPG
    1.7 MB · Views: 535
  • GEDC3327.JPG
    GEDC3327.JPG
    2.2 MB · Views: 540
eh up all,time for another update folks.
first off i started makin up the headlights details on the front of the mandibles.i used some 2mm styrene and some of my half mm fibre optics,it will all become clear in a mo.
here you can see that i've made a good start on the back of the piece i had to build up the back so an LED will sit in the hole and not protrude through the front.
GEDC3416.JPG
next i made some of the details, 12 of the exhaust ports which are really small.
GEDC3420.JPG
i've not fitted them yet but it wont take much to glue them on.
i then started on the engine vents,first off i used some 1mm styrene to make up the backin plate and the 6 vents,i drilled out the middle so i can light up the middles.
GEDC3344.JPG

here you can see that i've got all 6 vents done and a little detail done.
GEDC3420.JPG

and finally i started to work on the cockpit,first off i made a base for the cockpit and for the back wall,out of some 2mm styrene.
GEDC3428.JPGGEDC3427.JPG

next i knocked up the back wall with the doorway cut out.
GEDC3426.JPG
next i started on the door and the doorway.
GEDC3431.JPGGEDC3430.JPGGEDC3425.JPG

i started to make up some panels for the detail,using some half mm styrene so i could pierce pin holes in for my fibre optics and also put 2 clear pieces of styrene for the lighted areas on the back wall.
GEDC3432.JPG

here you can see the fibre optics in on the first image and workin on the last image.
GEDC3440.JPGGEDC3437.JPGGEDC3438.JPG
GEDC3444.JPG
and finally here you can see the back wall in and workin.
GEDC3447.JPGGEDC3446.JPG
yeah so all i need is to colour up the different lights with some tamiya clear colours.
and the last thing i started on was the side bits of the cockpit.
GEDC3452.JPGGEDC3450.JPGGEDC3451.JPG

well it's it for now i'll post some more when i get a bit further on,hope ya like the progress...cheers peza
 
eh up all,hope you all had a good christmas and new year!
i have another update here i've done a bit more of the cockpit
to start off i painted up the cockpit tub in matt black and started to knock up the front console base,which i made from some 1mm styrene and painted up in tamiya dark iron.

GEDC3463.JPG
then i started on the top part of the console,same again usin 1mm styrene for the bottom and sides and some half mm for the top just so it was easier to put the fibre optics through.
GEDC3471.JPG
then here you can see the two parts together and the fibre optics in.
GEDC3472.JPG
and here it's in position,which was tricky to get the fibre optics in place.
GEDC3483.JPG
so you may just be able to make out the 2 control levers which i made with some soldering wire and heating up one end to make it bubble up,the other flight controls in the next image i used some old guitar string from one of the kids old broken guitars(i think they'd been watchin the who)i slightly pulled the inner wires out of the string but it was very very fiddly and the steering controls where just some brass tube and styrene.
GEDC3492.JPG
and here i'd managed to get the four tiny flight controls on the console.
GEDC3493.JPG
i painted up the steering controls but everytime i tried to take a photo of them fitted it looks to shakey or dead dark,so i gave up on that as an image,i will try again on my next post.
but before i finish this post i've made and finished the front seats which i made out of 1mm styrene and some styrene tube,here you can see the start of the build.
GEDC3496.JPG
i finished one and gave it a coat of sand tan
GEDC3498.JPG
,but i hated the colour so i had a dig around and found some citadel kommando khaki,and i really liked the look of it,it may not be the correct colour but it looks like it fits!
GEDC3502.JPG
well thats it for this update i'm not gonna fit the front seats til it finish buildin the back ones just to make it easy for me to fit..
hope you like the progress so far...cheers for lookin in....thanks peza
 
hello all,i have had a big break from my buzzard to start with I'm getting that close to finishing it and the job list is getting smaller and smaller I started to panic over the painting and my lack of airbrush skill,so I boxed it up and did some quick aircraft kits which turned out ok but the kits were old and fought me all the way through..then when I did get the falcon back on the bench my family had a big scare and set back with I have spoken about in the gang.
I can see some of the images aren't loadin up and I can only think that is because of photobucket(dick turpin) on another time i'll find them and post them,because I finished the cockpit off and its all done bar abit of weathering on the seats....its gonna be like missing half a film and seeing the baddy getting shot and the hero kissing the girl and walkin off without seeing how it all happened.but i'll fix that in time...
THE NEXT EPISODE
here is the finished off cockpit.
View attachment 787505and hereView attachment 787507

the kick up the arse I needed was to get it all out and get some shots of all the sub sections put together and see where I was upto and what to concentrate on next.
here are the images as I put it all together and apart from a little ramp rams damage it was all good in the hood.
View attachment 787511
View attachment 787512
View attachment 787514
View attachment 787513View attachment 787515
this last image is were I was at.....I've been plugging away at it when ever the kids stop fighting or get sent to boot camp(nanna's) so I continued with the bar side.
i'll do another post soon,i want to find the cockpit images but if I cant i'll carry on
 
transparent.gif

Reply to Thread

Post a reply to the thread: bird in flight or not

Preview

Re: bird in flight or not
hello all,i have had a big break from my buzzard to start with I'm getting that close to finishing it and the job list is getting smaller and smaller I started to panic over the painting and my lack of airbrush skill,so I boxed it up and did some quick aircraft kits which turned out ok but the kits were old and fought me all the way through..then when I did get the falcon back on the bench my family had a big scare and set back with I have spoken about in the gang.
I can see some of the images aren't loadin up and I can only think that is because of photobucket(dick turpin) on another time i'll find them and post them,because I finished the cockpit off and its all done bar abit of weathering on the seats....its gonna be like missing half a film and seeing the baddy getting shot and the hero kissing the girl and walkin off without seeing how it all happened.but i'll fix that in time...
THE NEXT EPISODE
here is the finished off cockpit.
attachment.php

and here
attachment.php


the kick up the arse I needed was to get it all out and get some shots of all the sub sections put together and see where I was upto and what to concentrate on next.
here are the images as I put it all together and apart from a little ramp rams damage it was all good in the hood.
attachment.php


attachment.php


attachment.php


attachment.php

attachment.php


this last image is were I was at.....I've been plugging away at it when ever the kids stop fighting or get sent to boot camp(nanna's) so I continued with the bar side.
i'll do another post soon,i want to find the cockpit images but if I cant i'll carry on with the build,,cheers for lookin in....peza​
 
Last edited:
This thread is more than 6 years old.

Your message may be considered spam for the following reasons:

  1. This thread hasn't been active in some time. A new post in this thread might not contribute constructively to this discussion after so long.
If you wish to reply despite these issues, check the box below before replying.
Be aware that malicious compliance may result in more severe penalties.
Back
Top