berserker13
Member
Re: Inexpensive 5 days built Foam Iron Man Mk IV
where can i download the jfcustoms templates
where can i download the jfcustoms templates
where can i download the jfcustoms templates
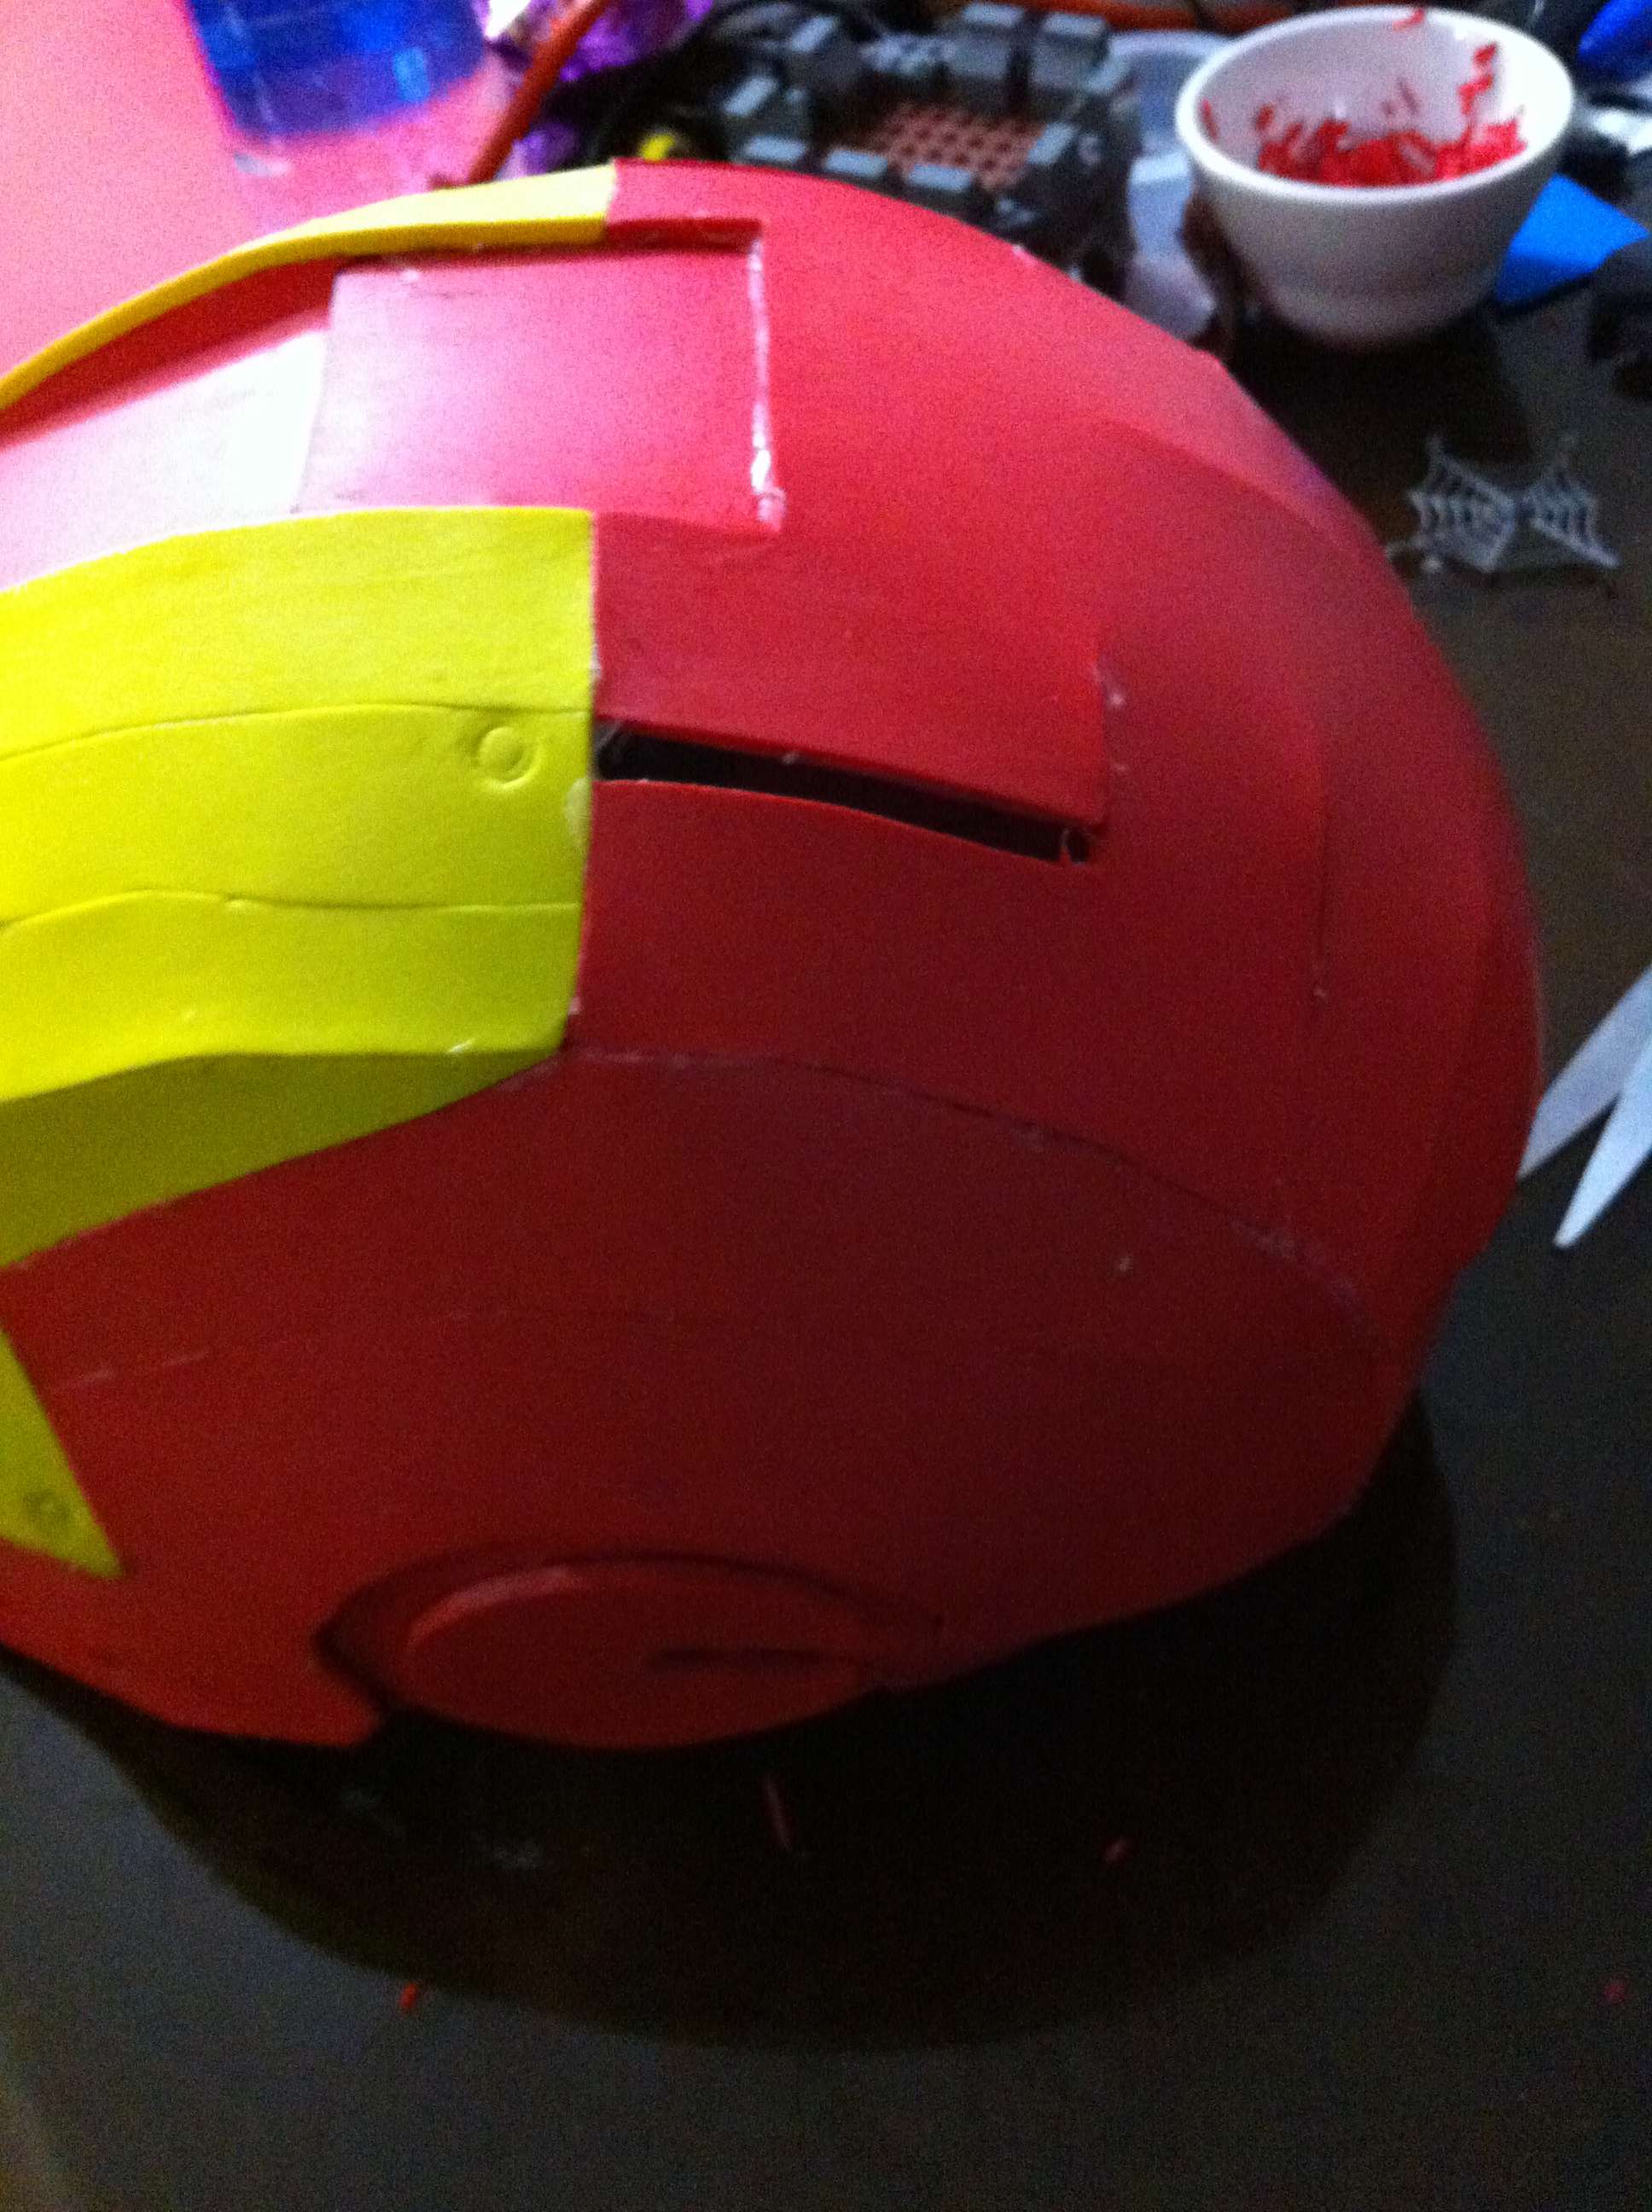
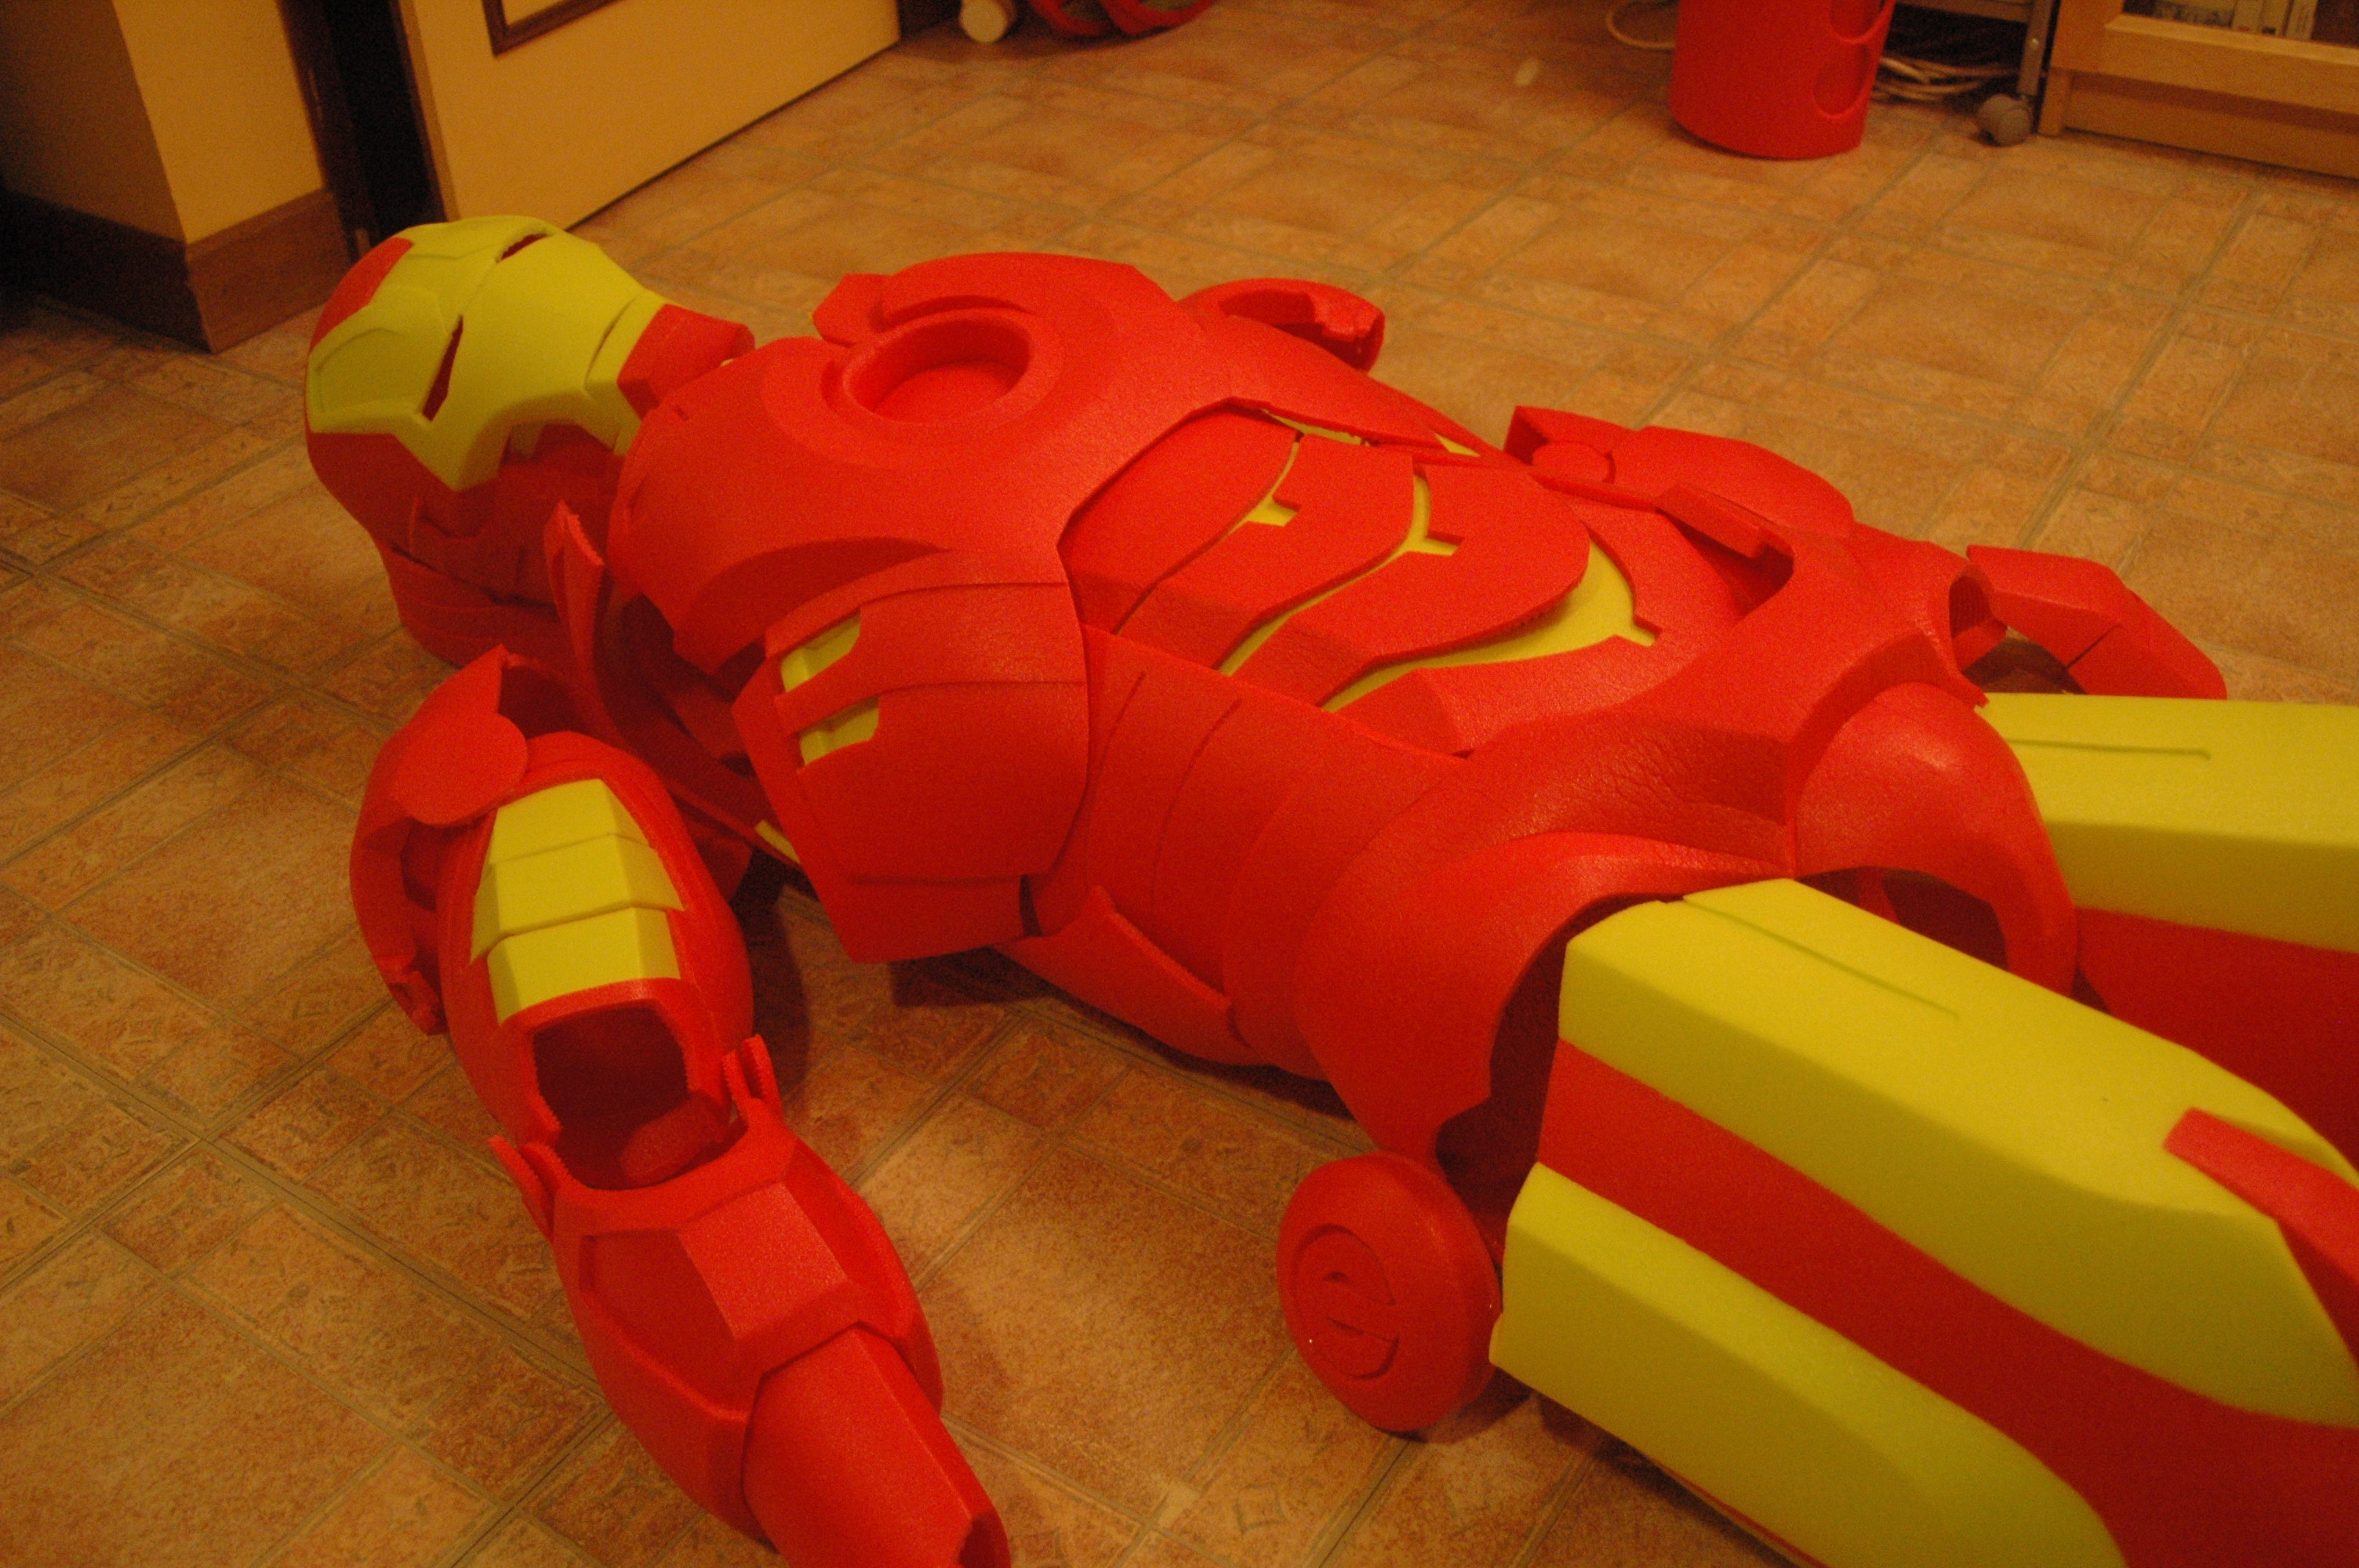
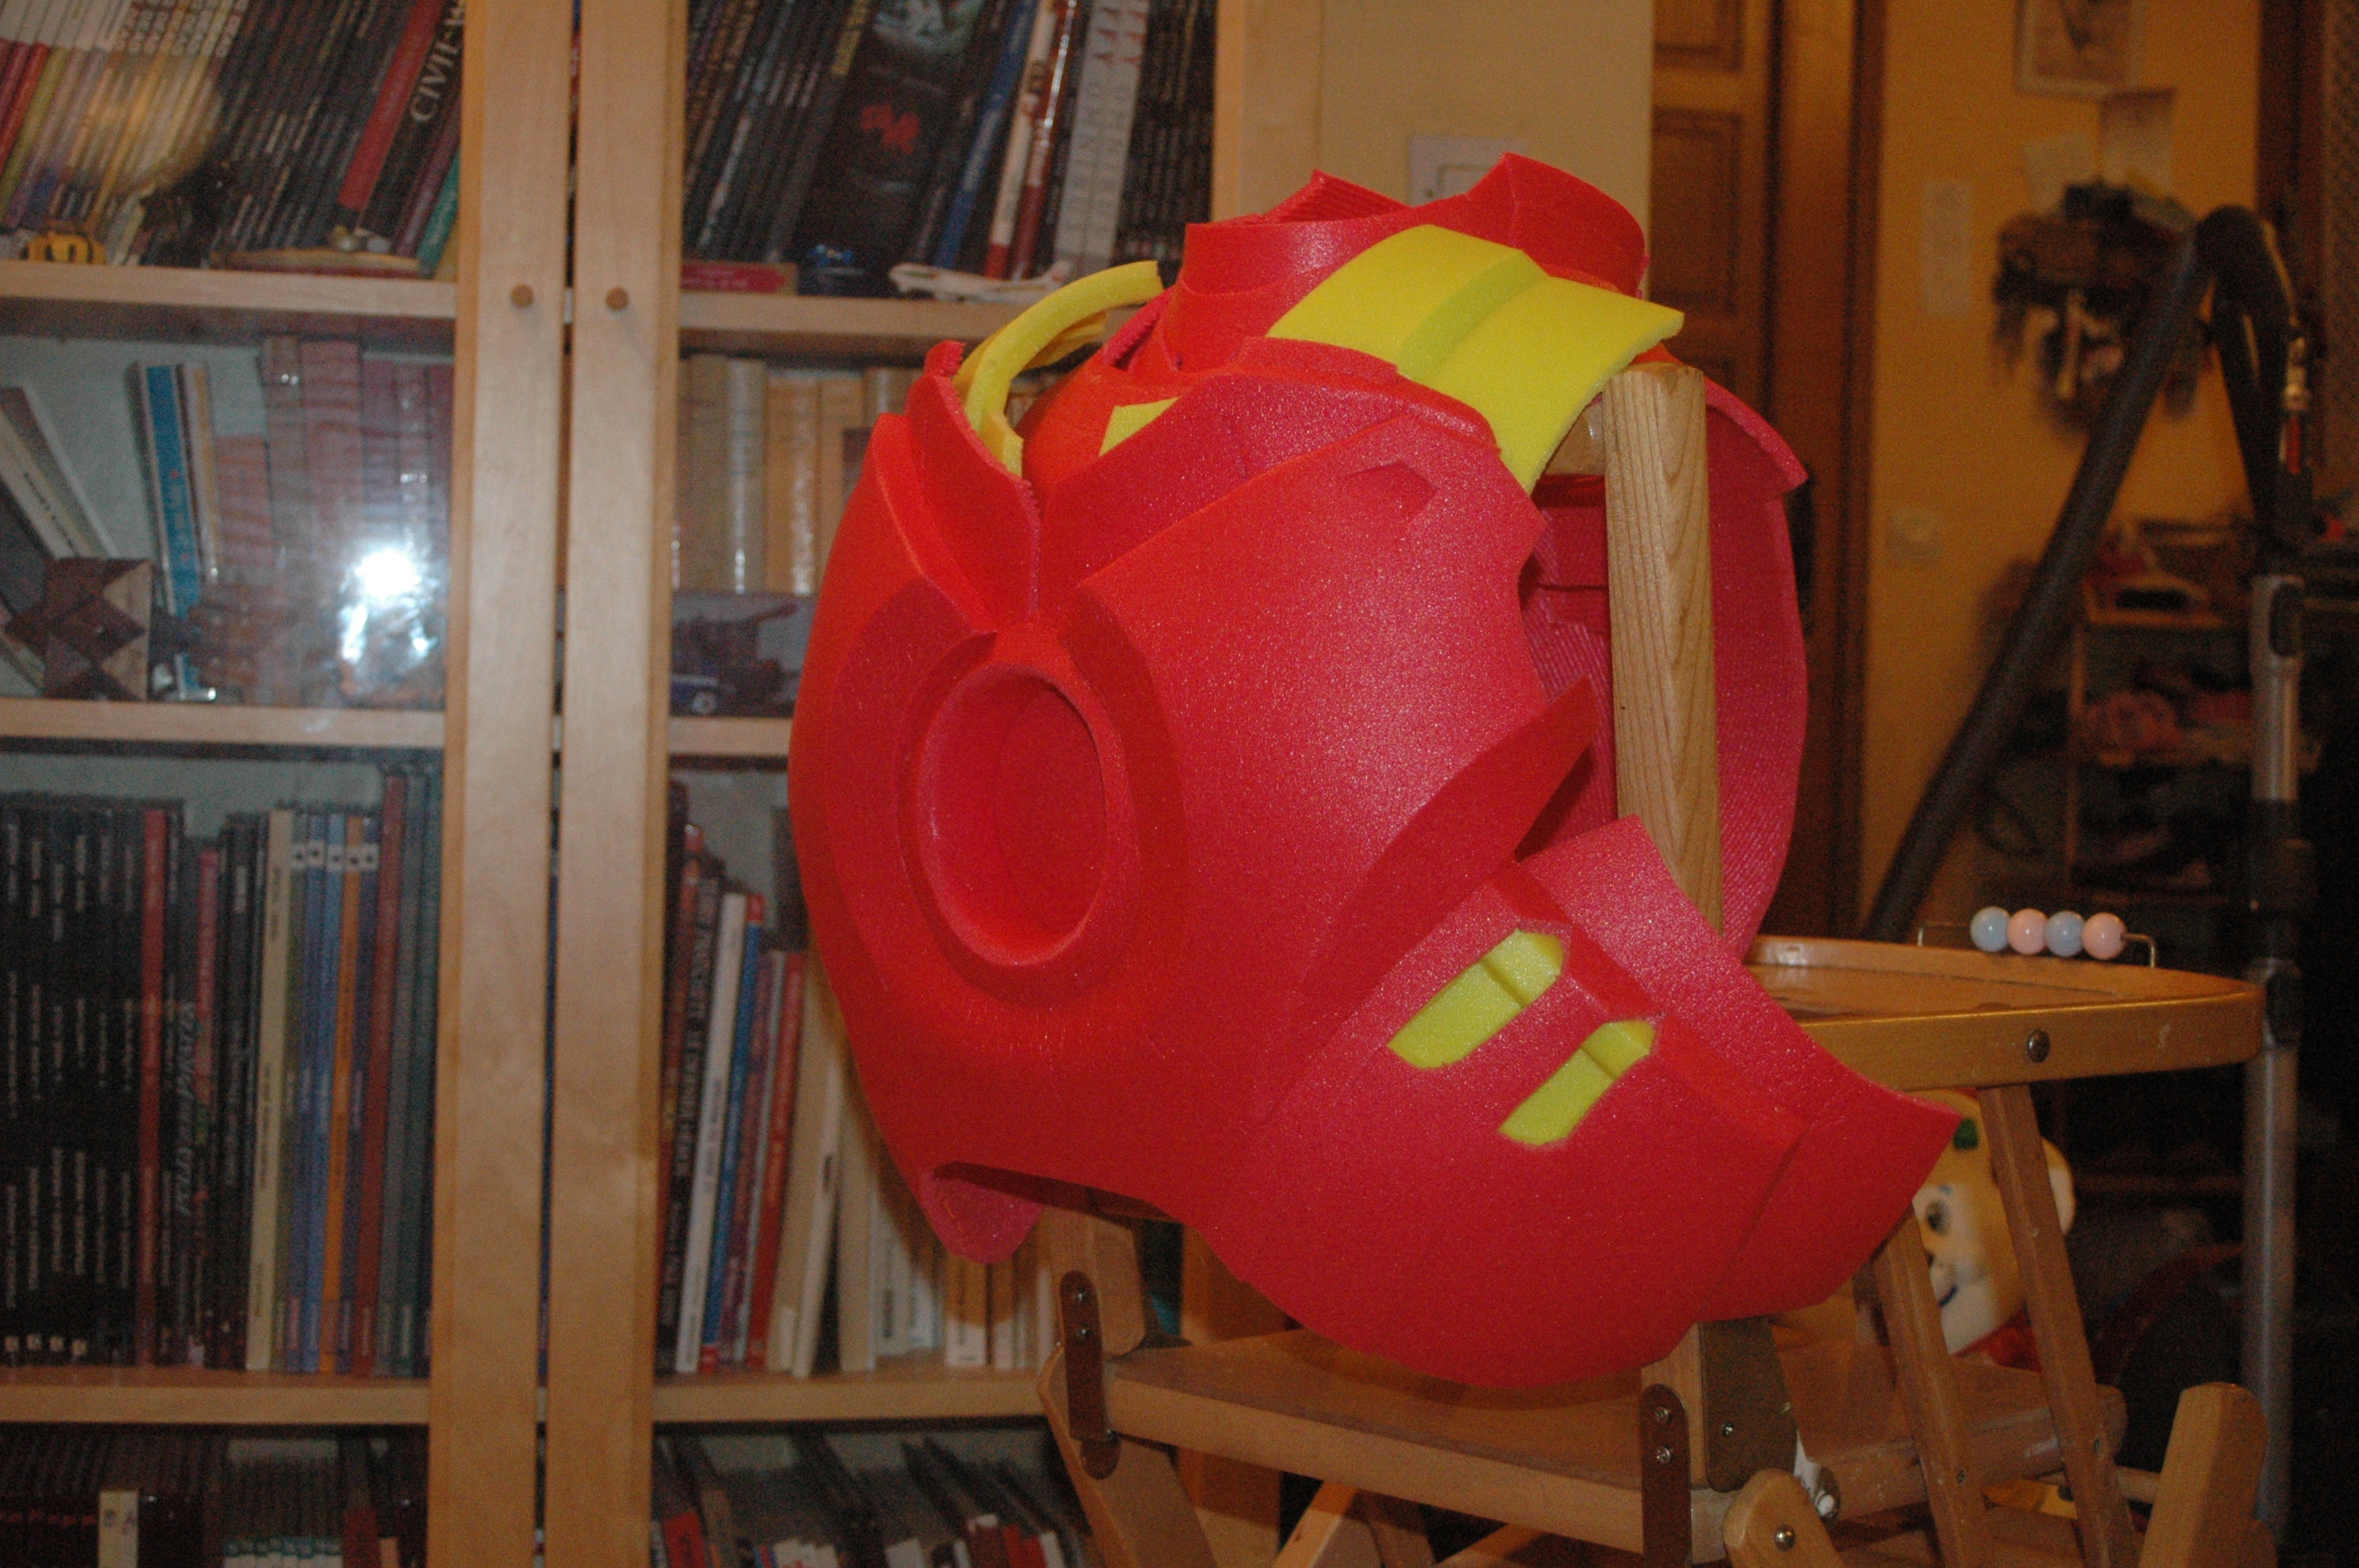
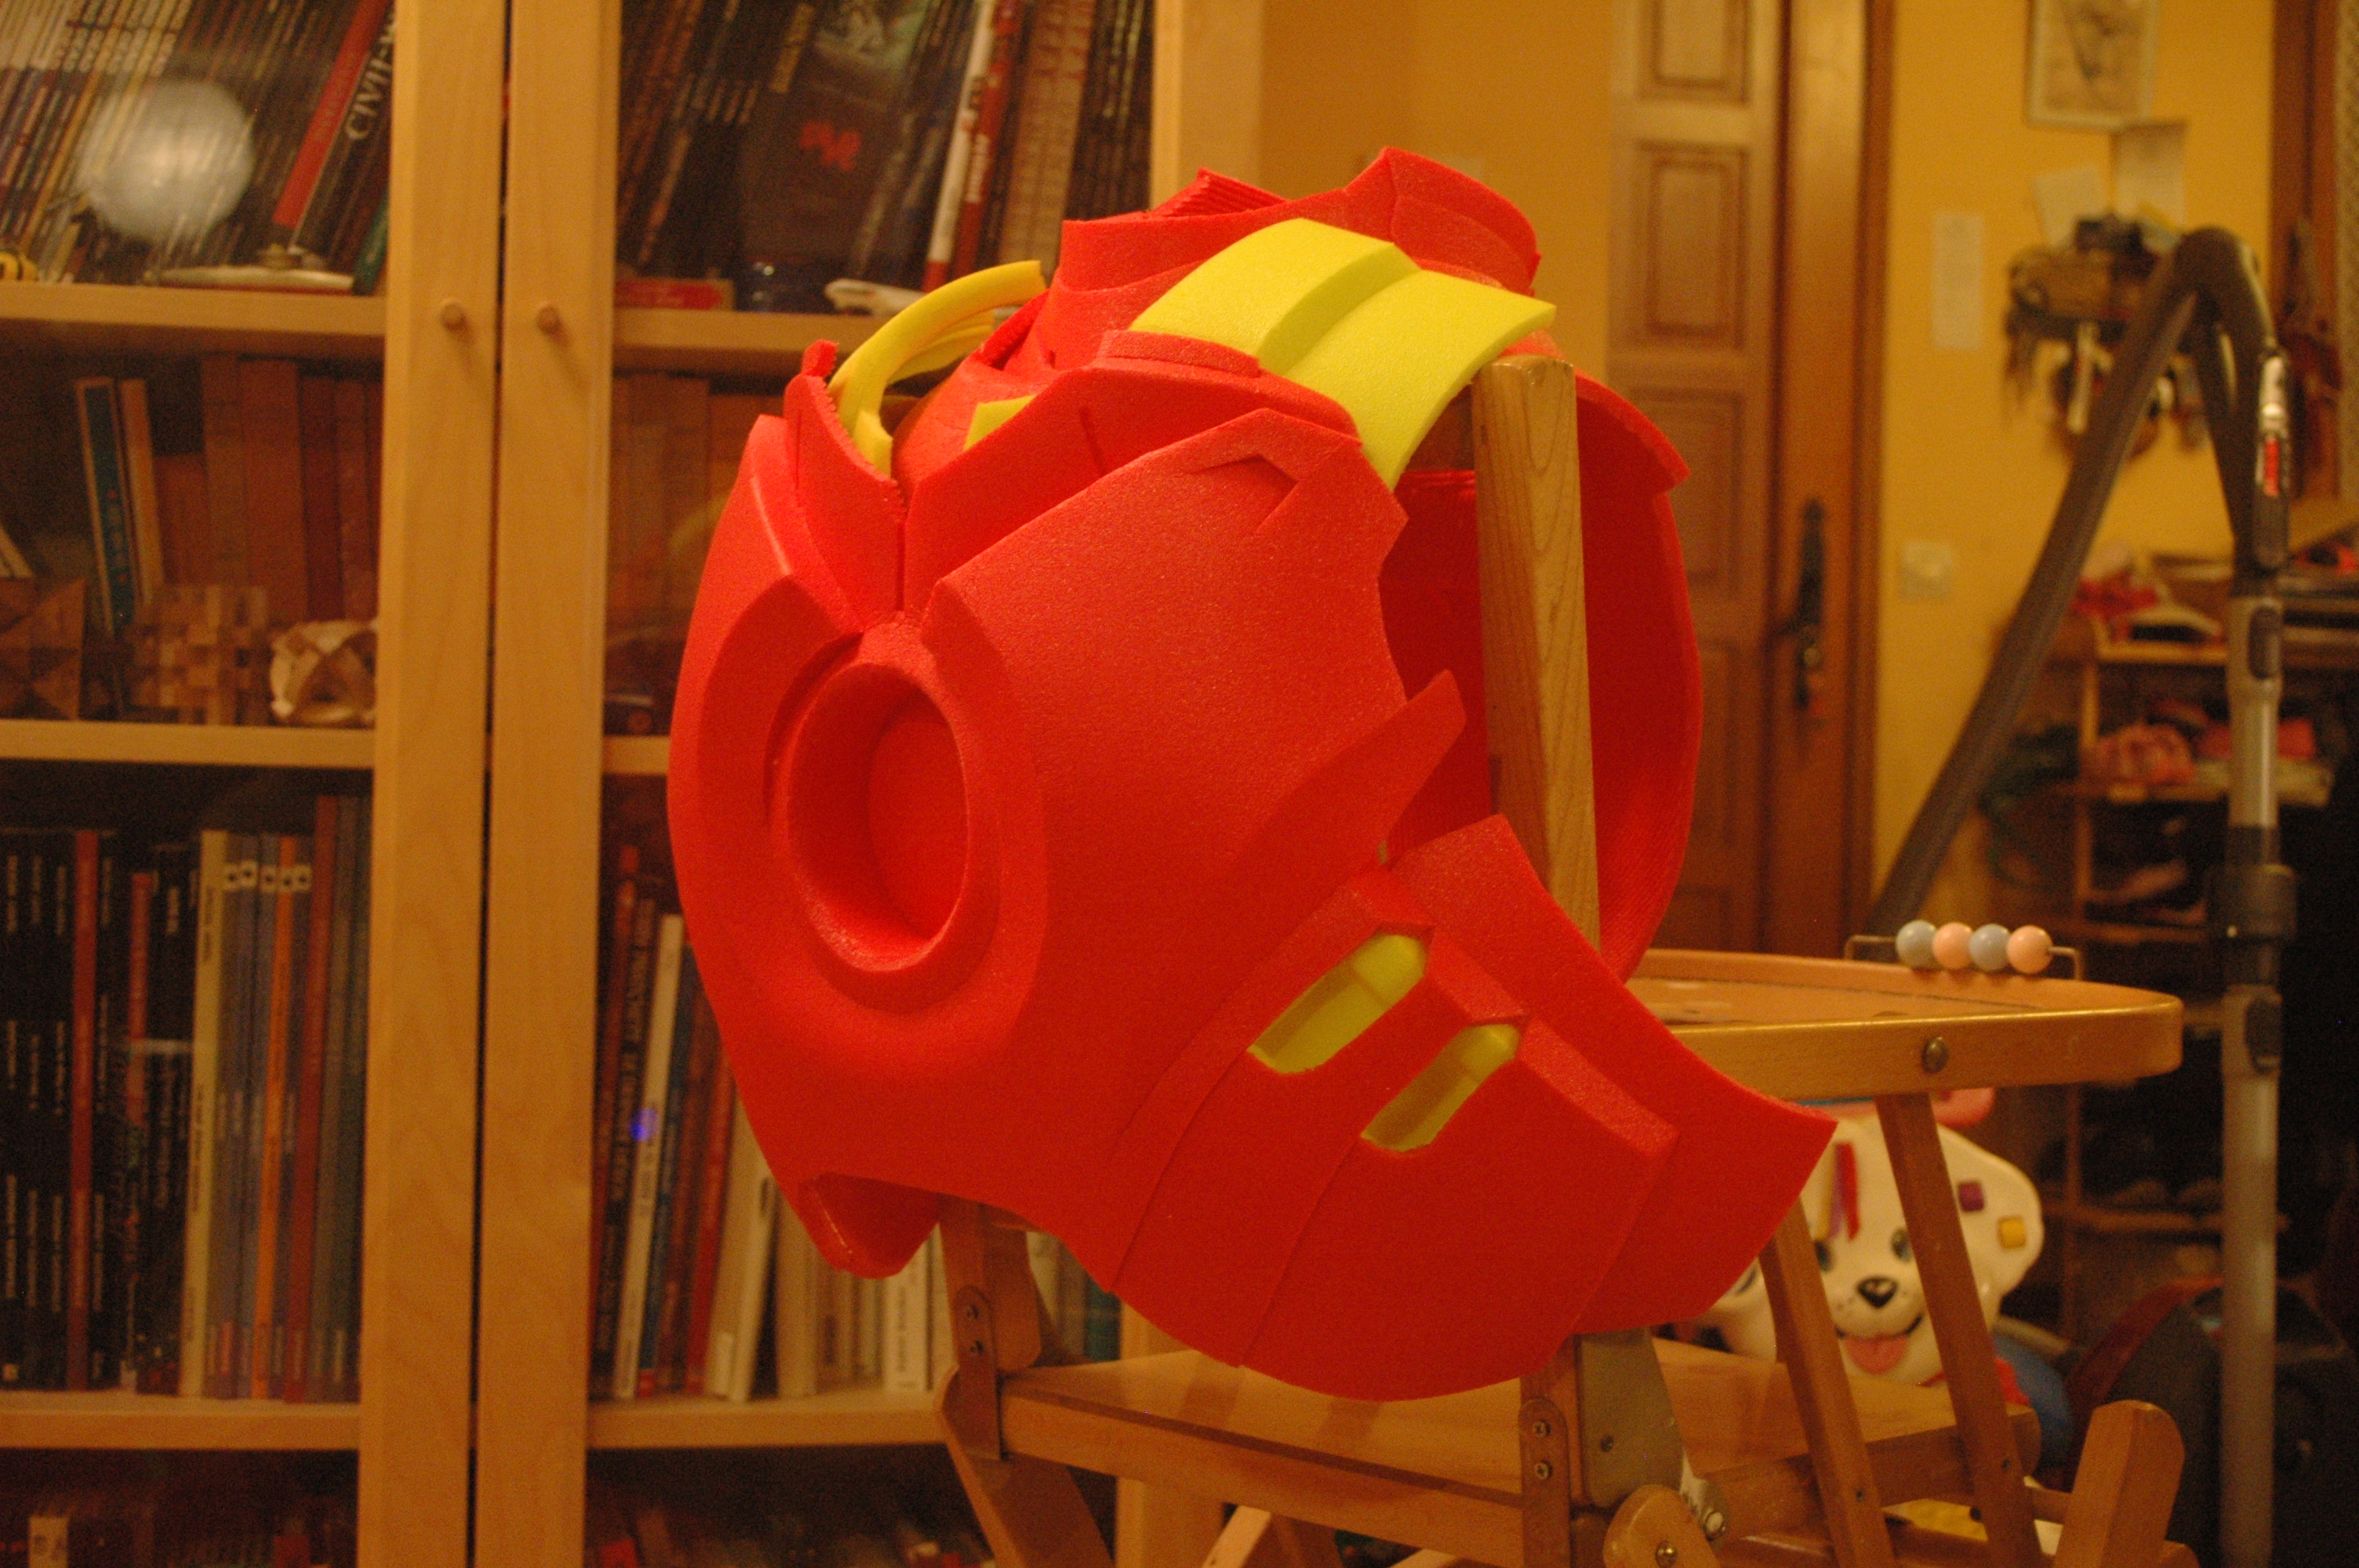
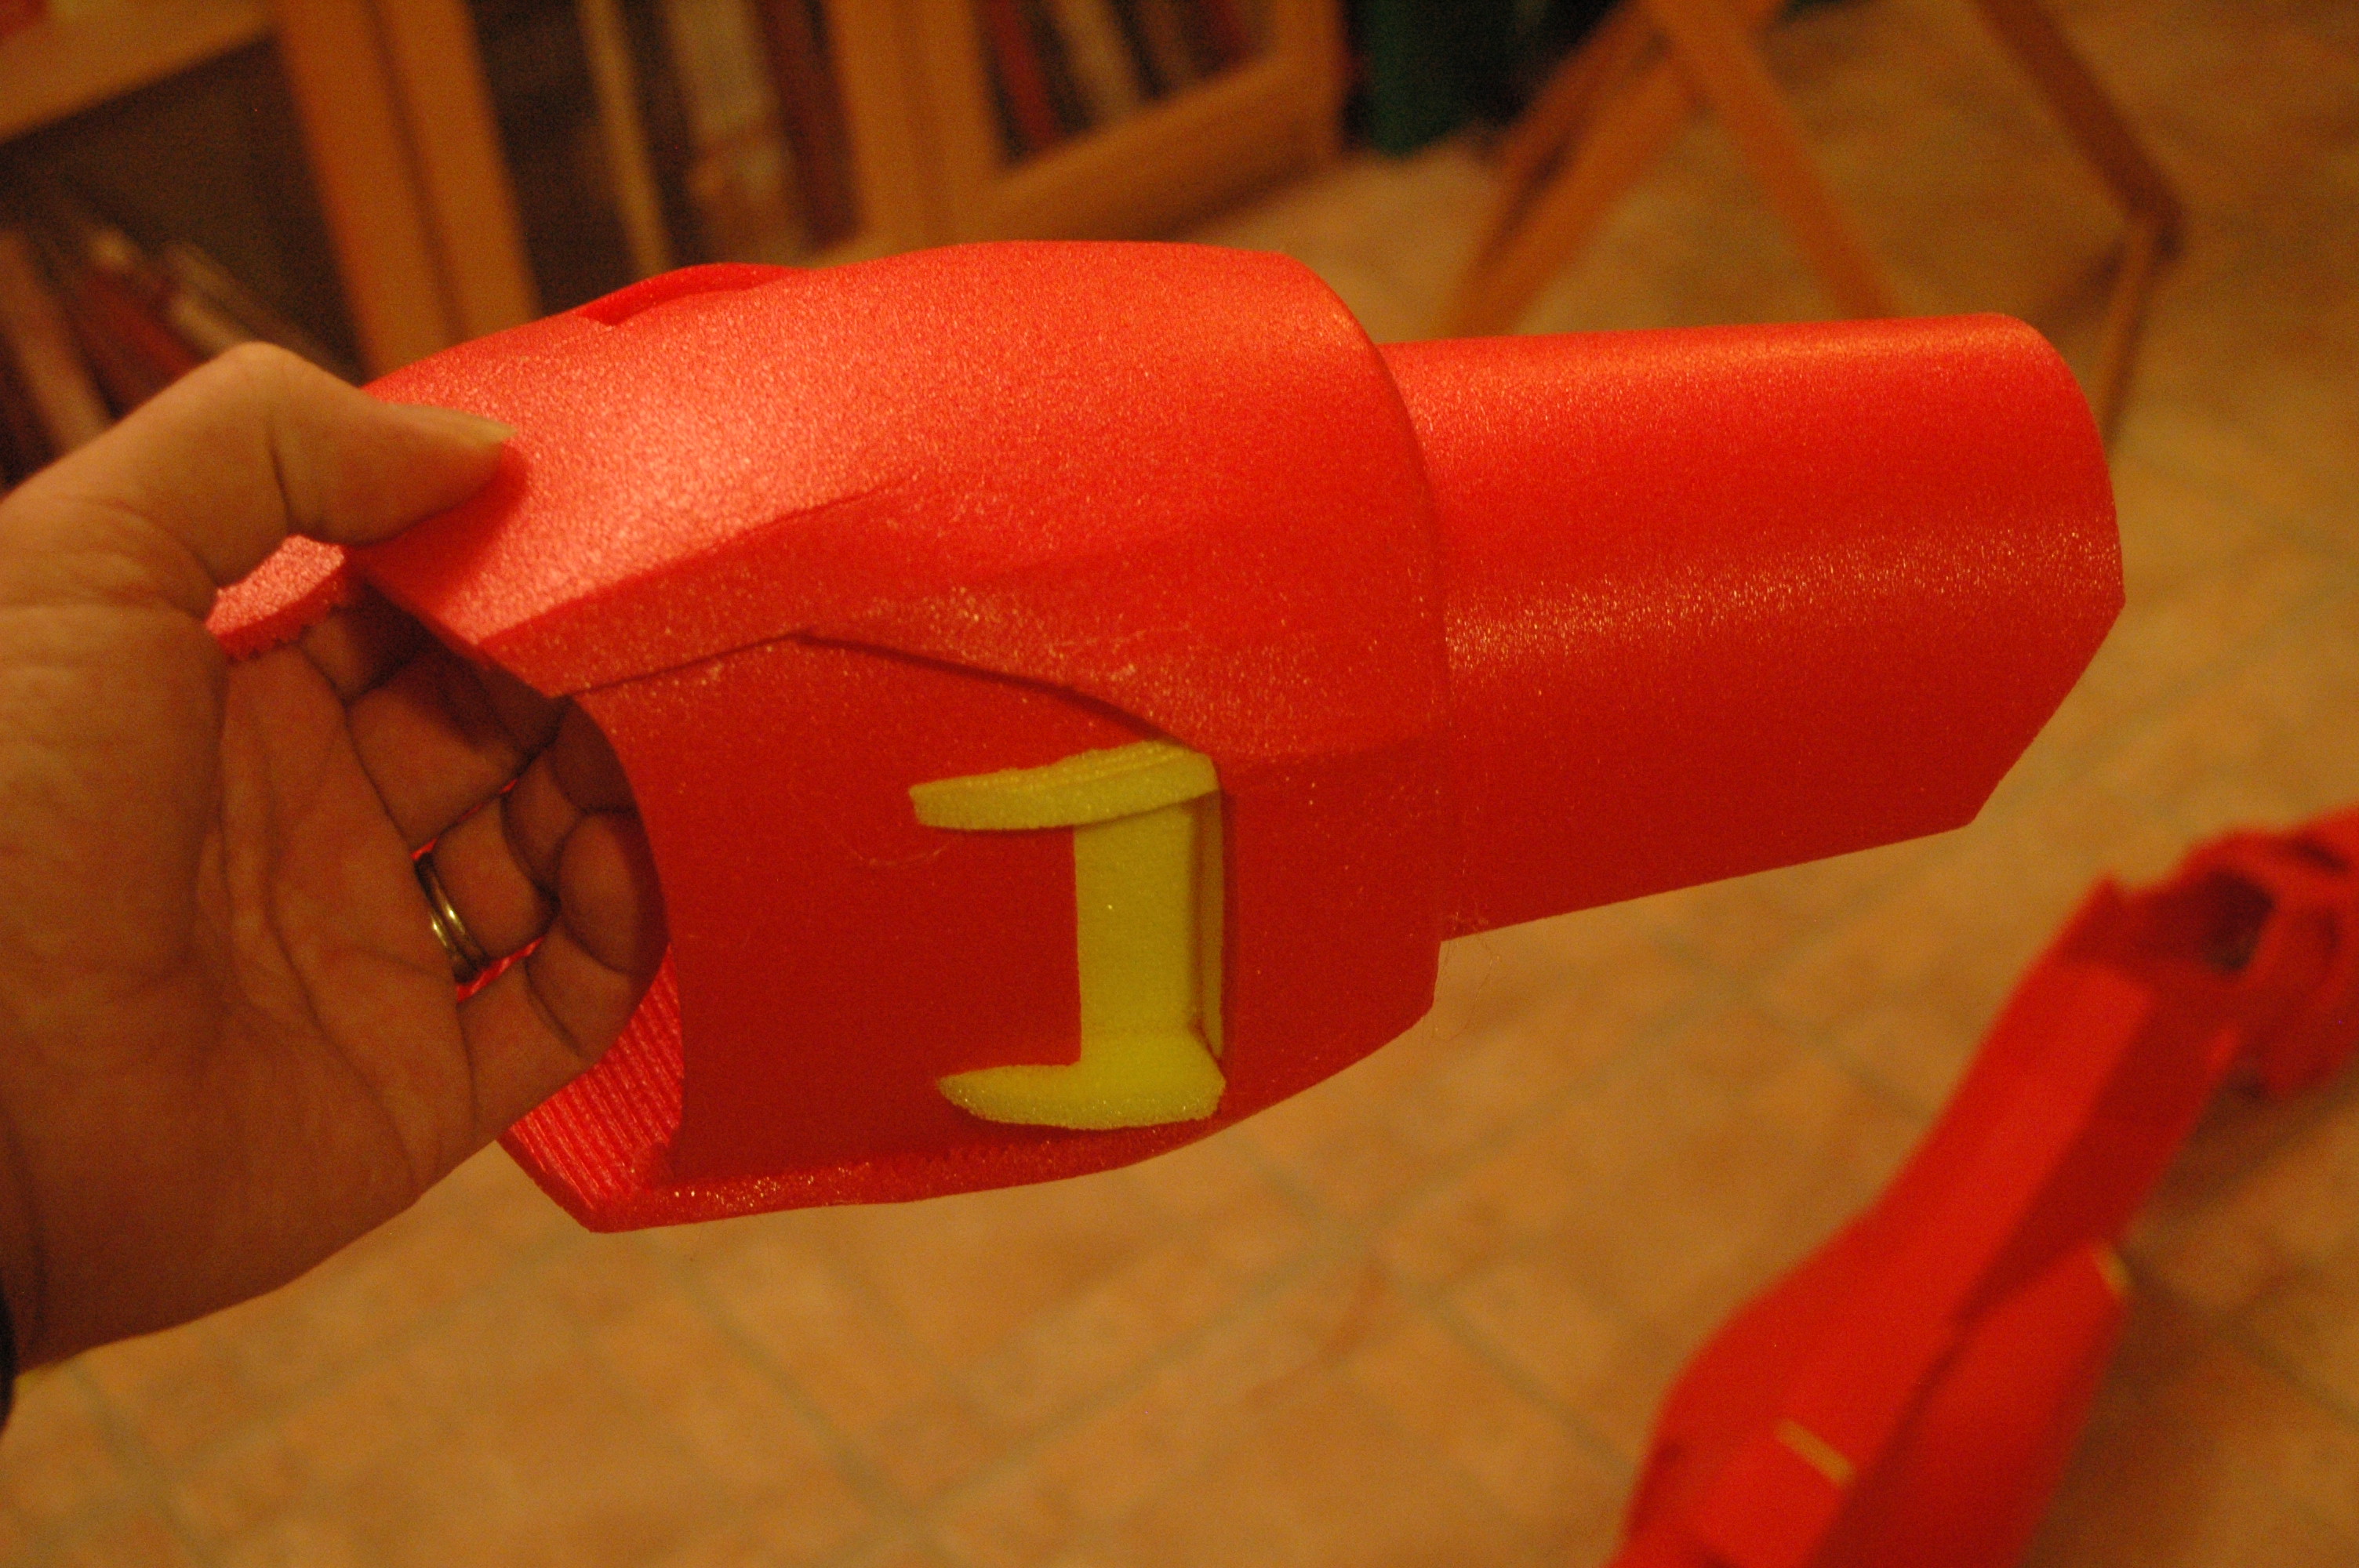
Do you have any close up photos of areas like the side of the neck and other connecting areas?
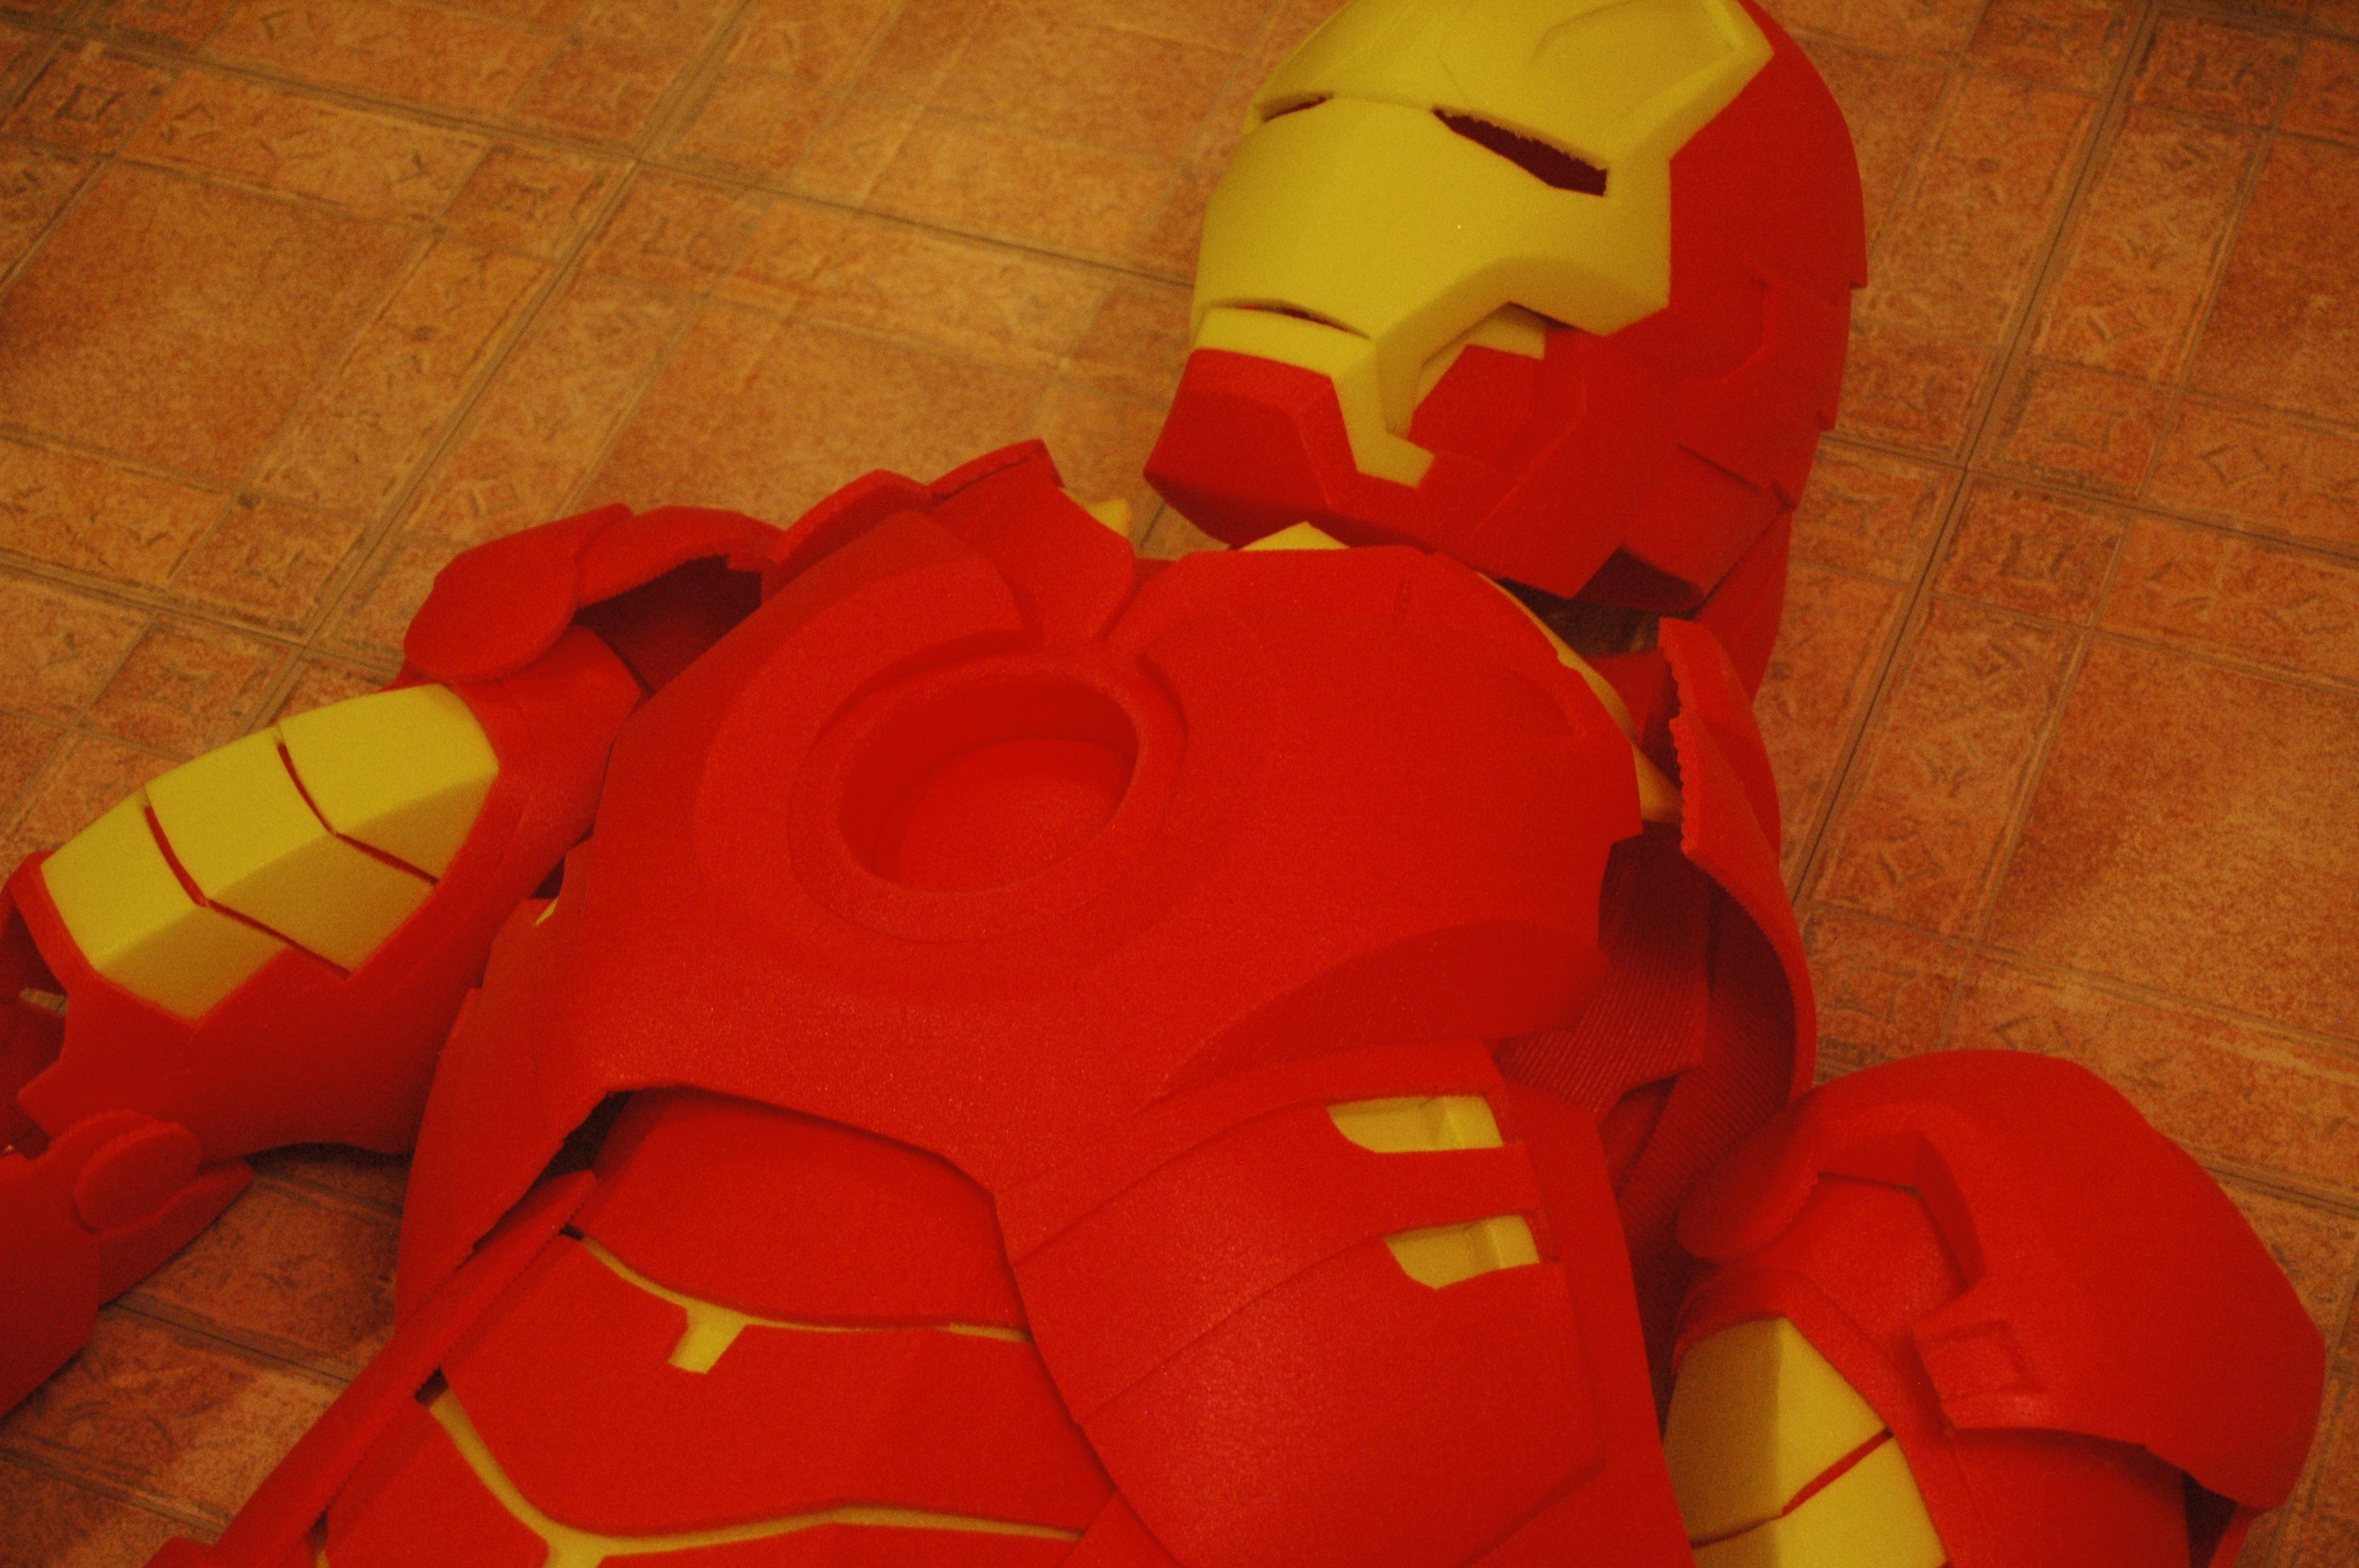
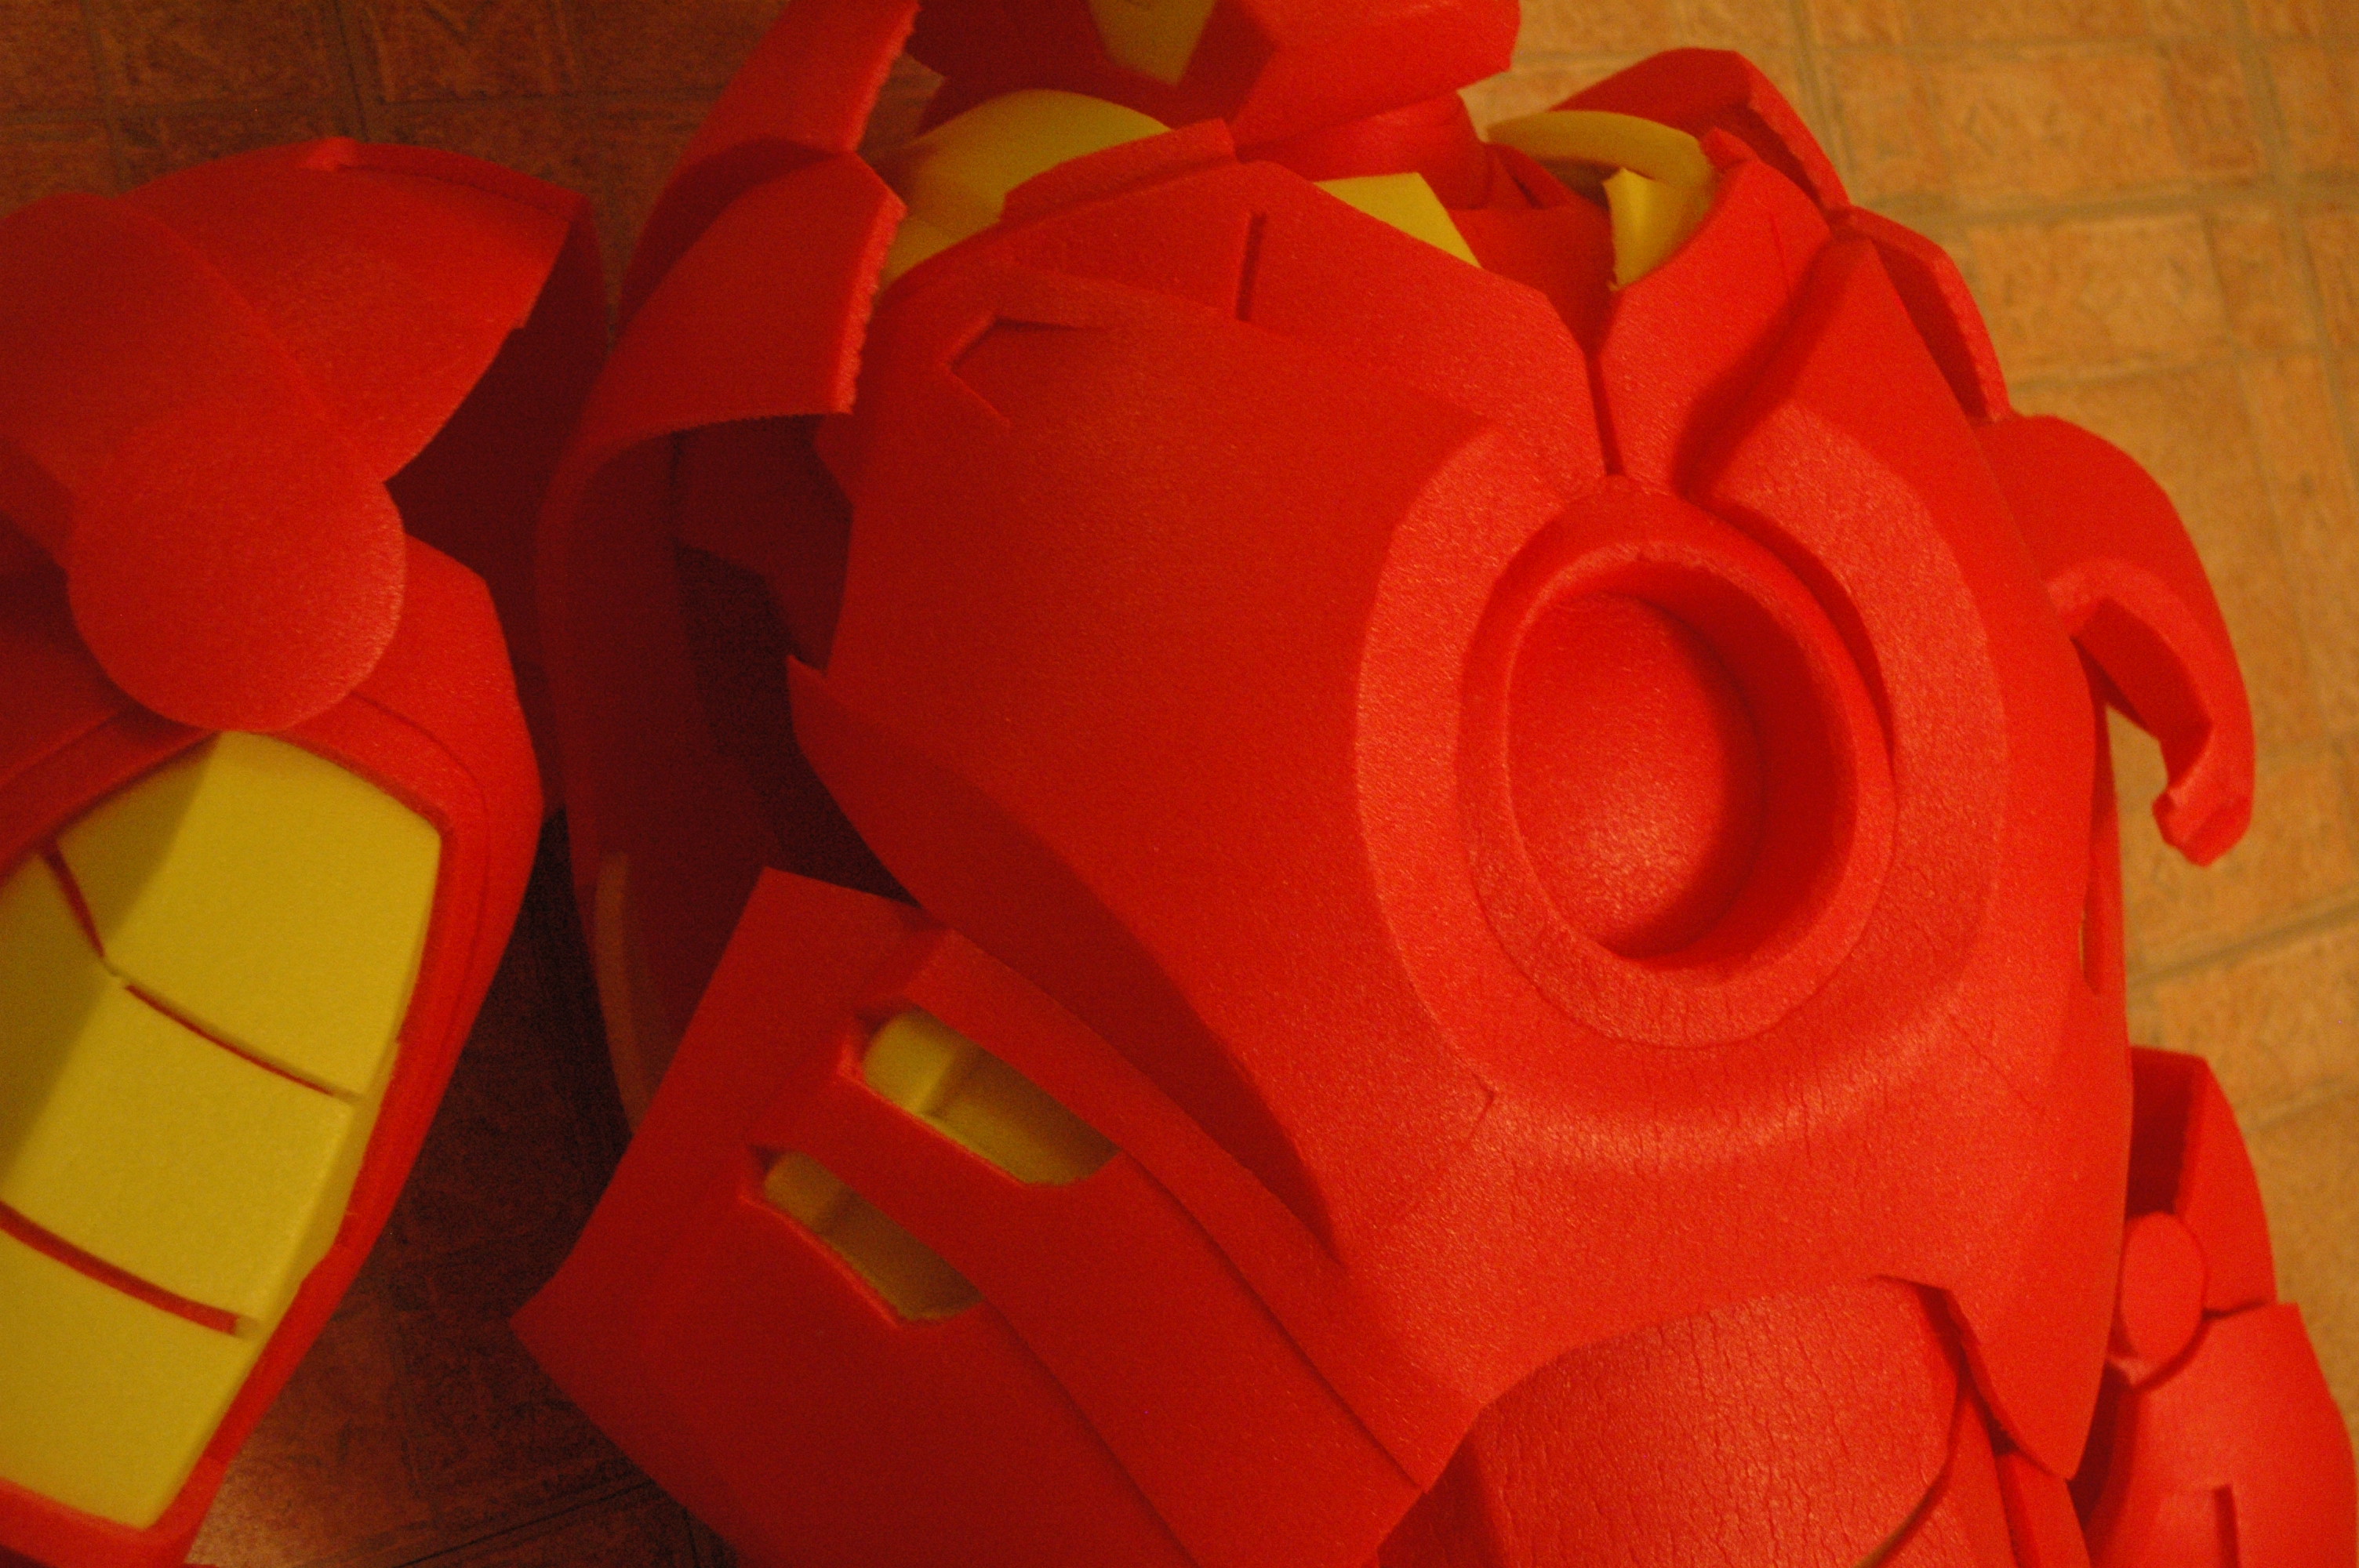
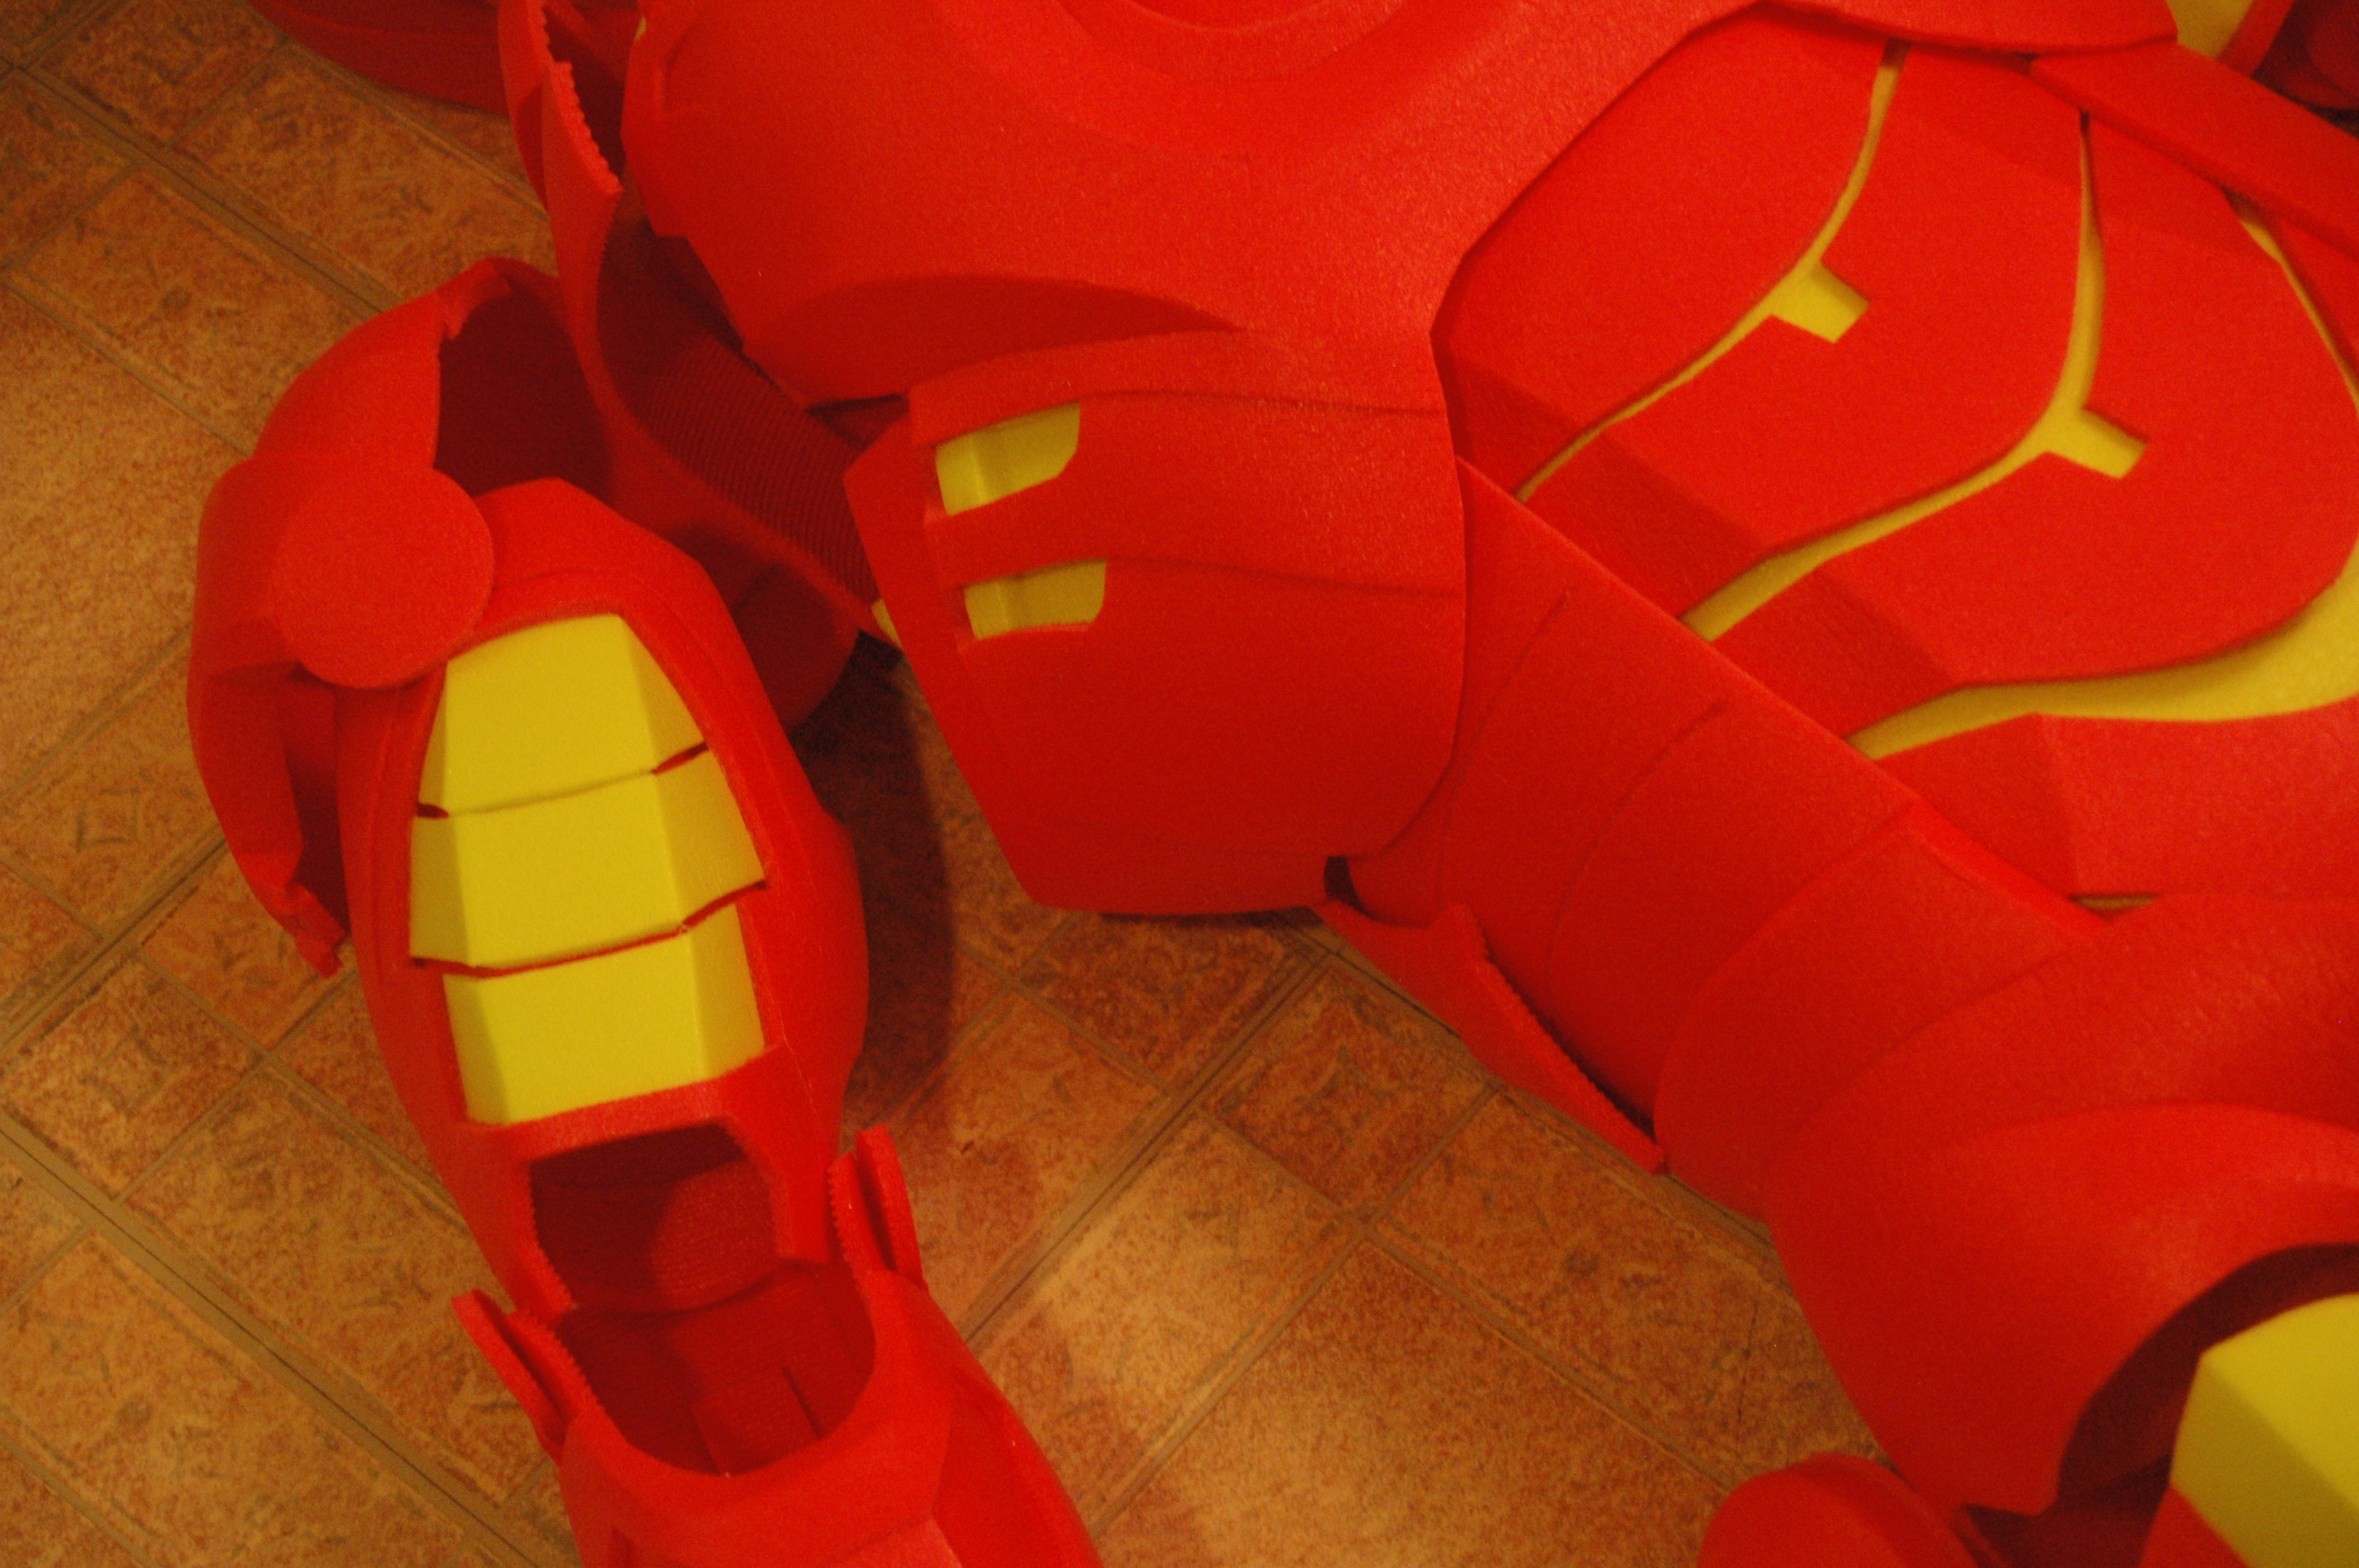
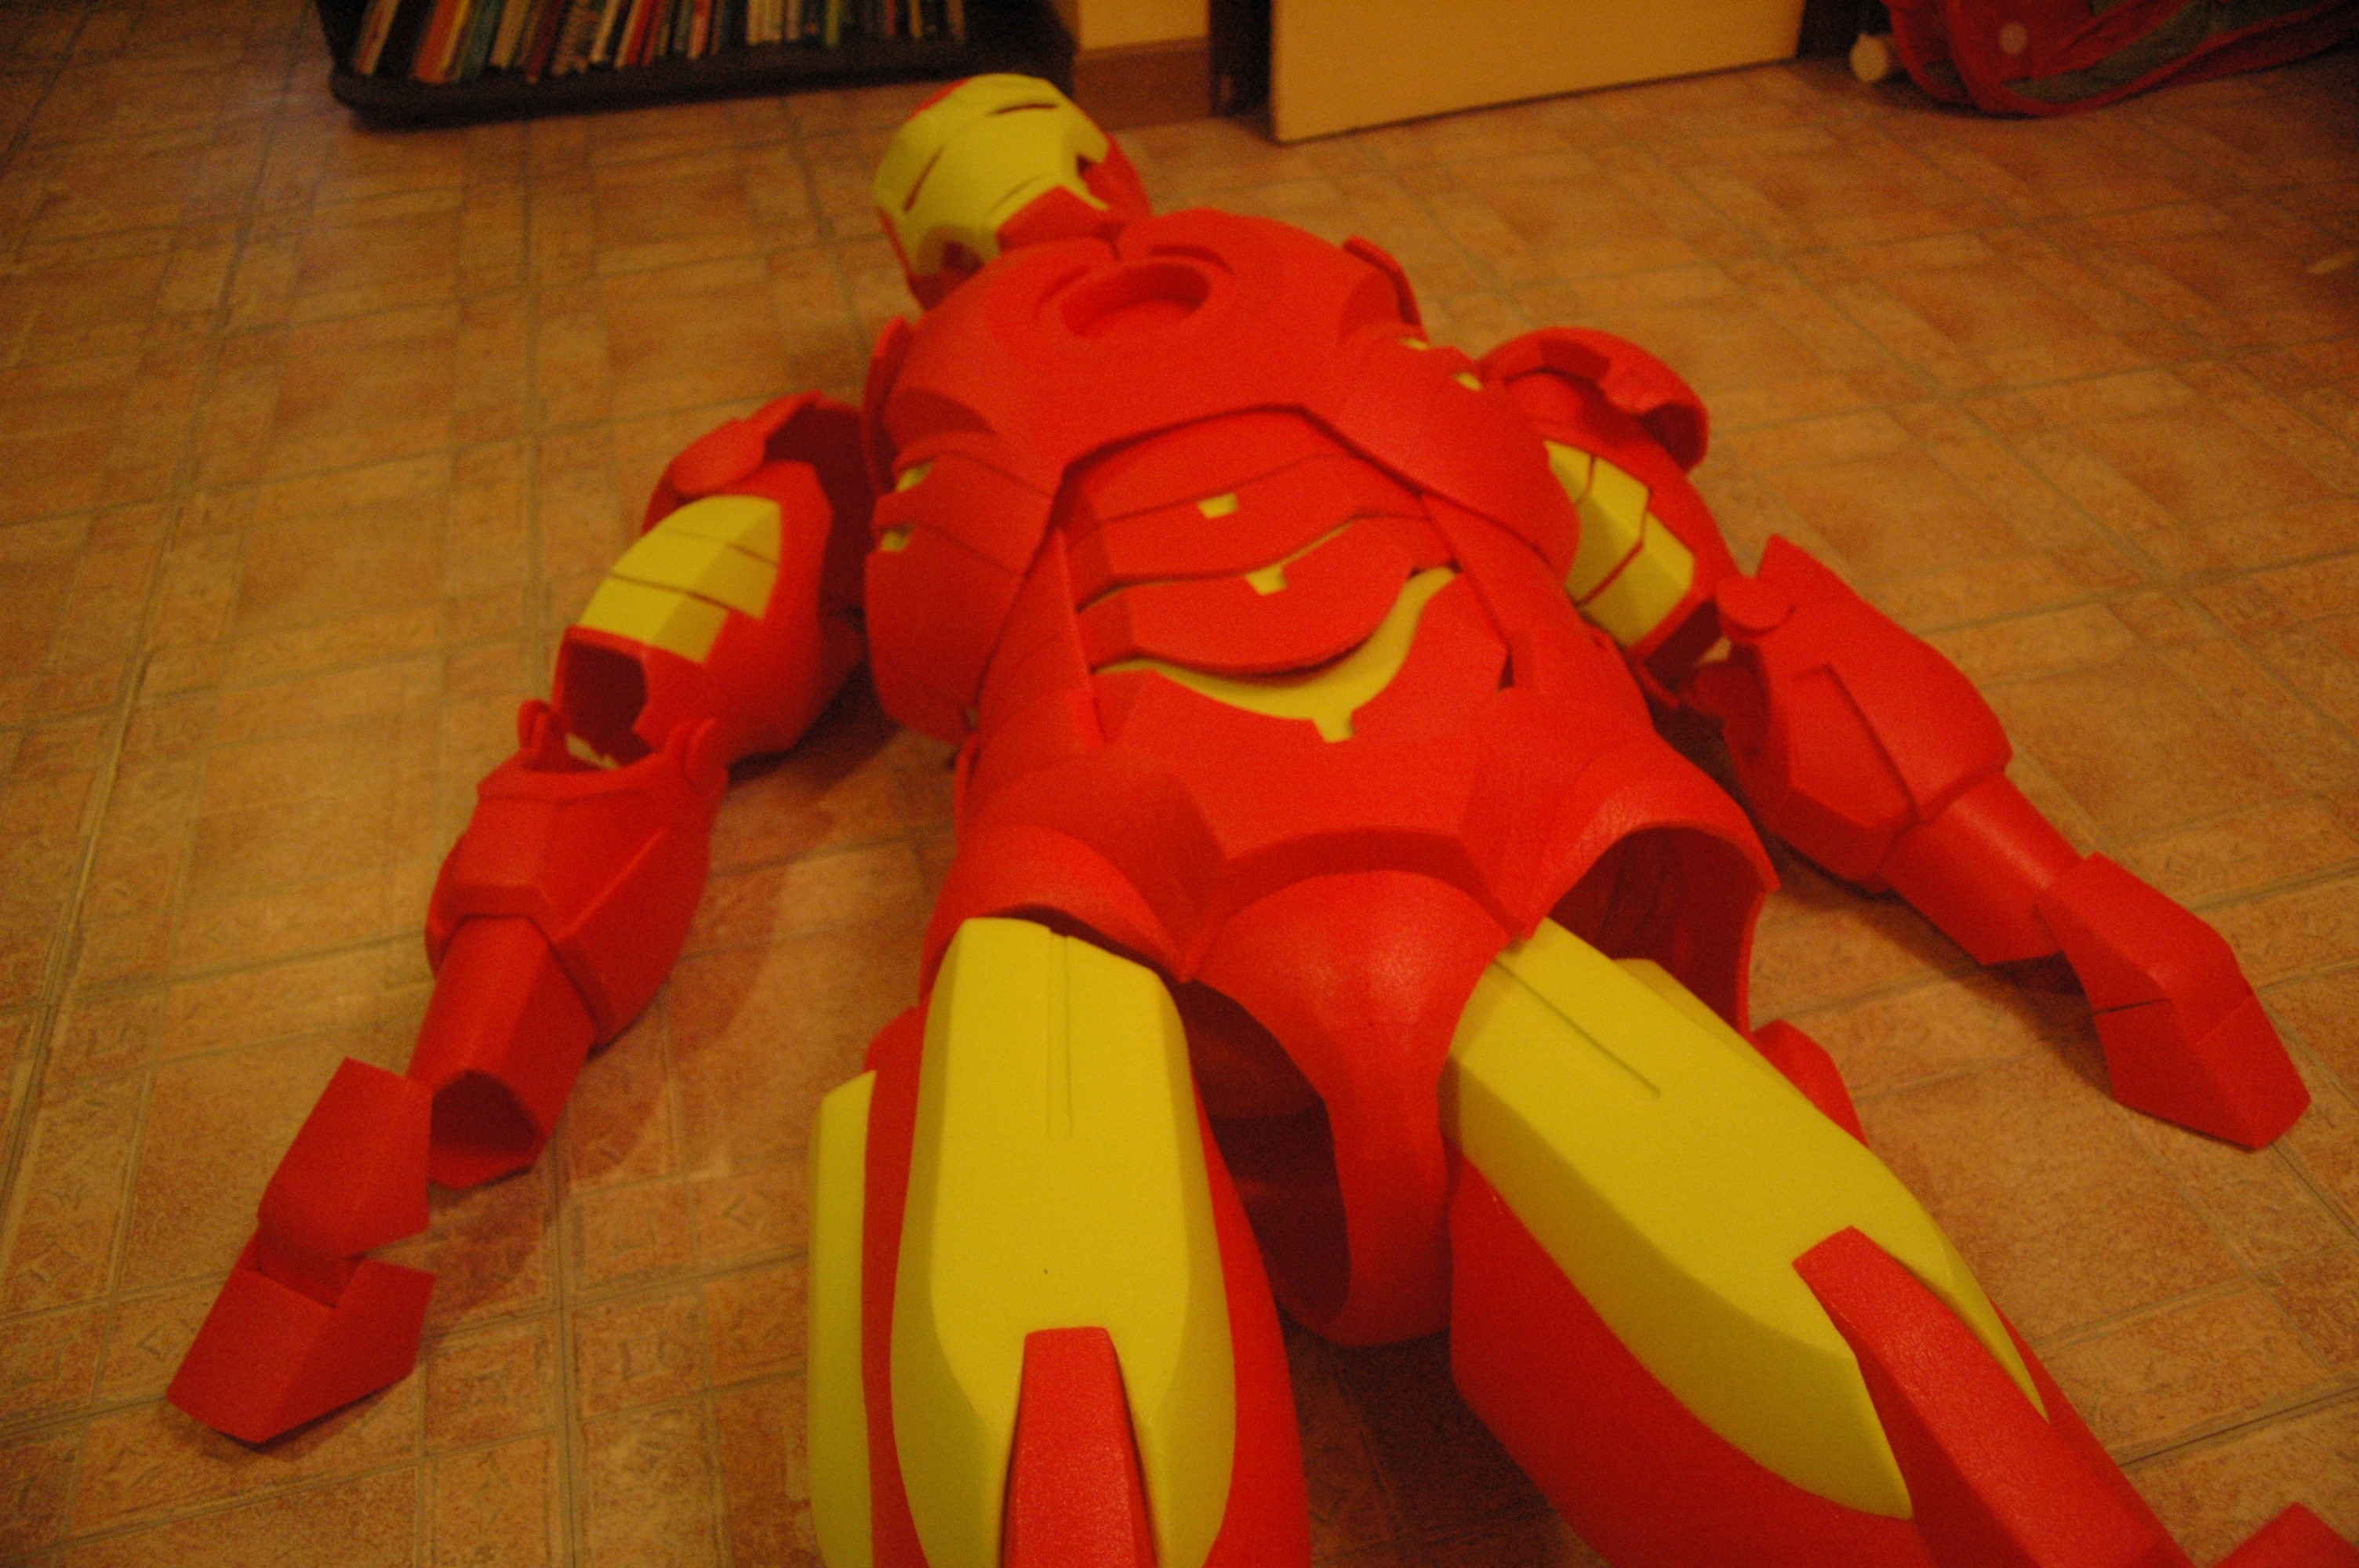
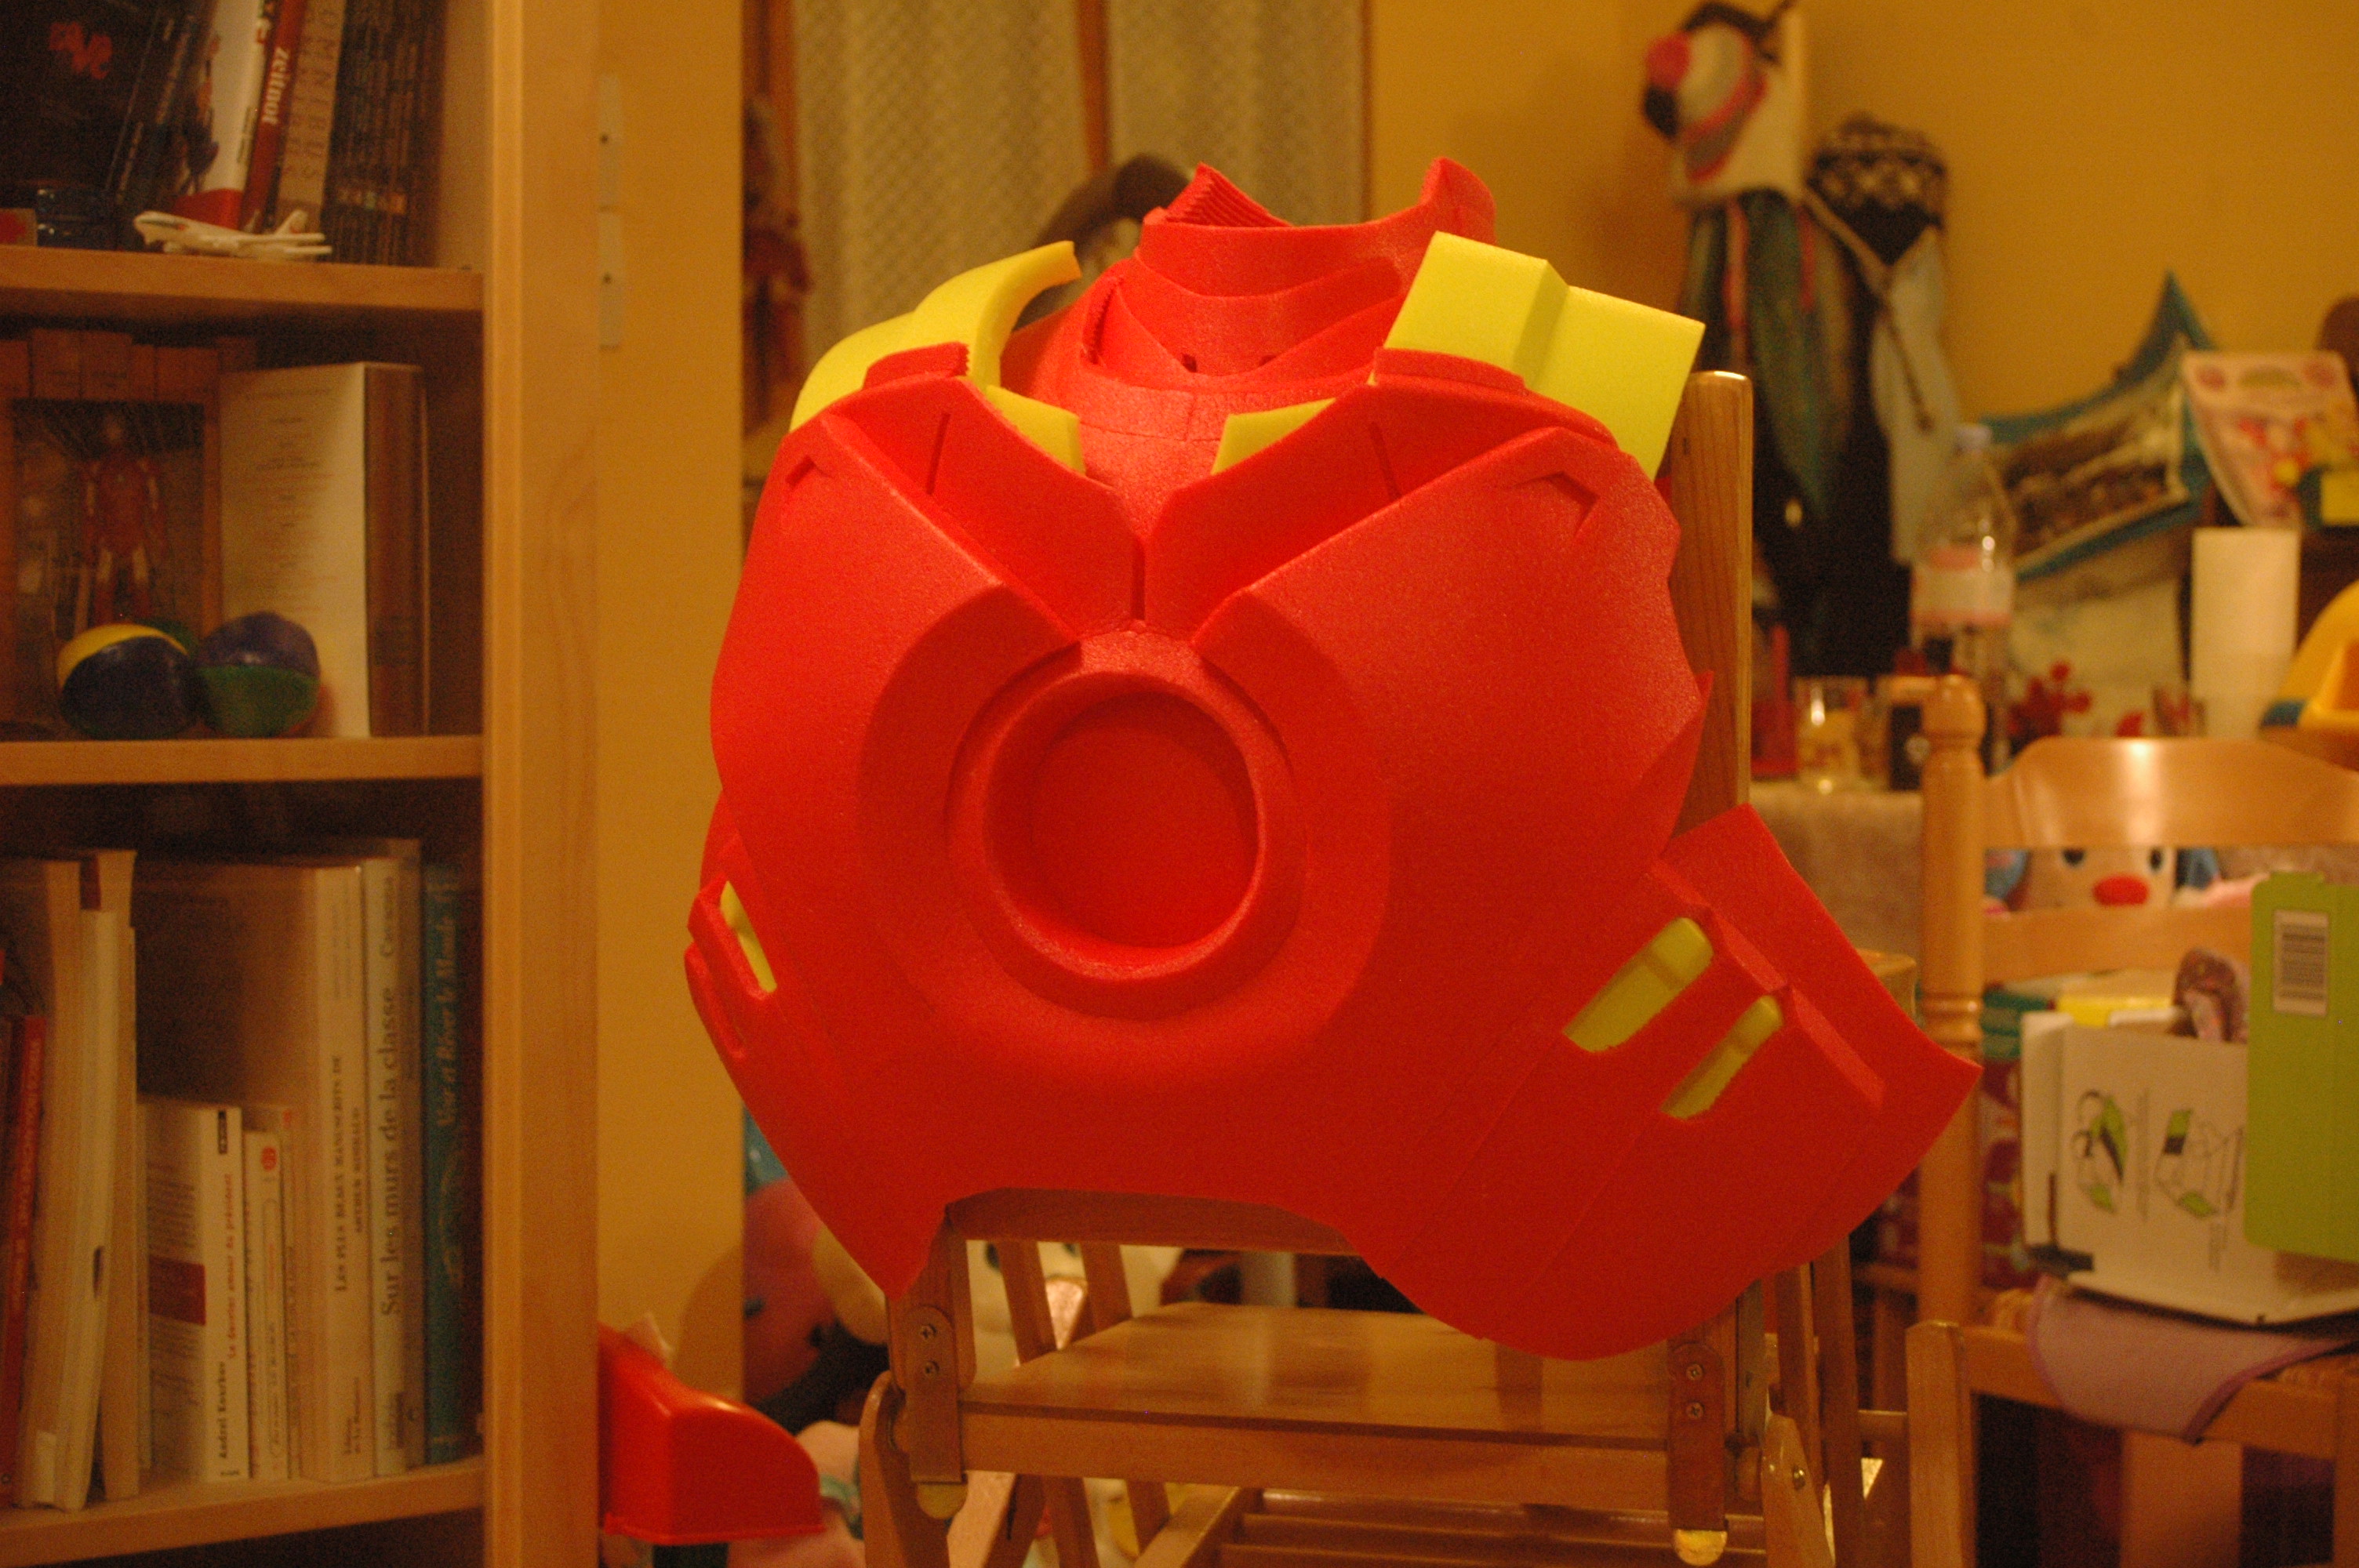
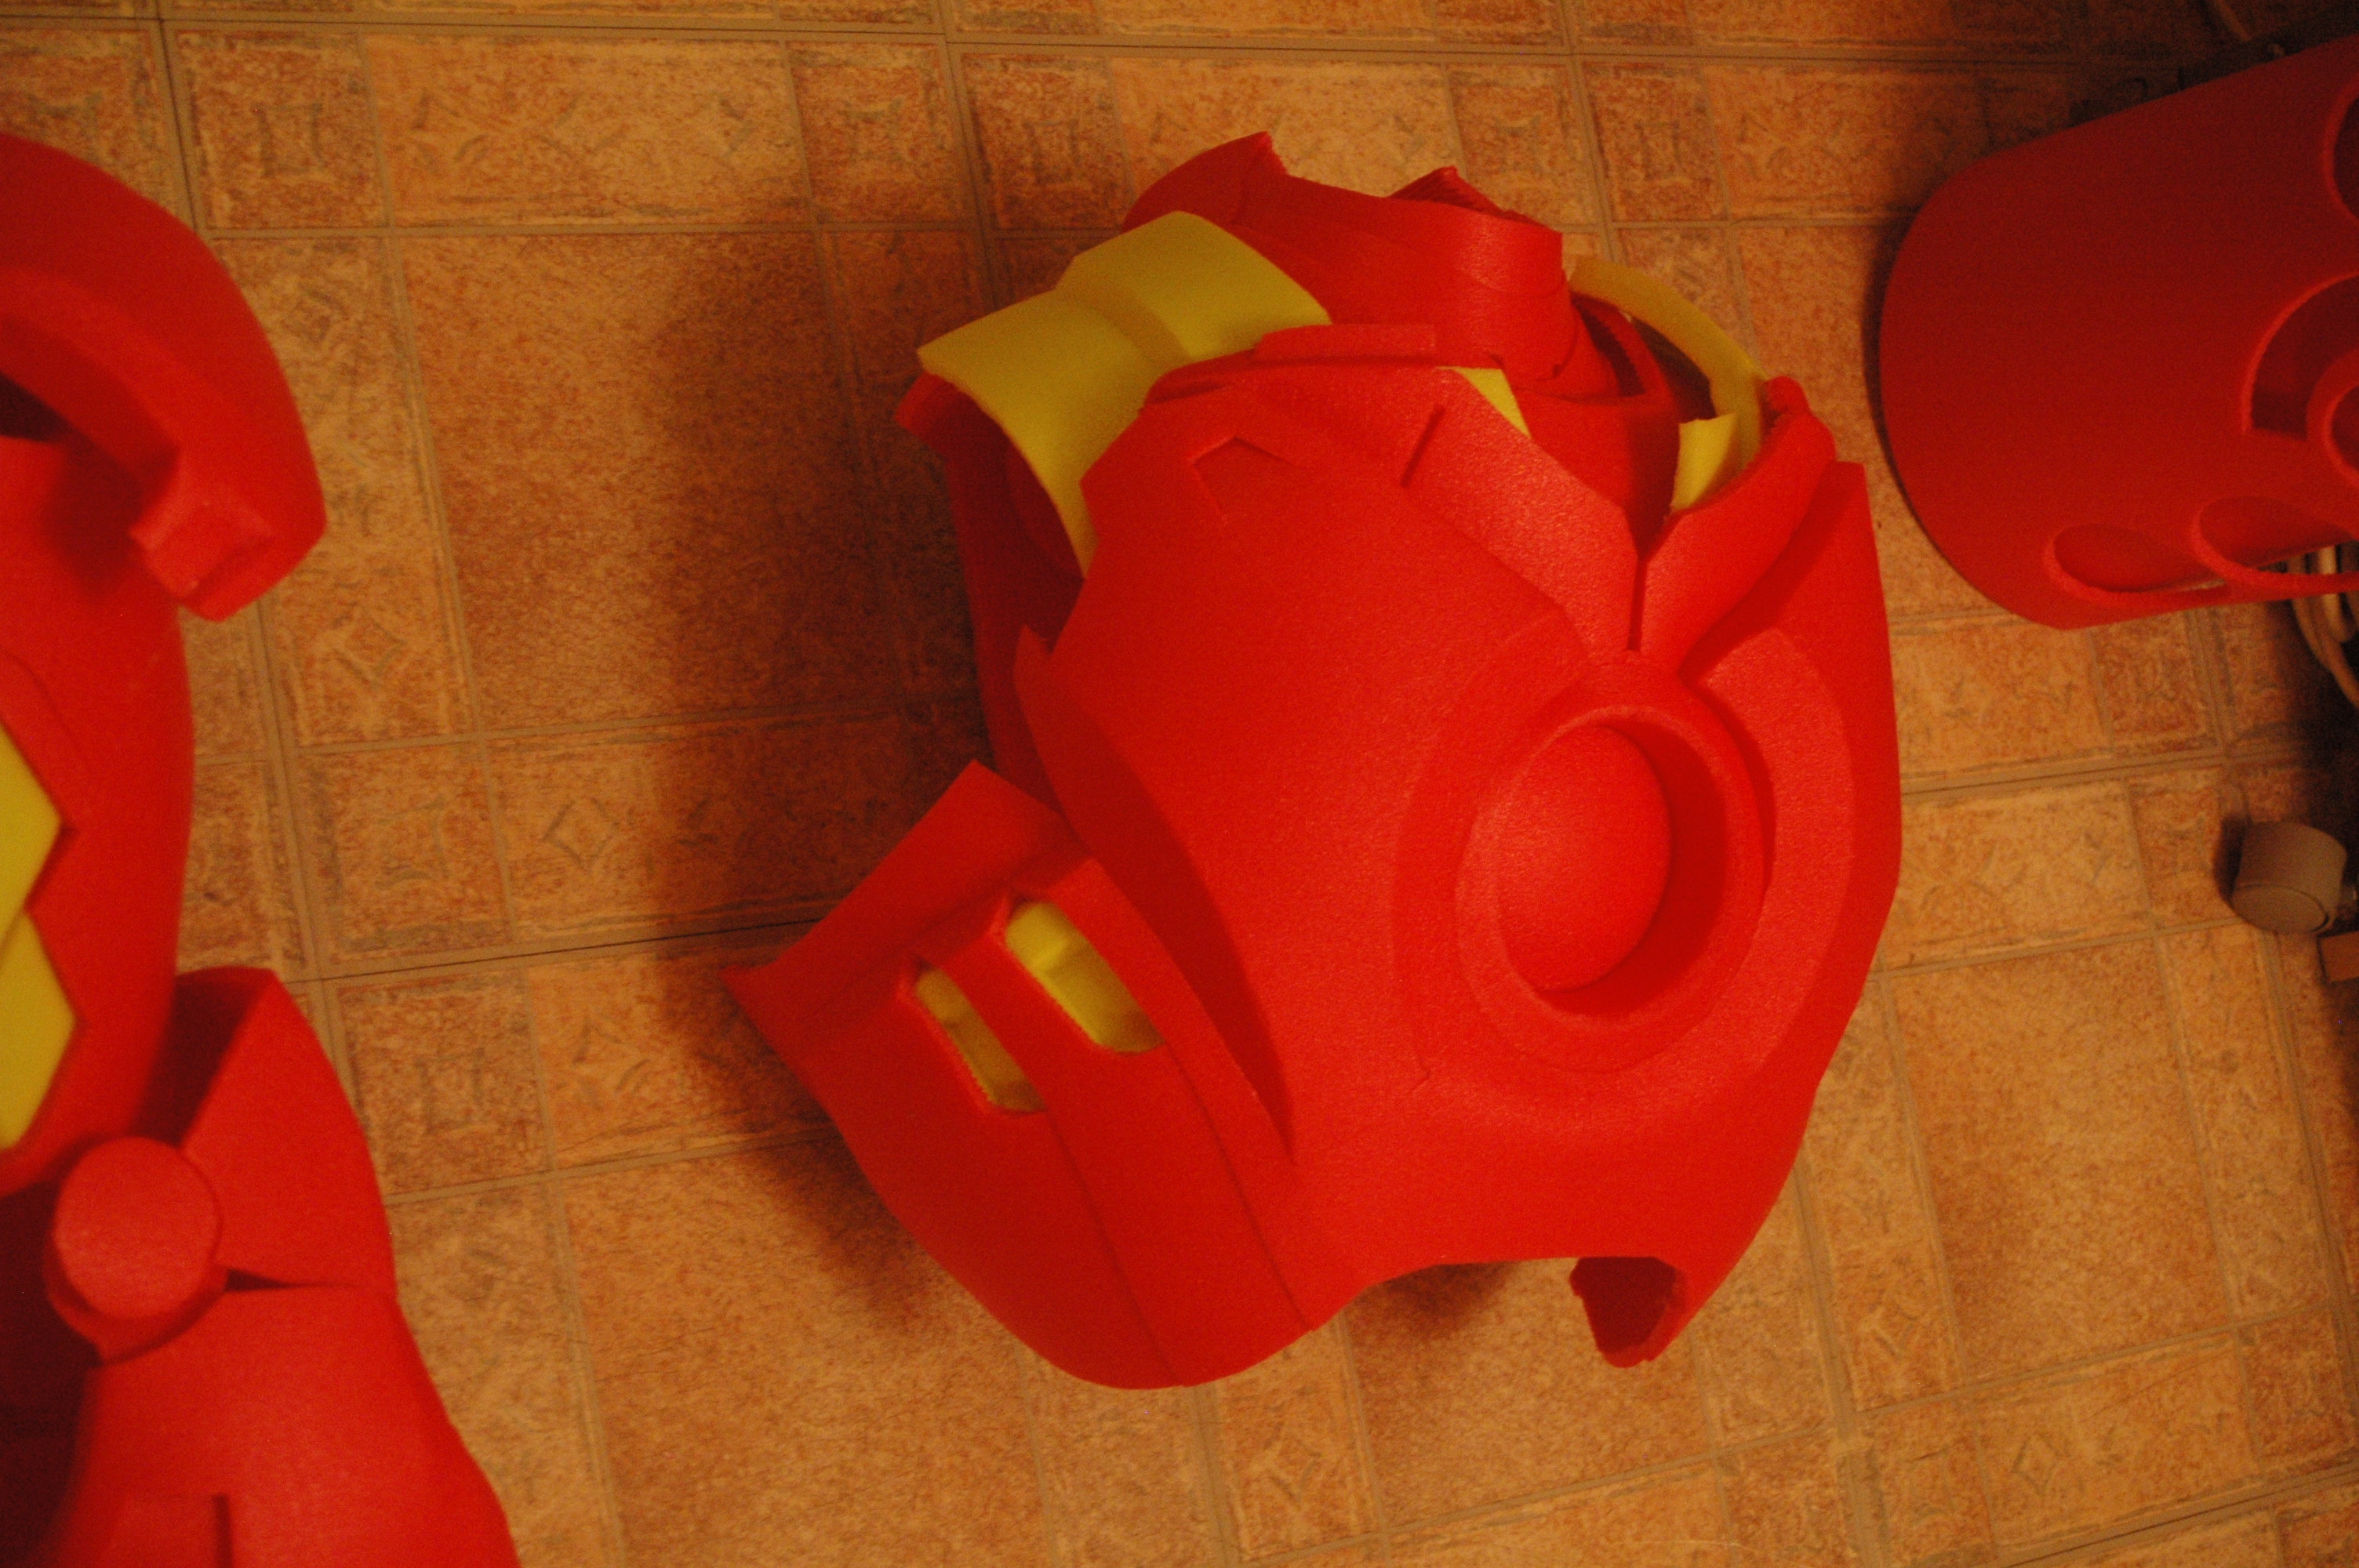
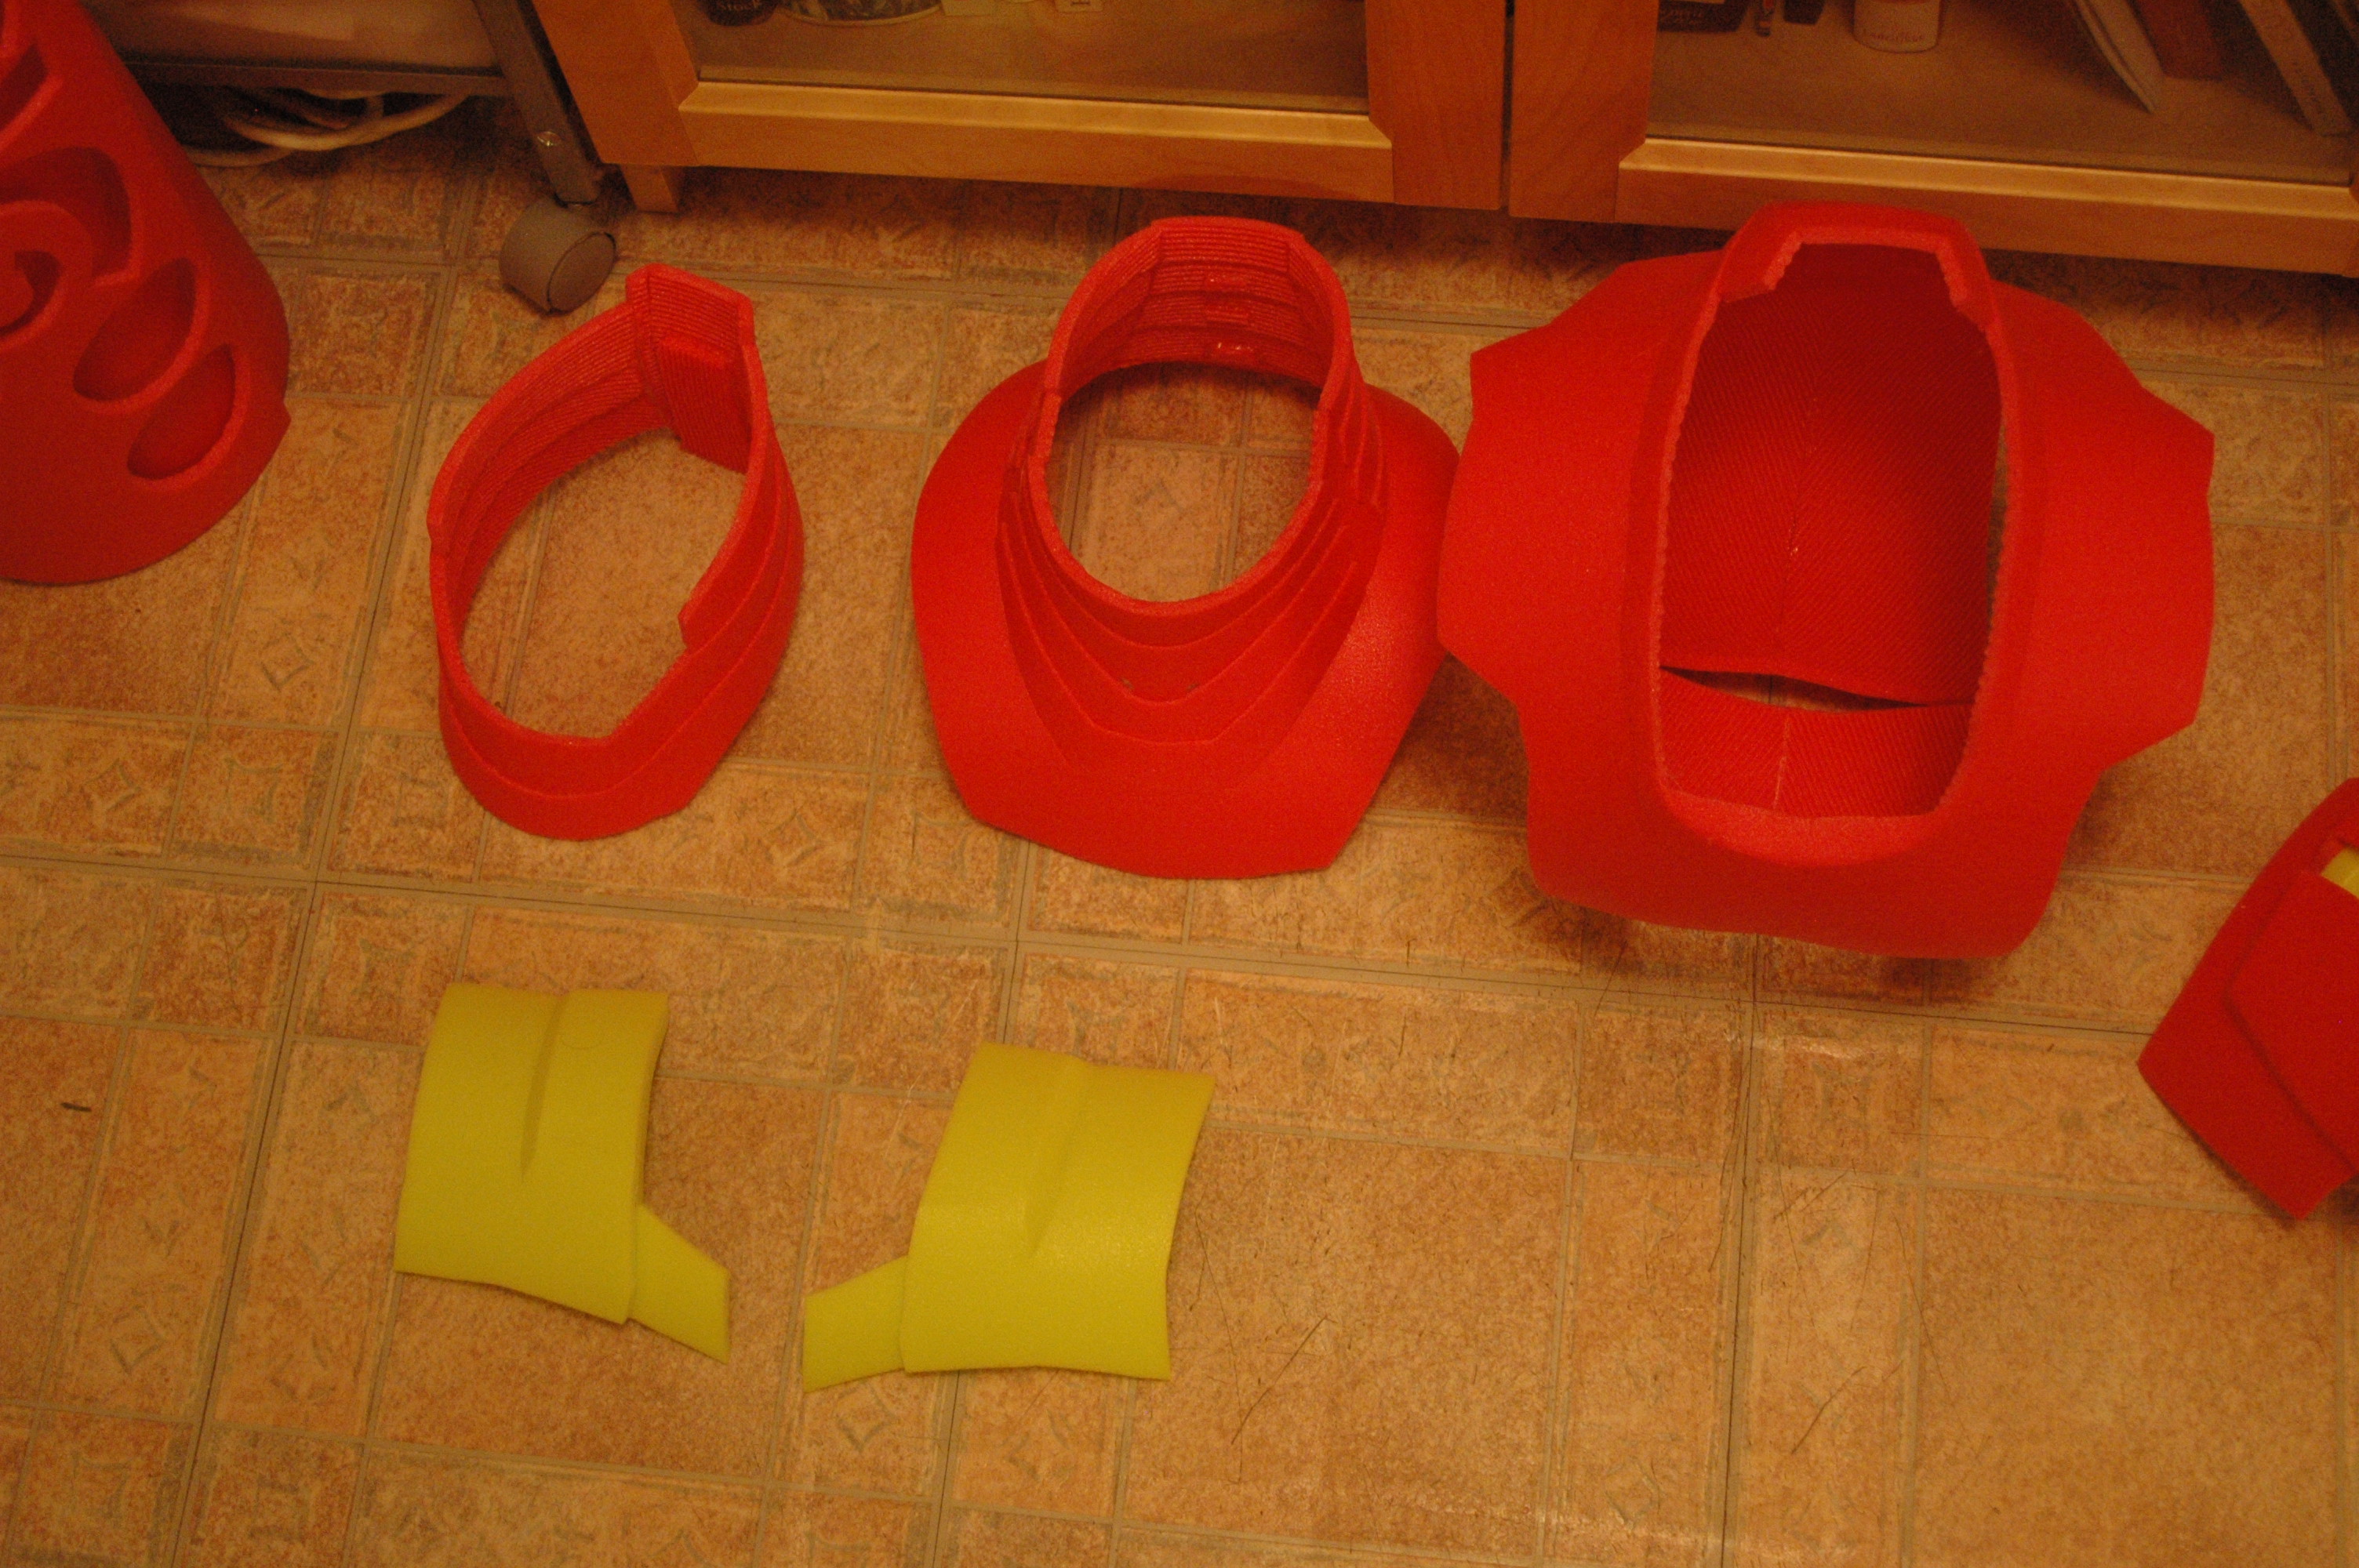
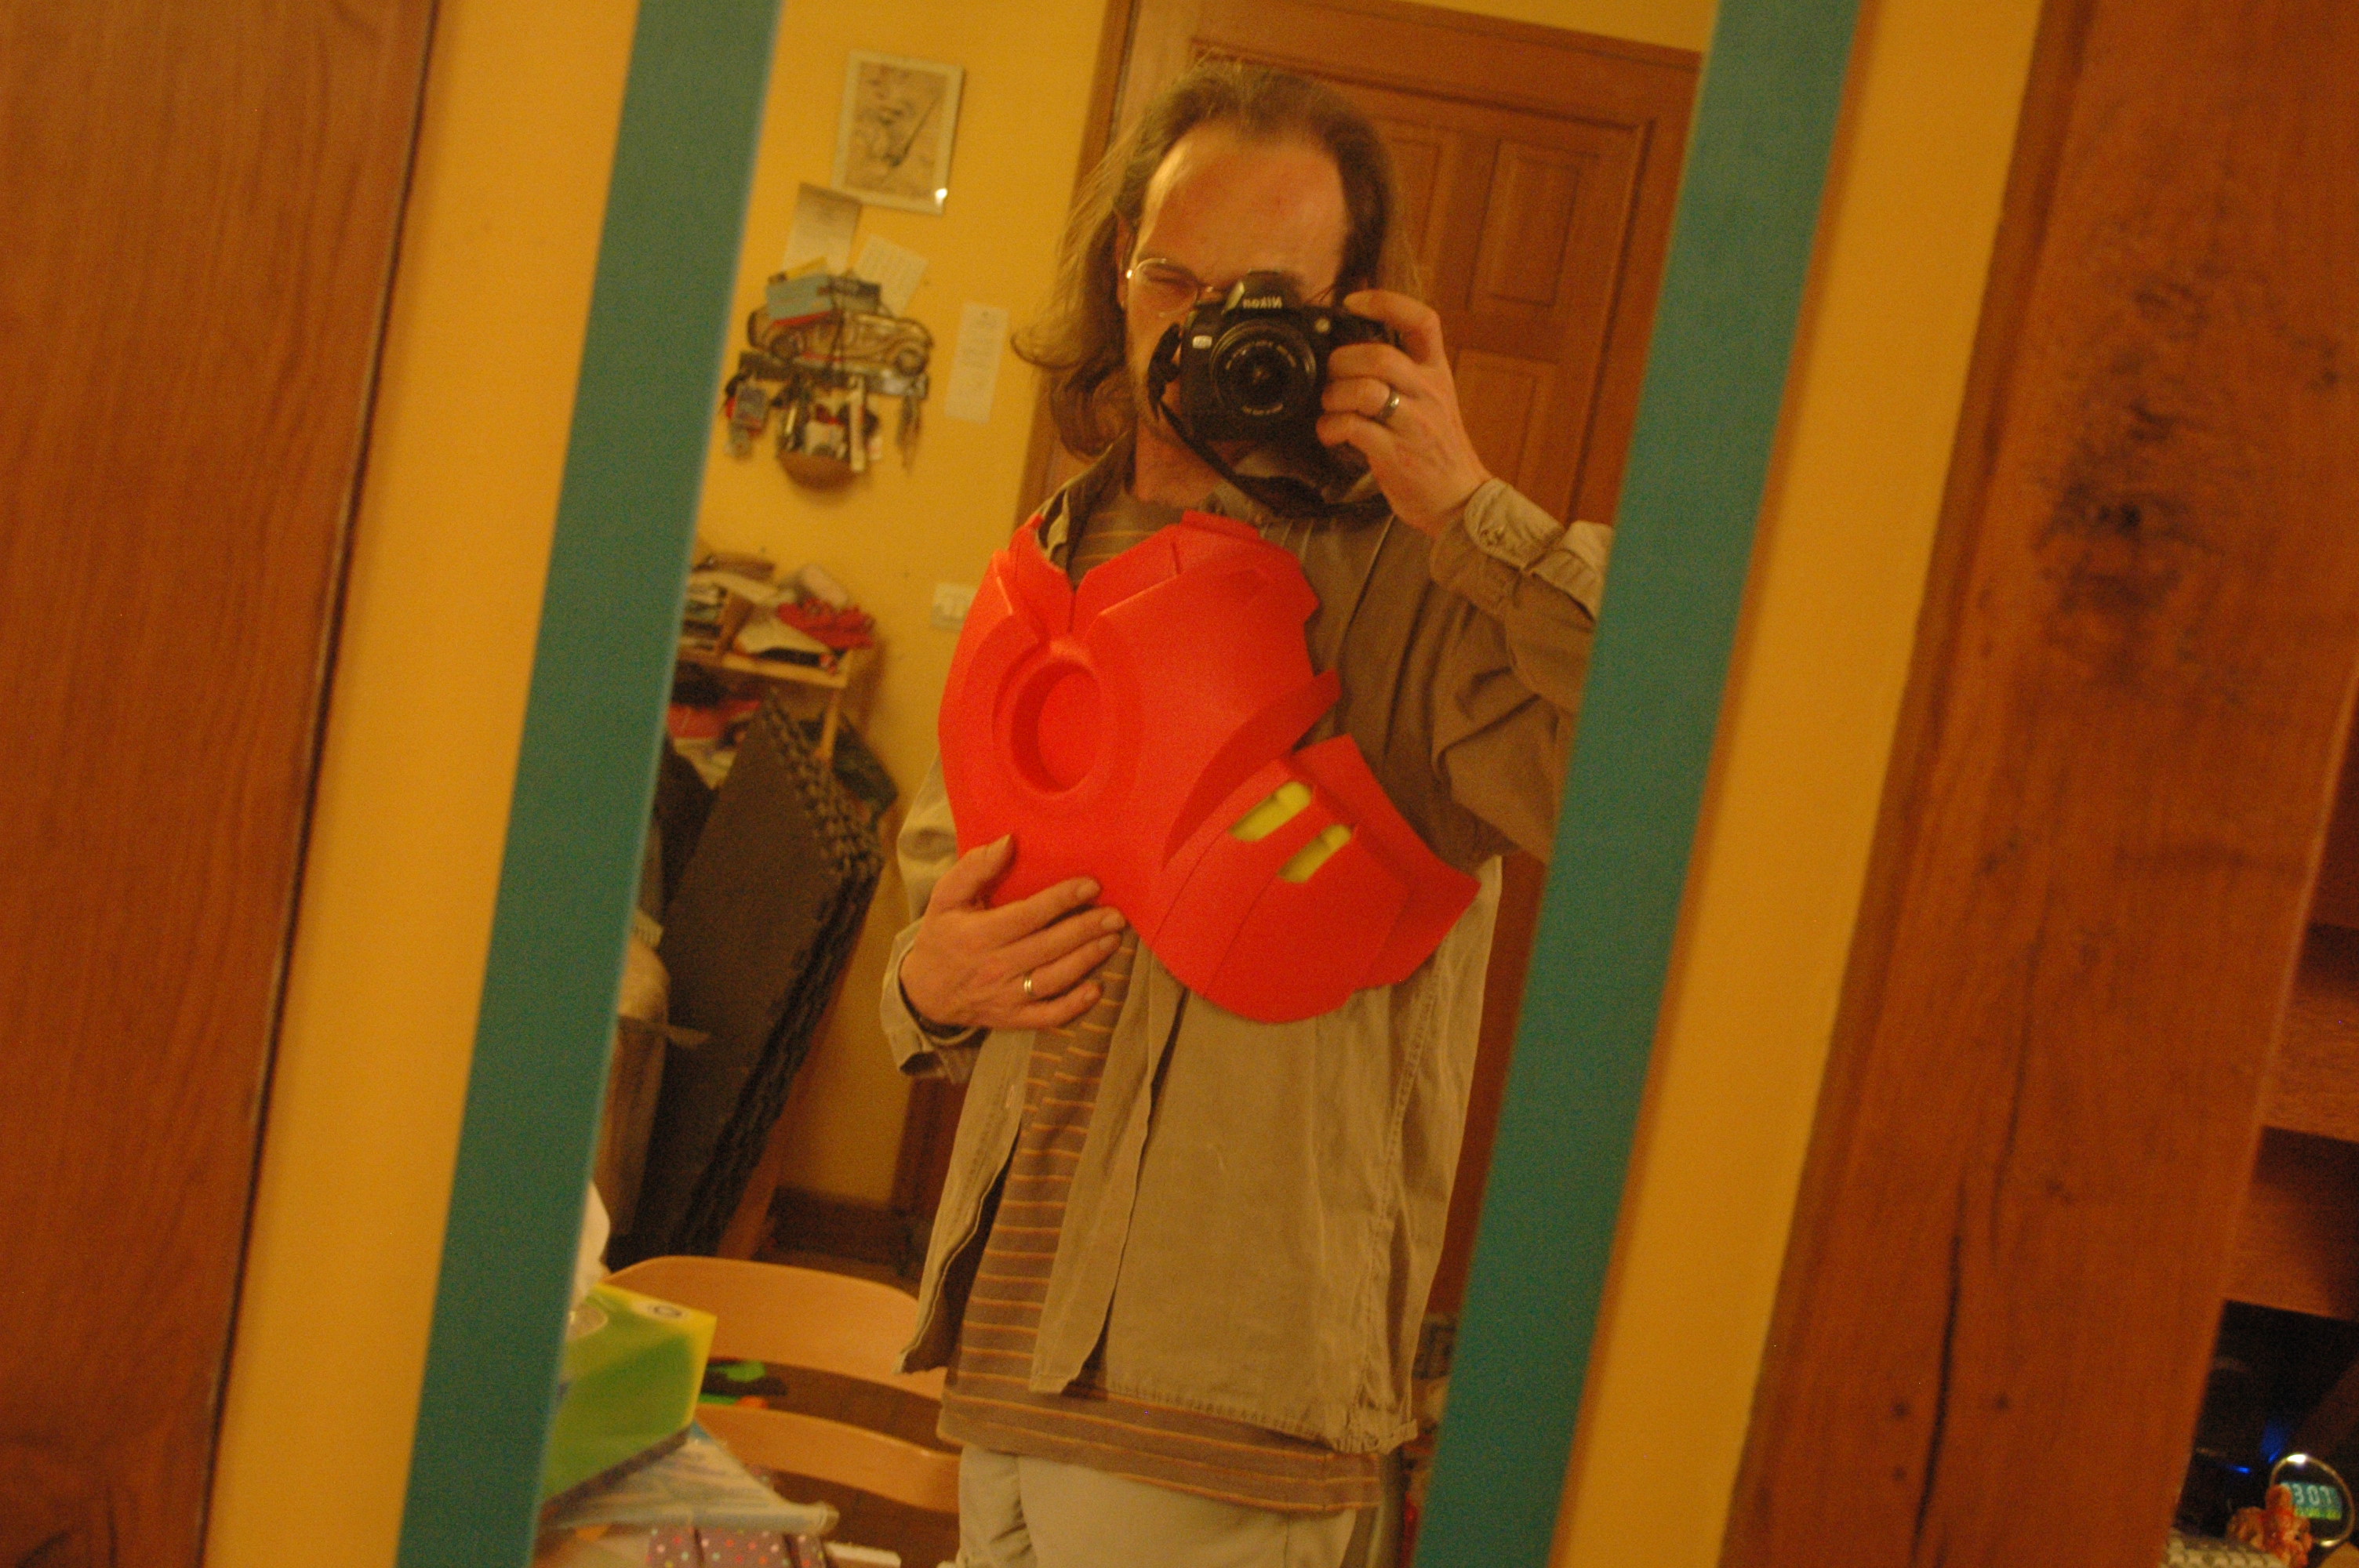
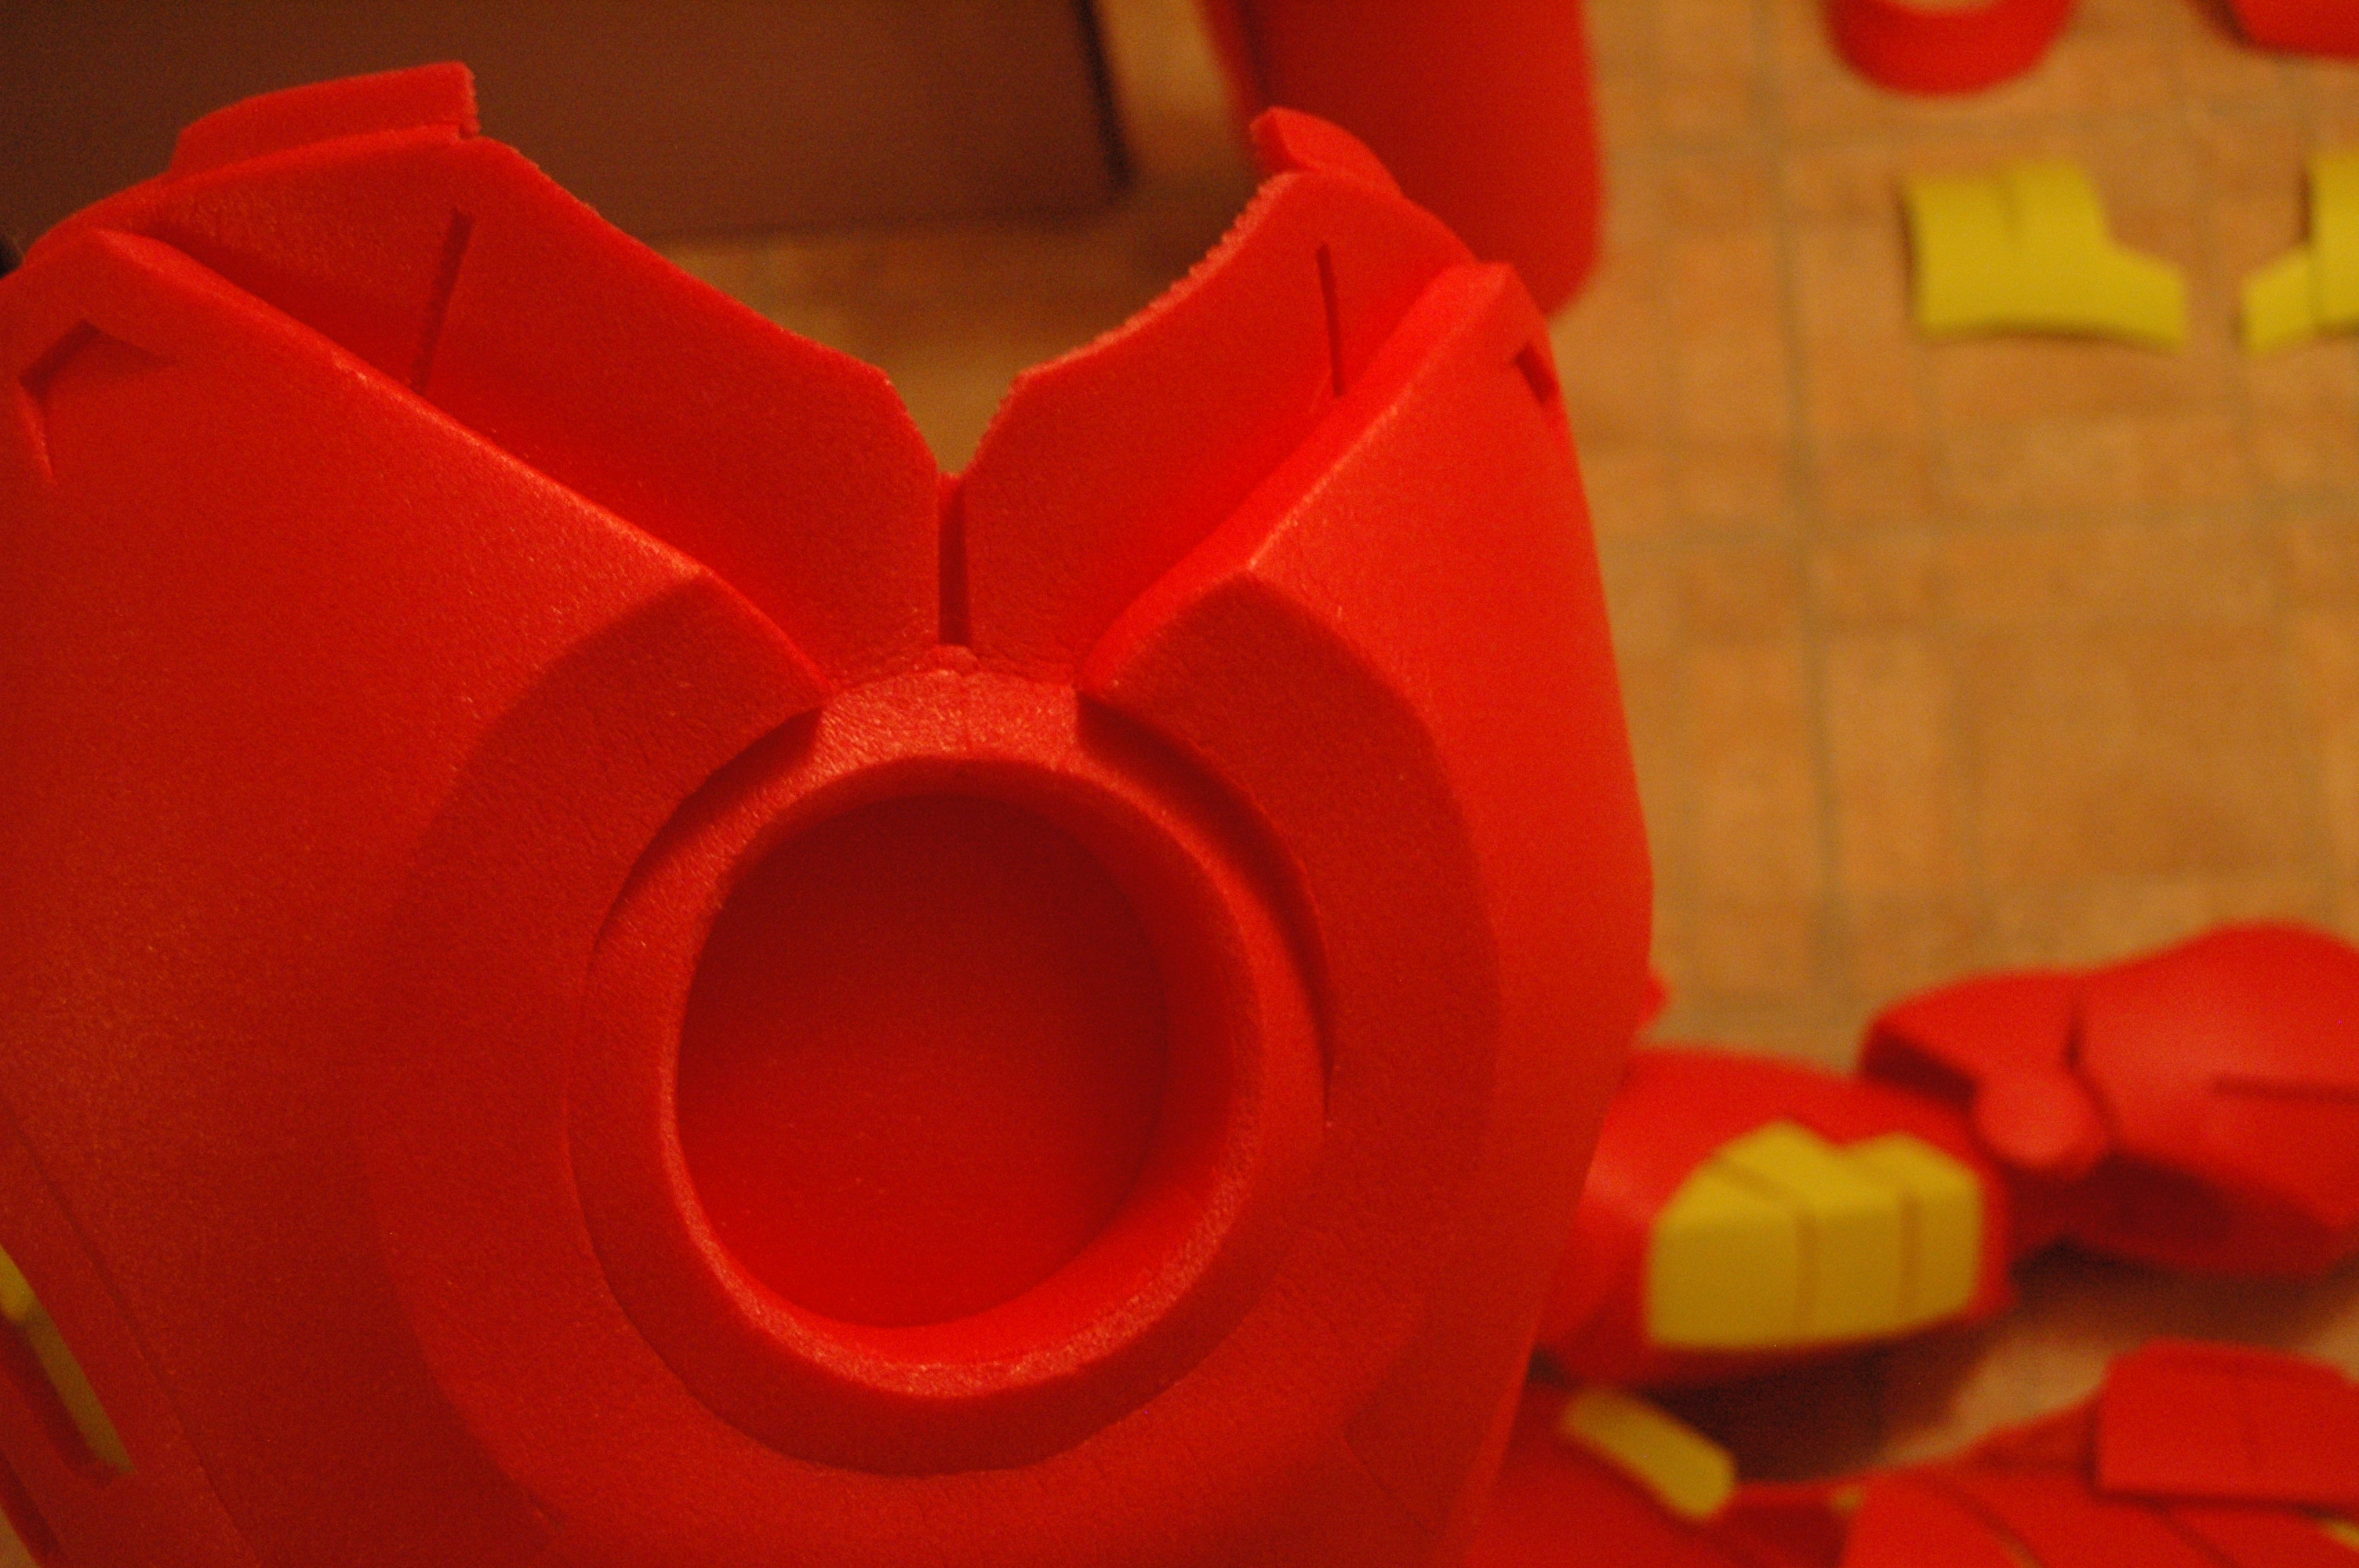
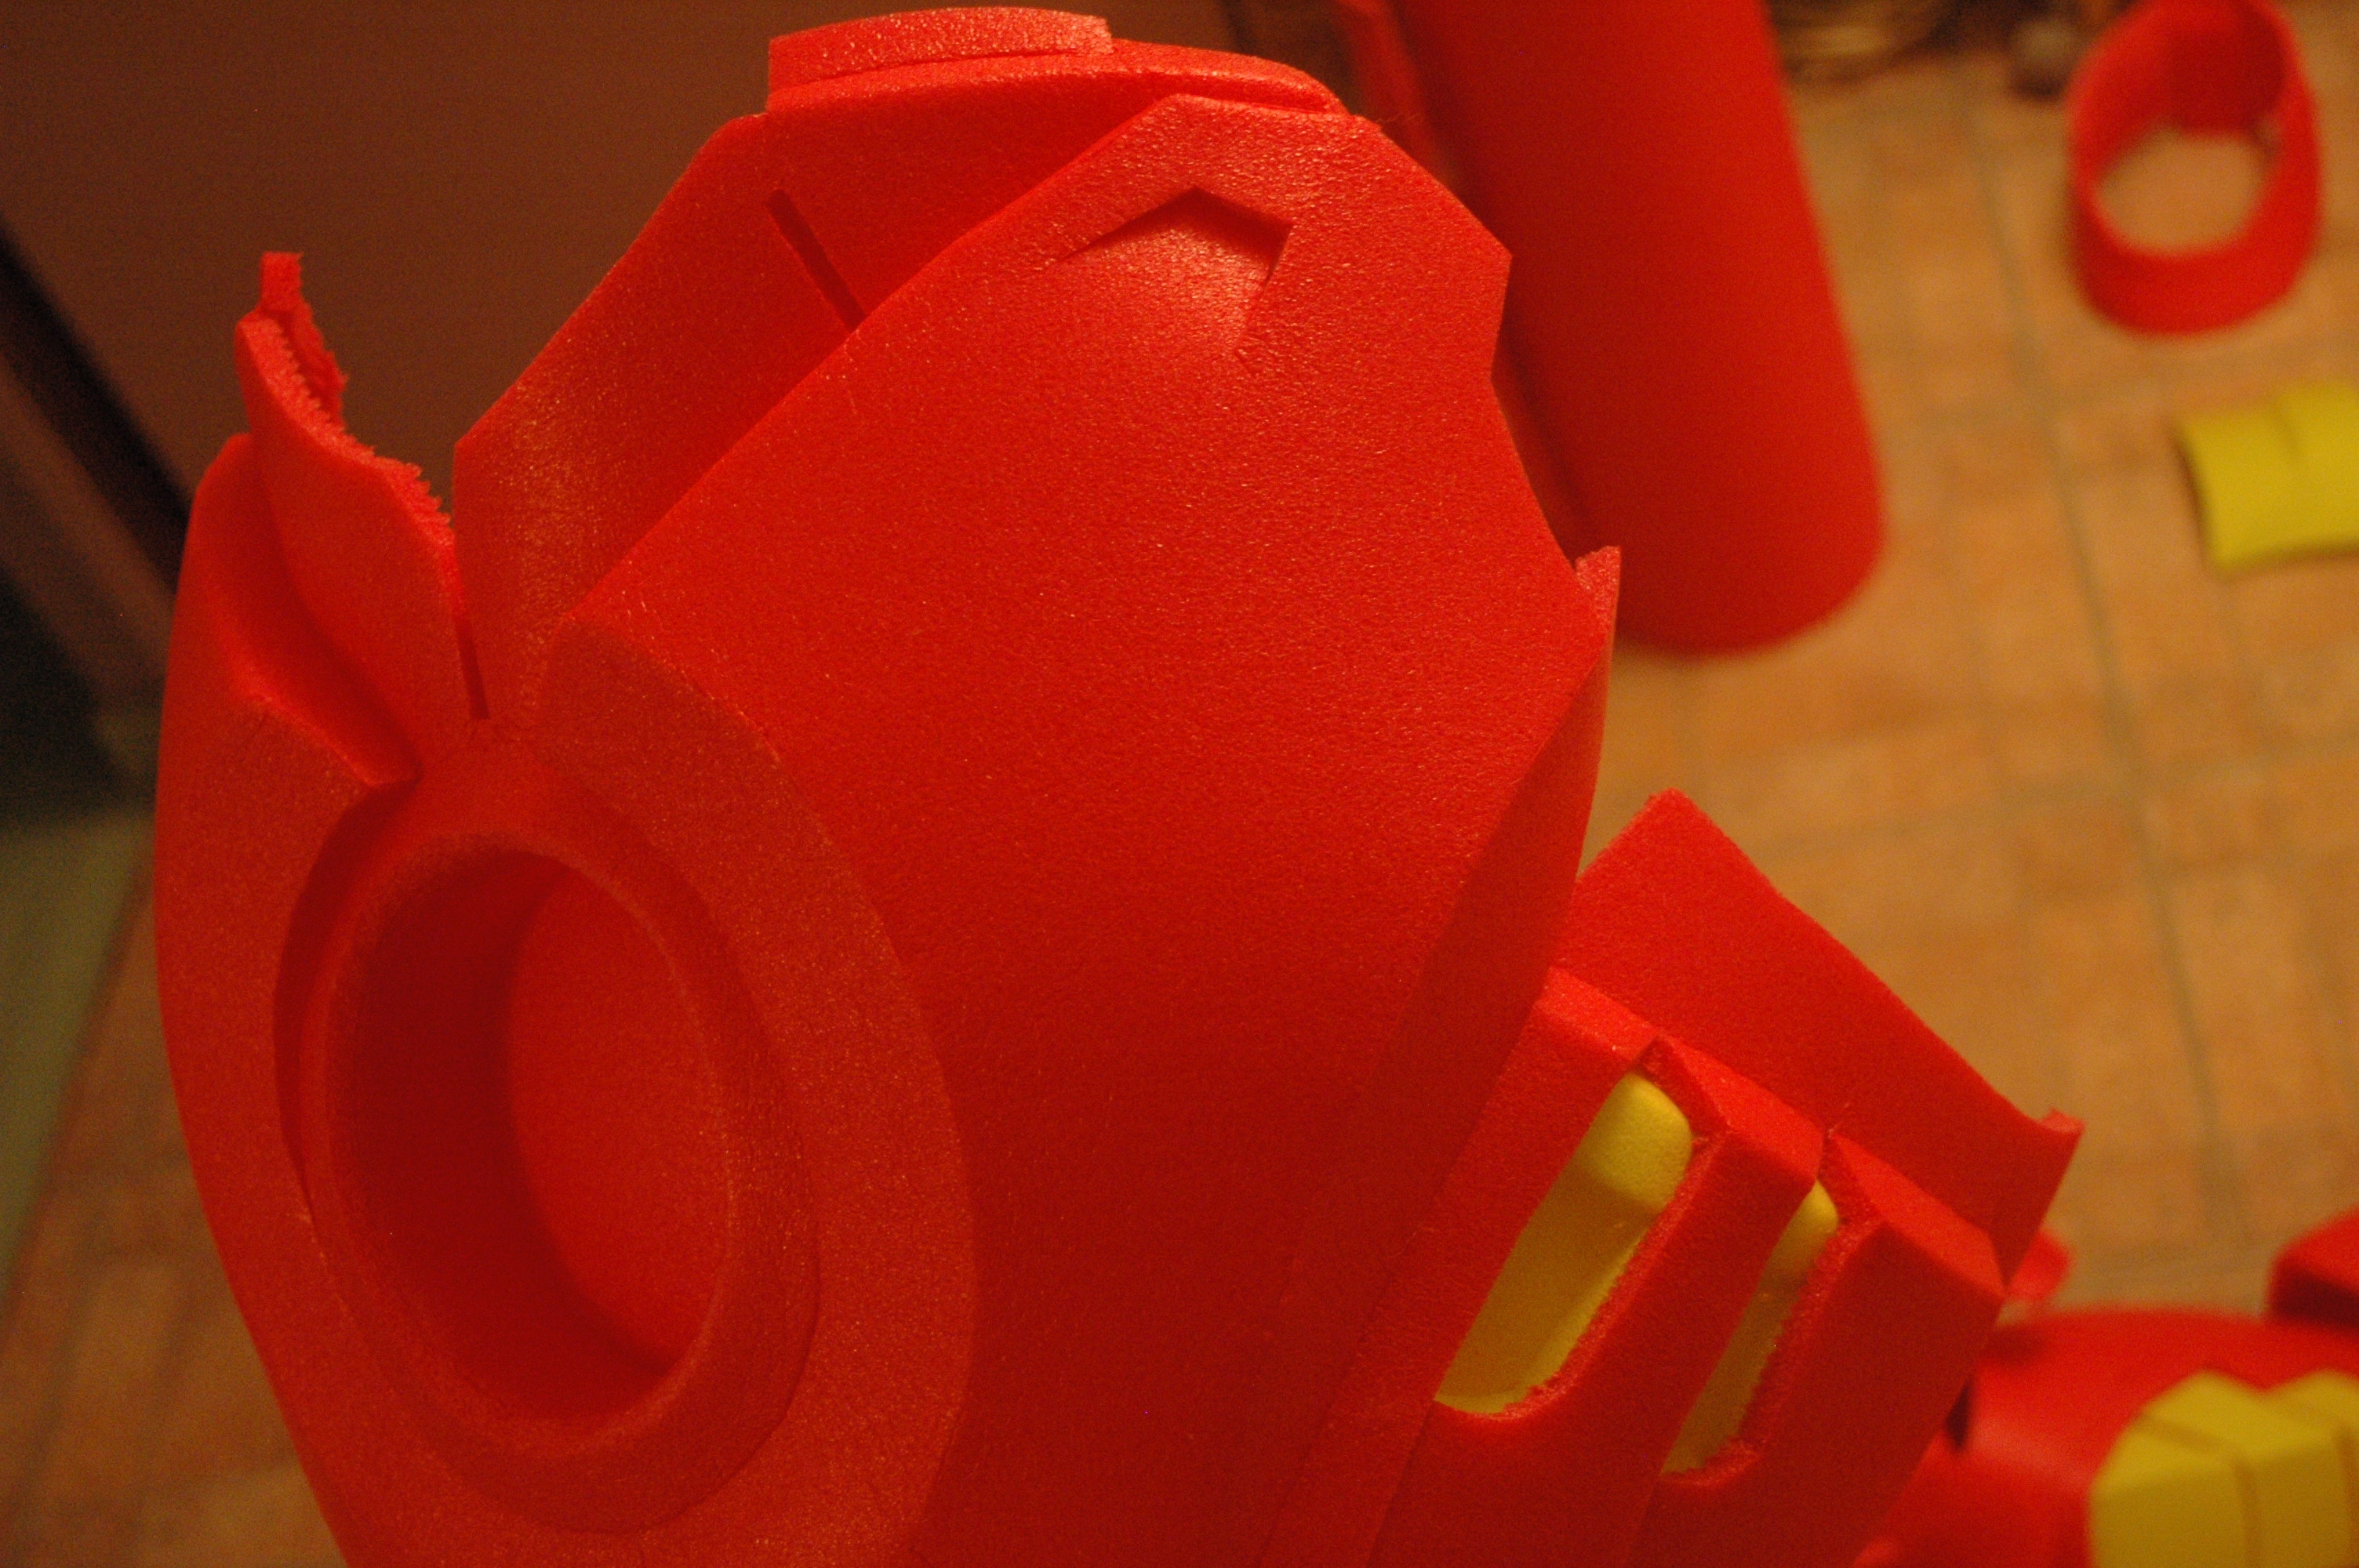
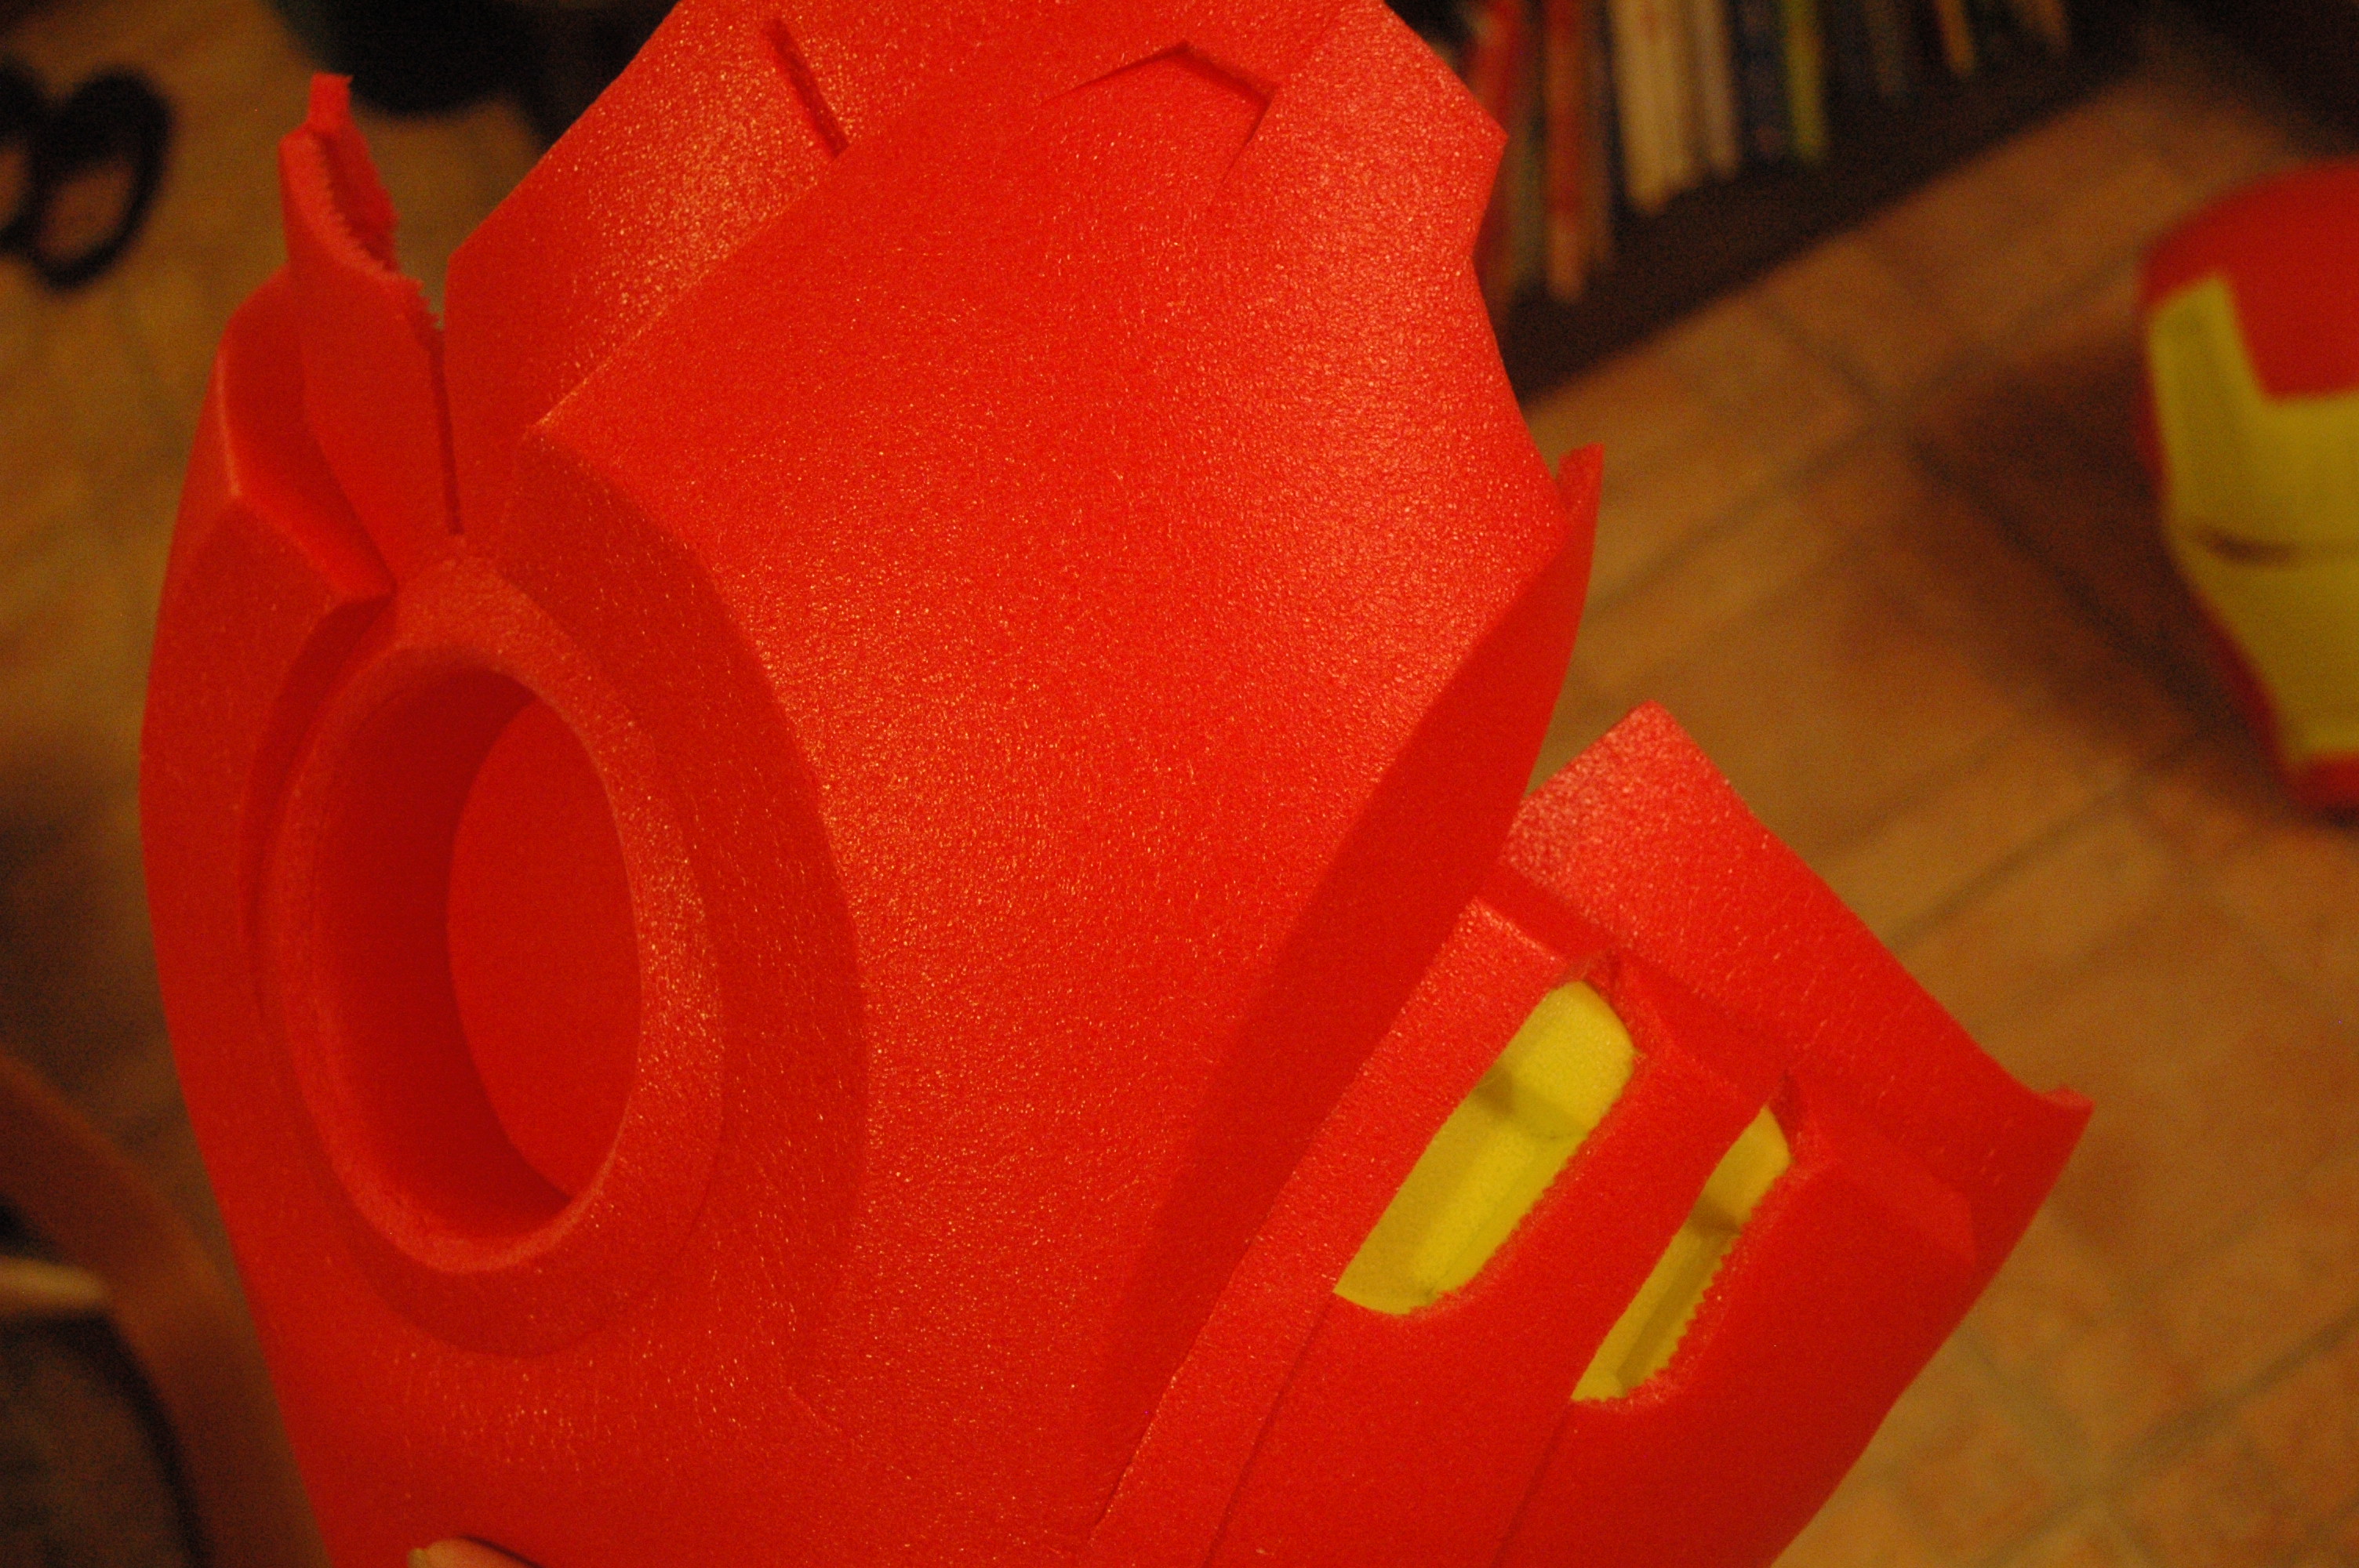
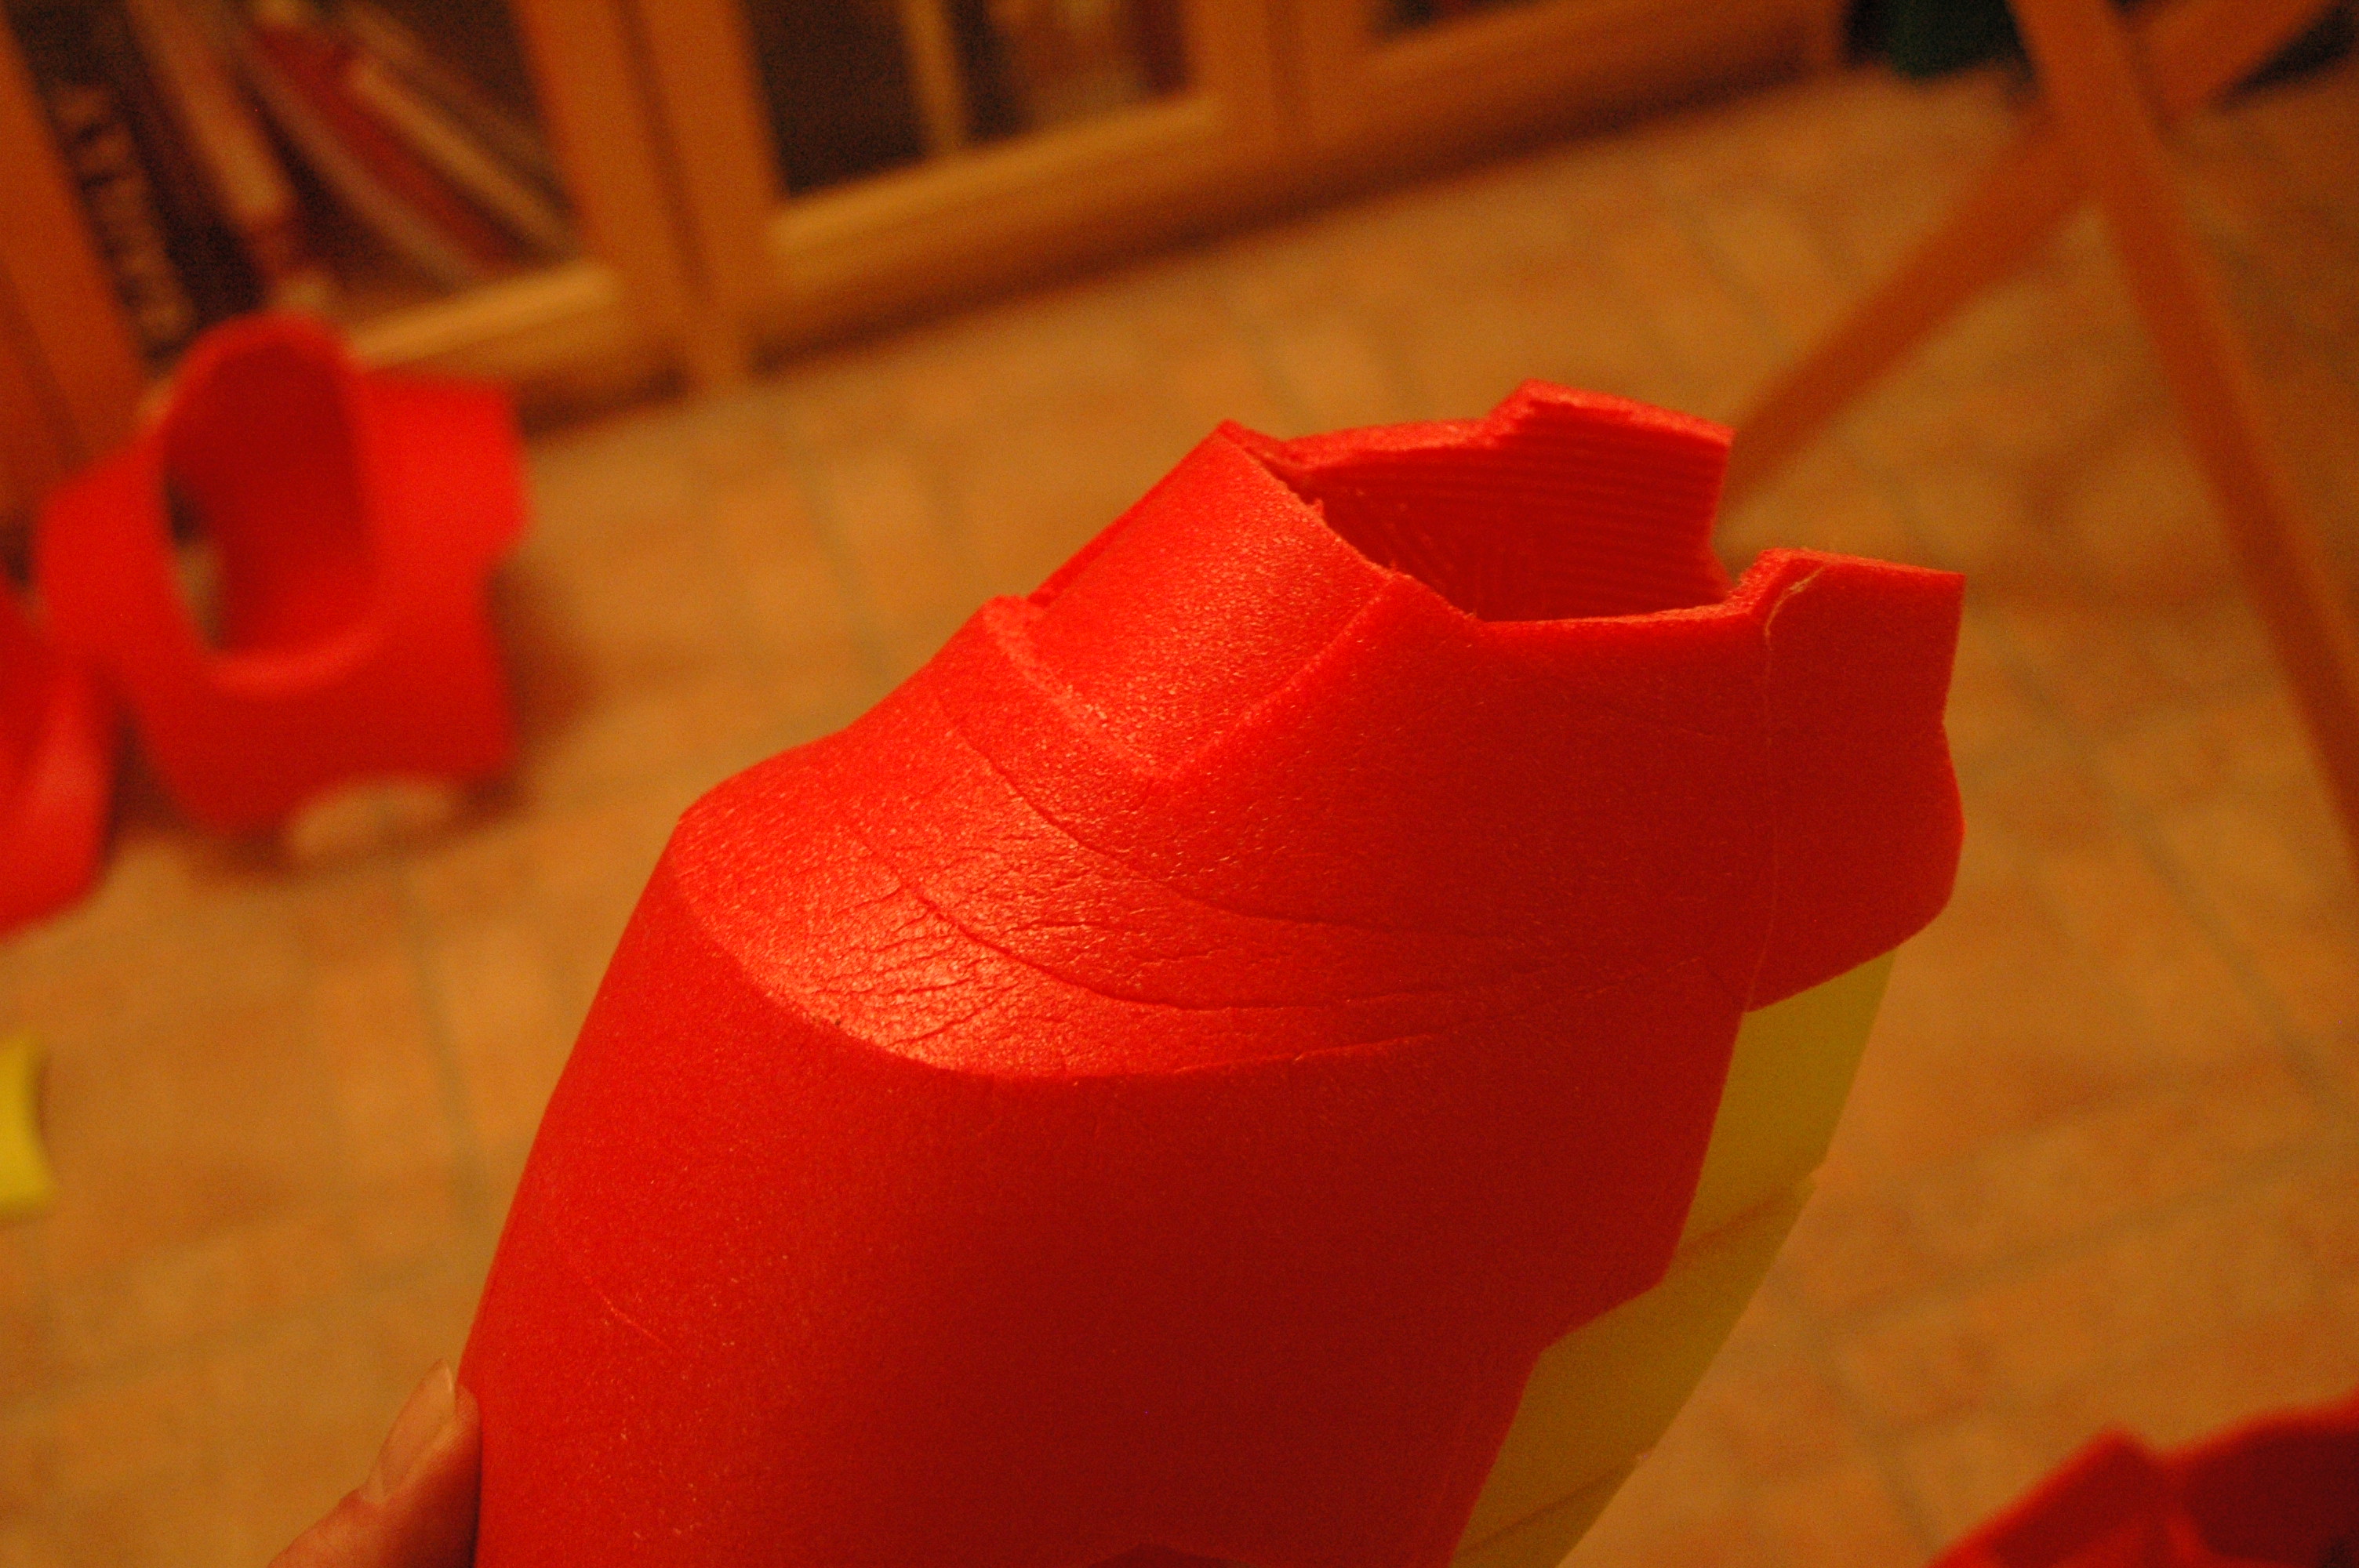
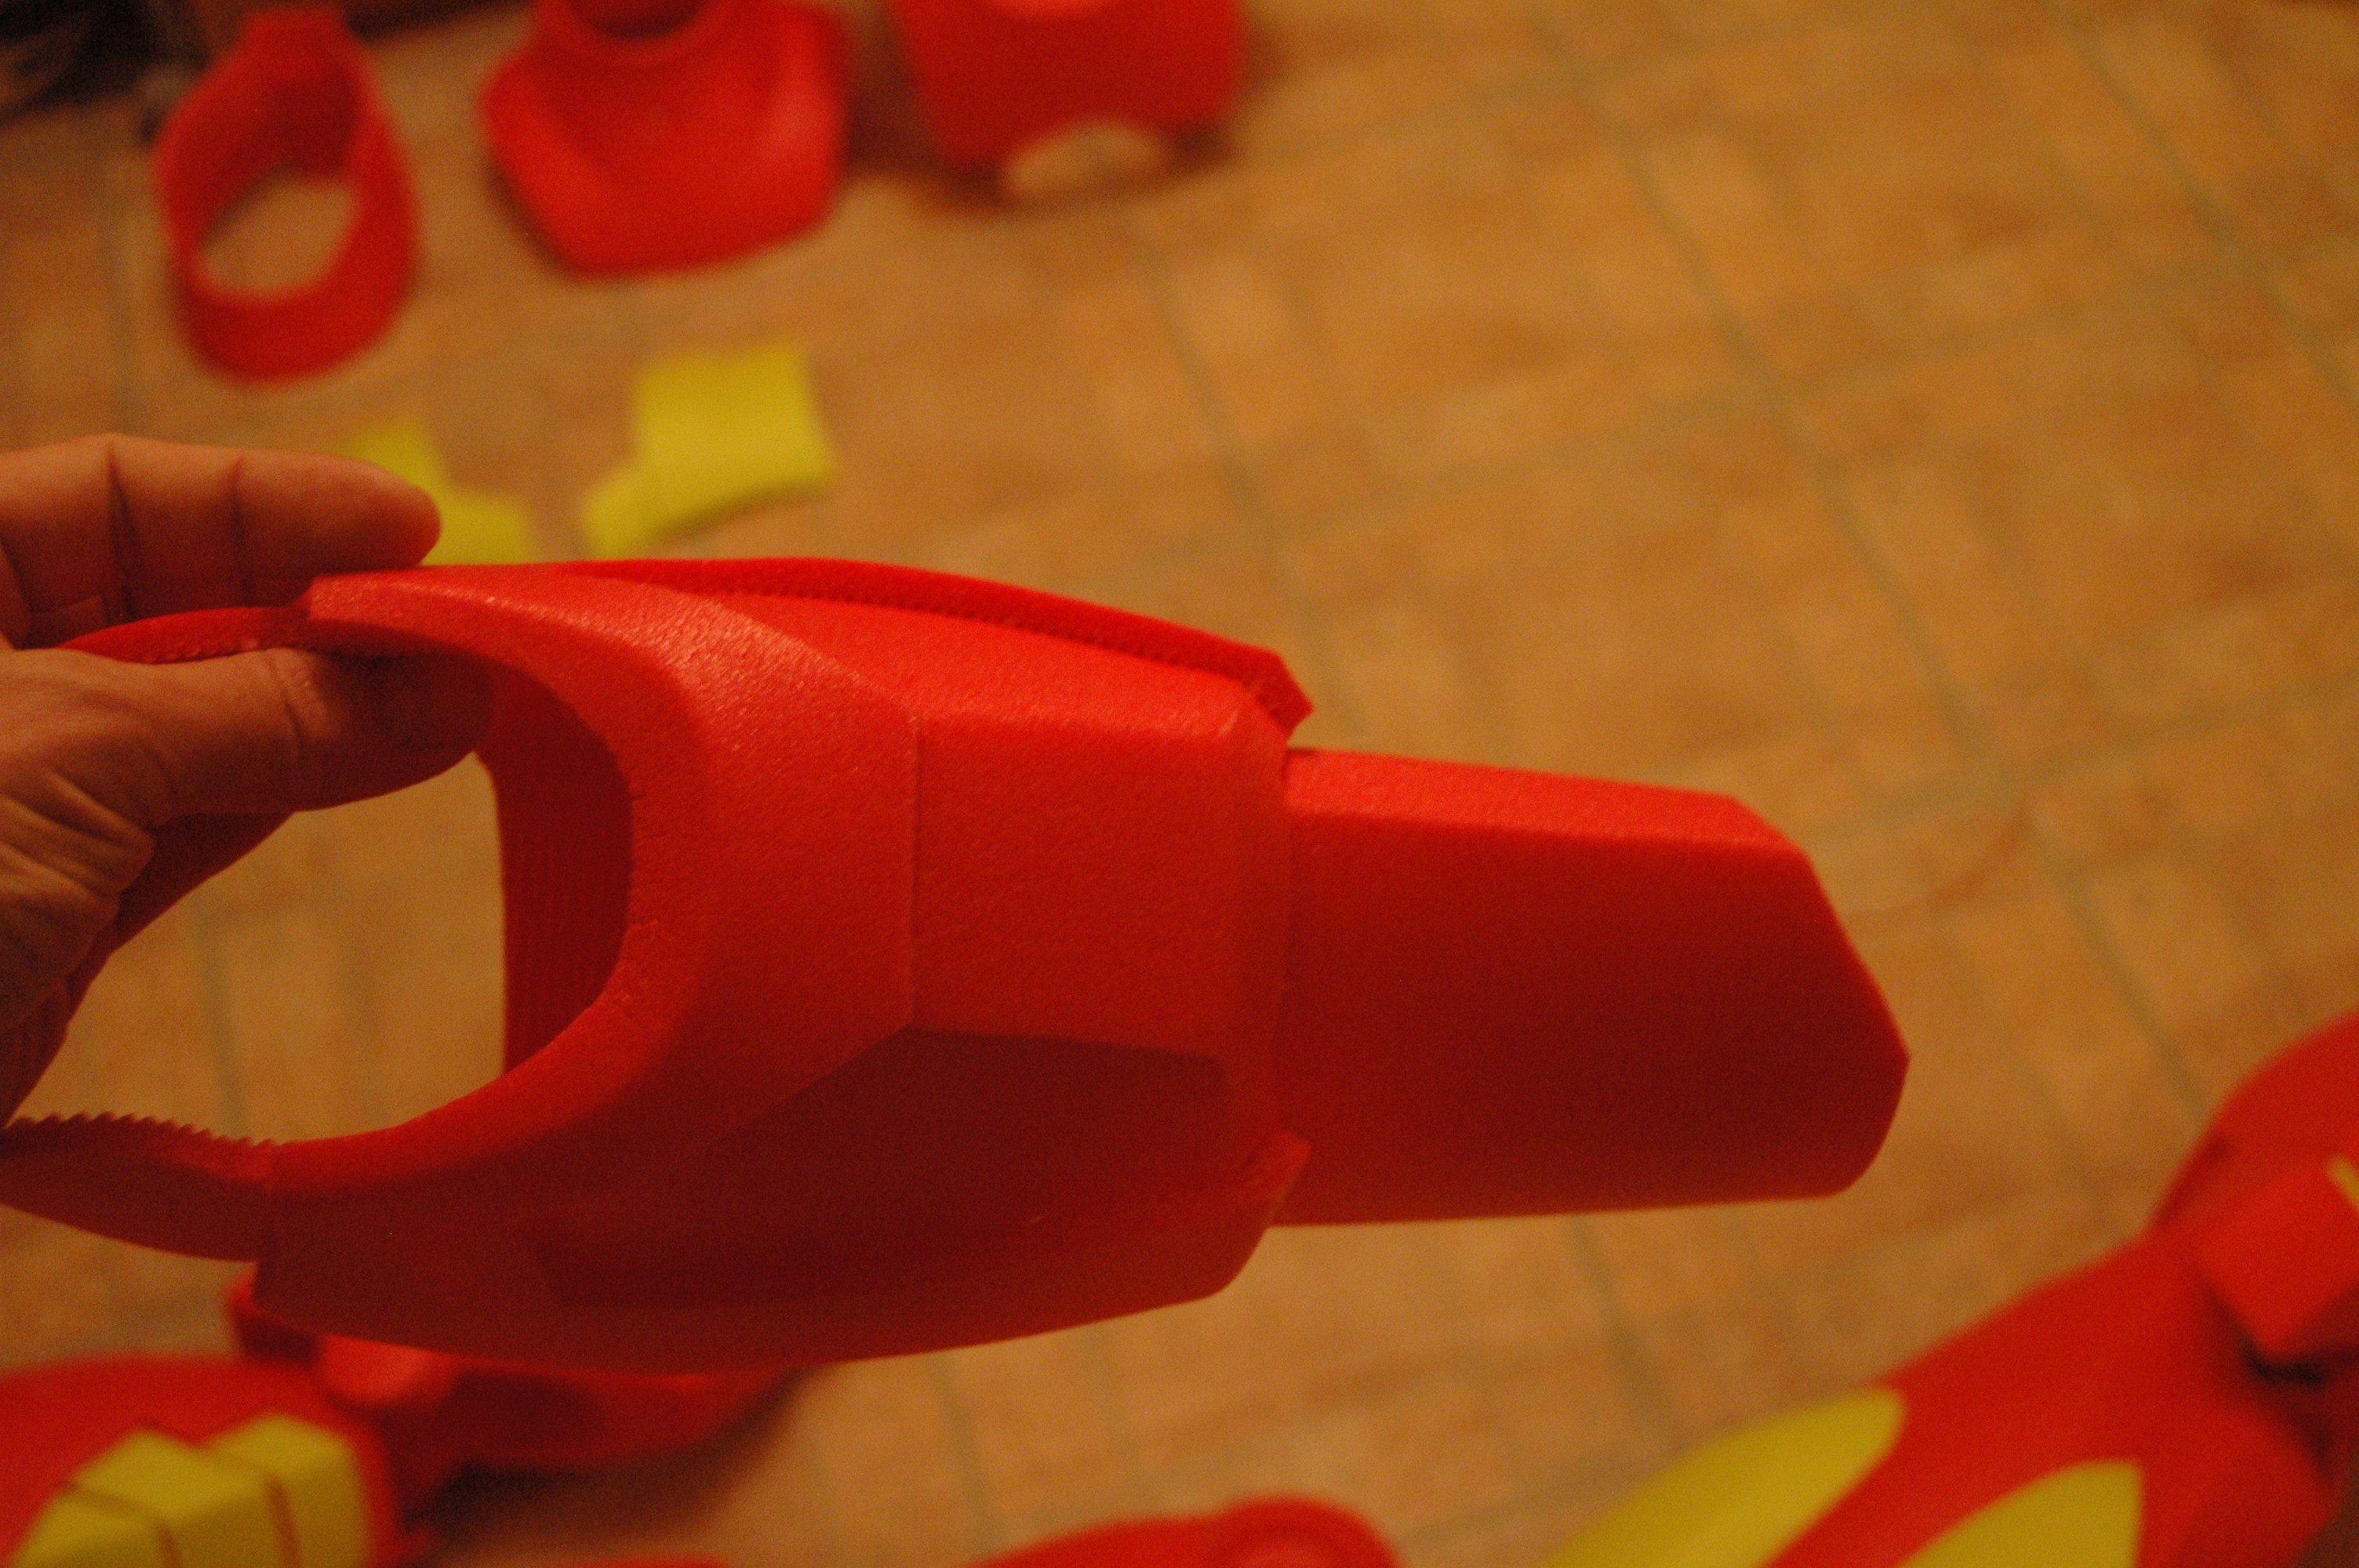
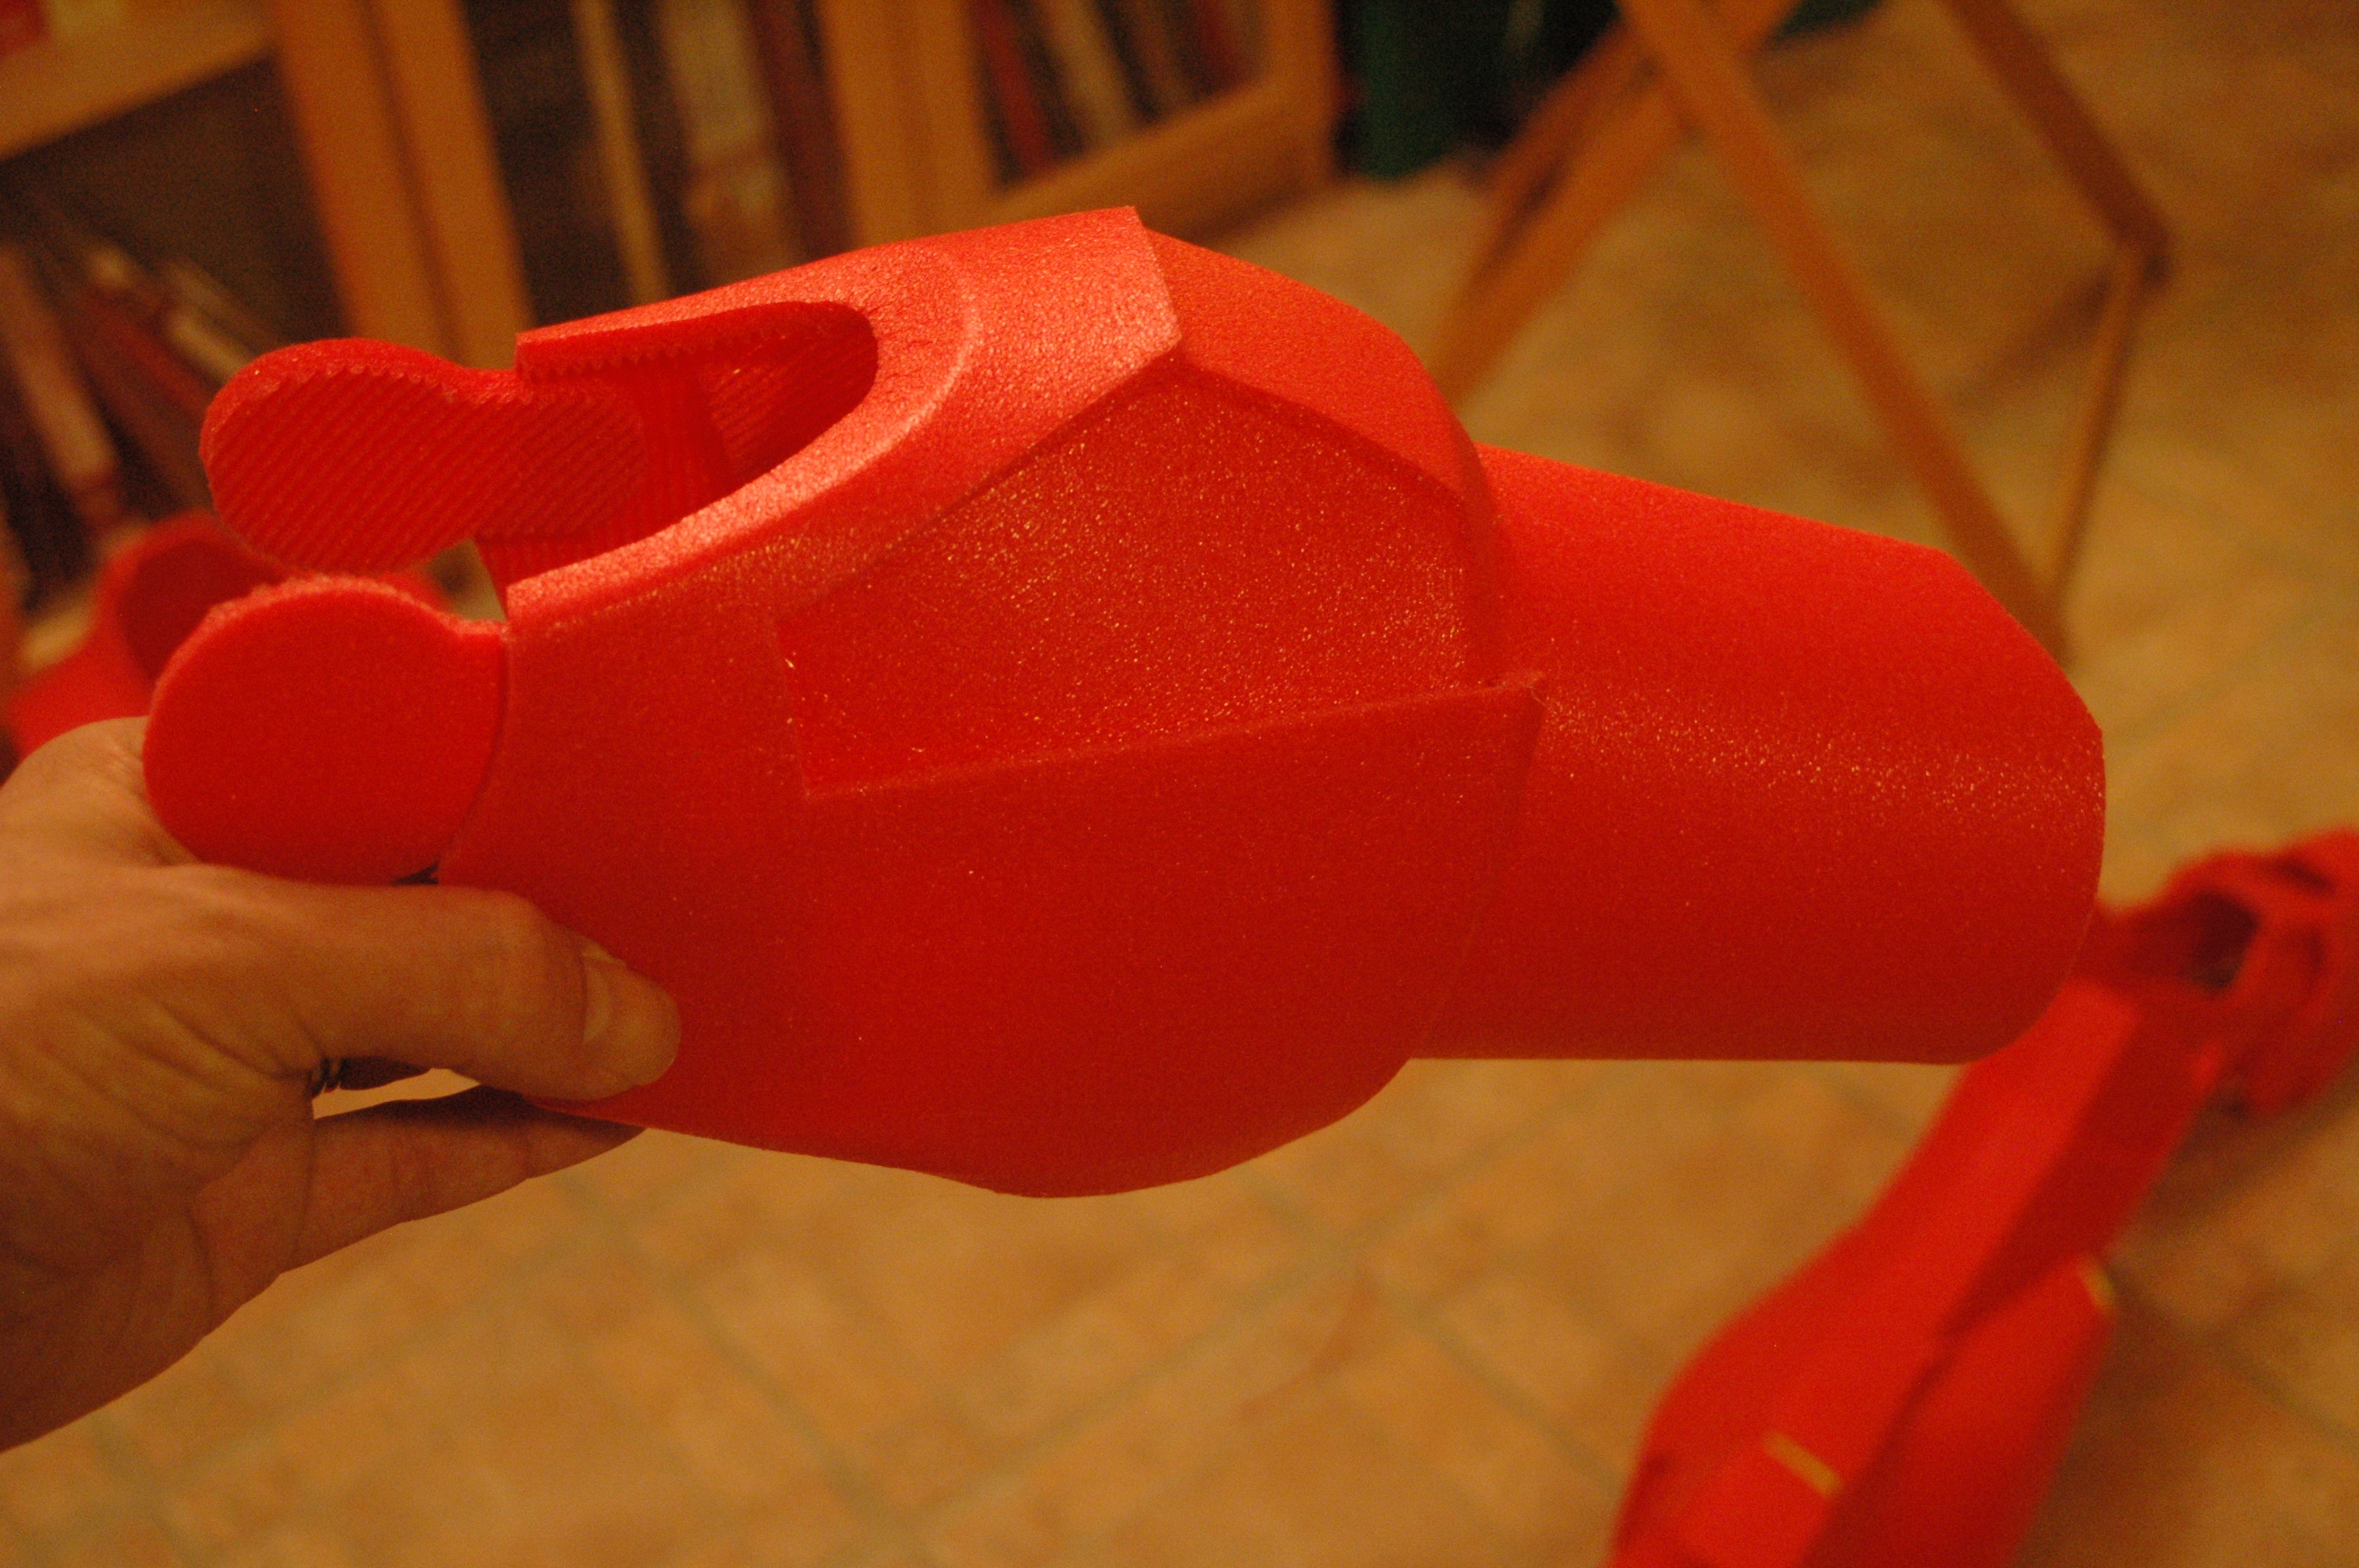
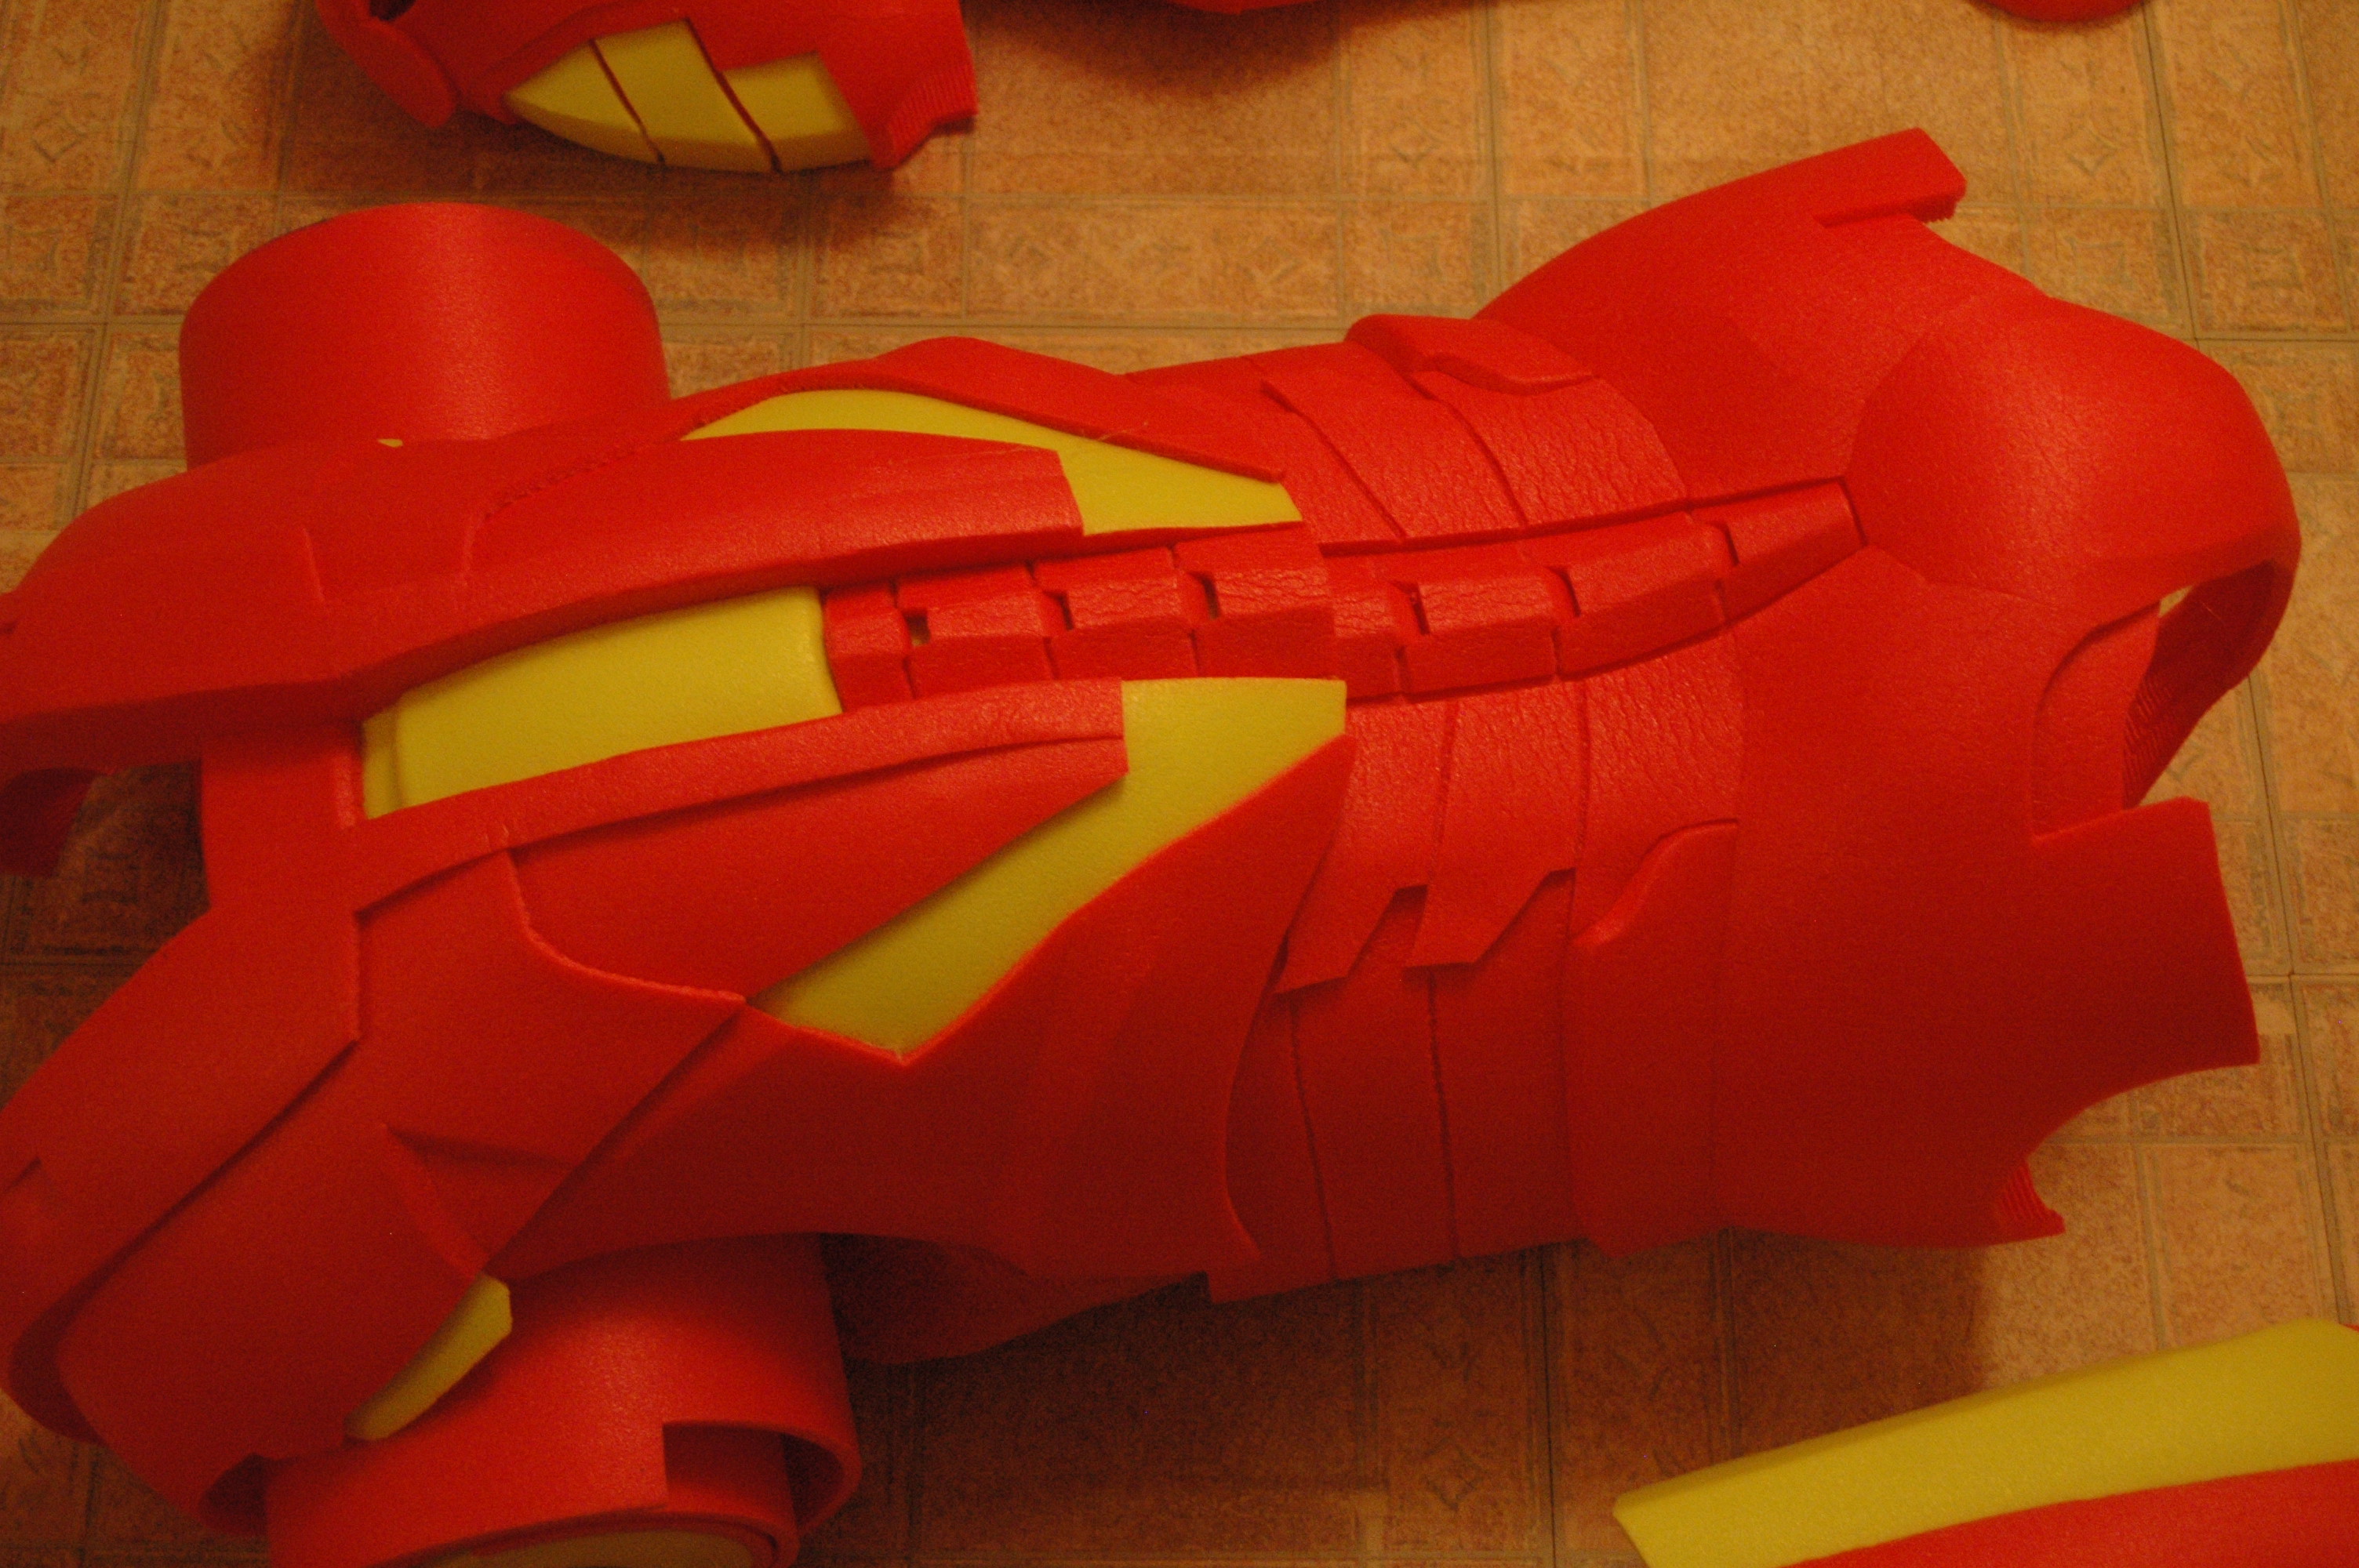
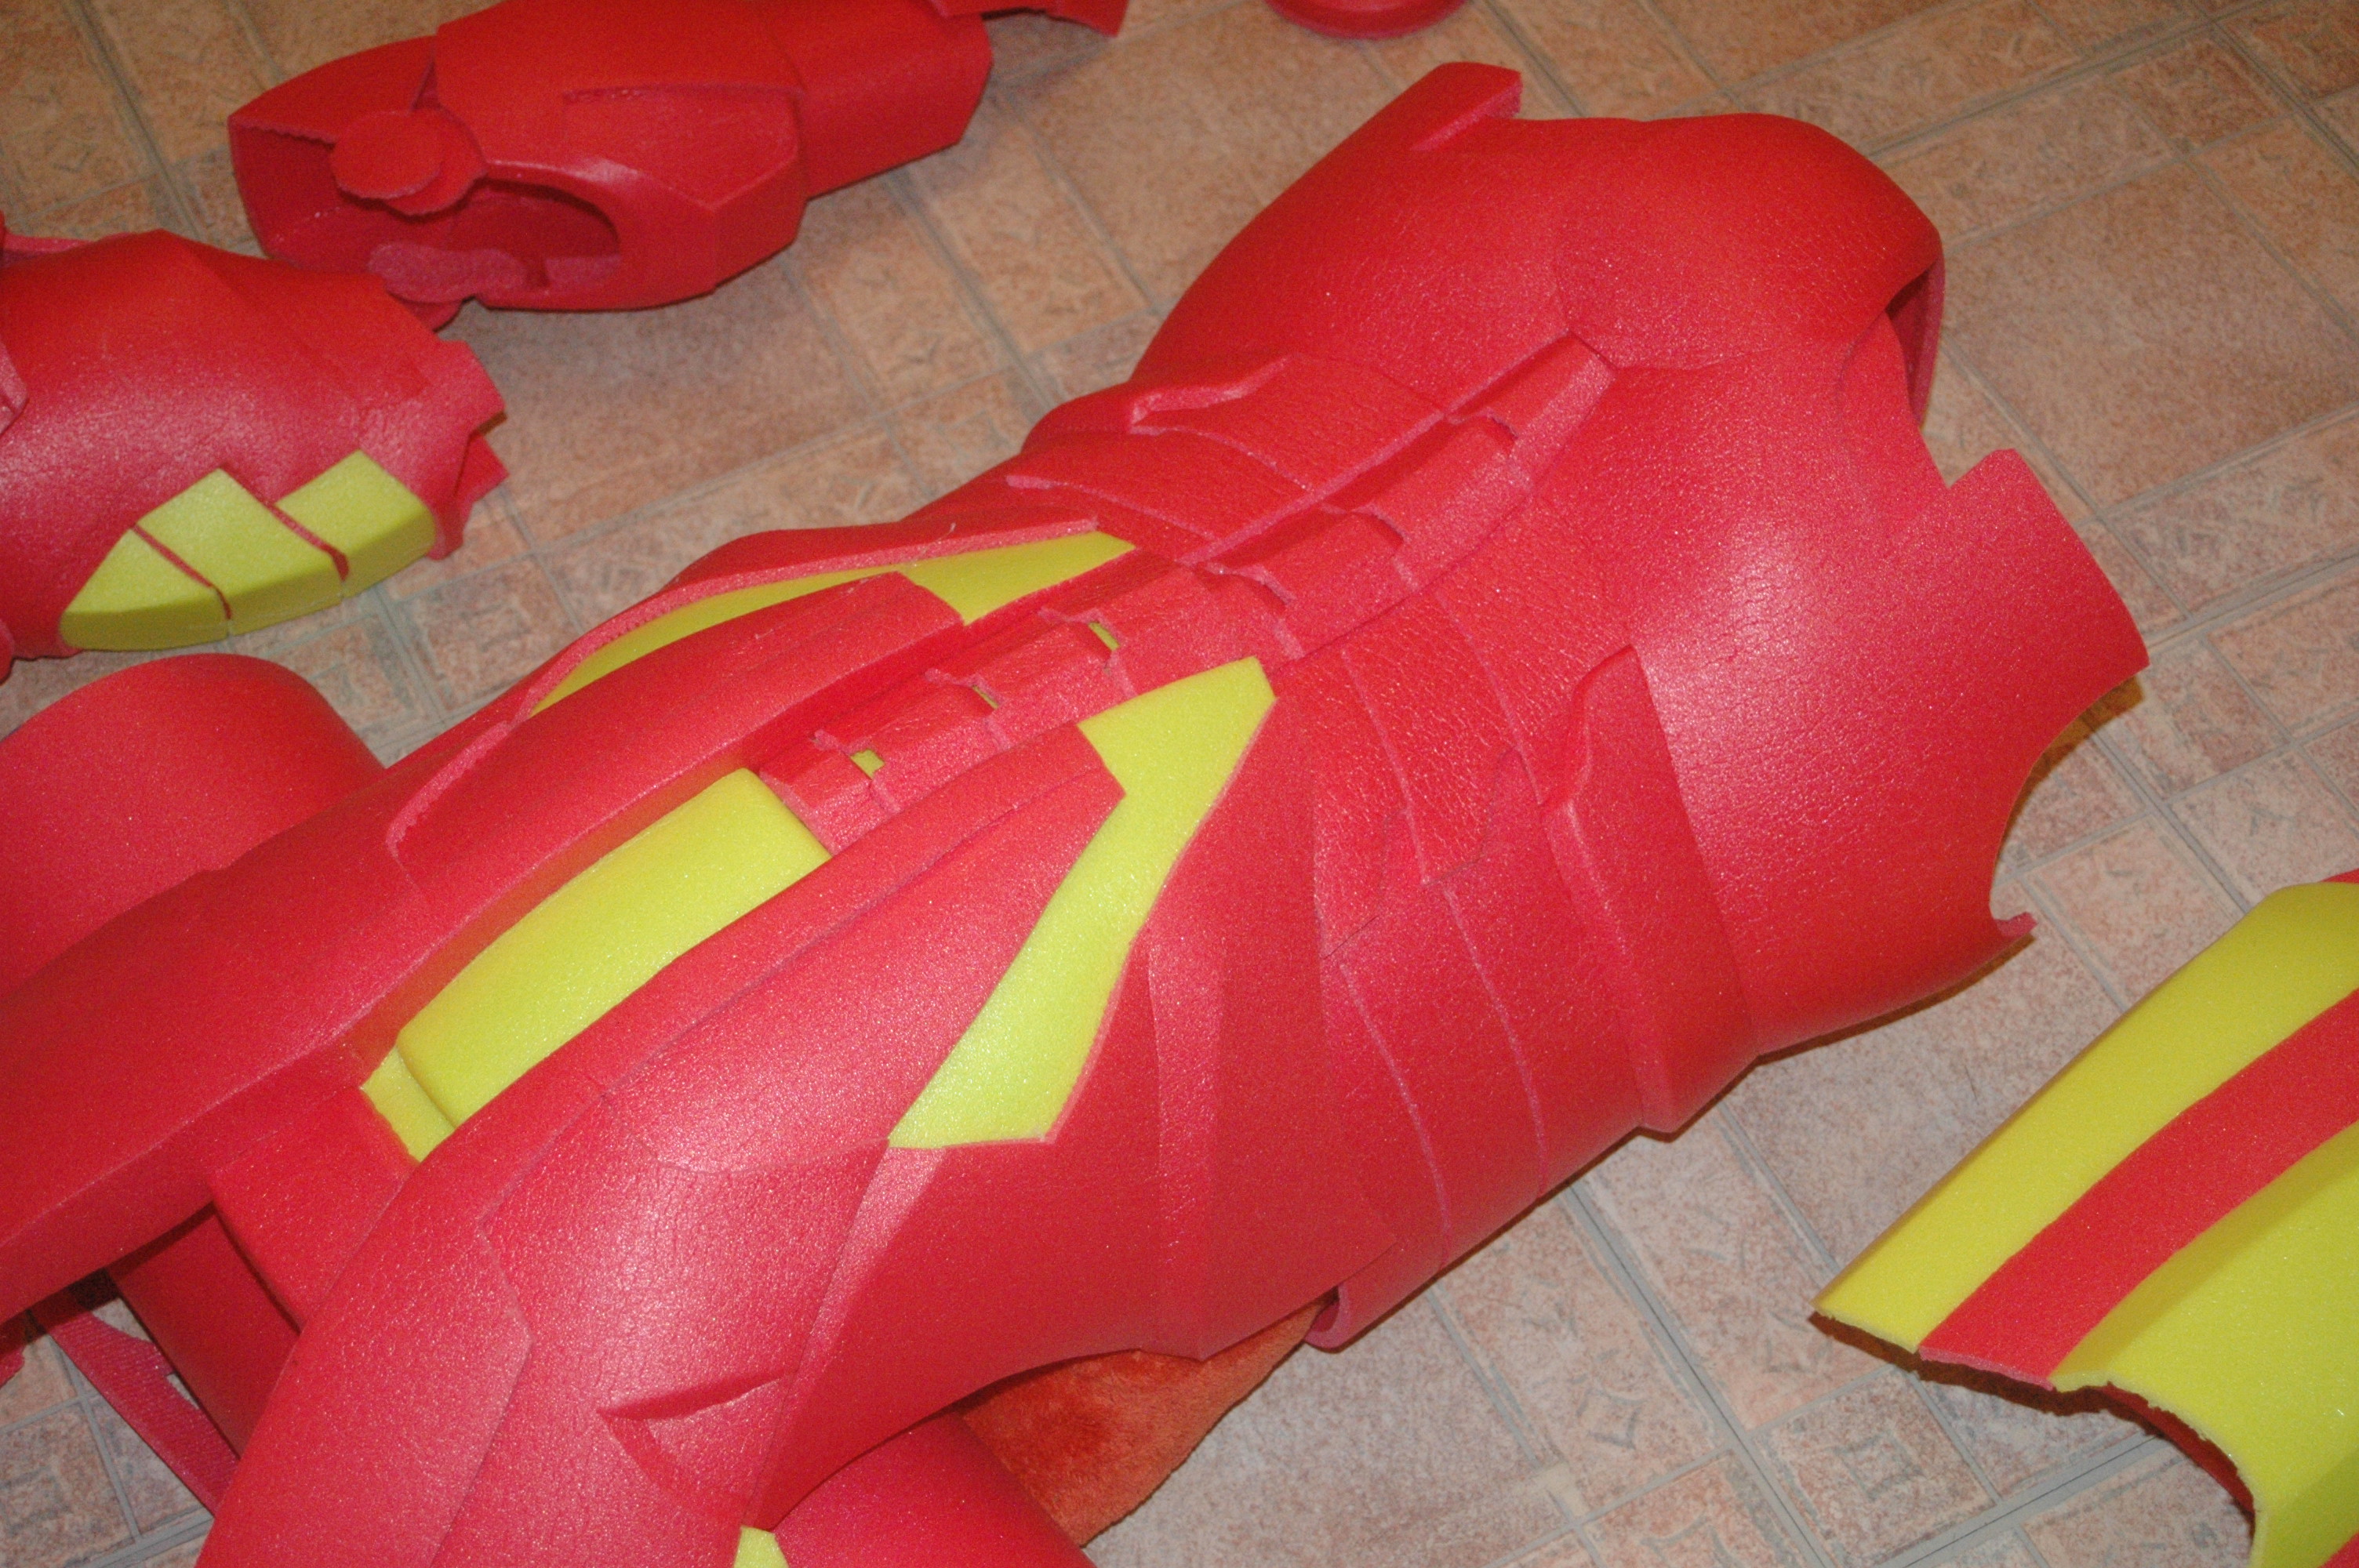
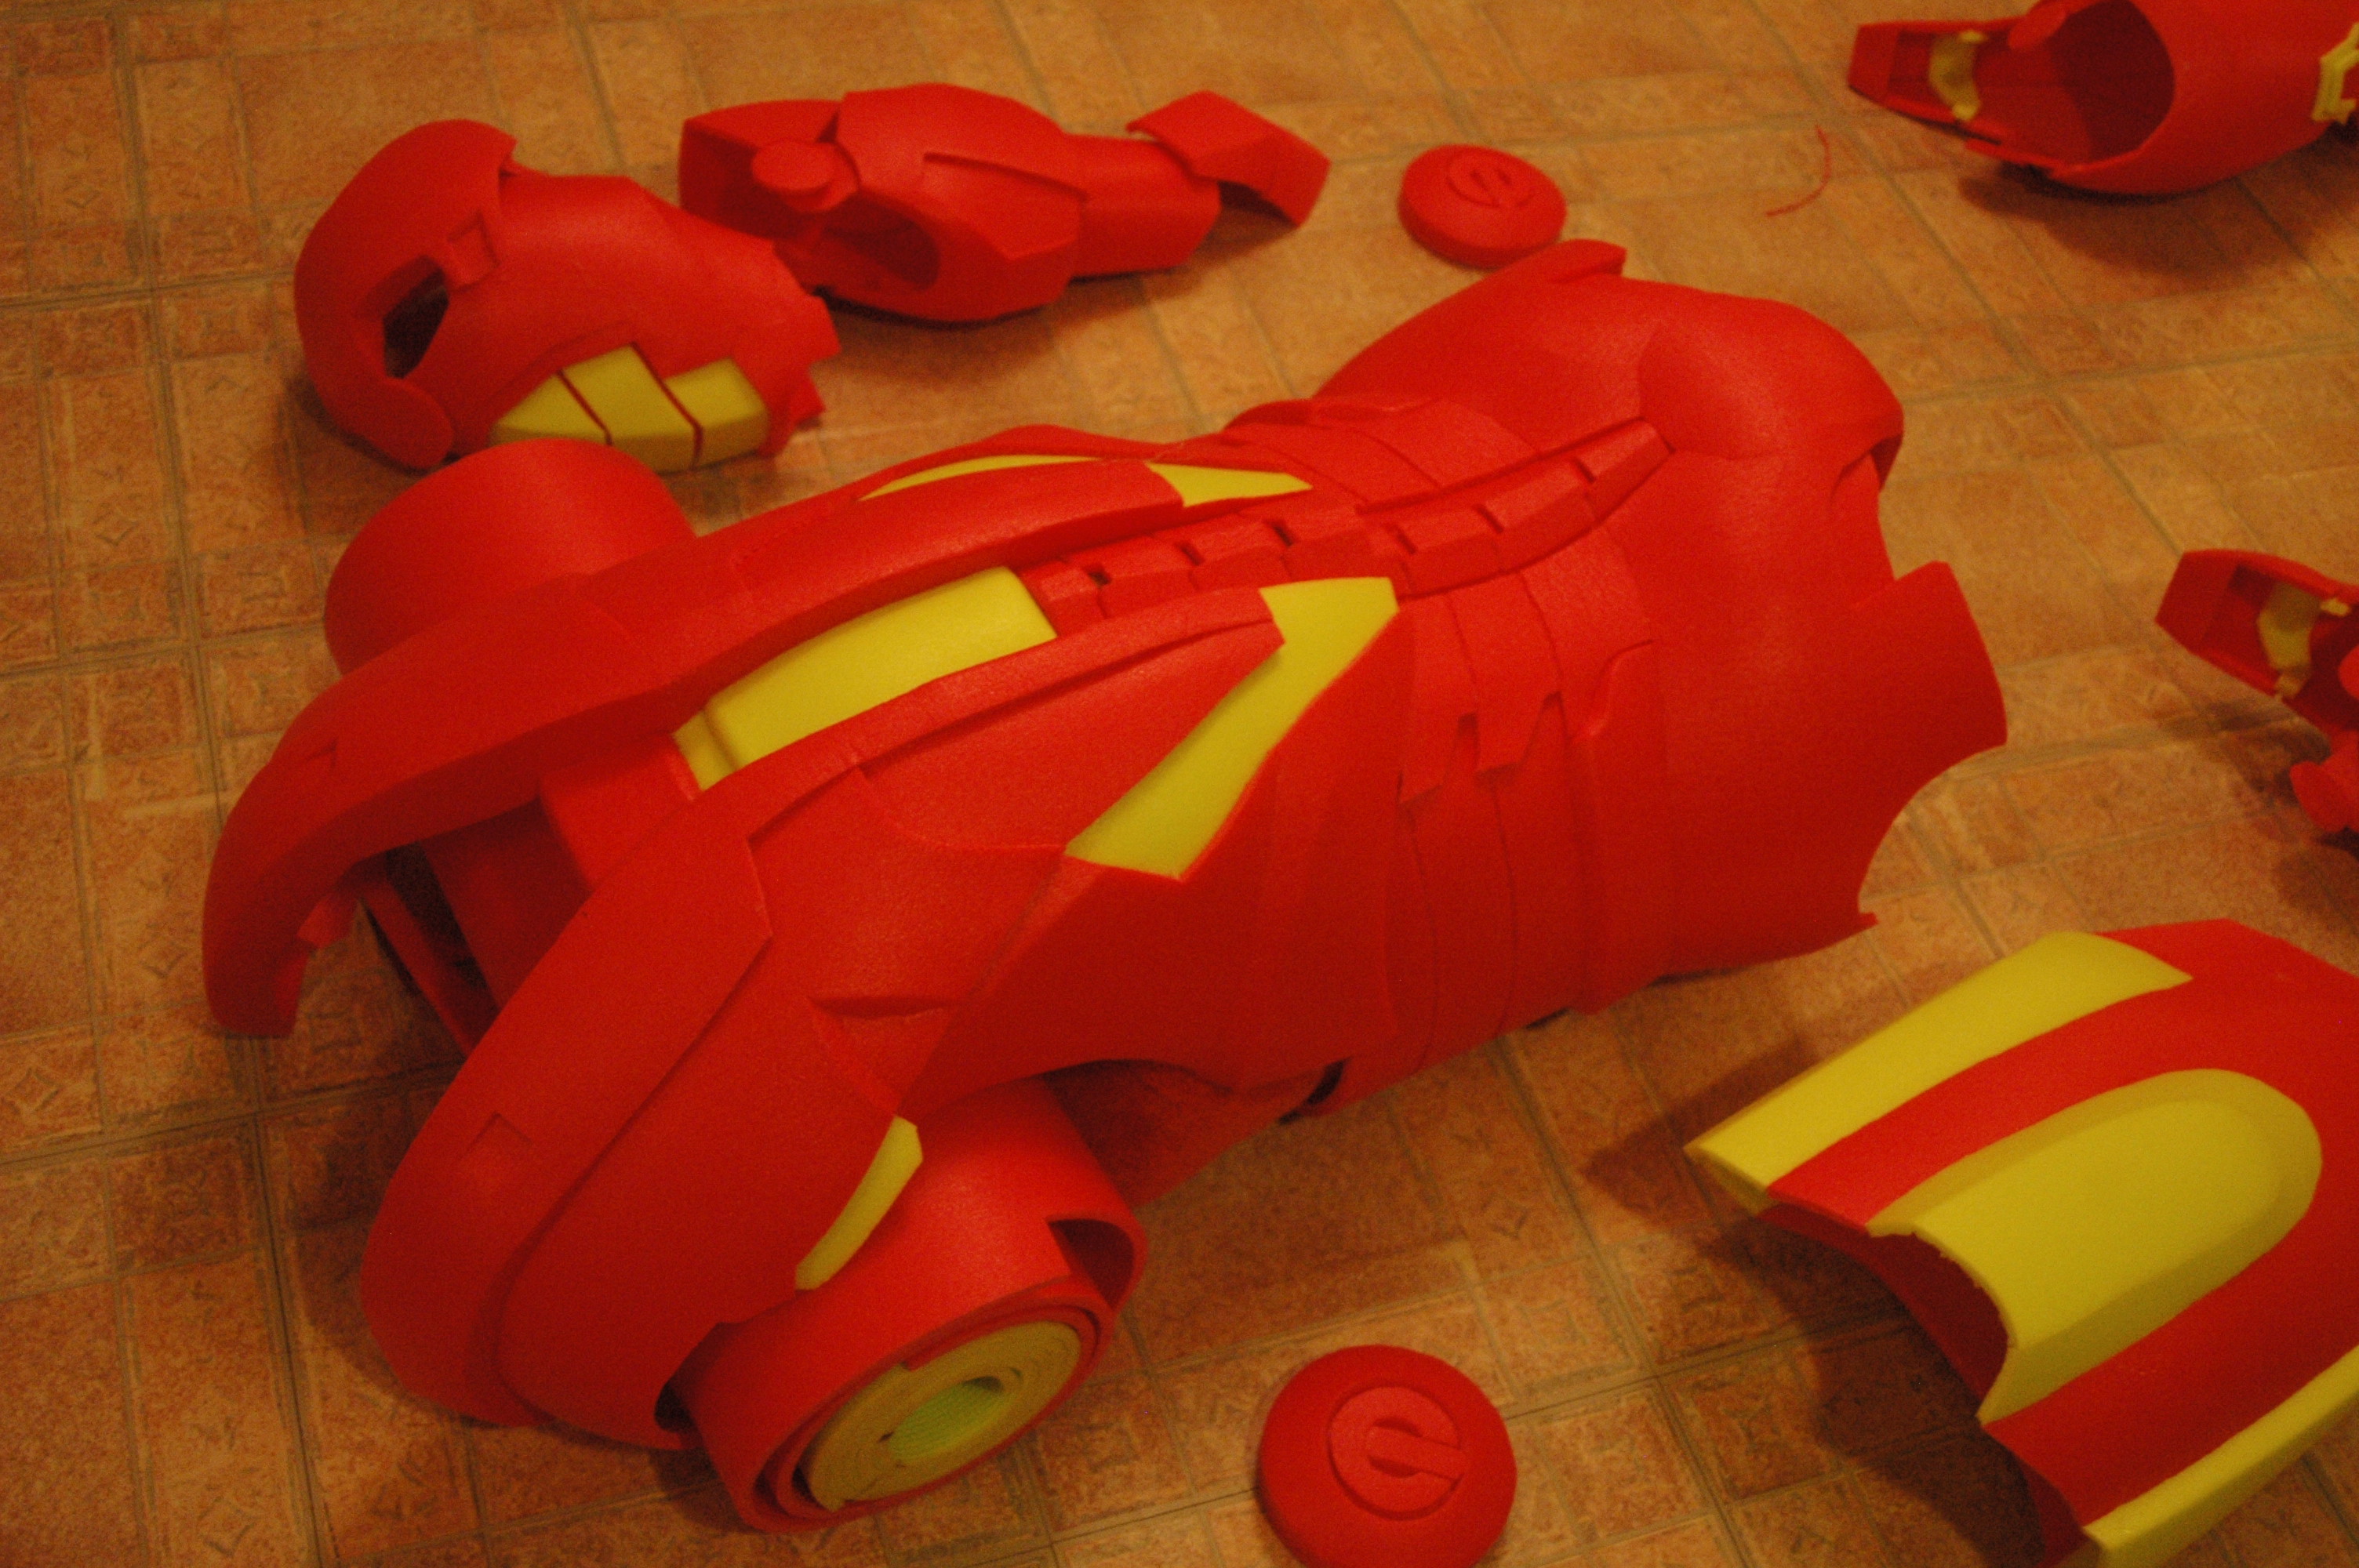
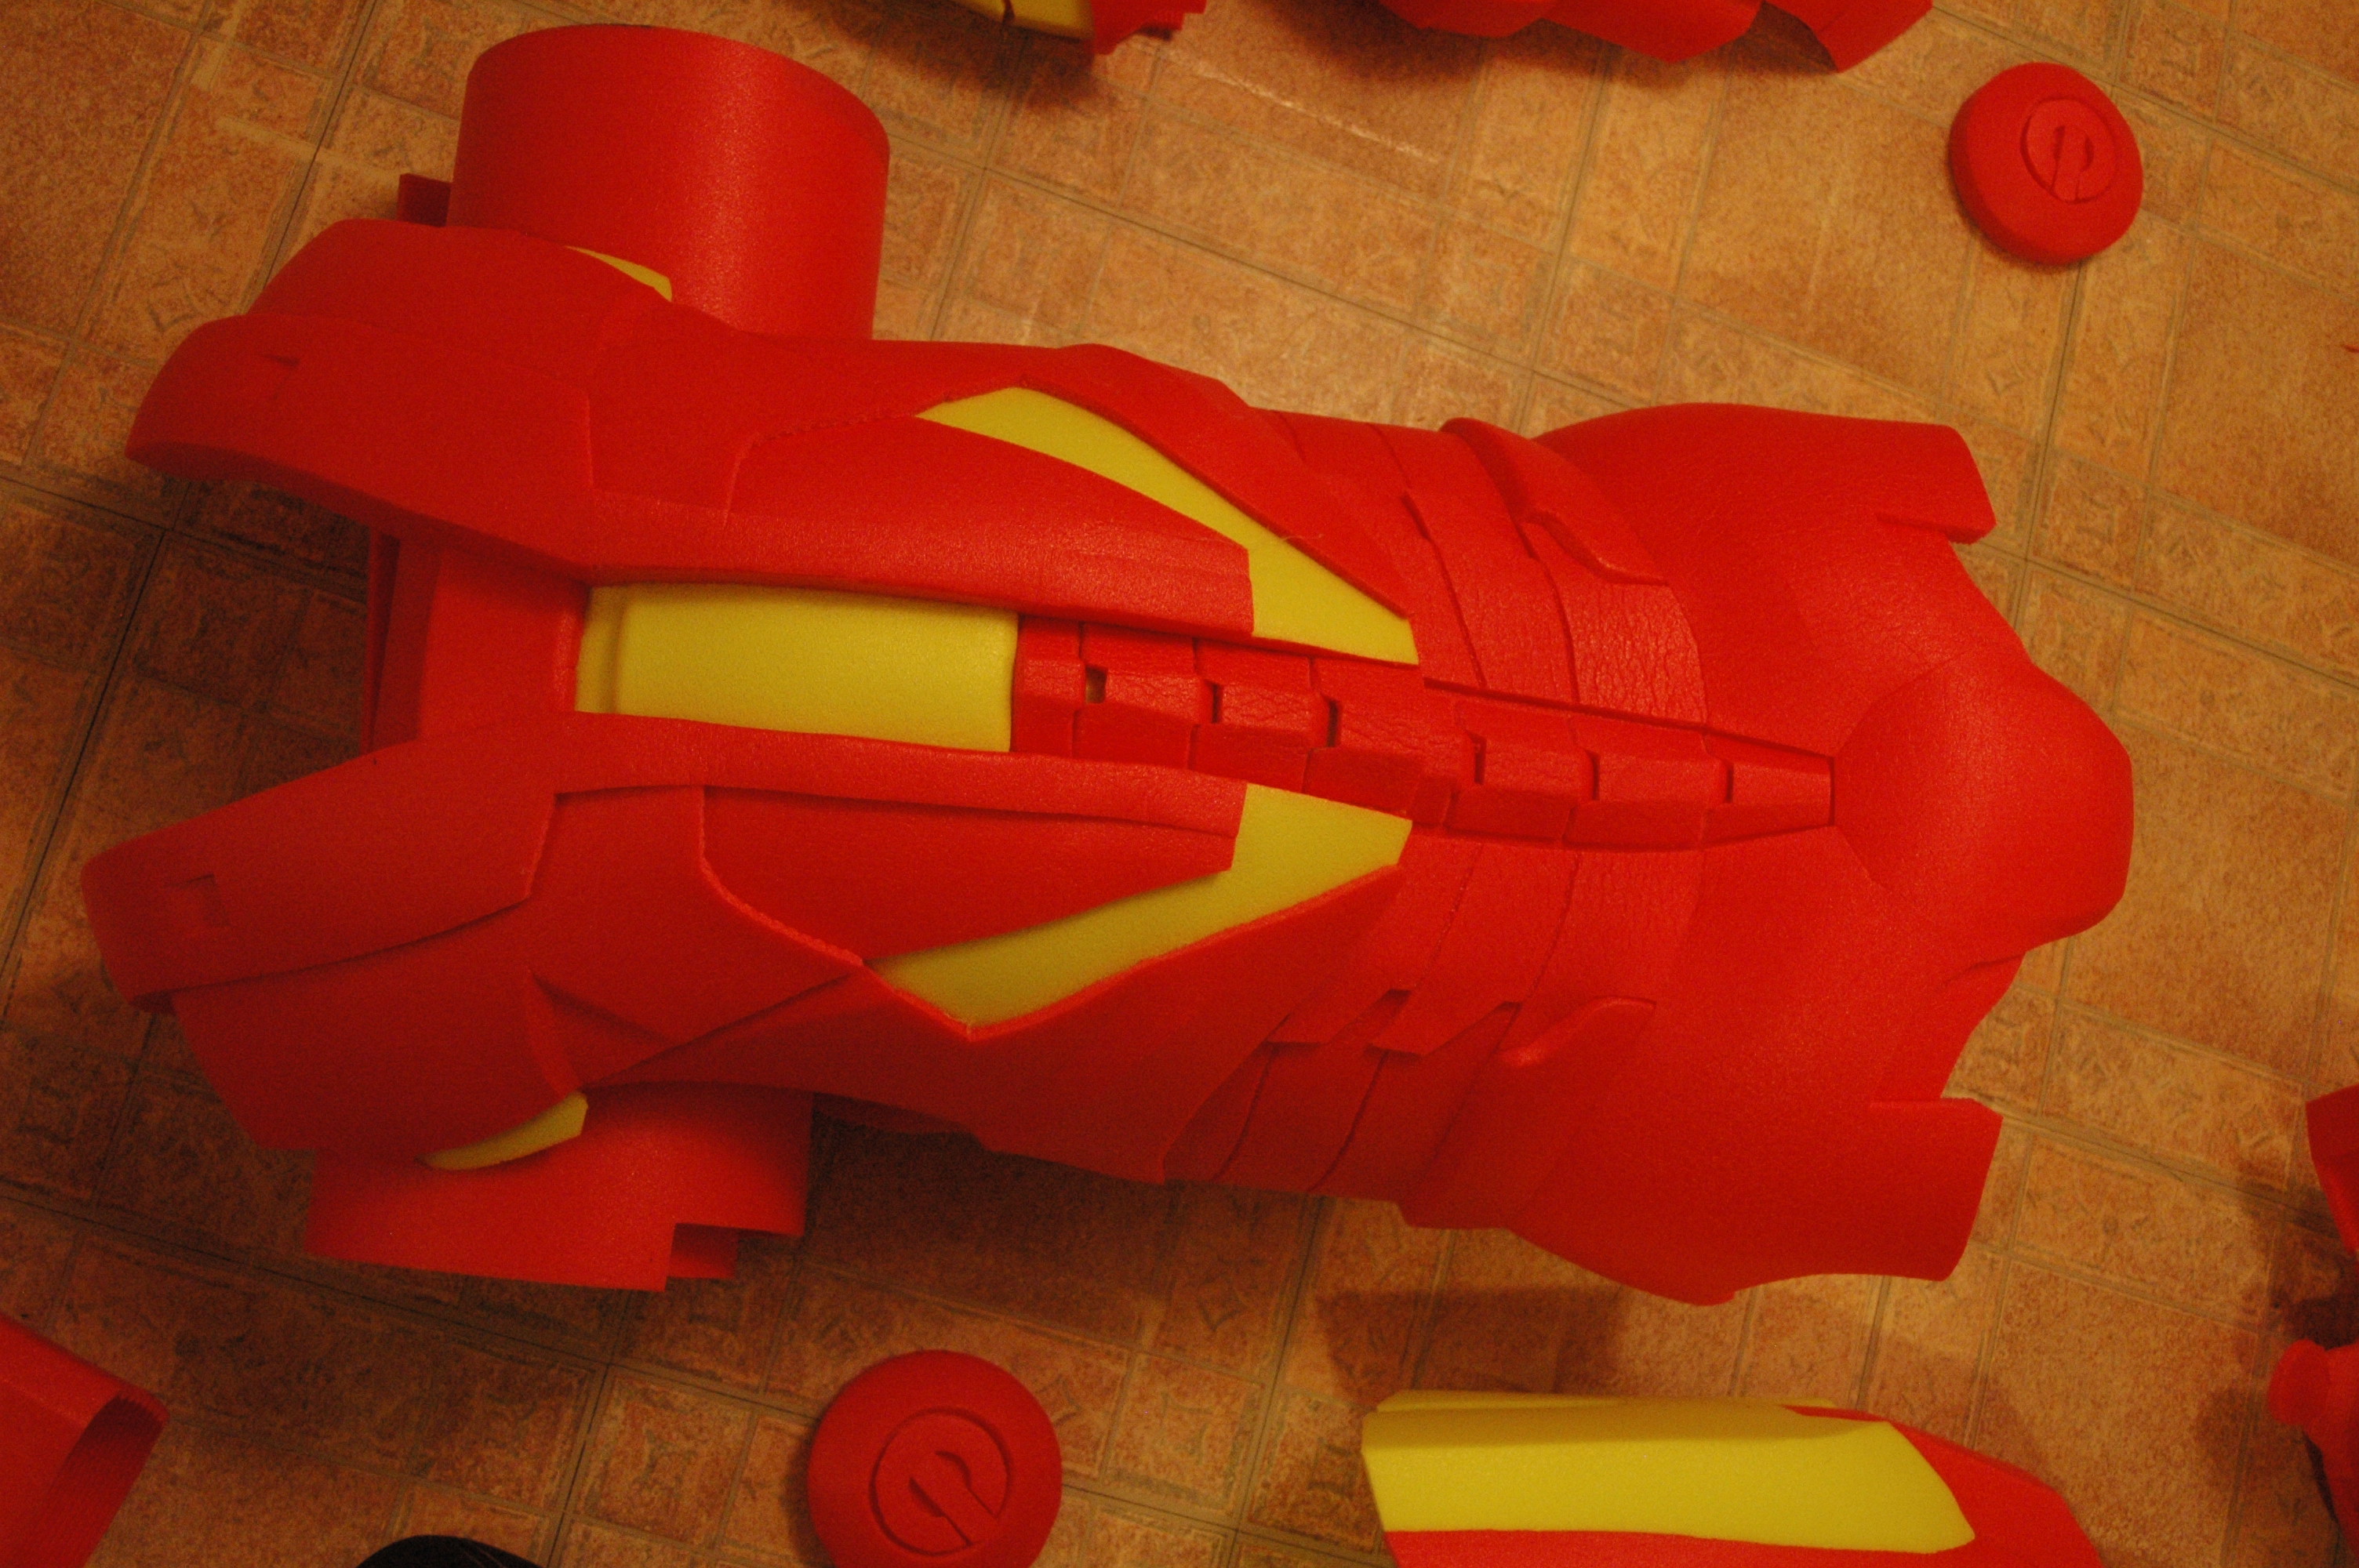
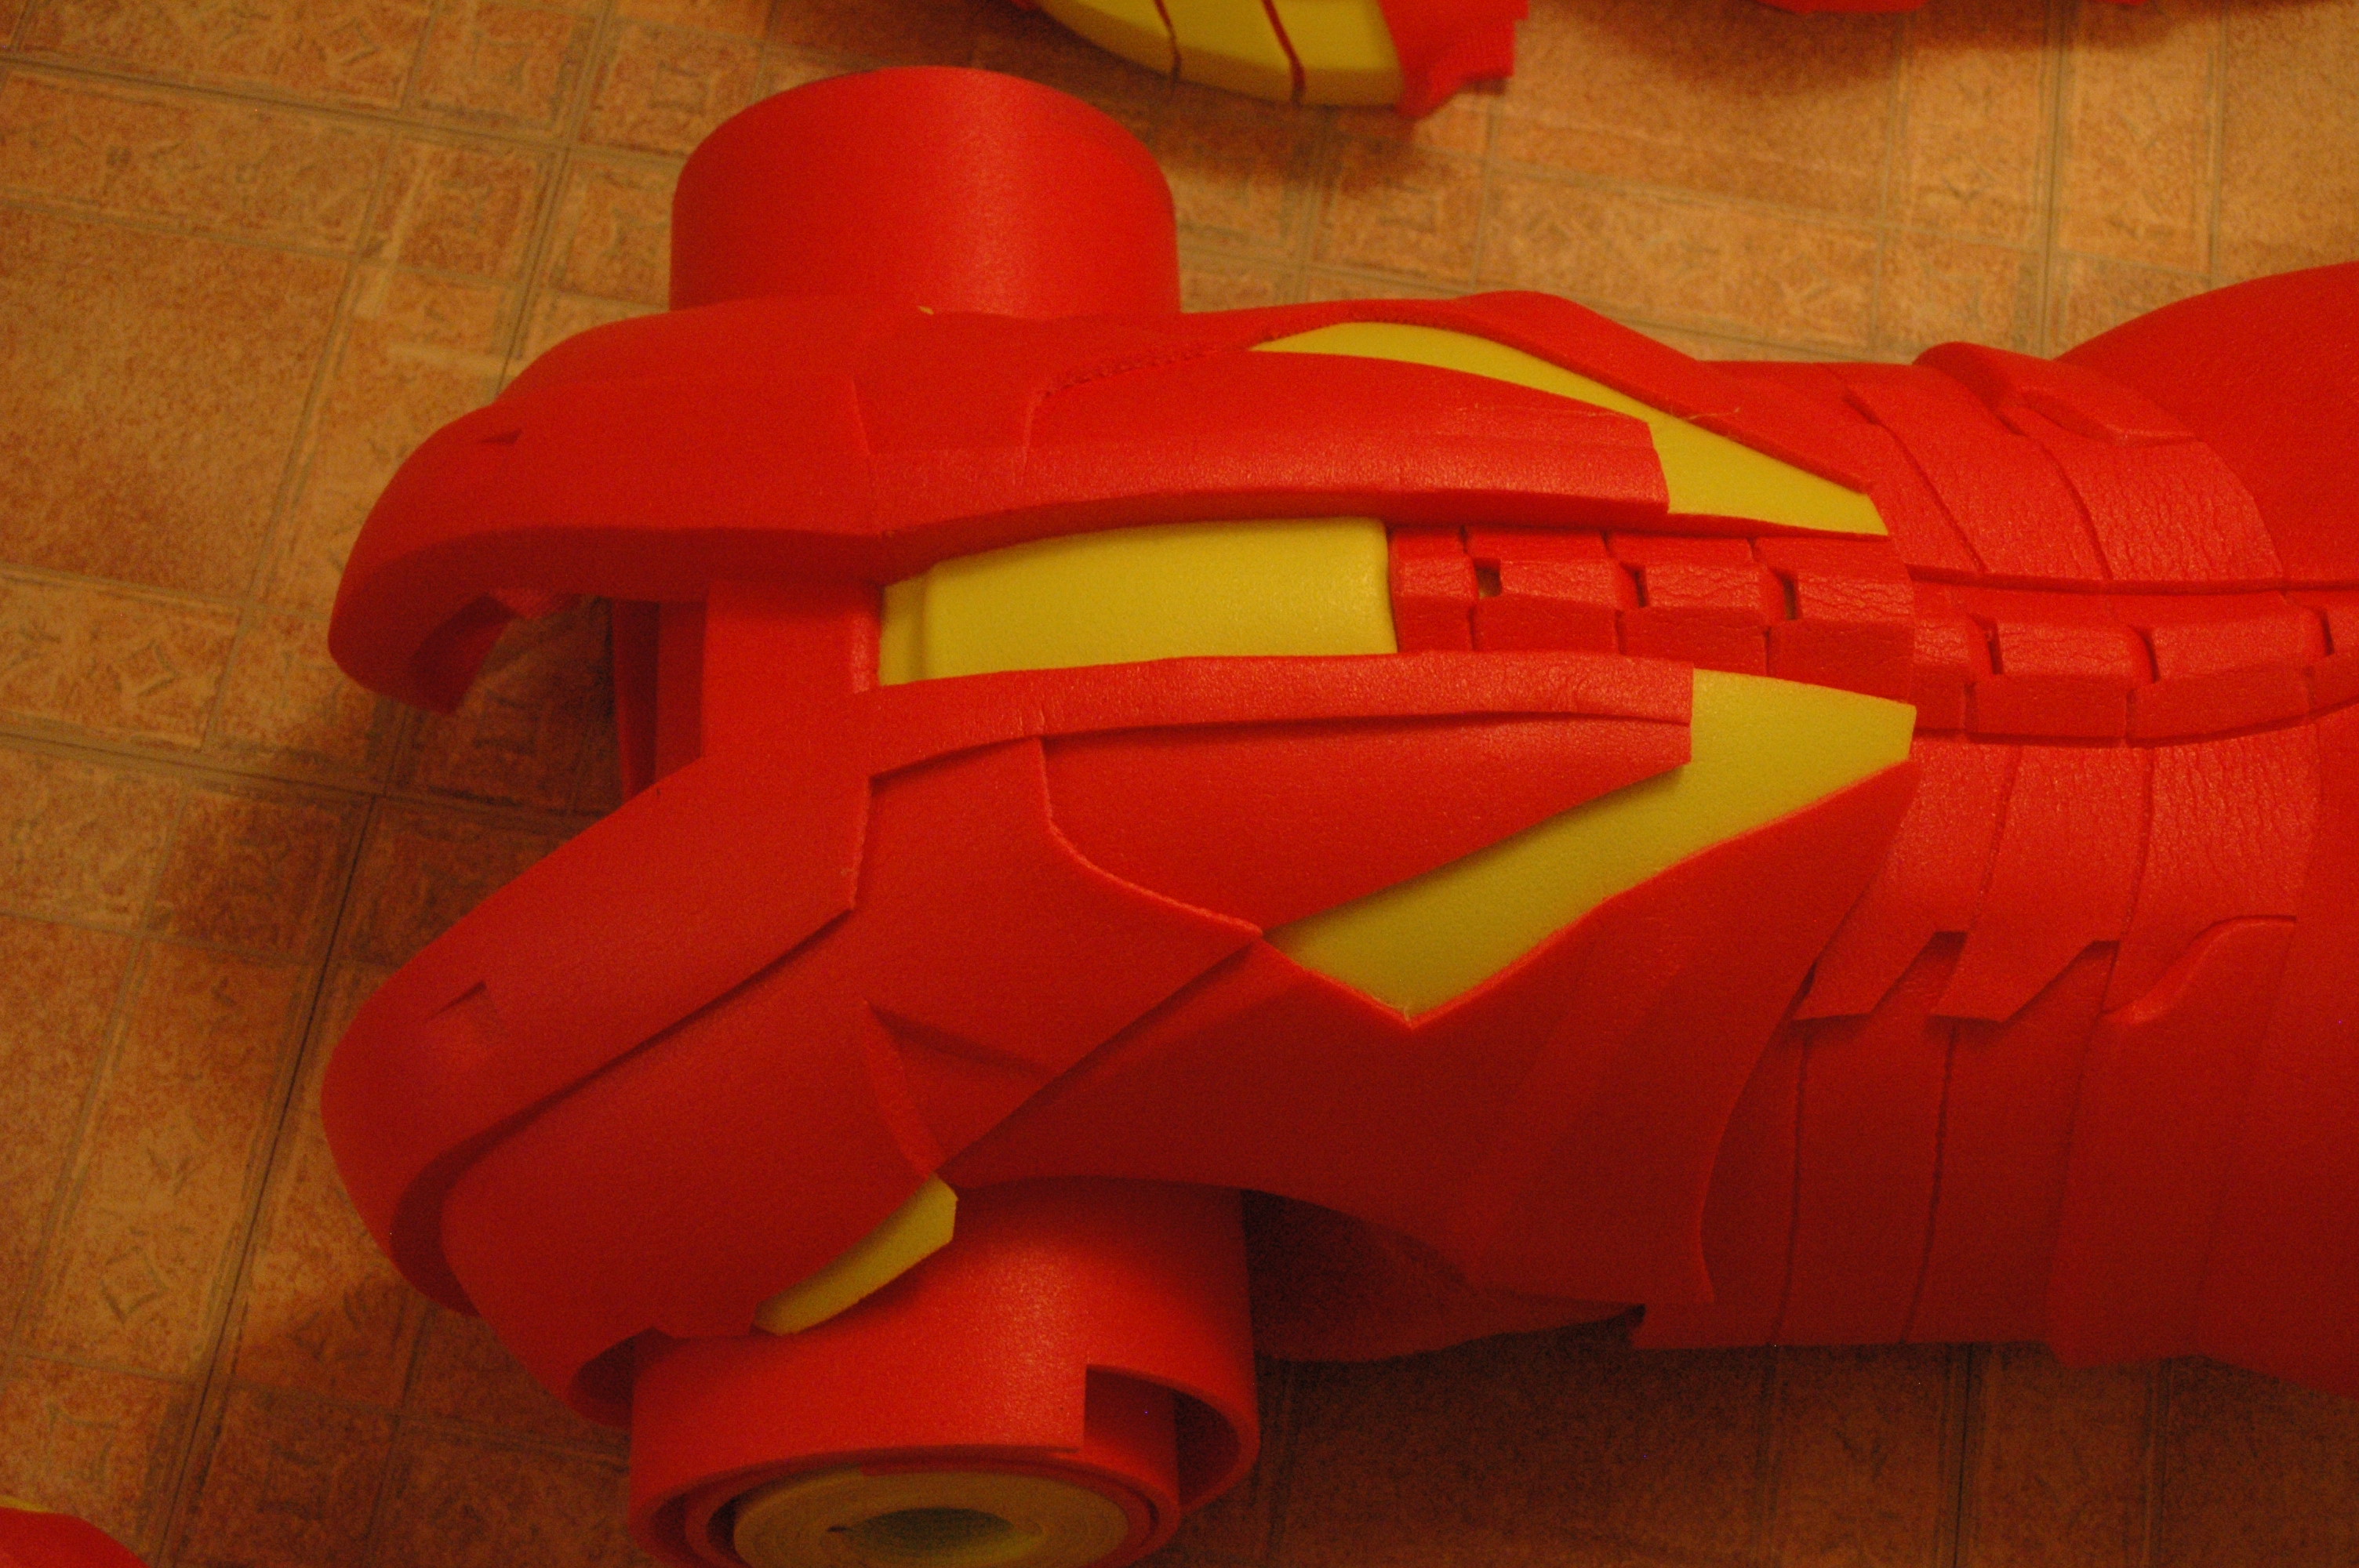
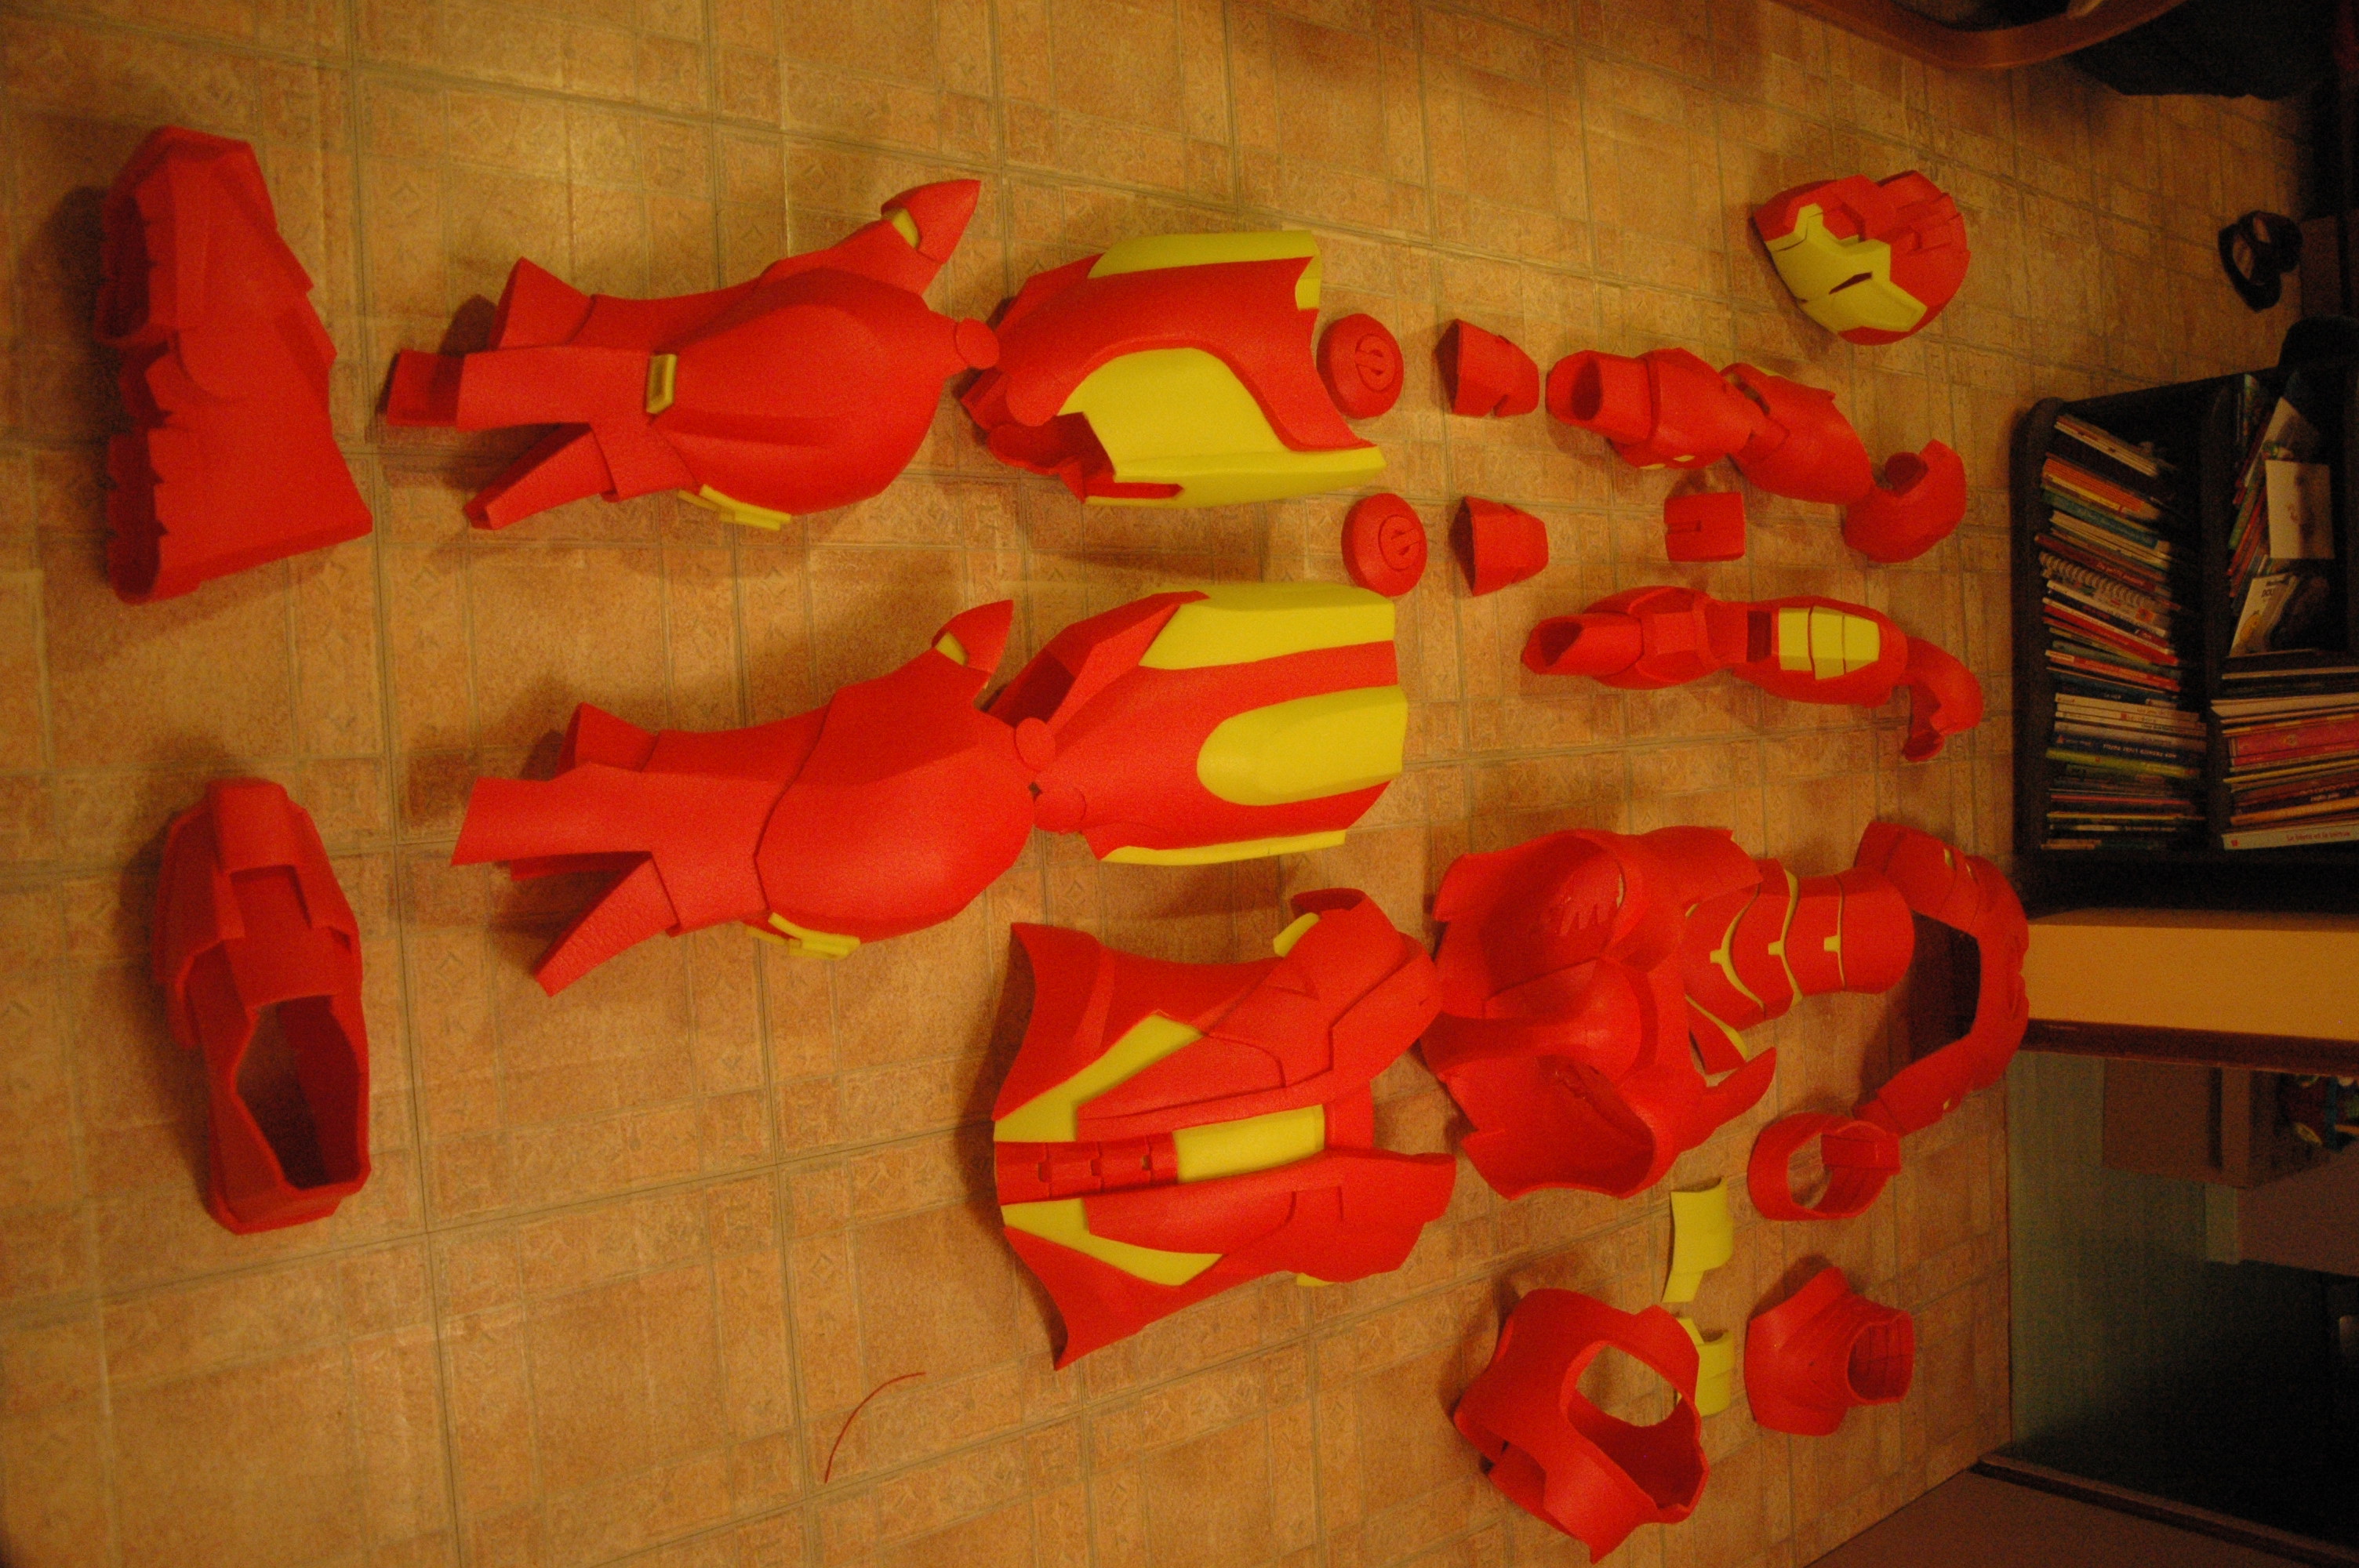
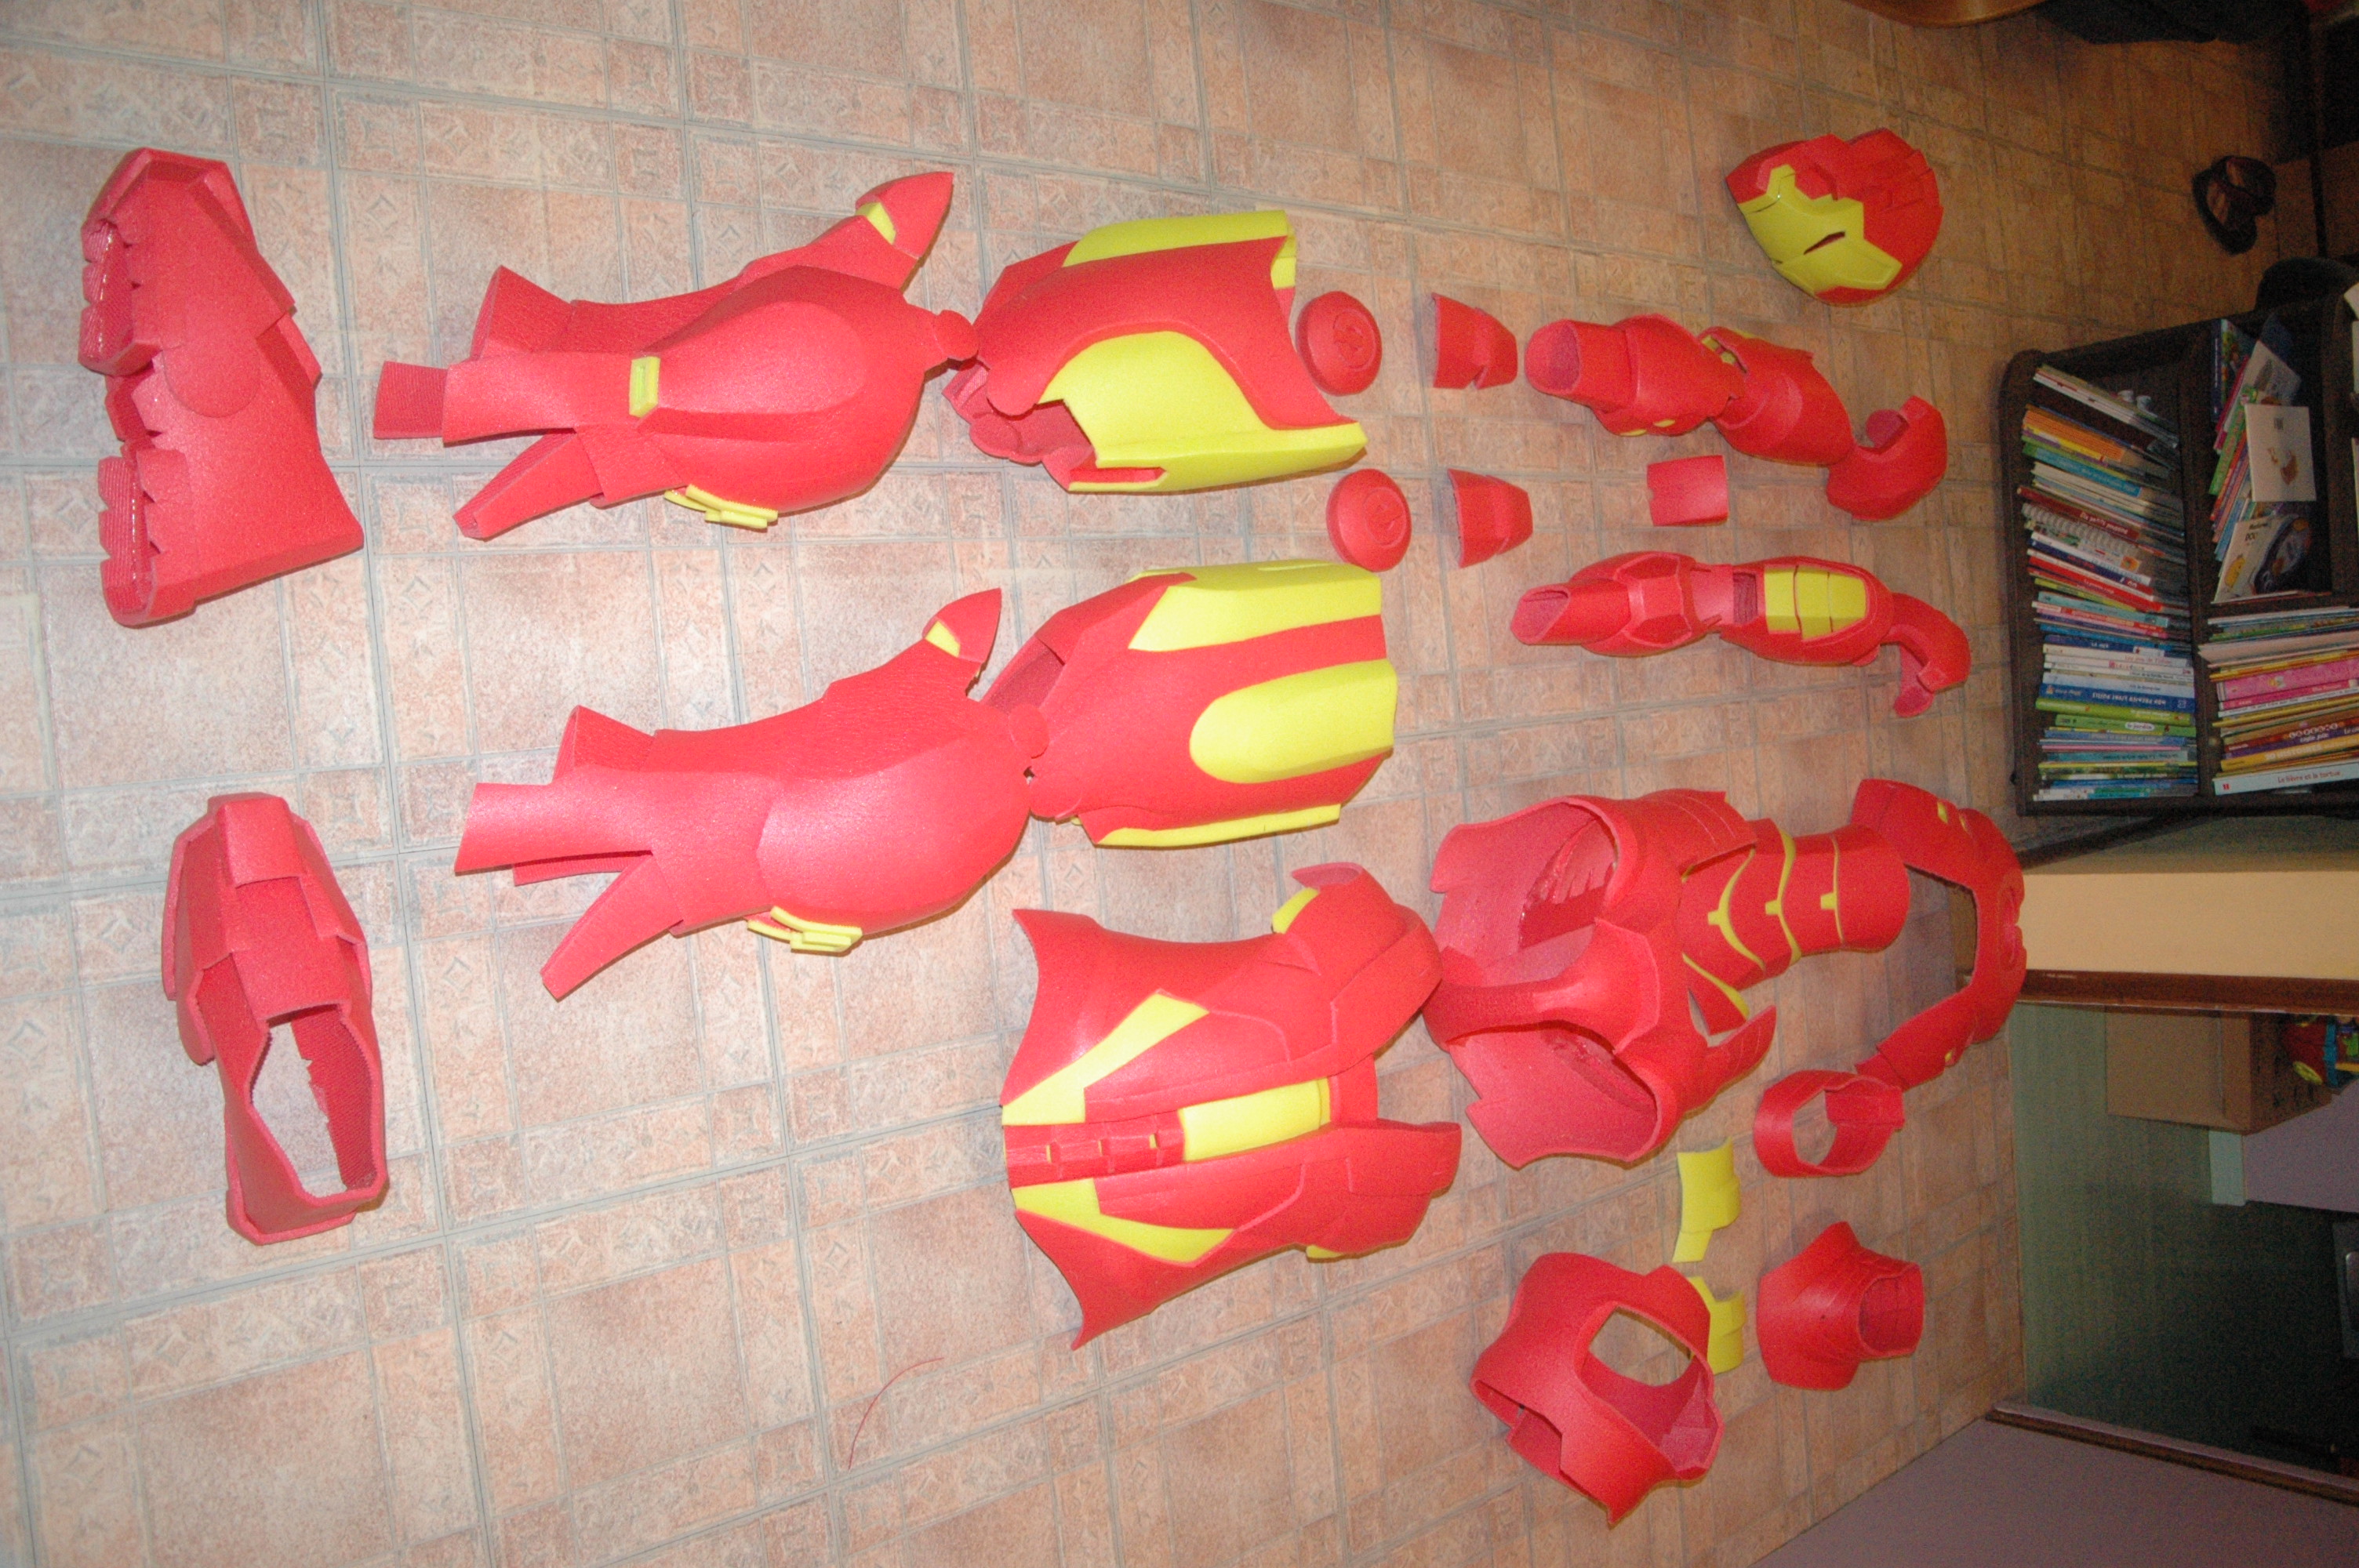
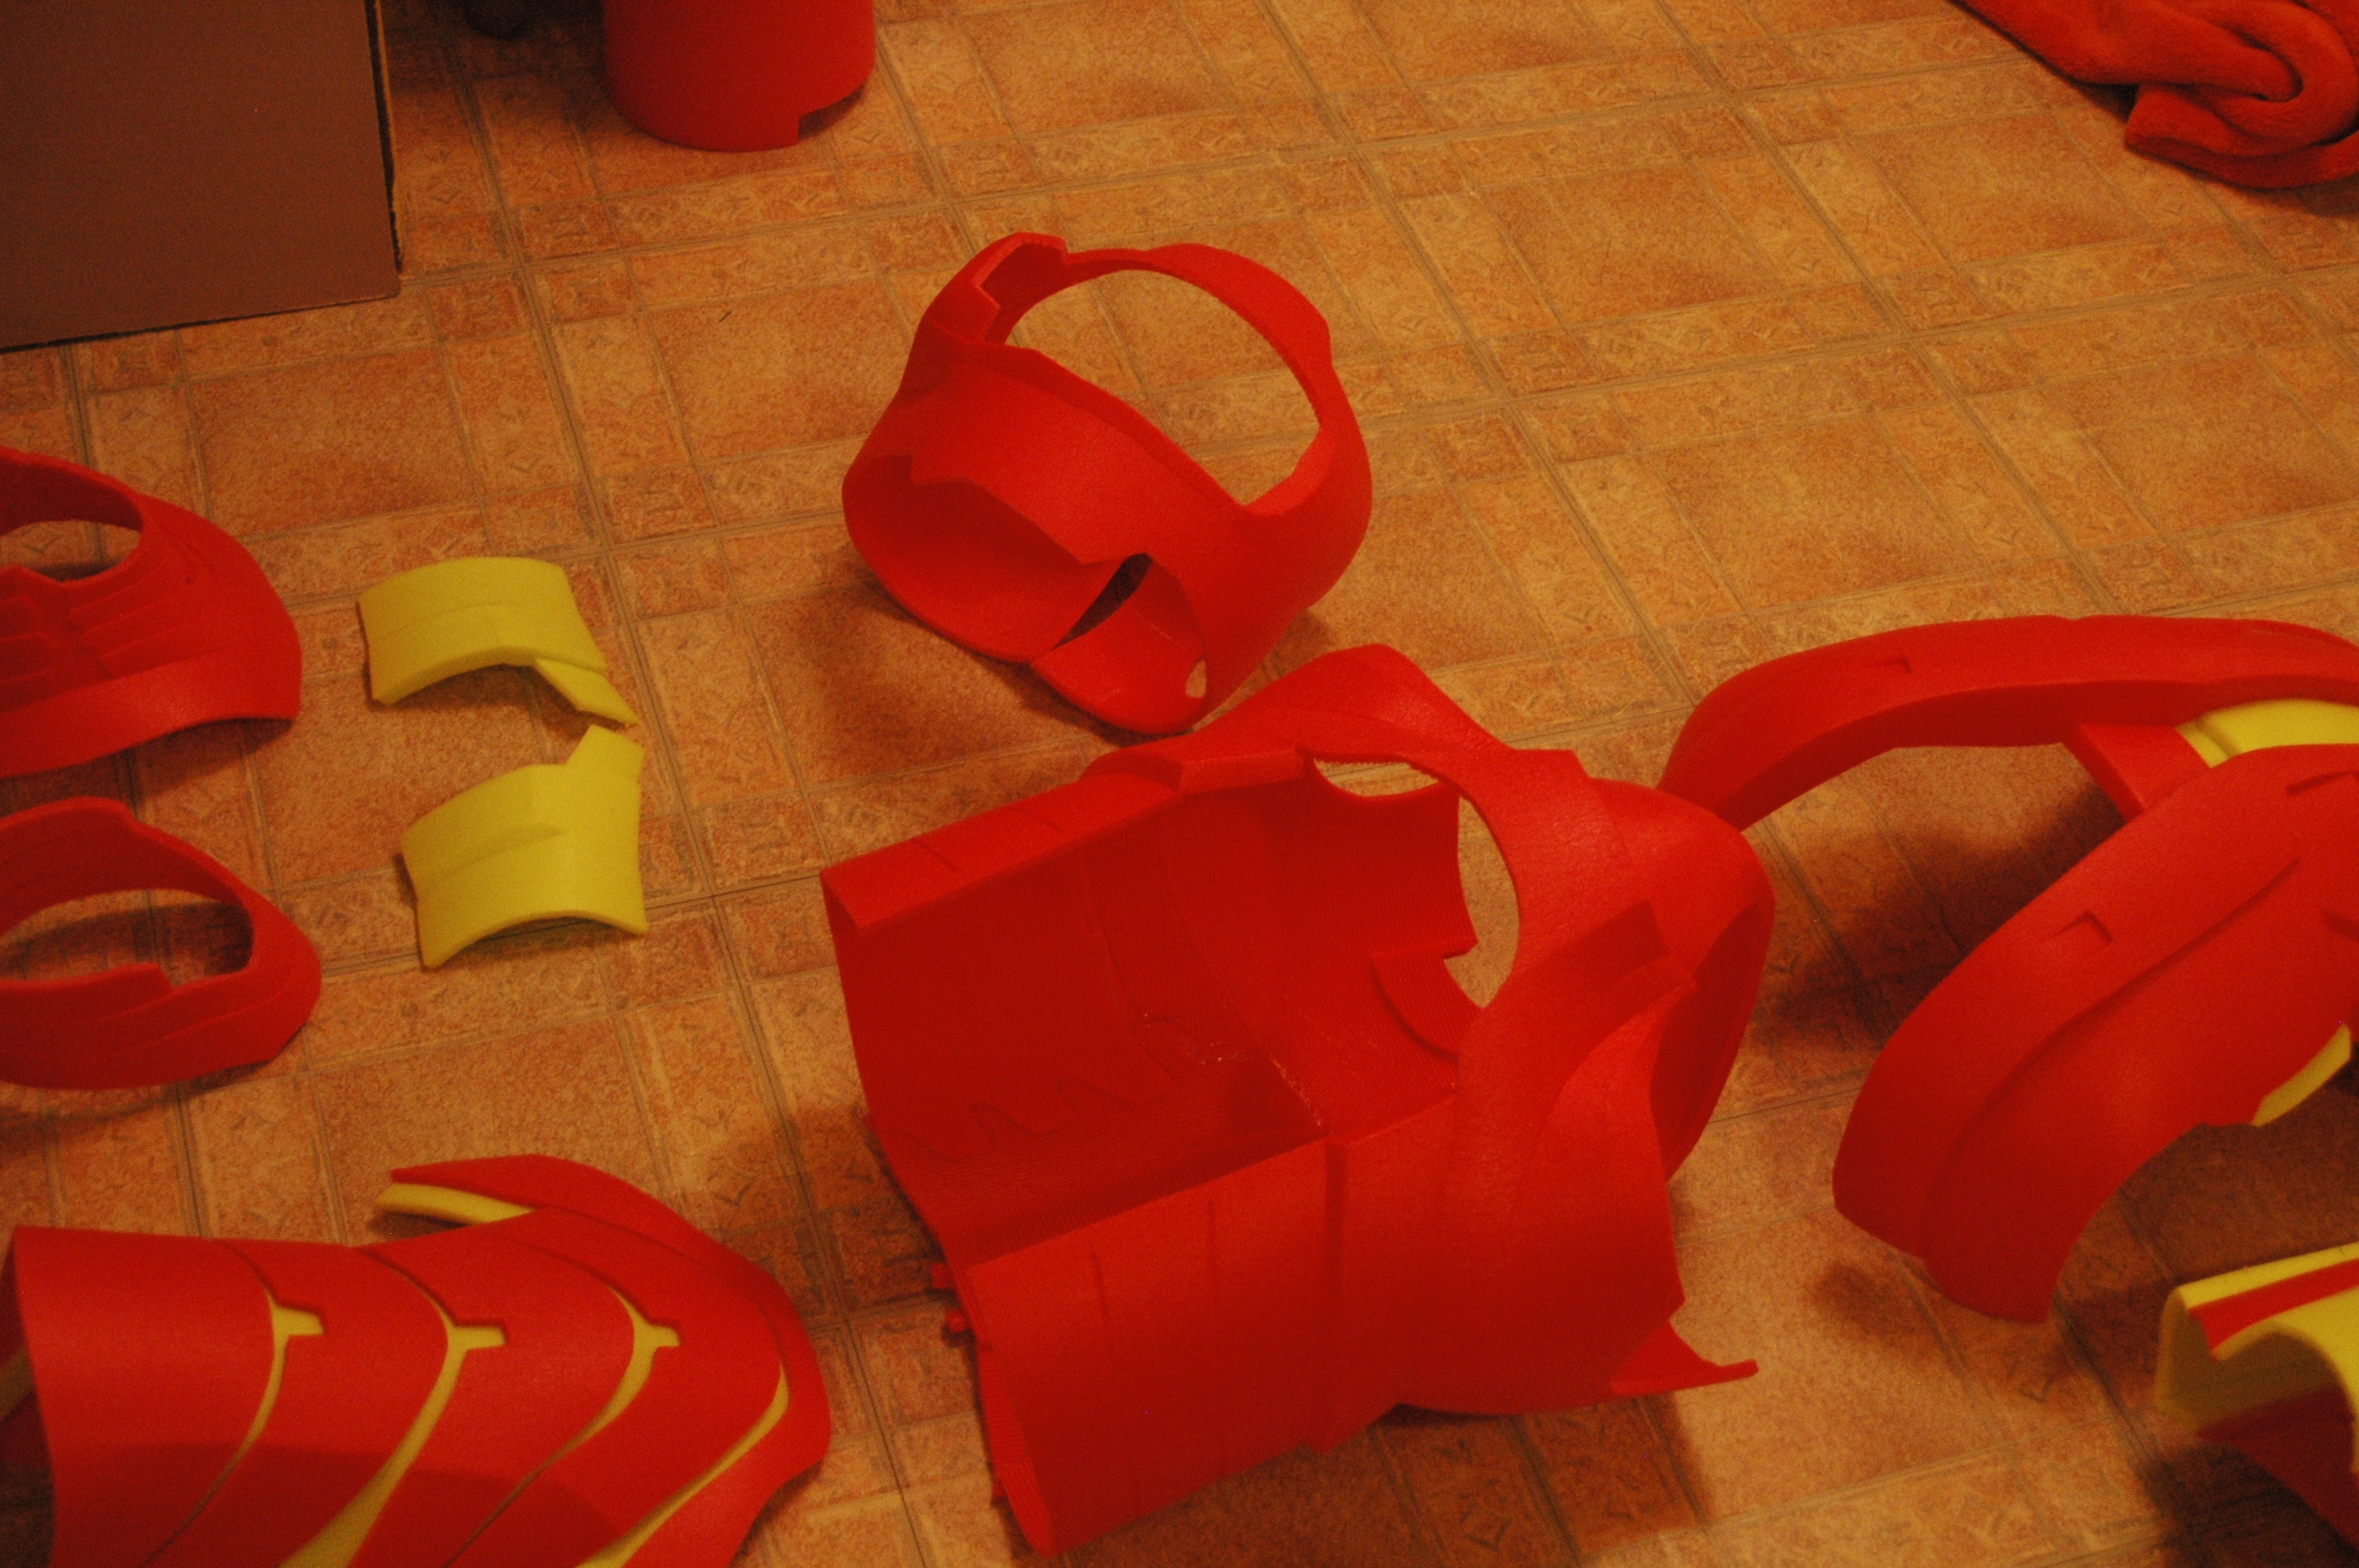
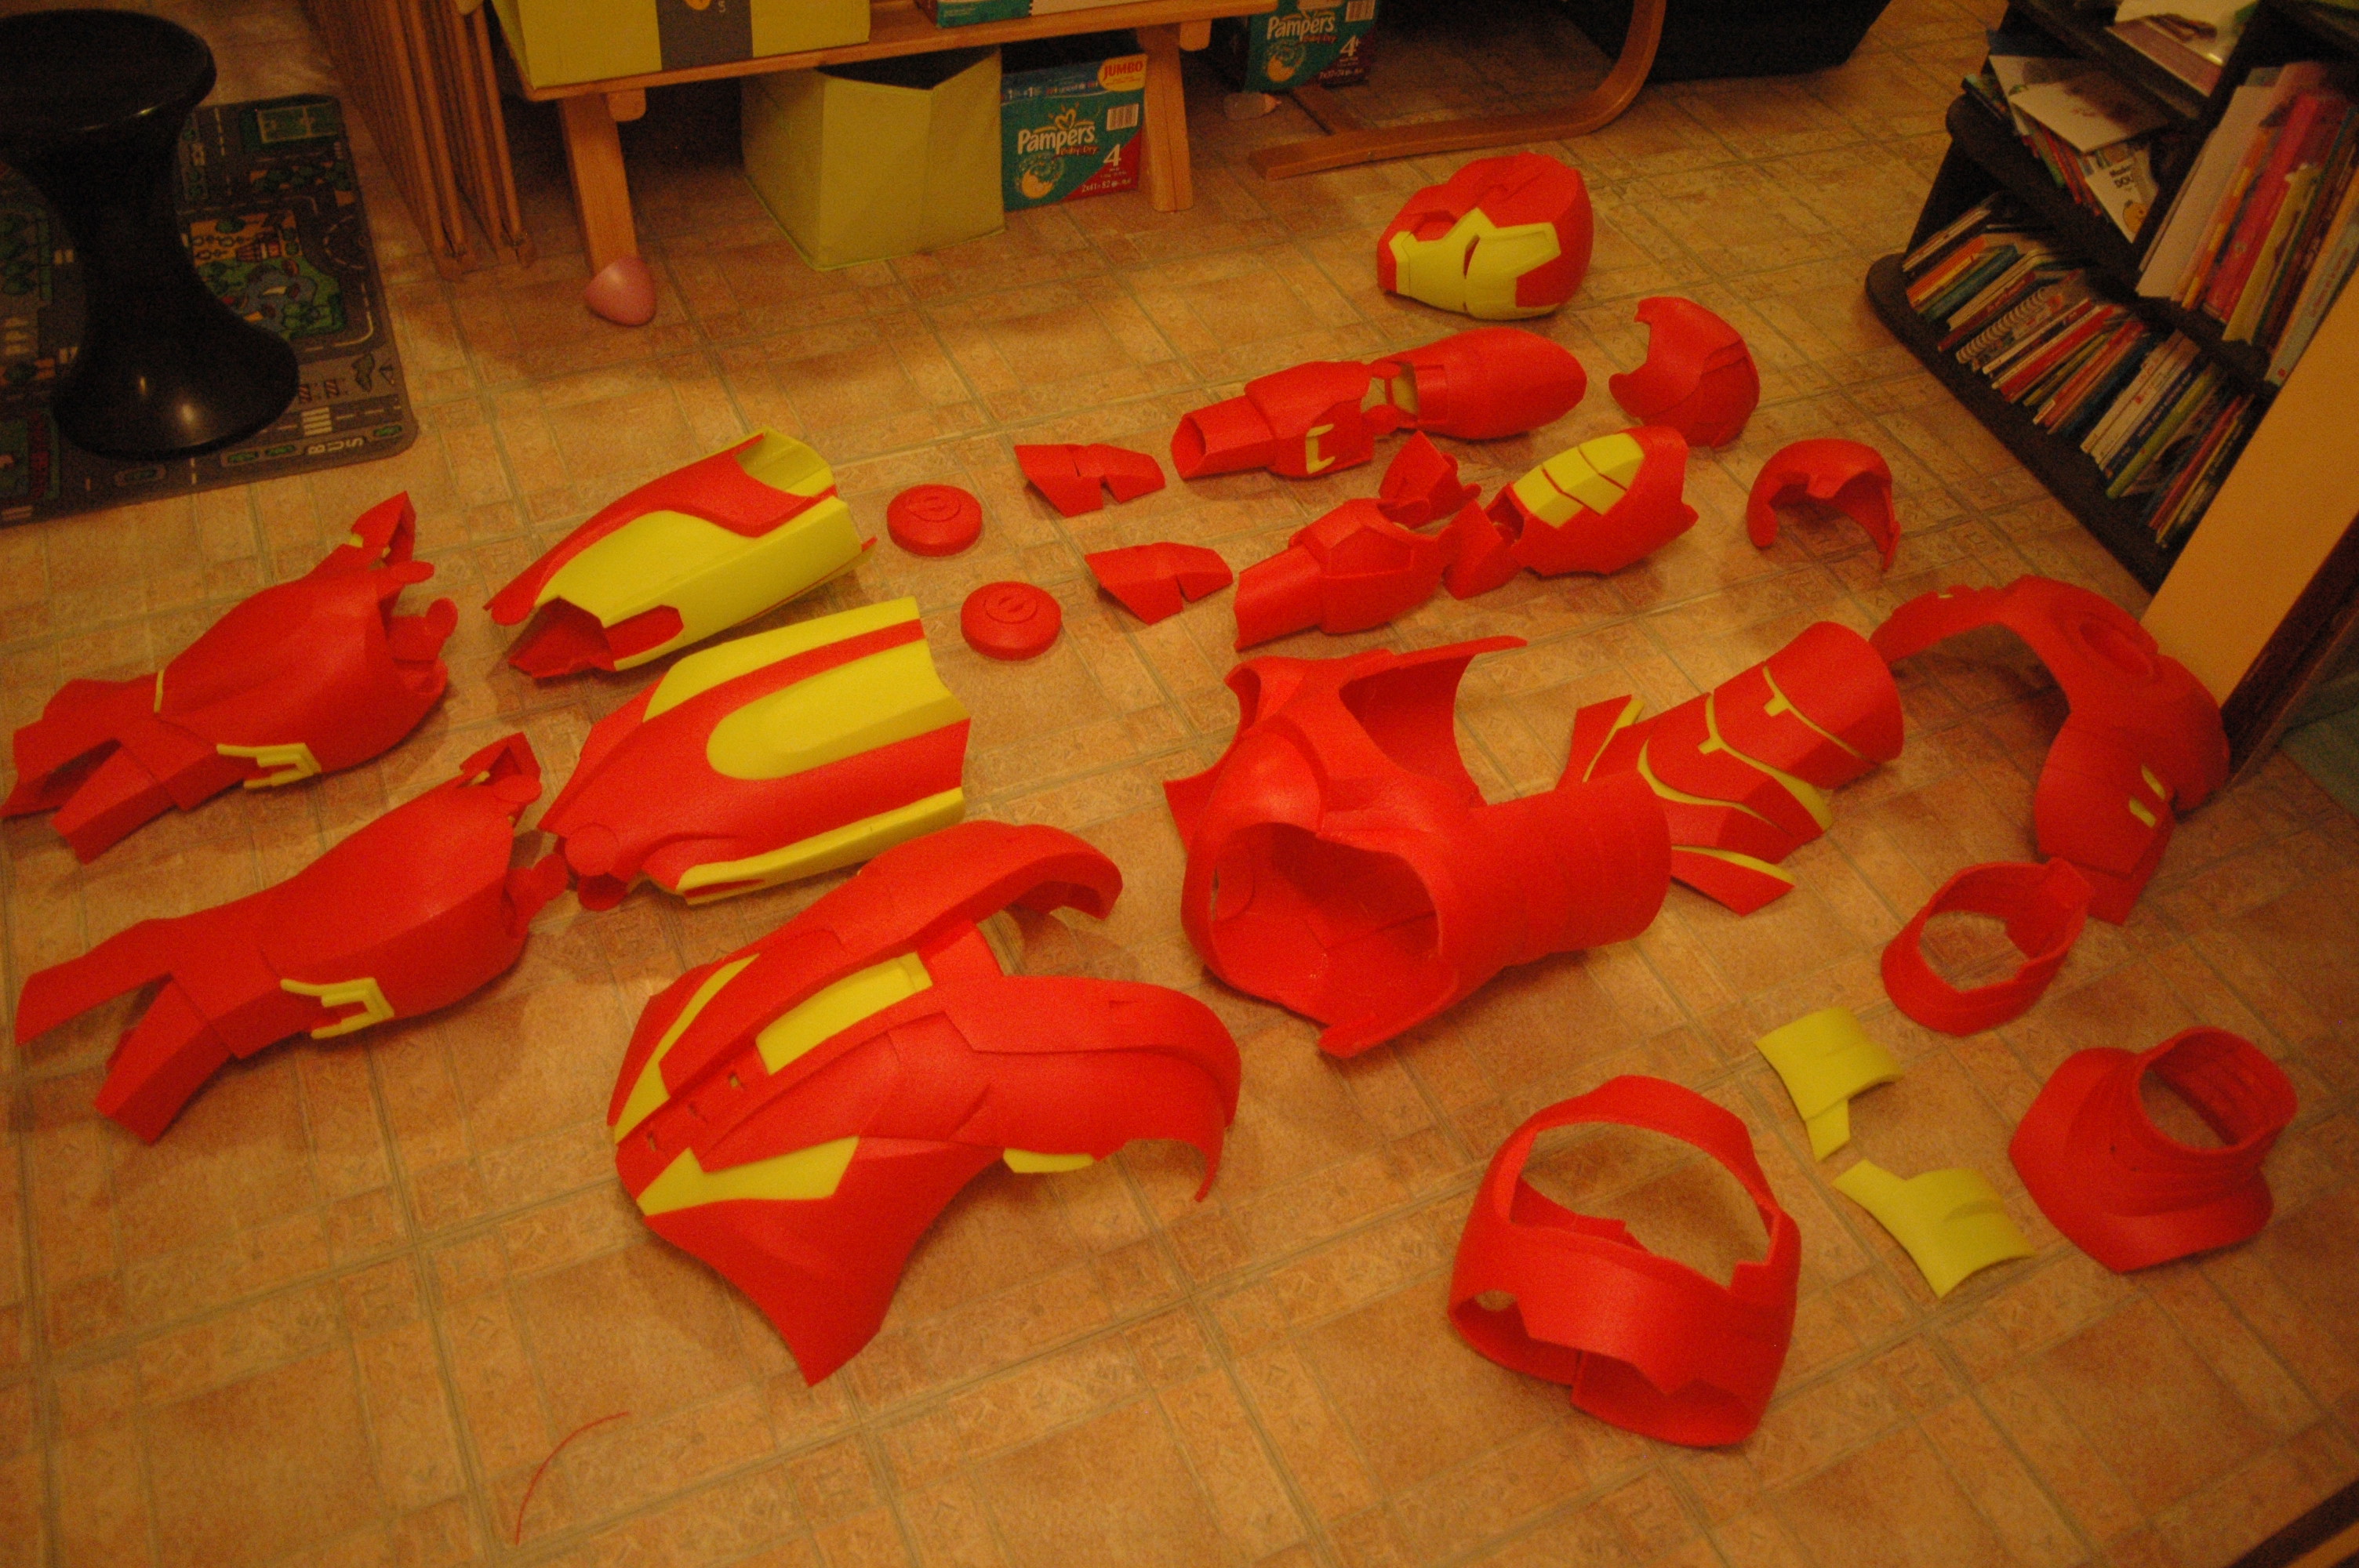
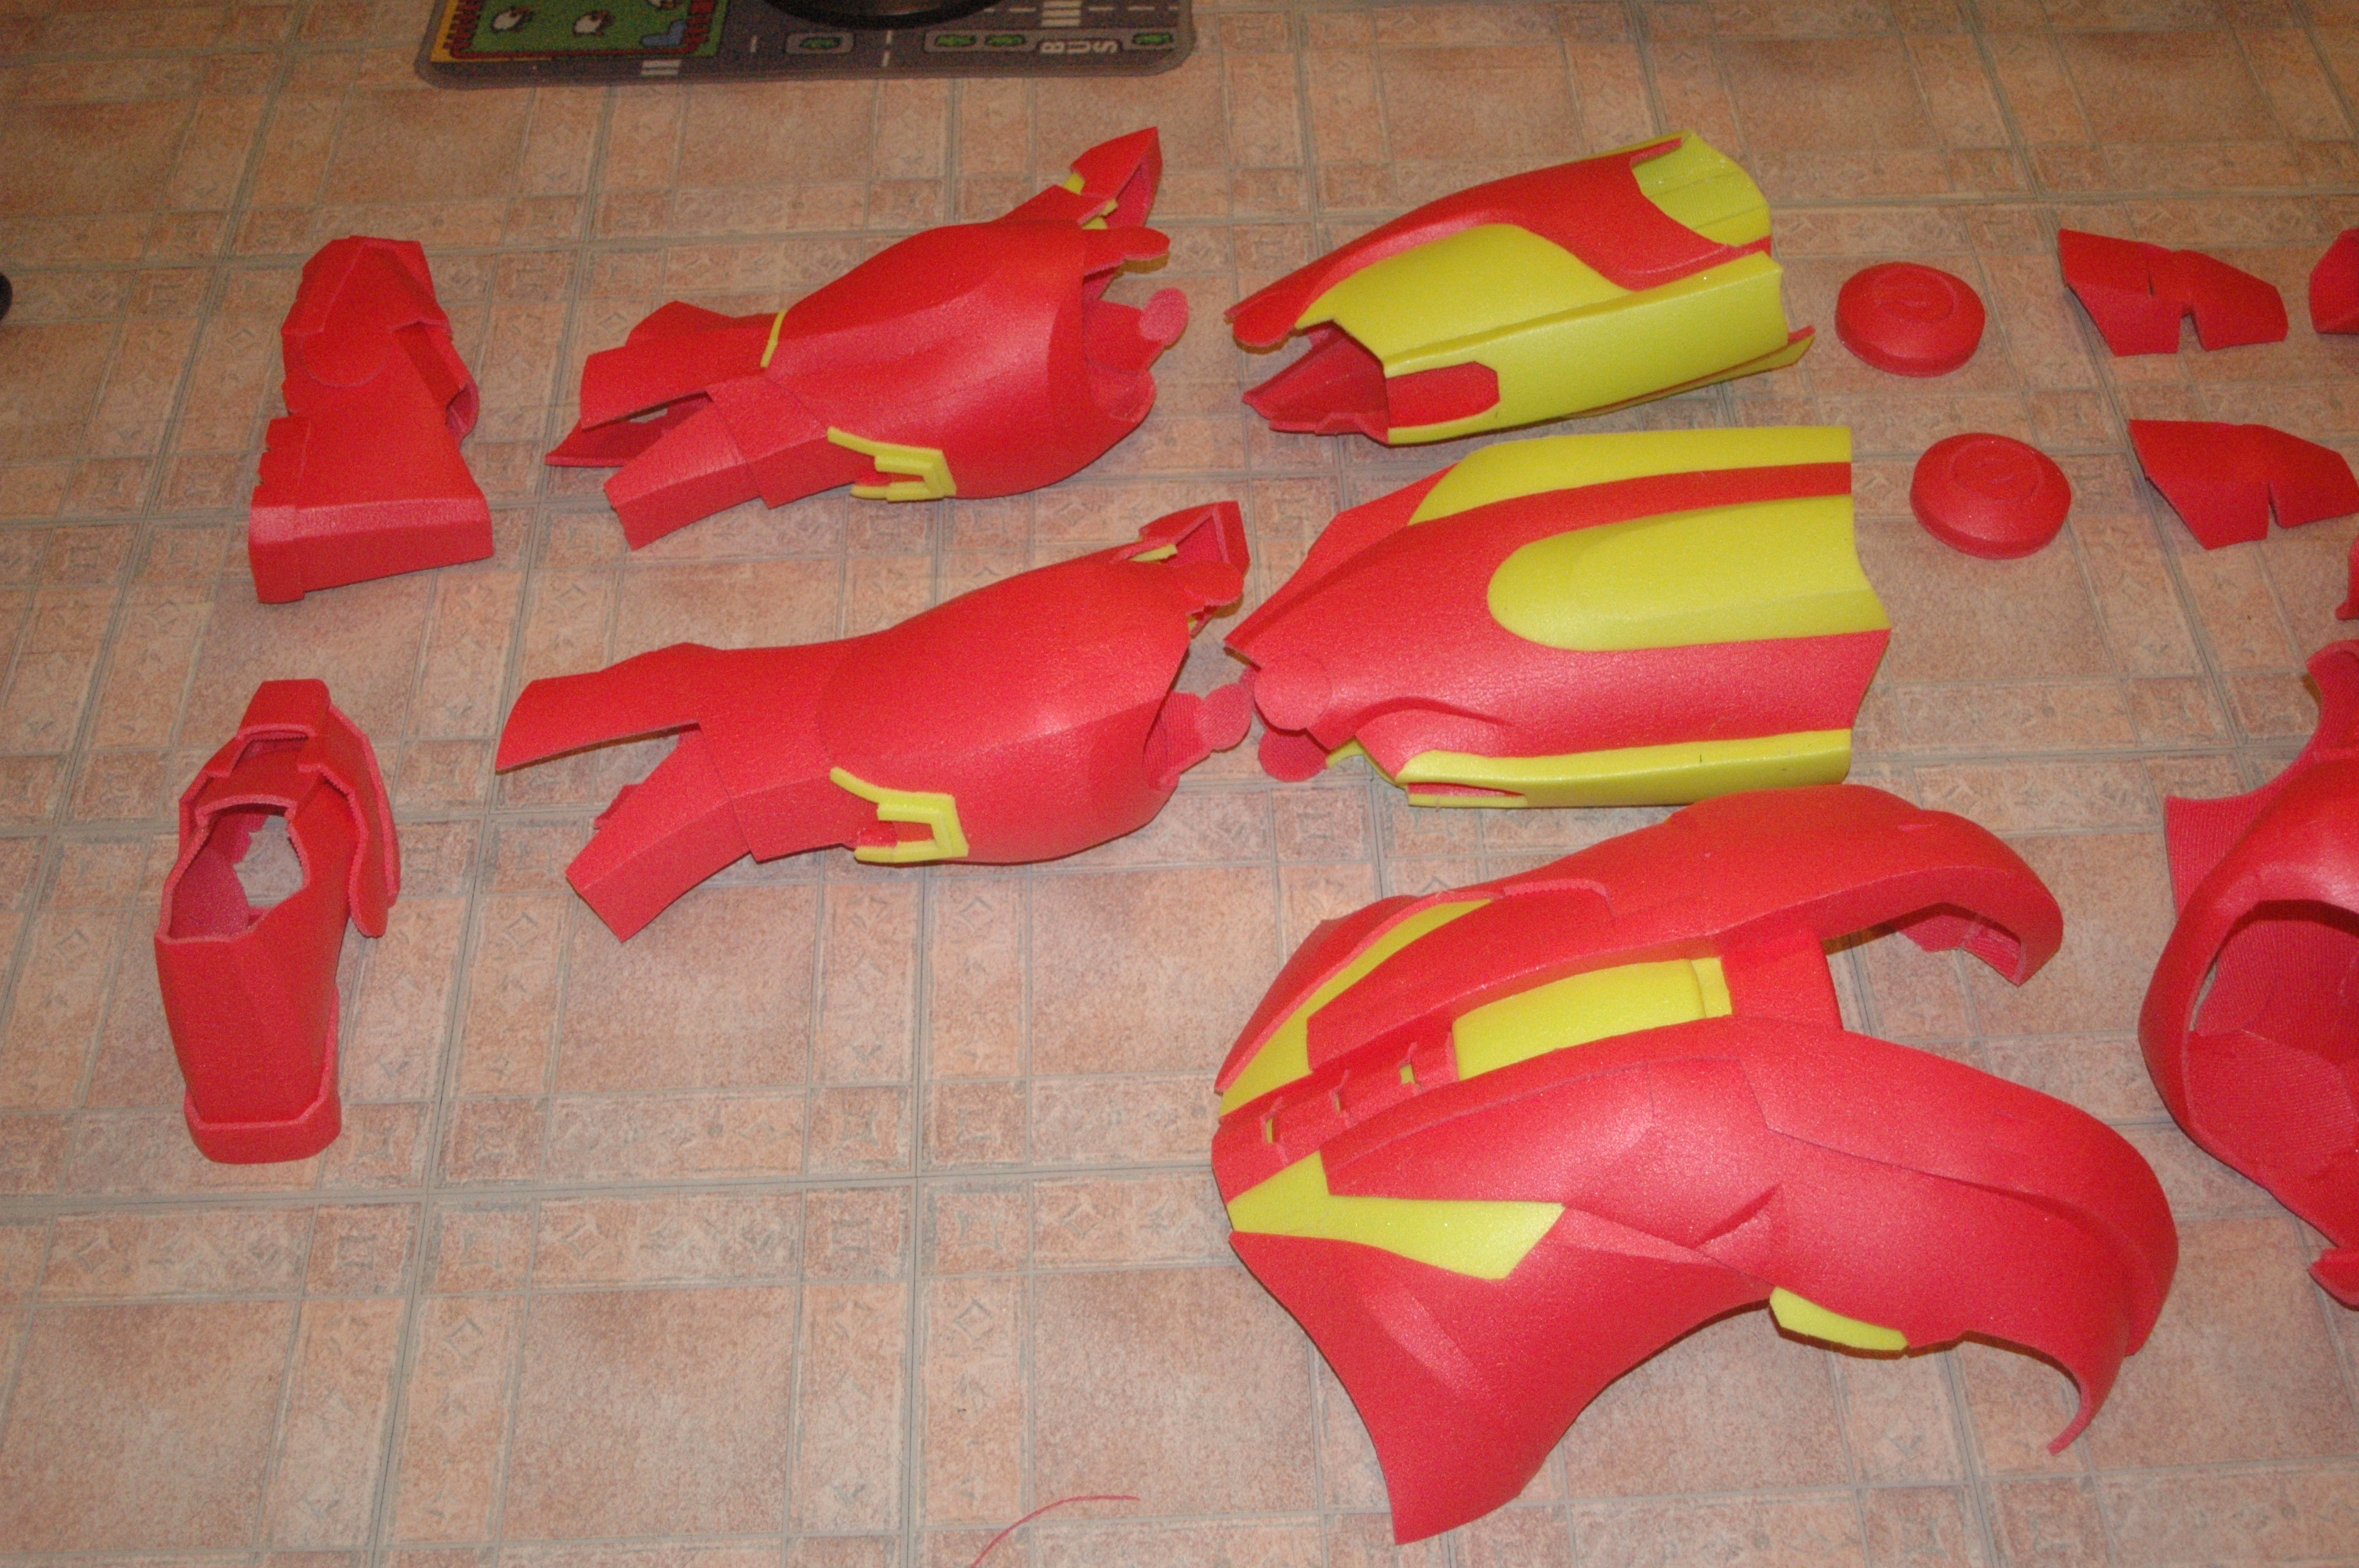
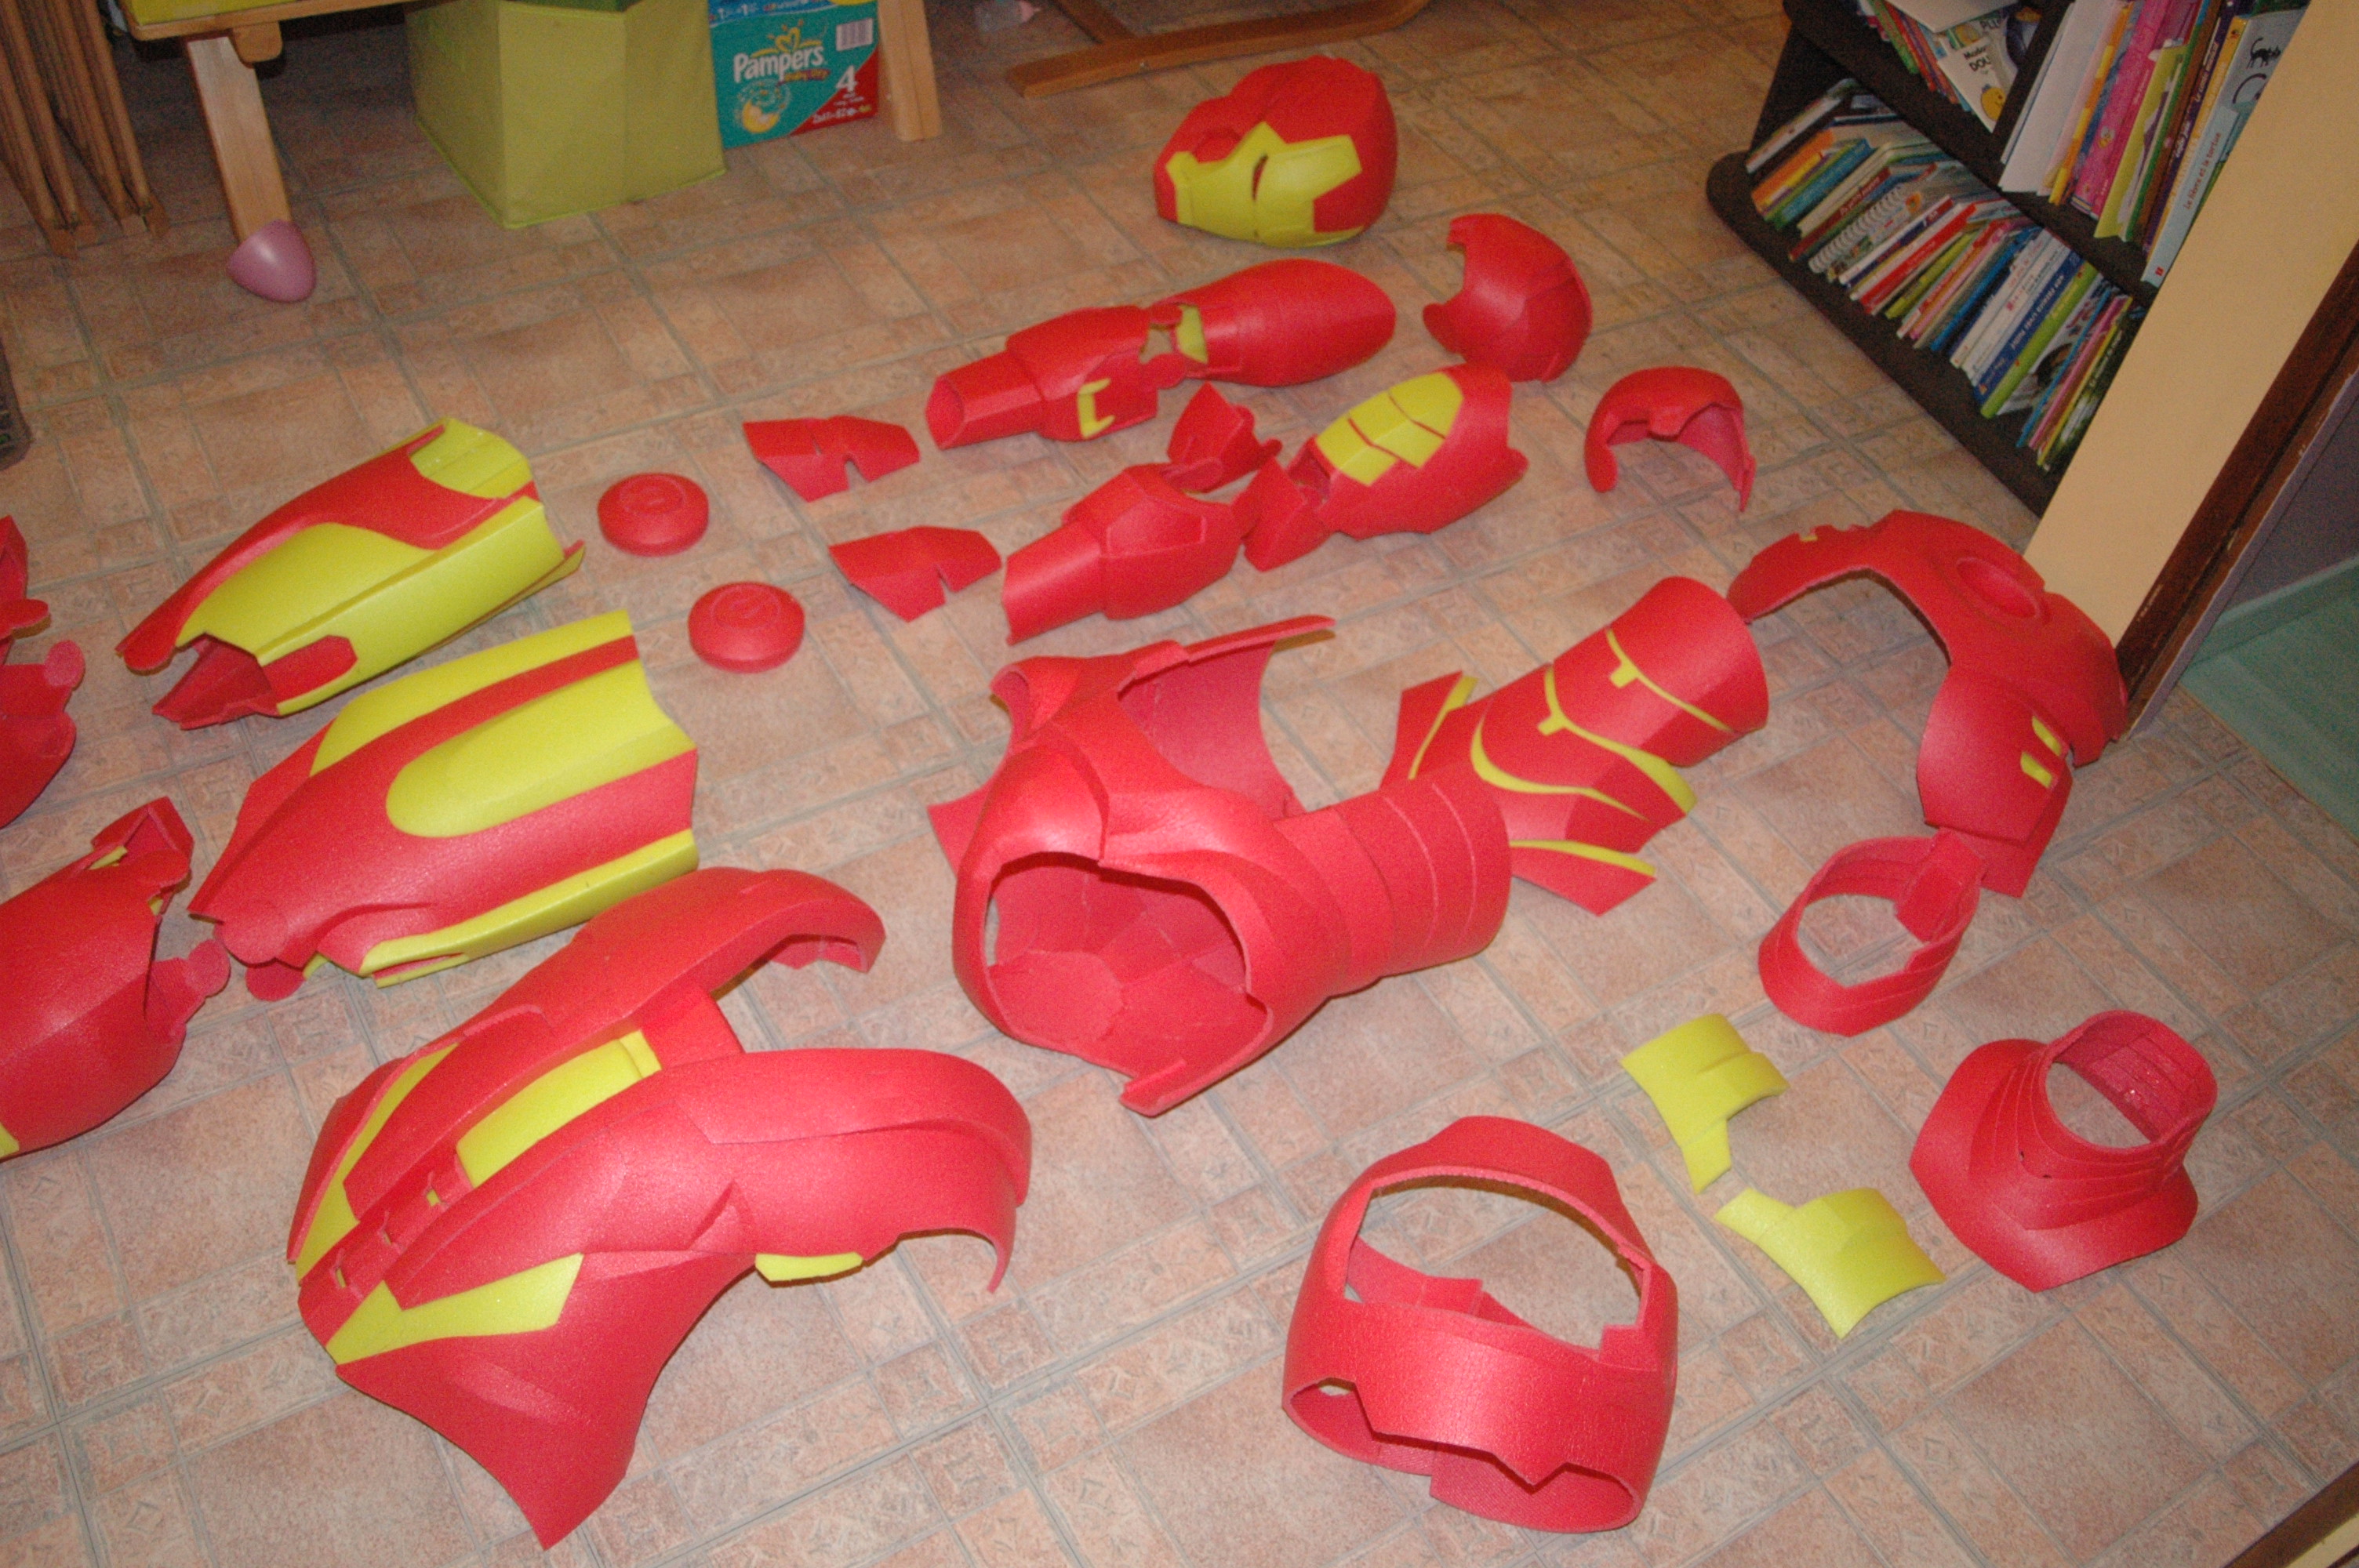
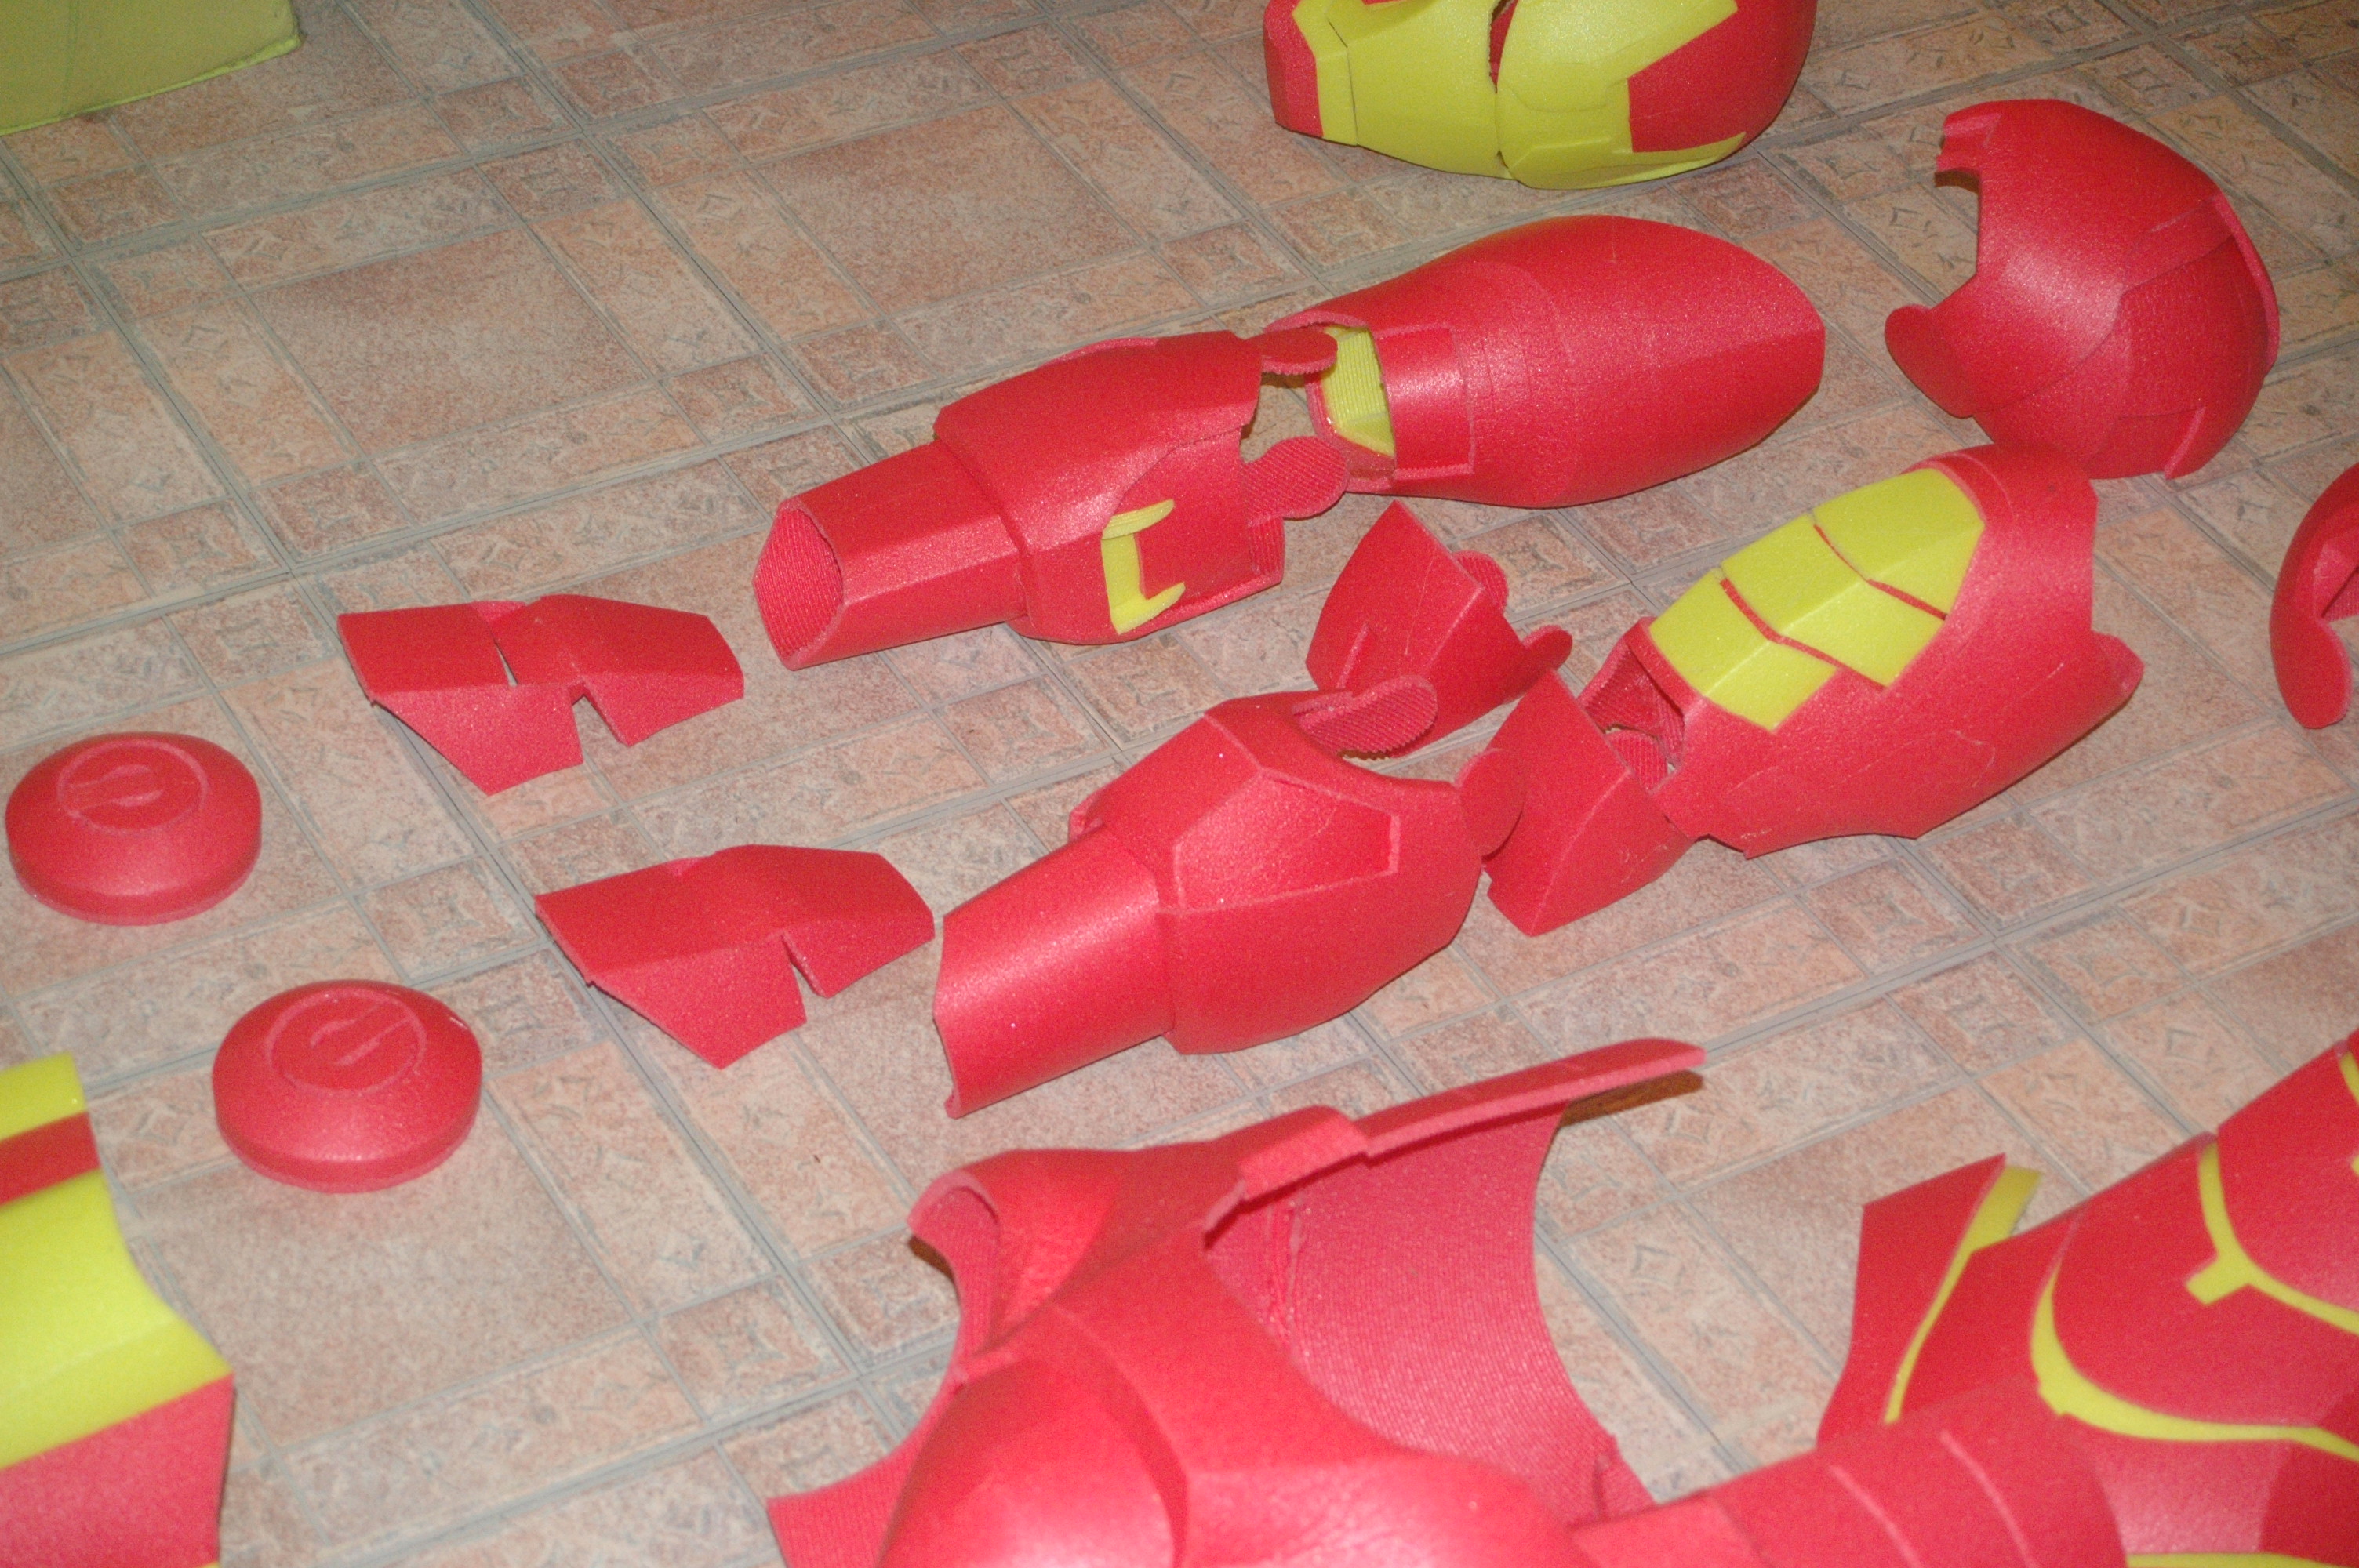
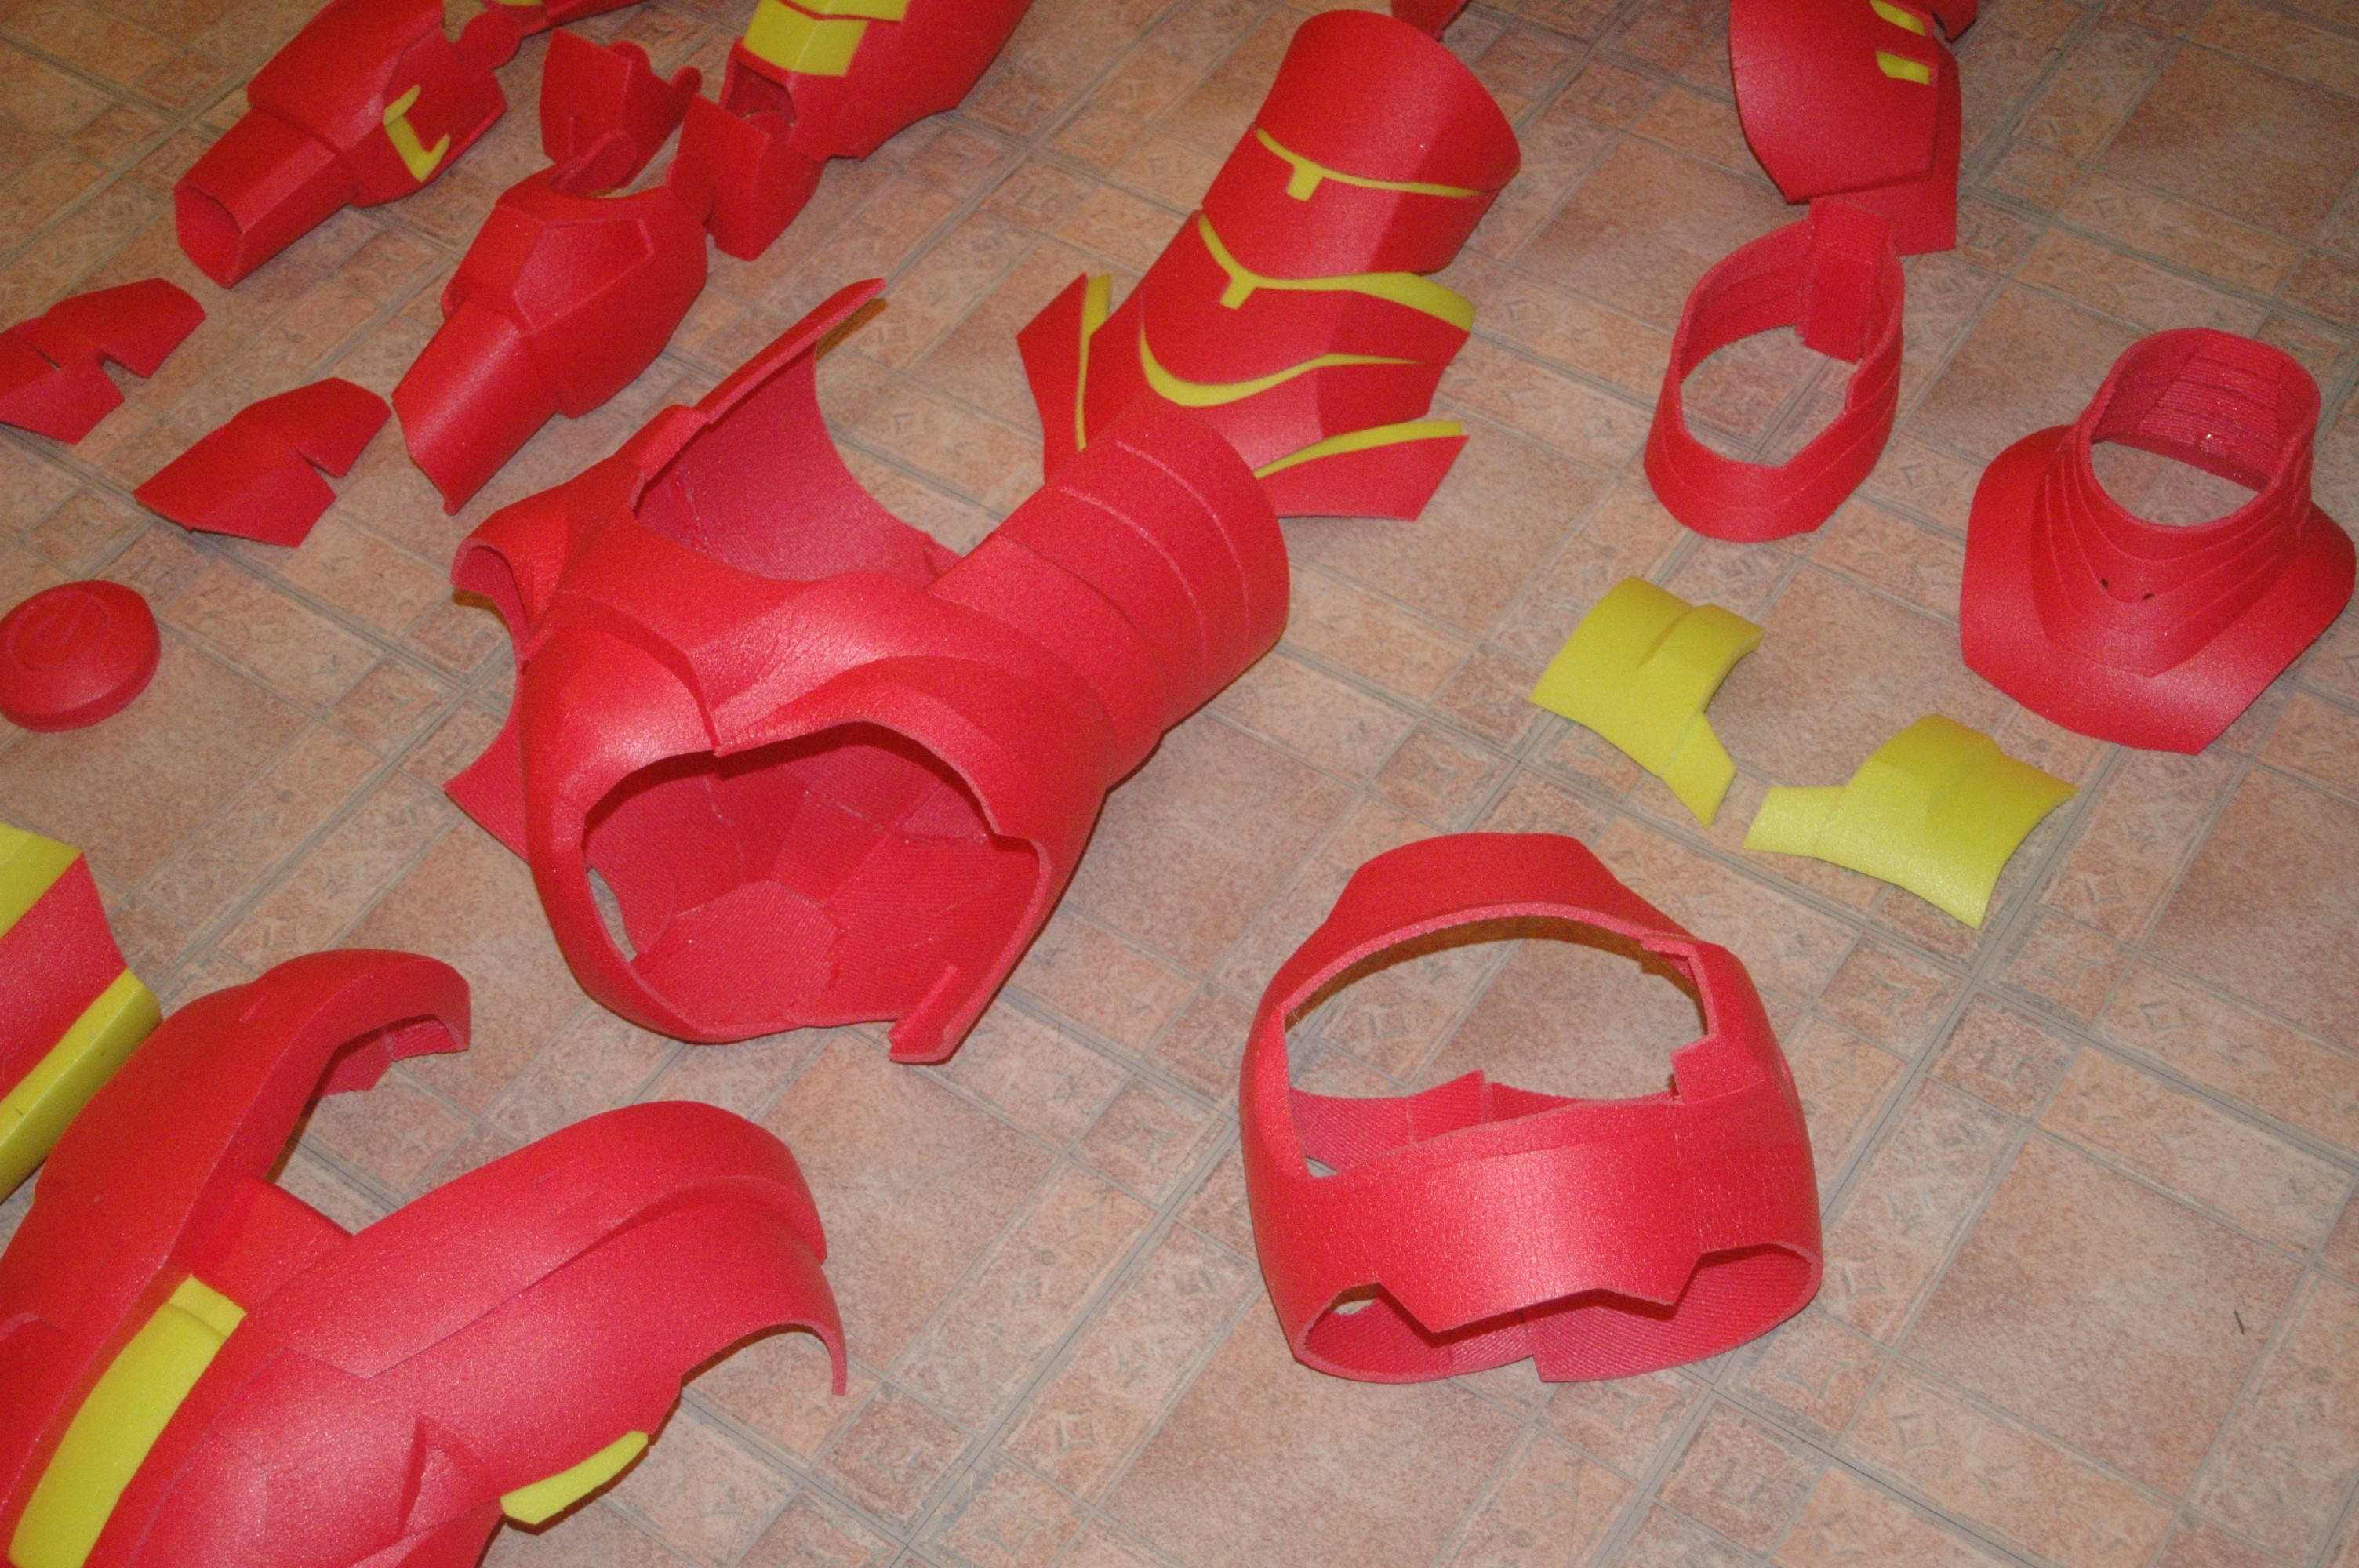
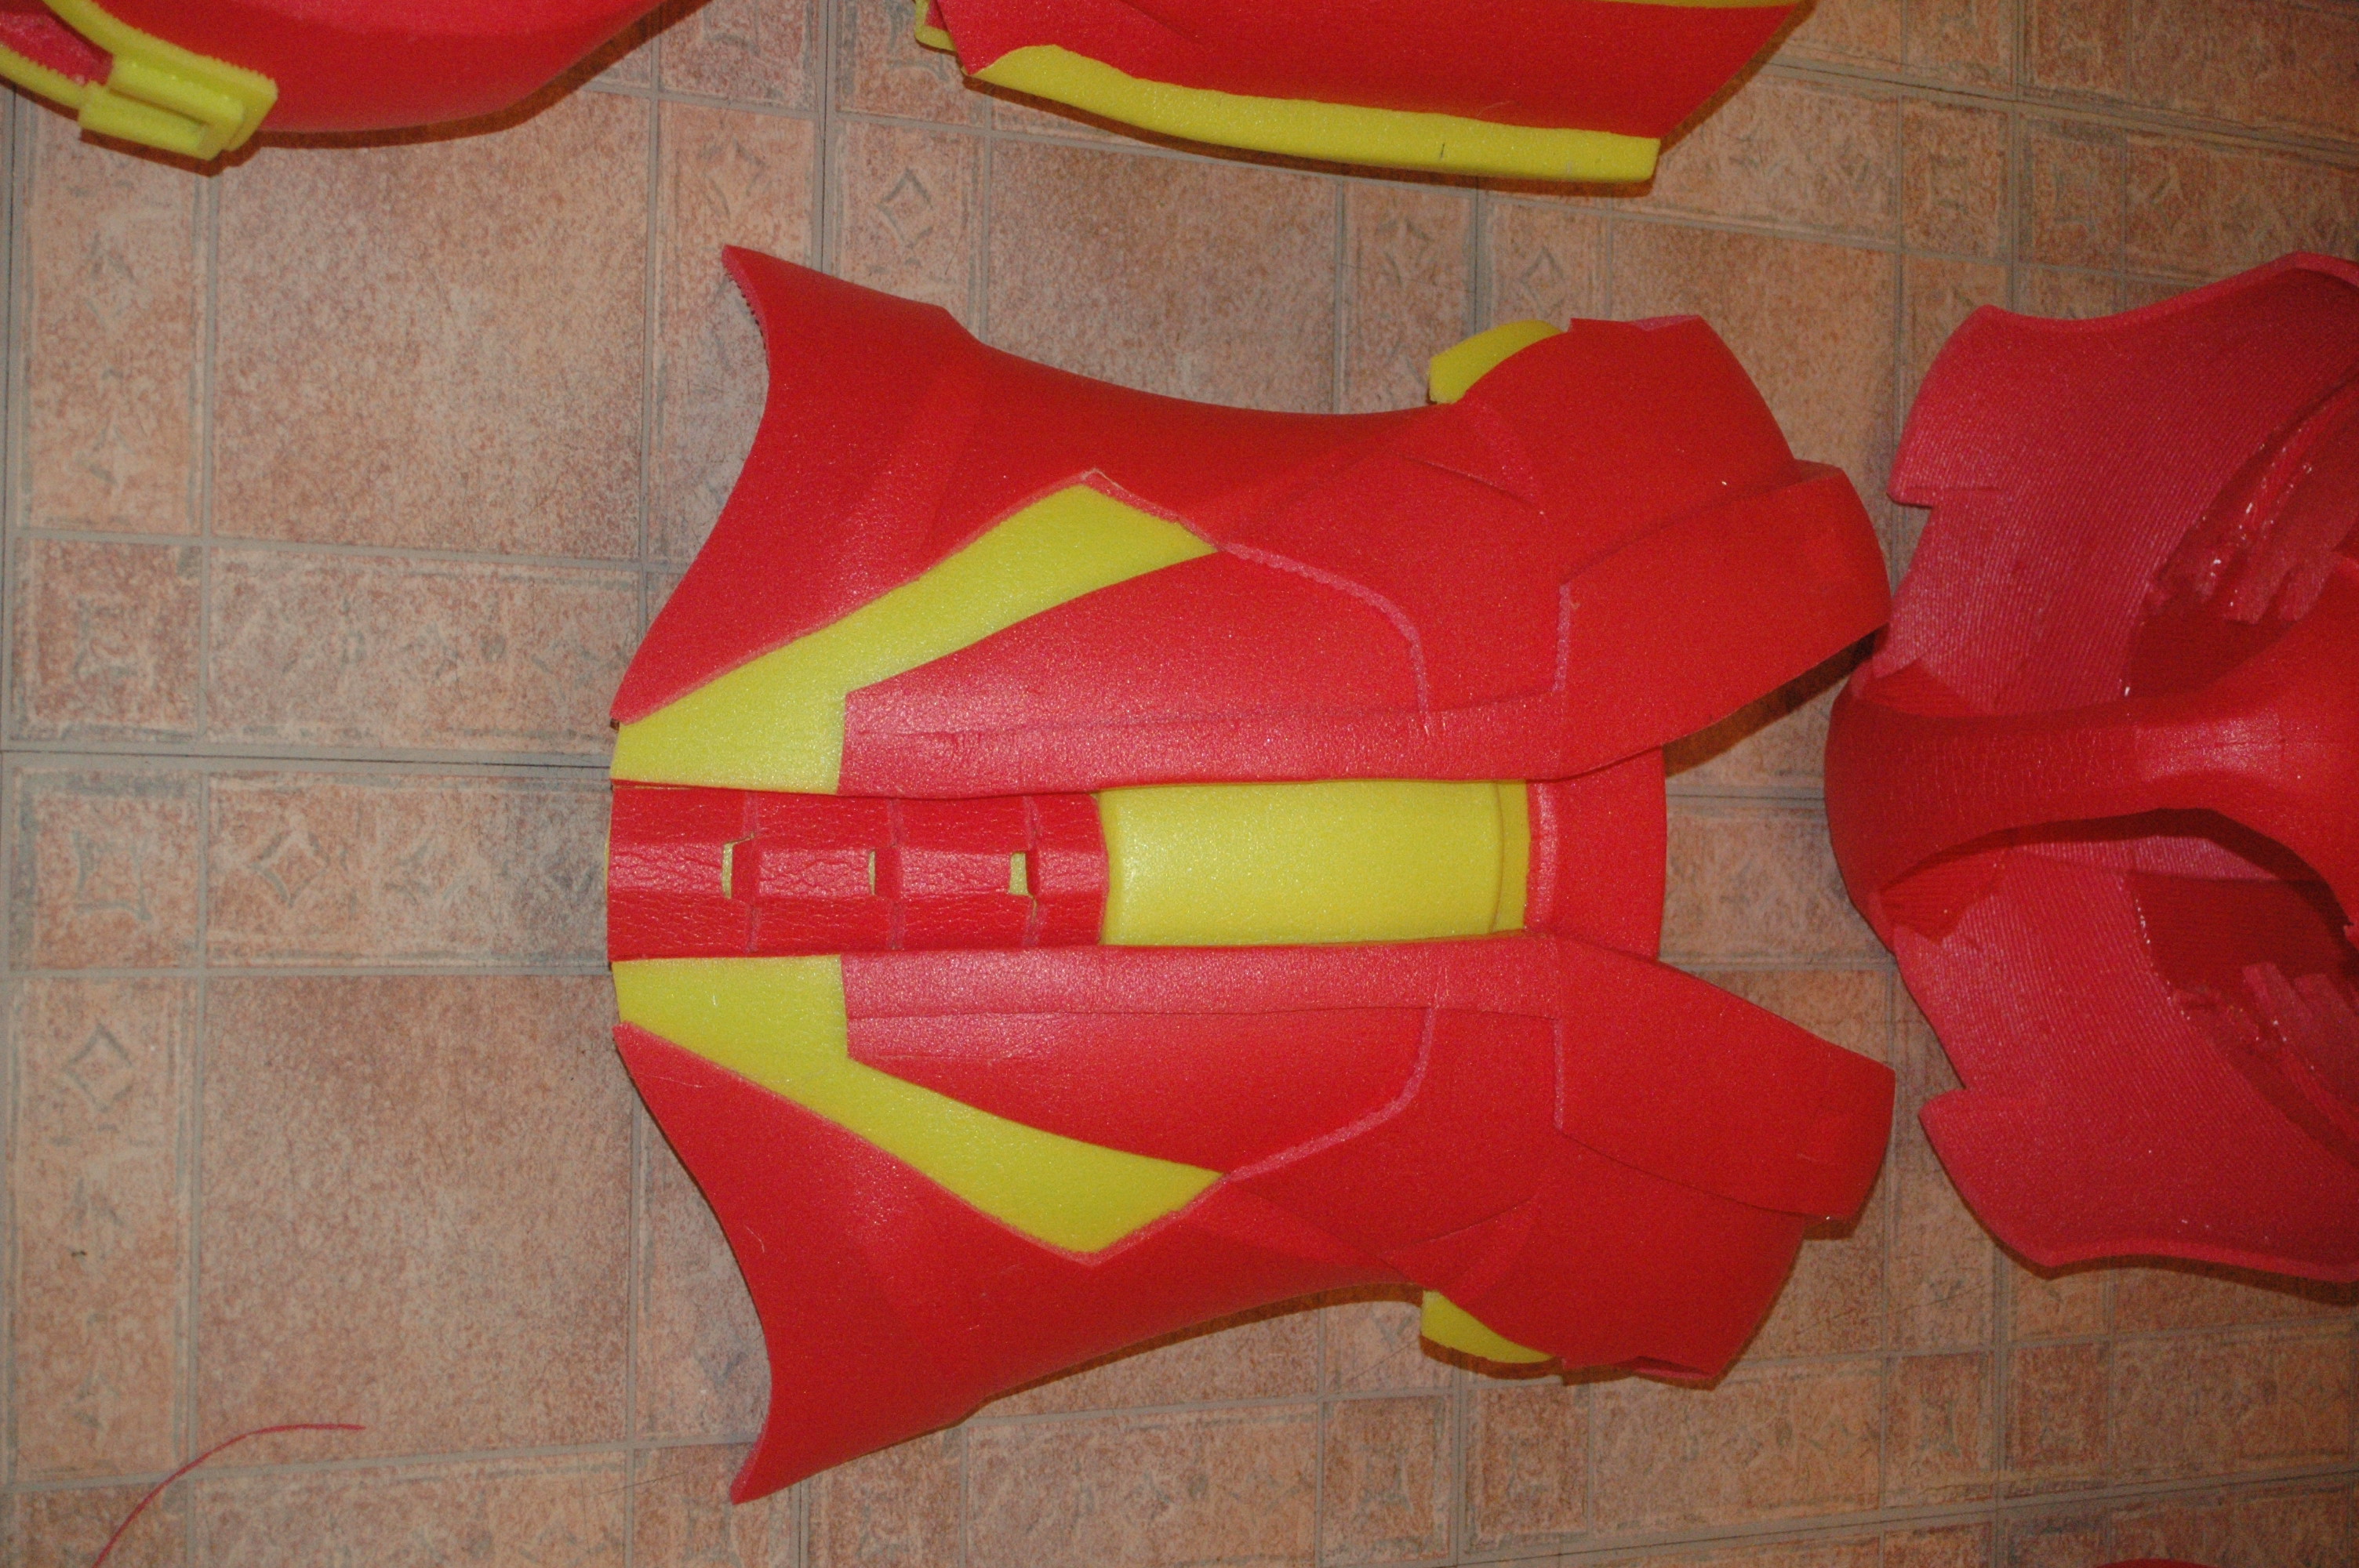
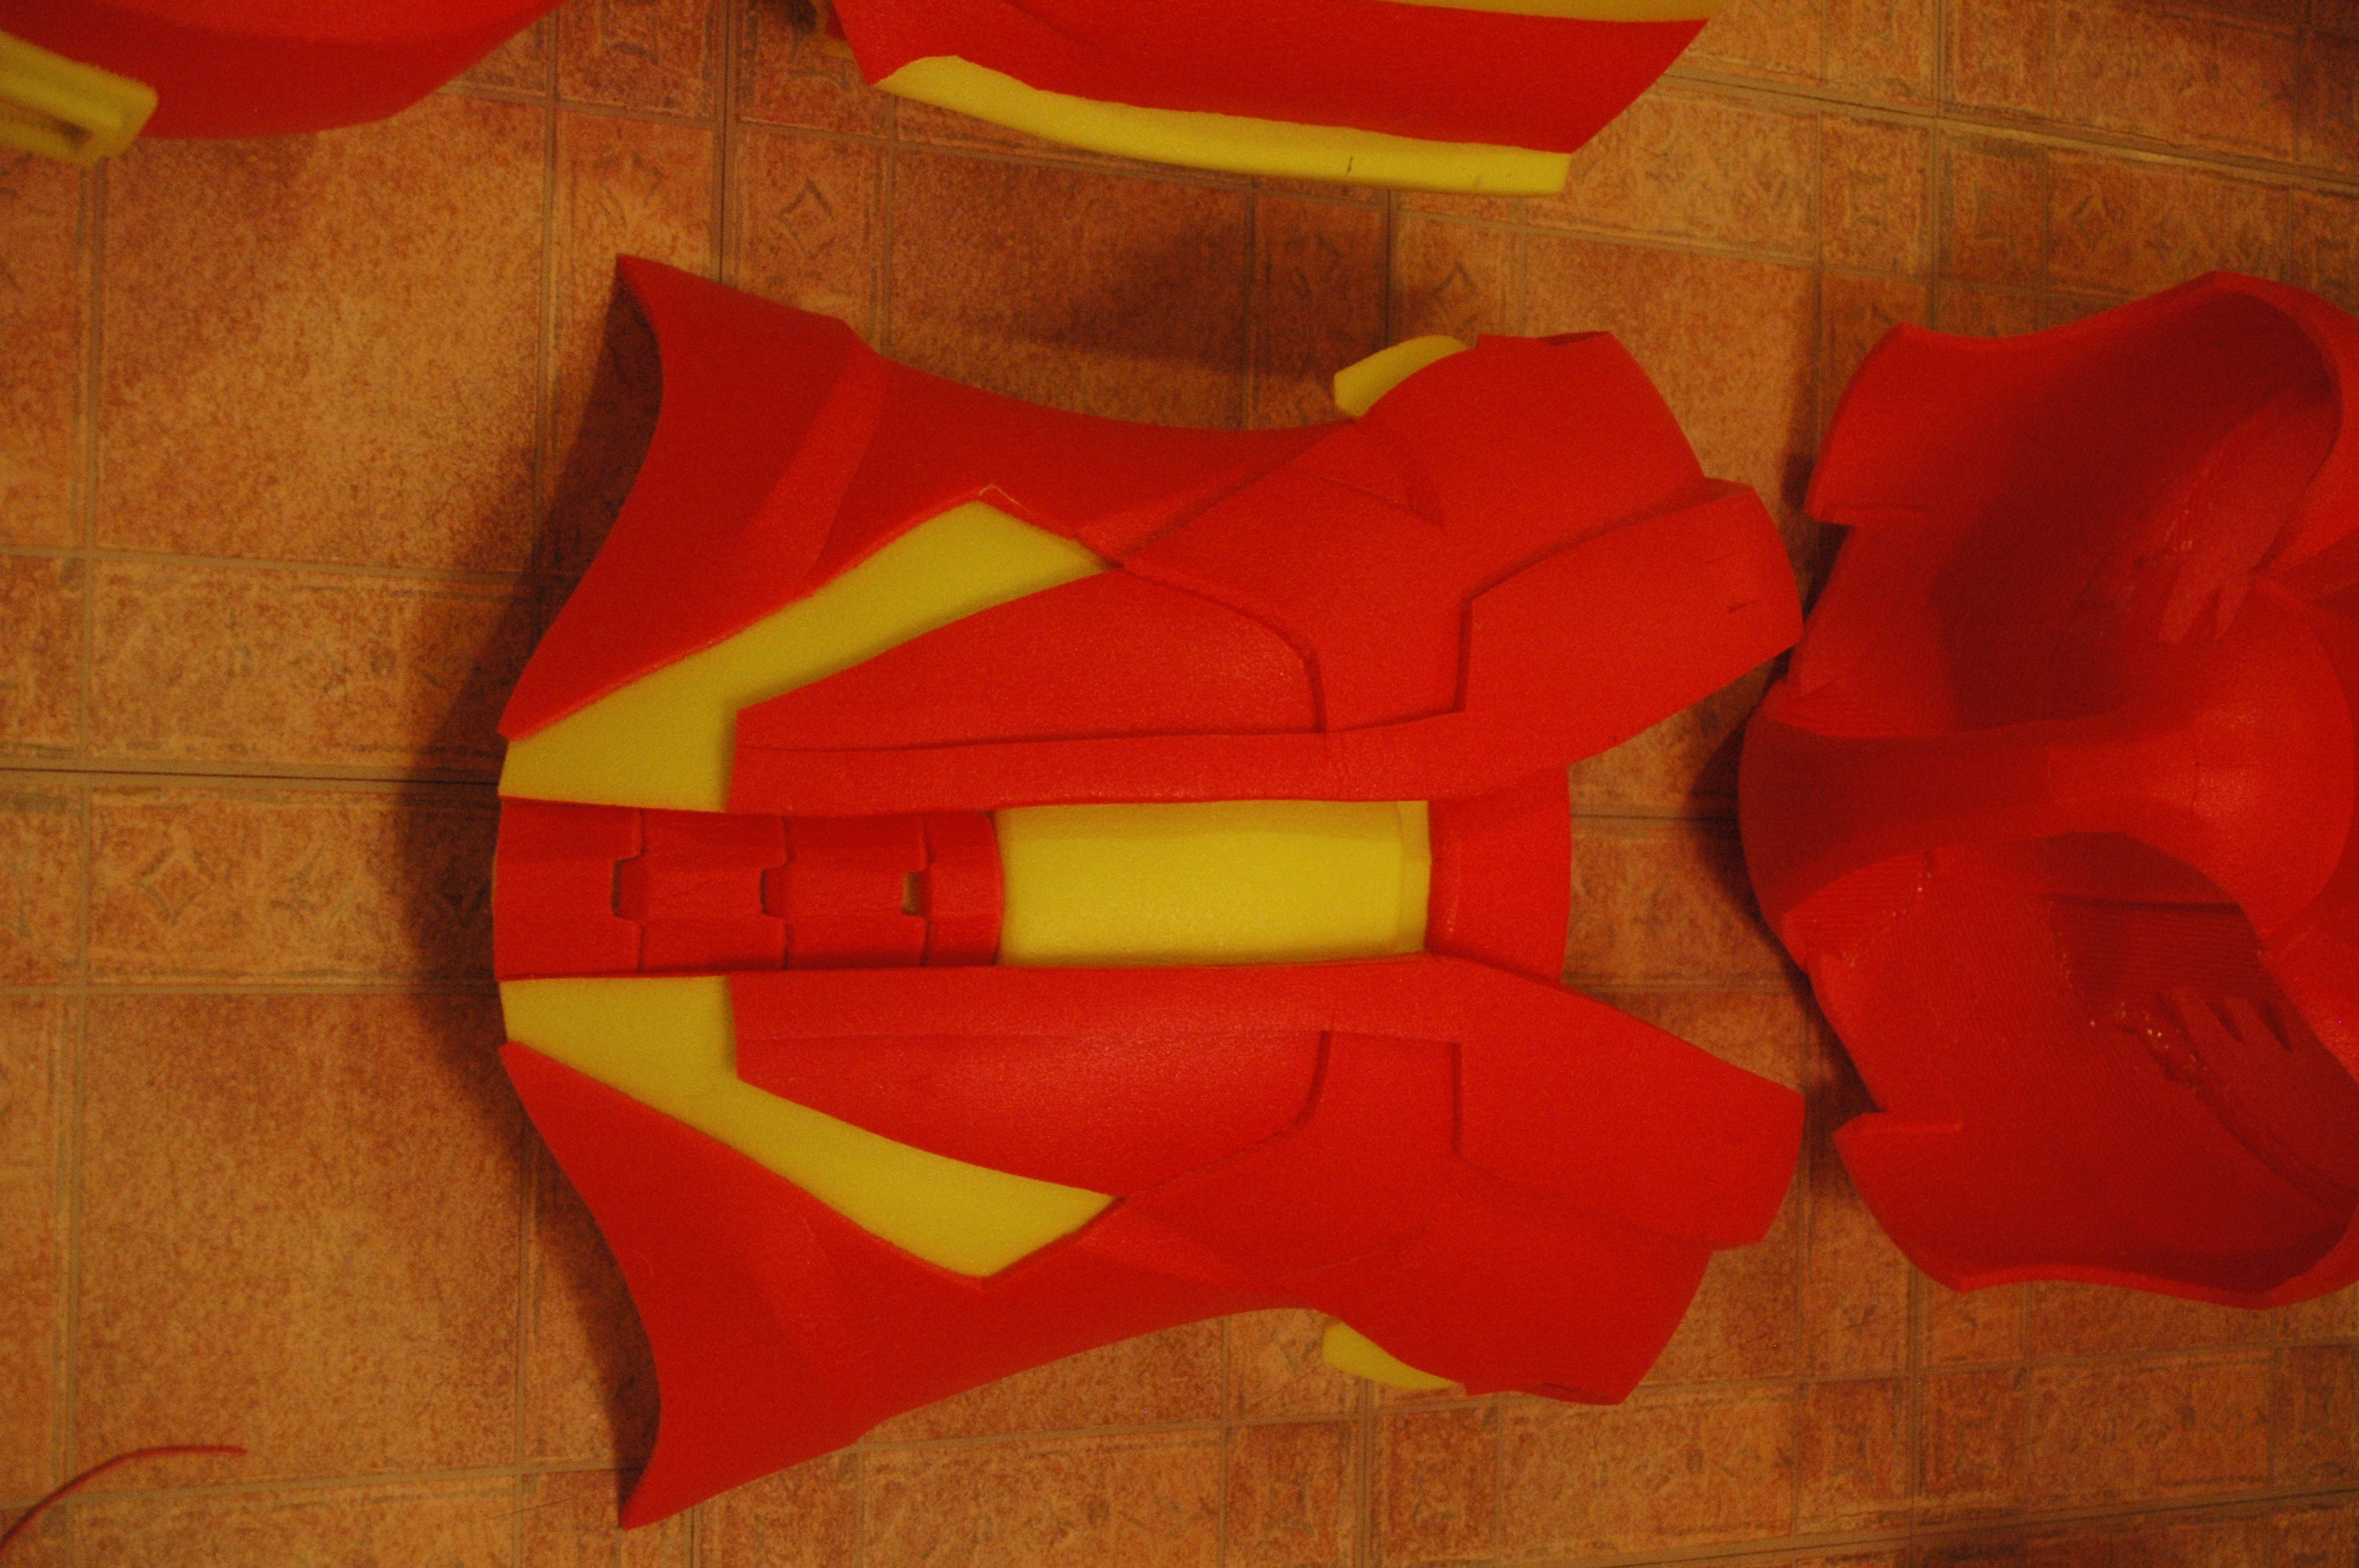
Doing the upper torso armor now.. Any close ups of that front, back and sides?
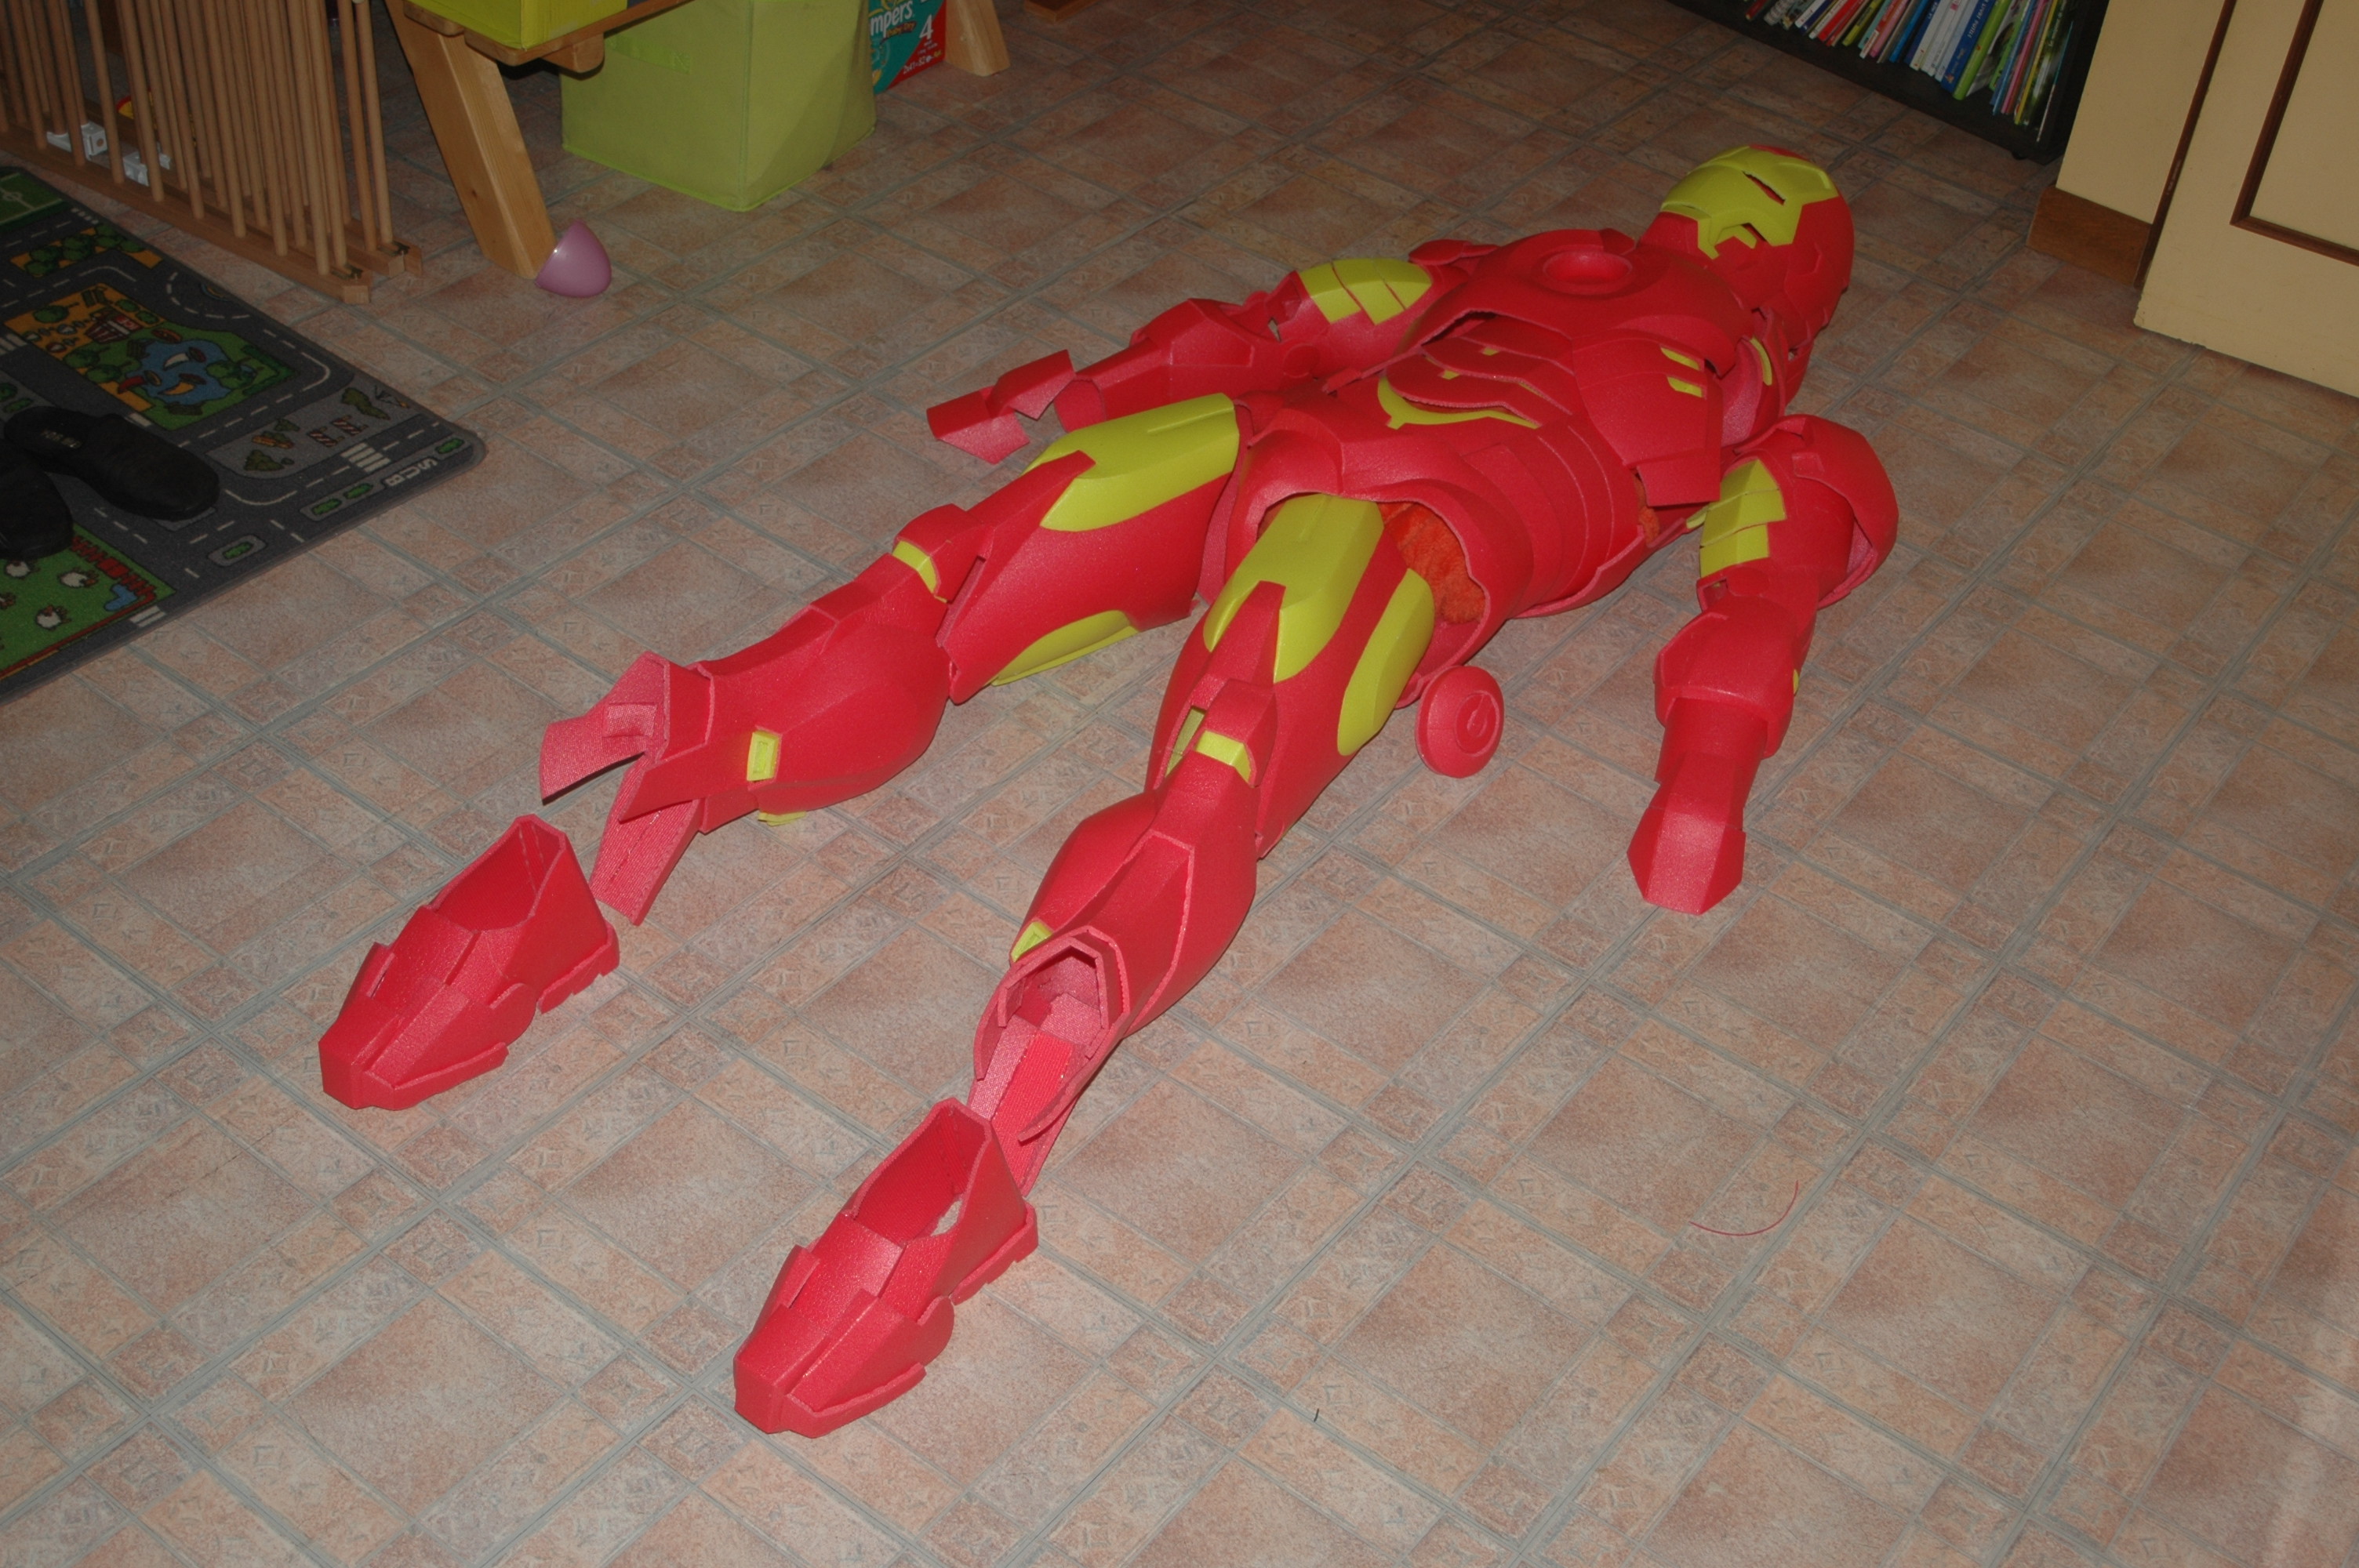


Well you may find such pics browsing the impressive batch of threads about a mkVII build:thumbsup. I haven't built it myself so far.Great photos which will help with the MK iv but what about the VII?
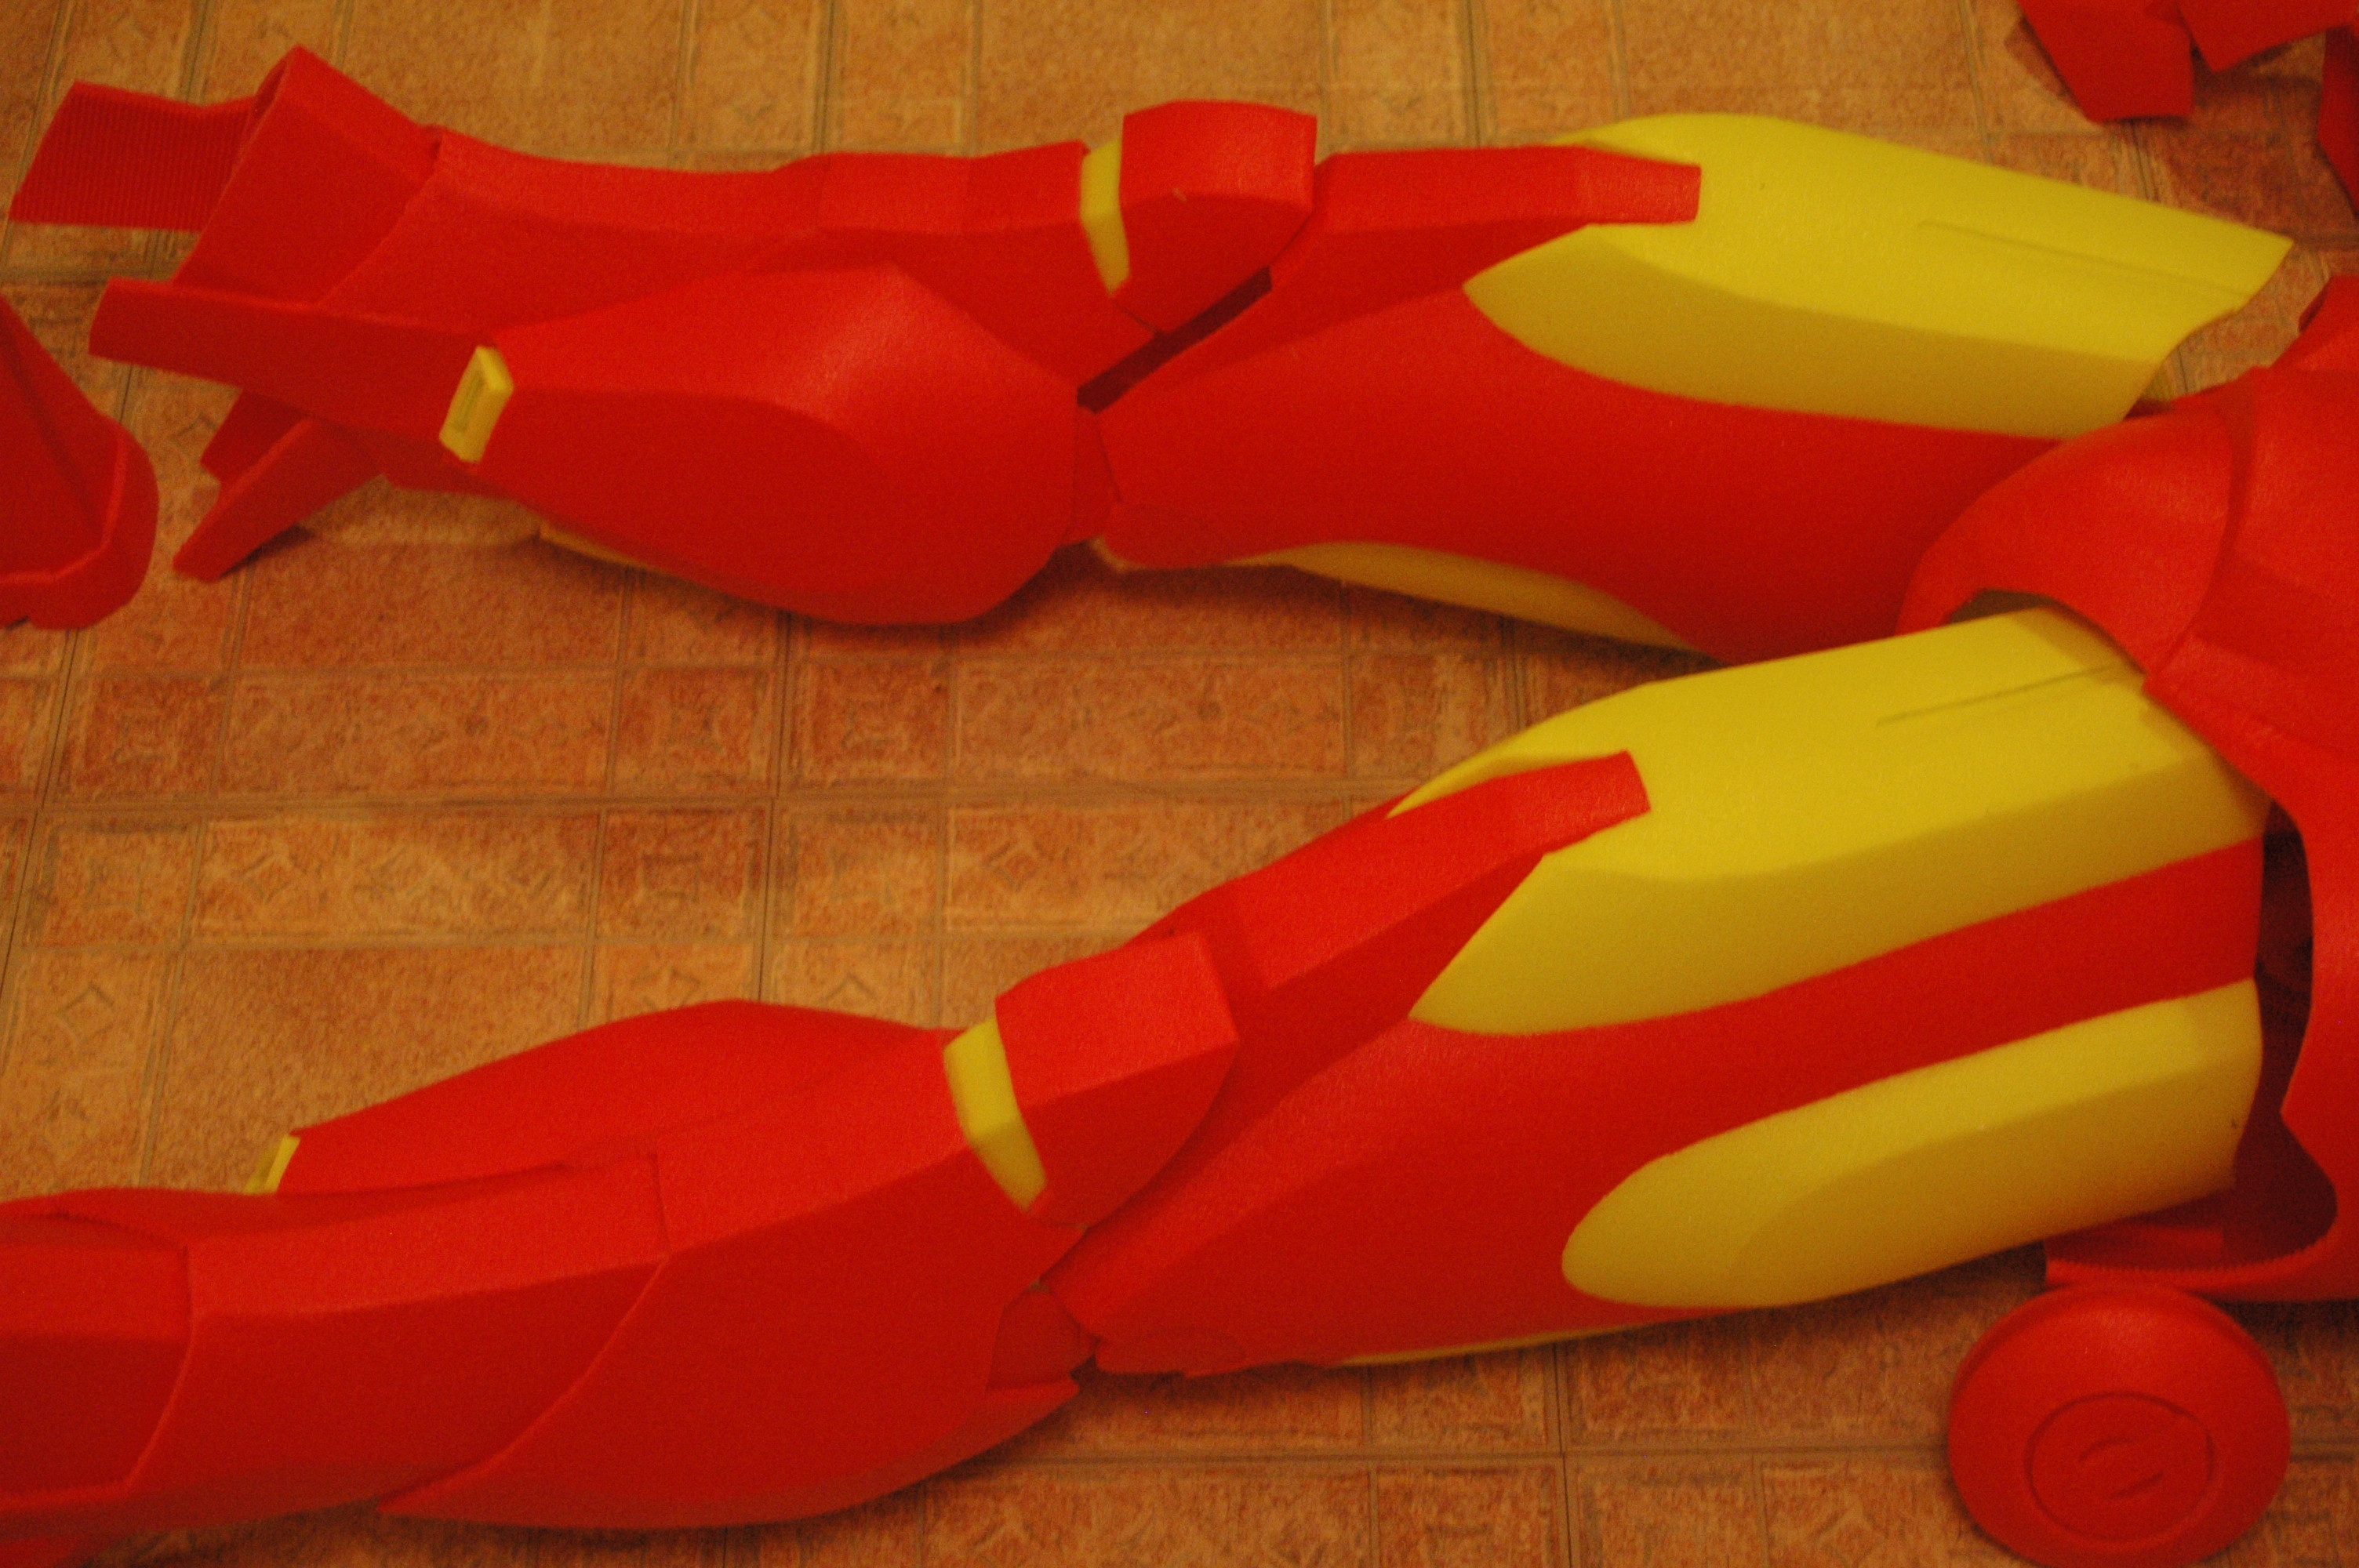
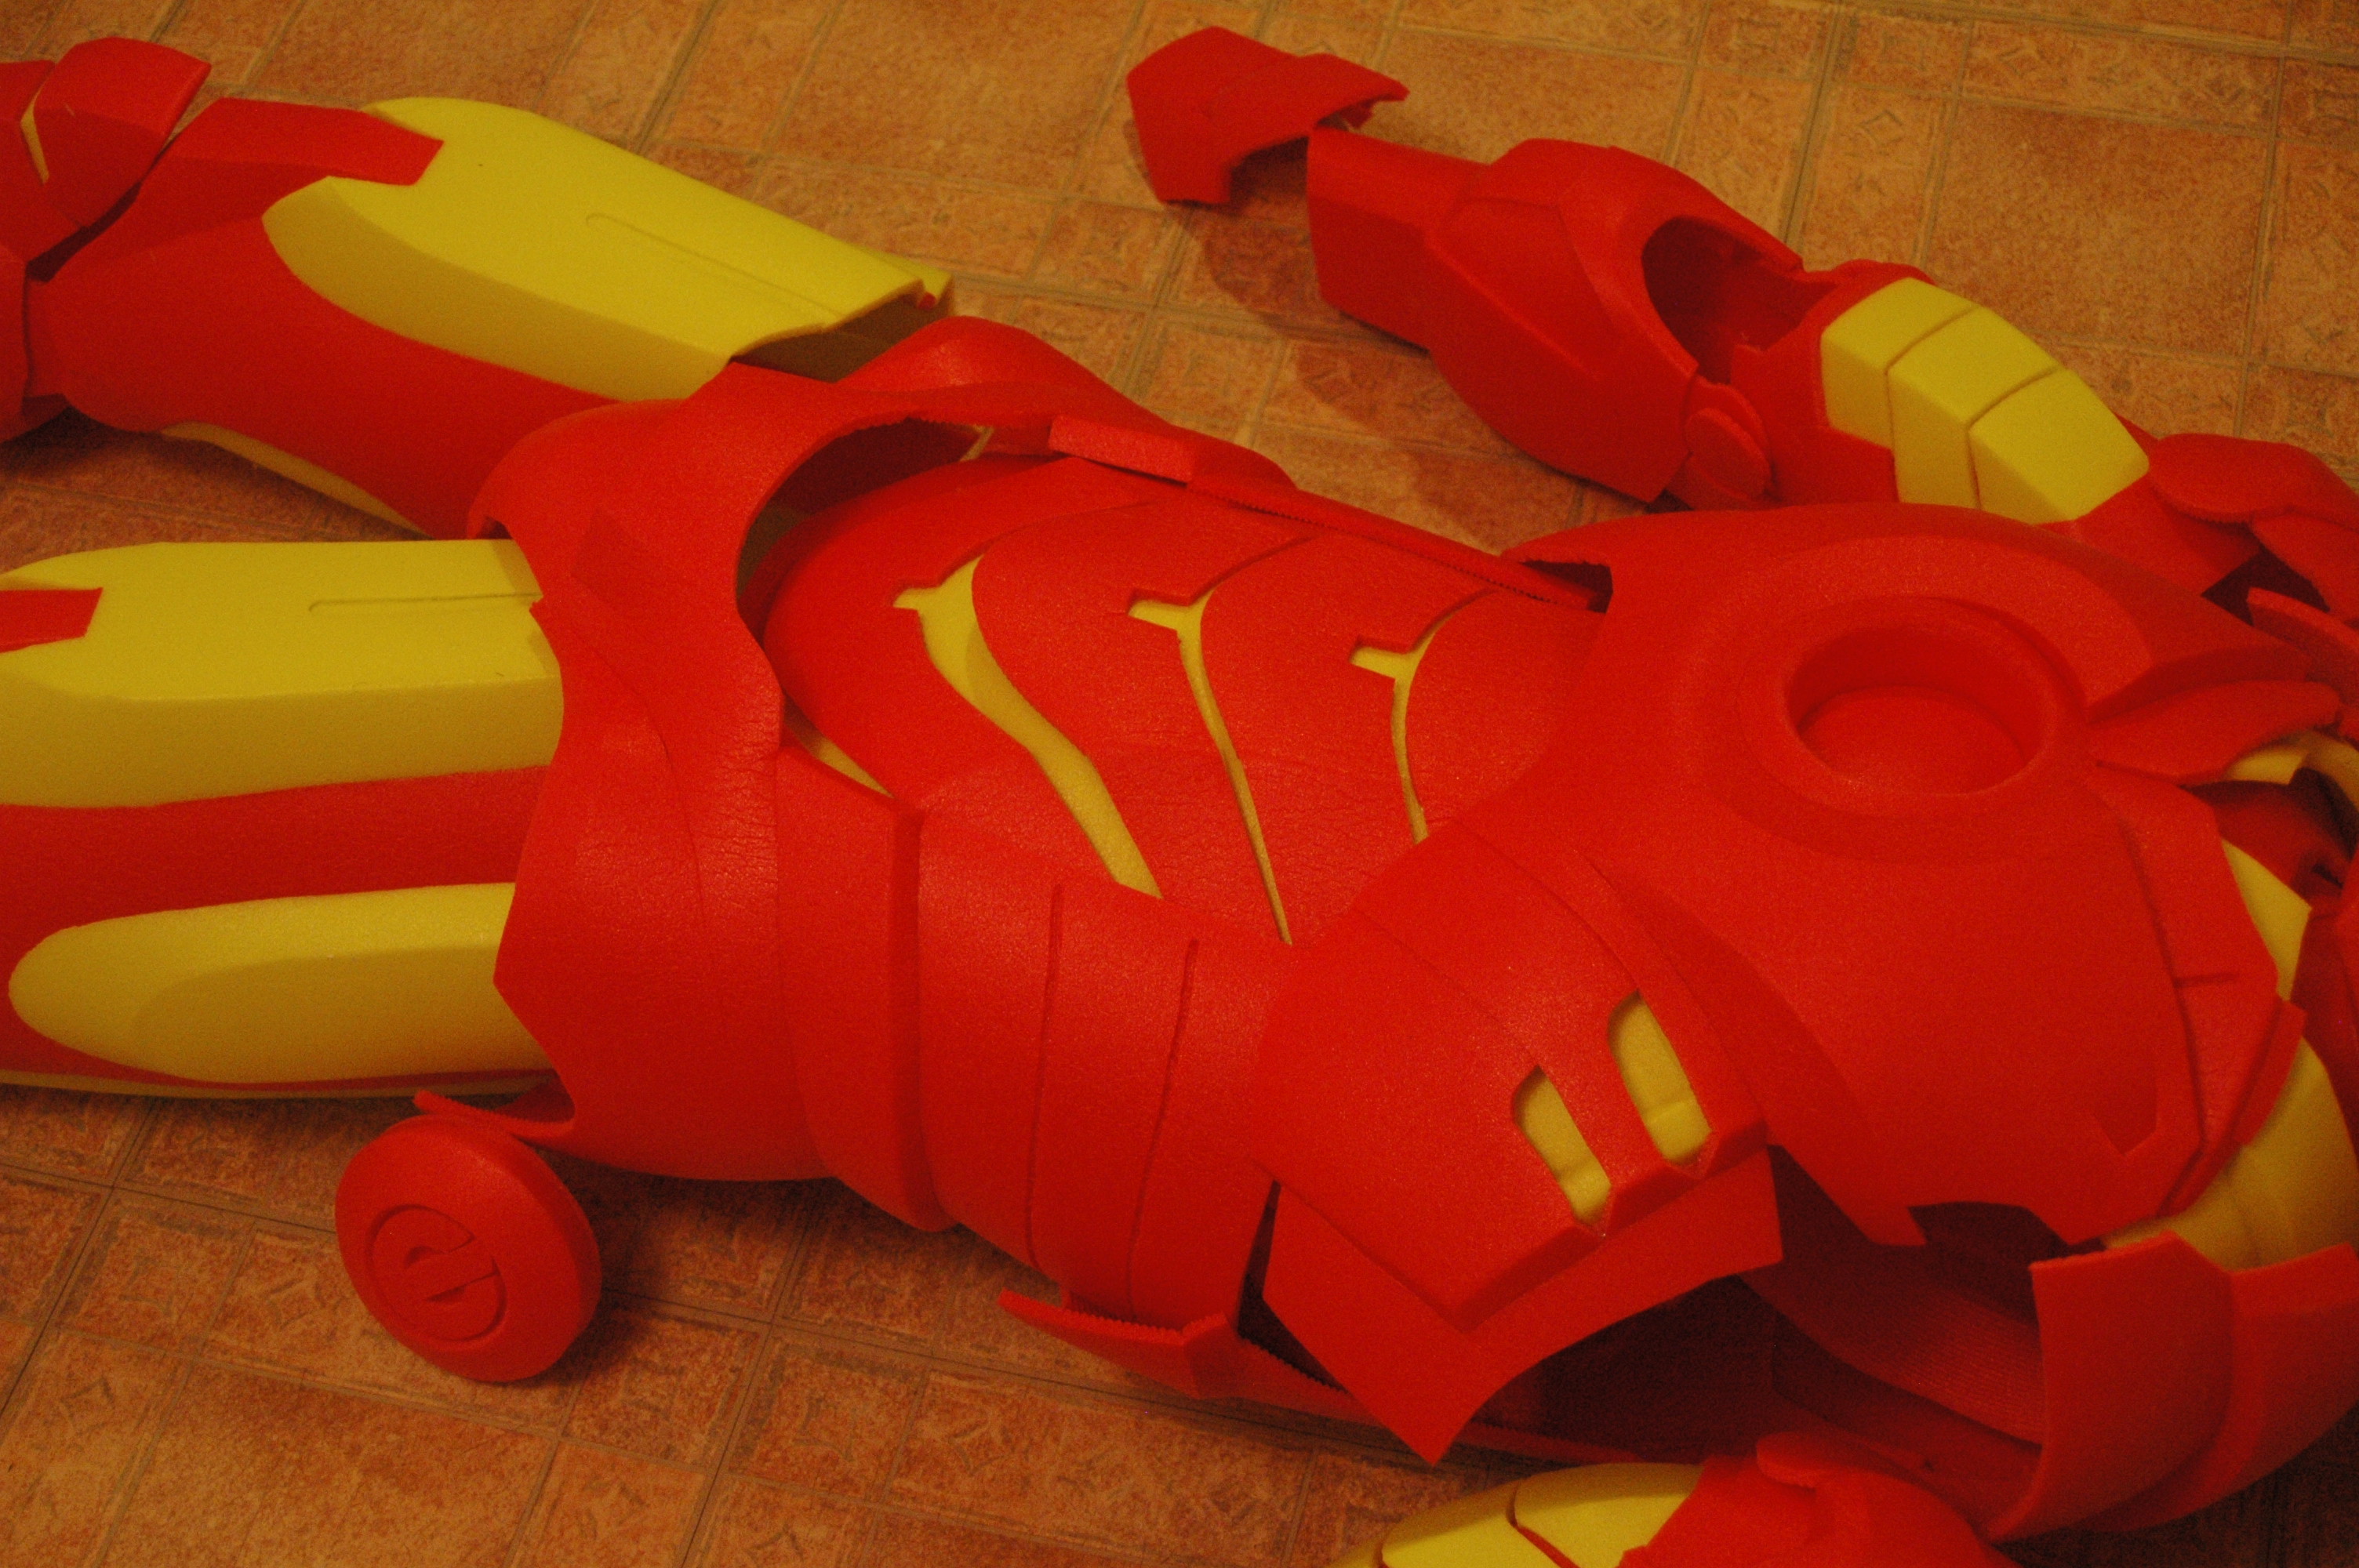
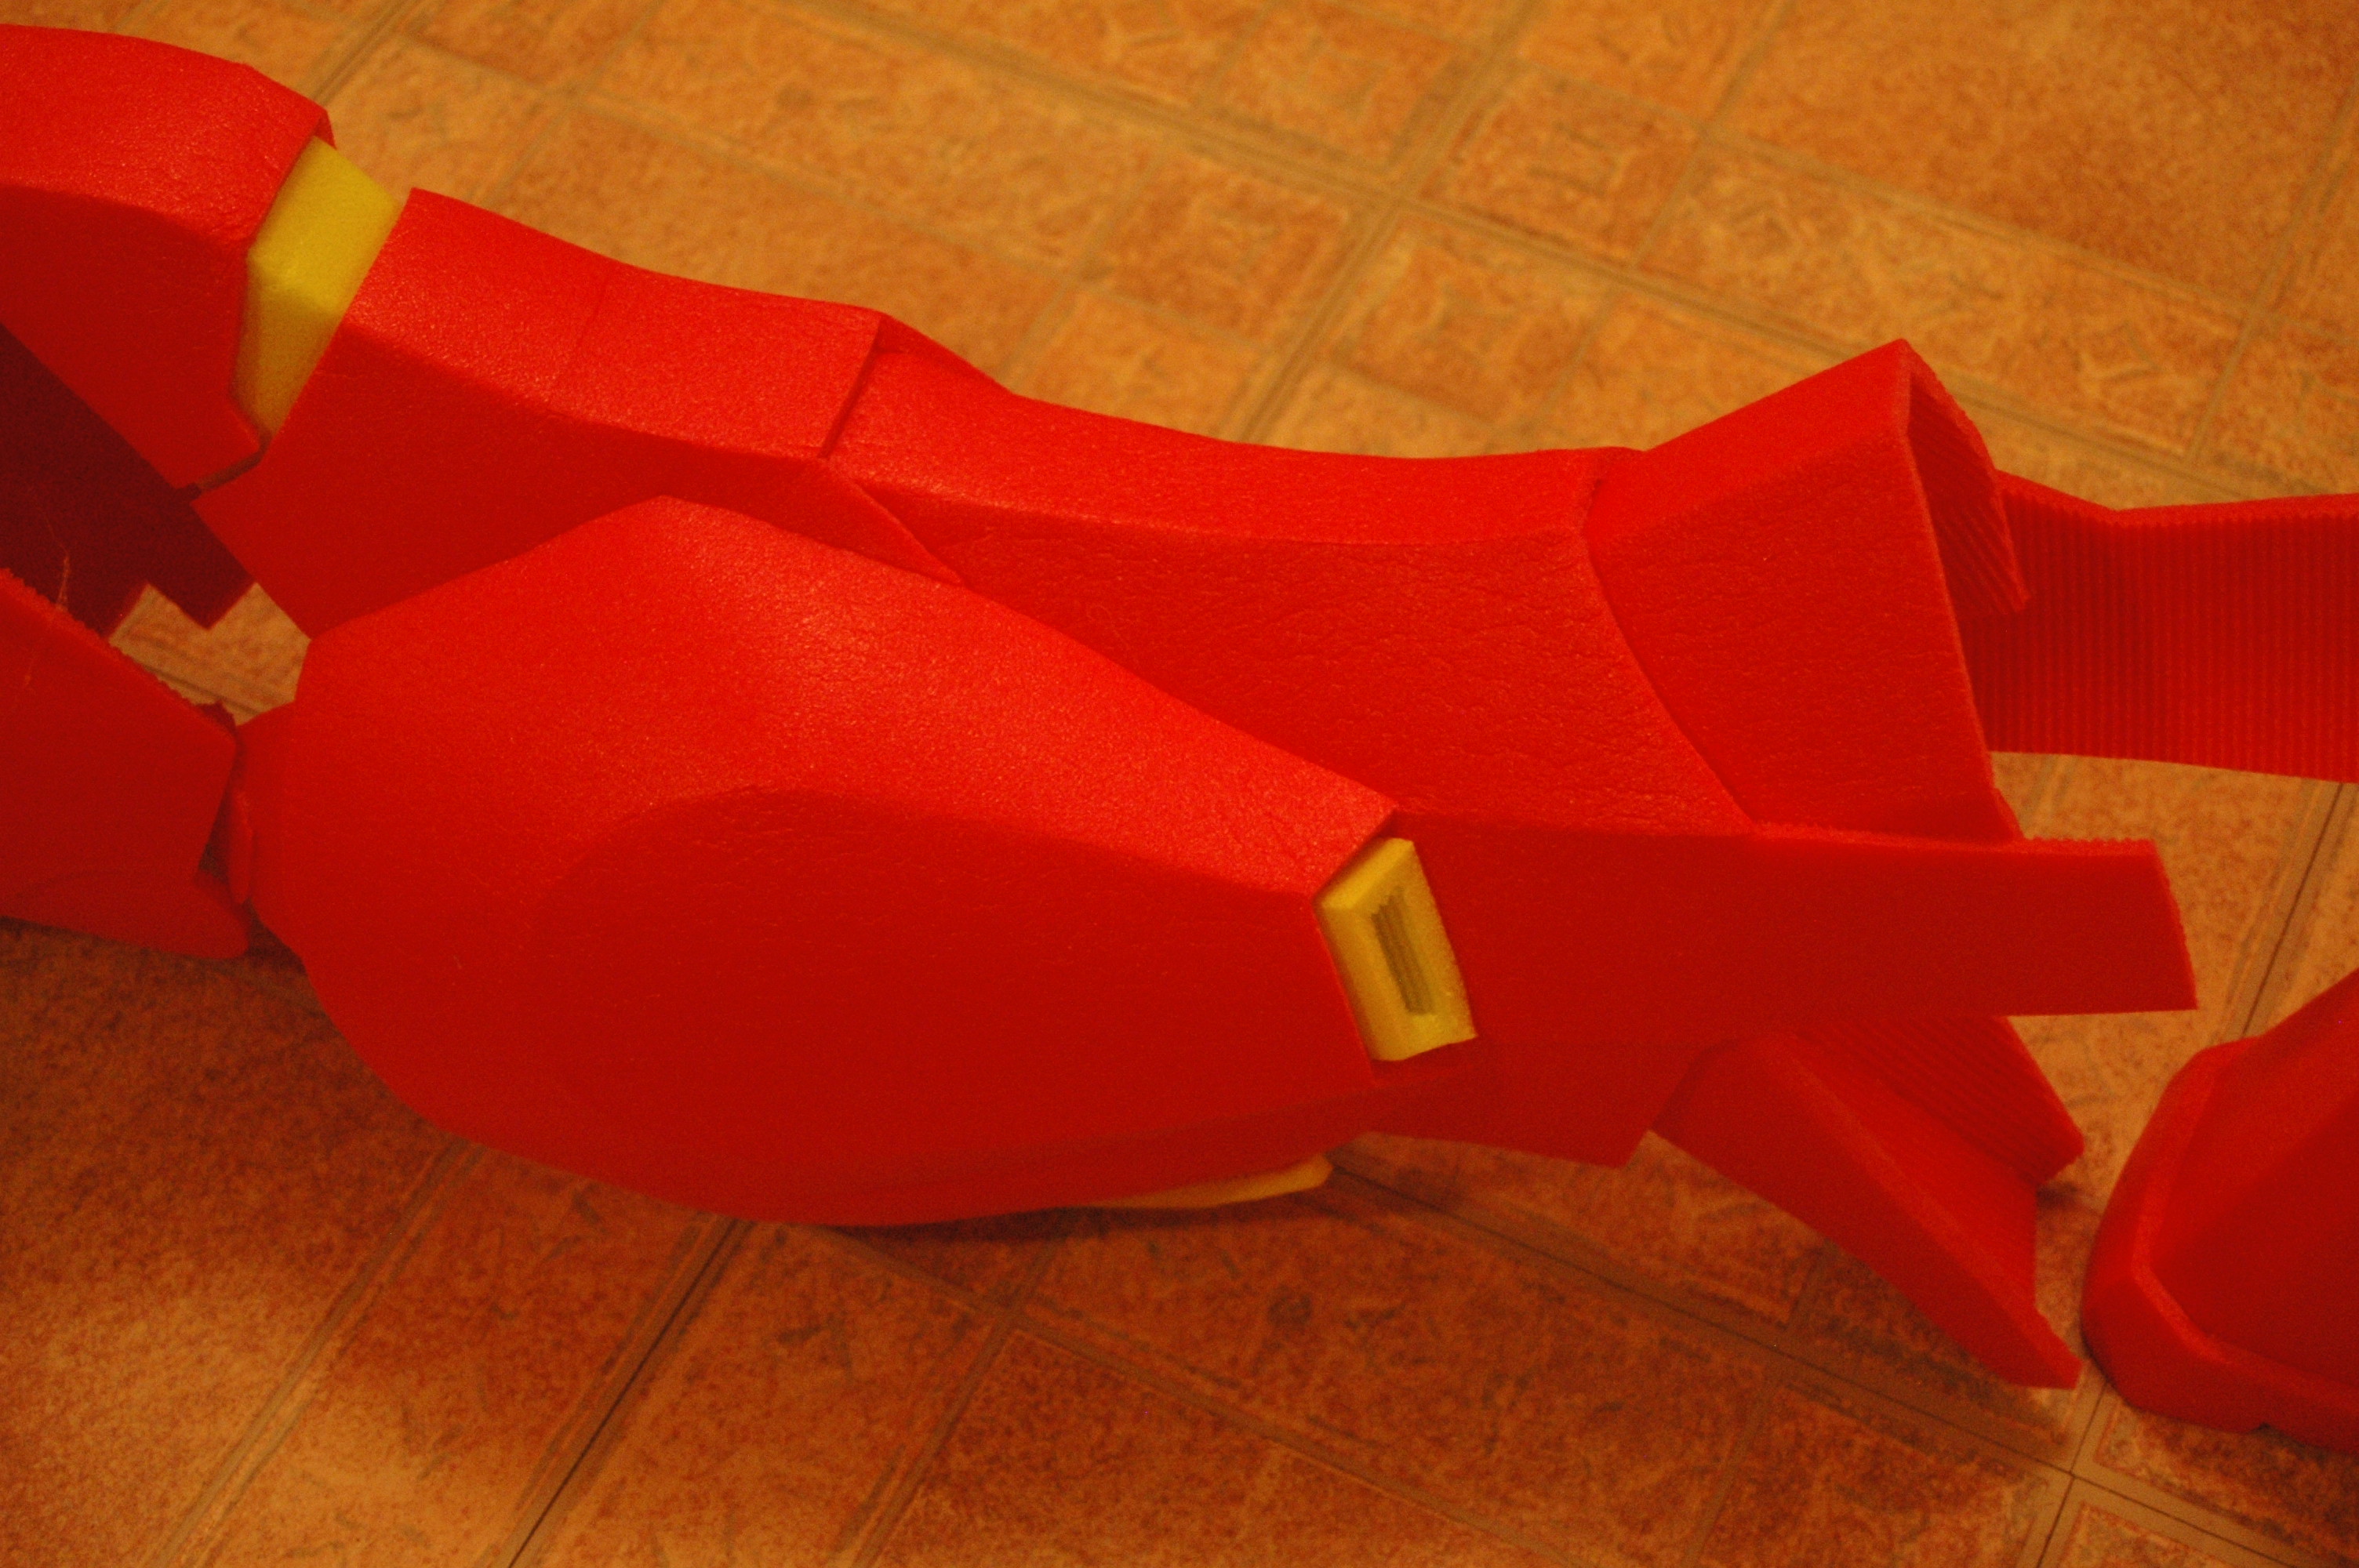
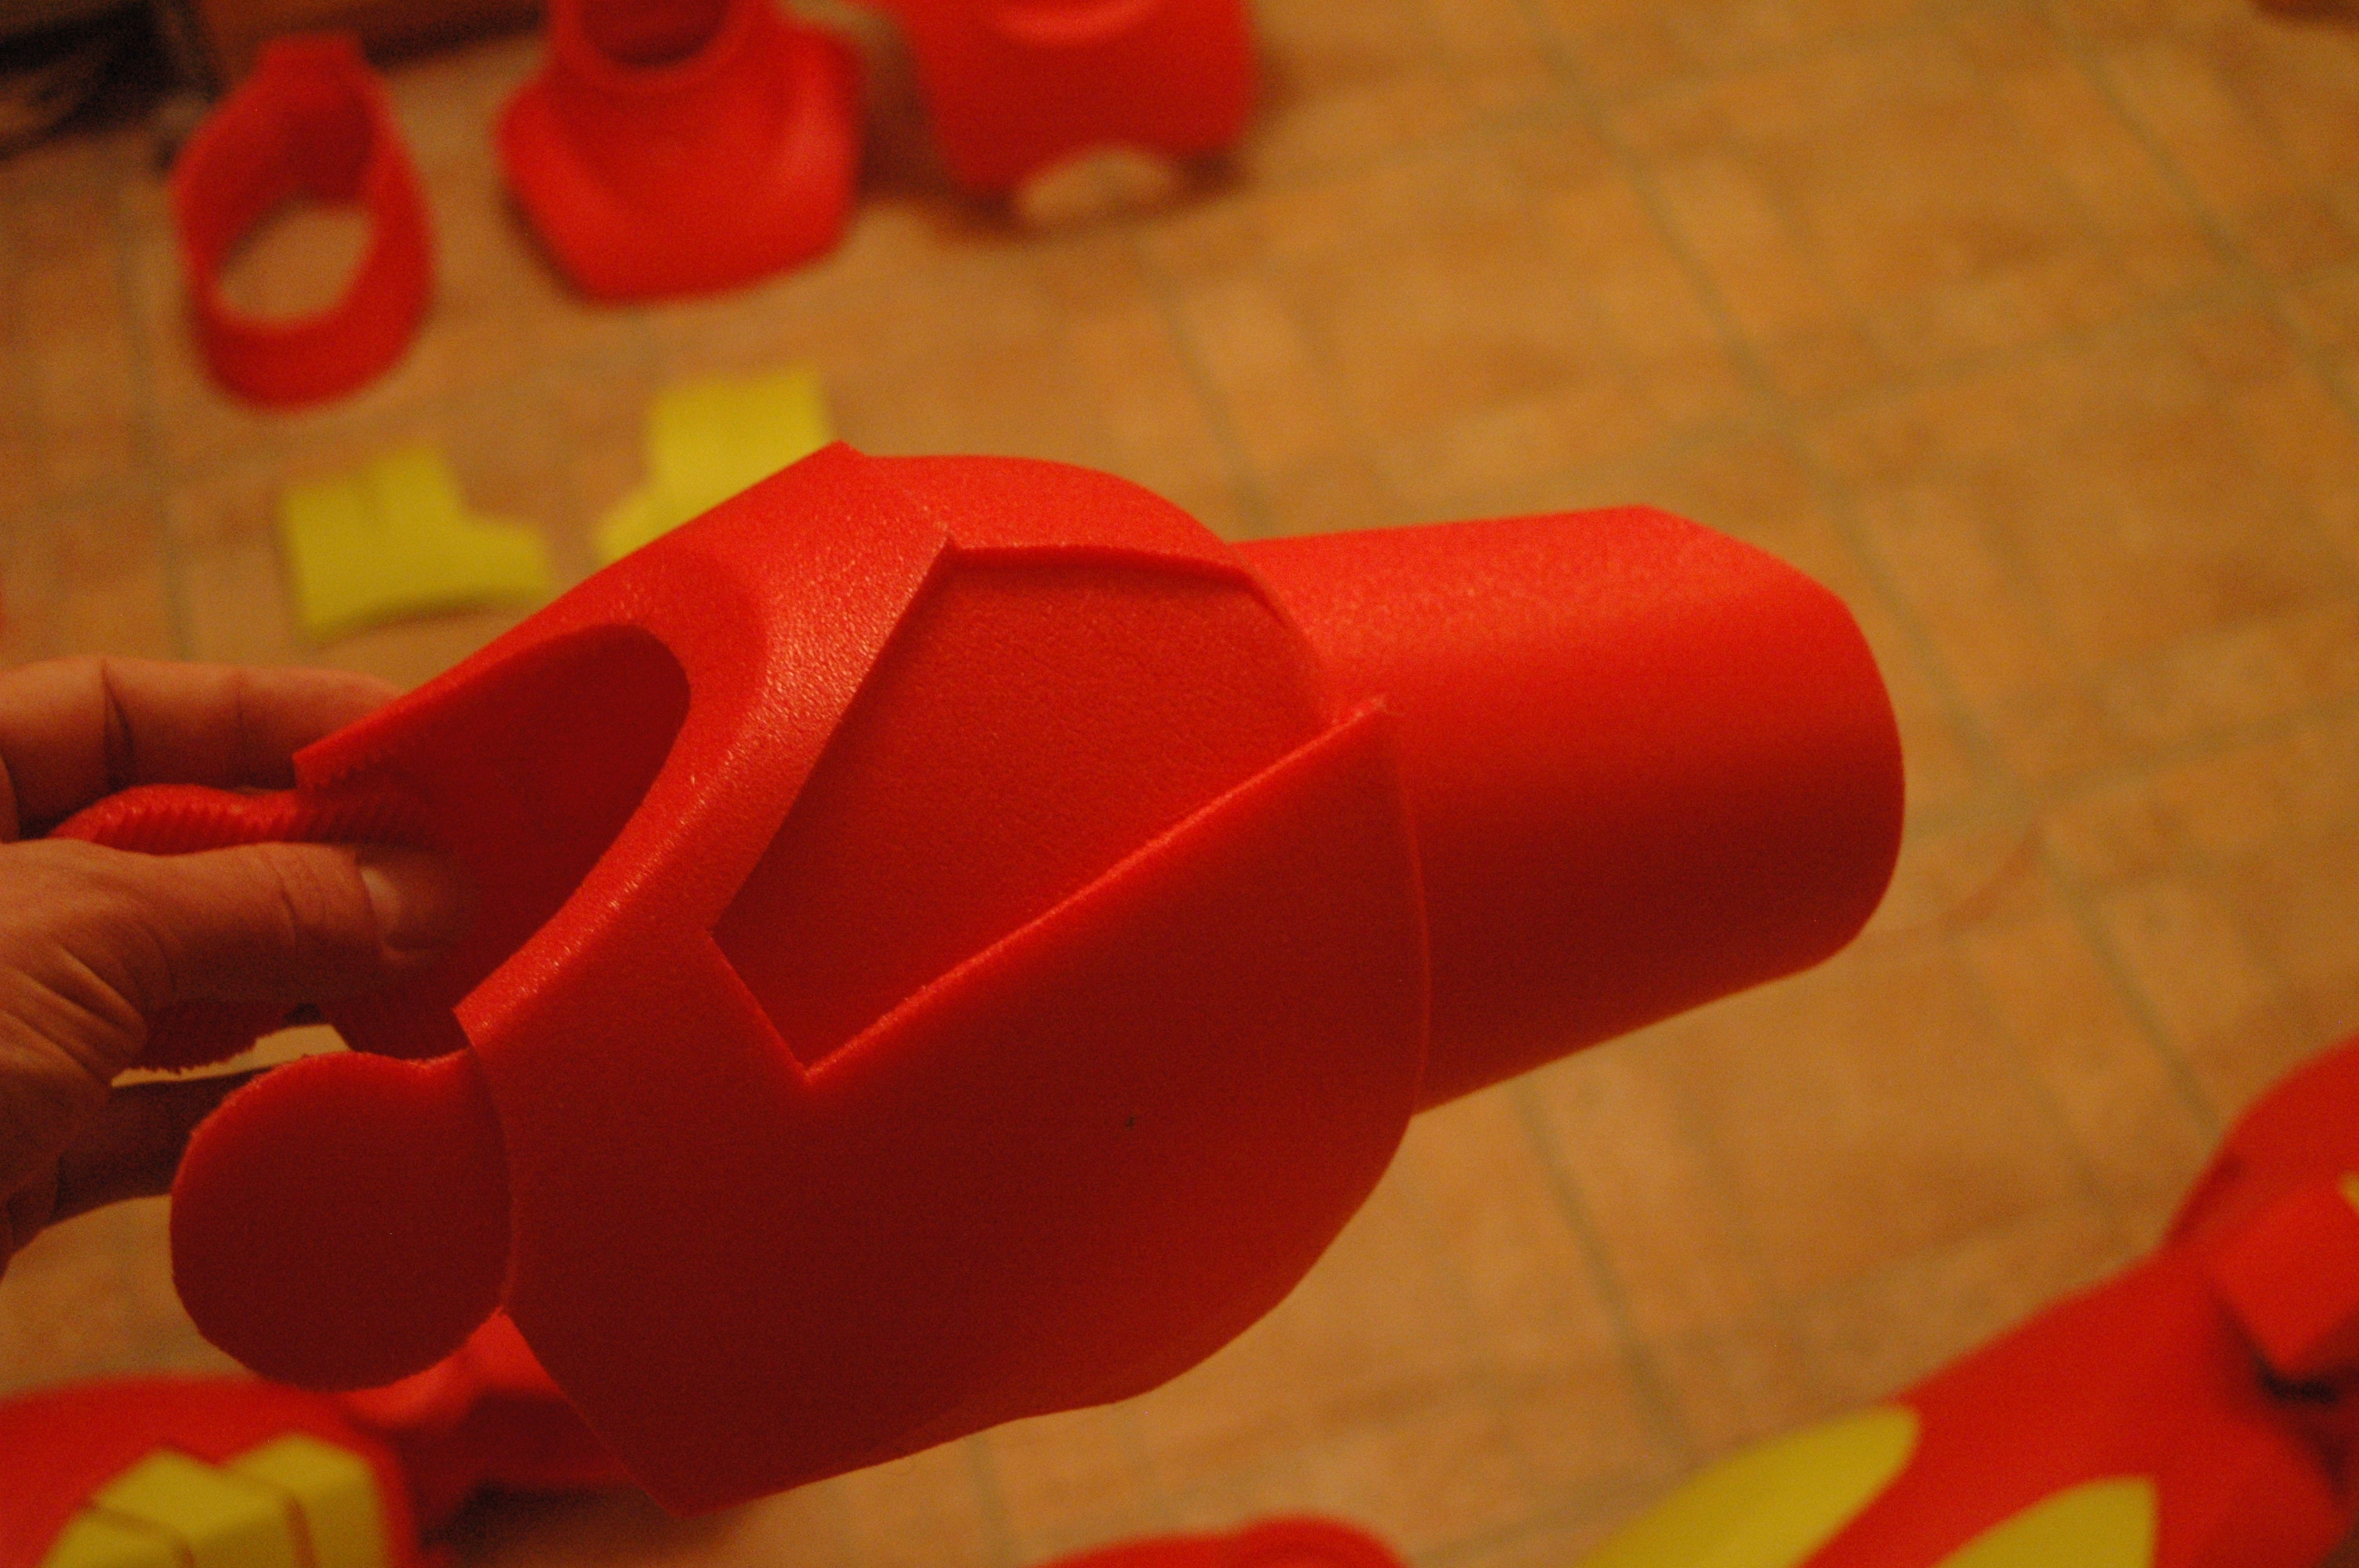
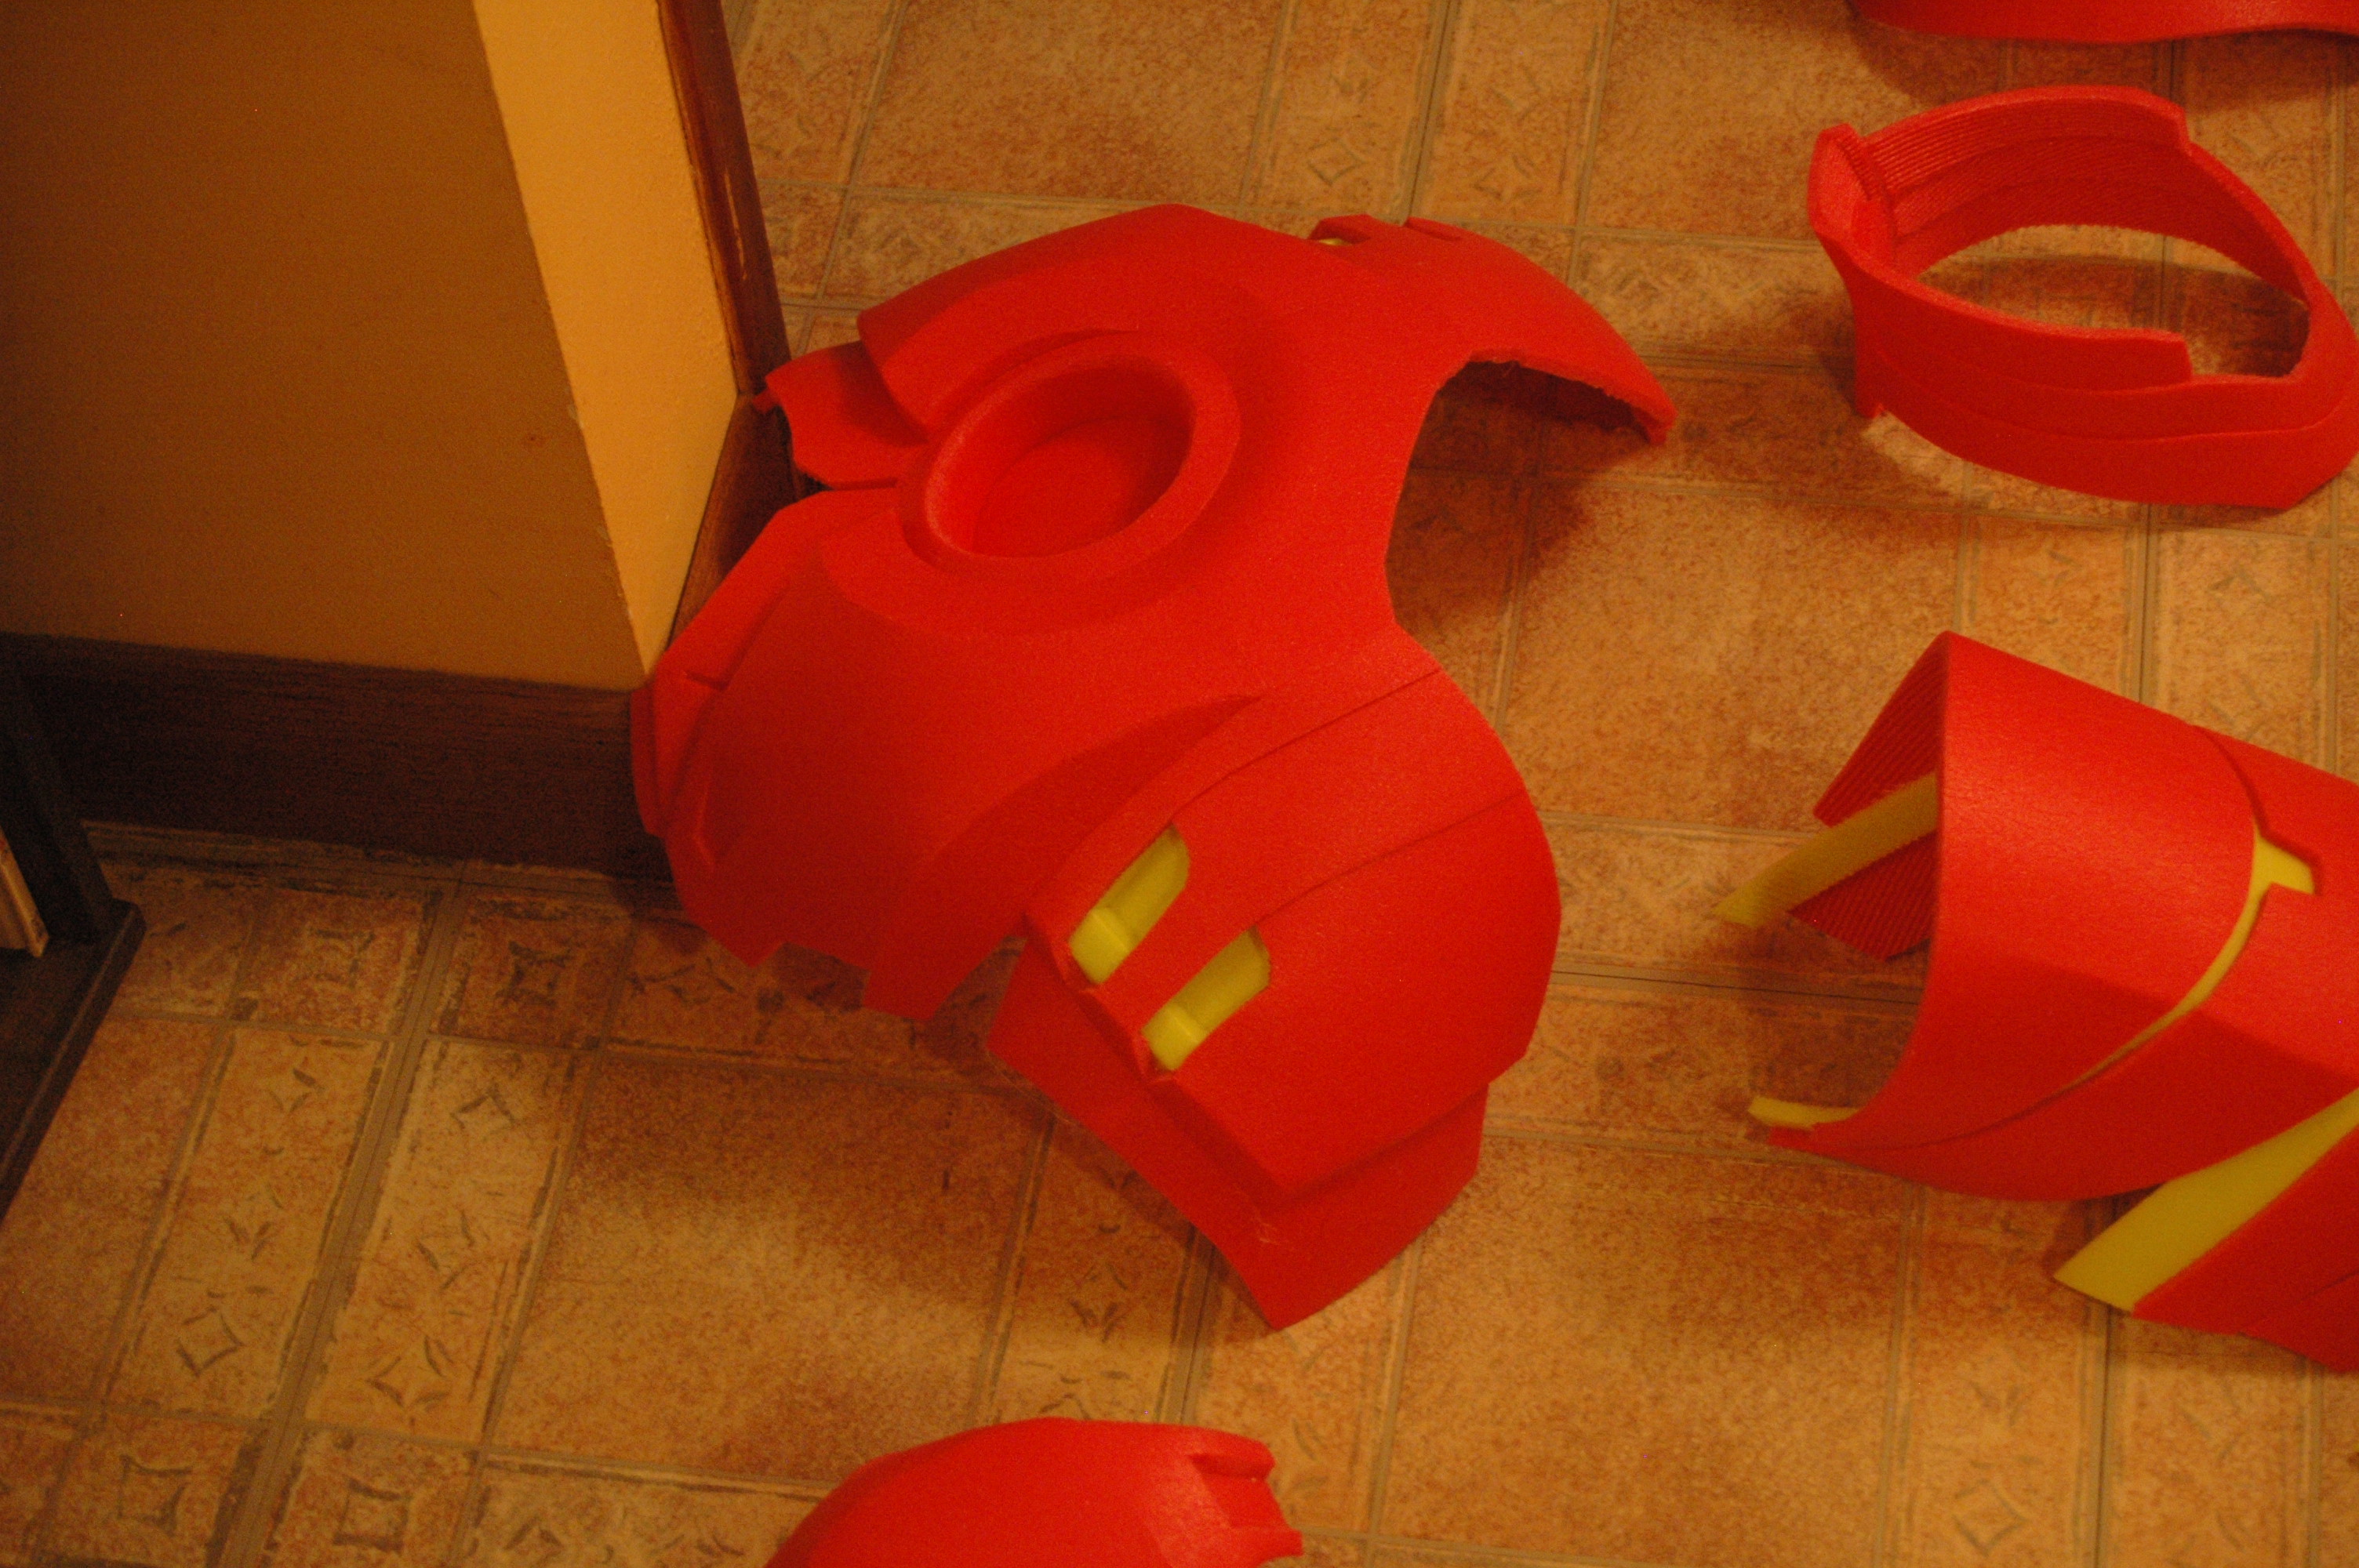
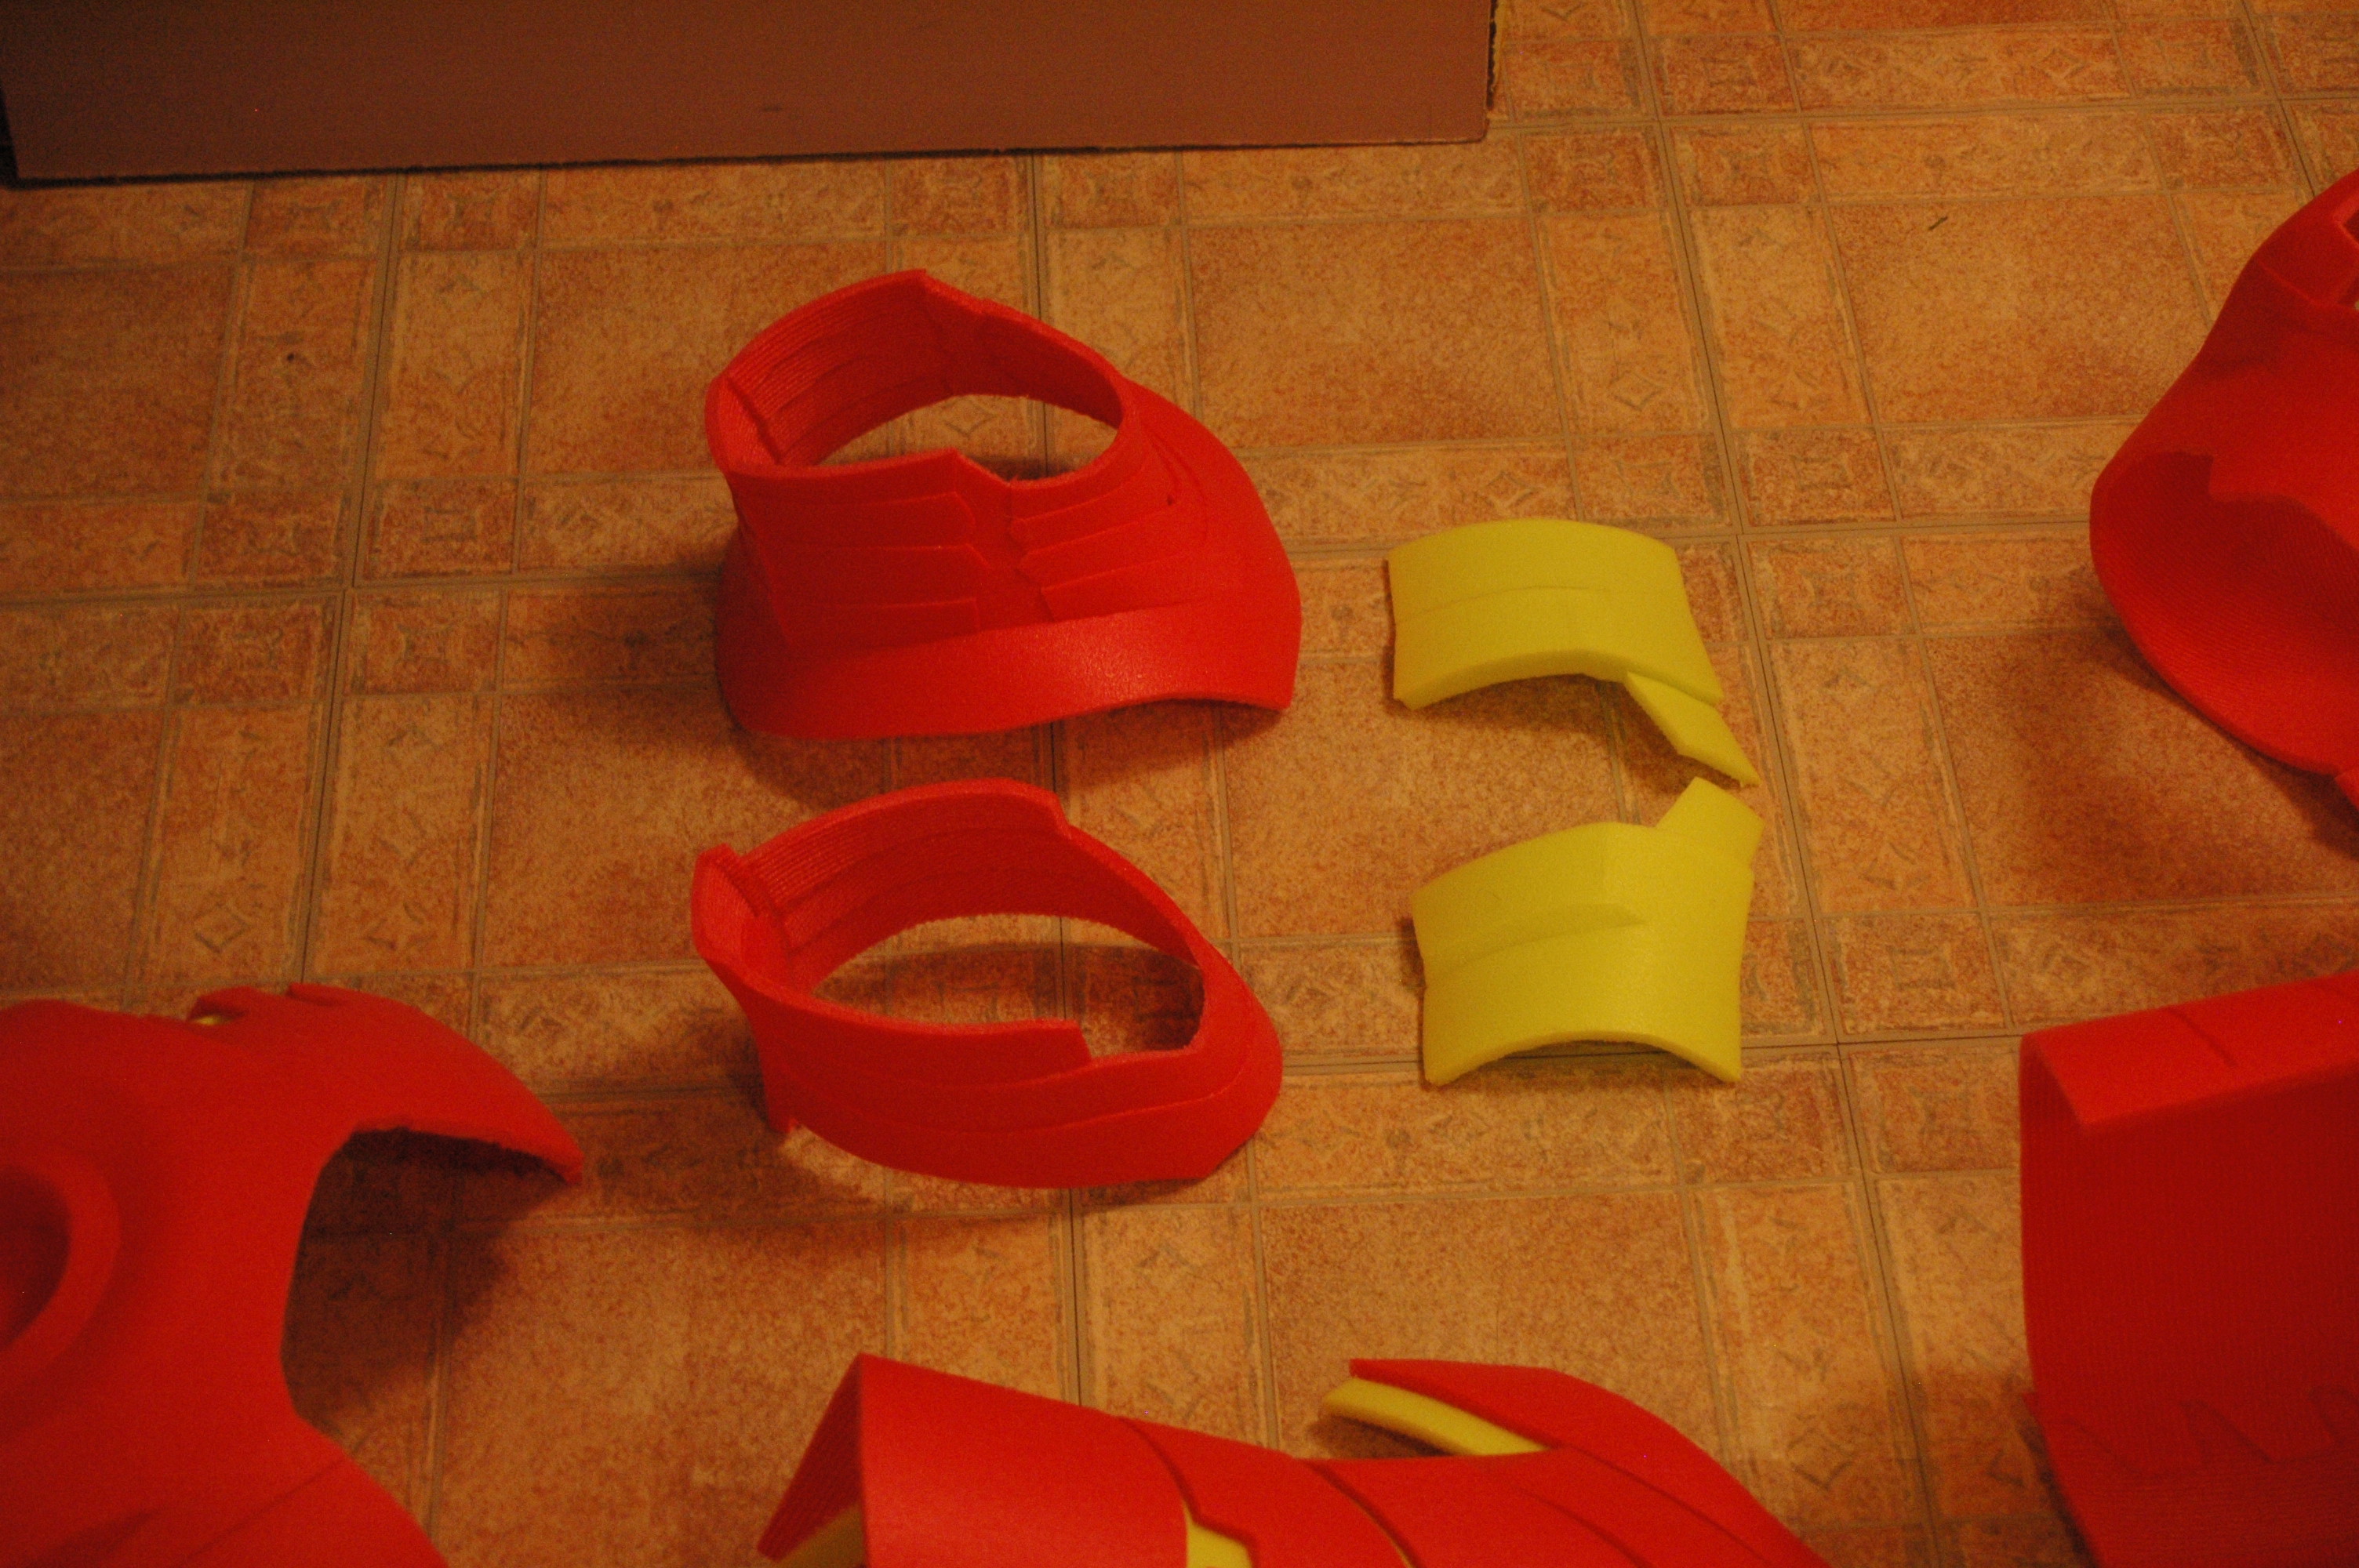
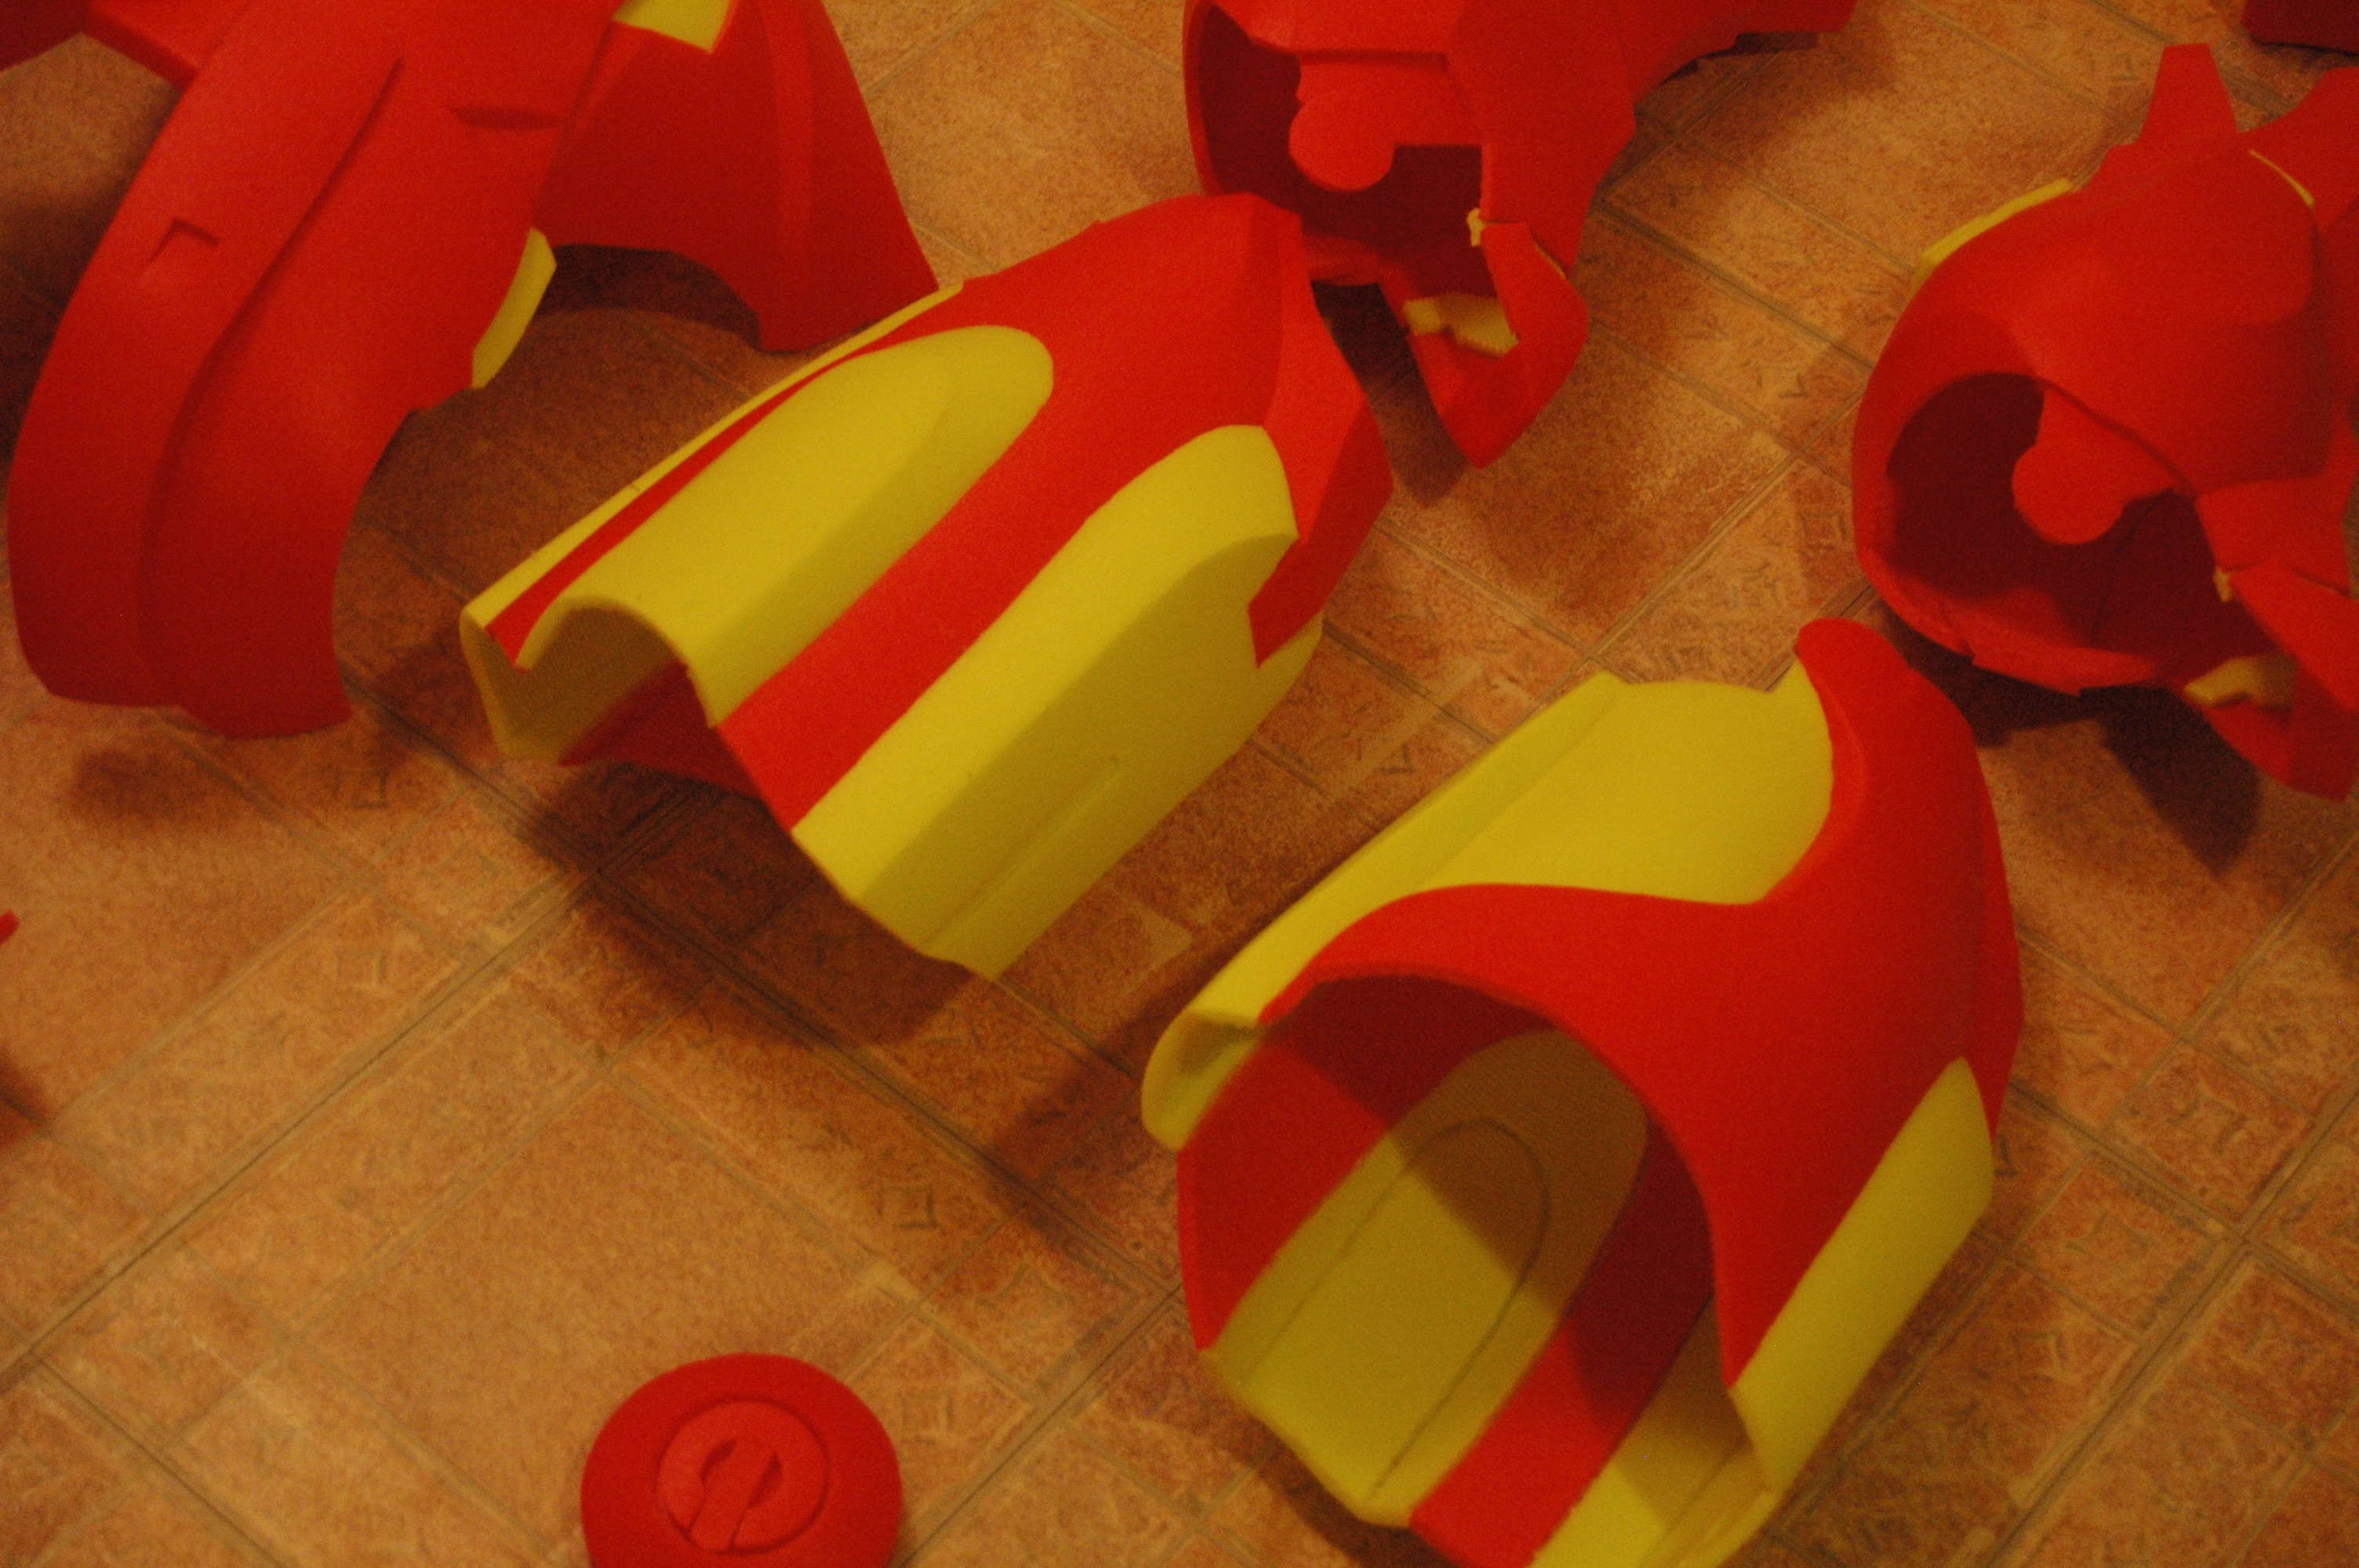
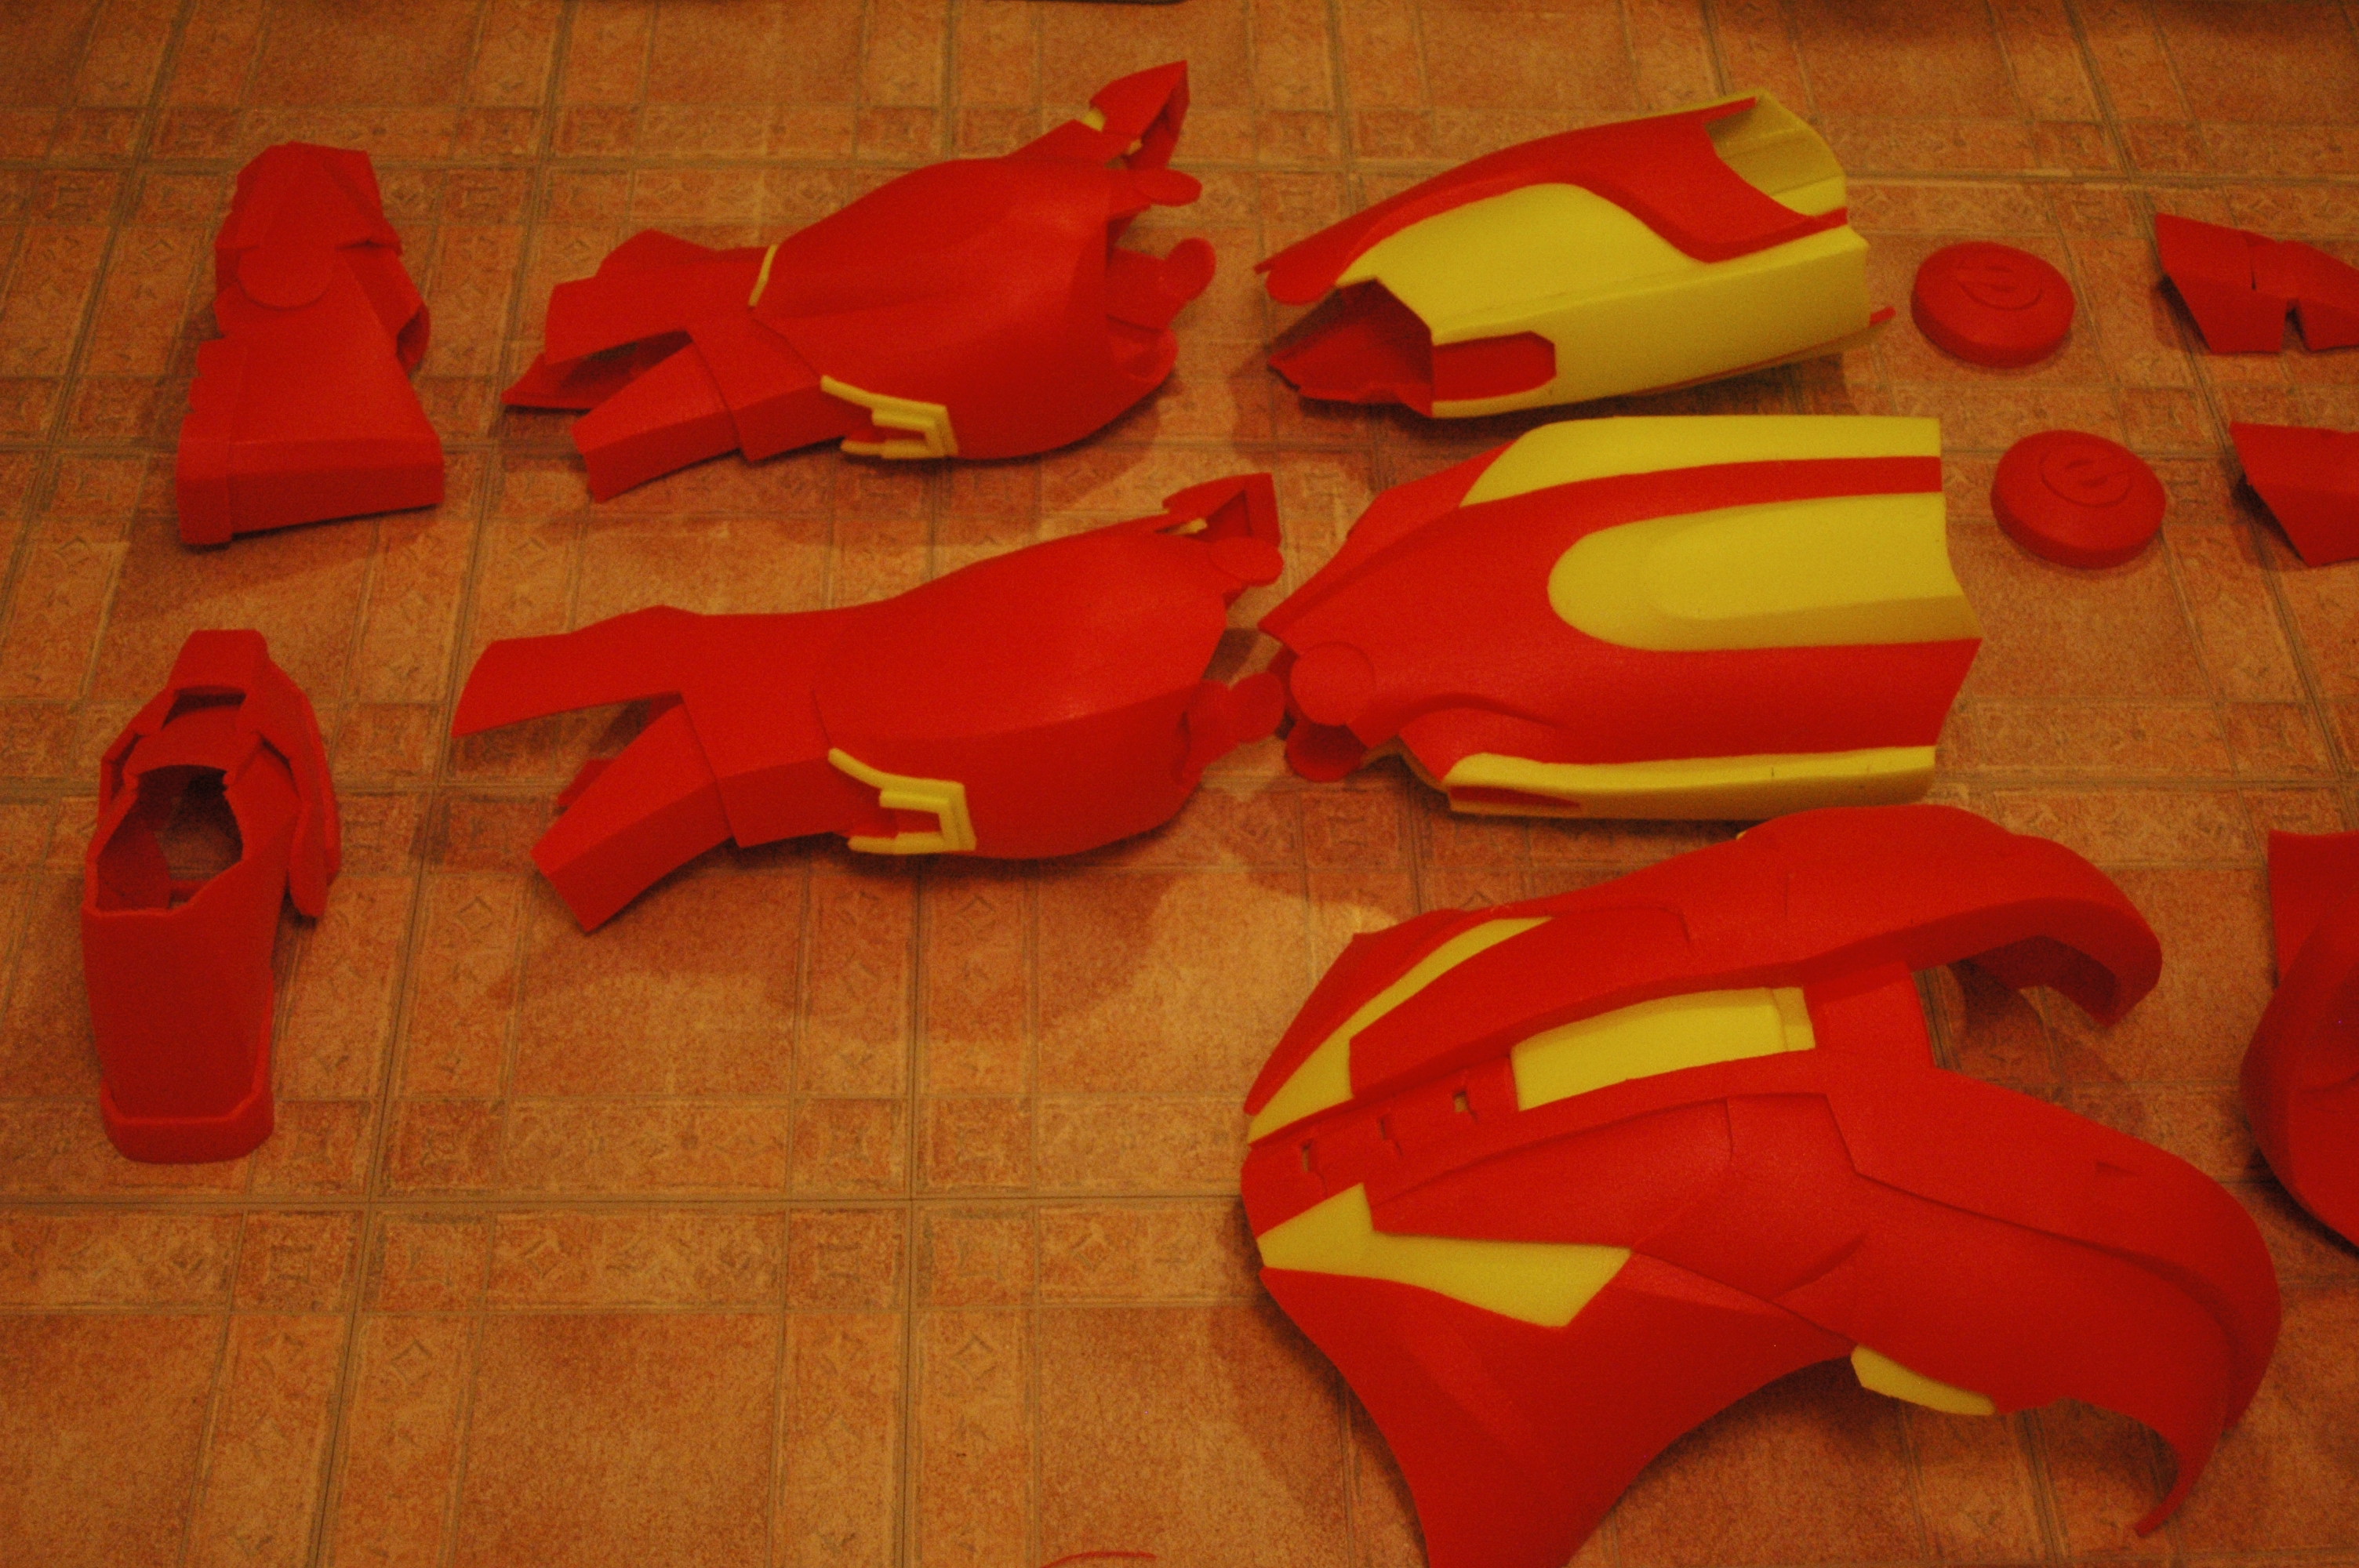
Also what about the huge overlaping pieces on the sides of the chest armor? Is there a fix on that?
View attachment 187107
")
Well you may find such pics browsing the impressive batch of threads about a mkVII build:thumbsup. I haven't built it myself so far.
I often advise to refer to the 3D view in case of doubt. Obviously it won't work if you have doubts about the 3D view itself... These three pieces truly overlap one each other.
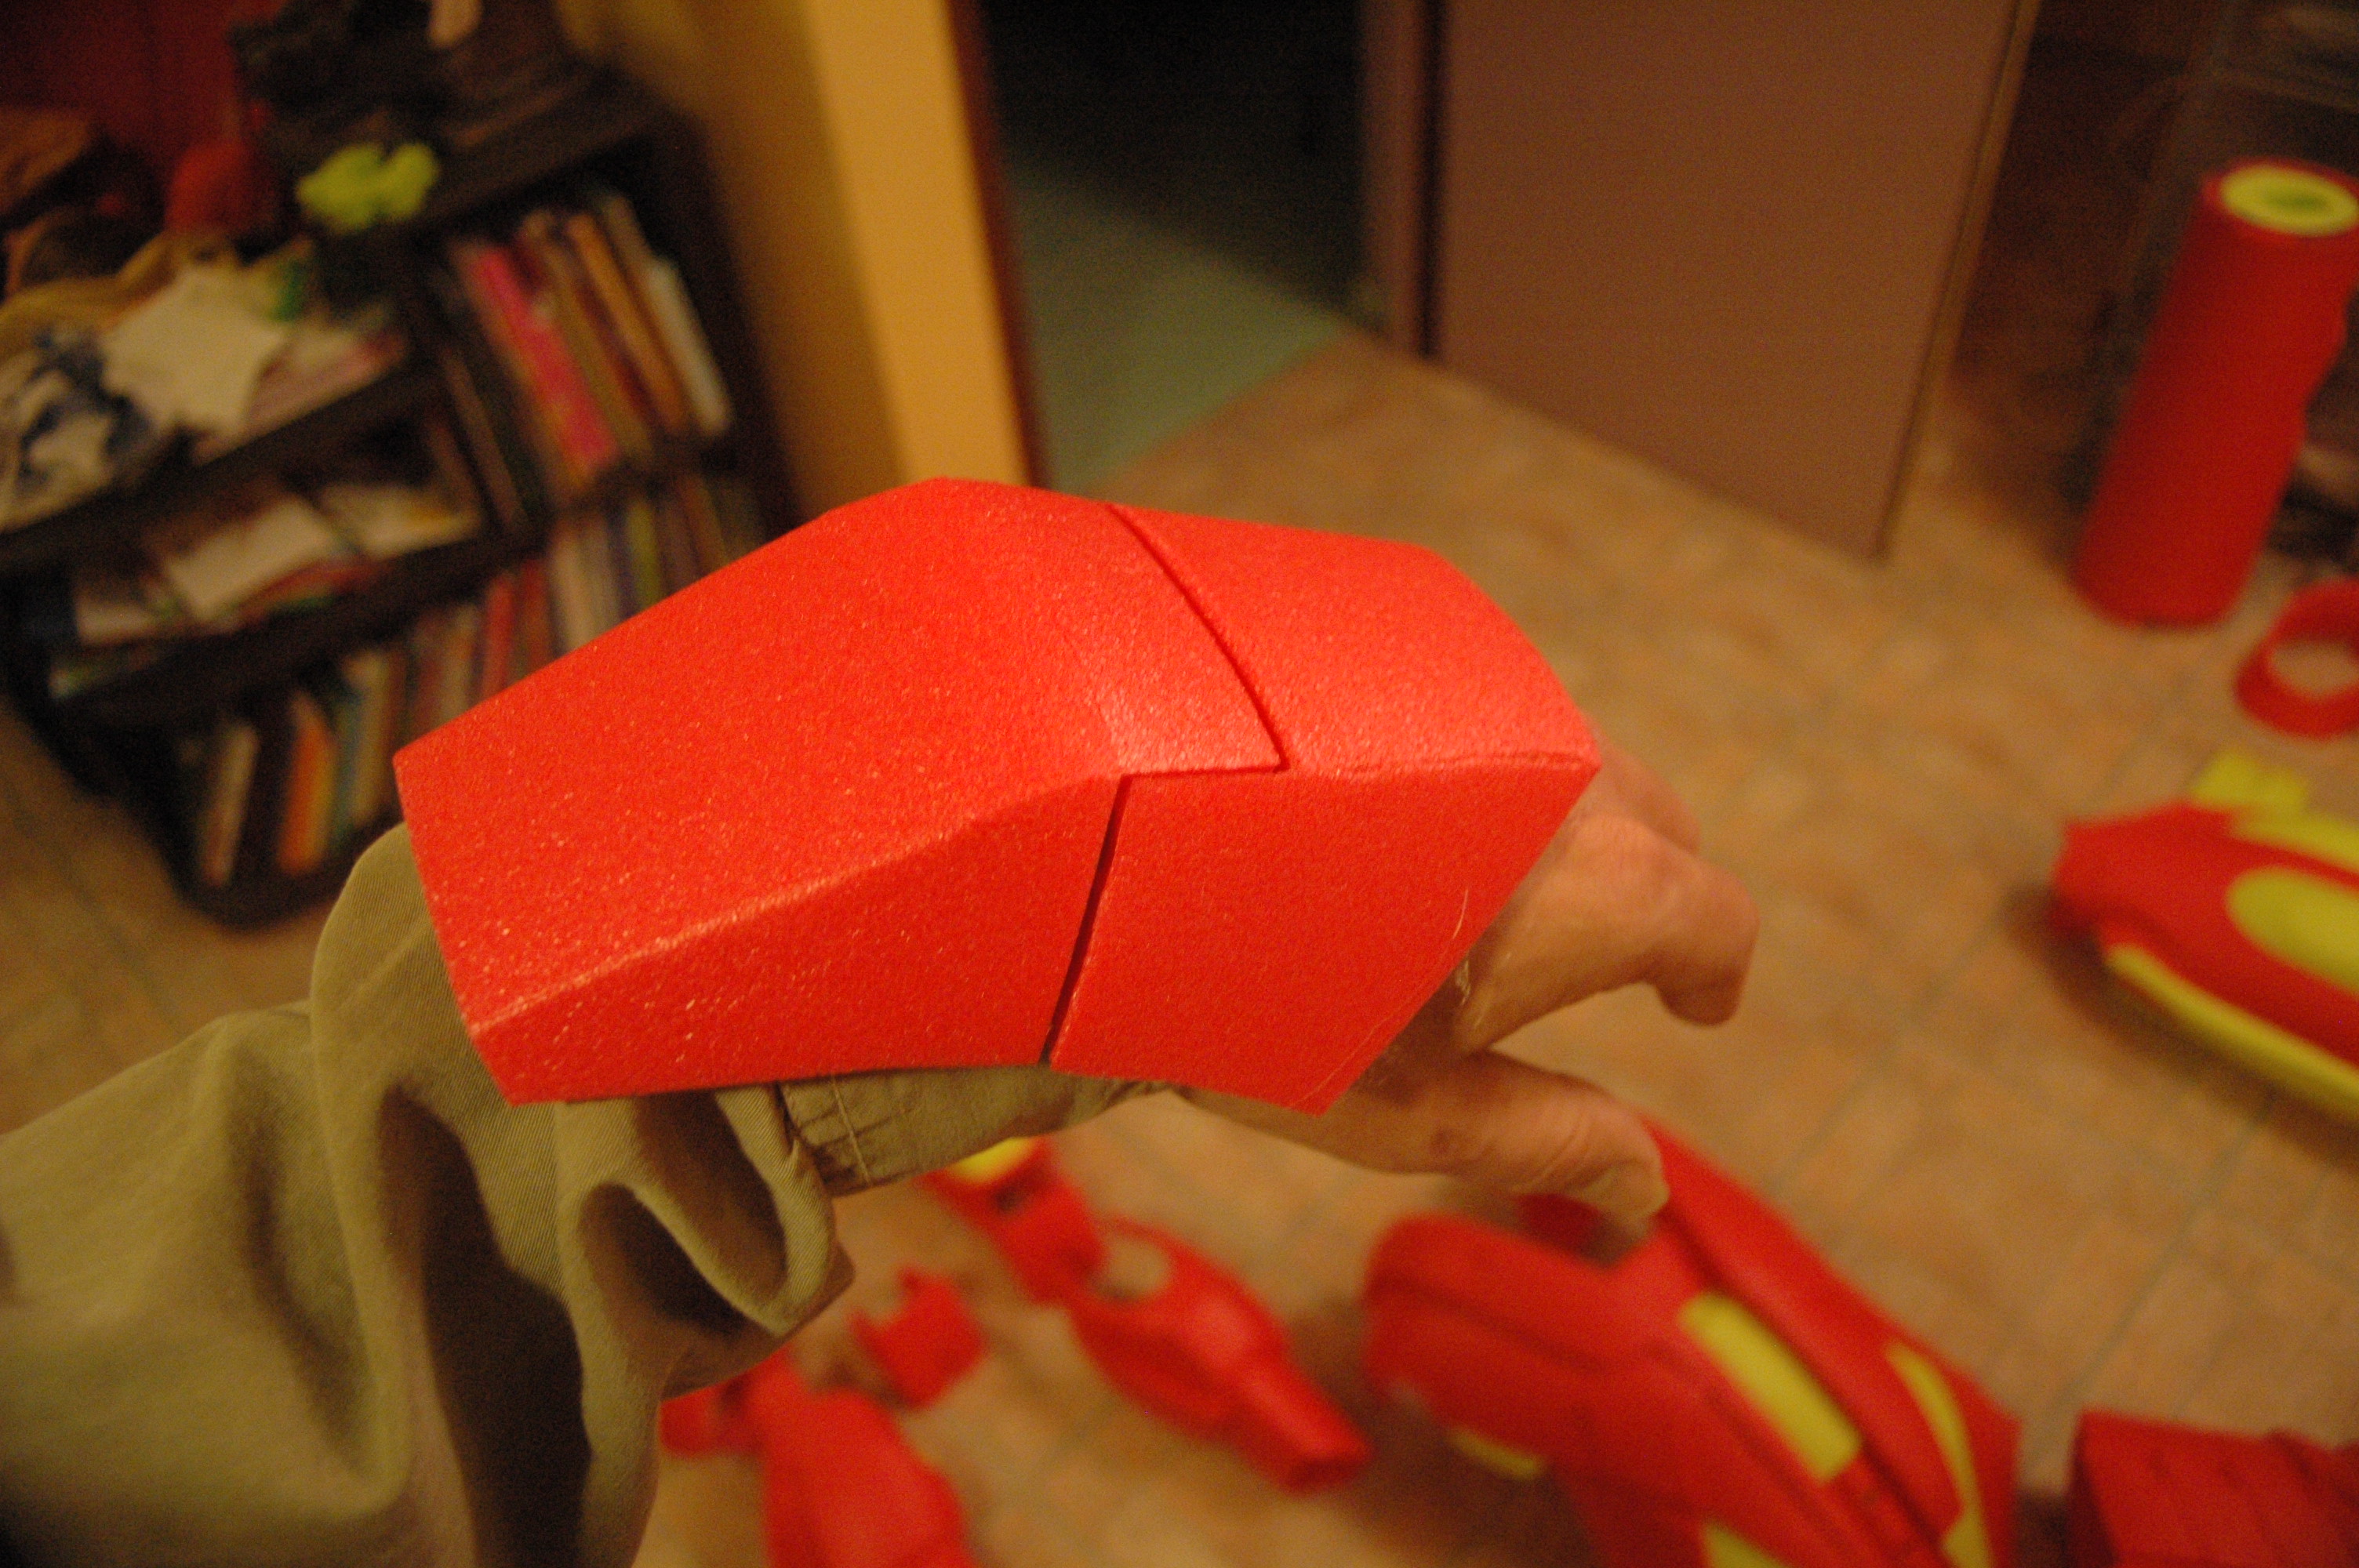
One really noob question I have is, when do you know when you're supposed to cut an angle on a part, and is it always going to be a 45 degree angle?
"Cut all your foam parts first with no particular angle, some quite right angles would go well, and then, only while assembling, you can adjust inclination edge after edge..."