Friendly flyer
Well-Known Member
Wow, just wow!
Thank you Sofa for the opportunity to visit your amazing project, you and your team have done an out of this world job. As I said, any Star Wars fan would love to see this up close and personal. We will all be blessed when you get this out in the public eye, for all to see.
I posted a few pictures on Facebook on the R2 Builders page, and the fans went wild, Now at 121 likes, loves and comments of WOW!!! Amazing!!!.
Fuzzual and I will be back to help in any way we can
Thanks
Dan
")
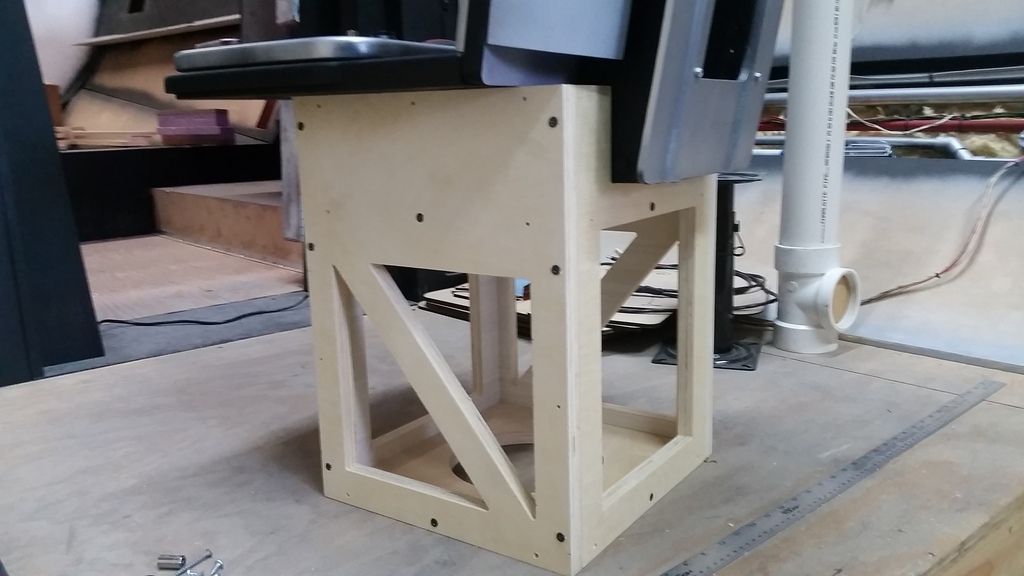
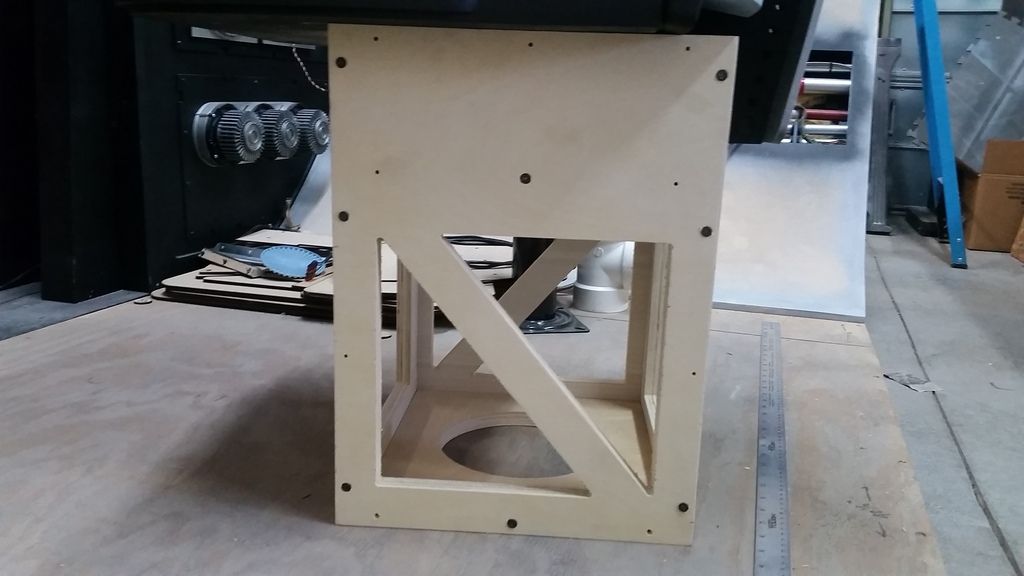
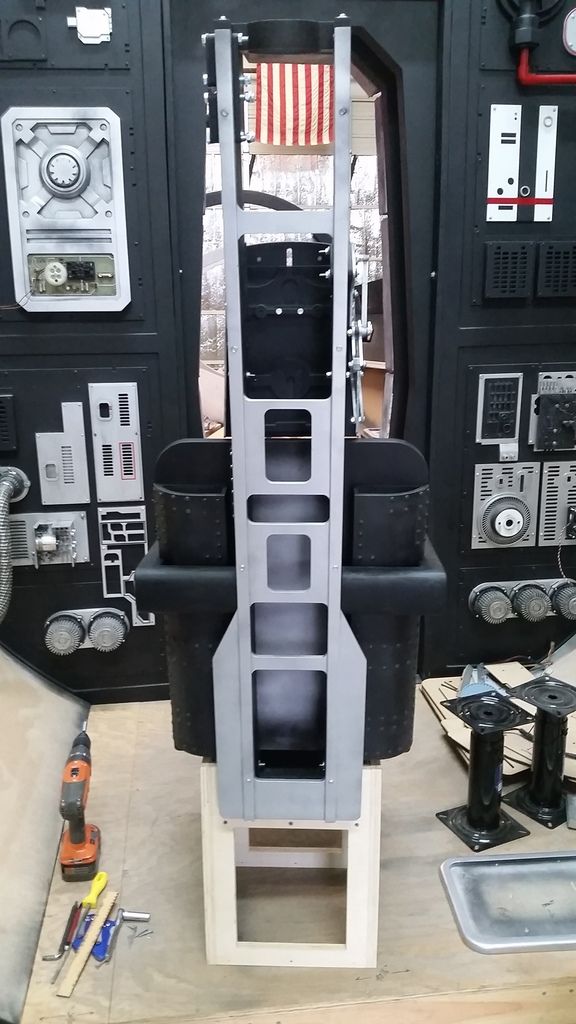
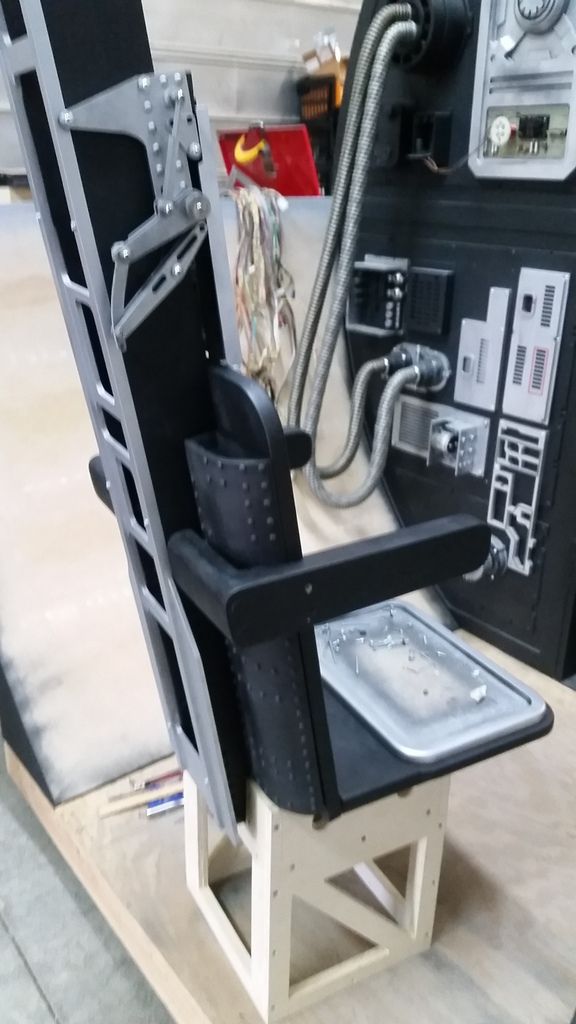
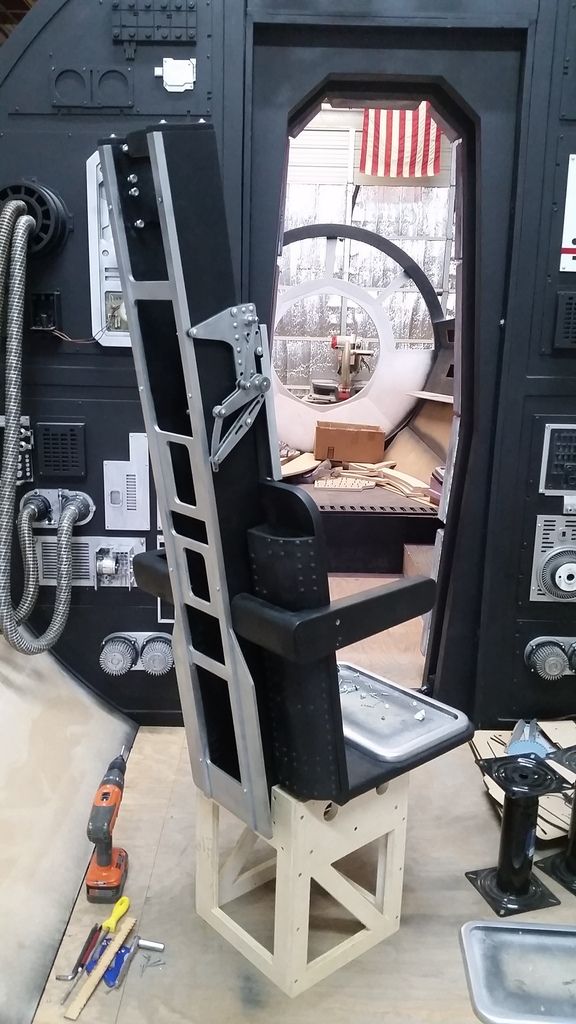
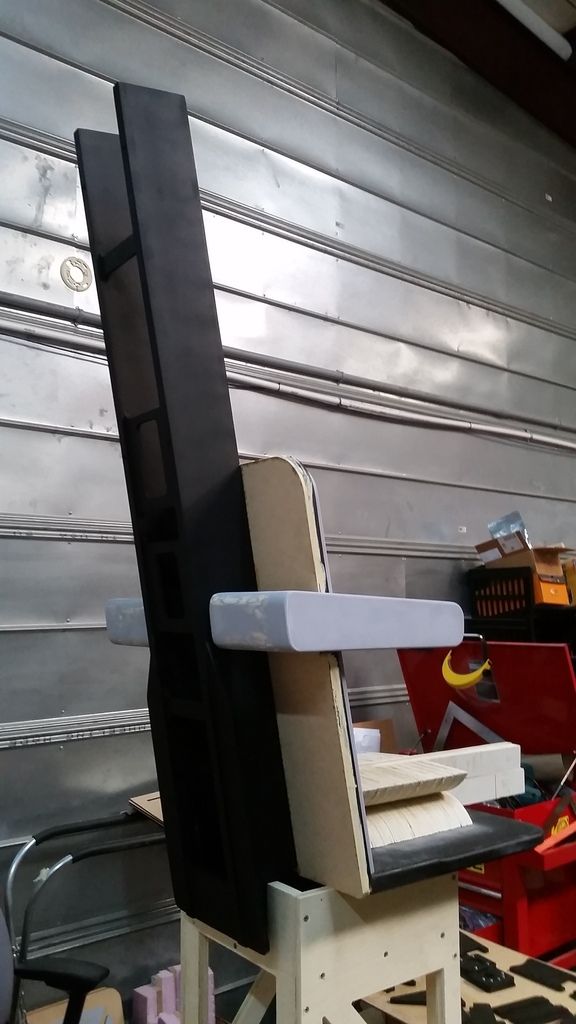
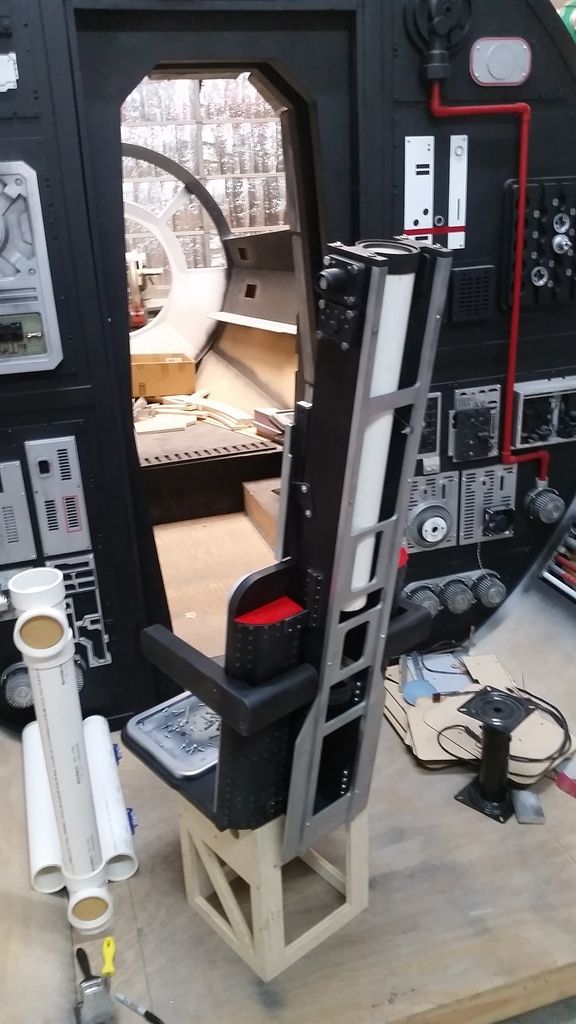
AAAAAAAAAAAAAAMAZING!!!!!!!!!!!!!!!!!!!!! Where to begin? Nav Chairs: love it, getting there for sure (great new sturdy base it seems). The shot of the lit cockpit: priceless!!:cool
And the R2 unit are way cool!
Thank you so much my friend. I am so jealous that my folks and my droid got to see this in person. We really appreciate the amazing hospitality!!! Still the best build around!
B
Great update!!! And with the lights on too!!!
Wow, just wow!

Hi Gang,
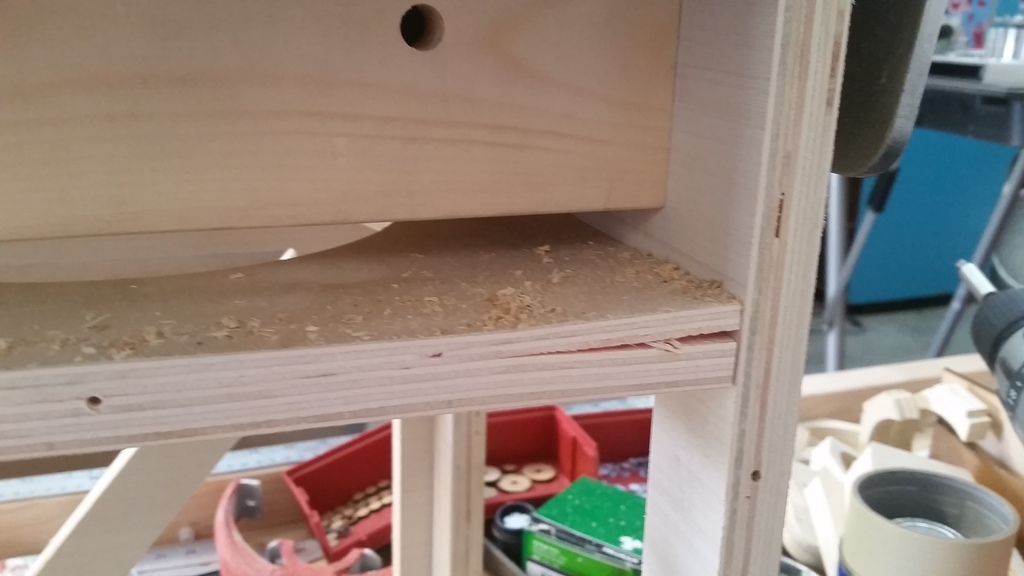
Just a quick morning update!
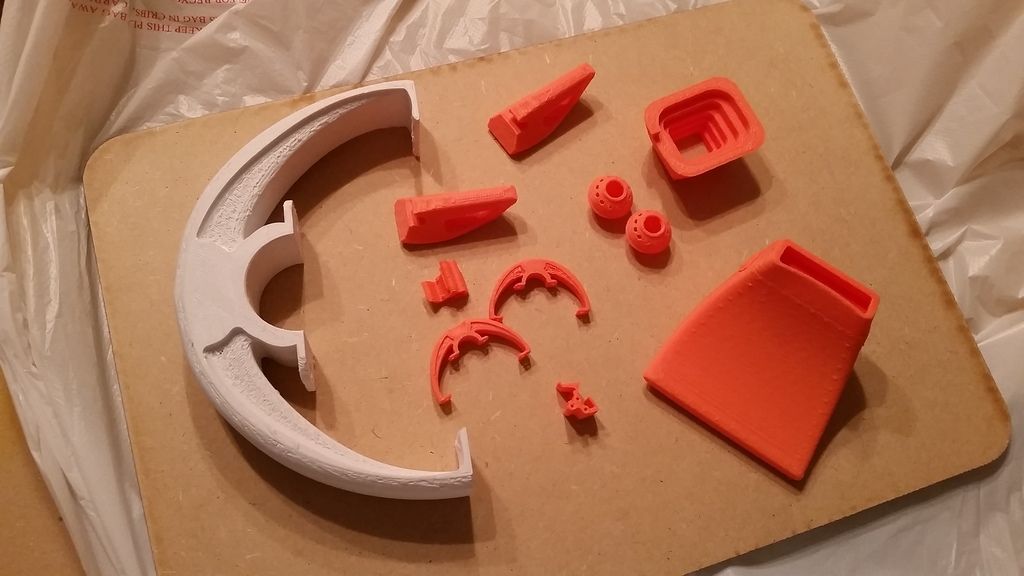
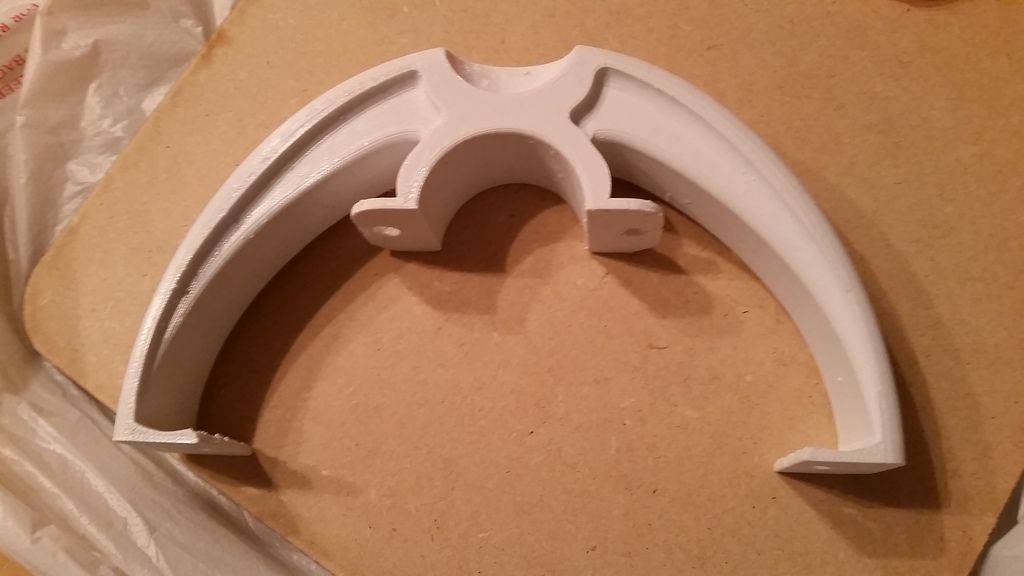
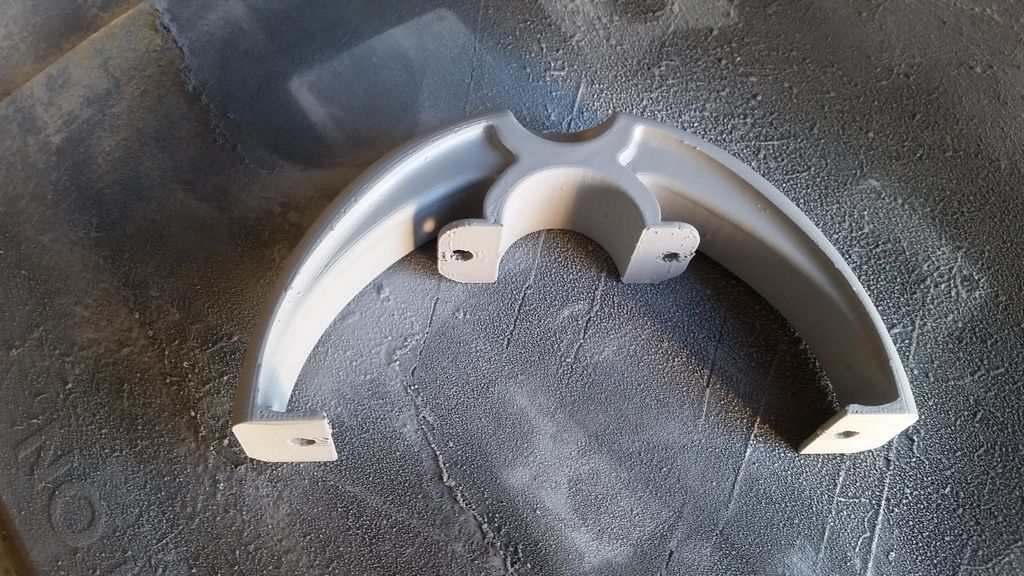
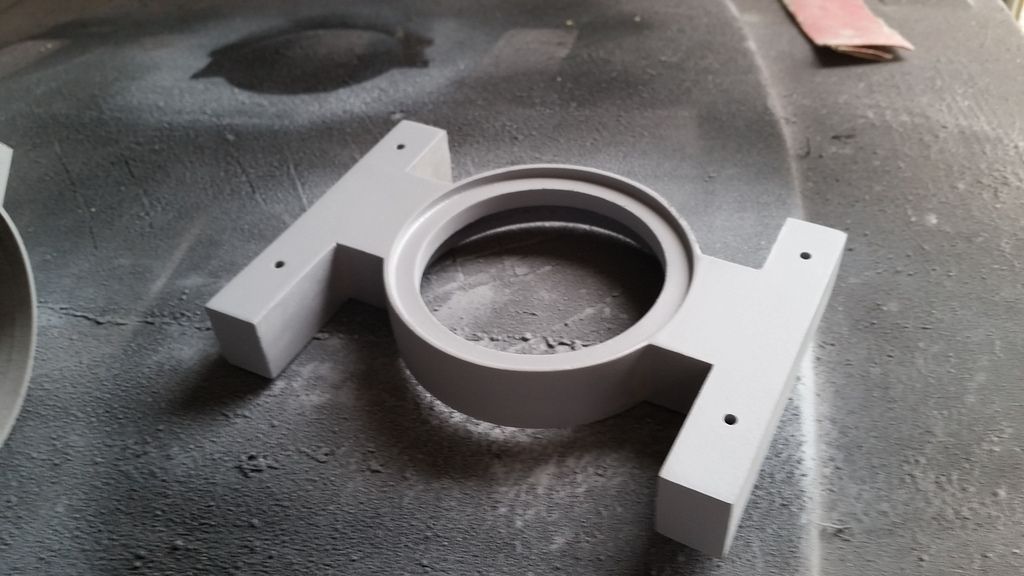
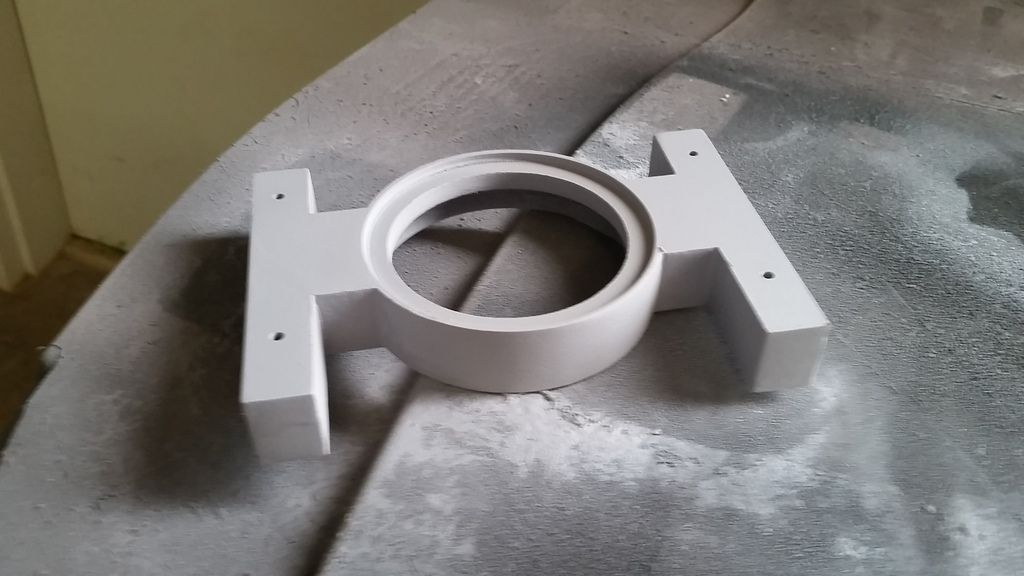
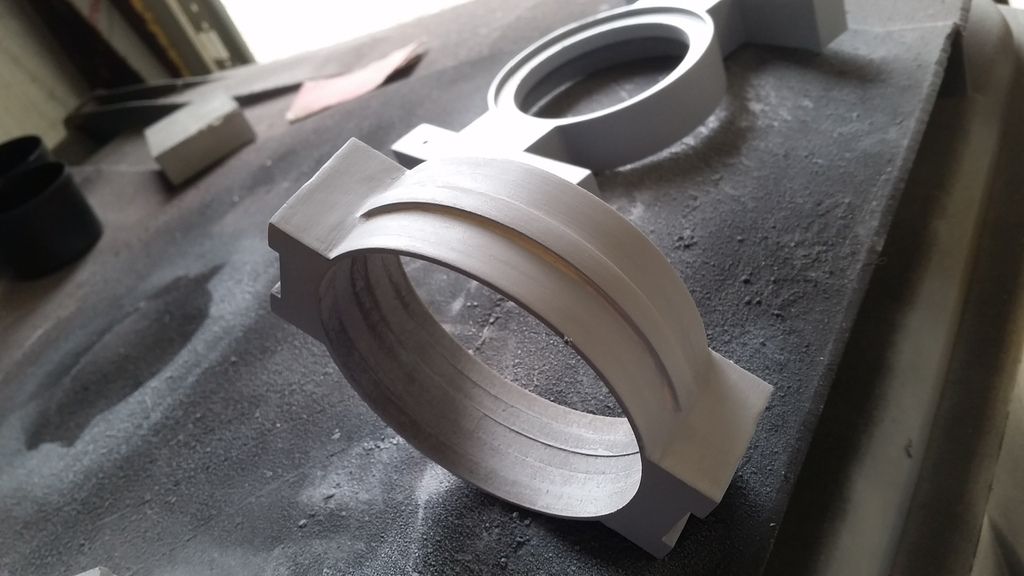
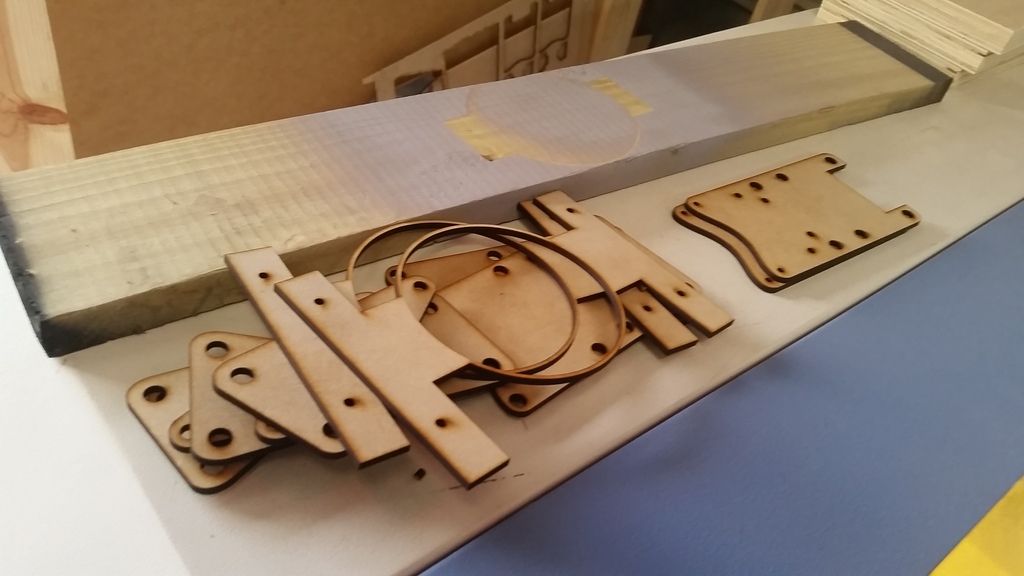
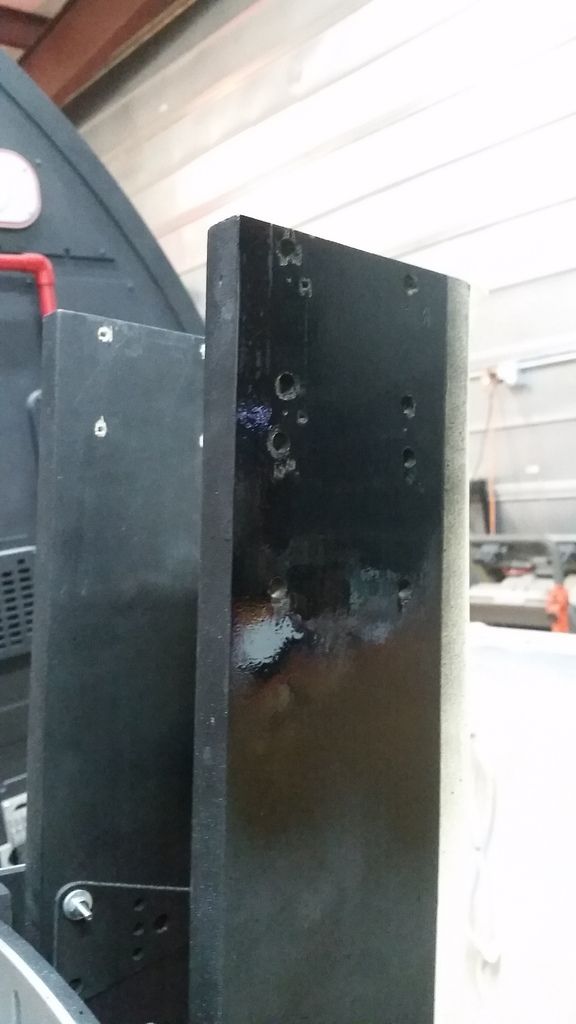
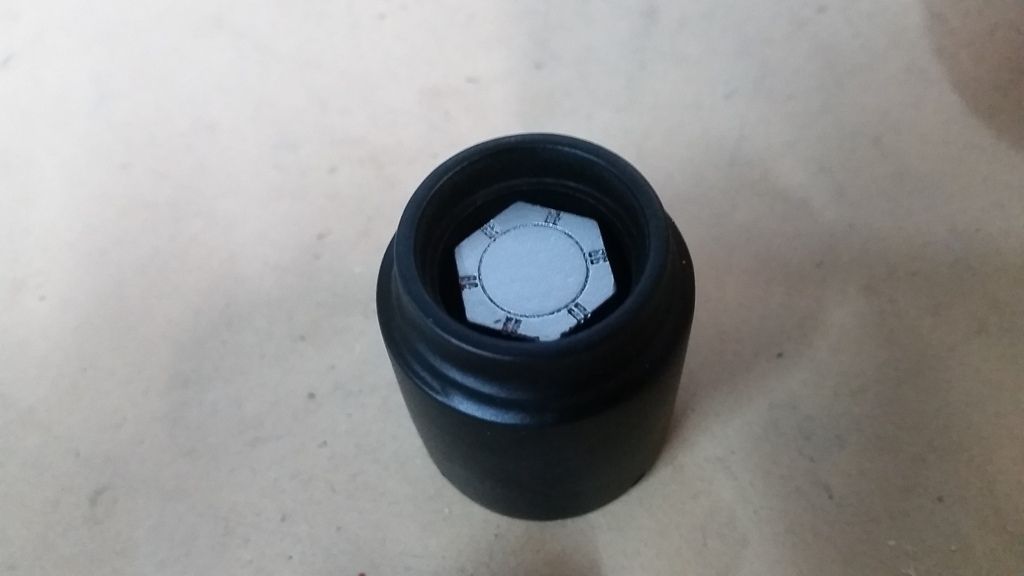
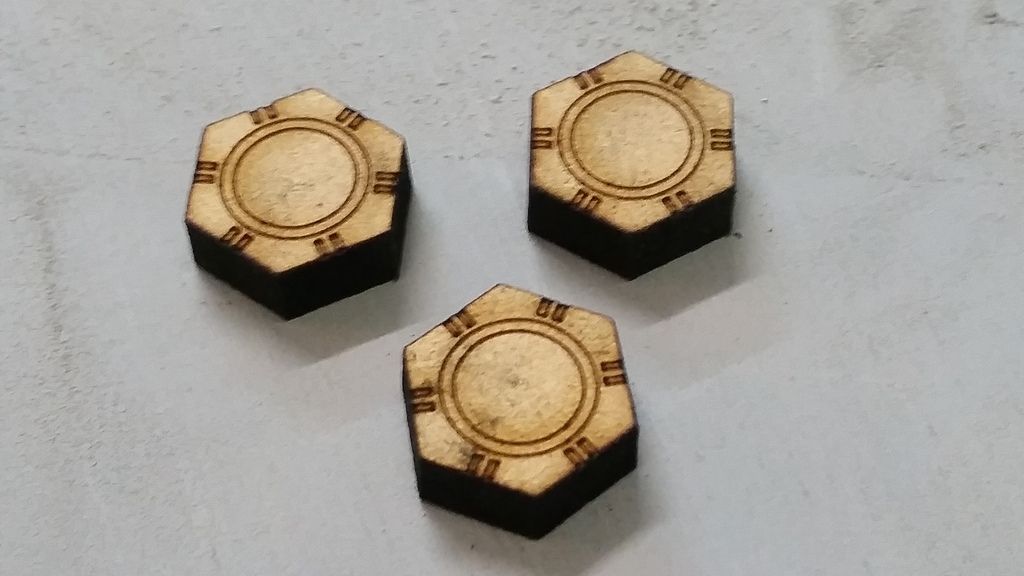
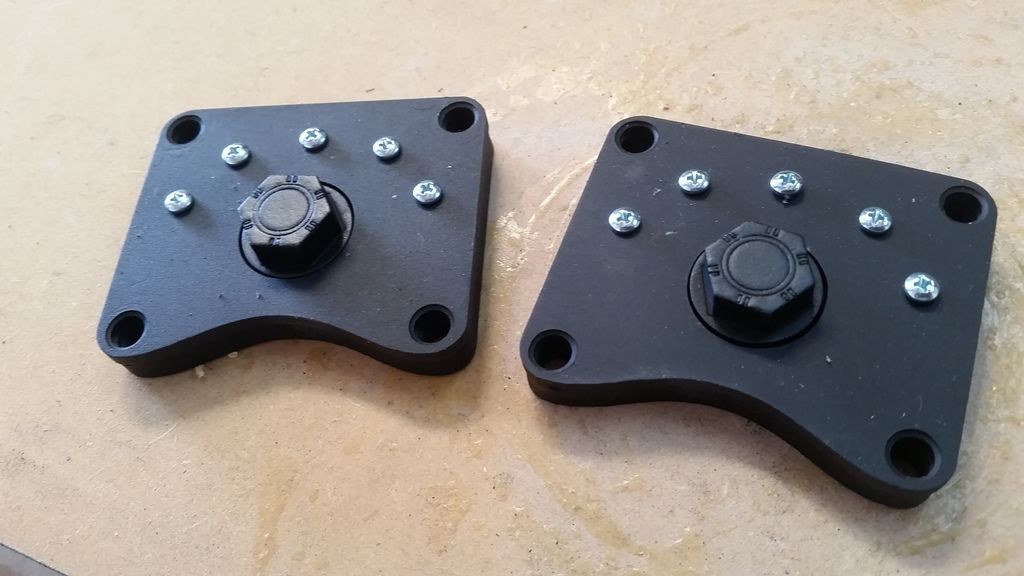
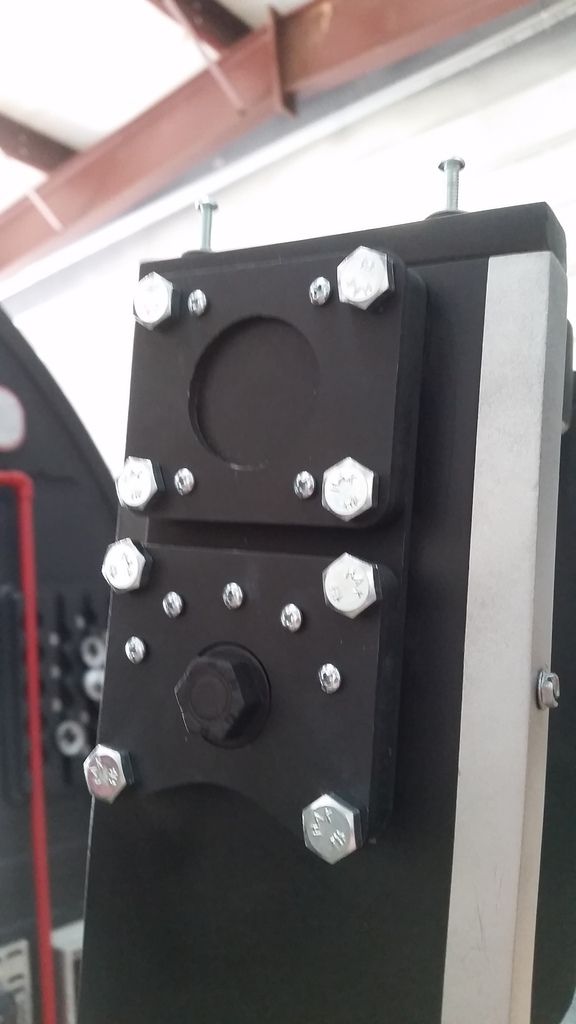
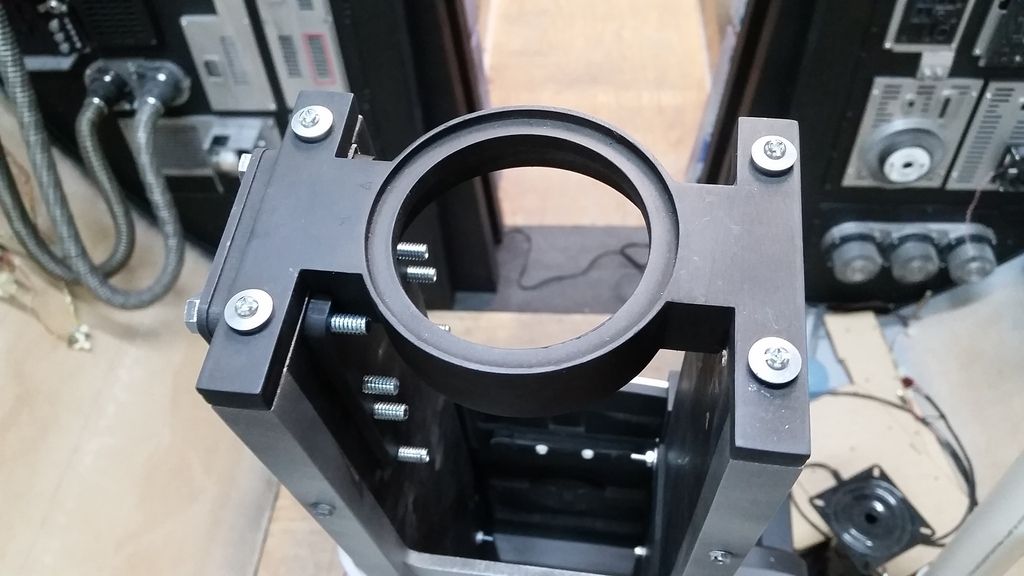
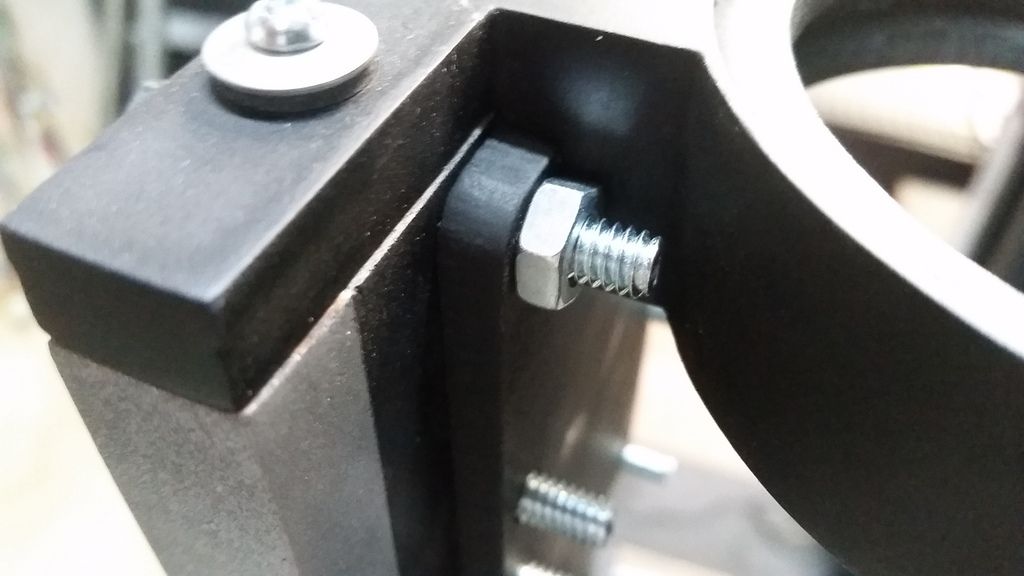
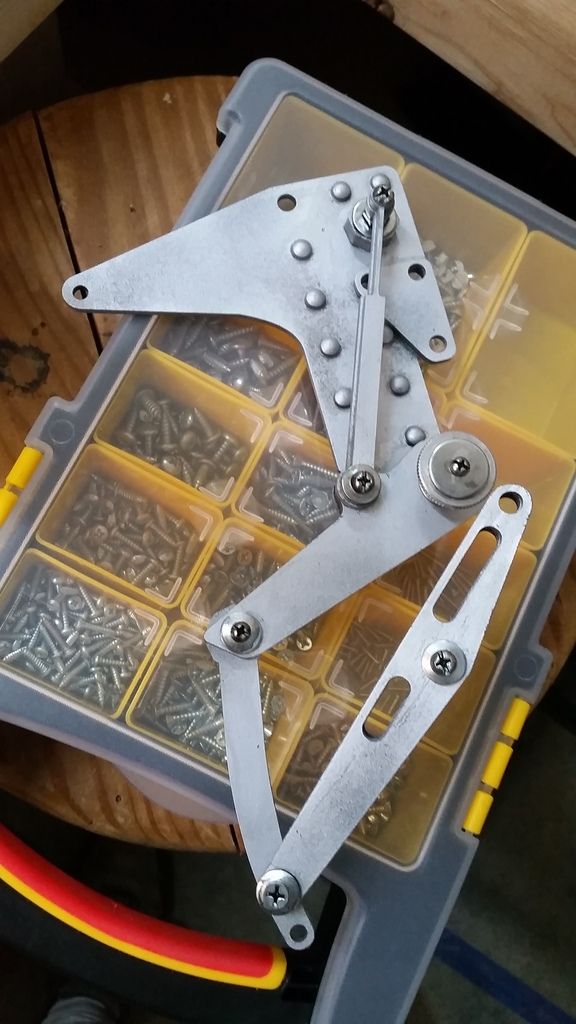
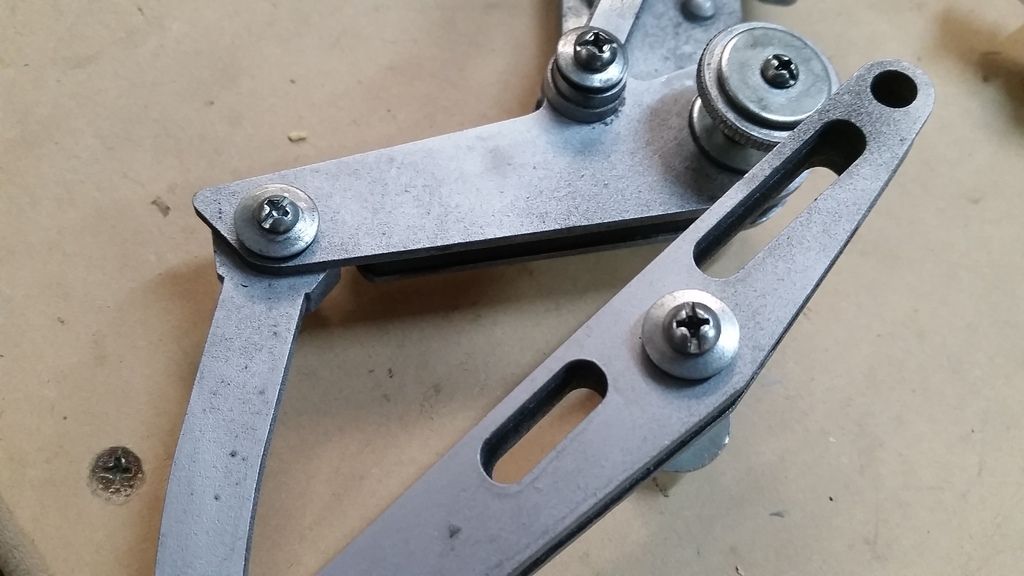
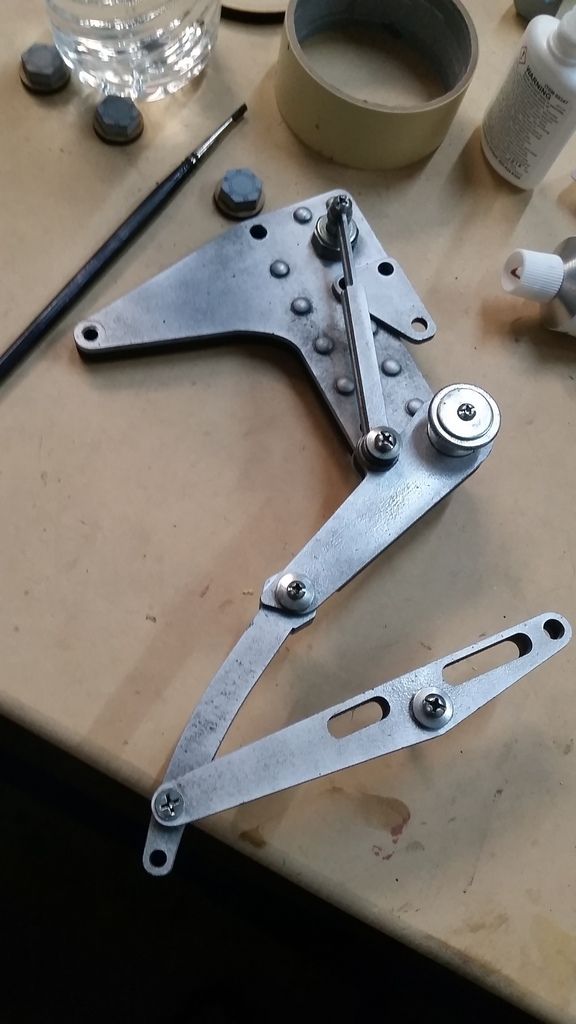
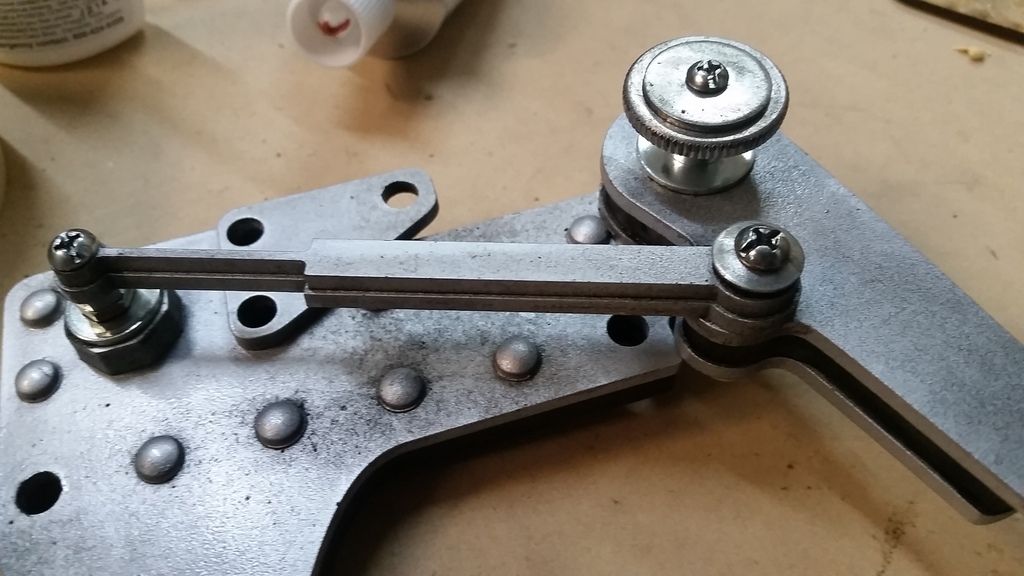
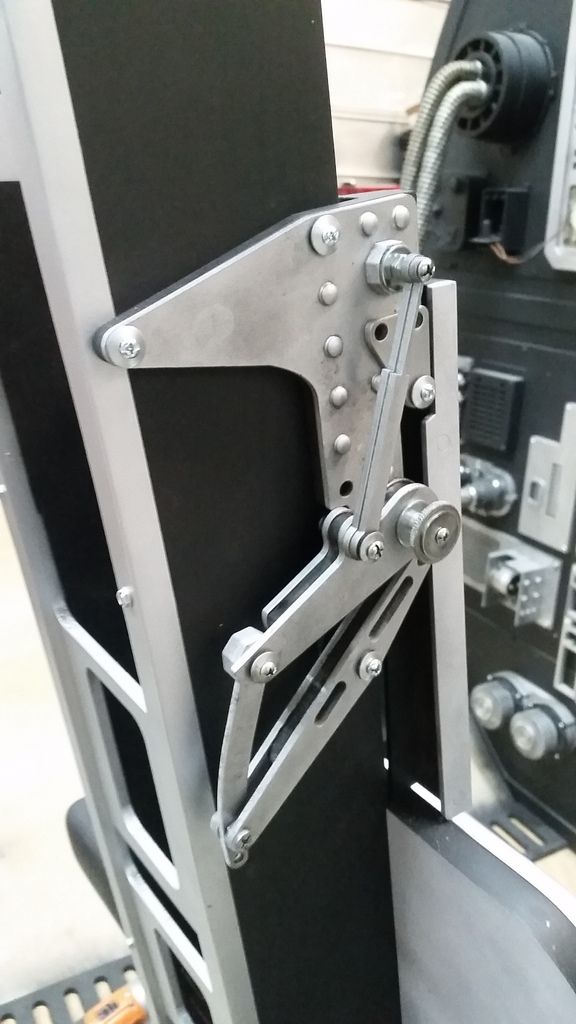
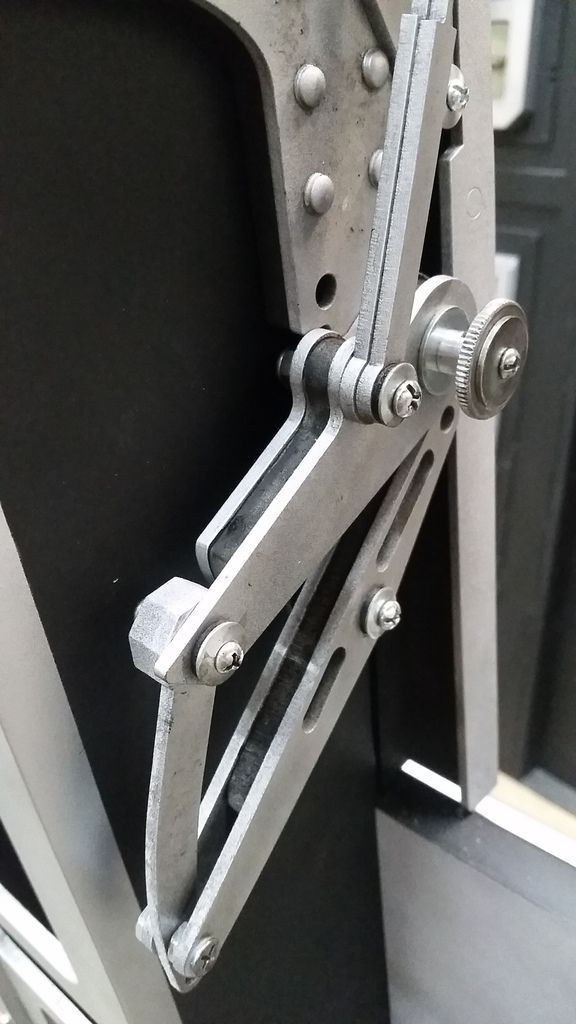
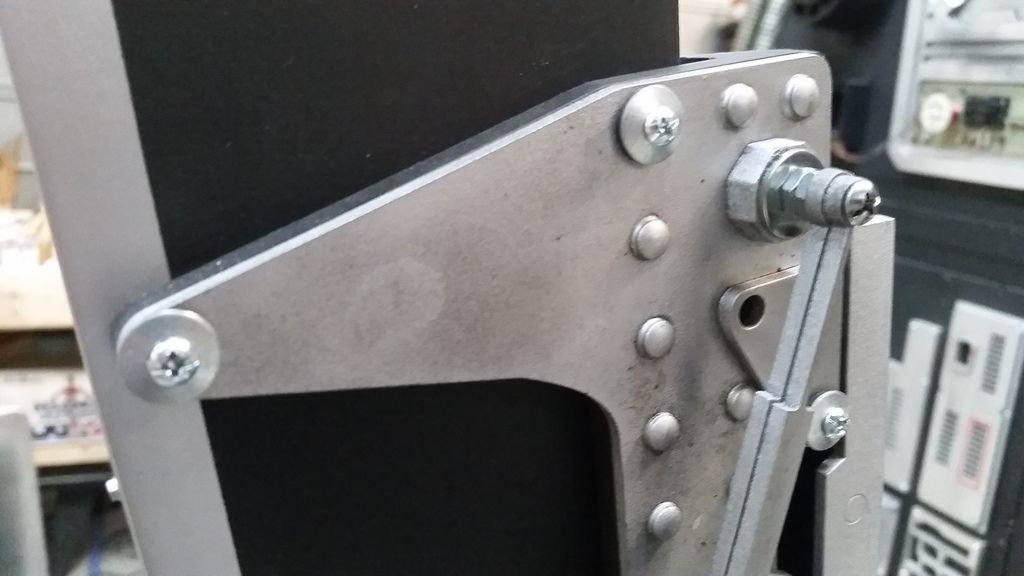
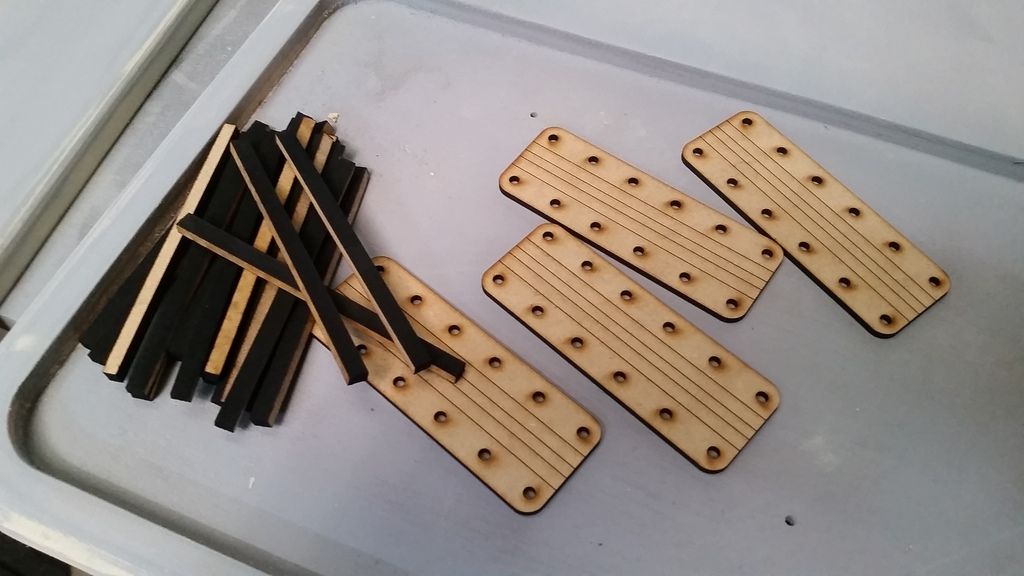
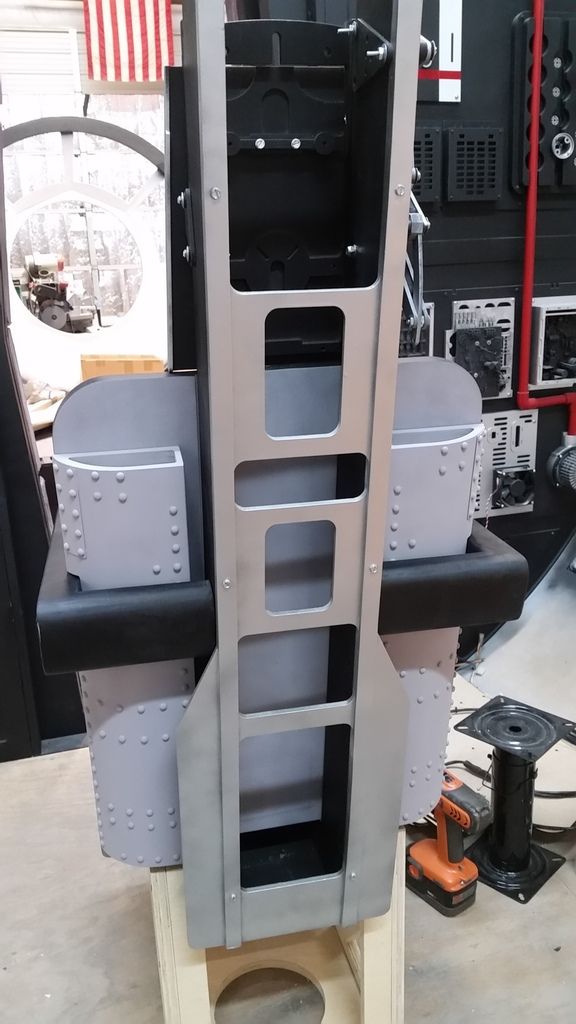
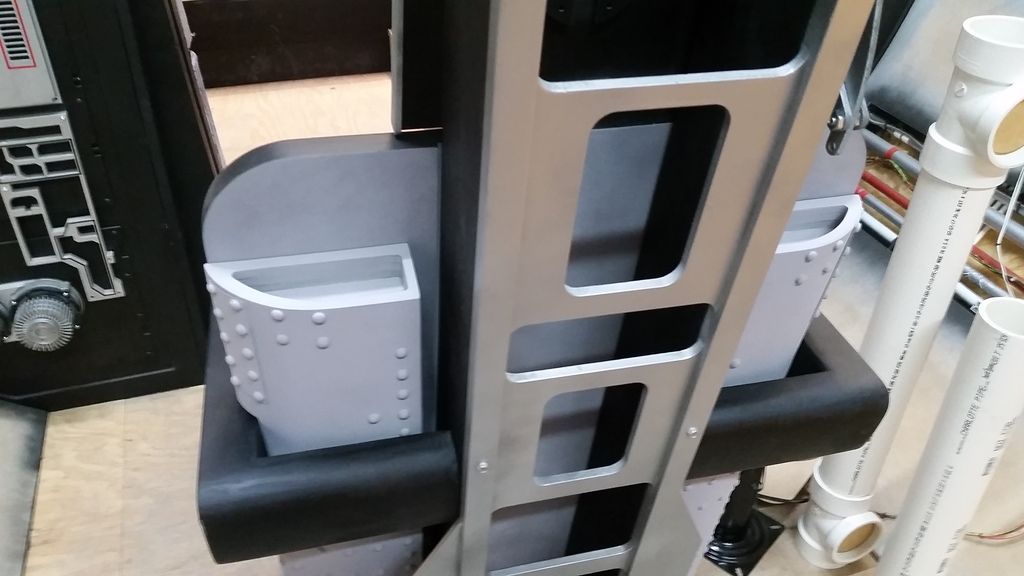
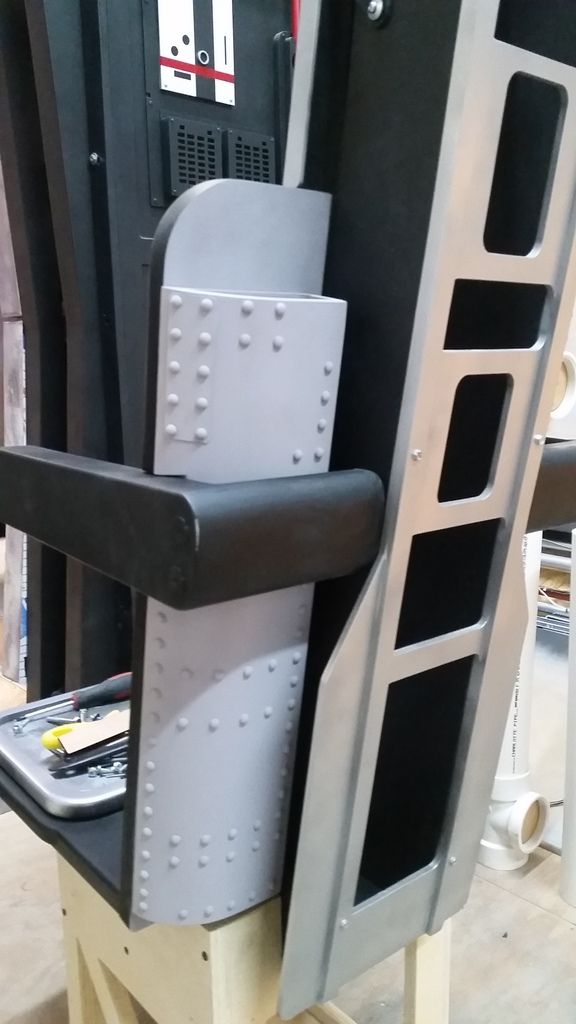
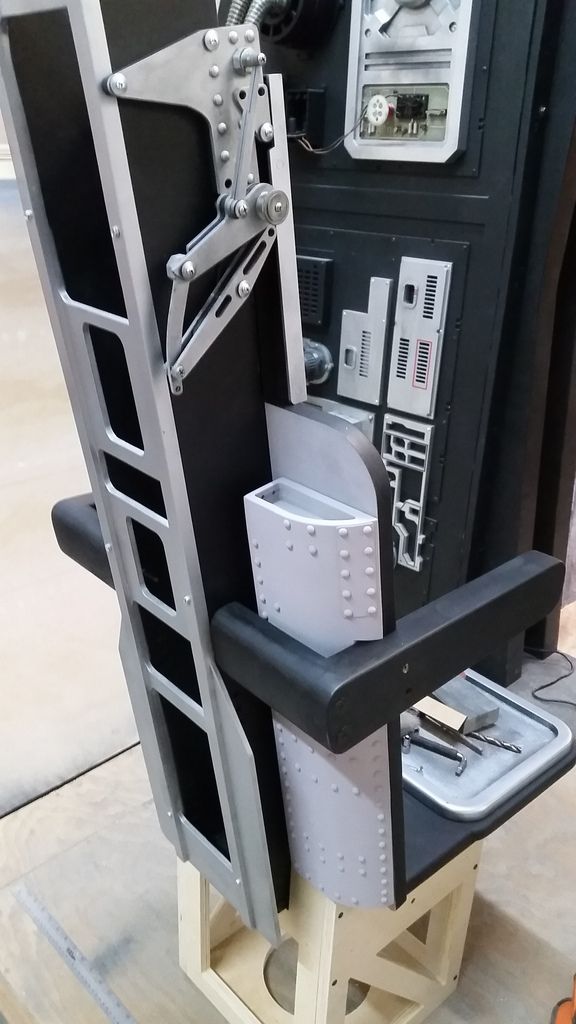
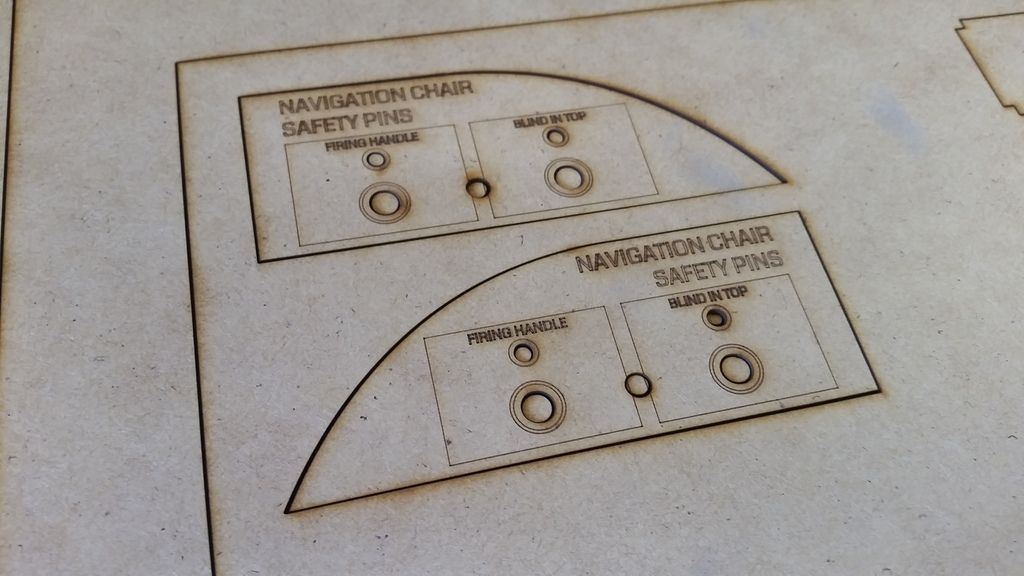
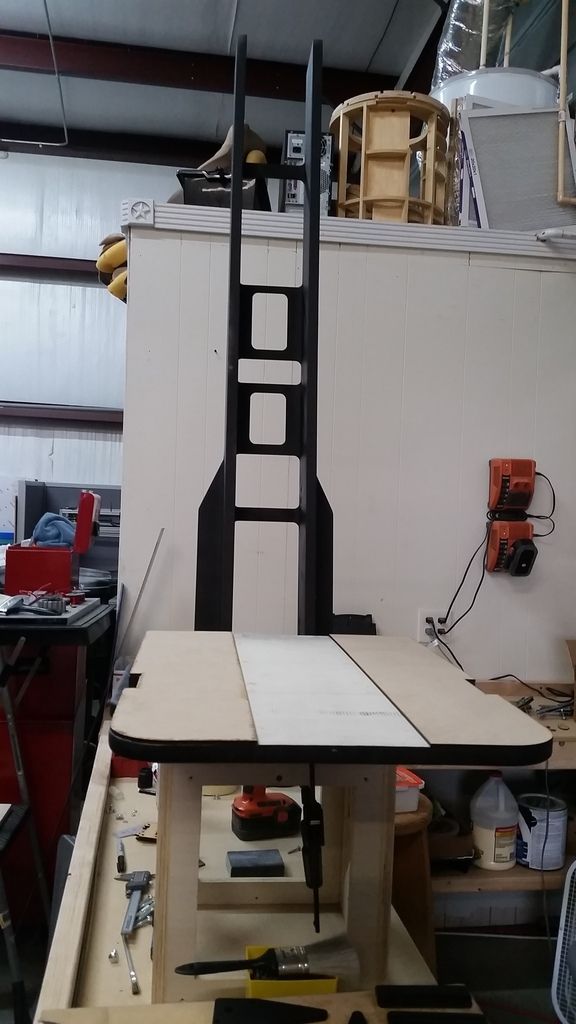
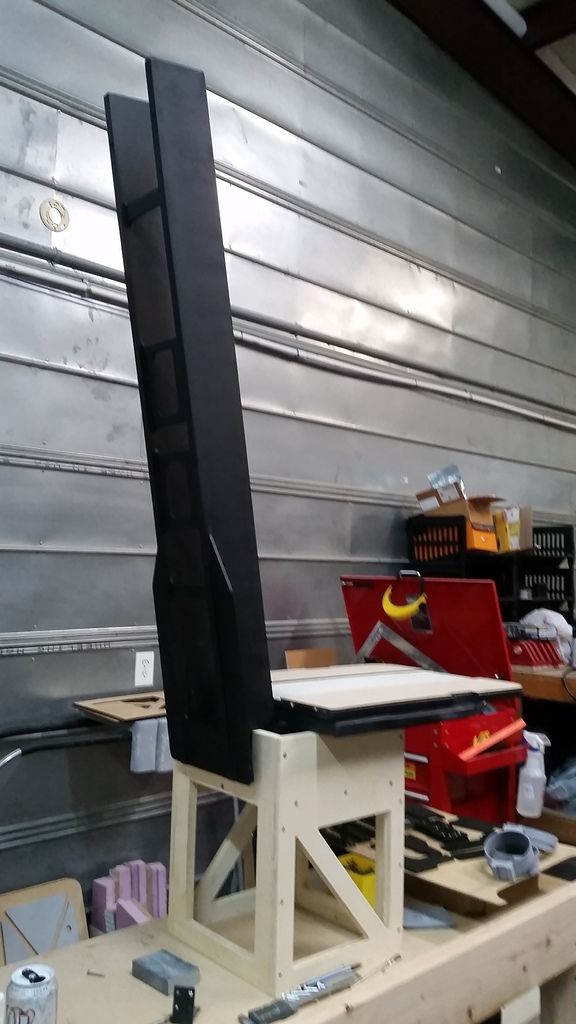
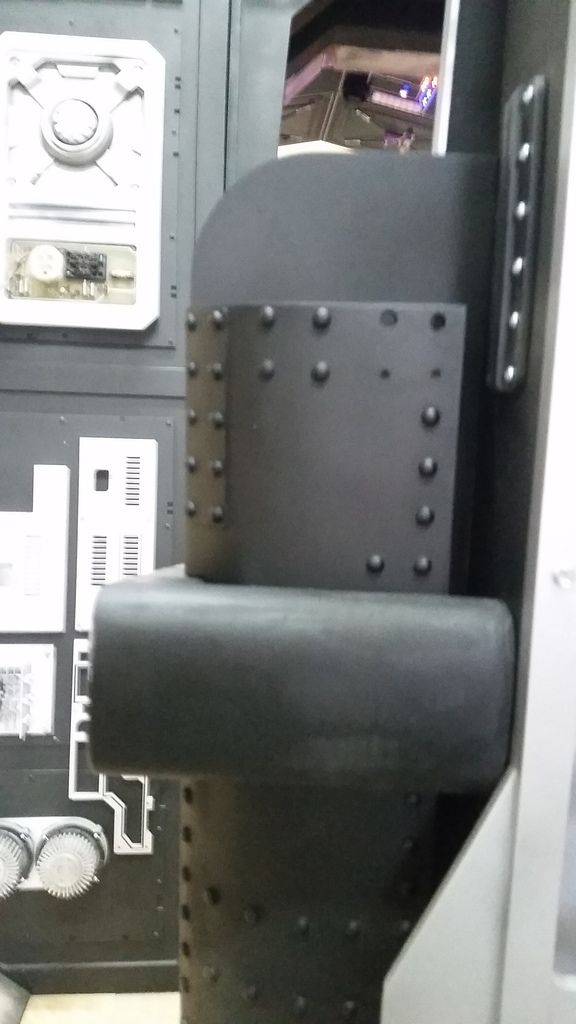
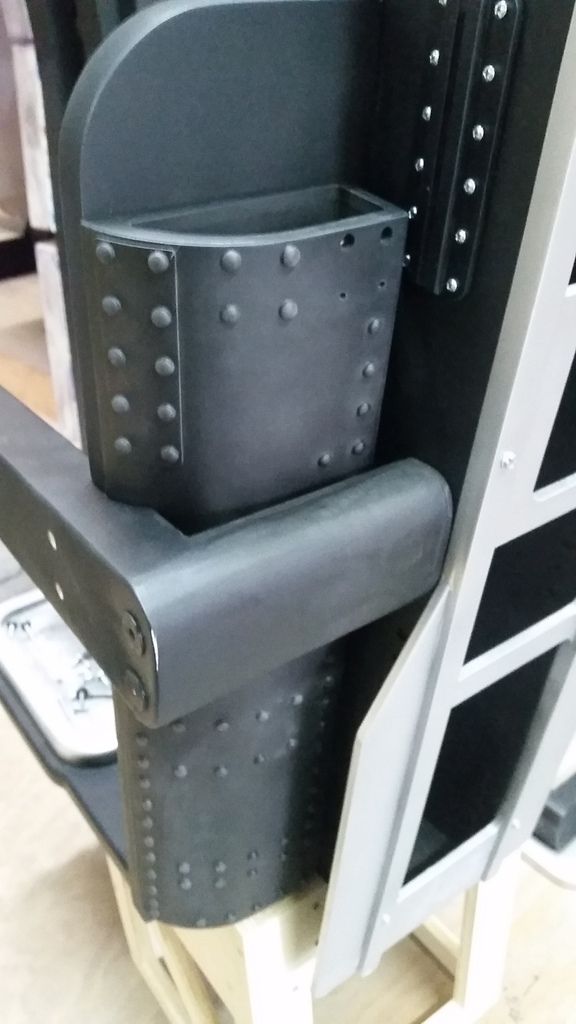
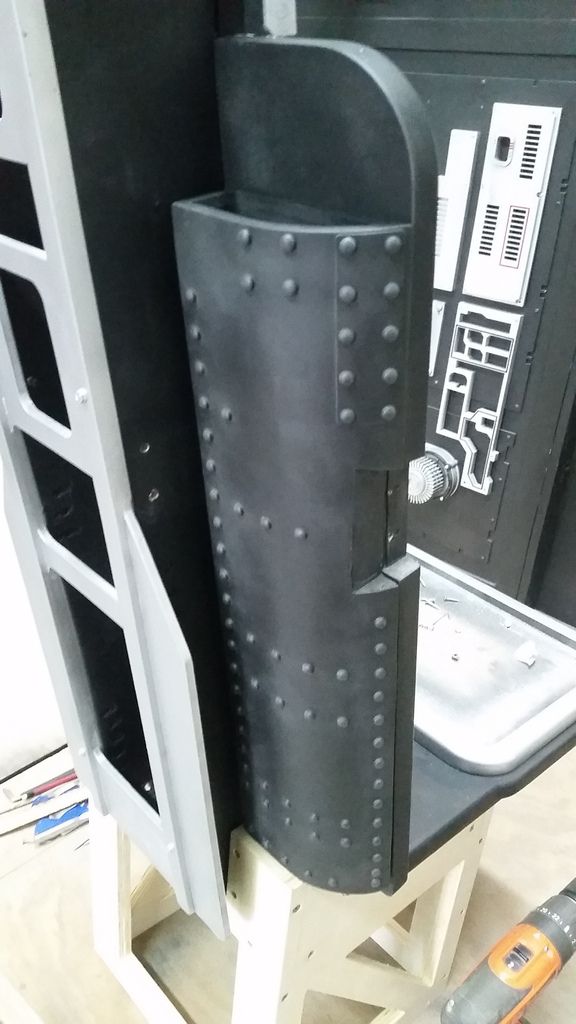
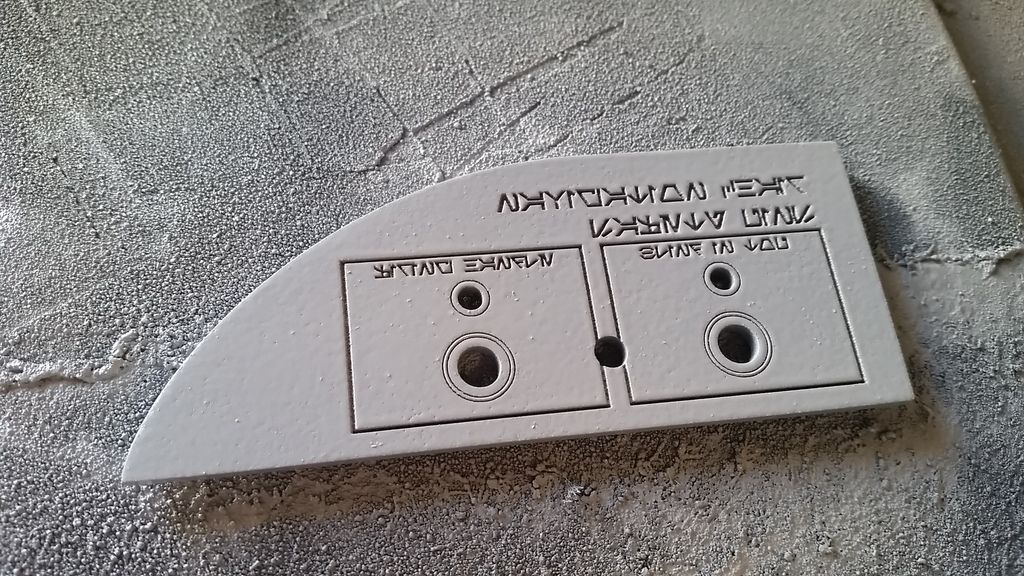
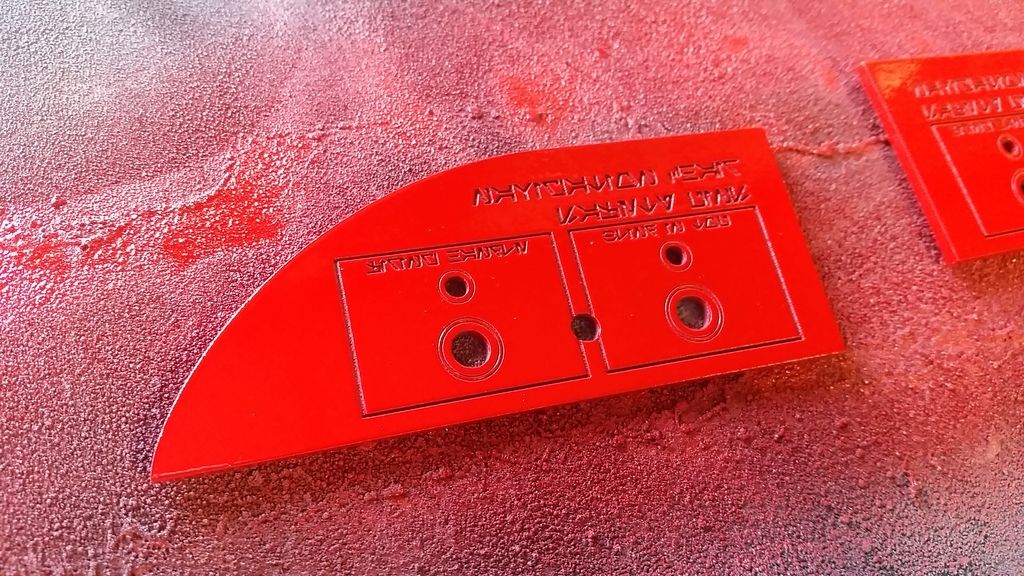
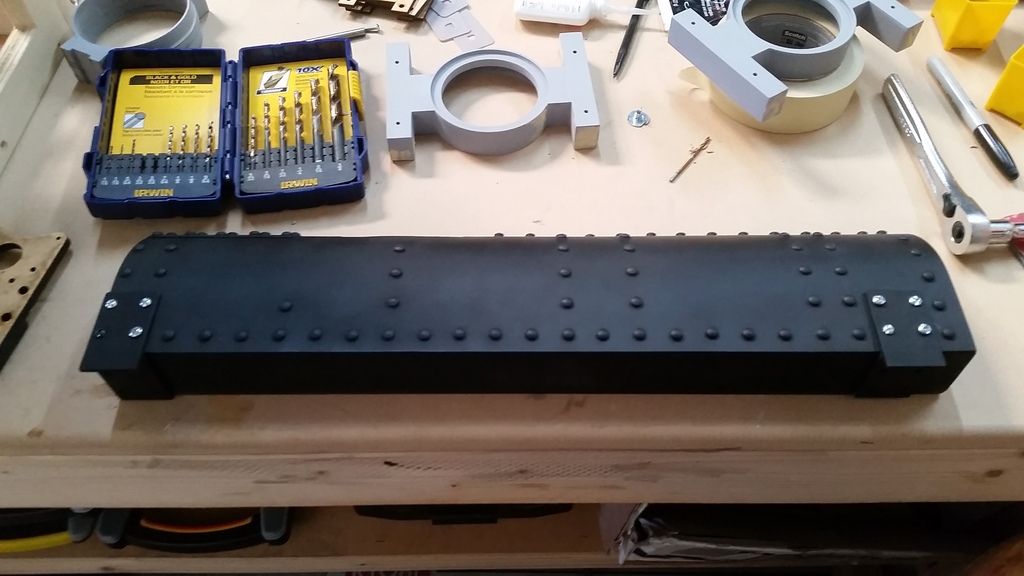
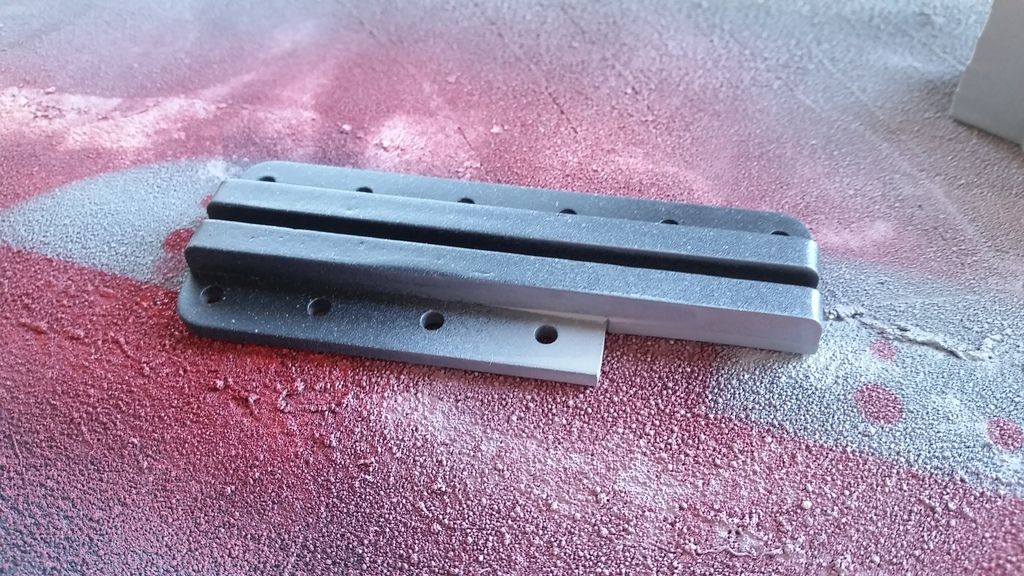
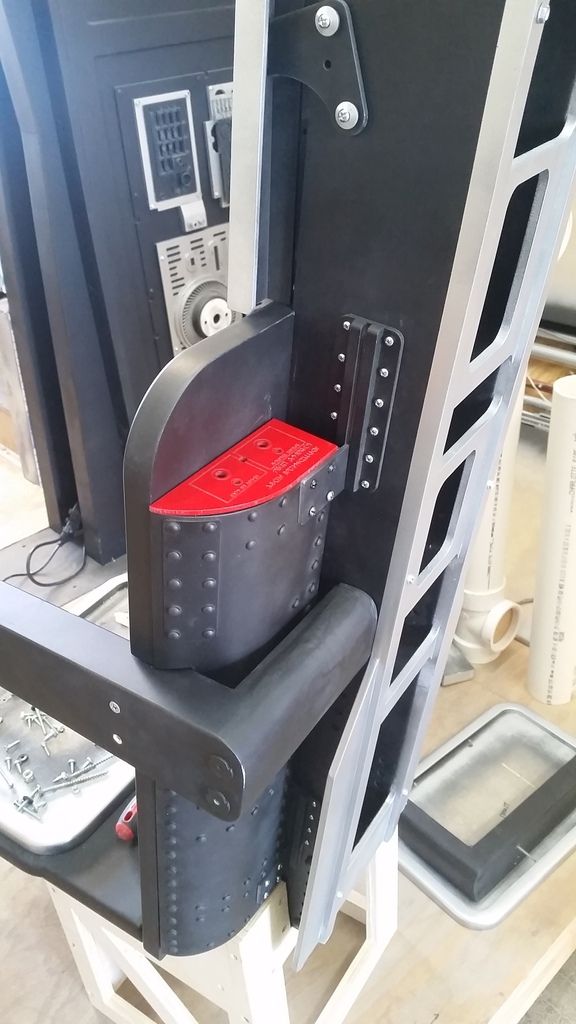
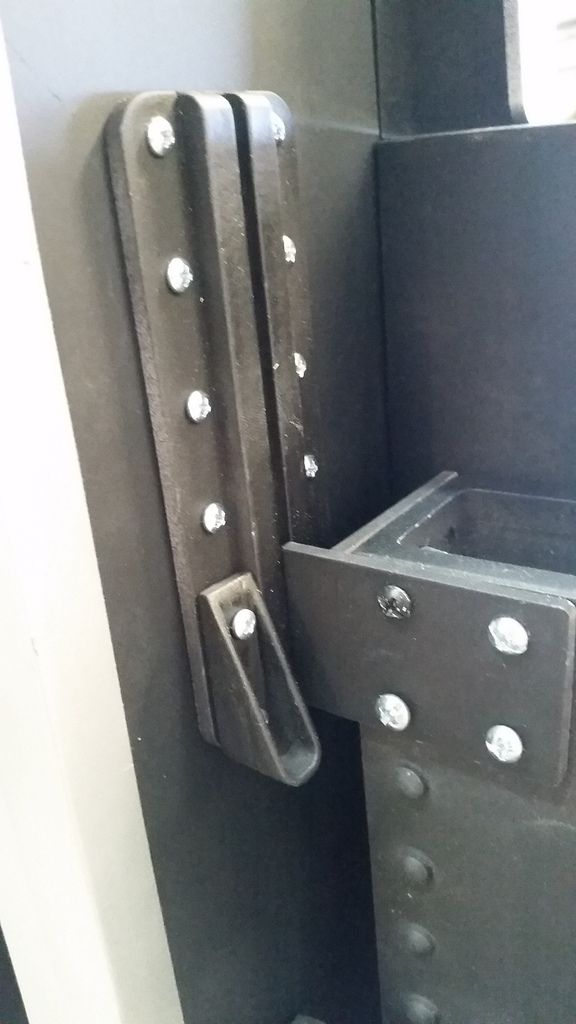
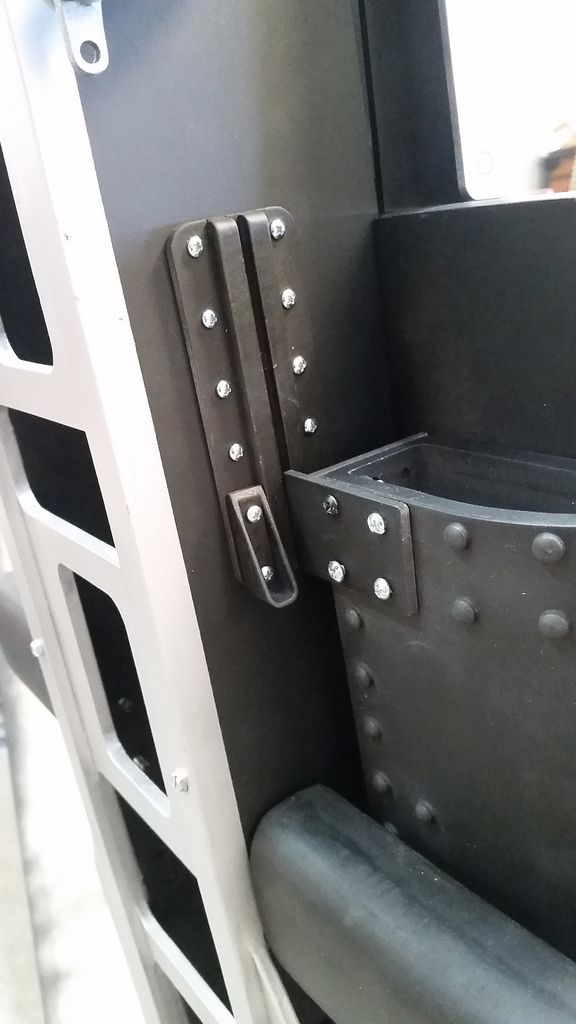
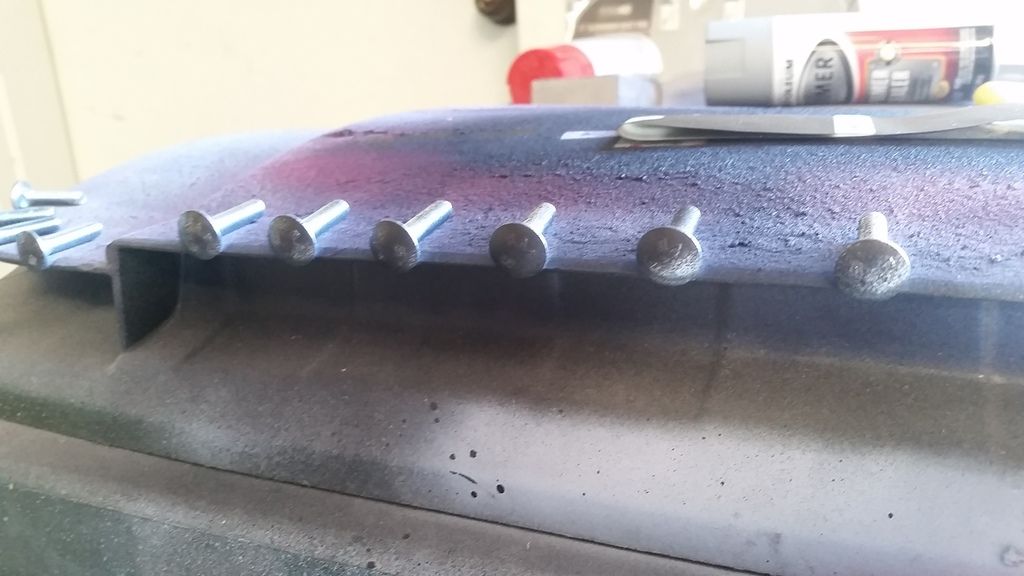
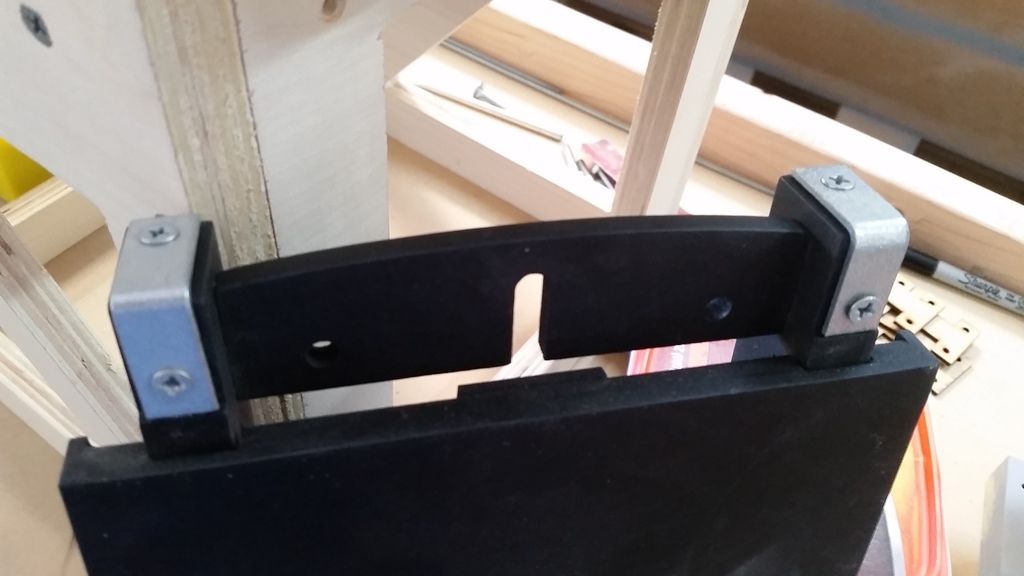
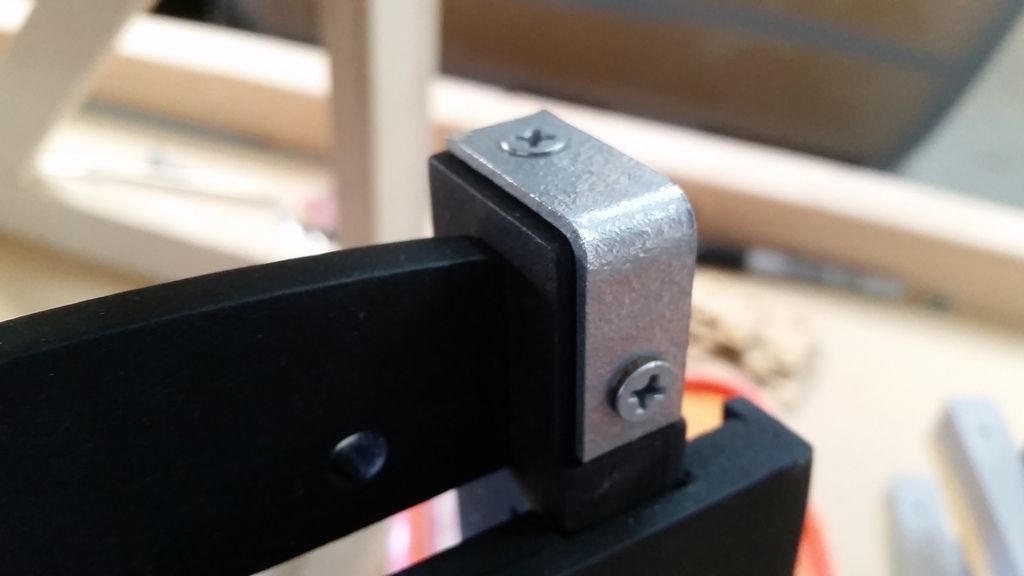
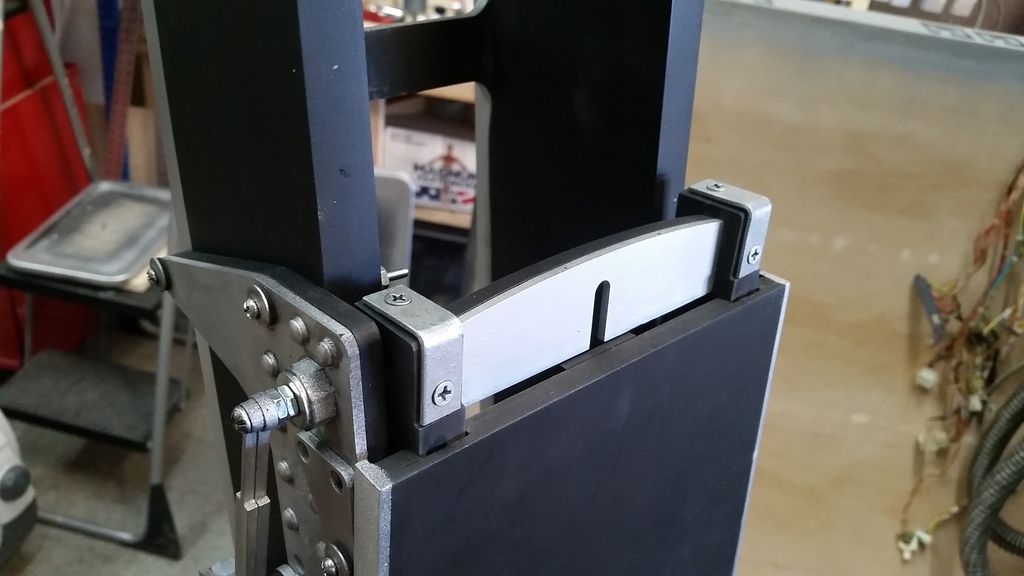
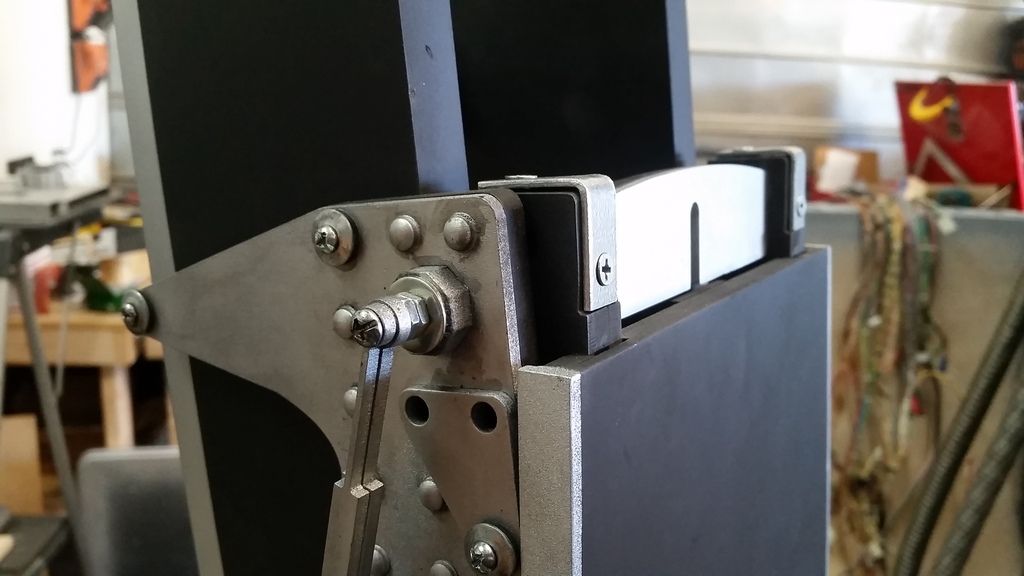
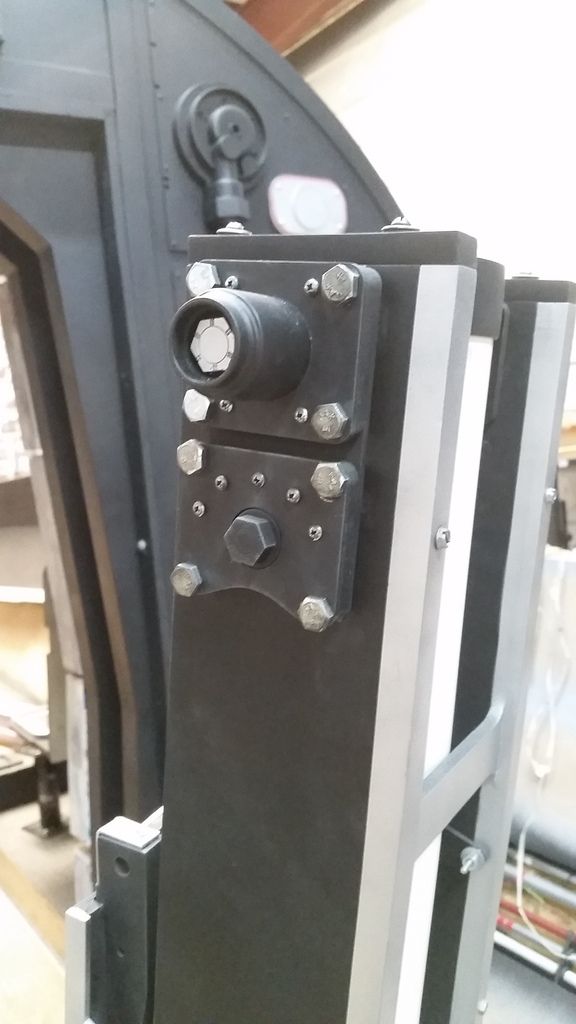
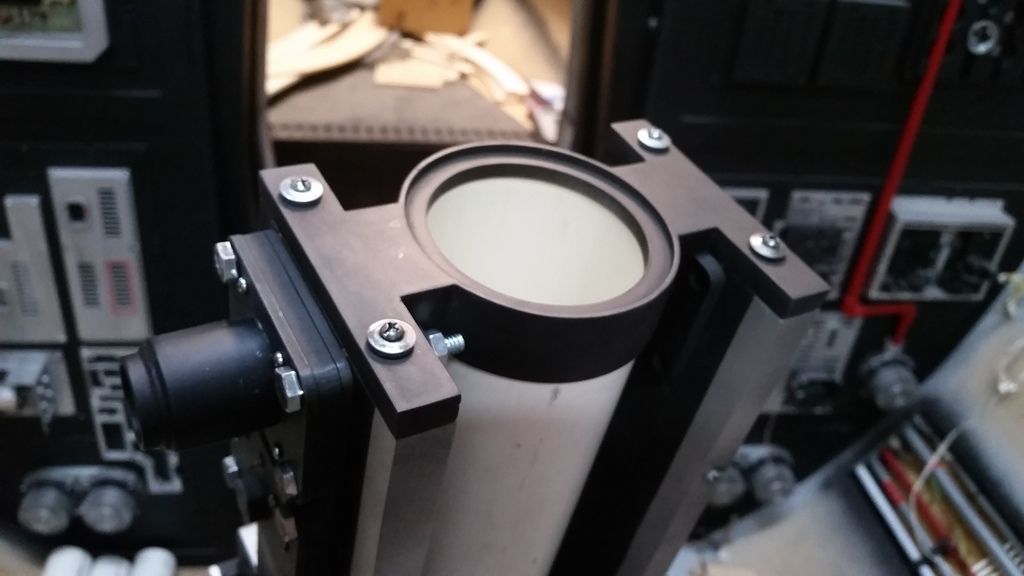
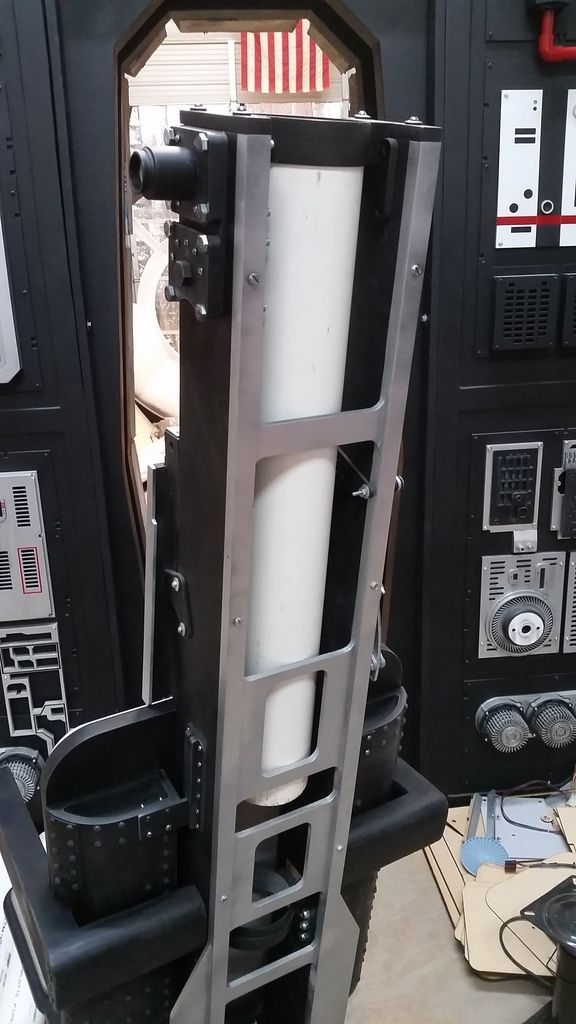
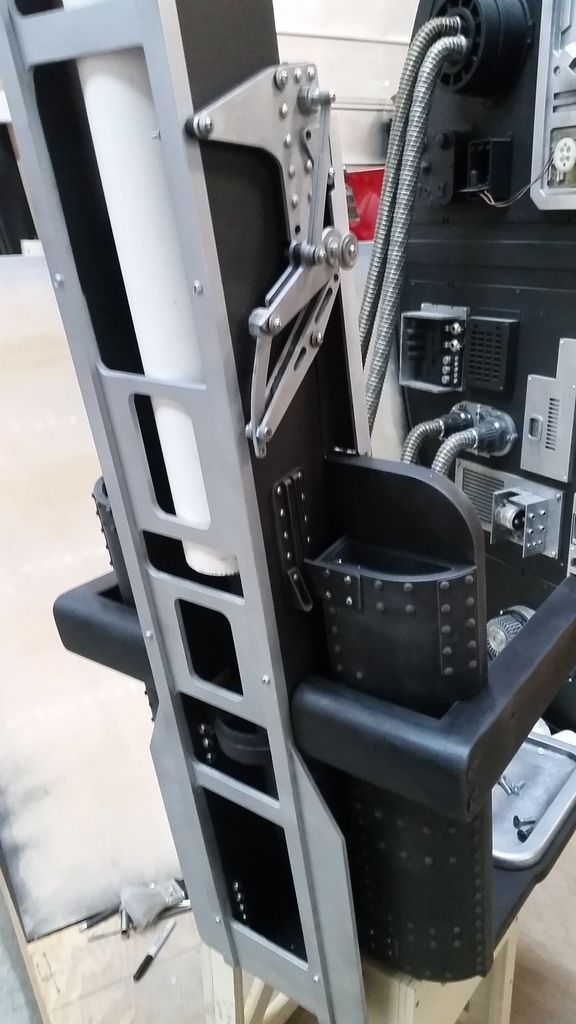
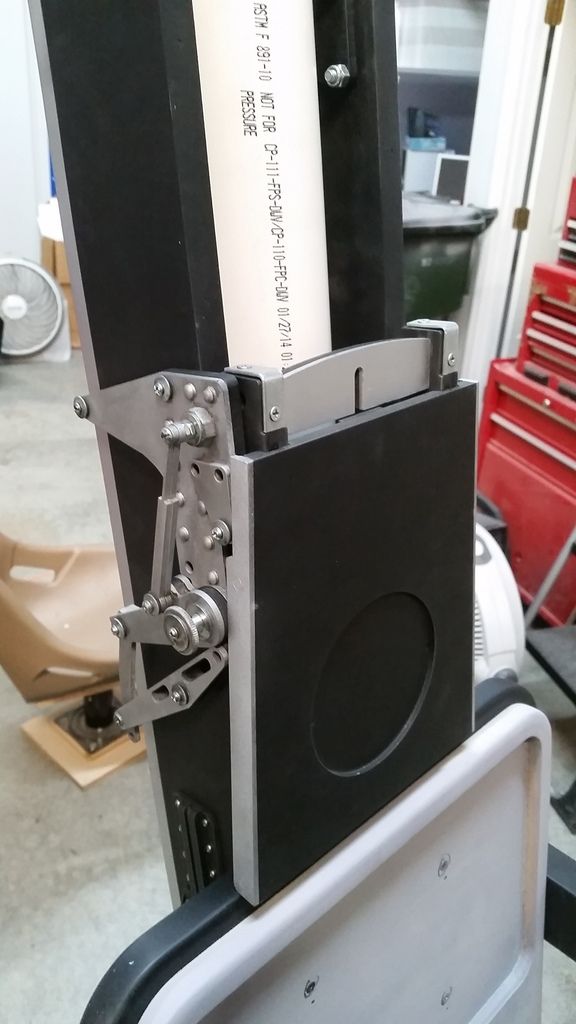
Got a package in the mail the other day... Izzy was kind enough to send me a few goodies! One full scale handle and some 1/4 scale pieces for the 1/4 scale cockpit I'm working on - I haven't seen that in a while!
http://i778.photobucket.com/albums/...n Build 01170/20170424_195044_zpsluqgvvmf.jpg
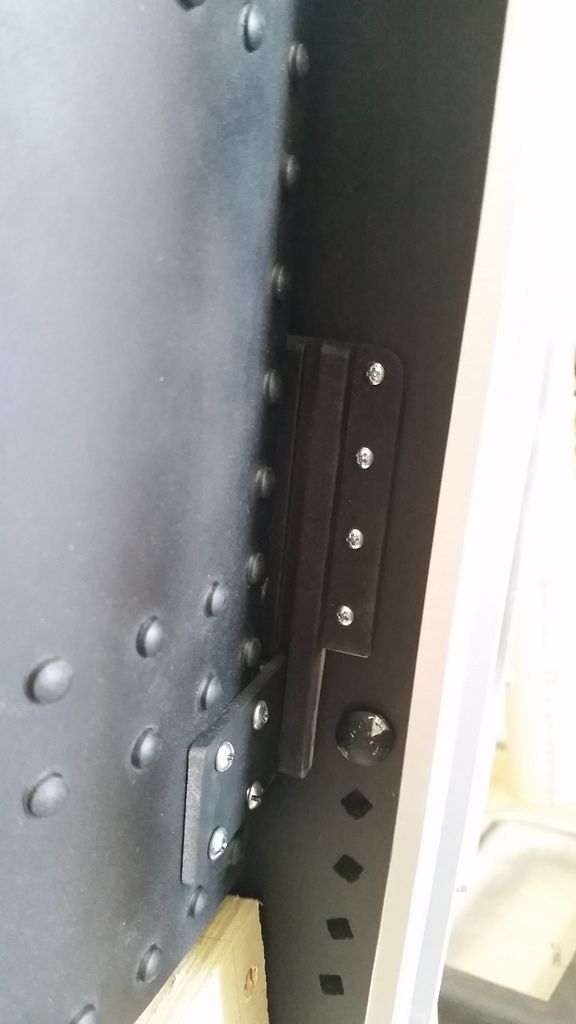
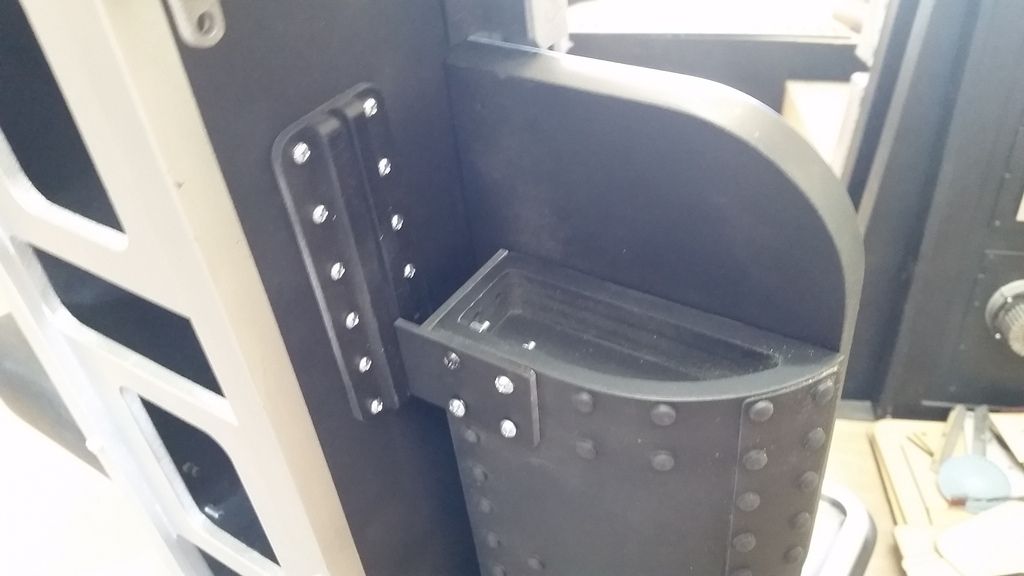
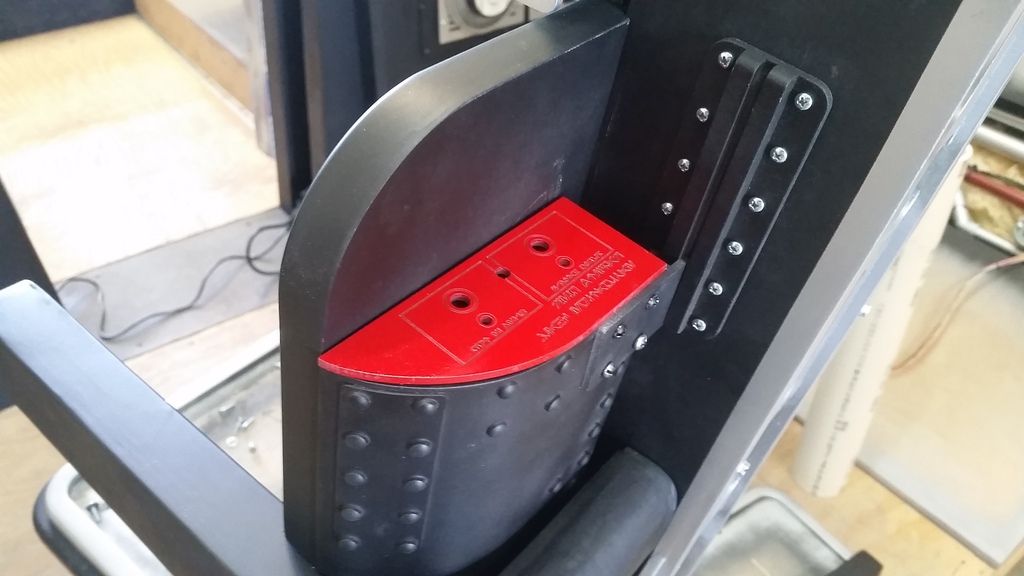
I've been hanging around here too long, I actually recognise where a few of these bits go!


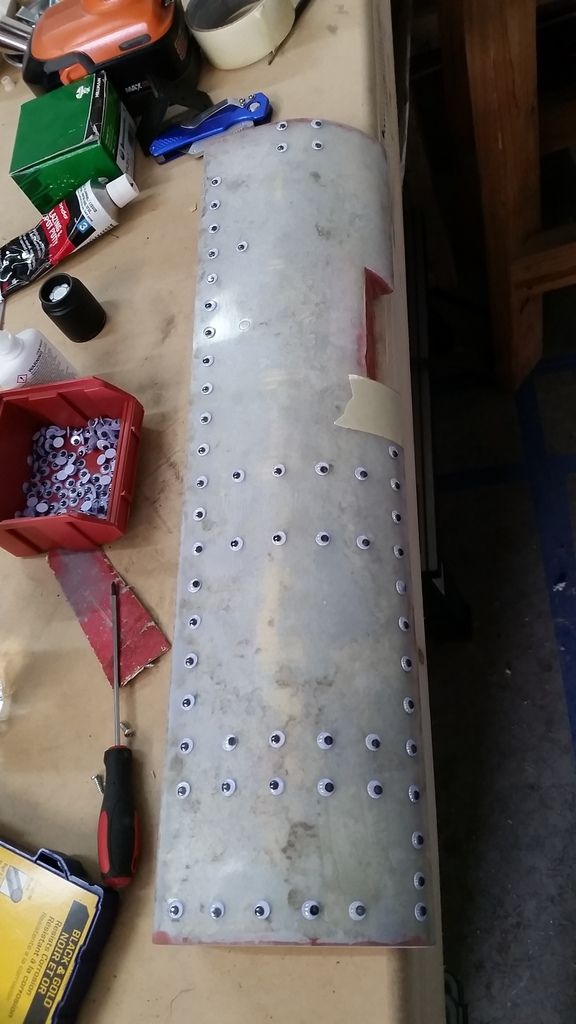
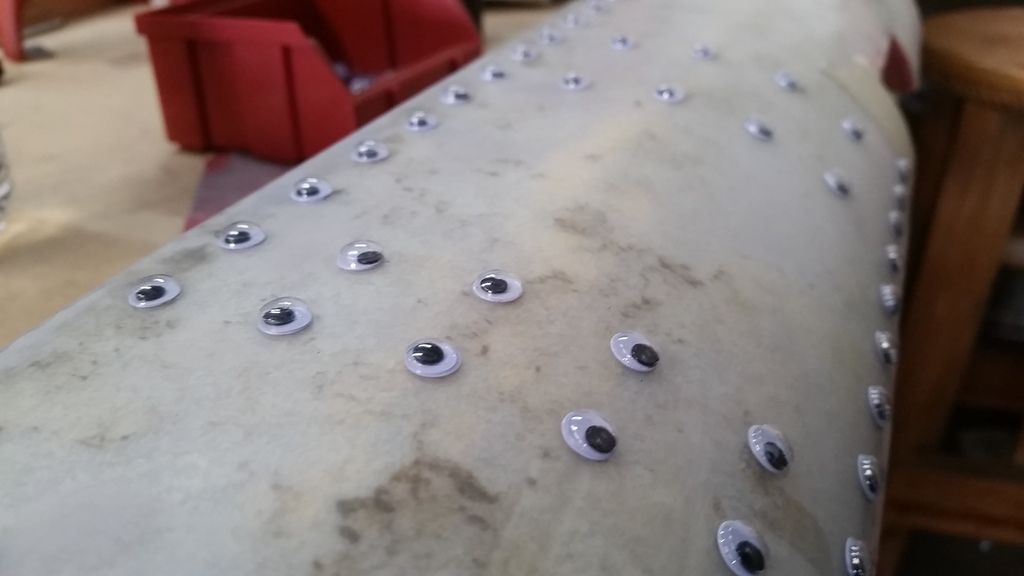
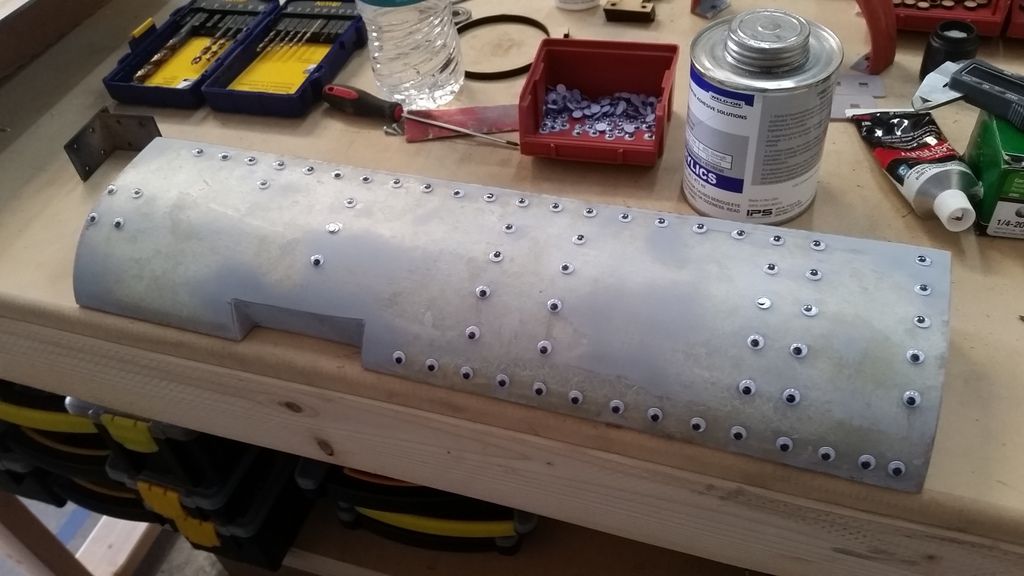
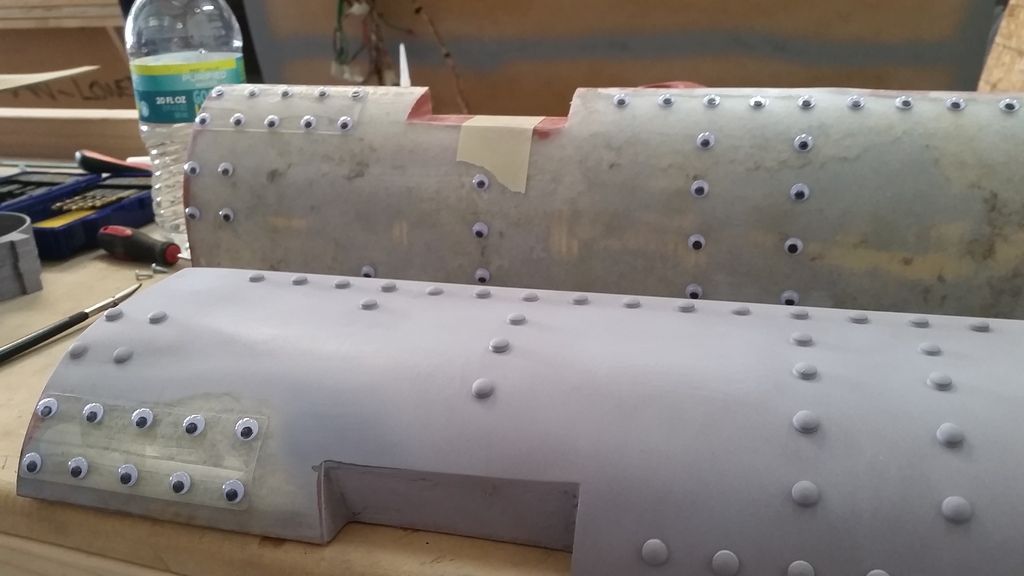
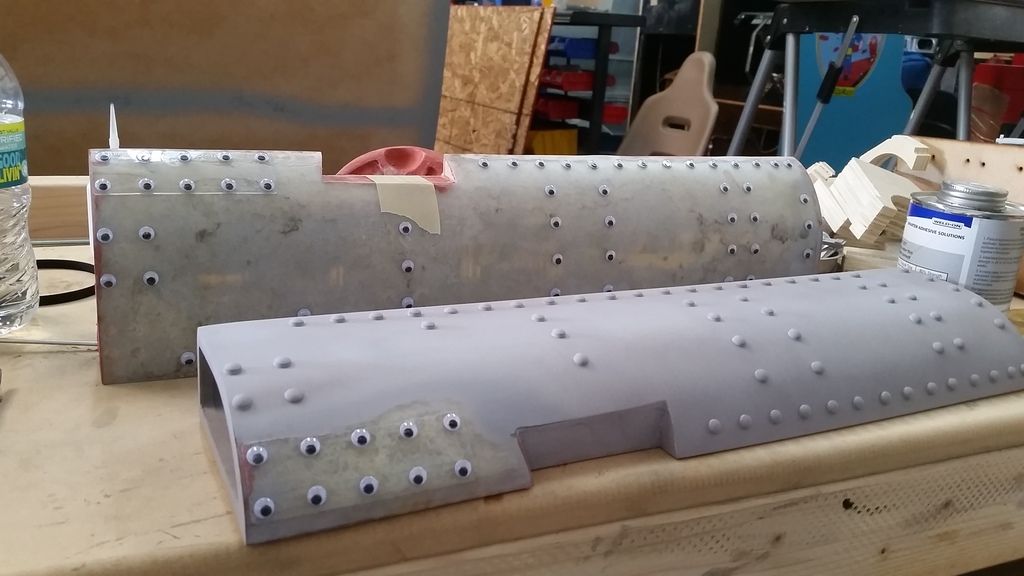
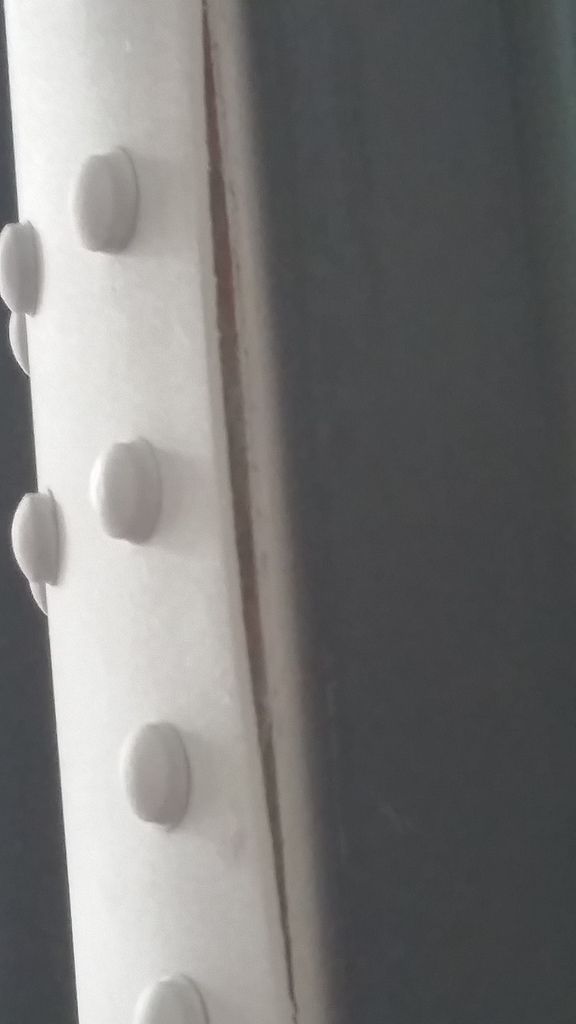


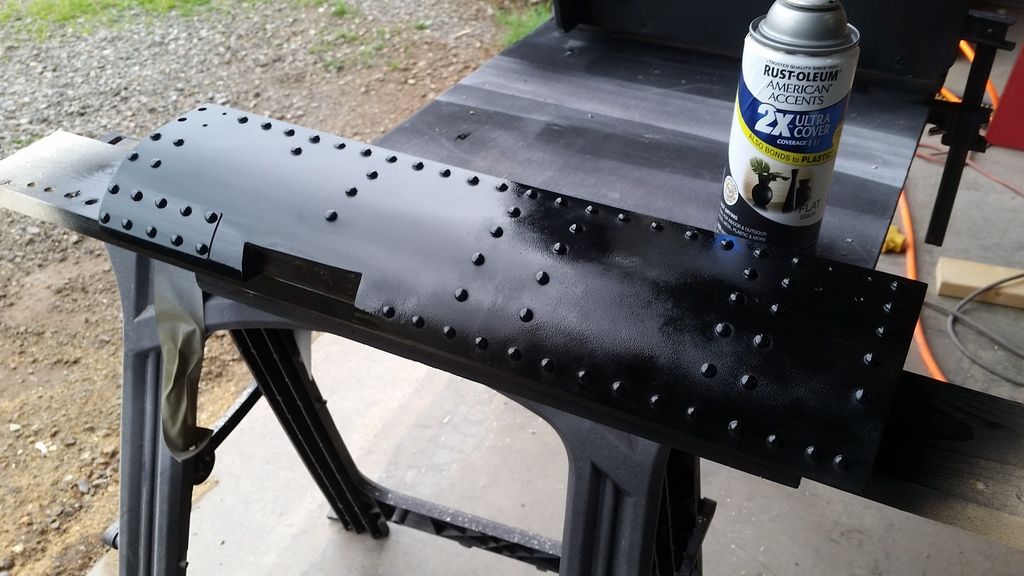
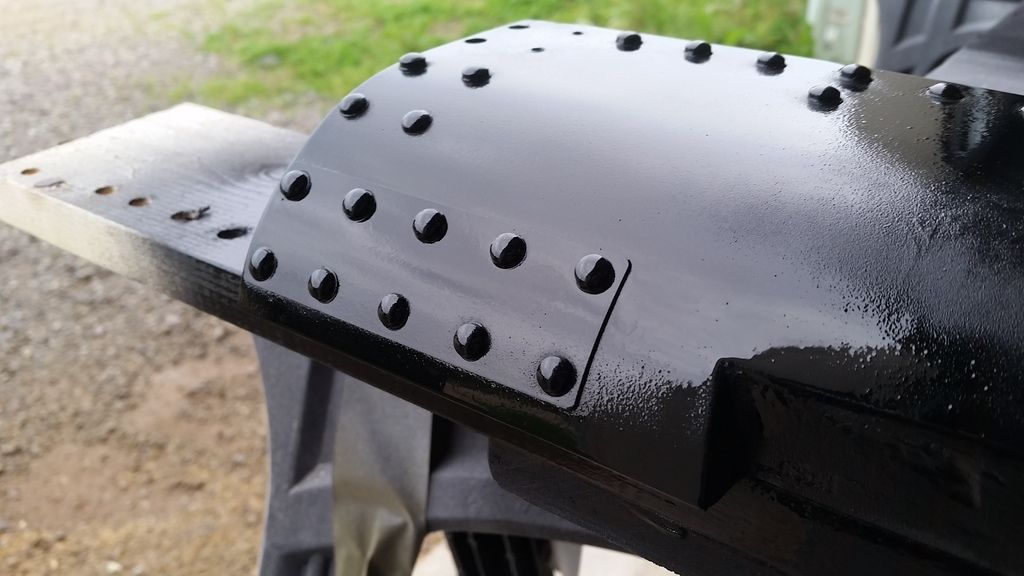
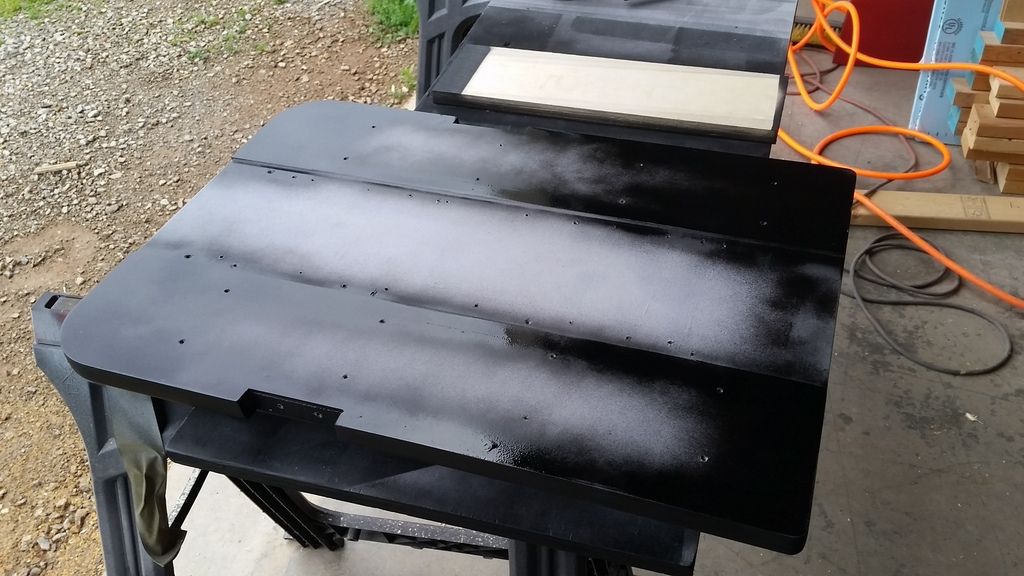
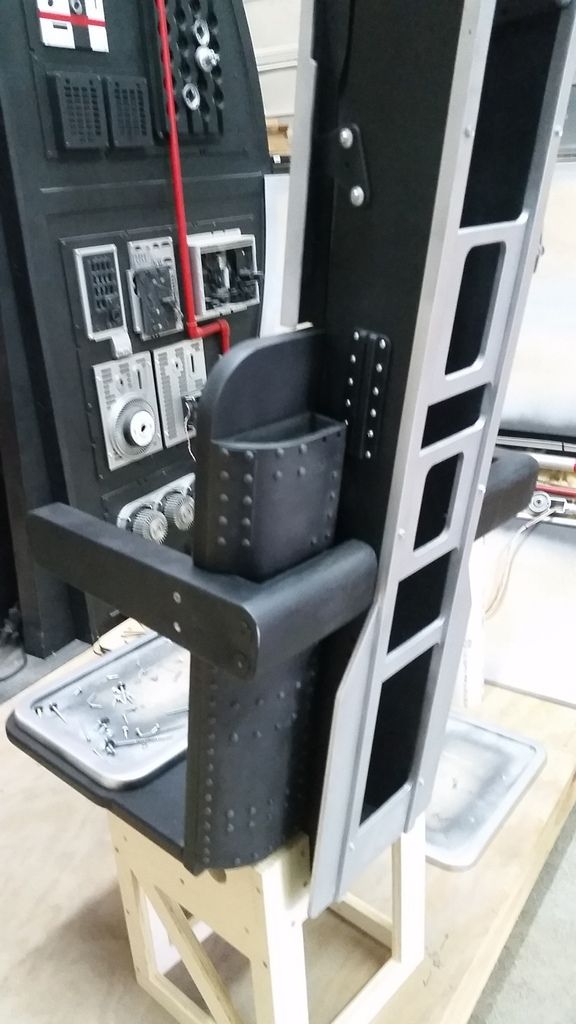


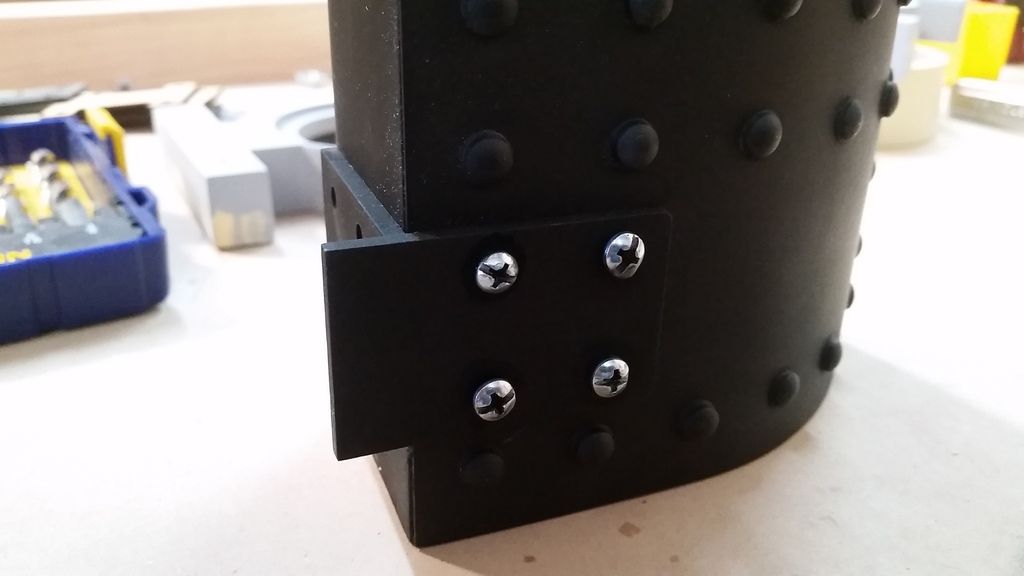
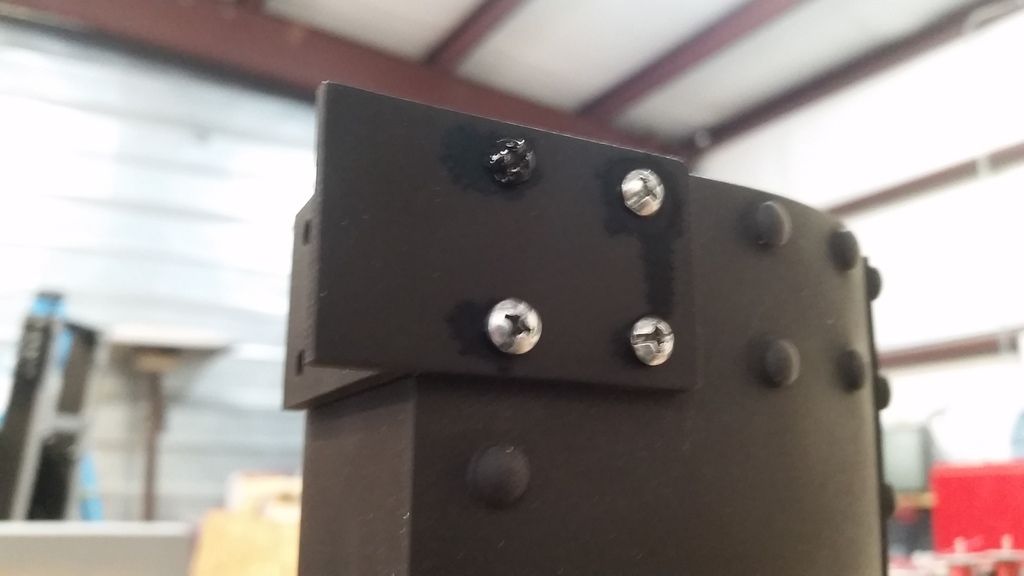
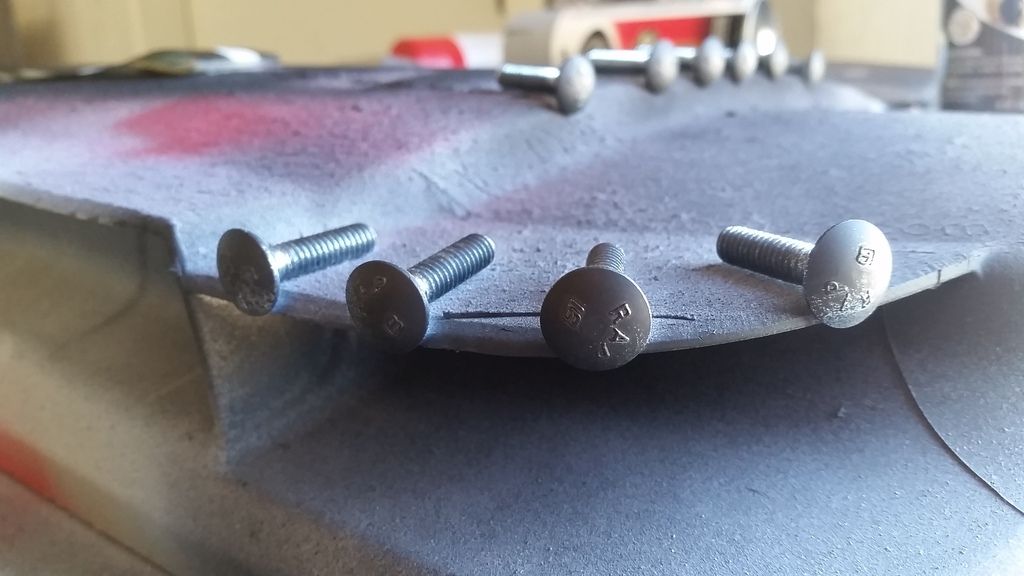


Love the shot with all those googly eyes on the nacelles
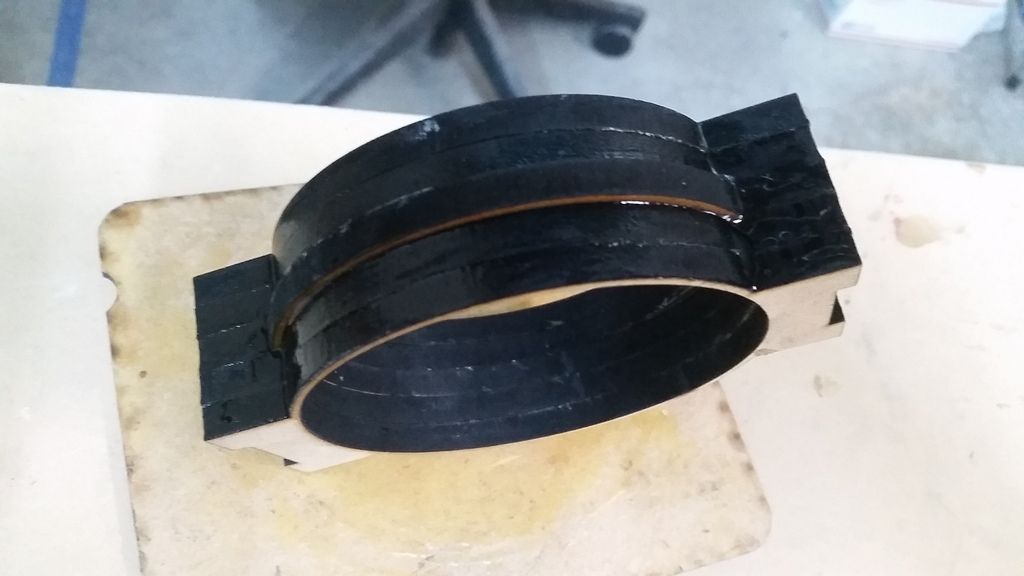
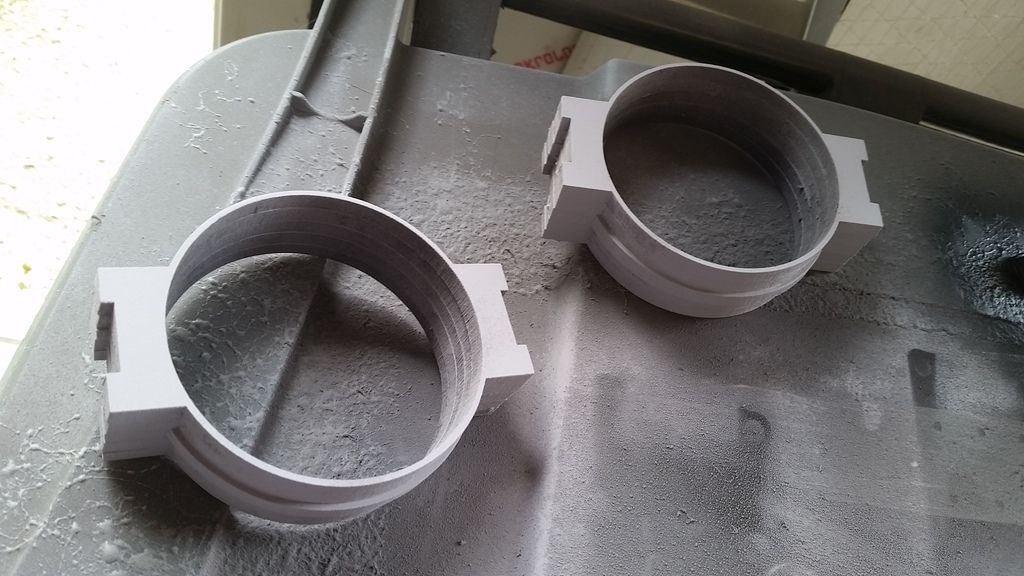
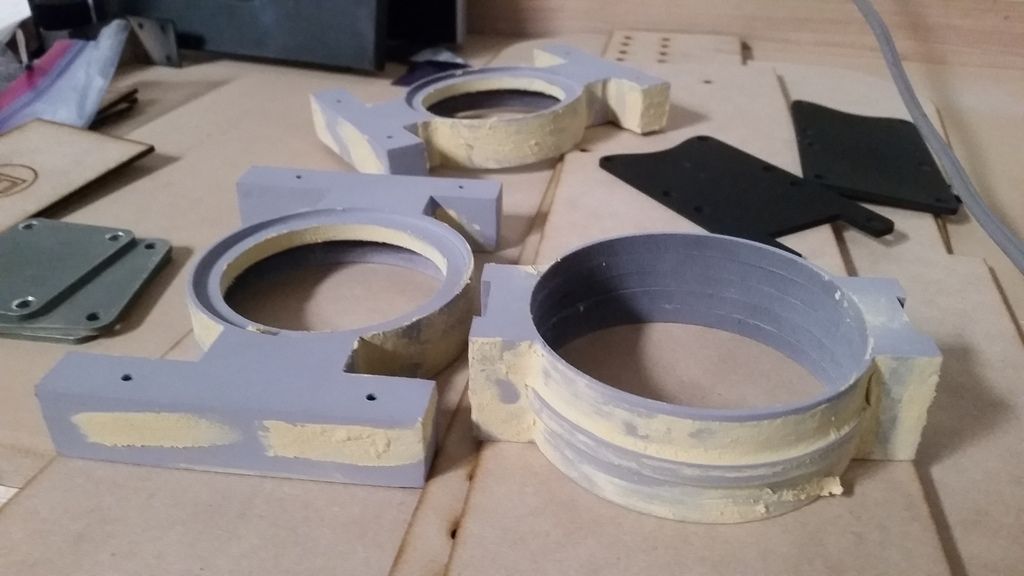
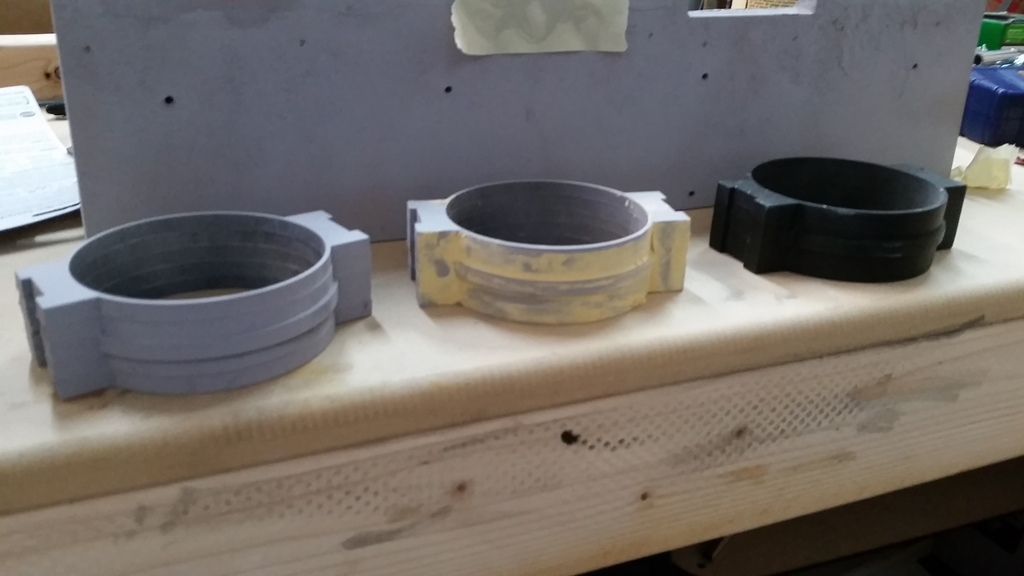
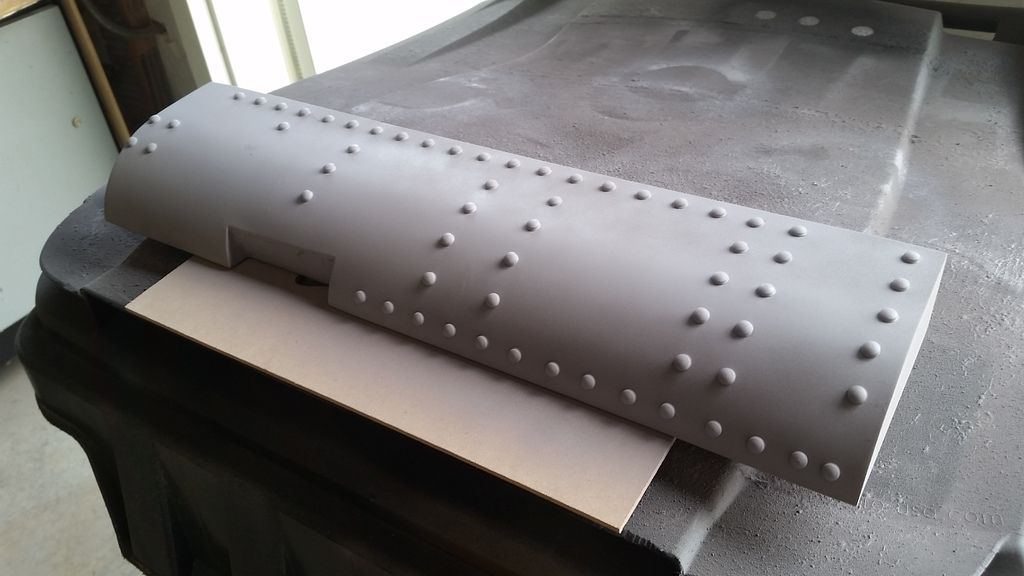
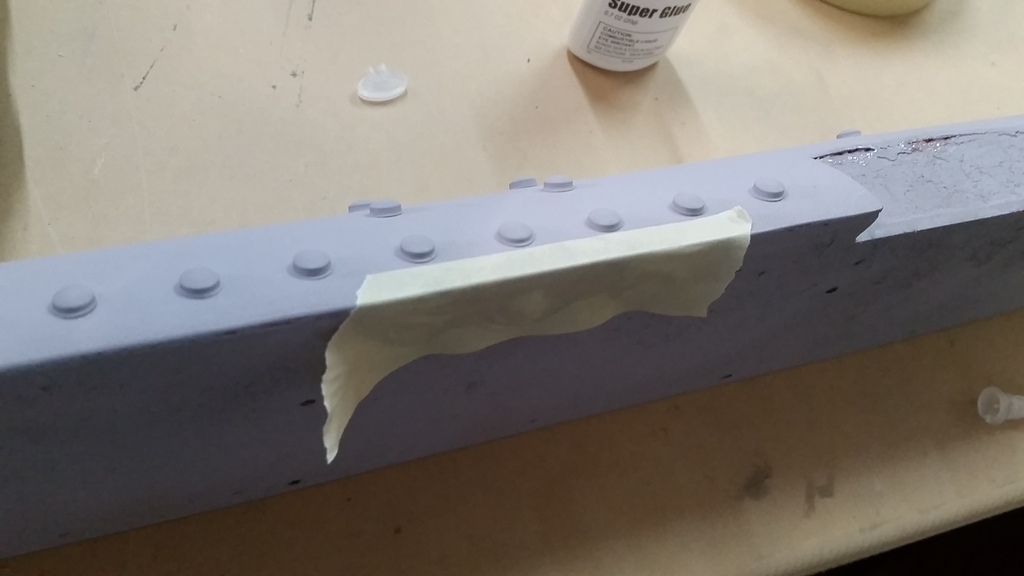
Thanks so much. I am so happy with how they're turning. I still need to place an order for the 1" rubber strips. That's going to be awesome!Oh SofaKing Those nacelles are "Eye" poping!! LOL Wonderful work!! Okay now I need to build something!!
Cheers Éric.
Eye-eye Captain!!! Permission to drop saliva uncontrollably from the mouth area, Saaar?