Hi Gang,
The Weekend Update Part I! Let's get started!
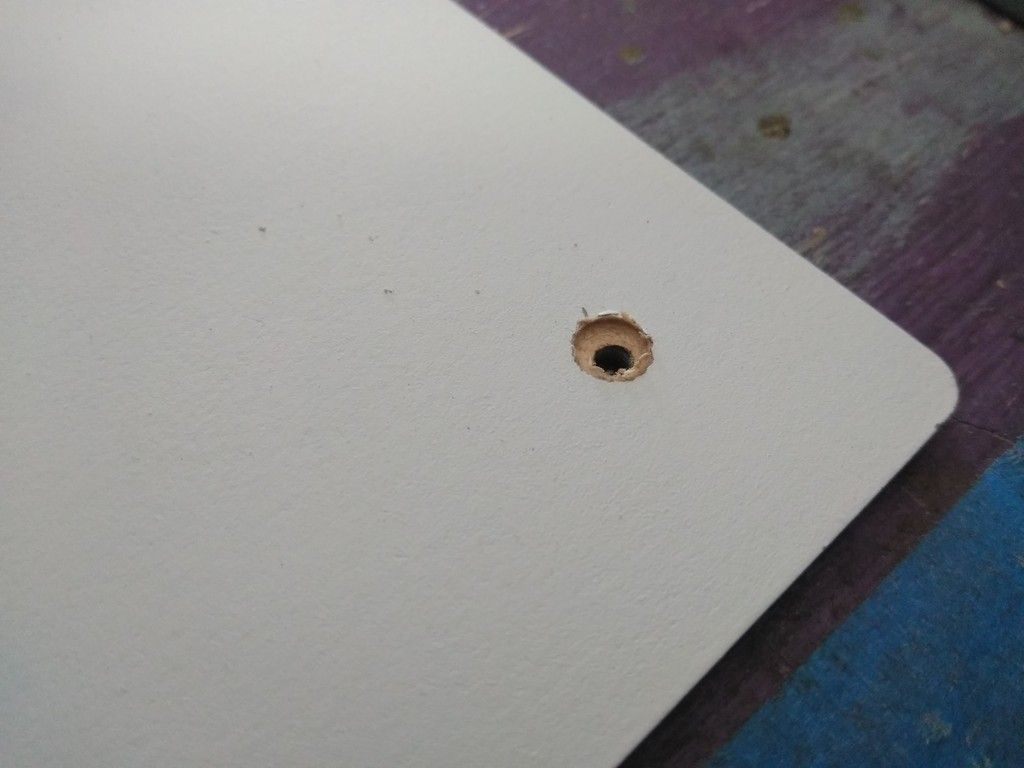
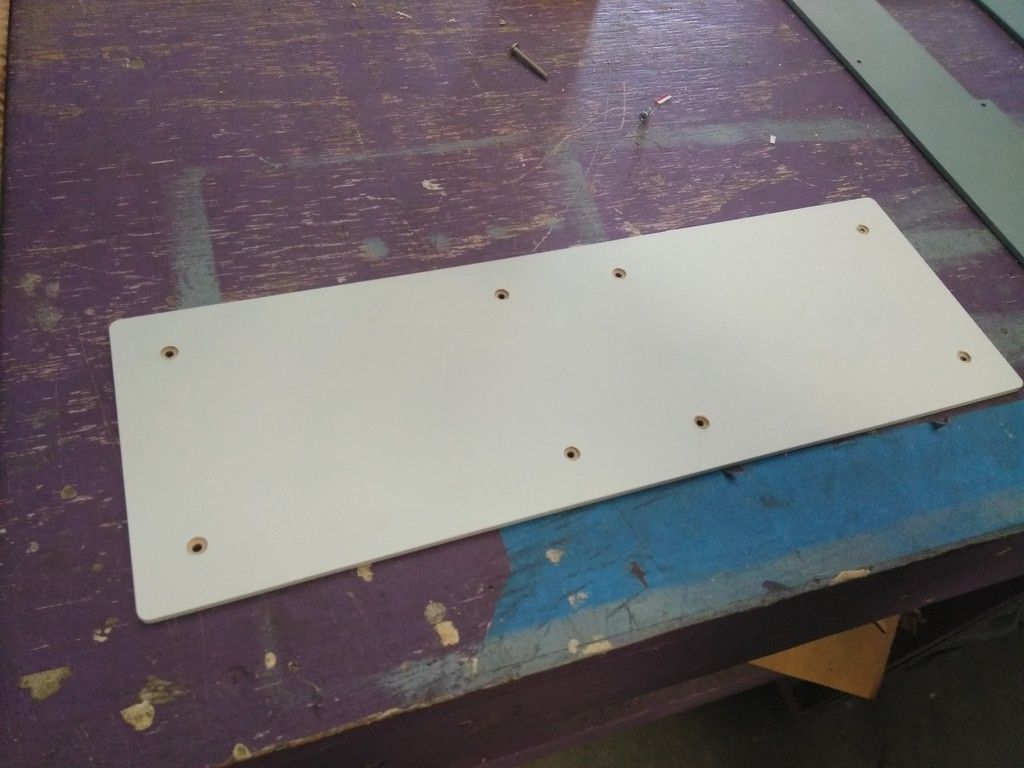
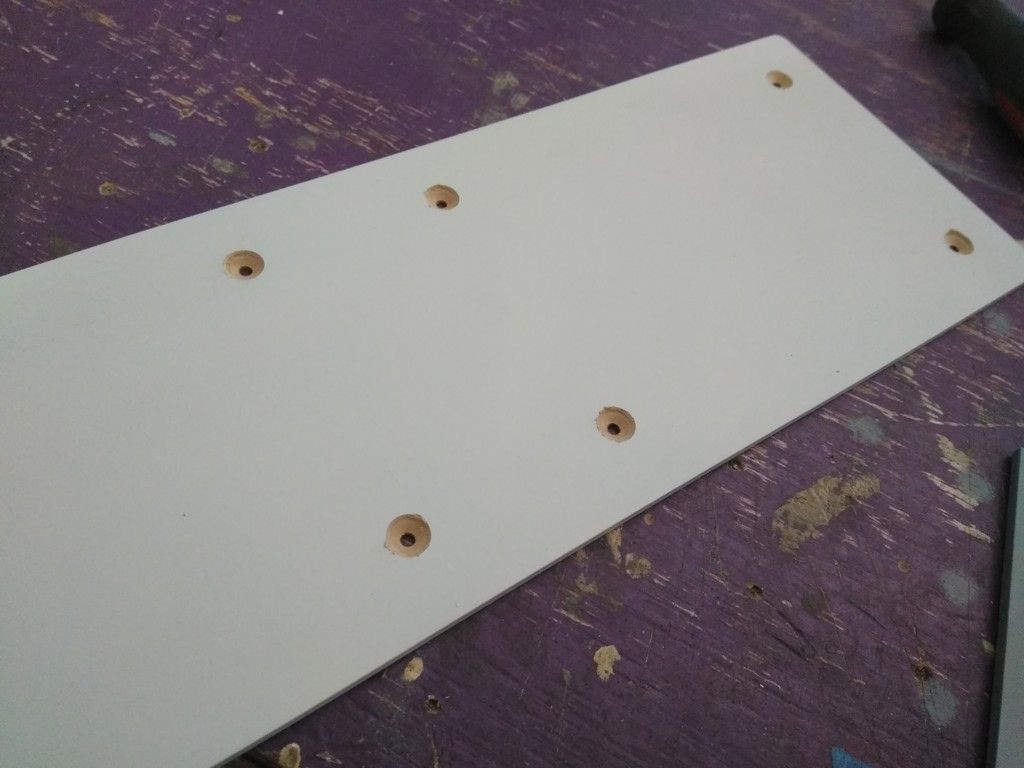
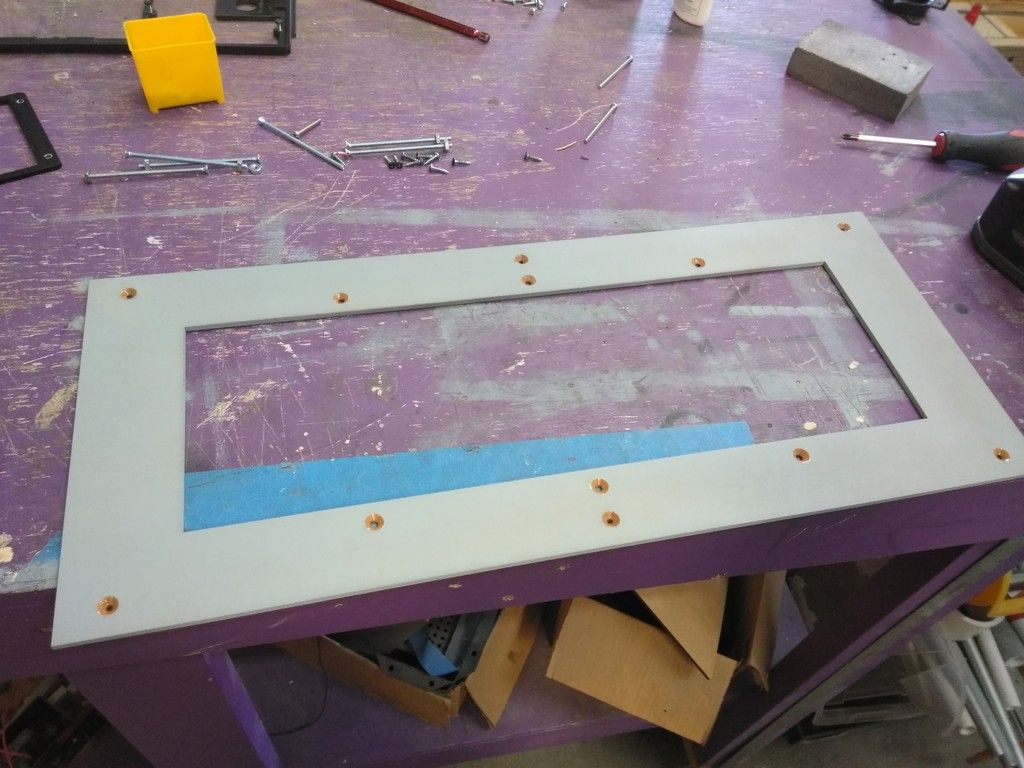
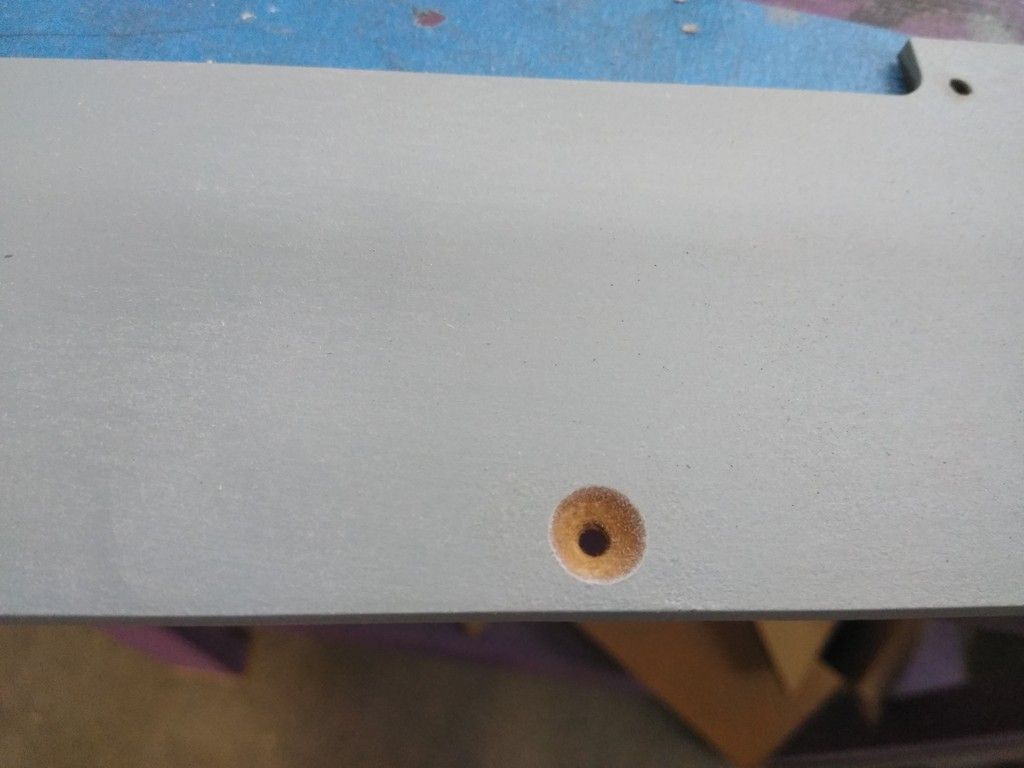
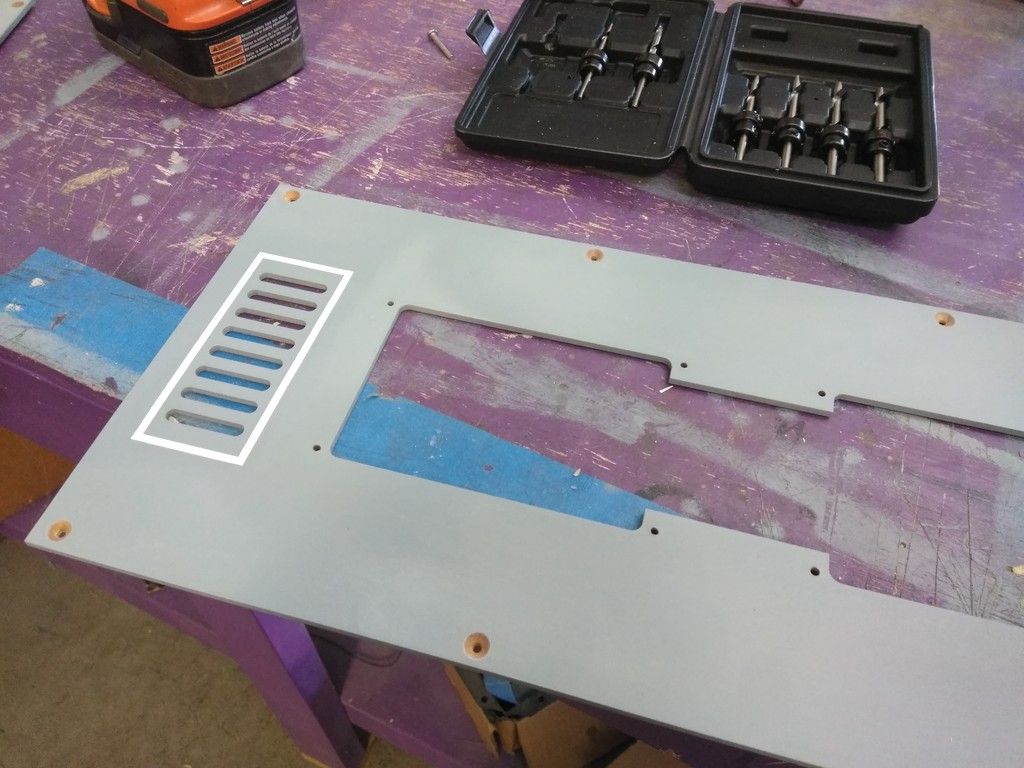
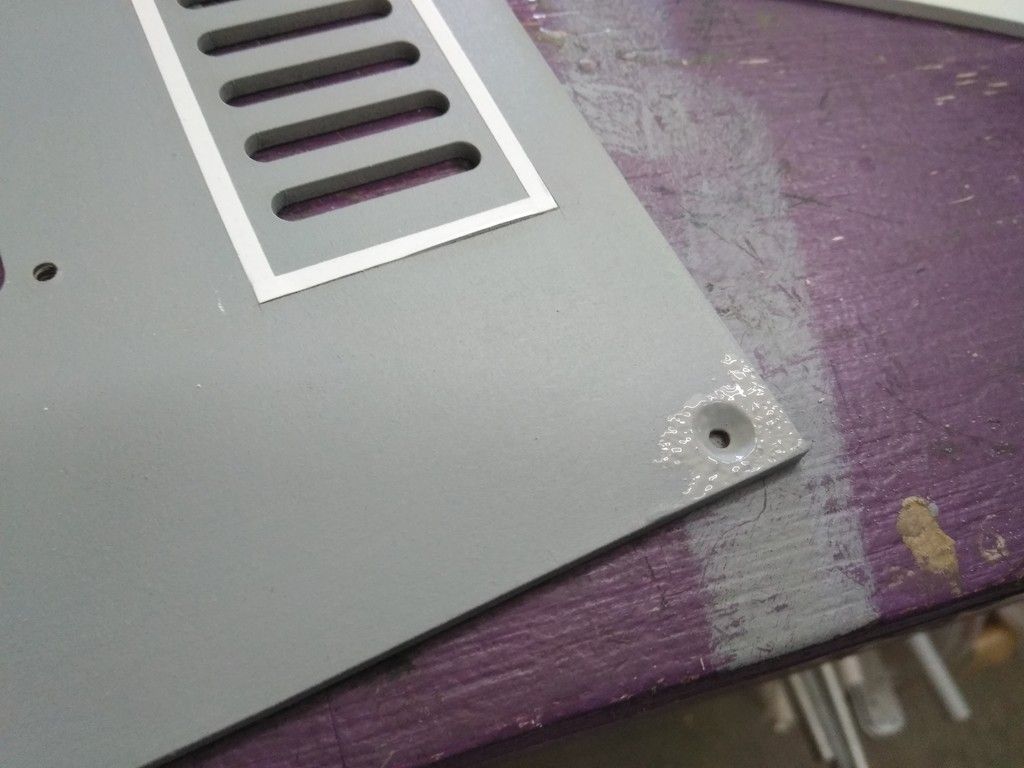
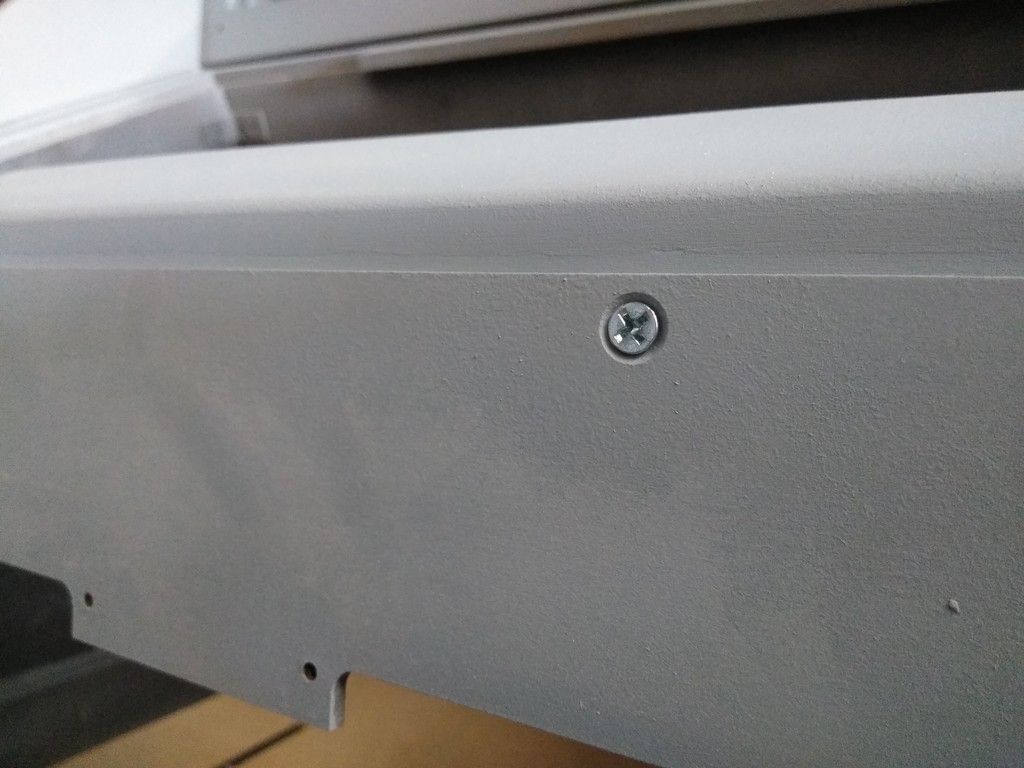
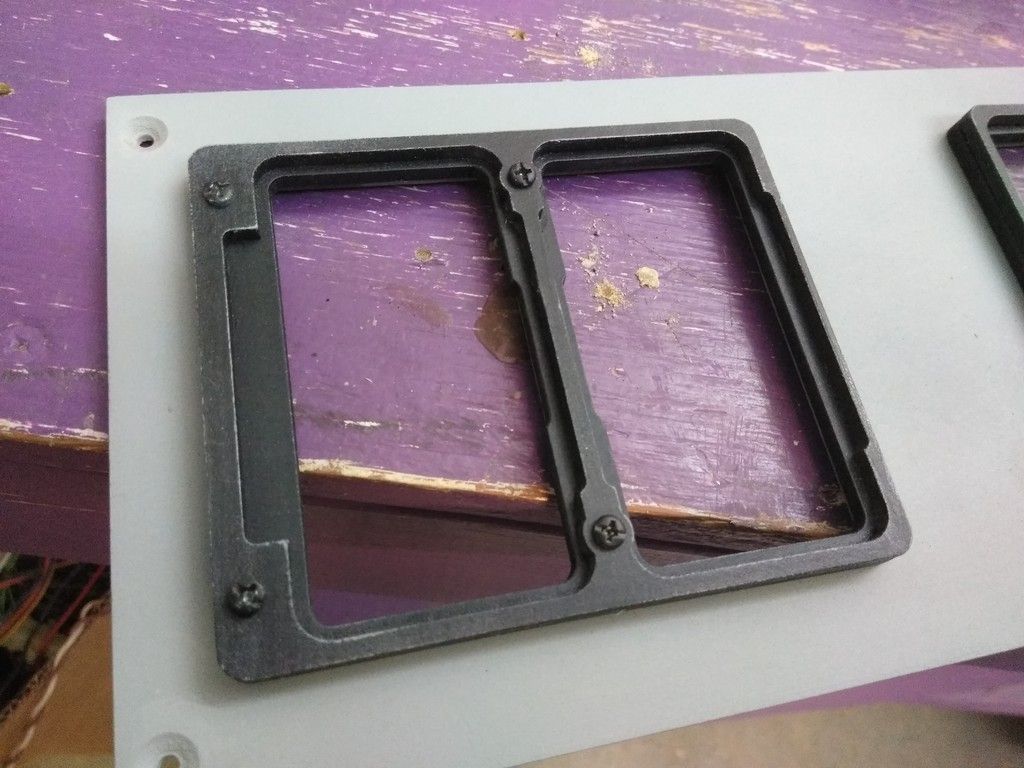
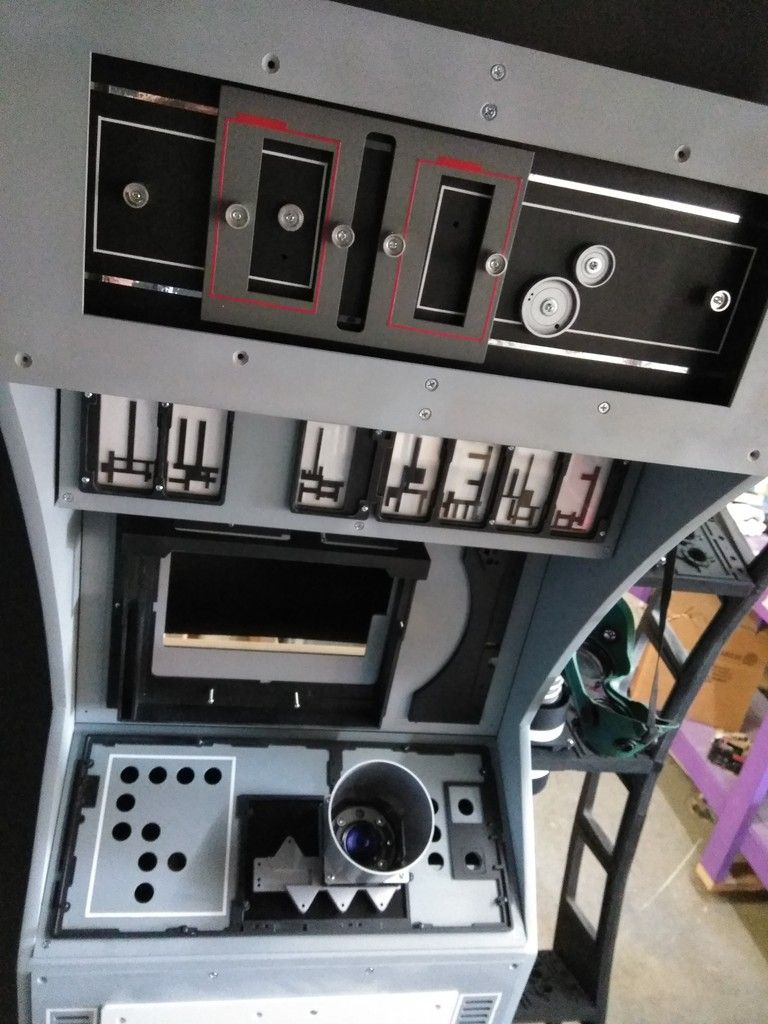
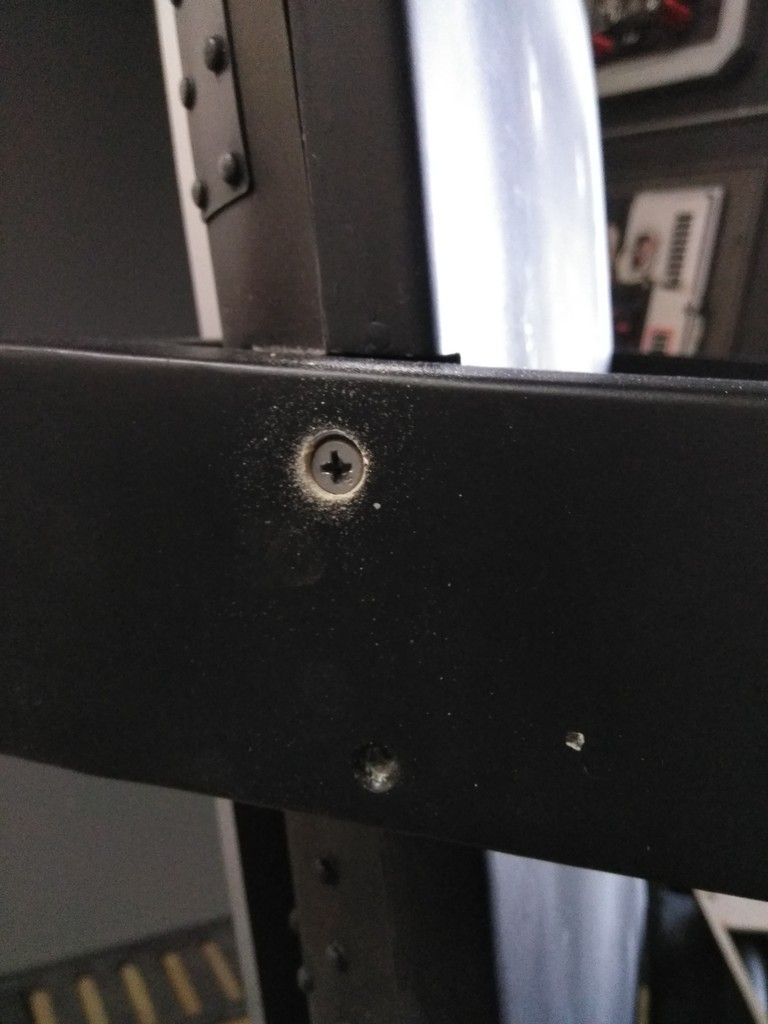
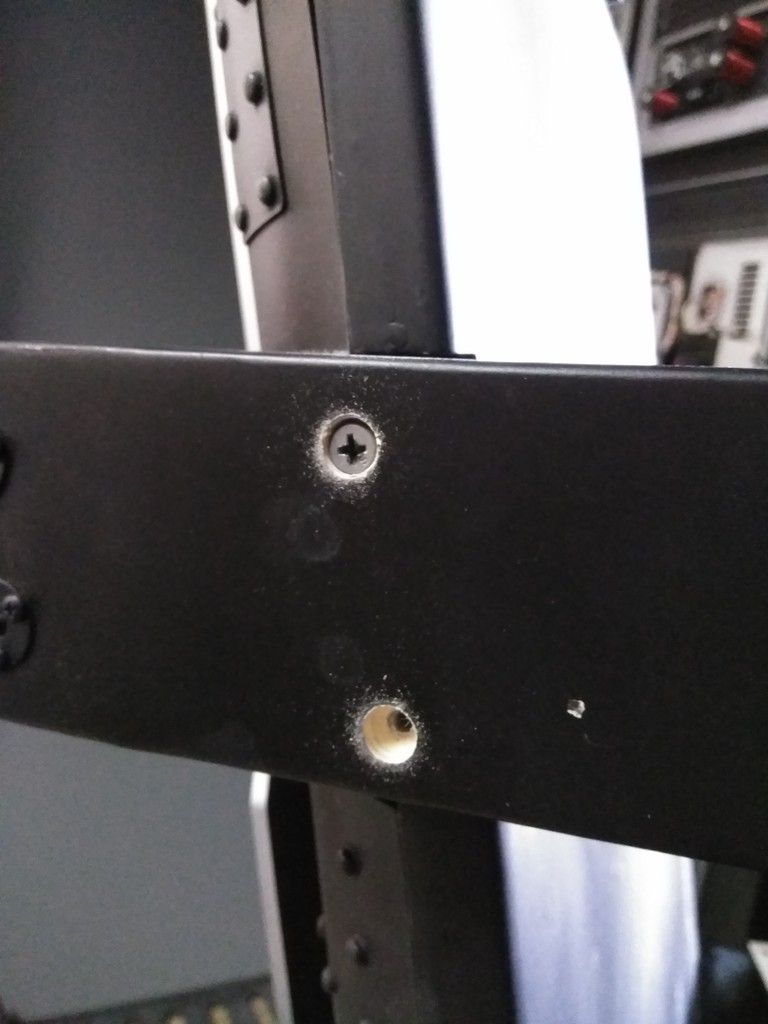
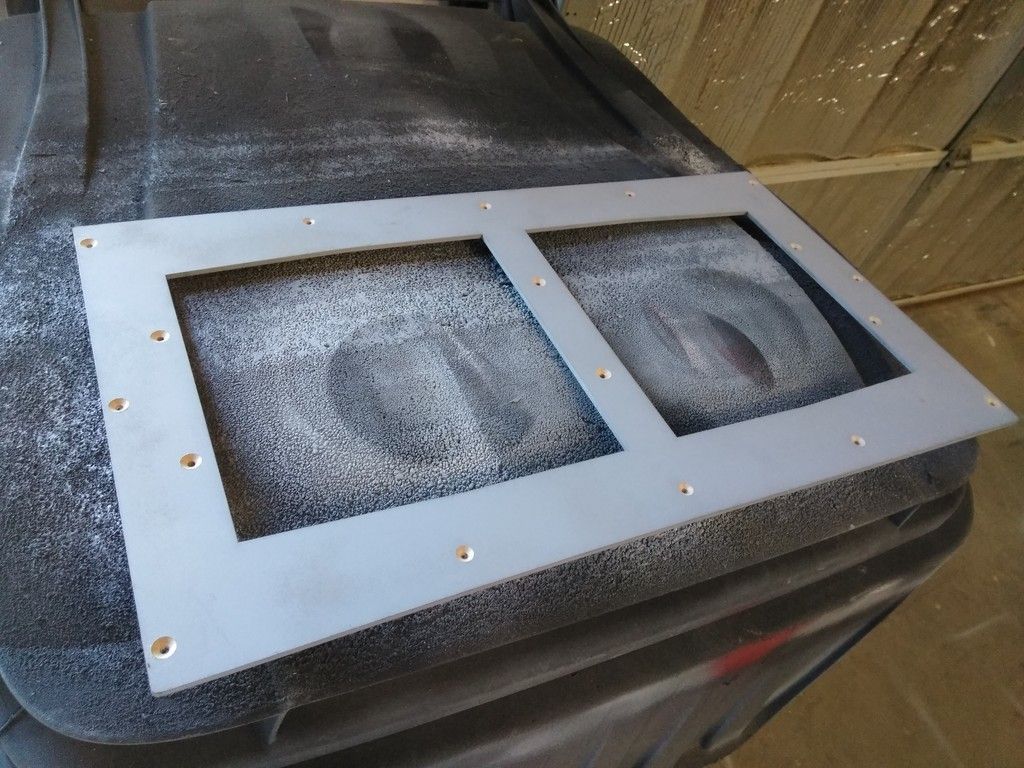
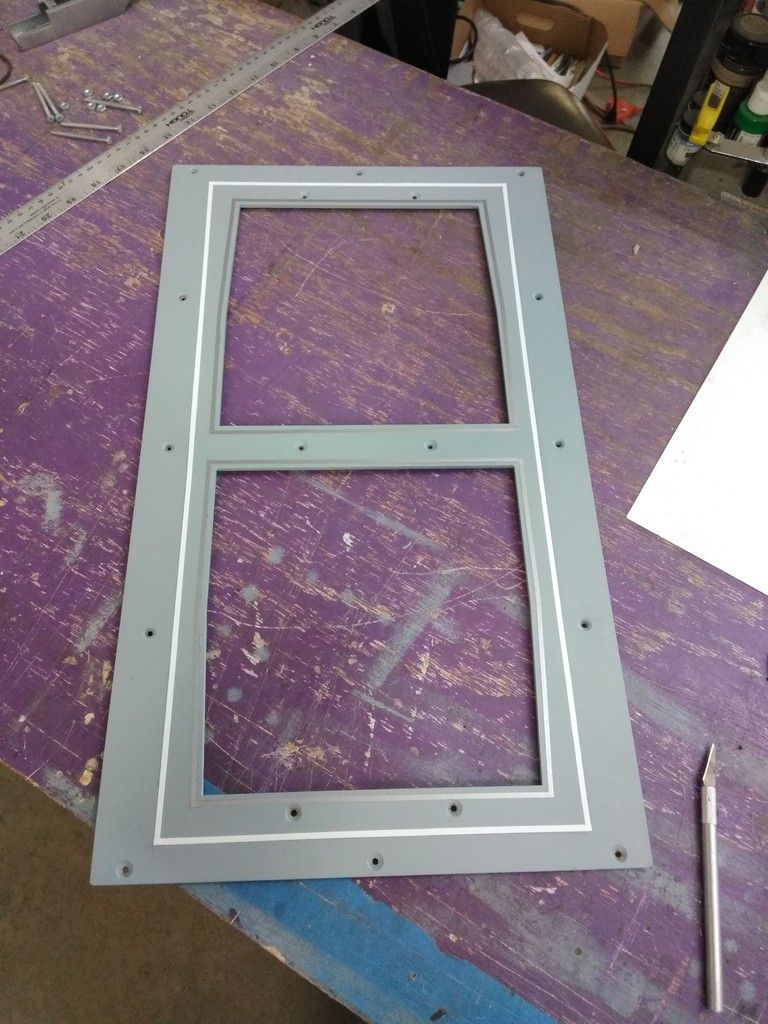
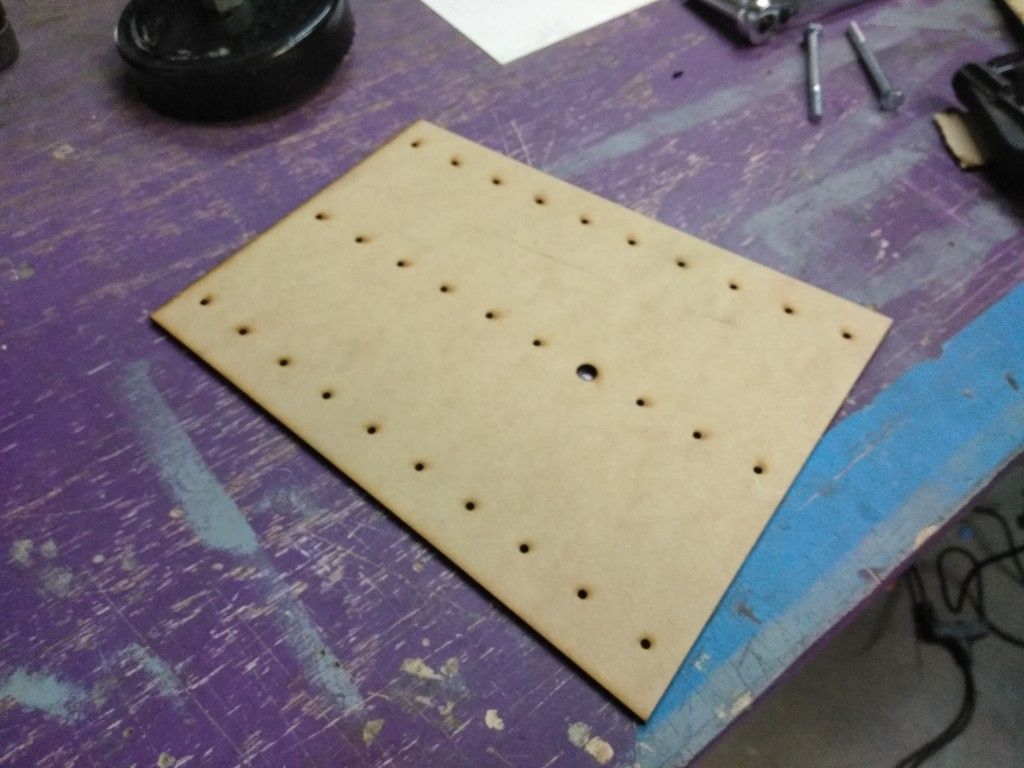
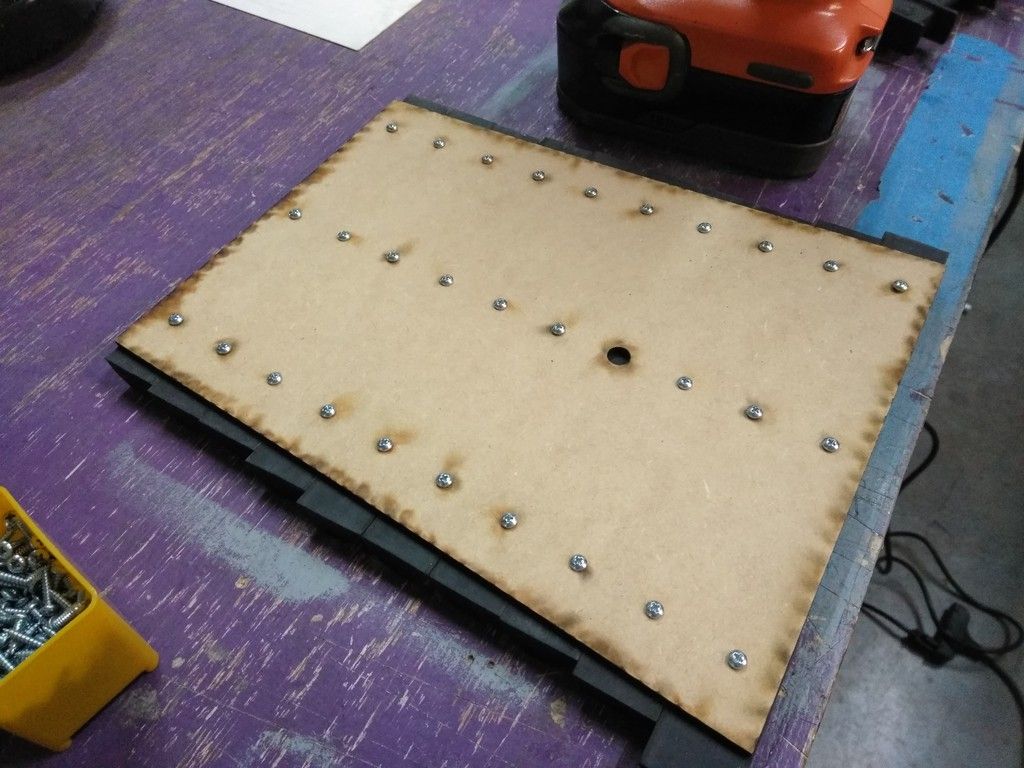
I wasn't fond of the way the small screw heads sat above the panels on the maint console so I countersunk all the screws and used a flattop screw
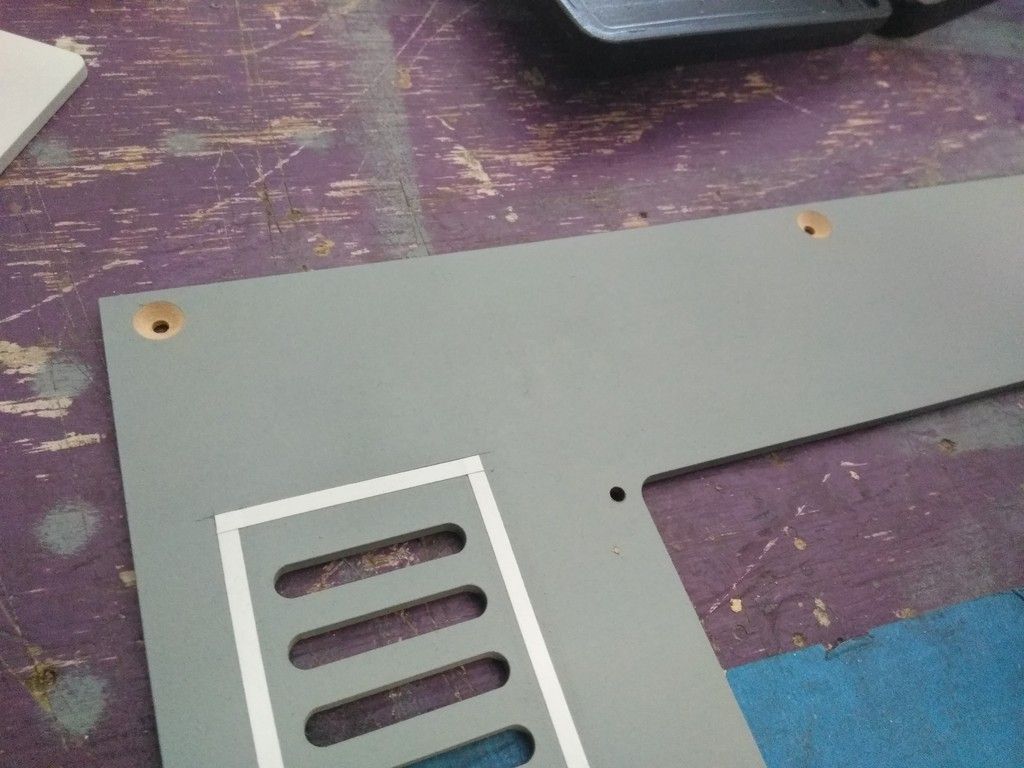
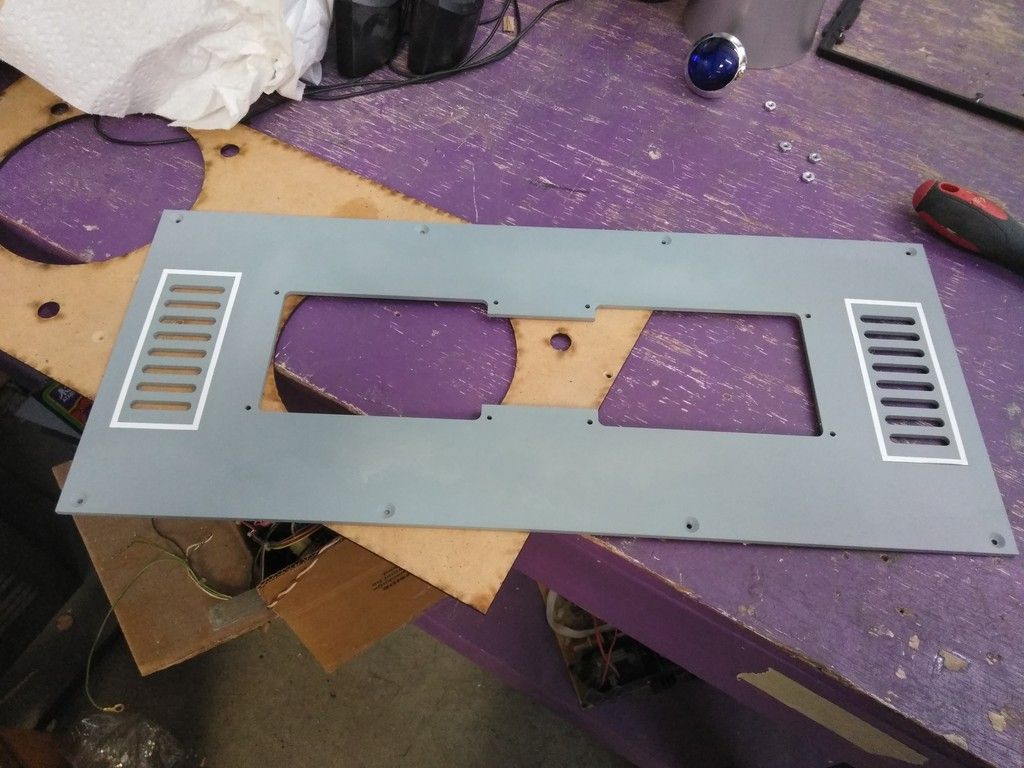
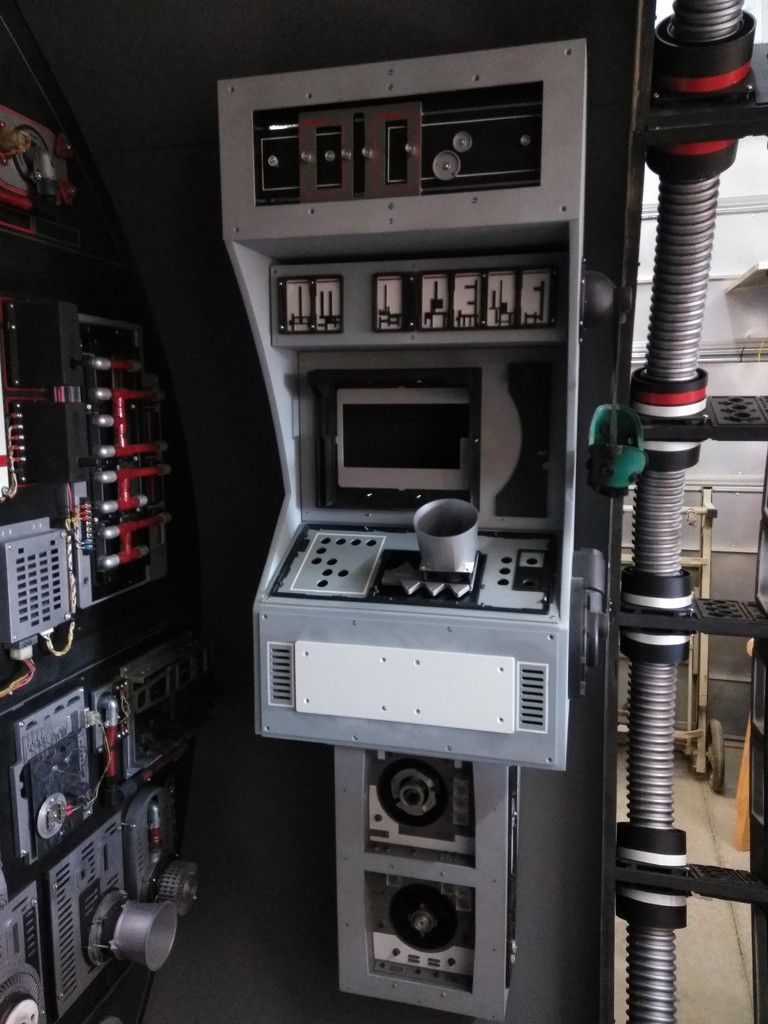
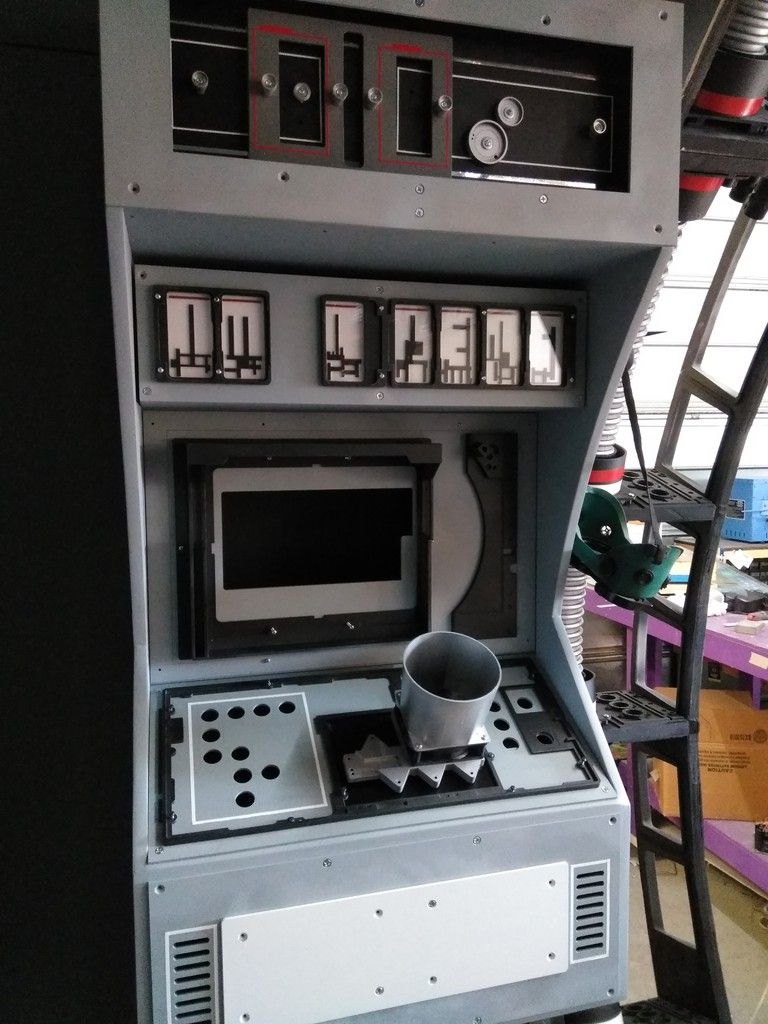
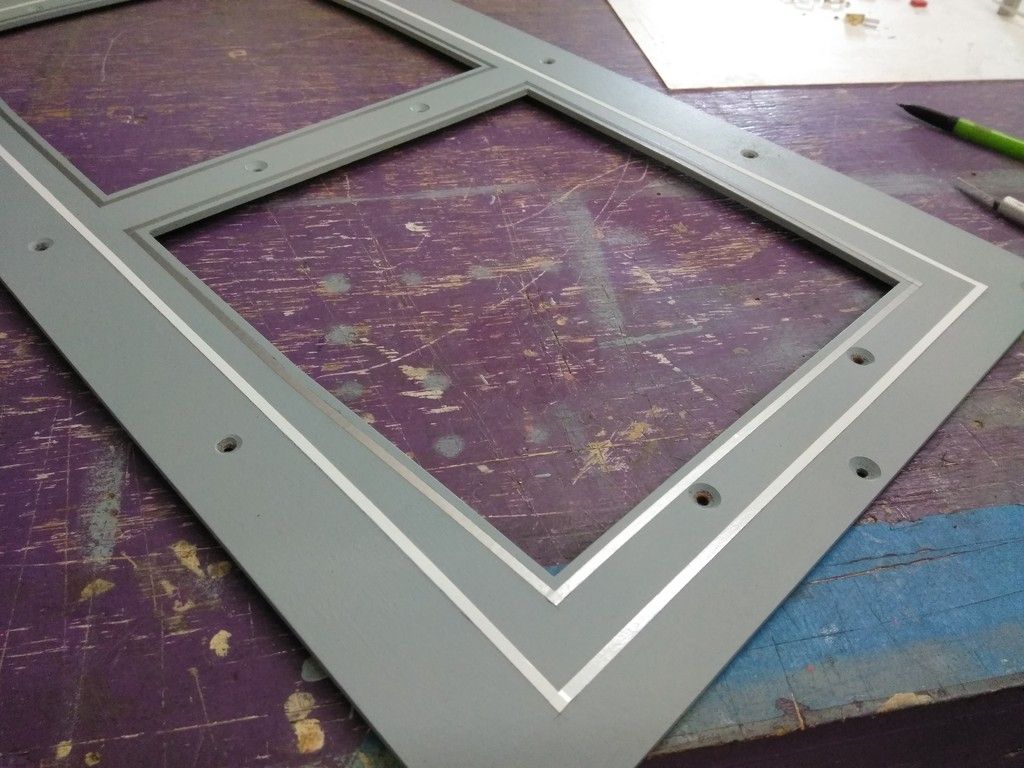
The upper greeblie panel
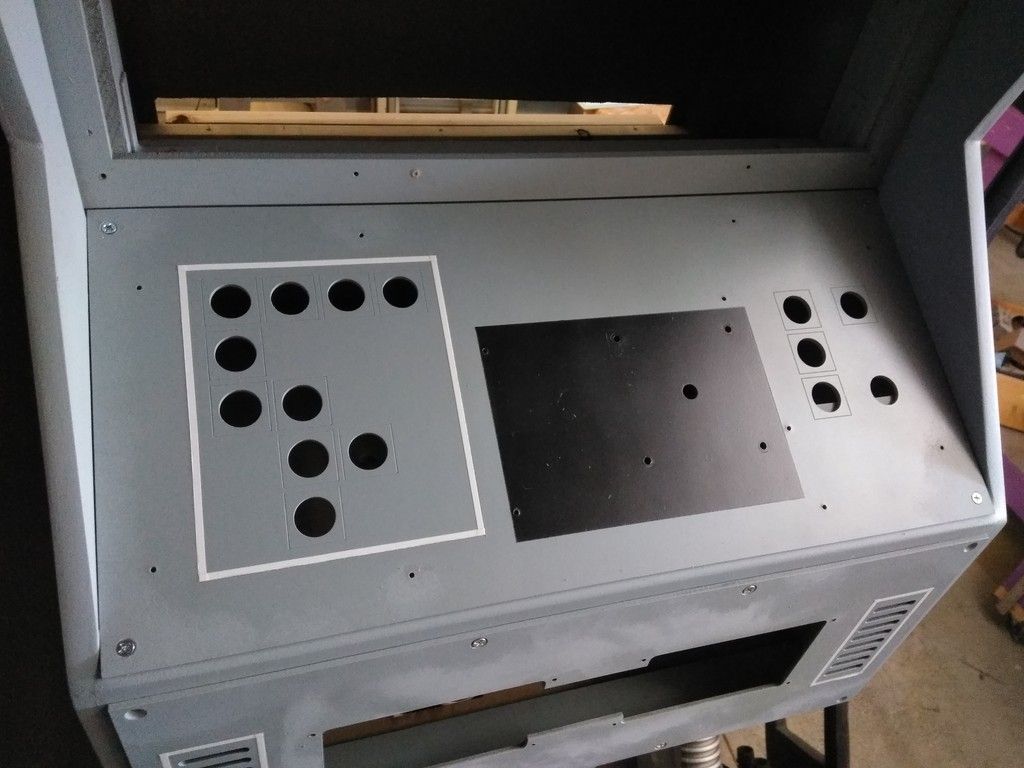
Main panel
I then applied superglue to the exposed MDF to harden the edges
Touched up with a little paint
Perfect
I'll paint the screws to match so they disappear into the panel
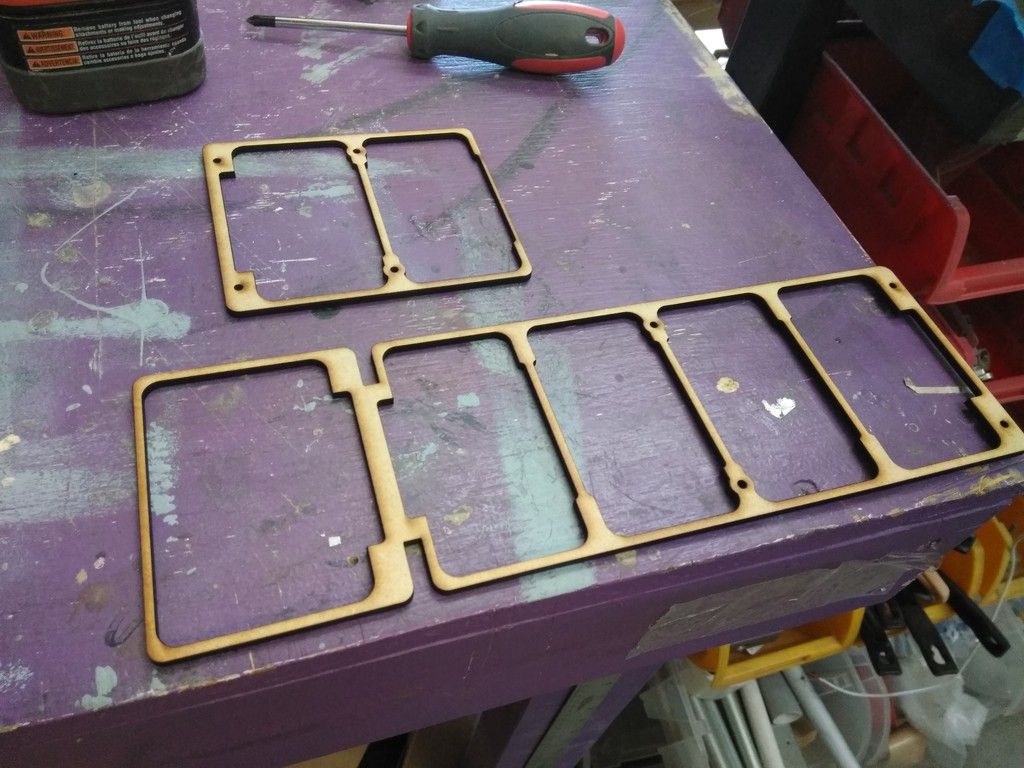
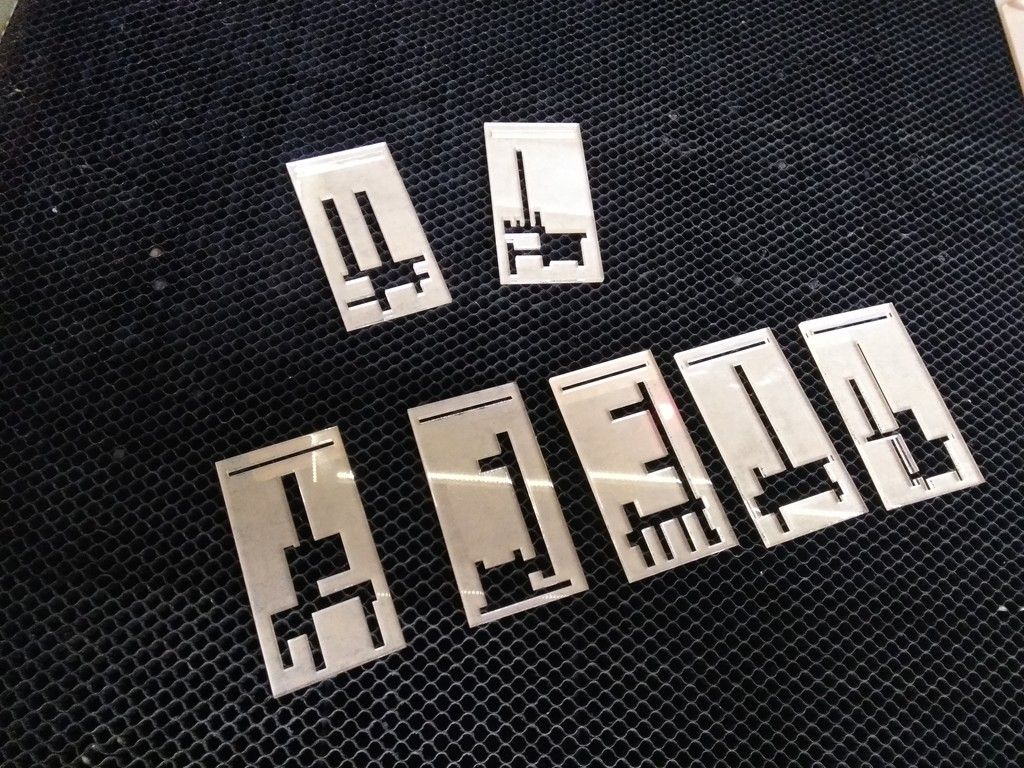
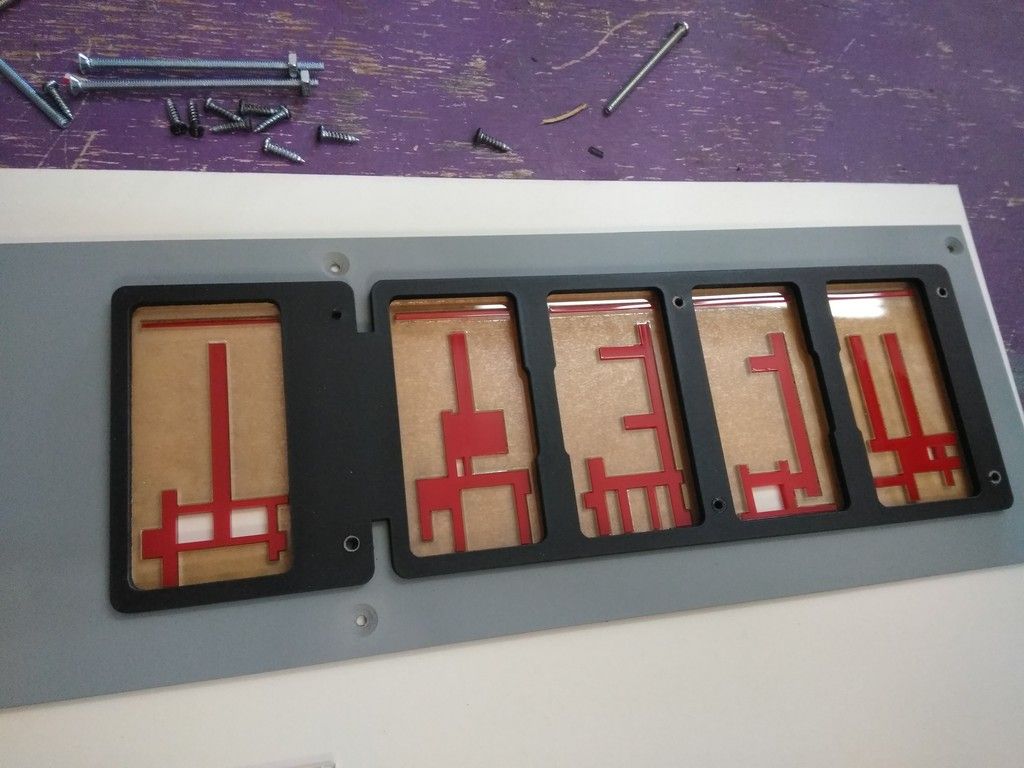
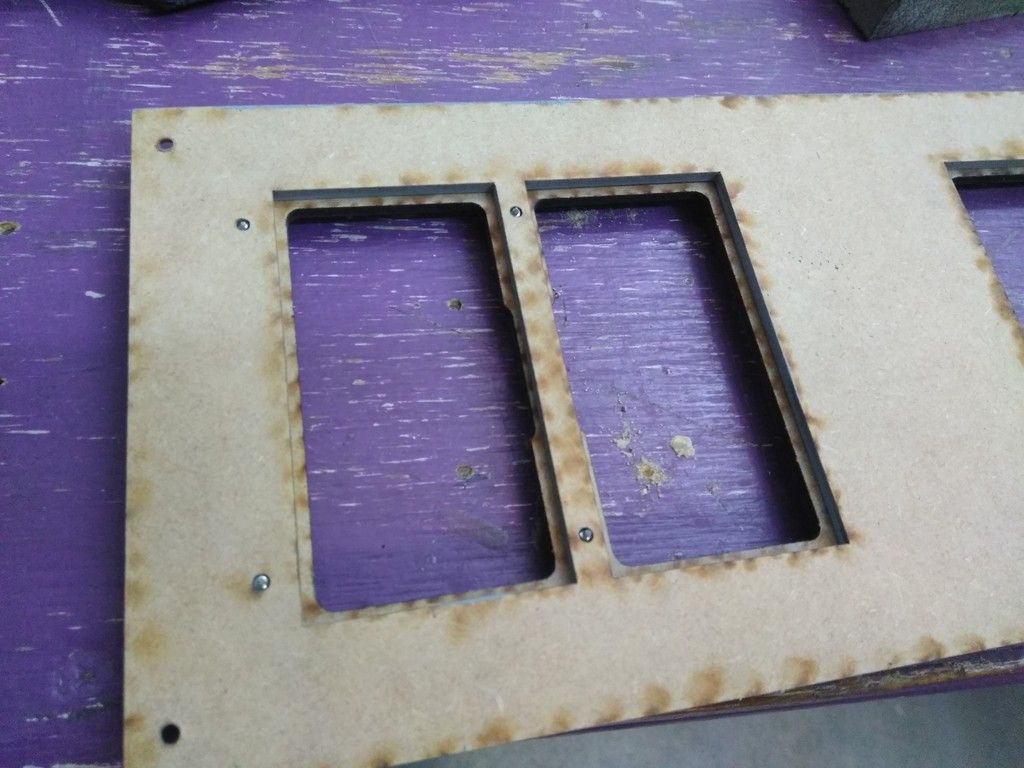
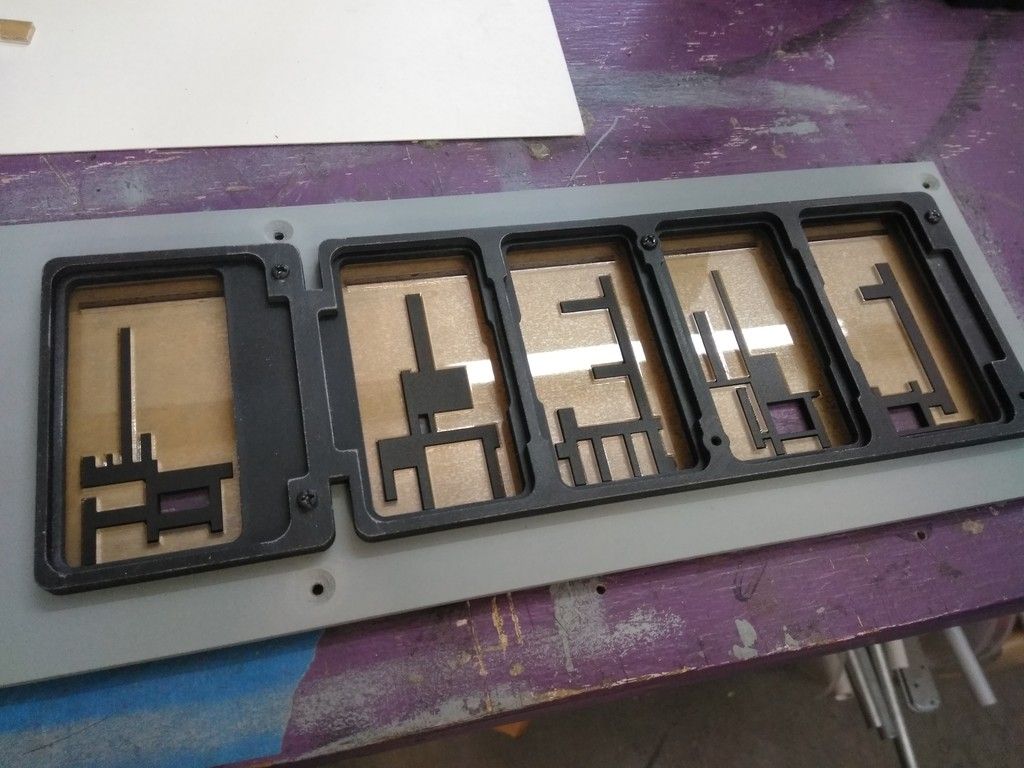
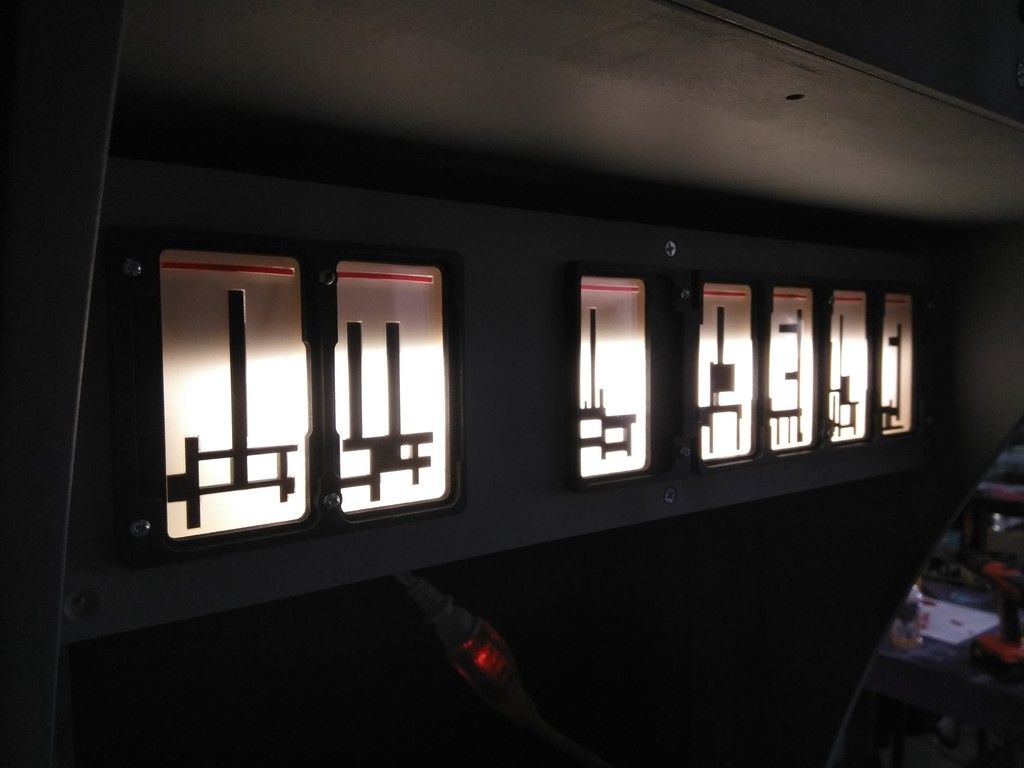
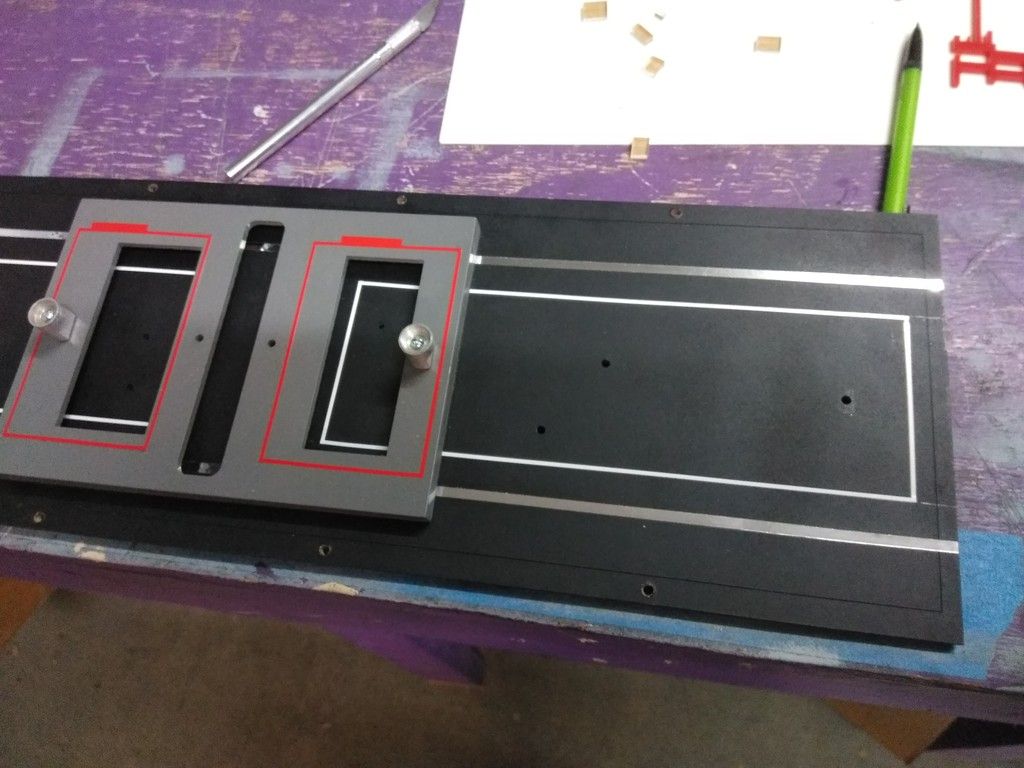
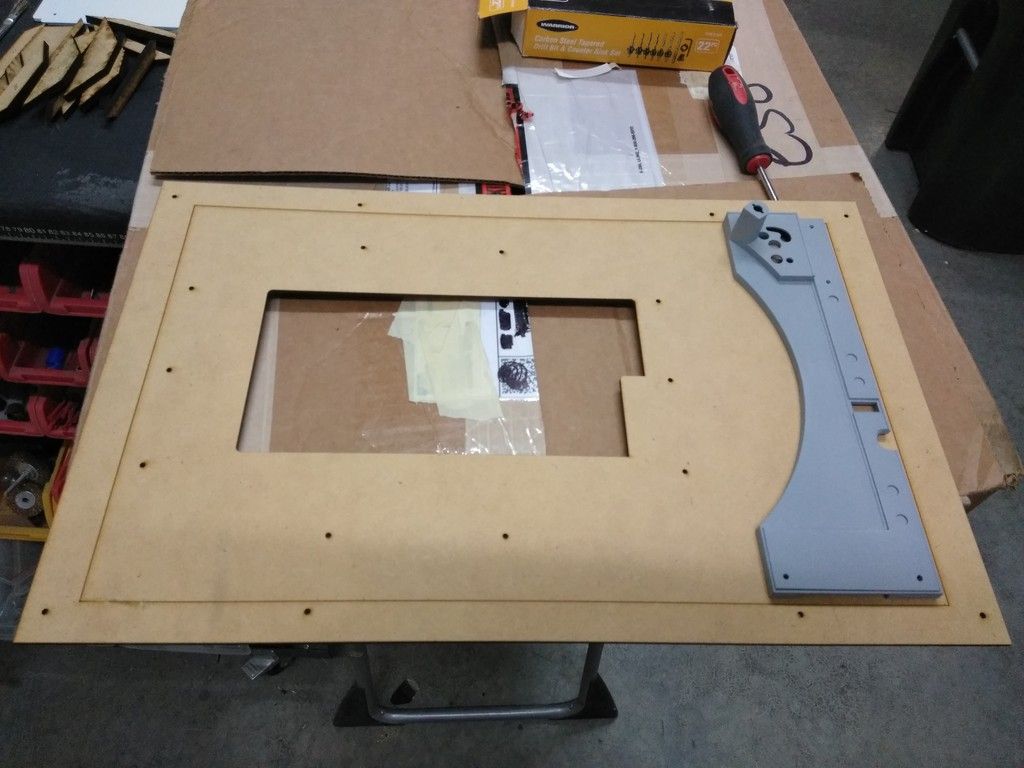
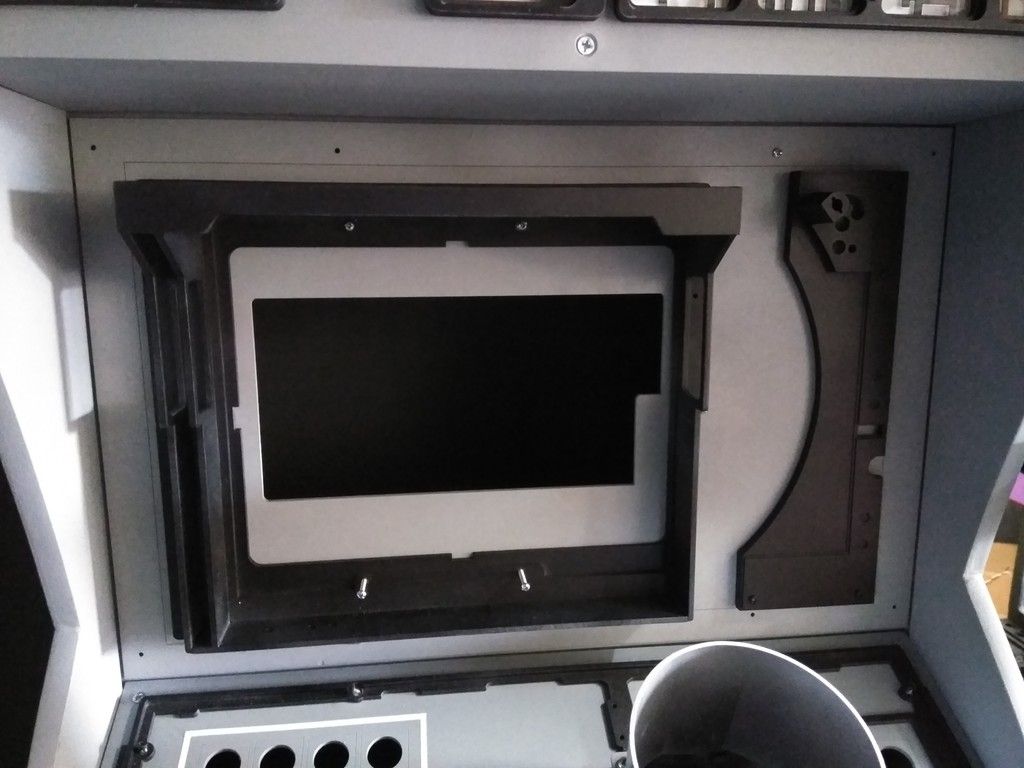
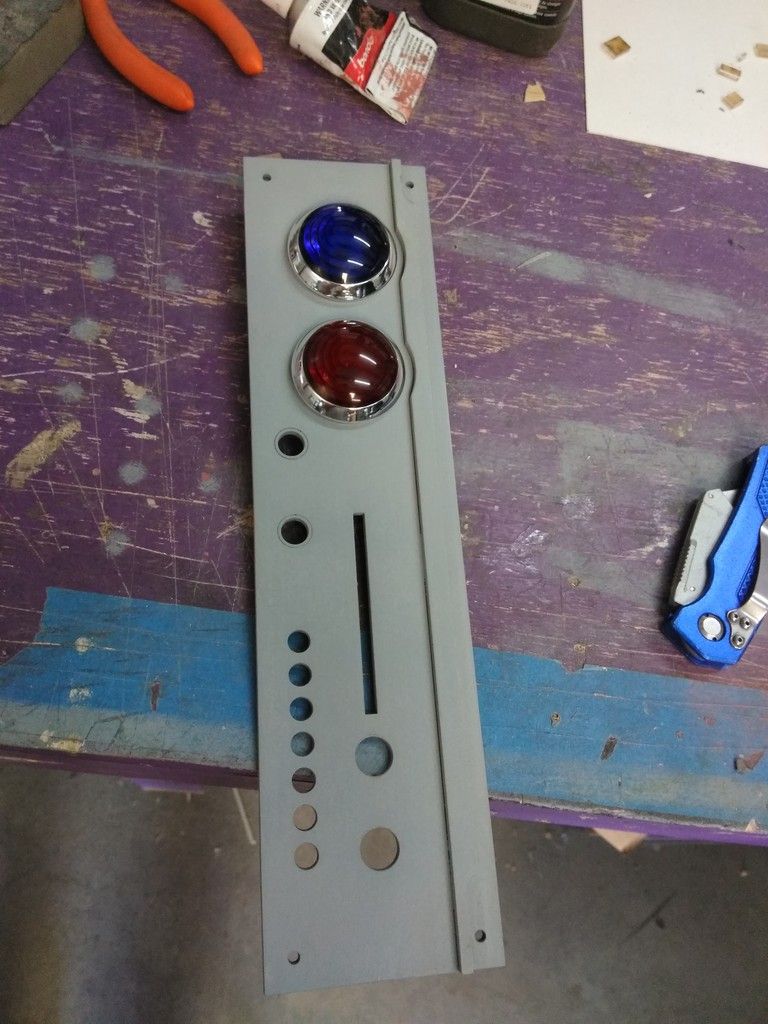
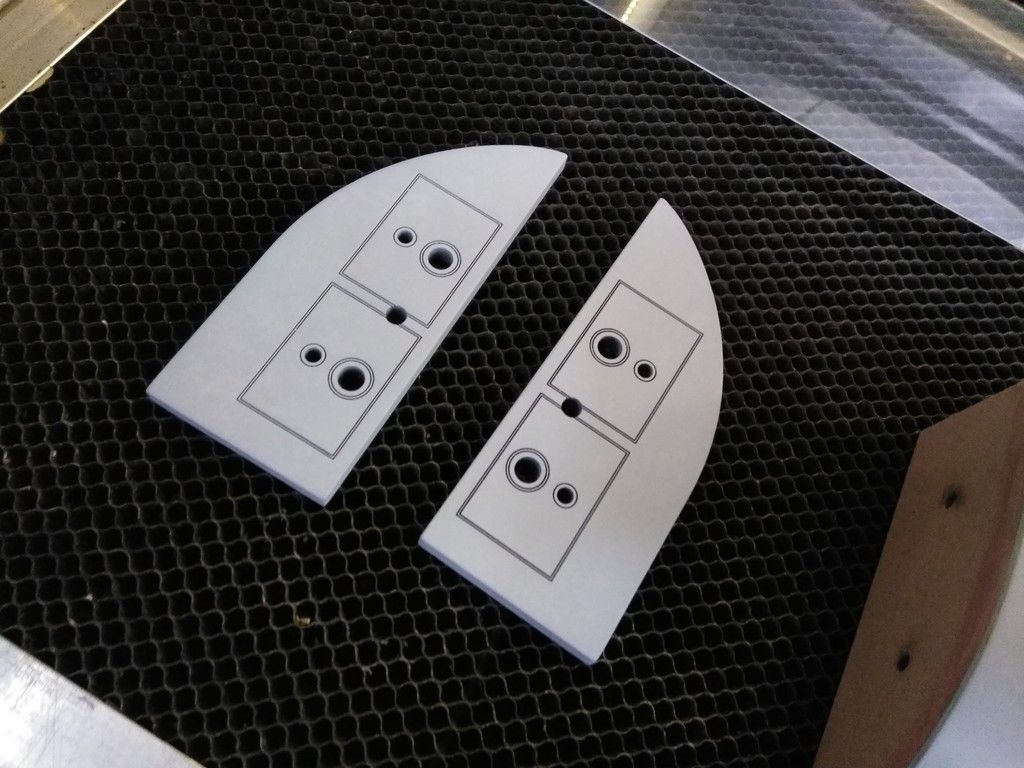
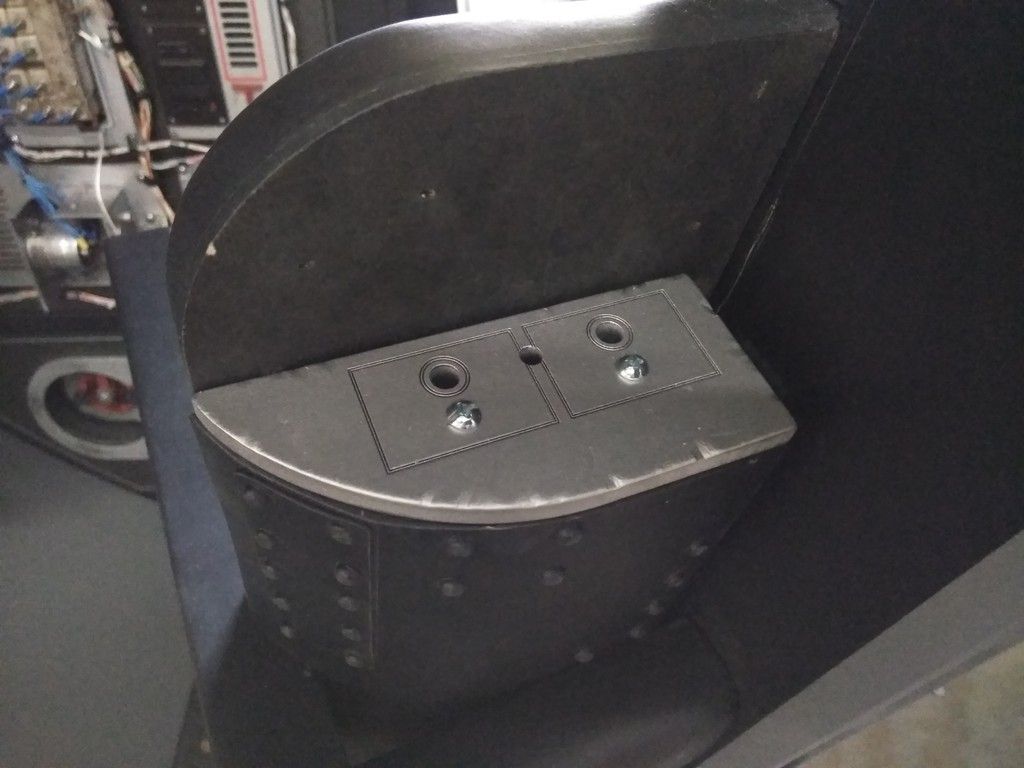
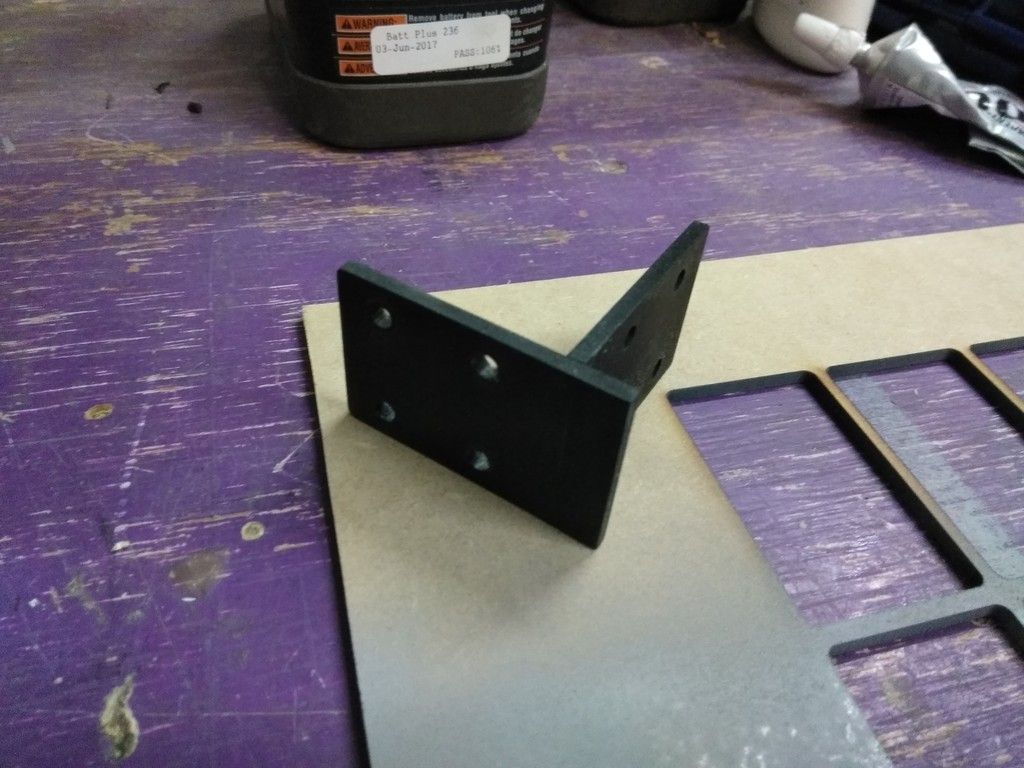
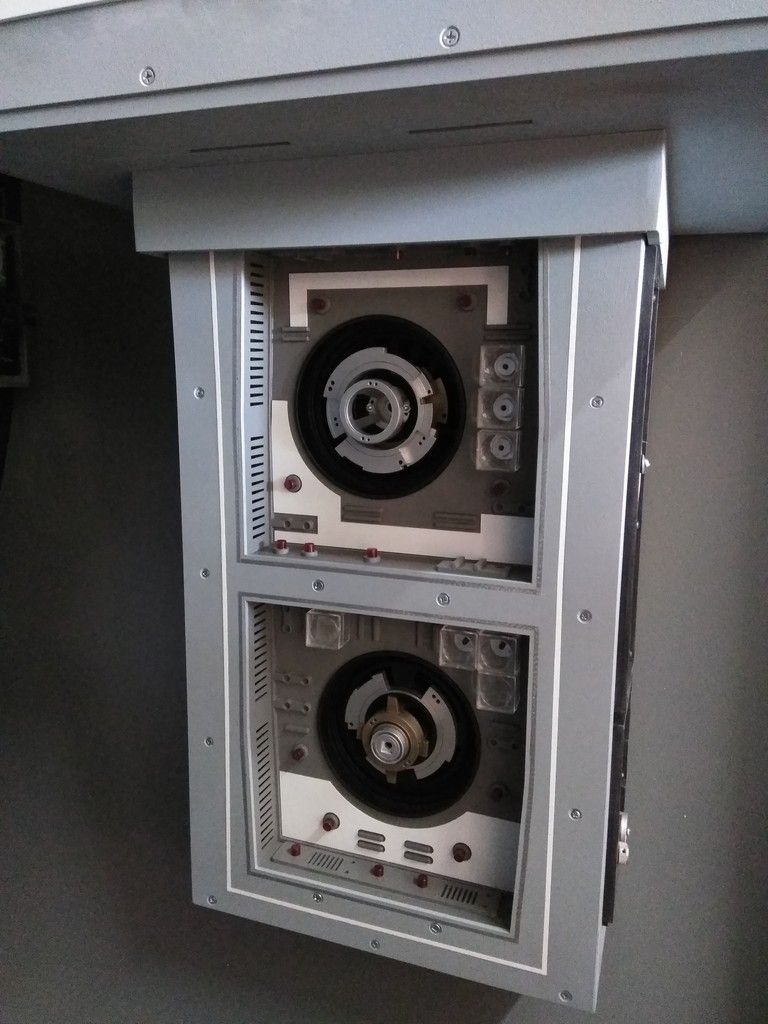
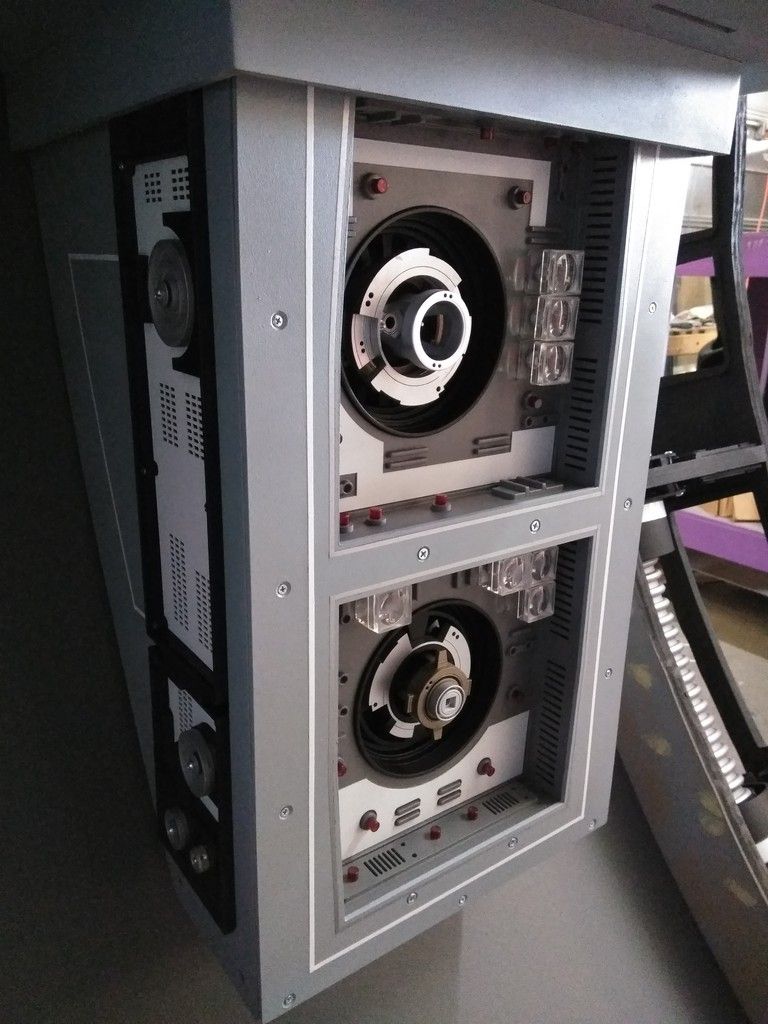
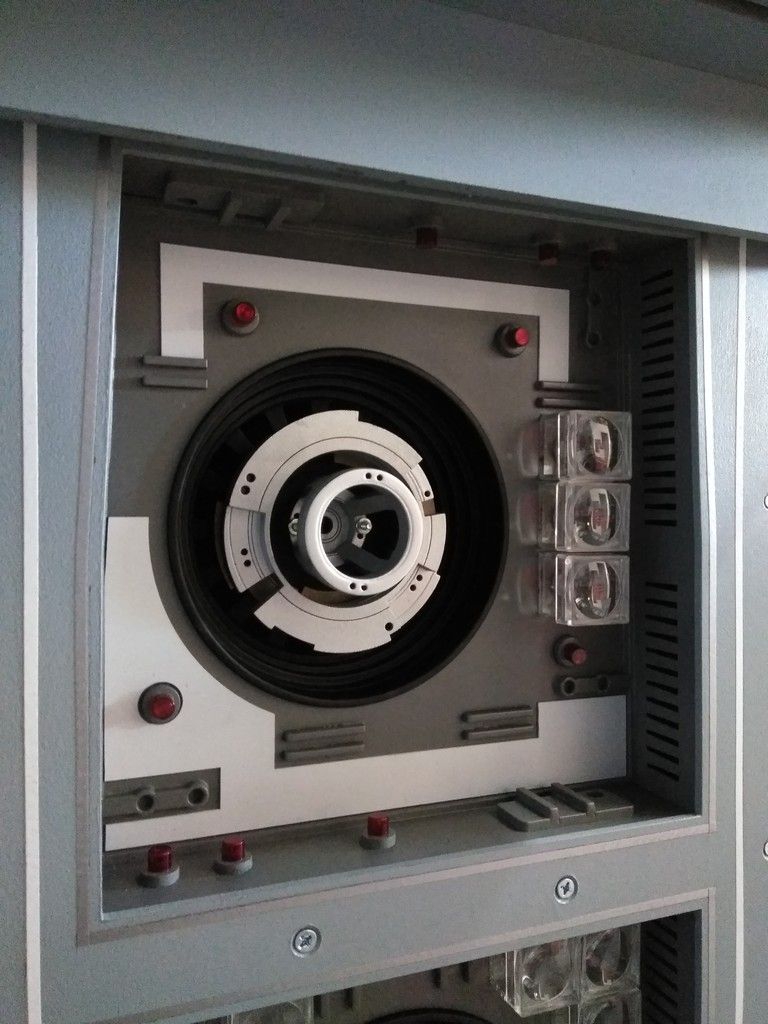
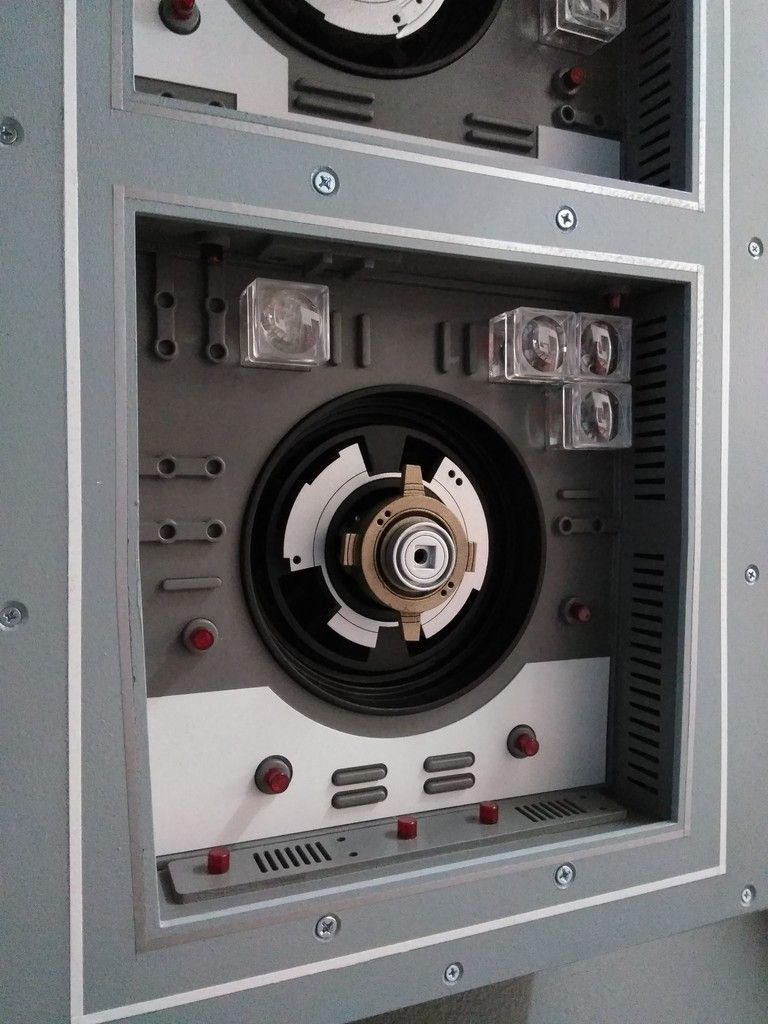
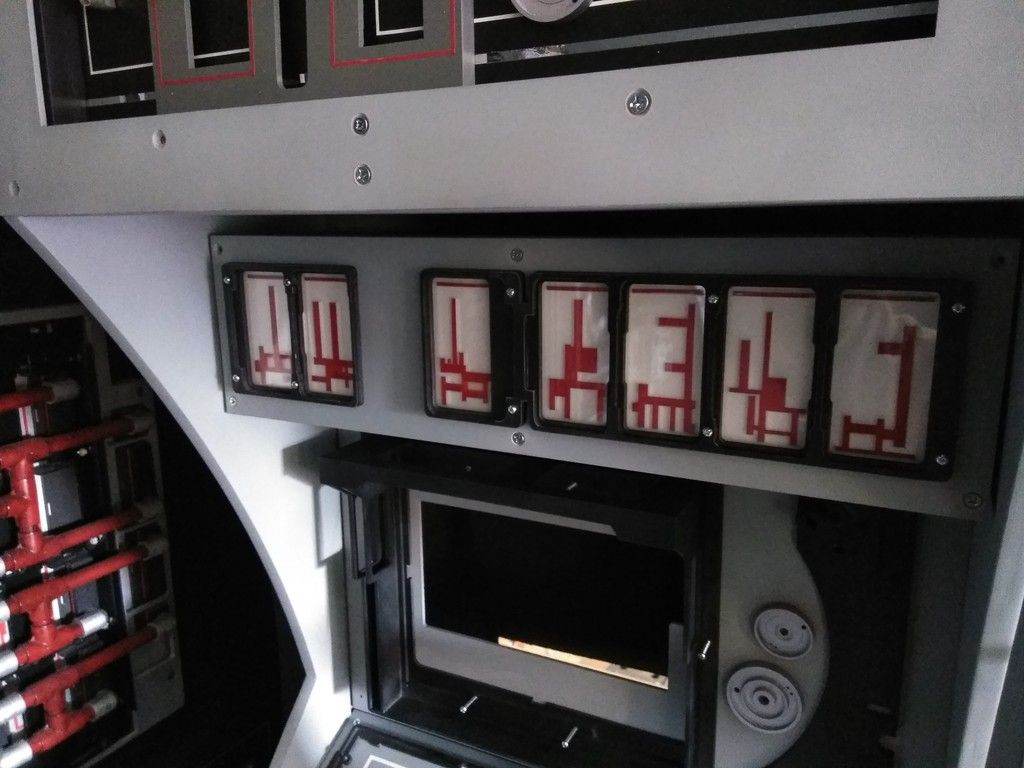
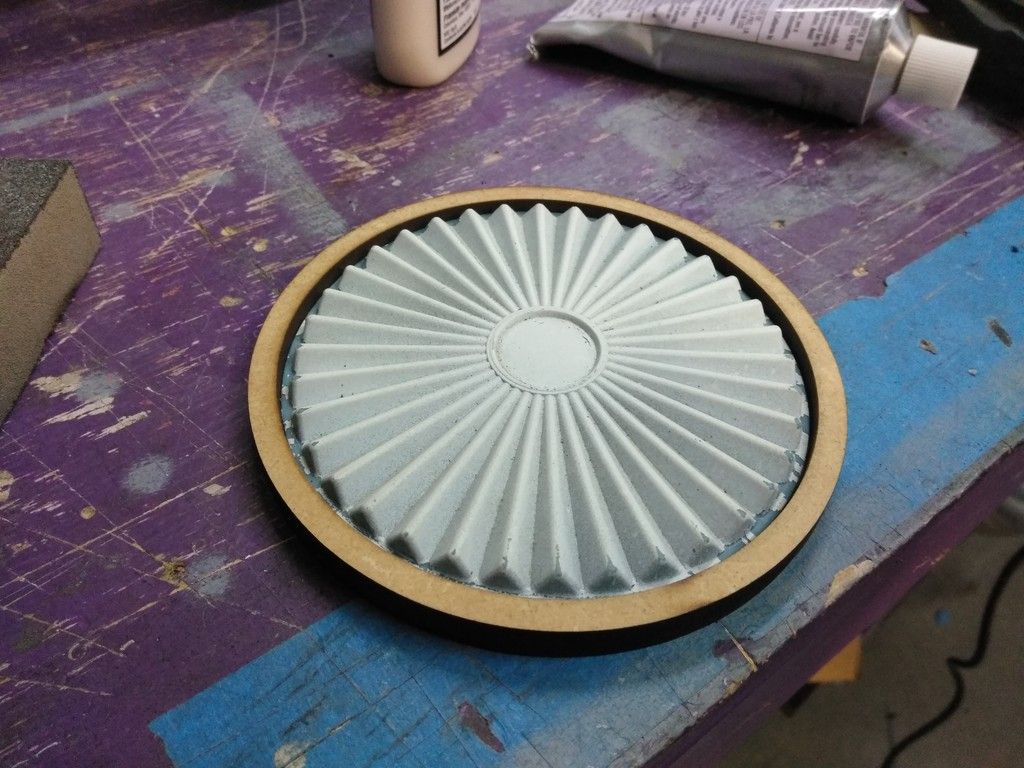
I then switched gears and worked on the gauge cluster
New trim piece and again, countersunk the screws
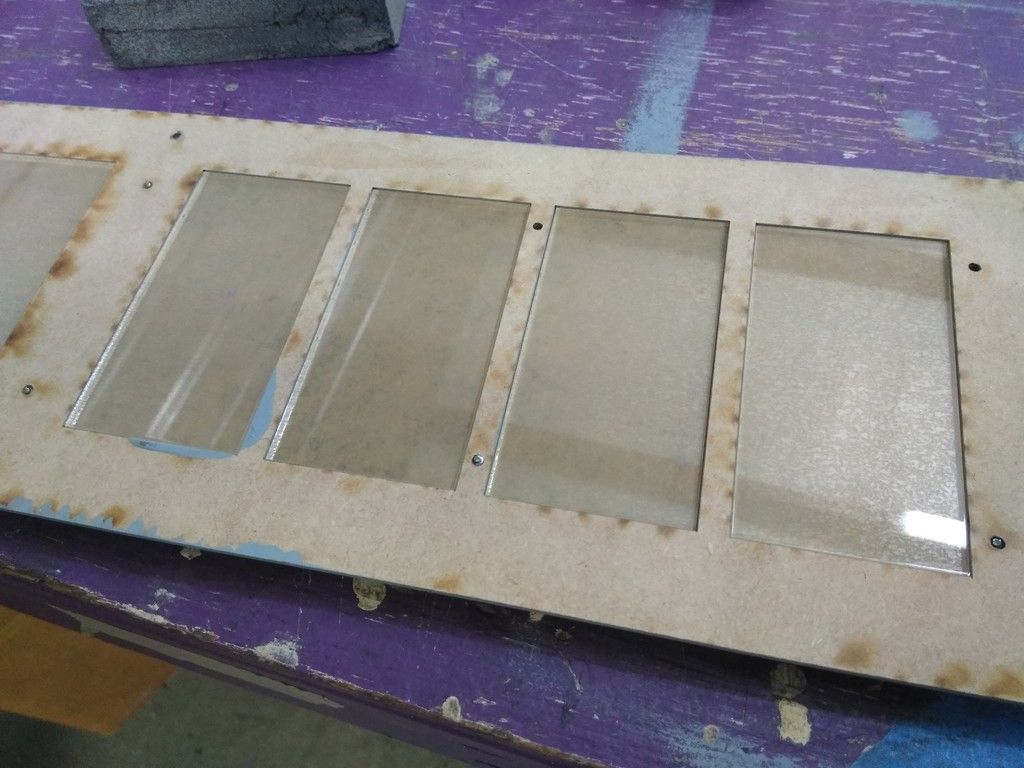
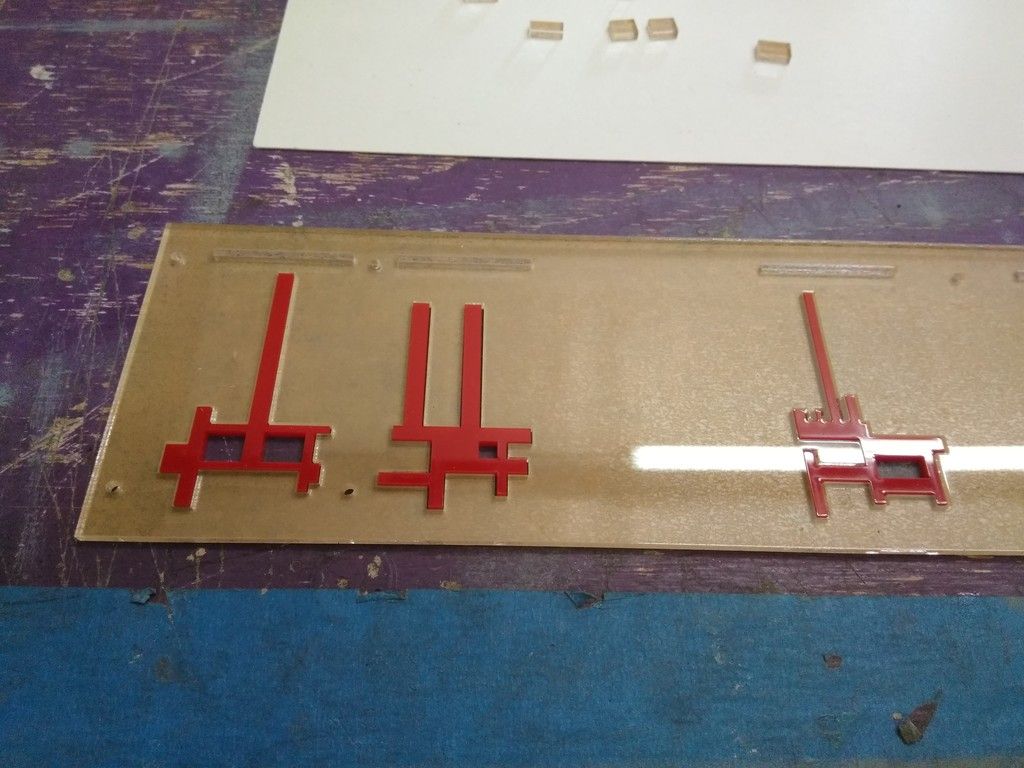
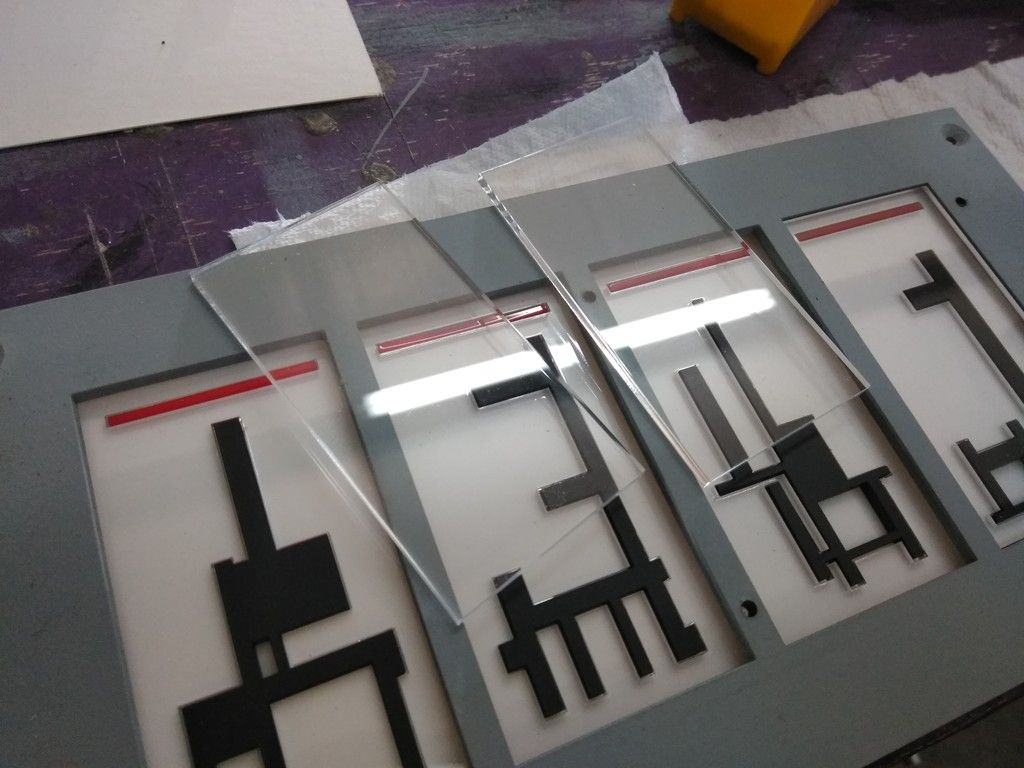
I laser cut these gauge faces - similar to TFA
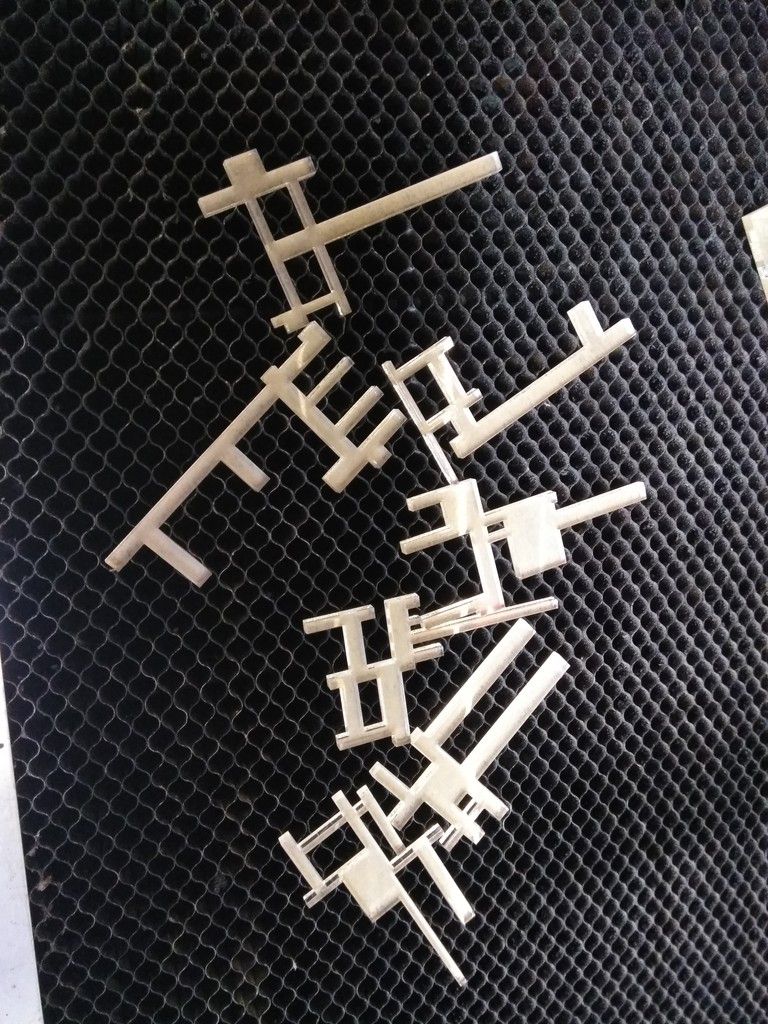
Save these
The tan you see is the paper backing on the acrylic - I kept the paper until everything was screwed in place
W/O paper
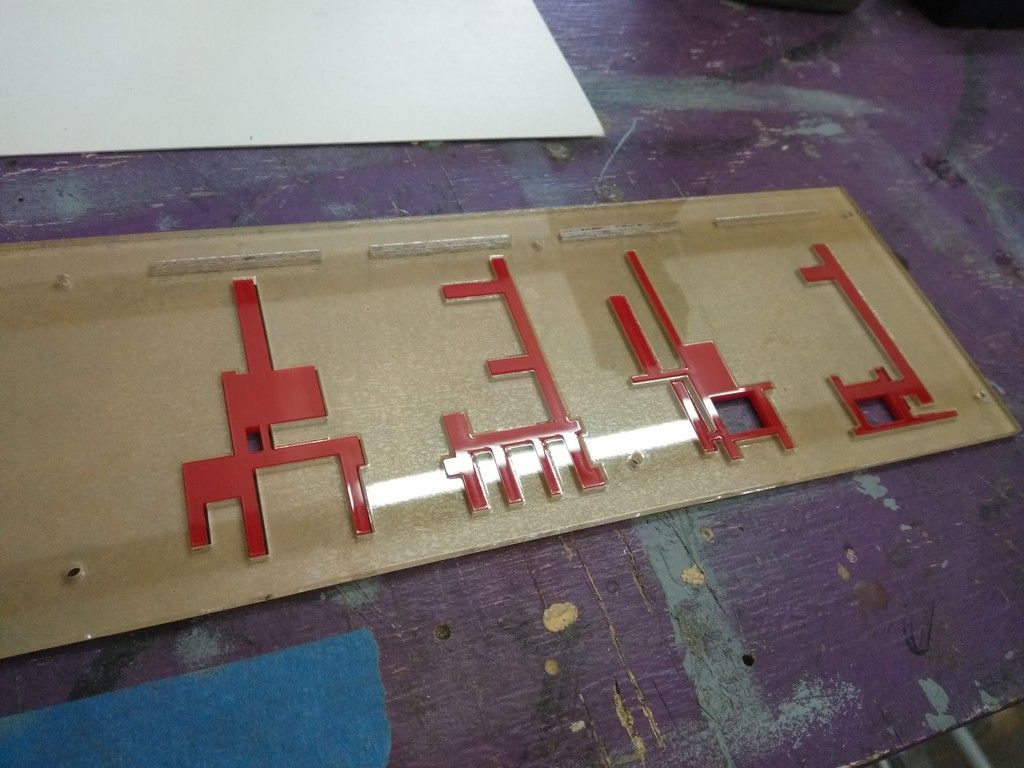
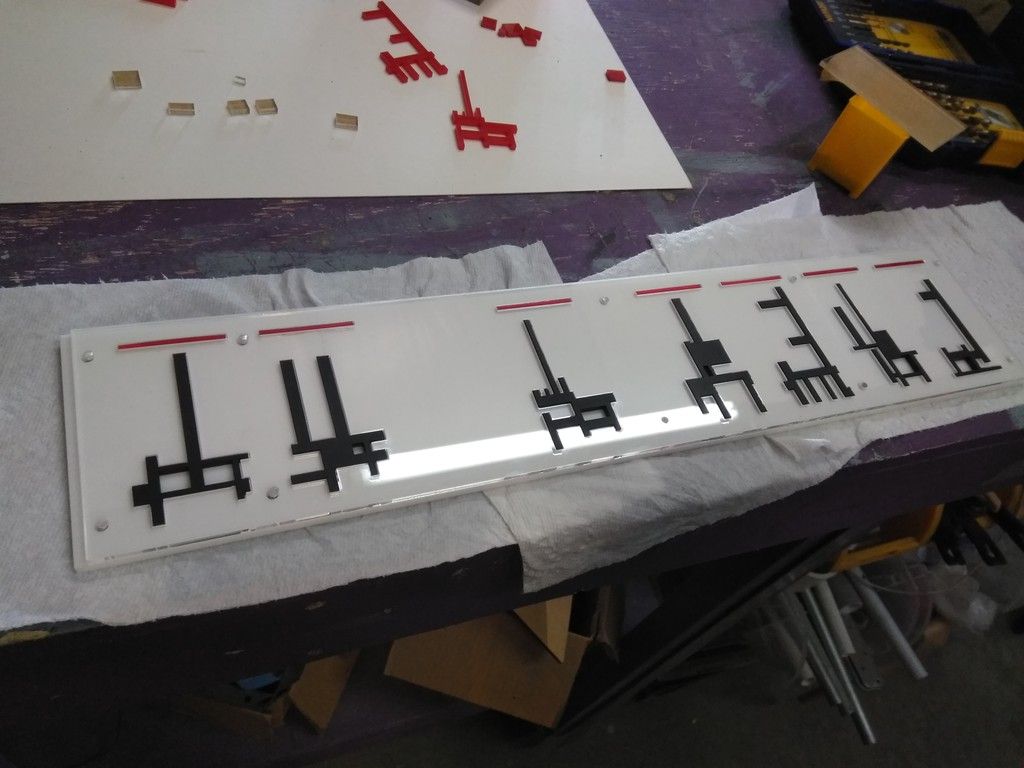
I originally thought to do red
These would be back-lit just like the cockpit gauges
Painted the trim
I like the weathered look - I'm going to gently sand the edges once all is in place
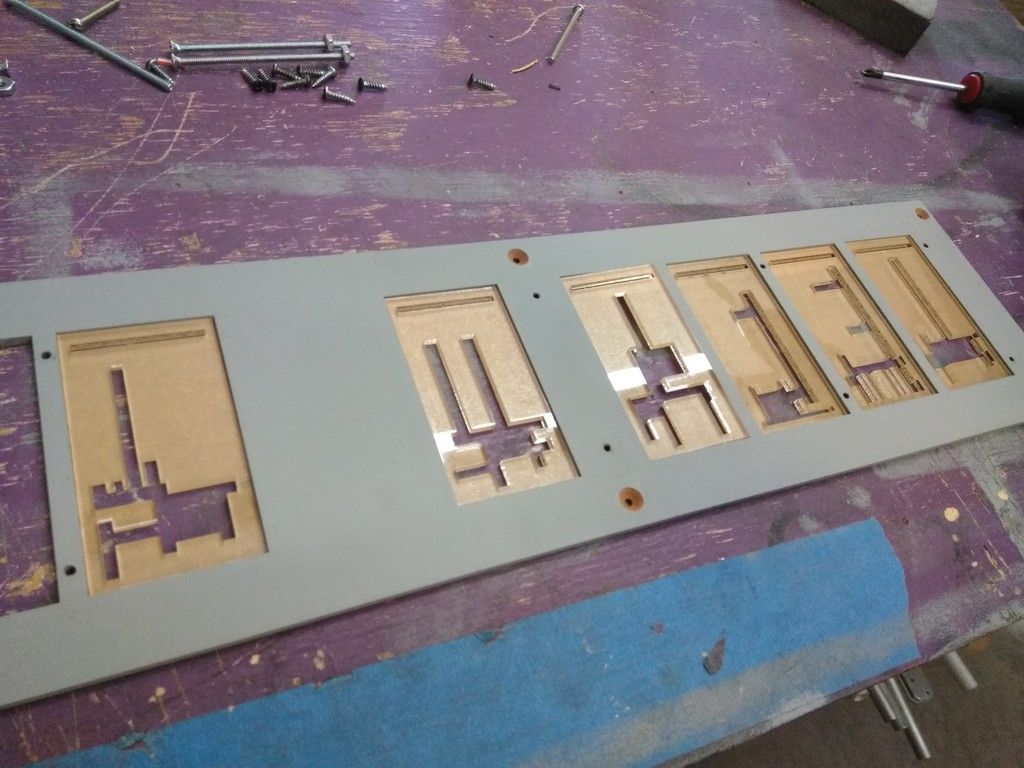
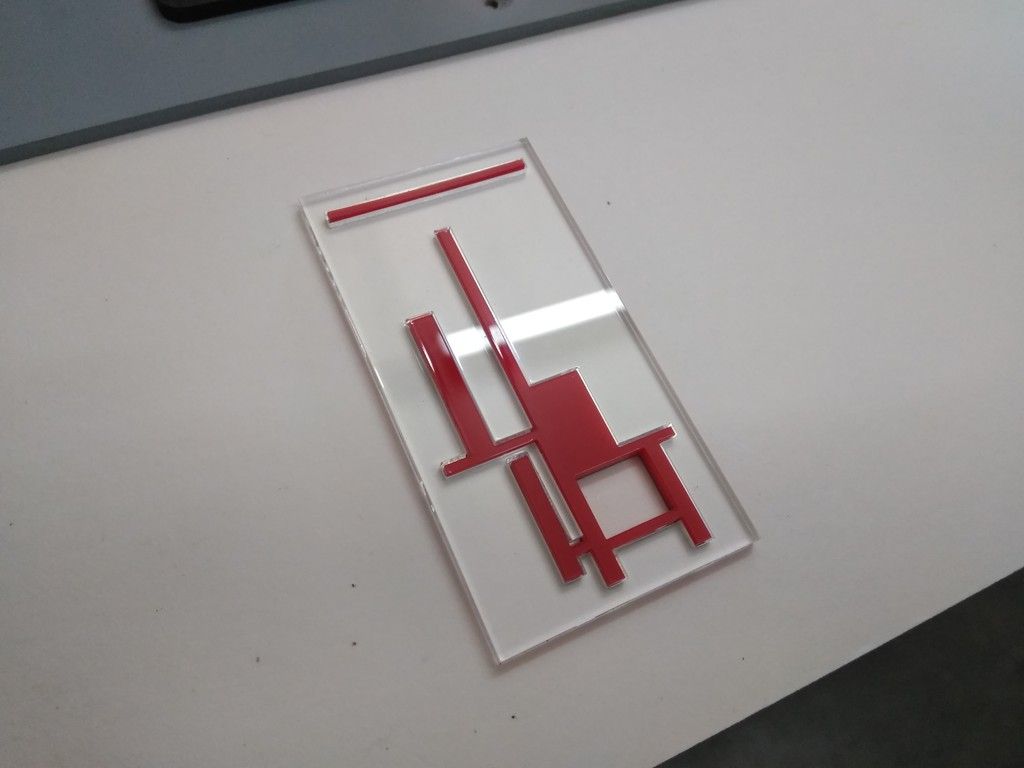
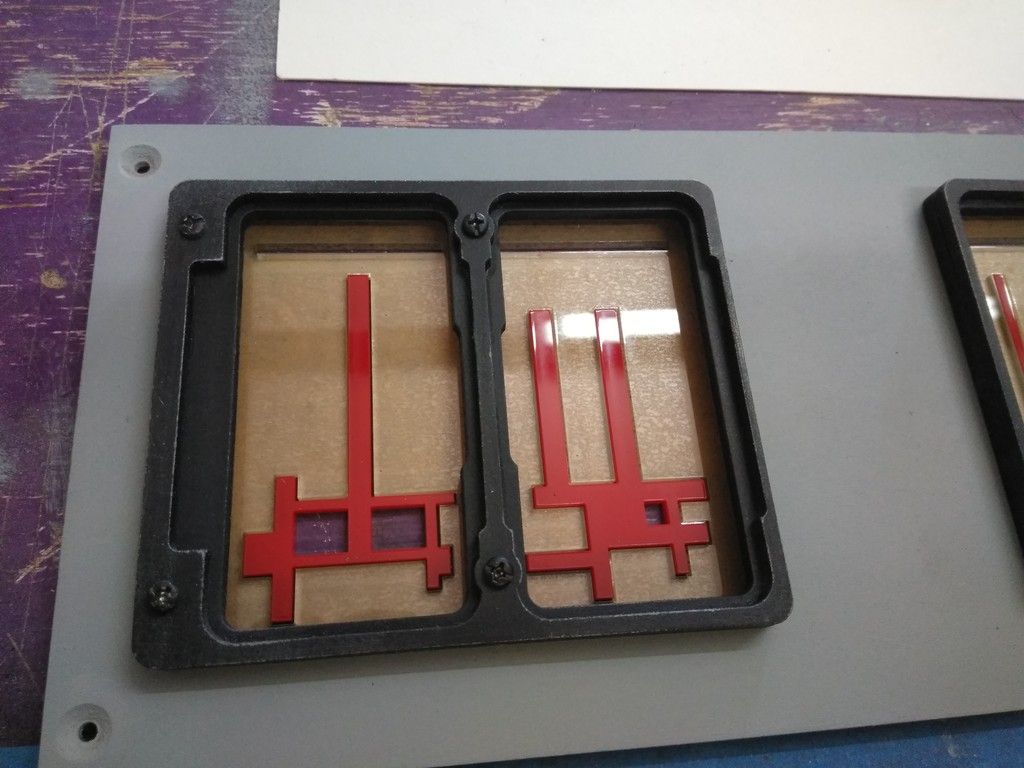
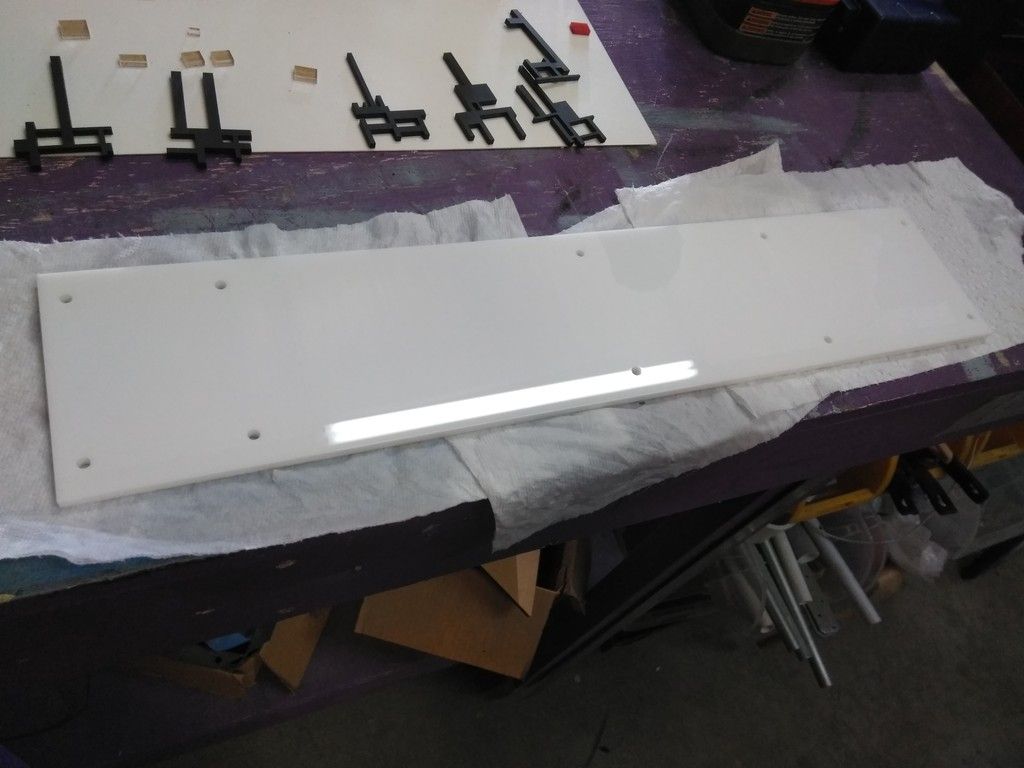
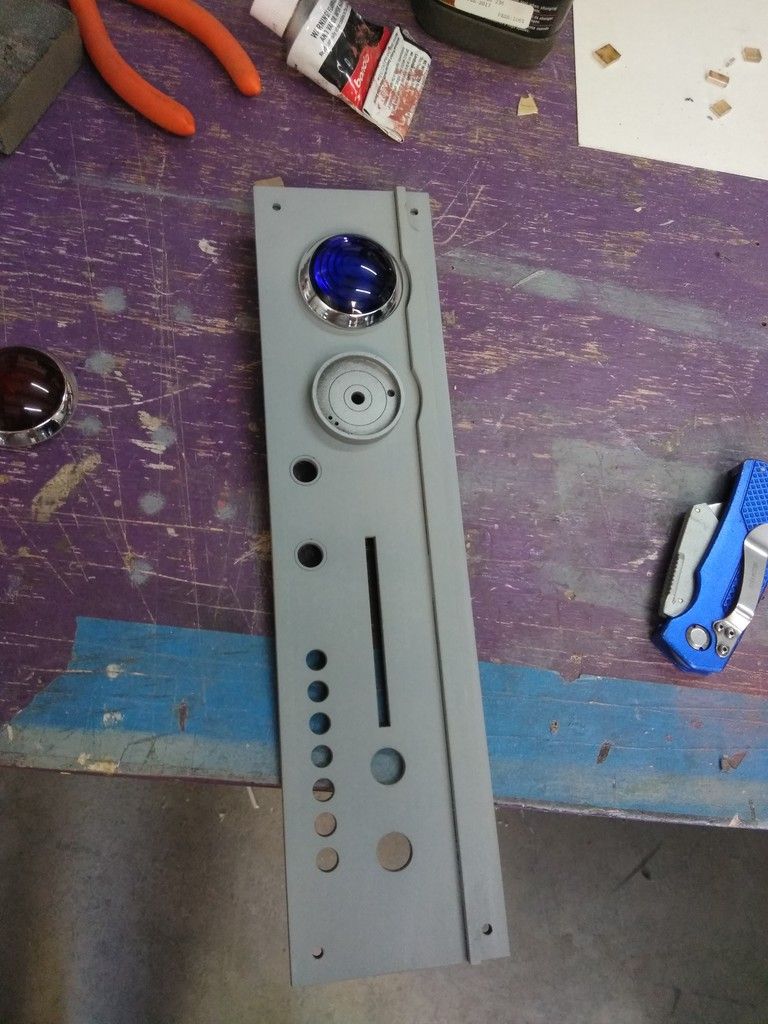
How does it all fit? I laser cut a clear lens piece that will simply rest against and behind the trim
I then laser cut a larger piece of clear acrylic with the gauge details laser cut and removed - the red acrylic detail is then slipped into place
That piece also slips behind the lenses
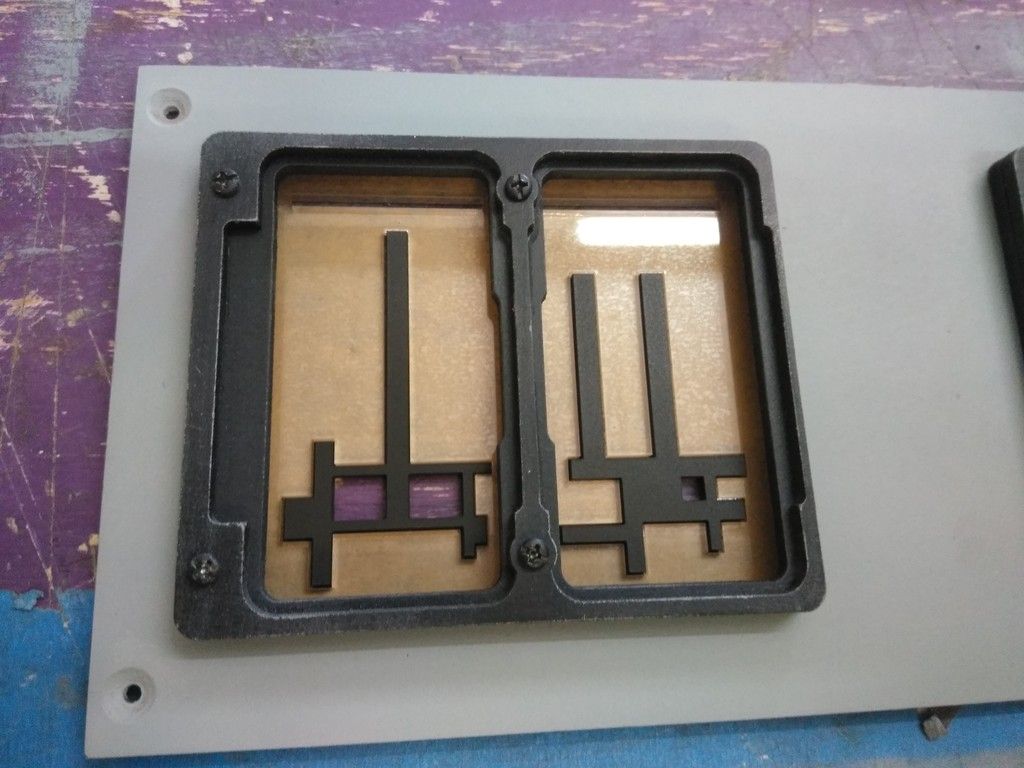
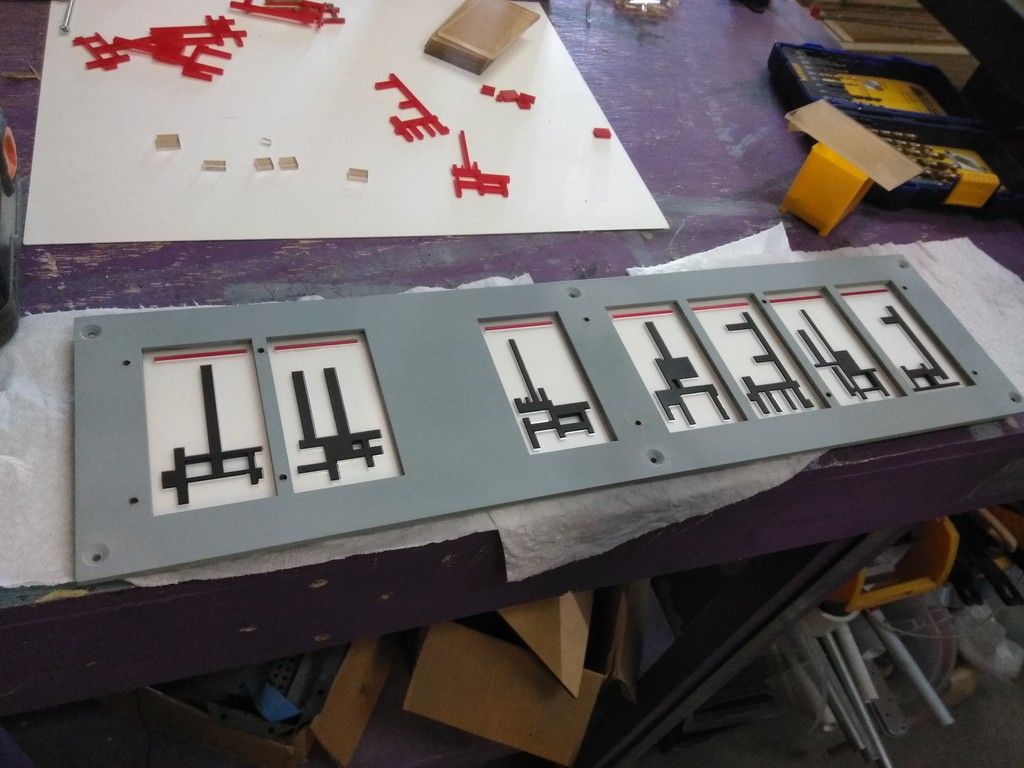
Before I went any further I thought about black?
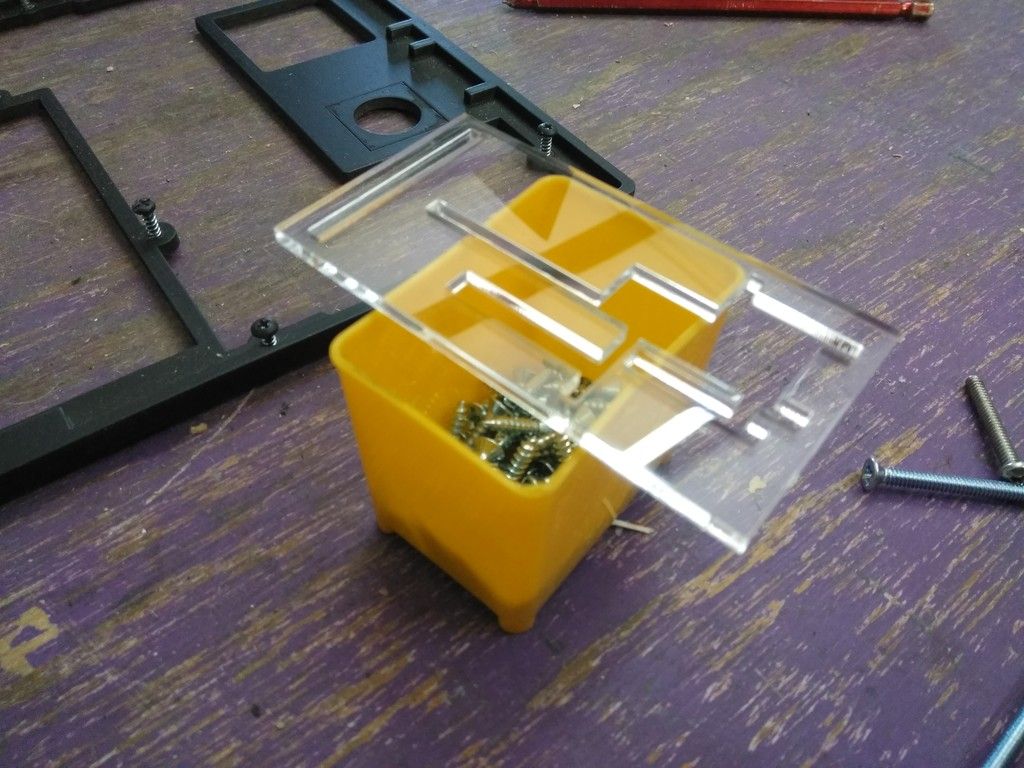
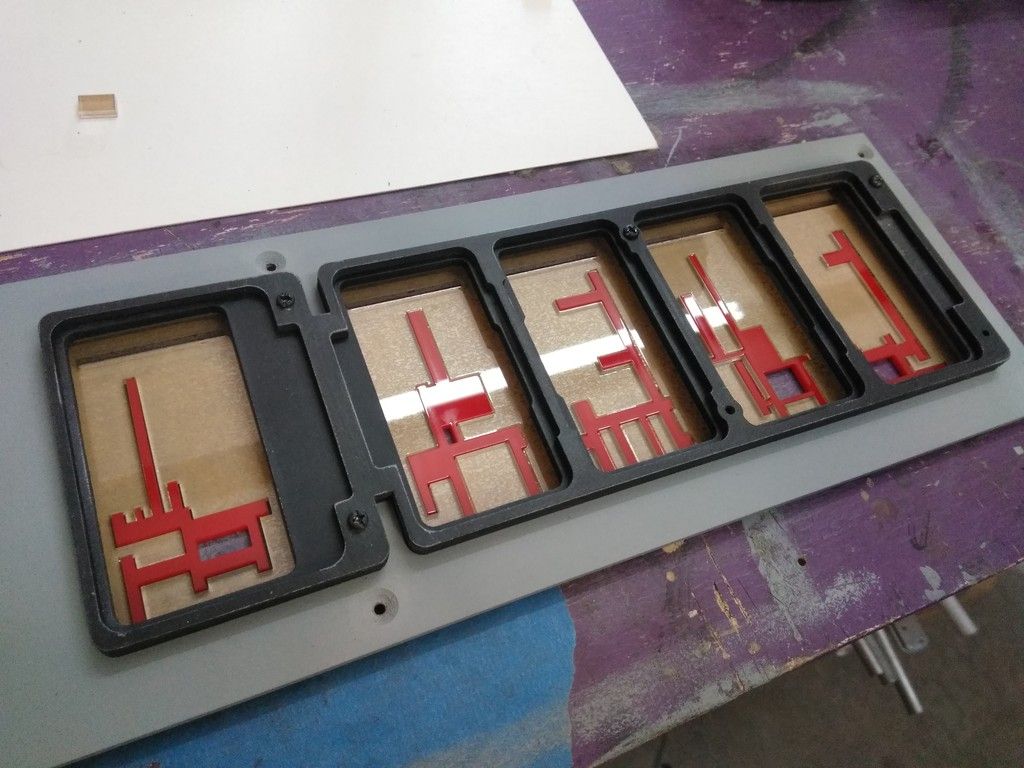
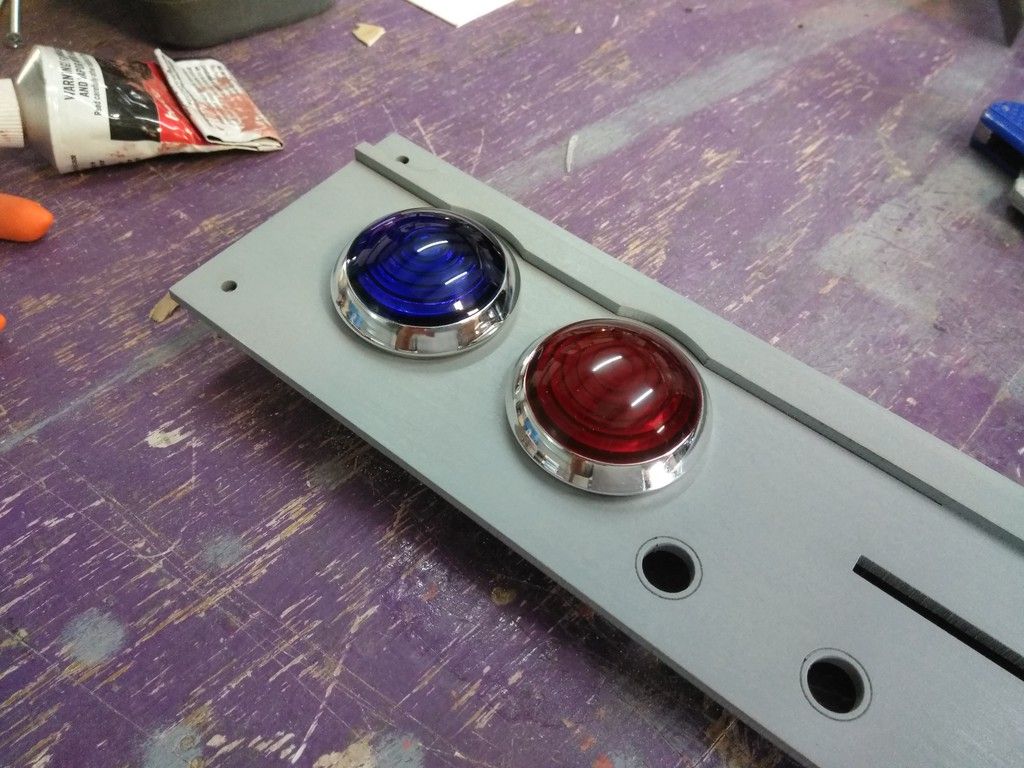
Finally, a large white piece of acrylic holds all the pieces together like a sandwich
Lenses
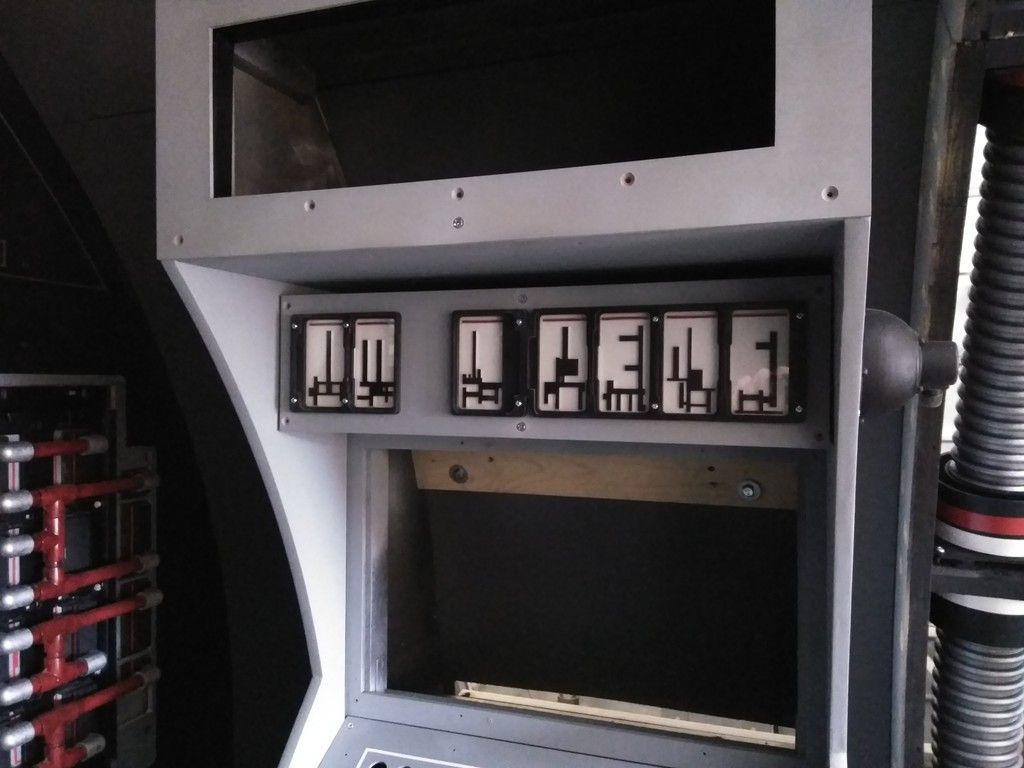
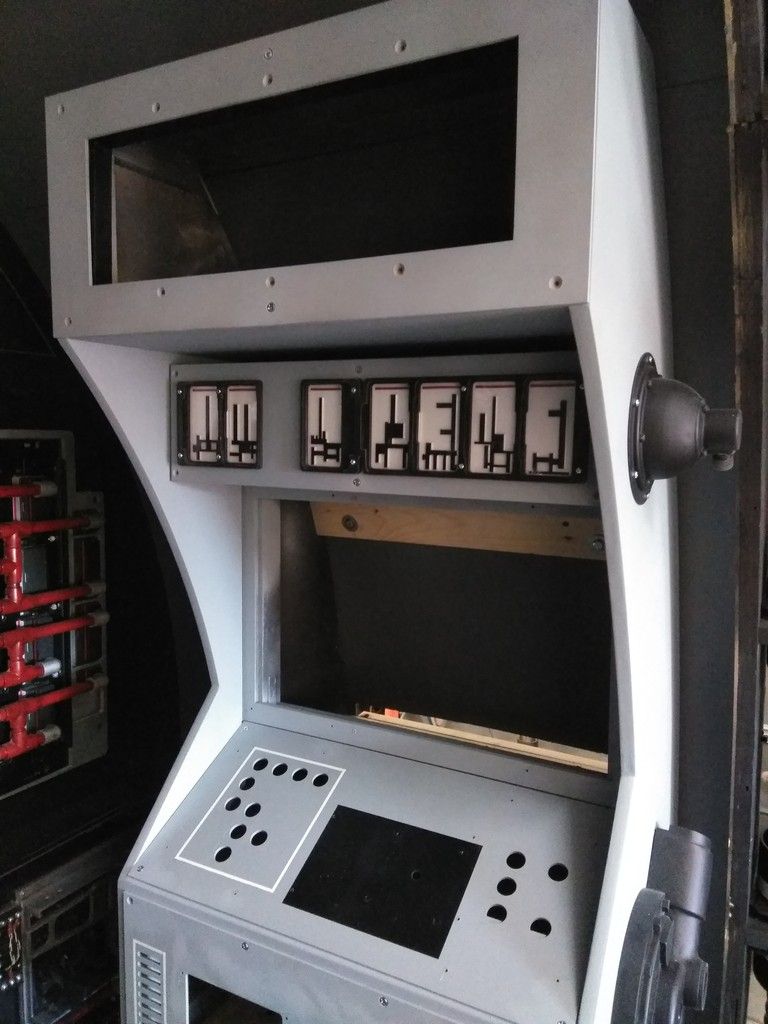
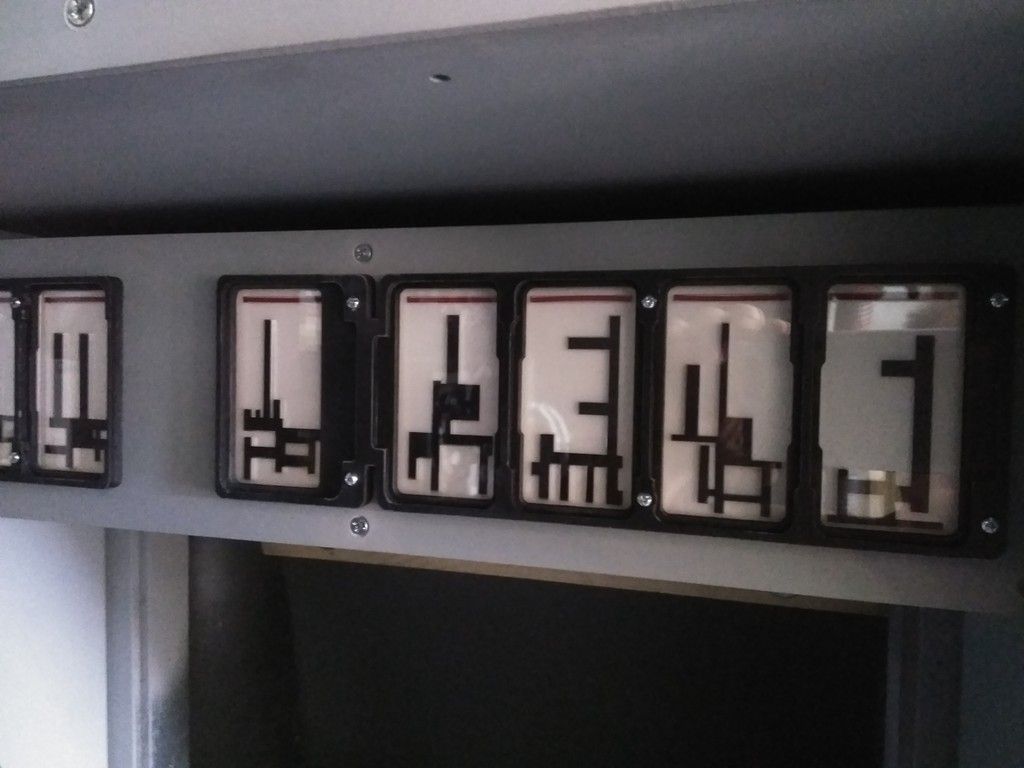
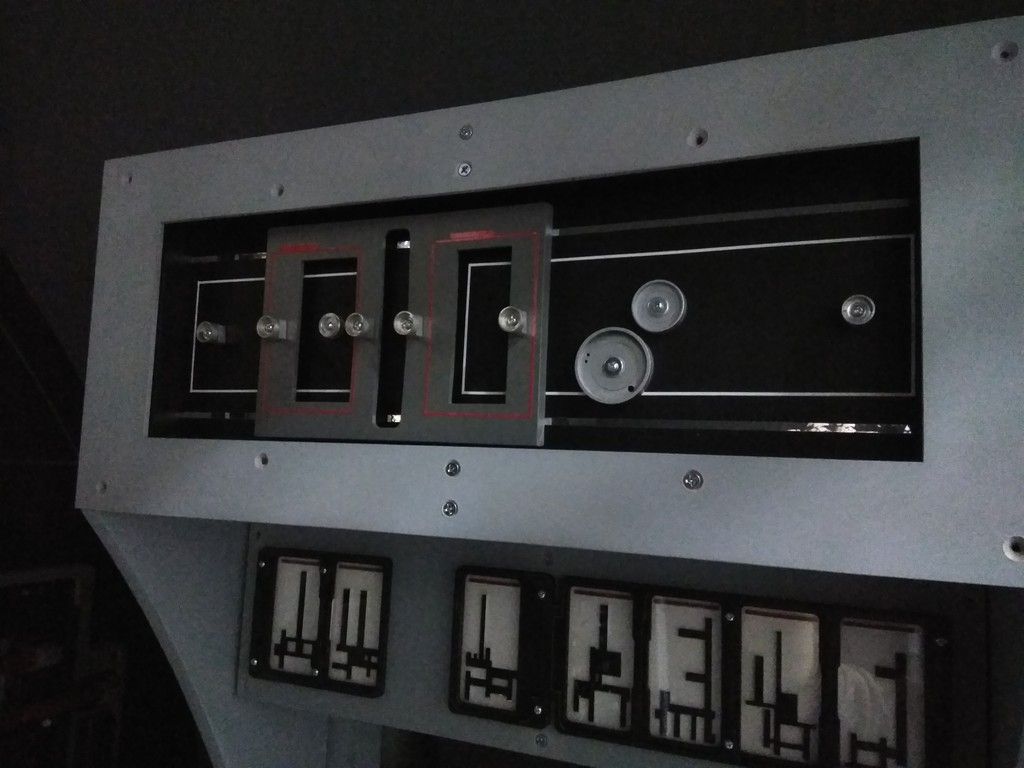
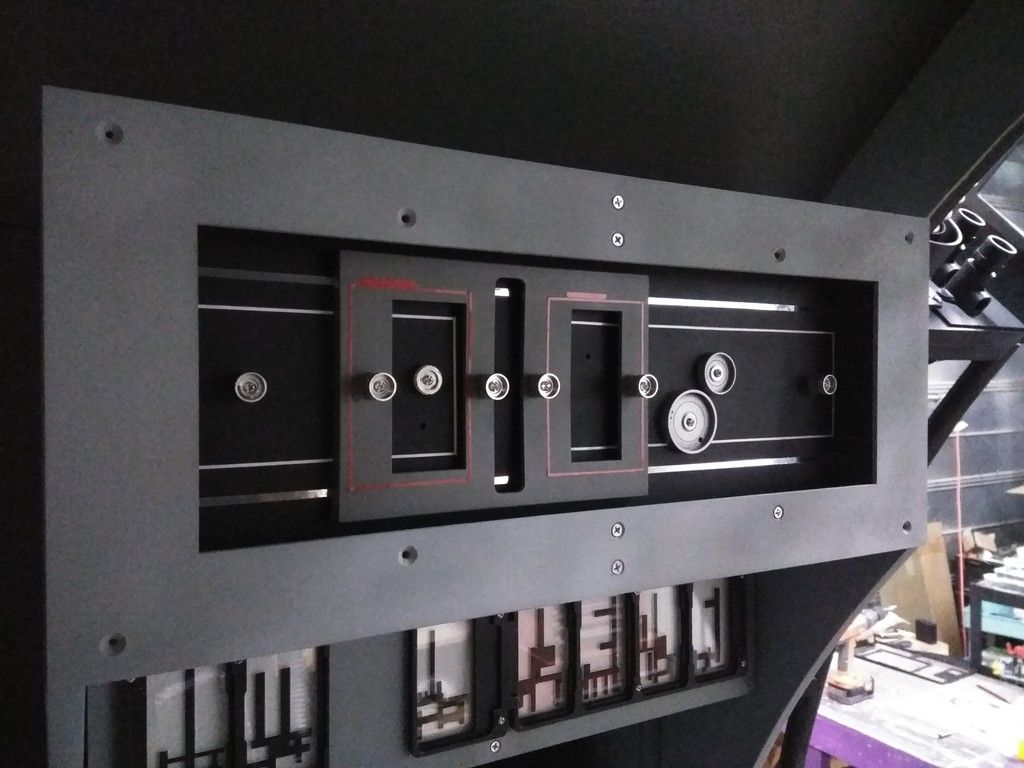
Mounted!
I'm going to switch over to the red to see which one works best
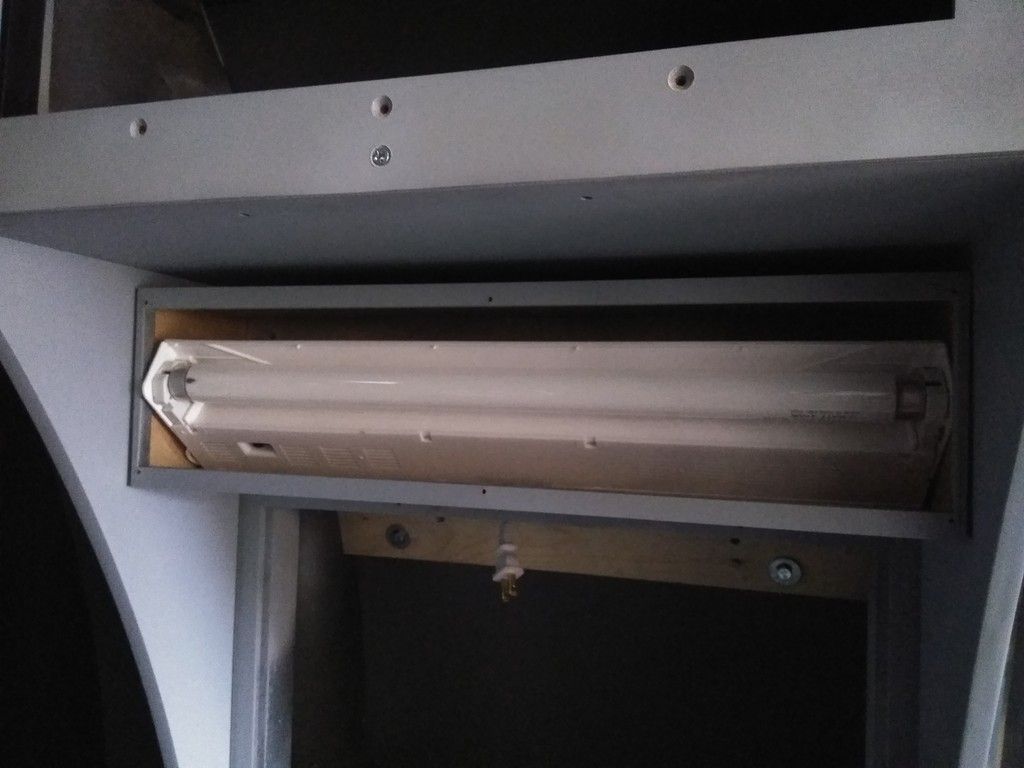
Borrowed a shelf light
WHOA... that's bright
DEF too bright for this purpose but this gives you an idea where I was headed
")
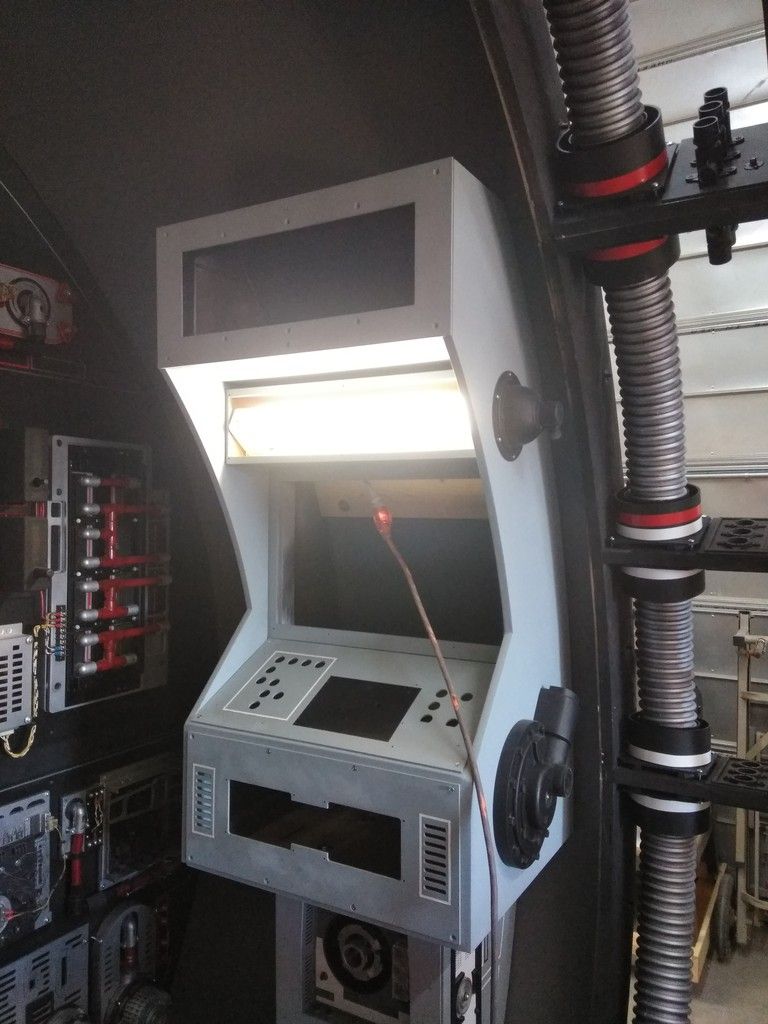
Drowned out
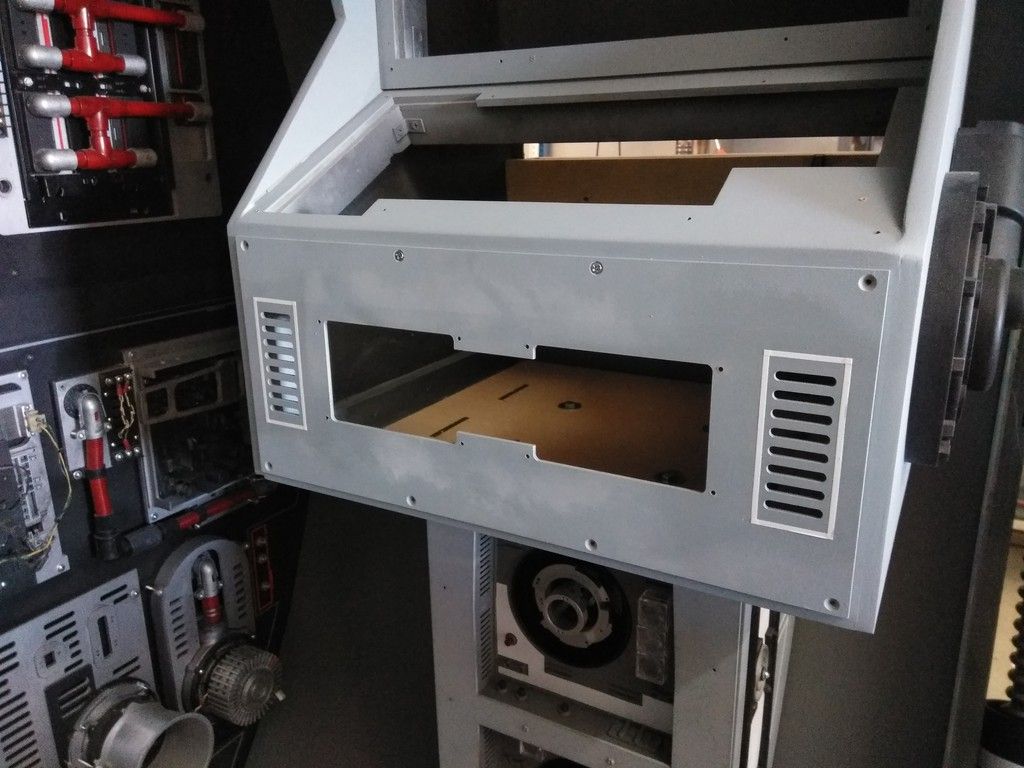
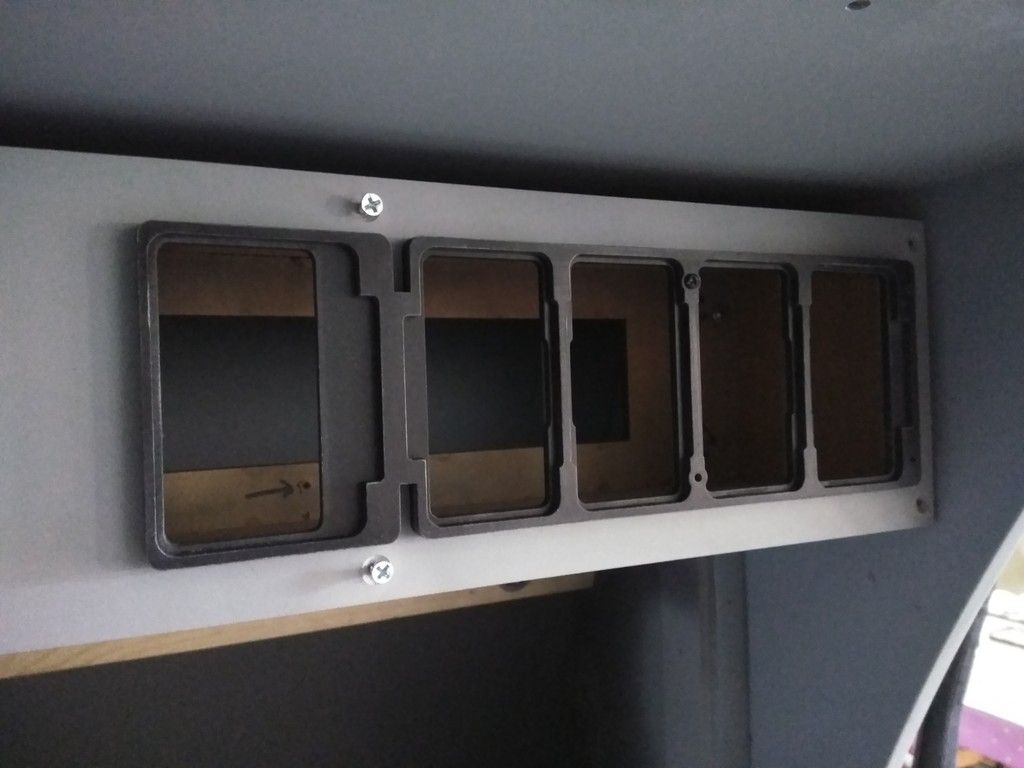
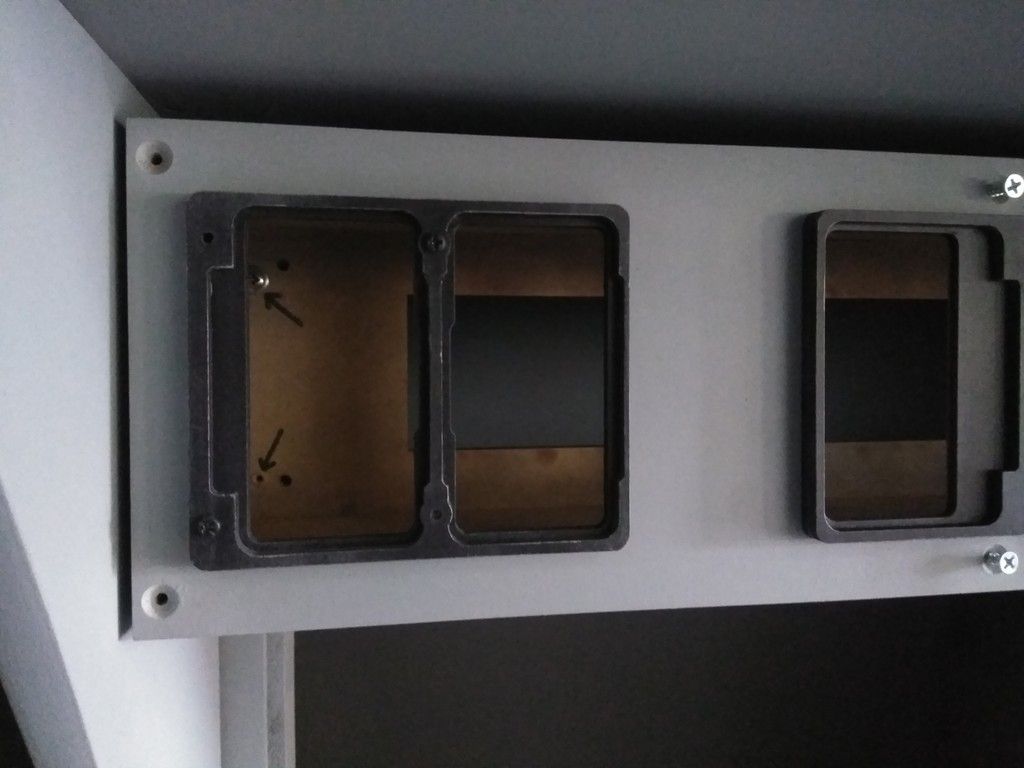
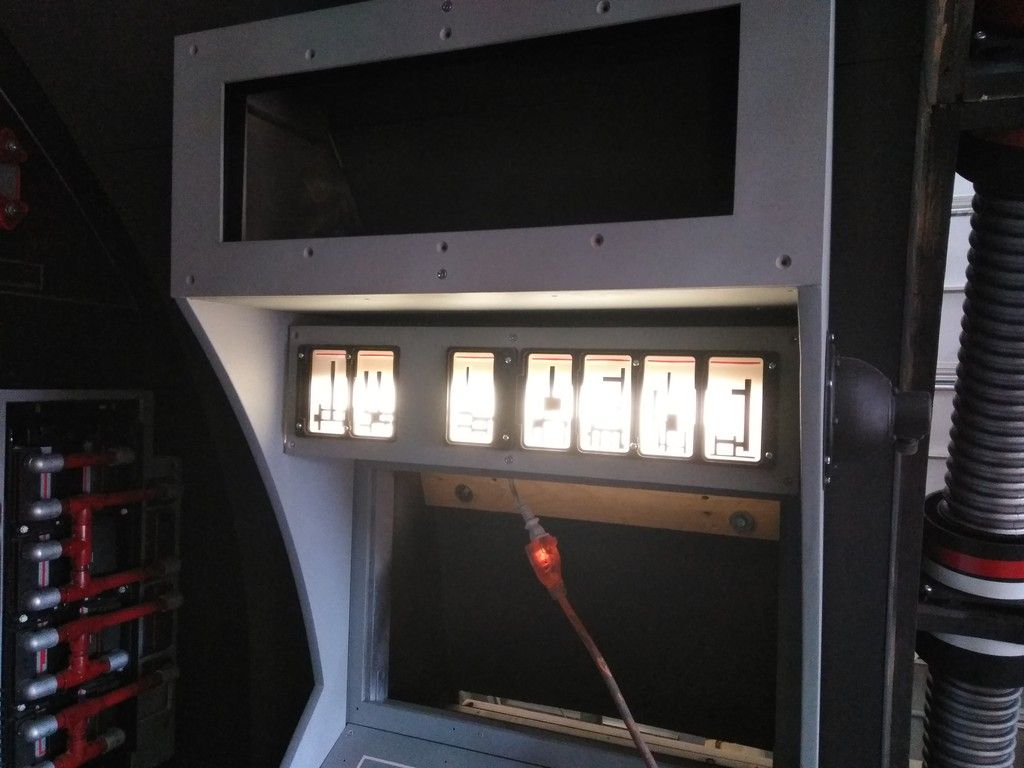
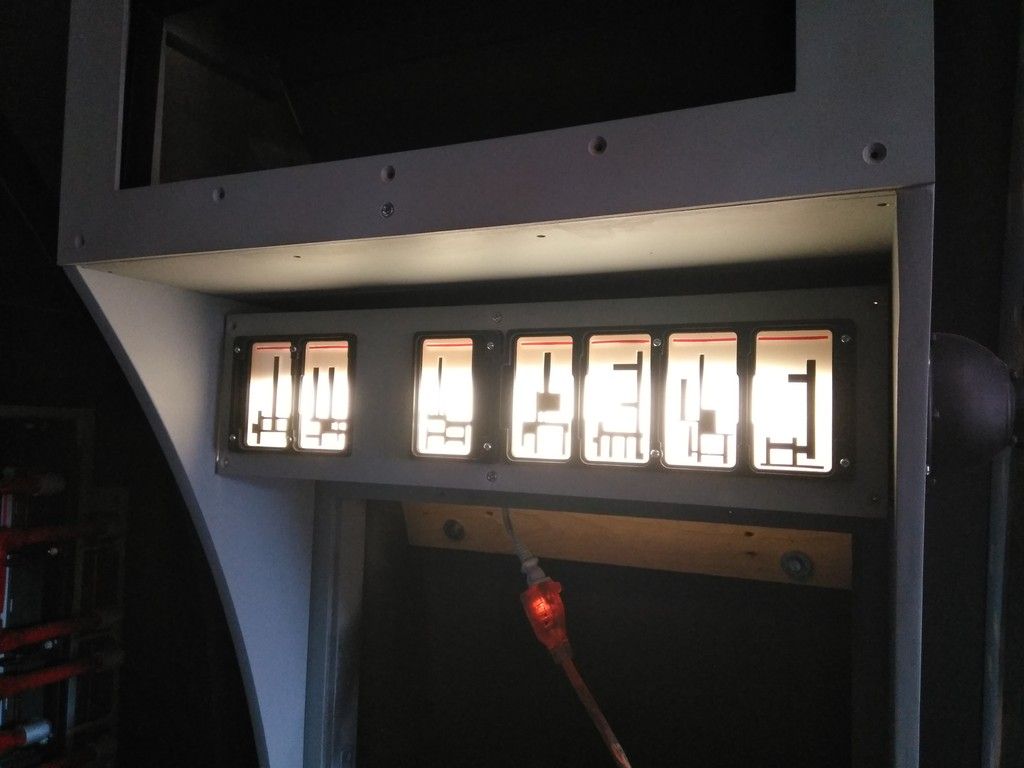
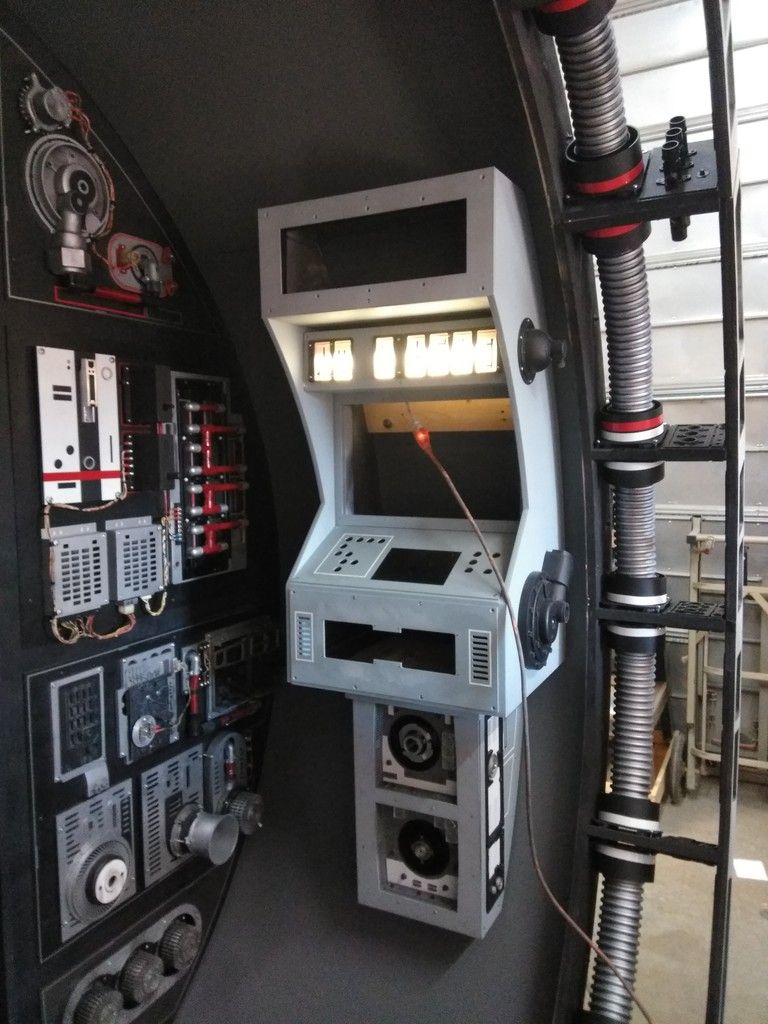
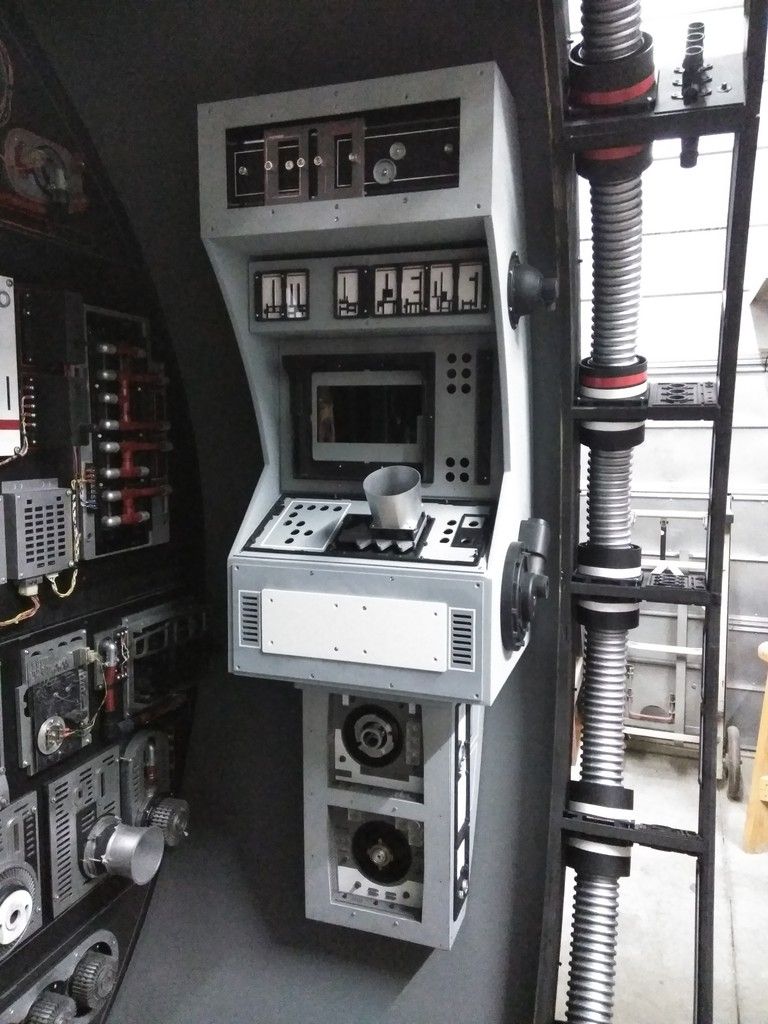
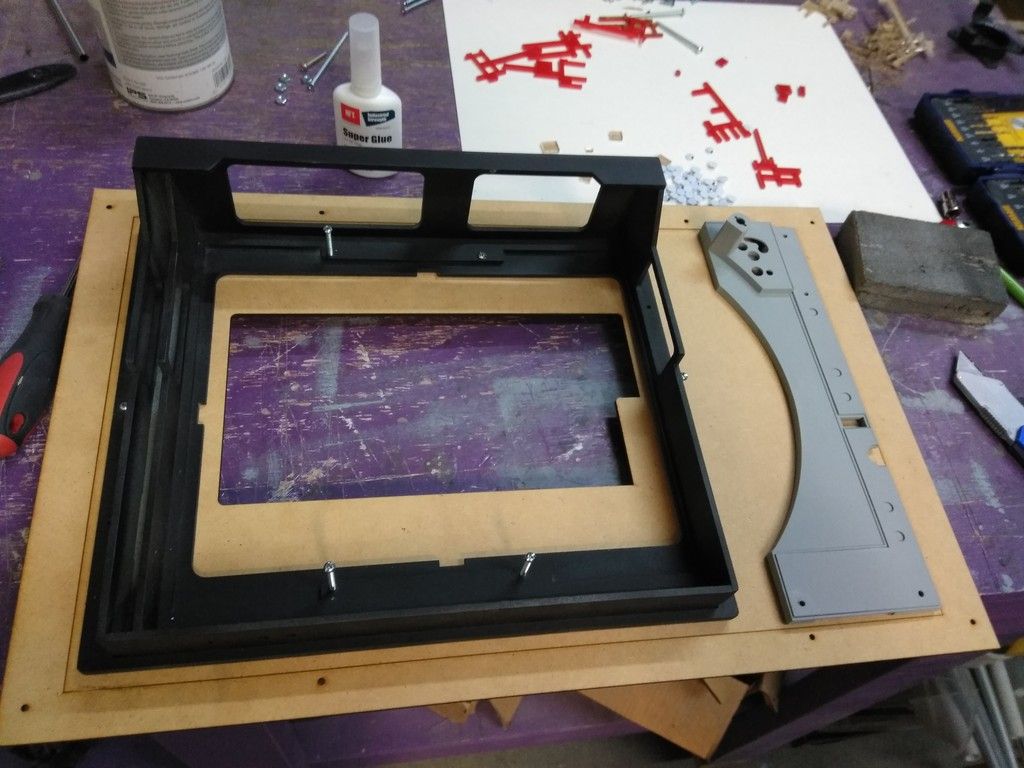
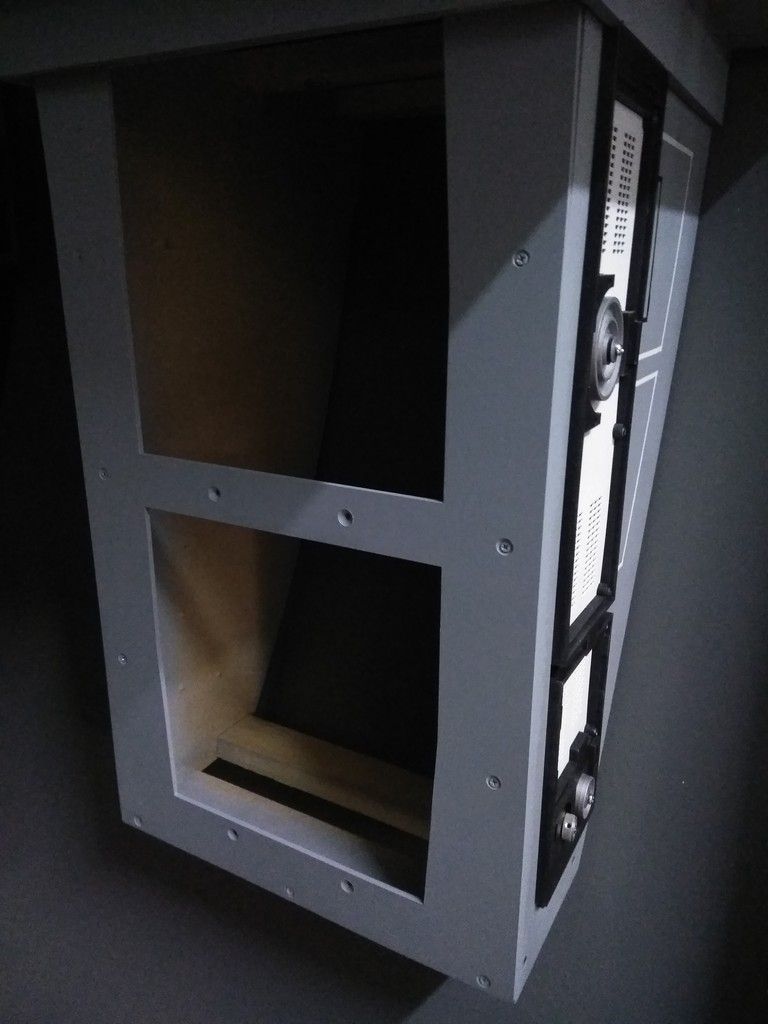
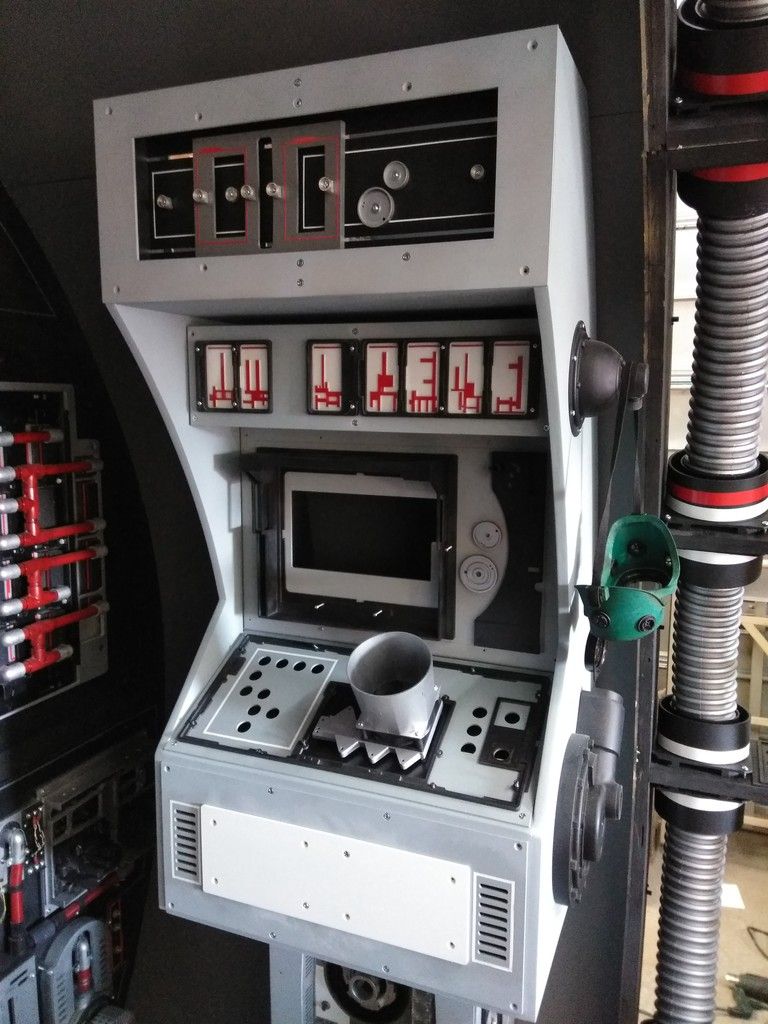
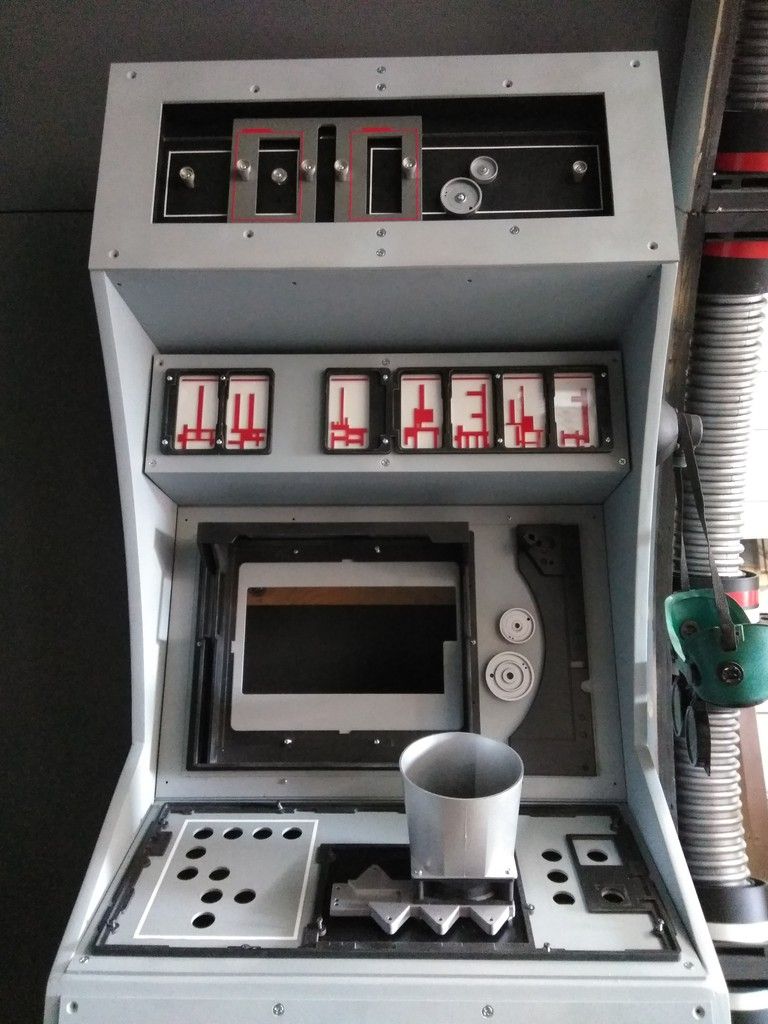
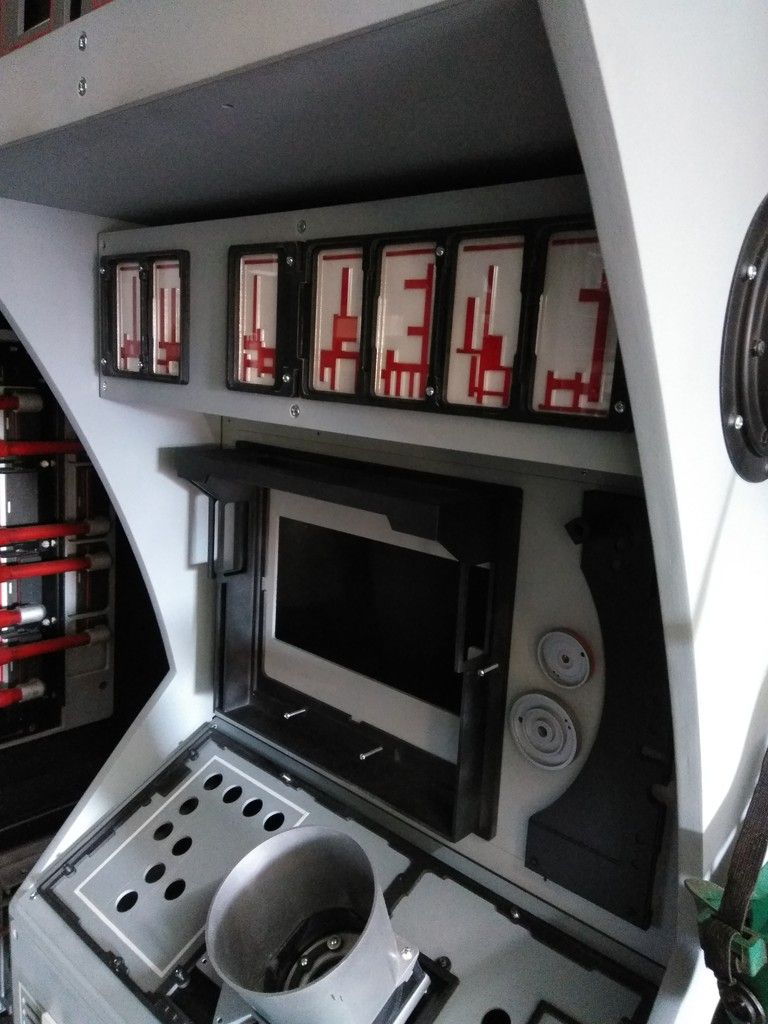
I finished up work on the upper panel
All done! I might add a few LEDs
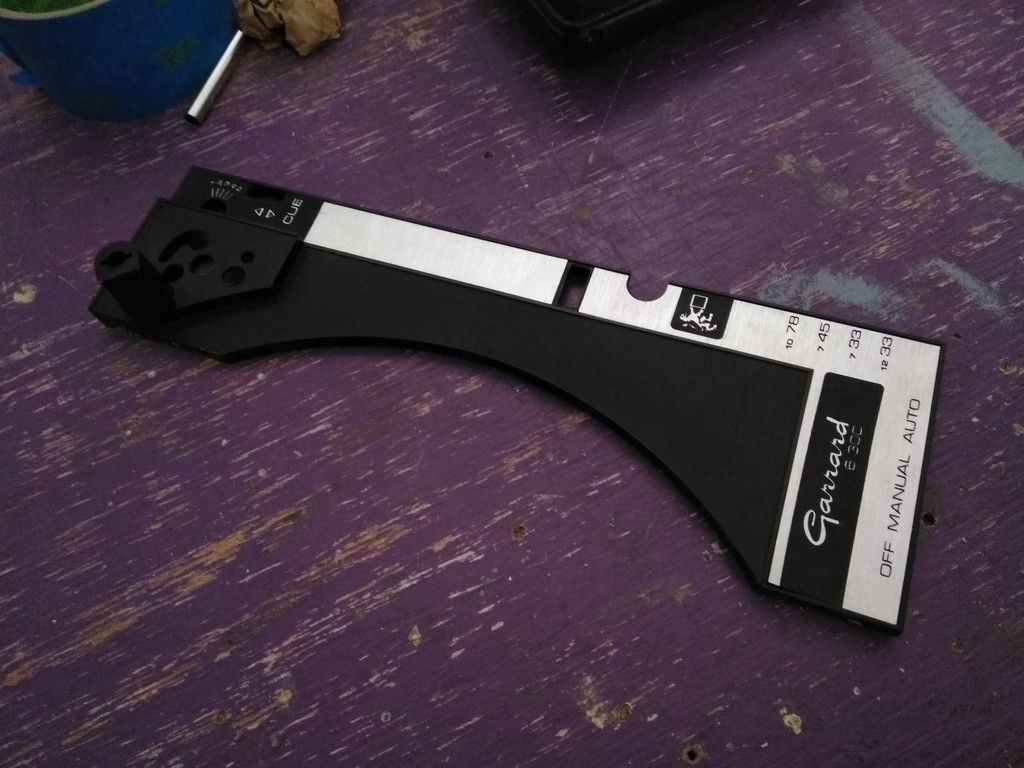
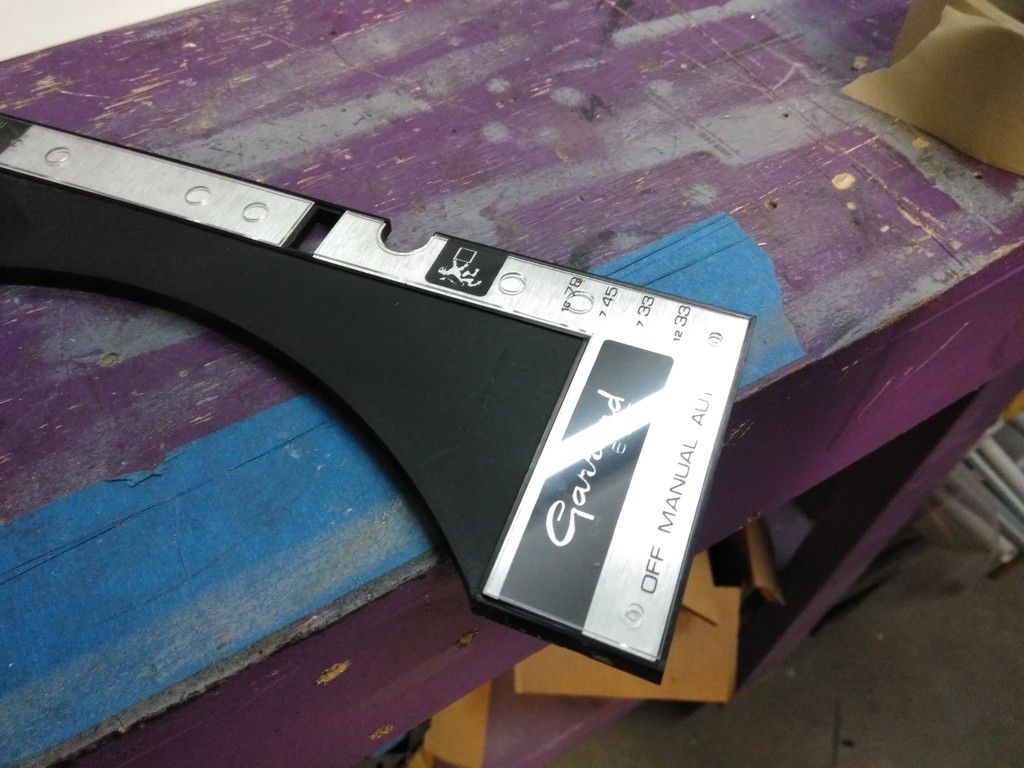
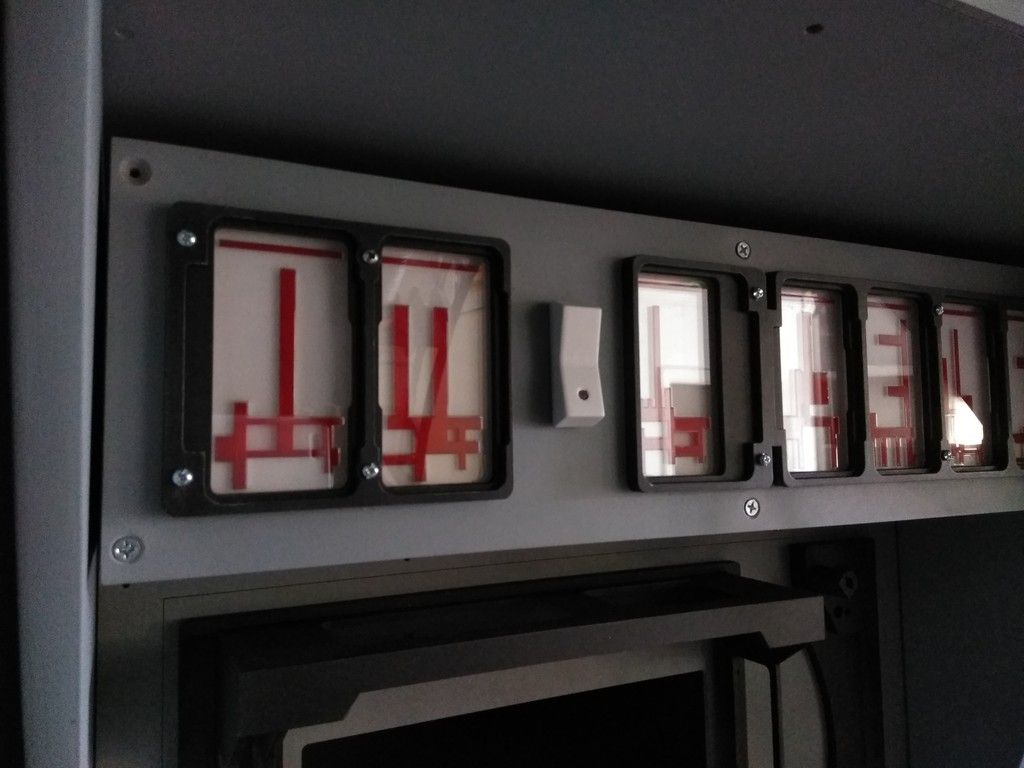
So... a few weeks ago I was able to find another Garrard trim plate similar to the one used in the cockpit. I thought hmmmm...
I think I like this MUCH better and it stays true to the original ESB look and feel
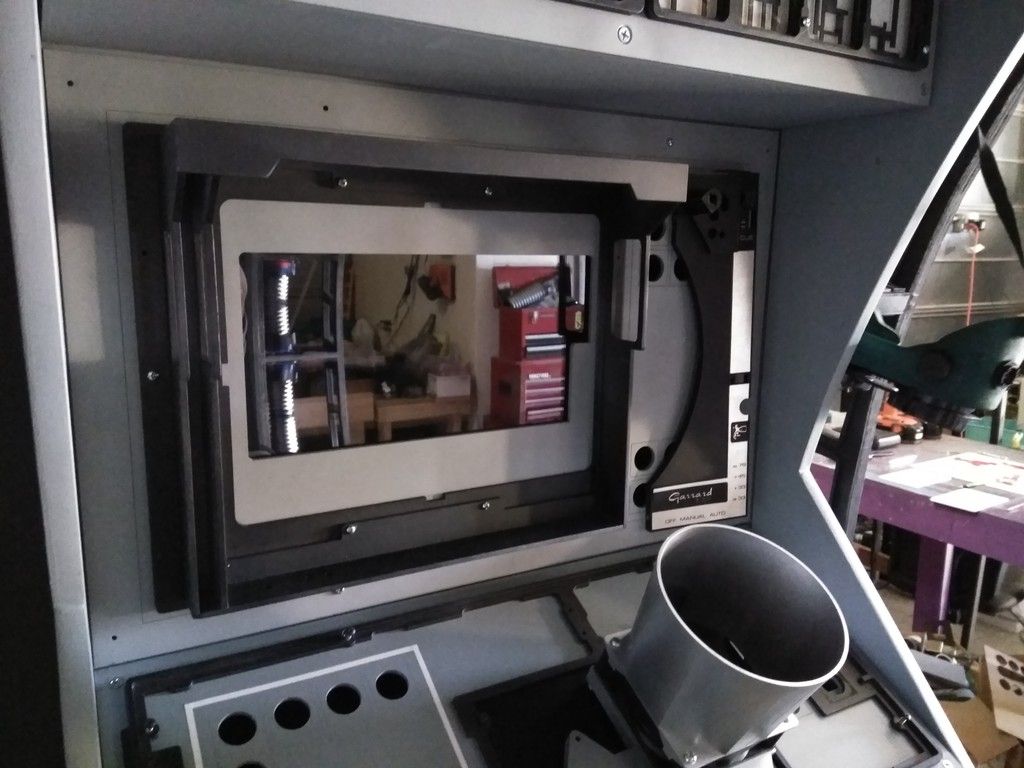
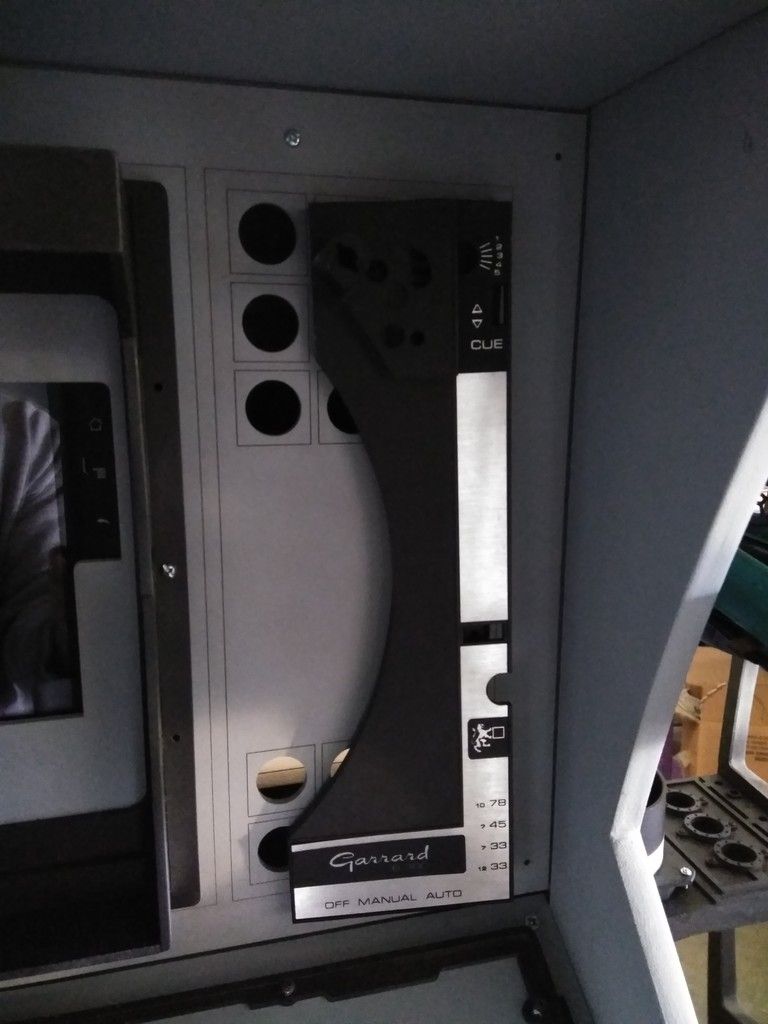
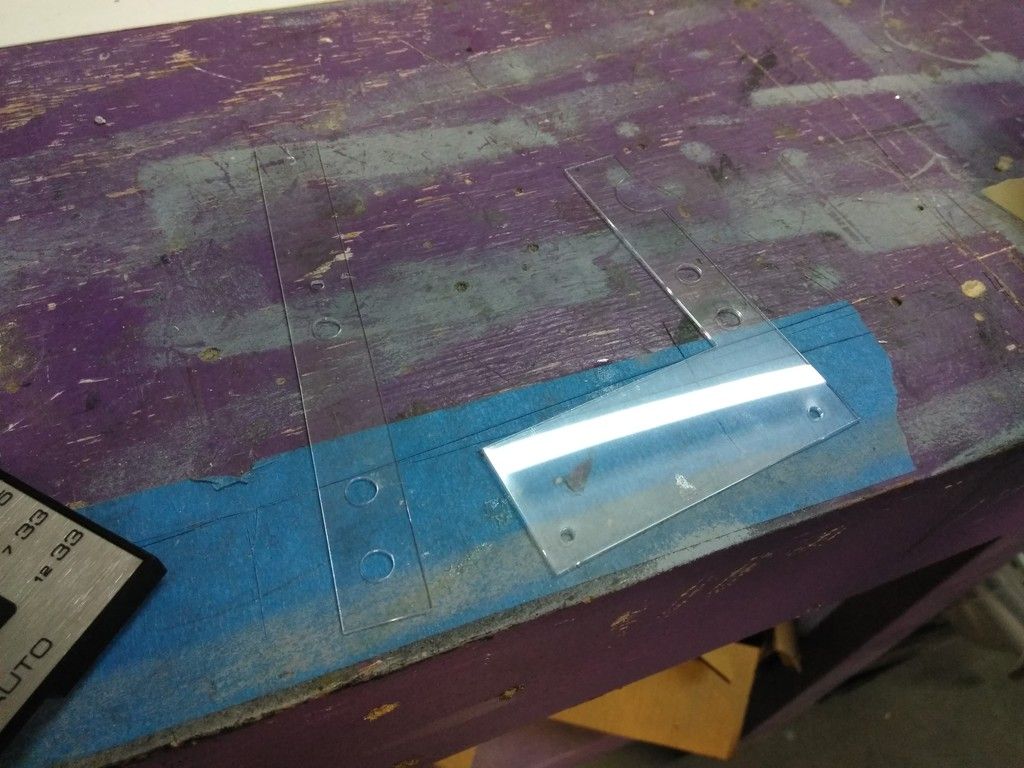
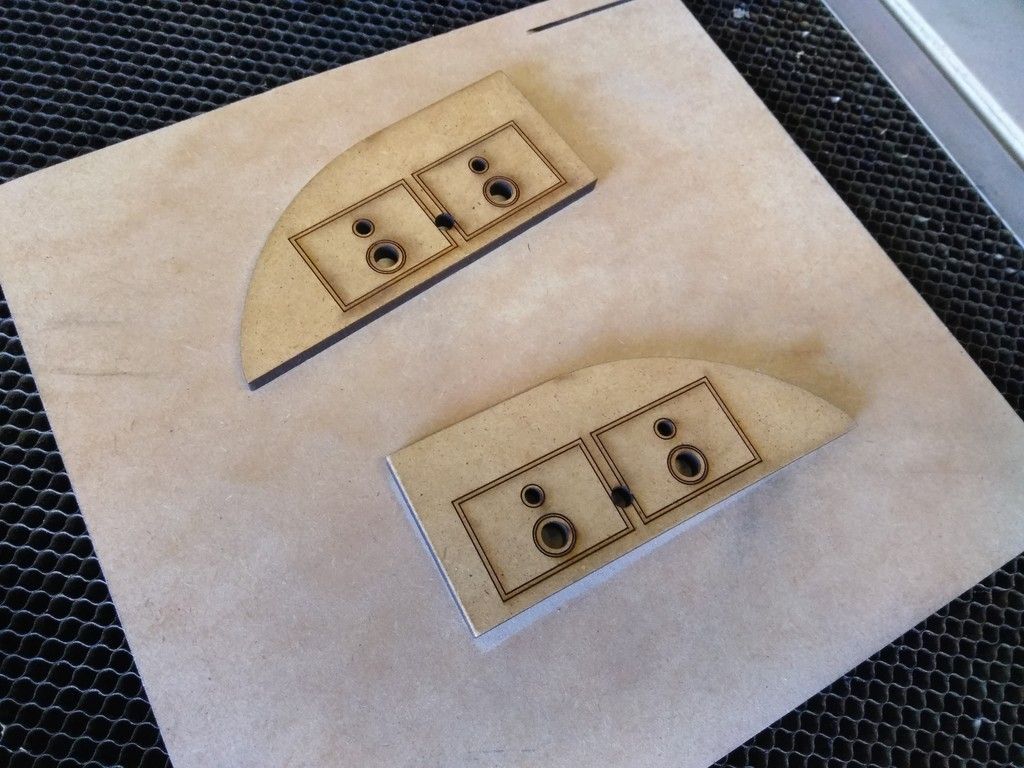
I took a few measurements and laser cut these cover pieces
They cover all the silk screened text
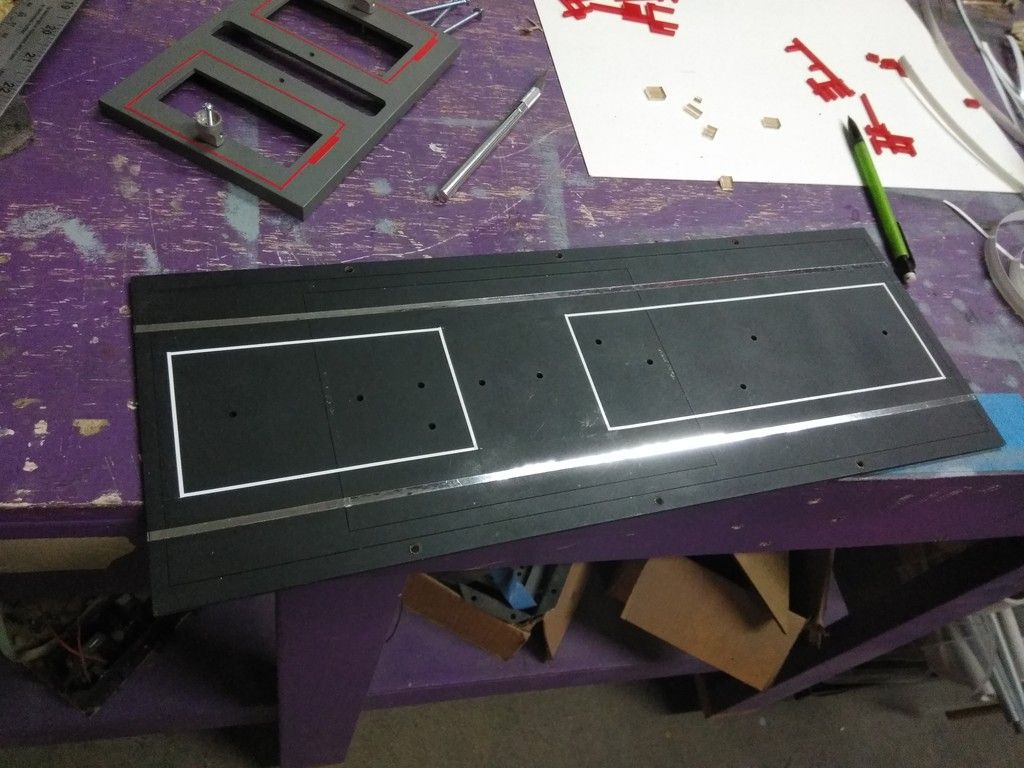
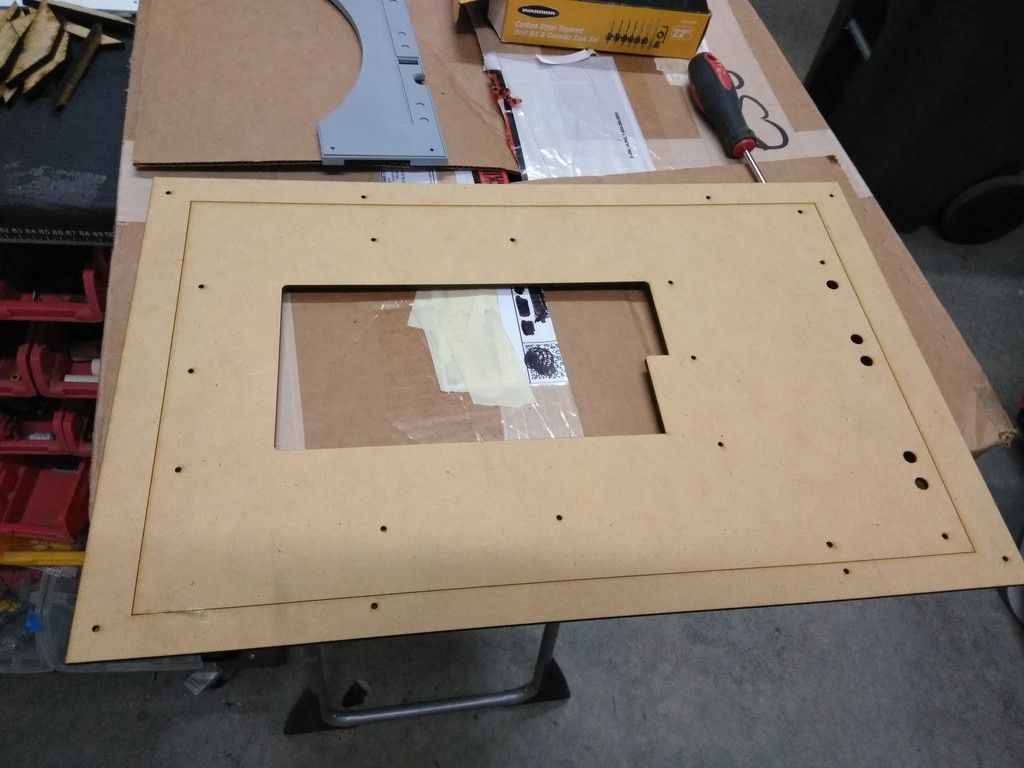
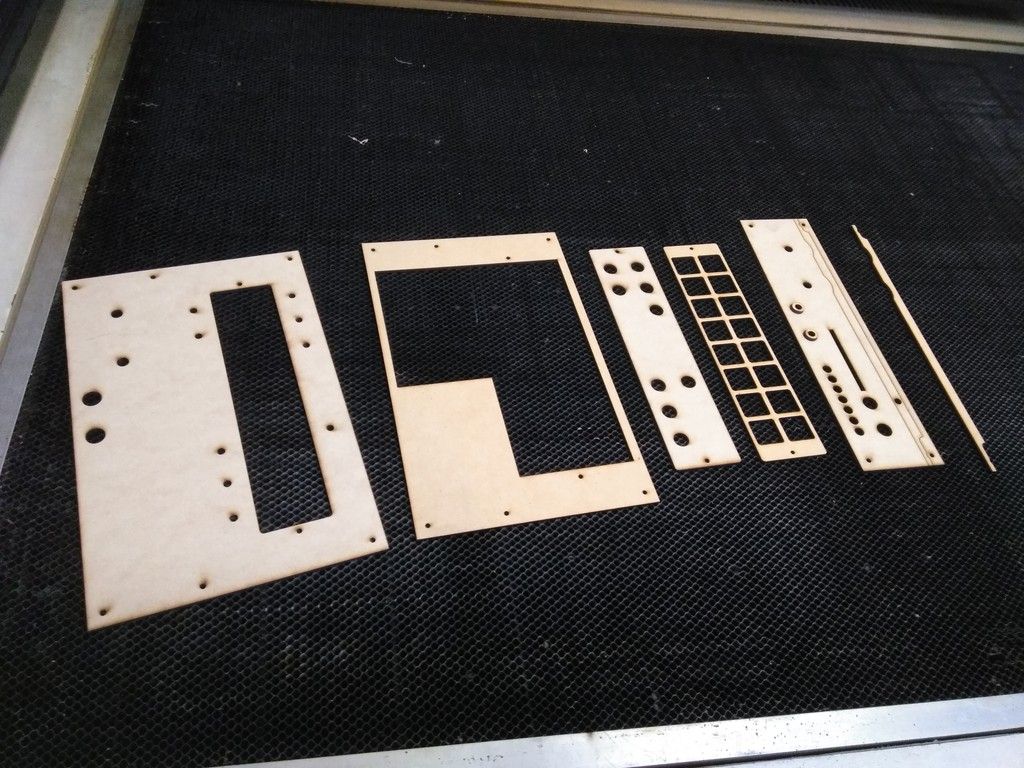
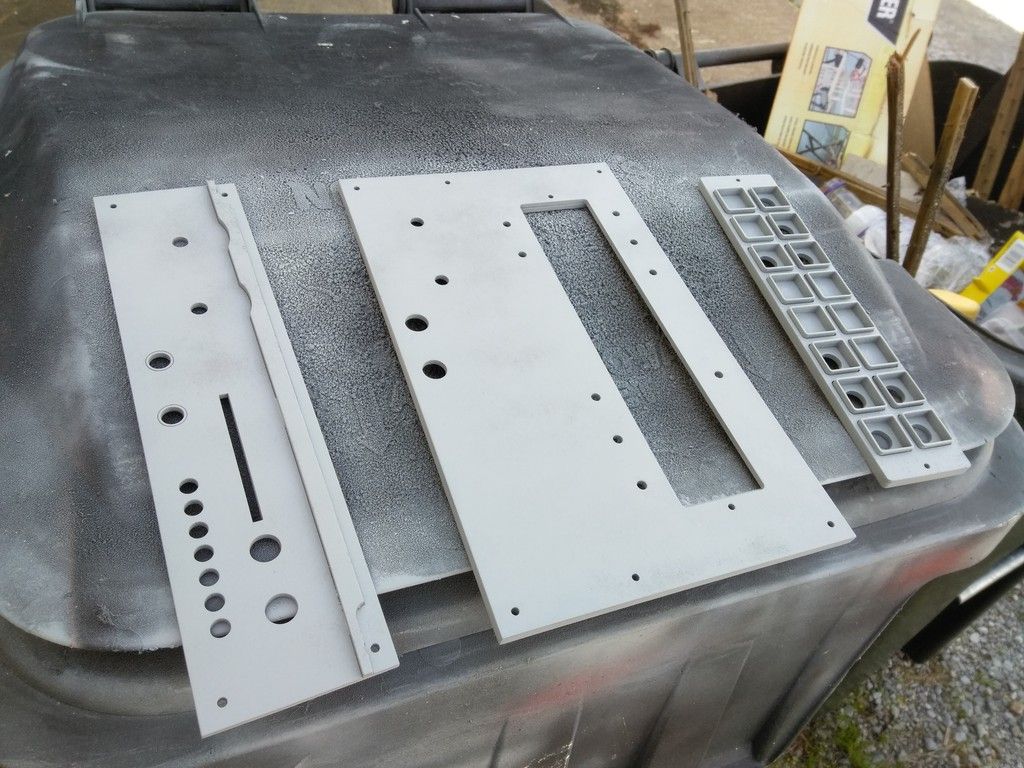
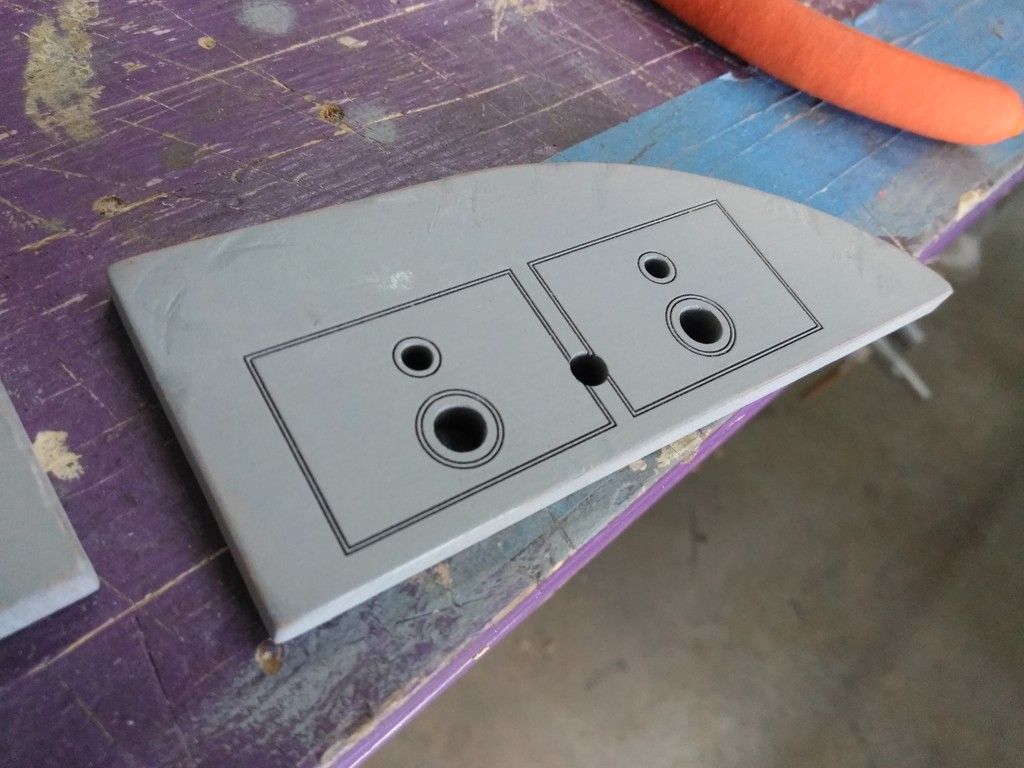
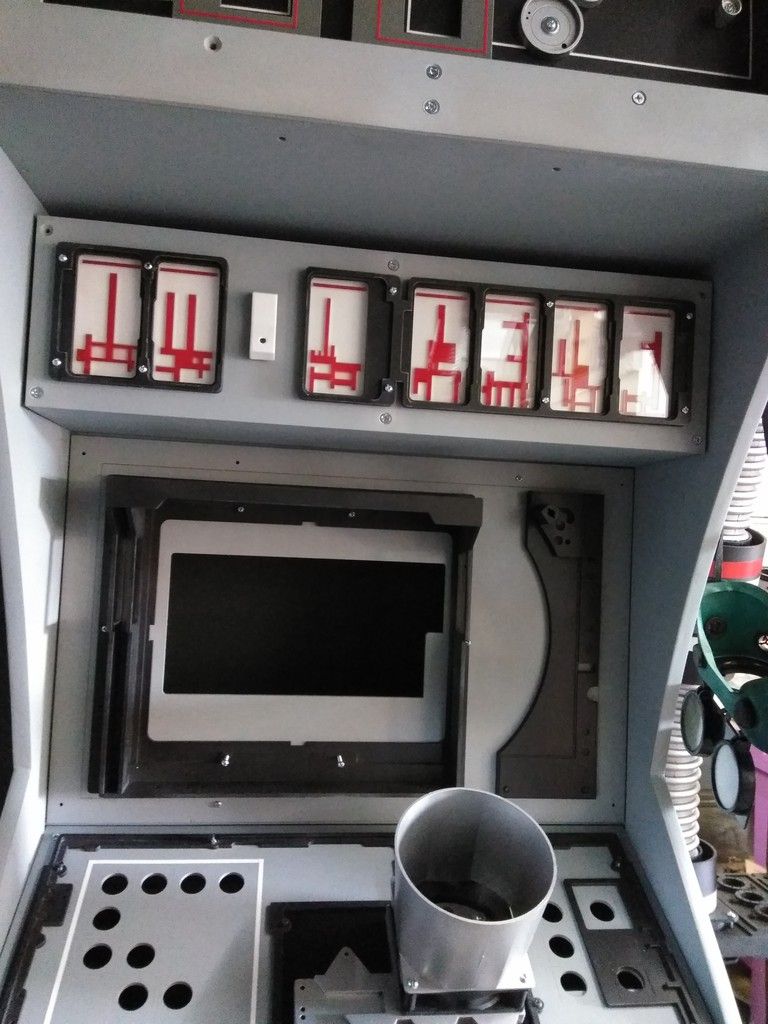
I laser cut a new panel
After applying some primer
Oh yeah...
Sometimes less is more!
I thought about adding some familiar greeblies but I may just leave it plain
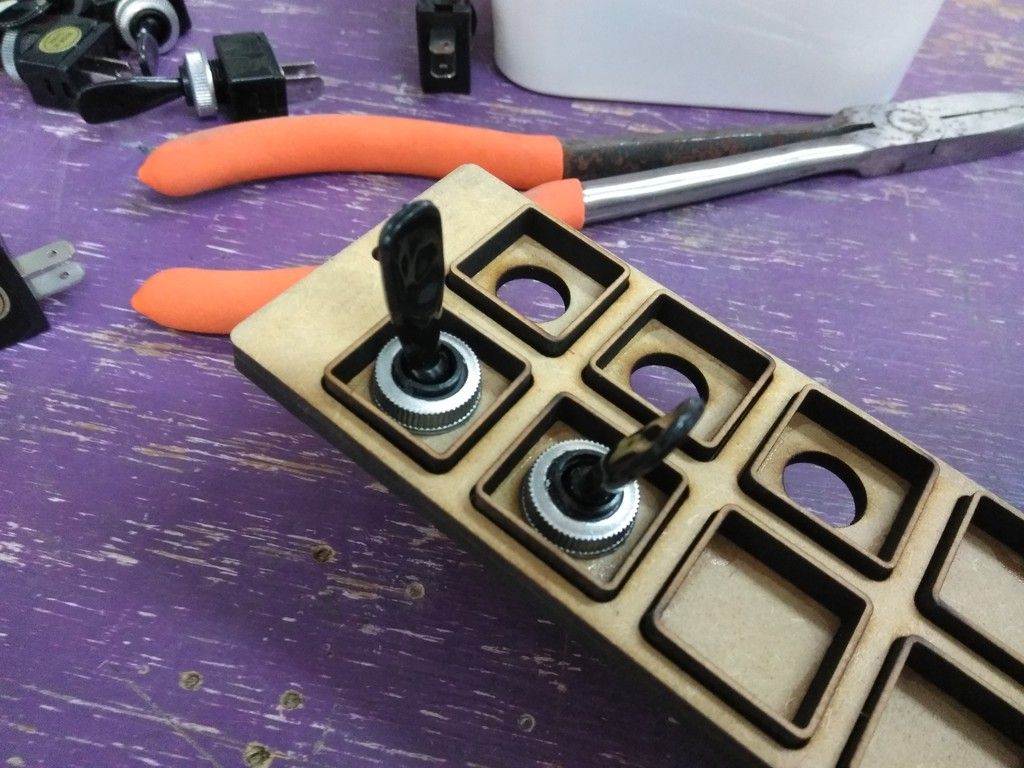
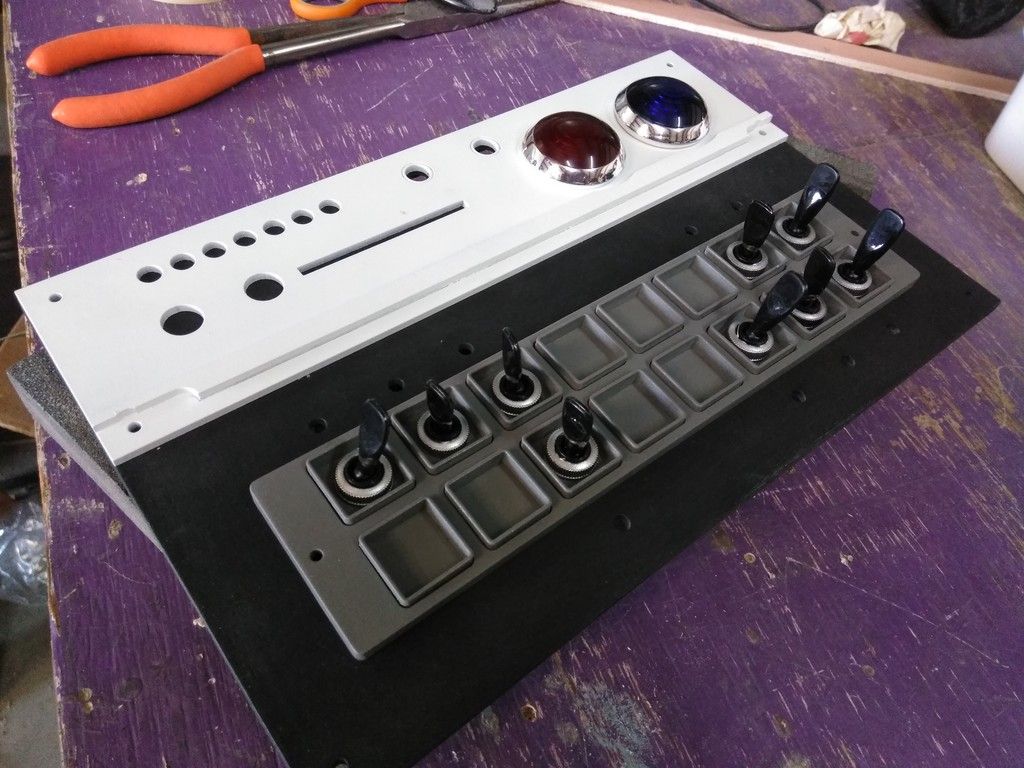
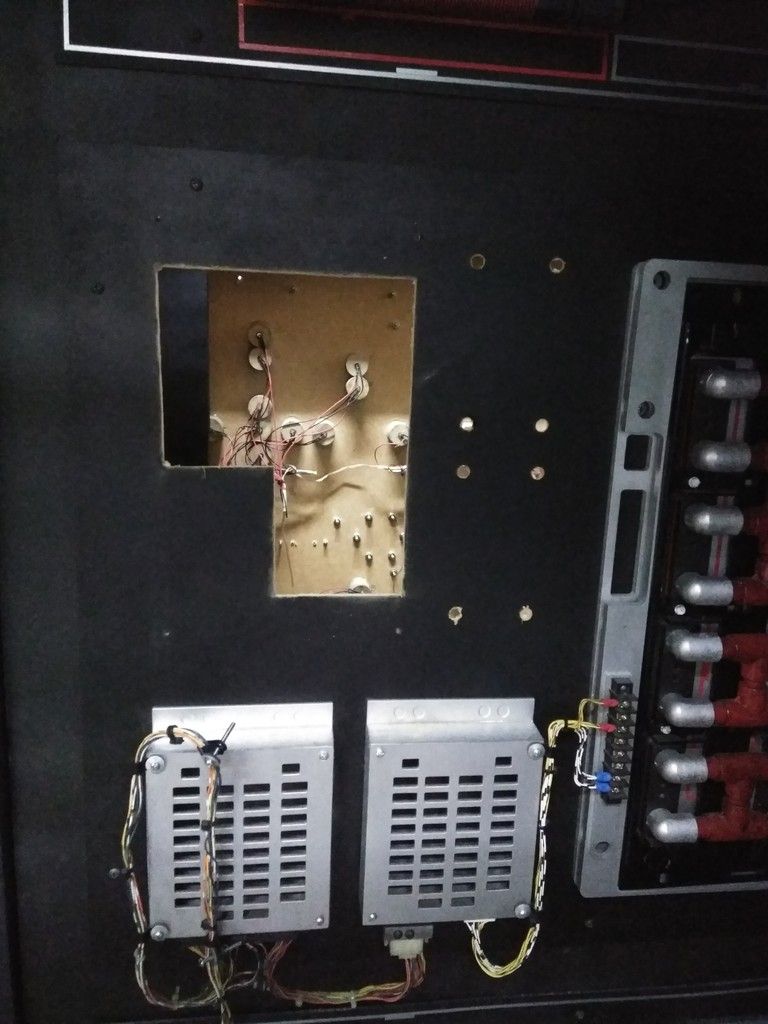
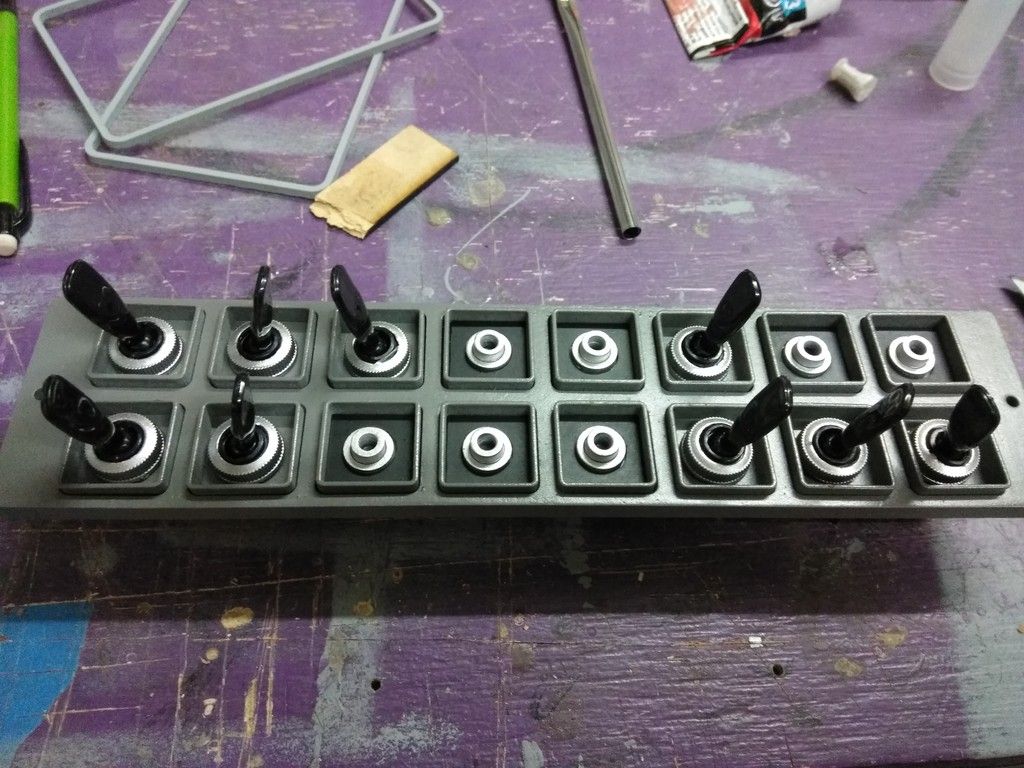
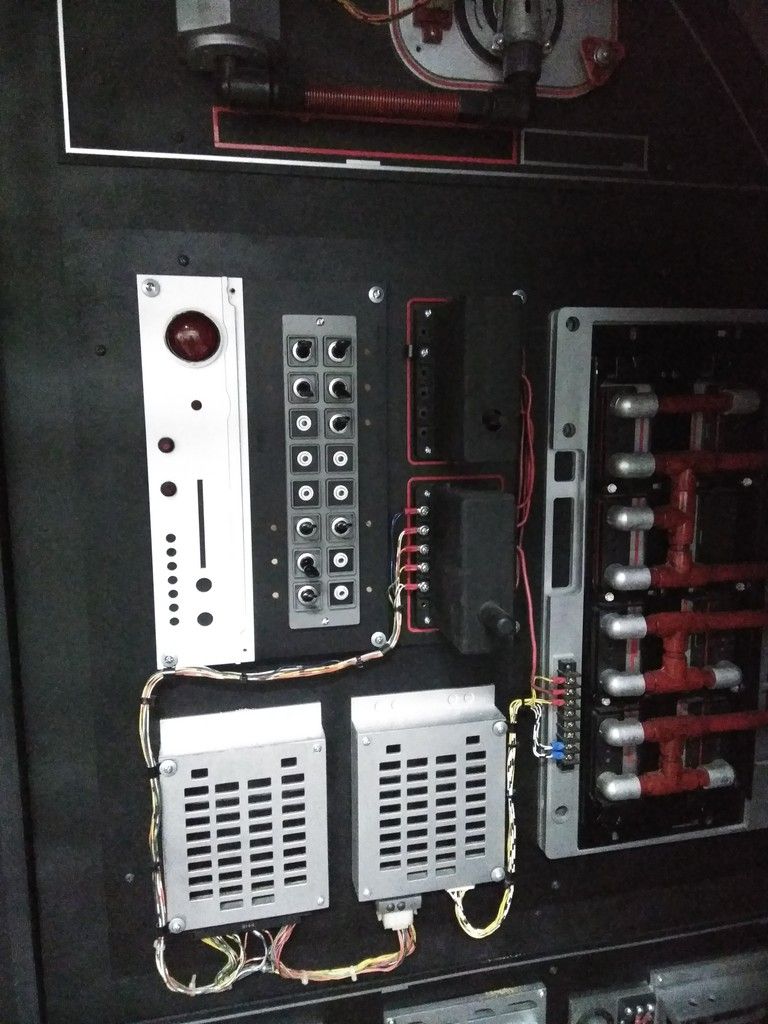
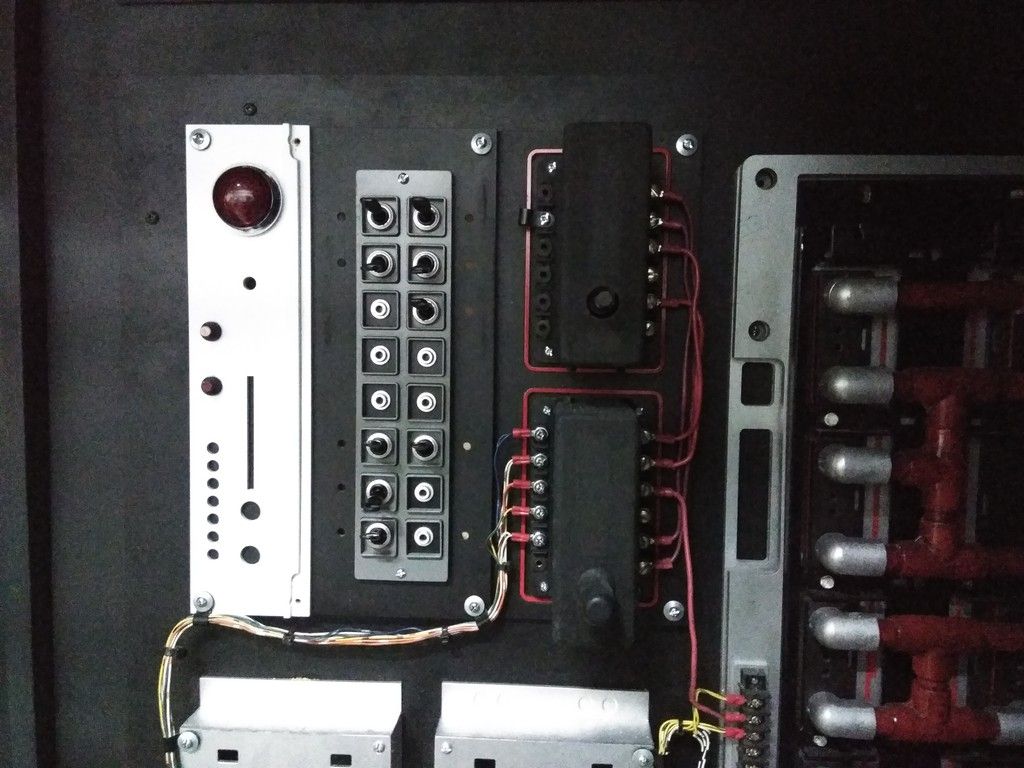
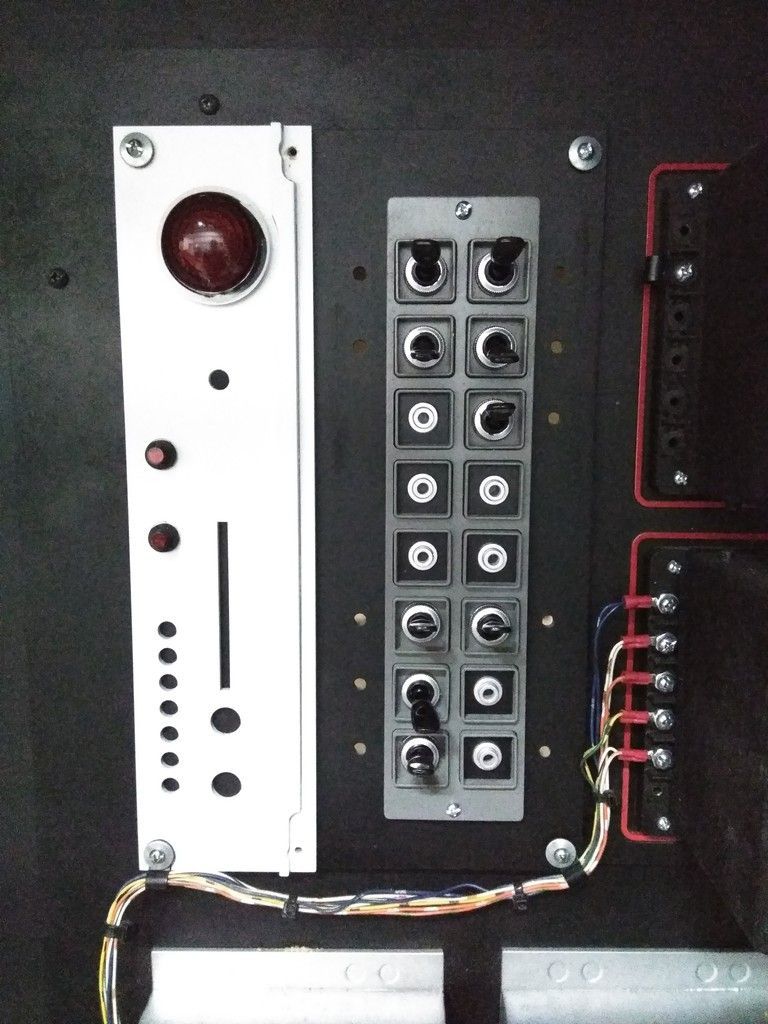
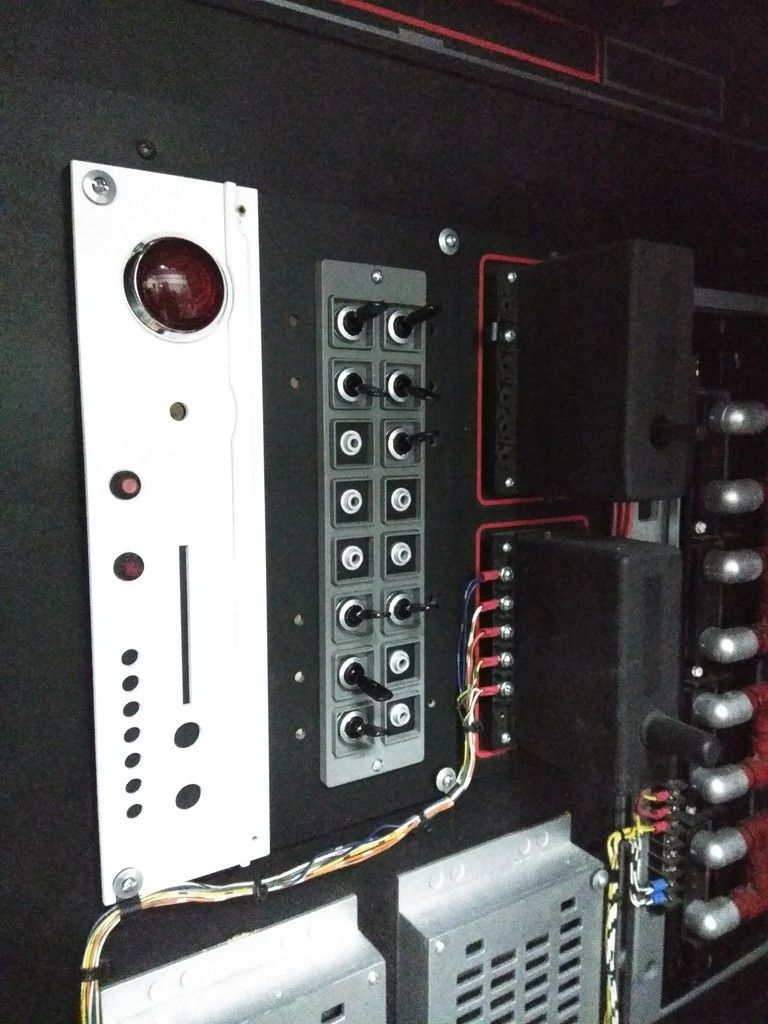
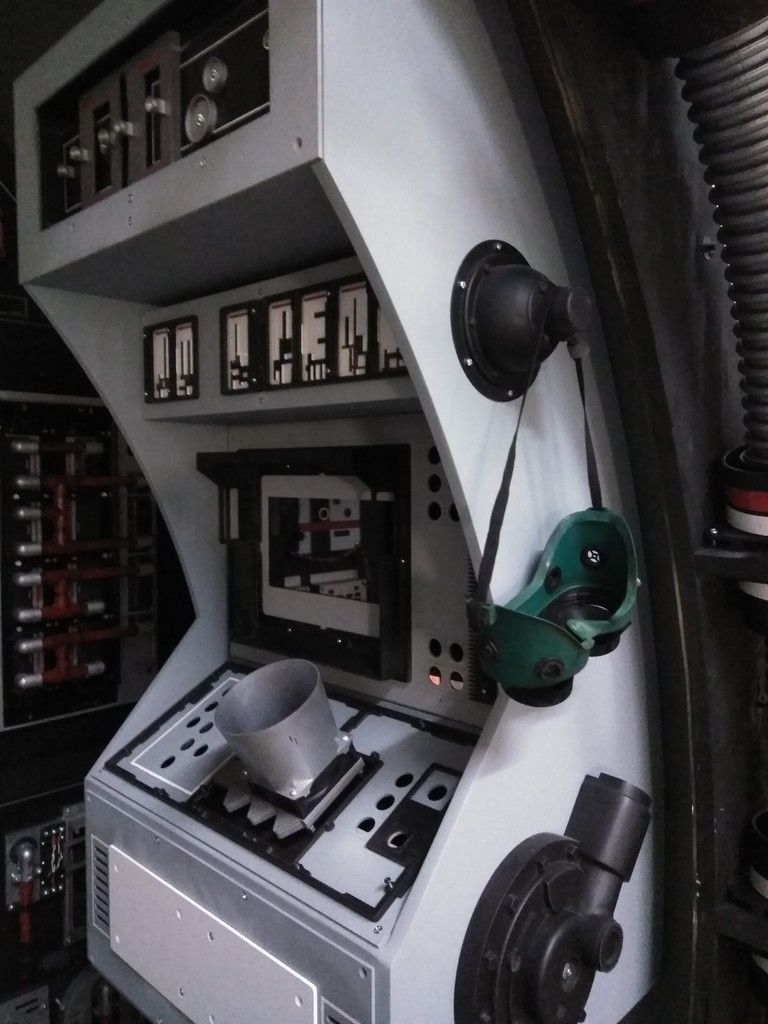
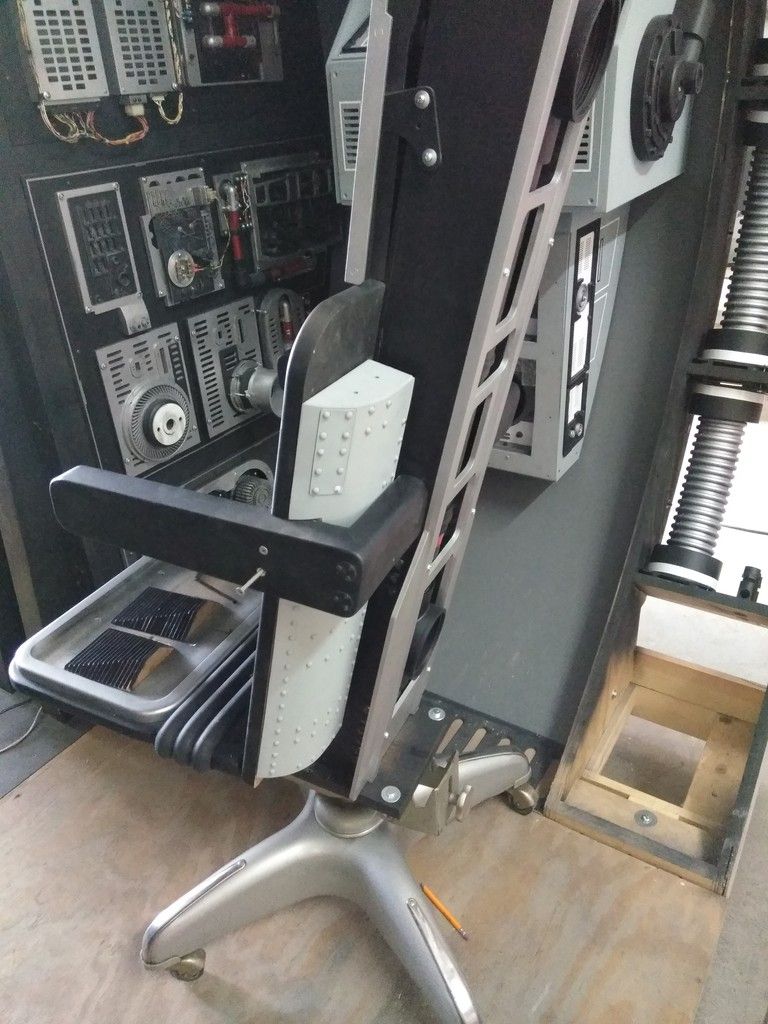
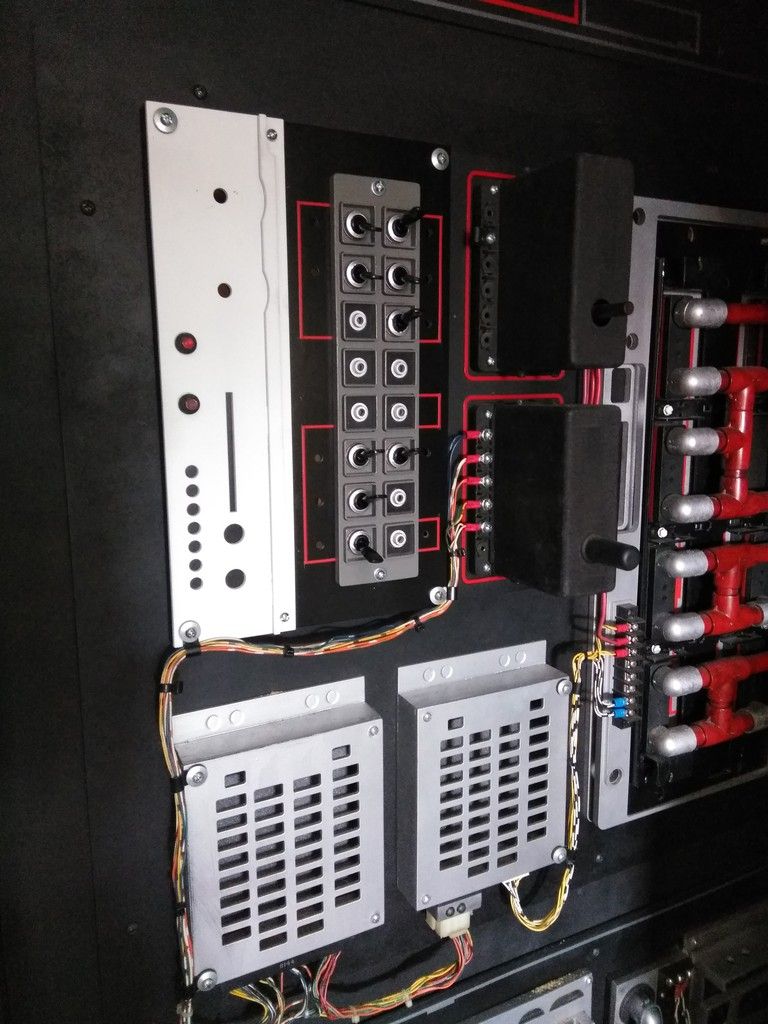
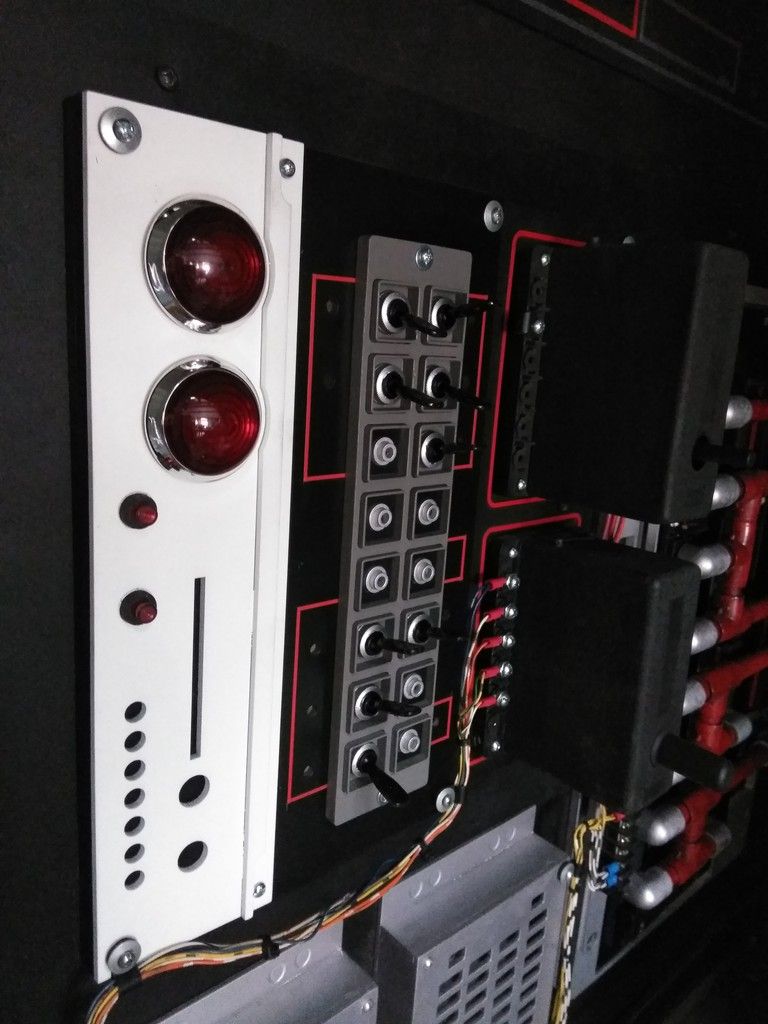
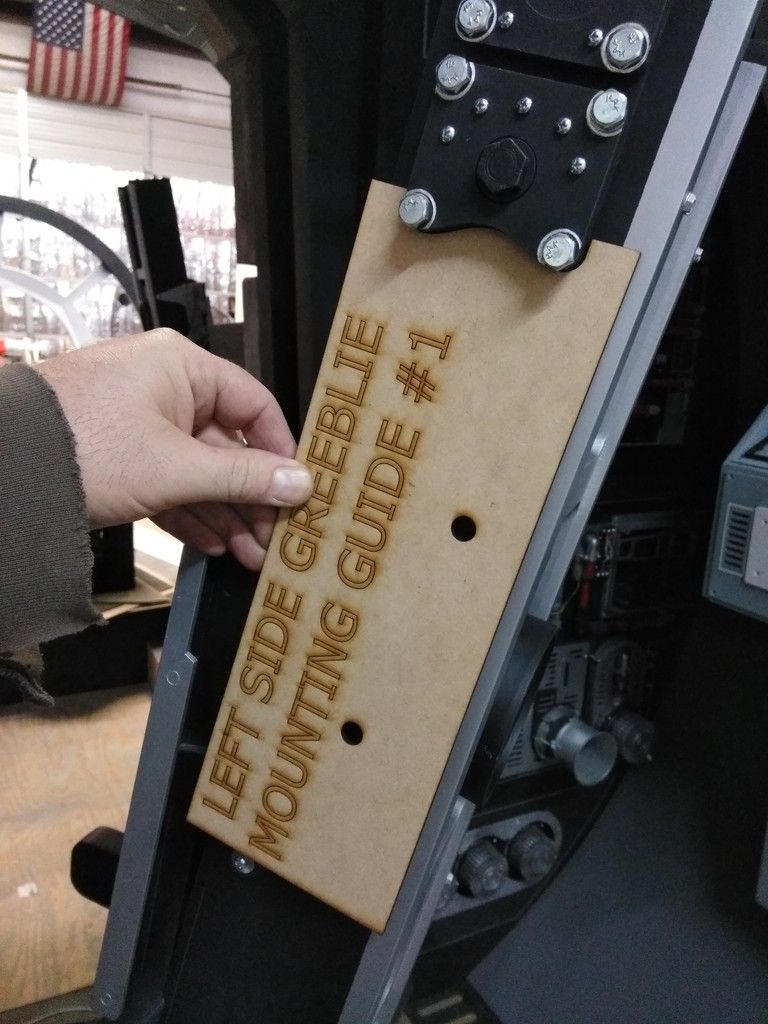
A few pages back a fellow RPFer (can't find the post) suggested I add some switches to main entrance wall.
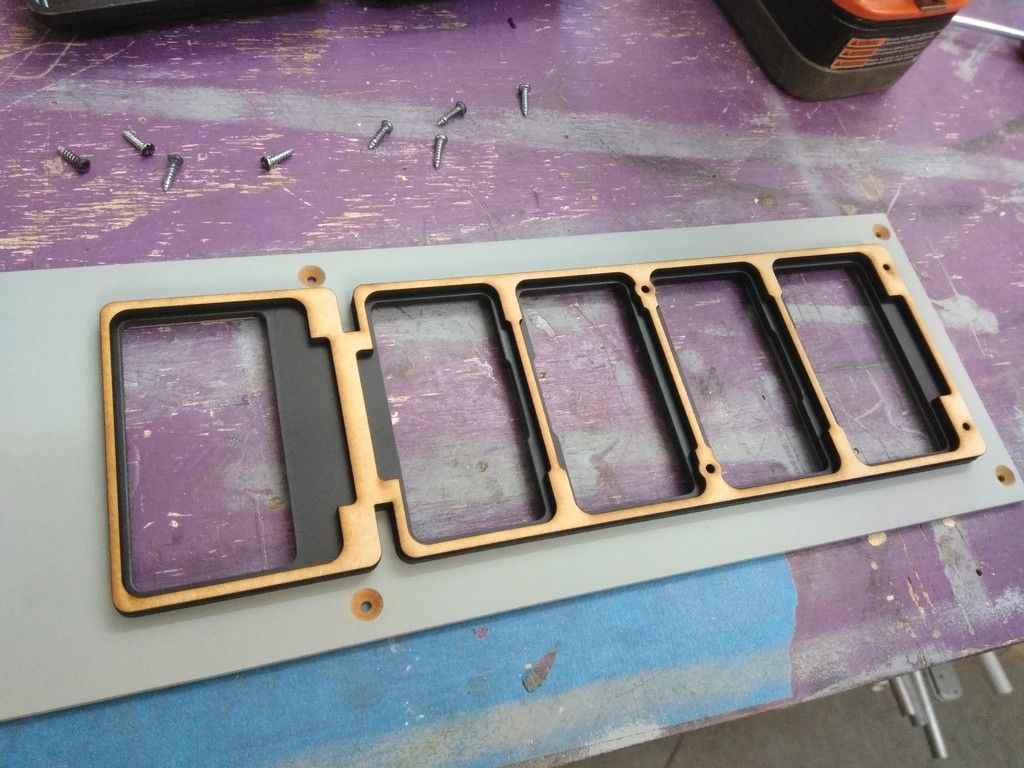
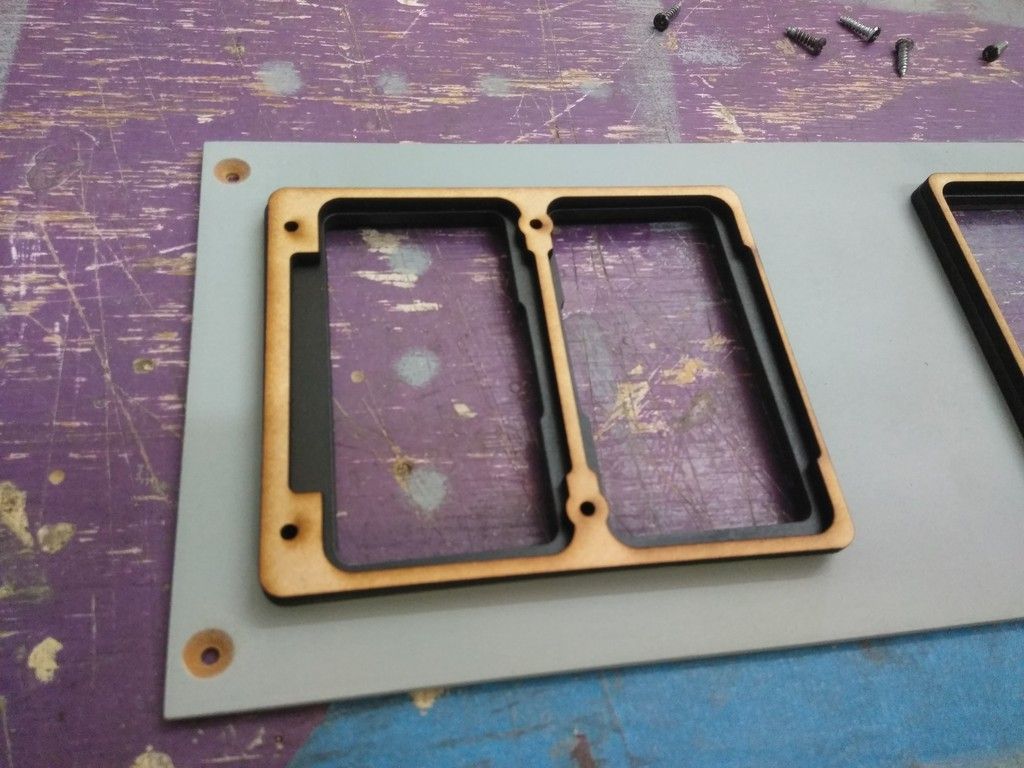
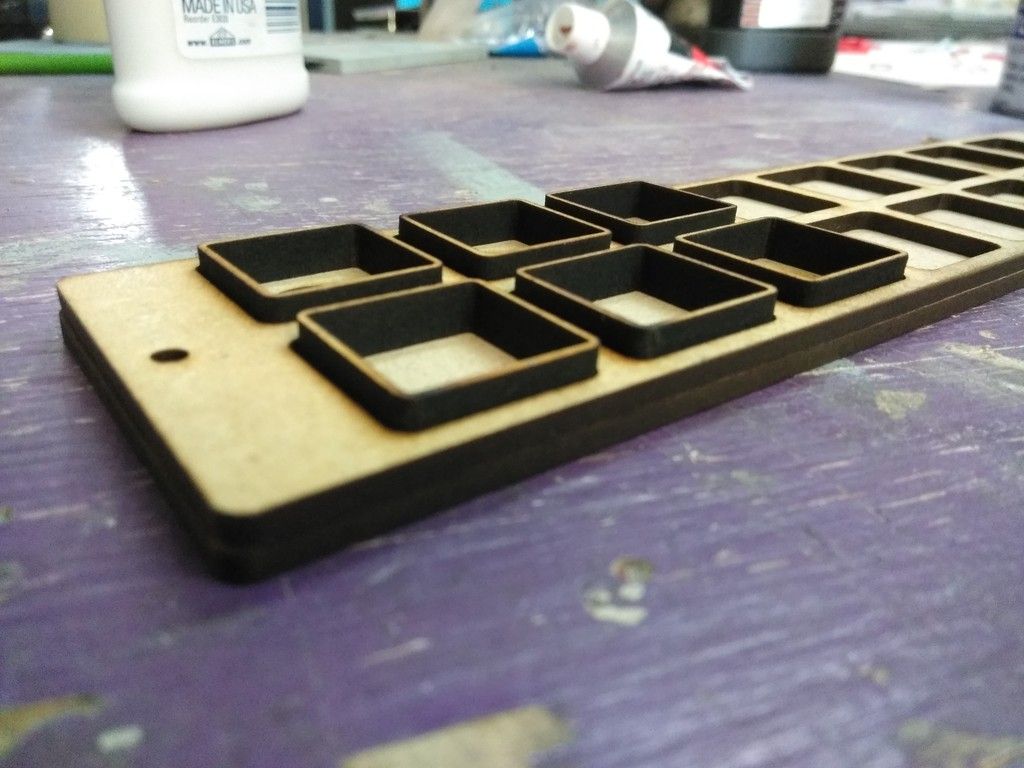
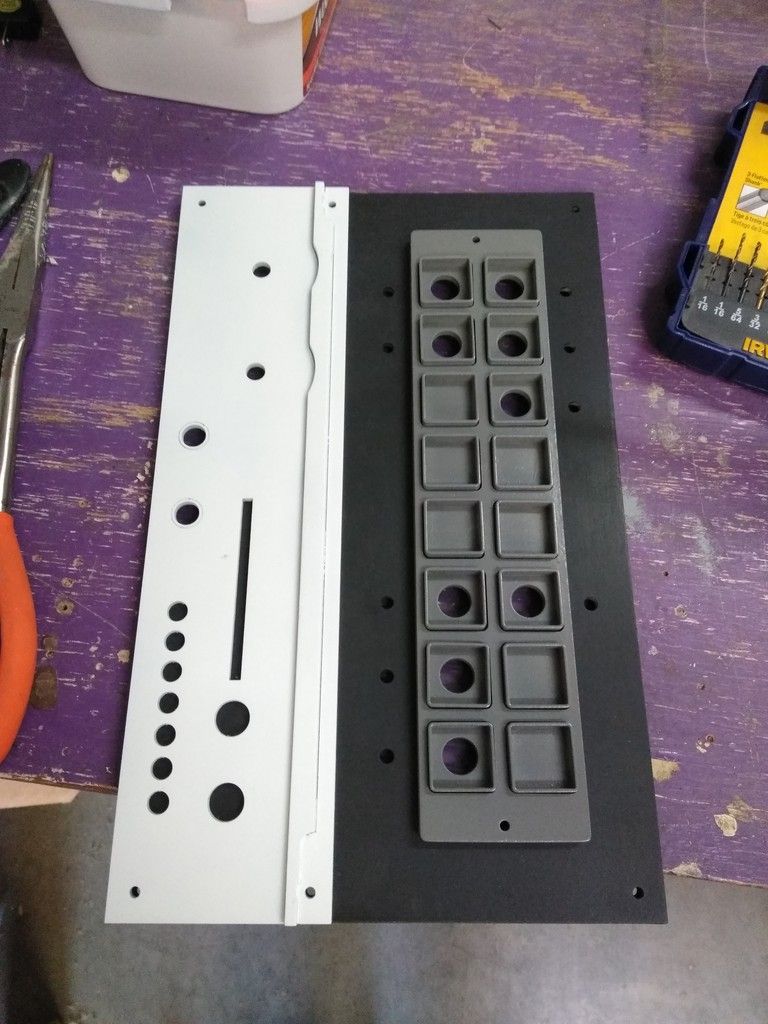
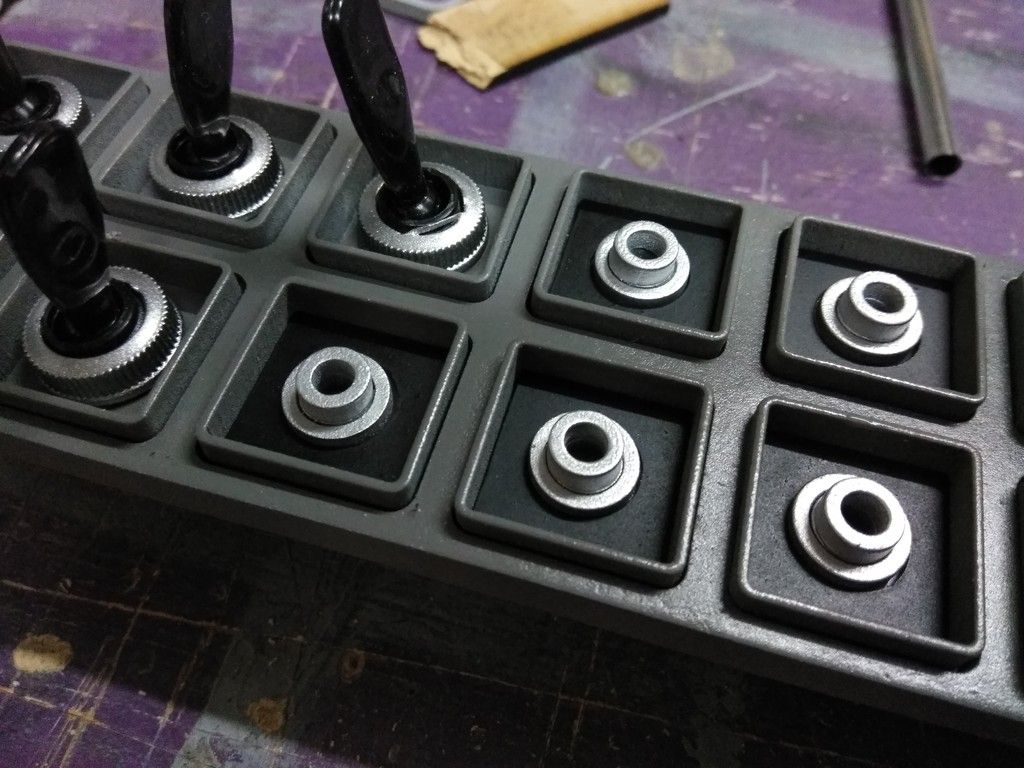
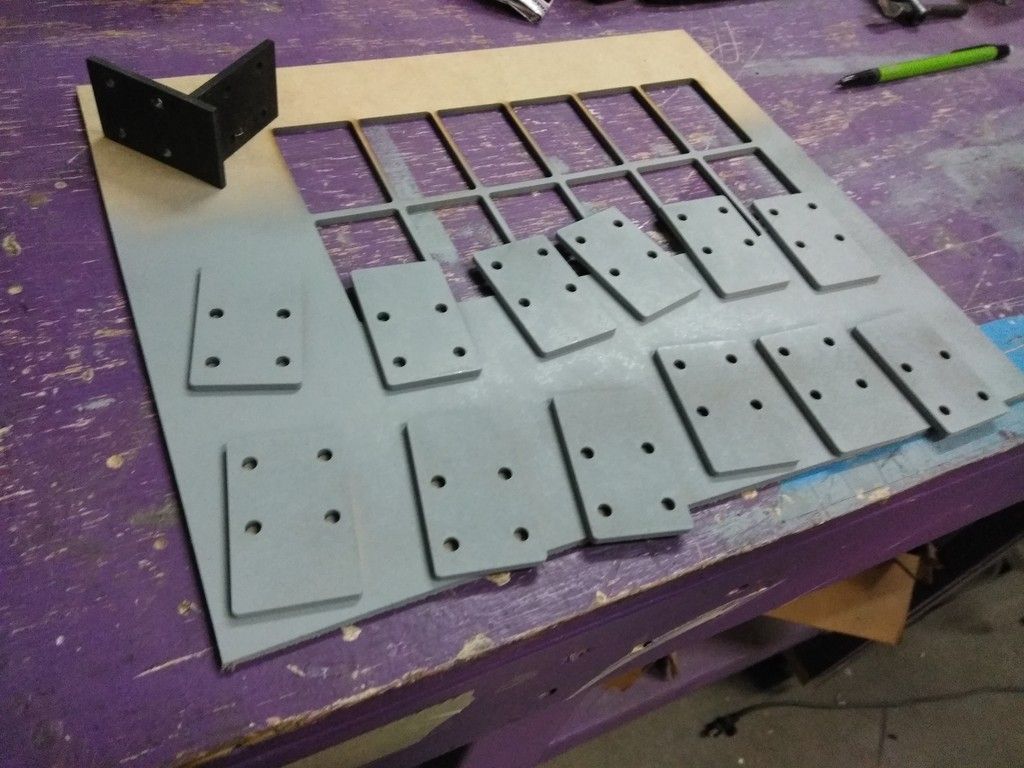
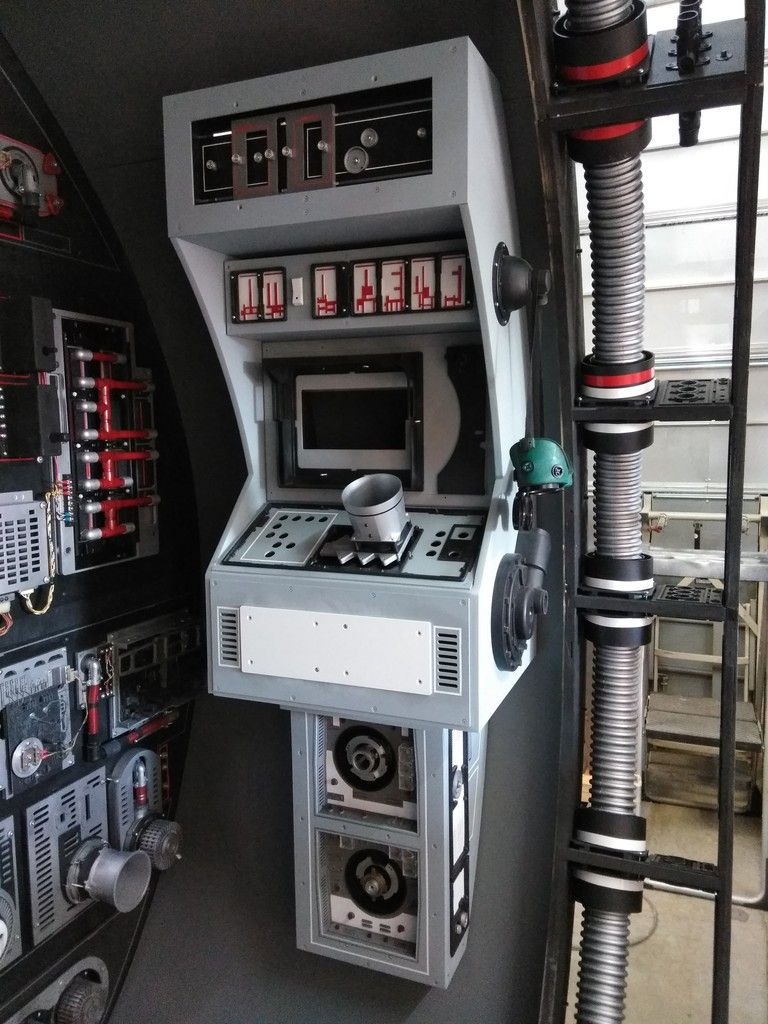
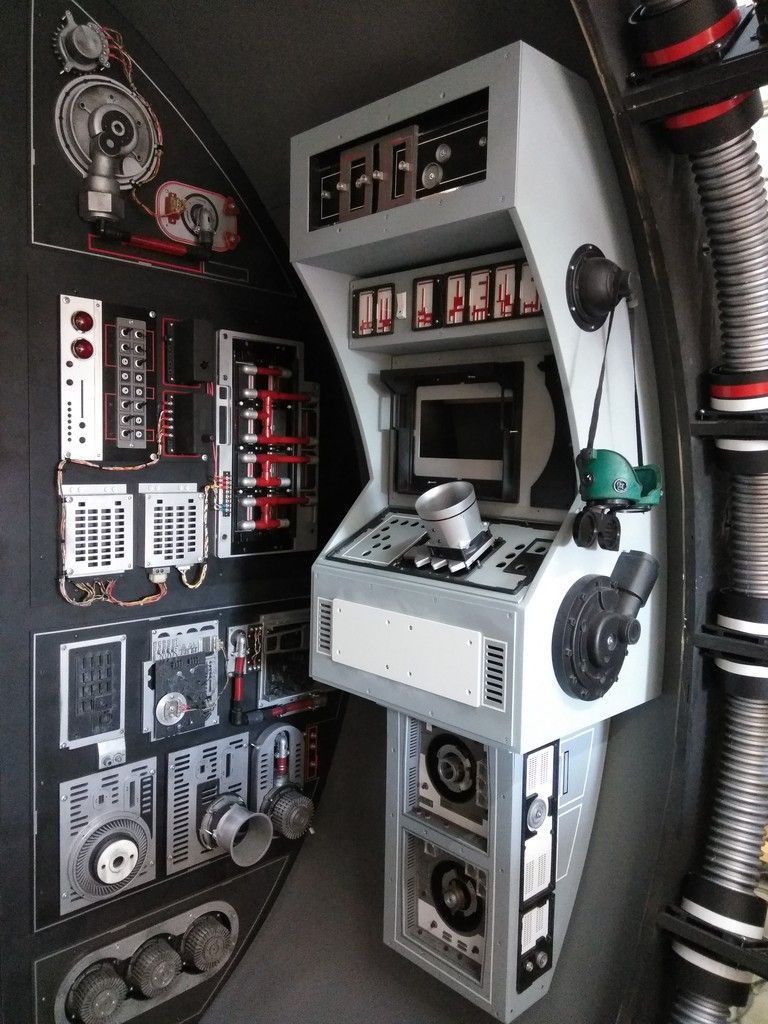
So... what do you do with all these pieces?
Stack them together and make this
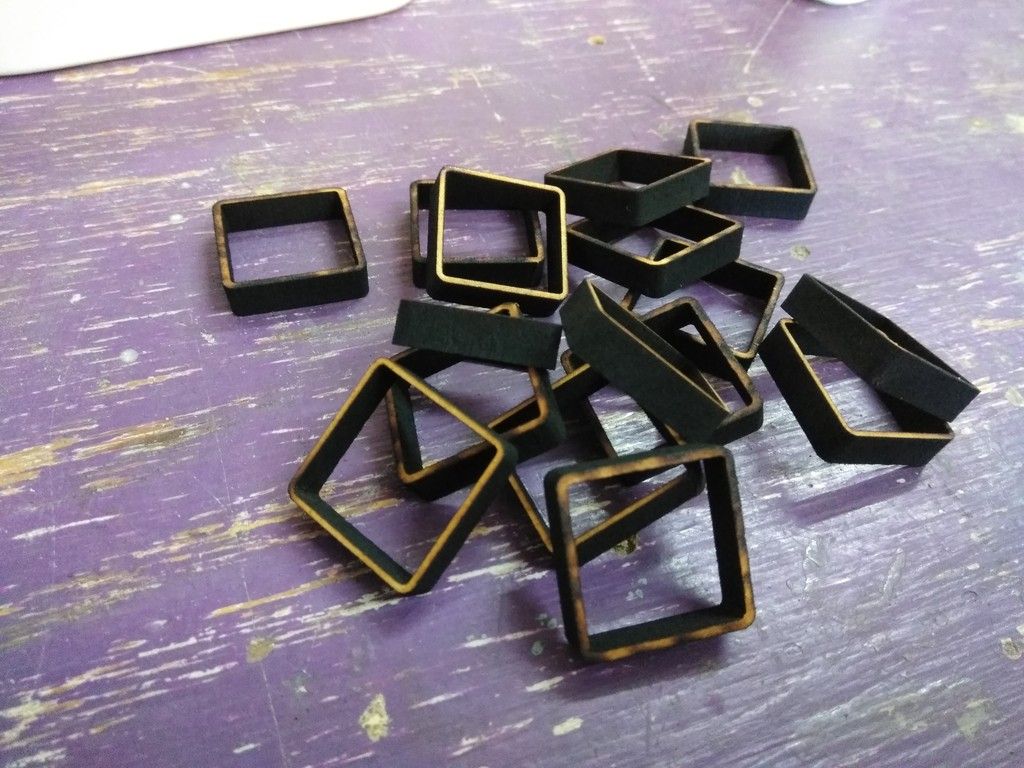
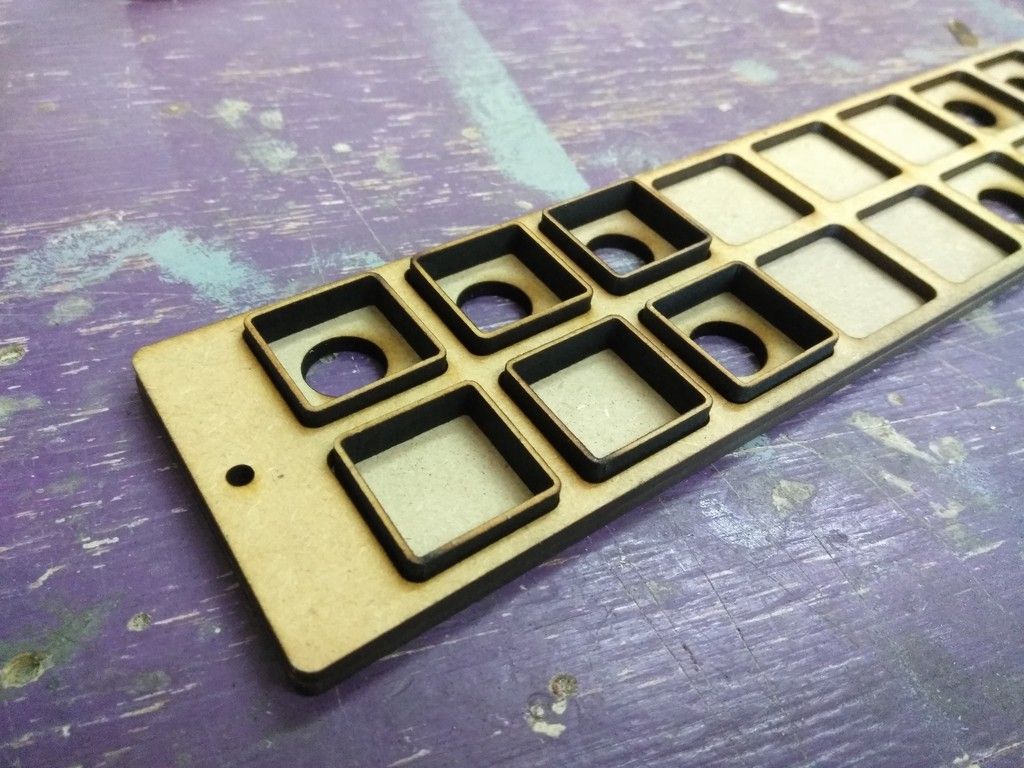
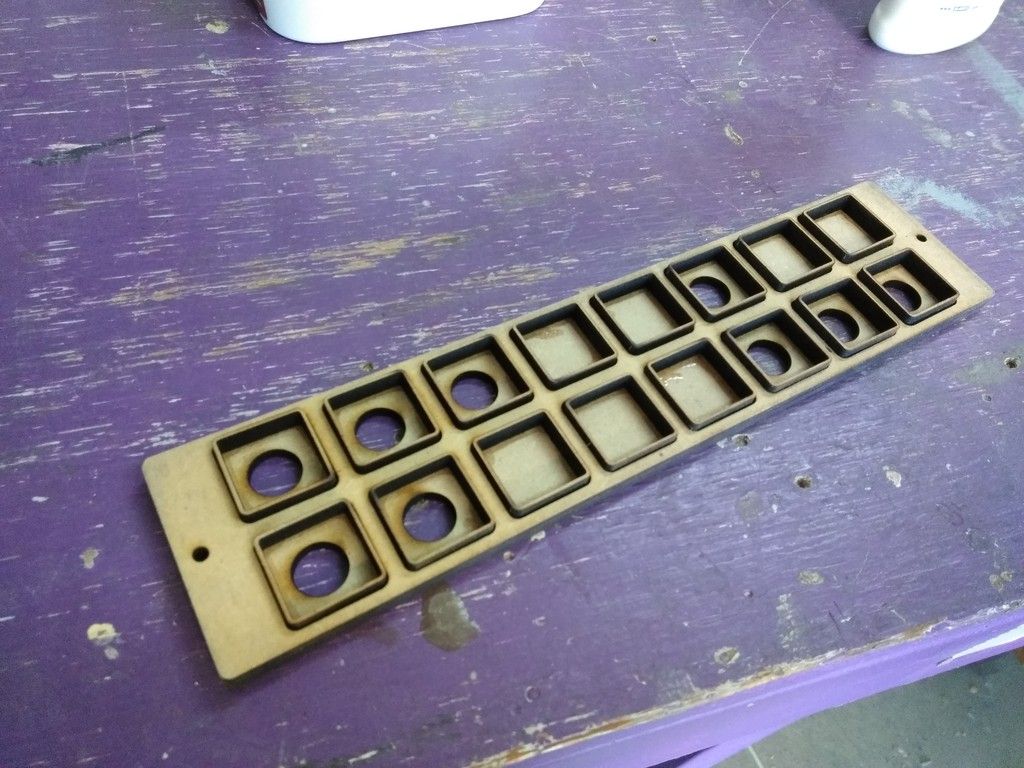
Then cut some of these
And place them here
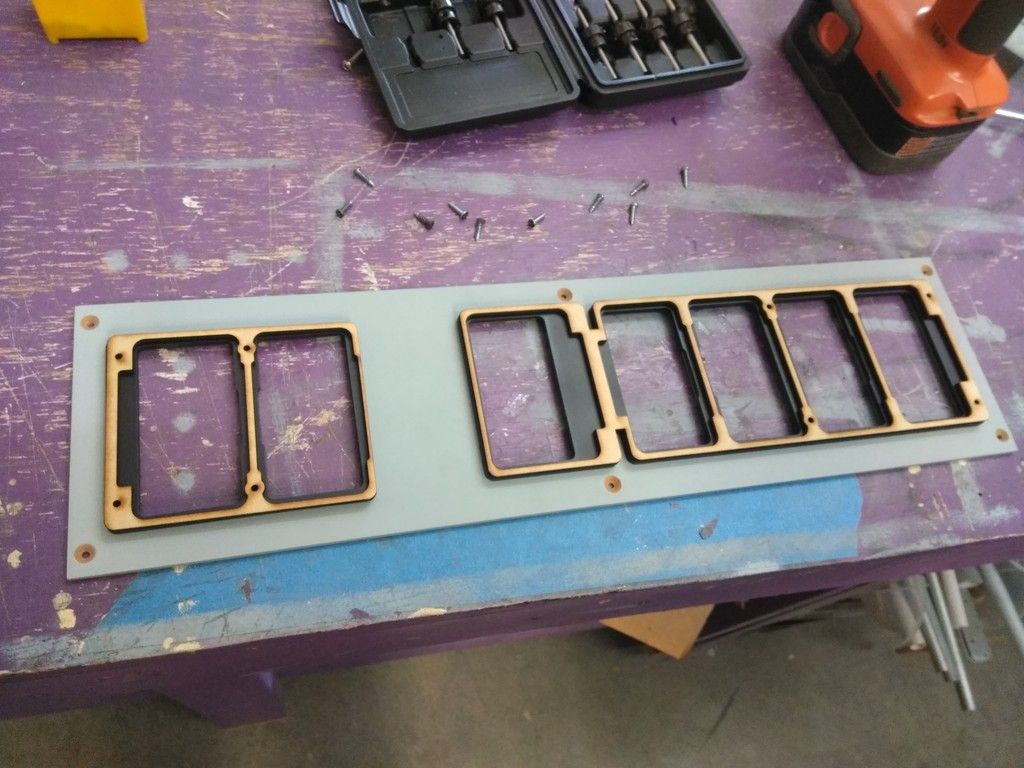
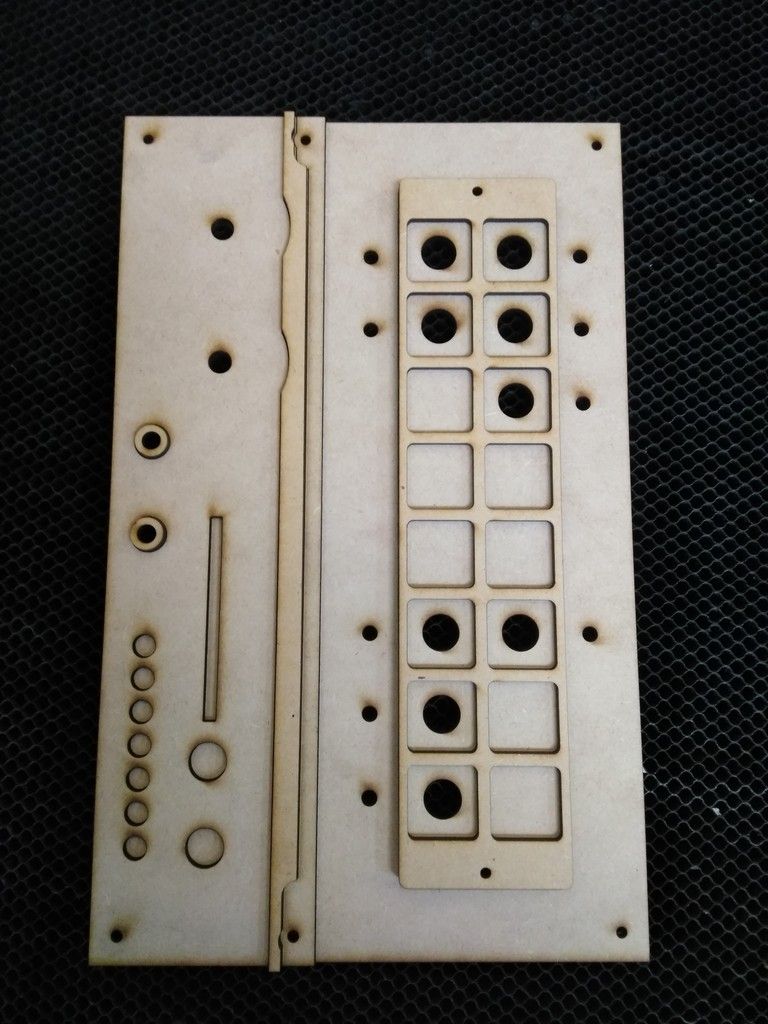
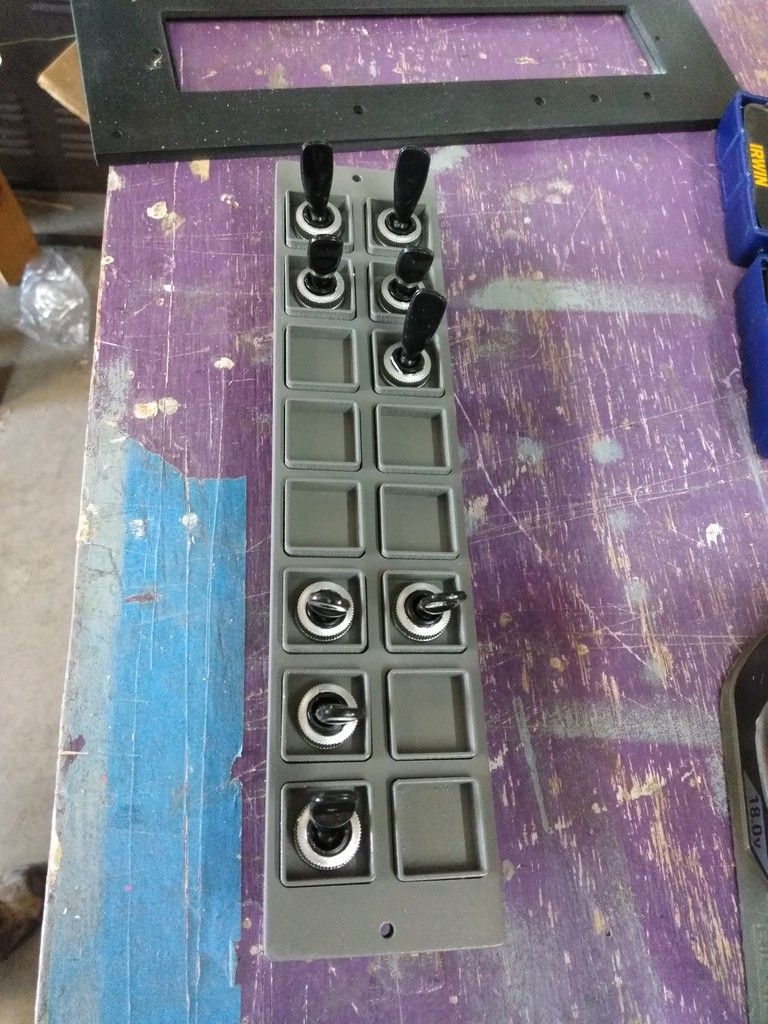
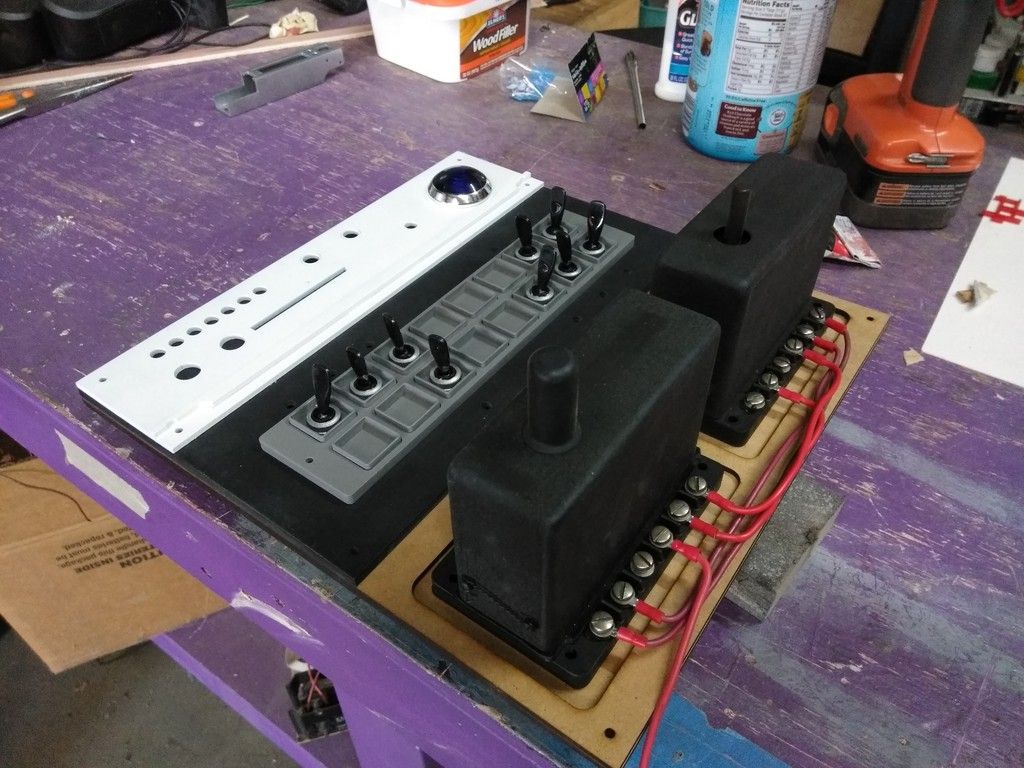
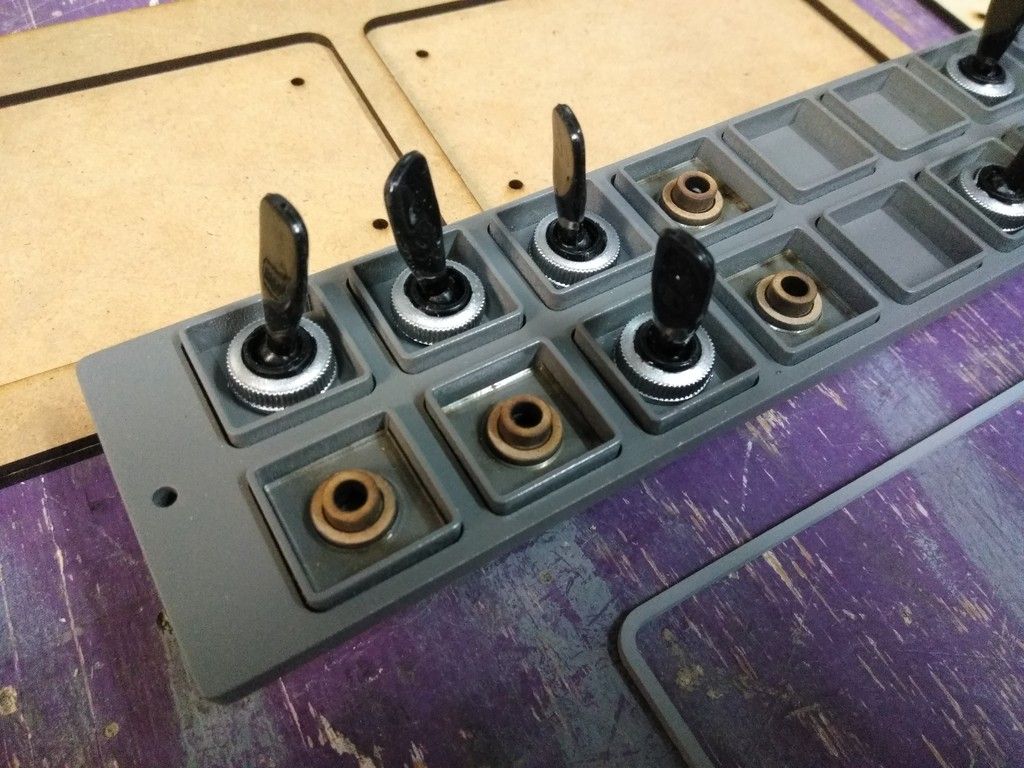
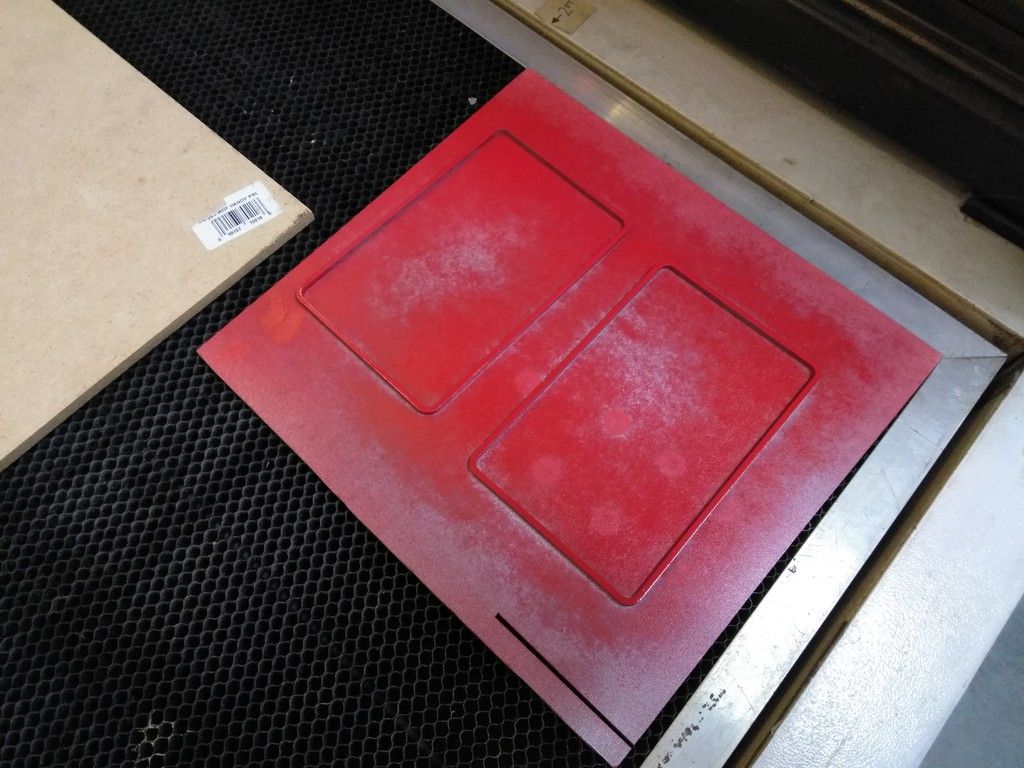
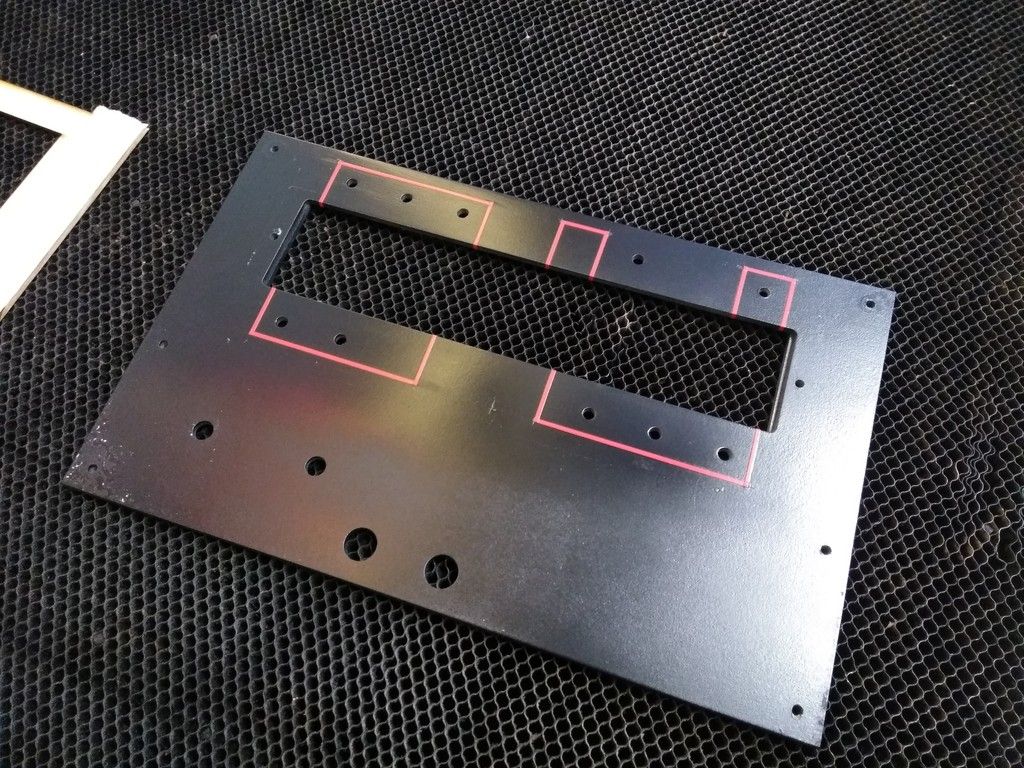
This is for the switch panel
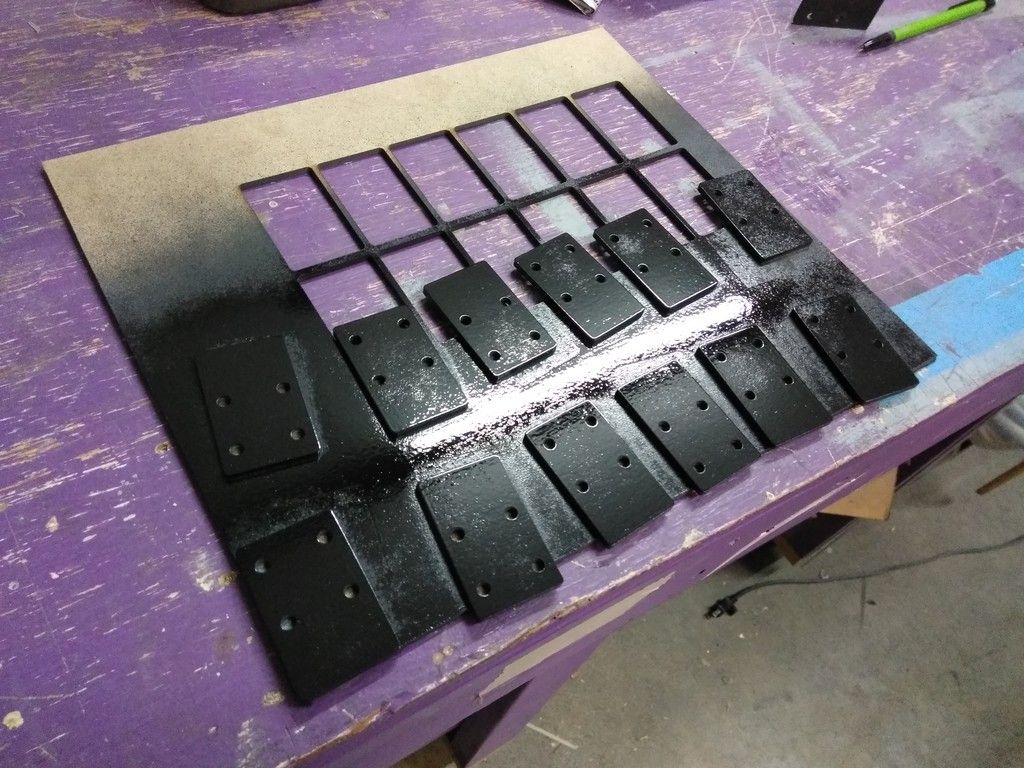
Add primer
Get some greeblie ideas
DEF going with the panel light but I think I'm going to stay with all red
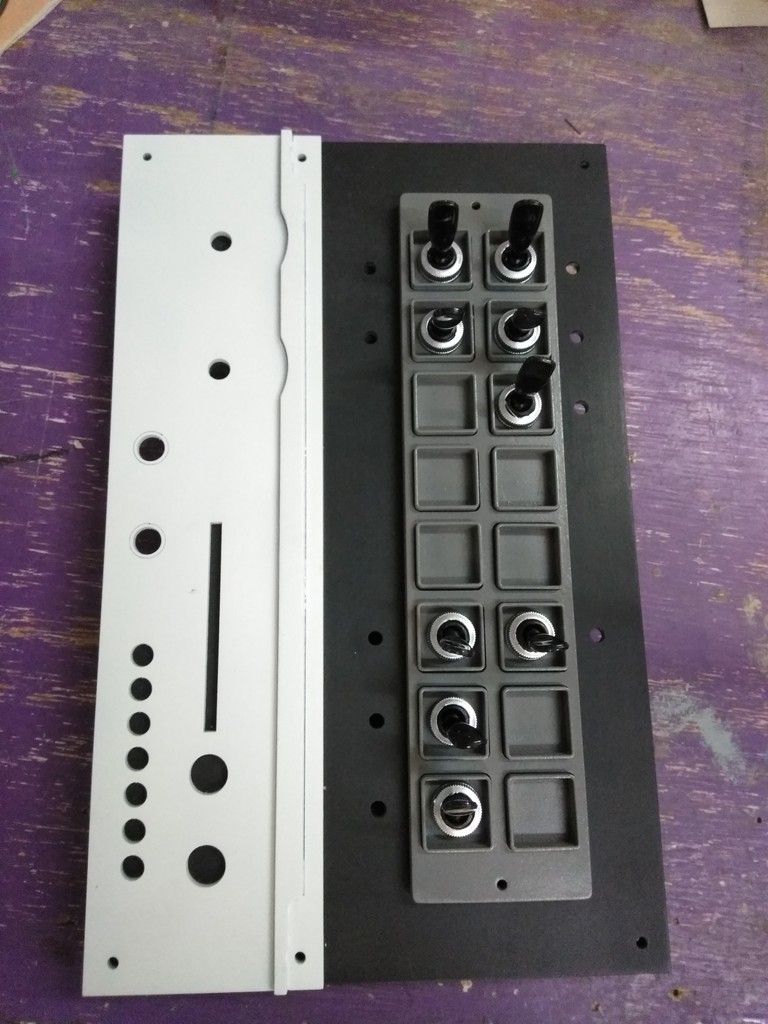
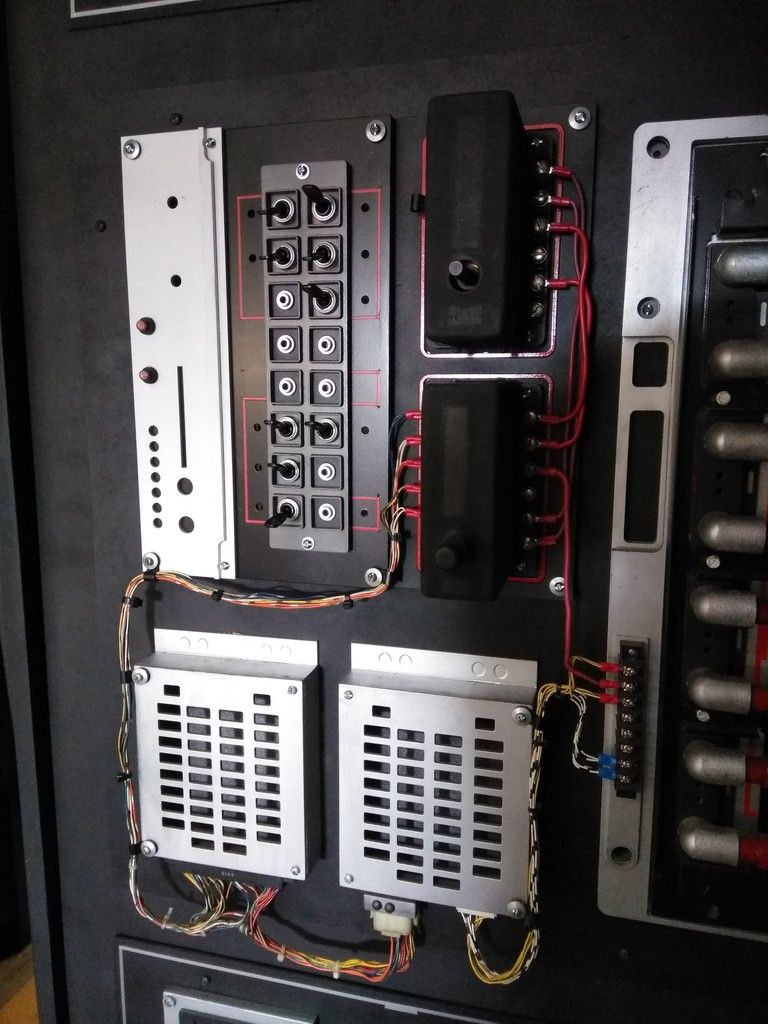
I went round and round with the color design then thought to just stay with the original panel color that I am replacing _ white, red, silver/Granite and black
Added the granite color to the switch plate
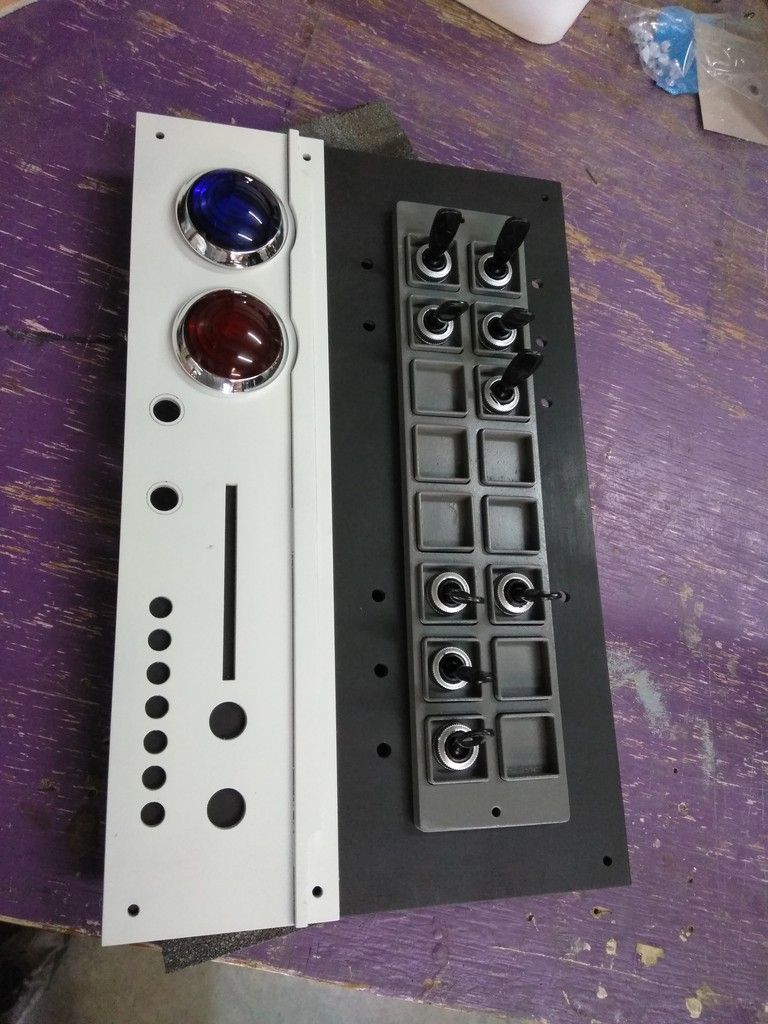
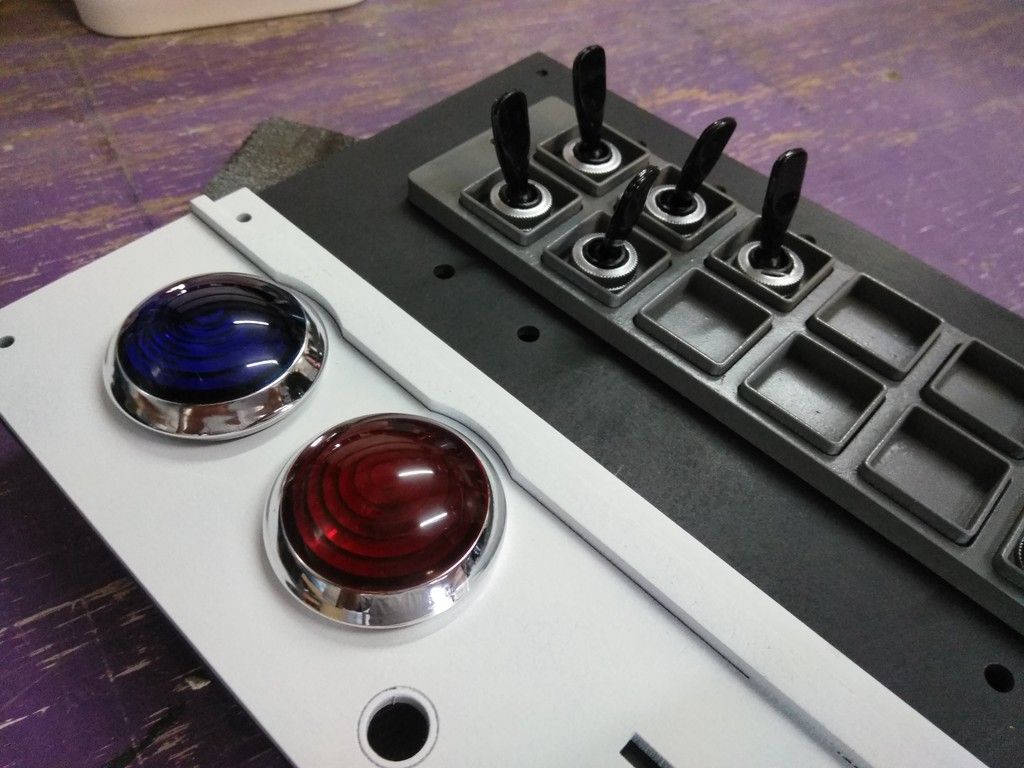
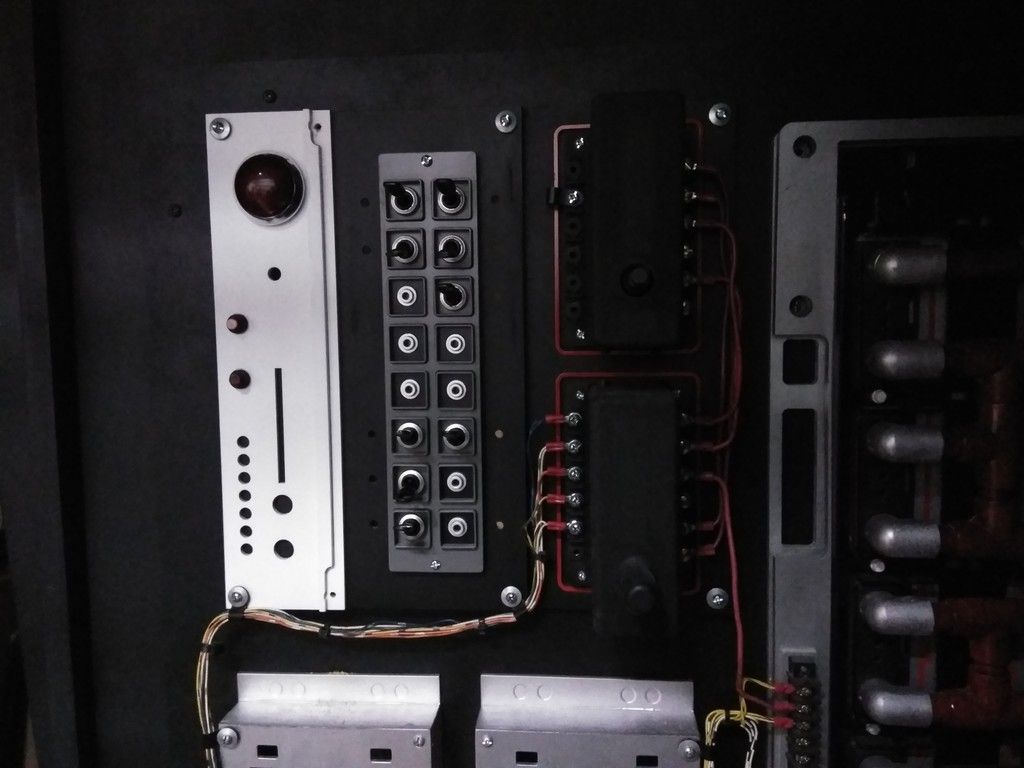
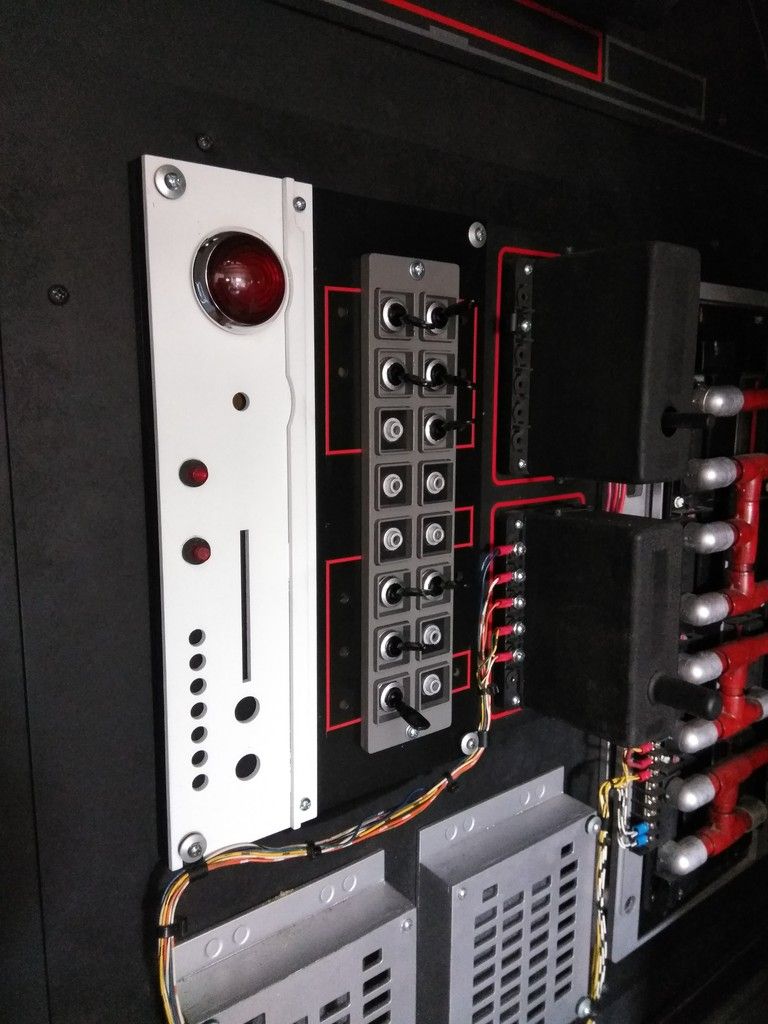
The small holes next to the switches will have red and white LEDs
I LOVE those panel lights
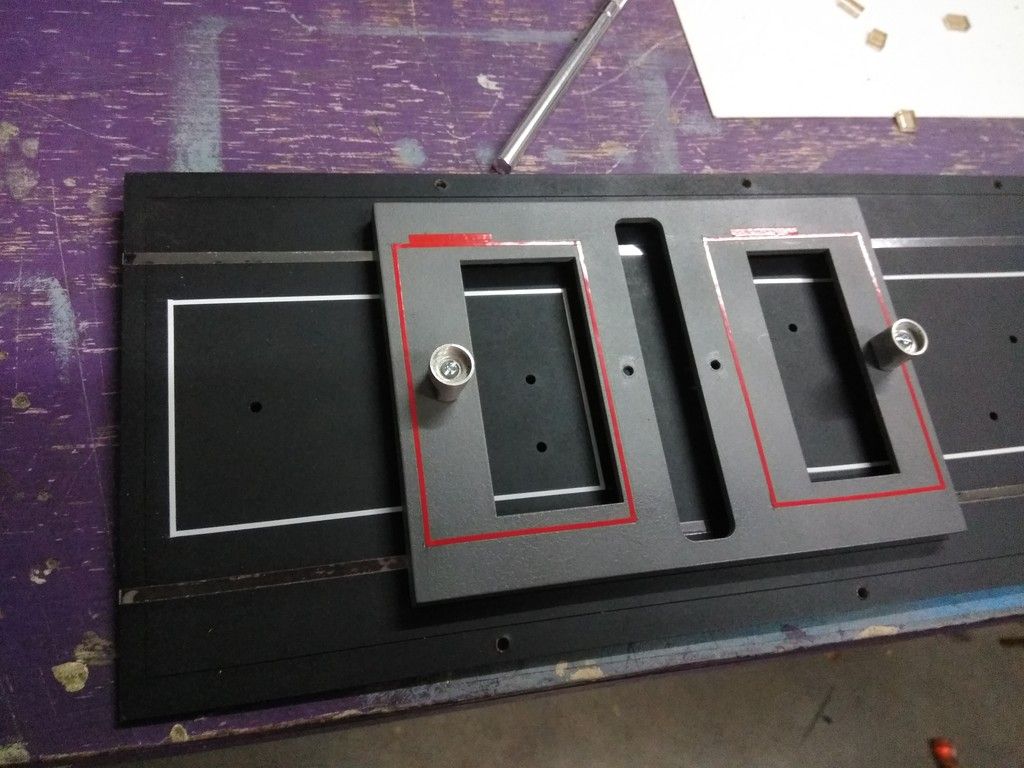
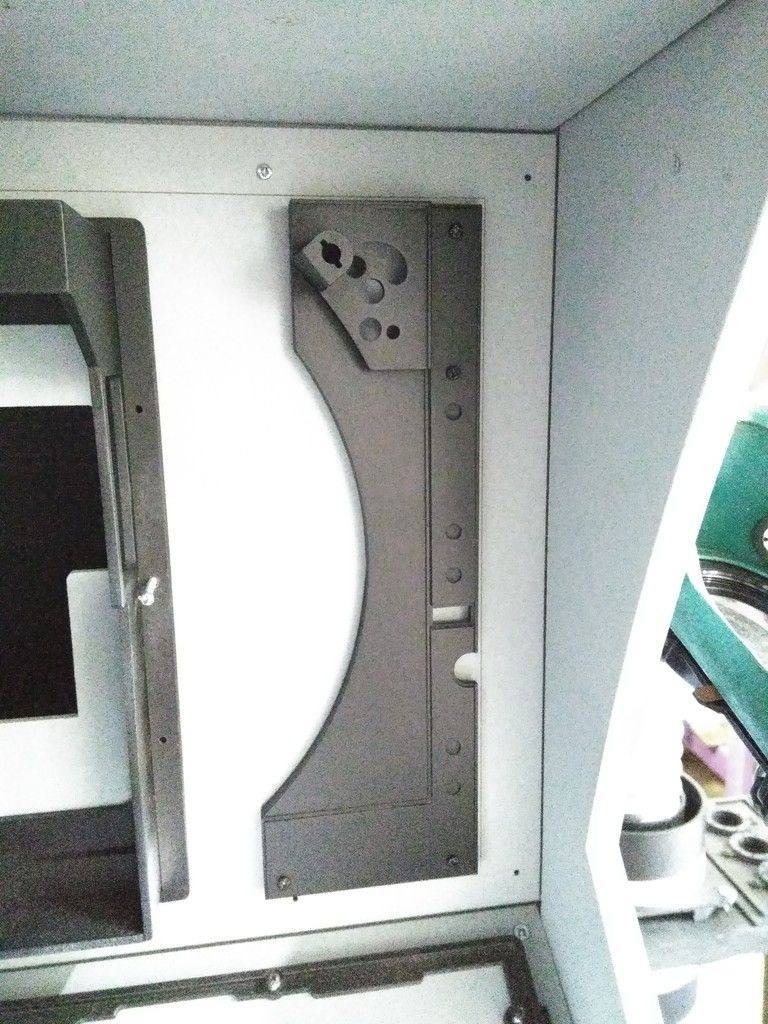
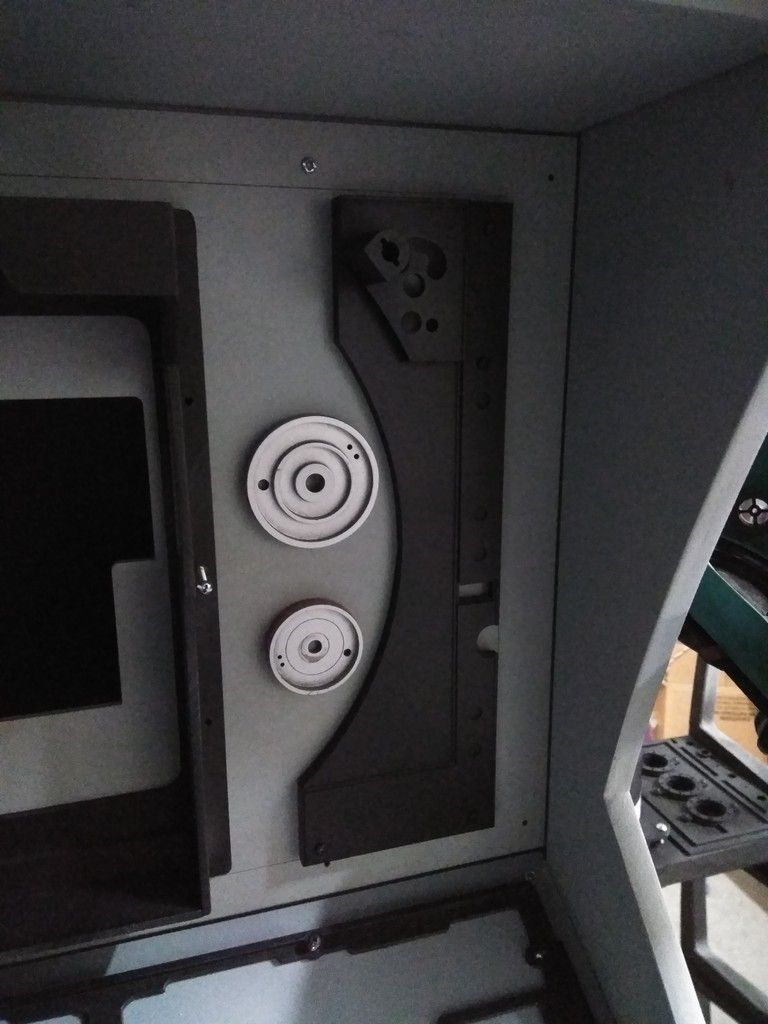
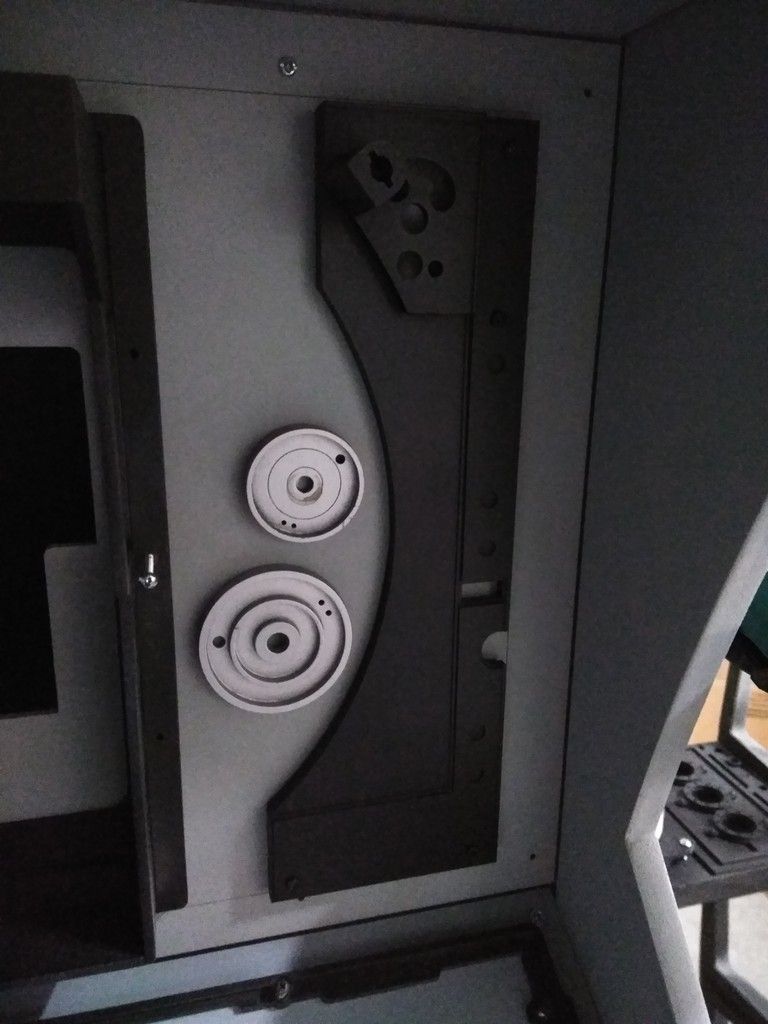
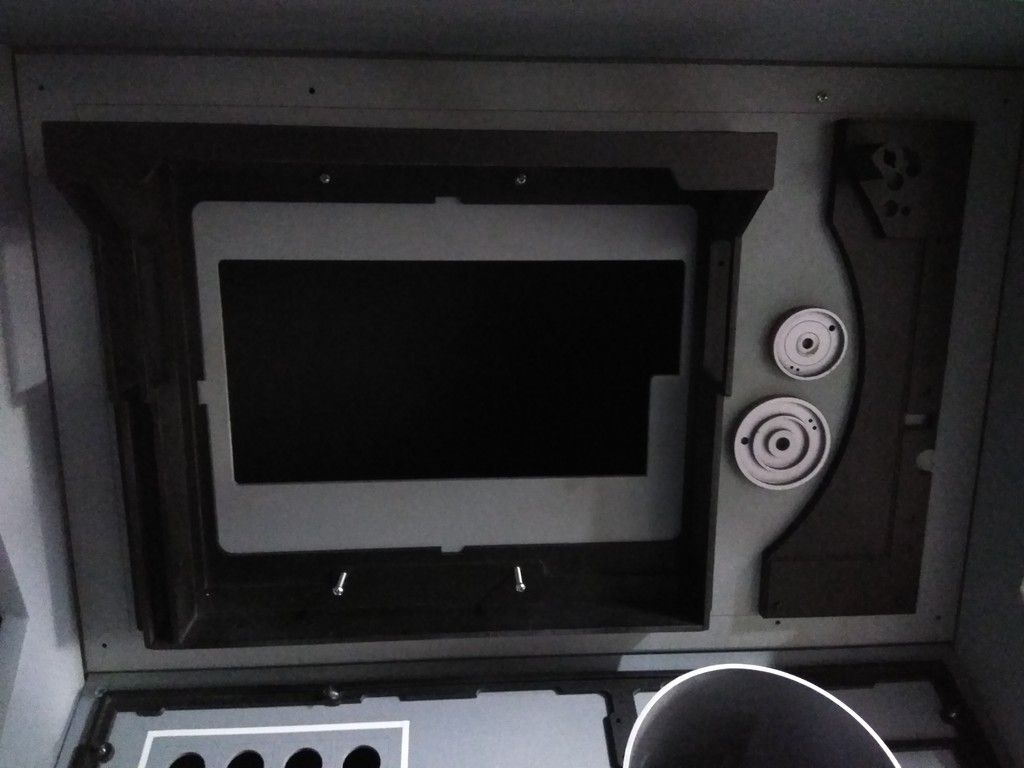
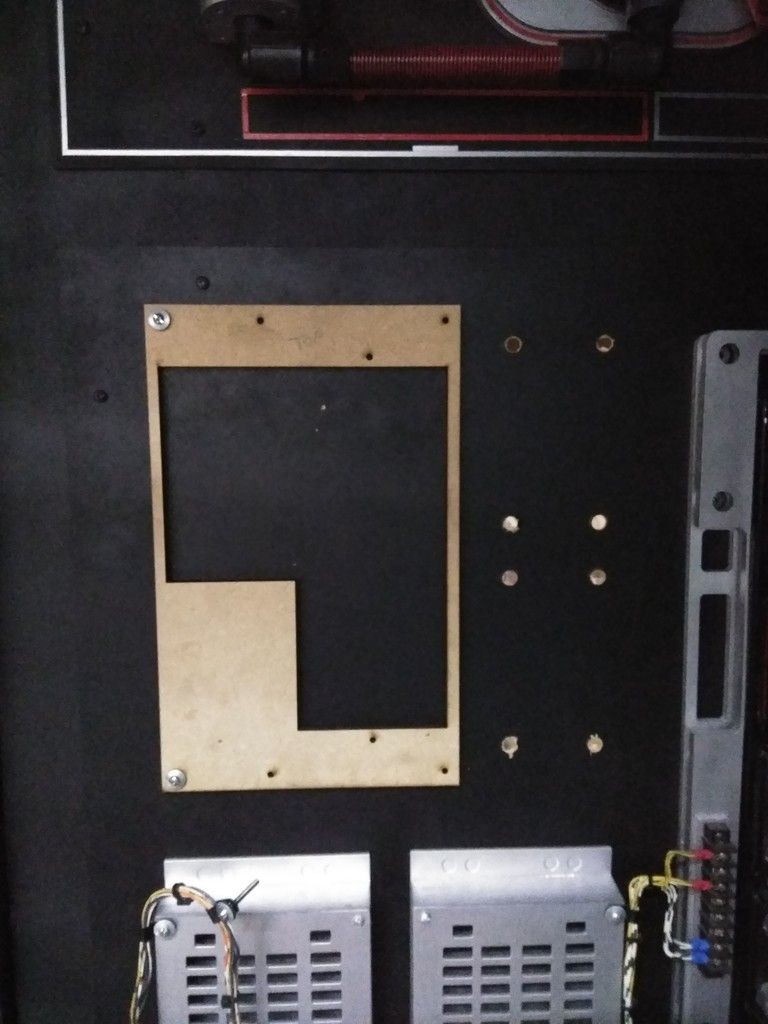
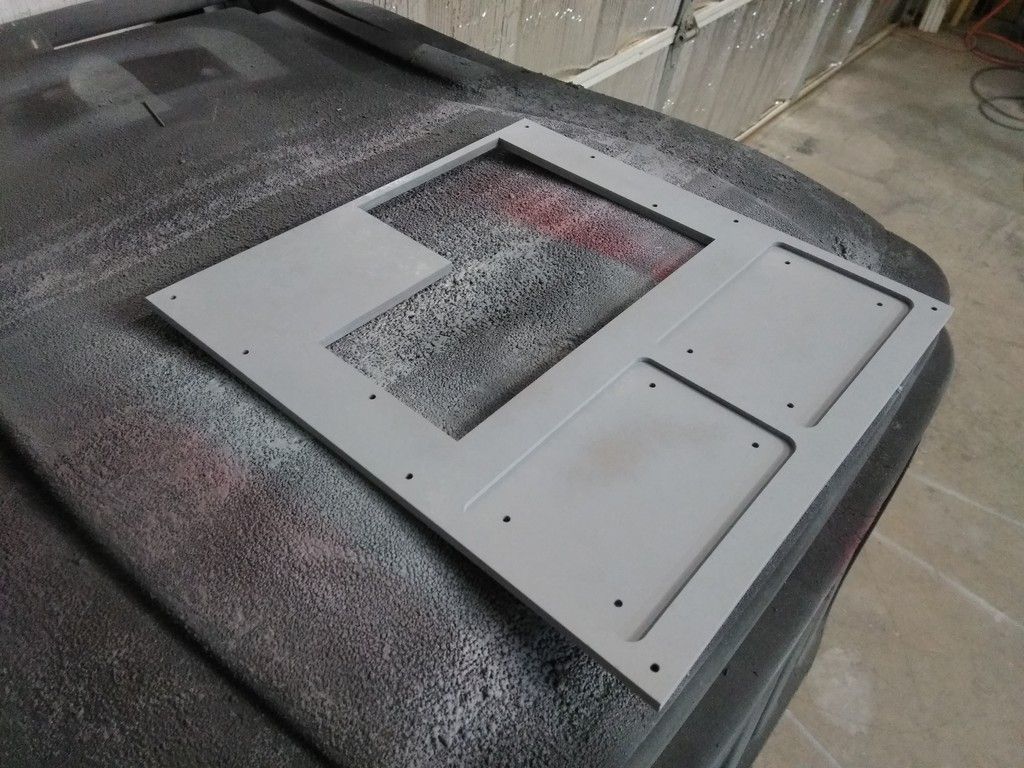
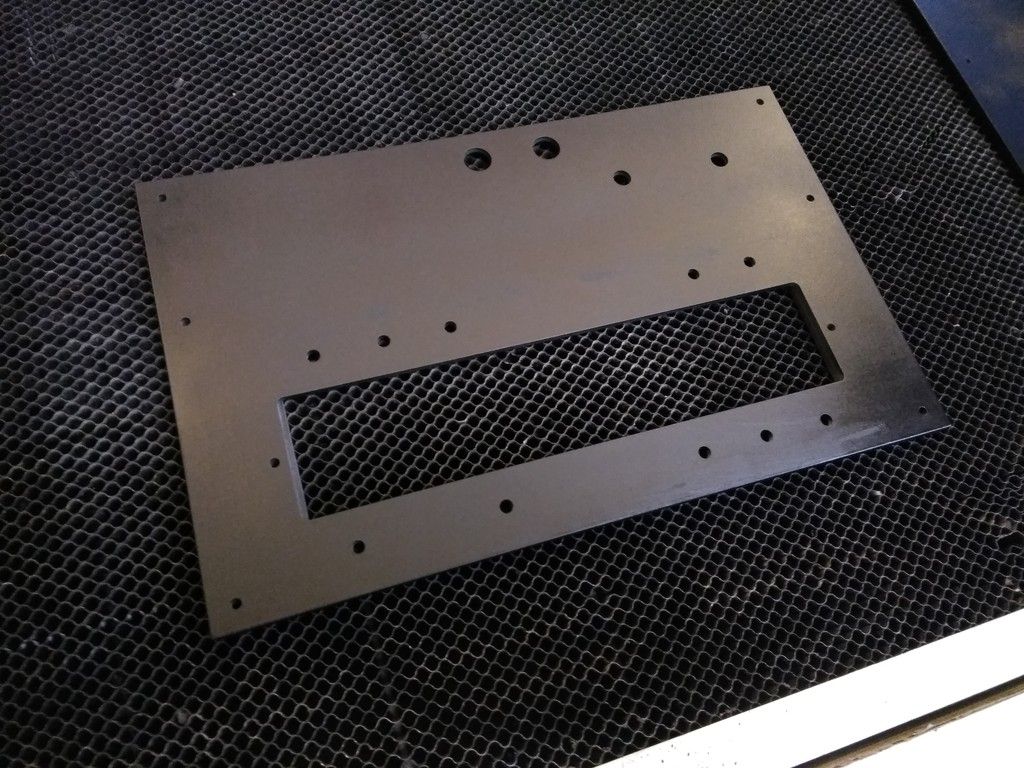
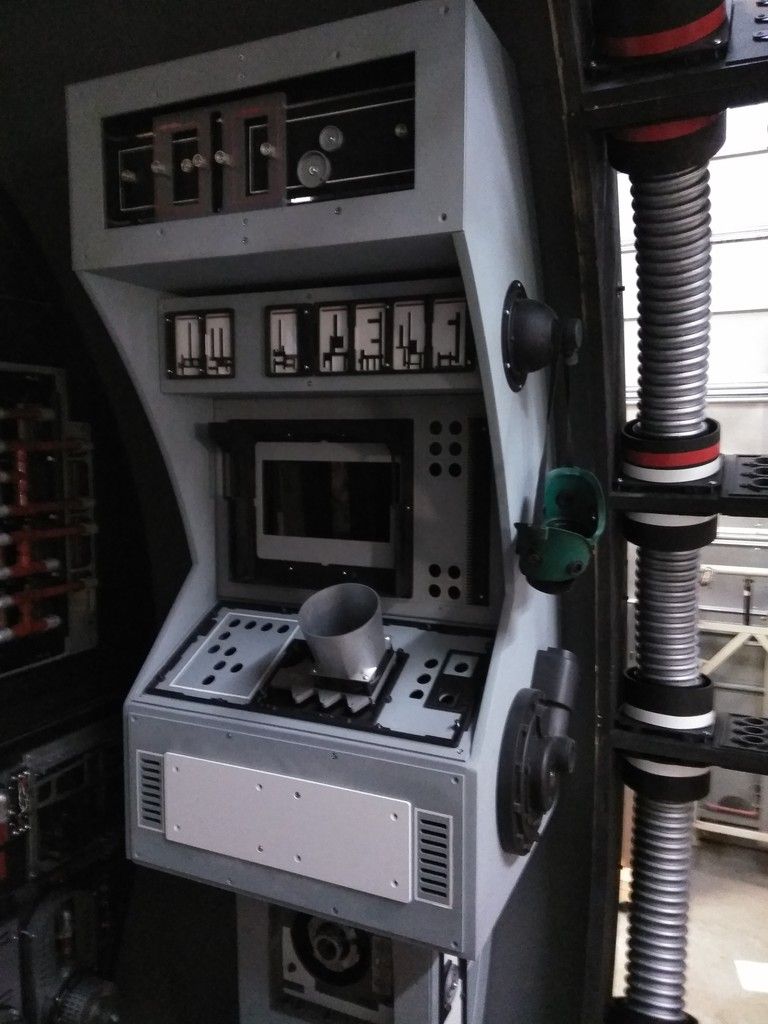
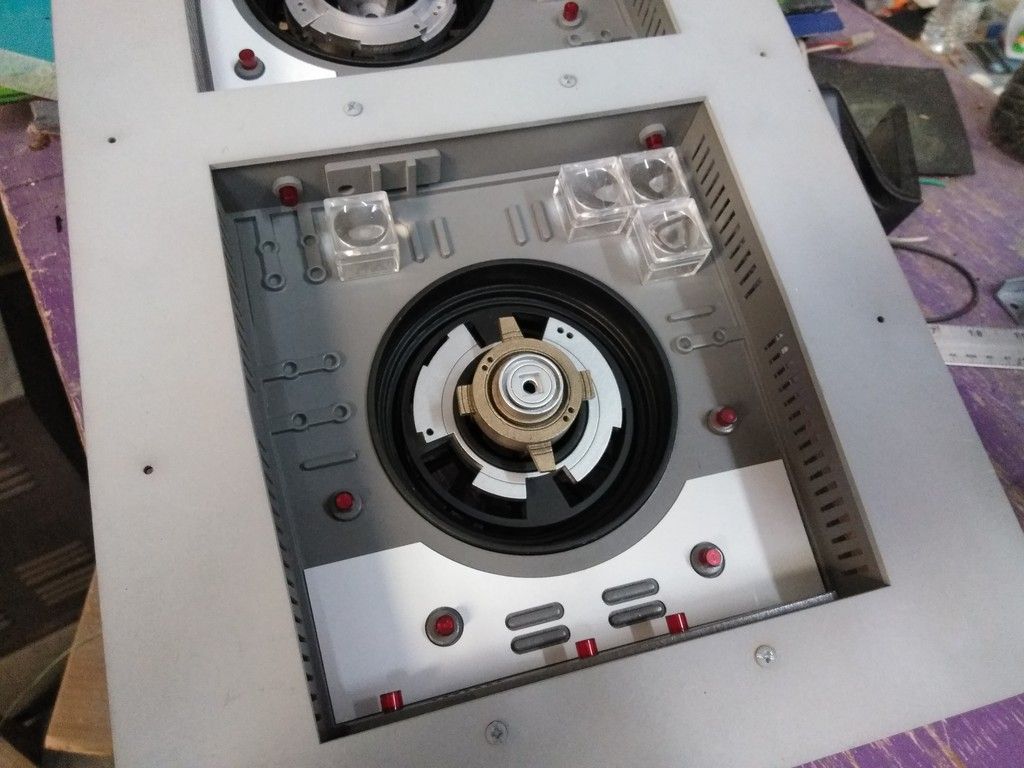
Created a new mounting panel
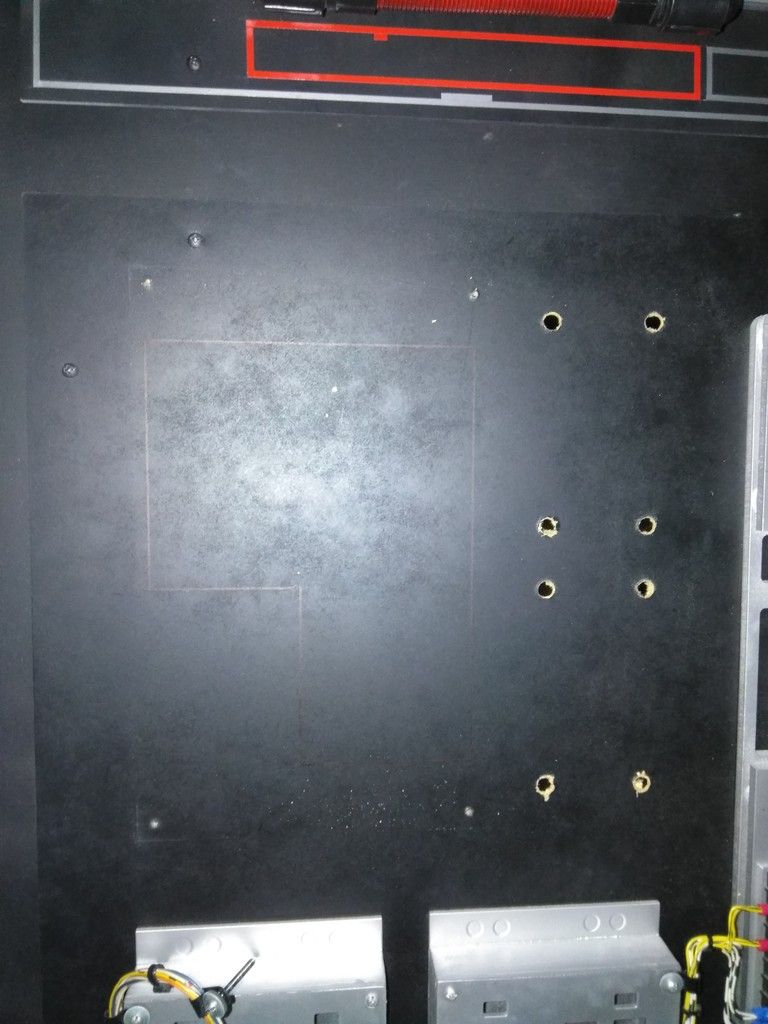
I had to cut a large hole into the main panel to allow for the wiring - cut a template
Traced the line
3 min later - hole cut
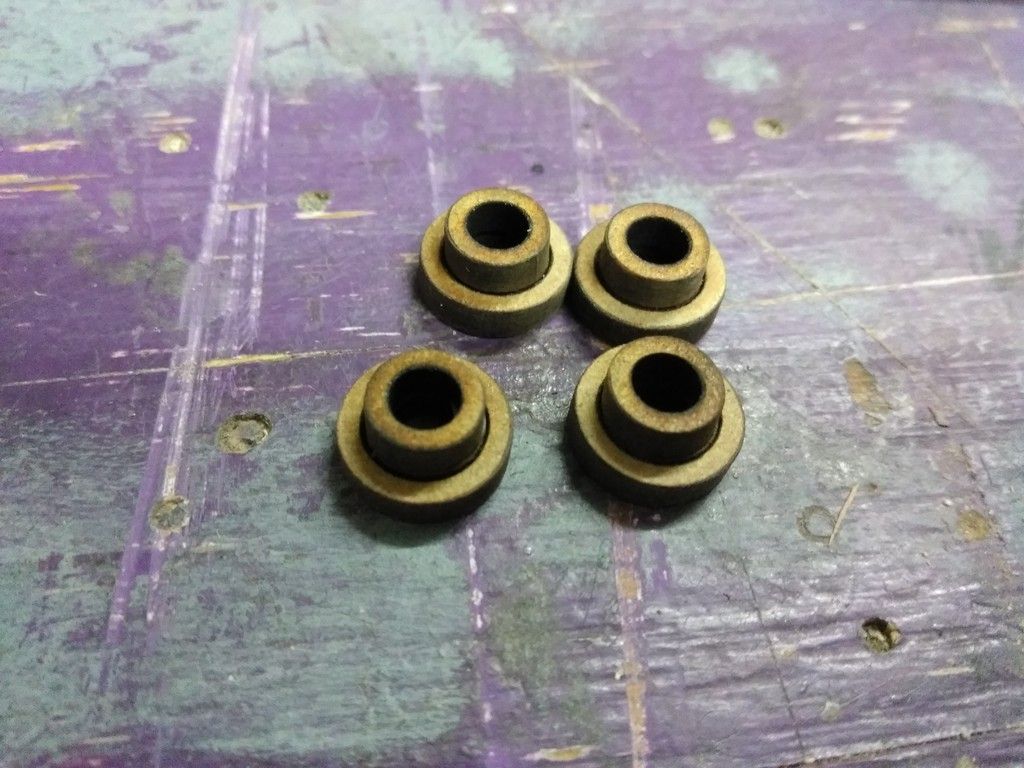
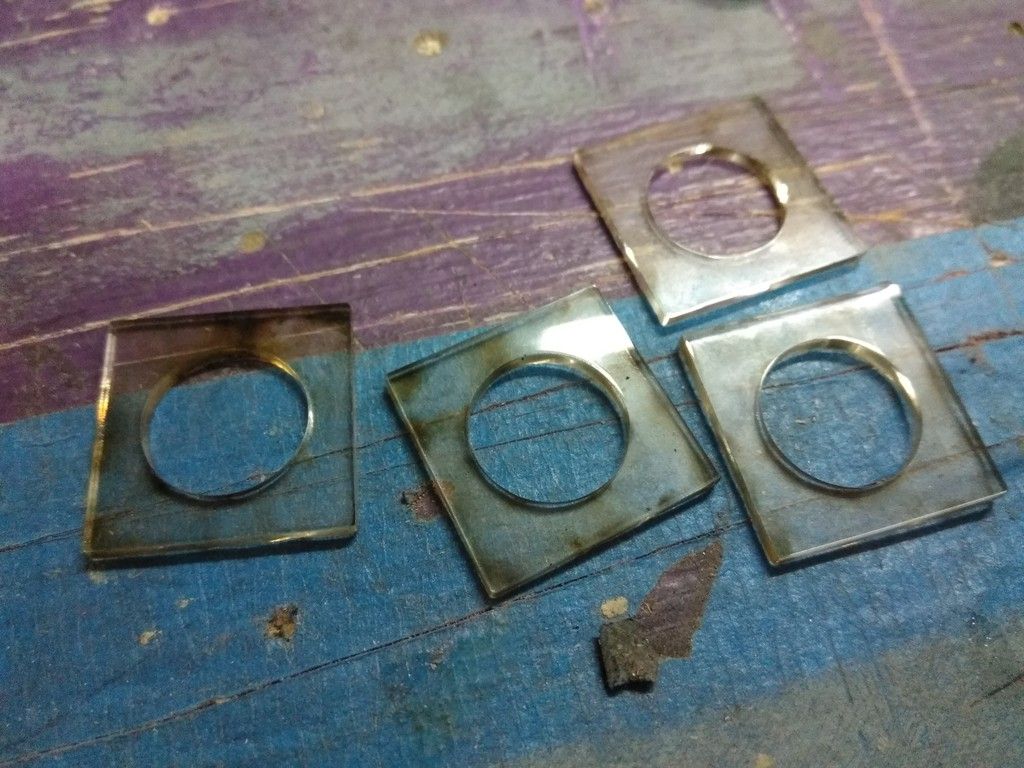
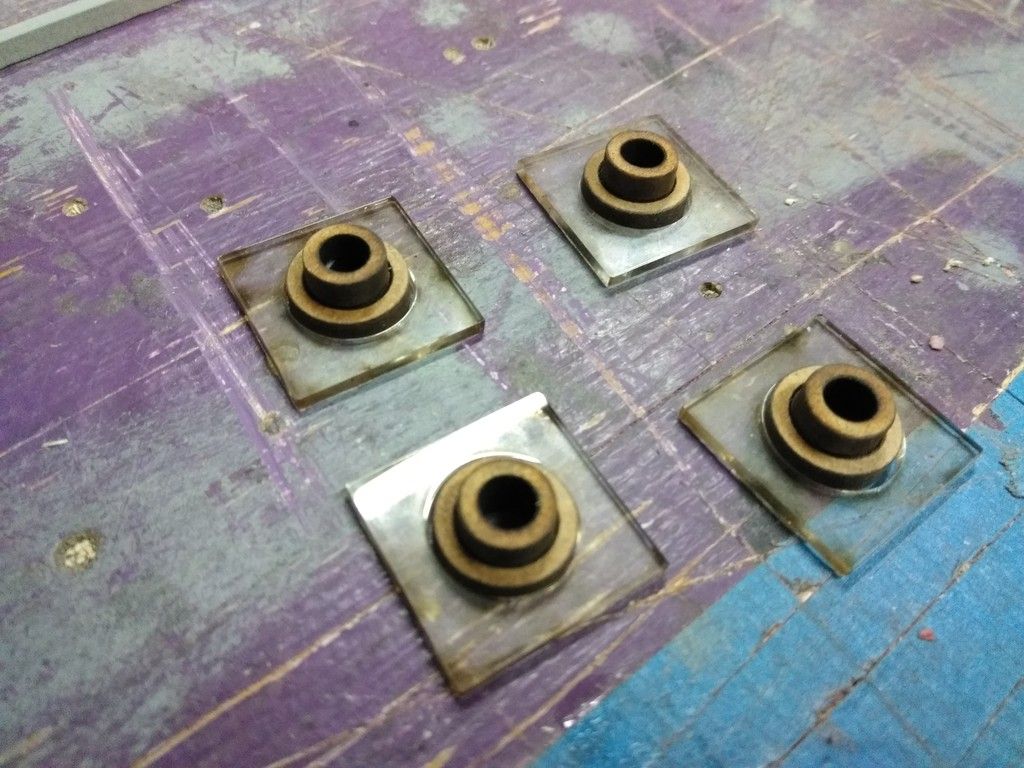
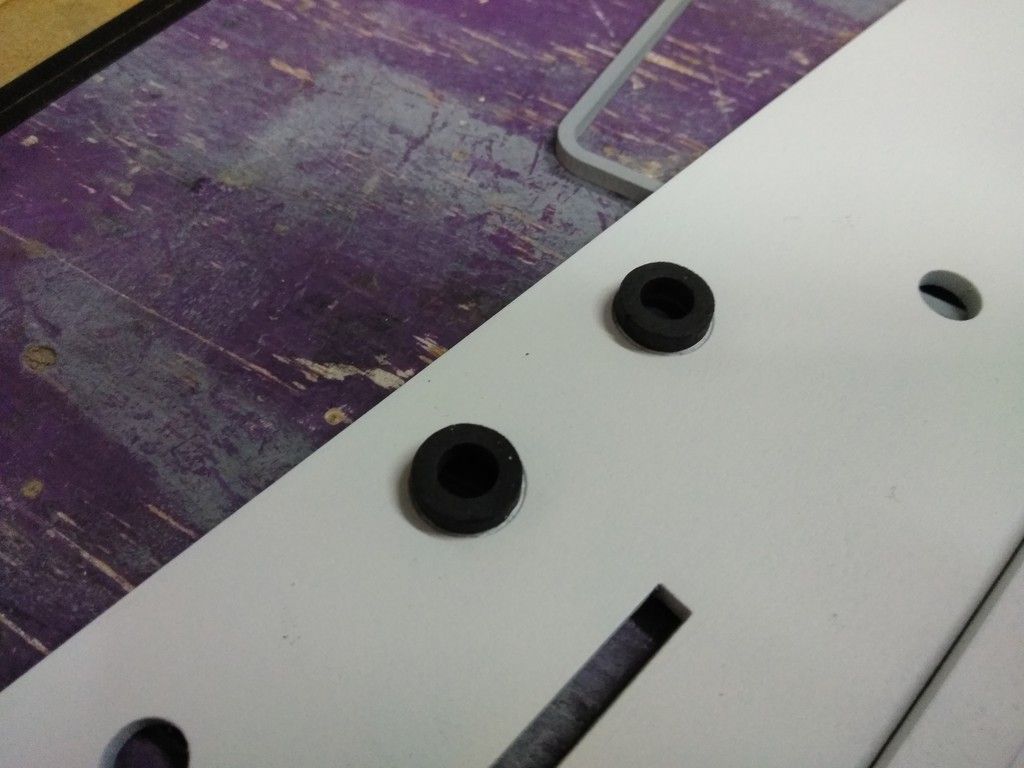
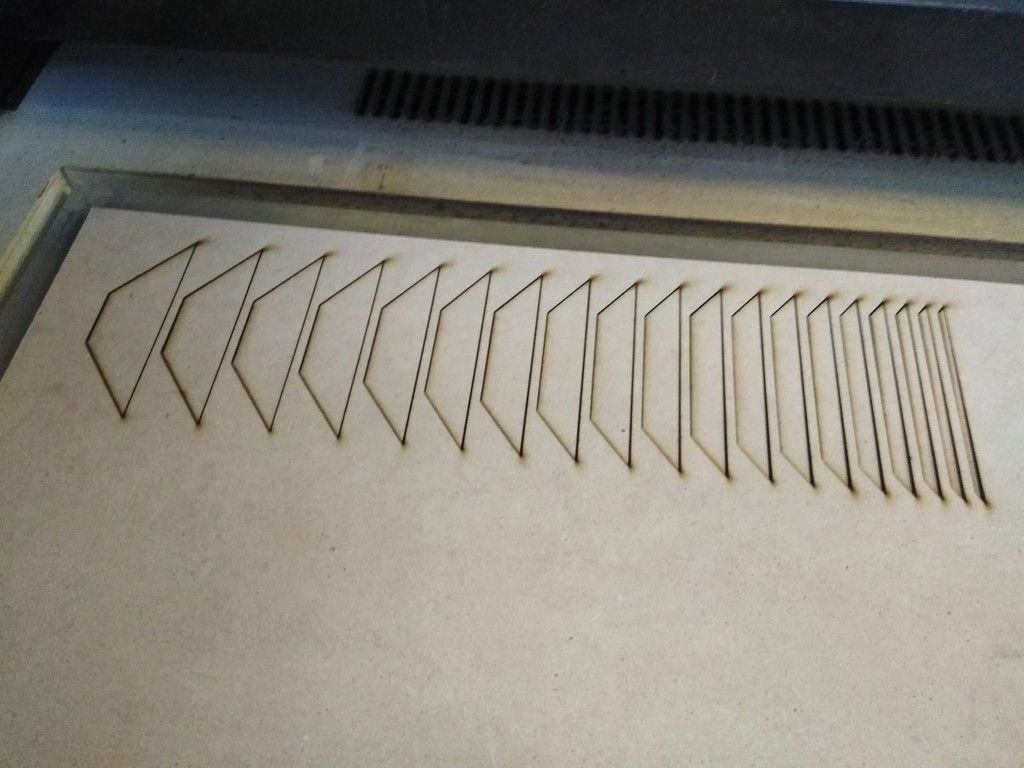
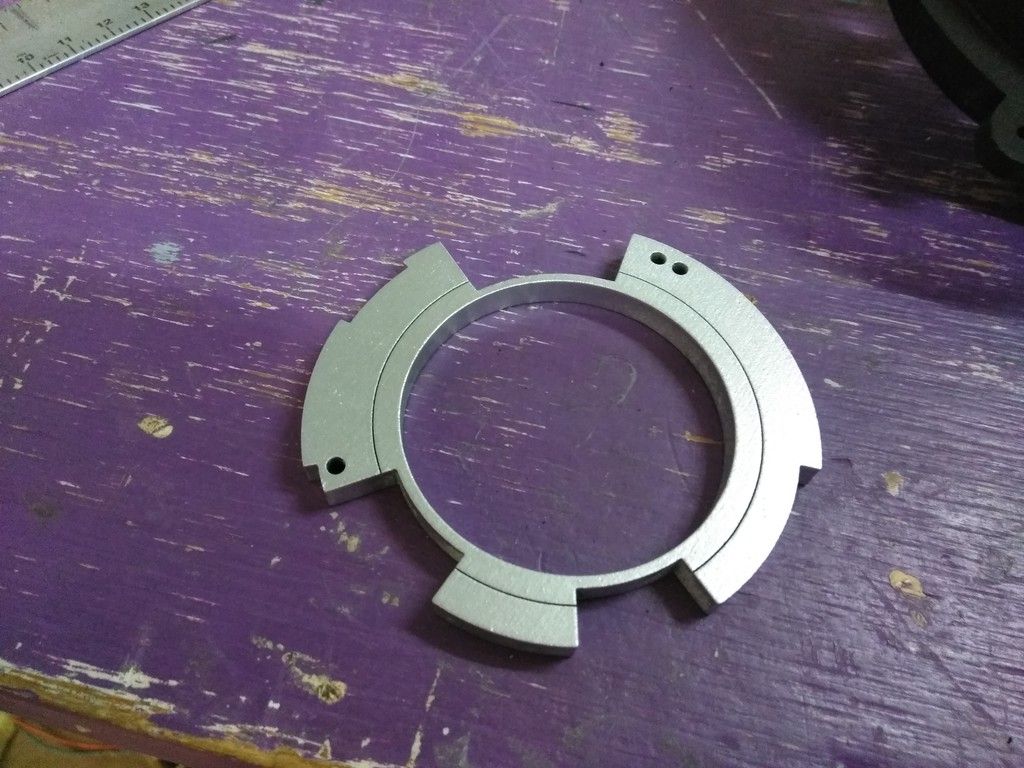
Thinking back to the droid socket I laser cut these little guys
And these
They fill in the empty spaces
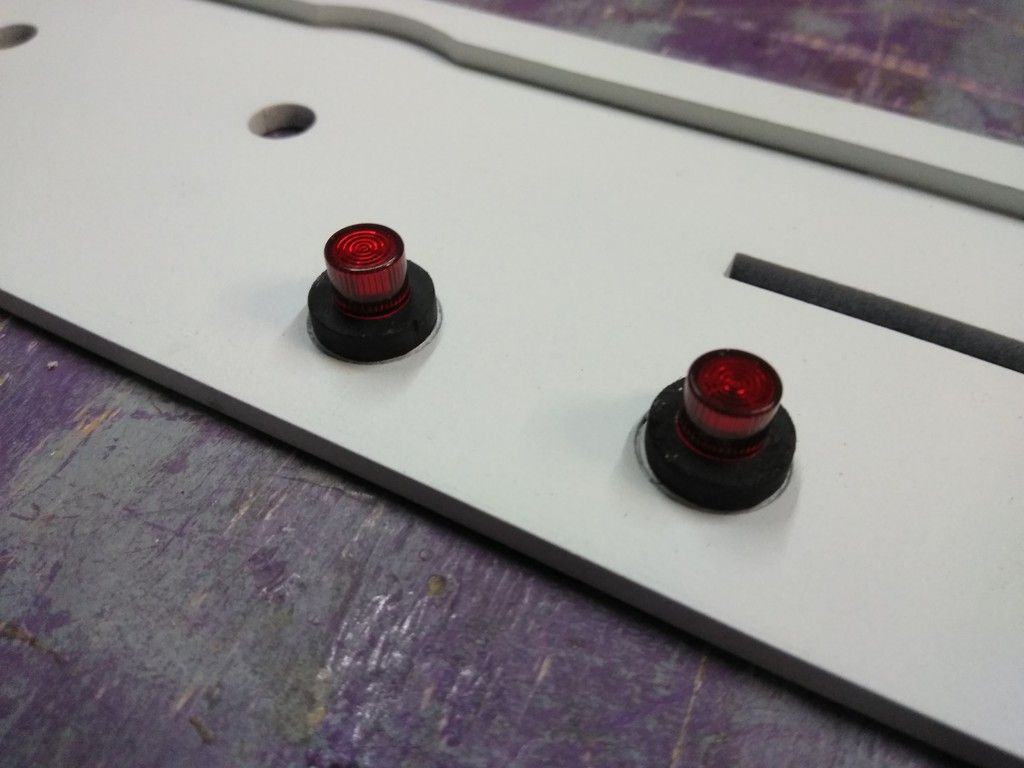
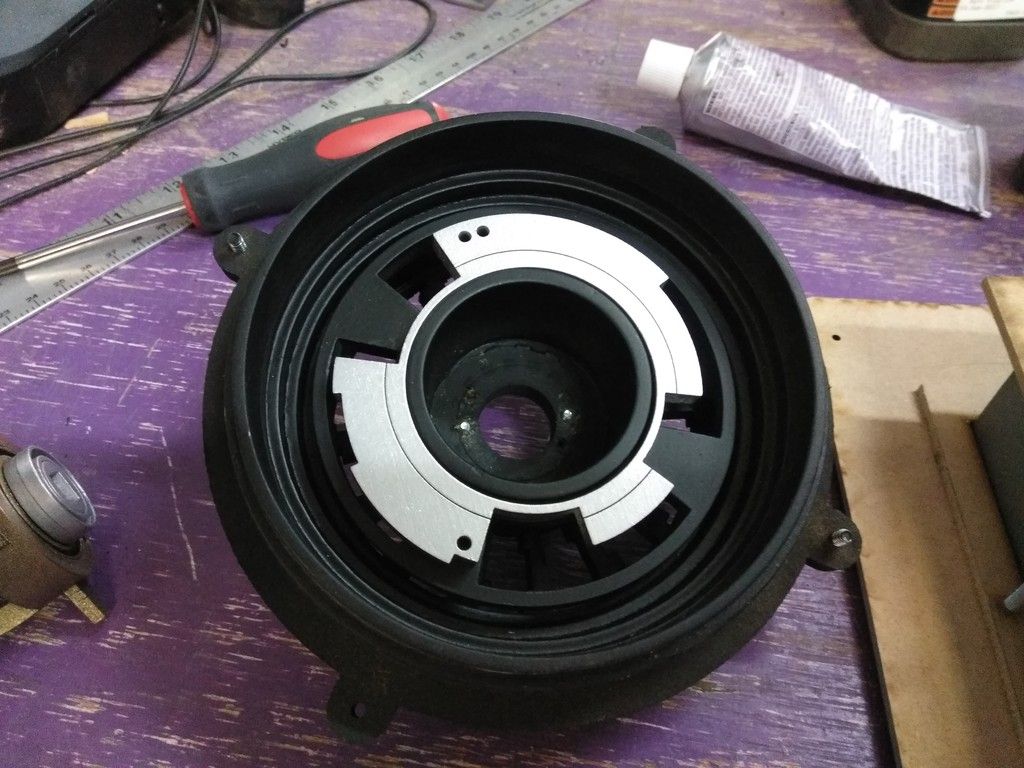
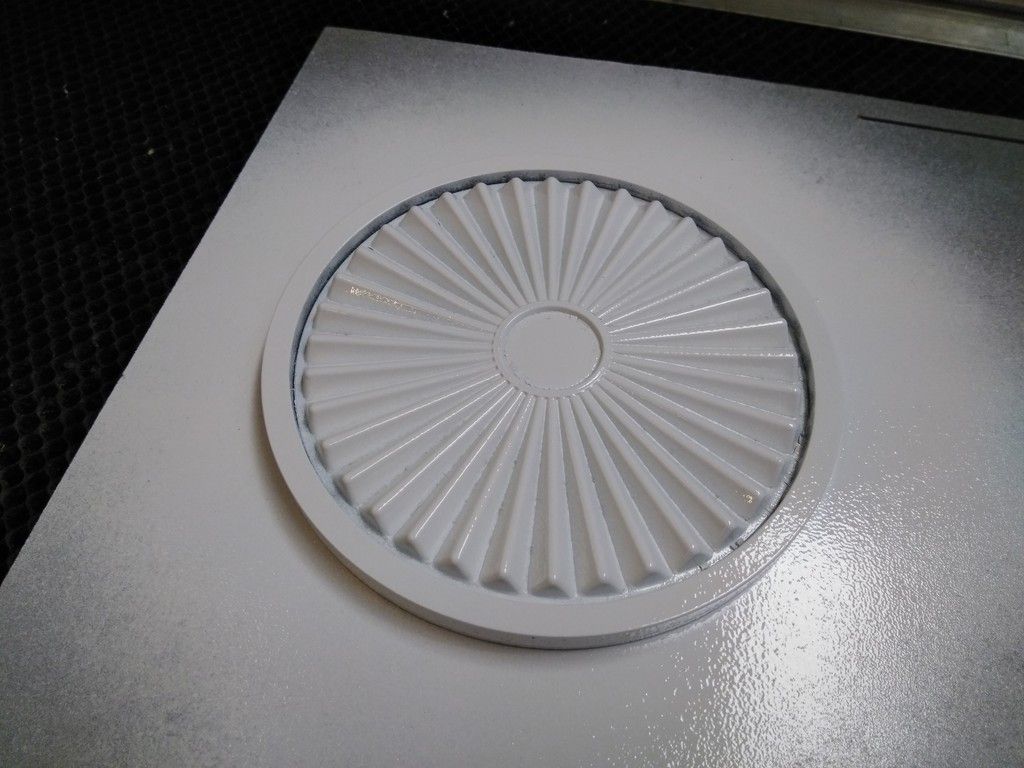
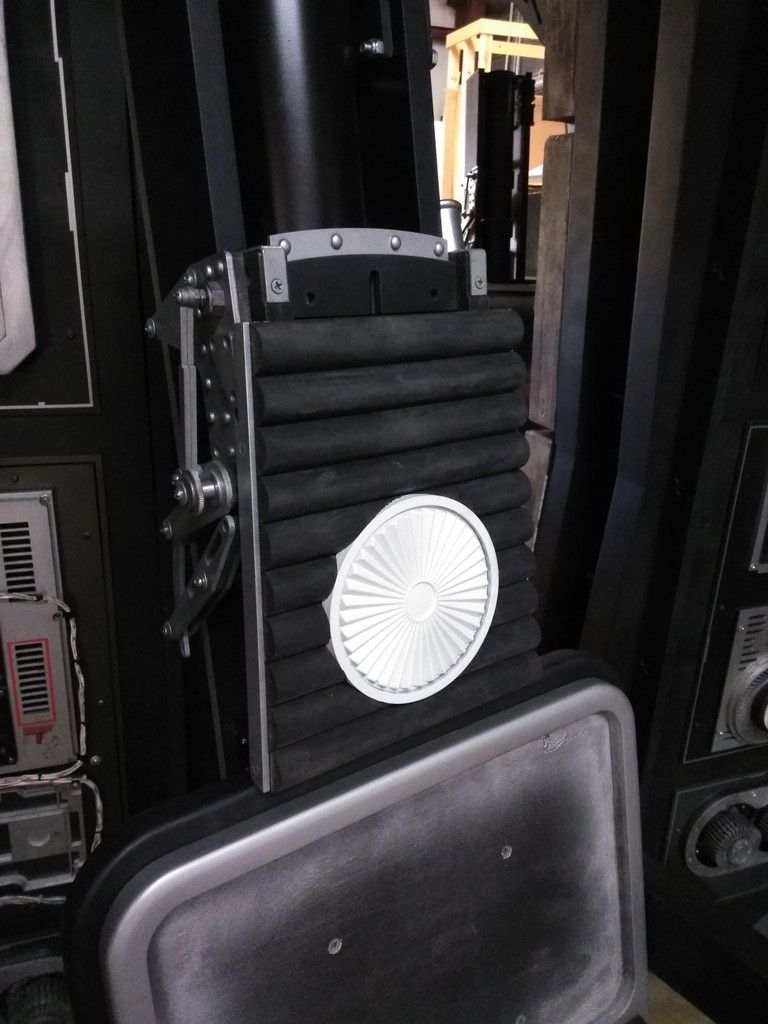
I then laser cut and painted these two donuts
Added the Fresnel lenses (I might not add a LED to these)
Painted all the details
Adhered in place
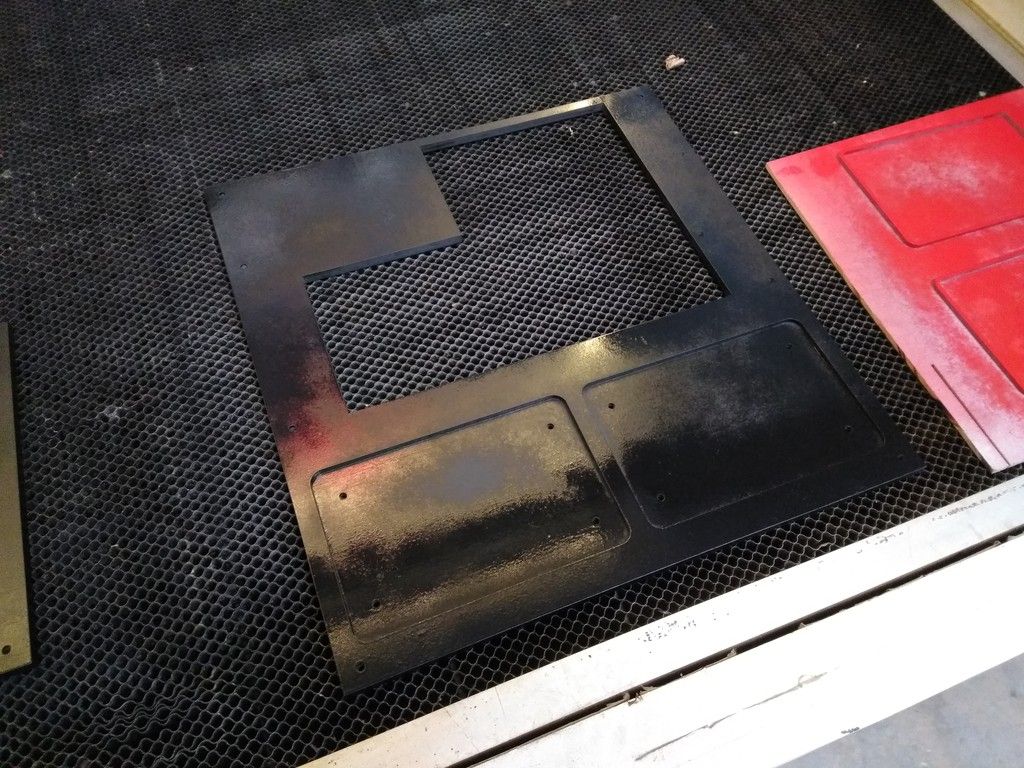
Primed the new mounting panel
Painted the trim red
New main panel getting some paint
More paint
Still need to add some details - dry fit into place
See? All those switches control the few greeblies on the cockpit entrance!
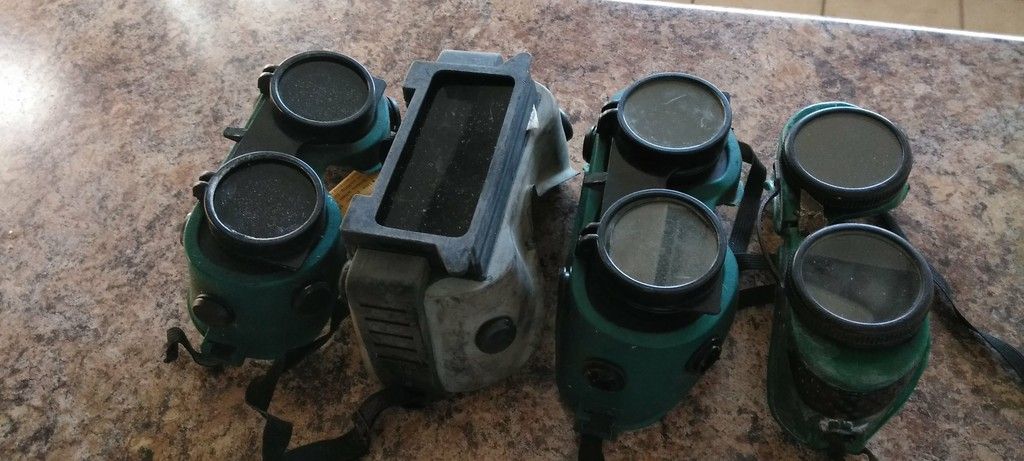
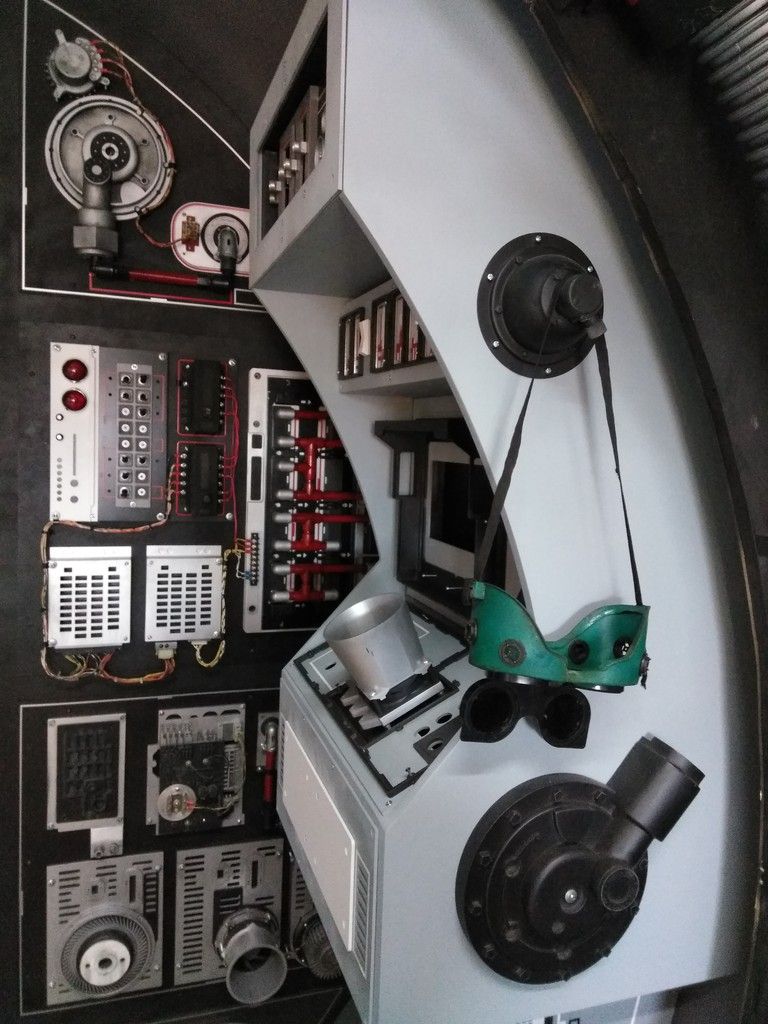
I picked up a few cool vintage welding goggles
Thought they would look cool hanging around
I'll paint them black
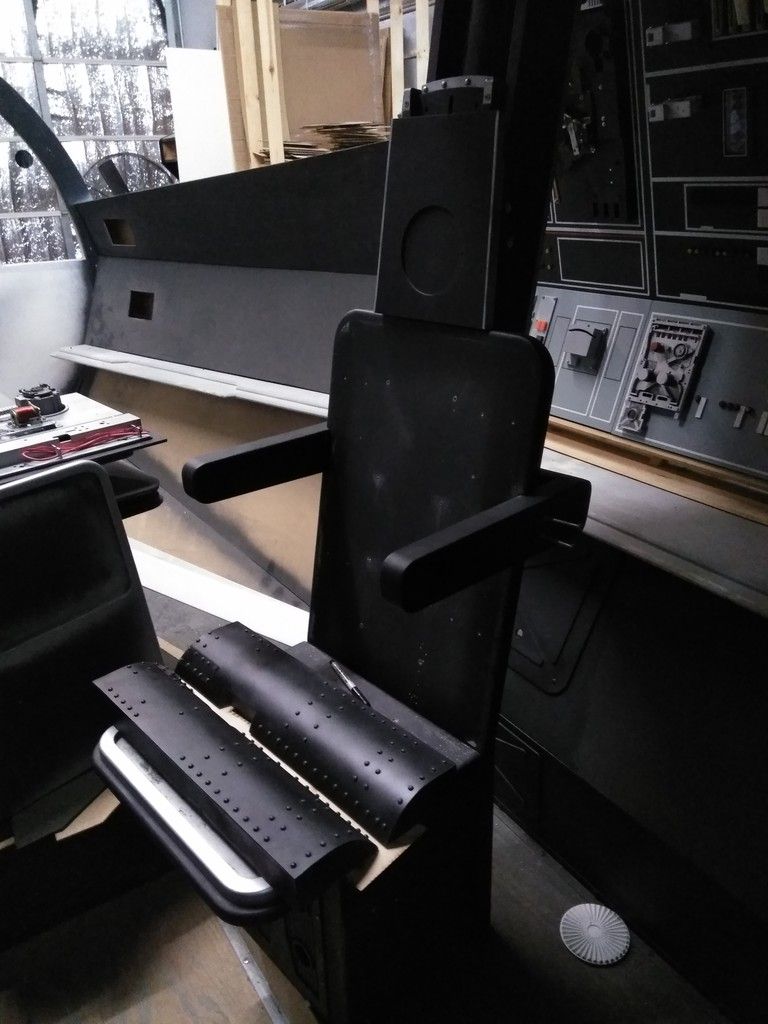
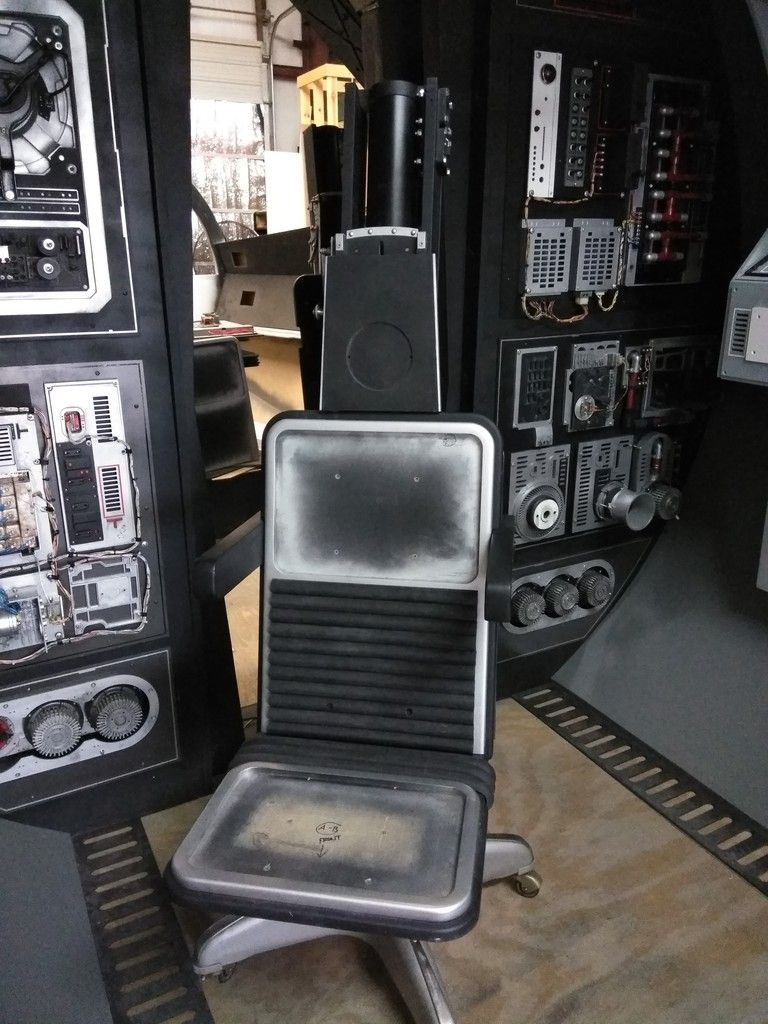
Now for the best part! The Nav Chairs!
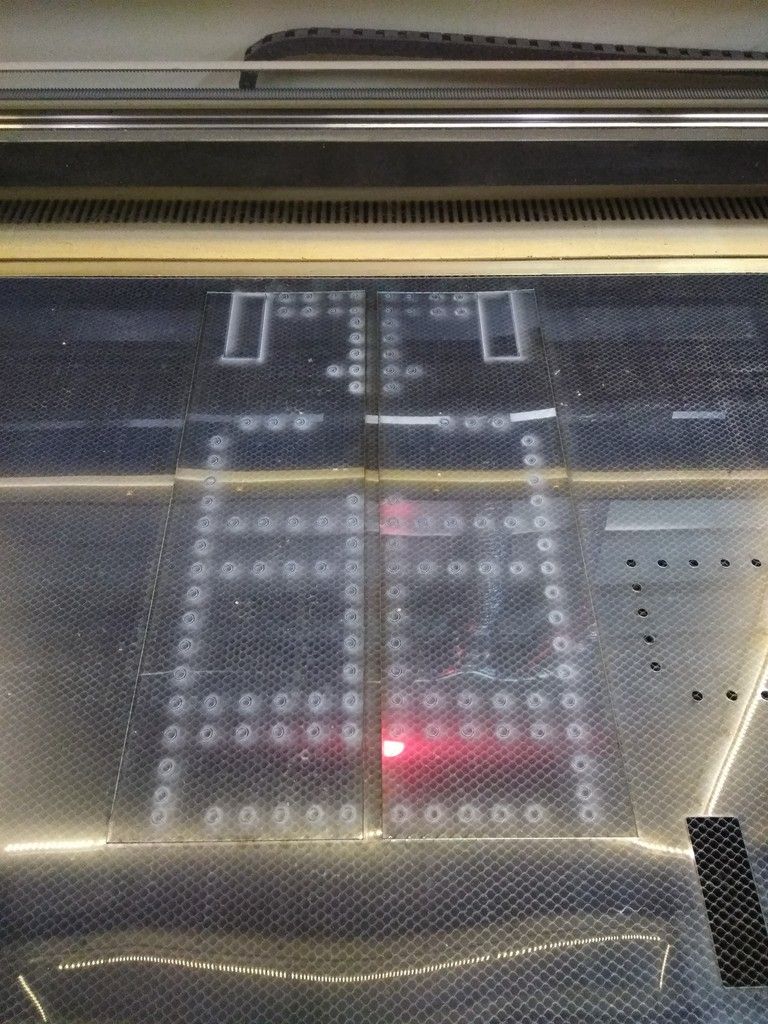
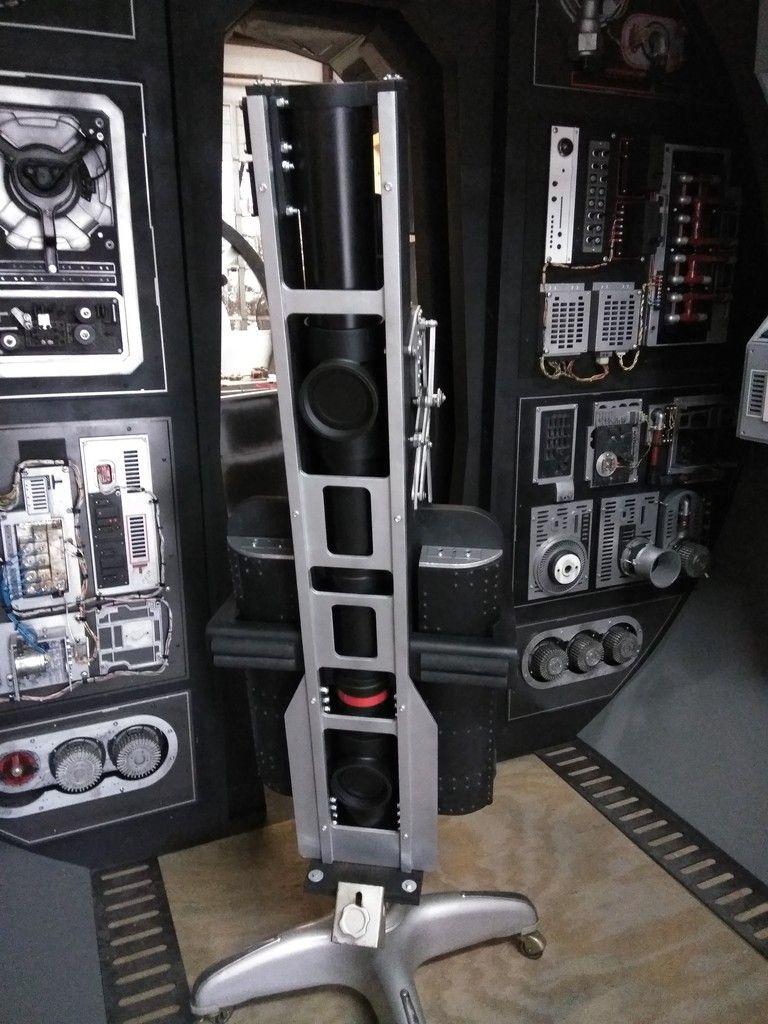
I designed and laser cut these odd pieces
They stack together at an angle
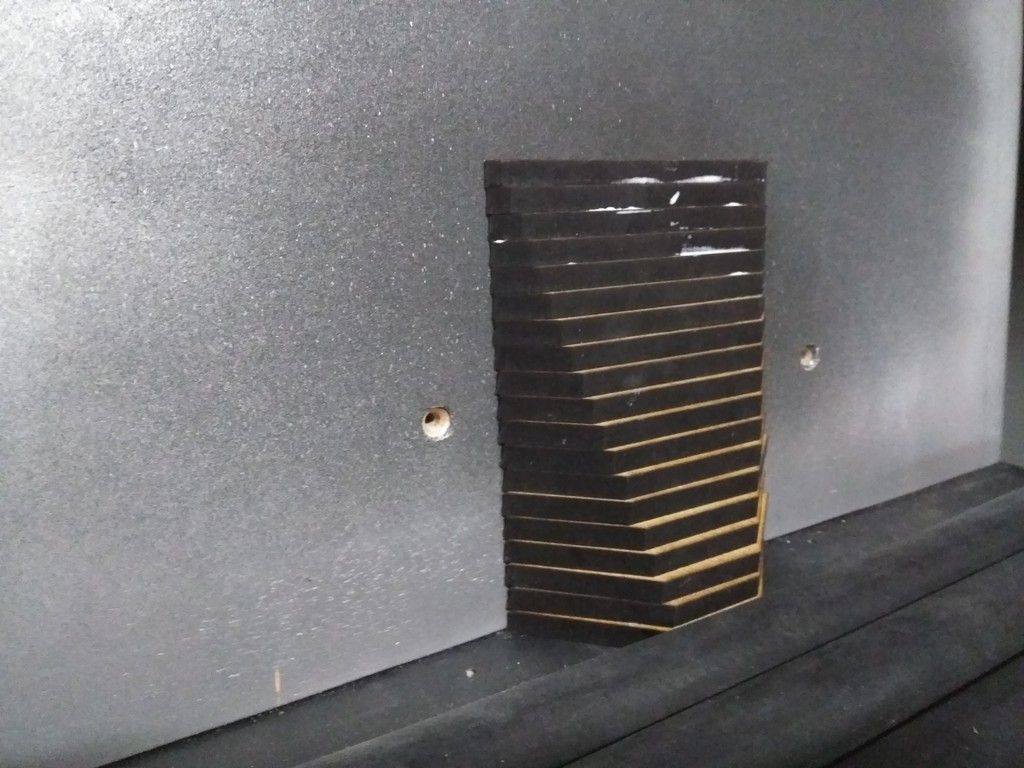
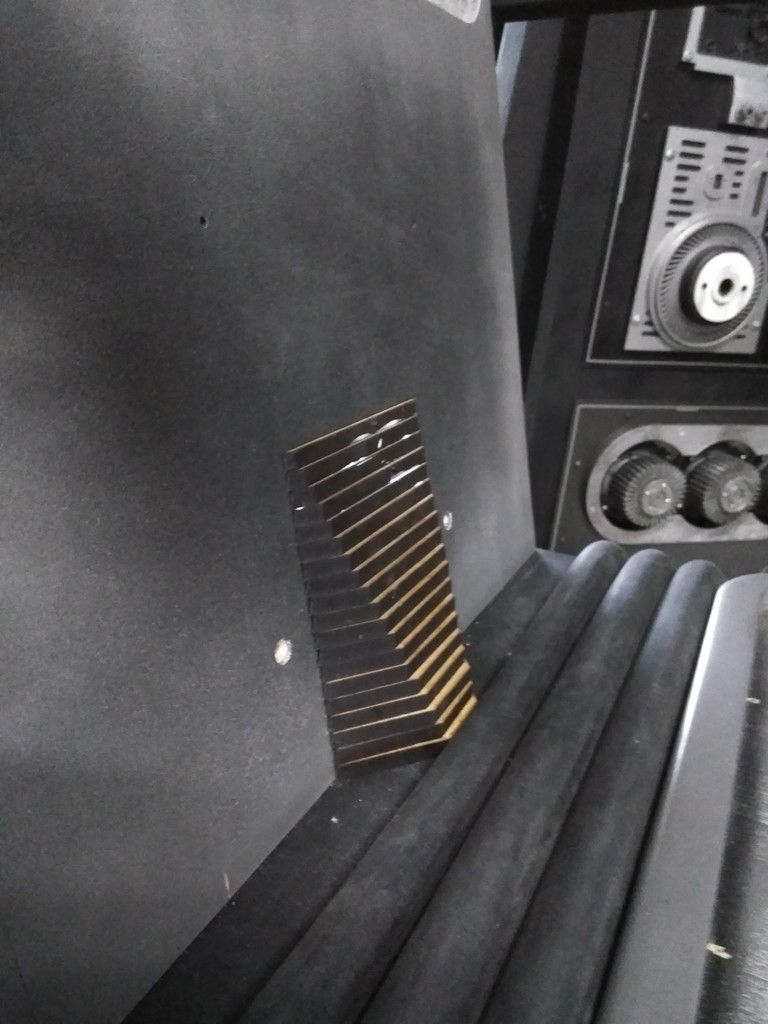
All I see is a Cylon Fighter Canopy!
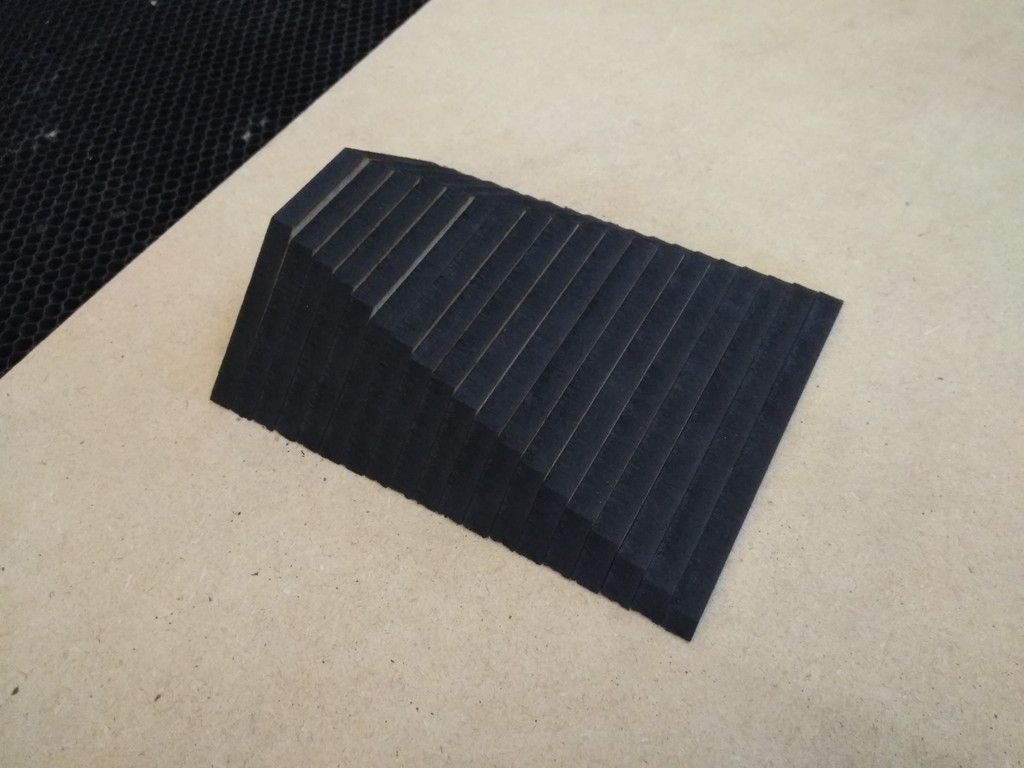
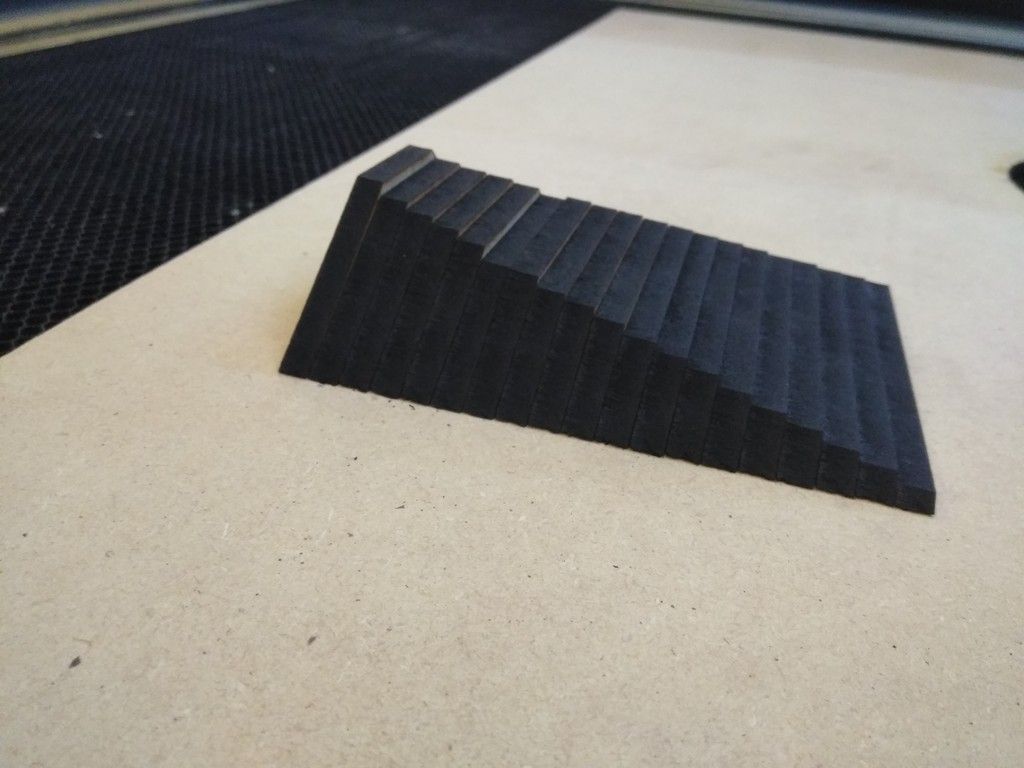
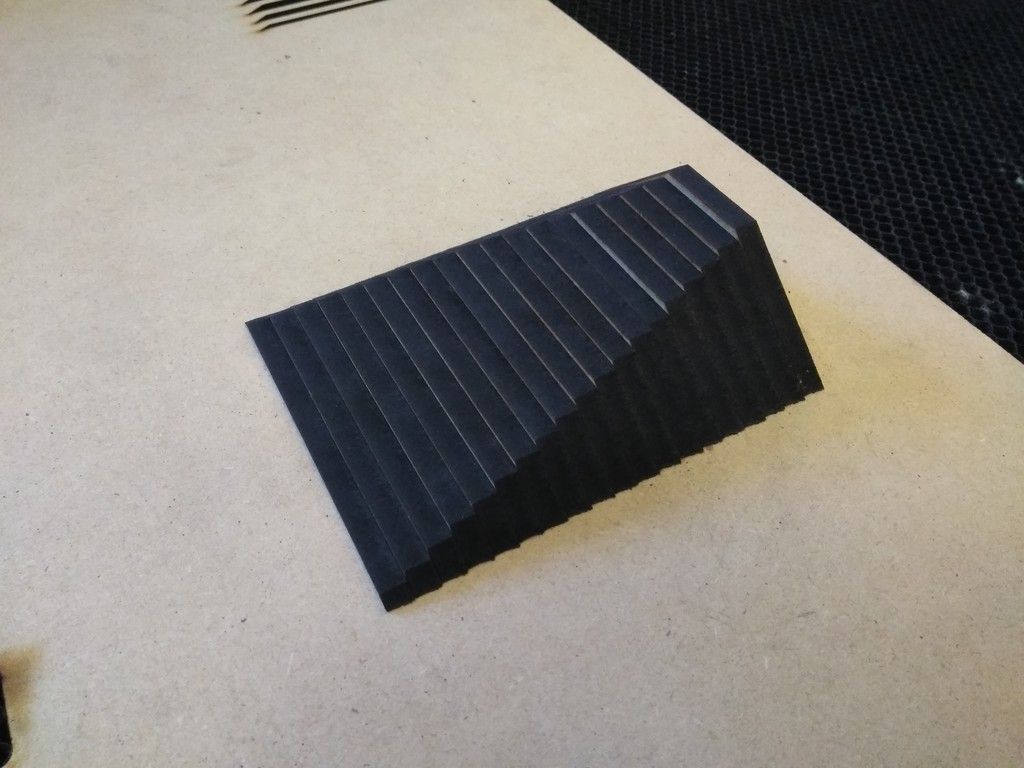
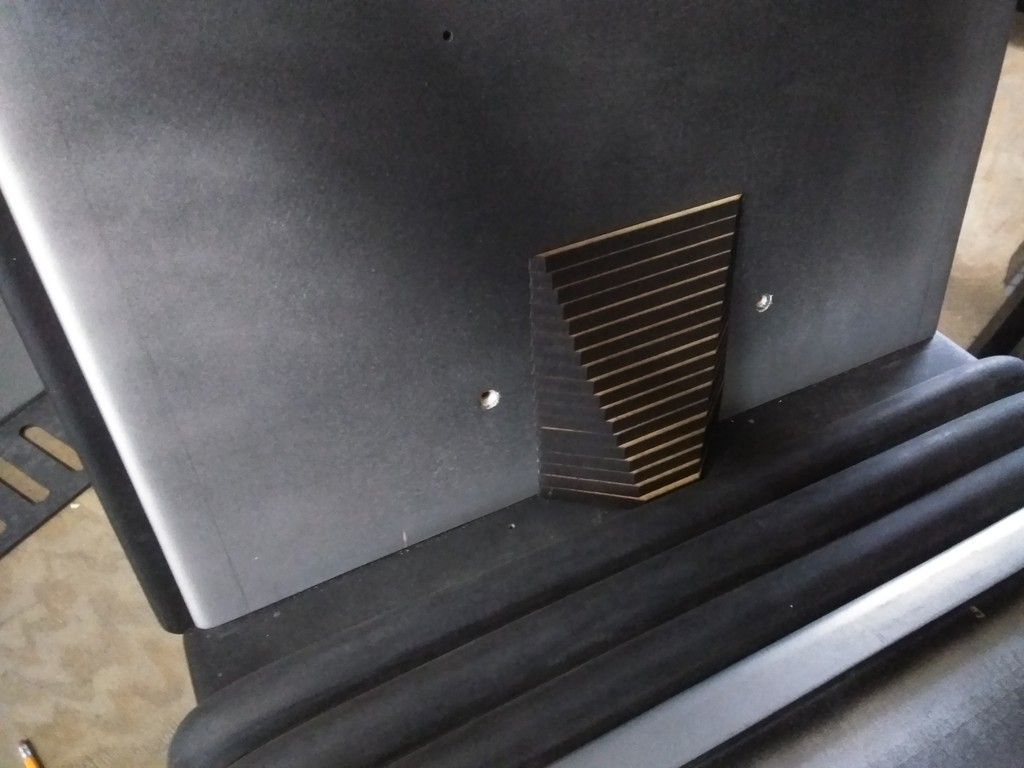
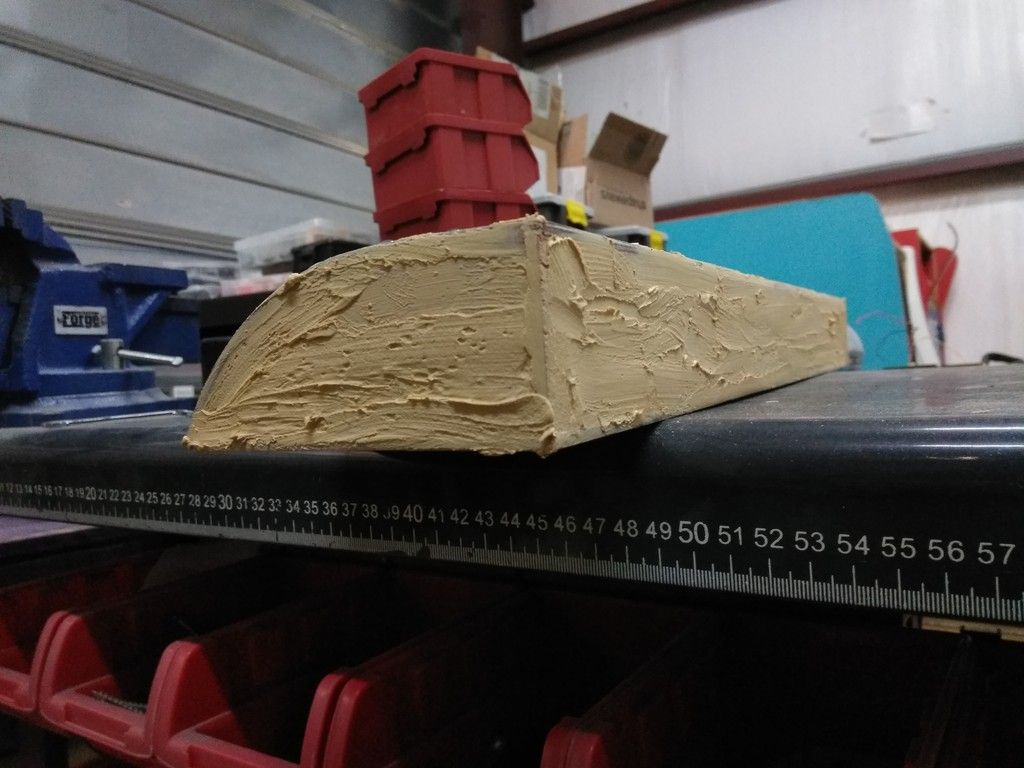
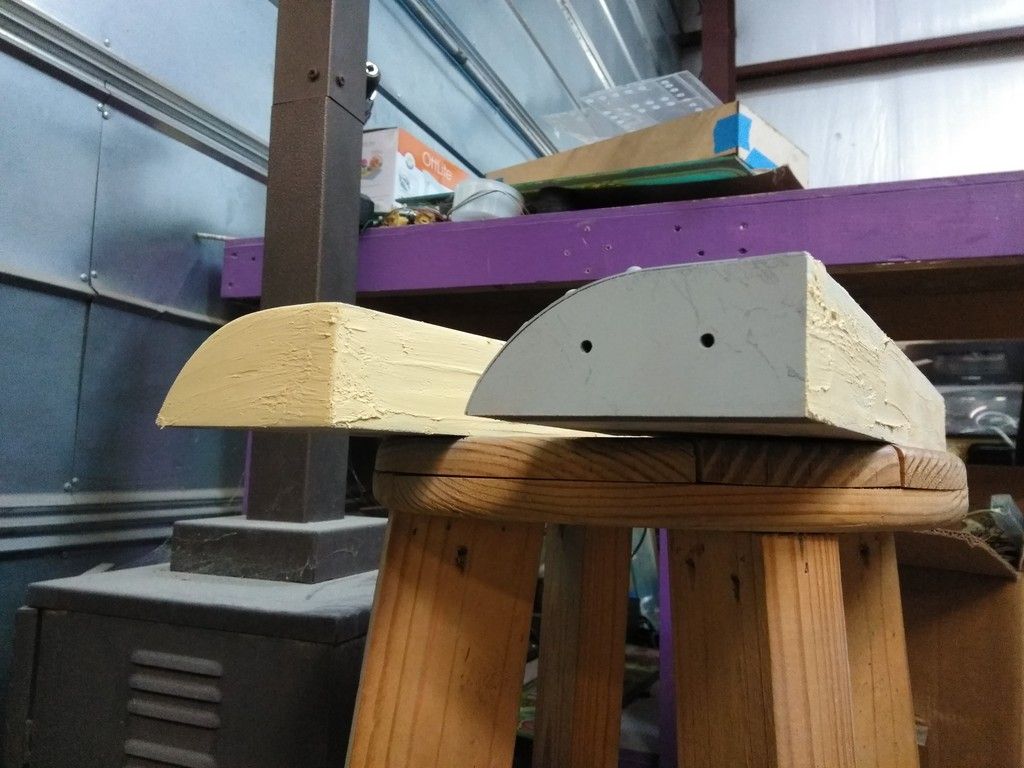
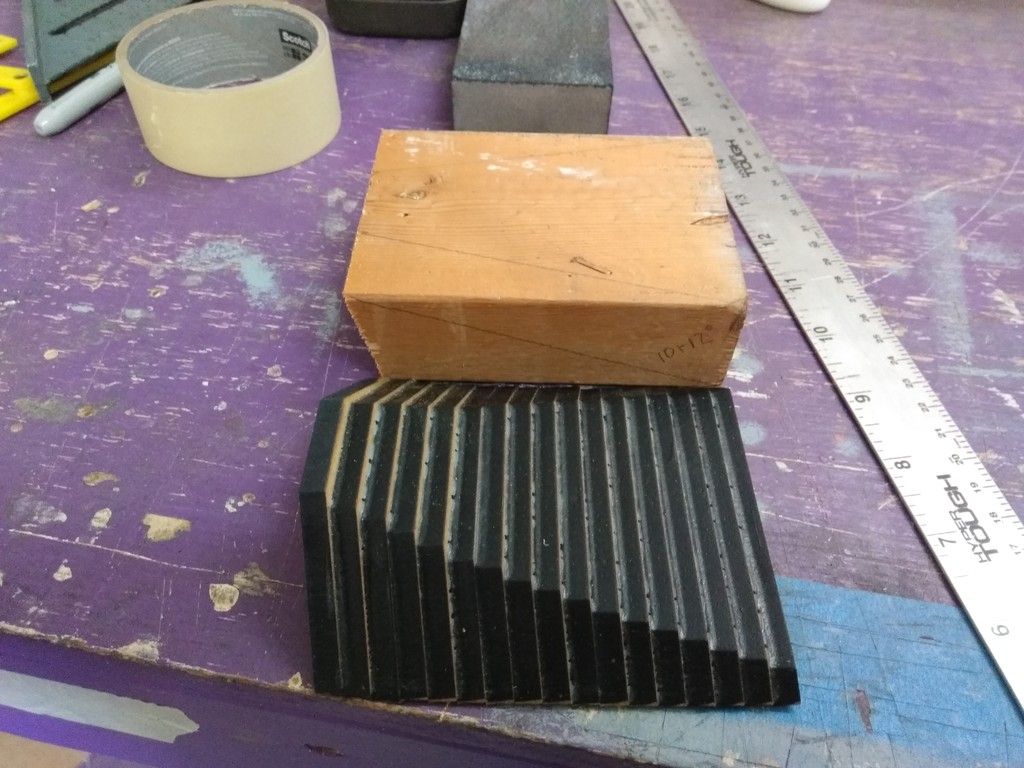
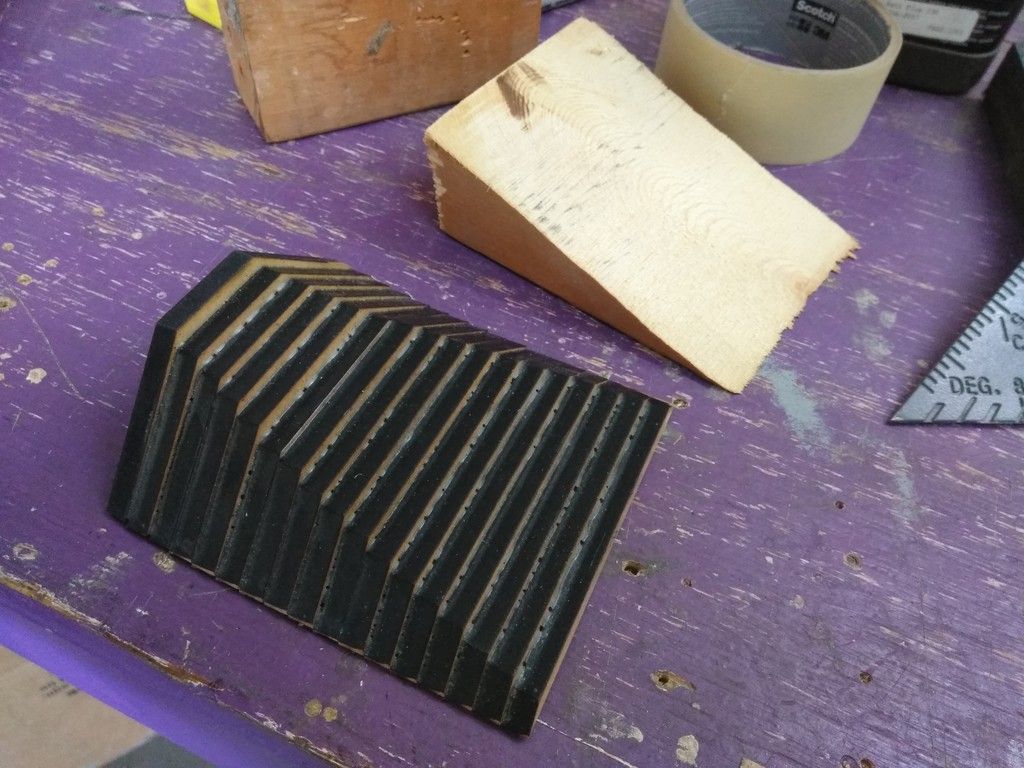
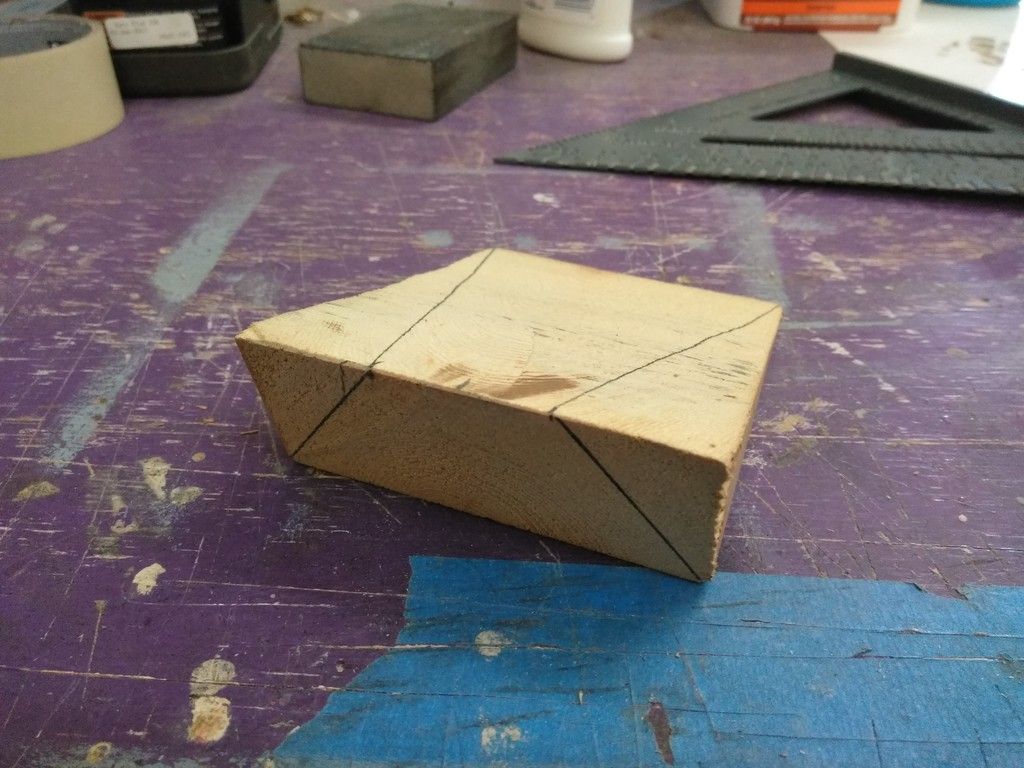
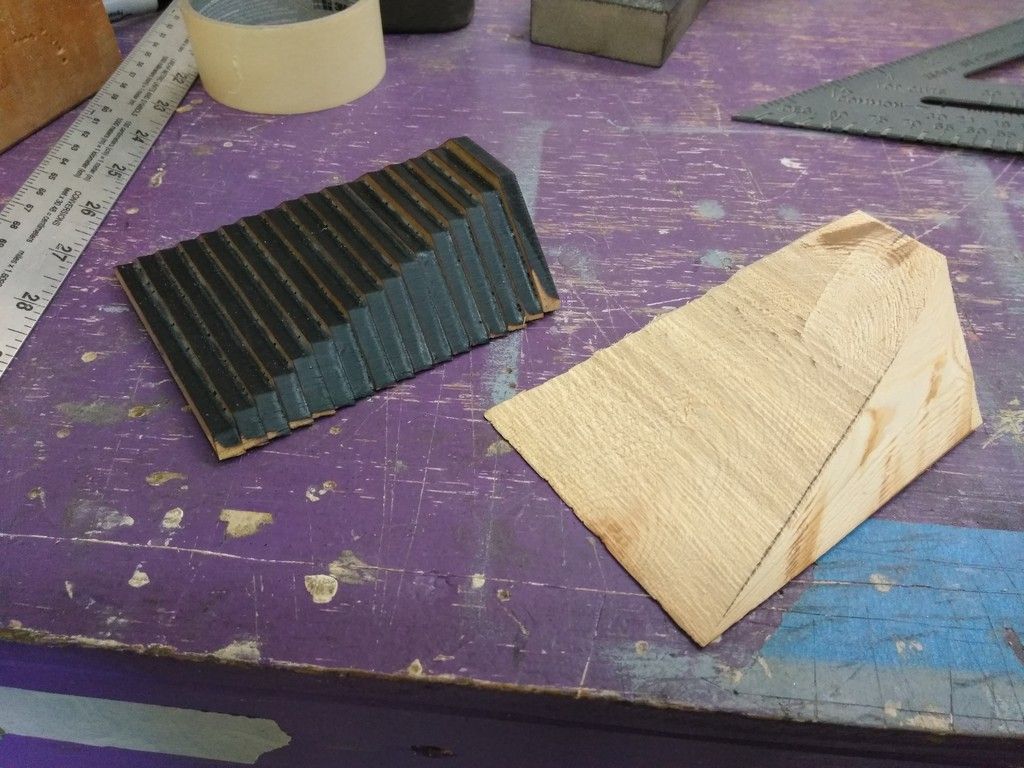
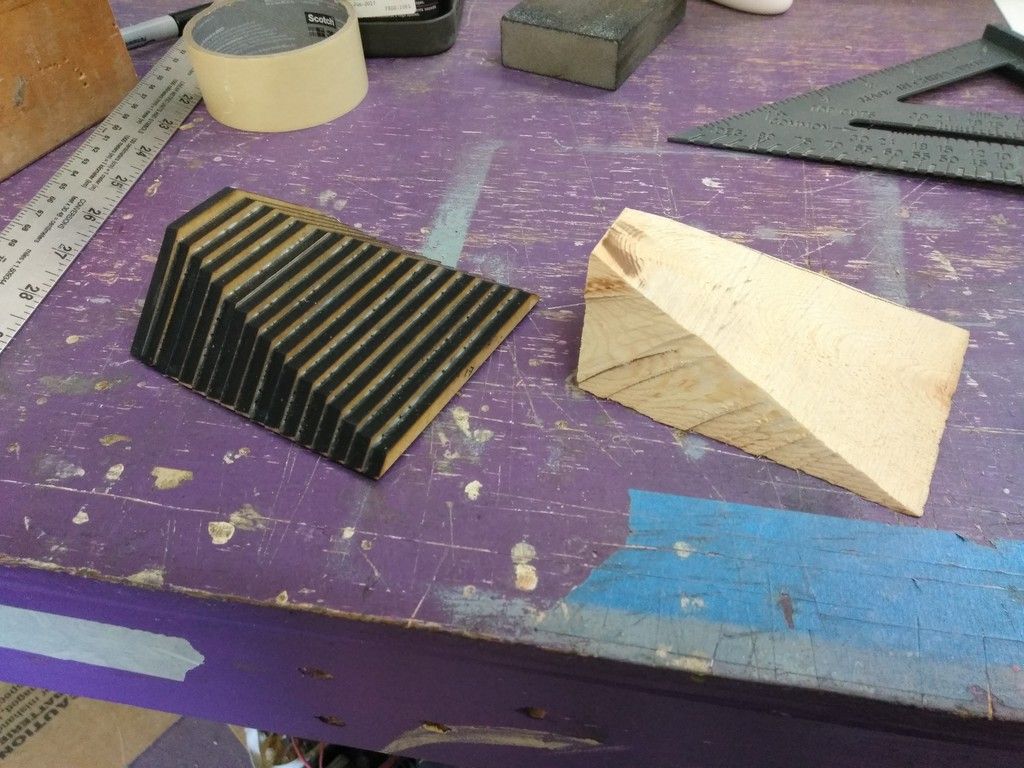
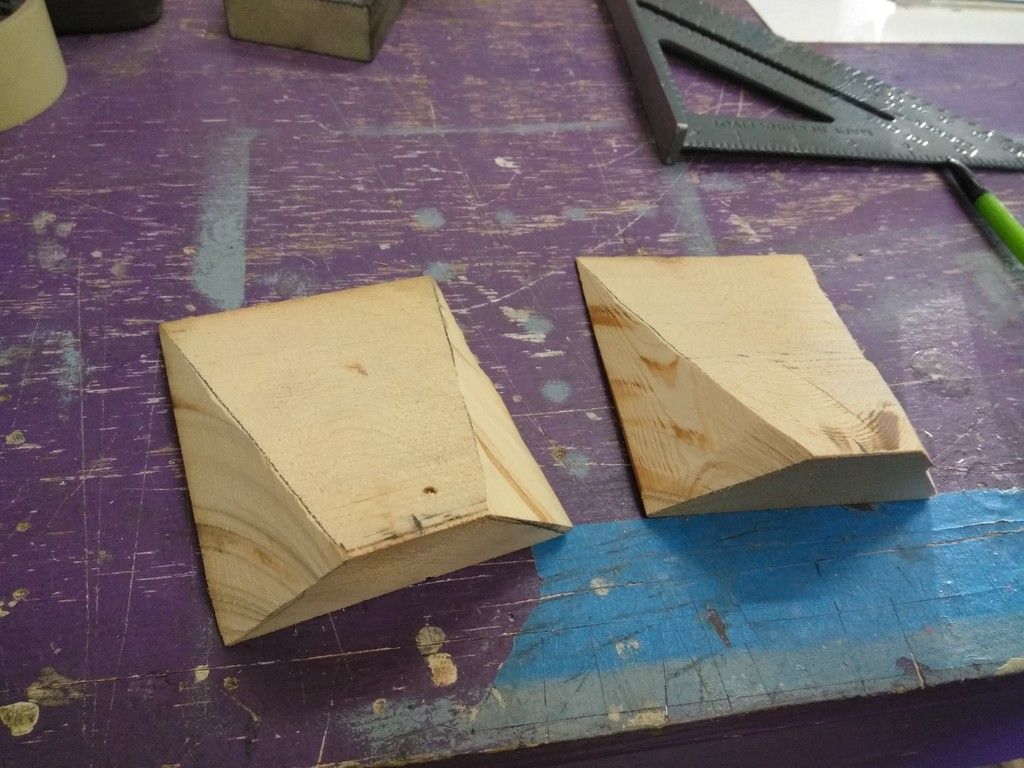
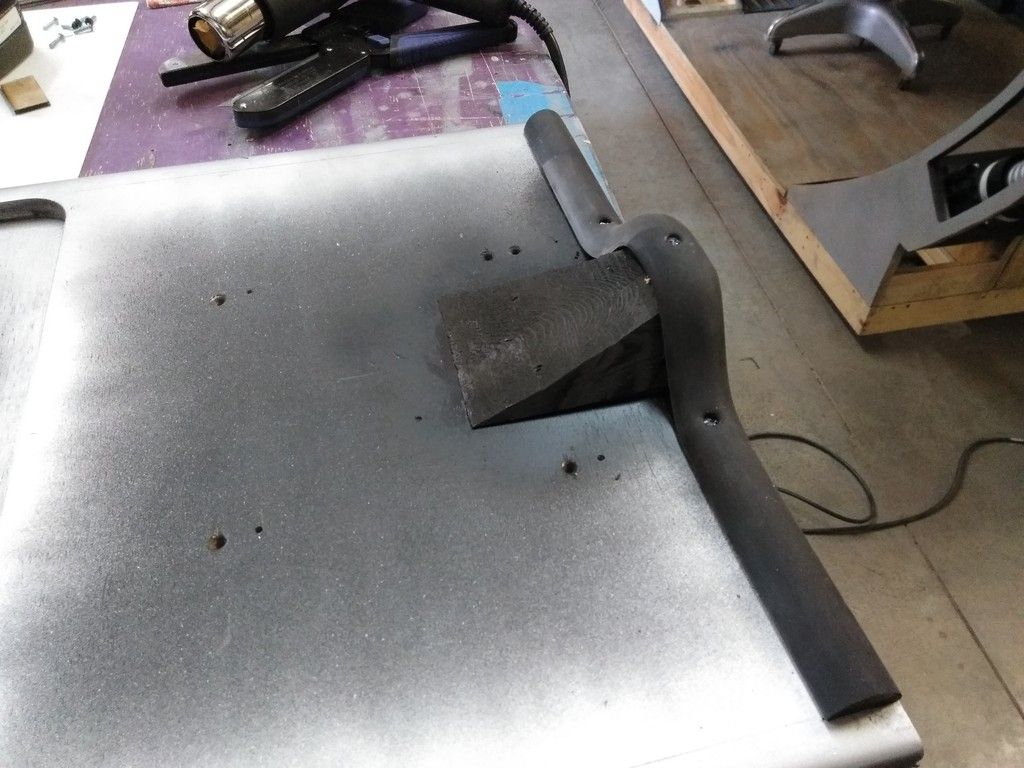
The Nav Chair back support has this interesting bump. I wasn't sure how to make/add that bump.
NOTE: this is NOT the final piece
I needed to see the basic shape before cutting
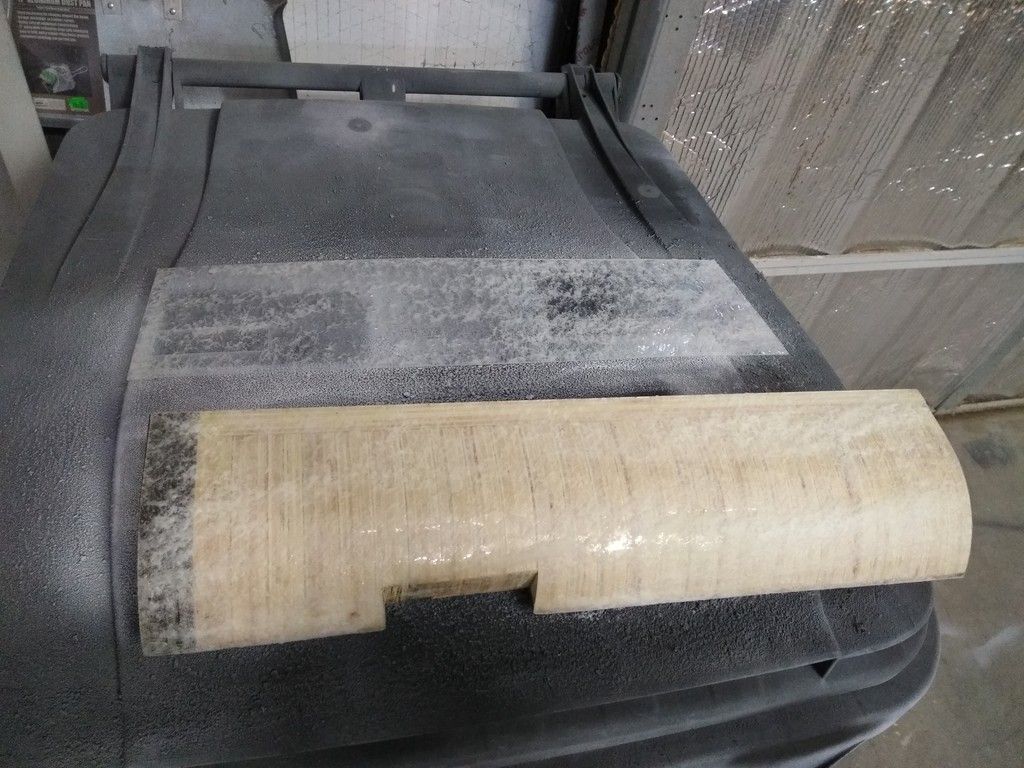
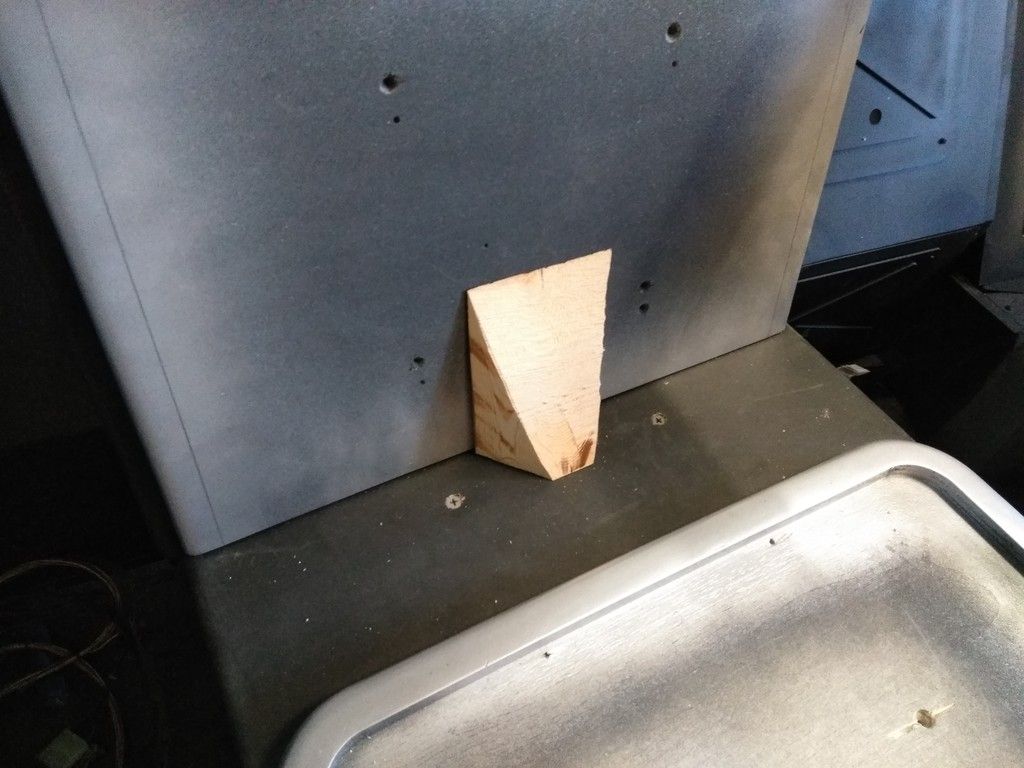
I'll try cutting a piece of 2x4 for the basic shape
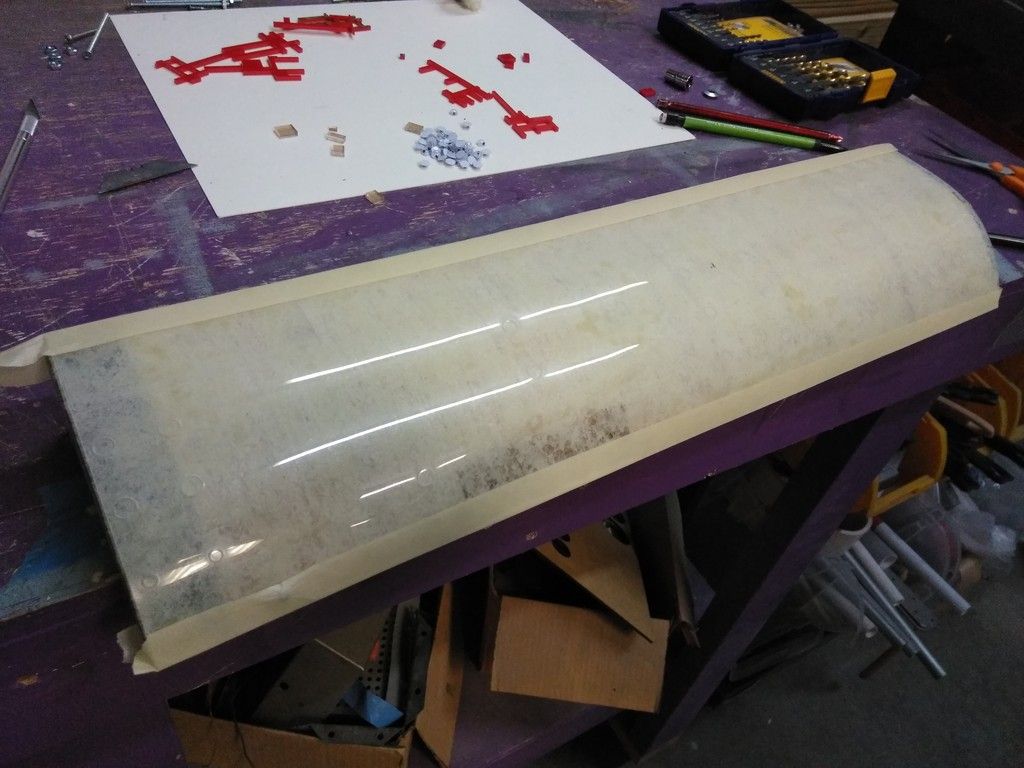
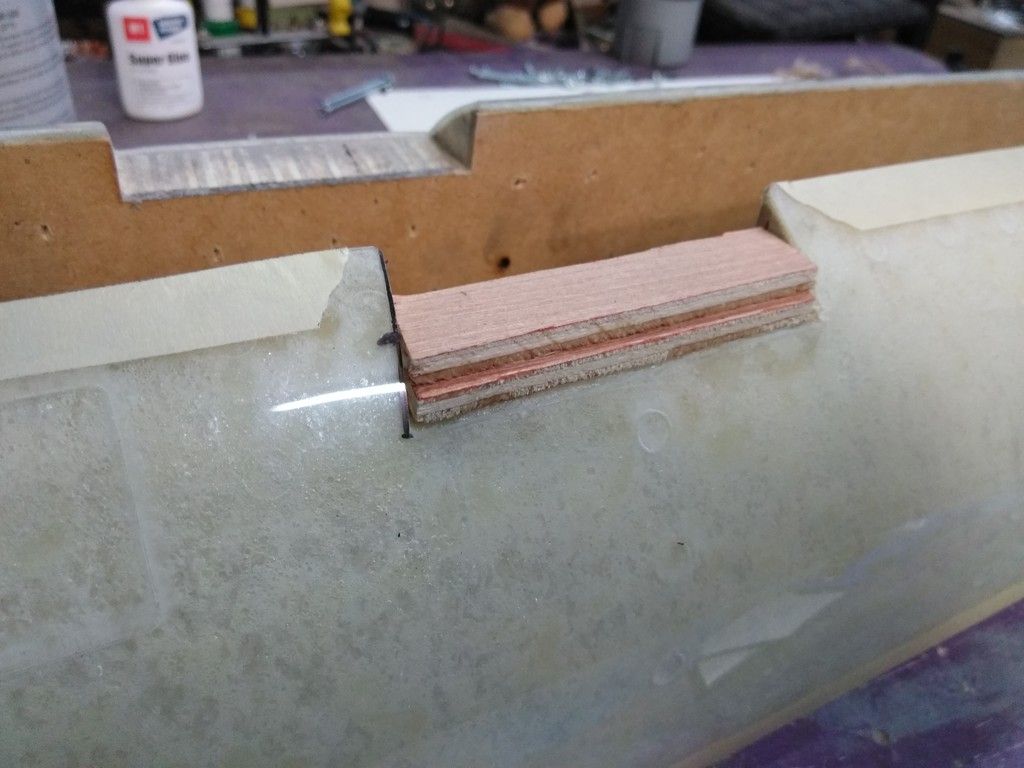
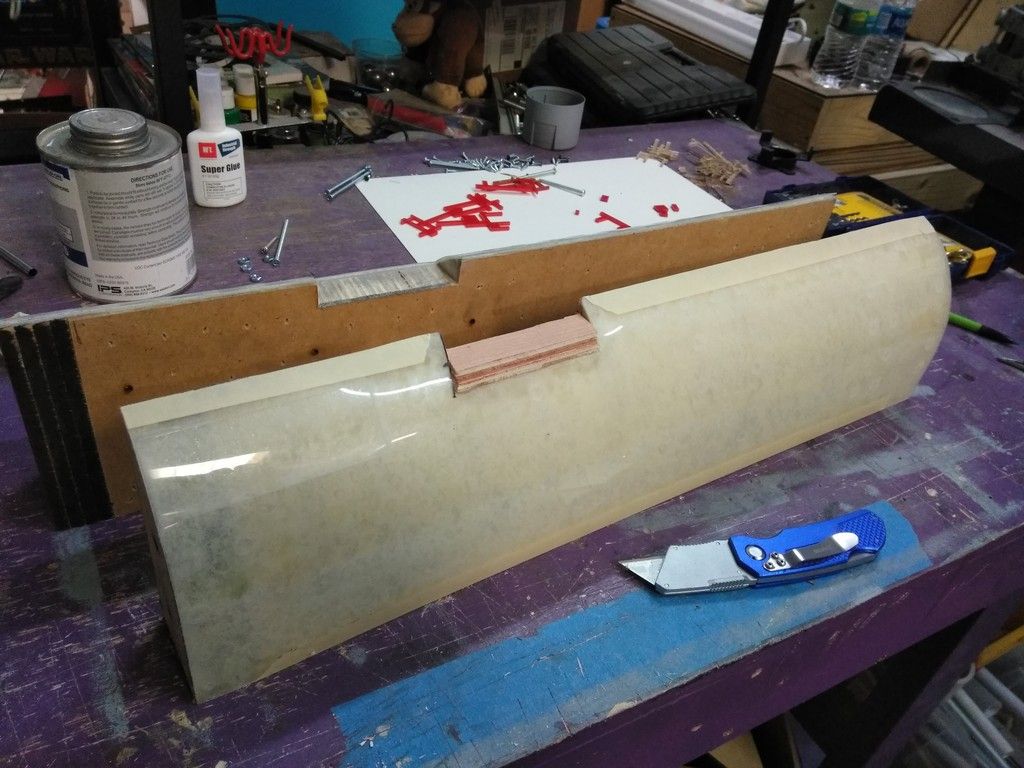
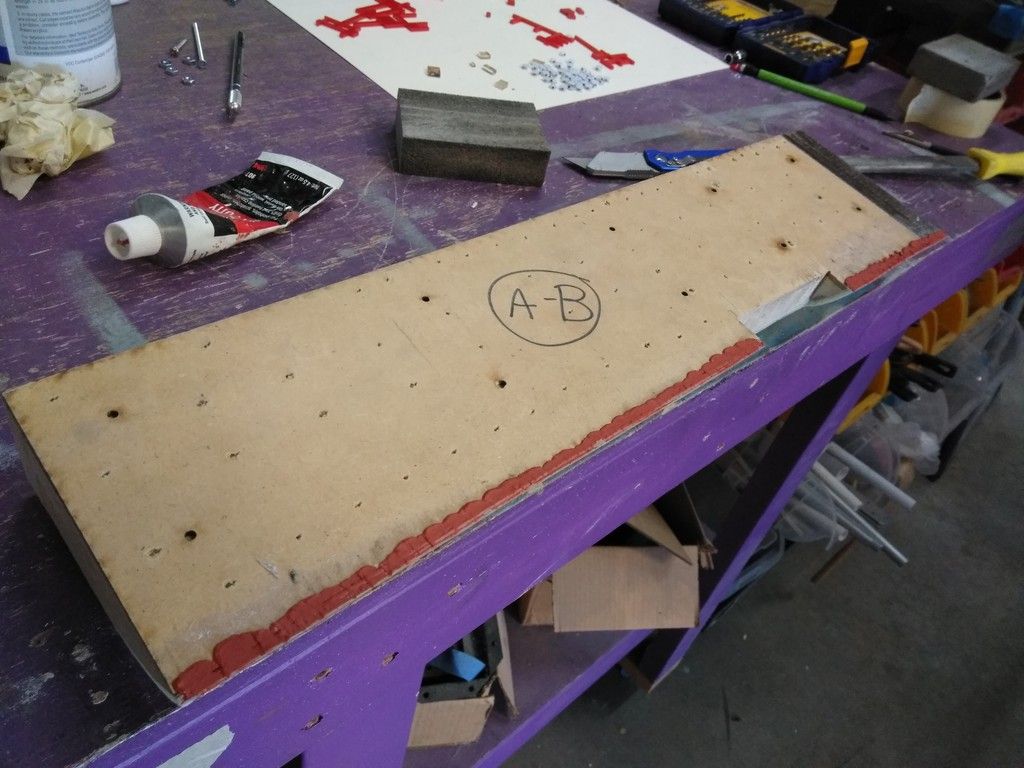
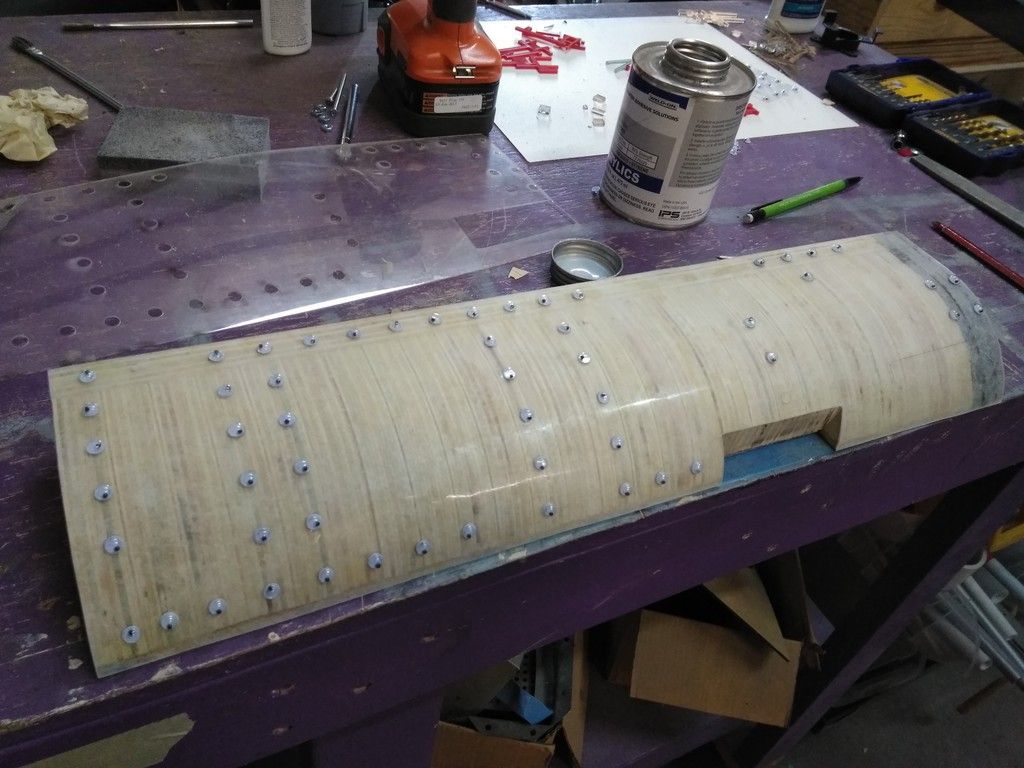
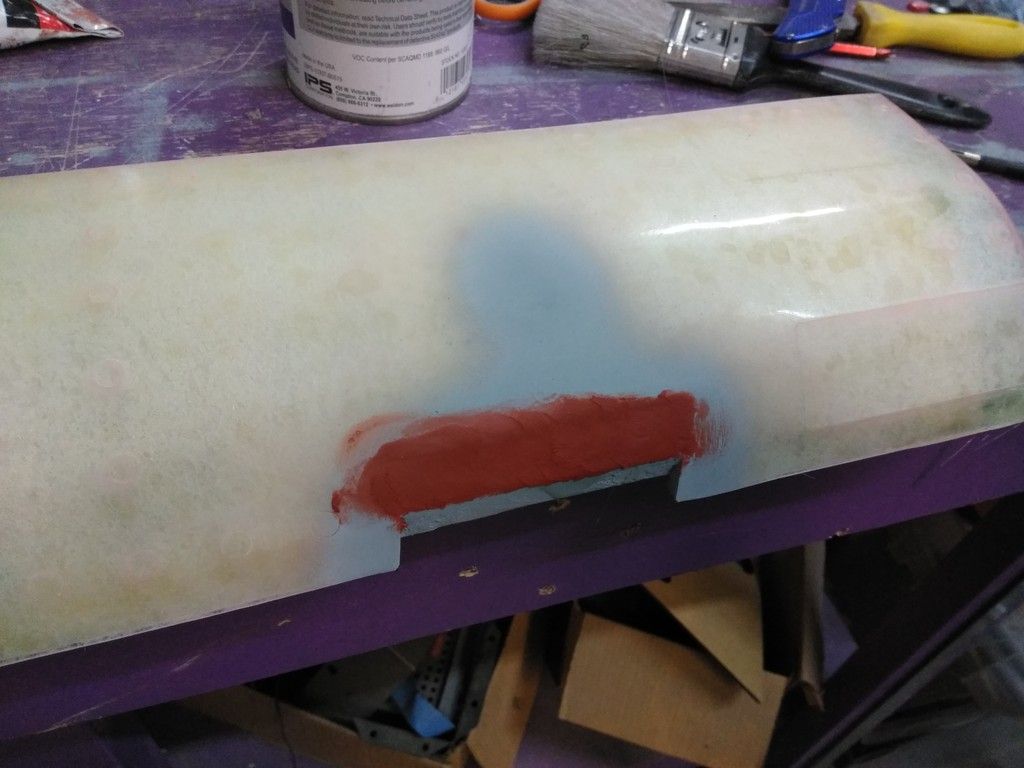
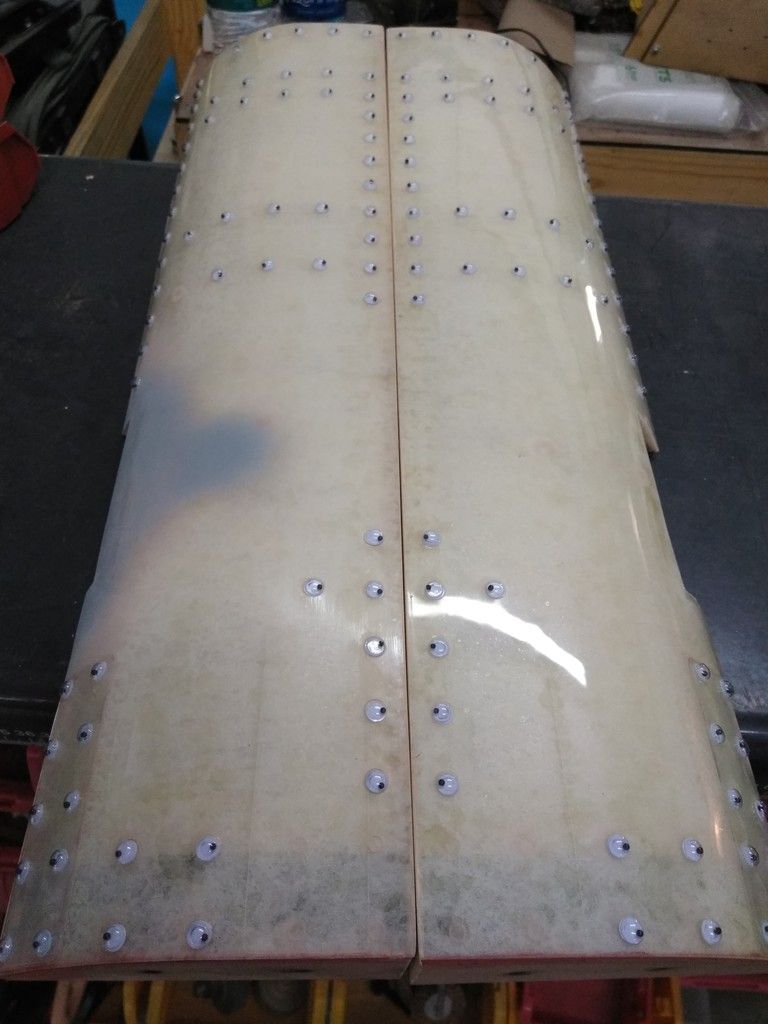
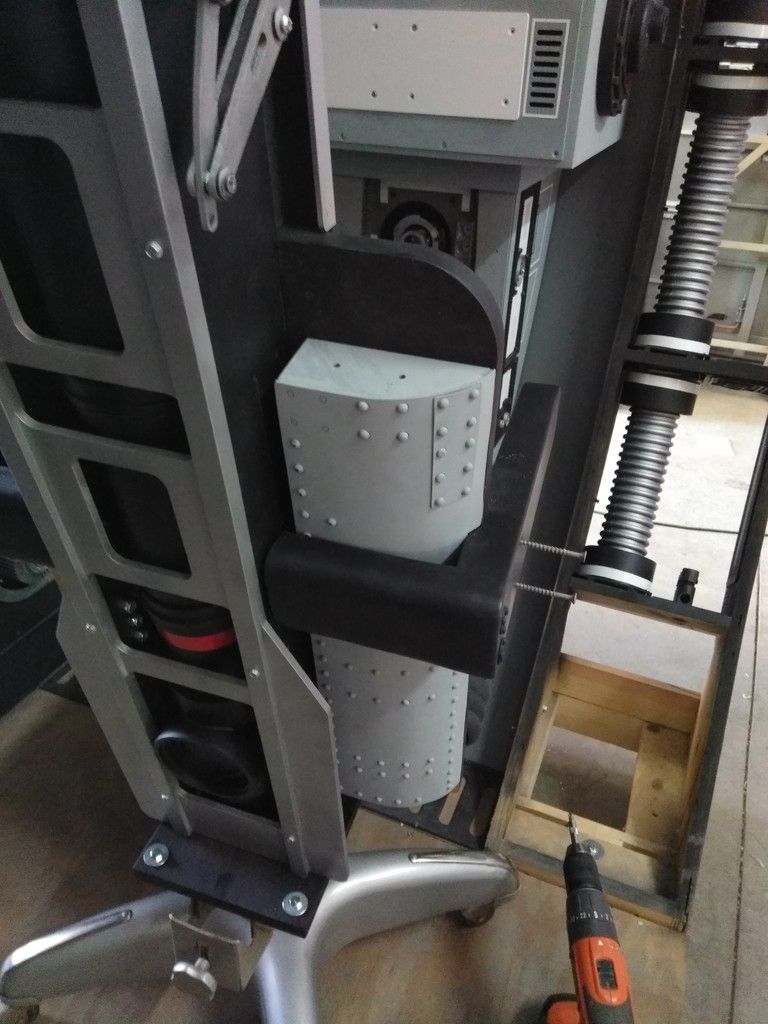
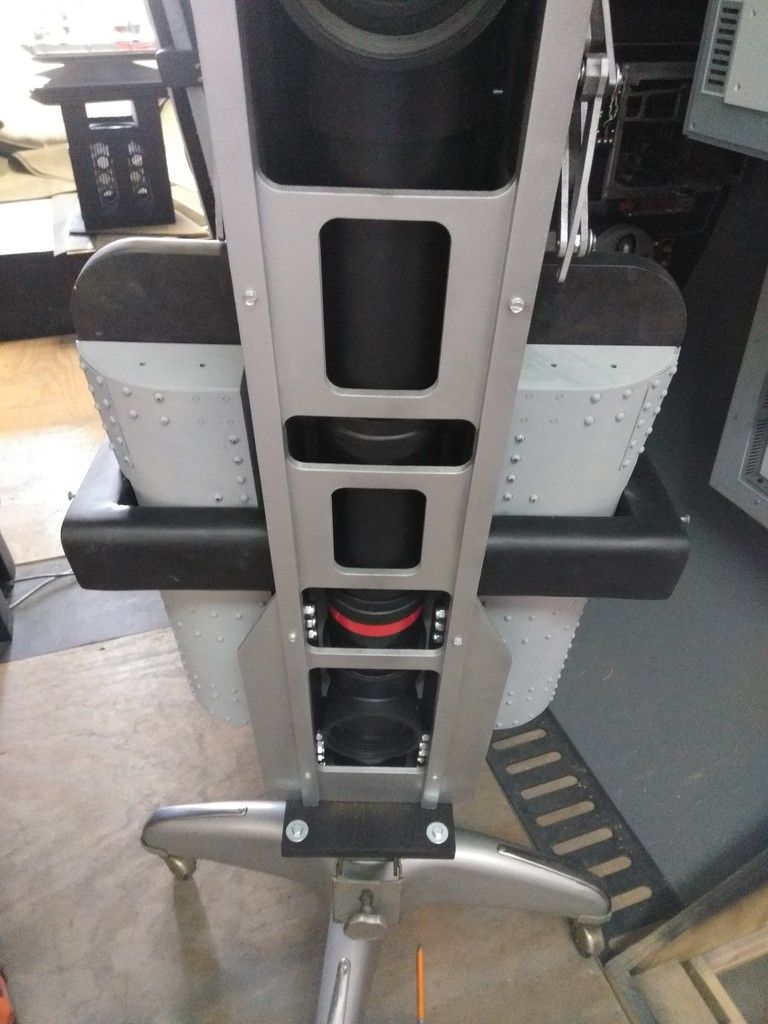
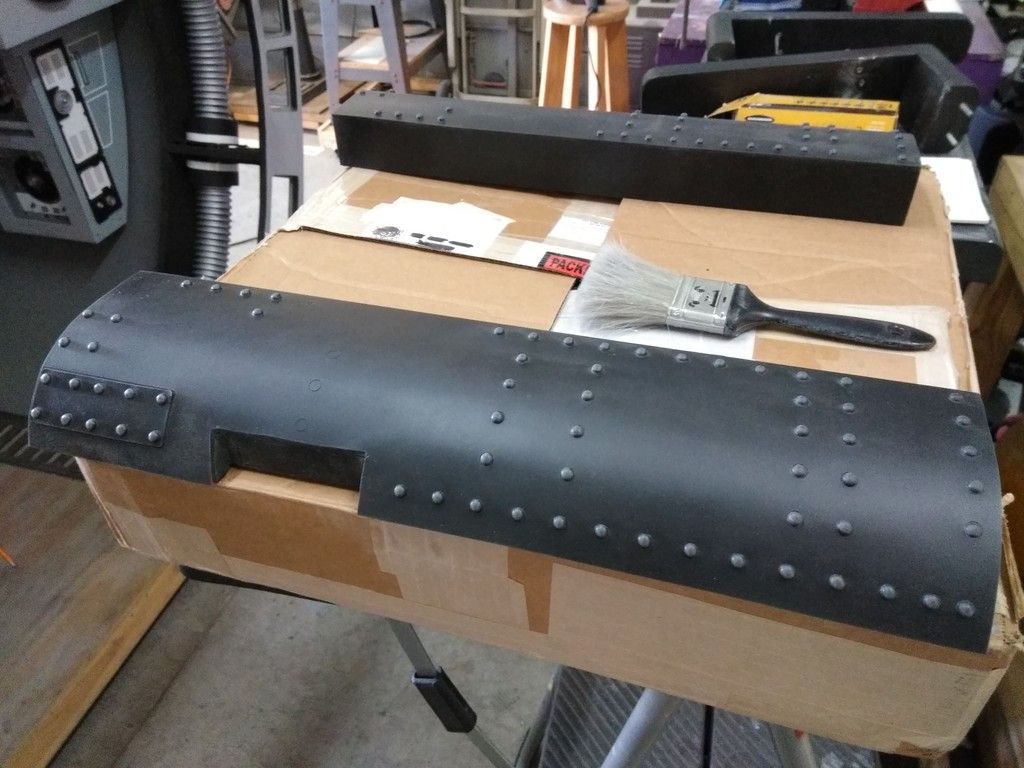
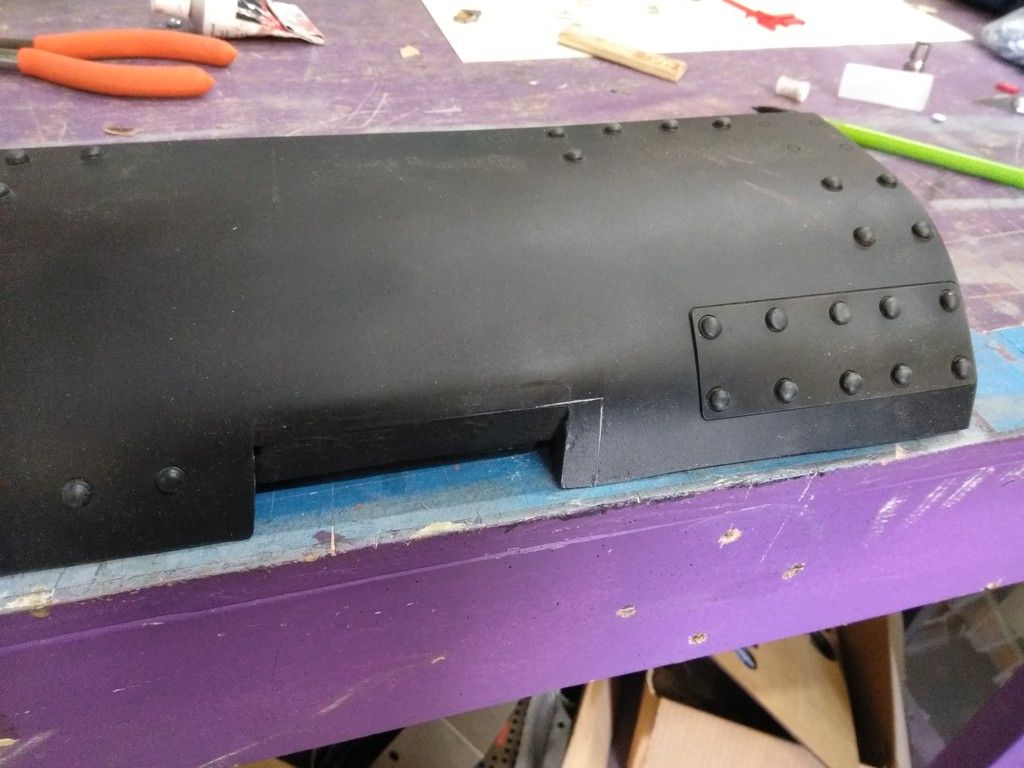
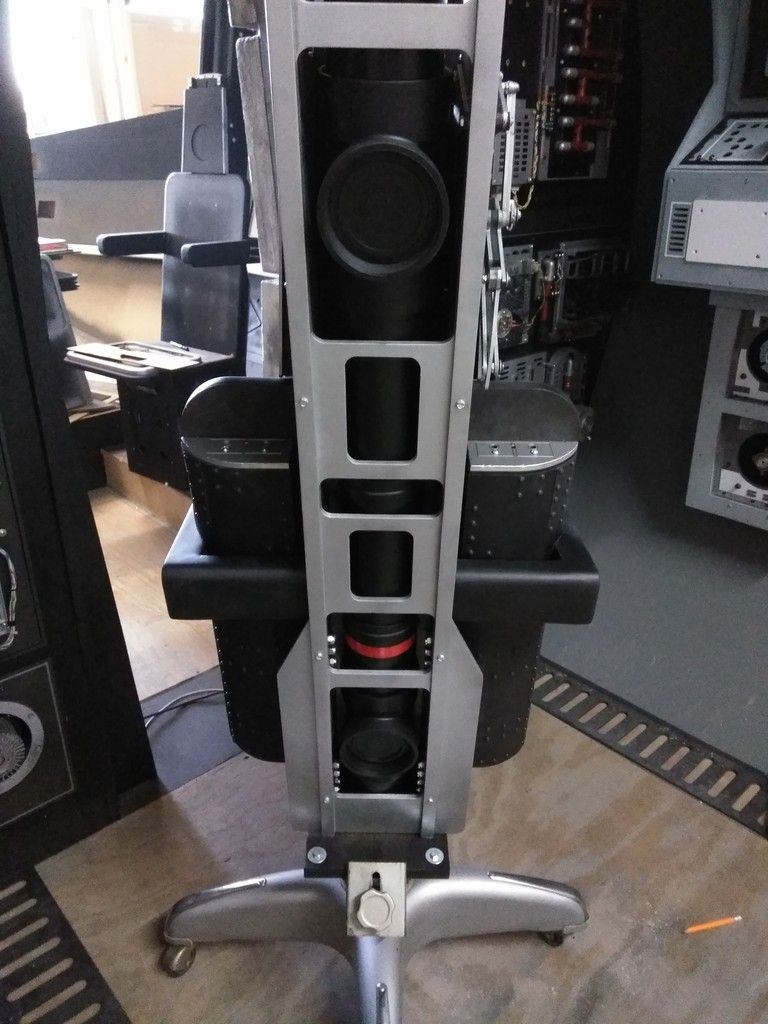
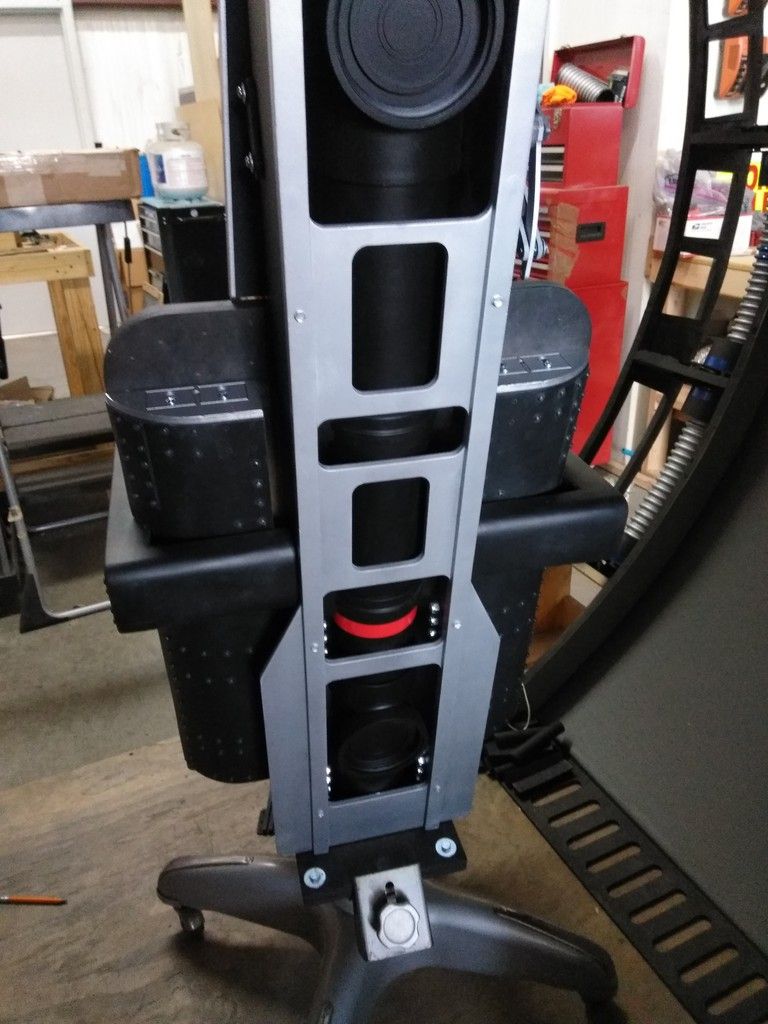
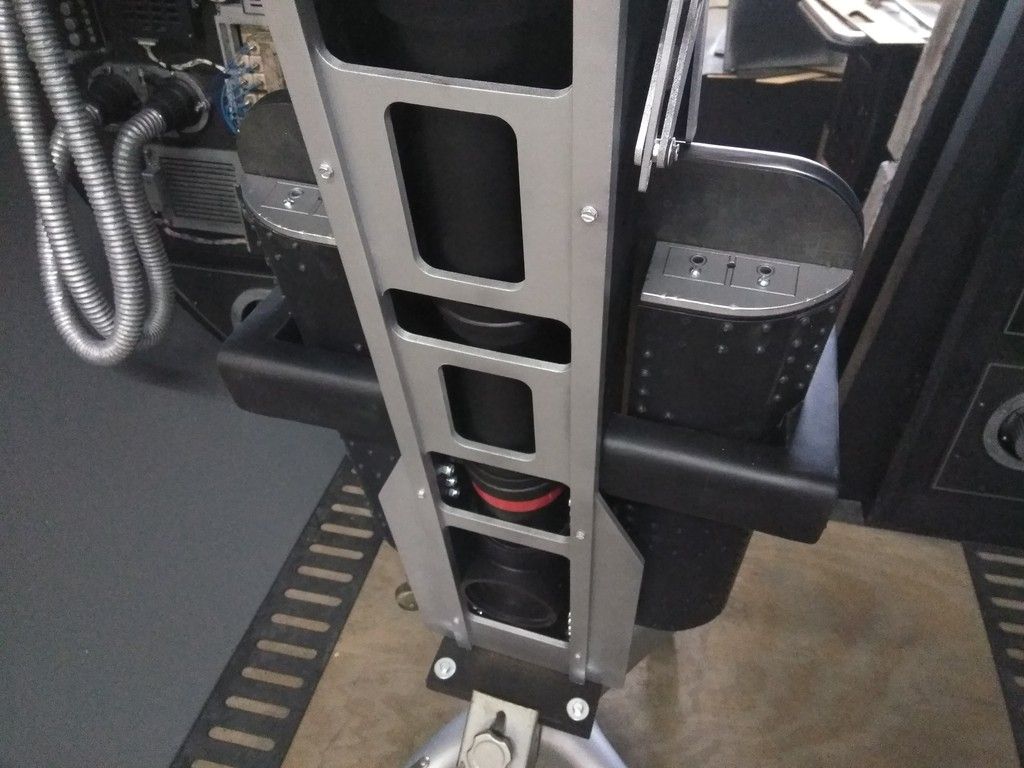
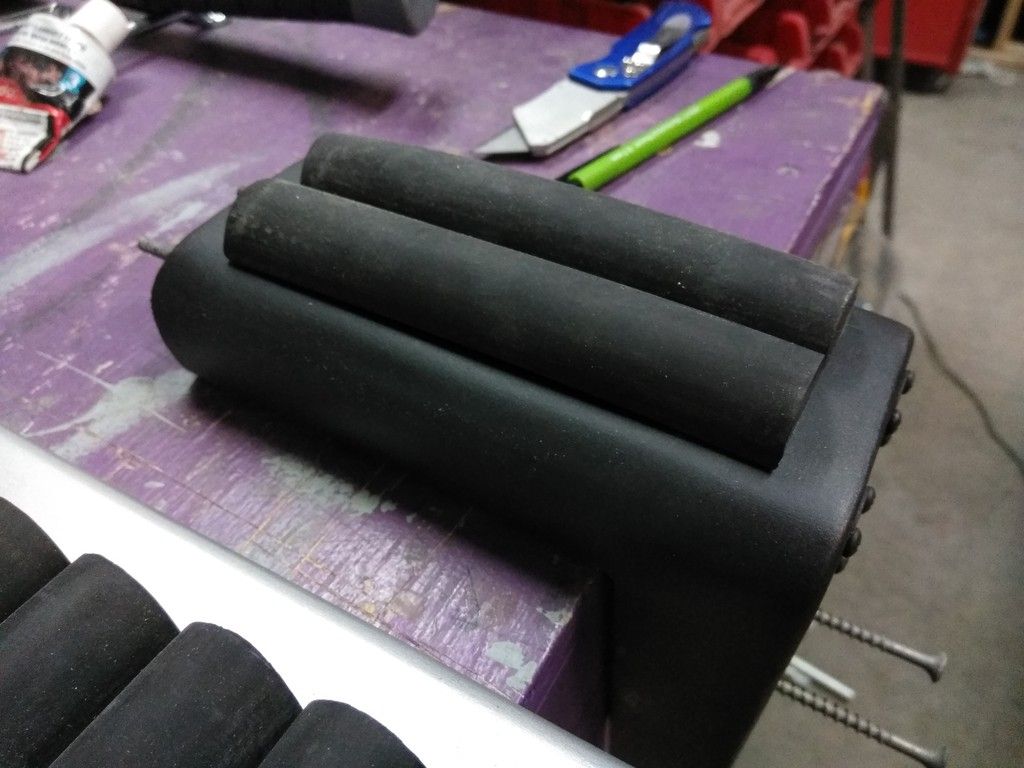
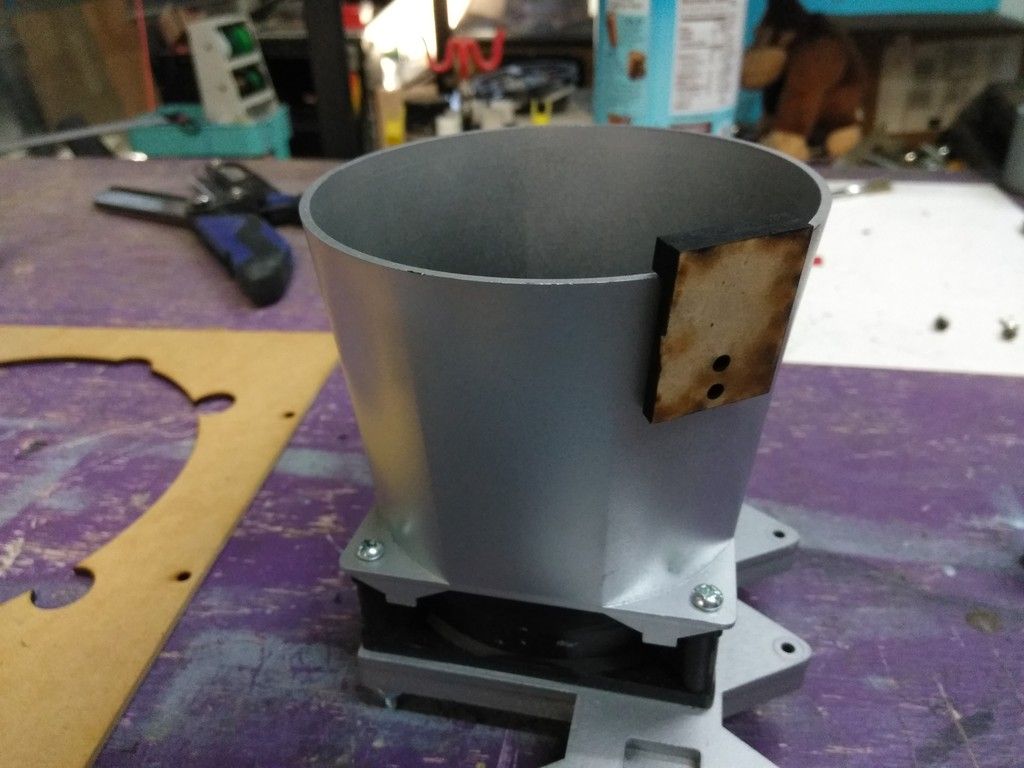
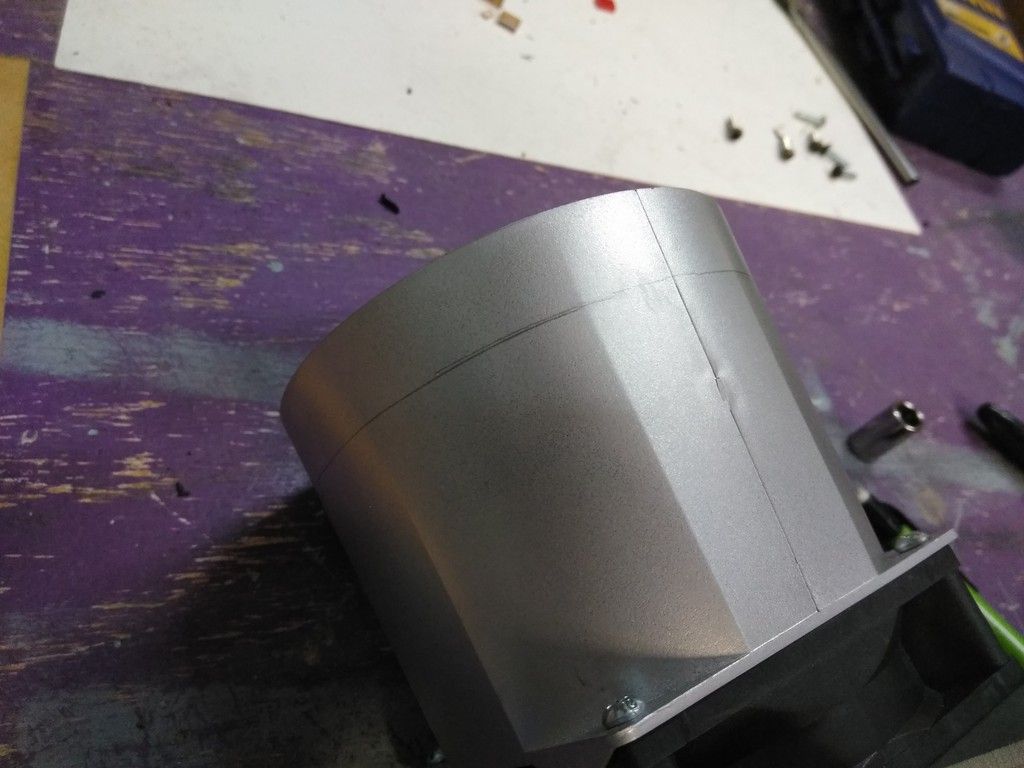
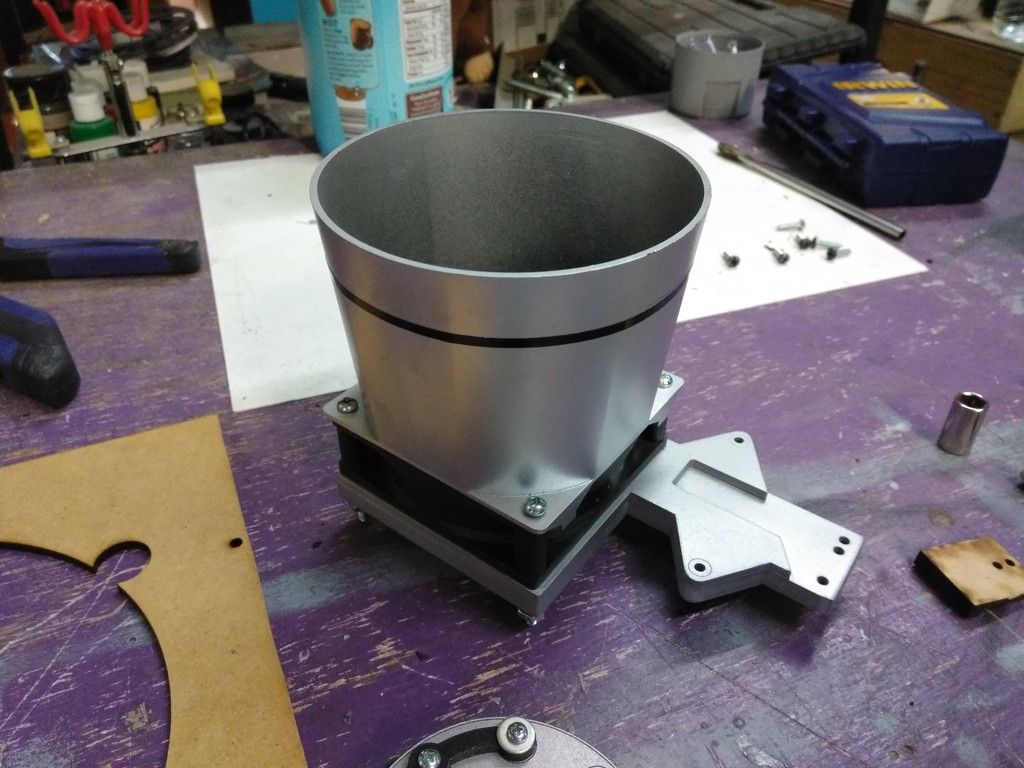
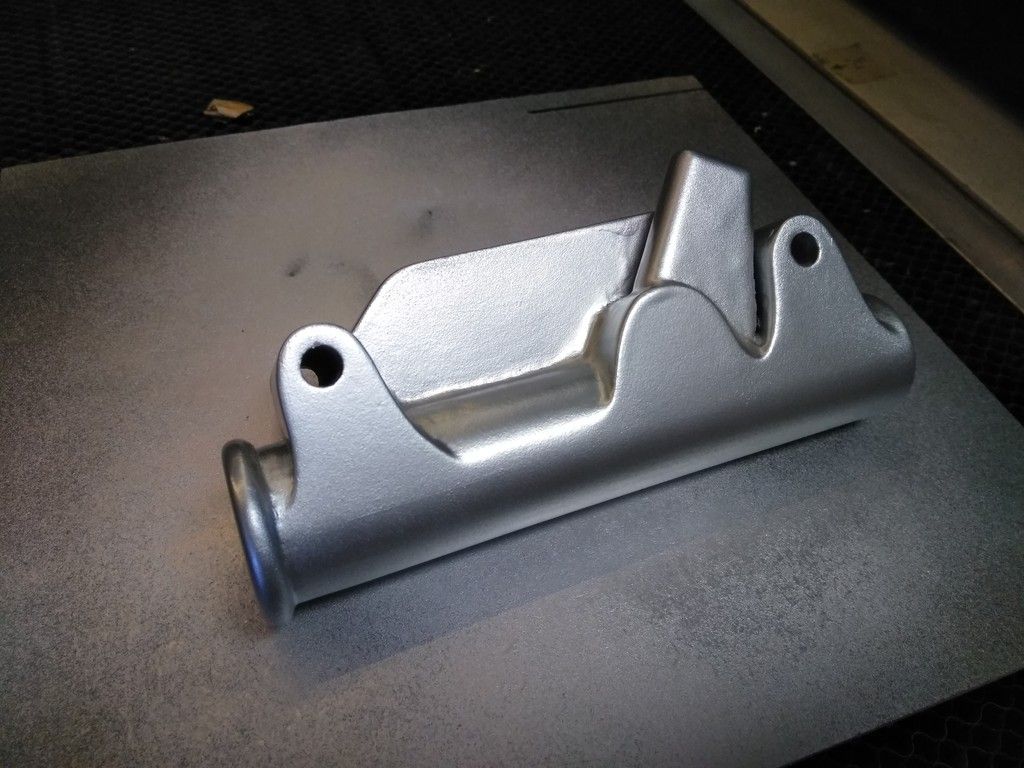
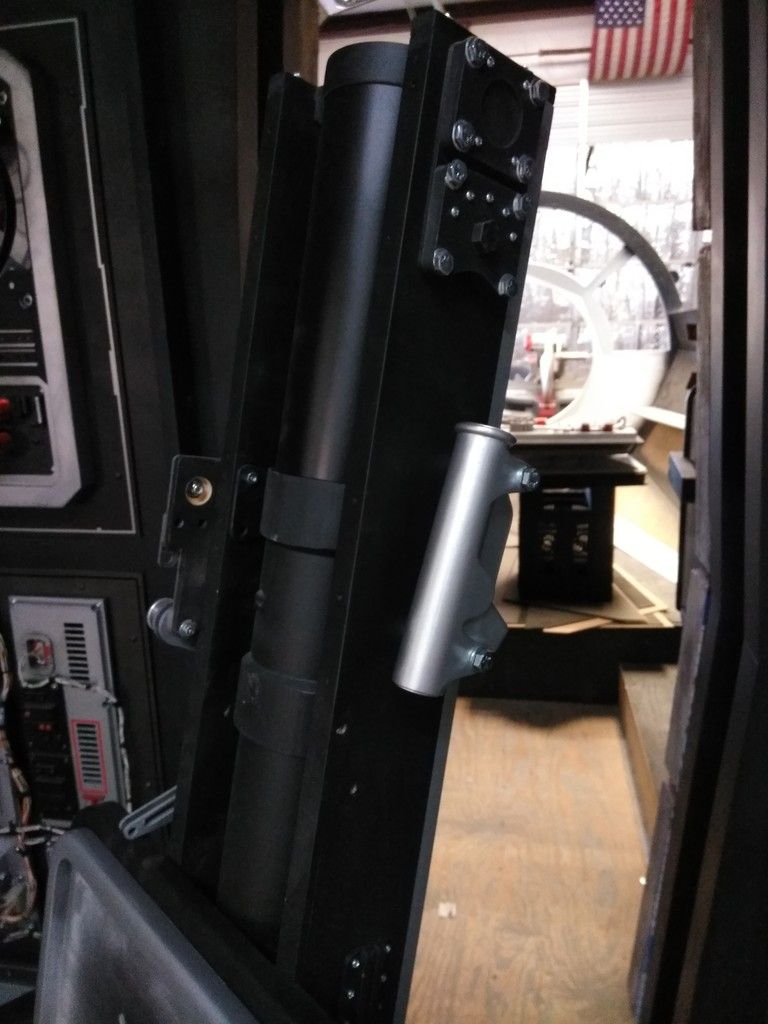
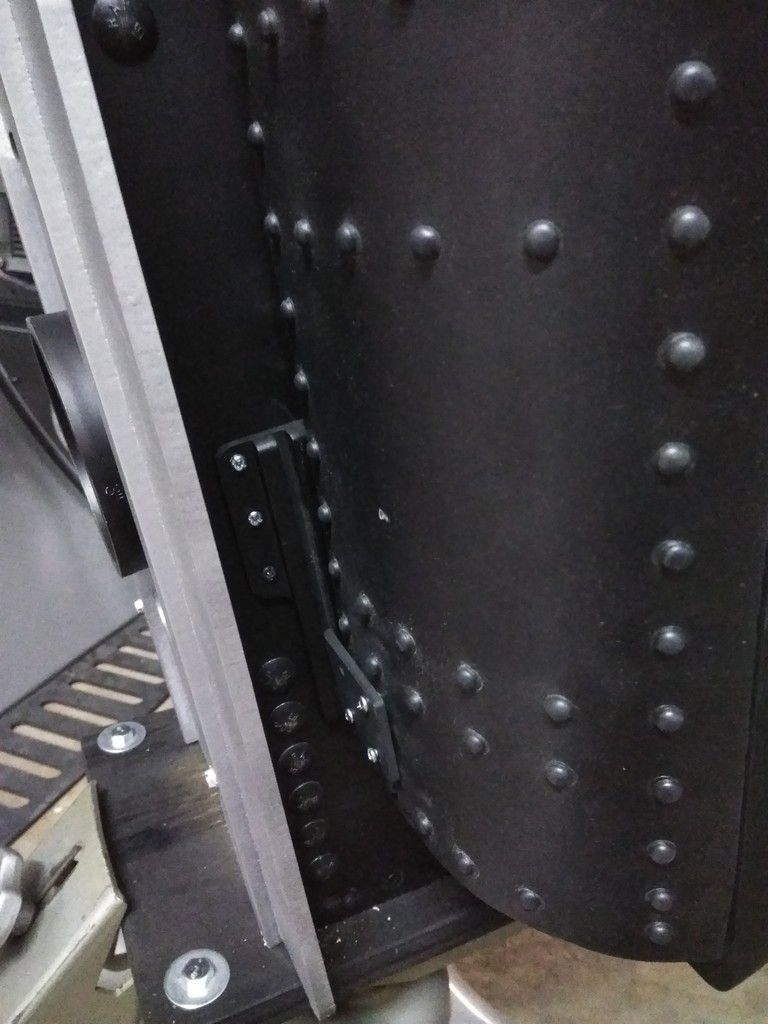
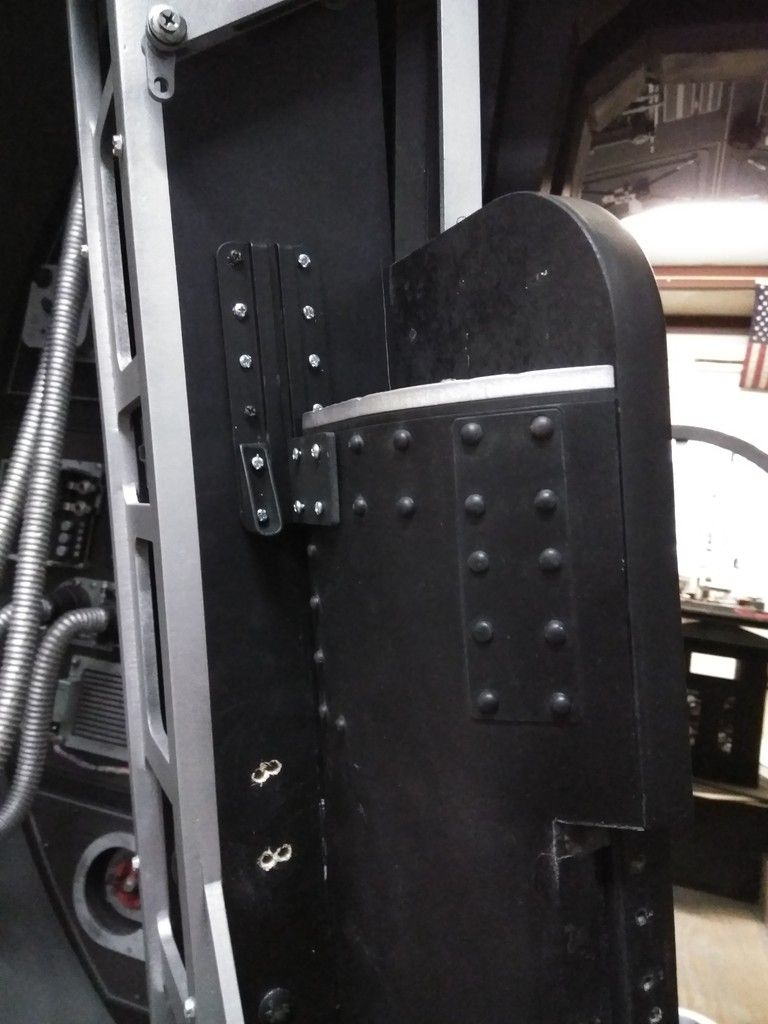
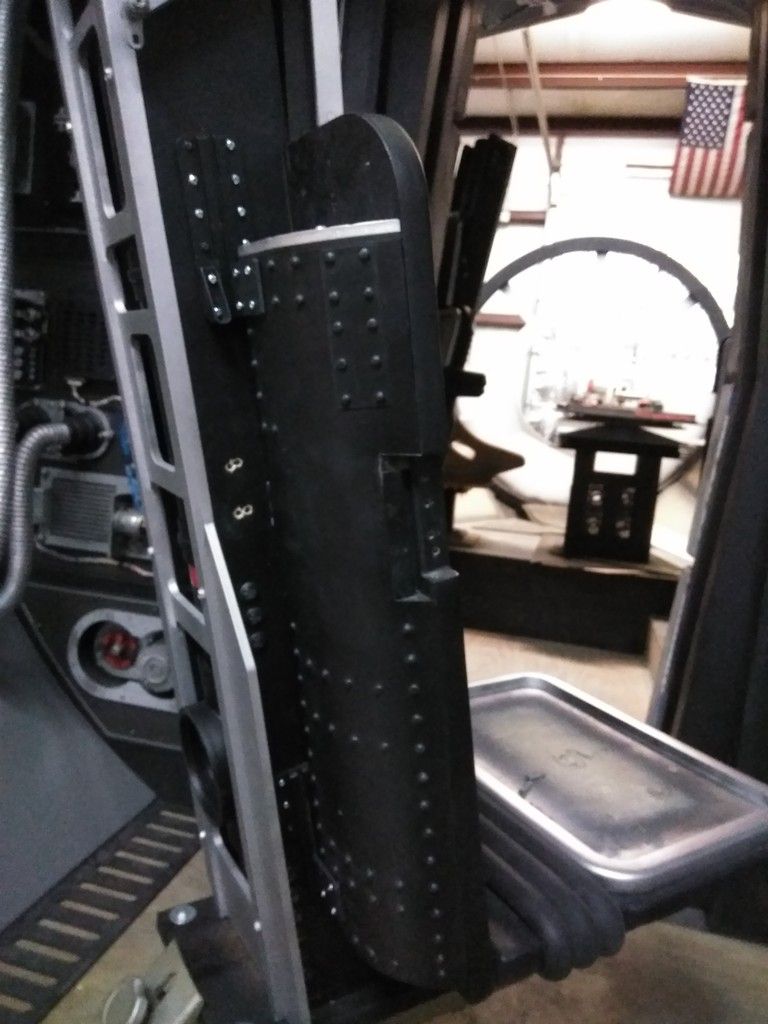
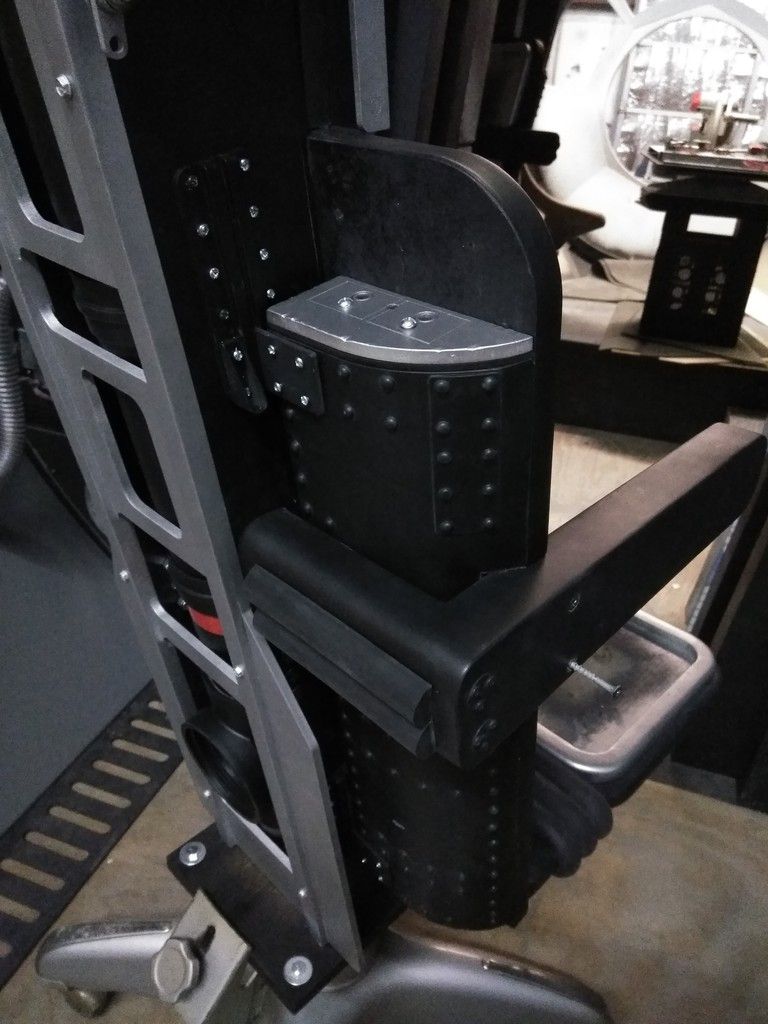
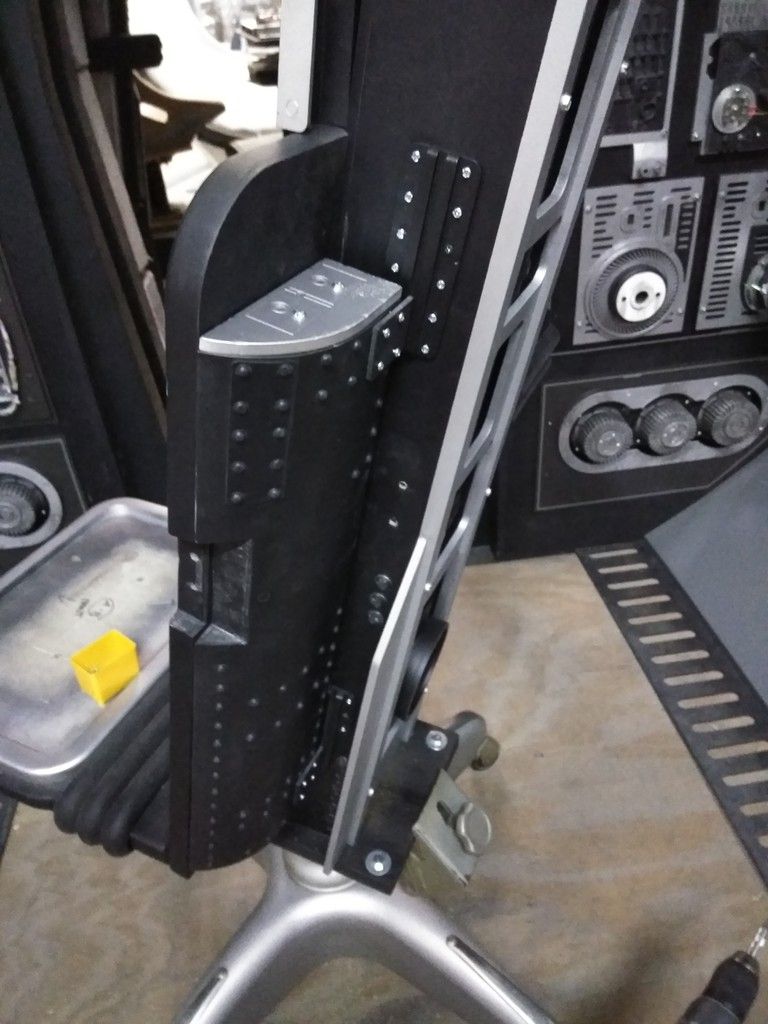
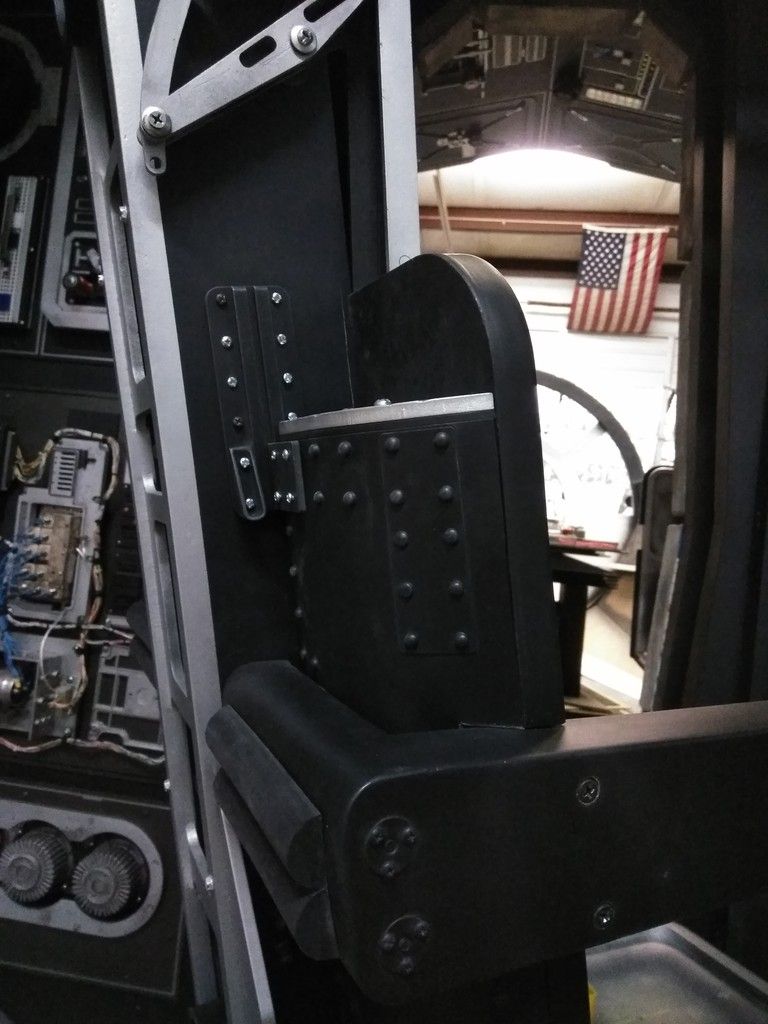
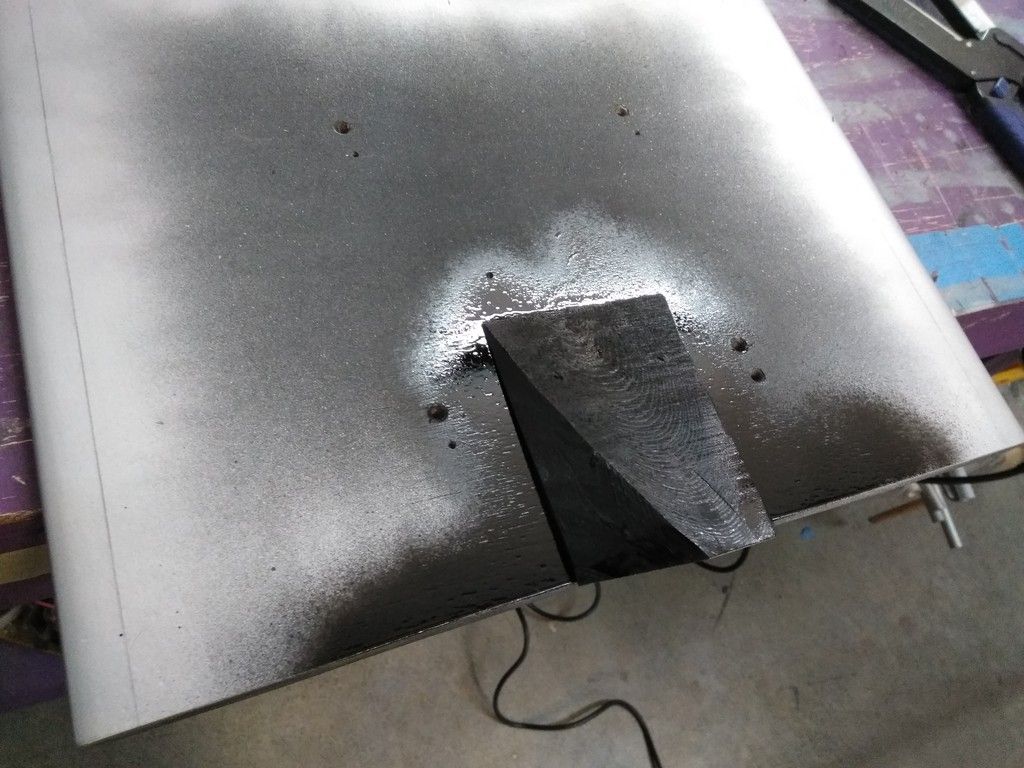
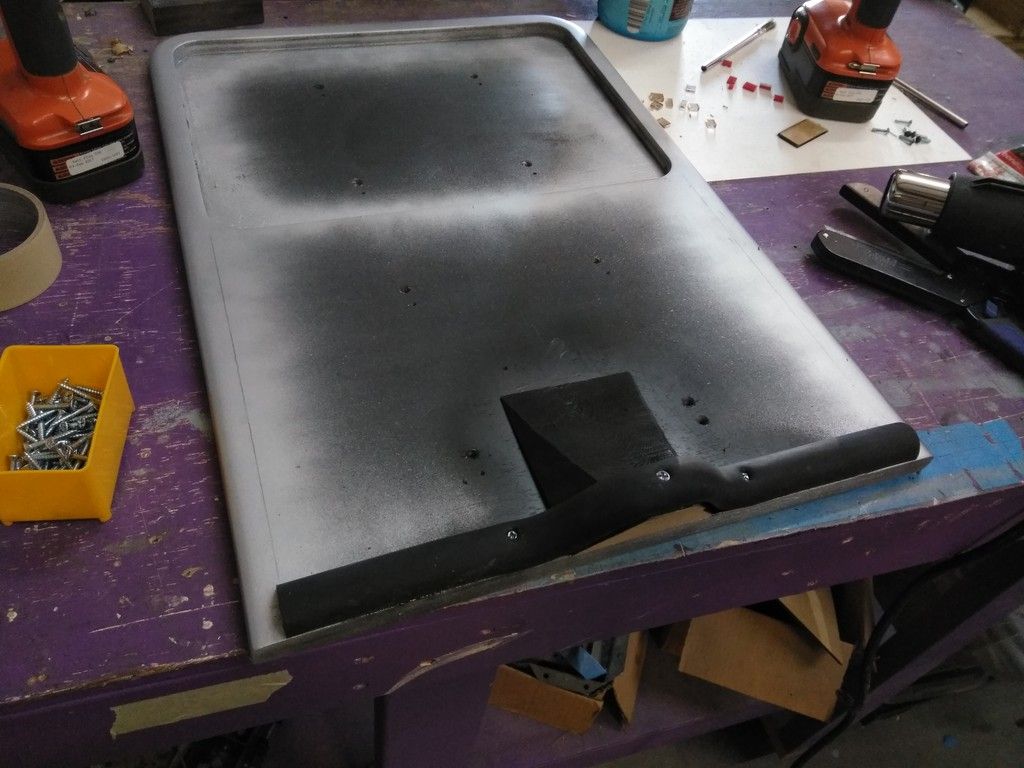
It was then time to address these nacelles and the nav chairs in general!
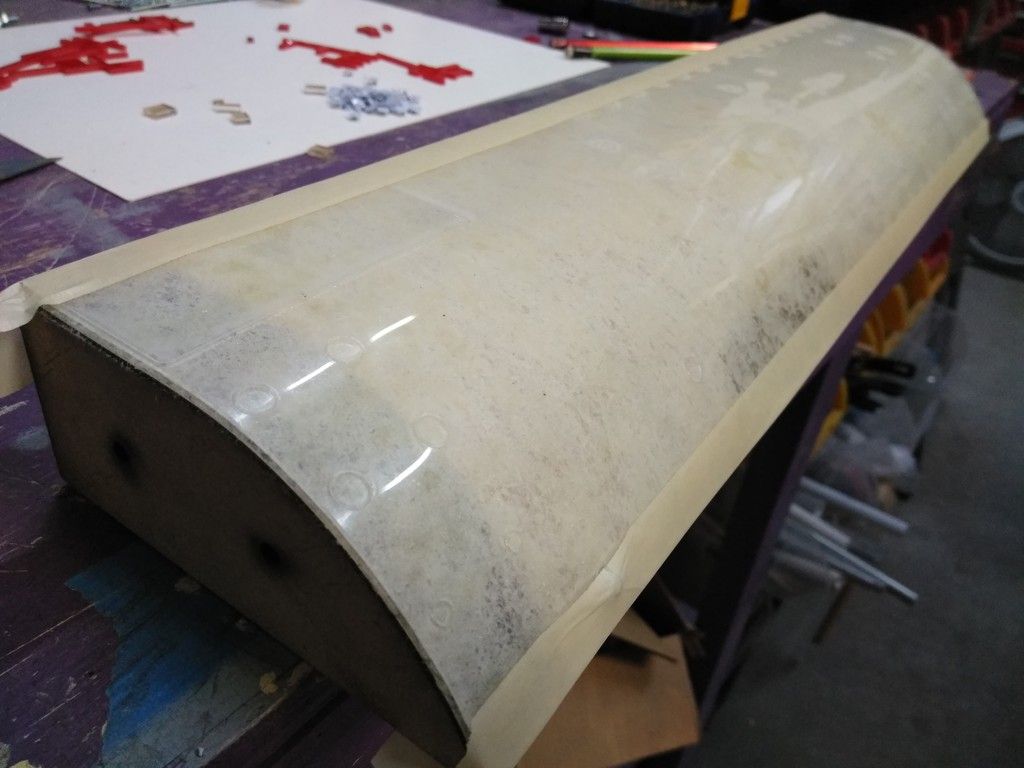
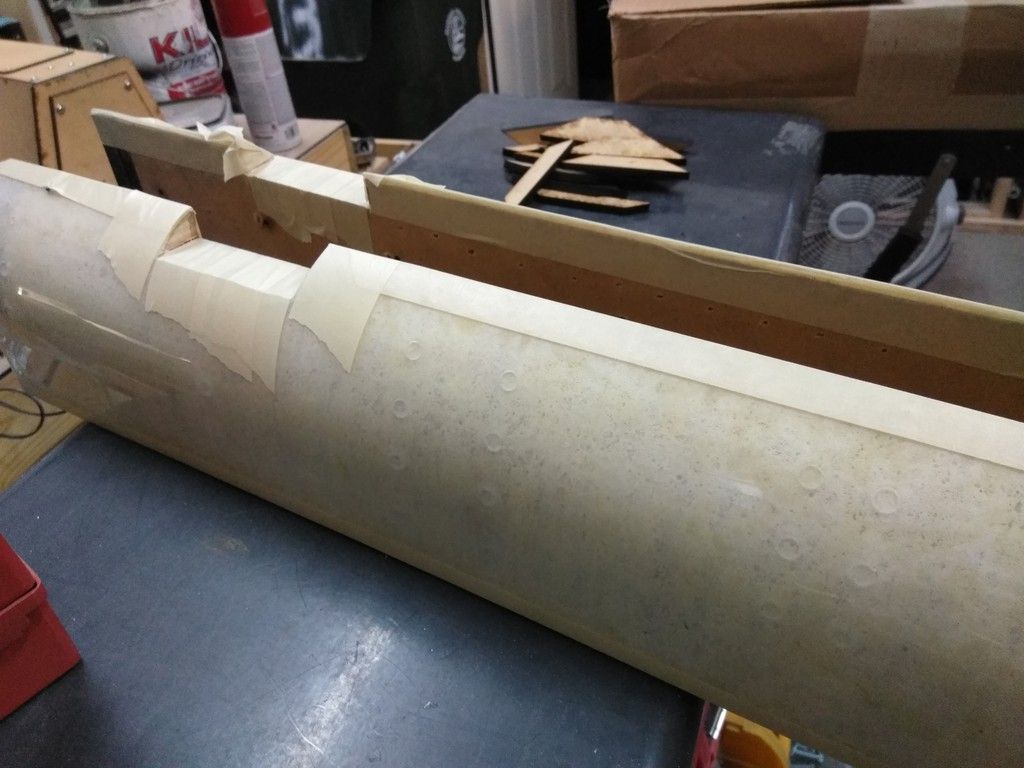
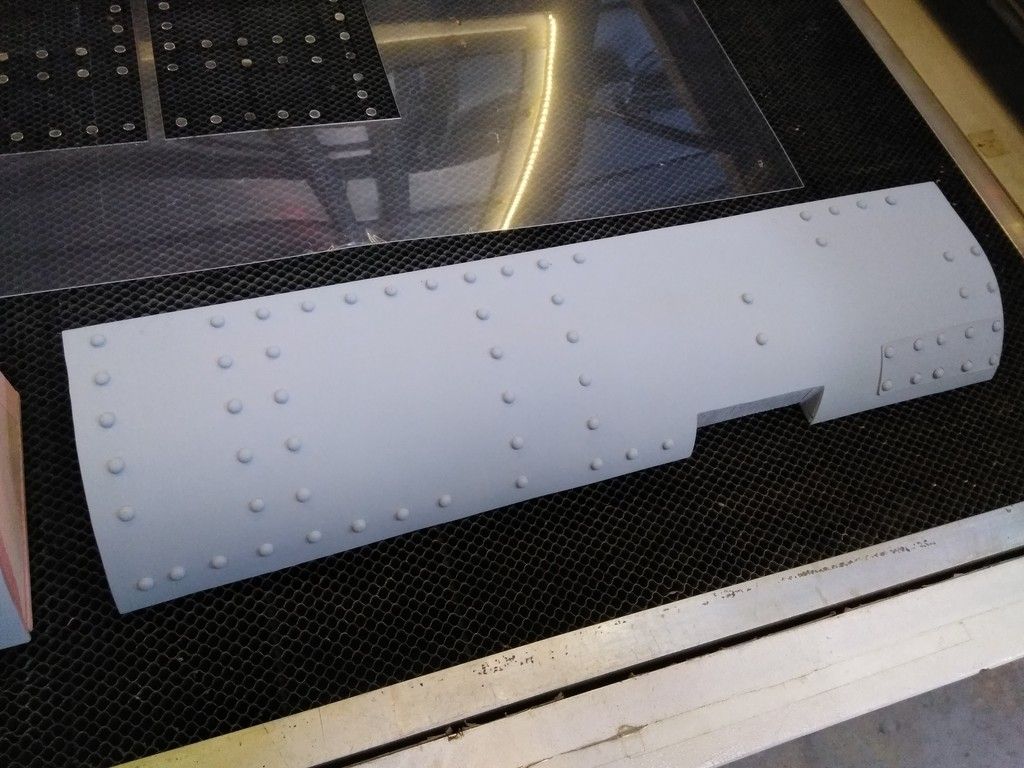
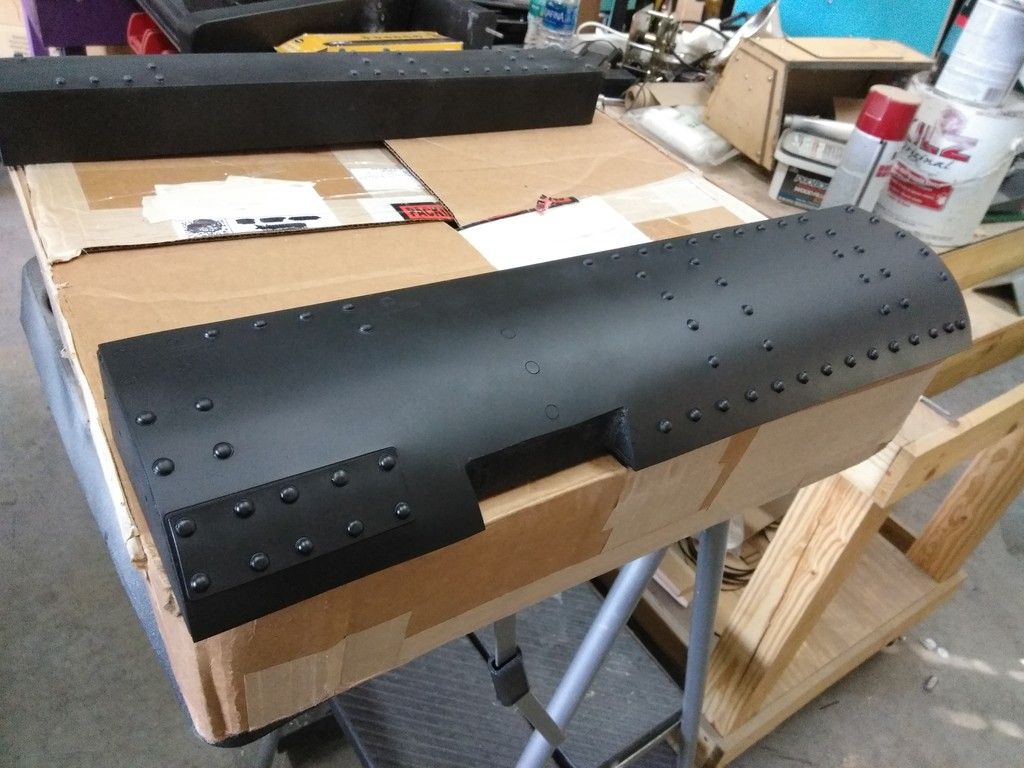
Cut new skins
Adhered onto the nacelles
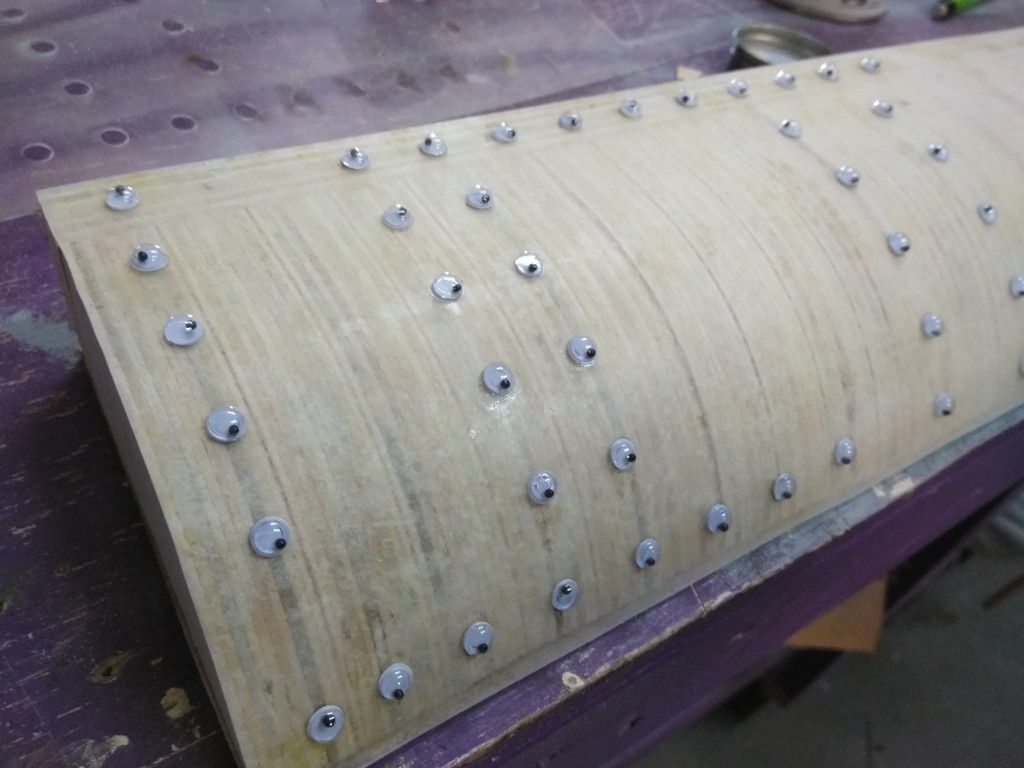
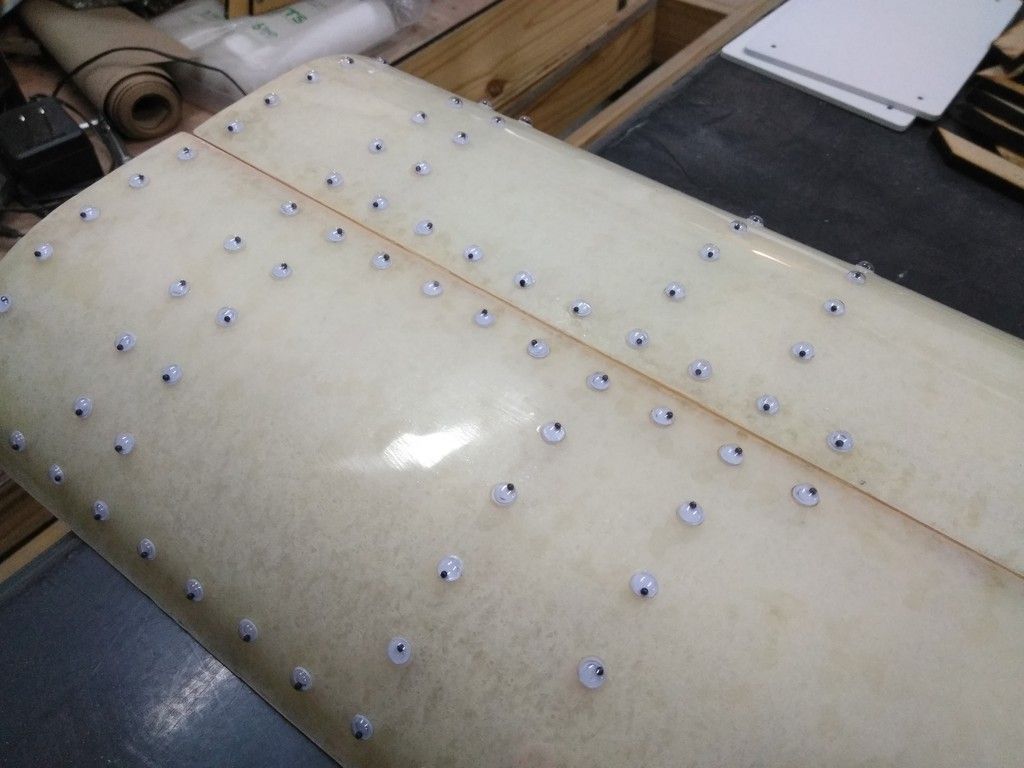
Two down... two to go
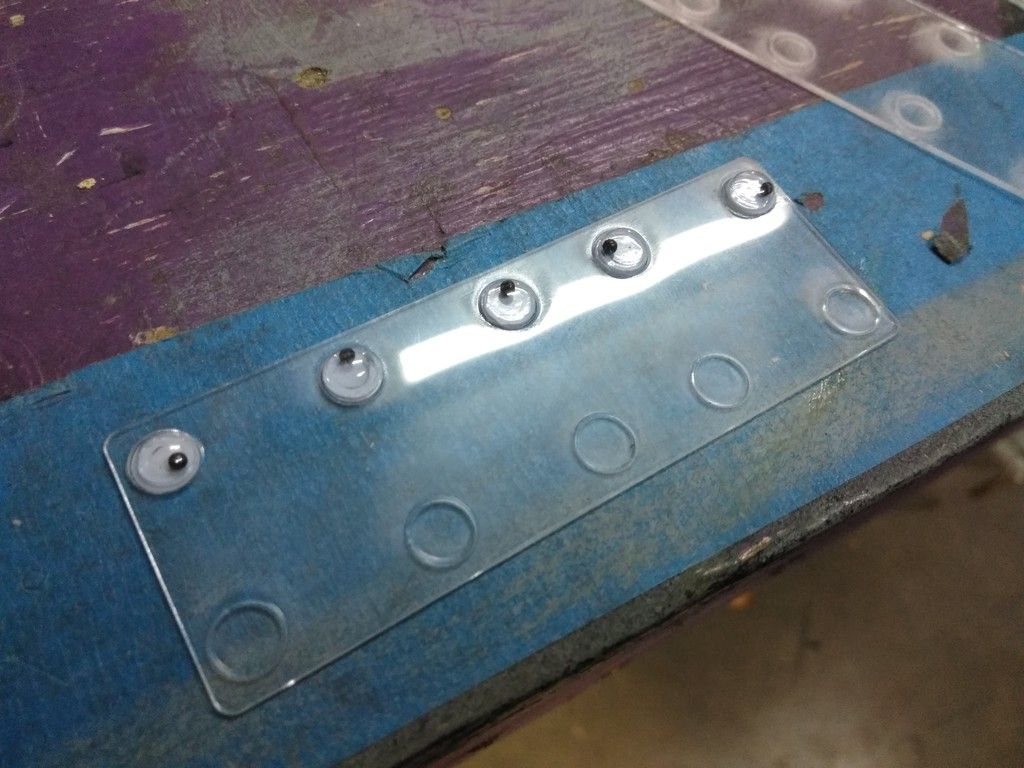
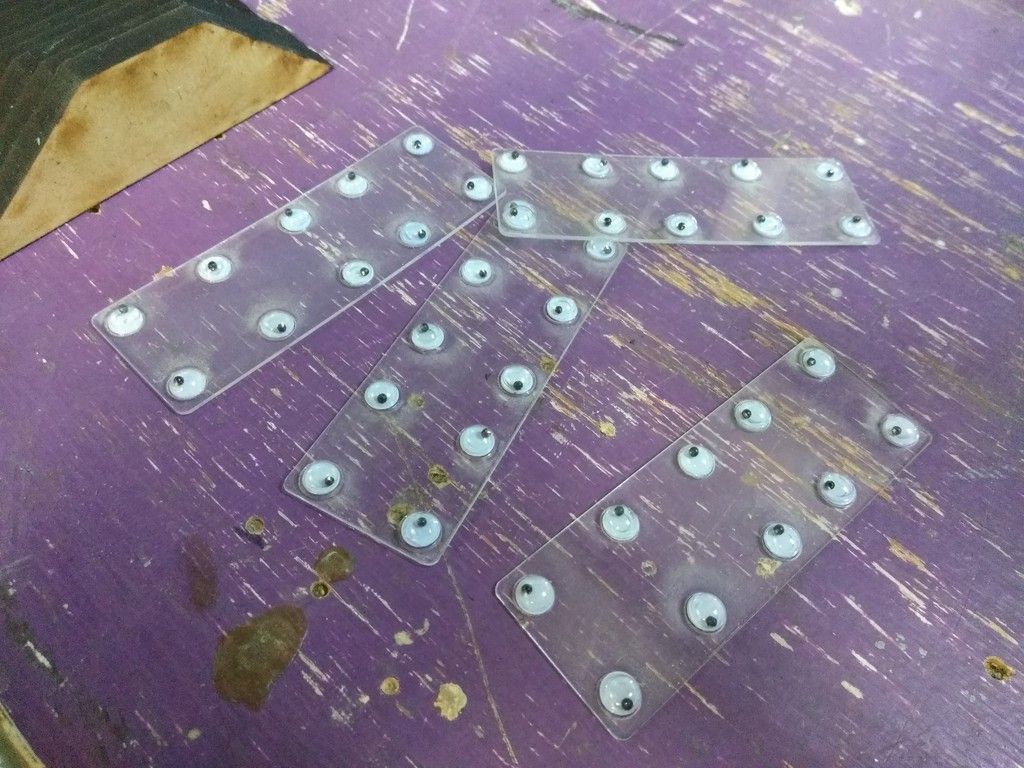
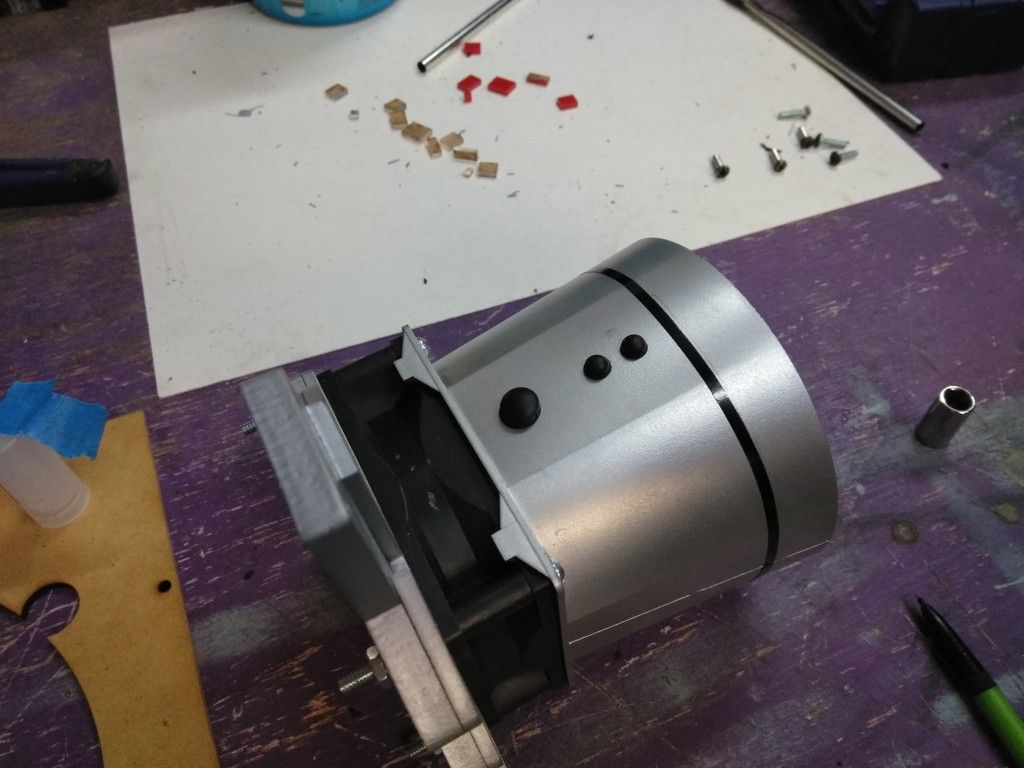
Applied the googly eyes
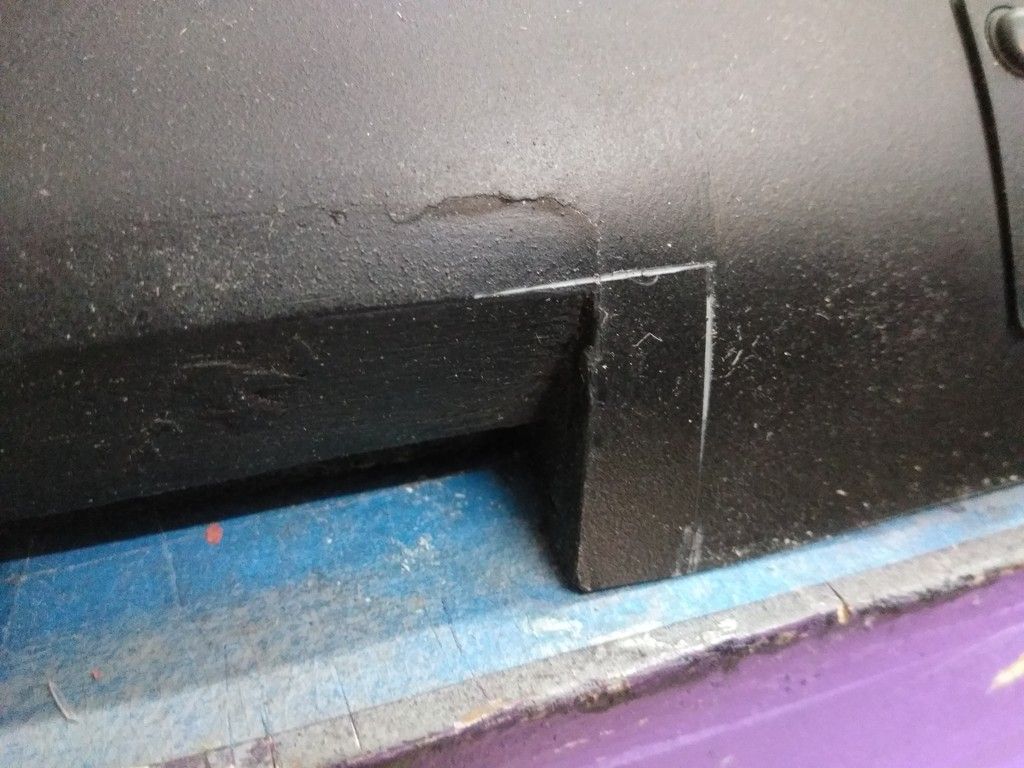
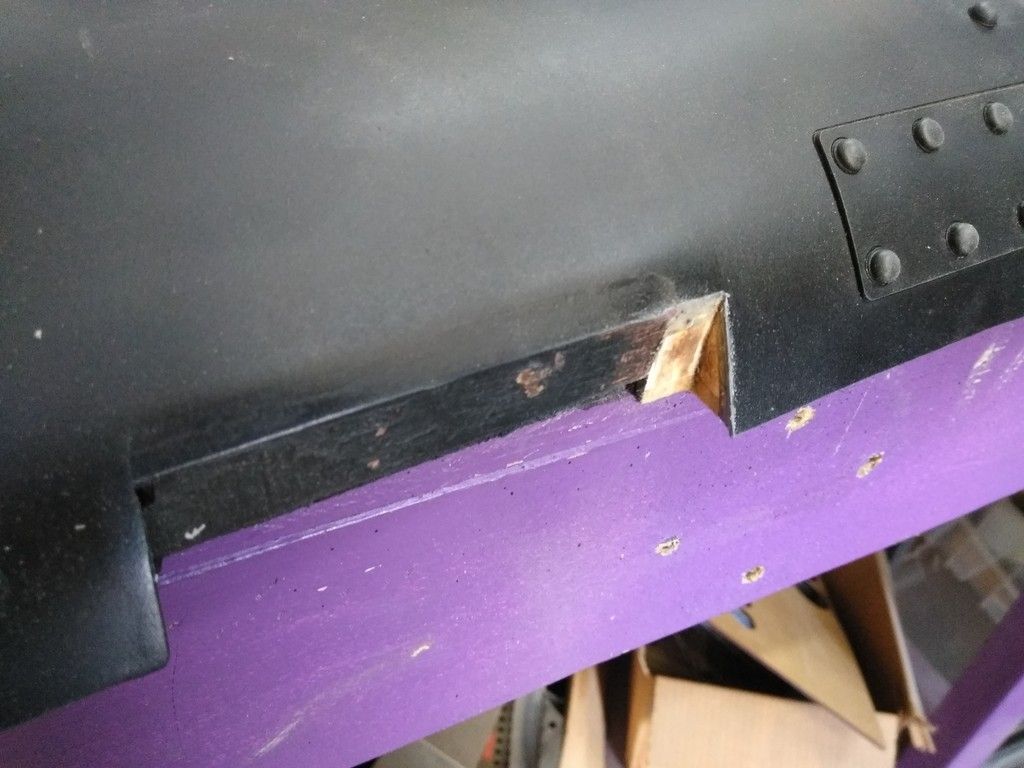
Had to make a few corrections
Filler
Lots of it
Each one applied by hand
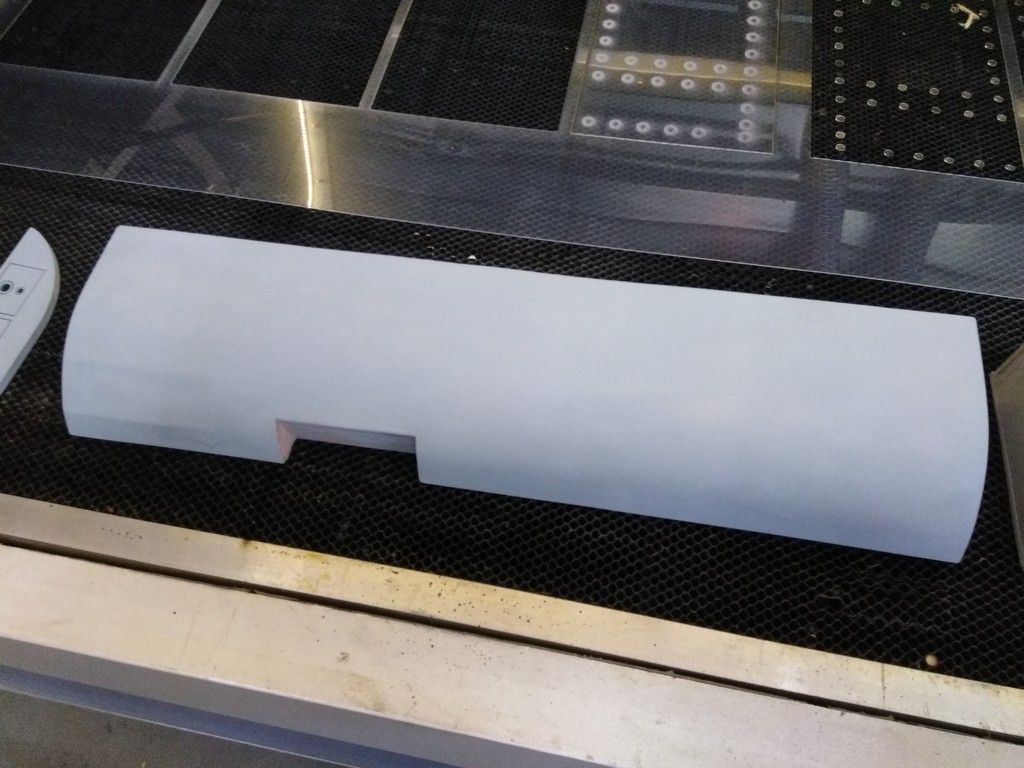
Primer
Messed this guy up... applied the skin backwards :facepalm
New end caps
More filler
Wood filler
Getting close
More eyes
FYI - I now add a layer of shellac to each MDF greeblie I create before adding primer. The shellac helps seal and harden the MDF
Dents
PRIMER
Paint - clean
Paint - weathered (Thanks Mr Brush)
I then had to make another round of corrections (UGH)
Along with more sanding I see! UGH
Done
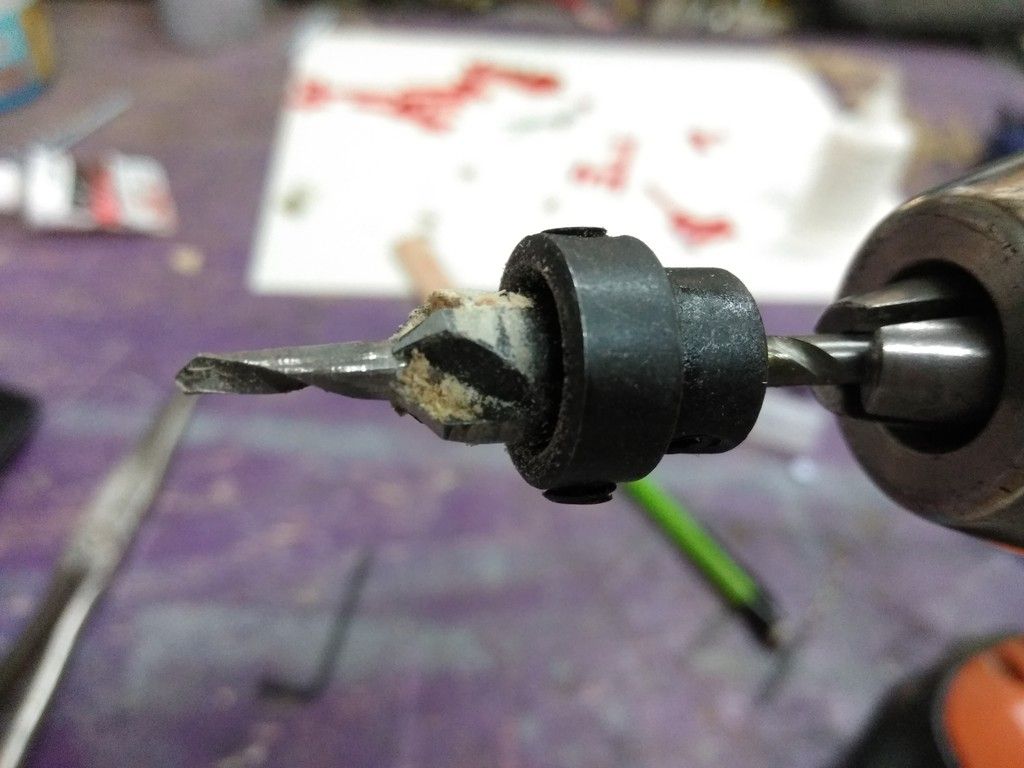
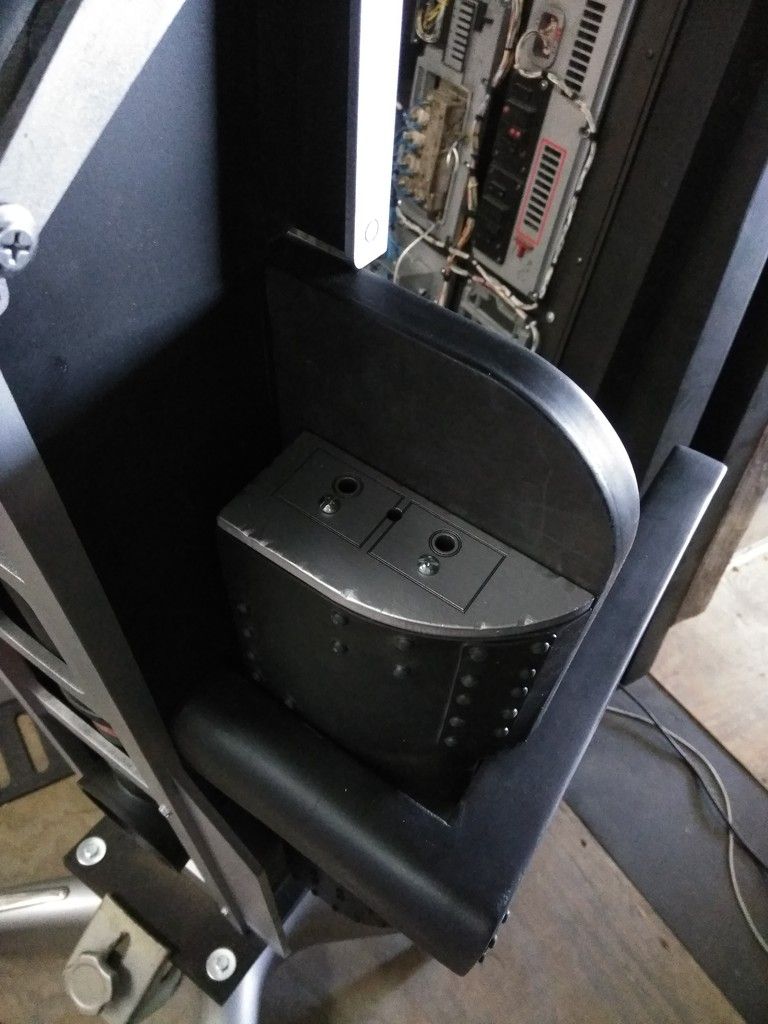
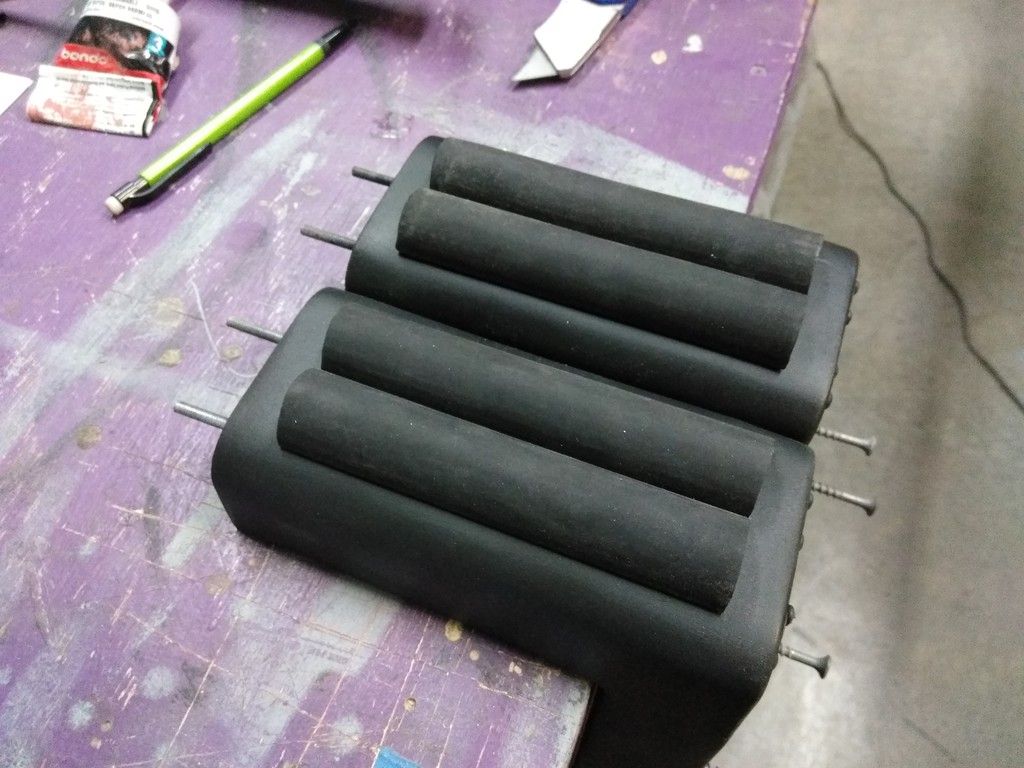
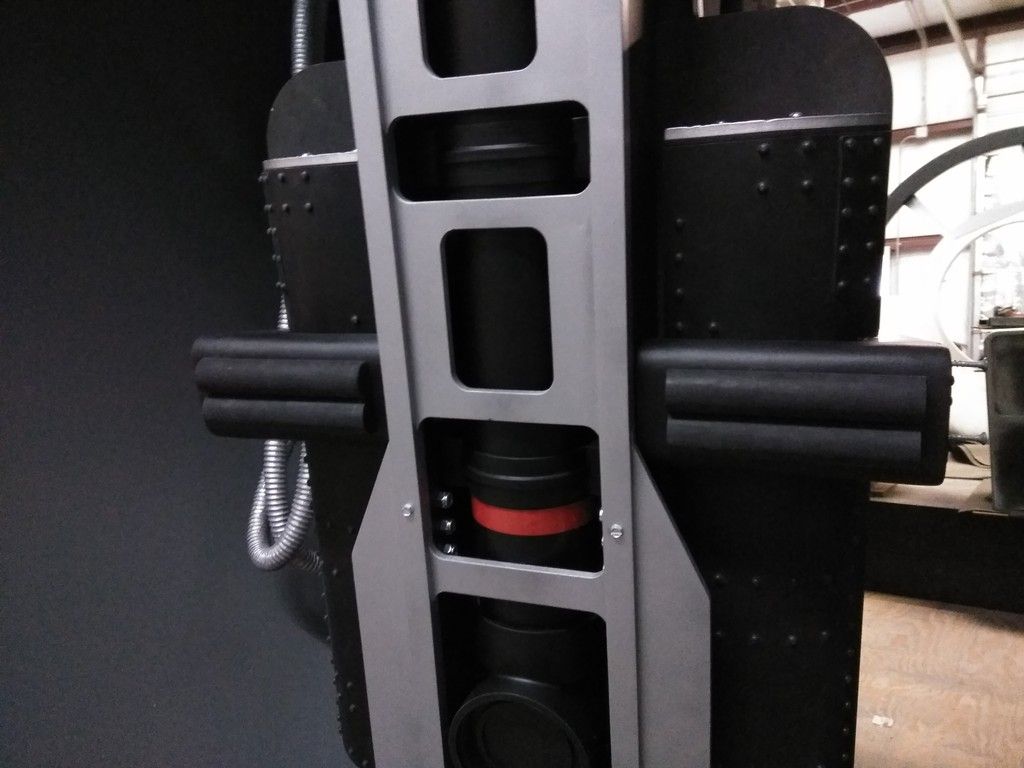
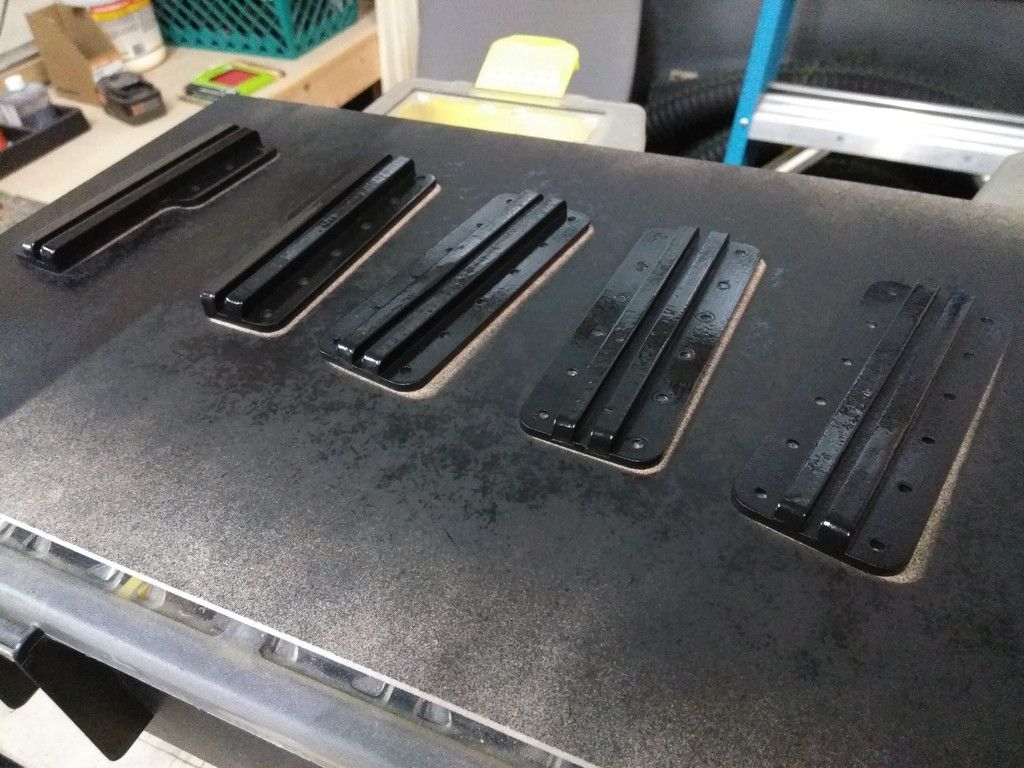
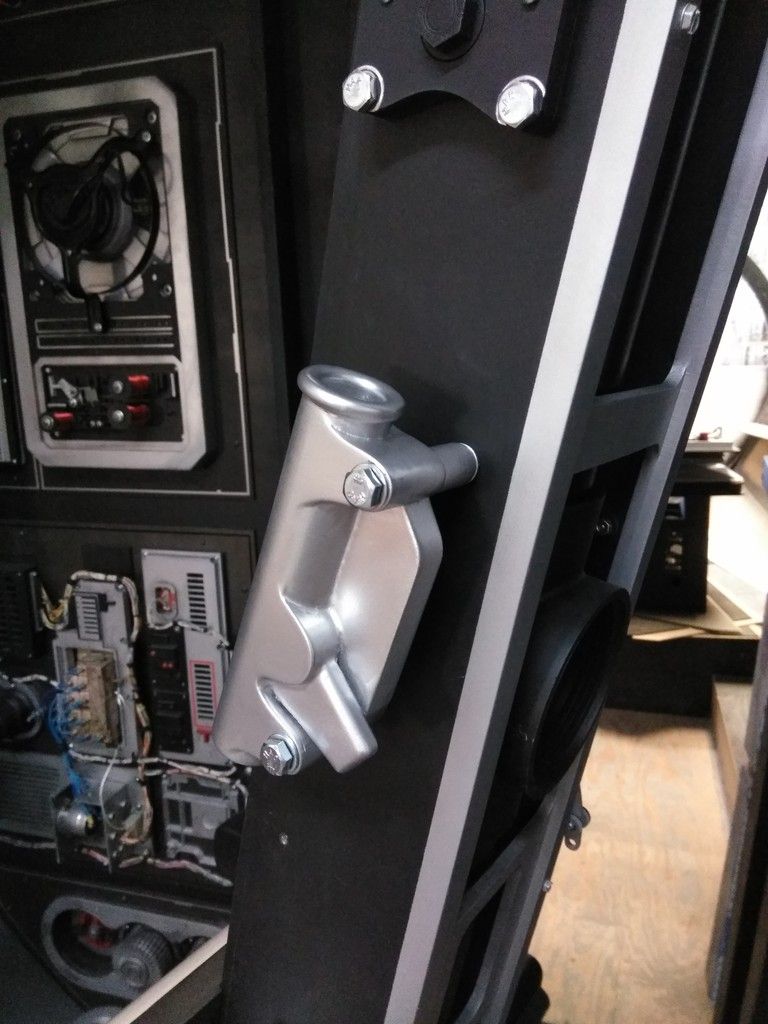
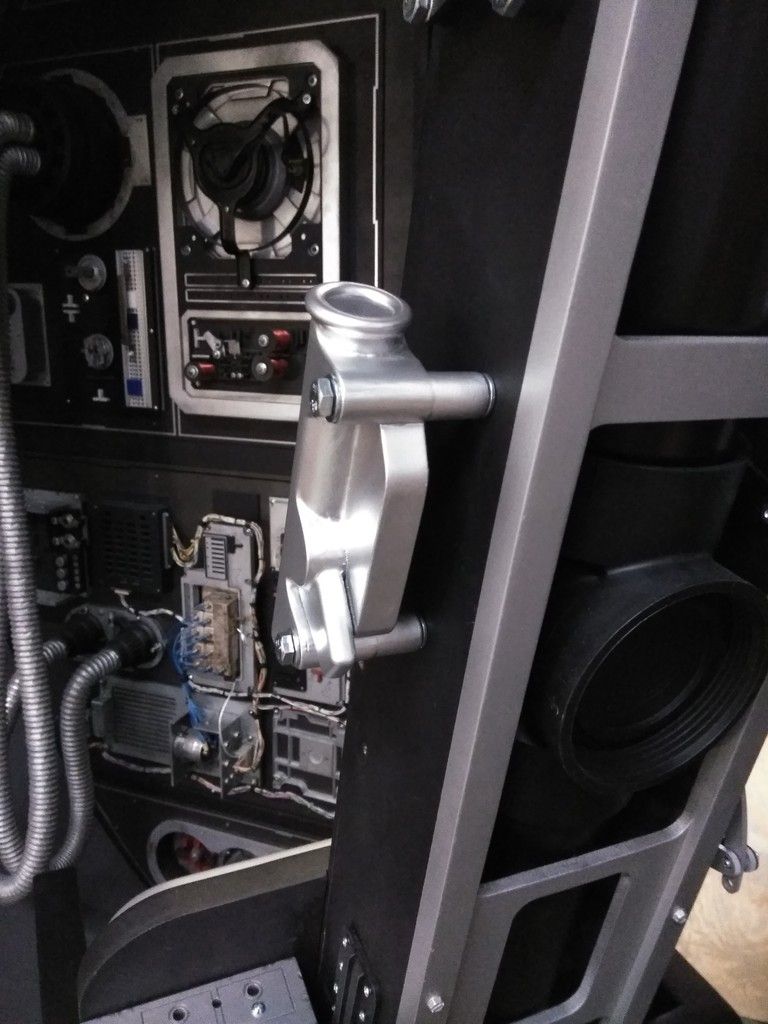
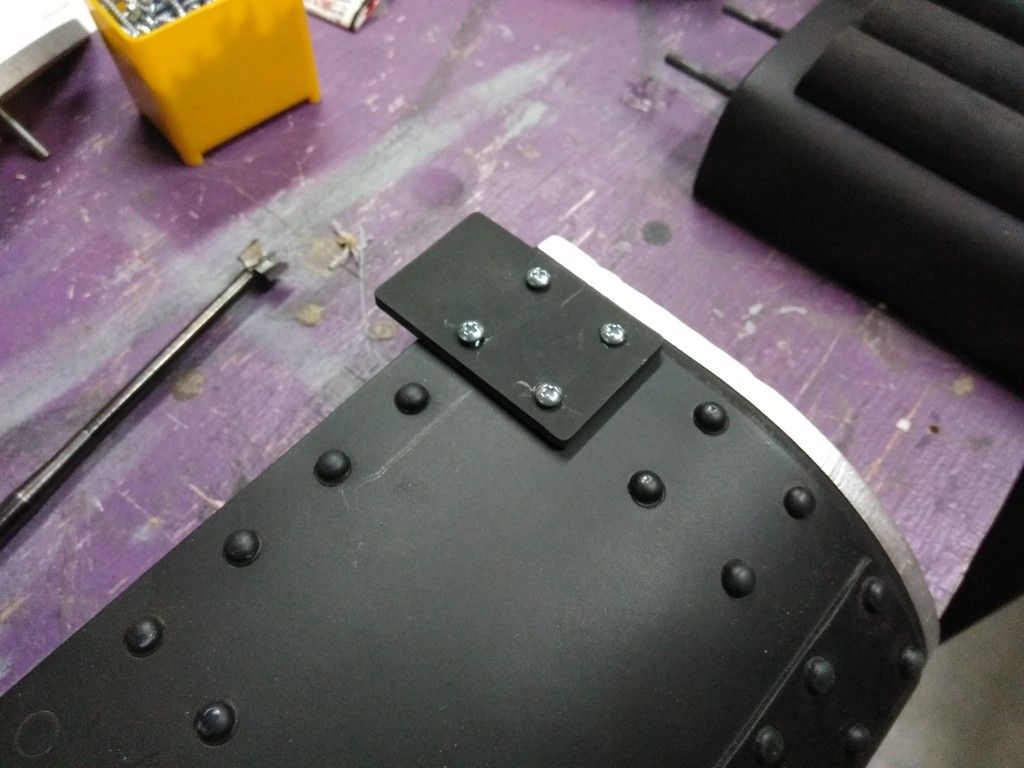
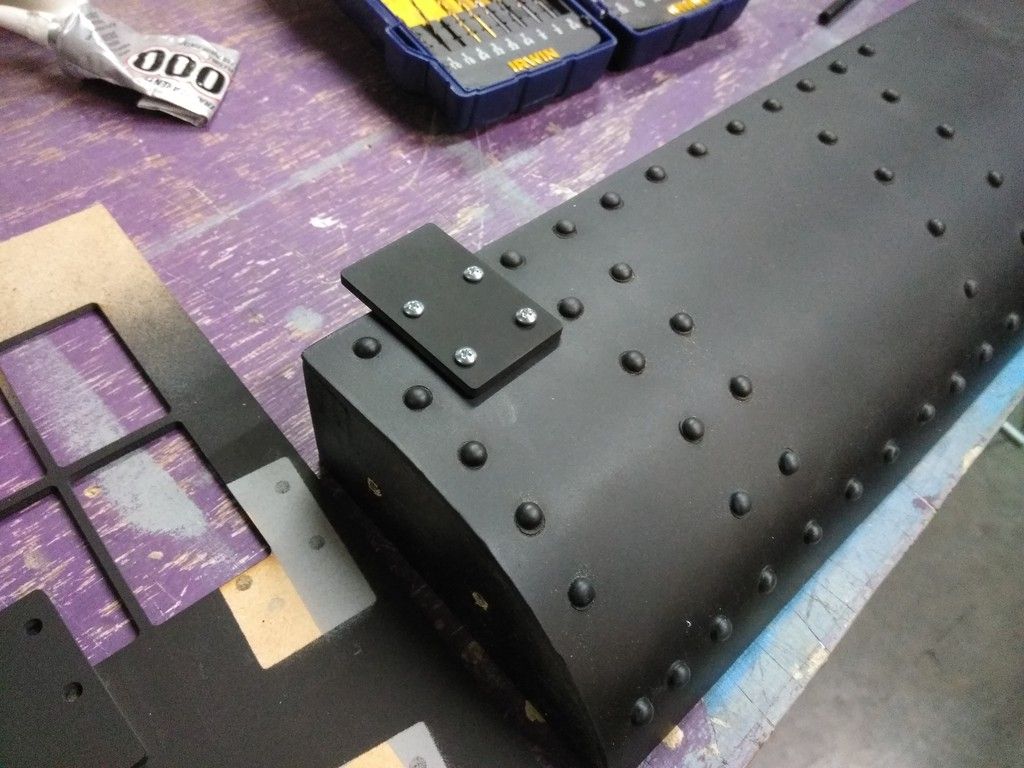
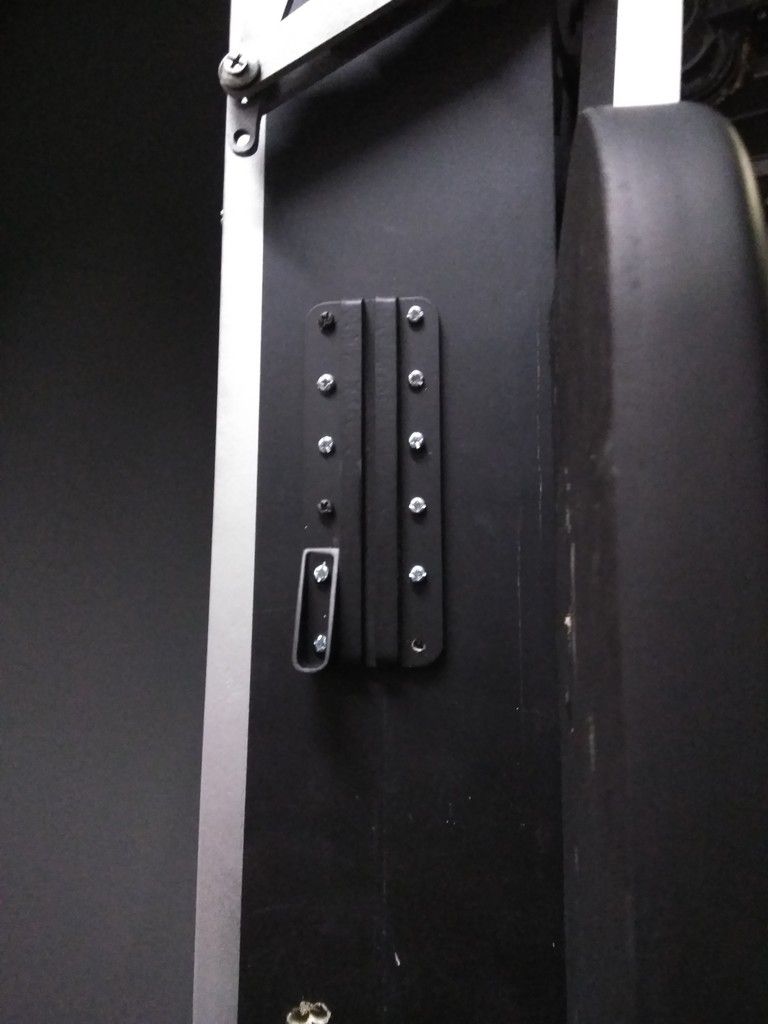
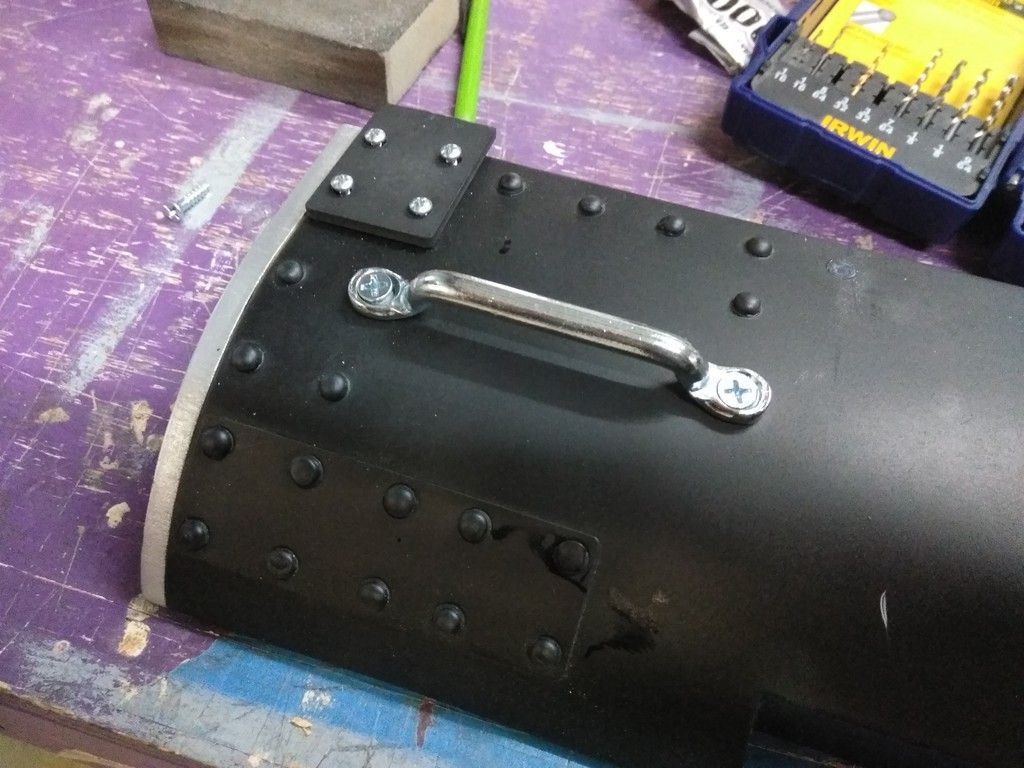
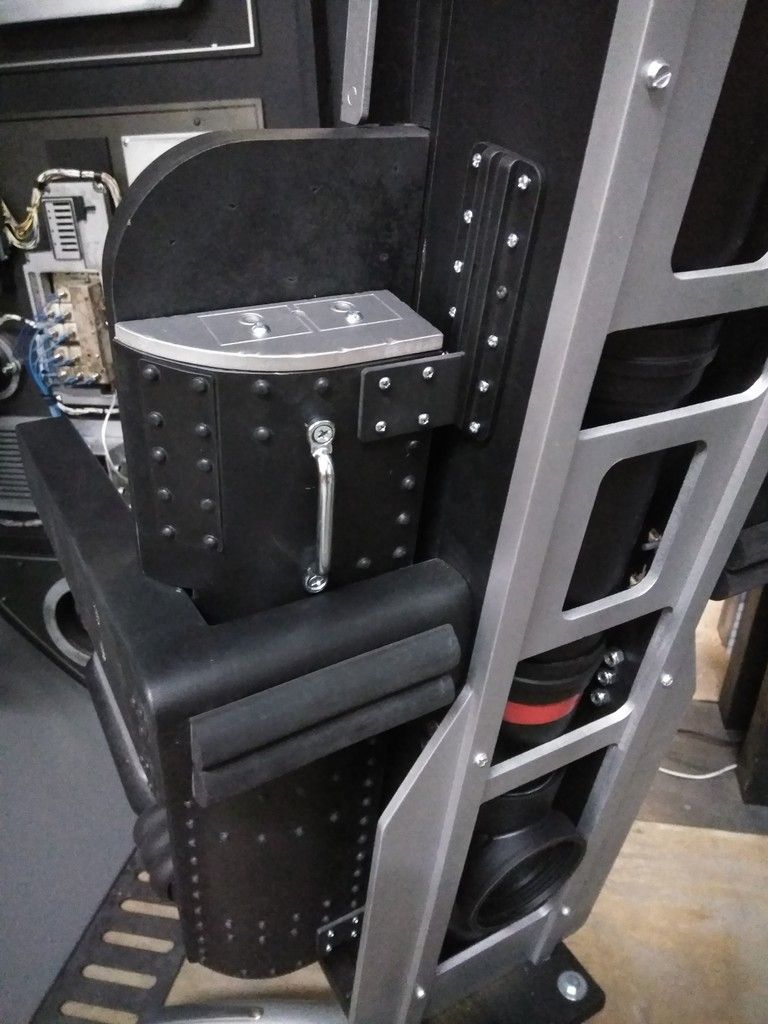
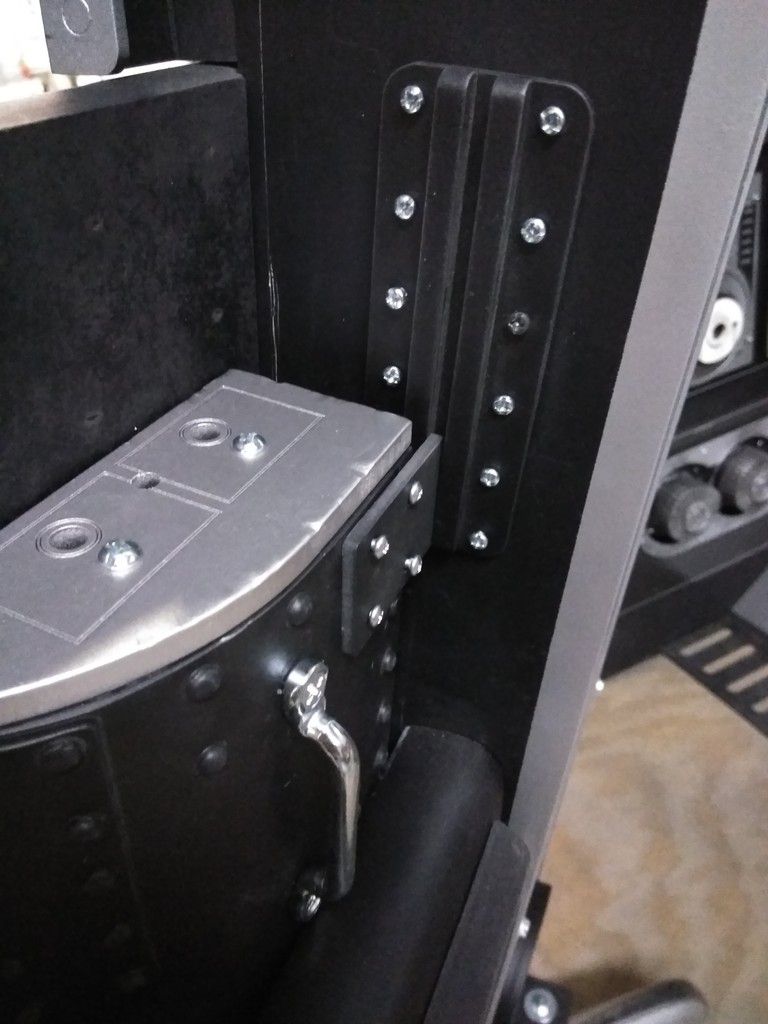
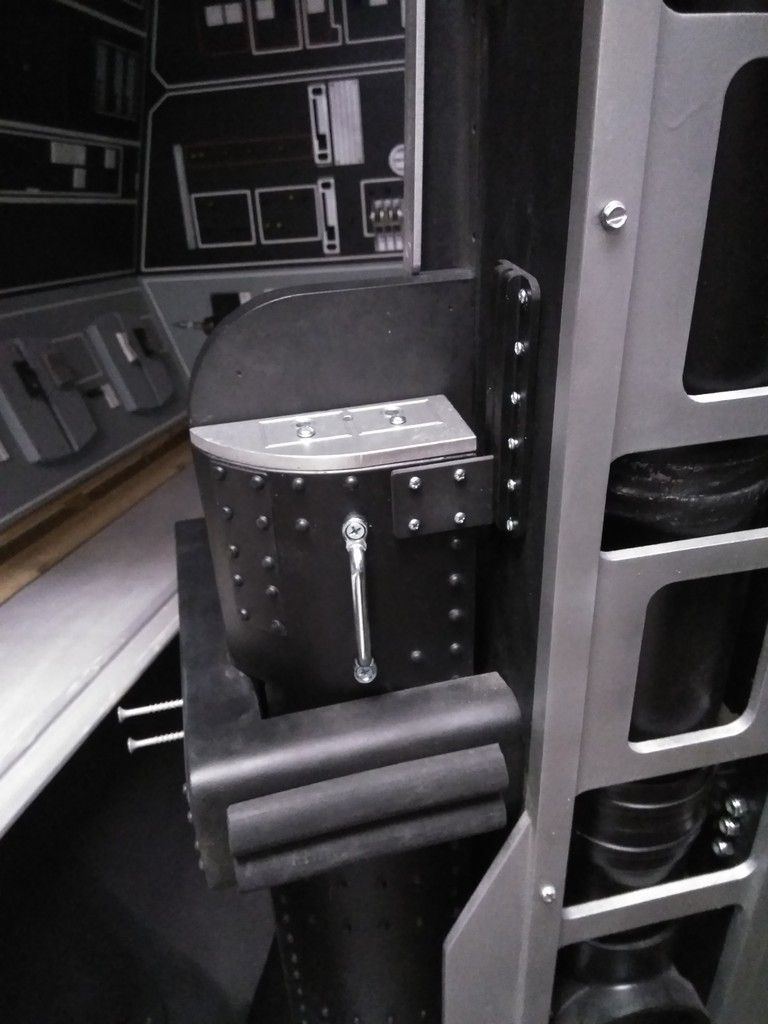
I then took my countersink bit and countersunk the armrest screws
New caps in place
Waiting to be dressed
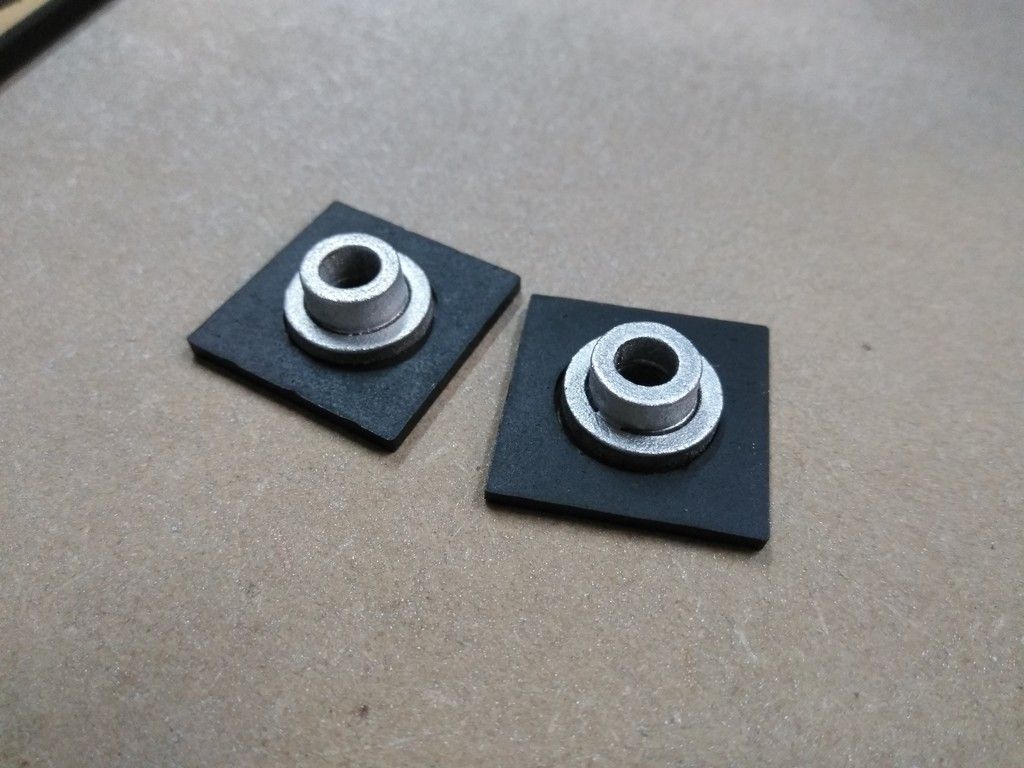
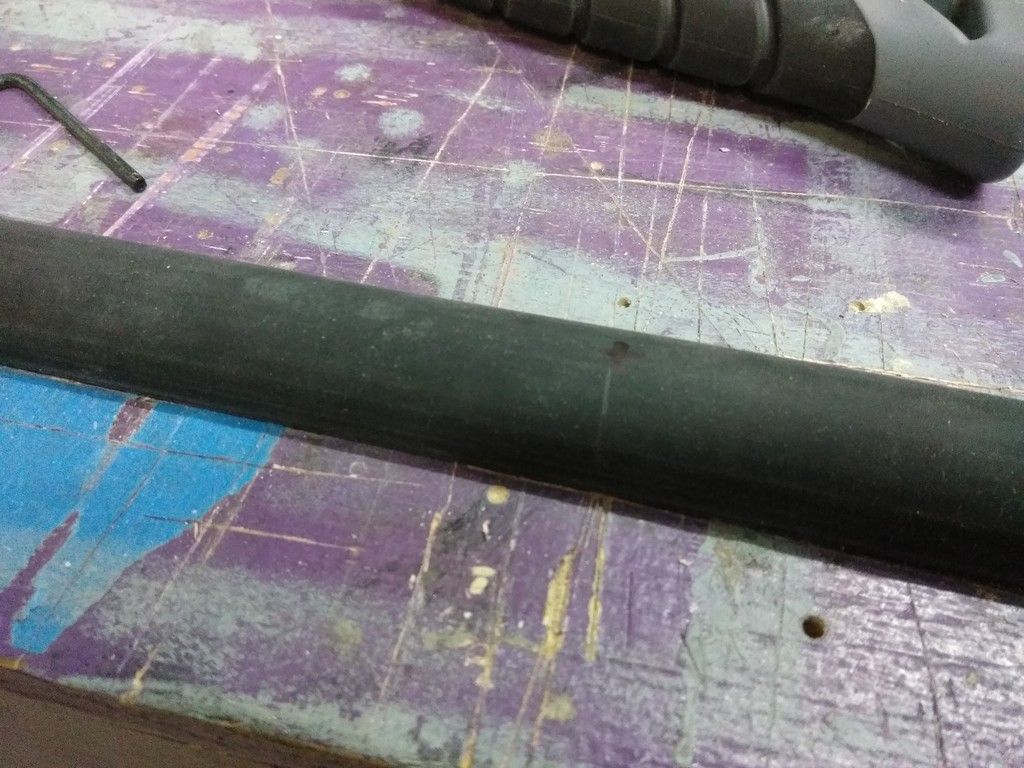
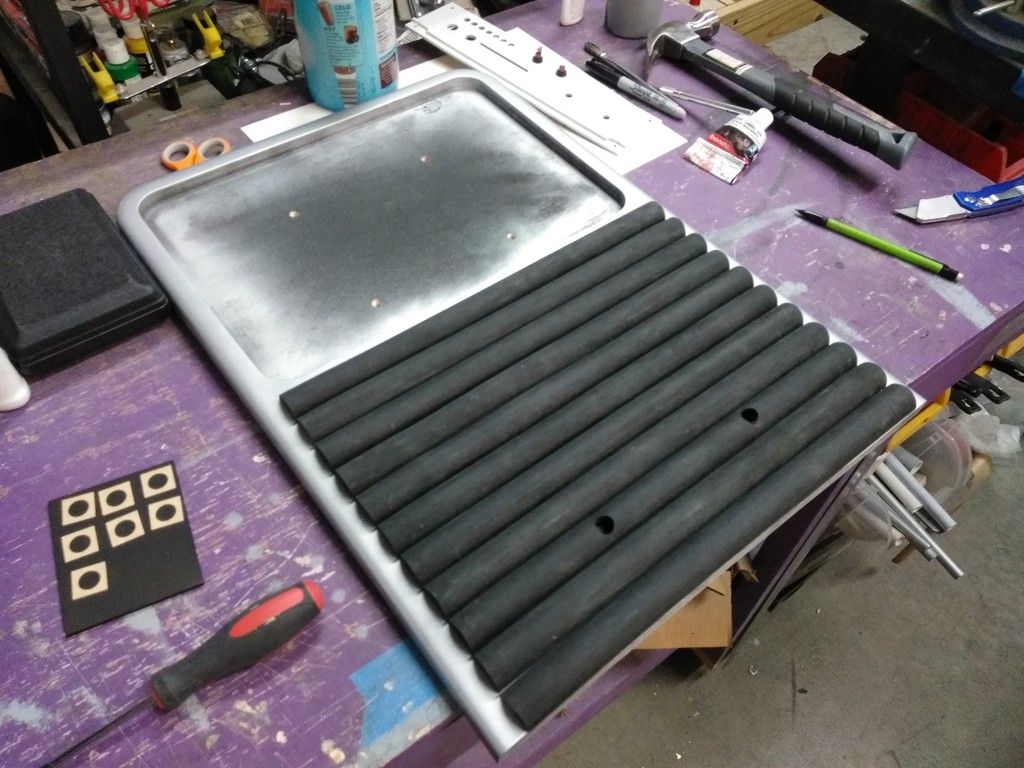
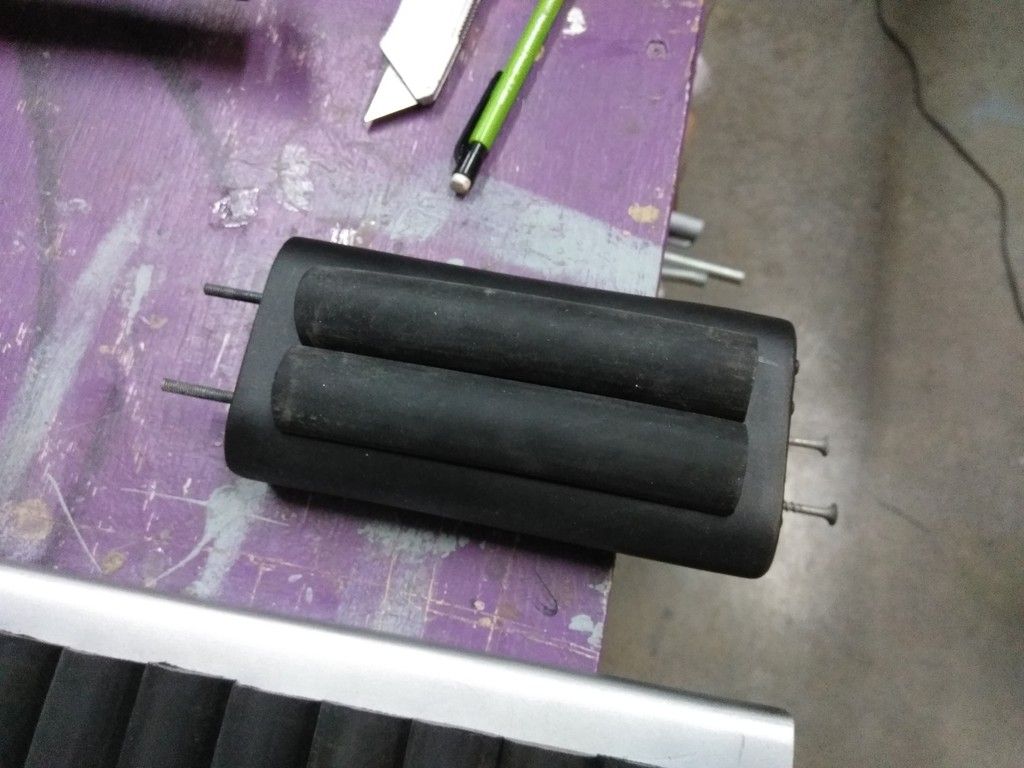
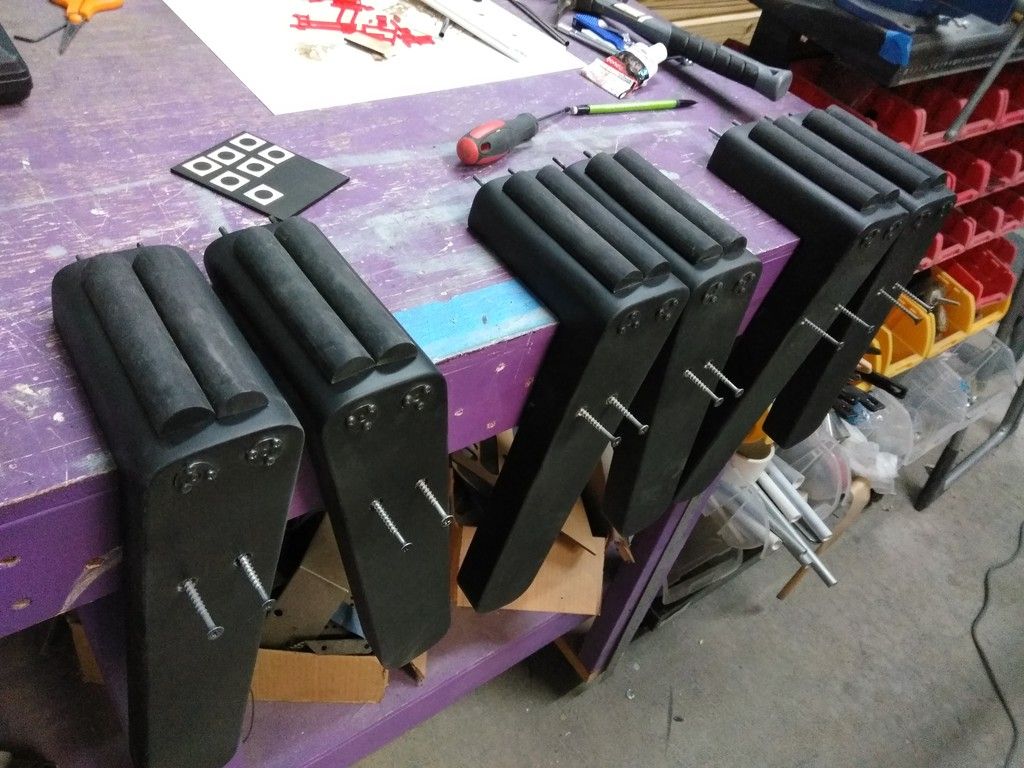
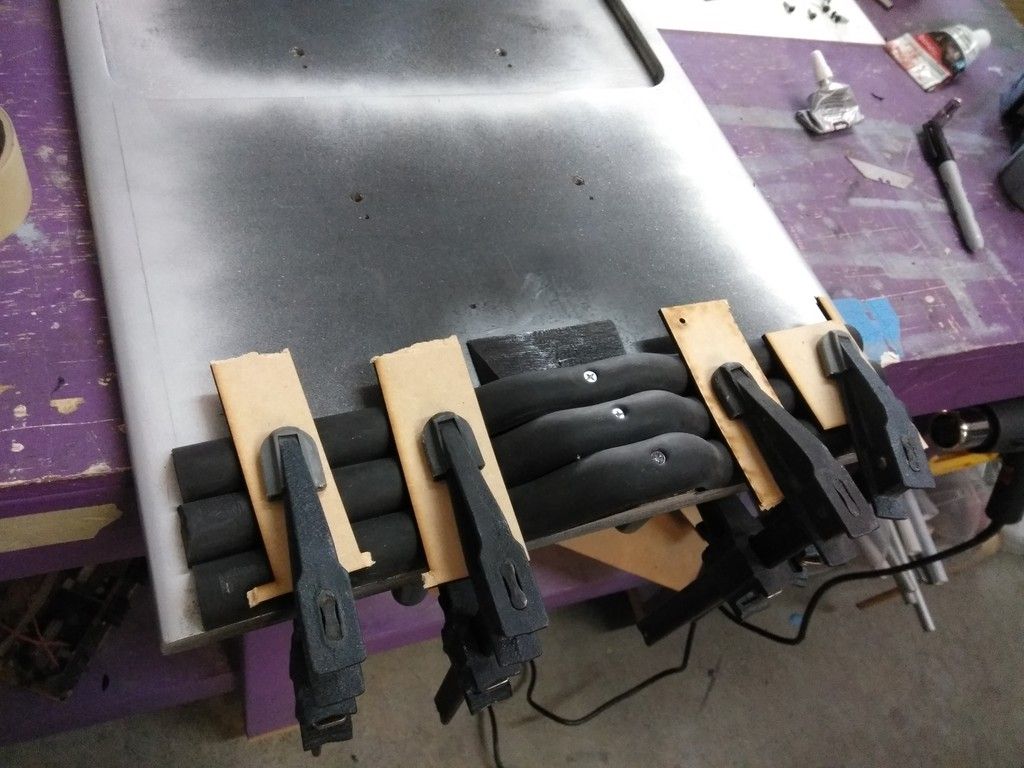
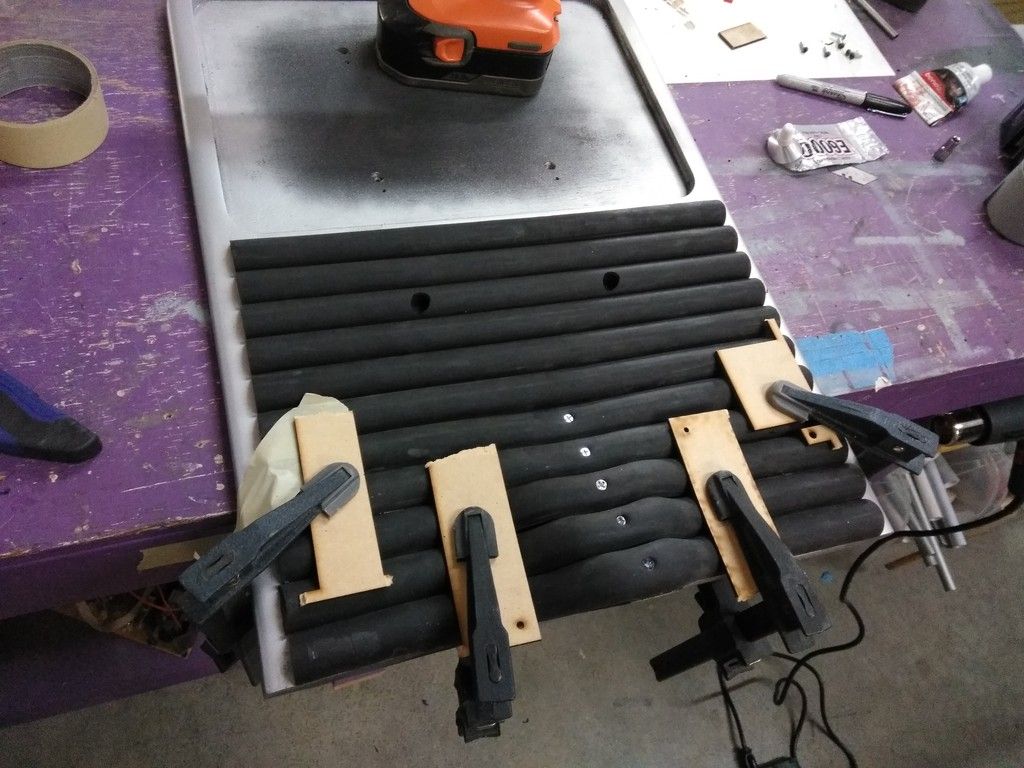
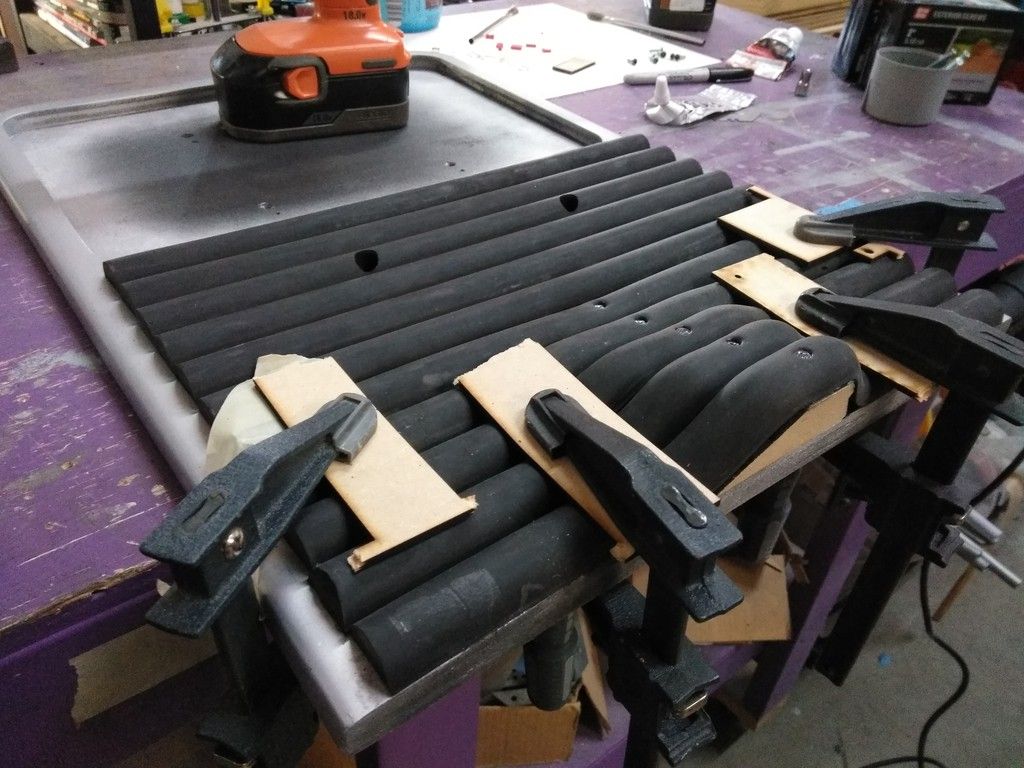
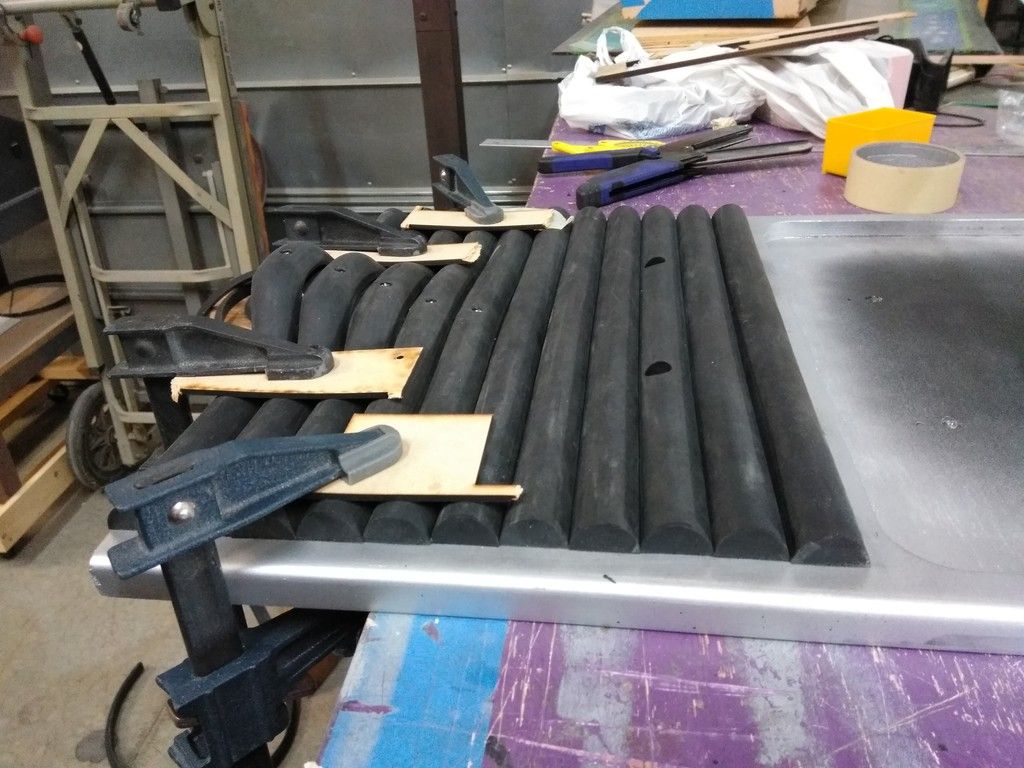
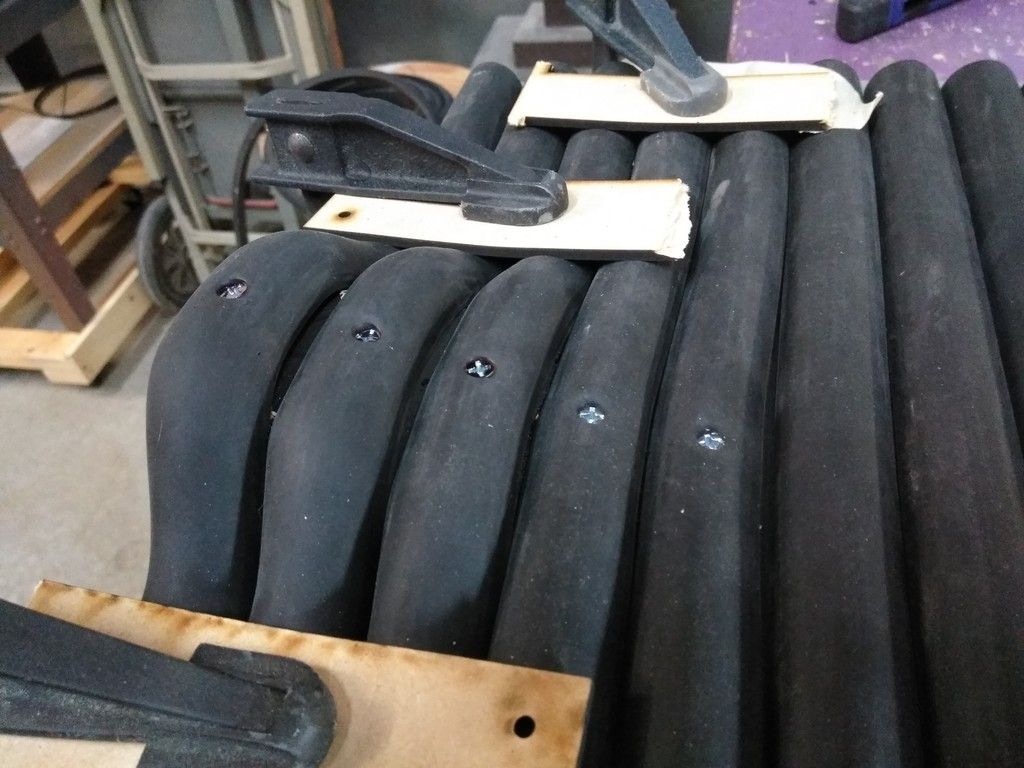
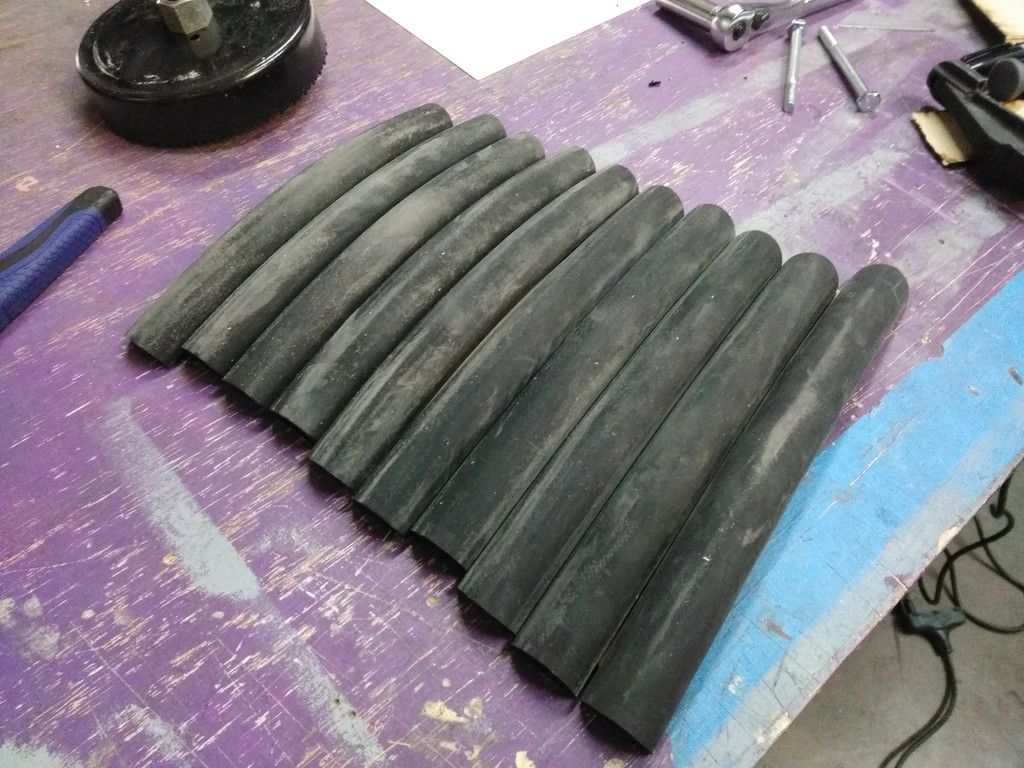
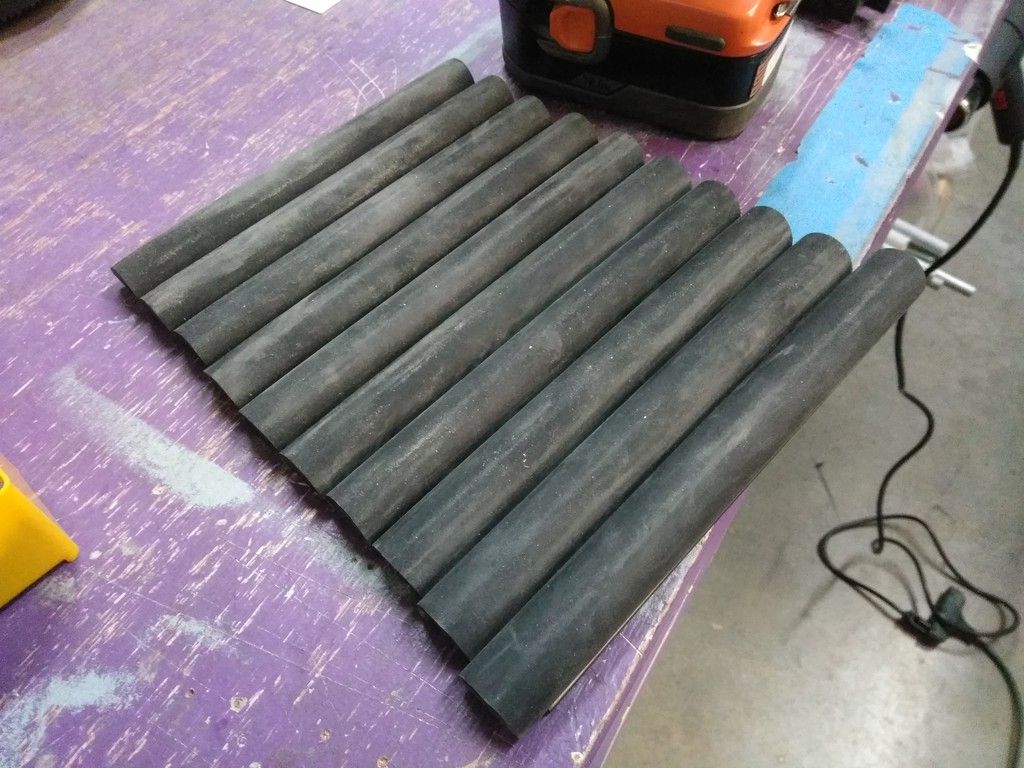
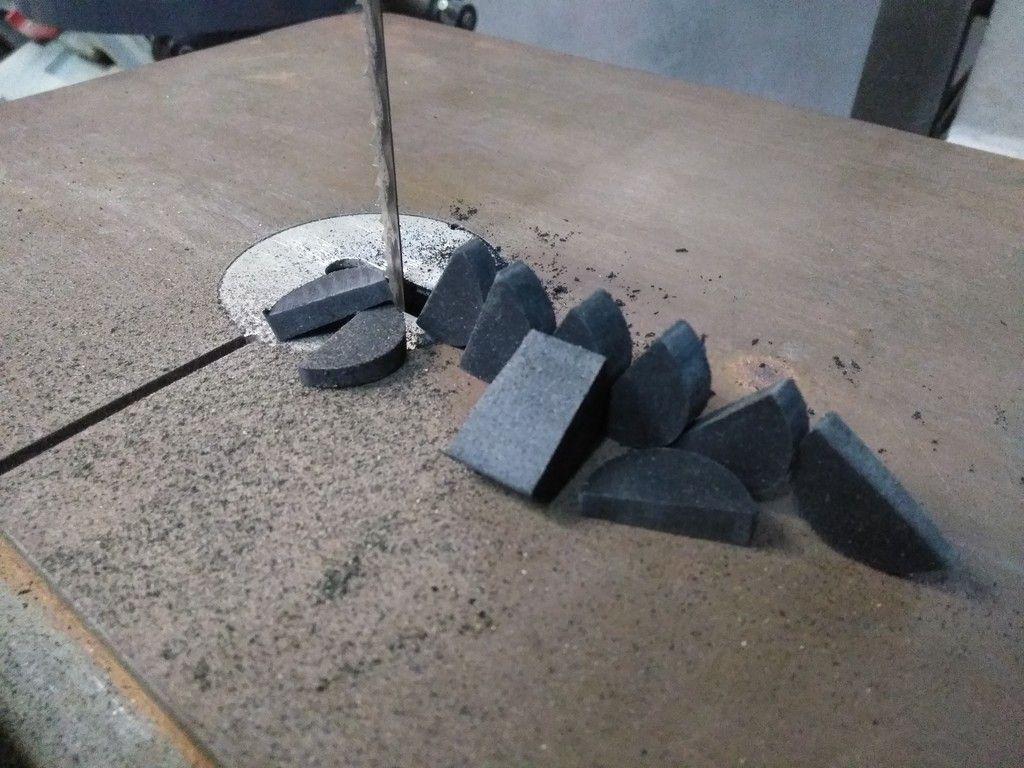
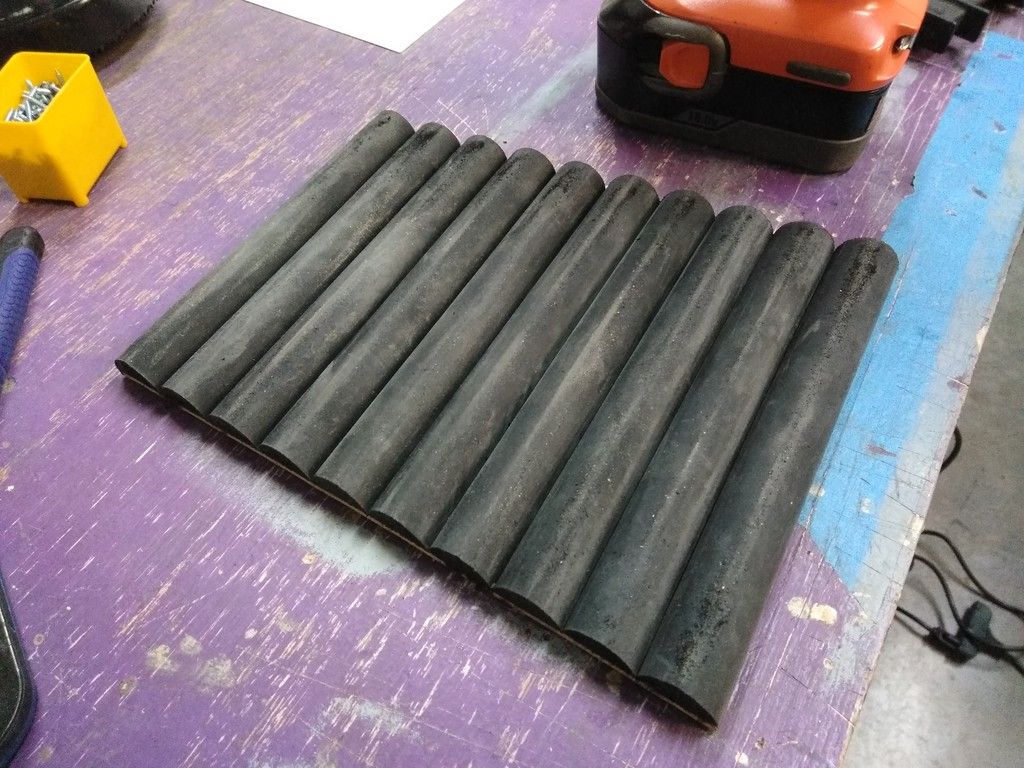
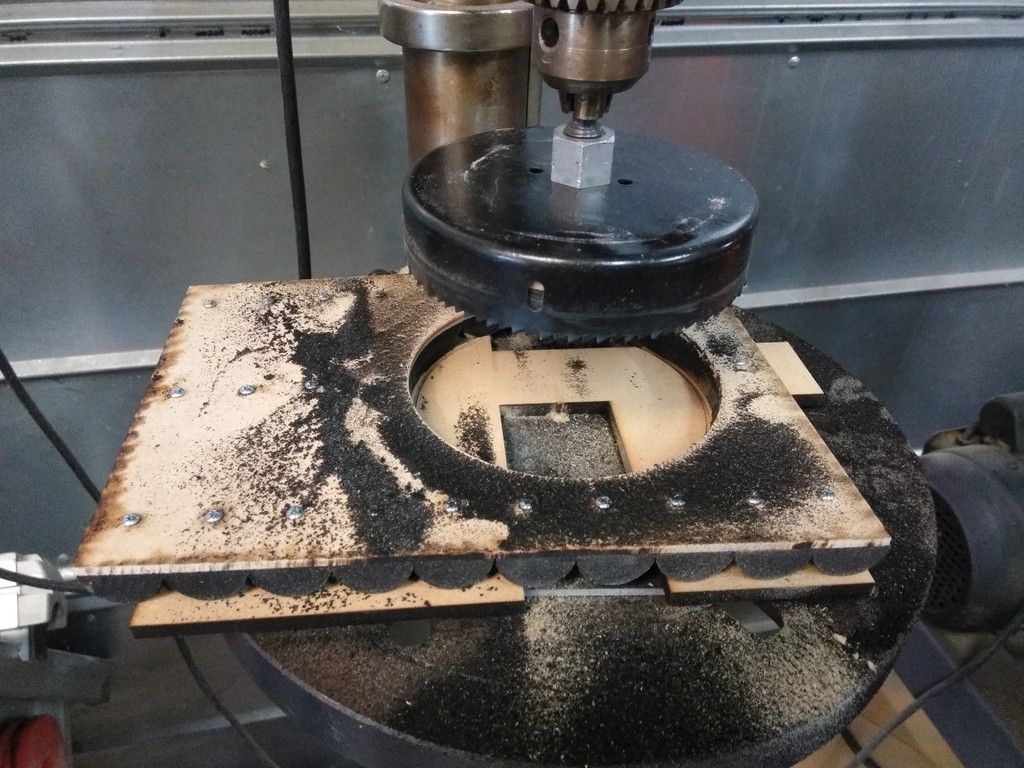
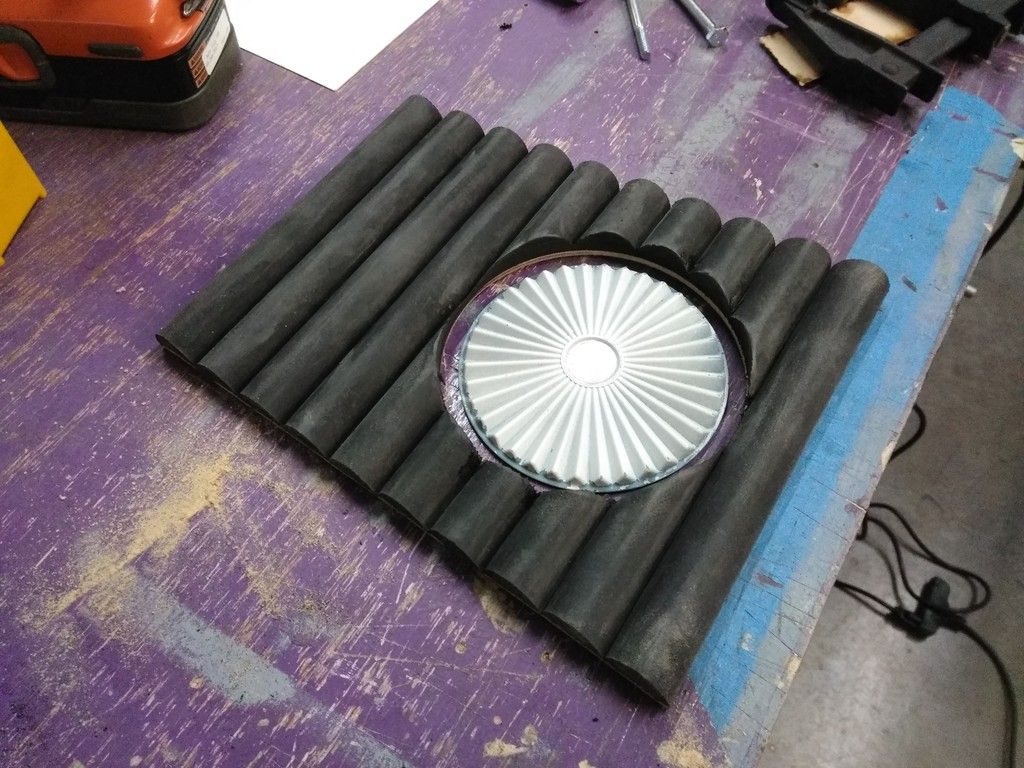
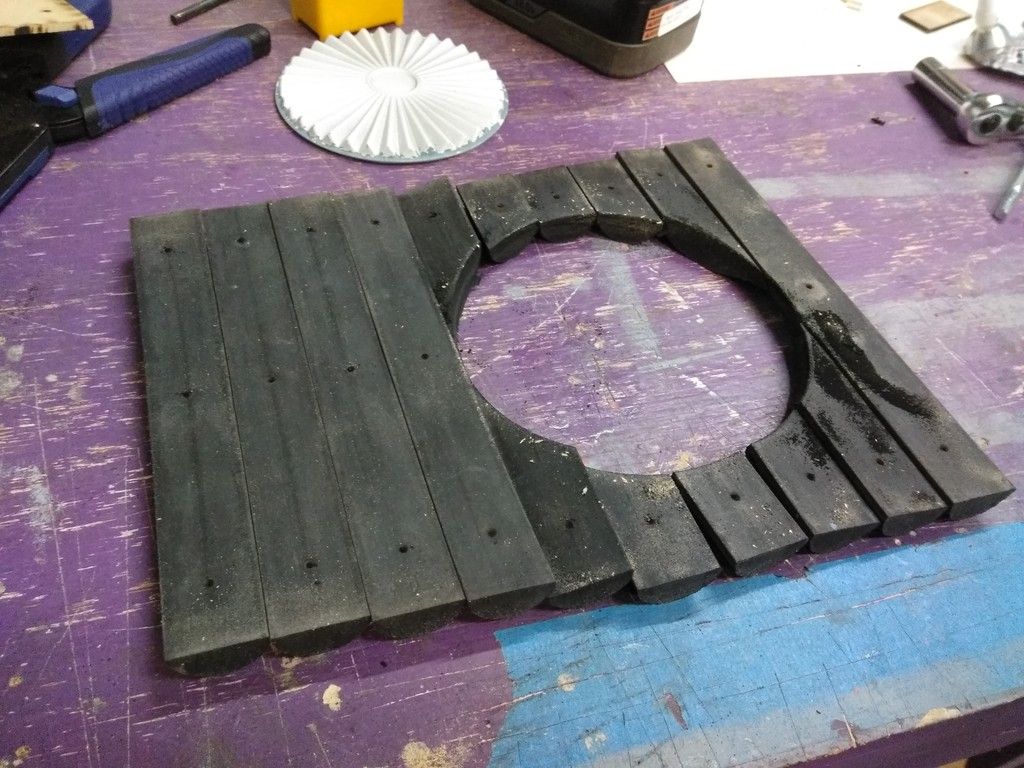
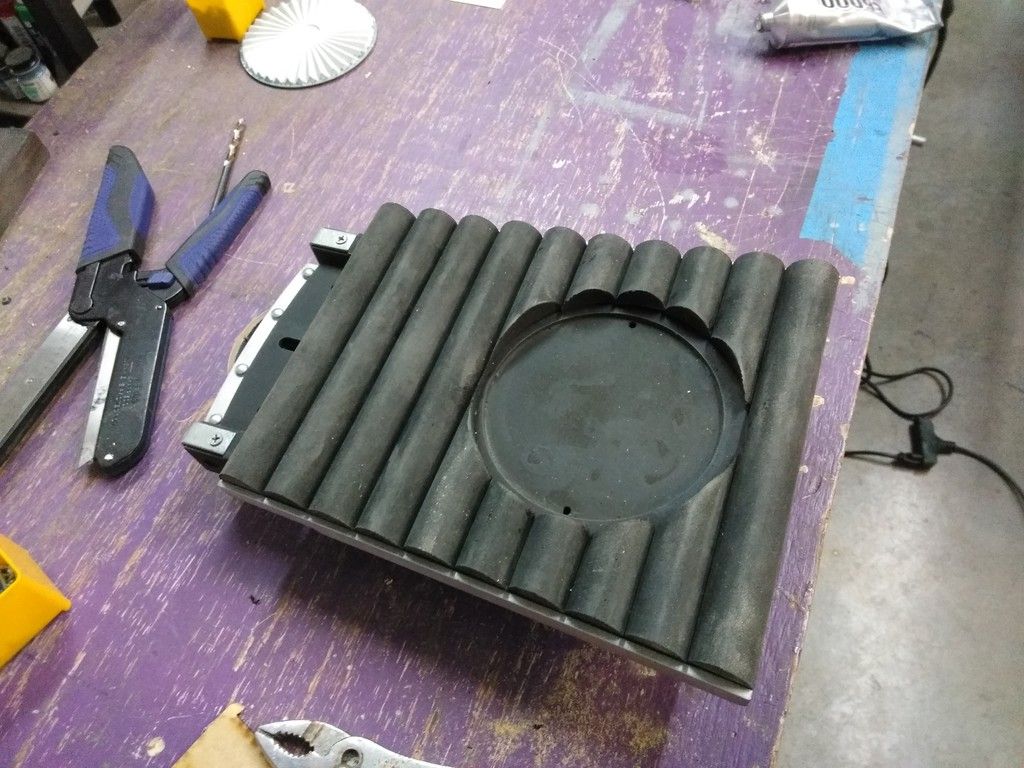
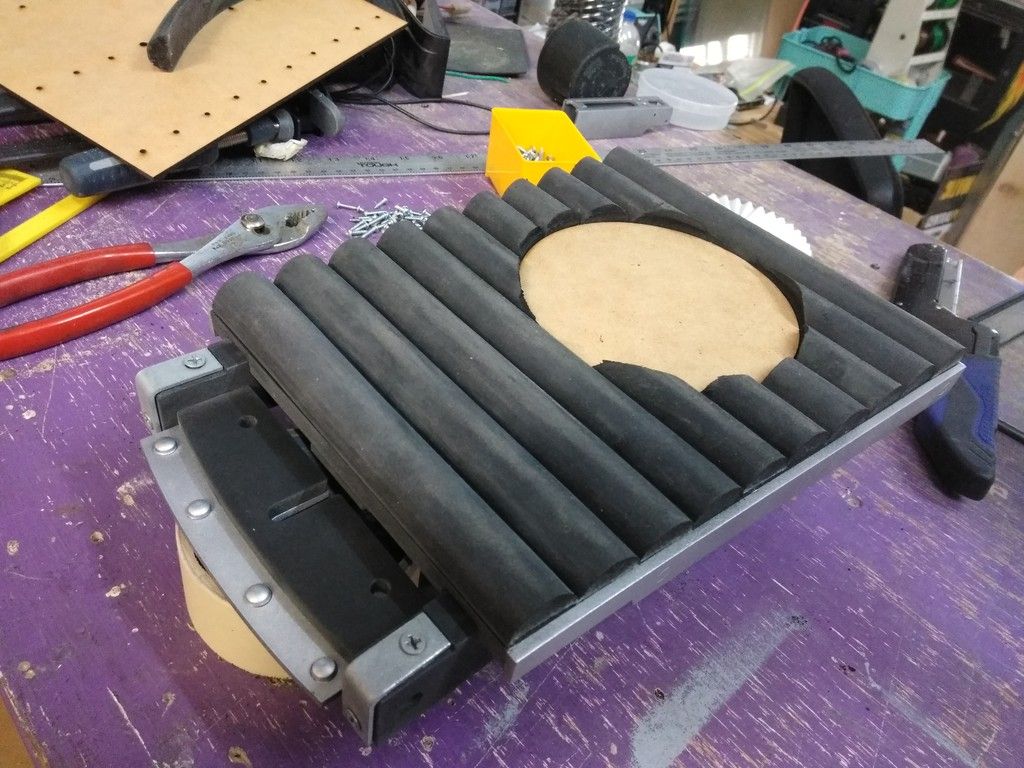
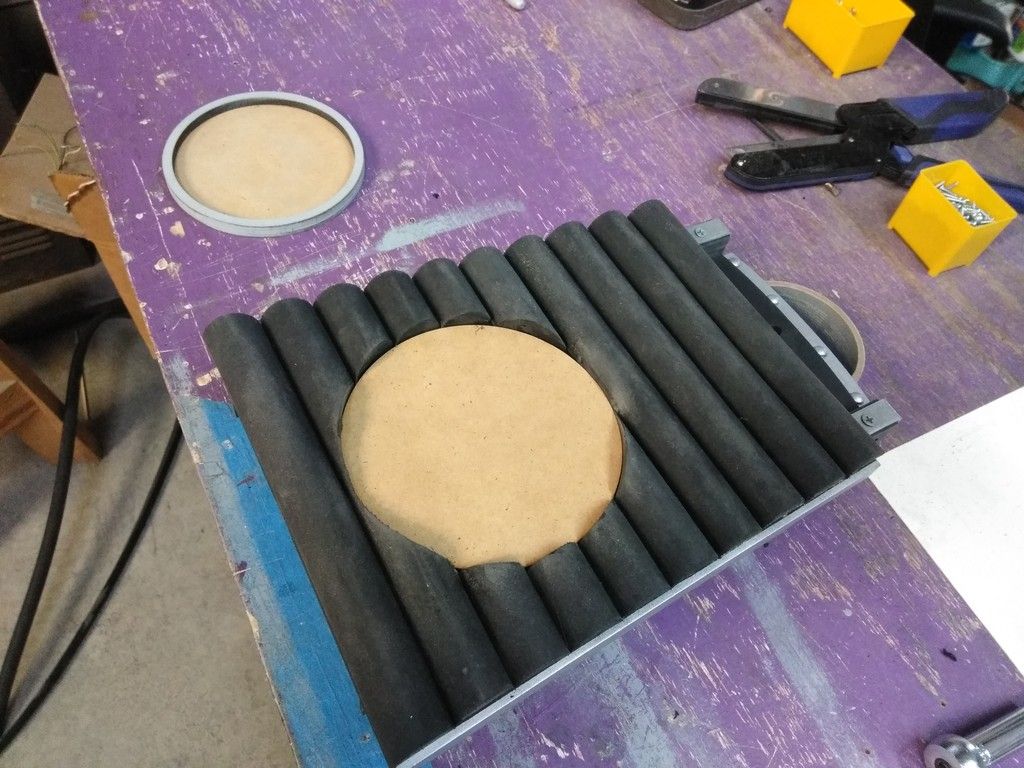
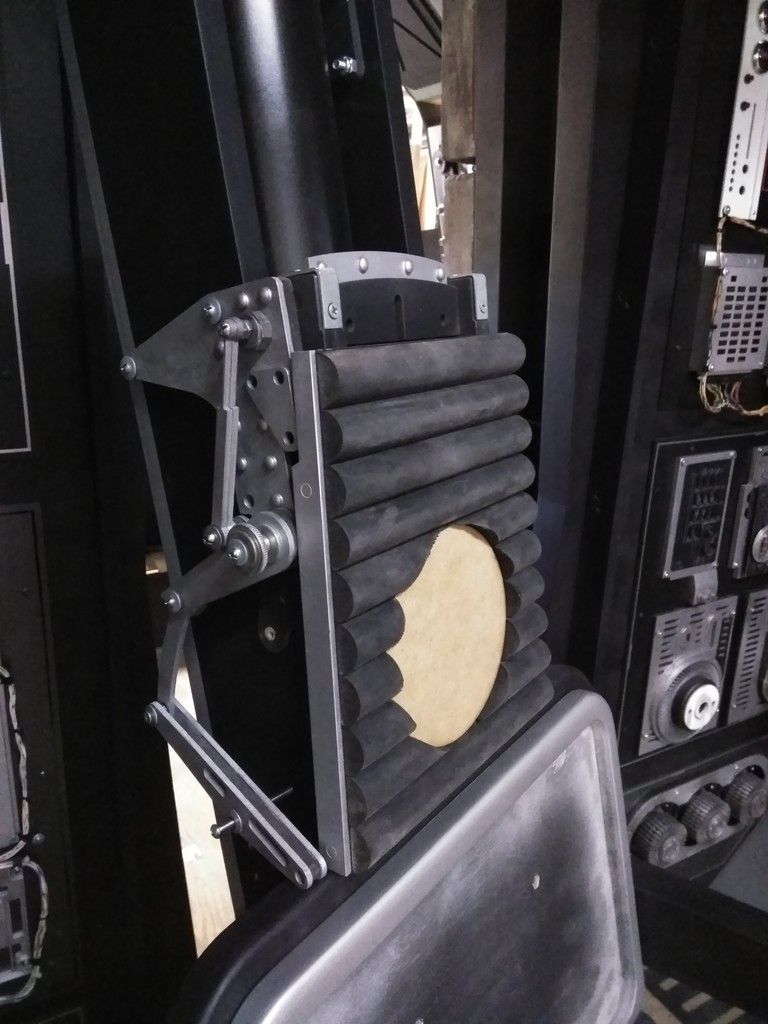
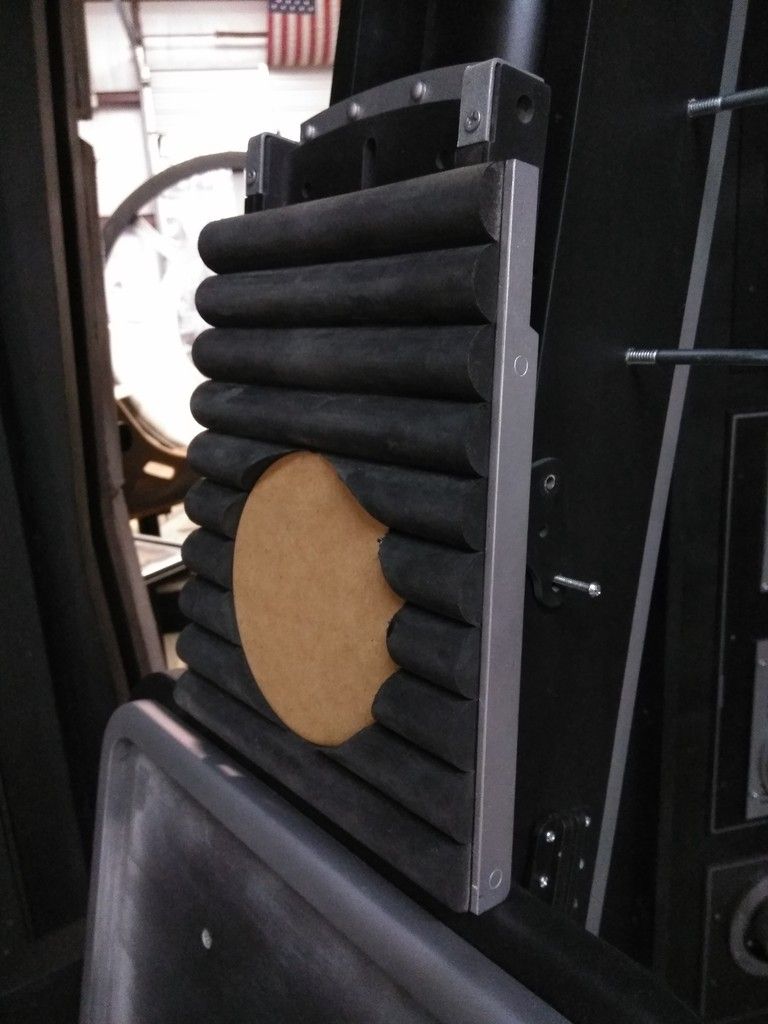
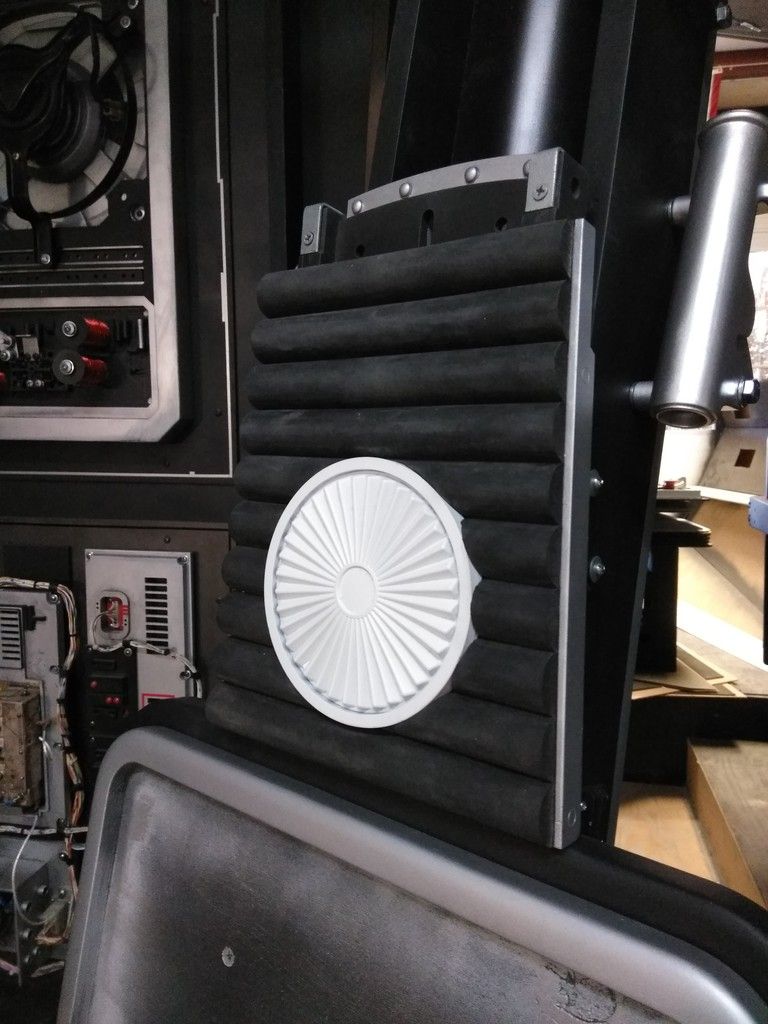
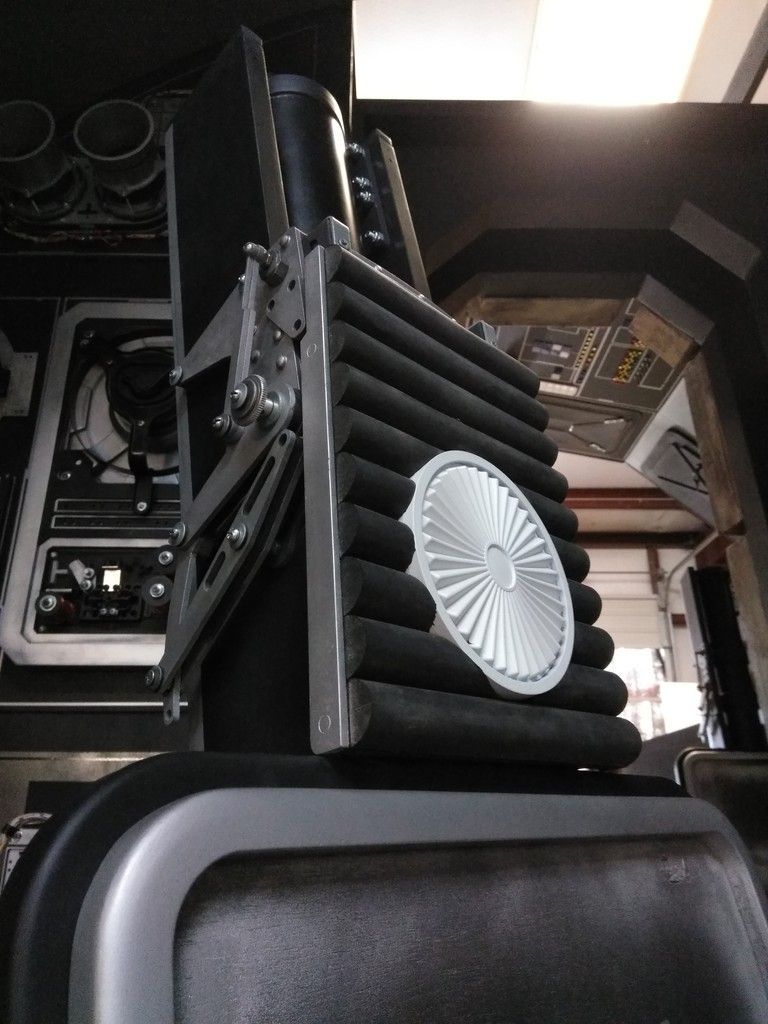
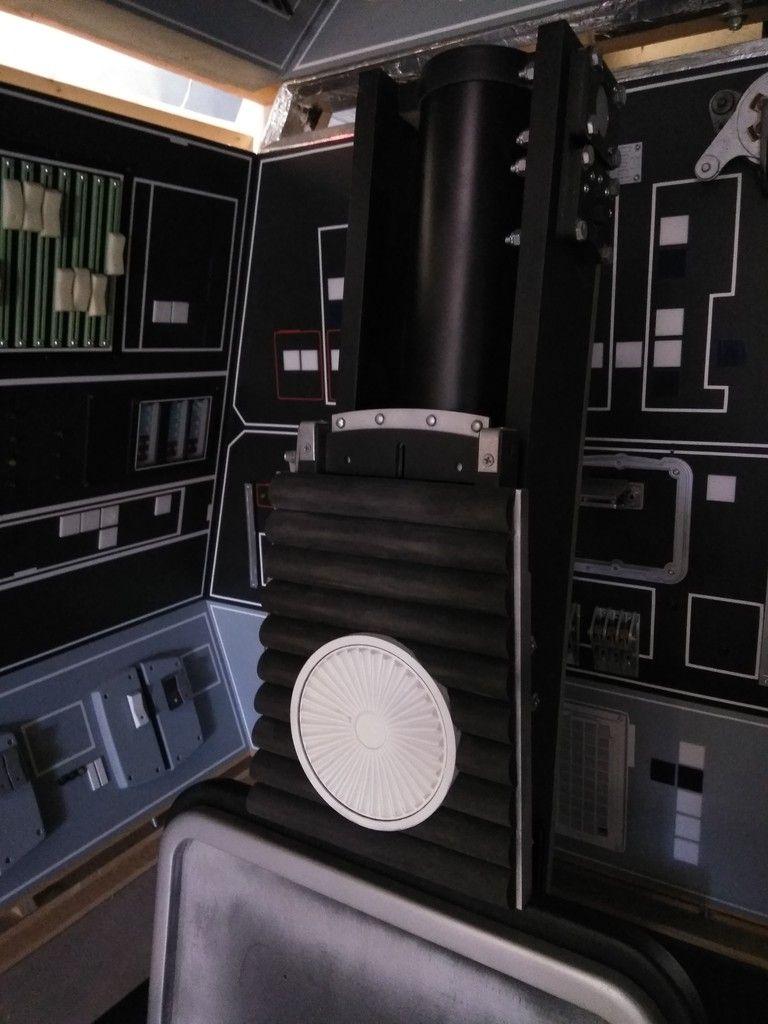
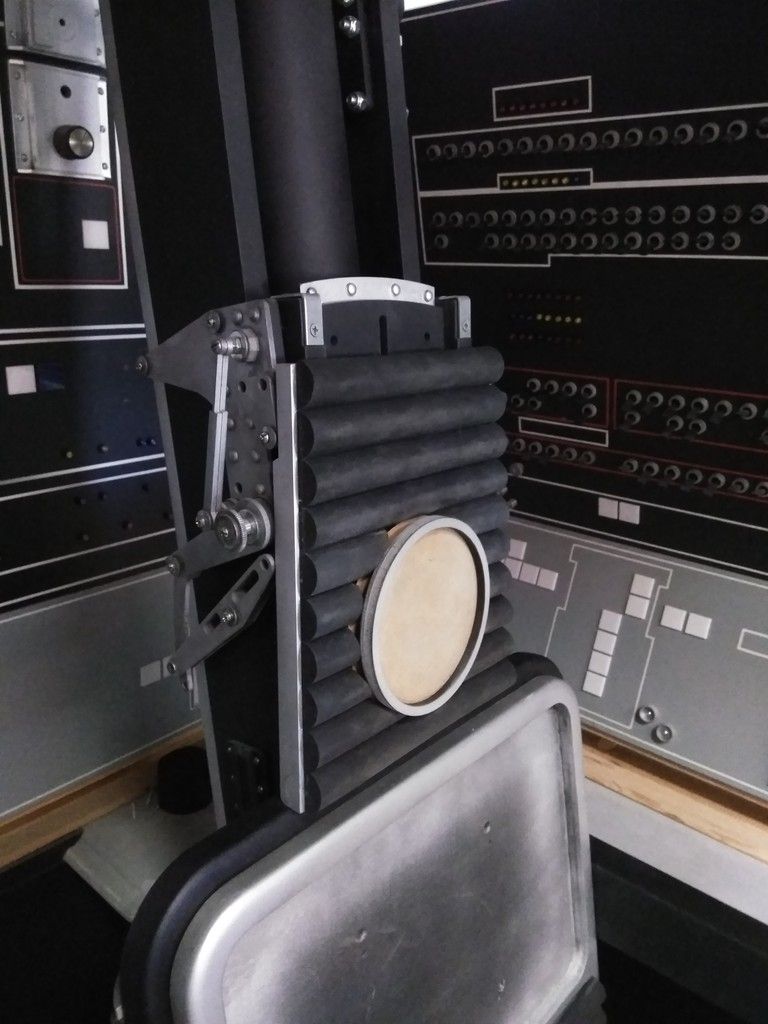
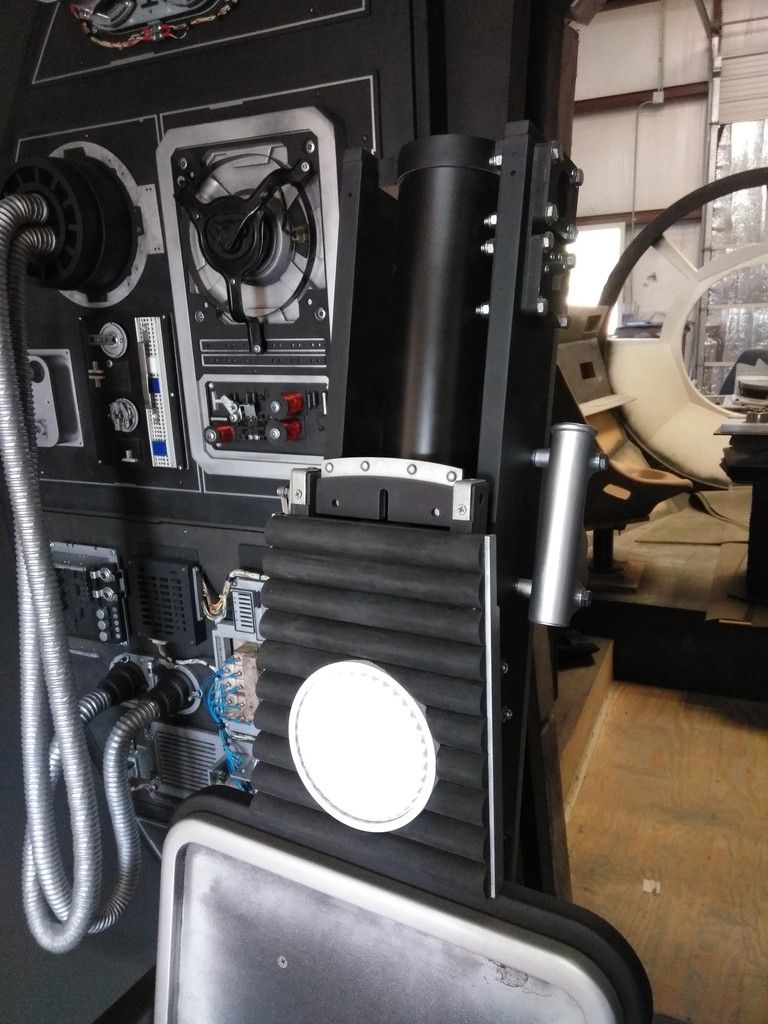
I then jumped to the 1" half-round rubber strips and cut a small access hole into one of the strips
Dry fit
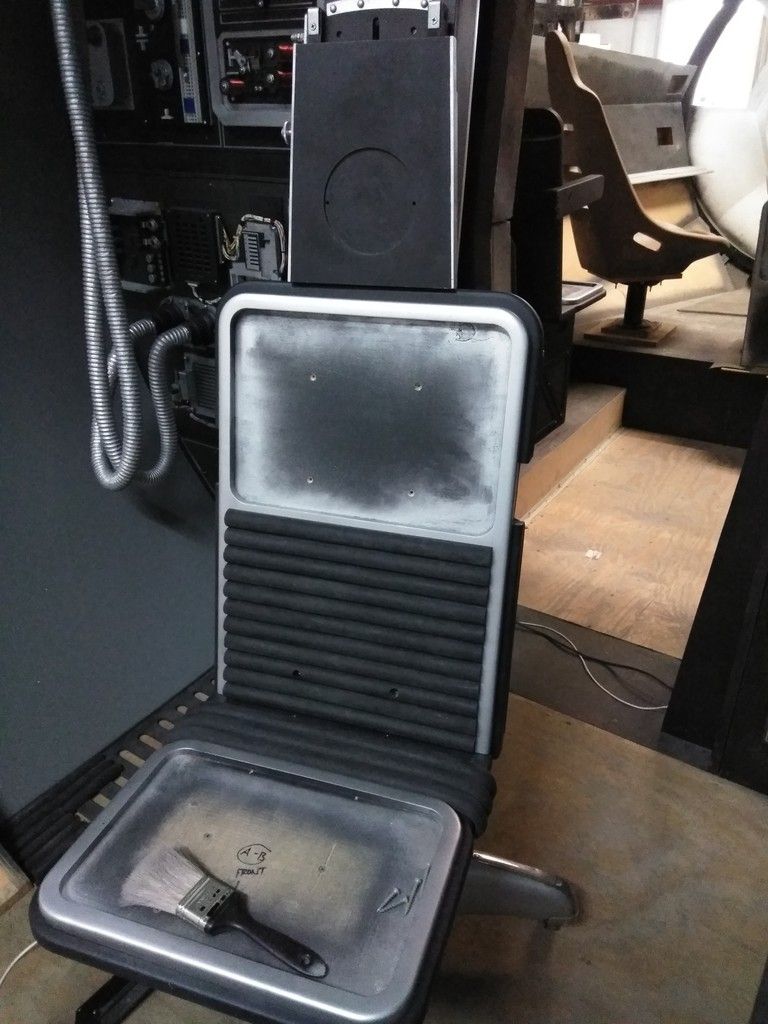
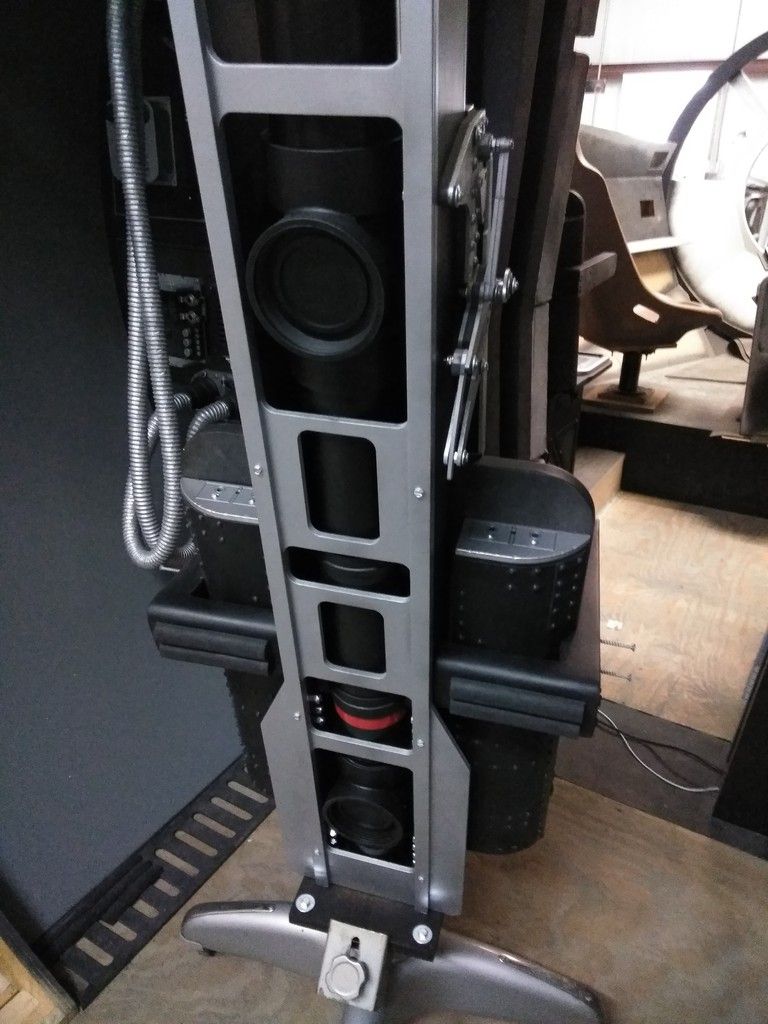
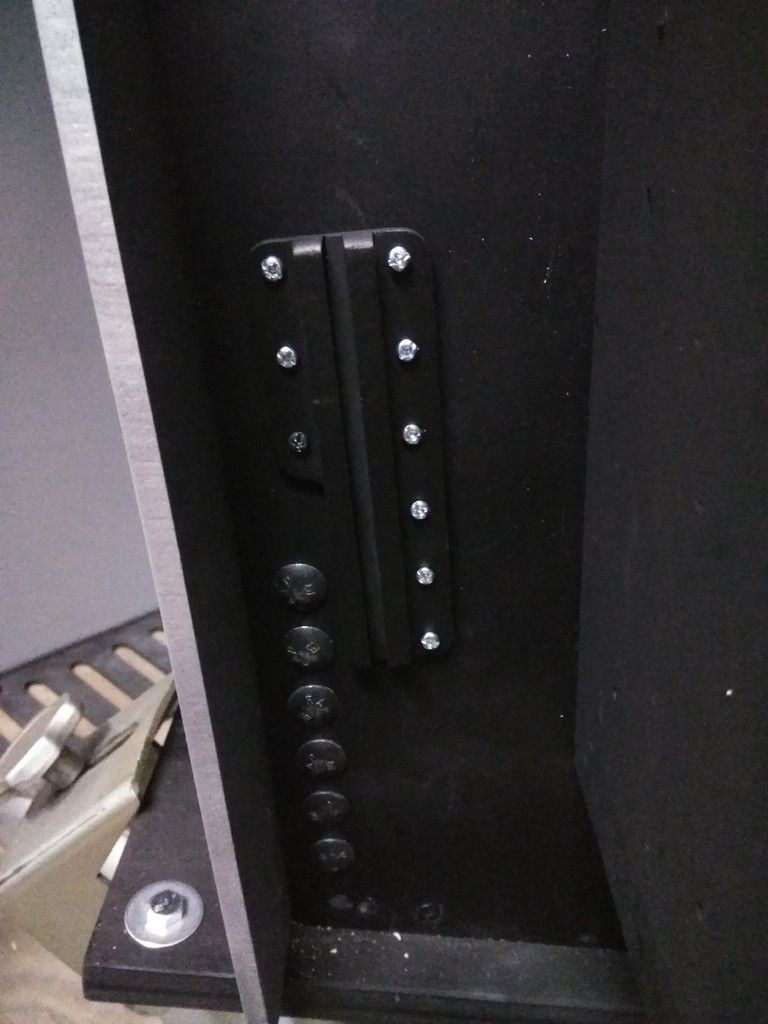
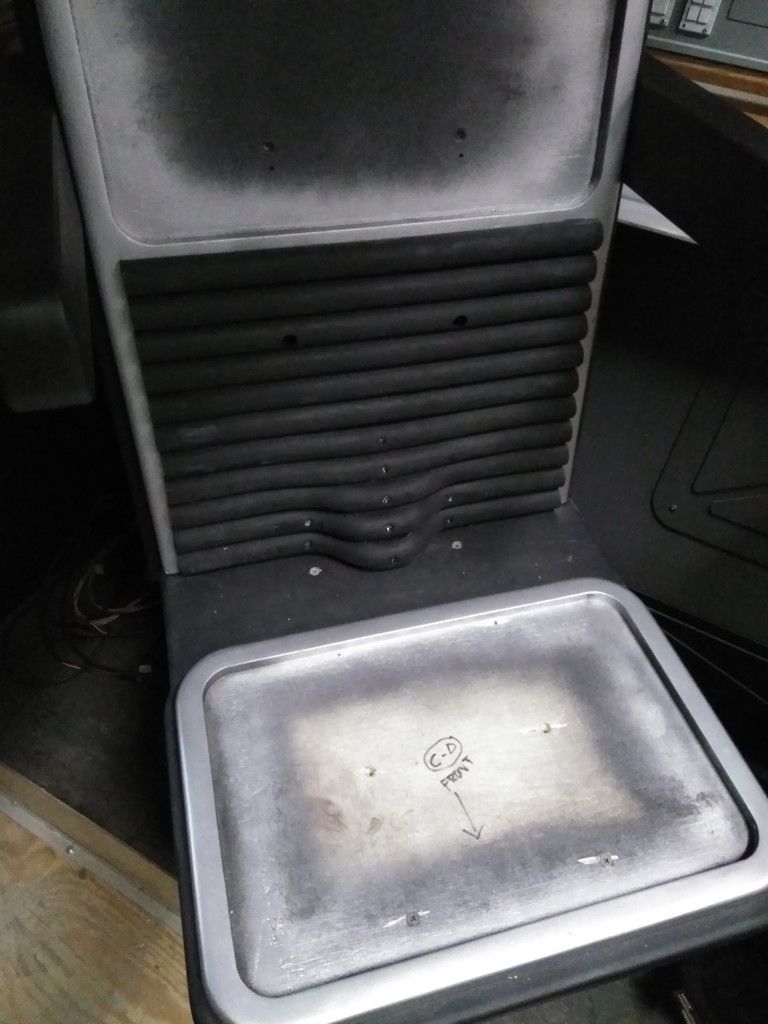
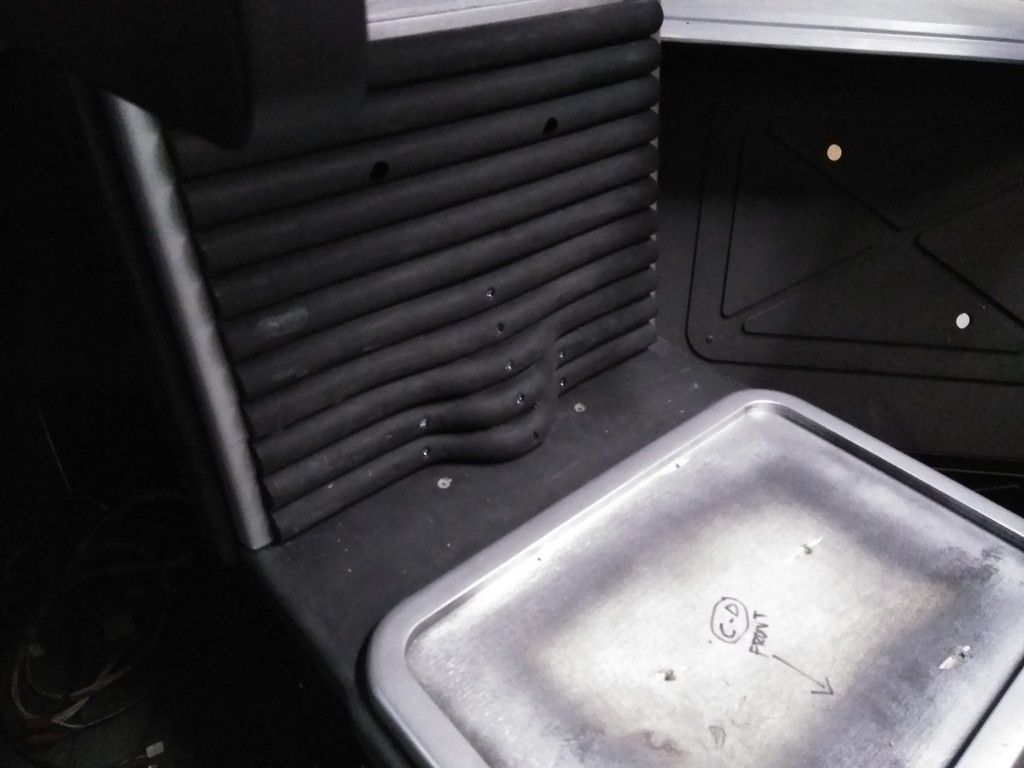
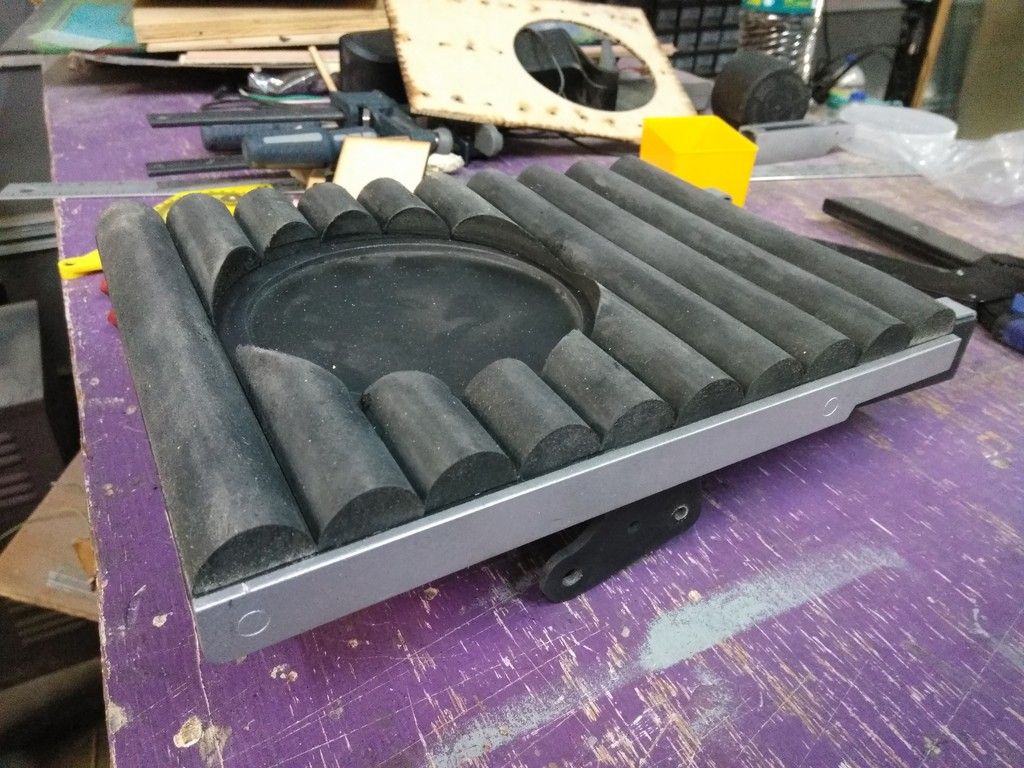
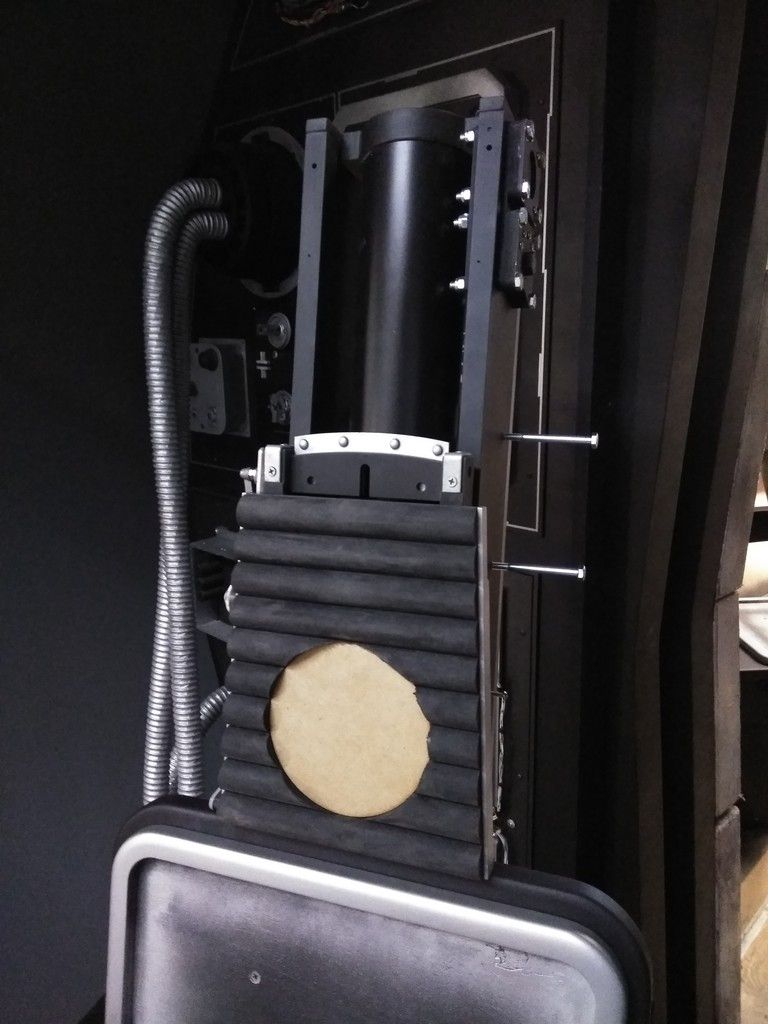
Lets stop all this nonsense and adhere all these in place!
Back support
Armrests
All the armrest are done!
I then painted the back side of the back rest panel
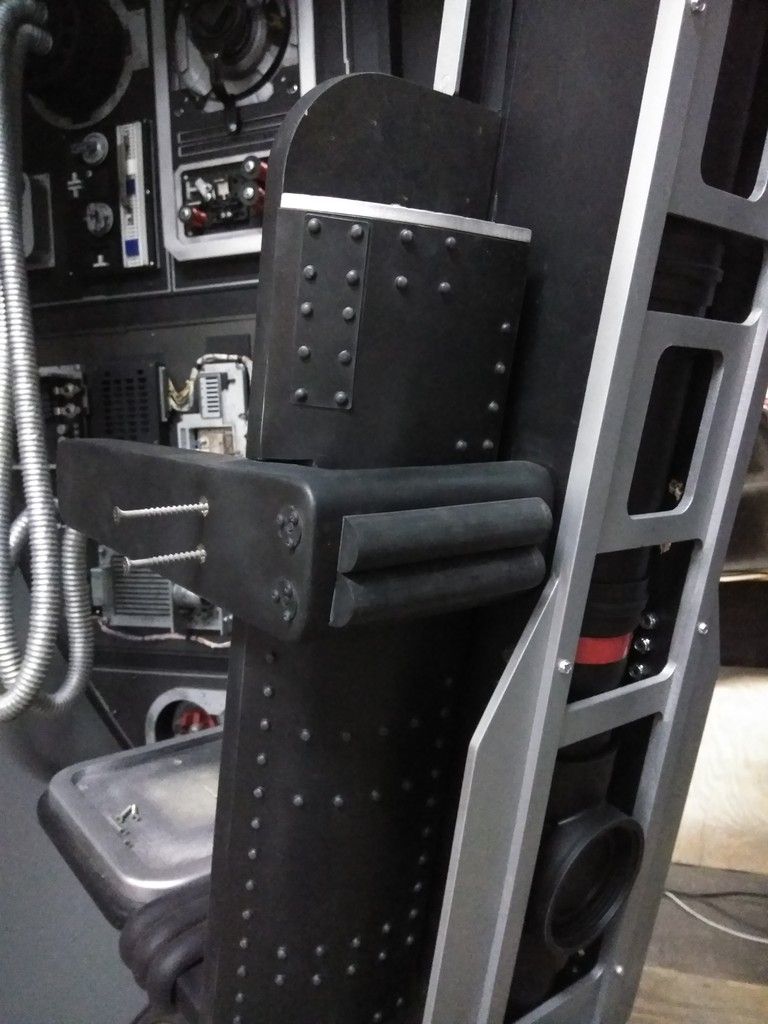
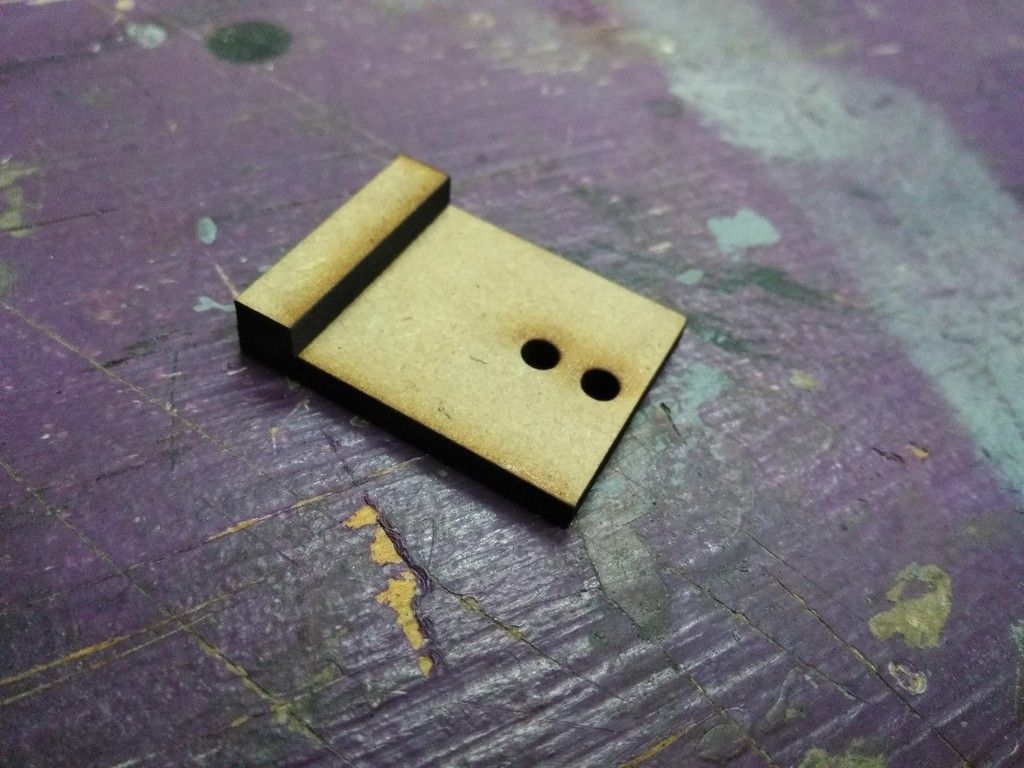
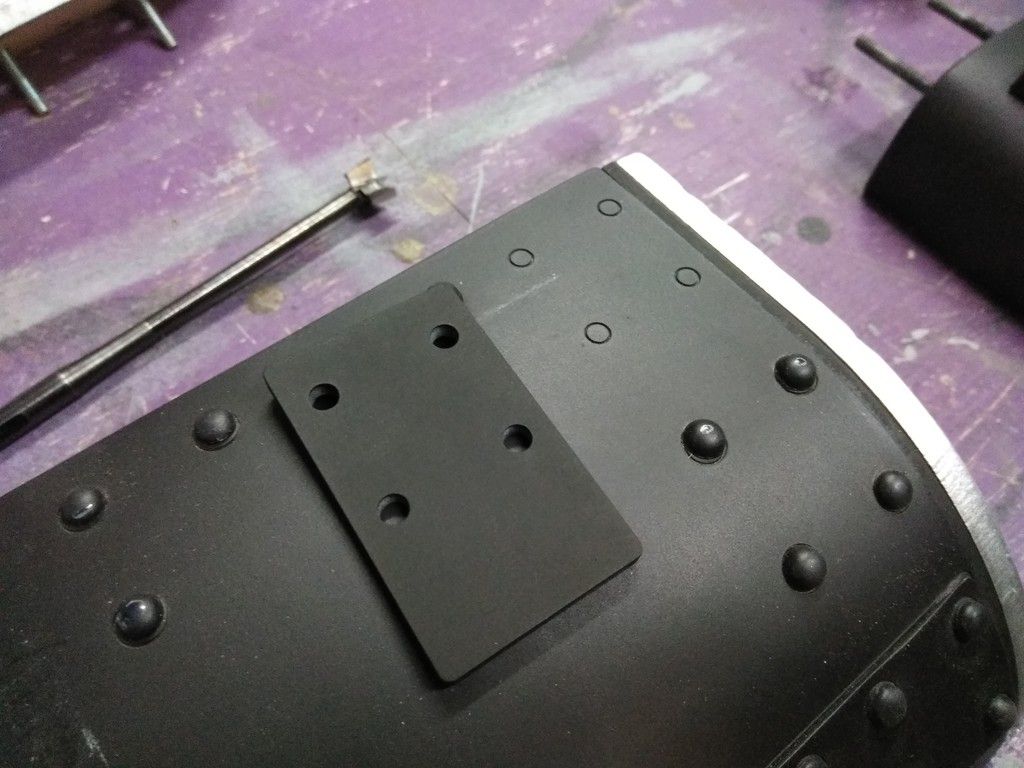
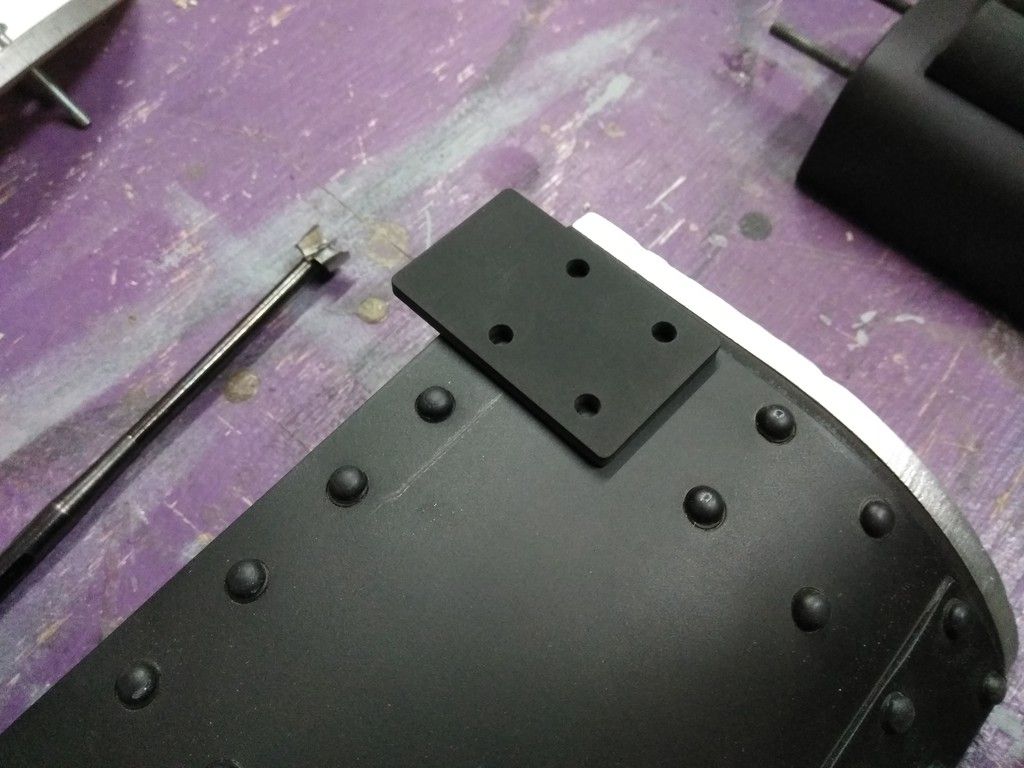
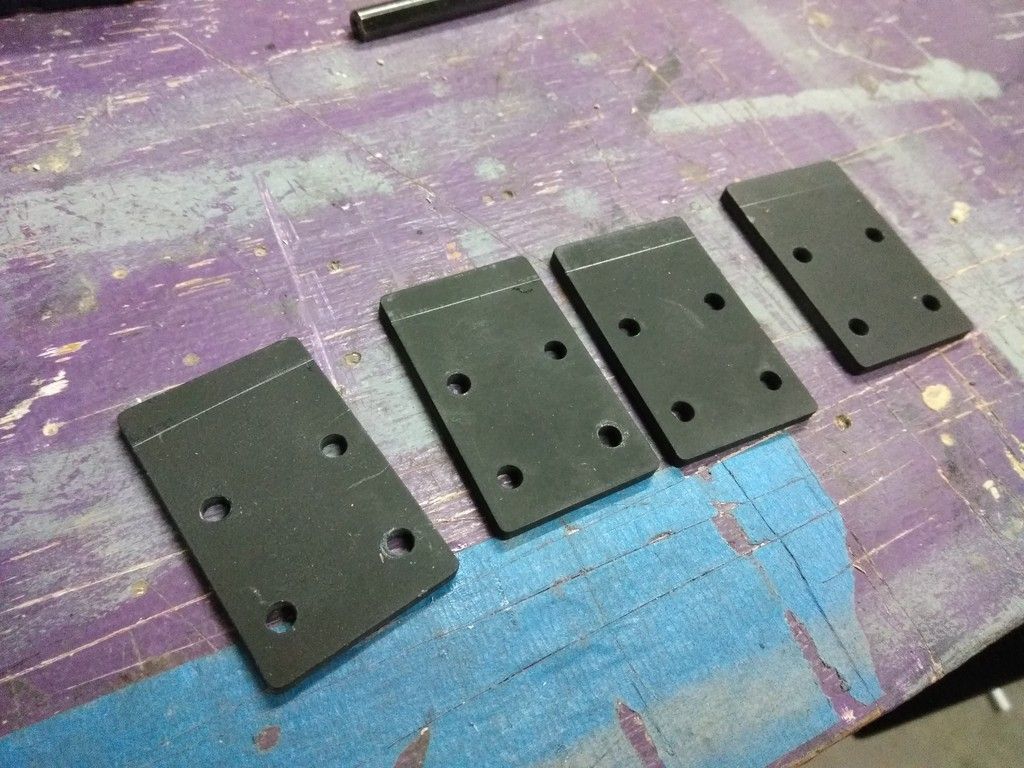
Over time a few of these mounting details broke
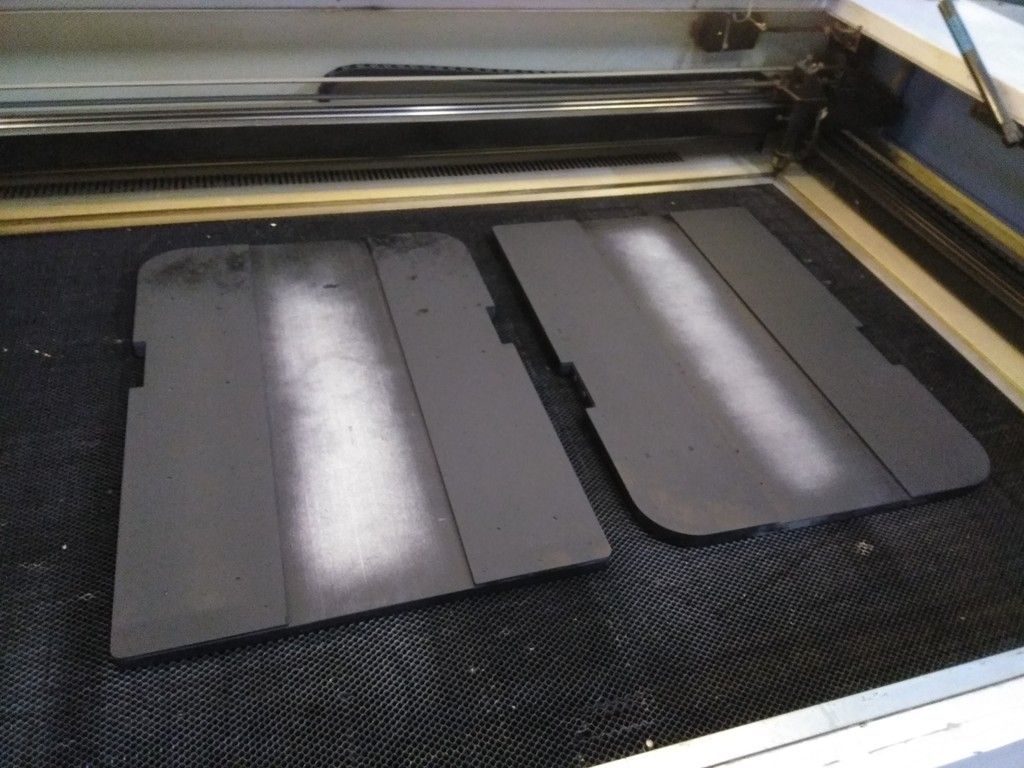
So, I made it simple and laser cut these replacements
Paint
More paint
All these details will be mounted in the next update
So close to finishing!
WHEW... Stay Tuned! More to follow in the next few days!