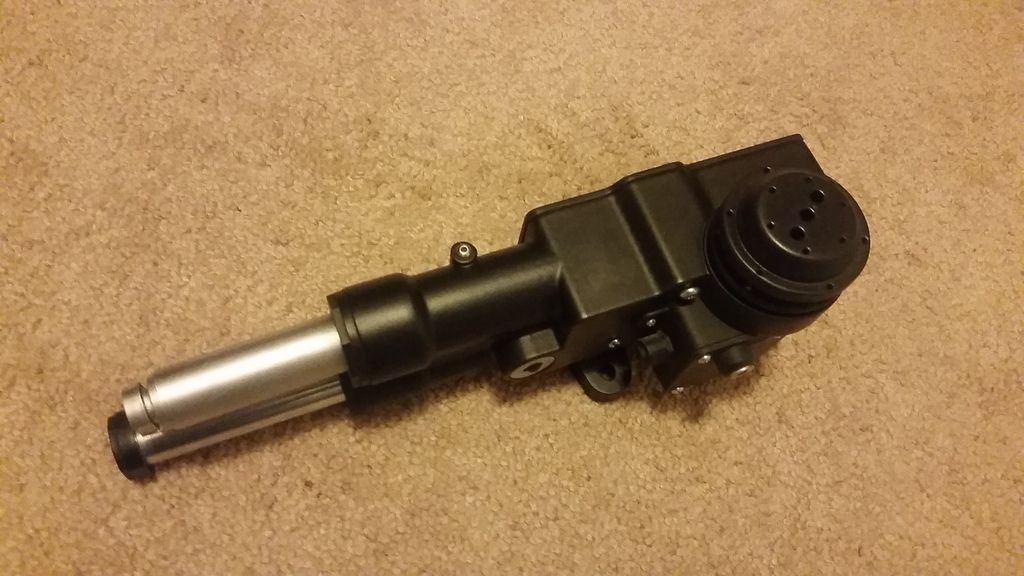
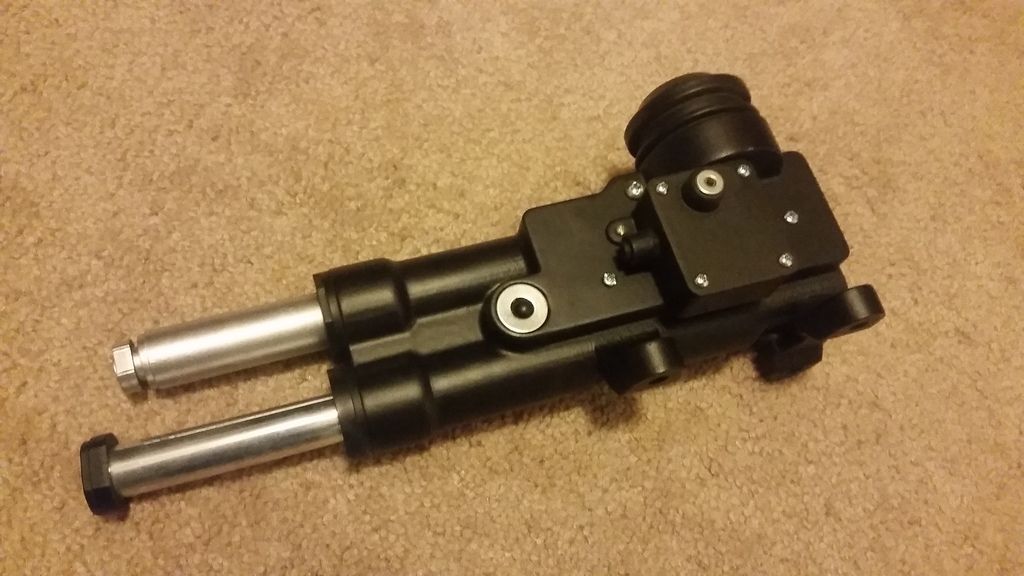
1:1 Millennium Falcon Cockpit Replica - Group Build

Sorry Sofa, Looks like you are going to have to redesign the interior again. The new images of the LEGO set show that the rear of the cockpit is just one big Mister Coffee!!!:lol

LEGO-75212-Solo-Millennium-Falcon-020.jpg

You don't make the Kessel Run without a big 'ol cup of Joe!!!
 
Looking good Sofaking01. Can’t wait to see them mounted on the NAV chairs.

Thanks, Iz! I'm excited too!

- - - Updated - - -

Ah! I was going through withdrawal.

Glad I could get back to handing out the weekly "fix" ;)

- - - Updated - - -

And so was I, phew !!! Sofaking you make me feeeellll ahhhhhhh !!! Nice work

LOL! I have a 4 day weekend ahead of me so let's hope for some real progress!

- - - Updated - - -

Oooohh!! Lovely update Sofa! Love it to pieces :cool Time for those seats to be used and abused...

Thanks, J! I couldn't agree more! Those seats are just too new looking. BUT... I'll be adding a little of yellow to the my office nav chair in the near future!

- - - Updated - - -

Sorry Sofa, Looks like you are going to have to redesign the interior again. The new images of the LEGO set show that the rear of the cockpit is just one big Mister Coffee!!!:lol

View attachment 795627

You don't make the Kessel Run without a big 'ol cup of Joe!!!

DANG IT! OK... I'll start over!

In the same Lego kit, Starkiller (who mentioned it last week) found that the blue and thicker armor plating DOES in fact fly away revealing the hunk of junk we all know and love! Someone ejects ALL the armor plating during the movie. Going to be so cool to see!
 
I'm going to hope when they lose the plating that the ship catches fire and all of the padded walls turn yellow from heat / smoke. Can't be much else to cause that unless the "sister ship" theory.
 
SofaKing, SPEECHLESS again!! I am continuously amazed/blown away by your creativity in using the different mediums, and your ability to visualize these different parts/pieces, and then construct them all together to create the masterpiece 'Greeblies' you continue to make! Wonderful work, and always a highlight to see your regular updates! The console looks absolutely AMAZING by itself there at the maker fair too!! Keep up the amazing work, you and the team are an inspiration to a lot of us!!!
Sean
 
Greg,

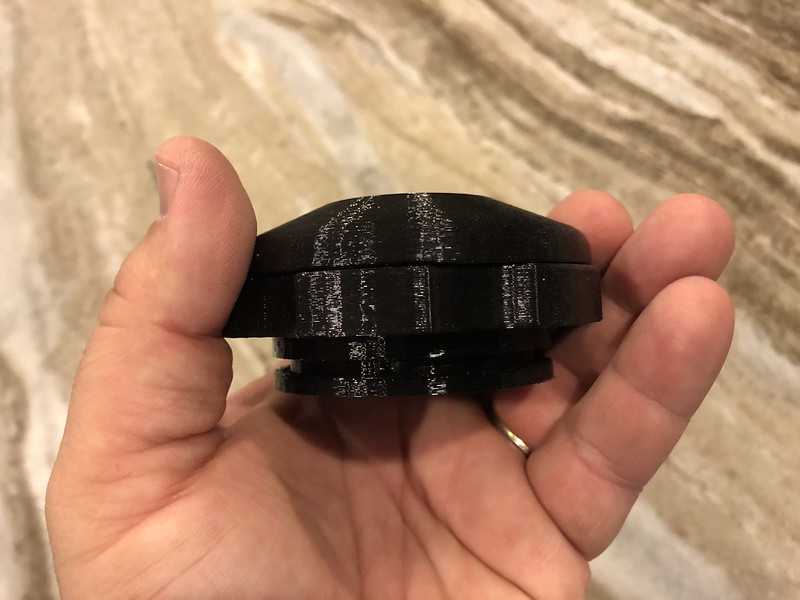
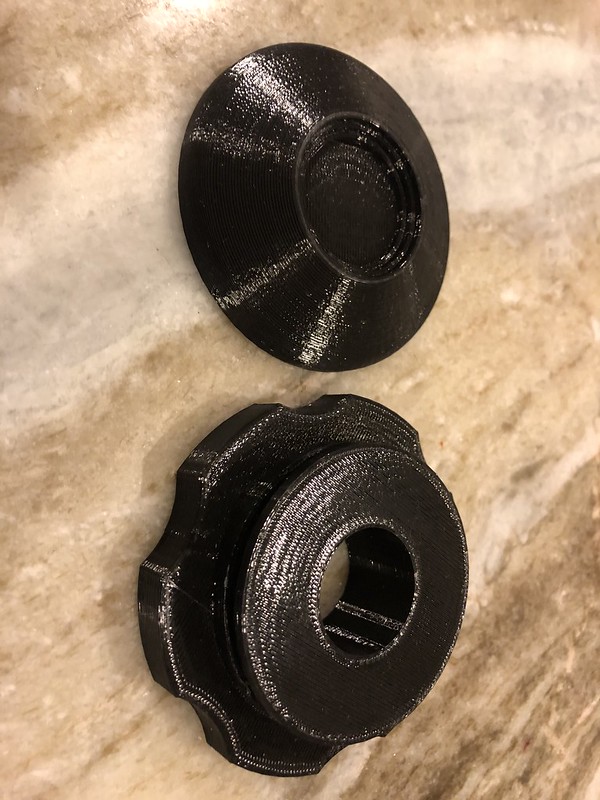
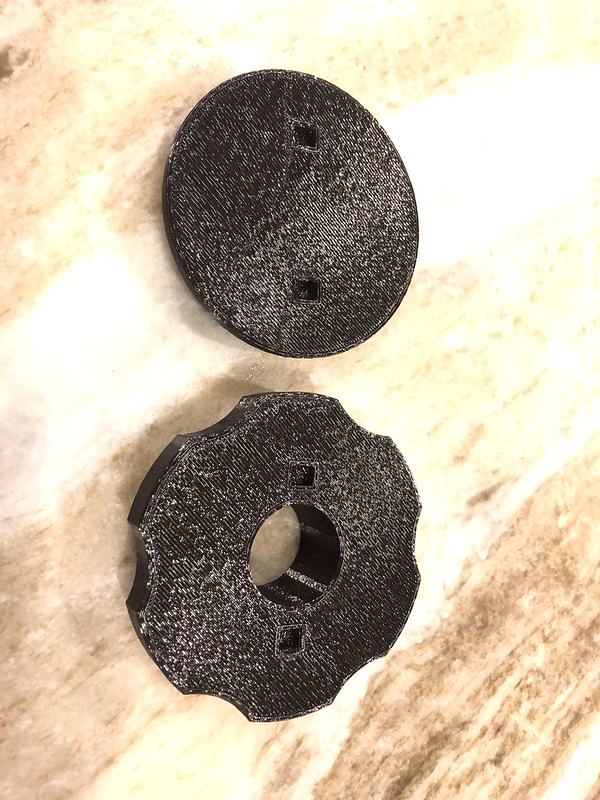
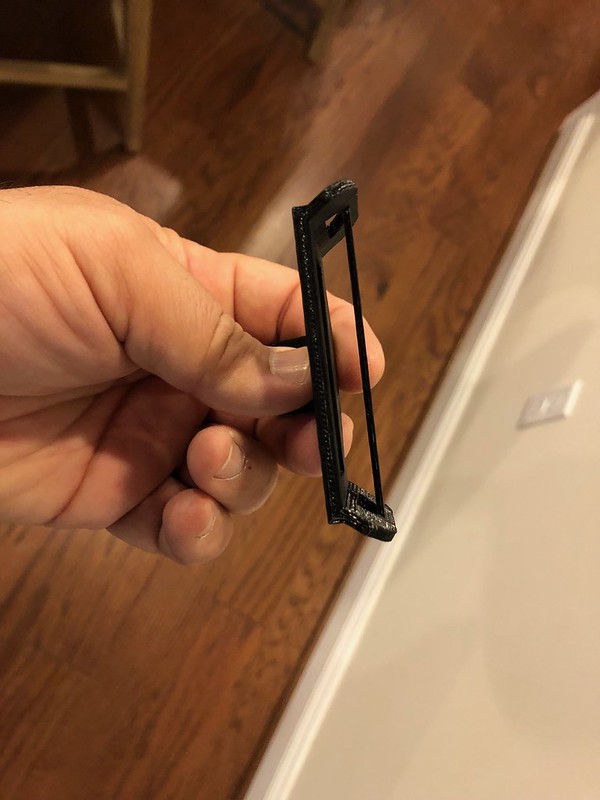
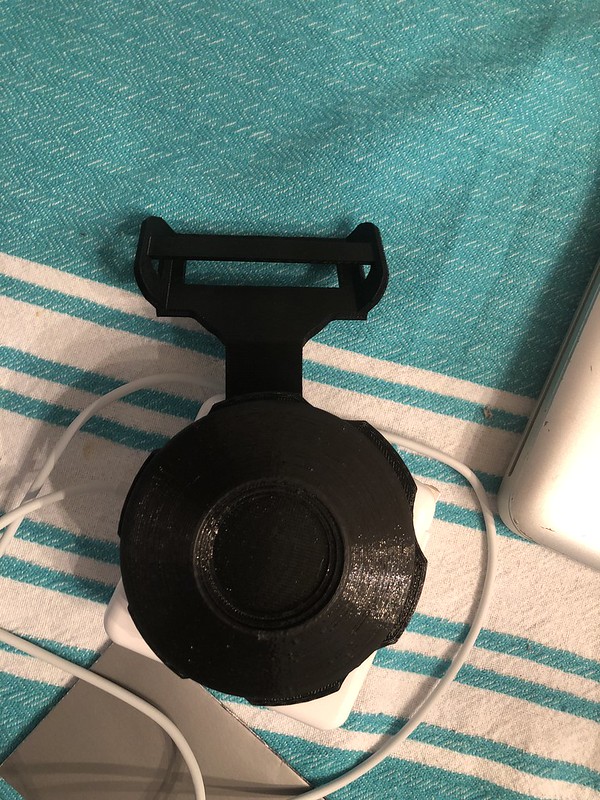
Here is the test print of the Falcon Buckle designed by Stinson. I wasn't able to convert it to a STL file, but I was able to use his file for the measurements and look. Hopefully I was able to a good enough job. Here is a quick vid and some pics of the test print.

https://www.youtube.com/watch?v=MnARjaMS2_E

Untitled by Izzy Mel, on Flickr

Untitled by Izzy Mel, on Flickr

Untitled by Izzy Mel, on Flickr

Untitled by Izzy Mel, on Flickr

Untitled by Izzy Mel, on Flickr

Untitled by Izzy Mel, on Flickr

Untitled by Izzy Mel, on Flickr

Untitled by Izzy Mel, on Flickr

Buckle latch for Falcon harness. by Izzy Mel, on Flickr

Untitled by Izzy Mel, on Flickr
 
Wow! It's been a while since I have visited here. And I can't believe your progress and your stick-to-it-iveness! Wonderful to see.
 
Hi Gang,

Time for the "End of the LONG Weekend Update"

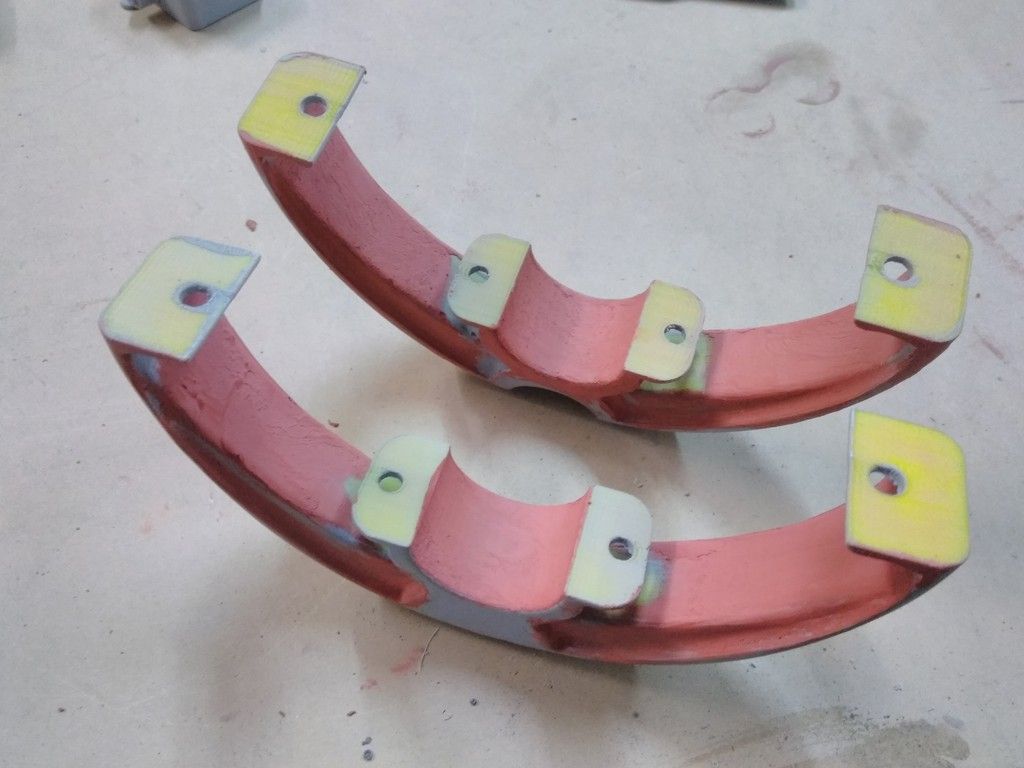
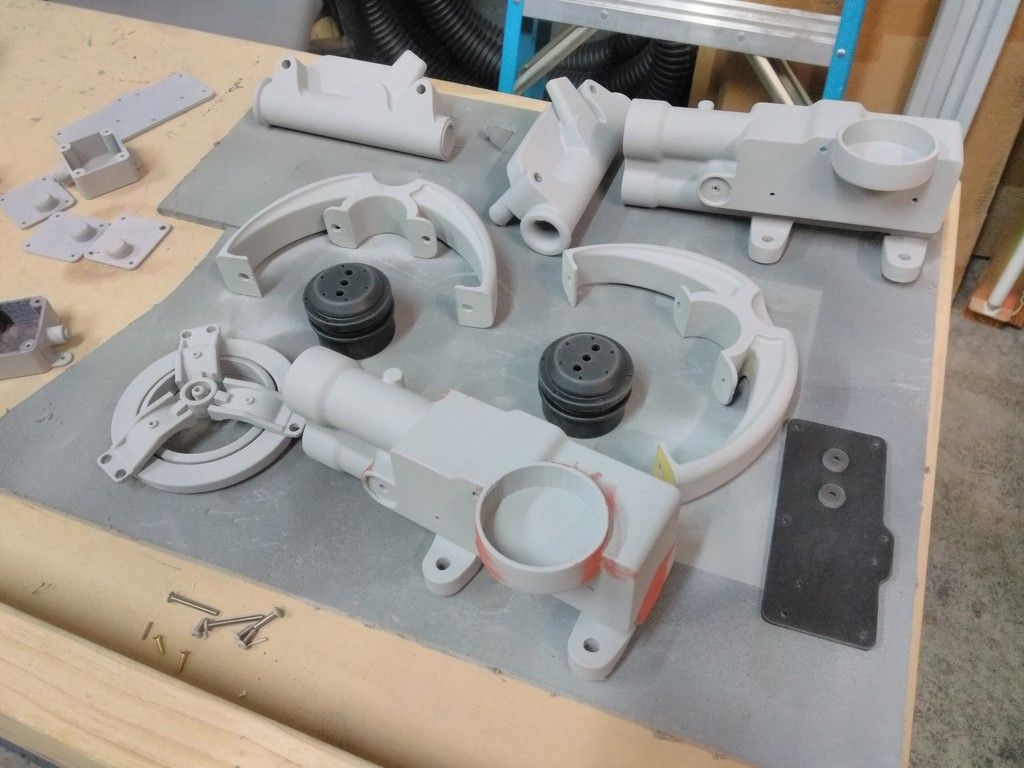
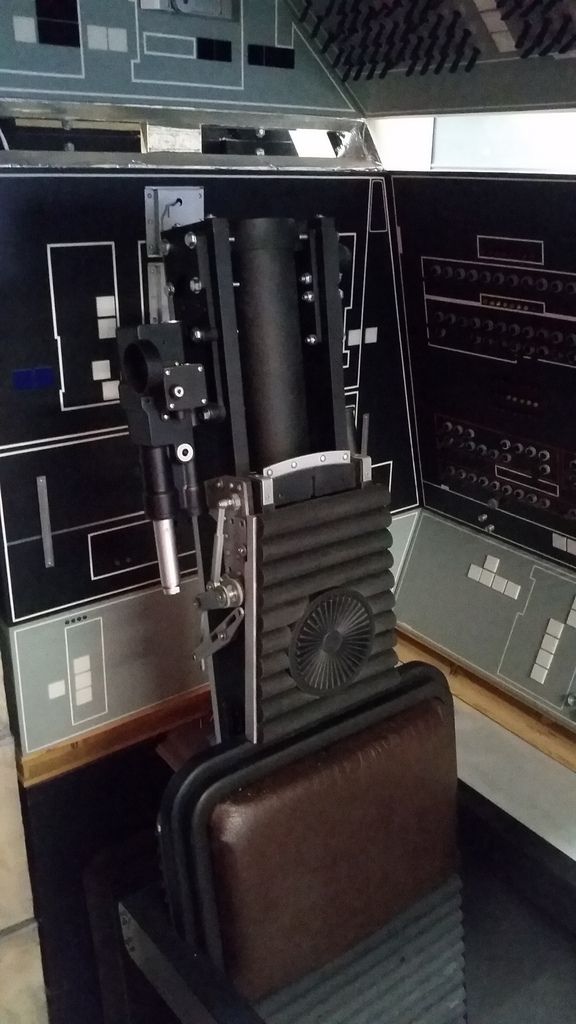
I focused most of, if not all, my attention on the nav chairs this weekend. A HUGE THANK YOU to Iz for taking the time print the all the nav chair parts (and a few others). ENJOY!

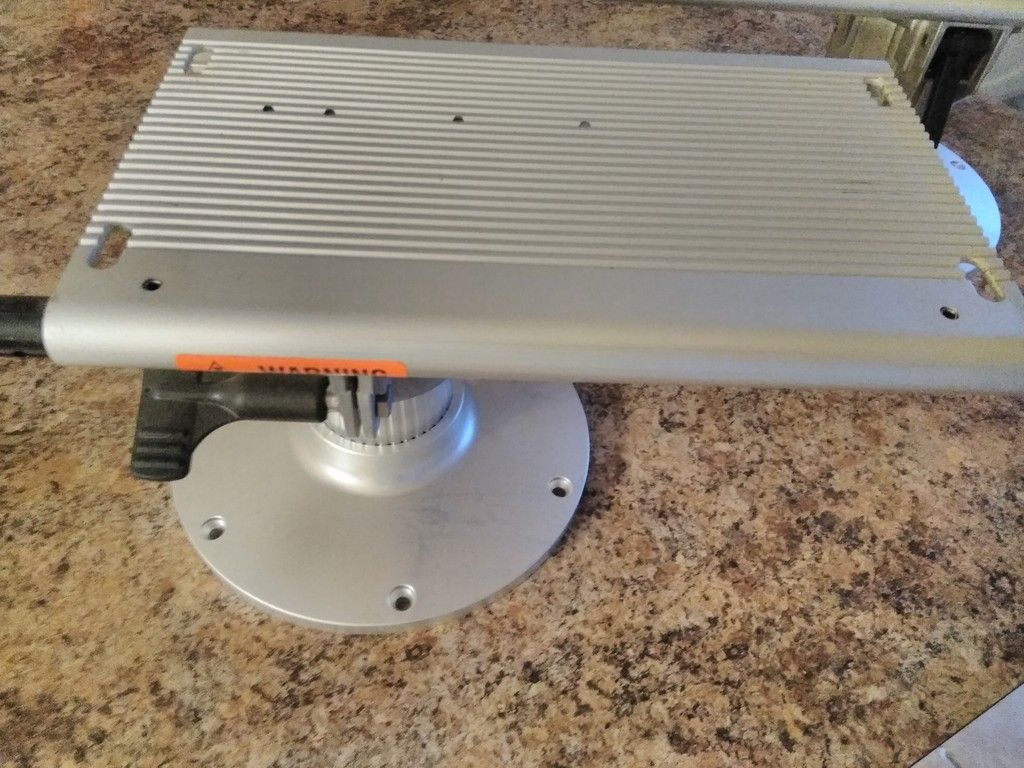
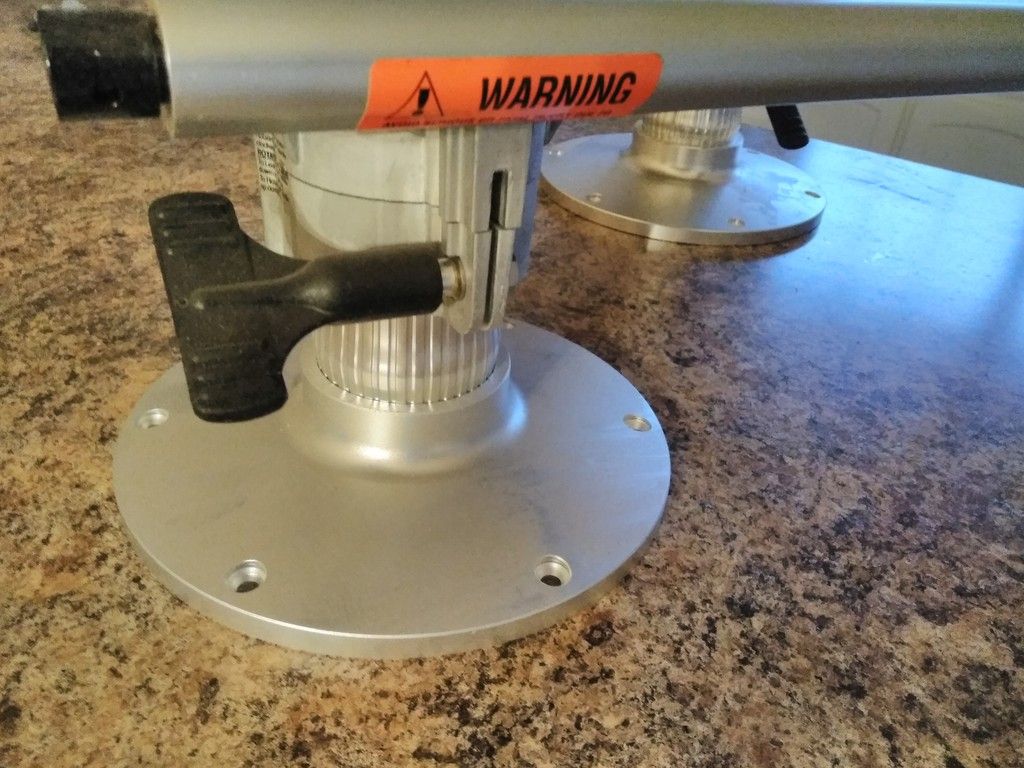
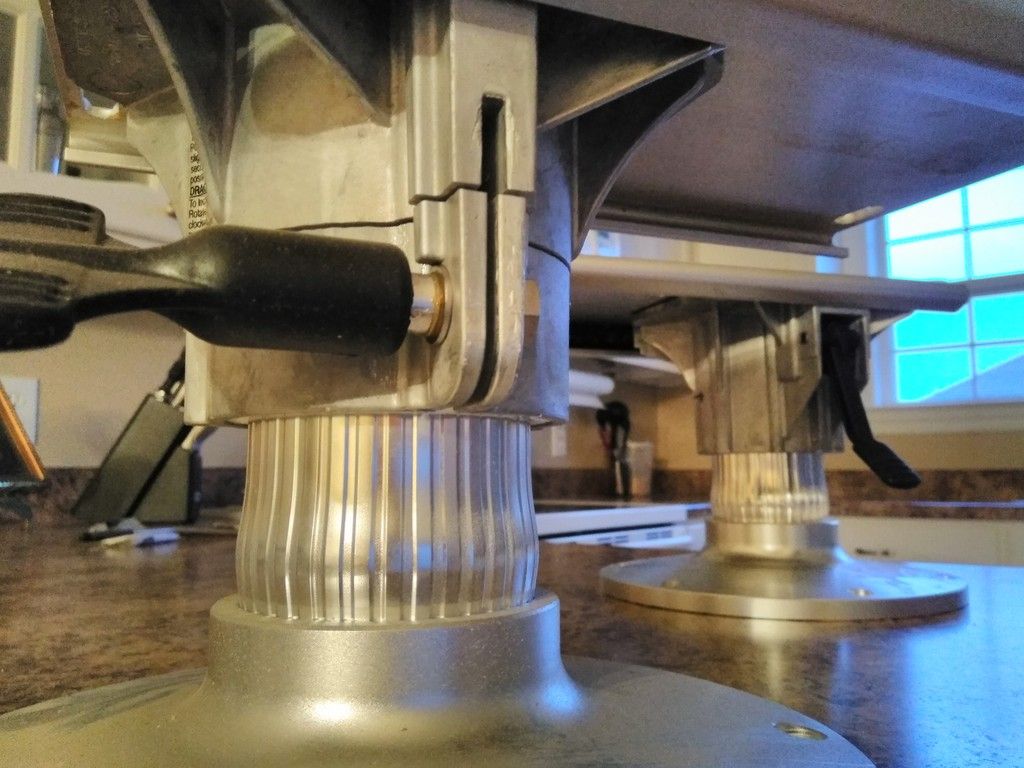
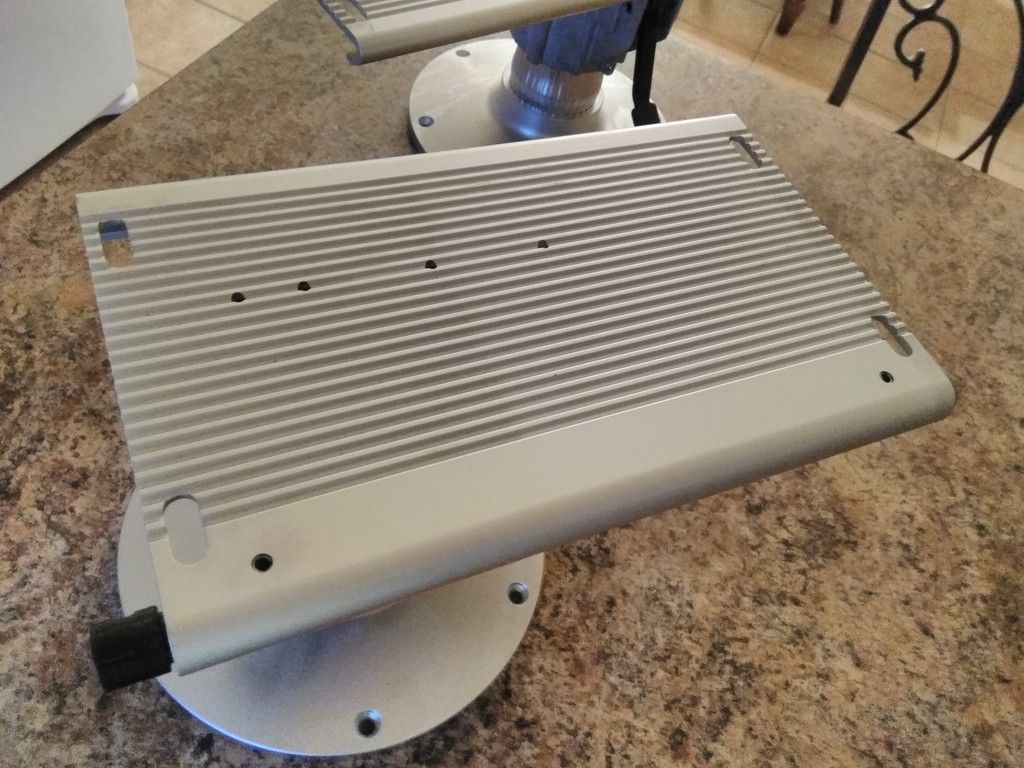
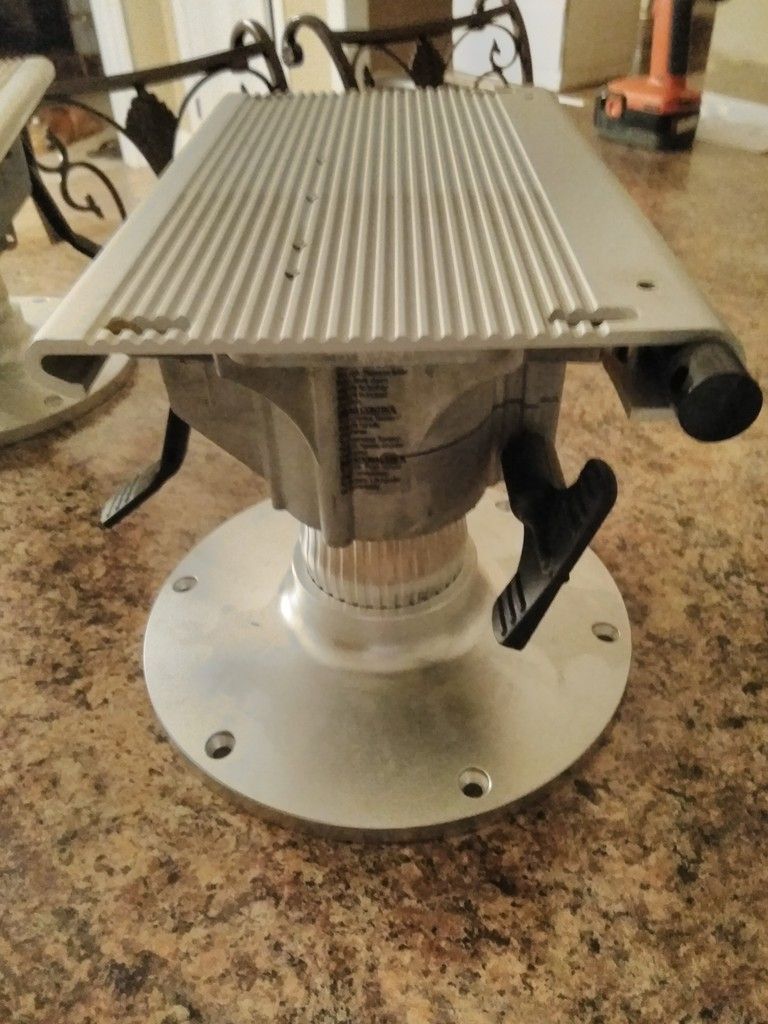
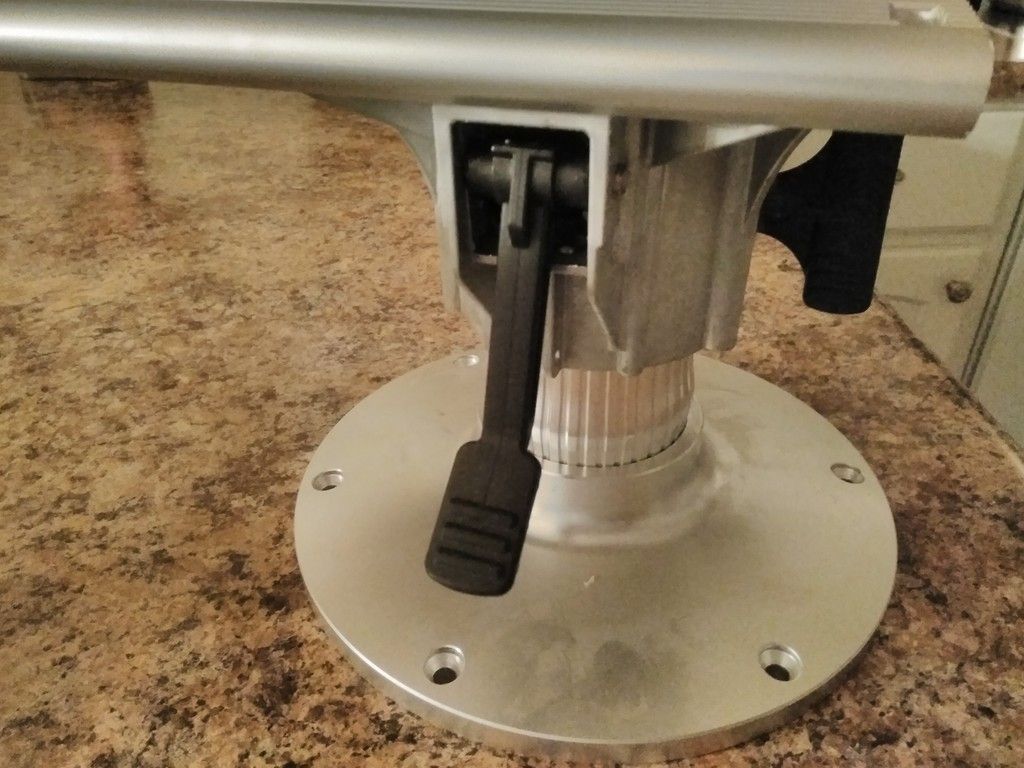
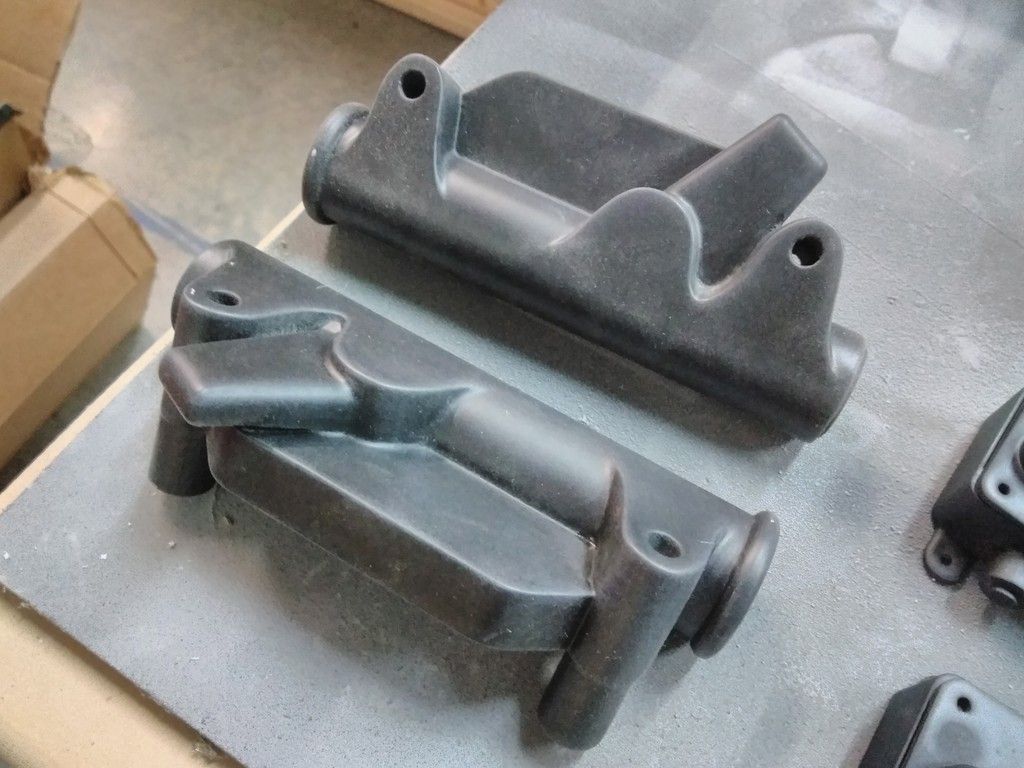
But first... new seat pedestals for the captain chairs arrived! These both slide and swivel.
IMG_20180213_171635_zpsefu572k1.jpg


IMG_20180213_171641_zpsdz7udye6.jpg


IMG_20180213_171652_zpsu5nlbsta.jpg


IMG_20180213_171717_zps8orwaep2.jpg


IMG_20180213_192004_zps8bjuhs3s.jpg


IMG_20180213_192307_zpsshtypinm.jpg


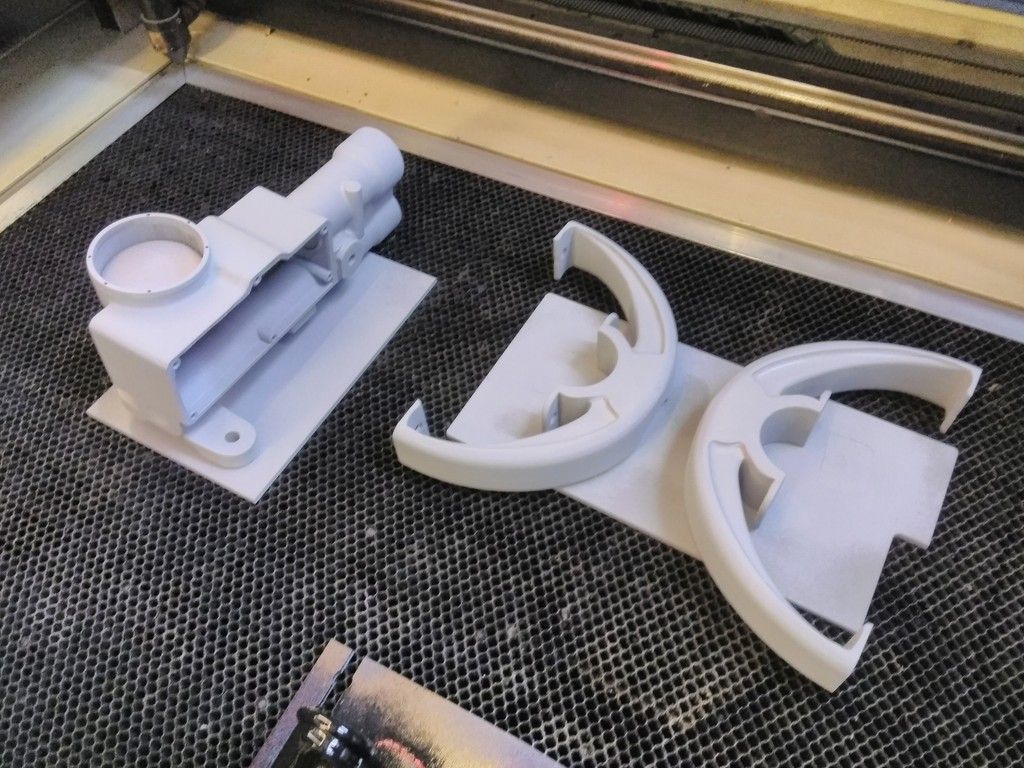
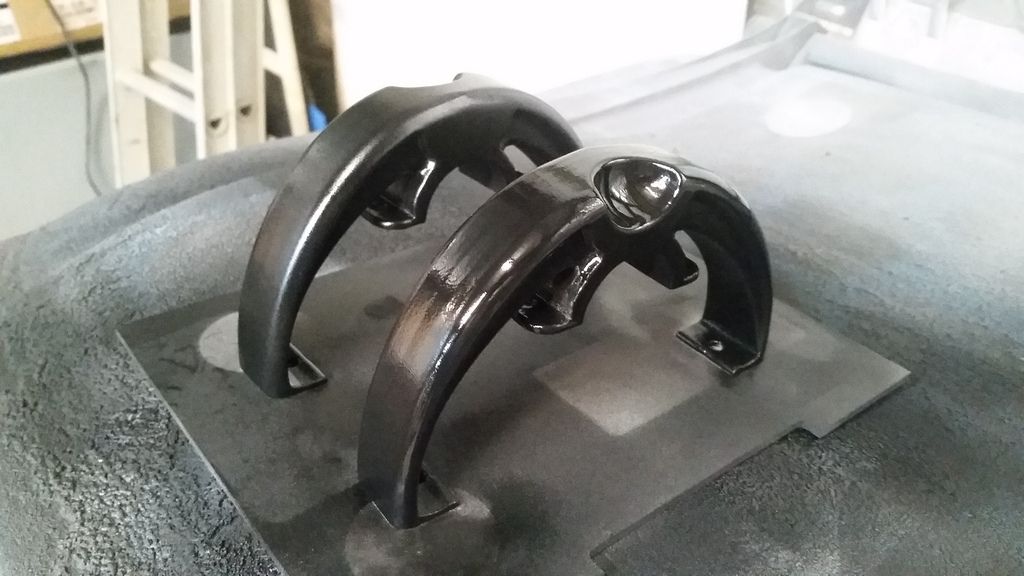
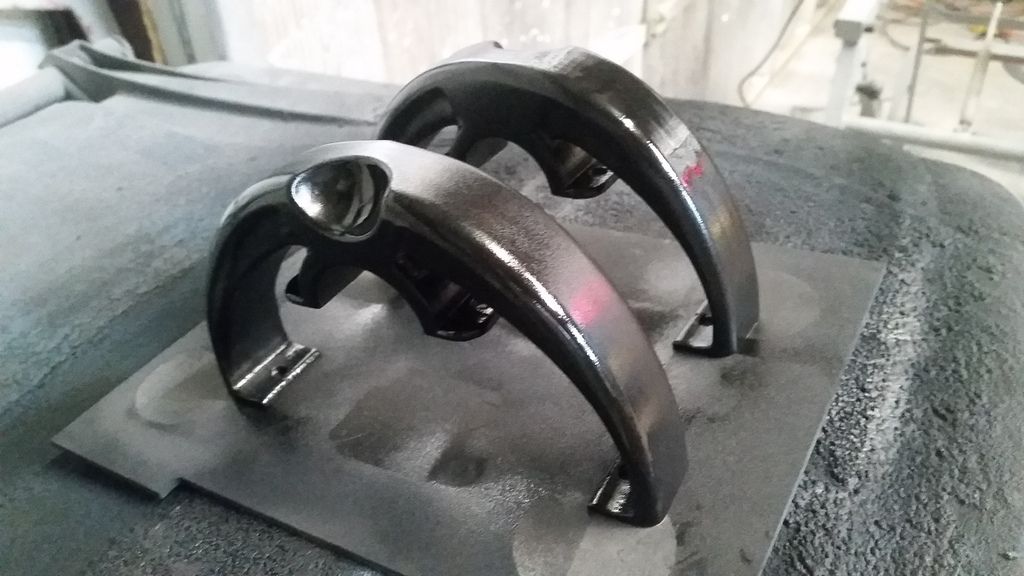
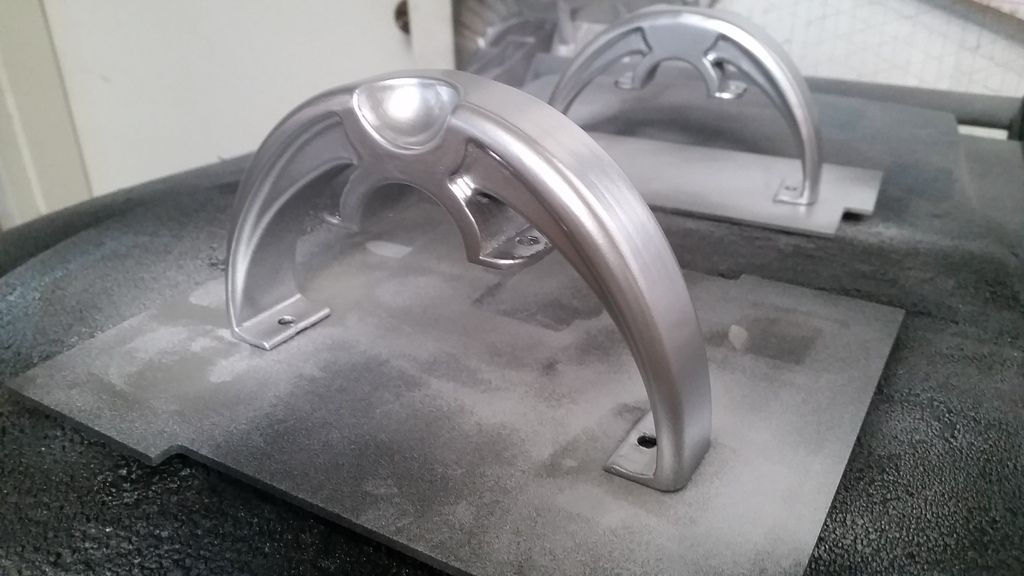
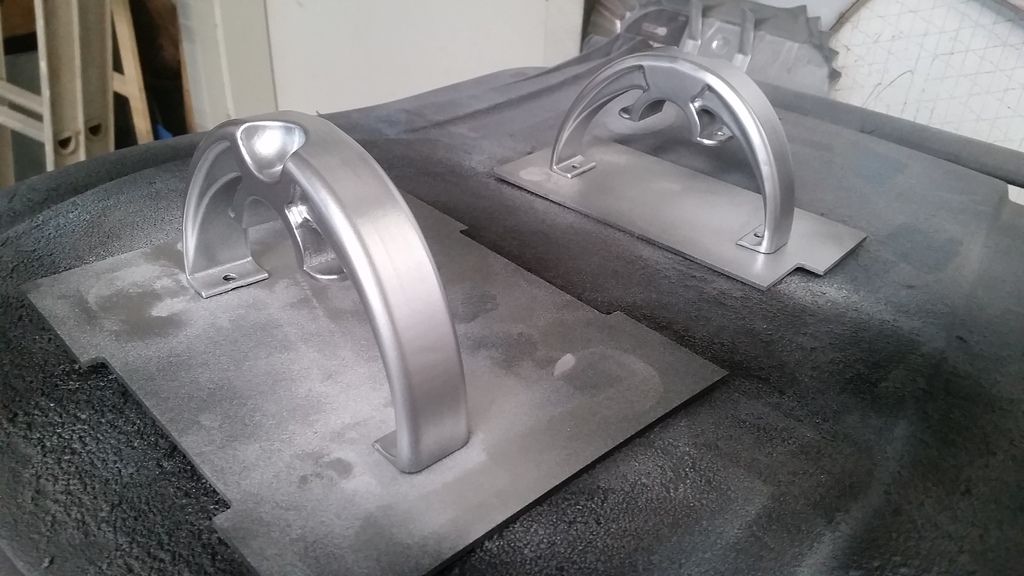
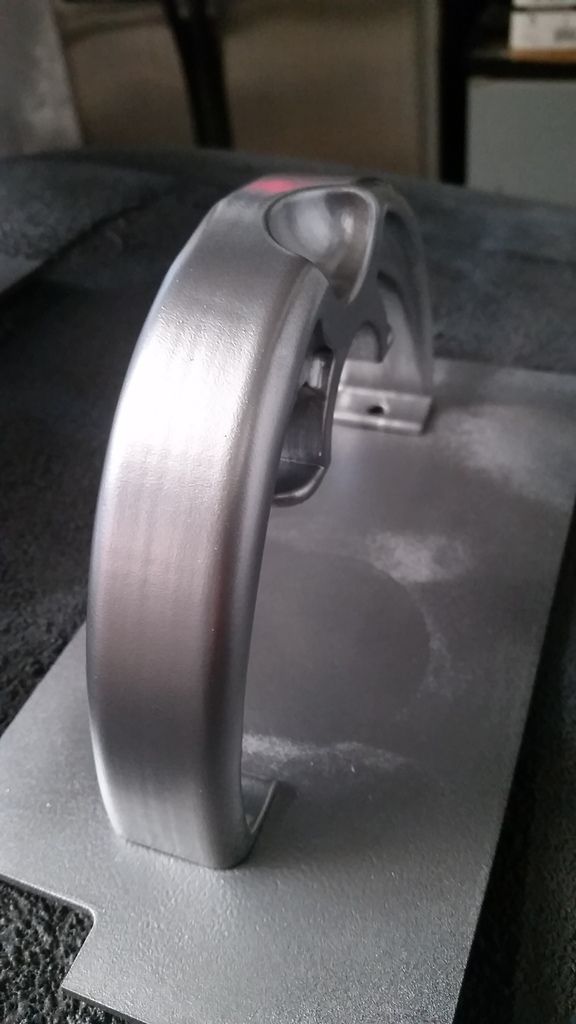
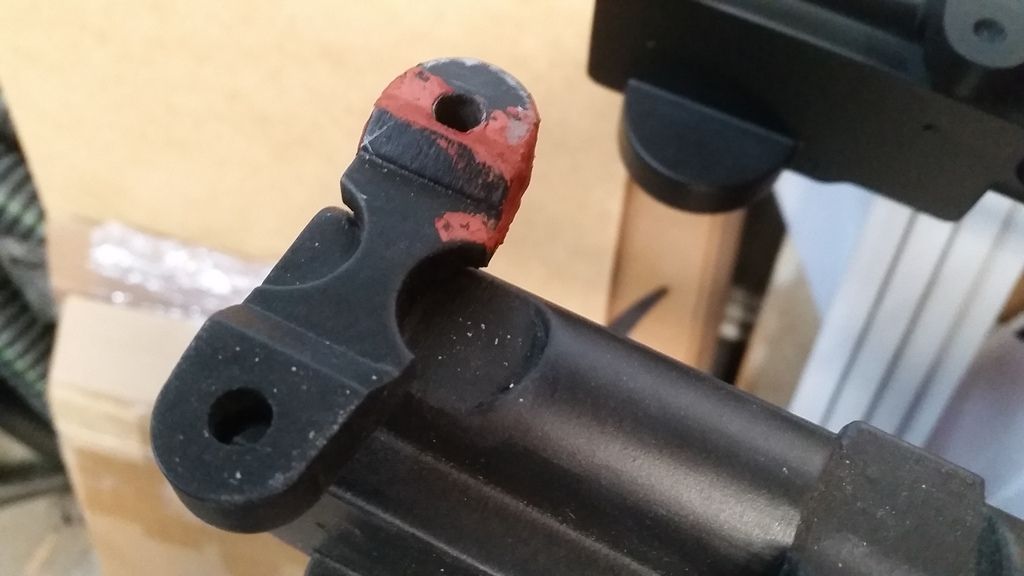
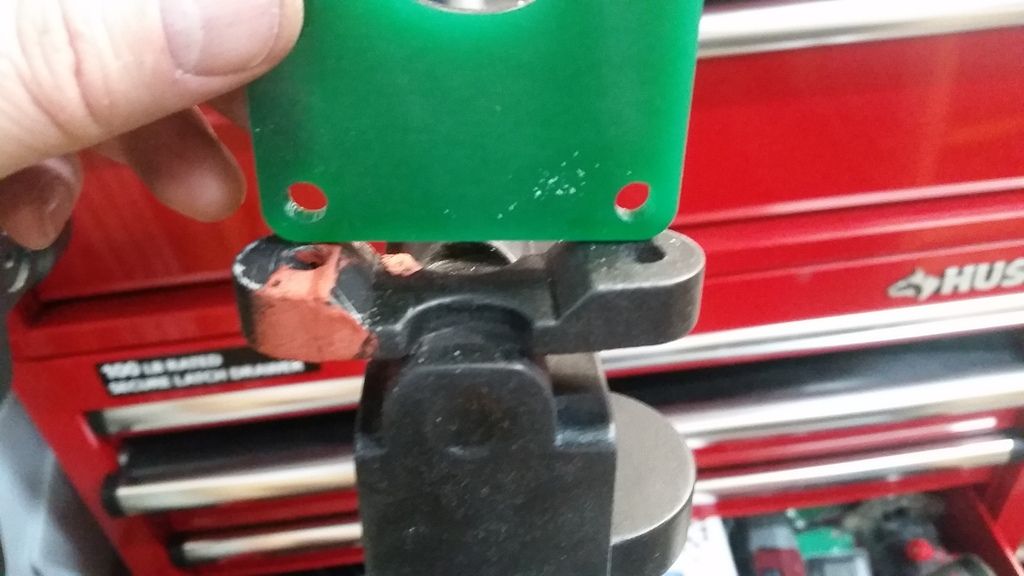
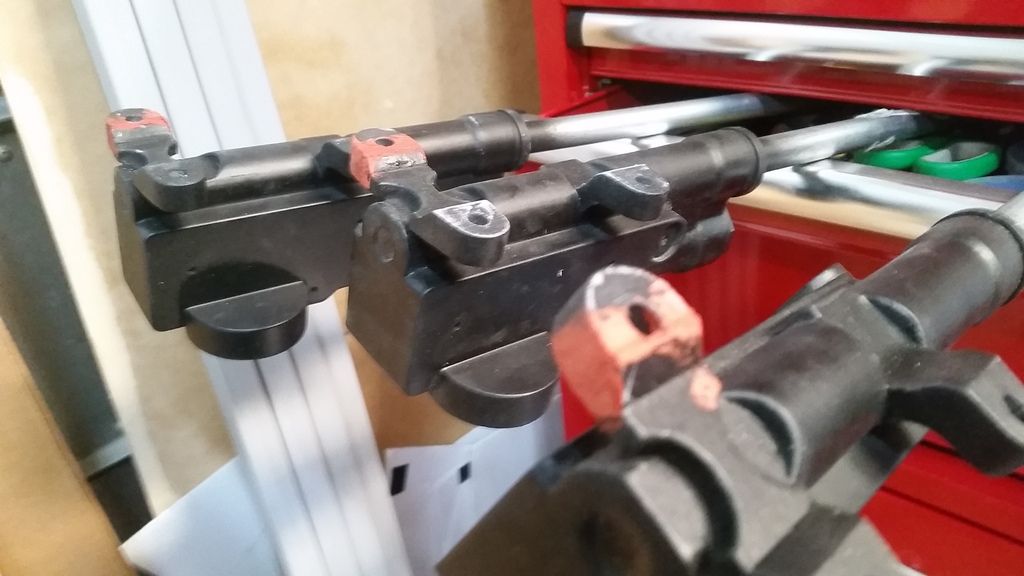
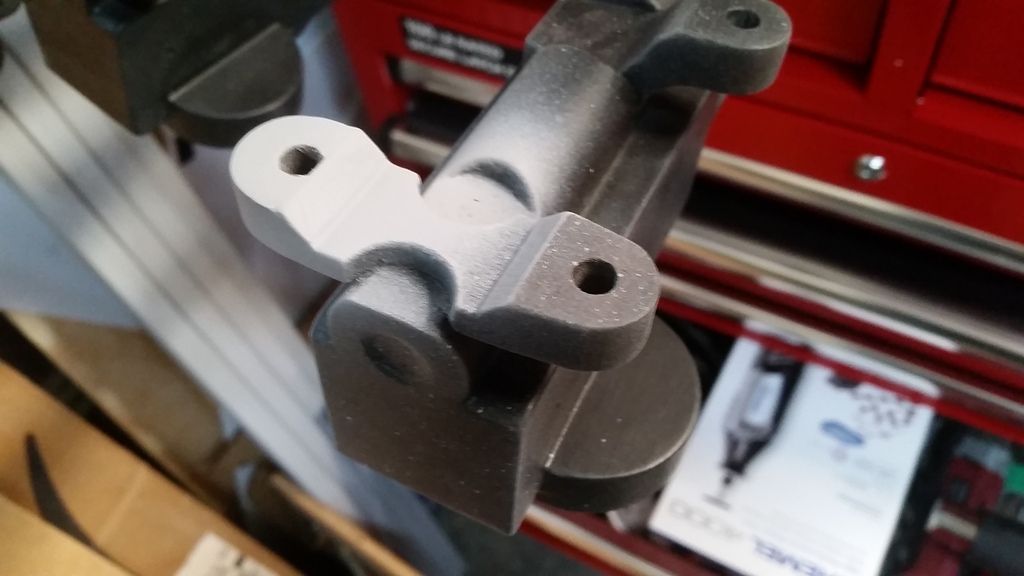
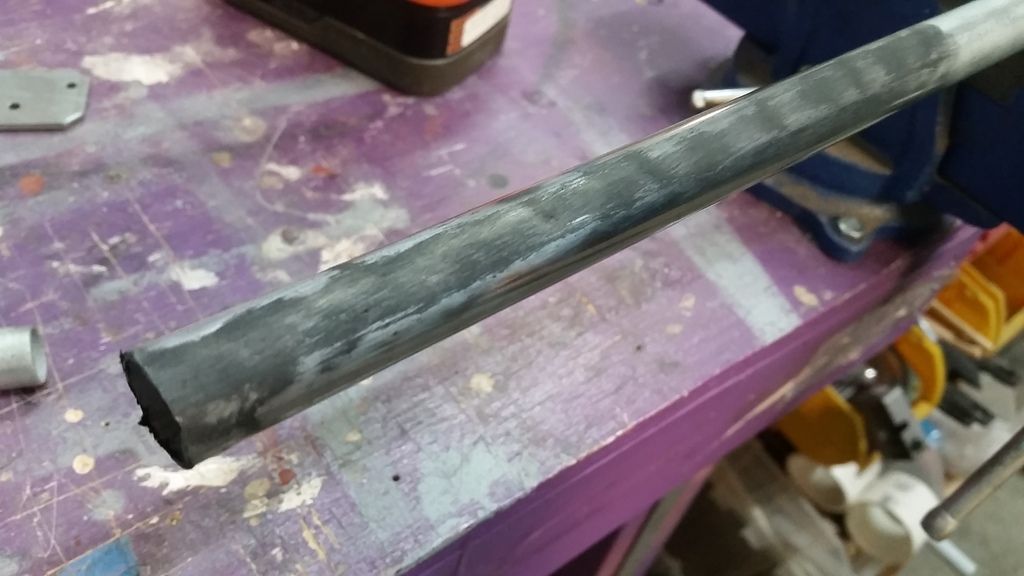
I was able to finally knock out the canopy grab handles
IMG_20180216_144109_zpsyrekkc1j.jpg


Primer
IMG_20180217_115535_zpsow0d18bi.jpg


Two coats added
20180218_083232_zpsli6jzbjj.jpg


20180218_083239_zpsl5cmhlk7.jpg


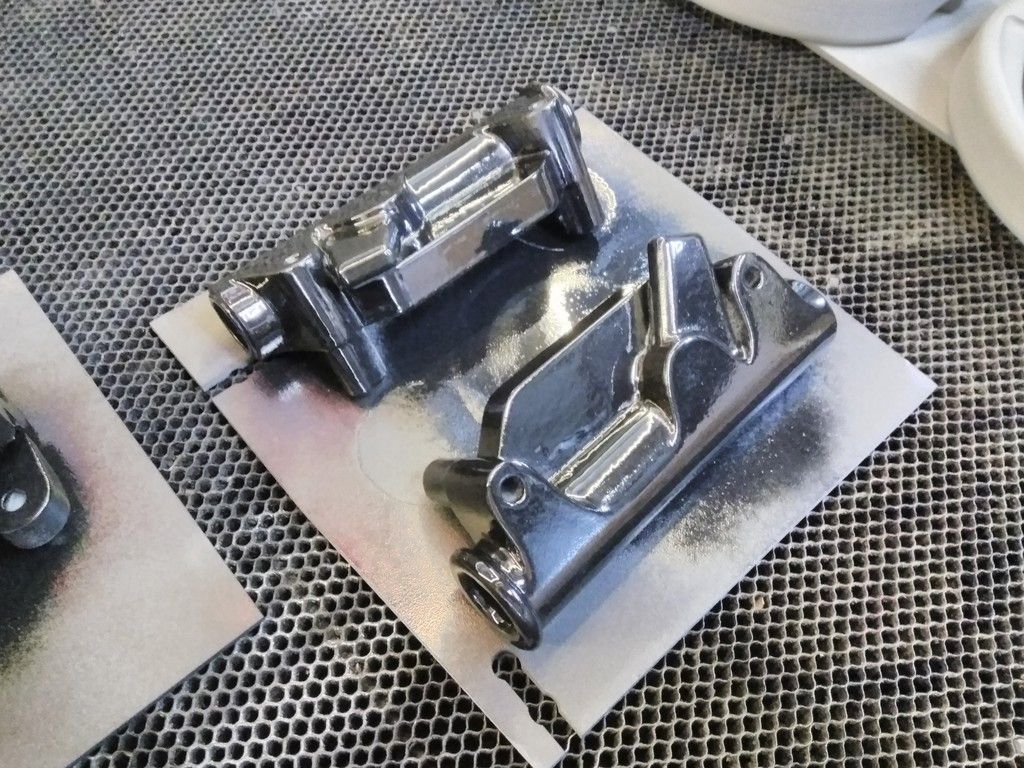
Silver
20180218_104146_zpstmgmtrhx.jpg


20180218_104152_zpsdwzgsafa.jpg


20180218_104204_zpsgp6rhz5x.jpg


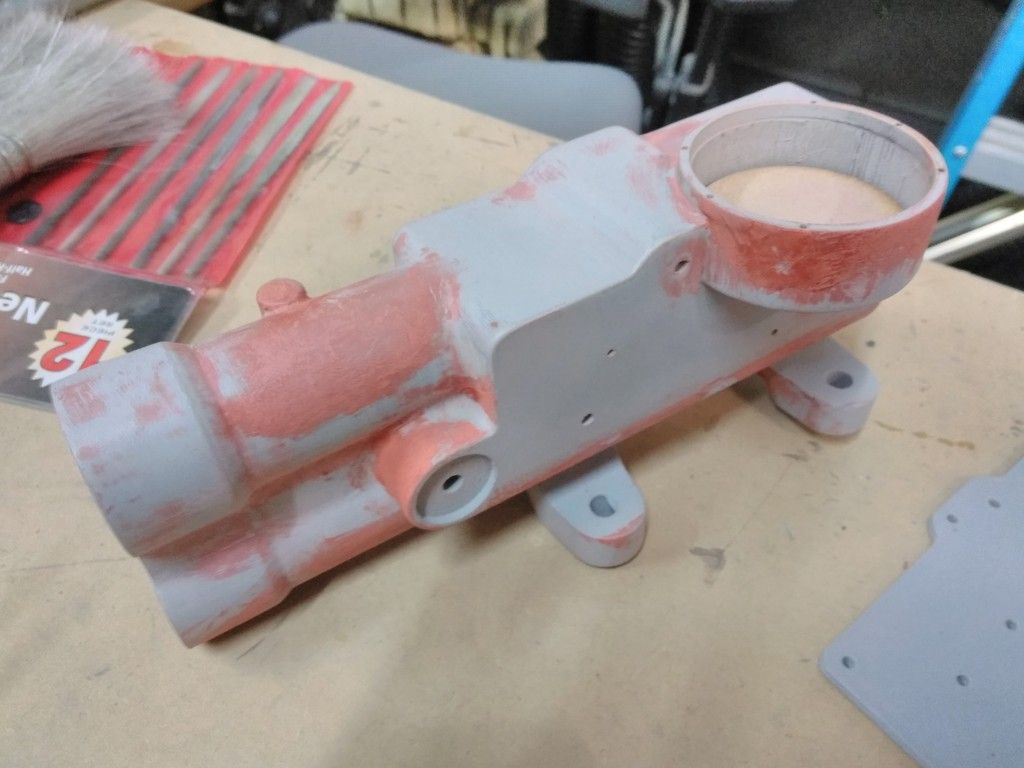
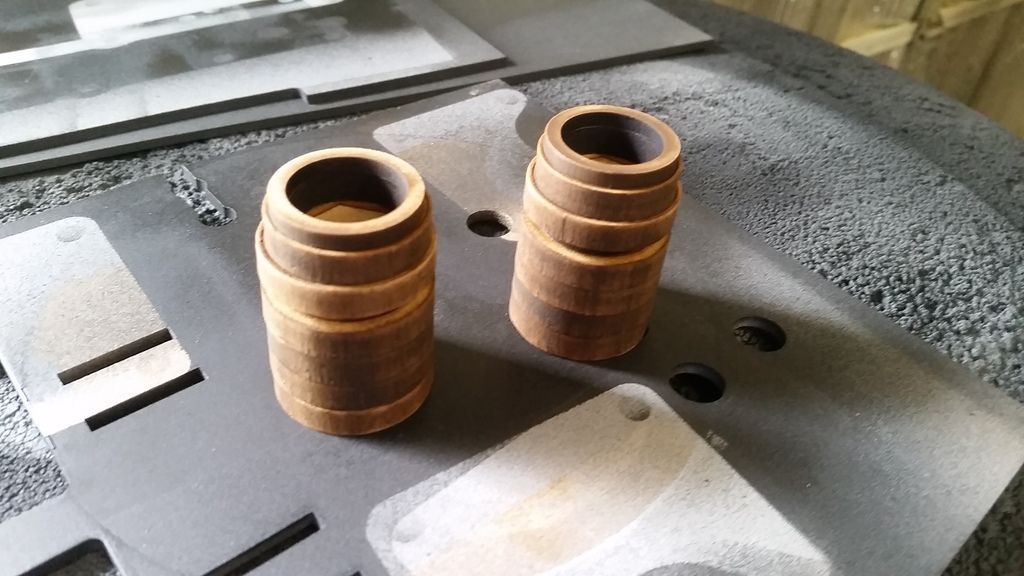
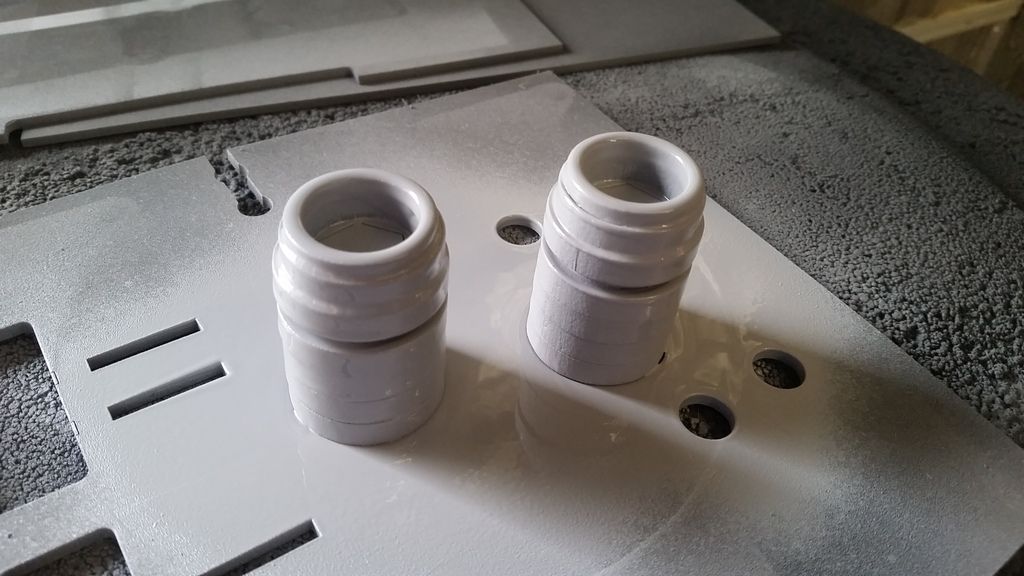
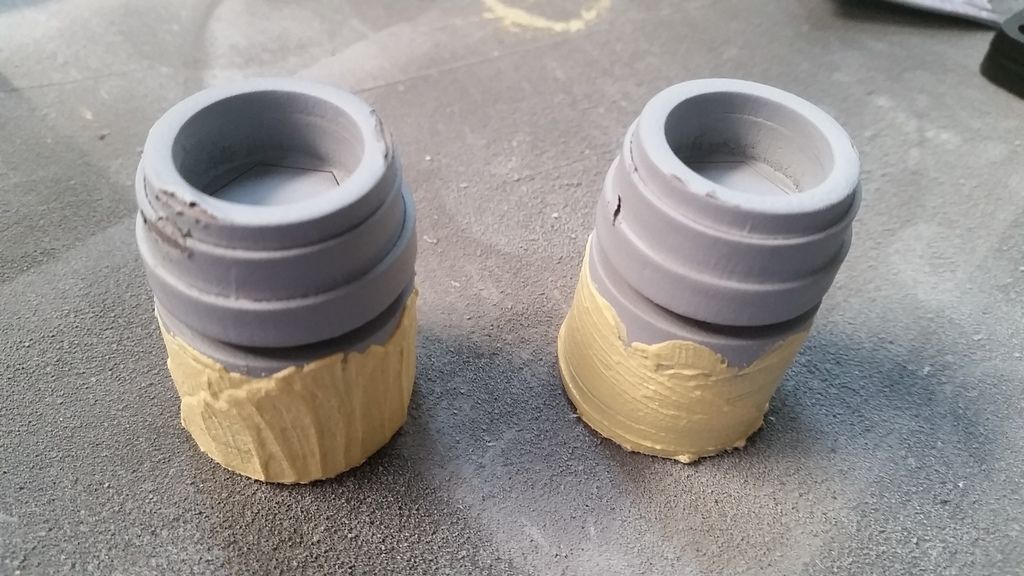
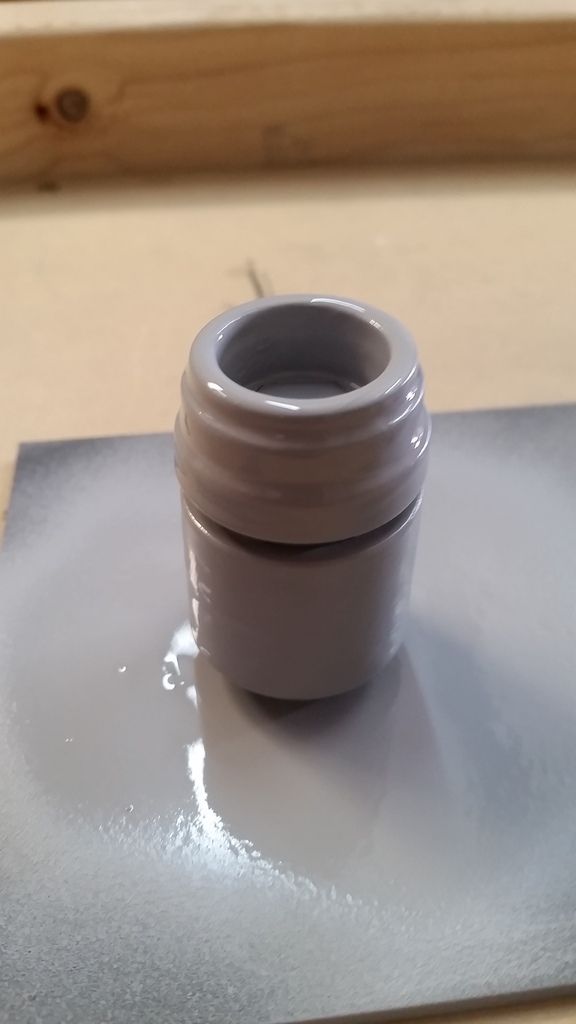
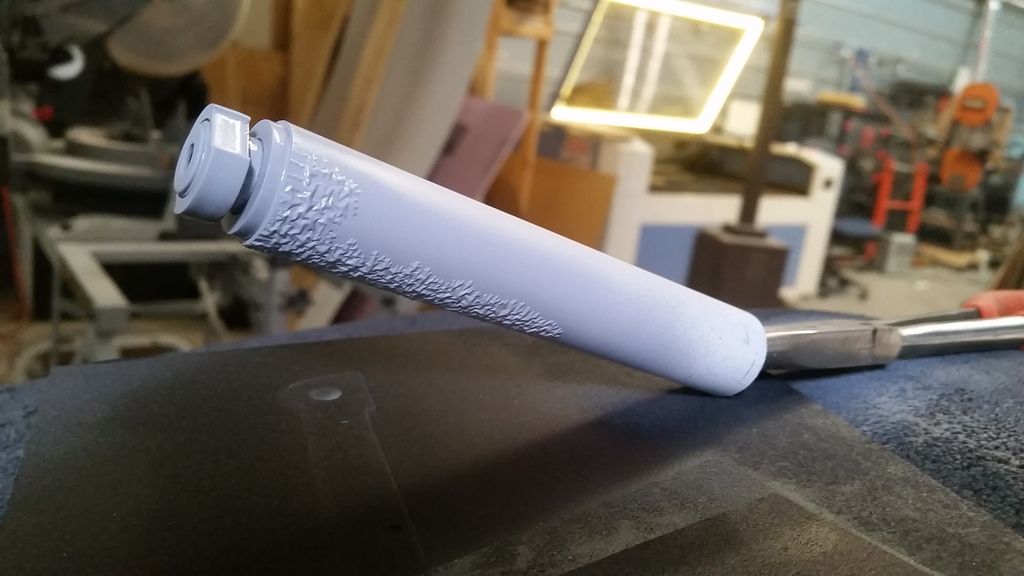
And let the sanding, priming, sanding, etc begin!
IMG_20180216_121826_zps07nwpjv2.jpg


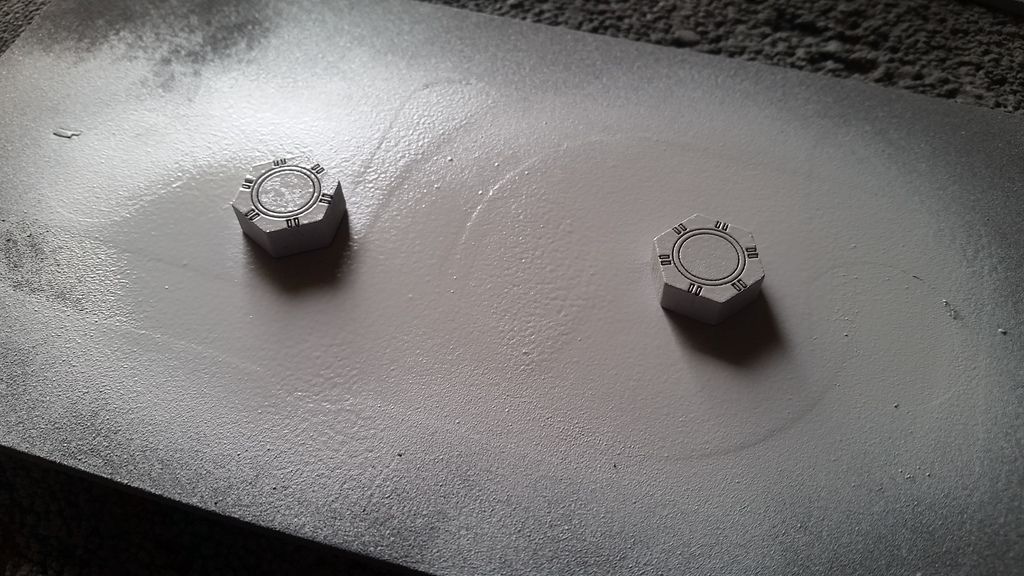
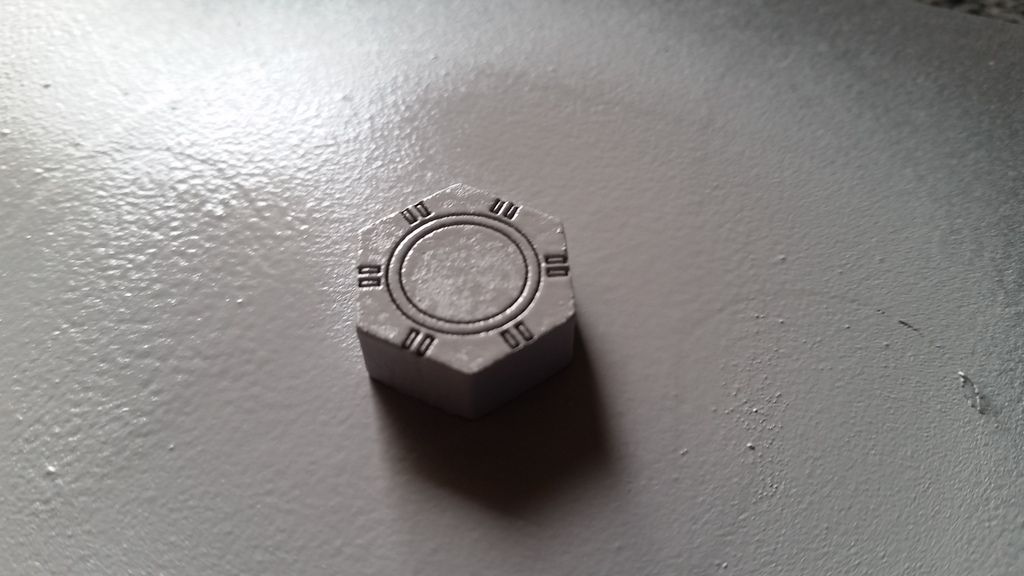
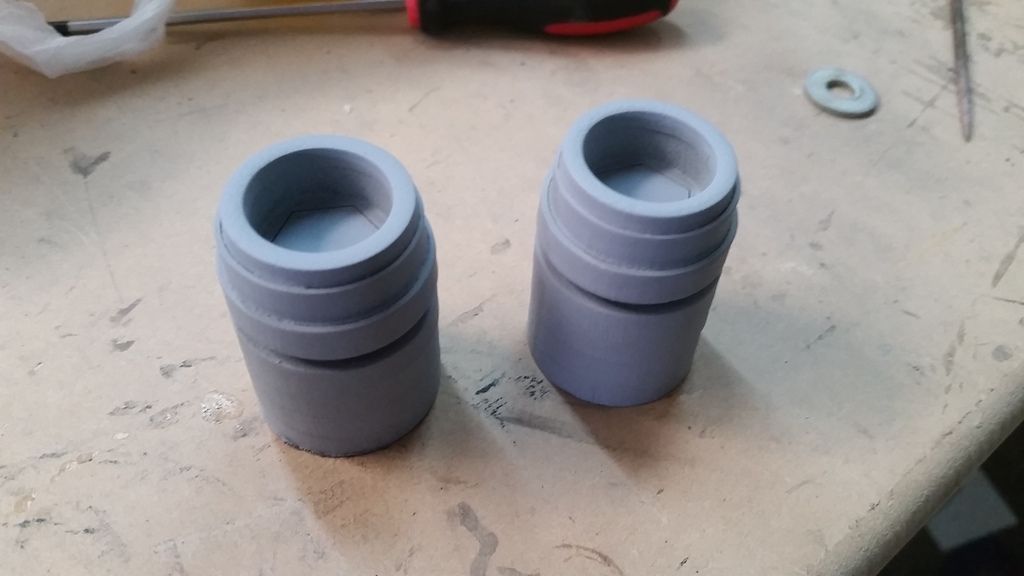
I was able to spray a little bit of paint on these finished parts
IMG_20180216_143635_zpsrmfa58f8.jpg


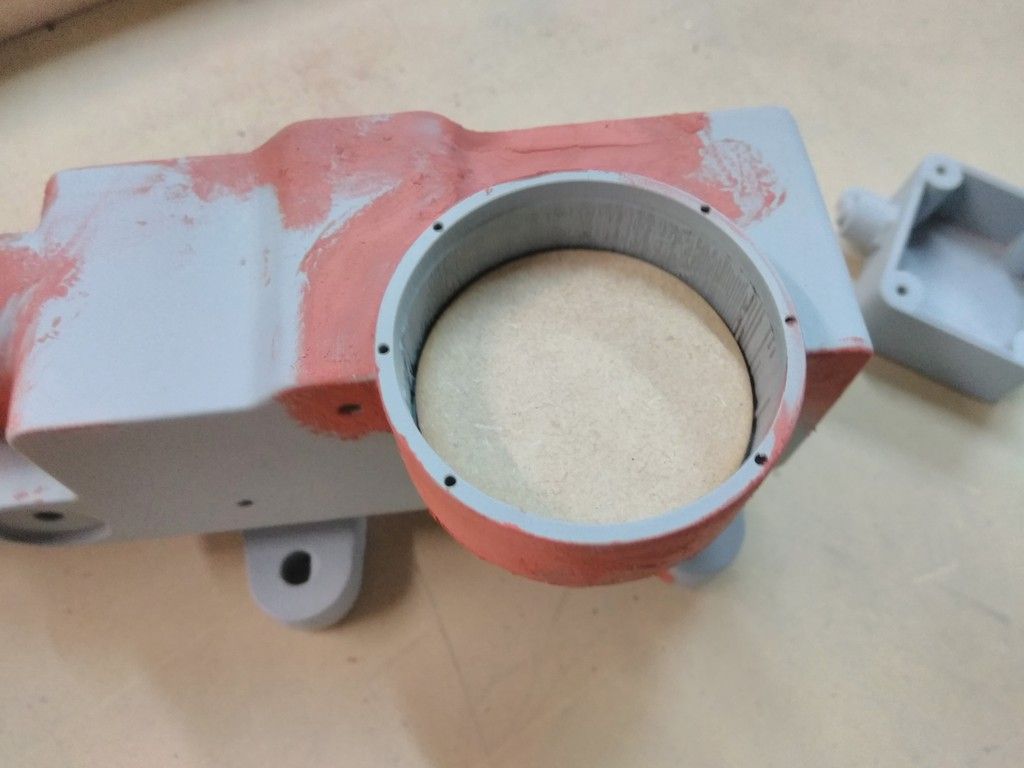
Cut a riser
IMG_20180216_144905_zpskttgdvd6.jpg


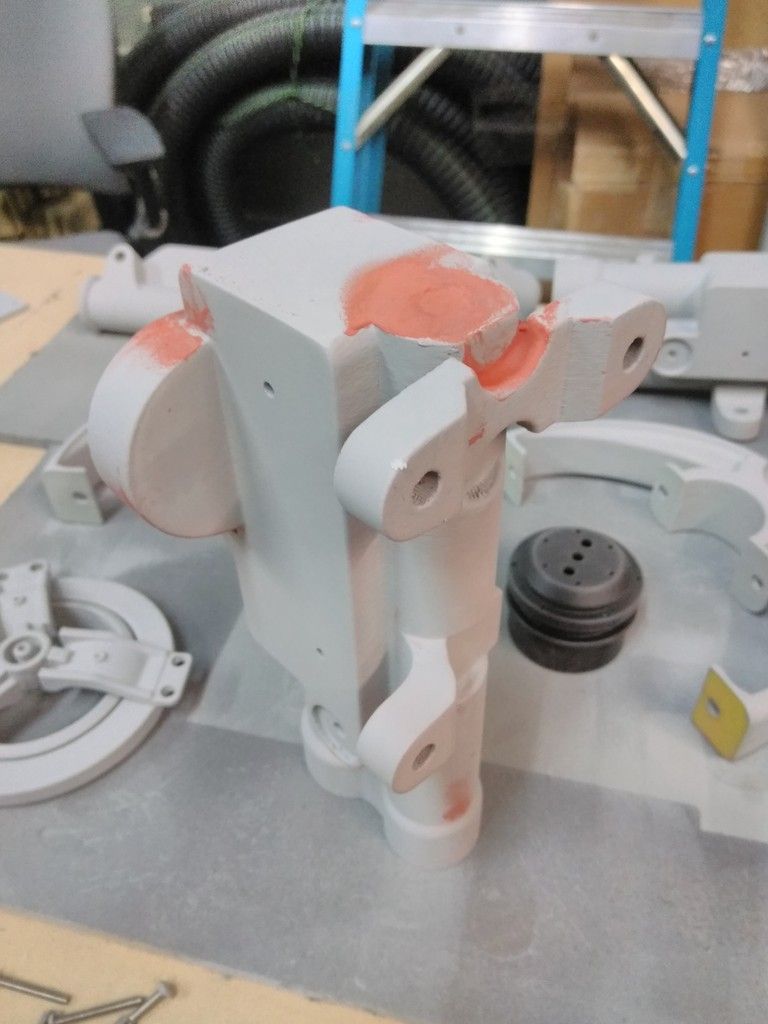
Filler
IMG_20180216_160108_zpsny0eetwm.jpg


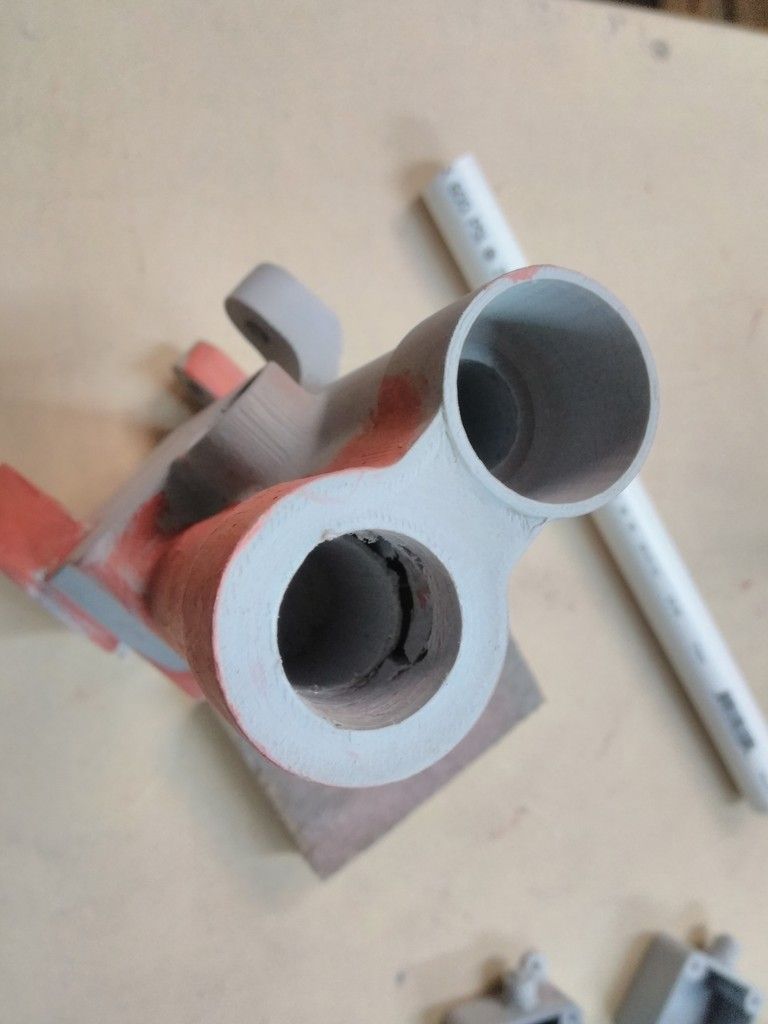
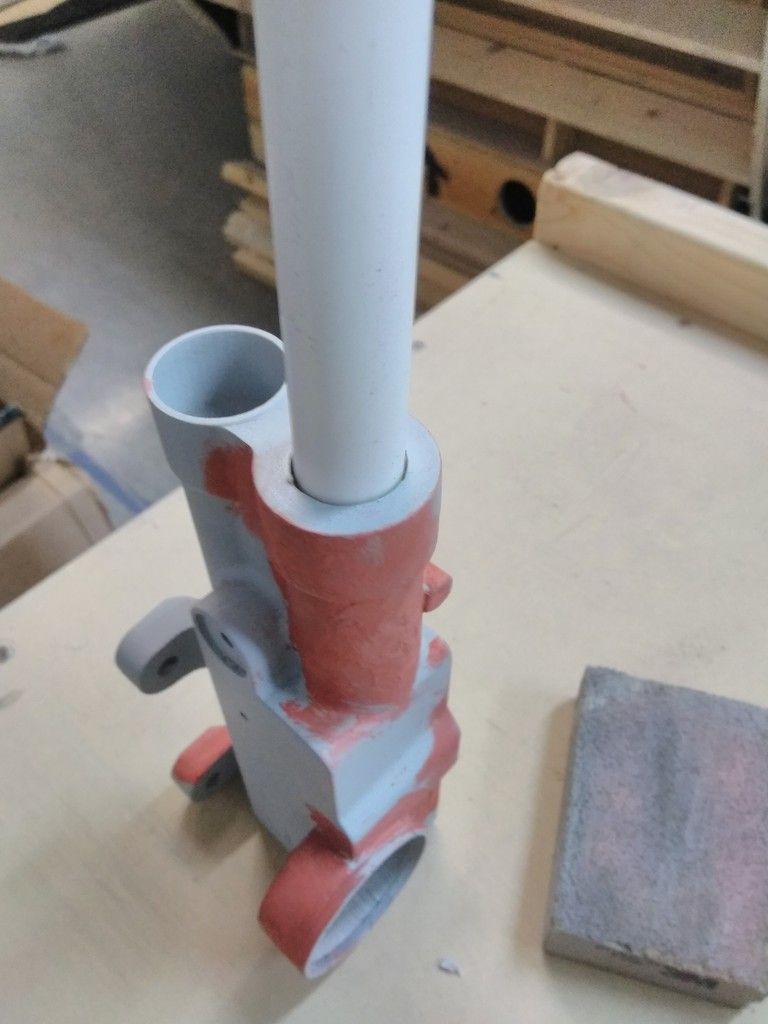
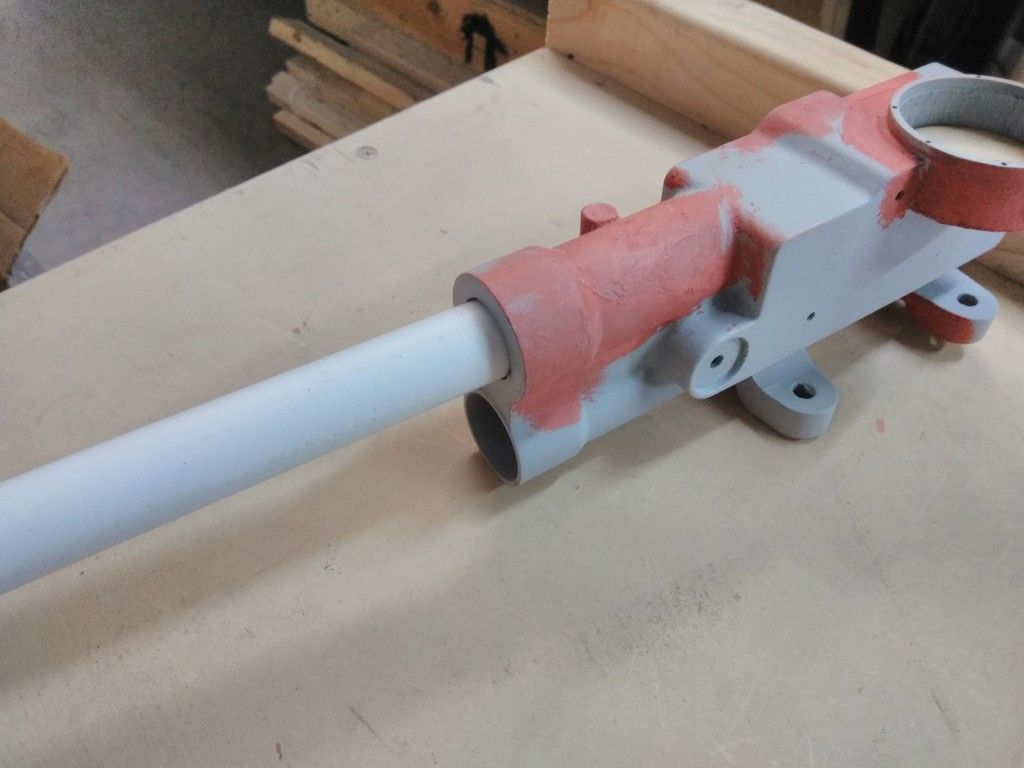
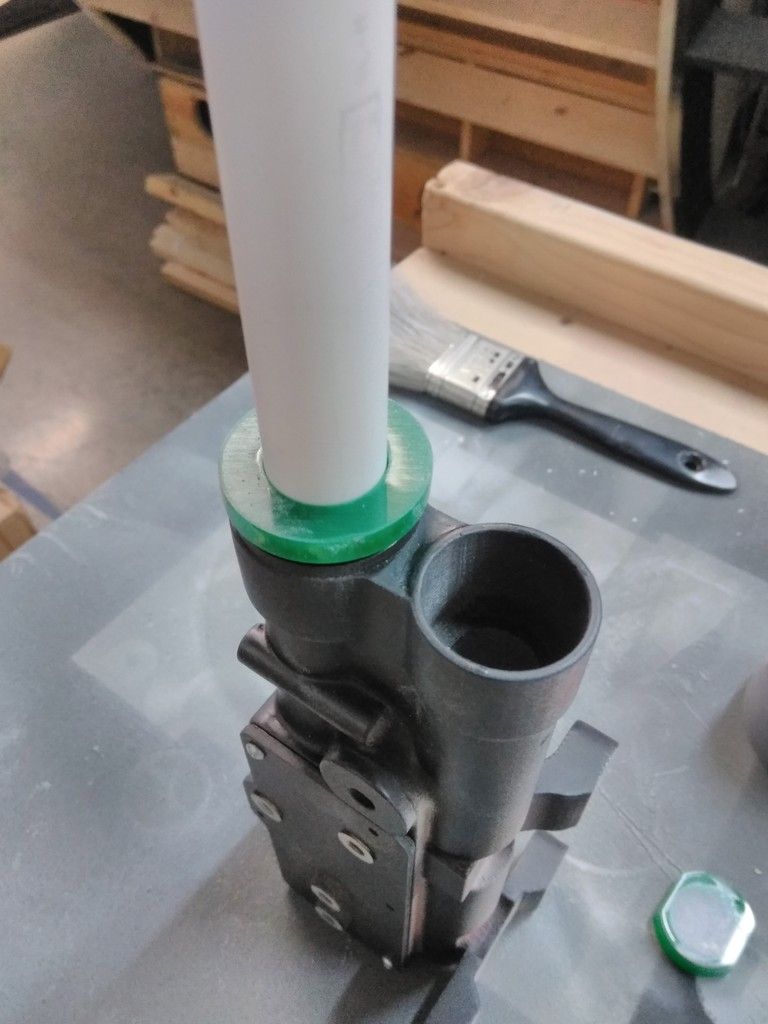
More filler and widening the hole for the PVC pipe to fit
IMG_20180216_150142_zpsbadm46vs.jpg


Test fitting the PVC
IMG_20180216_150216_zpstre08tux.jpg


IMG_20180216_150226_zps5ns3jvnr.jpg


Lots to do
IMG_20180216_160053_zps2xeadess.jpg


The sanding went on and on and on...
IMG_20180216_160656_zpsani67loa.jpg


Finally! Color!
IMG_20180217_115515_zpskfgkwi4d.jpg


3D prints are amazing but the amount of prep work to get rid of the visible layers is VERY time consuming
IMG_20180217_115523_zpssub1y5sf.jpg


IMG_20180217_115530_zpsw6gopsum.jpg


IMG_20180217_125716_zpswnaopyes.jpg


IMG_20180217_125724_zpsdarl1a9f.jpg


IMG_20180217_125729_zpstovbntbd.jpg


As the paint dries it was time to cut some details
IMG_20180217_125652_zpspzmlroel.jpg


This is the fun part of the build... The Details!
IMG_20180217_134420_zpsbn7e2hjm.jpg


Dry fitting
IMG_20180217_134426_zpsdut18f4l.jpg


NOT final length
IMG_20180217_134436_zpsys5zsivh.jpg


IMG_20180217_134441_zpsx03mlfwo.jpg


Slowly putting it all together
IMG_20180217_150759_zpsbnlwejiy.jpg


IMG_20180217_150804_zpssllajz3j.jpg


Simple weathering
IMG_20180217_150812_zpst678kxyz.jpg


IMG_20180217_151142_zpspf8slecm.jpg


More details
20180218_075812_zpsyercvvsi.jpg


EWE... gotta sand smooth
20180218_080517_zpsysyr0ffd.jpg


20180218_081558_zpsgjjotx6j.jpg


Details
20180218_081603_zpspw6w941r.jpg


Hanging out to dry
20180218_082606_zpsaz664ii0.jpg


20180218_082613_zpsgbyuowax.jpg


20180218_082620_zpsowh5quvn.jpg


More details
20180218_085600_zpsznd6vjvi.jpg


20180218_085617_zps0j6f72ot.jpg


Cutting down to fit
20180218_085643_zpsu1z63oda.jpg


20180218_085654_zpscuwydhy6.jpg


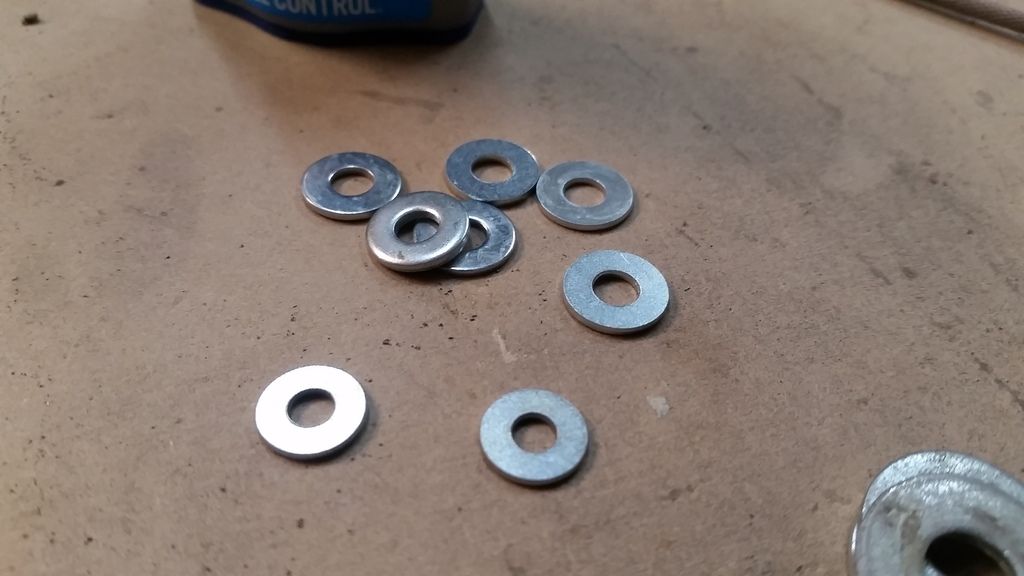
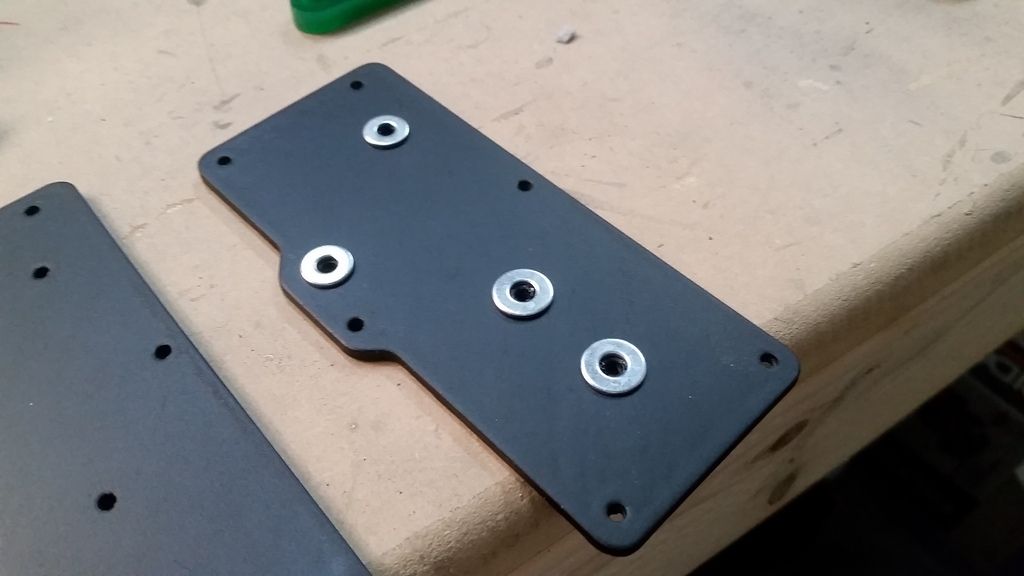
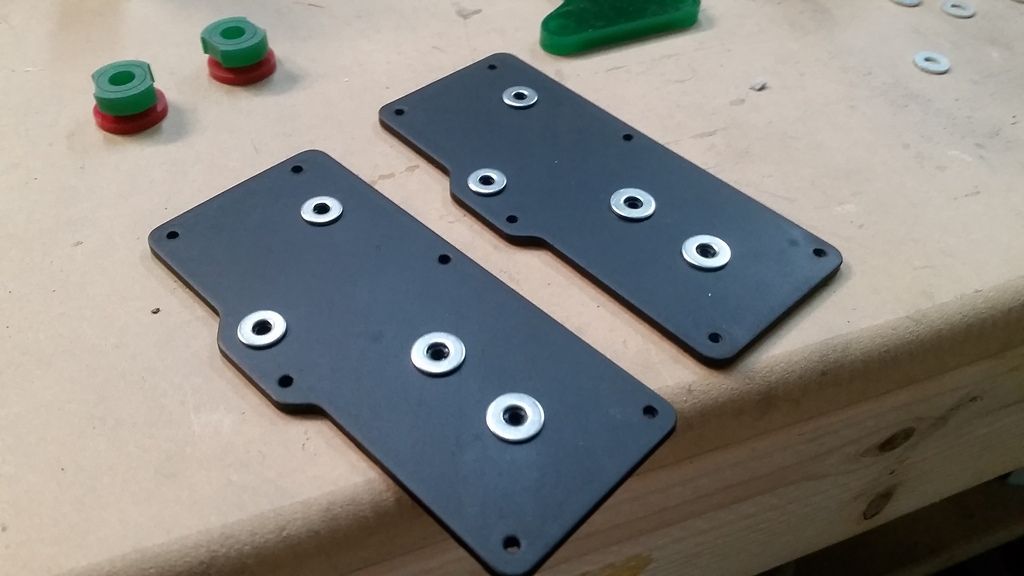
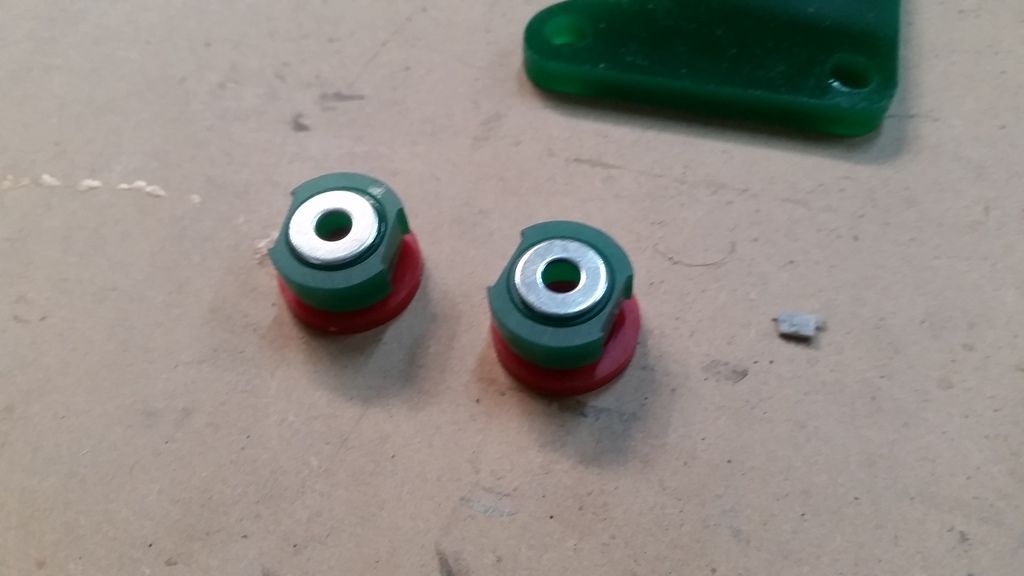
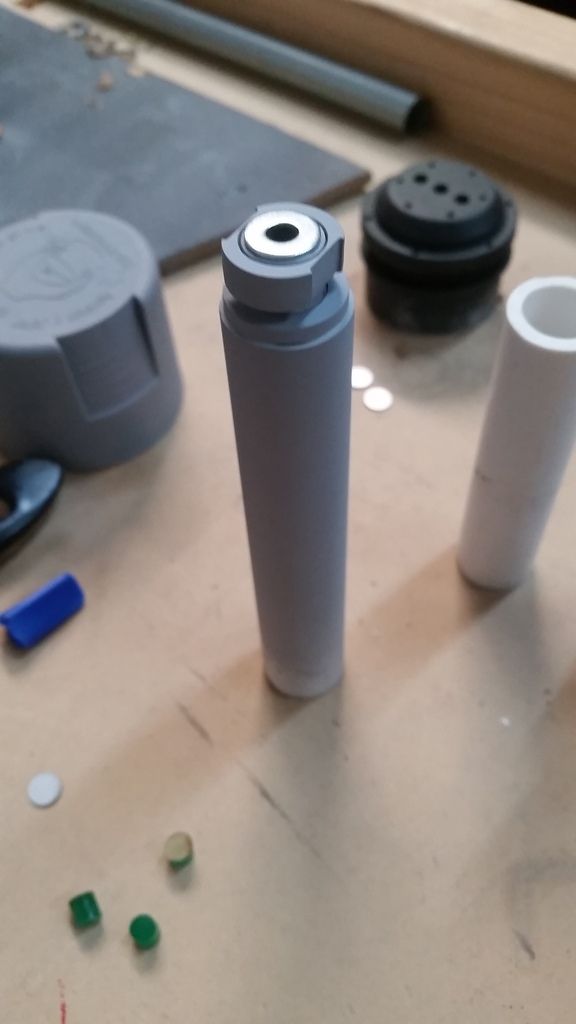
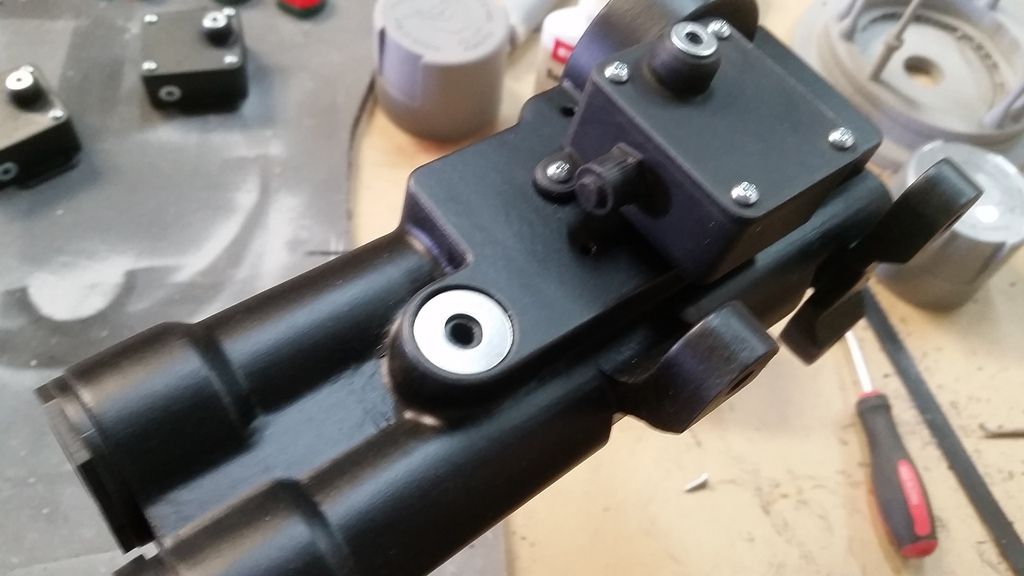
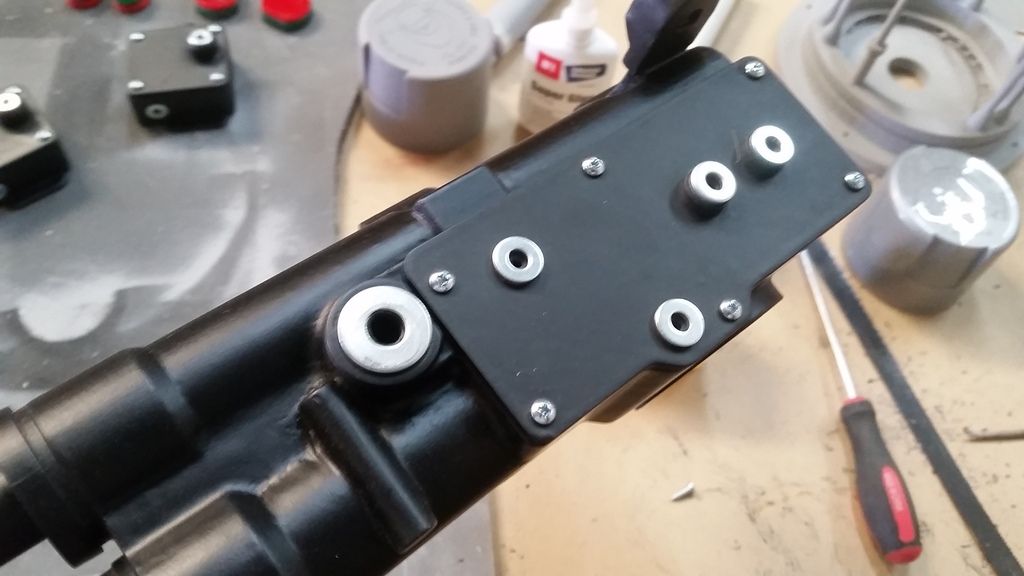
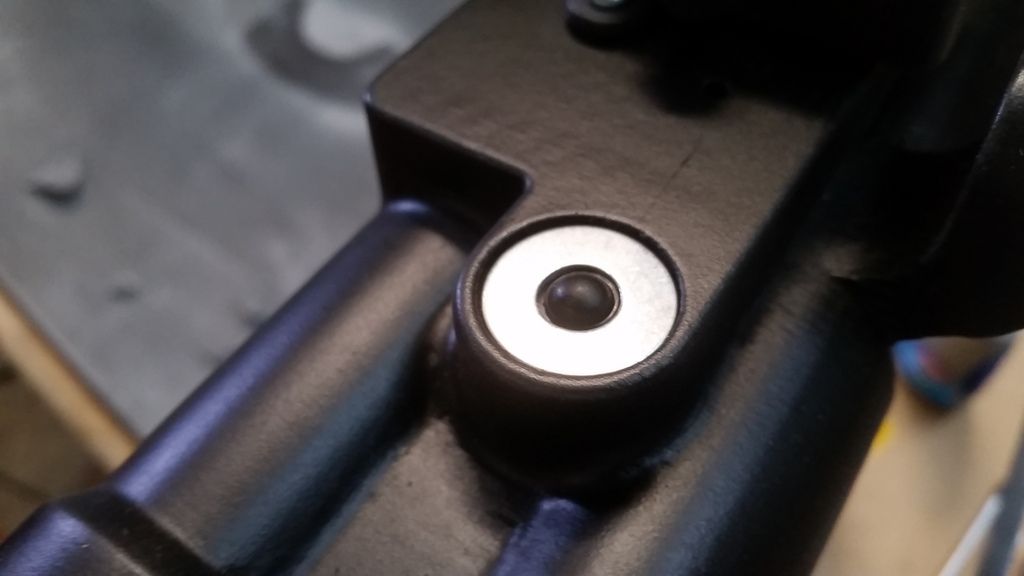
Time to add some real world details. Grabbed some washers...
20180218_090123_zpskine3xz1.jpg


Applied accordingly
20180218_090128_zpst9yzcj17.jpg


20180218_090313_zpst5e52xcu.jpg


20180218_091955_zpspyk78lis.jpg


20180218_092201_zpsyntajcwp.jpg


Primer
20180218_092222_zpscopsqked.jpg


20180218_092253_zpscde3xrty.jpg


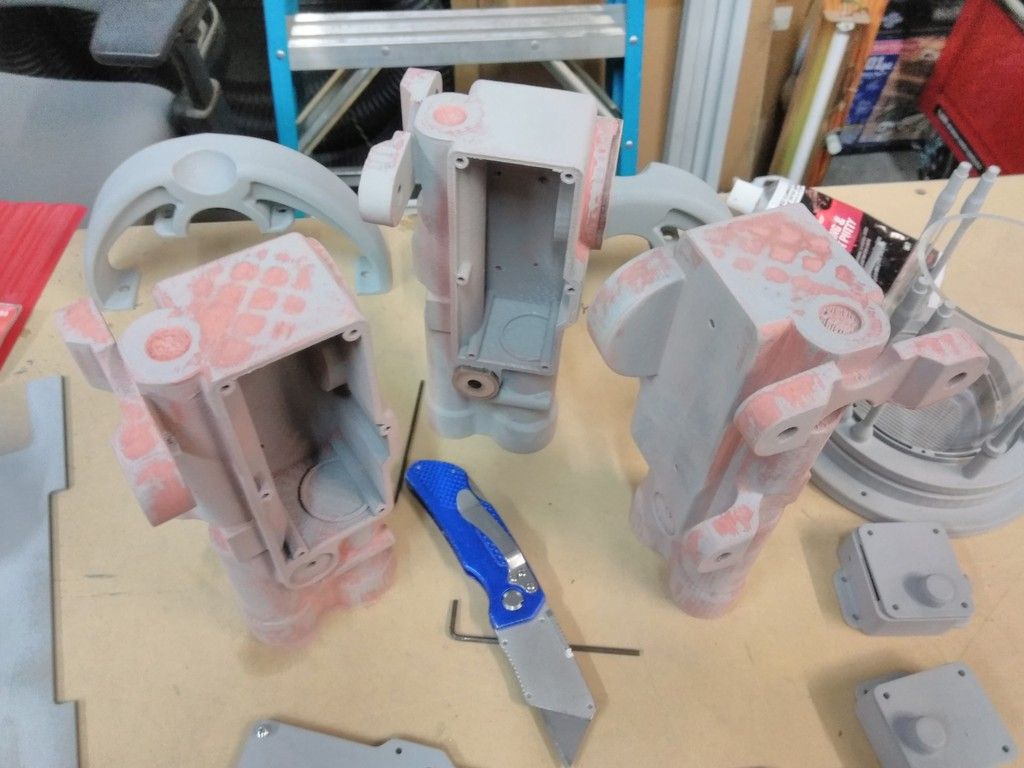
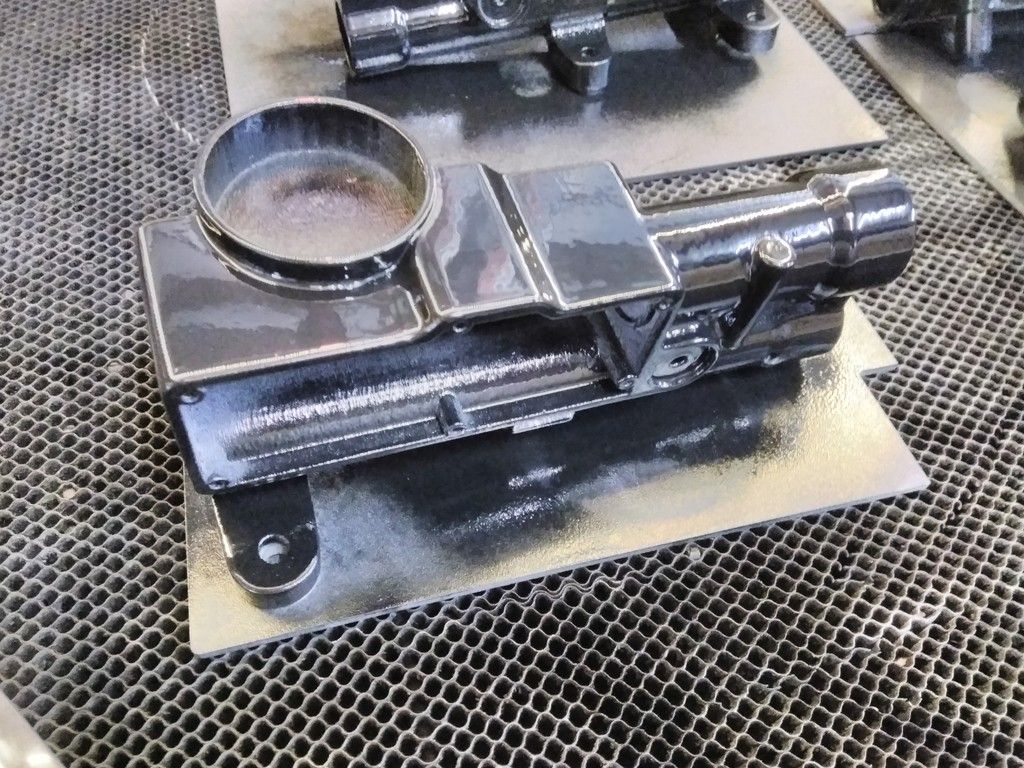
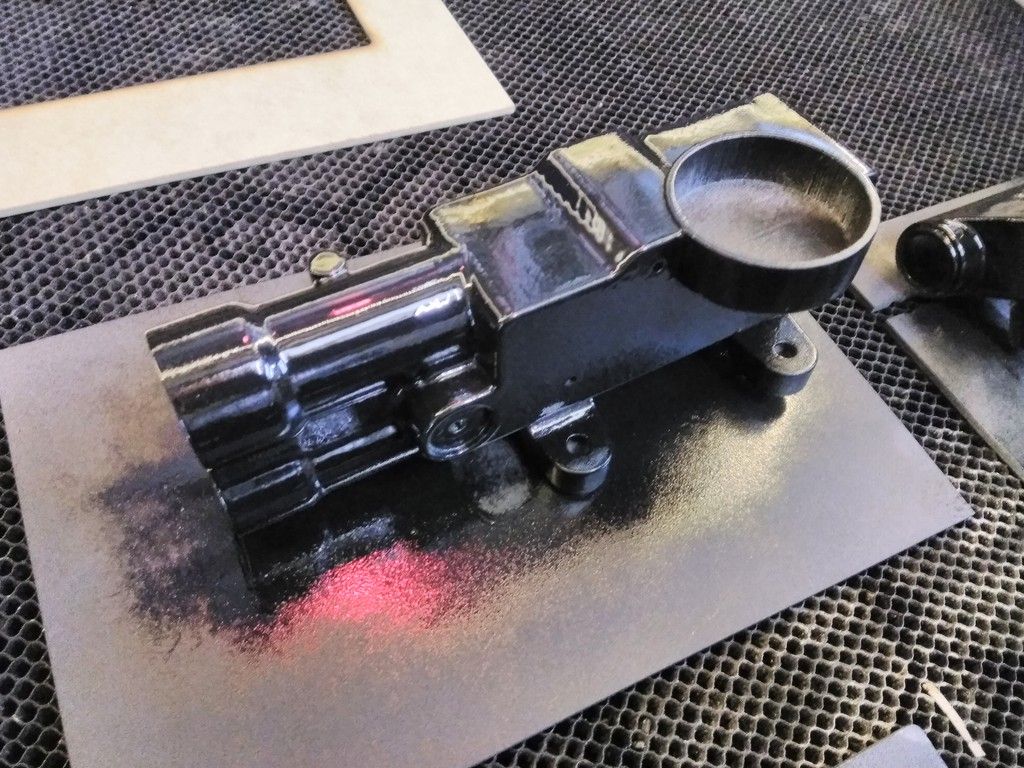
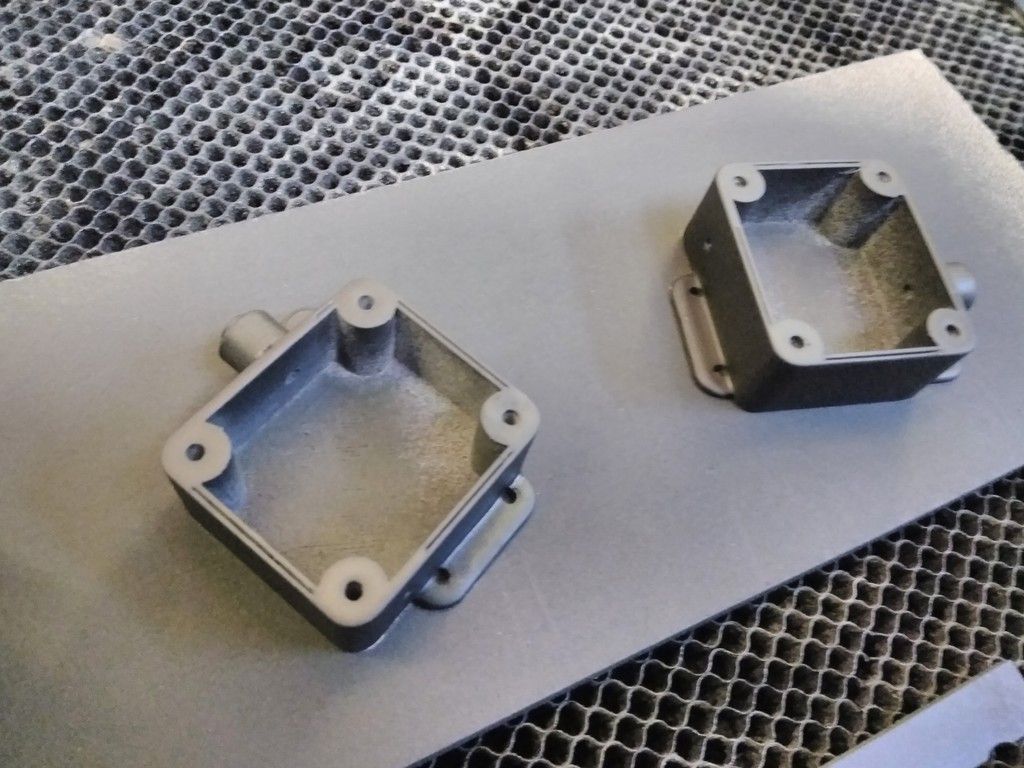
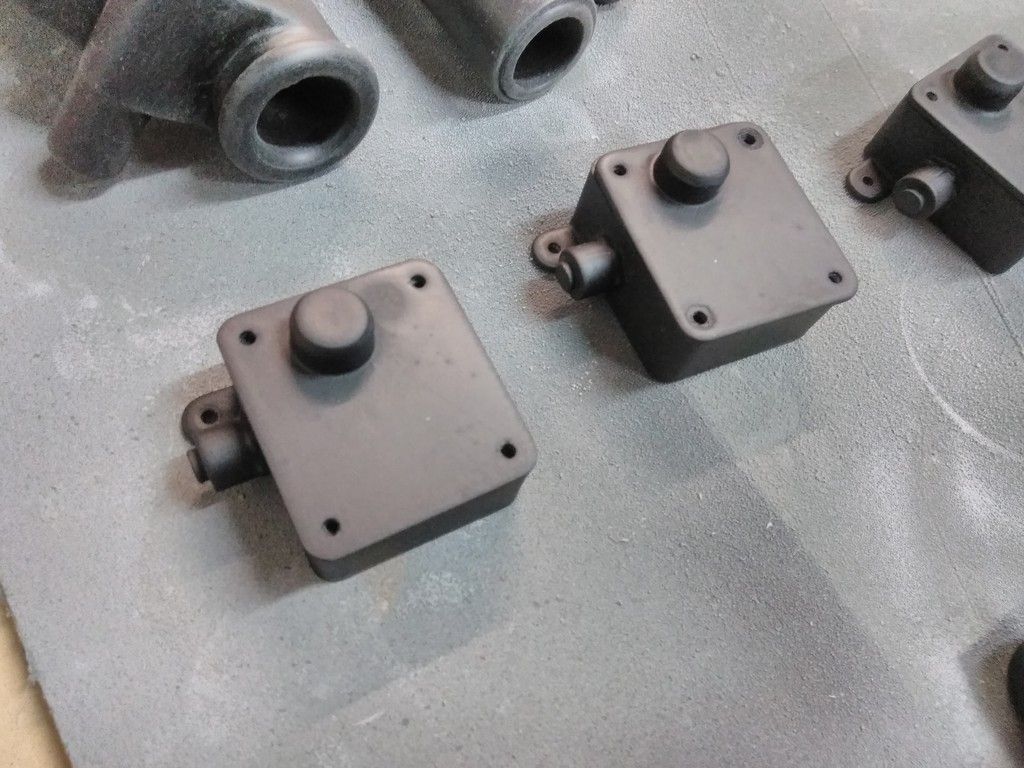
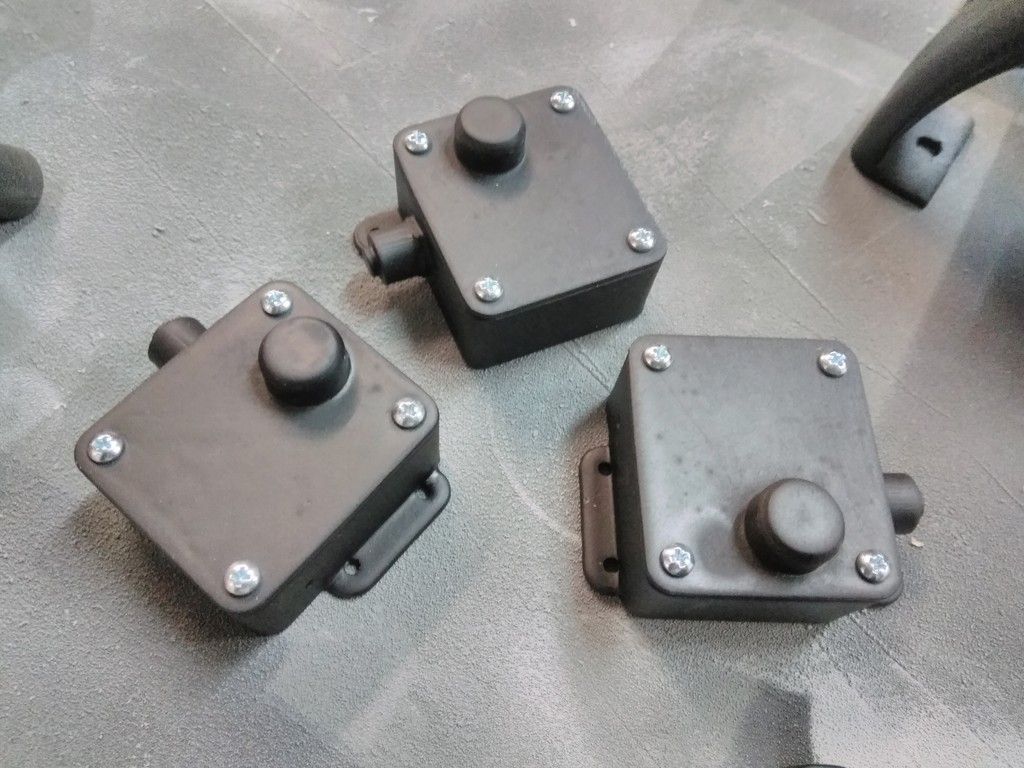
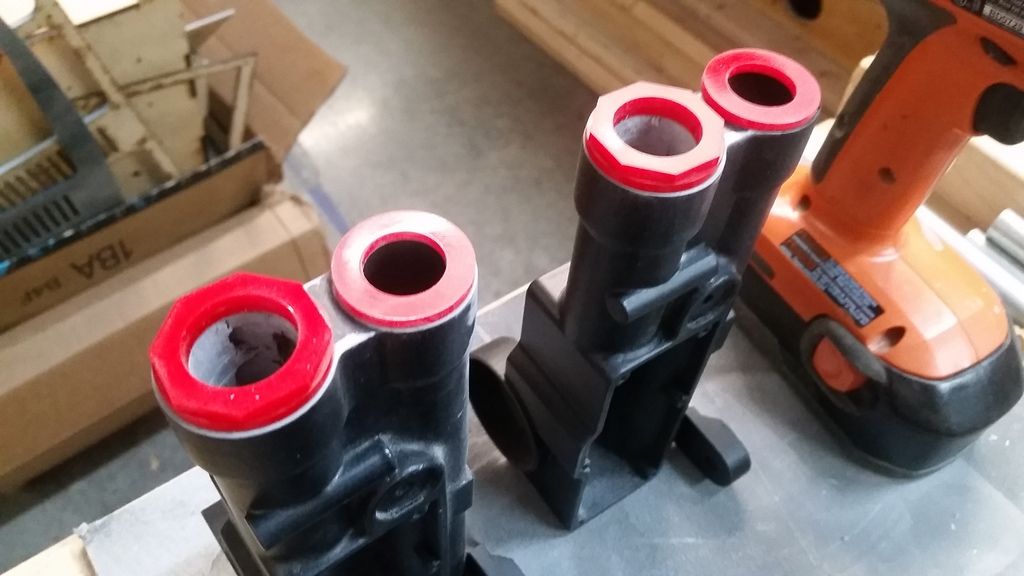
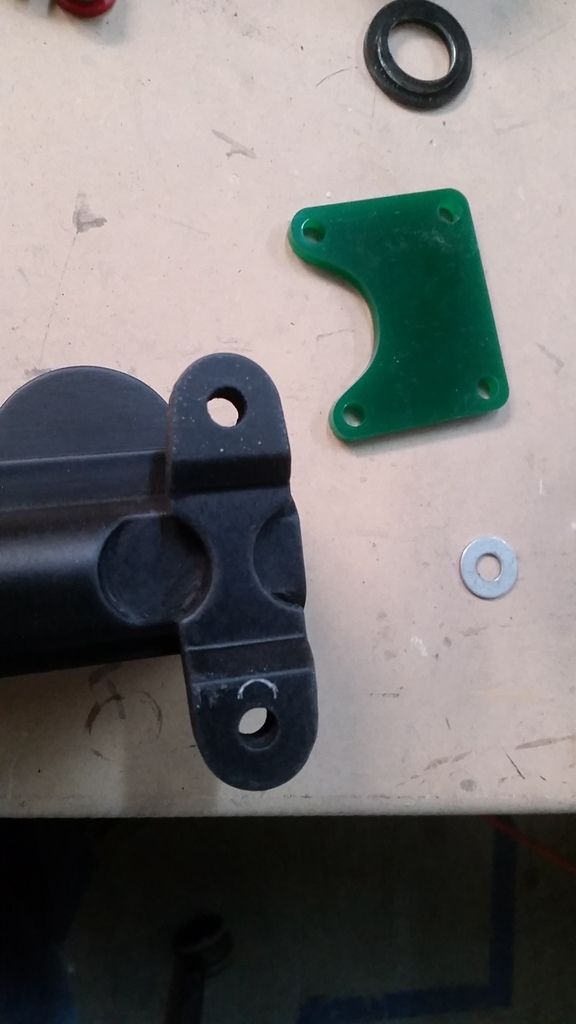
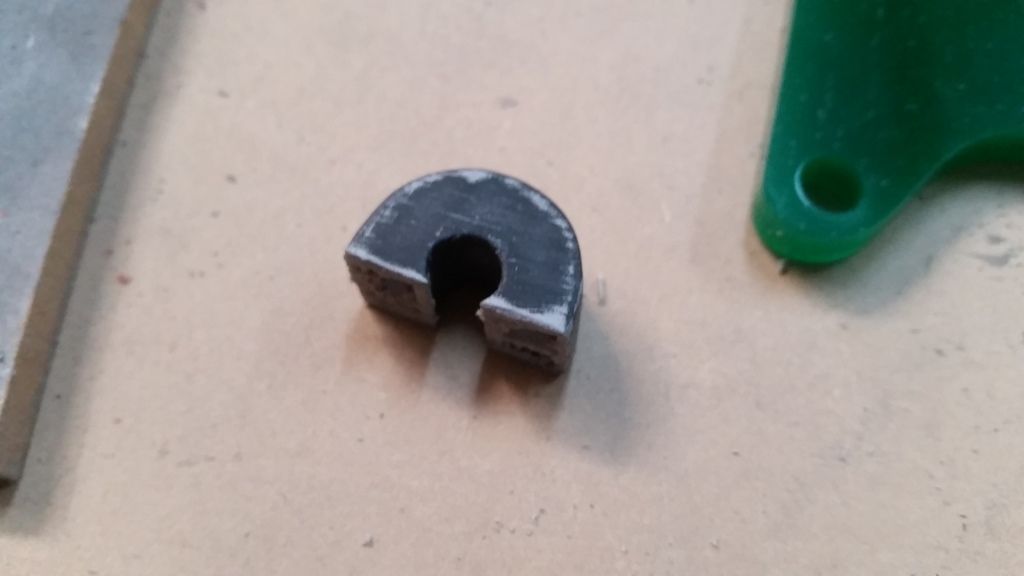
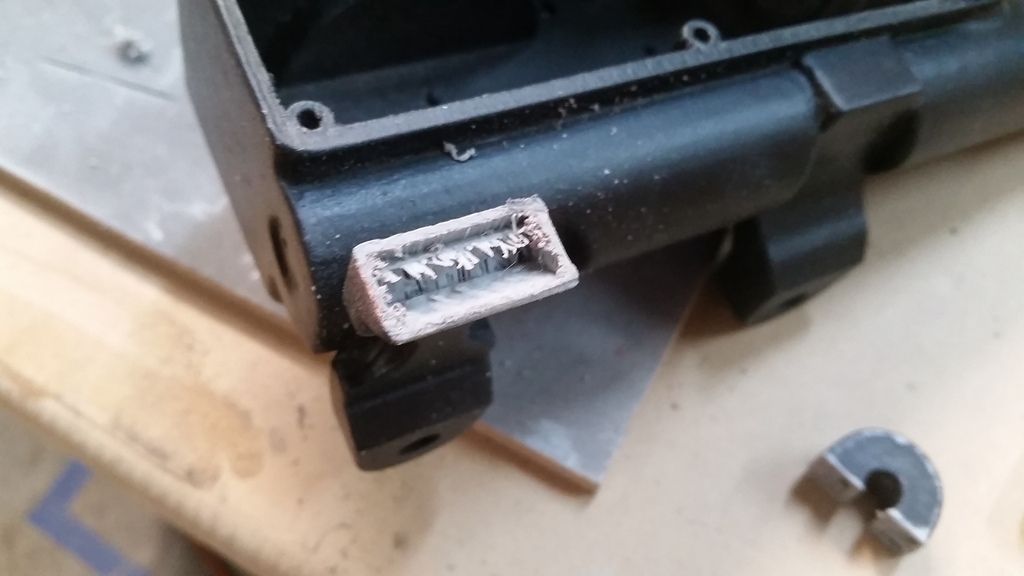
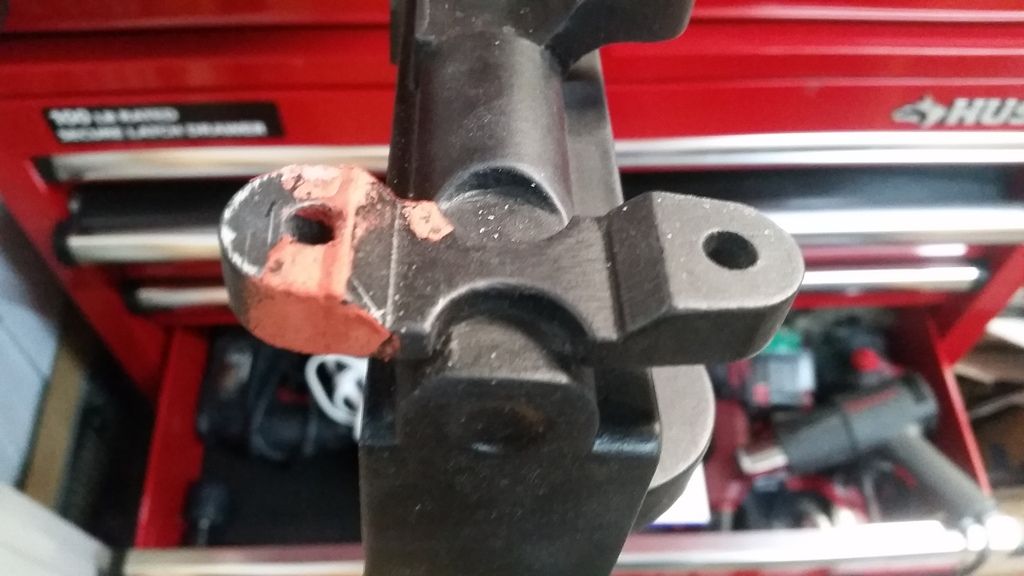
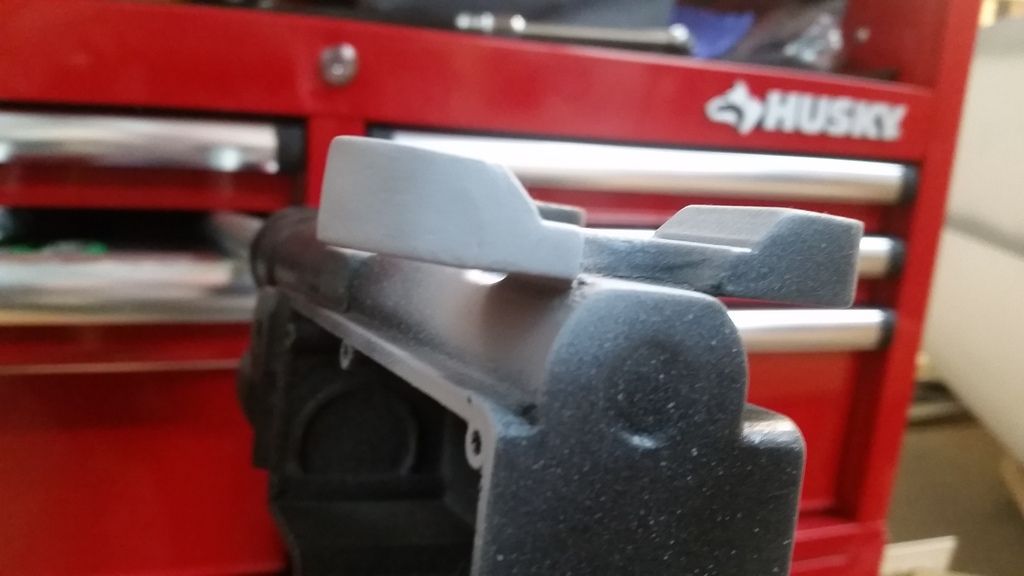
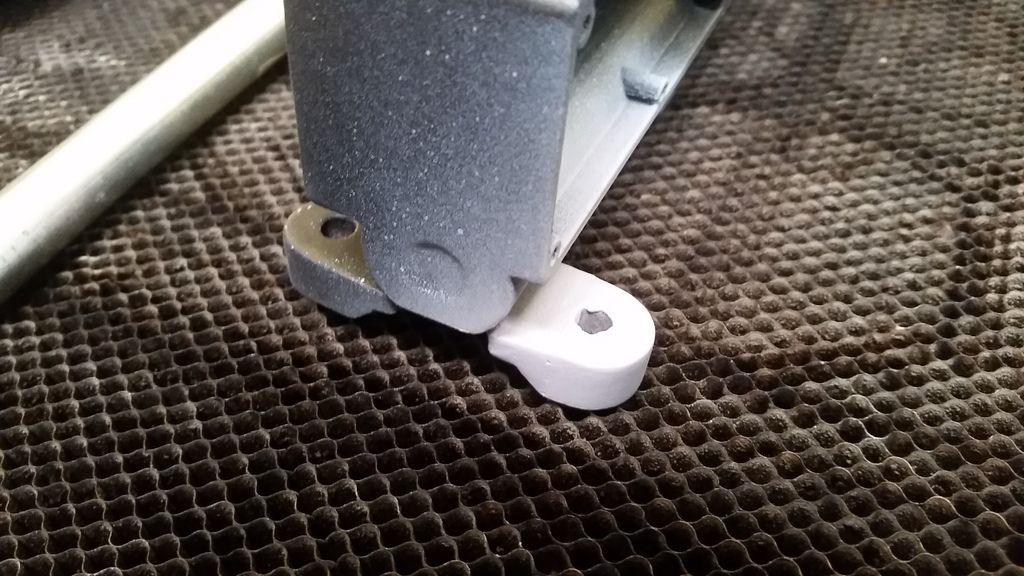
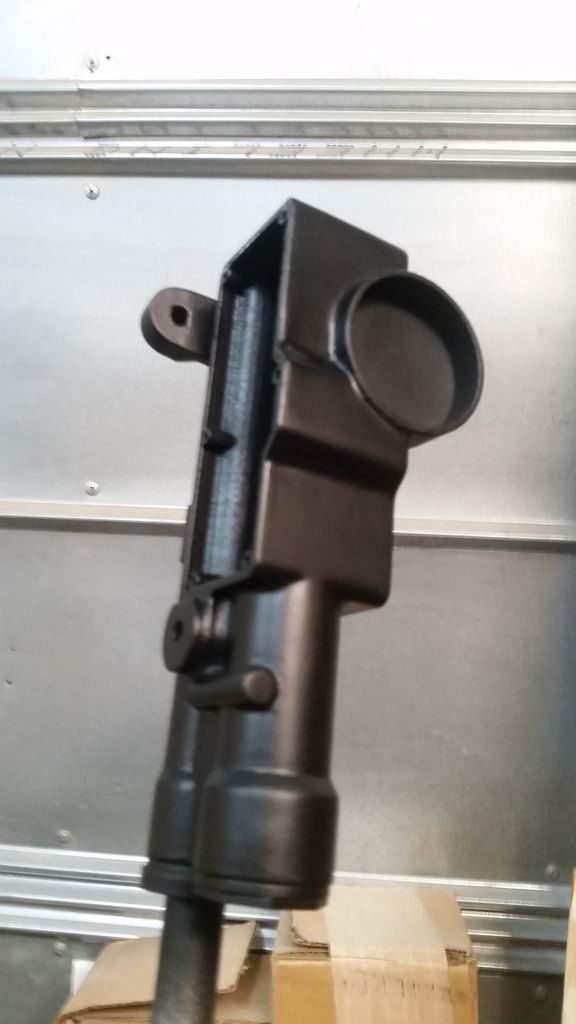
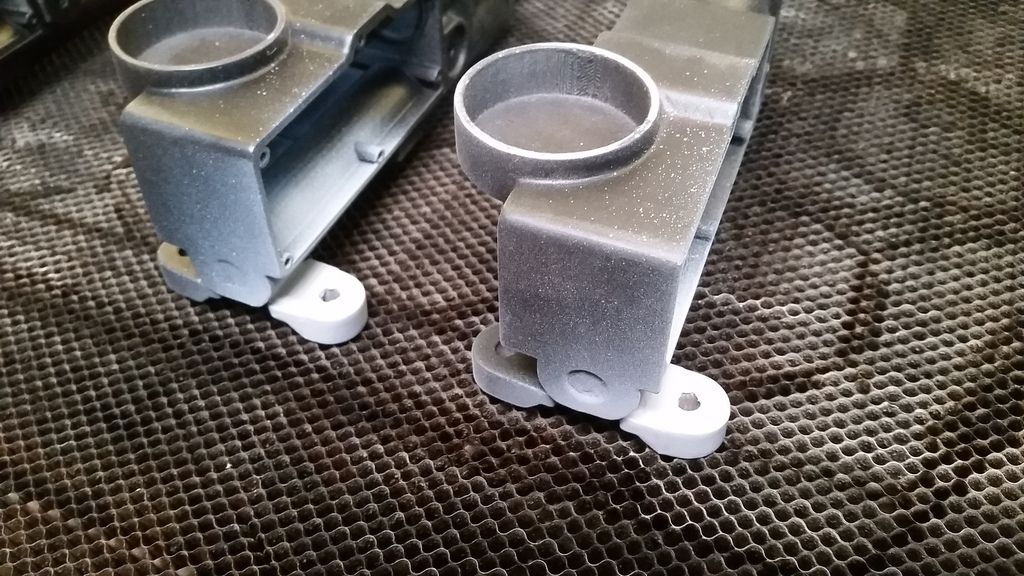
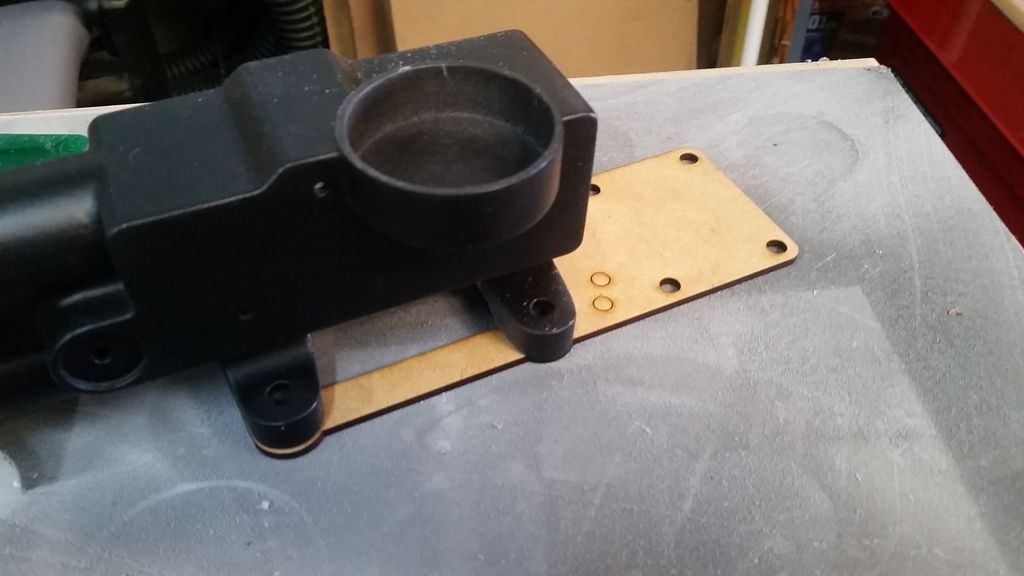
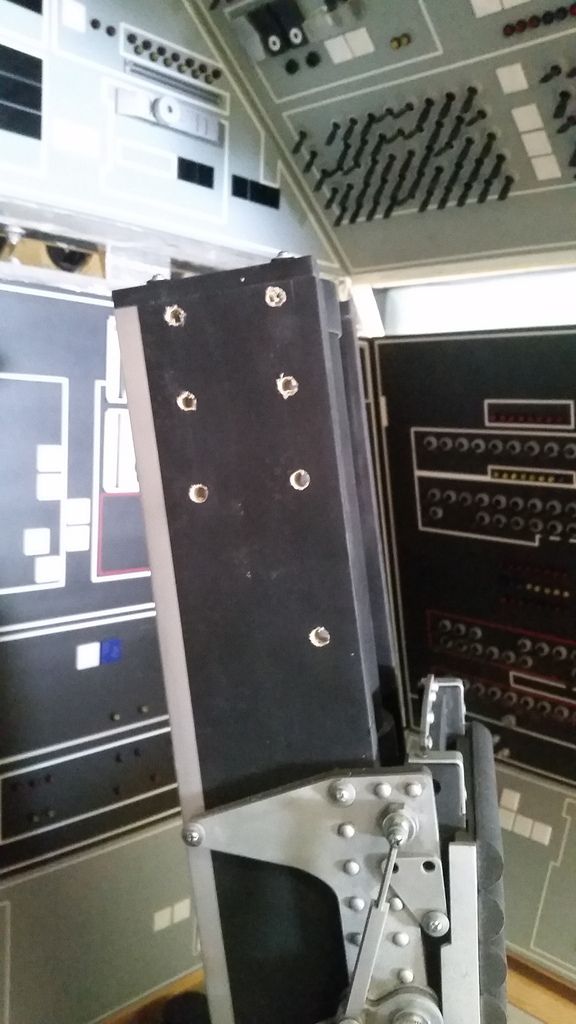
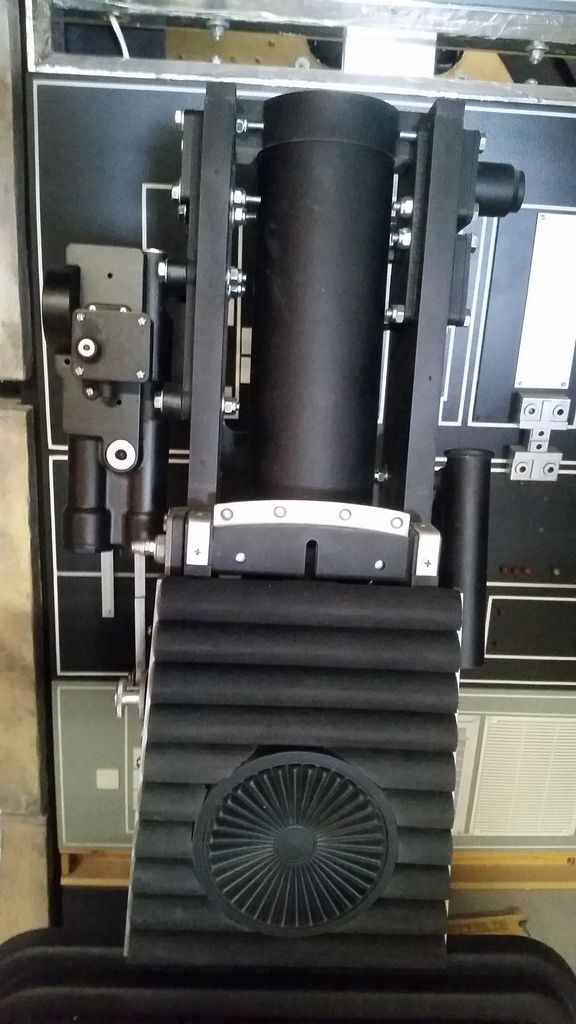
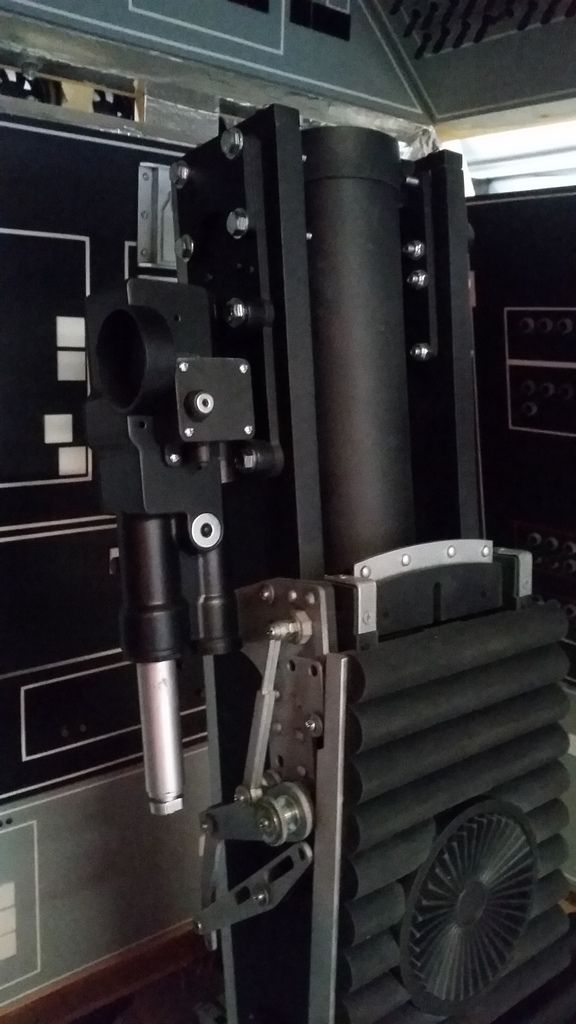
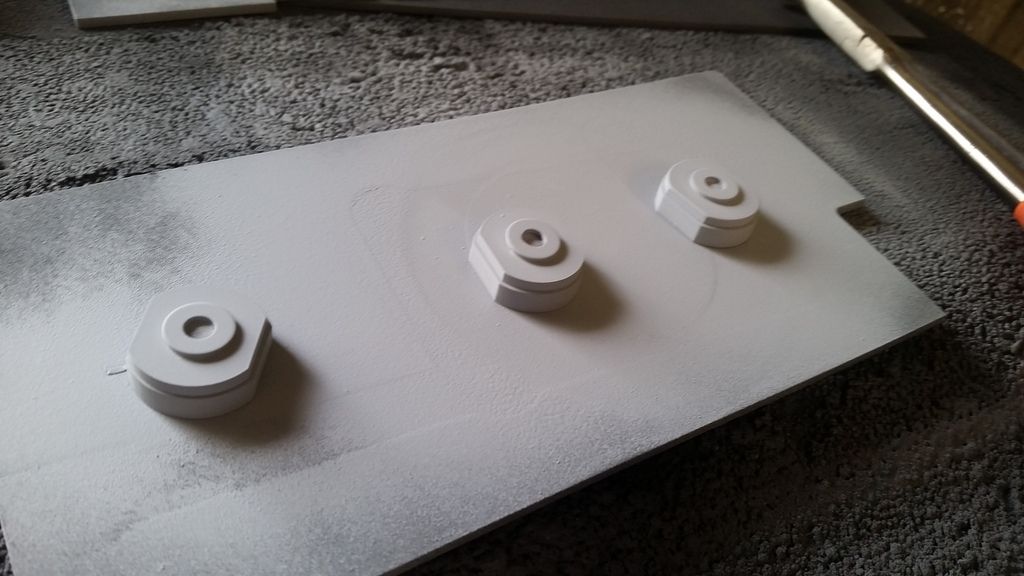
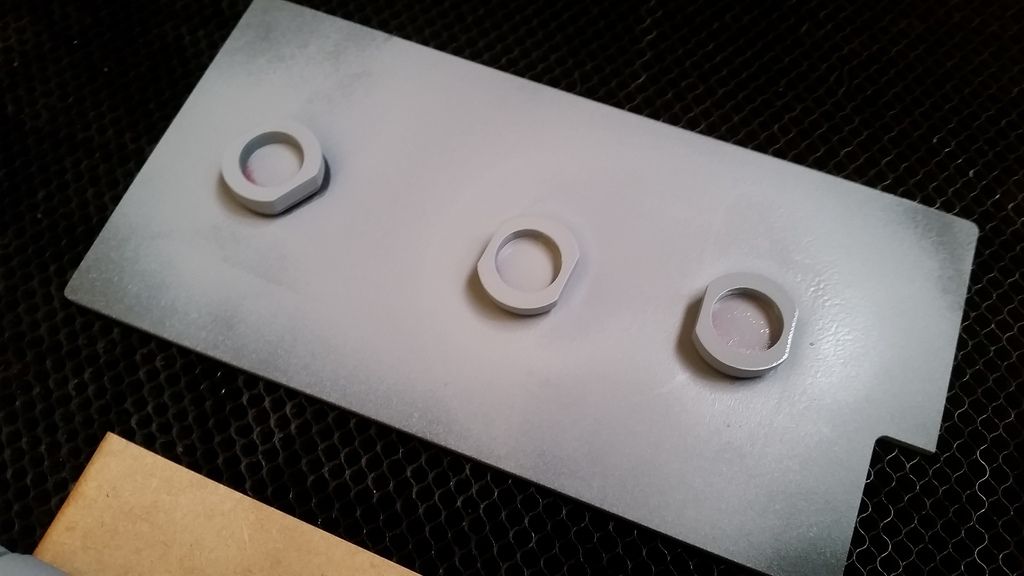
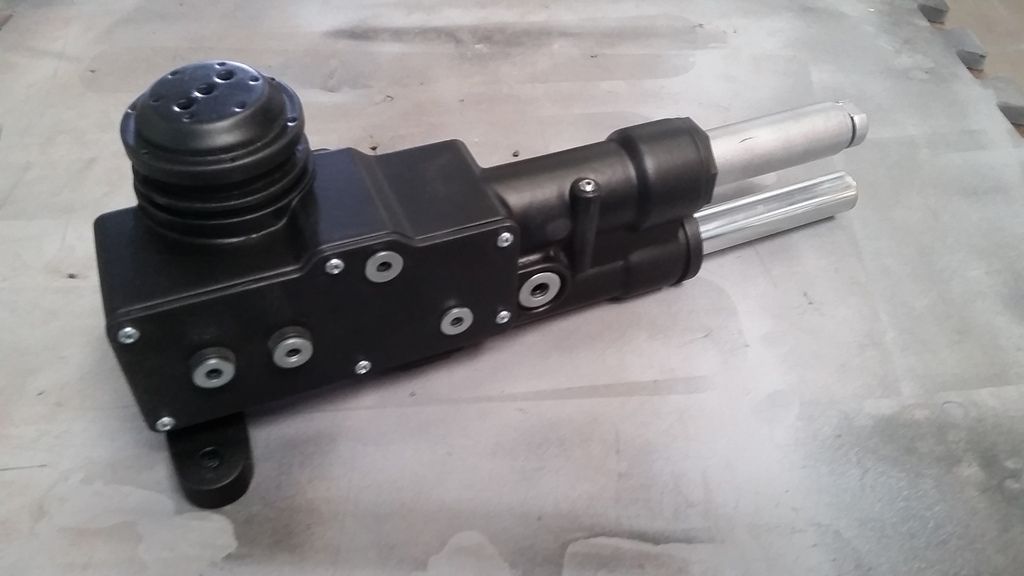
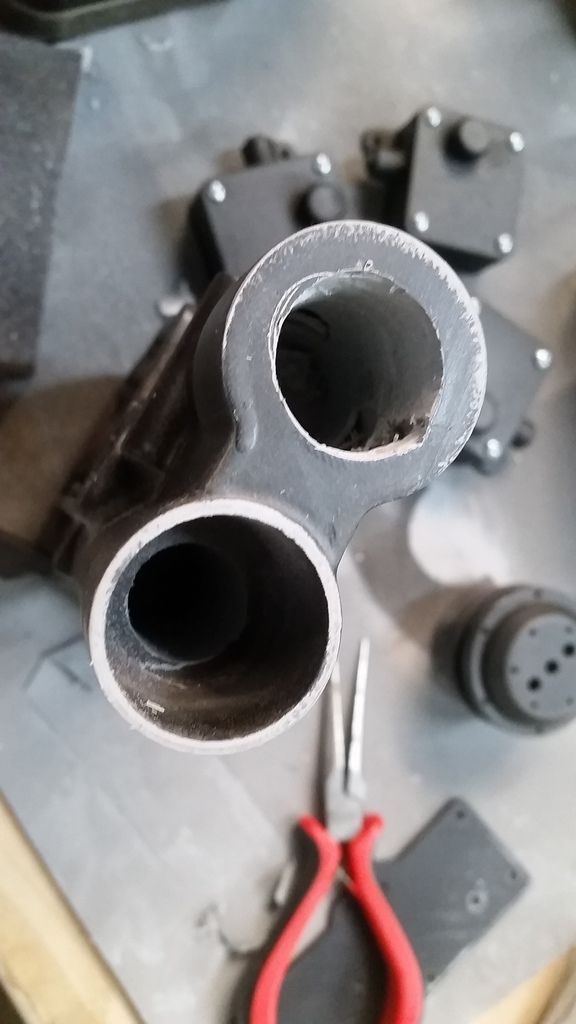
An UGH moment... I realized that the mounting holes for the TRM (Time Release Mechanism) were not aligned so I had to do a bit of cosmetic surgery
20180218_092954_zps6dlka6so.jpg


Mark the hole
20180218_093000_zpselfhmduo.jpg


1 of 2 cuts to remove material
20180218_093522_zpsqnvmmdt6.jpg


20180218_093536_zpsbauzn8w6.jpg


Adhere back together and add filler
20180218_094459_zps1opmqpqt.jpg


20180218_094510_zps9zjlpajg.jpg


Perfect!
20180218_094533_zpsbjj8rsim.jpg


All 3 had to be mod'd
20180218_100230_zpssm49ctgi.jpg


After sanding smooth I added more primer / filler
20180218_101806_zpsctdmttl5.jpg


20180218_101812_zpsurixpgv3.jpg


Gotta let it all dry
20180218_104219_zpsvxzzauaq.jpg


Needs a bit more attention
20180218_104225_zpsb9khuo4w.jpg


Perfect!
20180218_105800_zpswg9ck7lt.jpg


20180218_105840_zpsb8w7djnn.jpg


A bit more work on these guys
20180218_110133_zpsf2q6hduh.jpg


20180218_110139_zpszxnxoqxr.jpg


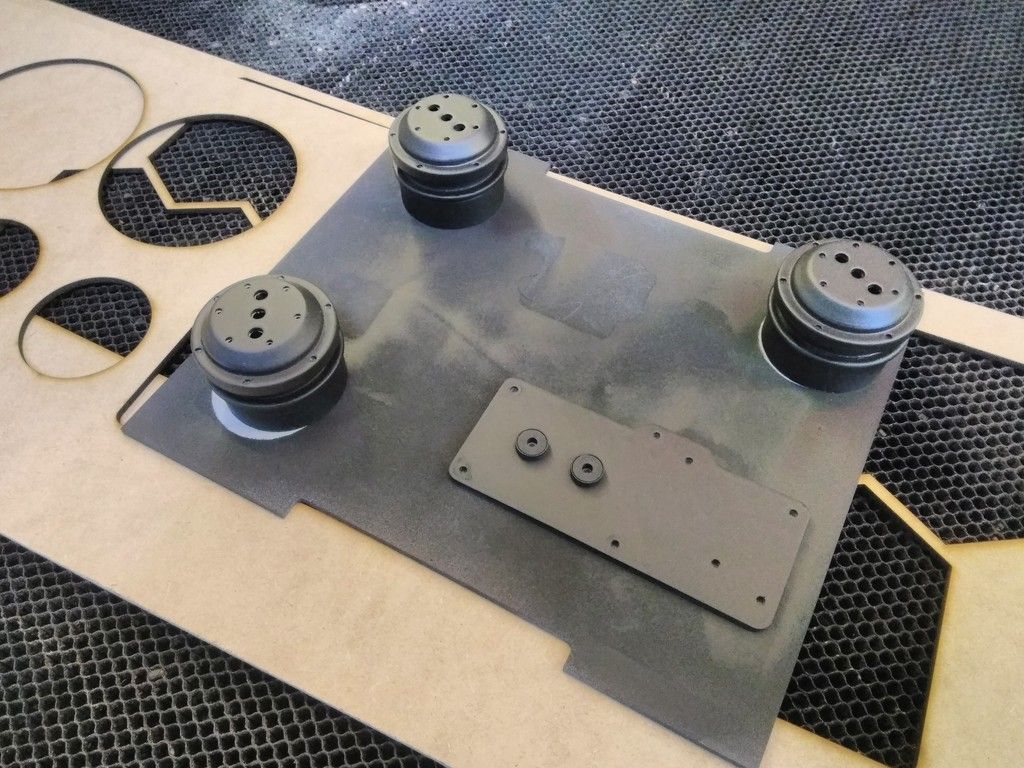
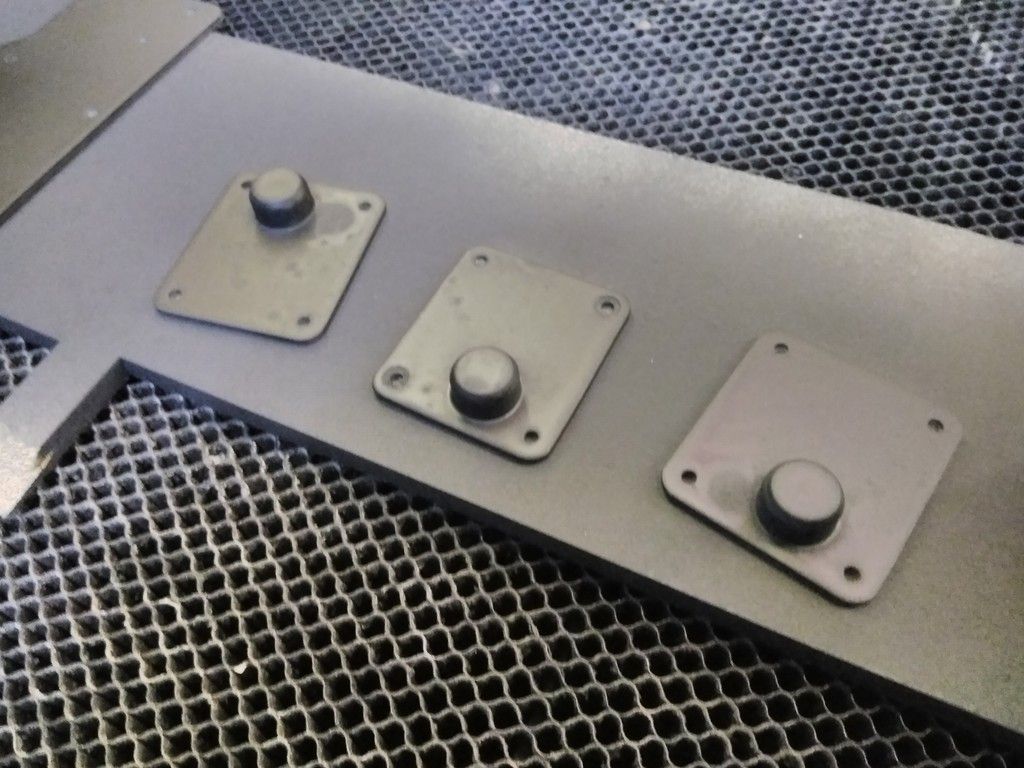
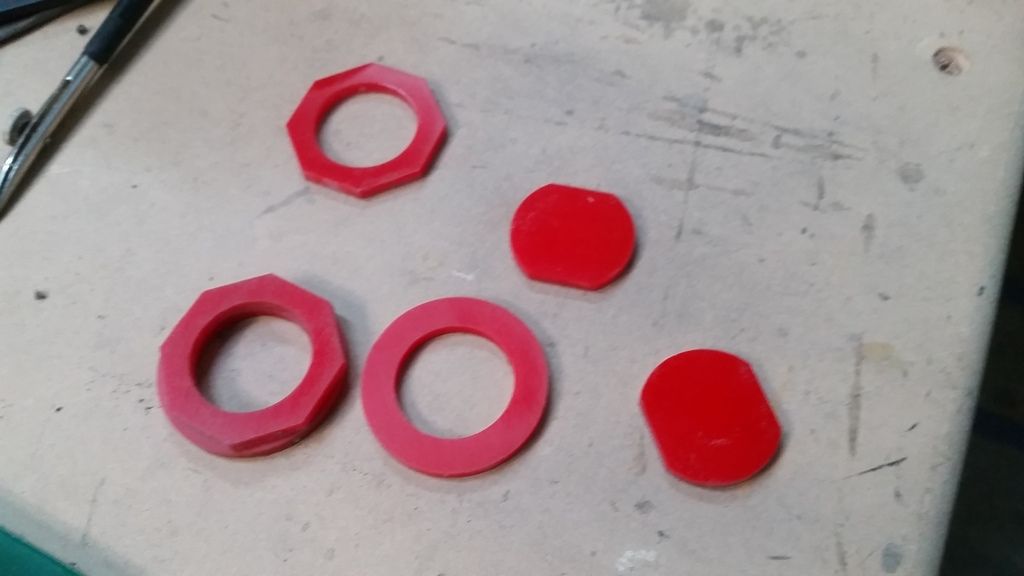
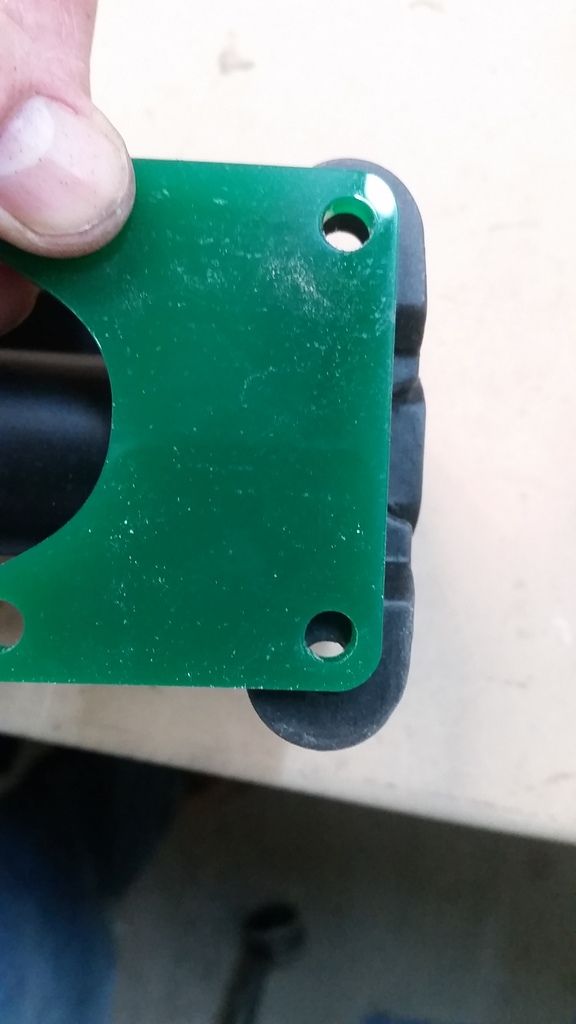
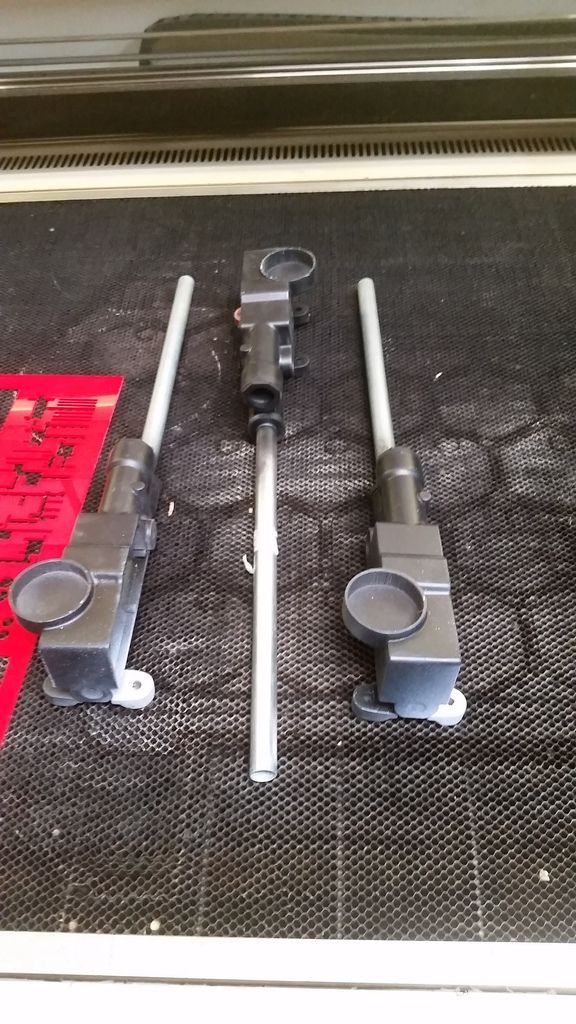
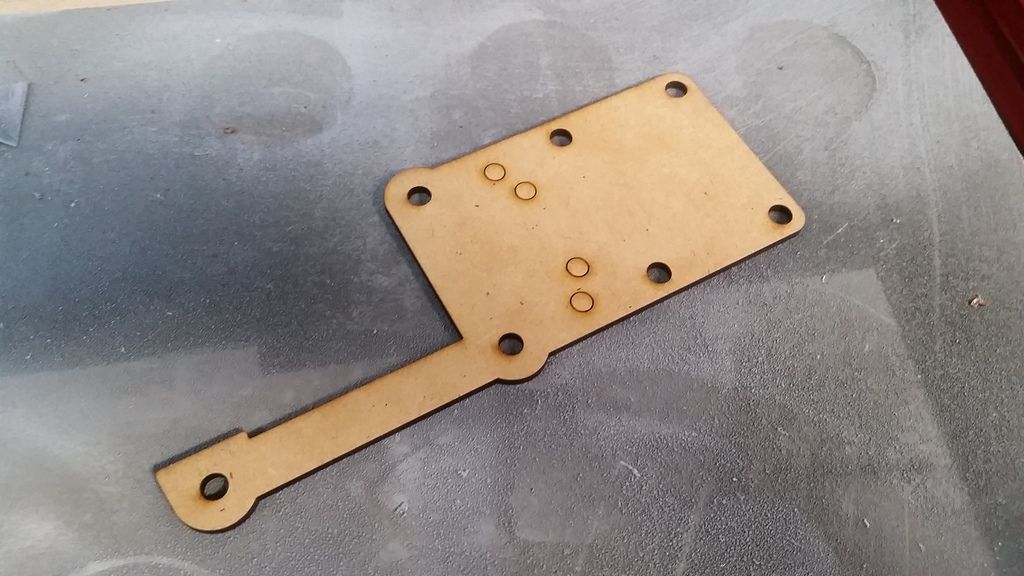
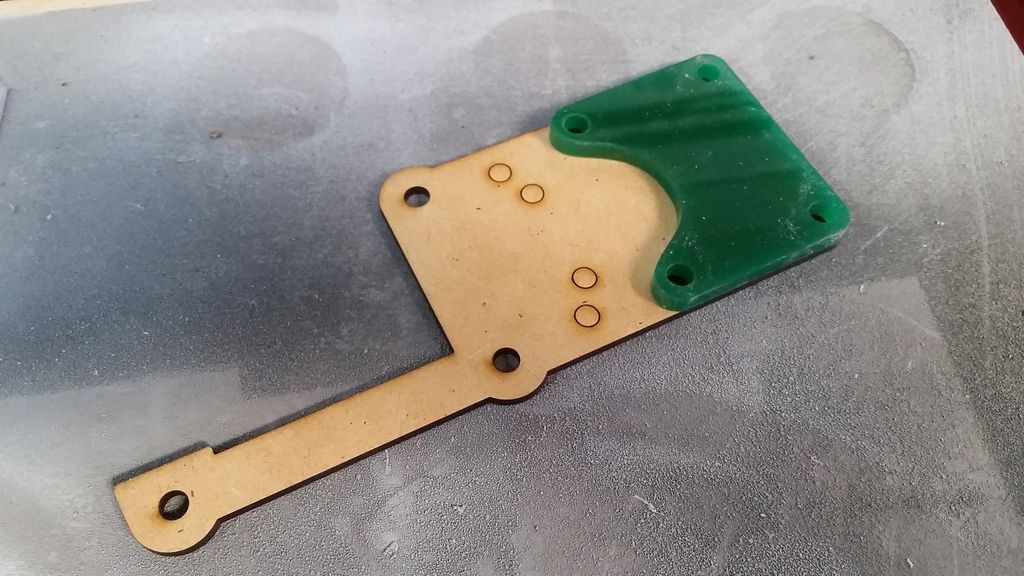
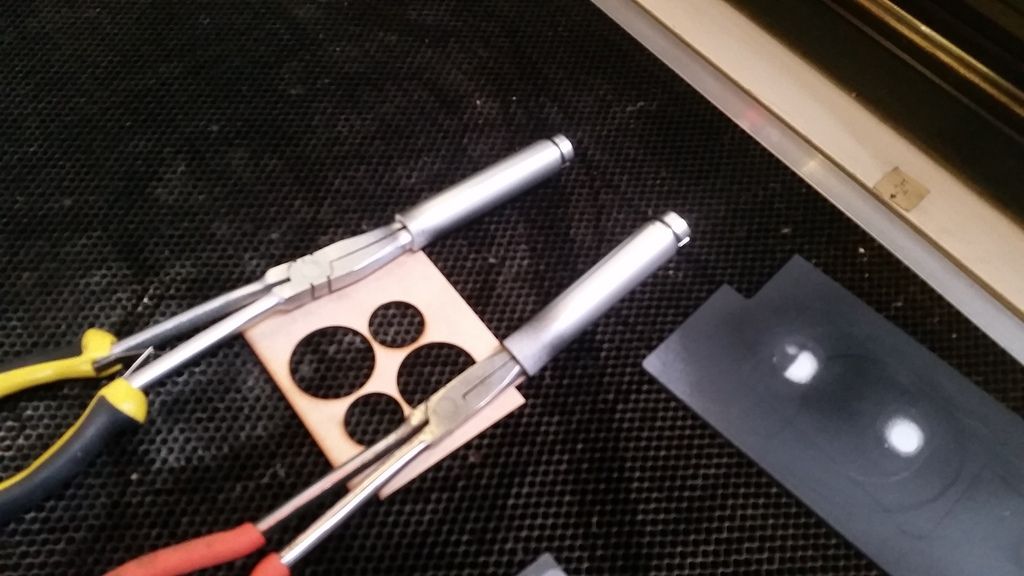
I then designed and laser cut the TRM mounting template
20180218_123545_zpscnr3gzo5.jpg


20180218_123559_zpsz6piuch1.jpg


20180218_123609_zpspkdo5i8t.jpg


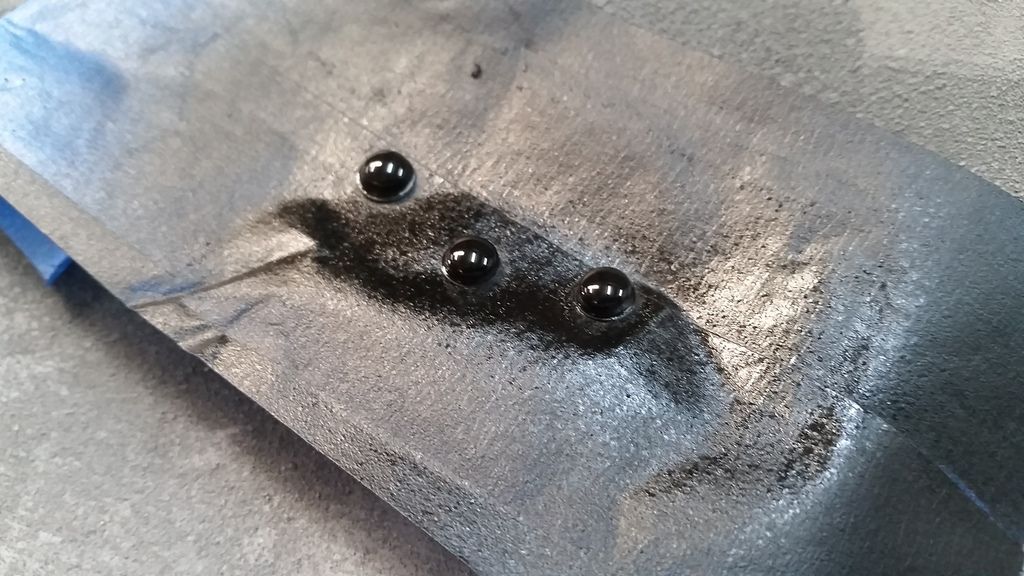
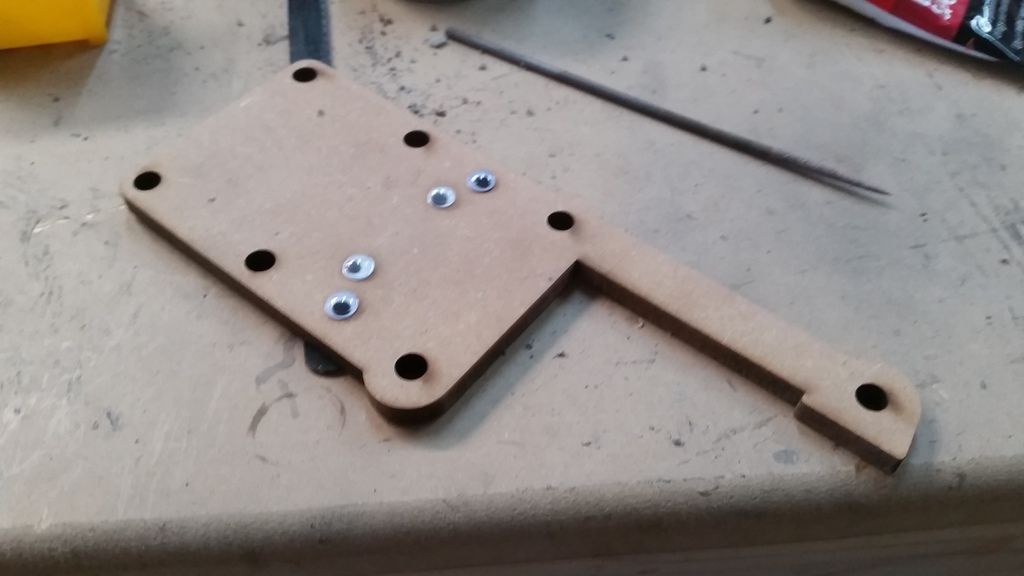
Adding a few more details... Painted some Googly Eyes
20180218_124413_zpsdee39koc.jpg


Added more washers
20180218_124422_zpskhlwt831.jpg


20180218_124427_zps5en78qbn.jpg


Eye added
20180218_124822_zpscpfbcwhr.jpg


20180218_1248320_zpsmgyymco2.jpg


Cut the holes!
20180218_130311_zps6dyewkpe.jpg


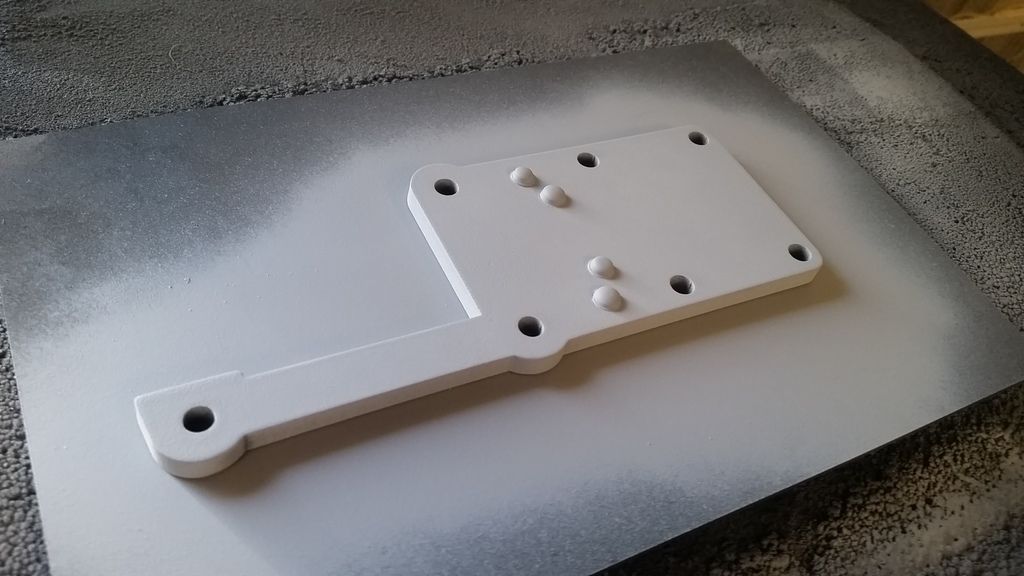
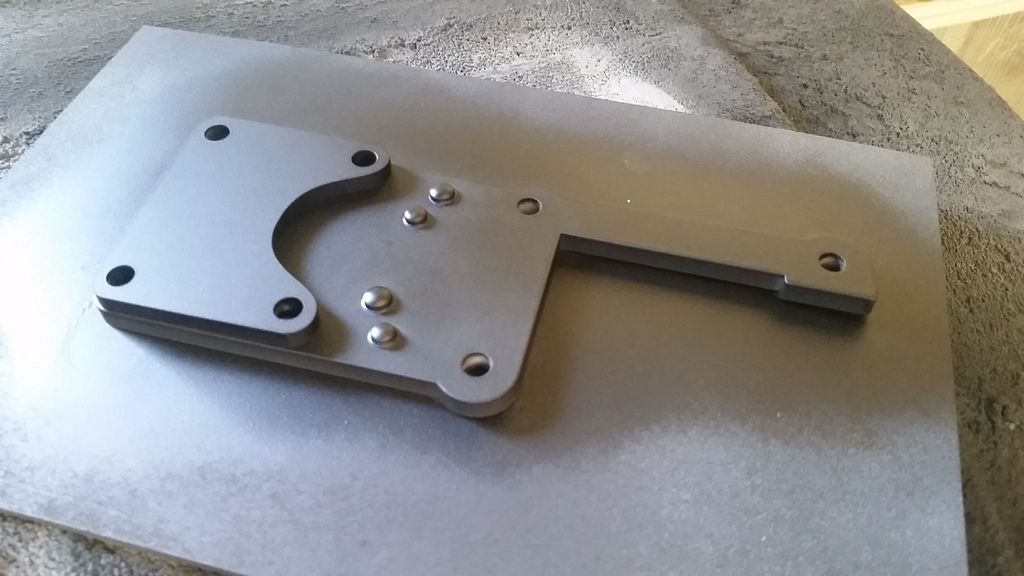
I then cut a new mounting bracket from 1/4" MDF and added the Googly Eye Rivets
20180218_132453_zpsw7rffqm1.jpg


Primer
20180218_135229_zpsvhgrzdho.jpg


Paint
20180218_140503_zpsdtwvhs8i.jpg


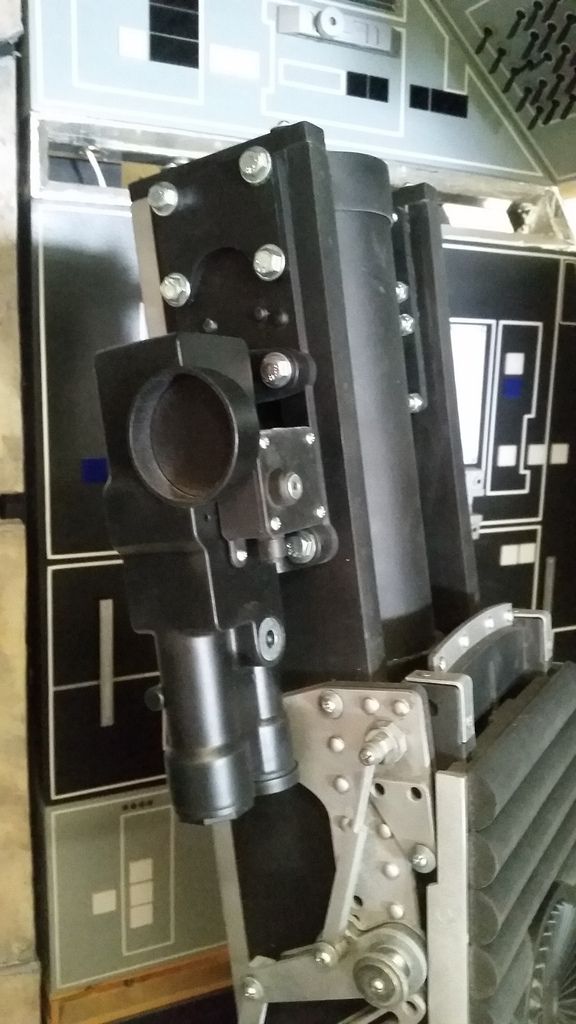
Mounted!
20180218_142424_zpspkc4oqkr.jpg


20180218_142434_zps78gwrecx.jpg


20180218_142440_zpsswokyzkd.jpg


Love it!
20180218_142450_zpsq6htn4bd.jpg


20180218_151248_zpsw6j79fqf.jpg


20180218_151301_zpsdgzxaa0k.jpg


Getting all the details added
20180218_165209_zpsmj6zcc3u.jpg


20180218_165321_zps84etqgih.jpg


20180218_165336_zpseftrlafc.jpg


20180218_165411_zps6e074vsc.jpg


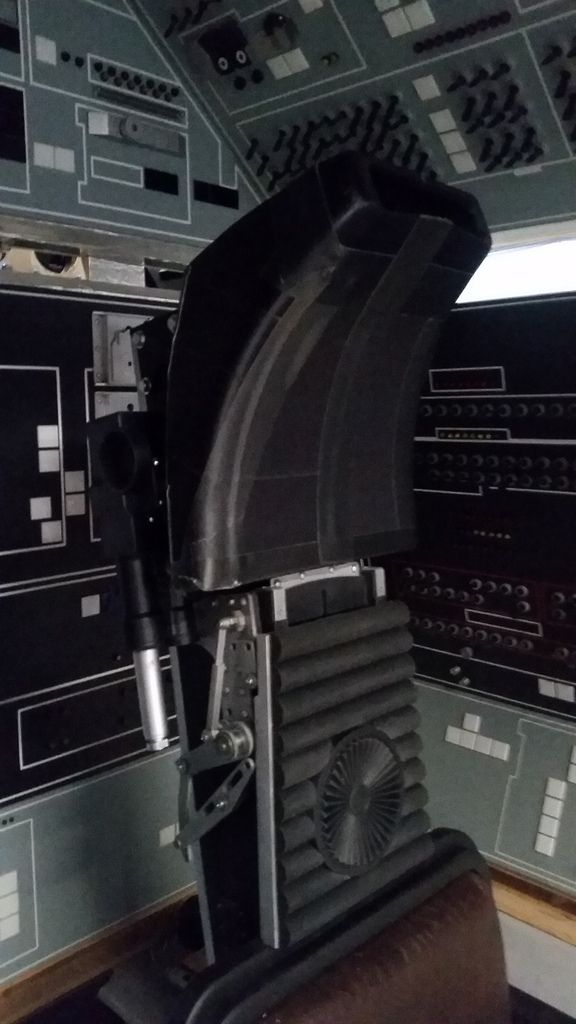
Added the headrest for effect
20180219_082754_zpsgawk3ffg.jpg


The headrest is going to mount almost 1" away from the frame to make room for the TRM
20180219_082806_zpsargljqcs.jpg


I was going to mold this part but decided to fabricate the remaining two
20180219_094228_zps55wdpevv.jpg


Sanded and awaiting primer
20180219_114935_zpsogybju9o.jpg


Primer Filler
20180219_115020_zpszopda4b9.jpg


20180219_122537_zpsbzjg8ma6.jpg


Grabbed it a bit too soon and smeared the primer... :facepalm
20180219_122921_zpshco36ijs.jpg


20180219_133504_zpsqhem85ji.jpg


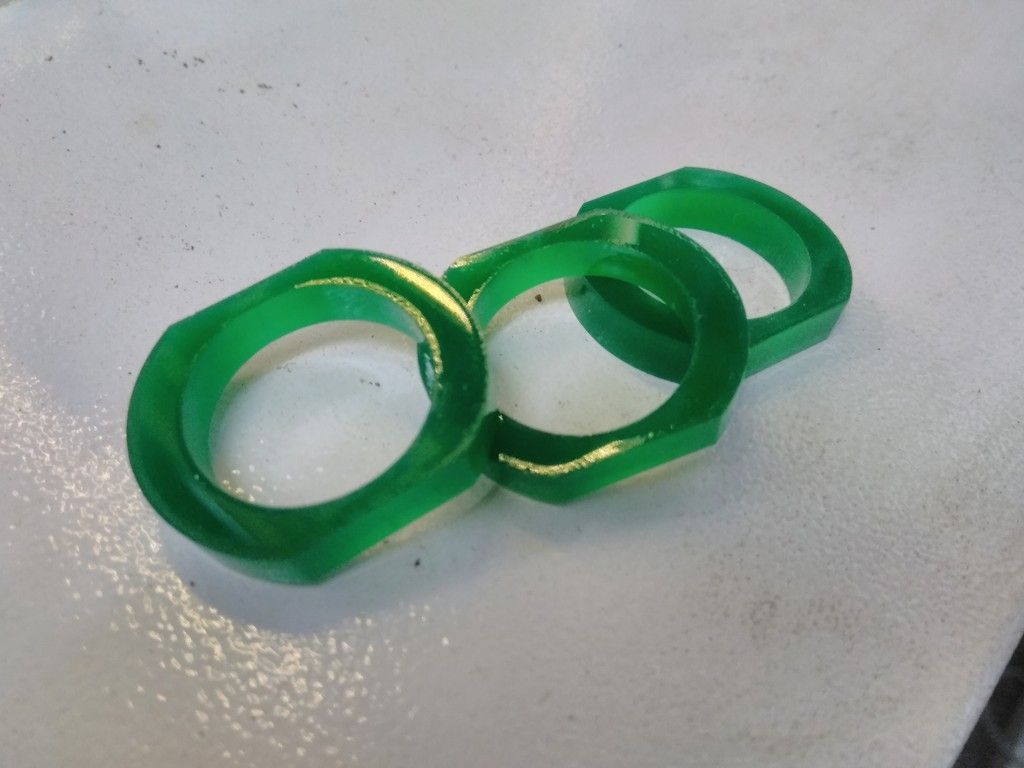
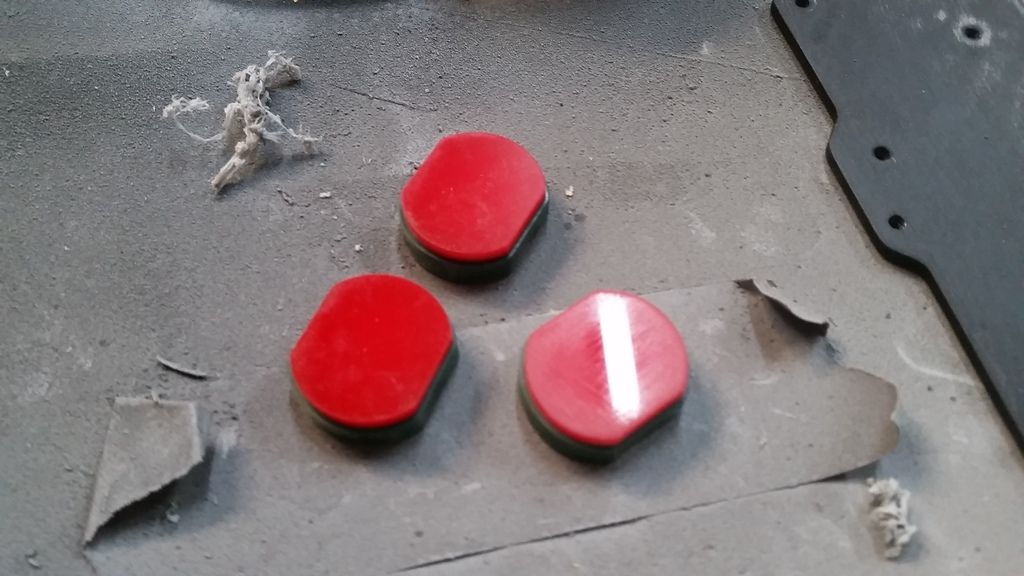
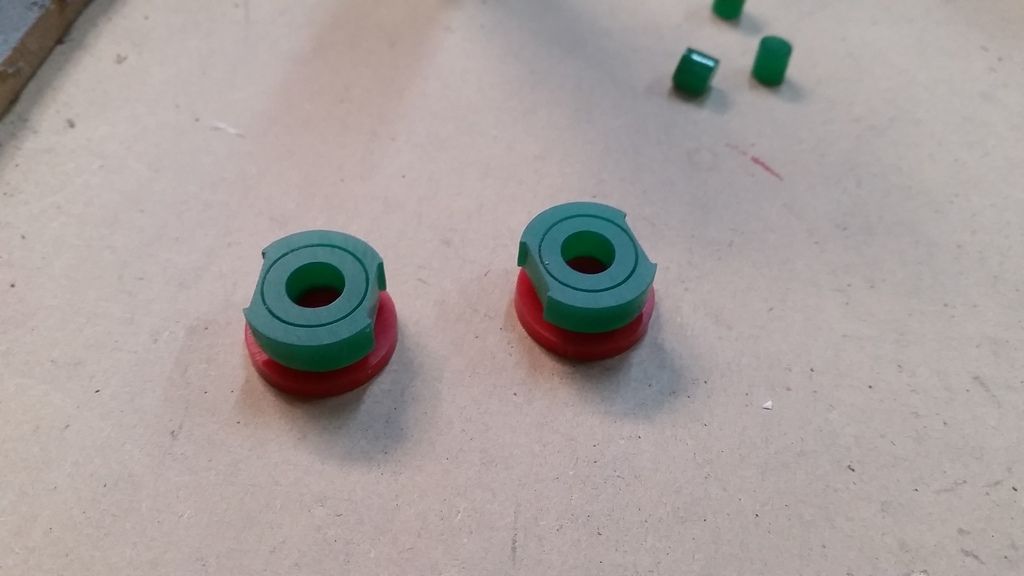
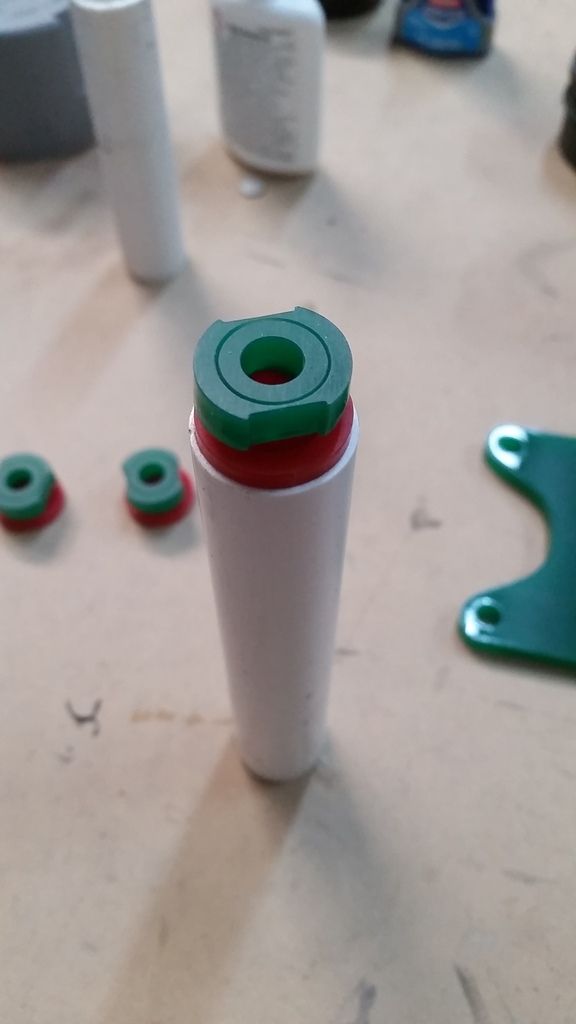
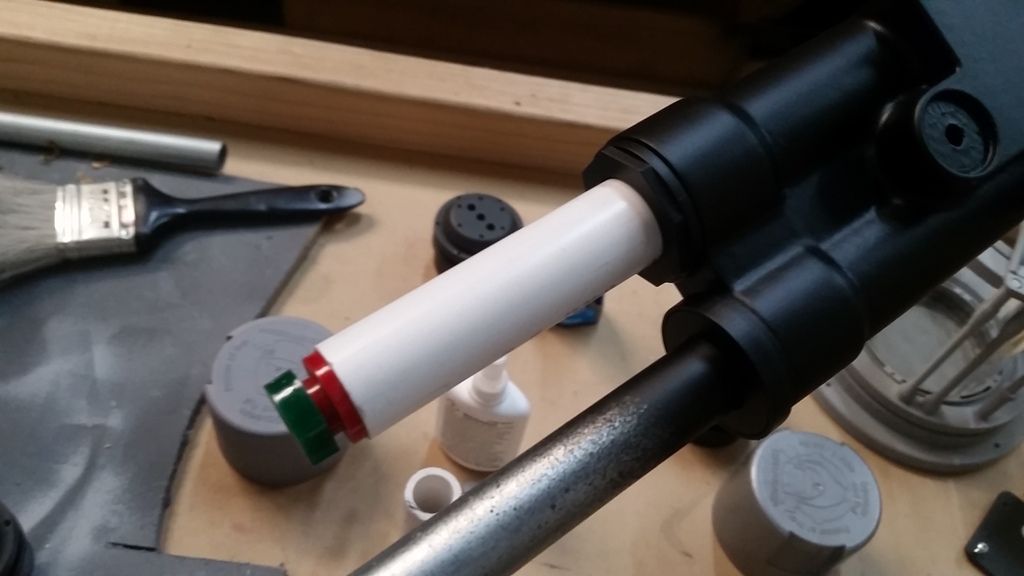
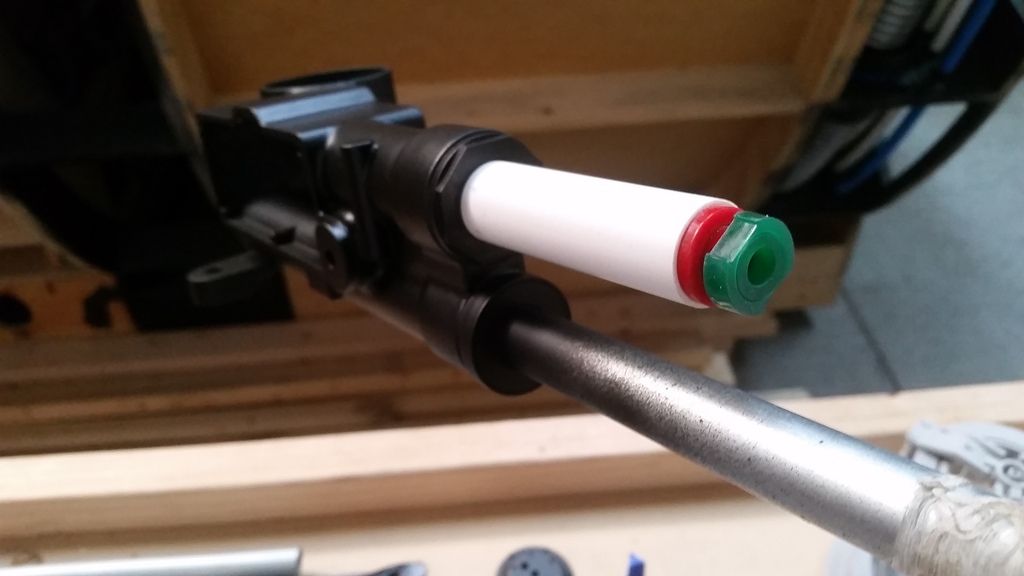
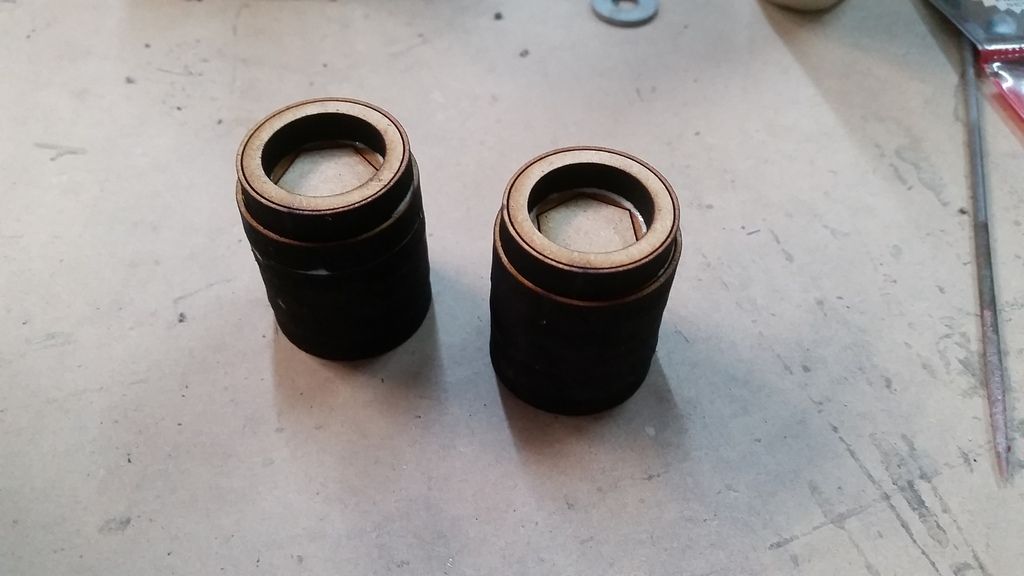
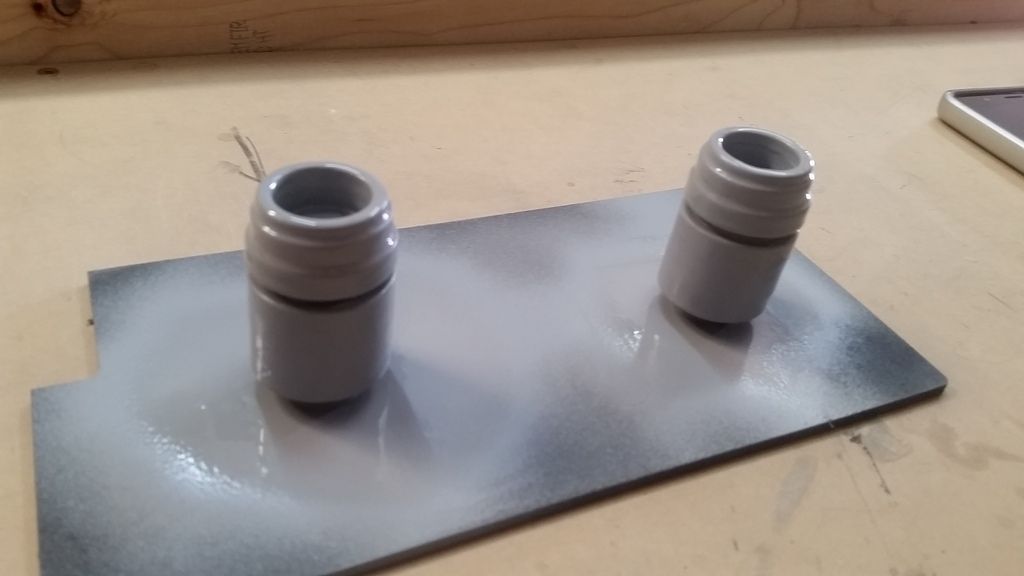
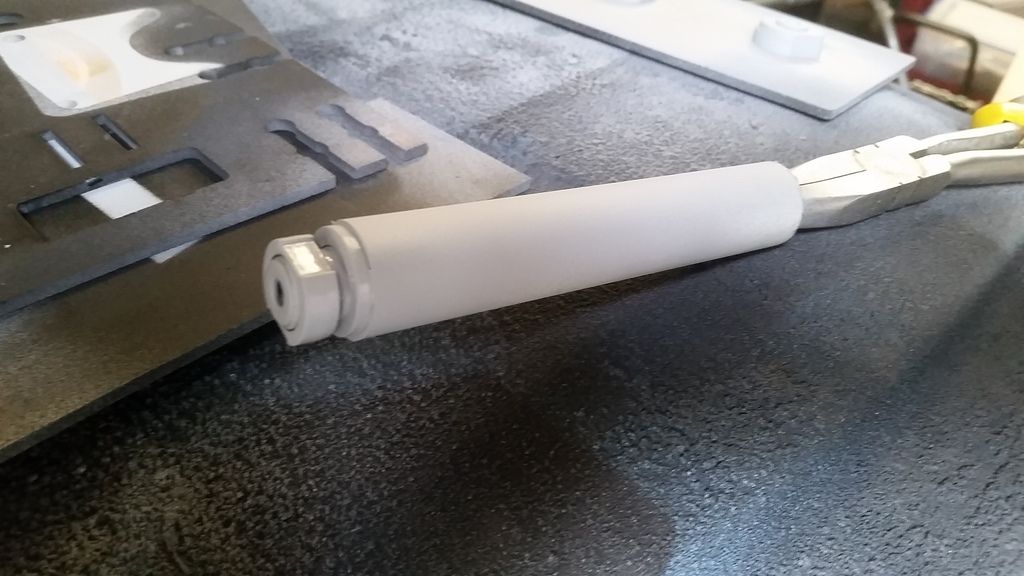
Small nut - these rest on the inside of the top of the cylinder
20180219_125639_zpsdw2lfnvr.jpg


20180219_125643_zpsxeulgwwr.jpg


Let those dry
20180219_133508_zps9uzxolvr.jpg


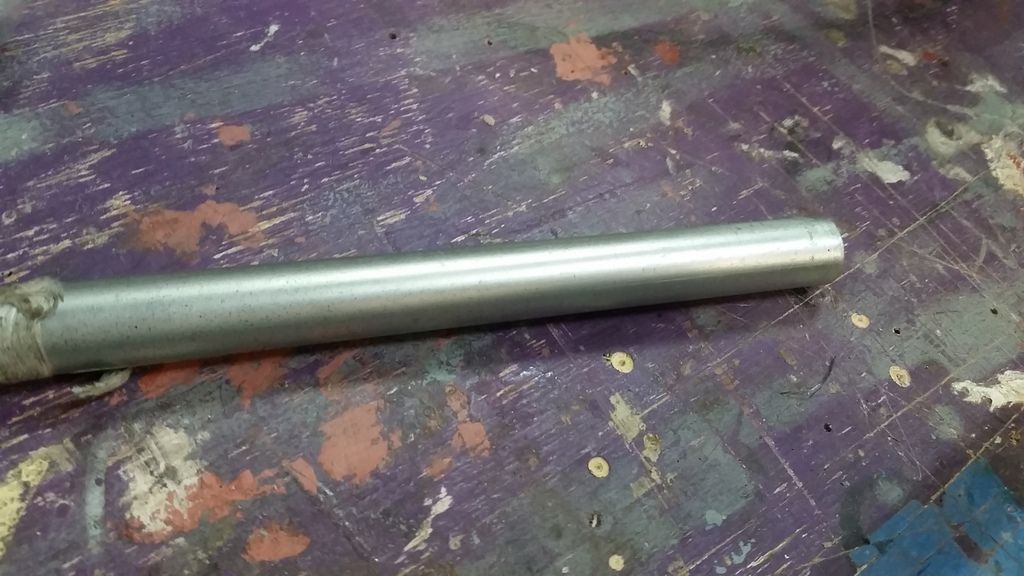
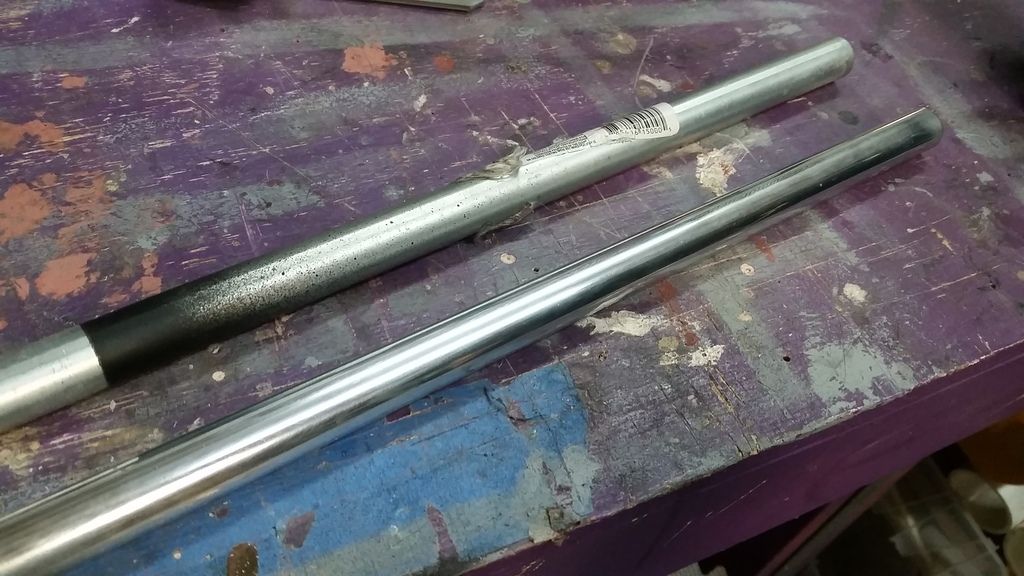
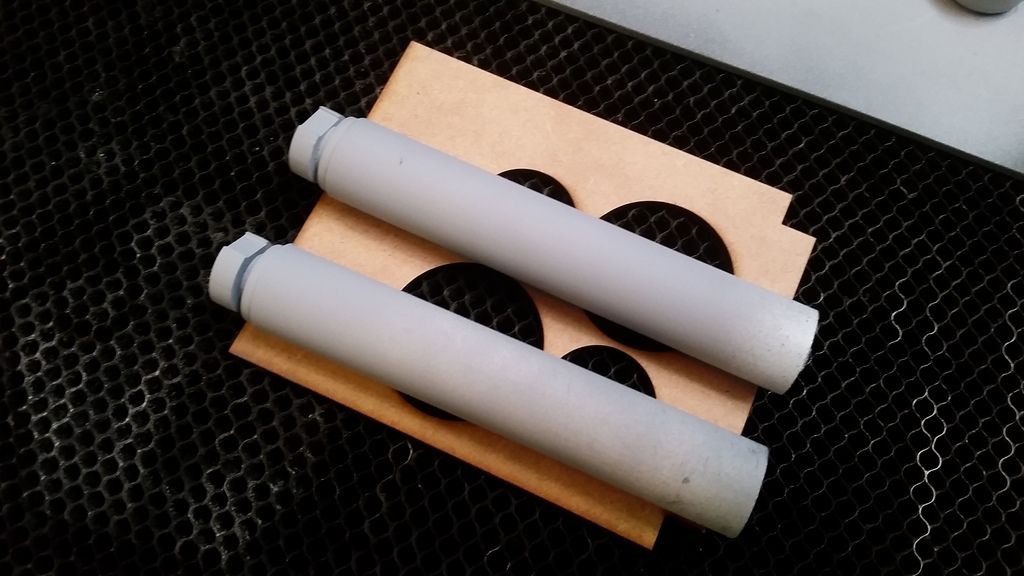
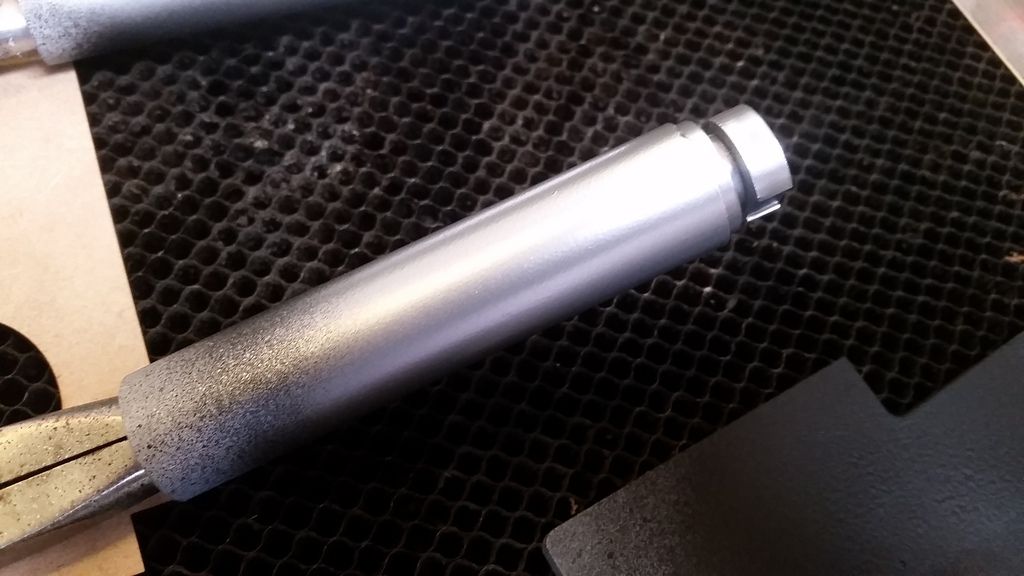
I then took this extra pipe I had
20180219_095057_zpsmsy6xogb.jpg


Spent about 1/2 hour with some metal polish
20180219_095106_zps9mfcswtj.jpg


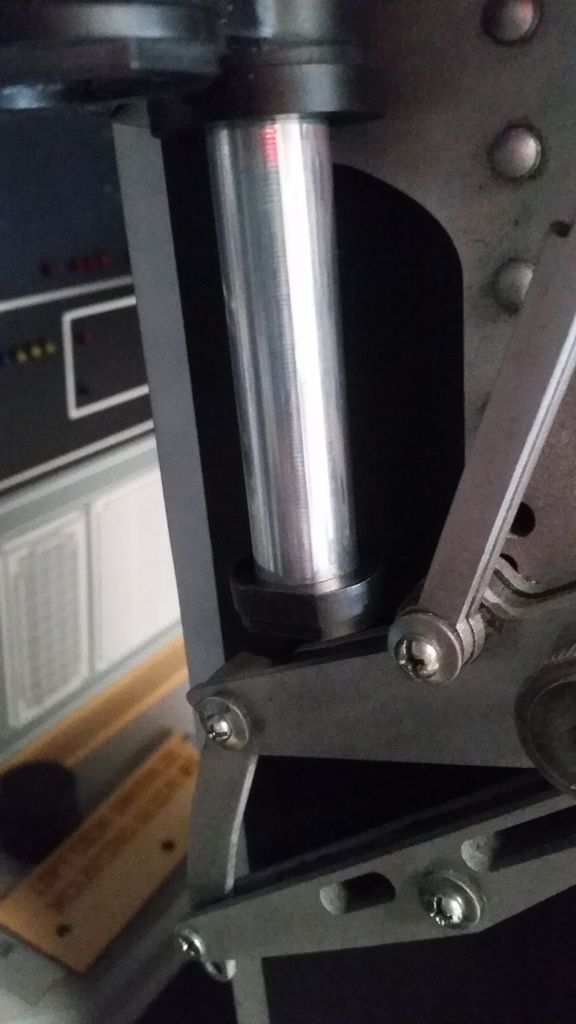
Shiny
20180219_100214_zpse5tdwlqw.jpg


Shiny pipe end caps
20180219_105508_zpsik4txllf.jpg


More primer
20180219_105514_zps9jlh6fqg.jpg


GRRRRRR
20180219_105519_zpsgkmnrzqq.jpg


20180219_111217_zpsyqwqh5q0.jpg


20180219_111220_zpsubsqycox.jpg


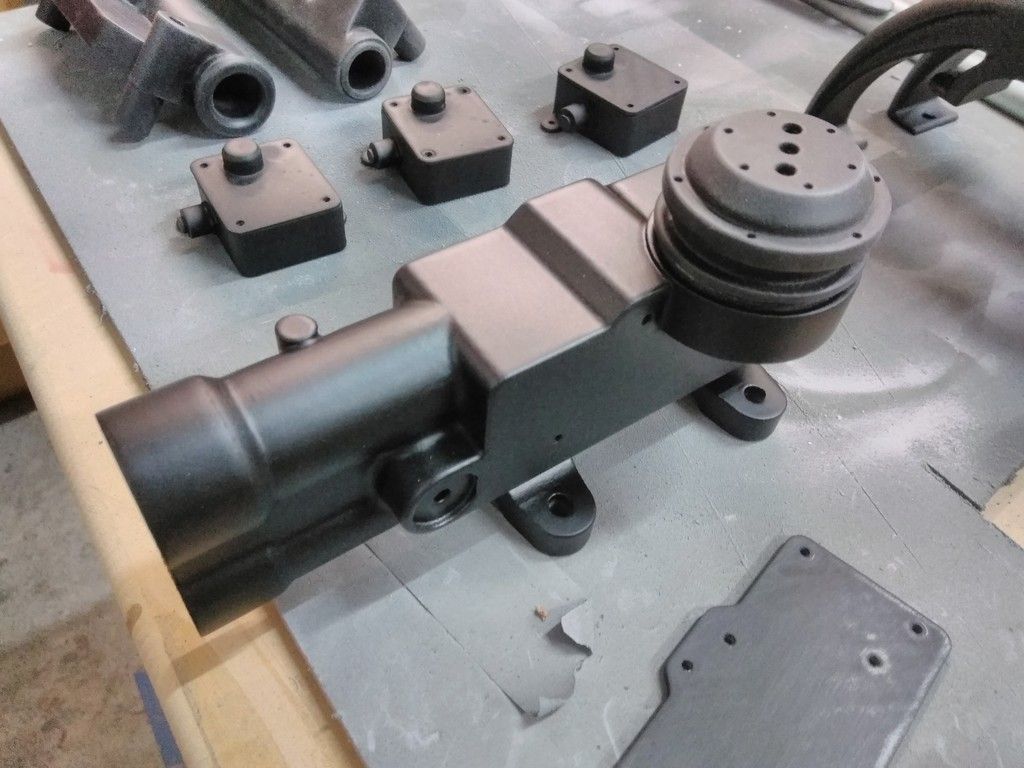
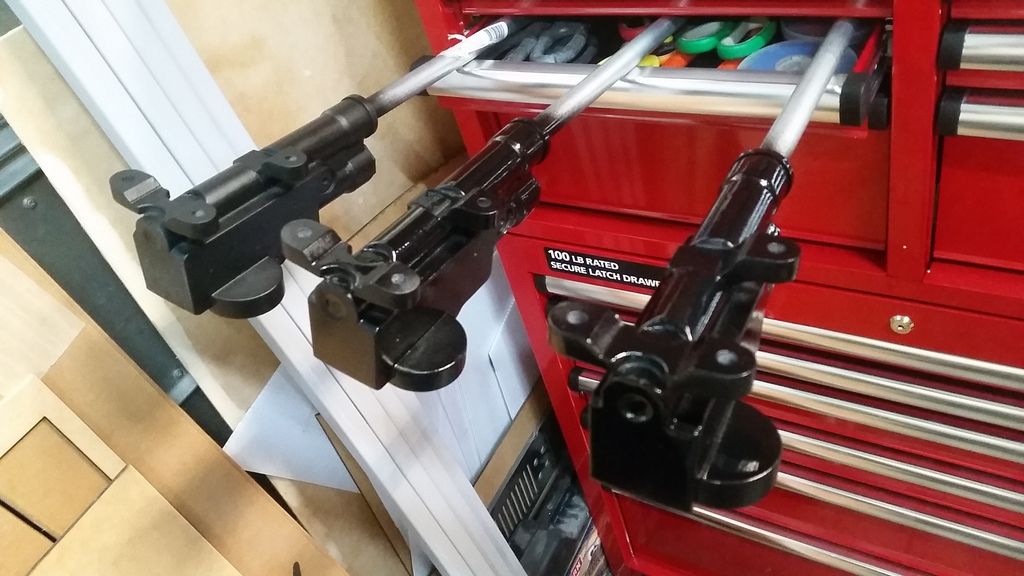
Close to Final! And finally adhered the black cylinder in place!
20180219_114444_zpsuqm5se7d.jpg


20180219_114452_zpsicxdo2mp.jpg


20180219_115513_zps1emois5v.jpg


20180219_115522_zpslvgpforc.jpg


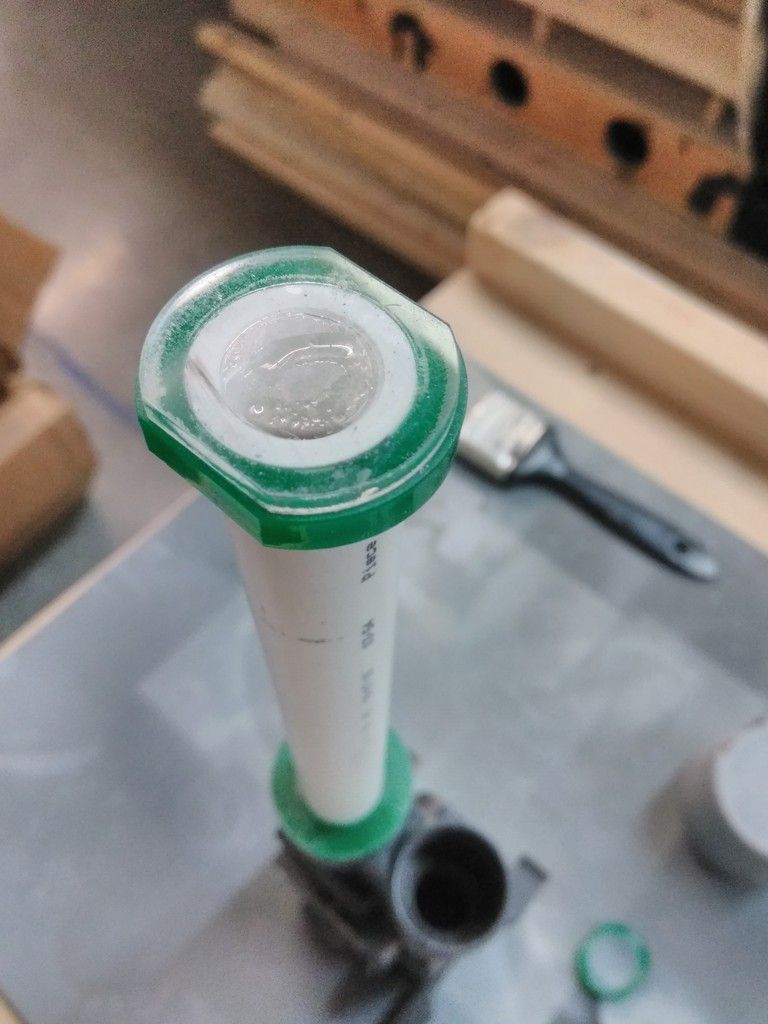
Cap added
20180219_122311_zps5mtqjkym.jpg


20180219_122318_zps4ydlgkhy.jpg


20180219_122336_zpsdyduu3r7.jpg


20180219_122356_zpsighm3kmr.jpg


Silver finally added to these guys
20180219_123120_zpsnnd2tbyr.jpg


20180219_123125_zpsutcrwktg.jpg


Added
20180219_133544_zps1wsfq2bn.jpg


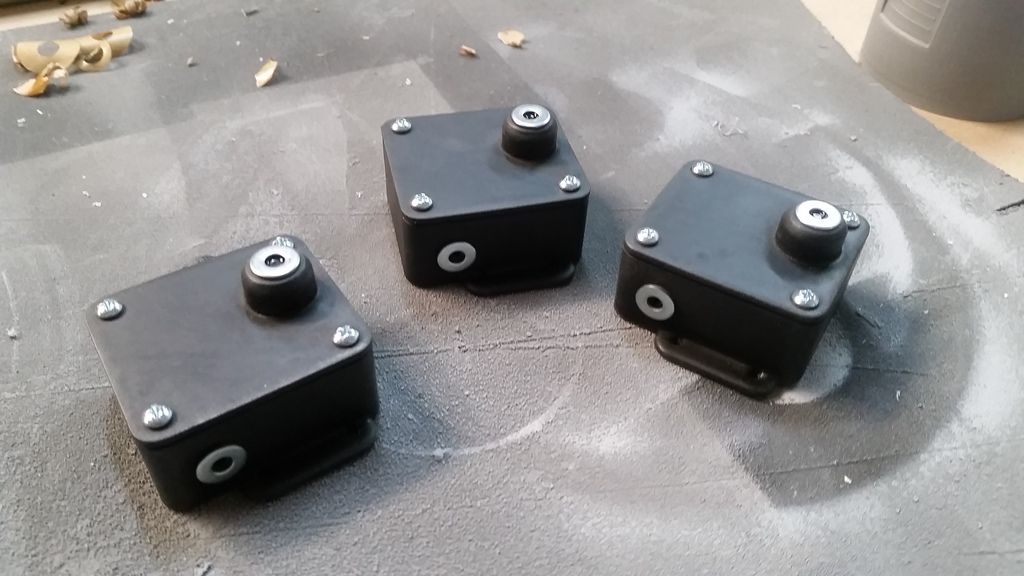
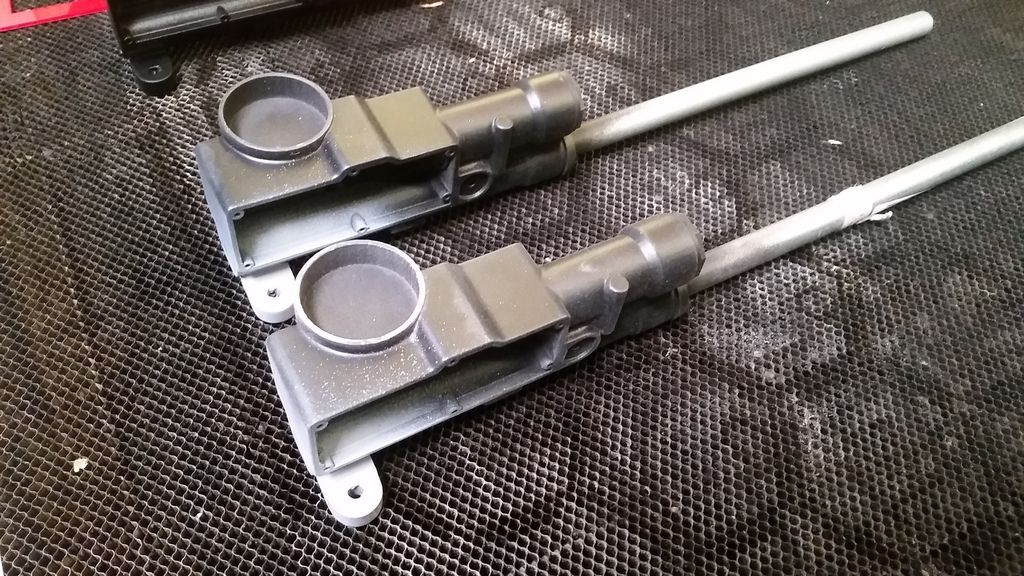
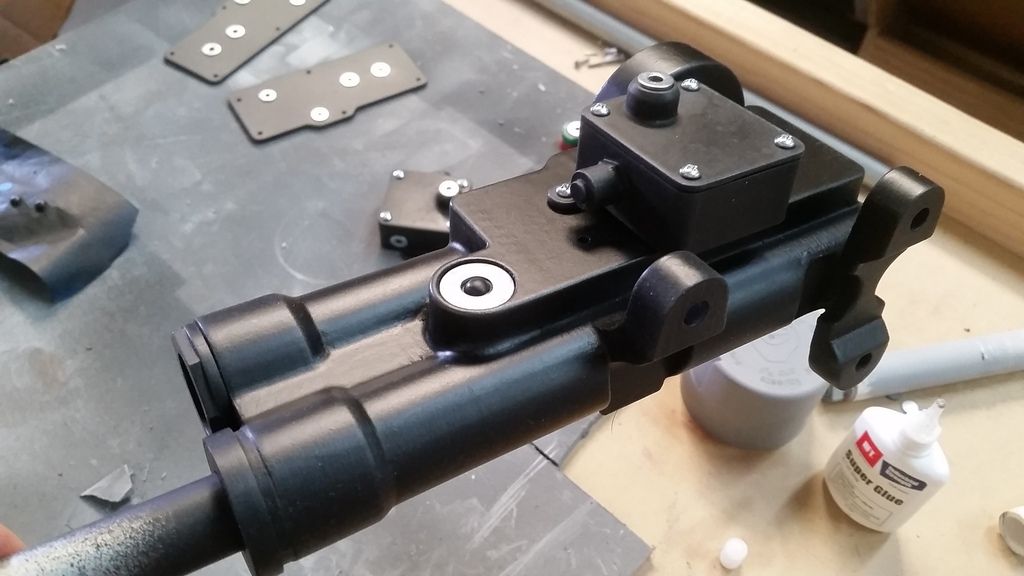
And this is where we are!
20180219_133537_zpstarsbqez.jpg


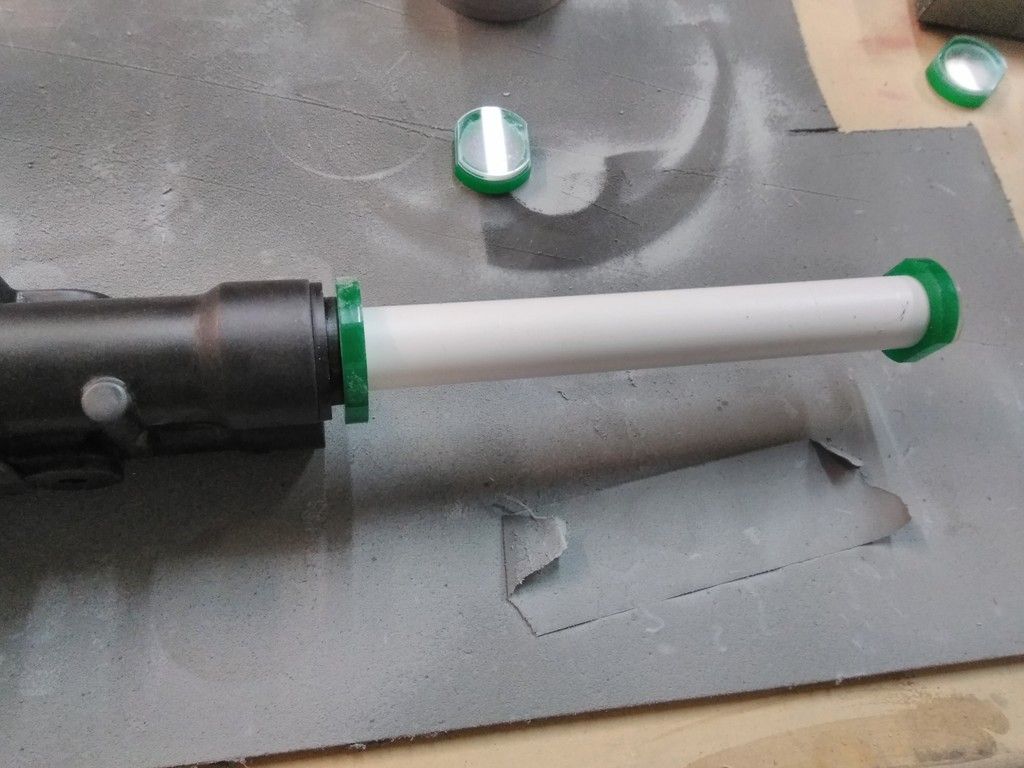
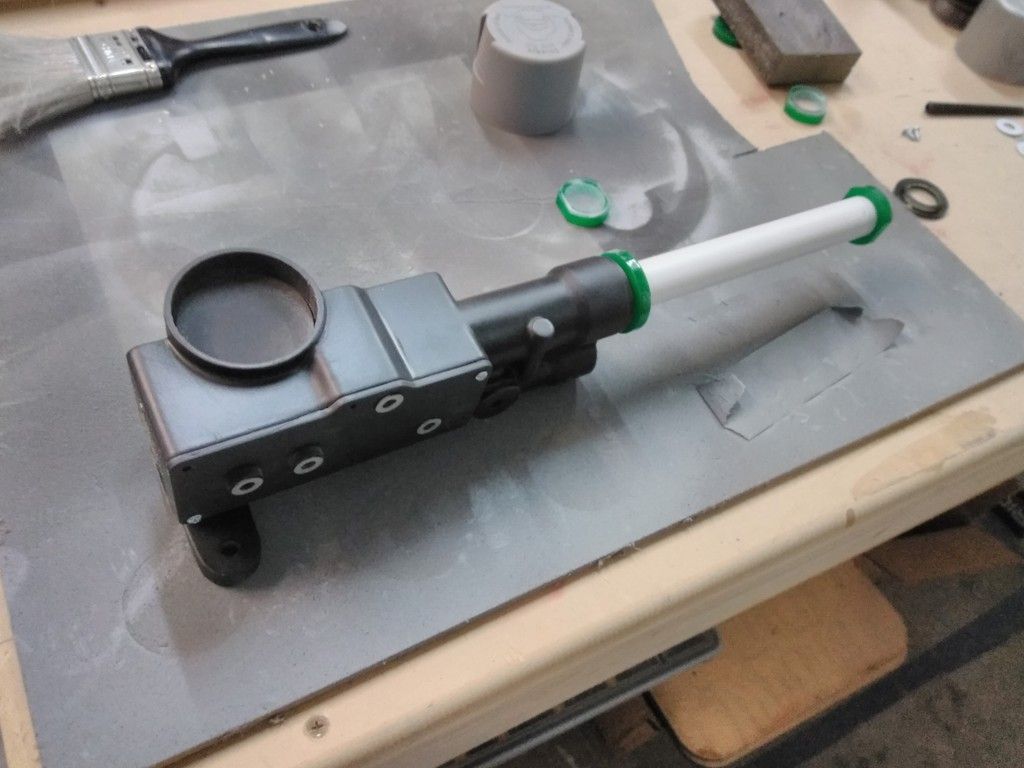
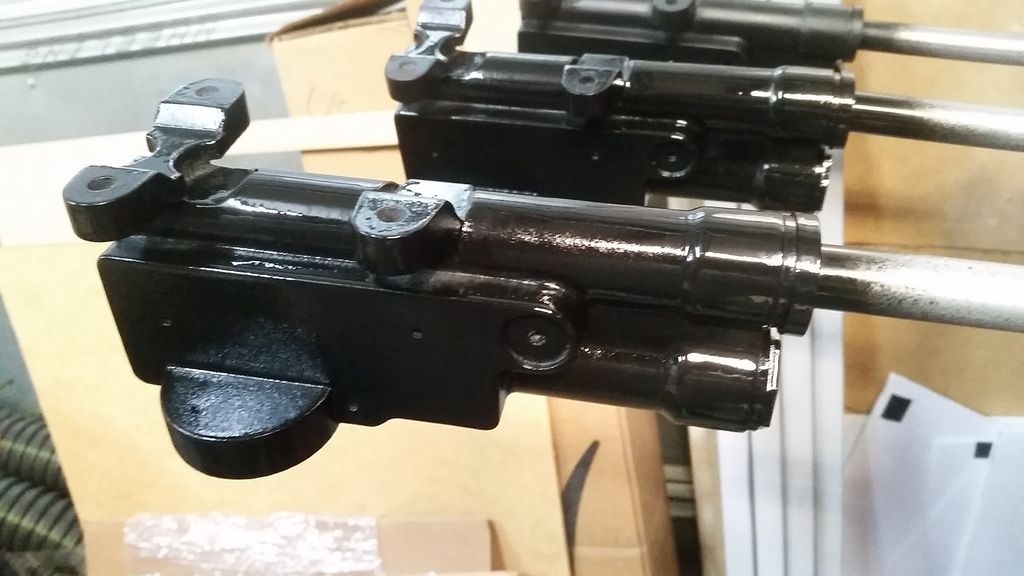
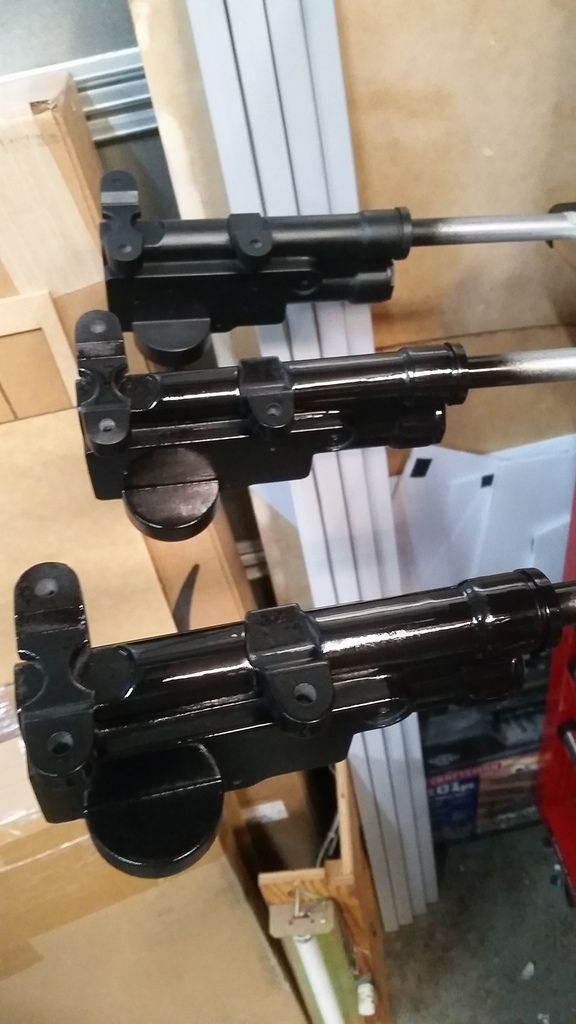
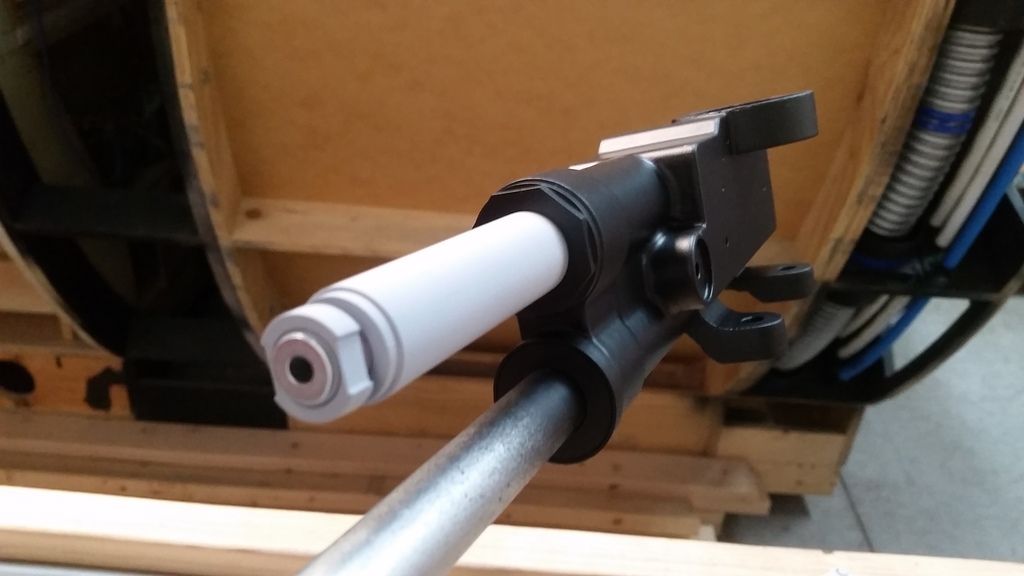
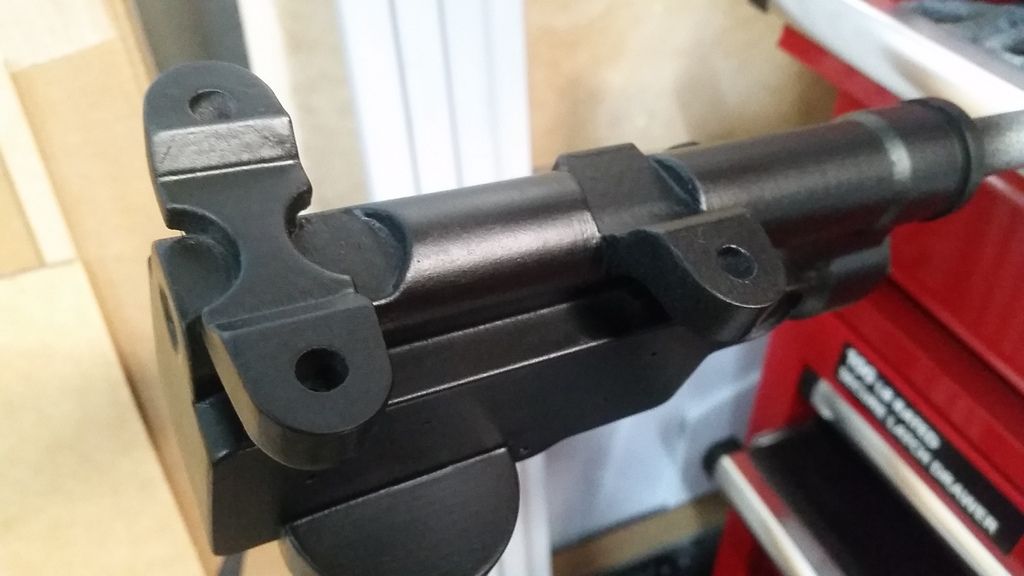
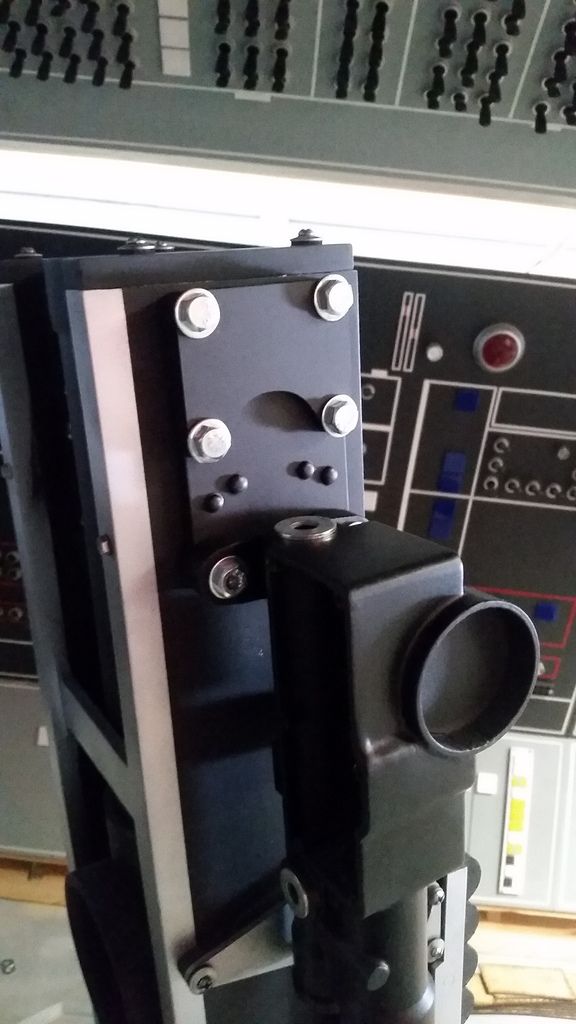
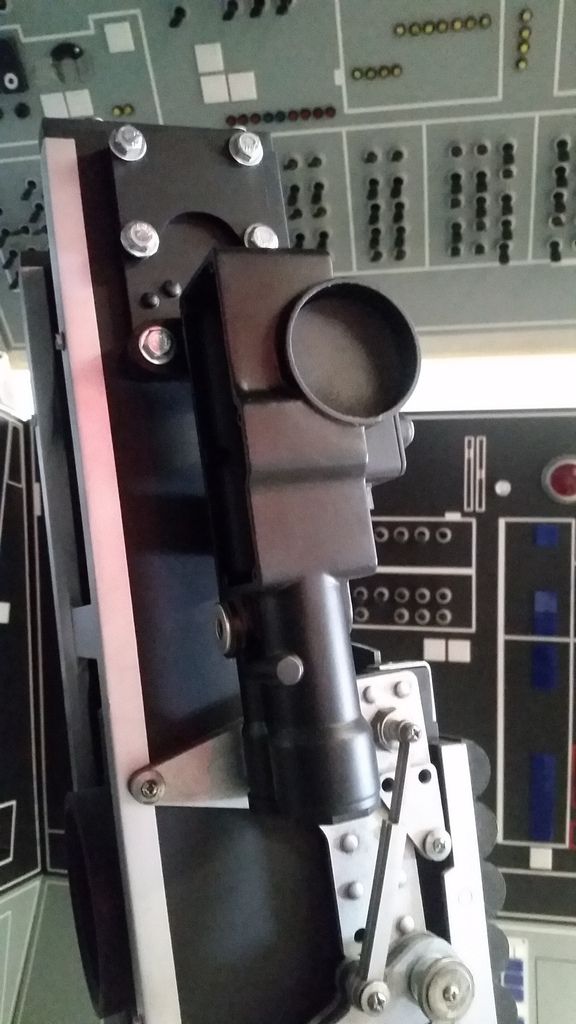
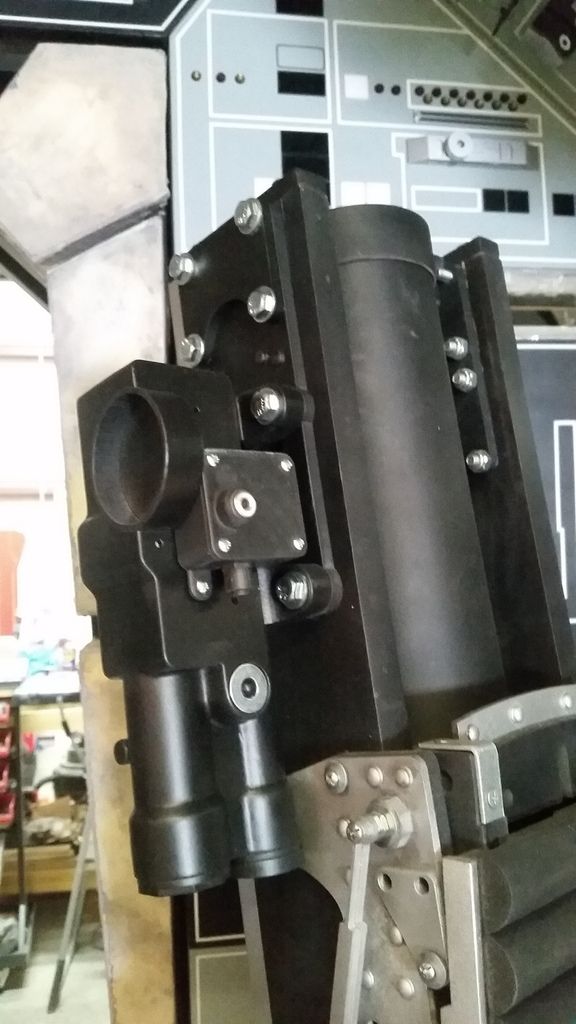
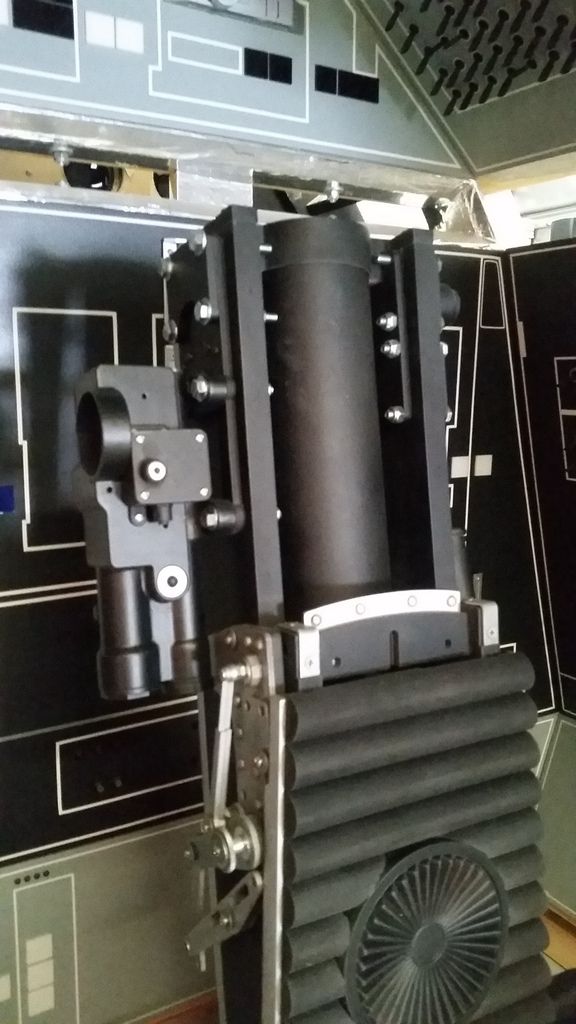
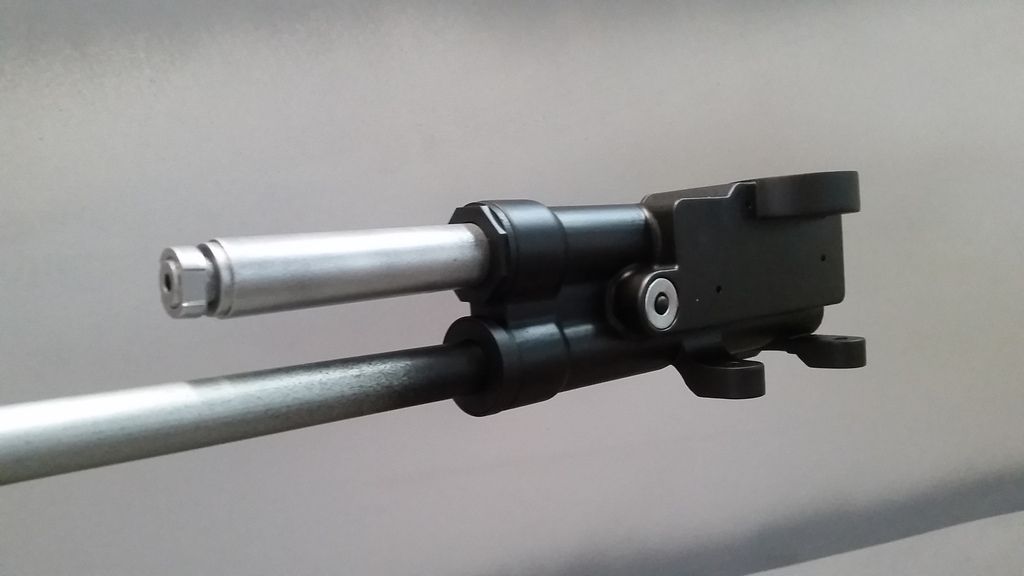
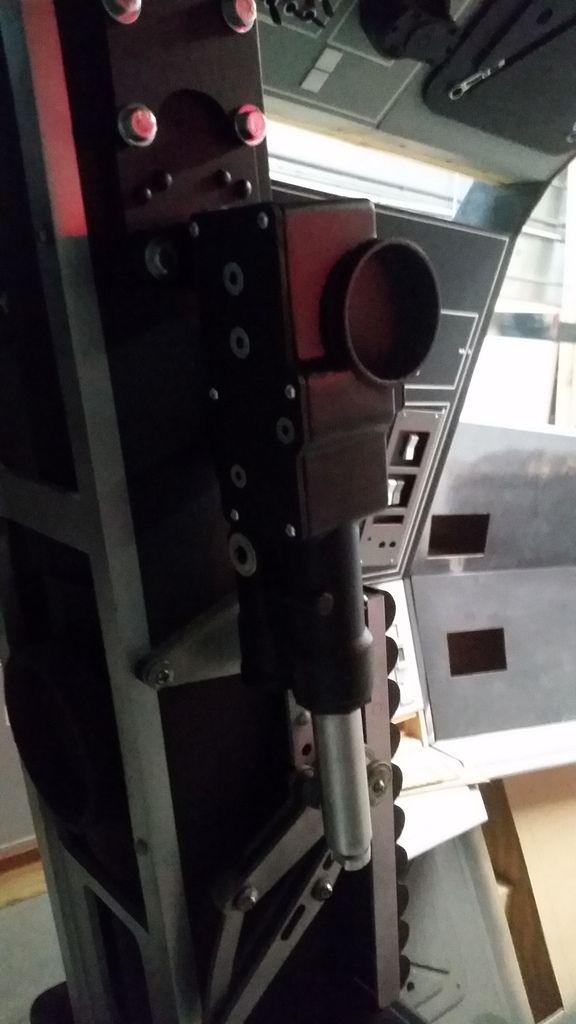
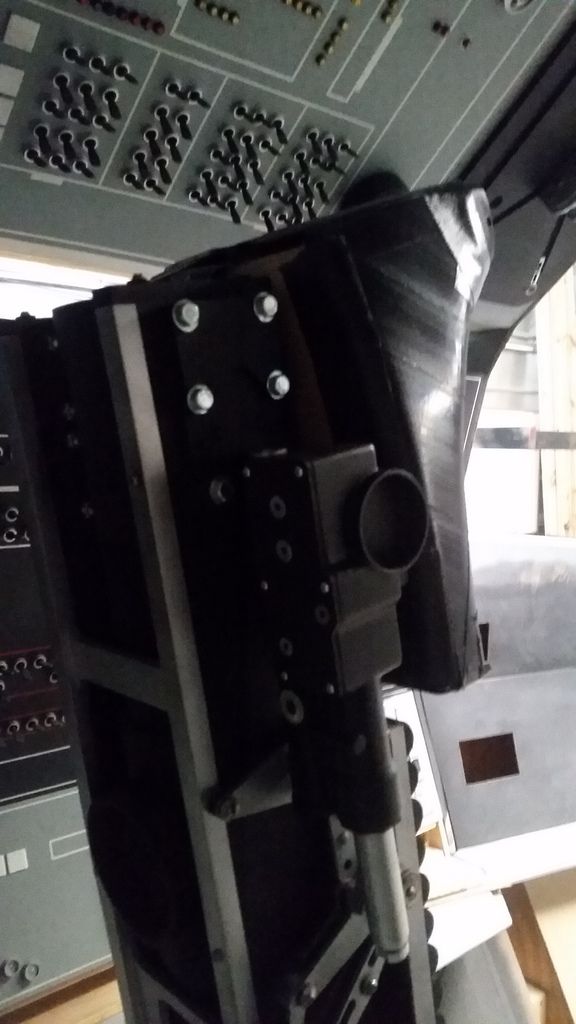
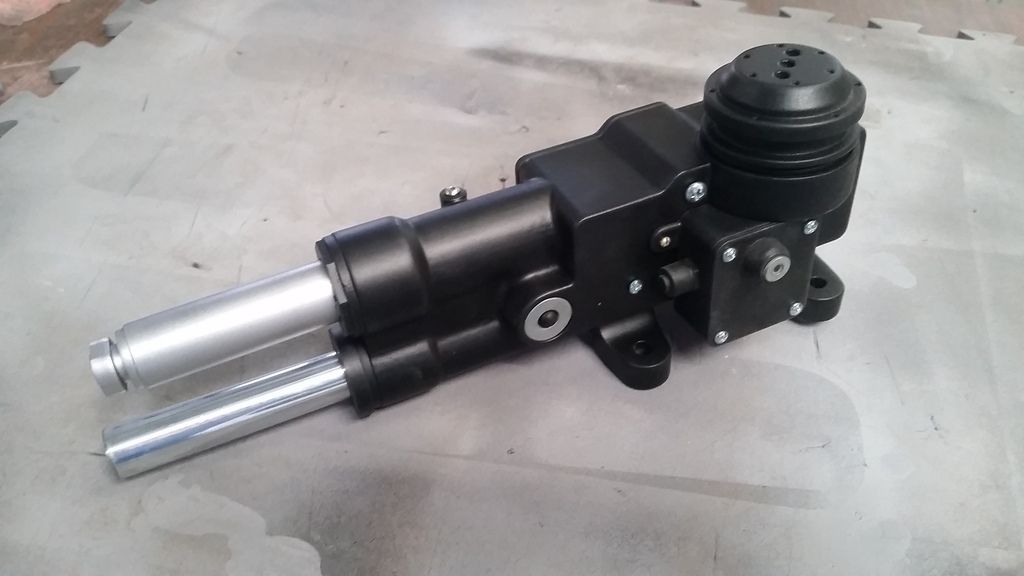
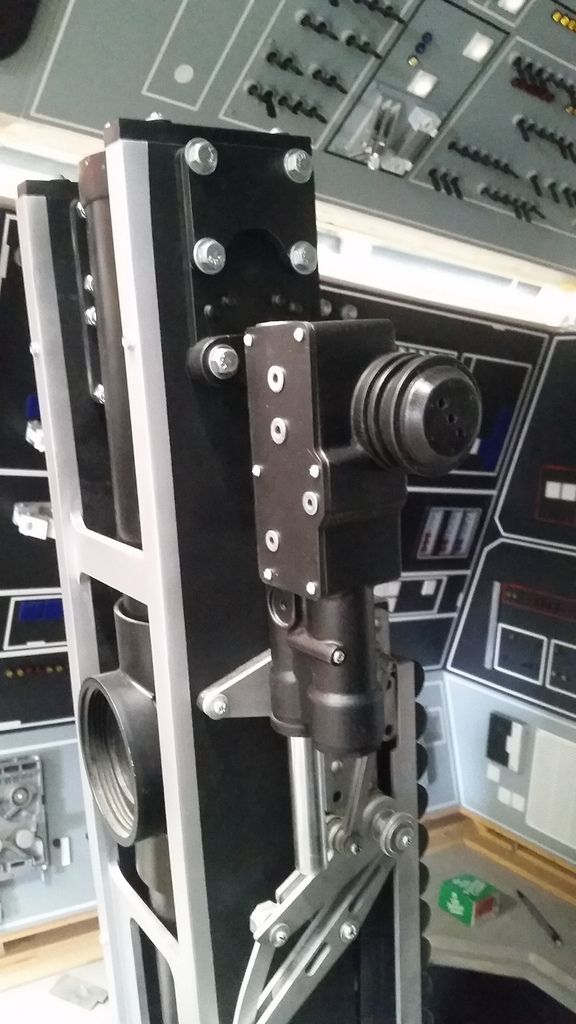
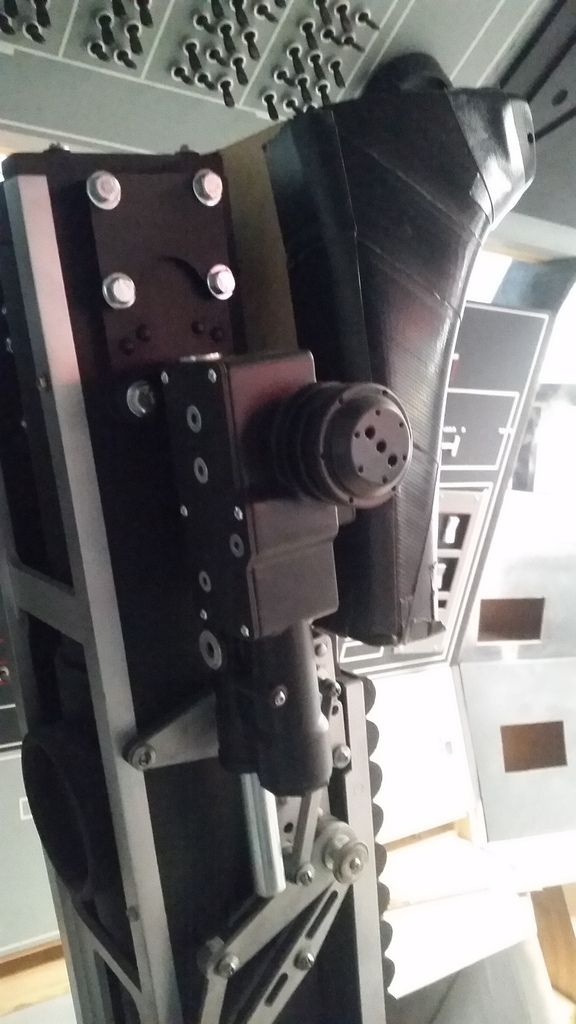
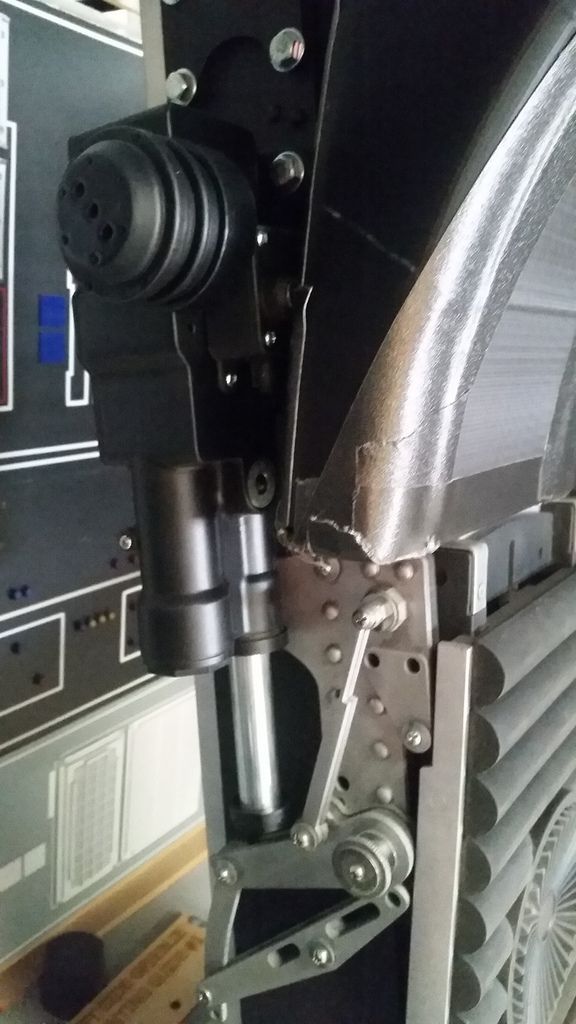
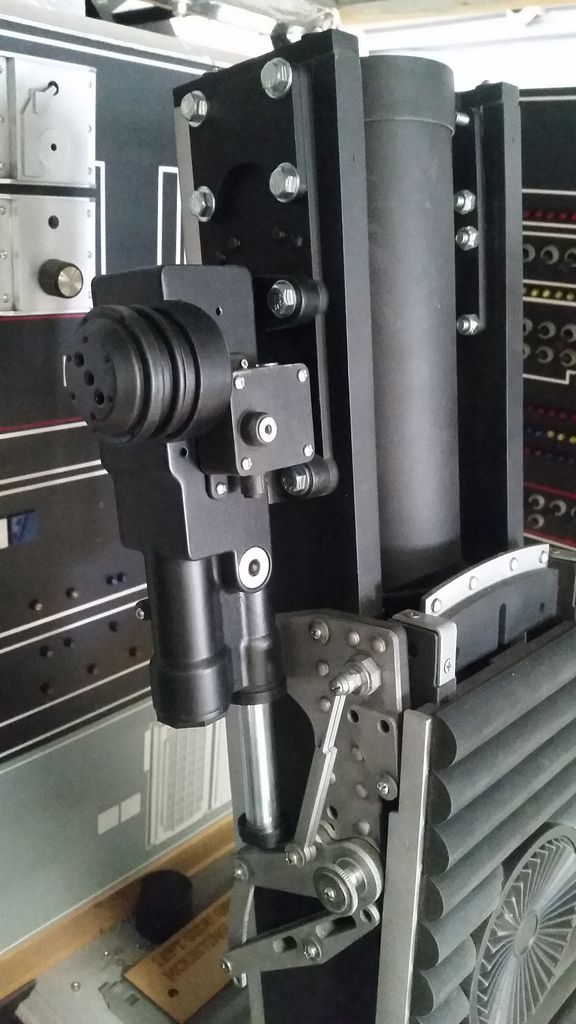
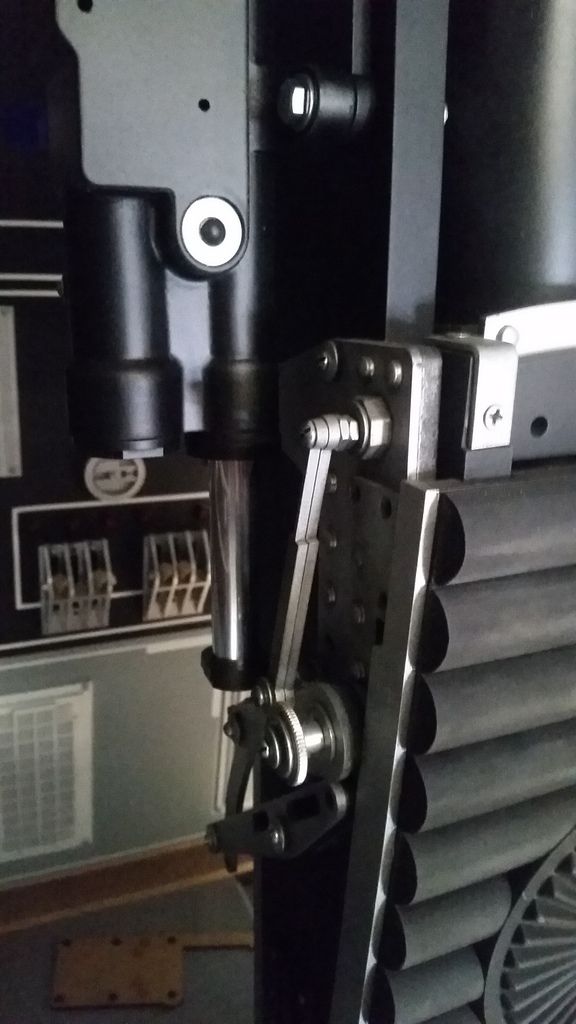
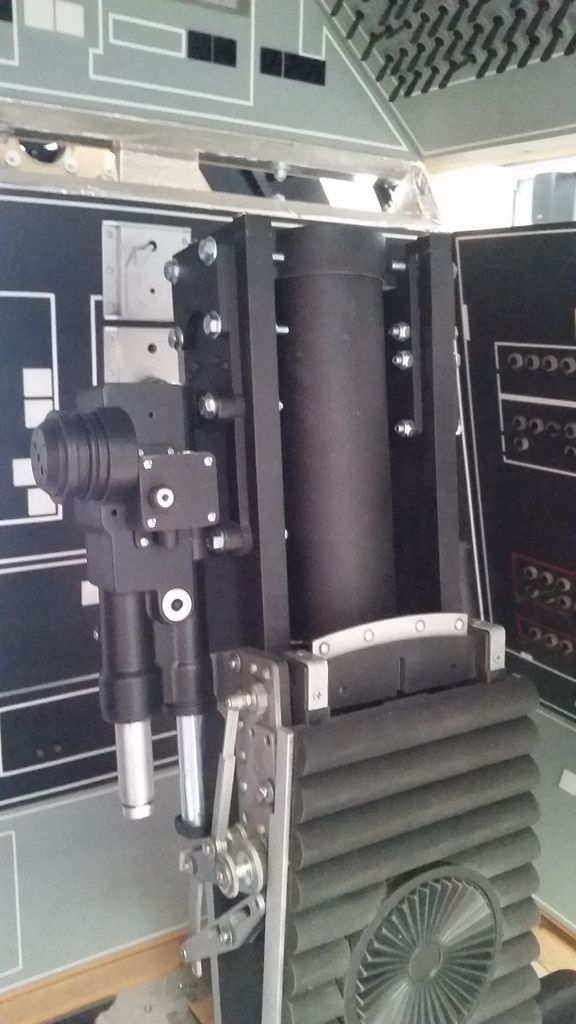
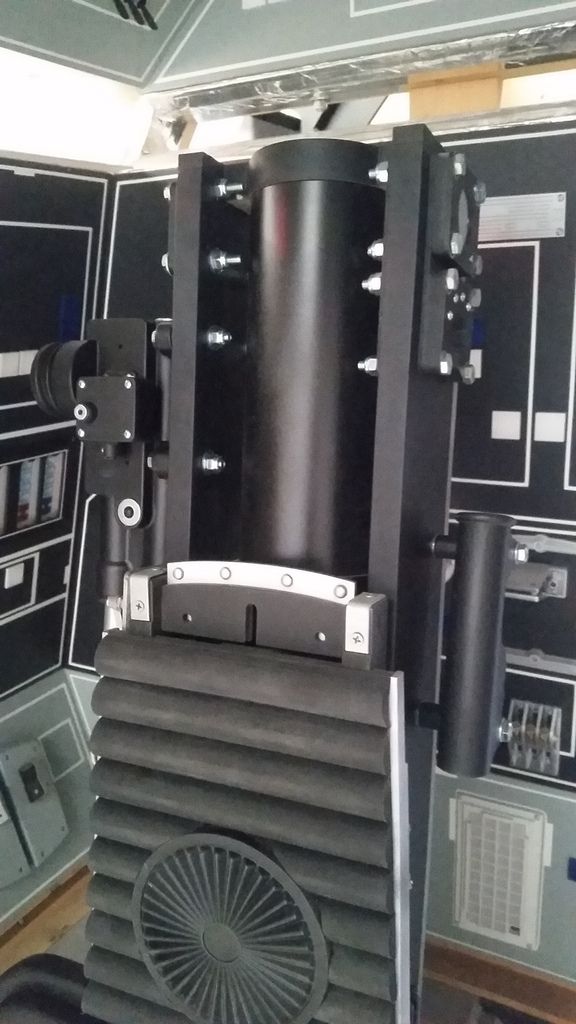
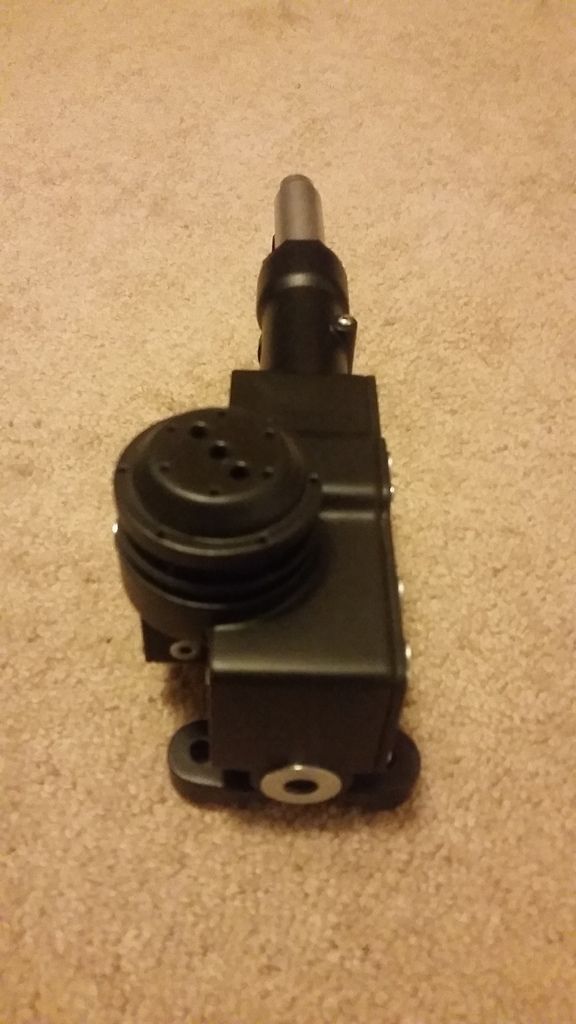
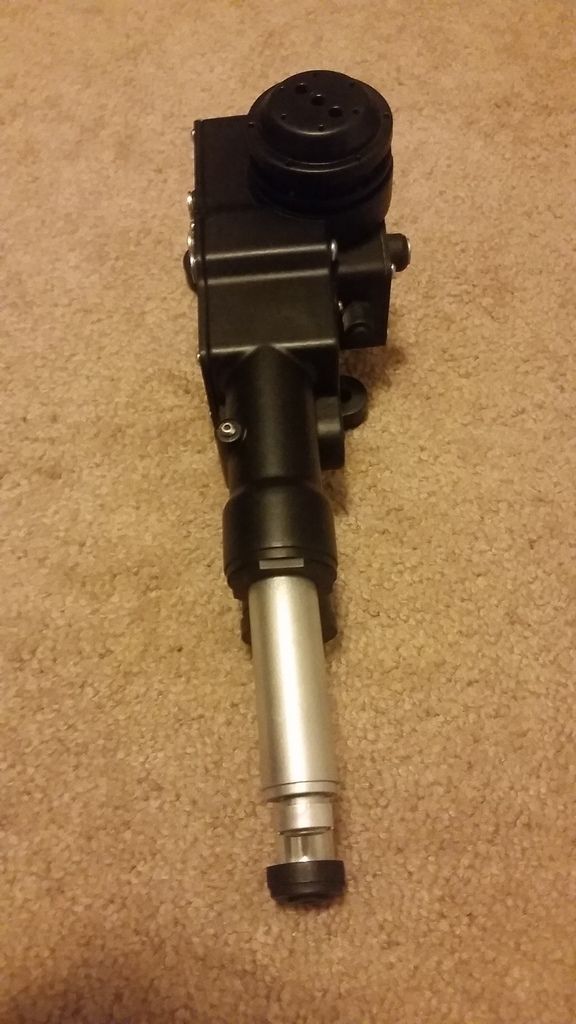
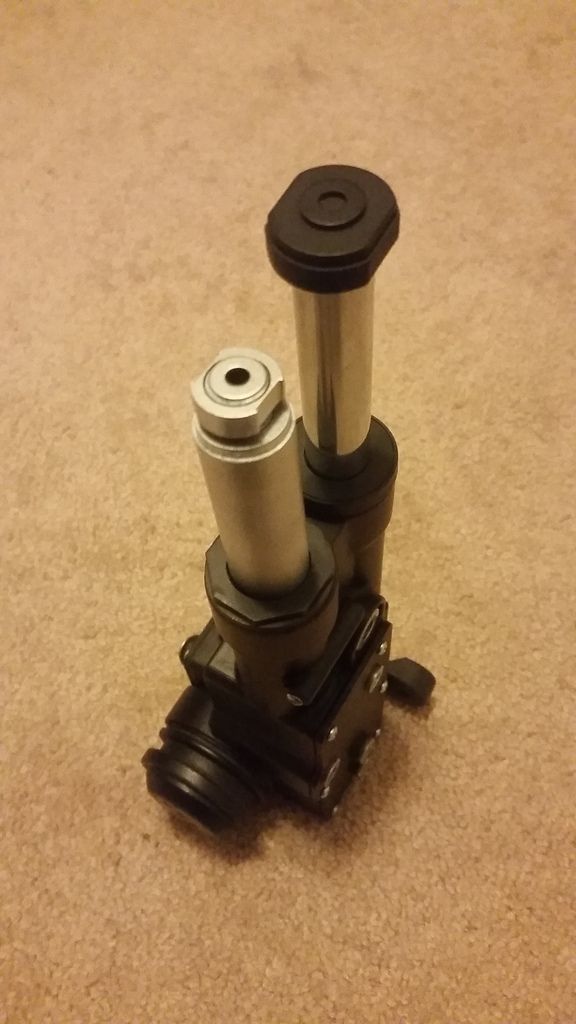
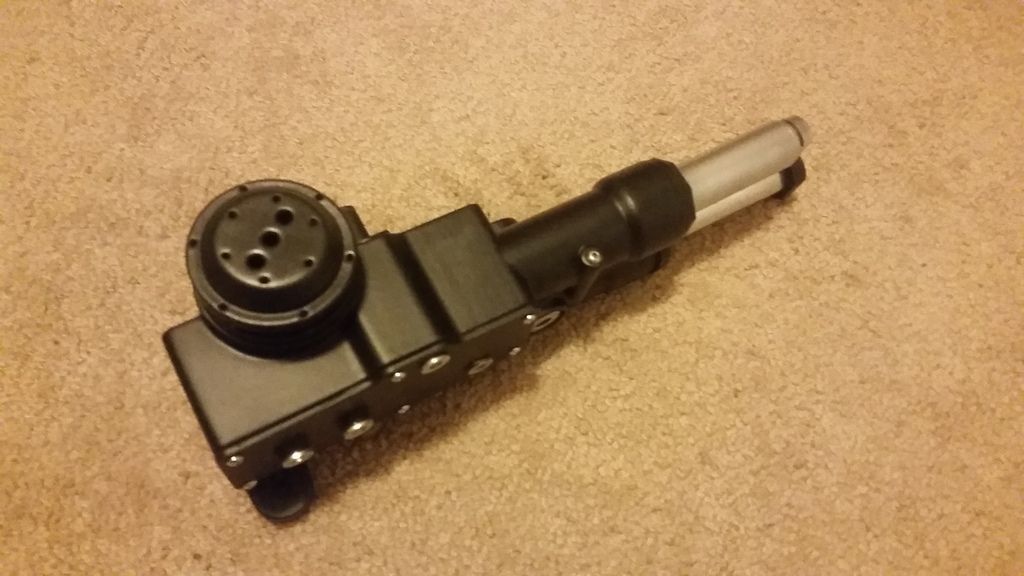
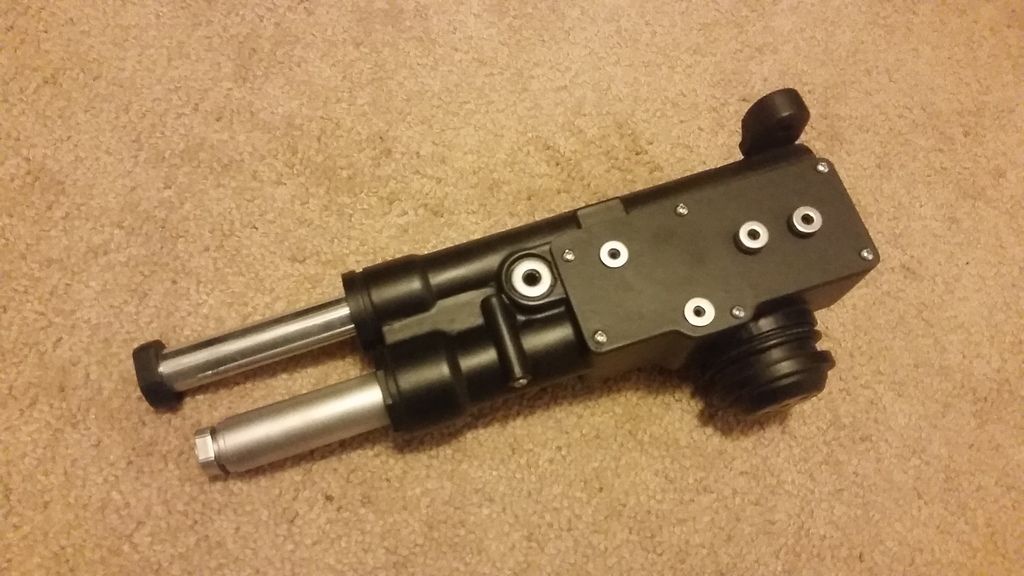
Here are some close up images of the TRM(s)
20180219_190553_zps2kiliknt.jpg


20180219_190540_zps3ctkl0ag.jpg


20180219_190530_zpsnsvbfnik.jpg


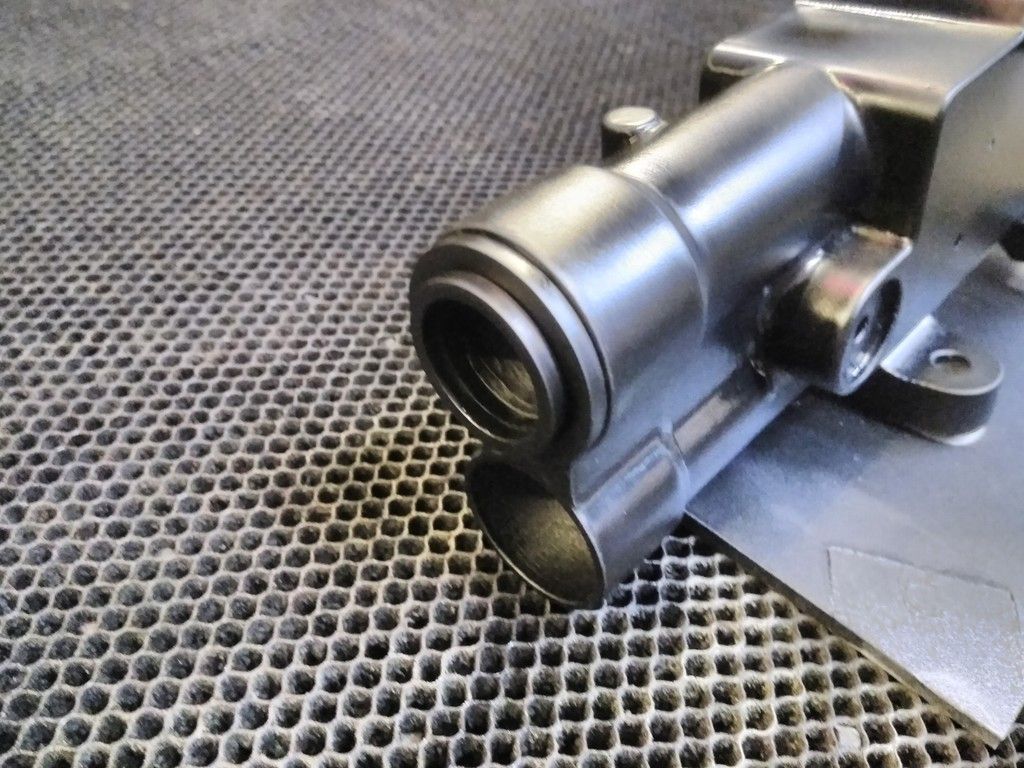
I have to adjust the PVC pipe - slightly skewed
20180219_190517_zpsmirhugkz.jpg


20180219_190511_zpsqvwx0jmi.jpg


20180219_190501_zpsrvqimmkx.jpg


20180219_190454_zpsdegh2fe5.jpg


Another HUGE Thank You to Izzy for his continued hard work and support on these 3D printed parts!

NOTE: Realized on Sunday that my phone has been randomly deleting camera images minutes after saving. 30+ photos from this weekends adventure are simply gone. Had to go back to an old phone. Going to get an actual digital camera. I'll take more images of the areas I completed.

VERY frustrating.

More to Follow!
 
Last edited:

Your message may be considered spam for the following reasons:
If you wish to reply despite these issues, check the box below before replying.
Be aware that malicious compliance may result in more severe penalties.
Back
Top