Hi Gang,
Time for a mid-weekend update! I have great news and horrible news! The great news is I fixed the Volvo Panel! The bad news... the laser cutter is down for a few weeks. Heavy sigh... BUT... let's not allow this minor setback to get us down! We must move forward!
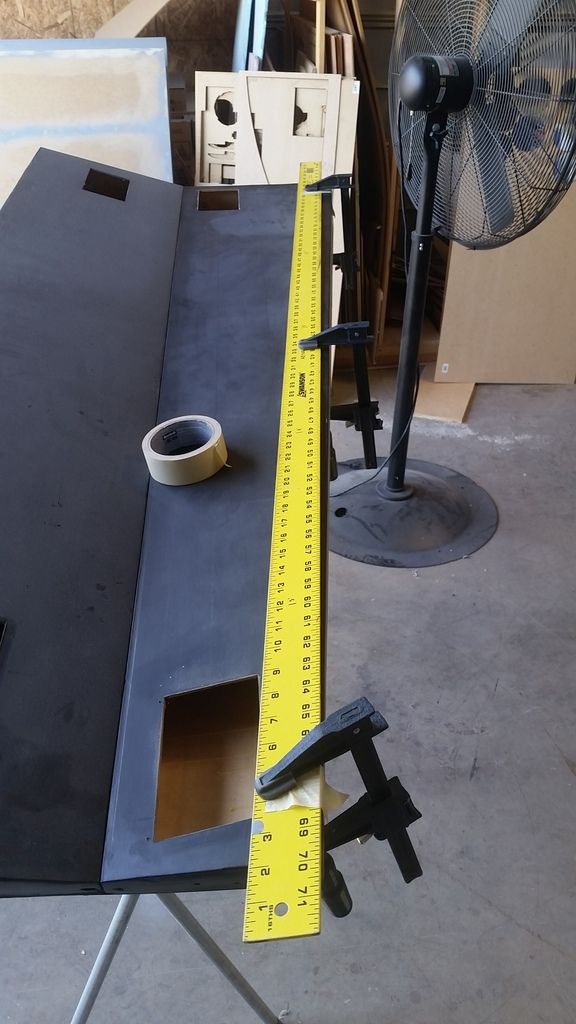
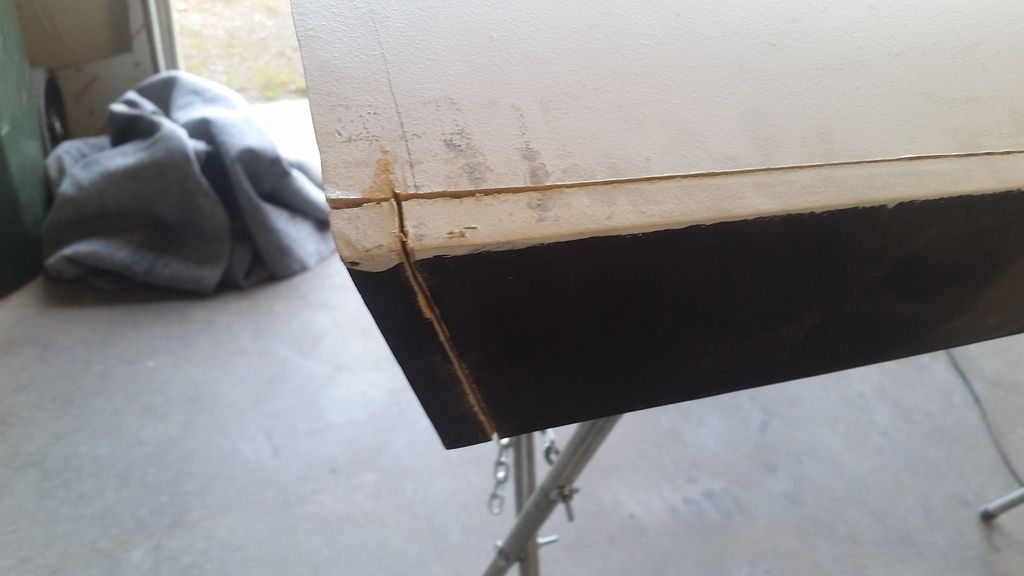
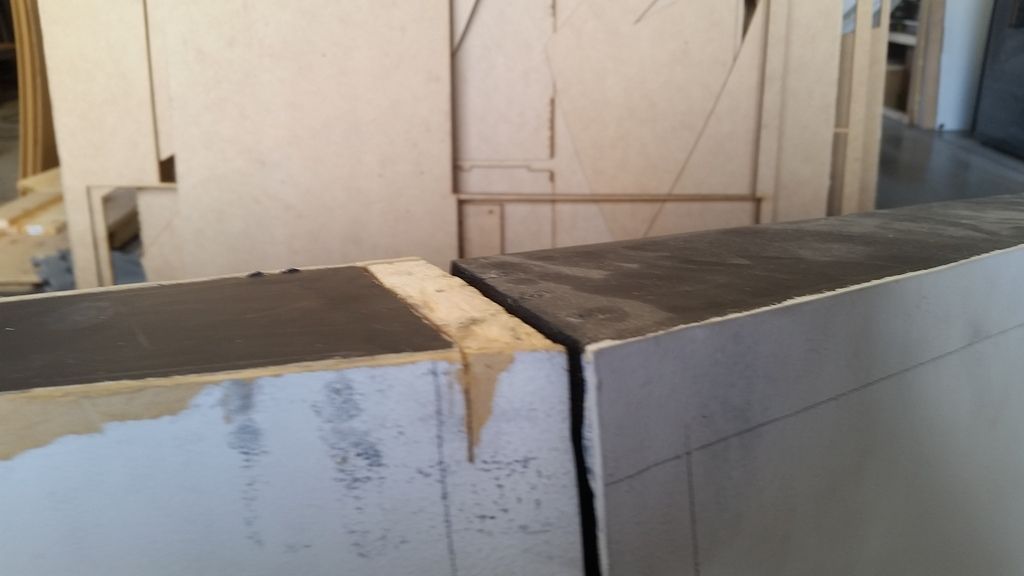
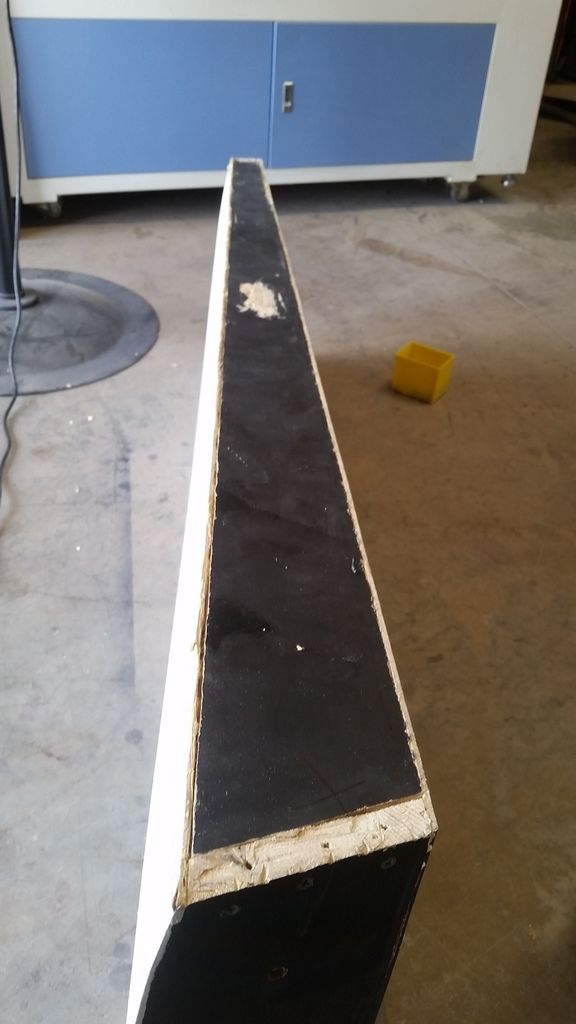
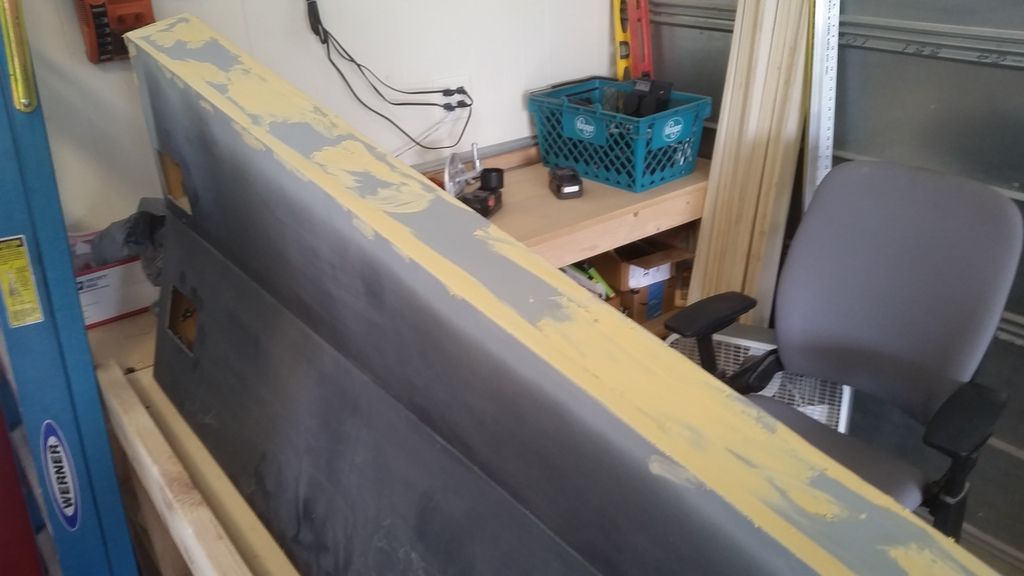
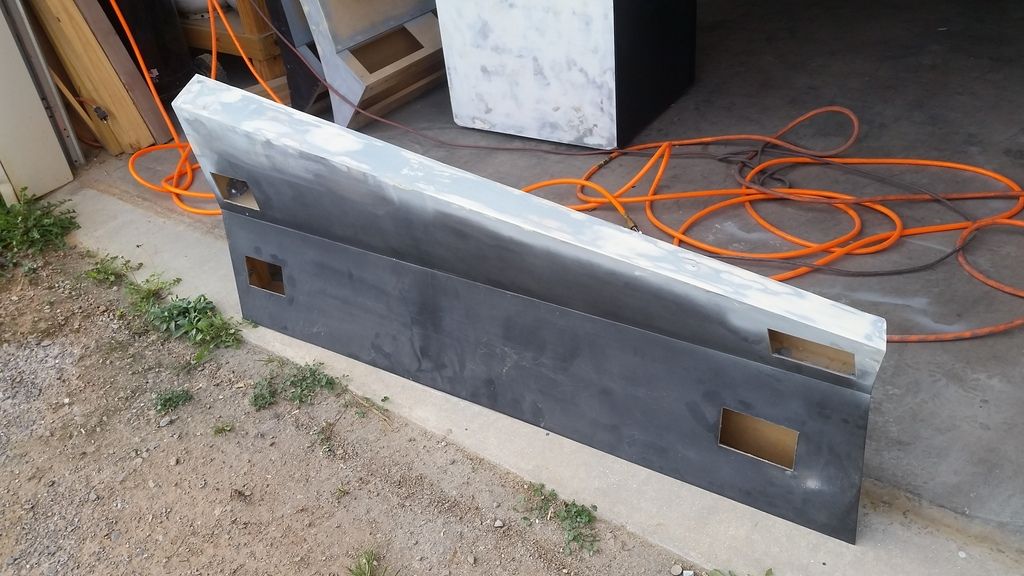
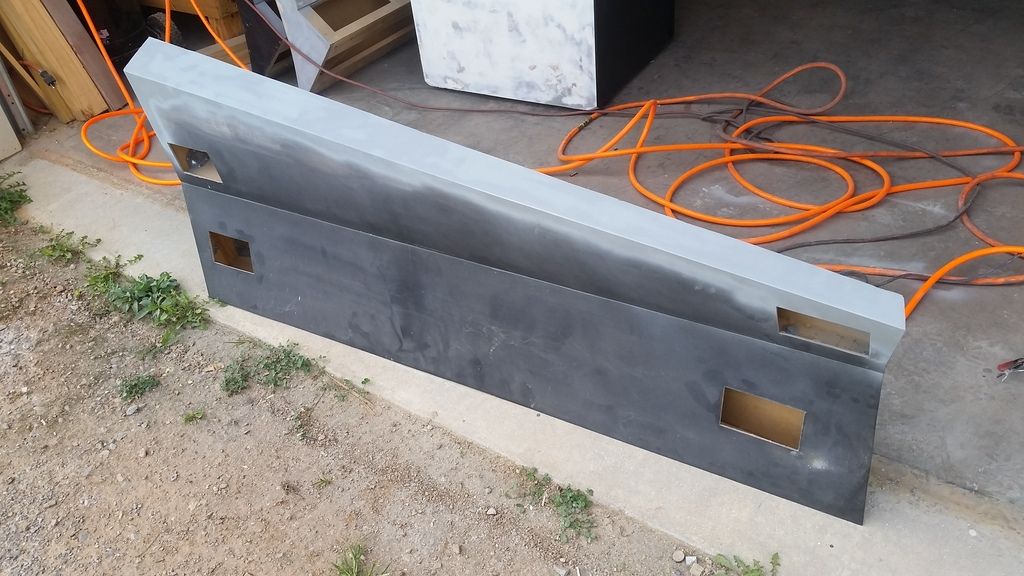
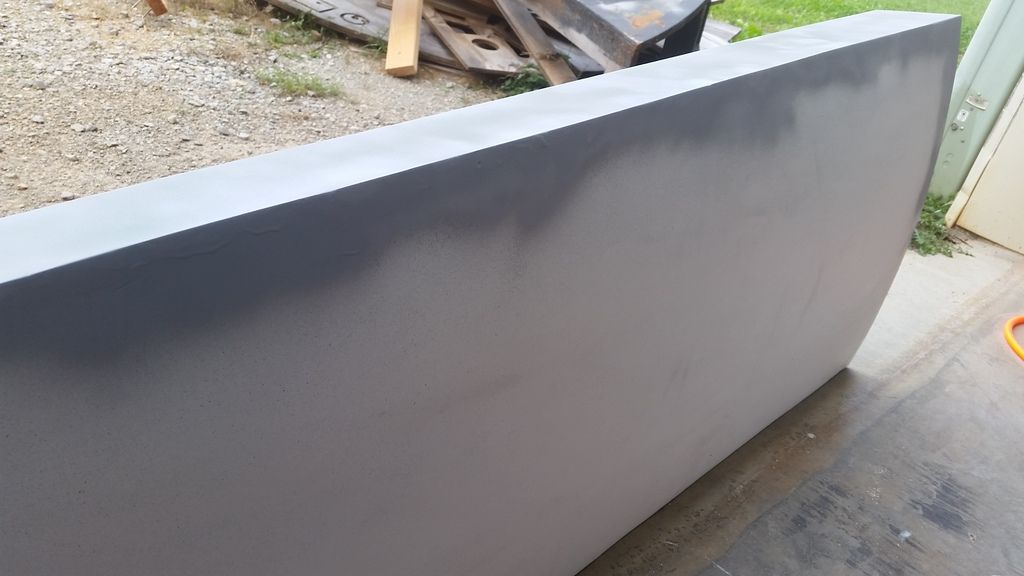
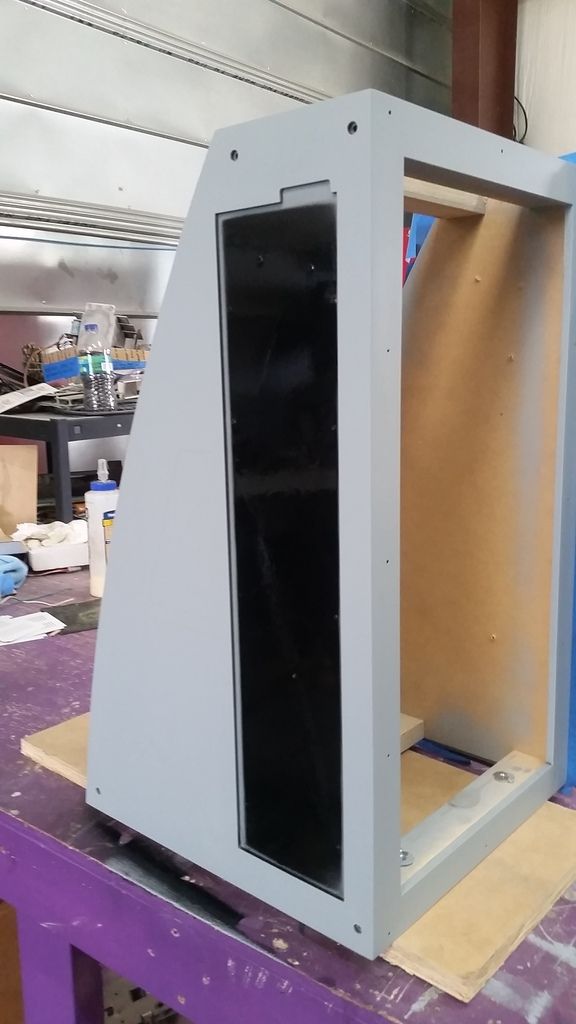
I found the issue with the Volvo panel
And I know EXACTLY what I did wrong :facepalm
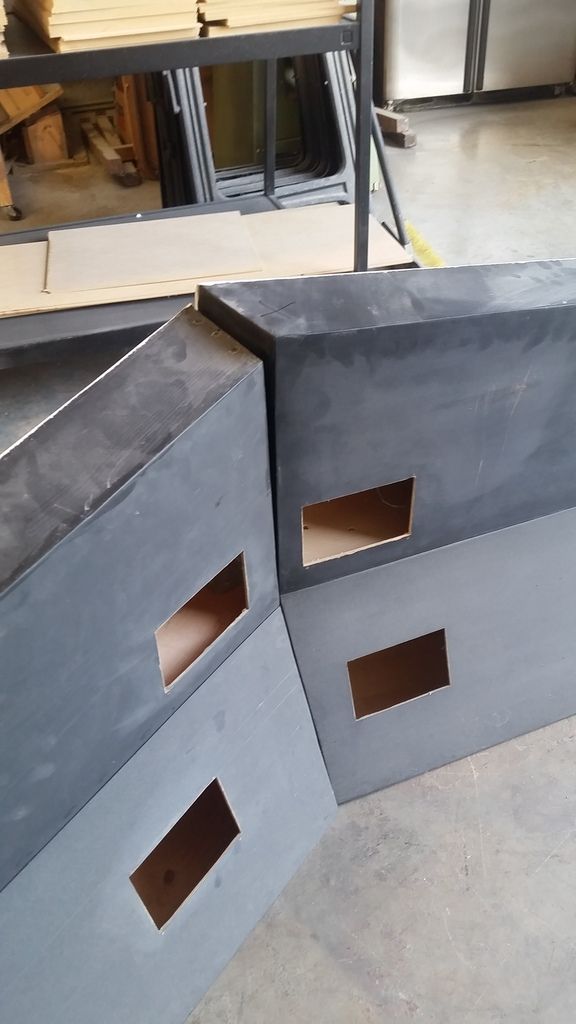
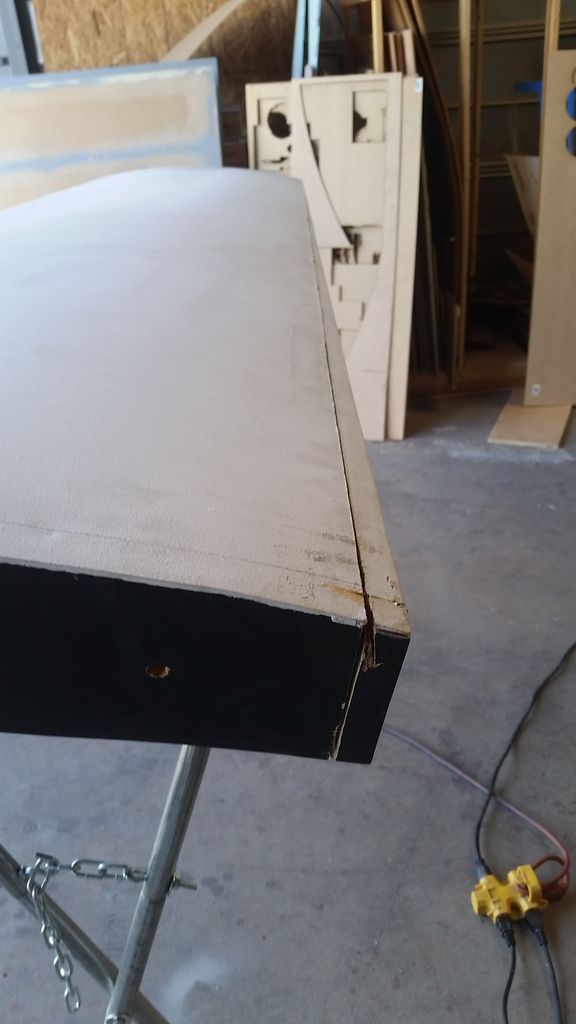
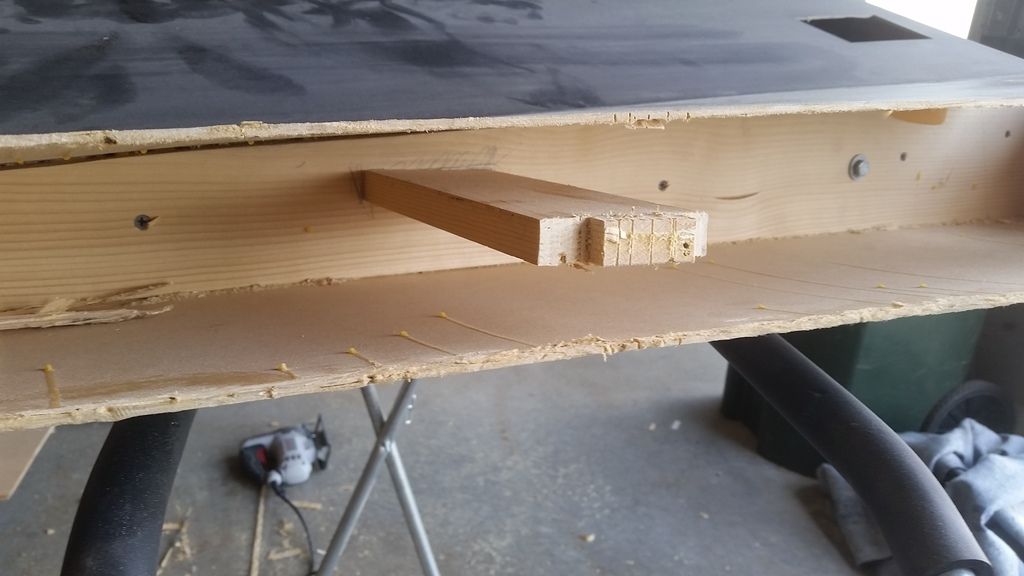
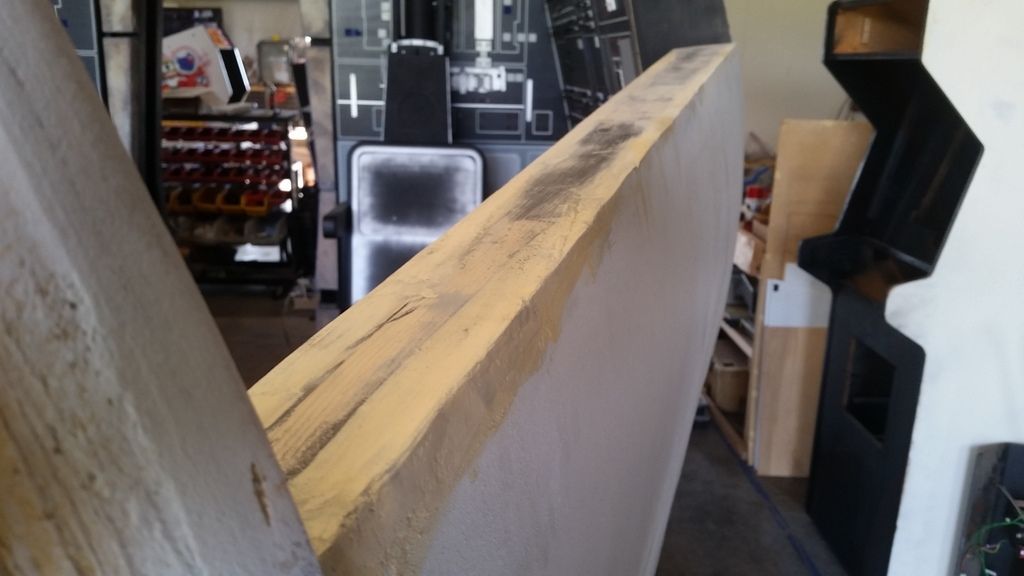
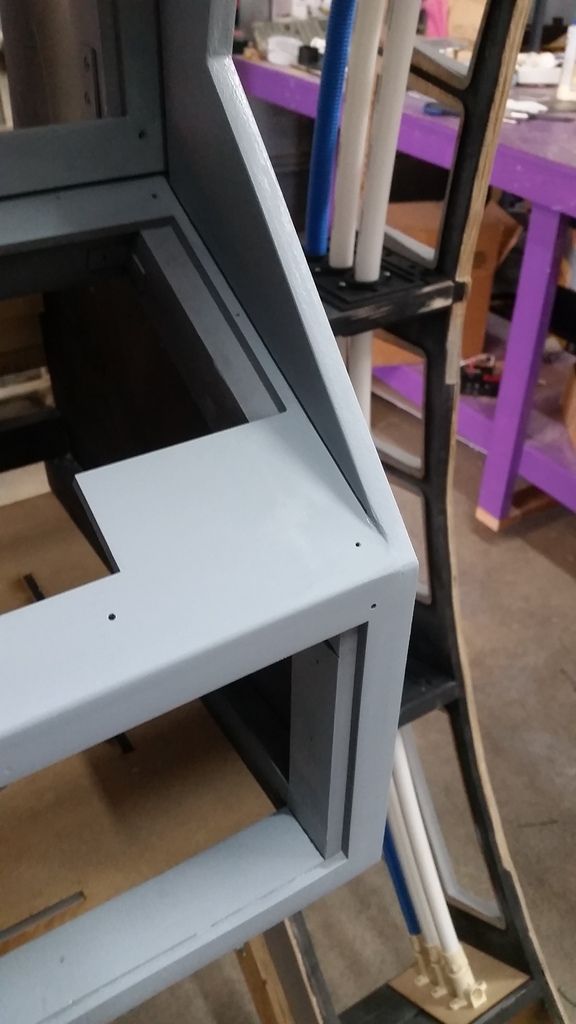
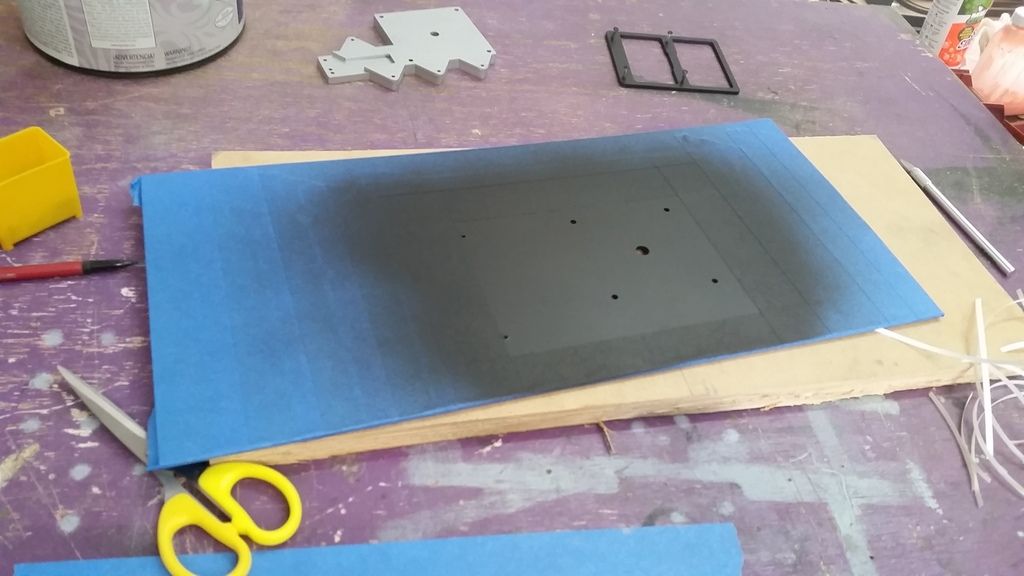
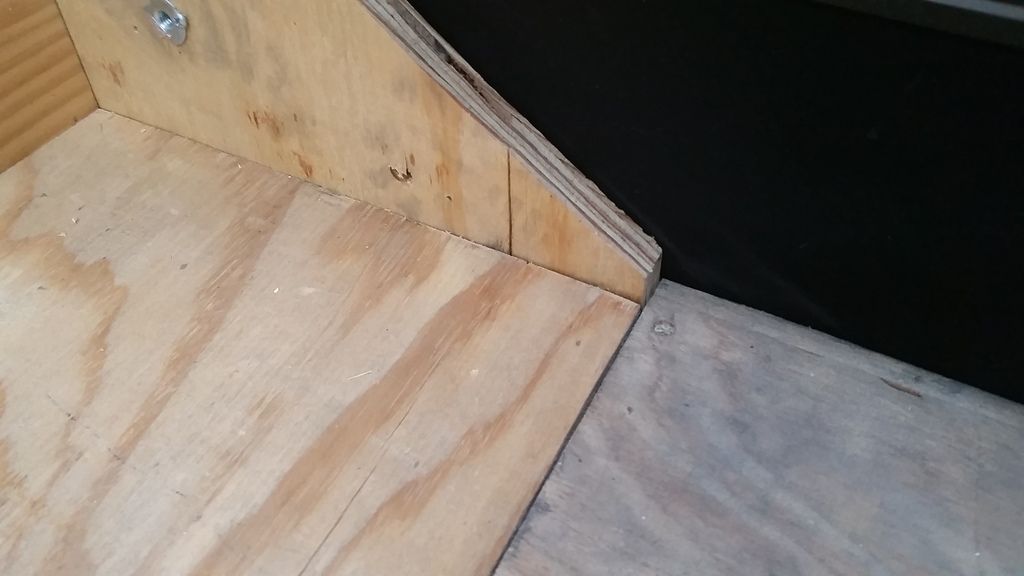
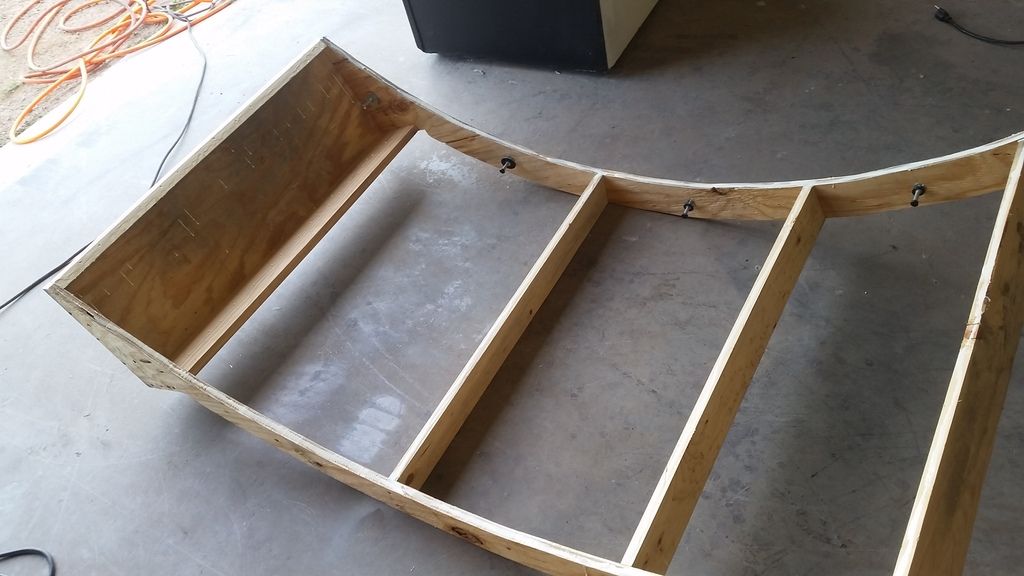
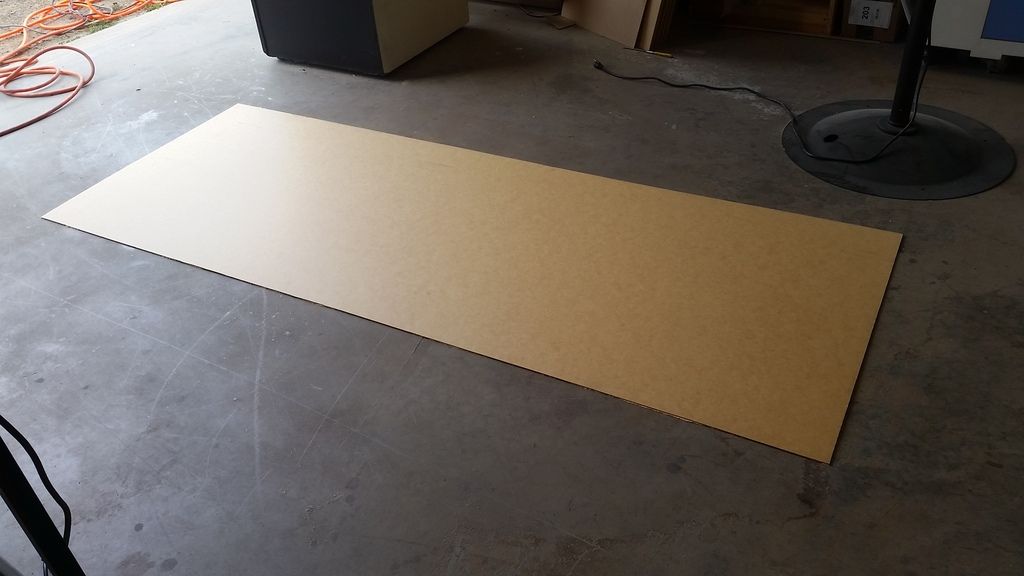
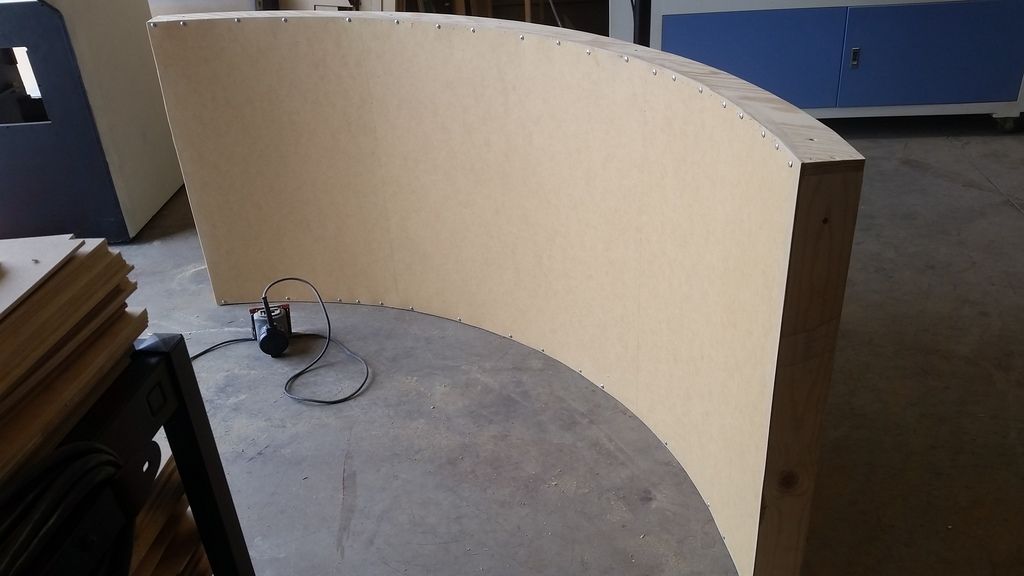
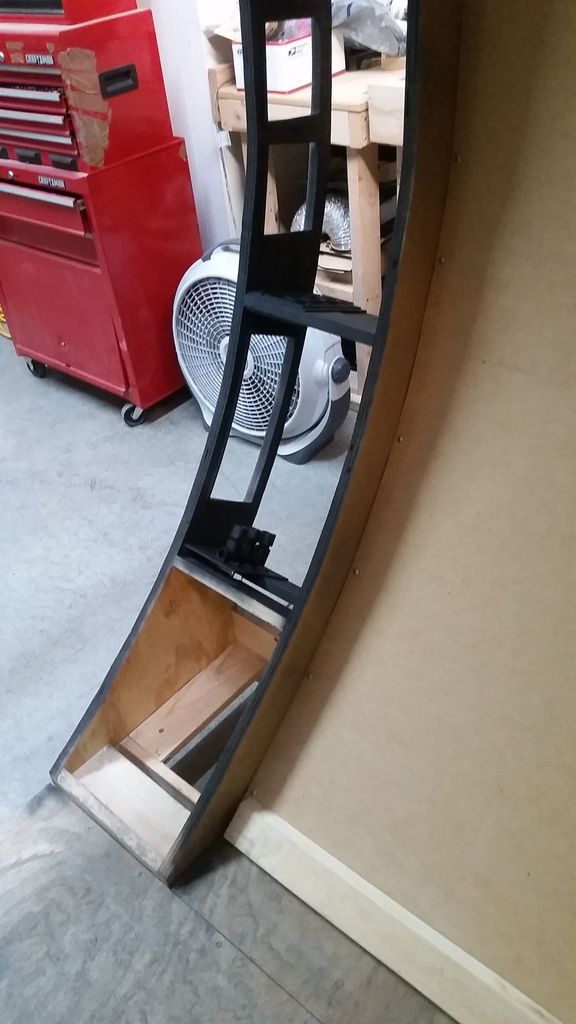
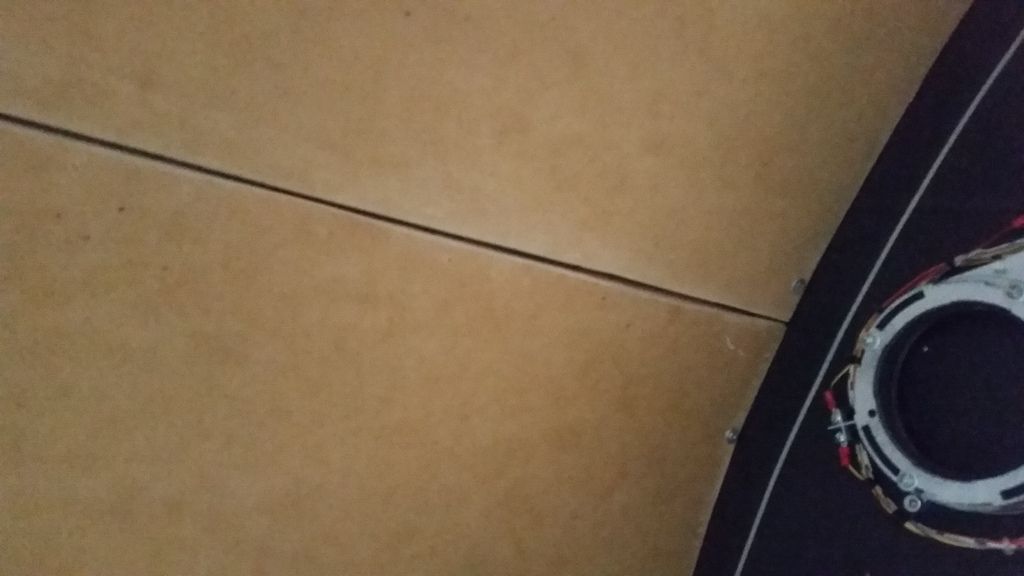
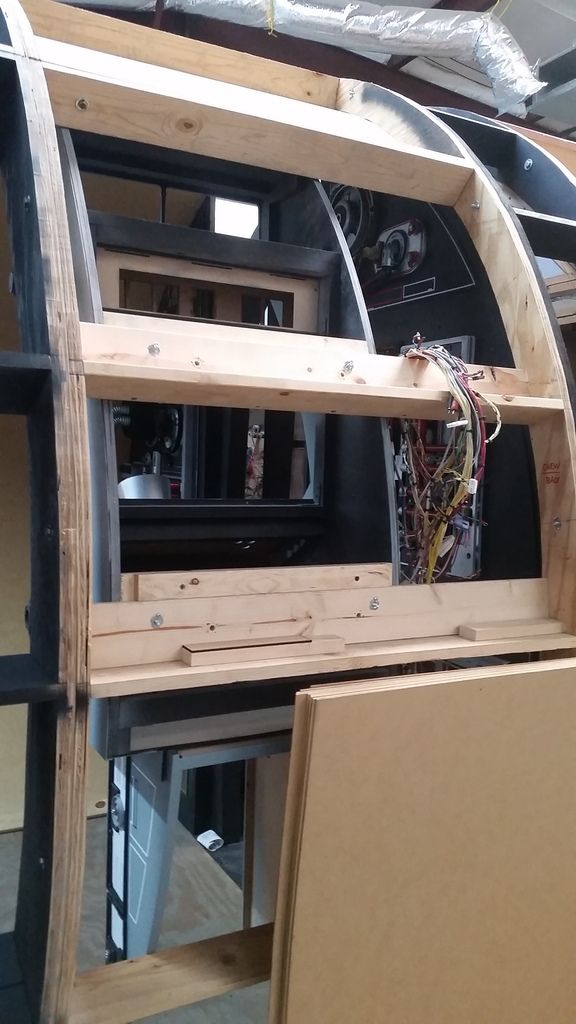
Making sure all the measurements were correct I first removed part of the the 1/8" MDF skin I didn't need
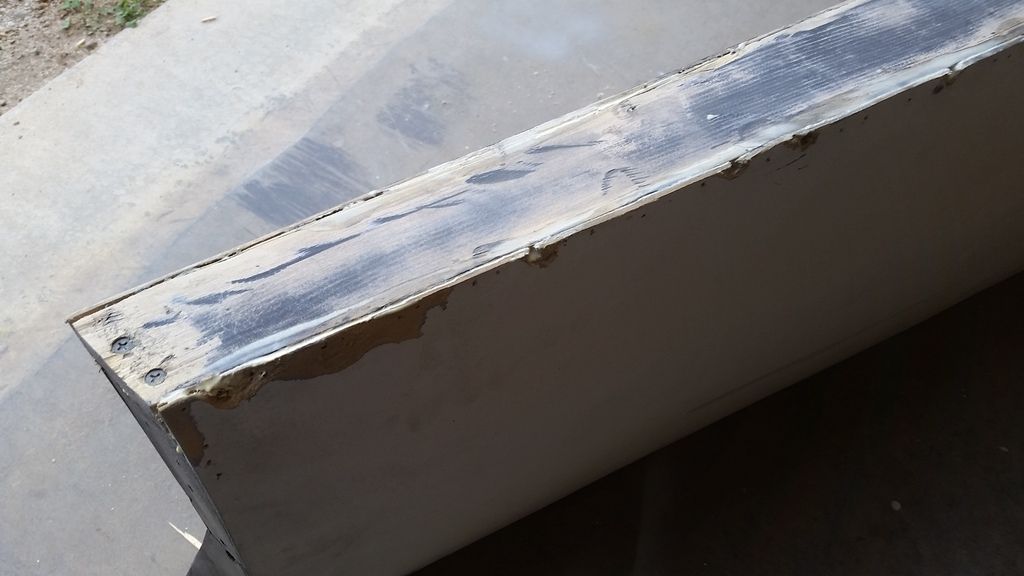
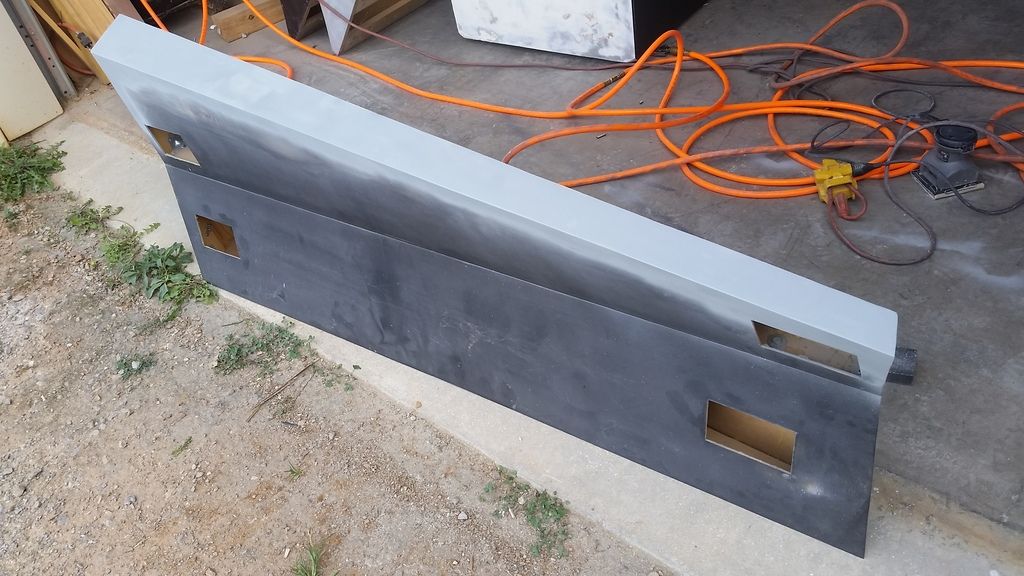
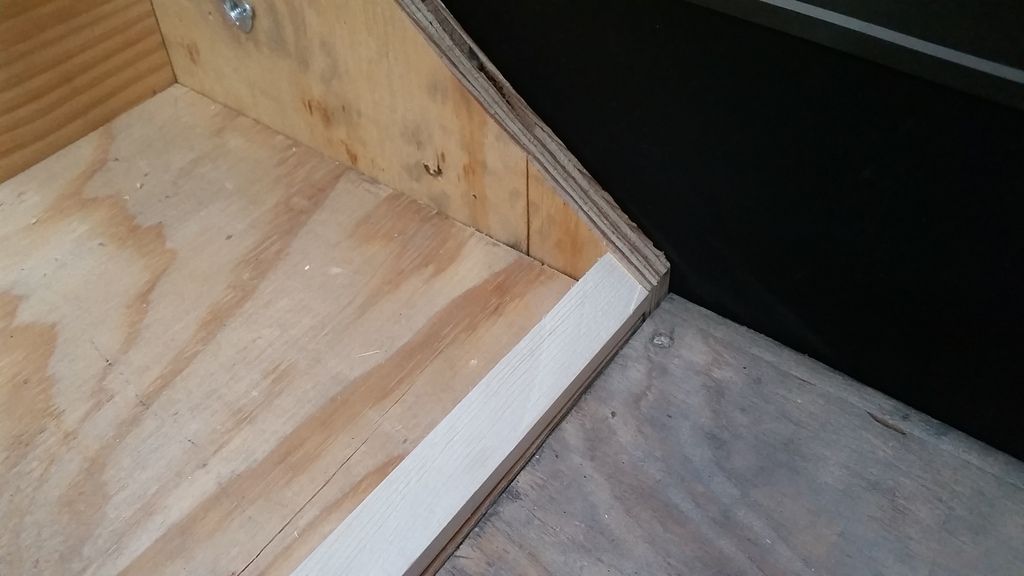
I then marked off the edge of the 1x that was resting on TOP of the back vertical piece
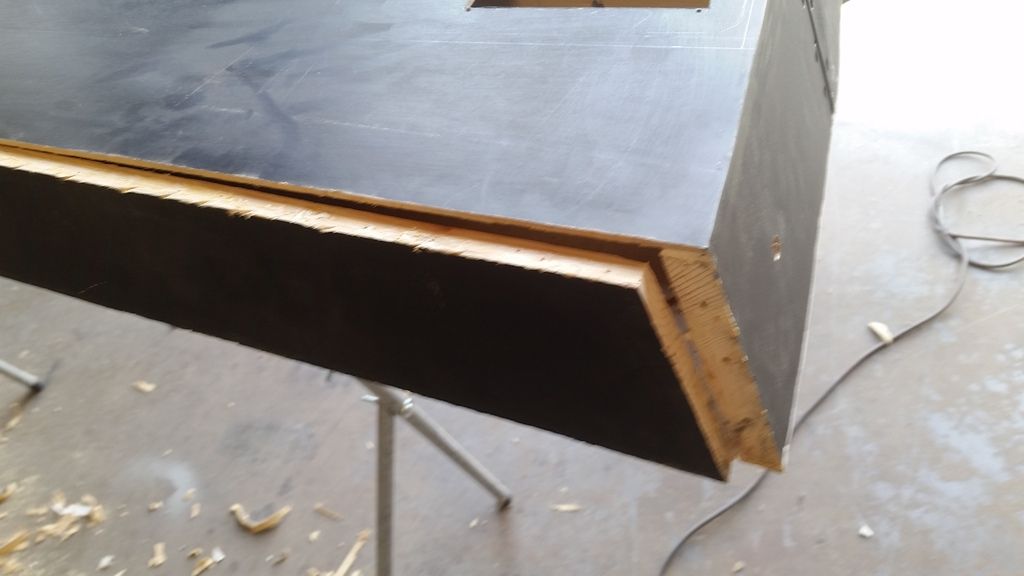
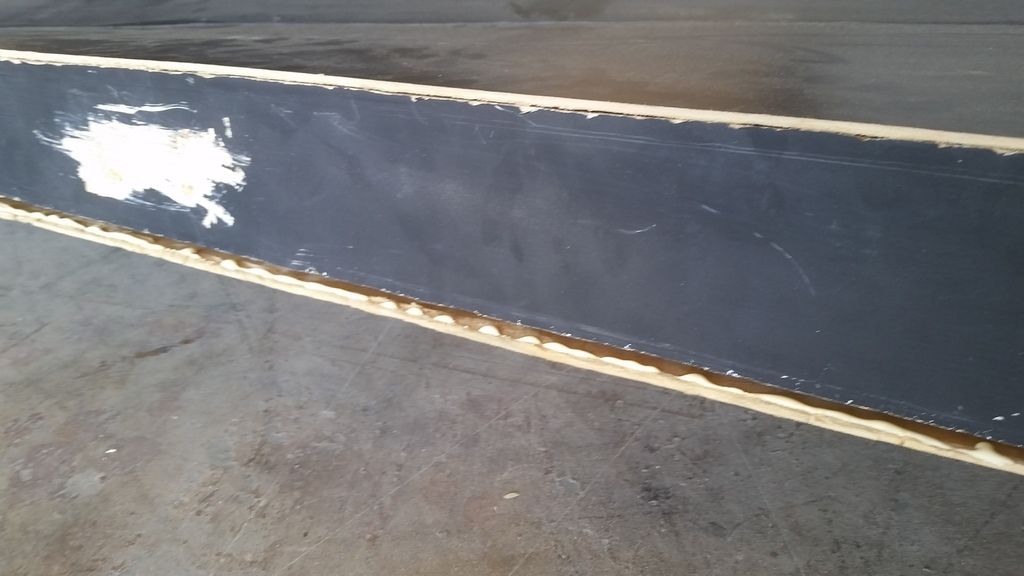
With this area now gone, I had to work my way down the 1x, remove the brads and then gently remove more of the MDF / skin I didn't need
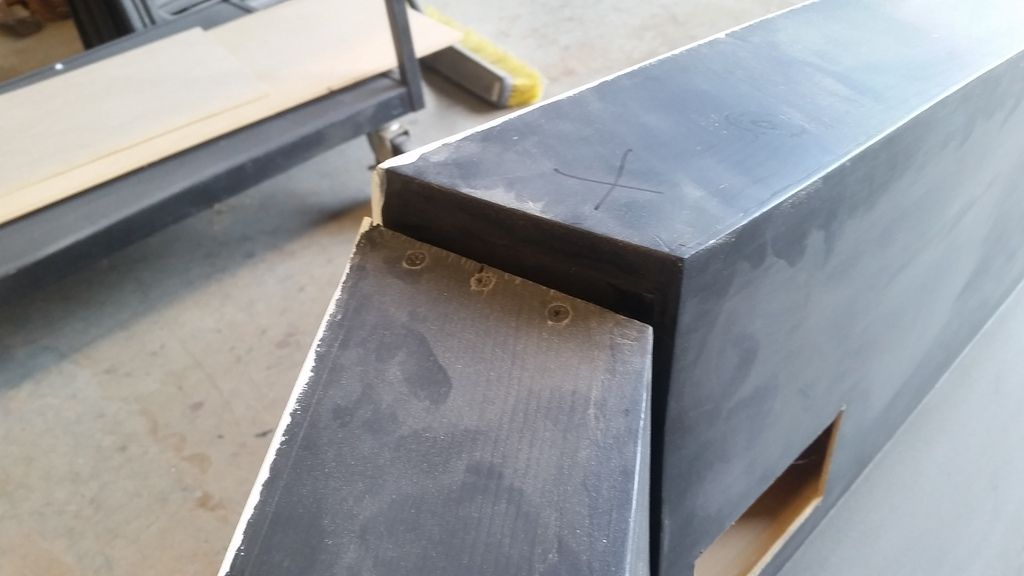
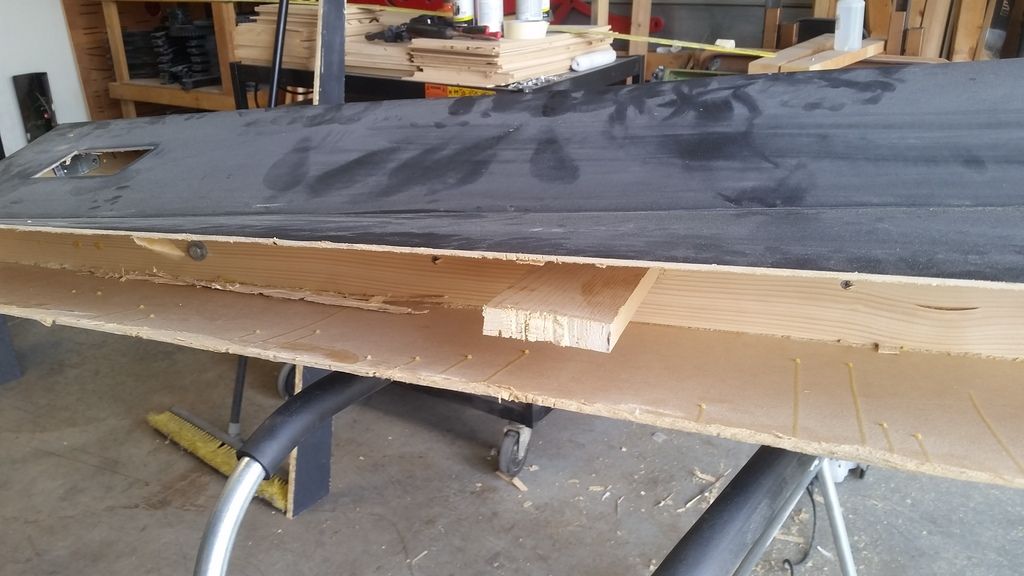
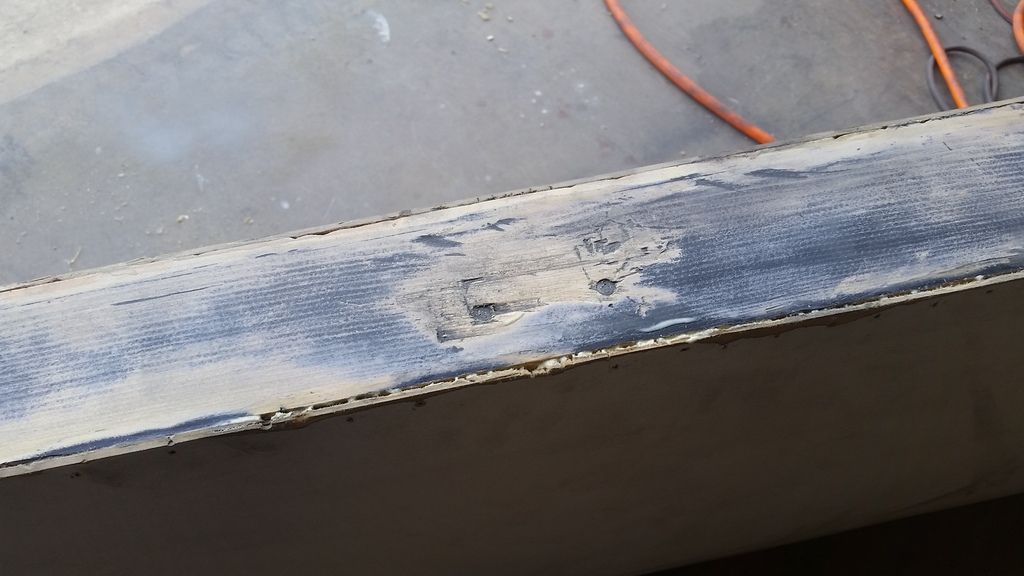
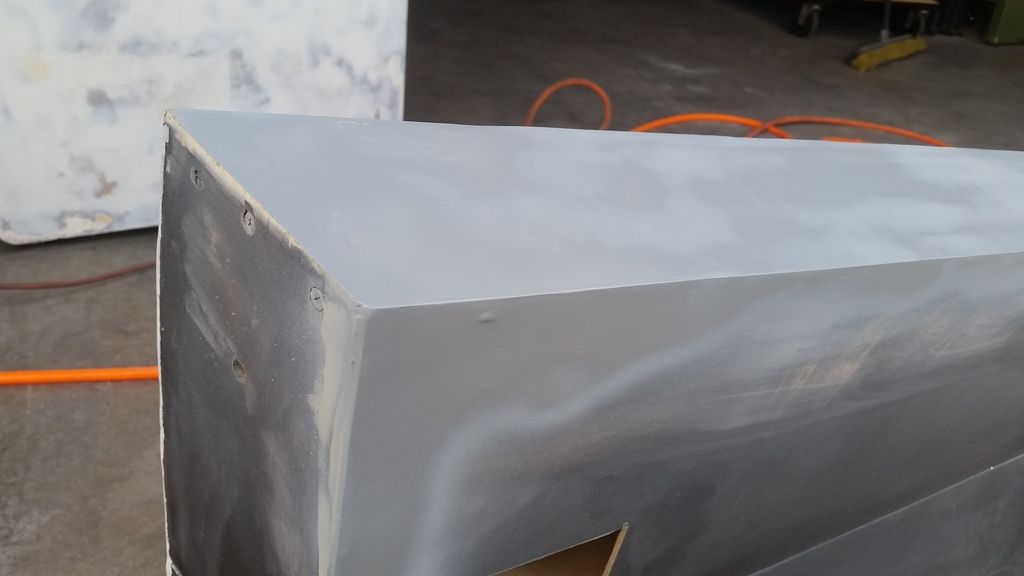
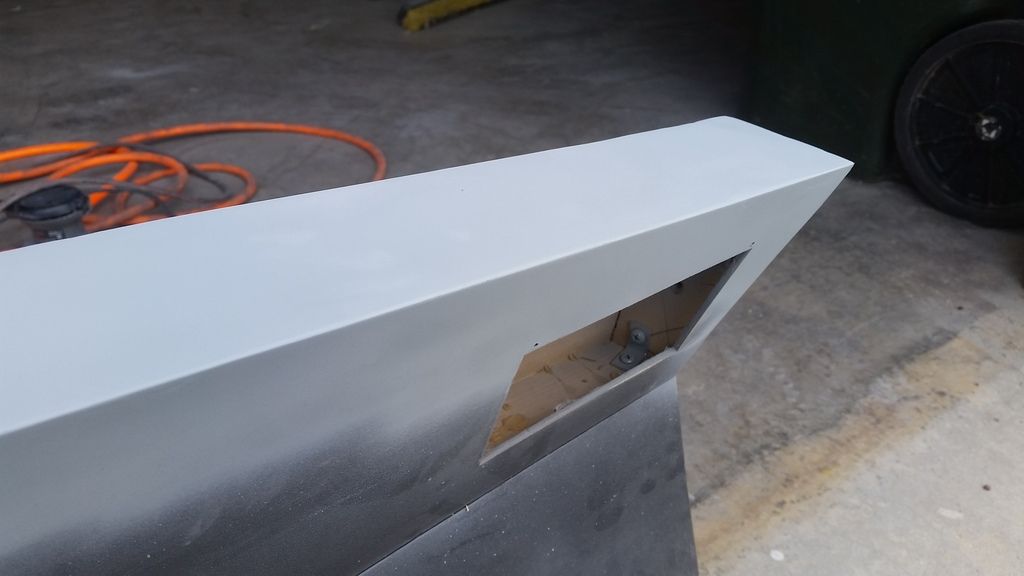
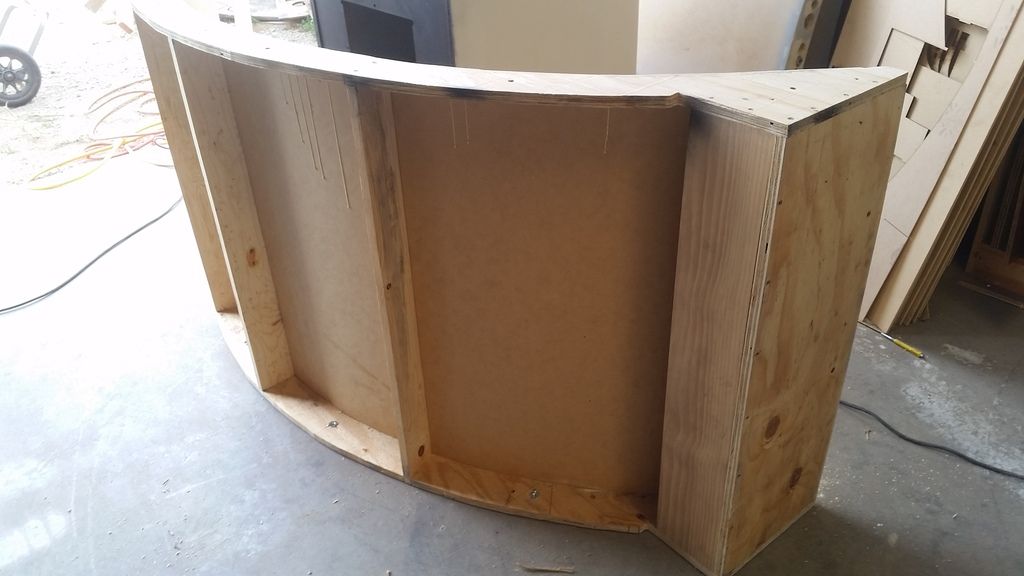
SUCCESS!
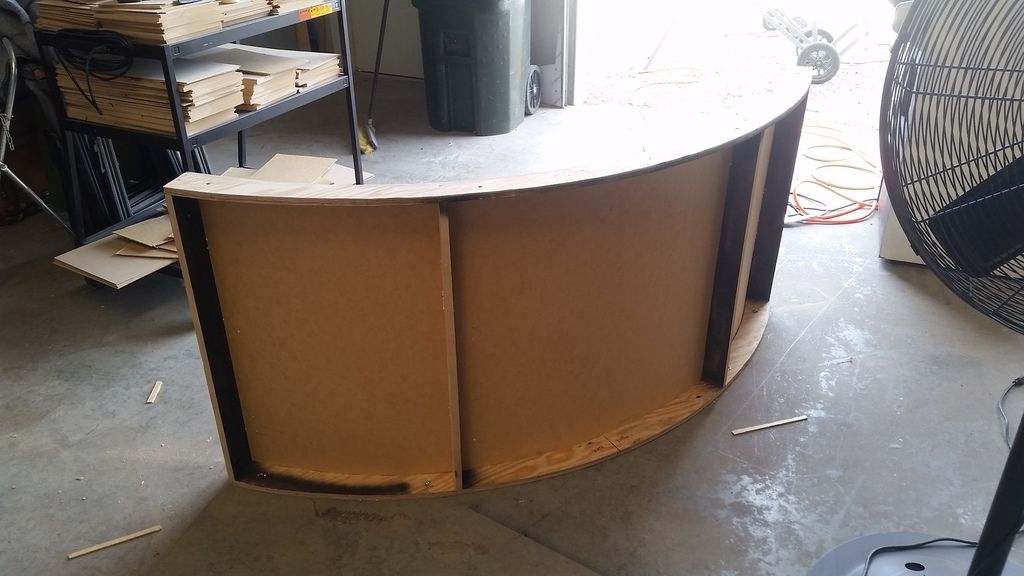
This allows me to simply push the 1x down into its final position
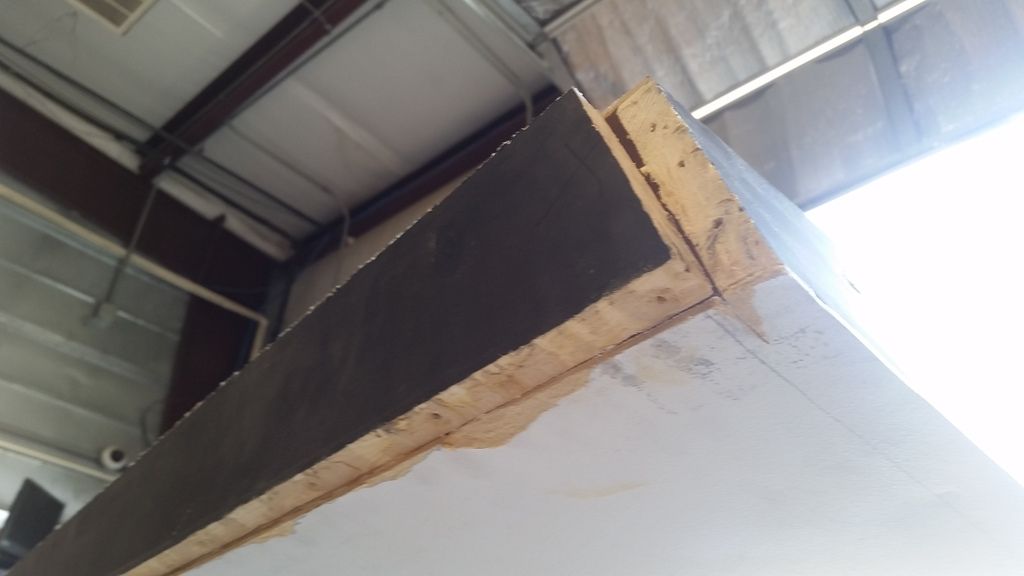
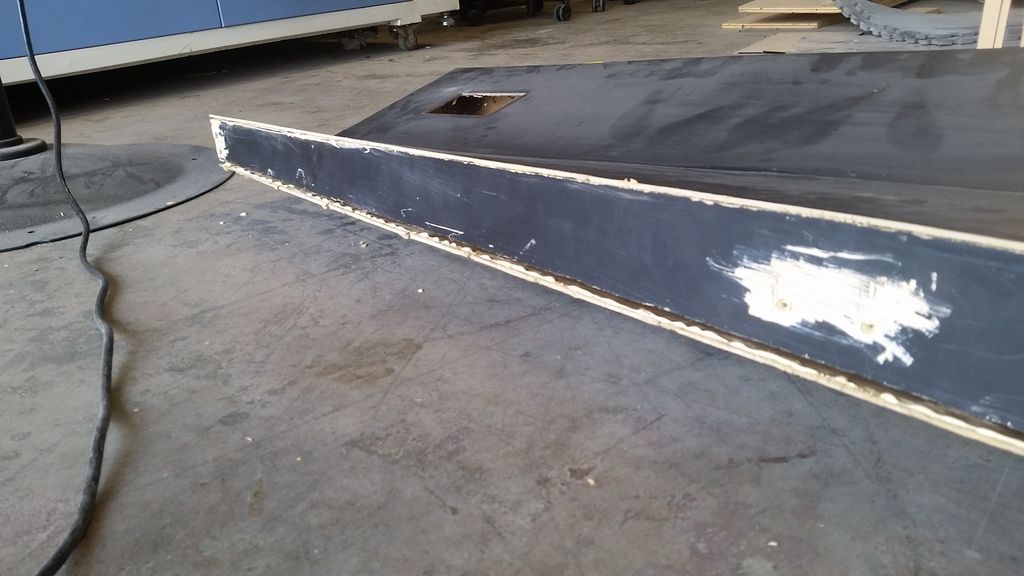
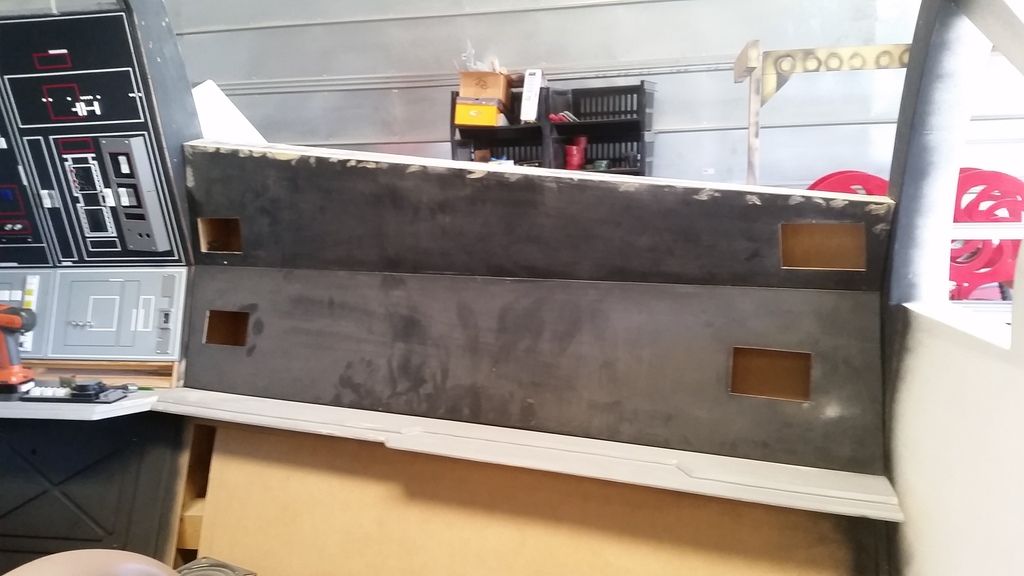
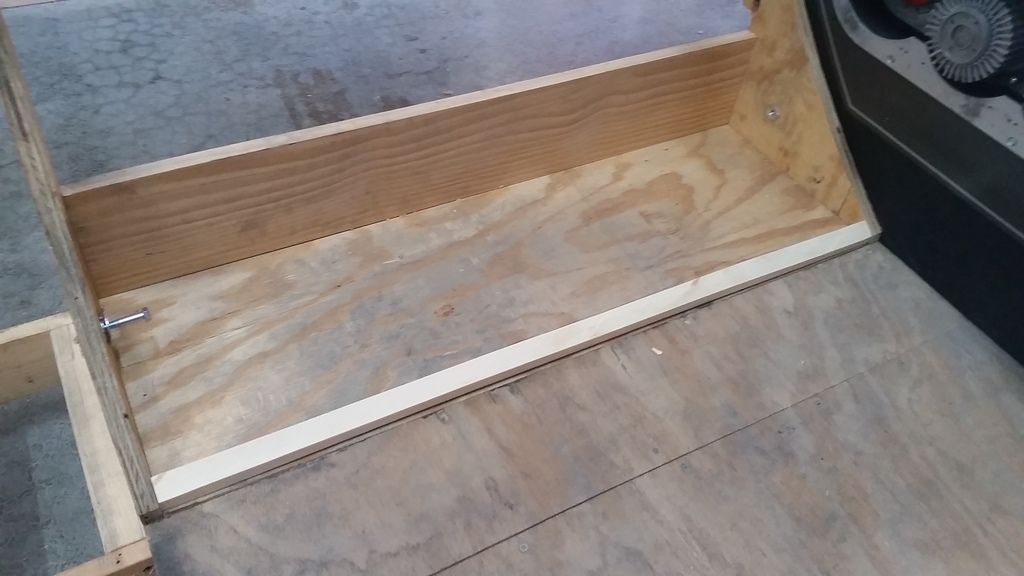
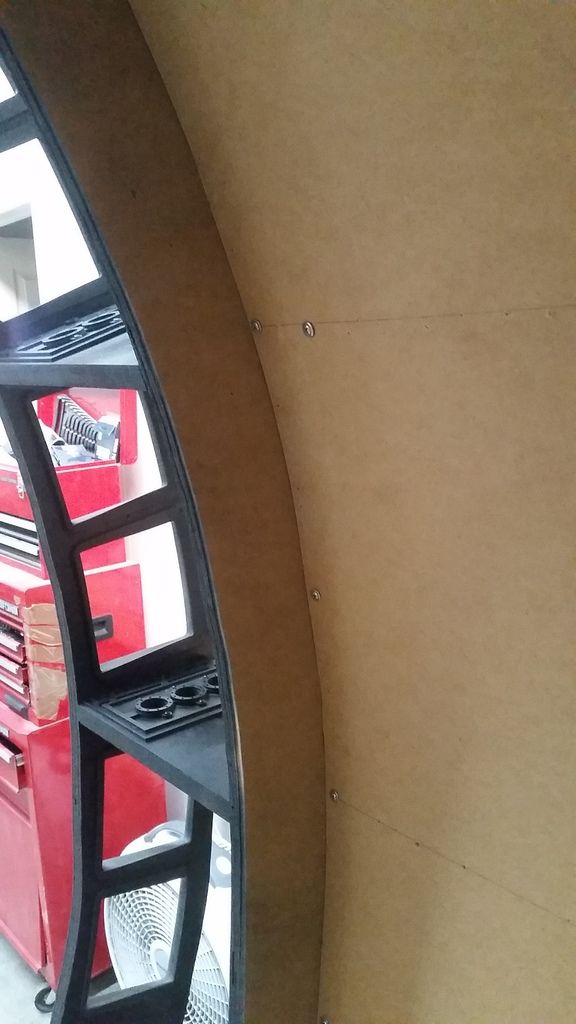
Exterior side done!
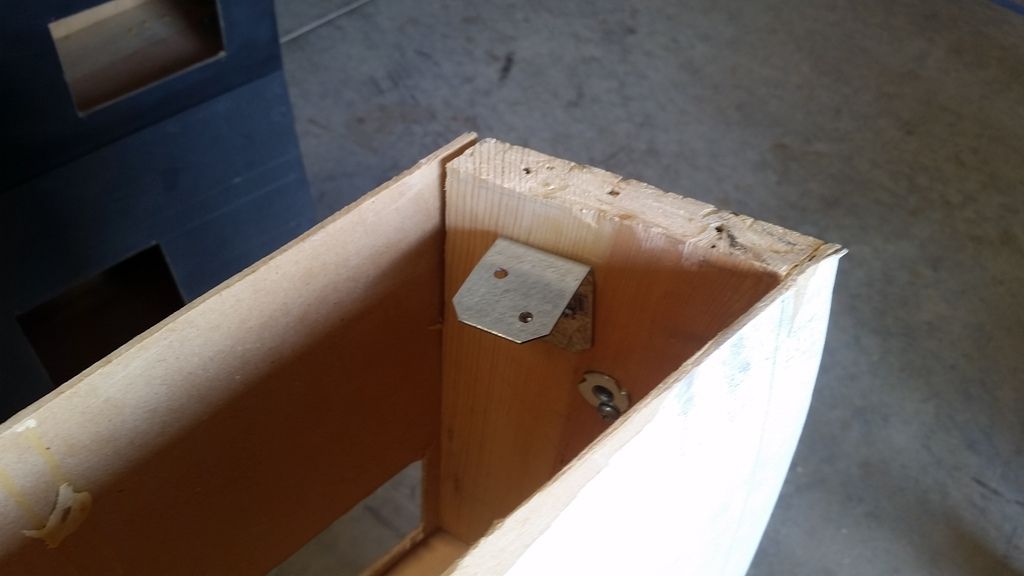
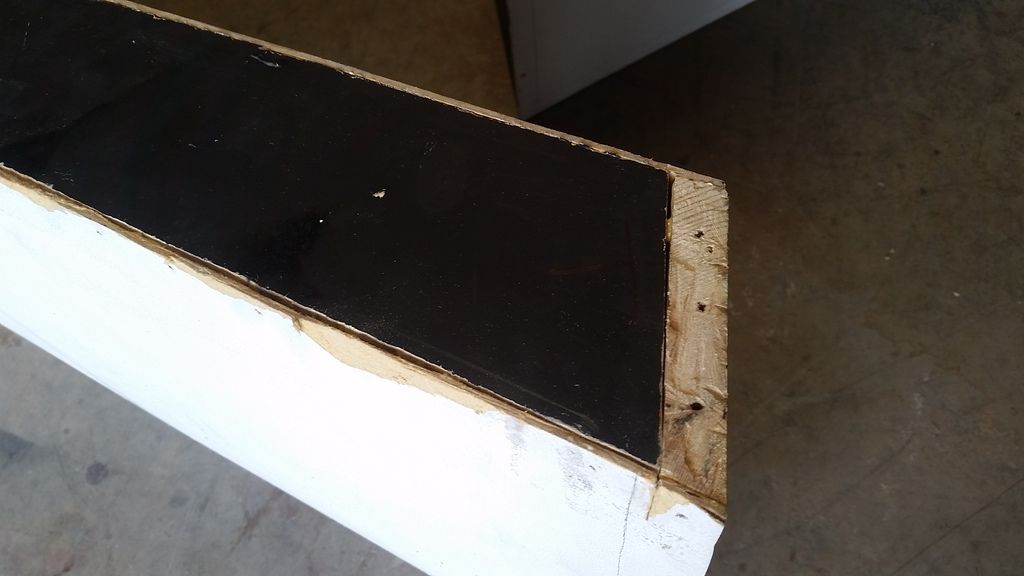
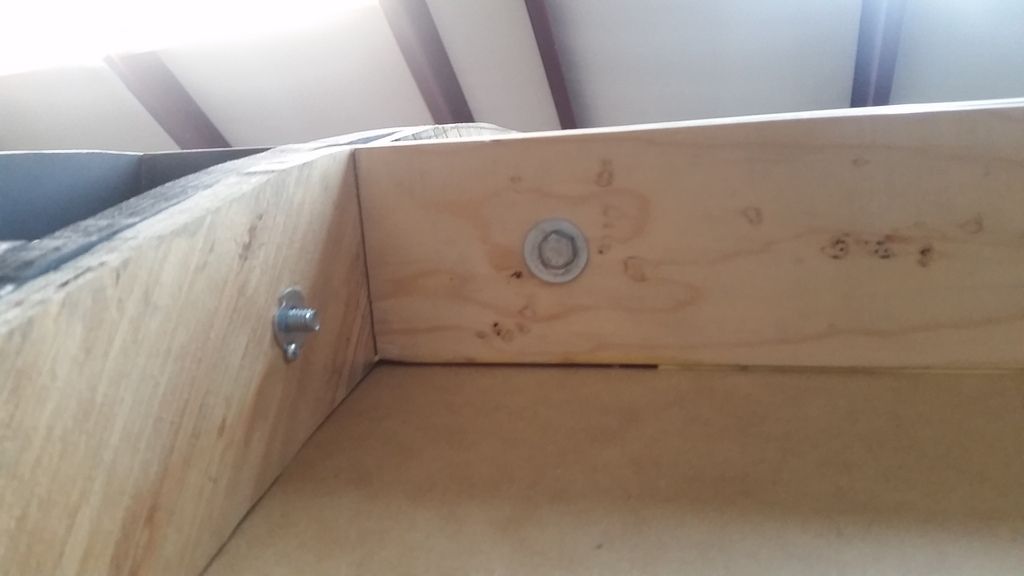
There was an interior support that was preventing me from putting the 1x in its final position so I knocked down what had to go
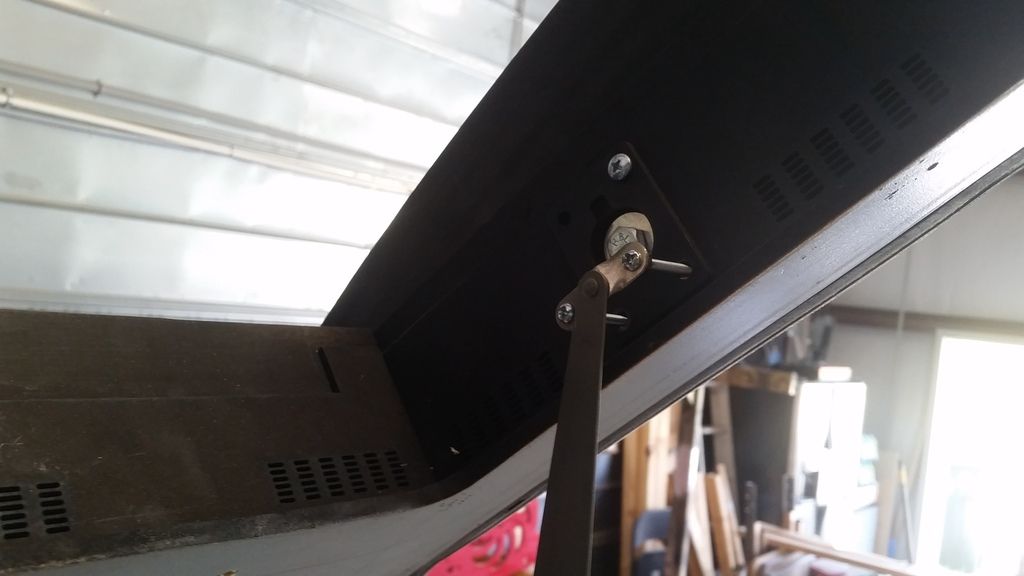
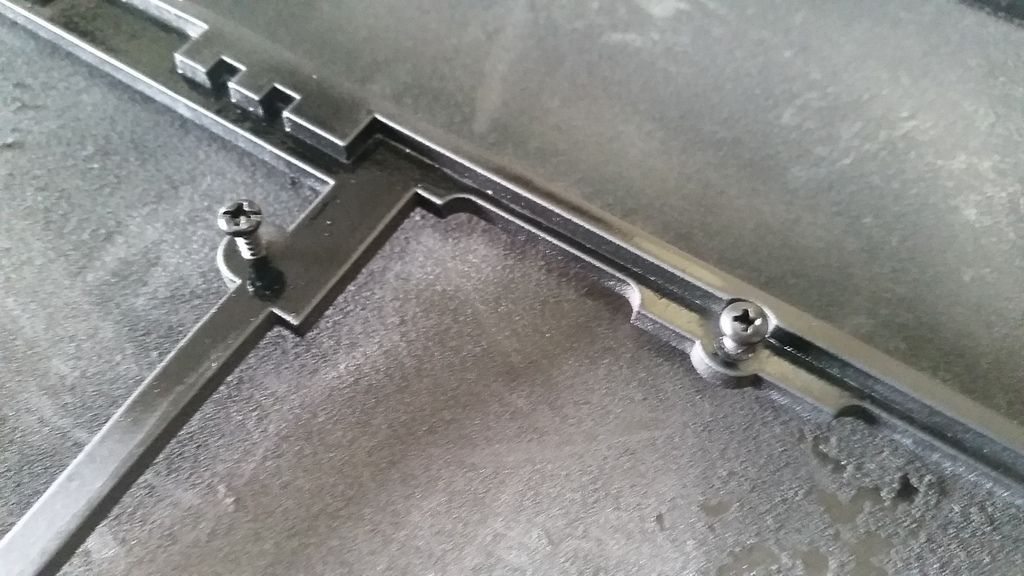
Installed a "L" bracket
BINGO!
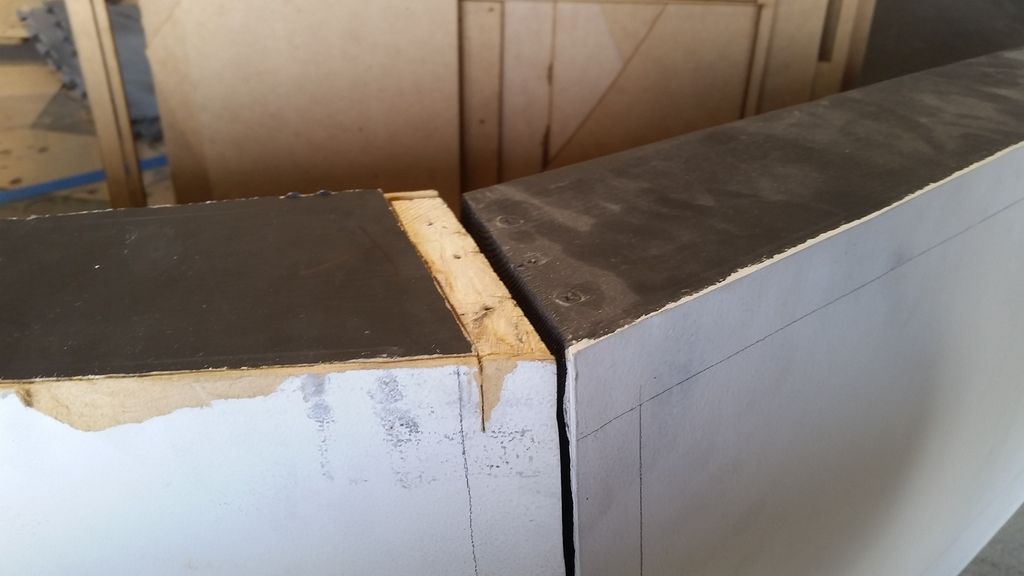
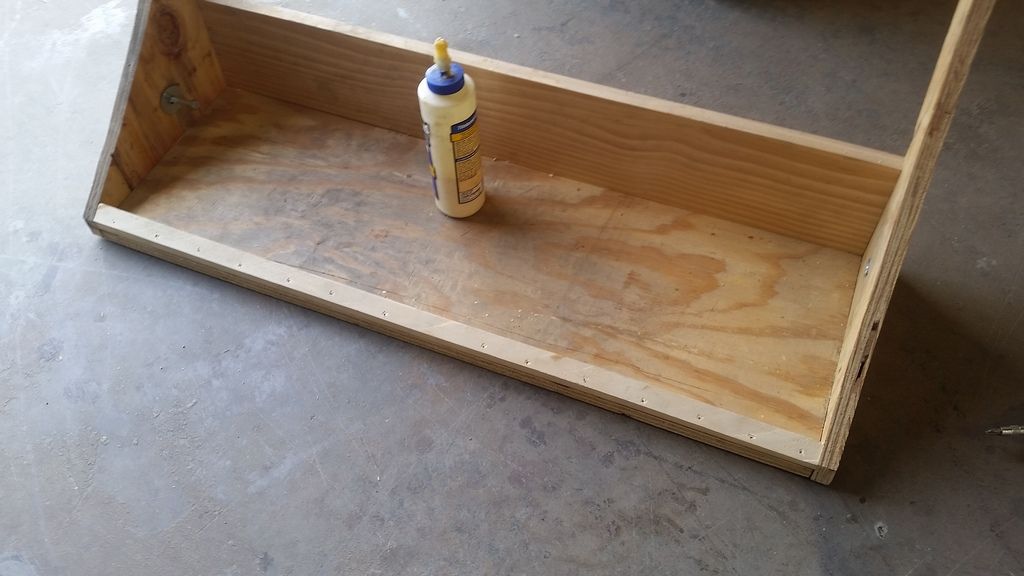
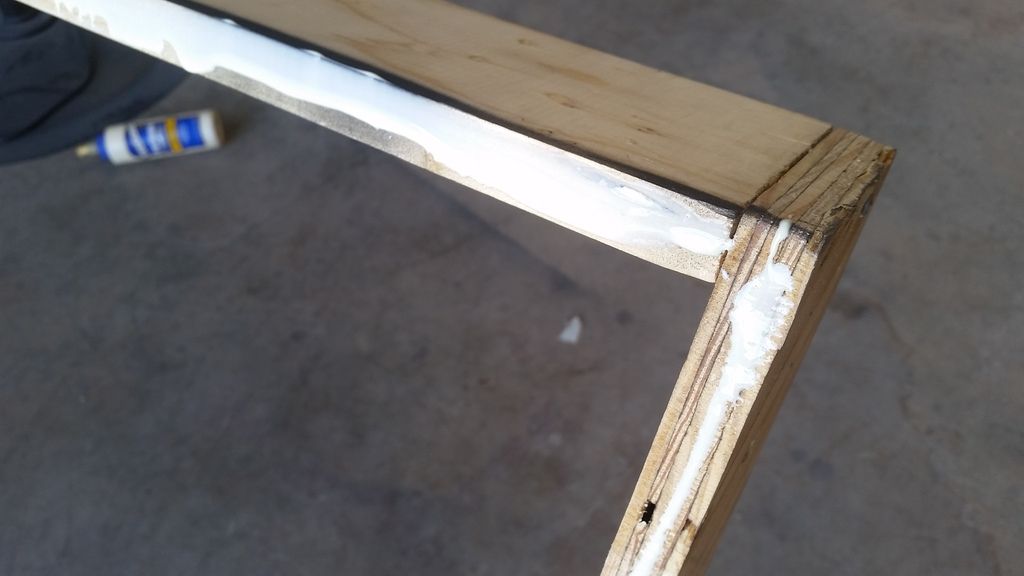
Added adhesive
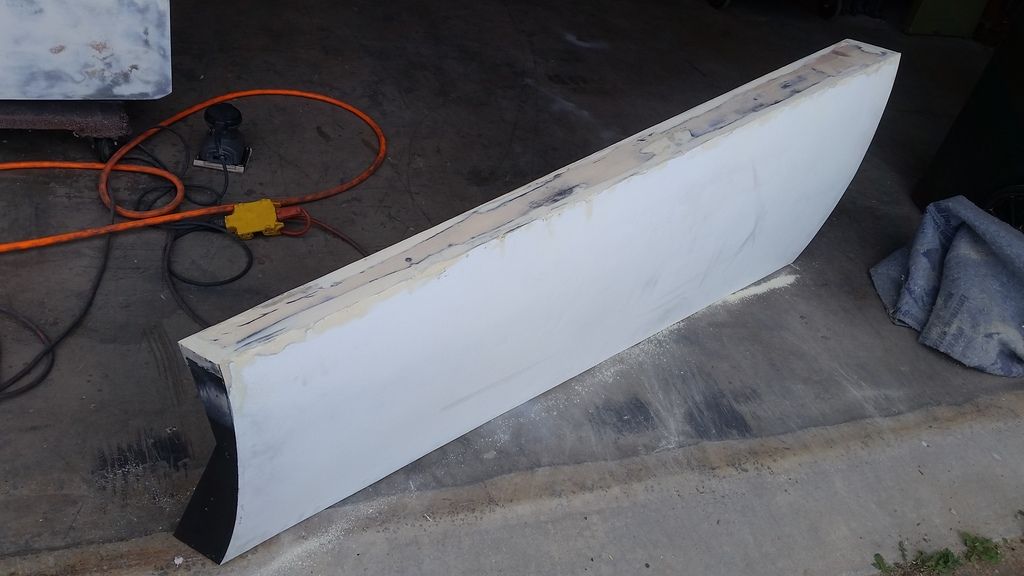
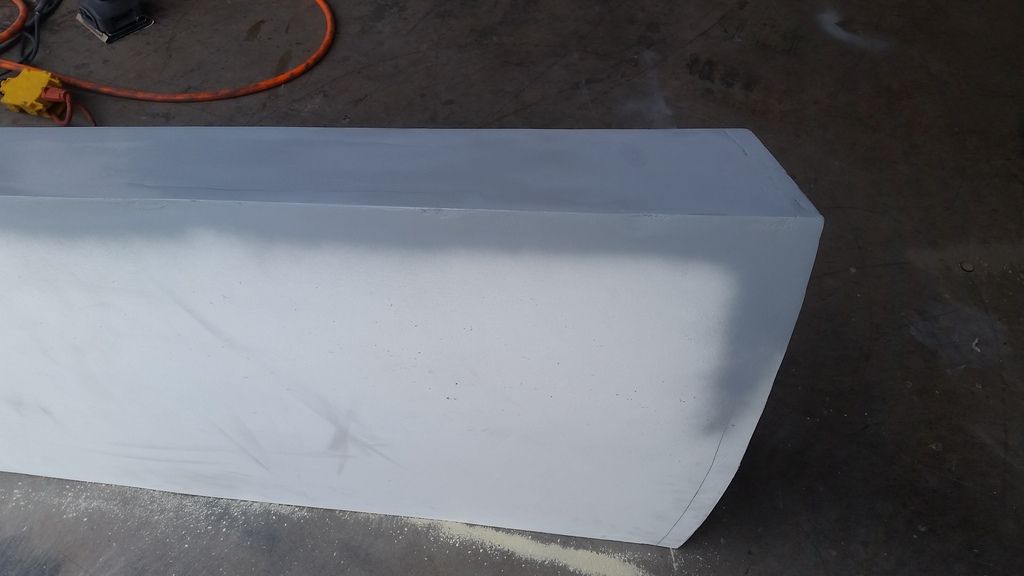
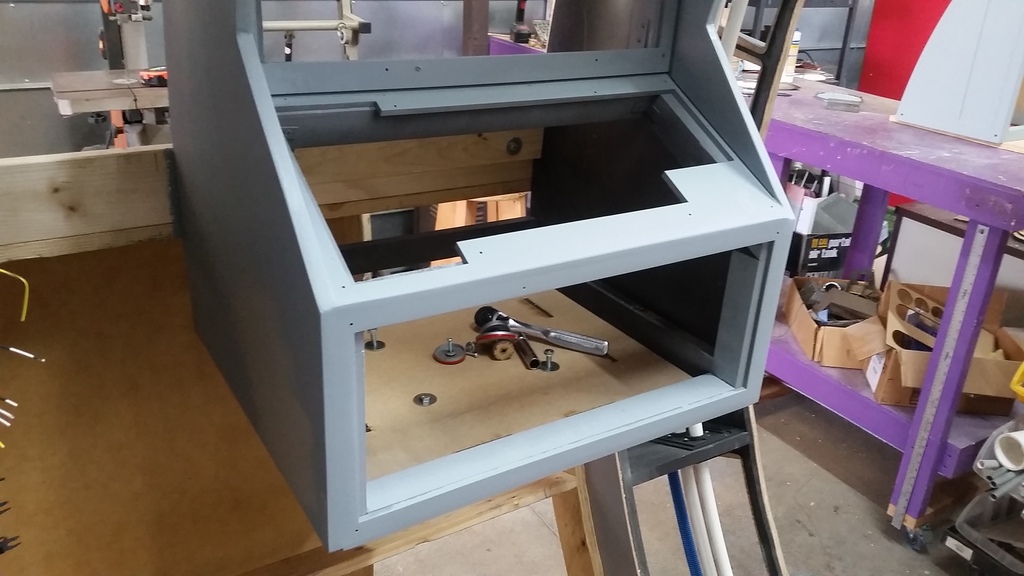
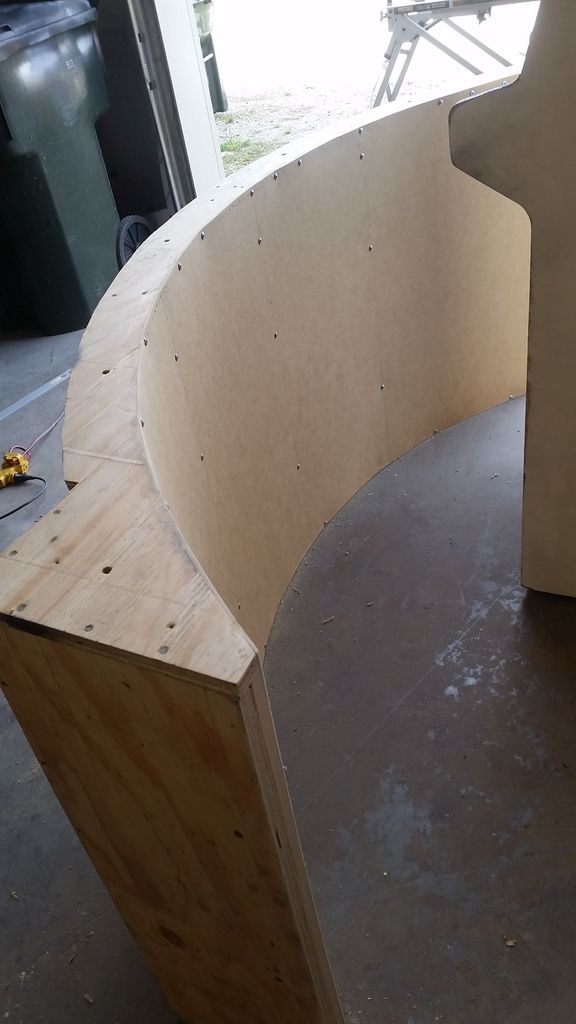
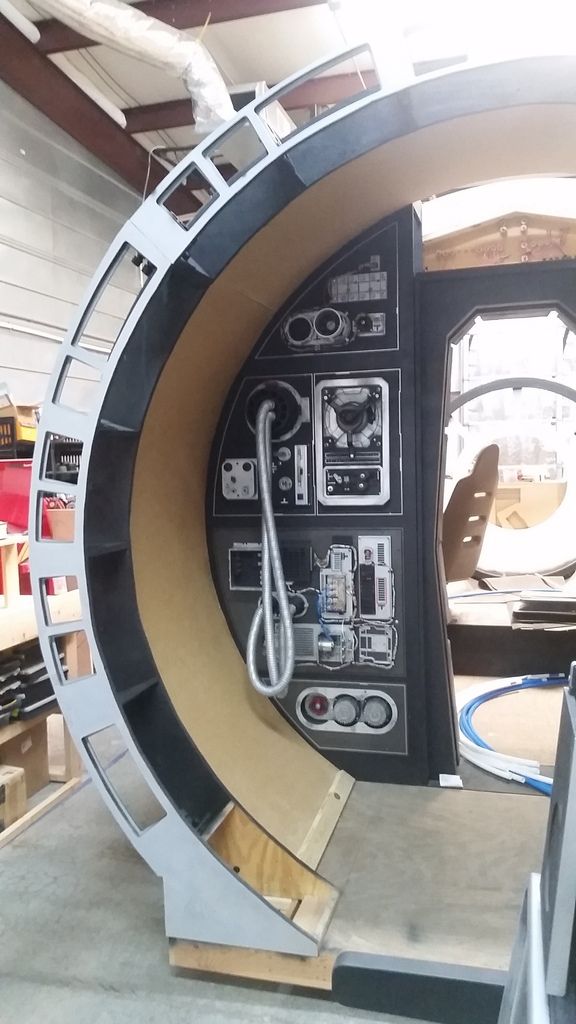
Everything is now where its supposed to be
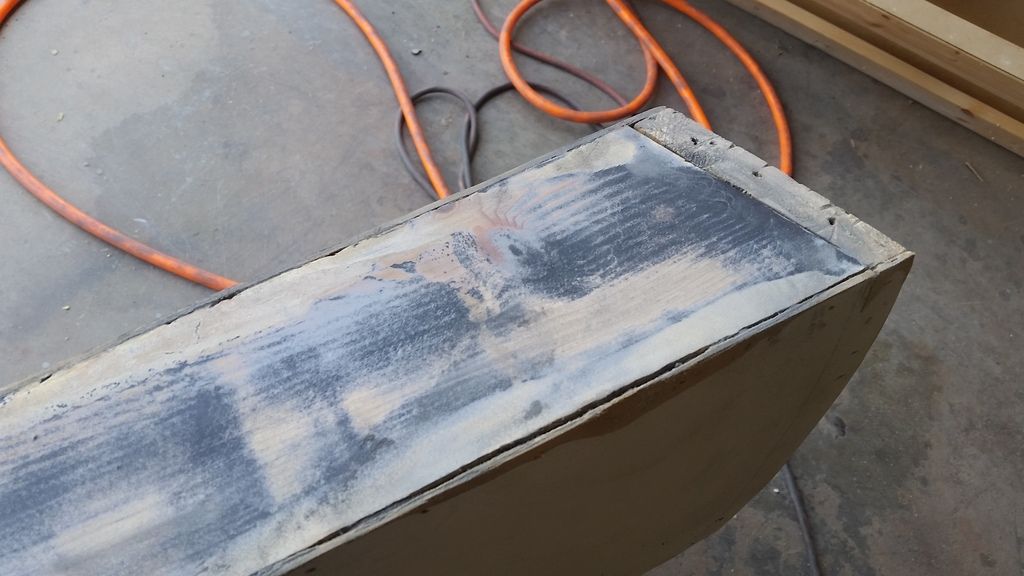
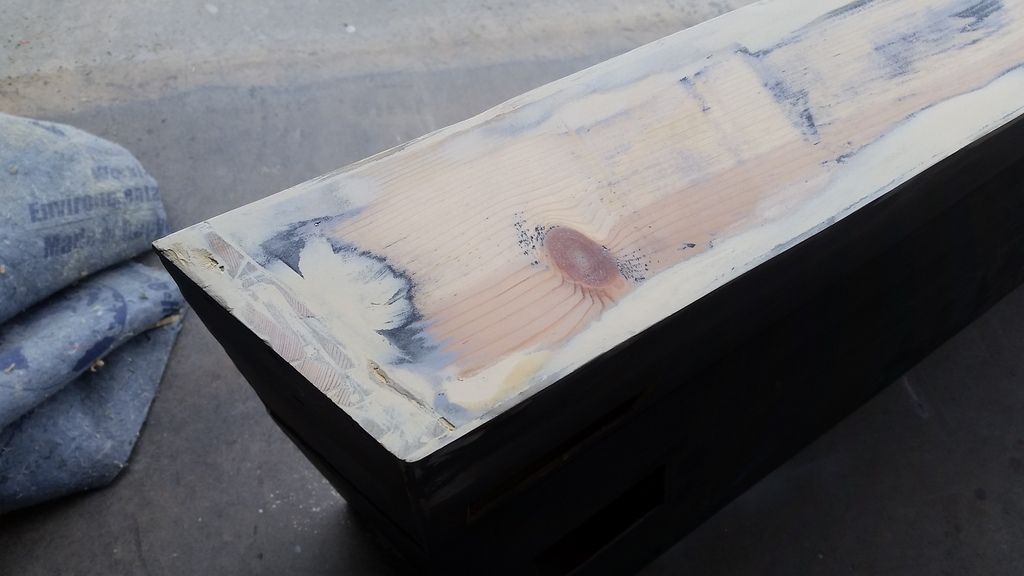
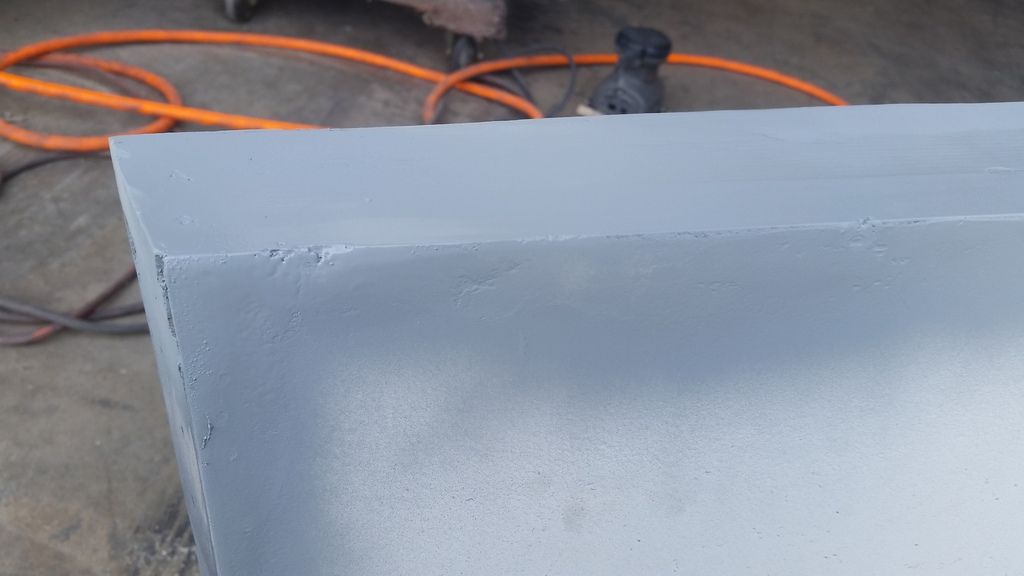
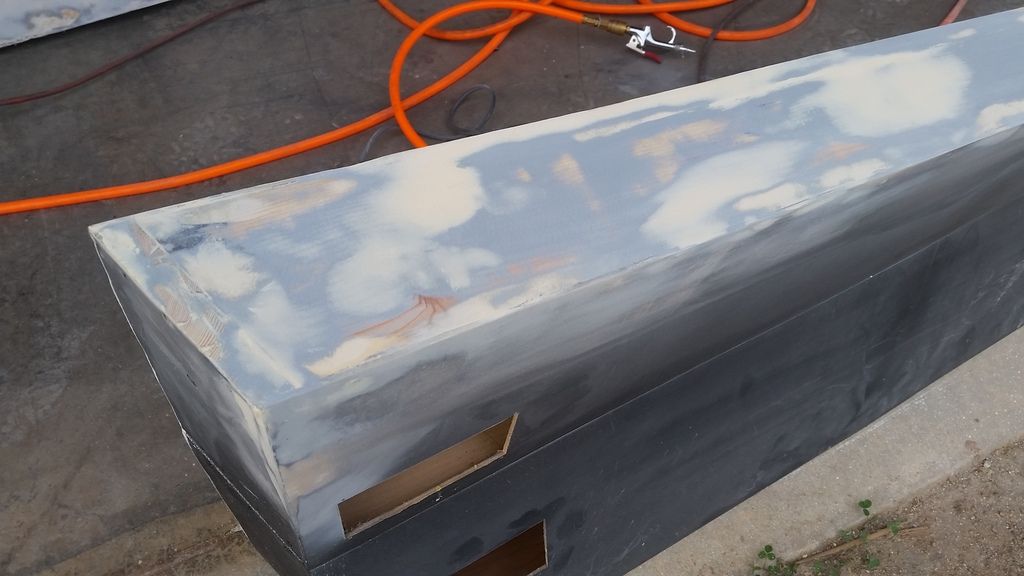
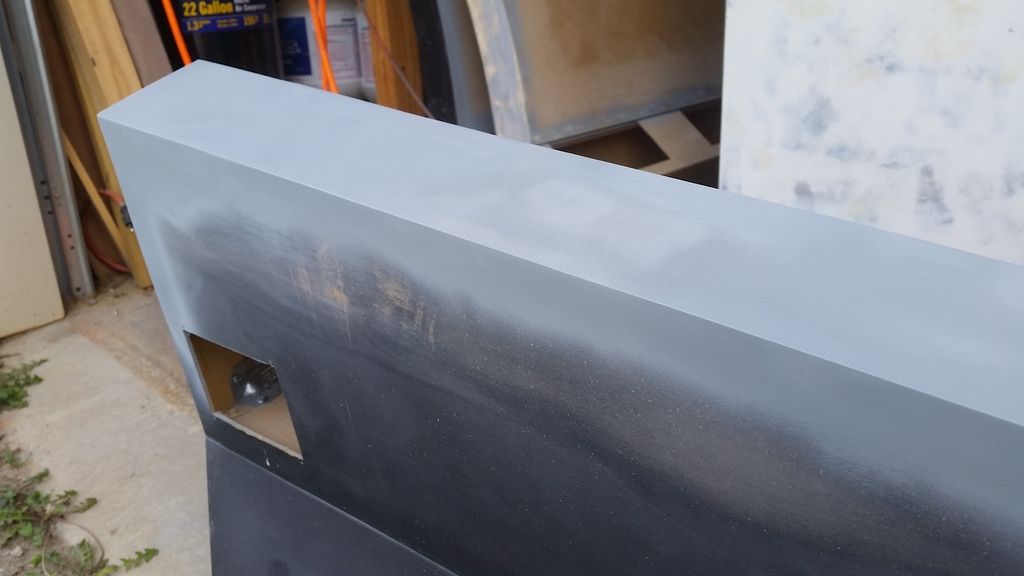
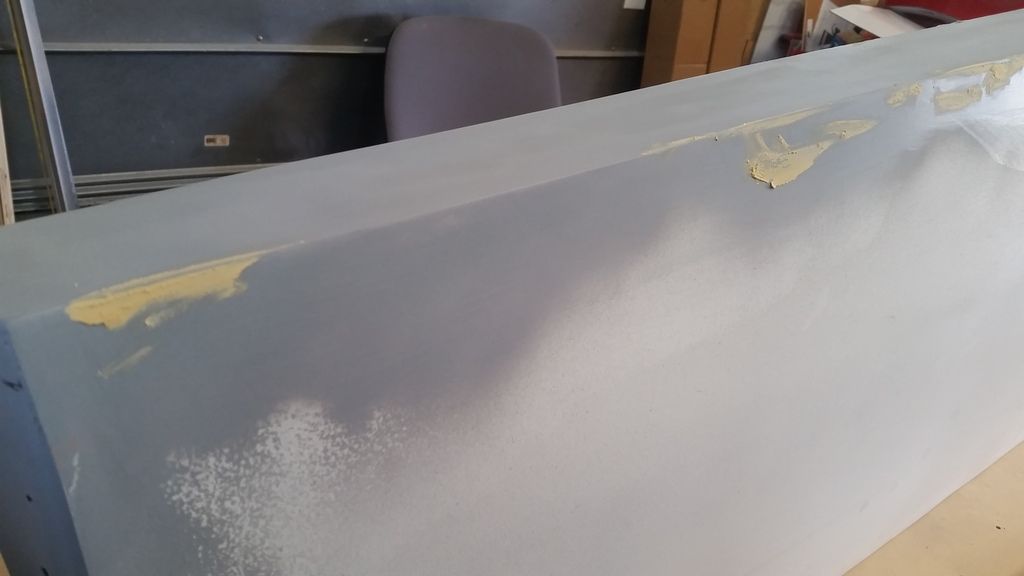
Time for a light sanding and filler
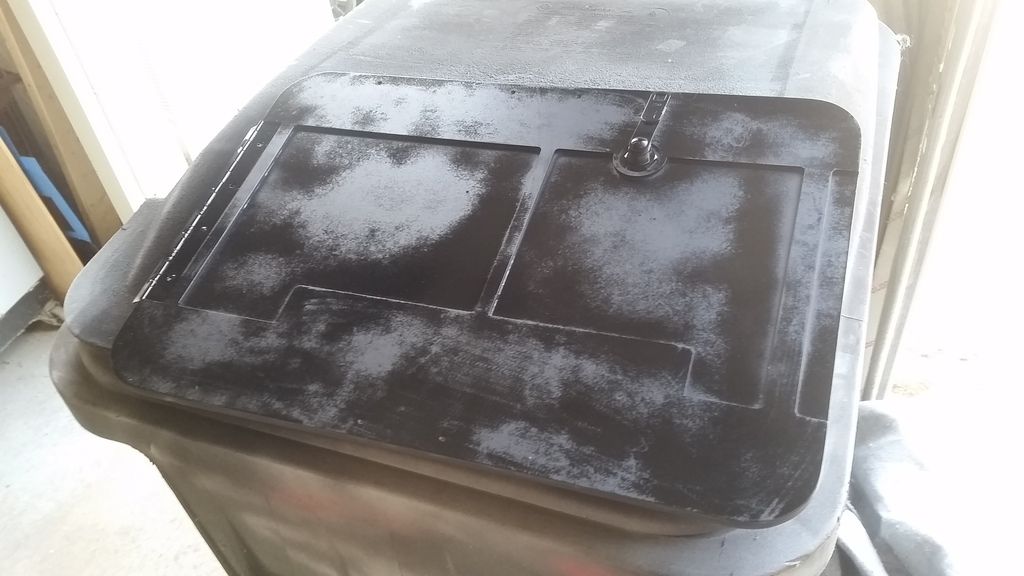
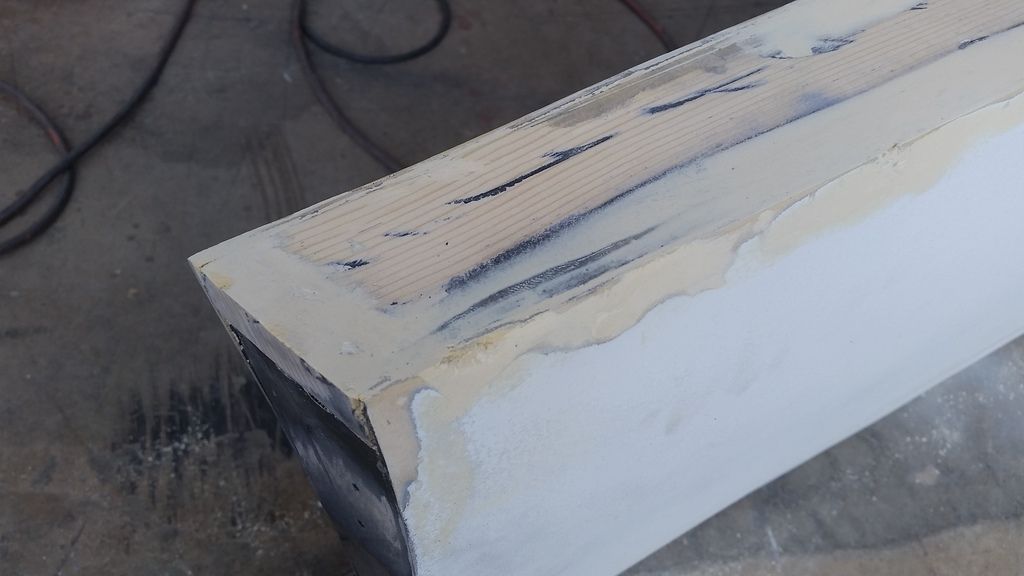
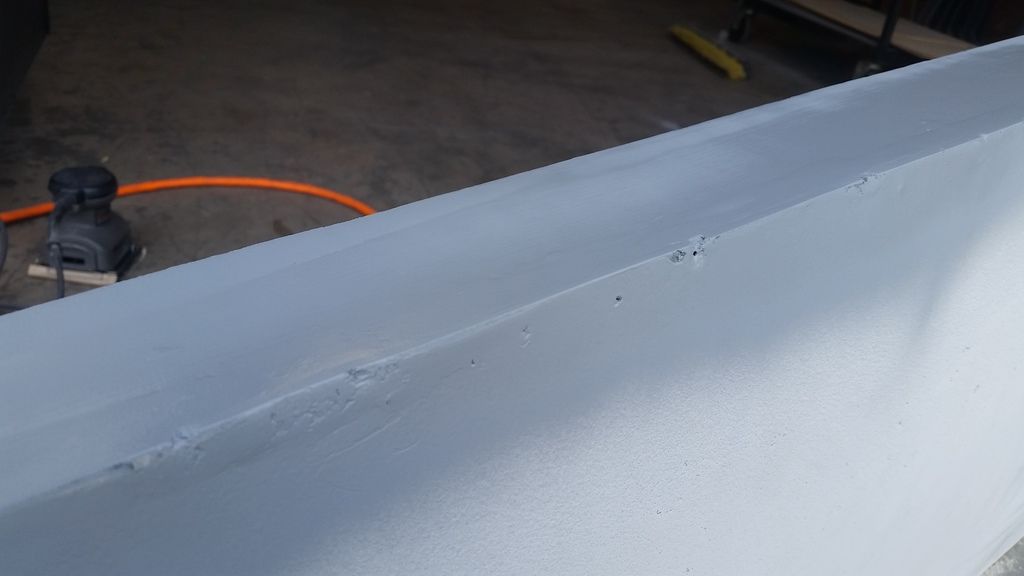
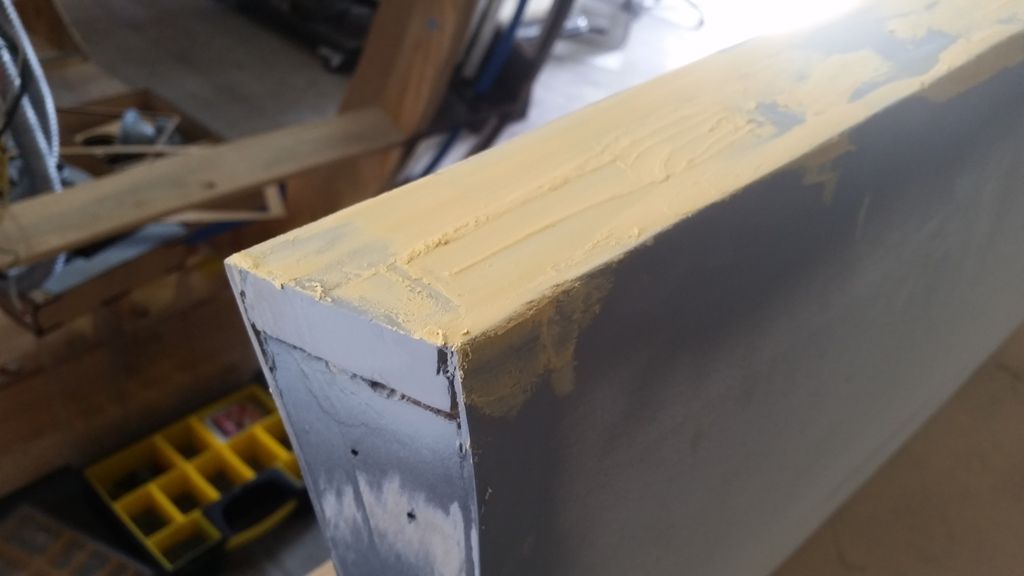
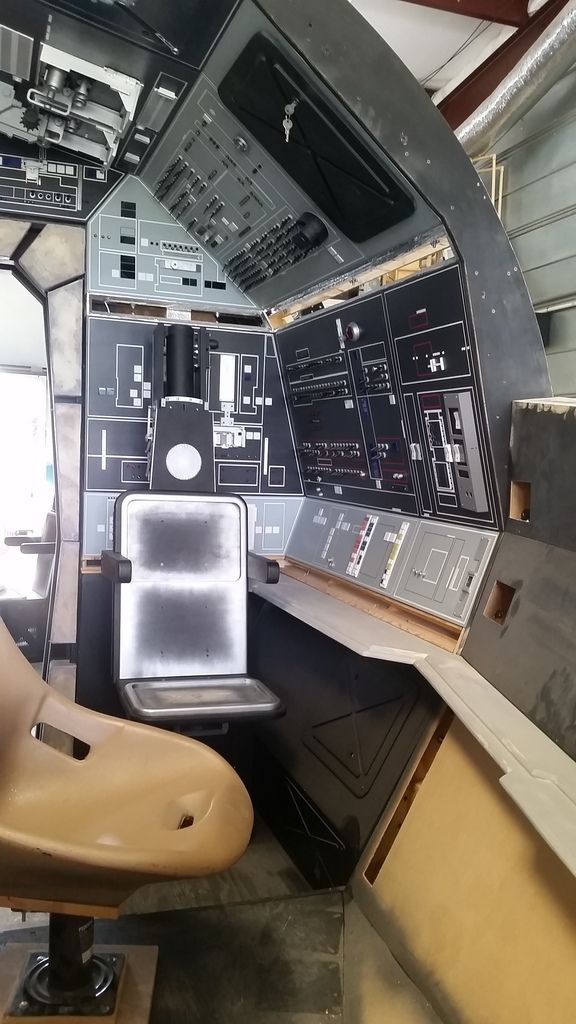
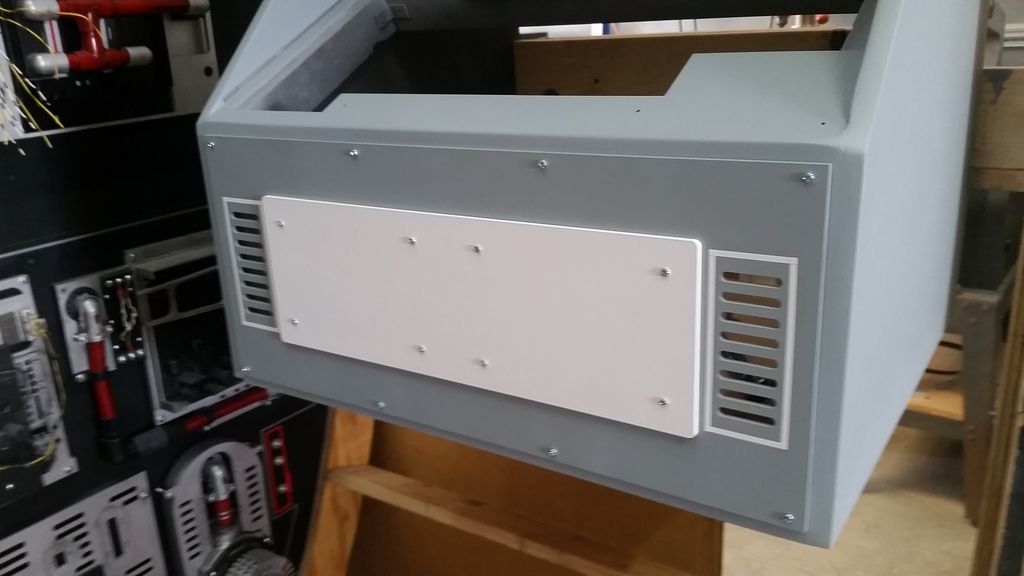
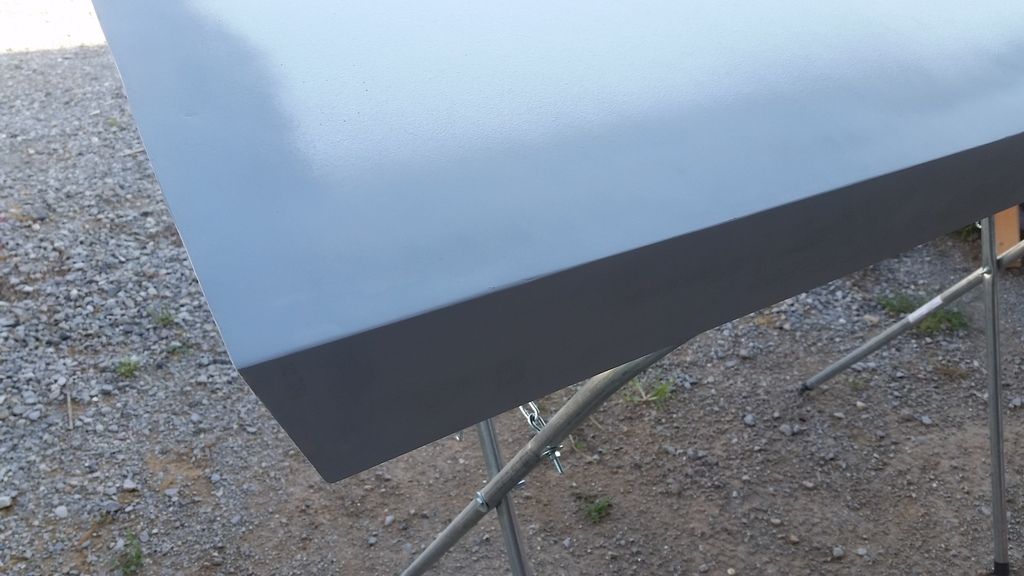
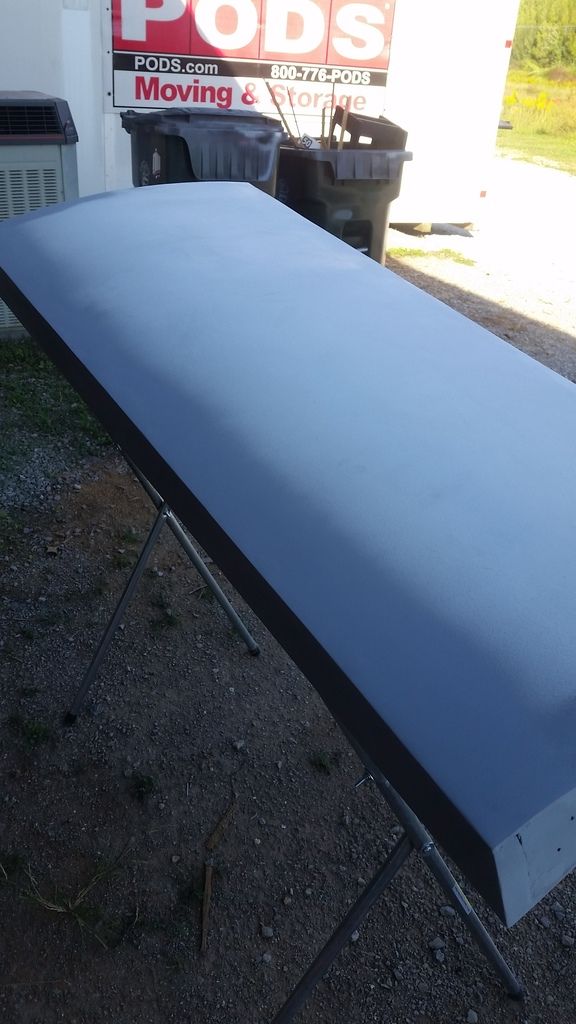
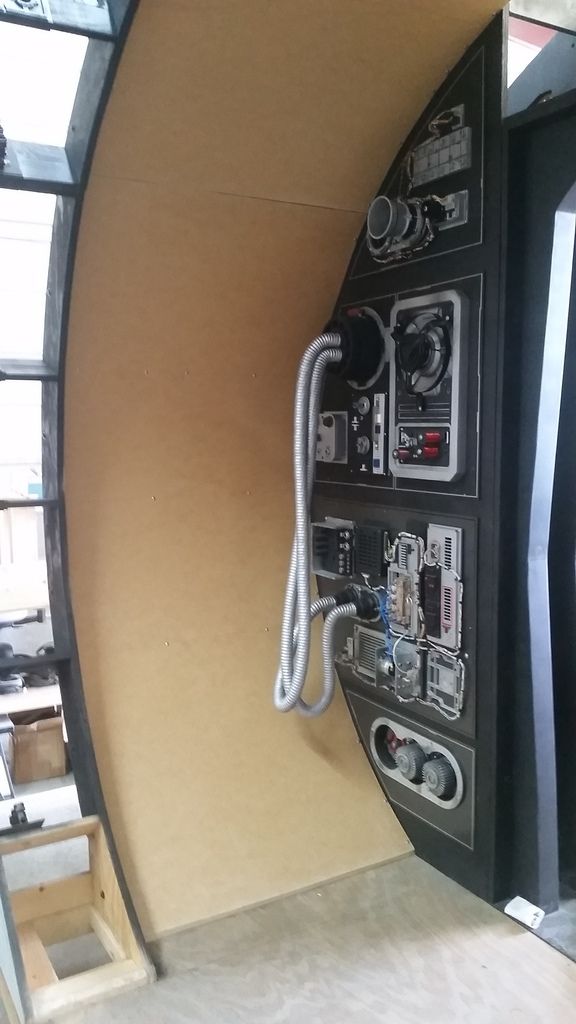
Filler added and the panel now is resting comfortable where she's supposed to be
Tomorrow I knock down the first coat of filler and add more
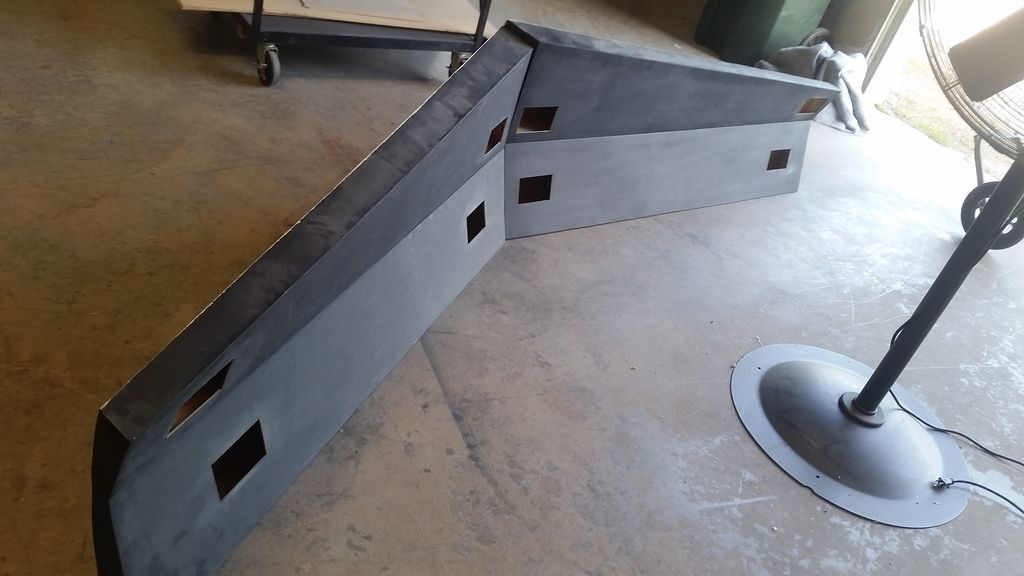
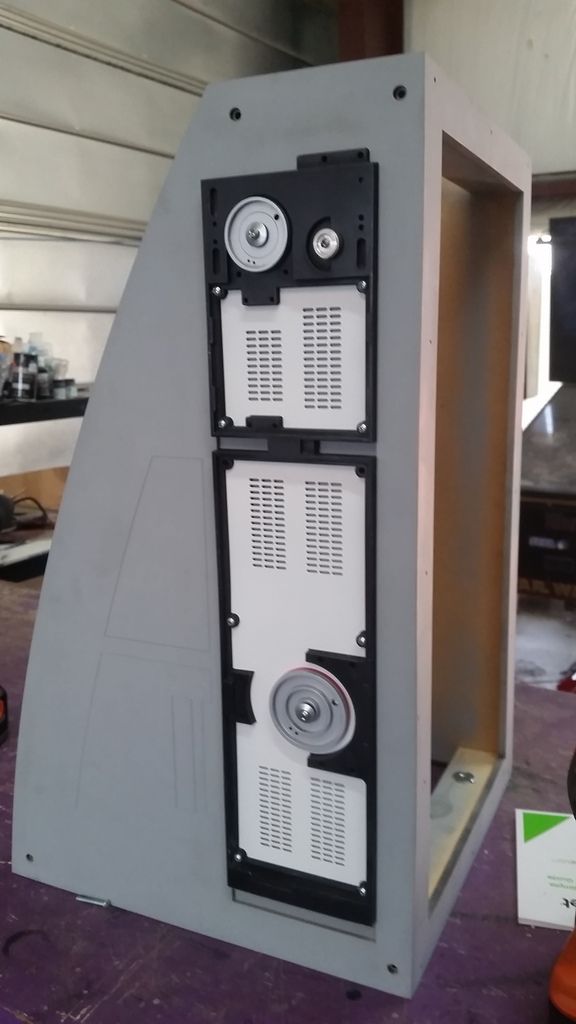
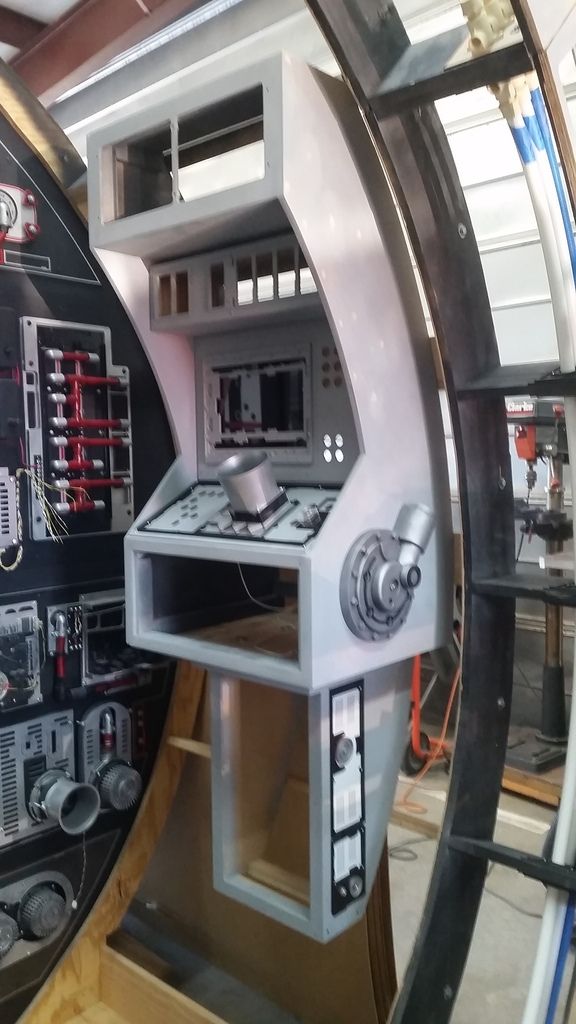
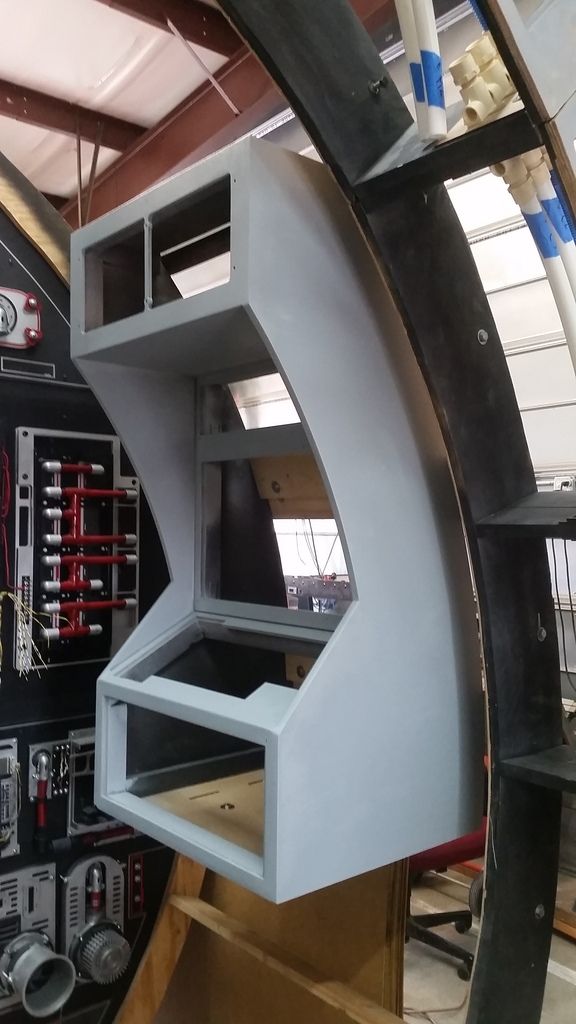
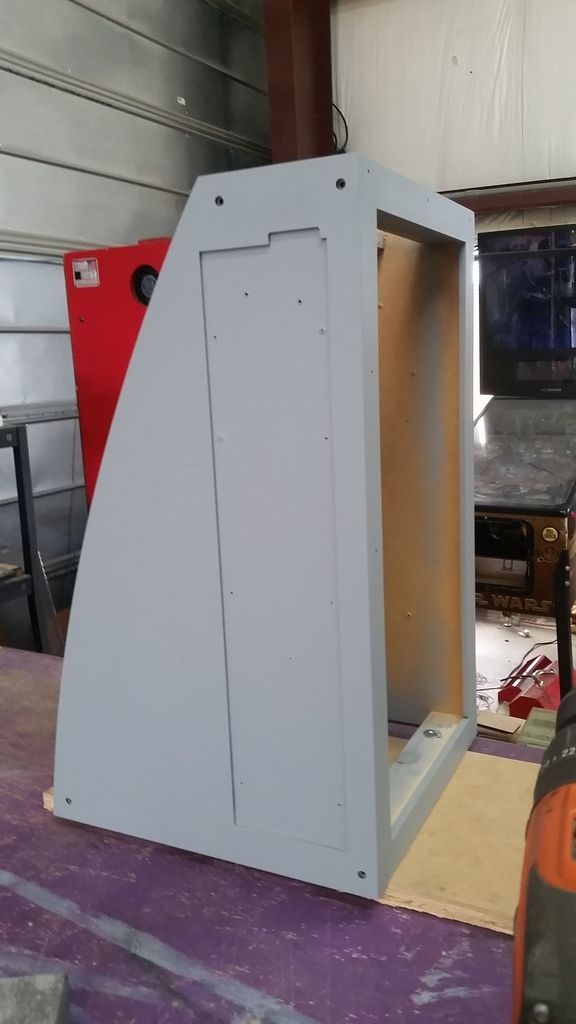
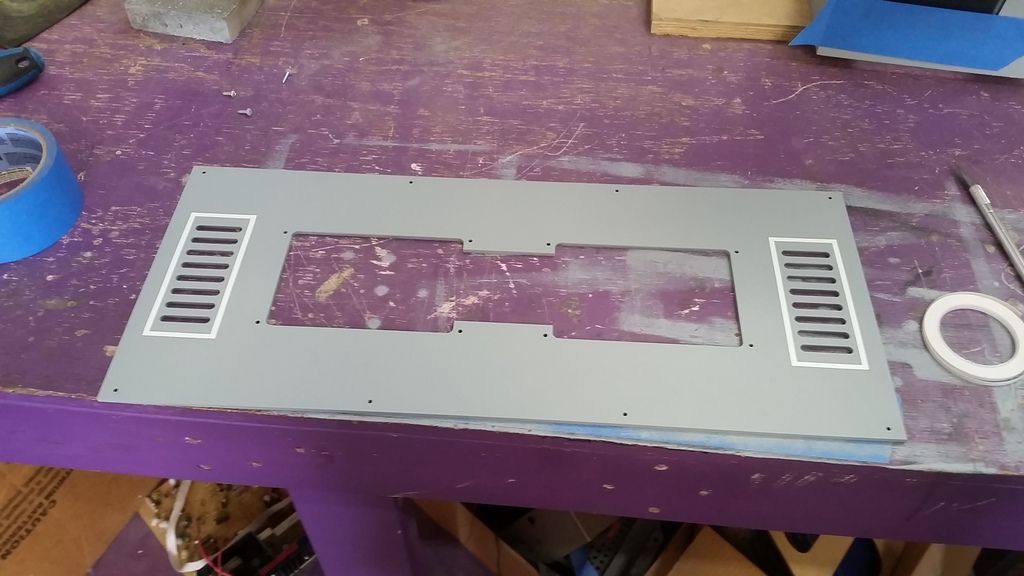
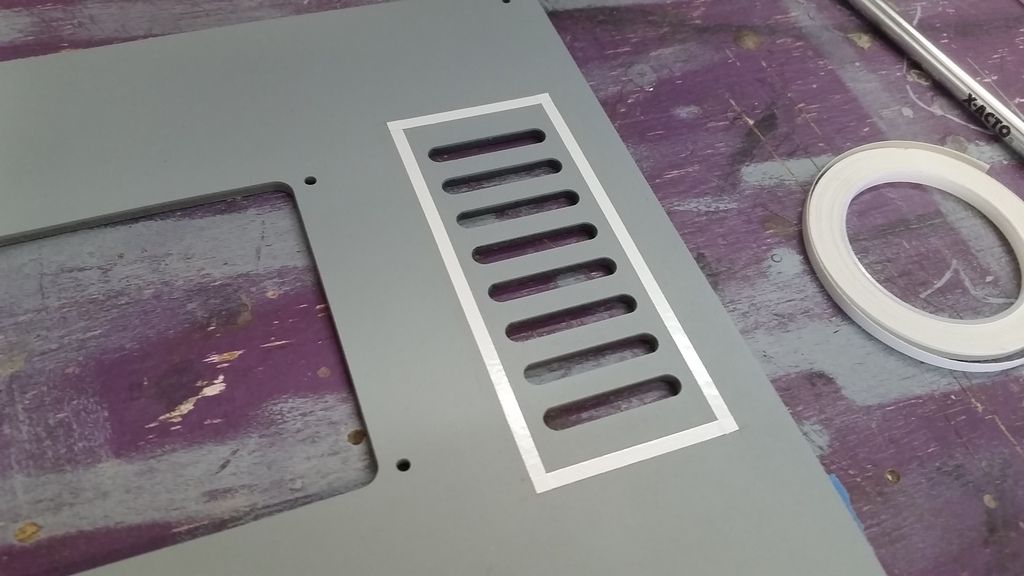
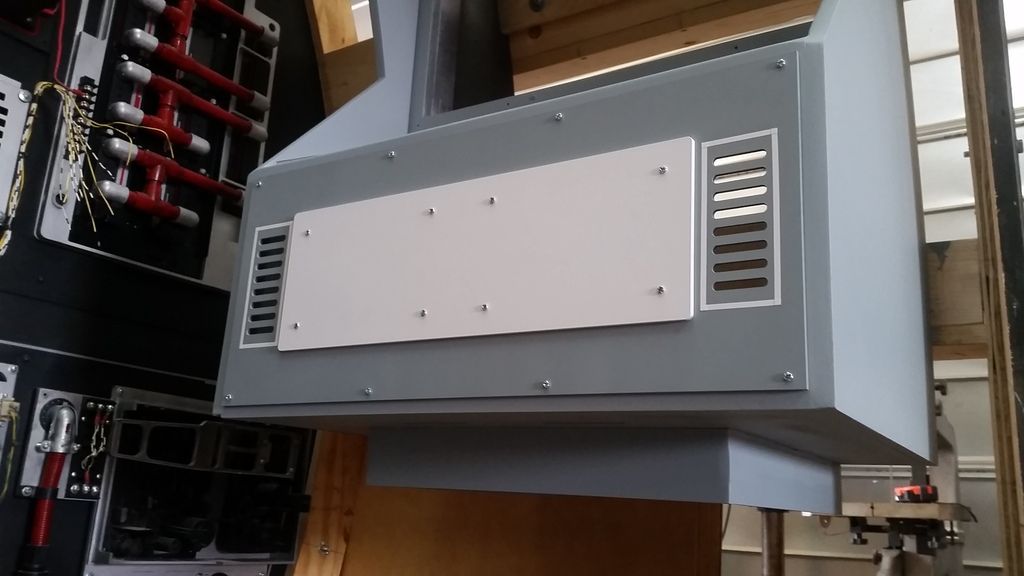
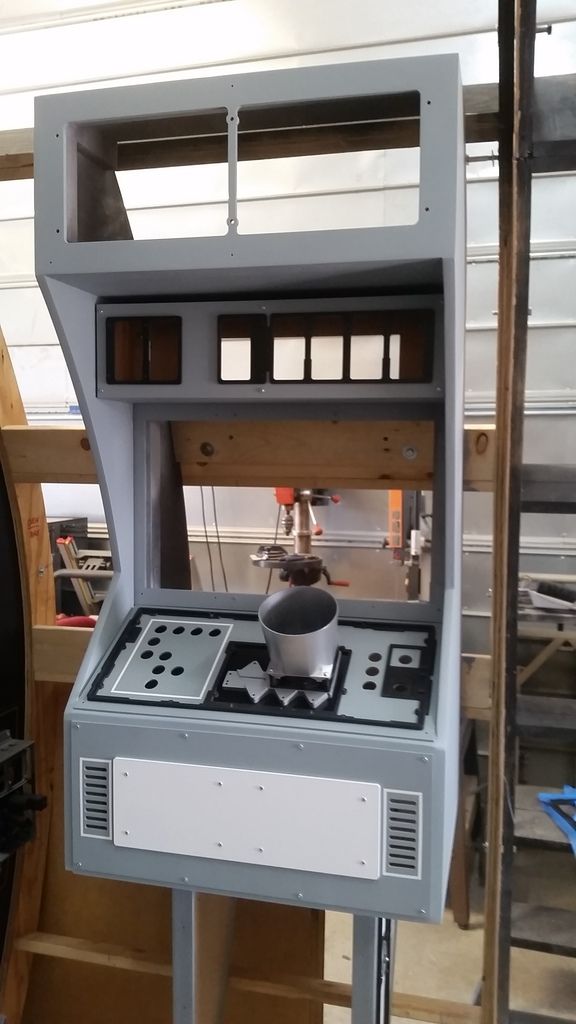
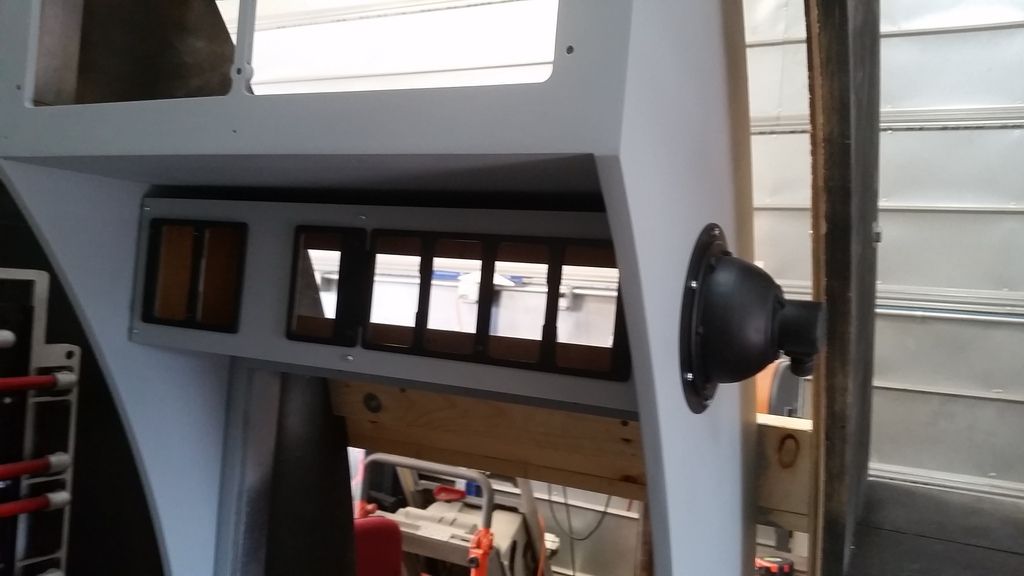
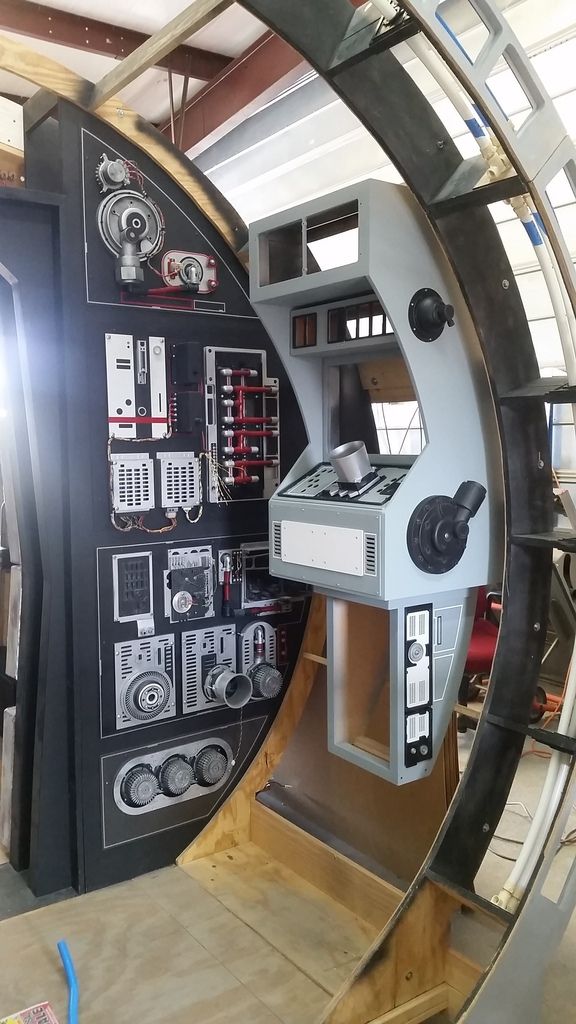
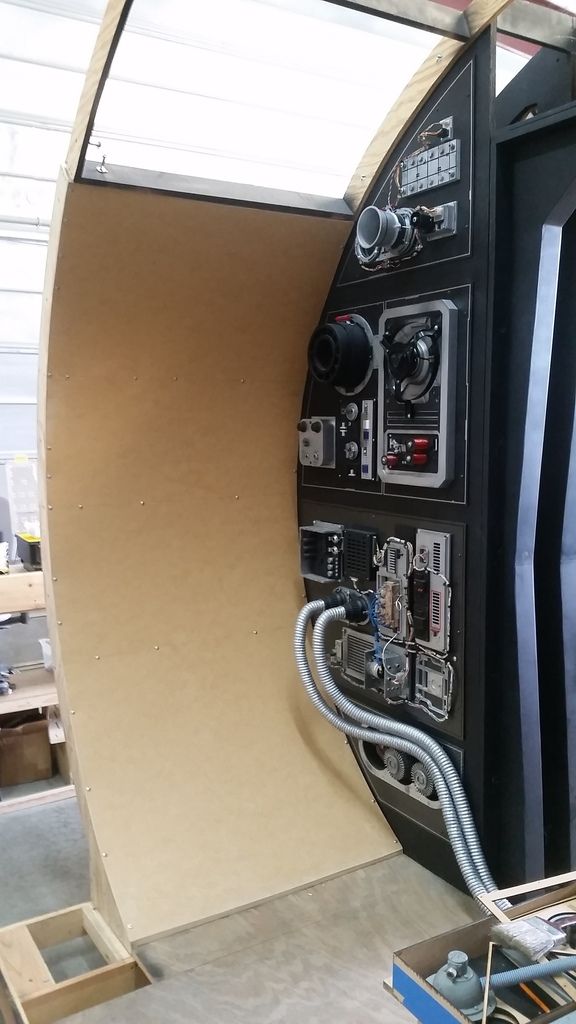
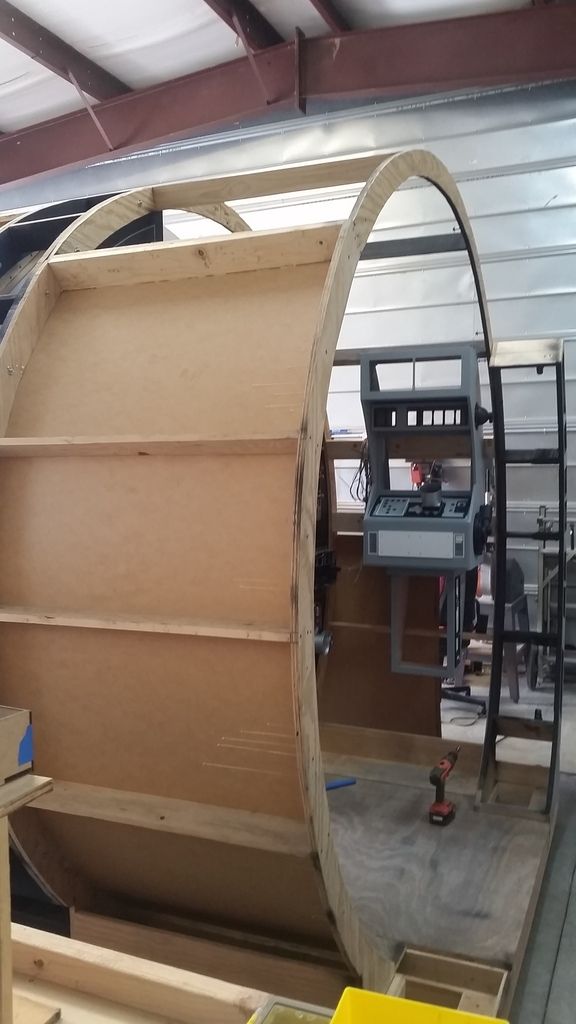
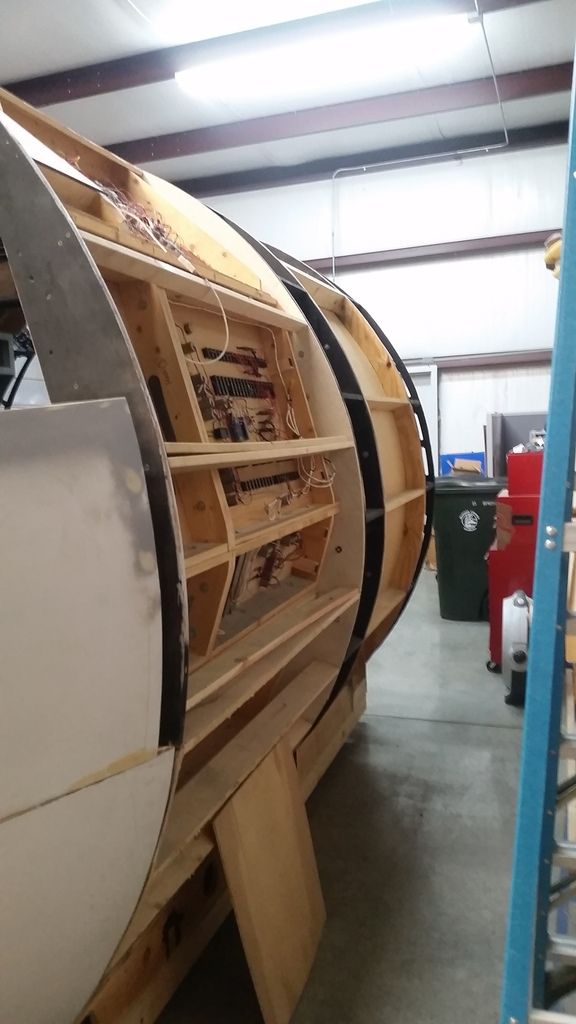
With the laser cutter down this "forced" me to change focus and get some things finished like the Volvo Panel and the extension panels!
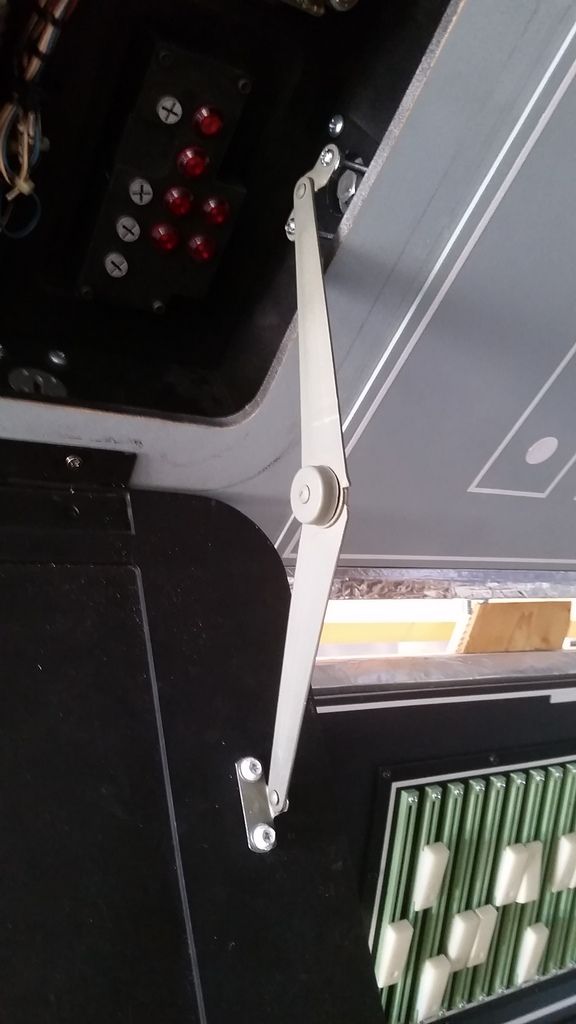
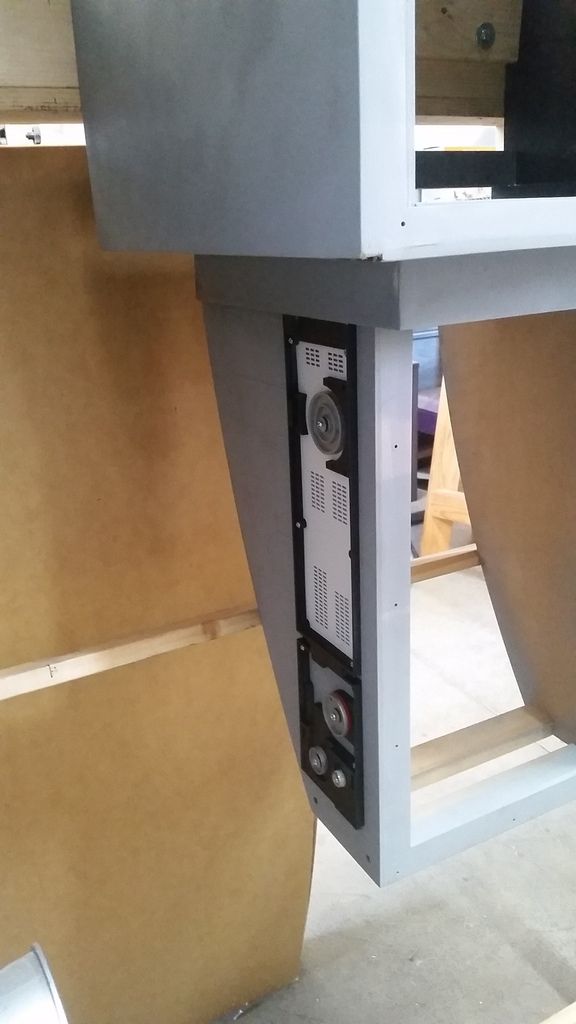
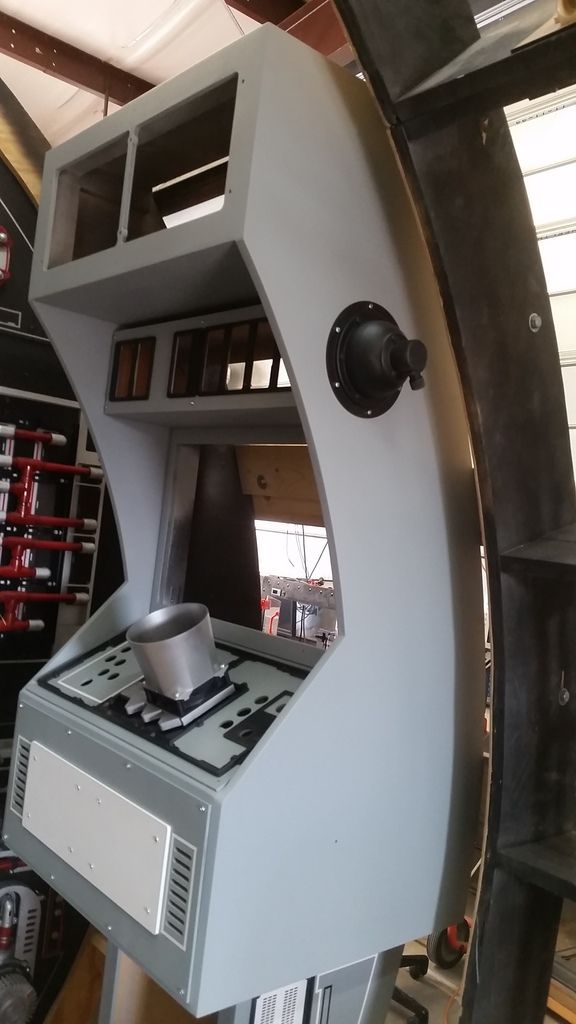
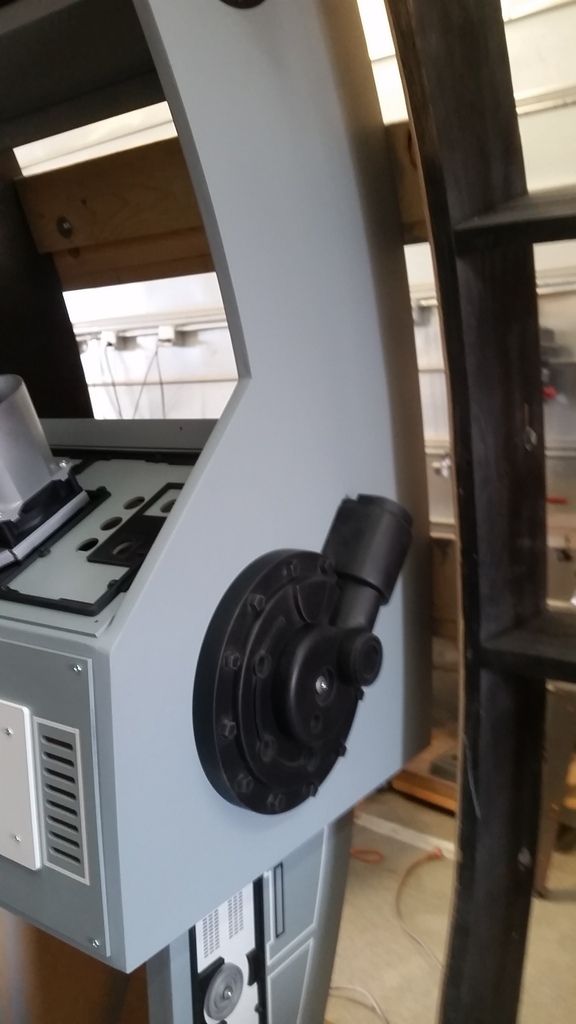
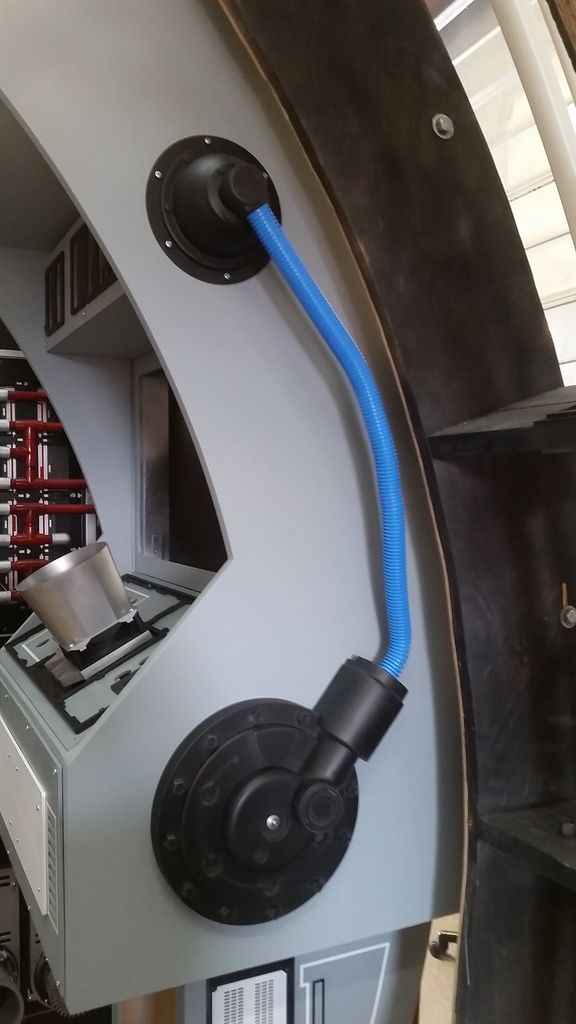
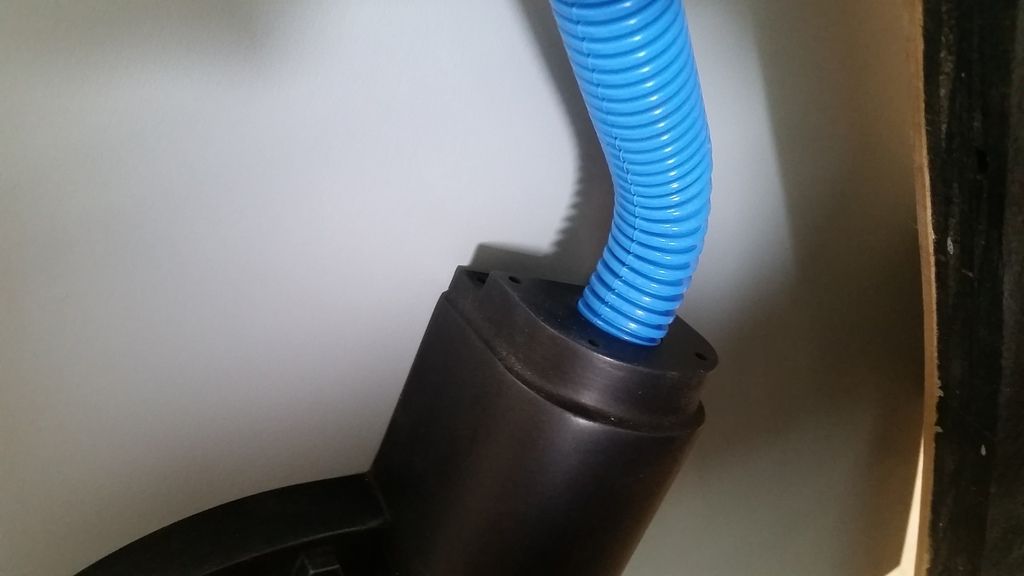
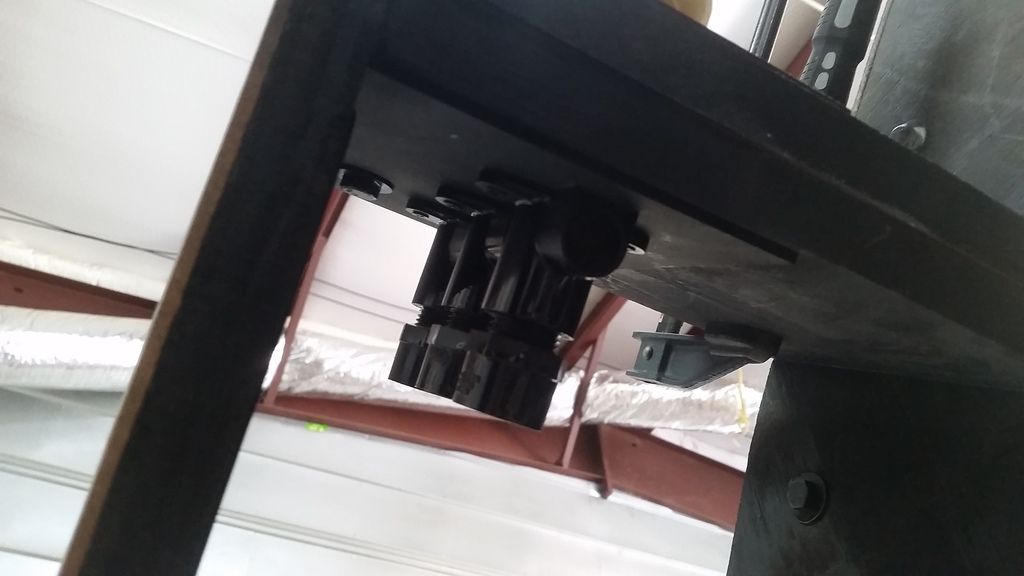
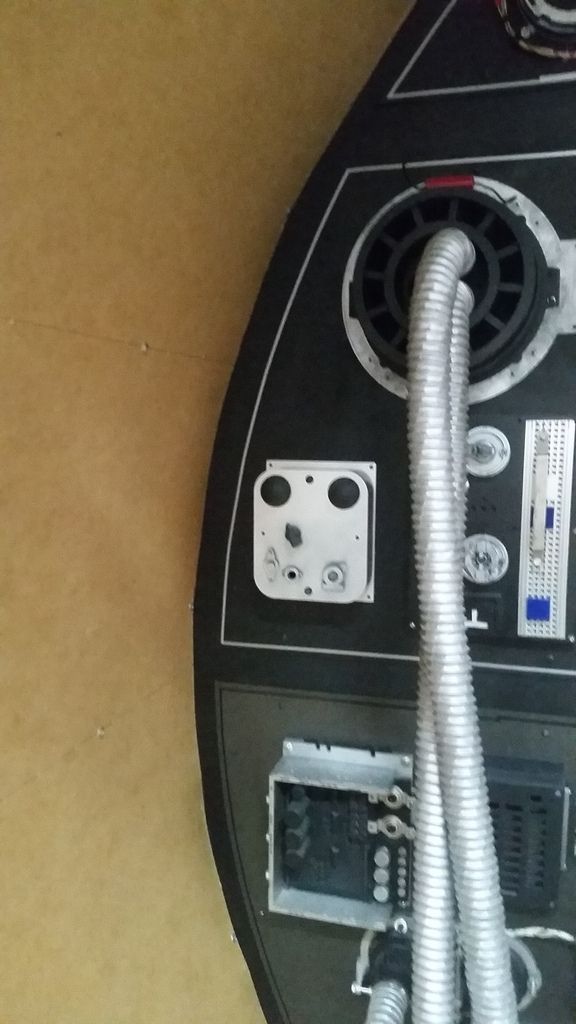
It works but I'm not sure its exactly where it needs to be. The mounting points were perfect but I think I need to move it
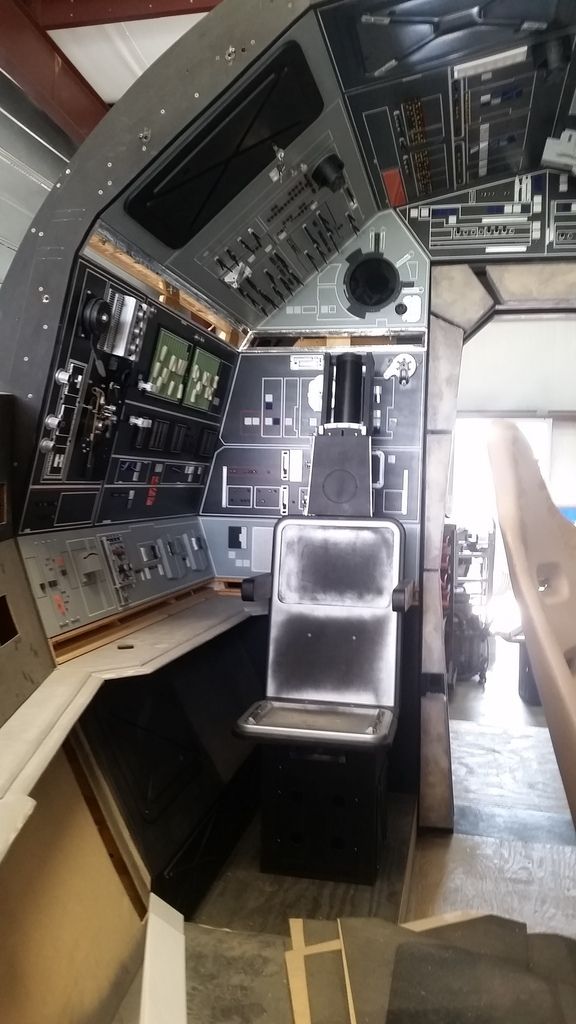
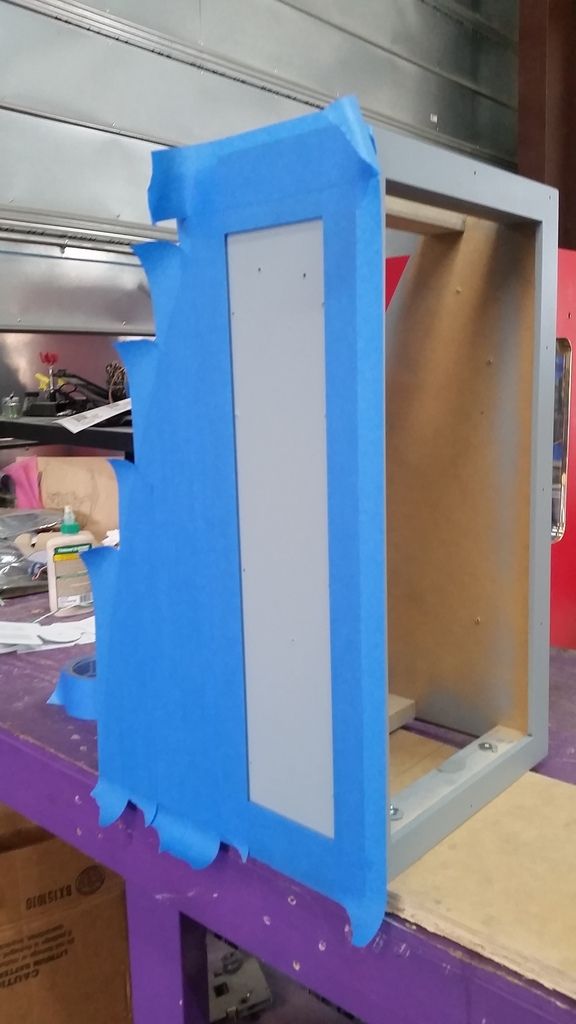
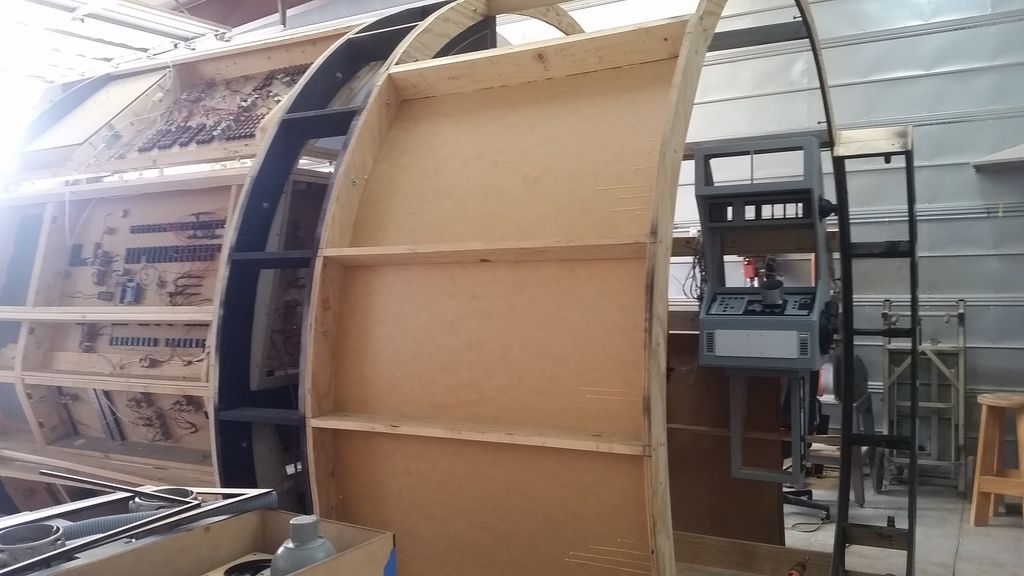
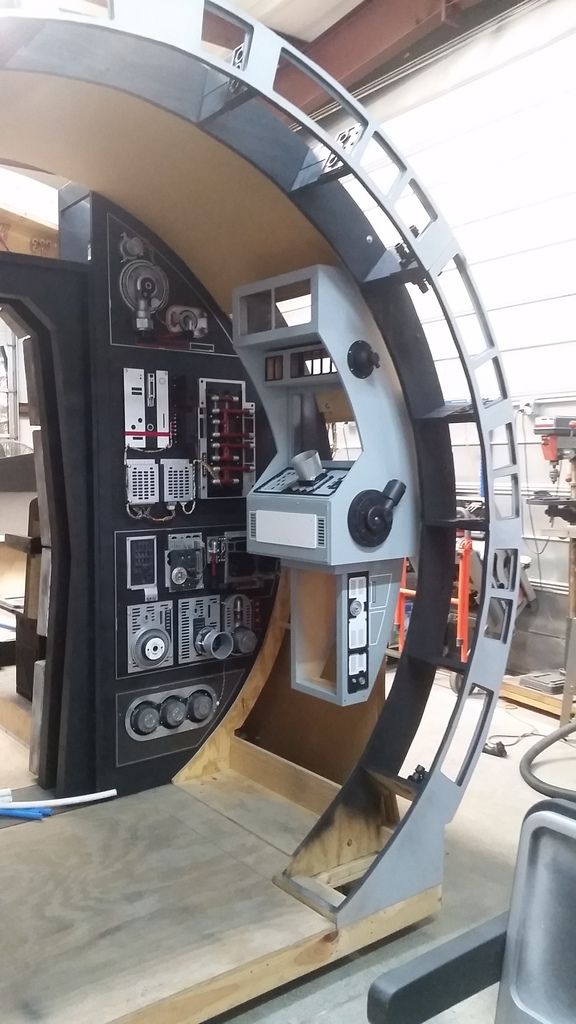
Working the other side
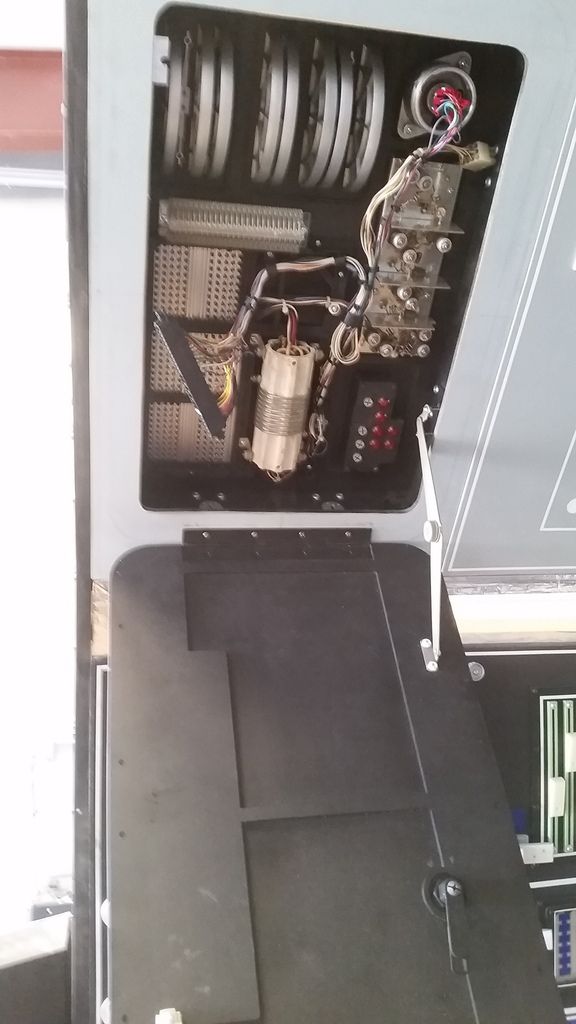
Work stopped on this side. I realized I never painted the panel
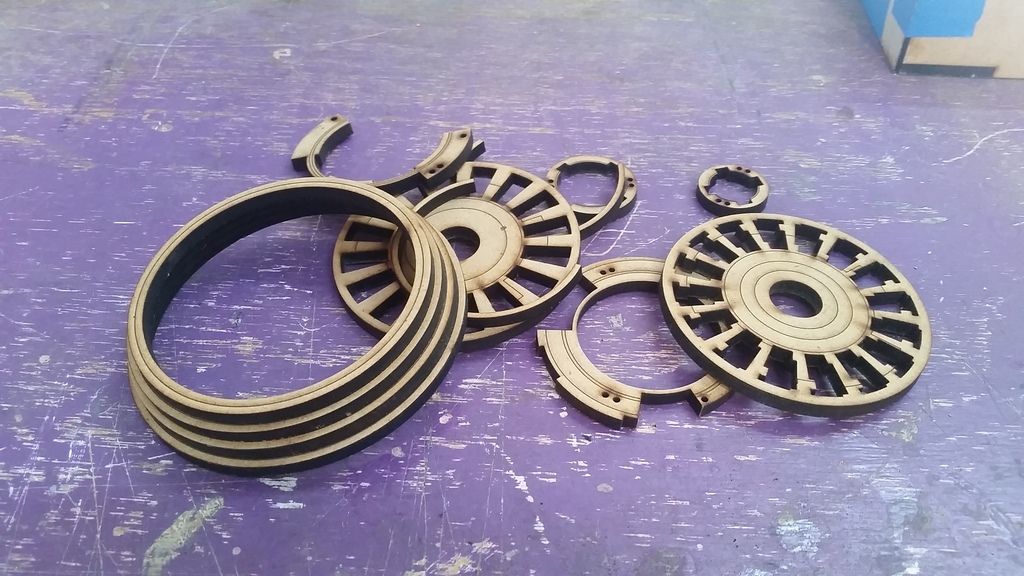
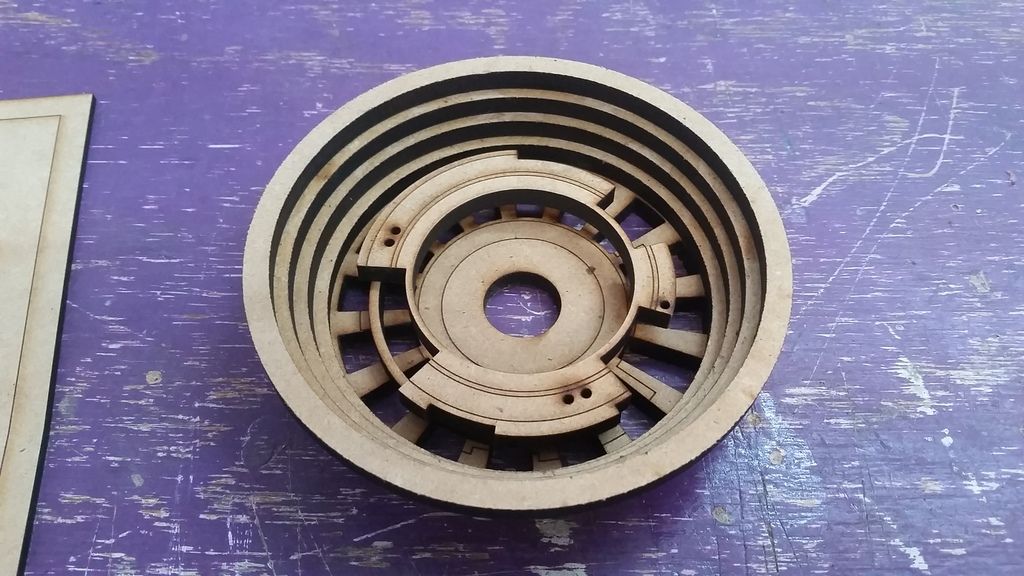
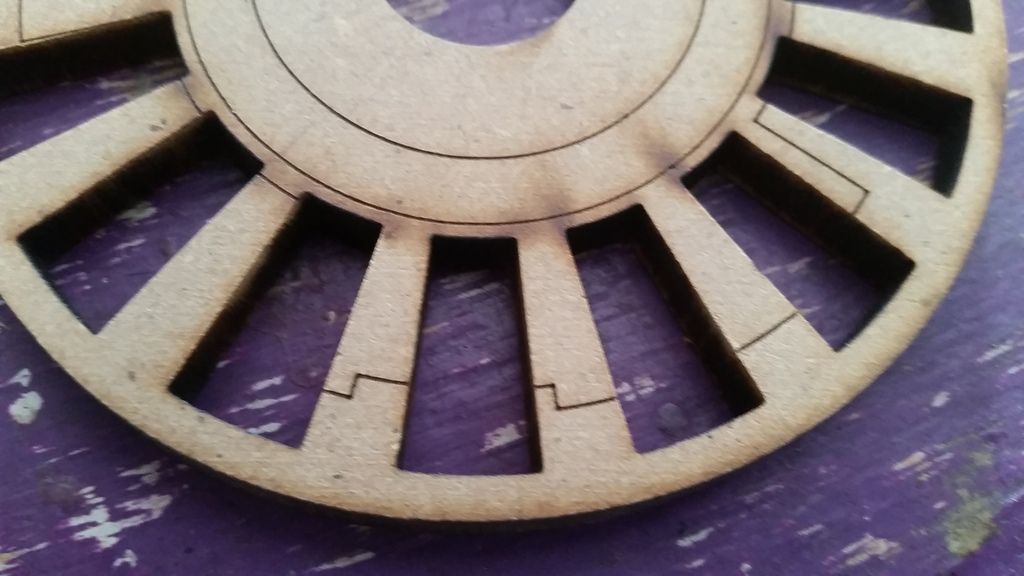
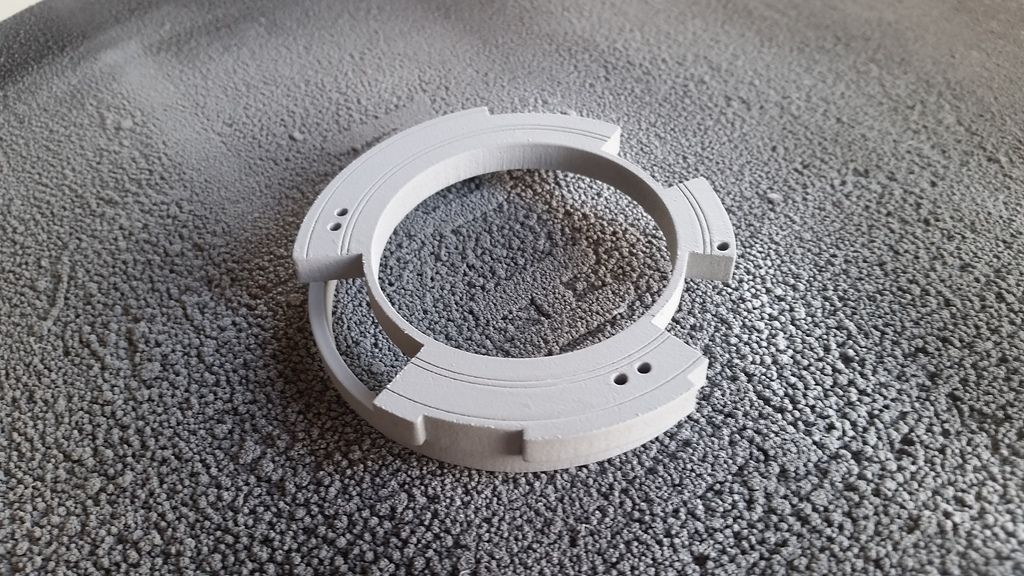
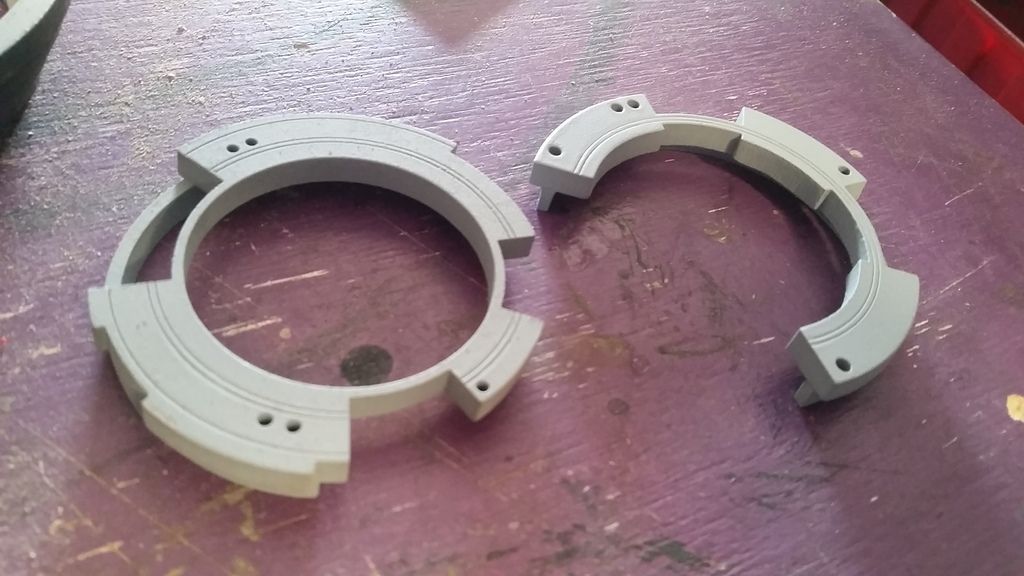
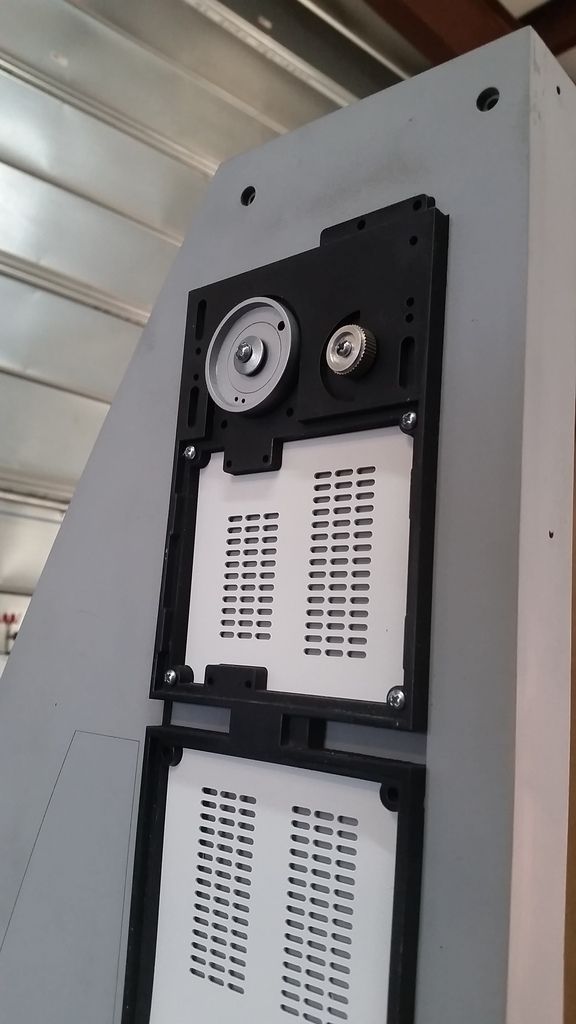
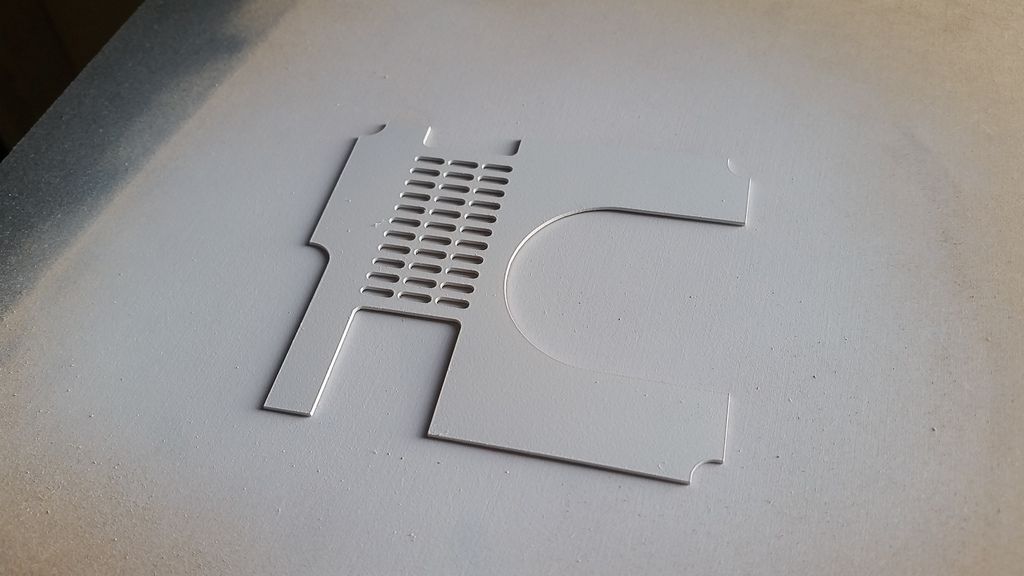
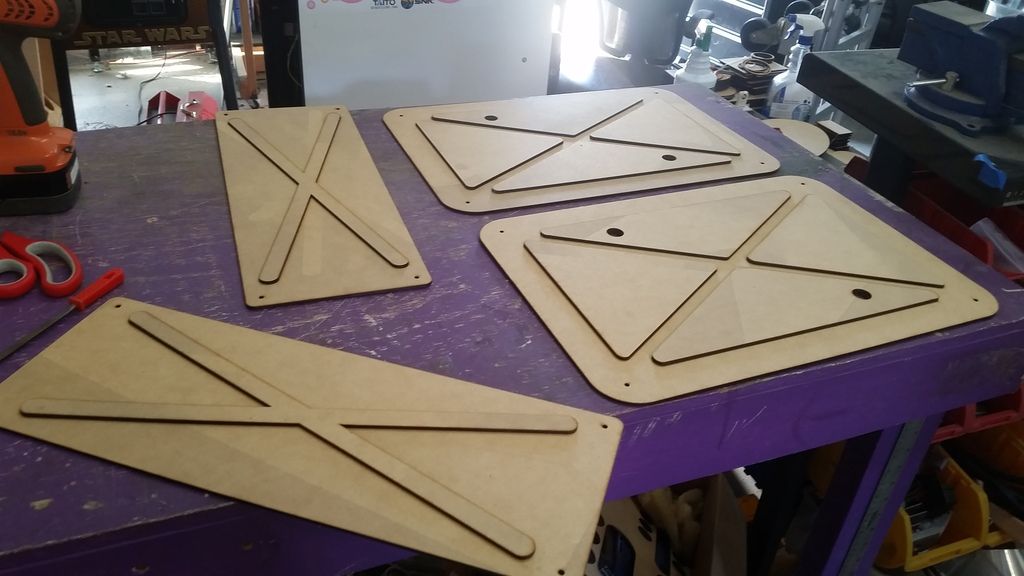
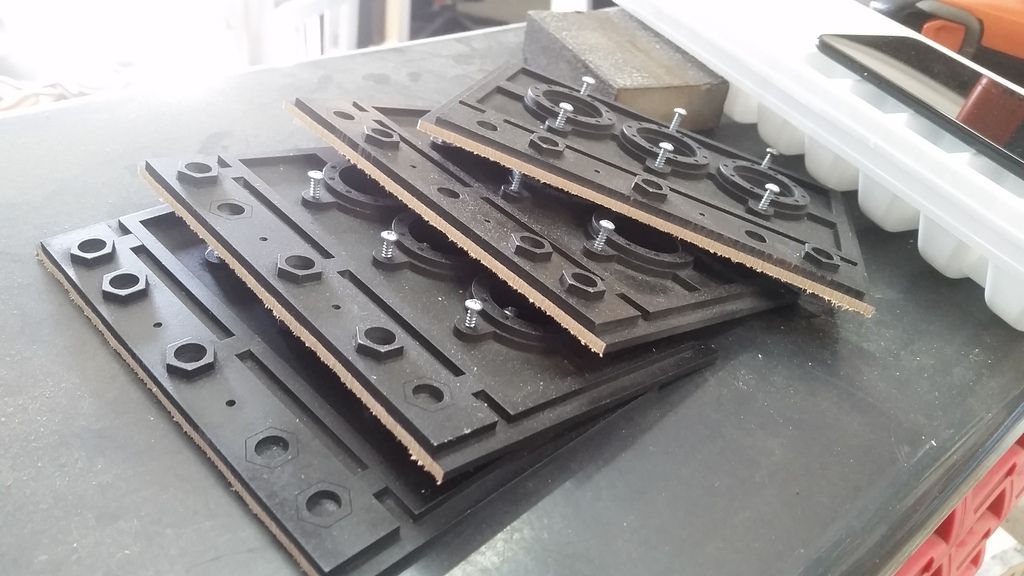
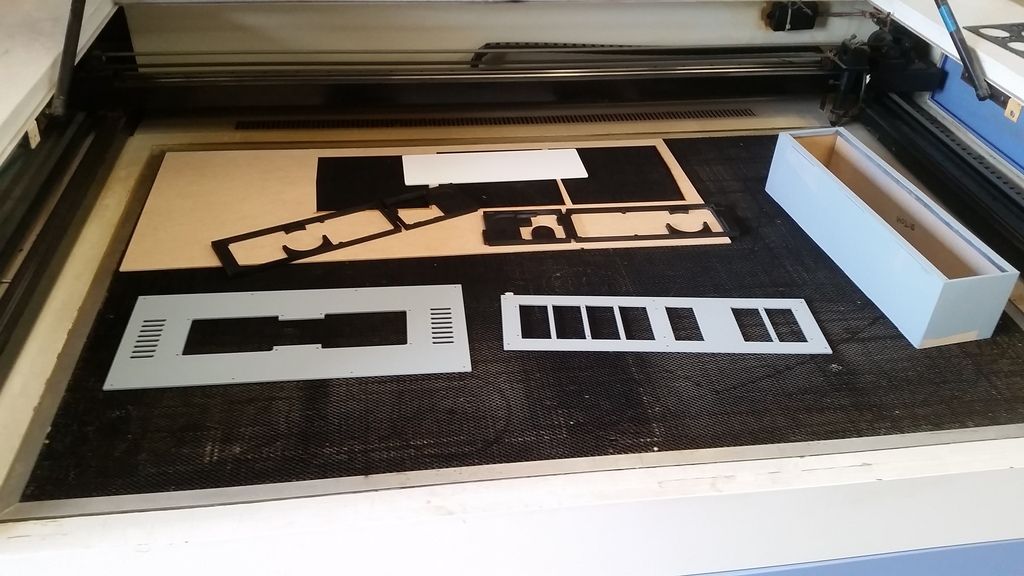
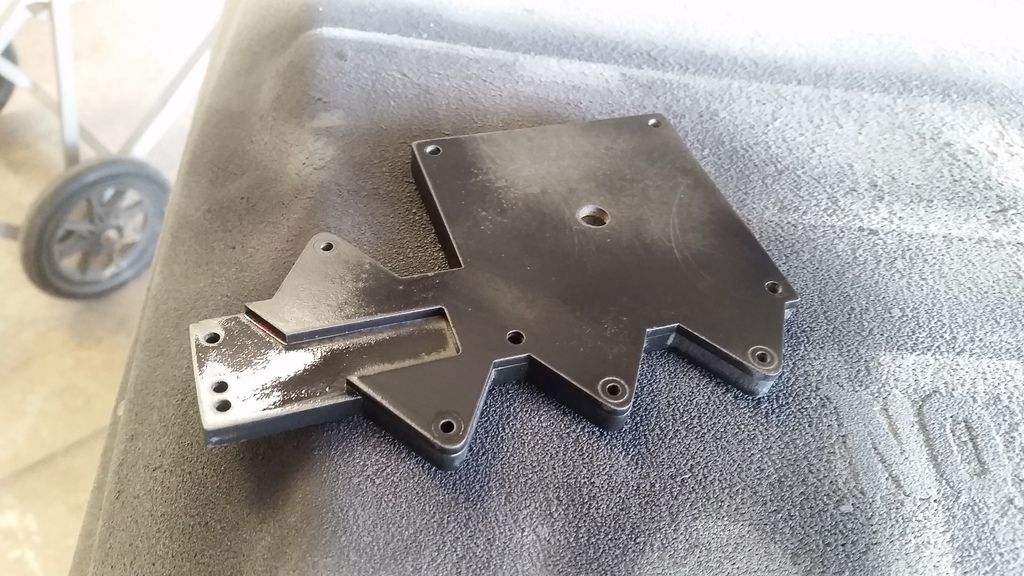
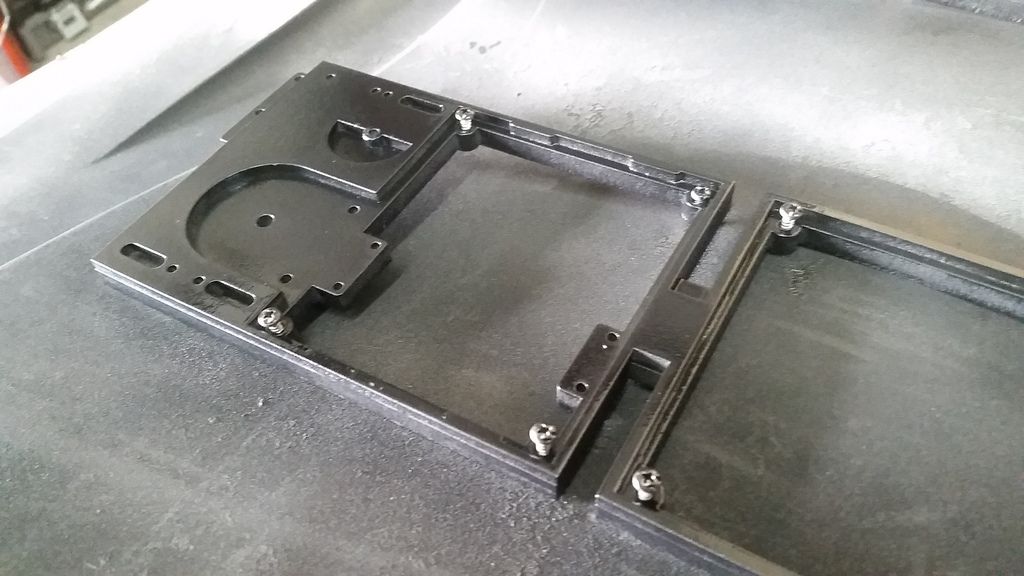
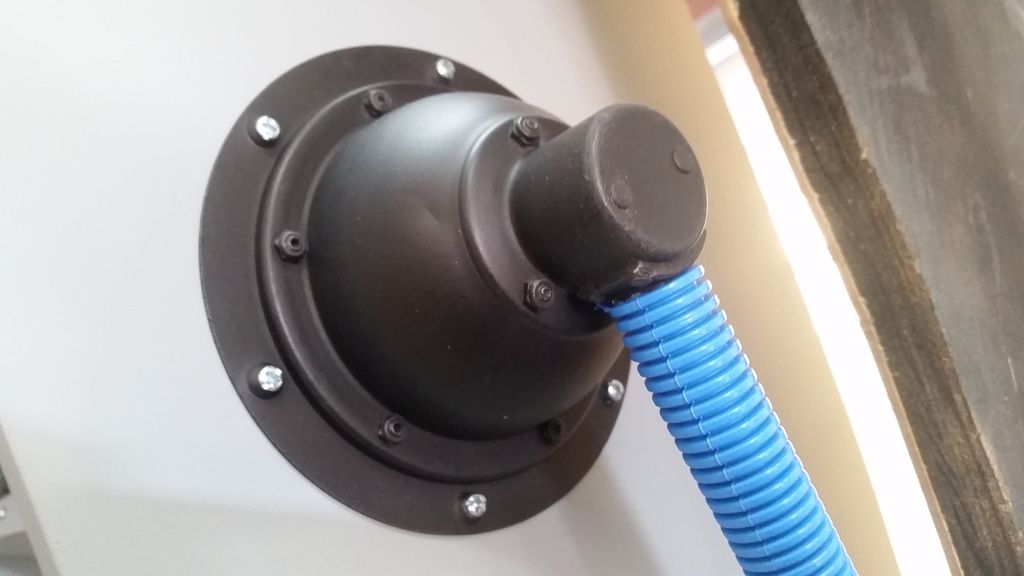
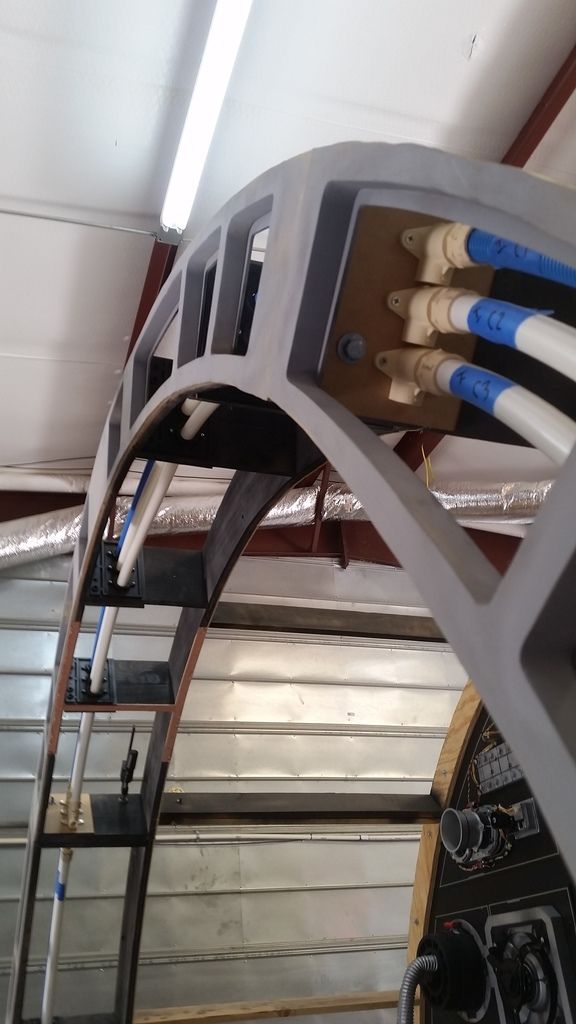
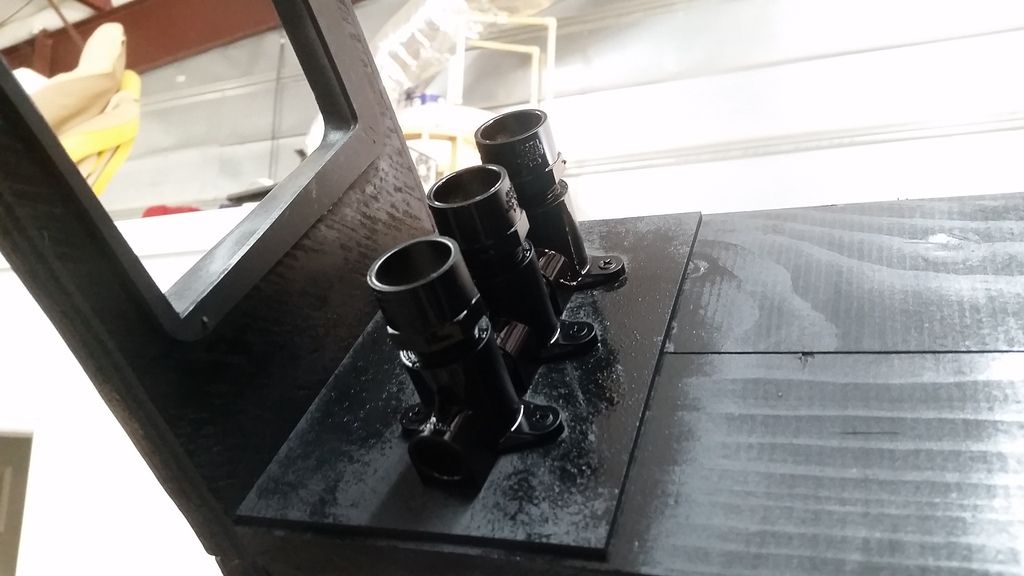
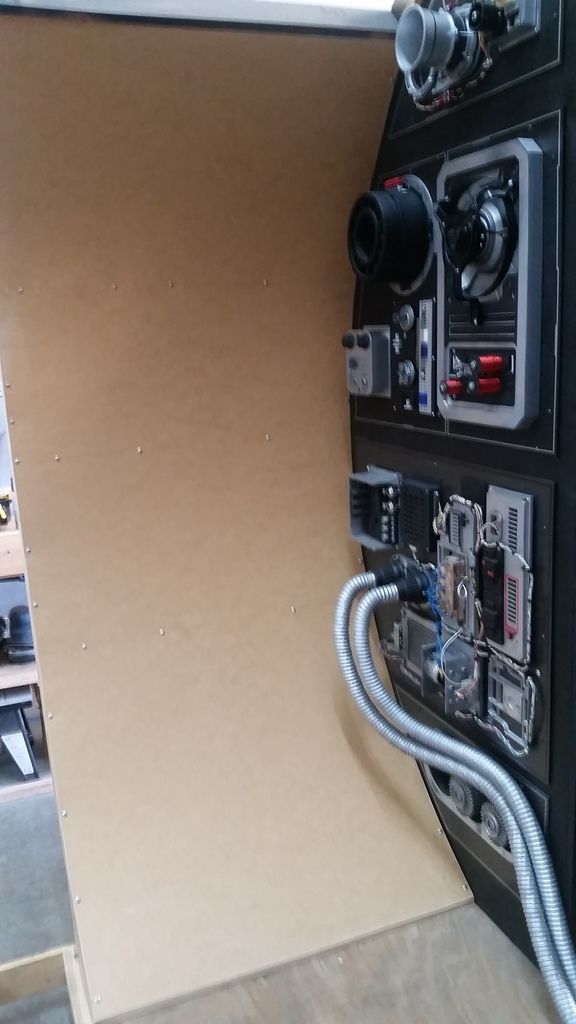
Before the laser cutter went belly up I did manage to cut a few pieces of the new droid sockets!
The two droid socket panels were the last 2 pieces I was able to cut... sigh
BUT...
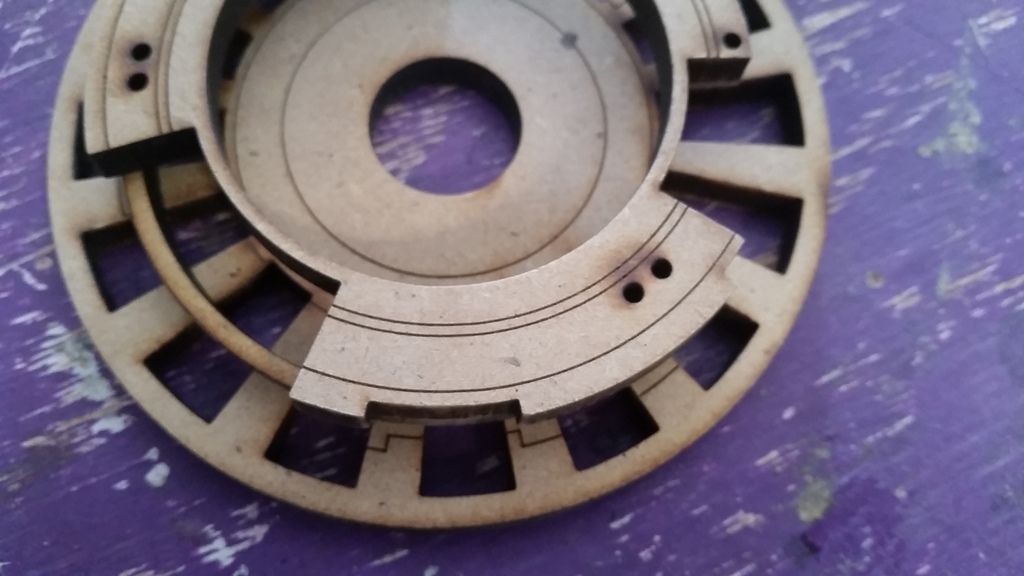
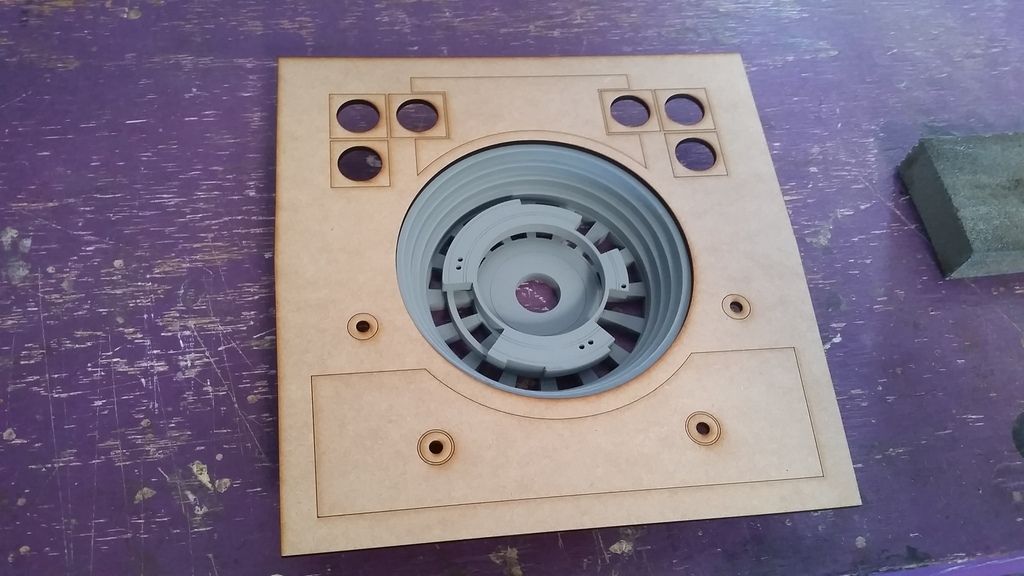
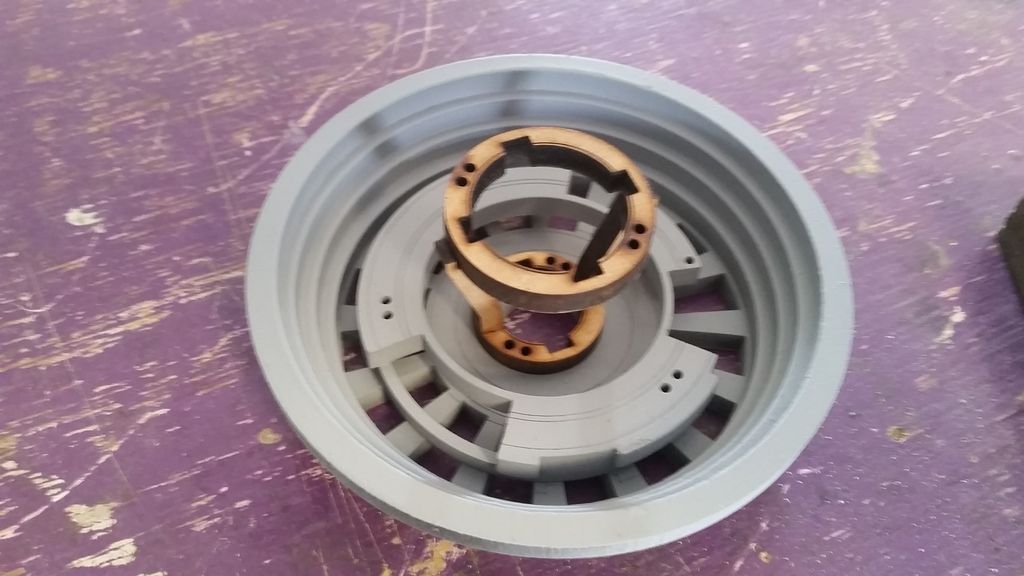
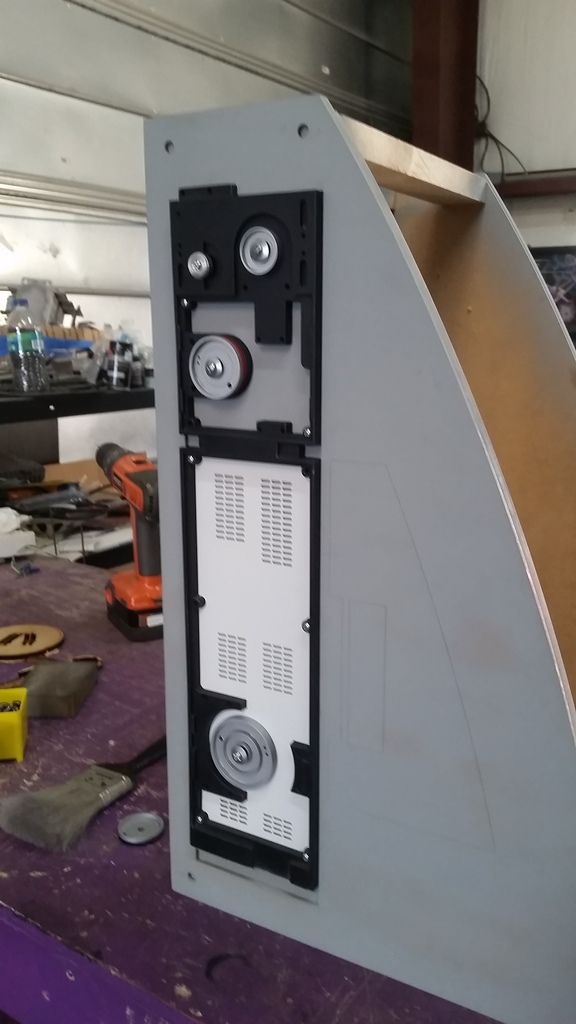
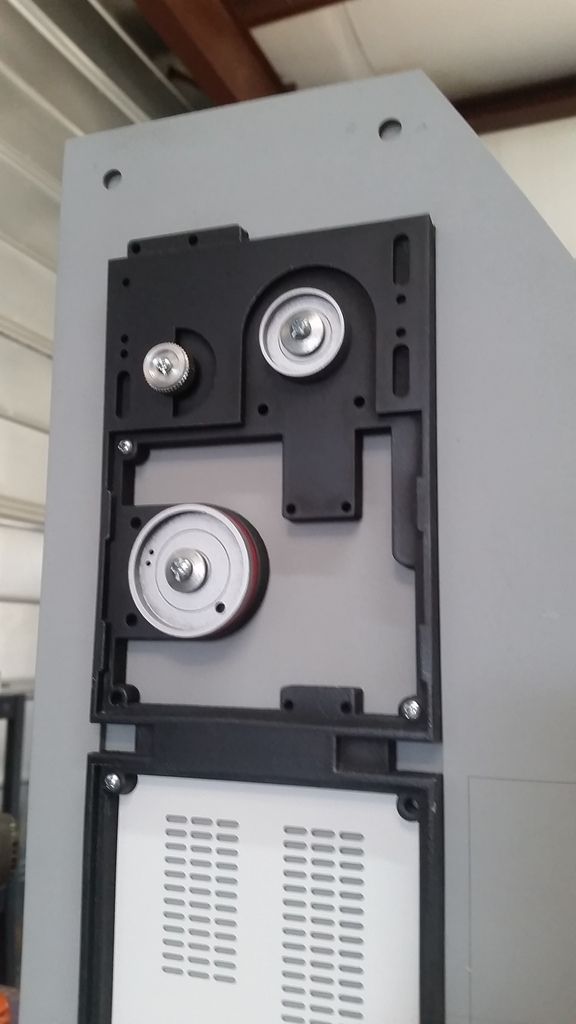
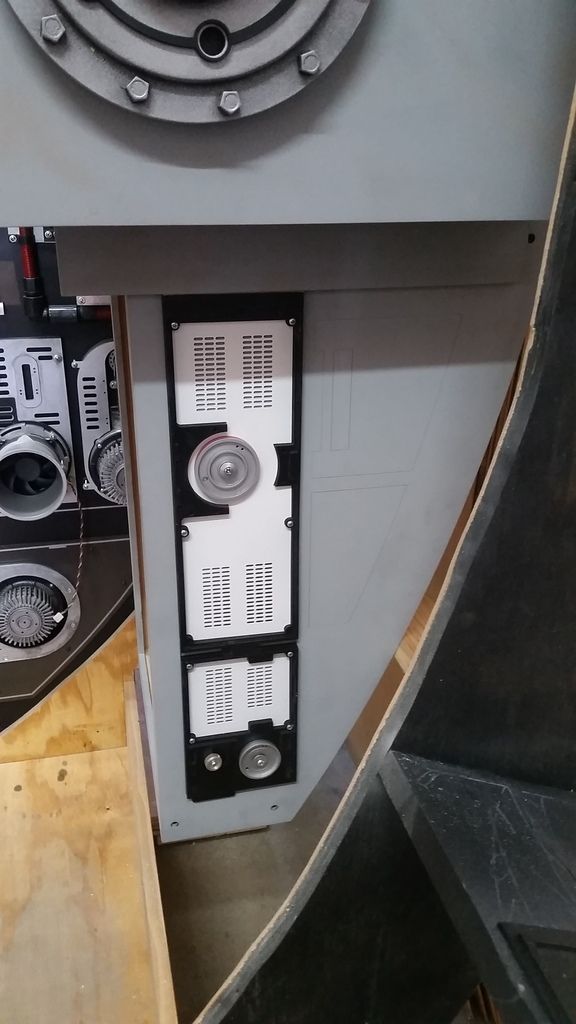
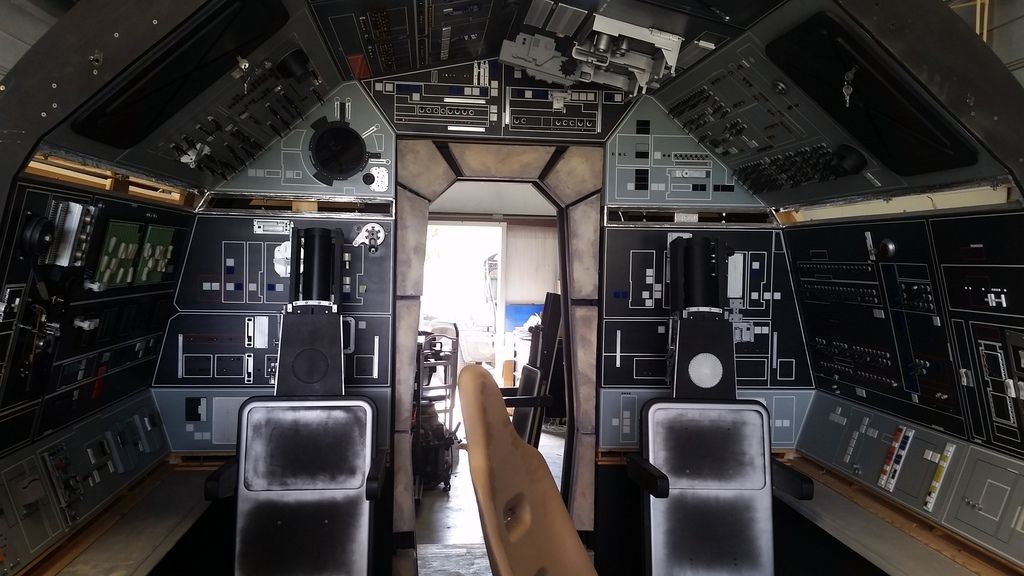
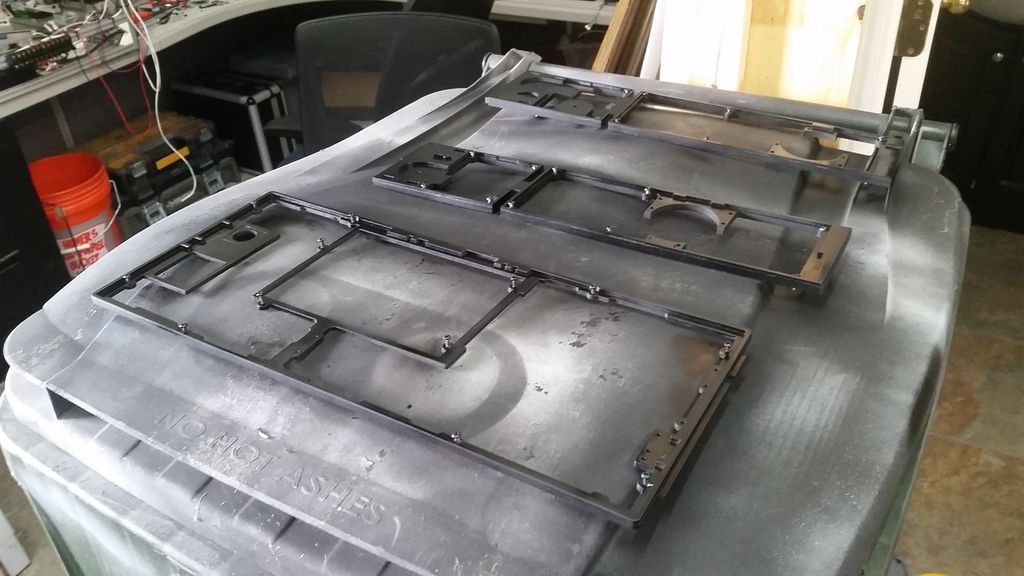
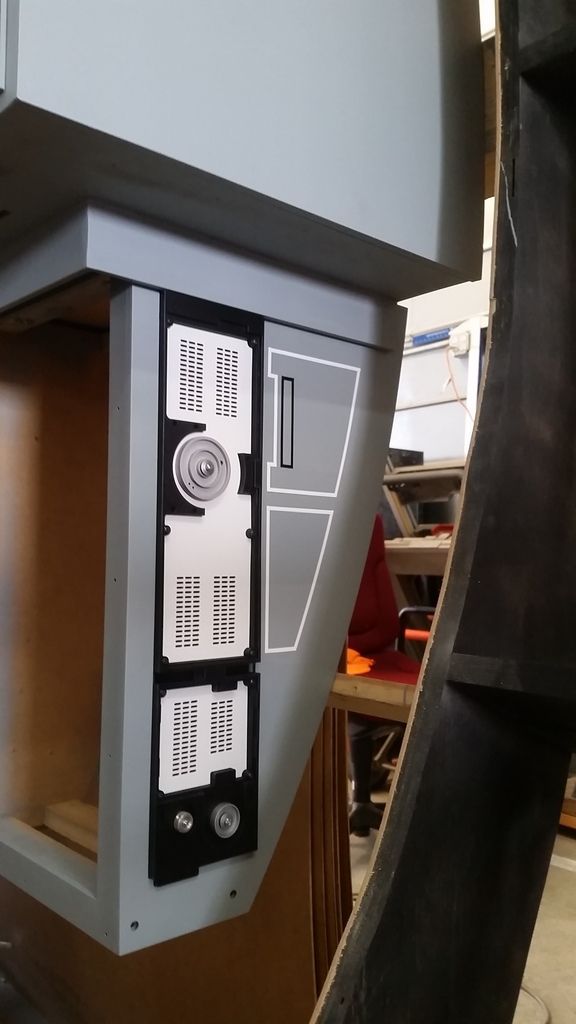
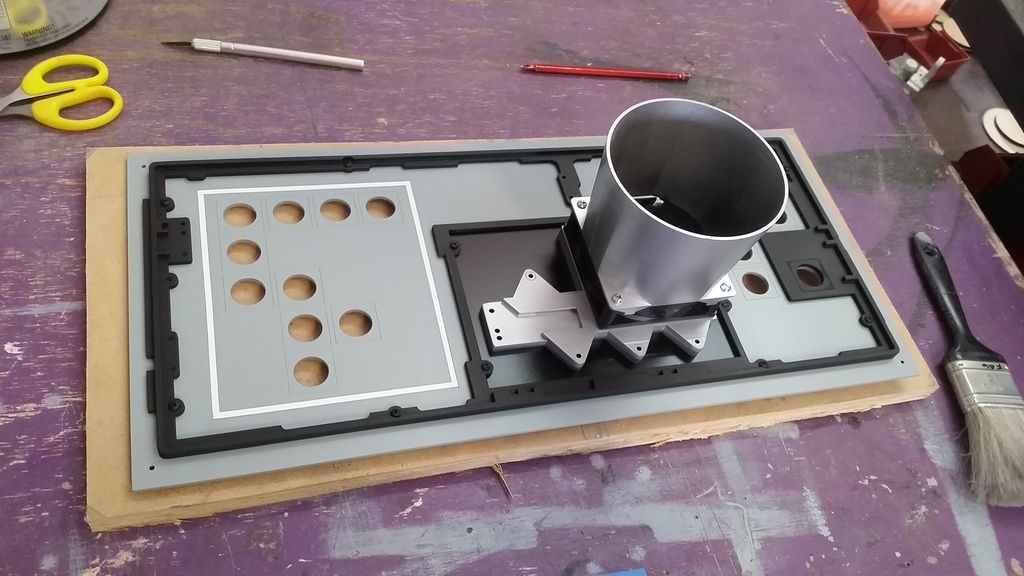
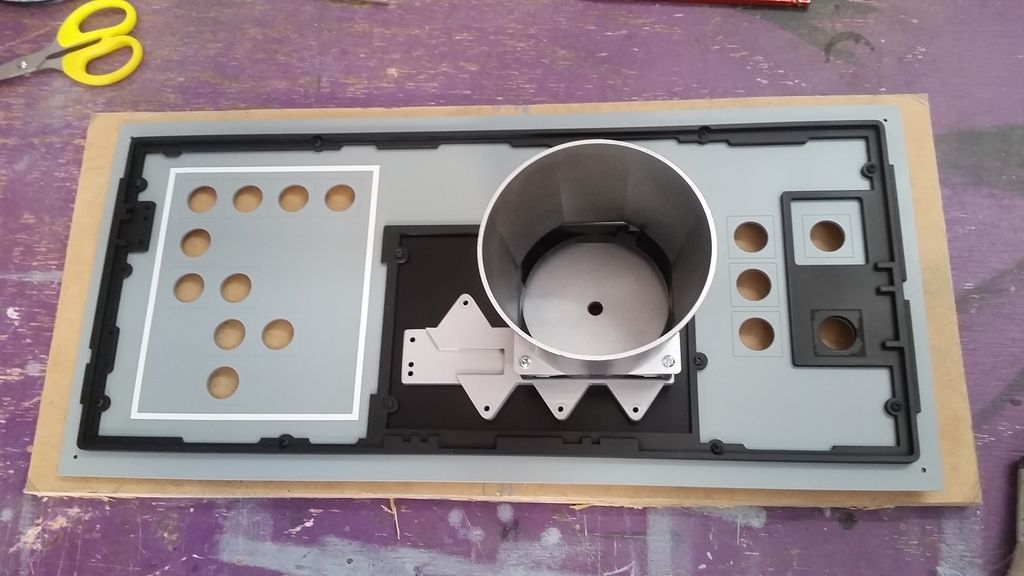
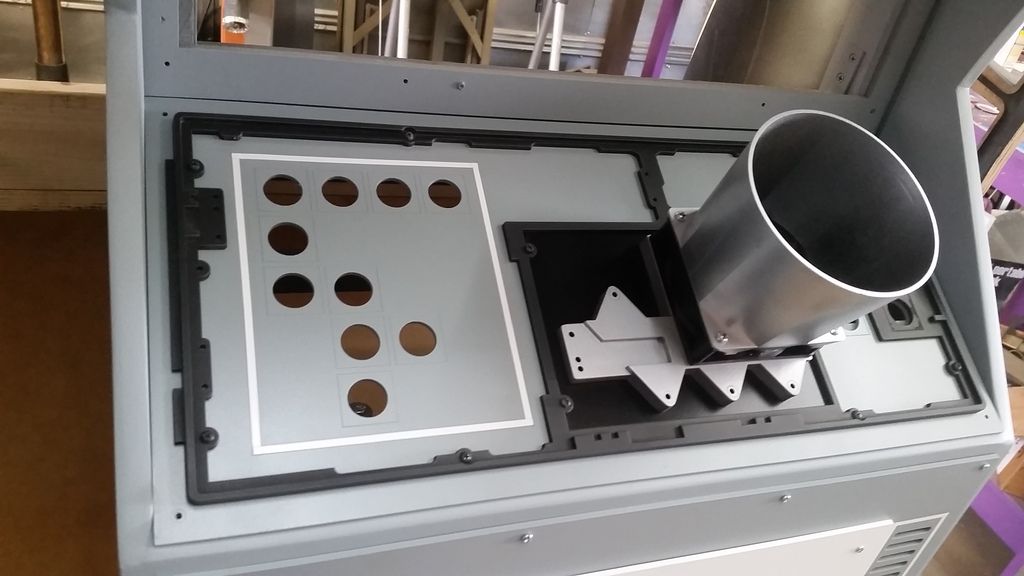
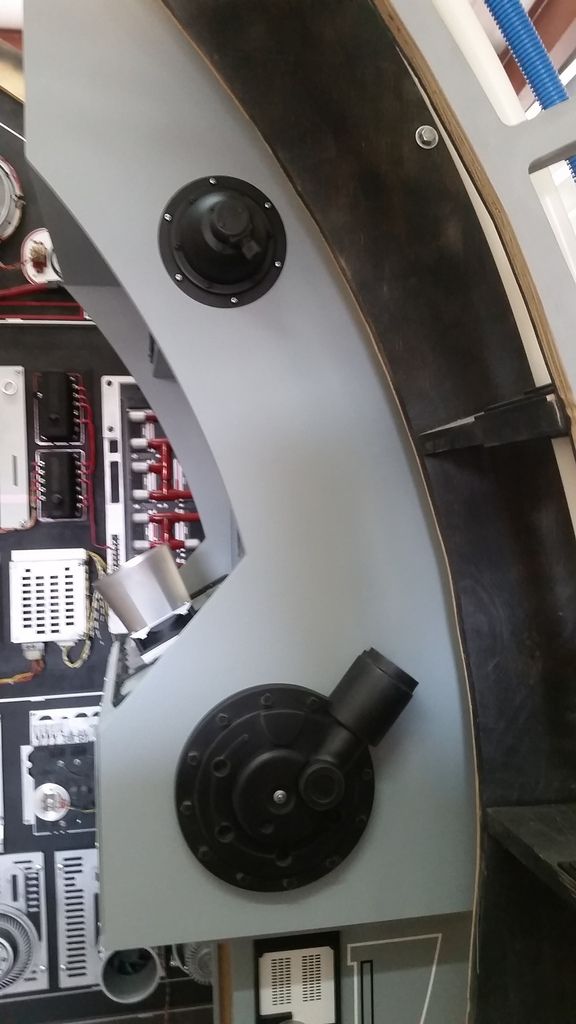
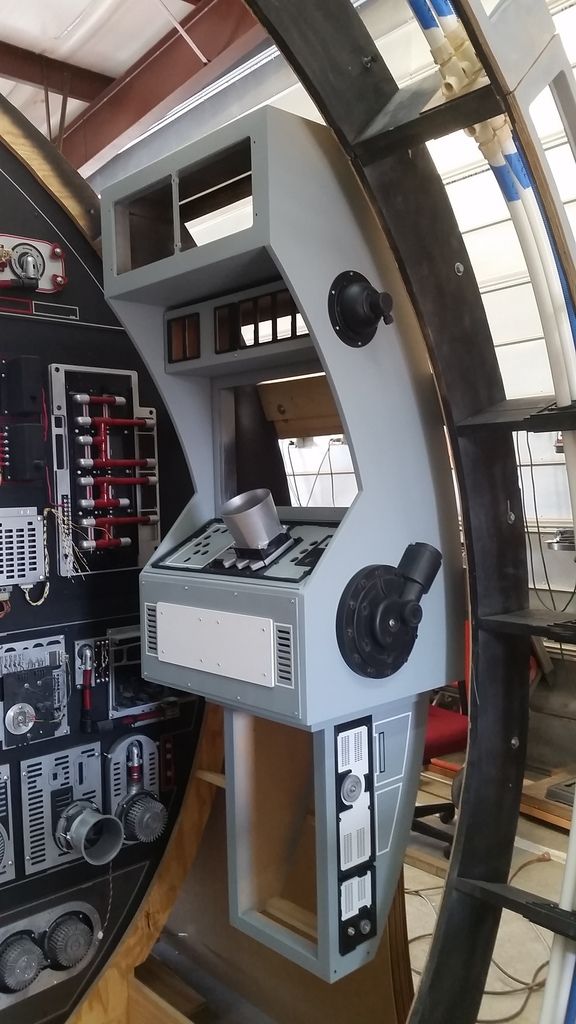
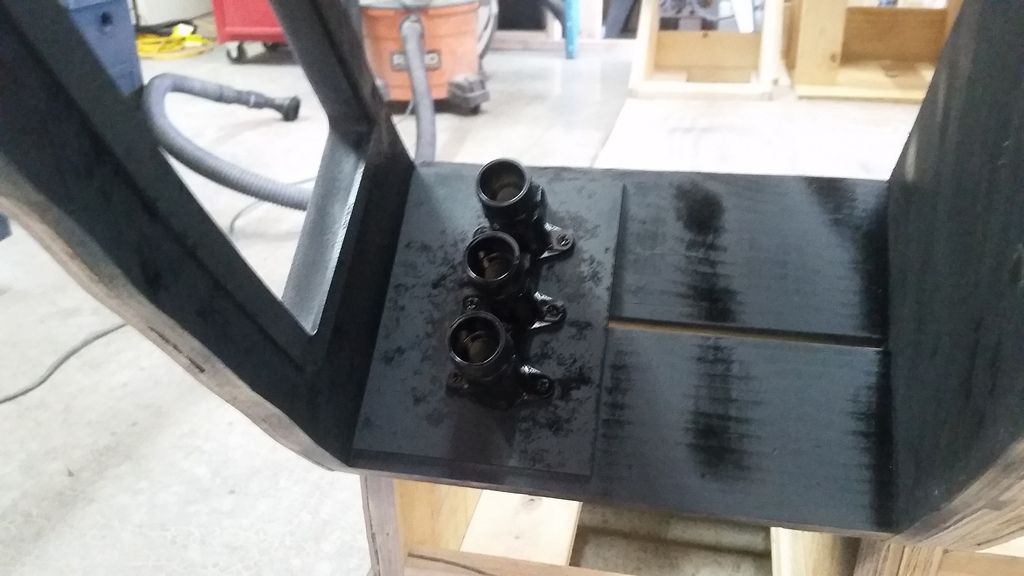
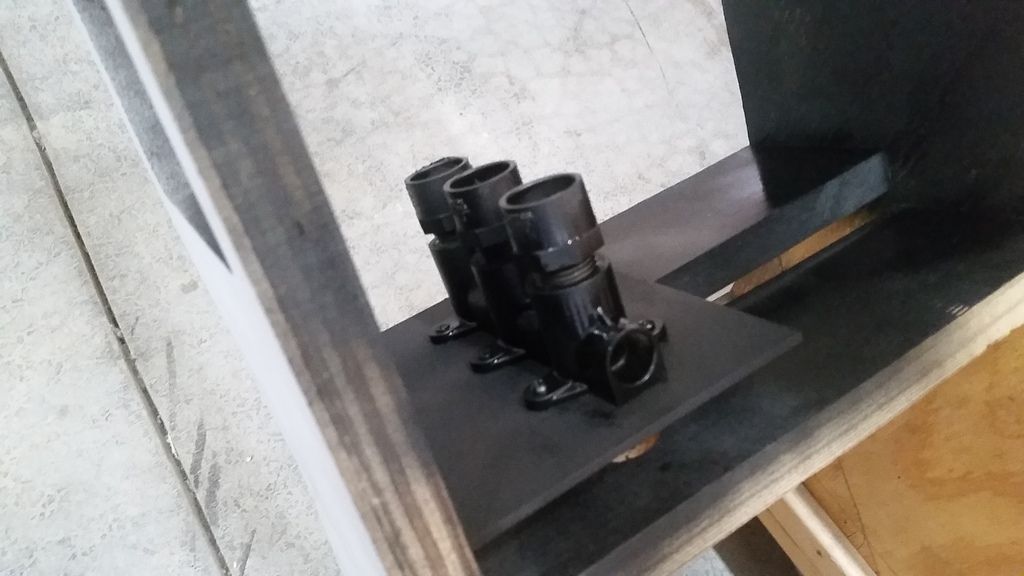
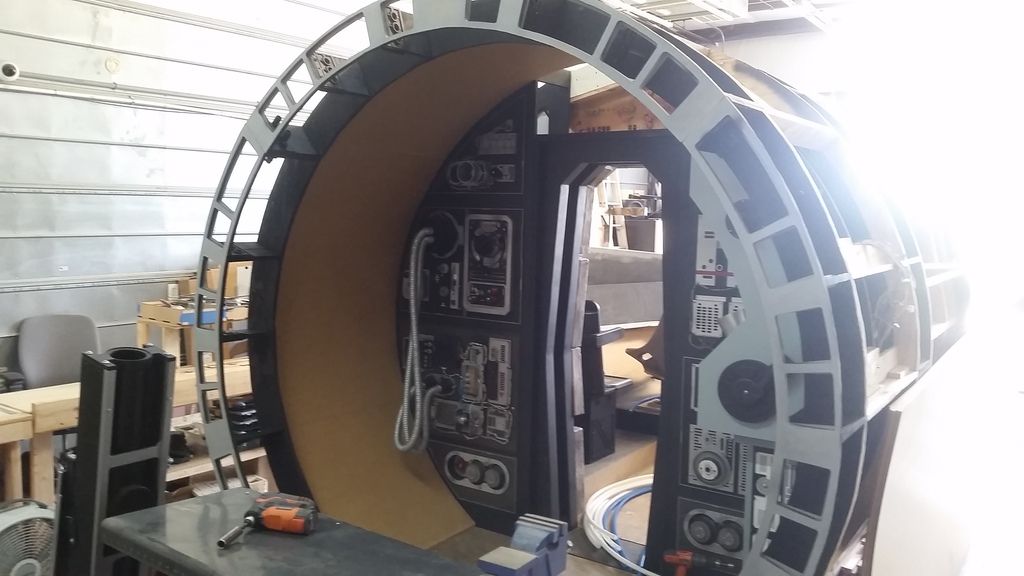
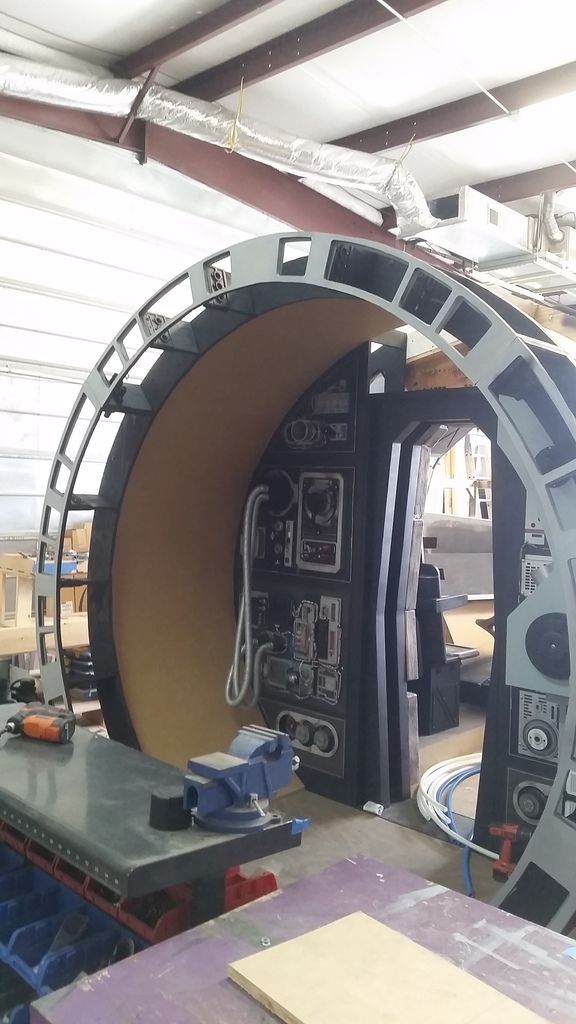
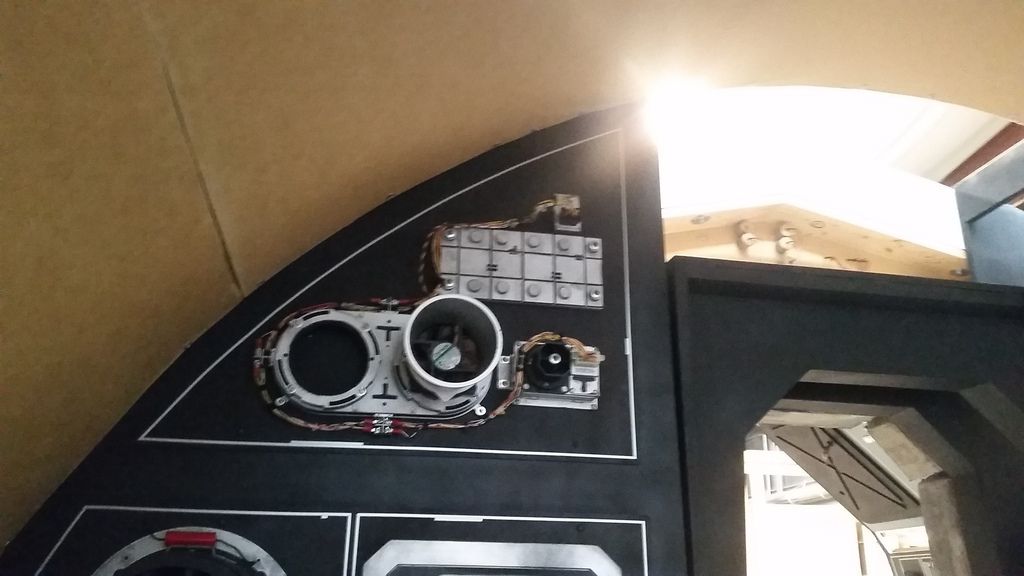
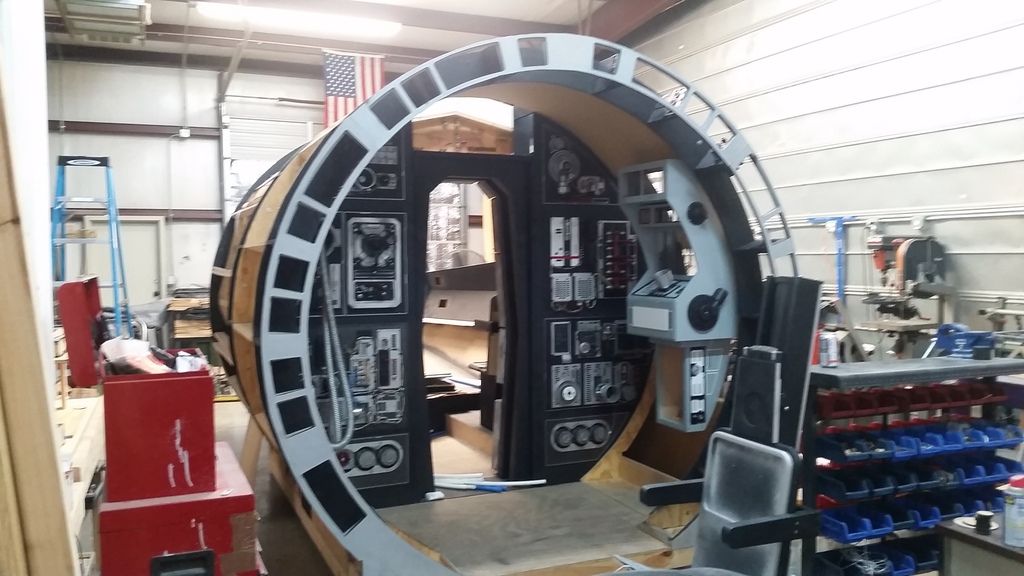
Lets have fun and dry fit everything I did manage to cut
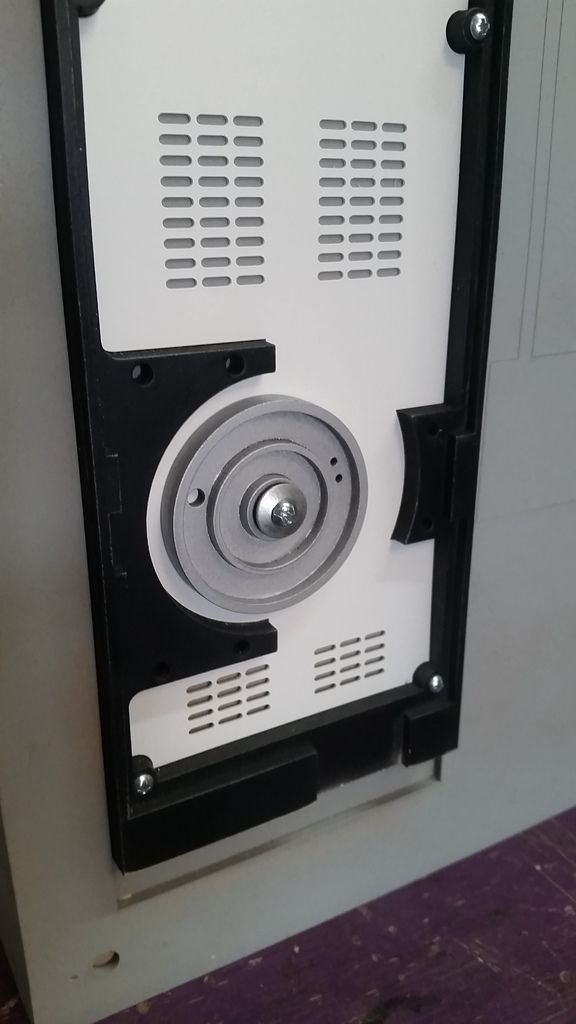
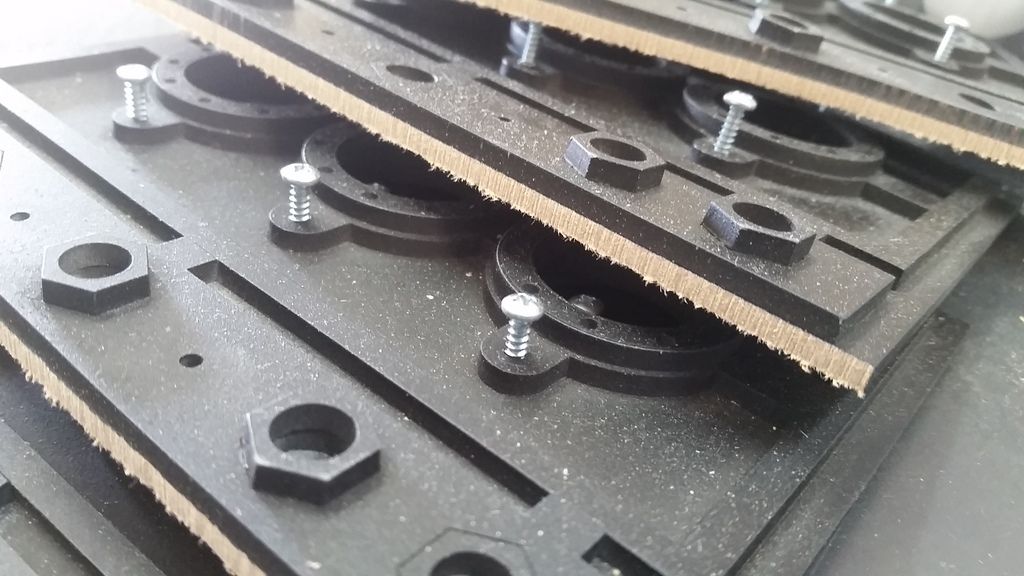
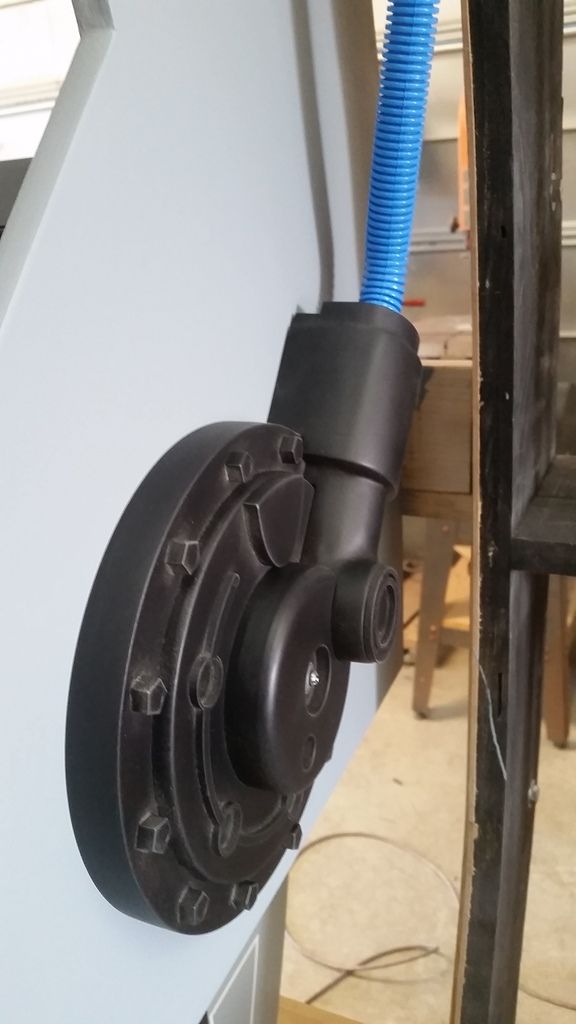
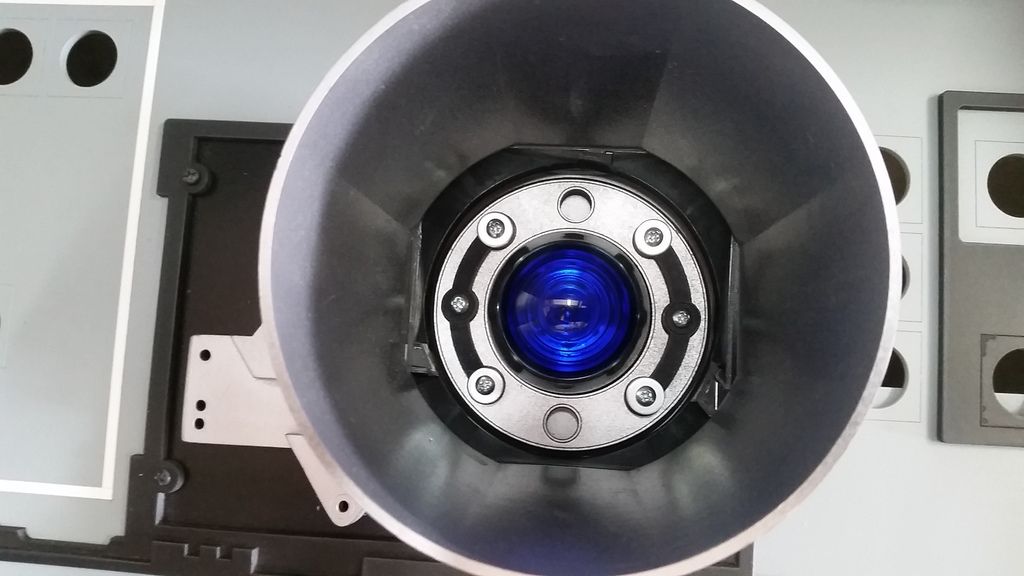
Countersinking the socket
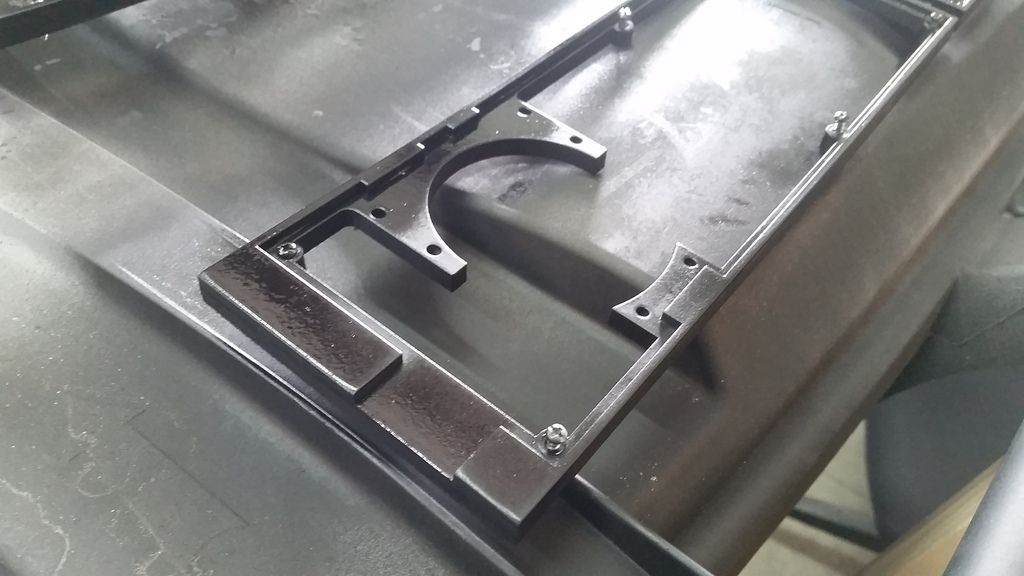
I think it needs to go a bit further down - depending on the room I have within the lower part of the aux/maint panel
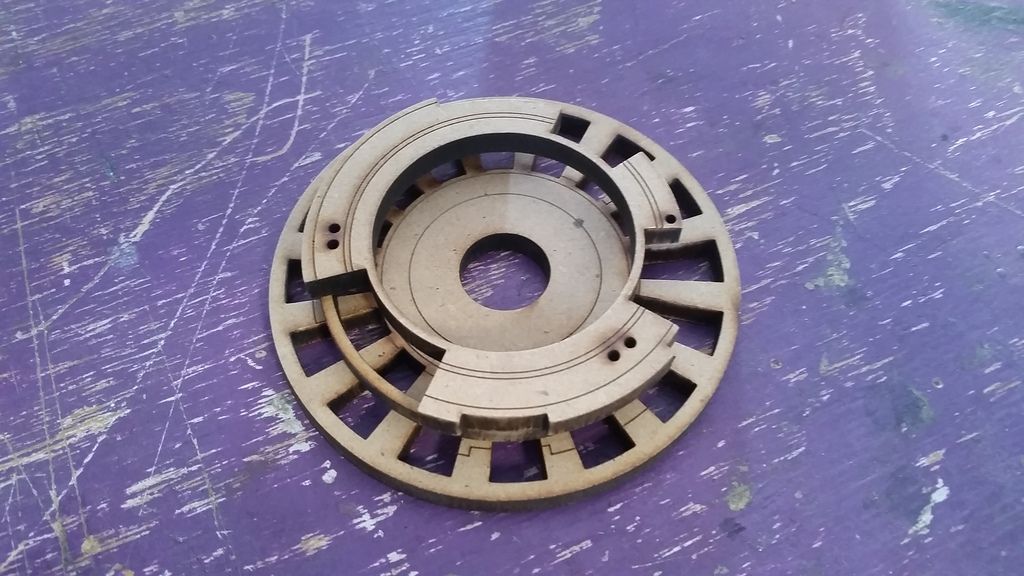
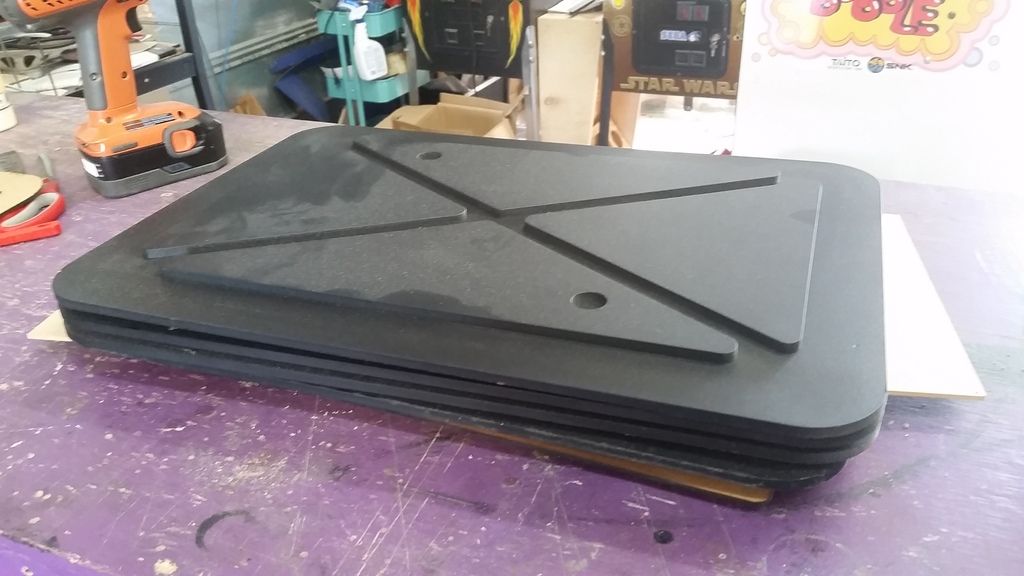
Sanding
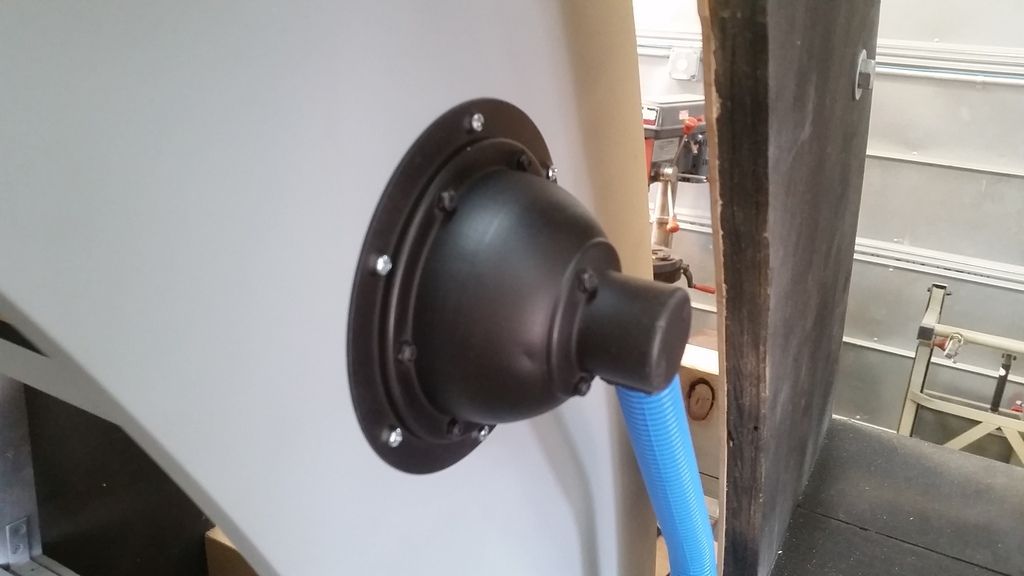
Adhered together
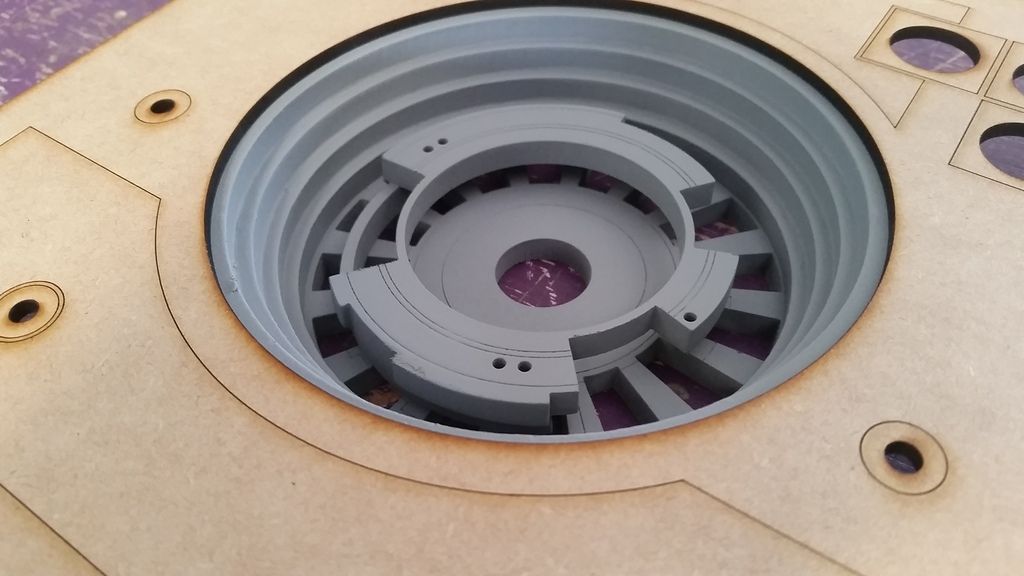
Details
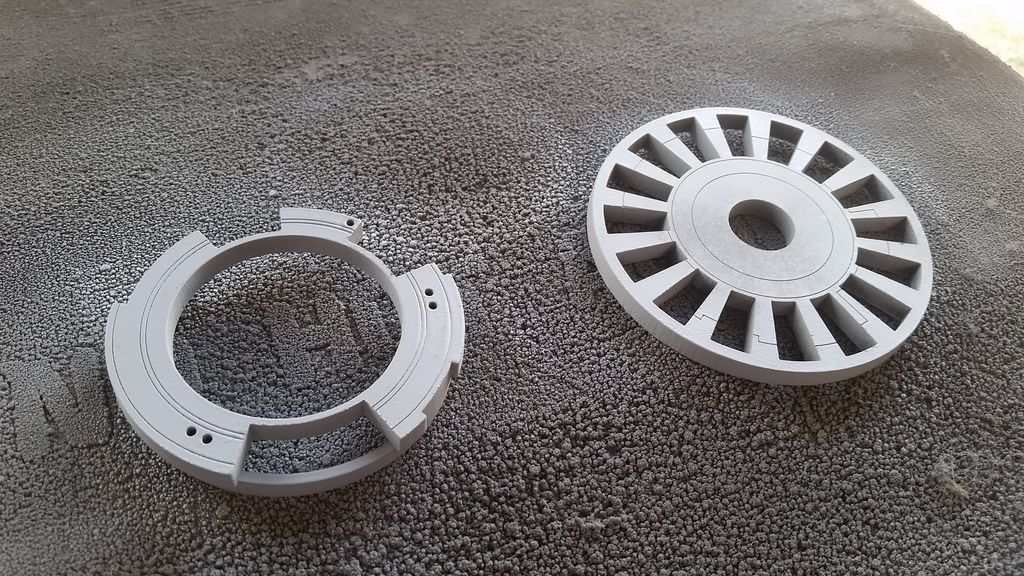
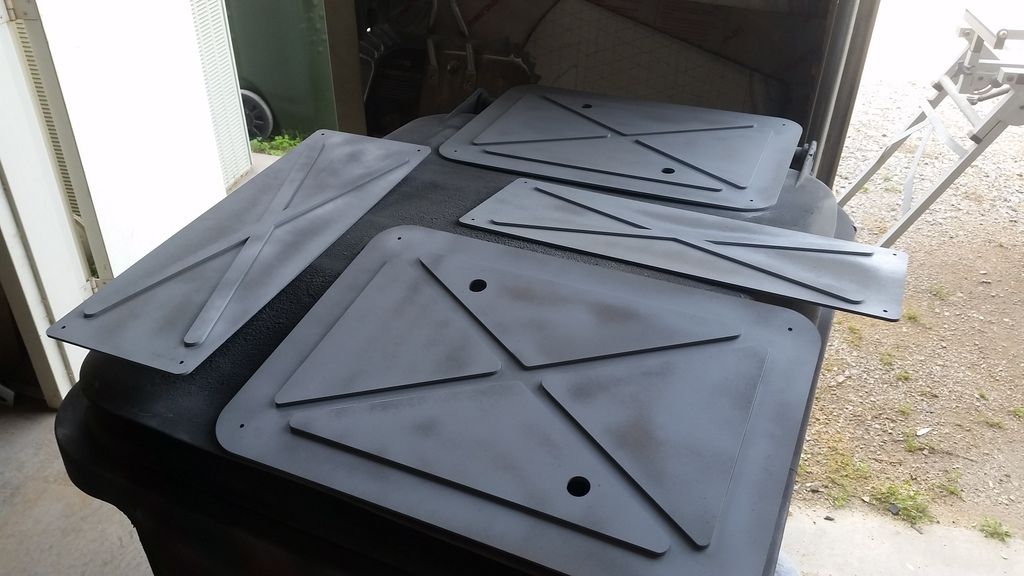
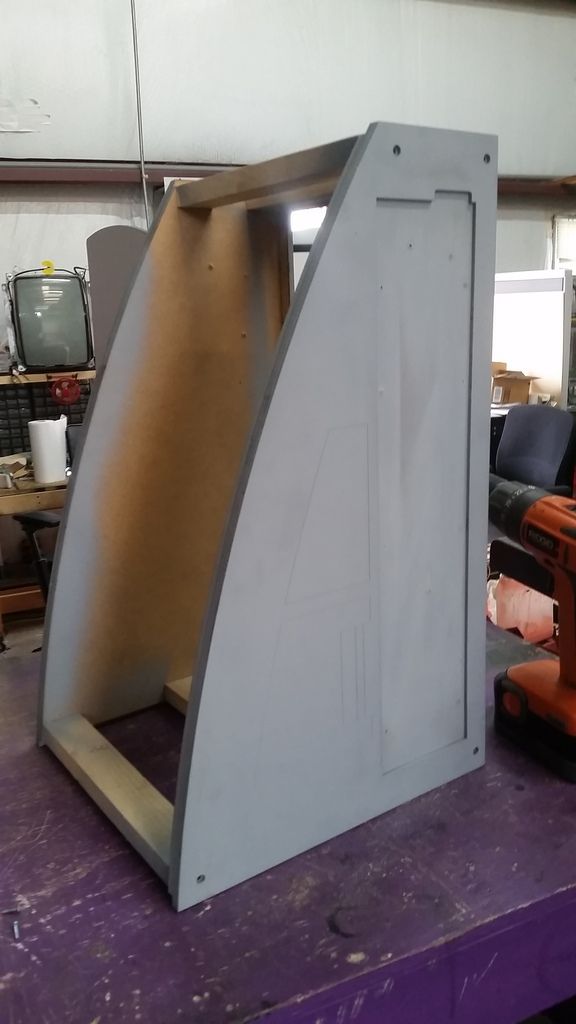
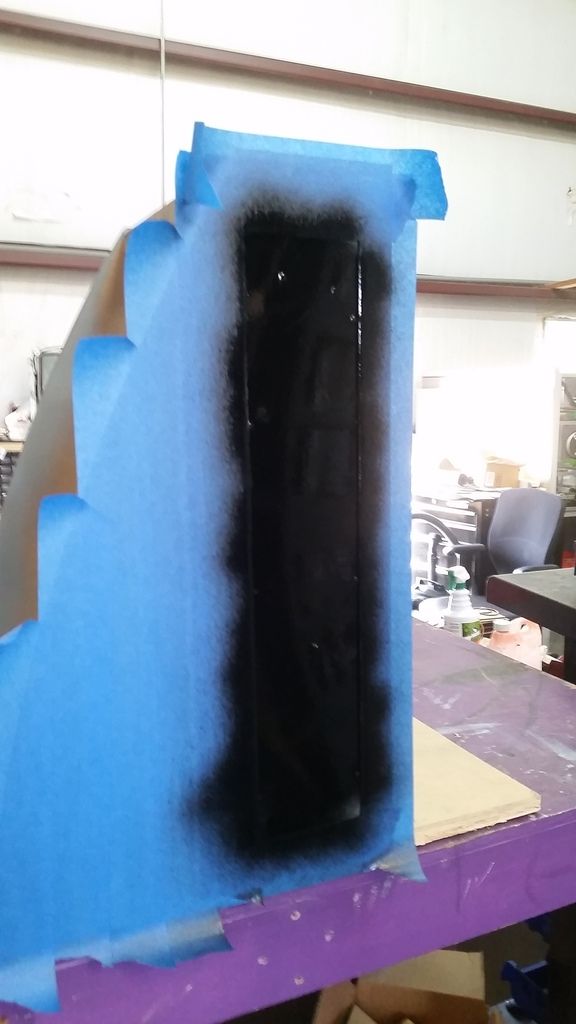
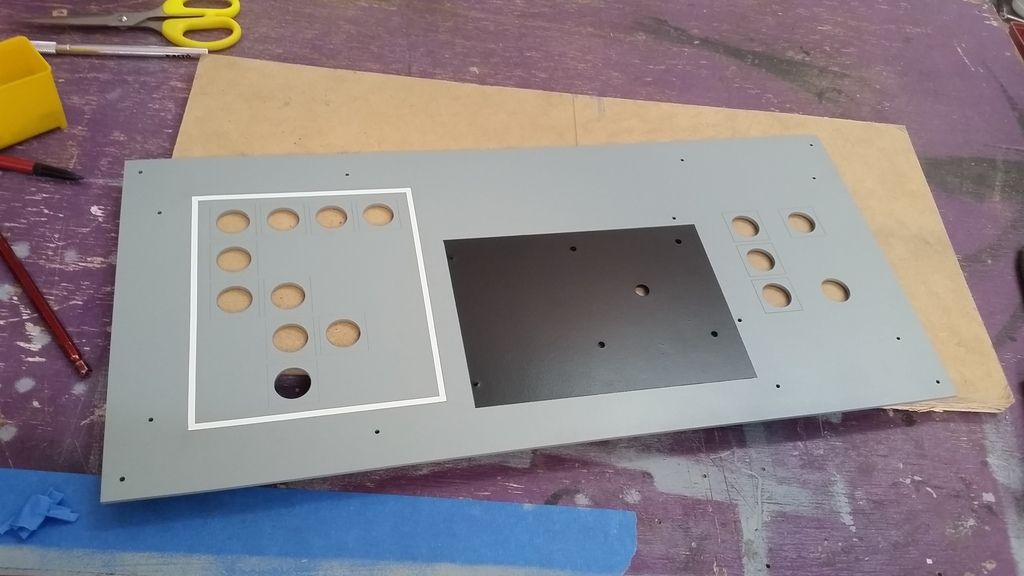
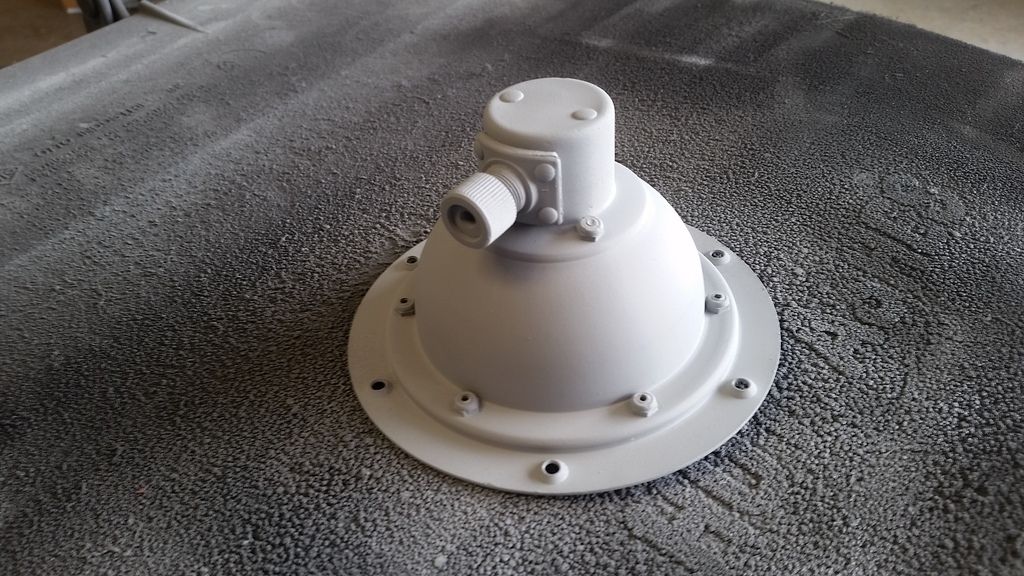
Primer!
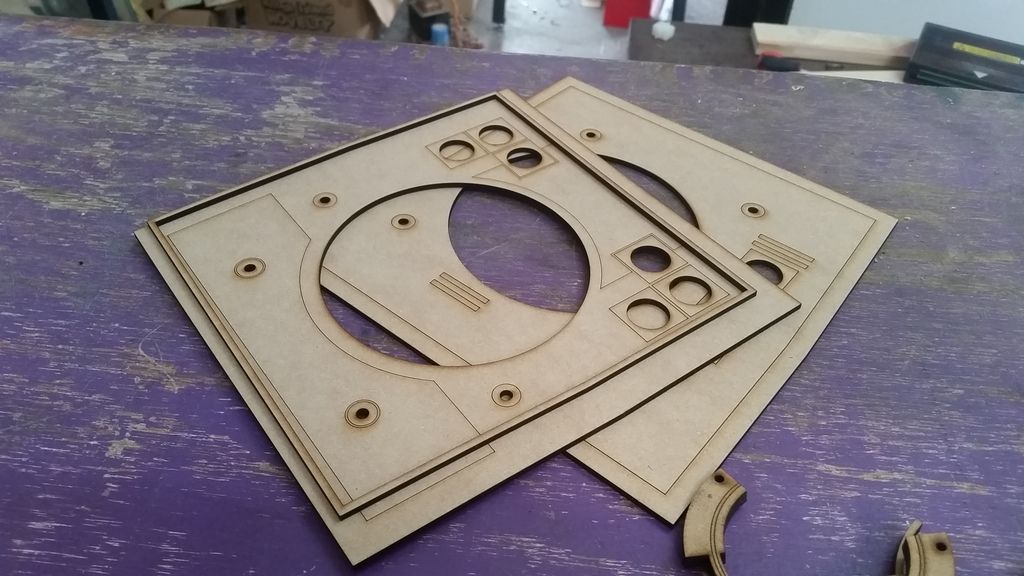
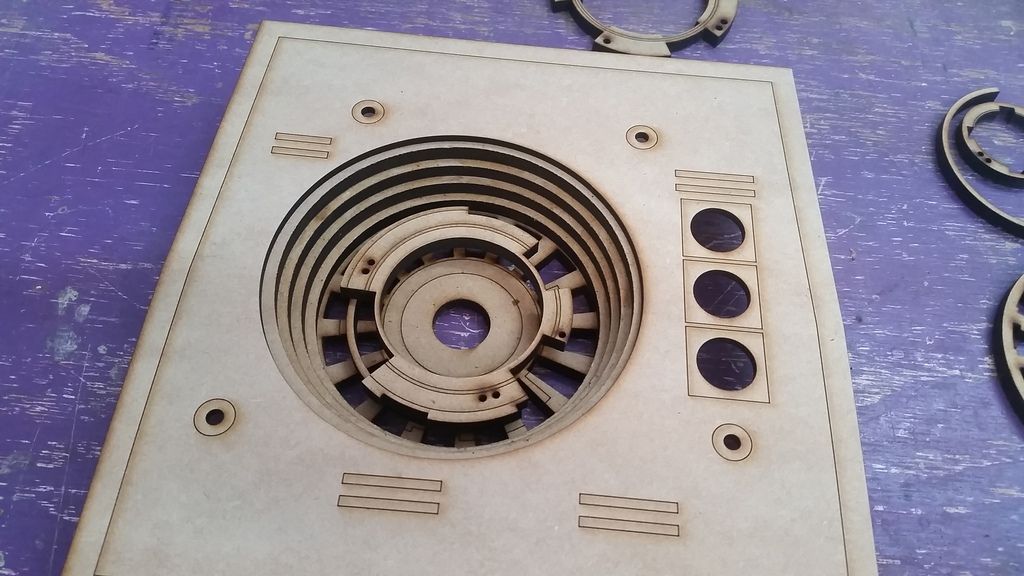
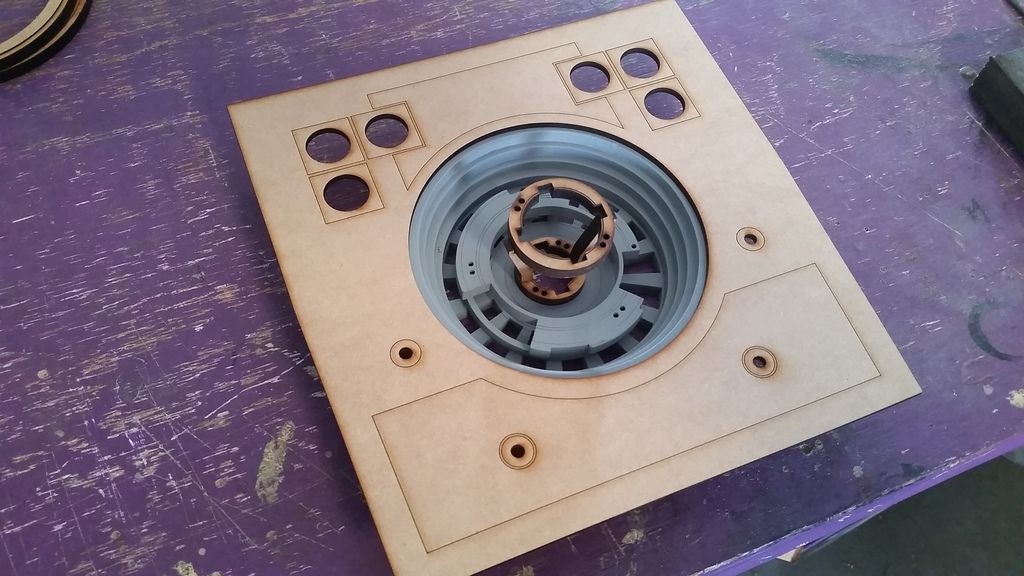
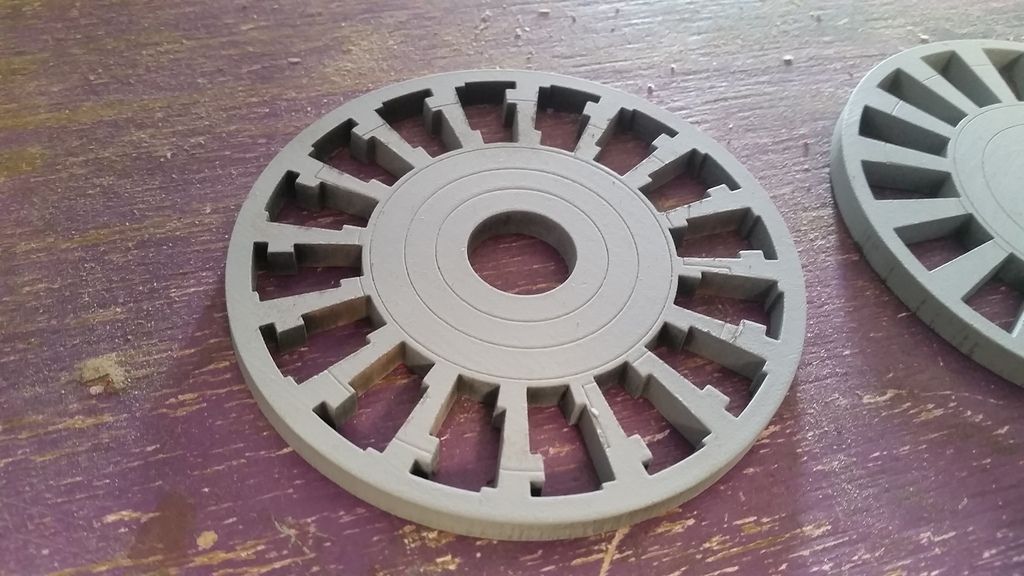
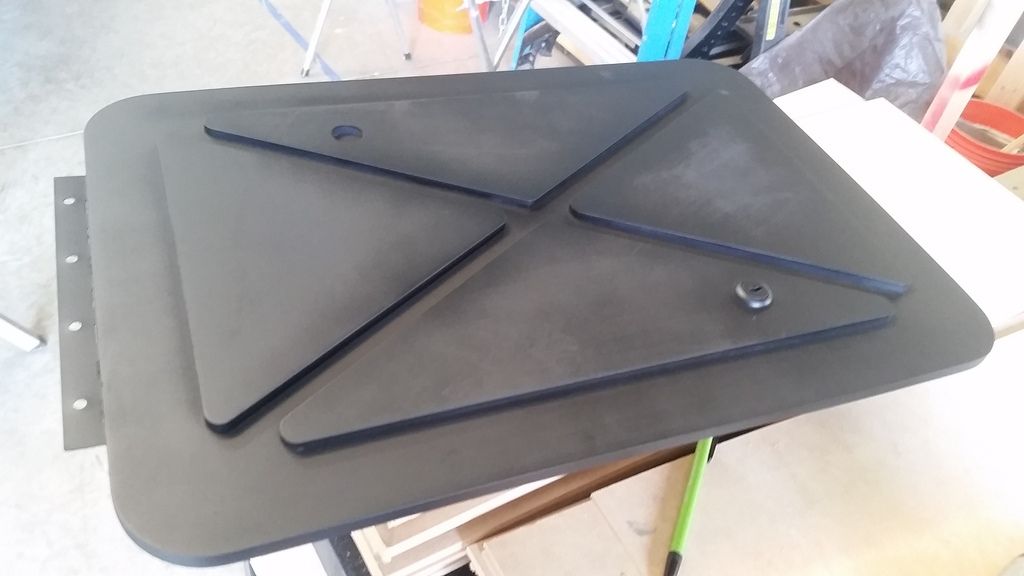
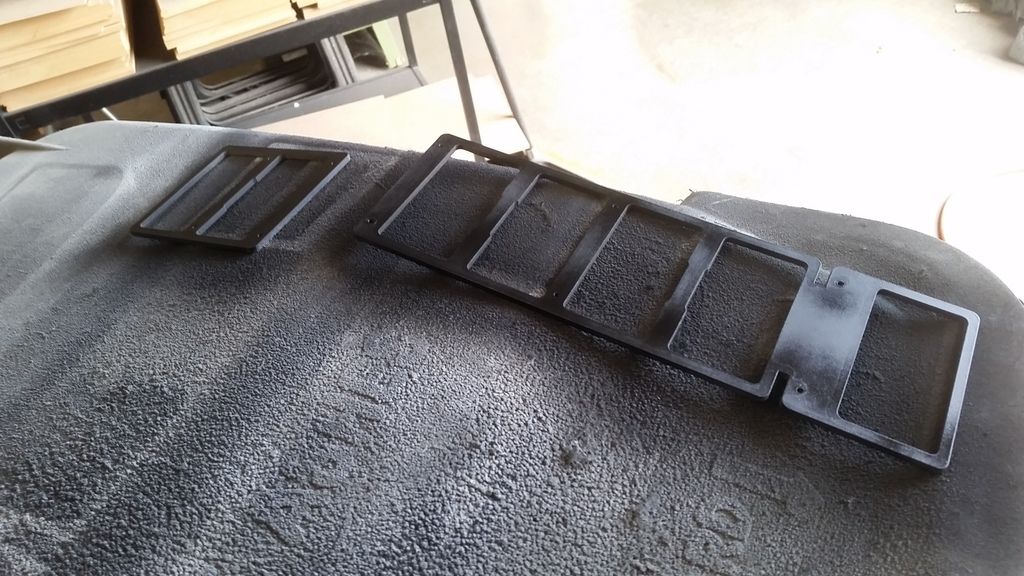
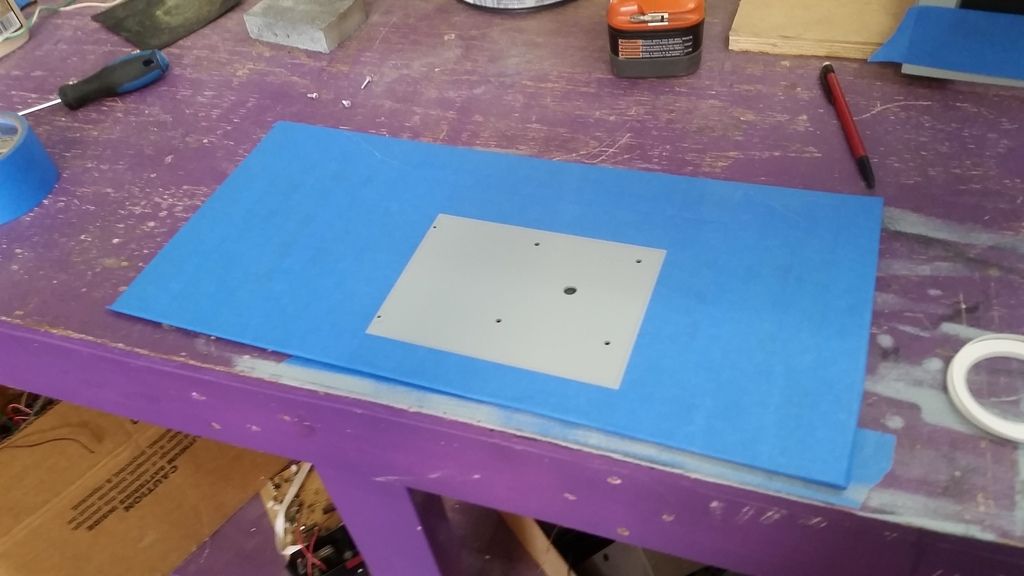
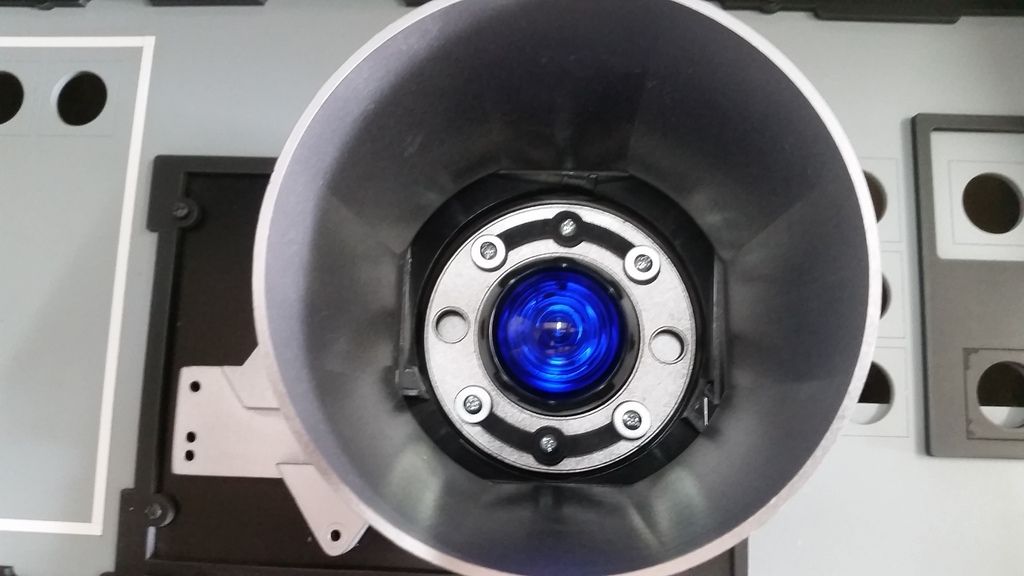
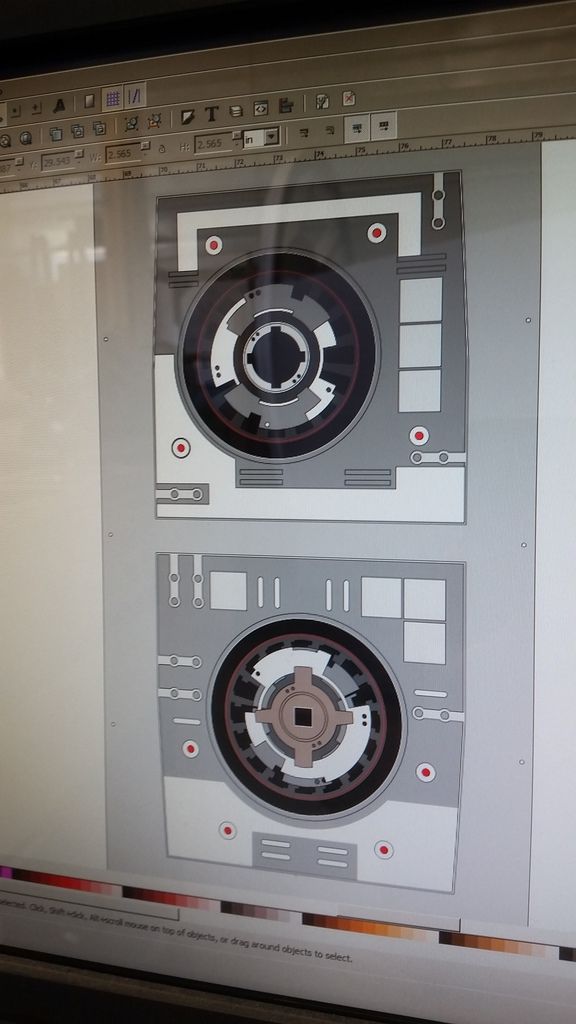
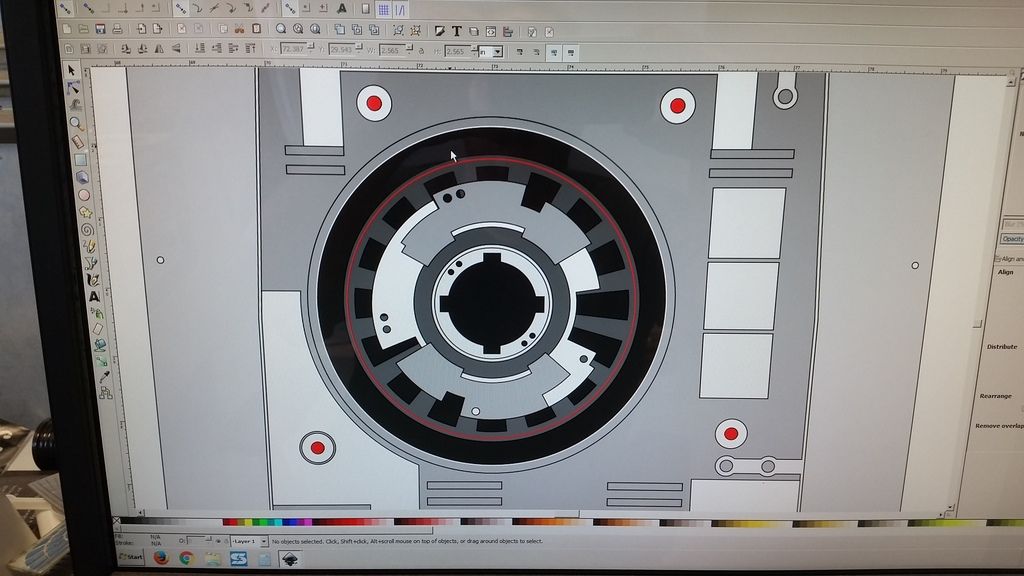
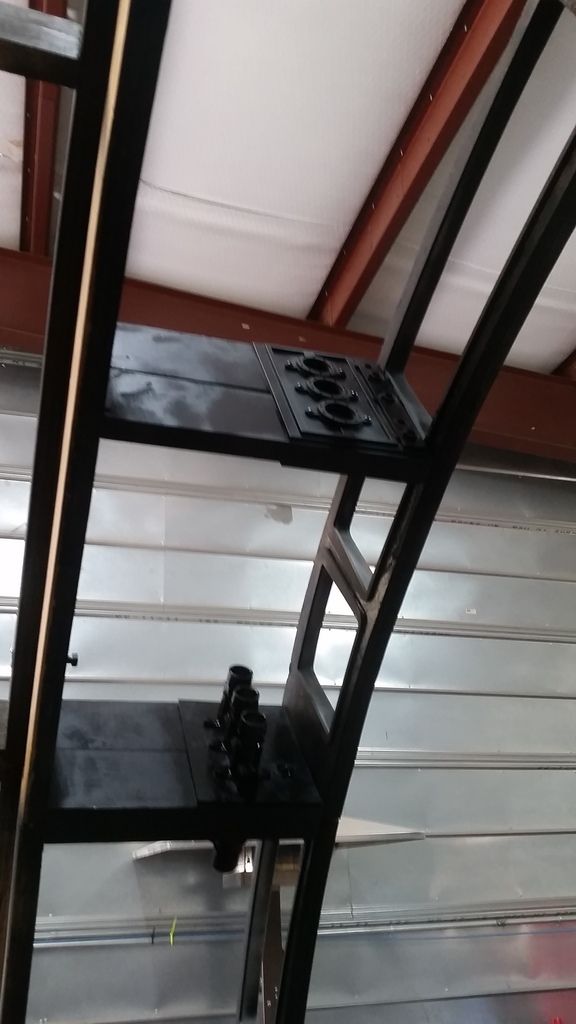
MDF panel overlay. The 4 smaller circles on the bottom of the panel will be red LEDs
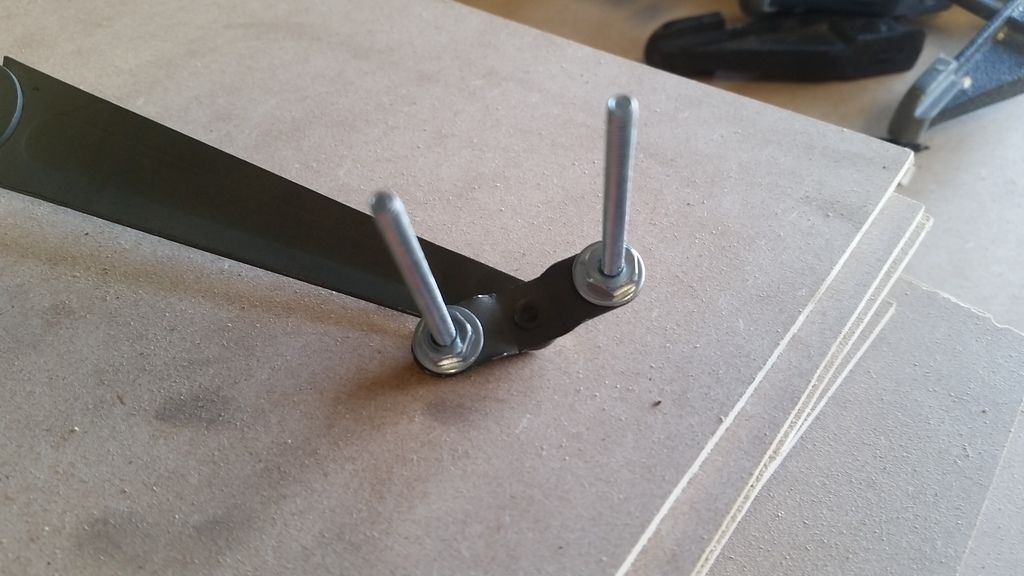
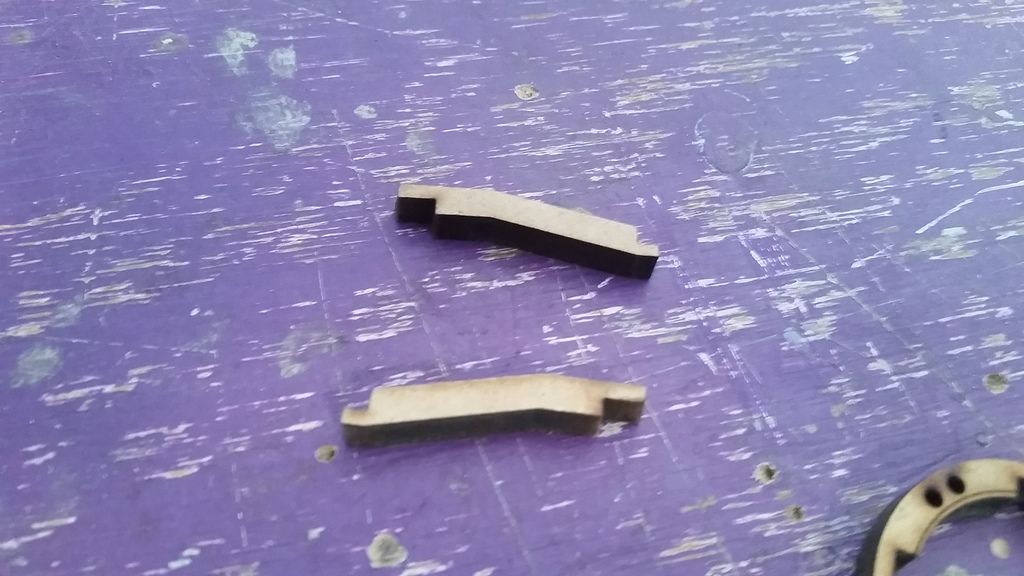
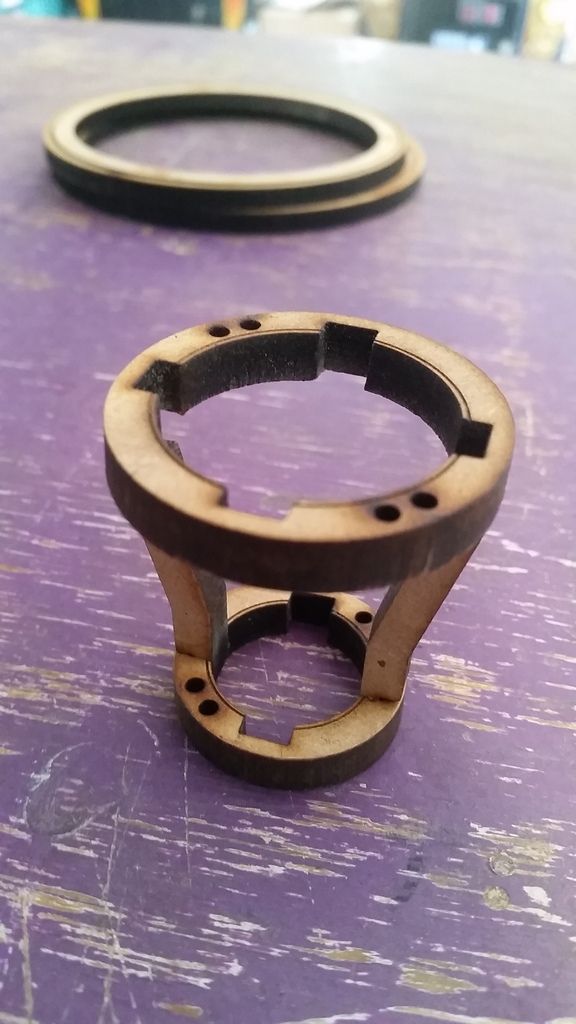
I laser cut these little guys but changed the design just before the LC went down
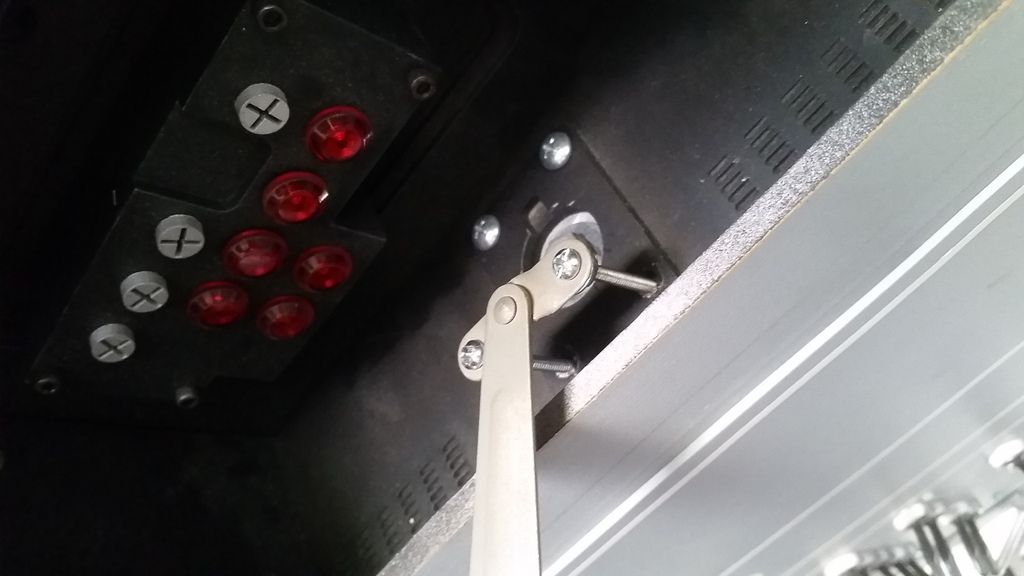
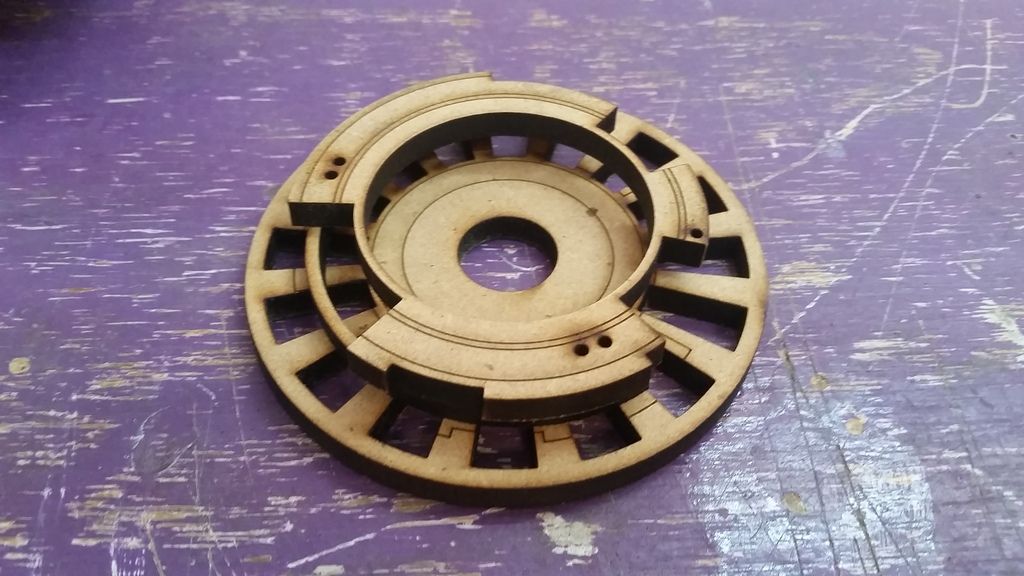
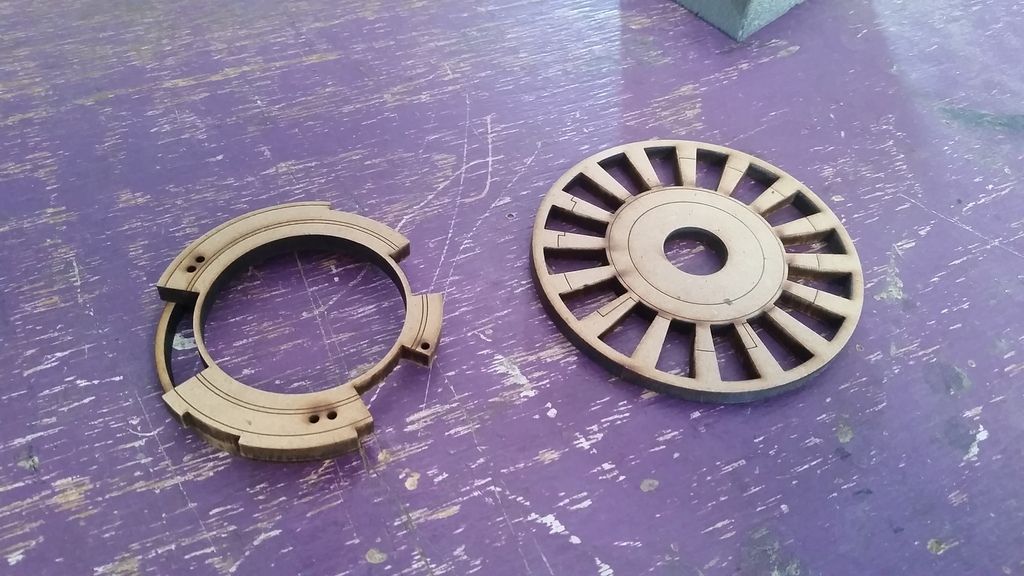
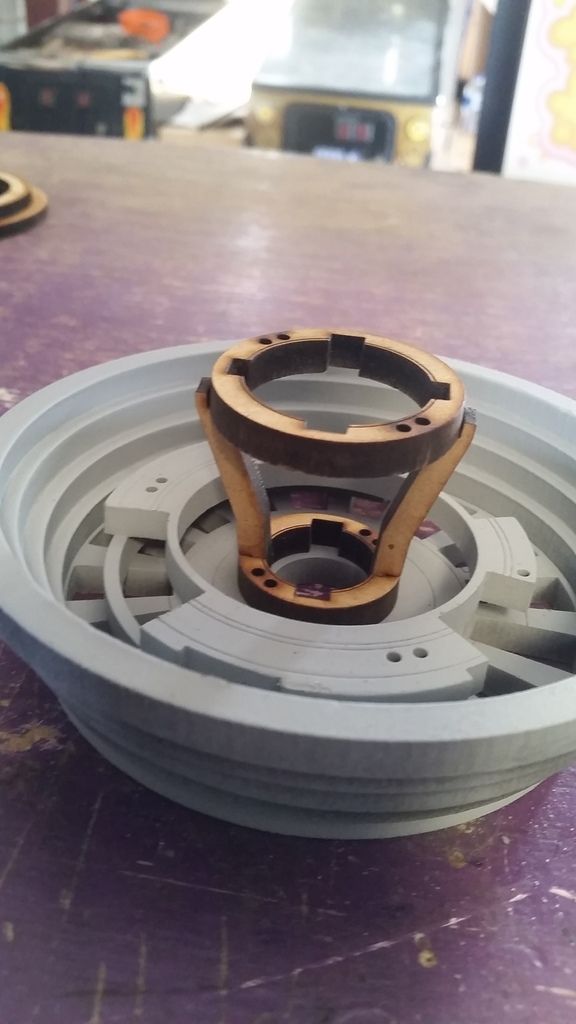
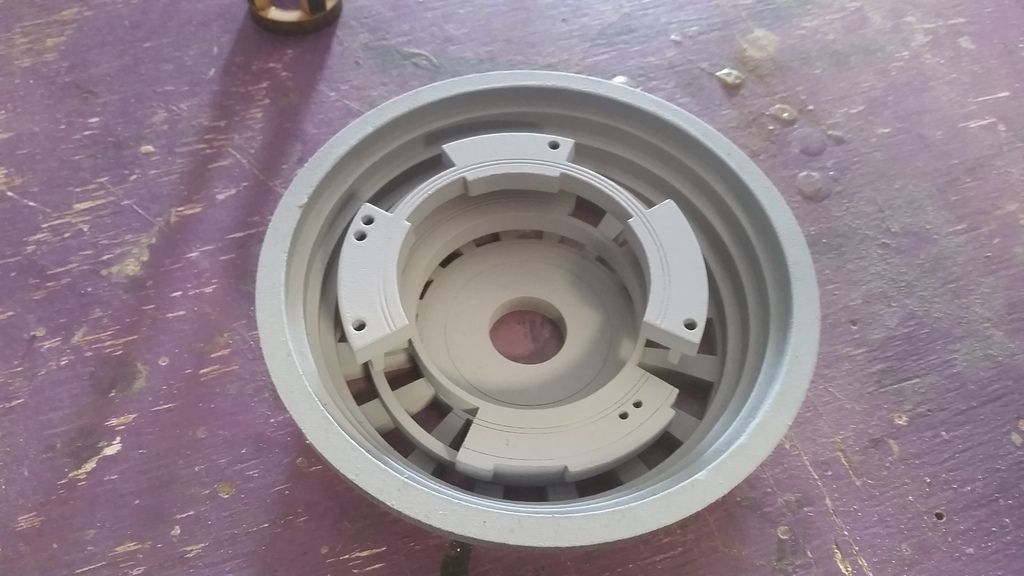
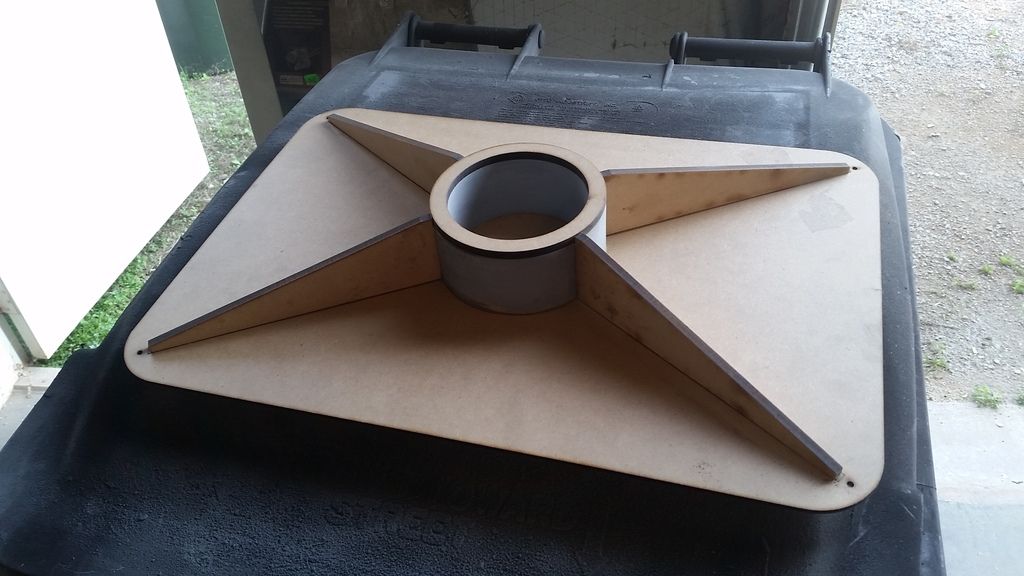
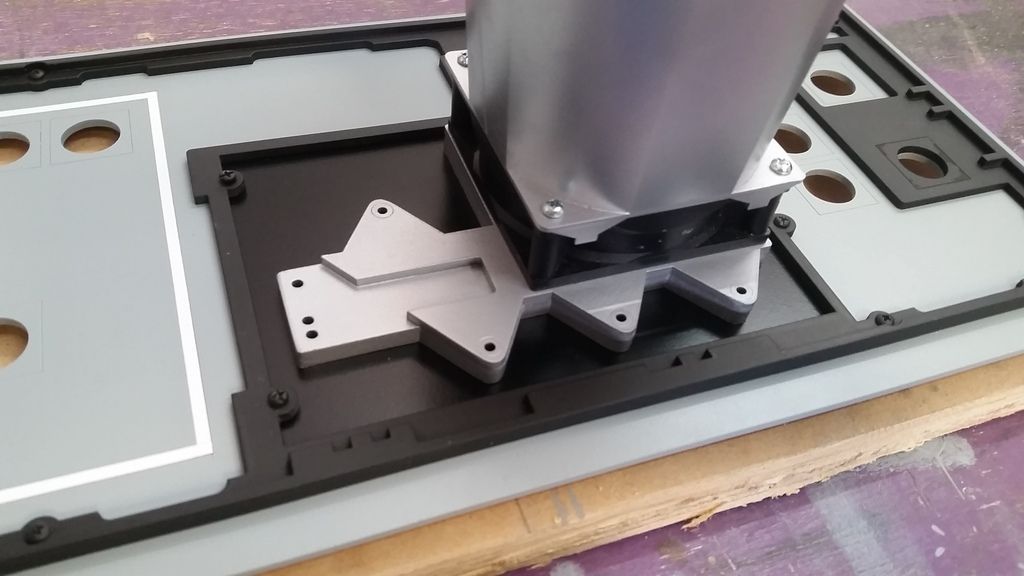
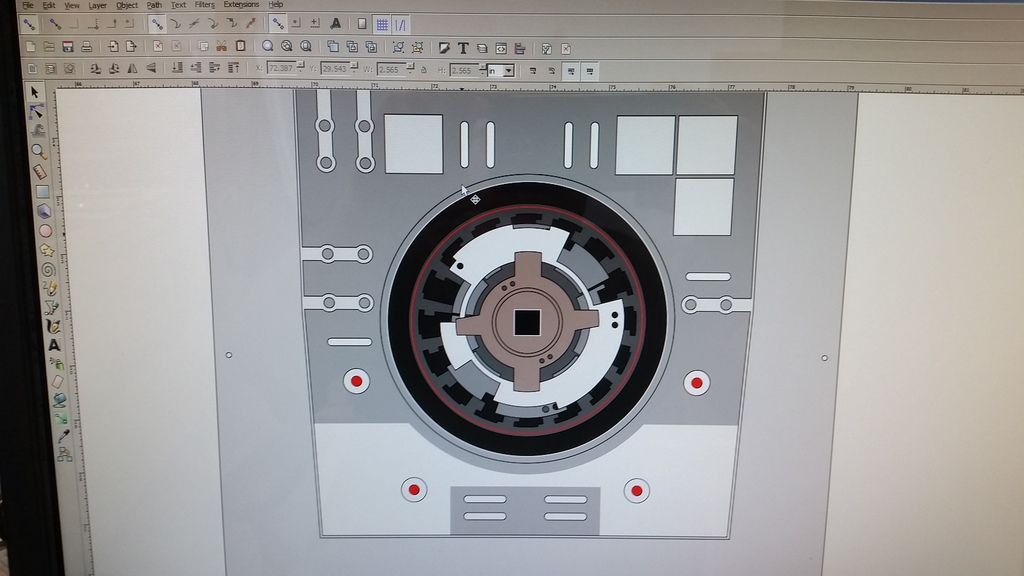
The idea is that these arms extend upward in 4 corners
Then I mount the top piece into position but I moved the tabs to the interior and never got a change to cut the new ones
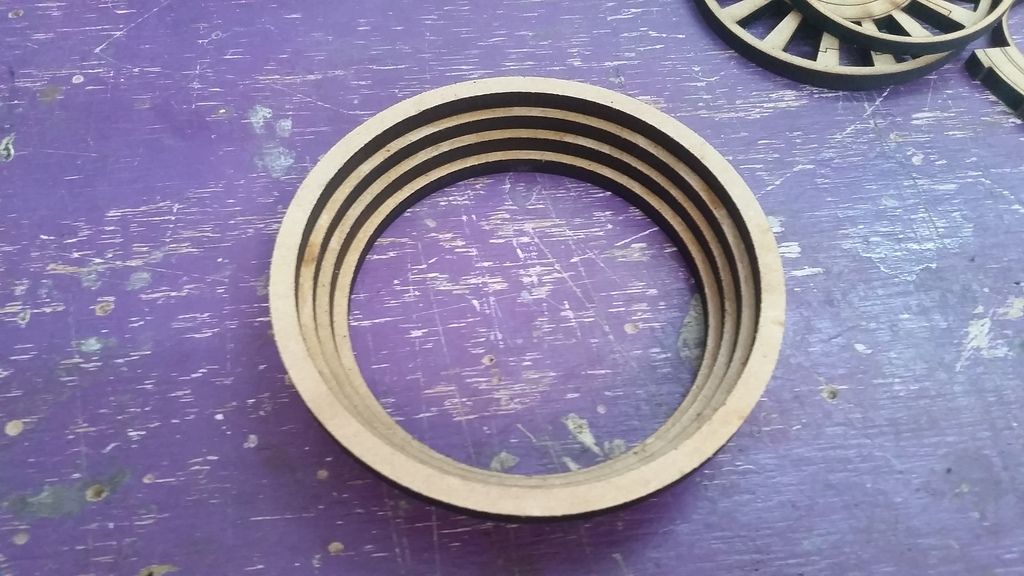
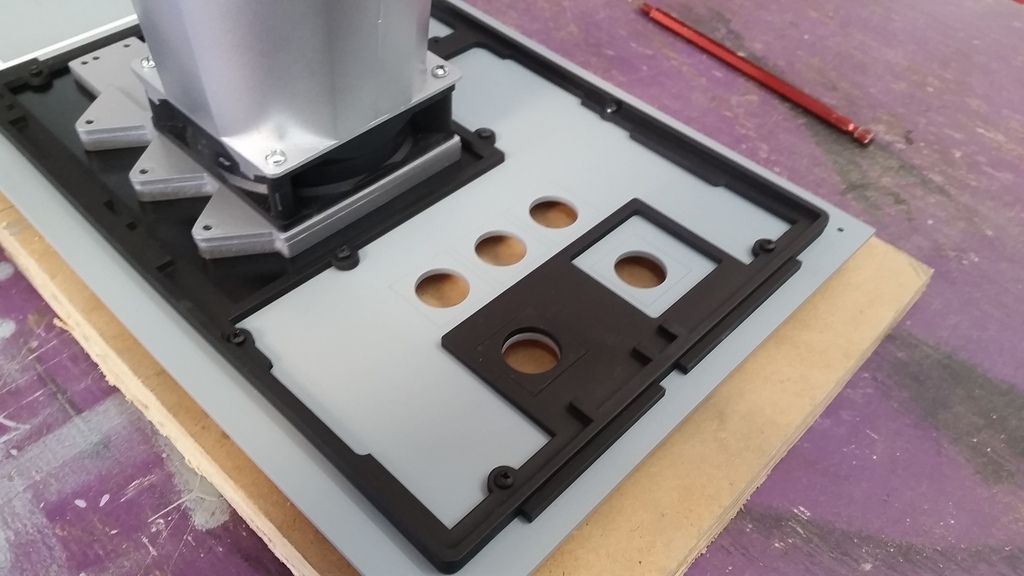
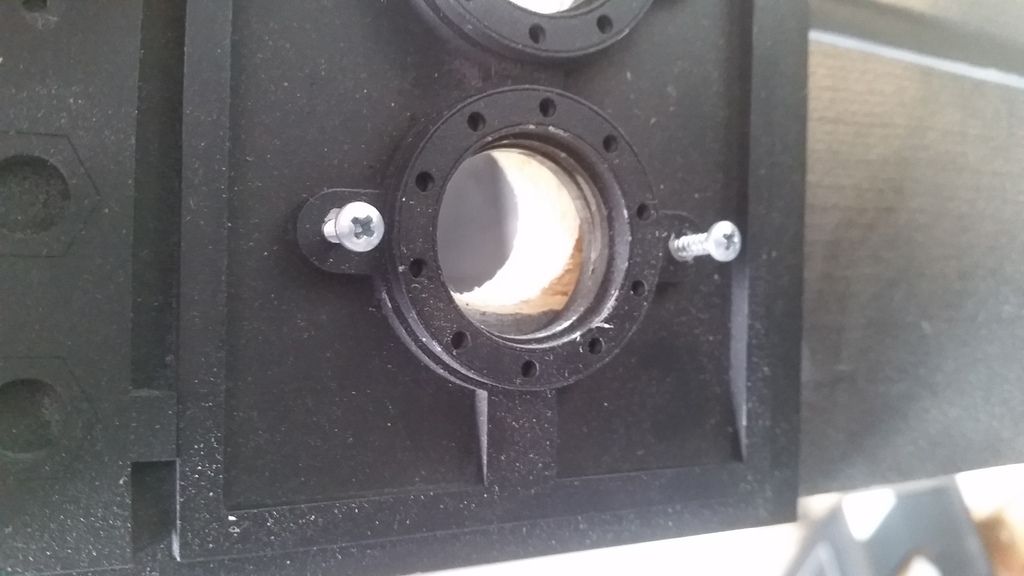
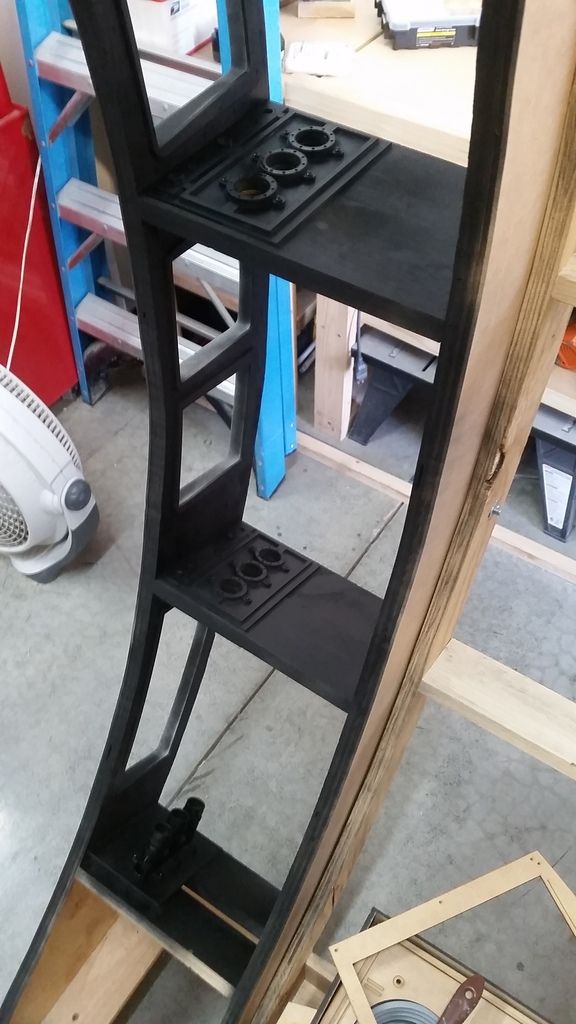
The unpainted MDF piece is the droid "Socket"
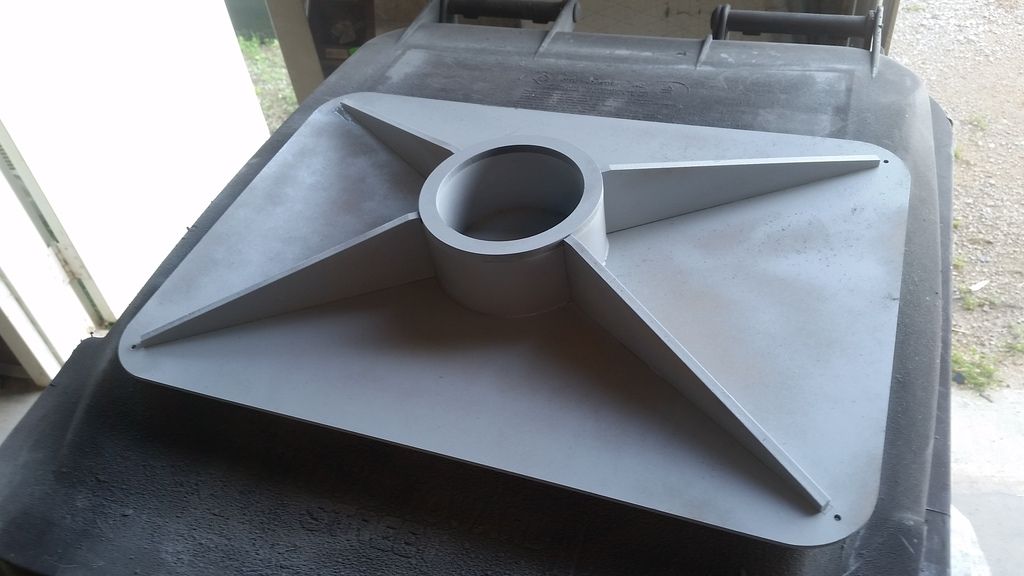
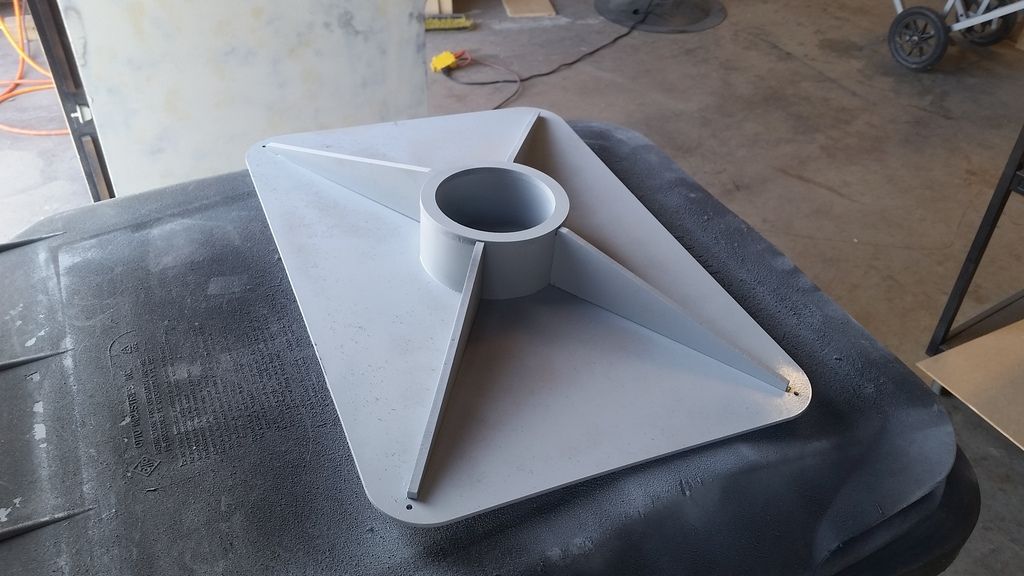
More primered pieces
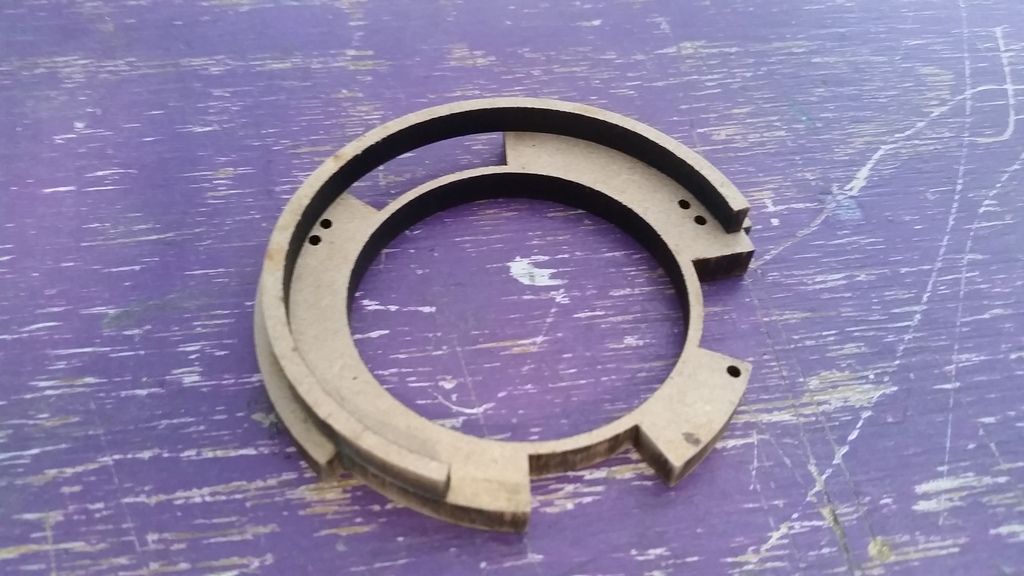
Socket #2
I like primer
Part II Coming! Stay Tuned!
")