Hi Gang,
Time for the "End of the Weekend Update"! Called it quits a bit early as it was just too hot in the shop and the laser cutter was not performing. No sense in stressing out... just call it a day and relax!
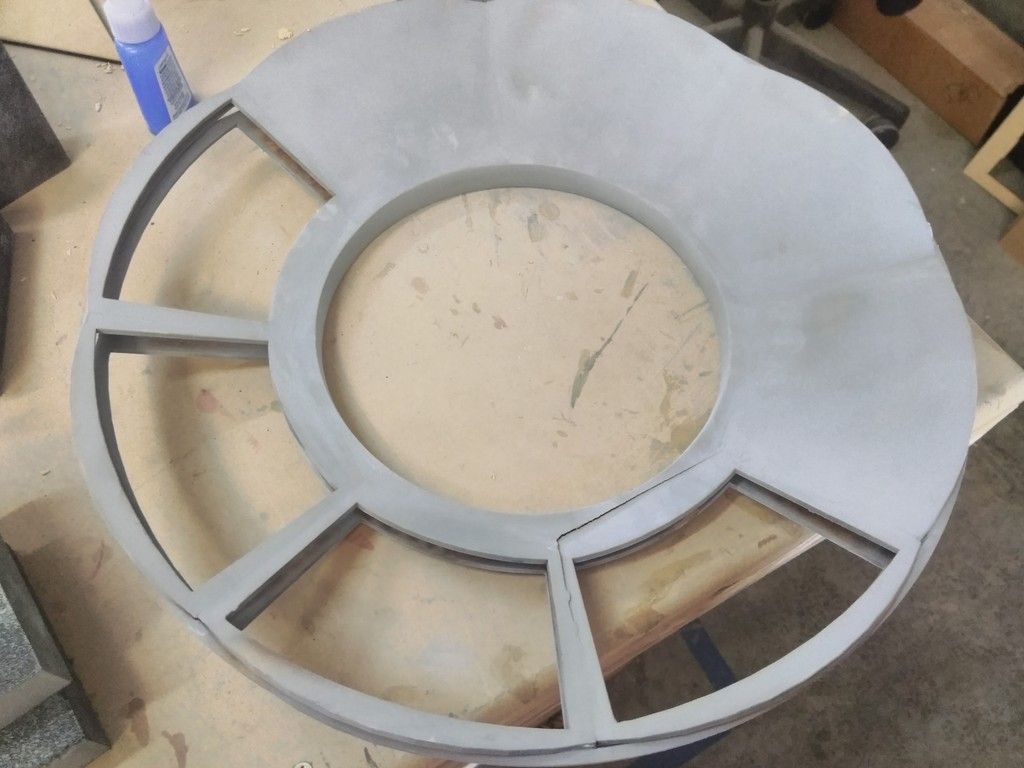
This weekend was all about the 1/6th project Izzy and I are currently working. I got a LOT done but did manage to work on a few other things as well. The window saw some attention... not the best attention...
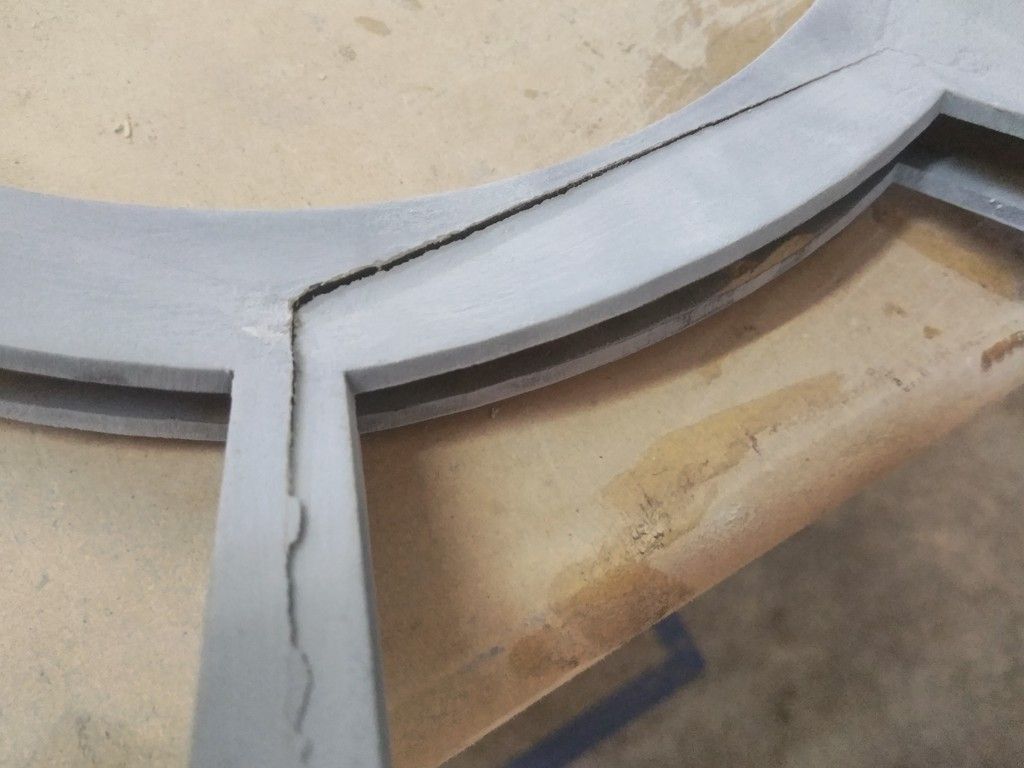
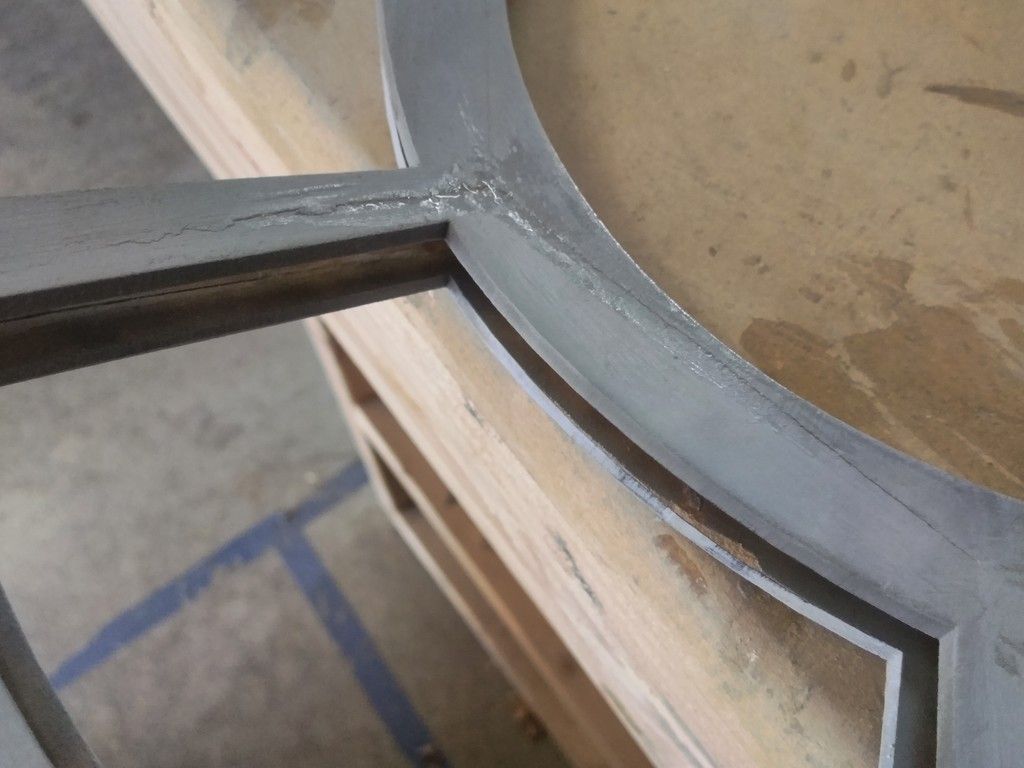
Applied a little too much pressure
Quick fix
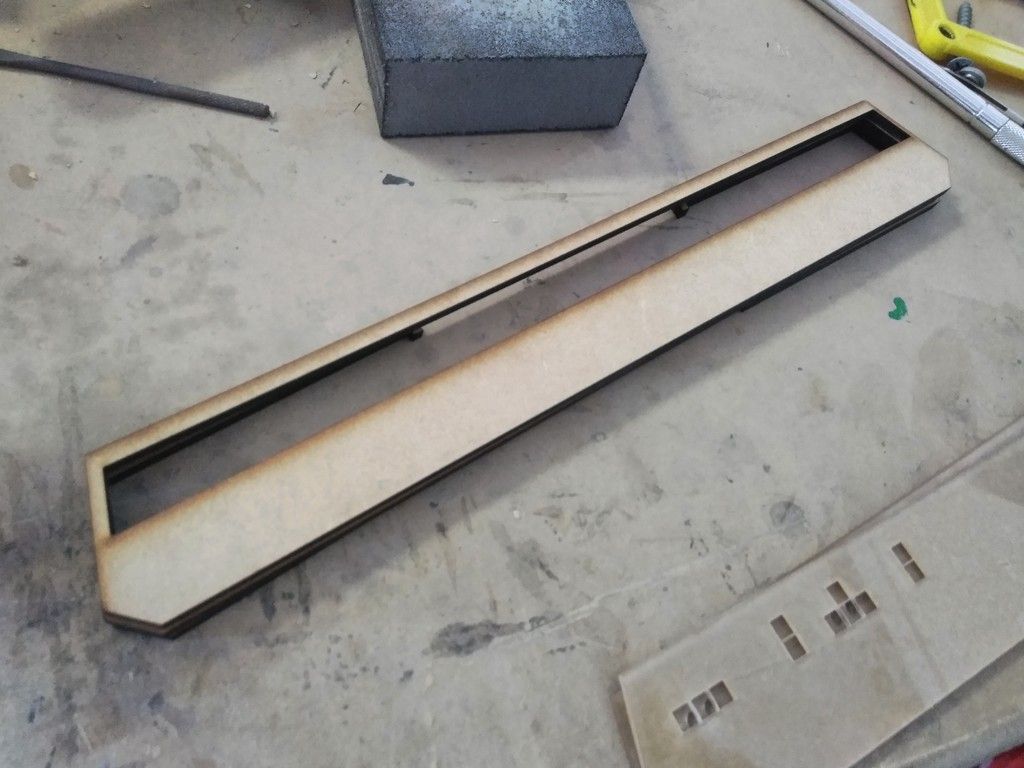
I got back to work on the 1/6th scale Nav Chair and Console - head rest pieces
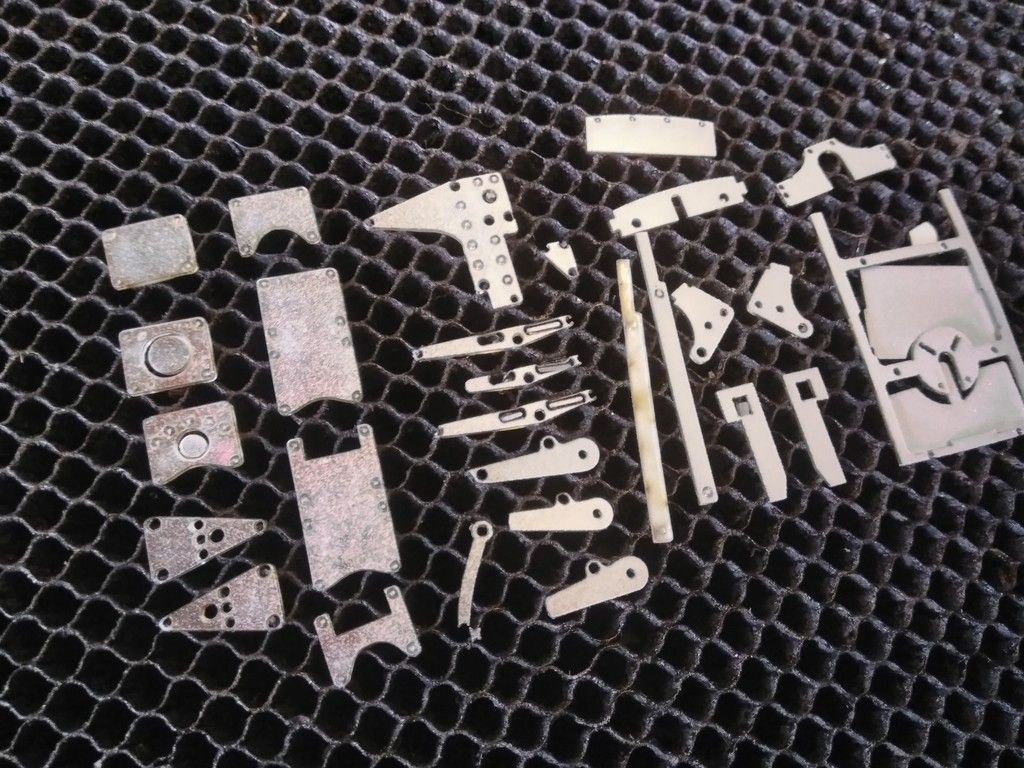
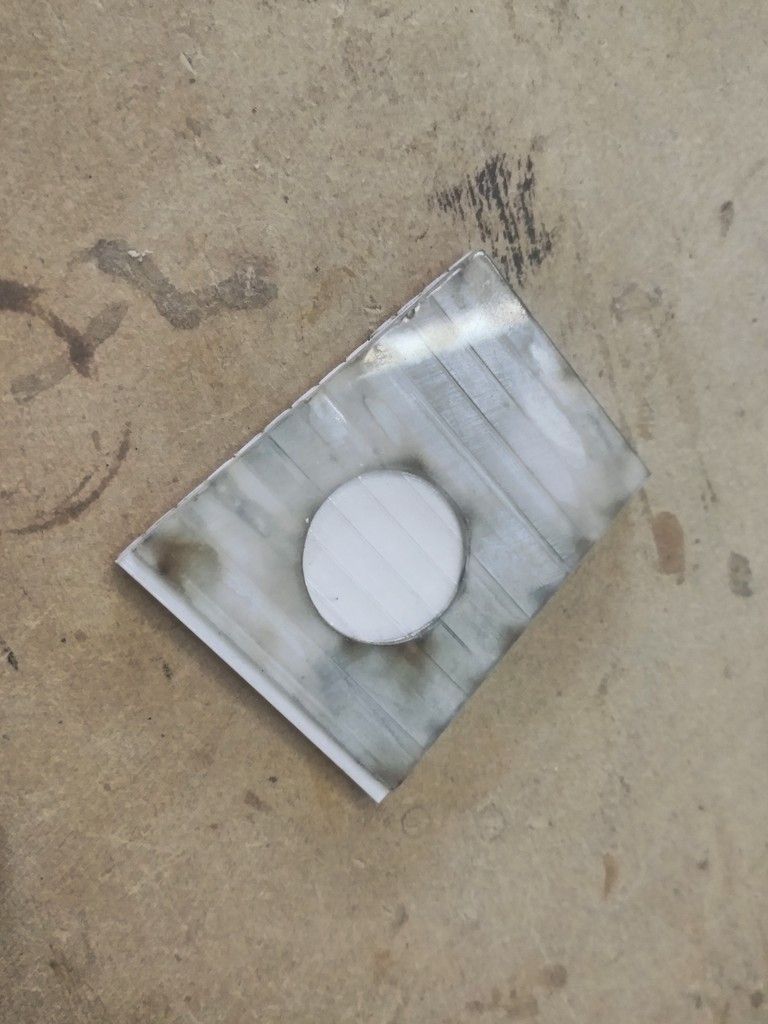
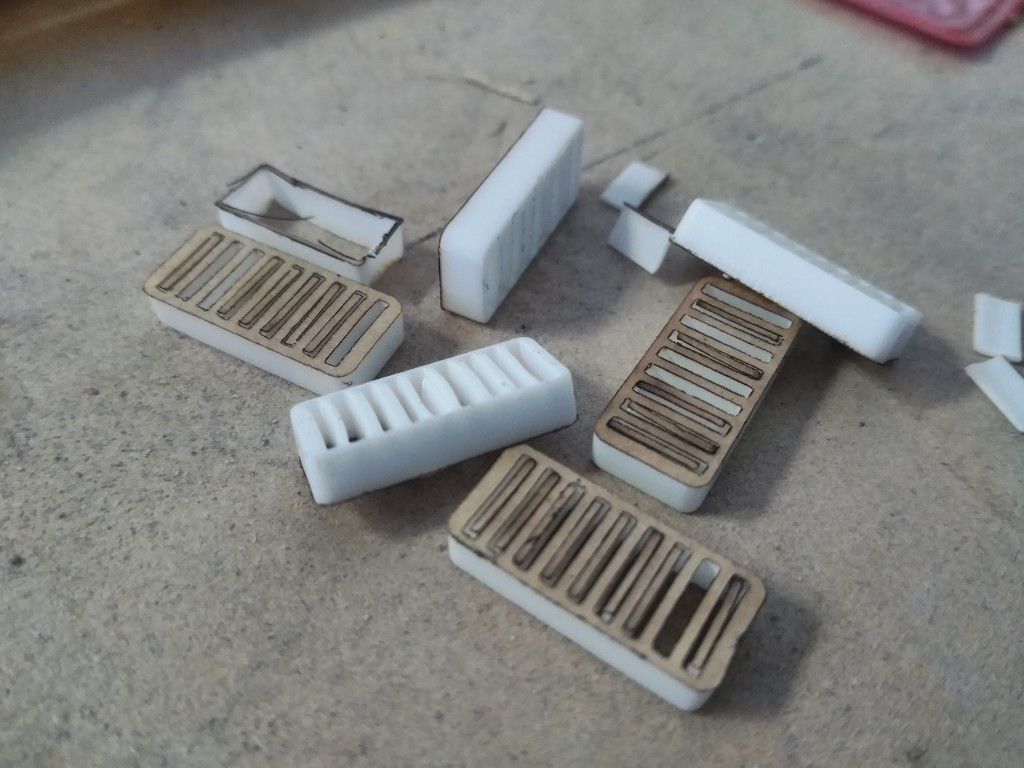
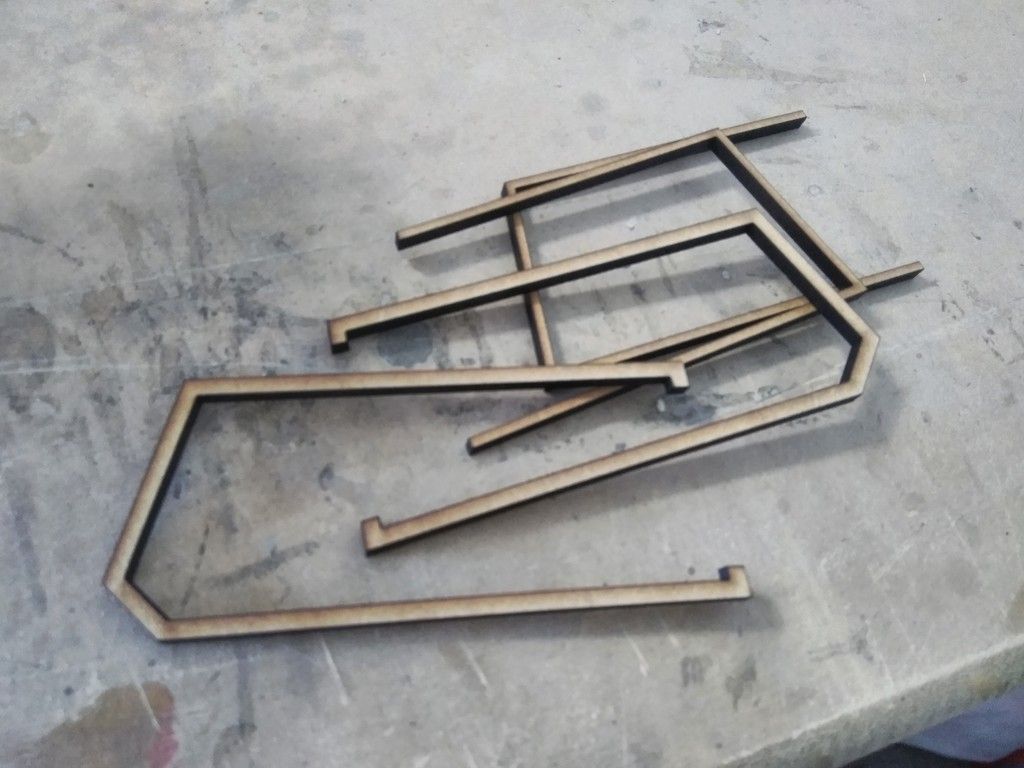
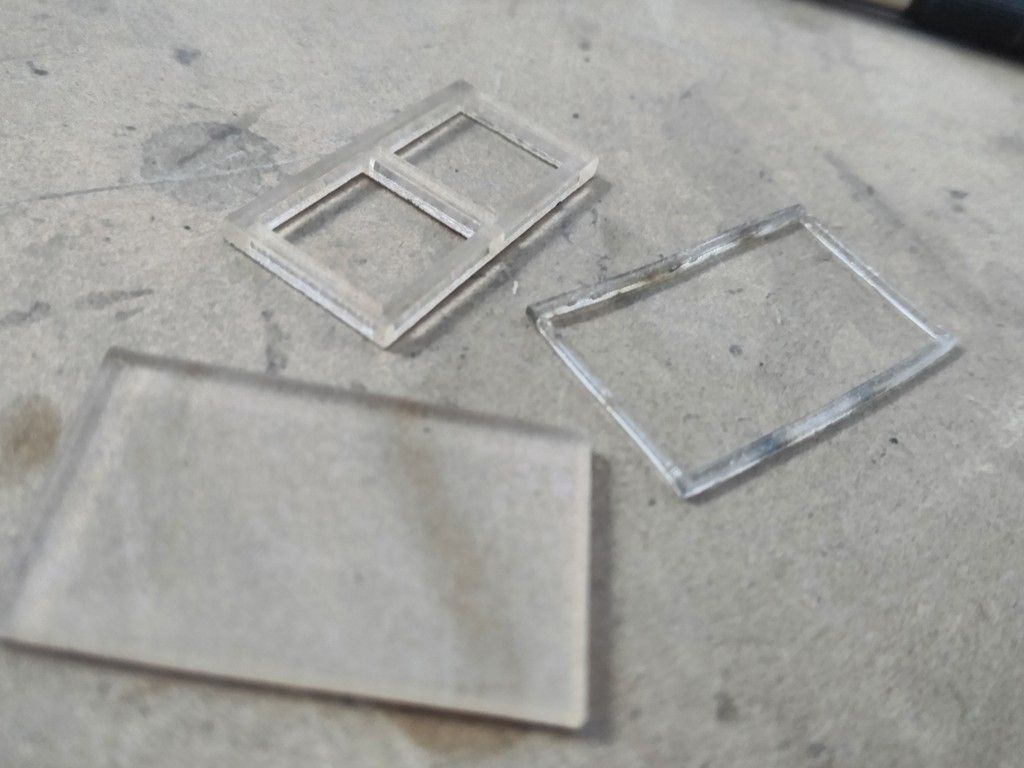
I cut a whole bunch of tiny parts! A few of them needed to be redesigned and the interior shapes scaled down to avoid burning the edges
Dang...
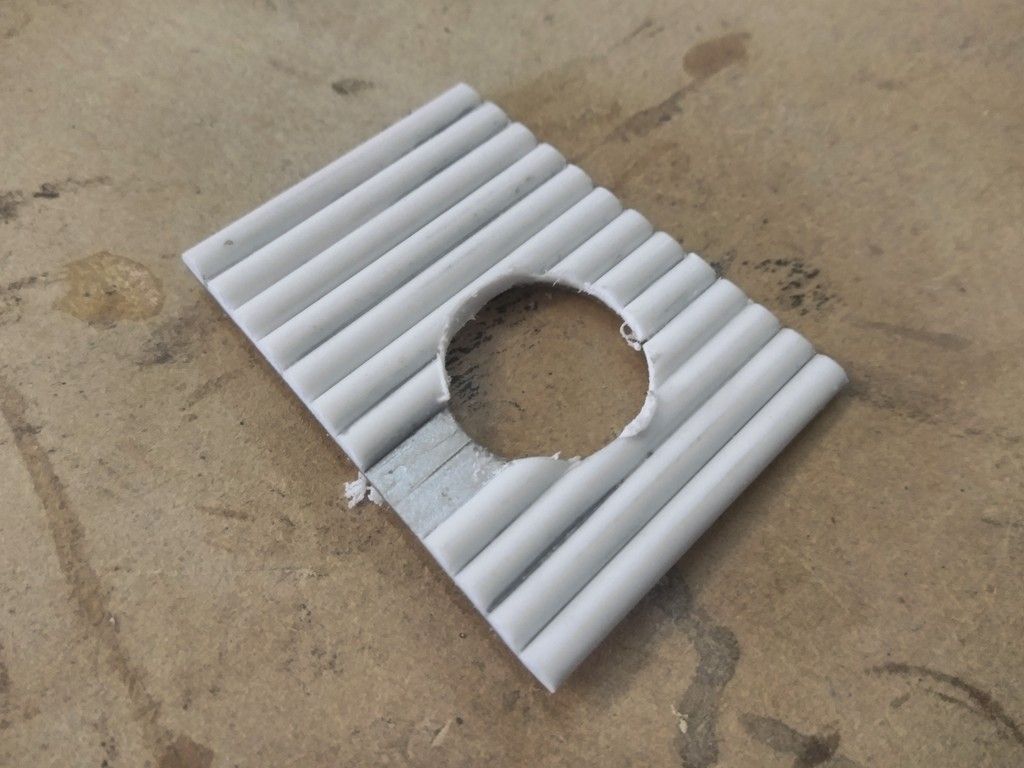
A little better... but still not there
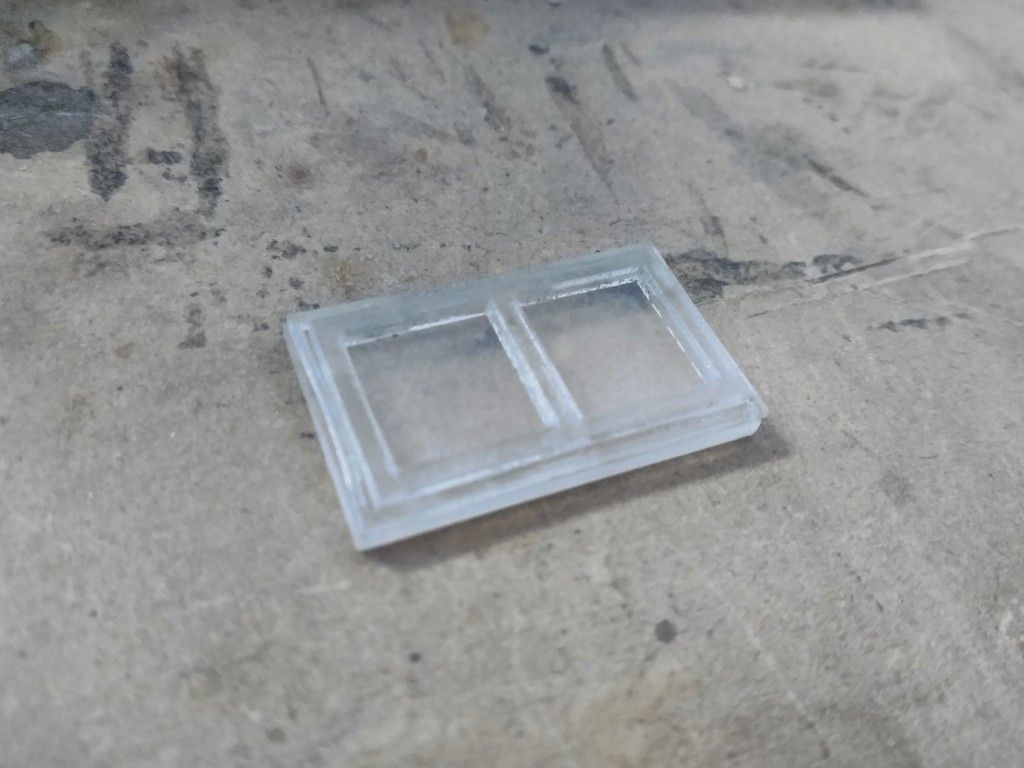
Much better!
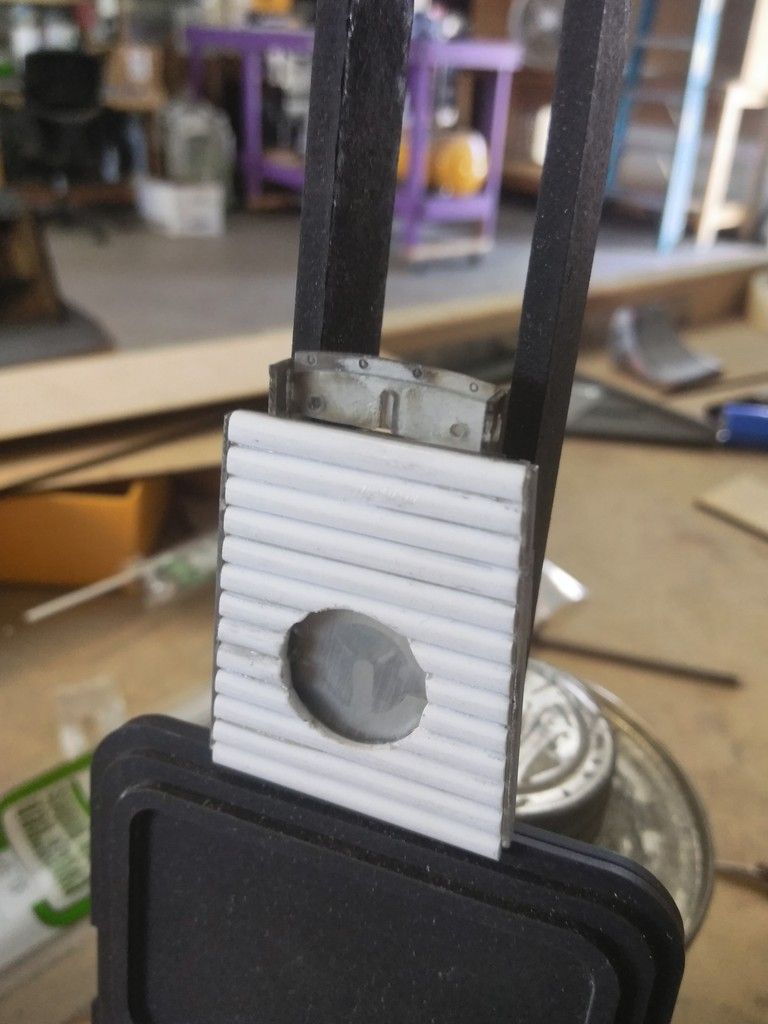
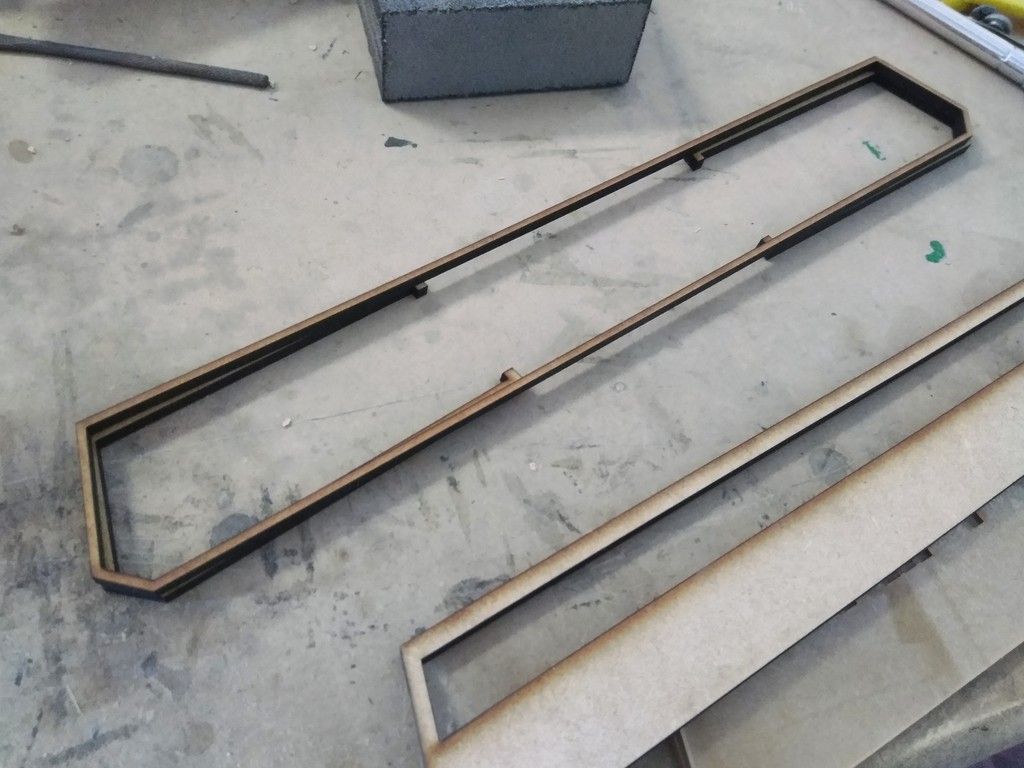
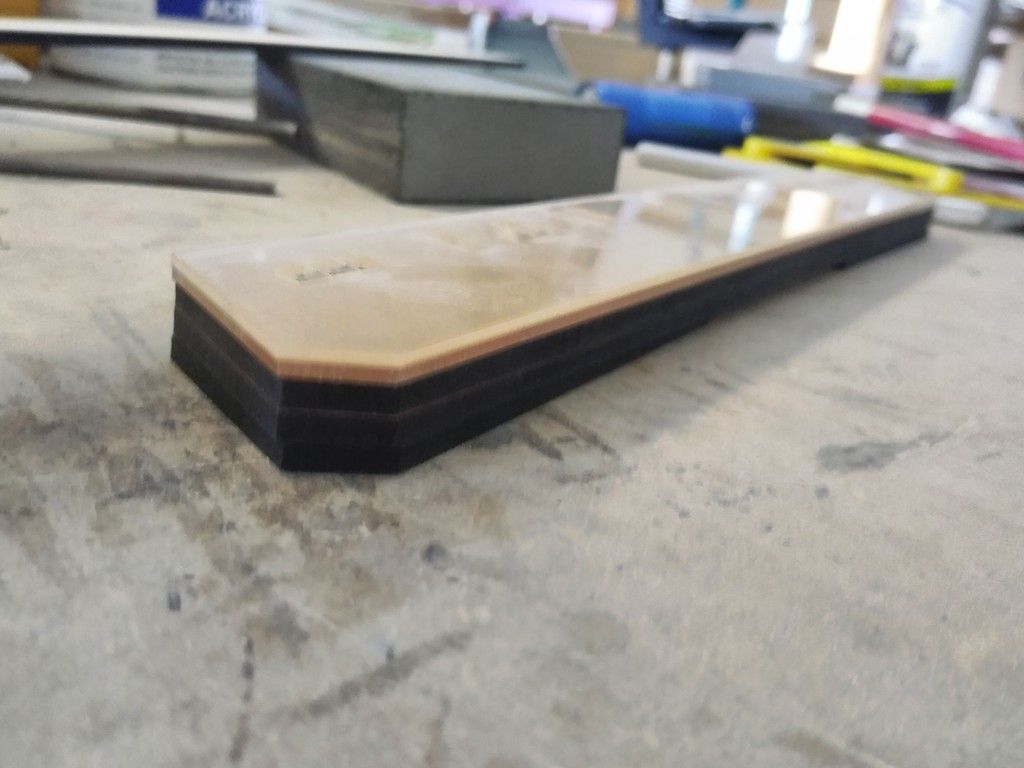
I then cut this backer piece
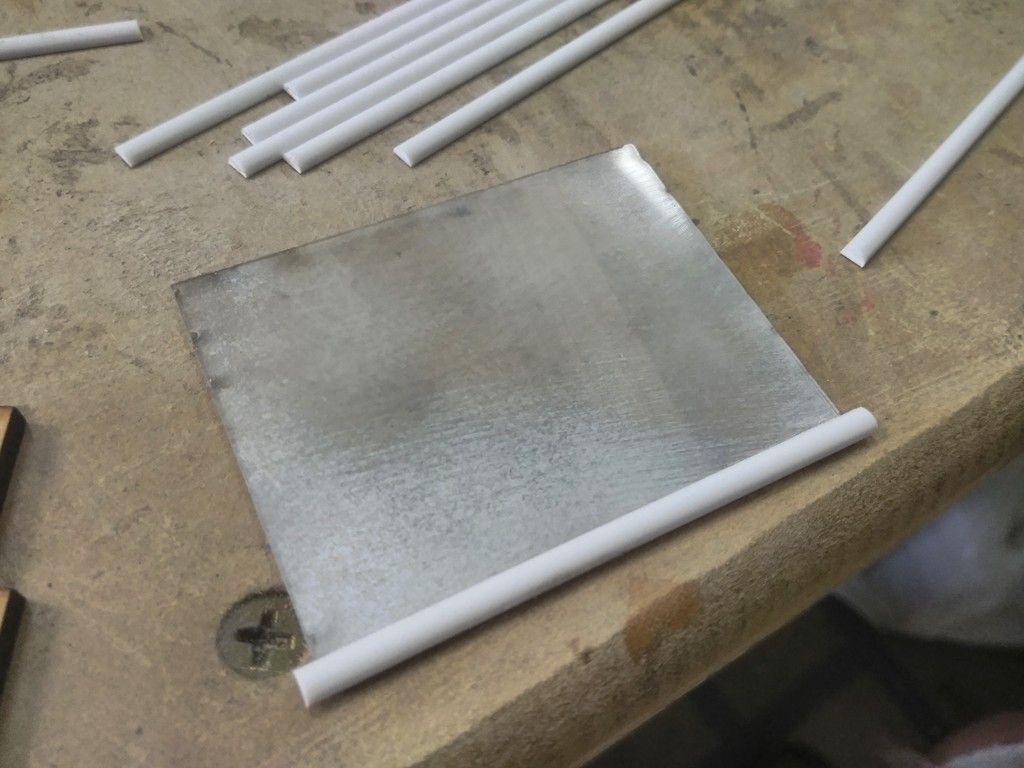
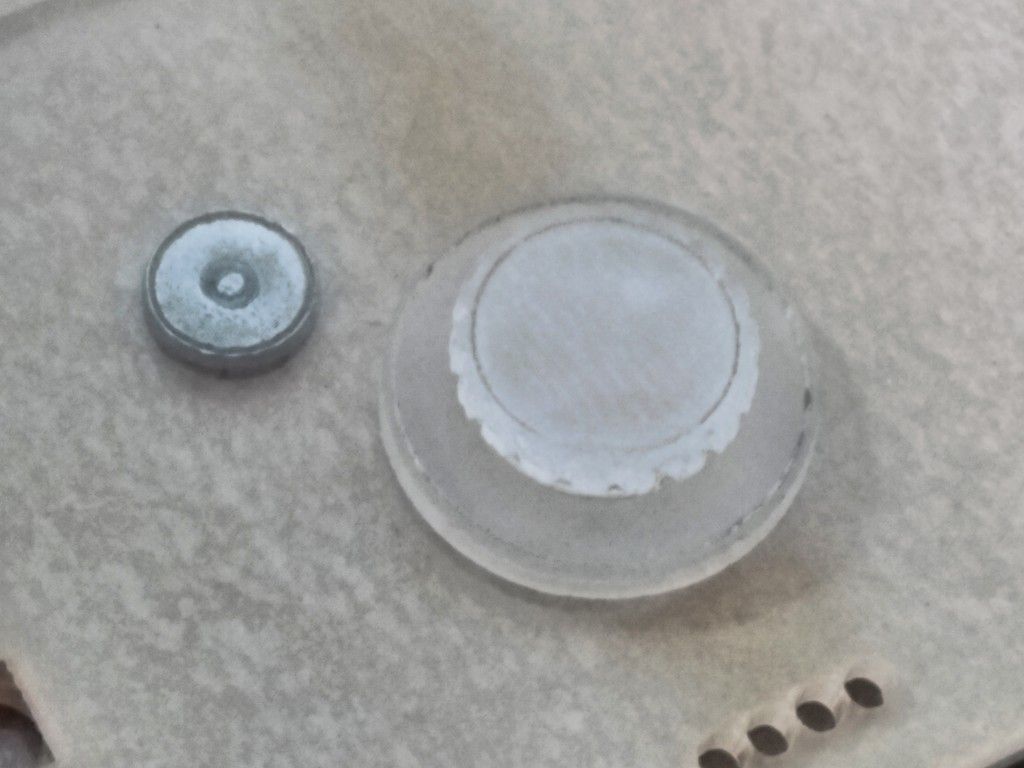
Finally found the 1/8th inch plastic half round and adhered to the backer
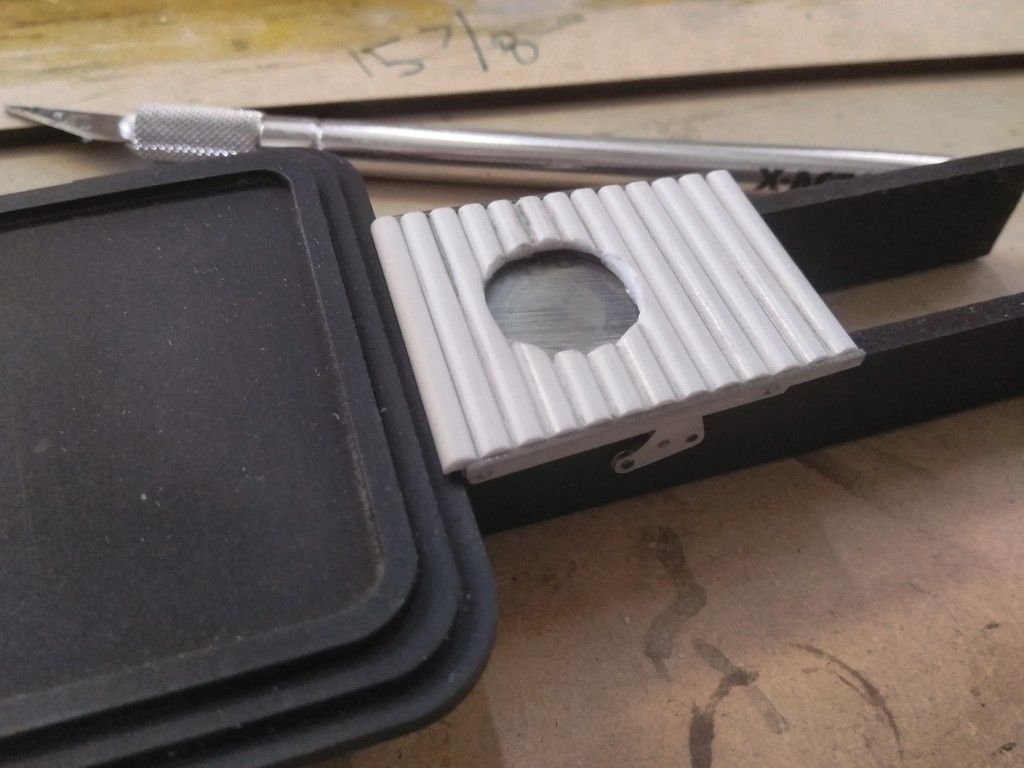
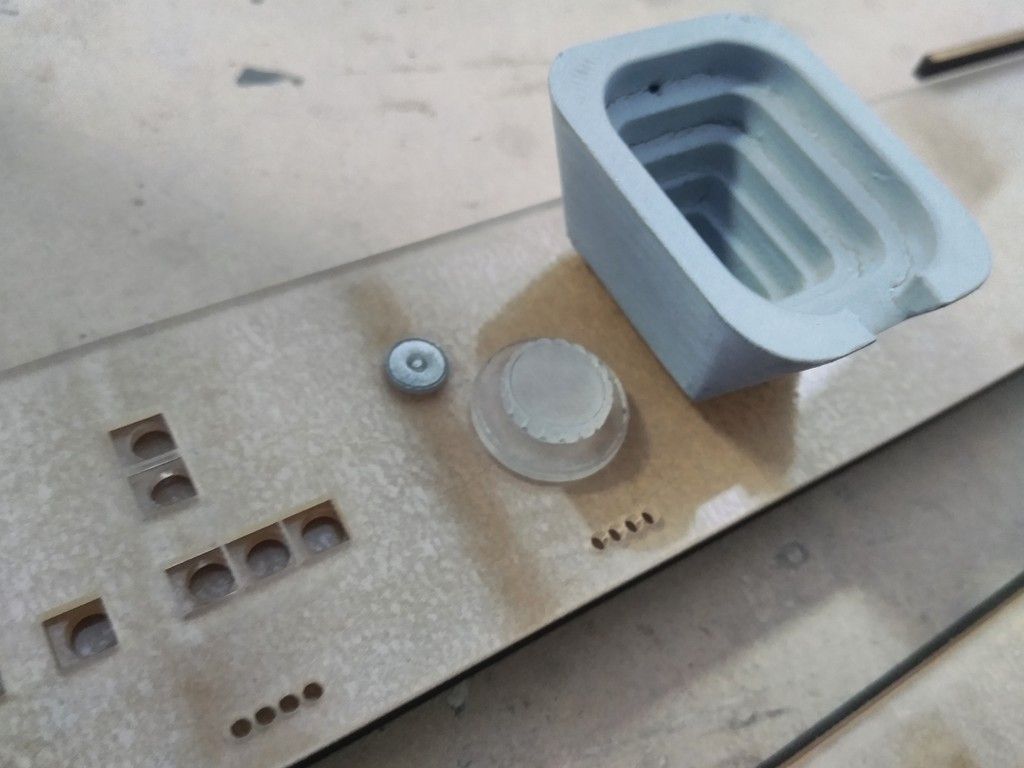
To include the head rest
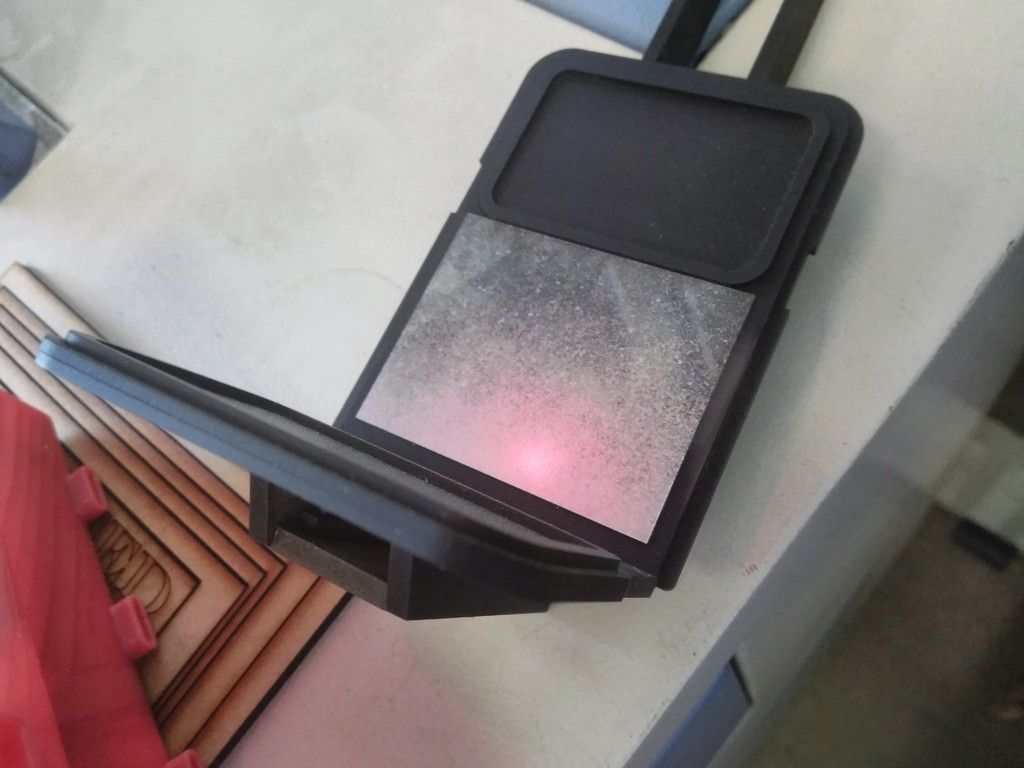
Have to cut out the hole to make room for the Tupperware lid
Yikes!
All fixed
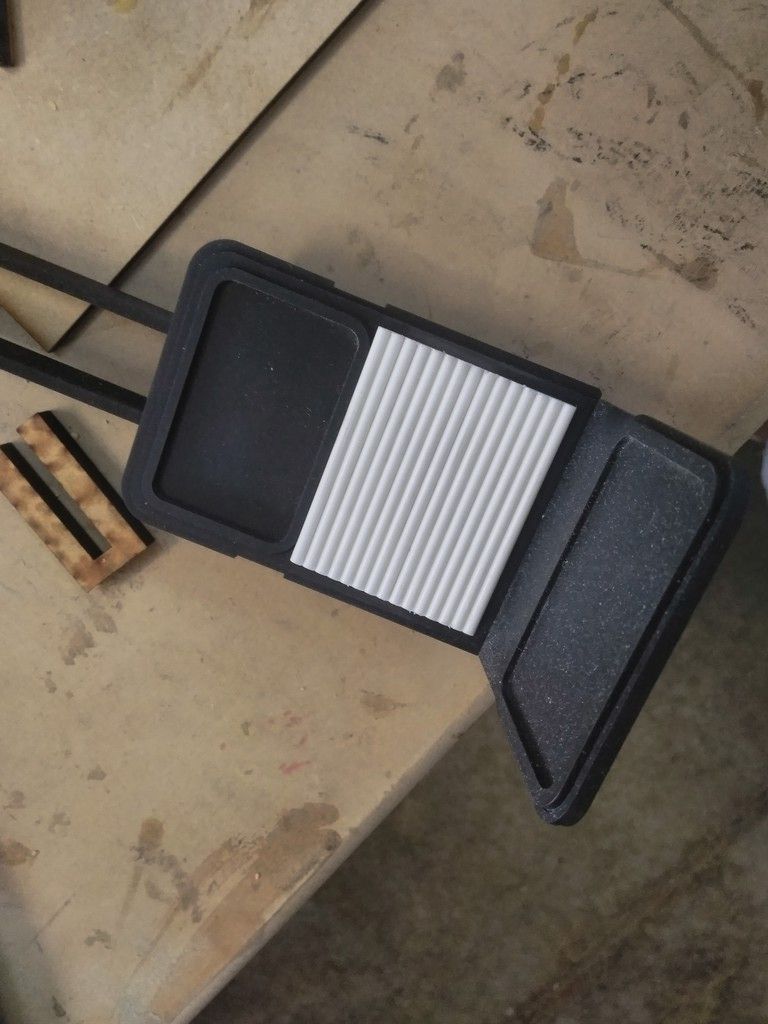
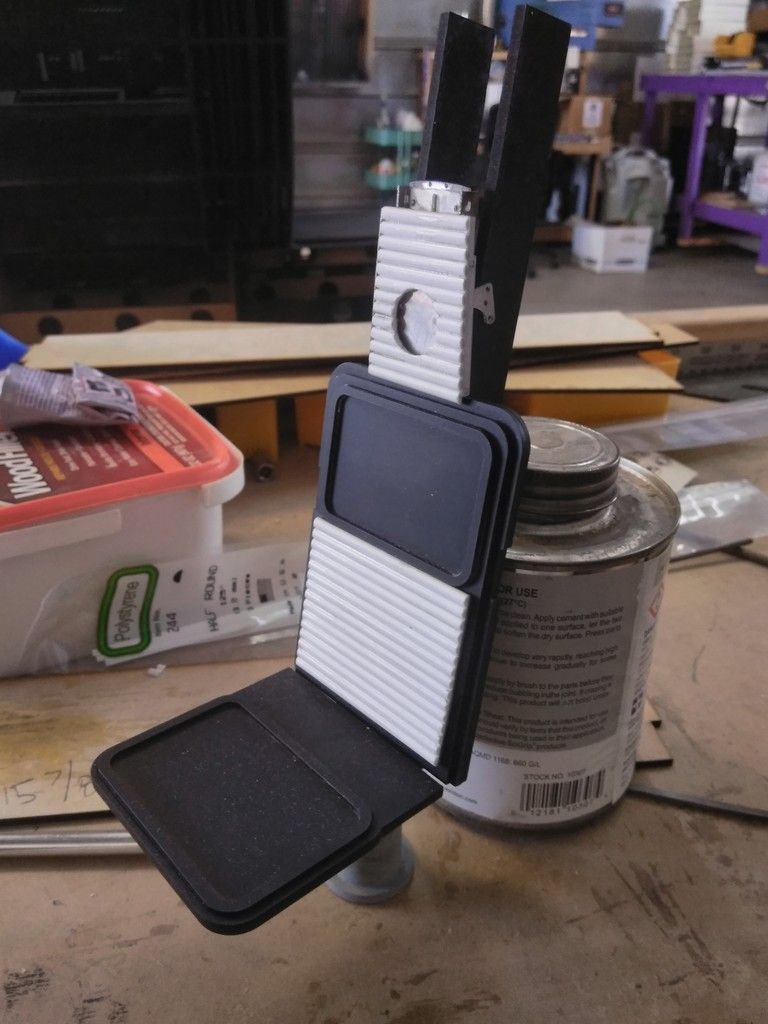
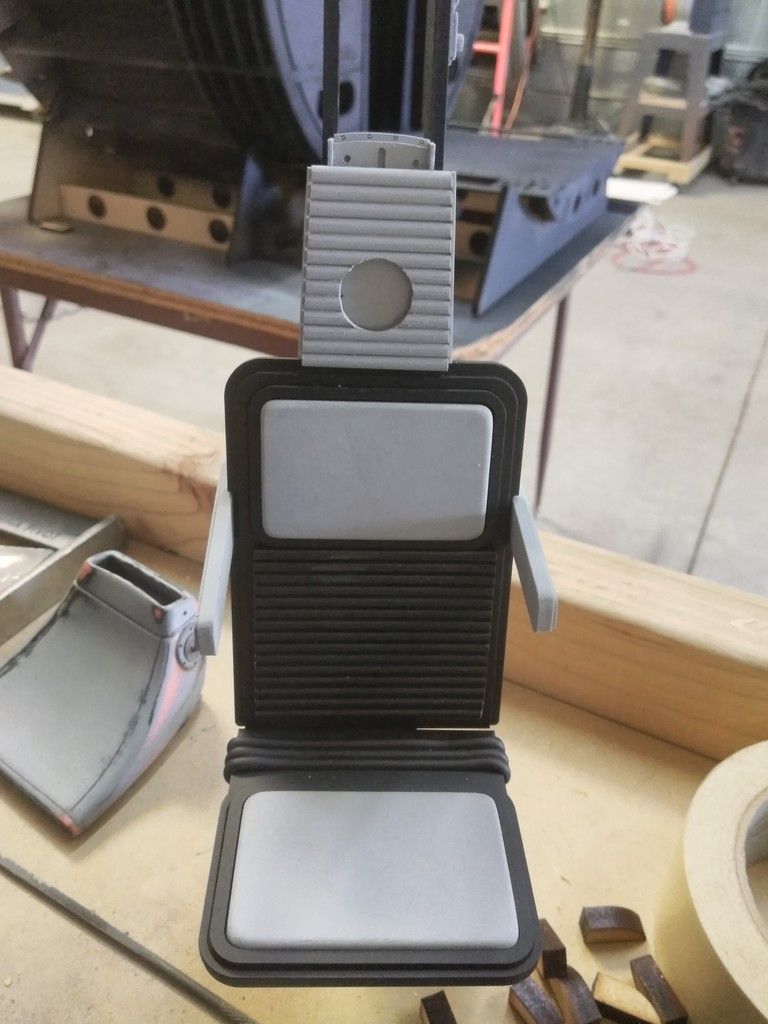
Done!
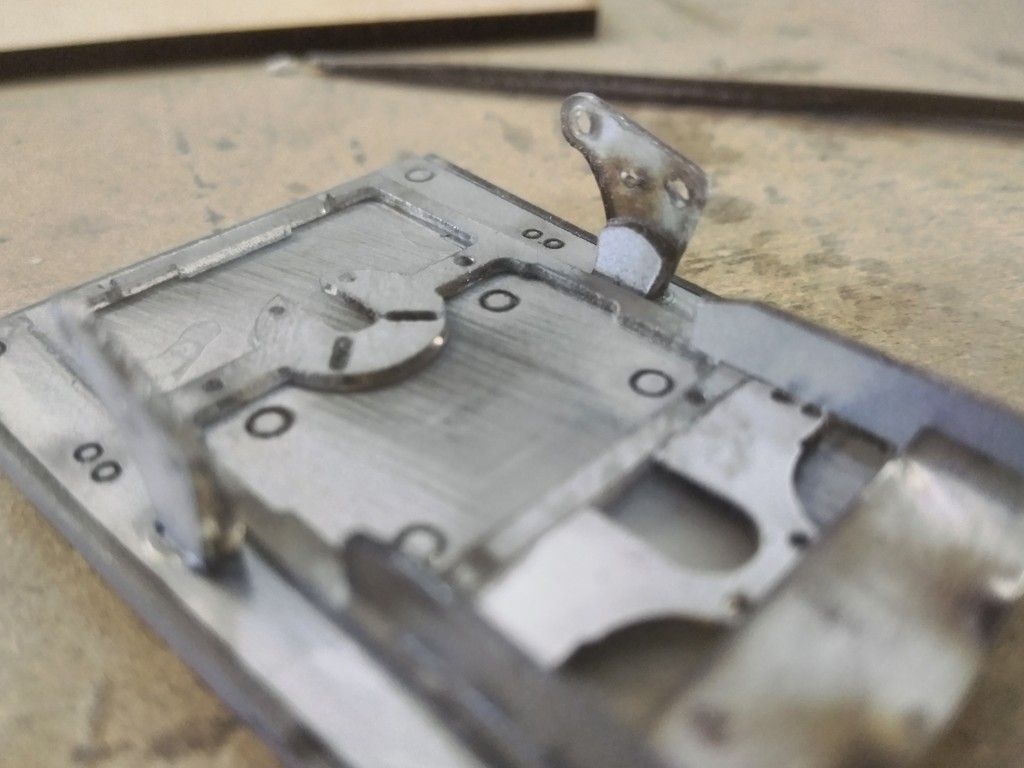
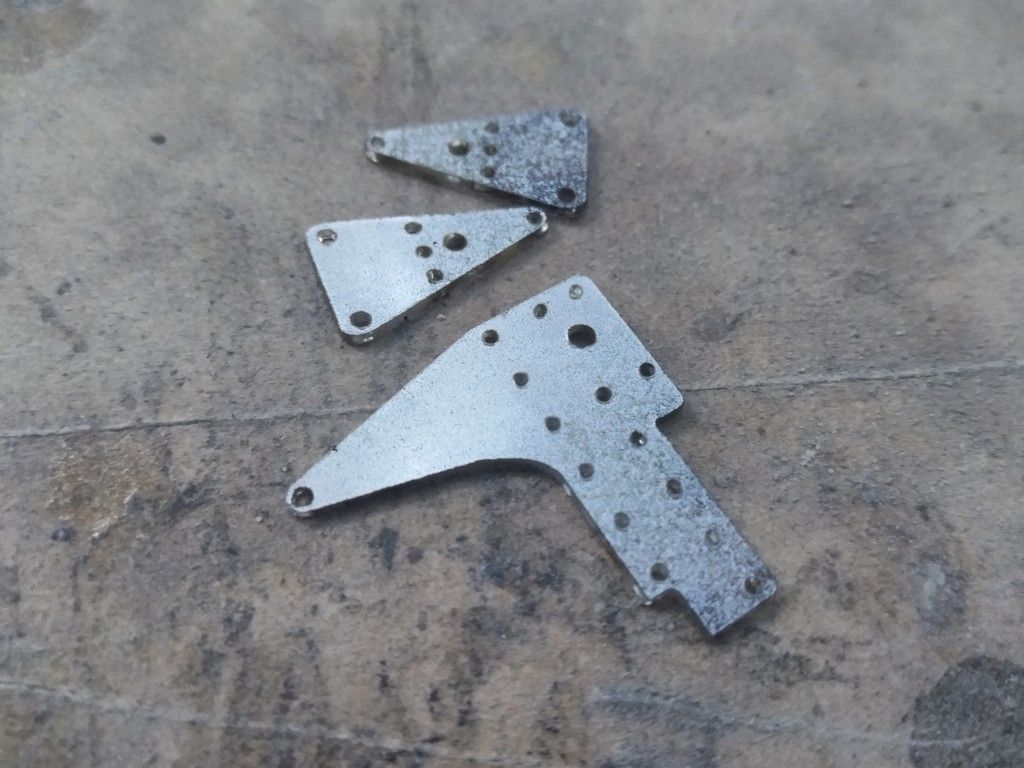
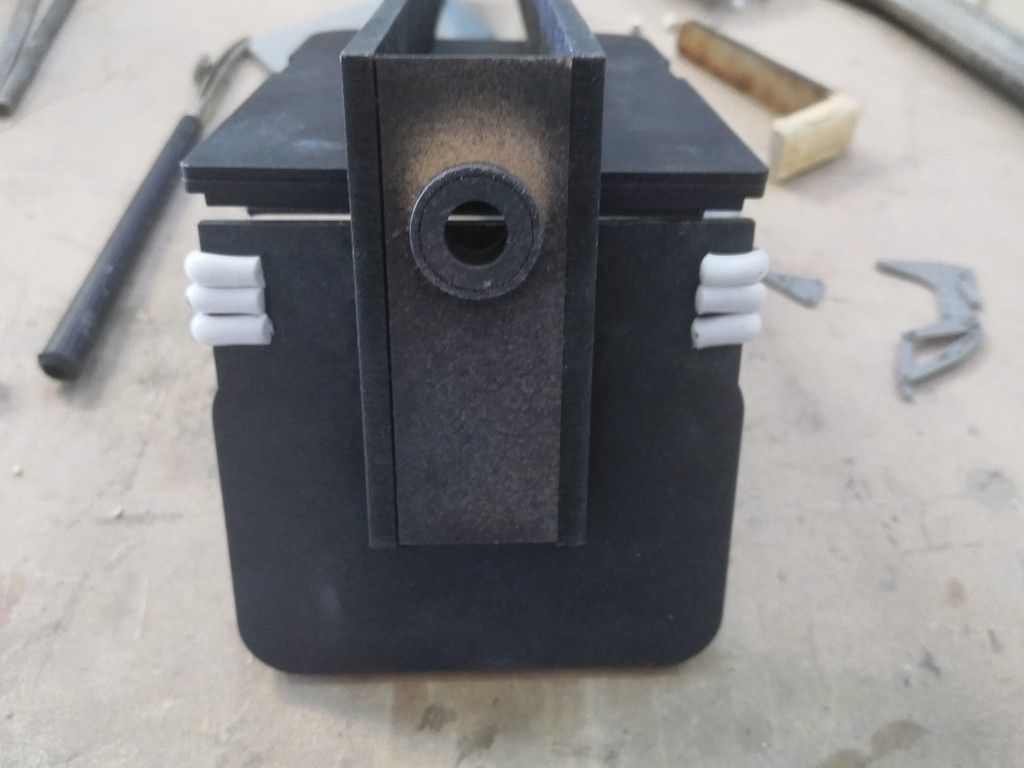
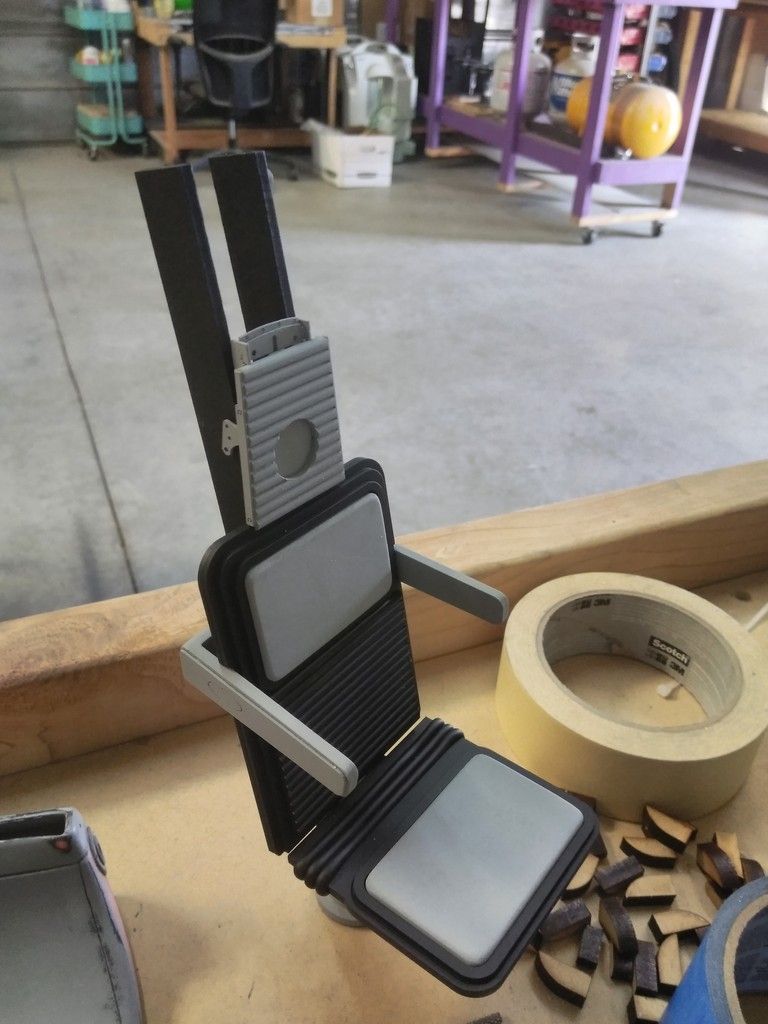
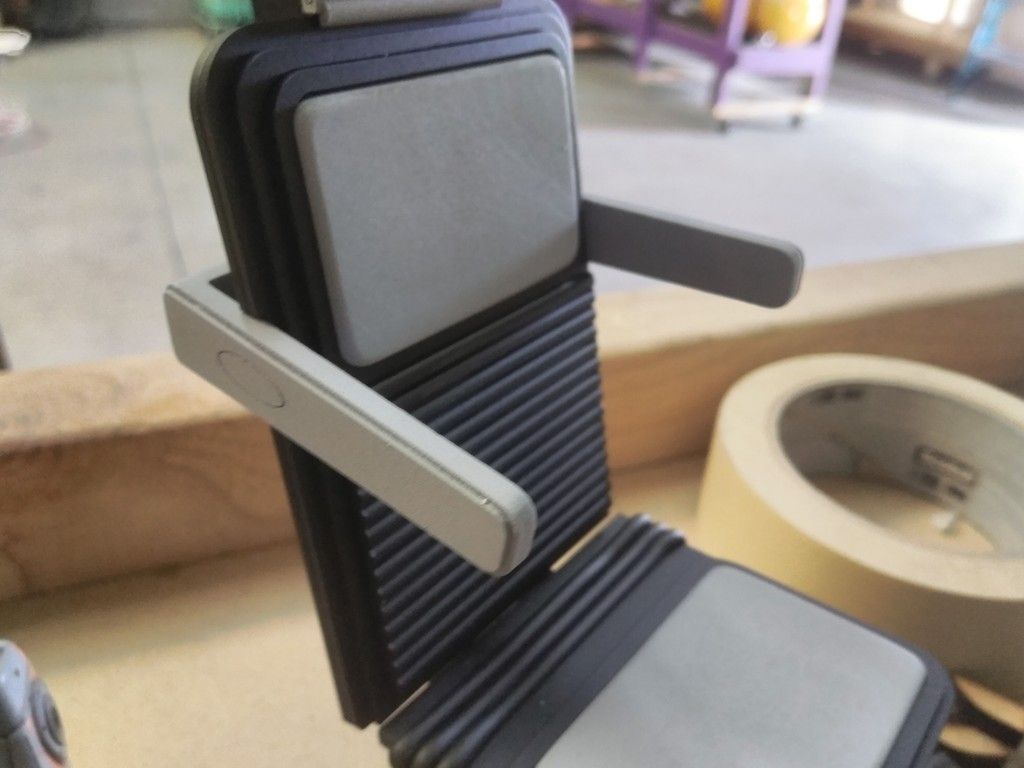
Let's get this head piece finished up
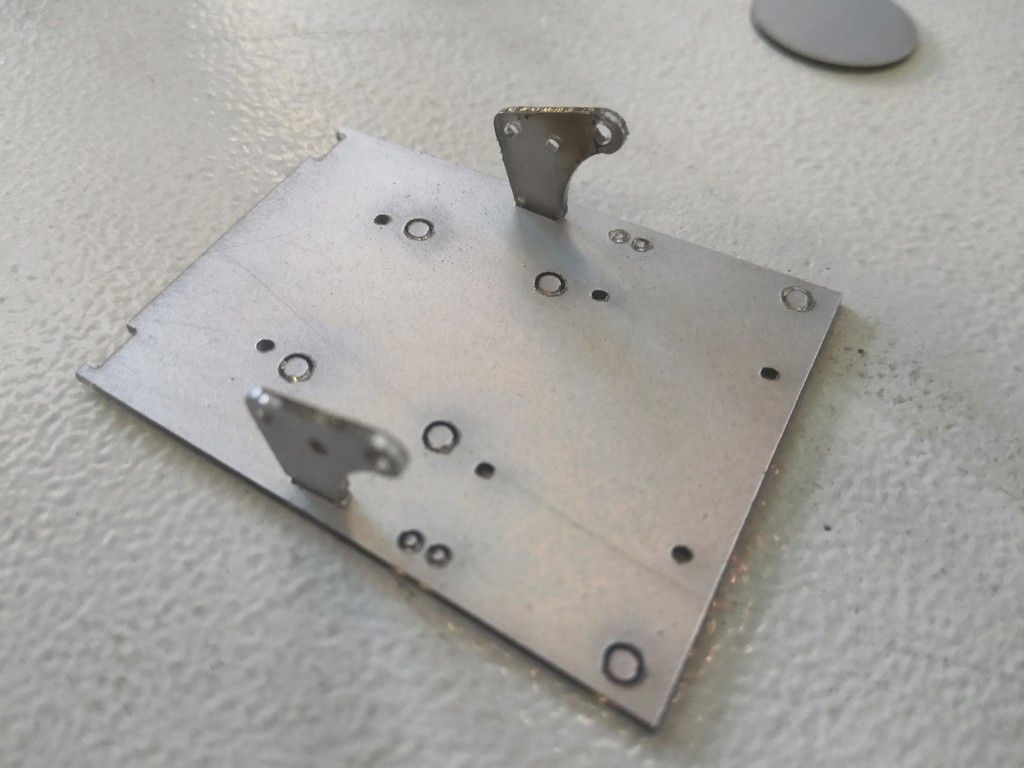
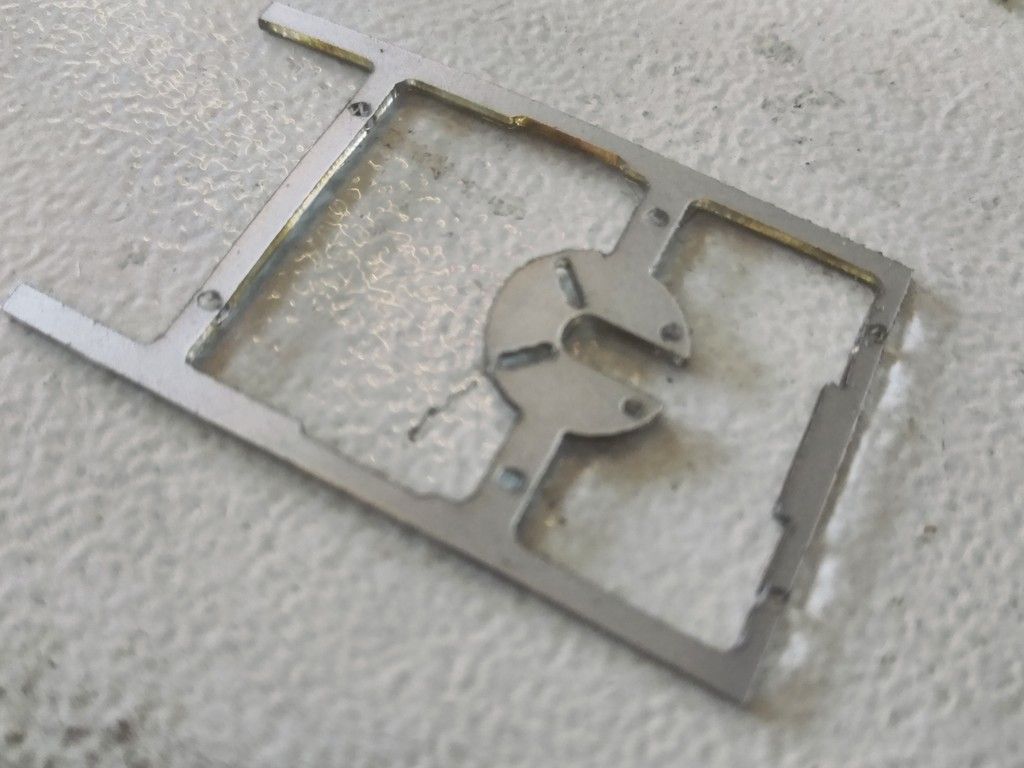
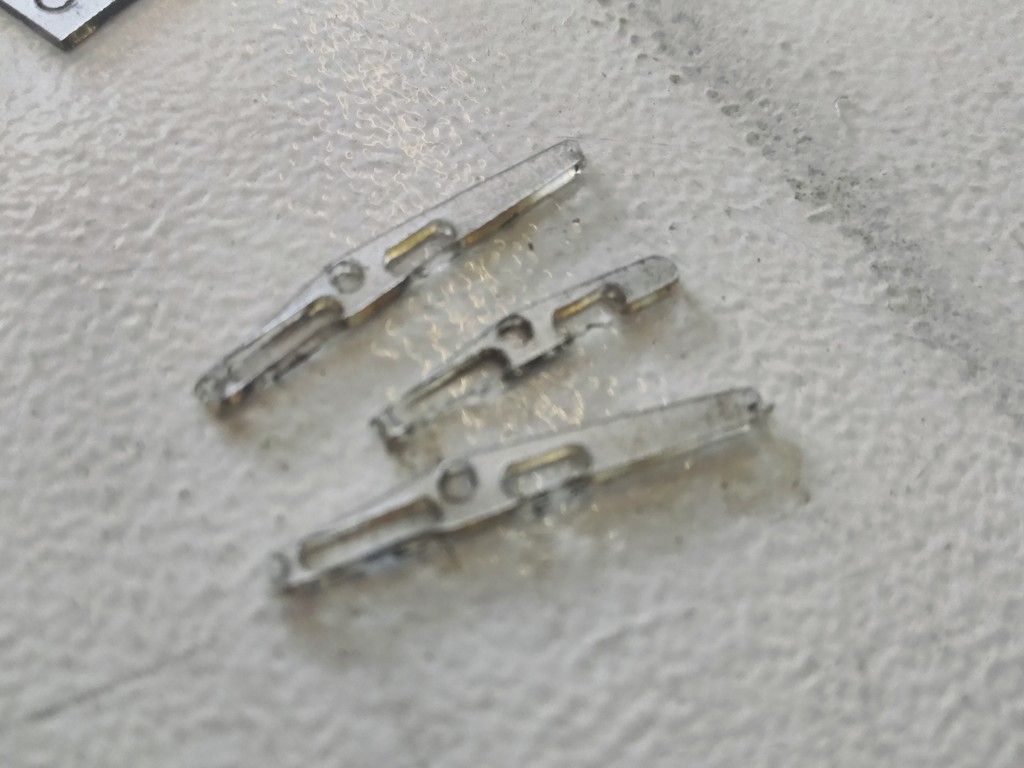
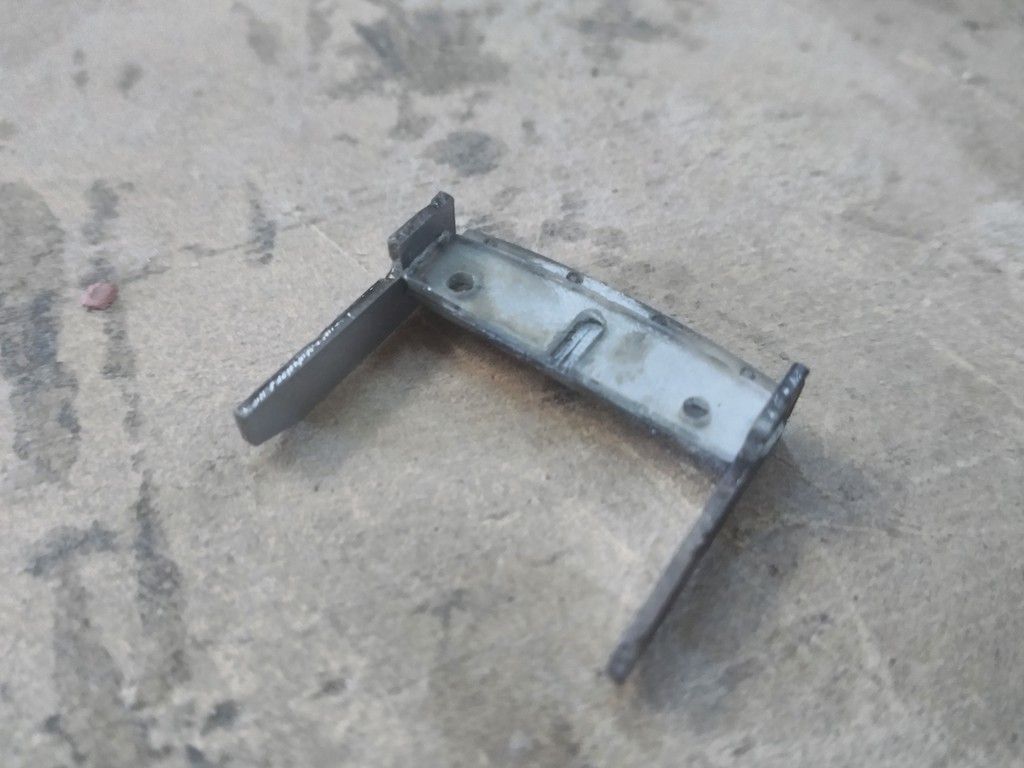
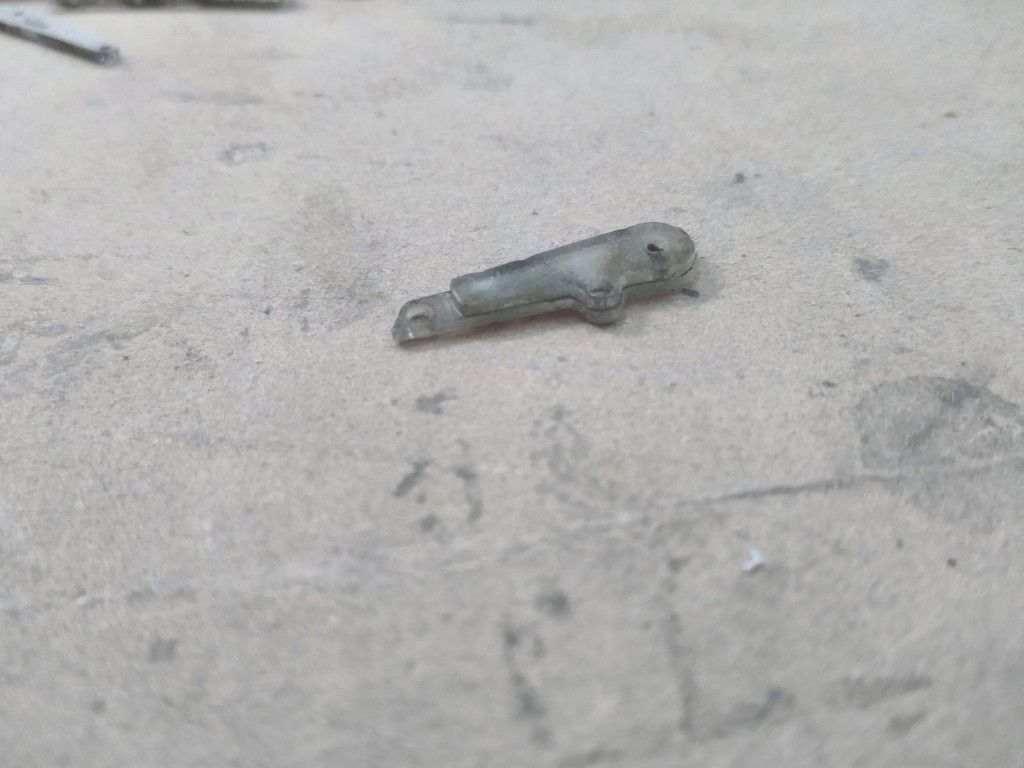
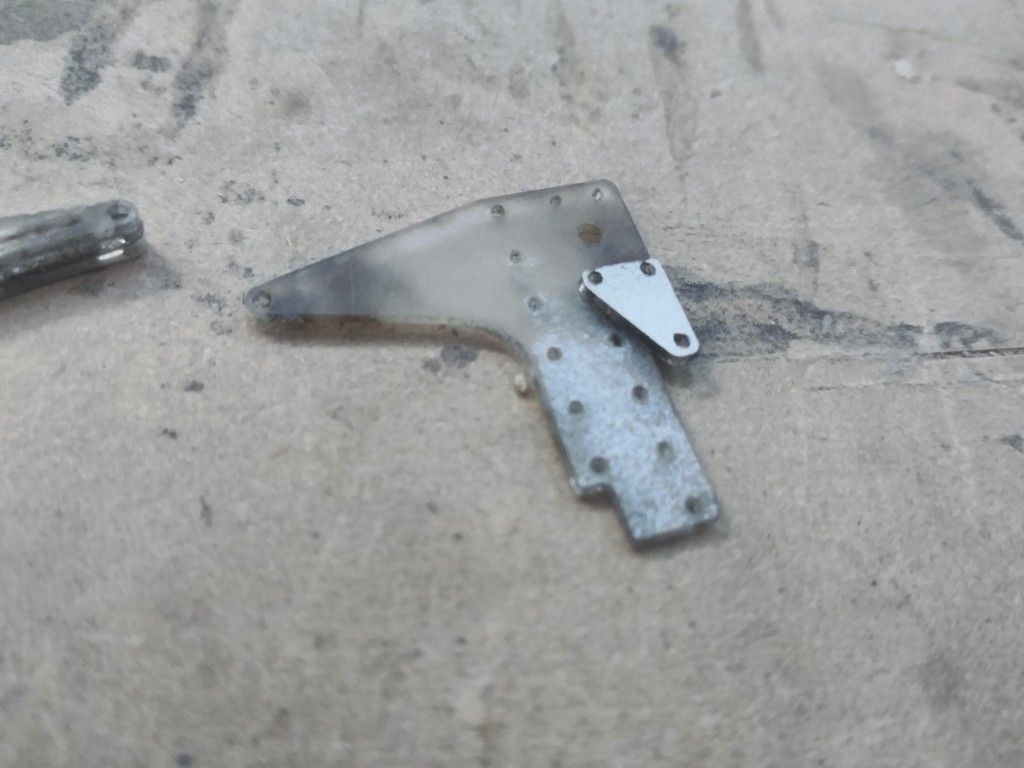
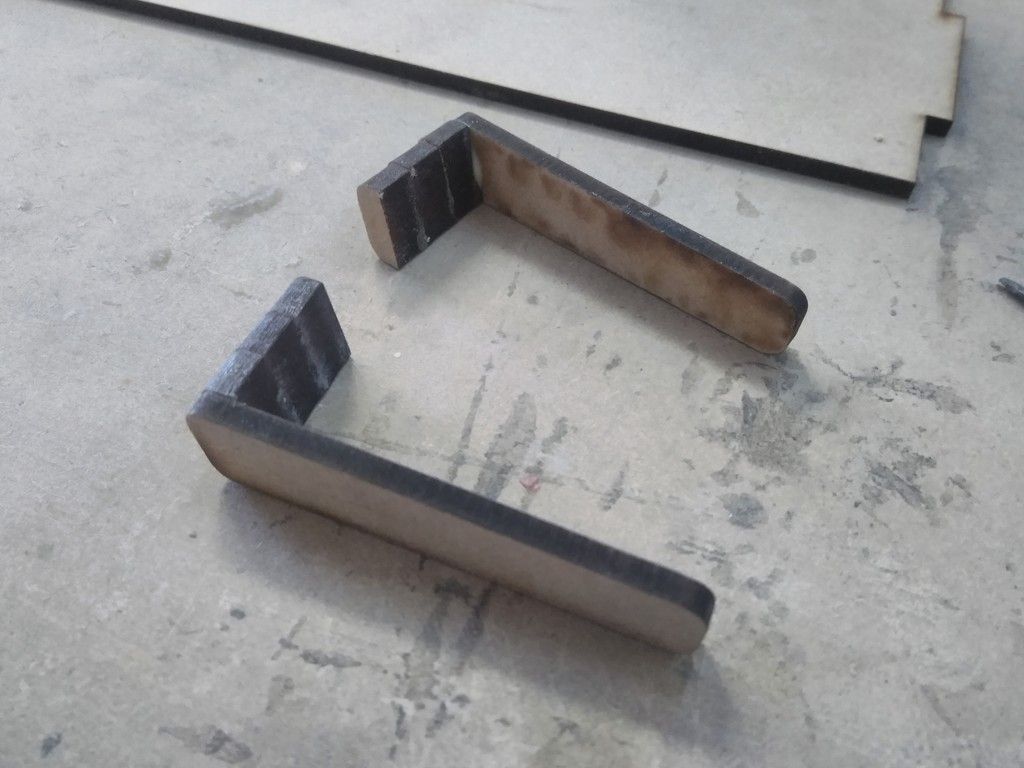
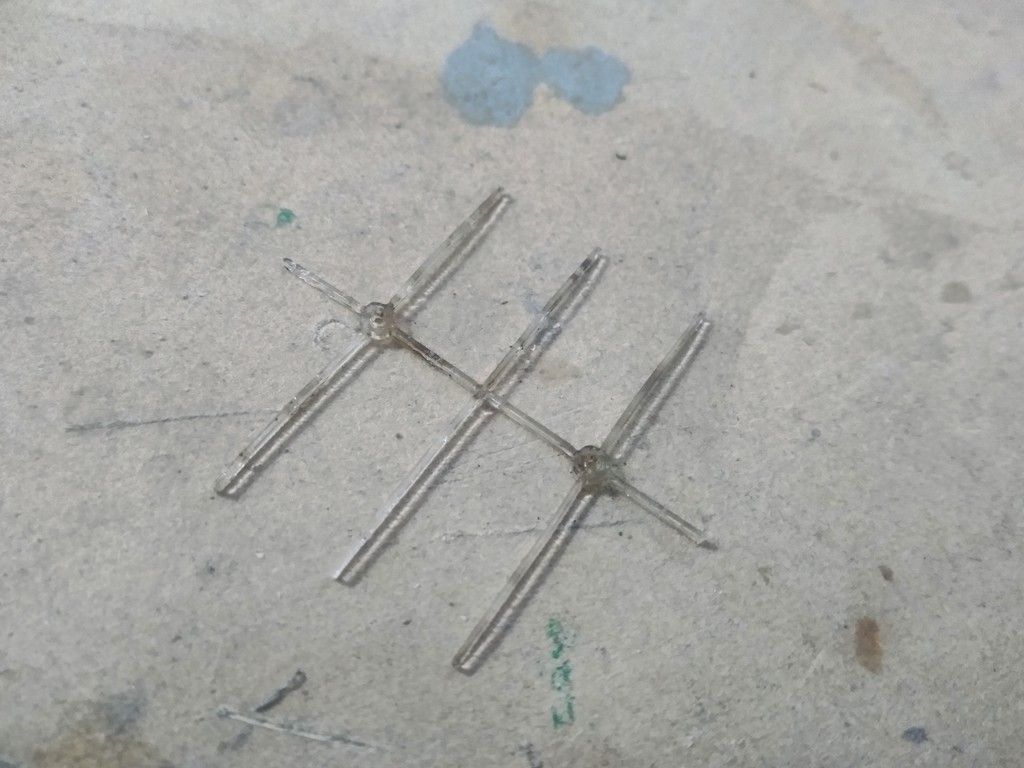
These tiny parts adhere to the sides of the two brackets that hug the actual chair frame
They allow the head piece to lean slightly forward
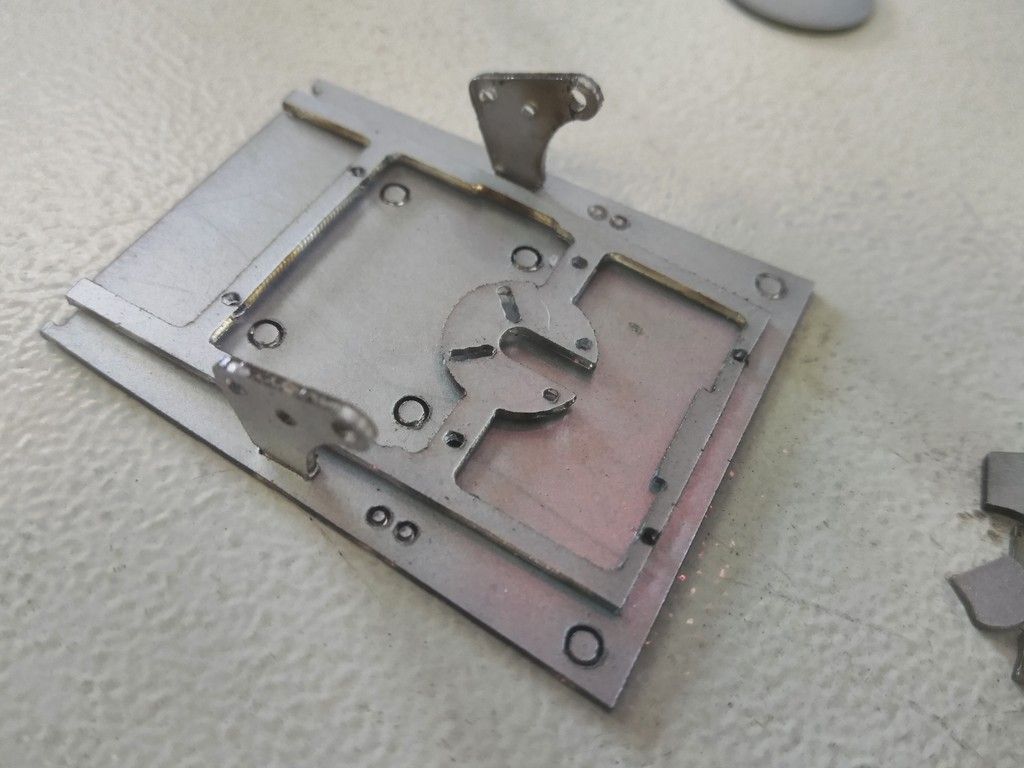
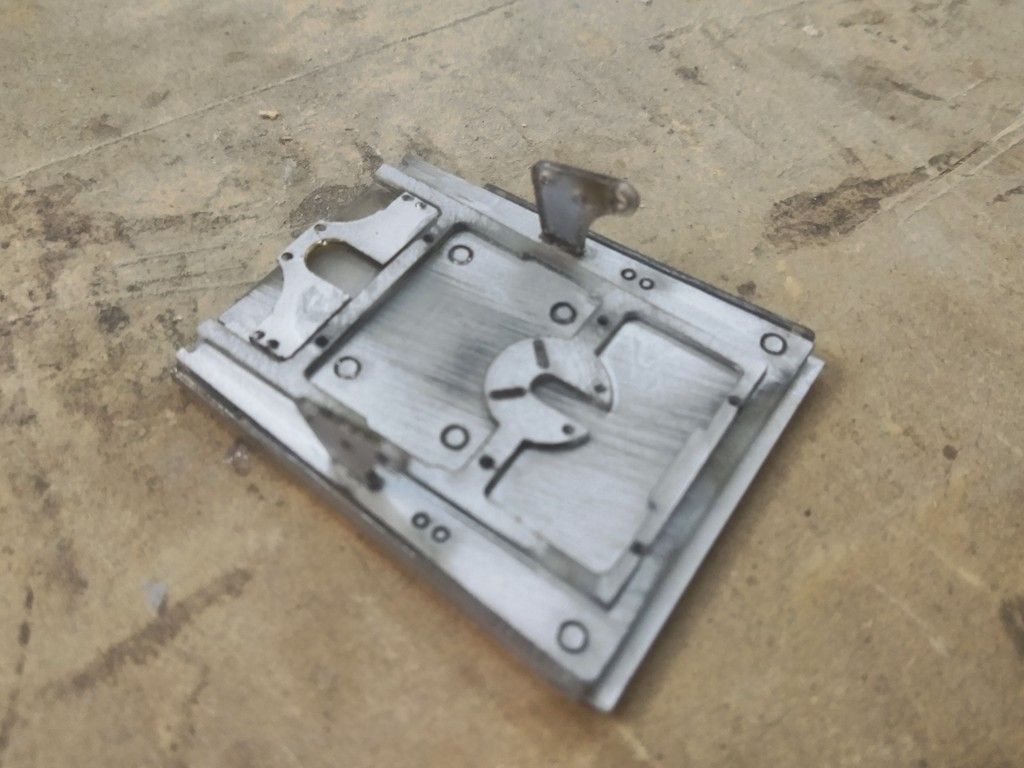
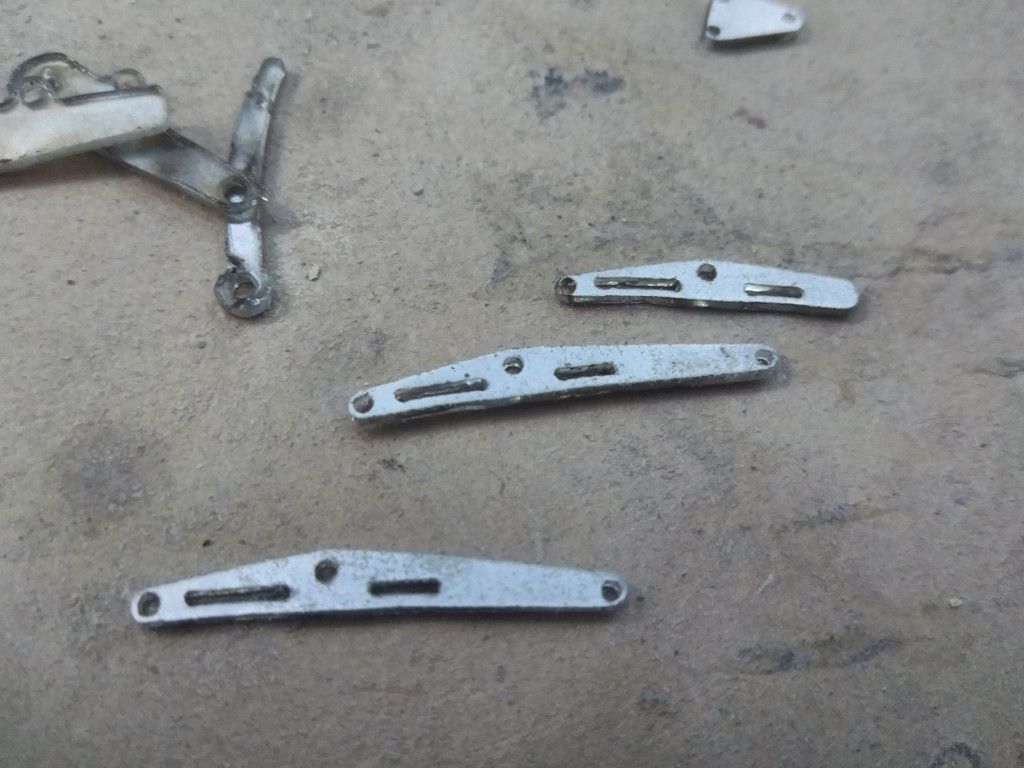
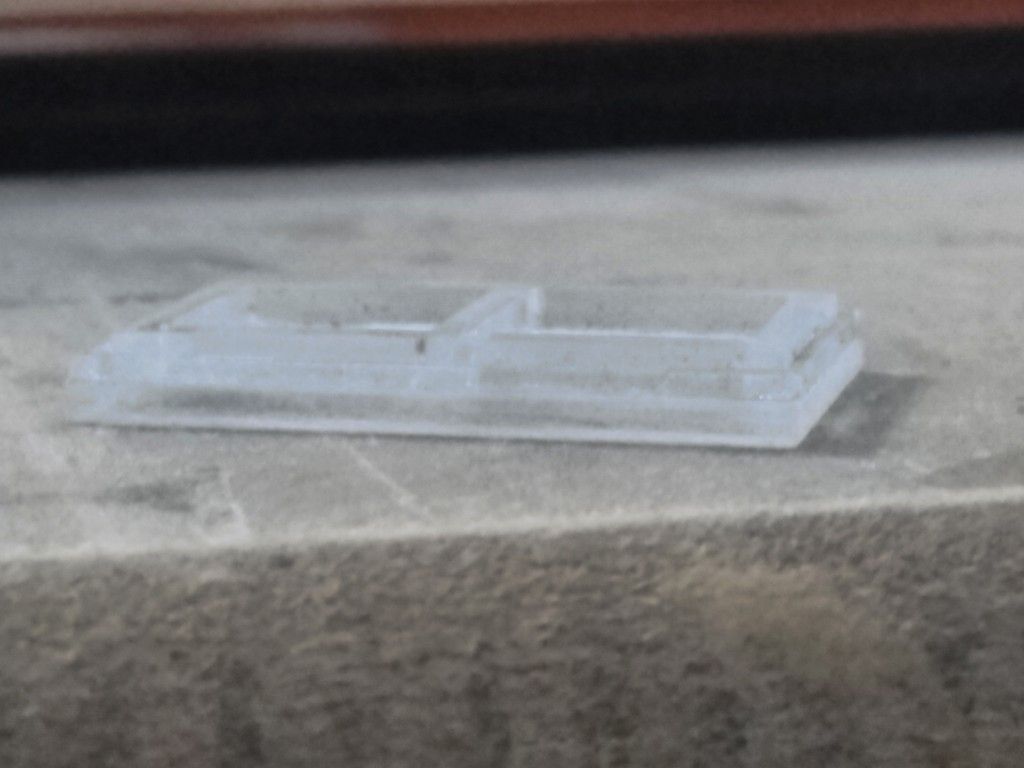
Perfect!
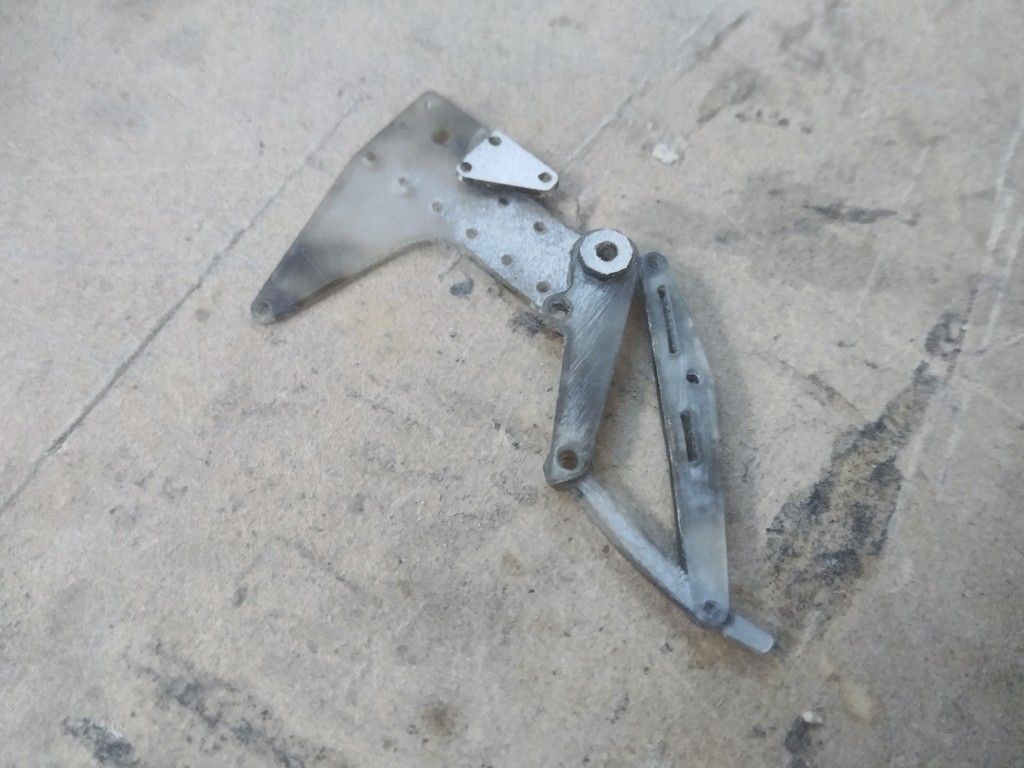
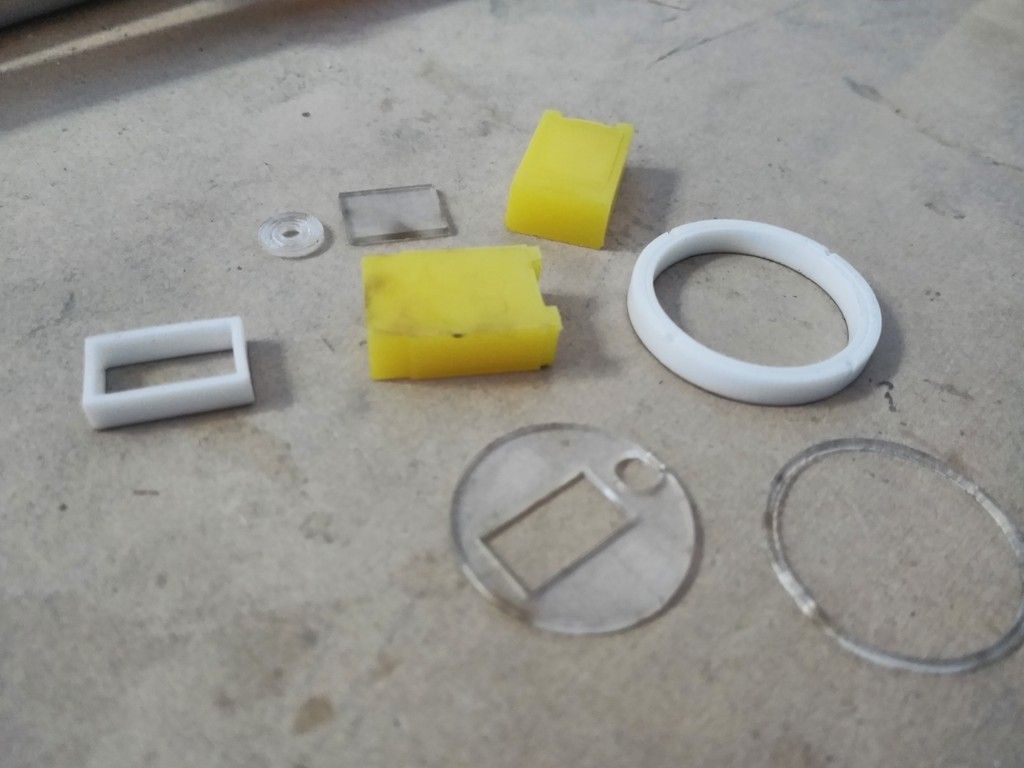
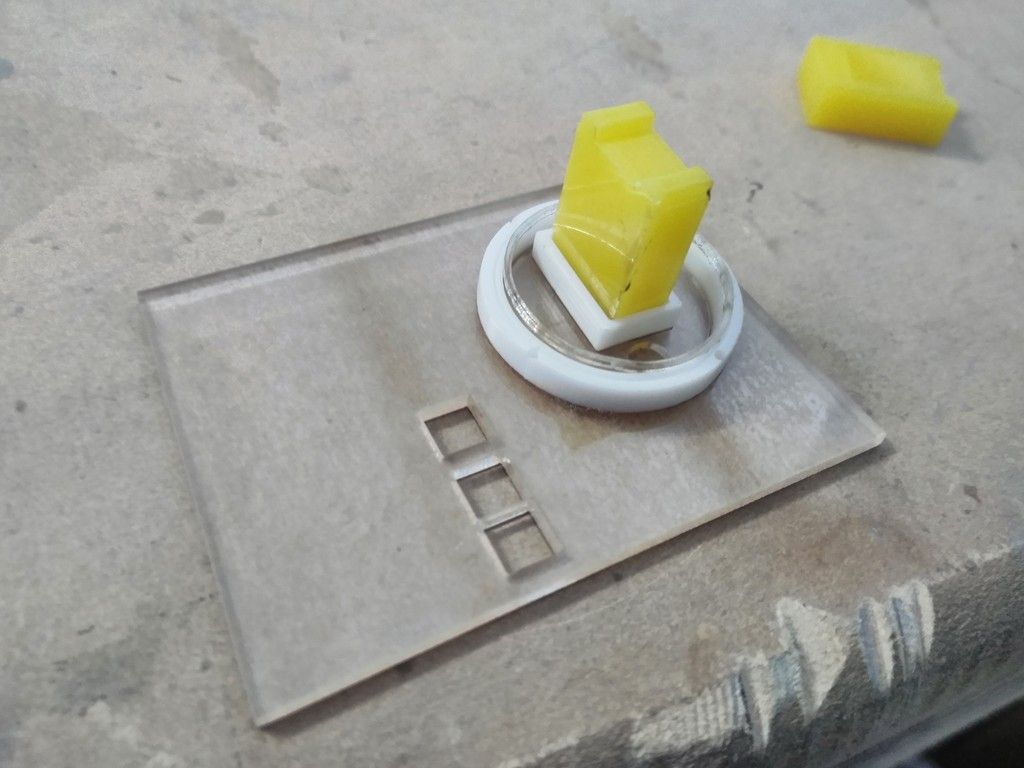
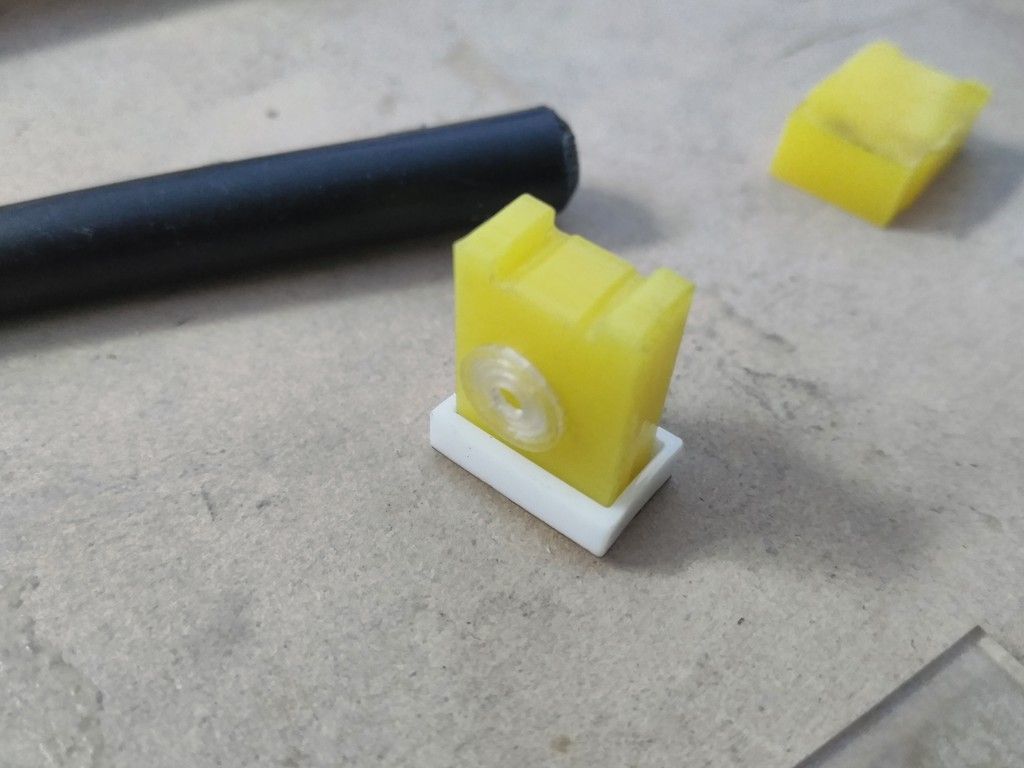
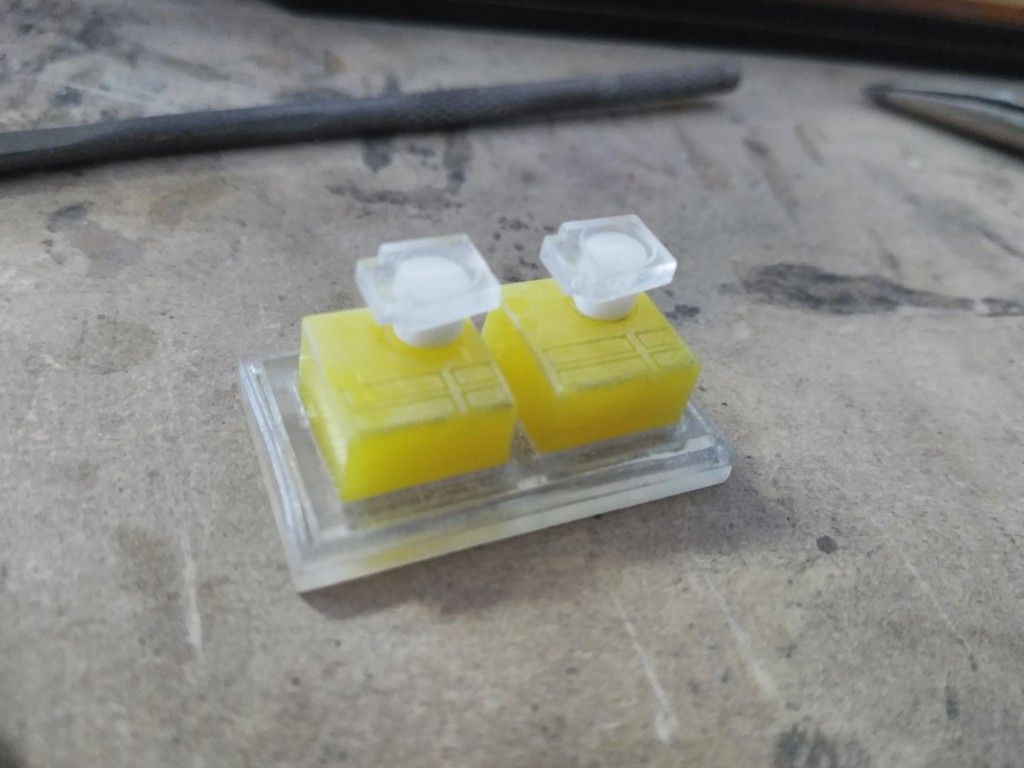
FINALLY! These little assembly pieces are perfect!
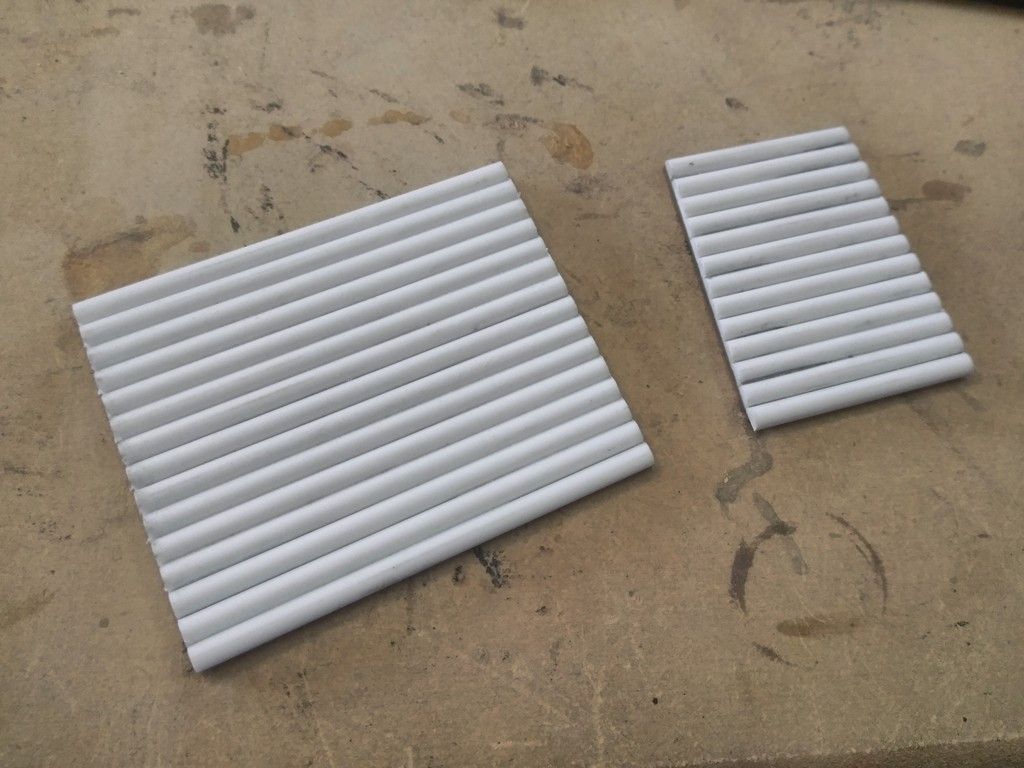
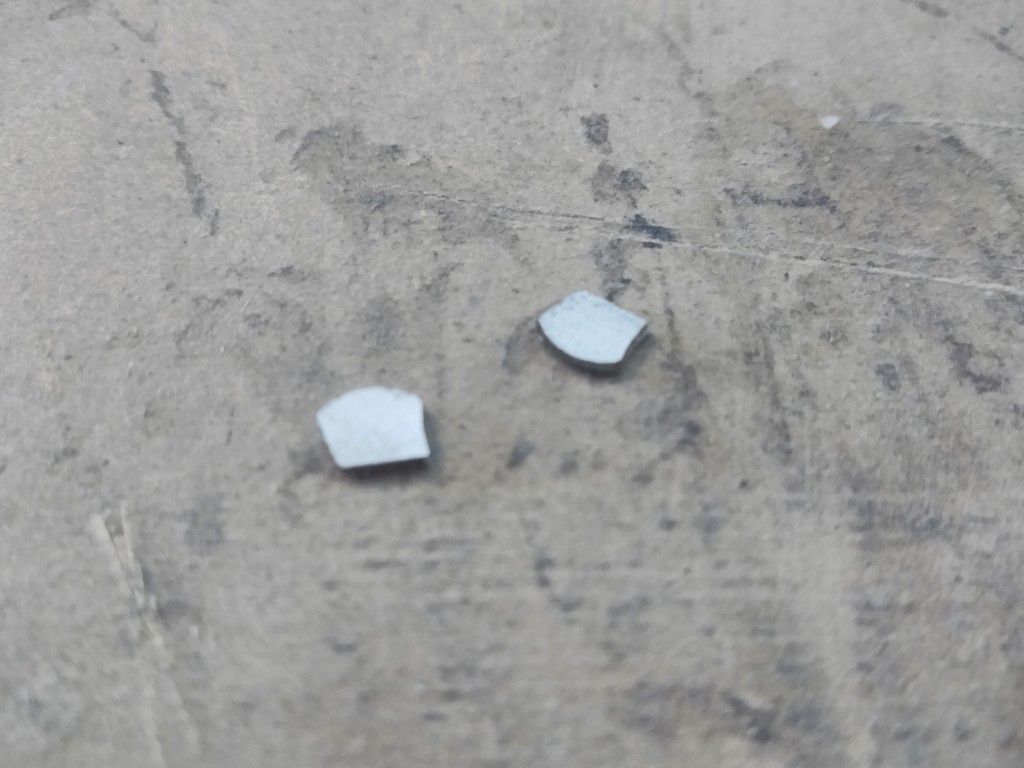
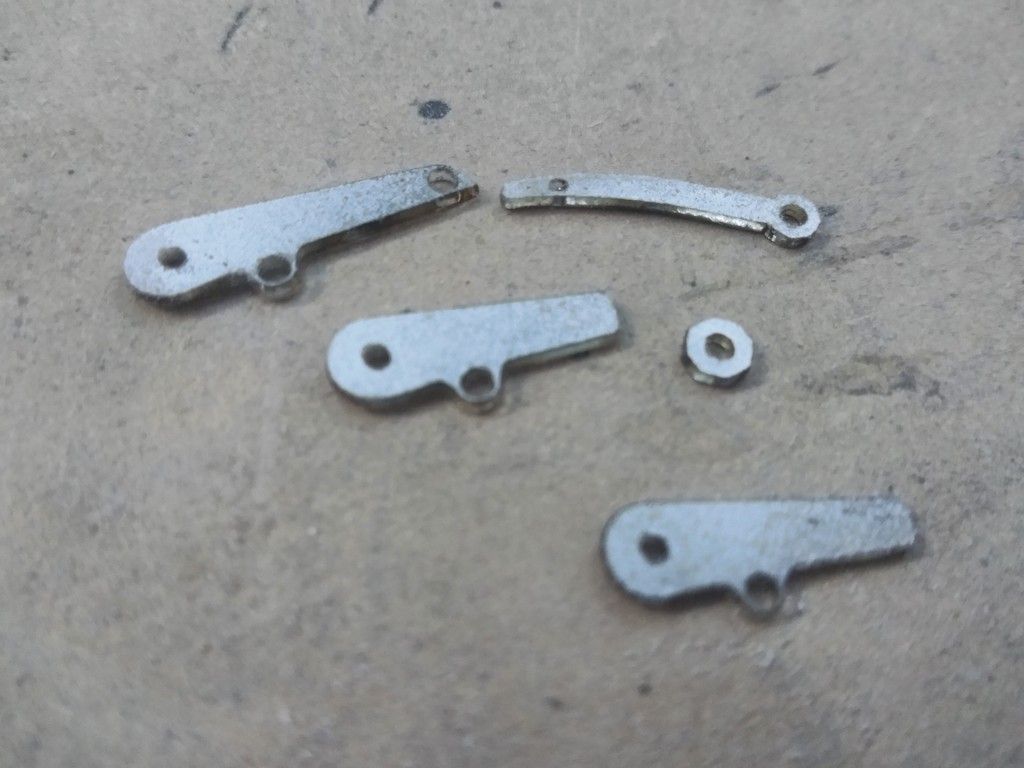
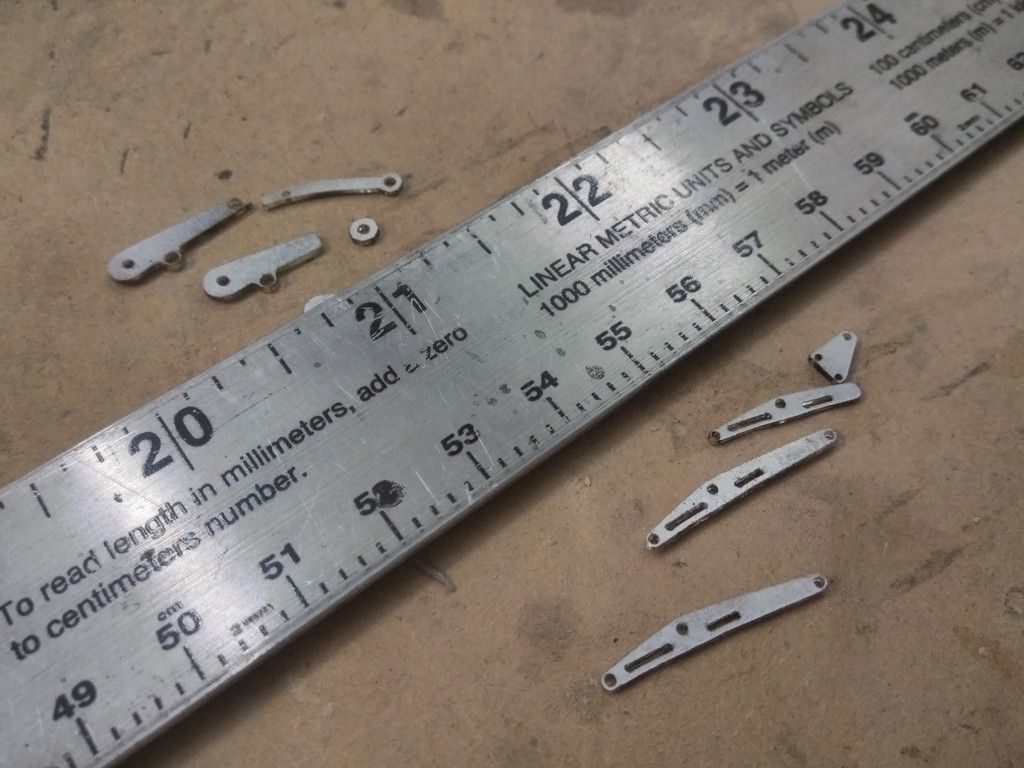
Just to give you all an idea of how small these parts are
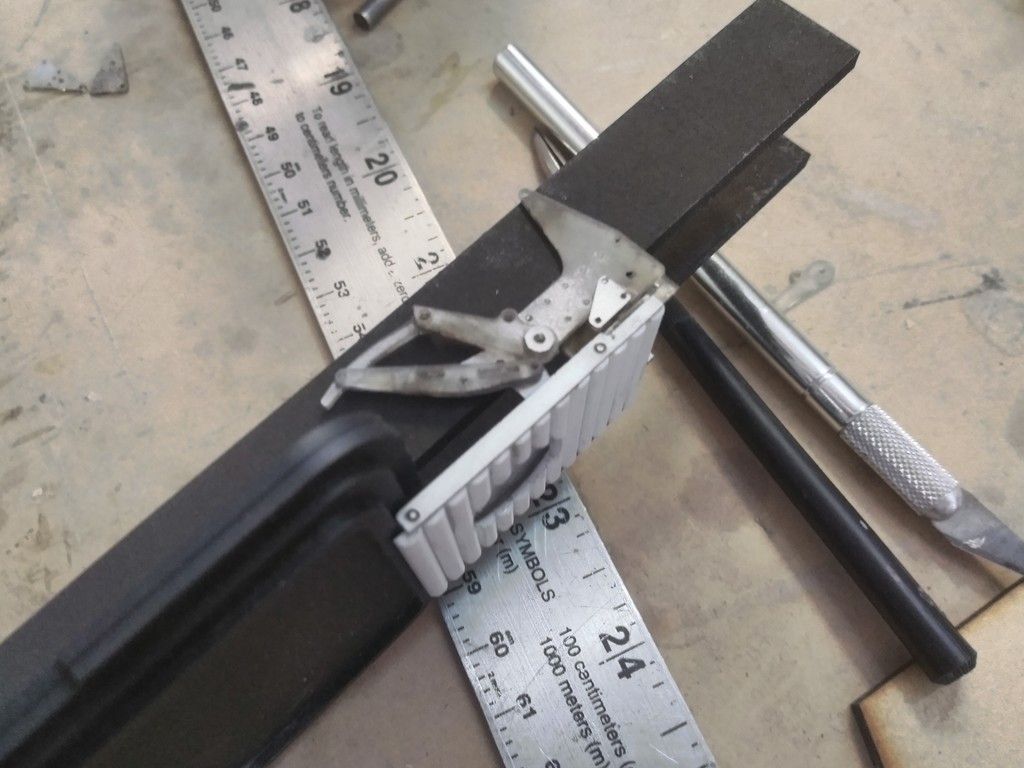
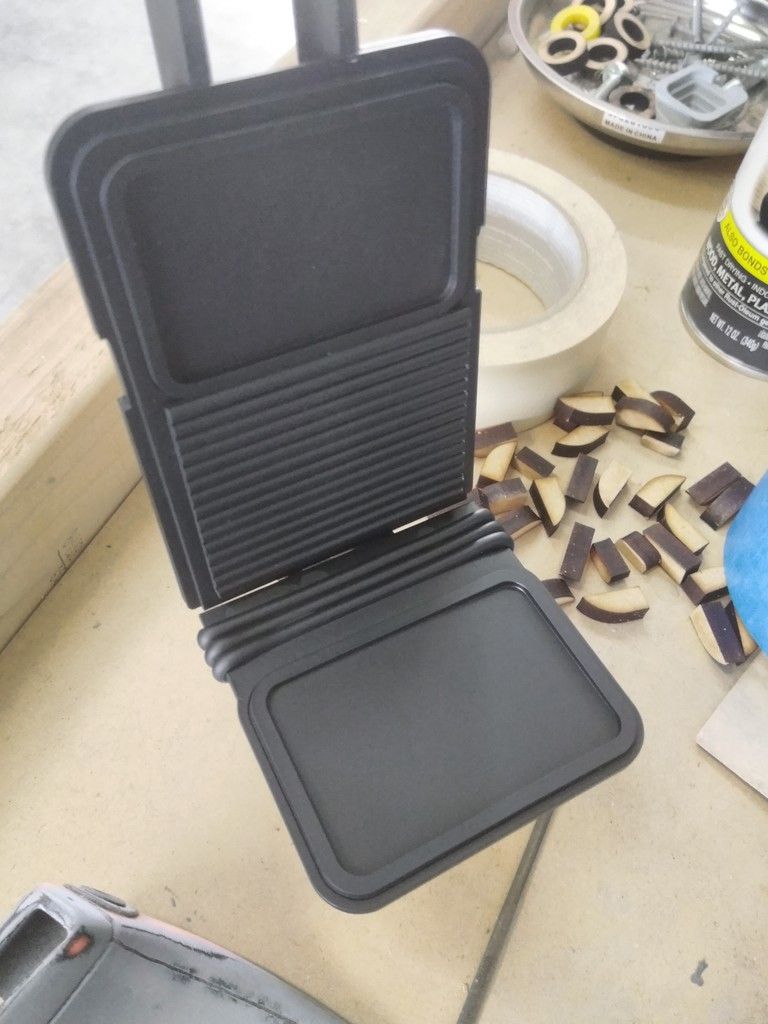
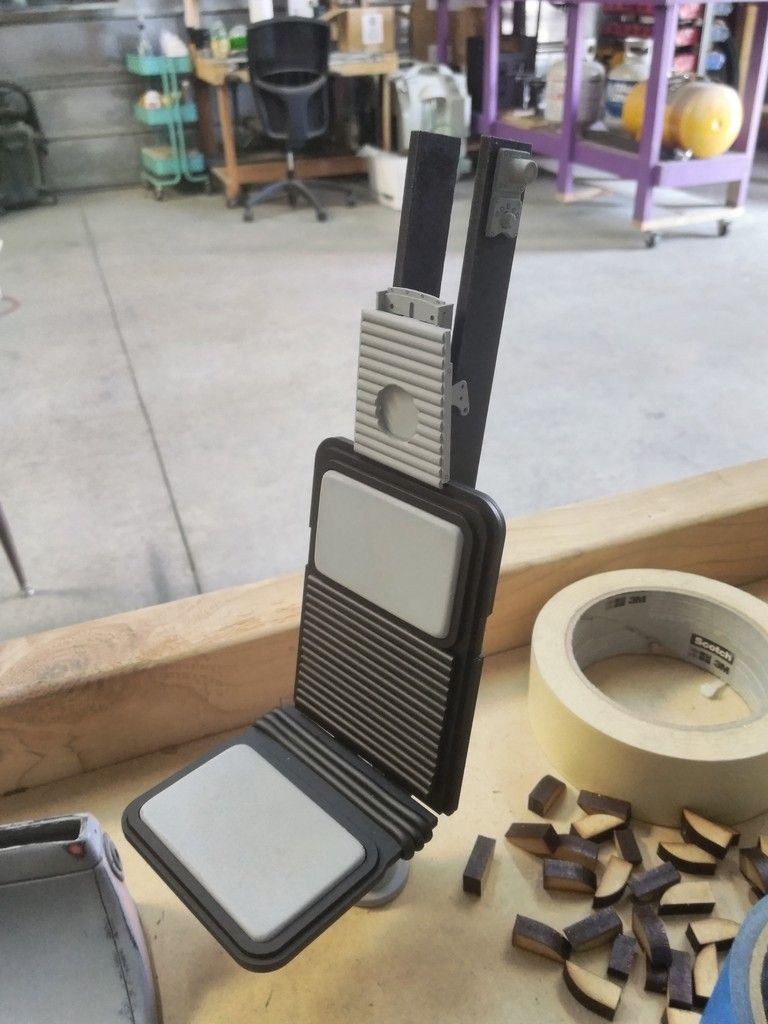
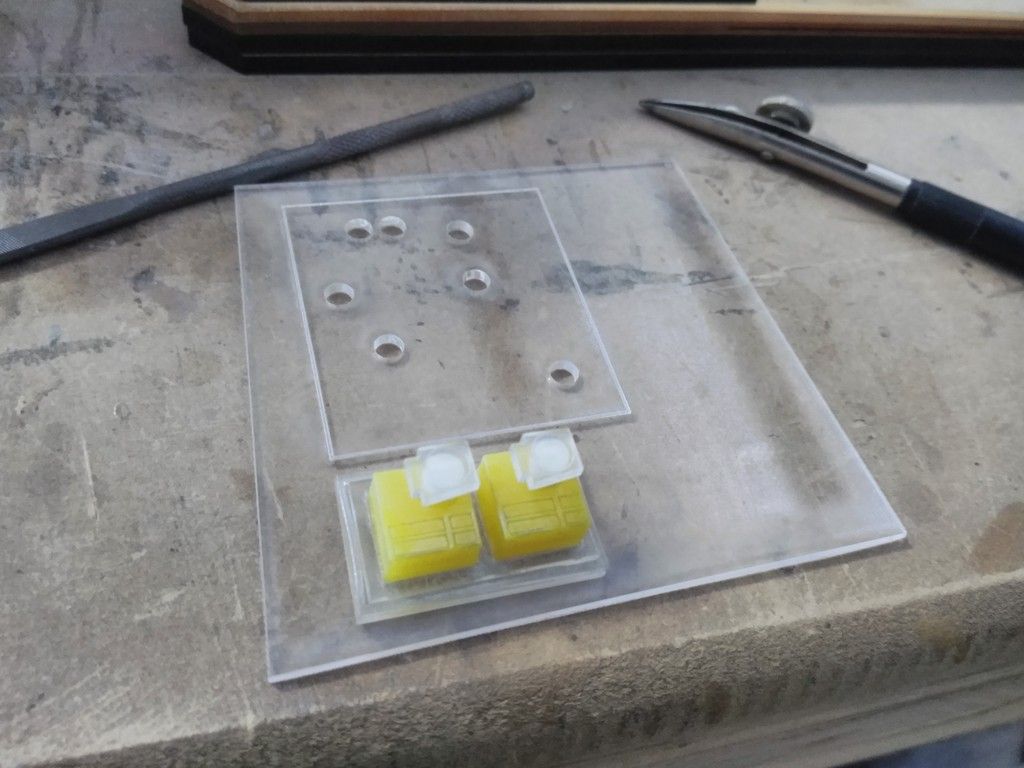
Let's assemble all this tiny goodness!
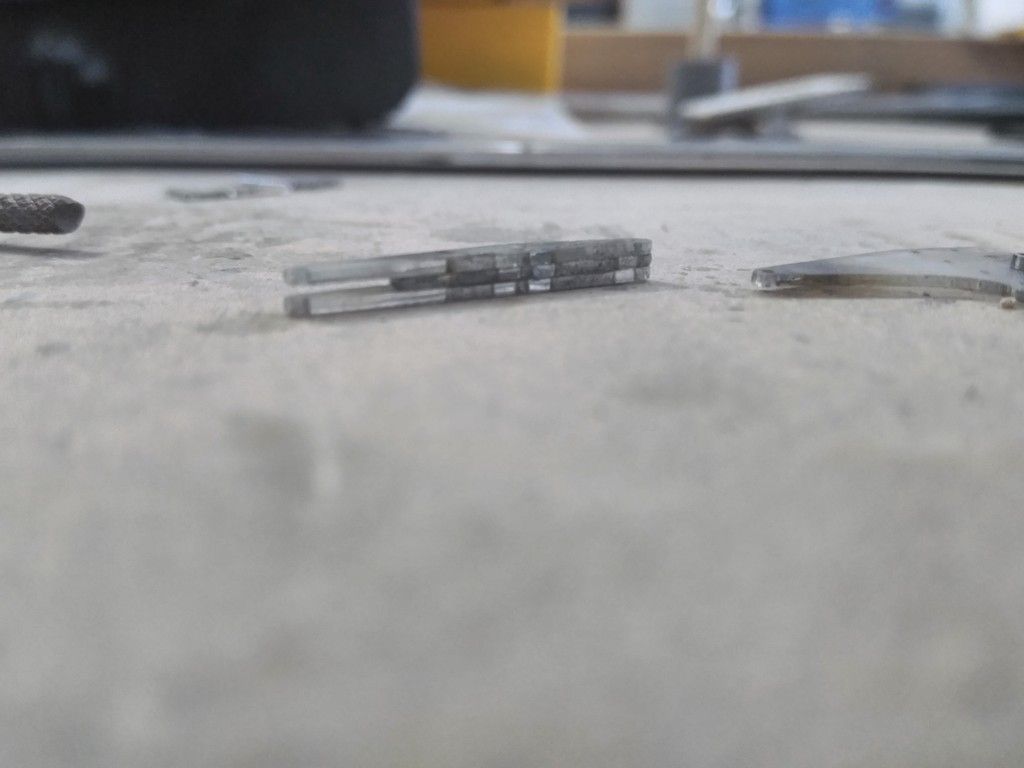
3 layers!
Dry fit!
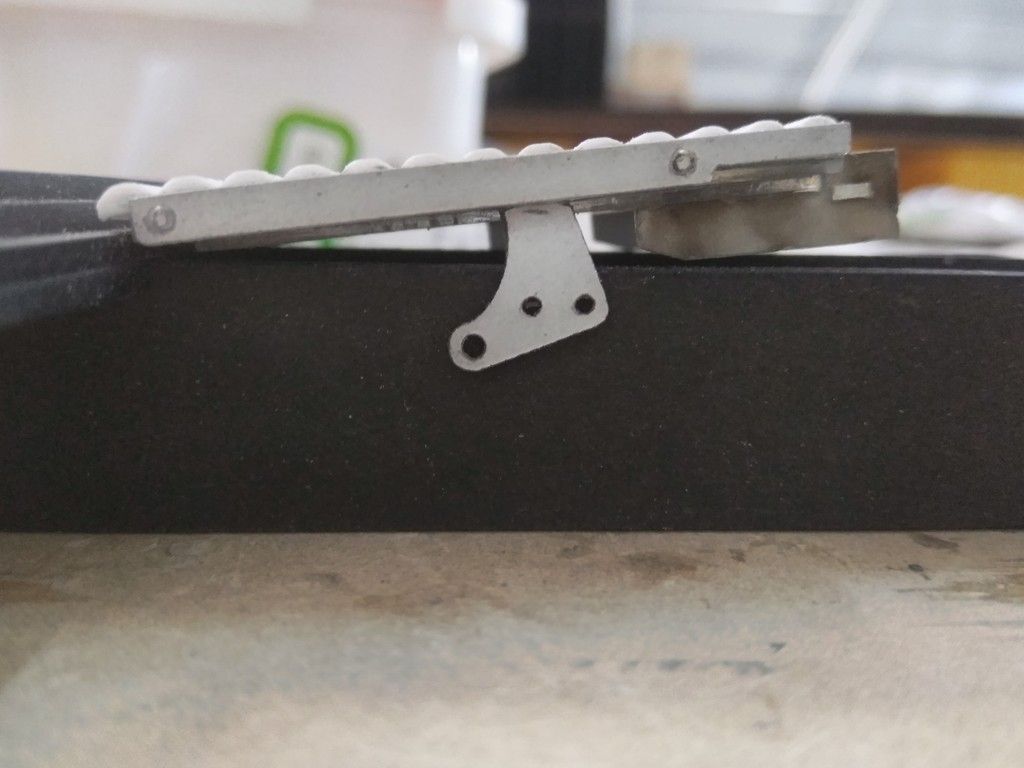
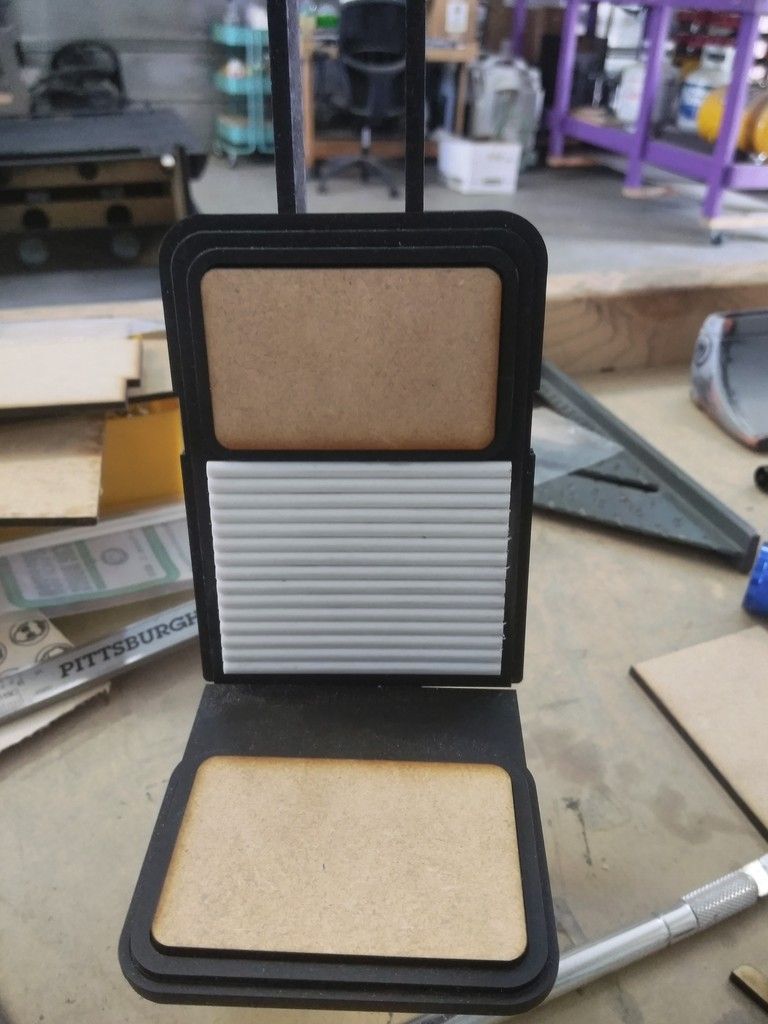
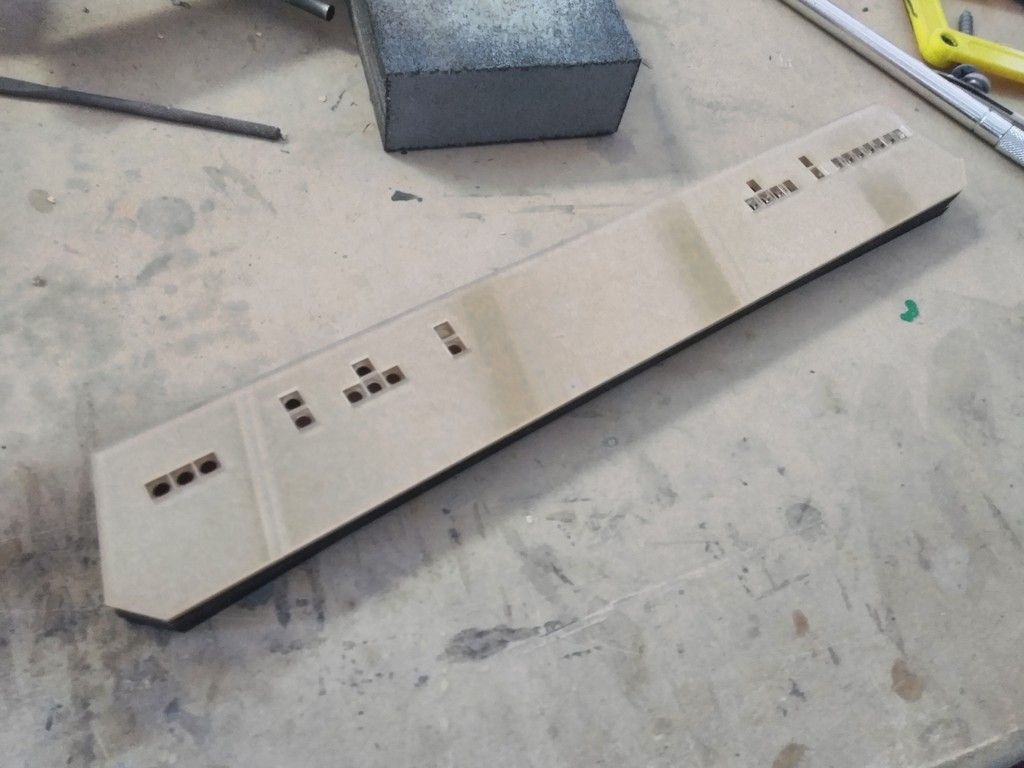
I then cut the pads for the chair from 1/8th MDF
Ejection Tube bracket
Armrests
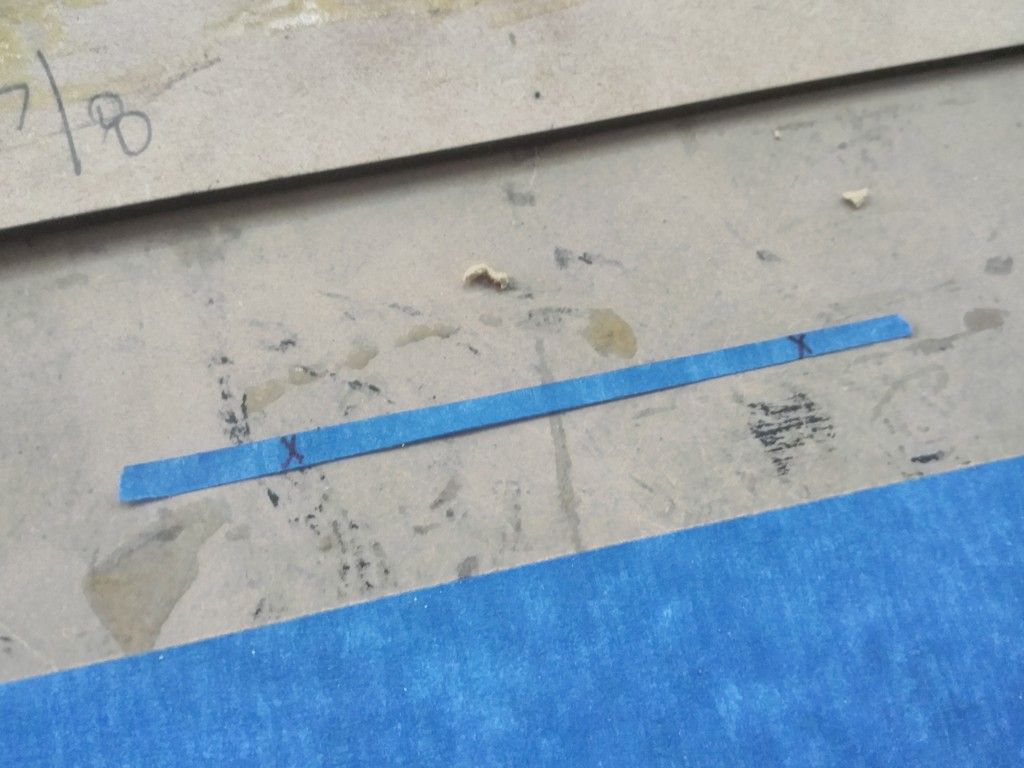
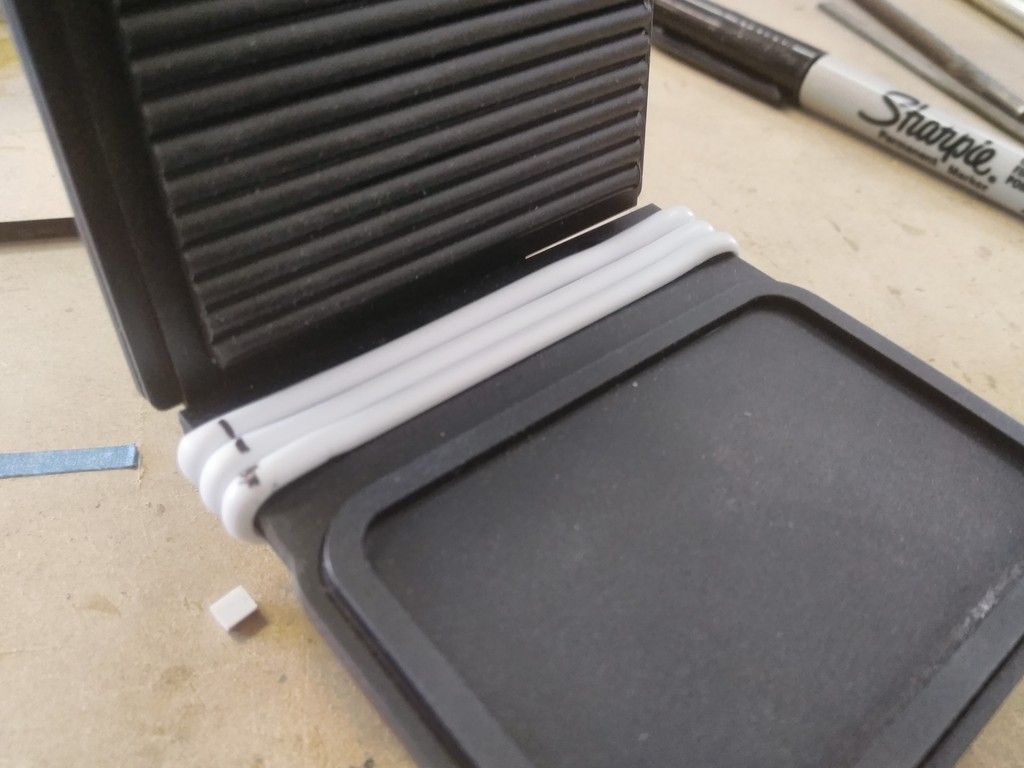
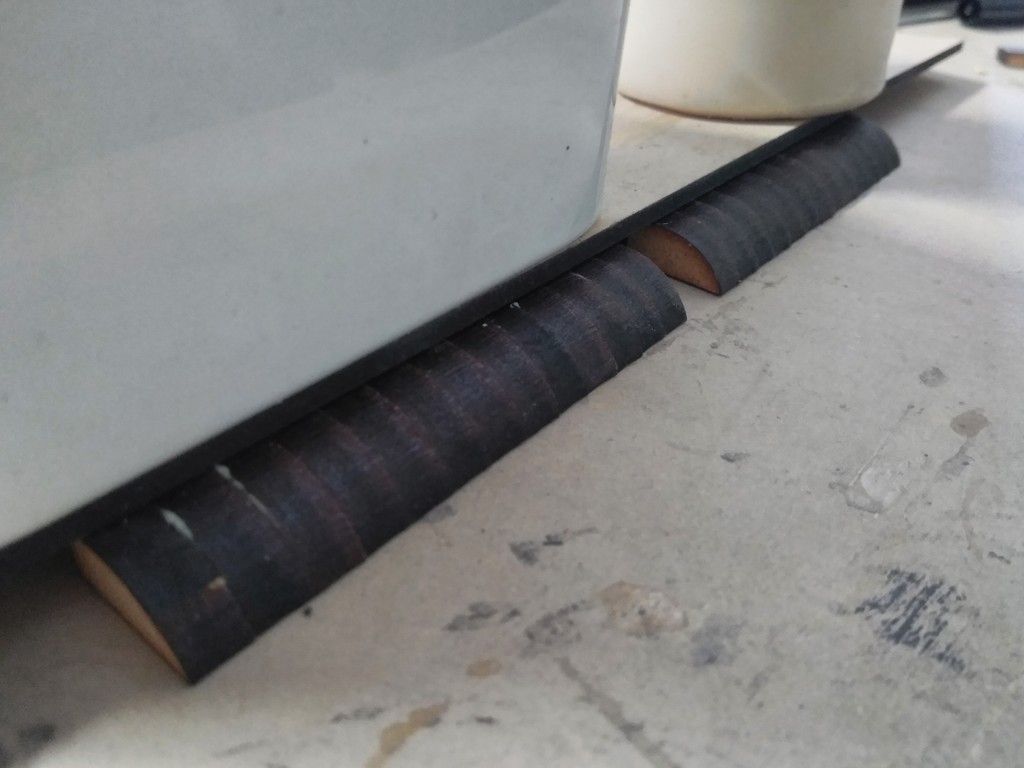
It was time to add the half round to the seat of the chair - cut a piece of tape
Cut to length and mark where the half round wraps around the chair
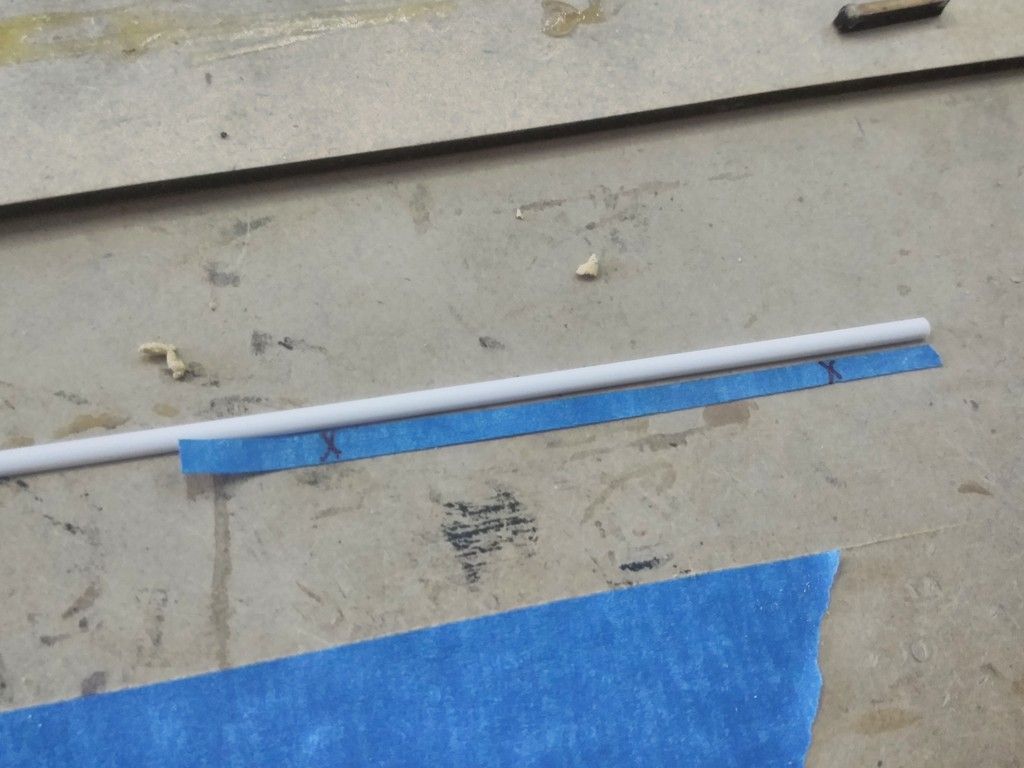
Cut a piece of half round
Using the heat gun I simply heated the half round and gently wrapped around the seat - not perfect at all!
Clip the edges clean
Nice shot of satin black
Slowly putting it all together
Armrests dry fit in place
Armrest details
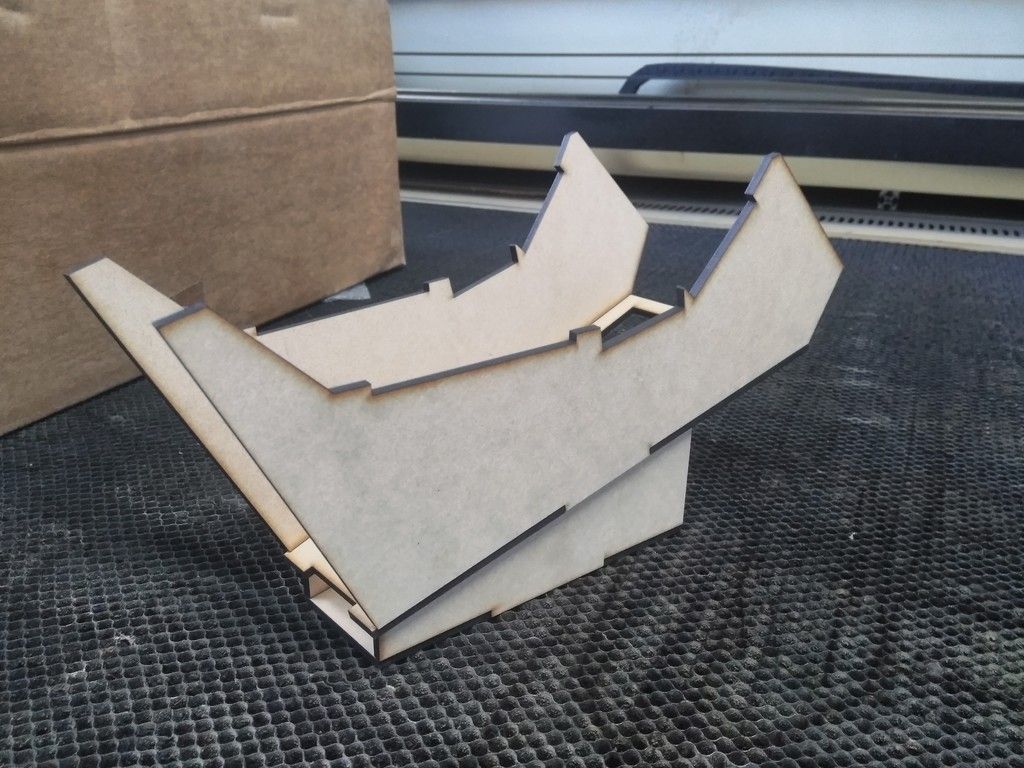
The two back nacelles drying and awaiting filler
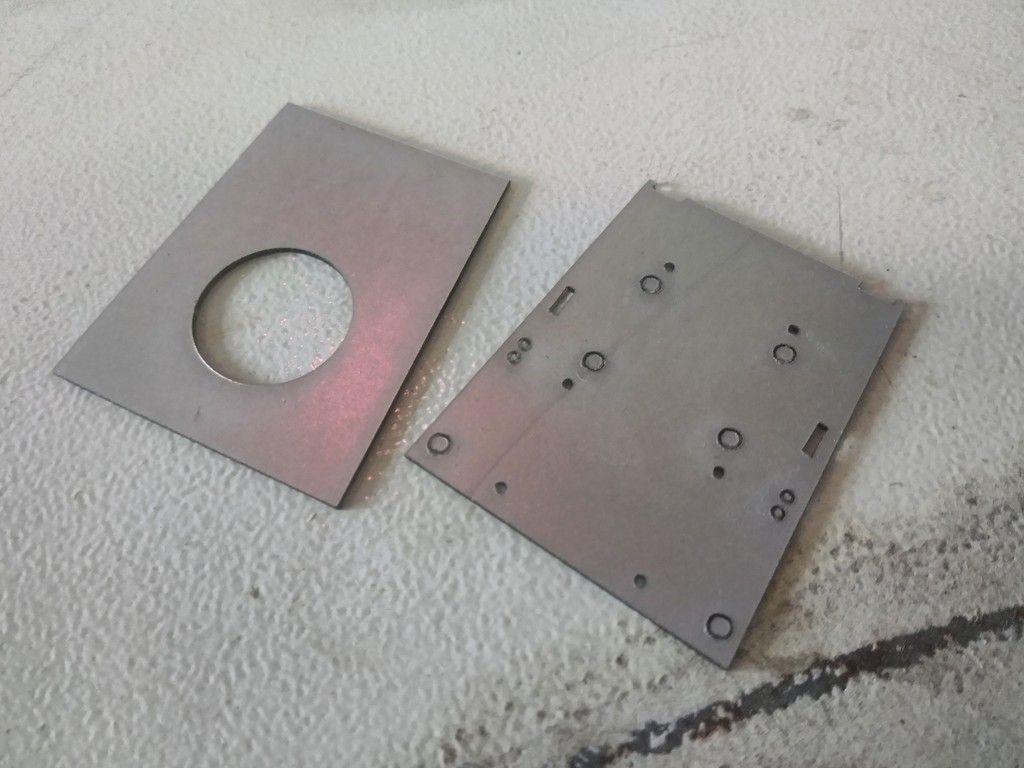
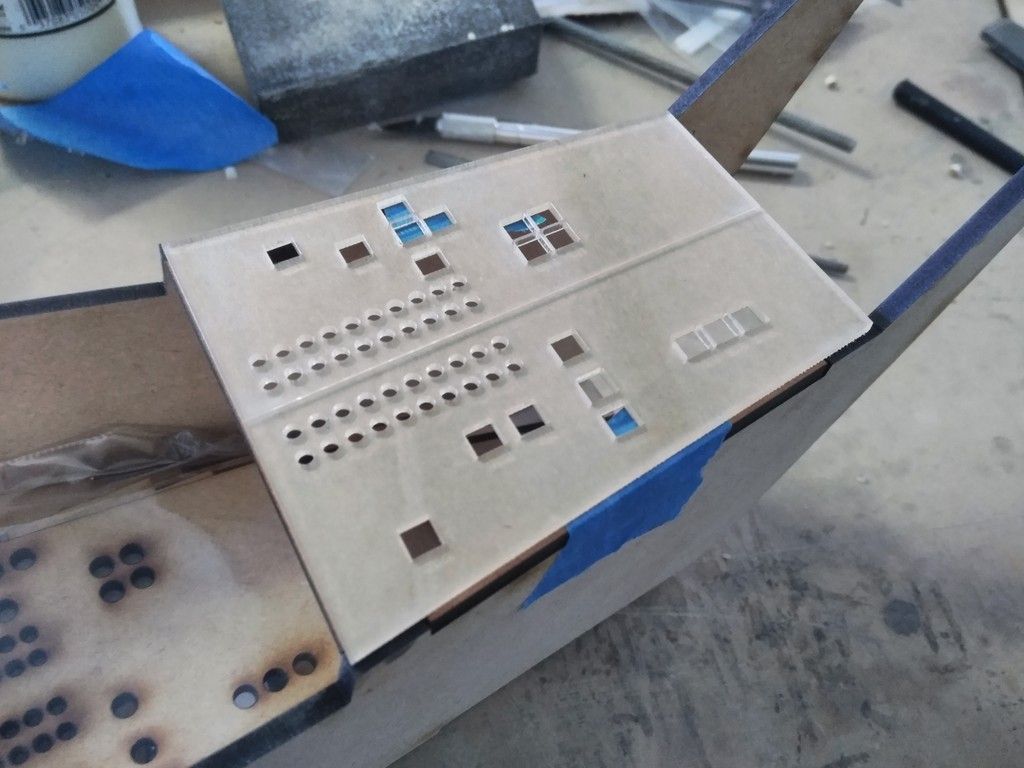
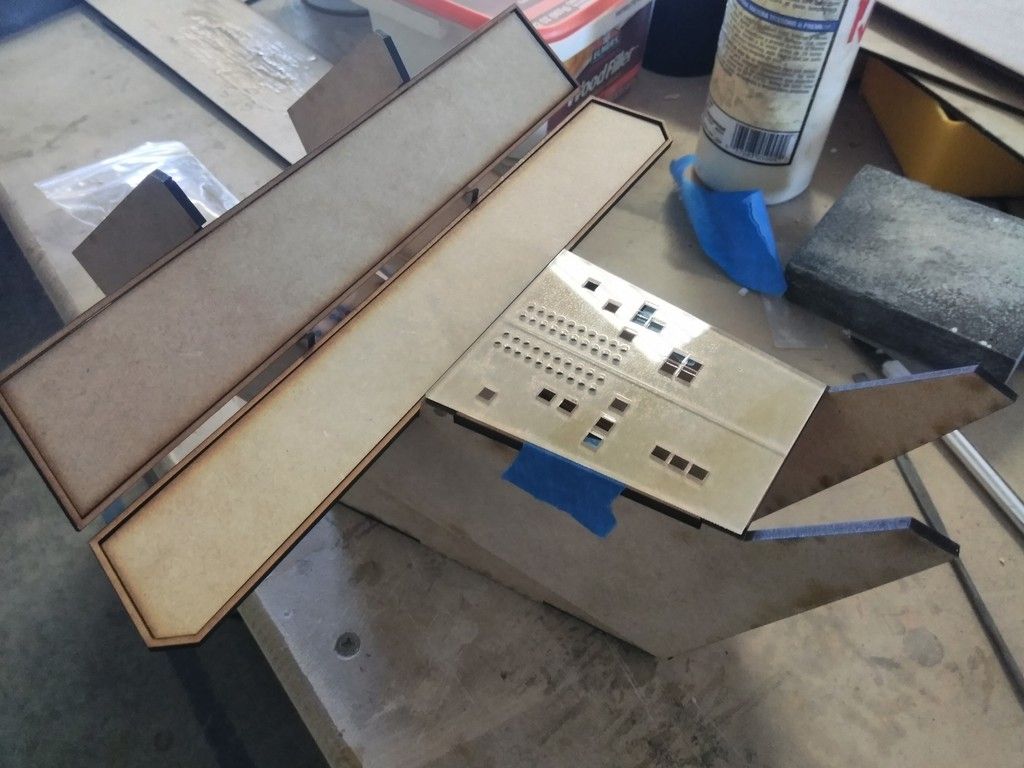
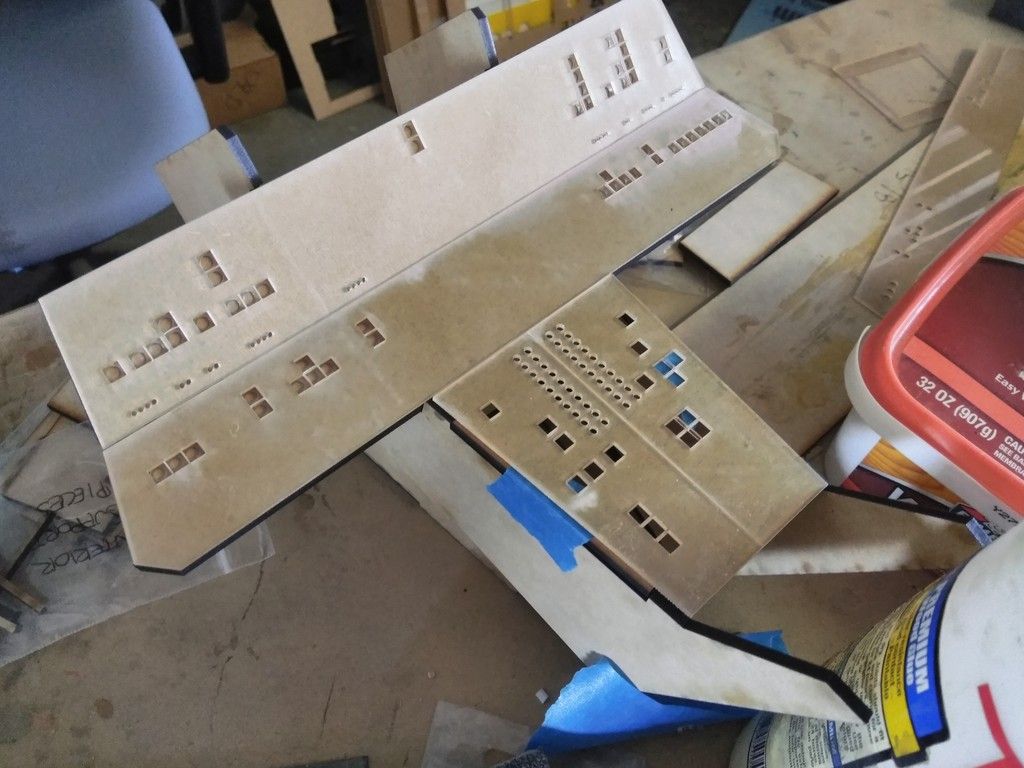
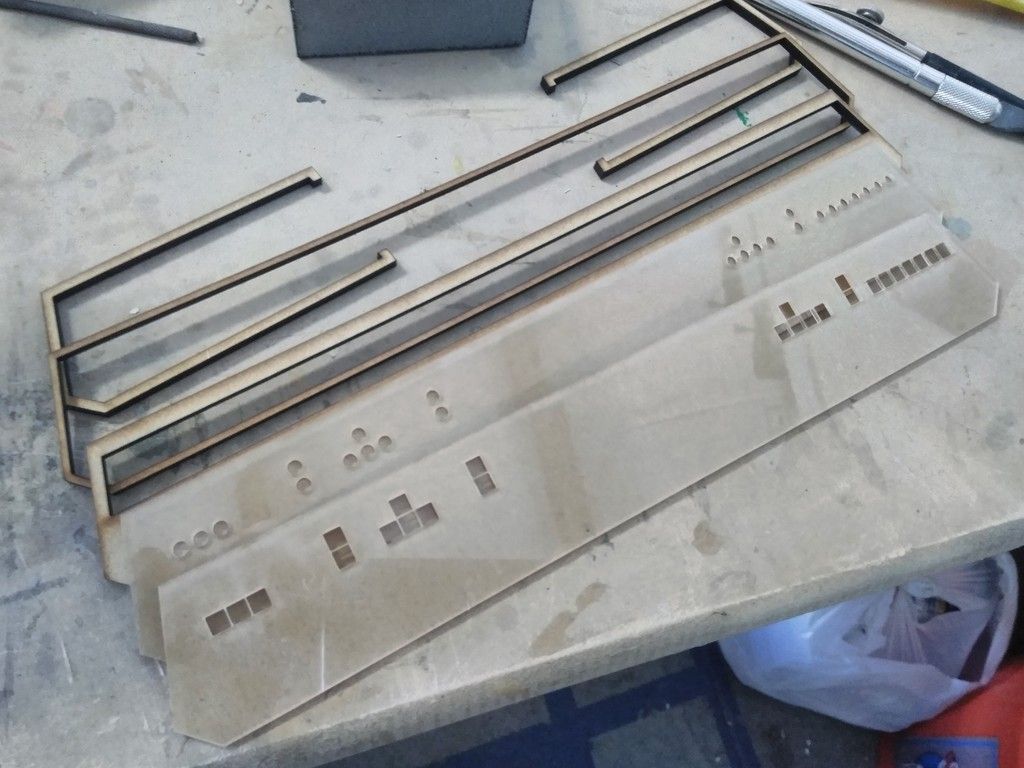
I then got most of the console (1/6th scale) finished and ready for shipping to Iz!
Armrest panel
Instrument panels cut and in place
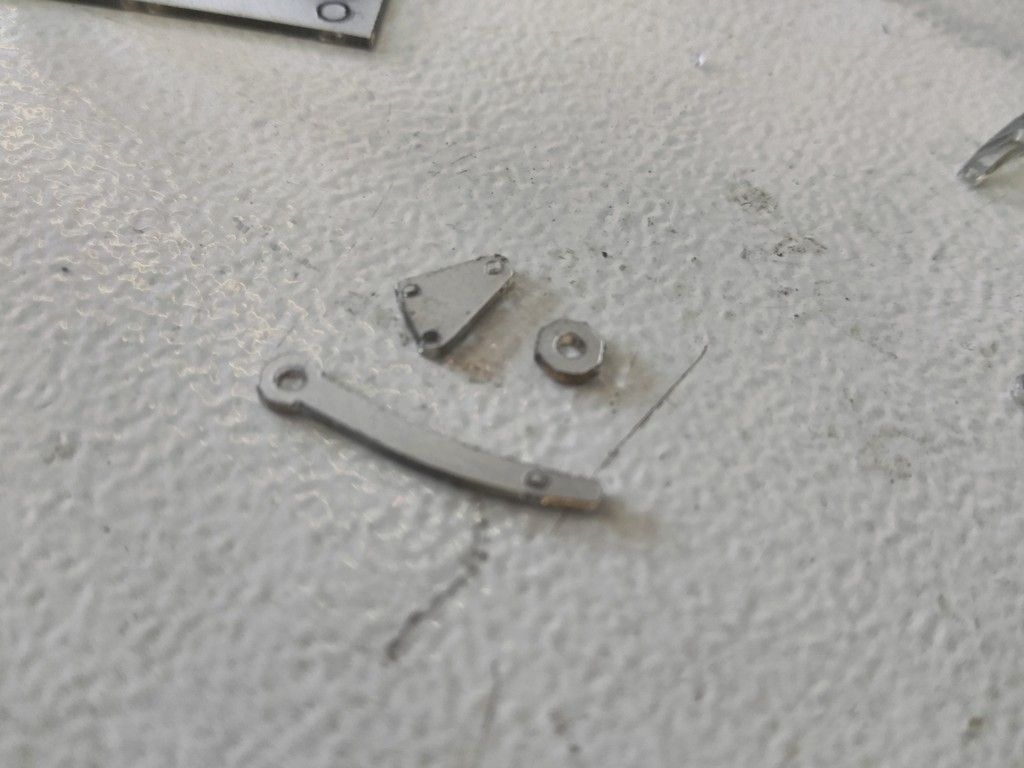
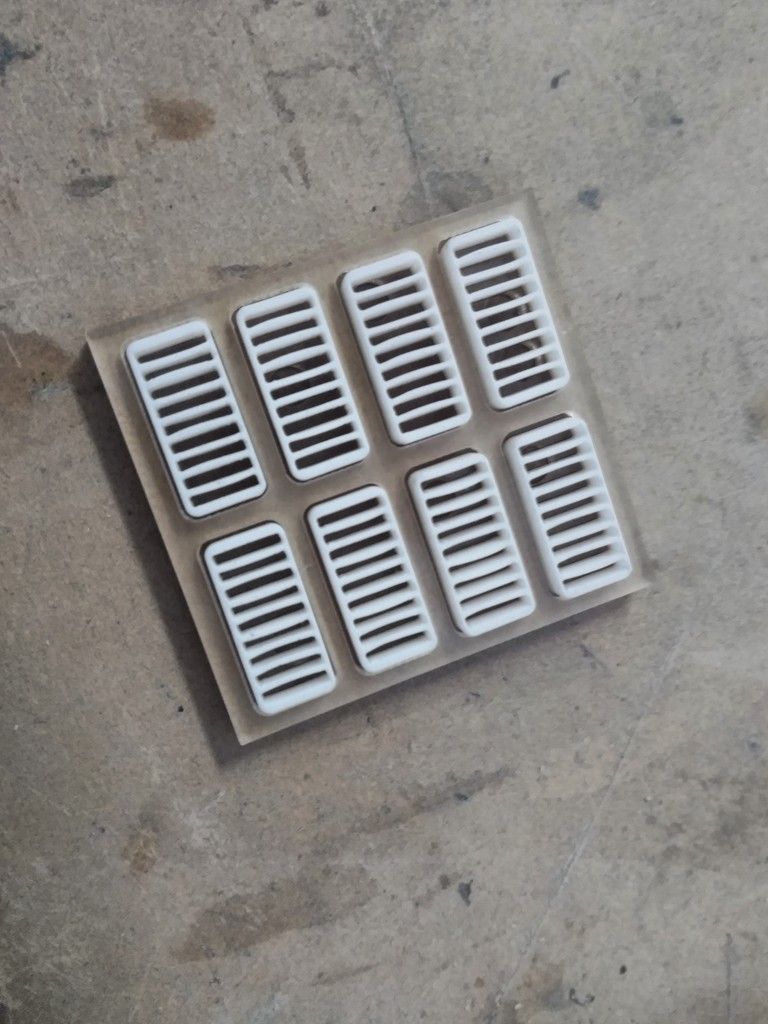
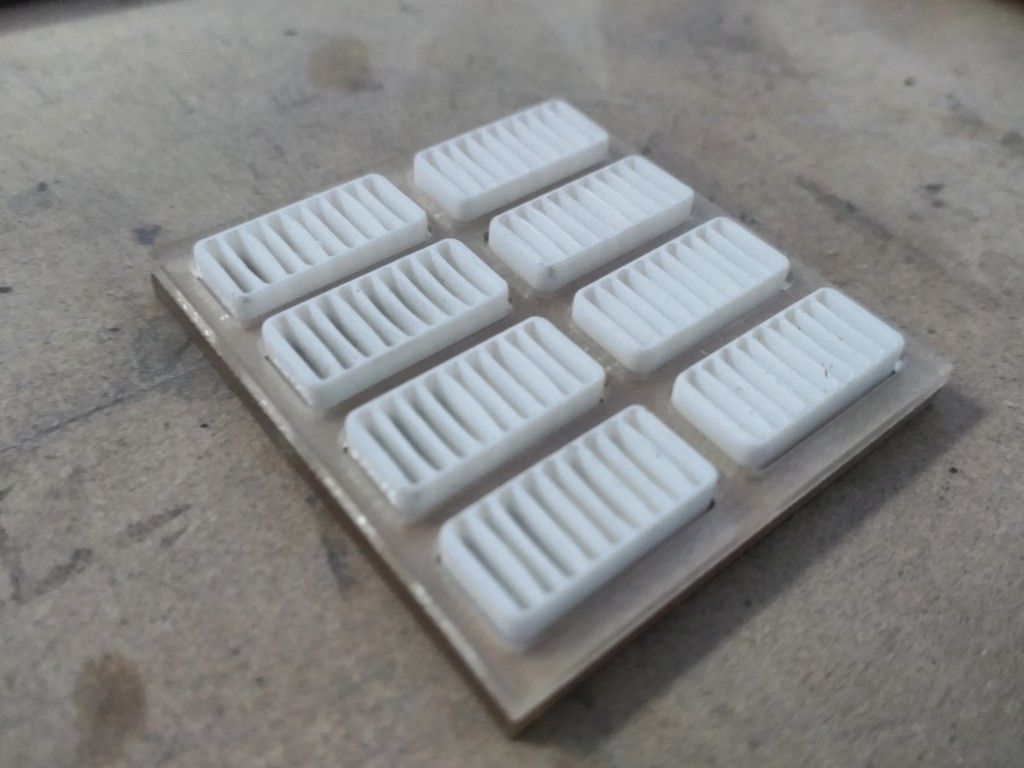
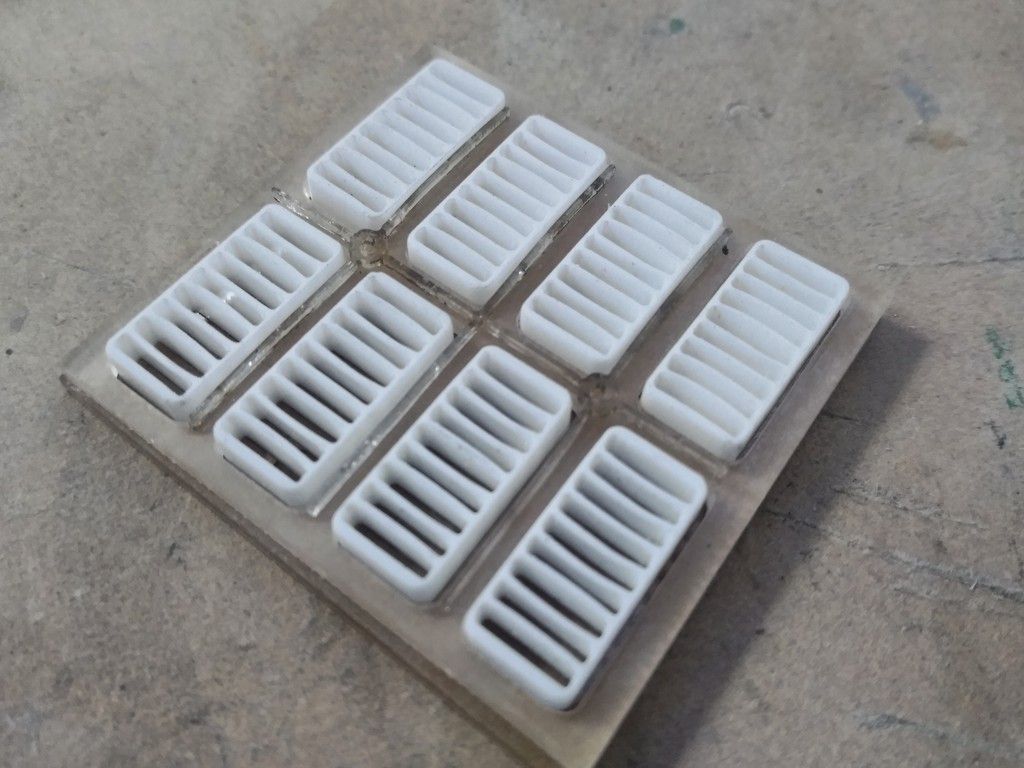
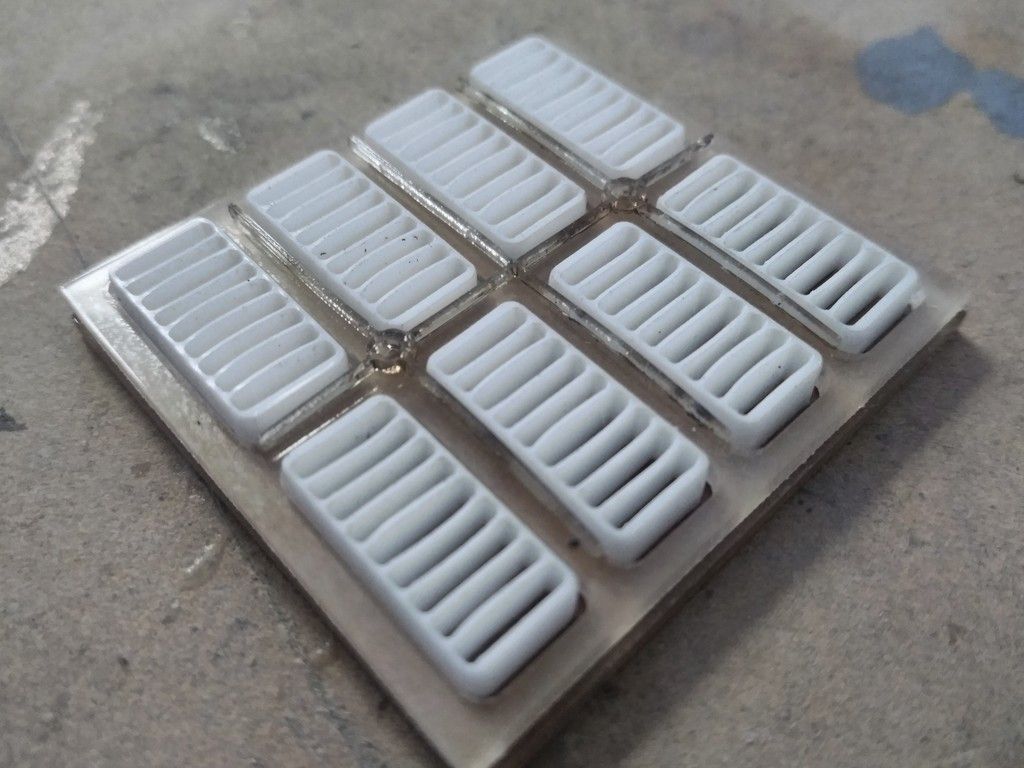
I then cut these little guys
Console nose piece vents / greeblies
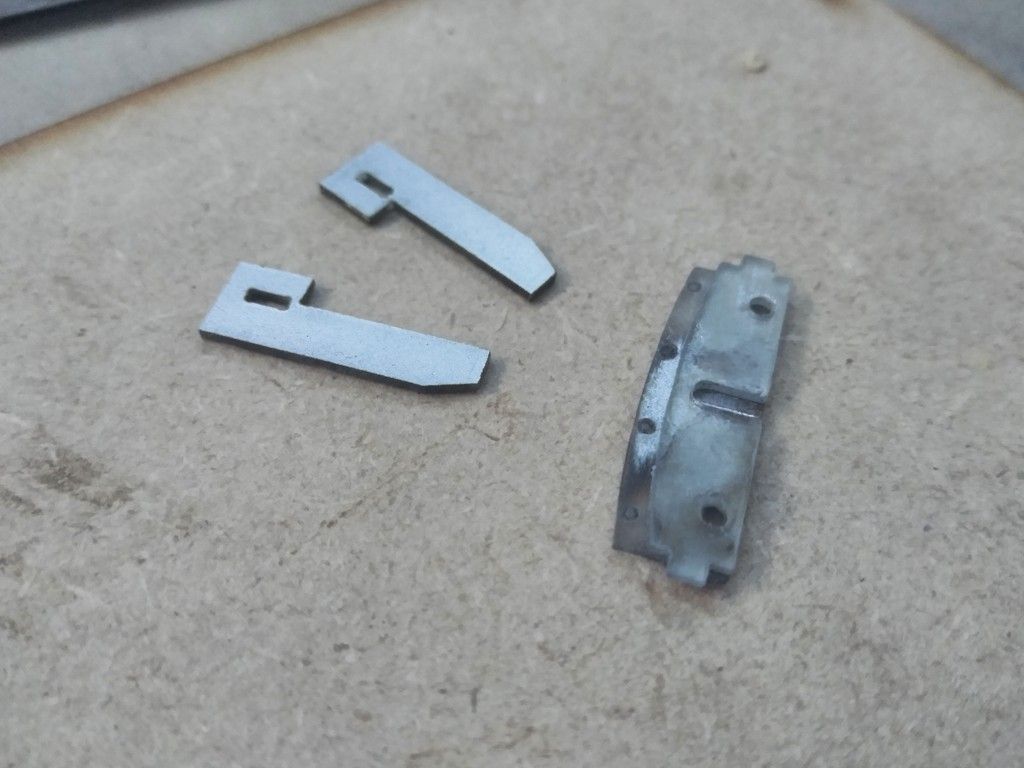
I was amazed the laser cut this little guy!
I then cut a 1/6th scale "compressor" greeblie
This mounts just above and behind the armrest
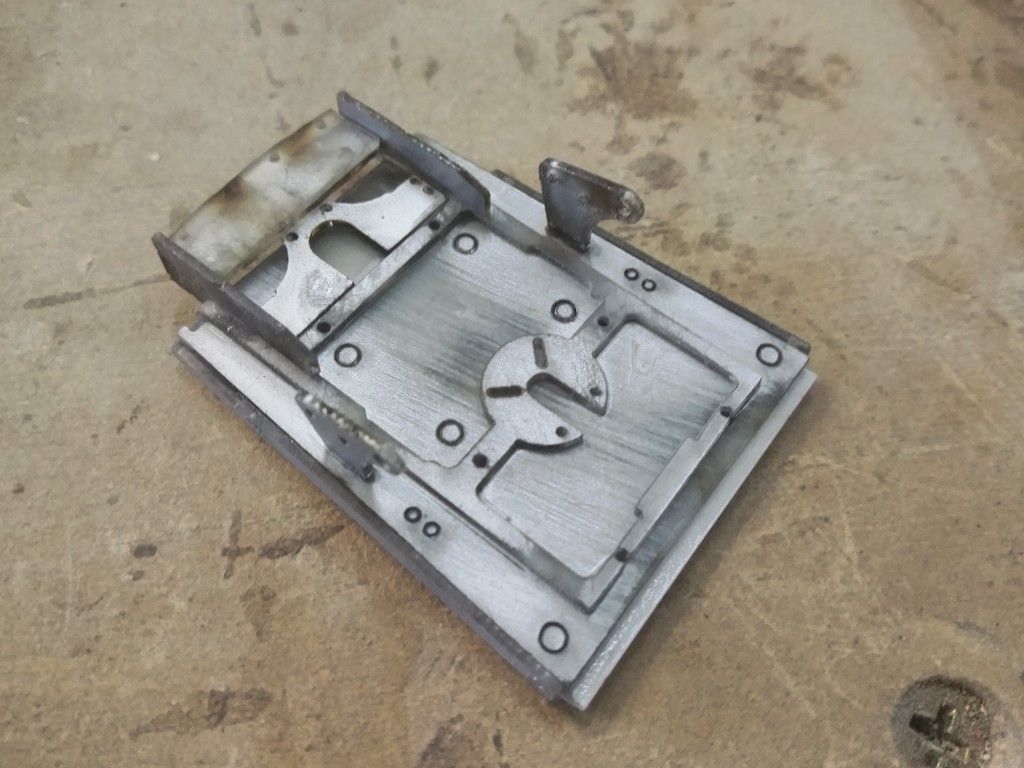
I basically copied the 1/4 scale console
That's a LOT of layers
That's just TOO think to be screen accurate BUT you need the space for wiring... Izzy has a LOT to work with so he might be able to reduce the thickness
Instrument panel greeblies (Still a few more to go)
More greeblies
3 layers of acrylic / plexi
The nose panel boxes
Two of these boxes sit side by side (I only adhered one as a guide)
And this is where we are... Getting ready to ship!
")
More to Follow... I got word that images of the Full Scale Cockpit are on the way!!!