Hi Gang,
Another "End of the Weekend Update"
There was a LOT of discussion and tossing around of ideas about how we move forward on the canopy but I did manage to get a few things done in between ideas. Enjoy!
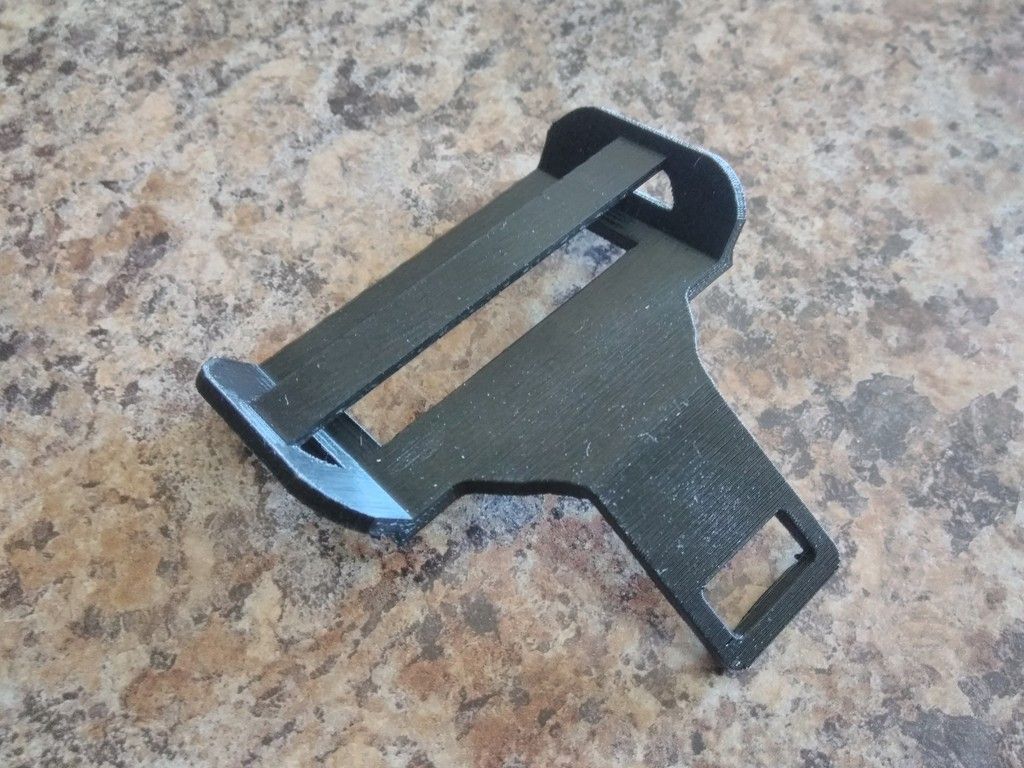
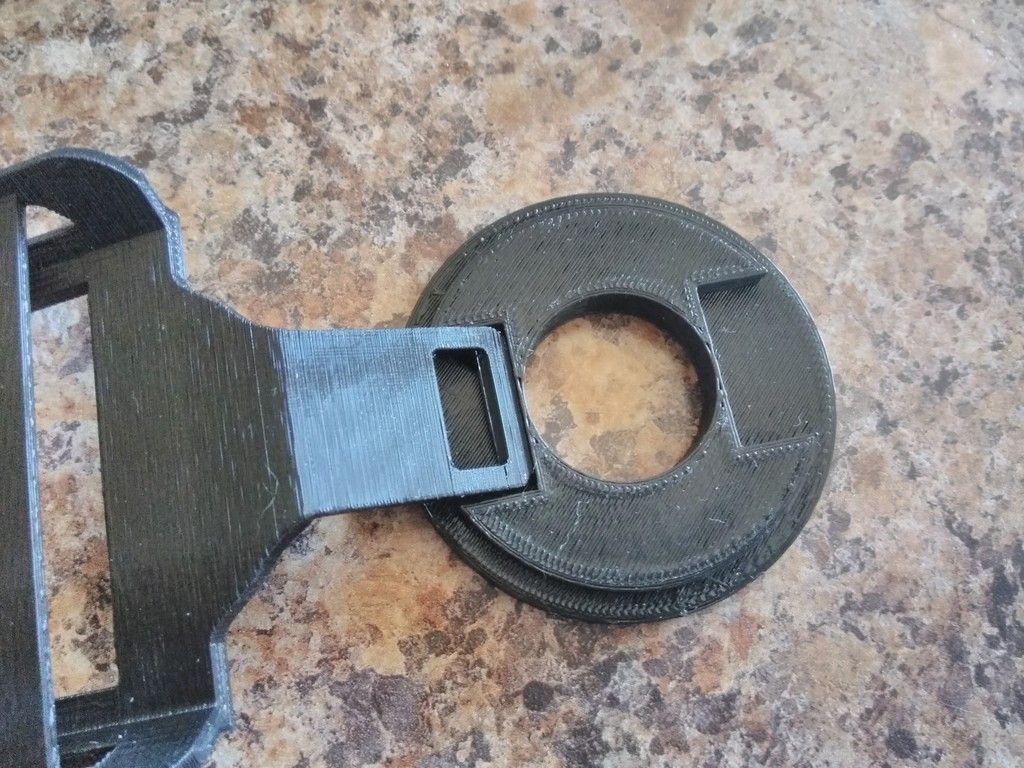
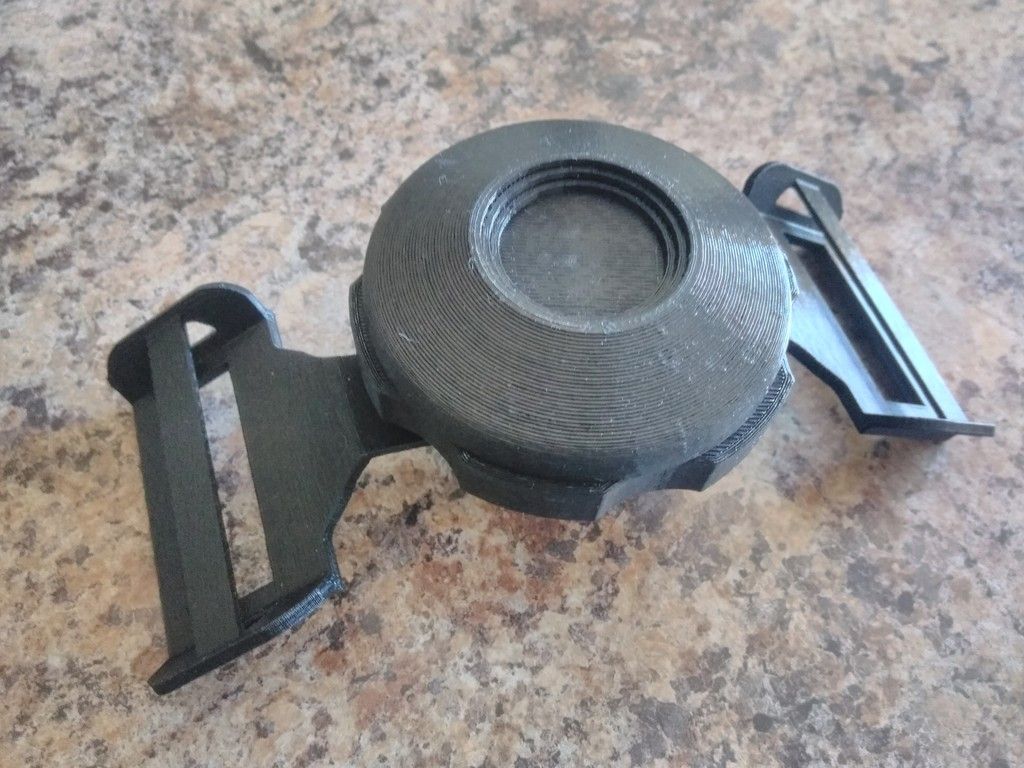
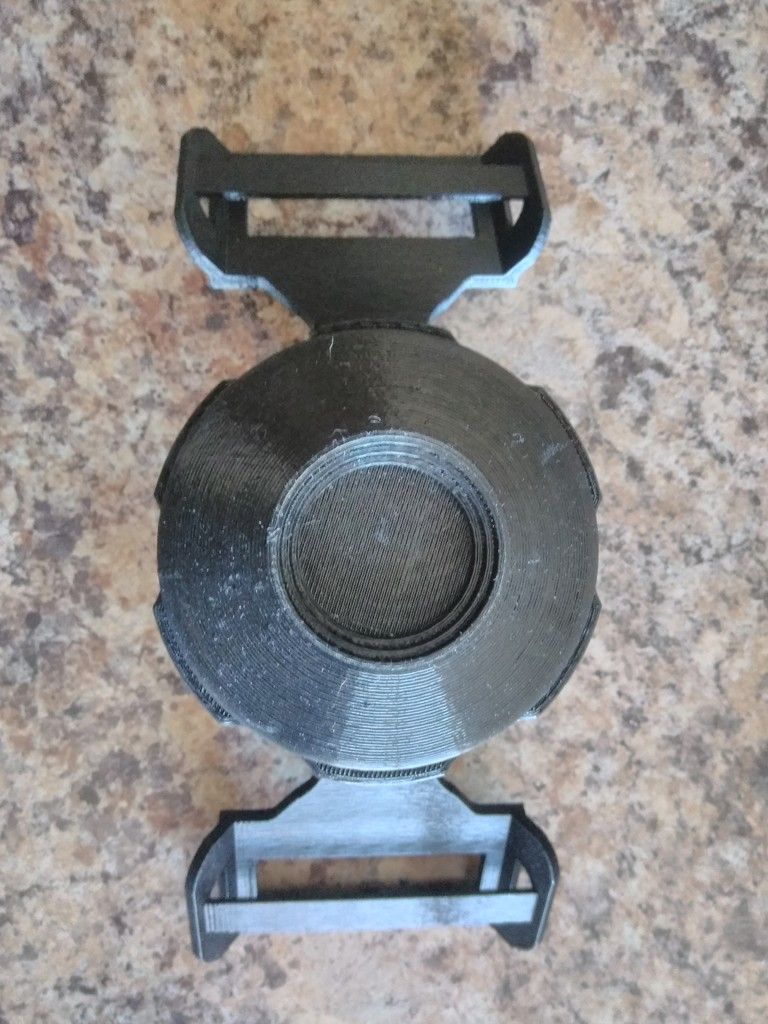
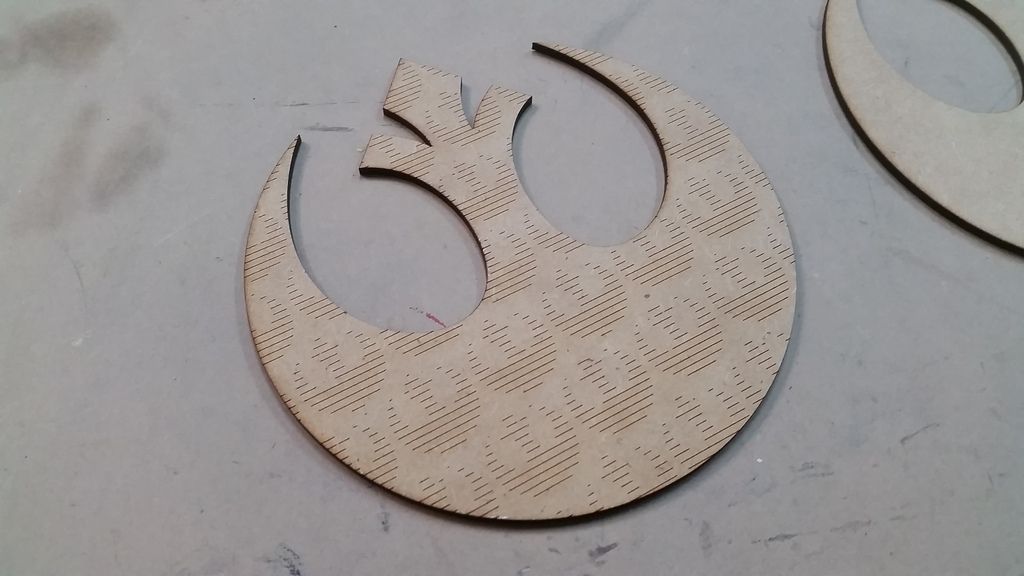
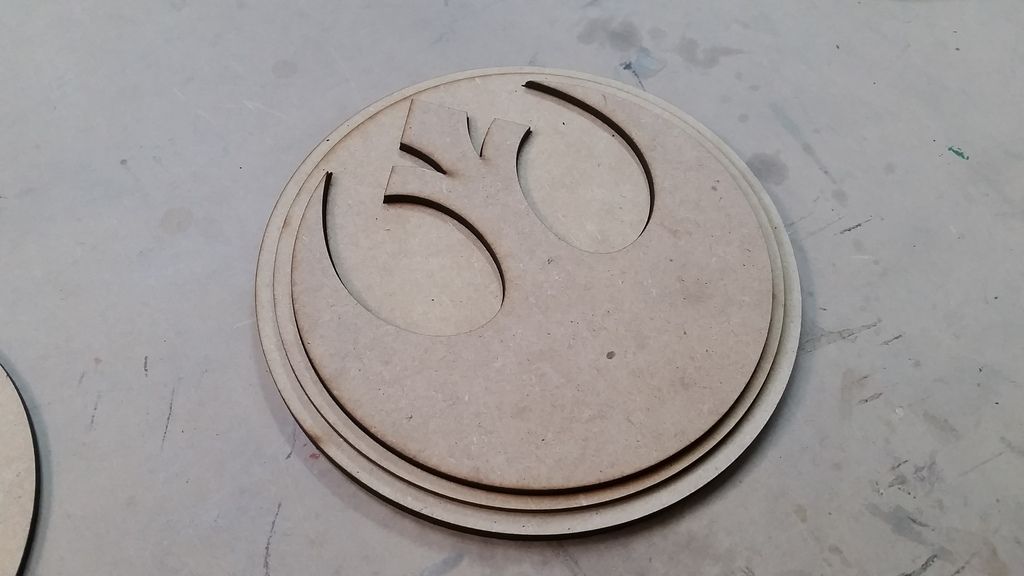
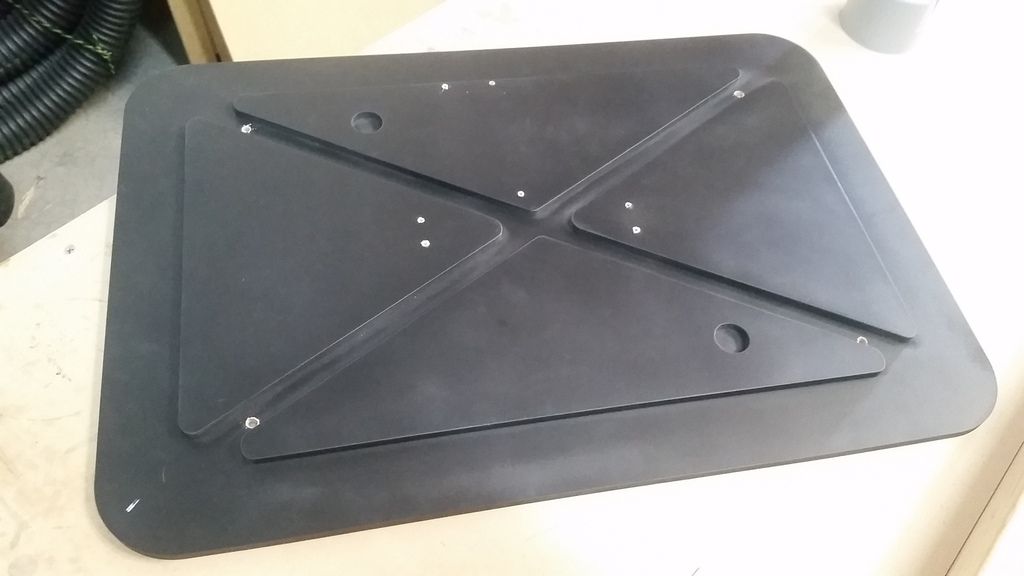
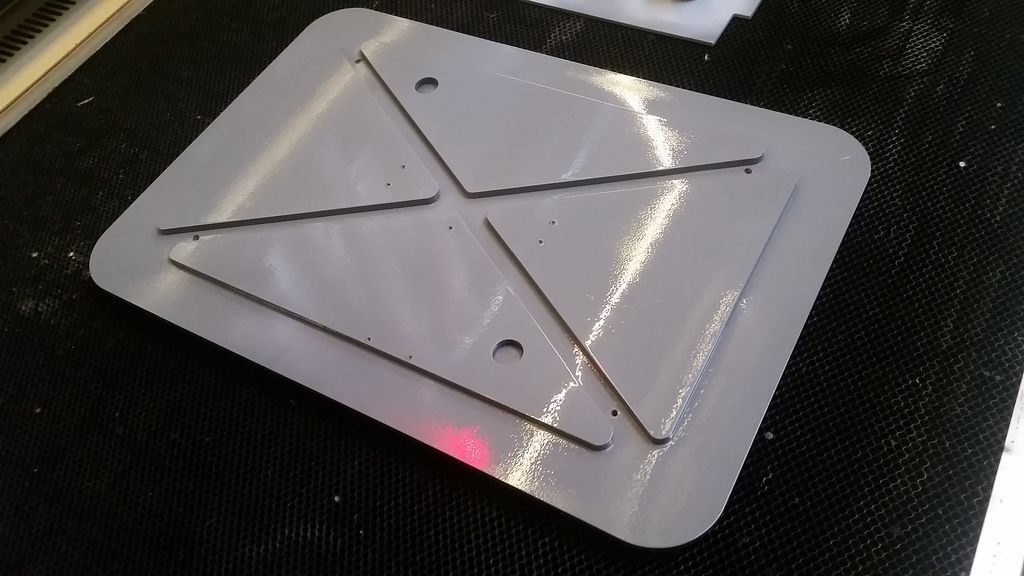
First, I created a model base for fellow RPFer Laspector
I had a few ideas and had fun with it
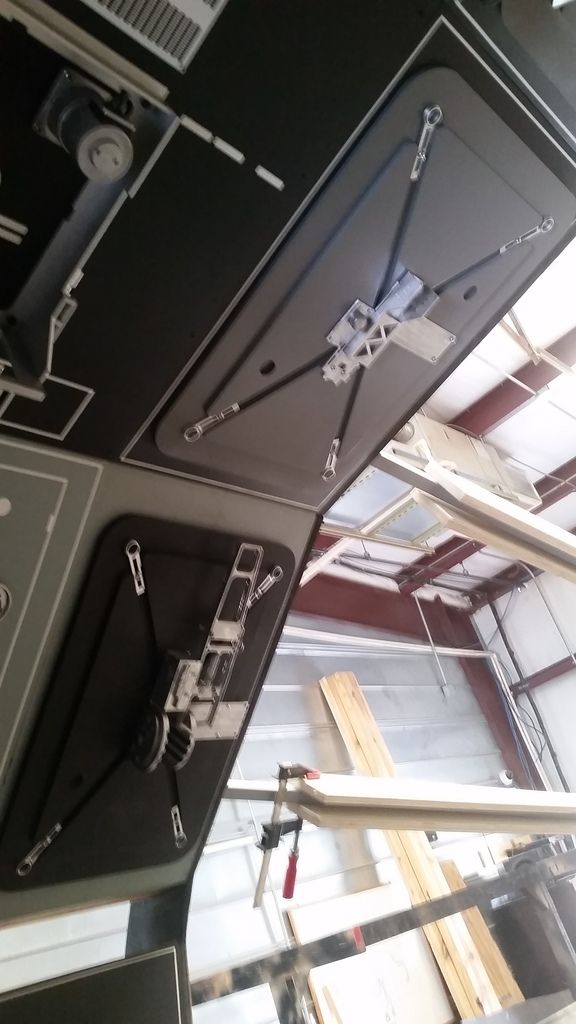
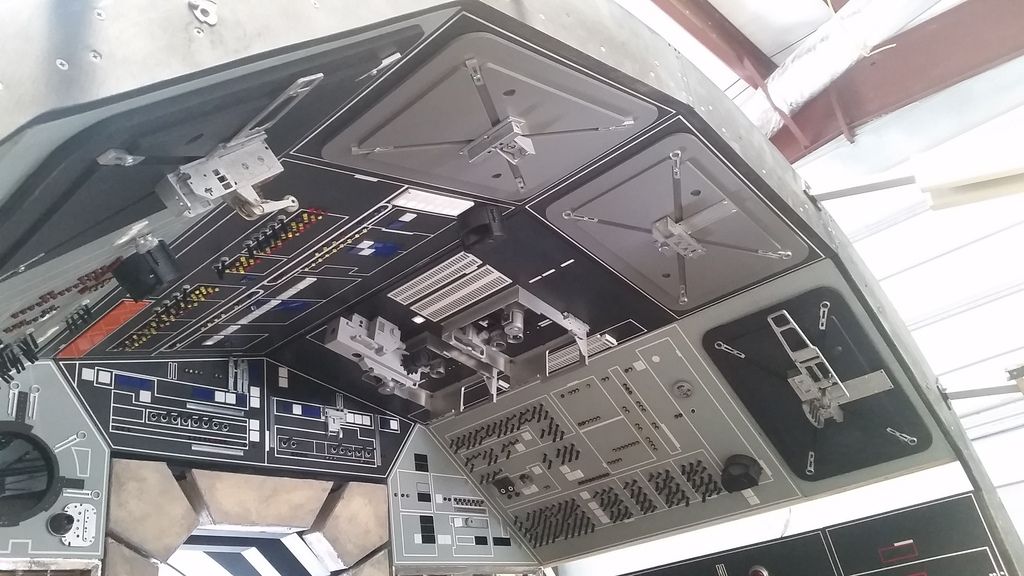
A while back I saw an image of the upper two panel lids and could have sworn they were painted light grey... Turns out they ARE! So... removed the two upper lids
Painted them the same Granite Grey I've been using
Reattach the greeblies
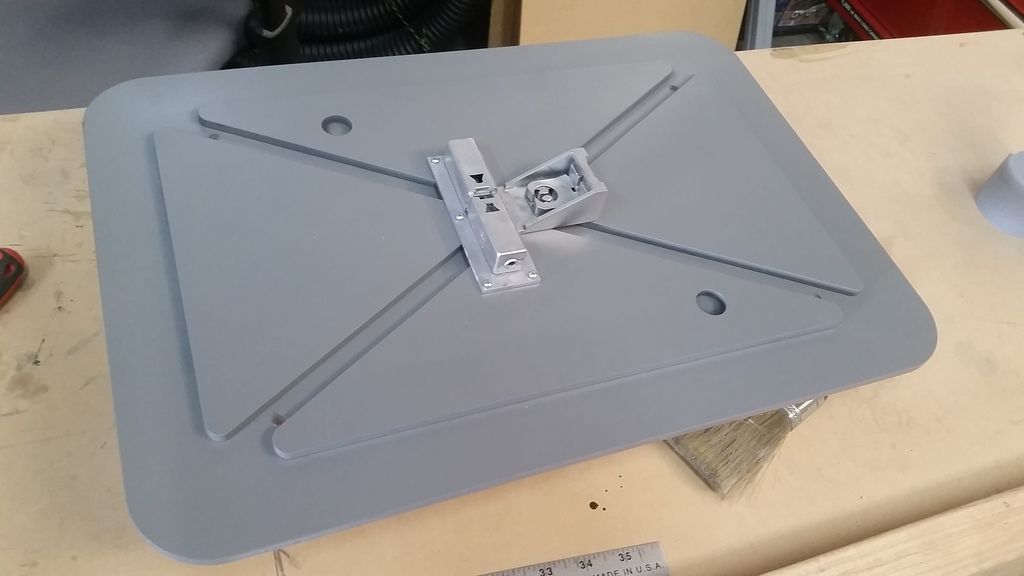
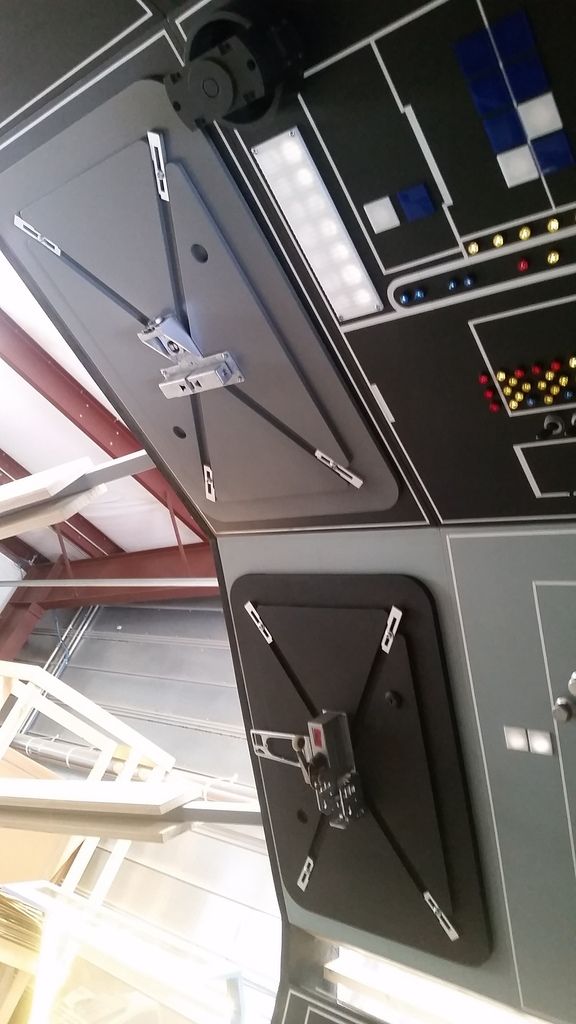
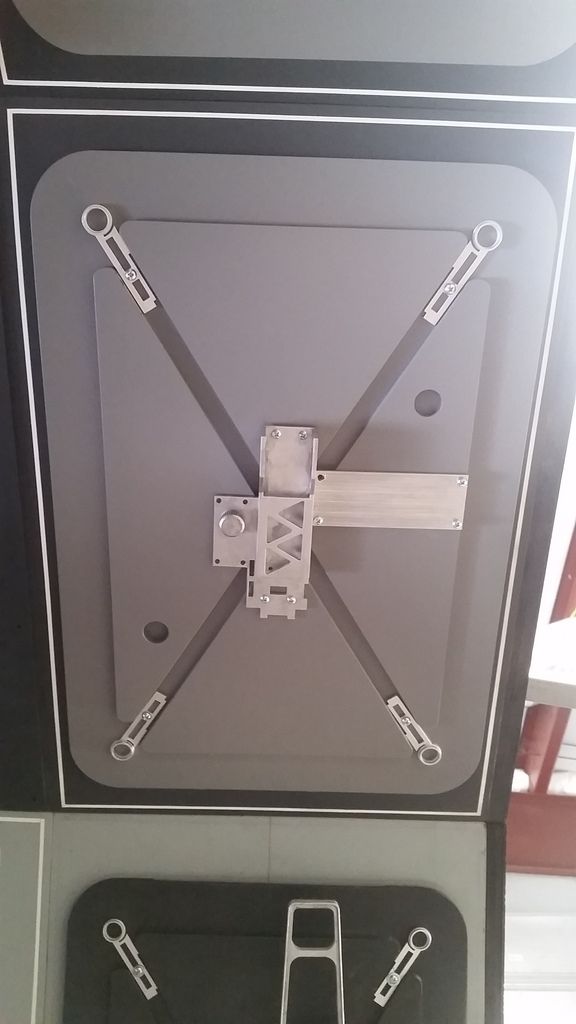
They actually look really good! I wasn't thrilled with the idea changing the black color

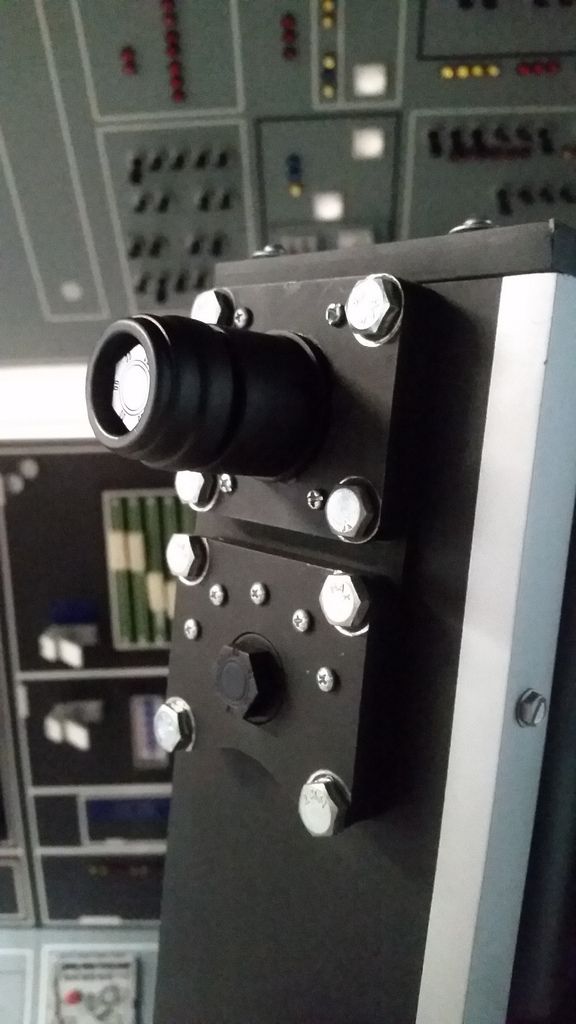
I then got back to work on the last few remaining Nav Chair greeblies
More sanding and filler
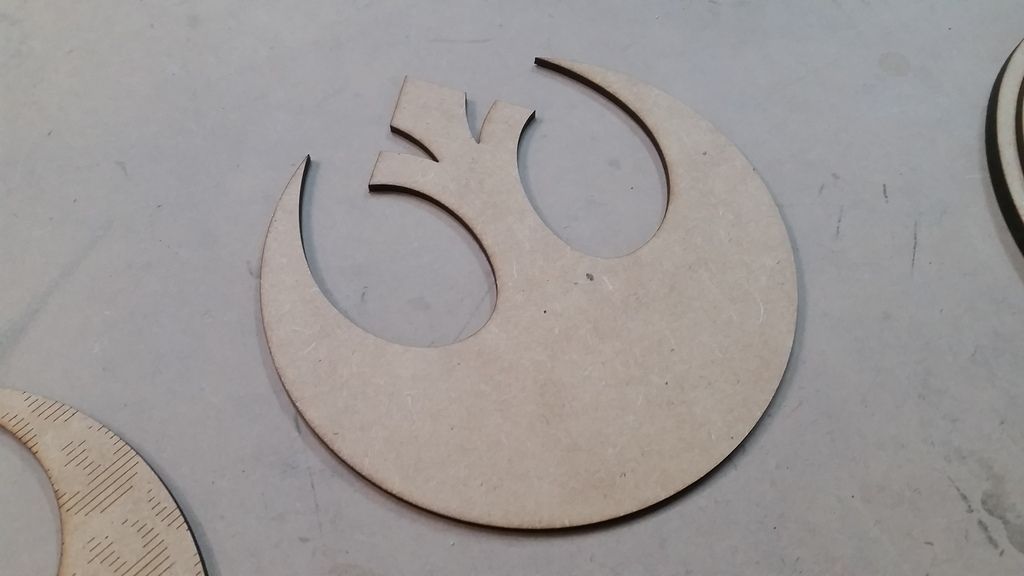
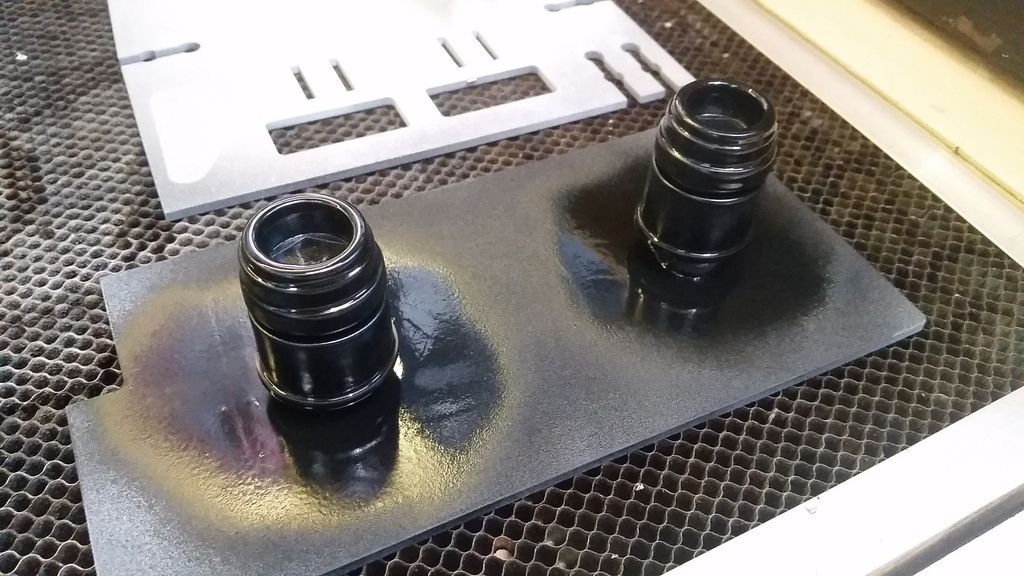
I laser cut a beauty ring

Painted the nut heads silver
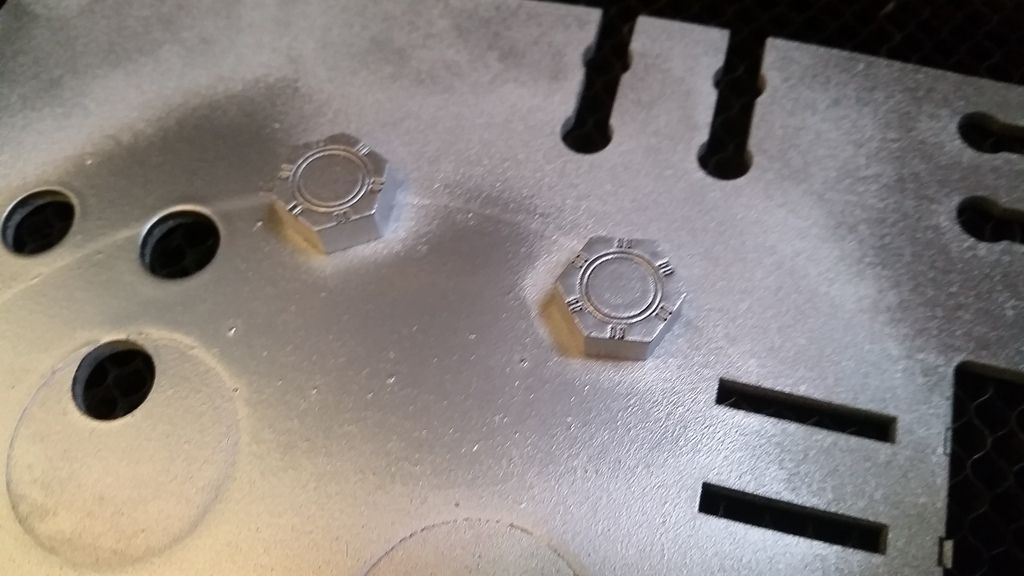
Black!
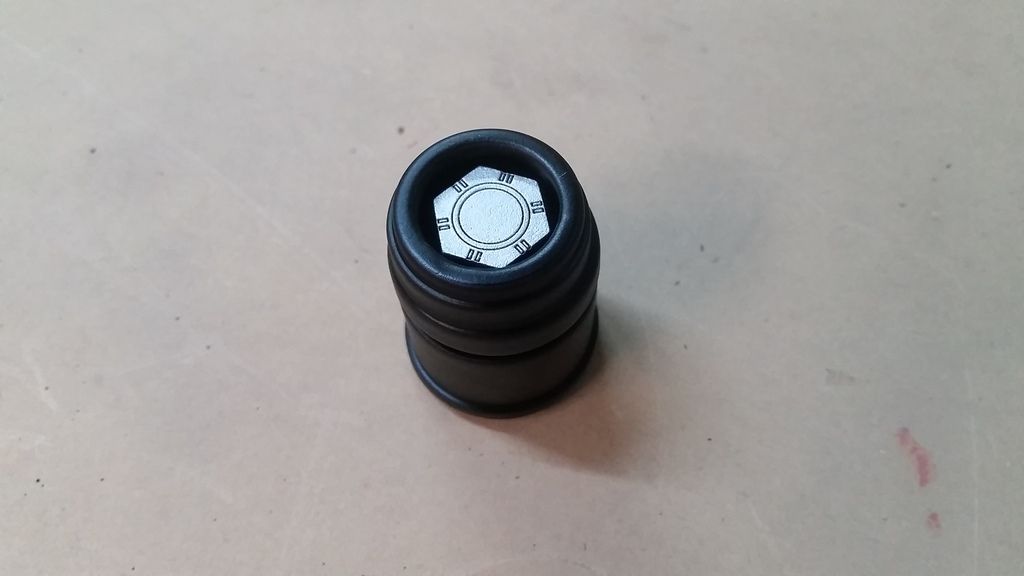
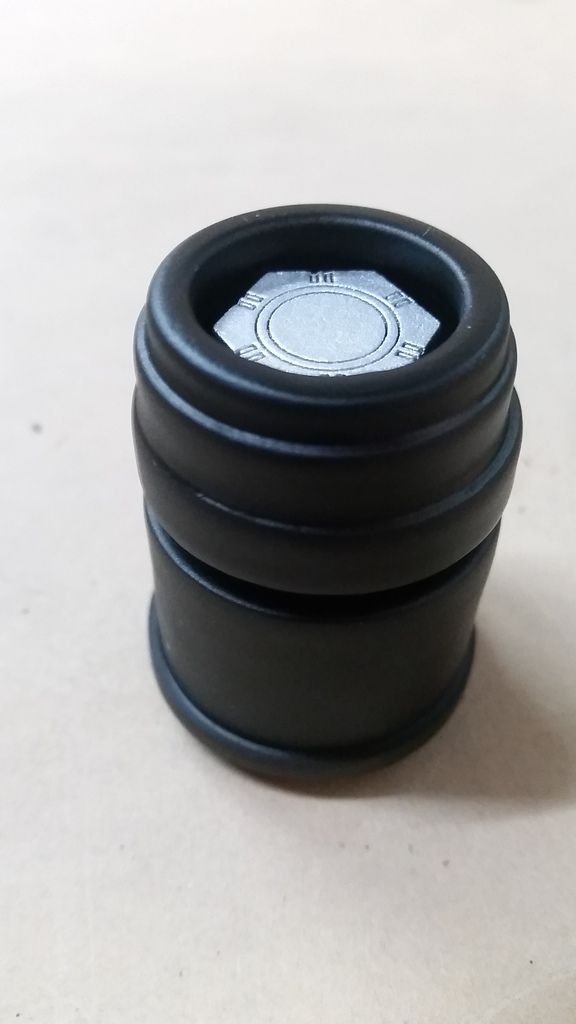
Adhered in place!
Tough to see... Sorry about that

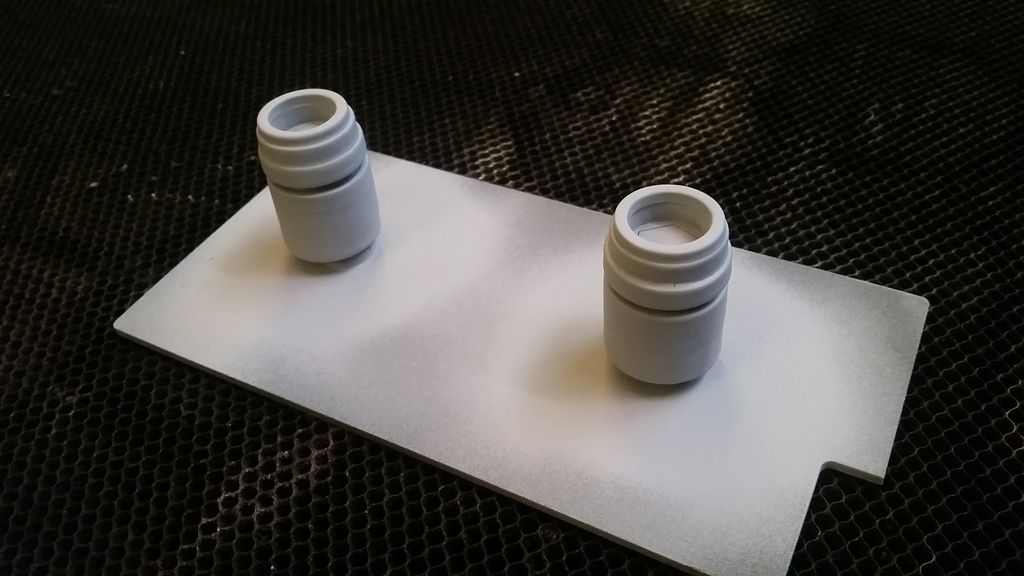
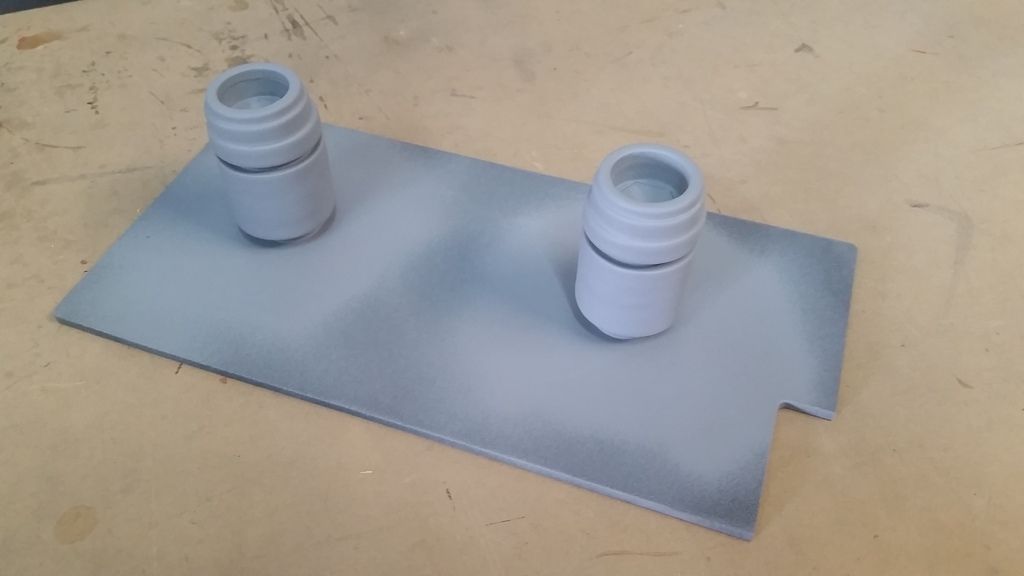
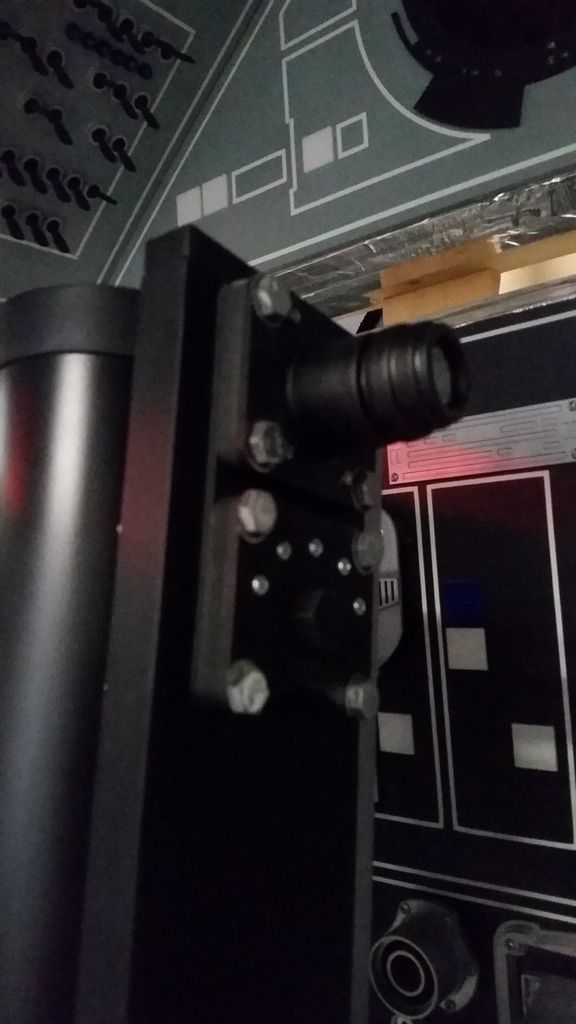
Just below is the newly finished side Cylinder
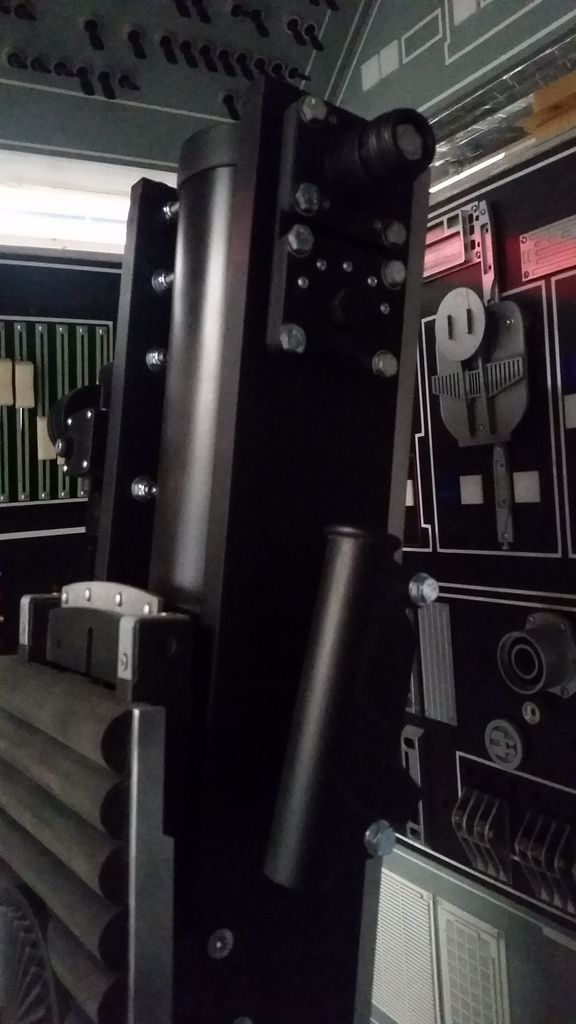
Much better pic!
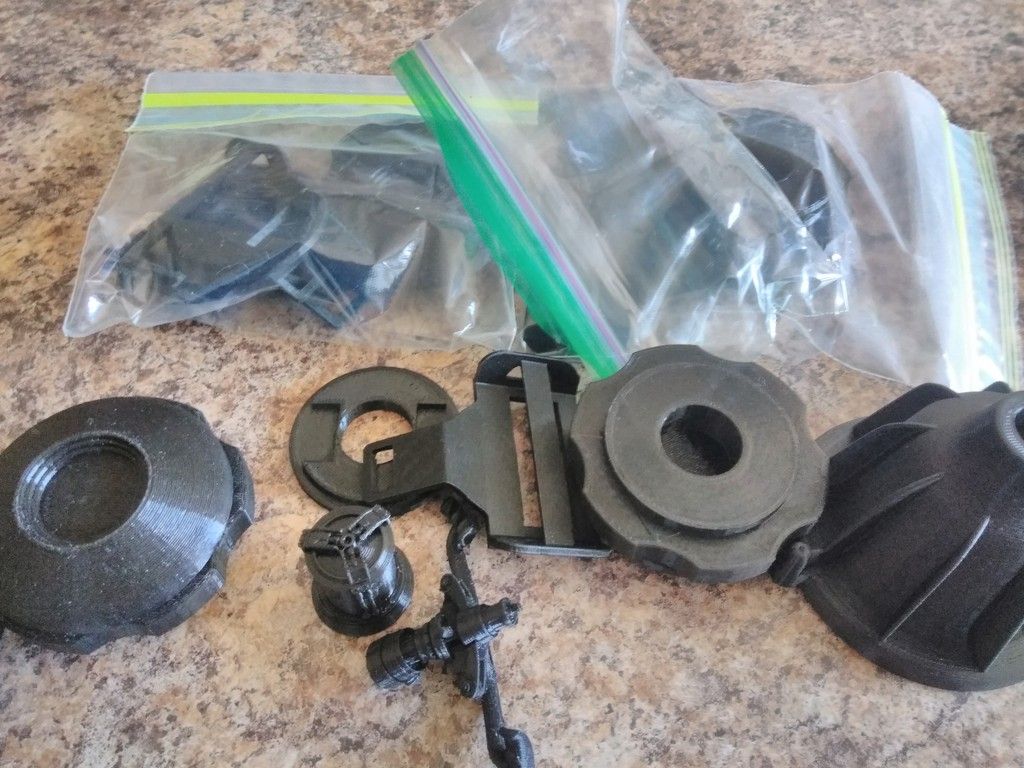
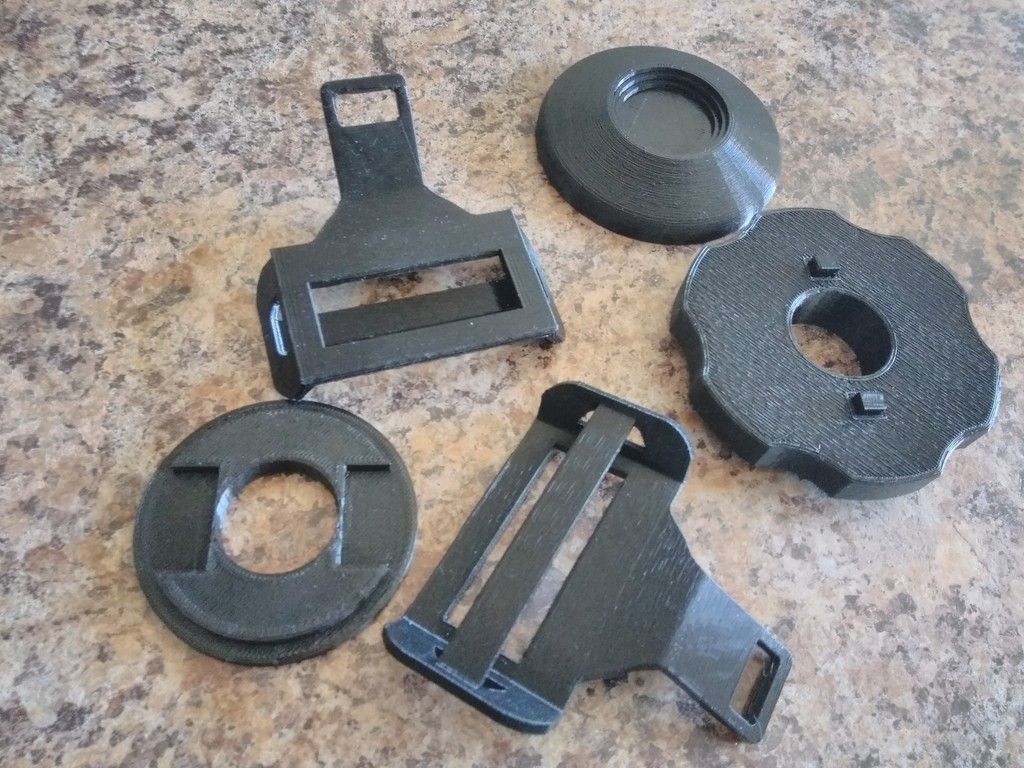
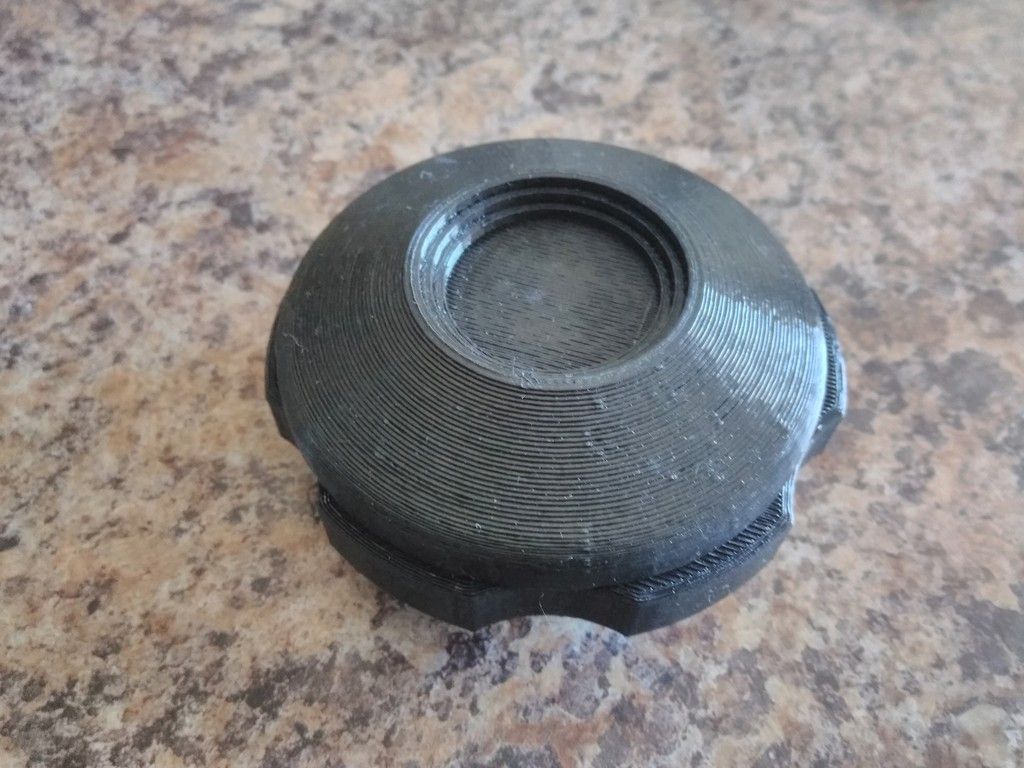
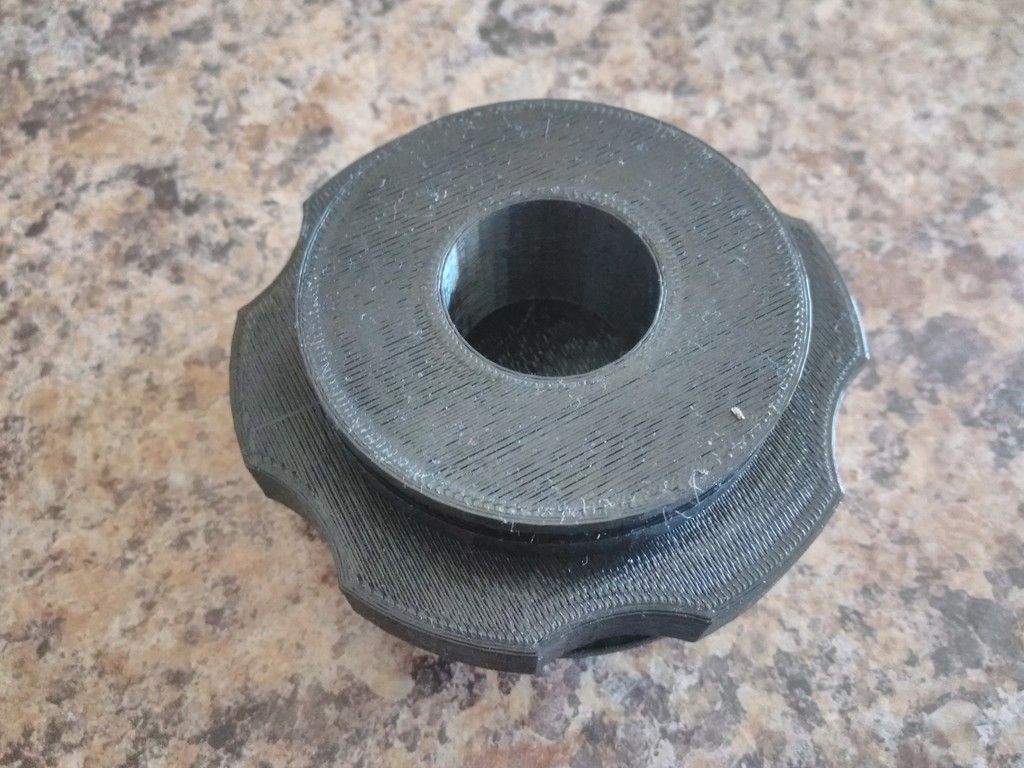
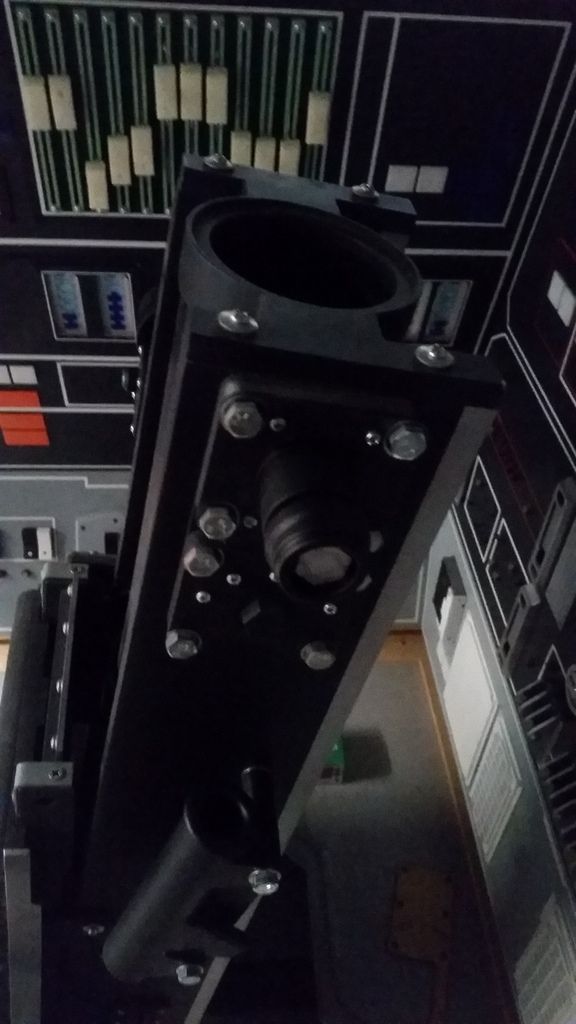
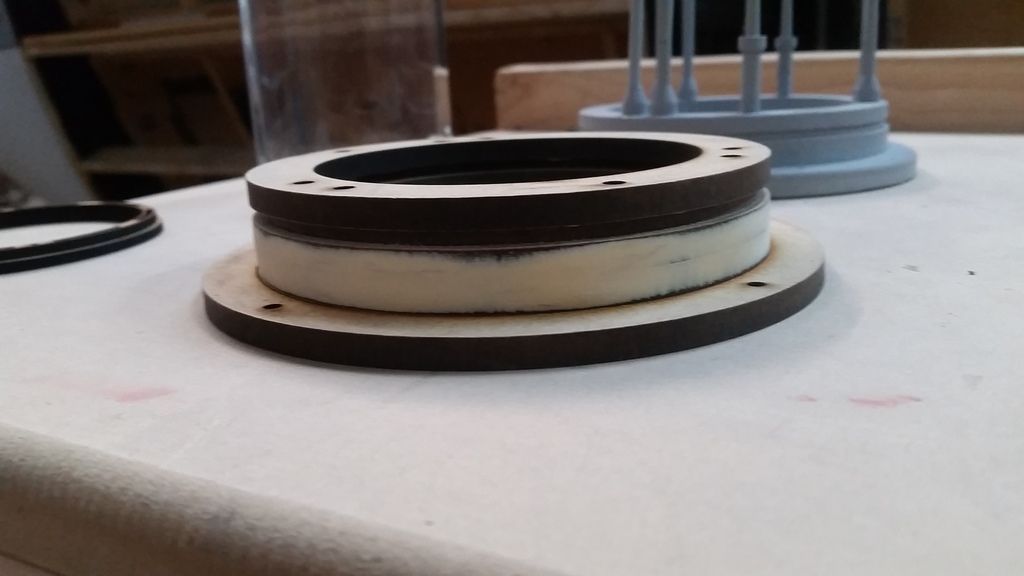
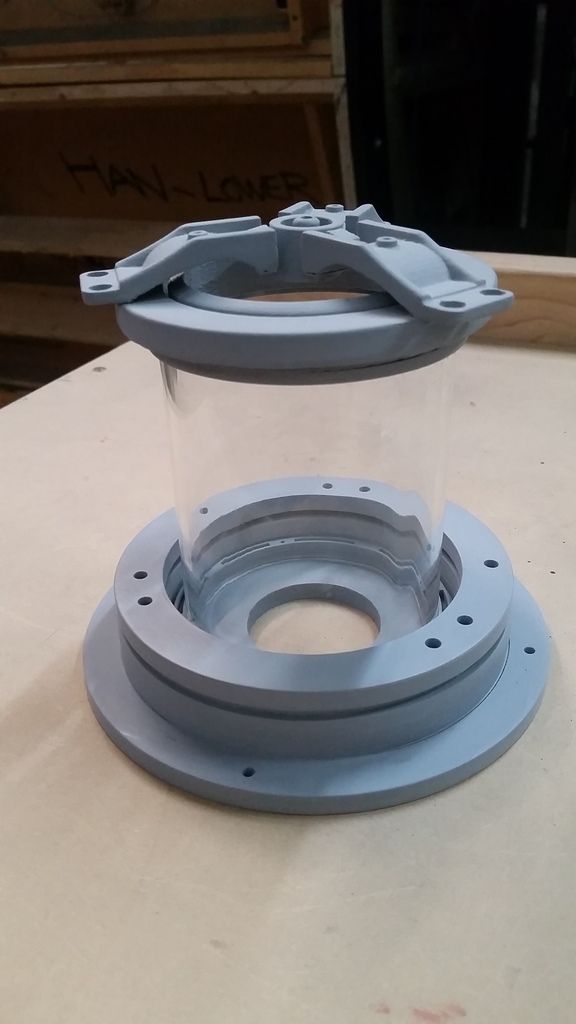
It was time to address the new compressor
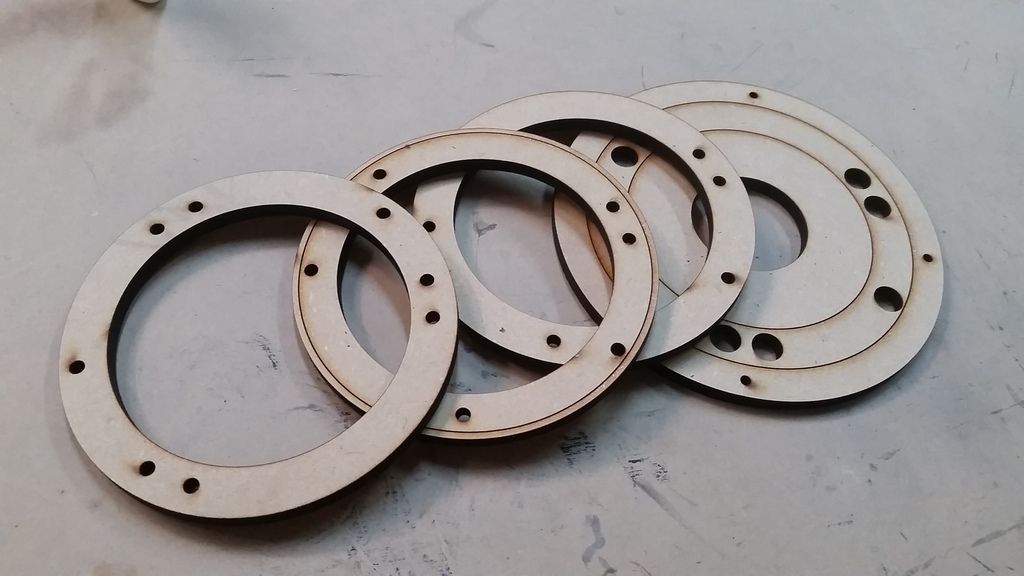
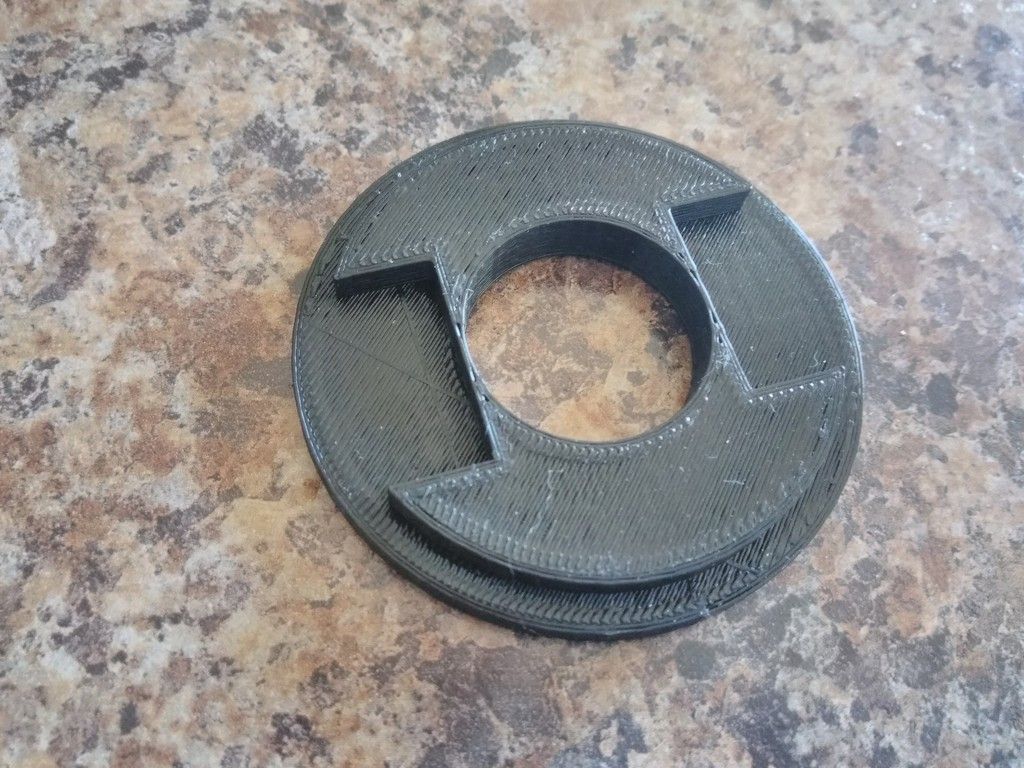
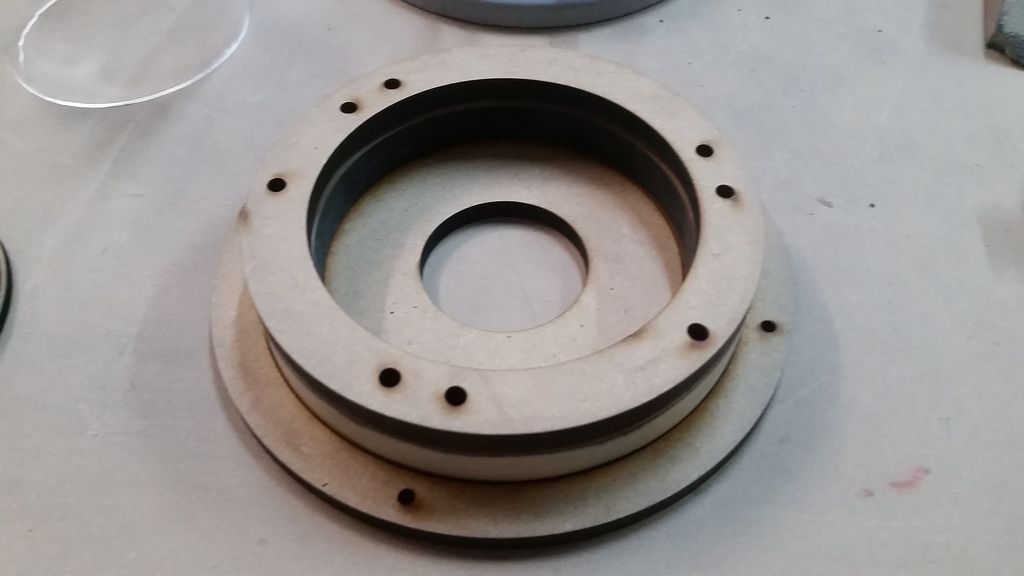
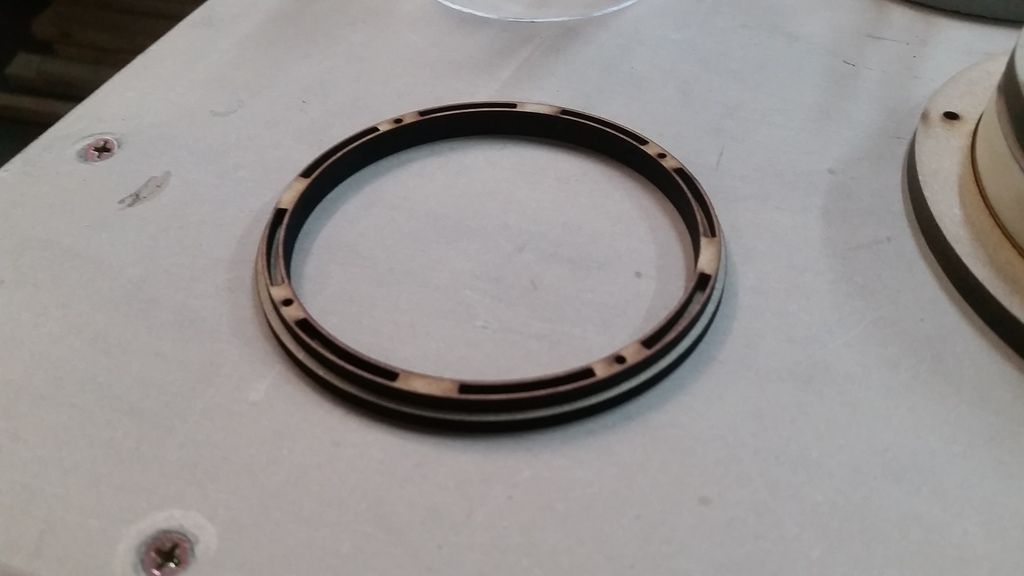
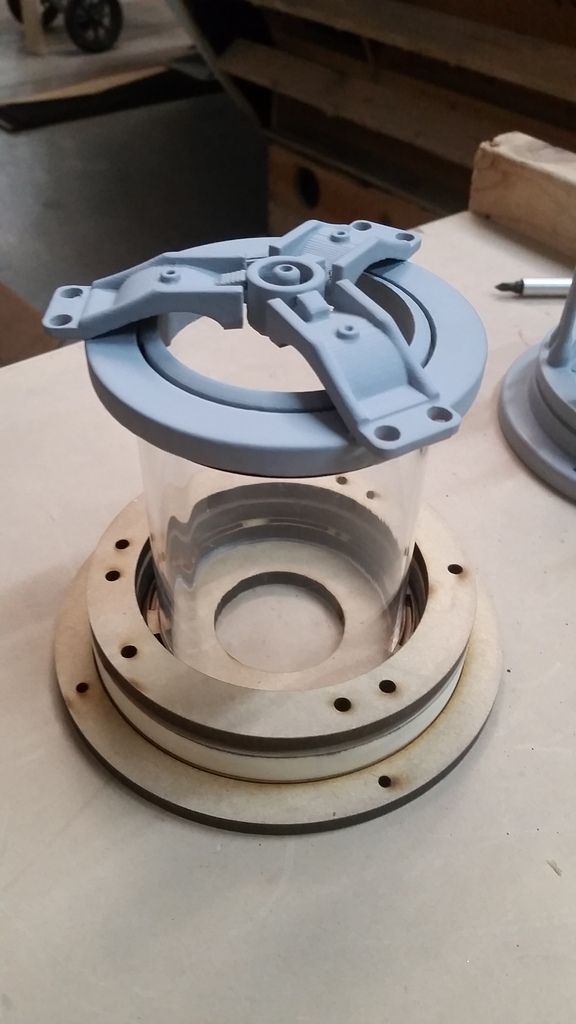
After laser cutting the new base above, I cut ring that attaches the underside of the top - this helps align/center the clear acrylic tube
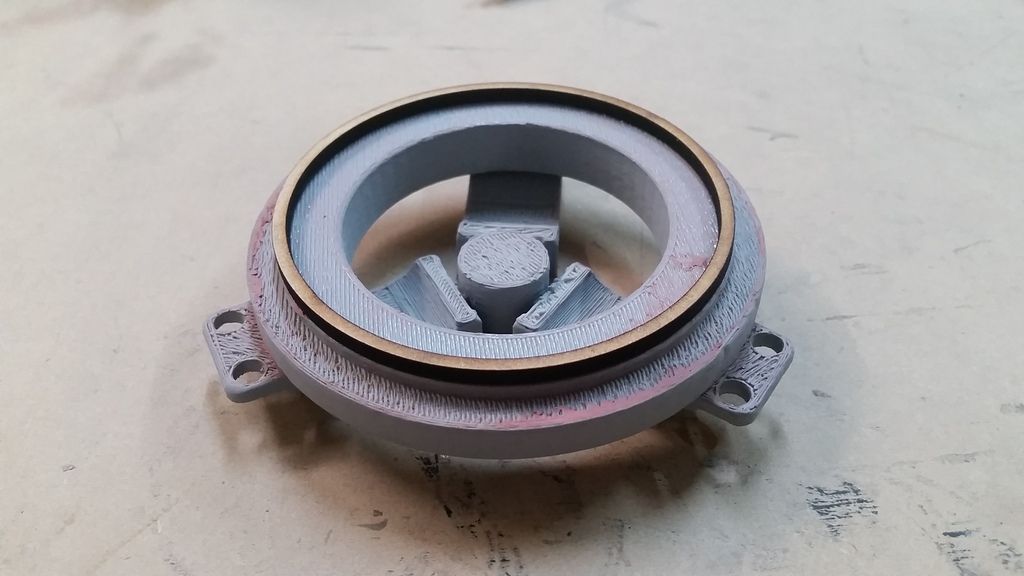
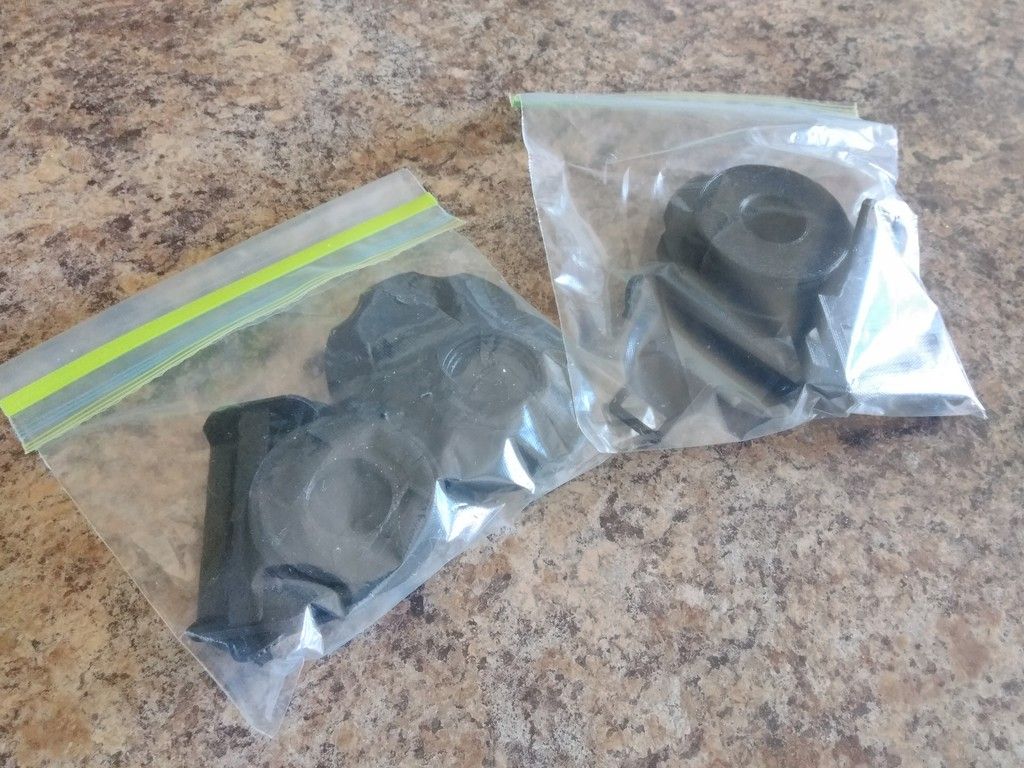
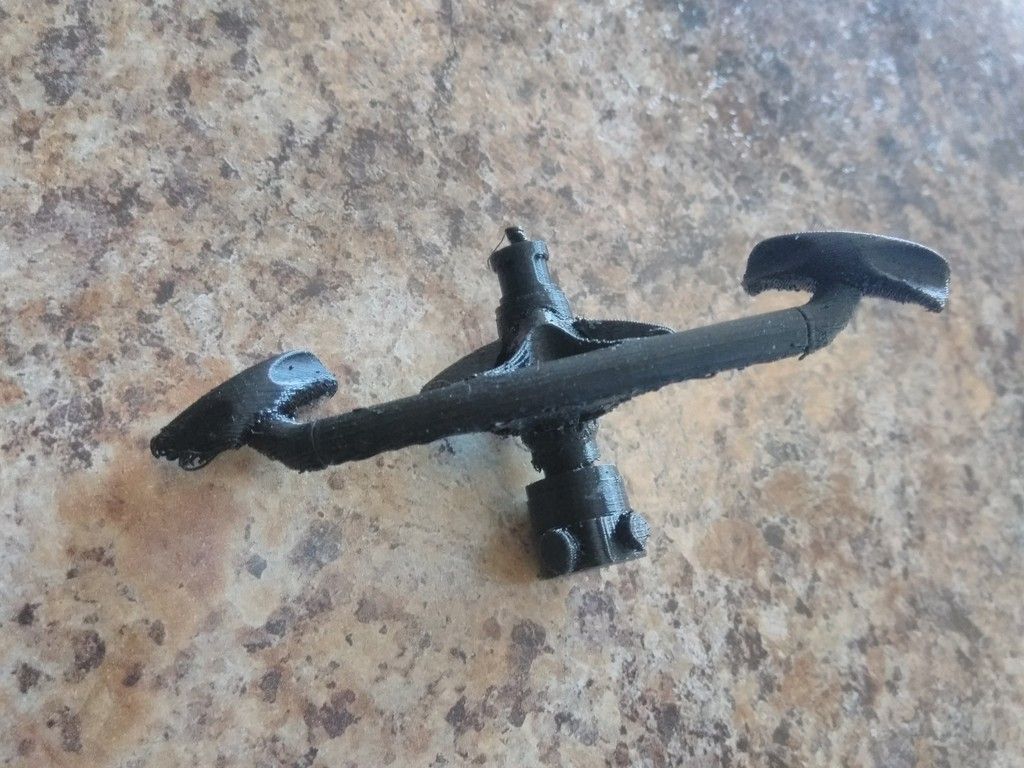
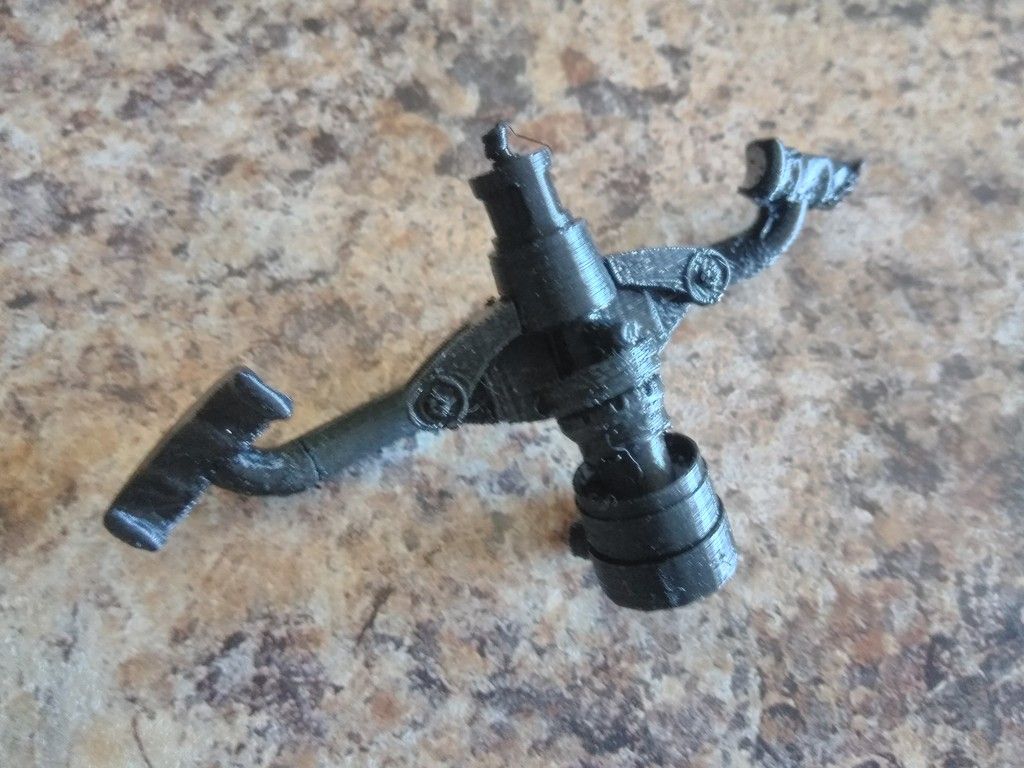
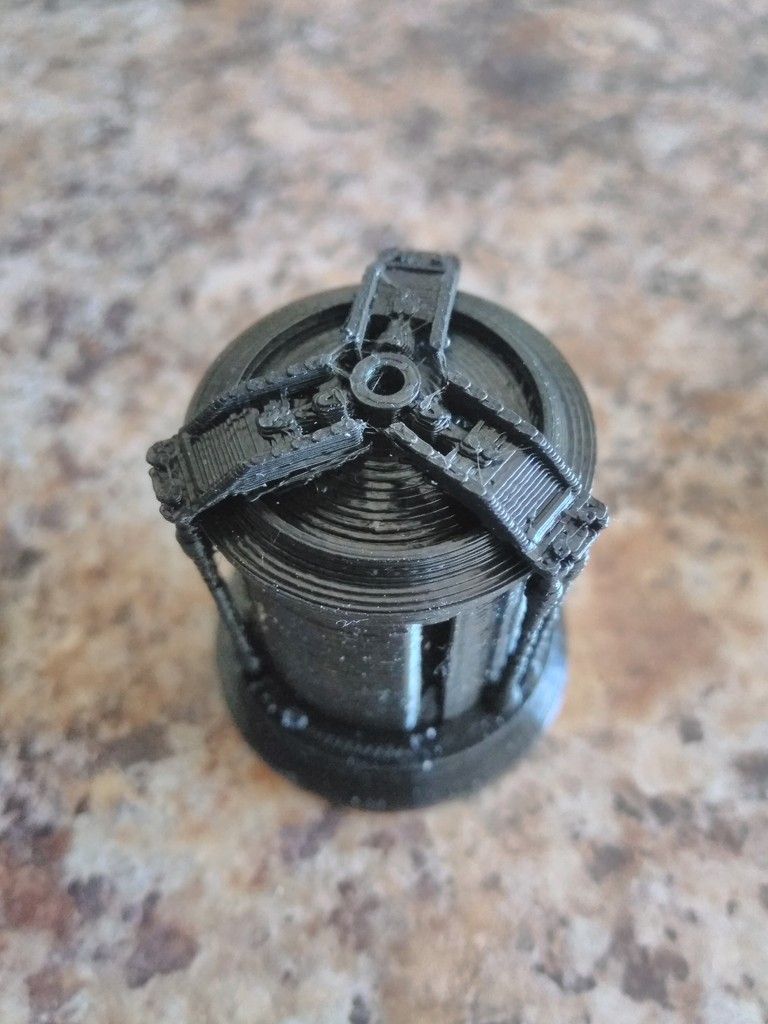
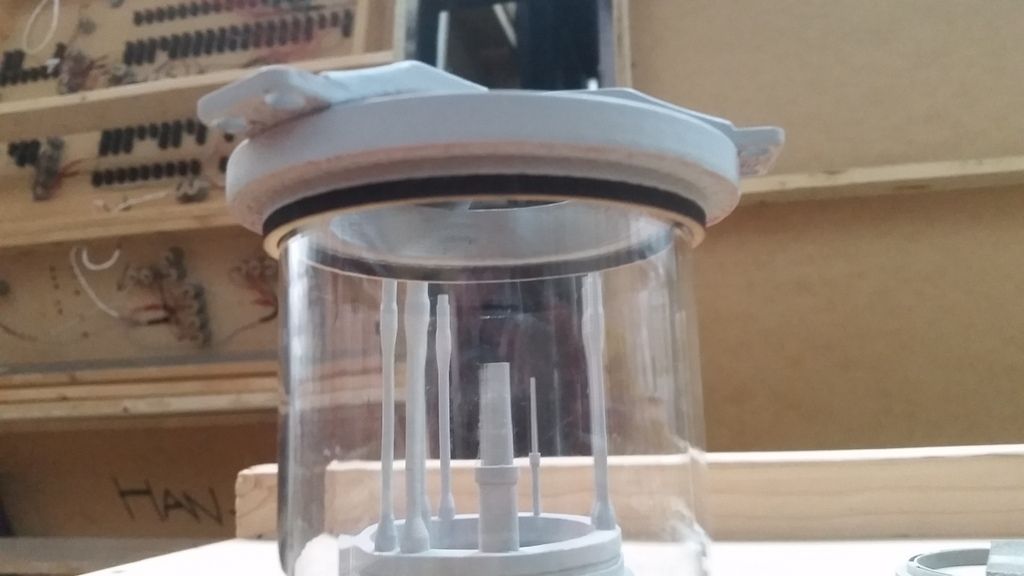
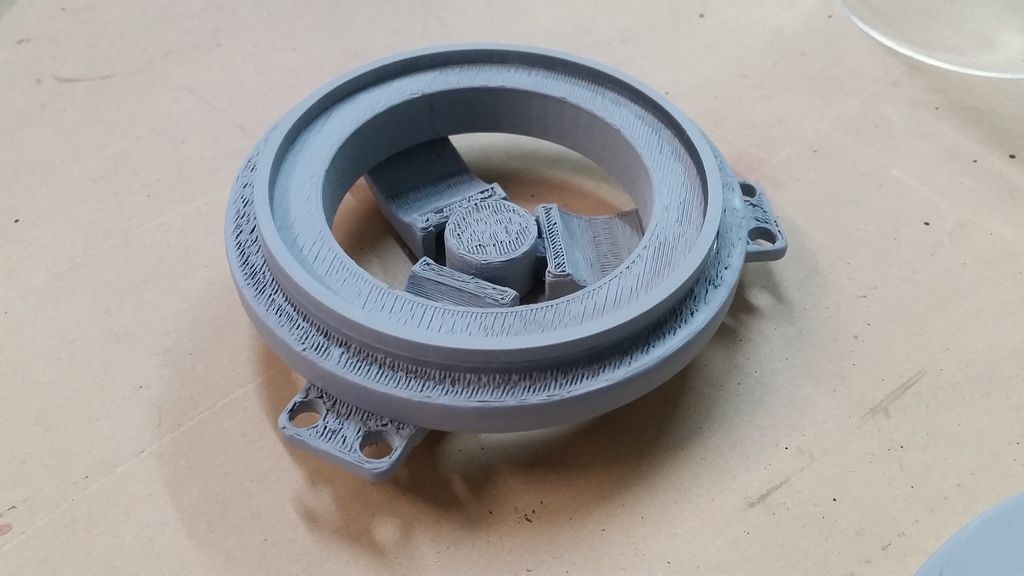
Izzy's base is friggin awesome but the 3D printed stalks that attach the base to the top are VERY delicate and 2 of them snapped. We're going lathe them out of aluminum
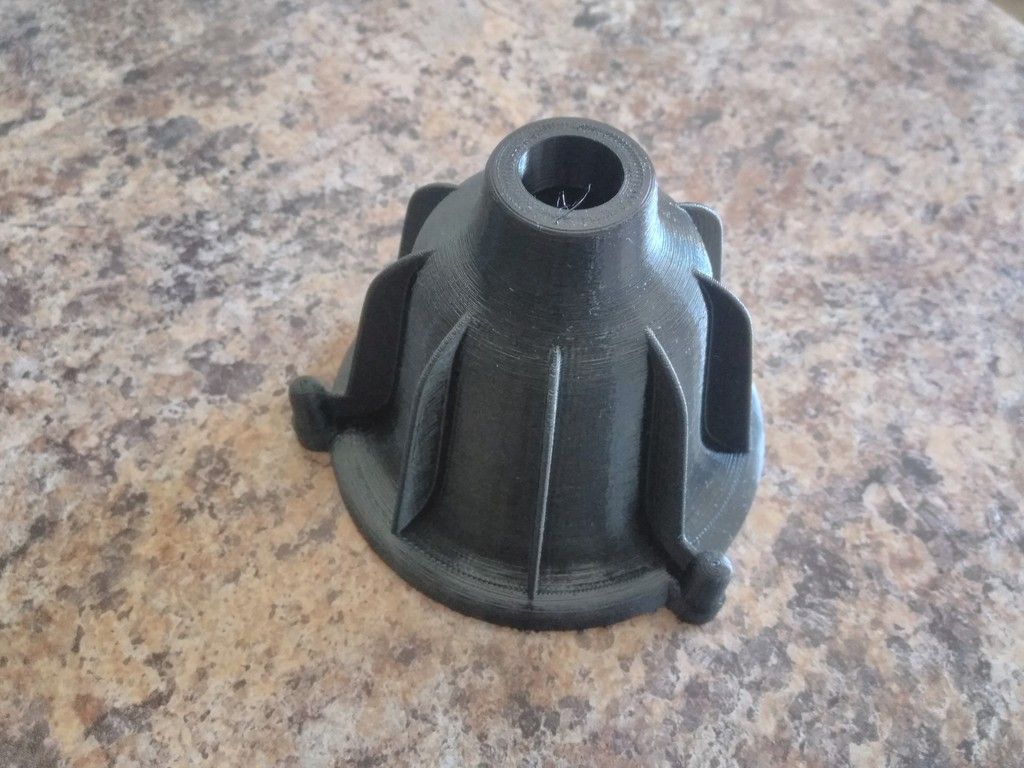
New base build up
Sanding and filler
Interior detail
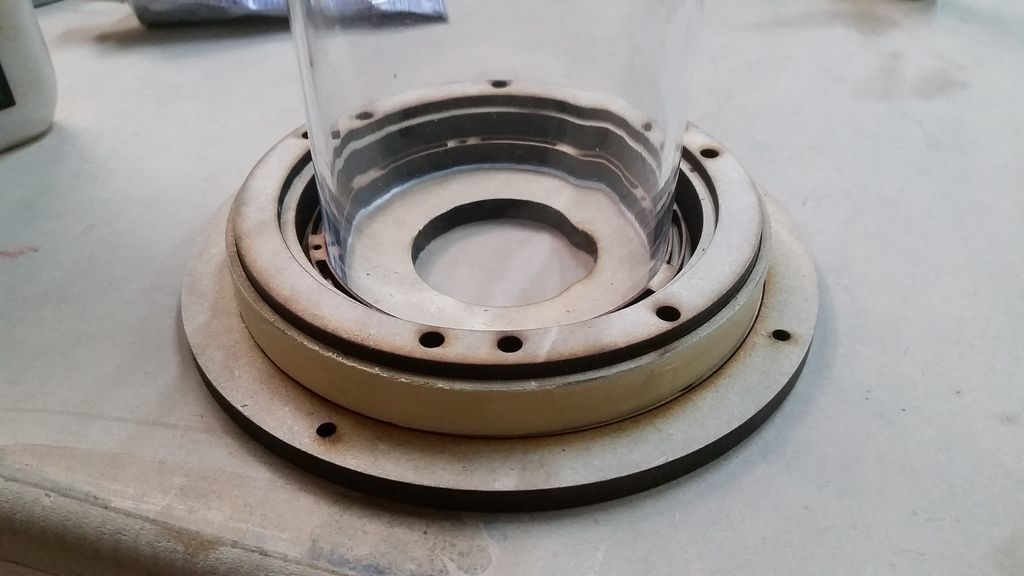
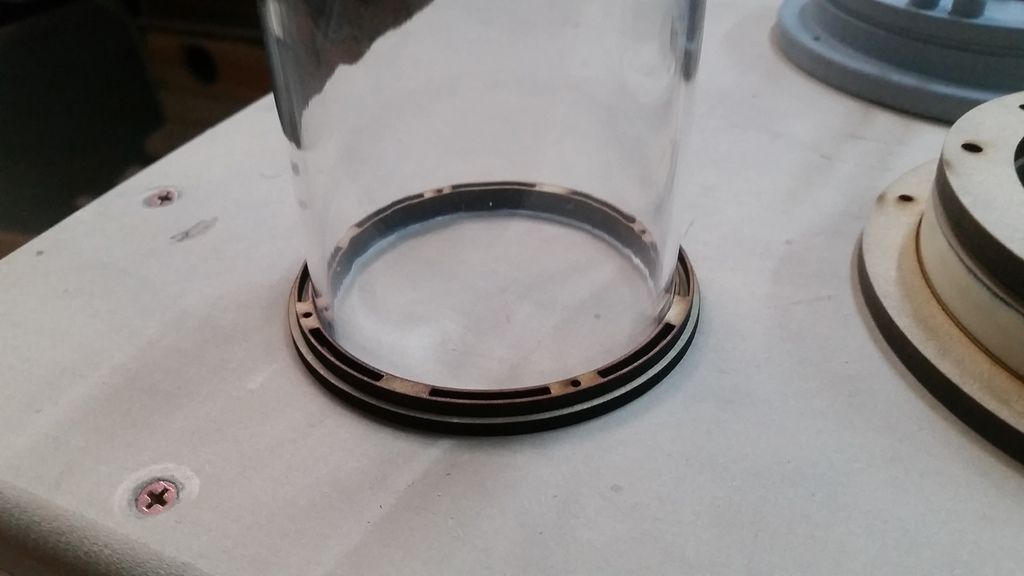
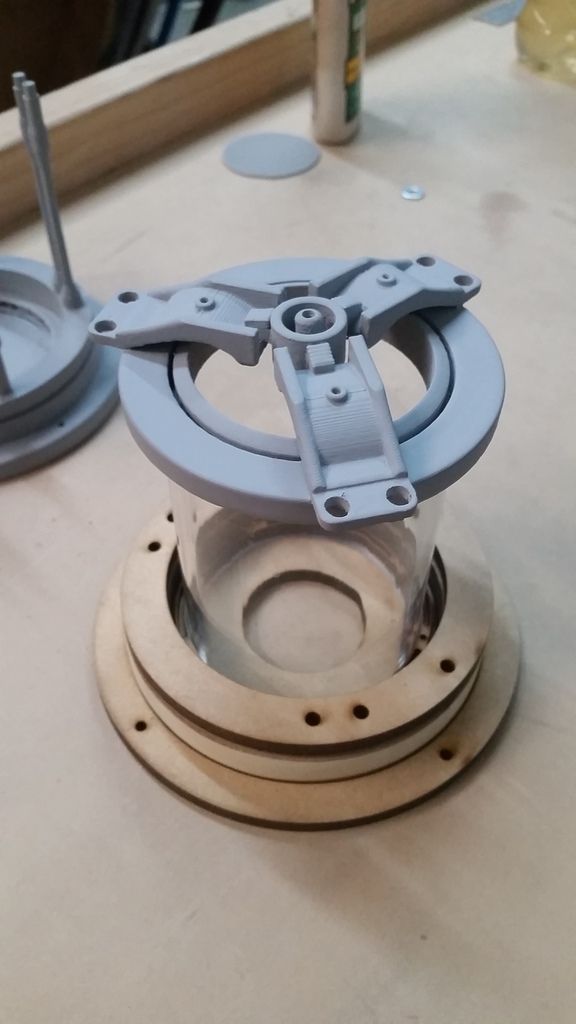
Perfect fit around the acrylic tube
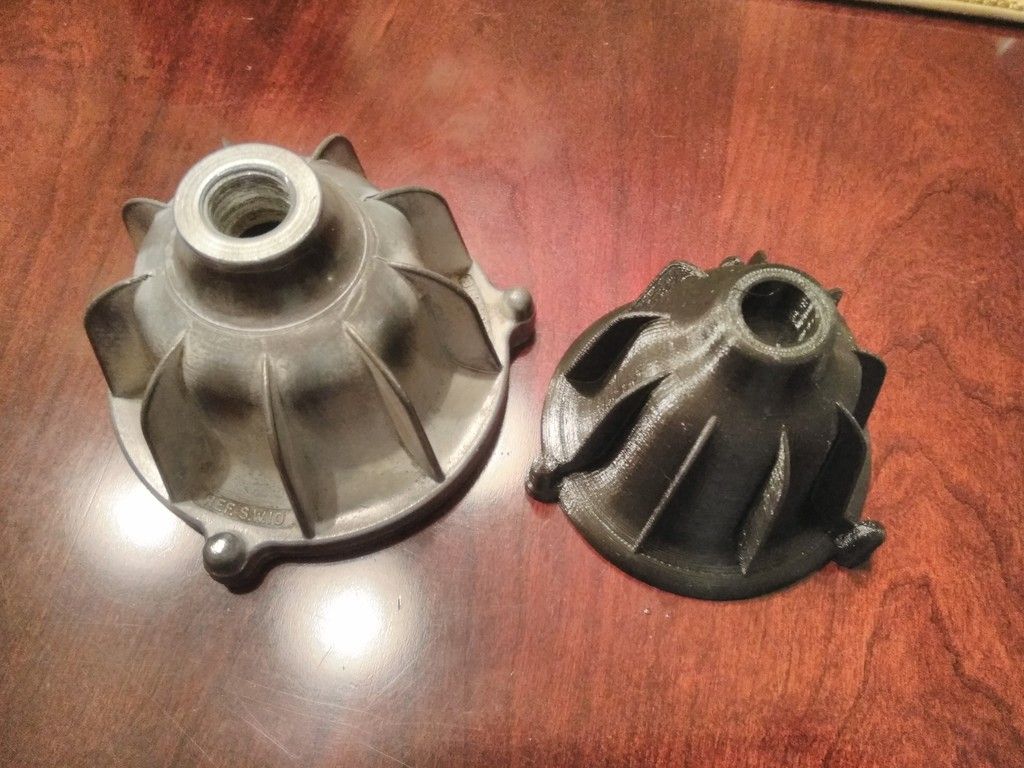
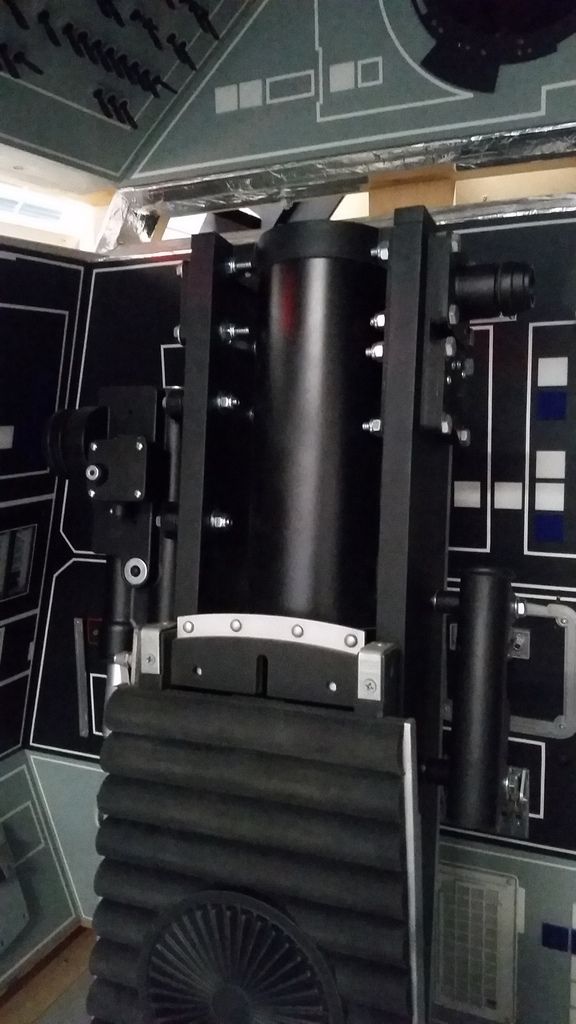
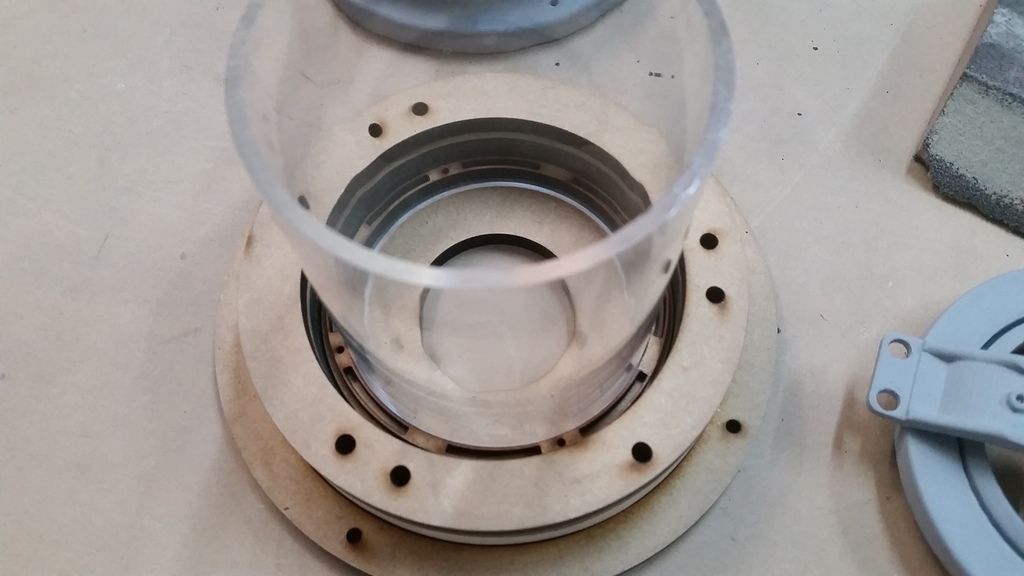
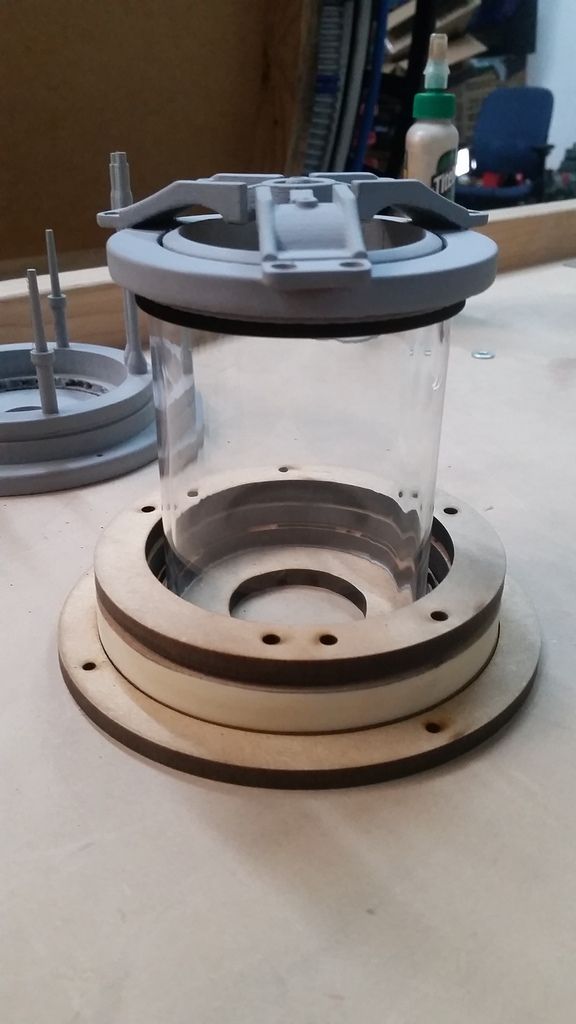
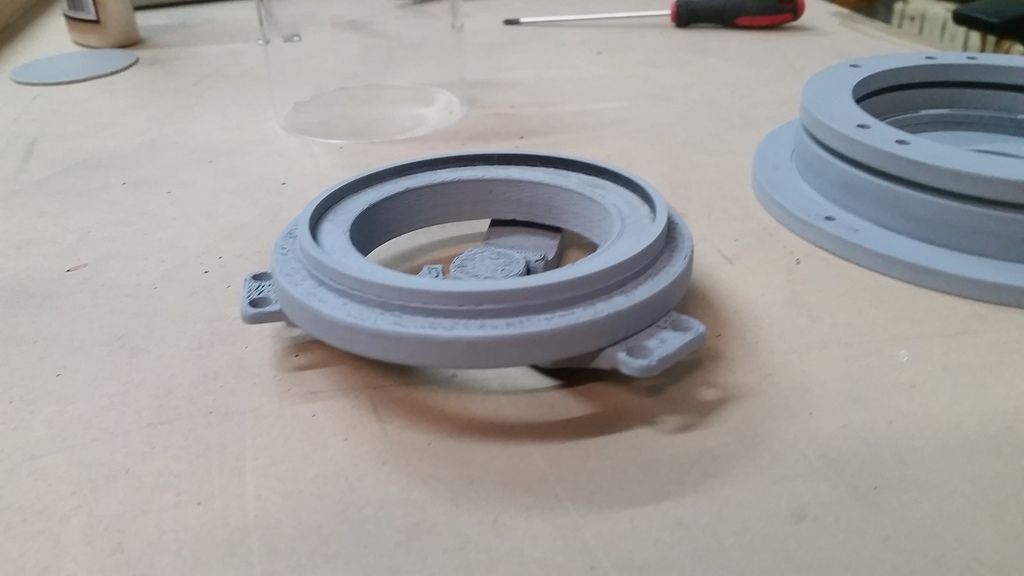
In place in the new base / housing
Lid in place (note the 3D printed version behind new one)
Slowly coming together
3 heavy coats of primer filler added
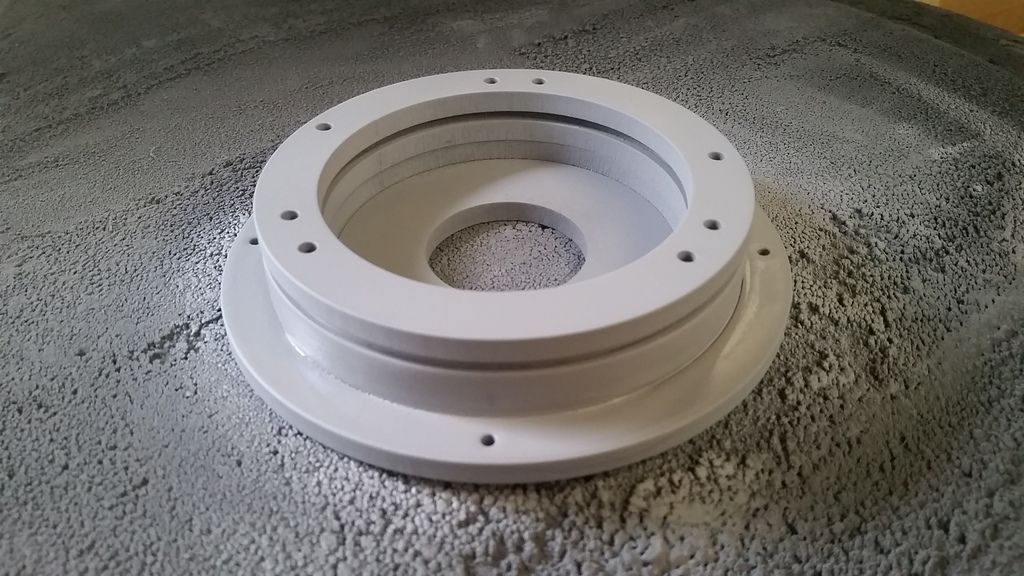
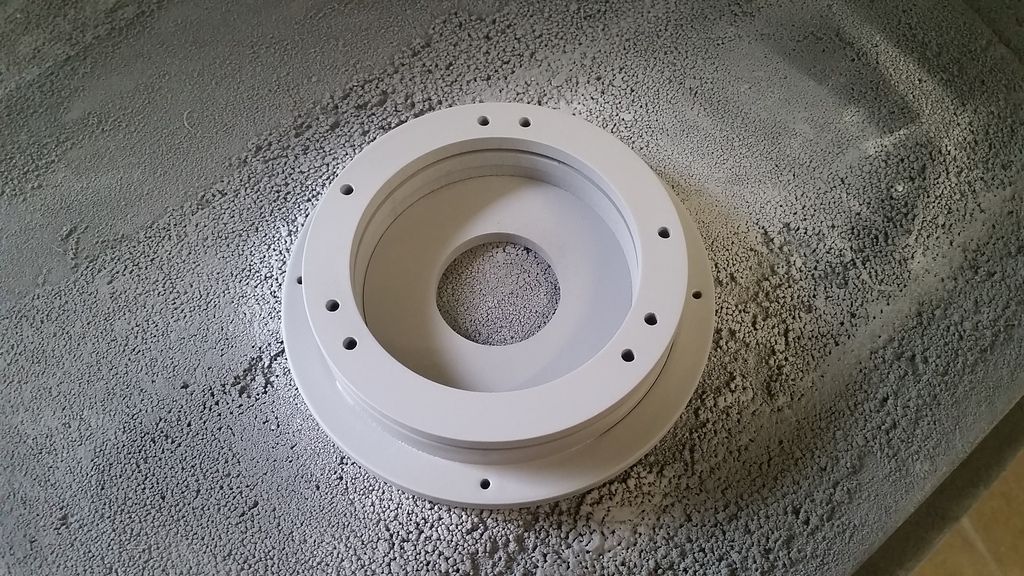
Primered the bottom of the lid
HMMMM... I wonder what that big white flat sheet is?
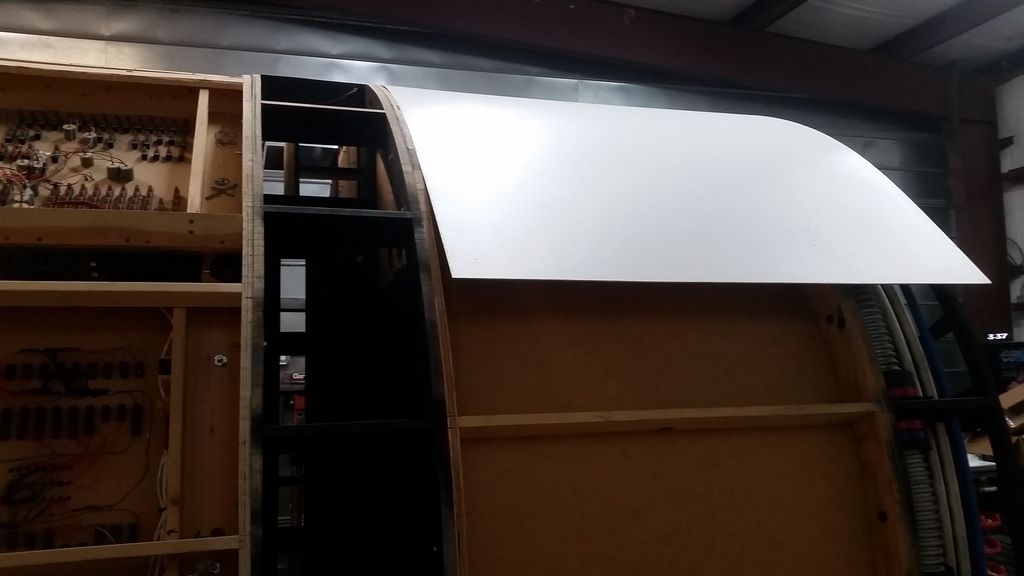
And this...

Is where we are!
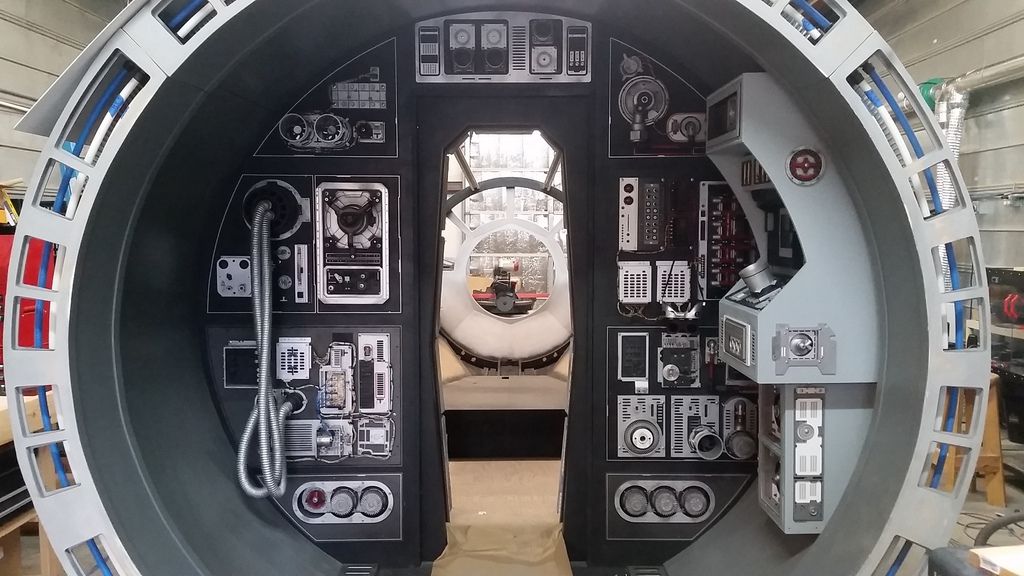
I'm really hoping by next weekend's update we'll have some forward progress on the canopy! Fingers crossed!
More to Follow!
Another "End of the Weekend Update"
There was a LOT of discussion and tossing around of ideas about how we move forward on the canopy but I did manage to get a few things done in between ideas. Enjoy!
First, I created a model base for fellow RPFer Laspector
I had a few ideas and had fun with it
A while back I saw an image of the upper two panel lids and could have sworn they were painted light grey... Turns out they ARE! So... removed the two upper lids
Painted them the same Granite Grey I've been using
Reattach the greeblies
They actually look really good! I wasn't thrilled with the idea changing the black color
I then got back to work on the last few remaining Nav Chair greeblies
More sanding and filler
I laser cut a beauty ring
Painted the nut heads silver
Black!
Adhered in place!
Tough to see... Sorry about that
Just below is the newly finished side Cylinder
Much better pic!
It was time to address the new compressor
After laser cutting the new base above, I cut ring that attaches the underside of the top - this helps align/center the clear acrylic tube
Izzy's base is friggin awesome but the 3D printed stalks that attach the base to the top are VERY delicate and 2 of them snapped. We're going lathe them out of aluminum
New base build up
Sanding and filler
Interior detail
Perfect fit around the acrylic tube
In place in the new base / housing
Lid in place (note the 3D printed version behind new one)
Slowly coming together
3 heavy coats of primer filler added
Primered the bottom of the lid
HMMMM... I wonder what that big white flat sheet is?
And this...
Is where we are!
I'm really hoping by next weekend's update we'll have some forward progress on the canopy! Fingers crossed!
More to Follow!
Last edited:
")