1:1 Millennium Falcon Cockpit Replica - Group Build

Hi! I'm Francisco, I'm from Veracruz, Mexico, I'm searching for blueprints of the millennial falcon cockpit, because I want to built a themed sidecar to my scooter for my dog Shaft, can you help me?
Hey Francisco!
That's a cool idea. I would start with a sidecar and modify it to look like the Falcon, rather than start with the Falcon and try to make it a sidecar. Measure what you have and decide what size works best. Plan everything as best you can then dive in!
 
Hi Gang,

Weekend Update Part I! Enjoy!

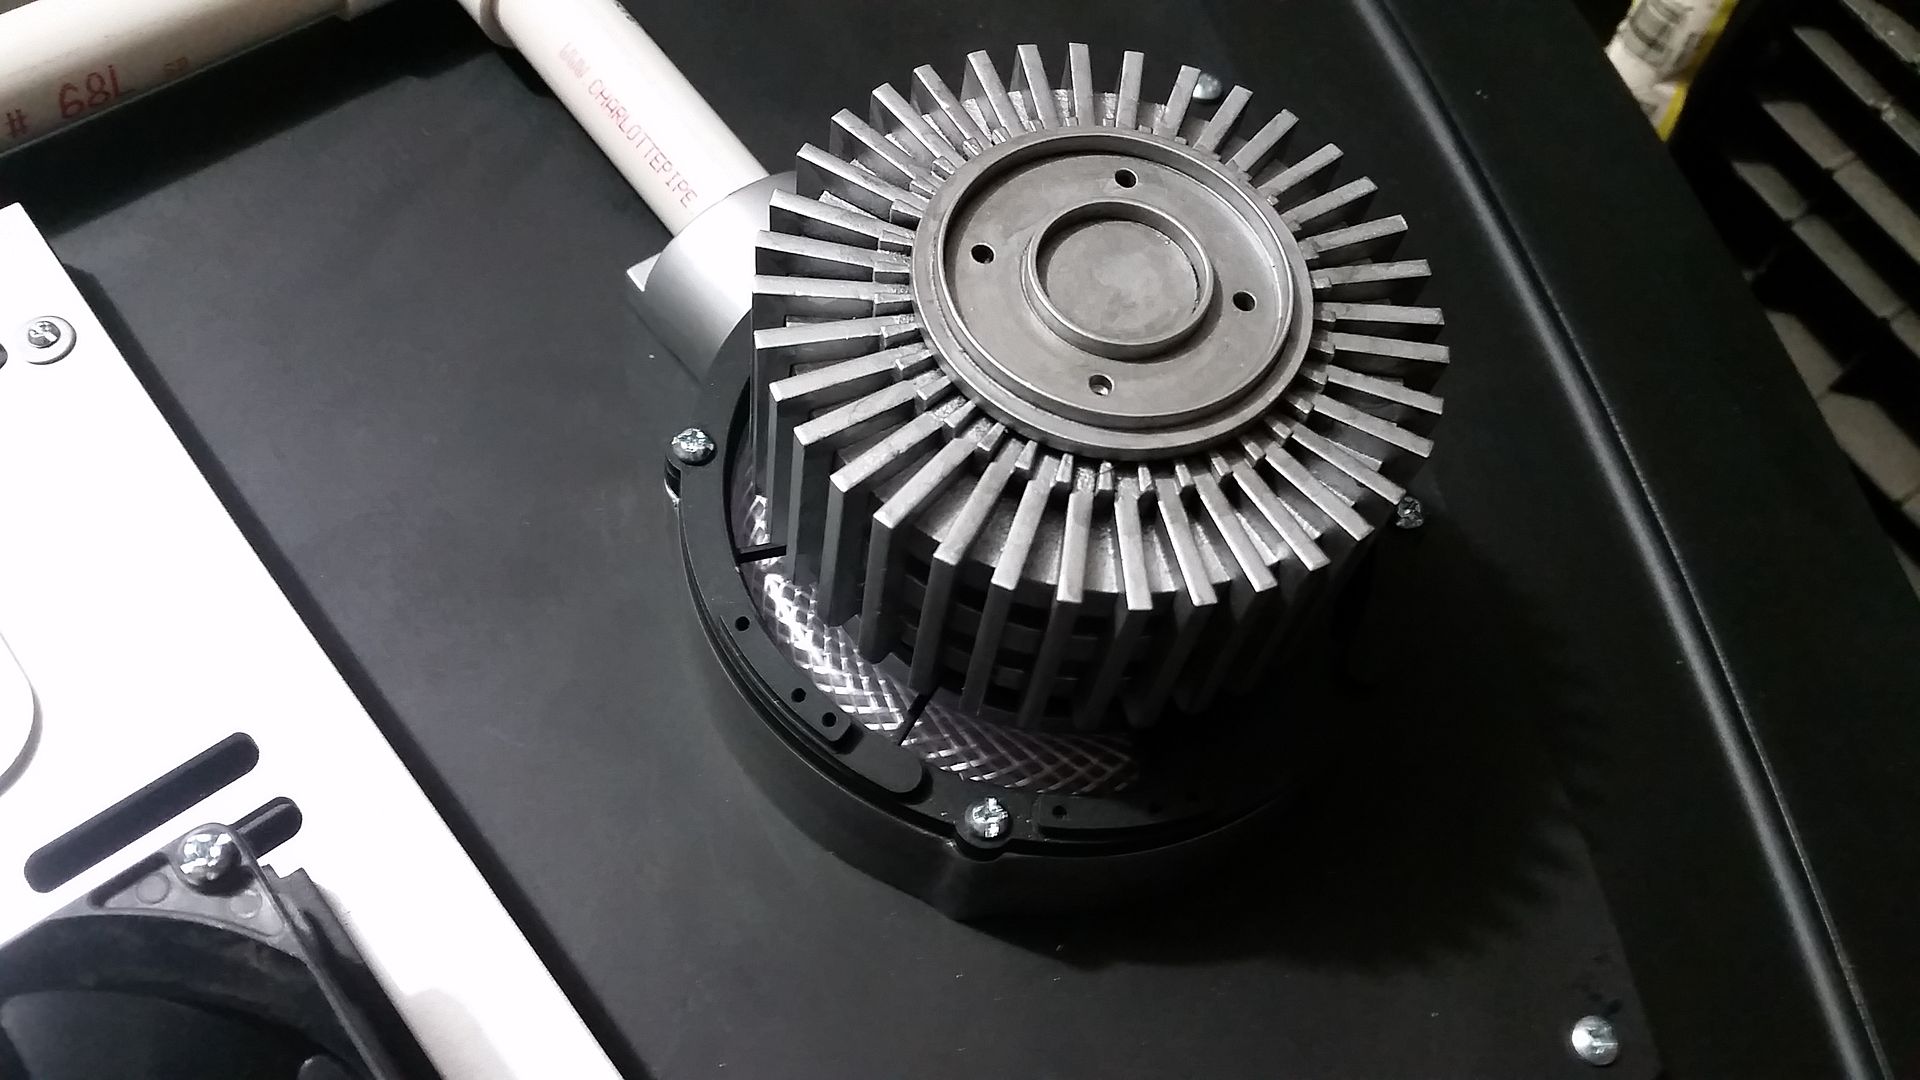
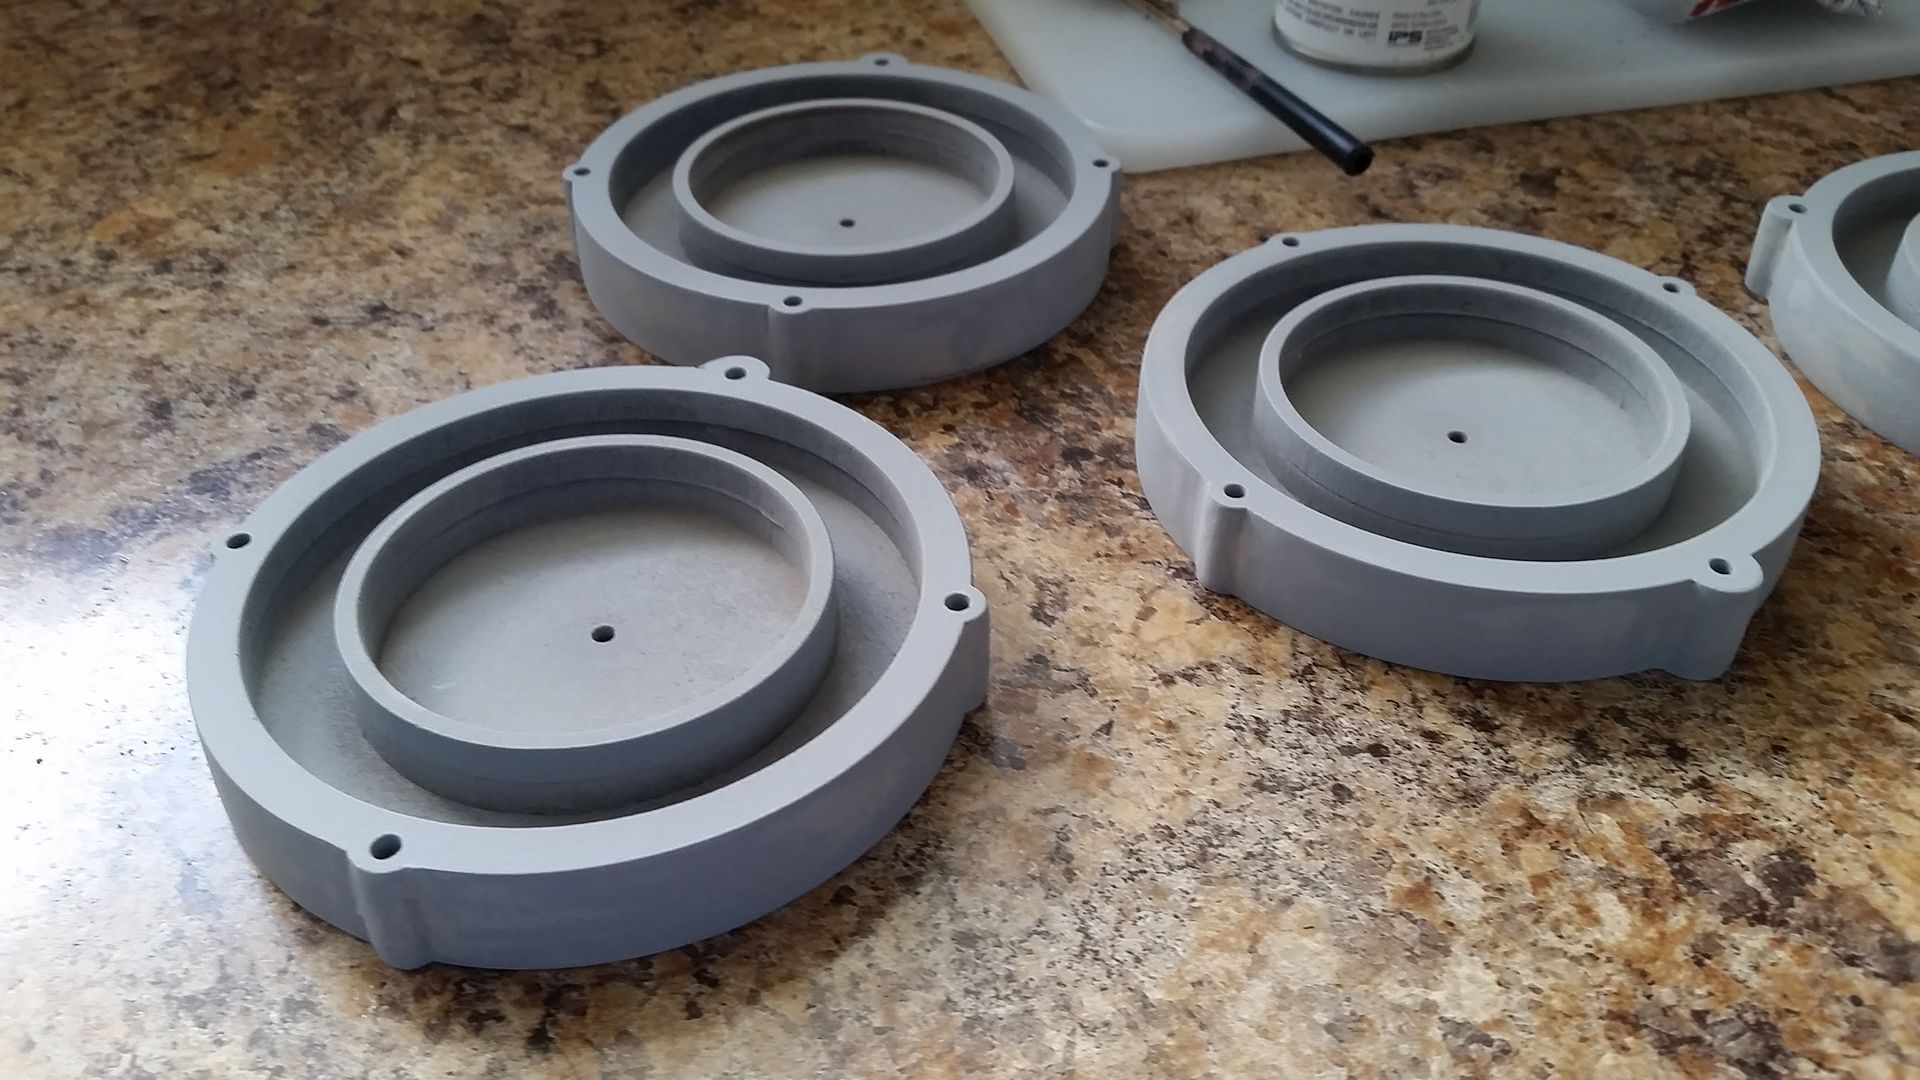
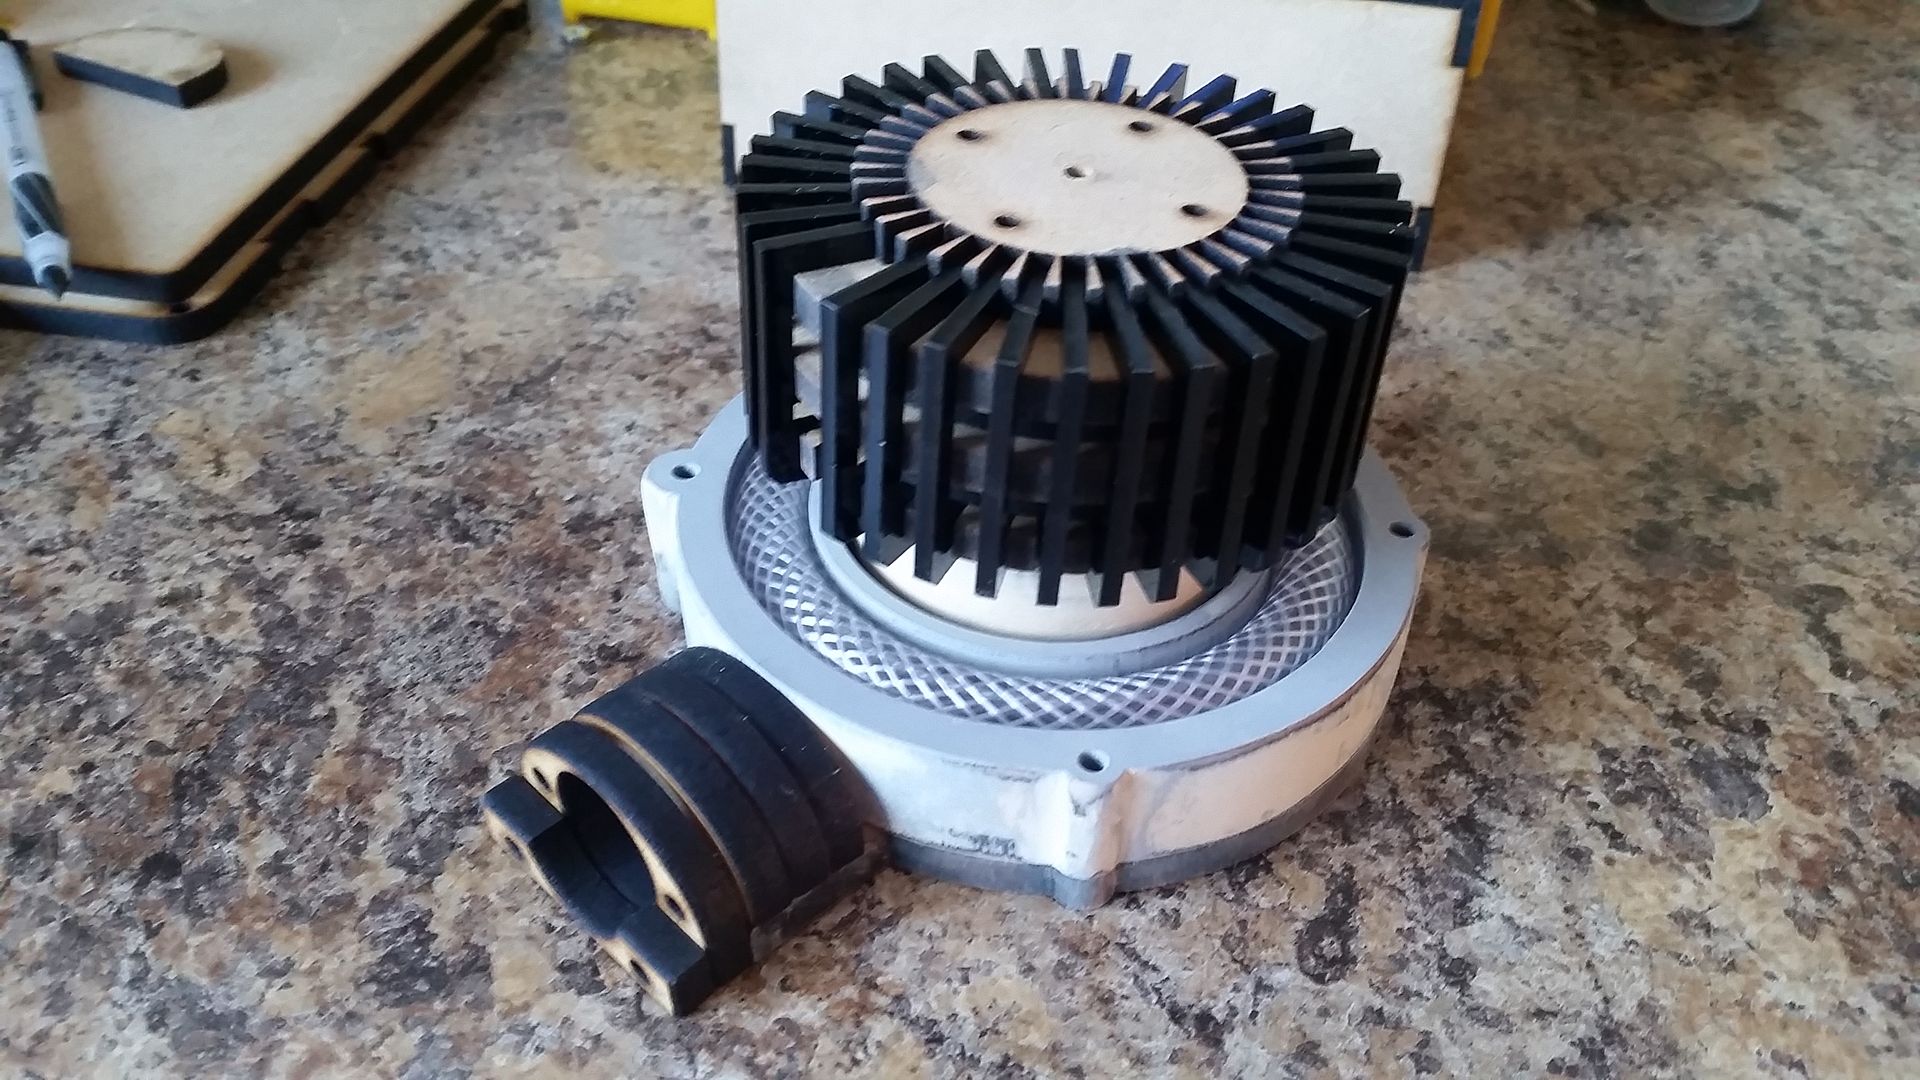
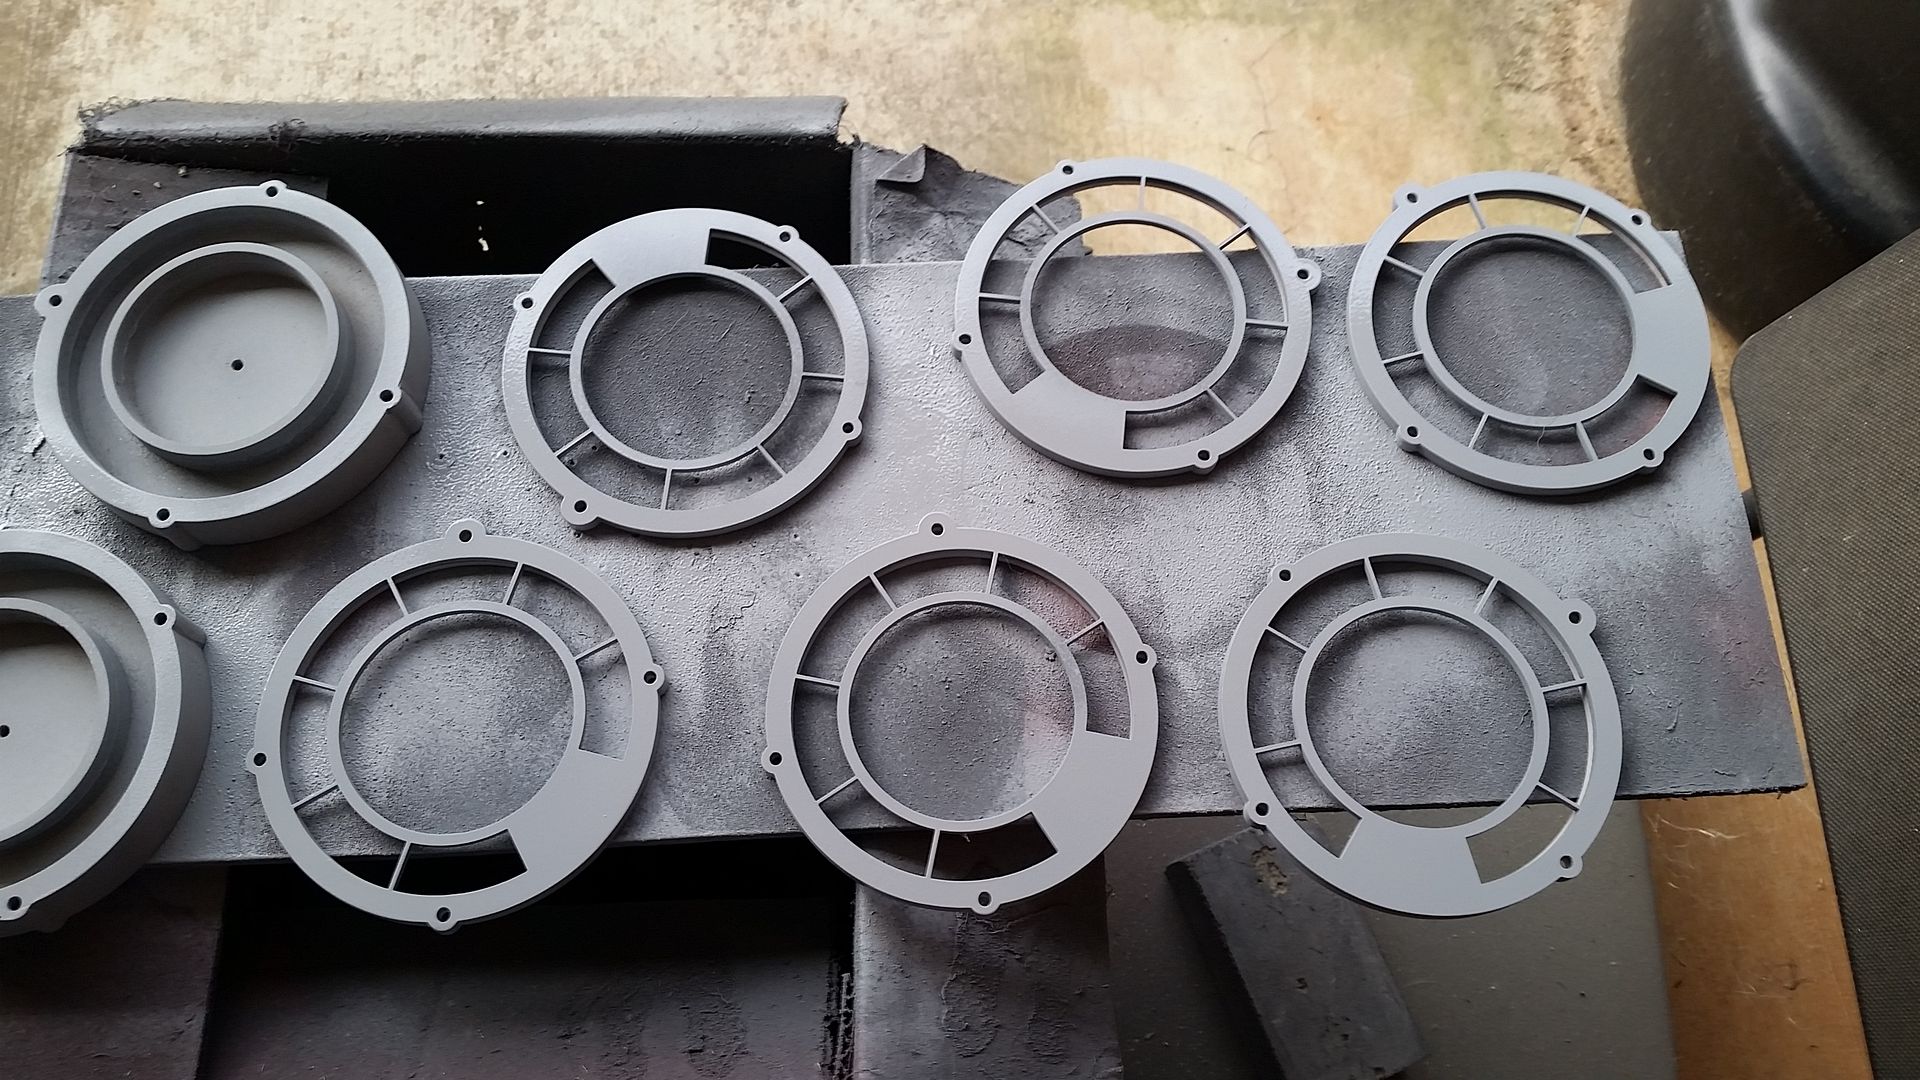
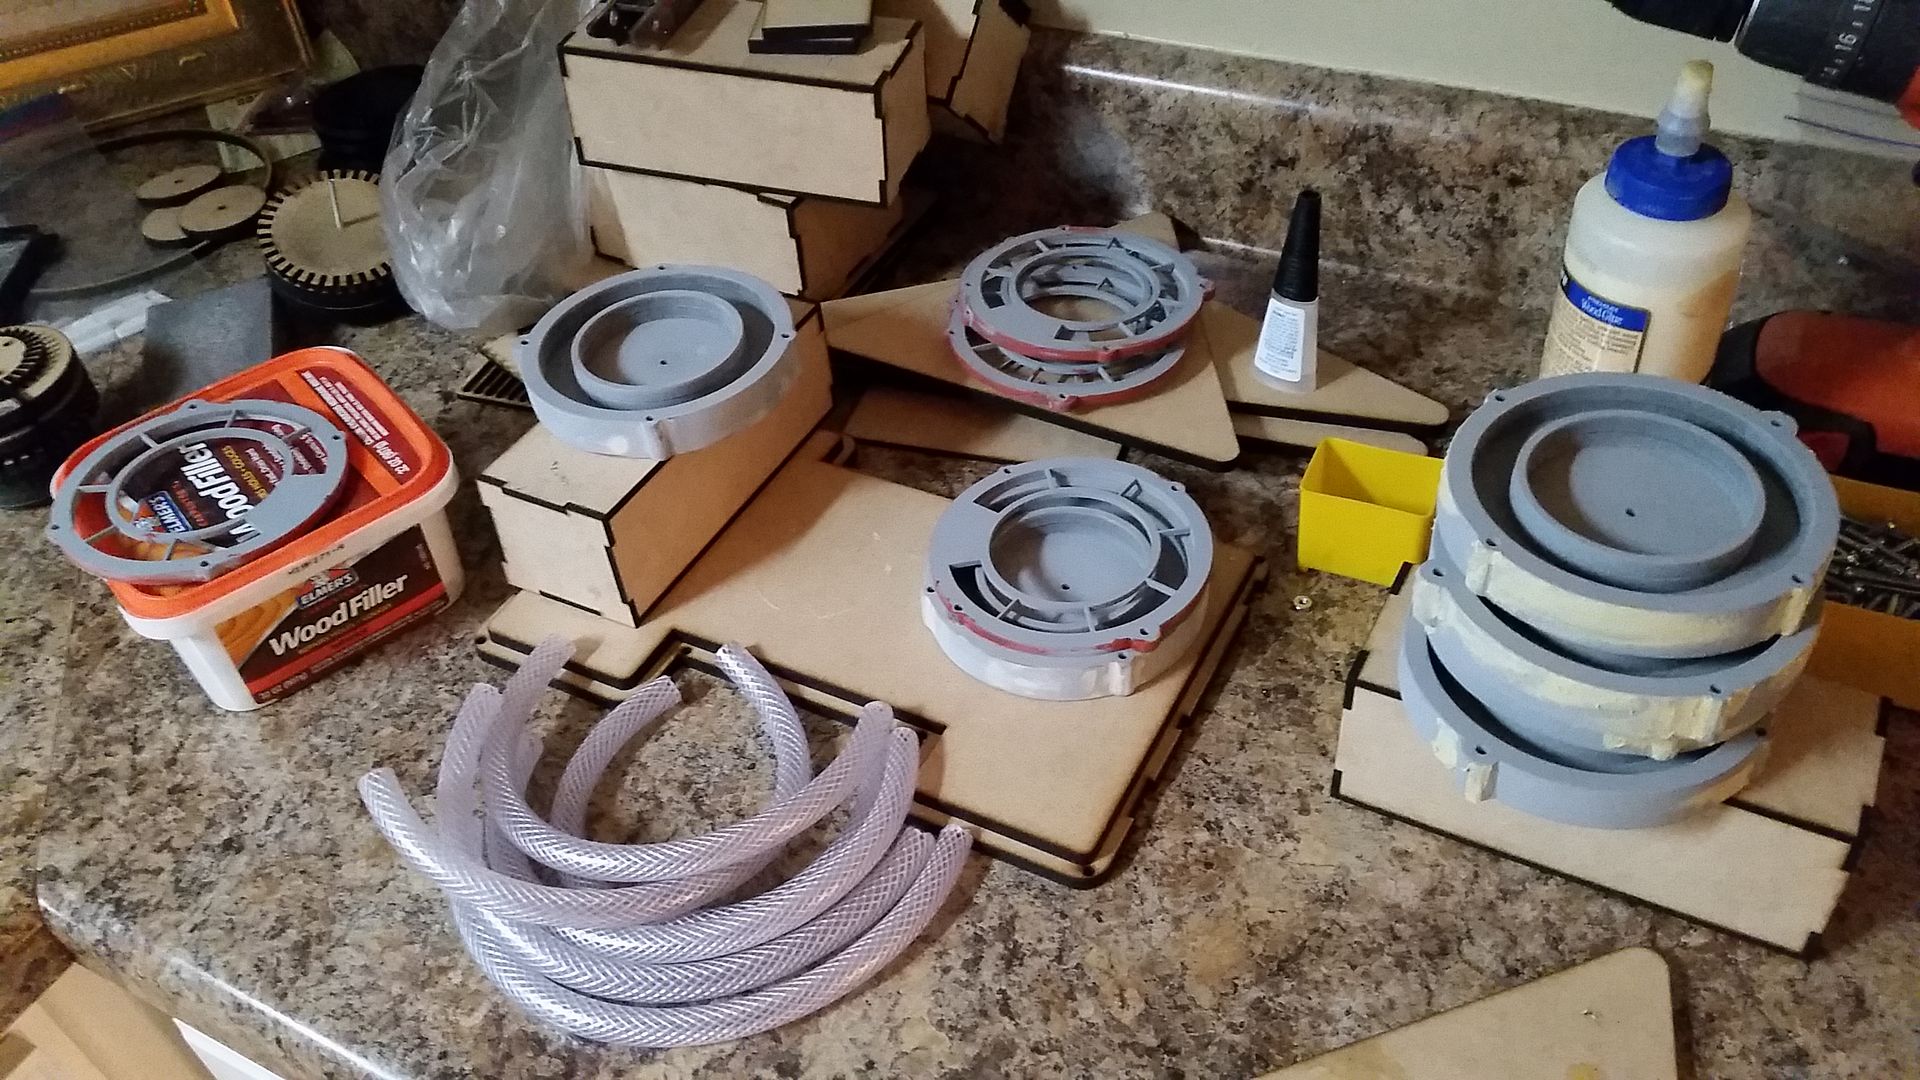
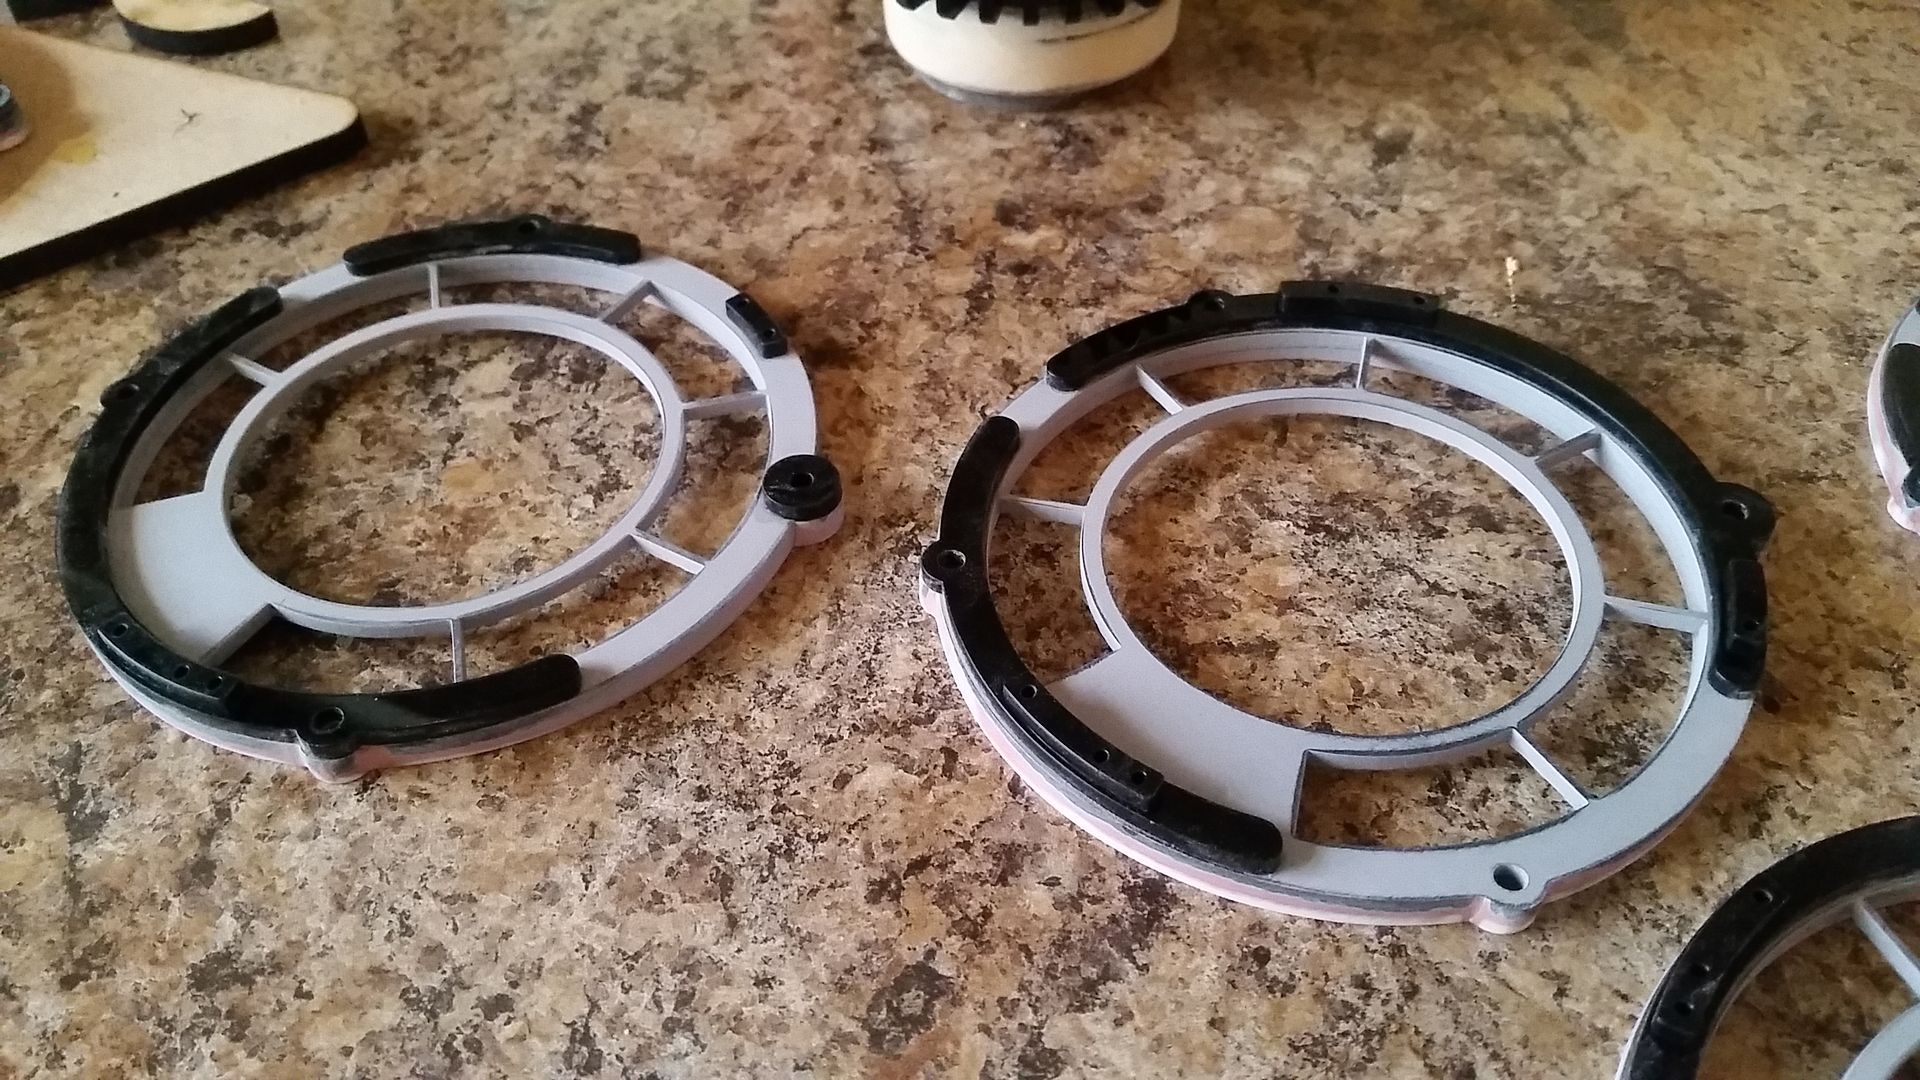
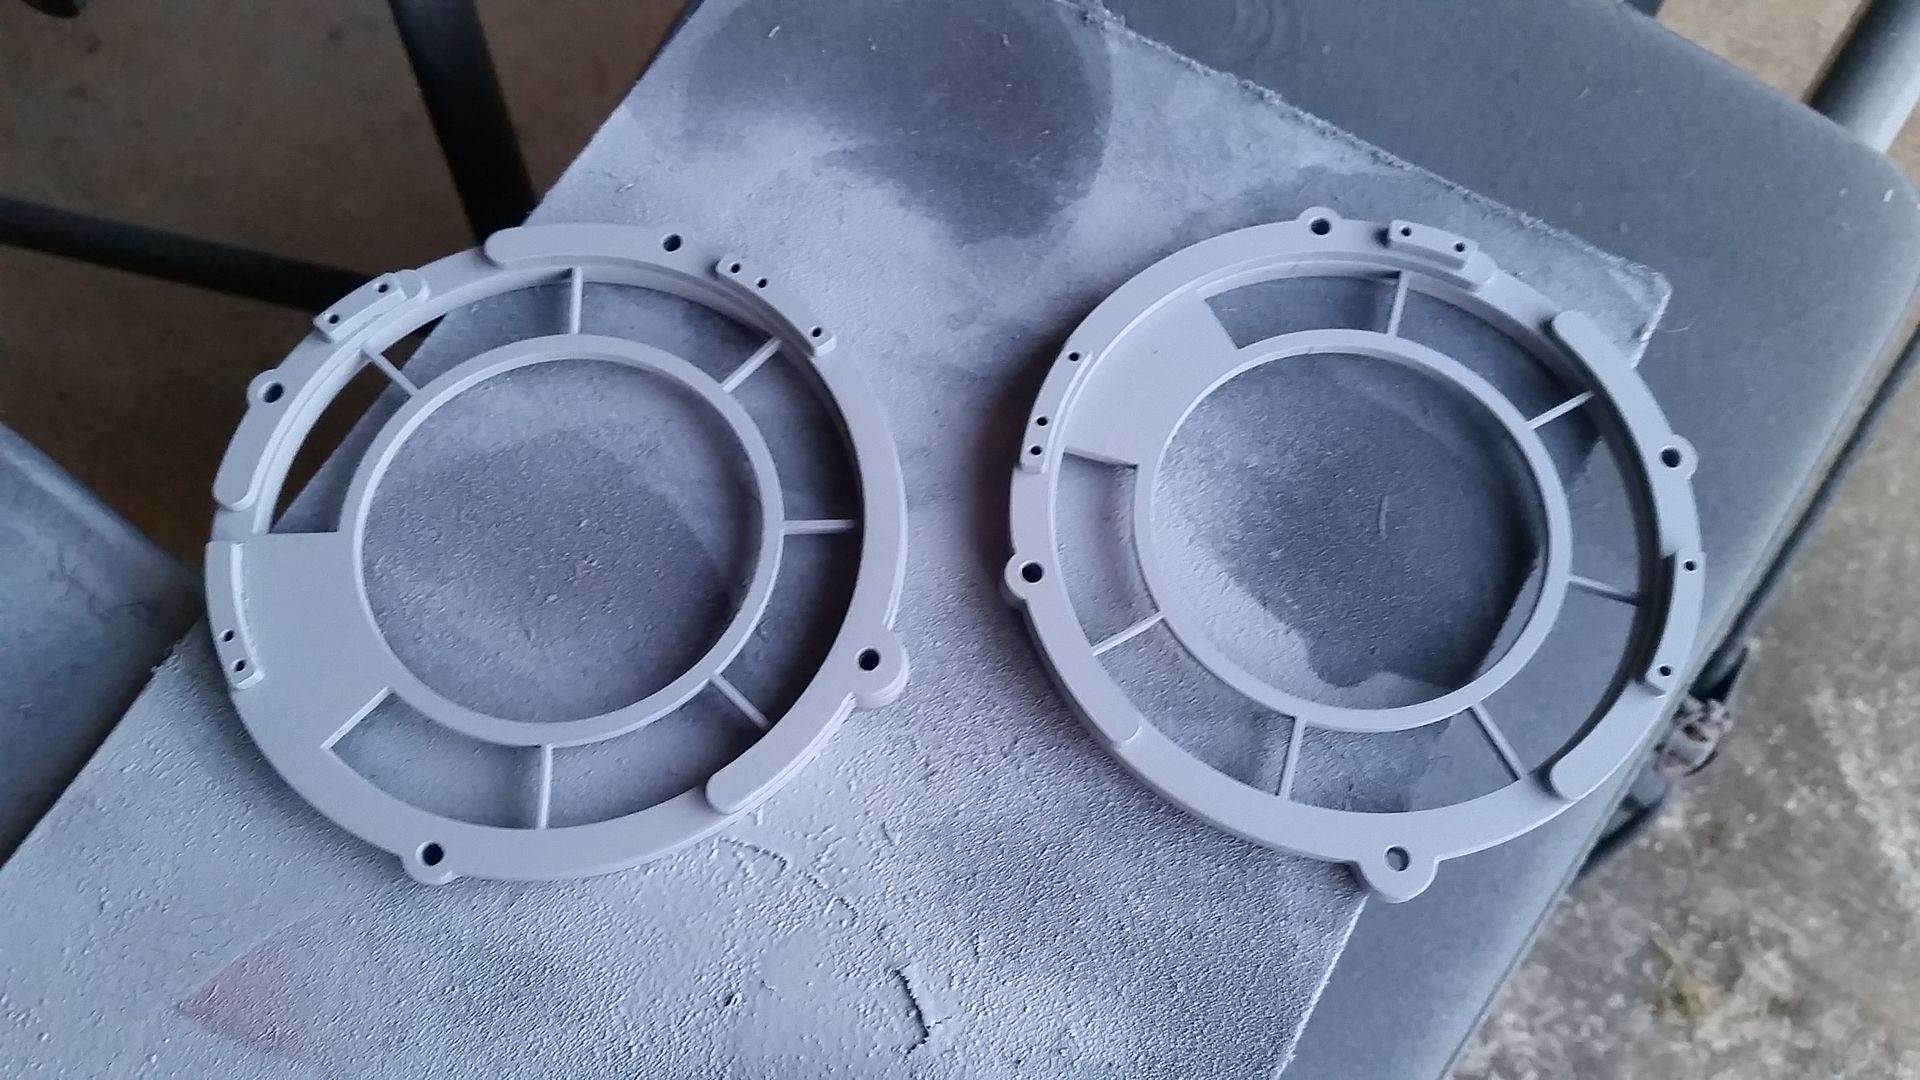
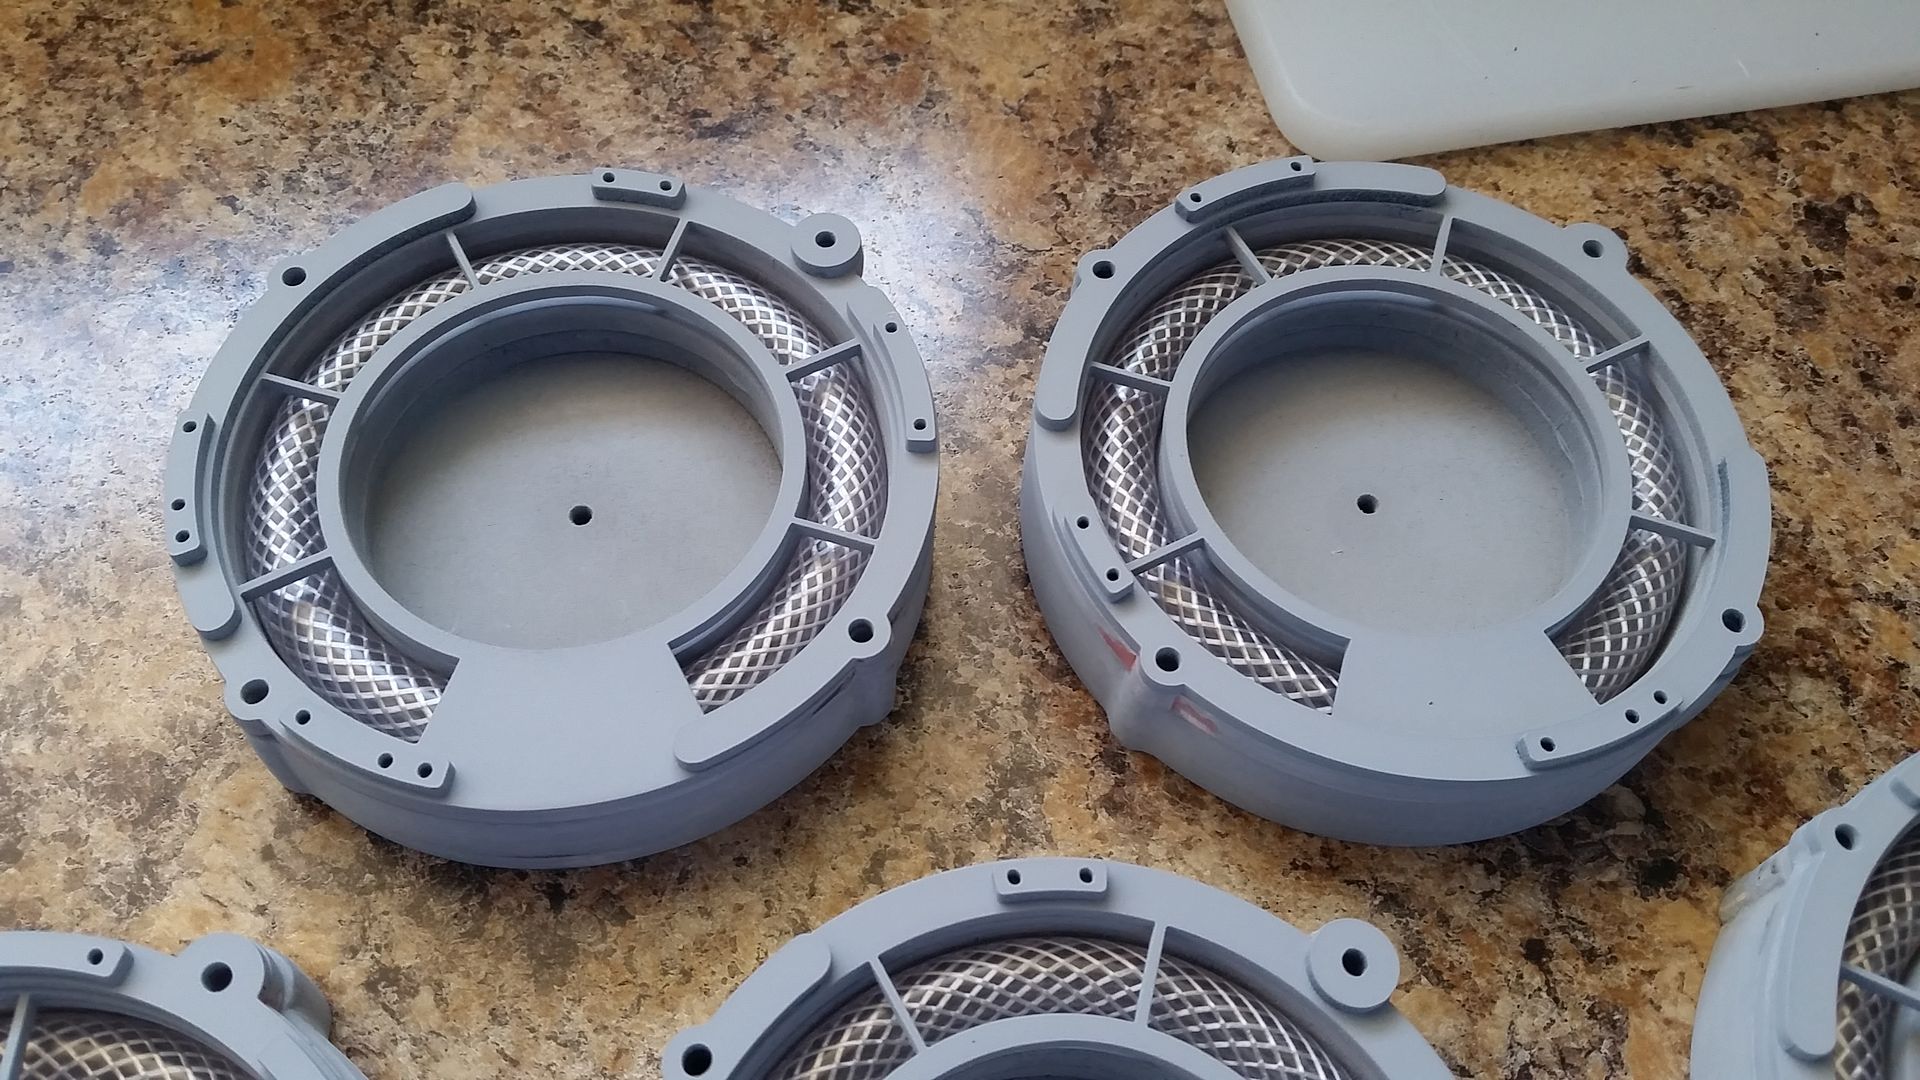
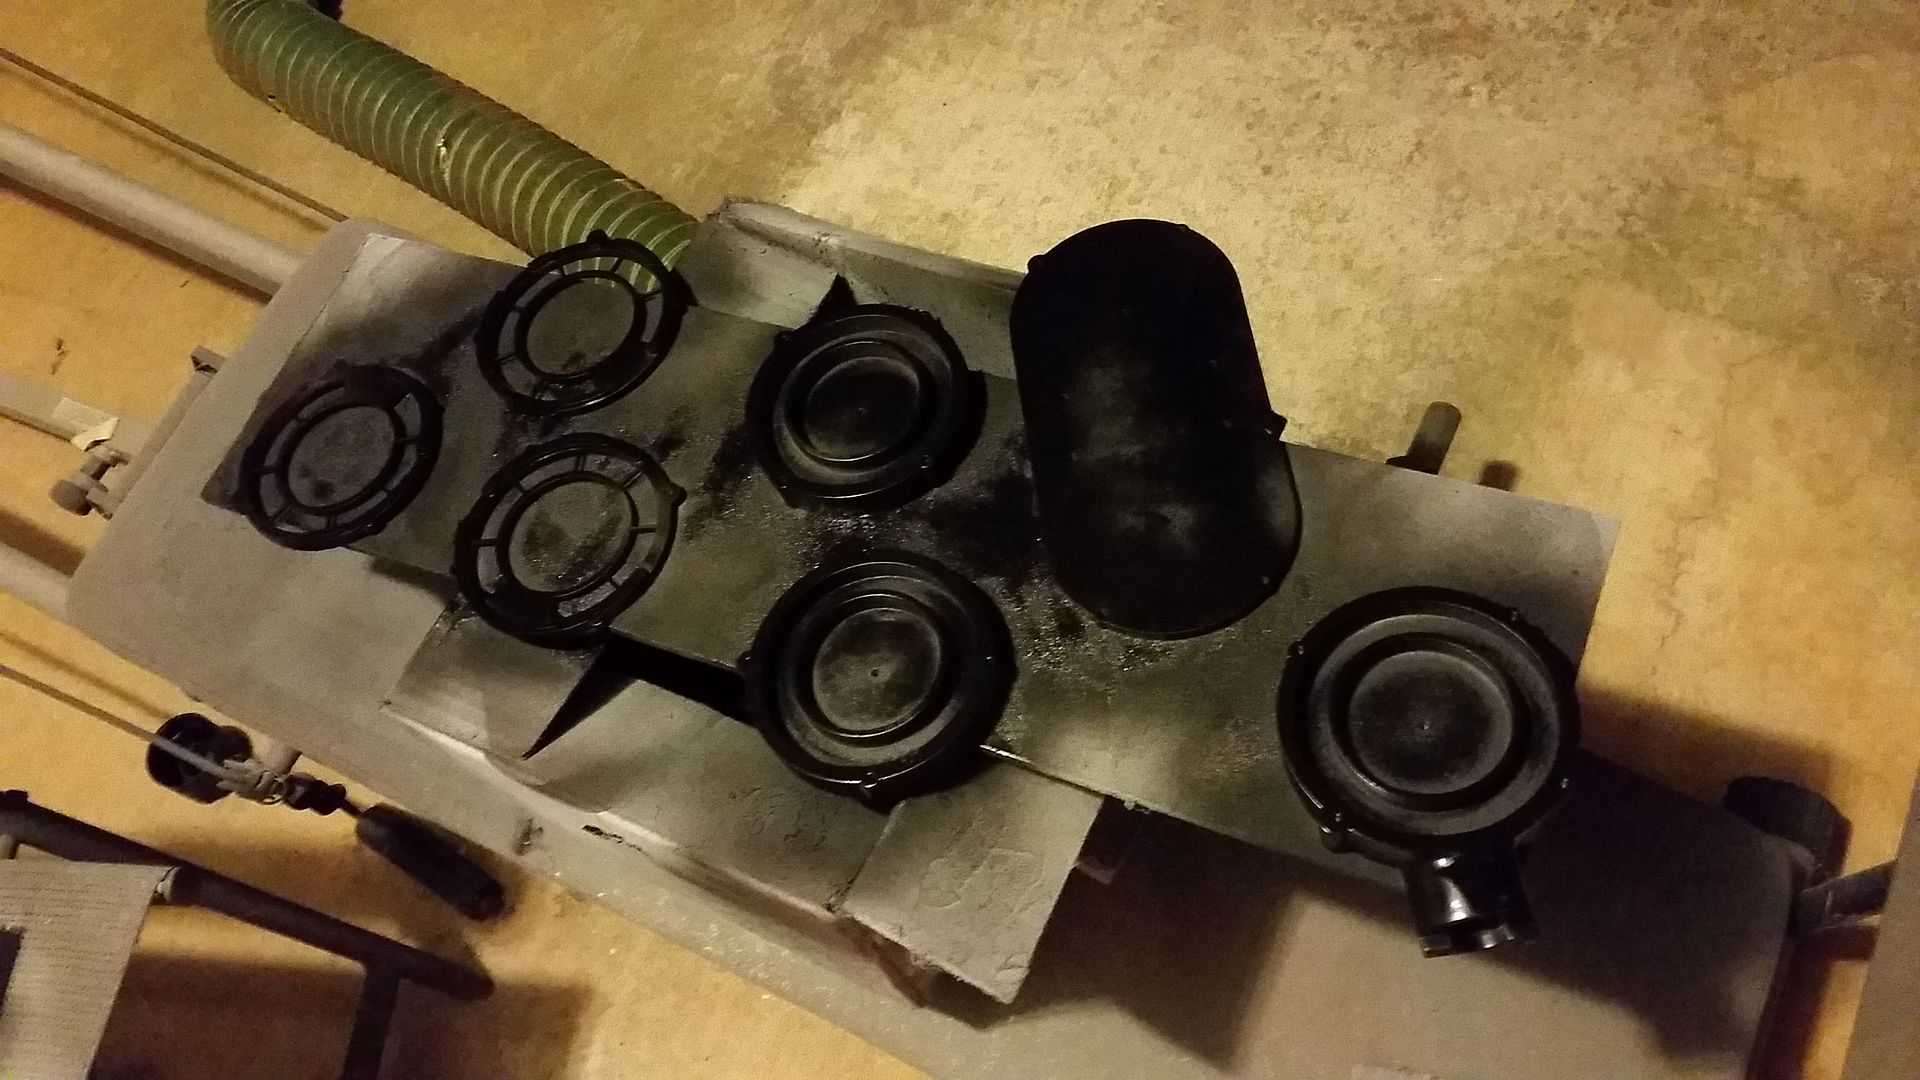
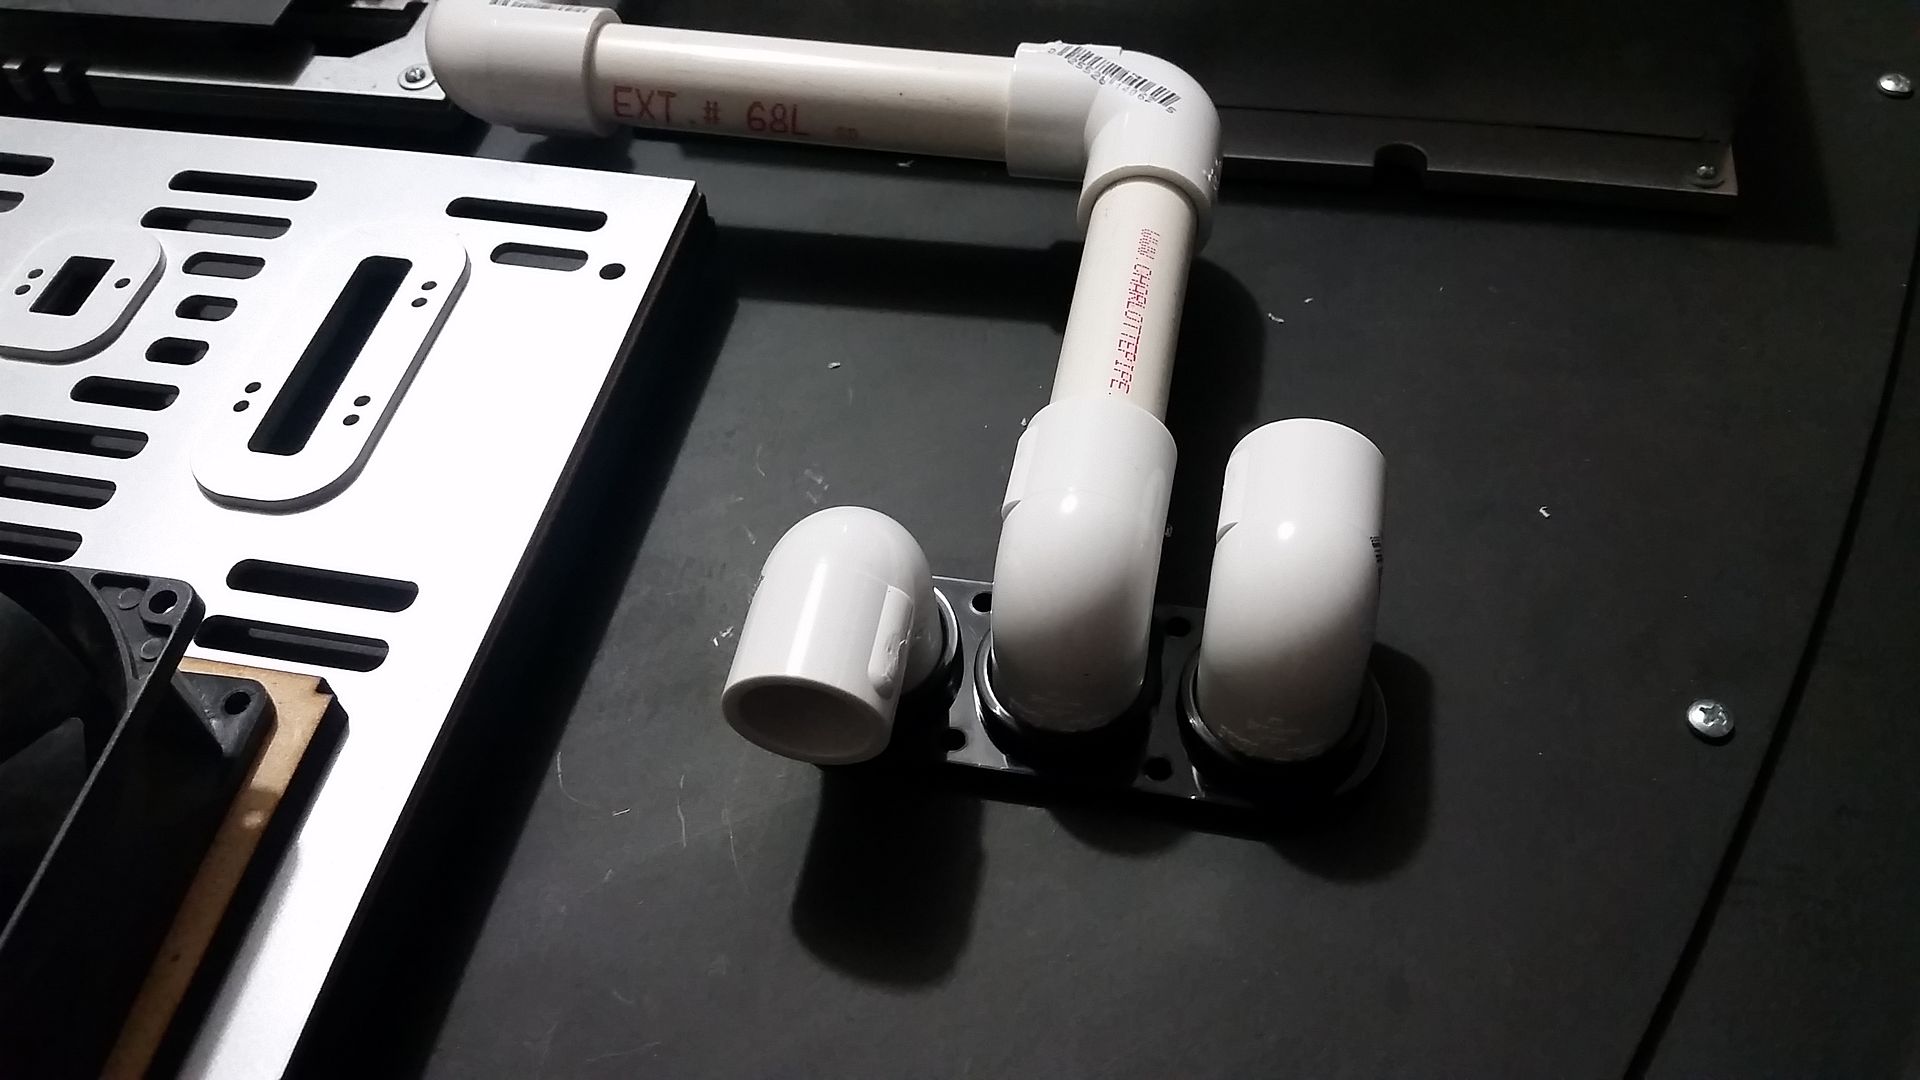
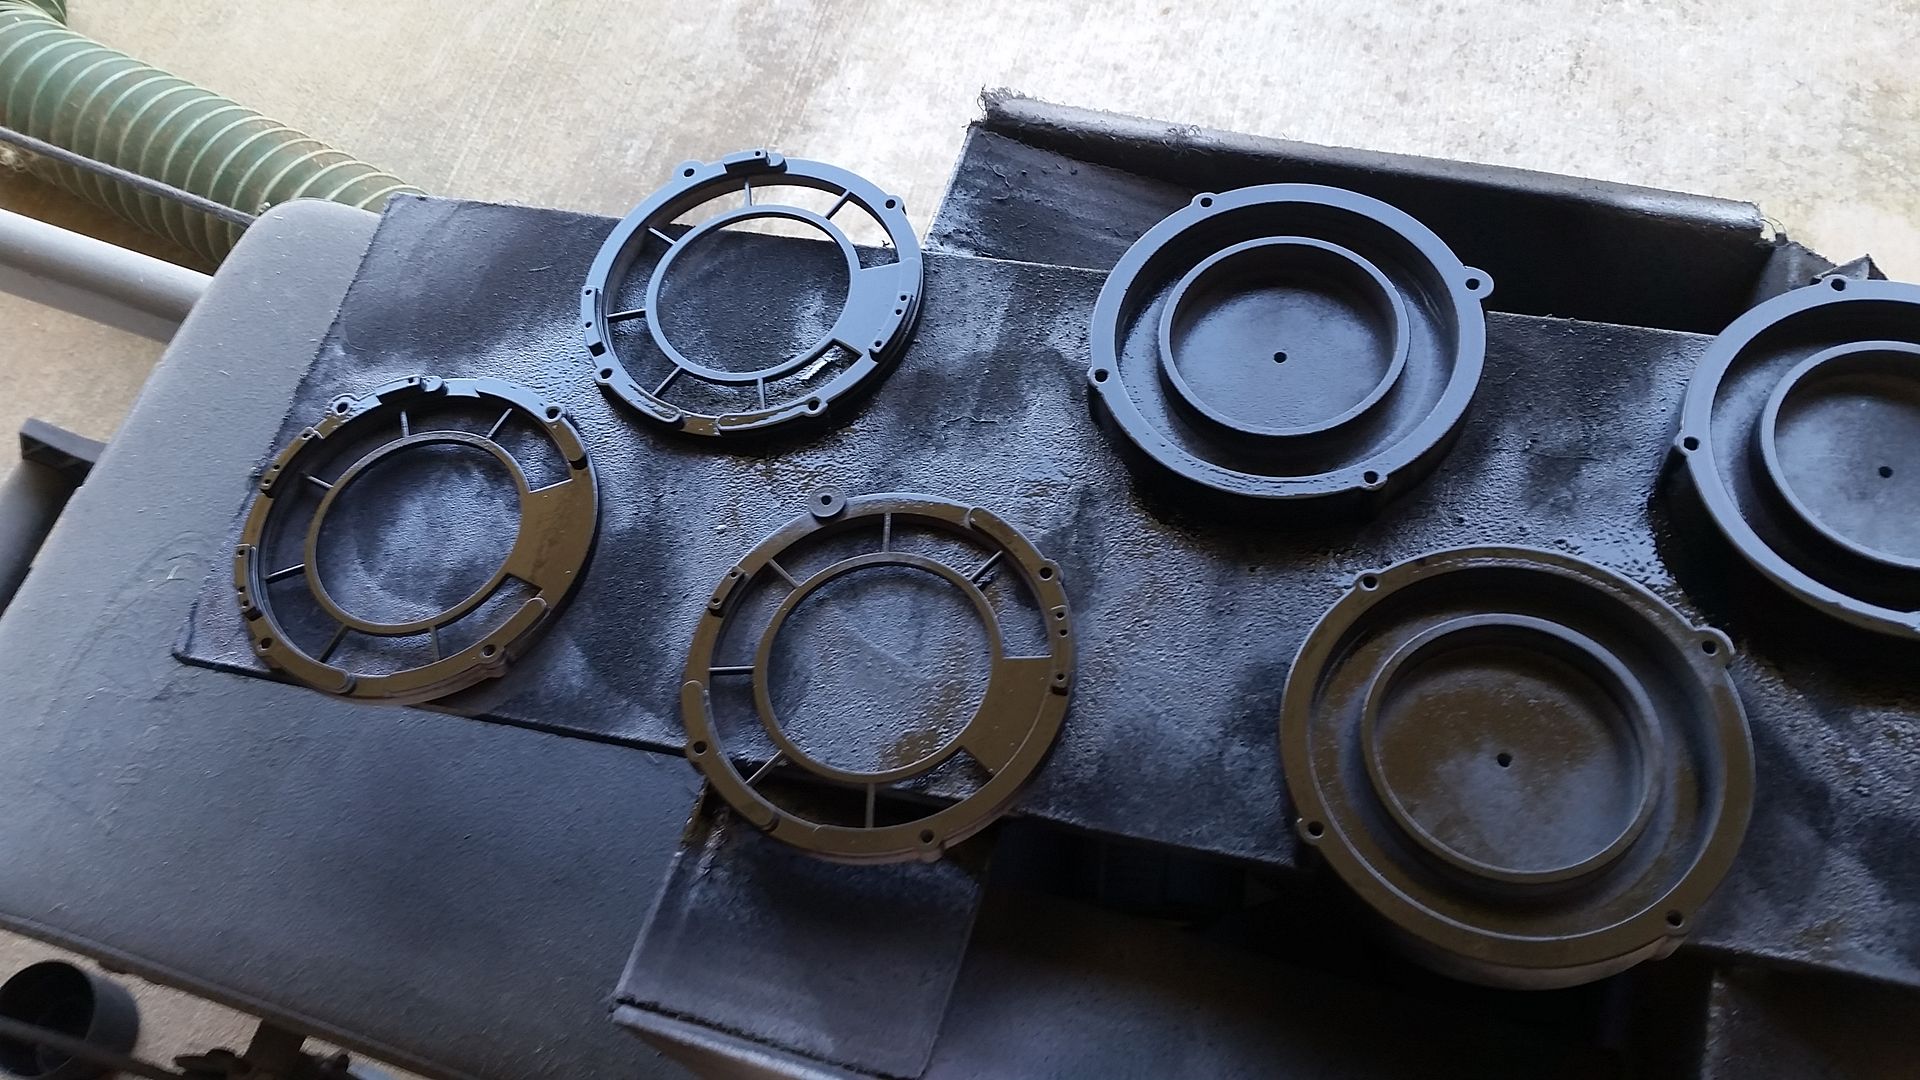
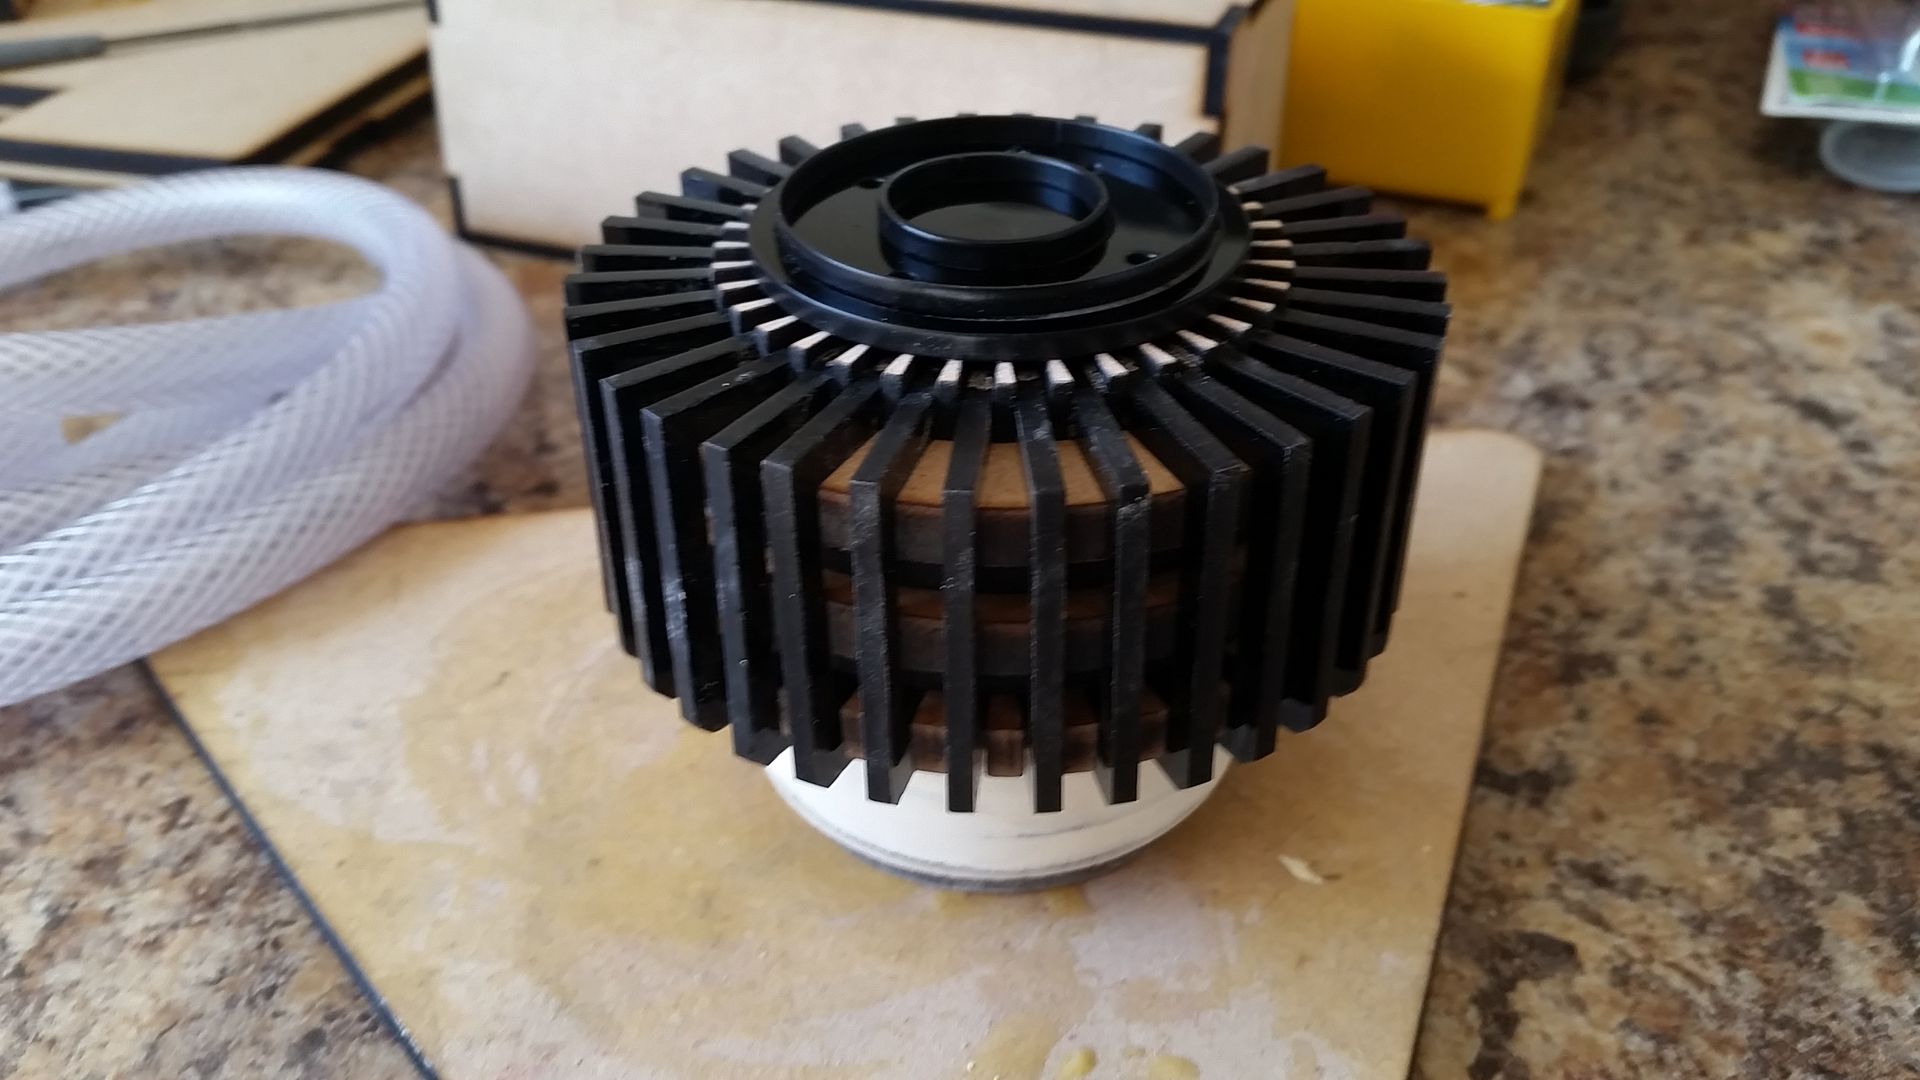
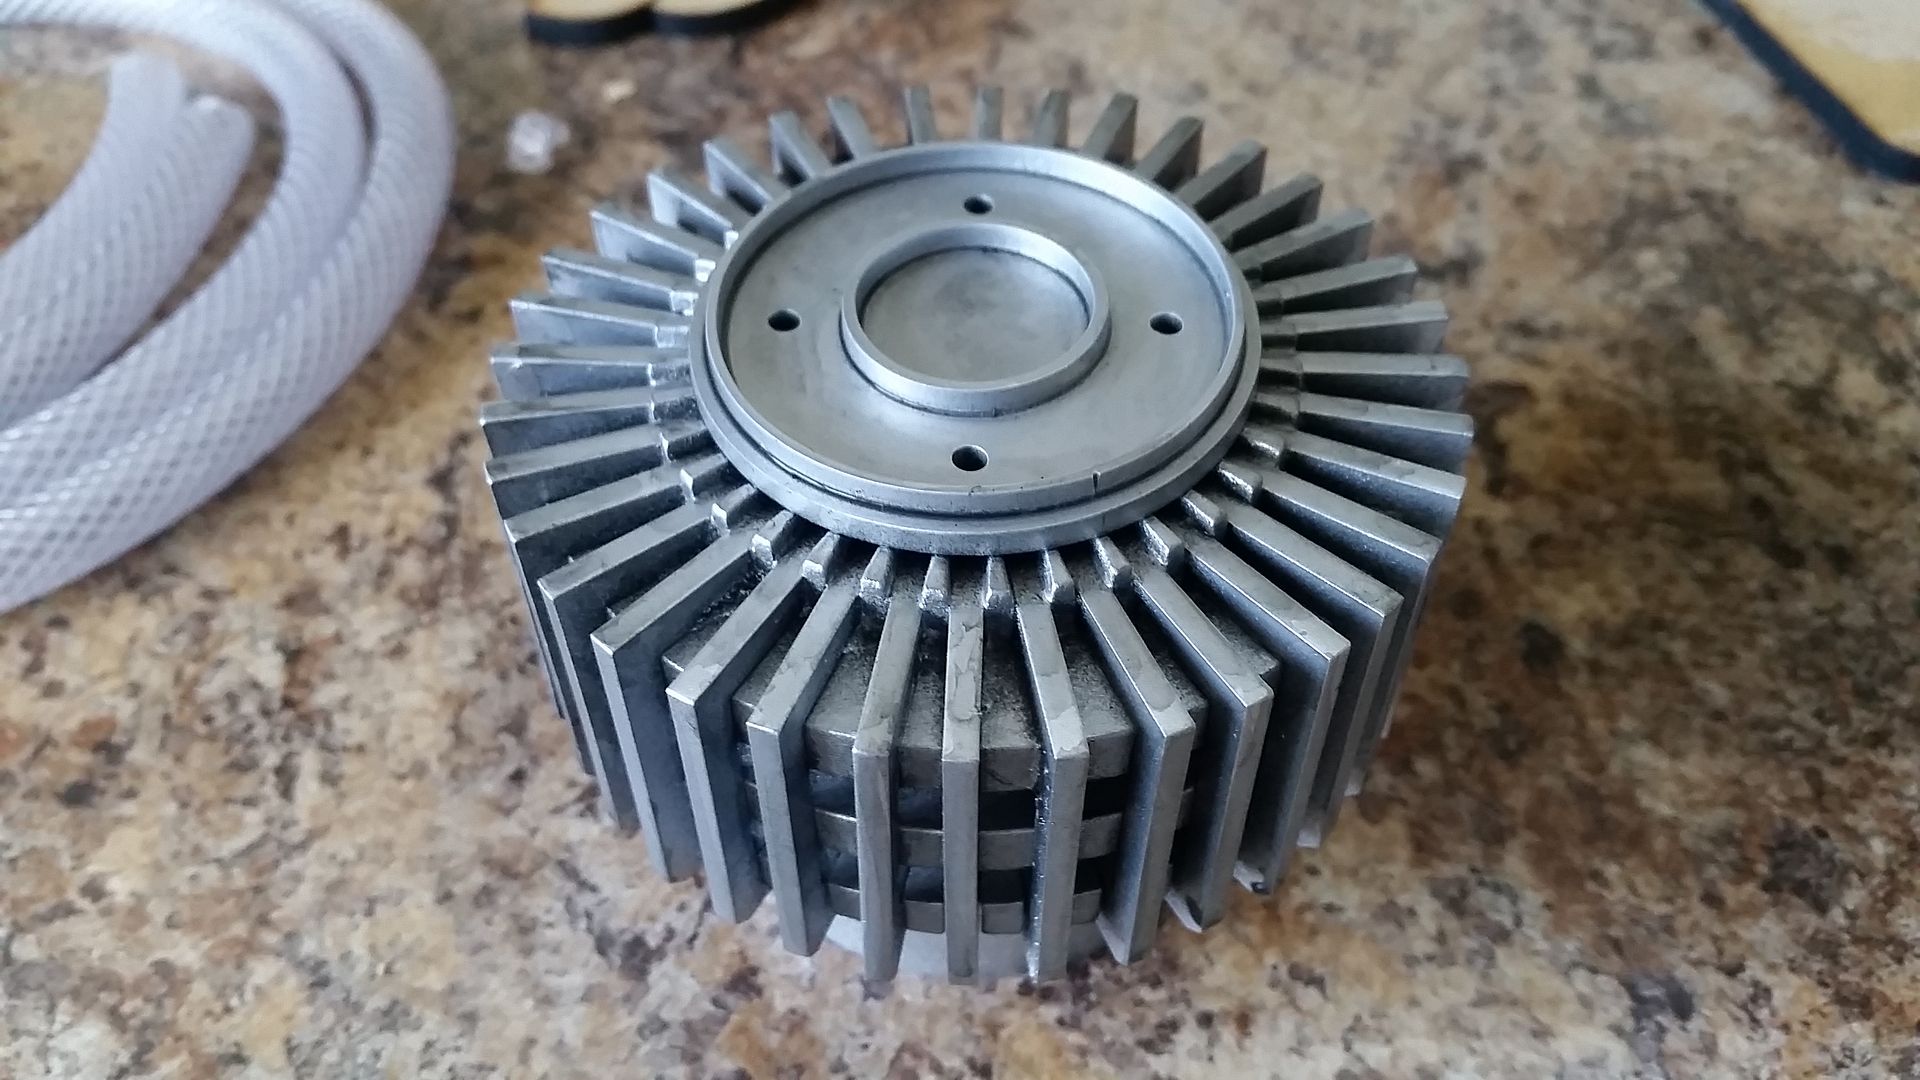
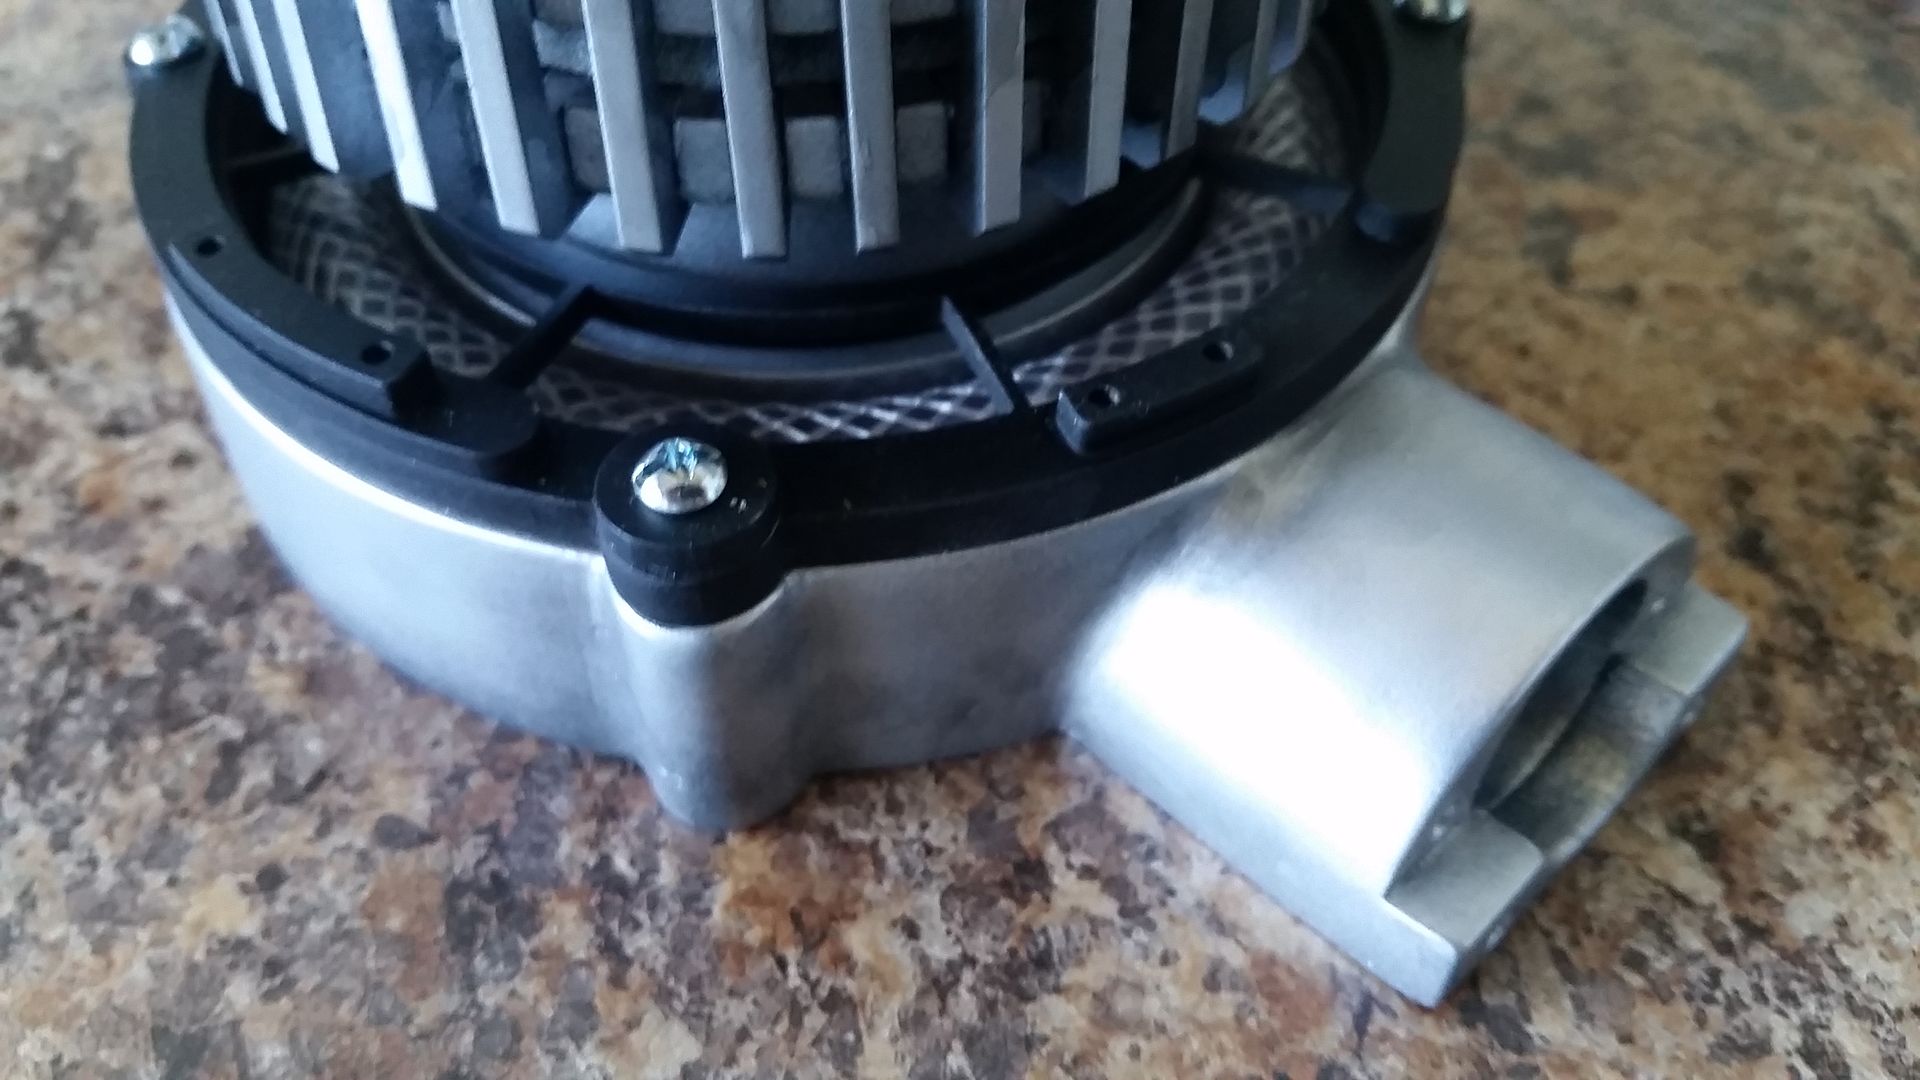
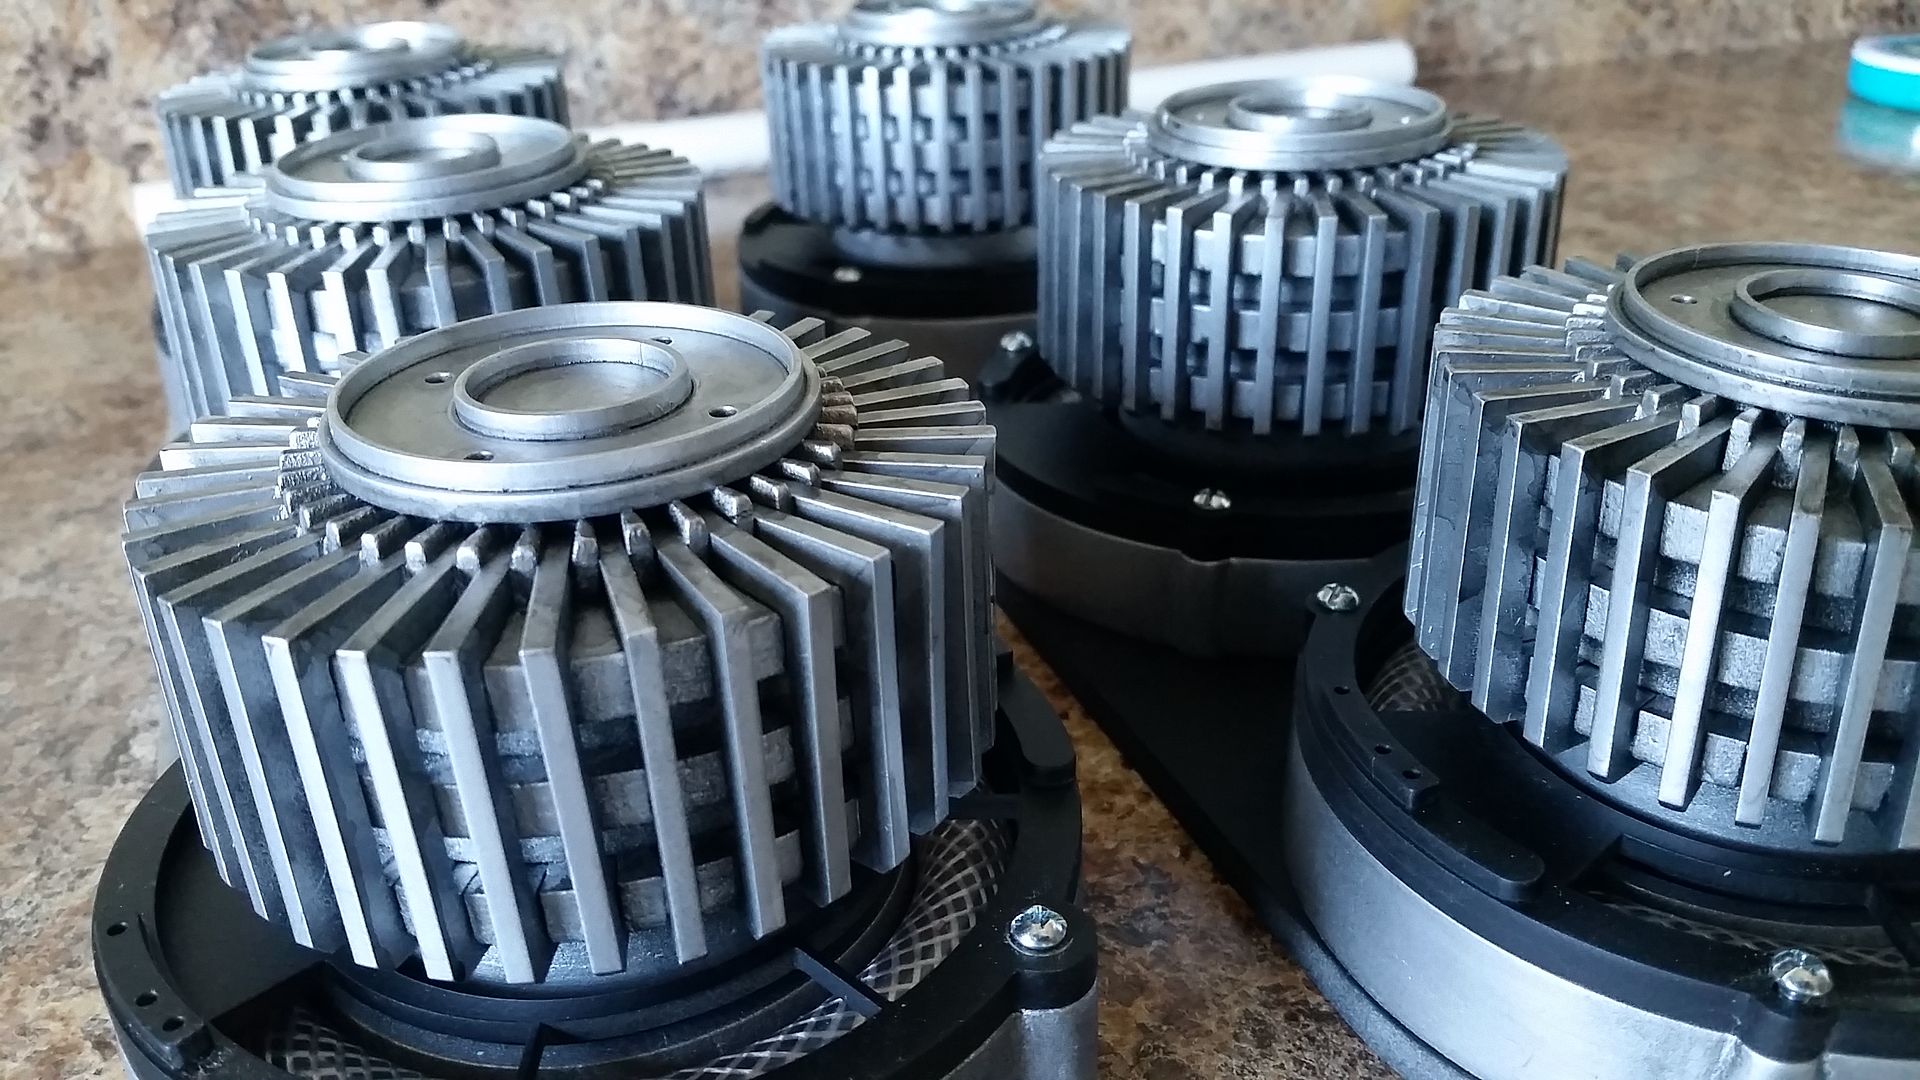
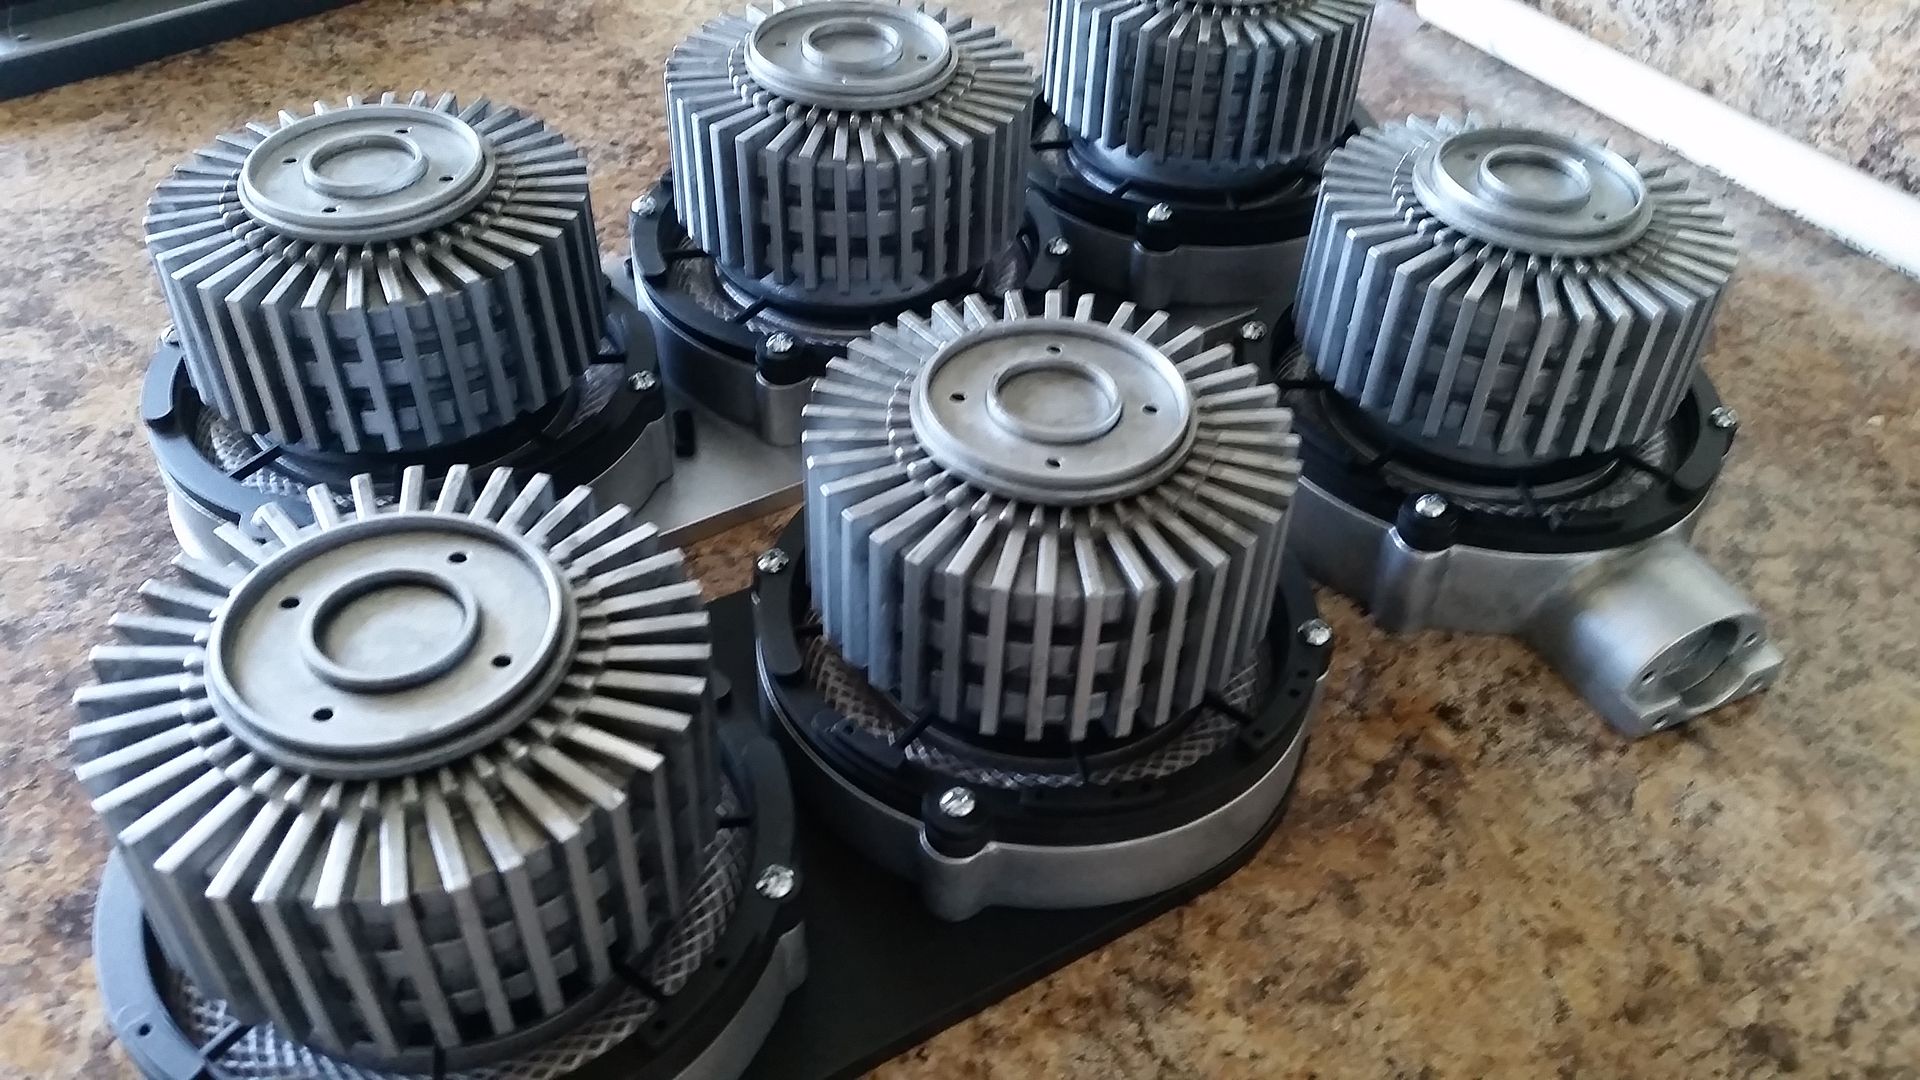
Lots of work continues on the cockpit entrance coils. Lots of sanding, filling, sanding, etc
20160422_154537_zpsfeodi3zf.jpg


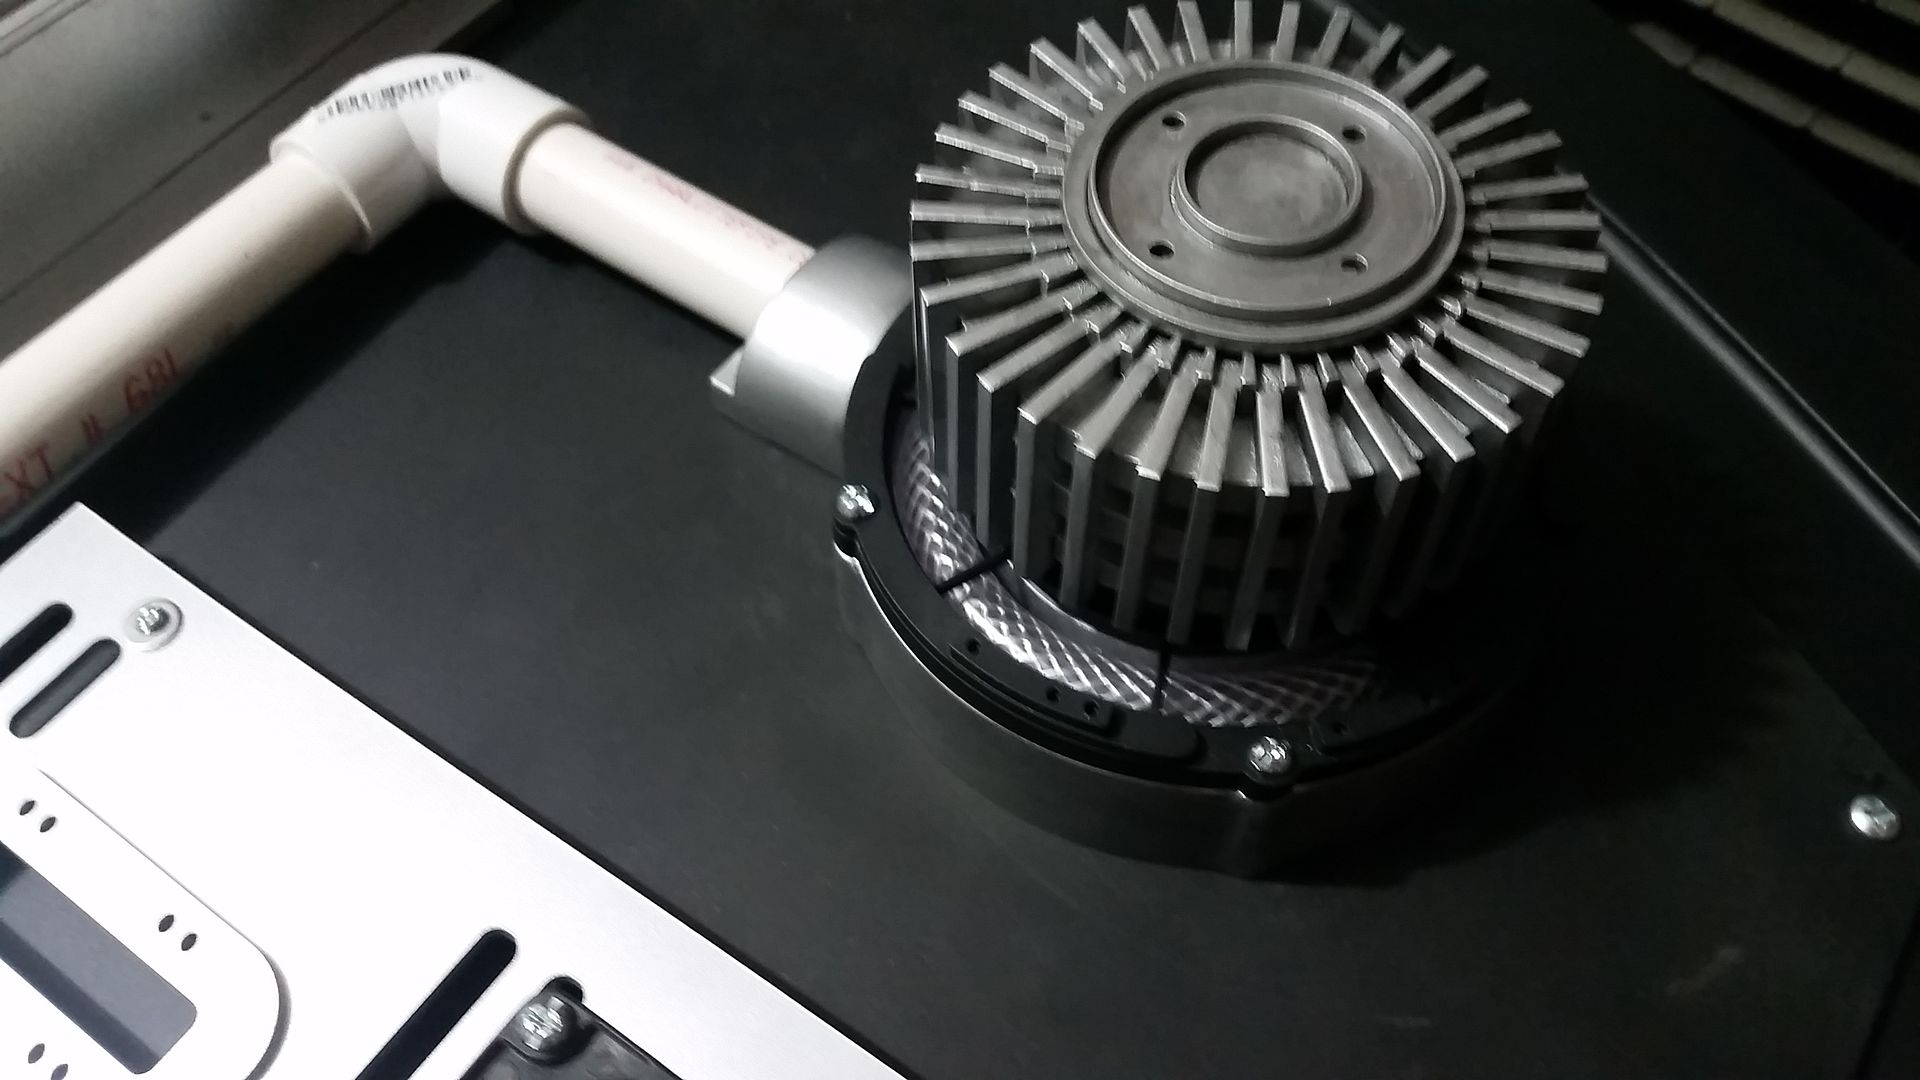
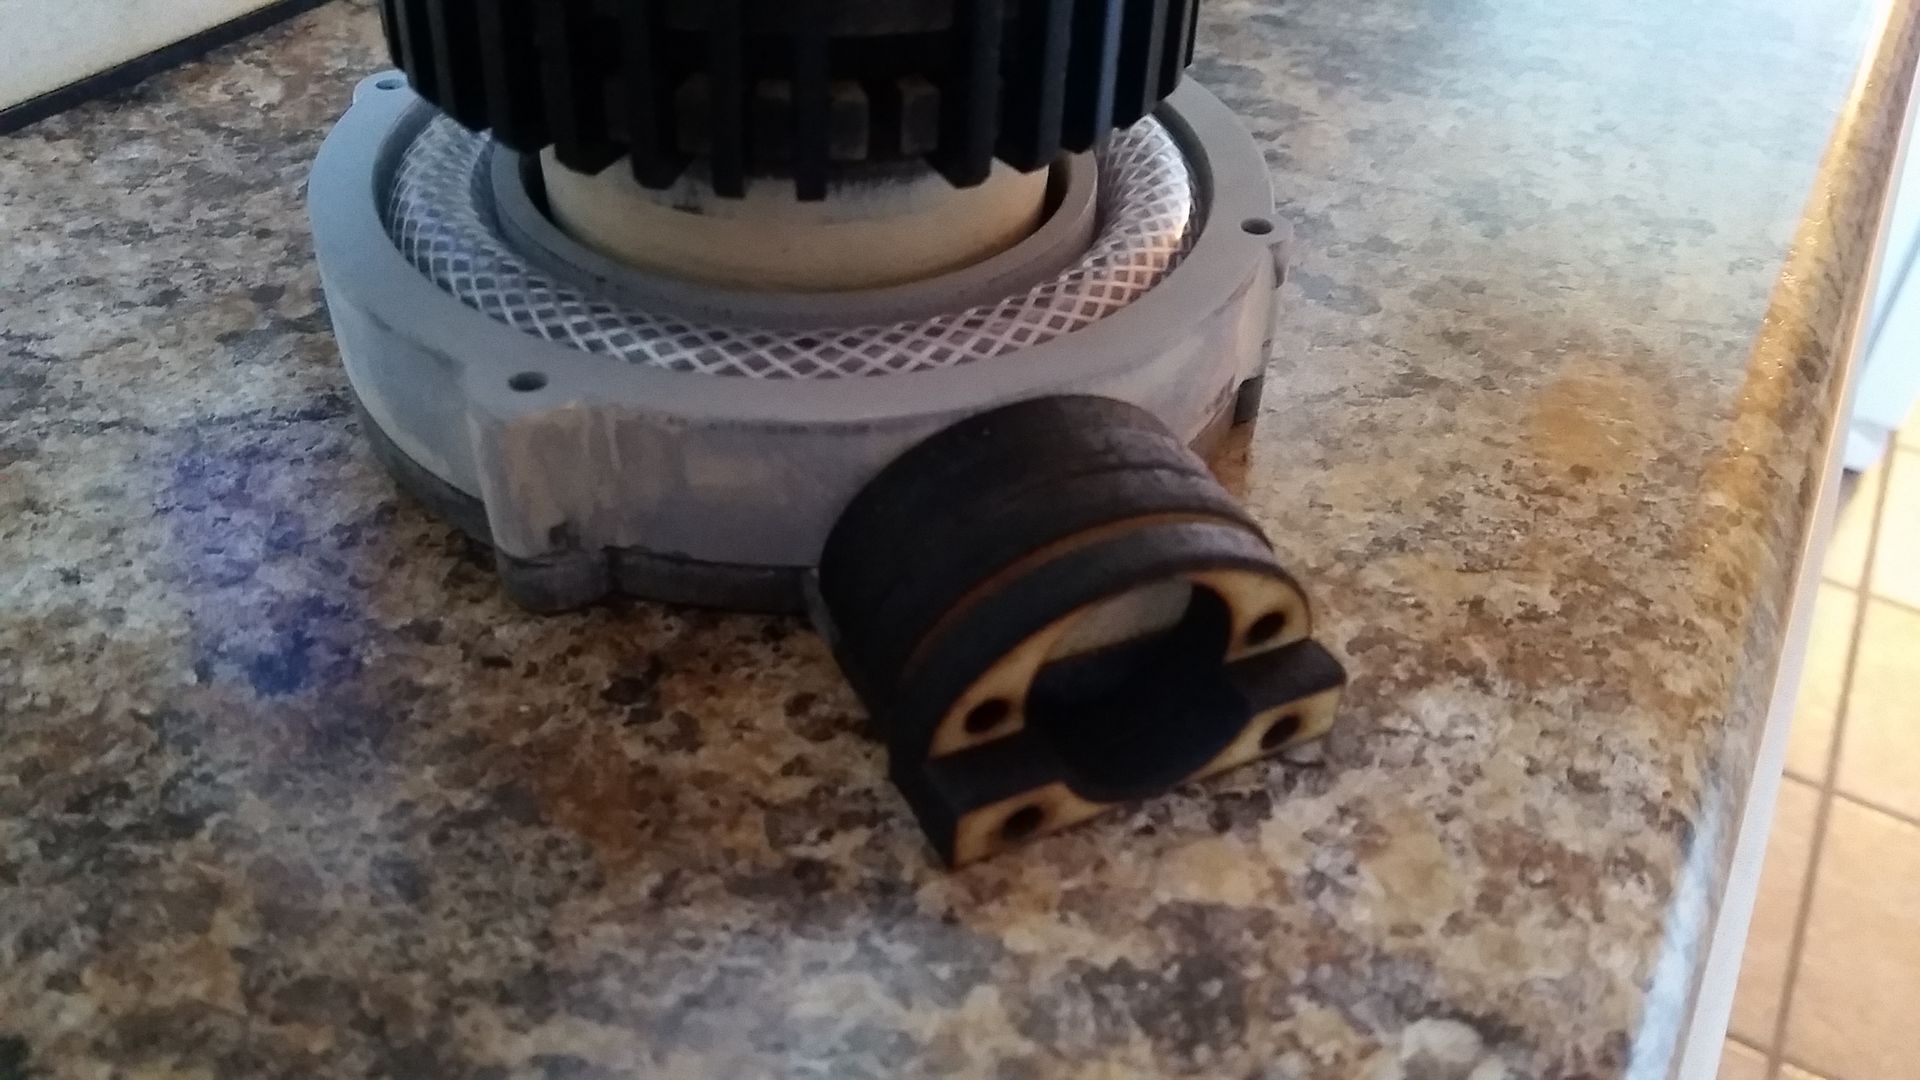
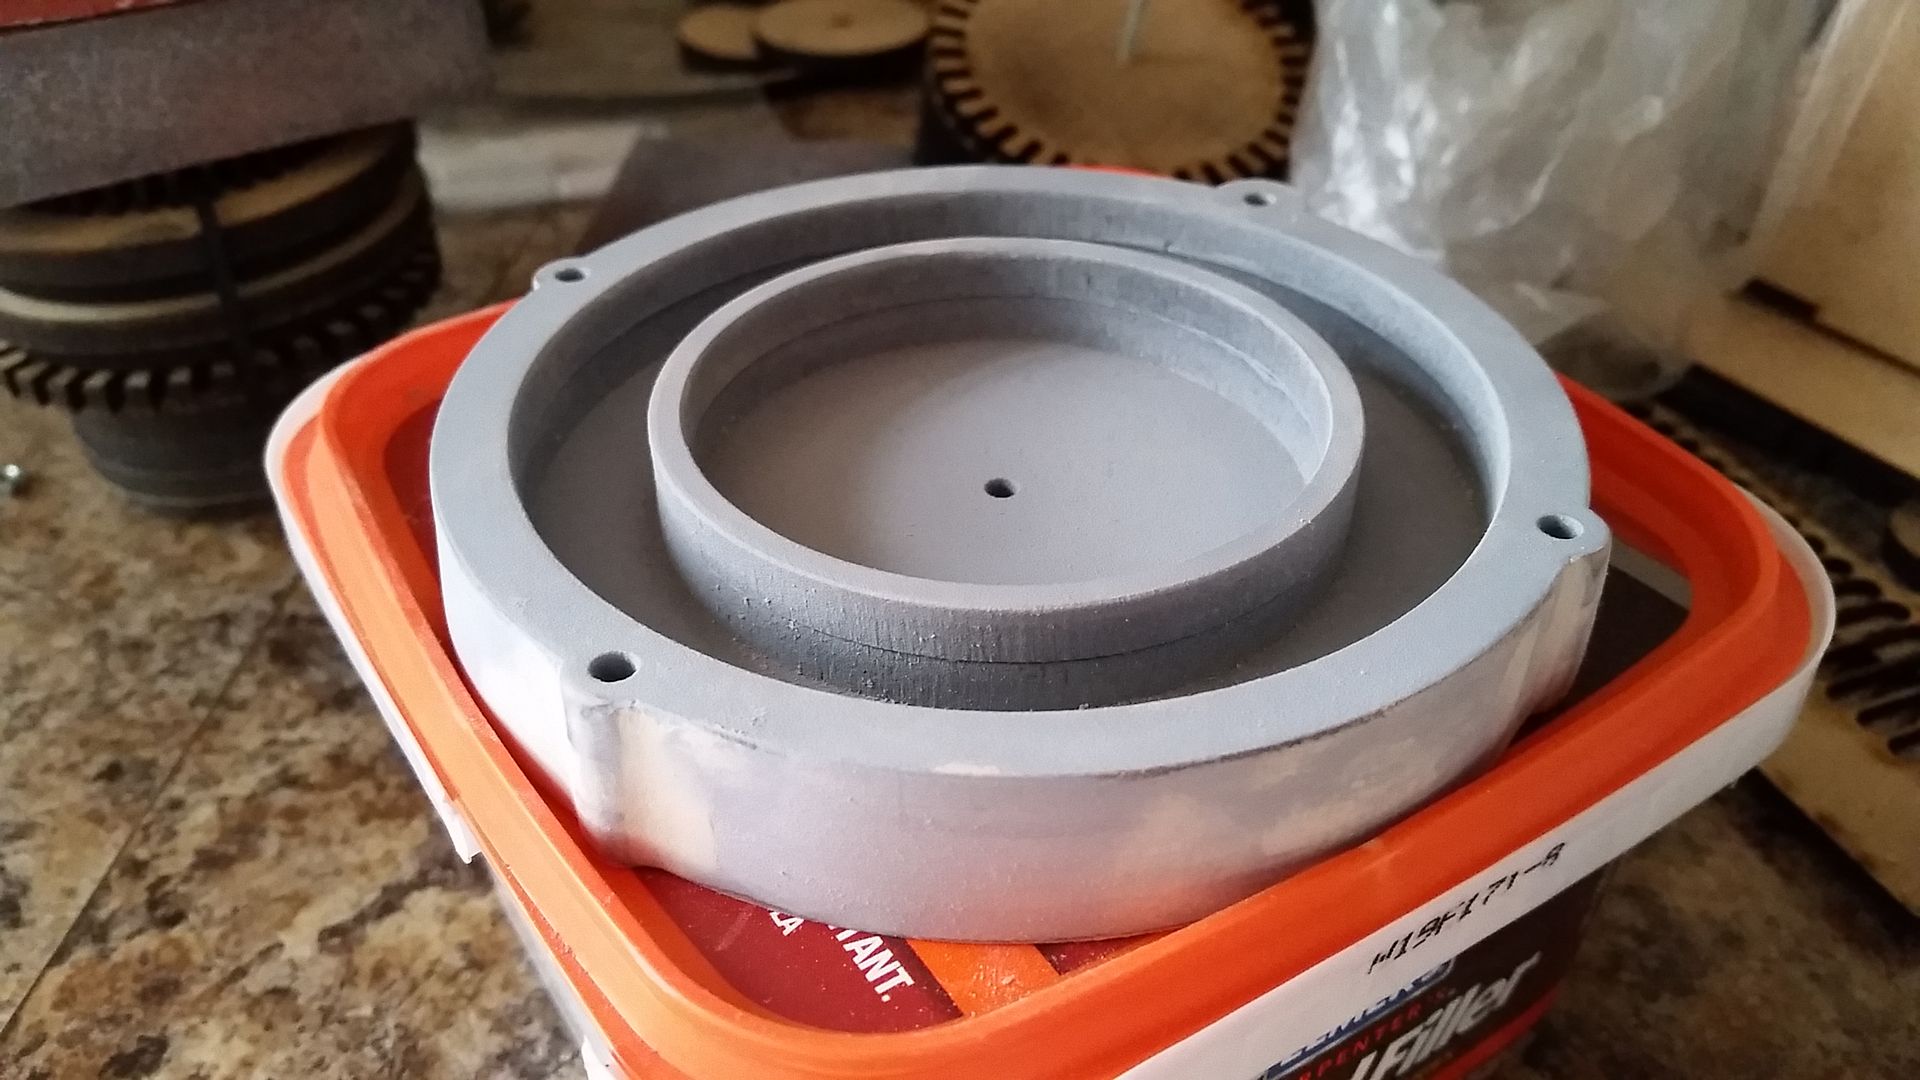
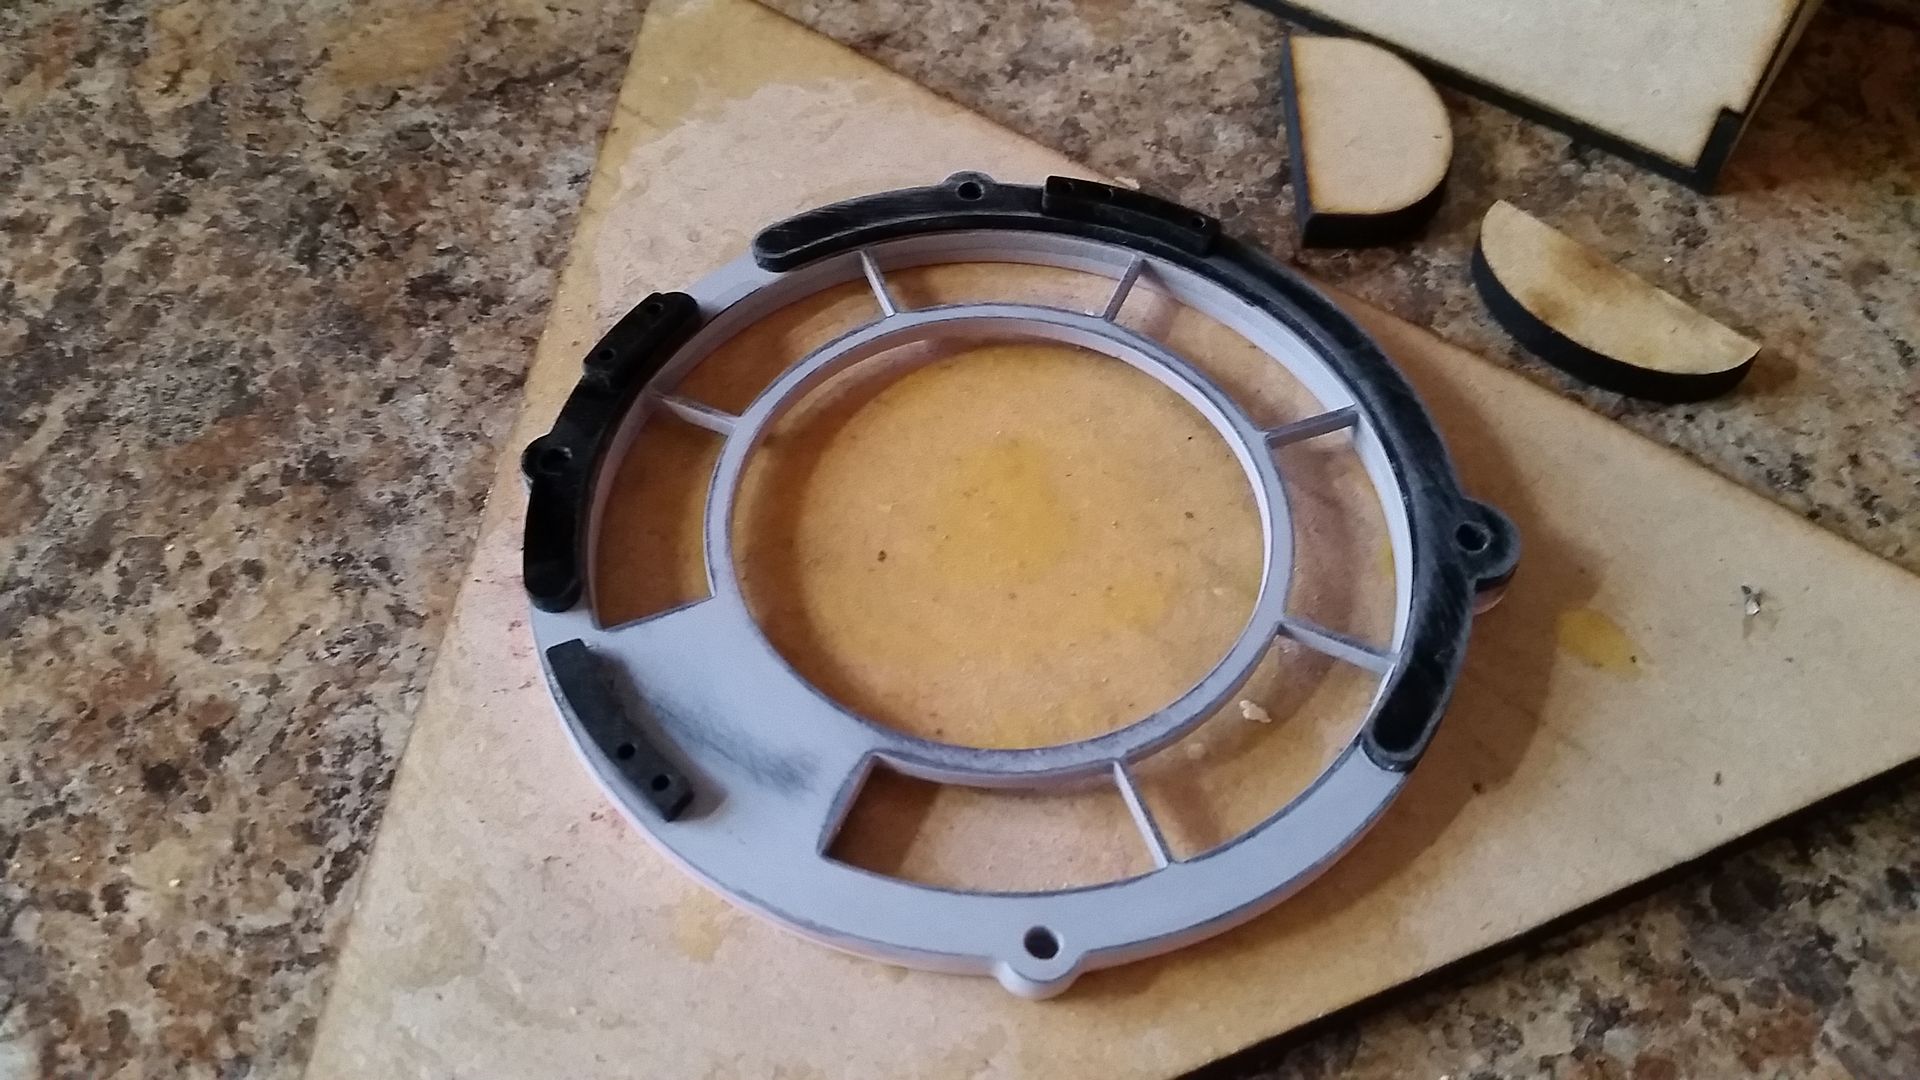
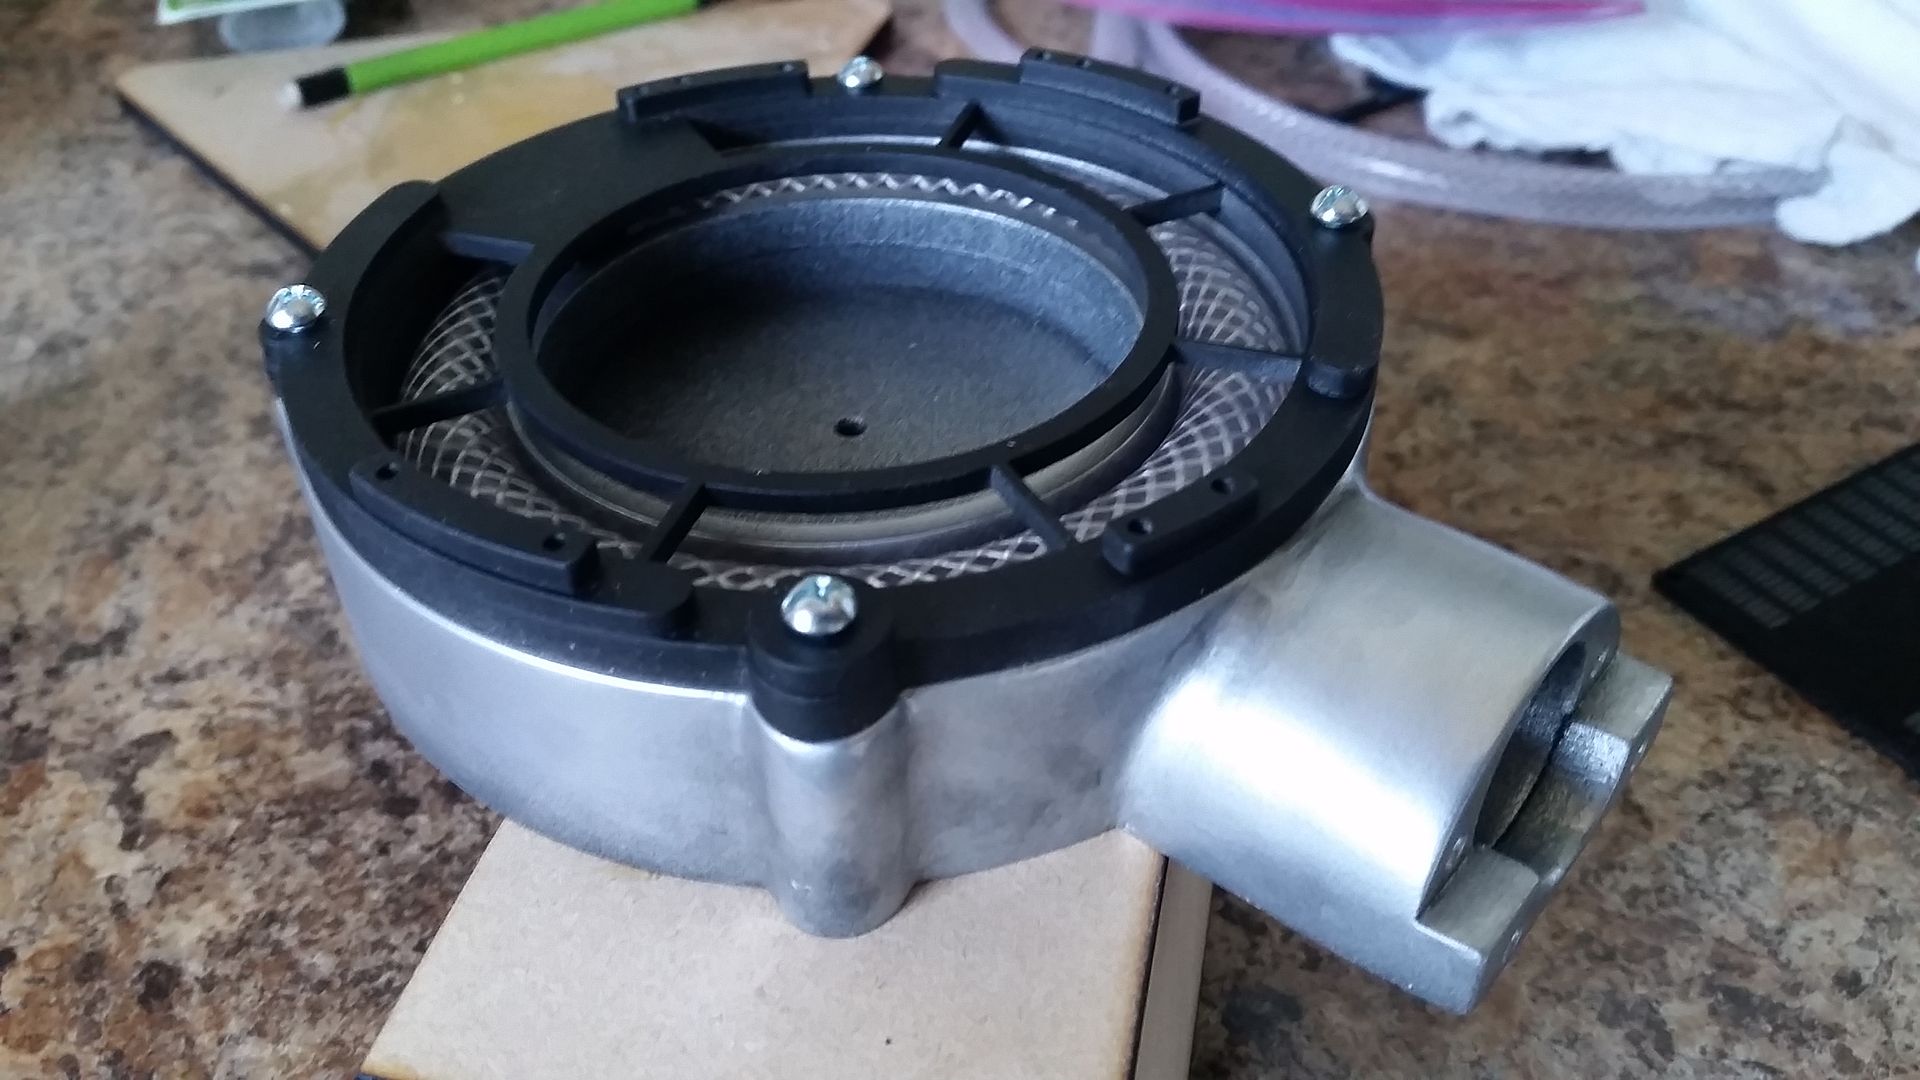
The single coil that connects to the red PVC pipe get a new base
20160422_080950_zpsfrwzbhke.jpg


20160422_080955_zpsprruh0a7.jpg


20160422_154541_zpsq7auns0a.jpg


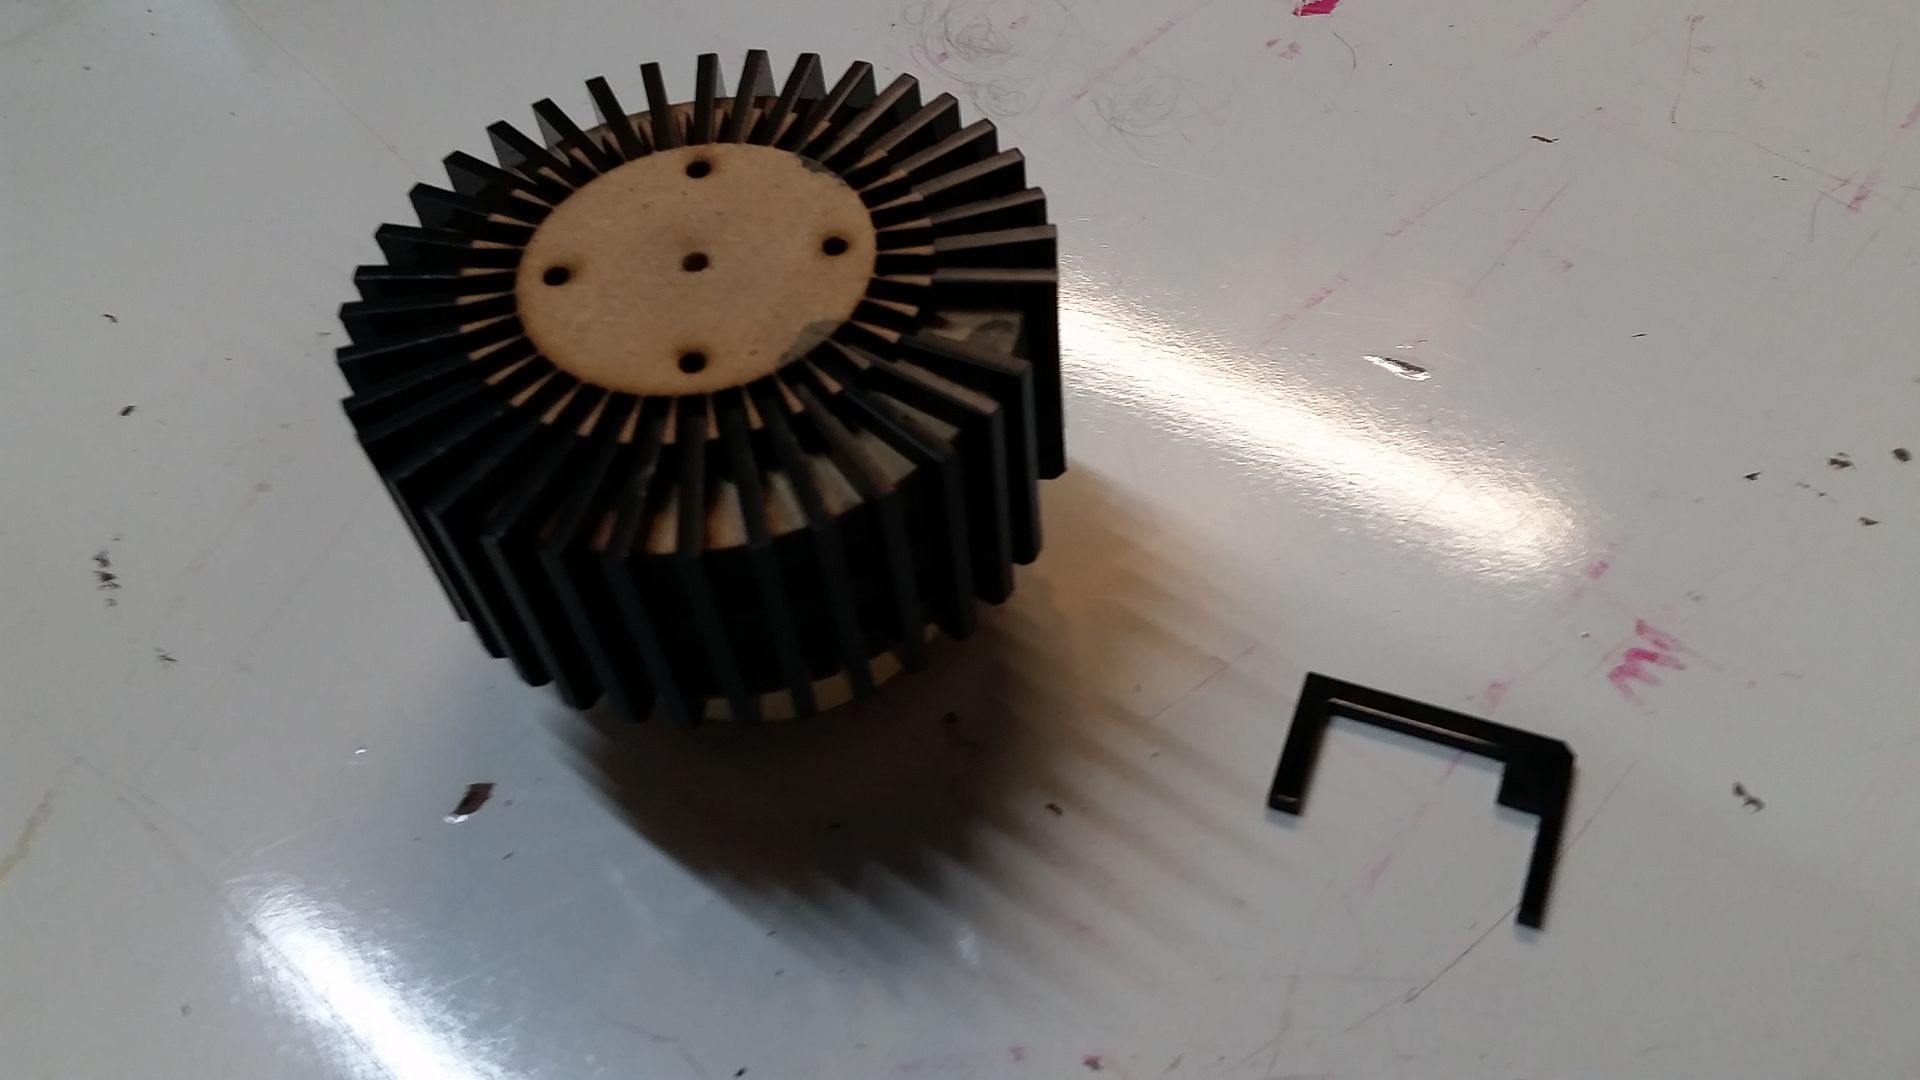
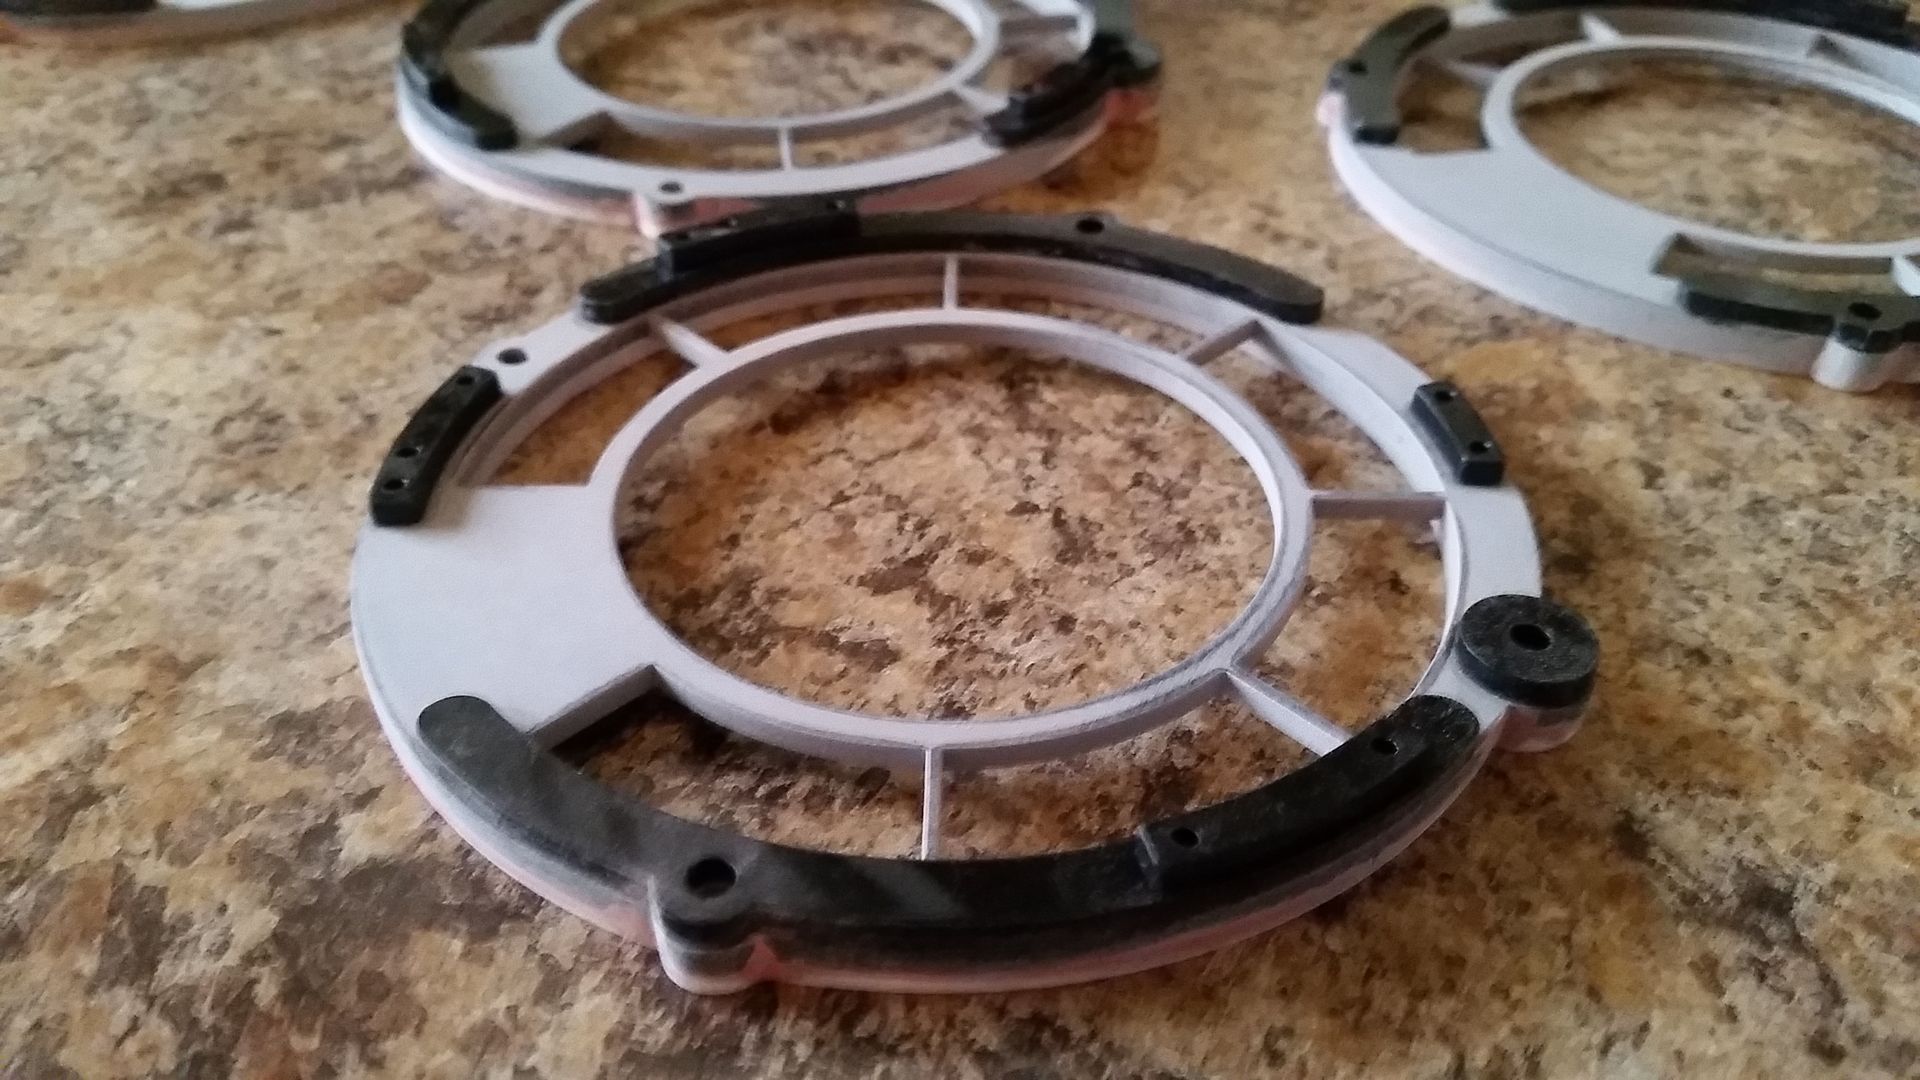
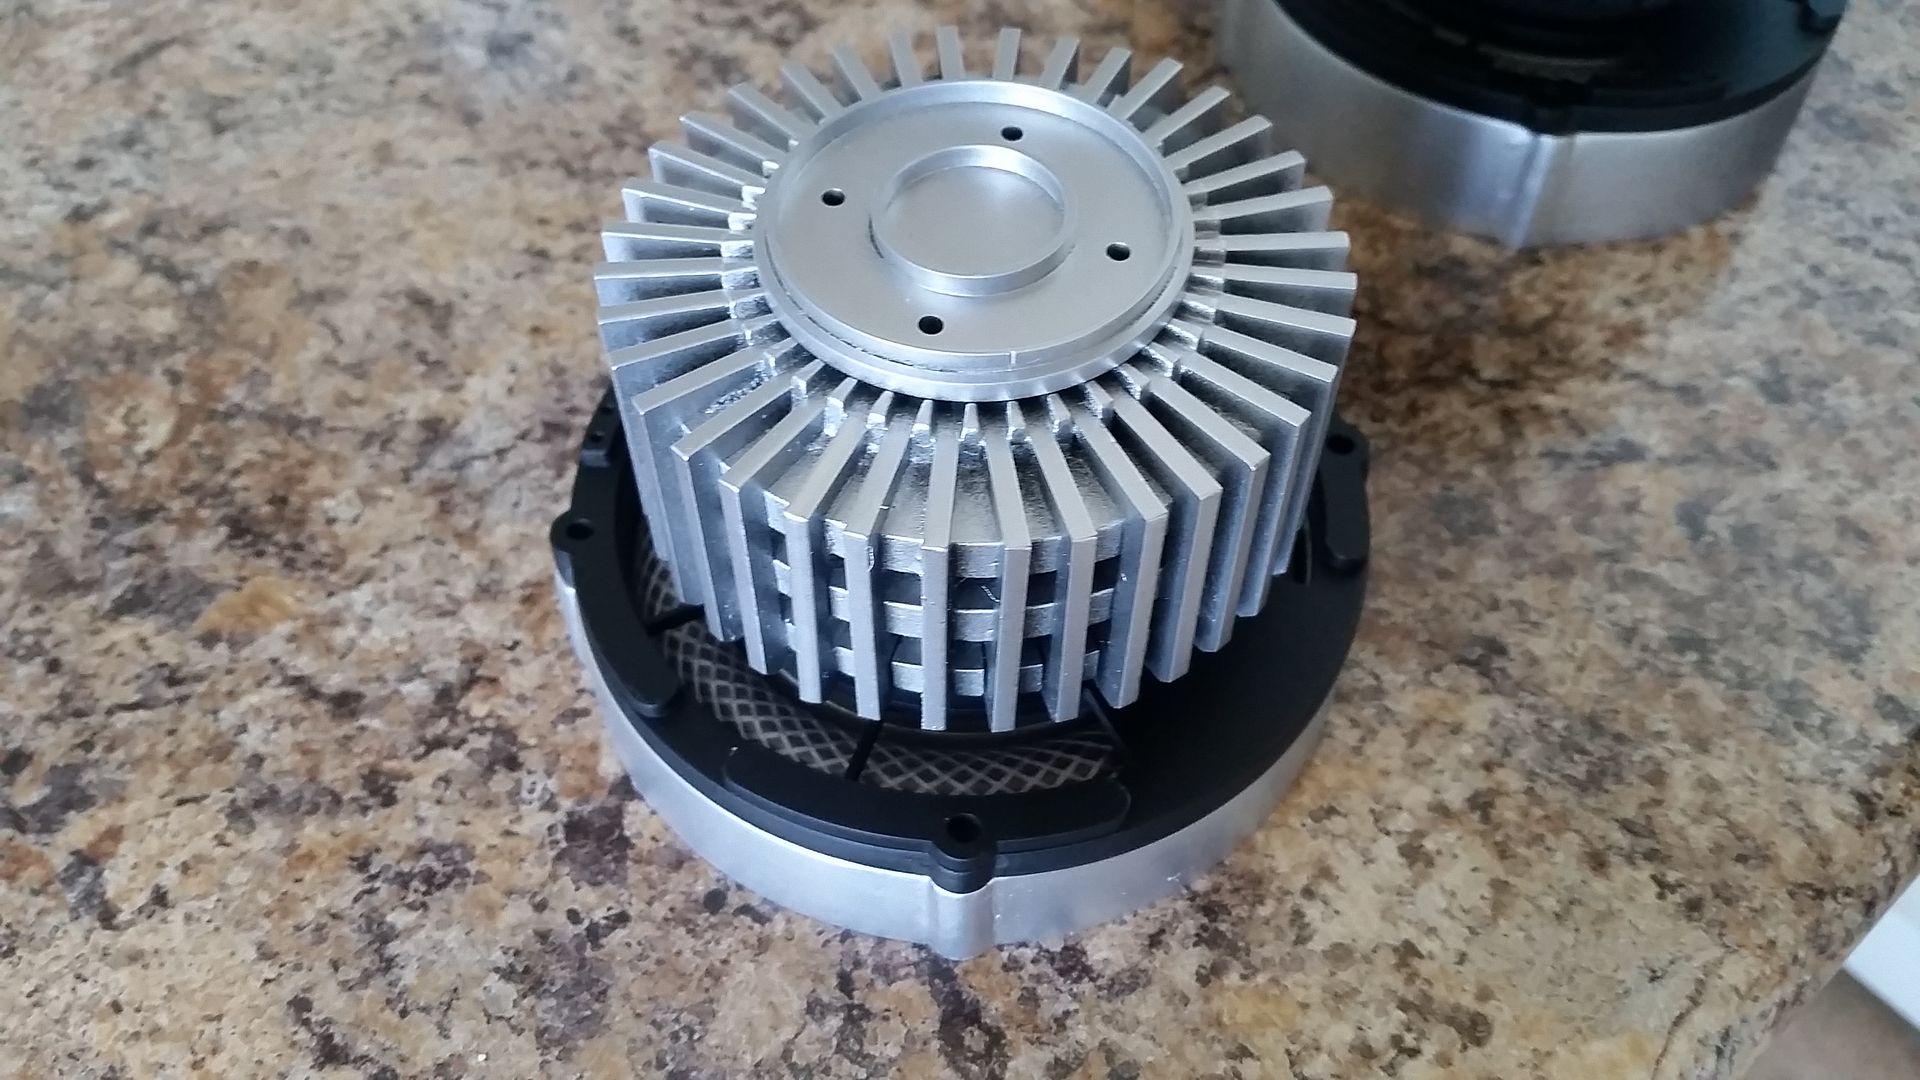
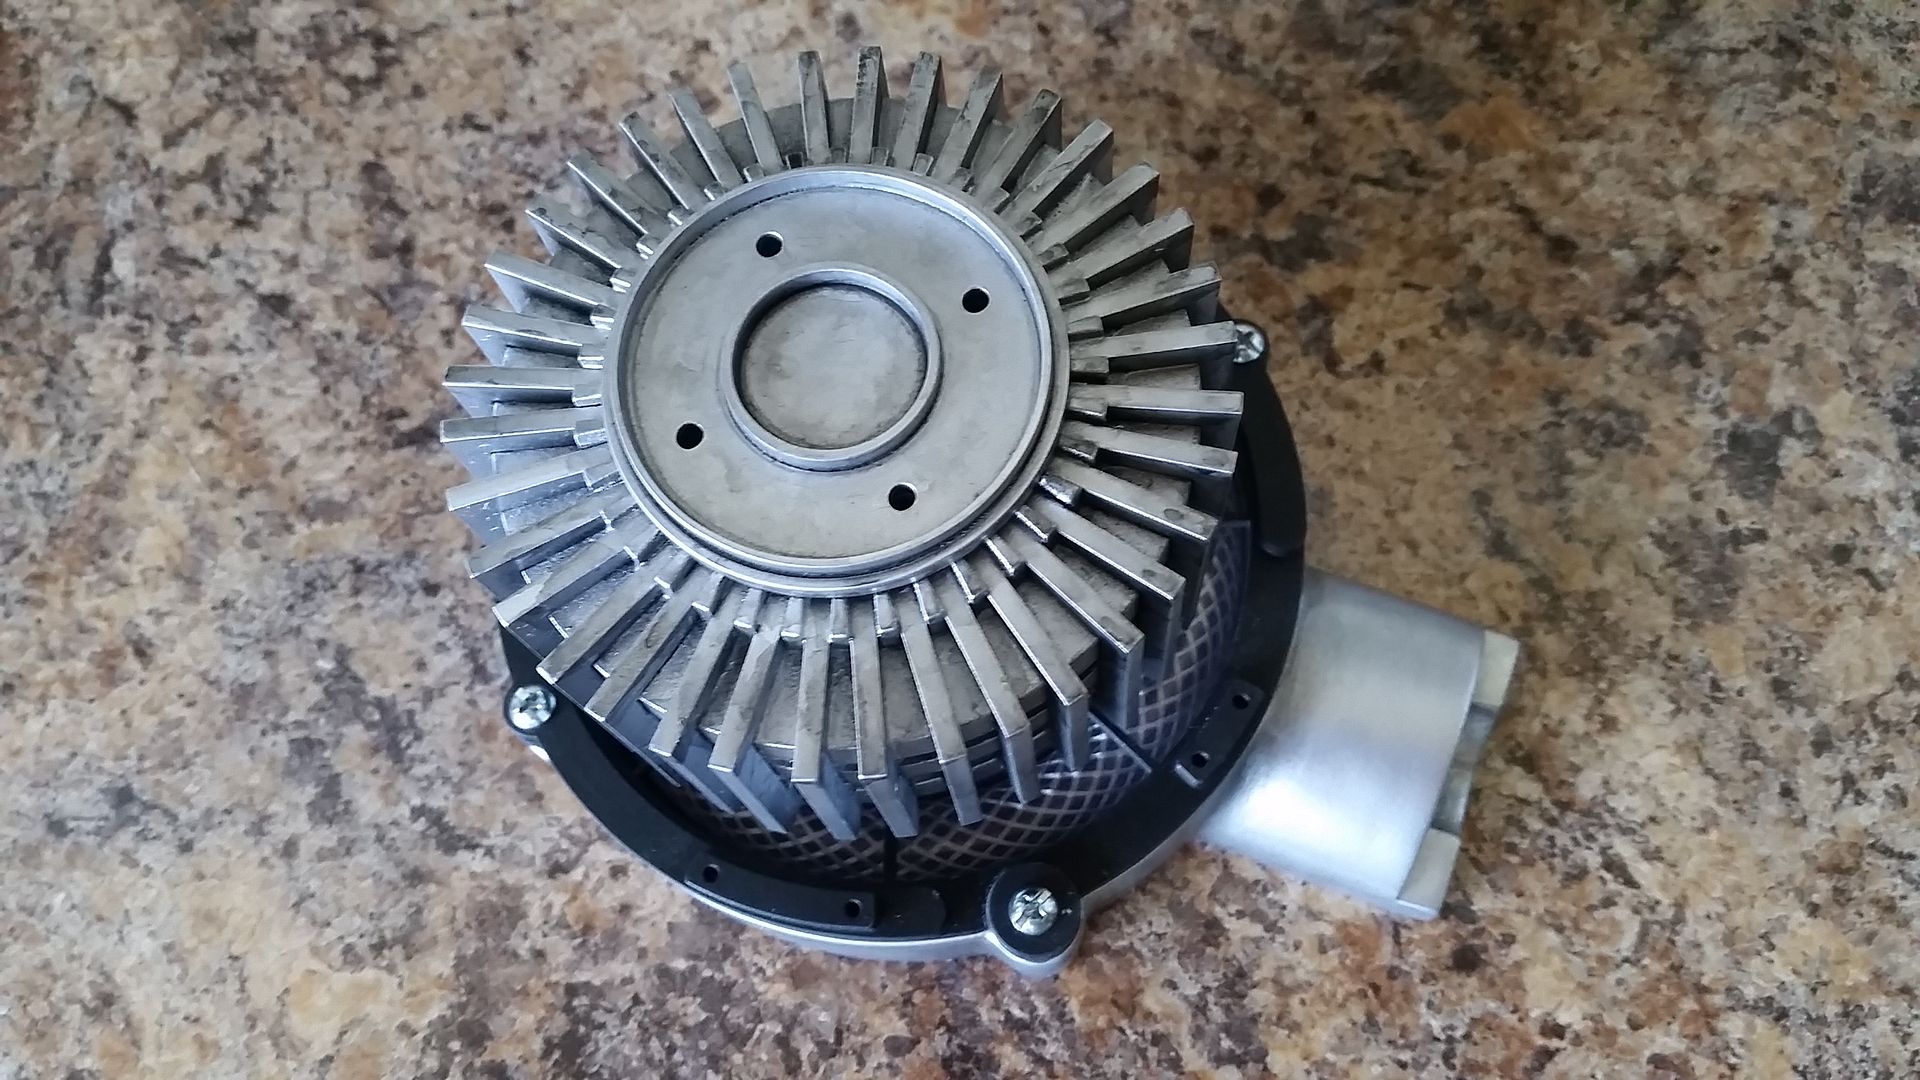
I cut new fins for the extra coil and only 1 didn't fit?
20160422_172318_zpsrnuwtmuz.jpg


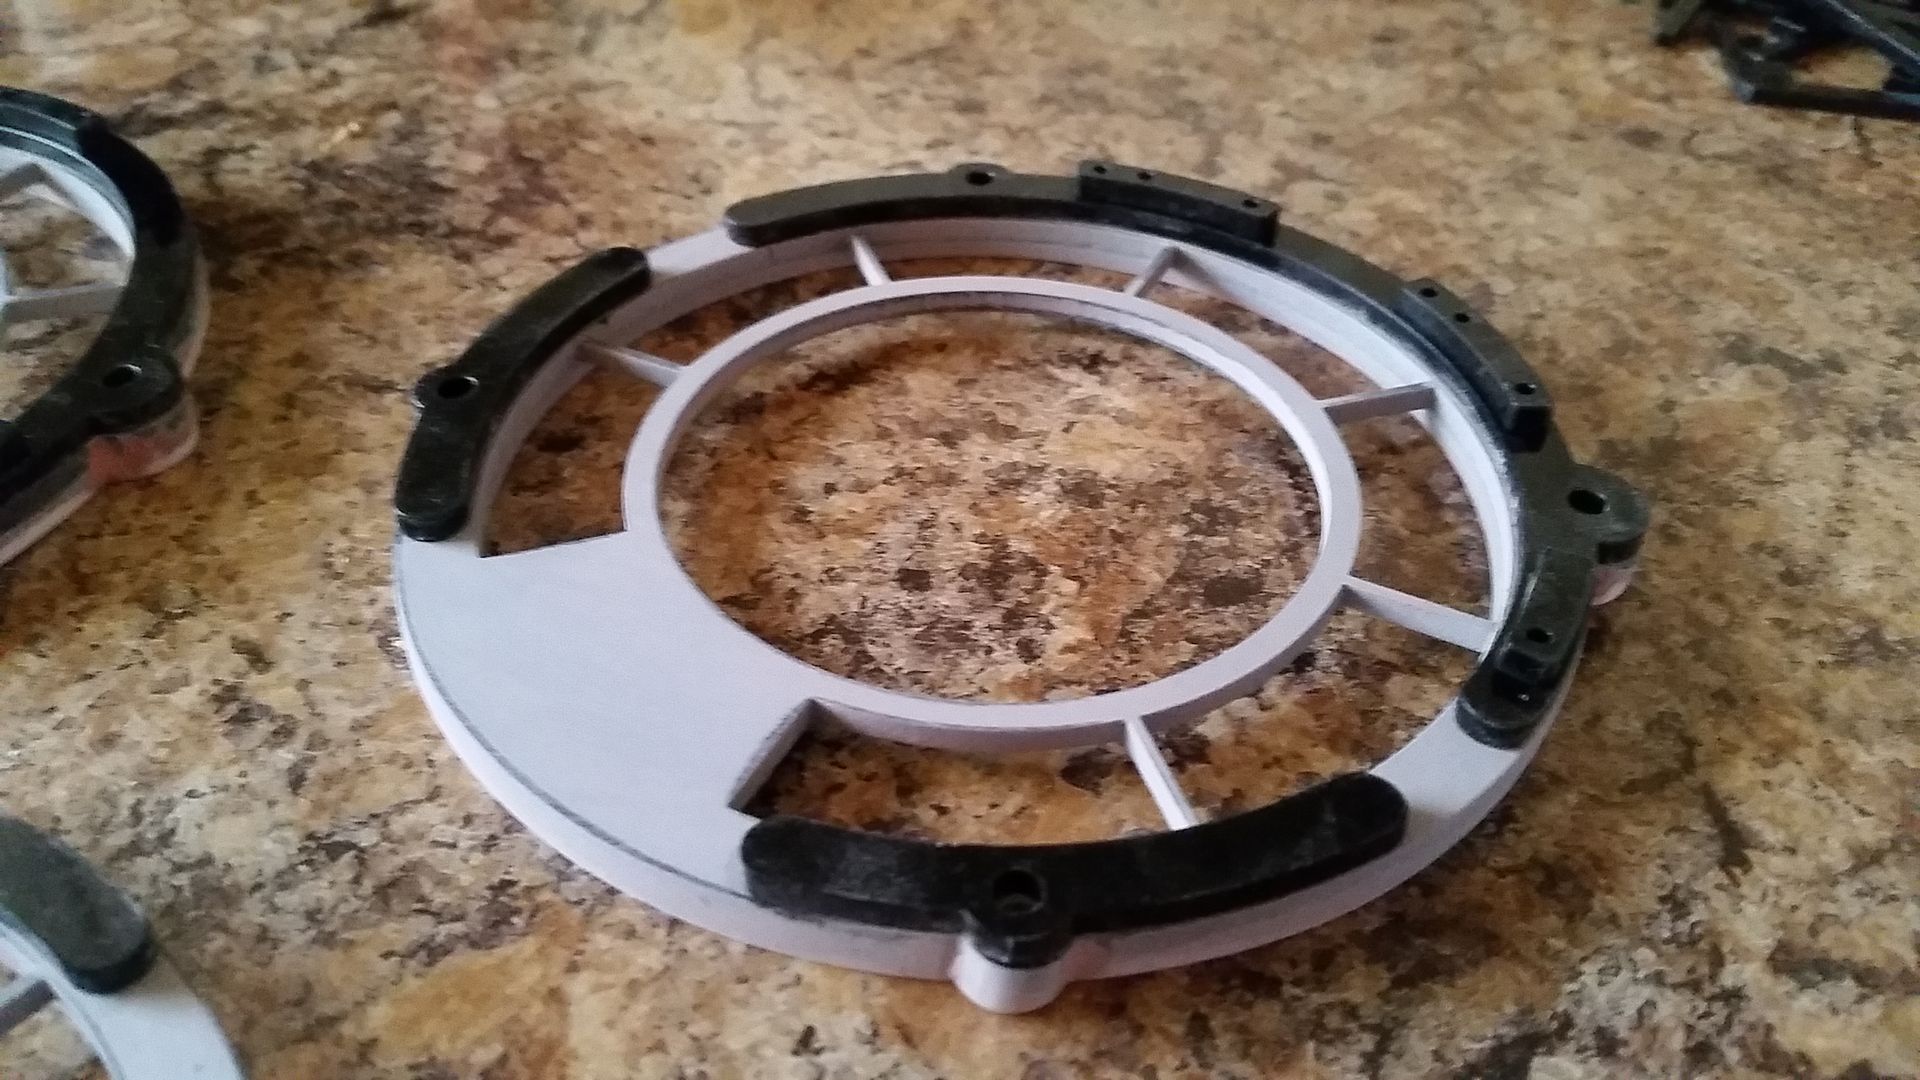
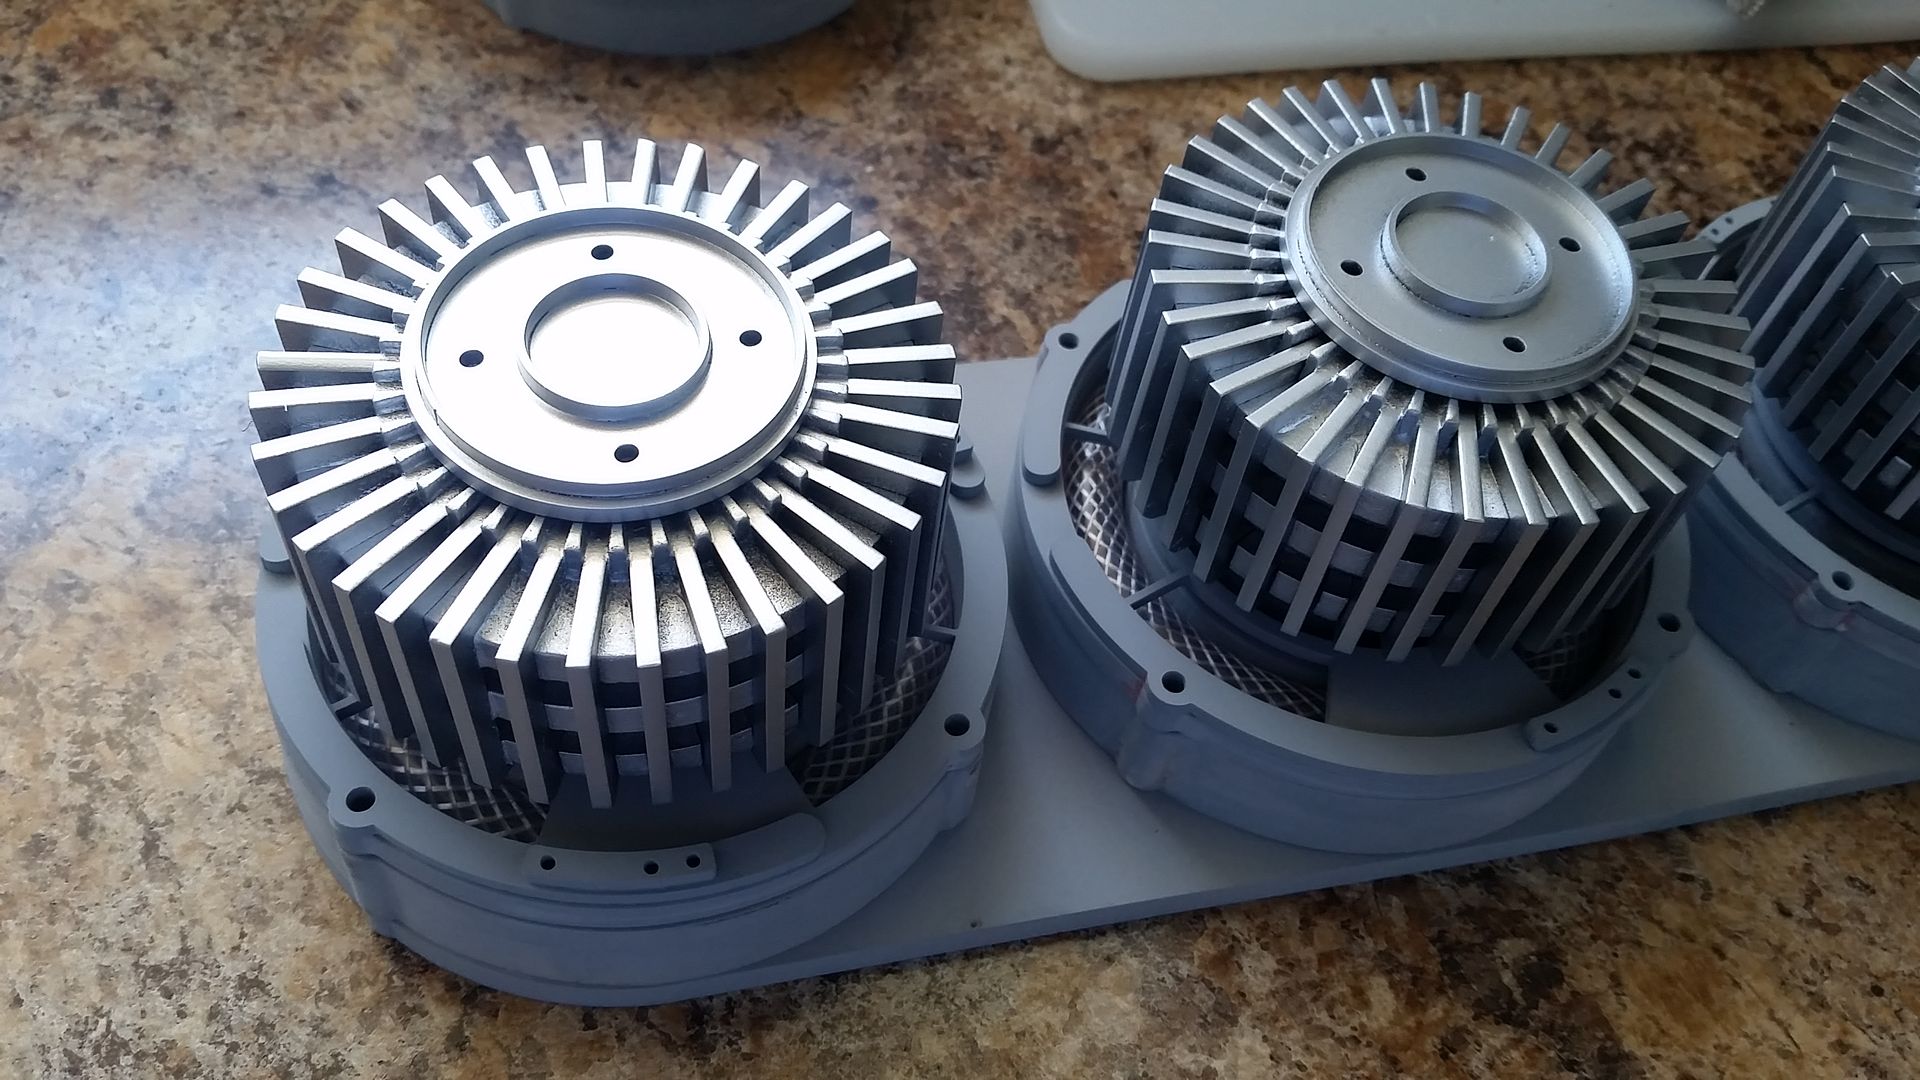
Putting all the puzzle pieces together
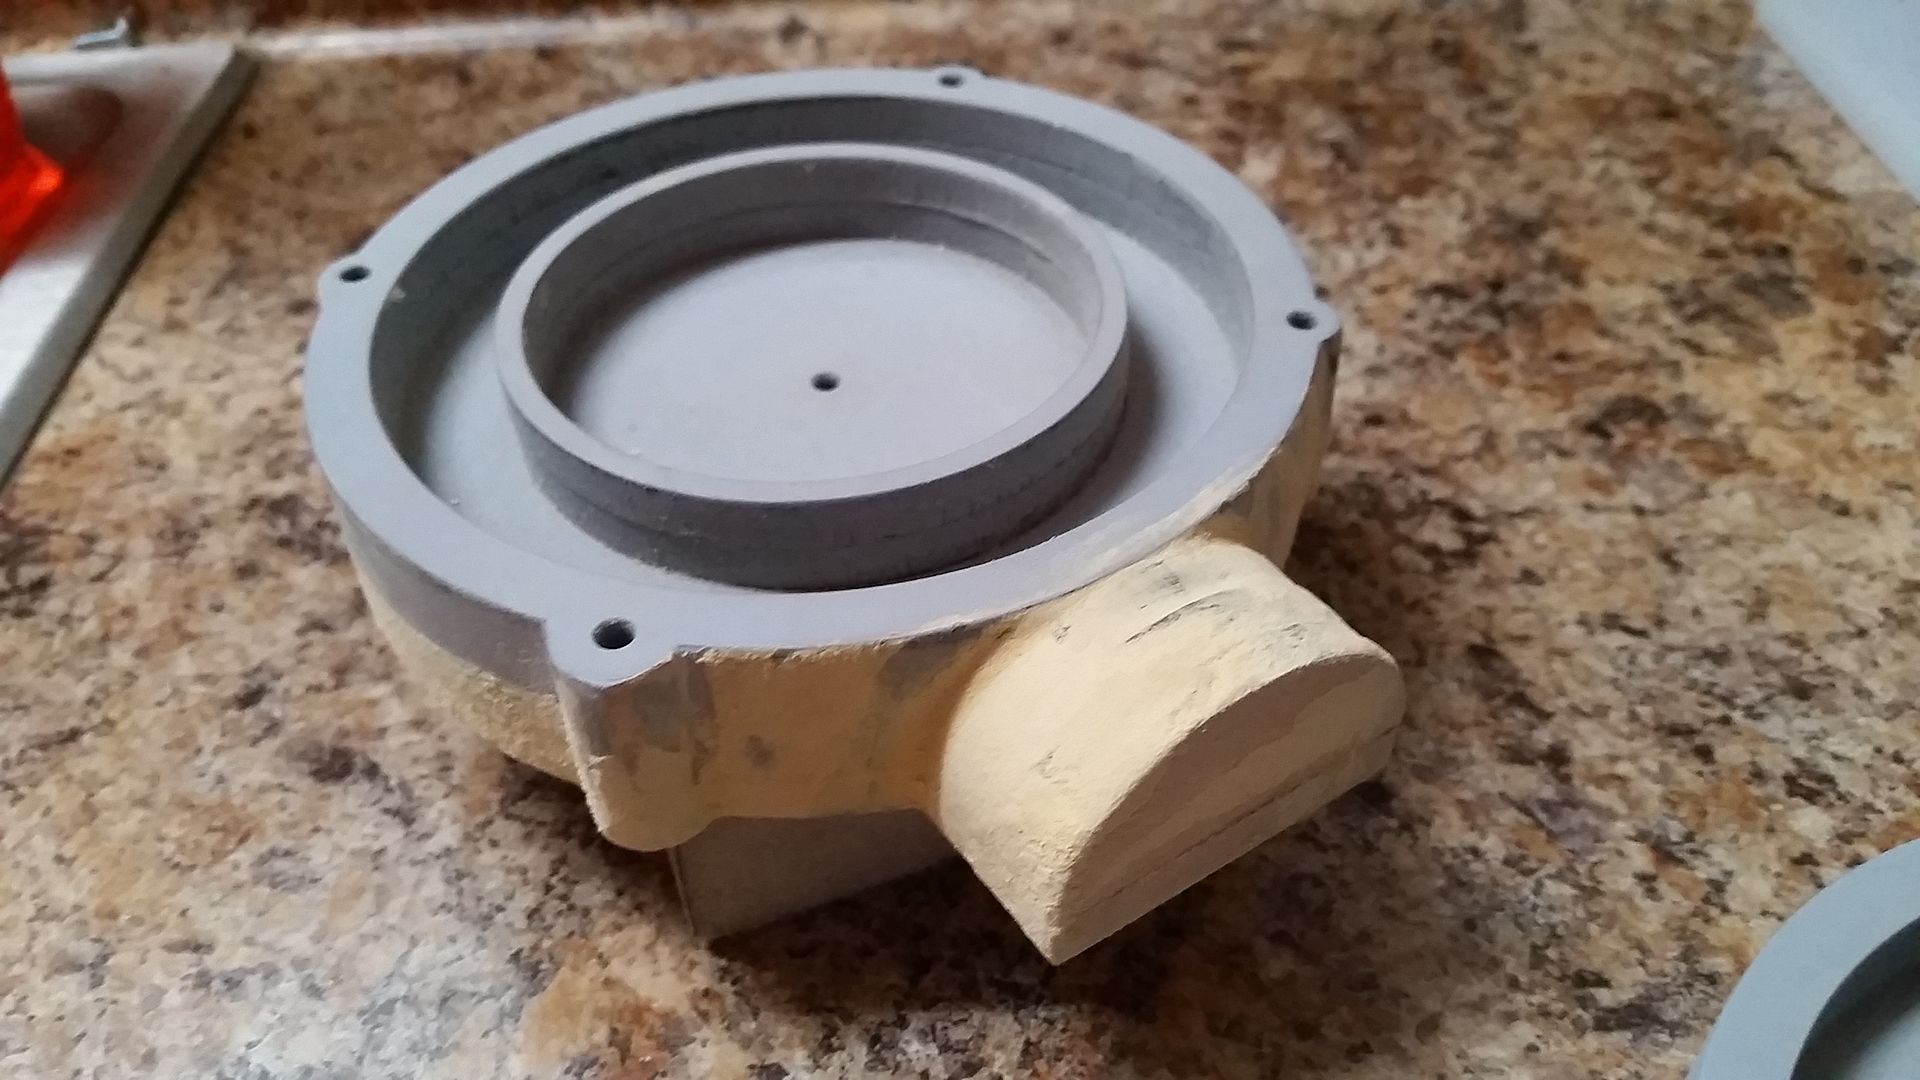
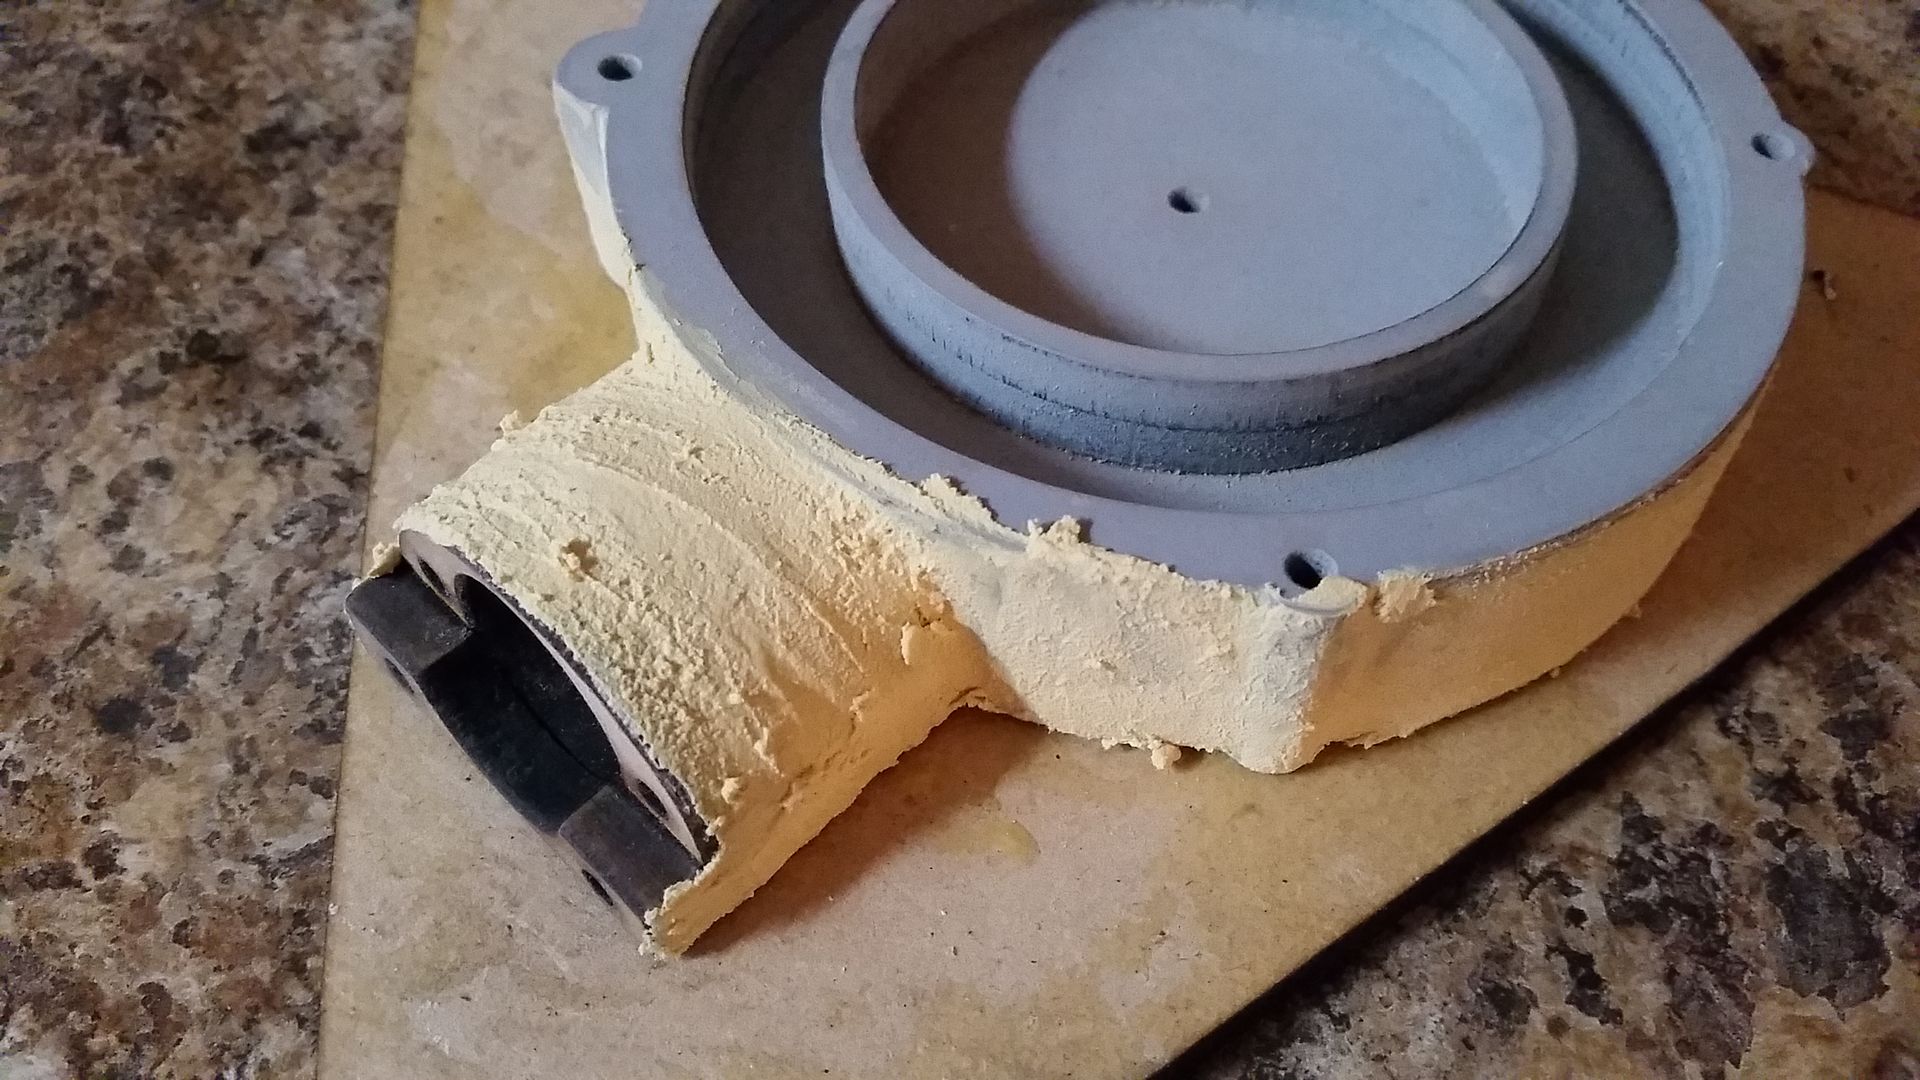
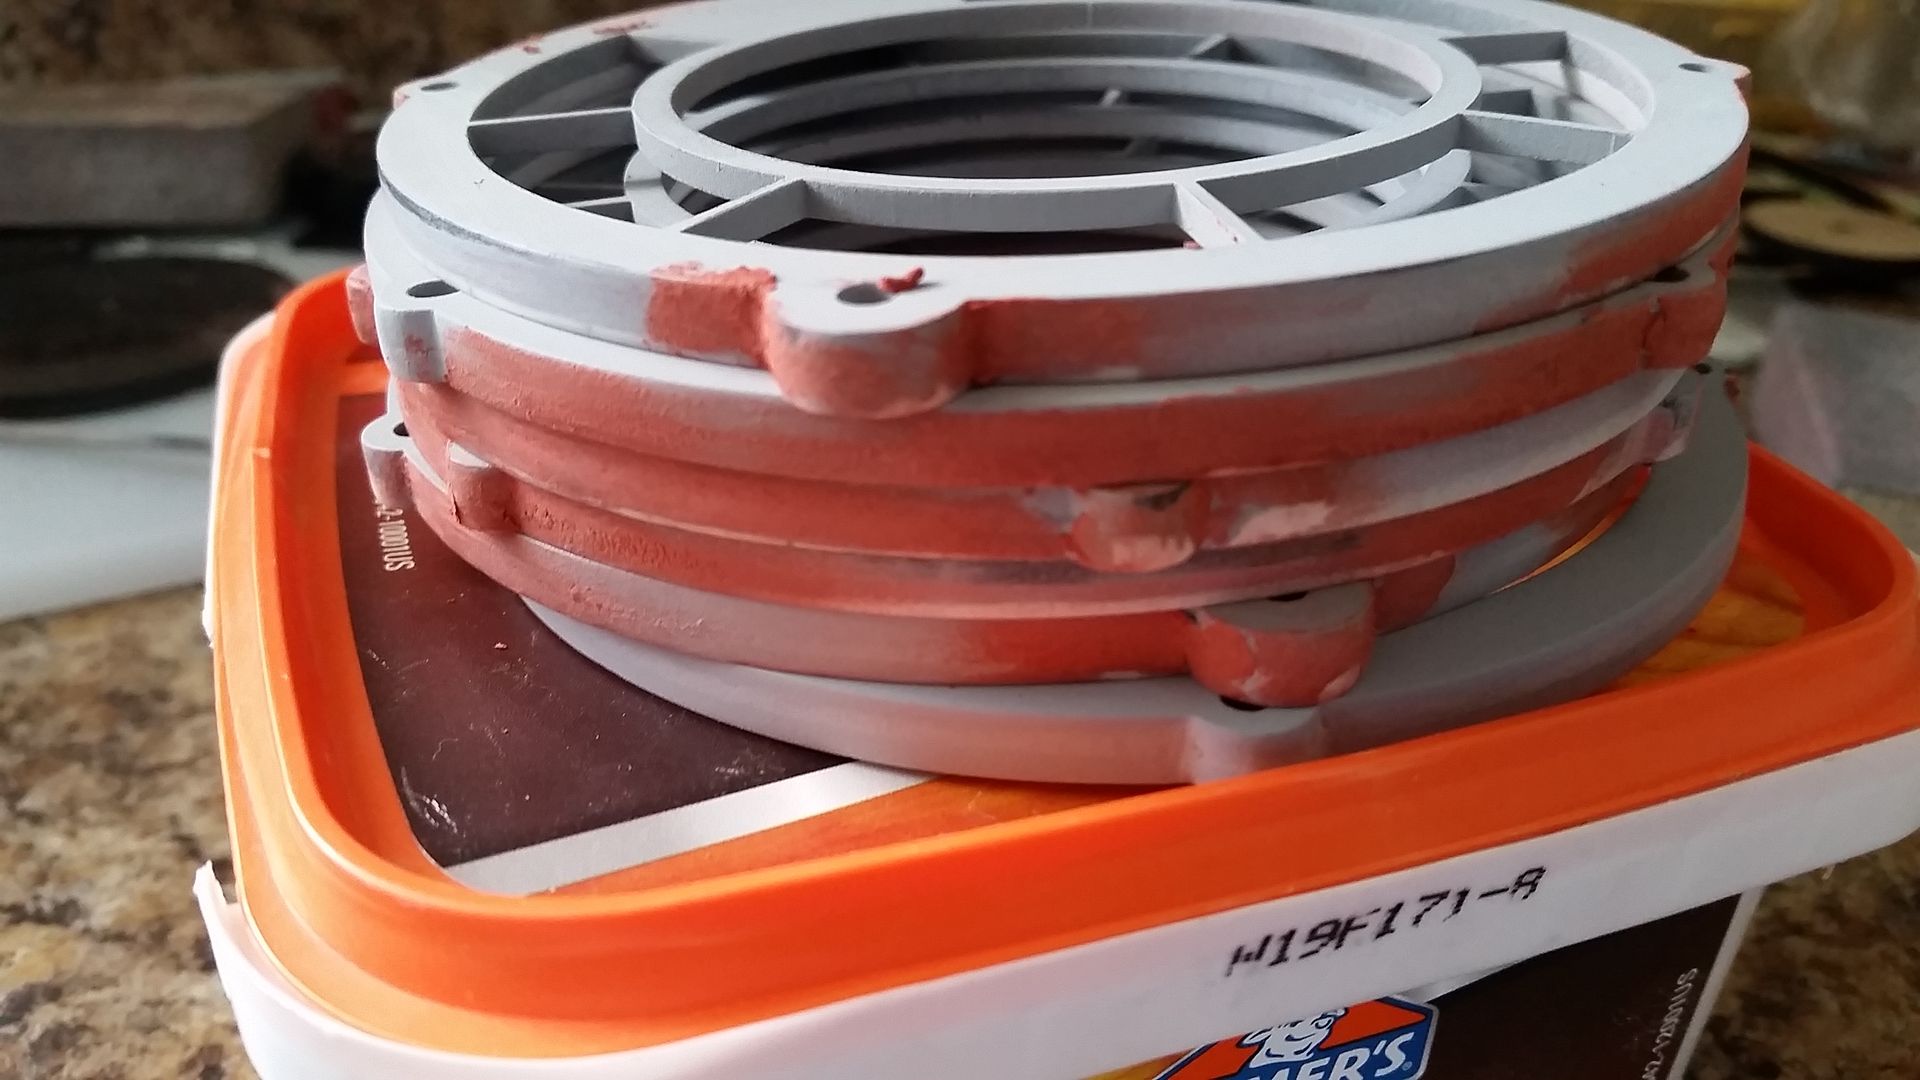
20160422_182500_zpsolyn1p7o.jpg


20160422_182513_zpsnmr8zomo.jpg


Filler
20160422_194605_zpsiynfh46h.jpg


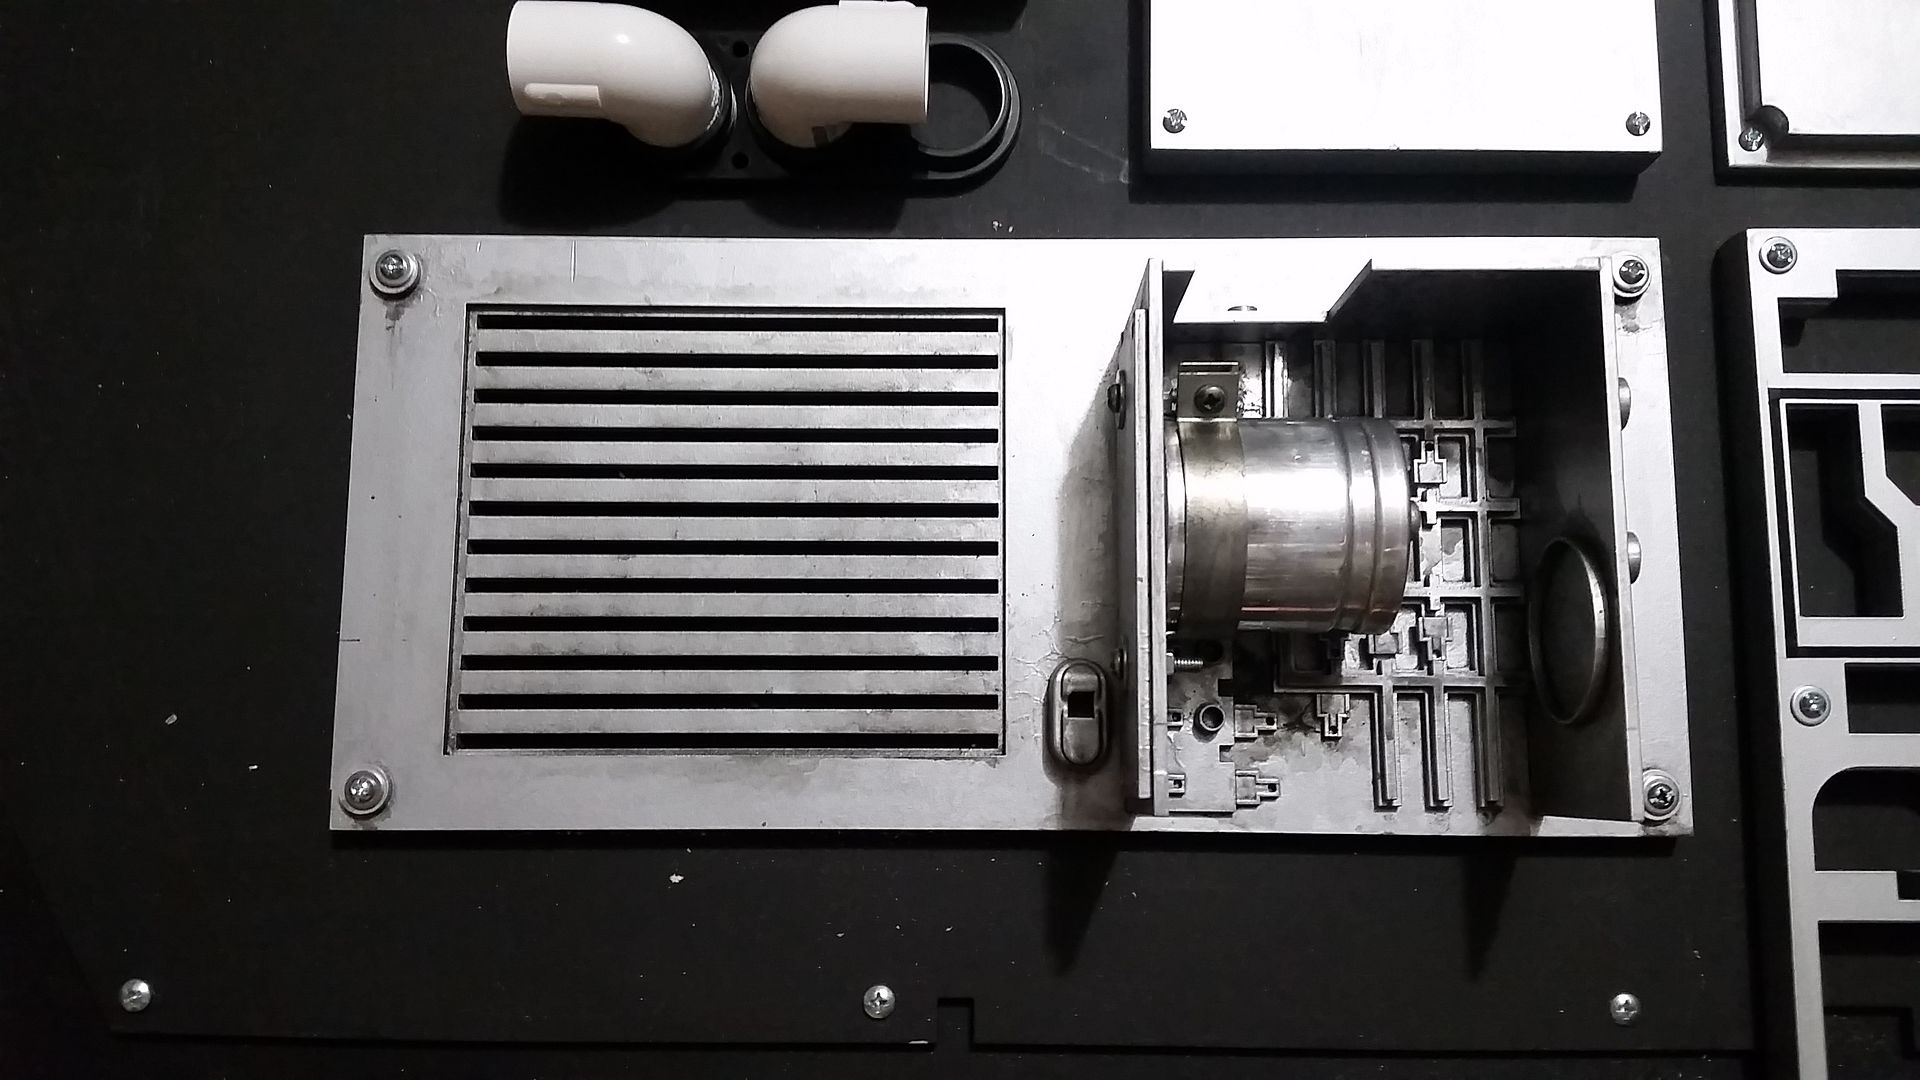
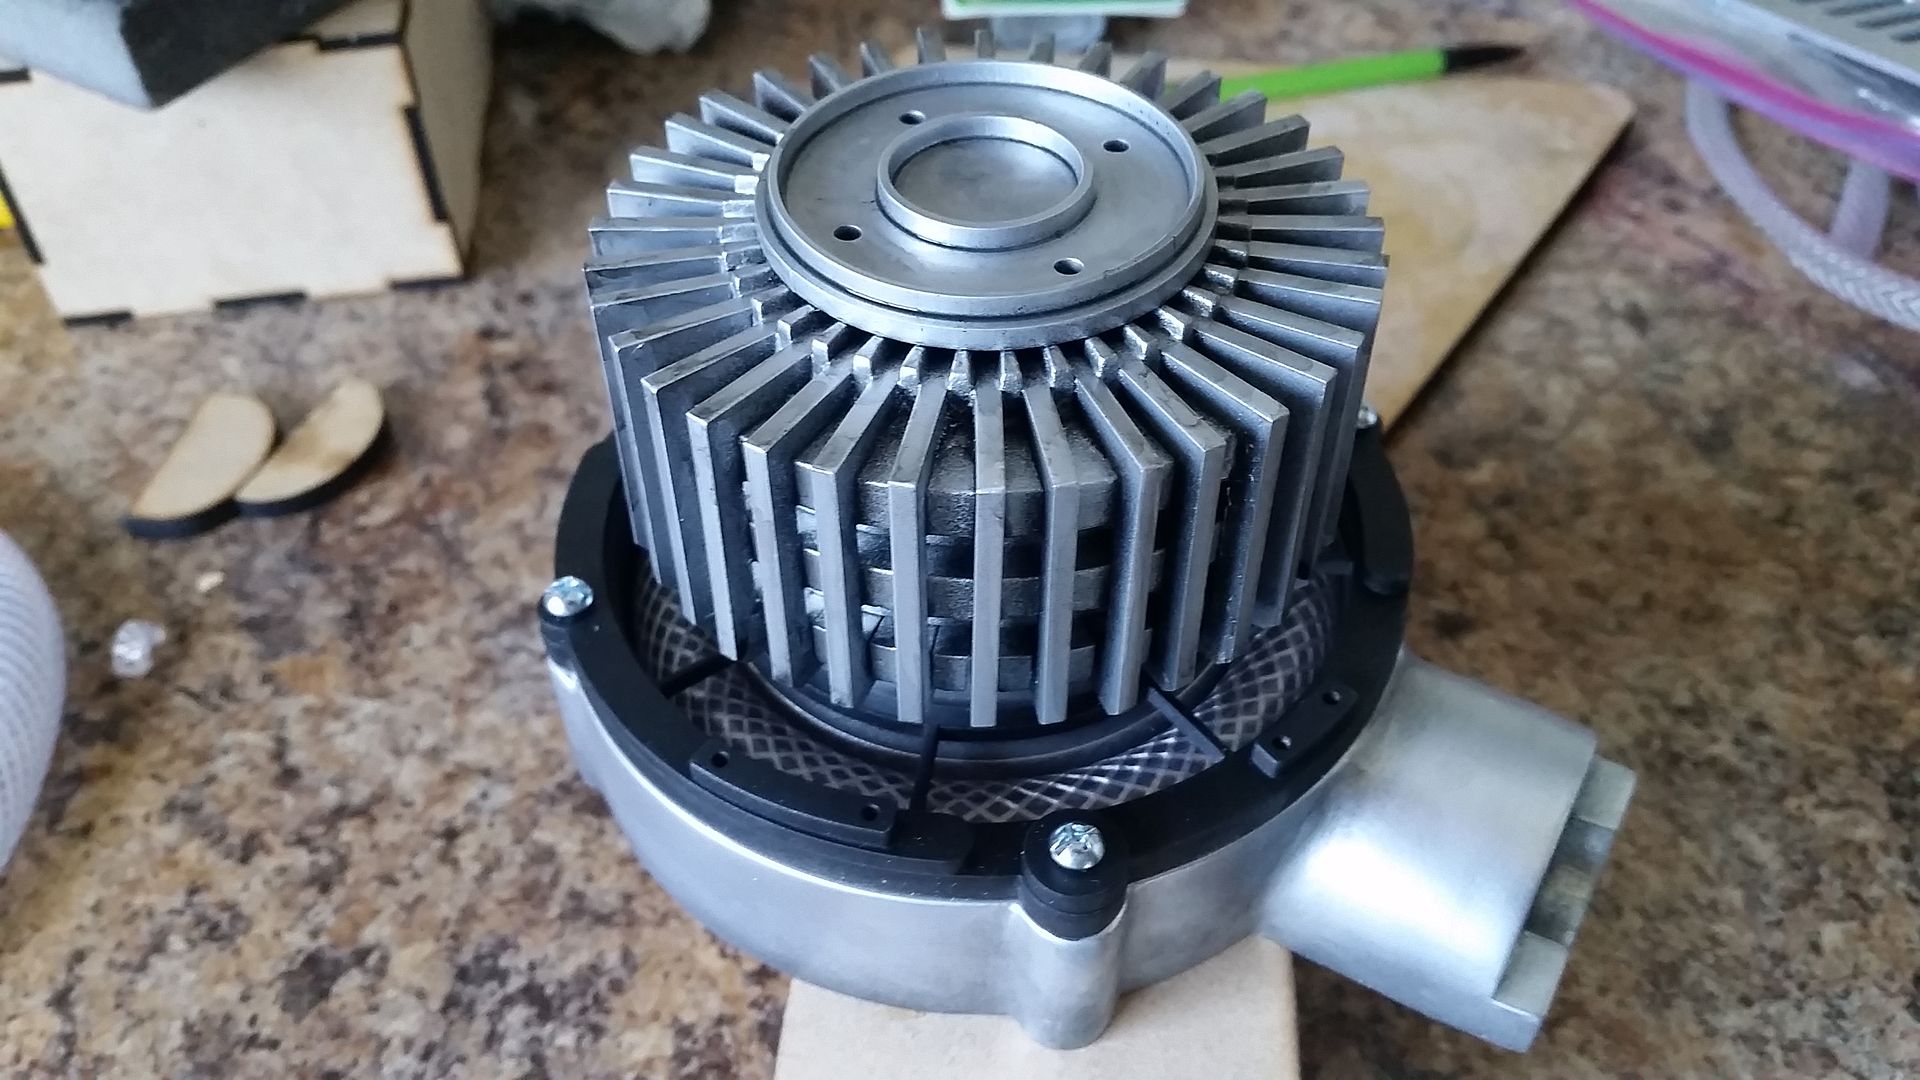
1st round of sanding and added the pipe connector
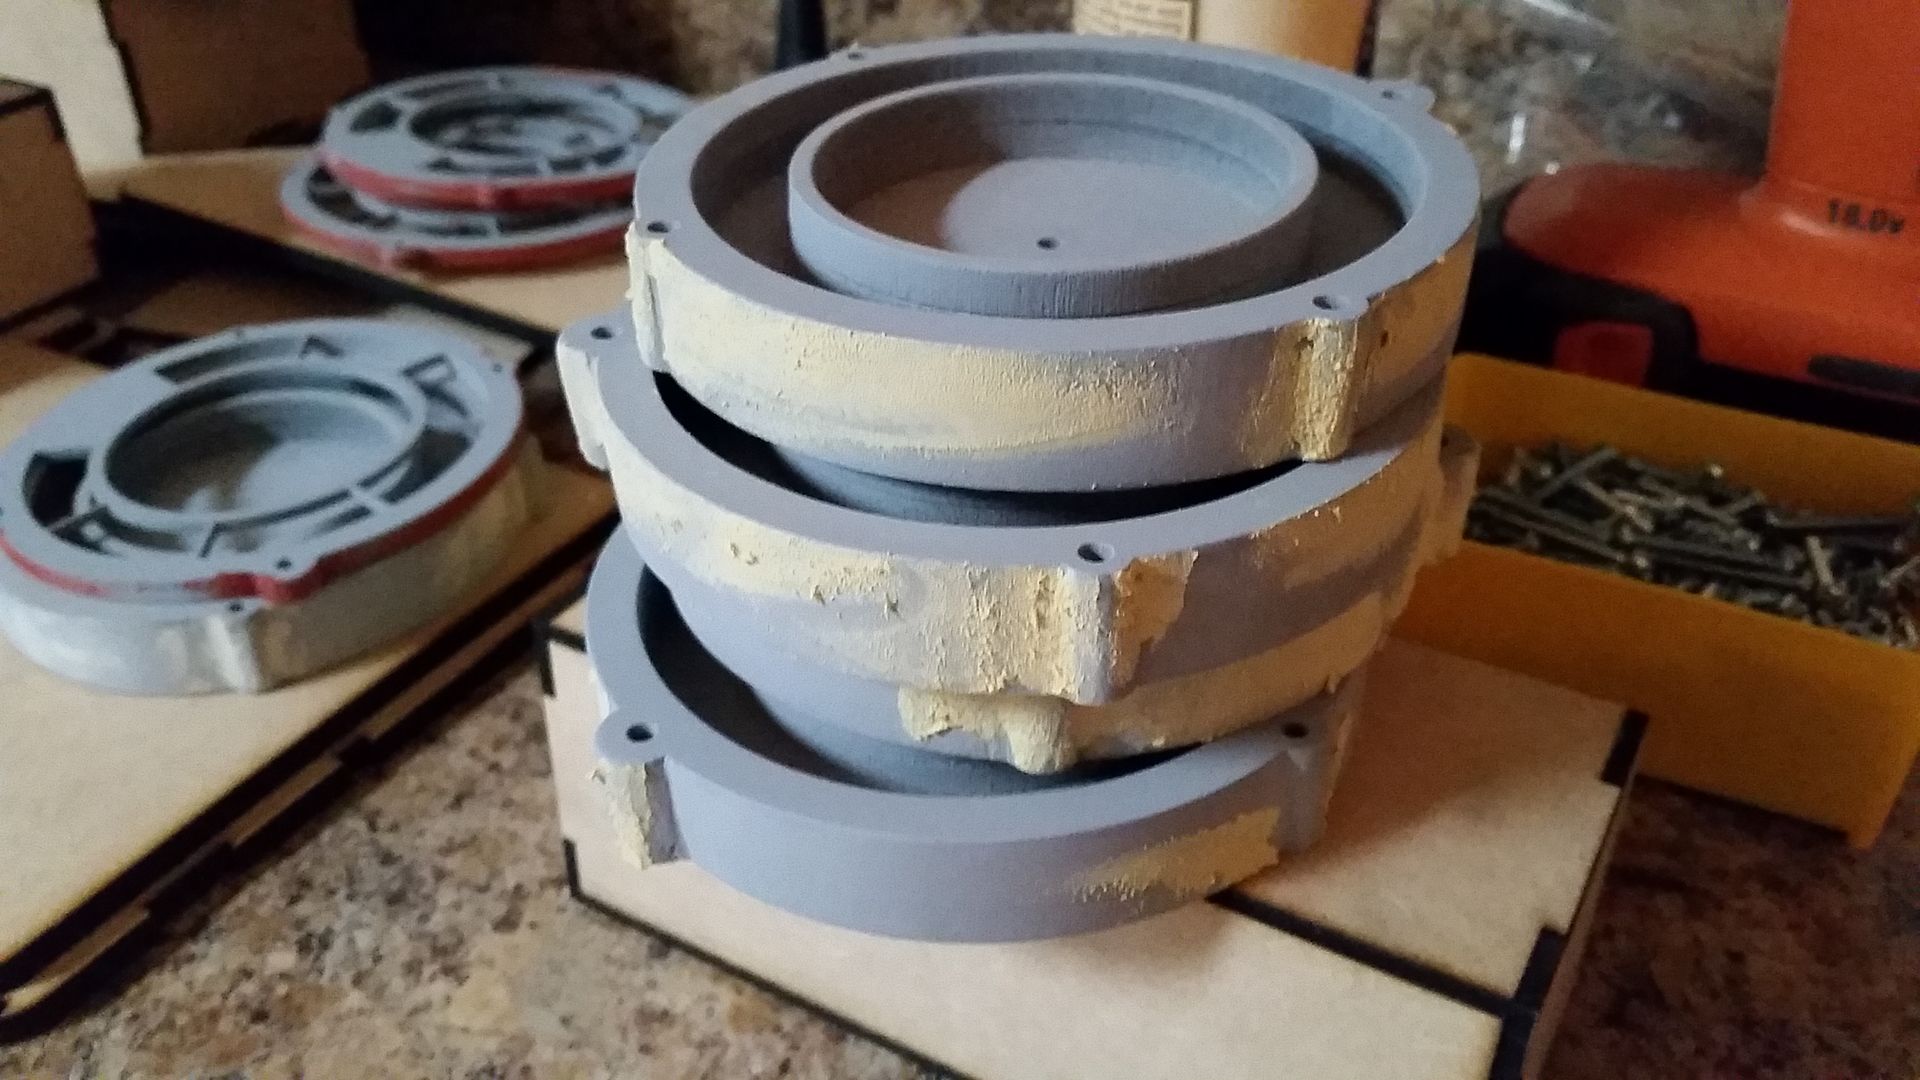
20160422_194804_zpslku52qlv.jpg


More filler
20160422_195257_zps9h9txvrp.jpg


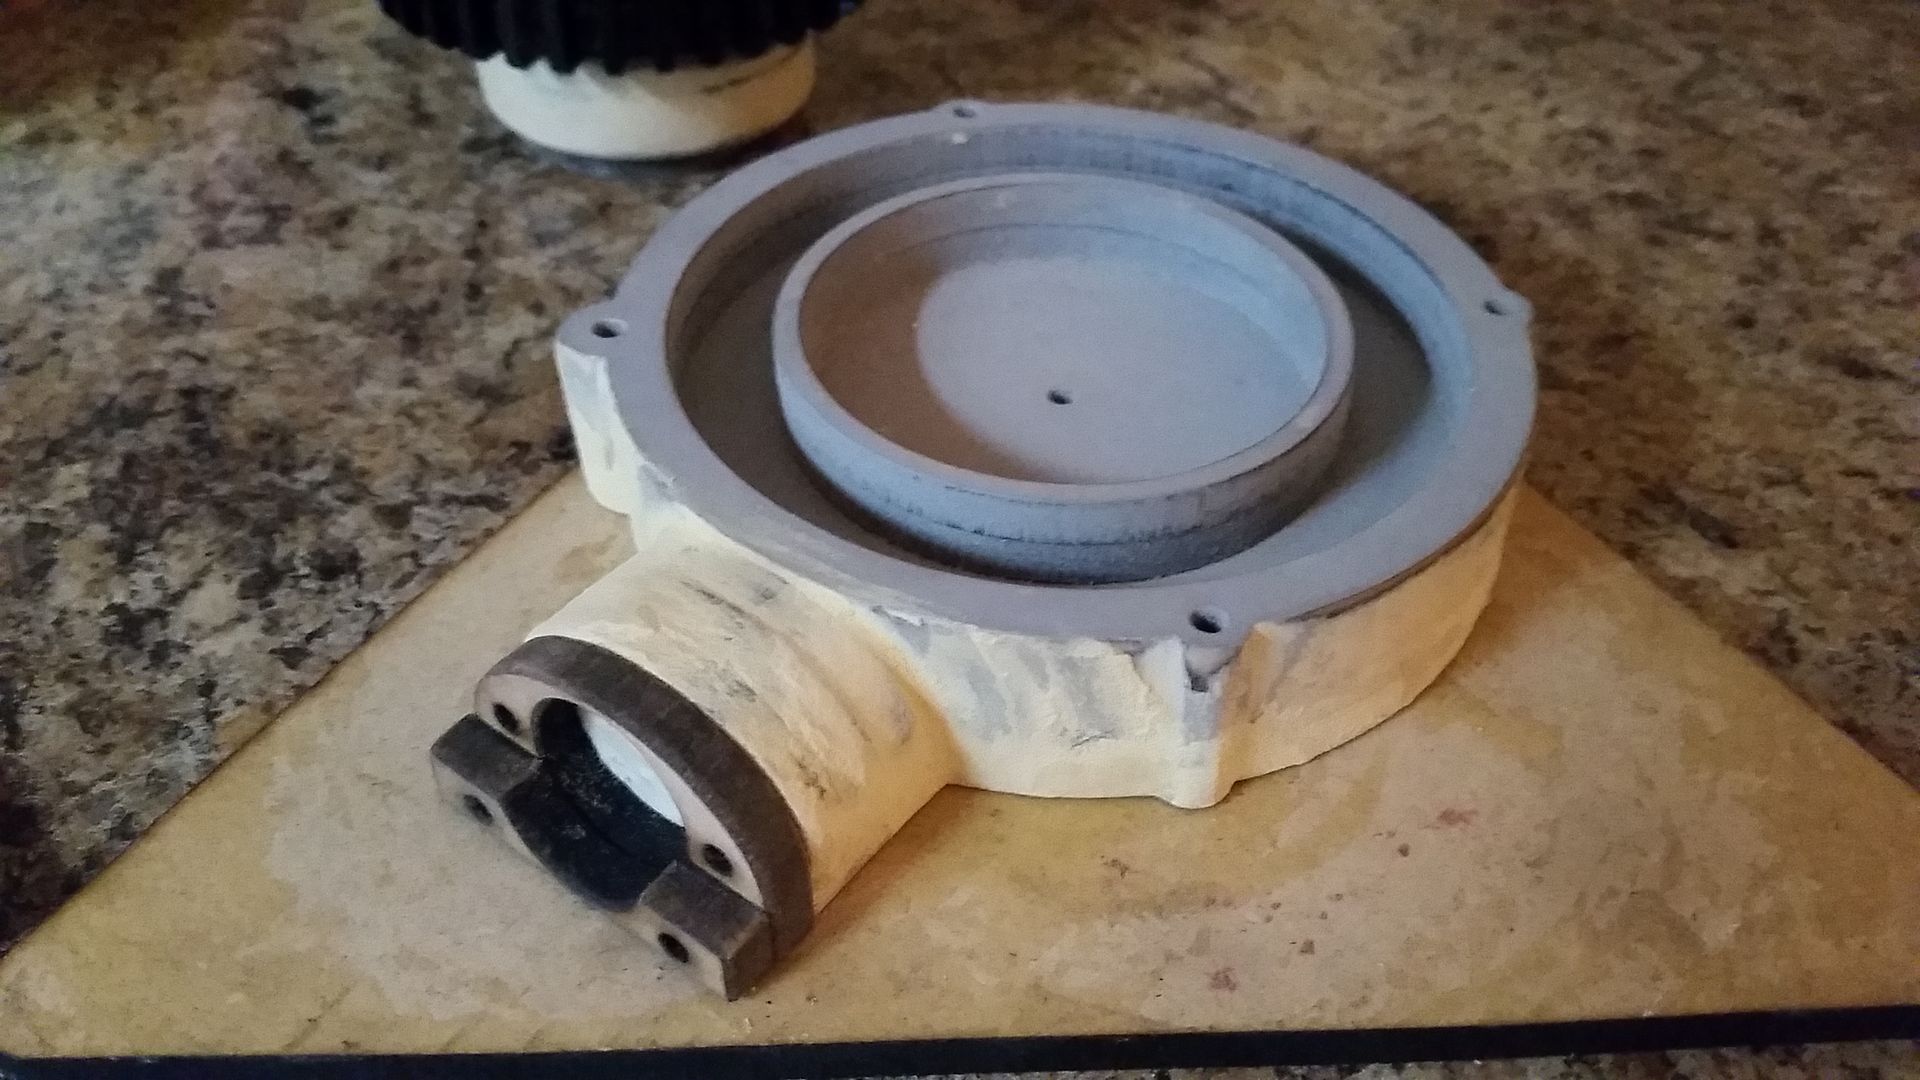
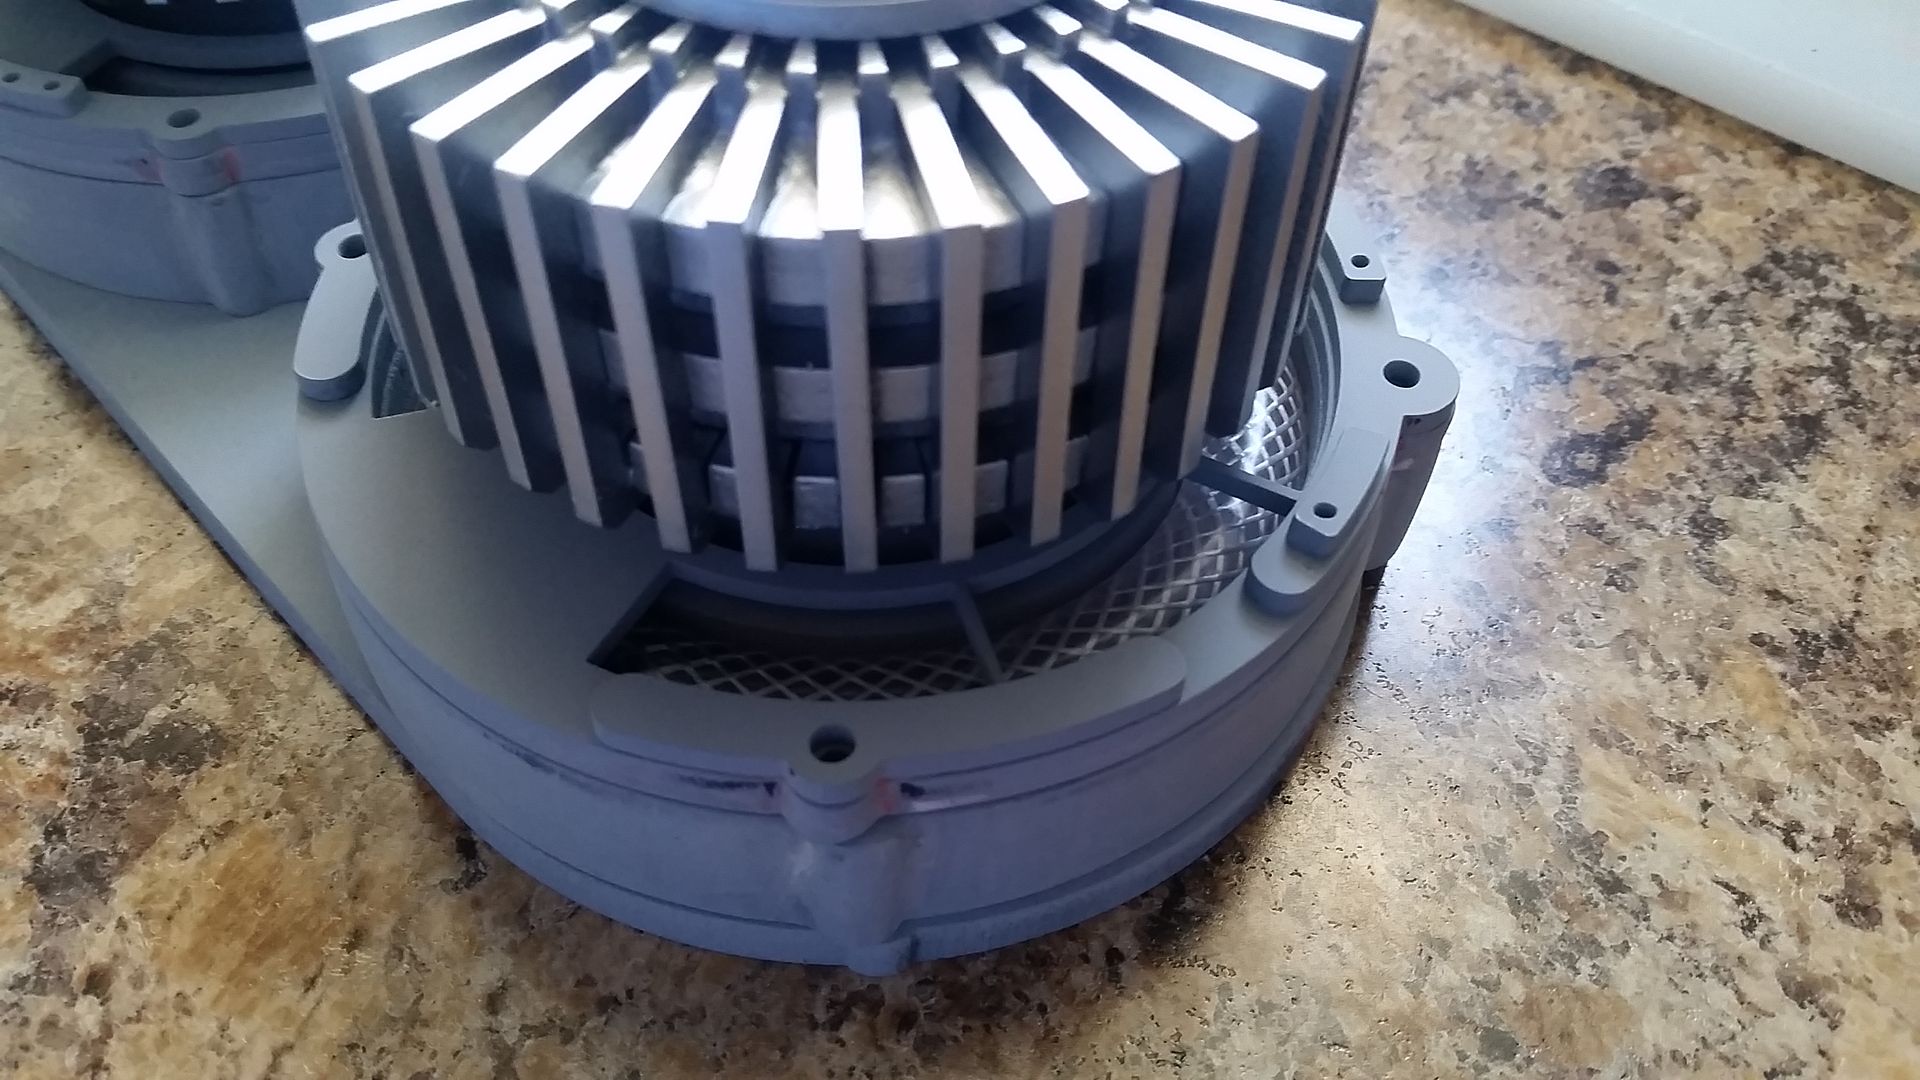
Lots of sanding and filling
20160423_061307_zpsqnfzvsfu.jpg


20160423_061919_zps2rr7hl6y.jpg


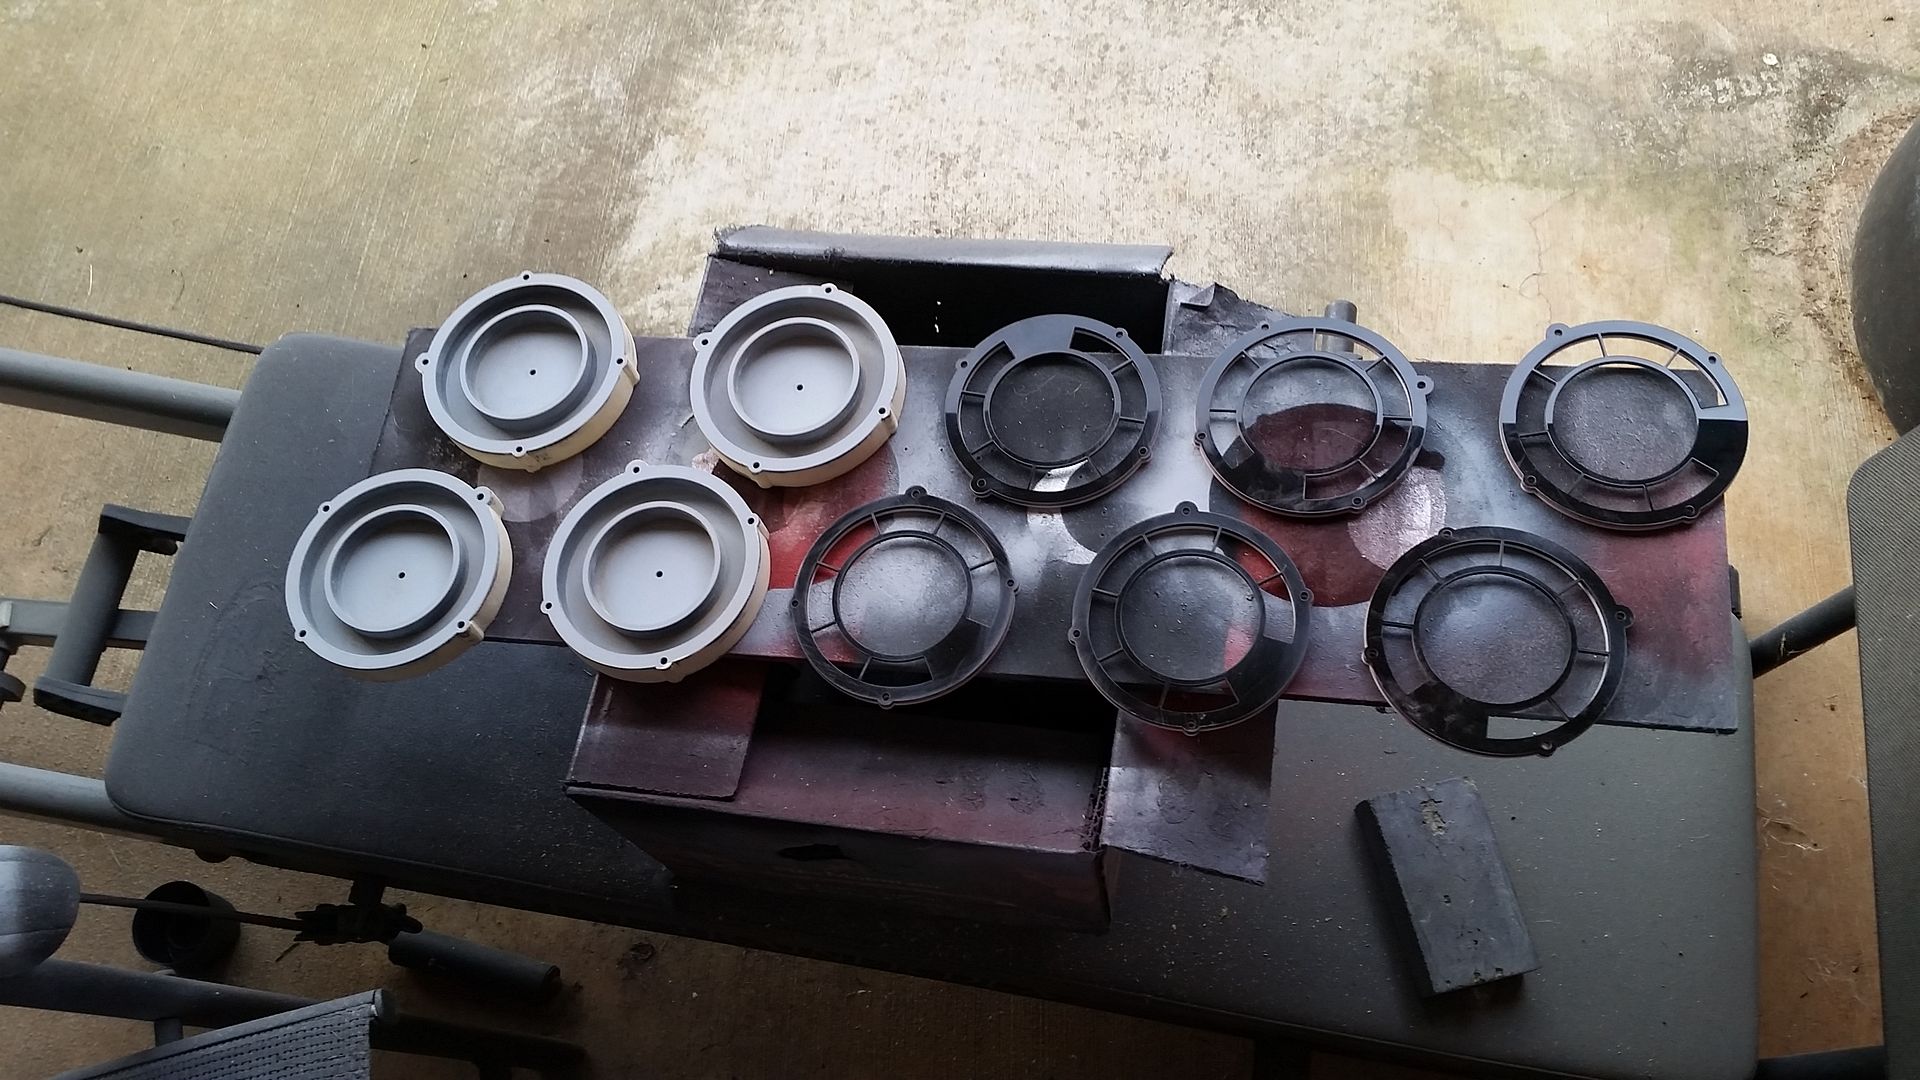
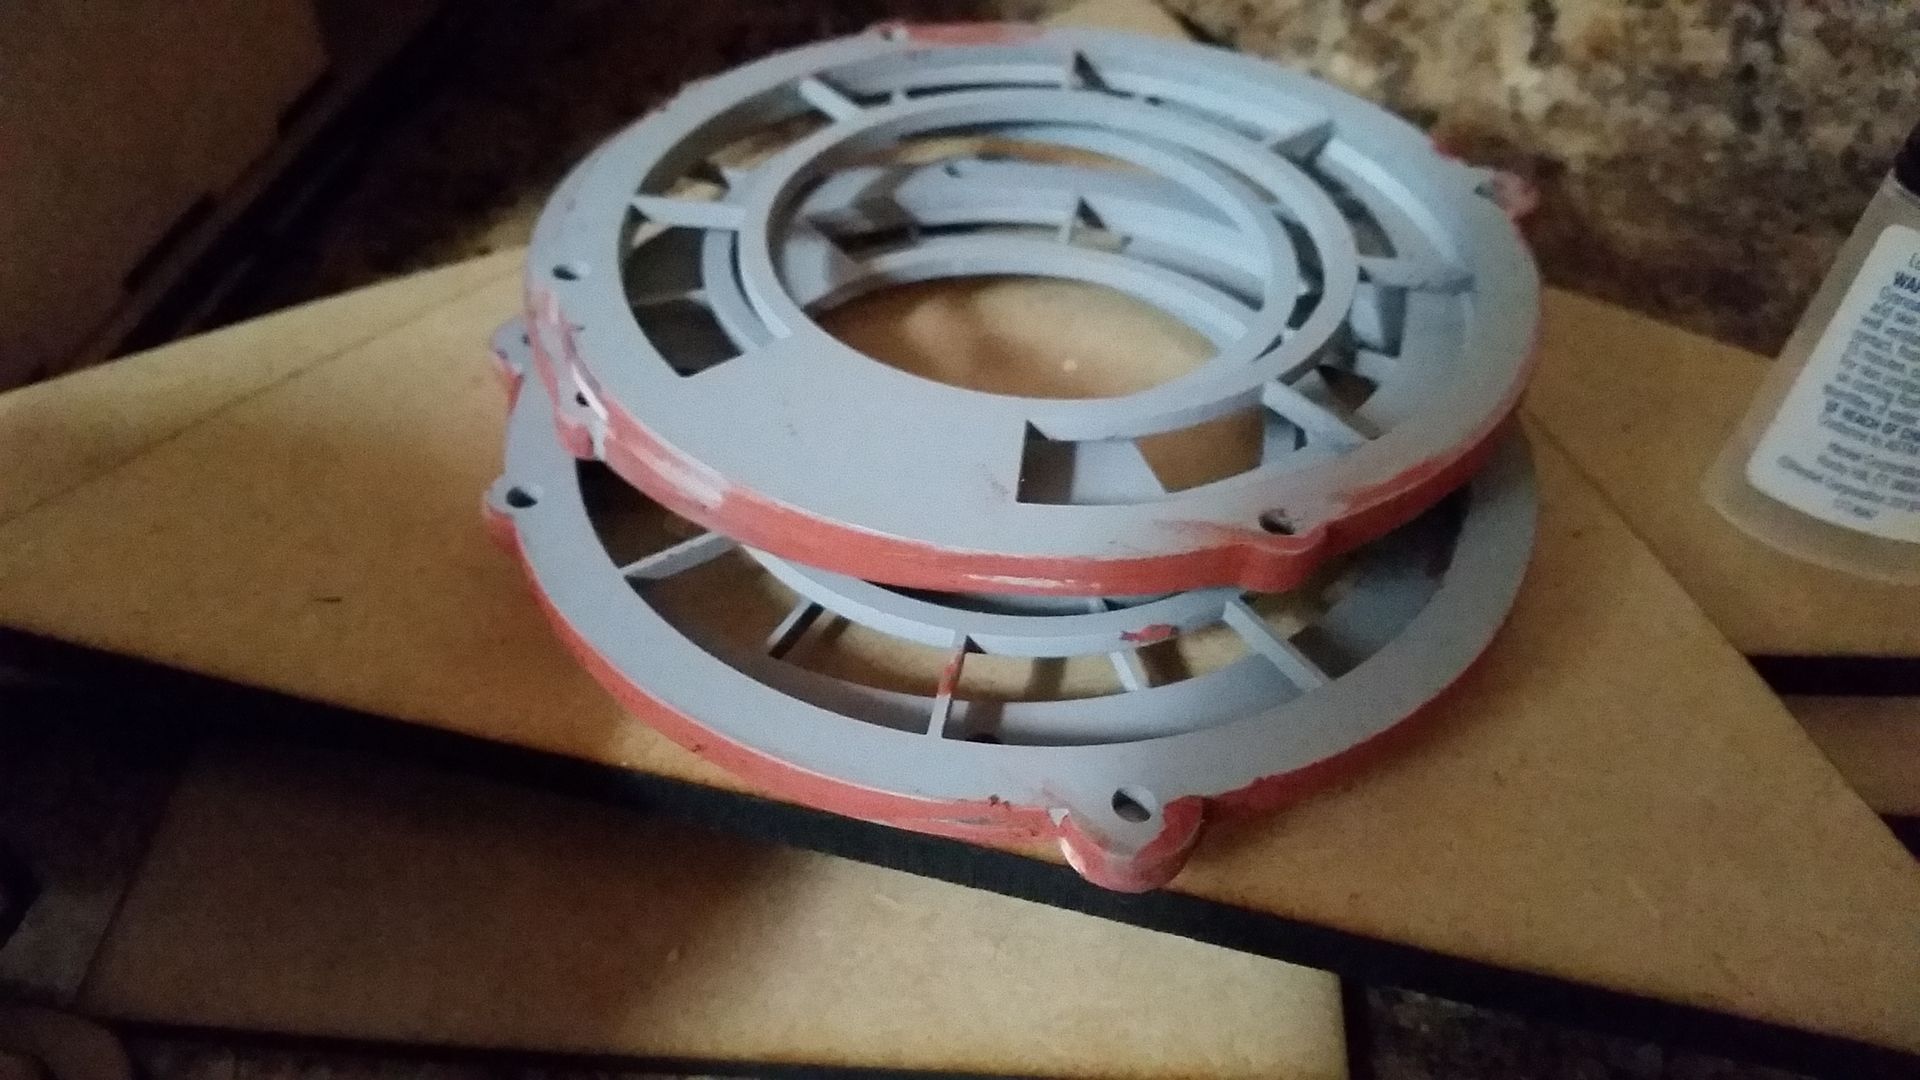
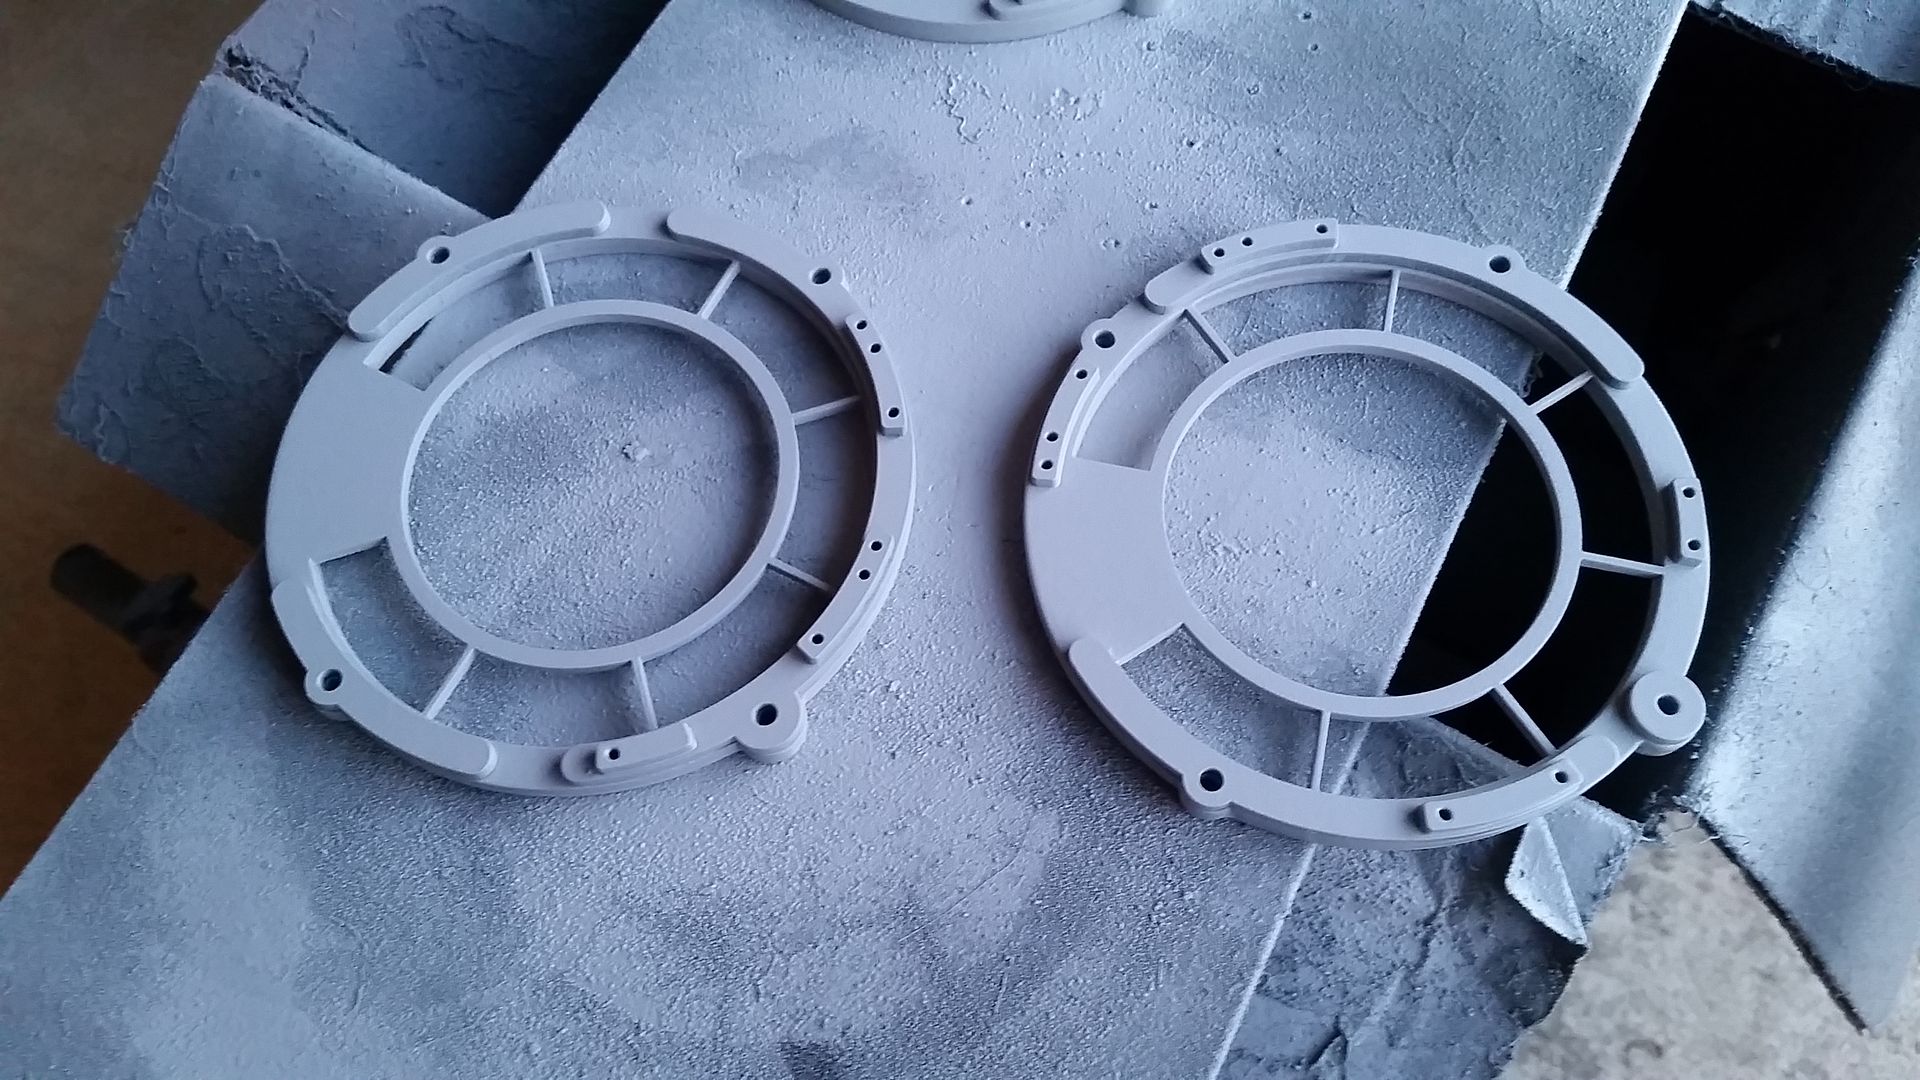
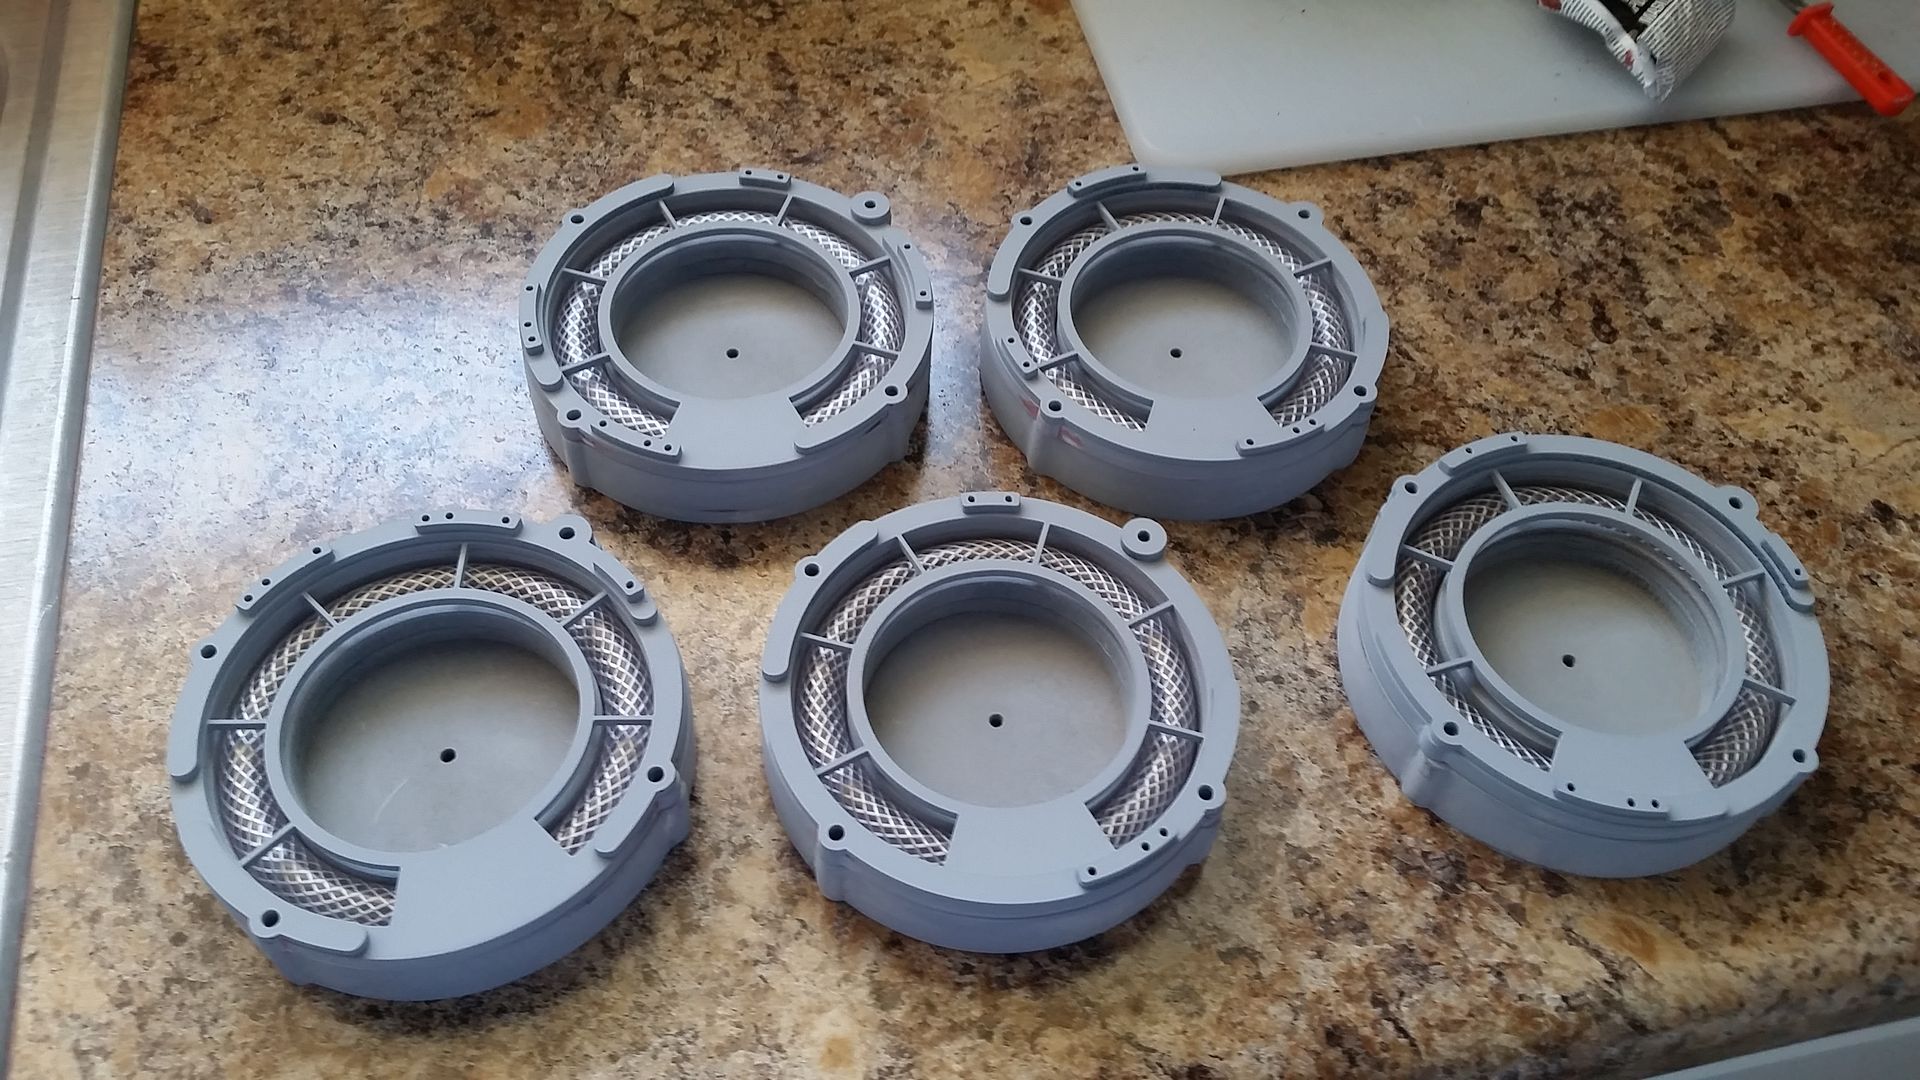
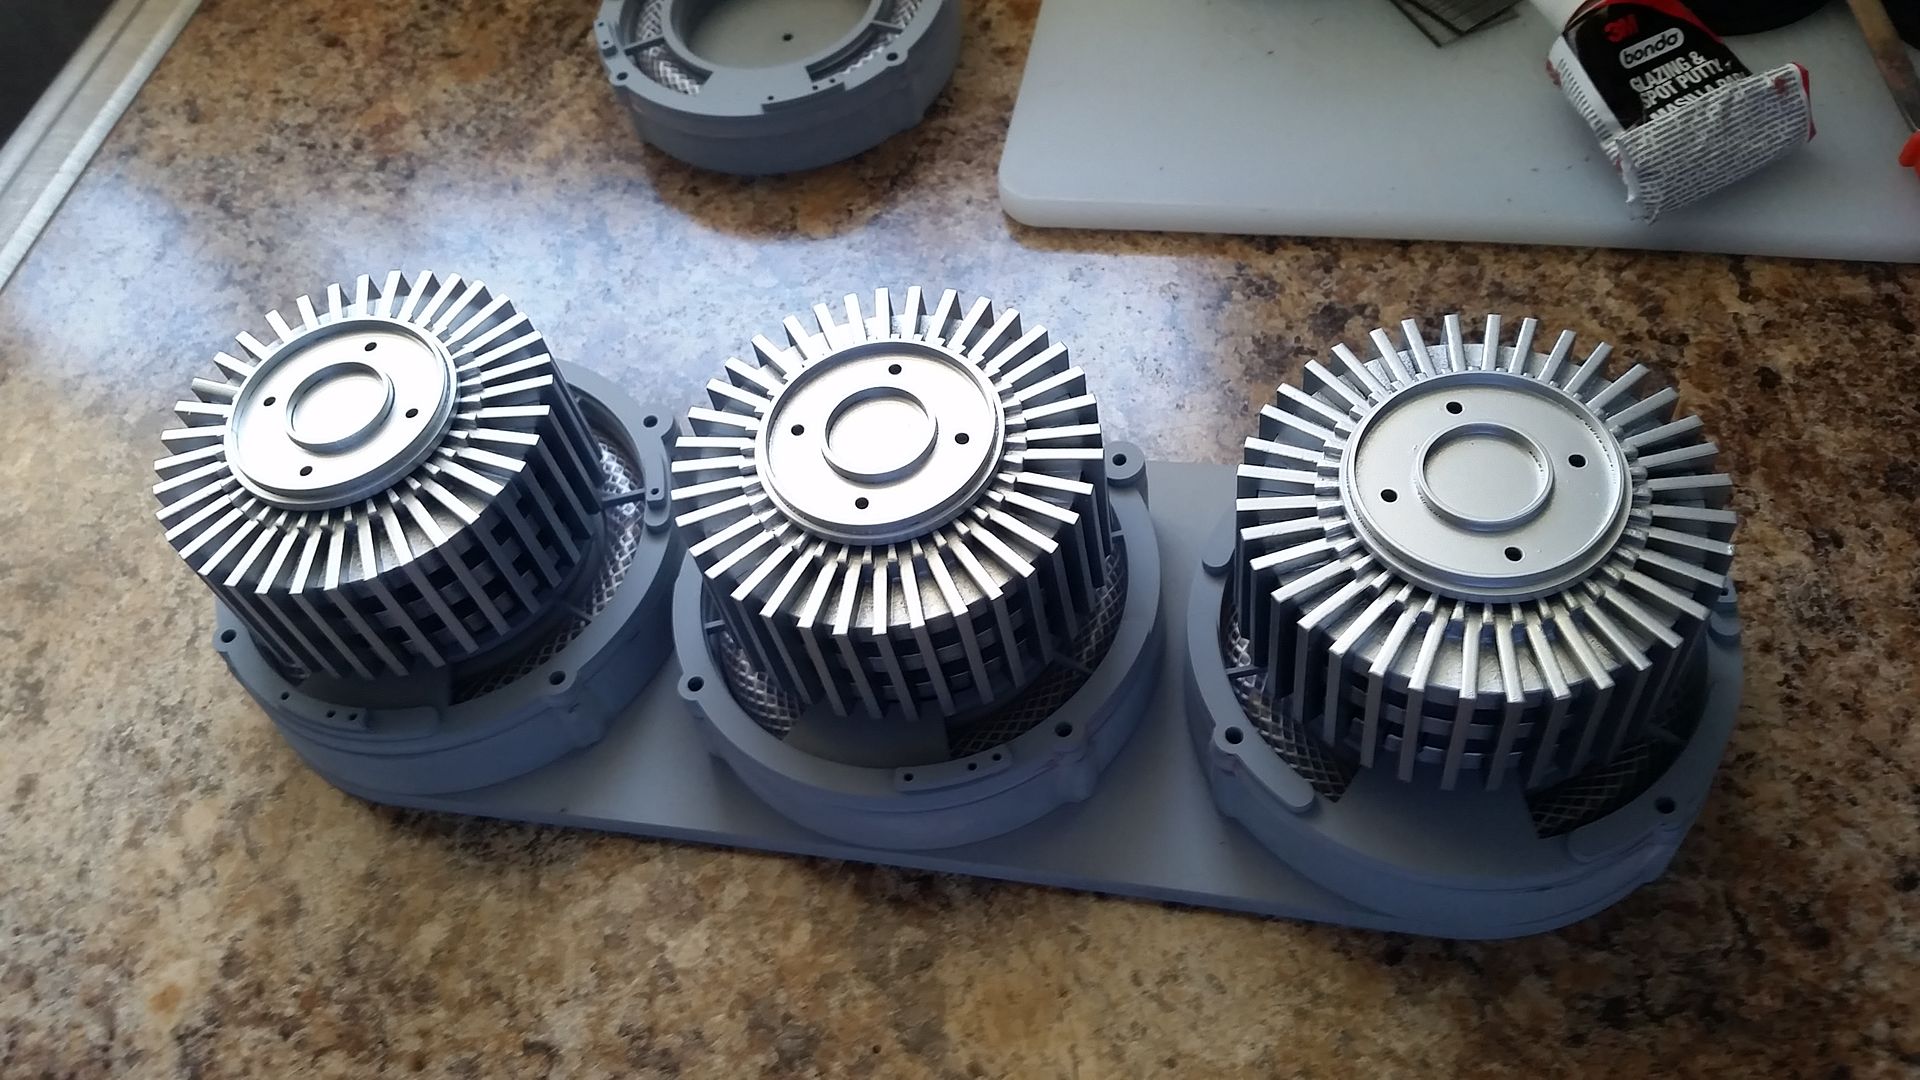
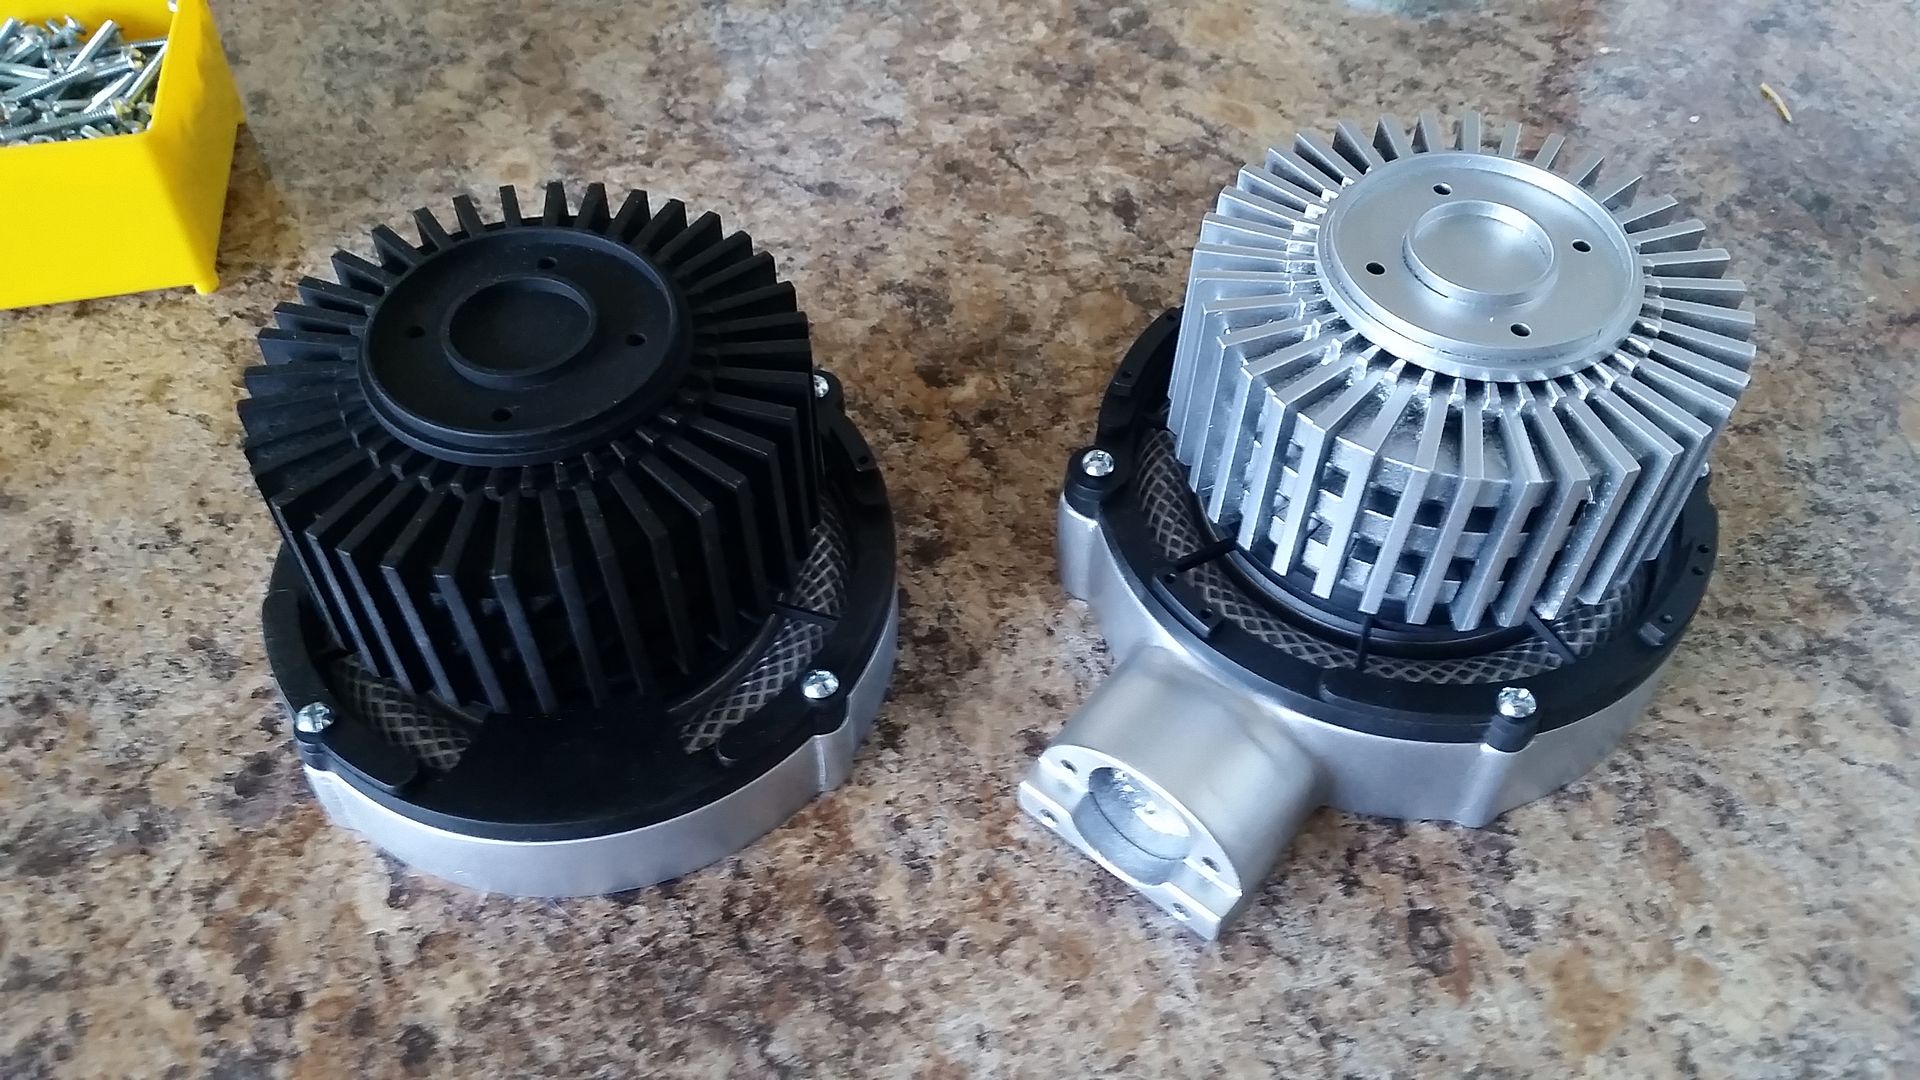
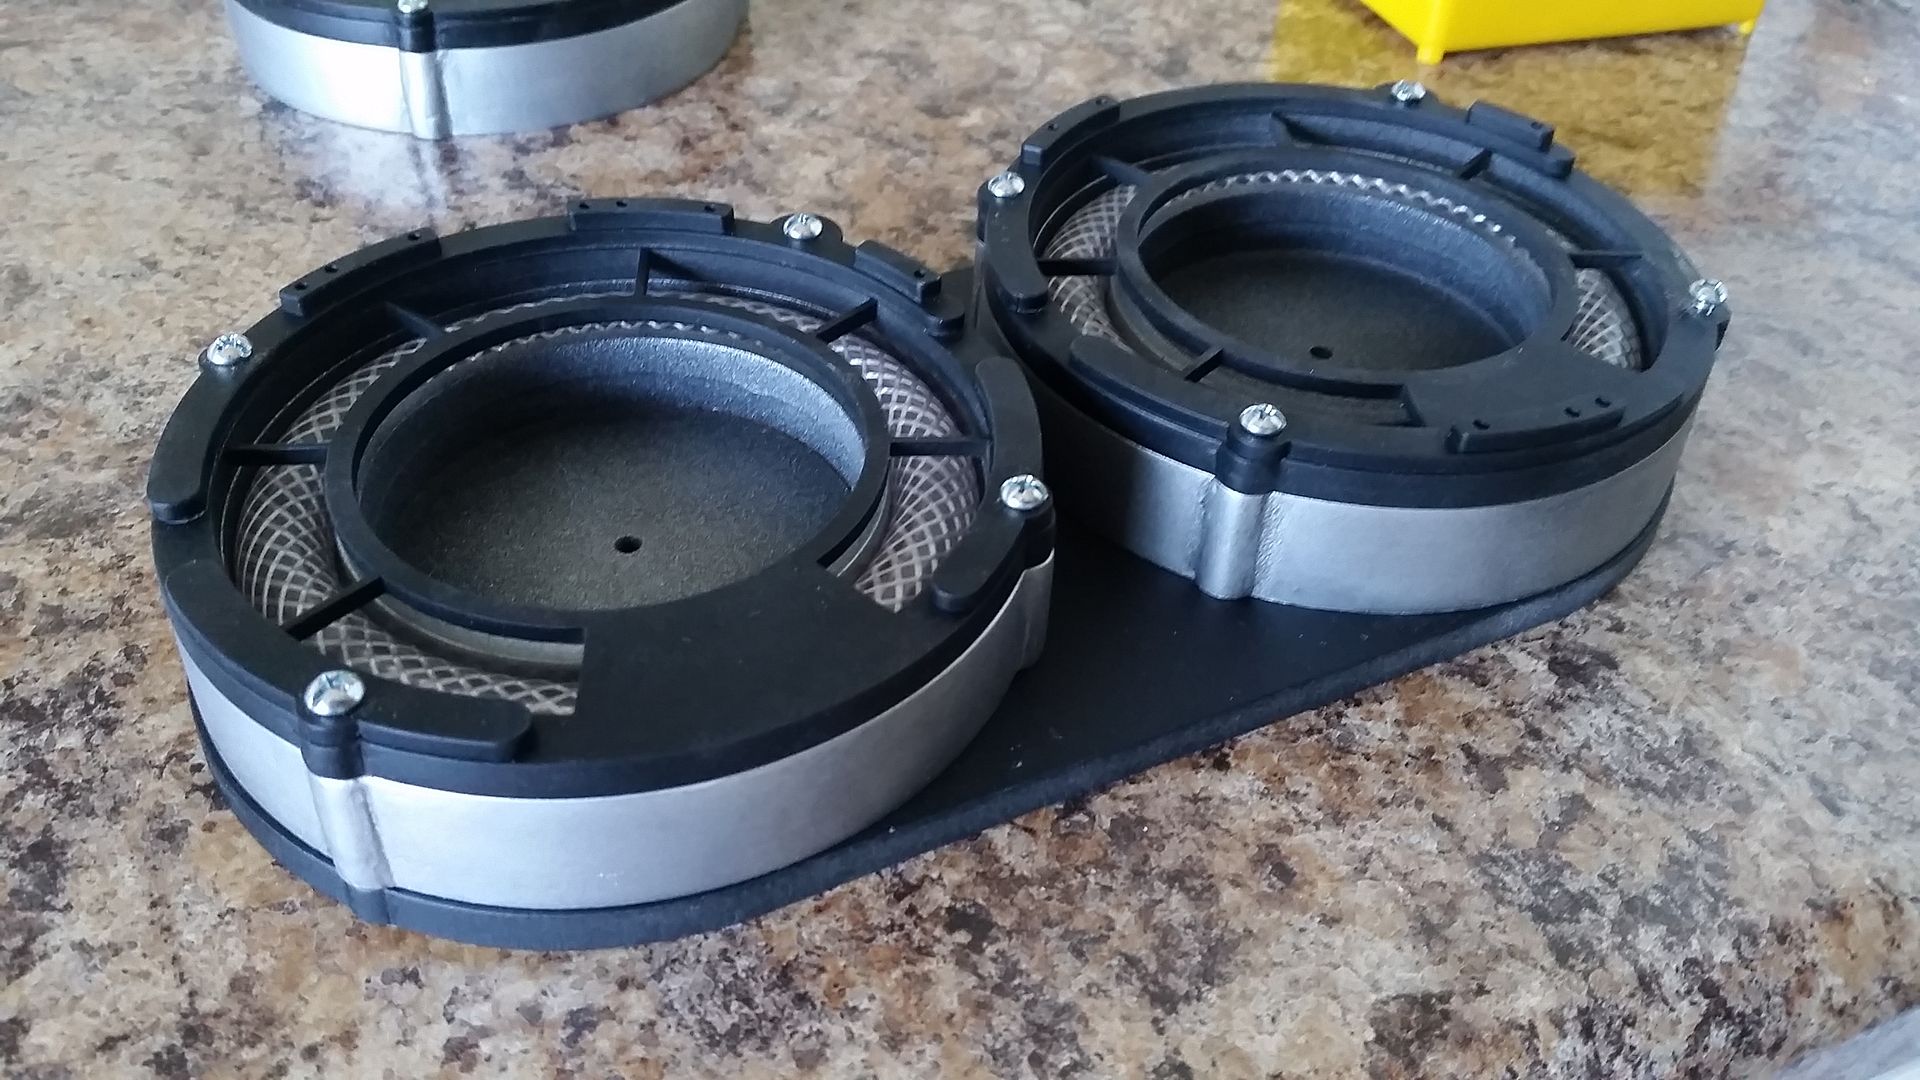
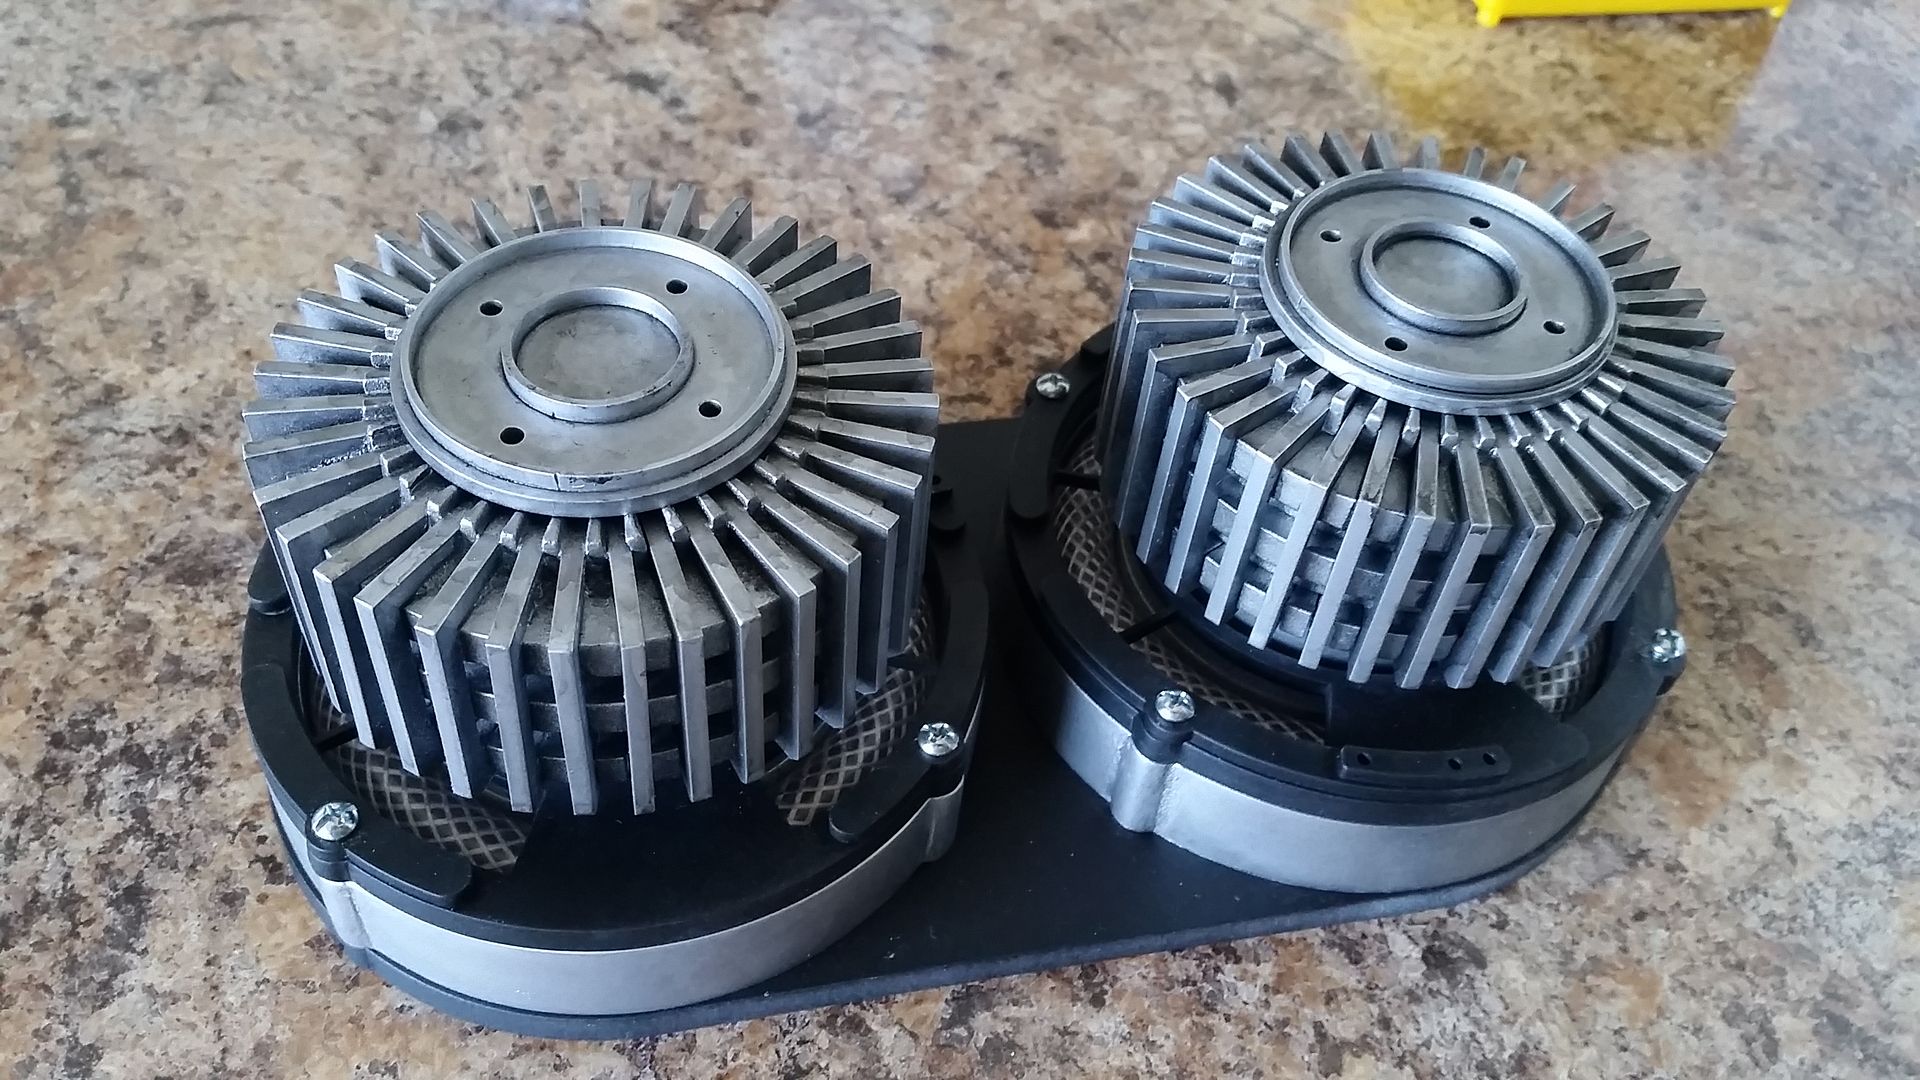
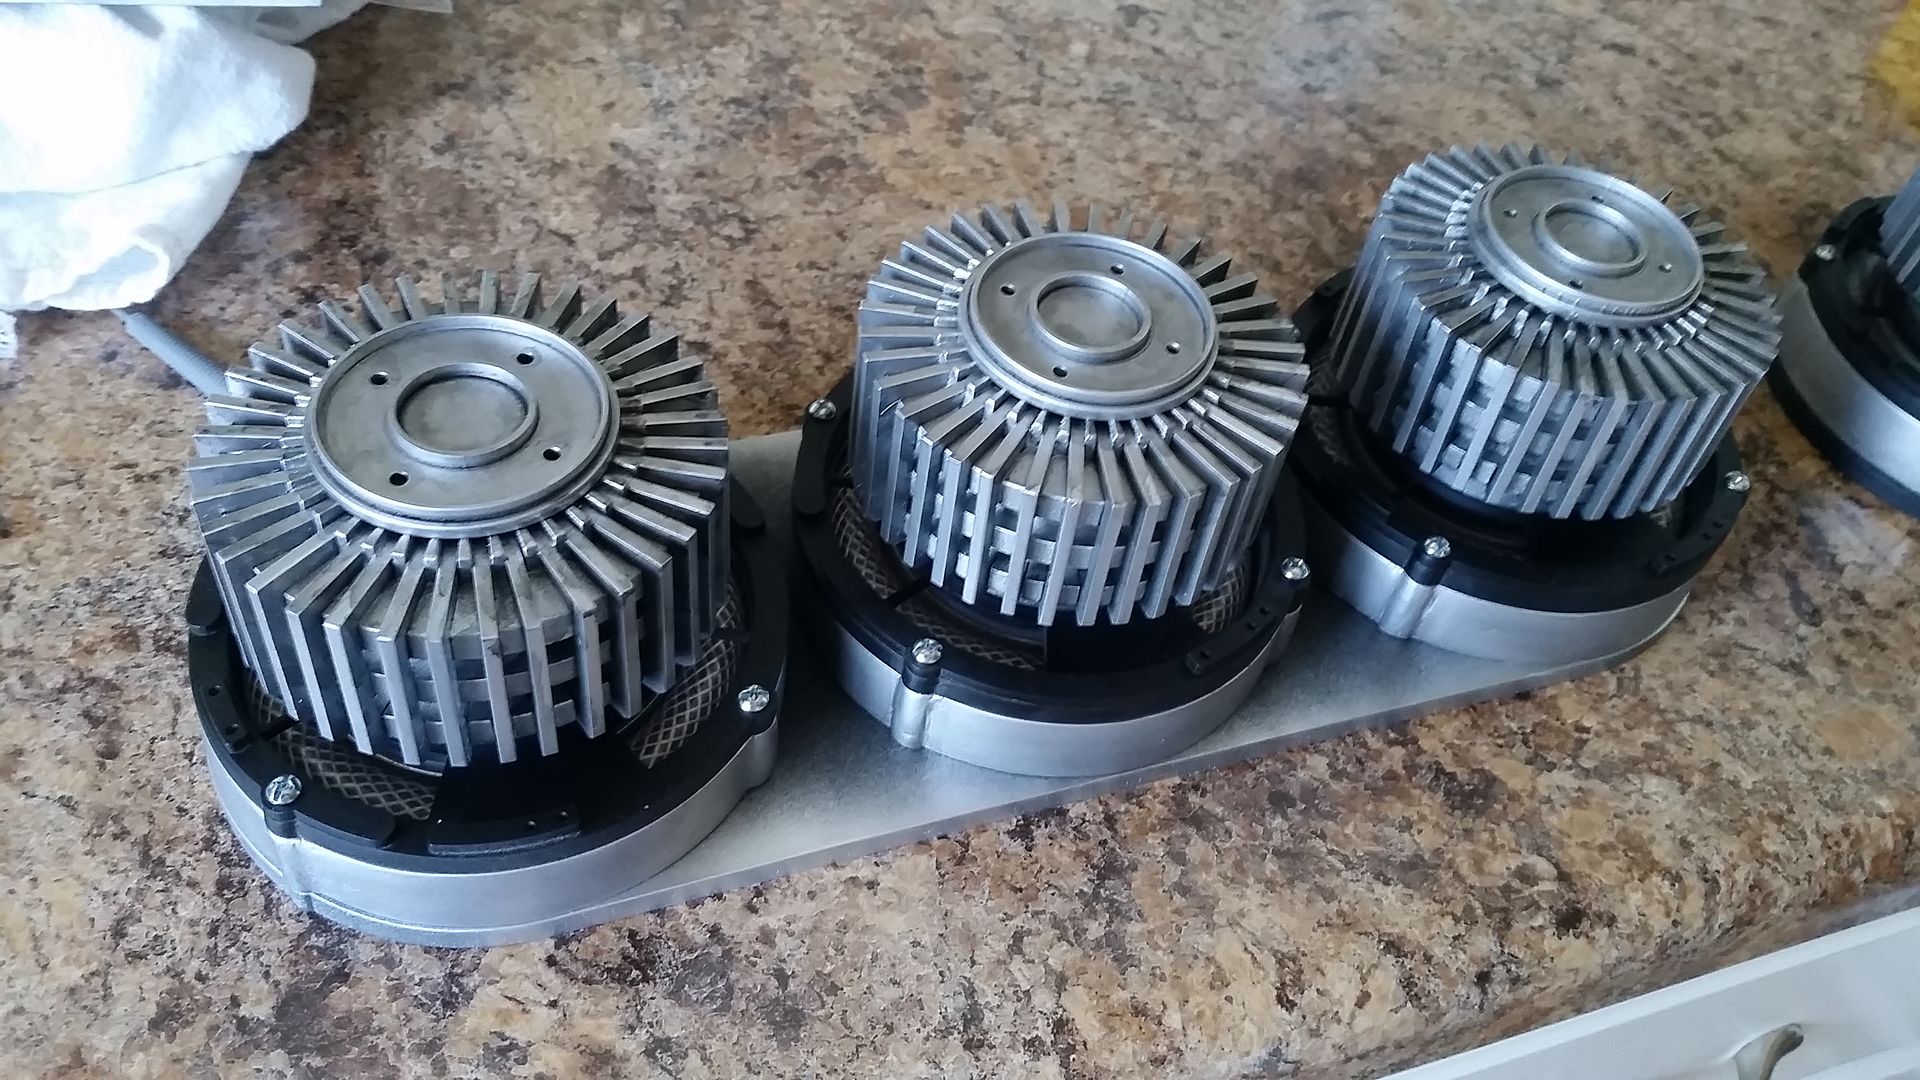
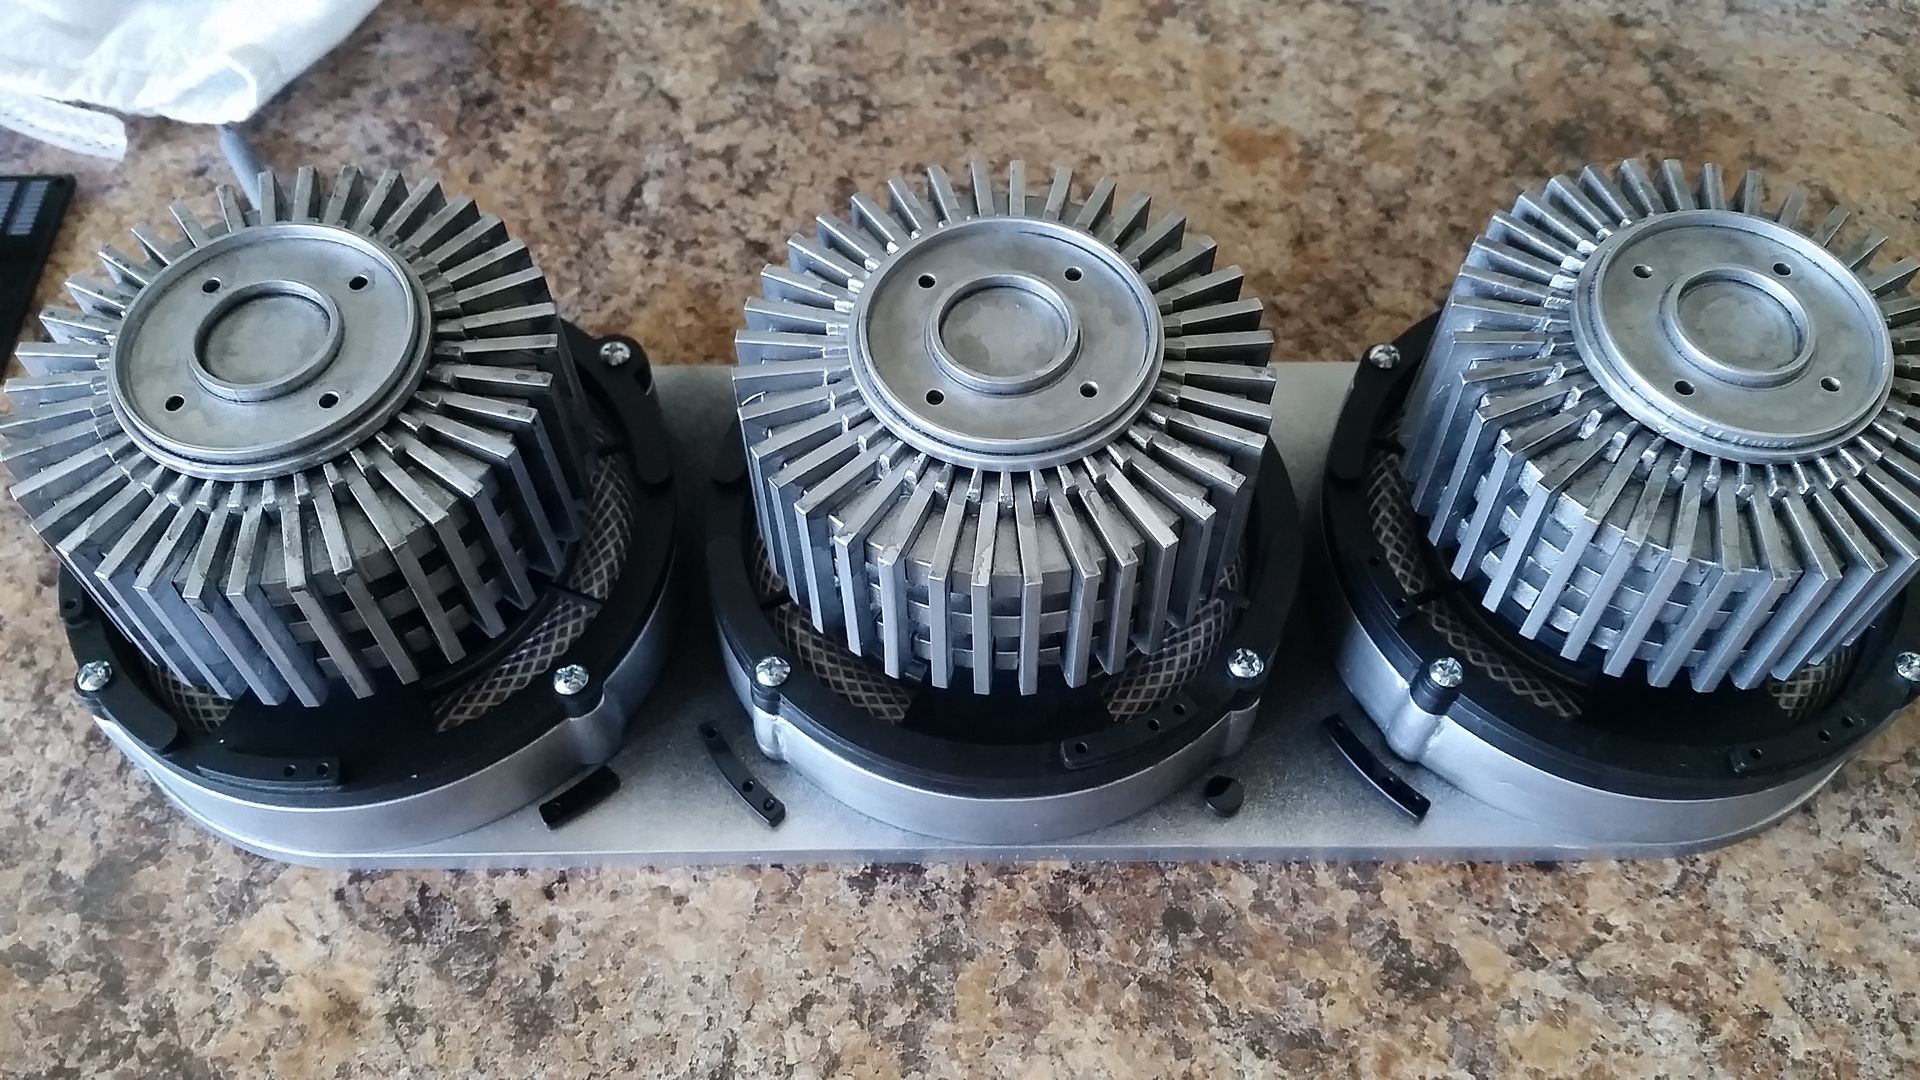
Worked on the sister coils
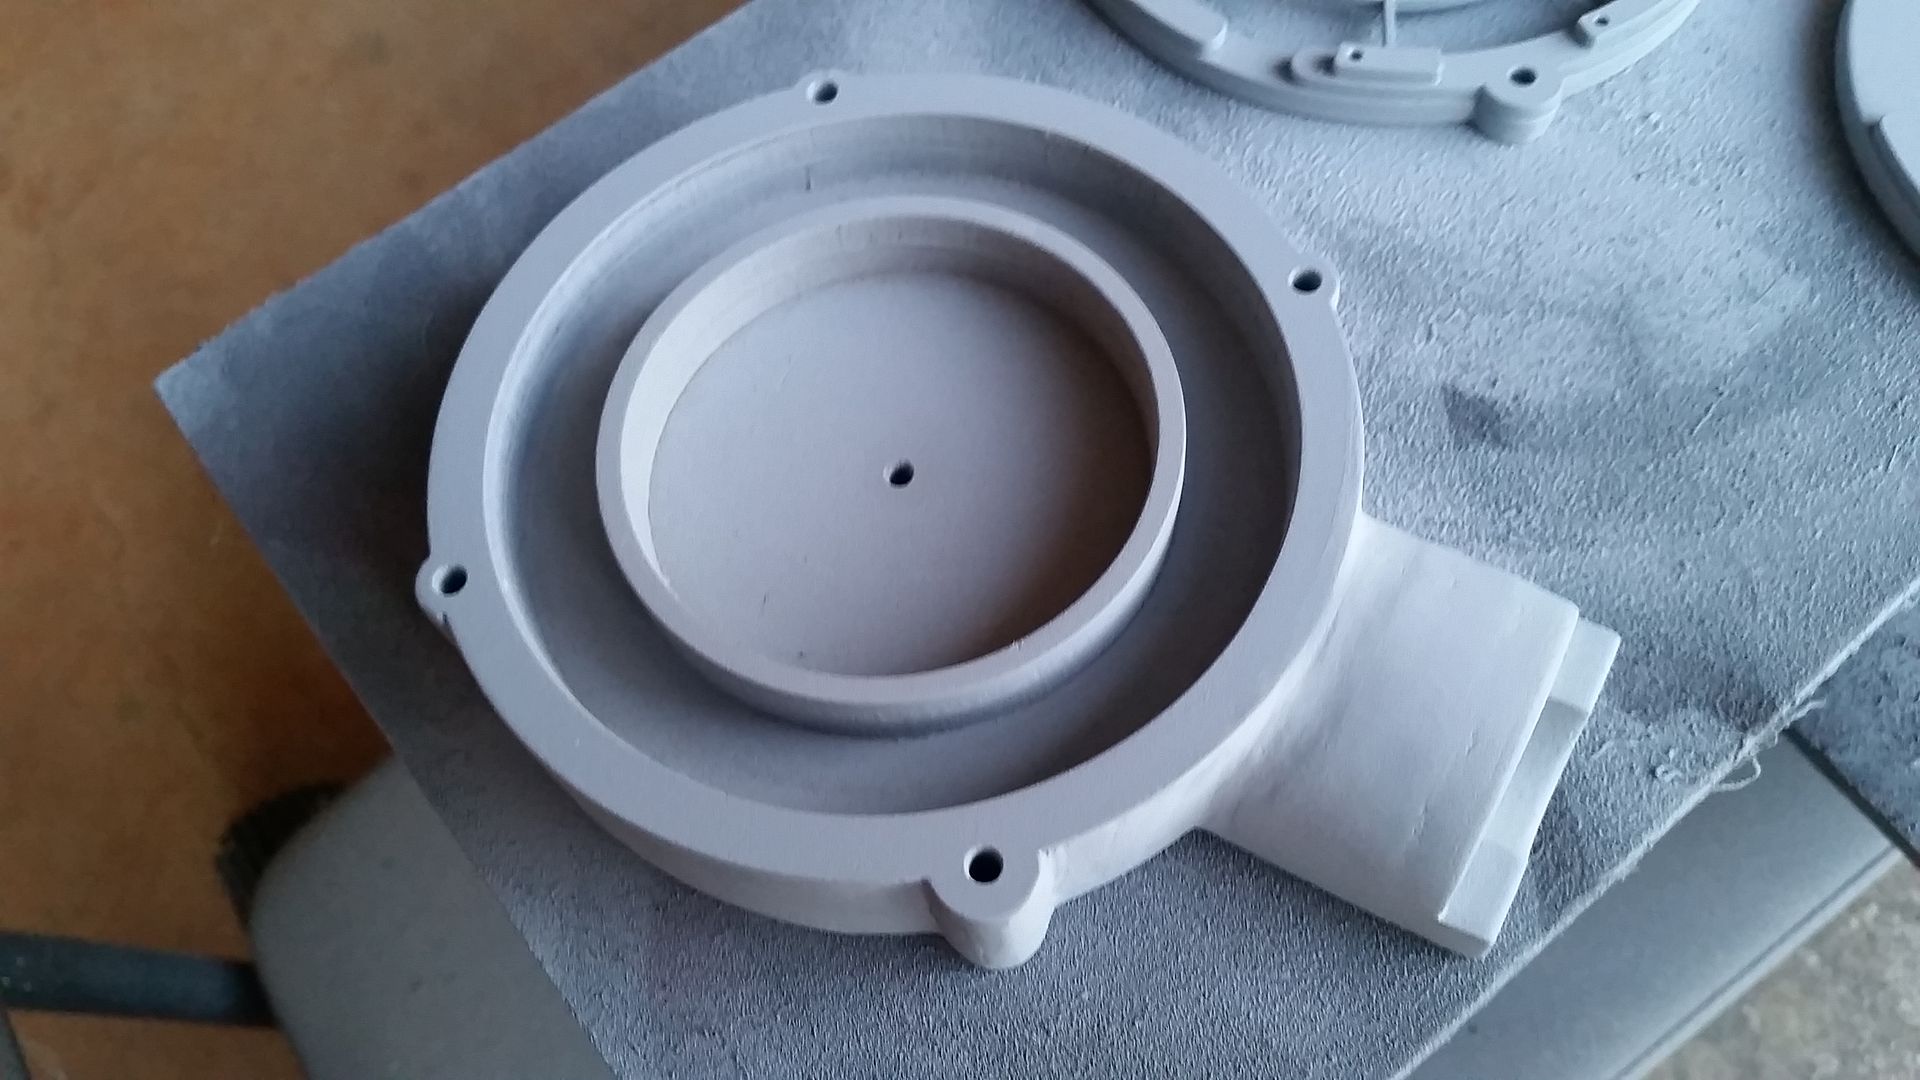
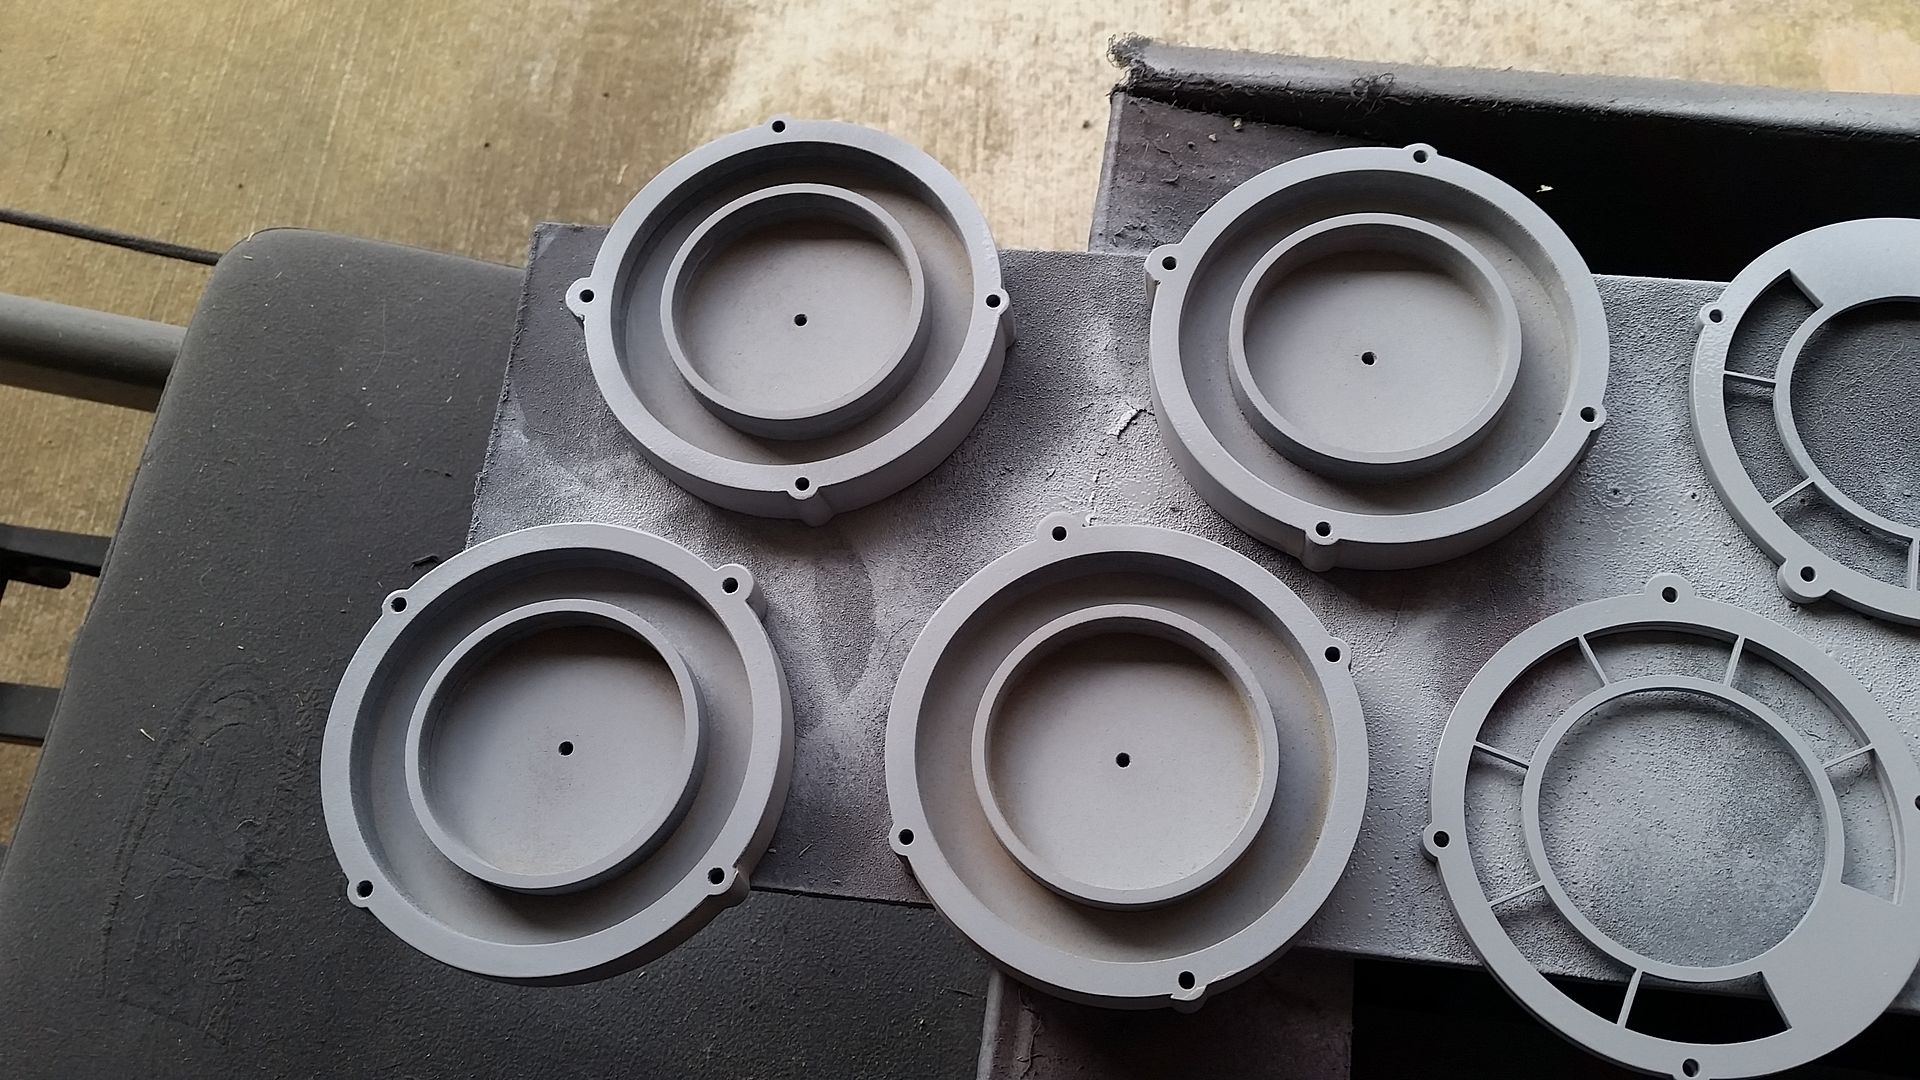
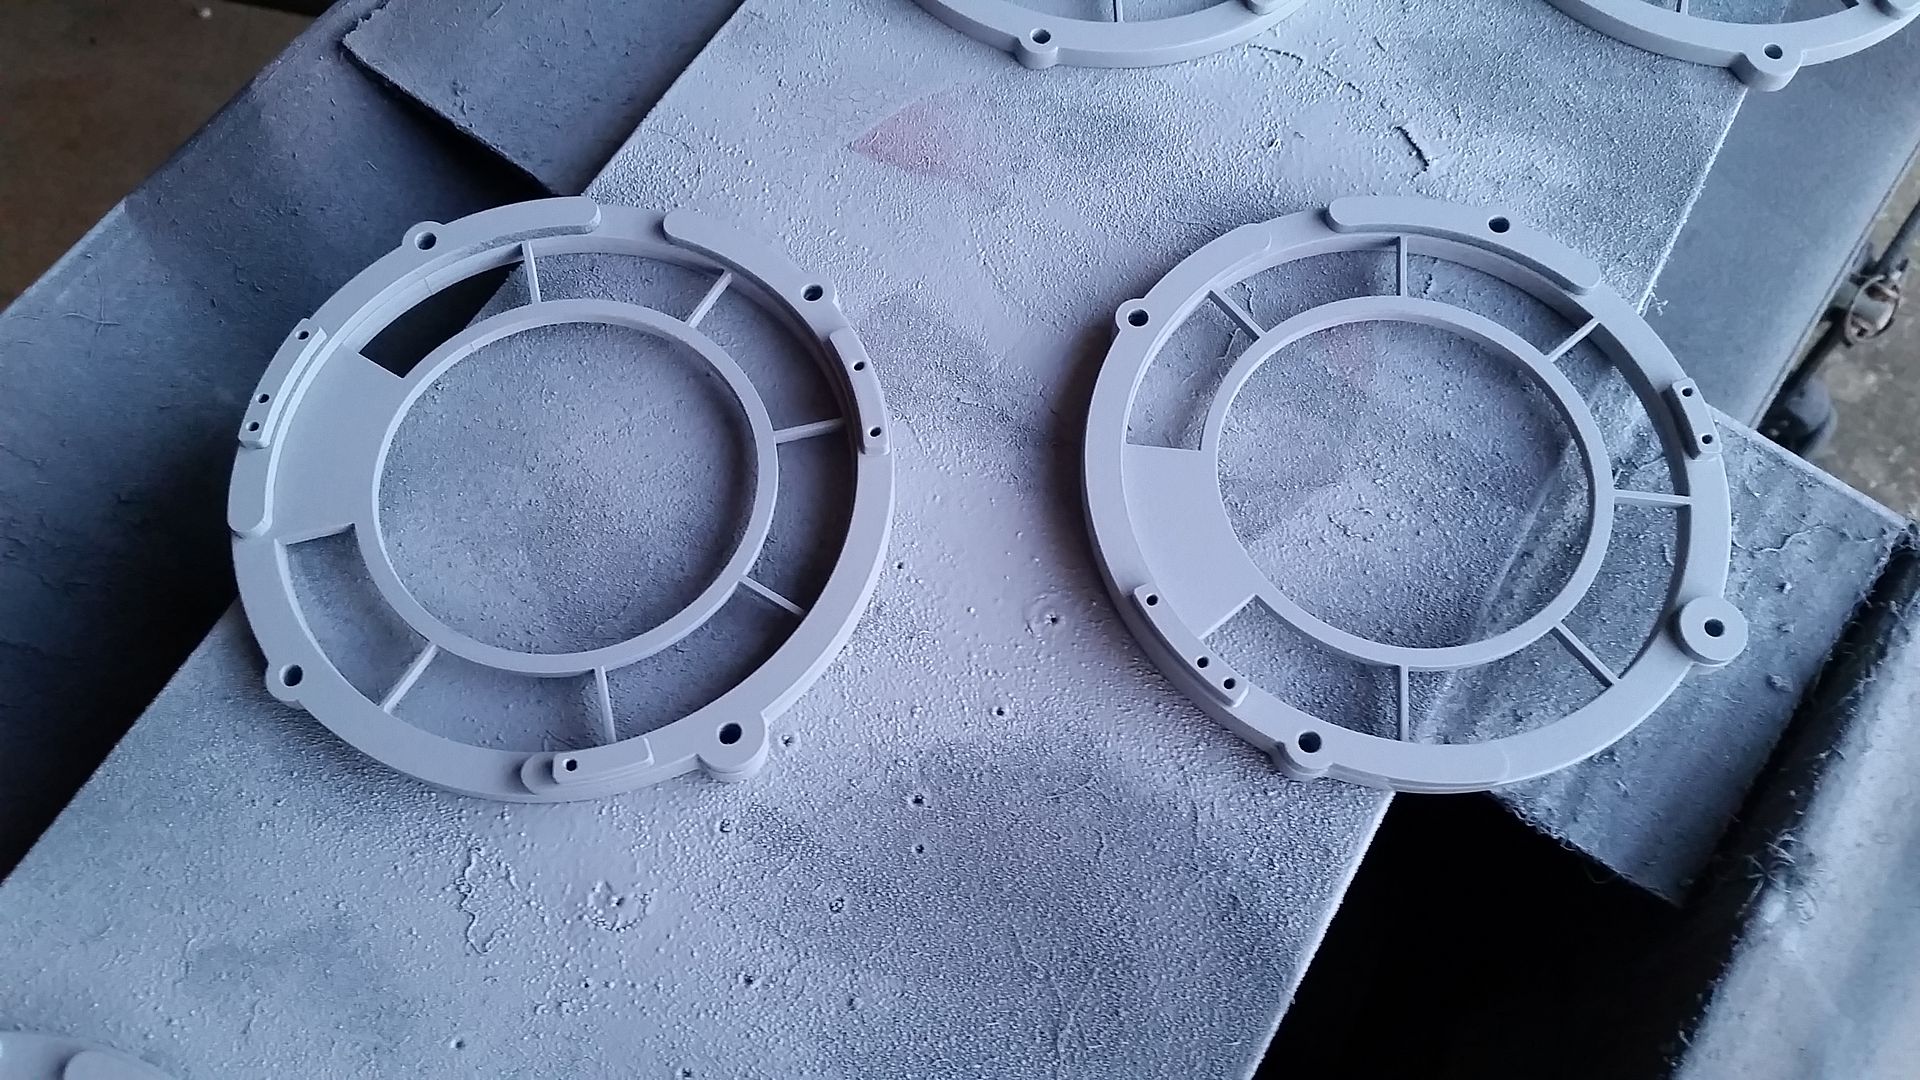
20160421_174920_zps44kvmvbx.jpg


Primer!
20160421_175149_zpsfwz6pojo.jpg


20160421_175153_zpsfzaucblp.jpg


This was a grueling process...
20160421_180001_zpsiggotbtr.jpg


20160421_180005_zpsweelnmyb.jpg


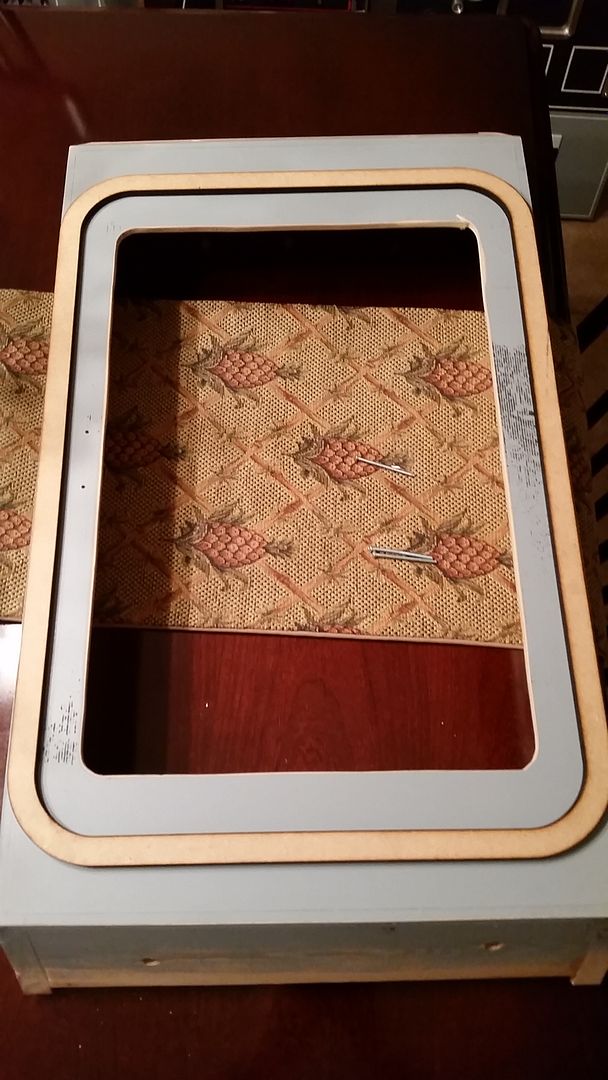
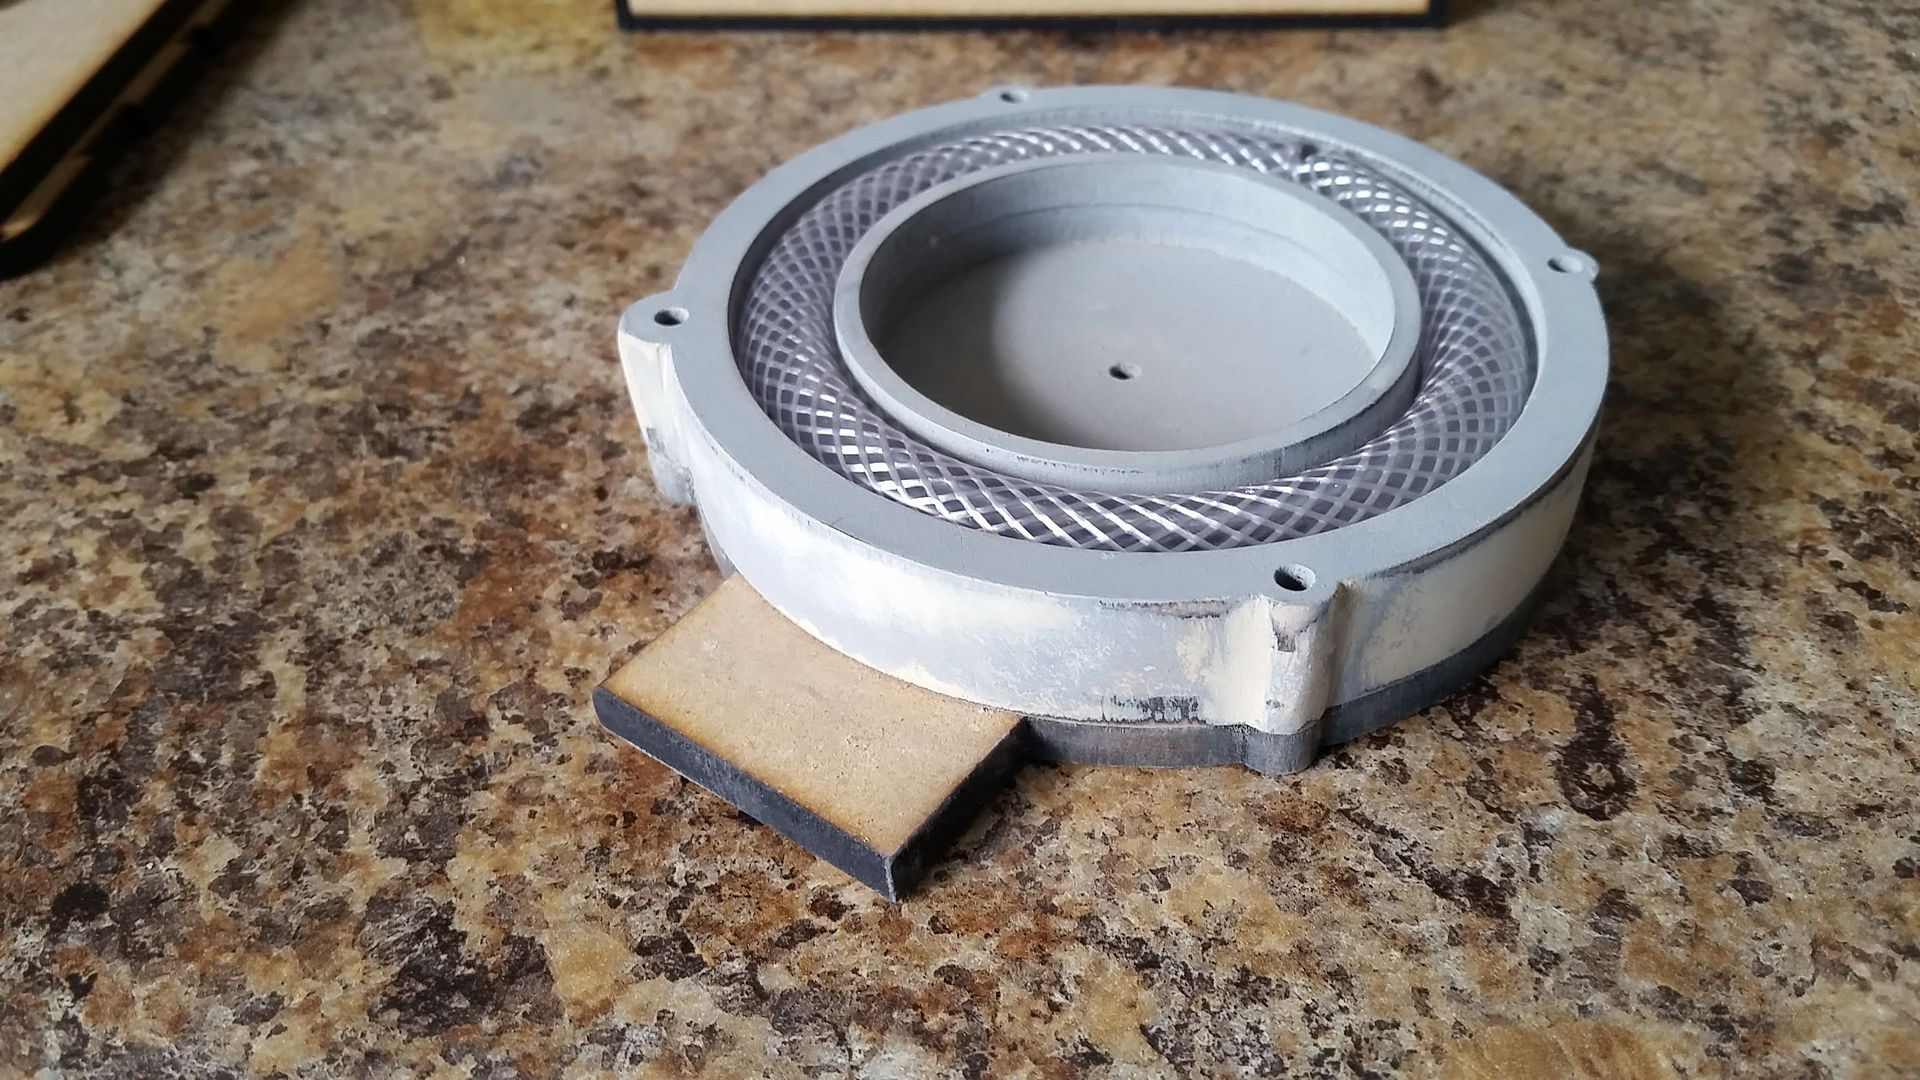
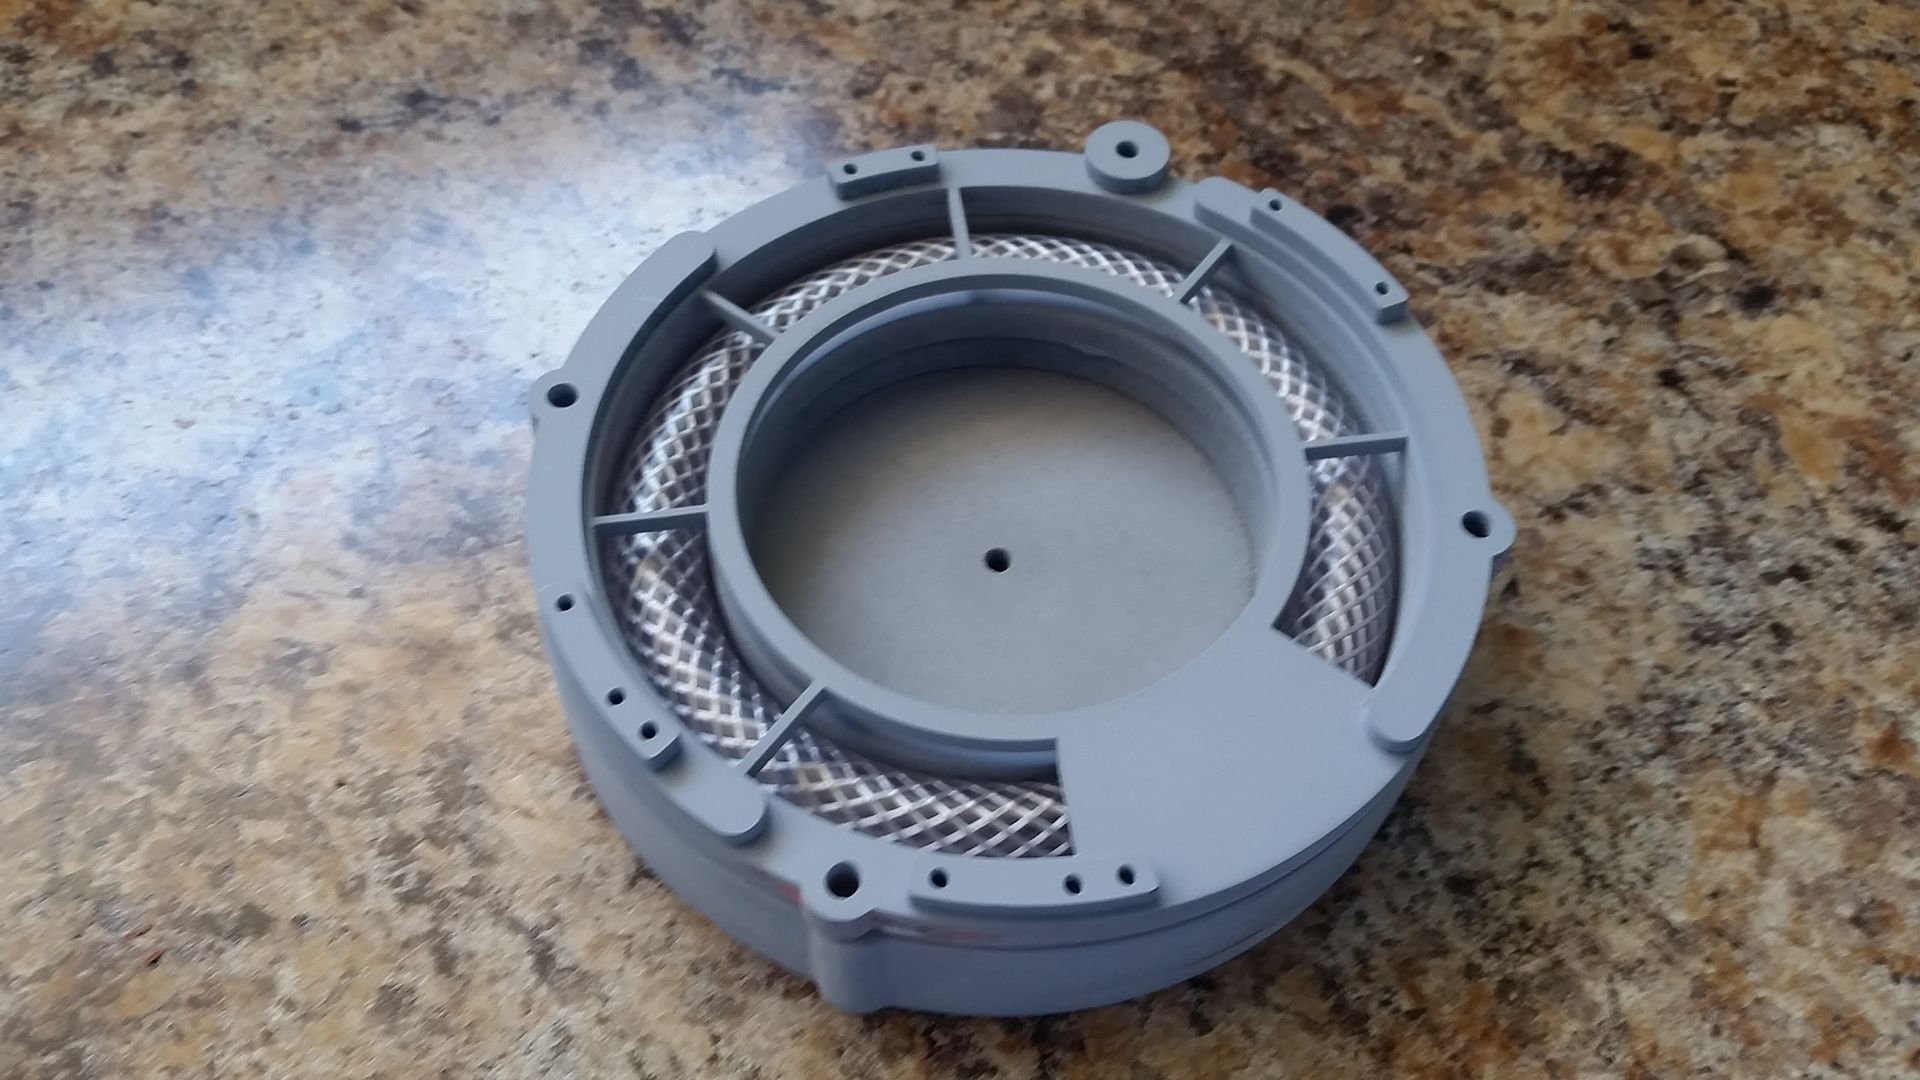
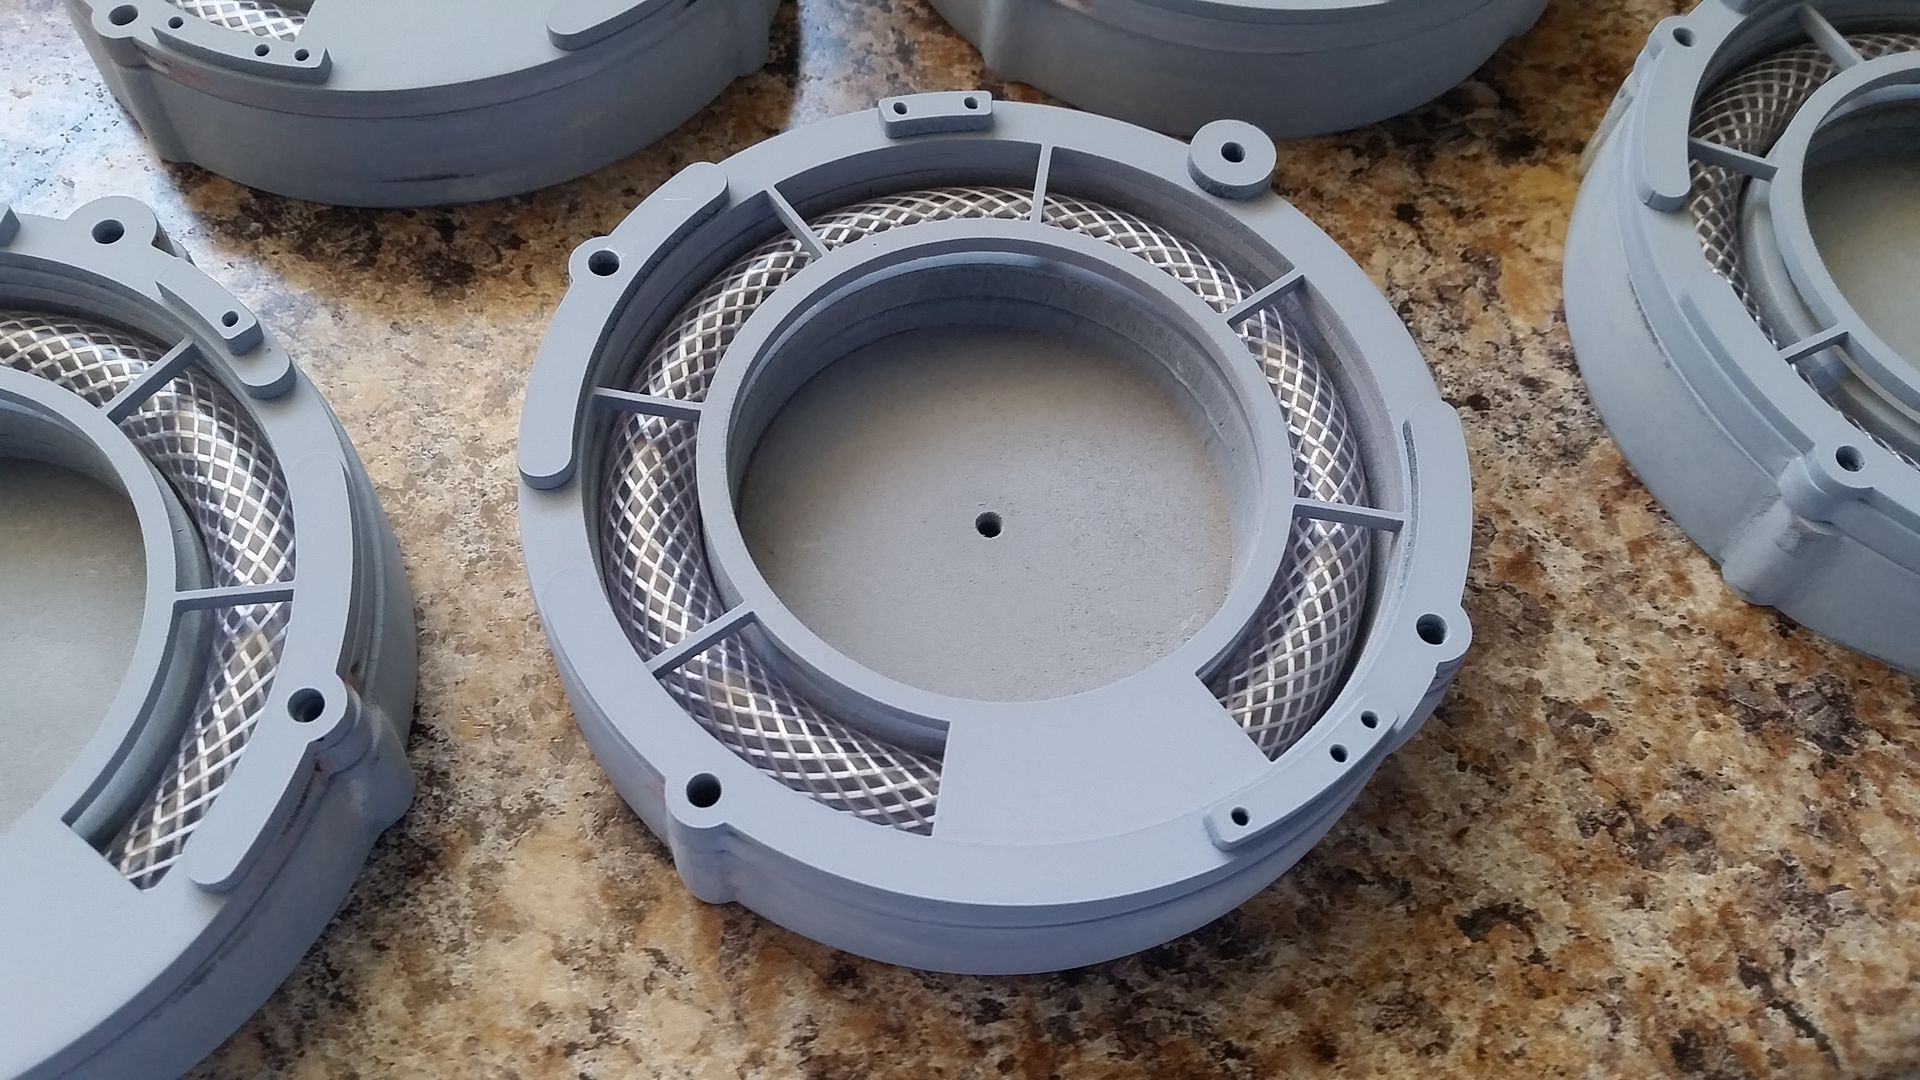
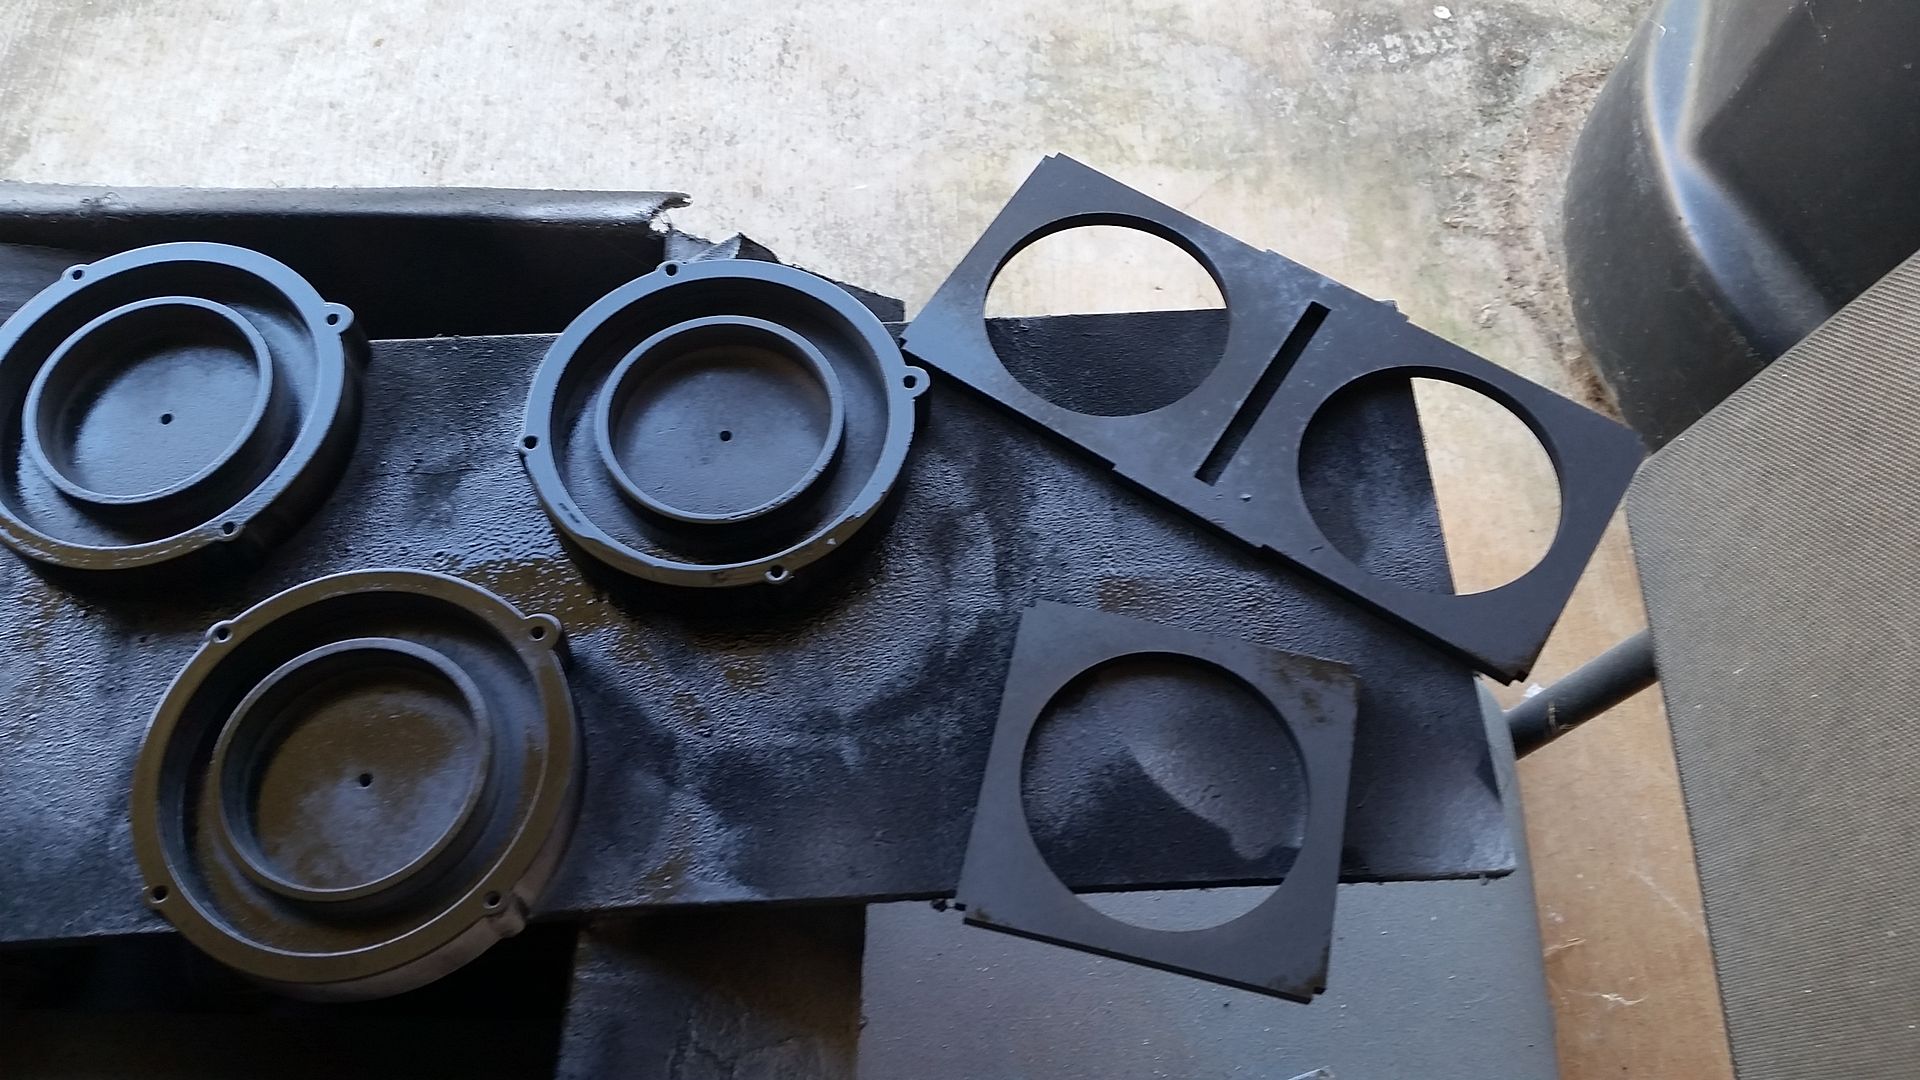
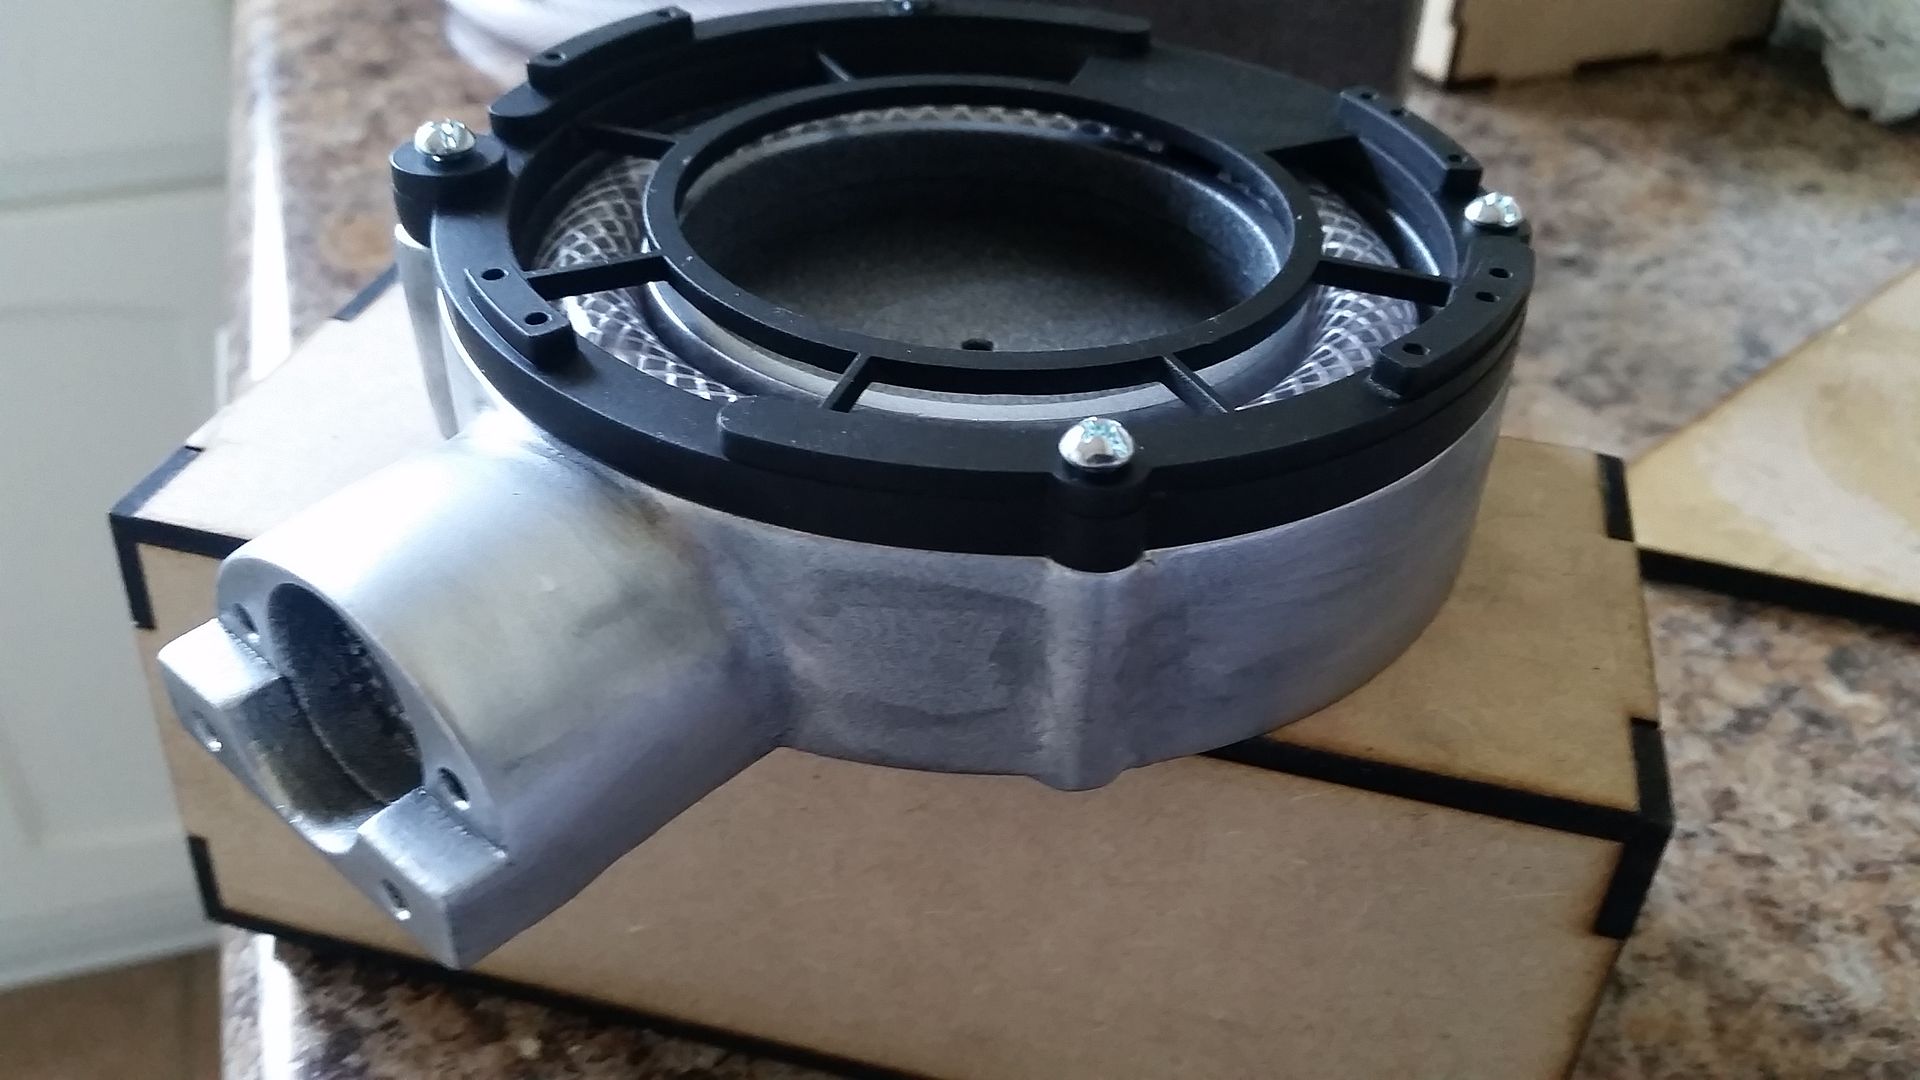
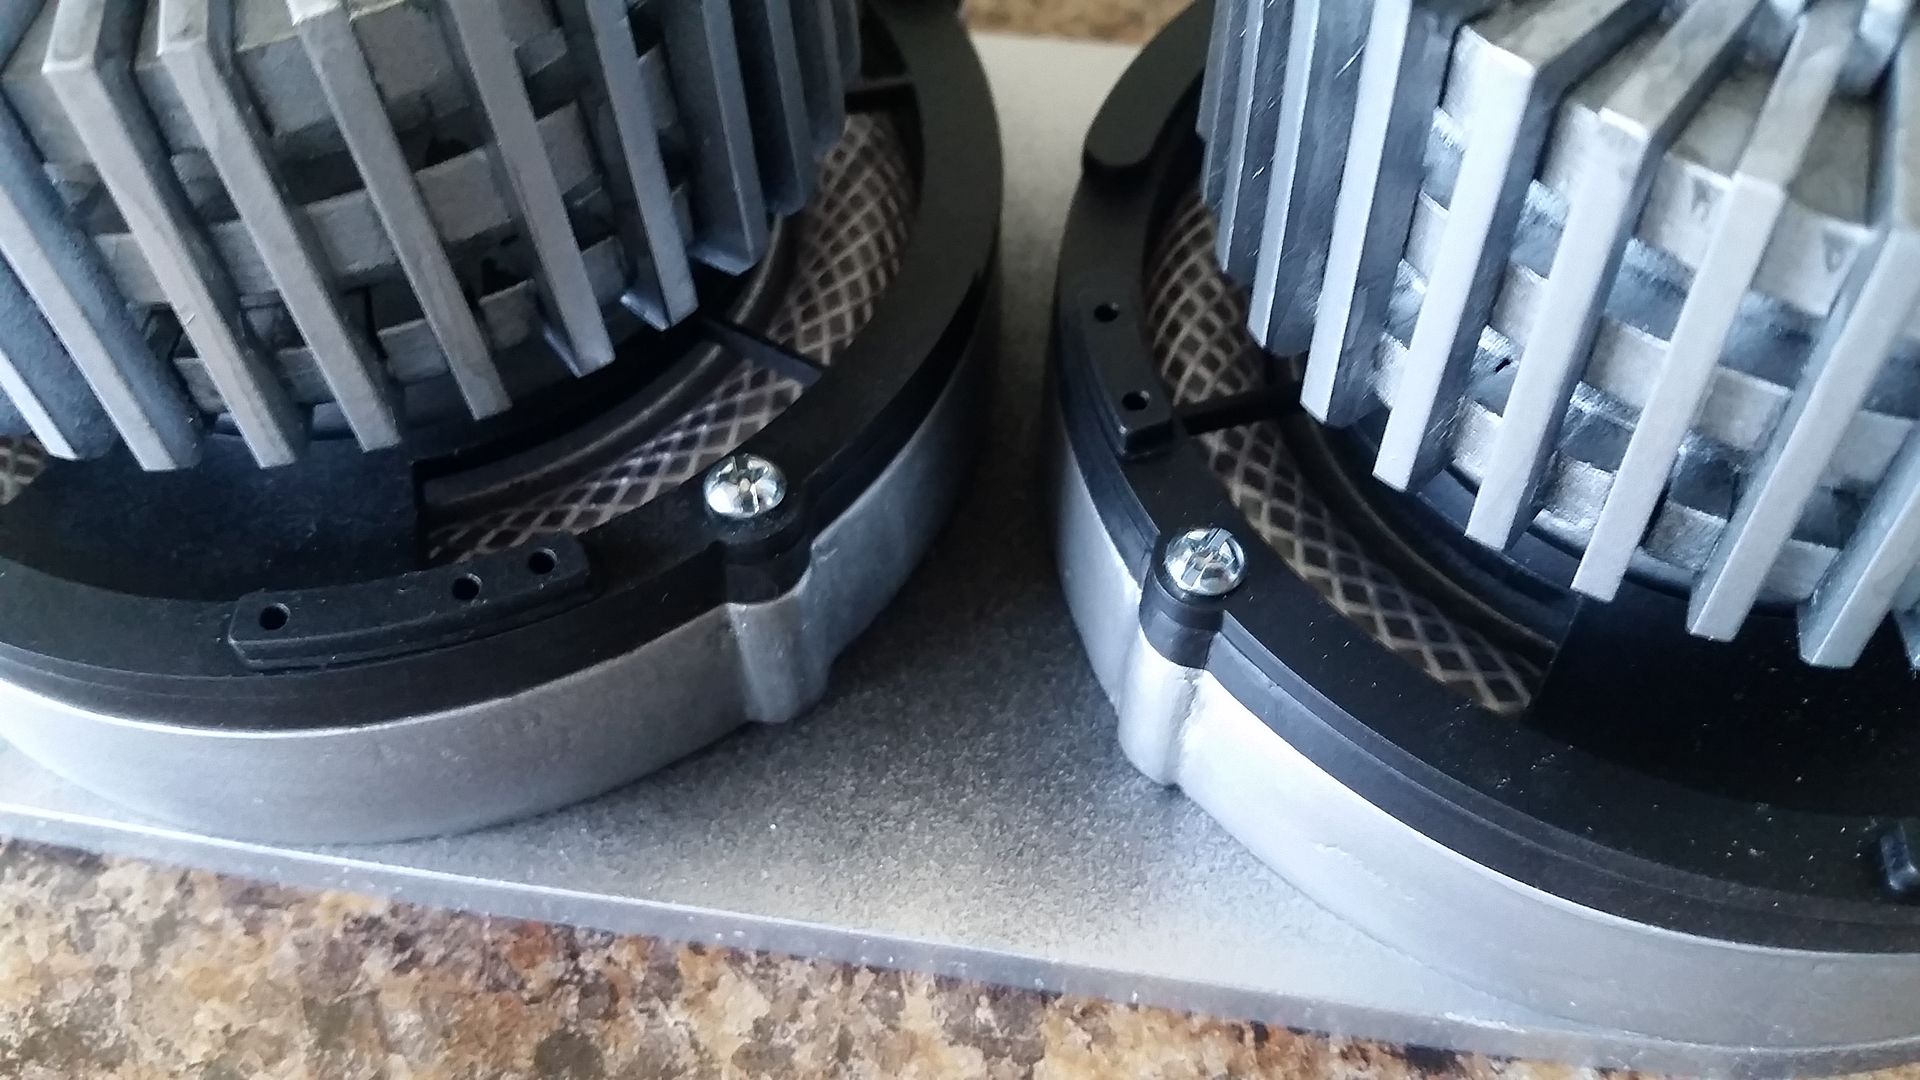
Normally I would have cut this piece with 1/4" acrylic but I had to stack 2 pieces of 1/8th to allow enough clearance for the braided hose which peaked just above the ring - so one layer matched the ring, the top layer is the actual sectioned cover/id
20160421_204218_zpskjrfuugz.jpg


More filler... UGH
20160421_204223_zps7ou6lyyd.jpg


What a mess
20160421_204229_zpsfeomo2dd.jpg


More filler and sanding
20160422_154511_zpsevlnkdvl.jpg


Then added visual interest to the coil covers
20160423_060722_zpspye0iqu2.jpg


20160423_060726_zpsprxkhodt.jpg


20160423_060730_zpsow3jwdkm.jpg


20160423_060734_zpshcgphrwa.jpg


Primer!
20160423_061245_zpslnyicpy2.jpg


20160423_061250_zpsszas3d1p.jpg


20160423_061254_zpsr2j1ois8.jpg


20160423_114850_zpsajukfo71.jpg


20160423_115924_zpsy6x1og4u.jpg


20160423_115928_zpssdahq2ru.jpg


20160423_115932_zpsc4lekudl.jpg


Slowly getting there...
20160423_120104_zpsgj8yfh5a.jpg


20160423_120109_zpsrtyy1g6q.jpg


20160423_120144_zpstnpxekls.jpg


1st round of color
20160423_231723_zpsqmz95uef.jpg


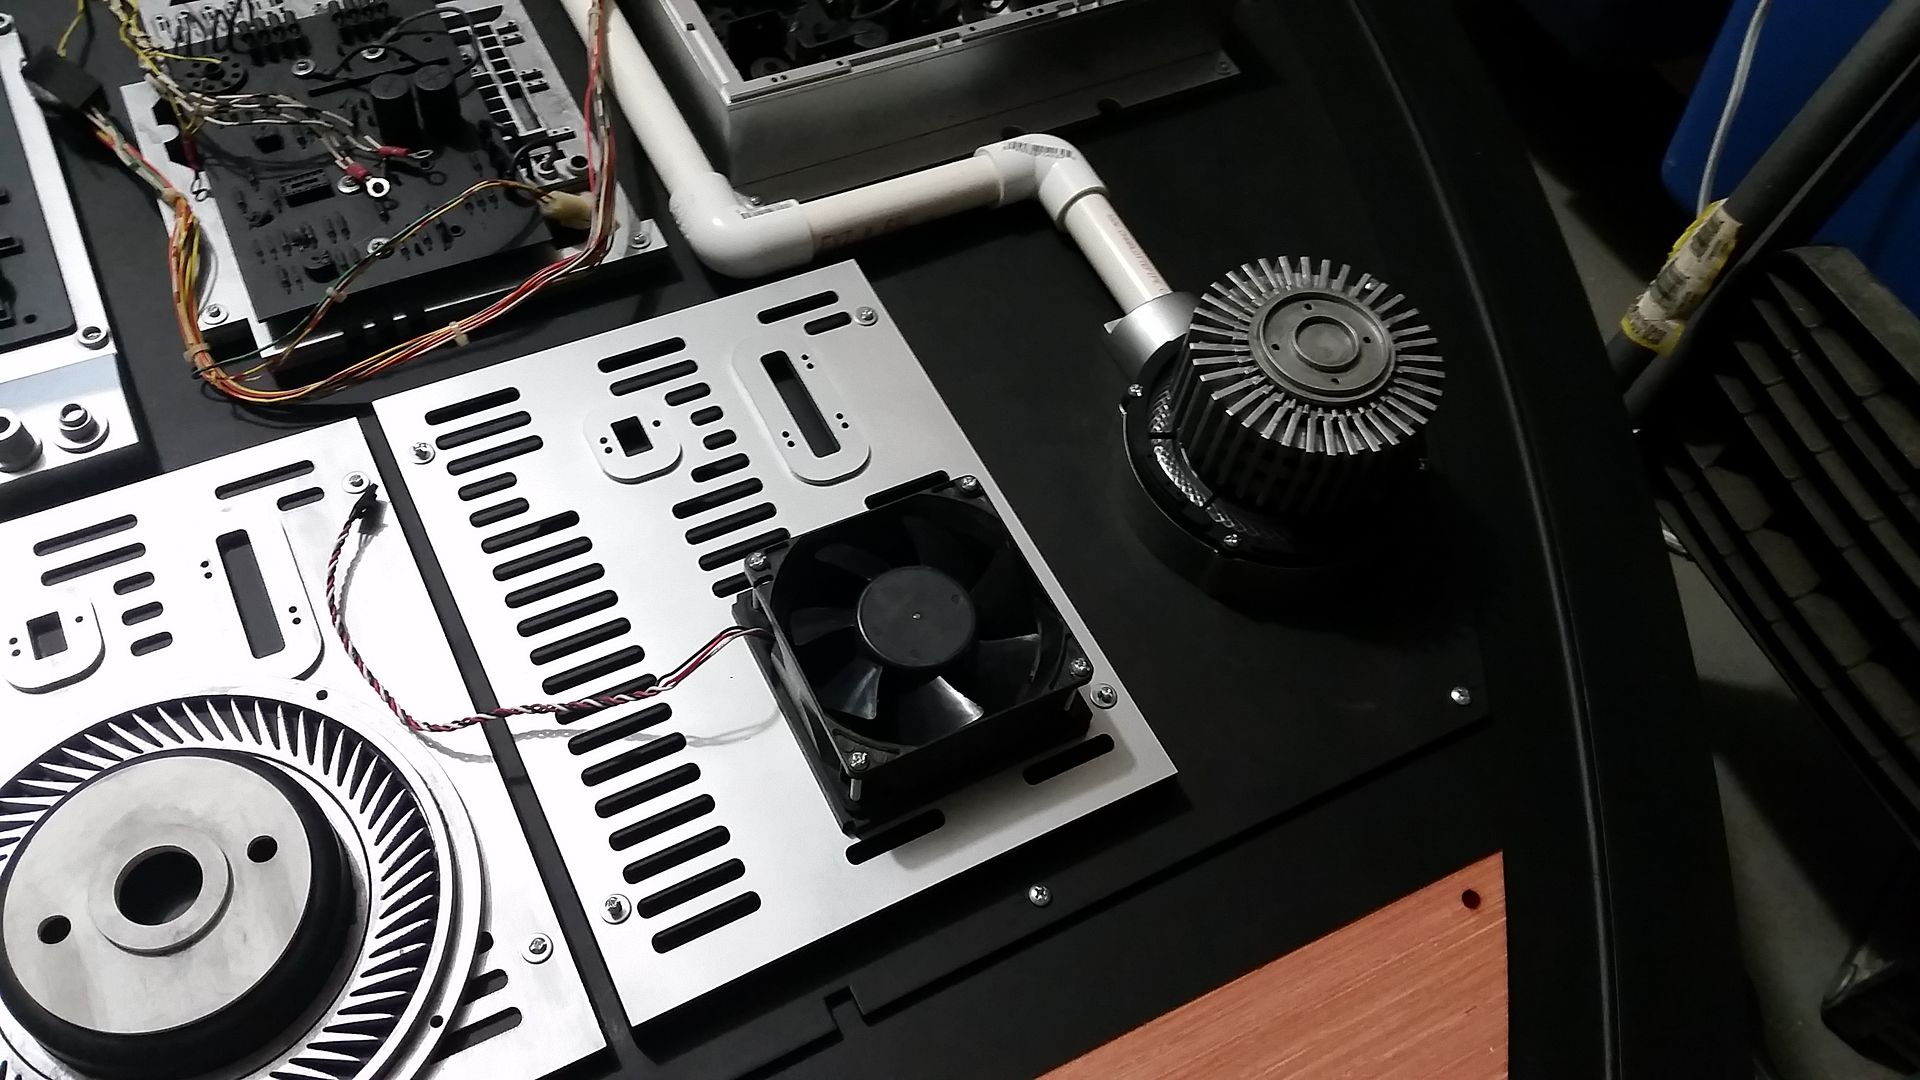
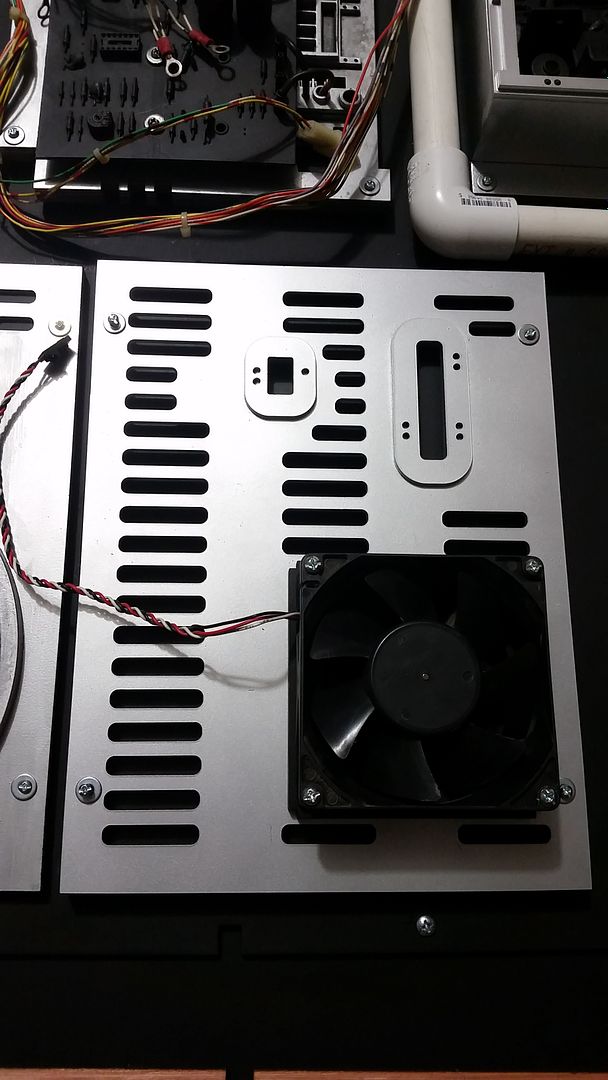
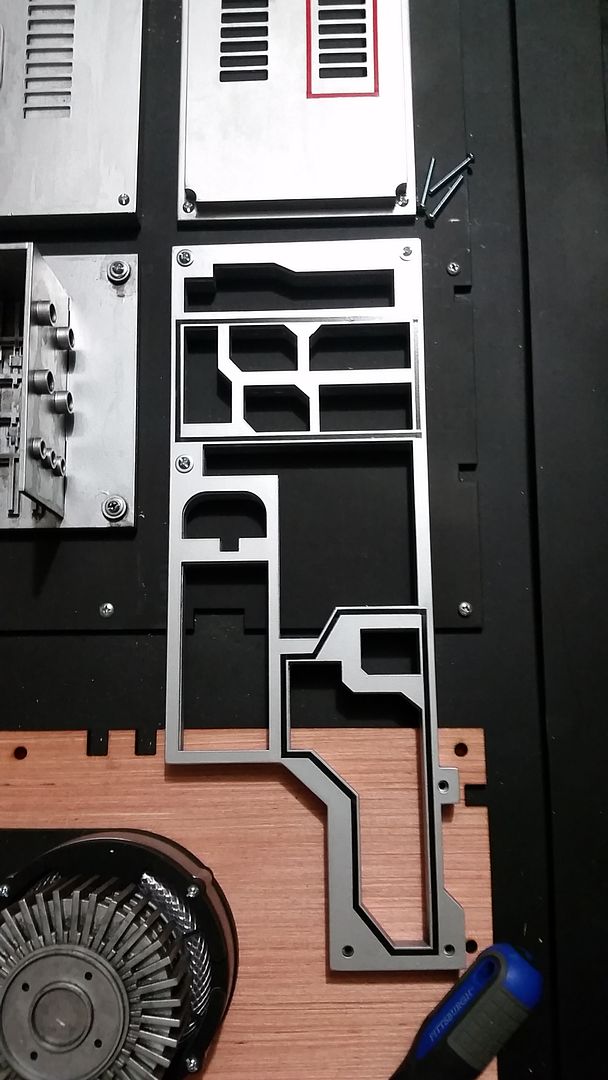
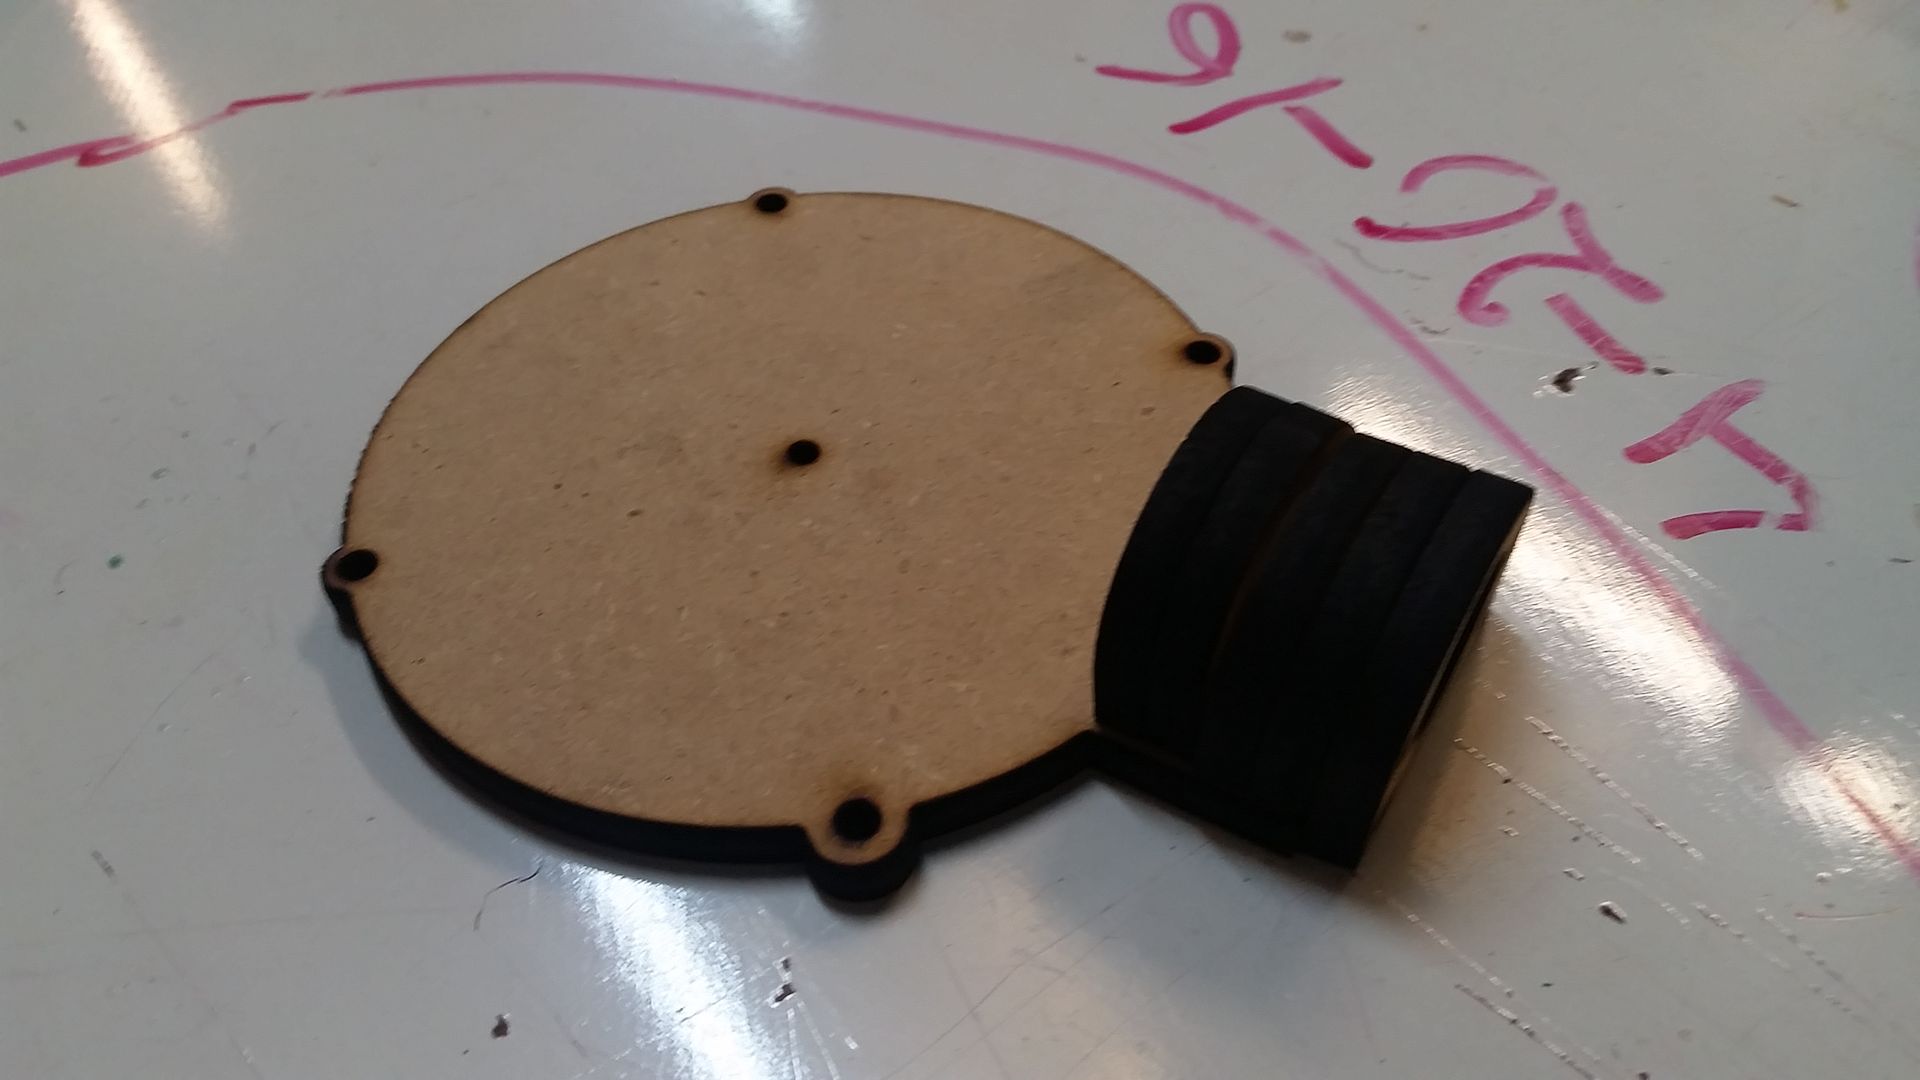
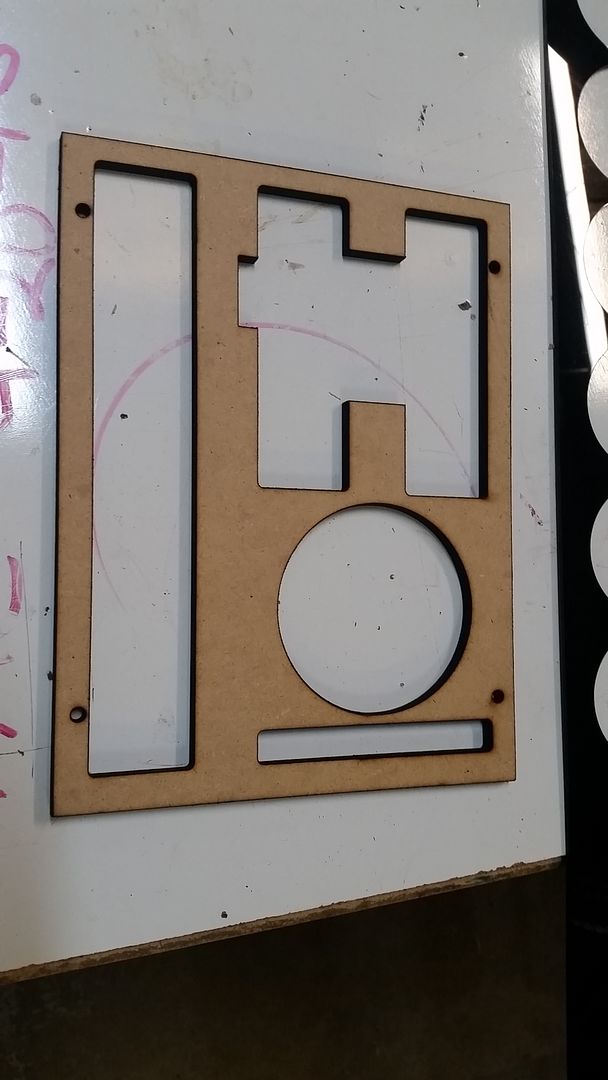
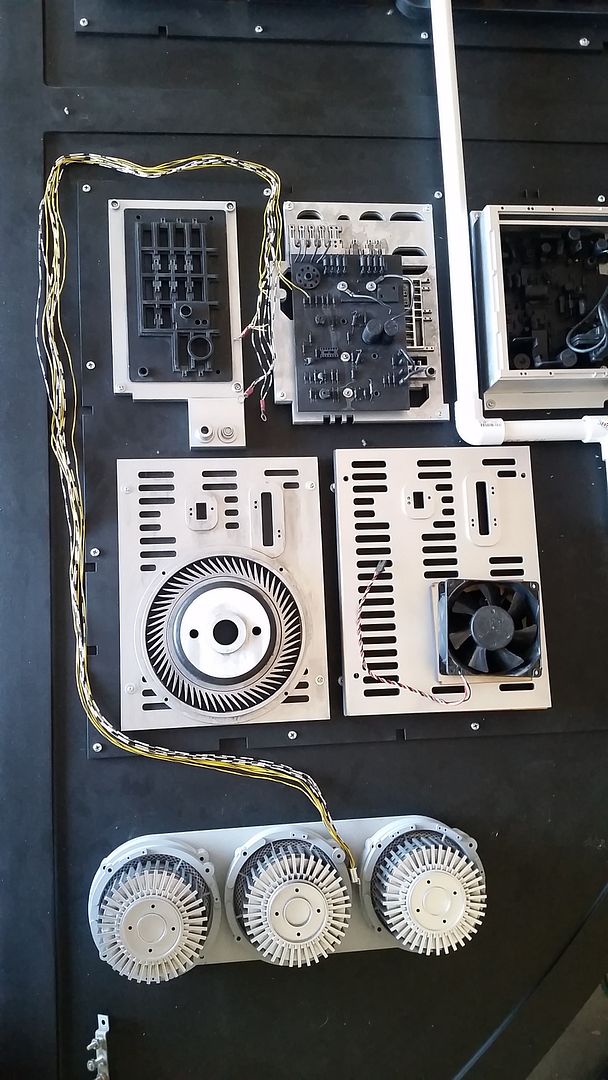
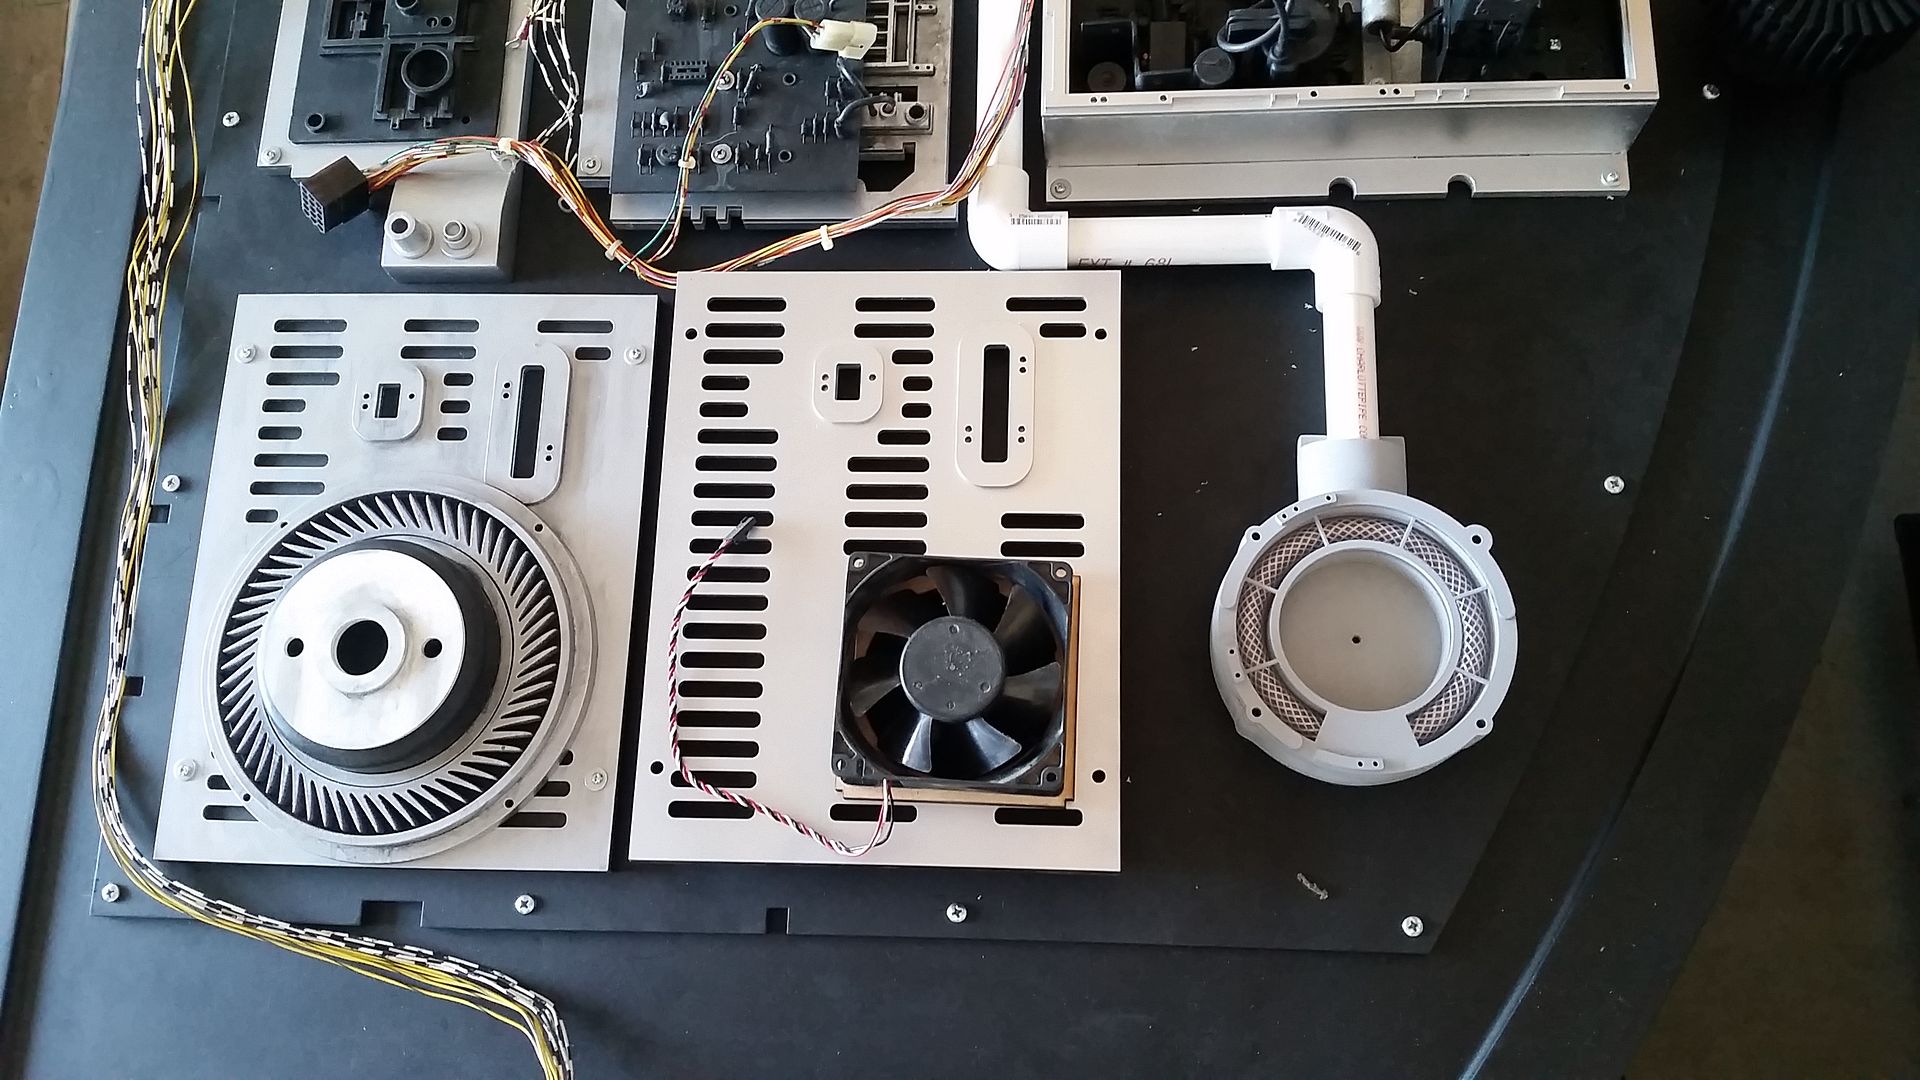
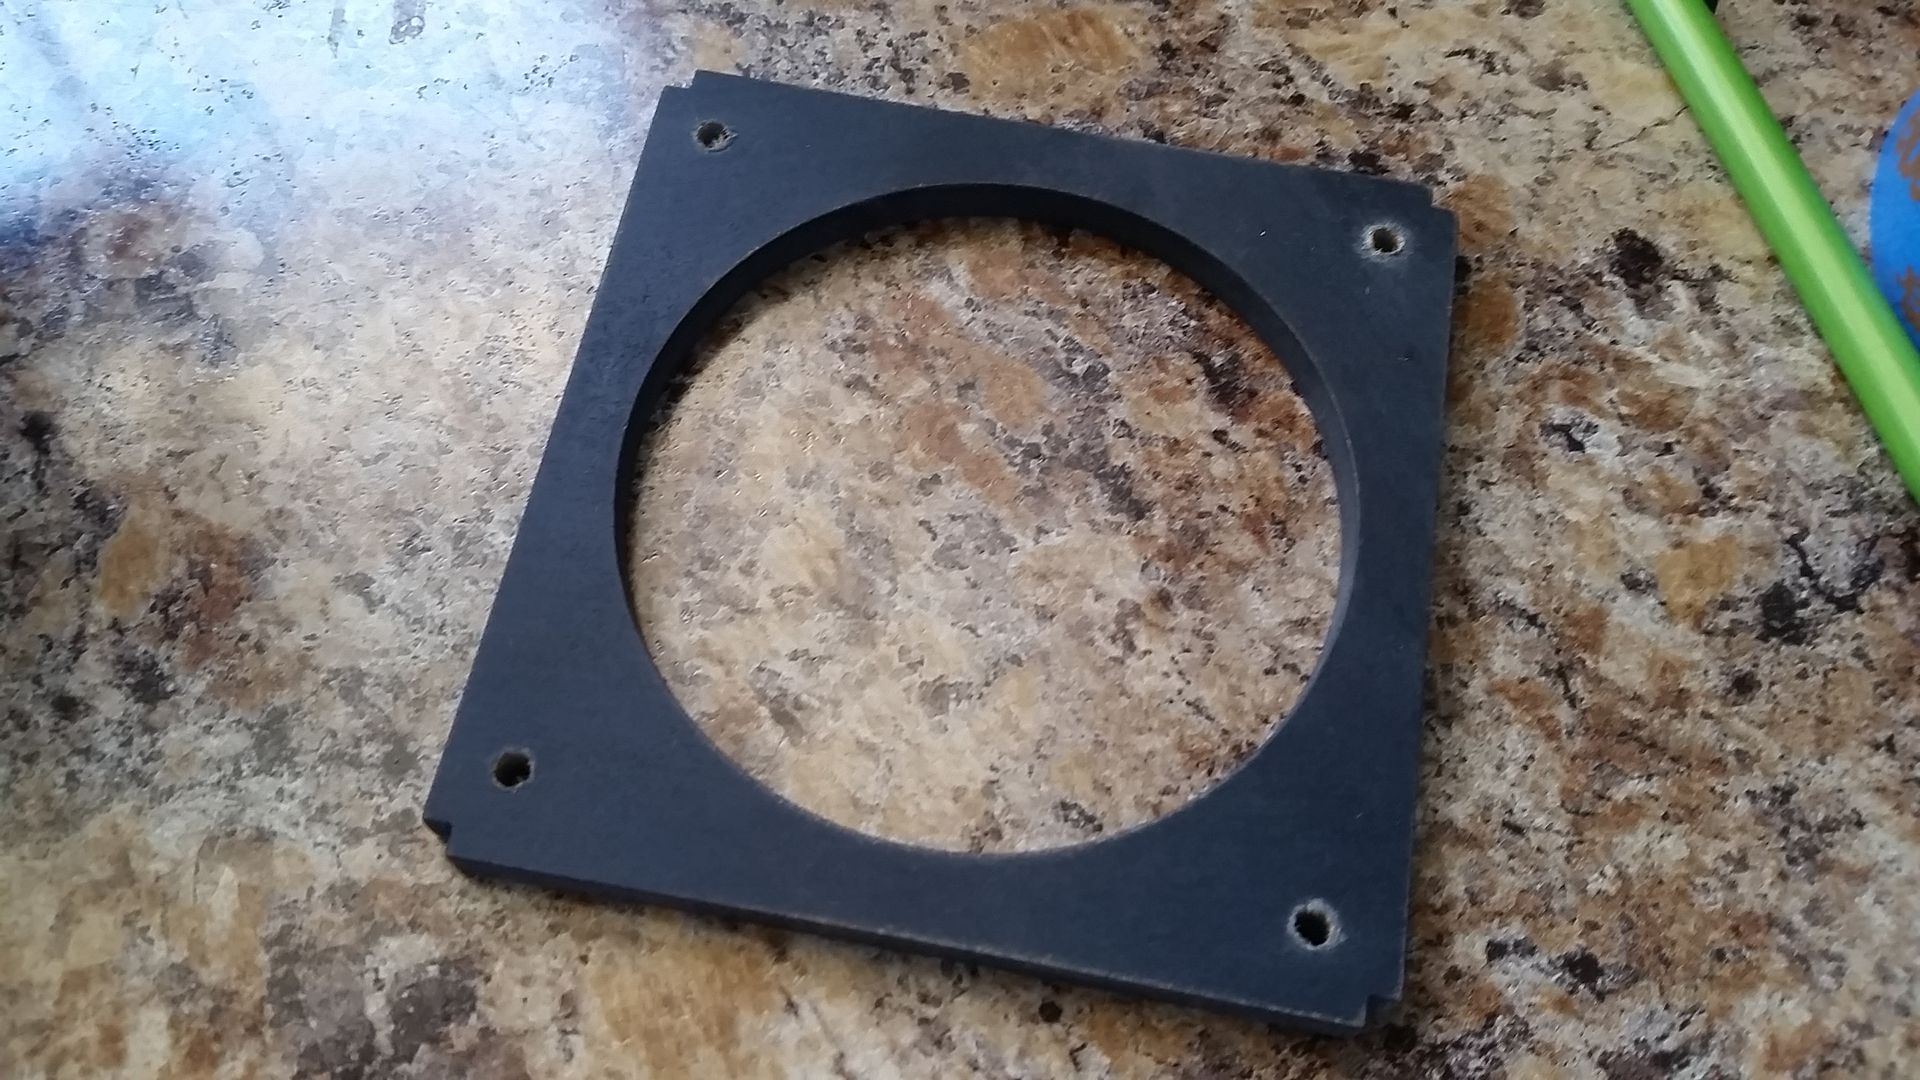
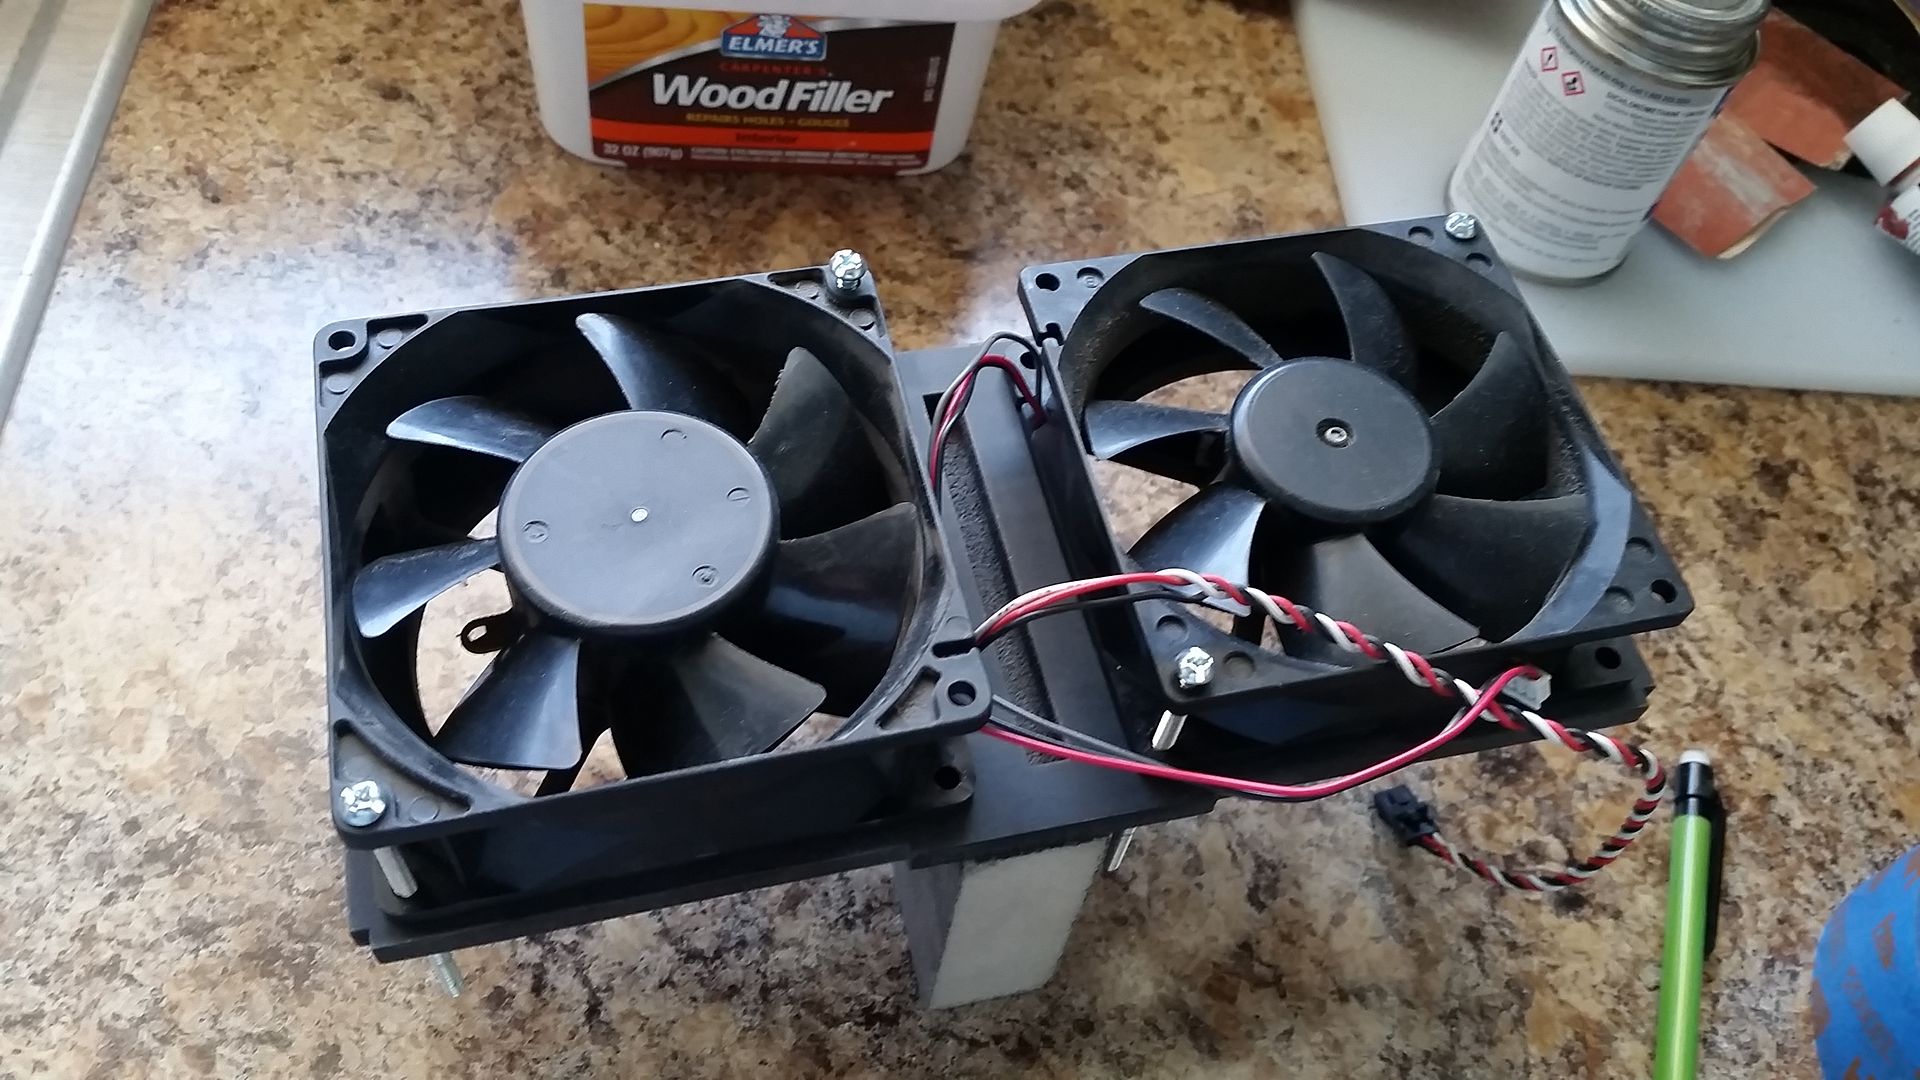
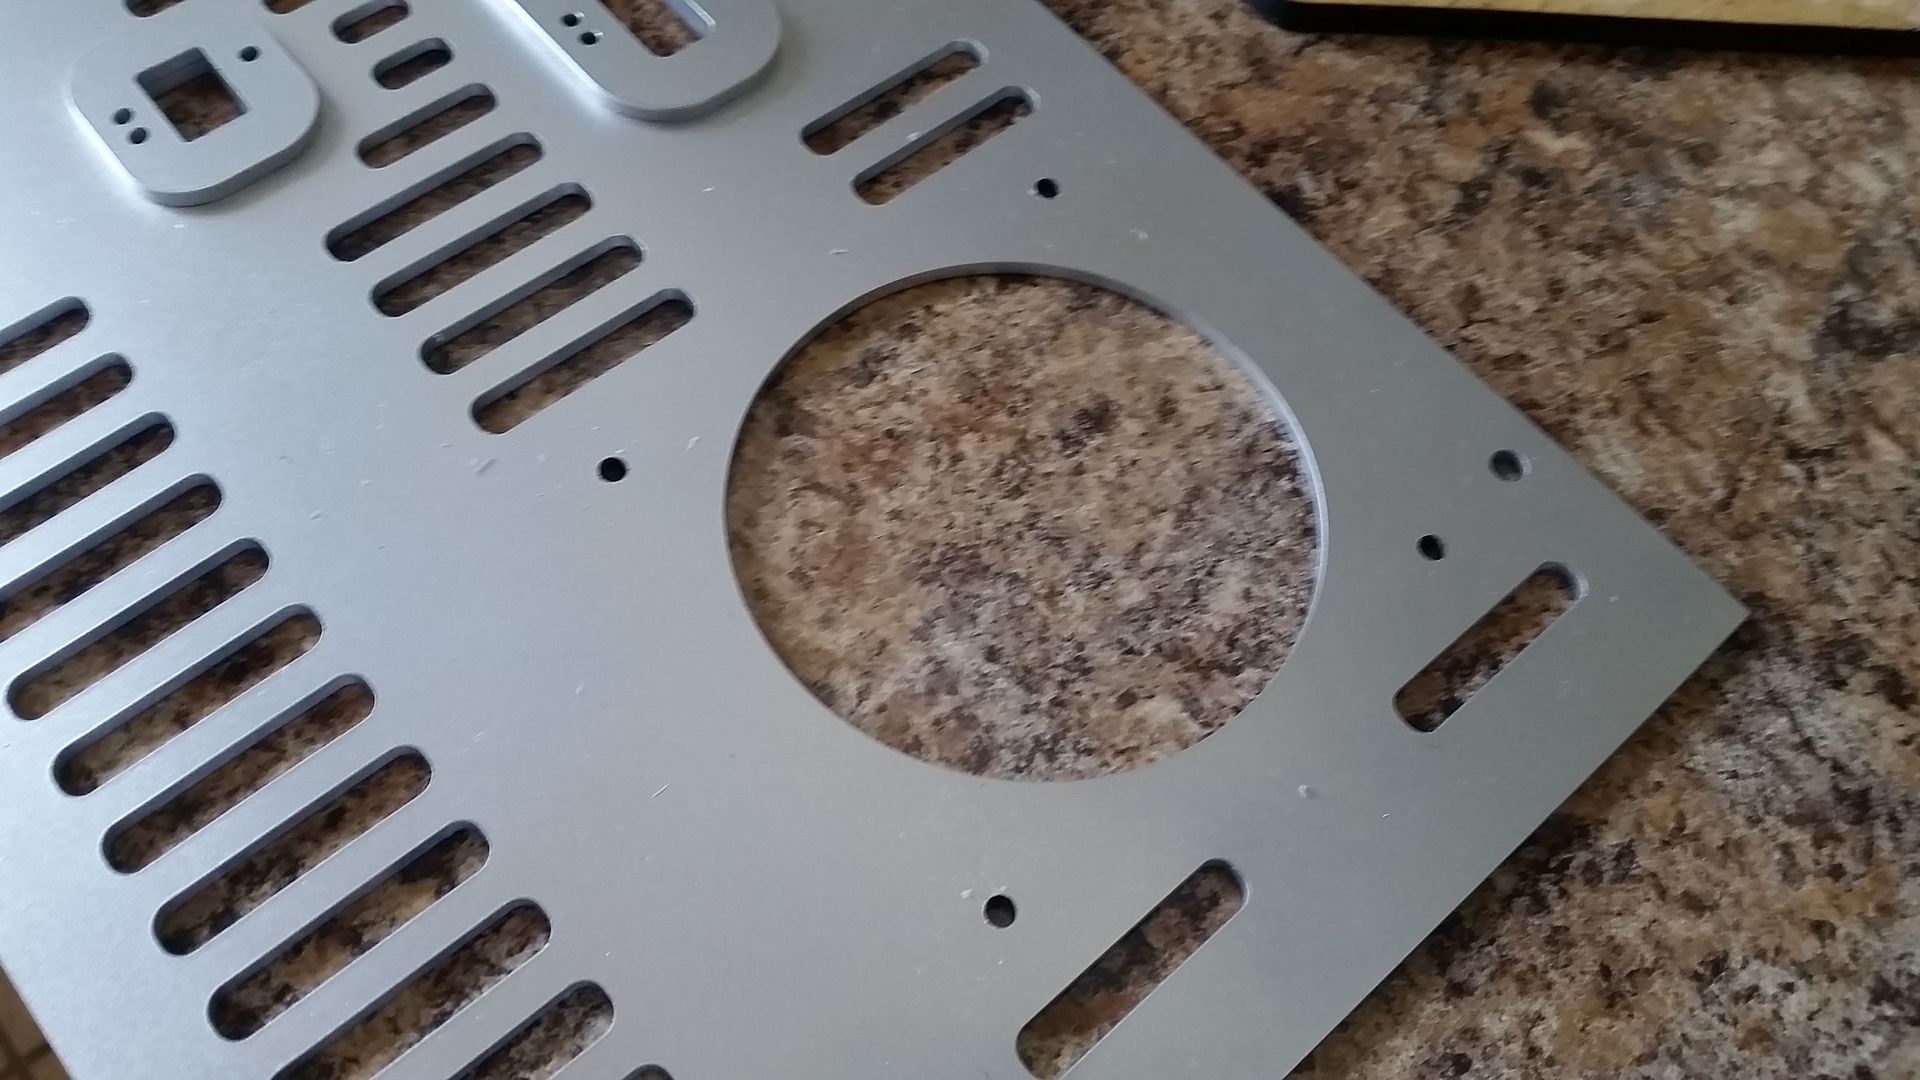
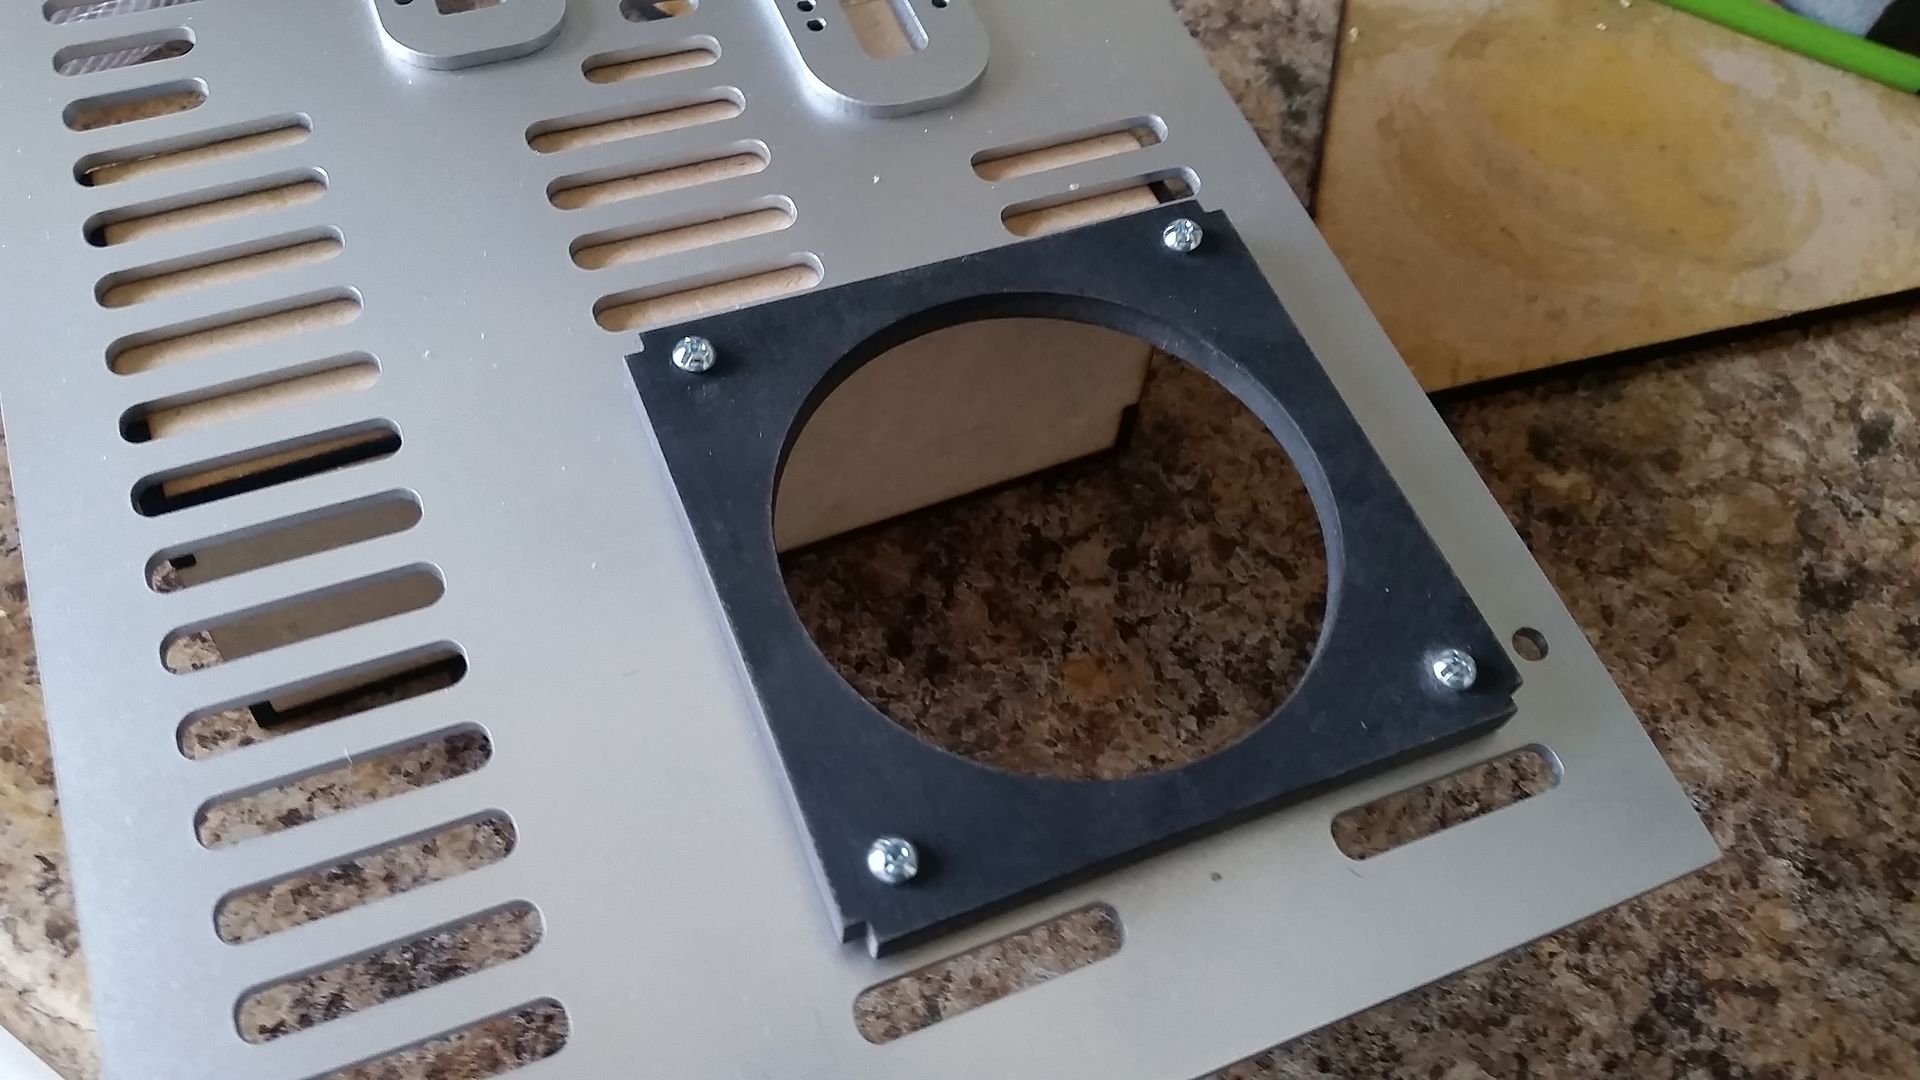
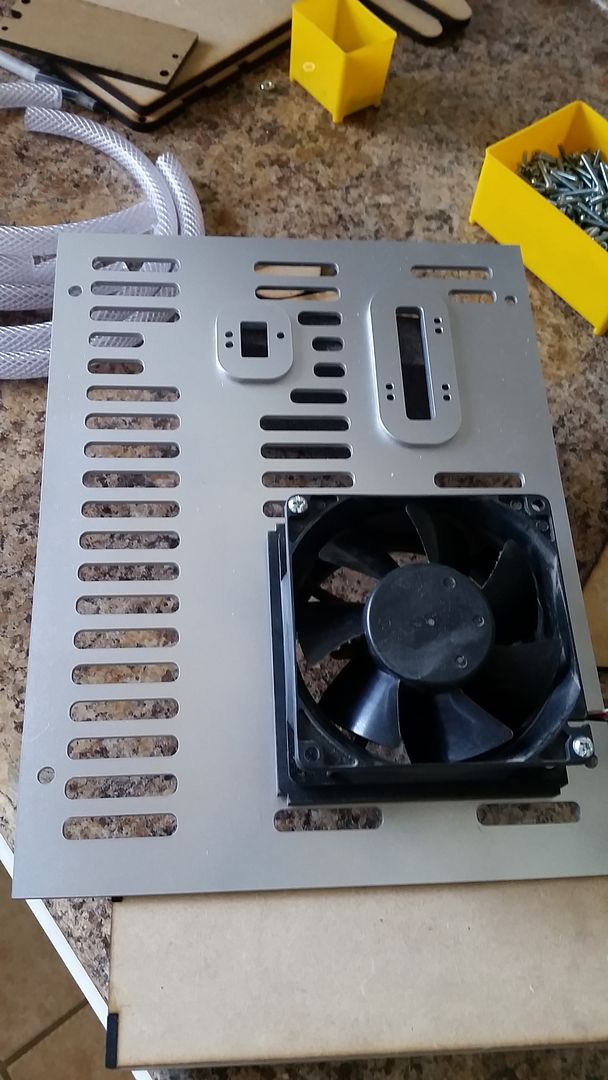
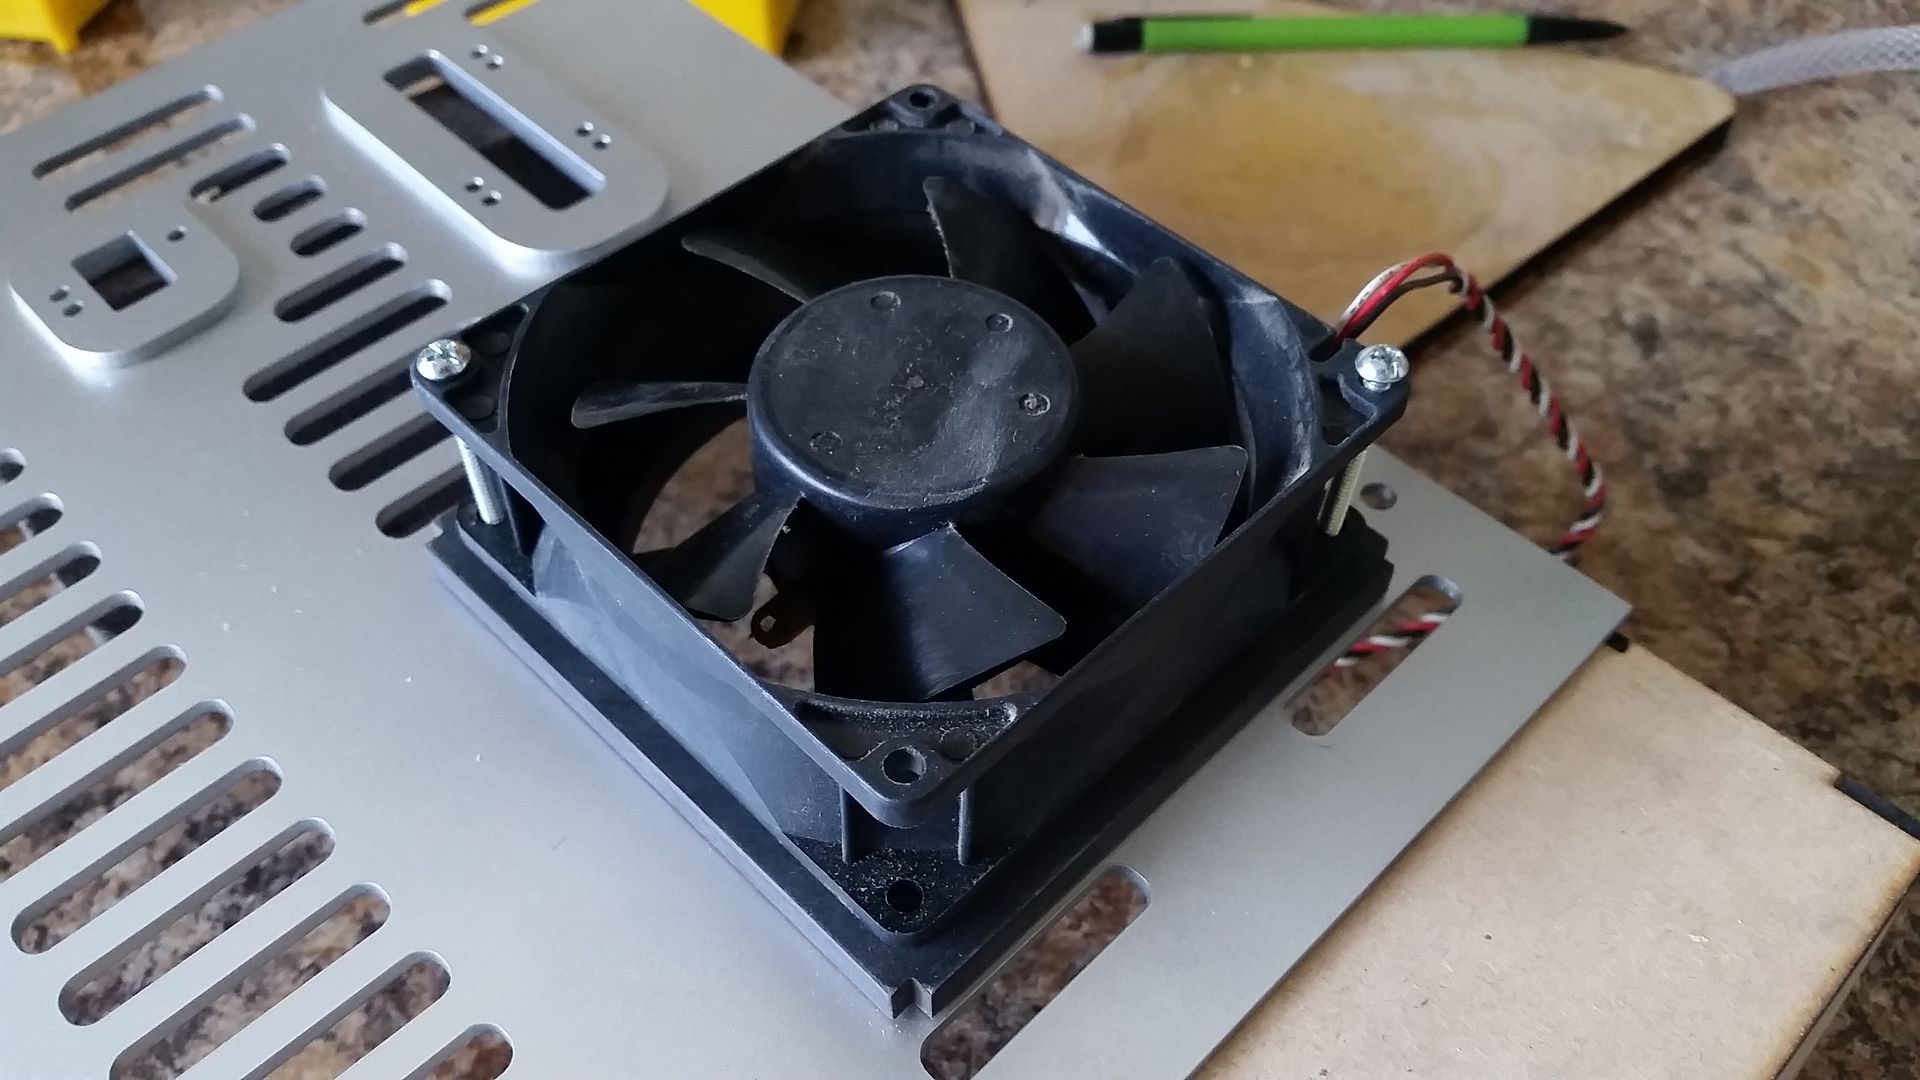
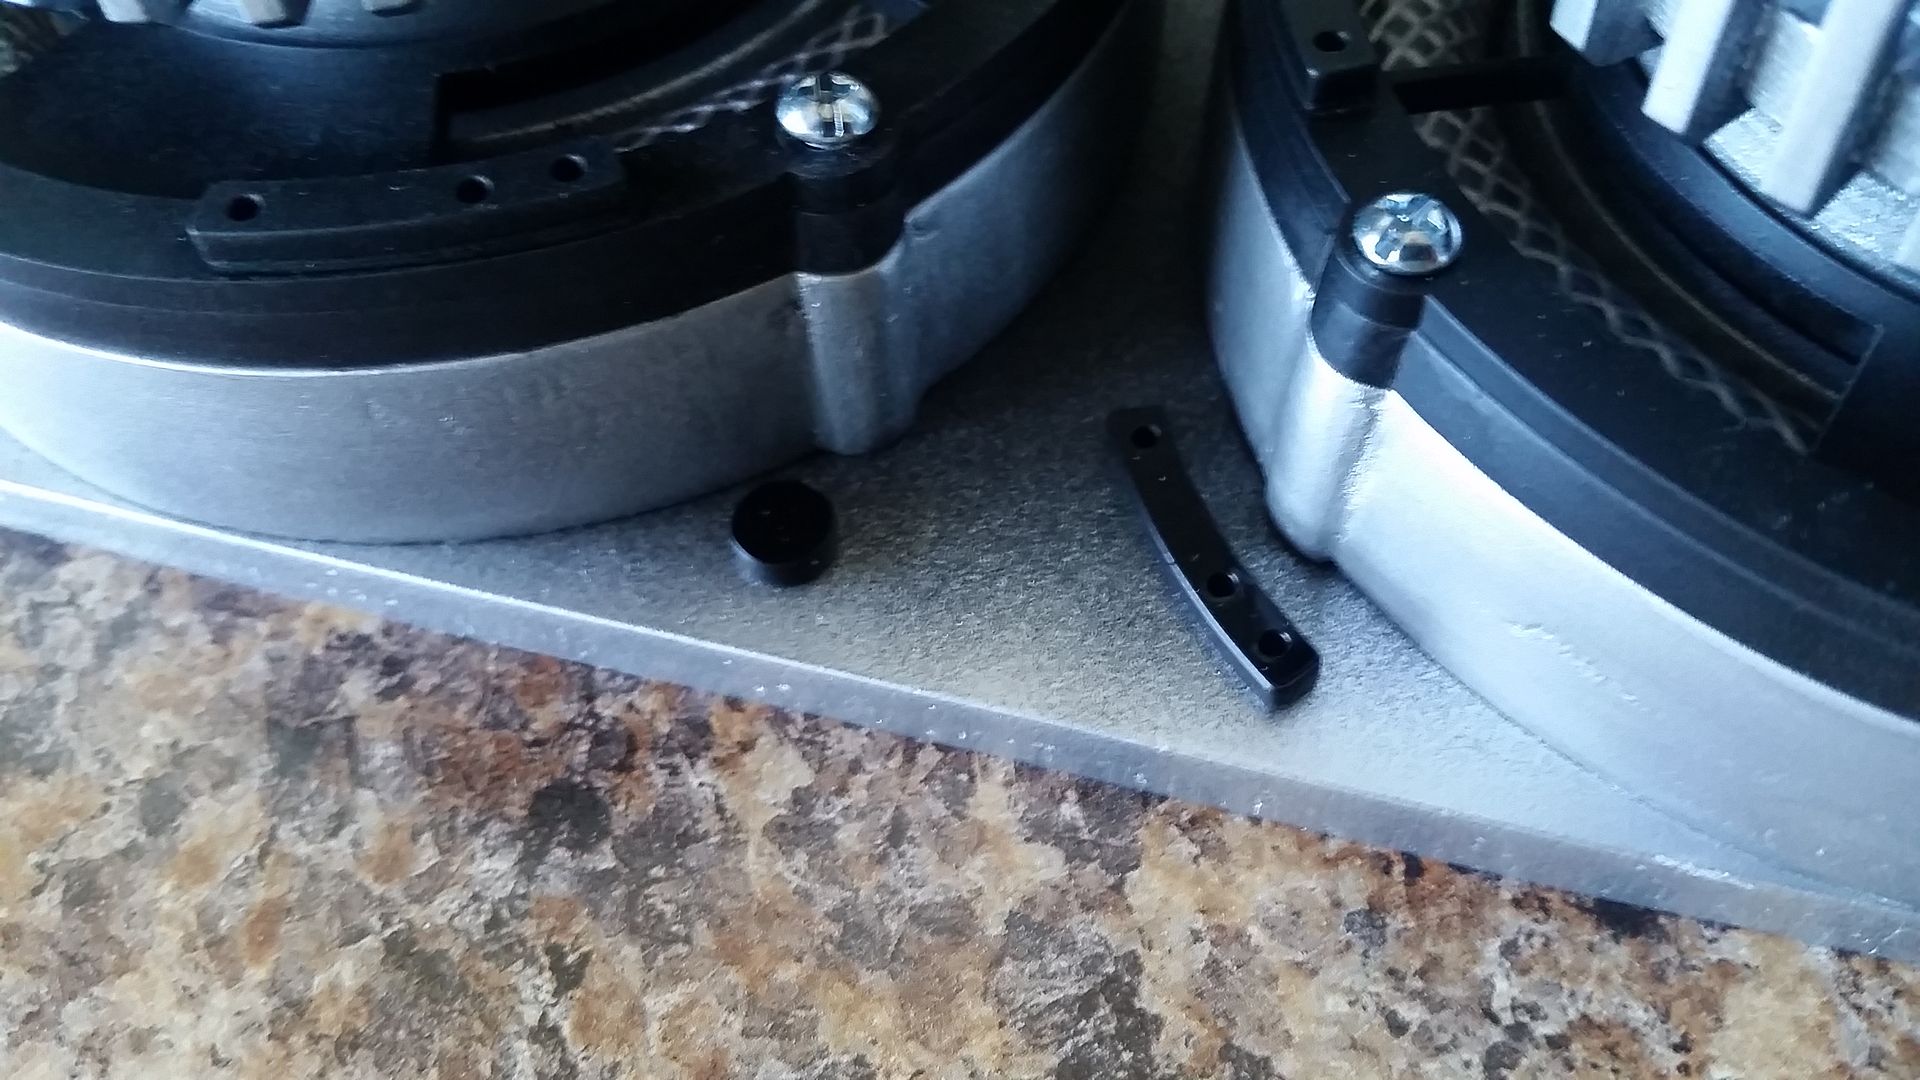
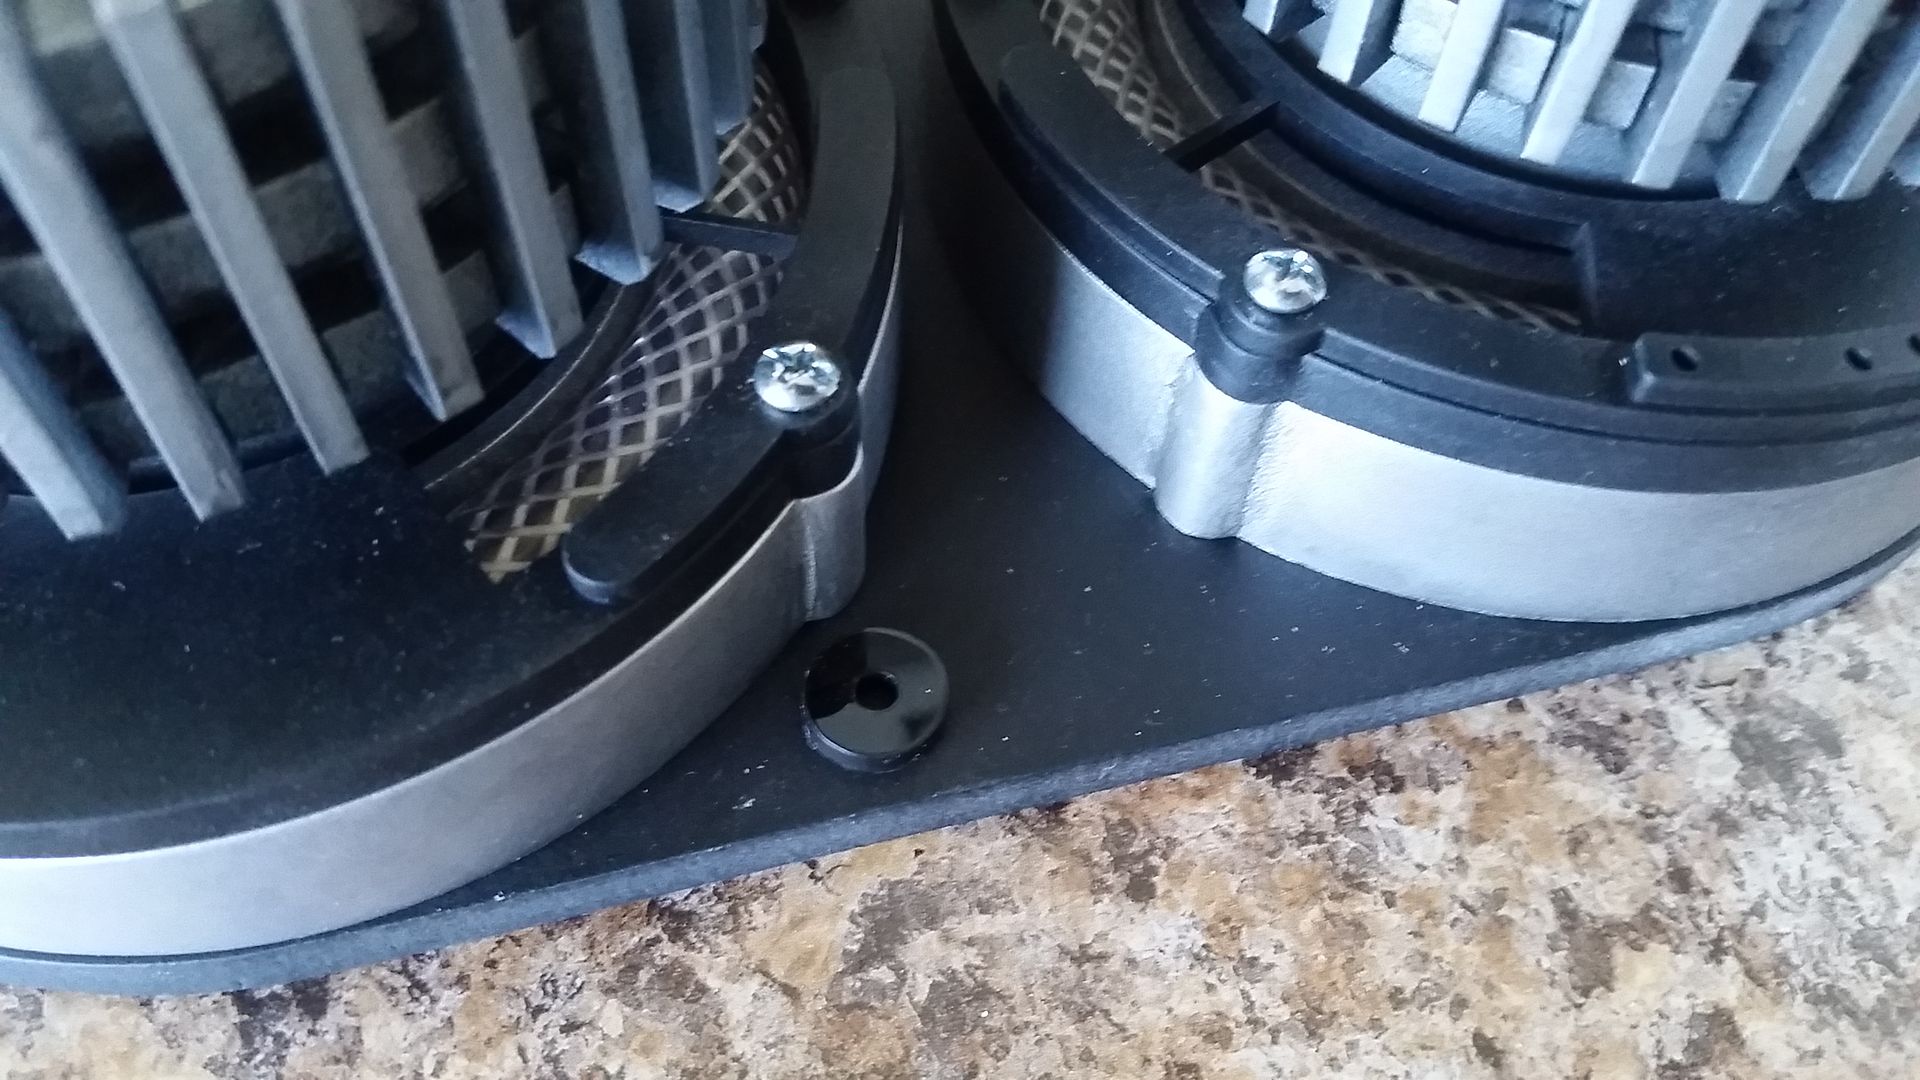
I laser cut a new backing plate for fan greeblie
20160422_083516_zpszqb0da4f.jpg


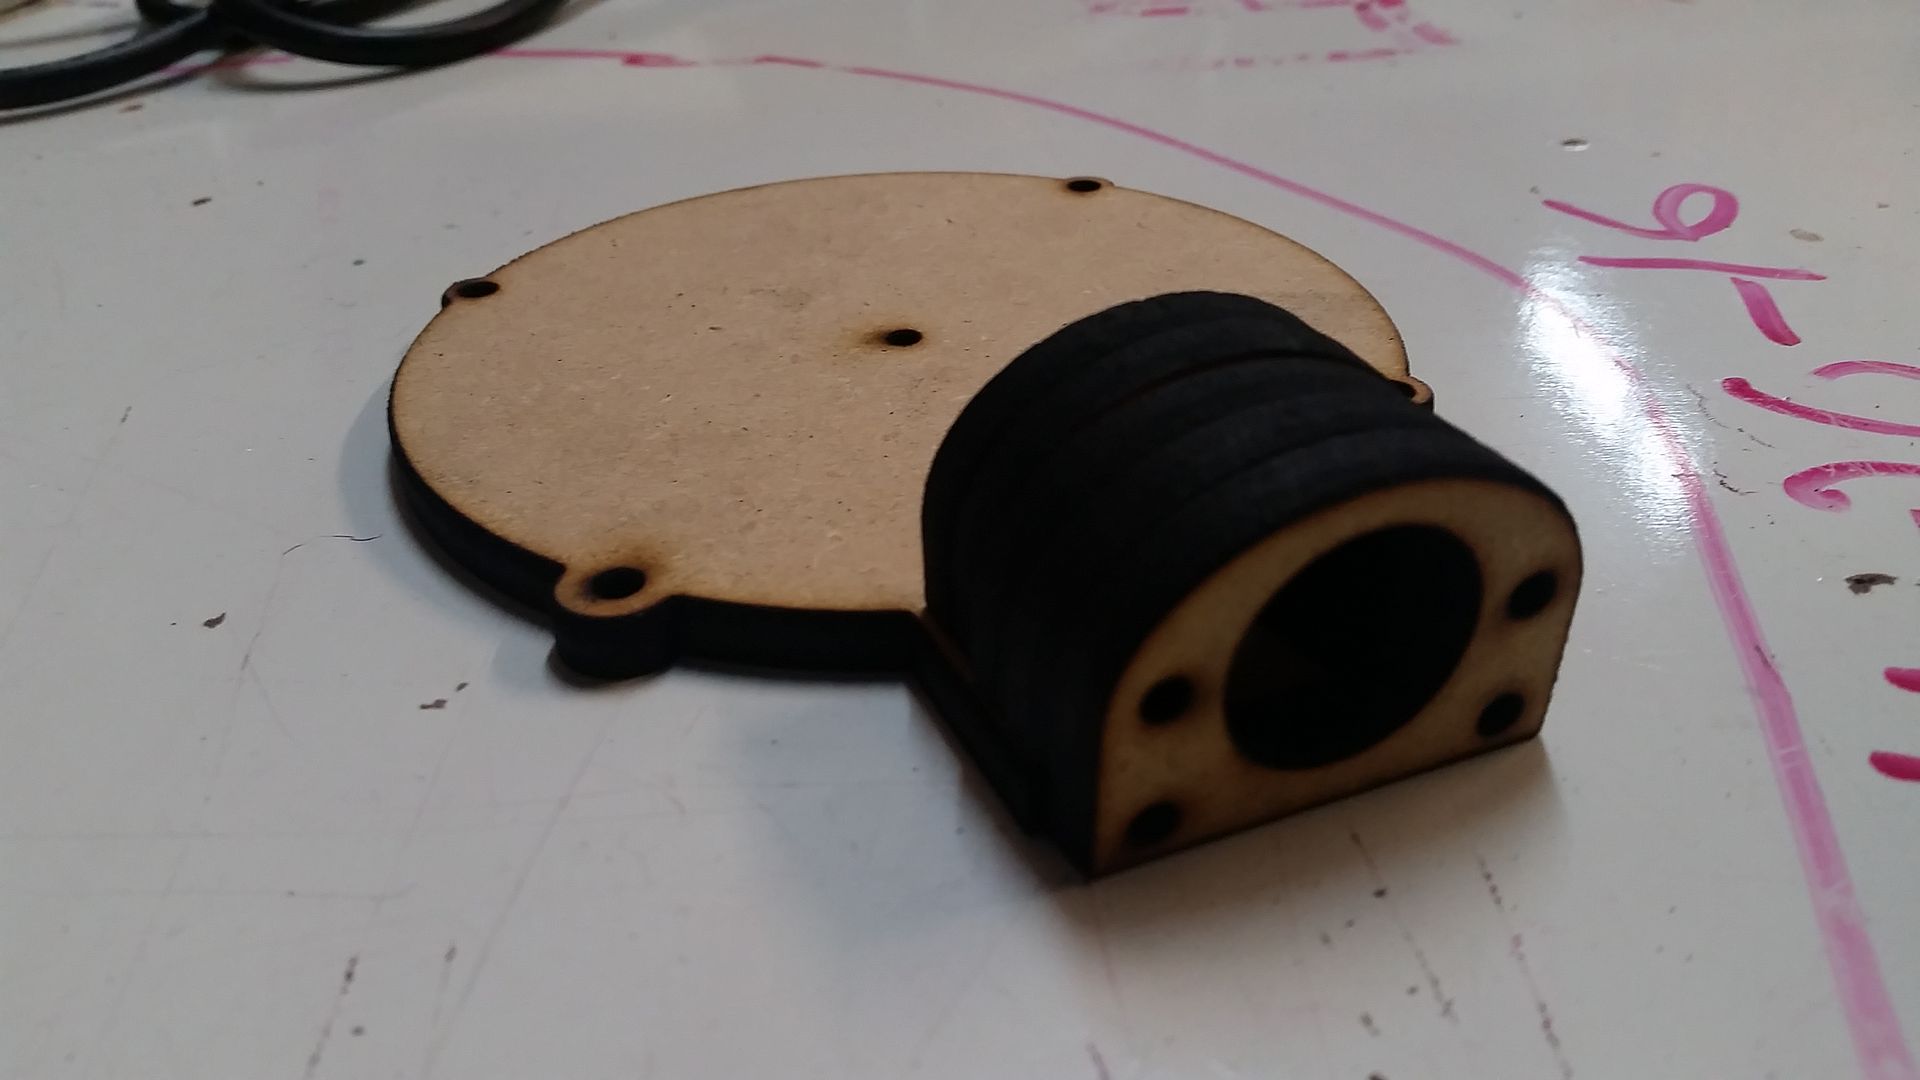
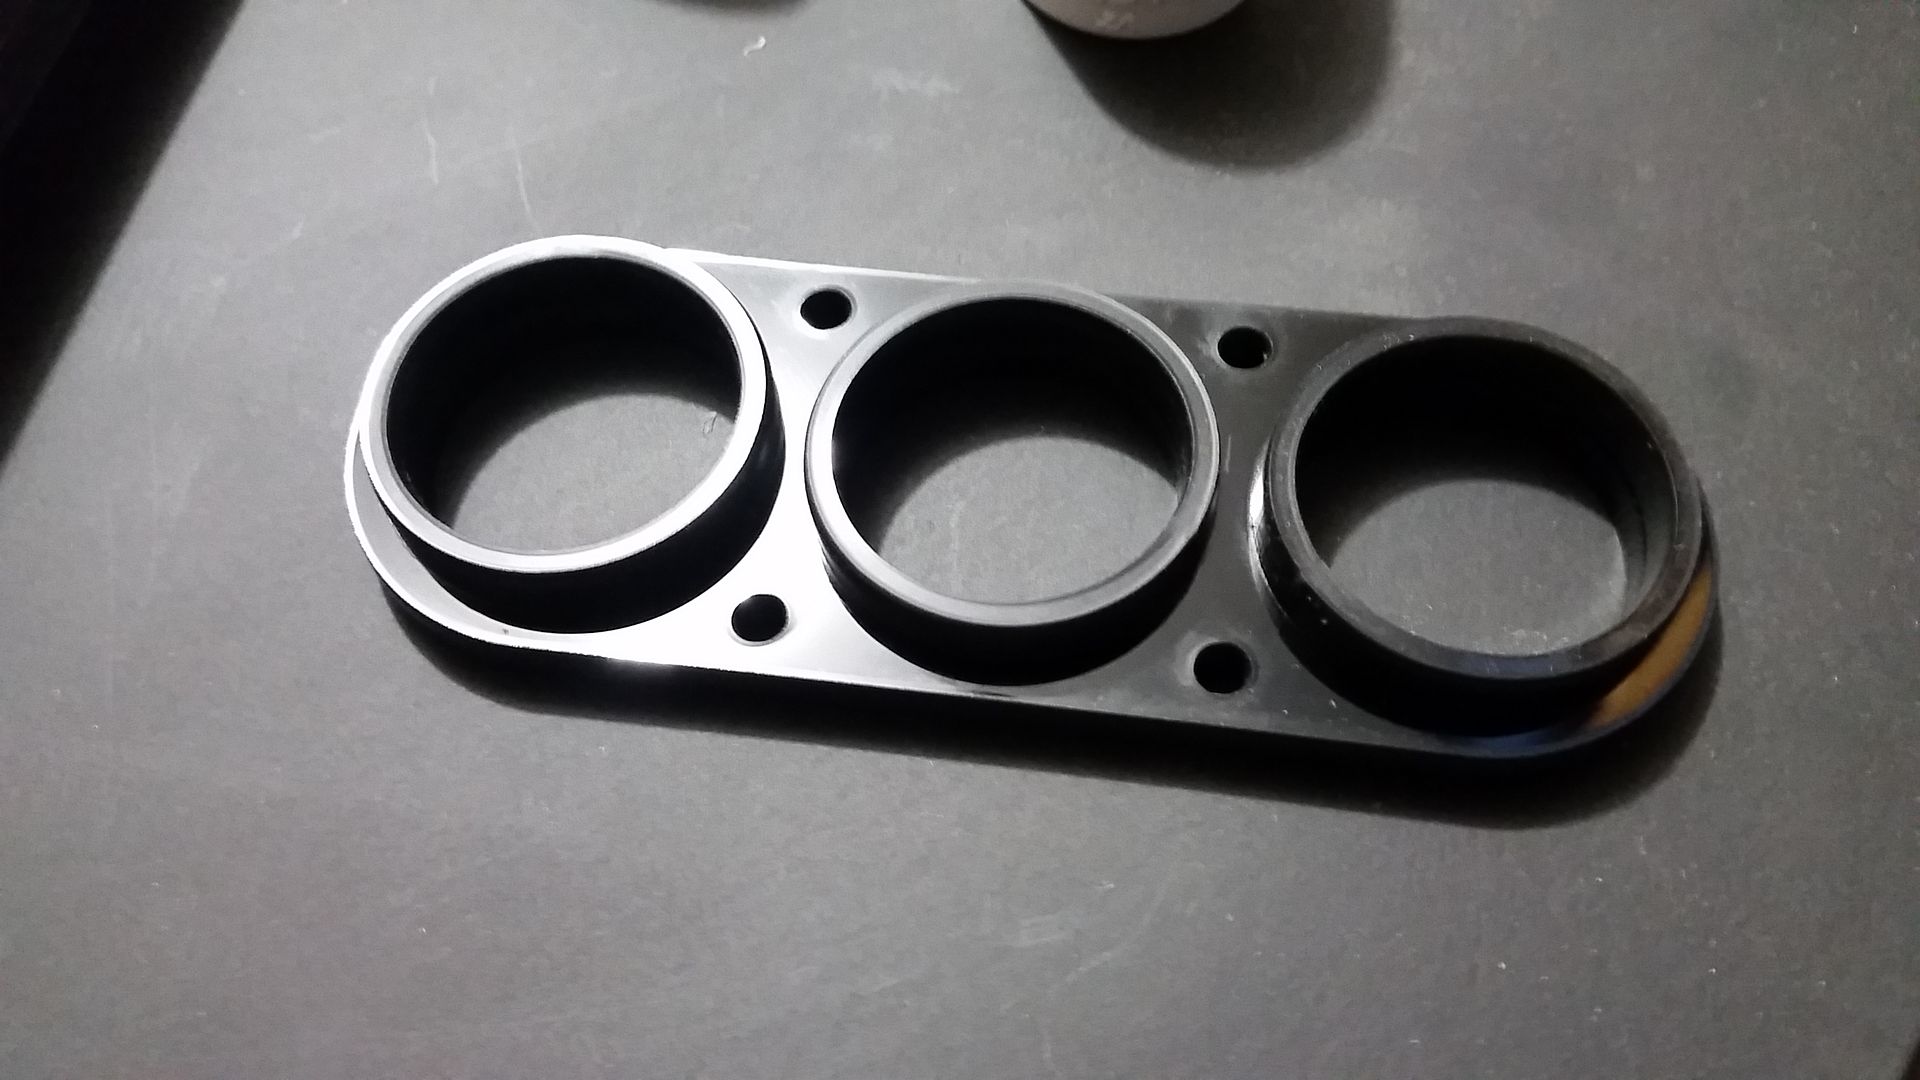
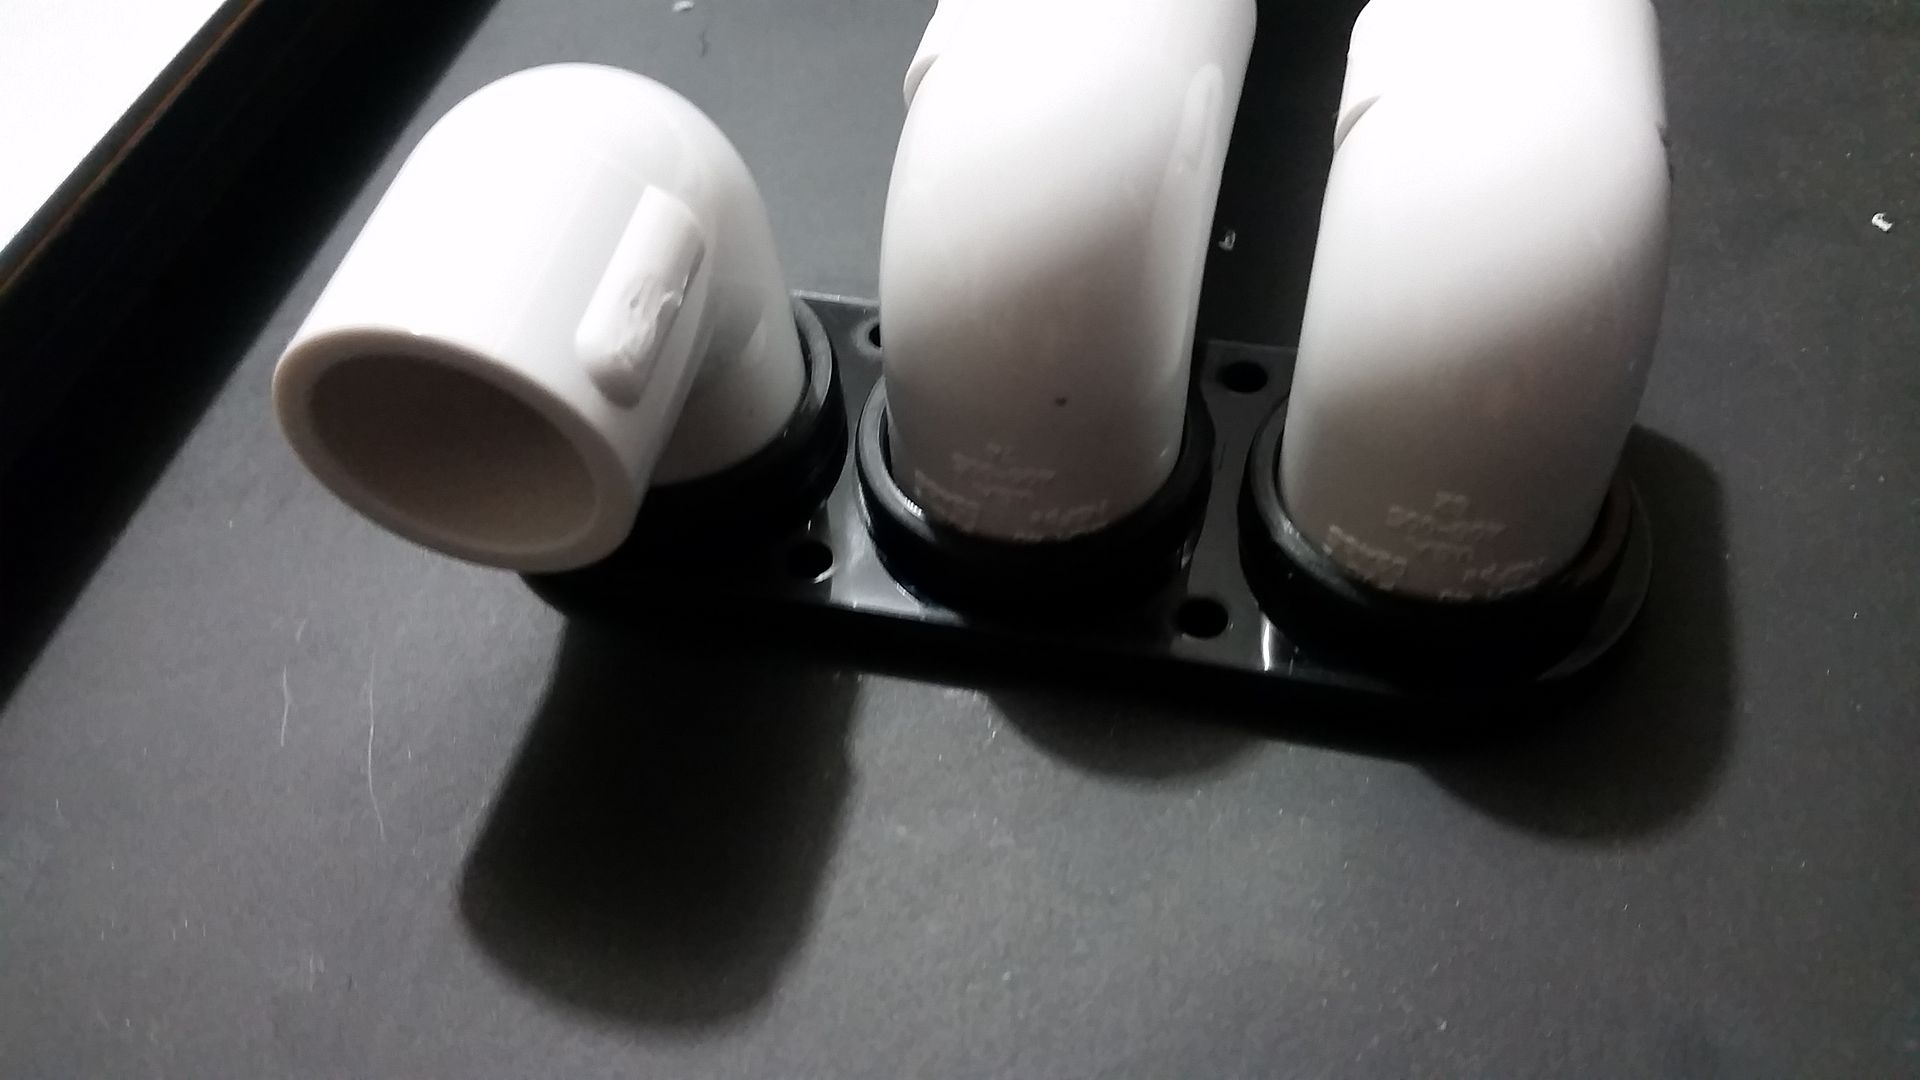
Acrylic PVC pipe connector
20160422_140951_zpsvfwpoimp.jpg


Tinkering with this idea
20160422_141006_zpsok3pqob8.jpg


20160422_141010_zpsugzvl57q.jpg


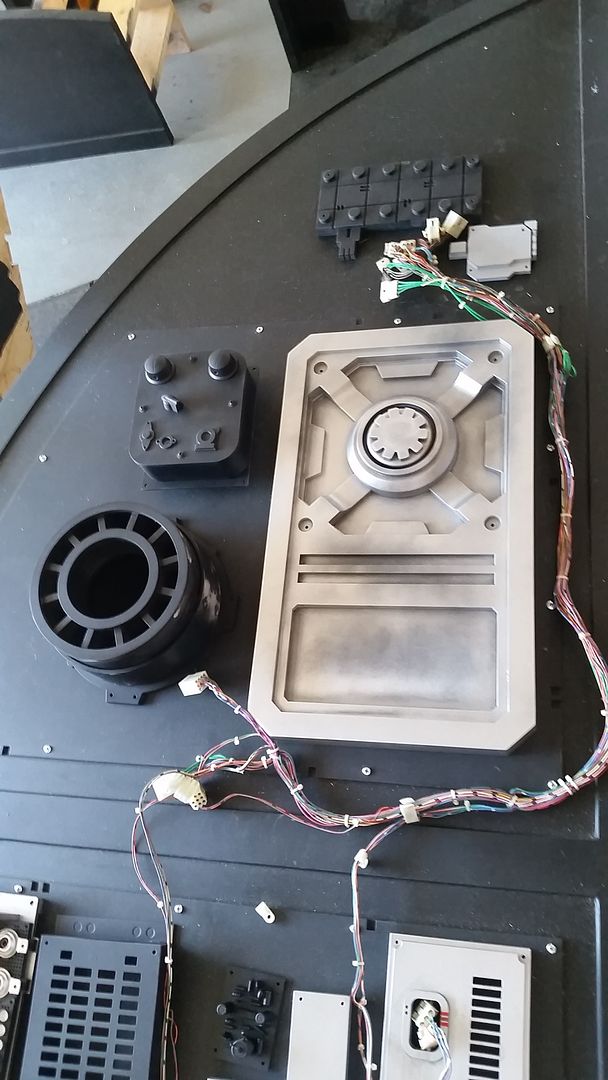
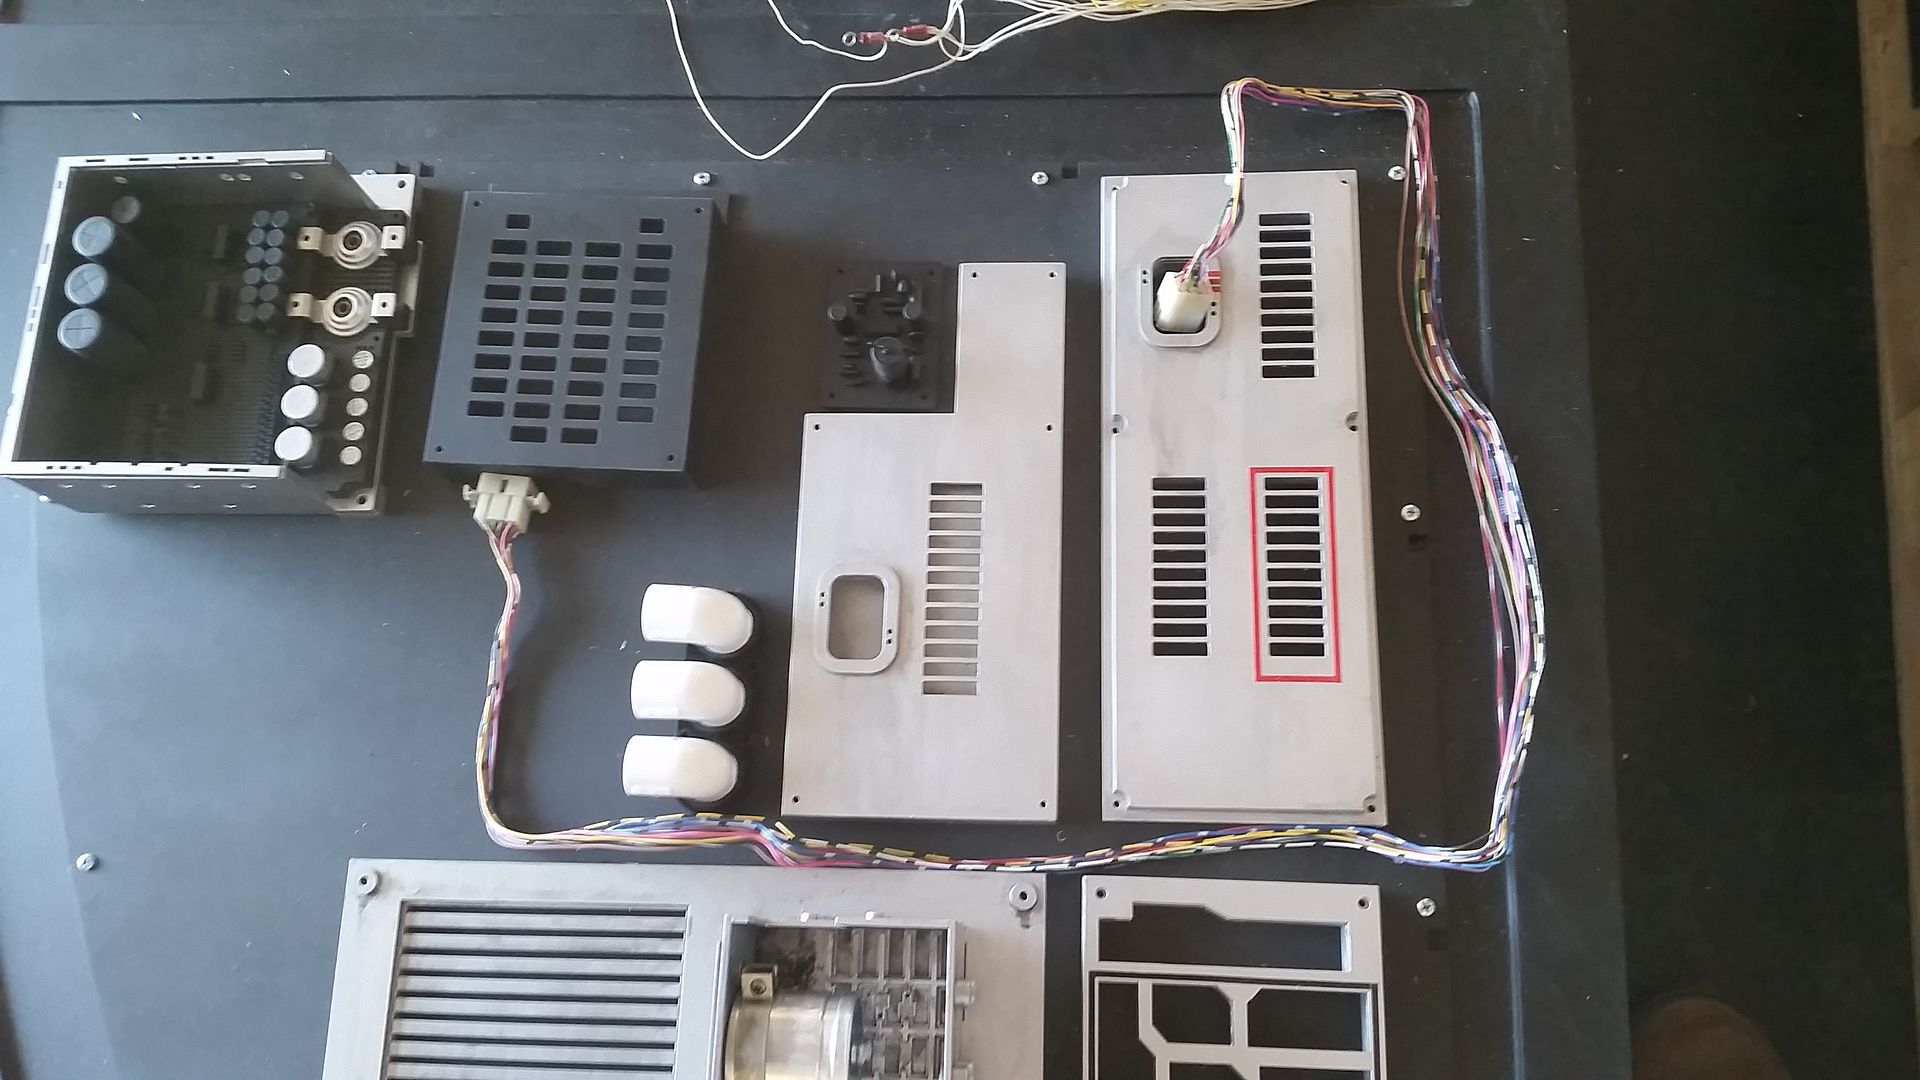
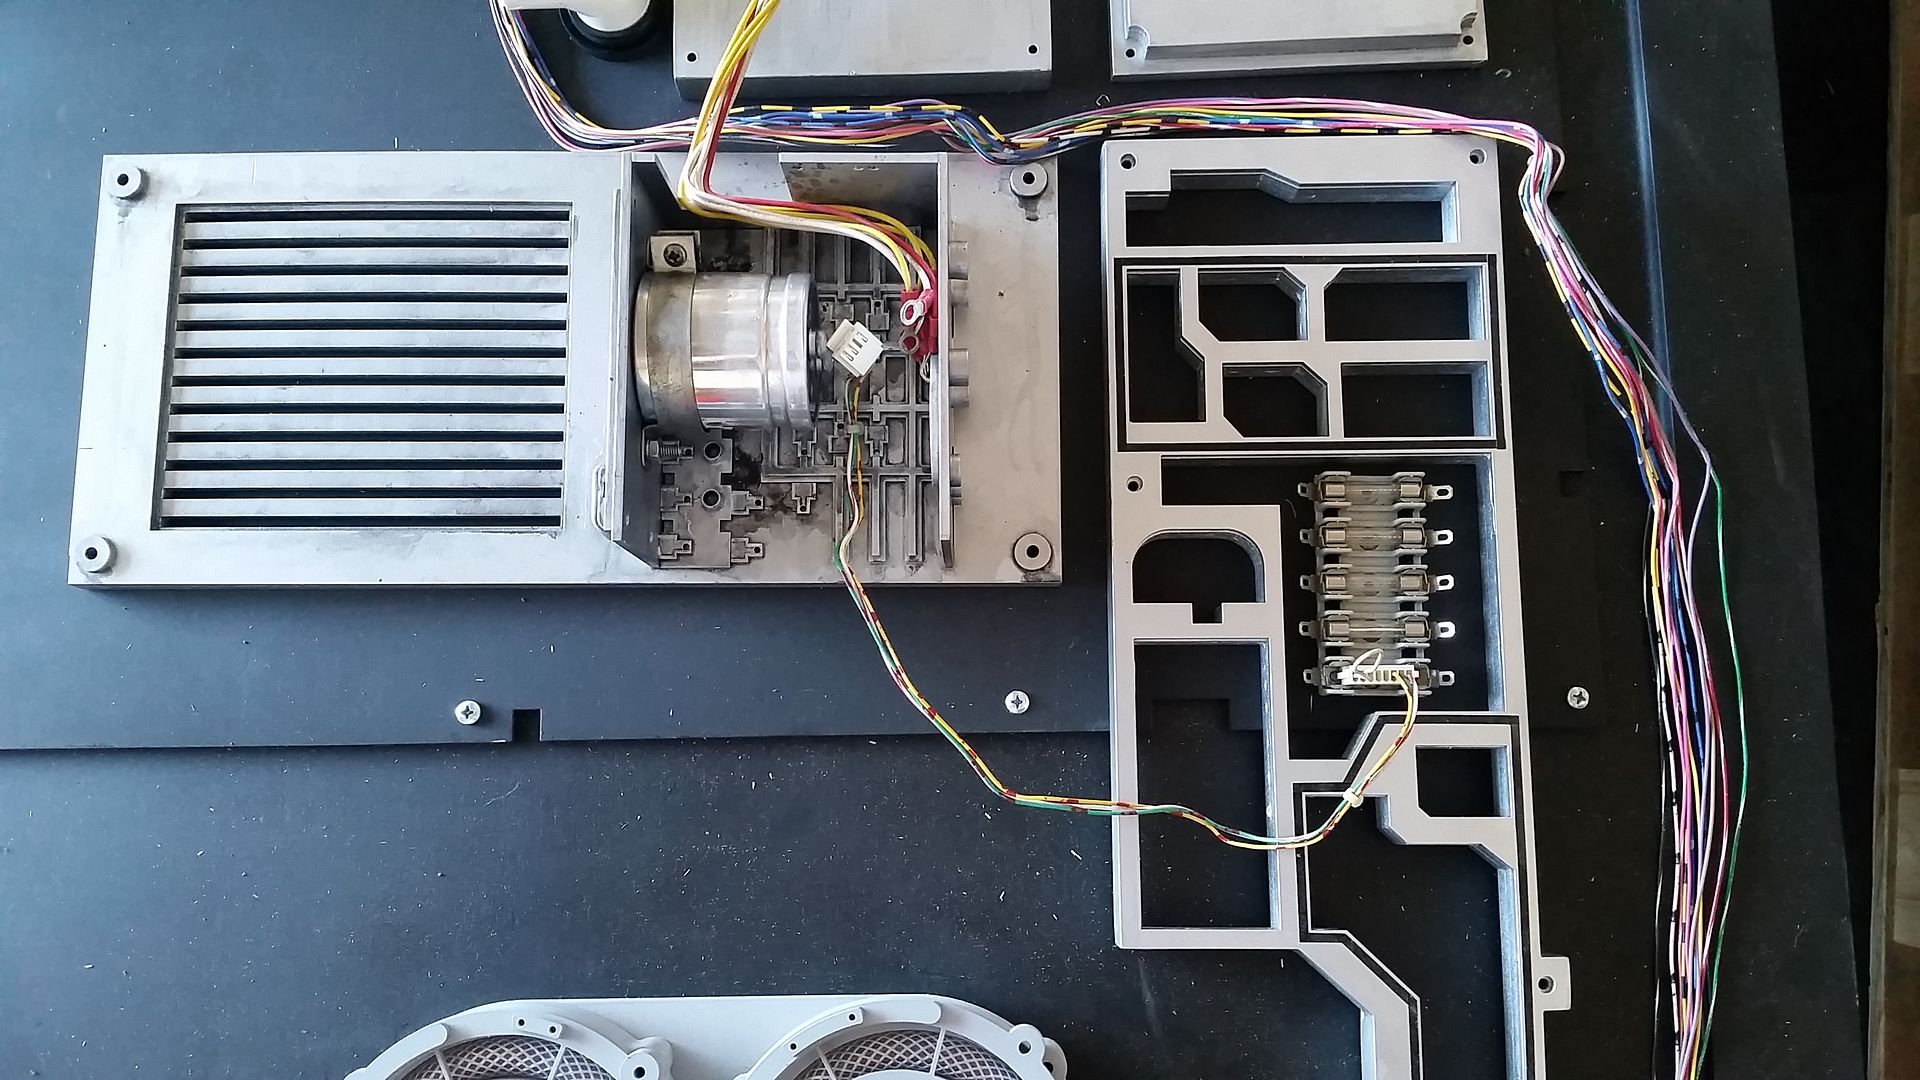
This is where the fun begins... Huntsville Scott had an old "Daytona USA" coin op game and said I could have the wiring harness out of the cabinet... we spent a few hours breaking down the cabinet and then separating the harness
20160423_155522_zpsoxwjlpft.jpg


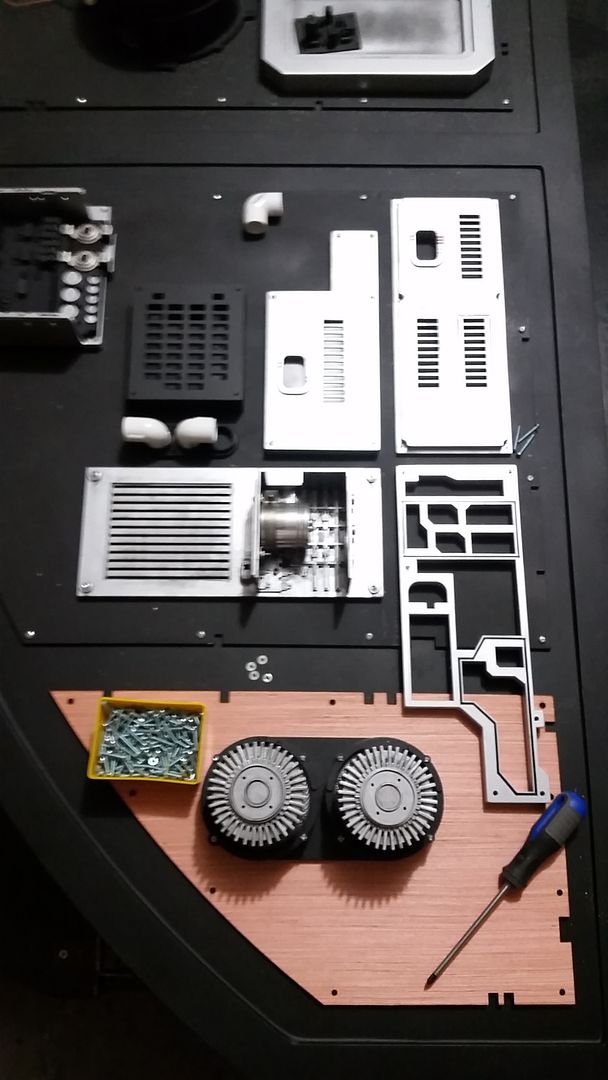
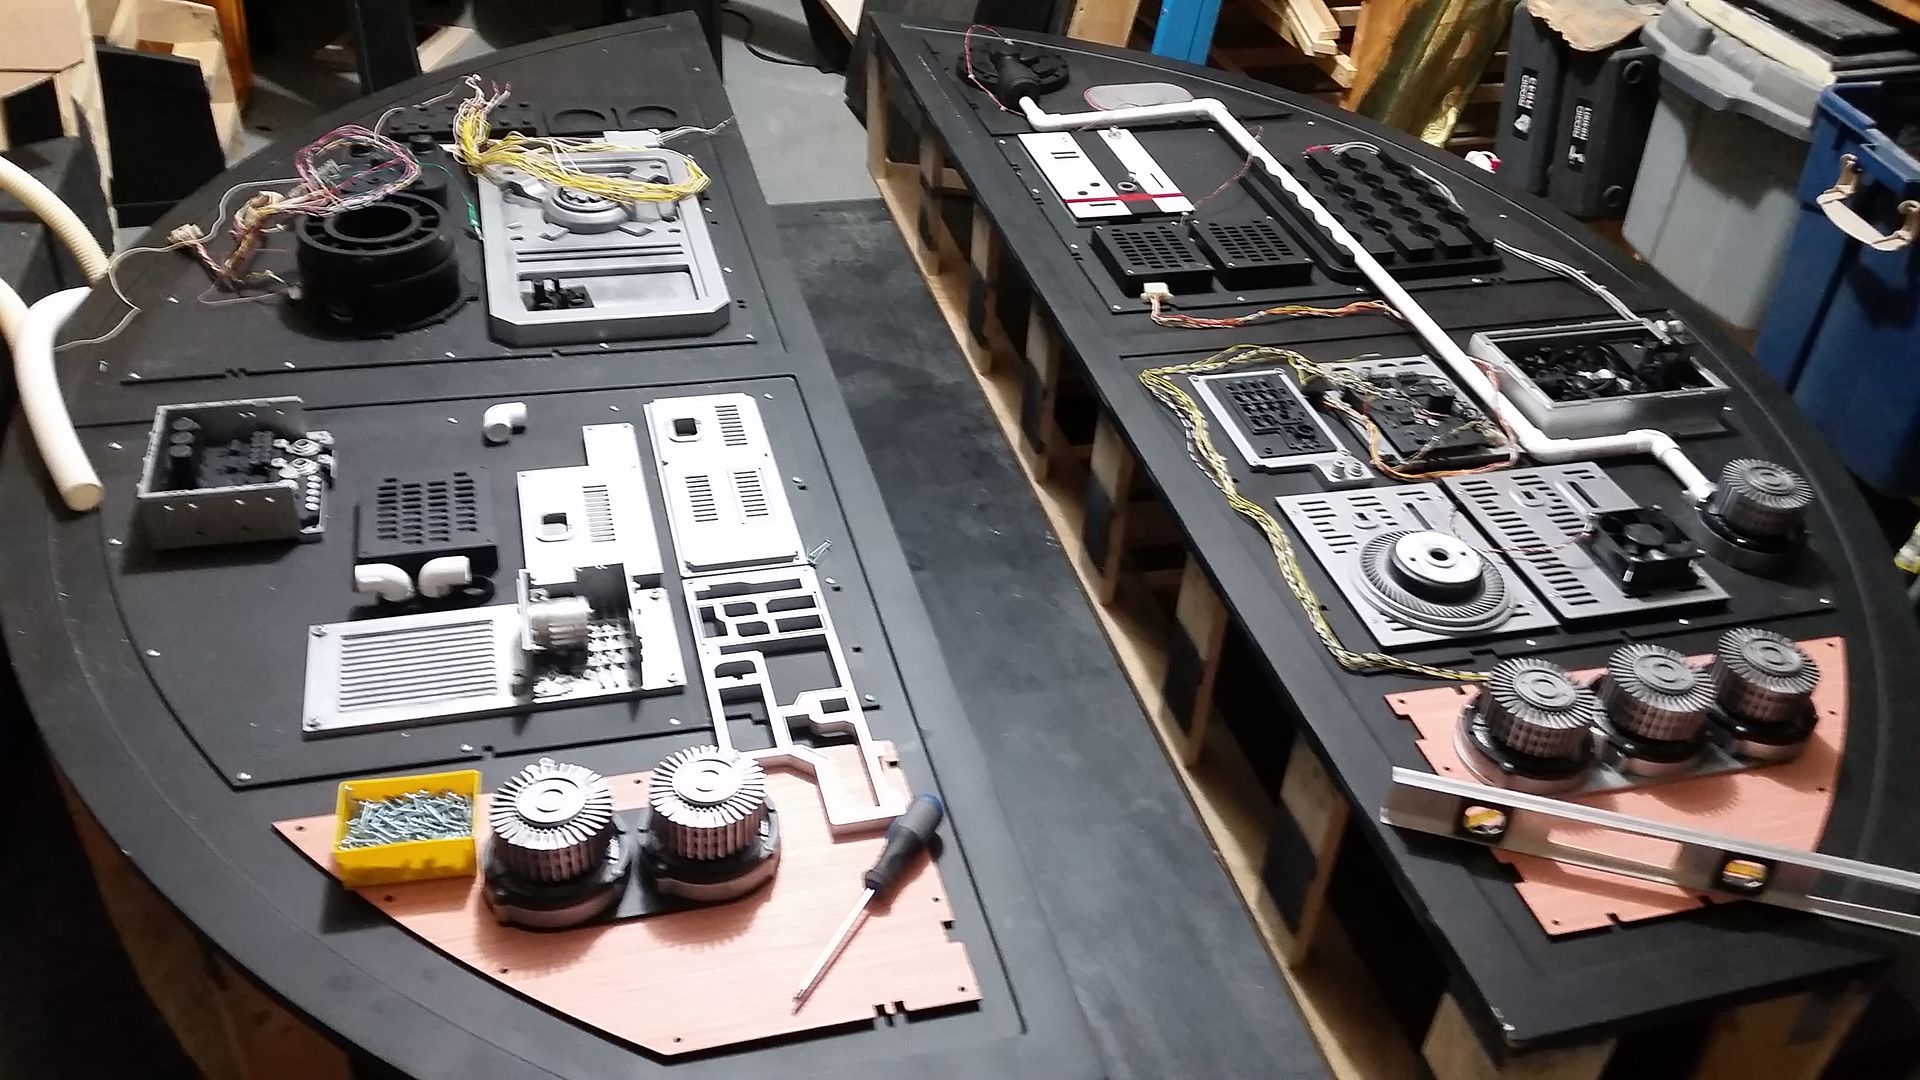
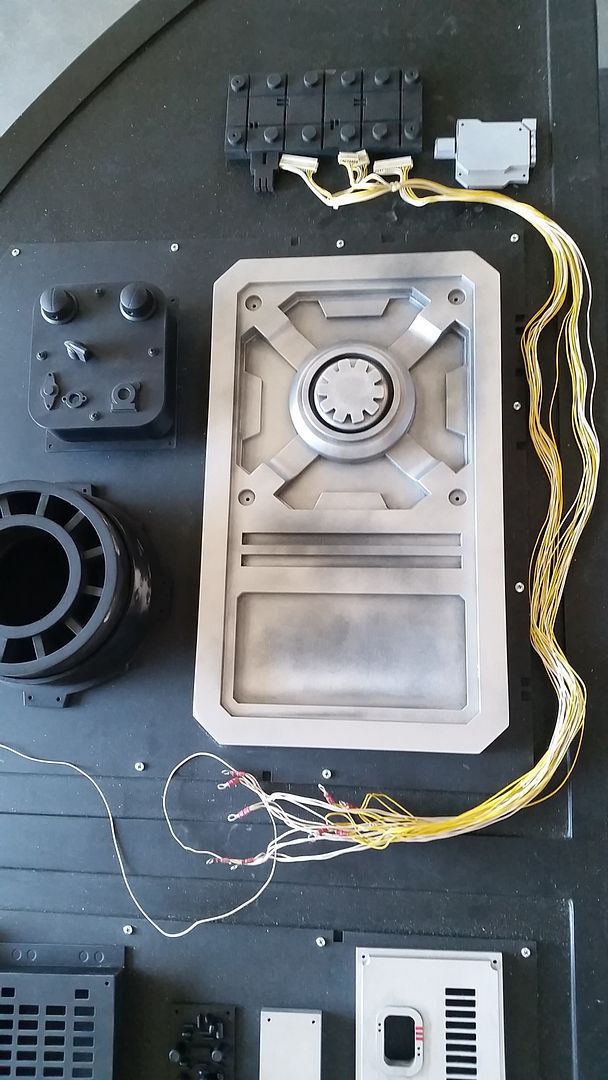
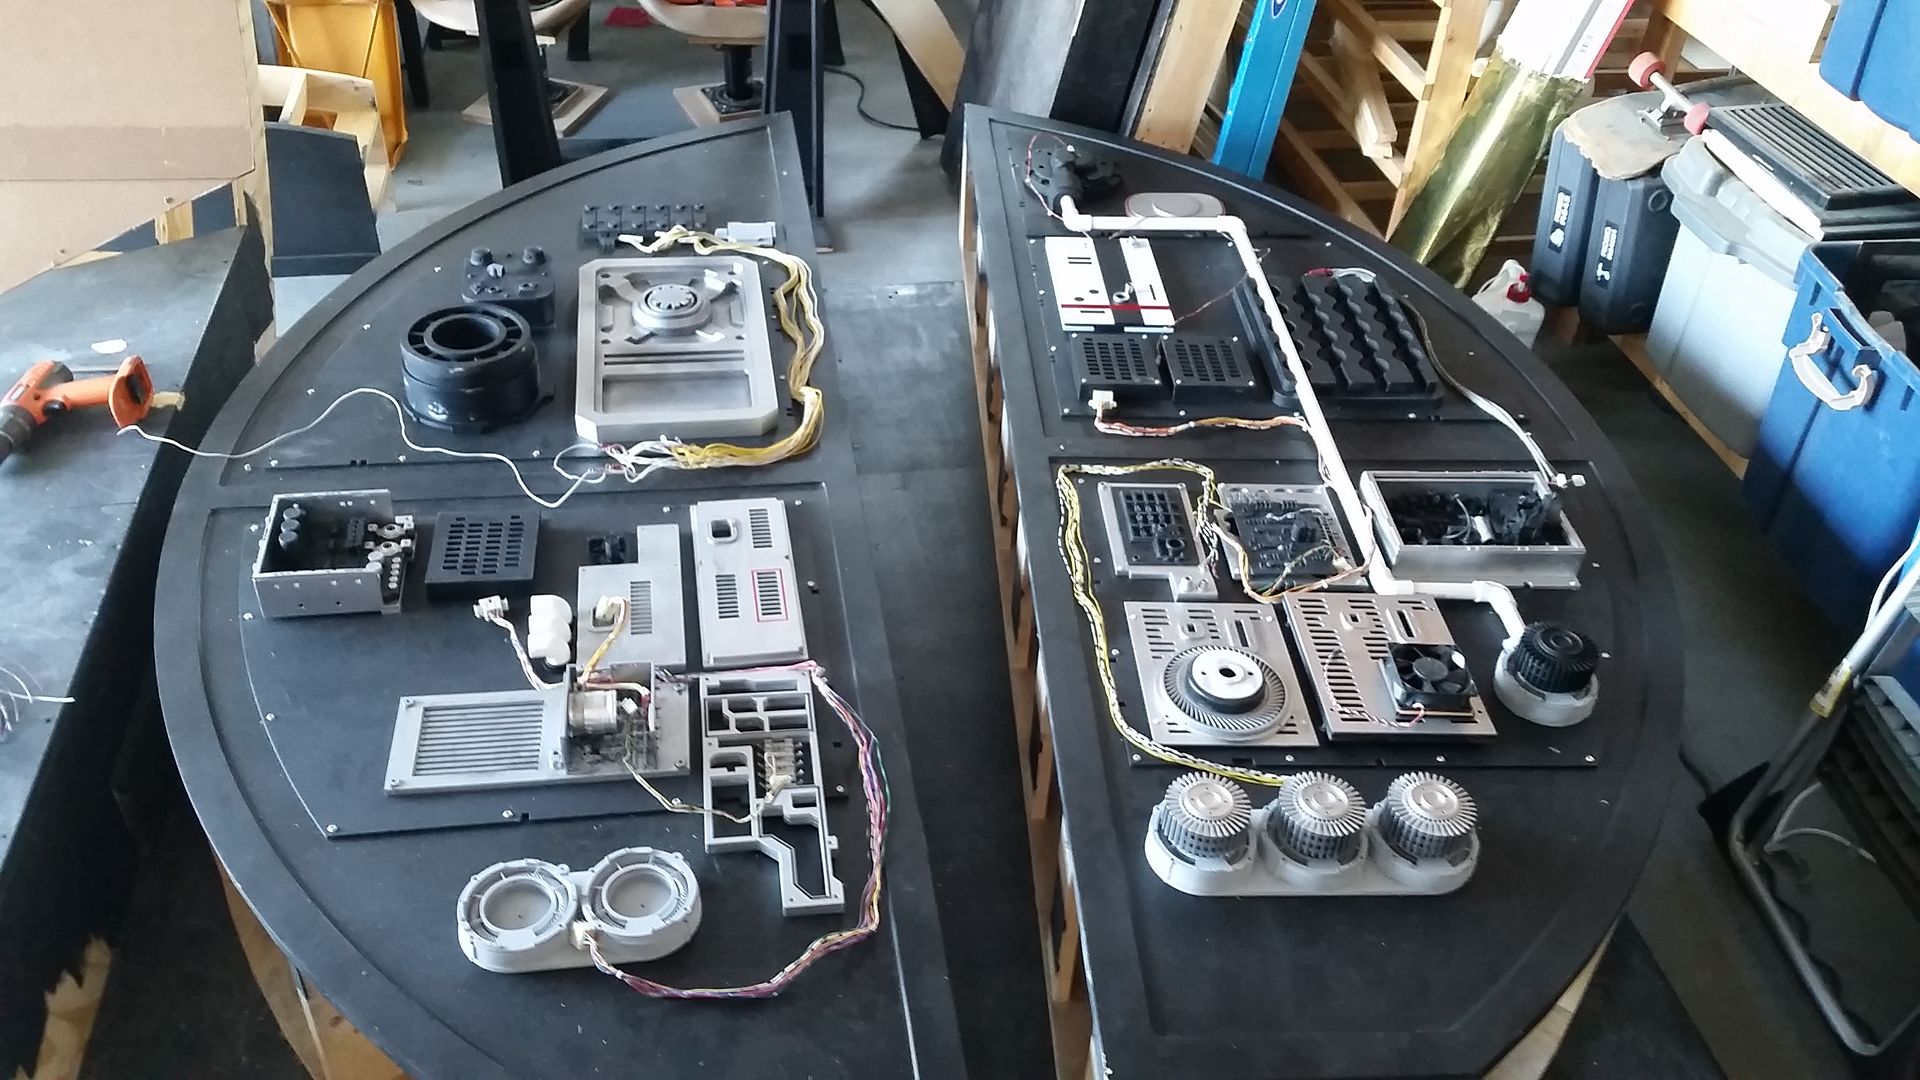
We then used the old harnesses to begin a basic layout of what might work where on the cockpit entrance...
20160423_143404_zpsjcqywyhh.jpg


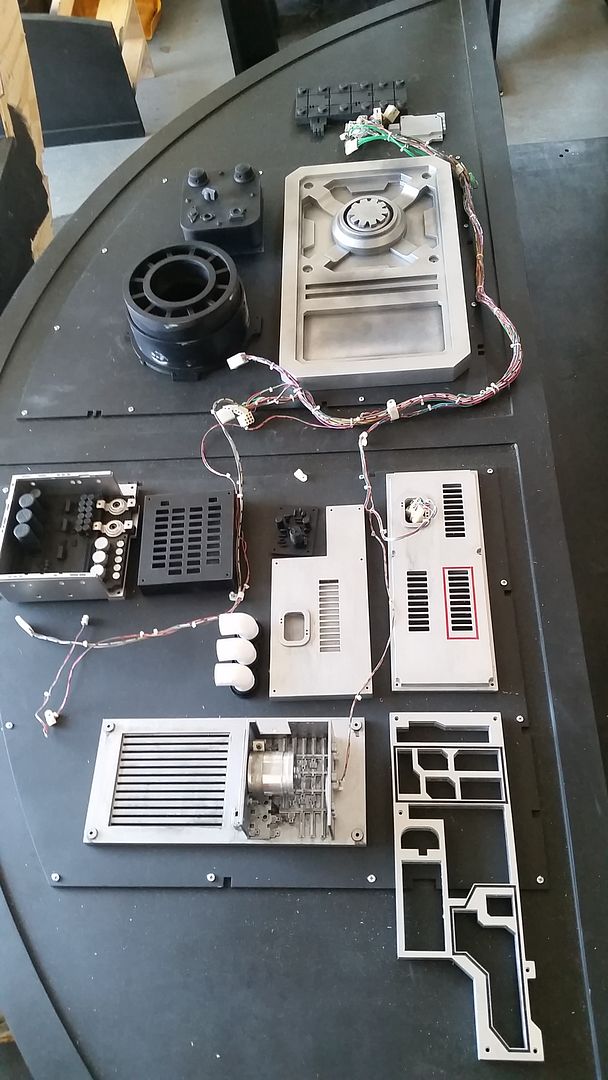
Might to need to break that harness down a little more
20160423_143413_zpsp6fy7ryi.jpg


20160423_153118_zps8vttorqp.jpg


Trying out different configurations (nothing is final yet)
20160423_153200_zpswchrdcqz.jpg


20160423_153358_zpssbvislas.jpg


20160423_153812_zps0bperojl.jpg


20160423_155059_zpsedfjgazl.jpg


20160423_155511_zpshwouoo2j.jpg


20160423_160651_zpscpfomxib.jpg


Whew... this is going to be fun!
20160423_155532_zps6akotyza.jpg


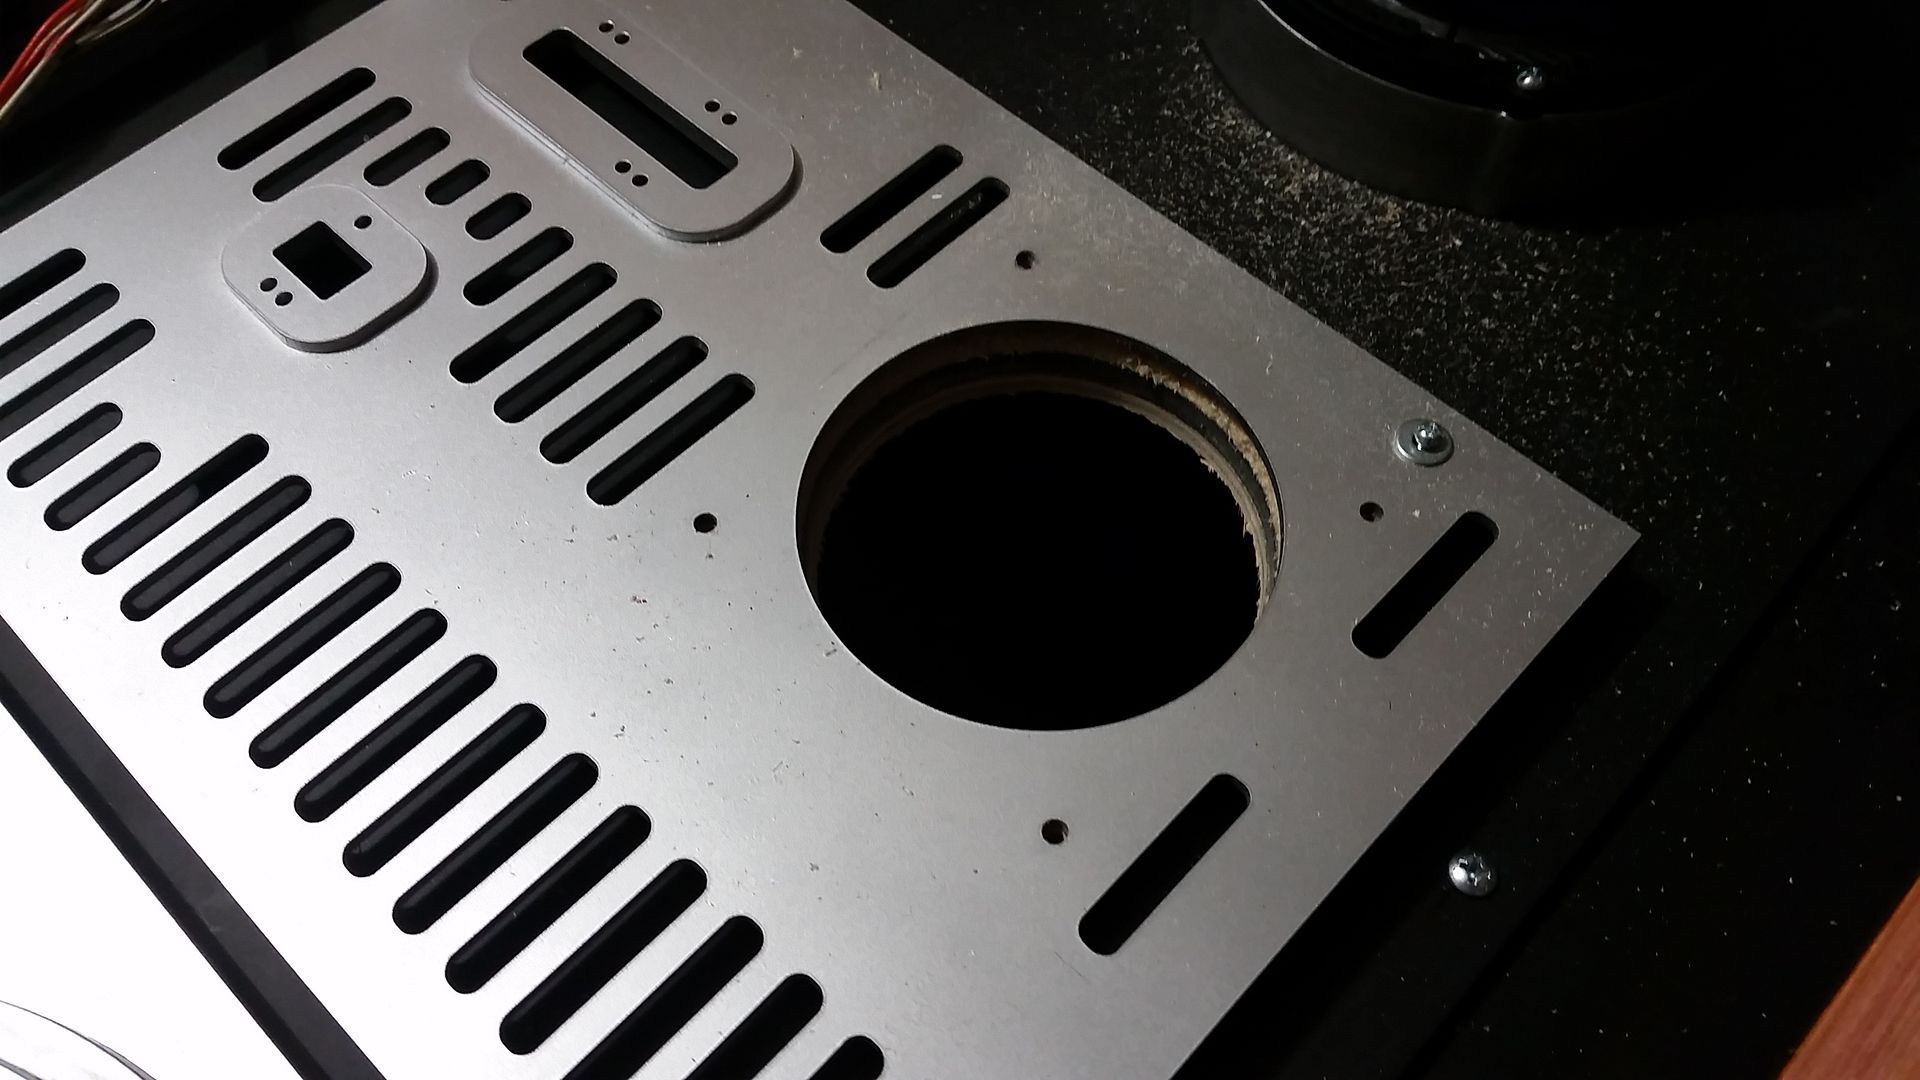
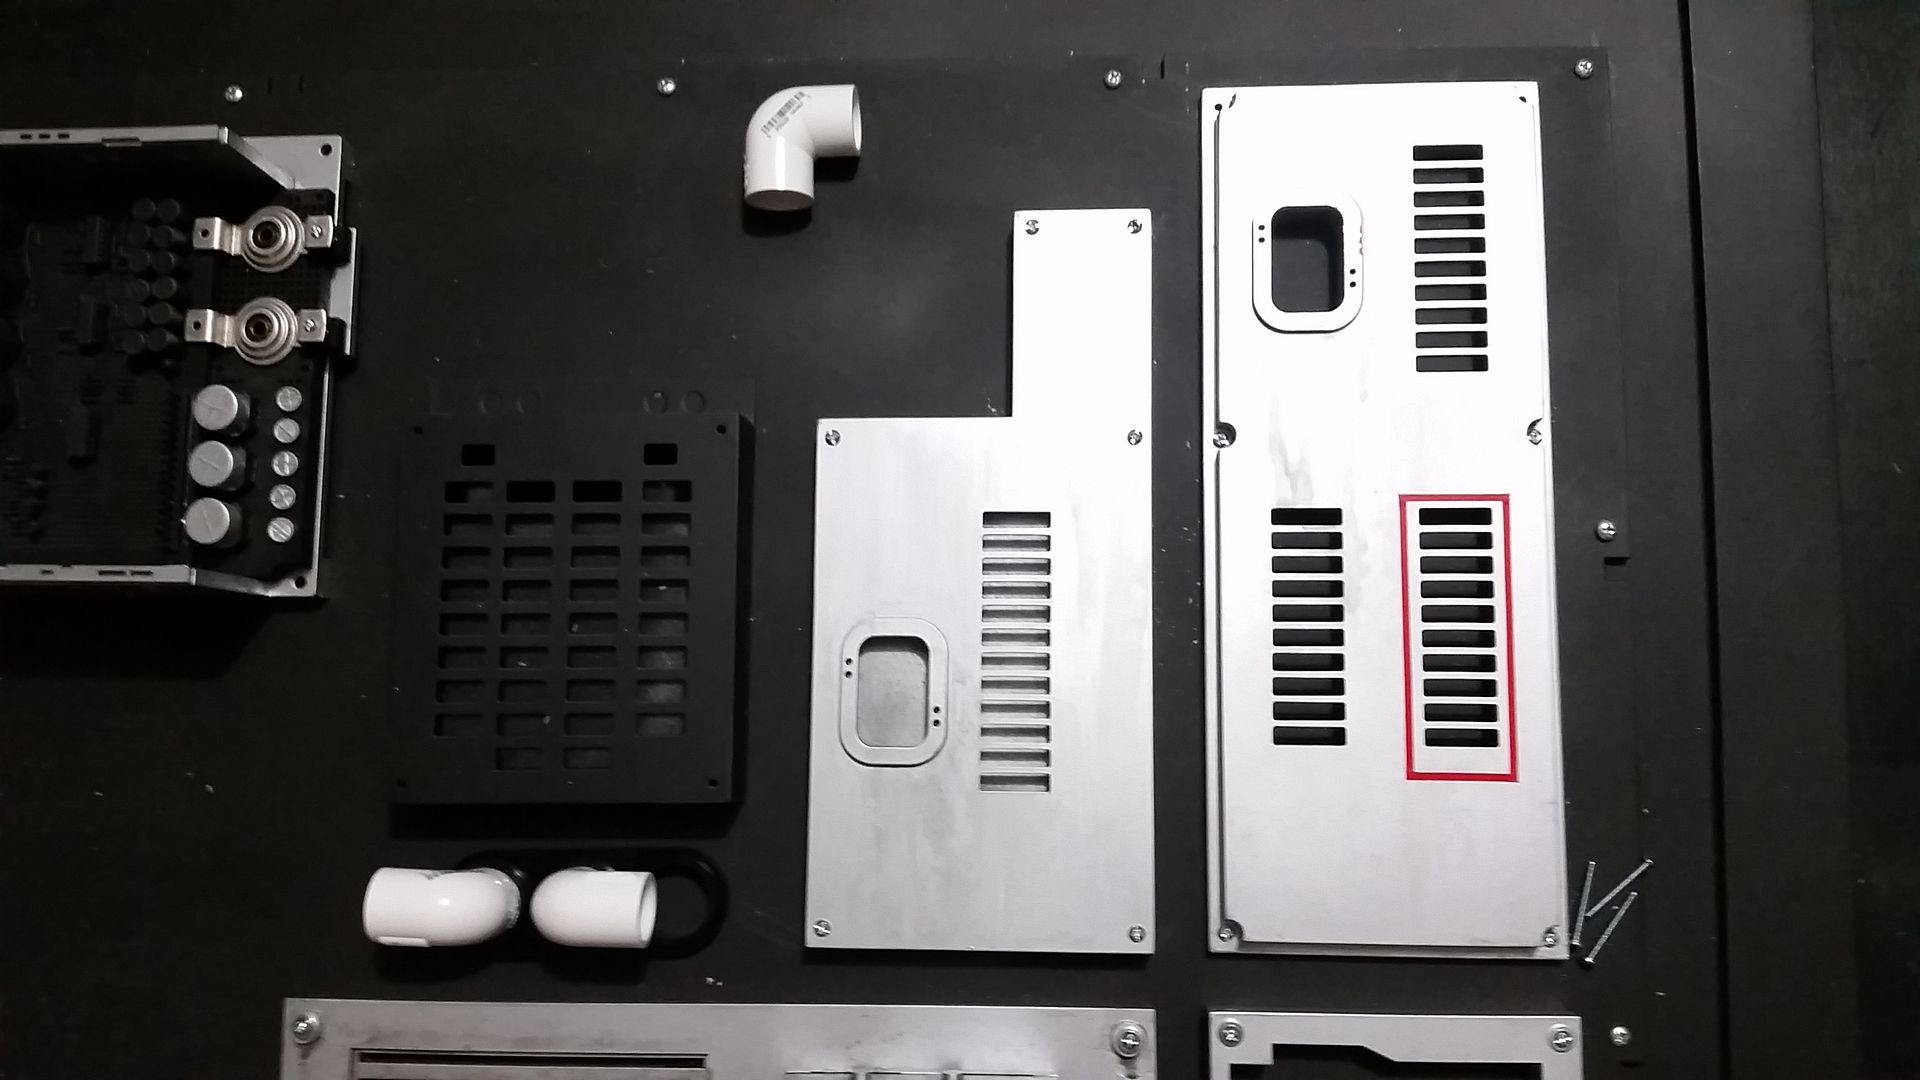
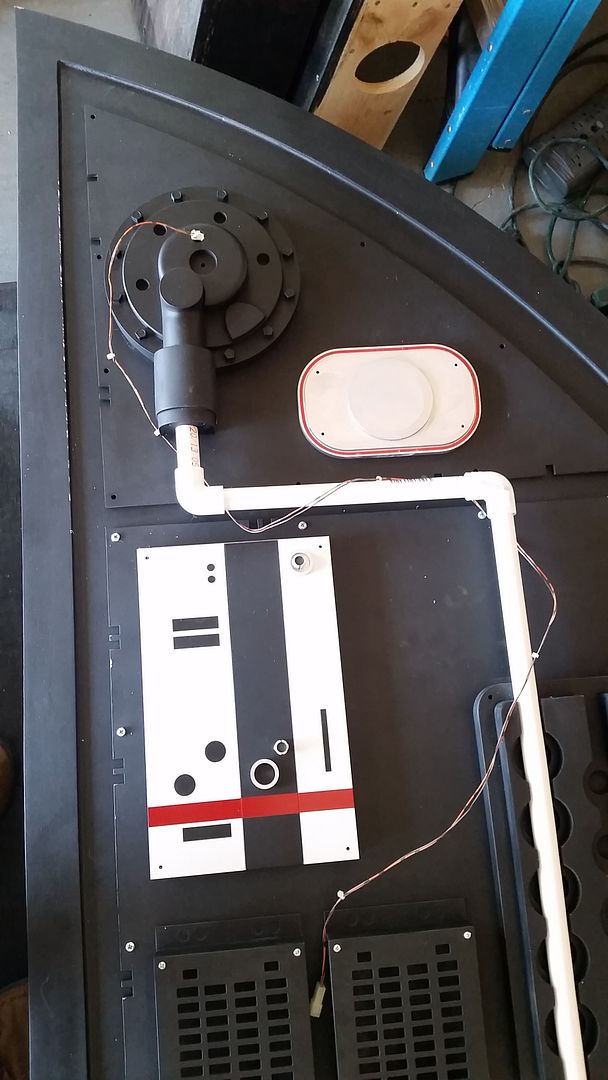
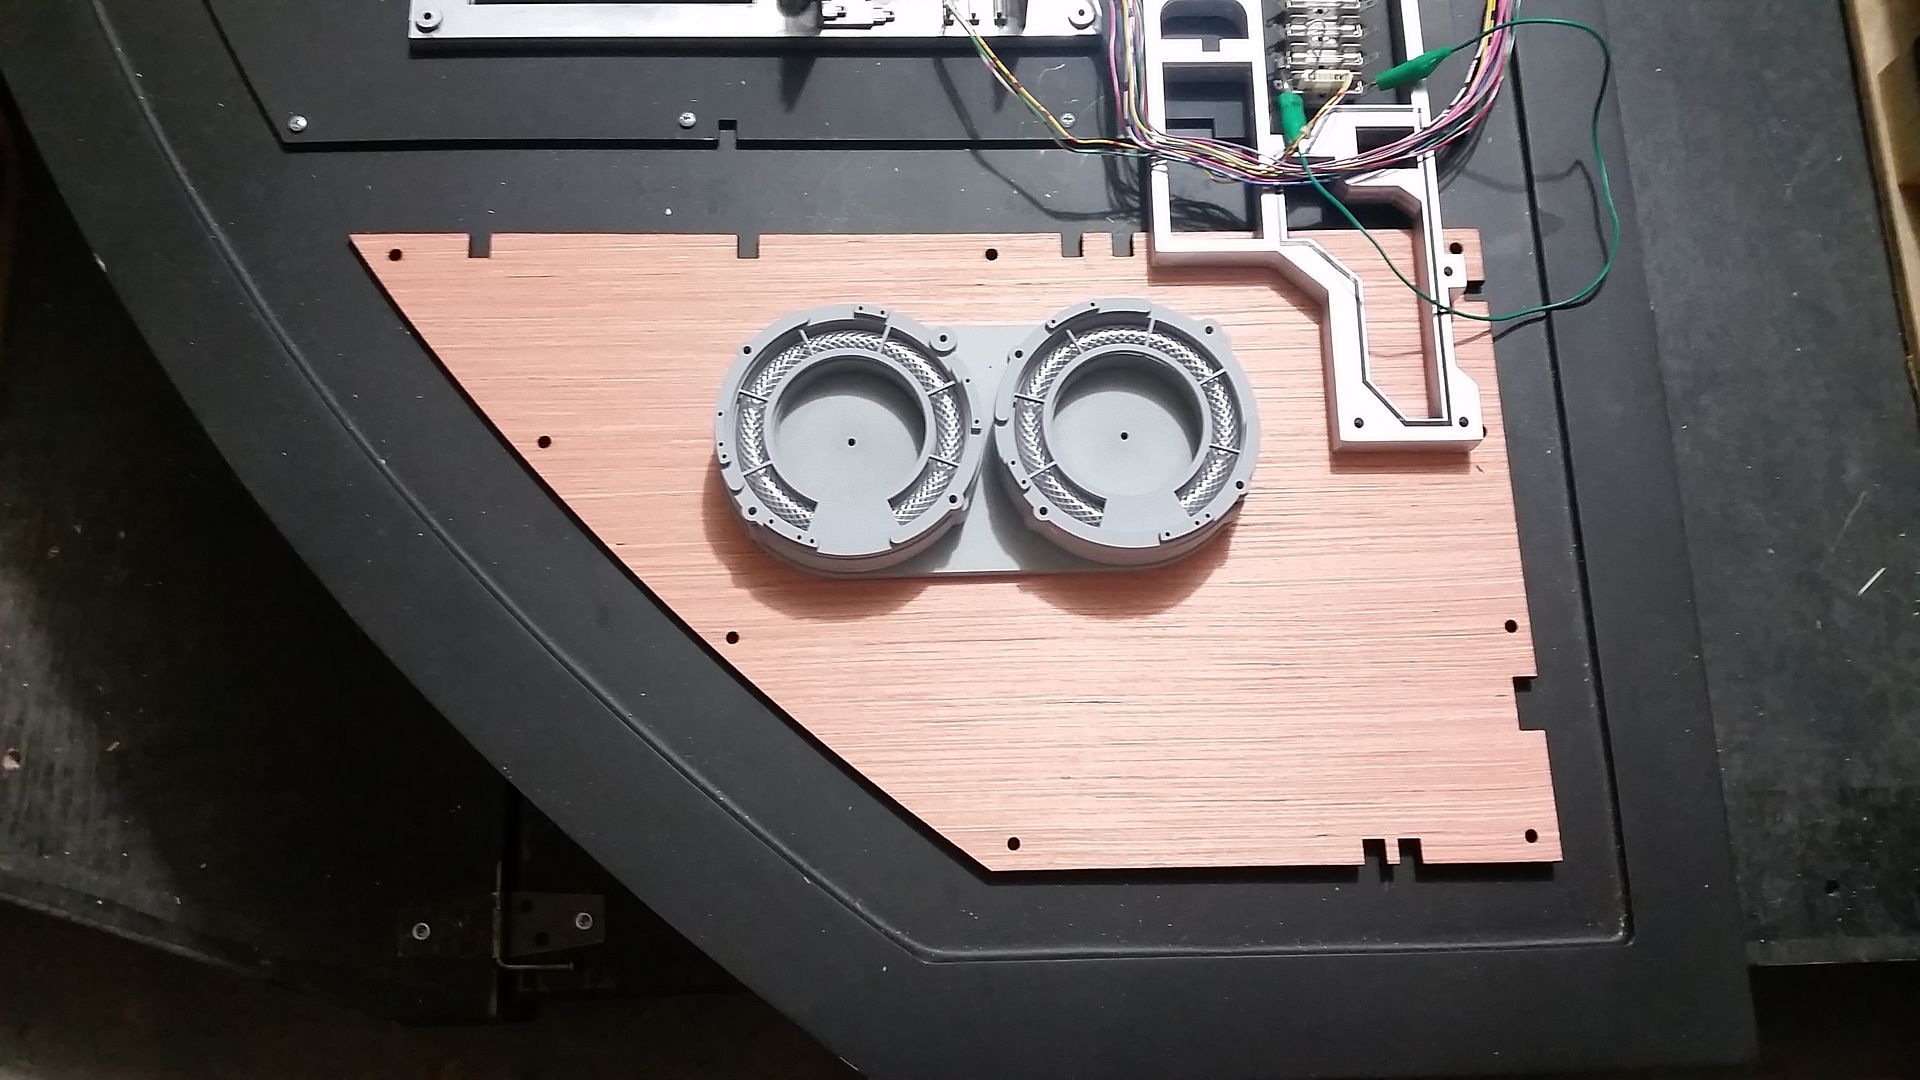
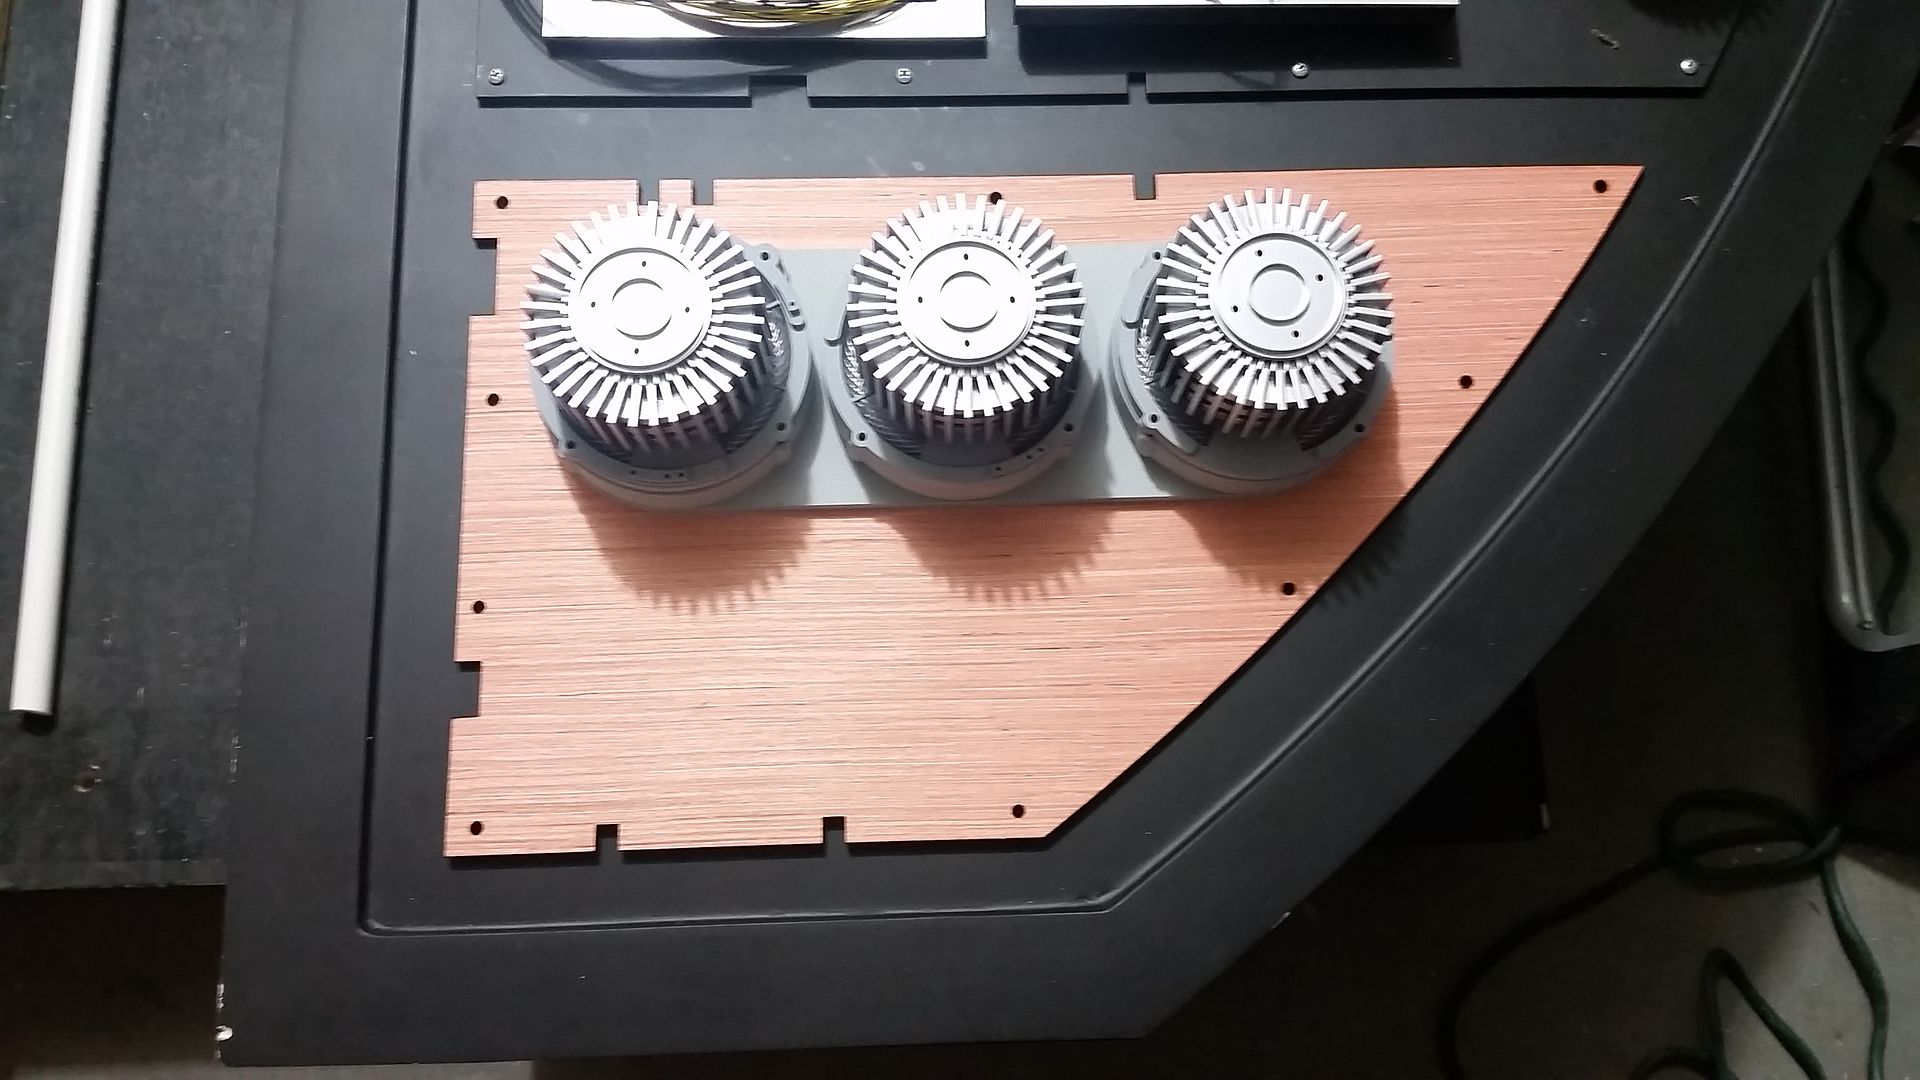
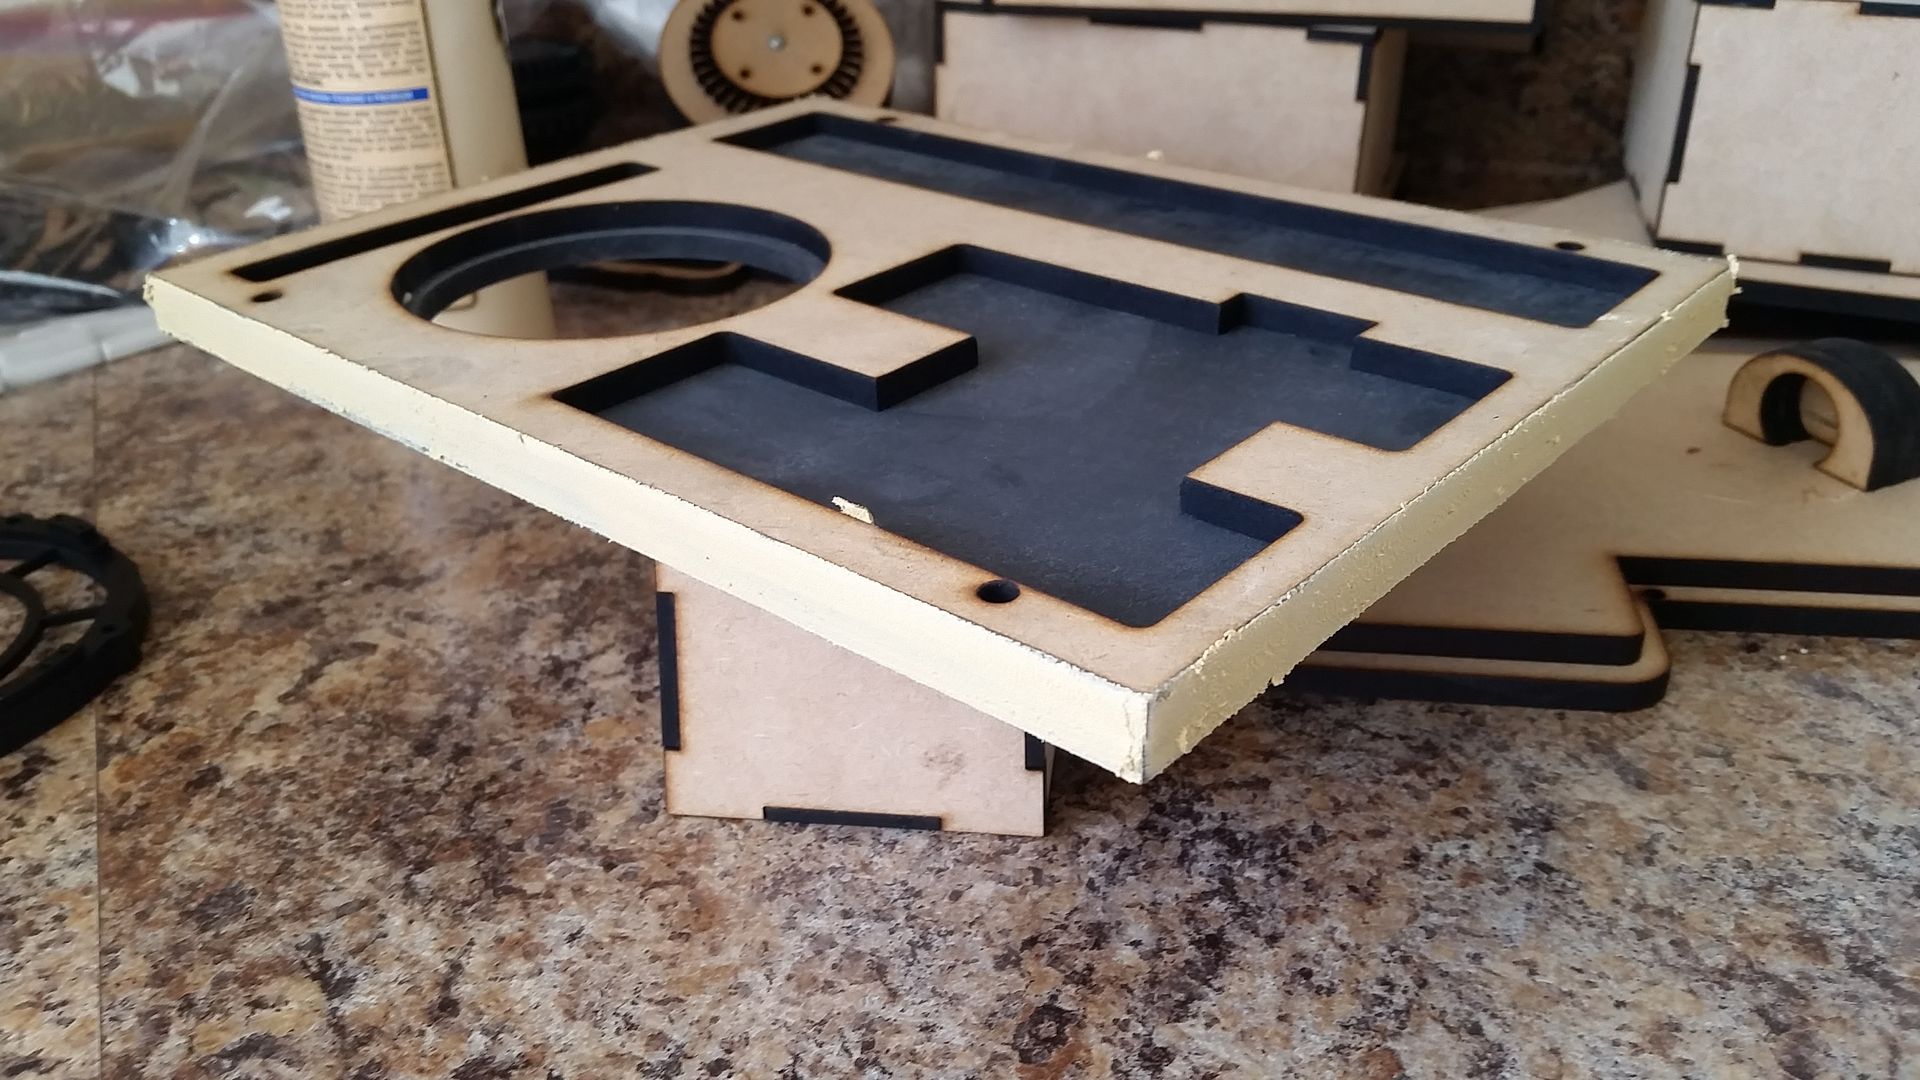
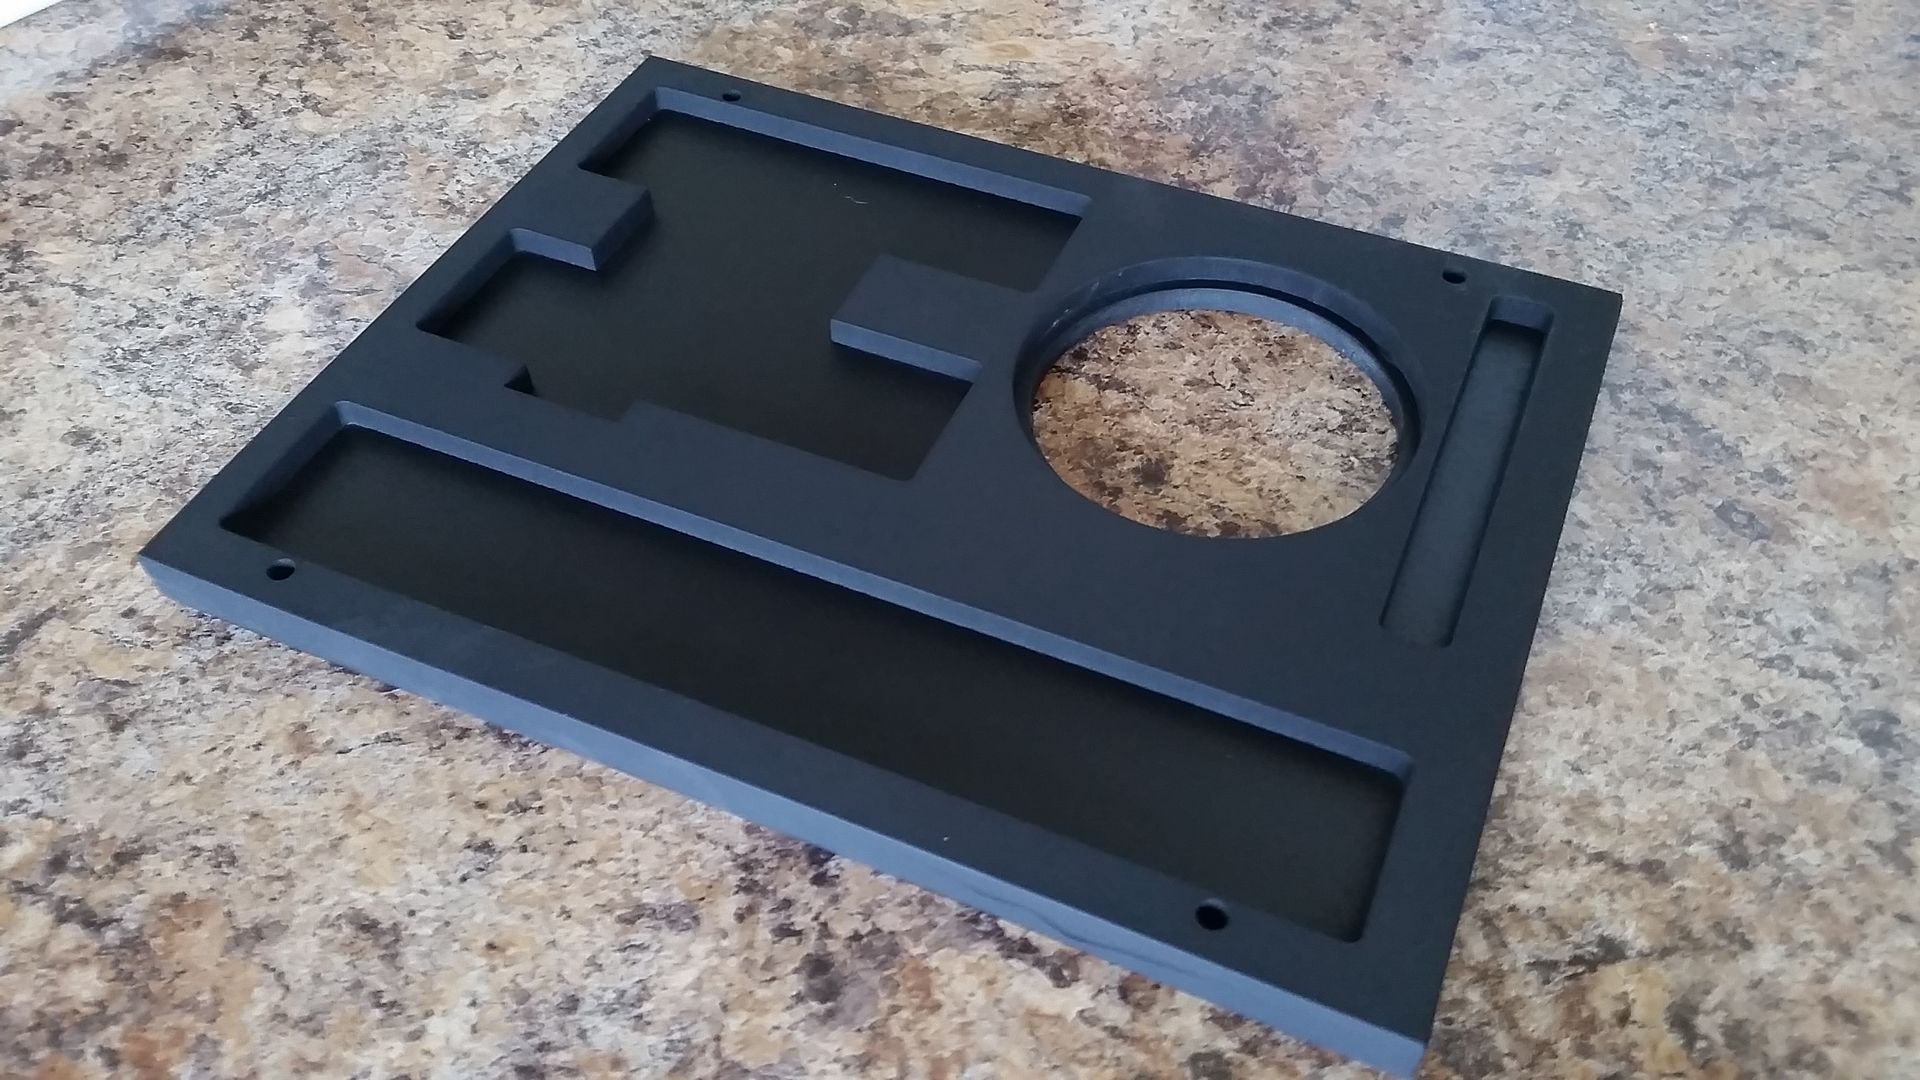
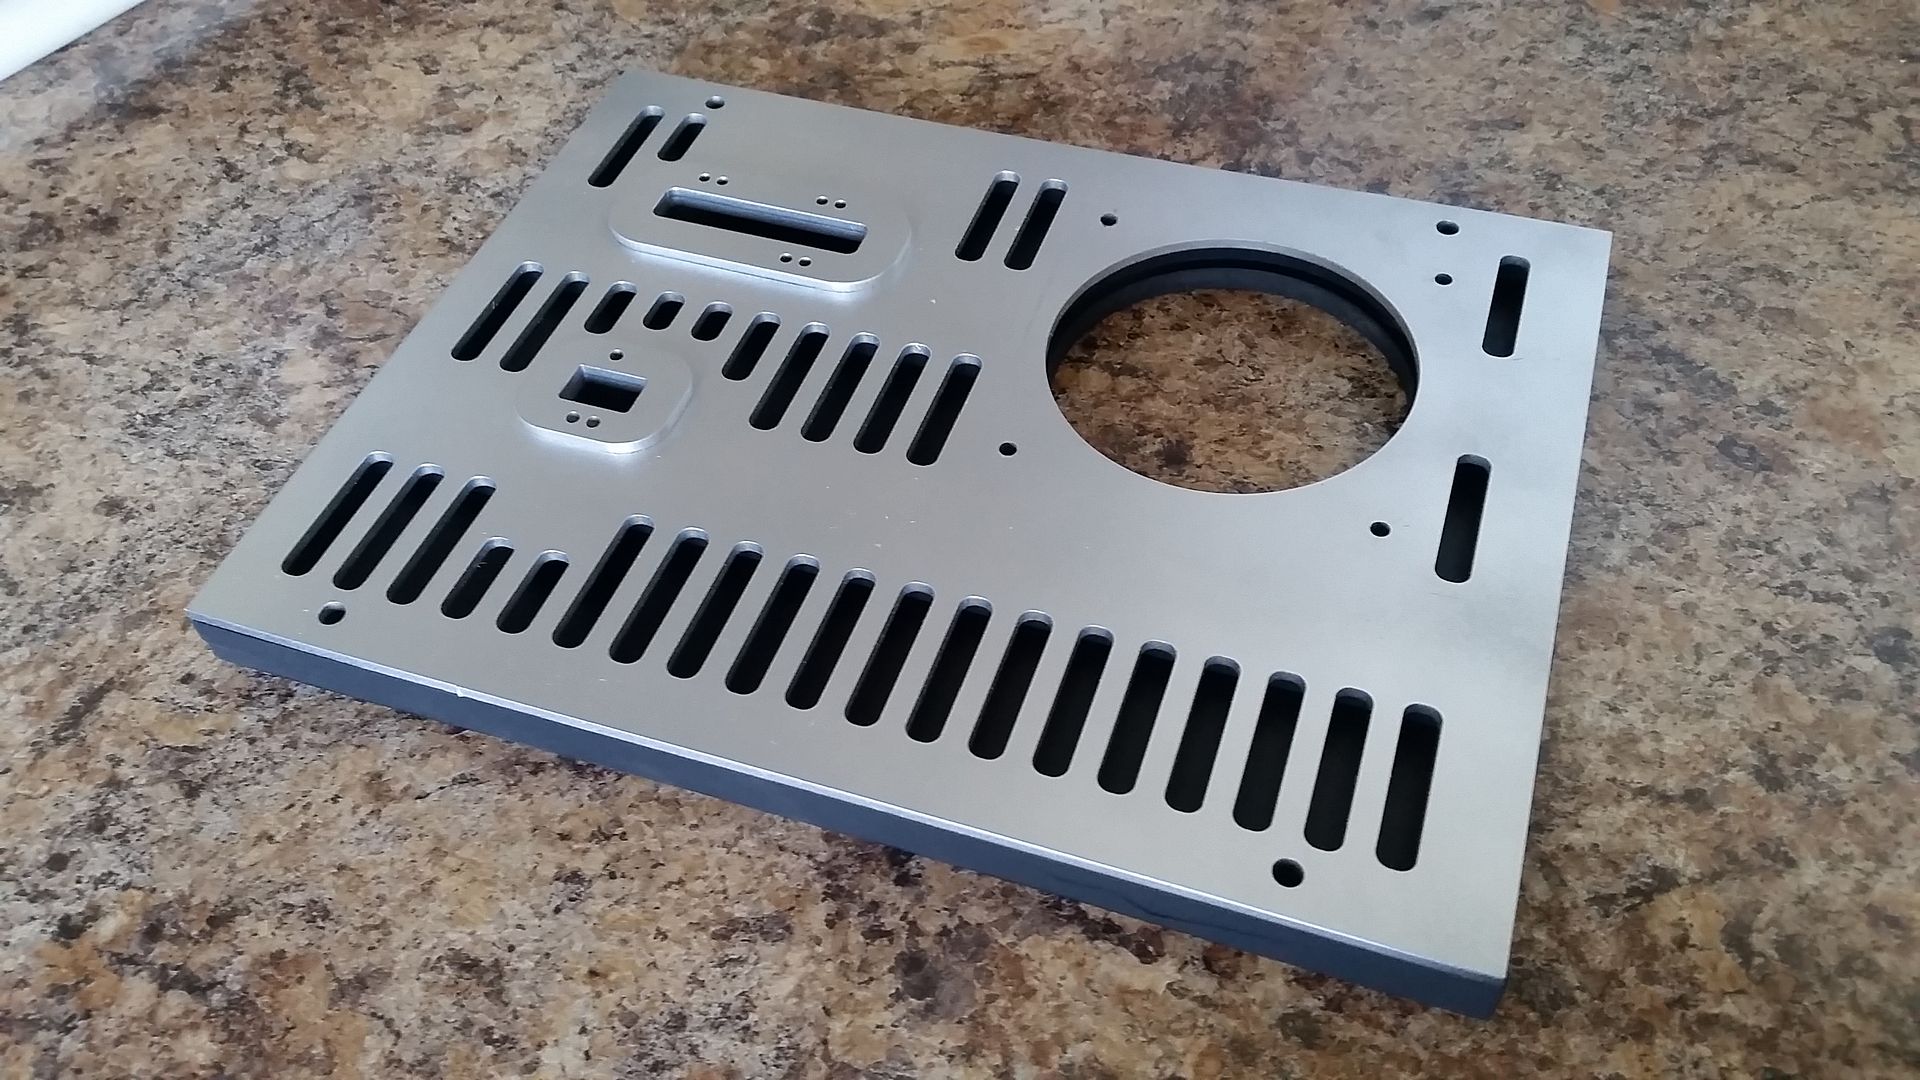
Finally... I cut two lower panels. Since the coils will have LEDs I needed to make access easy
20160423_190112_zpsbaecfkgy.jpg


20160423_190120_zpsyefbmdib.jpg


Part II Coming!
 
Last edited:
Hi Gang,

Weekend Update Part II! The coils are almost finished!

Adding the all too familiar black
20160424_084904_zps2qaqhyh7.jpg


PC Fan Bases get a coat as well
20160424_084907_zpsvrn3ydhk.jpg


One of the PC fan panels
20160424_094456_zpsdzqpnnl1.jpg


Drilled the mounting holes
20160424_110025_zpsmn5qfhtb.jpg


Dual fan base holes drilled
20160424_110006_zpszlxyn69o.jpg


Holes drilled into the acrylic
20160424_110400_zpsmrqatl9i.jpg


Fits!
20160424_110601_zpszgrlnwfr.jpg


20160424_110728_zpsw6kjwyqw.jpg


20160424_110734_zpsg6sm1tsc.jpg


Panel body filled, primed, sanded and painted
20160424_111005_zpsxcsyjown.jpg


20160424_111017_zpshaufxdhr.jpg


The 6th and final coil!
20160424_090408_zpsbjuhrh5x.jpg


All the others coils getting finished up
20160424_111851_zps2hapcava.jpg


20160424_111903_zpslki9erwa.jpg


I was trying to decide whether to leave the last coil black... but decided to paint silver
20160424_112405_zps2gbckawk.jpg


Added weathering to the coil bases
20160424_112912_zpsgq5yrcqp.jpg


20160424_112920_zpsqg7rwhny.jpg


And to the Coils themselves!
20160424_114237_zpssnwlrq9y.jpg


20160424_114252_zps0r1kajud.jpg


Also, I can't decide whether to paint the base covers silver or leave black? Ideas?
20160424_123958_zpslz6i2lhx.jpg


20160424_124026_zps4xo2vqhz.jpg


20160424_125255_zpsemxw1gtk.jpg


20160424_125304_zpssprrpg91.jpg


20160424_125316_zpswe2pojmr.jpg


20160424_131934_zps2jawgtfr.jpg


The area between the coils looks a bit bare
20160424_131942_zps74jqtrlc.jpg


Maybe?
20160424_132046_zpsyvxukb8k.jpg


20160424_132050_zps3pef5j4t.jpg


20160424_132057_zps9laippua.jpg


Something simple?
20160424_132107_zpsy08xhz6y.jpg


Once I figure out the bases... these are done! (minus the LEDs)
20160424_145558_zps9gbwd4op.jpg


20160424_145612_zpswcqnxbns.jpg


20160424_145622_zps1hdoon1p.jpg


the 1/6th Scale Hot Toys version shows the two coil pack on Chewie's side and the triple pack on Han's side. Because of the access panels I've added I had to switch them for space - but it still works. :)
20160424_170924_zpshfmwqteb.jpg


20160424_170929_zpsitzakfda.jpg


20160424_170933_zpsiuawgsbo.jpg


EWE... terrible pic! Sorry
20160424_170938_zpszlg5sou9.jpg


20160424_170942_zpsgztszzzo.jpg


As always... Stay Tuned for More!
 
Last edited:
Hi! I'm Francisco, I'm from Veracruz, Mexico, I'm searching for blueprints of the millennial falcon cockpit, because I want to built a themed sidecar to my scooter for my dog Shaft, can you help me?

Hi Francisco... We haven't used any actual blueprints. But the real blueprints are readily available on the net. Click the link below for a copy. I look forward to seeing pics of your project! Sounds like fun.

I hope this helps! :)

https://www.etsy.com/listing/173729116/star-wars-millennium-falcon-cockpit

- - - Updated - - -

Amazing work, I can't wait to see how the whole wall assemble turns out!

Hi FF,

Thanks so much! It was a good weekend. I'm really excited to see the cockpit entrance assembled as well! :)
 
Sofa, what are those coil things based on? Are they made up or do they come from reference you have?

I randomly came across this, and it reminded me so much of your coils, I wondered if maybe they are the real thing that you're recreating.

http://www.ebay.com/itm/3W-Modern-L...ee41deb013dd070dc1fc0e&pid=100506&rk=1&rkt=1&

Hey Lt

OH MAN! Had I only seen these a few weeks ago... :facepalm

The coils I created are loosely based on the 1/6th scale Hot Toys EP VII cockpit they introduced late last year. The originals are much longer (maybe 4-6" in length) but I was having issues getting the acrylic to align without warping so I cut them down by 60%. Because of the limited images and detail I just made it up as I went. Until the release of the EP VII DVD I've had to base all the entrance wall greeblies on the Hot Toys version. I'm really happy with how these turned out but those LEDs you posted would have saved me a LOT of time ;)

Hot Toys
https://www.sideshowtoy.com/whats-new/hot-toys-sixth-scale-millennium-falcon-cockpit/
 
Last edited:
Hi Gang,

Early Morning Update!

I've started mounting more of the greeblies on the cockpit entrance walls and cutting holes for the PC fans
20160424_180800_zpshz9lswct.jpg


Coil mounted to the wall
20160424_181727_zps2issumcm.jpg


20160427_054736_zpsdataf88u.jpg


20160427_054743_zps6mppzyhv.jpg


The two silver greeblies have been mounted but I'm still trying to figure out the area above the black box and to the right of the other greeblie
20160427_054756_zpslfpkfobs.jpg


20160427_054813_zpsai2zjdlk.jpg


20160427_054832_zps6za6fdo8.jpg


Finally, cut the template for the foam padding. I'm hoping to cut the housing and back plates for the access areas this weekend! Should be fun!
20160427_054715_zpszi74si2m.jpg


More to Follow!
 
Sofa, I should have said this in my post above. I've been following this thread for awhile, ever since I read through a backlog of like 200+ pages because I didn't want to skip over anything. I think you have done an amazing, herculean amount of effort. You know it's a lot when it takes forever just to flick through one image-laden page! Just the updates alone would exhaust me. But it's also your consistency and dedication to a long project that's commendable. And, of course, the work is excellent!
 
Looks AMAZING! Any word on if/when/where it will be fully assembled and displayed again?

Hey HW,

Thanks so much! The cockpit will DEF be assembled it's just a matter of when. We're working a few behind the scenes issues right now (all good stuff) but I'm def hoping for sooner than later. No events planned for this part of the year based on those said issues.
 
Sofa, I should have said this in my post above. I've been following this thread for awhile, ever since I read through a backlog of like 200+ pages because I didn't want to skip over anything. I think you have done an amazing, herculean amount of effort. You know it's a lot when it takes forever just to flick through one image-laden page! Just the updates alone would exhaust me. But it's also your consistency and dedication to a long project that's commendable. And, of course, the work is excellent!

Hey Lt W,

Thank you for the kind words. It's been a team effort and I couldn't have gotten this far without the help from some of the most amazing, dedicated, crazy and talented folks! Believe it or not... I REALLY want to start over and do things right. The TFA 360 Pano view gave me / us some real insight to how the designers created the cockpit. Yes, mine looks very similar to the ESB version but the metal framing they did for TFA and the the thin panels and recessed LEDs is the direction I want to head.

Thanks again! And stay tuned... big things coming! :)


Don't worry. Soon you will have your own factory cranking out assembly line Falcon cockpits for the fans.
 

Your message may be considered spam for the following reasons:

If you wish to reply despite these issues, check the box below before replying.
Be aware that malicious compliance may result in more severe penalties.
Back
Top