You are using an out of date browser. It may not display this or other websites correctly.
You should upgrade or use an alternative browser.
You should upgrade or use an alternative browser.
1:1 Millennium Falcon Cockpit Replica - Group Build
- Thread starter SteveStarkiller
- Start date
Simply awesome!
Hey SB,
Thanks!
")
- - - Updated - - -
Just amazing... I can't believe I'm watching this thing come together.
Hey T,
Me too! As frustrating as this build gets its always fun to stand back and watch it slowly come to life.
- - - Updated - - -
Drool . . . . . . . . . . . . . . . . . . . . . . . . . . .:wacko
Hey Fuzz... Thank you? I think?
- - - Updated - - -
It's been an honor to follow along with you guys on this incredible journey! It just gets better and better!
Hi M,
Thank you for the kind words. Very kind indeed.
- - - Updated - - -
This build is the greatest thing I've ever seen! You and your team should be very proud.
Hi Weezer,
Thanks so much! The people I work with are amazing! They never get enough credit for their continued efforts... or rest!
Just drooling over the awesome-ness!
Best word ever... just behind "Free" and "Buffet"
WOW!!!!:thumbsup
Hi GF,
Thanks!
- - - Updated - - -
After the parts did not fit, I felt for you all.
Seeing this post kindles within me 'A New Hope'
Just awesome to see this coming back together. Great posts and thanks to you all for the outstanding work.
Hi Rubble,
Thanks for the kind words. Yeah... after the first round of cuts not fitting I tossed my hands in the air and waved the white flag. But Hope is always with us! Let's hope for a great week updates and progress!
Last edited:
Hi Gang,
Early Morning Update!
Got home yesterday and just didn't have enough sunlight to start cutting the angles on the new nose pieces. So I sanded the edges down and did a basic dry fit - and it's perfect!
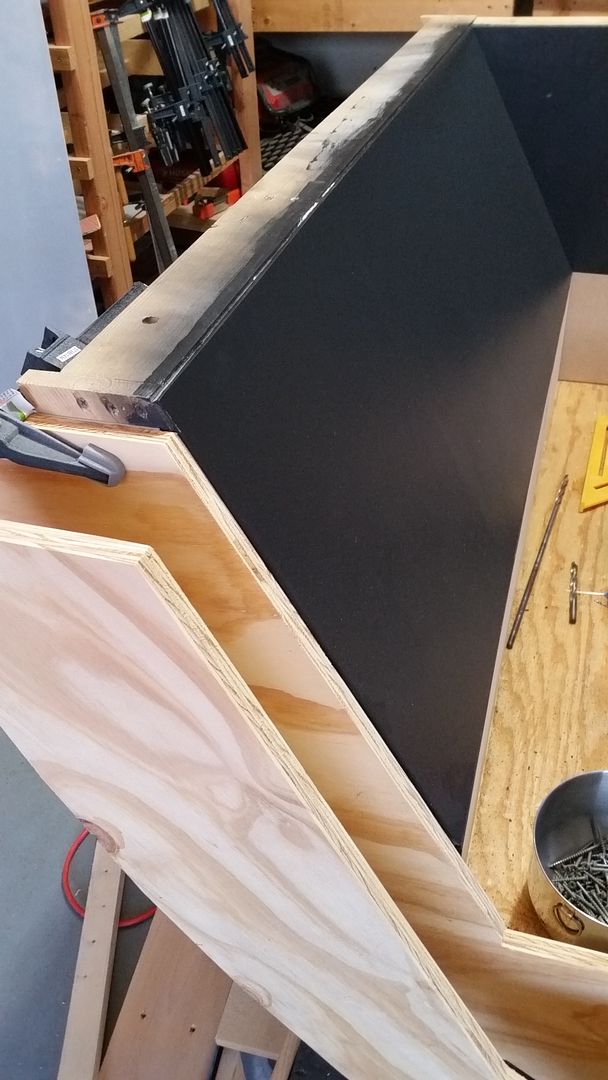
Look at that angle... nice
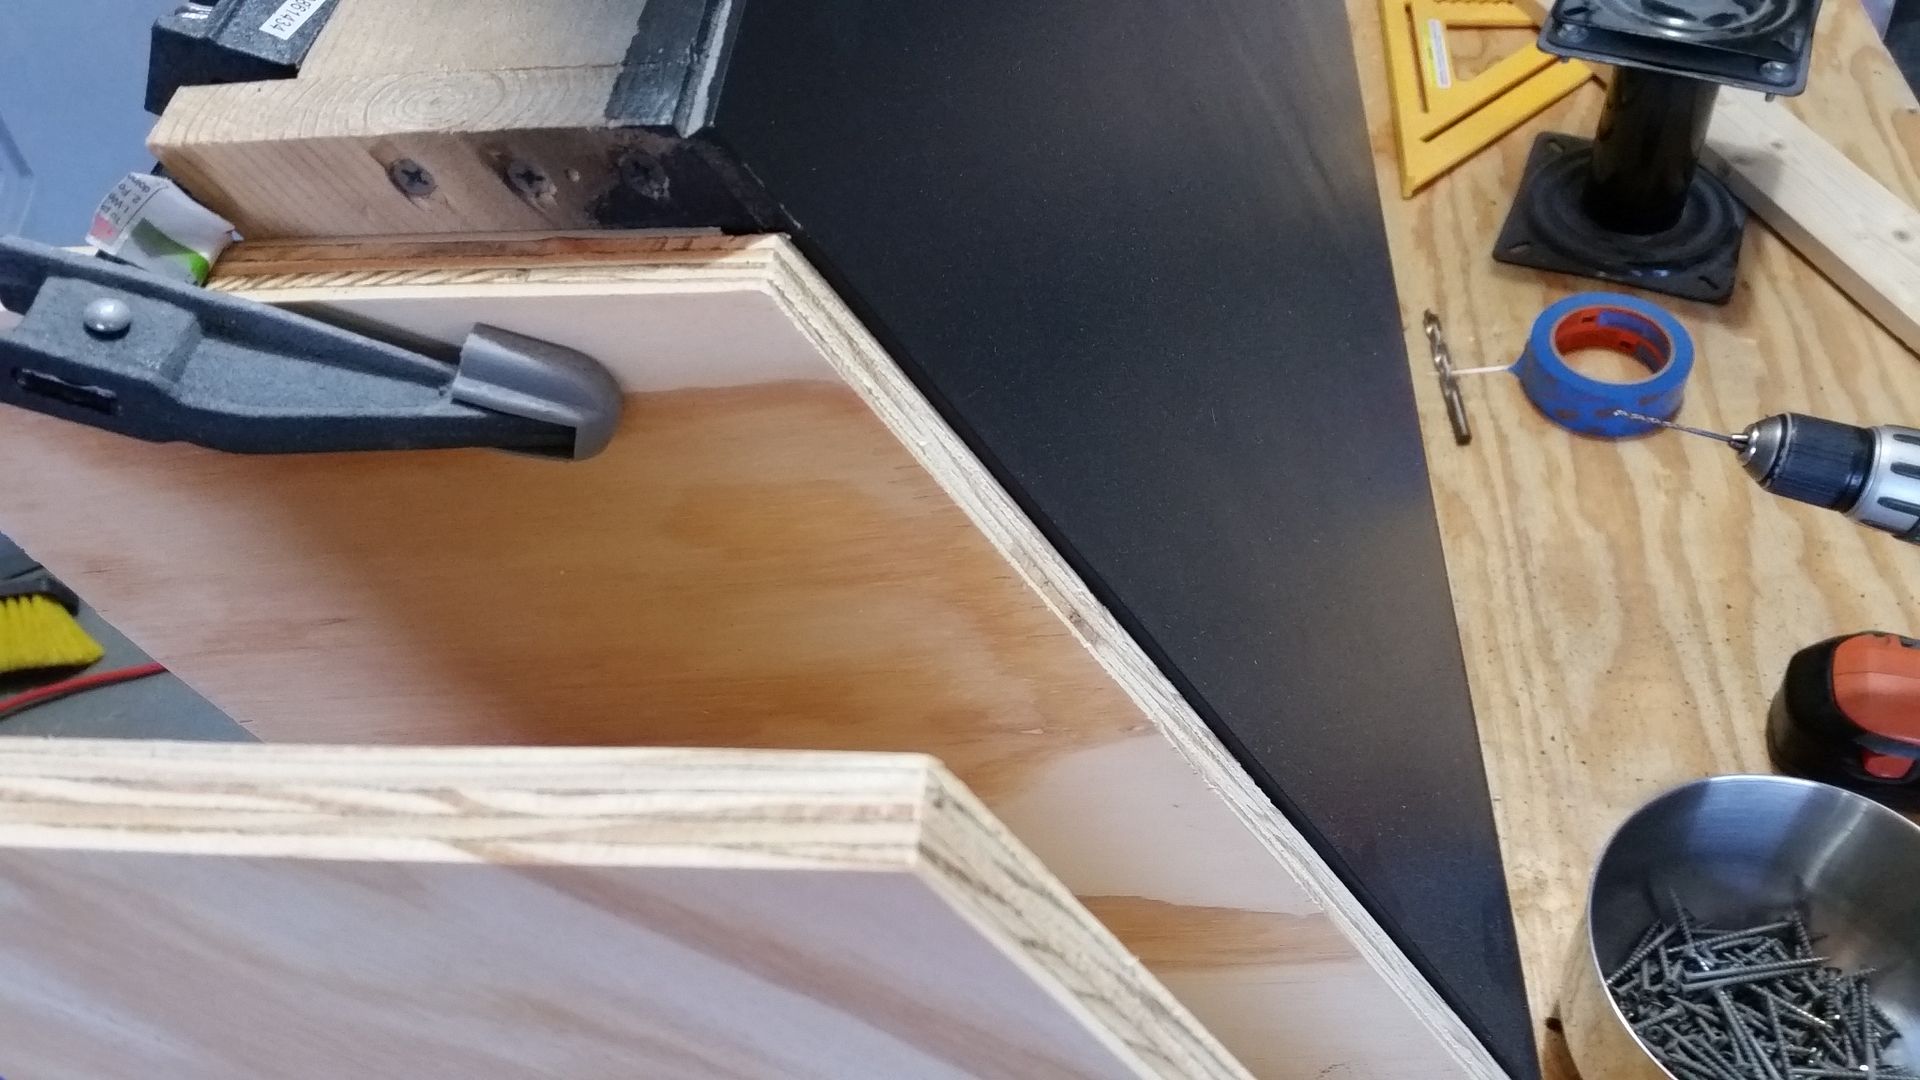
The gap you're seeing between the top of the rib and just below the shelf is for the horizontal tie-in piece
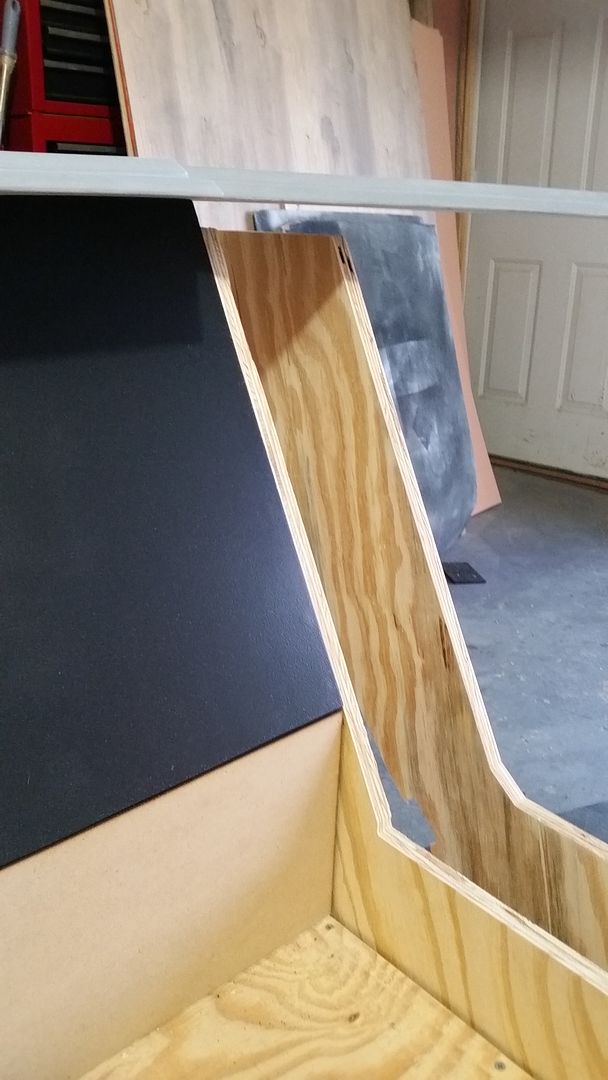
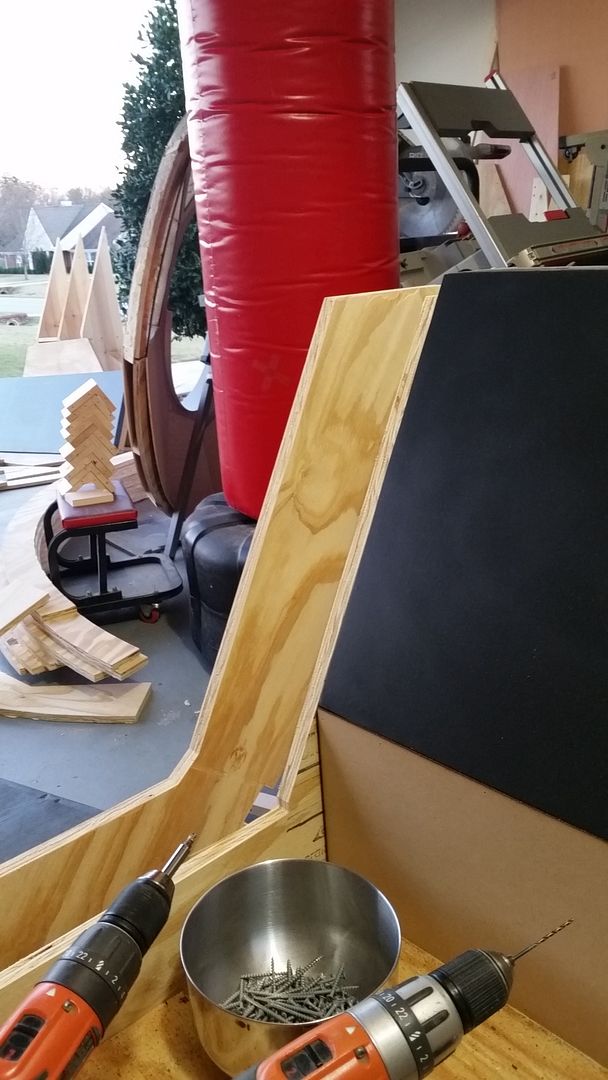
Moving on... I hope I remember how all this goes together - prepping for paint
Dry fit
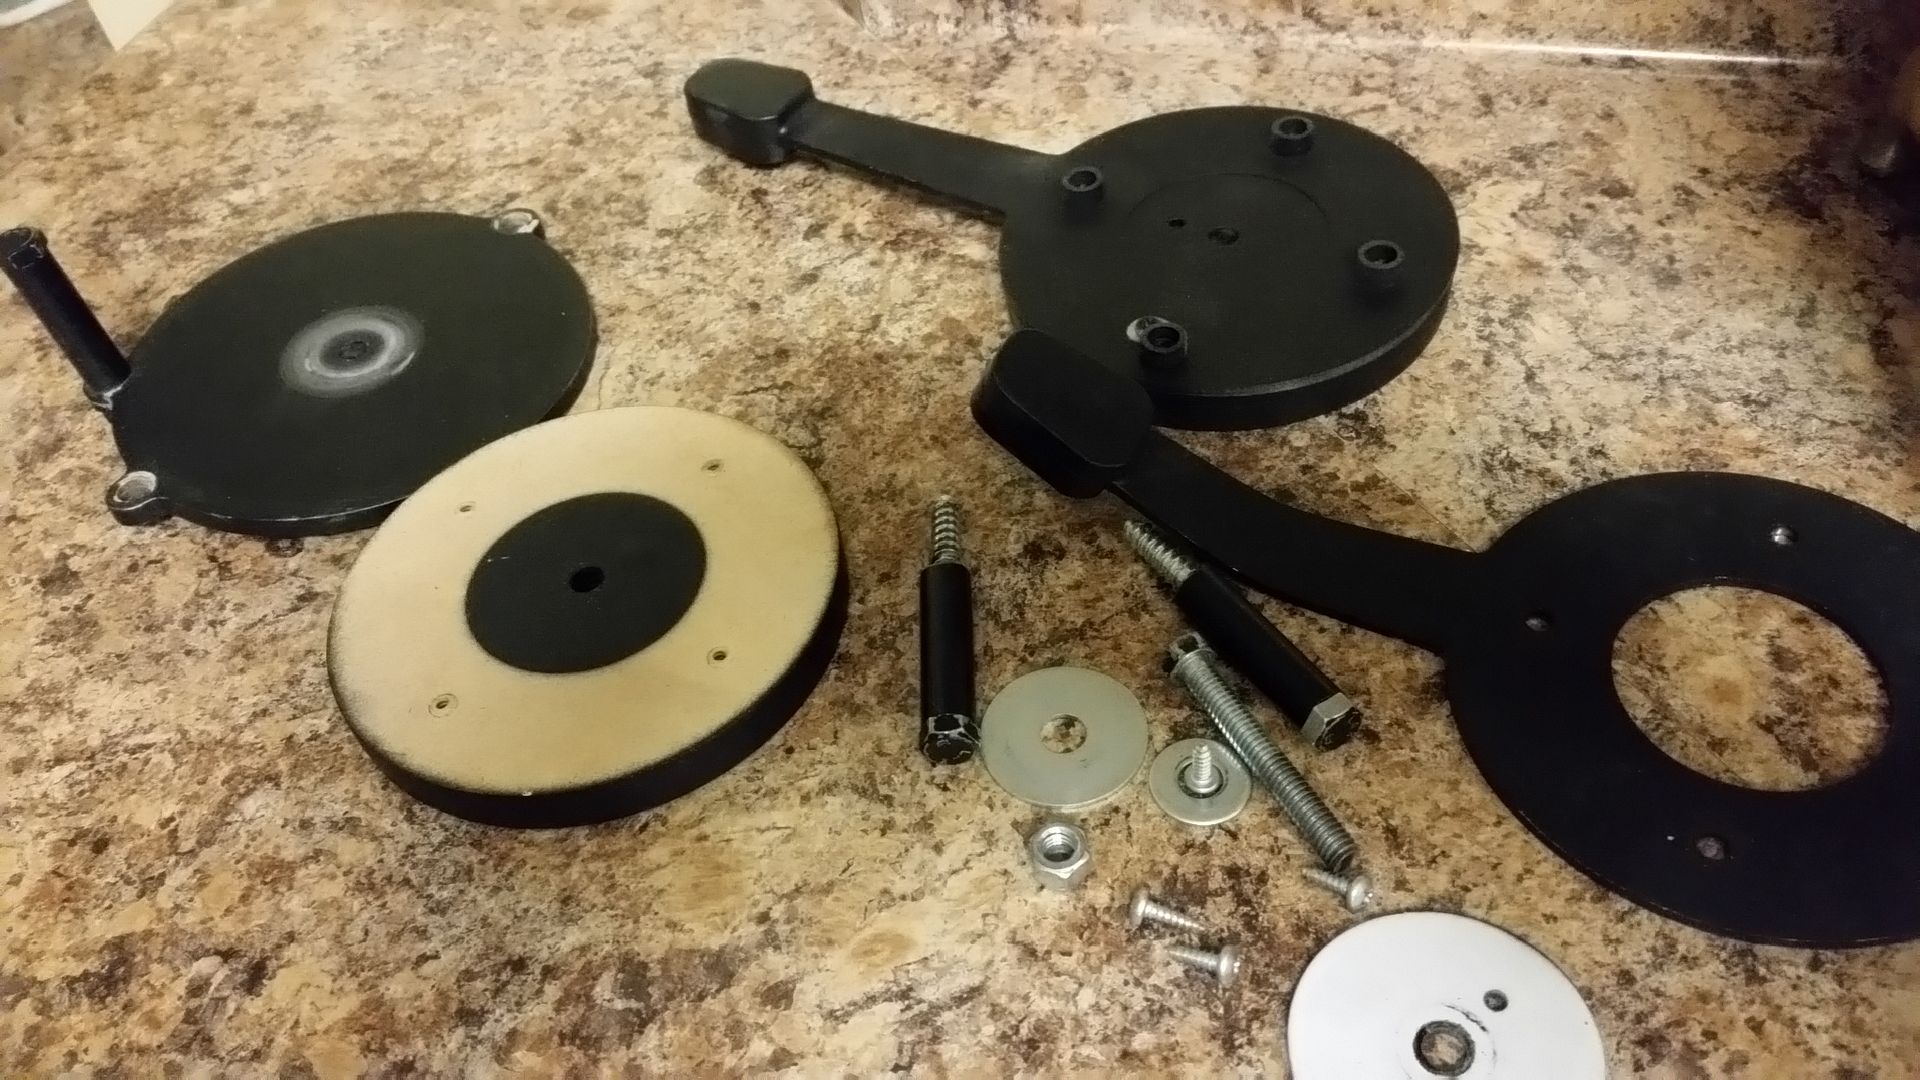
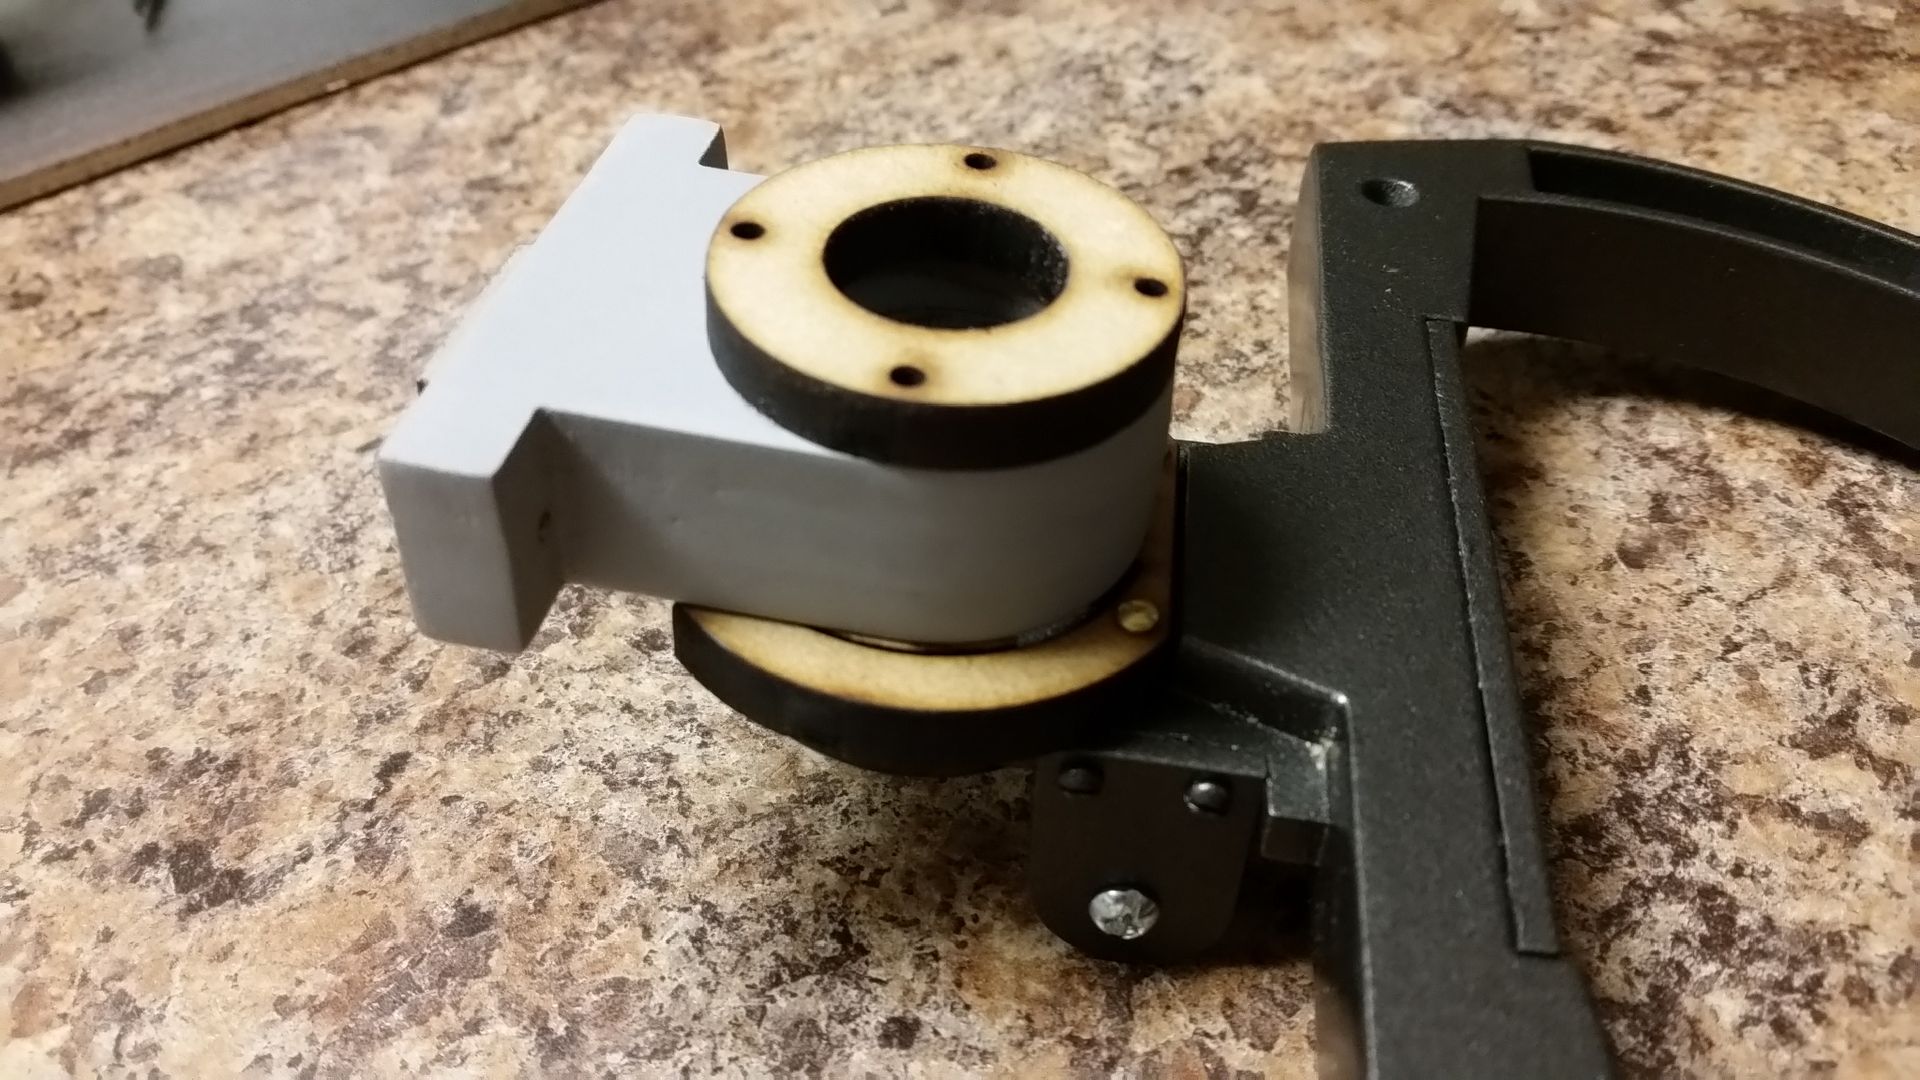
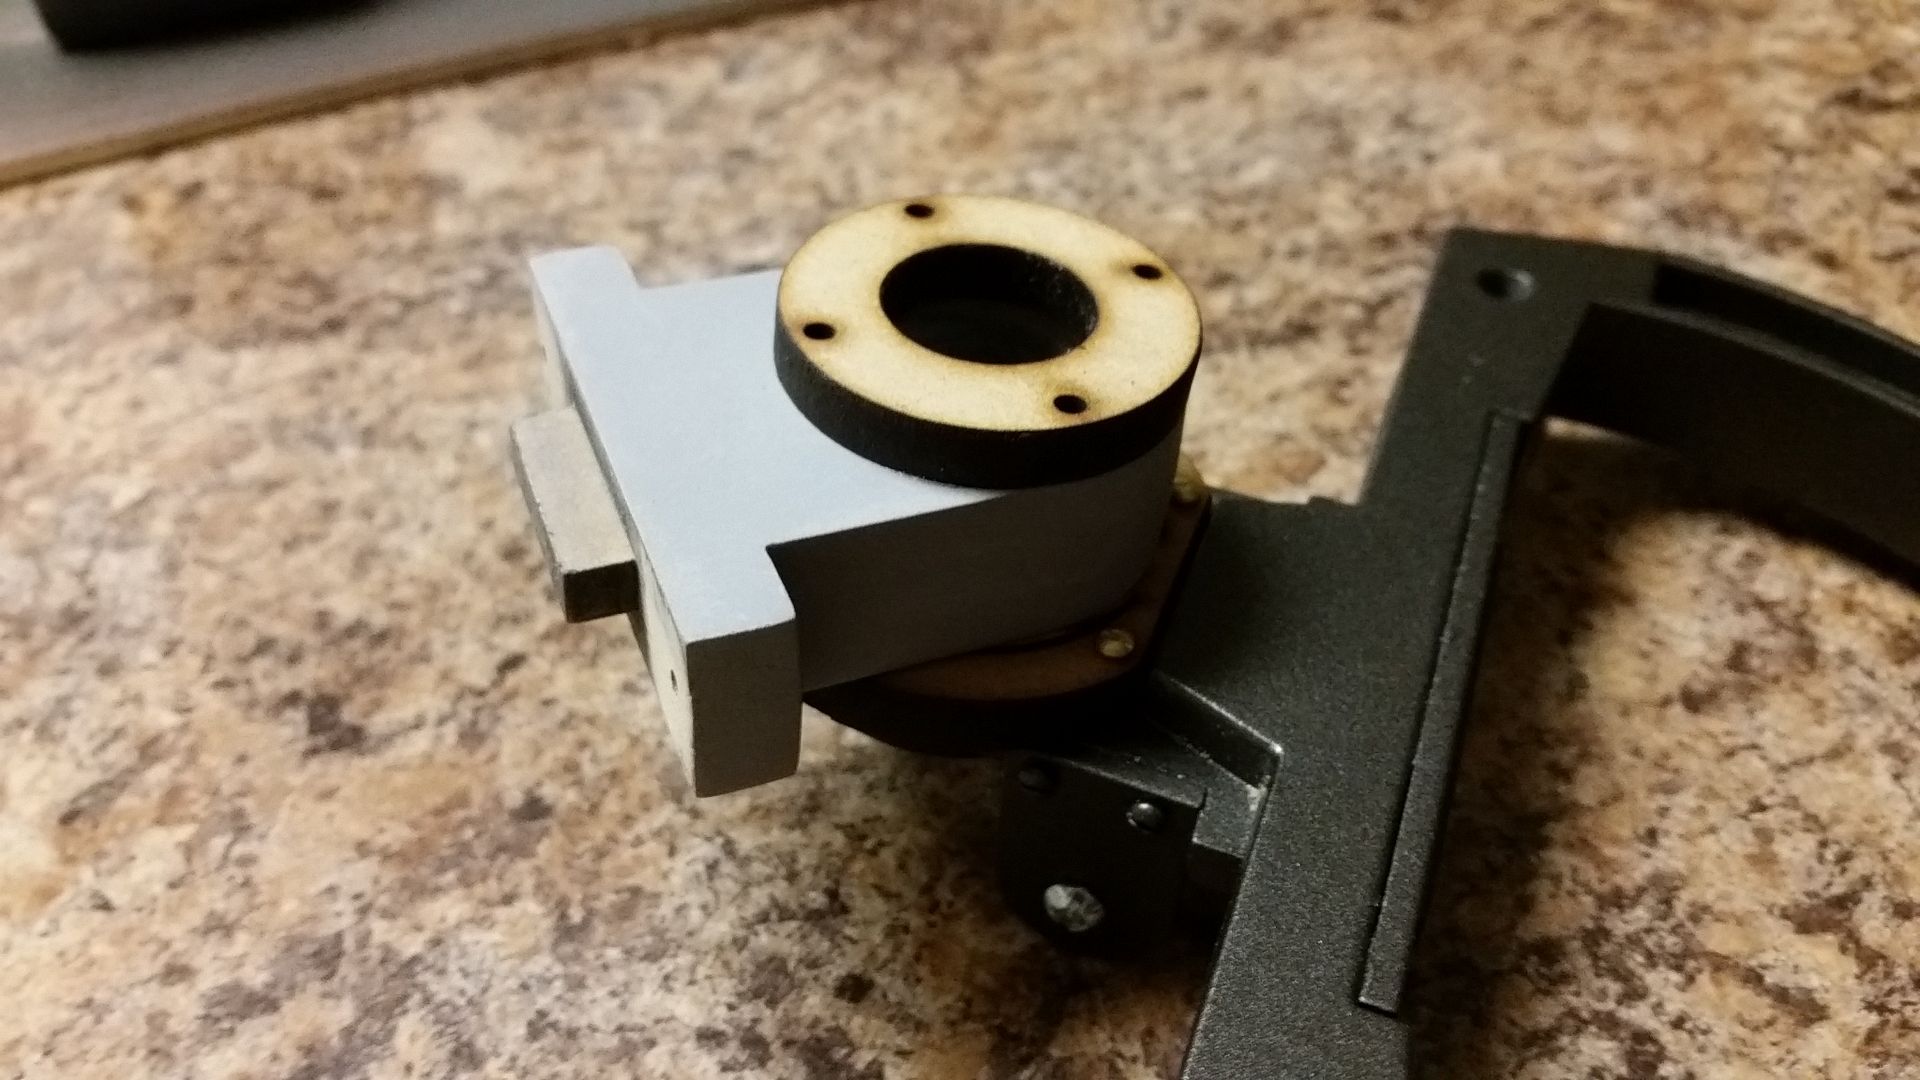
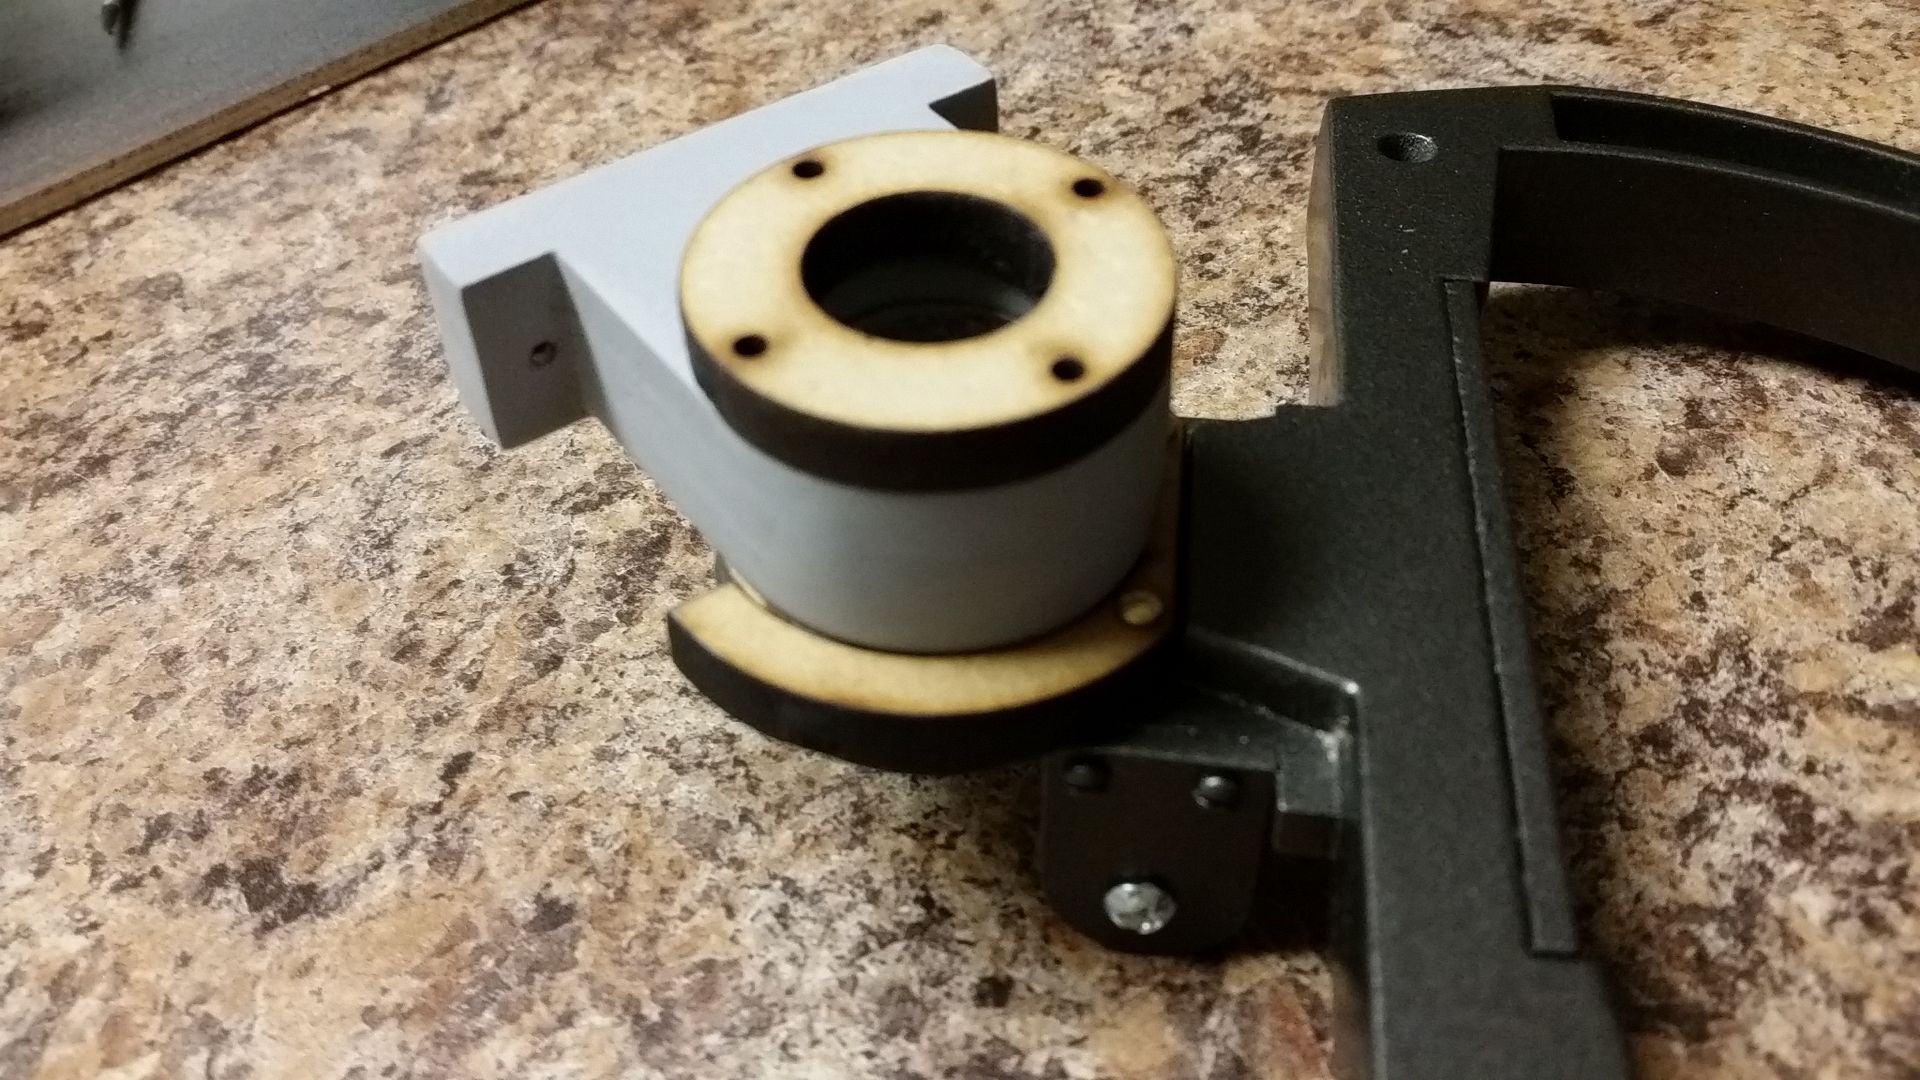
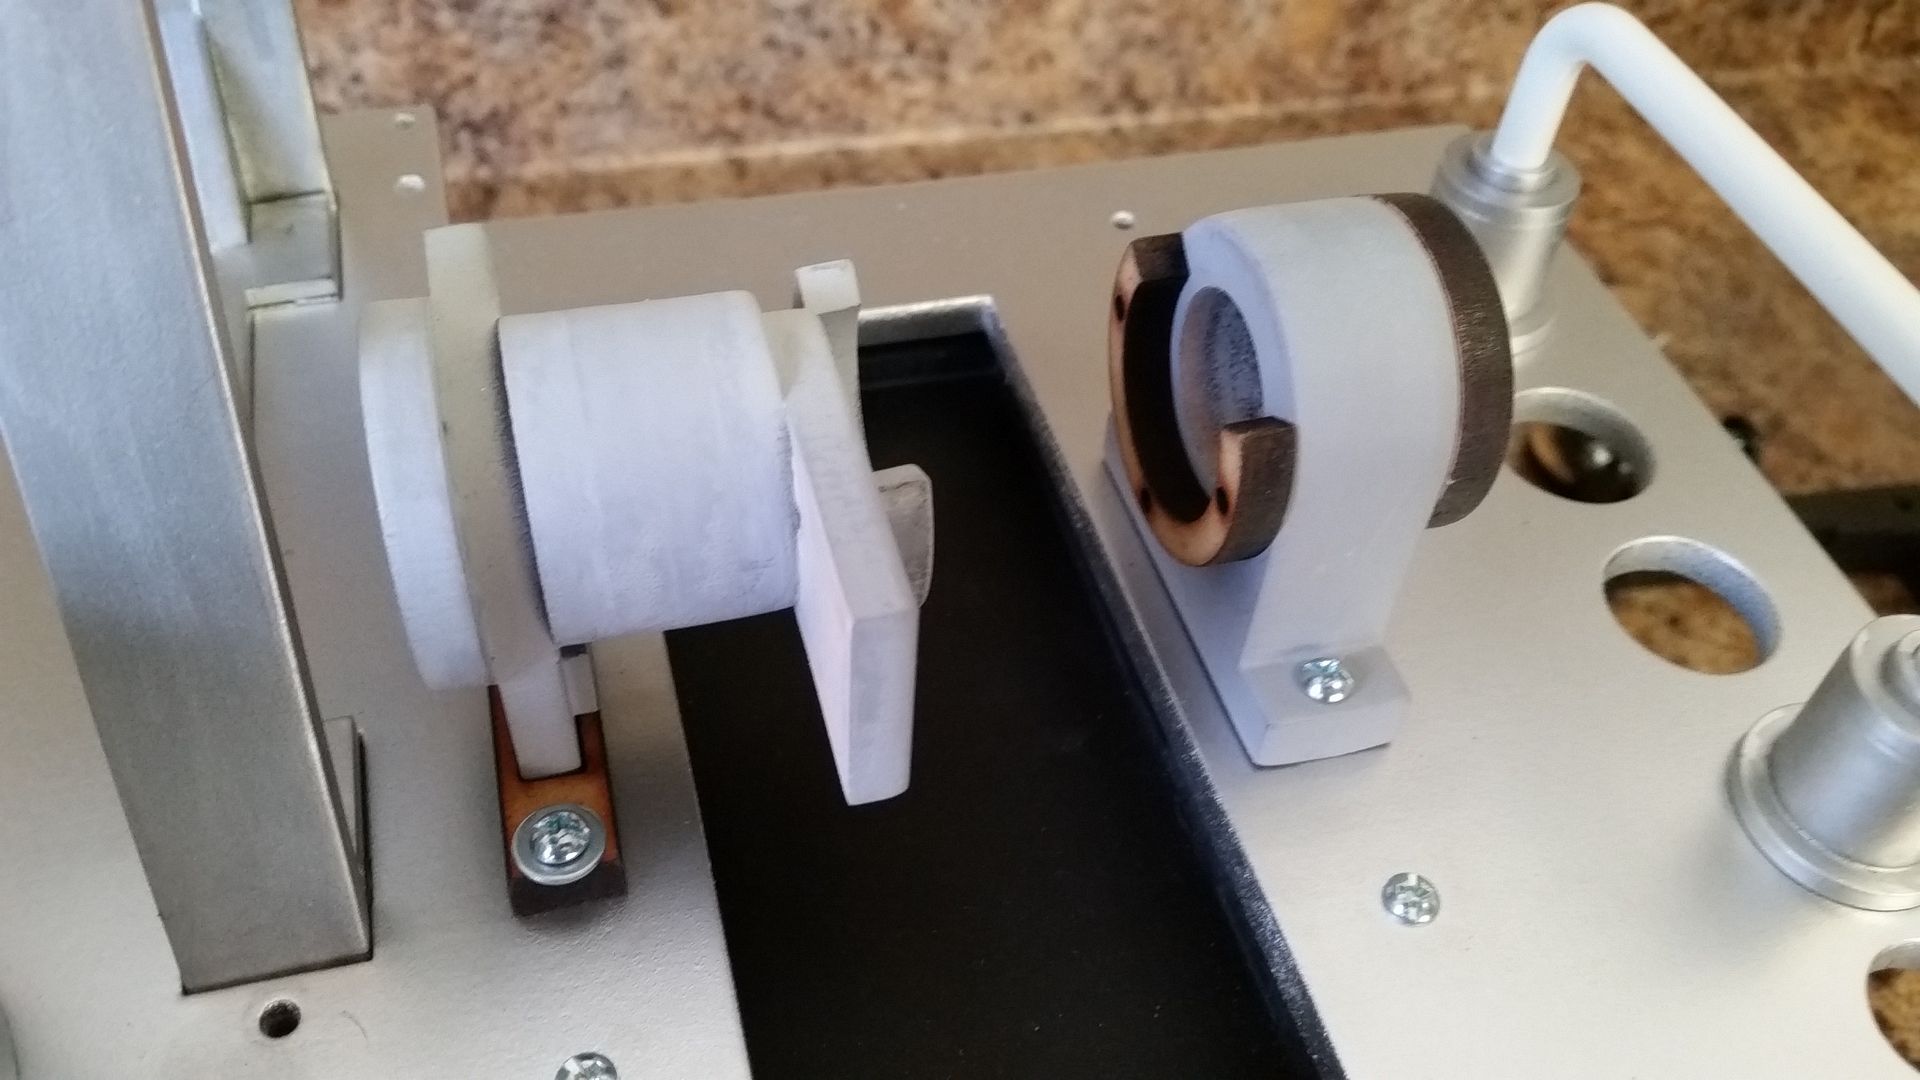
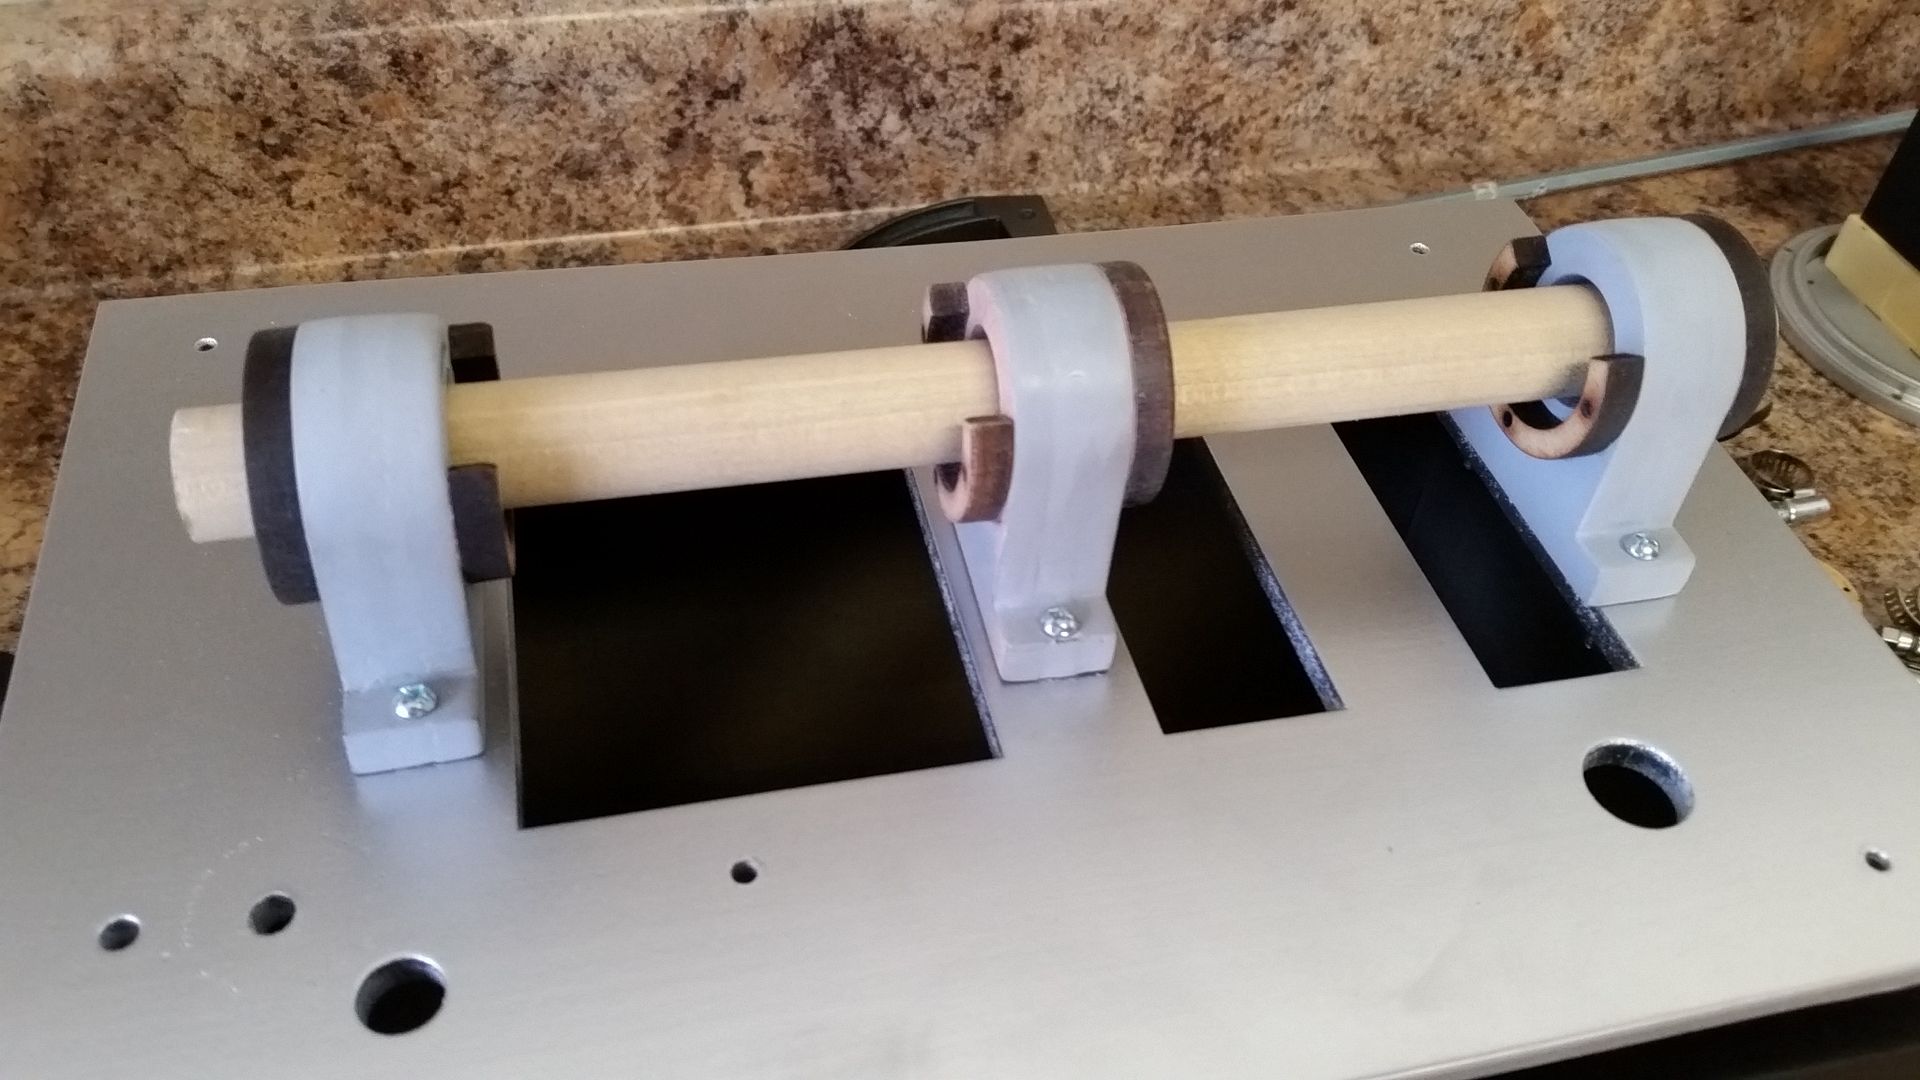
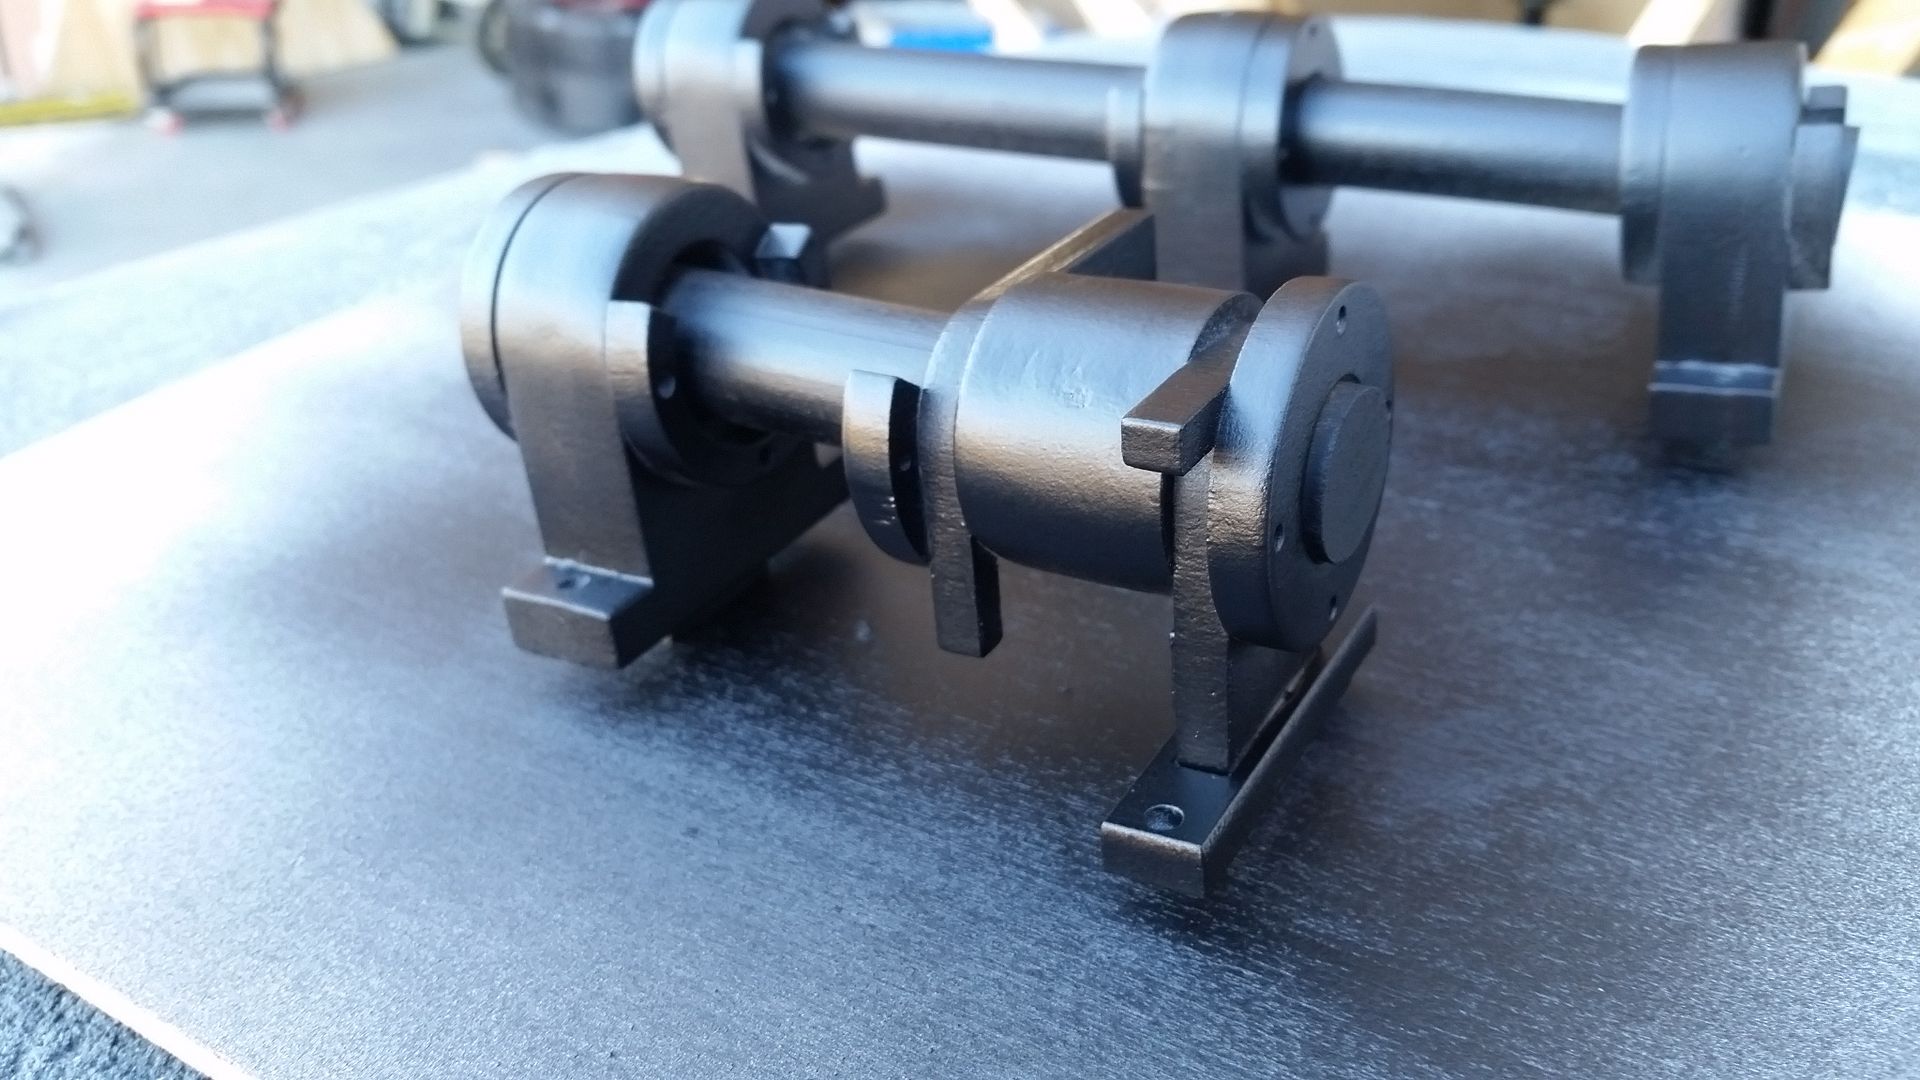
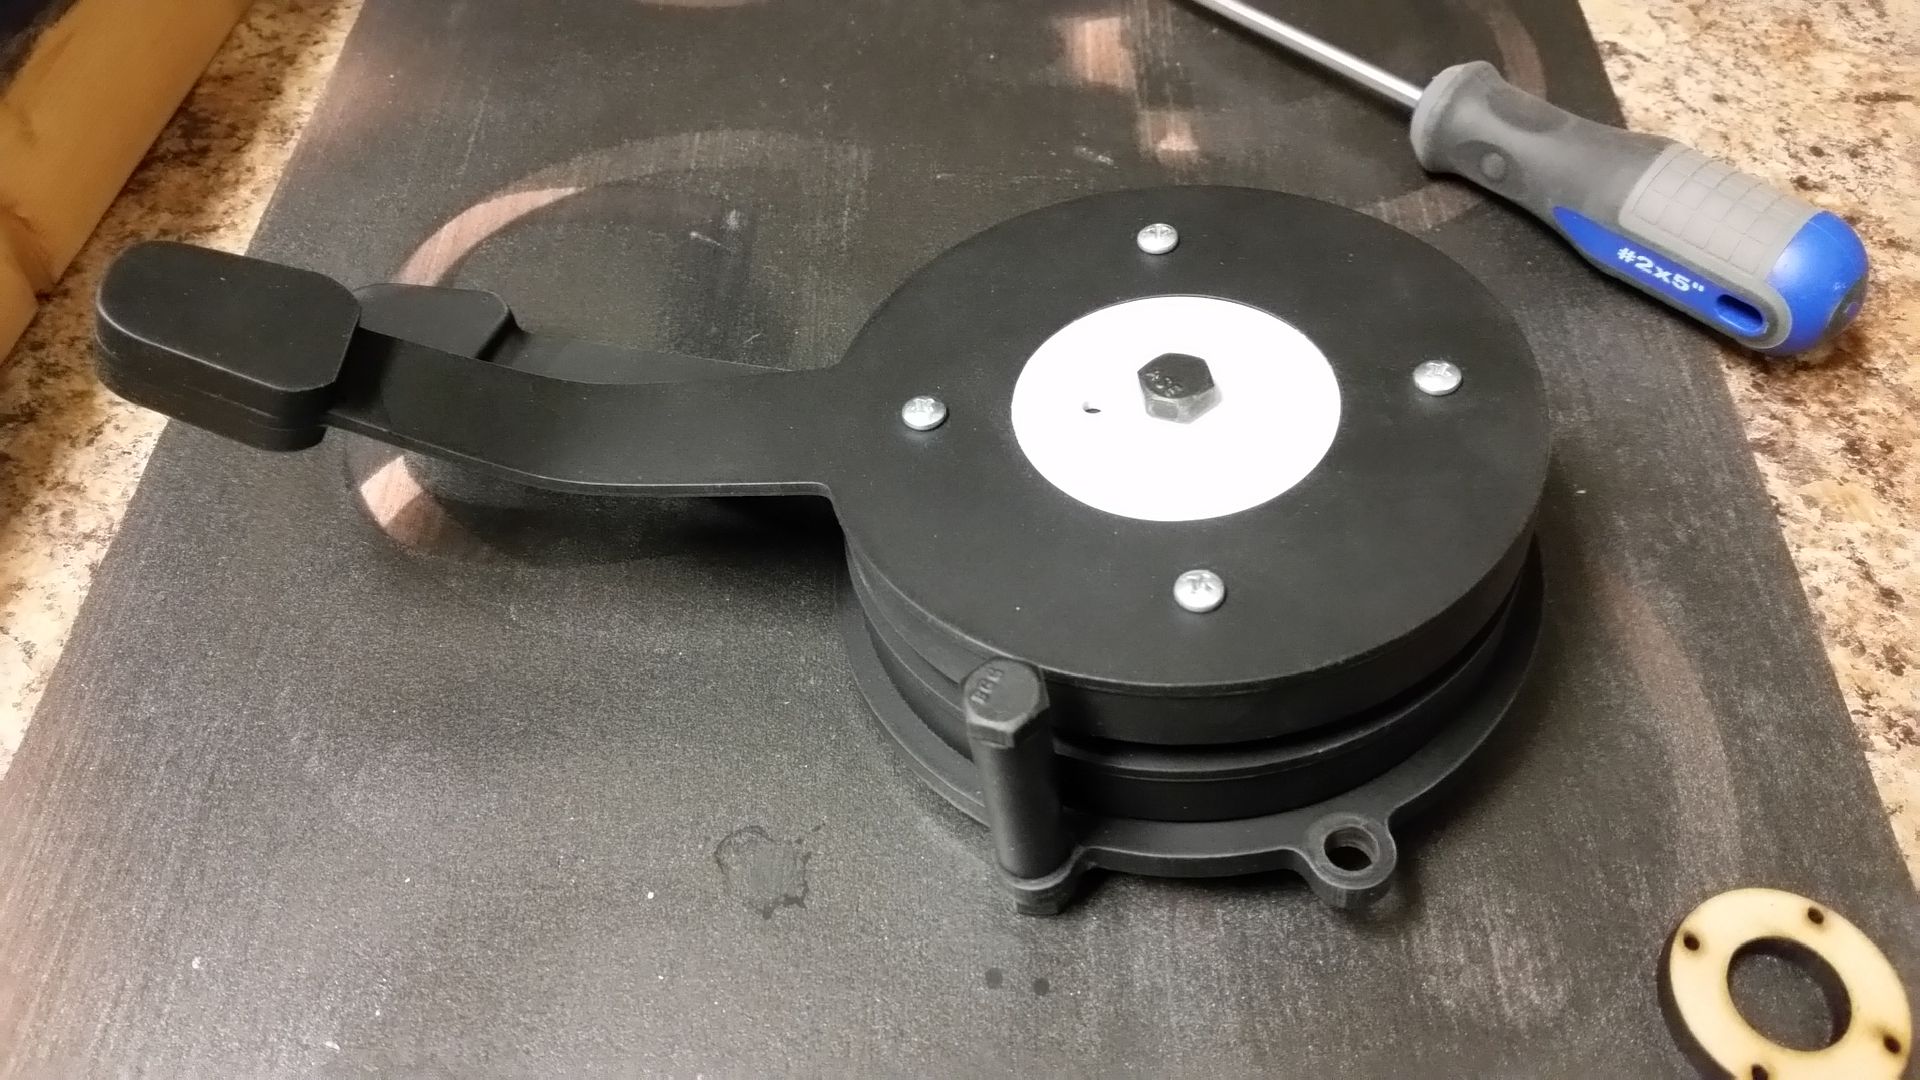
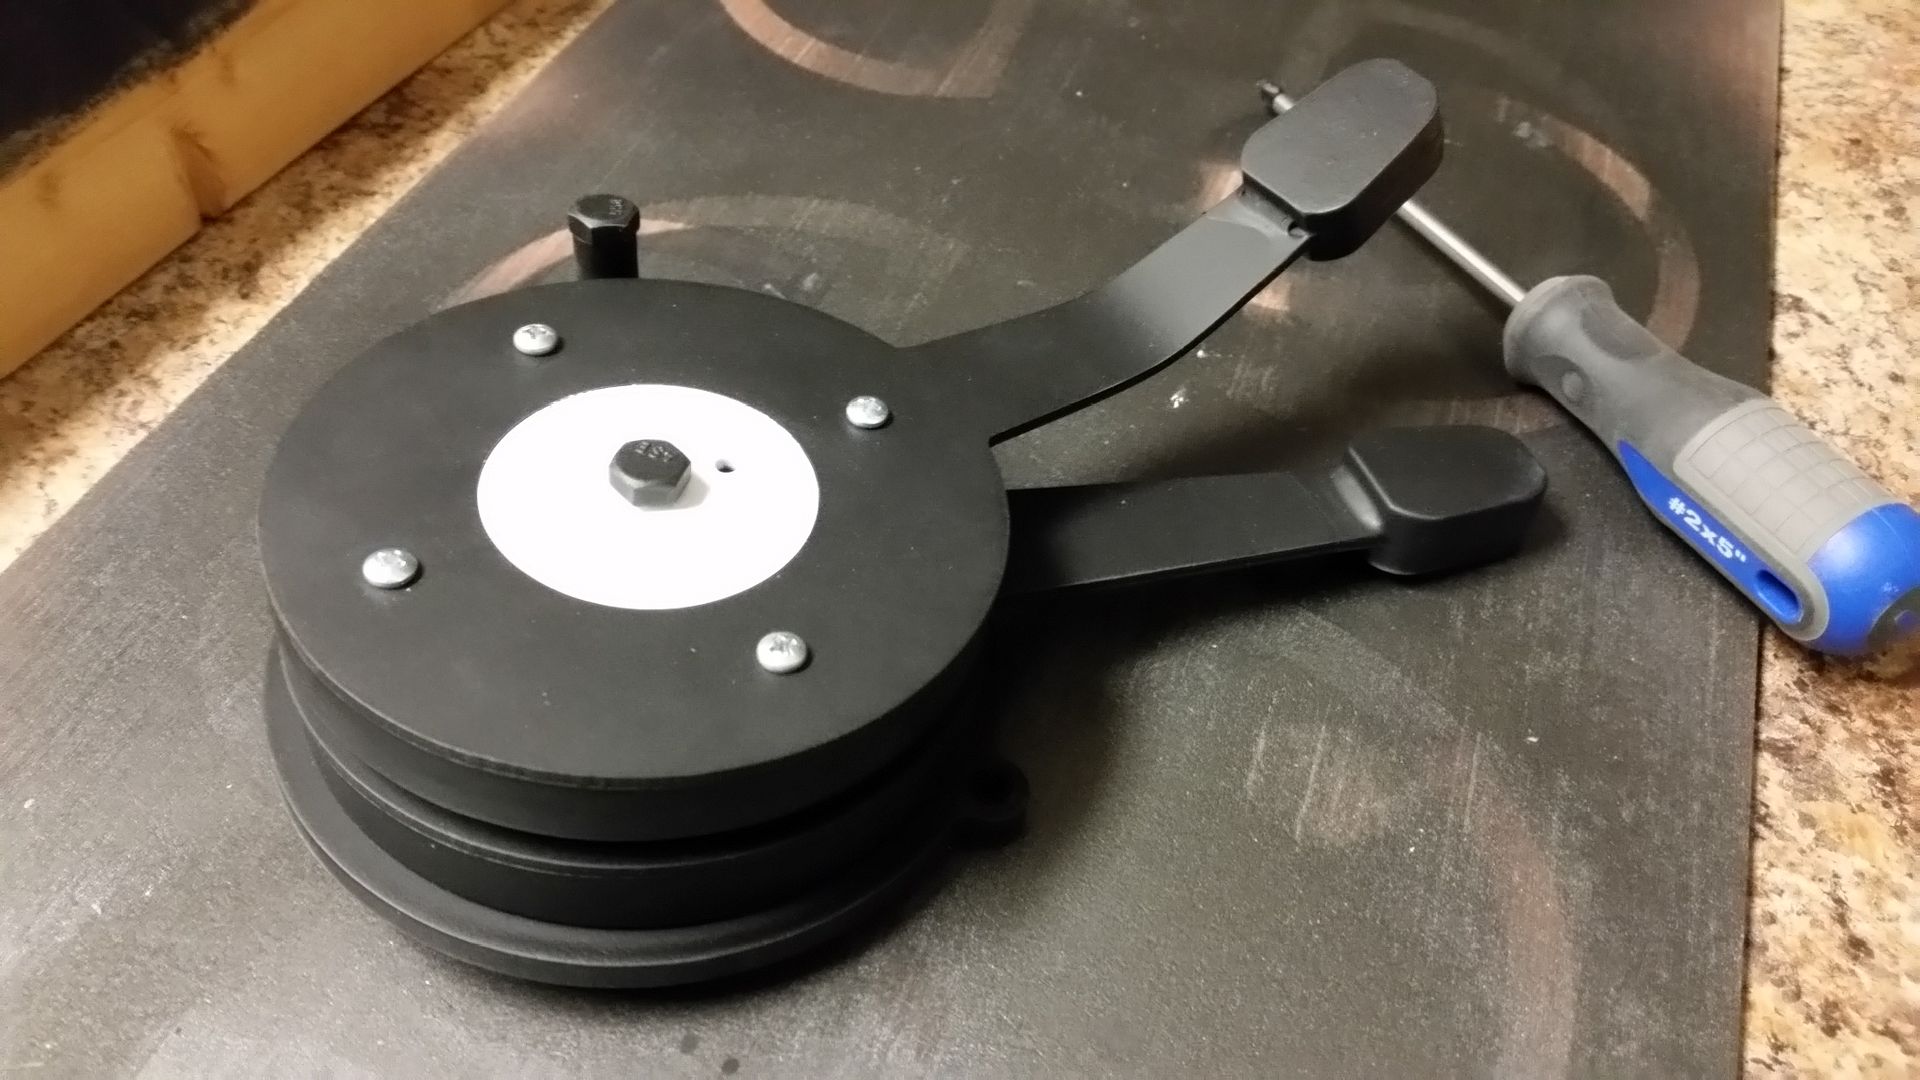
The canopy box lever mech
The MDF piece attached to the lever itself rests around the other MDF piece. Note the small stopper just between the two brass screws
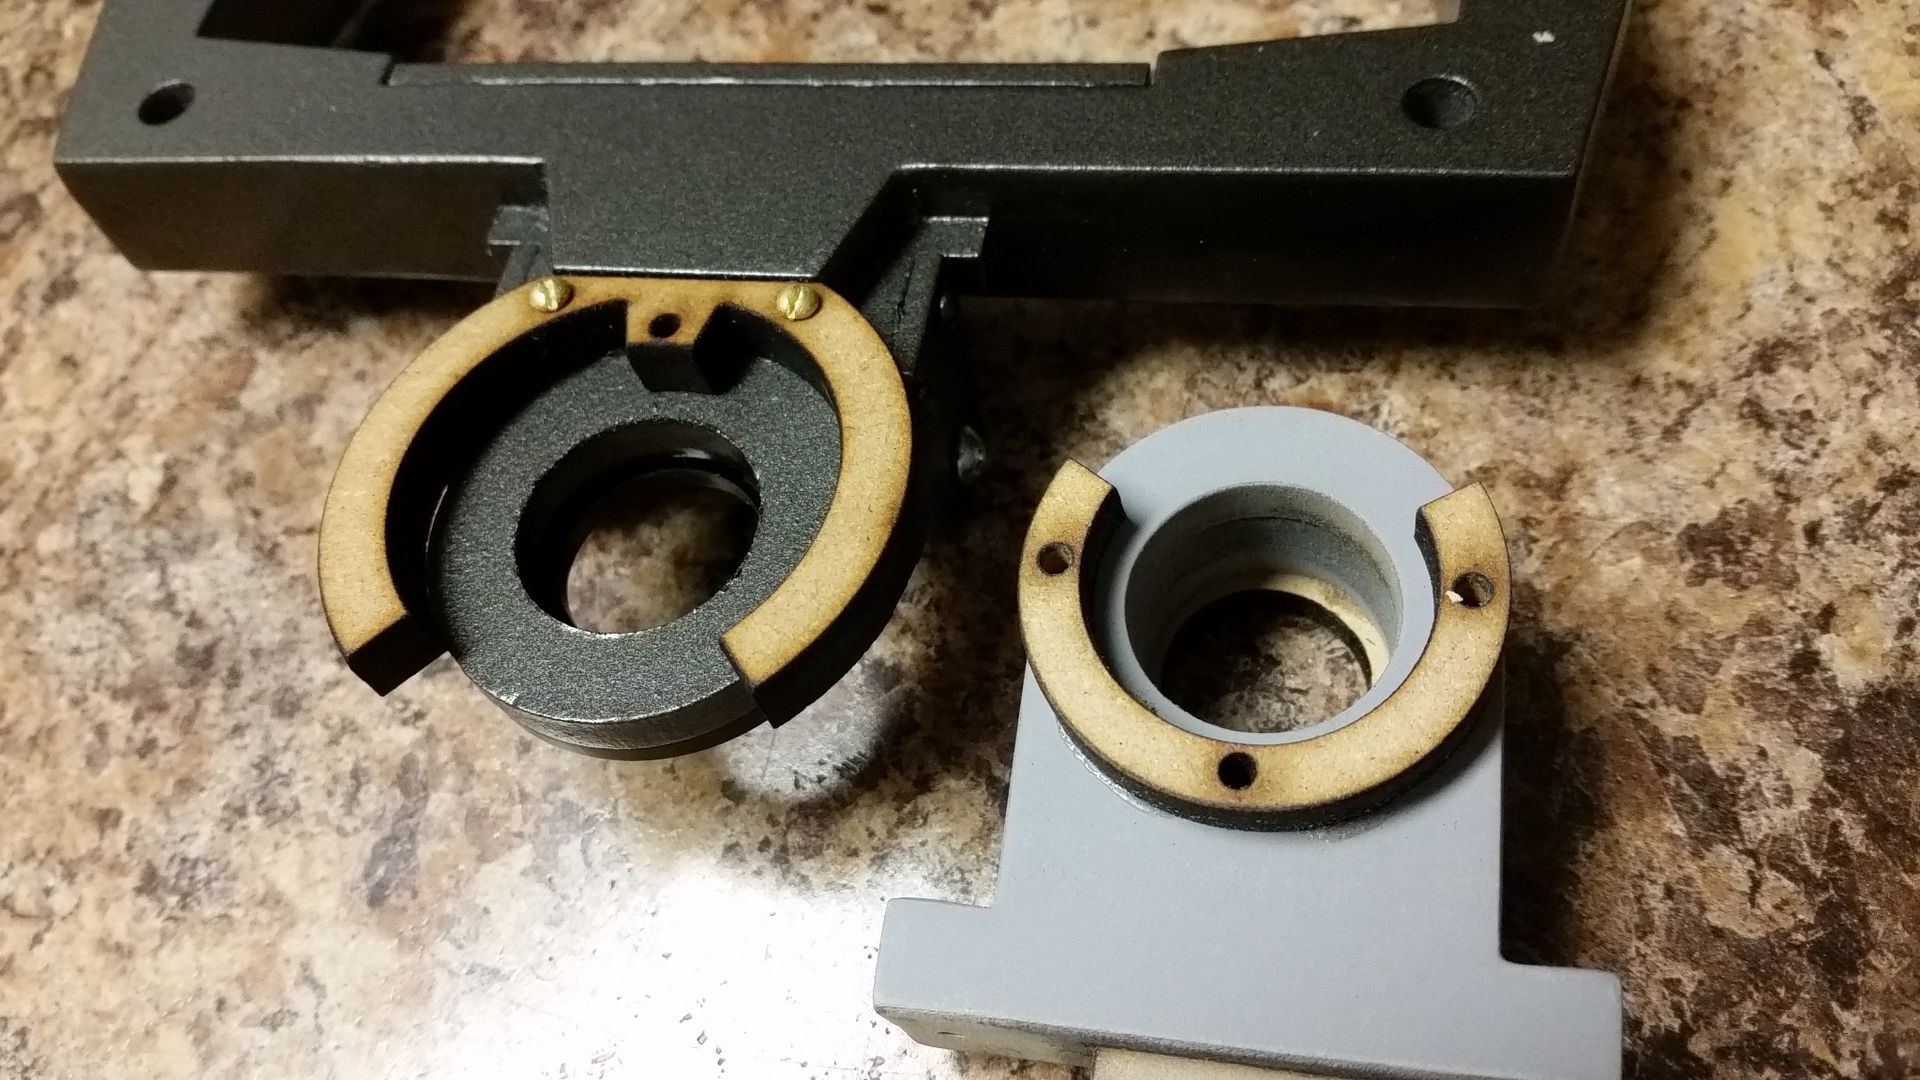
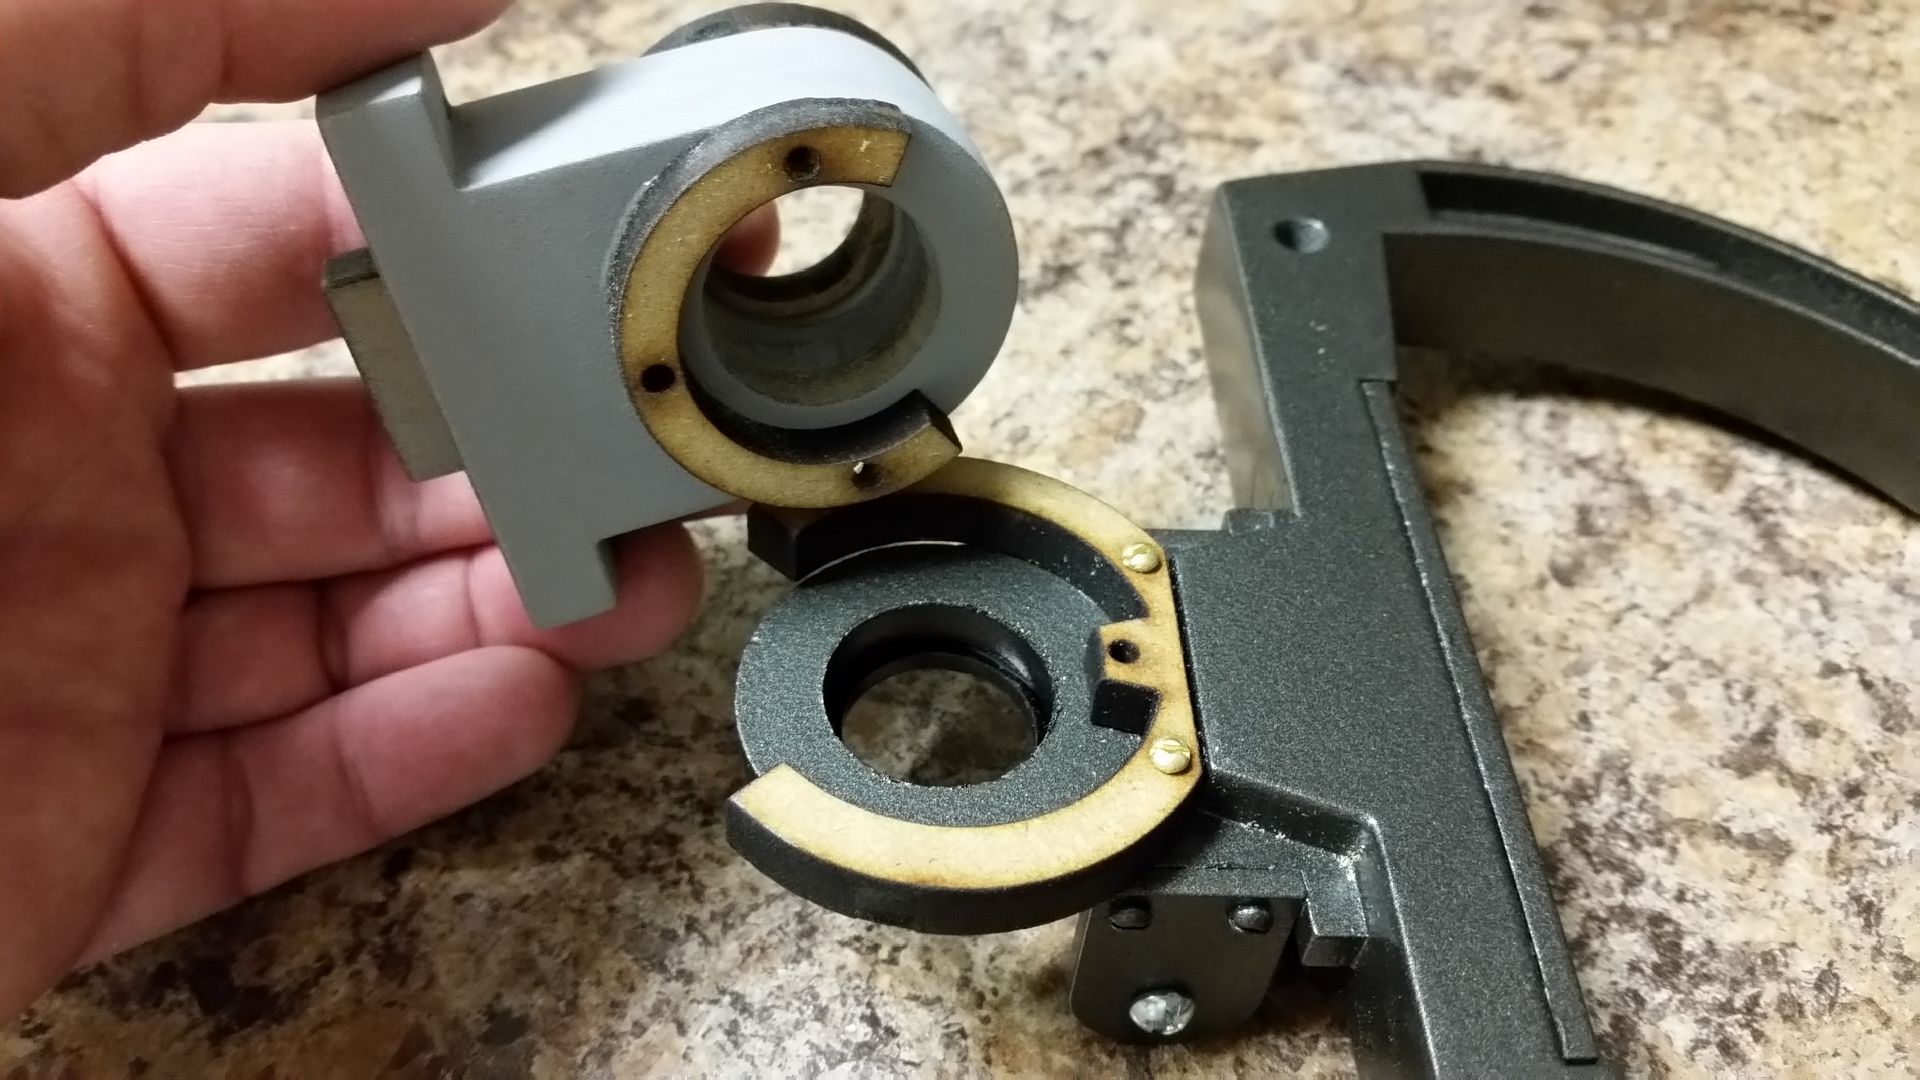
Once nestled into place the lever can rotate around the dowel - the small stopper allows a certain amount of travel
Now if I can just figure out how to put it all together...
I then weathered this new greeblie - start with a wash
Then get into all the little nooks and crannies
This is where the greeblie mounts
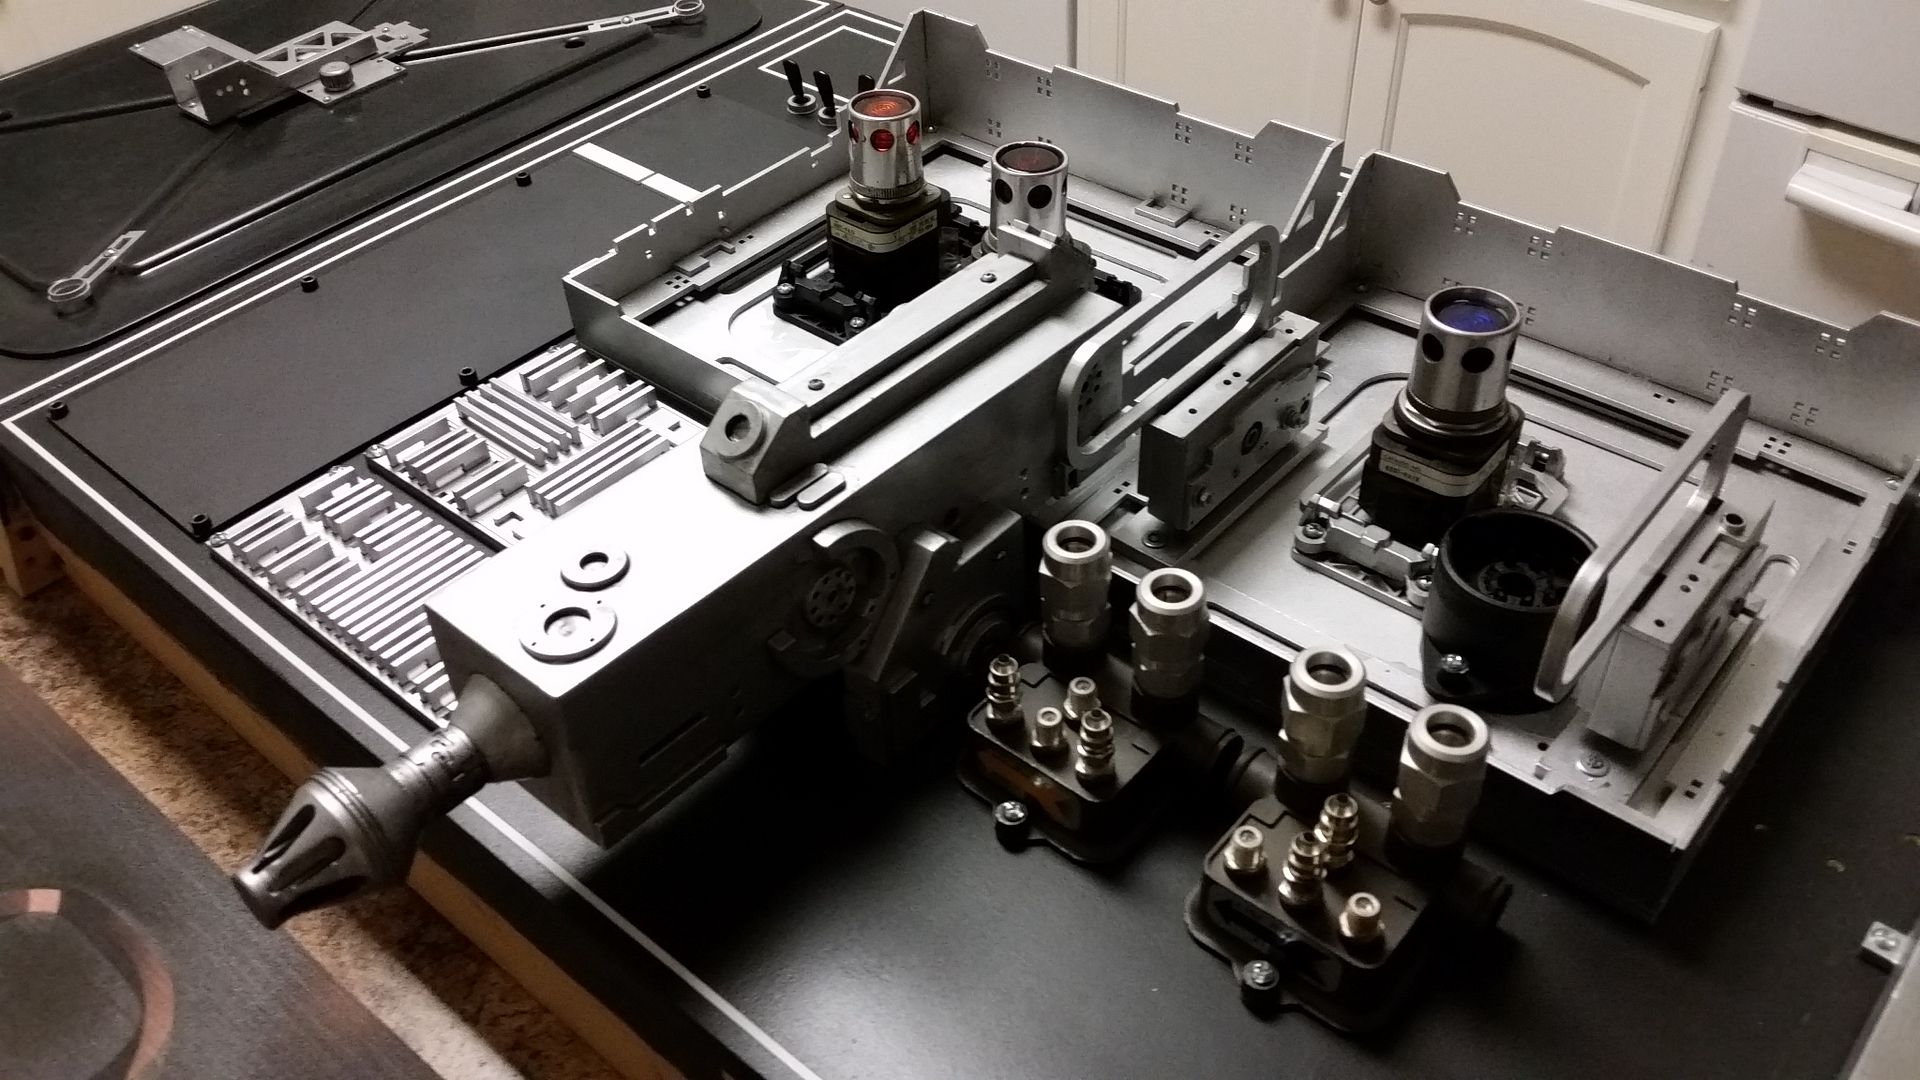
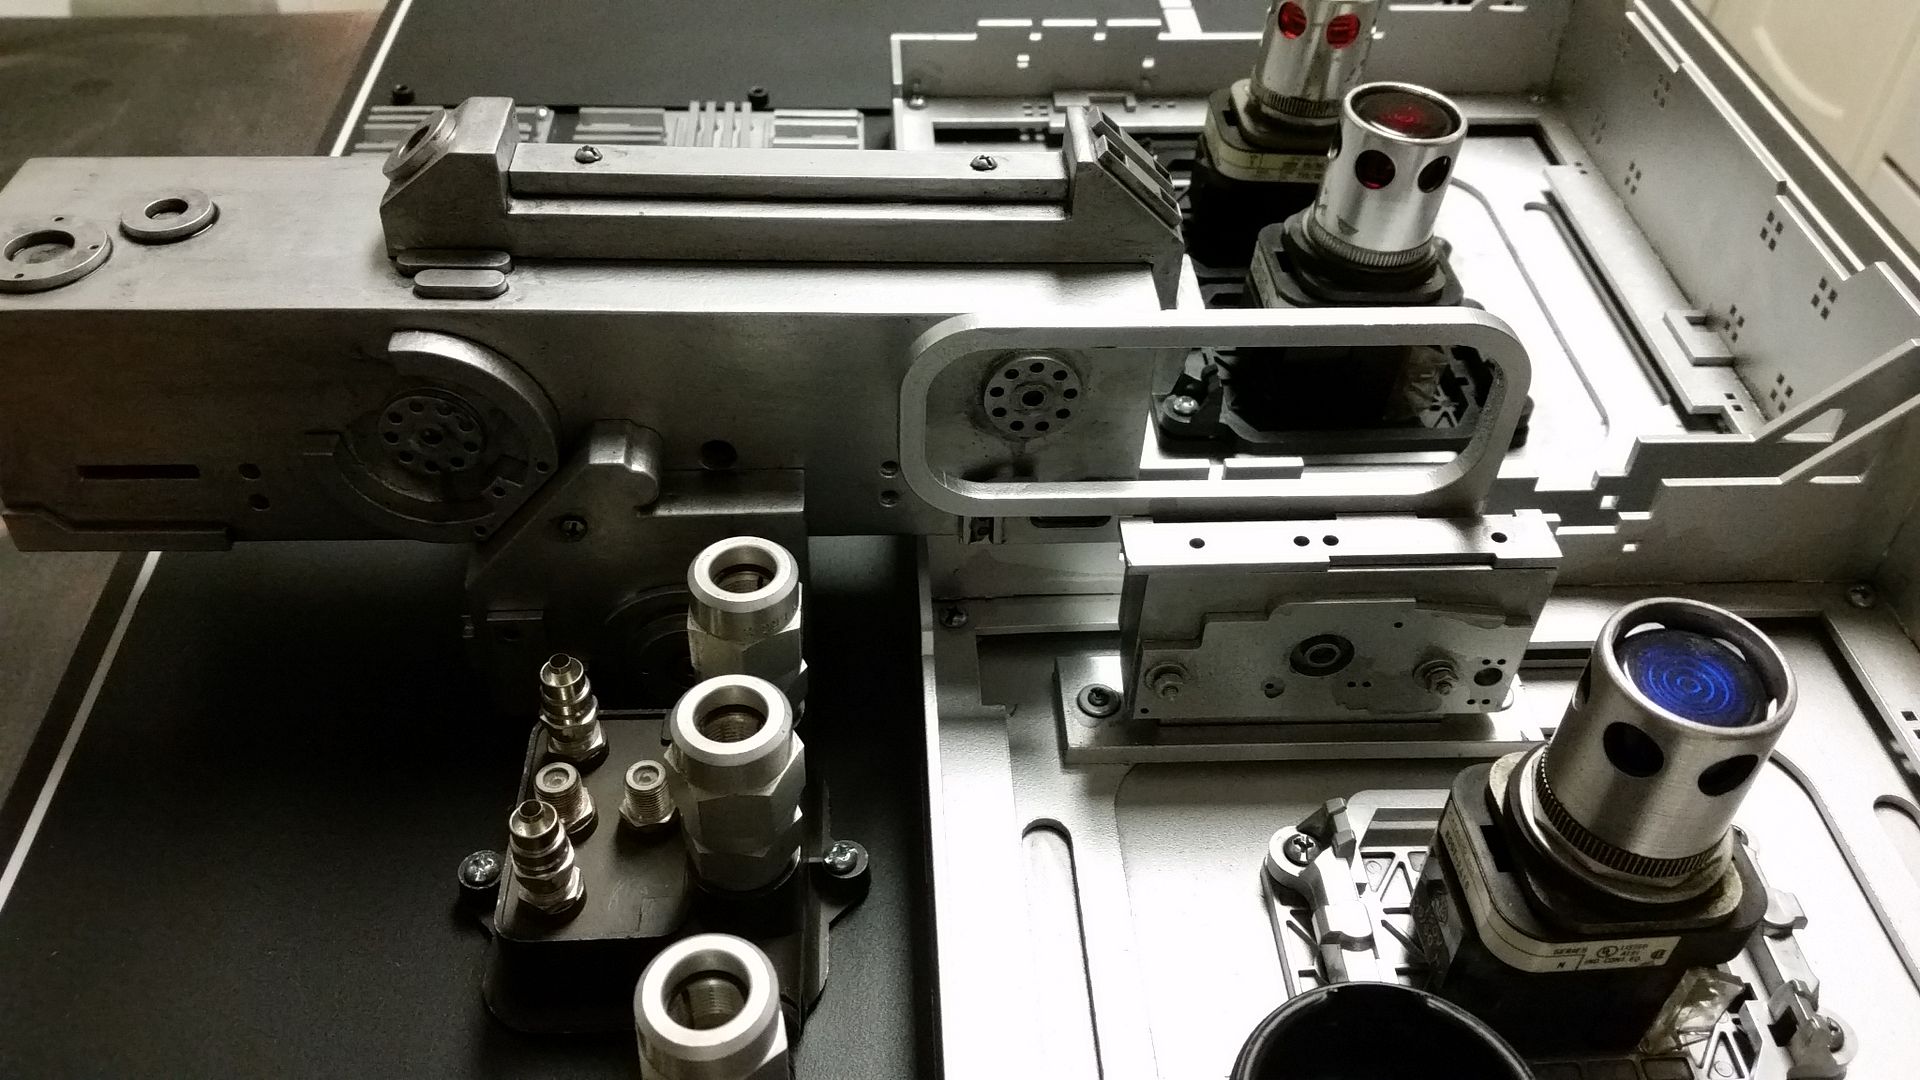
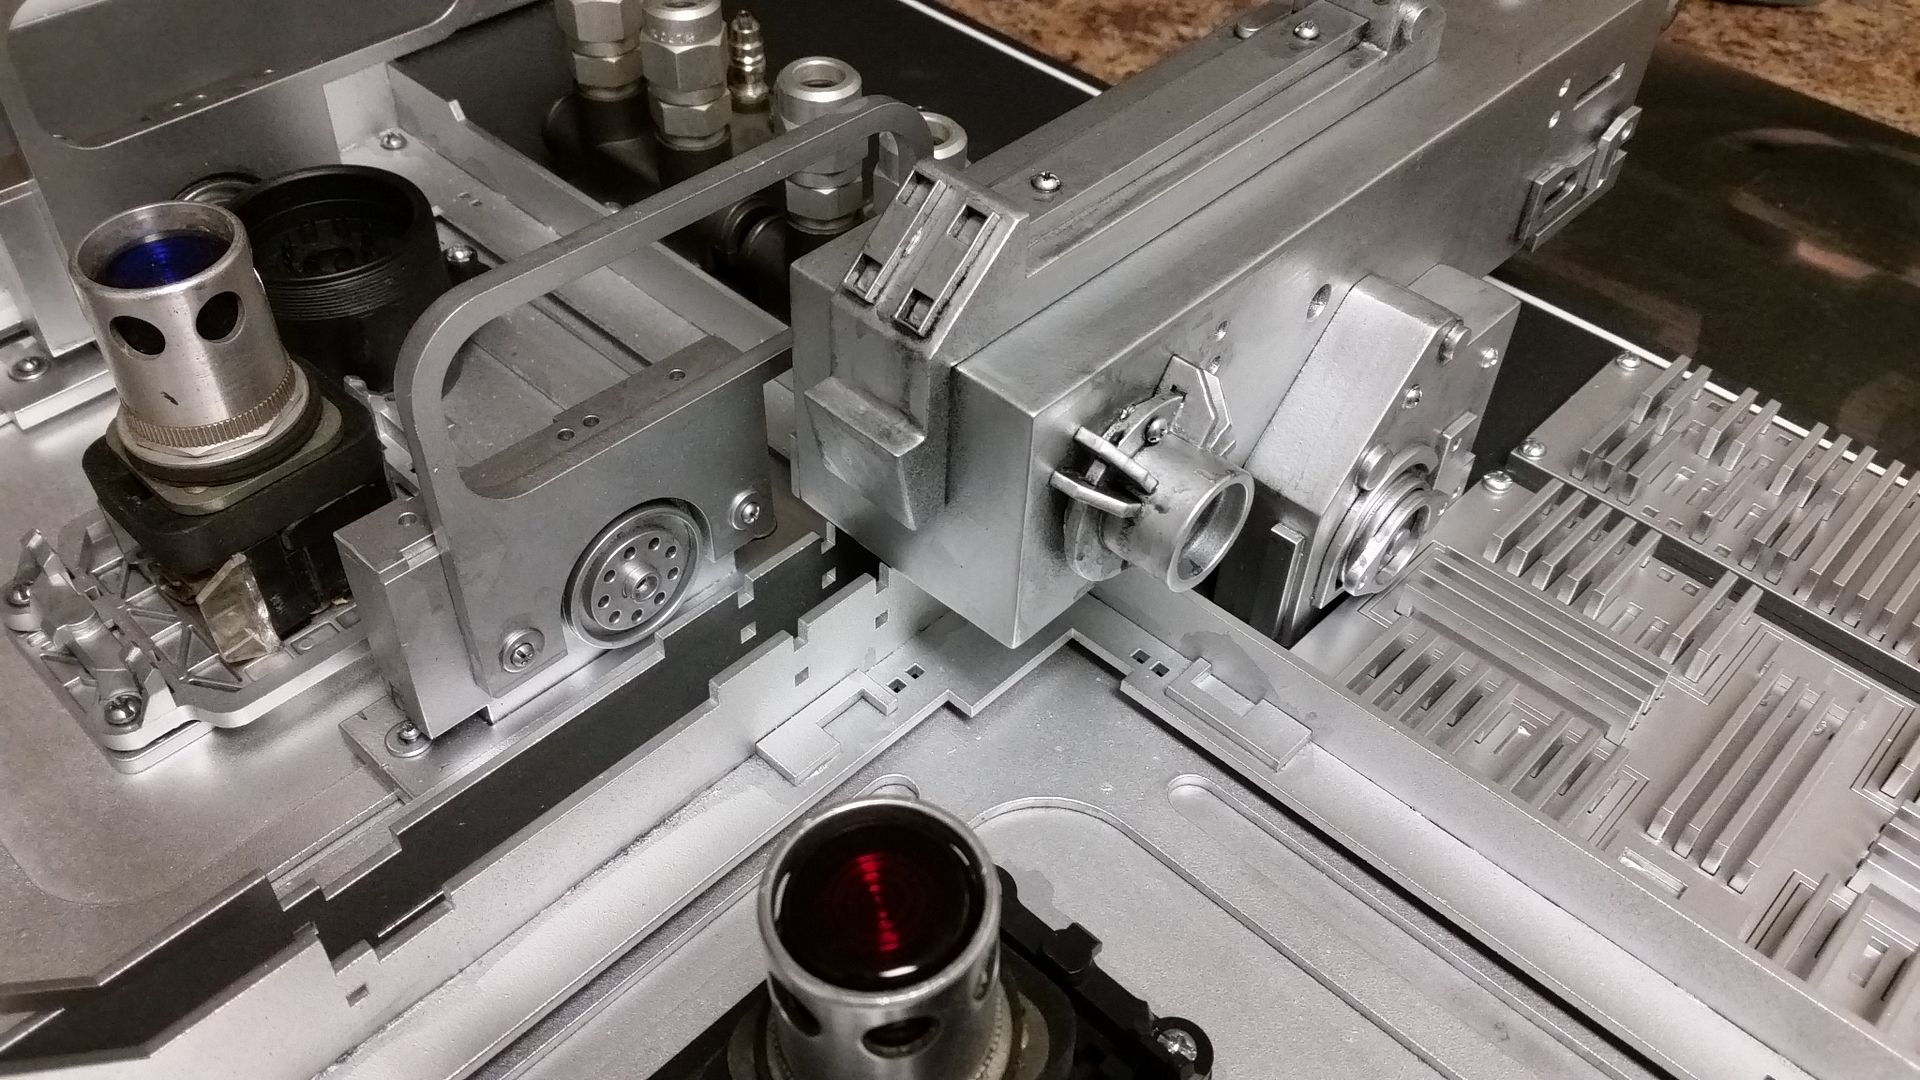
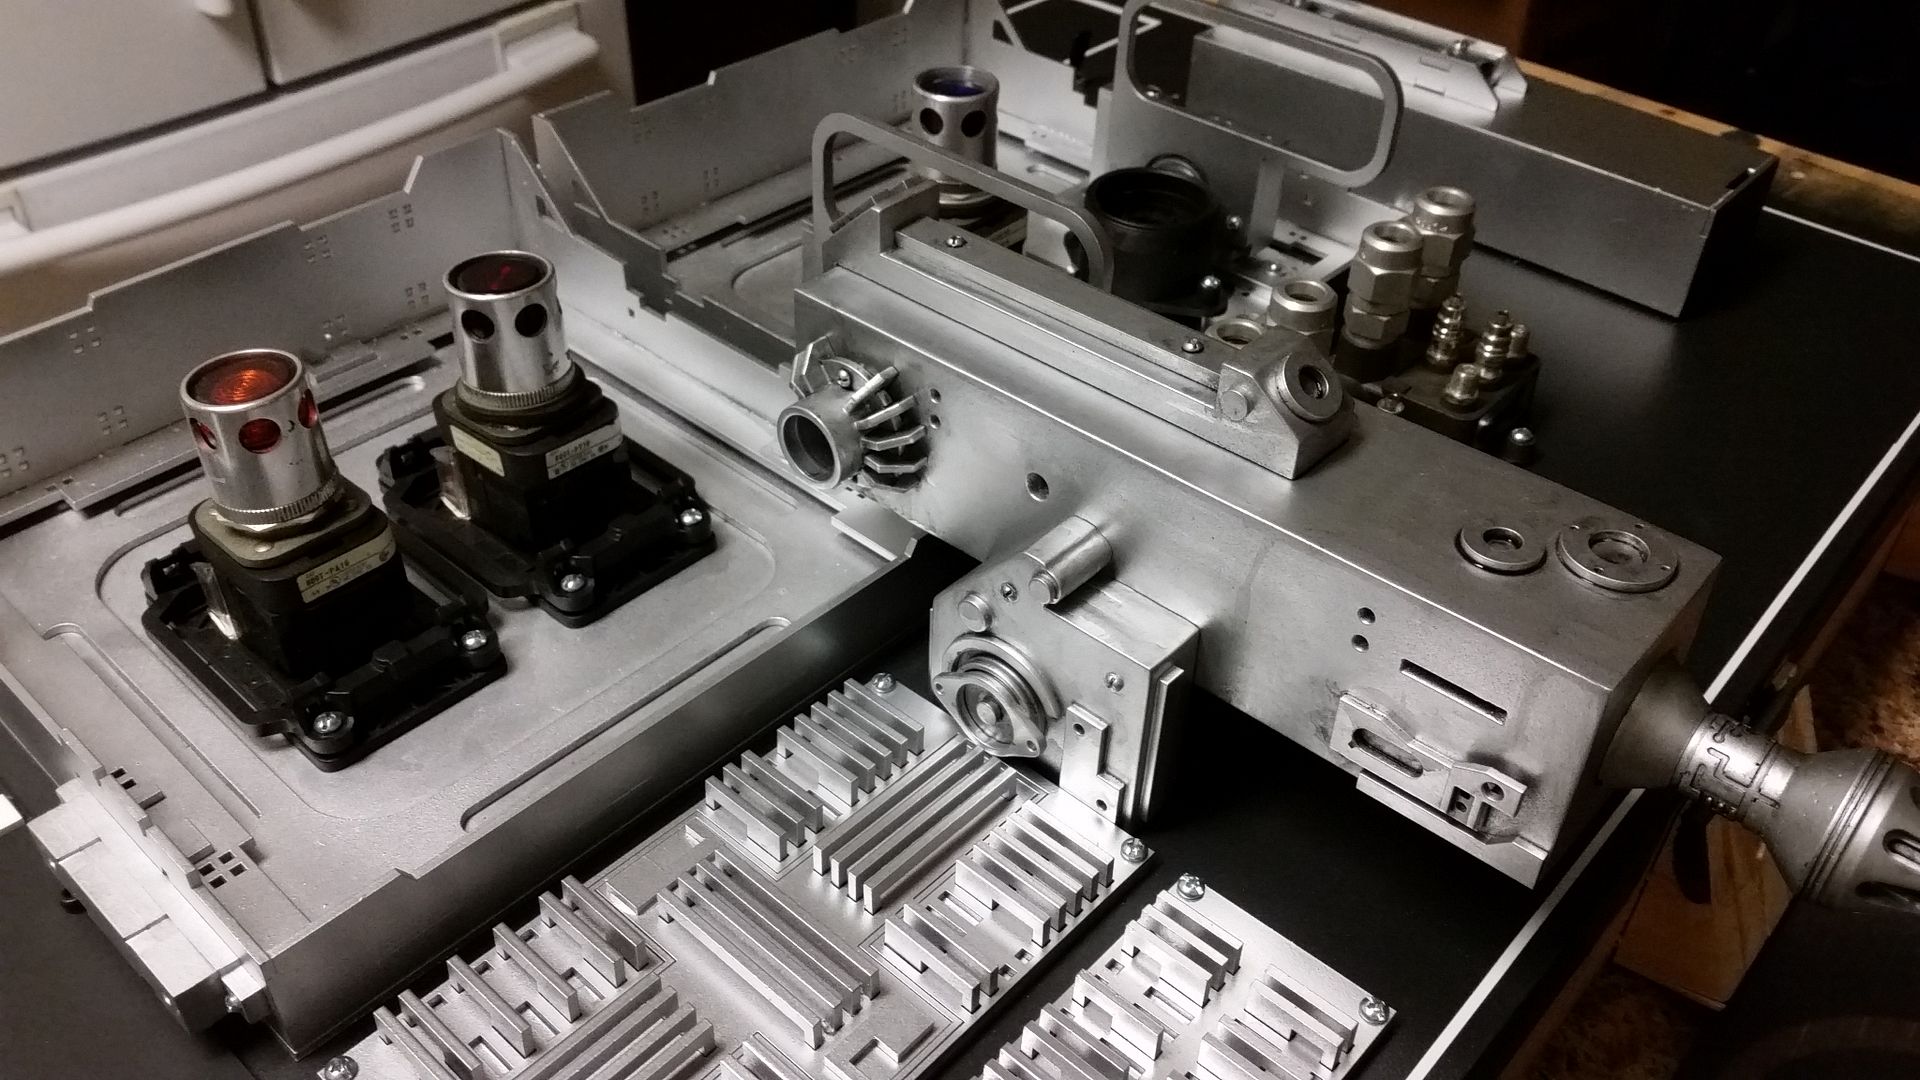
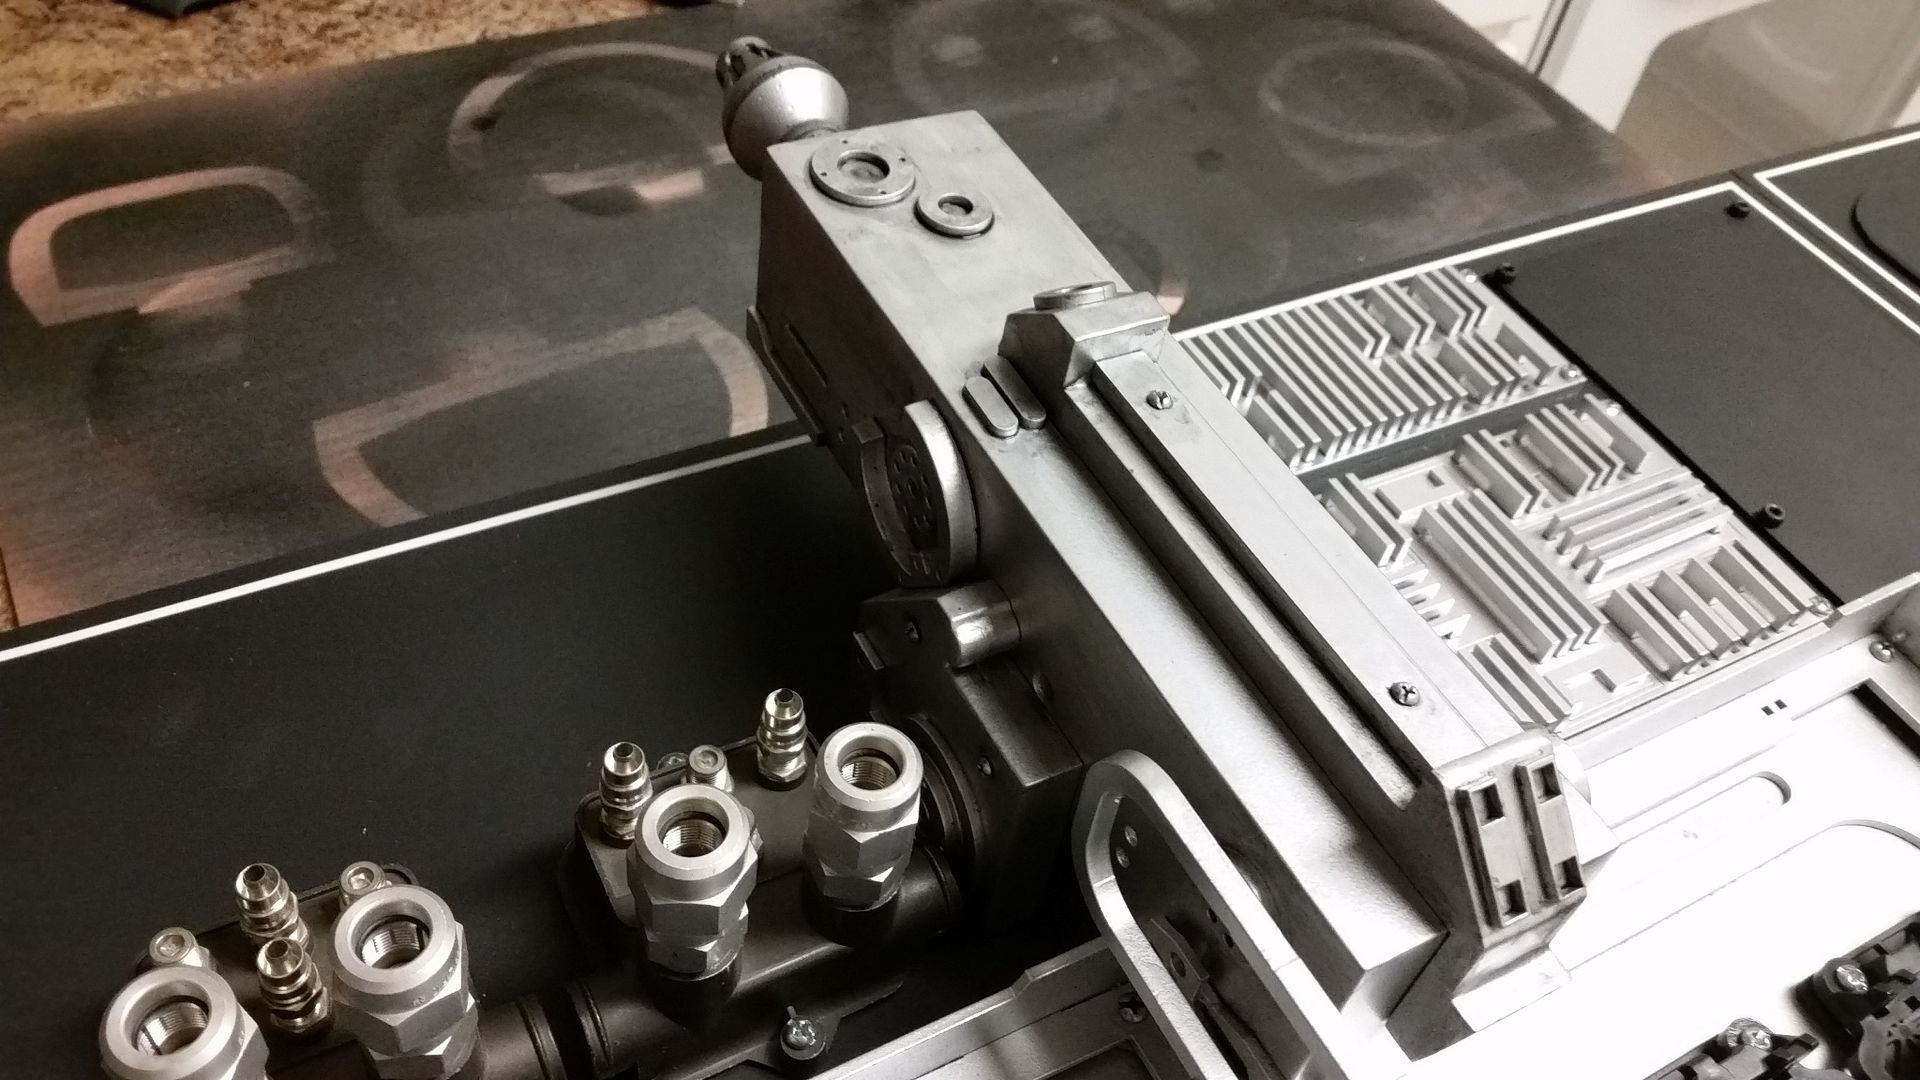

Image flipped for basic look and feel
Now what to do with this guy and this back area????
More to Follow!
Early Morning Update!
Got home yesterday and just didn't have enough sunlight to start cutting the angles on the new nose pieces. So I sanded the edges down and did a basic dry fit - and it's perfect!
Look at that angle... nice
The gap you're seeing between the top of the rib and just below the shelf is for the horizontal tie-in piece
Moving on... I hope I remember how all this goes together - prepping for paint
Dry fit
The canopy box lever mech
The MDF piece attached to the lever itself rests around the other MDF piece. Note the small stopper just between the two brass screws
Once nestled into place the lever can rotate around the dowel - the small stopper allows a certain amount of travel
Now if I can just figure out how to put it all together...
I then weathered this new greeblie - start with a wash
Then get into all the little nooks and crannies
This is where the greeblie mounts
Image flipped for basic look and feel
Now what to do with this guy and this back area????
More to Follow!
Last edited:
Fantastic work as always :thumbsup
I've got a feeling those seats might have been available in a slightly wider frame for the slightly more portly racing driver bitd.
At this stage could you not cut the frame & weld in some small extensions to increase the size a little?
I've got a feeling those seats might have been available in a slightly wider frame for the slightly more portly racing driver bitd.
At this stage could you not cut the frame & weld in some small extensions to increase the size a little?
Fantastic work as always :thumbsup
I've got a feeling those seats might have been available in a slightly wider frame for the slightly more portly racing driver bitd.
At this stage could you not cut the frame & weld in some small extensions to increase the size a little?
Hi L,
That's exactly what we're going to look at - depending on time. When Daniel and Co remove all the material, they're going to look into widening and raising the height of the seat before recovering. Again, depending on time.
I know why it didn't fit right... your stuffing and cranberry tank has been running low... but don't worry... I'm sure you'll be able to fill up soon! Happy holidays bro!
That's what it was! If all goes well I'll be blasting through the holiday! Gotta get things done!
Happy Thanksgiving to you, my friend!
That's what it was! If all goes well I'll be blasting through the holiday! Gotta get things done!
Happy Thanksgiving to you, my friend!
And don't forget your Liquid Shwartz!
And don't forget your Liquid Shwartz!
The Full Scale Falcon Project: The Shwartz Awakens
The Full Scale Falcon Project: The Shwartz Awakens
I think that would be the Full Scale Eagle 5 Project: The Shwartz Awakens... LOL... May the Shwartz be with youuuuuuuuuuuuuuuuuuuuuuuuuu... what a world what a world....
I think it would have been a really funny in-joke if the inside of the Eagle-1 was completely disproportionate to the Winnebago... like maybe with a upstairs bedroom and a fireplace reading library! LOL
Last edited:
BigBigDave
Active Member
Wow, Sofa - you've really gotten the hang of that weathering. As usual, it's all looking really good!
I had a really strange reaction to the front window assembly pics - I think because it's the outside AND the inside, and it's such an iconic piece of the cockpit, I got a little emotional. I hope to be able to see this bad boy in person some day.
I had a really strange reaction to the front window assembly pics - I think because it's the outside AND the inside, and it's such an iconic piece of the cockpit, I got a little emotional. I hope to be able to see this bad boy in person some day.
Operascot
Active Member
Hey, guys, thought I'd chime in a bit here. Sadly, I have no photos, because all the good stuff is happening 2000 miles away from me, but in doing the quick fix on the model for Sofa, I figured out that the canopy beam stuff (which, if you followed this back when Sofa made his first foray at gave him nightmares, and kept me up for several days on this round) is not getting affected by the little oopsie we had last week.
Not saying it is going to be poof! and it's done, but we don't have to go BACK to the drawing board AGAIN for it at least.
Greg, I know I've told you this, but I wish I had the resources to come out and help with it right now. I so want to get my hands dirty with this. Clicking the mouse just is not the same as shooting staples.
Hi Gang,
For those who celebrated I want to wish you all a very late but heartfelt Happy Thanksgiving to all!
WHEW... It's been a HECTIC couple of days! Again, not as many pics as I would have liked because we have been full speed and finally caught up to where we have forward progress. Enjoy!
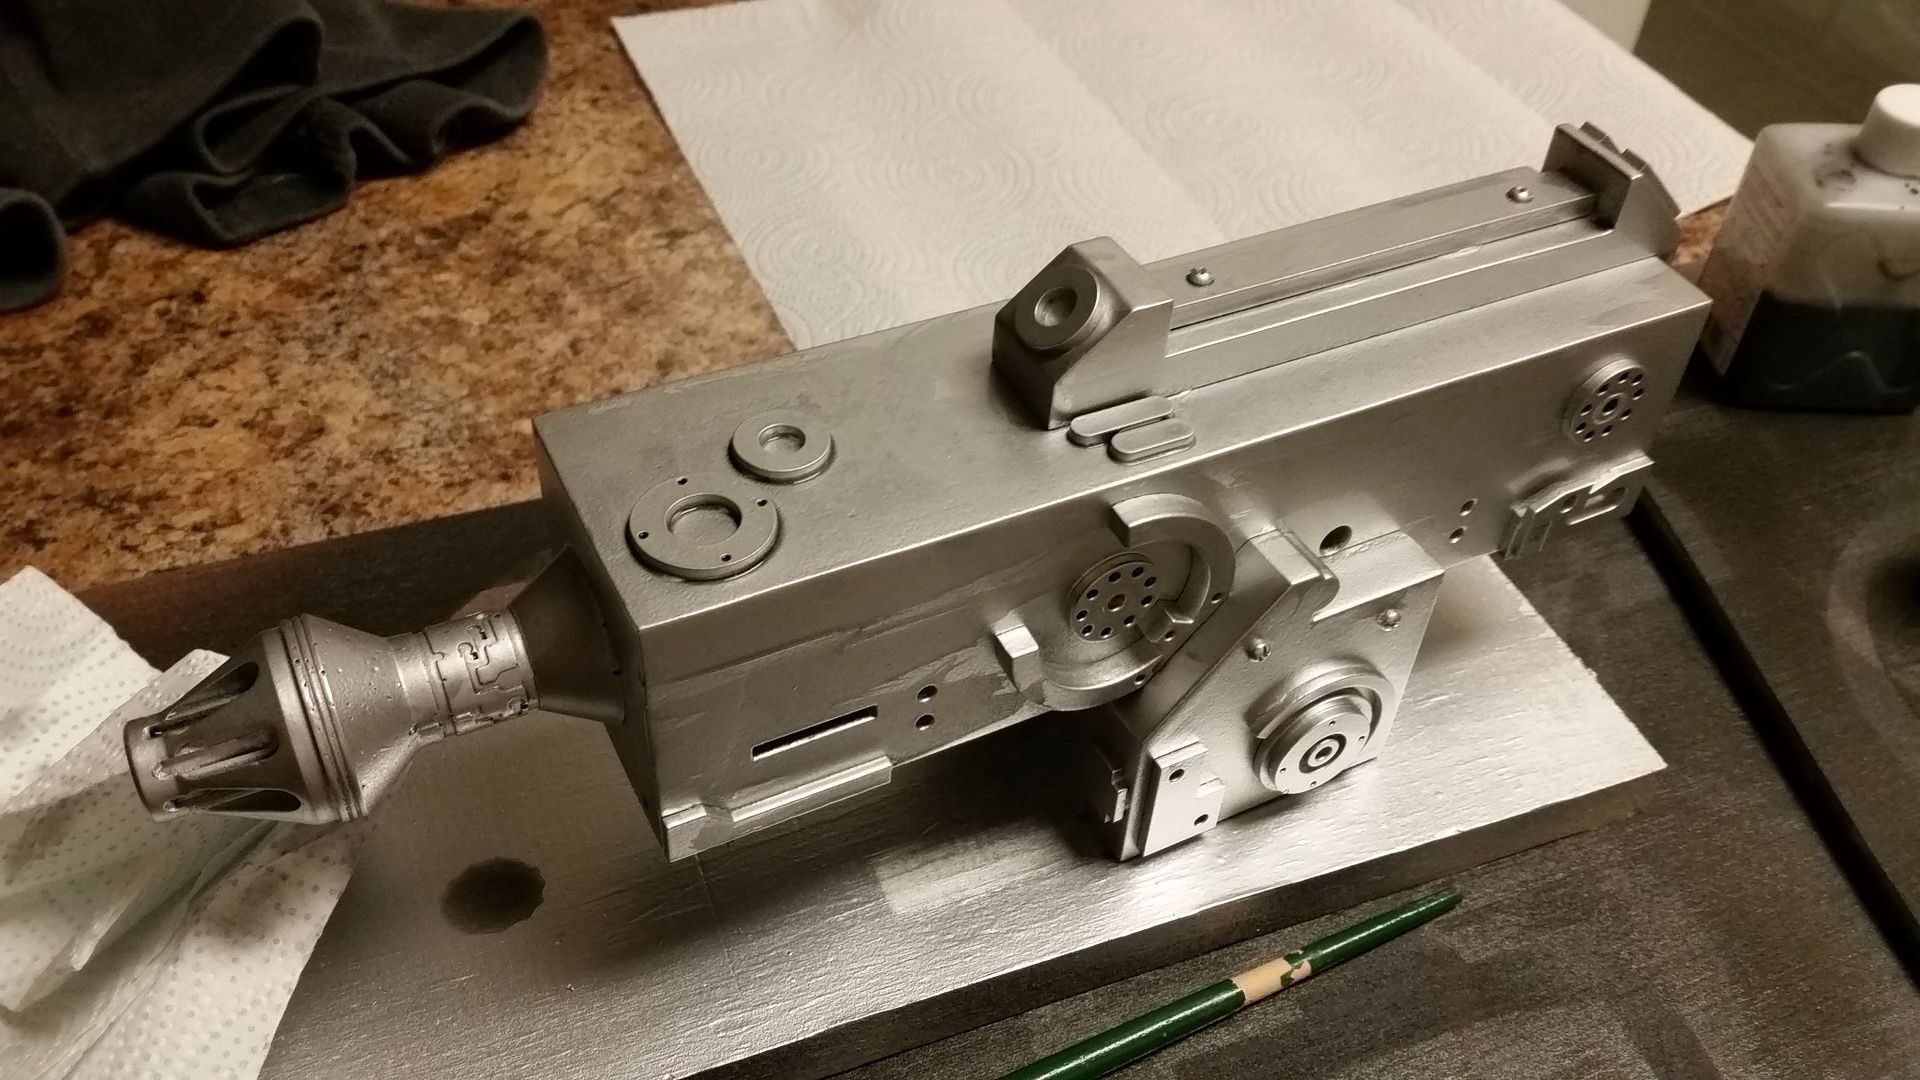
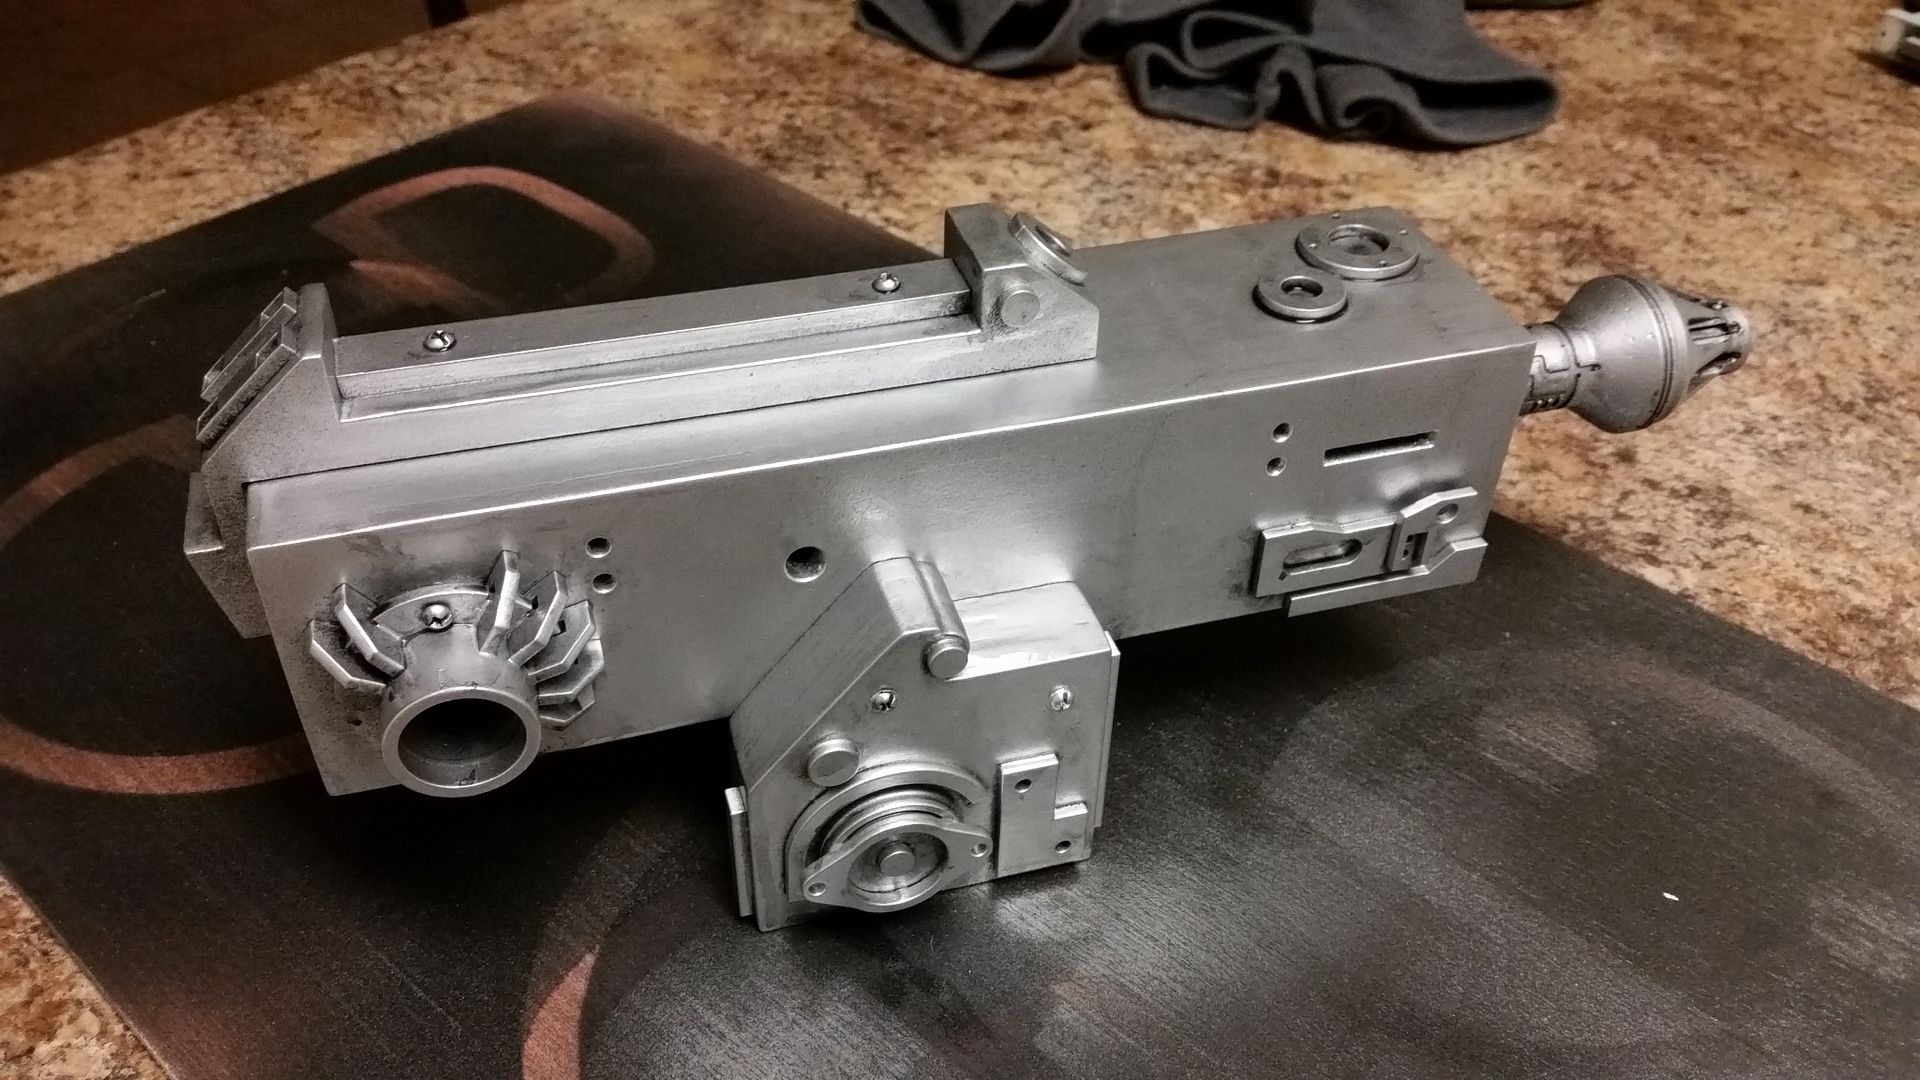
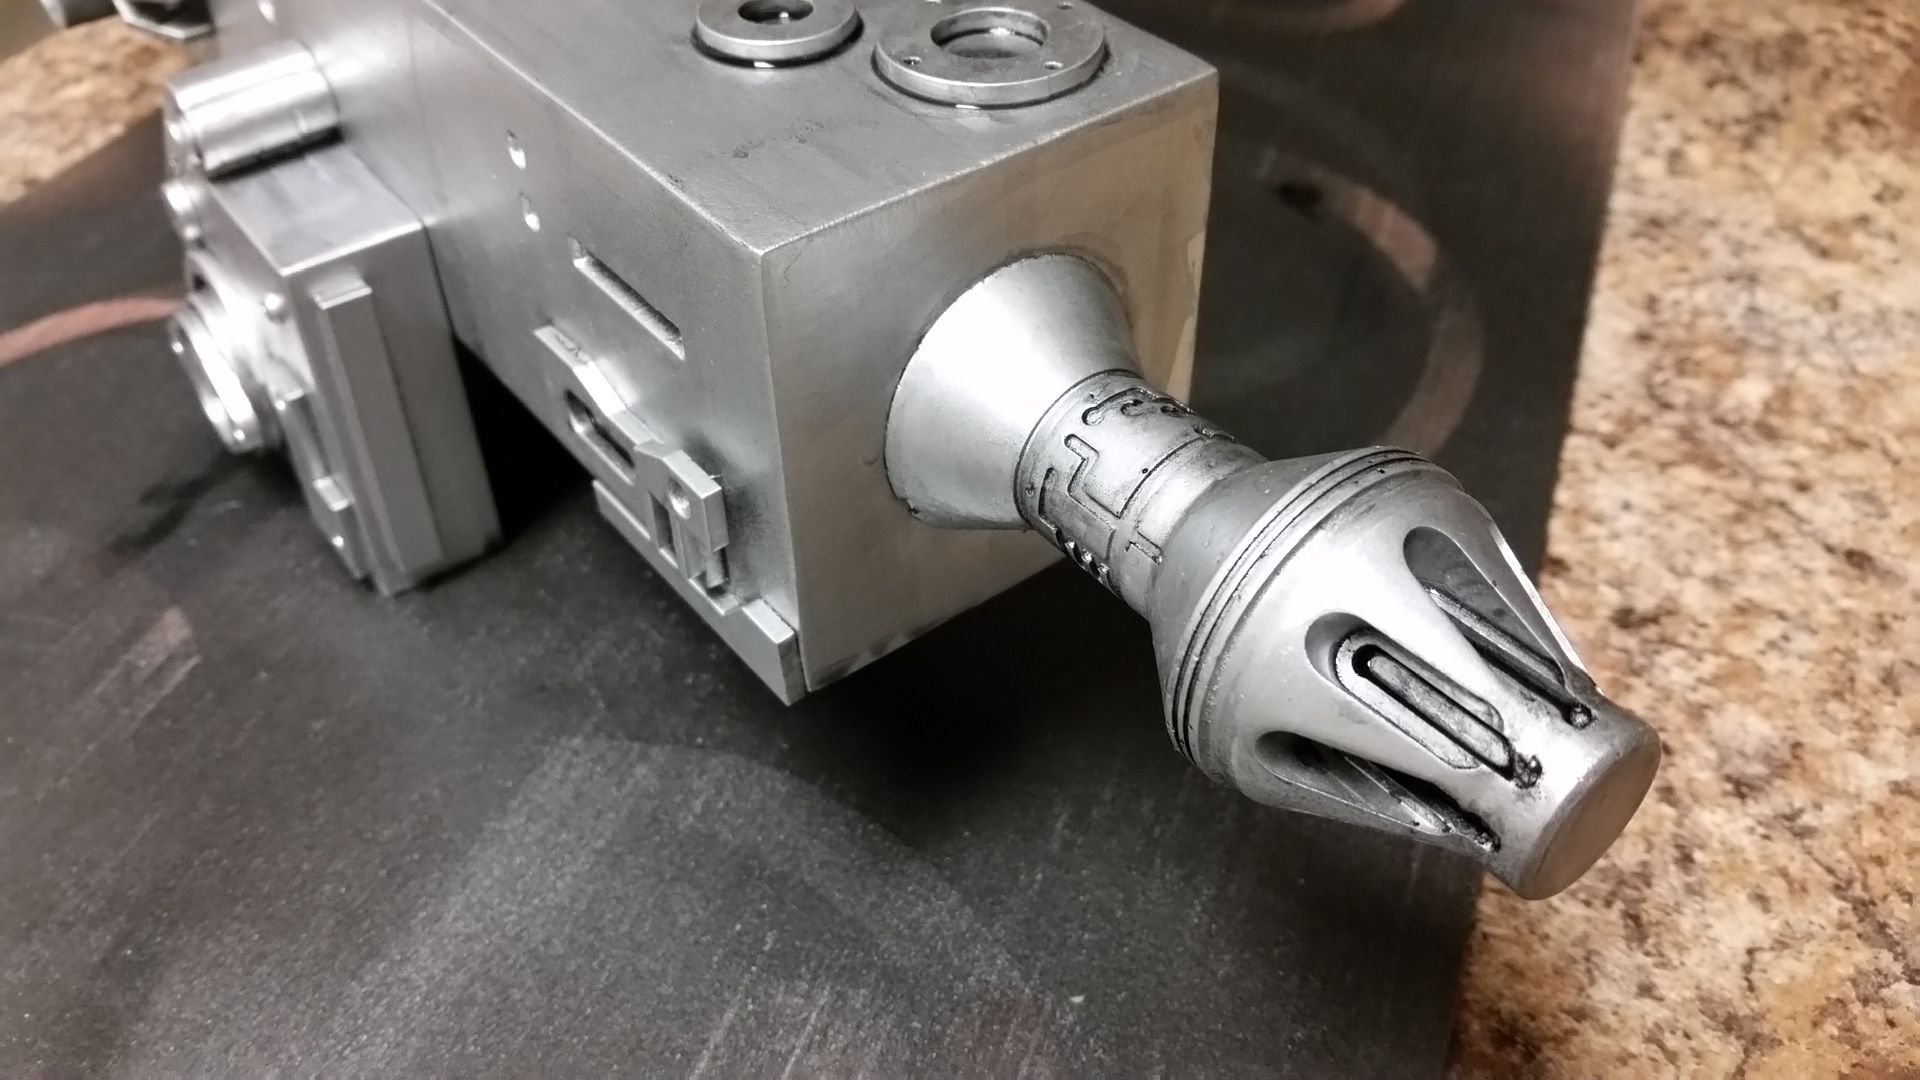
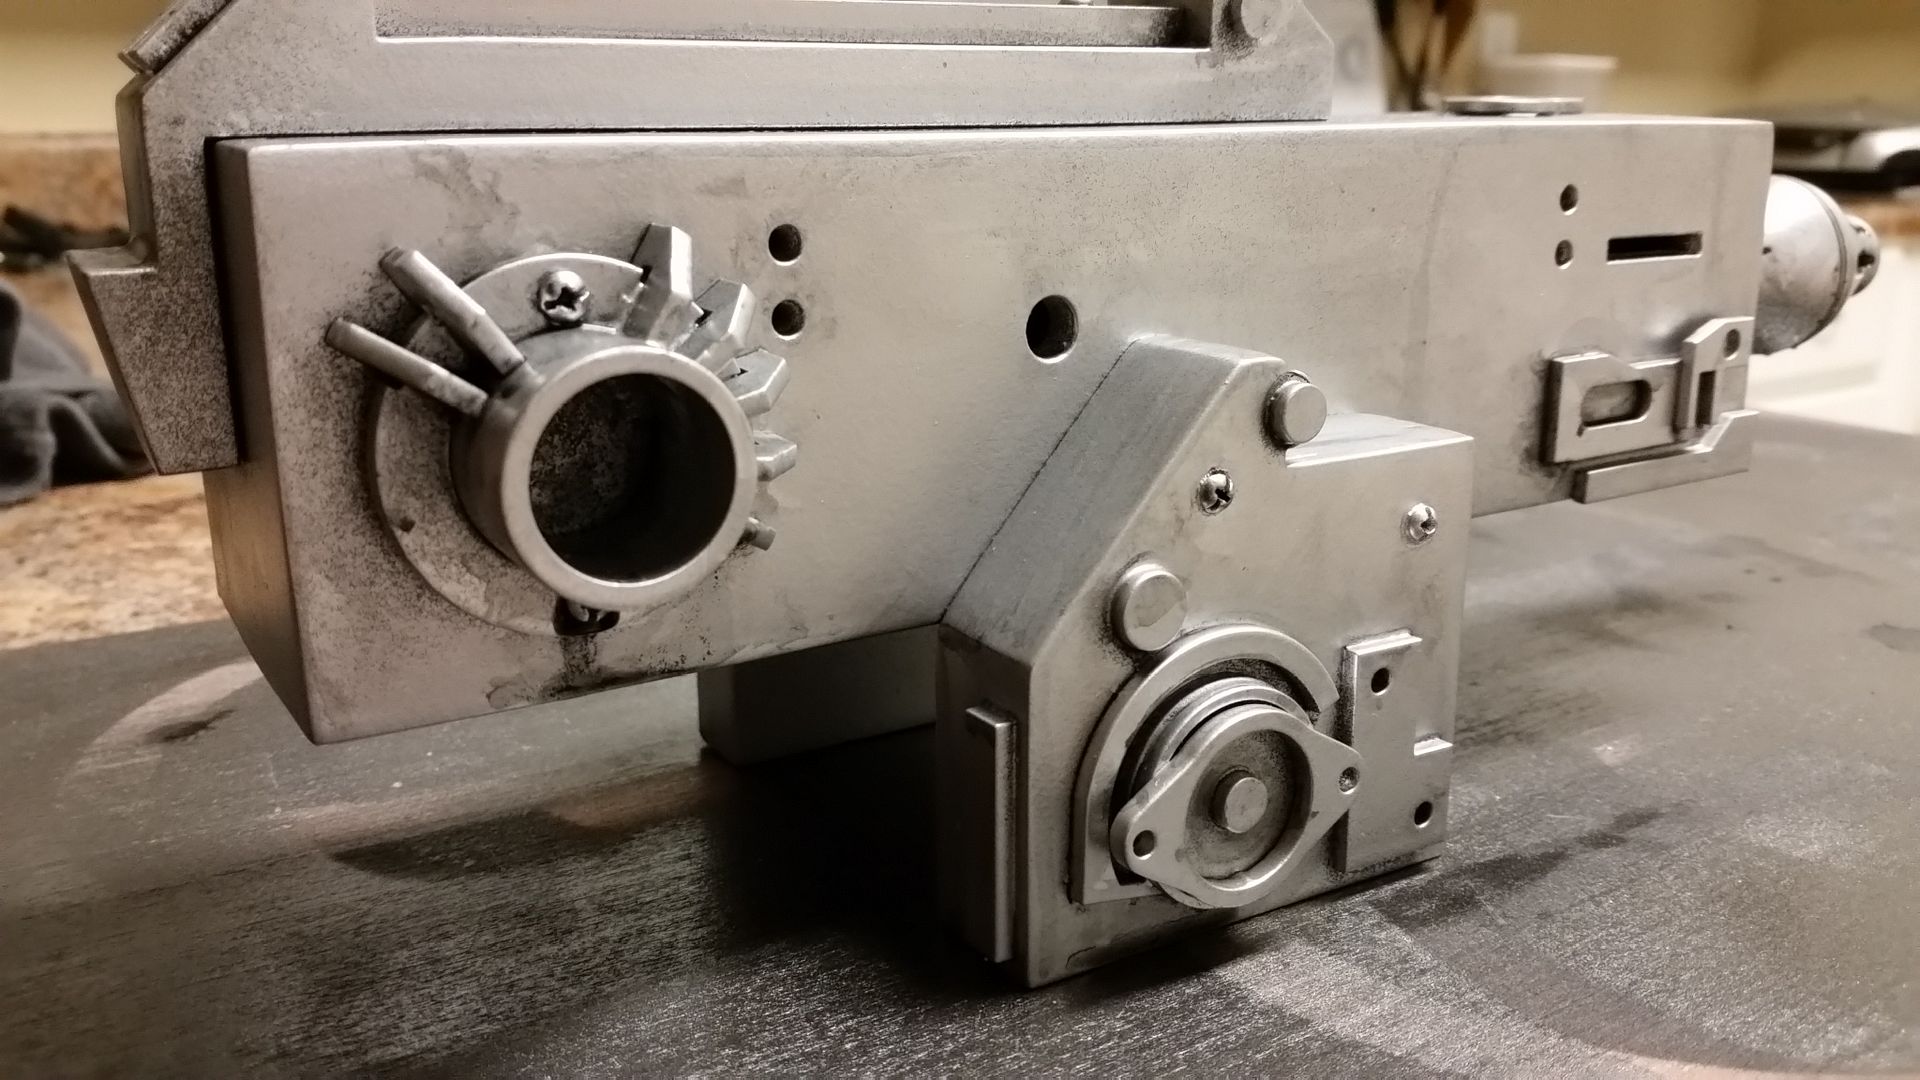
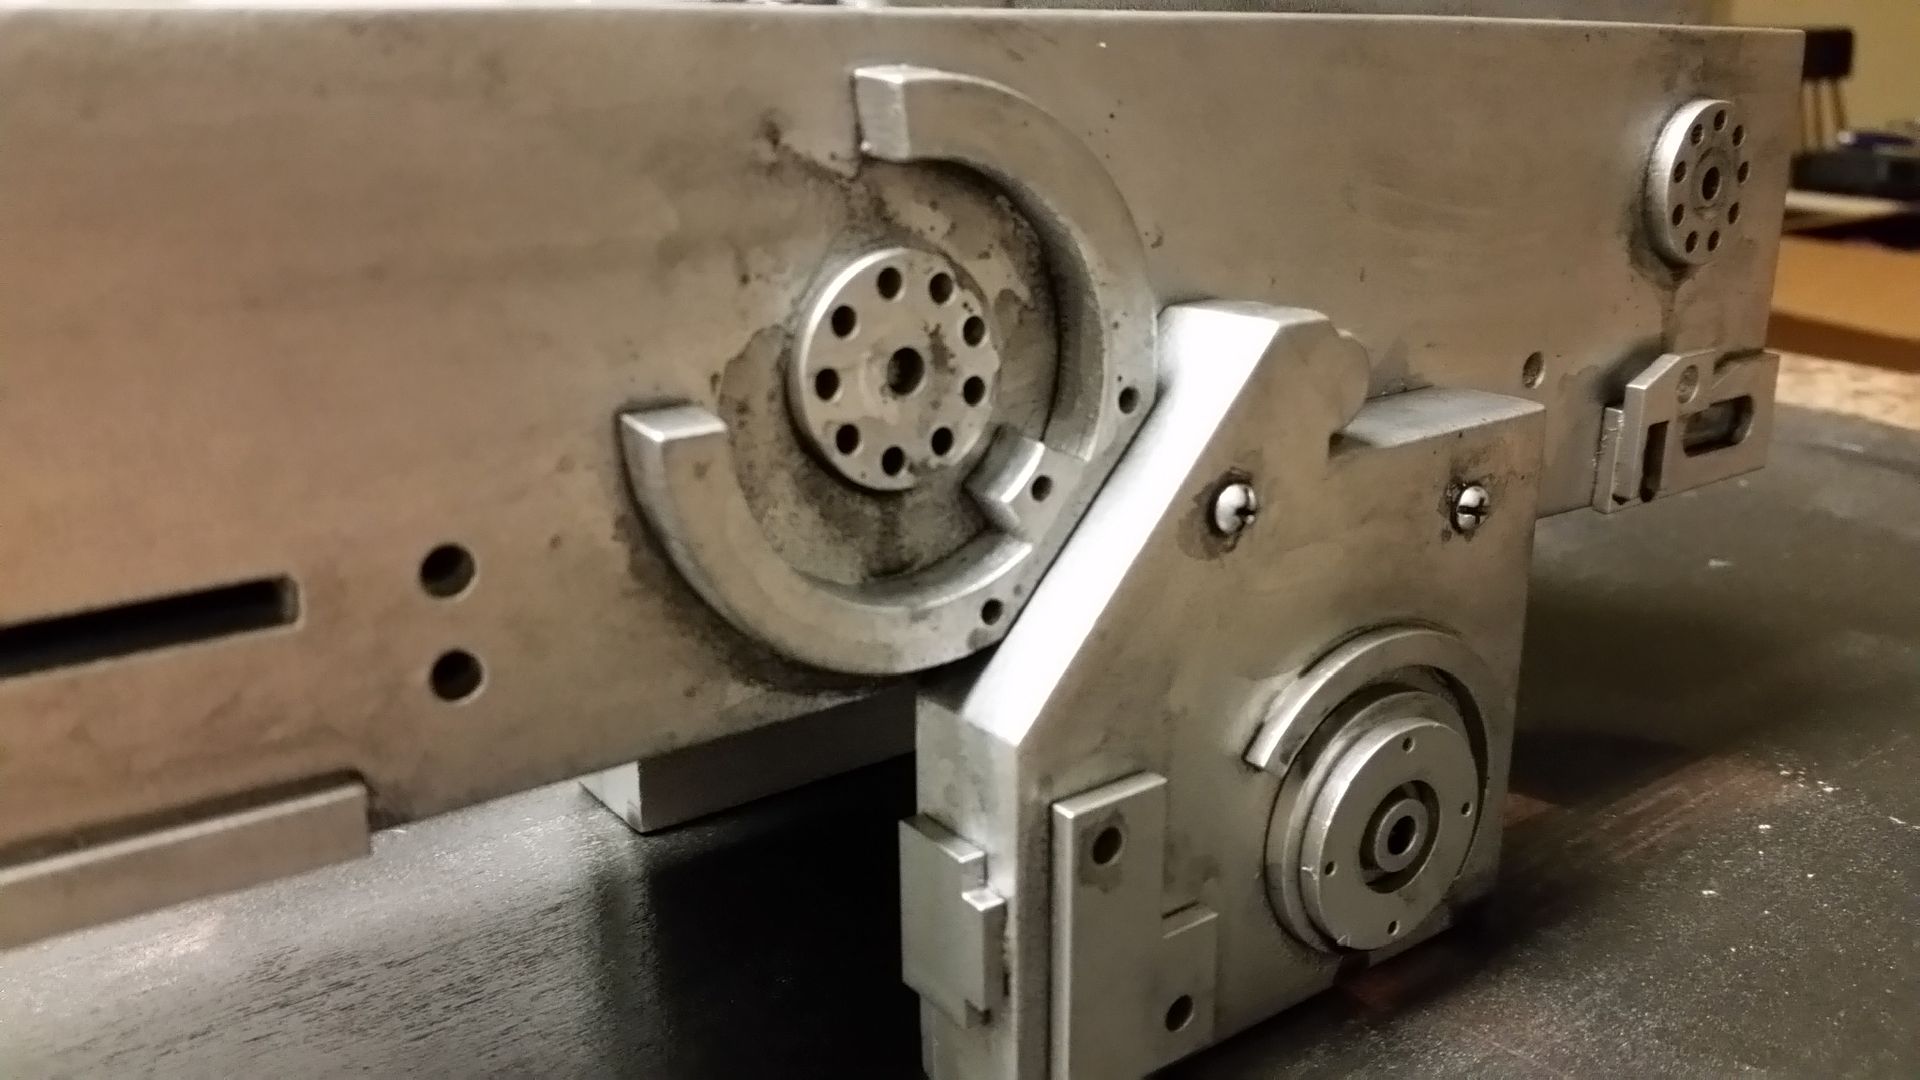
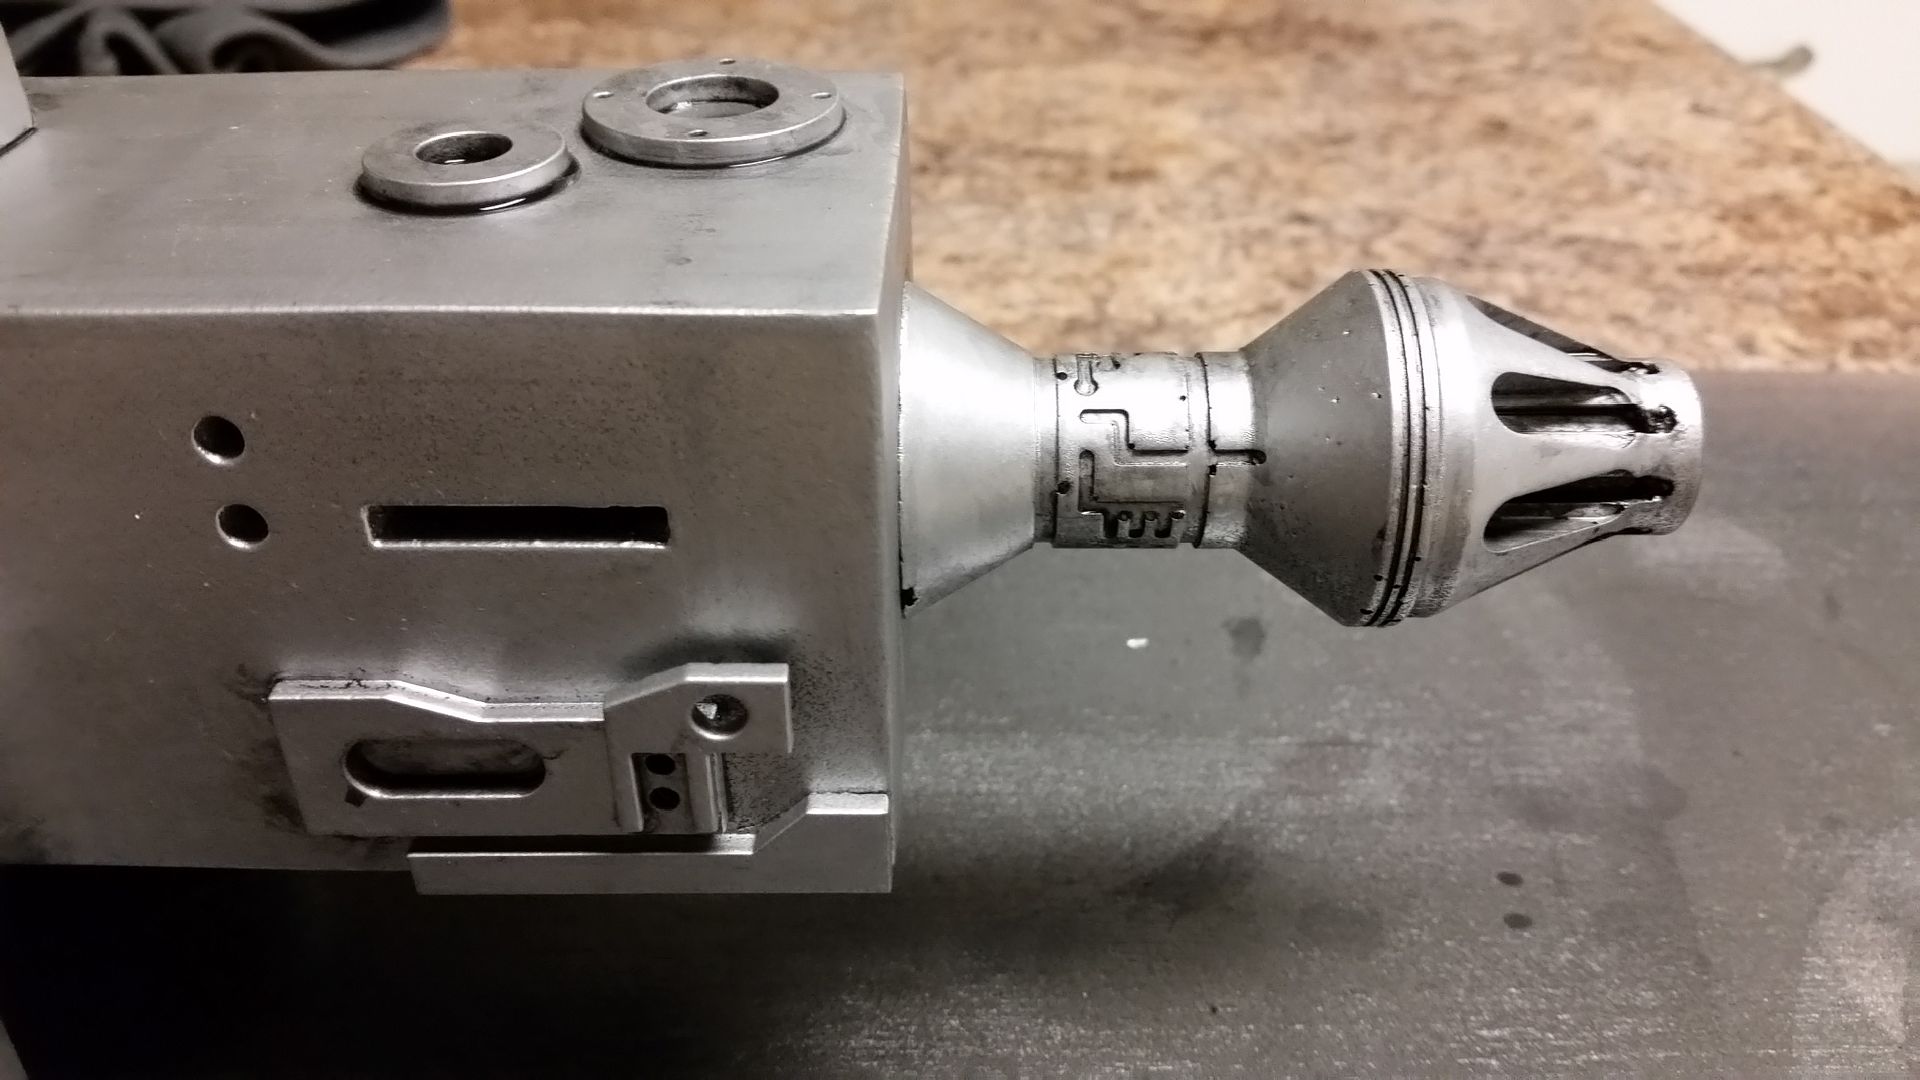
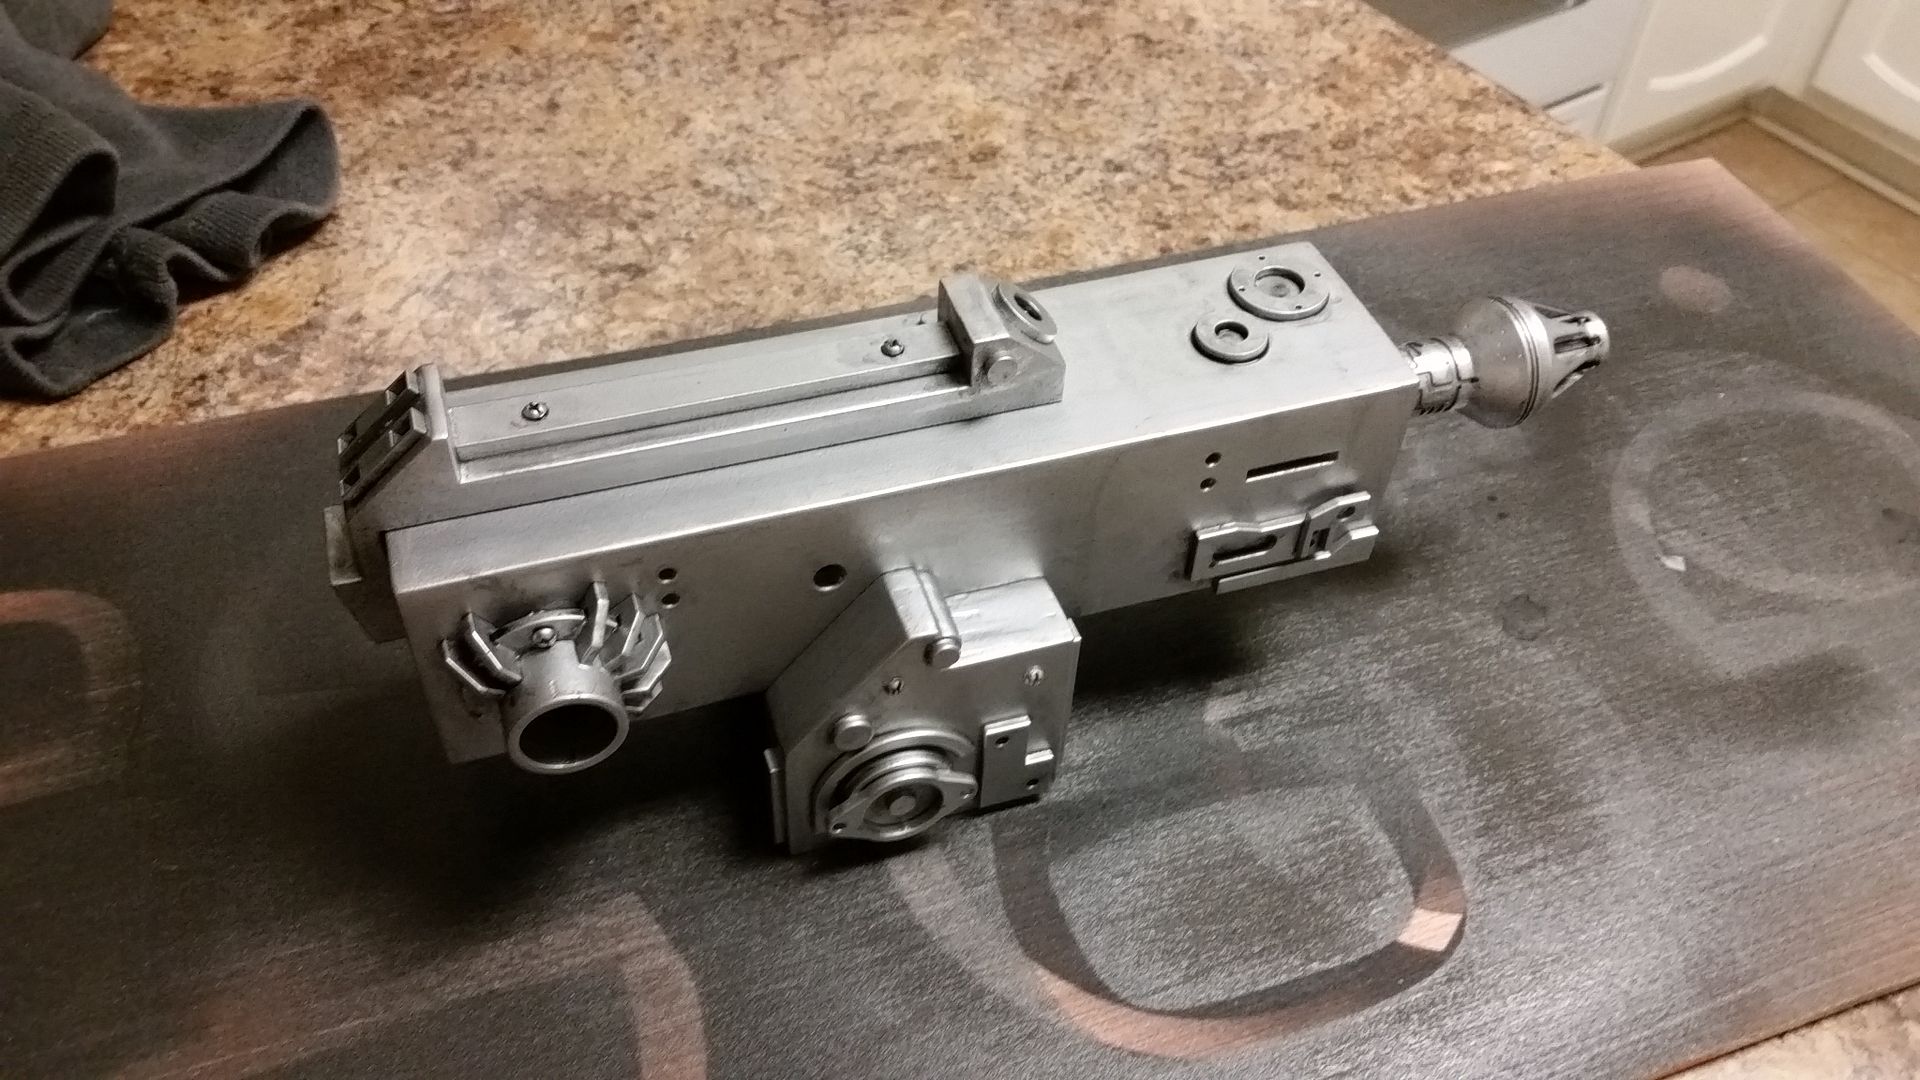
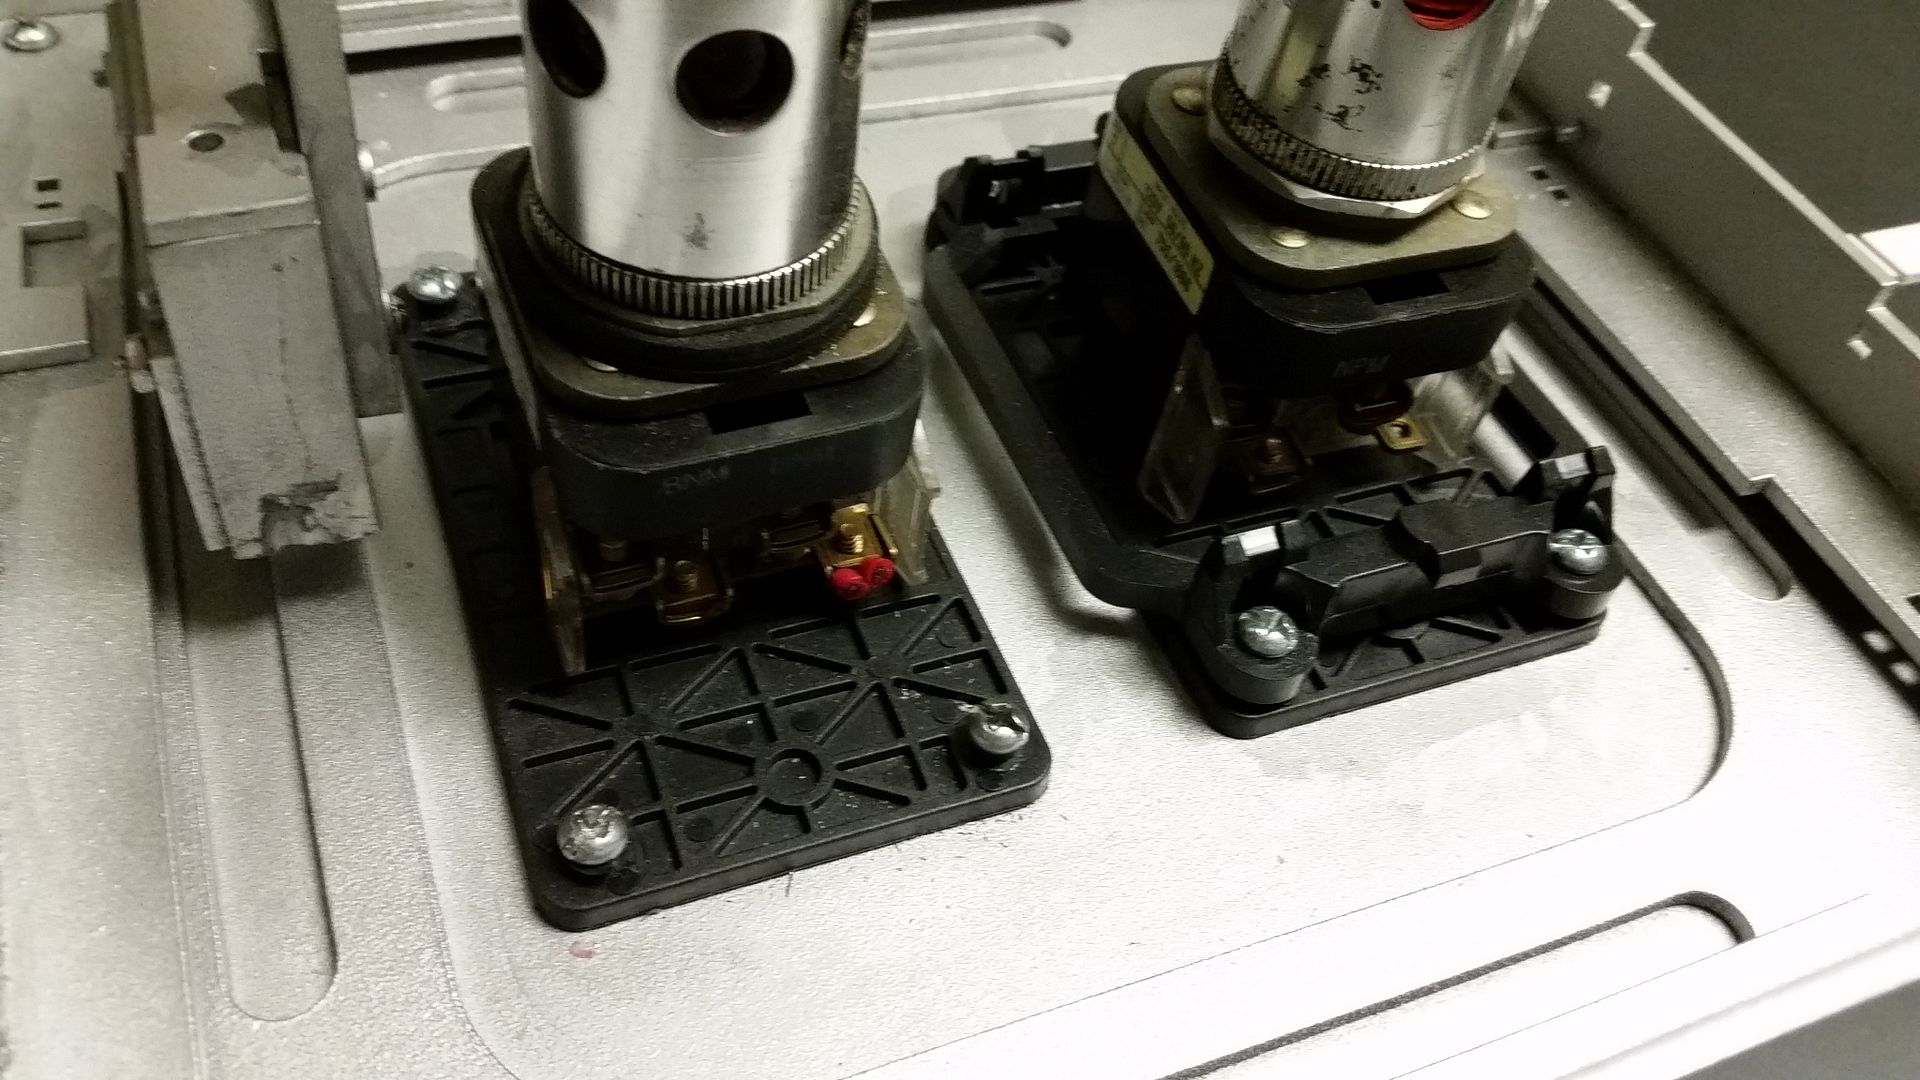
Started to move greeblies around so I can mount the "laser gun" greeblie (no... it's not a laser gun)
I removed this pull handle and moved it to it's new position

You can see some of the paint where I removed a greeblie
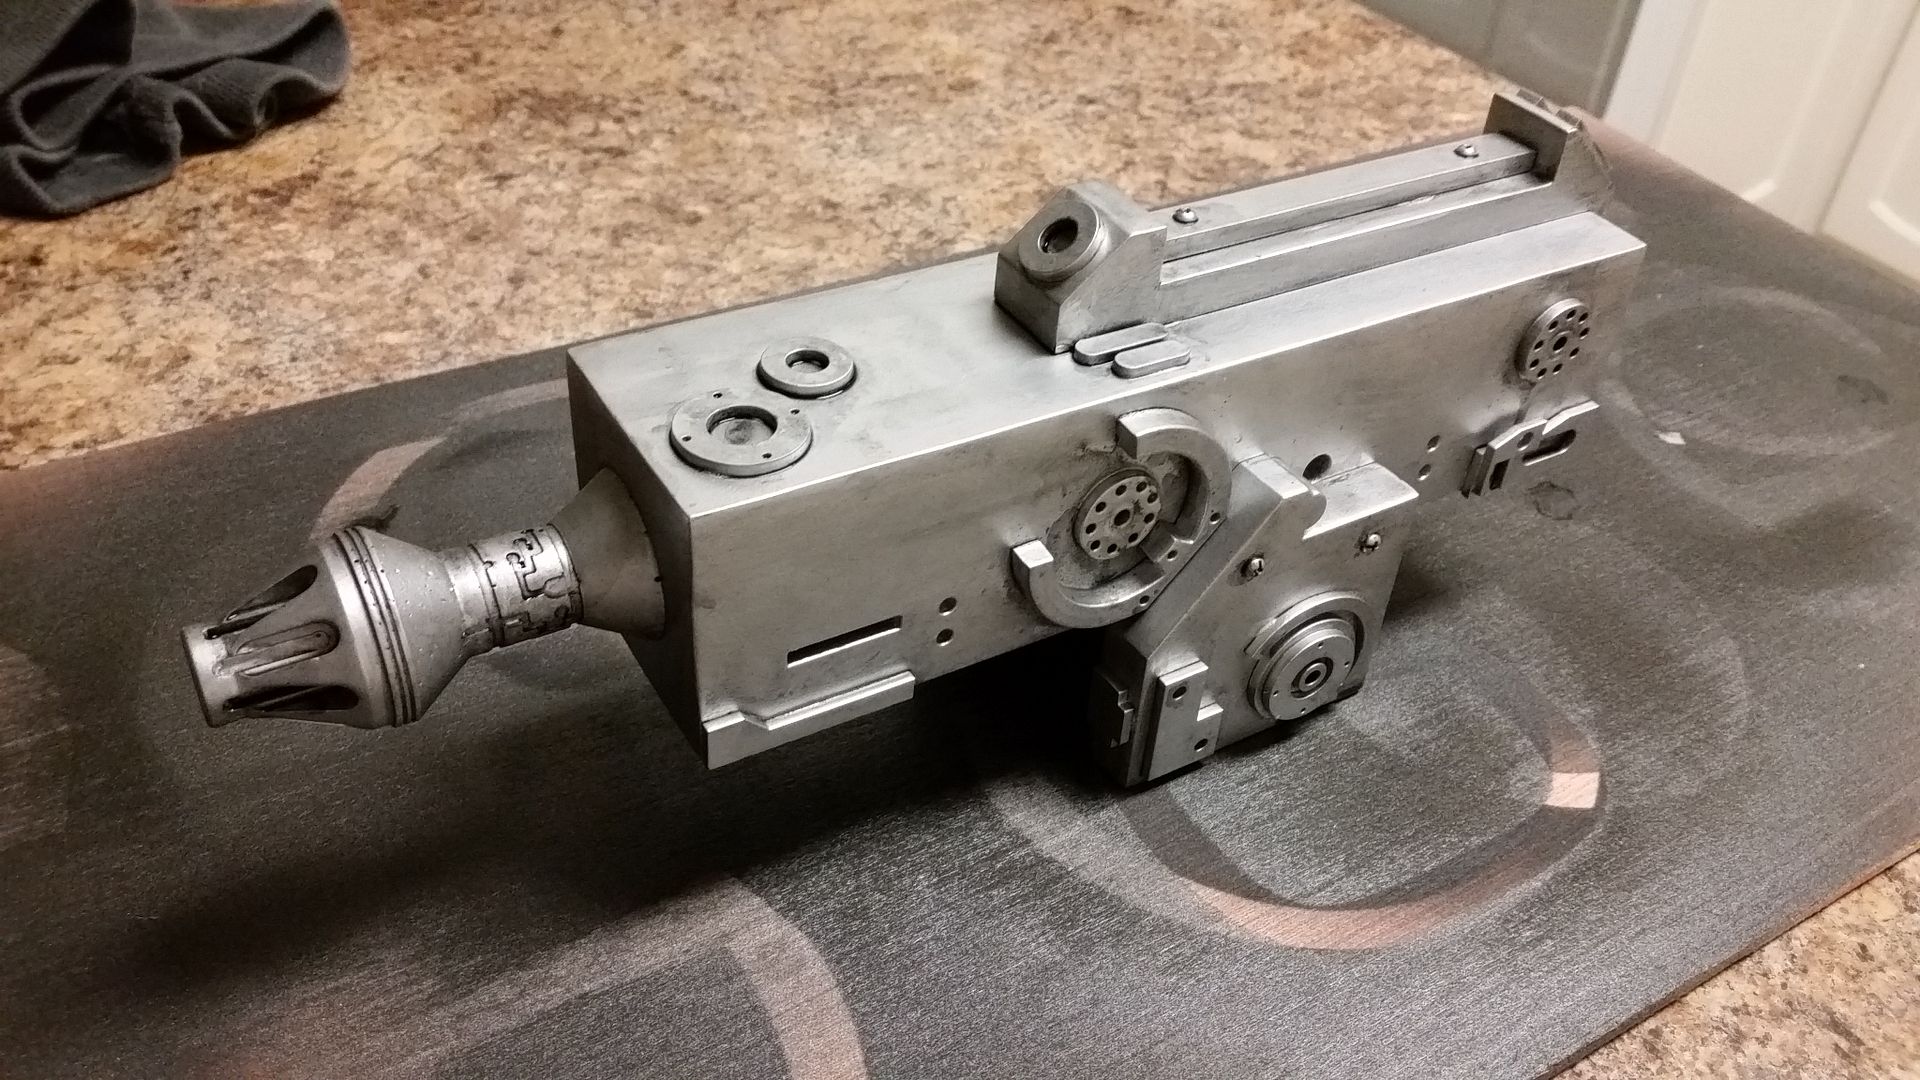
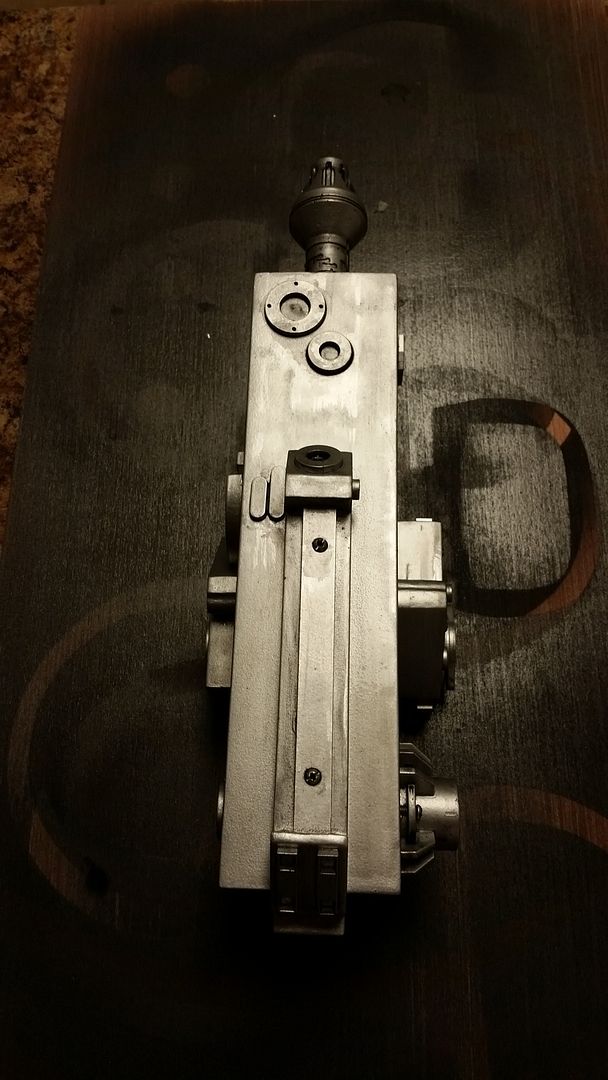
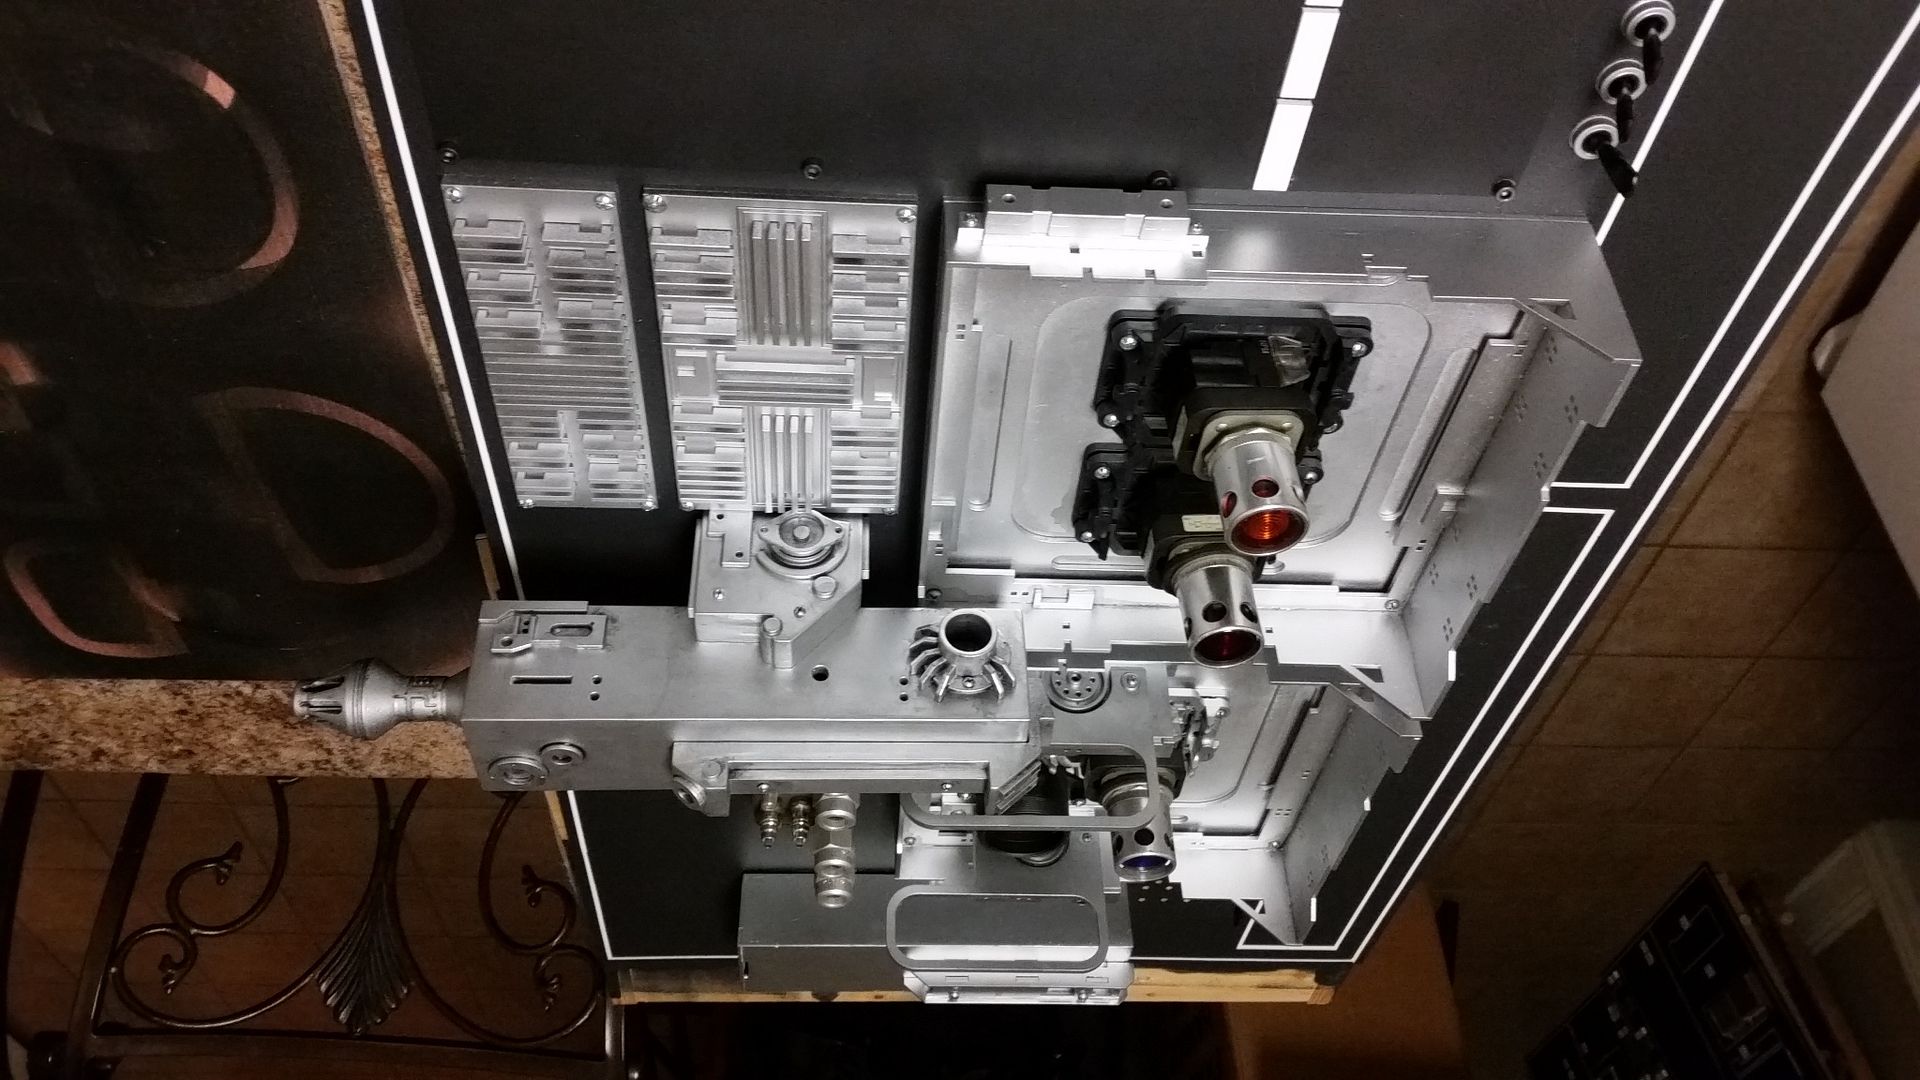
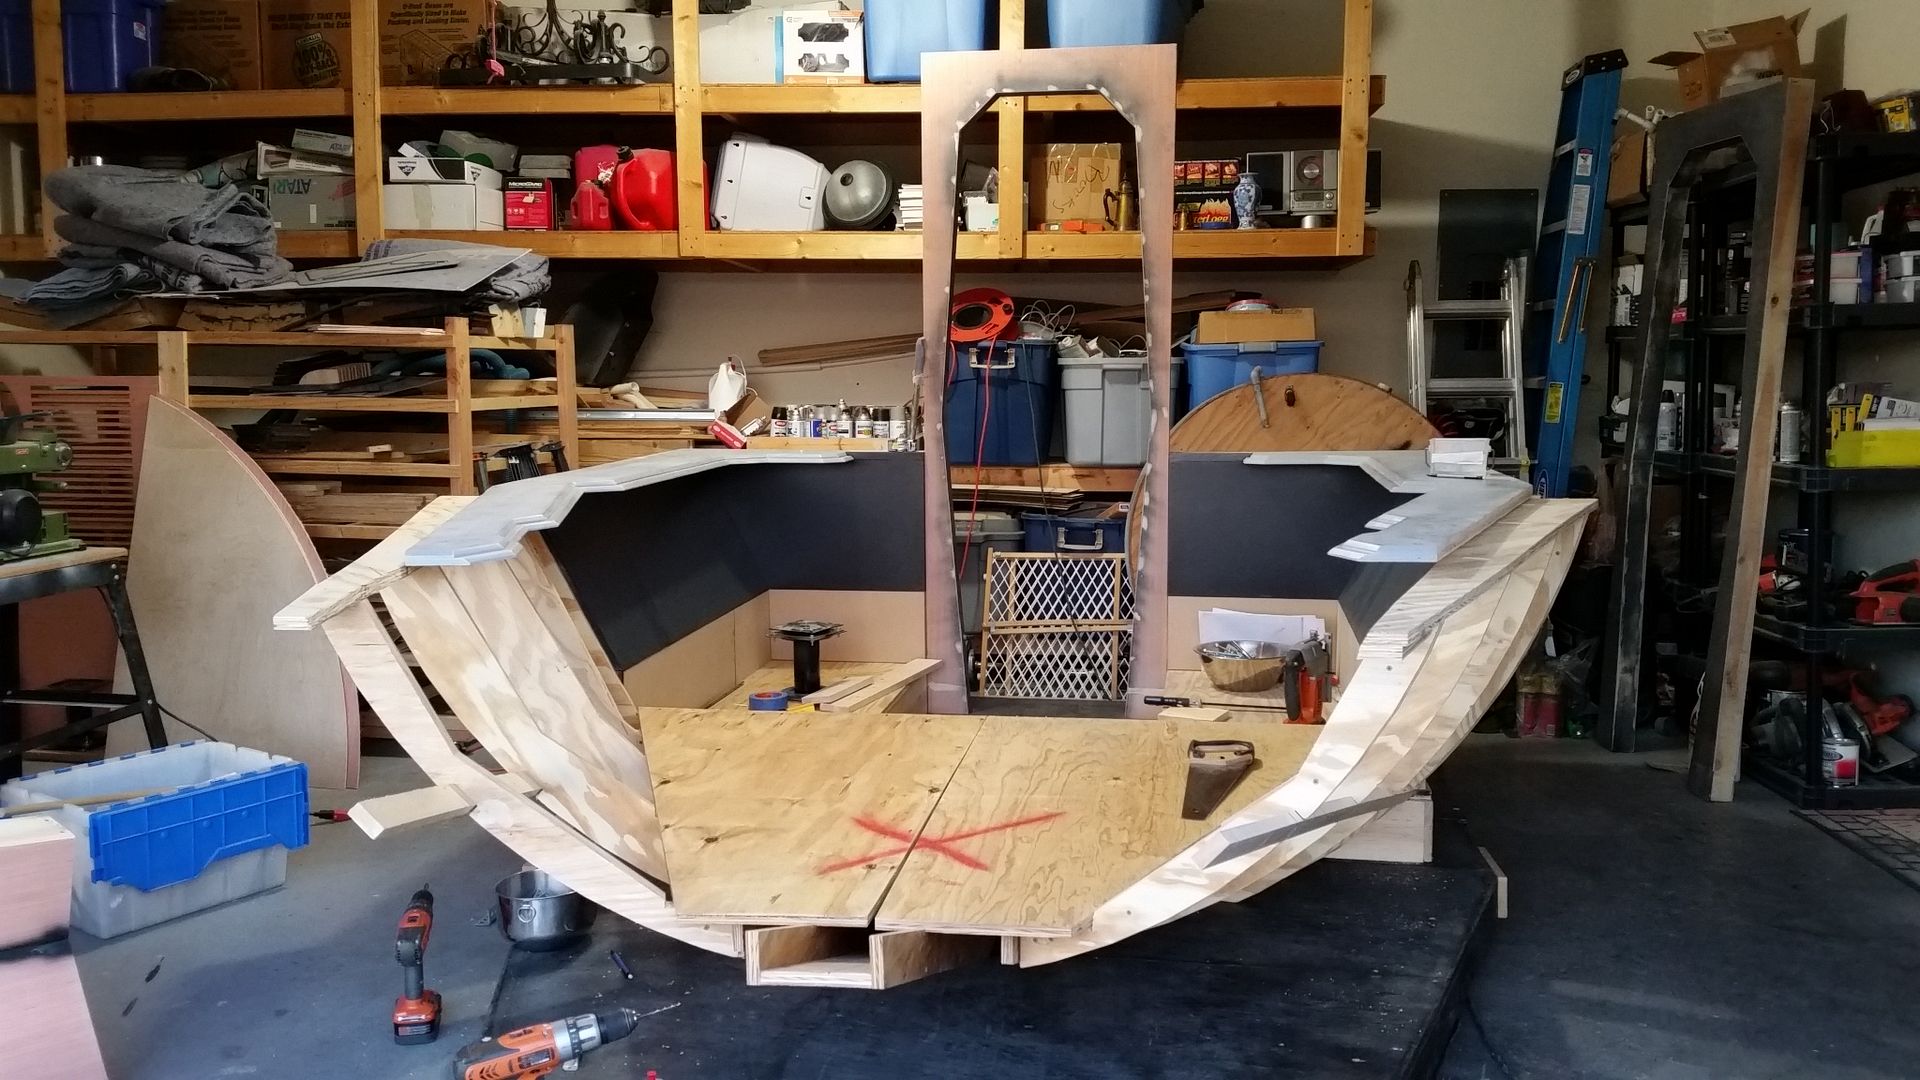
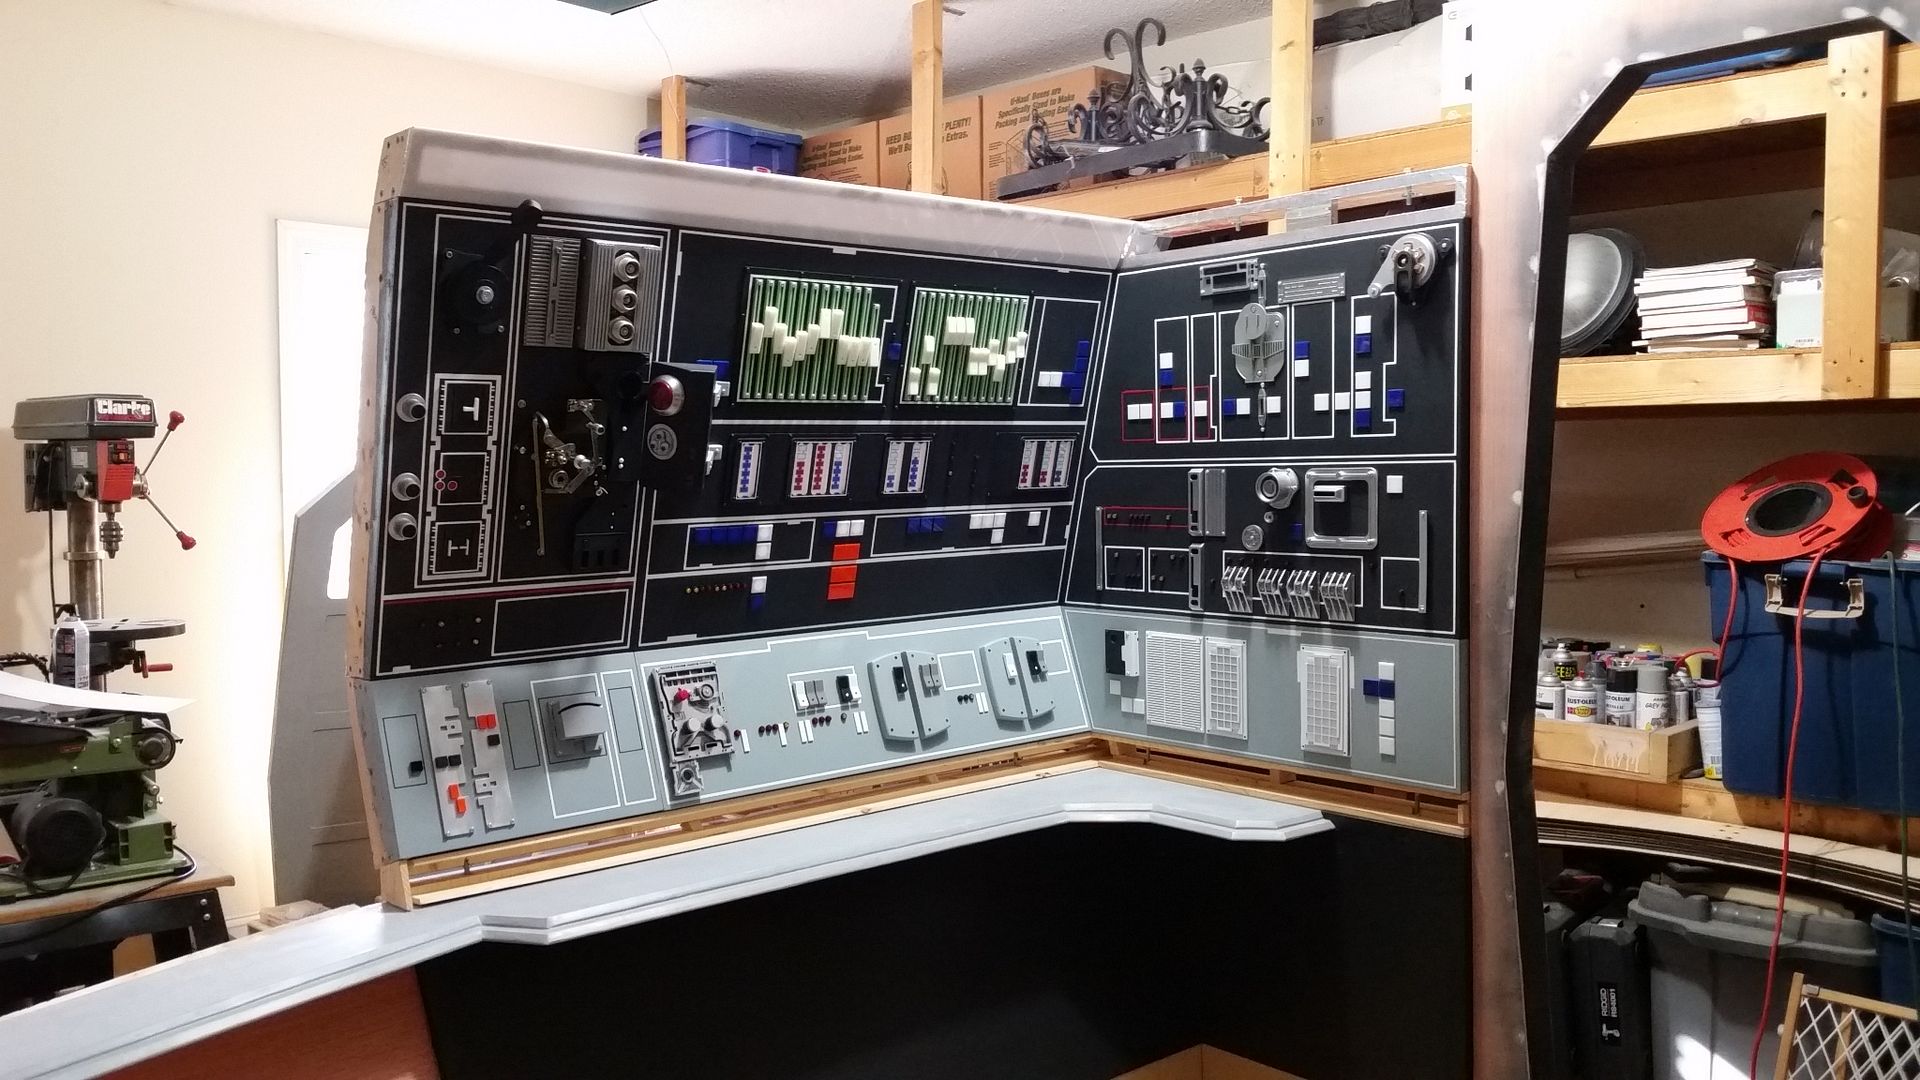
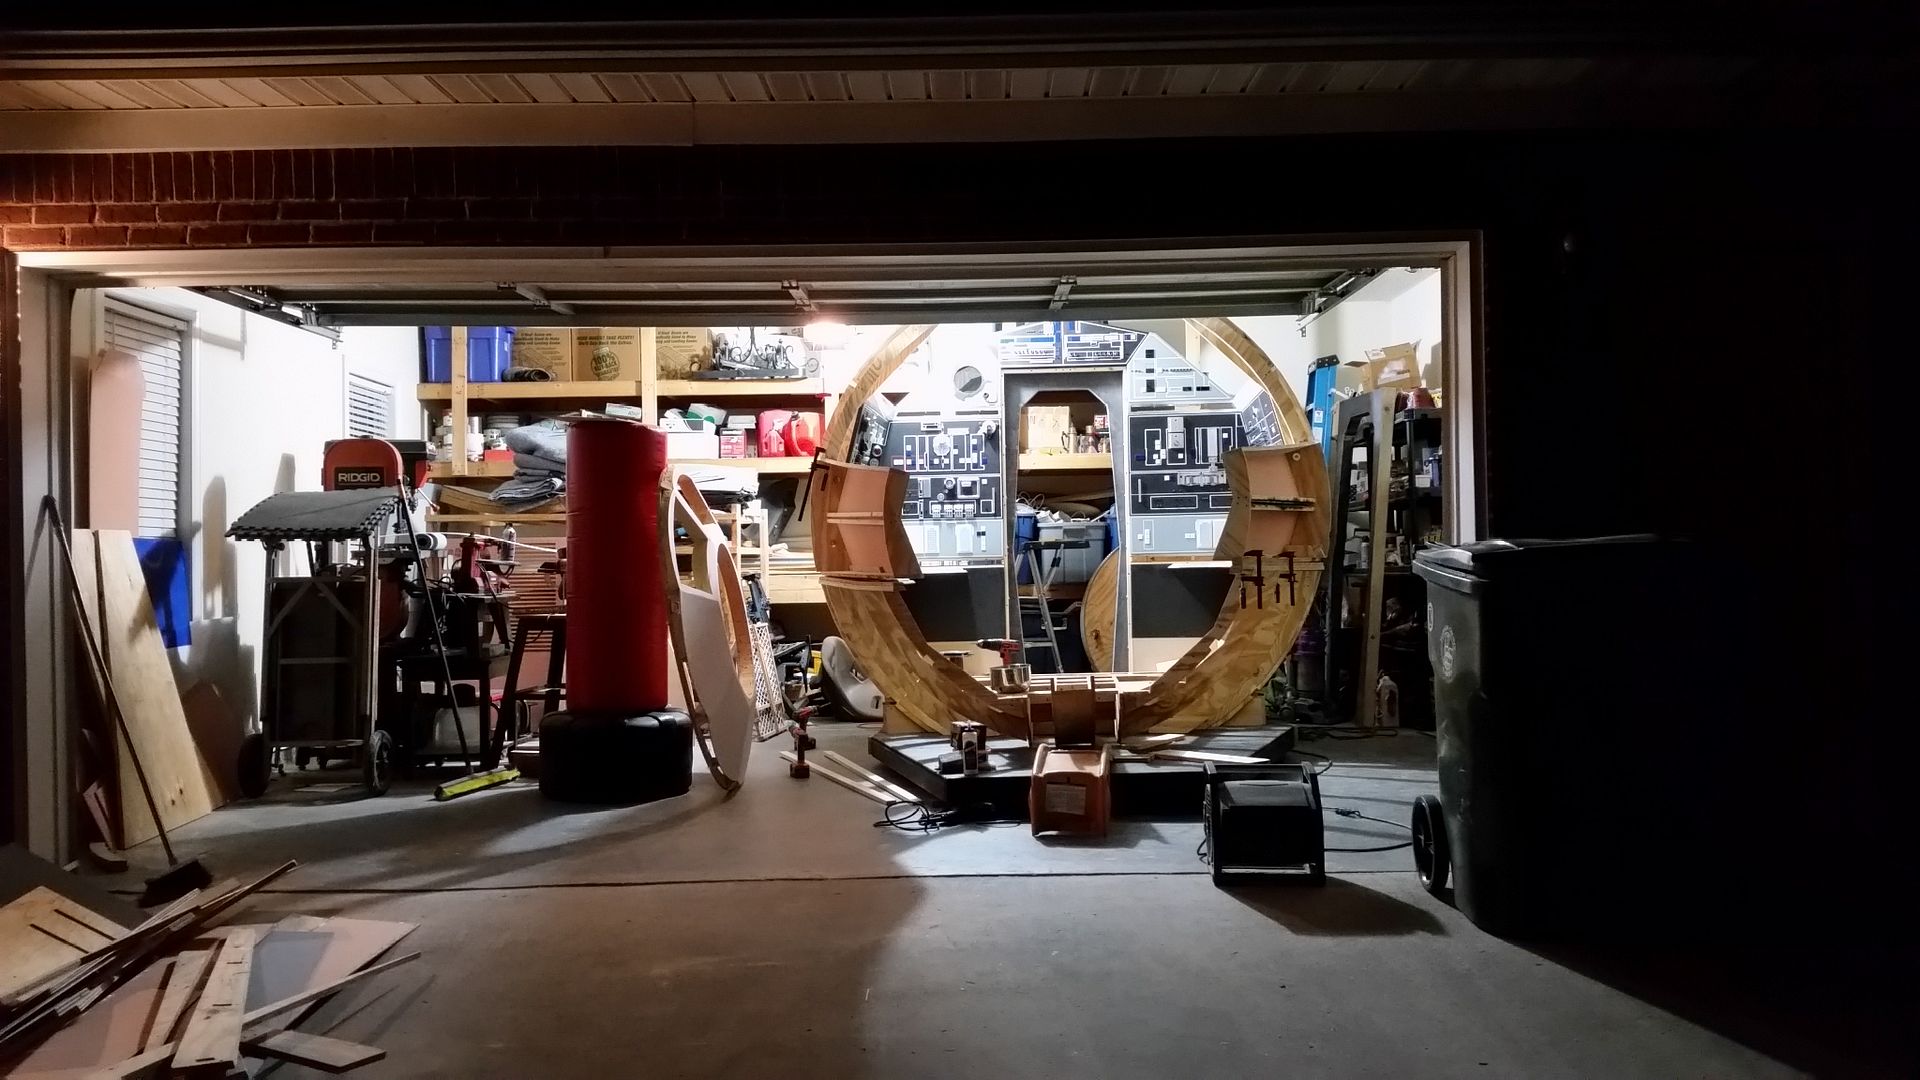
Overview
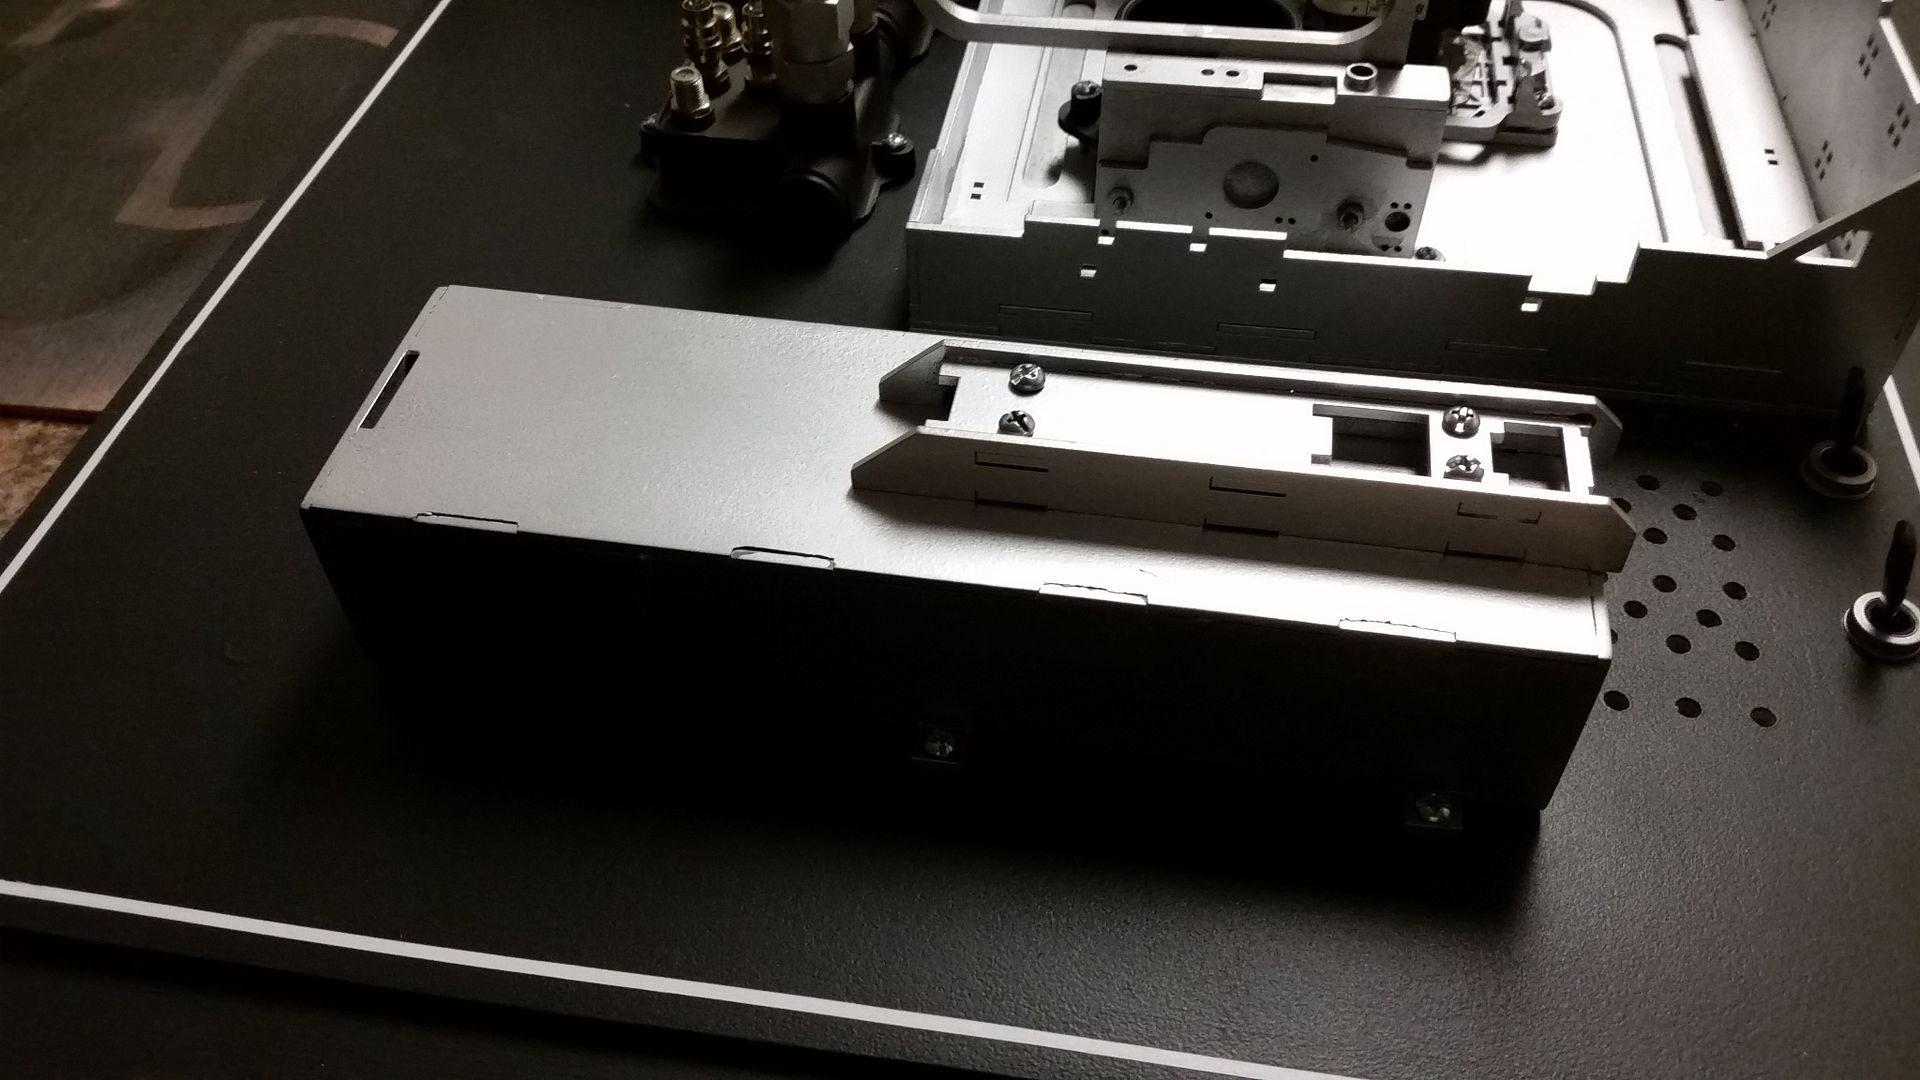
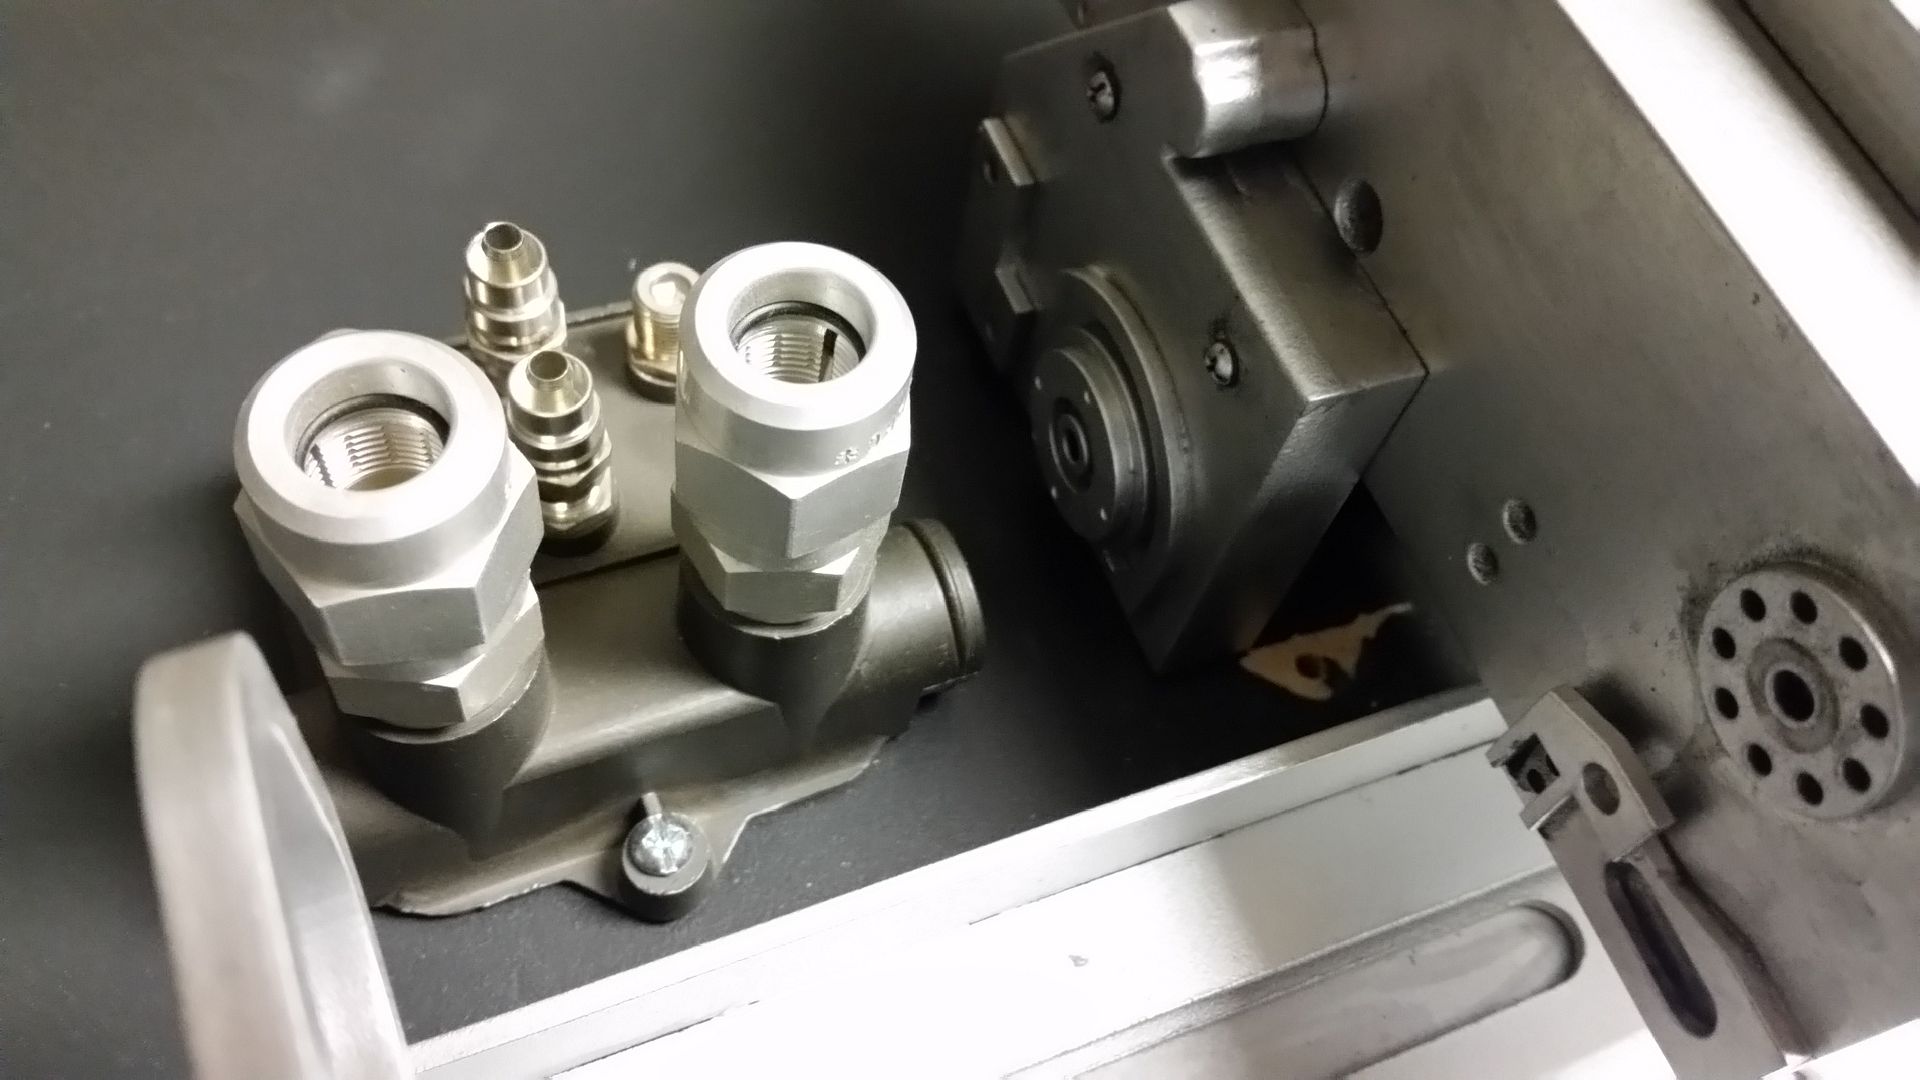
Cleaned up the edges of the throttle housing
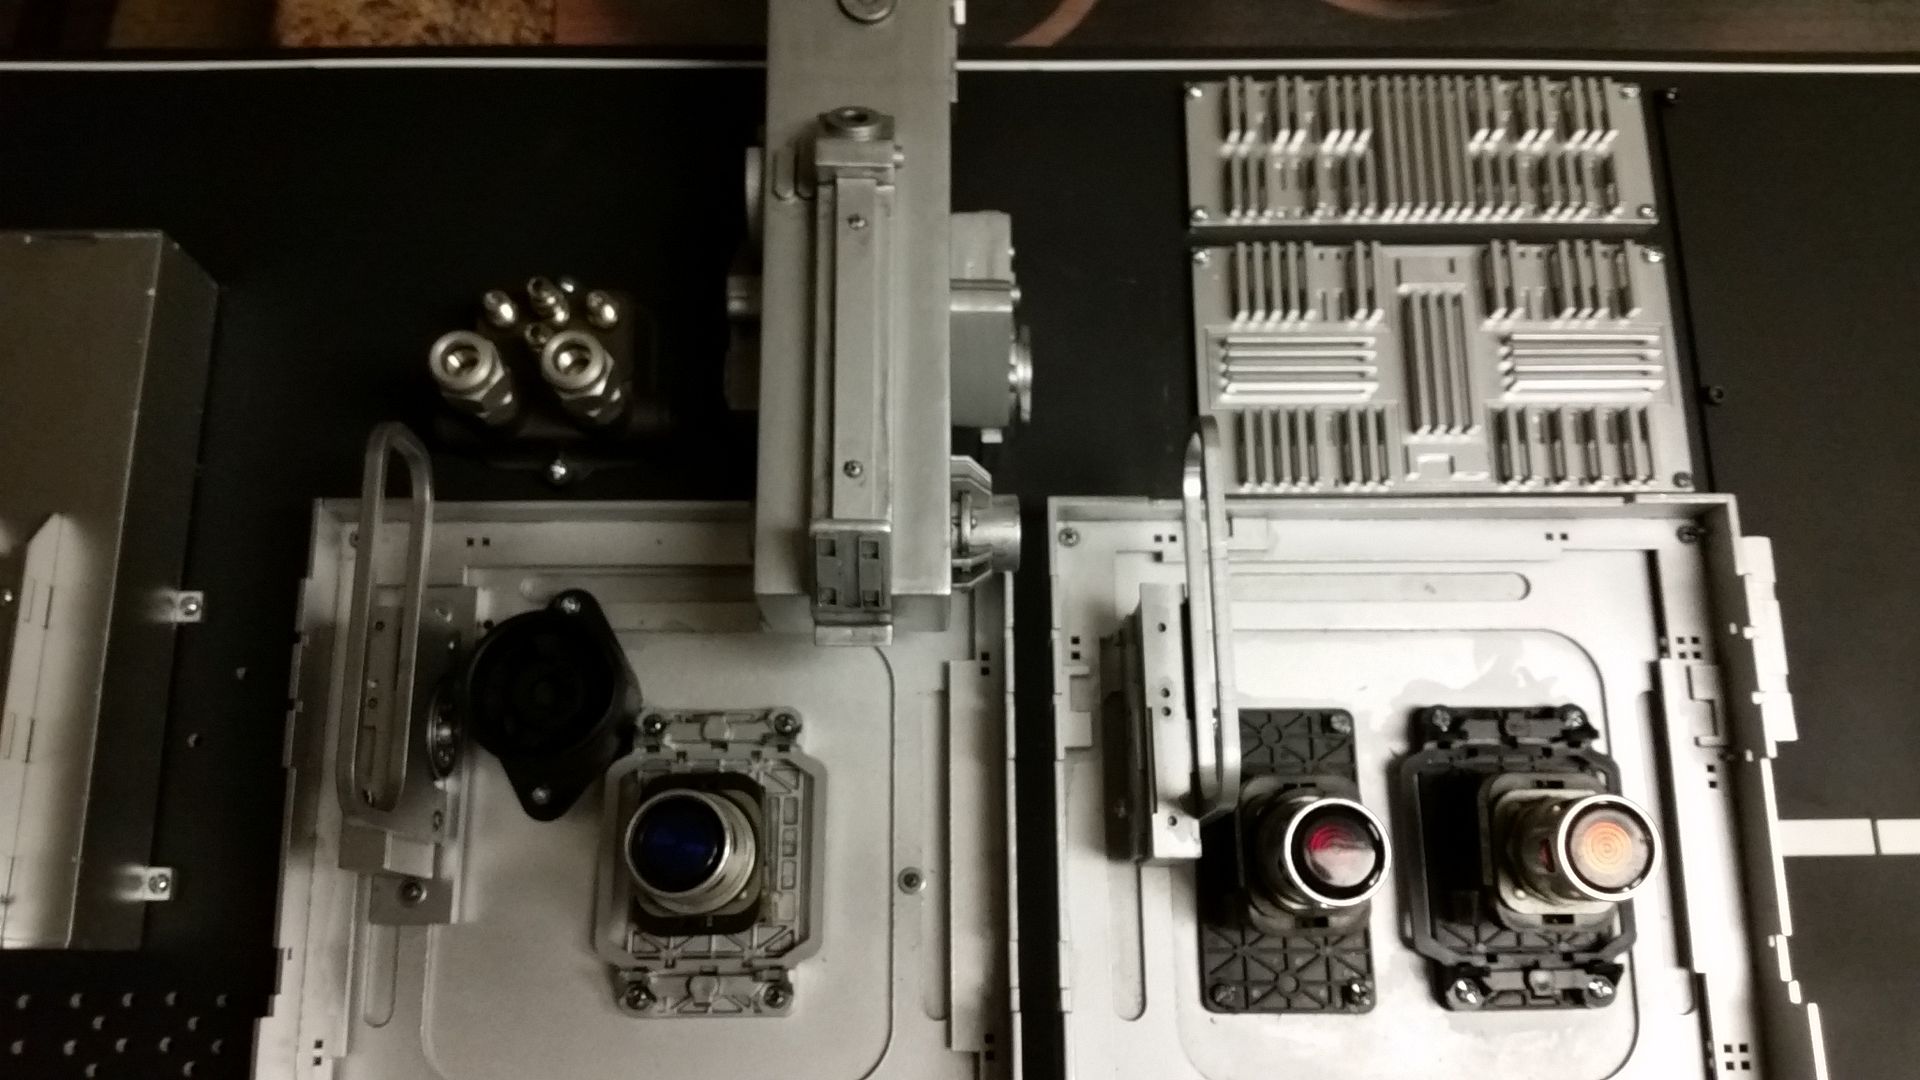
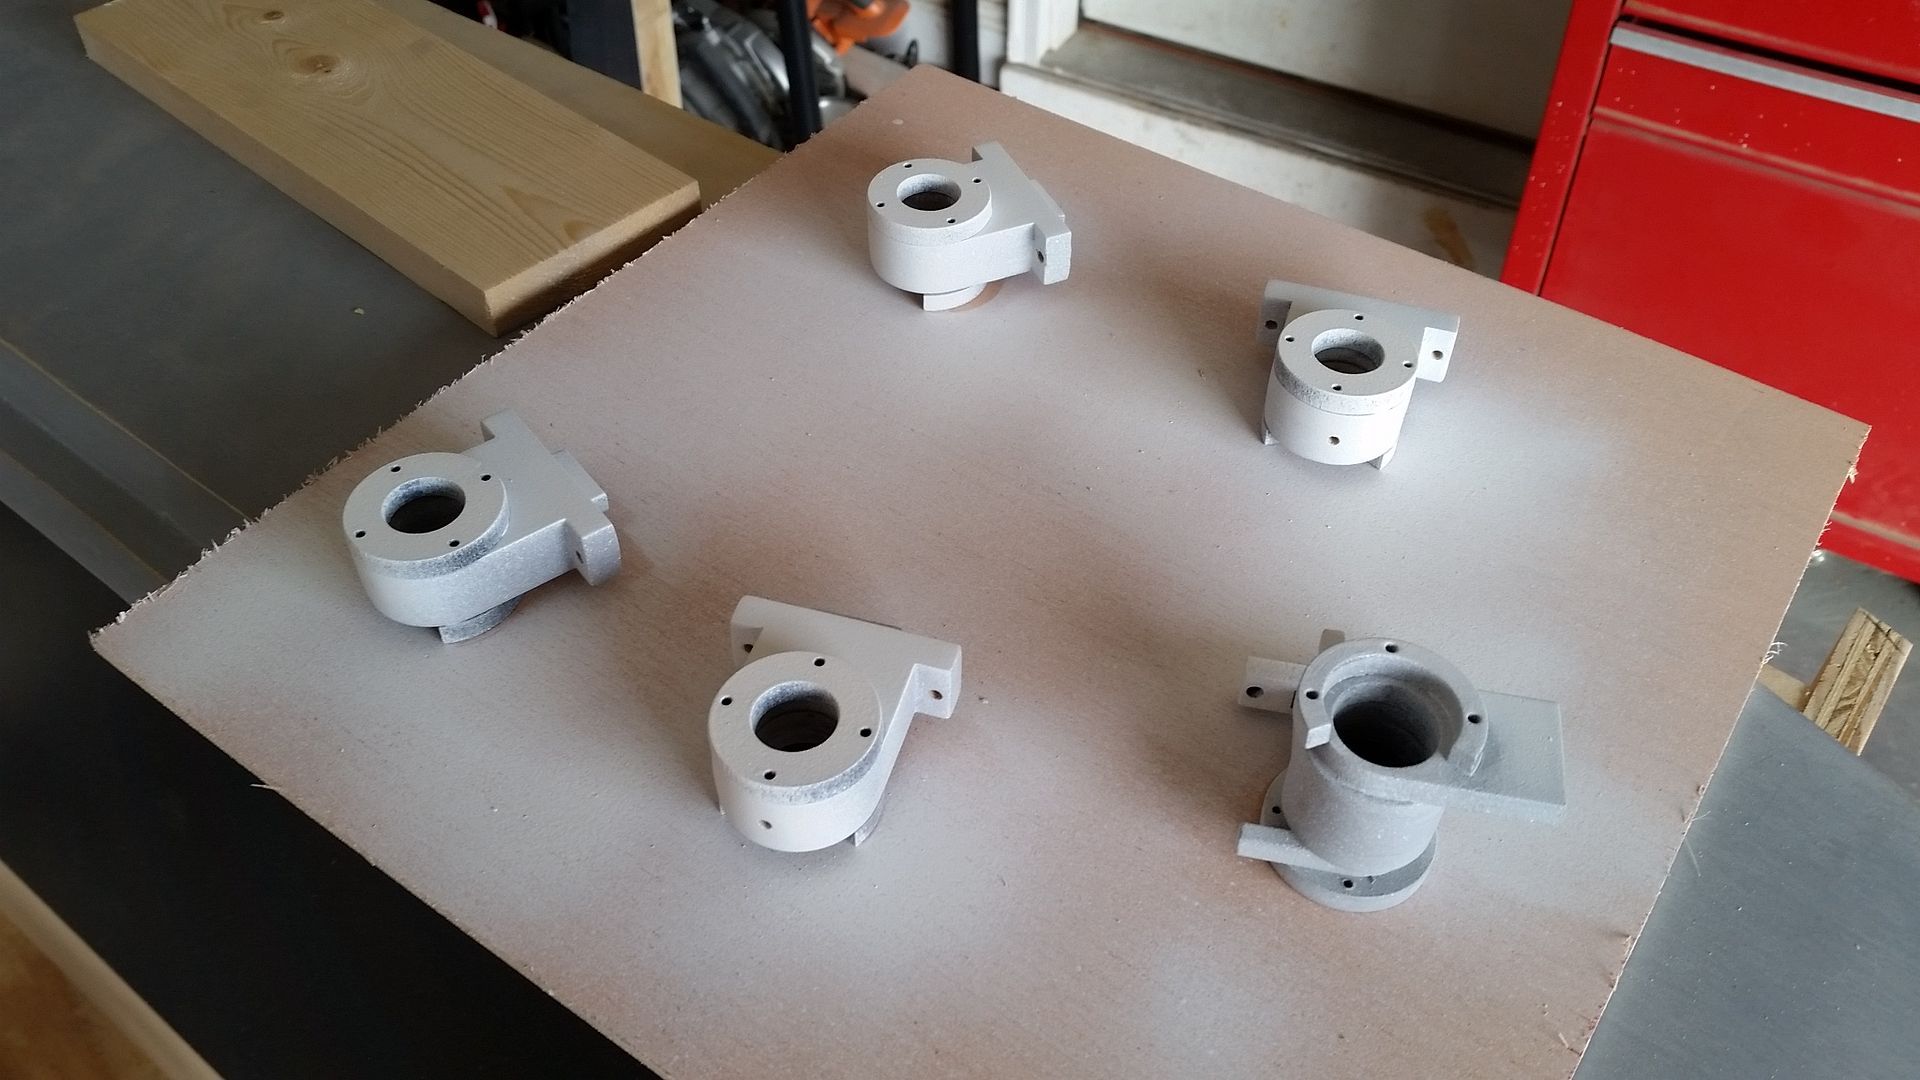
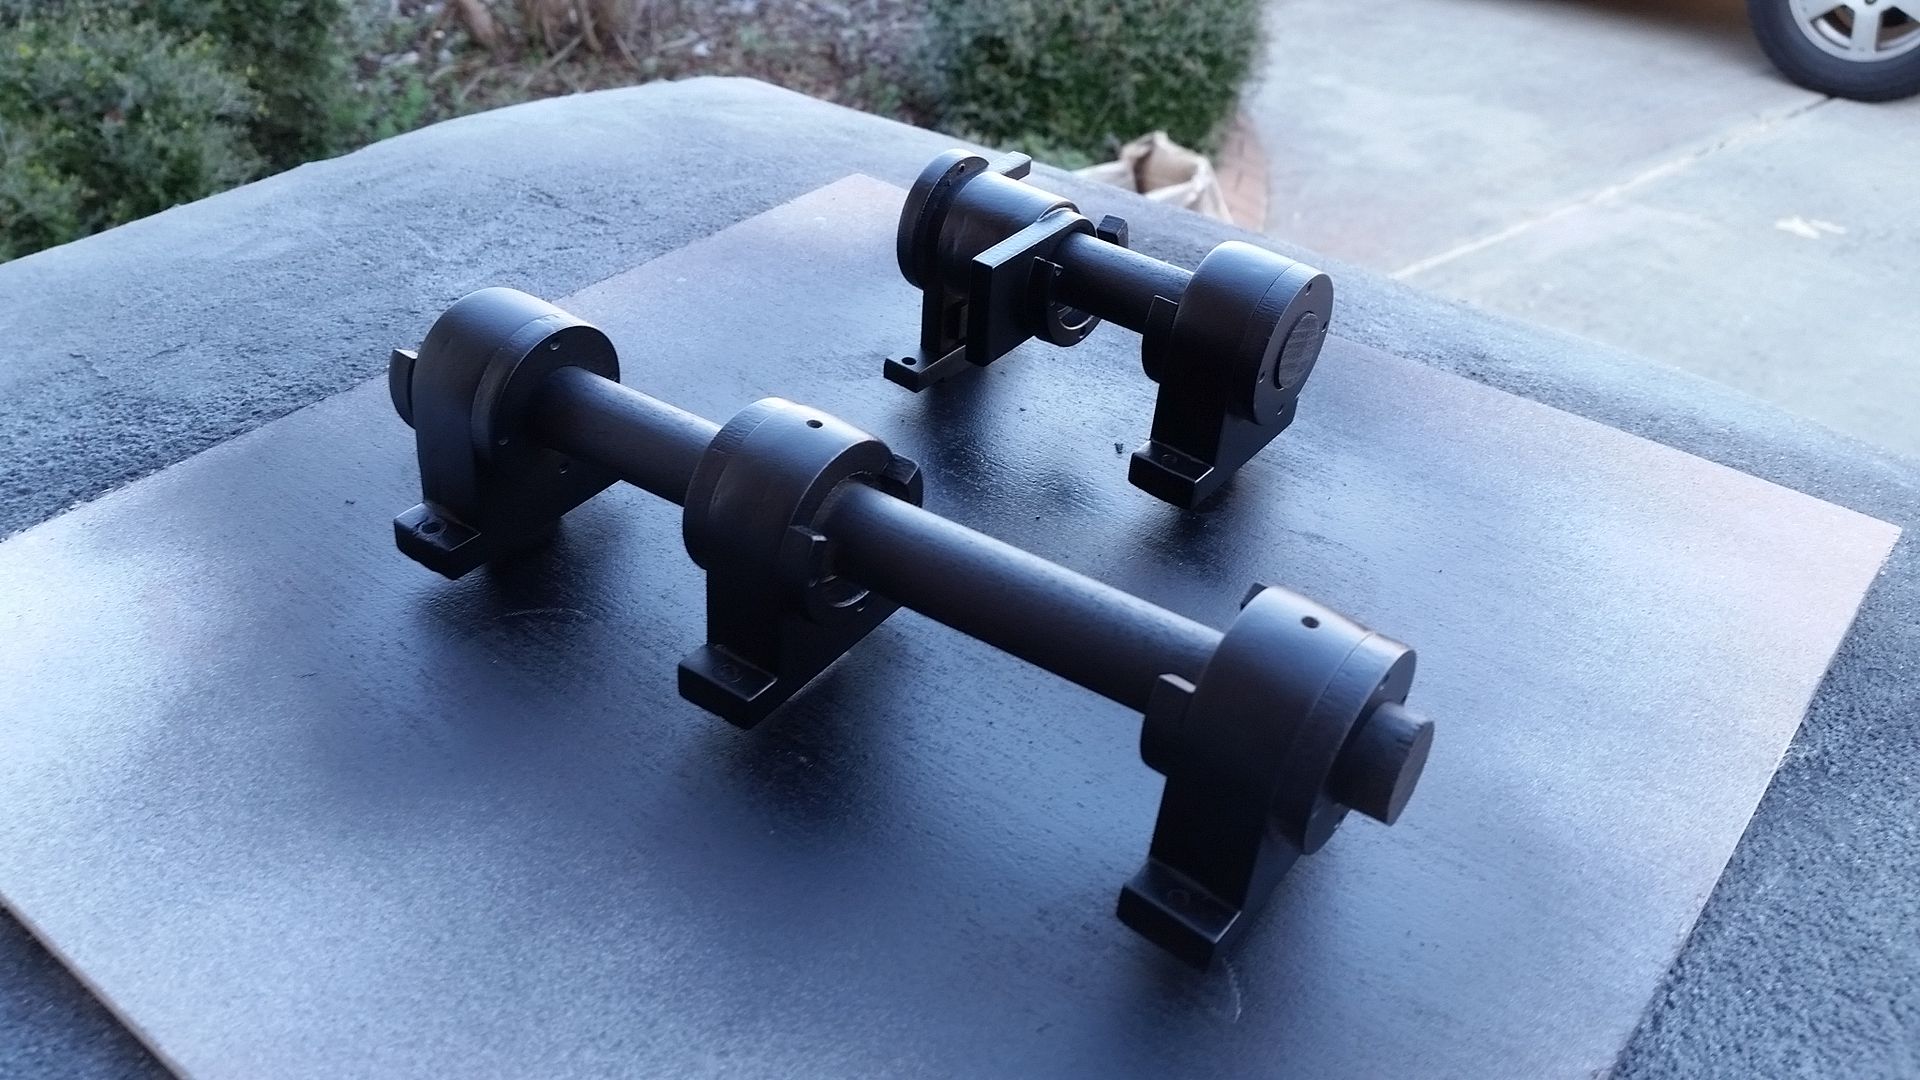
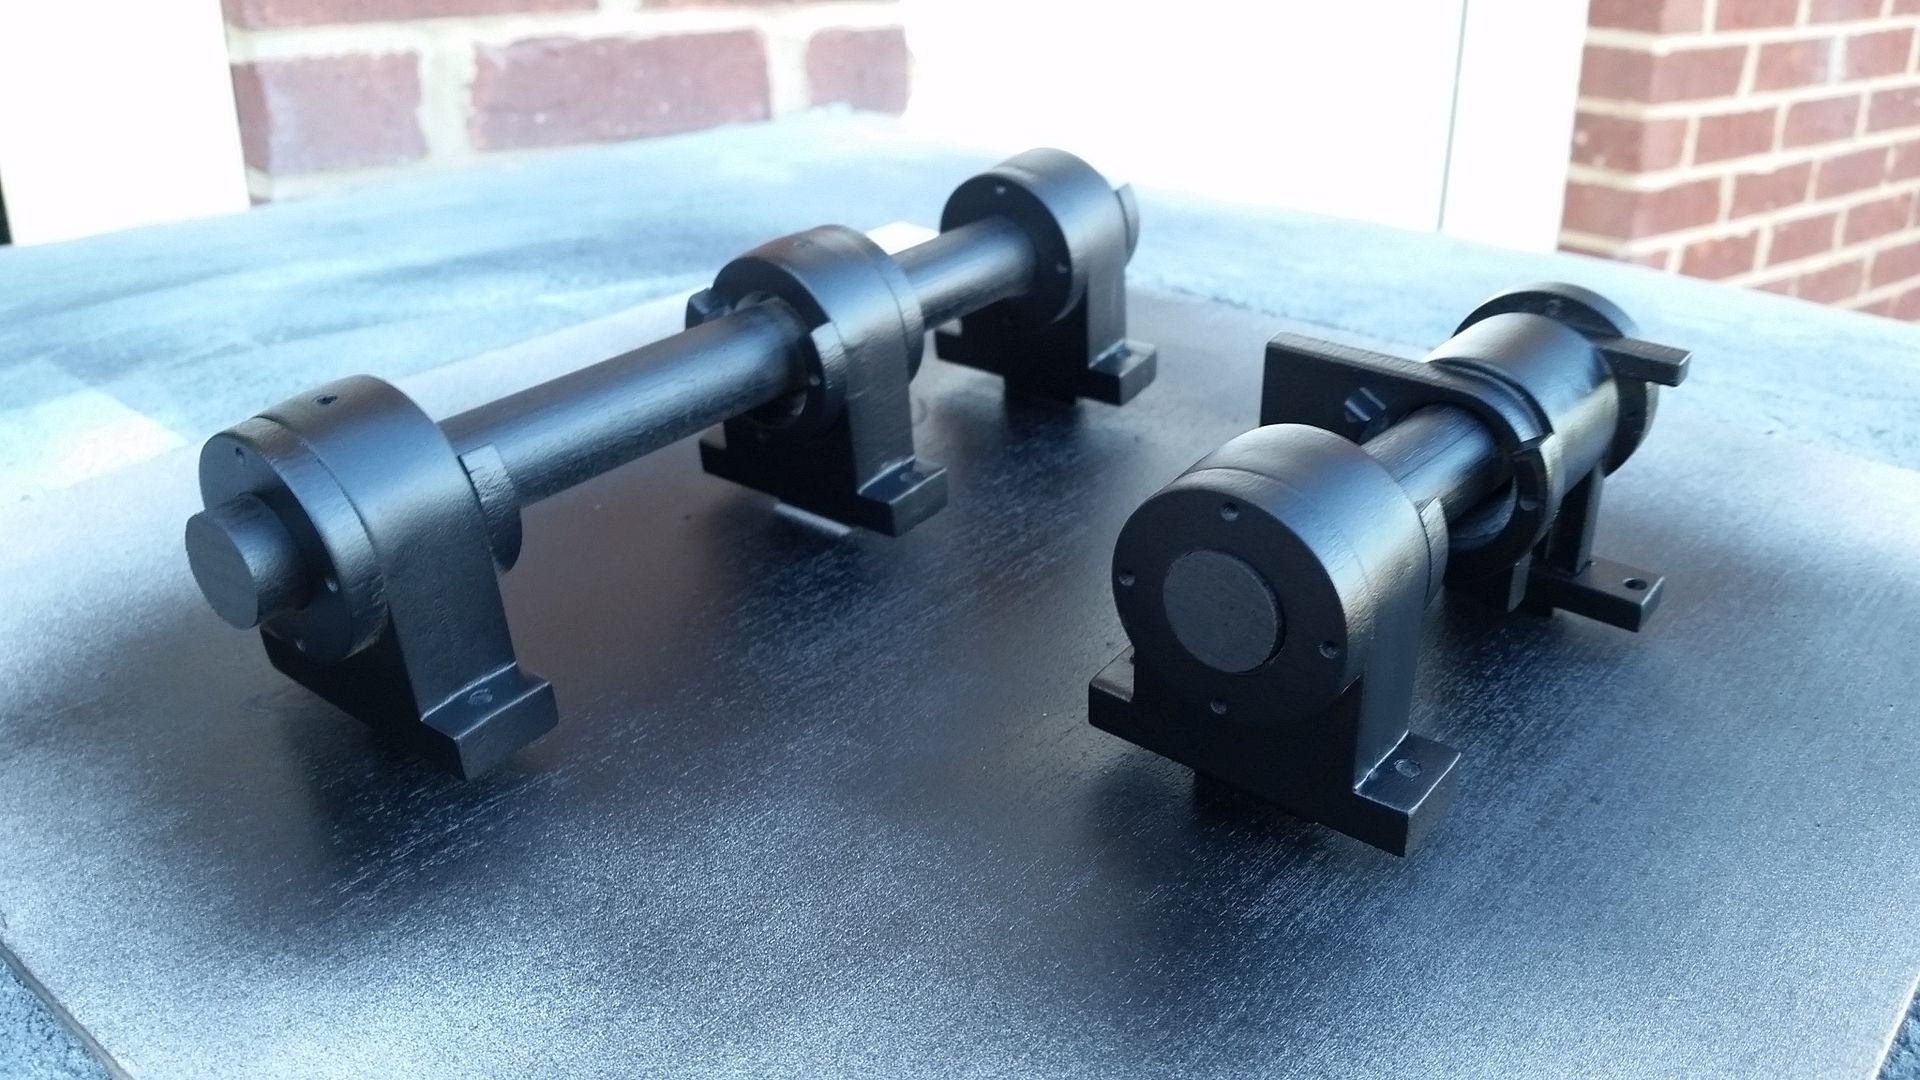
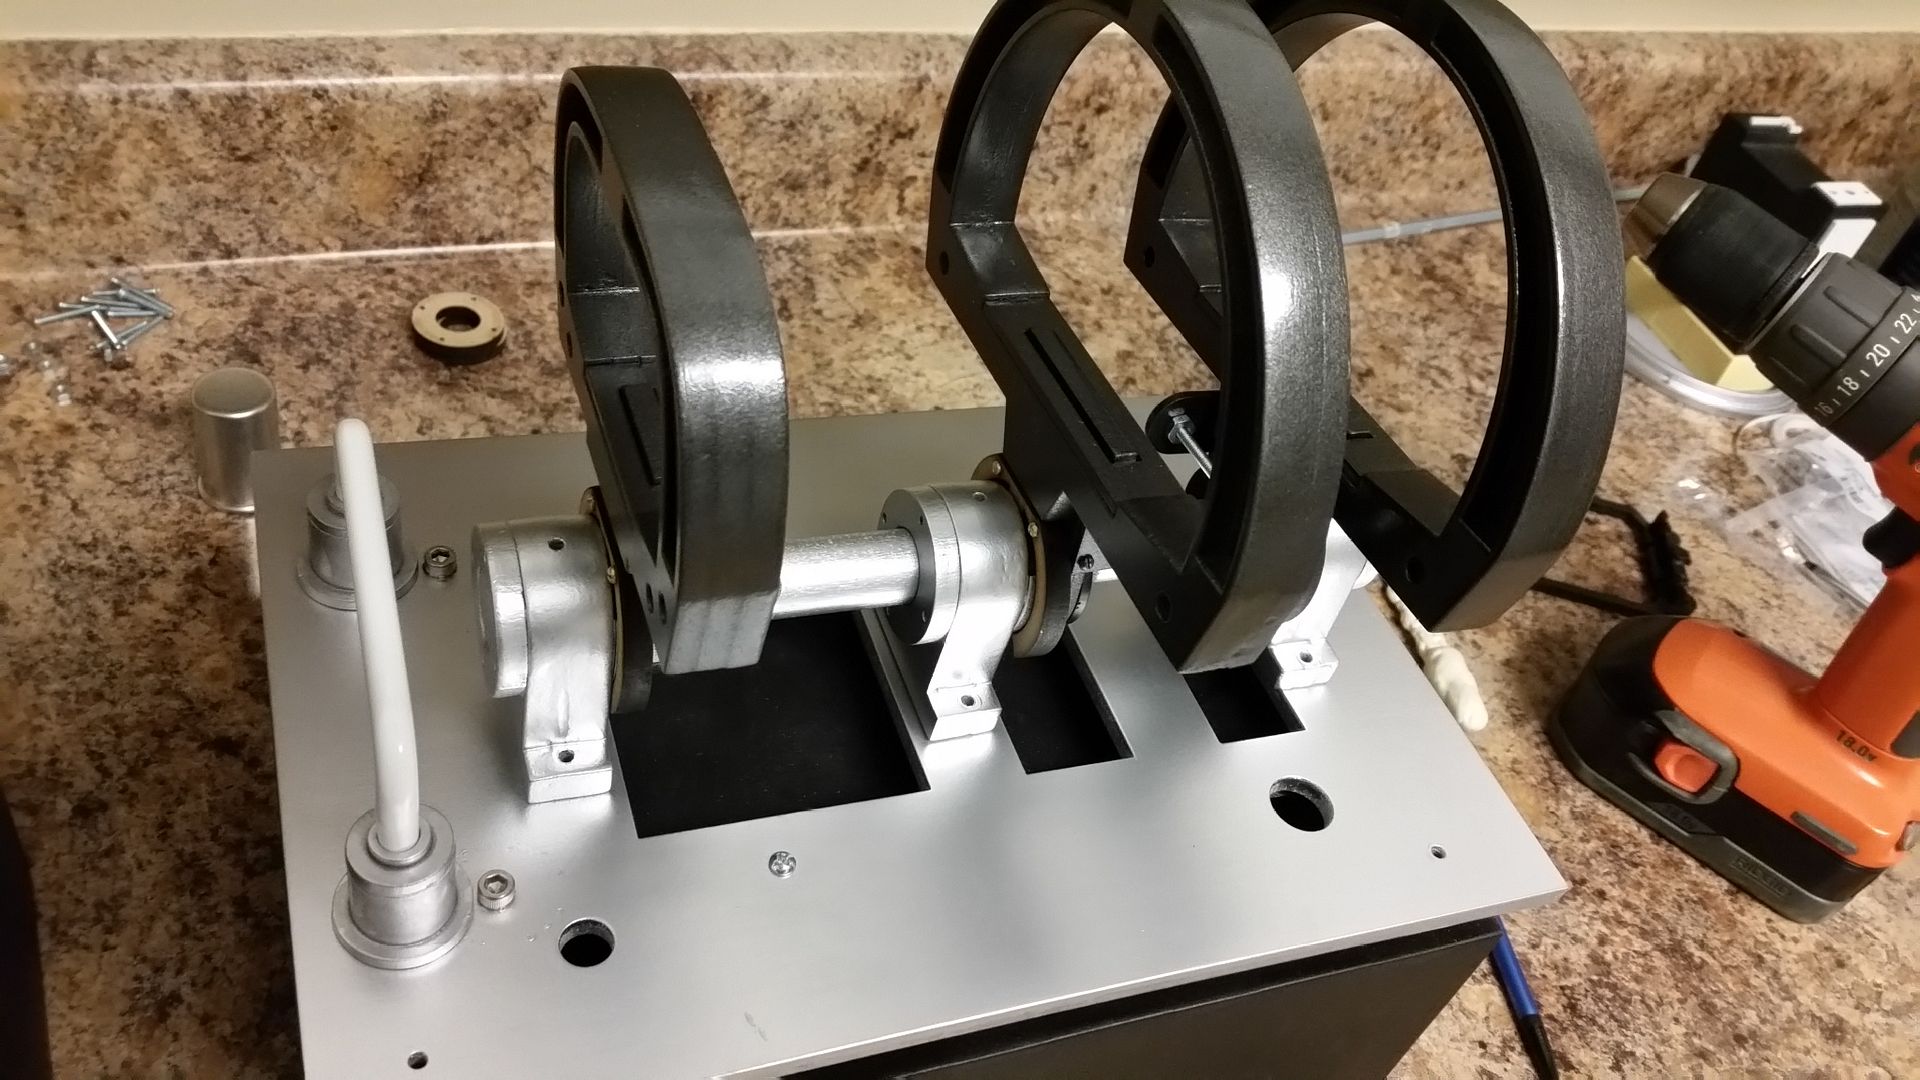
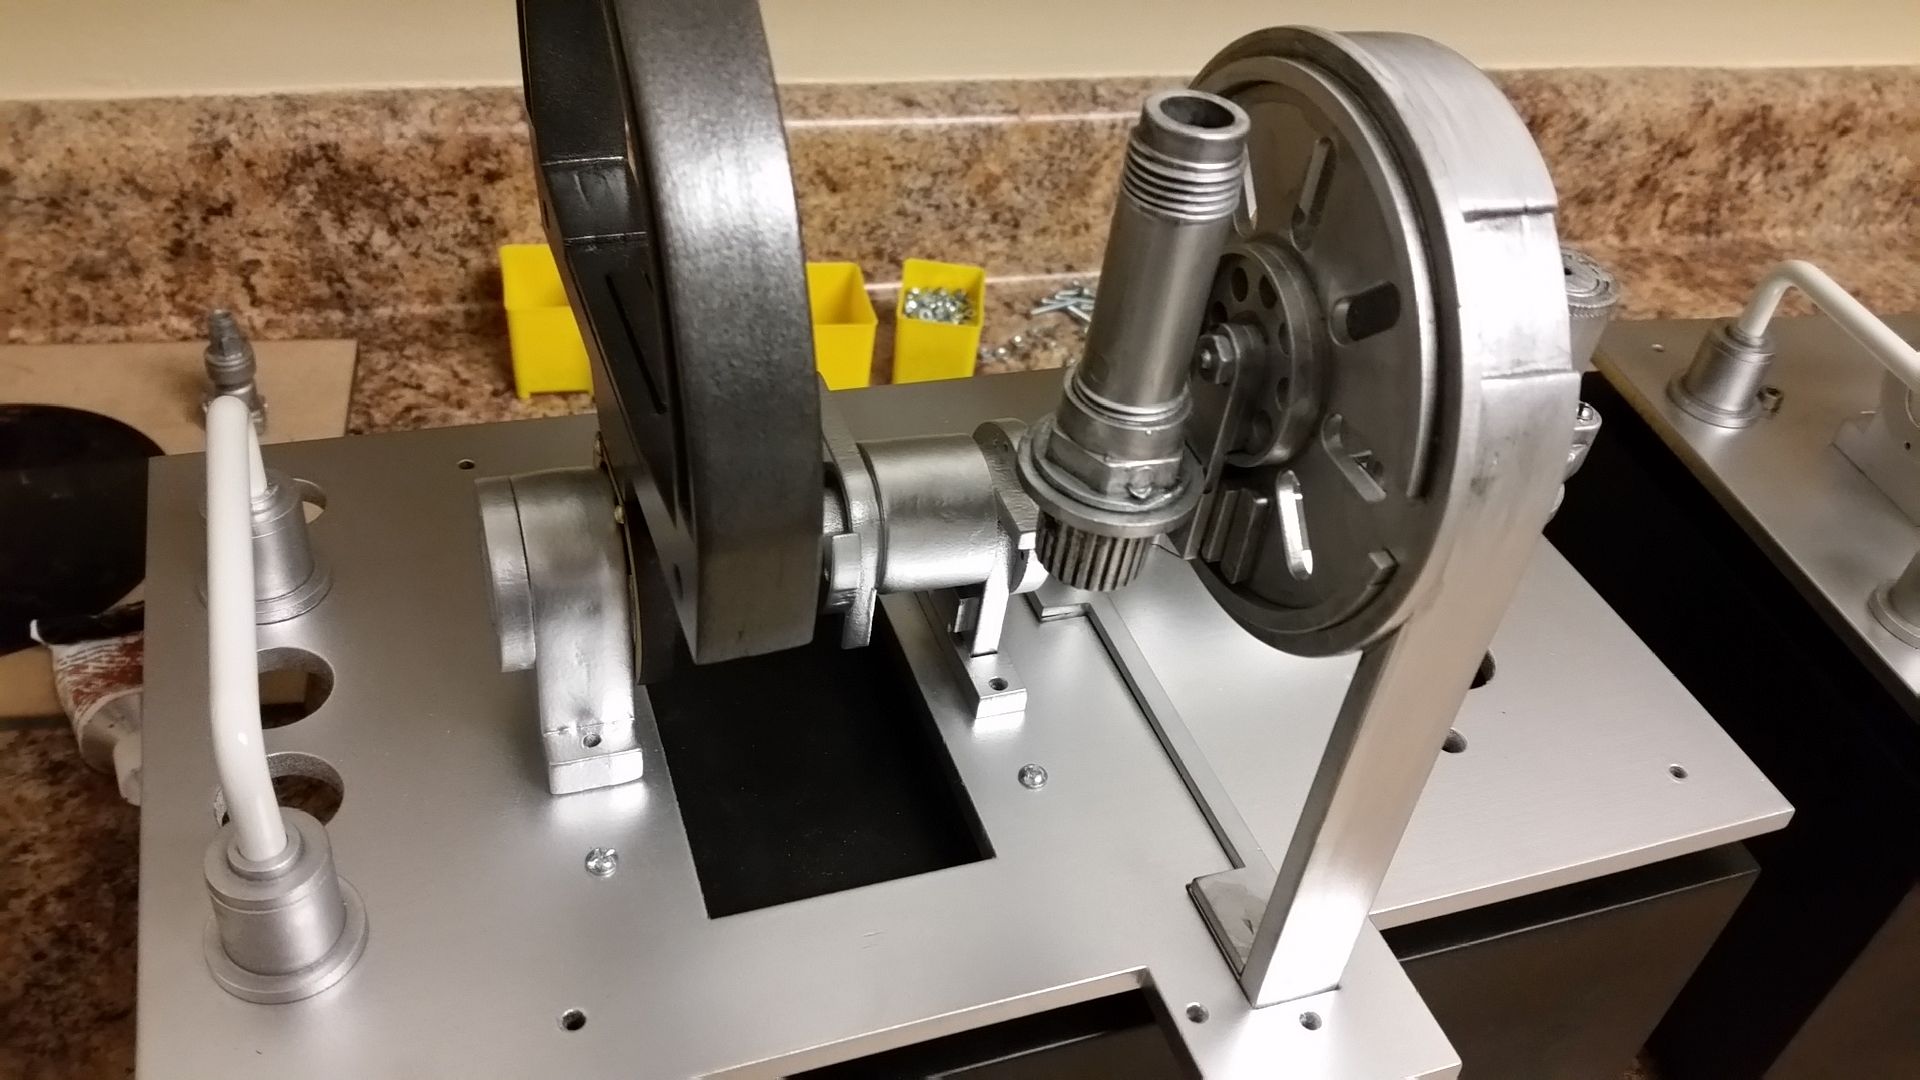
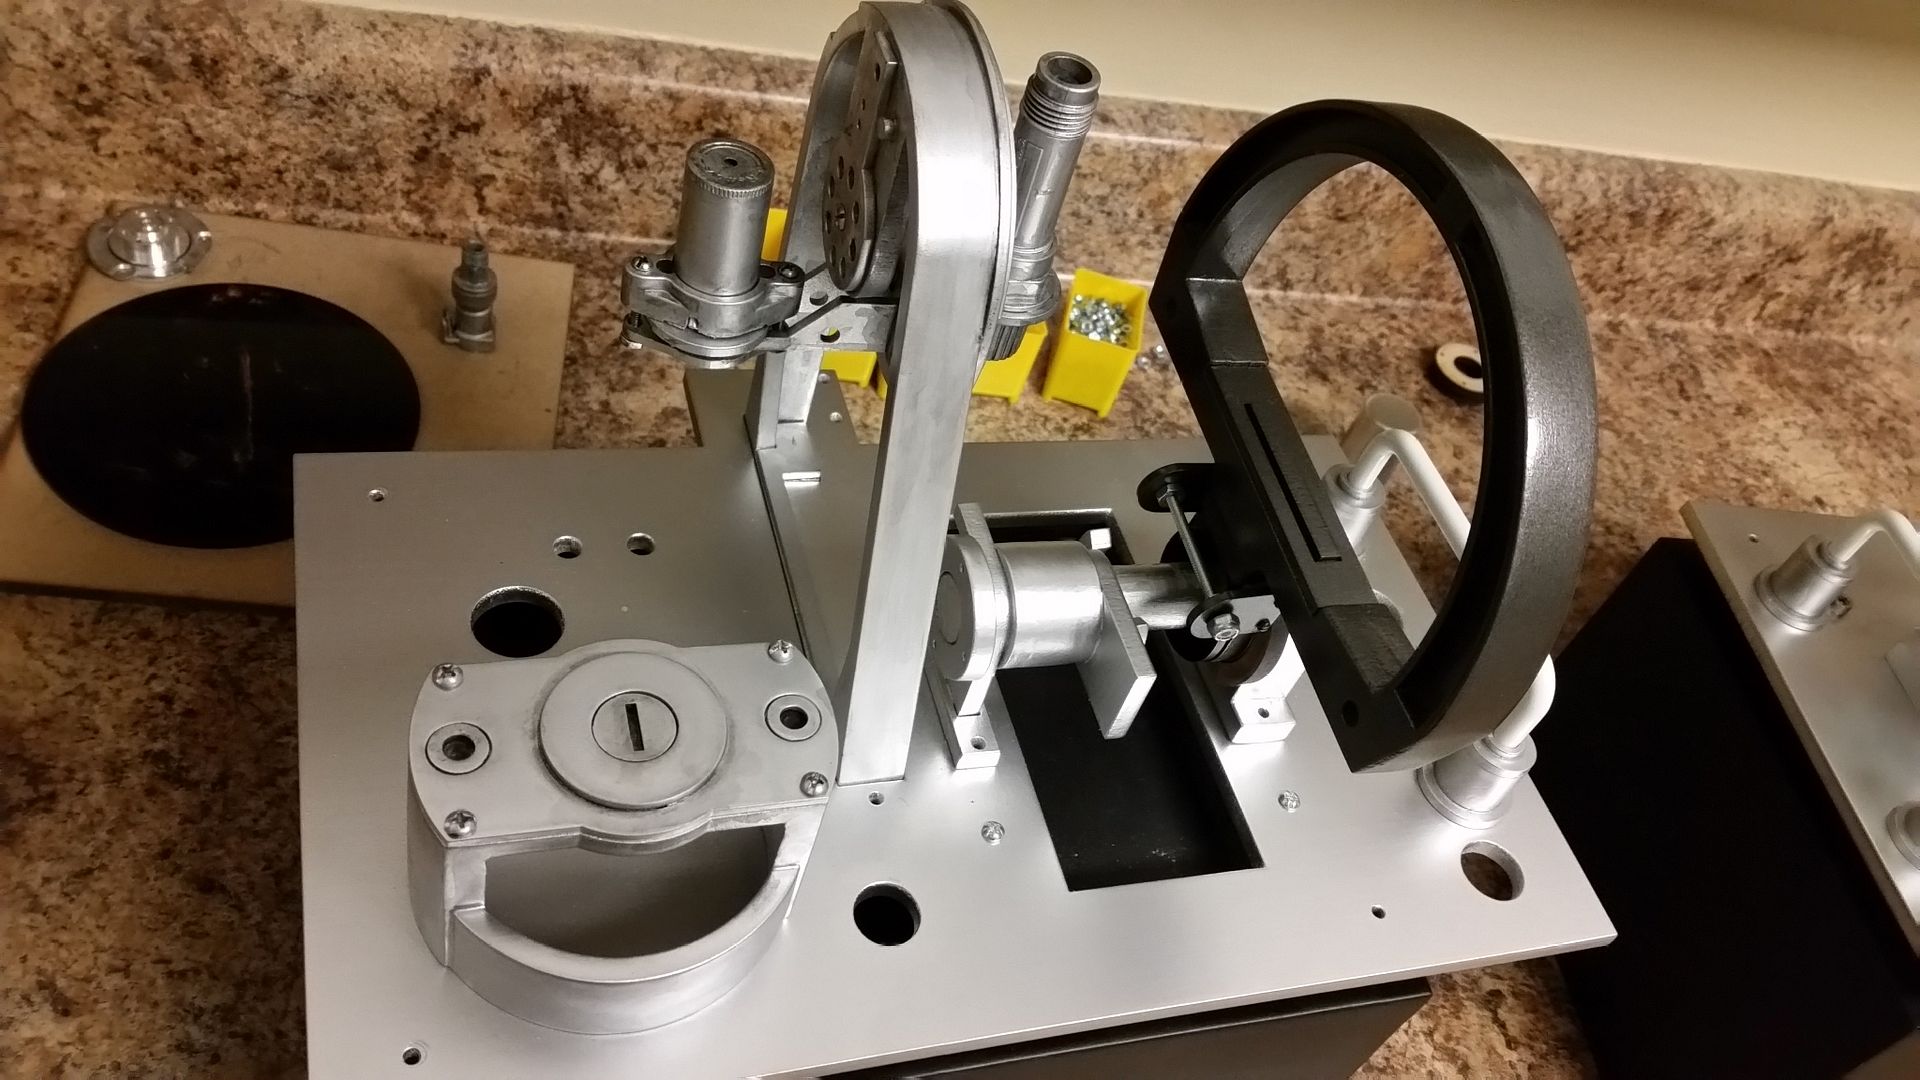
Finally mounted the canopy box lever mounts
Getting everything into place and ready for final prep and paint
Primer
Paint
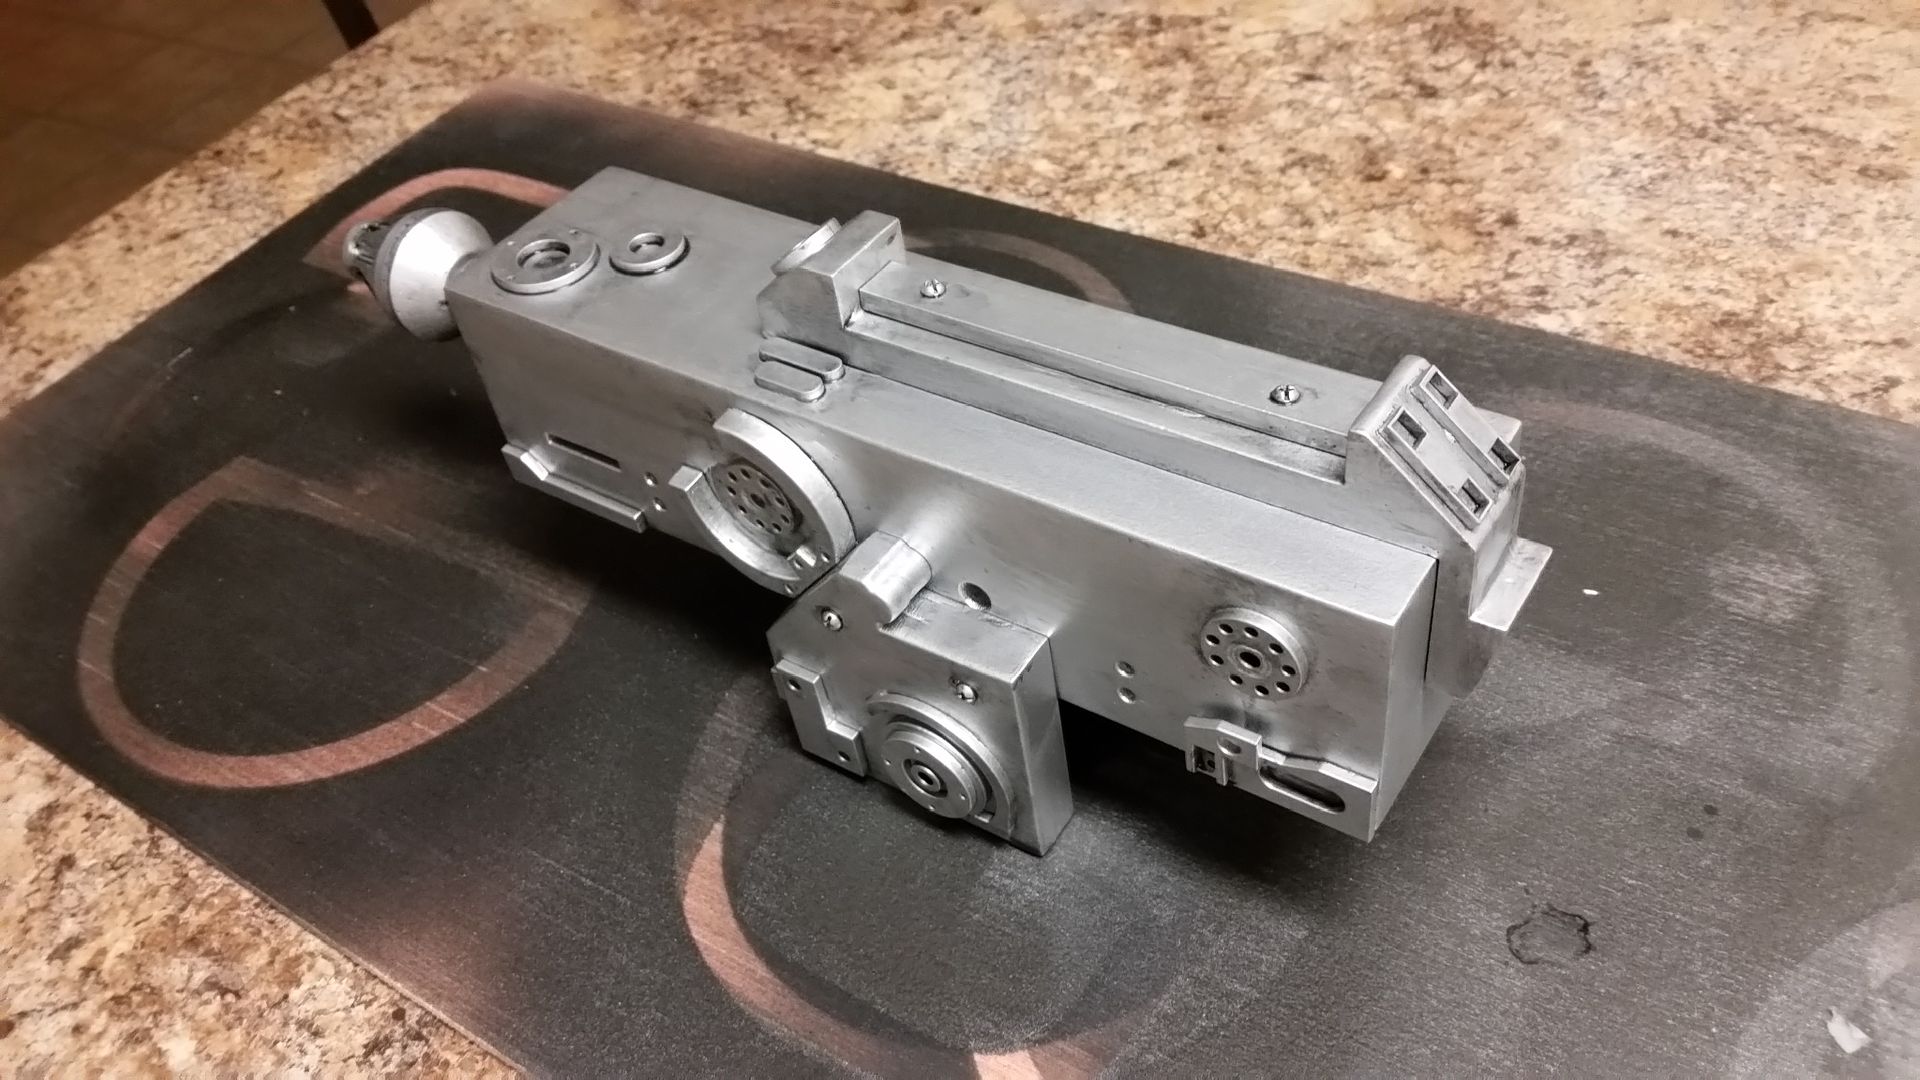
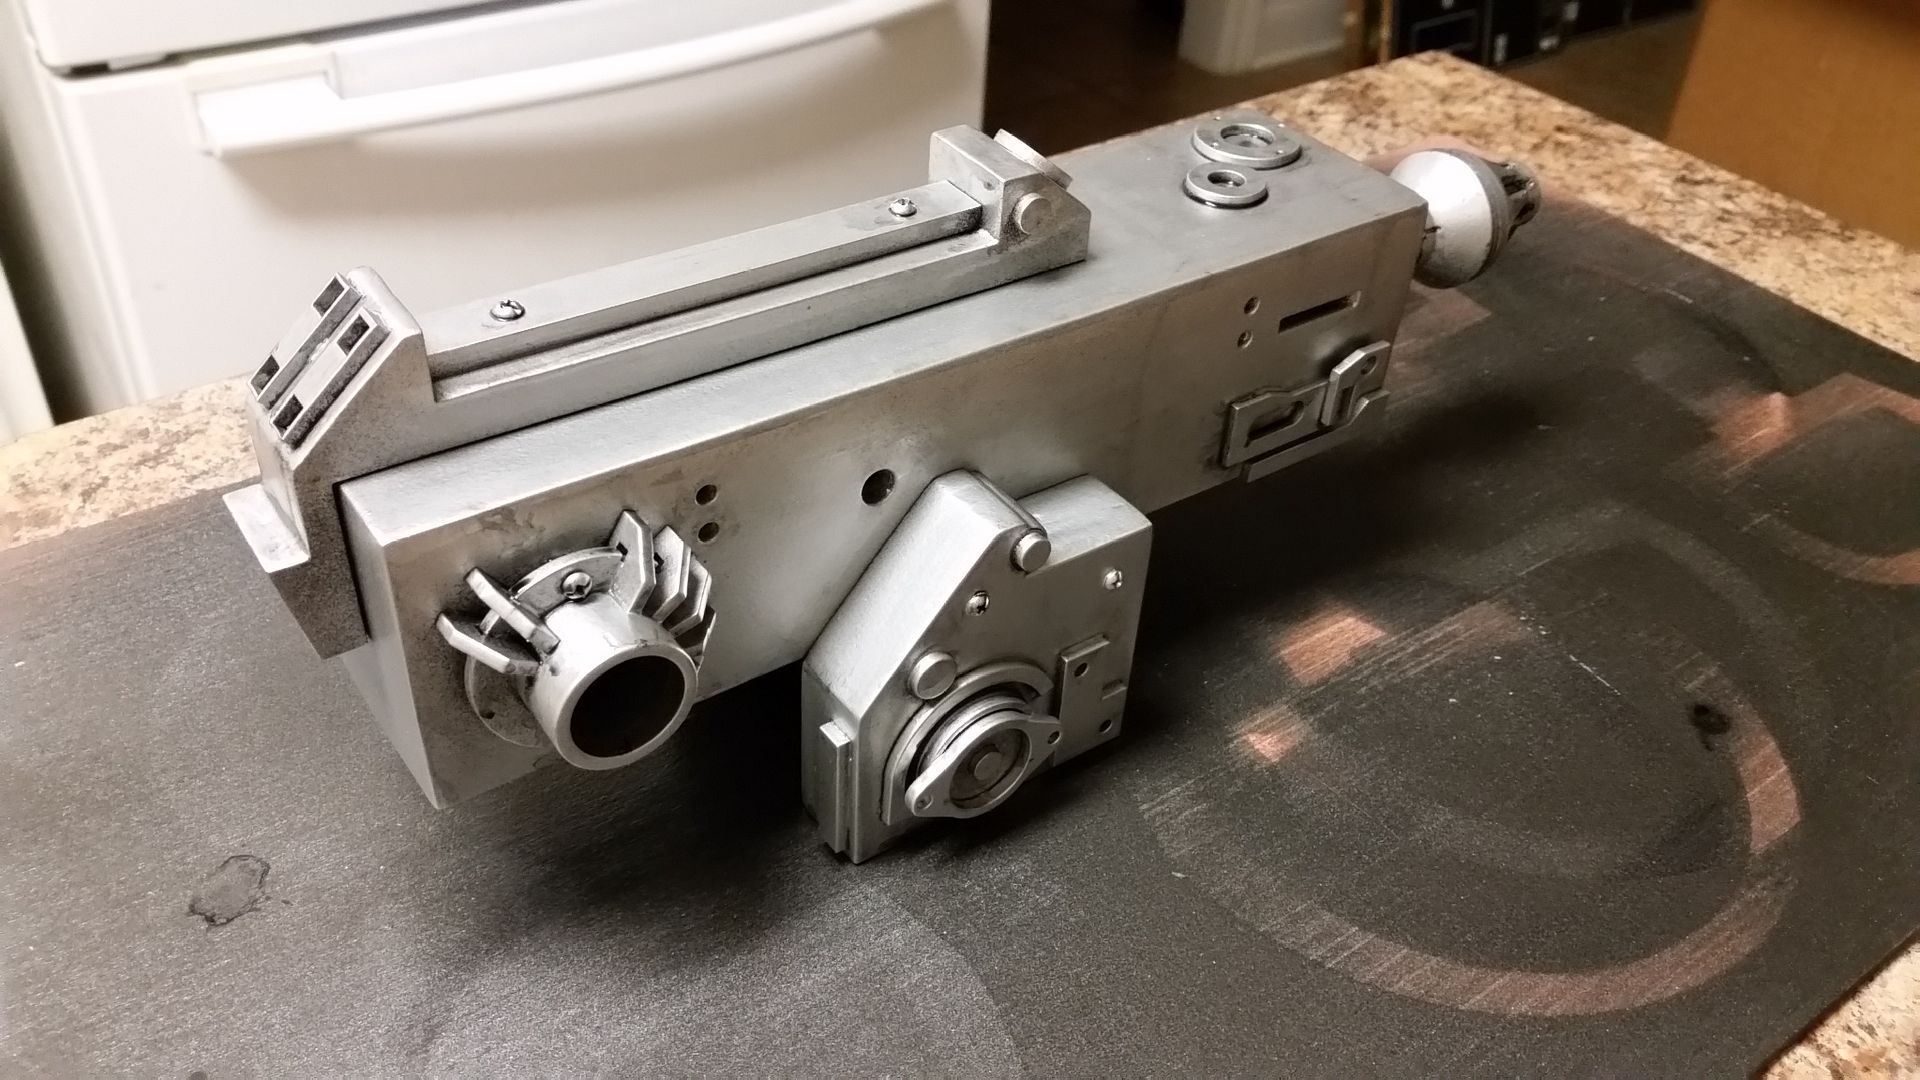
I still have to sand and smooth the wood dowel

Silver added
Have to add a touch of weathering, paint the dowel
Painted up the 2 lever handle
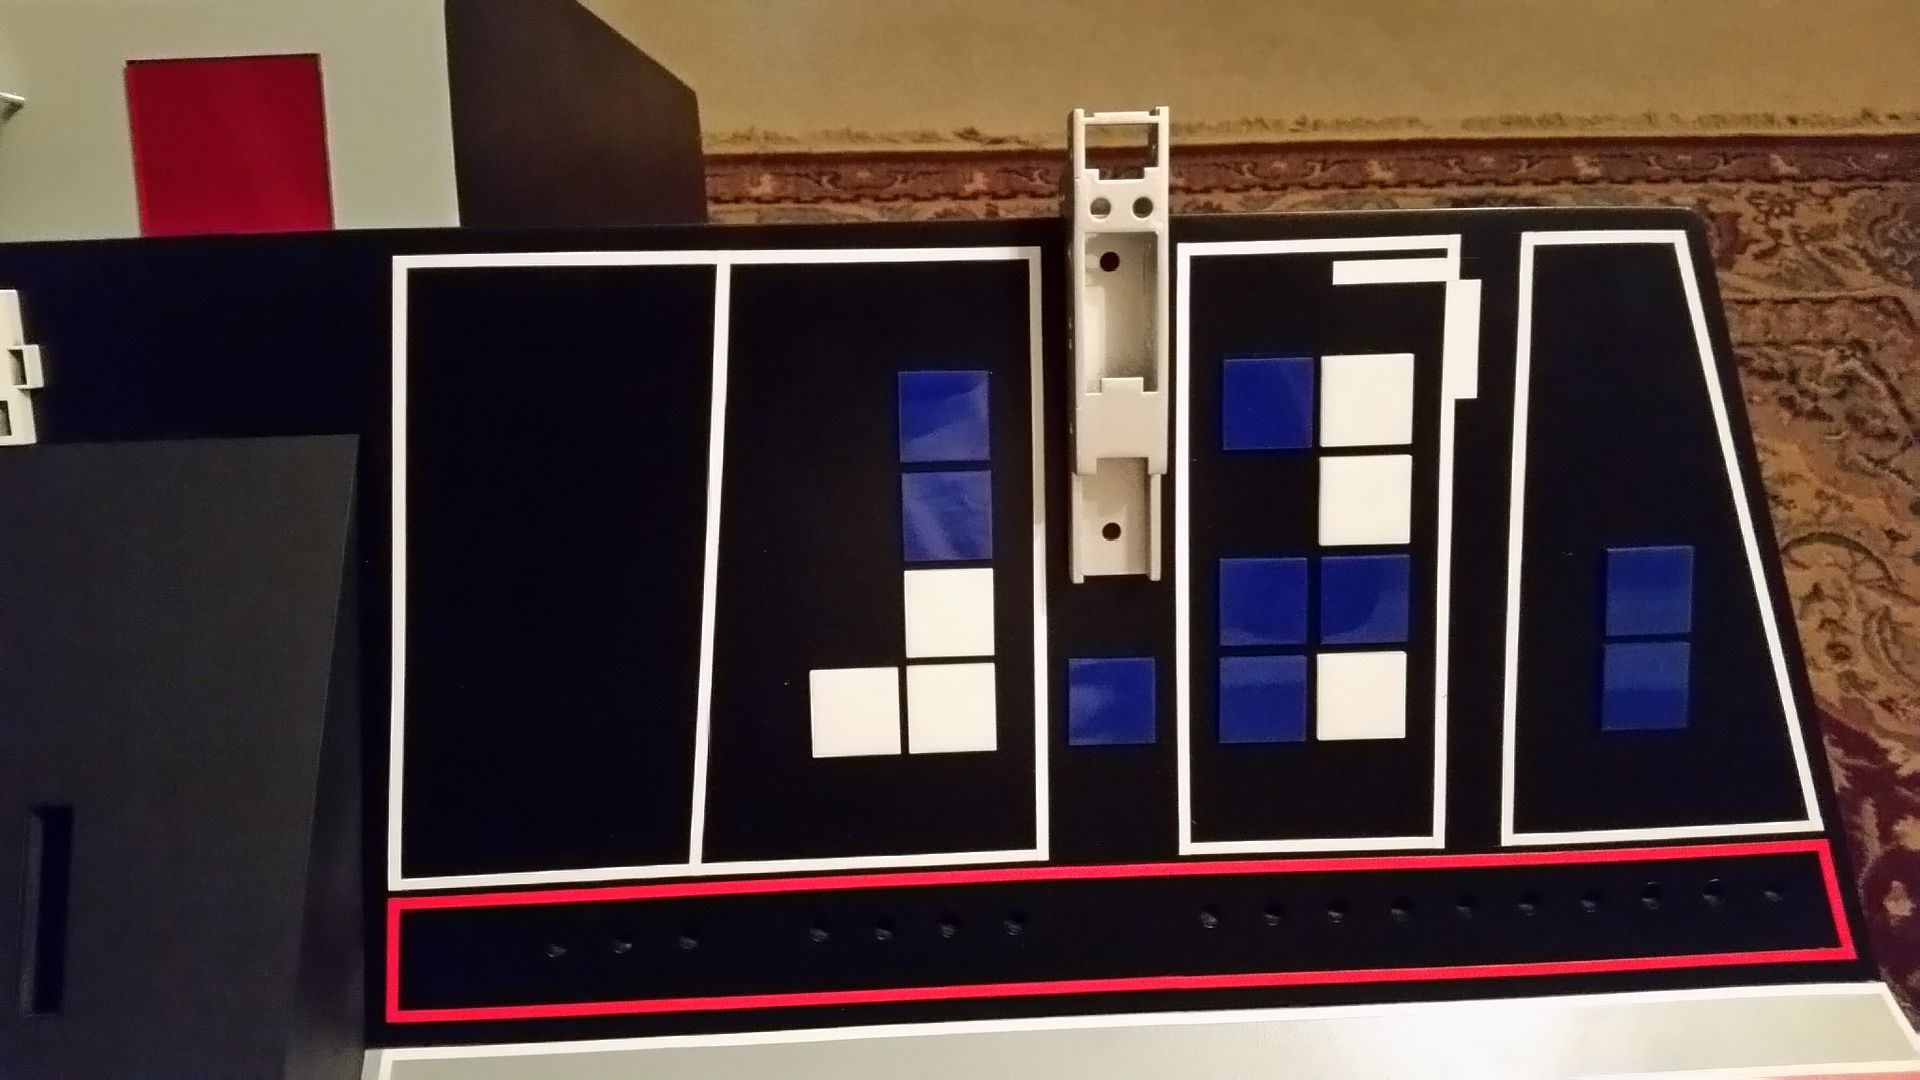
Painted the console LED bar

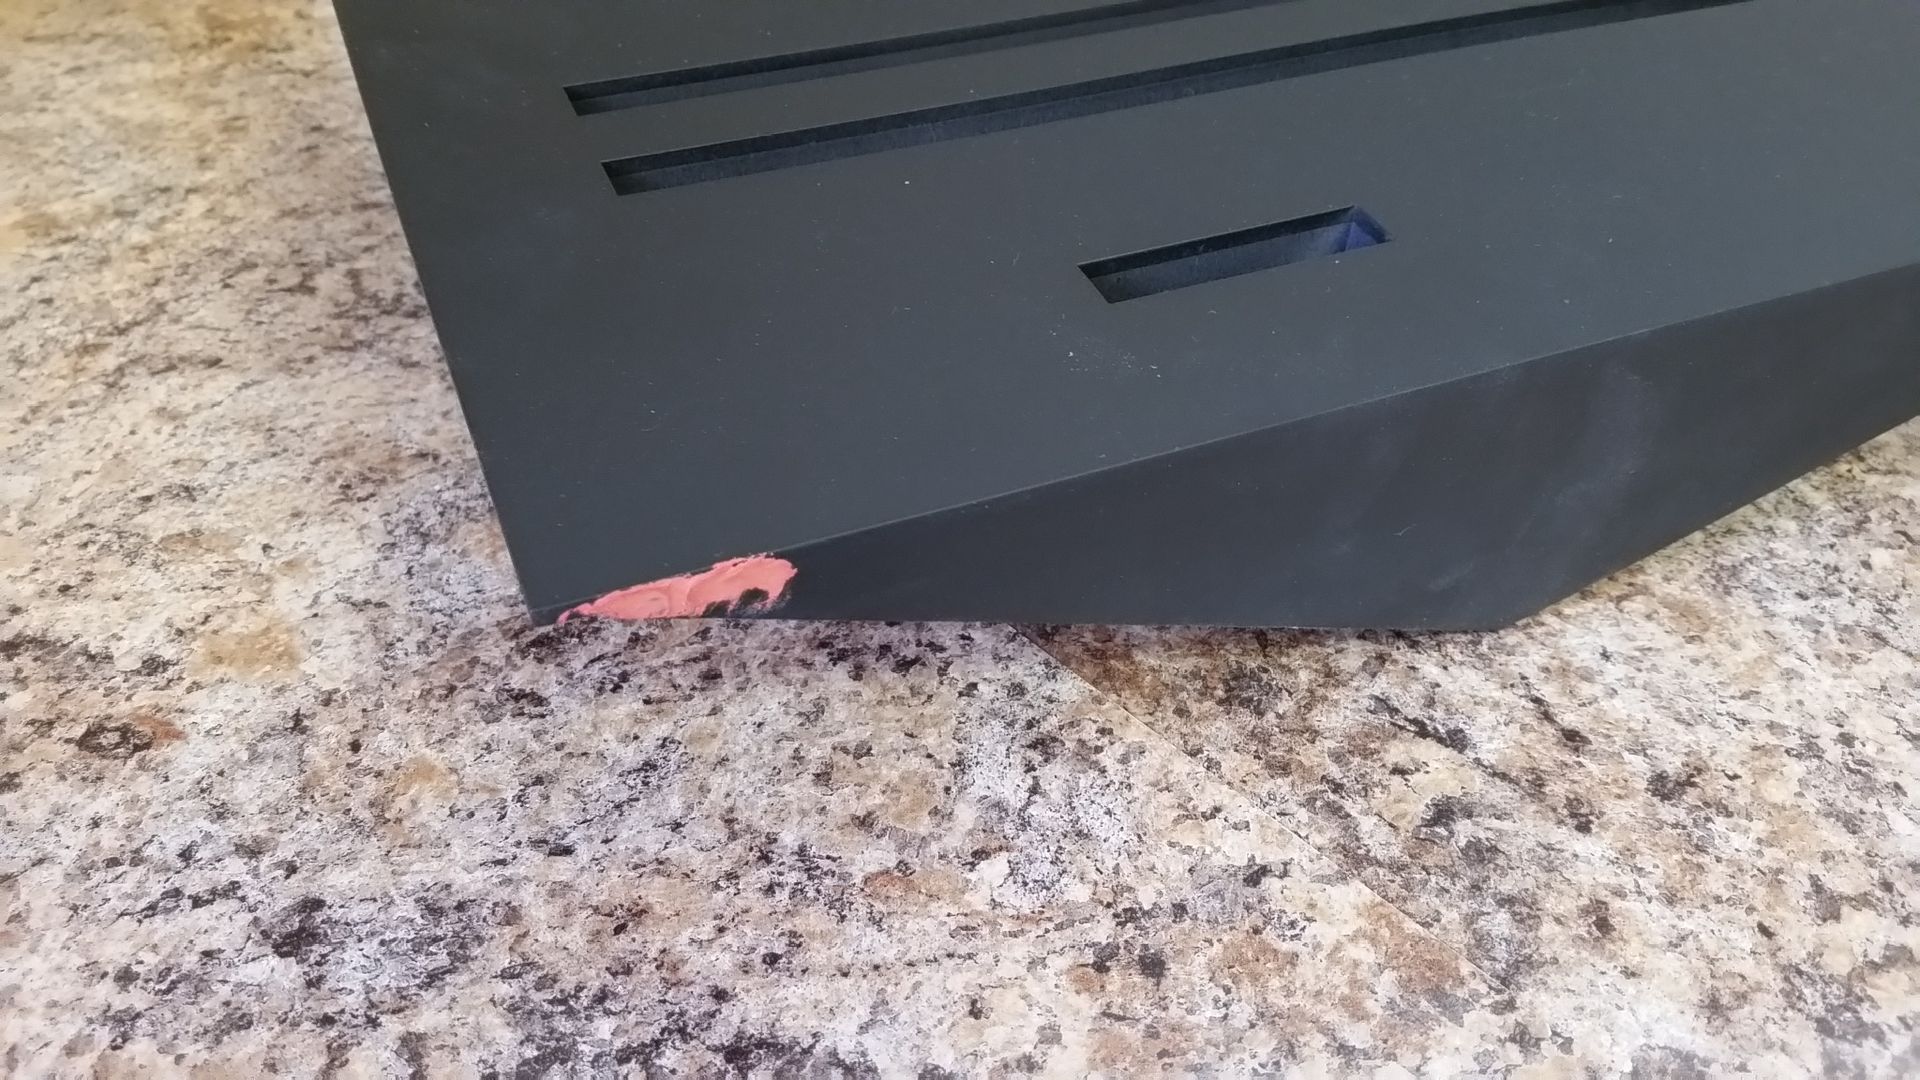
UGH... small tiny imperfection needs some filler
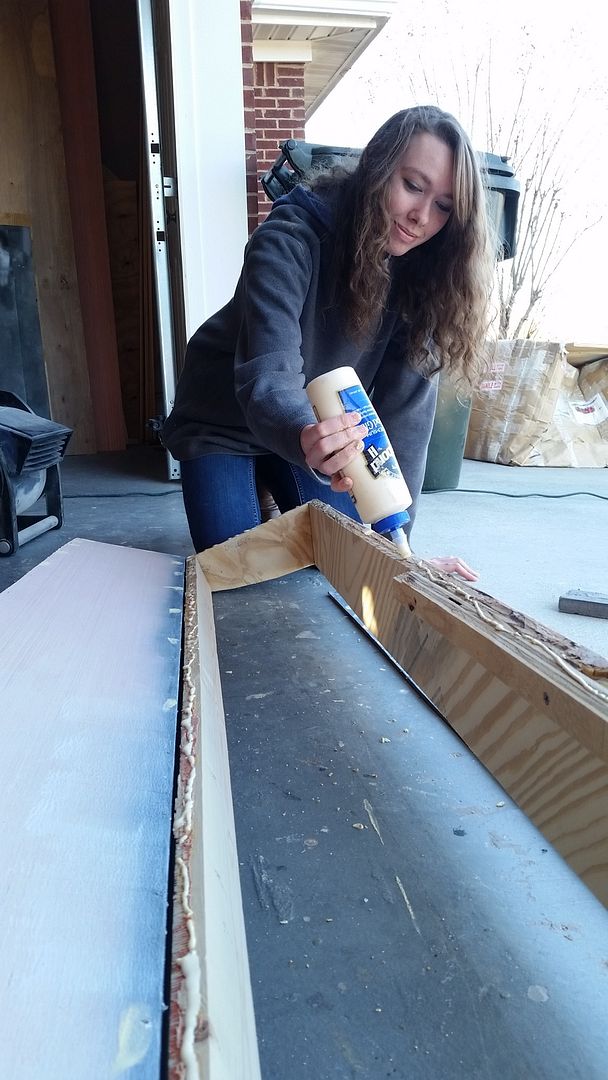
Jumping to the body... this is where most of the past two days have been spent. Lots of mod'ing, cutting, sanding, priming, etc Jessie and were pedal to the metal / non stop!
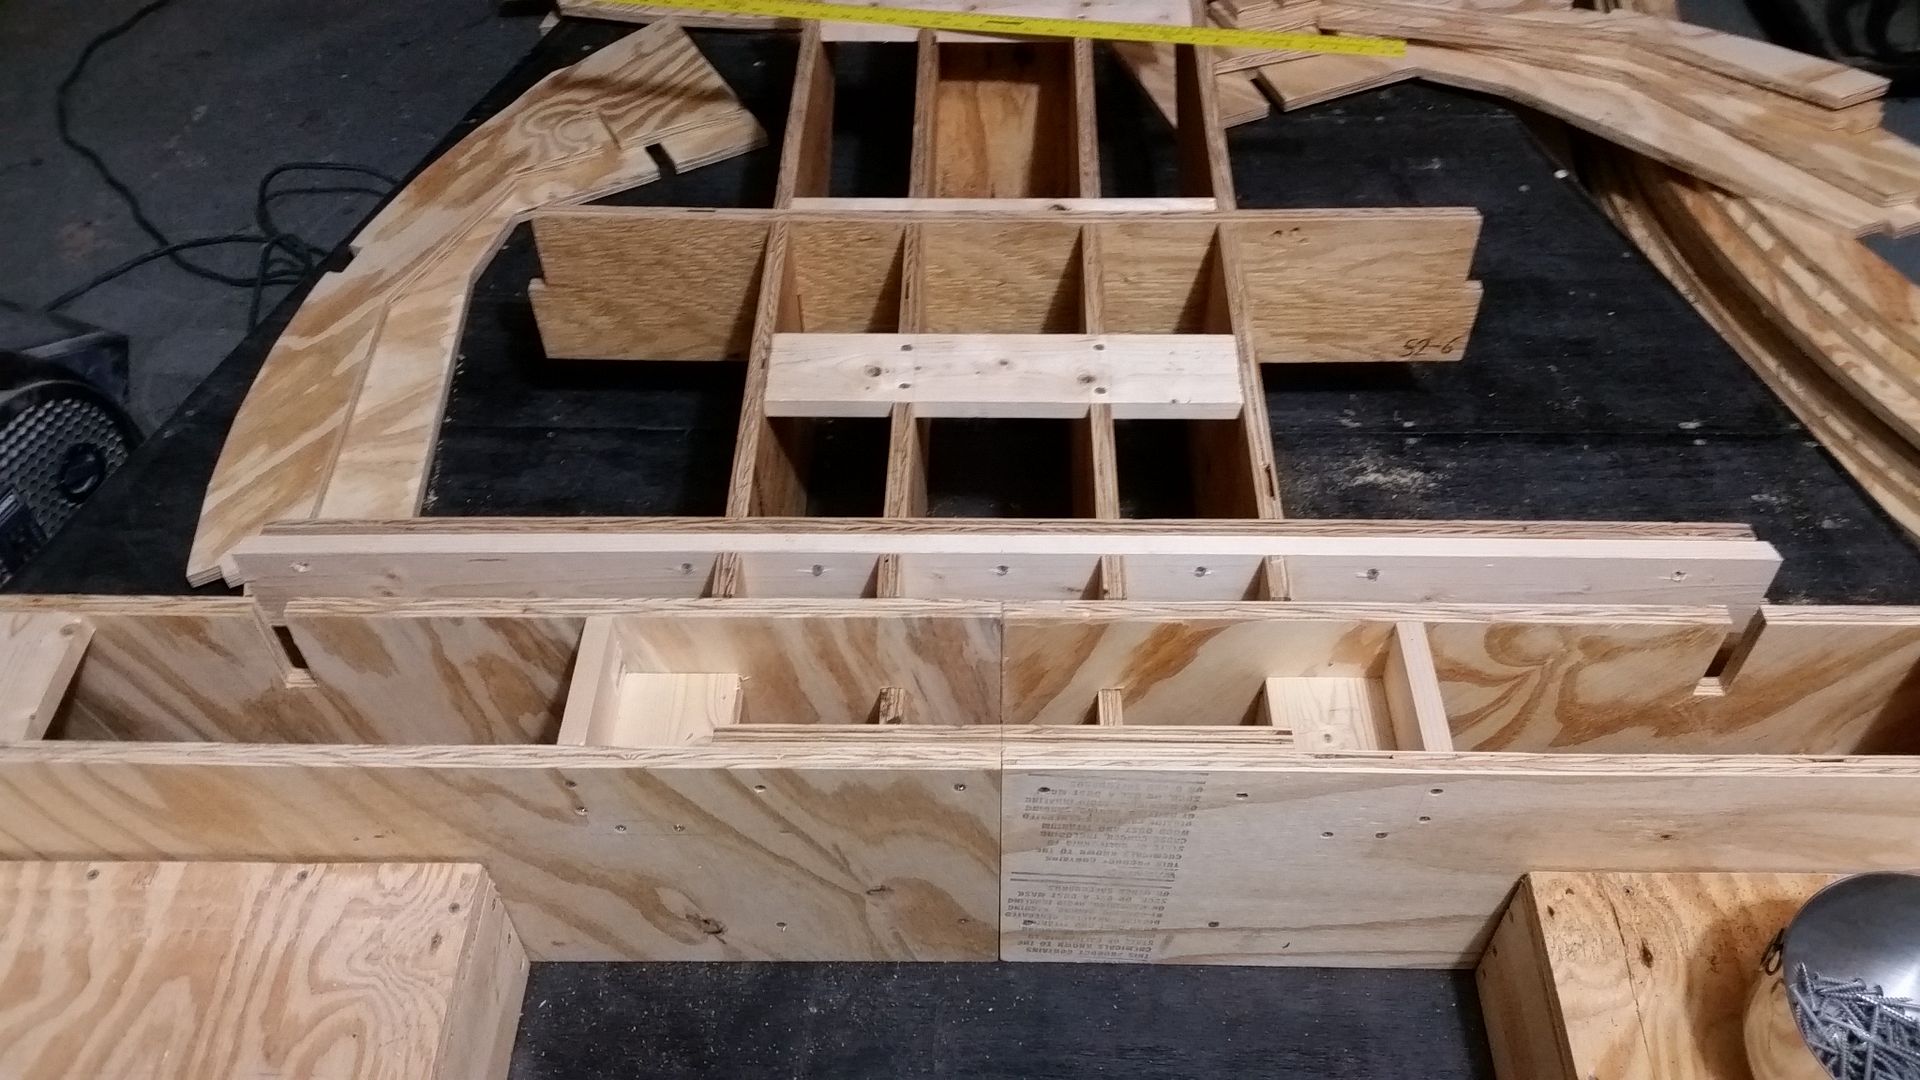
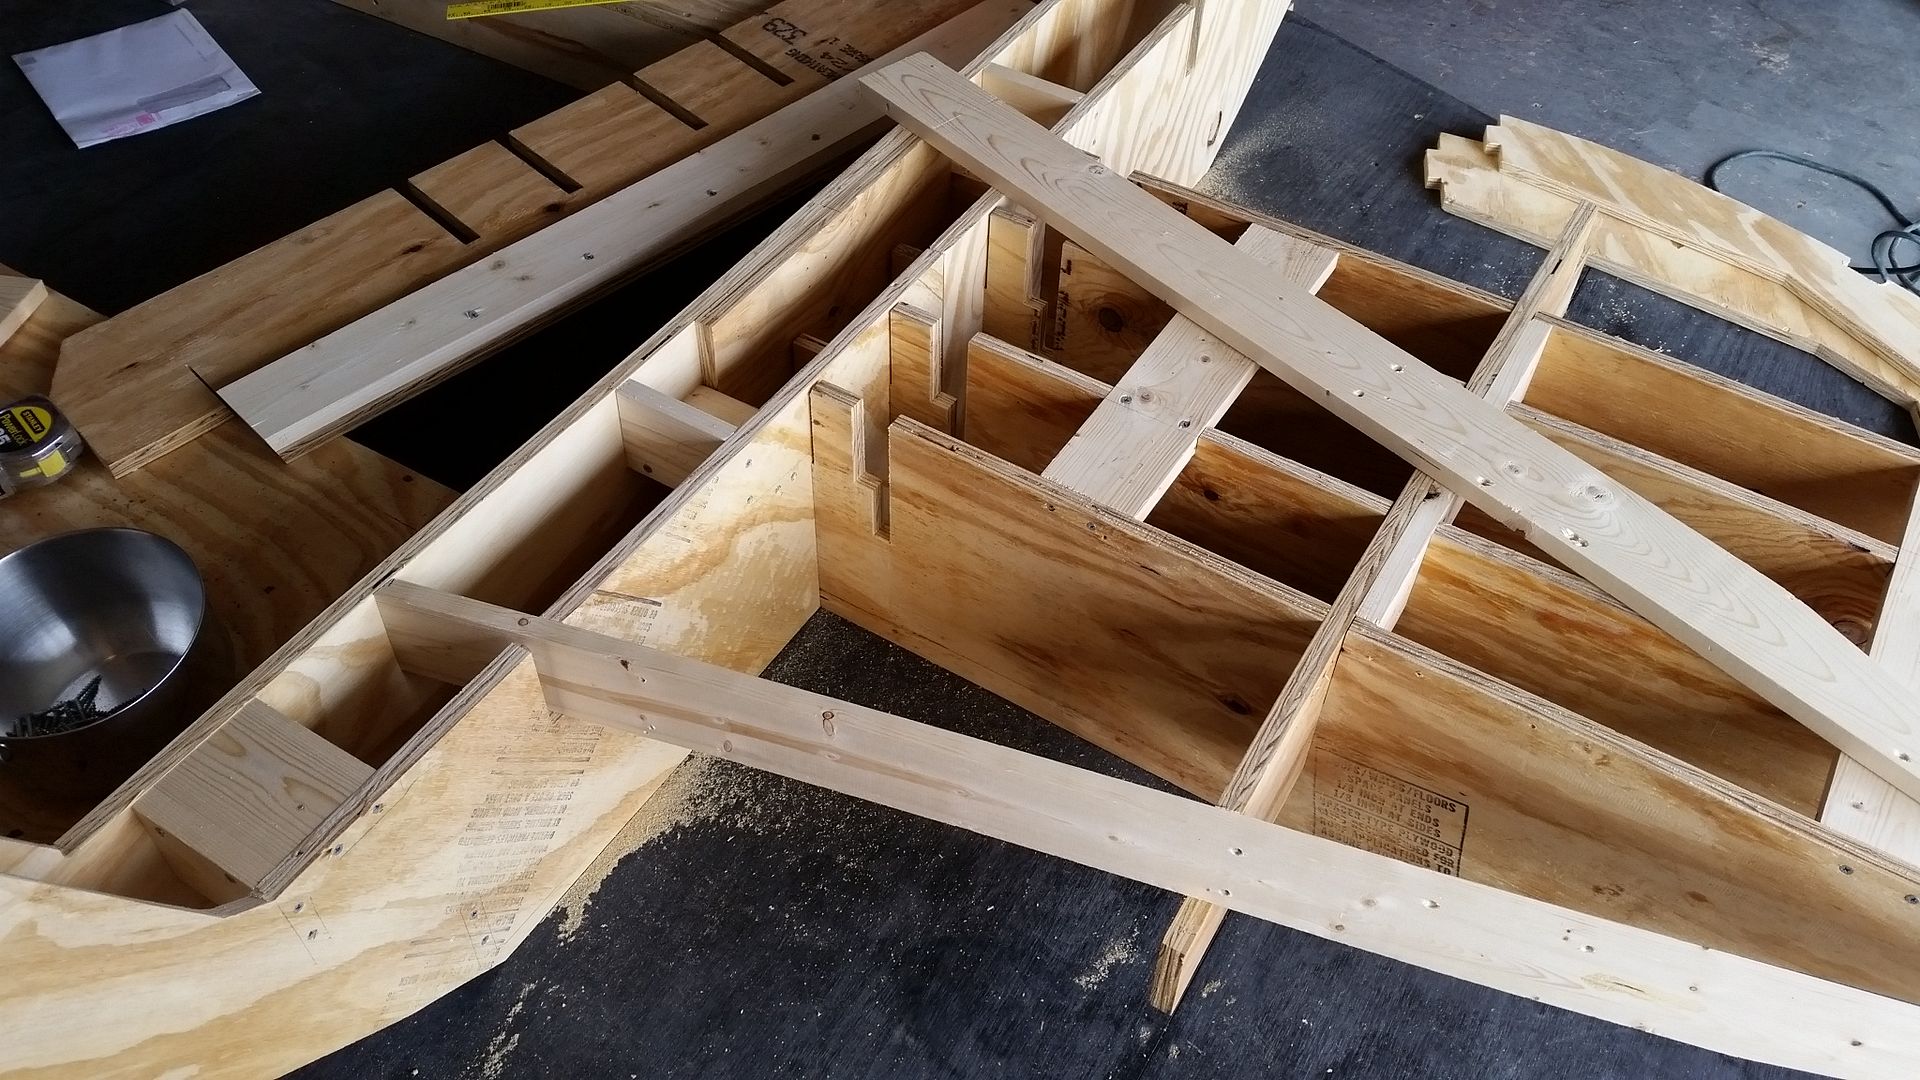
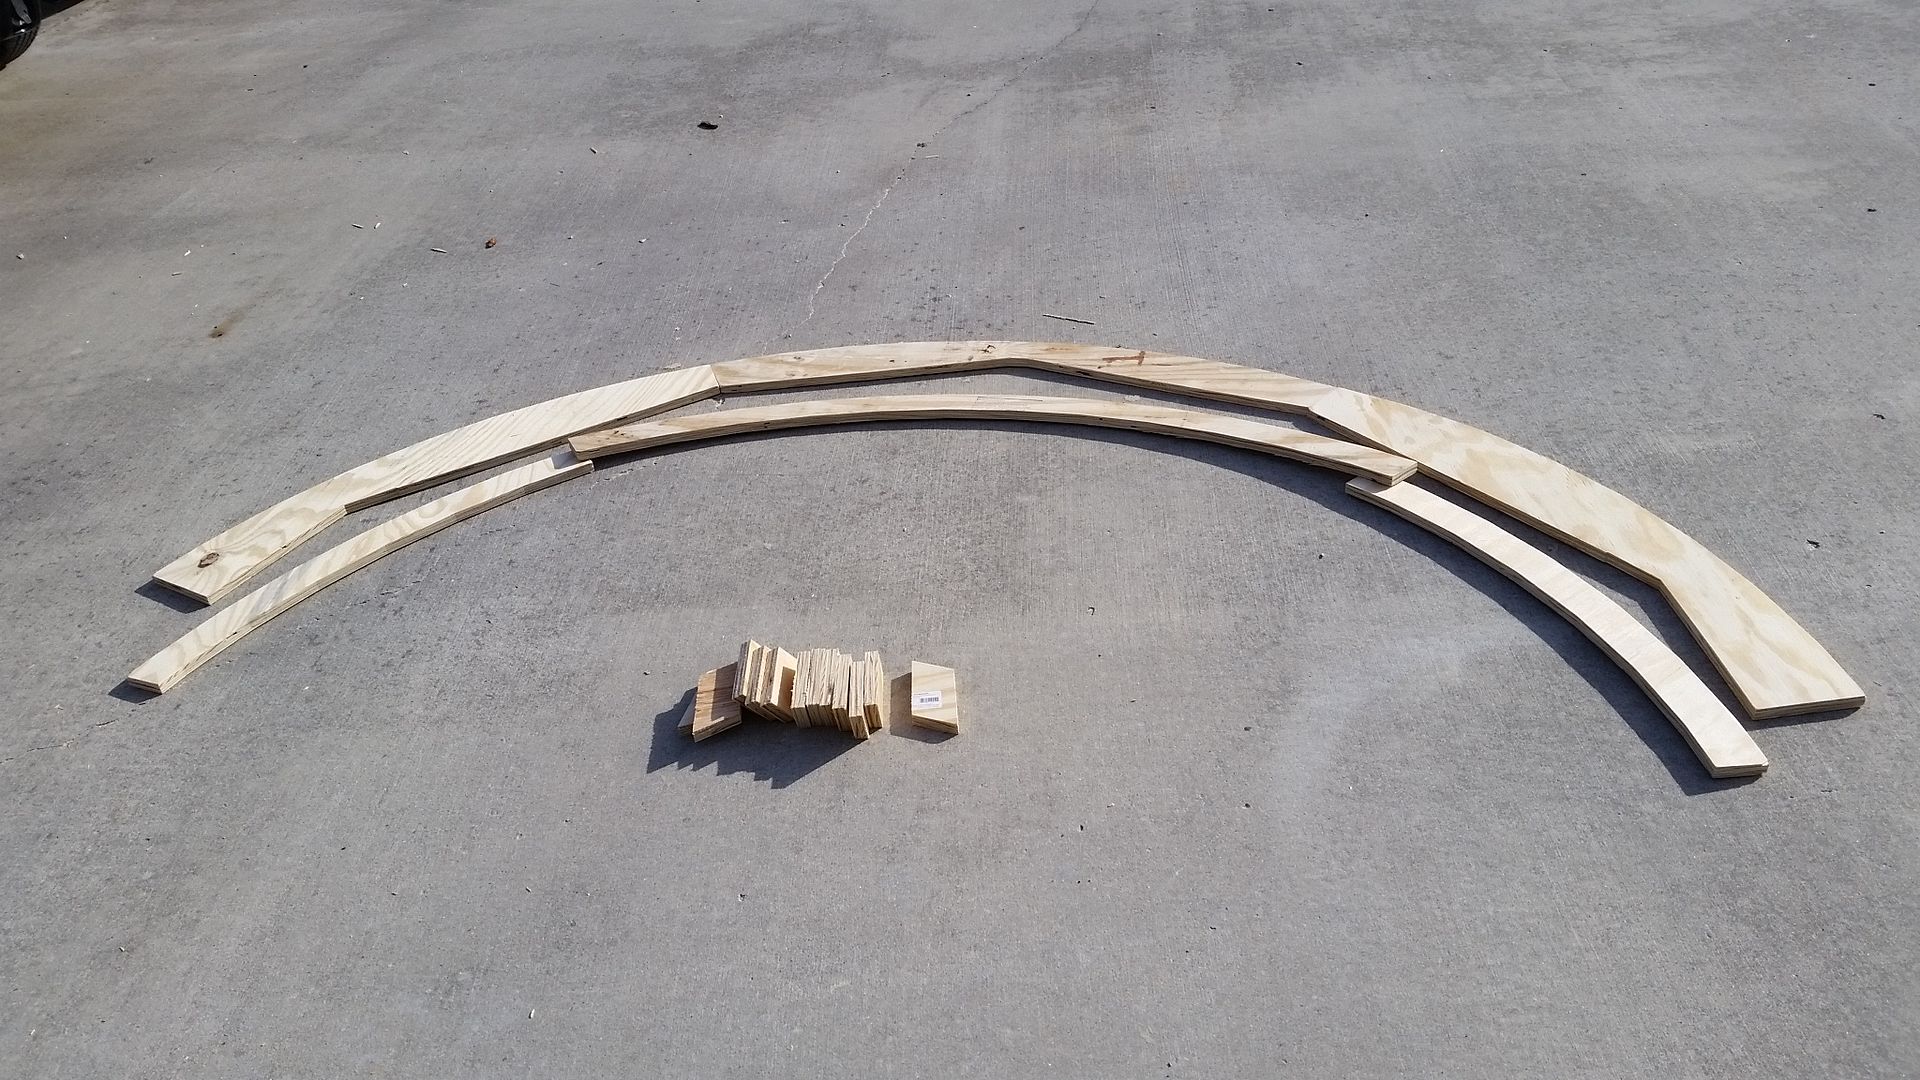
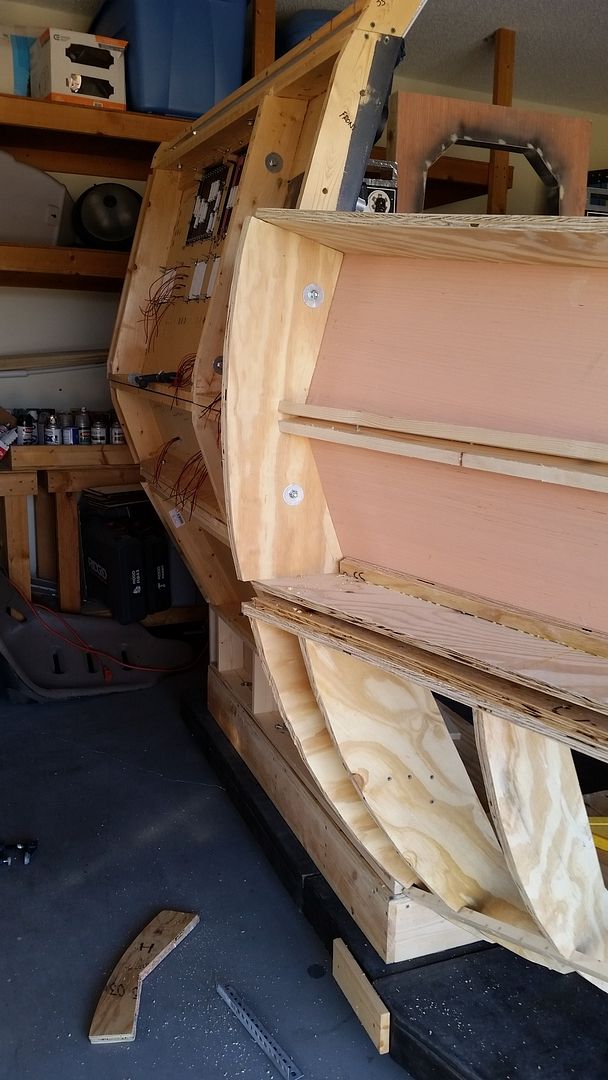
The frame required some changes so we removed the old ribs
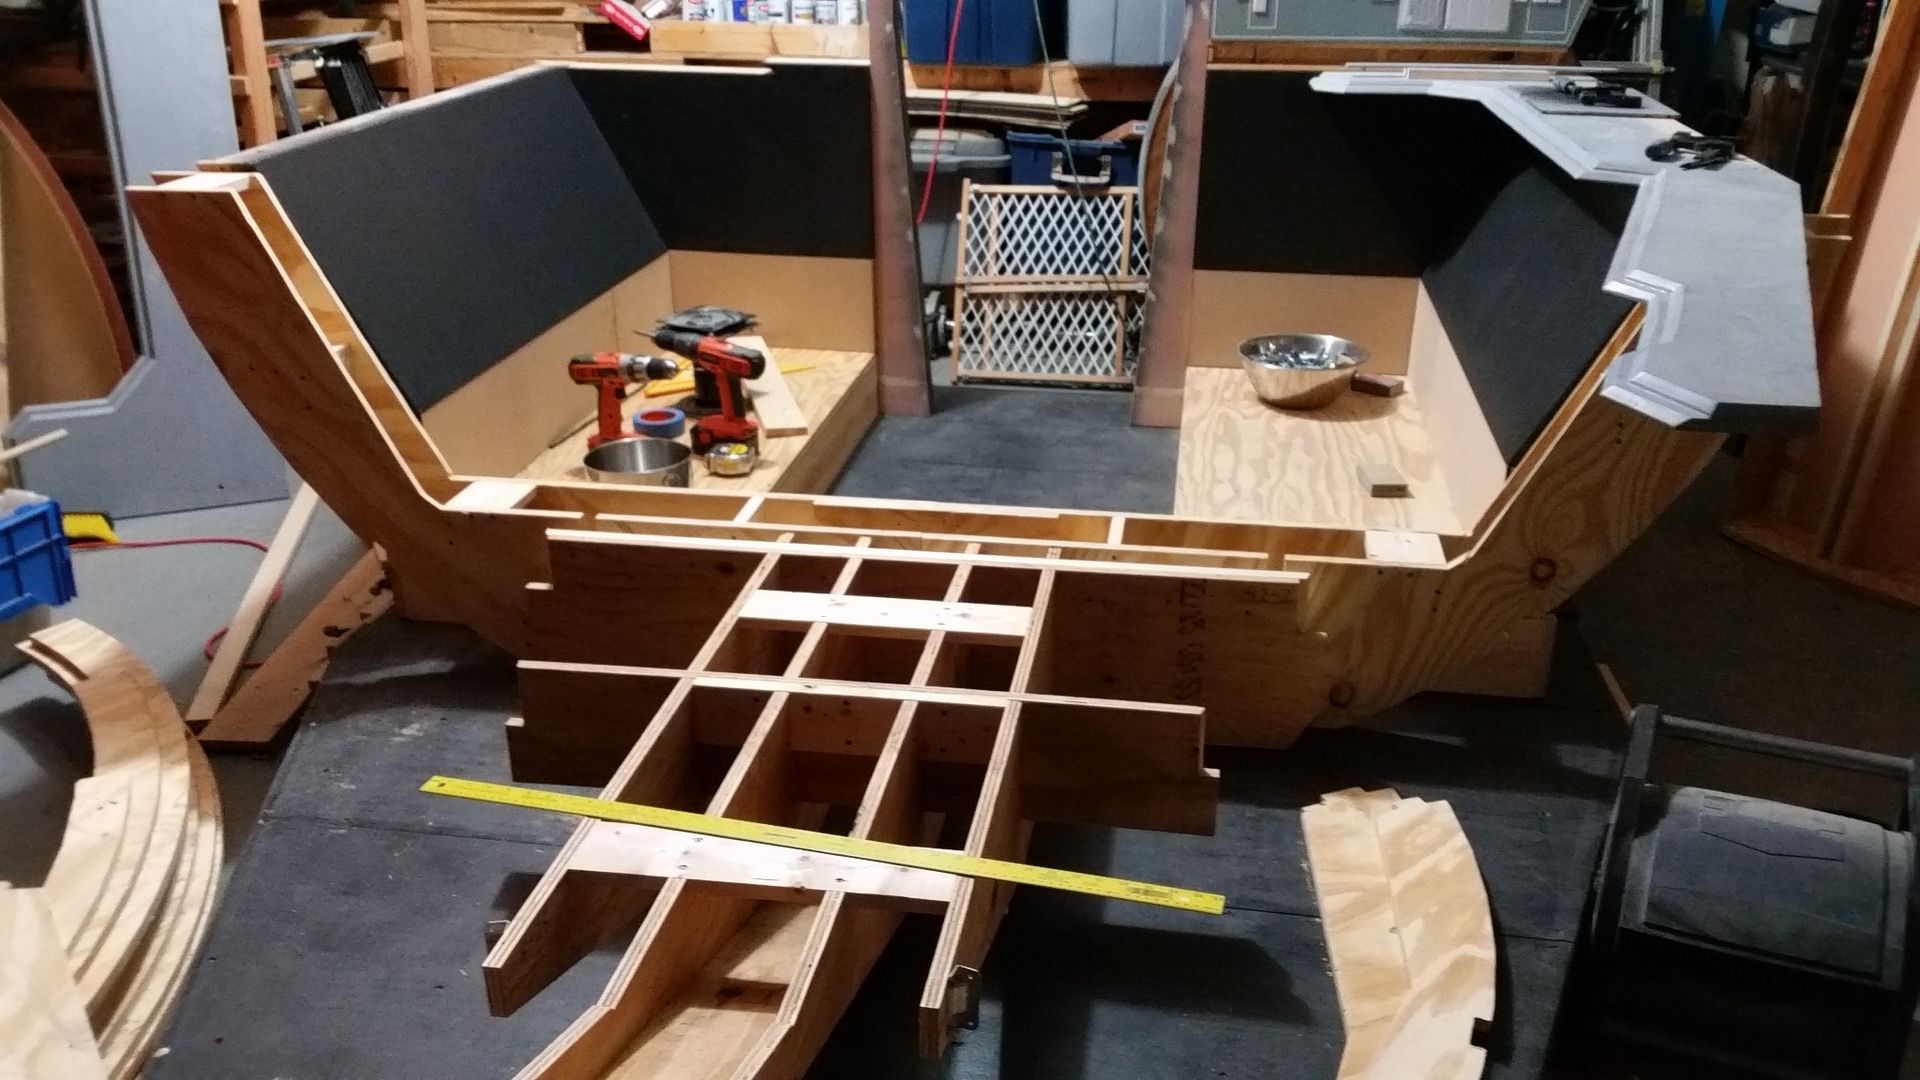
Built up the new frame one rib at a time
UGH... that's a big puzzle
And... bad me excitedly jumped ahead of myself. I had to remove the interior window petals to prep for a few more pieces needed for the window
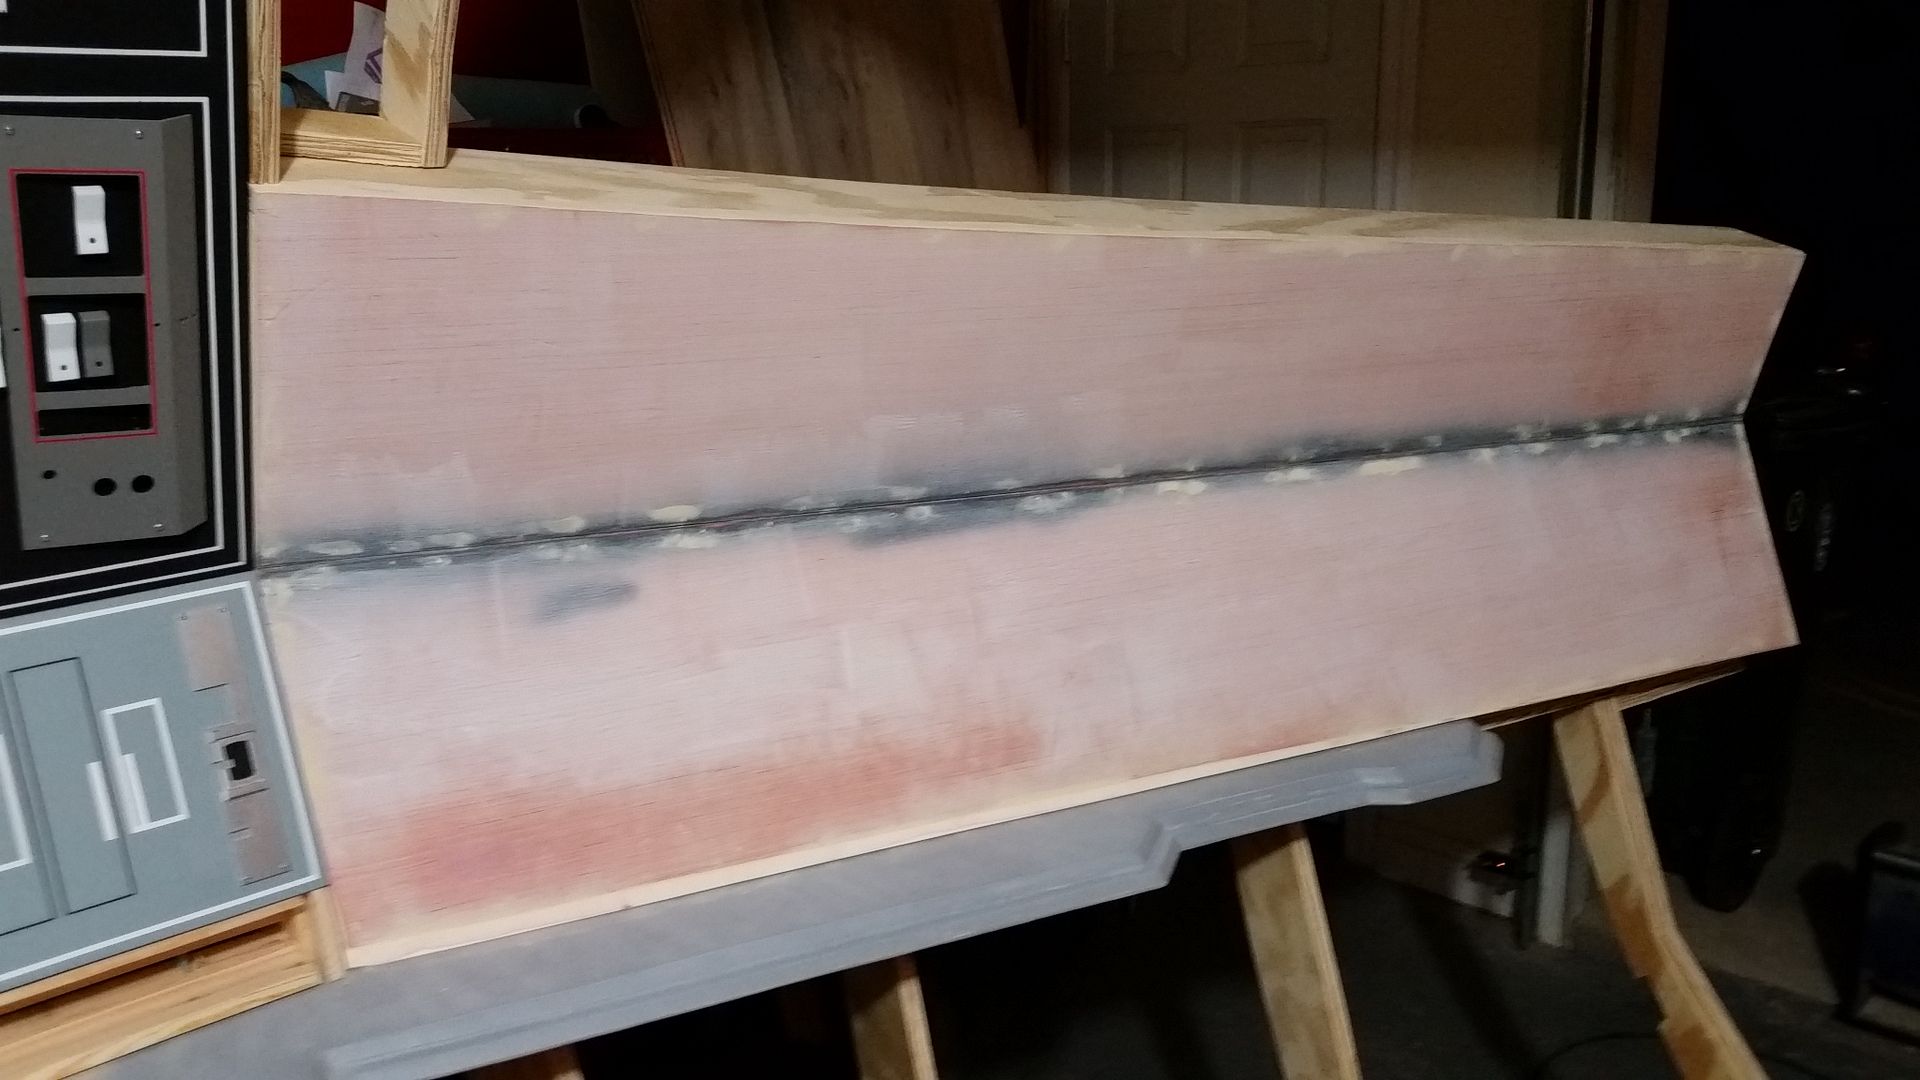
We rebuilt the Volvo panels
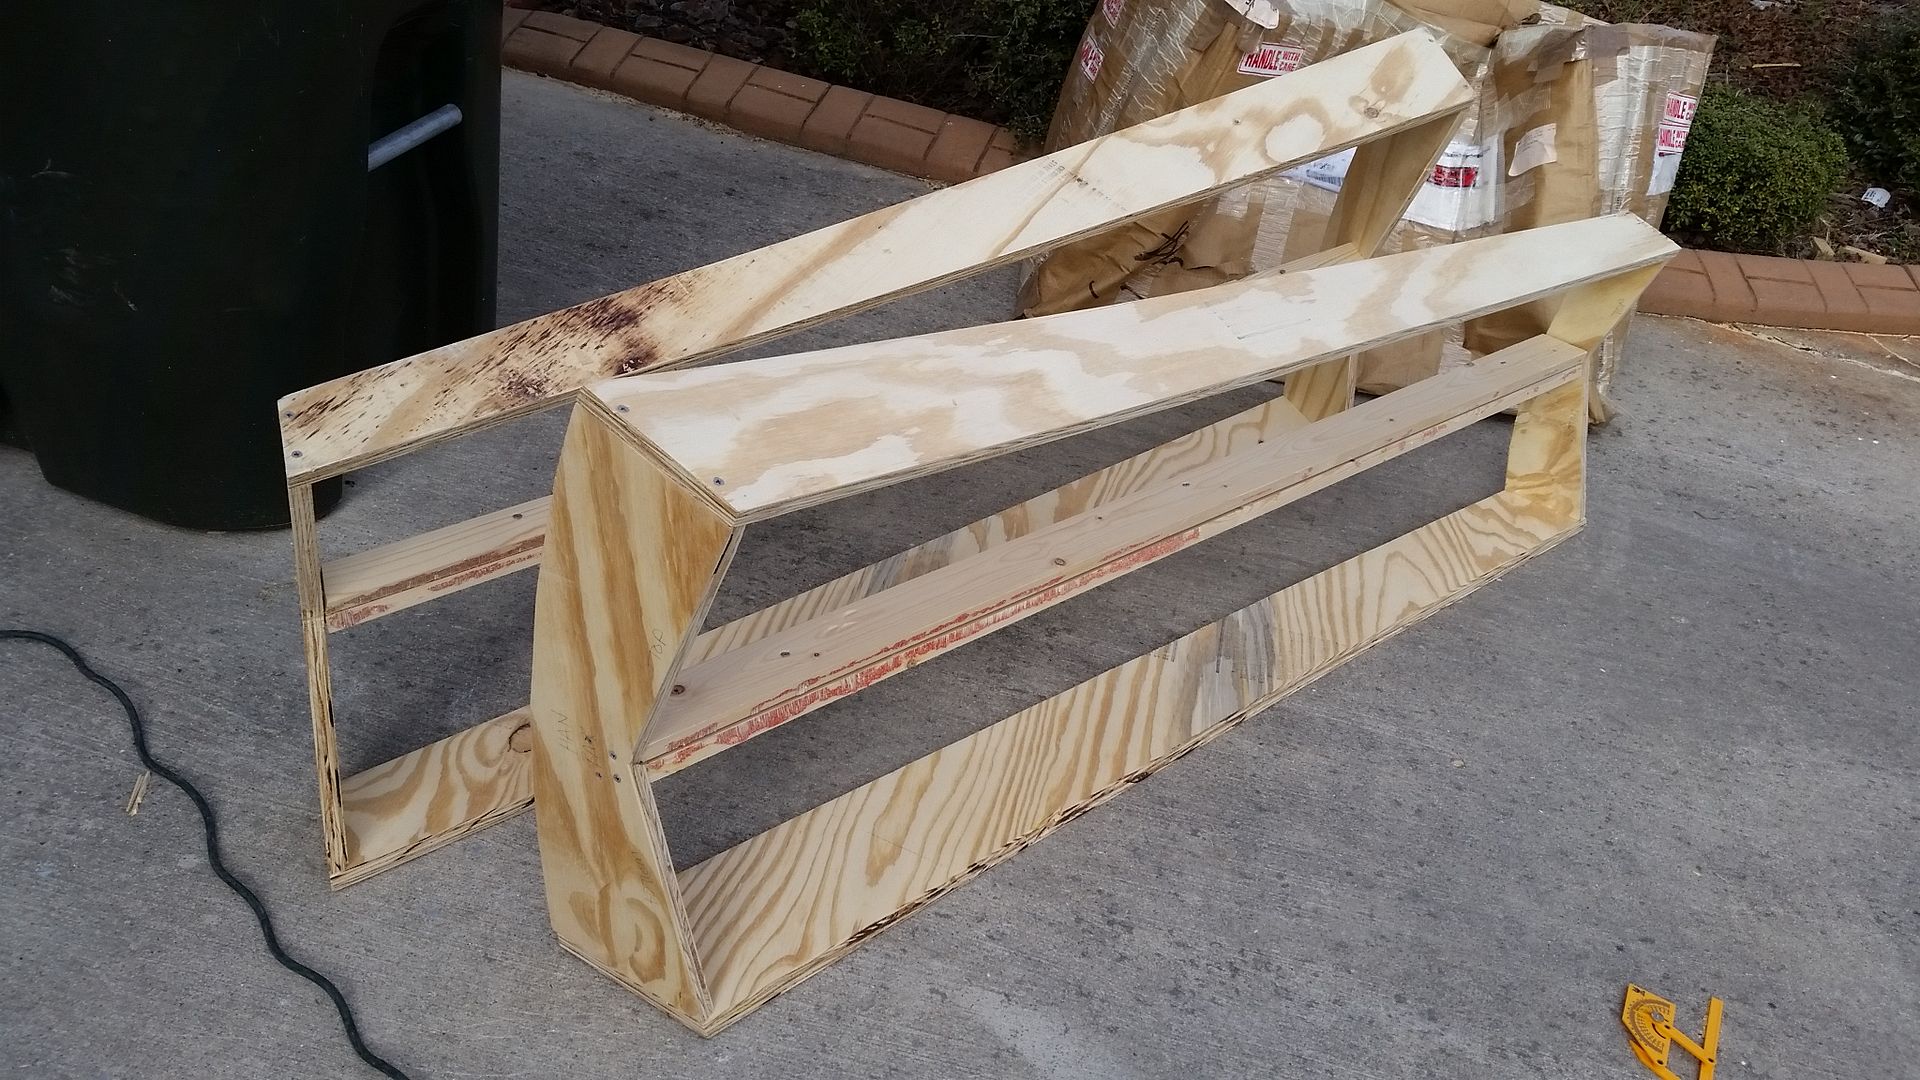
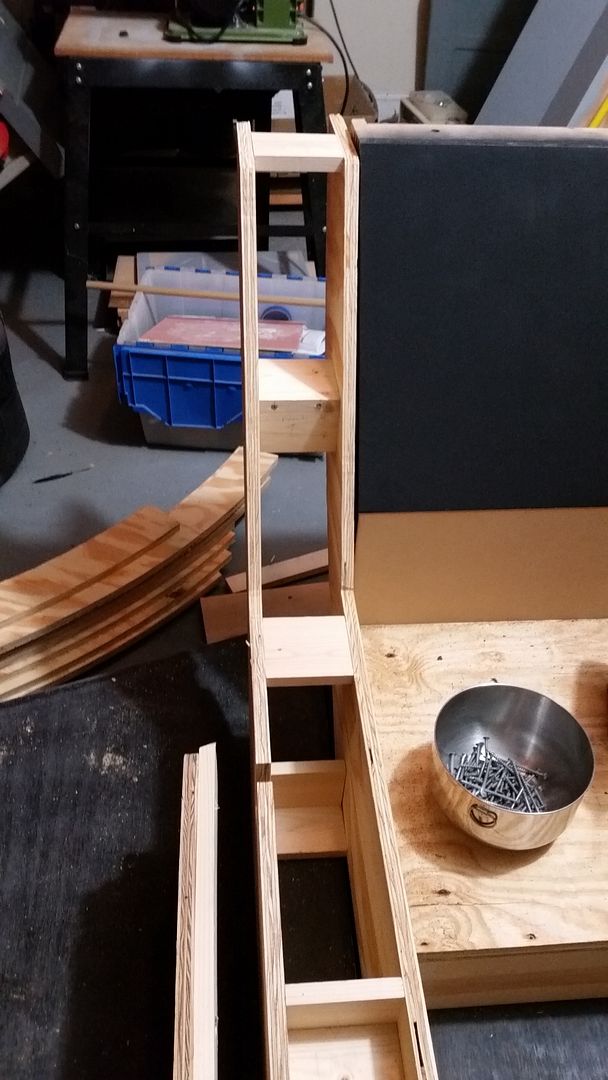
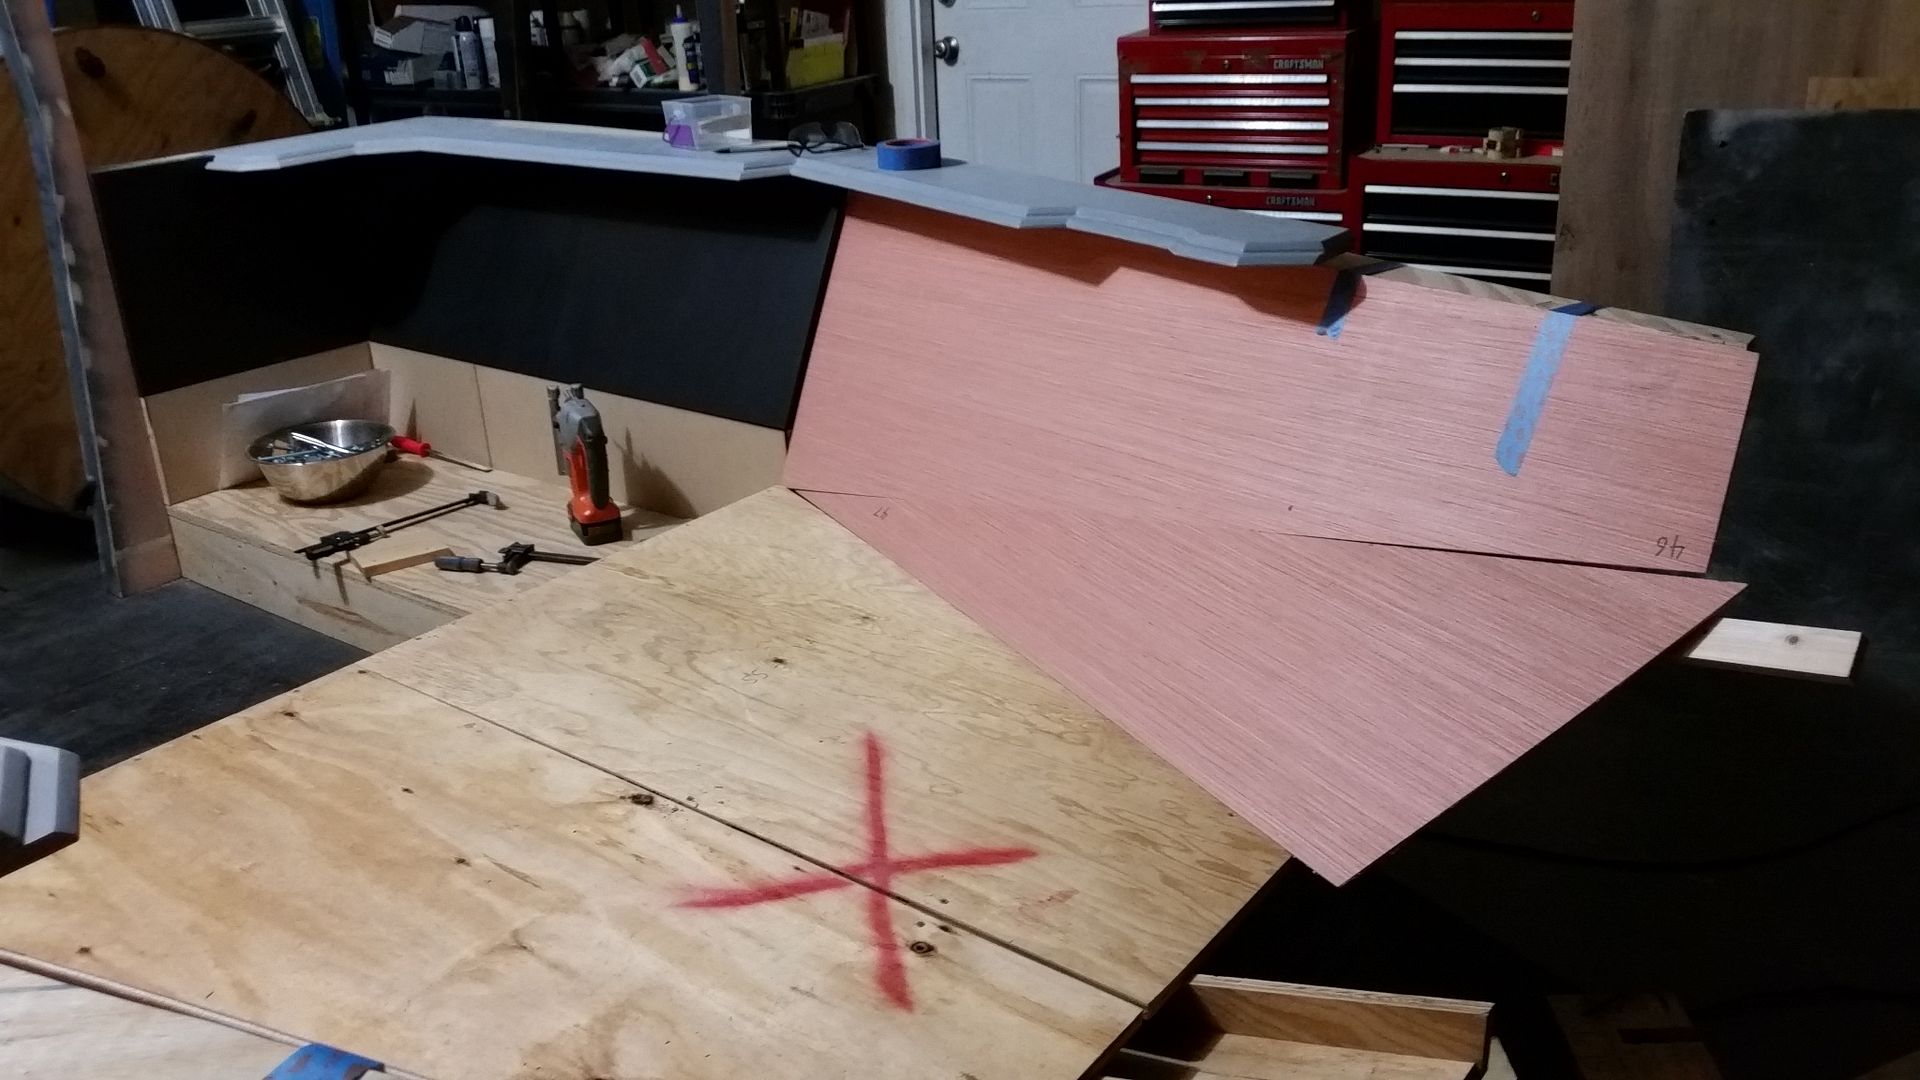
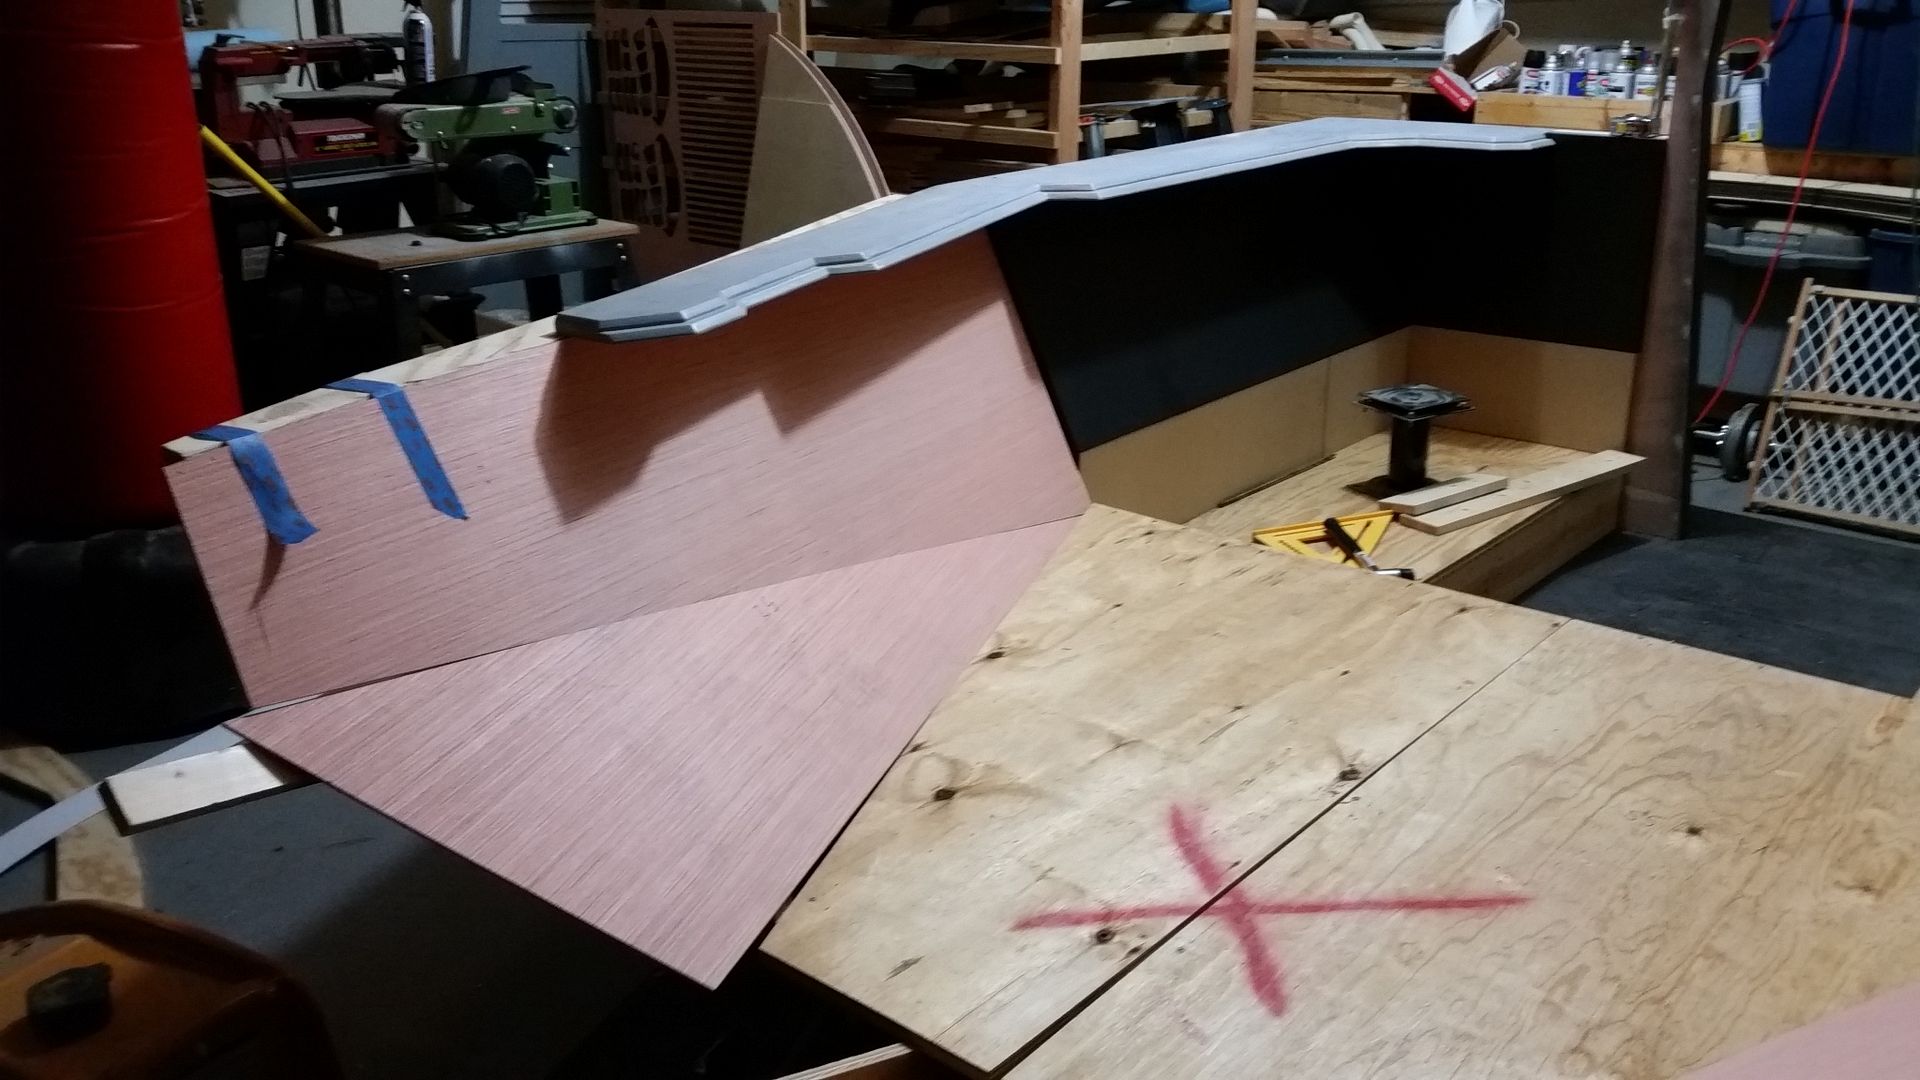
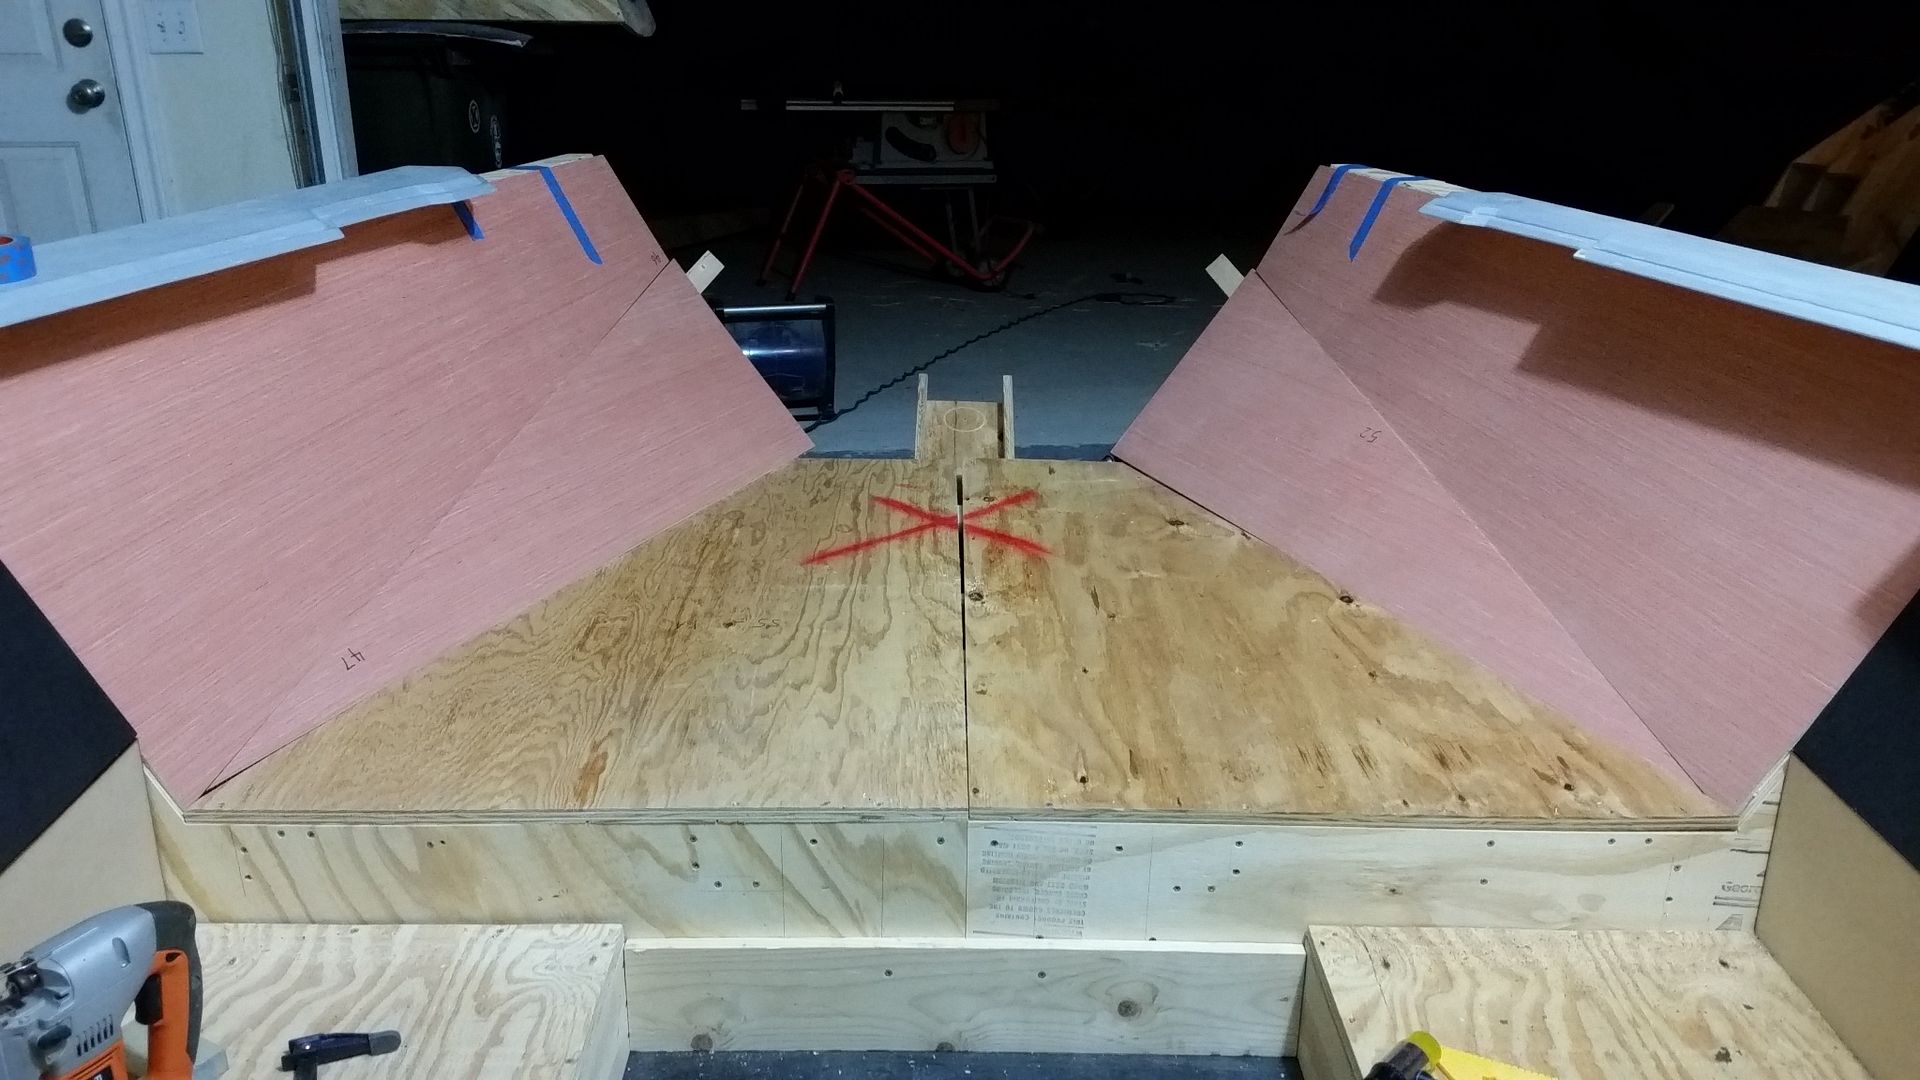
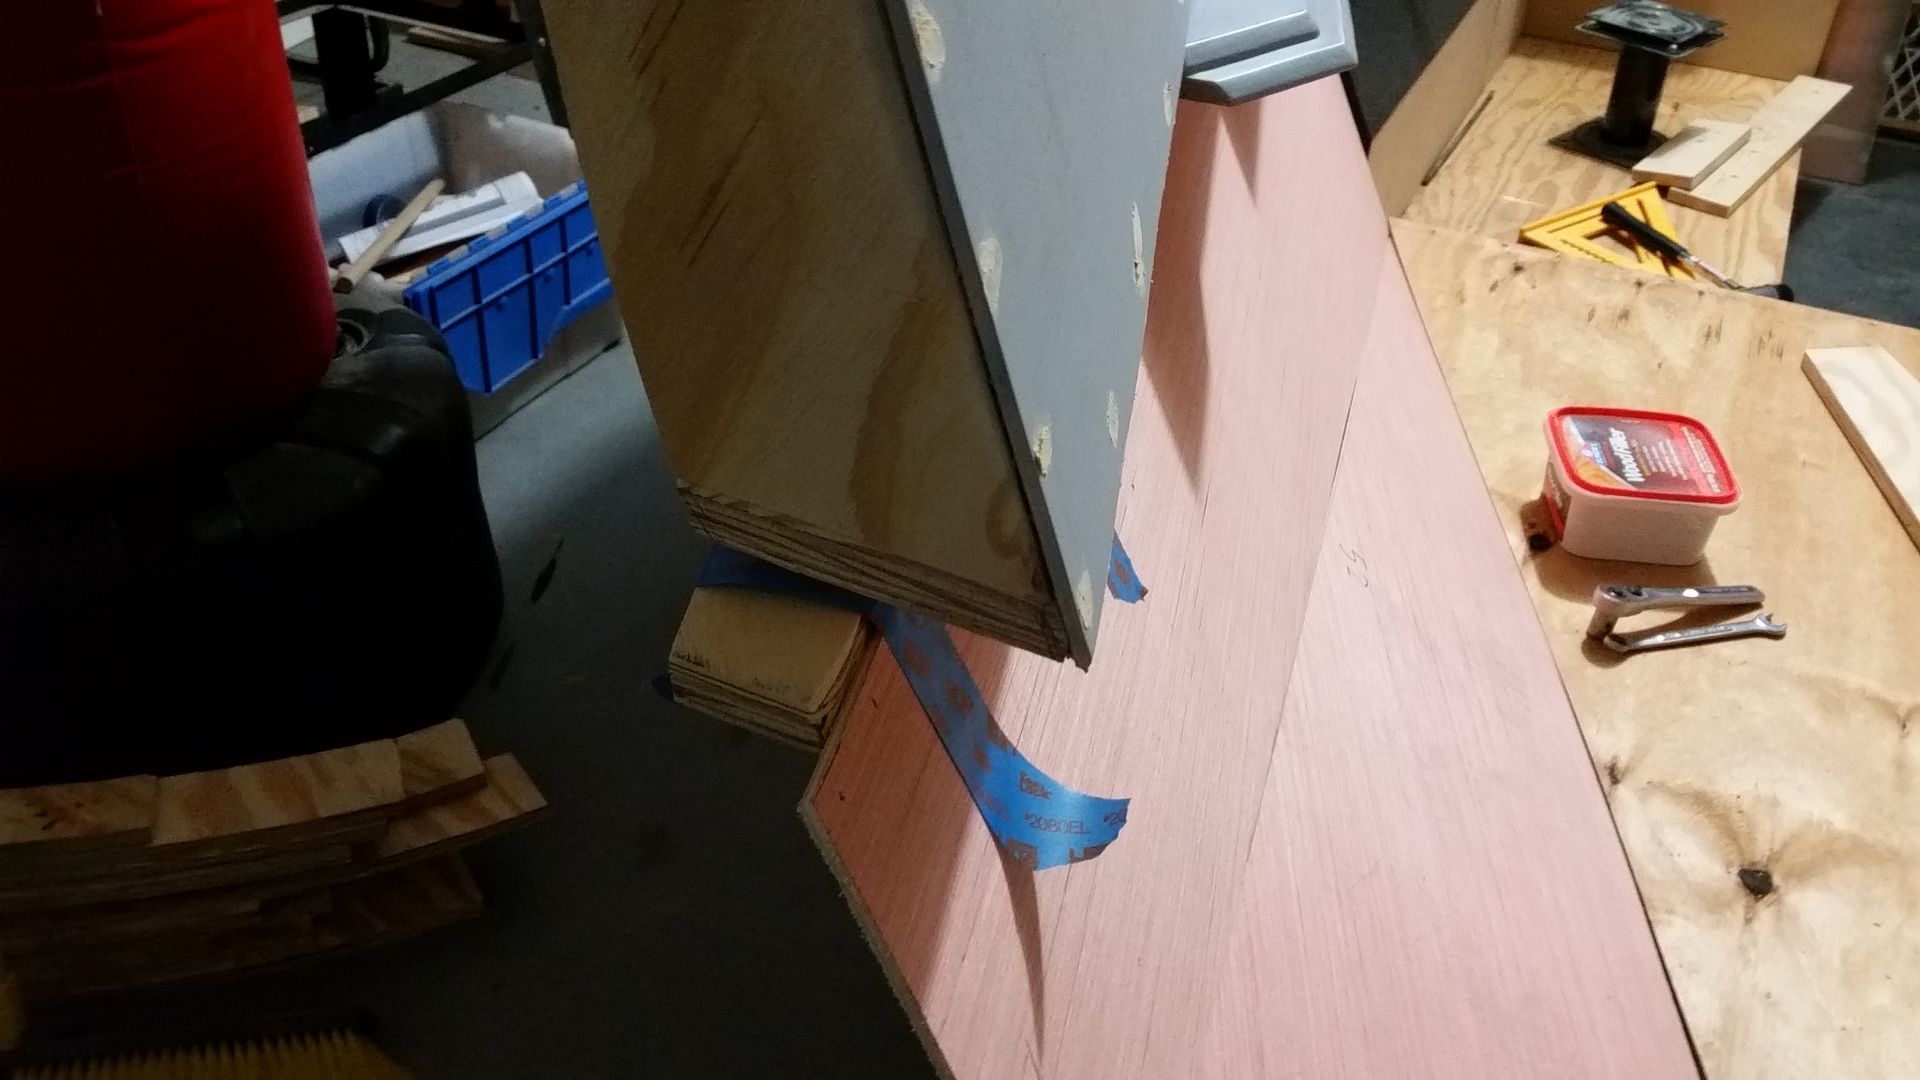
Cut and refit the new nose ribs and supports
Nice
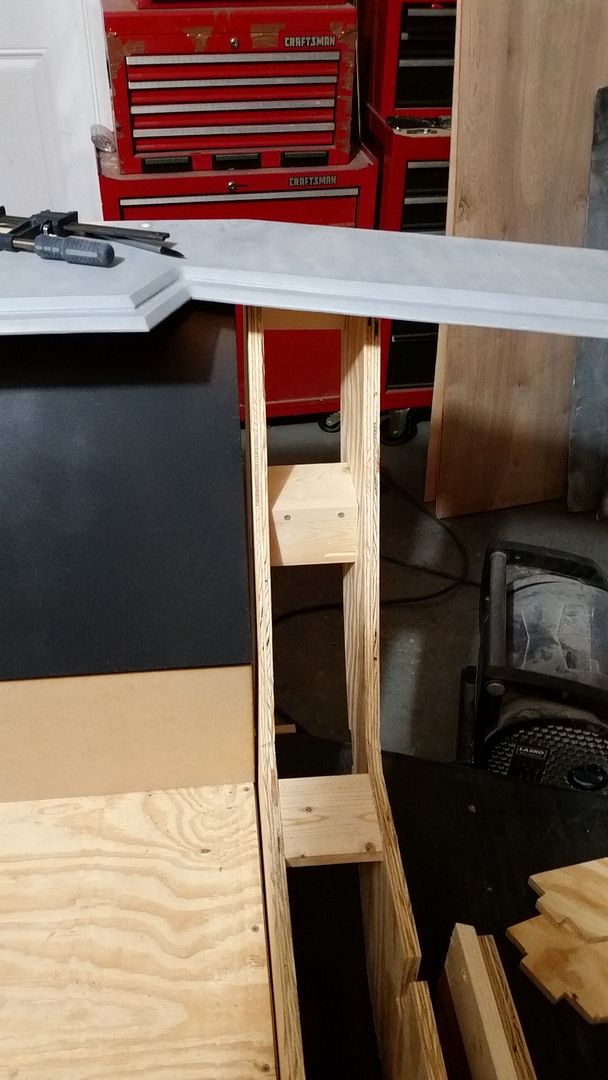
Chewie's side looking down
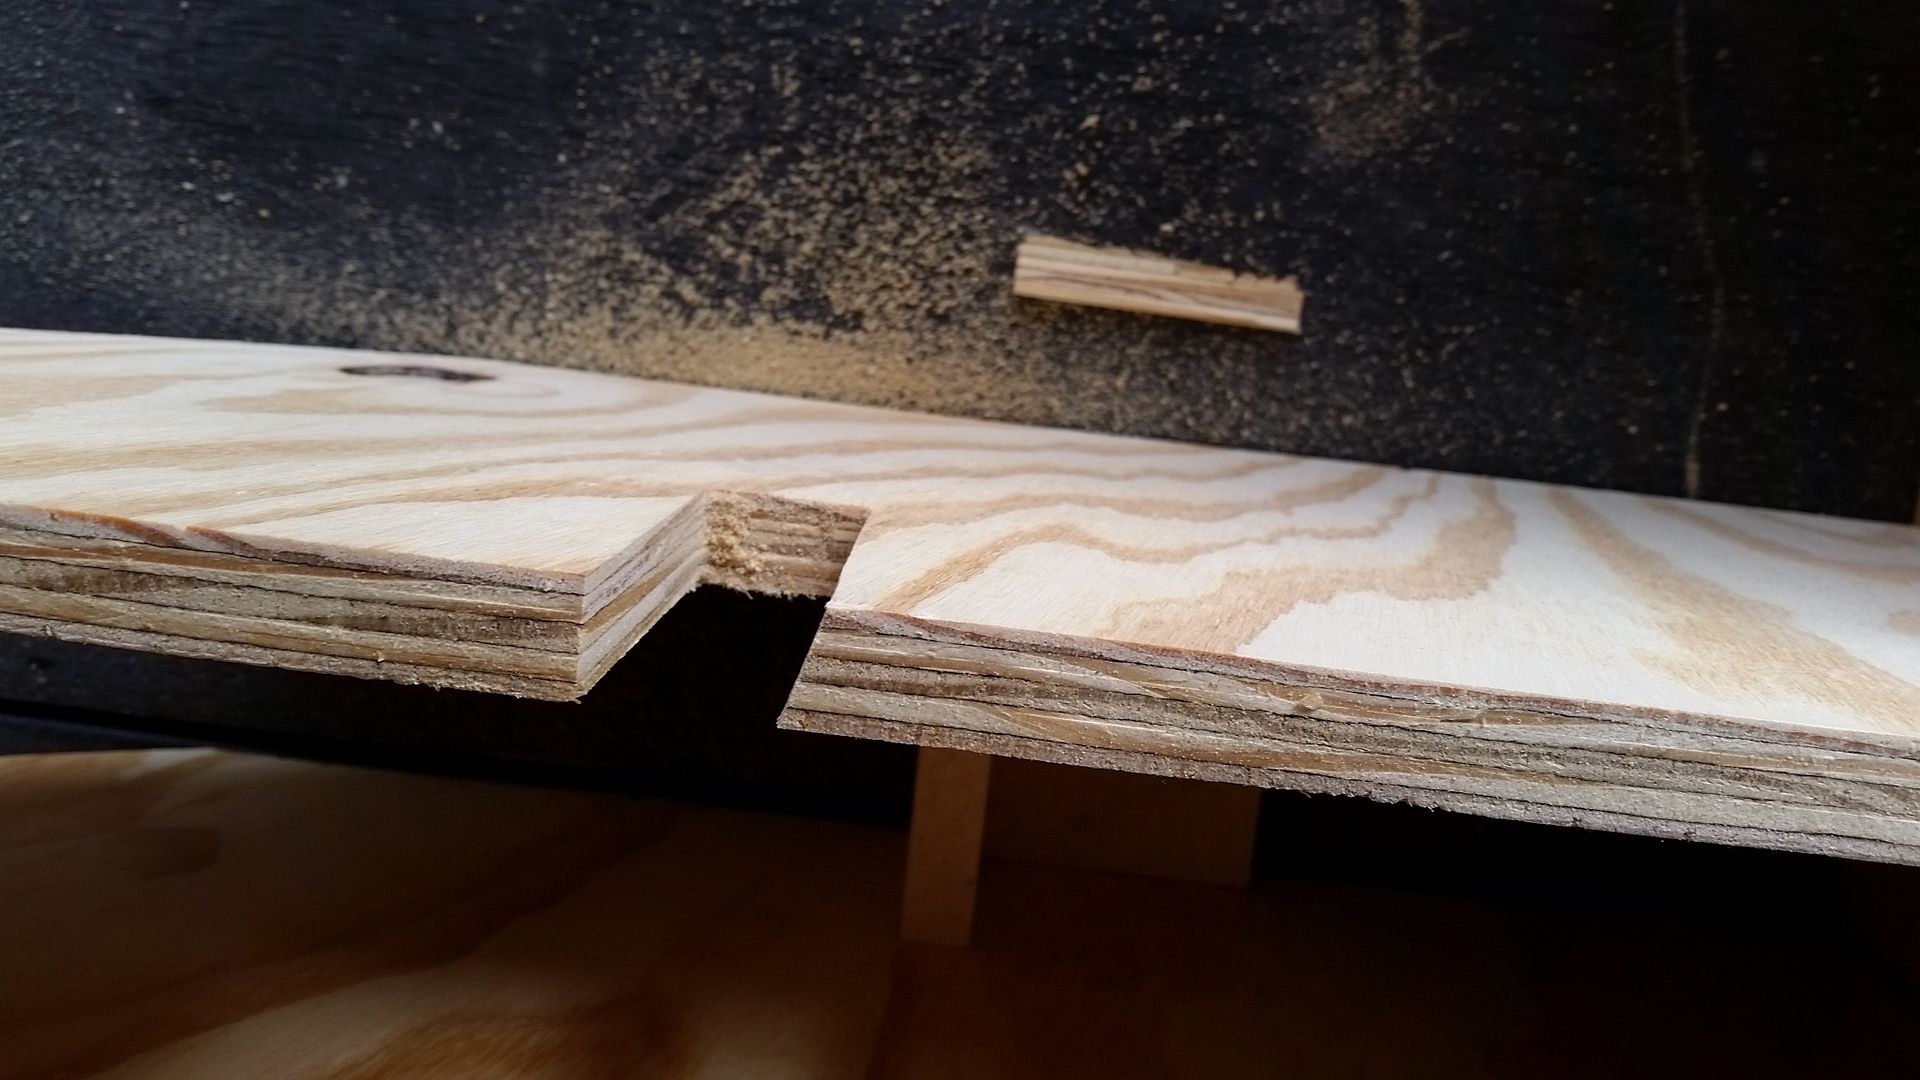
Its the little cuts here and there that make a HUGE difference
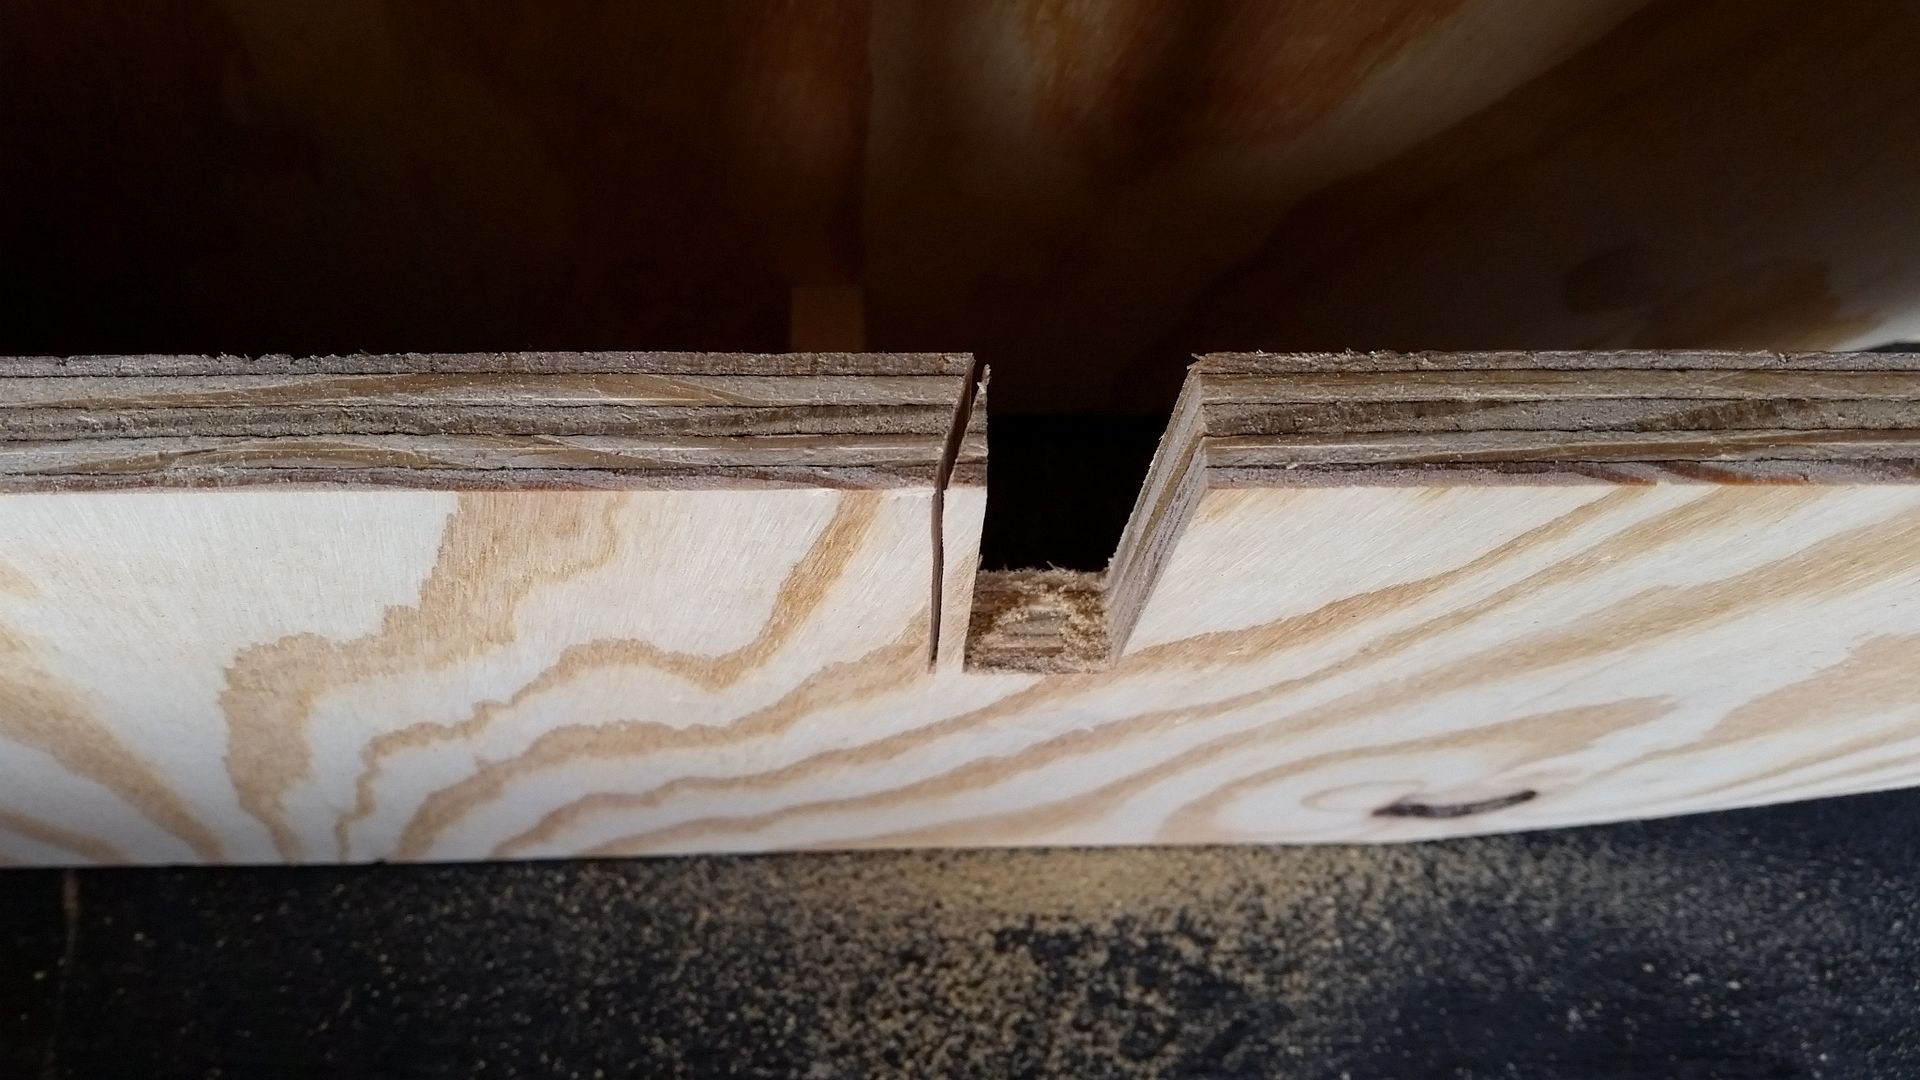
And make a mess
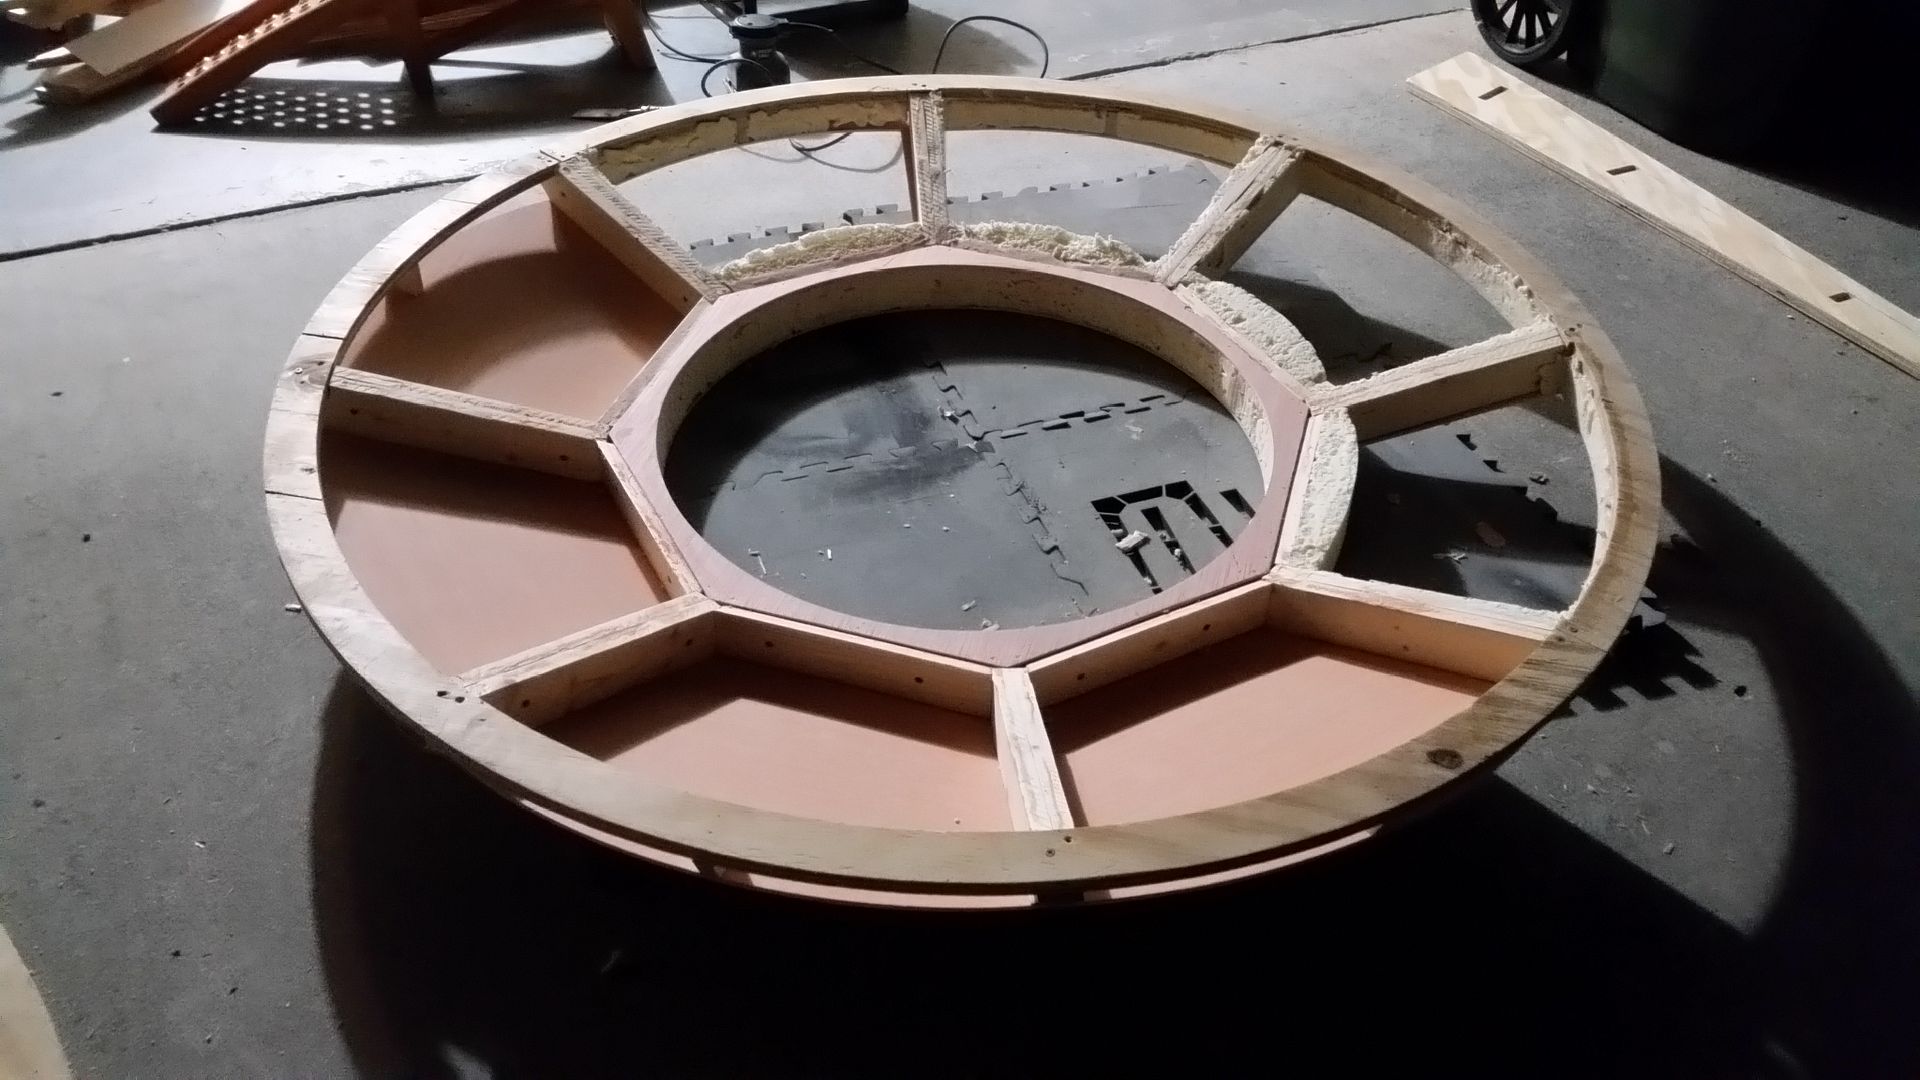
Now let's add some ribs!
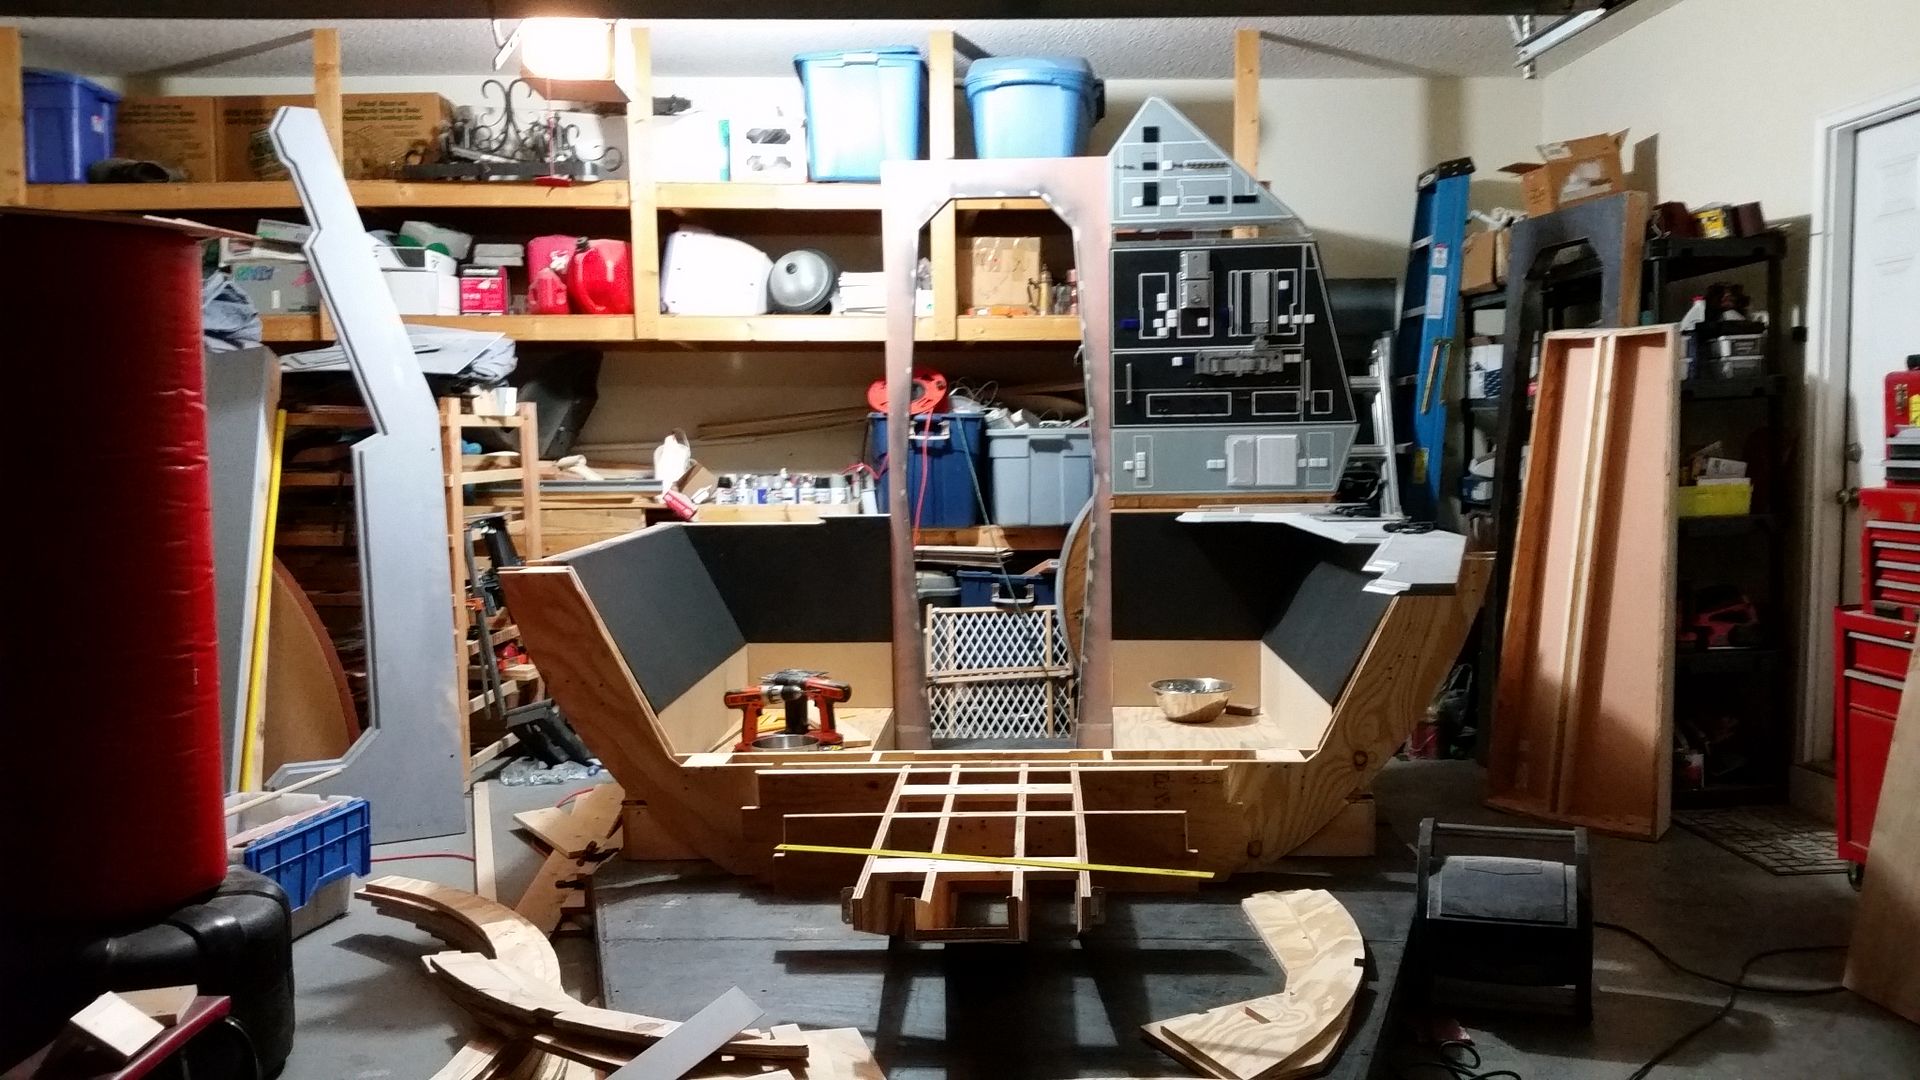
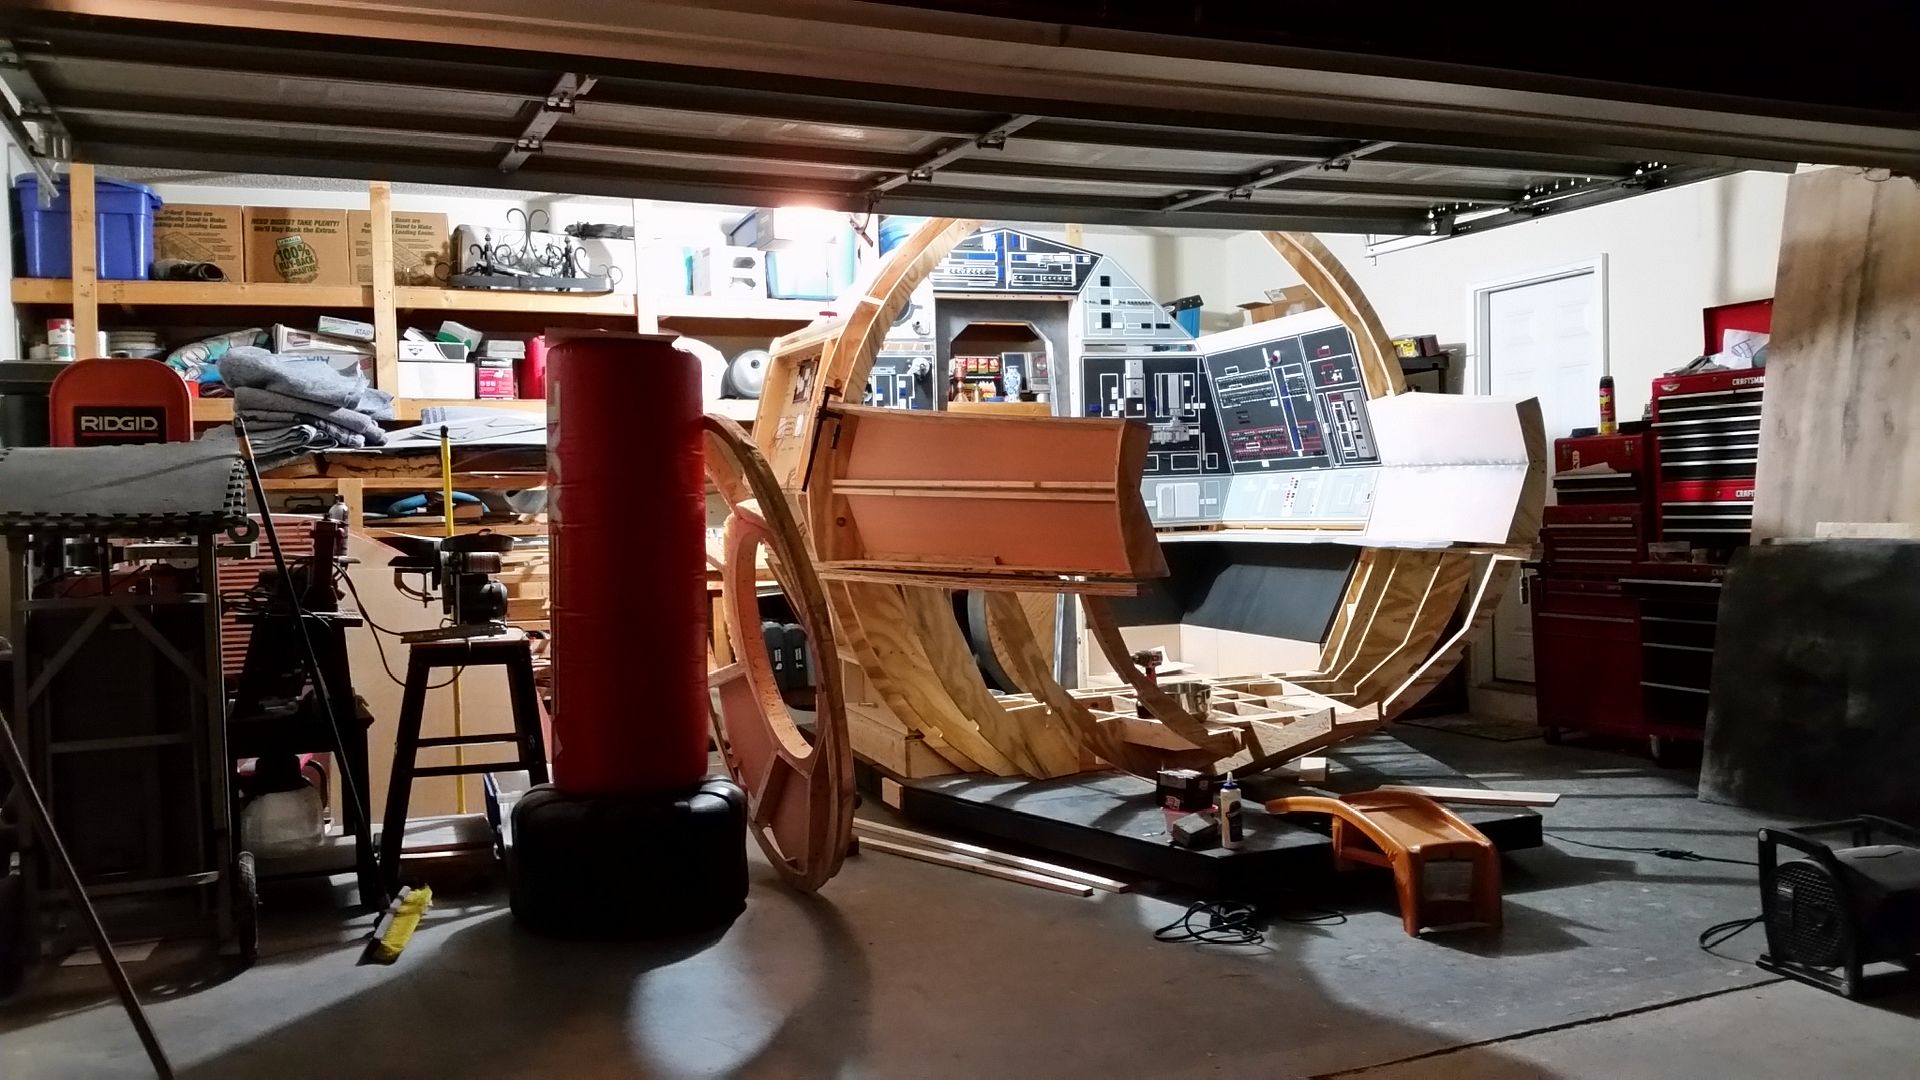
Bolted the frame to the body!

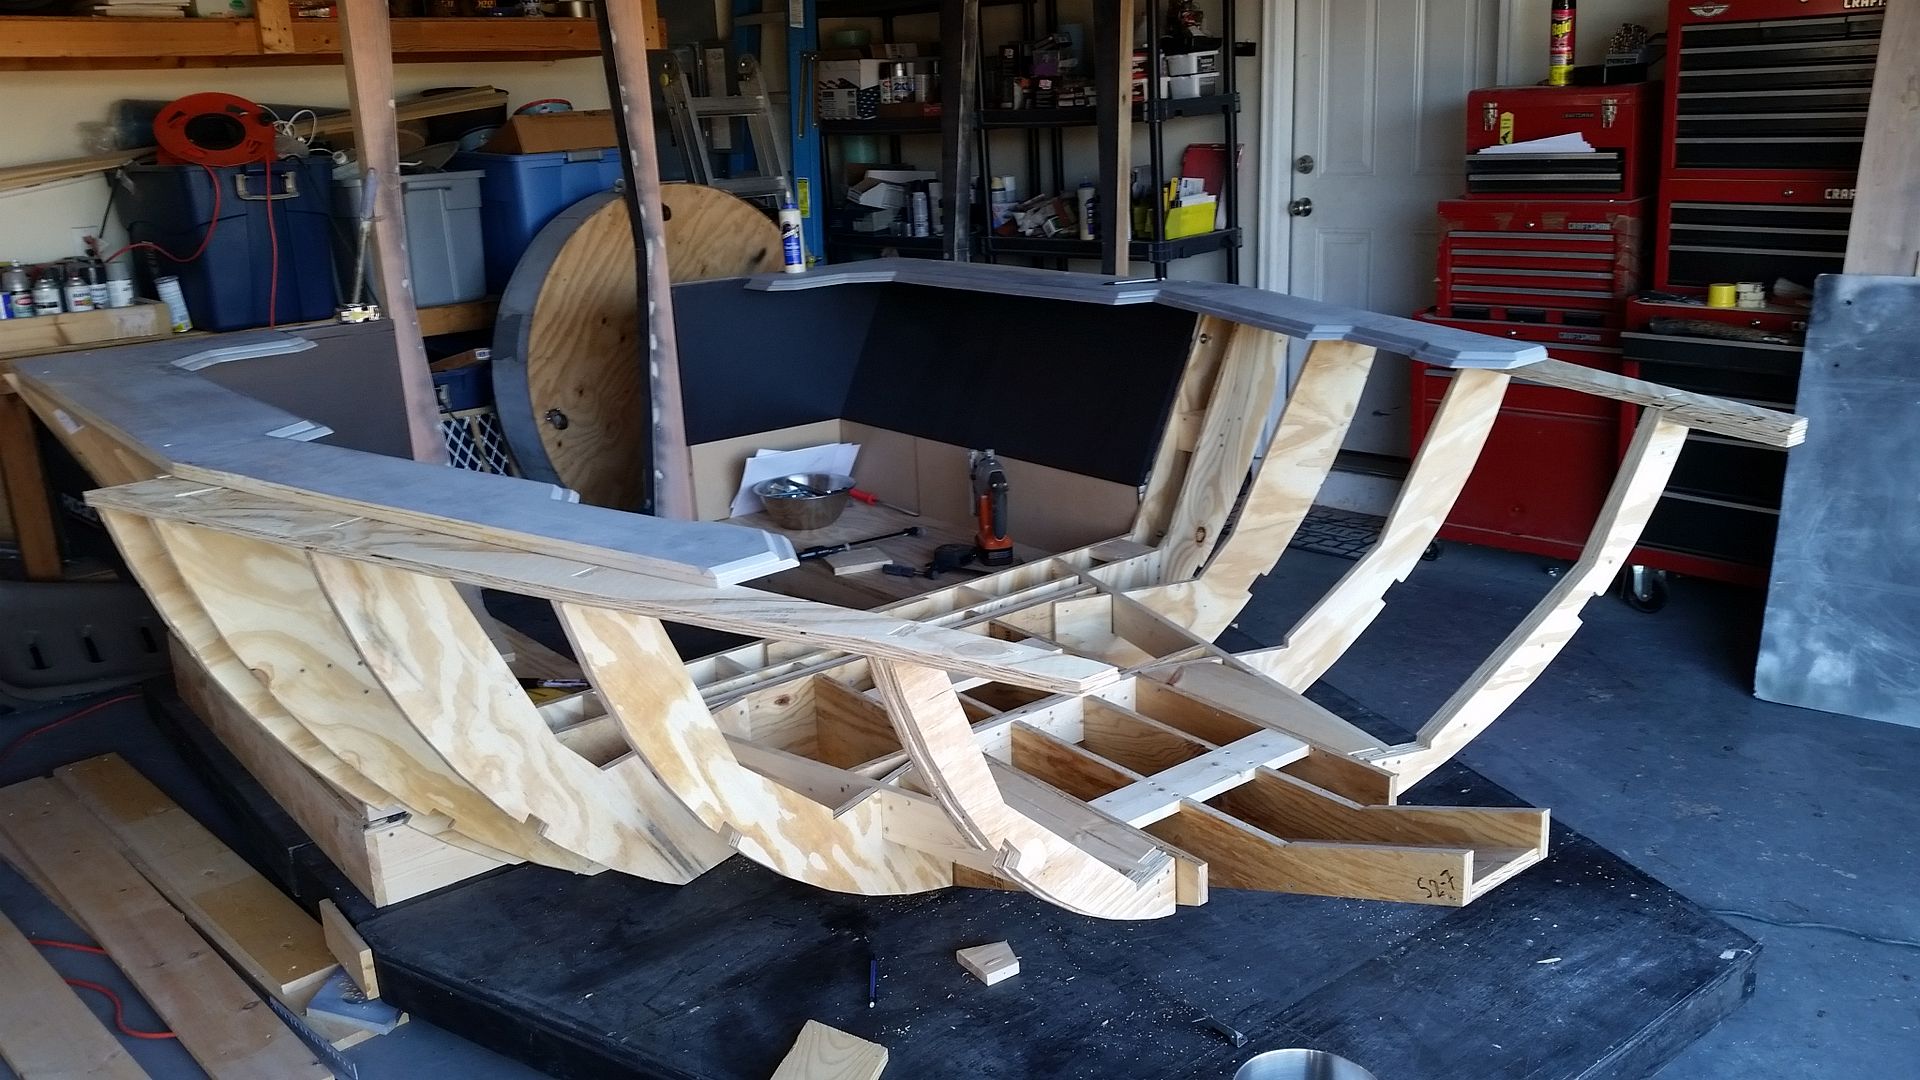
Ribs are now in place
Volvo panels getting some paint

Lid added - and will be covered by thin black ABS plastic to avoid a LOT of prep work
These side panels will also be ABS plastic
Volvo panels just aching for some paint and pin stripes
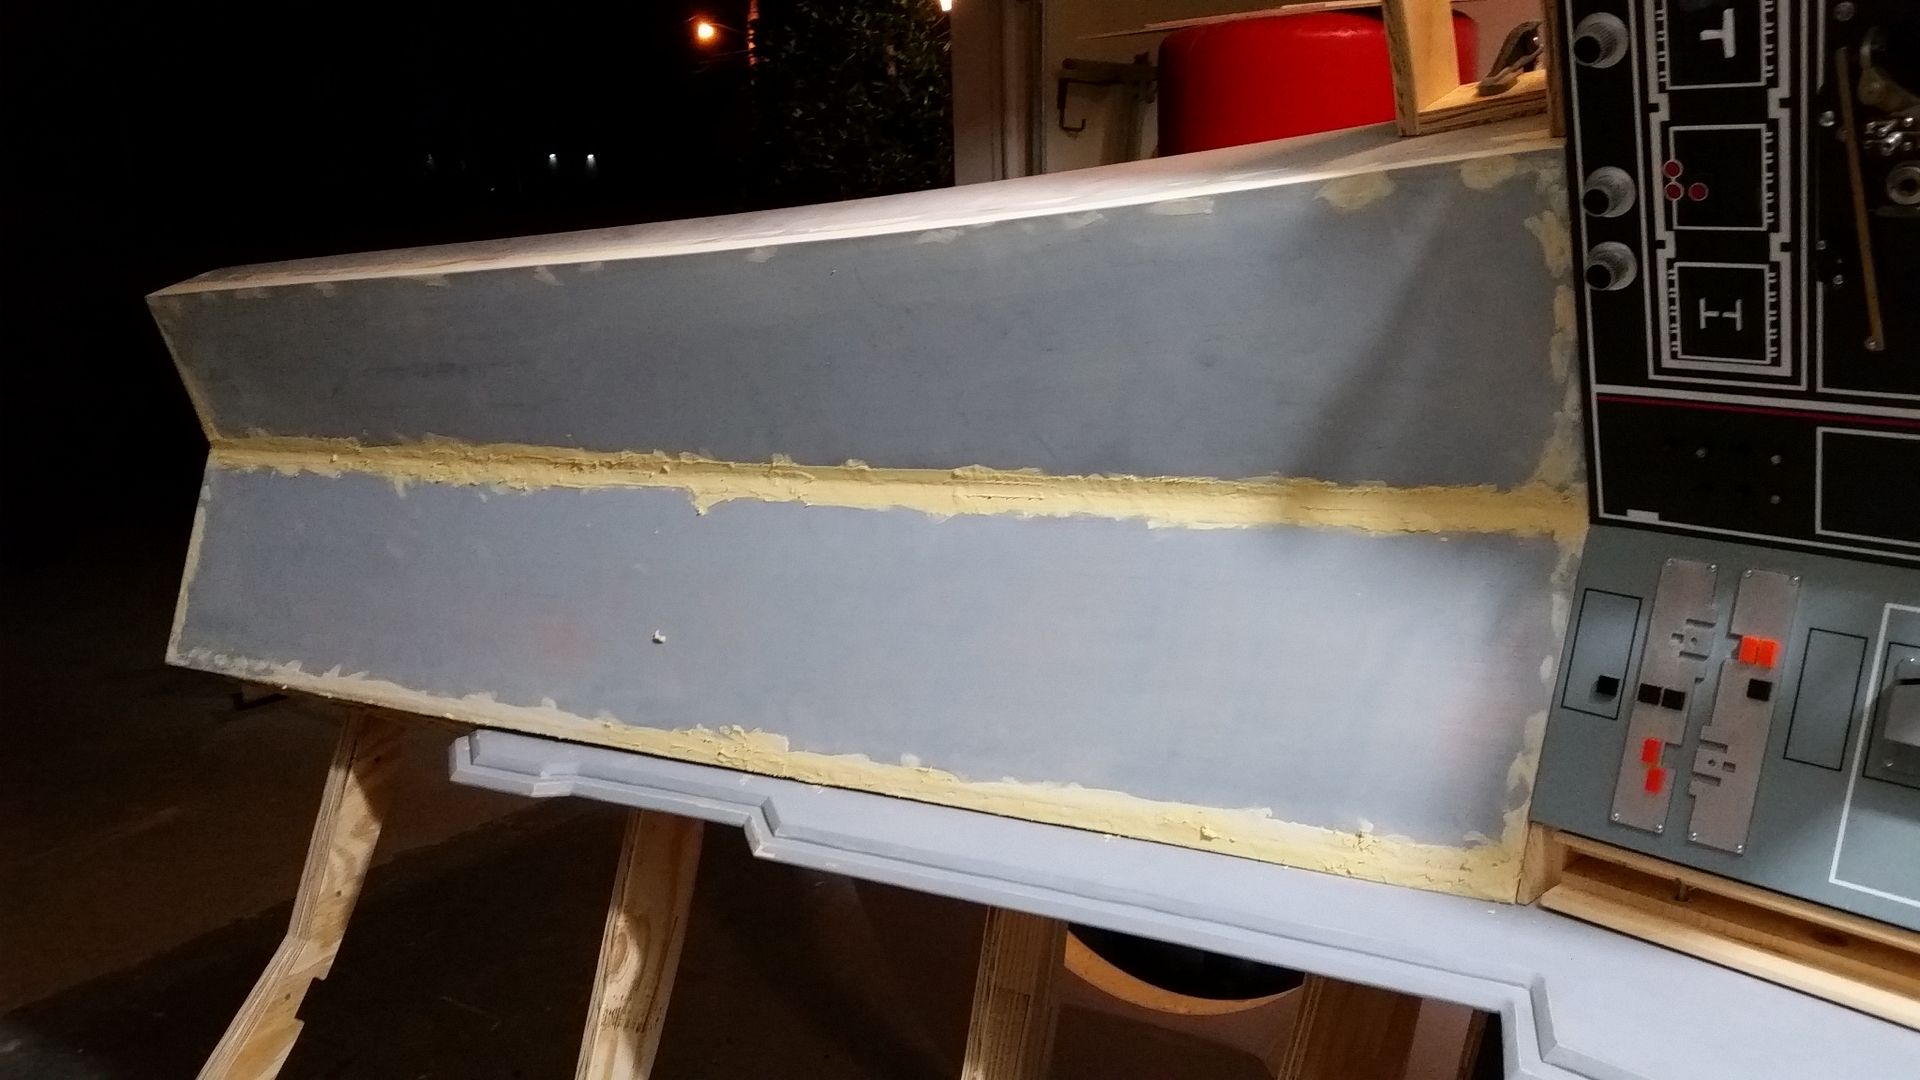
Making the Volvo panels fit
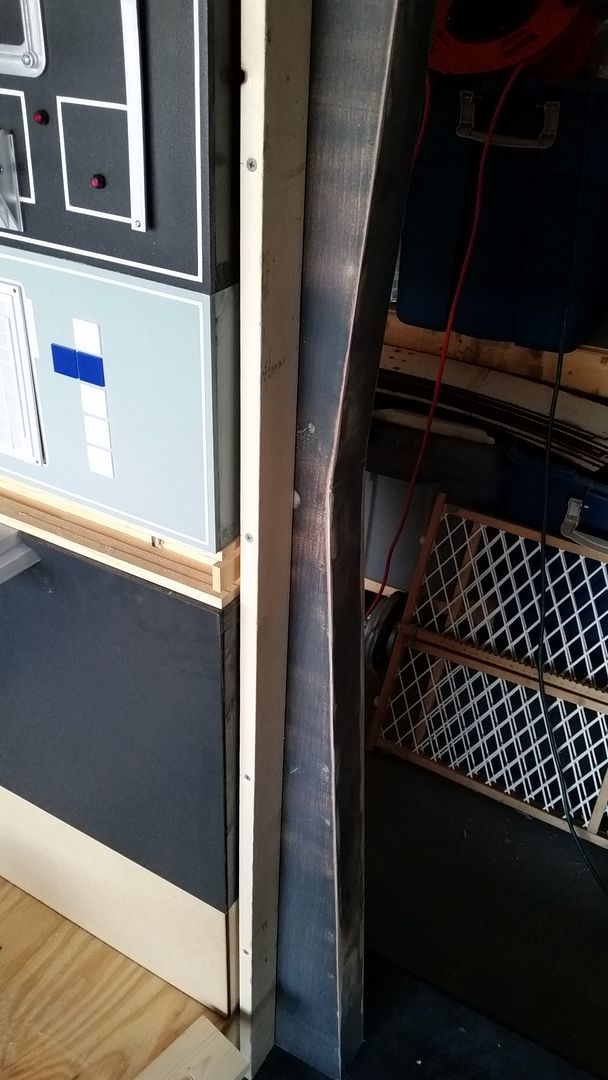
EWE... gotta fix that gap
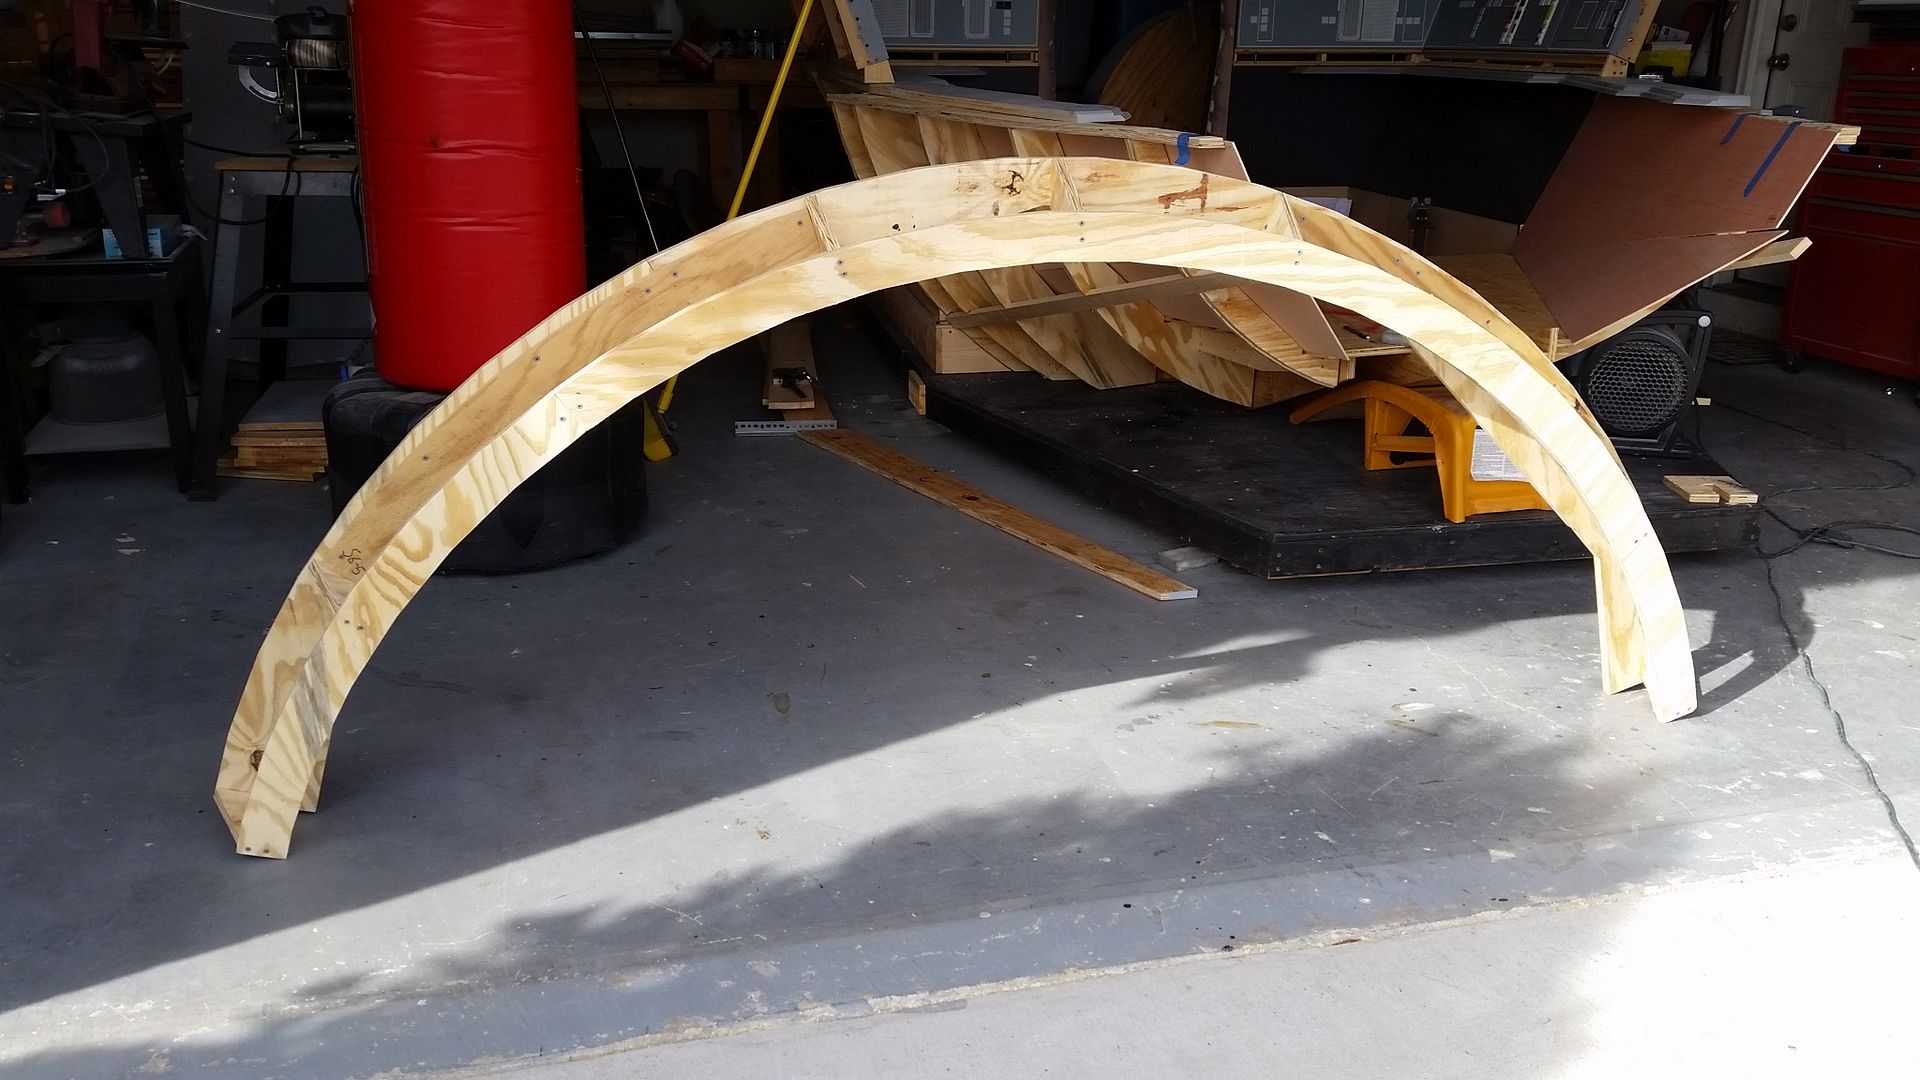
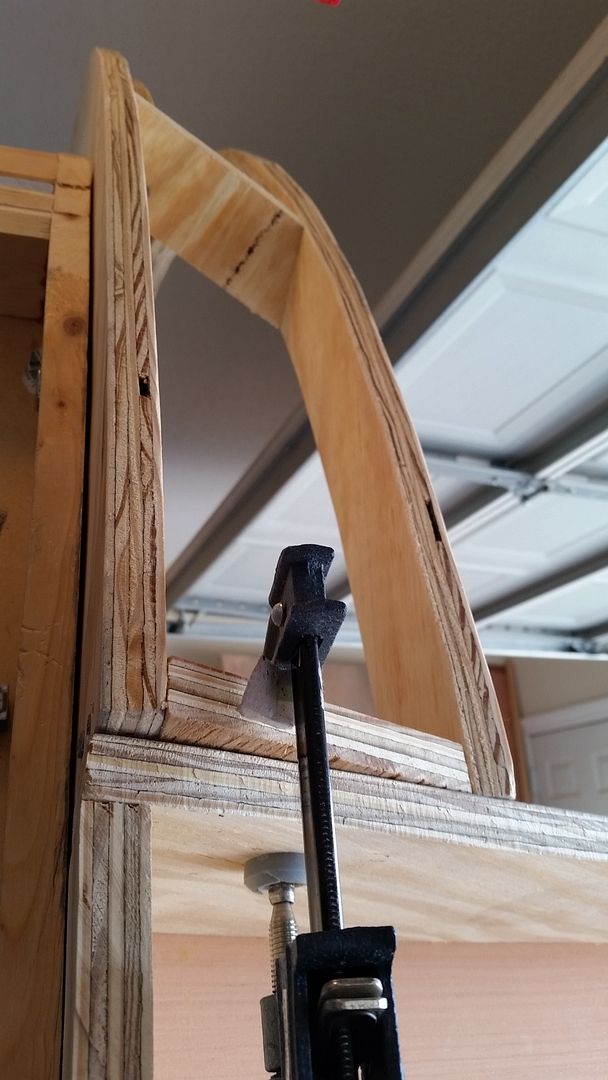
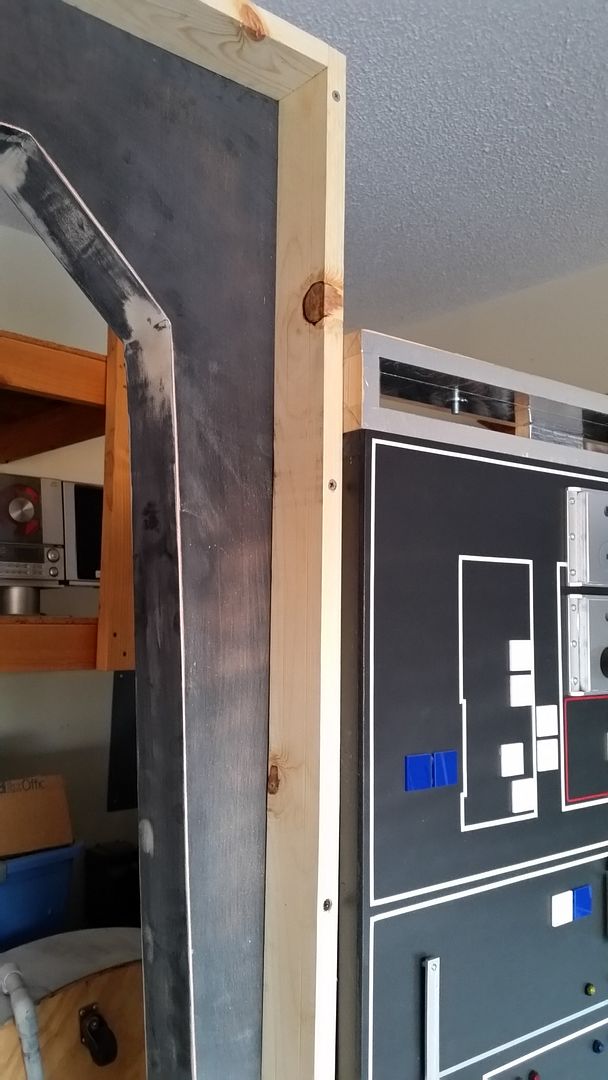
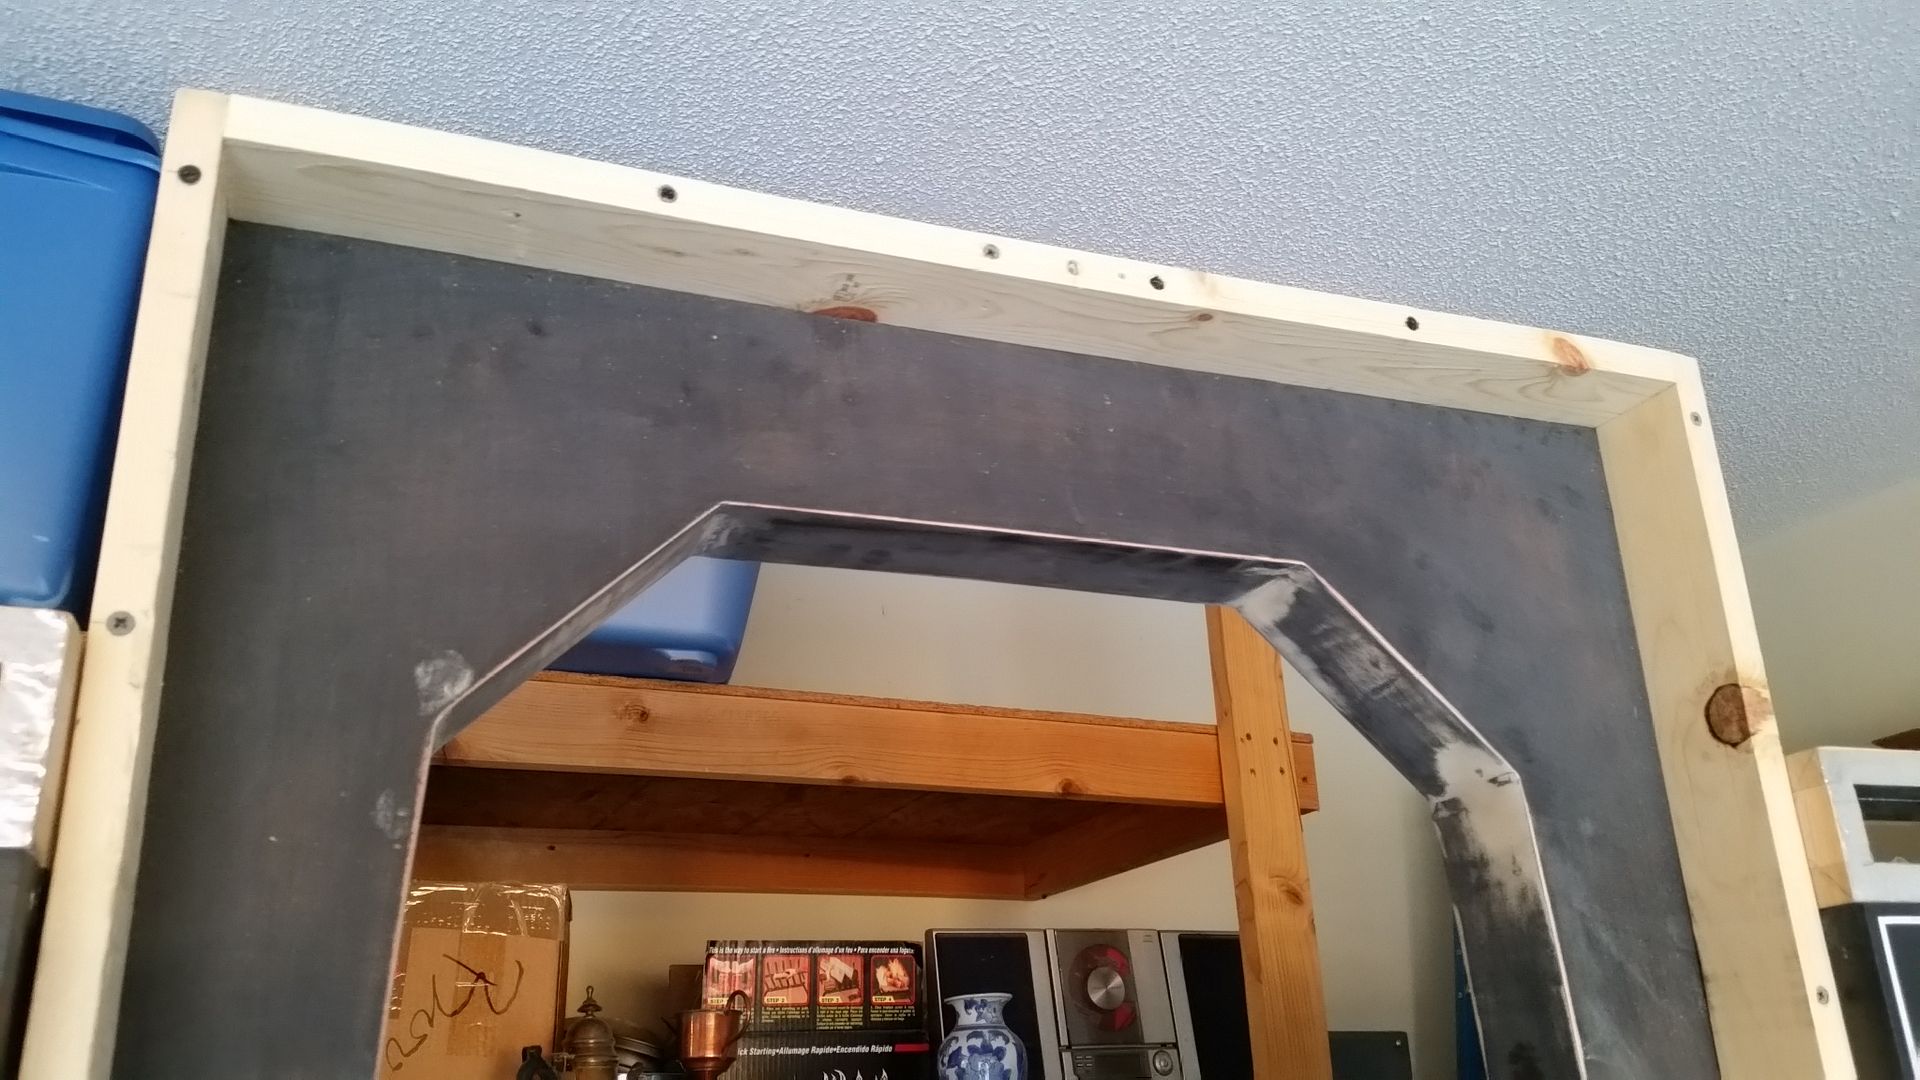
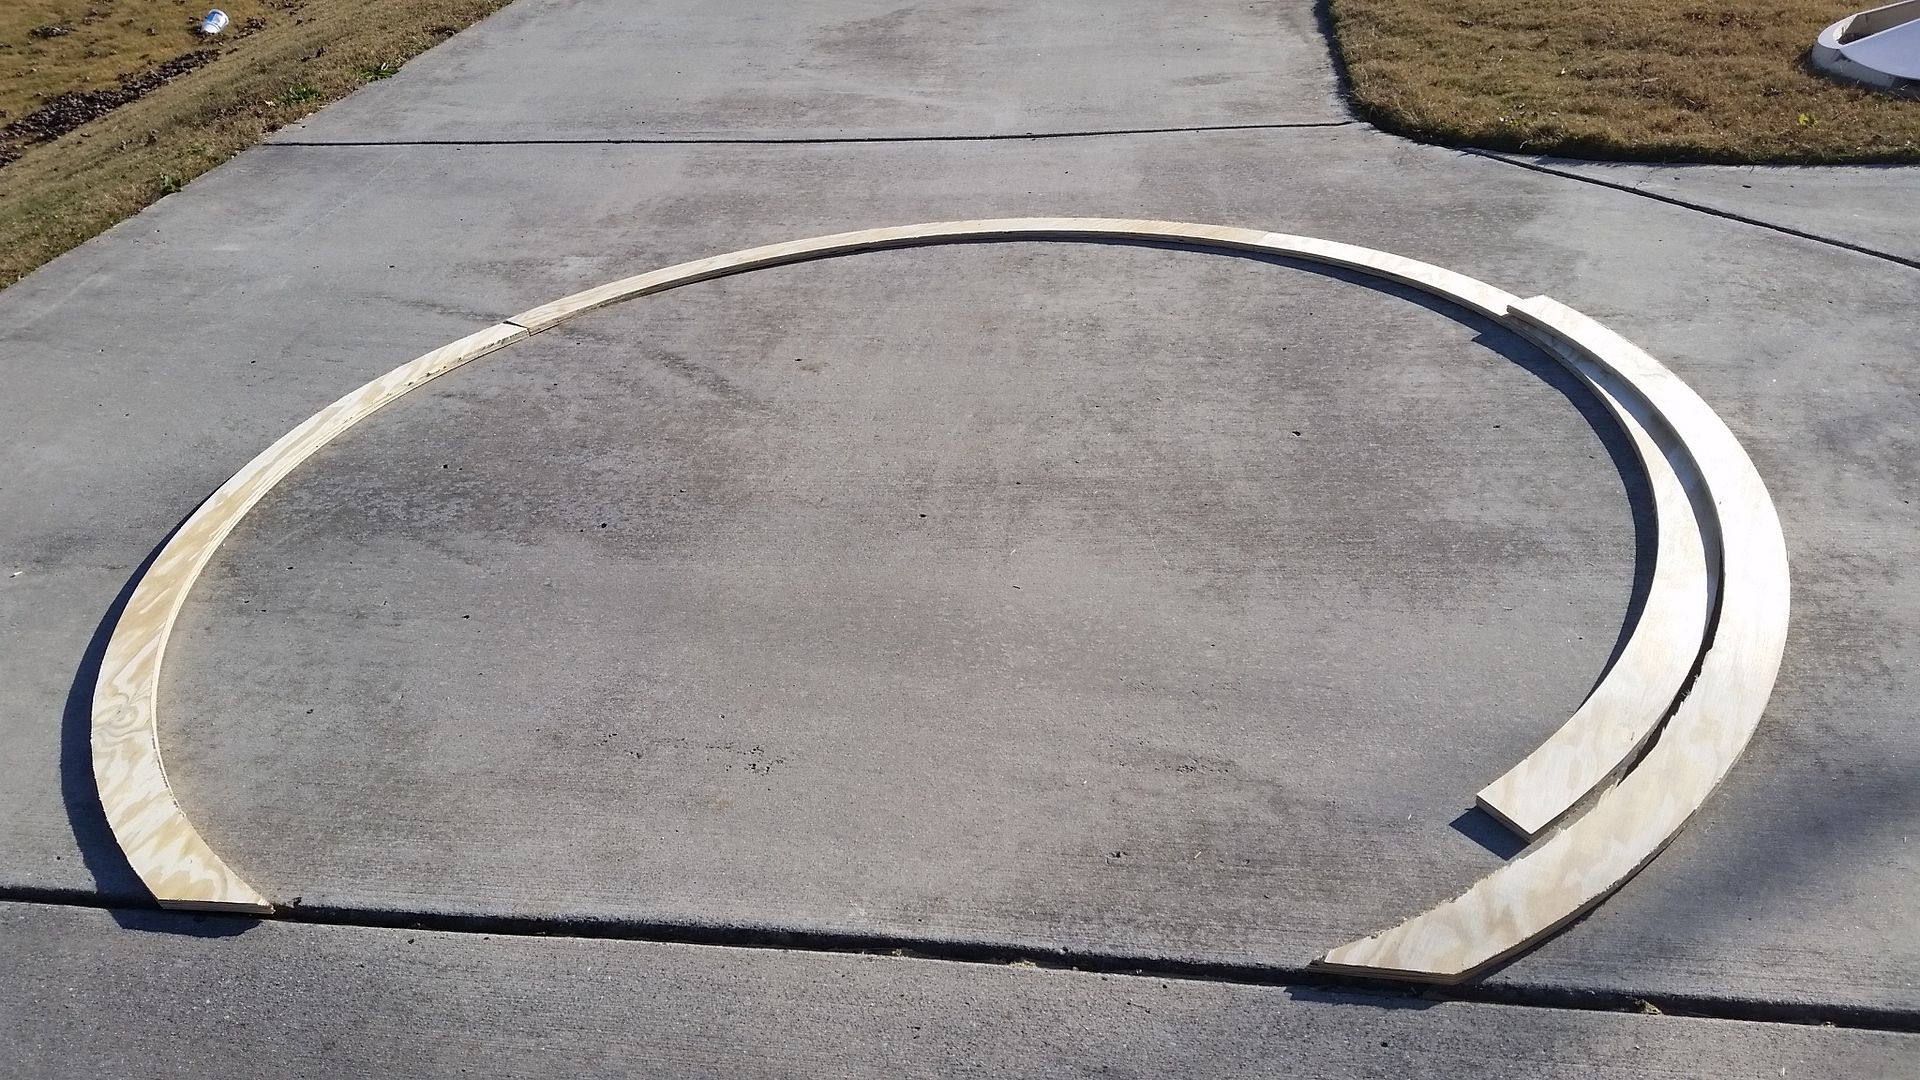
A new canopy arch - before
After
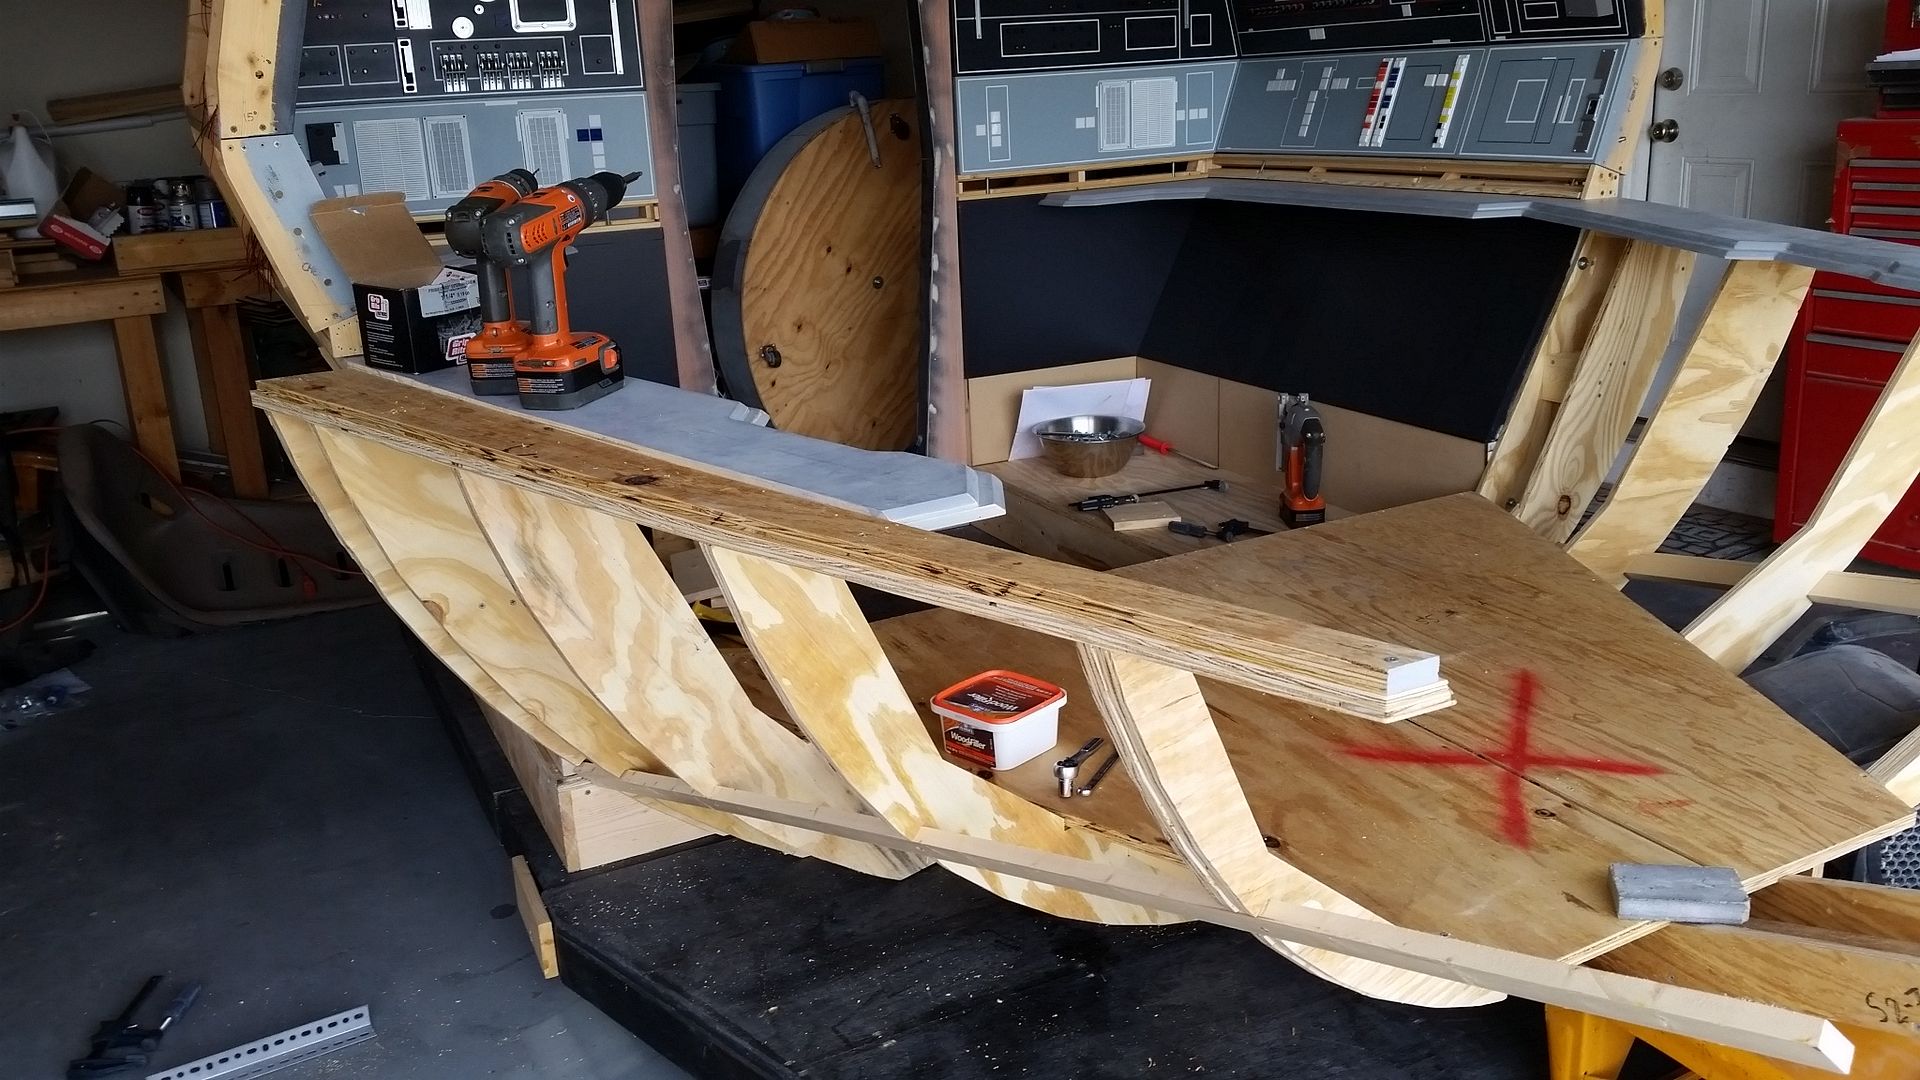
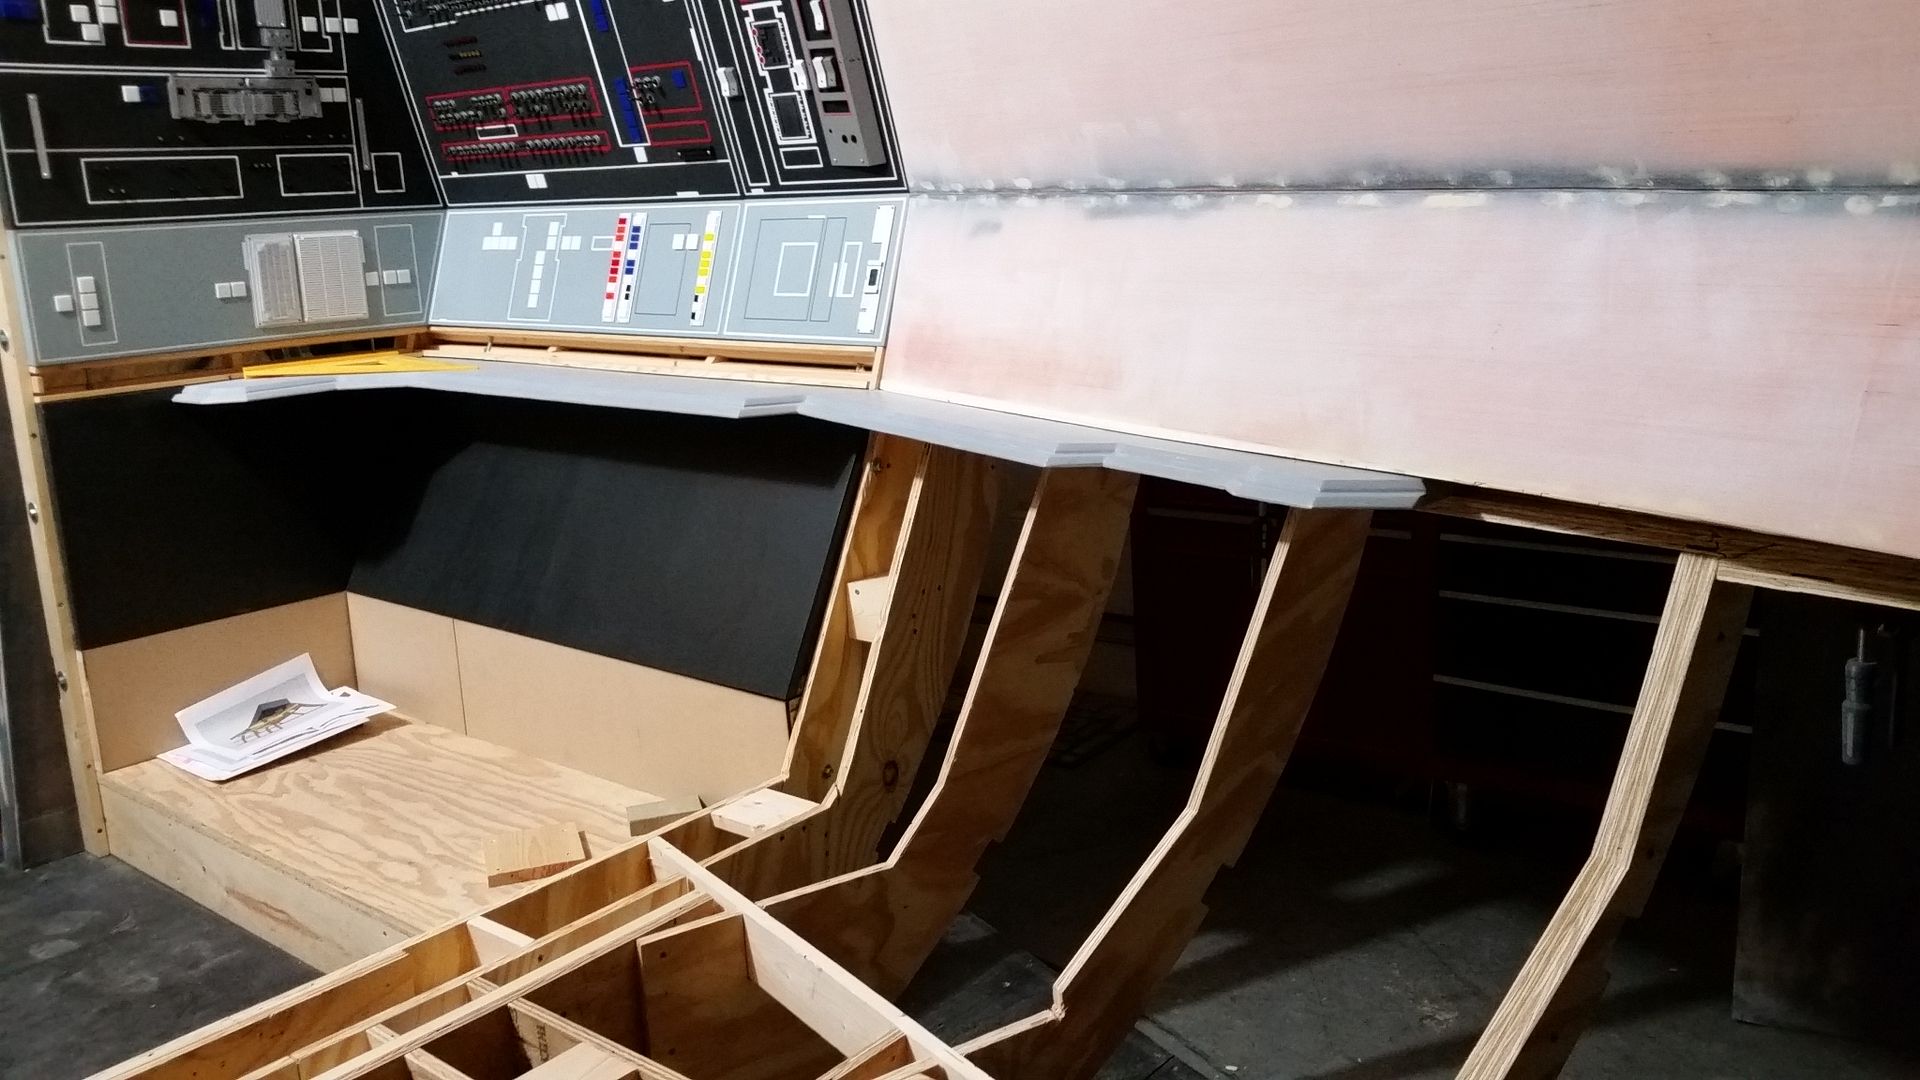
Once everything was in place and aligned we started to put everything together and added supports as we went

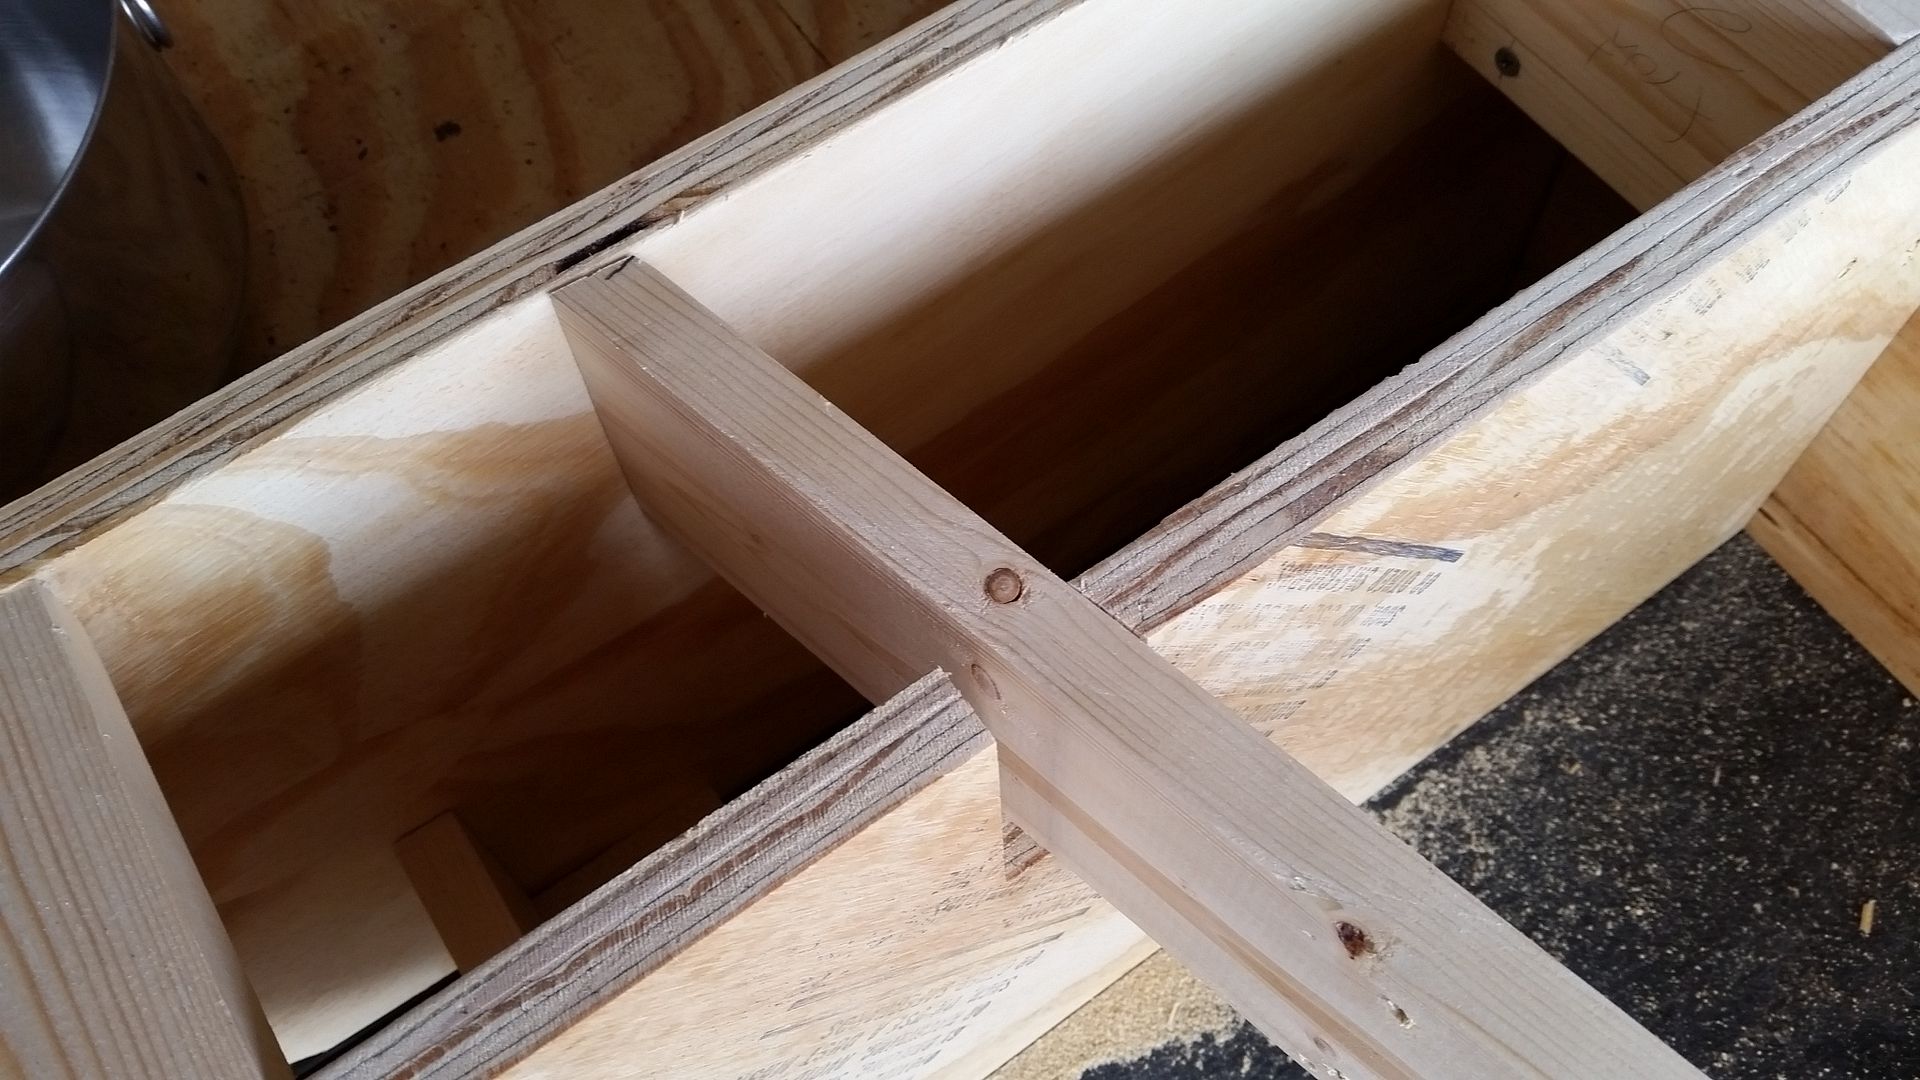
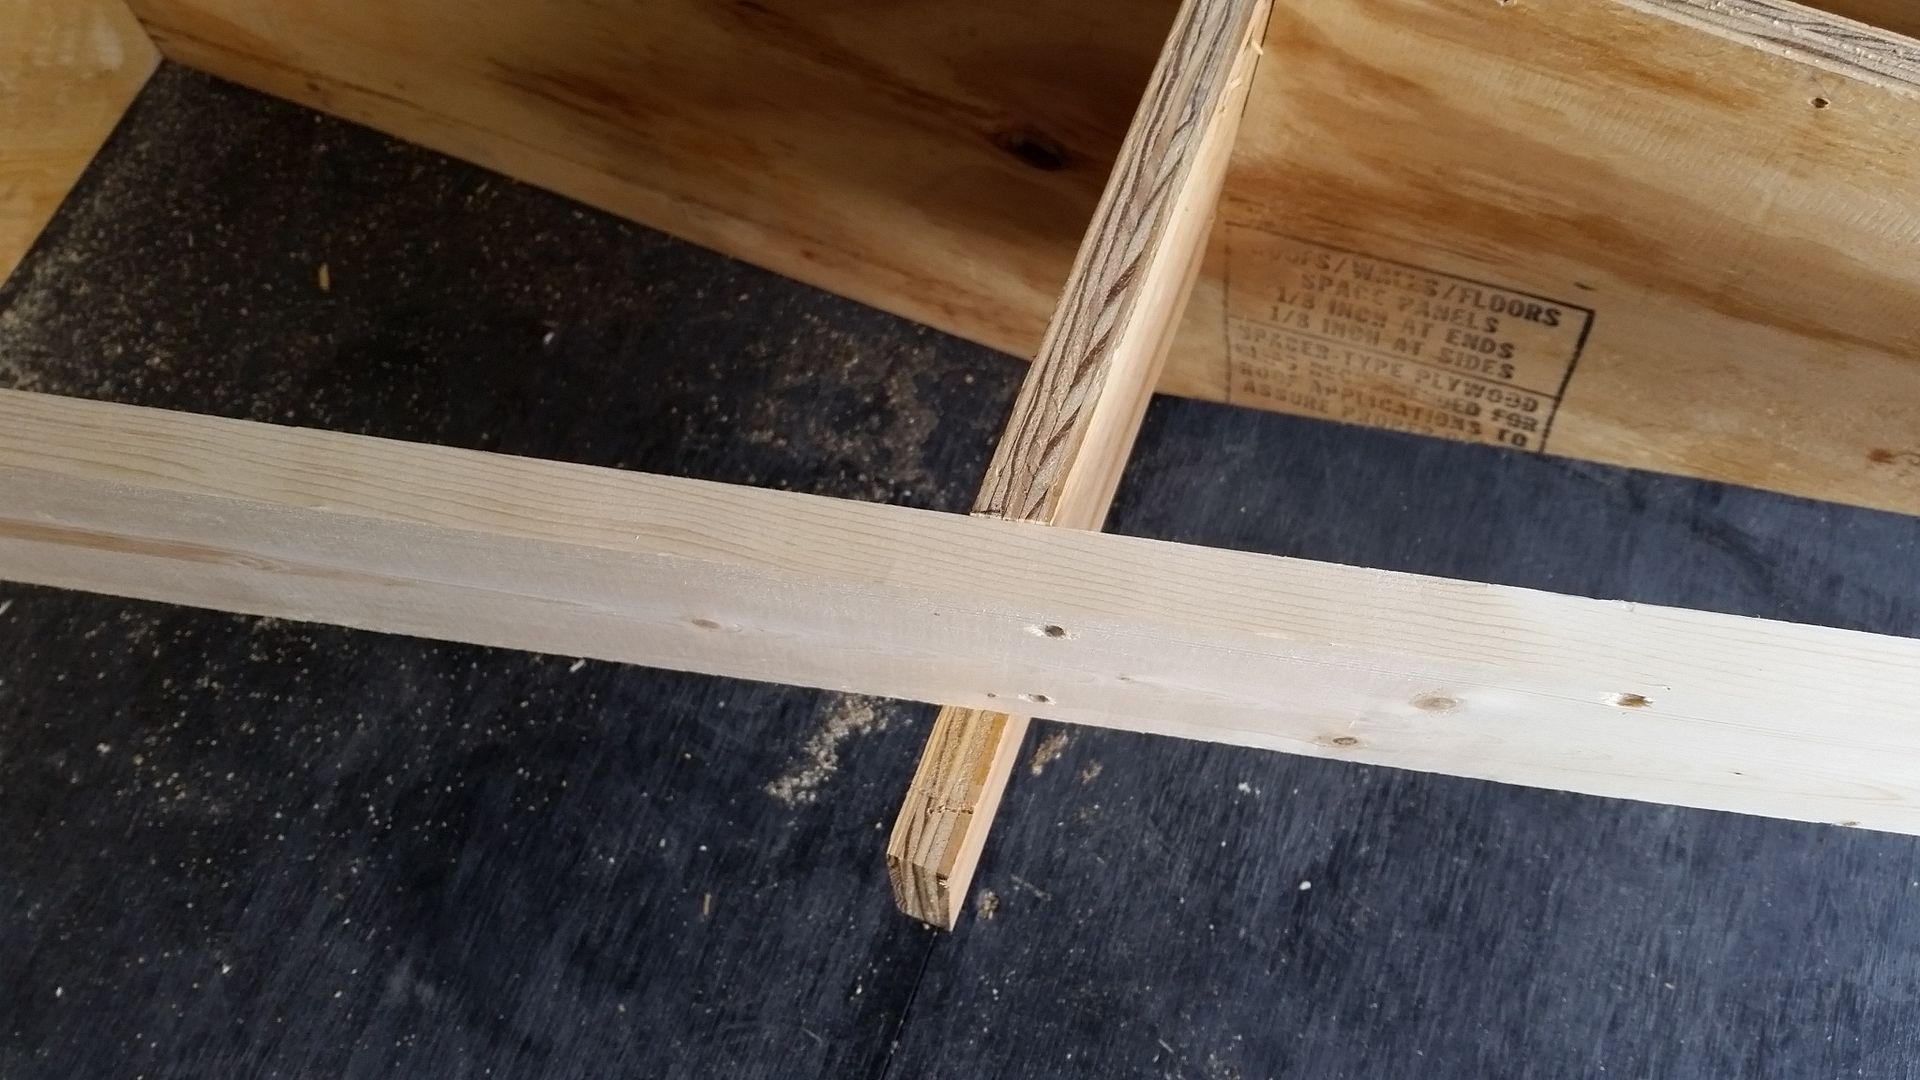
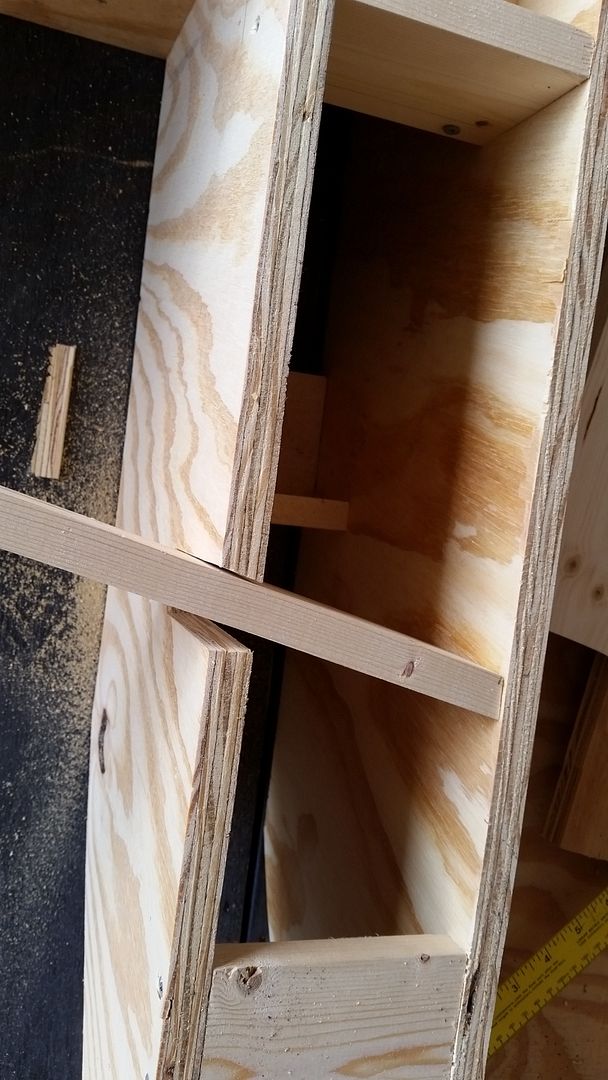
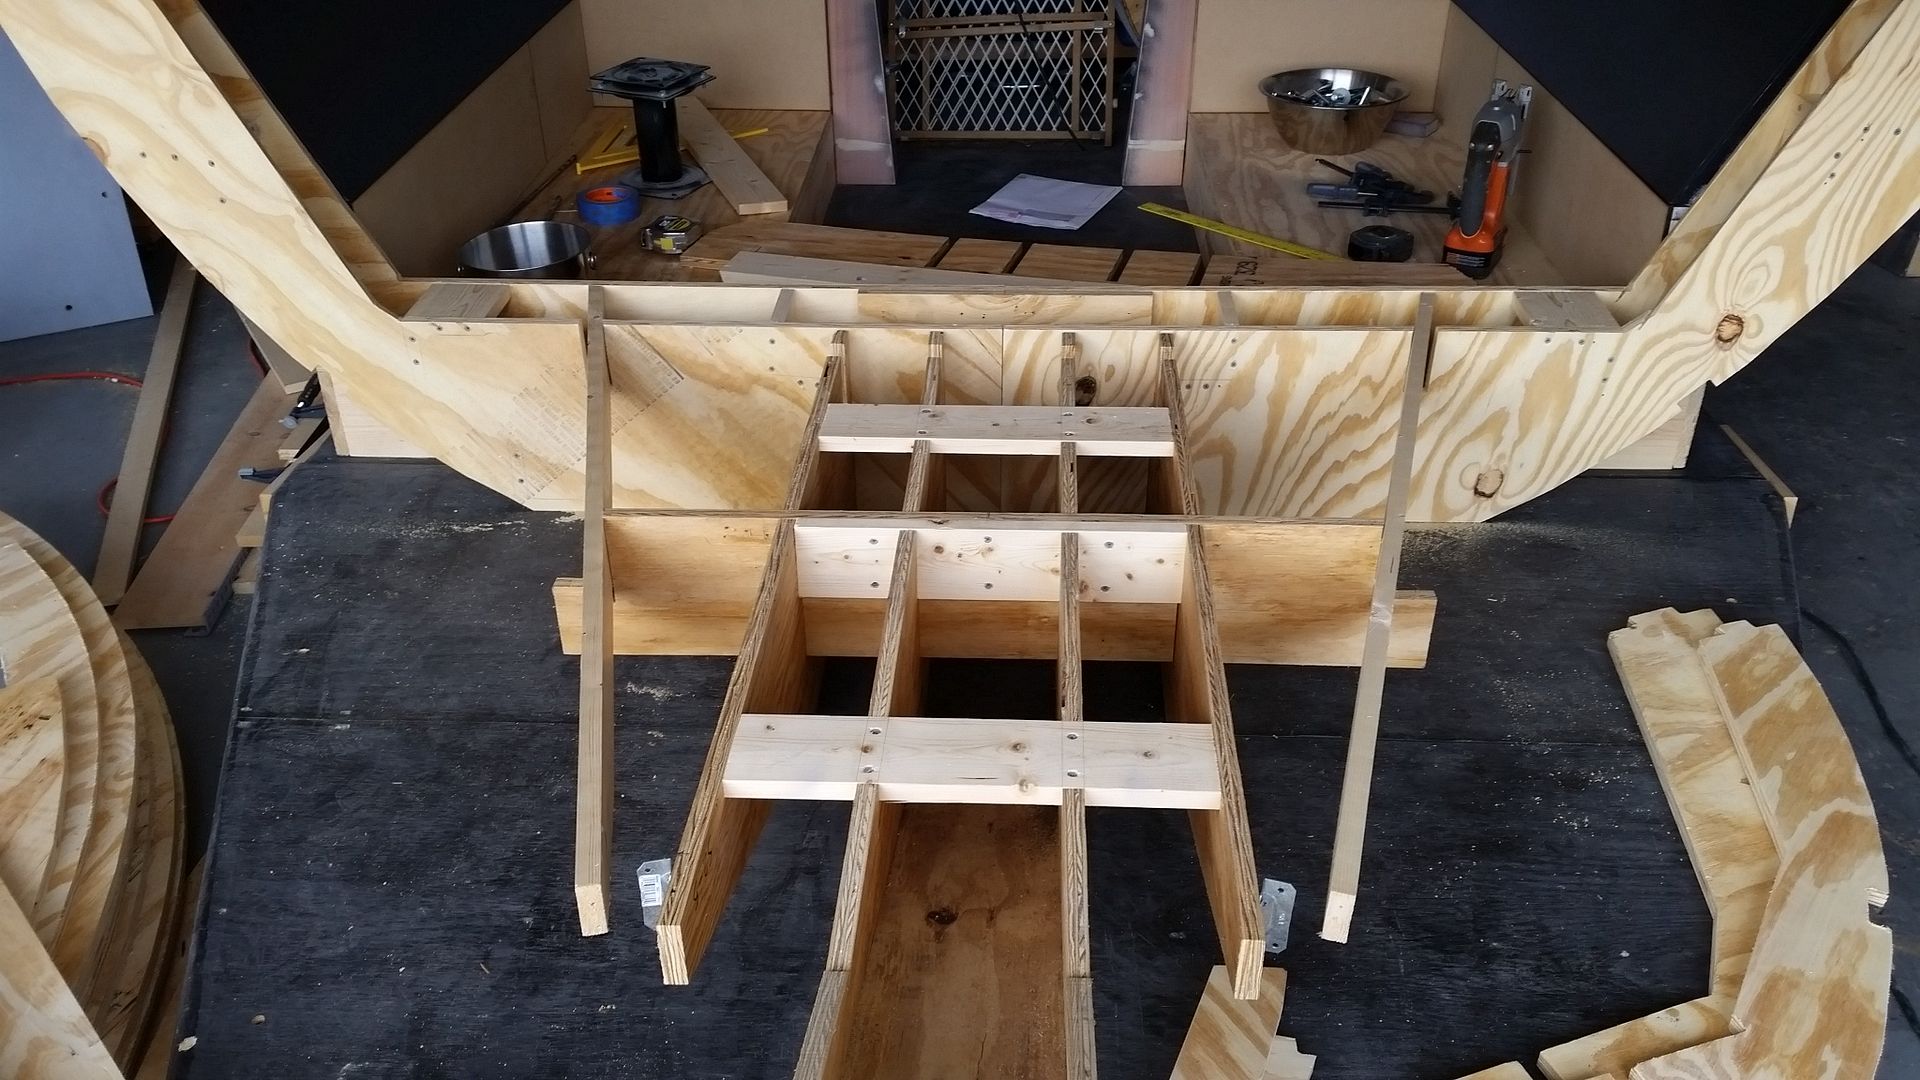
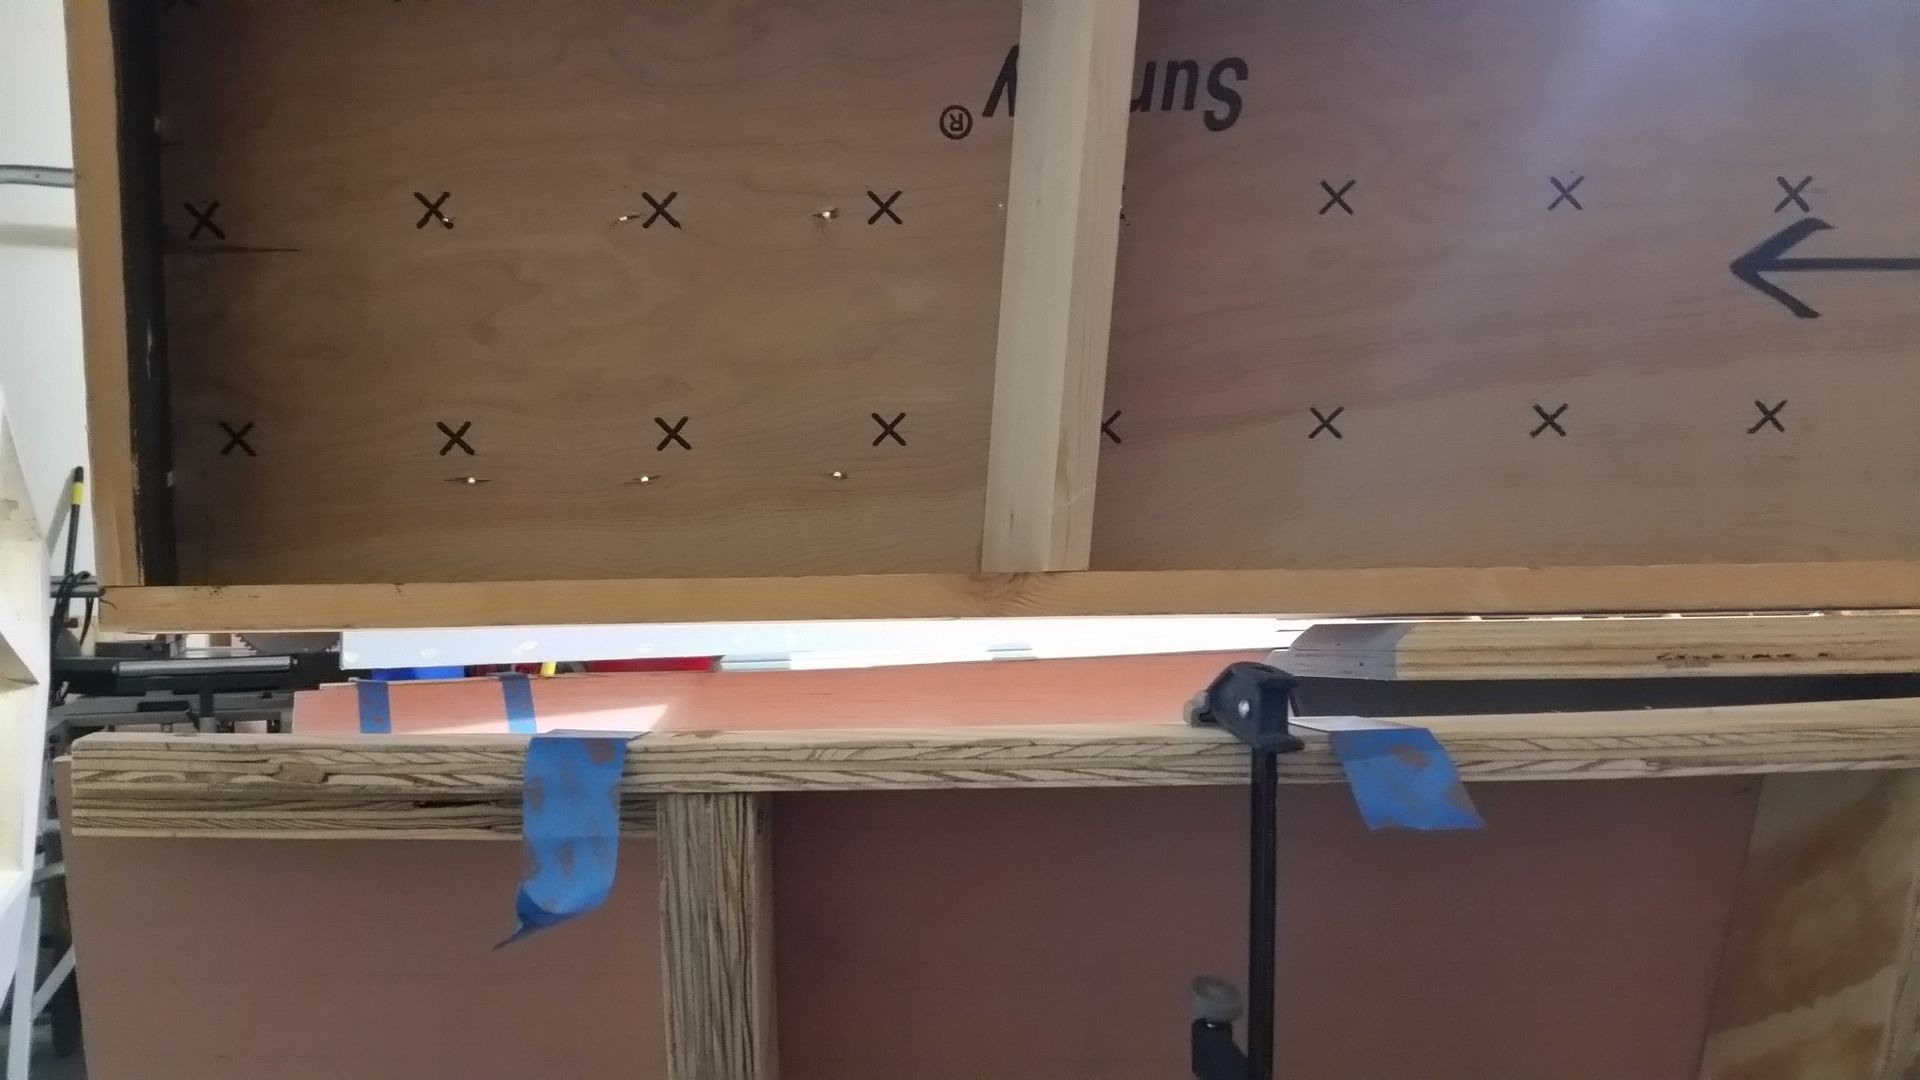
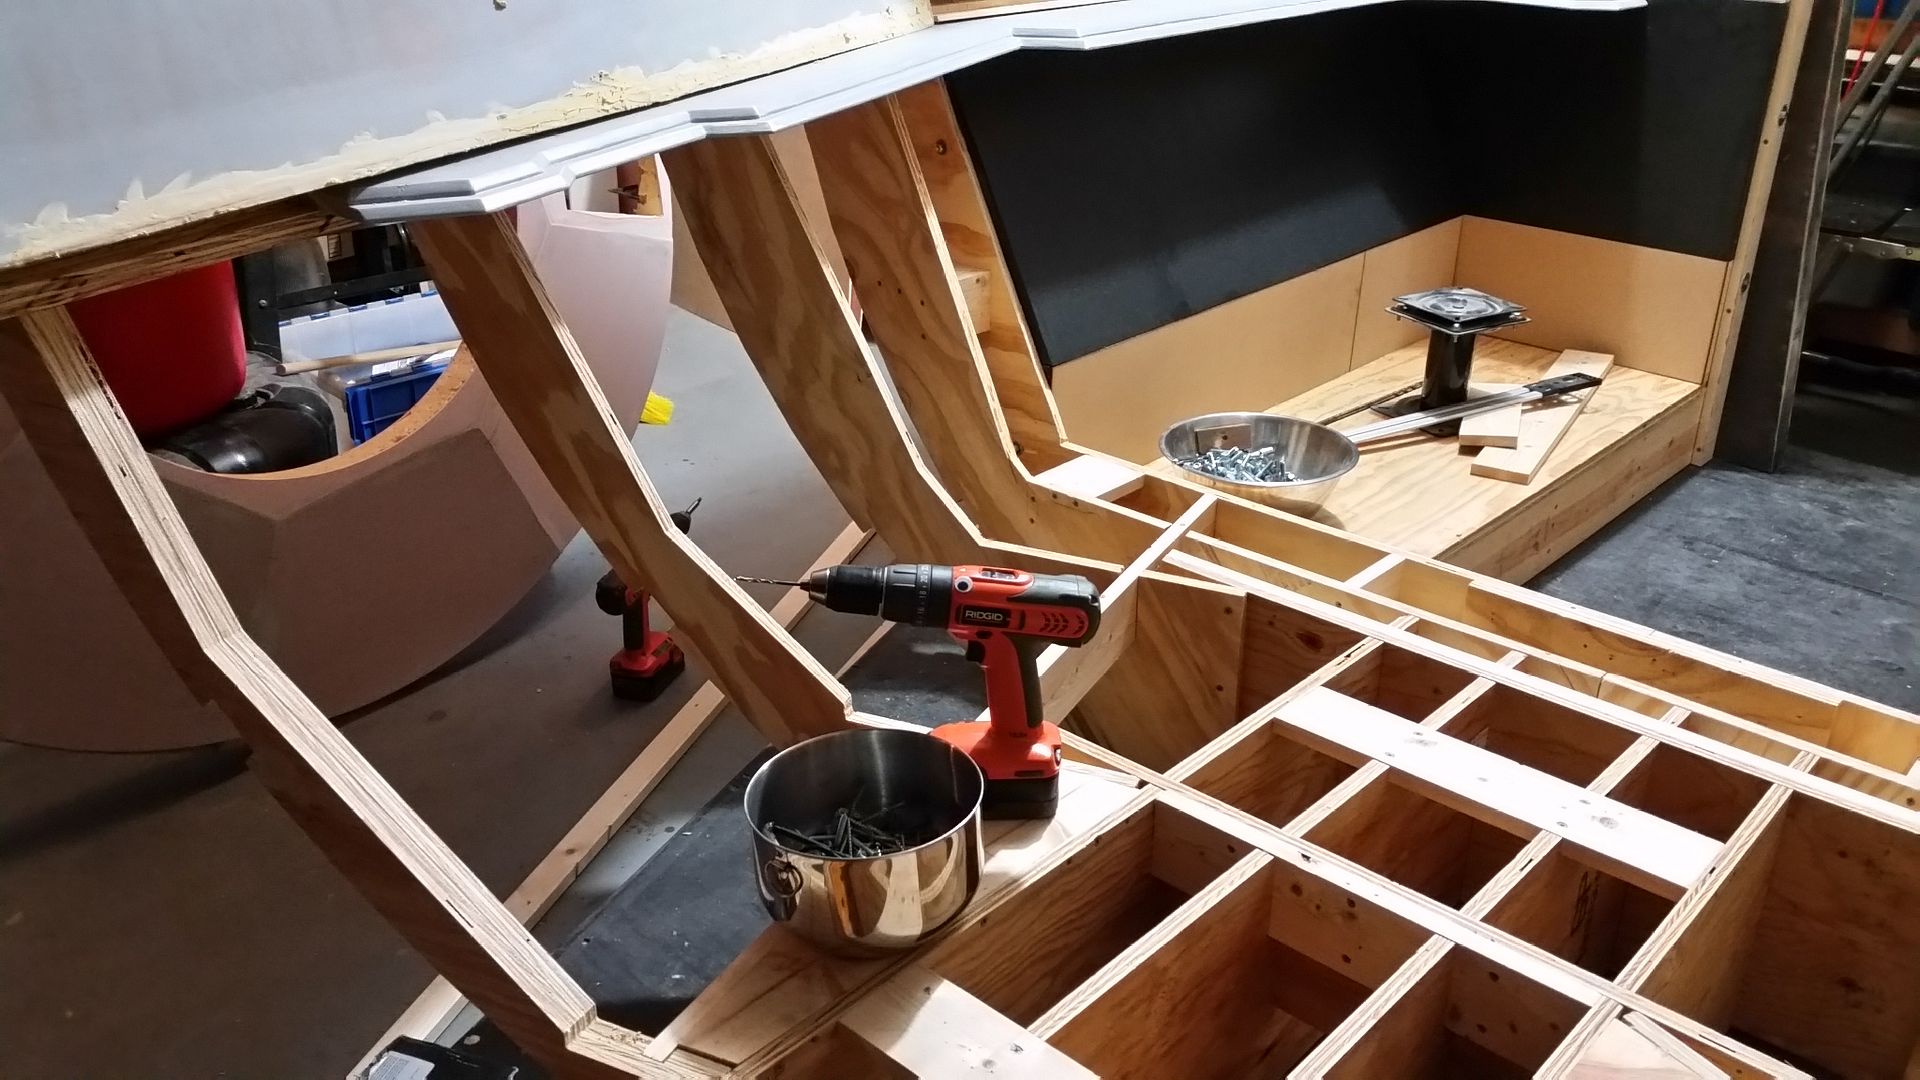
Adding some support pieces to the shelves / tie in beams for the ribs
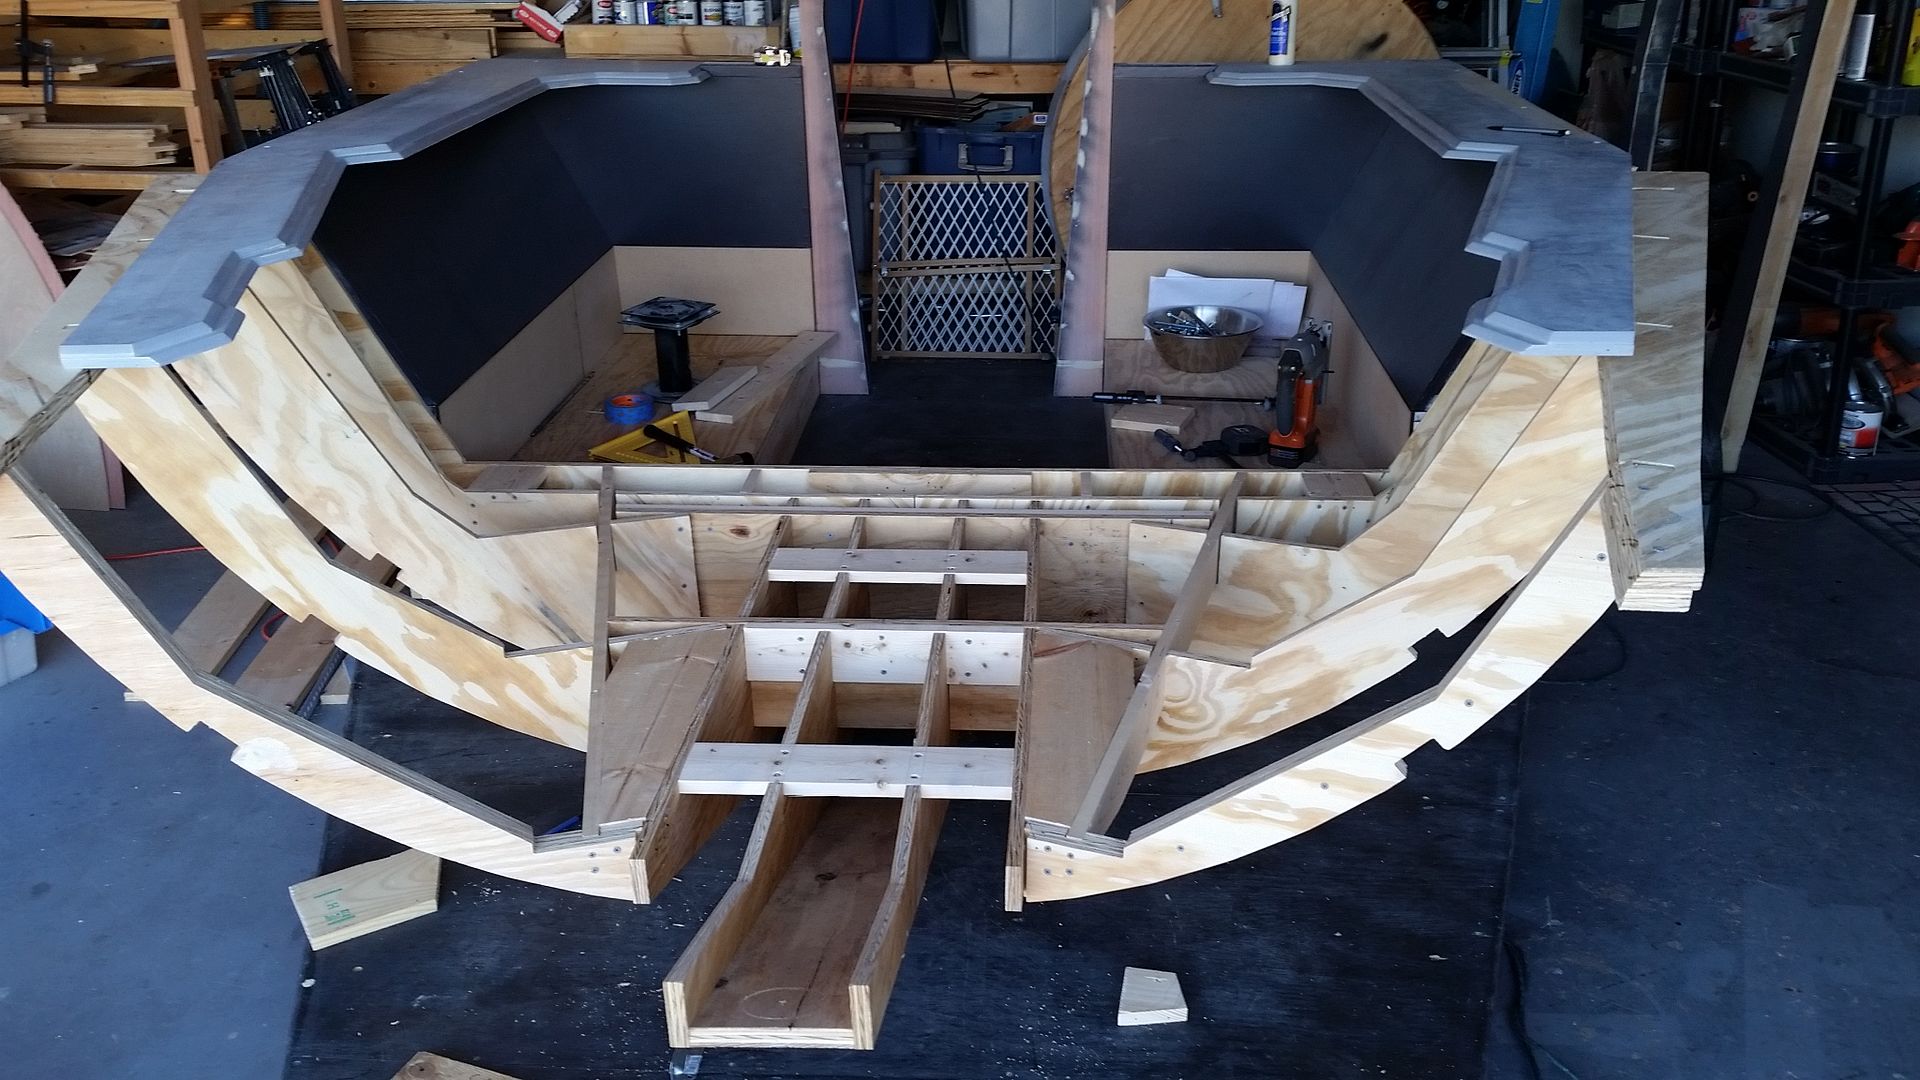
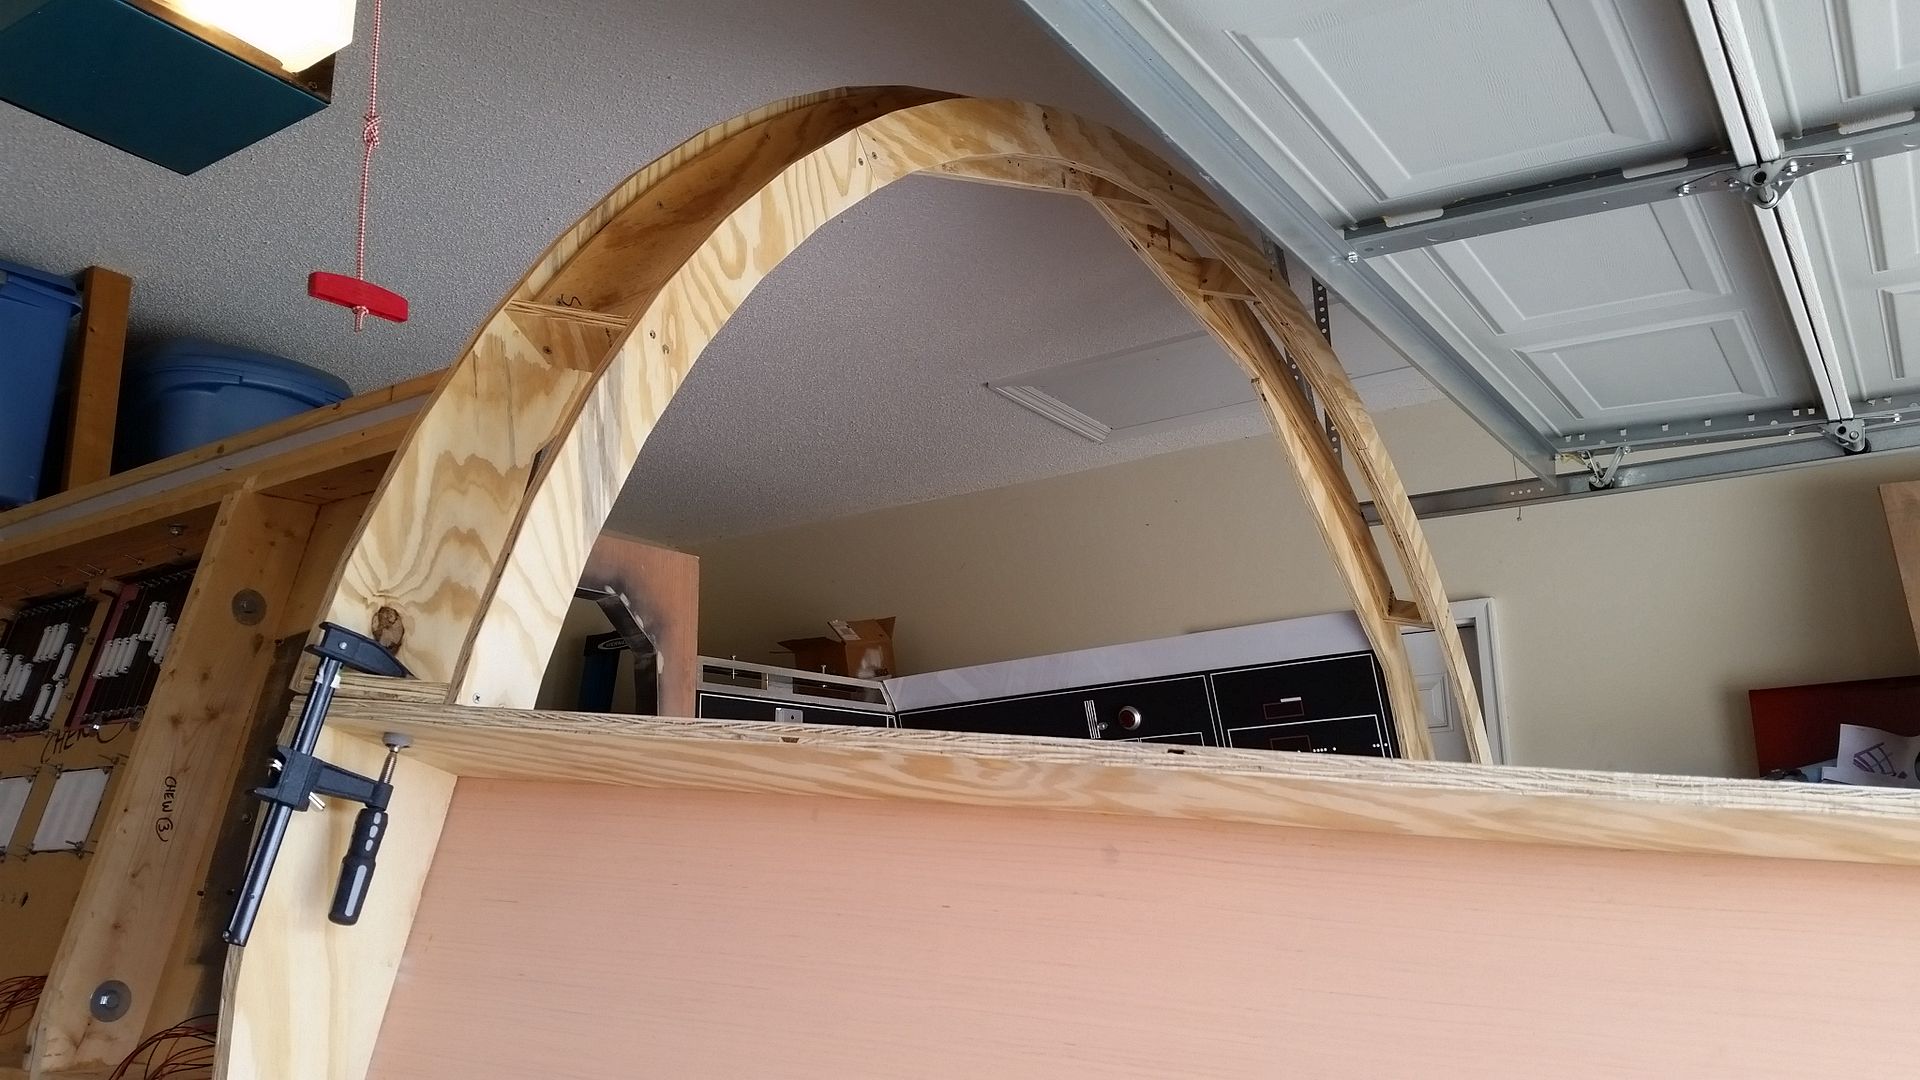
Canopy arch in place
Yes... that the garage door
We then had to some minor work on the Volvo panels to realign
Lots of filler later and in place
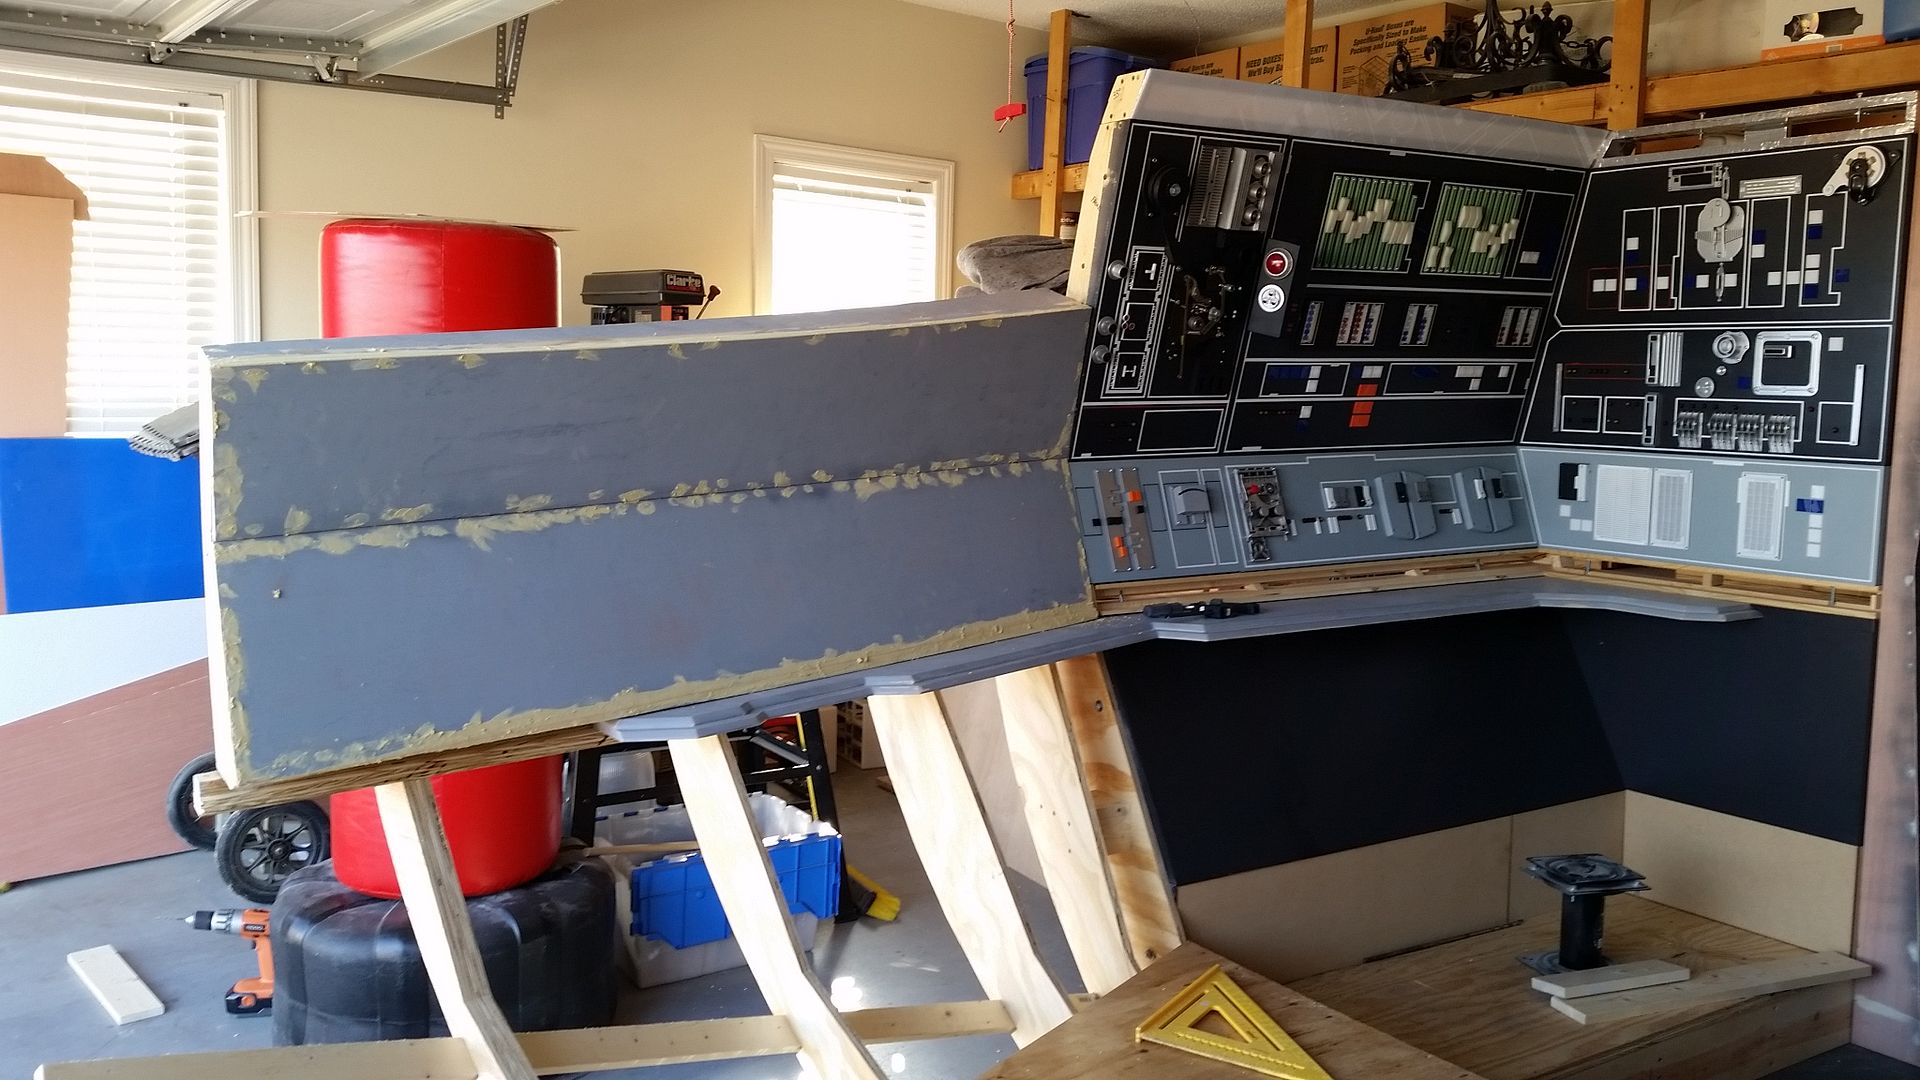
Han's side
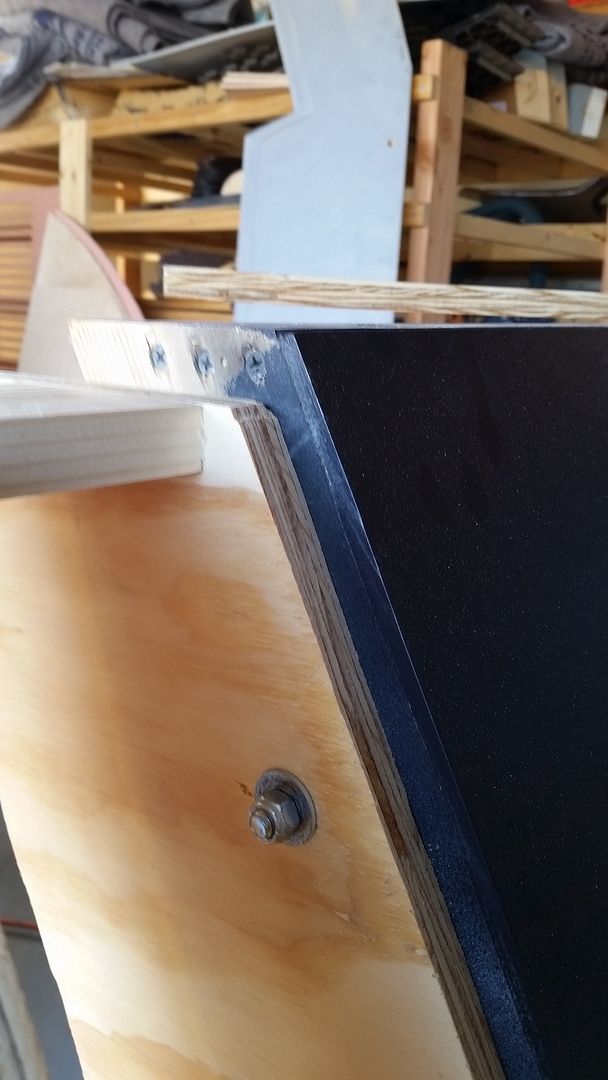
Bolted in place - note the exterior curve of the cockpit
We added a sub frame to the door frame to mount in place - this will be covered by the door pads
The door frame itself actually sits behind the main panels so this was a challenge to figure out "how" to do it
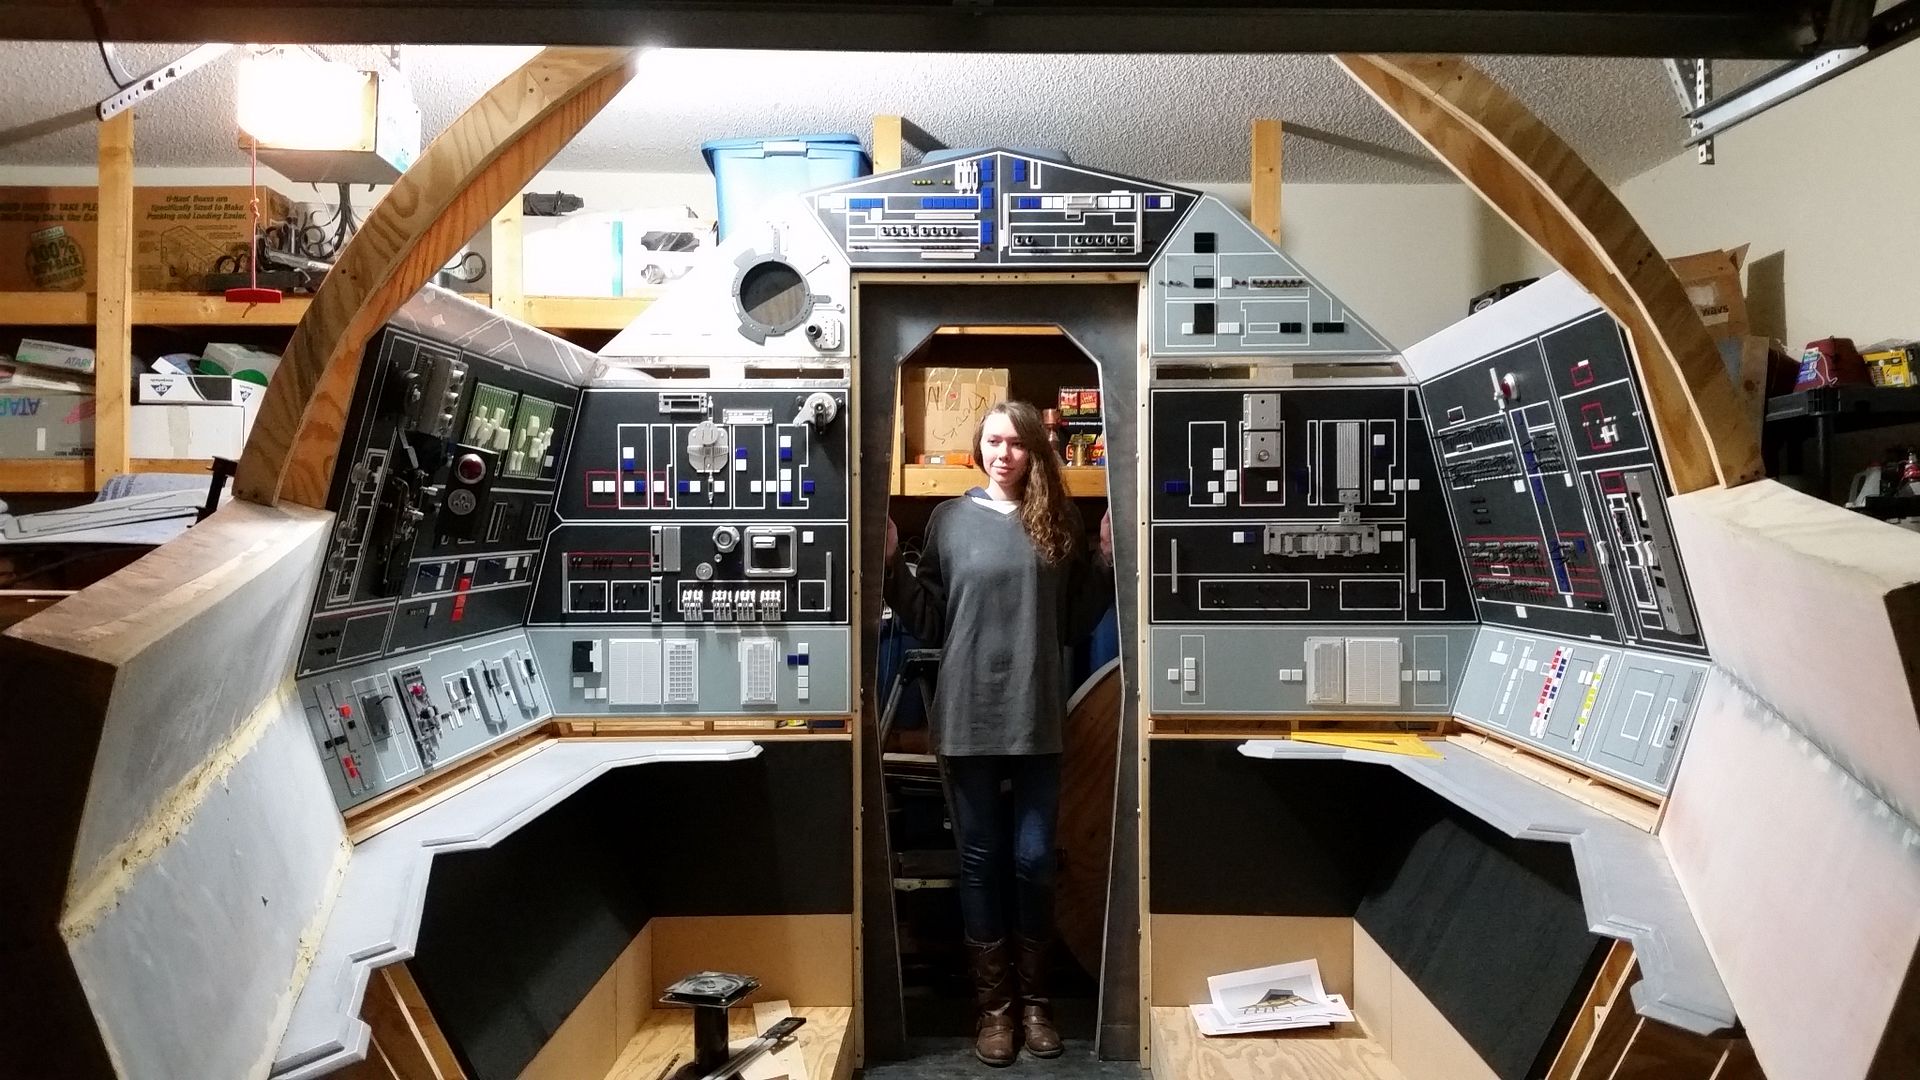
Here's Jessie standing in the new door frame
Final pics of the last few days efforts...
Today... new main arch, door frame, greeblies, and whatever else happens to hit us!
A HUGE Thank You to Jessie for taking time away and helping, to Daniel who brought us both some Turkey and ALL the trimmings, and finally a HUGE Thank You to OperaScot for putting up with the constant phone calls and Thanksgiving Day interruptions! Love You Guys!
So much more to follow so stay tuned!
For those who celebrated I want to wish you all a very late but heartfelt Happy Thanksgiving to all!
WHEW... It's been a HECTIC couple of days! Again, not as many pics as I would have liked because we have been full speed and finally caught up to where we have forward progress. Enjoy!
Started to move greeblies around so I can mount the "laser gun" greeblie (no... it's not a laser gun)
I removed this pull handle and moved it to it's new position
You can see some of the paint where I removed a greeblie
Overview
Cleaned up the edges of the throttle housing
Finally mounted the canopy box lever mounts
Getting everything into place and ready for final prep and paint
Primer
Paint
I still have to sand and smooth the wood dowel
Silver added
Have to add a touch of weathering, paint the dowel
Painted up the 2 lever handle
Painted the console LED bar
UGH... small tiny imperfection needs some filler
Jumping to the body... this is where most of the past two days have been spent. Lots of mod'ing, cutting, sanding, priming, etc Jessie and were pedal to the metal / non stop!
The frame required some changes so we removed the old ribs
Built up the new frame one rib at a time
UGH... that's a big puzzle
And... bad me excitedly jumped ahead of myself. I had to remove the interior window petals to prep for a few more pieces needed for the window
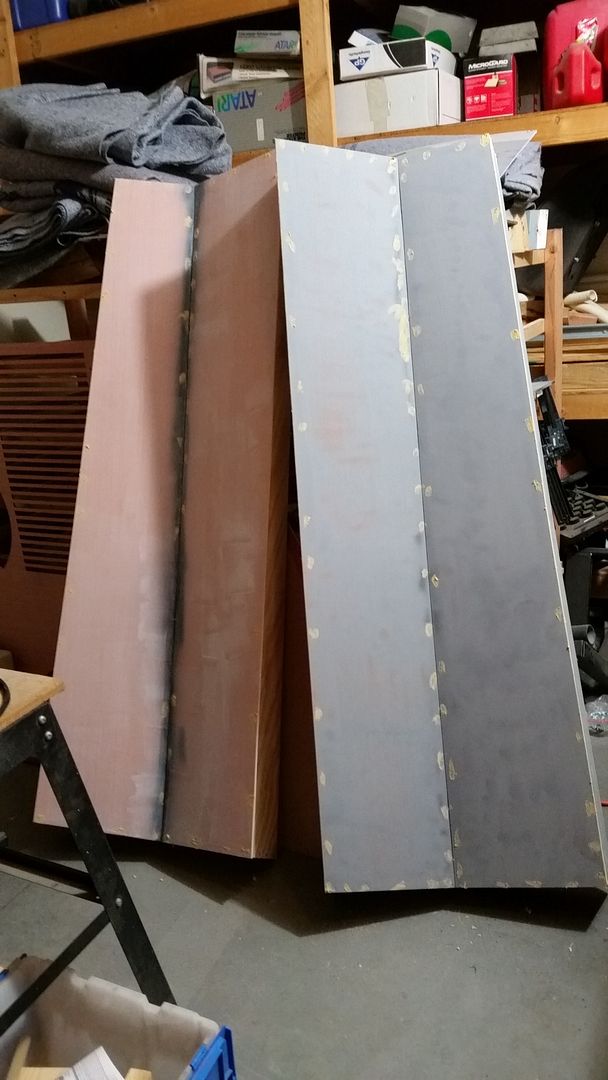
We rebuilt the Volvo panels
Cut and refit the new nose ribs and supports
Nice
Chewie's side looking down
Its the little cuts here and there that make a HUGE difference
And make a mess
Now let's add some ribs!
Bolted the frame to the body!
Ribs are now in place
Volvo panels getting some paint
Lid added - and will be covered by thin black ABS plastic to avoid a LOT of prep work
These side panels will also be ABS plastic
Volvo panels just aching for some paint and pin stripes
Making the Volvo panels fit
EWE... gotta fix that gap
A new canopy arch - before
After
Once everything was in place and aligned we started to put everything together and added supports as we went
Adding some support pieces to the shelves / tie in beams for the ribs
Canopy arch in place
Yes... that the garage door
We then had to some minor work on the Volvo panels to realign
Lots of filler later and in place
Han's side
Bolted in place - note the exterior curve of the cockpit
We added a sub frame to the door frame to mount in place - this will be covered by the door pads
The door frame itself actually sits behind the main panels so this was a challenge to figure out "how" to do it
Here's Jessie standing in the new door frame
Final pics of the last few days efforts...
Today... new main arch, door frame, greeblies, and whatever else happens to hit us!
A HUGE Thank You to Jessie for taking time away and helping, to Daniel who brought us both some Turkey and ALL the trimmings, and finally a HUGE Thank You to OperaScot for putting up with the constant phone calls and Thanksgiving Day interruptions! Love You Guys!
So much more to follow so stay tuned!
Similar threads
- Replies
- 2
- Views
- 863
- Replies
- 6
- Views
- 624
- Replies
- 8
- Views
- 557
- Replies
- 9
- Views
- 975
- Replies
- 4
- Views
- 2,326