1:1 Millennium Falcon Cockpit Replica - Group Build

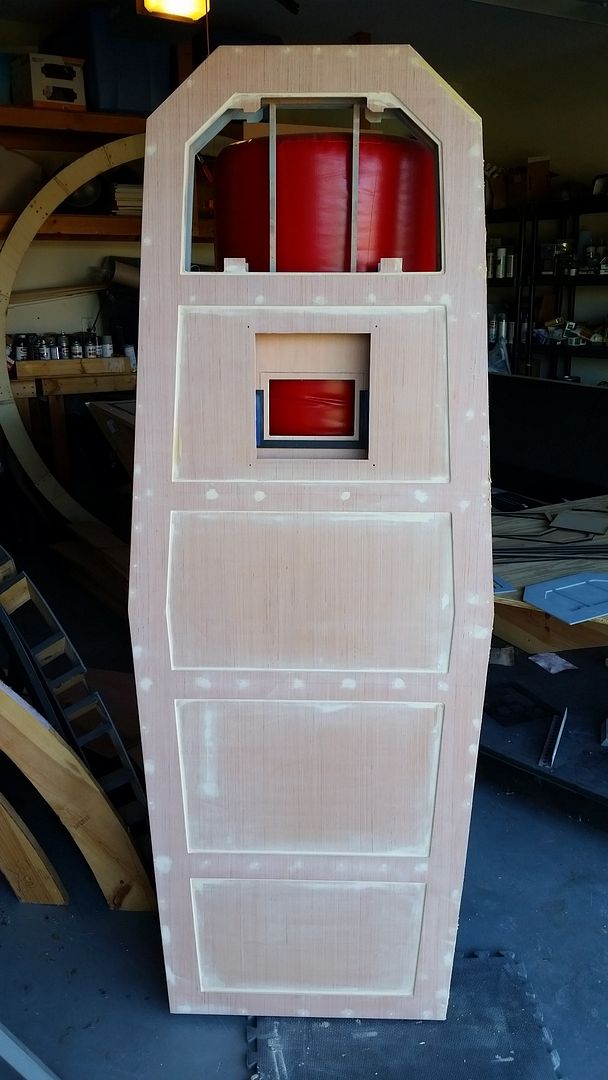
Looking so sweet my friend! Soooooooooooooooo... are you going to cast all these pieces and sell a Falcon Cockpit kit? :)

Thank you, Sir! A 1:1 scale Falcon cockpit kit? HMMMM... ;)

- - - Updated - - -

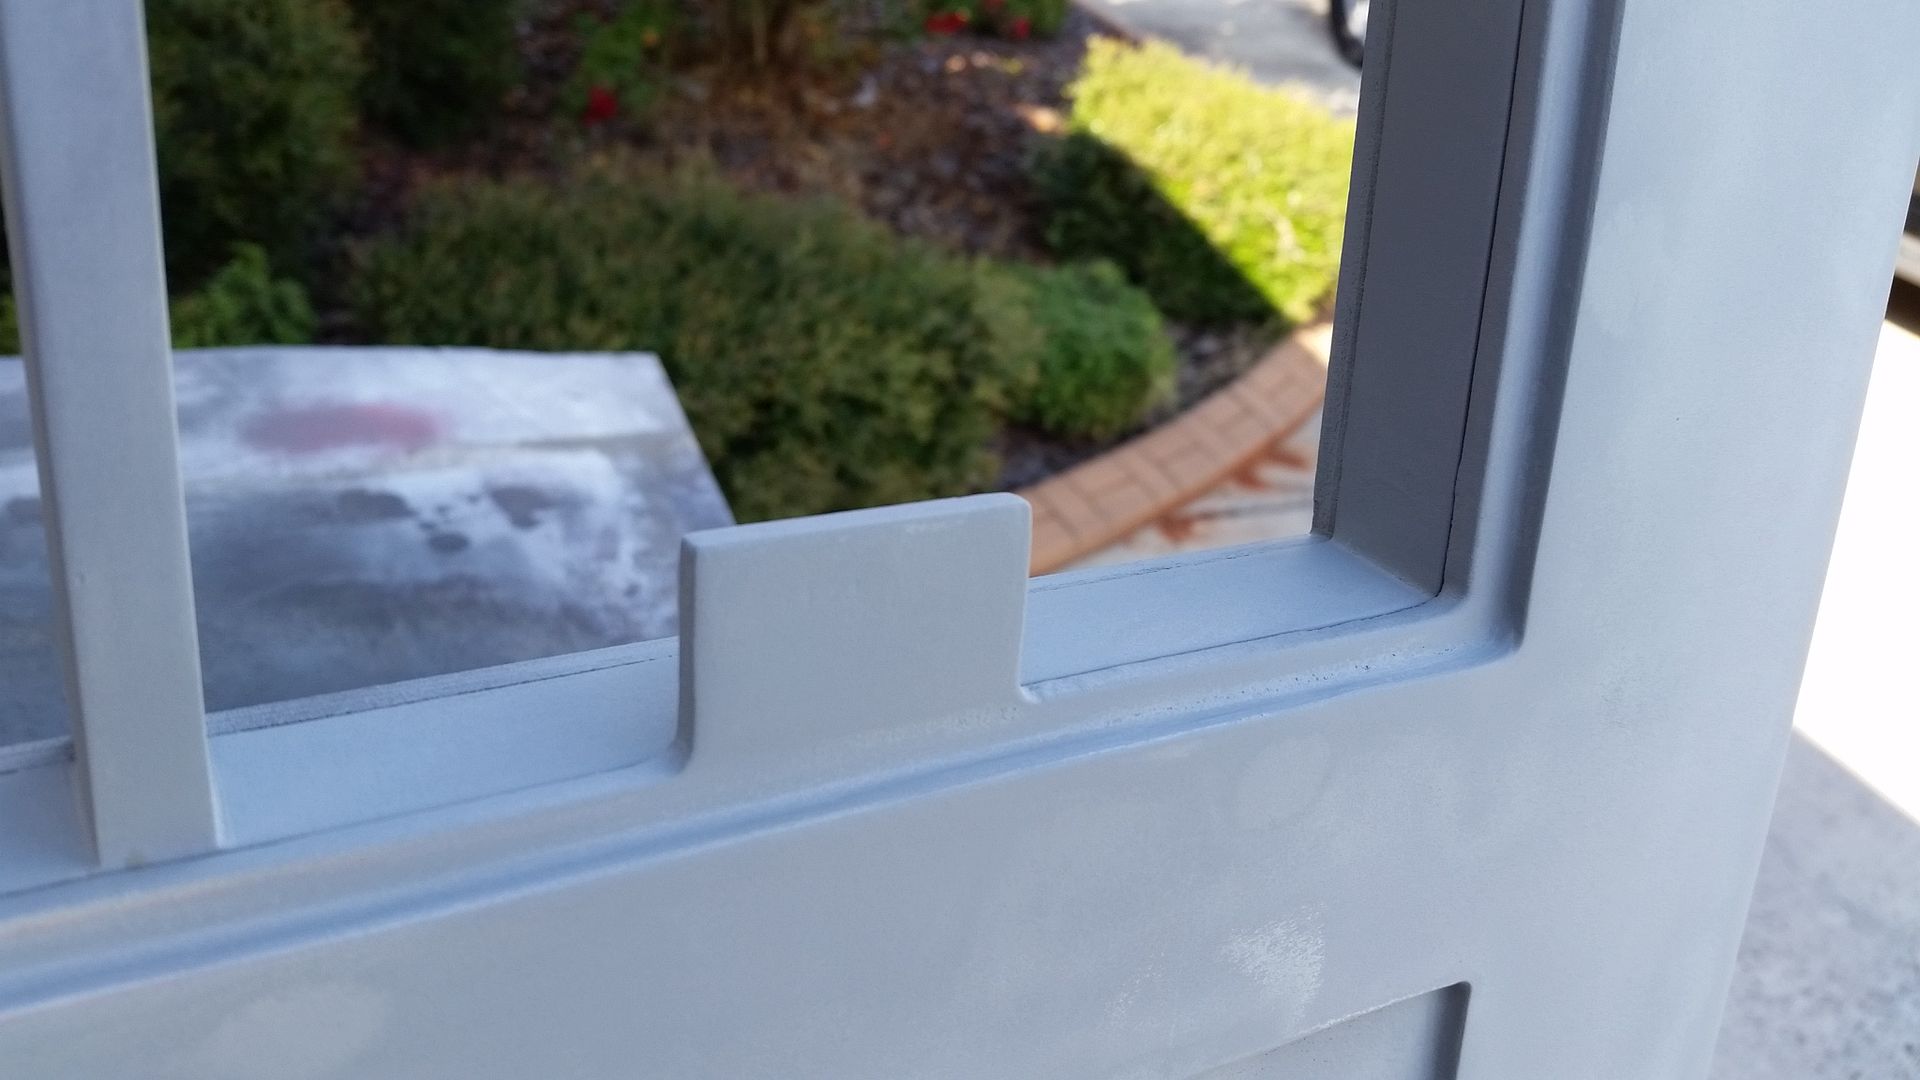
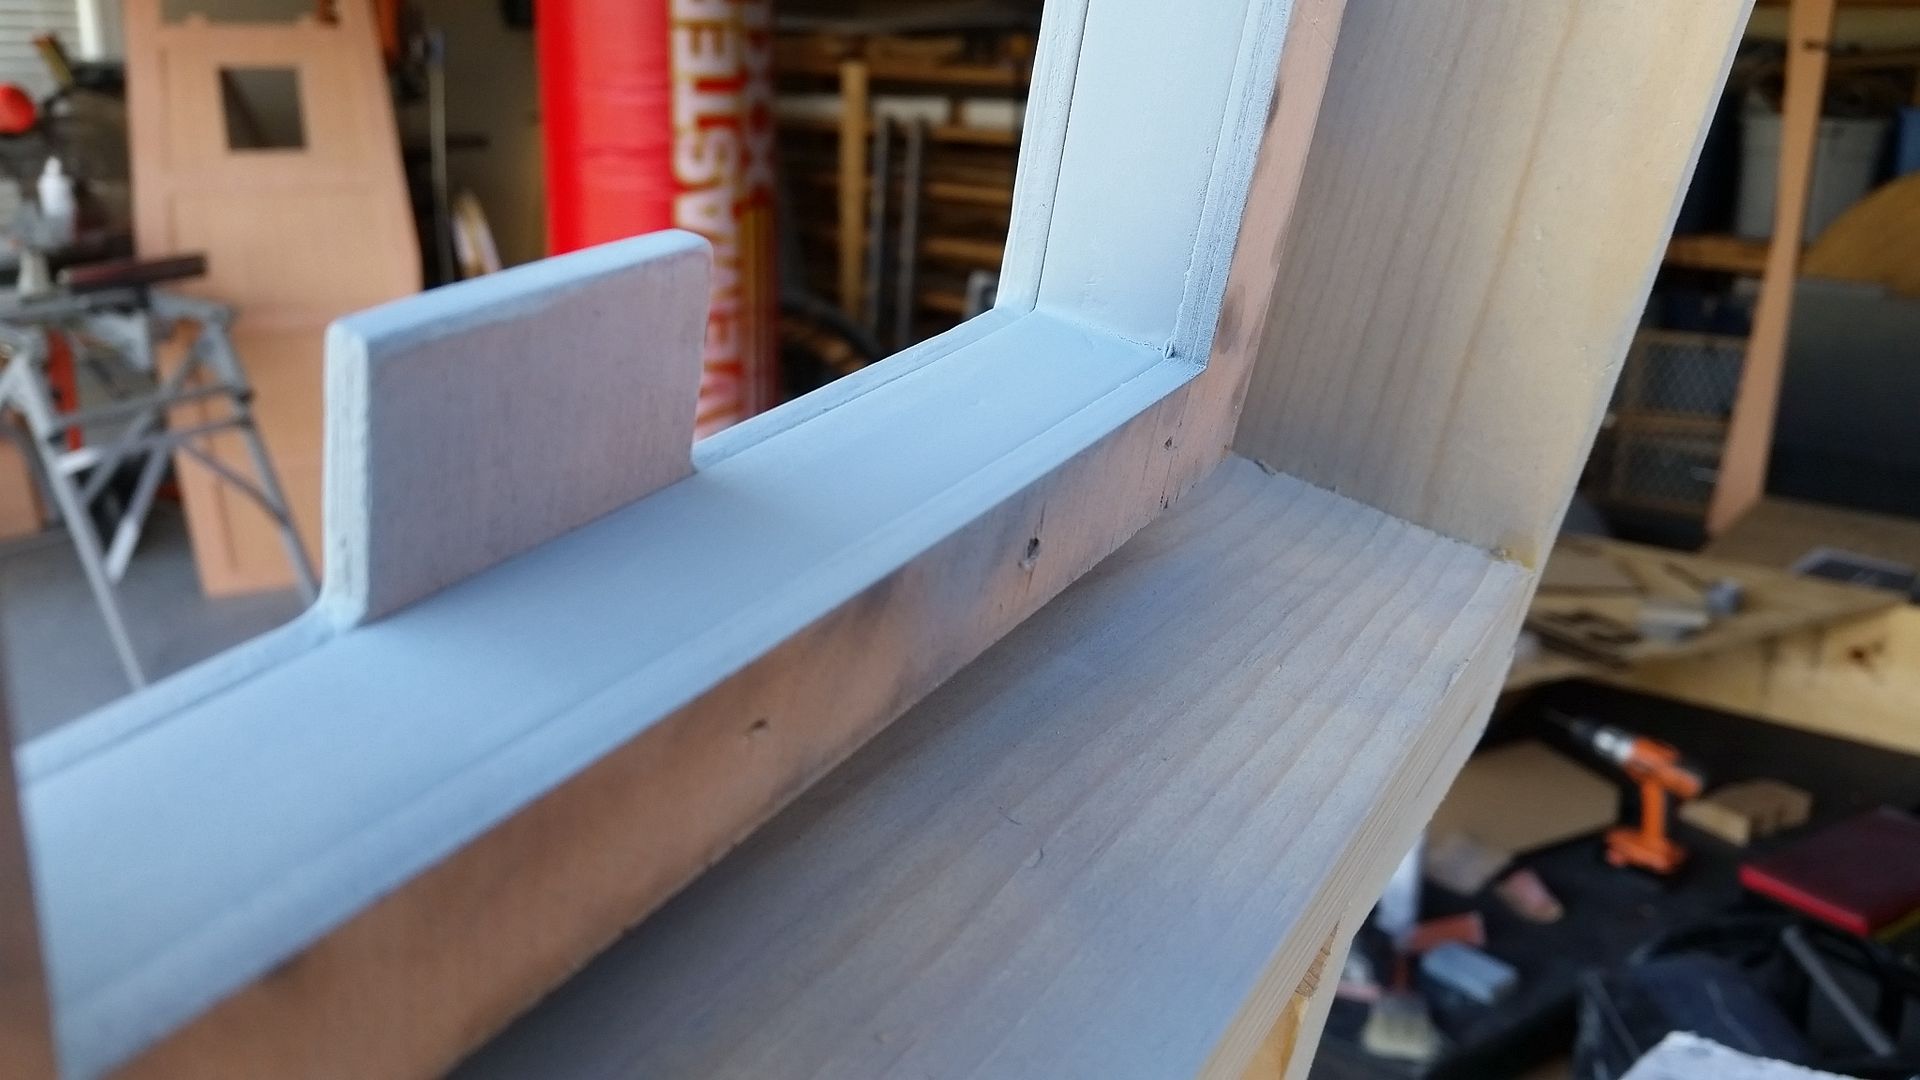
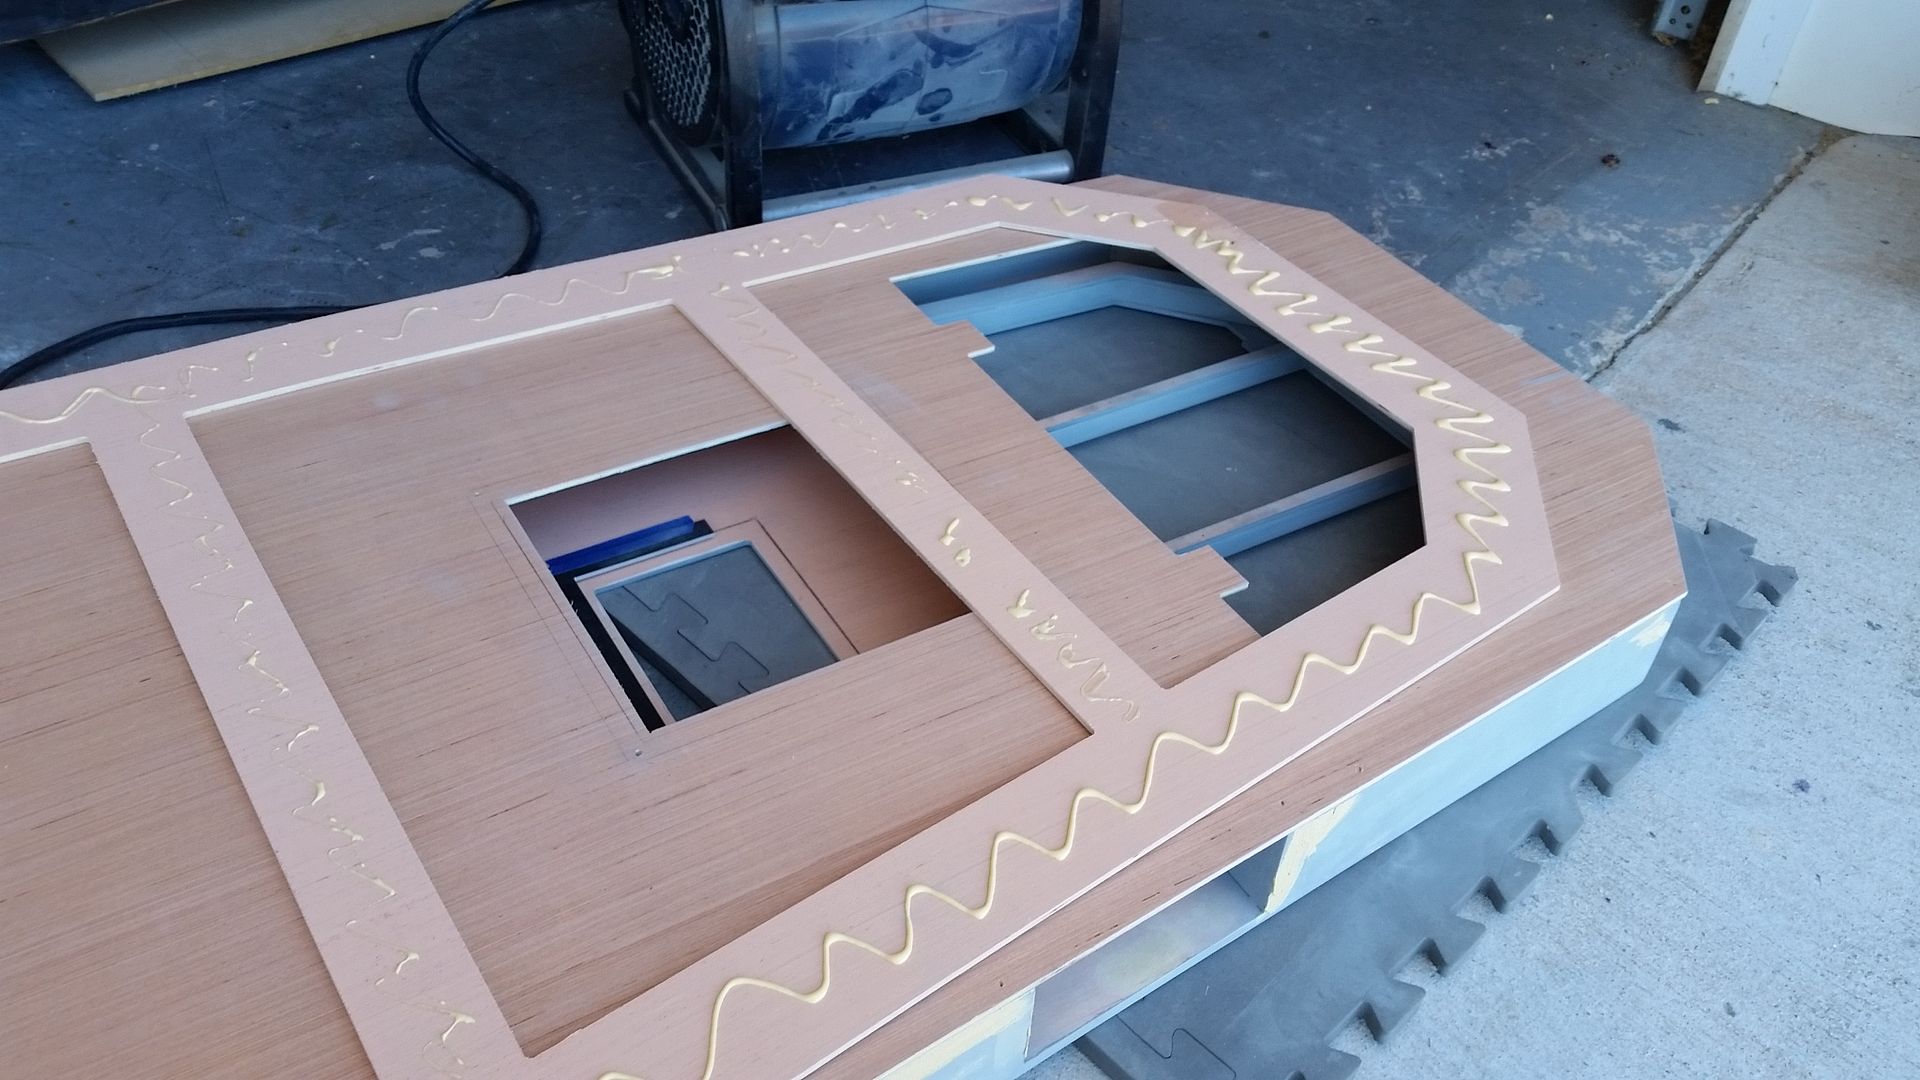
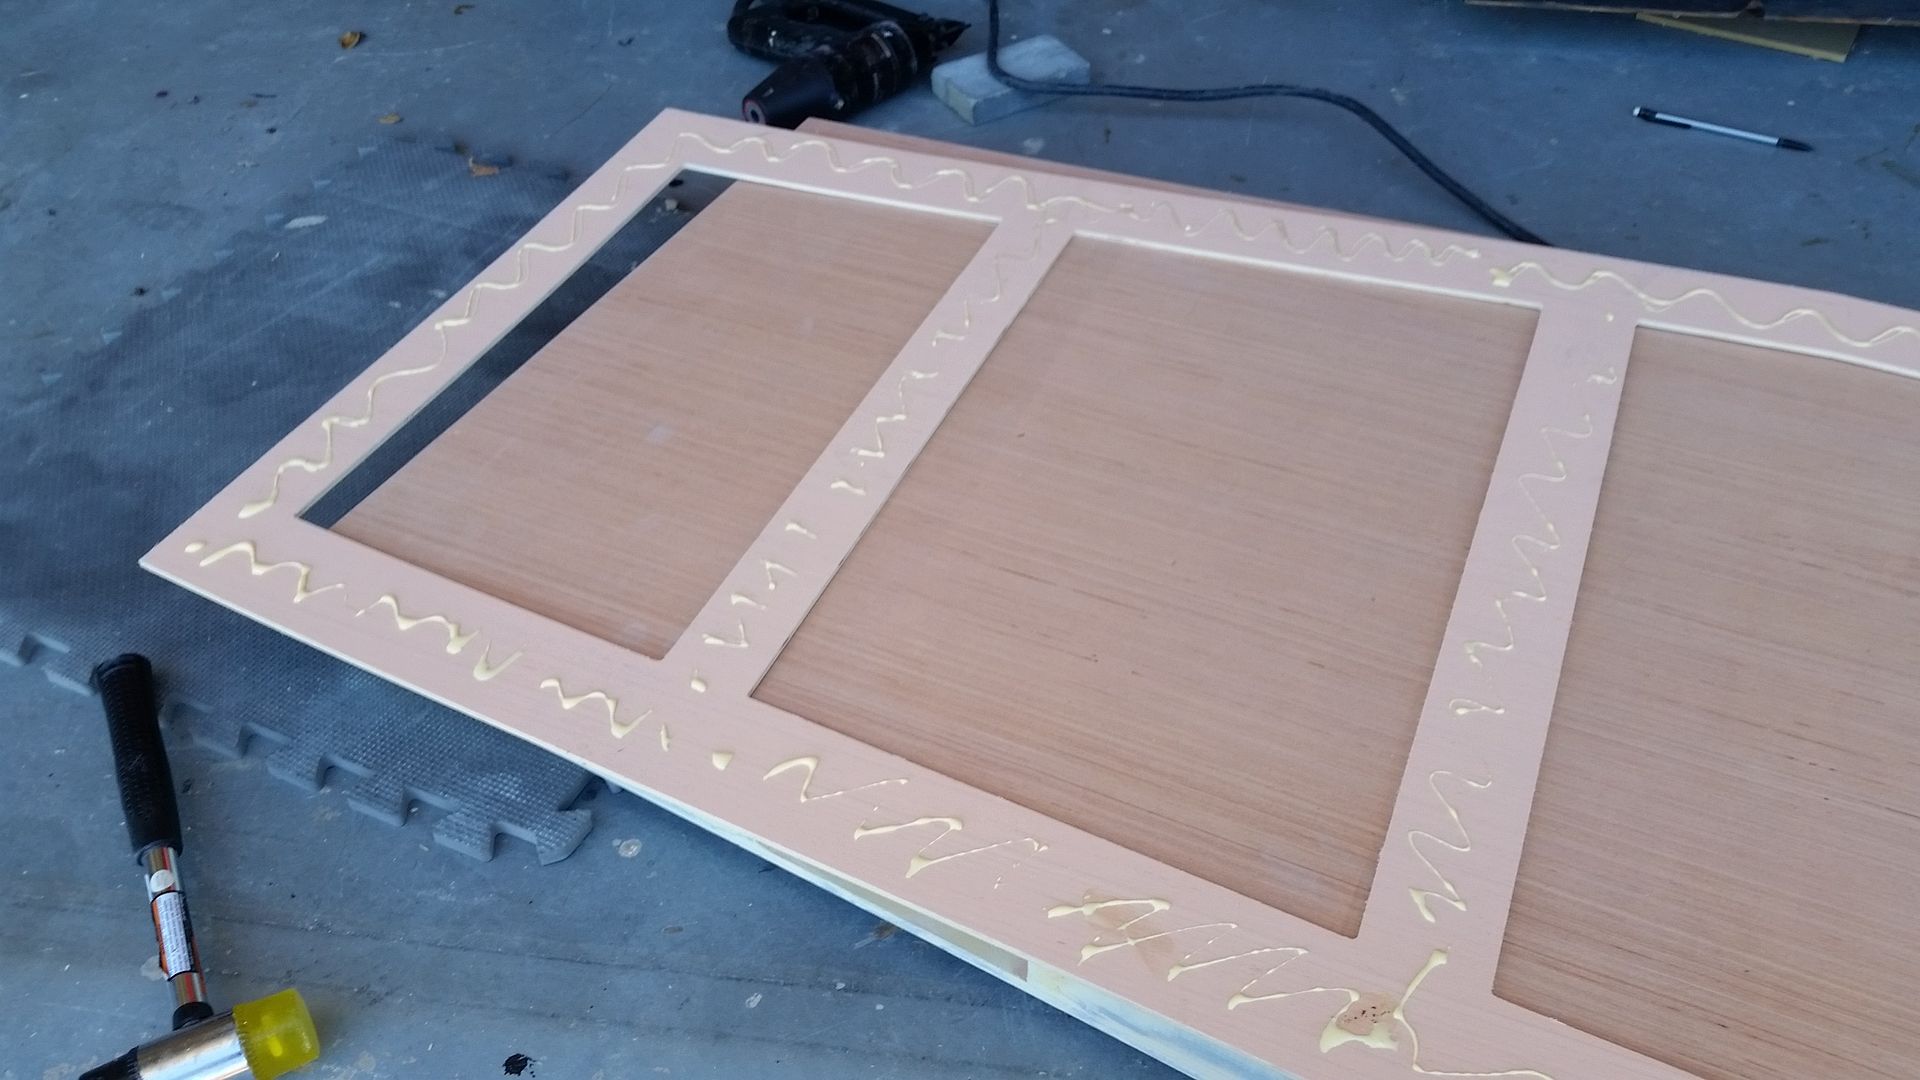
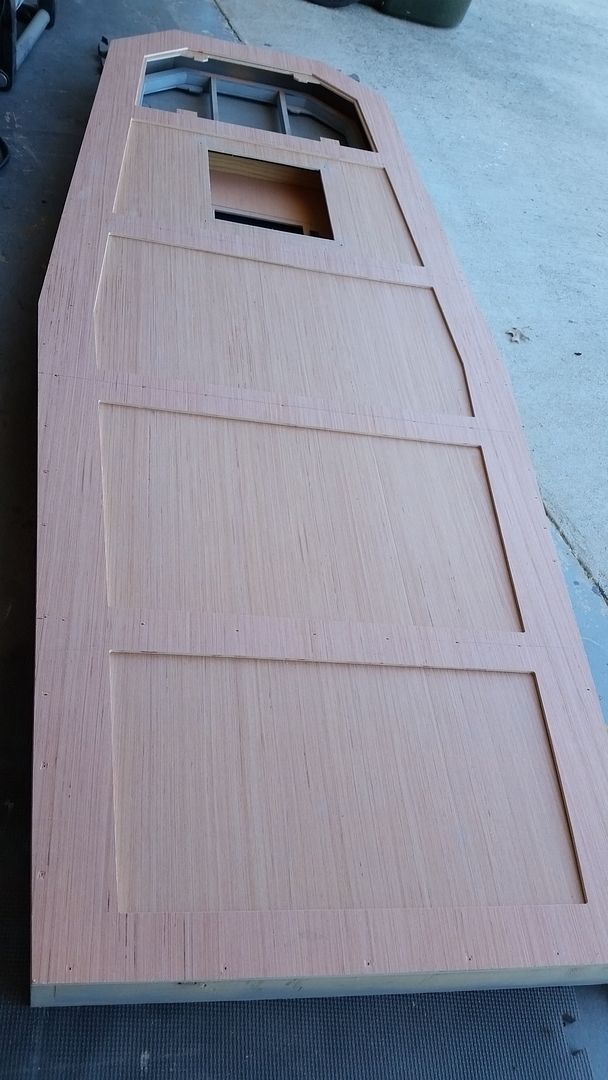
Helluva update! Even though you lost a day, it's amazing how much you can do in just ONE!

Hi M,

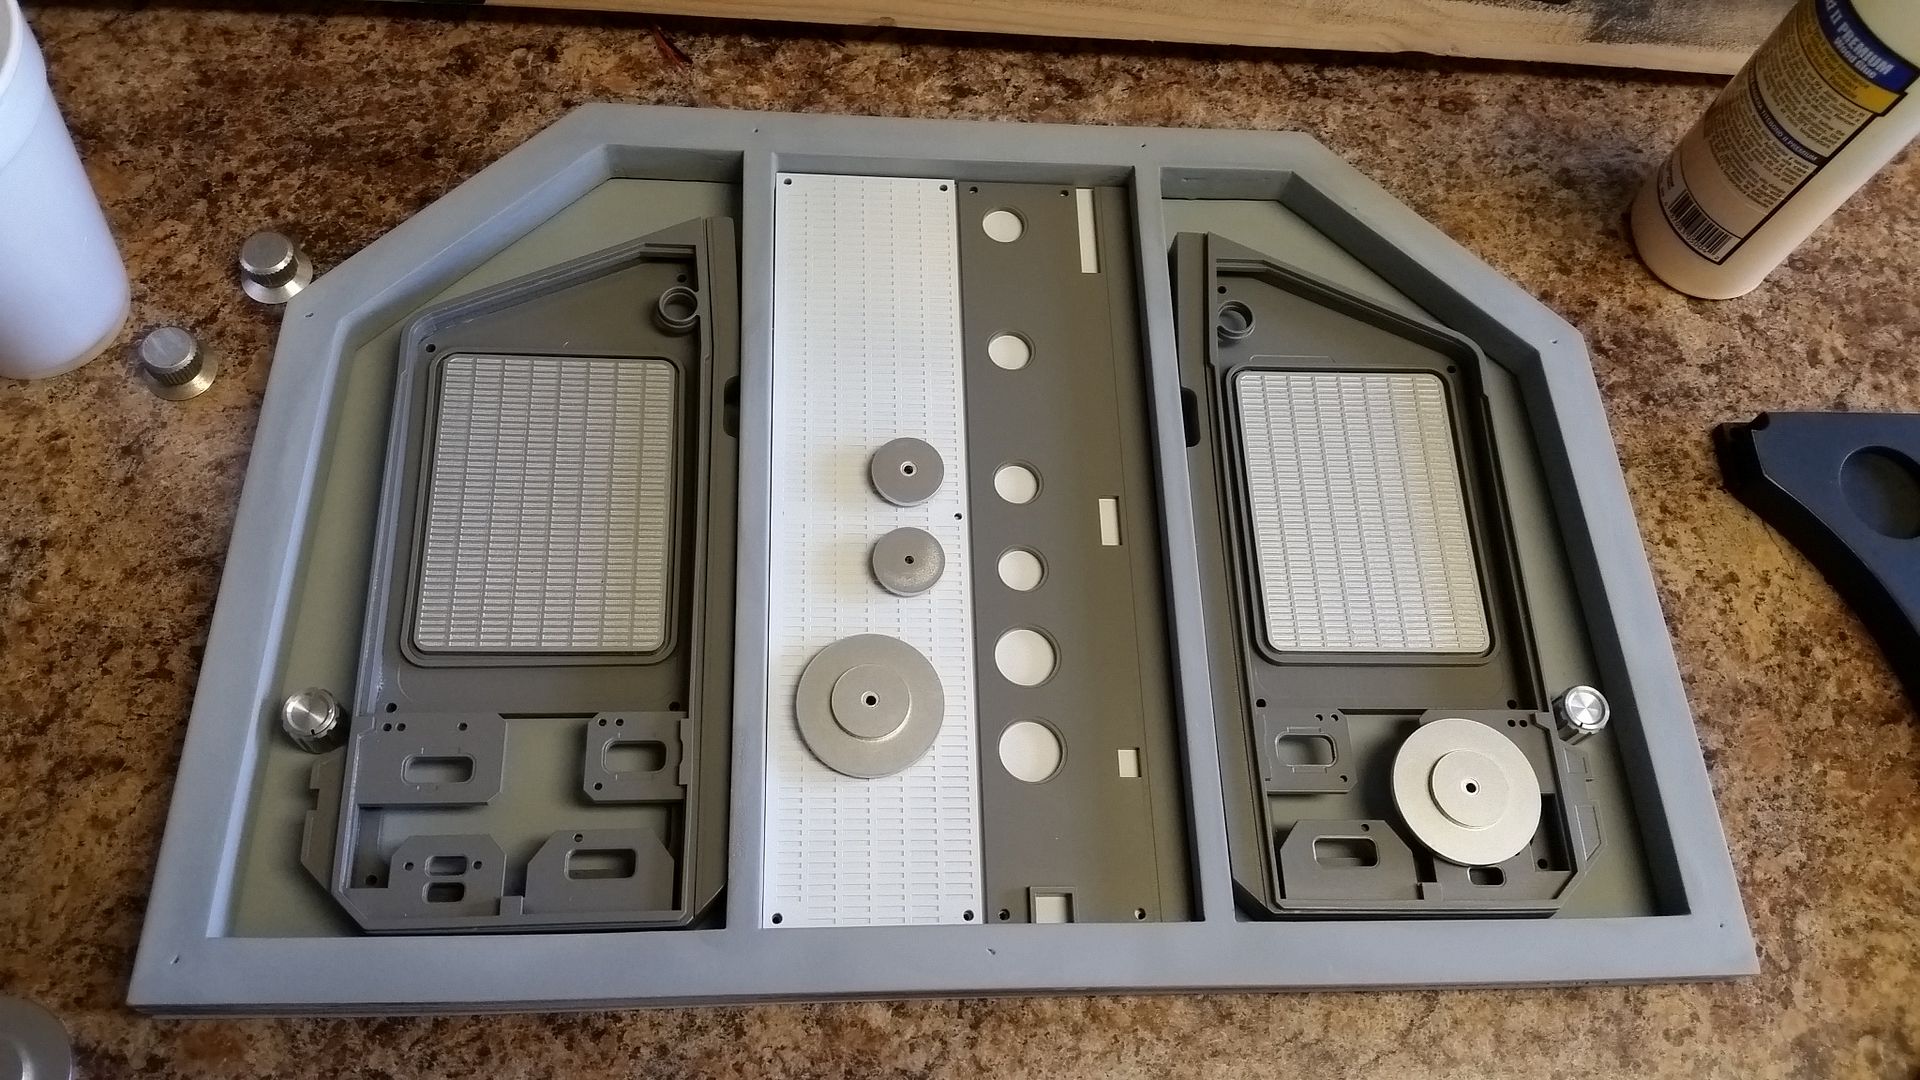
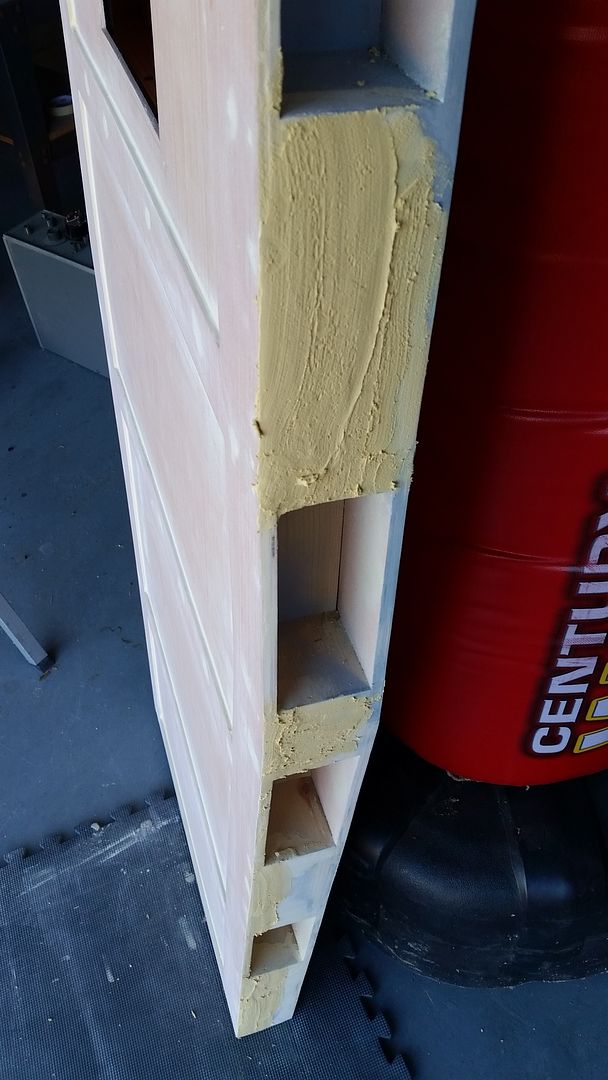
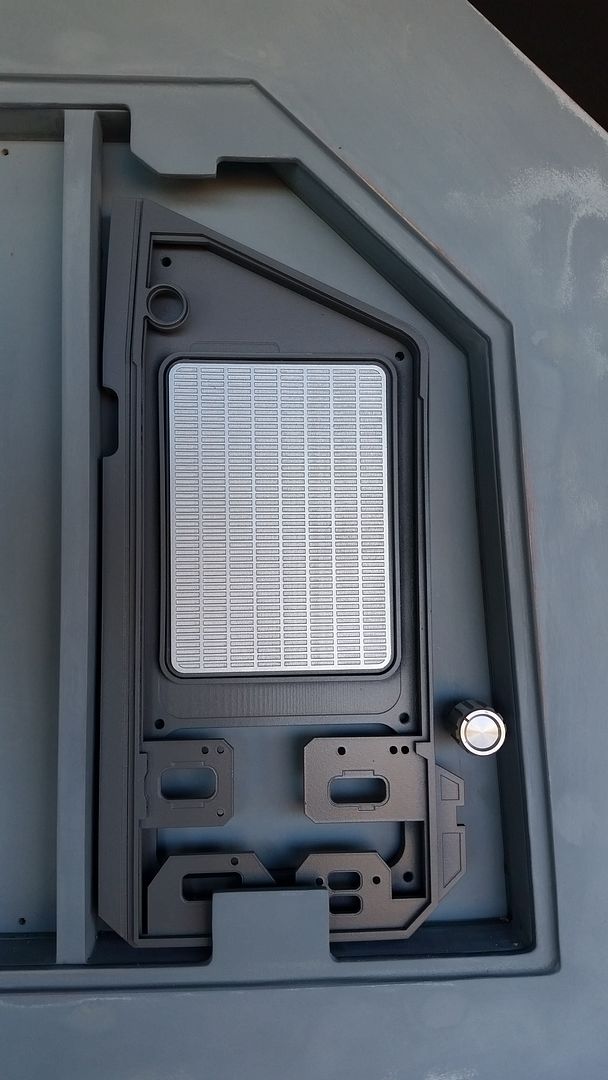
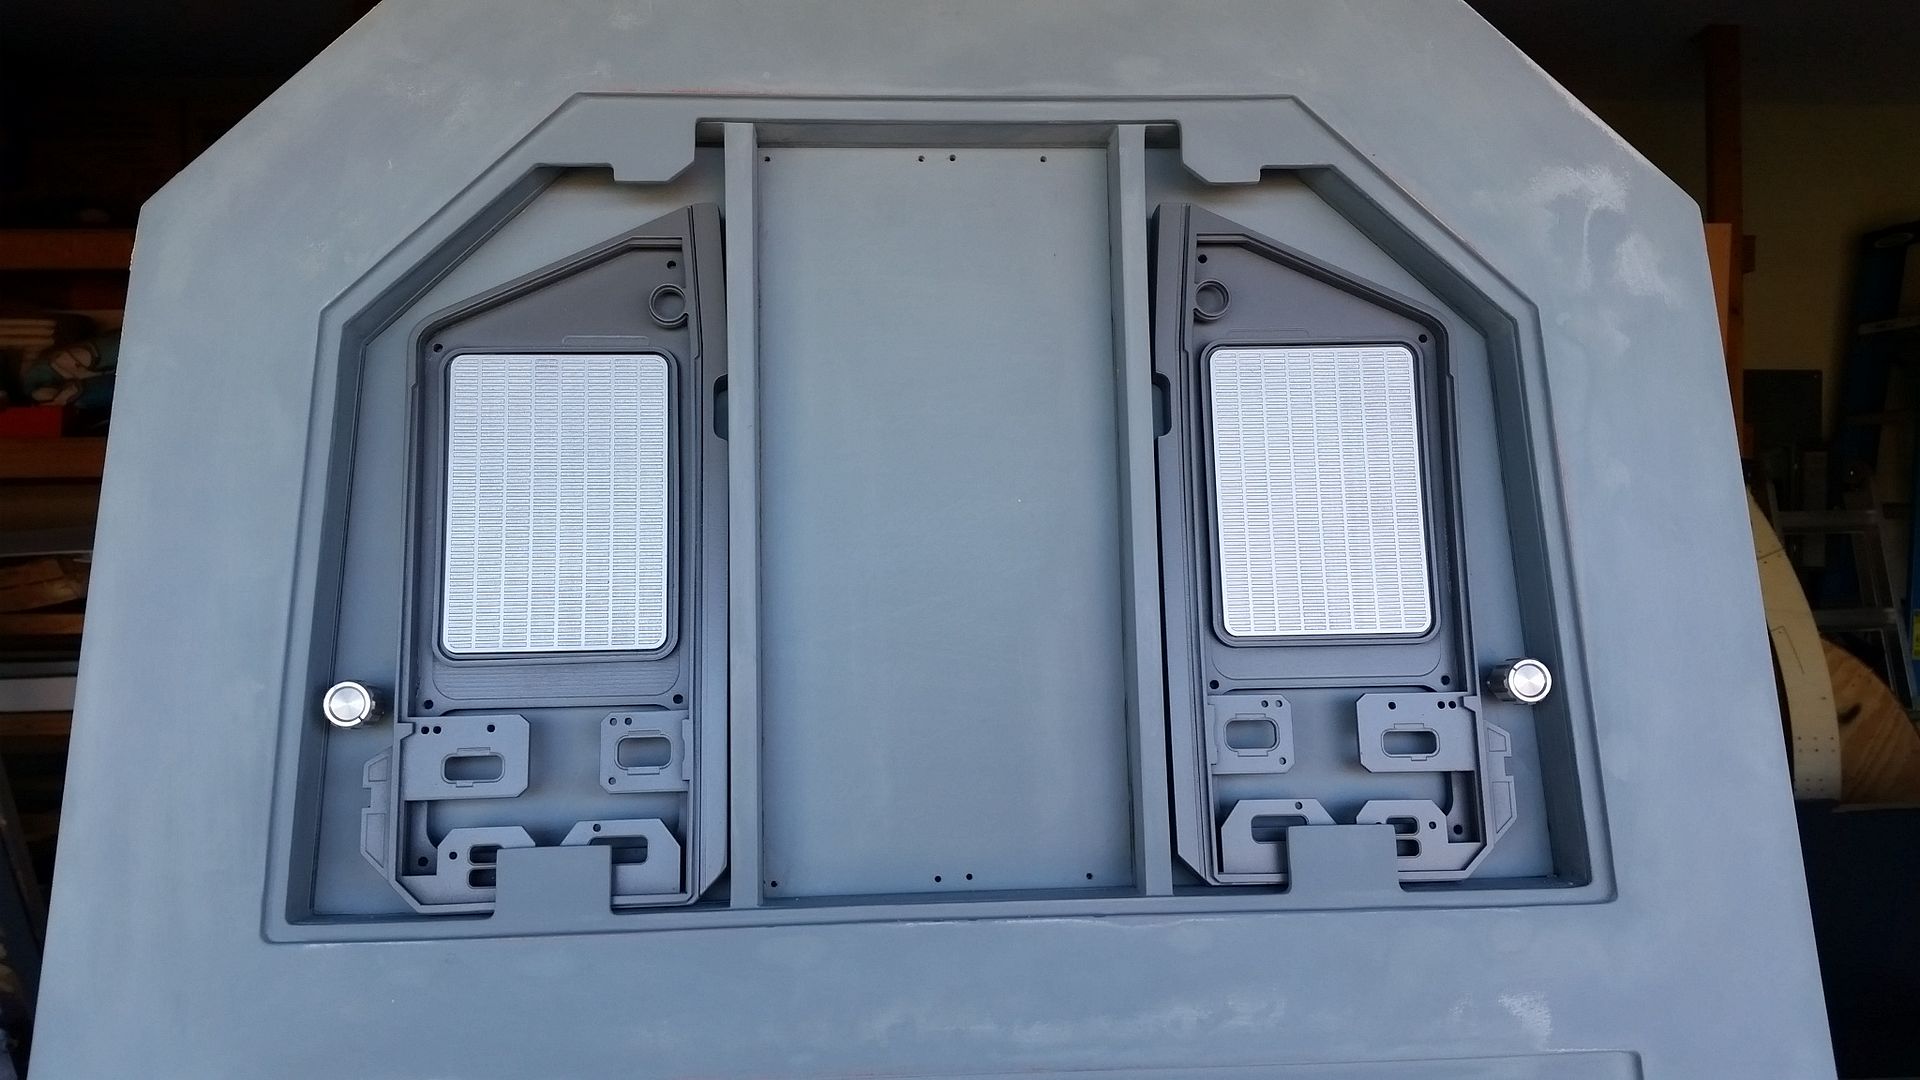
Thanks! Sat really bummed me out! Got me motivated to get "something" done with those few days off I had left.

- - - Updated - - -

When all done, you should charge admission (with LFL's blessing of course) :) I might be the first in line.

Admission? NAH! Free for all RPFers! You all get a day pass and can hang out. :)

- - - Updated - - -

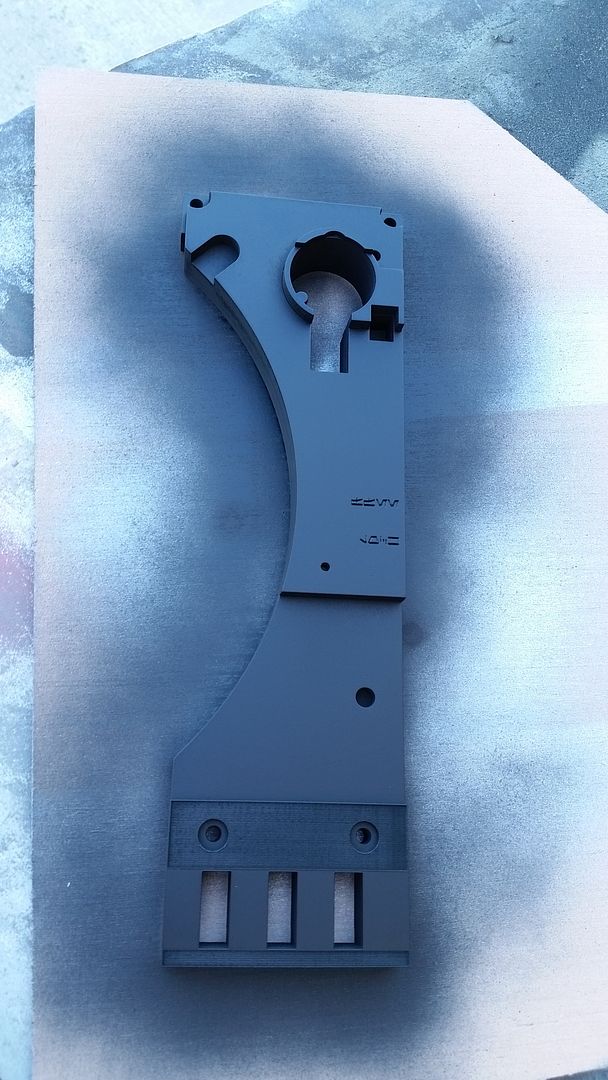
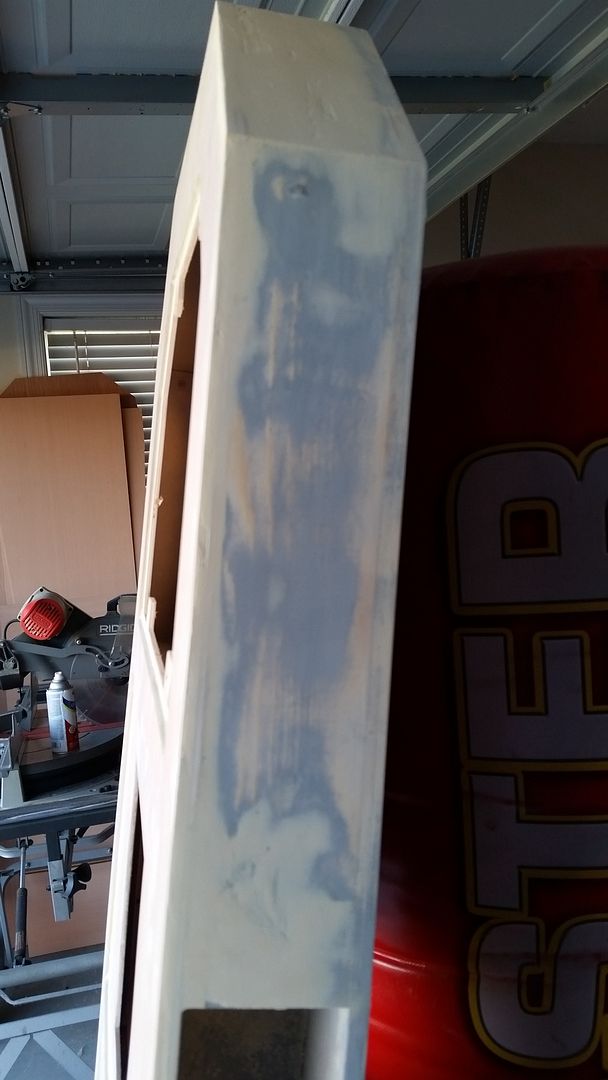
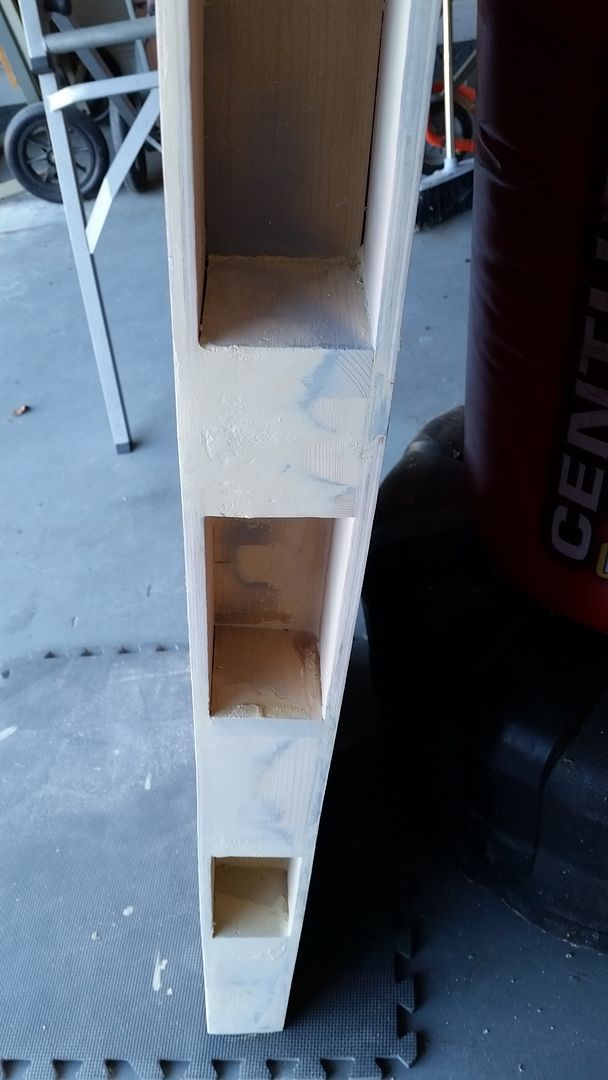
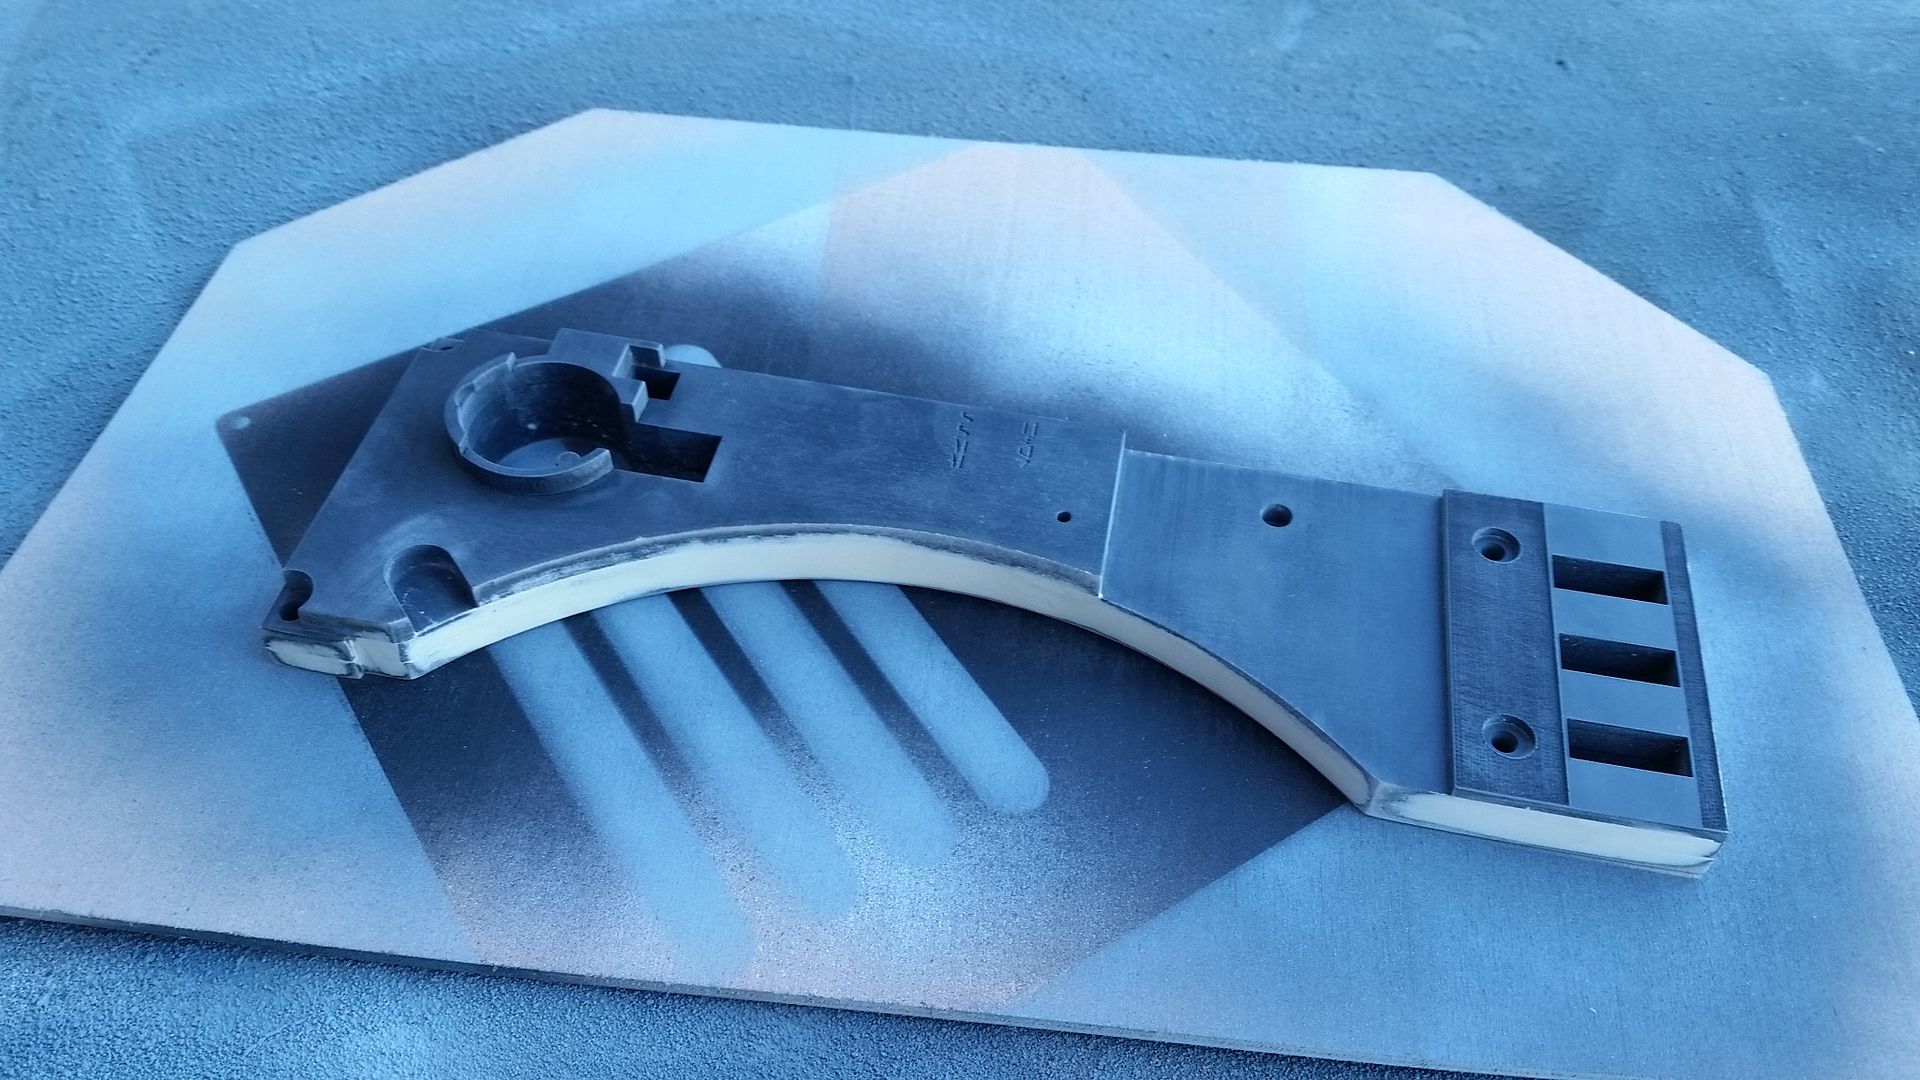
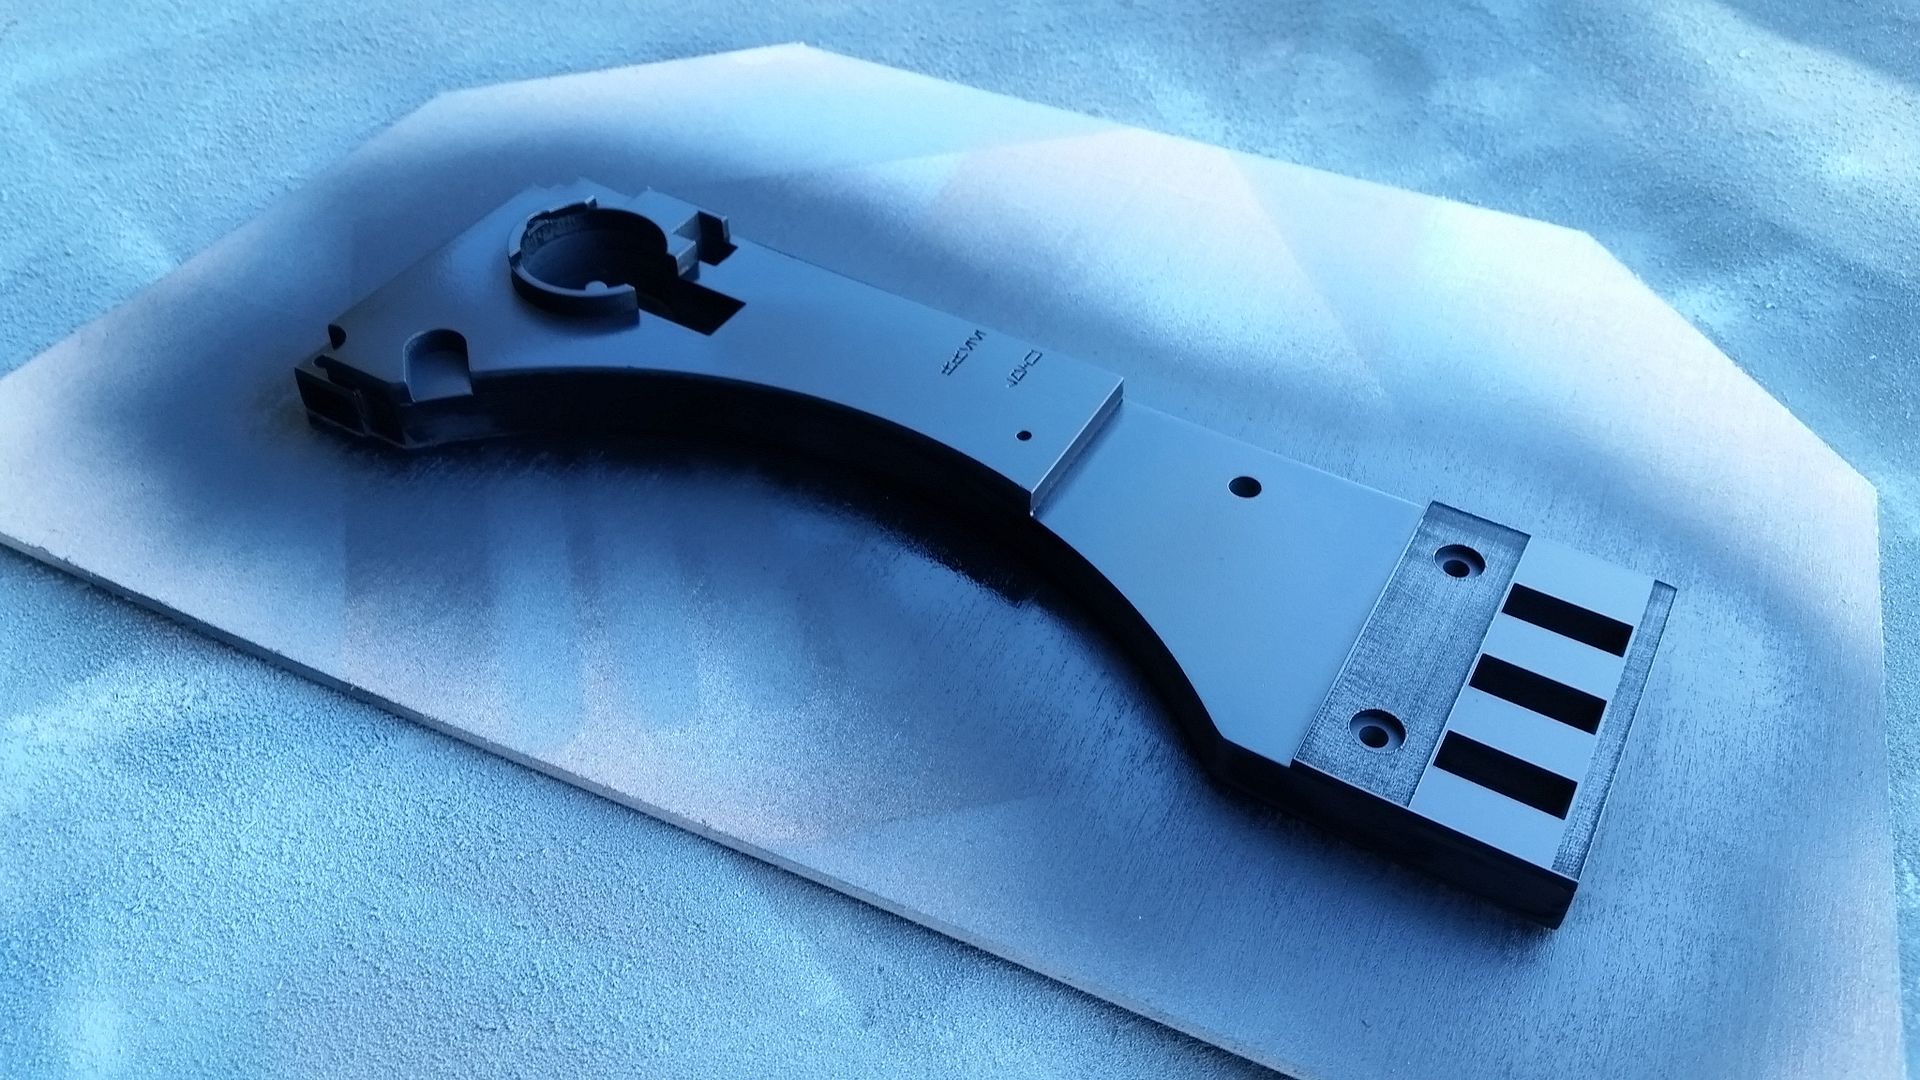
Fantastic update, and that silver paint is looking great under the weathering!

Hey W,

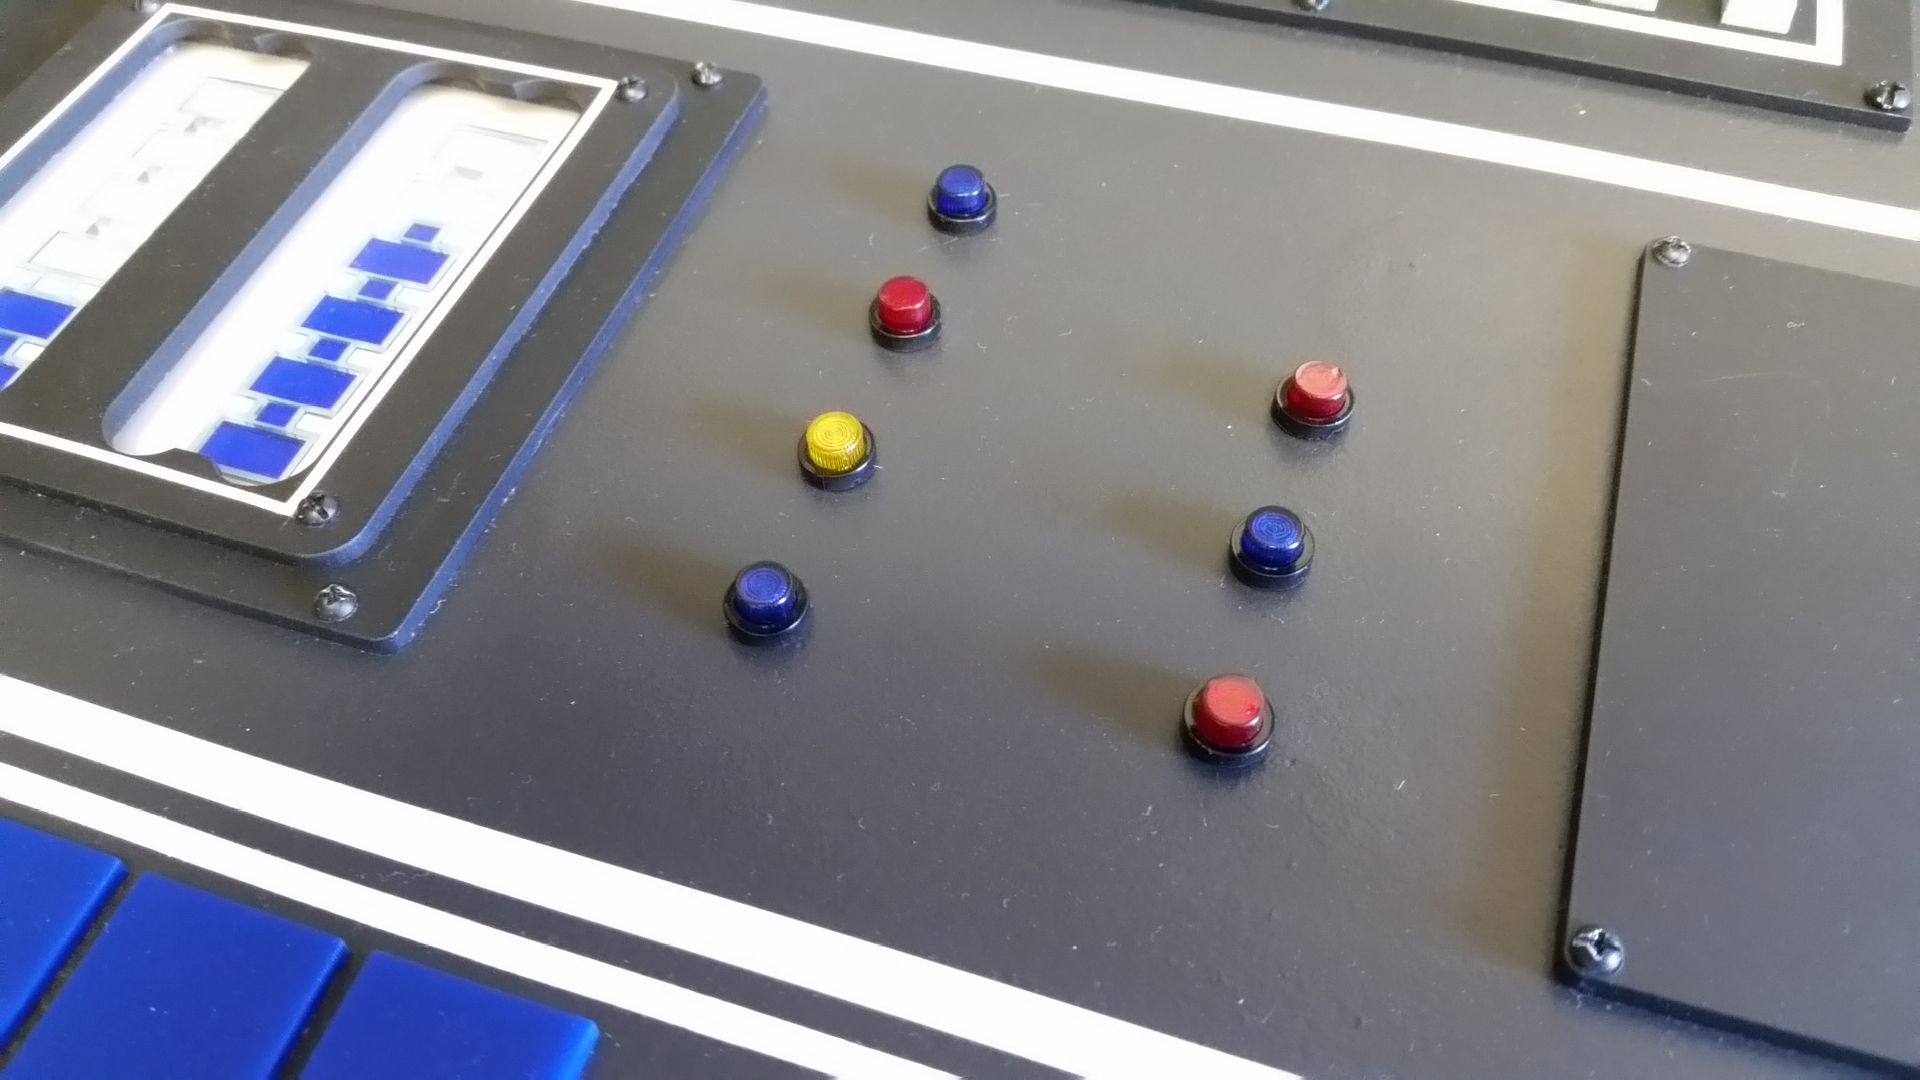
Thanks so much! I'm really happy with the weathering. I dont want to go too far with it but so far it seems to work.

- - - Updated - - -

Update rocks Sofa (as usual:rolleyes) I kid, you know that your thread is, by far, my fav!

Hey J,

Thank you so much for the kind words! I wouldn't be doing this without you and everyone else's support! :)
 
The details on the doors look awesome.

Hey Iz,

The door recessed panel is one of those "tough to see" areas. We can the see basic shapes but I had to fudge it on the finer details while staying true to the original form. If this were a "on screen" prop I would have never gone to this level of detail. Almost takes the fun out of it if I took that approach. ;)

- - - Updated - - -

I would leave the seam. Get some weathering grime in there, and possibly paint the two sections slightly different shades of silver? It would really "pop."

Hey S,

Looking at several screen grabs and behind the scene images, the greeblies in question are all black minus the silver round "key" like opening on the top. I like the idea of the different silvers and adding grime and weathering (I do enjoy the weathering part) but it wouldn't be true the original design.

I'm going to mount them and see how they look and if the seam needs to be filled I'll go back and address.
 
Hey SK... you gonna make it so the door opens and closes automatically with the press of a button or is it gonna be all manual?

We're going to DEF try! But it's one of those "we'll burn that bridge when we get to it" sort of things. Adding the ST "whoosh" would be funny and a great nod to the ST franchise. Nothing wrong with a little cross pollination, right? ;)
 
Hi Gang,

Does anybody have any detailed images of the interior side of the canopy from the Hot Toys 1/6th scale Falcon Cockpit? Their model is fairly close to screen accurate (from what I can tell) and I'm very interested in seeing what they did.

Thanks!
 
Hi Gang,

Update time! Not much to show. I've spent most of the weekend with the laser cutter. With a sudden power outage and other misc errors... the cuts took WAY longer than should have. But...

Here is the final door panel configuration!
20150912_142706_zpswmjsfifz.jpg


I can't figure out whether to add filler to these spaces or just leave them? I kind of like the look
20150912_151903_zpswkzxlsri.jpg


Maybe some light sanding and paint
20150912_151913_zpsbuci11nt.jpg


I was finally able to cut many of the LED Lens donuts

More tiny Lens donuts
20150913_123440_zpscjkpqav6.jpg


20150912_182108-1_zpsldaygxh7.jpg


20150912_194300_zpsifjy1ngu.jpg


20150912_194248_zpsm6e3pssk.jpg


I then recut the acrylic part that I broke along with a new Garrard style trim piece. I actually forgot to add a few details. I like the new one much better
20150912_194324_zpsyttvgpxf.jpg


20150912_194330_zpszcef4j8g.jpg


It's 1/4" higher and I added a few holes
20150912_194334_zpsrowl7gk9.jpg


Sanding the edges
20150913_101452_zps83jpjrvi.jpg


I then laser cut these back plates for the 3 black greeblies I've just created. They will be painted the same color as the panel they will be mounted to
20150913_072735_zpsw2qwkrr9.jpg


Another frustrating part of the build has been trying to get the exact size of the Magnet donuts
20150913_123219_zpsm0hu3ct3.jpg


As many of you know I found these magnets and they are a near perfect shape and size for the door stopper
20150913_123309_zpswetvlslg.jpg


This is how the magnet looks turned over with the magnet removed
20150913_123318_zpsrxhuvcy7.jpg


There is just enough of the magnet that settles within the doorstop
20150913_123326_zpsabtjuayw.jpg


It took three different laser cuts with different dims to figure out the best fit - nice and snug!
20150913_123355_zpspu9ghwtm.jpg


They are really tight in there and should be ok. They might loosen up over time
20150913_123405_zps9x8fjyhu.jpg


Gotta take advantage of the beautiful day! More to Follow!
 
Hi Gang,

We've got a door! After adhering the main door panel in place I then added the trim piece
20150913_144750_zpskja8xm1e.jpg


Dont to worry - I added more glue
20150913_144752_zps1l7vwyfu.jpg


Time to add some filler
20150913_145356_zps3czb5gsa.jpg


Clamped down this area
20150913_145639_zpsqis4wta8.jpg


20150913_153017_zps0ora5ukr.jpg


20150913_153024_zpsokdwoa2a.jpg


Added LOTS of filler
20150913_170654_zpsazws3ldc.jpg


20150913_170700_zpsq4z54q9l.jpg


I love this shot but something looked horribly wrong! In all my excitement to get the door finished I forgot to add the recessed back panel... And NO it wont fit through the opening so I have to cut it up.... UGH
20150913_170708_zpsfnphrqfe.jpg


Access Panel
20150913_170738_zps1egmuvil.jpg


While the filler dried I jumped to the new Garrard trim piece
20150913_153036_zpsjxn1trr4.jpg


Laser cut/etched acrylic
20150913_153043_zps6gcolwlv.jpg


Not the smoothest etching but look how thin those edges are
20150913_153050_zpsmygeif7e.jpg


20150913_153056_zpsxkoicjsu.jpg


20150913_153100_zpskbcozt7x.jpg


I then cut the holes for the back plates
20150913_155932_zpsnehmscub.jpg


As I mentioned, these will be painted the same color as the panel they are mounted to
20150913_155937_zps60sk8ssp.jpg


20150913_155948_zpsbcyjlfxu.jpg


20150913_160208_zpshejwgvuv.jpg


I then added the Fresnel Lens Donuts
20150913_162512_zpshrcsy6hx.jpg


The laser cutter would only allow me to cut 25 at a time. Not sure why but it was a LONG weekend with the laser cutter
20150913_162719_zpsnduriuxe.jpg


I then realized I forgot to add the filler... another UGH moment
20150913_170802_zpsvm56bo9y.jpg


20150913_170813_zpsutshtv4i.jpg


UGH...
 
Hi Gang,

The Early Morning Update

All yesterday I visualized not only how I messed up that recessed back panel but how I would go about fixing it... So when I got home I took the proper measurements, grabbed a box knife and cut it up
20150914_163255_zpsaebvz8x5.jpg


Made sure the two "new" panels would fit into place
20150914_163325_zpskaa3auep.jpg


Applied the wood glue
20150914_163609_zpslvpjjgyt.jpg


Screwed mounted into place
20150914_165239_zpswo4sfp3b.jpg


I then cut the holes for the two knobs
20150914_171954_zpszdt46yjn.jpg


Mounted some old switches
20150914_172034_zpsvg7ype5e.jpg


20150914_172057_zpsha5xvsnh.jpg


20150914_172034-1_zpsas6cfrfm.jpg


20150914_172102_zpsnu3ajk9t.jpg


Slid the knob into place
20150914_172157_zpswfvnj8ym.jpg


All that's left is a little light sanding, priming and then paint
20150914_172201_zpsxxaktqt6.jpg


I then flipped the door around and cut the mounting holes for the cover plate
20150914_165433-1_zps6msst5b2.jpg


20150914_165651_zpsbaxaxxxz.jpg


Then flipped the door on its side and sanded sanded sanded
20150914_173034_zpsg49xtdf6.jpg


20150914_173038_zpslt8isxpb.jpg


20150914_173045_zpshttajybn.jpg


Then added more filler
20150914_173903_zpsadwenkfu.jpg


20150914_173908_zpsa525eyxw.jpg


It really is a neat feeling, despite all the hurdles, watching everything come together
20150914_173912_zpsthnarrgc.jpg


Off to the store to buy 37 cans of primer filler
20150914_173921_zpsqm9lovvo.jpg


I sanded then sanded down the Garrard trim piece
20150914_170644_zpsxxwujtaq.jpg


First coat of black. I'll sand down again and add a few more layers of paint then mount
20150914_170810_zpsiz0rmvh8.jpg


More to Follow!
 
Hey guys I'm new on the forum.

I'd like to congratulate you for the AMAZING work you did ! It's so amazing, I've been following you since many months and everytime it's incredible to see what you've done ! You also convinced me to do something: when I saw what you did, I sayed "OK this guy is recreating the Millenium Falcon, you can do something too !". So thank you !

Just a question: I tought the cockpit was already finished some month ago... Maybe I'm wrong, but what happenned ? Did you begin it once again ?

PS: I'm french, sorry if I made mistakes !

The version he finished was the ANH version, but there were a few problems. Now he's recreating it, but this time it'll be the ESB version with a bit of TFA thrown in there as well. The ANH version was a little small, but the ESB version they actually extended it about 18 inches to allow more room for the actors and cameras to get around in there... it's a tight little cramped area!
 
Hey guys I'm new on the forum.

I'd like to congratulate you for the AMAZING work you did ! It's so amazing, I've been following you since many months and everytime it's incredible to see what you've done ! You also convinced me to do something: when I saw what you did, I sayed "OK this guy is recreating the Millenium Falcon, you can do something too !". So thank you !

Just a question: I tought the cockpit was already finished some month ago... Maybe I'm wrong, but what happenned ? Did you begin it once again ?

PS: I'm french, sorry if I made mistakes !

Hi D,

First, let me welcome you to the RPF! IYou'll definately be amazed at the level of talent these folks display! It was this site that also convinced me to get out and do something. :)

Thank you so much for the VERY kind words and you're very welcome for being a source of inspiration. That really means a lot! To answer your question: Yes. The cockpit was actually near finished twice. When I made the decision to create a full scale replica I aimed my sights on the original "A New Hope" version. Help from Steve Starkiller, and his motivation to create a screen accurate 3D model of the cockpit, made everything possible. Also, I wasn't going to add any lighting until a later date. After our first few public showings we decided to change the cockpit to match the fan favorite "Empire Strikes Back" version. Over time it became a sort of hybrid between the two versions and I was never very happy with the overall look and feel.

So we decided to do the right thing and make it as screen accurate to the "Empire" version as possible to include lighting, sounds, the correct height, depth, details, etc. That included a complete makeover of almost every single panel. Only 1 panel remains unchanged from the beginning. It's been a massive undertaking and a heck of a lot of fun mixed with blood, sweat and tears.

So what you're seeing in the 3rd and final version of this cockpit. Most of the details are finished and the team is working to figure out the lighting and the new nose section and how we can make it easily transportable - that's been one of the more difficult tasks of the nose.

Again, thank you for the kind words and keep in touch! Looking forward to seeing your project. :)

- - - Updated - - -

The version he finished was the ANH version, but there were a few problems. Now he's recreating it, but this time it'll be the ESB version with a bit of TFA thrown in there as well. The ANH version was a little small, but the ESB version they actually extended it about 18 inches to allow more room for the actors and cameras to get around in there... it's a tight little cramped area!

Bingo! :) The TFA additions will be subtle and interchangable with the current cockpit.

- - - Updated - - -

Looking great as always!

"donuts".... bezels. ;)

Thanks, T! Nothing beats "Little Chocolate Bezels" in the morning!
 
Oh thank you so much guys ! I understand now ! Wow, that's "insane" :D !

Congratulations for your patience and your work, that's amazing. And yes, your passion convince me to create something I wanted to do a few month ago so thank you so much !


Keep on the good work !

PS: thank you for your greetings ;) !
 

Your message may be considered spam for the following reasons:

If you wish to reply despite these issues, check the box below before replying.
Be aware that malicious compliance may result in more severe penalties.
Back
Top