You are using an out of date browser. It may not display this or other websites correctly.
You should upgrade or use an alternative browser.
You should upgrade or use an alternative browser.
Hero Phaser Scratchbuild
- Thread starter robn1
- Start date
robn1
Master Member
Thanks guys!
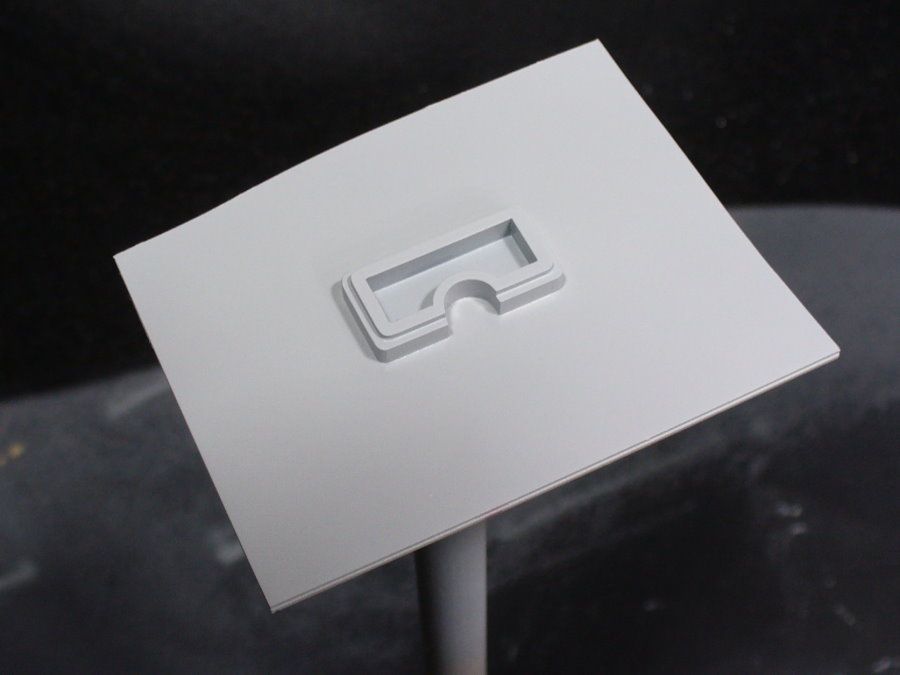
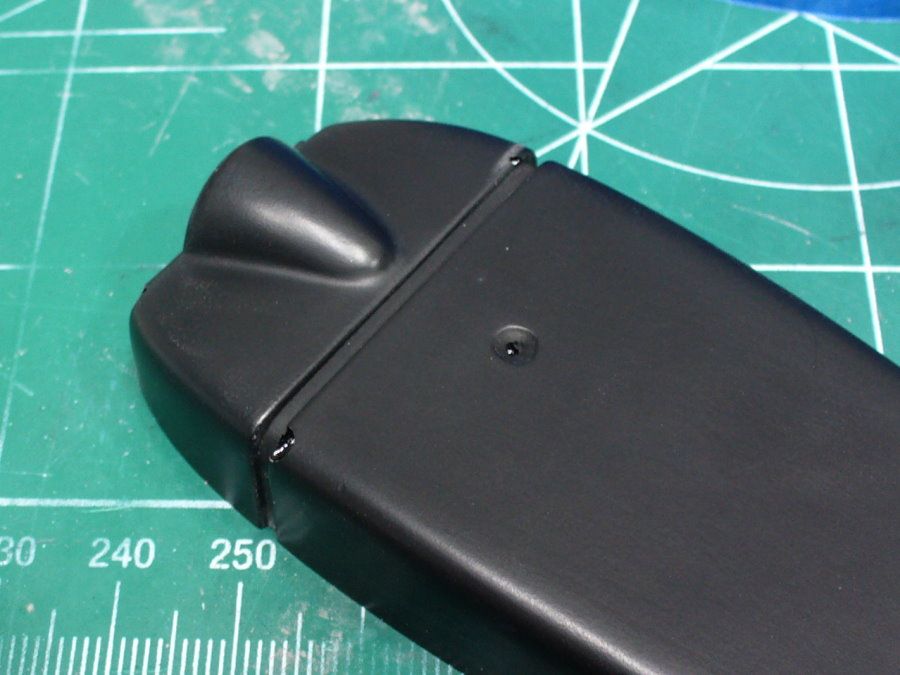
Going a little slower than I hoped, but it always seems to be that way. I've cleaned up the bezel a bit, and glued it to a new styrene backing piece. I'll remold it using a technique I learned from REL, that will make a finished part with no need to sand the back side.
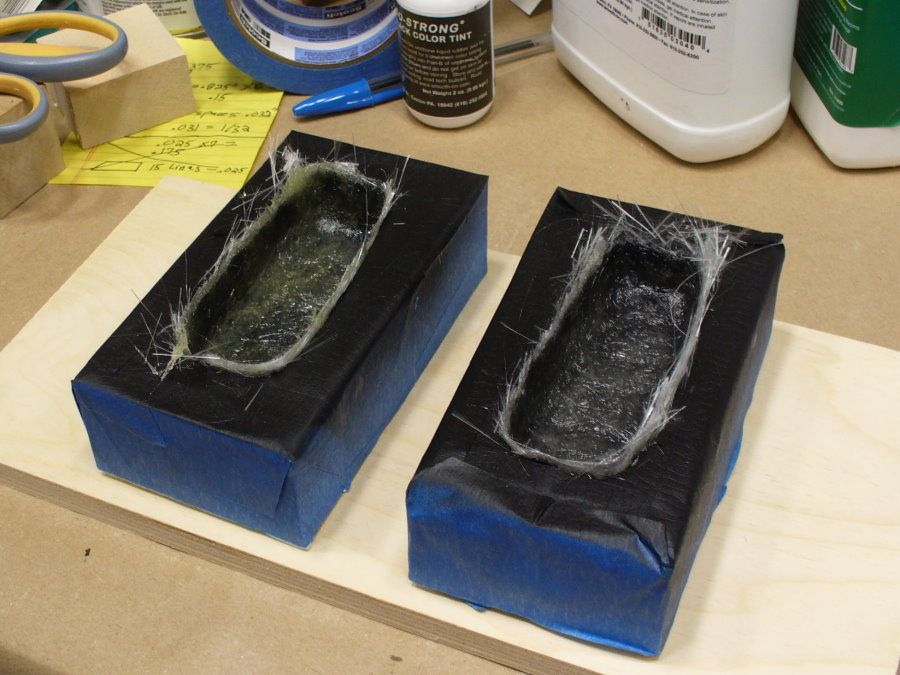
And trying to ovoid having any more castings bond the the mold, I'm using the old bottom mold for a test. I sprayed flat black enamel into the mold. The paint won't bond to the rubber, and it will prevent the casting from sticking.
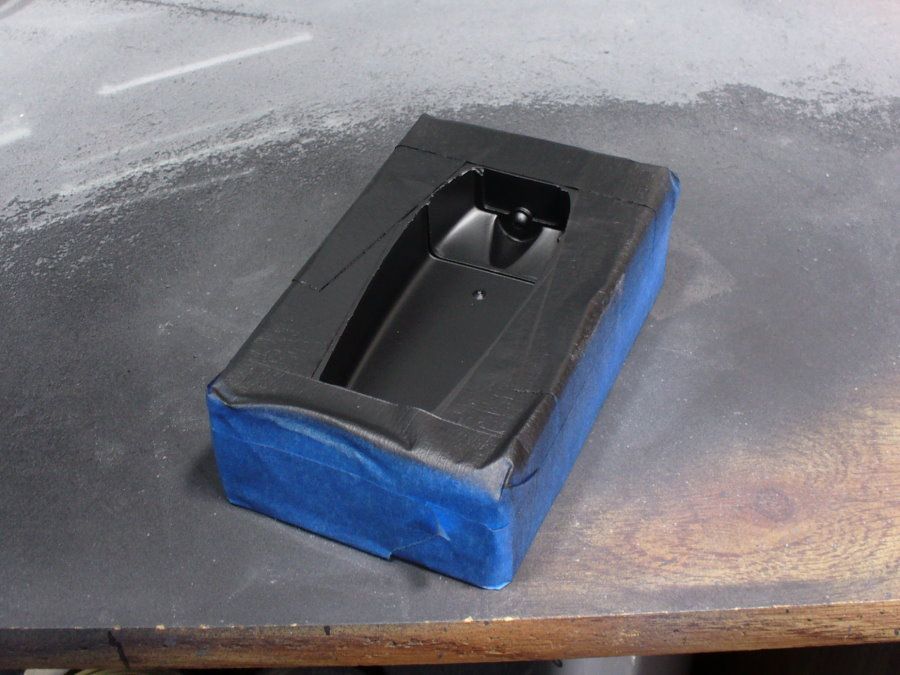
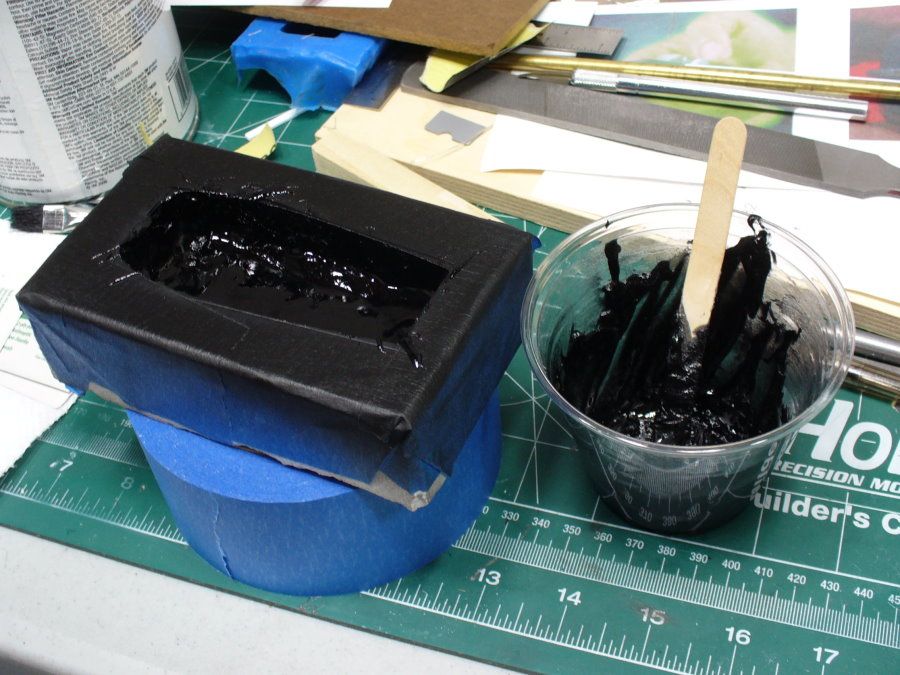
I also tested a new casting method. I made a mix of epoxy with the milled glass fibers and Cabosil. The glass gives it it's strength, but the Cabosil made it light enough that it shouldn't run down the sides of the mold. If this doesn't work out, I'll have to go back to using glass cloth.
Going a little slower than I hoped, but it always seems to be that way. I've cleaned up the bezel a bit, and glued it to a new styrene backing piece. I'll remold it using a technique I learned from REL, that will make a finished part with no need to sand the back side.
And trying to ovoid having any more castings bond the the mold, I'm using the old bottom mold for a test. I sprayed flat black enamel into the mold. The paint won't bond to the rubber, and it will prevent the casting from sticking.
I also tested a new casting method. I made a mix of epoxy with the milled glass fibers and Cabosil. The glass gives it it's strength, but the Cabosil made it light enough that it shouldn't run down the sides of the mold. If this doesn't work out, I'll have to go back to using glass cloth.
robn1
Master Member
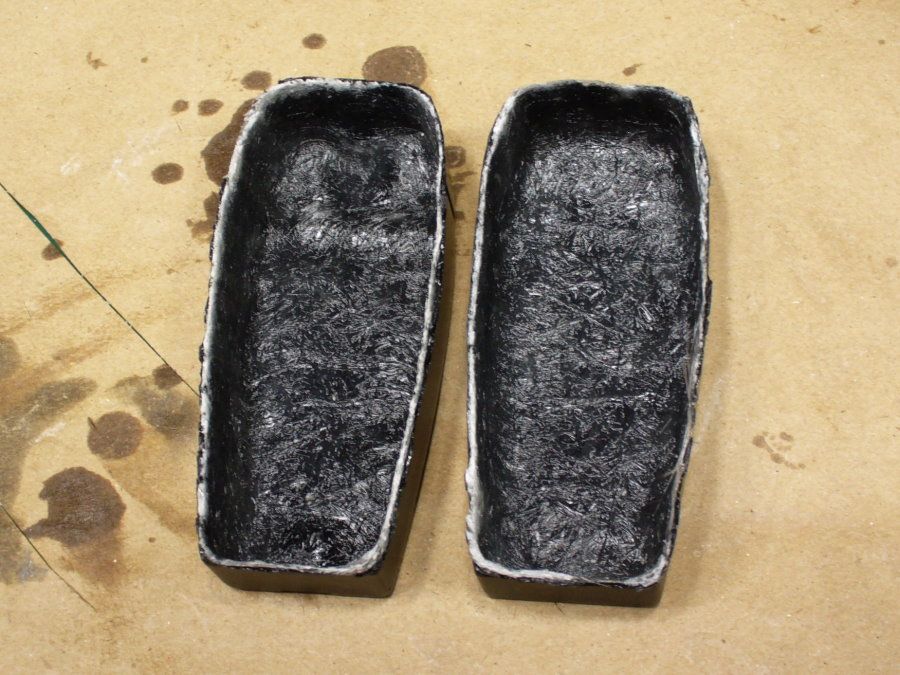
The paint barrier worked well, it released from the mold with no problem. The bits of paint left in the mold is where there were air bubbles in the glass.
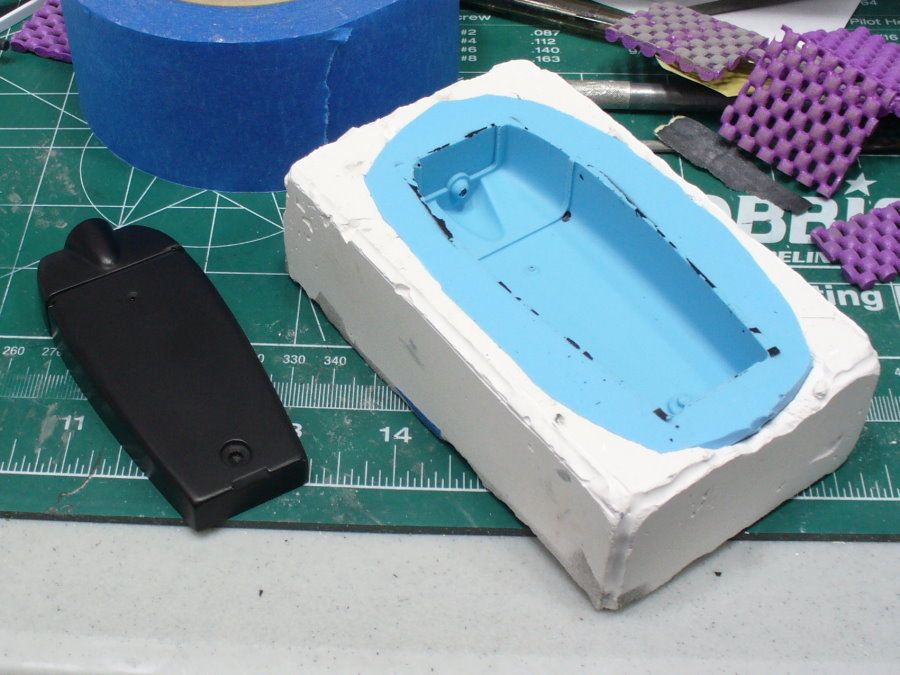
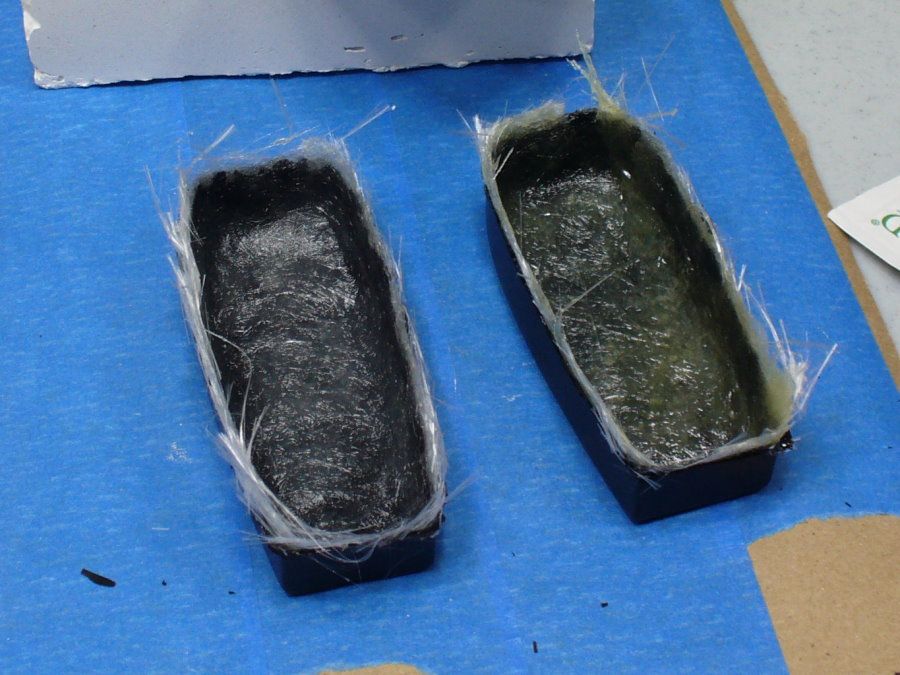
It didn't run down as much as before, but it's still tough to get an even coat. There are a few thin spots that will need extra material added.
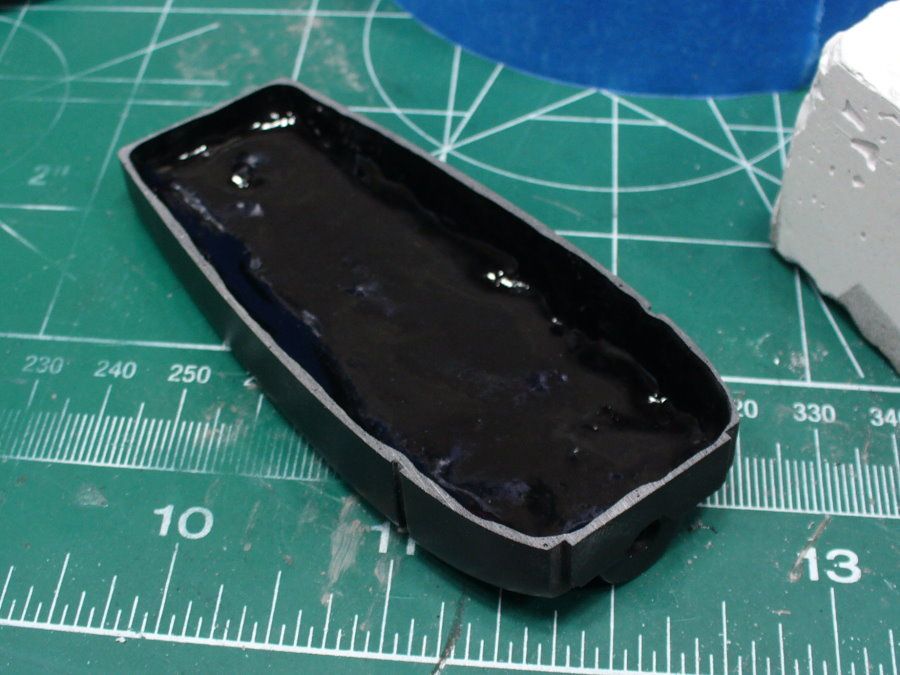
I'm also concerned about brittleness. The gel coat/glass cloth method seems to be the best way to go.
It didn't run down as much as before, but it's still tough to get an even coat. There are a few thin spots that will need extra material added.
I'm also concerned about brittleness. The gel coat/glass cloth method seems to be the best way to go.
robn1
Master Member
I've been having trouble getting good casts with resin, it's very humid here and it's making the resin foamy. I tried a cast using epoxy and it worked OK. It takes eight hours to set, but since I'm using the same stuff for the fiberglass it doesn't matter. The bezels will be ready when the shells are.
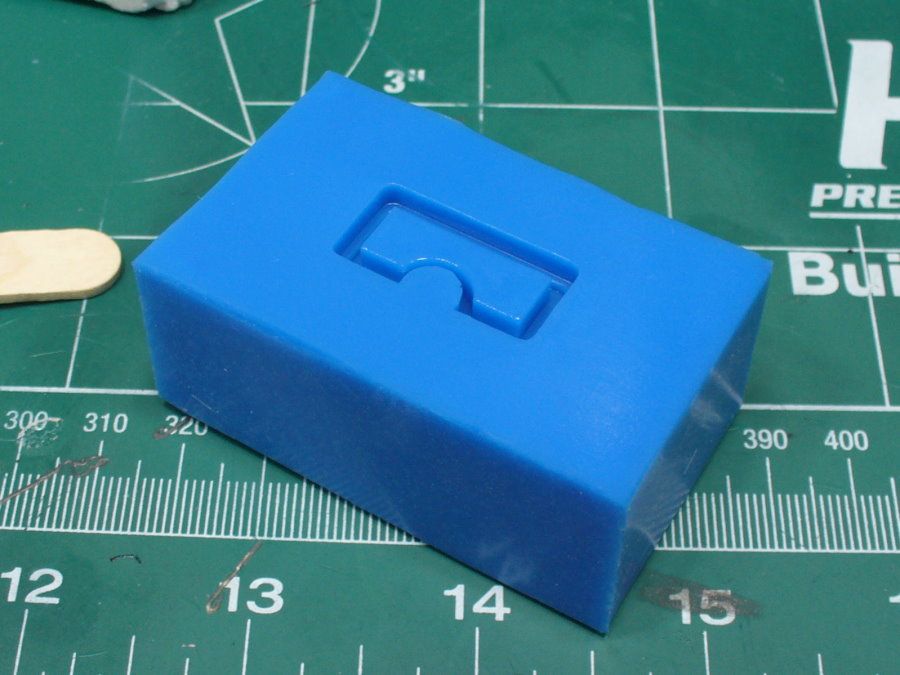
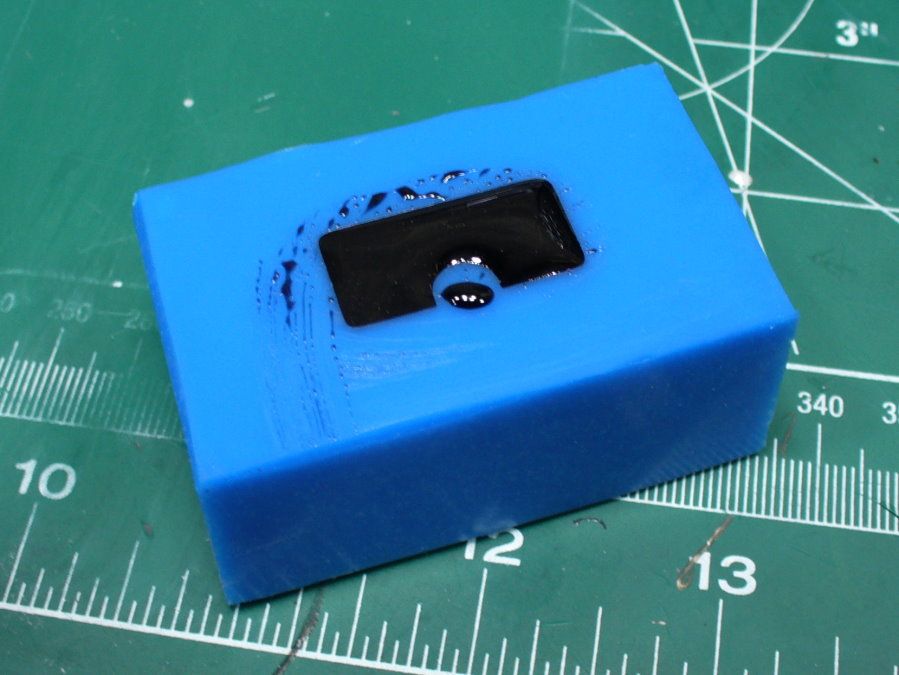
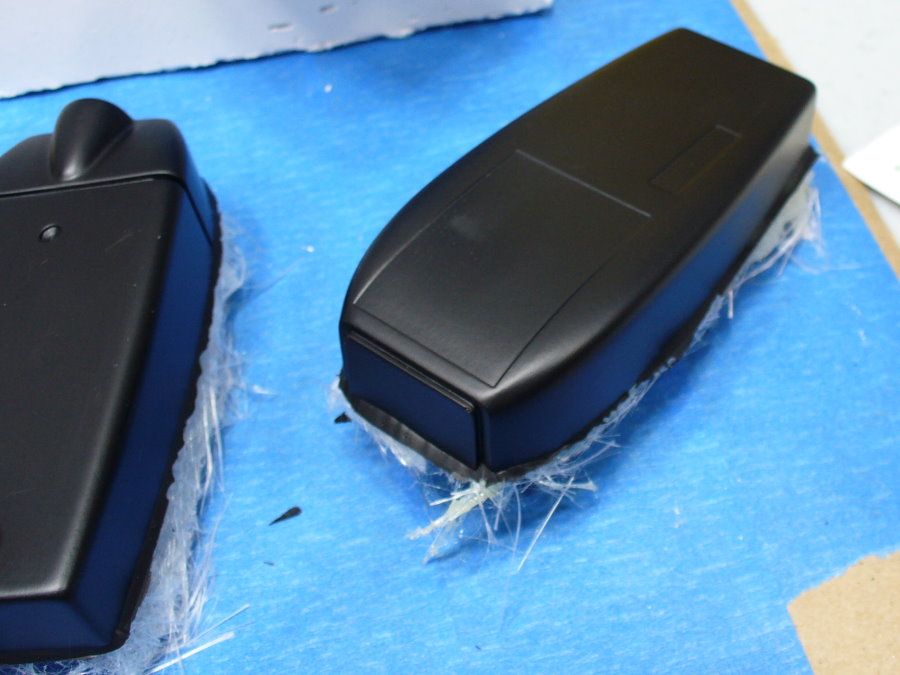
After filling the mold, I sprayed some mold release onto a sheet of acrylic and pressed it on top of the mold. Thanks to REL for this technique.
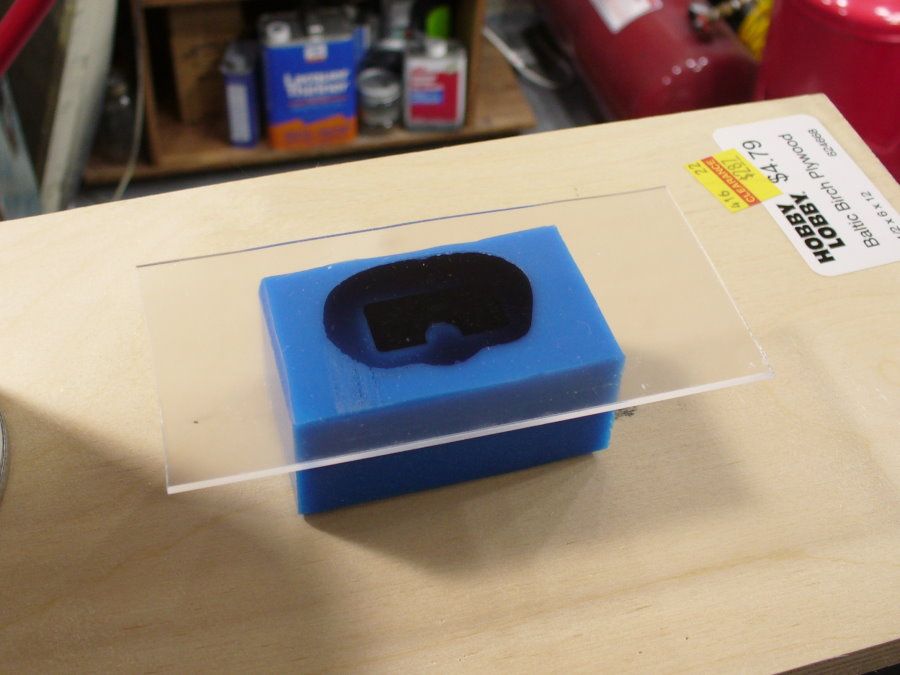
A paint can weighed it down.
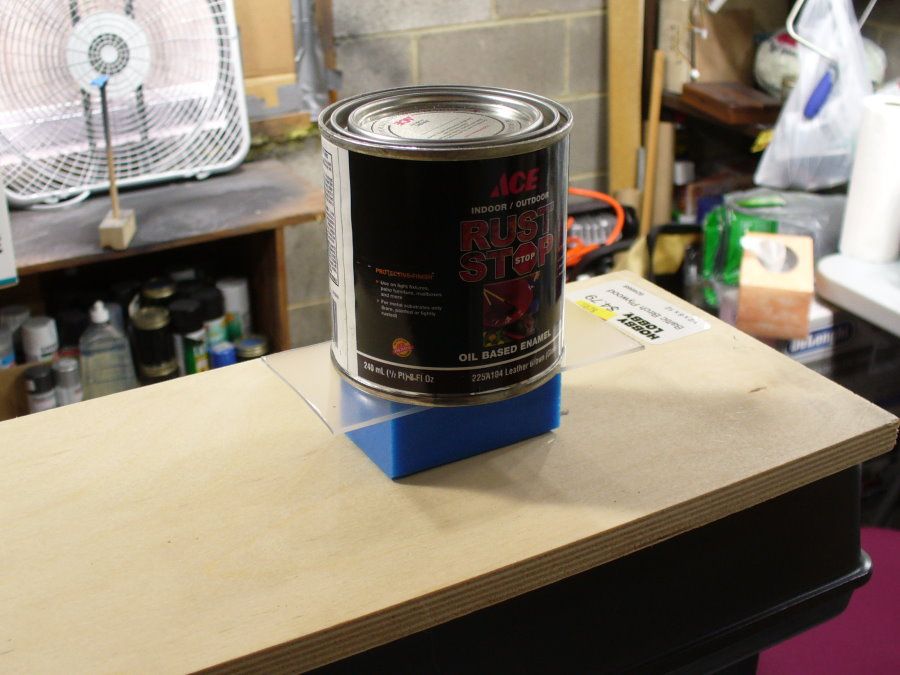
The acrylic sheet gave the part a flat back with no extra material to trim away.
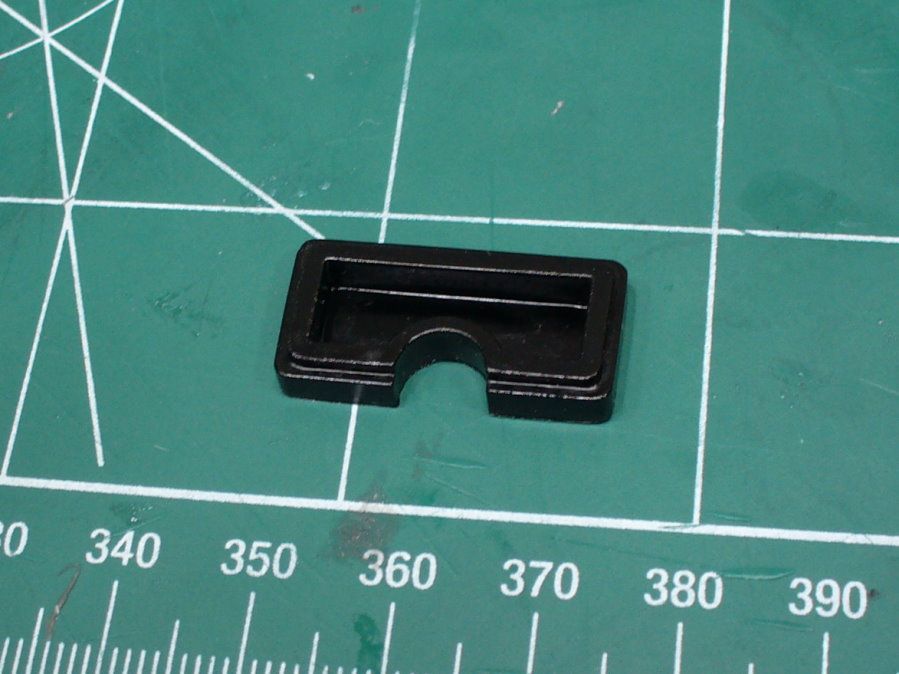
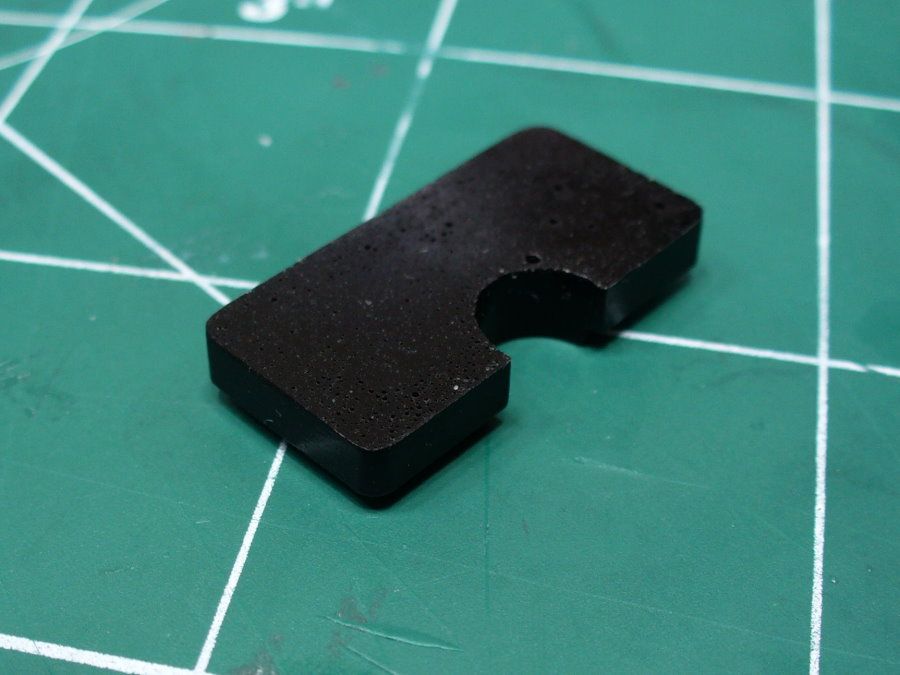
A few bubbles on the back, but it's a good cast.
After filling the mold, I sprayed some mold release onto a sheet of acrylic and pressed it on top of the mold. Thanks to REL for this technique.
A paint can weighed it down.
The acrylic sheet gave the part a flat back with no extra material to trim away.
A few bubbles on the back, but it's a good cast.
robn1
Master Member
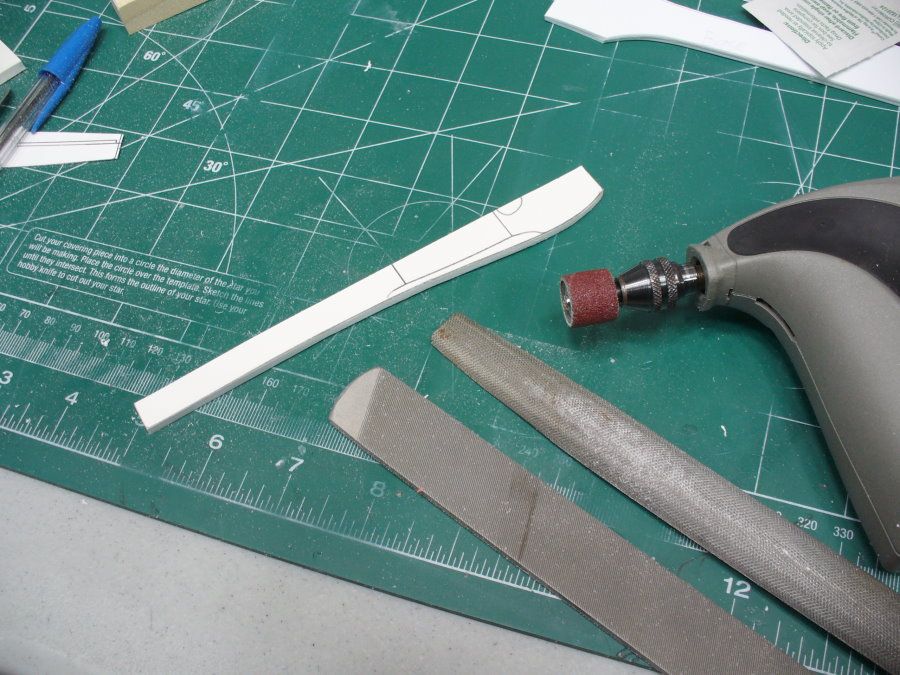
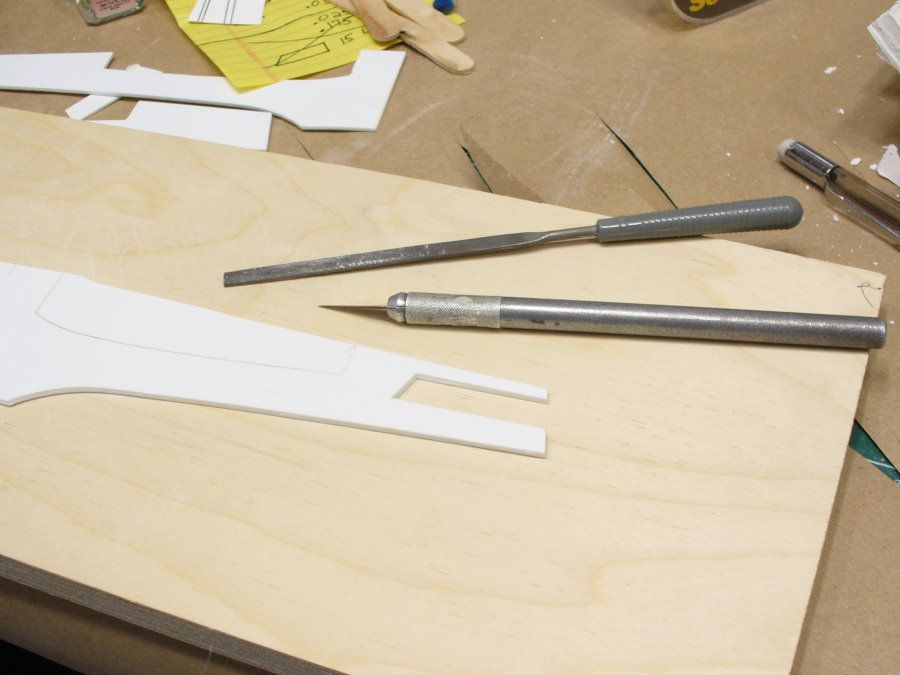
Starting on the new P2 master. I printed out my adjusted CAD plans on card stock, and cut them out to make templates.
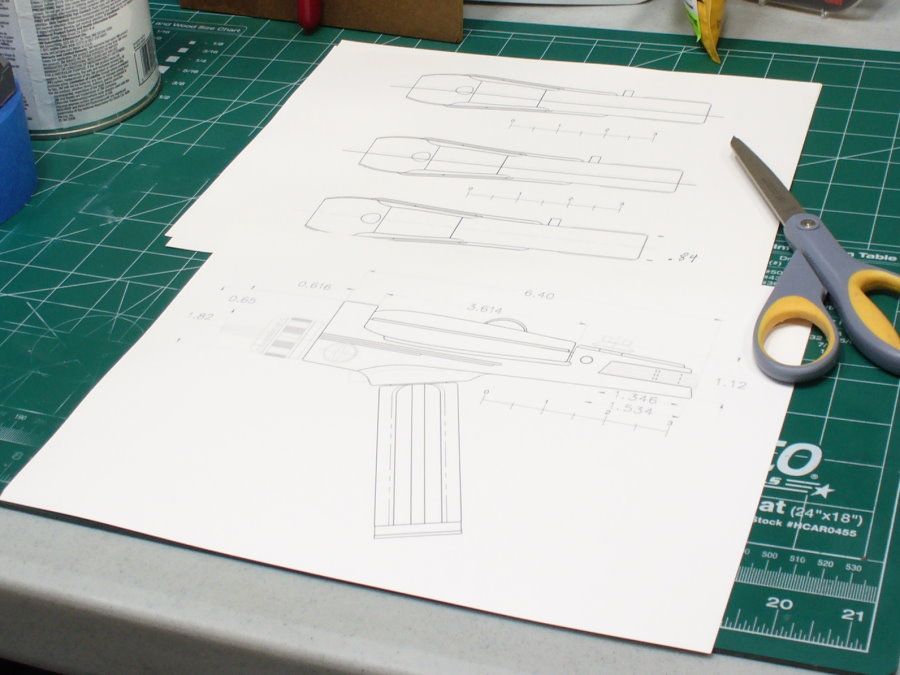
I'm making the master from styrene sheet. Since there are several details that will be made from styrene anyway, I decided to use styrene for the whole thing.
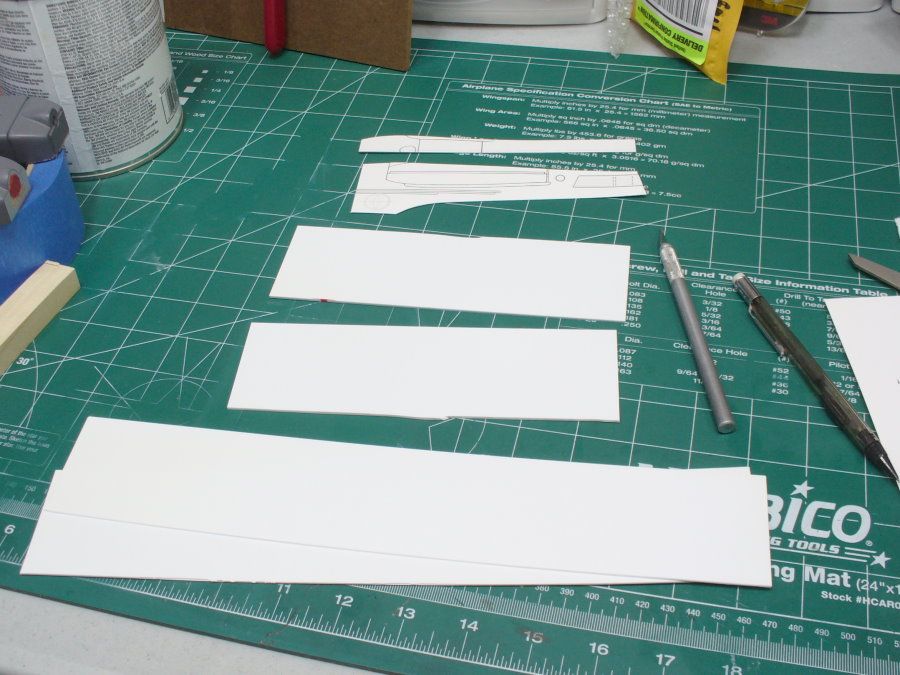
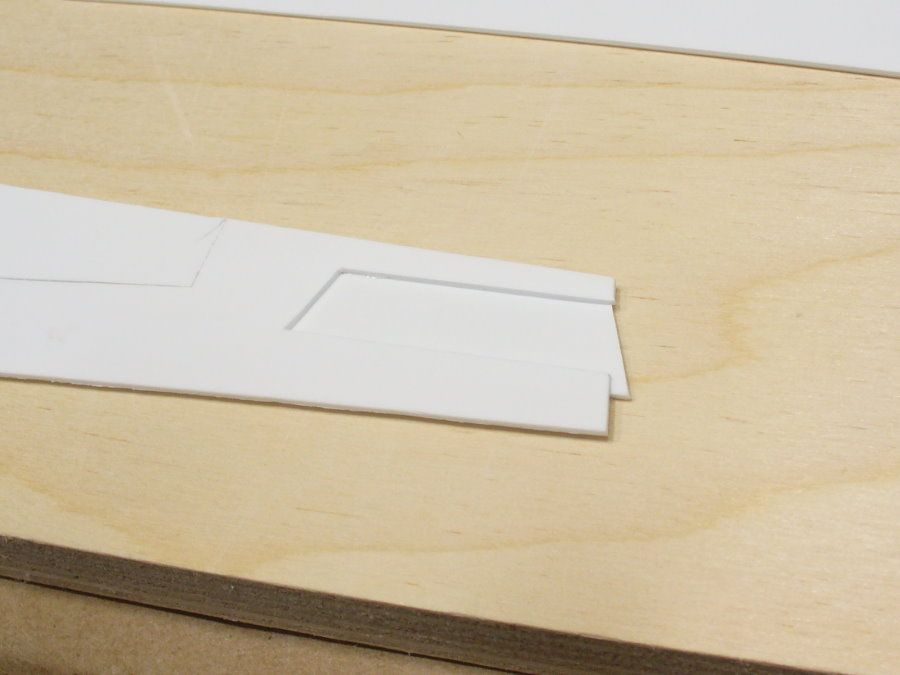
I traced the templates onto the styrene.
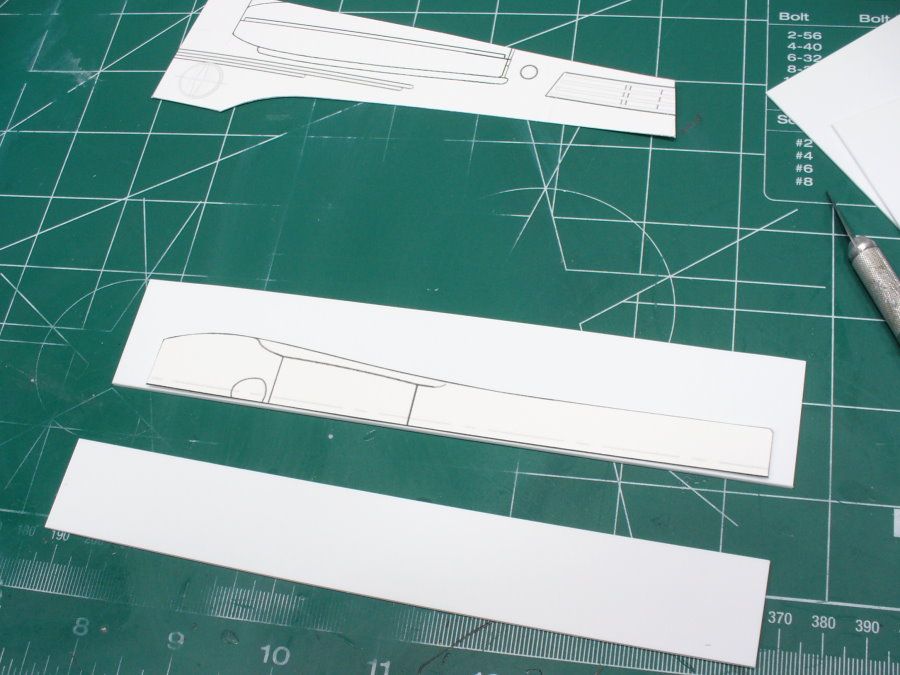
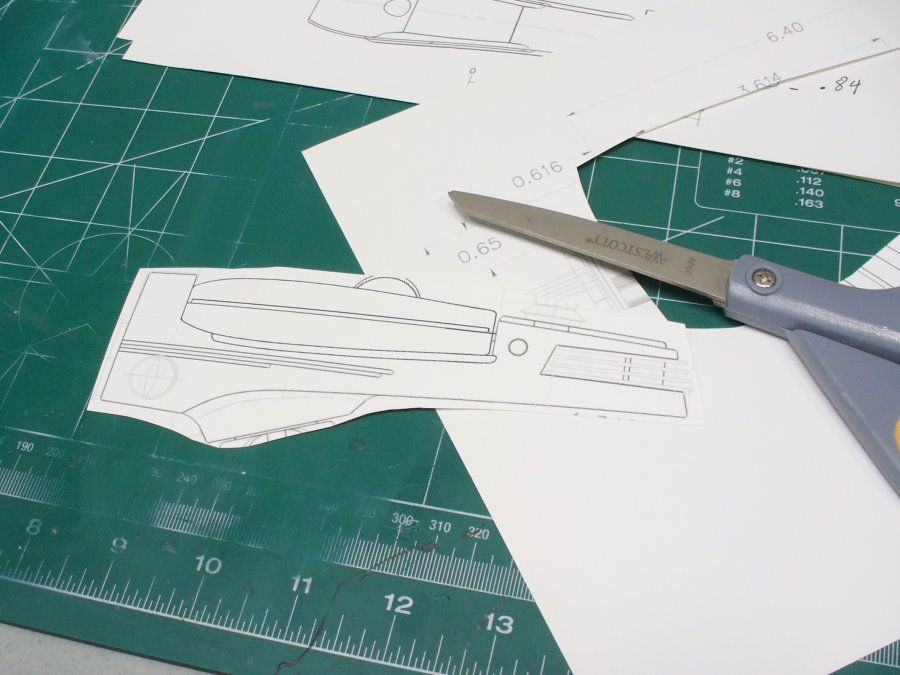
Then cut them out.
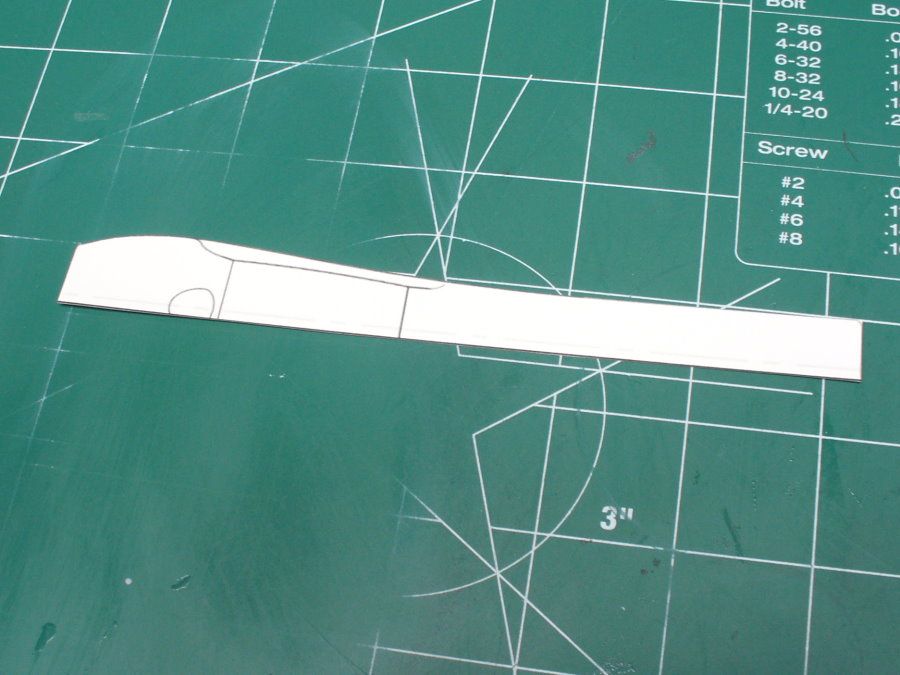
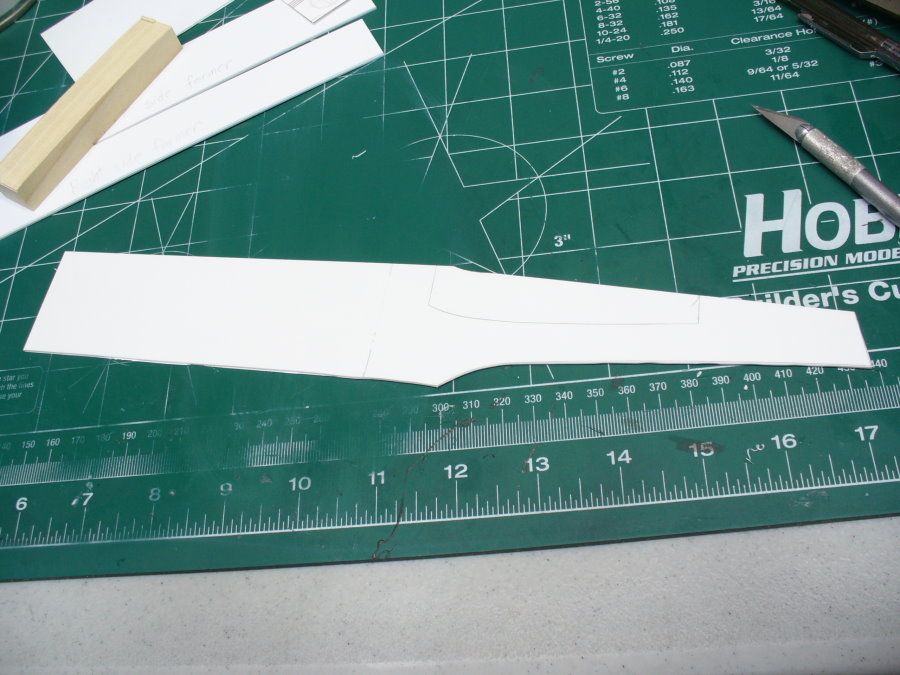
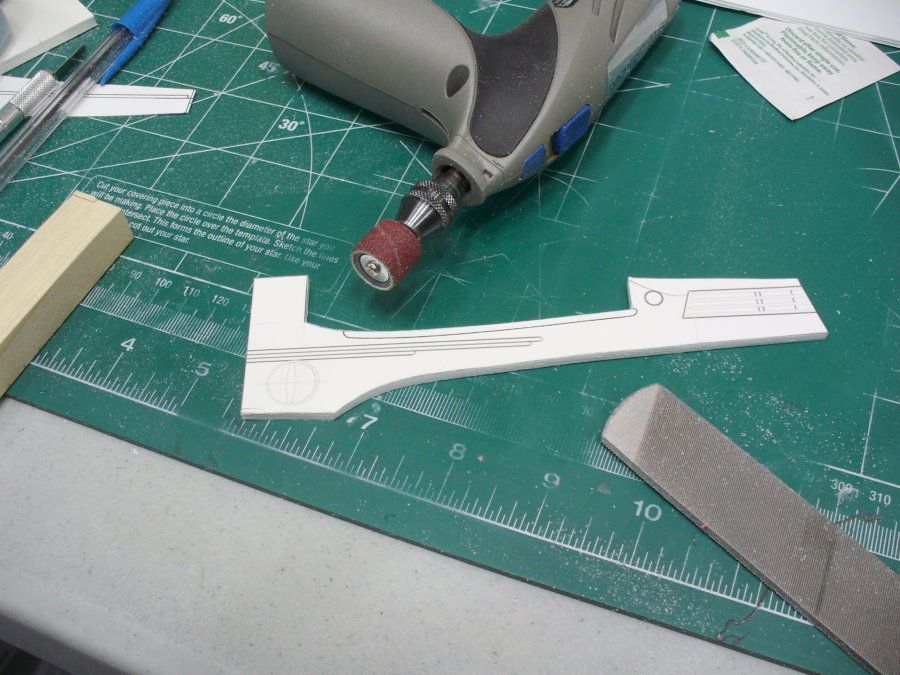
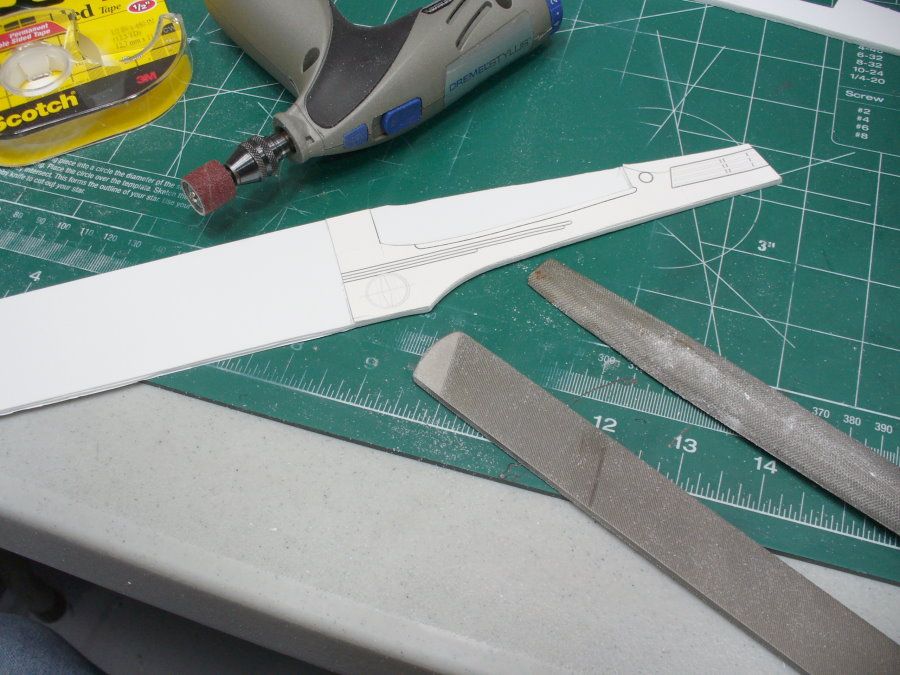
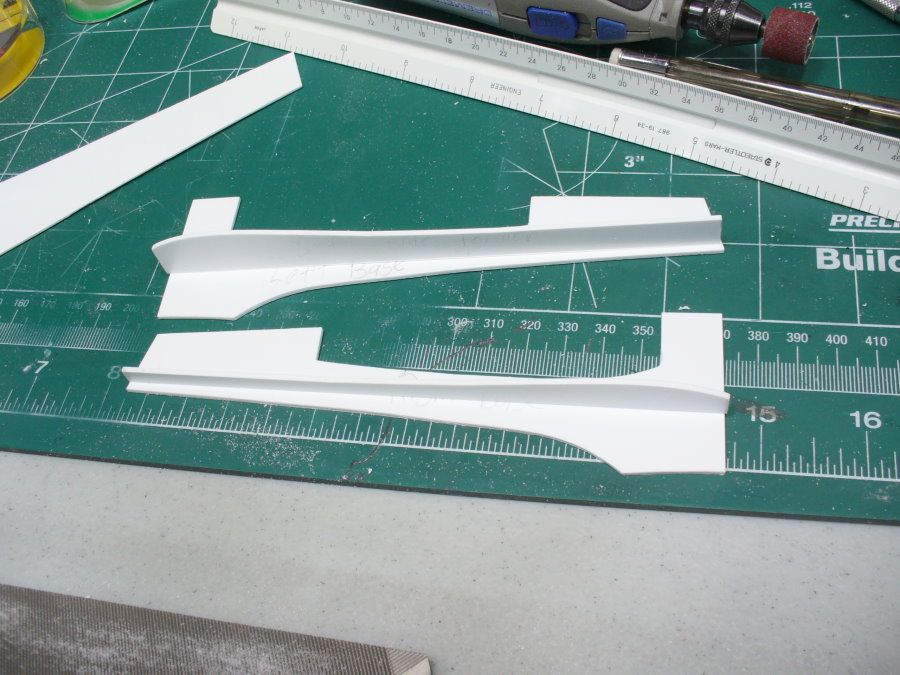
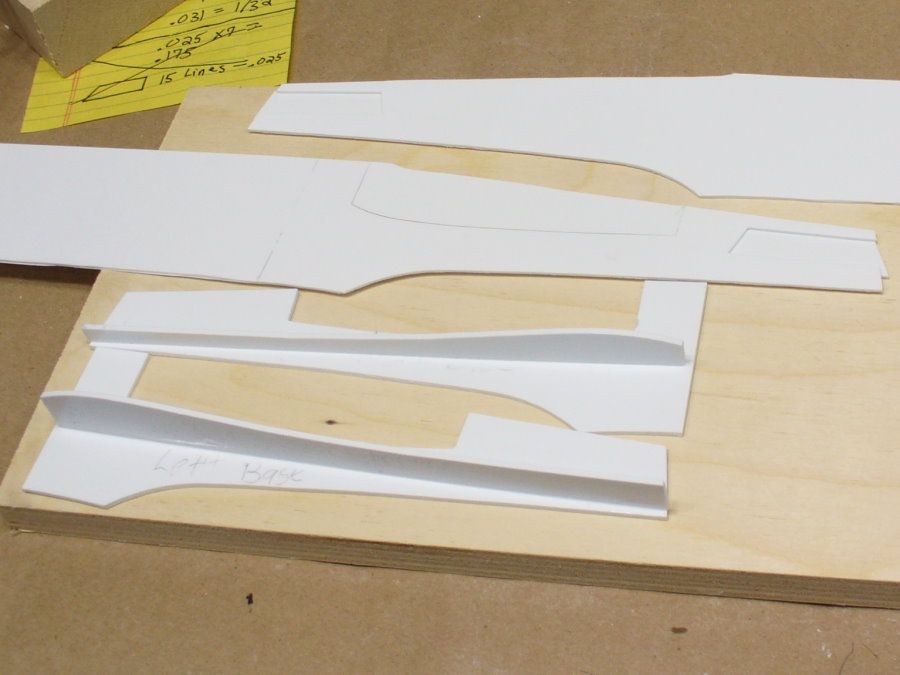
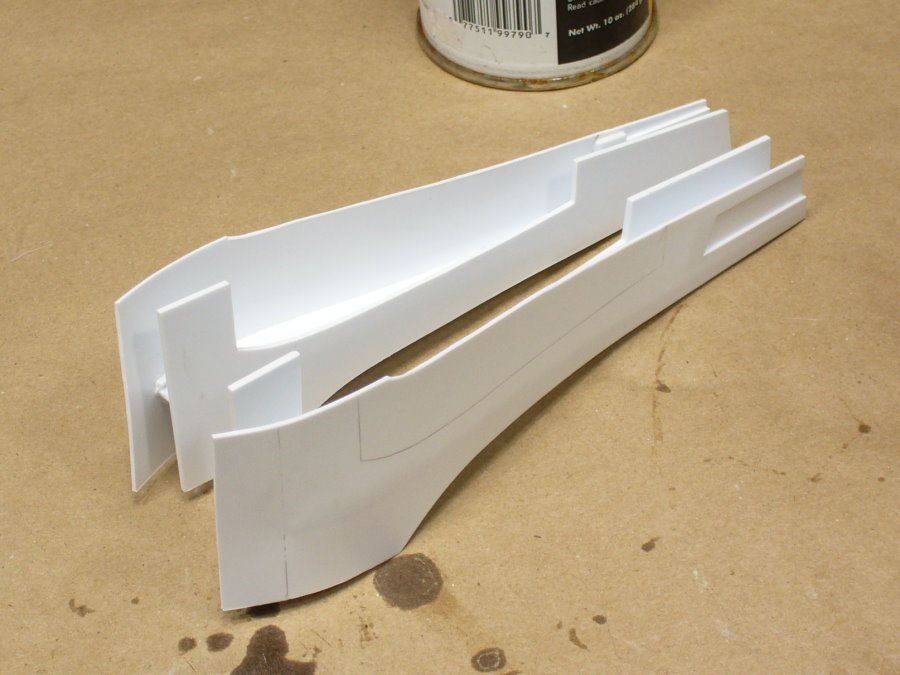
I'm making it in two halves. I need a side view "base" and "skin" for each side. Once one was cut out, I attached to the second sheet with double sided tape and cut out a duplicate.
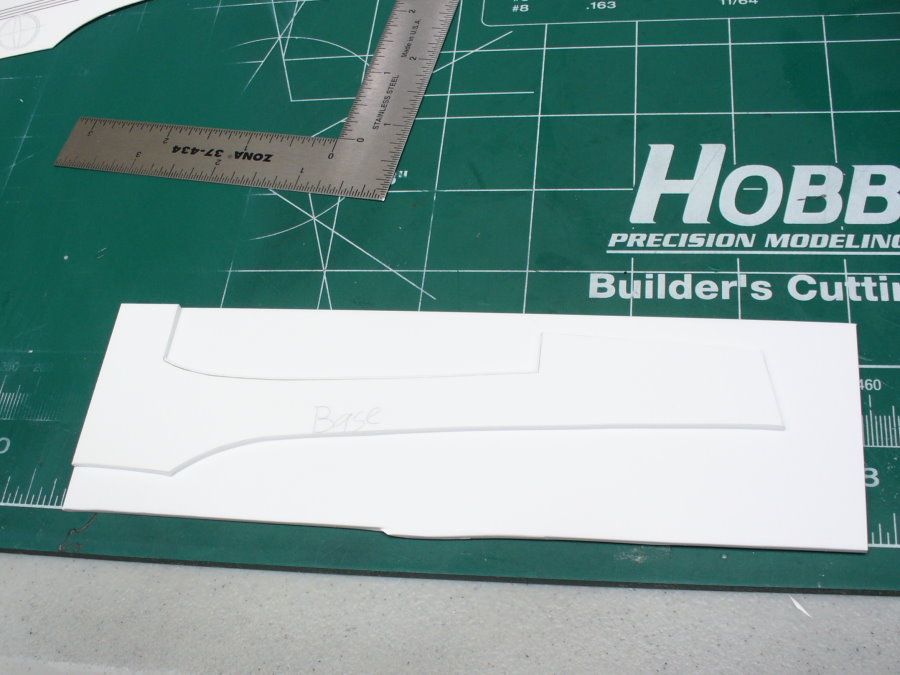
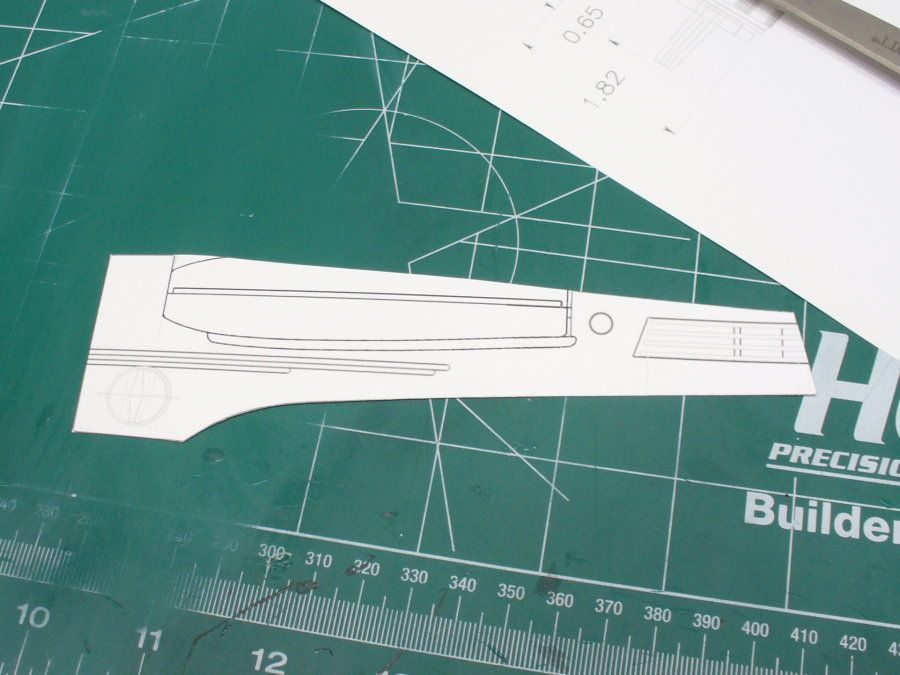
The "skin" piece, which will be the curved outer part, has an extra length at the front. The reason for this will become clear later.
I'm making the master from styrene sheet. Since there are several details that will be made from styrene anyway, I decided to use styrene for the whole thing.
I traced the templates onto the styrene.
Then cut them out.
I'm making it in two halves. I need a side view "base" and "skin" for each side. Once one was cut out, I attached to the second sheet with double sided tape and cut out a duplicate.
The "skin" piece, which will be the curved outer part, has an extra length at the front. The reason for this will become clear later.
robn1
Master Member
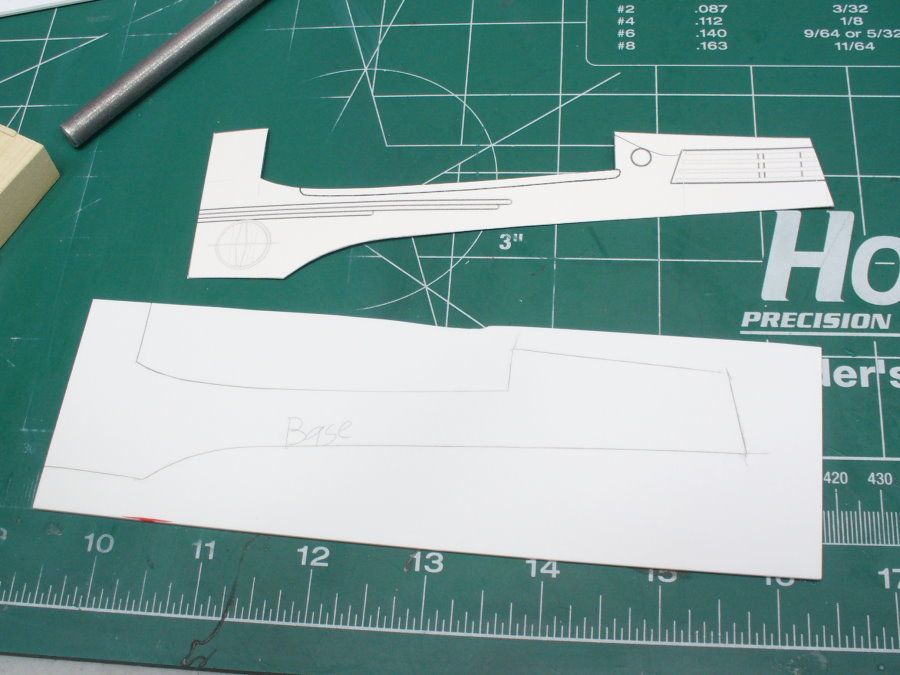
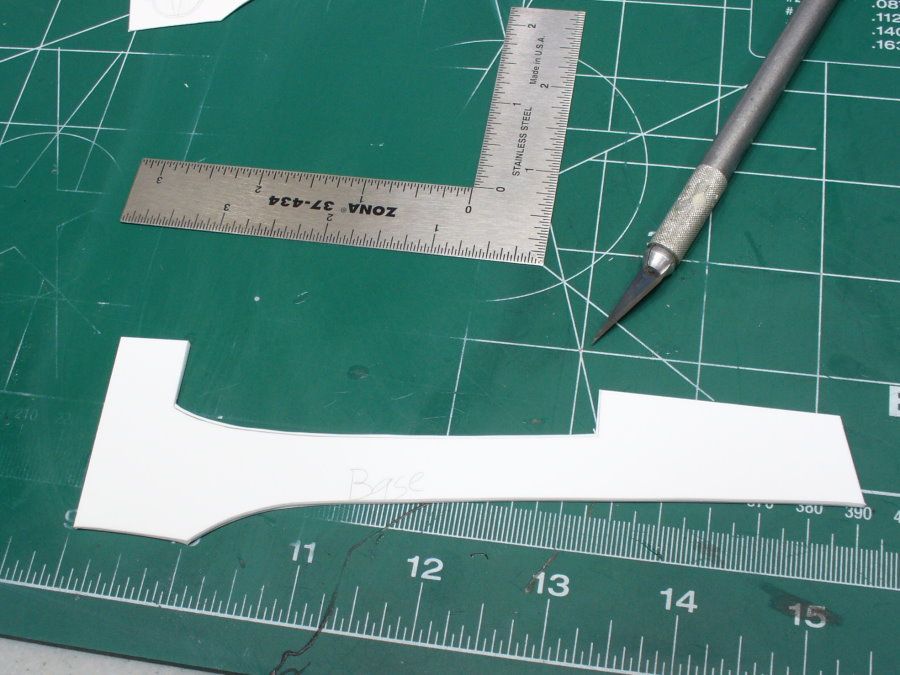
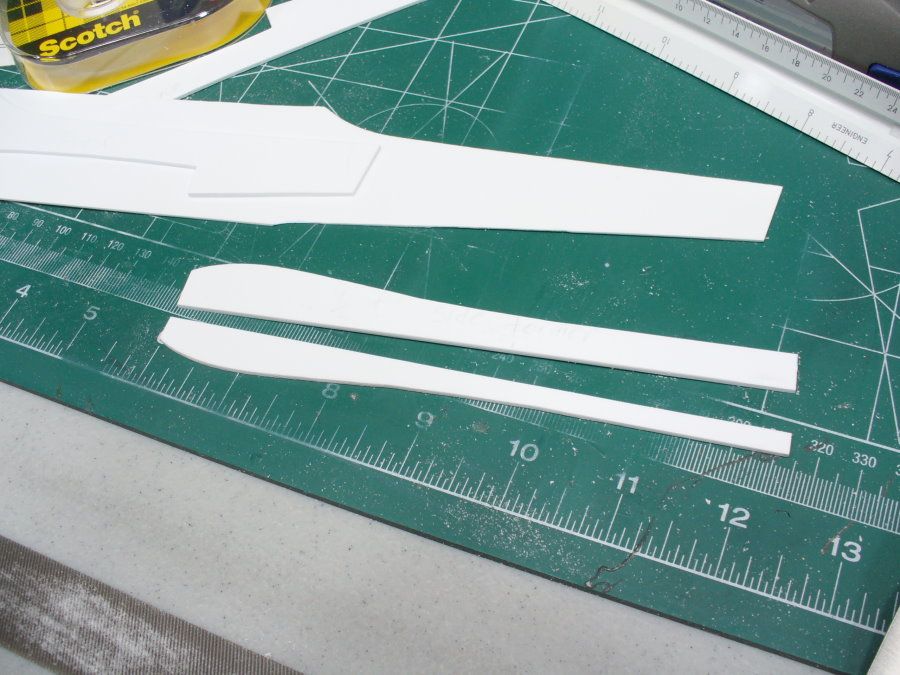
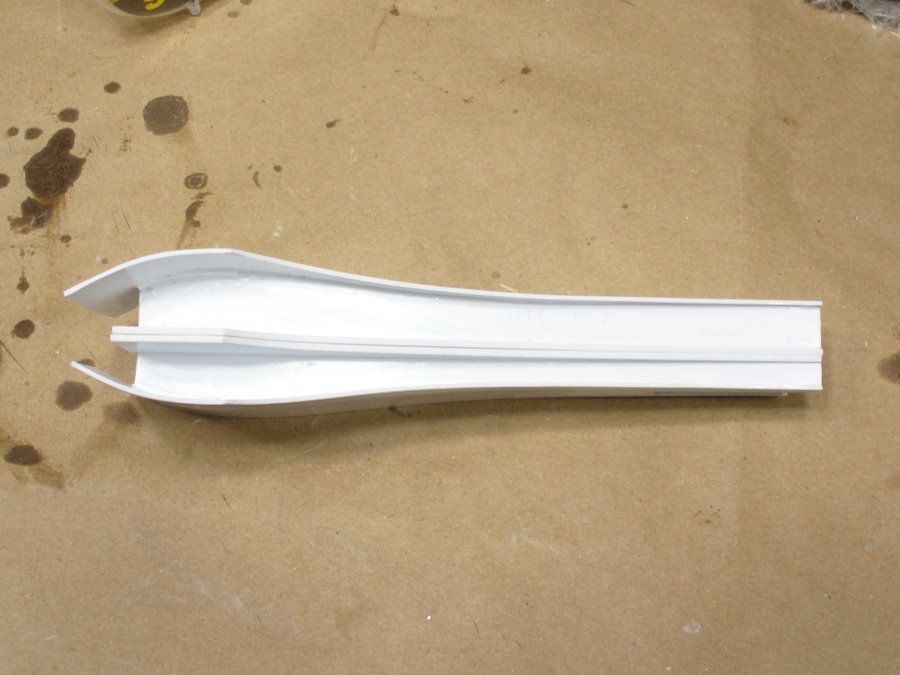
Here's why I left extra material on the front of the sheet. The extra length makes it easier to curve it. I left the P1 mount uncut for the same reason, the narrow forehead area would be too hard to curve if cut out. Once everything is glued down, the extra will be cut out.
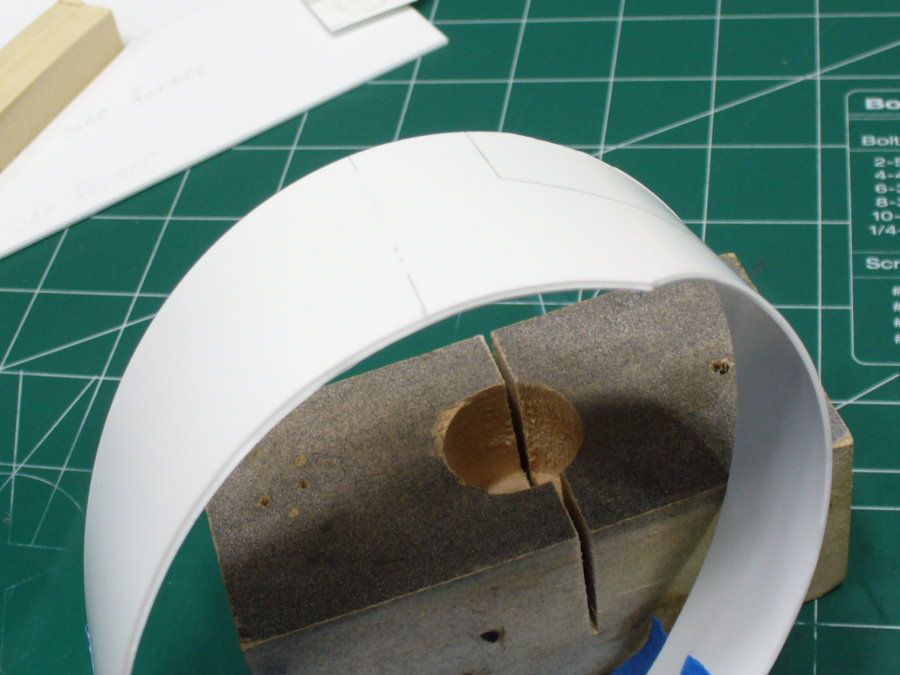
The bottom view template is being used to make a former piece, which will support the outer skin. After determining the proper size for the left and right sides, I removed some more to compensate for the thickness of the base and skin sheets.

The right side is narrower, so that former has more cut away.
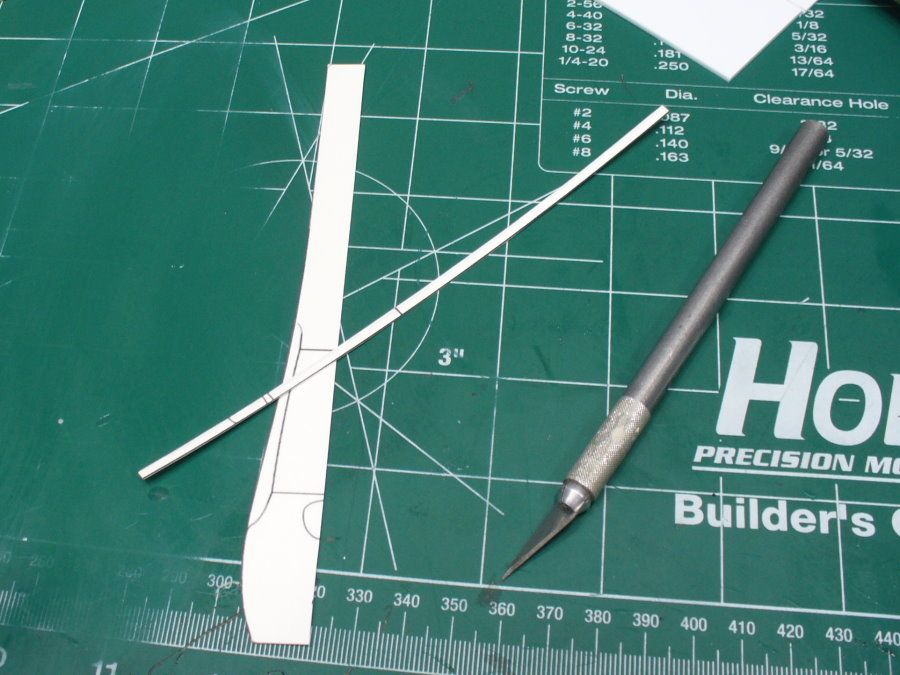
Using files to finish the shaping, with the templates attached as a guide.
Nothing glued yet, but this gives an idea of where I'm going with this.
The bottom view template is being used to make a former piece, which will support the outer skin. After determining the proper size for the left and right sides, I removed some more to compensate for the thickness of the base and skin sheets.
The right side is narrower, so that former has more cut away.
Using files to finish the shaping, with the templates attached as a guide.
Nothing glued yet, but this gives an idea of where I'm going with this.
Tiberius Kirk
Sr Member
Looking good!
robn1
Master Member
Thanks!
More done on the P2.
I'm making the master with the B&W/mid type fins. I'll have to cut them out for metal fins.
First set of shells from the new molds. I'm spraying paint into the mold instead of using mold release, it works great. It doesn't bond to the silicone, but the epoxy bonds really well to the paint.
Sanded down to proper height.
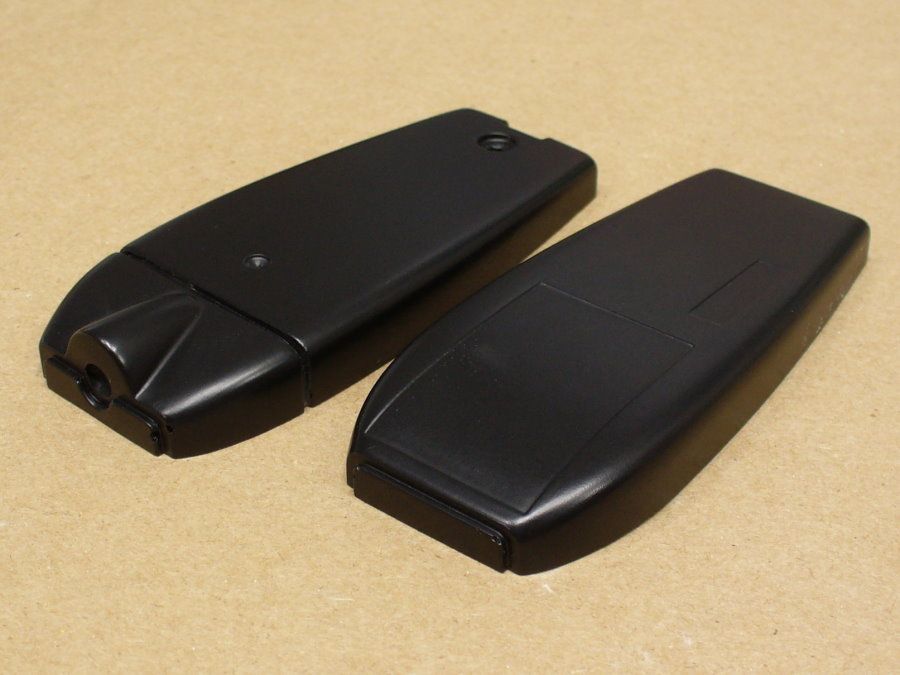
The glass was pretty thick on these, next set is curing now and is thinner. I'll use these thick ones for a static build.
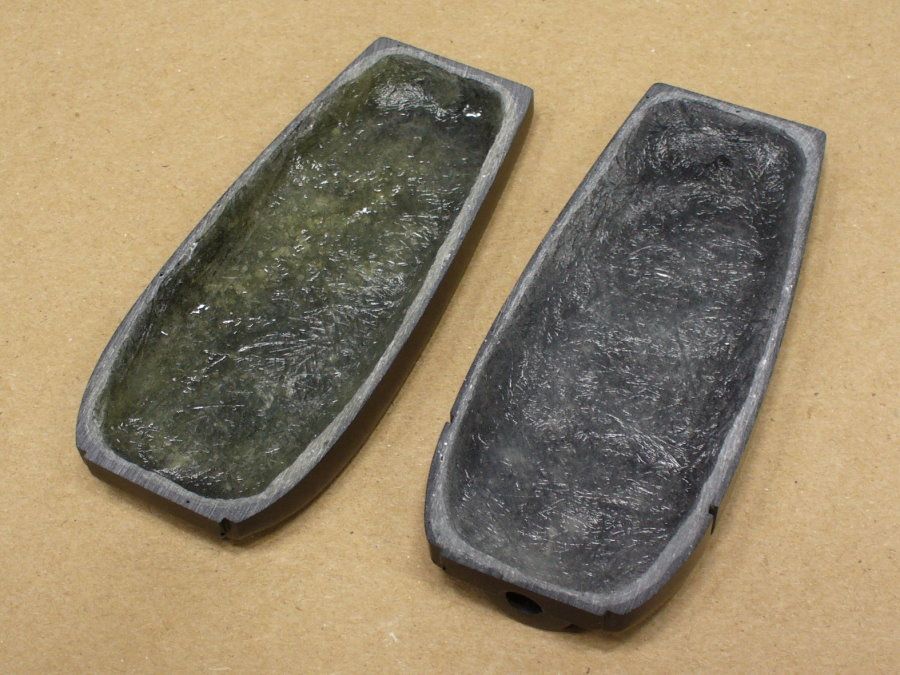
If you look at the shells I made yesterday, you'll see one has a yellowish color. That one was made with the fast curing epoxy, 6-8 hours. The working time was too short for that one, it got too thick and I had to make a second batch to finish. So I used the slower 10-15 hour for the other one. It has no color, and plenty of working time. Set time is no difference really, I just leave it overnight anyway.
I realized I have some of Smooth-On's casting epoxy that hasn't been opened yet. I used it to cast a bezel, it needs 24 hours to cure. I used Task 3 resin for my first few bezels, but the high humidity is making it foam up. The epoxy seems to work just fine, so I'll use it instead.
More done on the P2.
I'm making the master with the B&W/mid type fins. I'll have to cut them out for metal fins.
First set of shells from the new molds. I'm spraying paint into the mold instead of using mold release, it works great. It doesn't bond to the silicone, but the epoxy bonds really well to the paint.
Sanded down to proper height.
The glass was pretty thick on these, next set is curing now and is thinner. I'll use these thick ones for a static build.
If you look at the shells I made yesterday, you'll see one has a yellowish color. That one was made with the fast curing epoxy, 6-8 hours. The working time was too short for that one, it got too thick and I had to make a second batch to finish. So I used the slower 10-15 hour for the other one. It has no color, and plenty of working time. Set time is no difference really, I just leave it overnight anyway.
I realized I have some of Smooth-On's casting epoxy that hasn't been opened yet. I used it to cast a bezel, it needs 24 hours to cure. I used Task 3 resin for my first few bezels, but the high humidity is making it foam up. The epoxy seems to work just fine, so I'll use it instead.
robn1
Master Member
Well I had to make the bottom P1 mold again! It had a distortion on the front end, making it curve out. Don't know how it happened. But I got a good one finally. It's tough to move forward when I have to keep redoing the same steps.
And the casting epoxy makes great looking bezels, but it takes several days to cure. 24 hours is the demold time, but it's still rubbery at this point. Grrrr.
More done on the P2 master. I taped the base down onto a piece of plywood. I added a small wood block as an alignment guide.

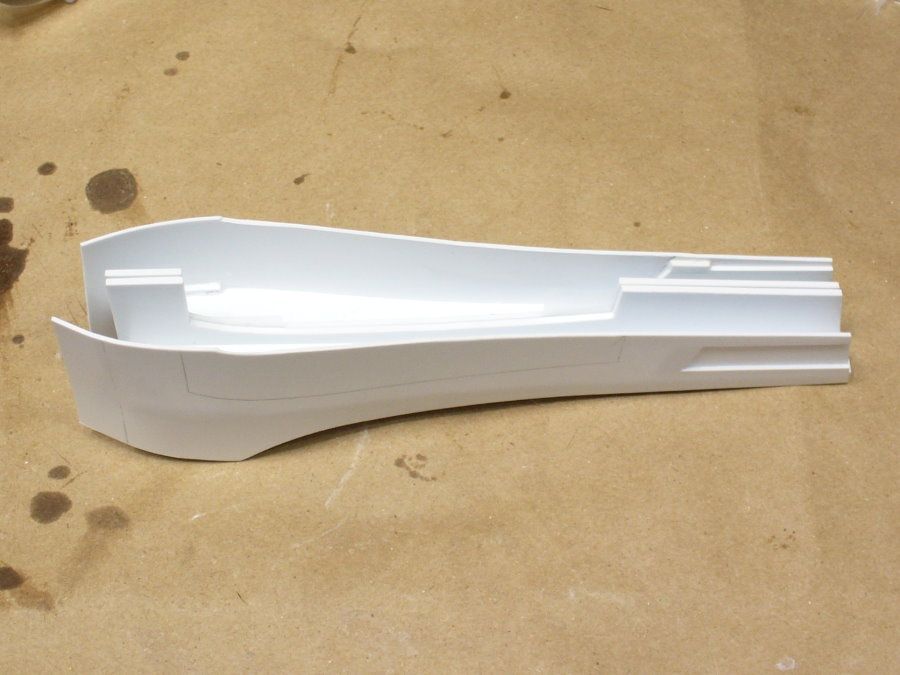
Then I glued the outer skin piece in place. I applied glue to the straight rear portion first, held the part in place until the glue set, then glued the middle part.

Then I glued it down onto the front curve. This is where the extra length comes into play, the plastic won't bend well at the end.


Both halves glued up.

And the casting epoxy makes great looking bezels, but it takes several days to cure. 24 hours is the demold time, but it's still rubbery at this point. Grrrr.
More done on the P2 master. I taped the base down onto a piece of plywood. I added a small wood block as an alignment guide.
Then I glued the outer skin piece in place. I applied glue to the straight rear portion first, held the part in place until the glue set, then glued the middle part.
Then I glued it down onto the front curve. This is where the extra length comes into play, the plastic won't bend well at the end.
Both halves glued up.
Tiberius Kirk
Sr Member
Looking good!
robn1
Master Member
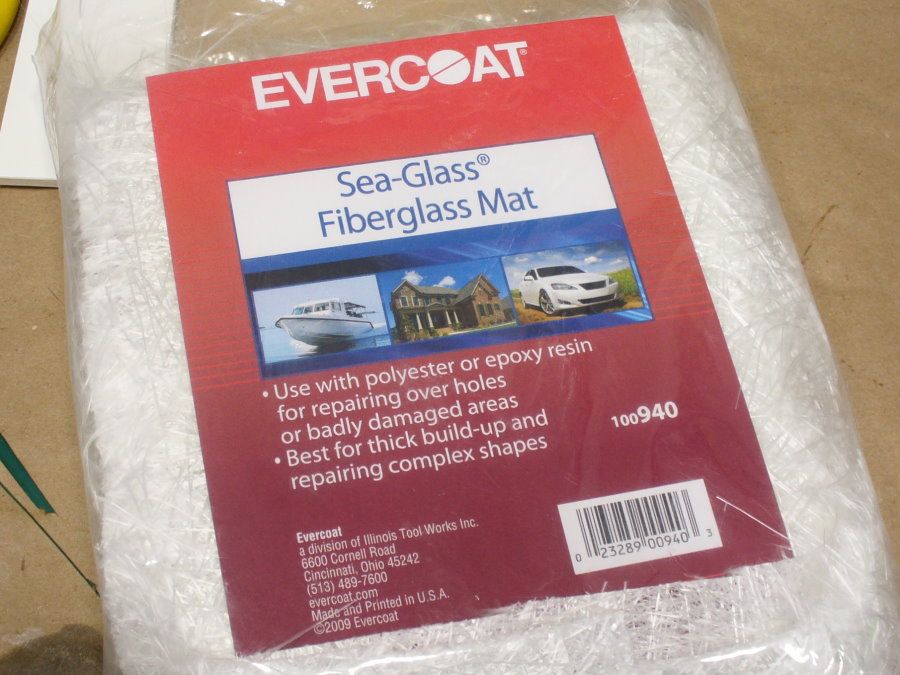
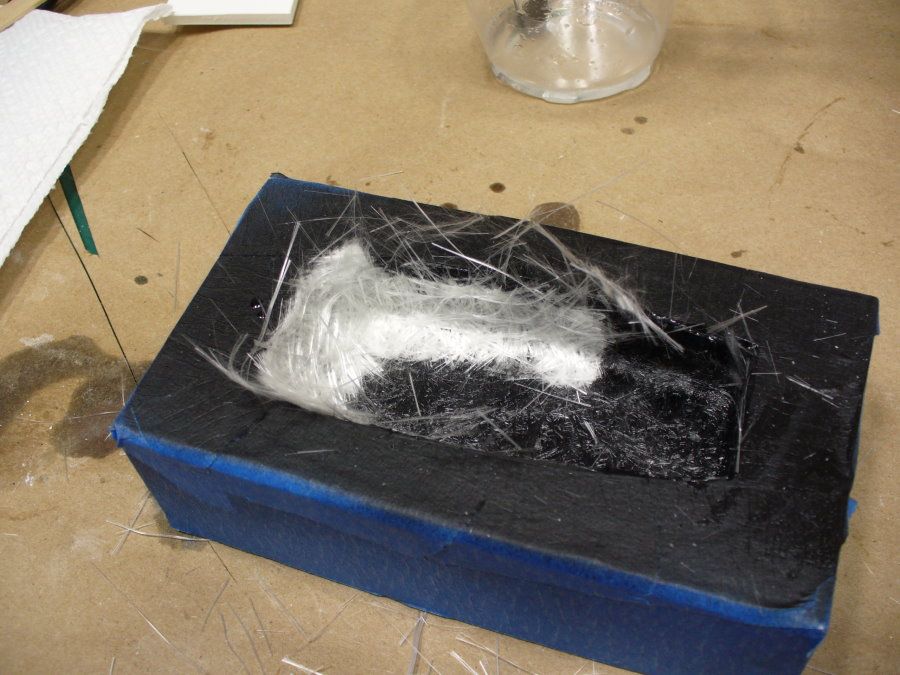
Since I'm using epoxy, I had to find chopped mat that is compatible. Most mats are for polyester only, they contain a binder that doesn't work with epoxy.
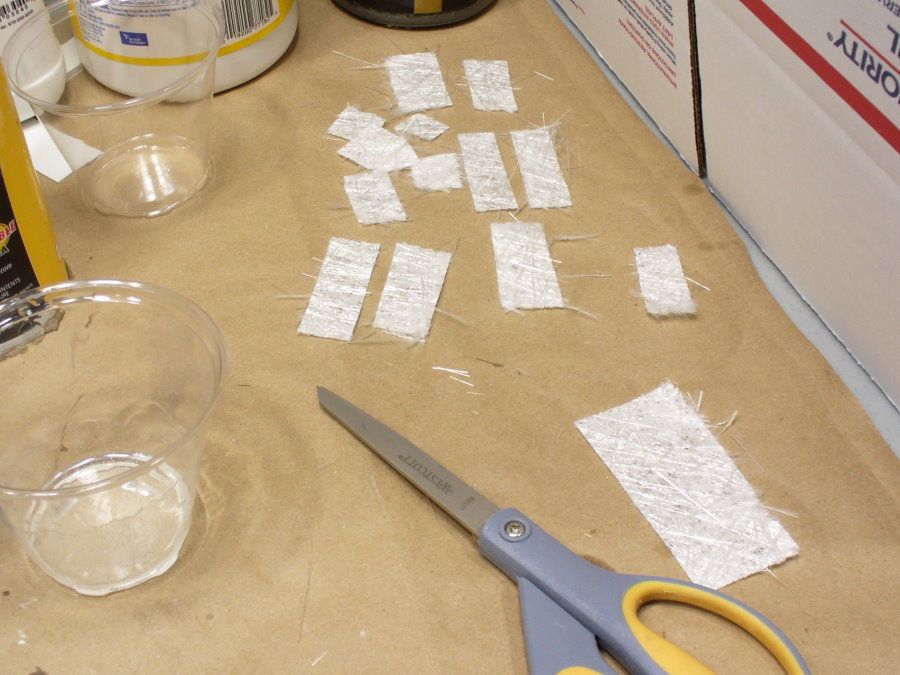
For a P1, I cut up the mat into small rectangles.
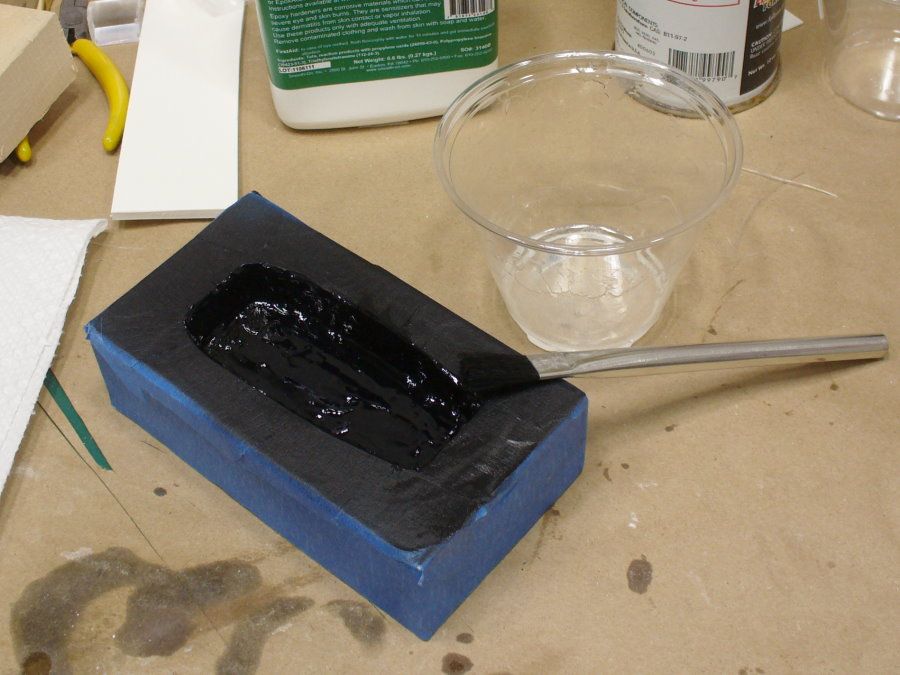
After gel coating the mold, I brush in some epoxy.
I roll the largest piece of mat around in my fingers, to fluff up the edges.
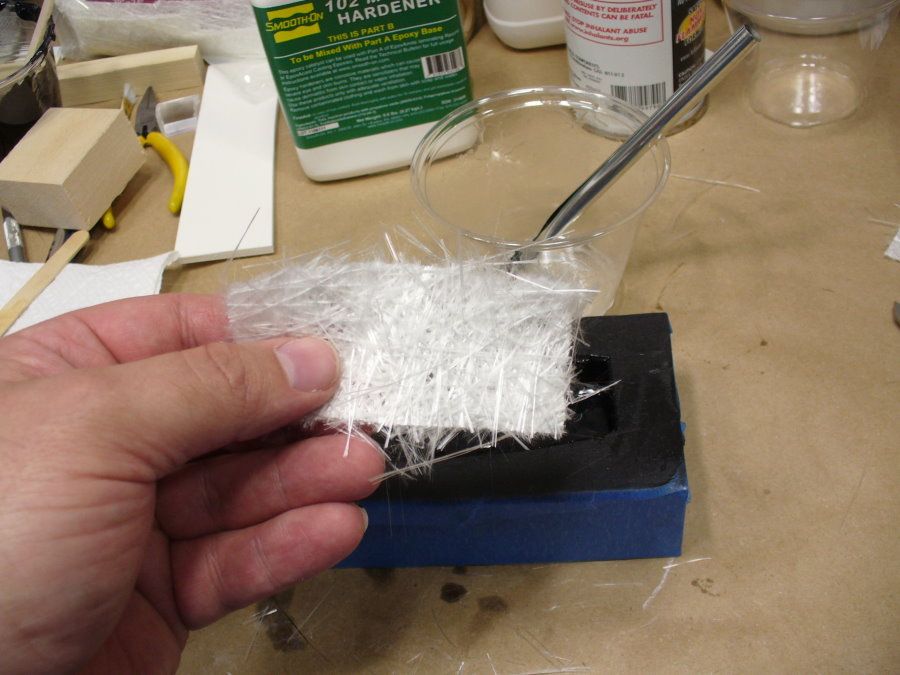
I place it into the mold and tap it down with a brush.
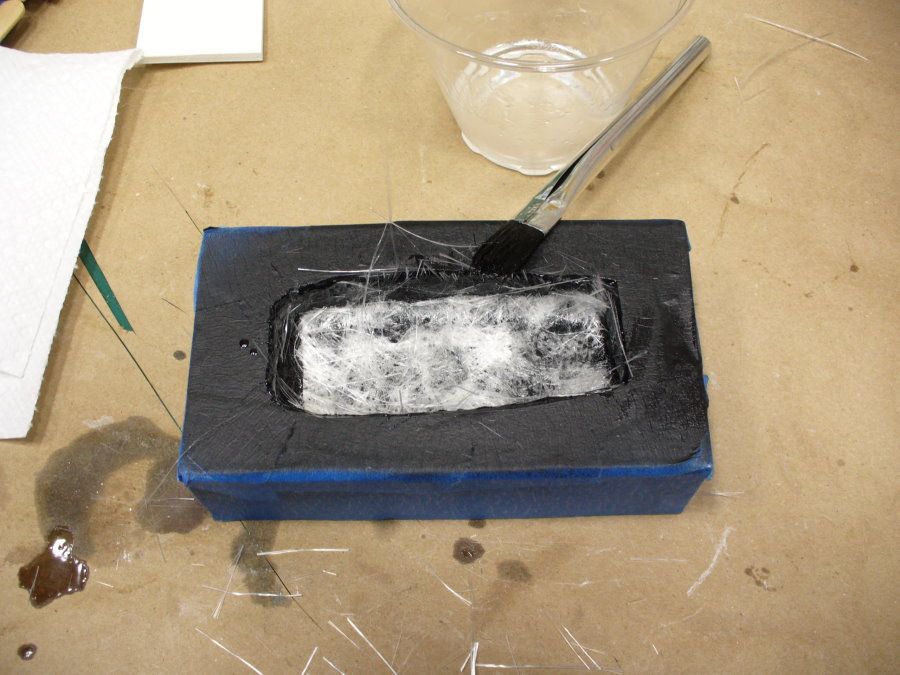
I add some more epoxy, and tap until the mat turns clear.
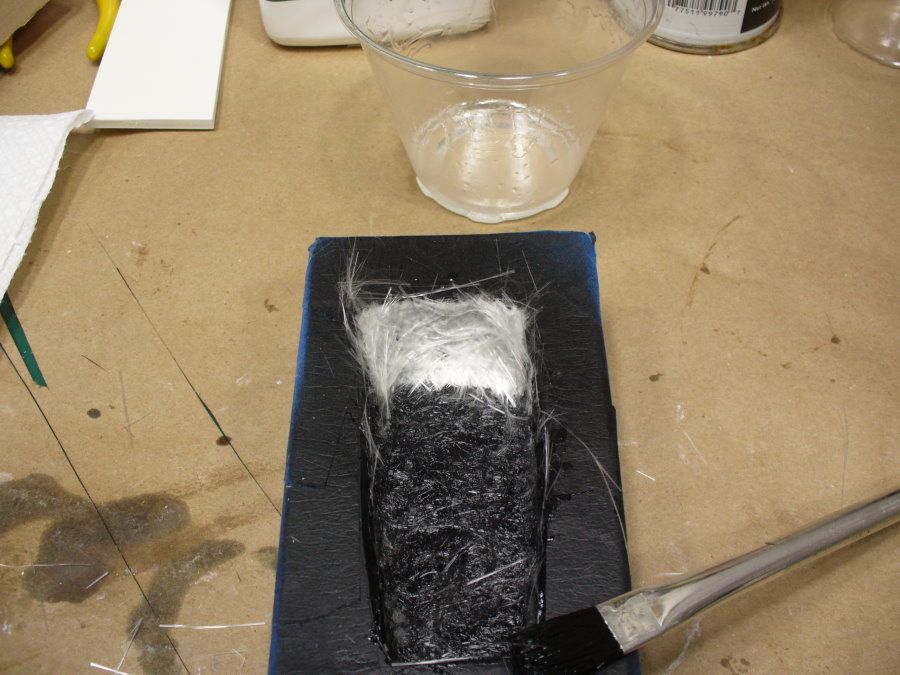
Then place a smaller piece at the front, fluffed up like before. I overlap the edges.
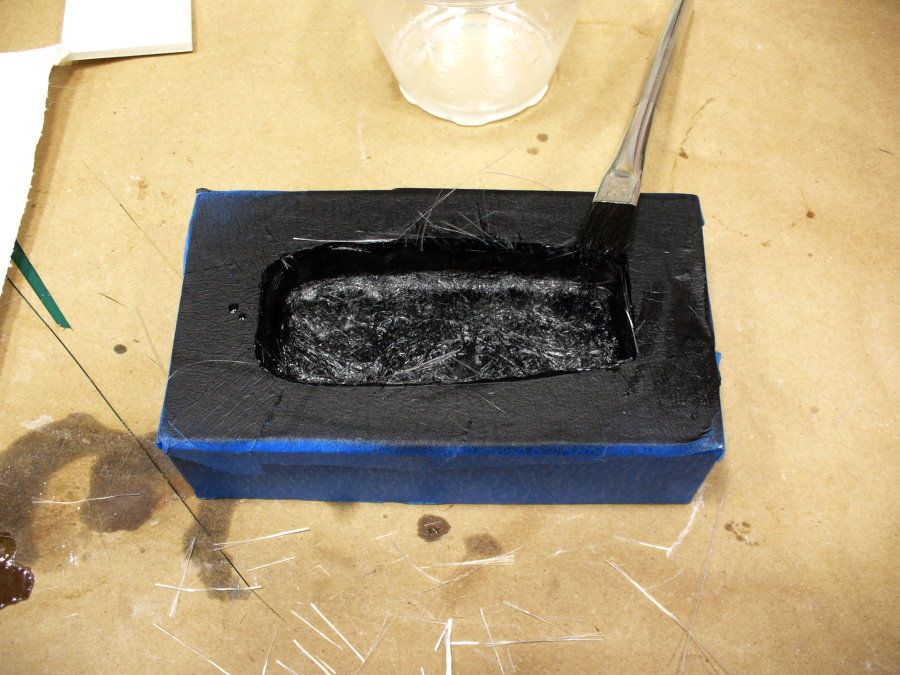
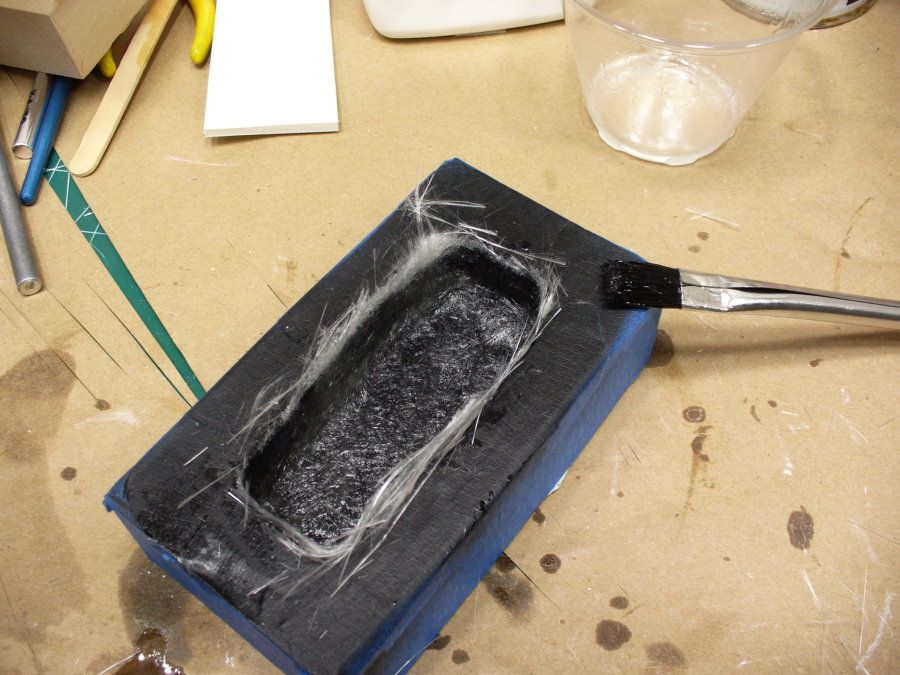
Then keep going around.
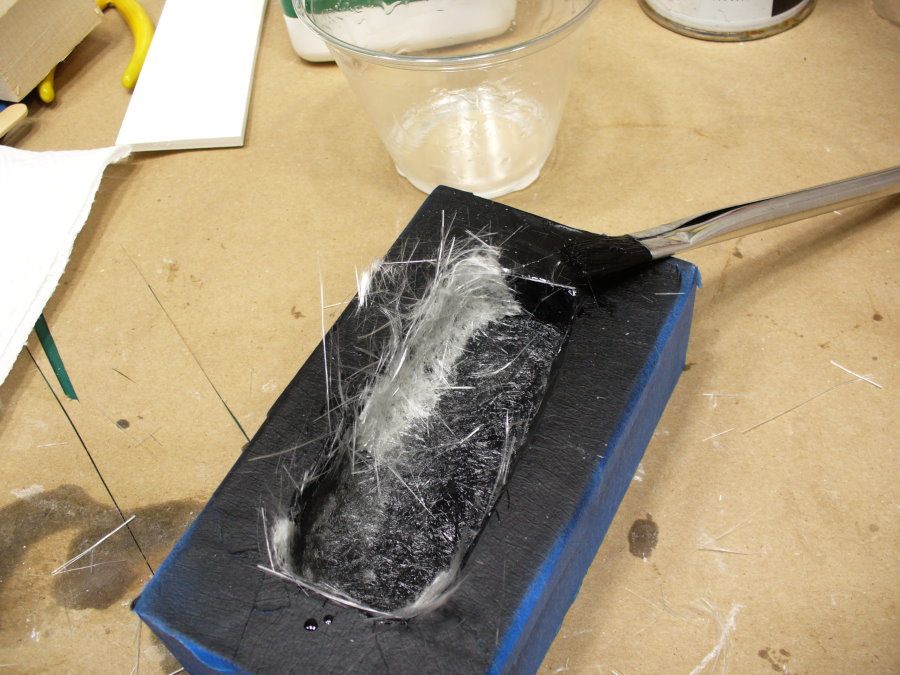
And keep adding epoxy until it's all done. I swirl the brush around on the overlapped edges to blend the fibers together.
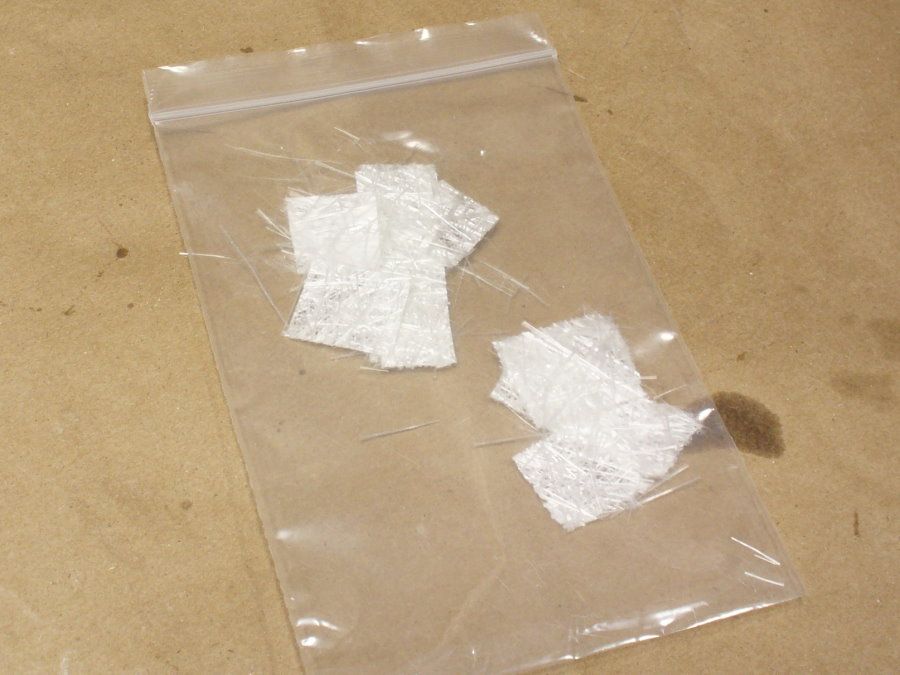
Any left over patches of mat are bagged and saved for next time.
For a P1, I cut up the mat into small rectangles.
After gel coating the mold, I brush in some epoxy.
I roll the largest piece of mat around in my fingers, to fluff up the edges.
I place it into the mold and tap it down with a brush.
I add some more epoxy, and tap until the mat turns clear.
Then place a smaller piece at the front, fluffed up like before. I overlap the edges.
Then keep going around.
And keep adding epoxy until it's all done. I swirl the brush around on the overlapped edges to blend the fibers together.
Any left over patches of mat are bagged and saved for next time.
Tiberius Kirk
Sr Member
Do you wear a mask when using the fiberglass?
ringa
Well-Known Member
I know it's been a while since anyone has posted here, but I only just discovered this project. I had to bring this thread back to the forefront to say WOW! It is a privilege to watch the process and progress as this beautifully crafted piece comes together. Very well done!
") I'm still working a few bugs out of the p1, I'll have more soon.
I'm still working a few bugs out of the p1, I'll have more soon.Similar threads
- Replies
- 11
- Views
- 1,343