ok since i am getting bombarded with questions , like if I knew what i was doing, i am going to try and start my pod!
where to start?
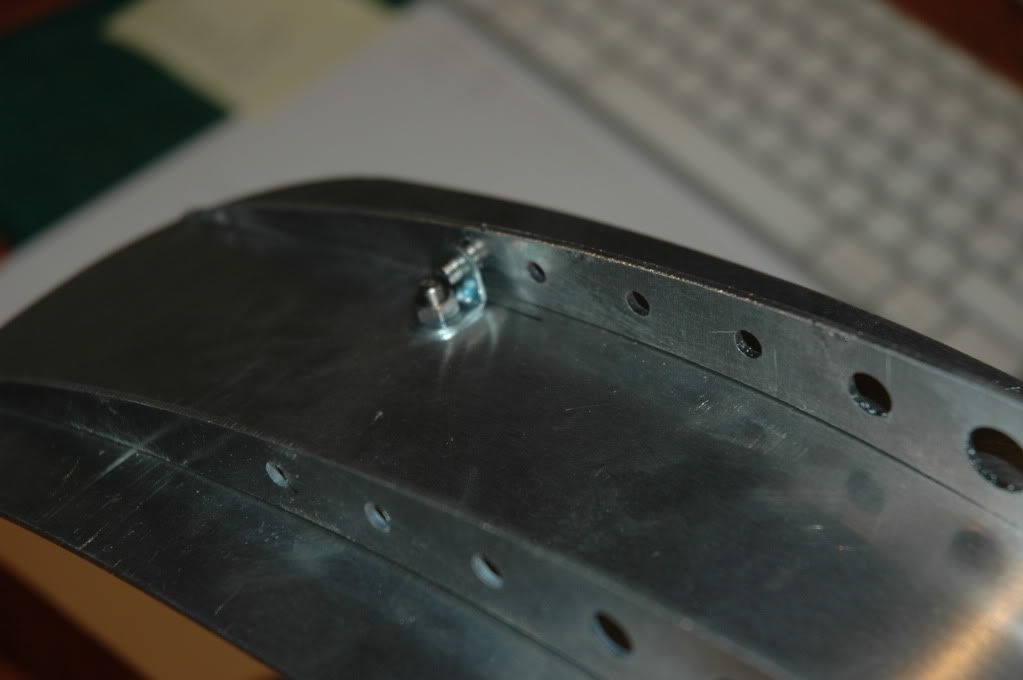
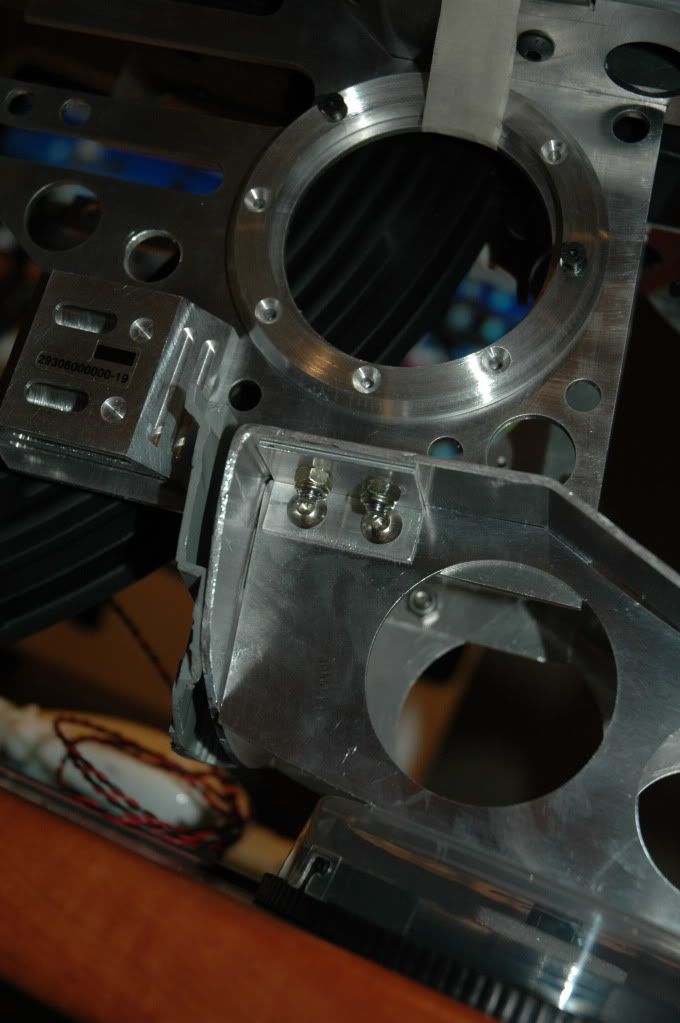
first thing is to line up the angled top plate with the correct angle of the 2 side plates, must be hard up to it.
before drilling the first hole , insert the whale plates and make sure now the angle matches to the side and top plate, if need to , you may have to grind a little to close the gap.
work with one side at a time , clamp it and drill one pilot hole.
The brackets that were supplied may be used although I used an angle alloy bar and cut out small brackets.
After drilling use a countersunk to remove debris and excess barb around hole, insert the first screw tighten , check for the gap and drill the other 3.
if you have drilled it wrong and created a small gap, make the hole bigger on the plate that needs to move.
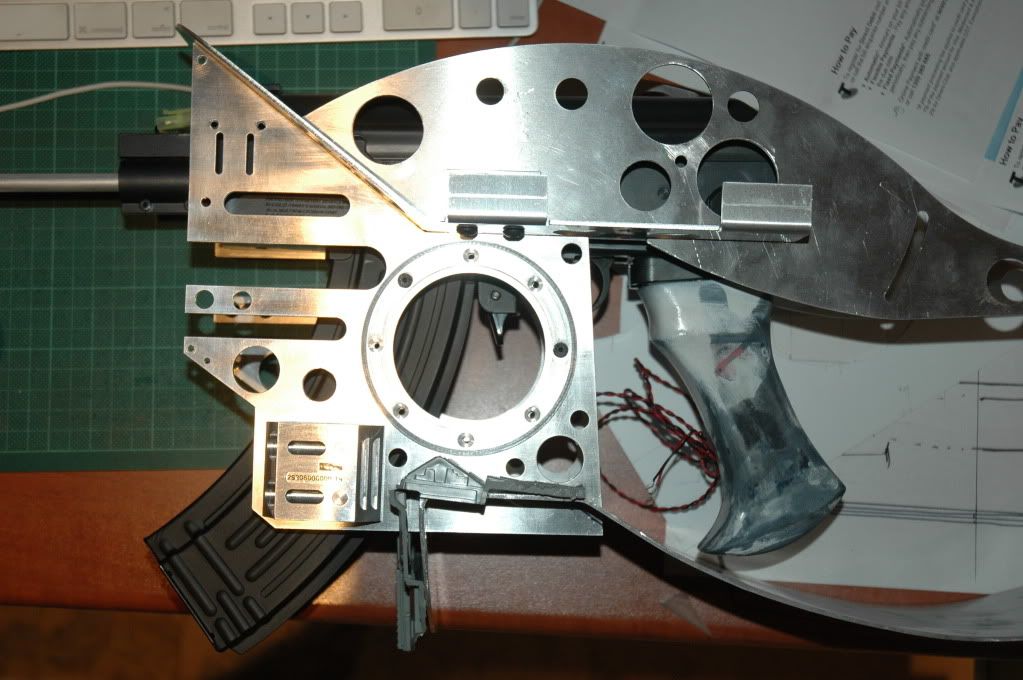
after repeating this process on the other side , you may dismantle and clean all holes and polish the plates.
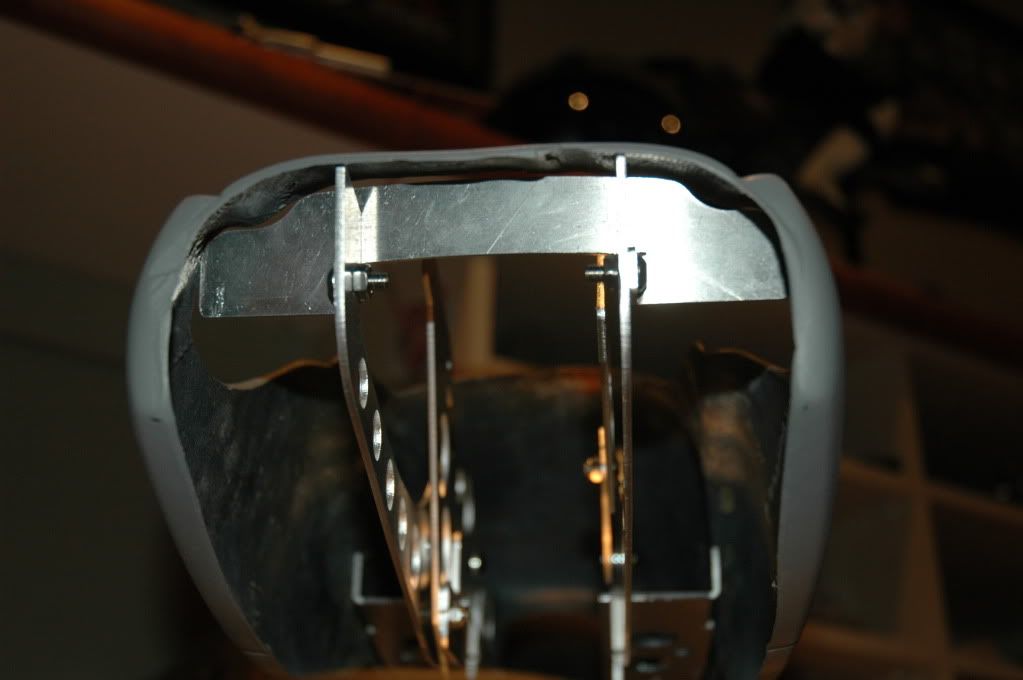
next will be the bottom tongue.
i first cut out per pics the marqui part, and this will be based on the Superskate pod.
The bottom tongue will need to be trimmed on either side whichever pod you use,as much as 5mm from the front to about half to 3/4 way to the back, this must be adjusted prior to installing the tongue to the side plates.
Also front fold on tongue must be bent back to allow the irregular shape of the marqui to sit straight, then trim the lower fins to the new angle.
This cannot be done until your pod is in position.
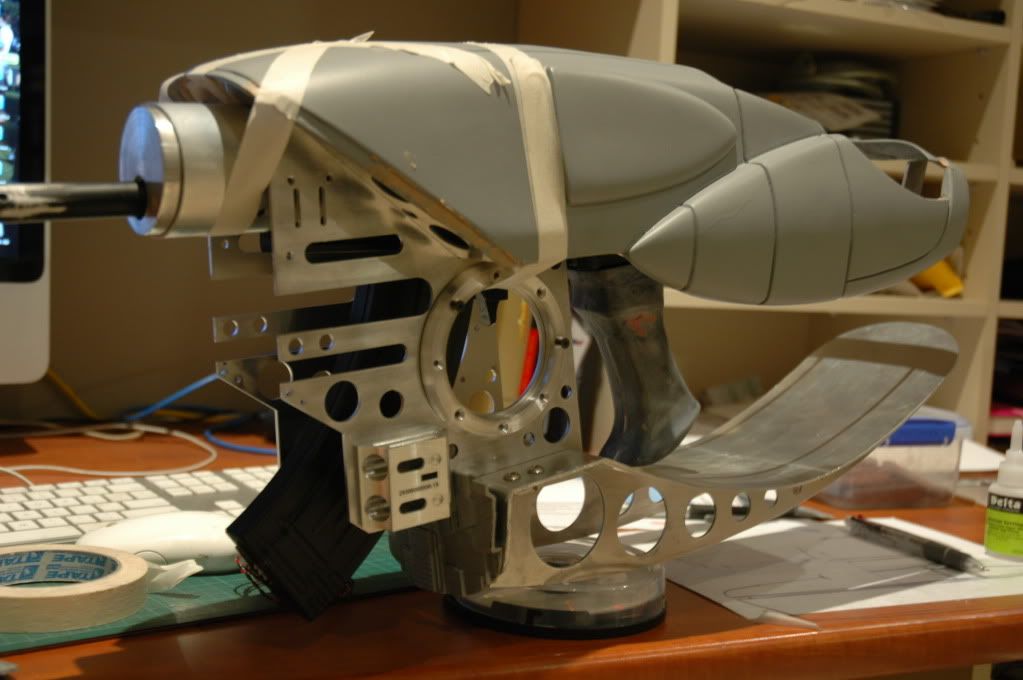
assemble the bottom pod with out fins but using the marqui as a guide, when you roughly have the bottom pod, tongue and marqui part matching up, we can start placing it to the built up upper frame.
line up other marqui ,sit ring in place and position the tongue, once the front is where you want it , you must pay attention to the gap you leave for your arm to fit in, if you are using the AK put that in there also .
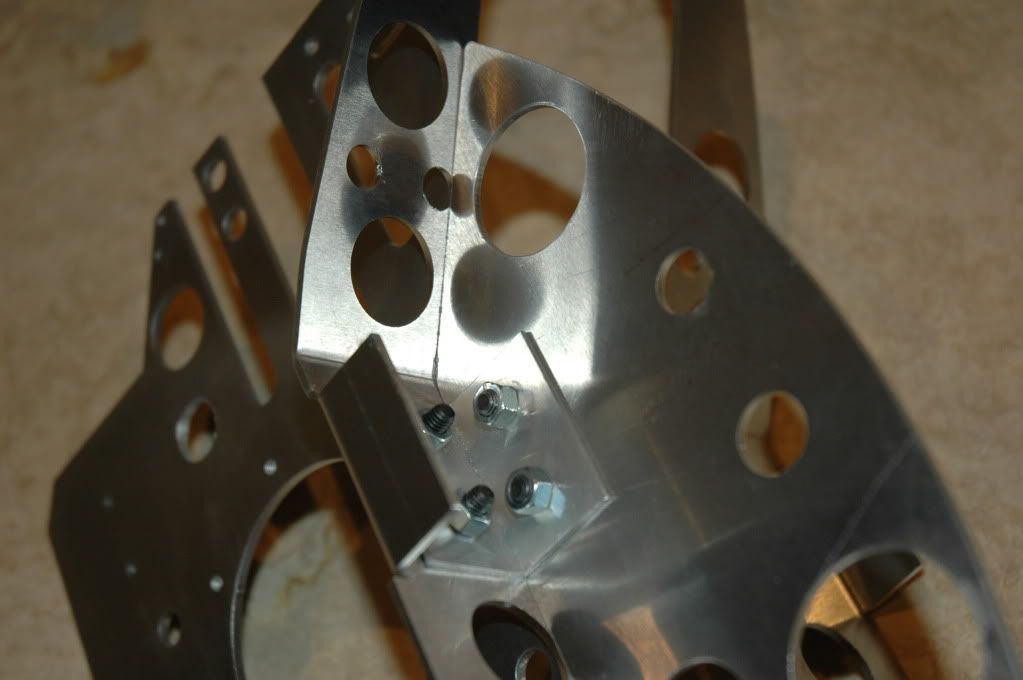
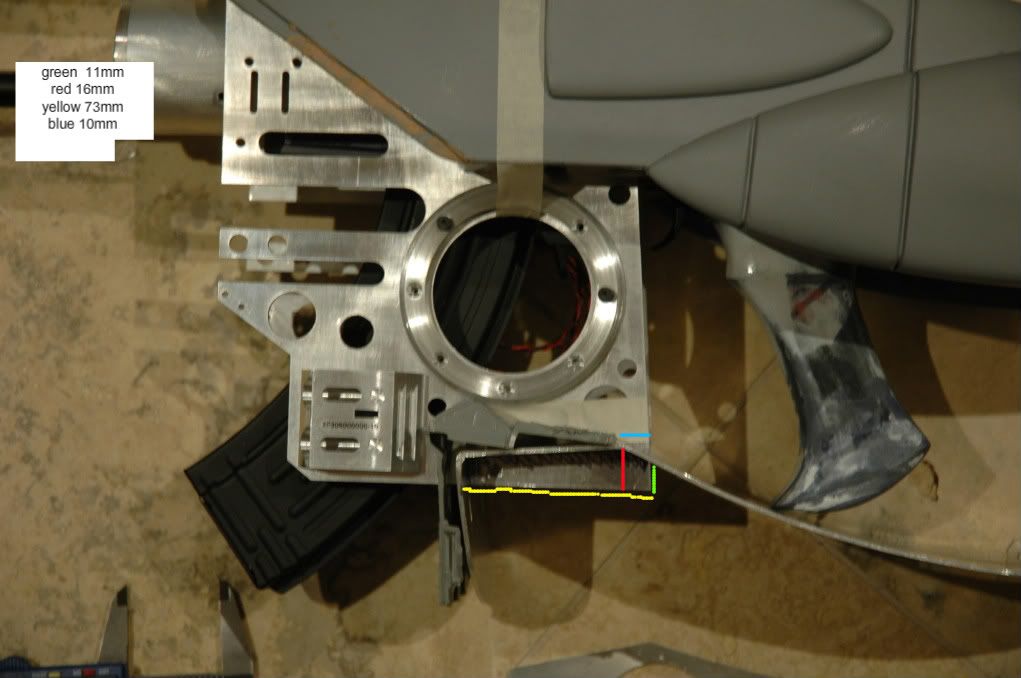
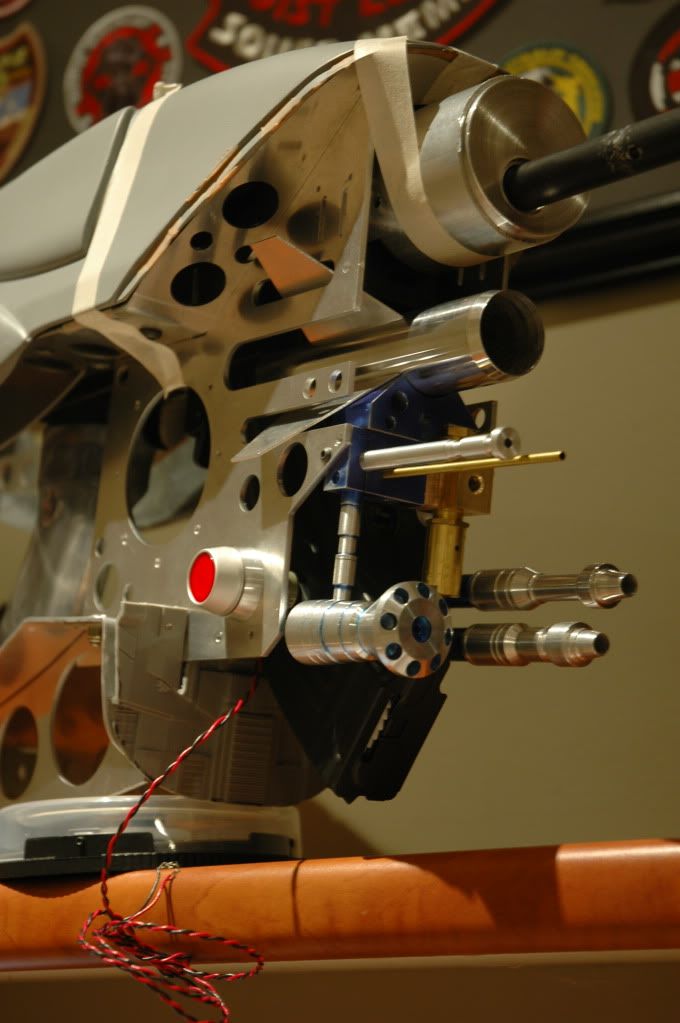
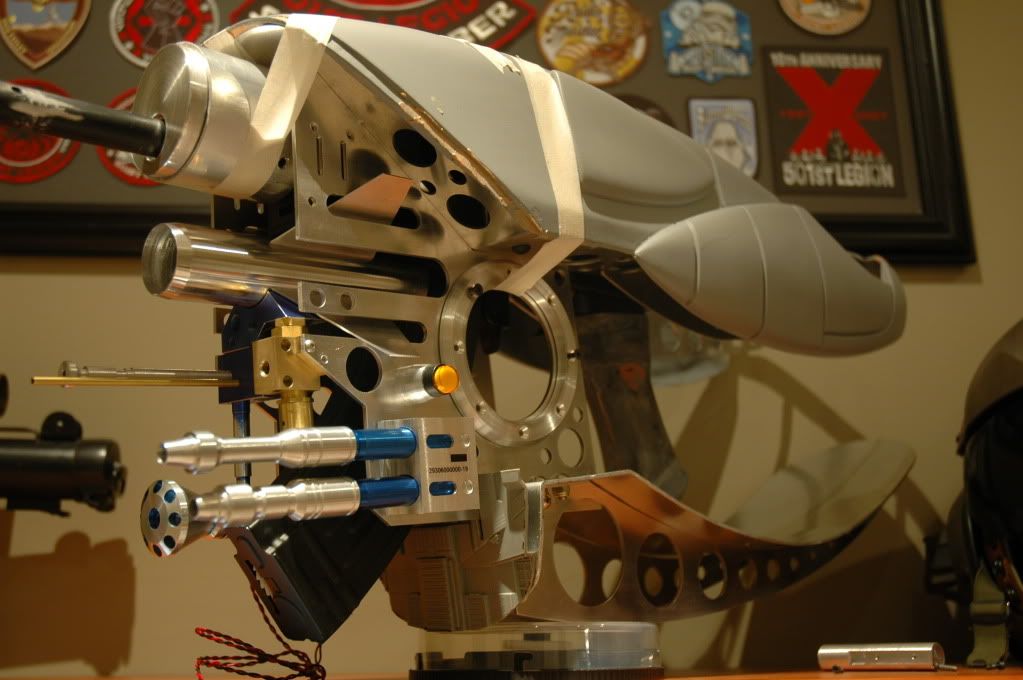
this is as close as I got it, will drill it next, I have checked the rocket and barrel height , seems ok
and a closer pic
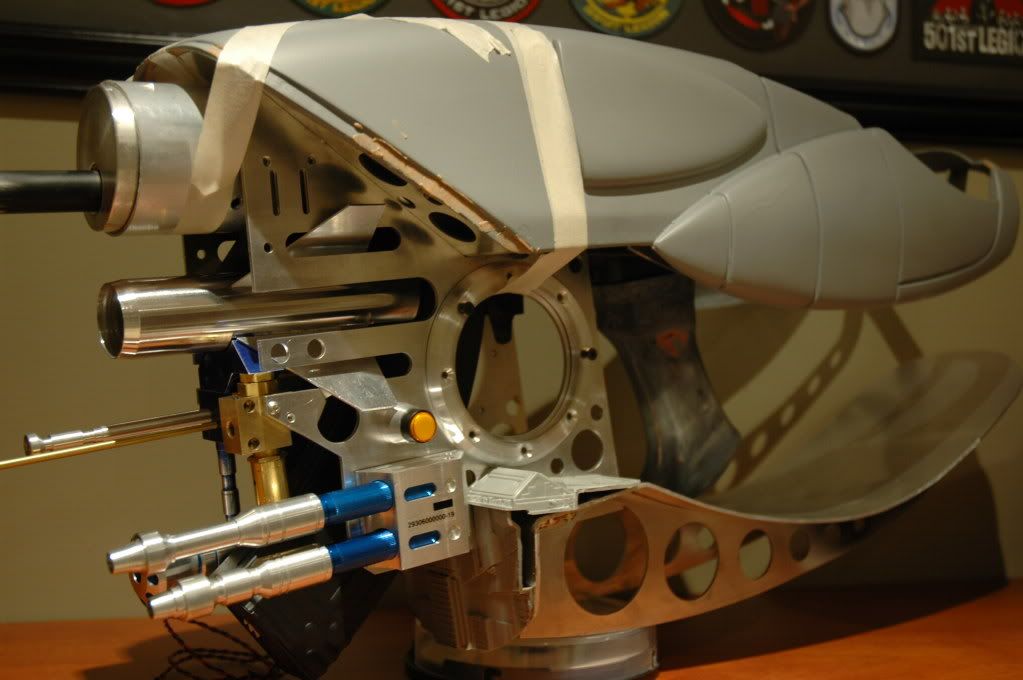
this would be an incorrect position as the back is too opened
the bottom pod flat part (fishing weights) should sit flat once installed to the tongue
INCORRECT

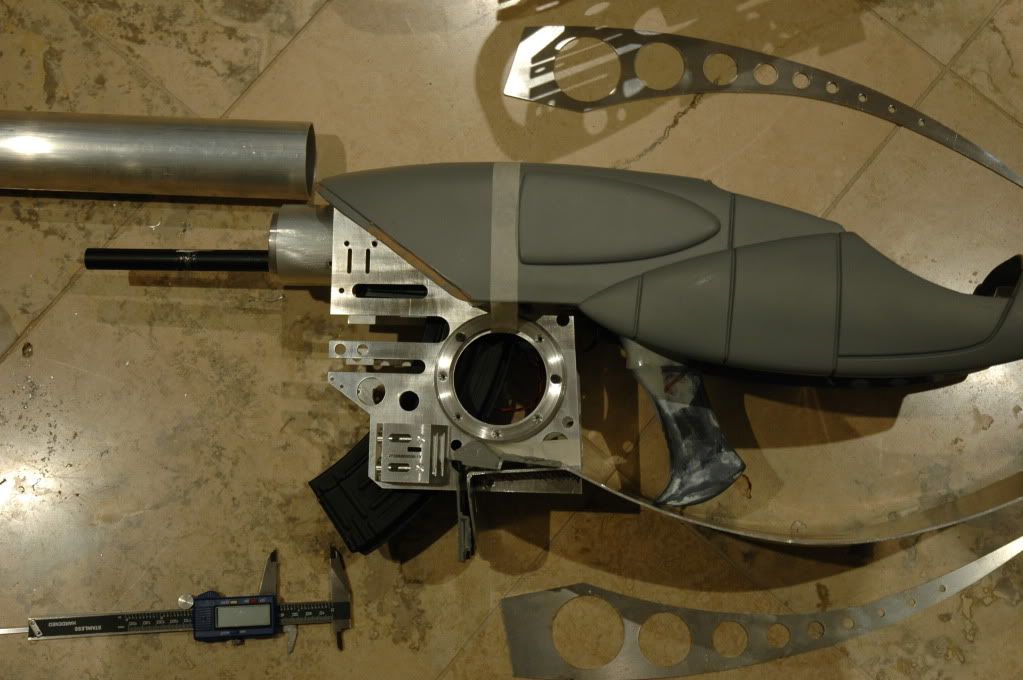
") here's a pic from a couple of weeks ago after I started cutting up the pod...
here's a pic from a couple of weeks ago after I started cutting up the pod...