ringa
Well-Known Member
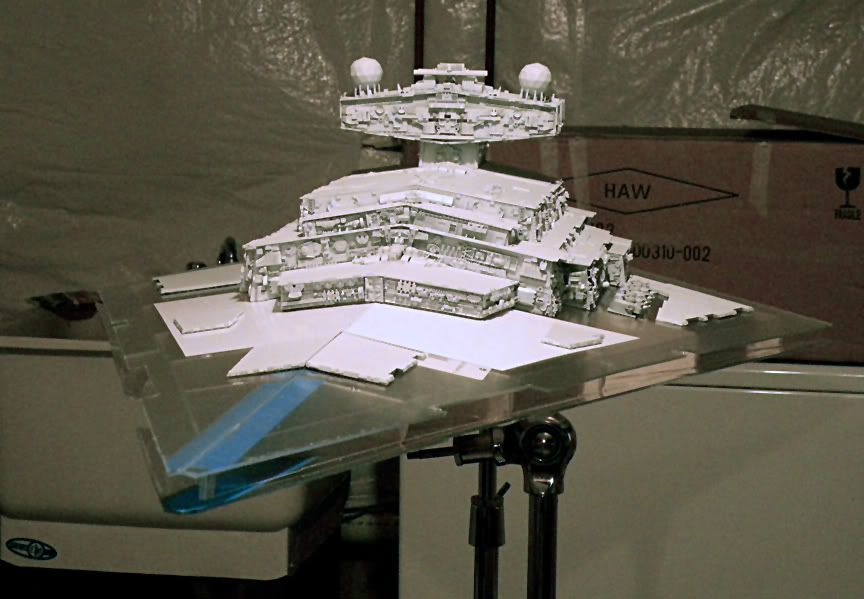
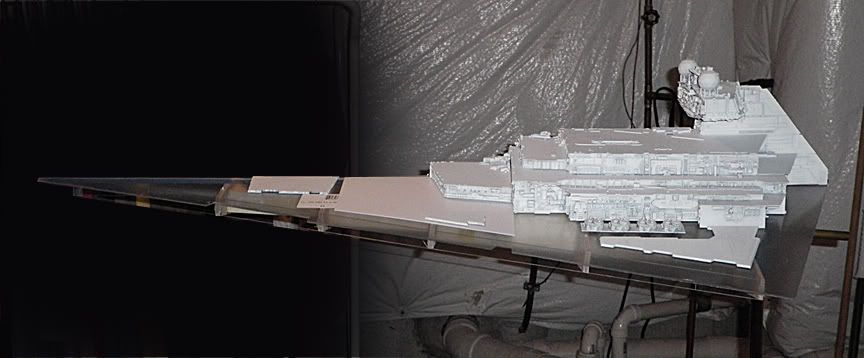
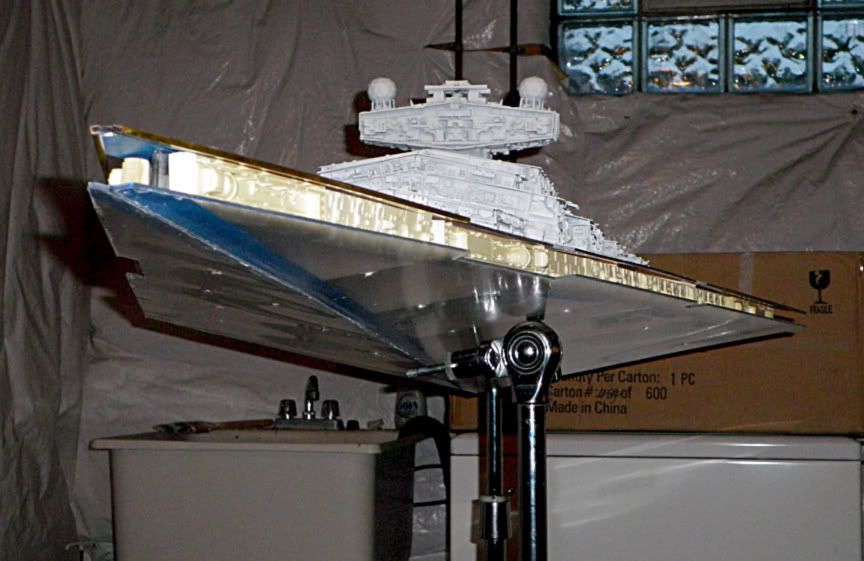
Everything about this just screams, "Star Destroyer!" You've really nailed it, the shape, the details, everything.
Rick,
That first picture looks straight out of Chronicles. The plating on the hull really sells the scale of this model, IMO.
These are very cool compliments, guys, I really appreciate it! Thank you!

") You're inspiring me to get some work done on one of these over the summer. . .
You're inspiring me to get some work done on one of these over the summer. . .