CNC - no time soon . ....
Thank you for the response. Thanks for sharing this technique and the secrets behind CNC.
Nothing short of a chemical fire or nuclear attack would make me stop making props now. Your knwoledge and examples stir the creative juices.
I am not giving up - you just set bar higher, :love
Thanks,
Gordon
Thank you for the response. Thanks for sharing this technique and the secrets behind CNC.
Nothing short of a chemical fire or nuclear attack would make me stop making props now. Your knwoledge and examples stir the creative juices.
I am not giving up - you just set bar higher, :love
Thanks,
Gordon


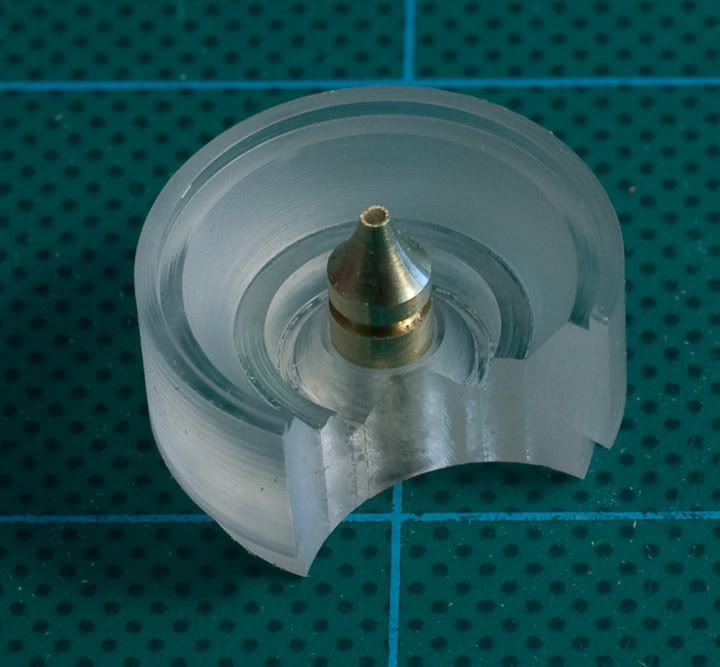
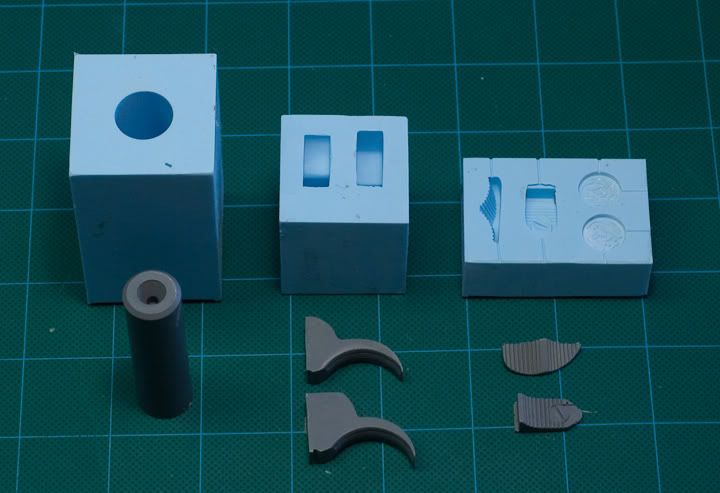
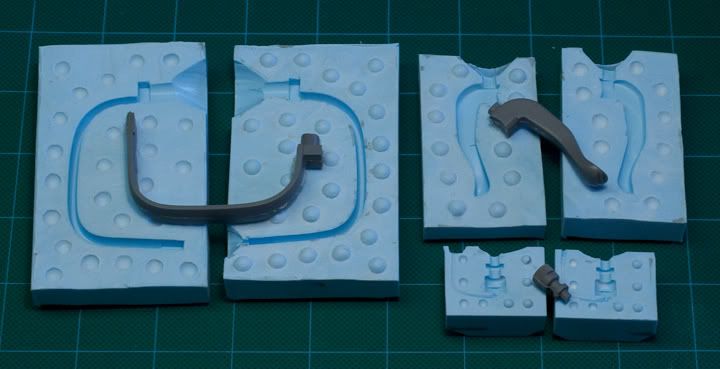
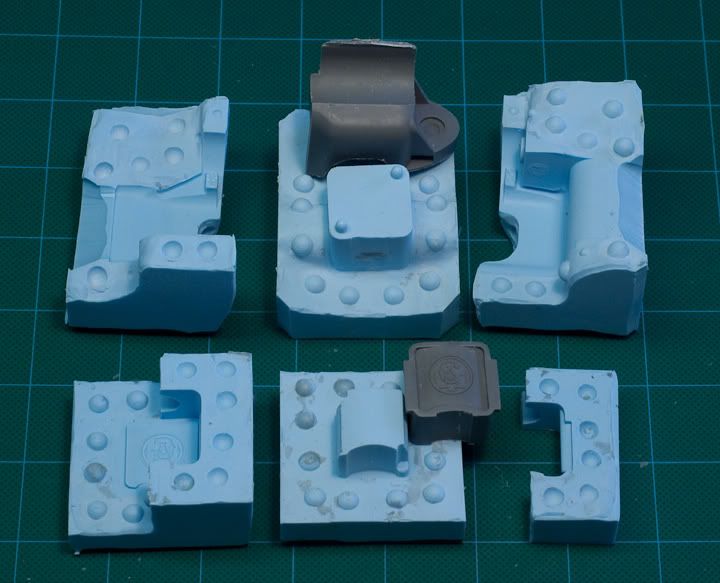
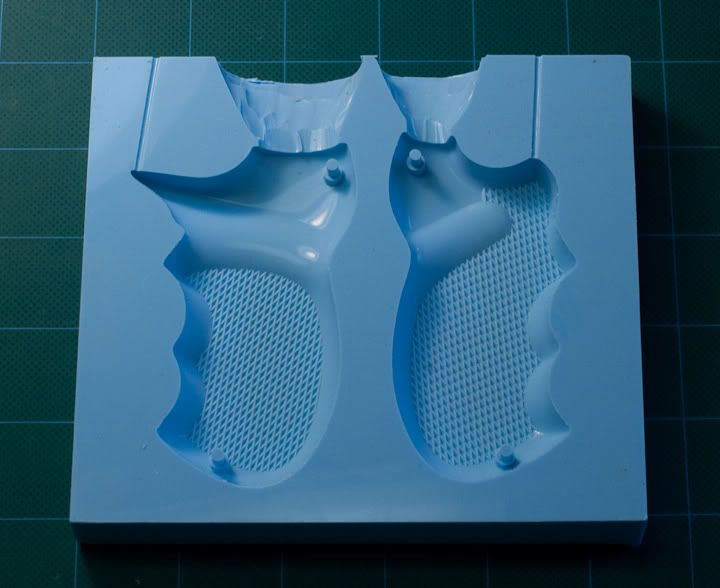
") Silpak carries Sil Tool.. Its $75 for a 2 gallon kit. It is jet black. Also captures detail very well and is more like a mild plastic then a brittle resin after its cured.
Silpak carries Sil Tool.. Its $75 for a 2 gallon kit. It is jet black. Also captures detail very well and is more like a mild plastic then a brittle resin after its cured.