Kit of the USS Daedalus NCC-129?

Status
Not open for further replies.
This is a photo of the correct kit you should look for (sorry for the glare):

Familypix.jpg


The boosters on this kit match the GJ exactly. There are a couple of BIN's on ebay right now for under $30 bucks if you search 1/144 space shuttle


The 1/72 kit when they pop up are pretty pricey (for the entire stack). Looked at making a version from the 1/72 kit myself but at the cost of the kit I decided it would make more sense to scratch at that scale.
 
Last edited:
Perhaps I'm missing something but I don't quite understand why Steve would spend 30 bucks or more on a Shuttle kit when these look simple enough to turn out on a lathe for casting purposes.
 
Perhaps I'm missing something but I don't quite understand why Steve would spend 30 bucks or more on a Shuttle kit when these look simple enough to turn out on a lathe for casting purposes.


Because...

As I noted earlier...

There are numerous little surface details on the boosters that wouldn't be replicated if he just turns them.

And if you are gonna do it...do it RIGHT. He can buy the ORIGINAL parts that Greg used for $30 and have an exact replica of the engines. No time wasted...no guess-work. Why on Earth would he want to bother to lathe them? Time is money, as they say.

Or whatever... :lol

Thanks for the link, Feek!

Sounds like I WAS missing something then. My mistake. Sorry!
 
Steve is correct. It's more then just a tube with raised panel lines. Not super complicated but it's worth just getting the kit to NOT have to do the research to get it right.
 
OK guys thanks soooooo much for all this input. You are all a wealth of info, encouragement, inspiration and support.

So I'll take you all up on your advise. I contacted my LHS which is the very best I have gone to for over 25 years and low and behold they just happen to have one in stock. 1:144 boosters and tank.

Thanks for the well wishes for my wife. She is a huge supporter of my work too and one of the biggest Star Trek fans I know. She watches TNG and TOS nearly every night before bedtime. In fact my daughter and her are off to Fryes to get more DVDs of Star Trek to watch while she goes through all her treatments and surgery. She will be in bed a bunch over the next year. I even got he to break down and try Enterprise. She's a big Voyager fan too.

It's going to be a fight. But she beat it before and she'll do it again. Certainly Star Trek always helps. ;)

So I'm off to the LHS and then Kit Craft for the ball. Lets get going this weekend. Kits soon.

Thank you all.

Steve
 
That's 1/350 scale. About 15.769 inches long. 4 inch ball. ).611 neck( I'll have to turn that. Double check me guys.

BTW the kit is a Mini Craft. Same detail and scale. 40 bucks. In stock. Drive and pick it up. All the hard work will be in the ball. Windows will be scribed in.

I'll talk to Randy today about the board for her and to Acreations for the decals. this will be a real nice kit and an over due one. I've always wanted one myself and she will look good all lighted up next to me refit.

Steve

Steve
 
The ball I can get from Kit Kraft that the closest is a 3 and 3/4. That makes it a little on the small size but the next size up is 4 and 1/2. Much too big. In Illustrator the actual size of the ball at this scale is: 3:875 I think the 3 and 3/4 is splitting hairs and I'll go with it. This is based off Doug's CGI model 3 view that was made from Greg's model.

Steve
 
I think 3.75" for the primary hull works fine. Doug told me that he had Greg's original model on his desk and he took measurements directly from it to create his CG version. Can't get much better then that! I have the neck diameter at about 9/16 O.D.

When I did mine I did not have Doug's reference material when I started so mine is over-sized. The sphere on mine is actually 4.25" and the neck 3/4". Still at that size iit doesn't look too bad but explains why it's on the back burner, lol.

DSC05675.jpg
 
Rob thanks so much my friend. Well I just got back from running all over town on the crazy holiday. But I got everything even the correct sized neck.

Pictures later. Back to work on the Star Wars models. I'll start this tomorrow.

Steve
 
If someone wanted a much larger version, you could always create a 2x studio-scale model by using the 1/72 Shuttle Stack kit as the basis for it. I have considered doing one of those, myself.


E
 
From those photos SD posted, it looks more like detailing tape was used instead of decals.


The Making of Star Trek Deep Space Nine book by the Reeves-Stephans couple does mention there was always somewhere near from the art department ready w/ detail tape to gussy up a prop that looked dull on-screen.


Interested in prop/ model version (1:144 boosters).

Hoping you go w/ decals & not the vinyl tape.


Sorry to hear about your wife's condition.

Mike
 
Yes, plenty of graphic's tape on that model. If you look closely you can see where it is pealing off. I'm sure Steve is going with decals made by Acreation.
 
Yes Acreations will make the Decals. Voodoo FX the lighting kit. And the tape will be replaced with half round styrene strips. Authenticity is great but this was made for screen use so I am taking liberties to make her nice an clean!

thanks guys.

Steve
 
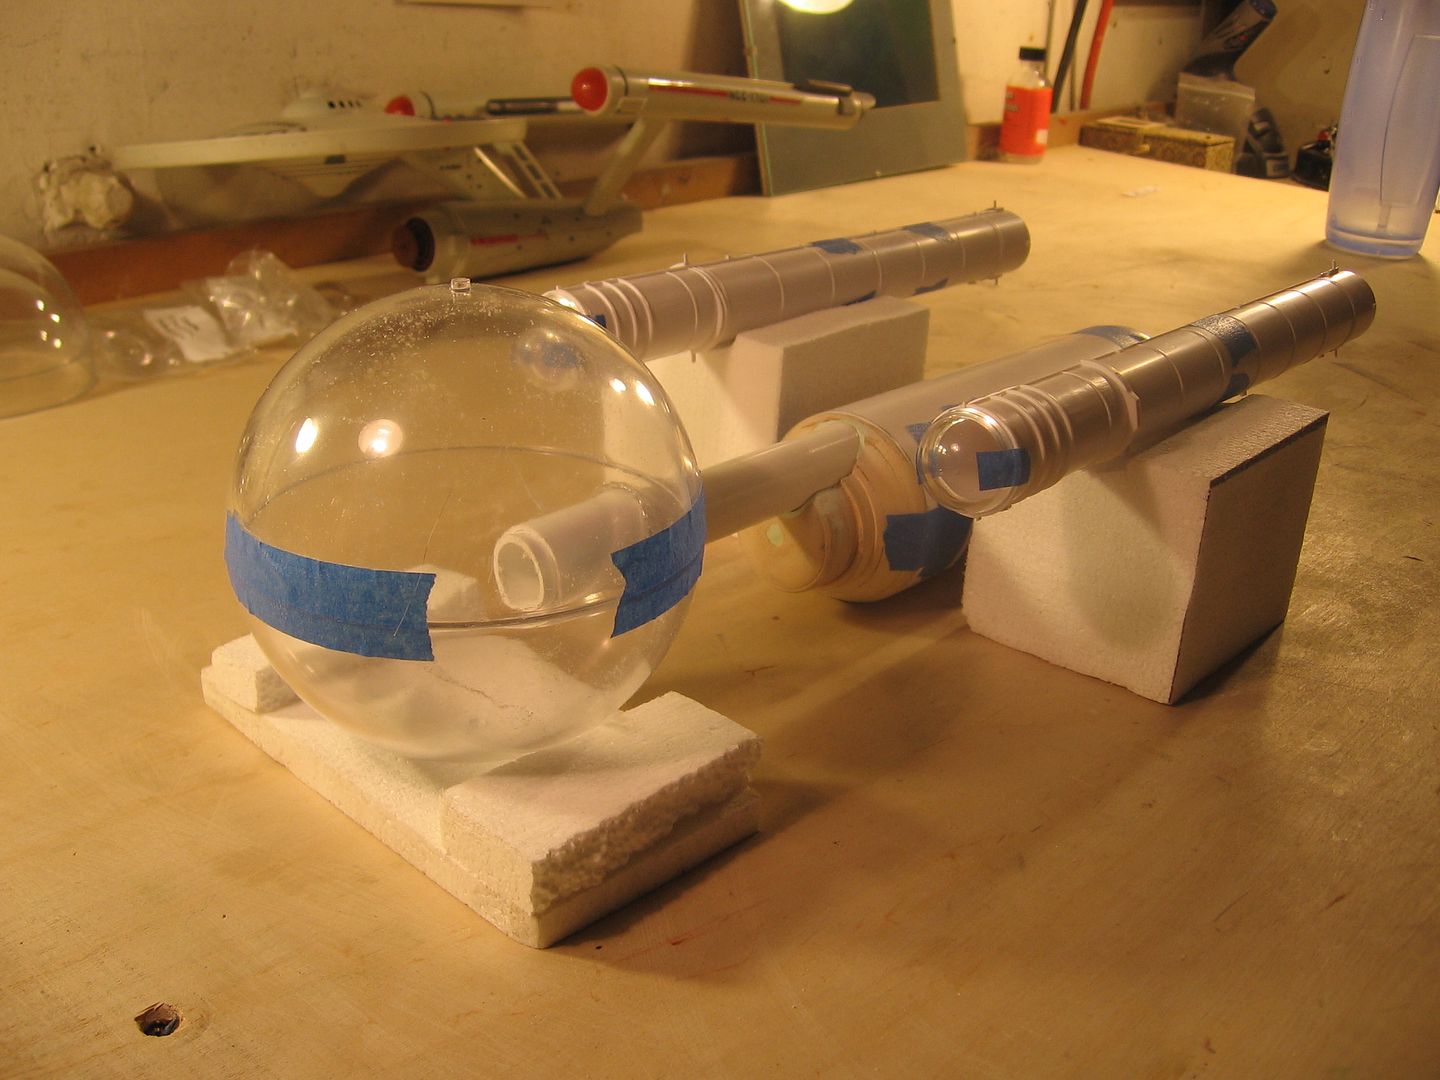
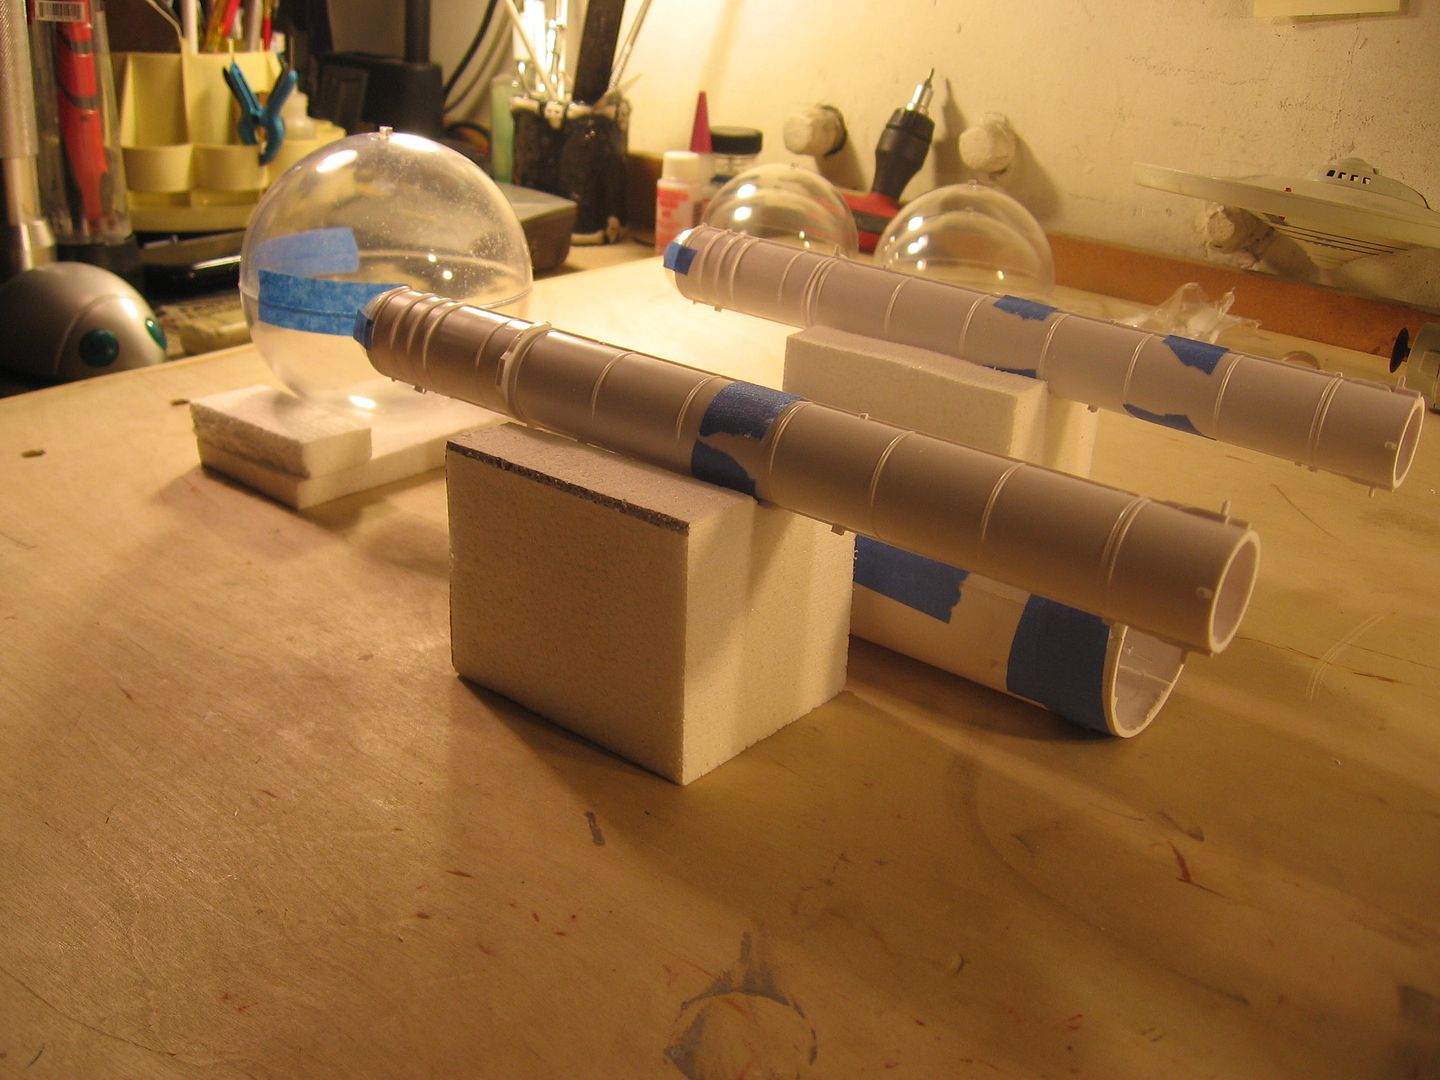
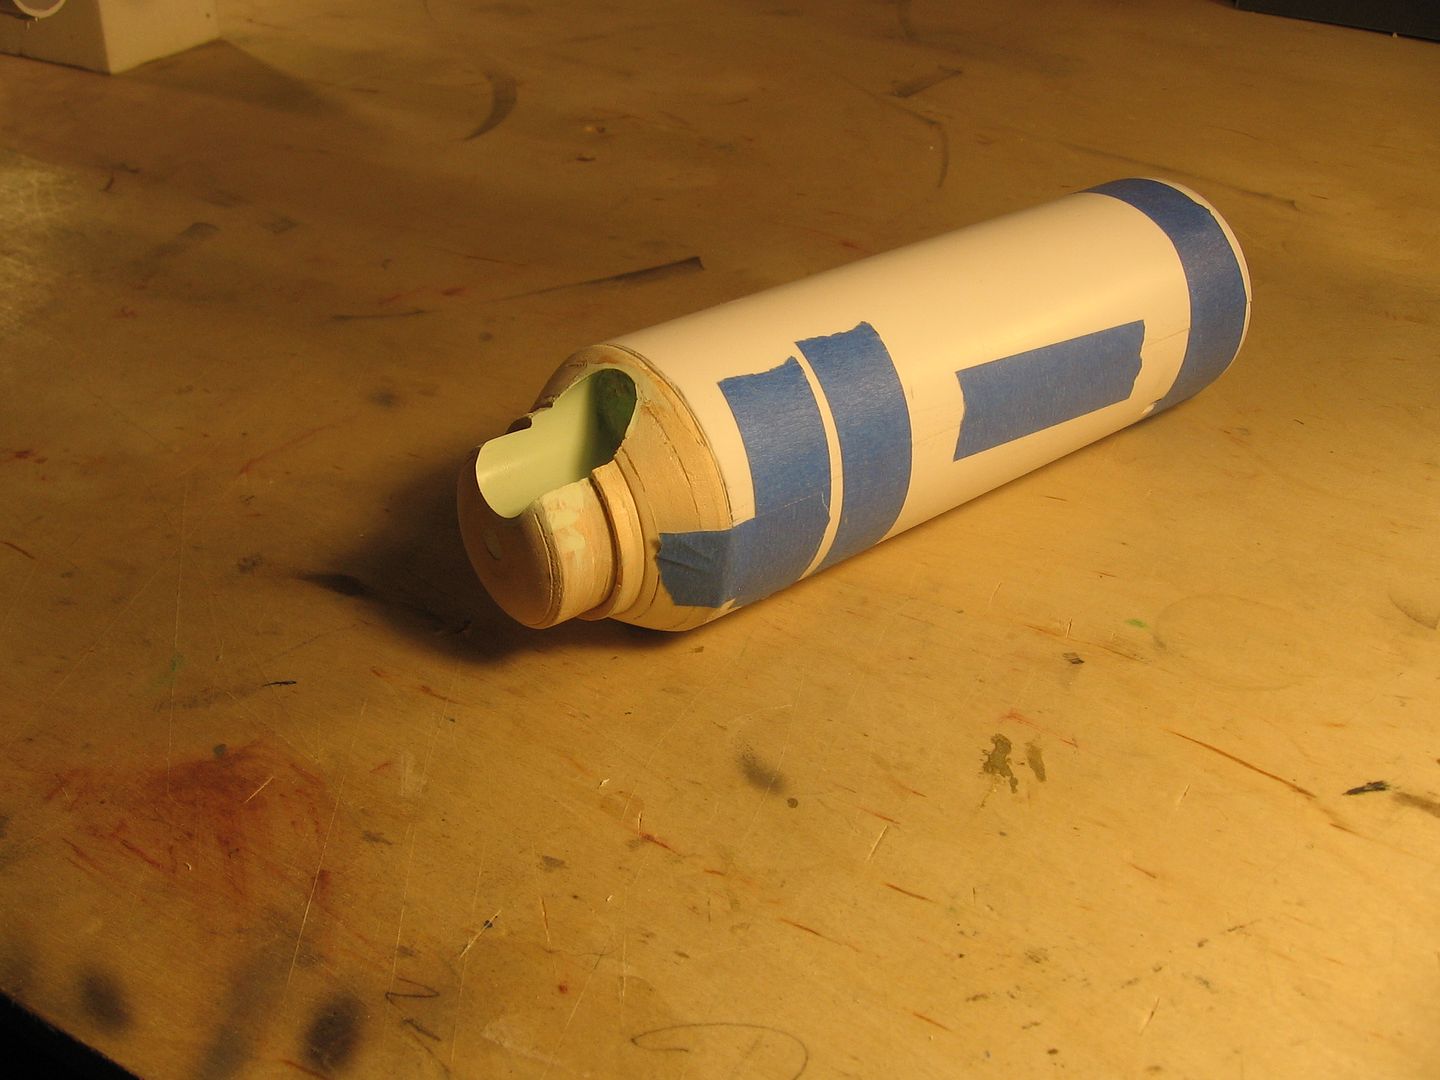
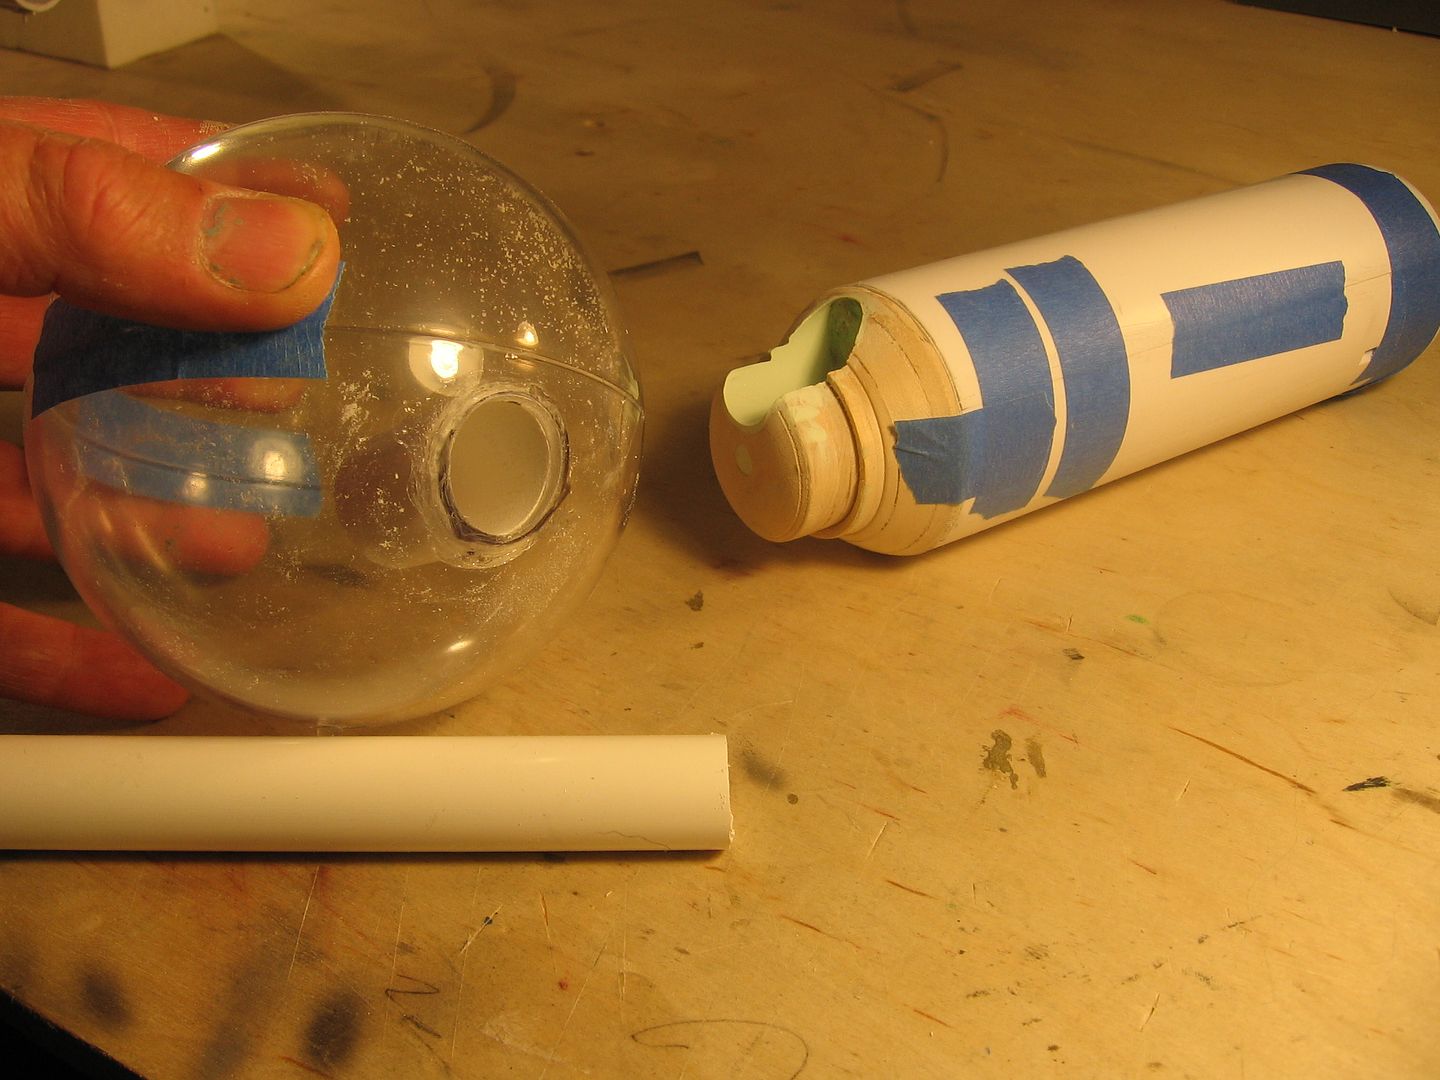
Here we go. Some real progress today although you have to count yesterday as I spent the whole day on research and driving all over town getting materials. Even had to go back to Kit Kraft a second time. An hour drive.

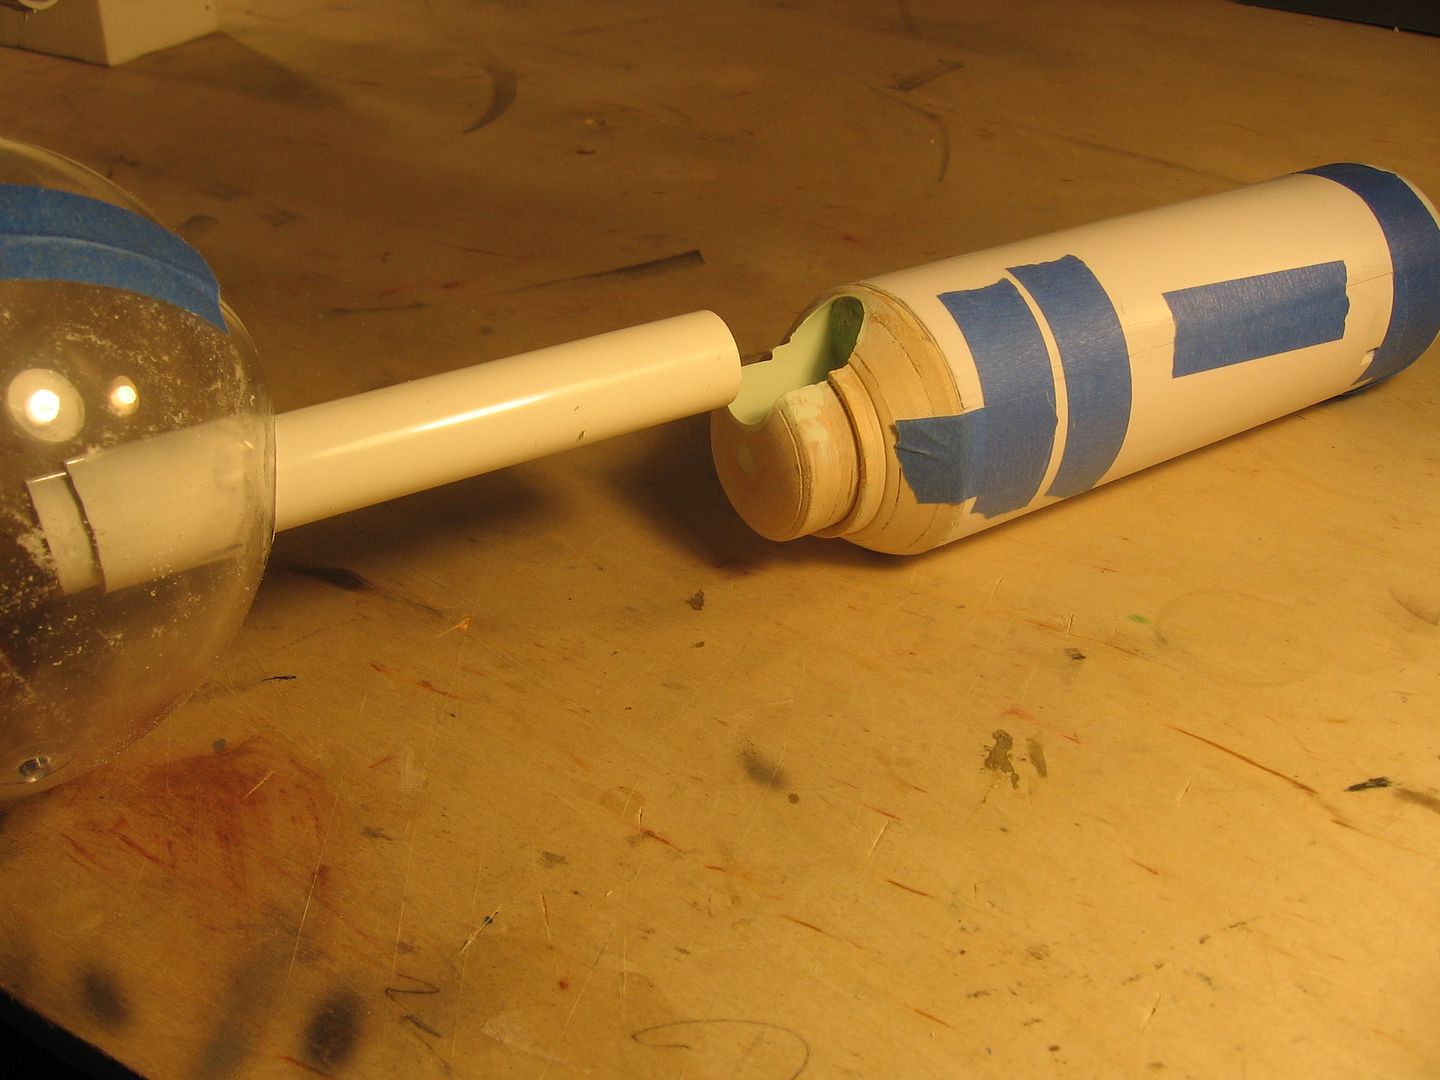
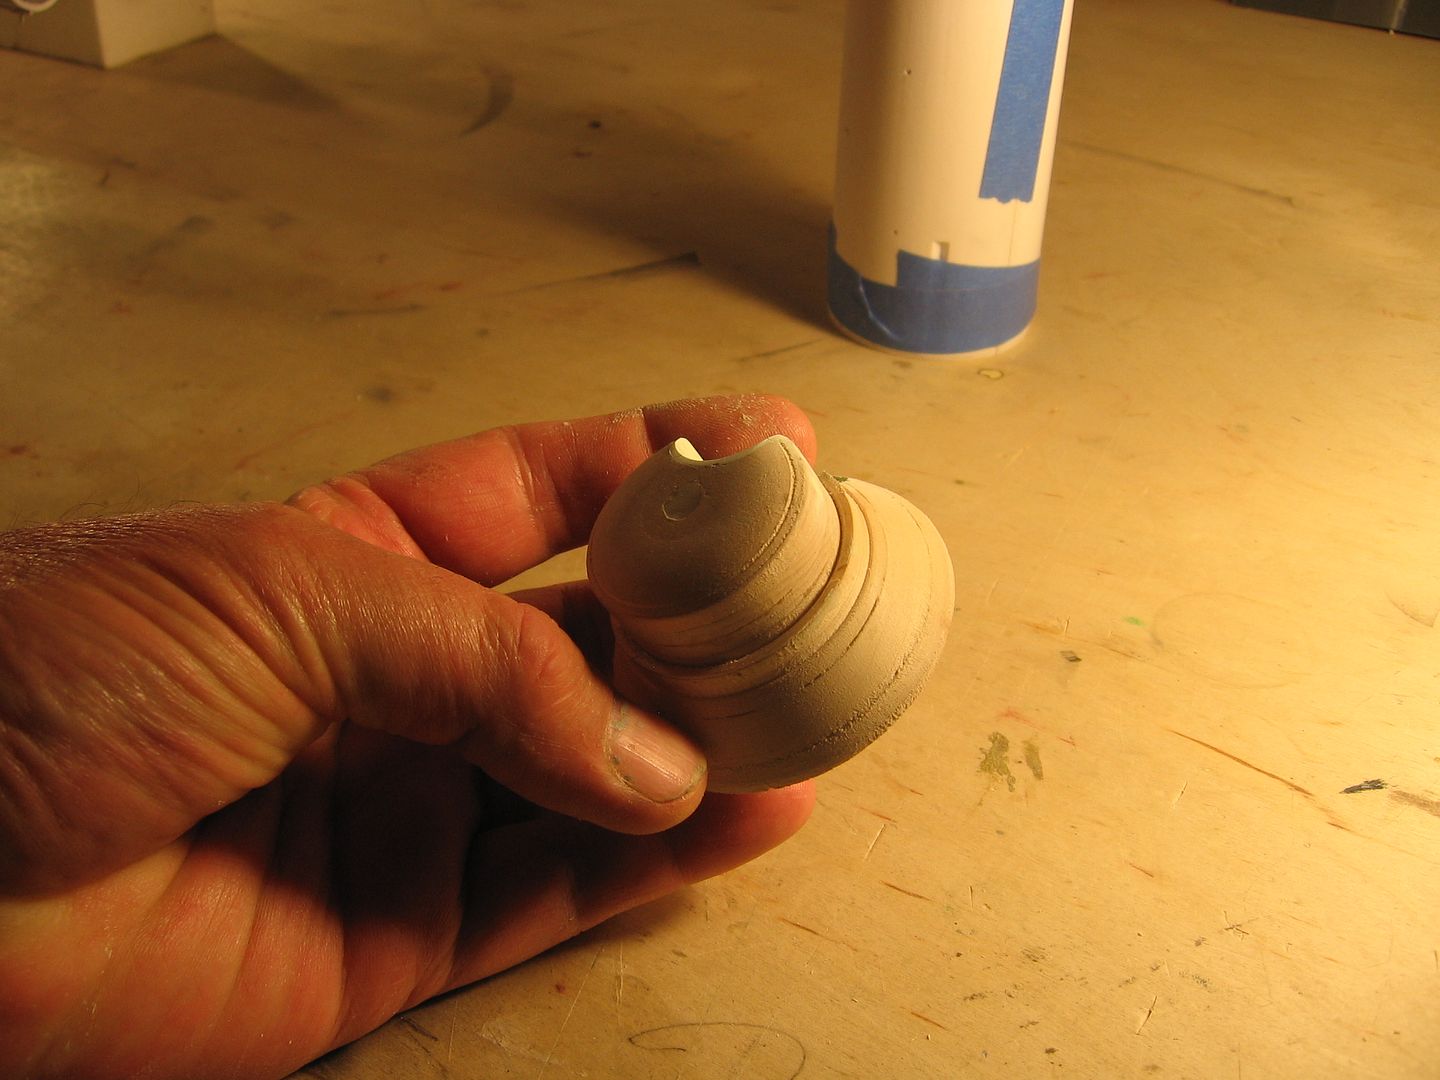
Got the secondary hull cut and lathed the cone section. Cut the whole to except the neck and pointed it up with glazing putty. Make a good enough hole. PVA up the neck and butter the inside of the hole with glazing putty. Shove the neck in and using a level surface and a square line it up. Trim the putty away as soon as it gels with a Exacto to get the clean edges easy and it’s a done deal.

Cut the nacelles to the right length. And I cut the ball to except the neck and used a styrene tube it just fits inside and mounted it to the inside of the ball. When all this is molded that parts will be plug and play. All the parts will be hallow to as I’ll make cores. Lighter, easy to light and drill out those darn windows.

I’m basing this build mostly from the Greg Gein photos as you asked for a replica. However this will be a clean, up and personal model.

The lathed parts have to be sealed and primered. Then pointed up but then you all know that by now.

More tomorrow,

Steve

IMG_6740.jpg


IMG_6741.jpg


IMG_6742.jpg


IMG_6743.jpg


IMG_6744.jpg


IMG_6745.jpg
 
Status
Not open for further replies.
Back
Top