Kit of the USS Daedalus NCC-129?

Status
Not open for further replies.
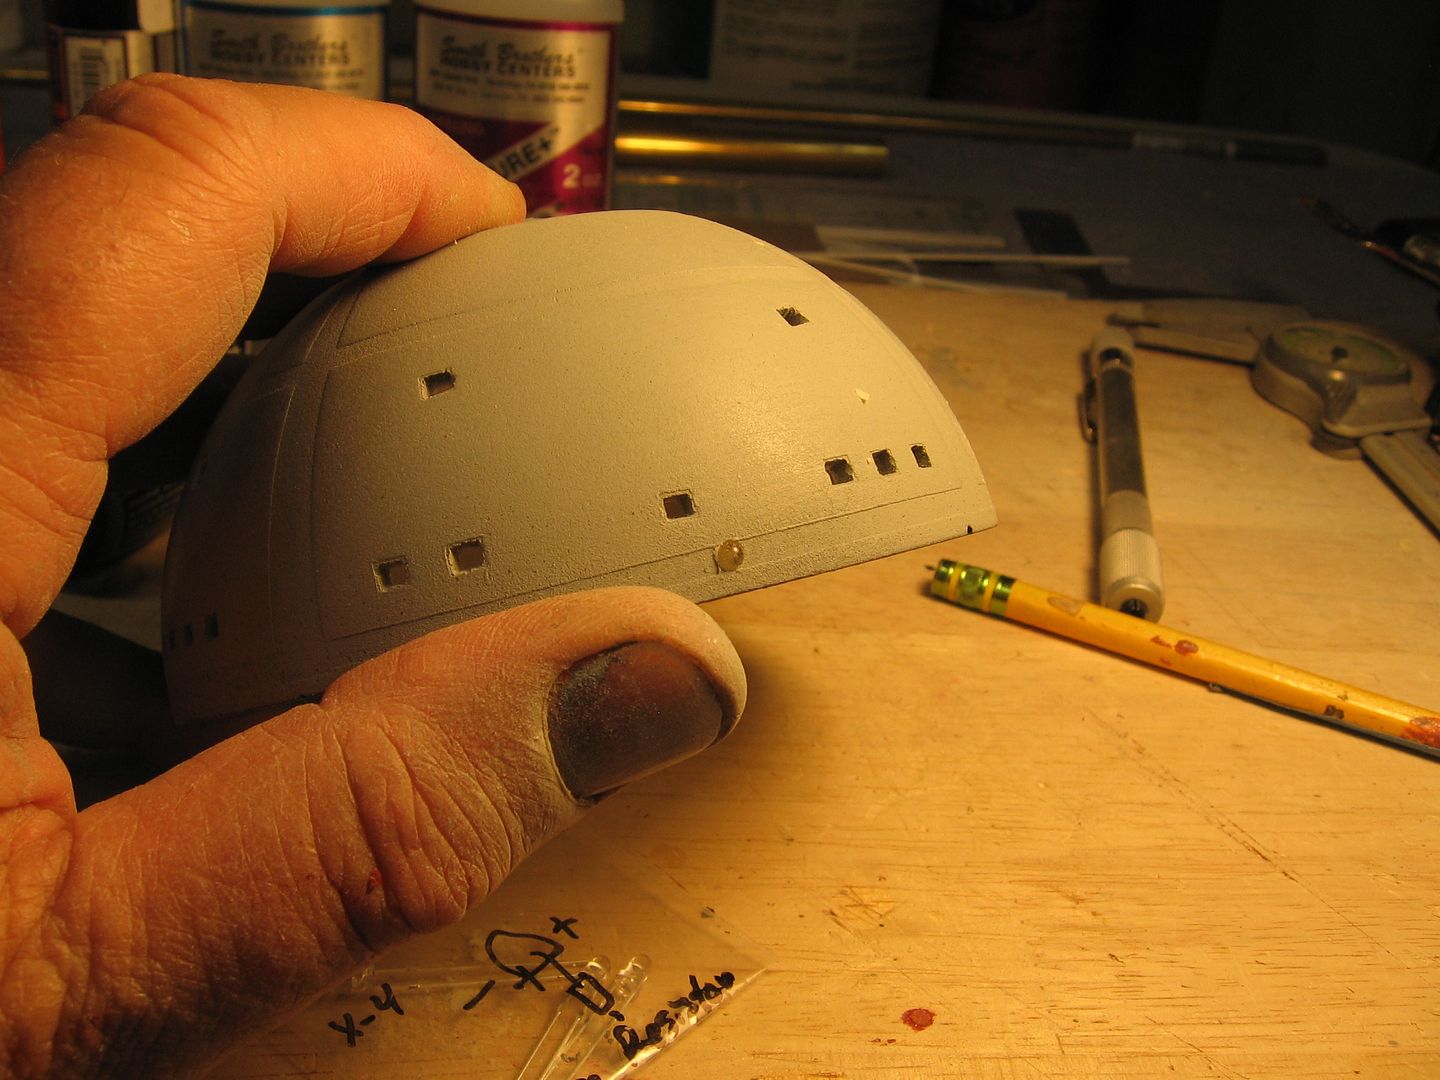
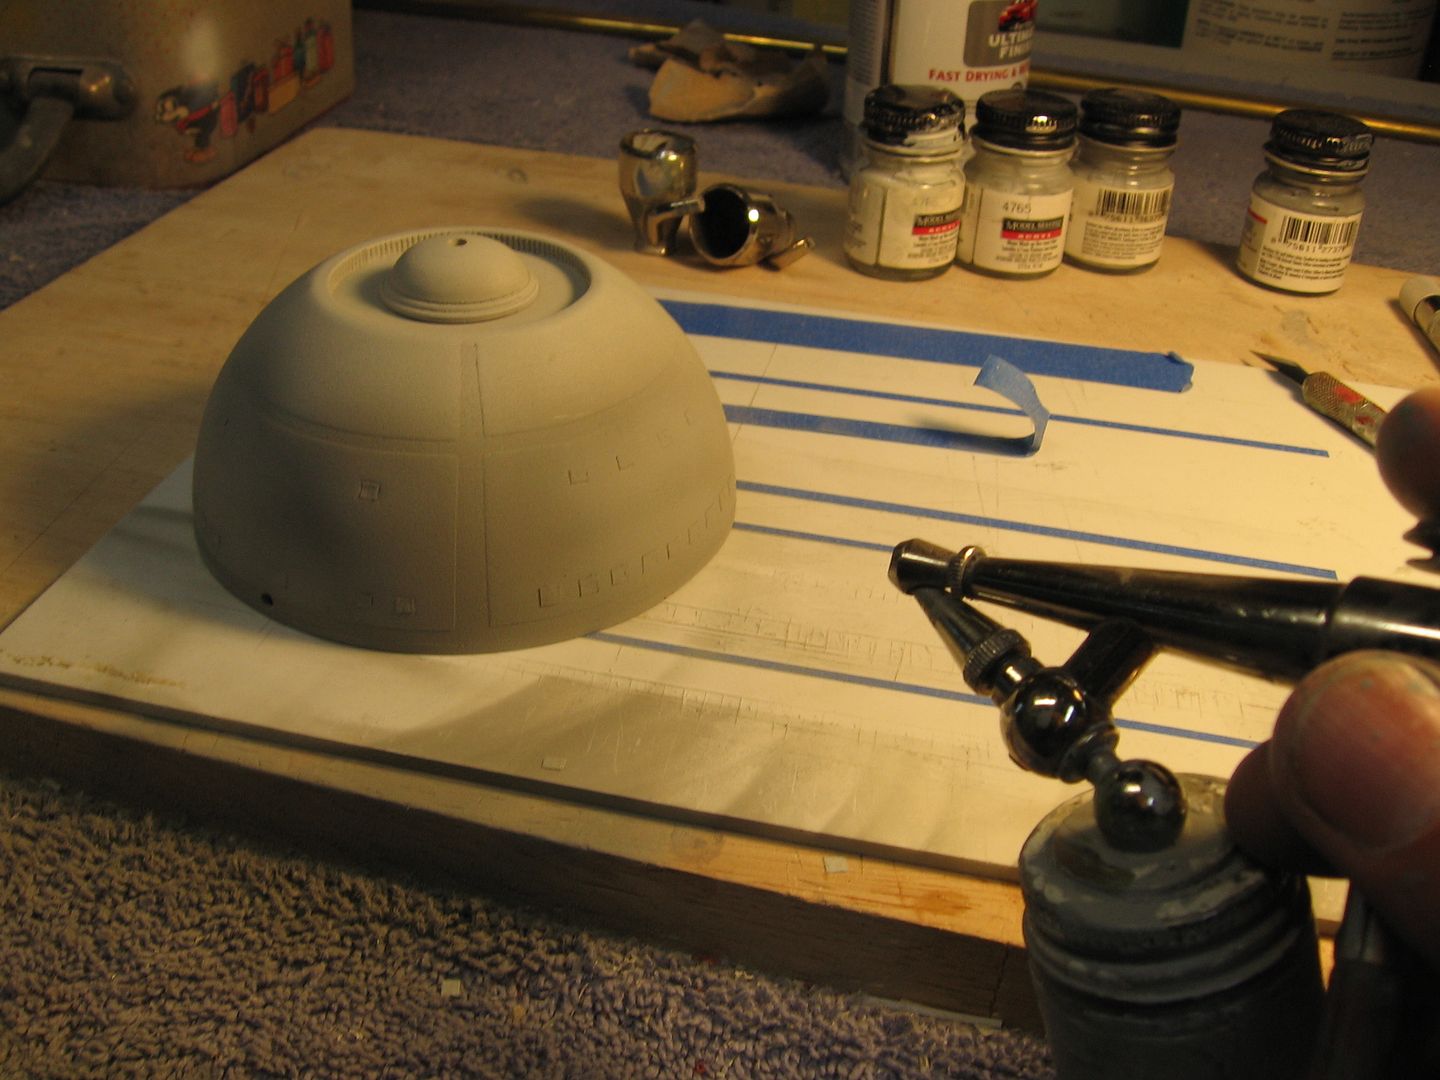
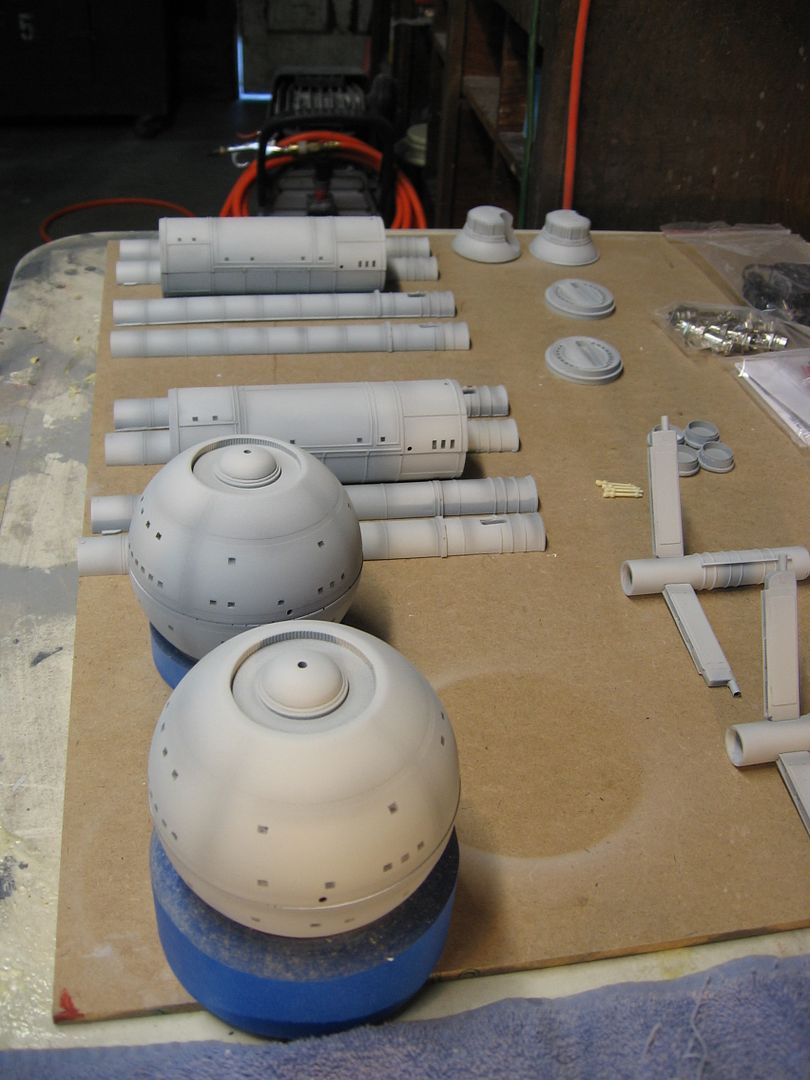
Richard thanks they still could be a bit better and the pictures somewhat hide that. I'm happy with them though. They will do. It would have been better if I would have spent a few days doing them perfect as I could. Then backing the windows with thin styrene and making a new mold. This way I'd have the deep cut windows with a thing back that would file out in a heart beat. But the cost of silicone and time were prohibiting to me.

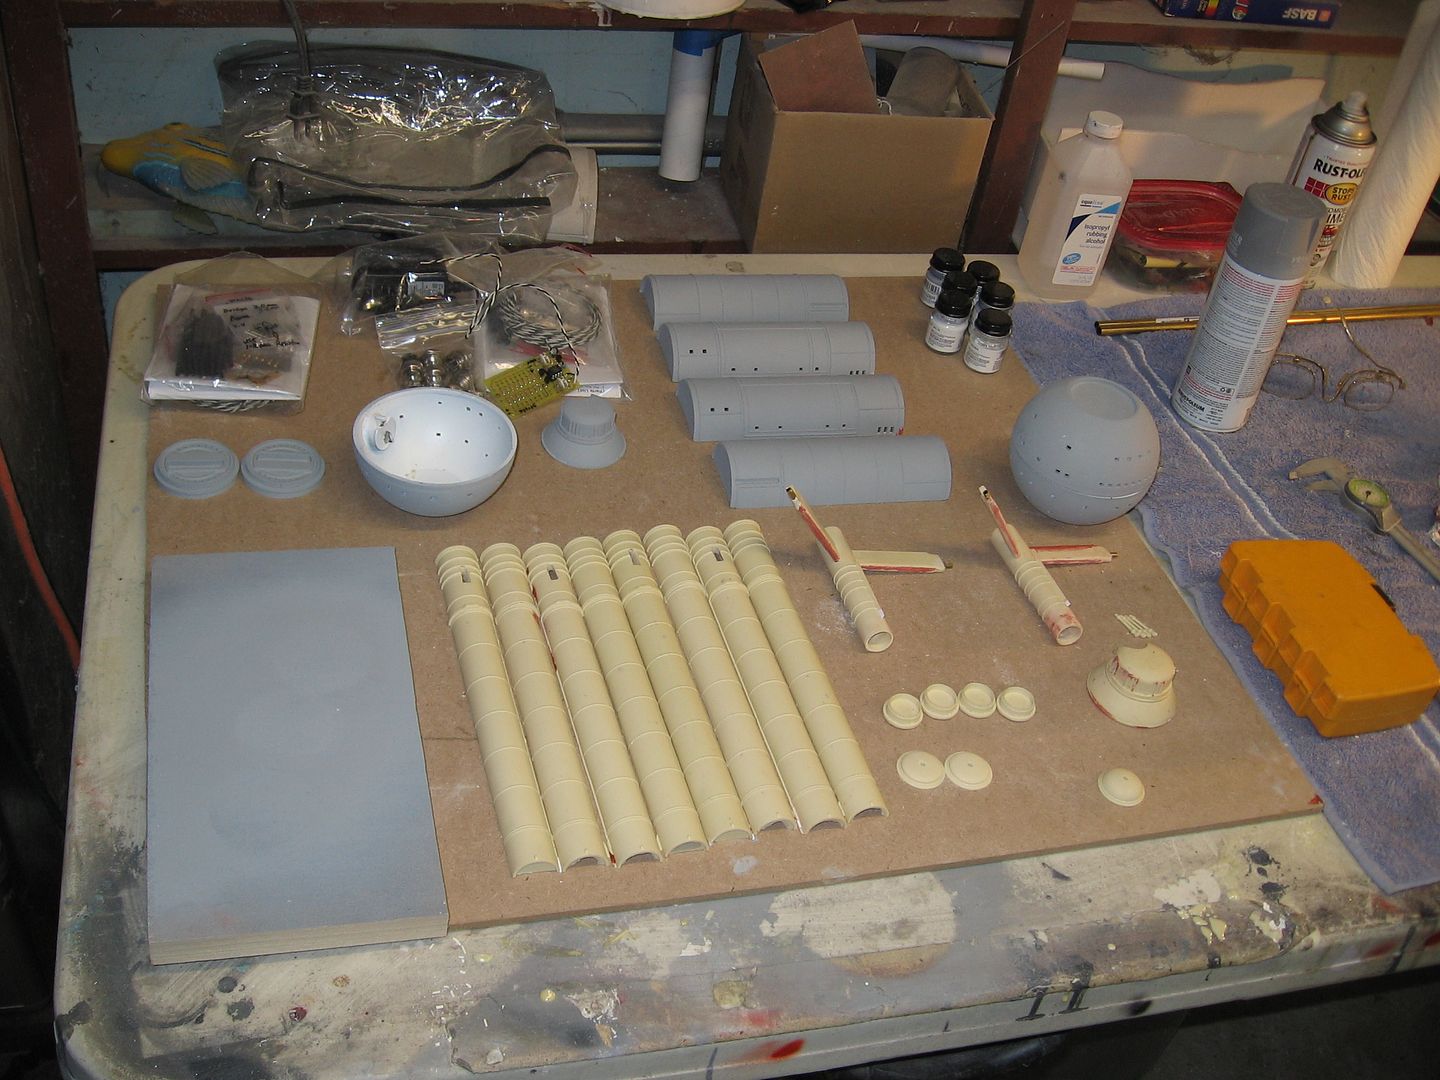
As for the windows tape and 30 minute epoxy will do the job.

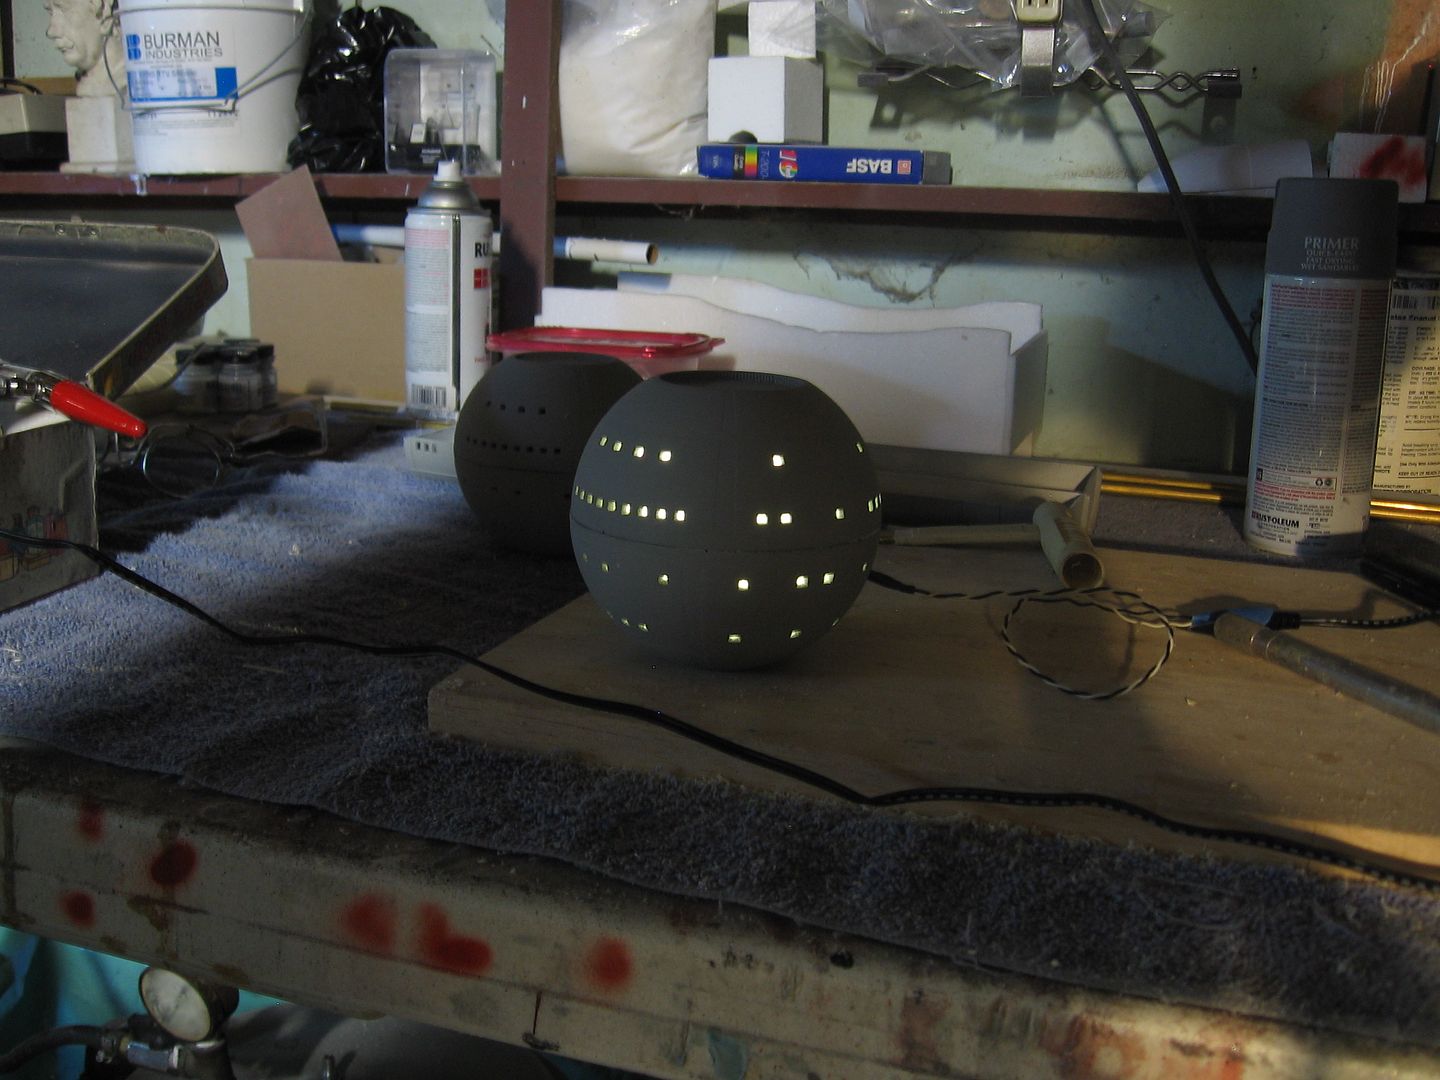
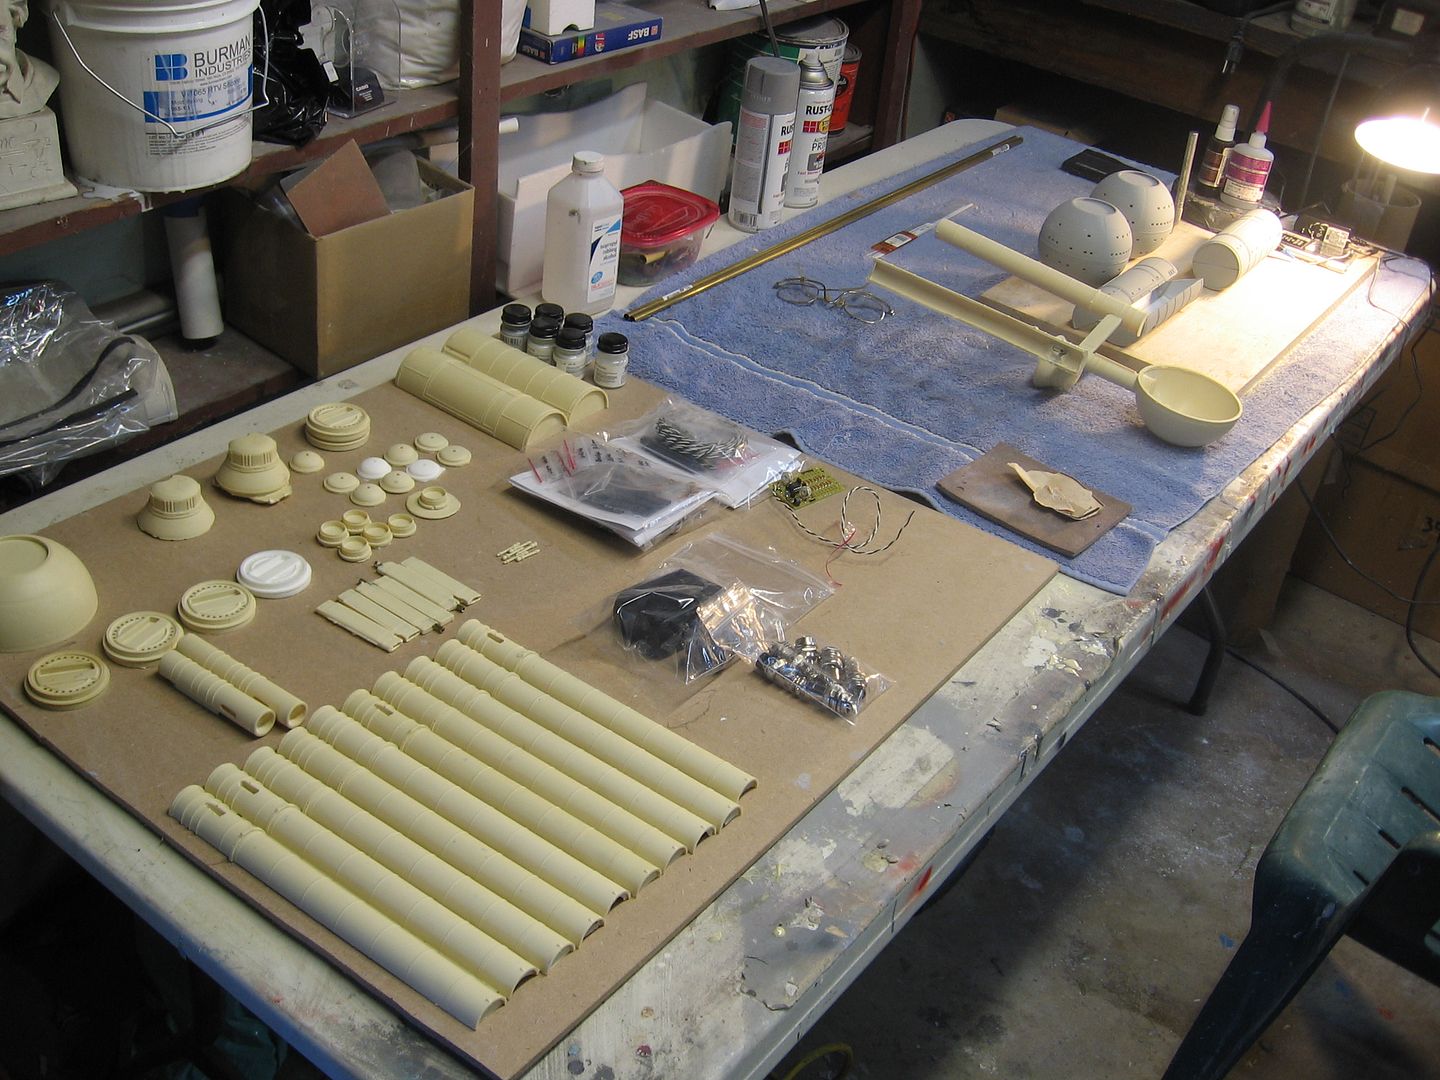
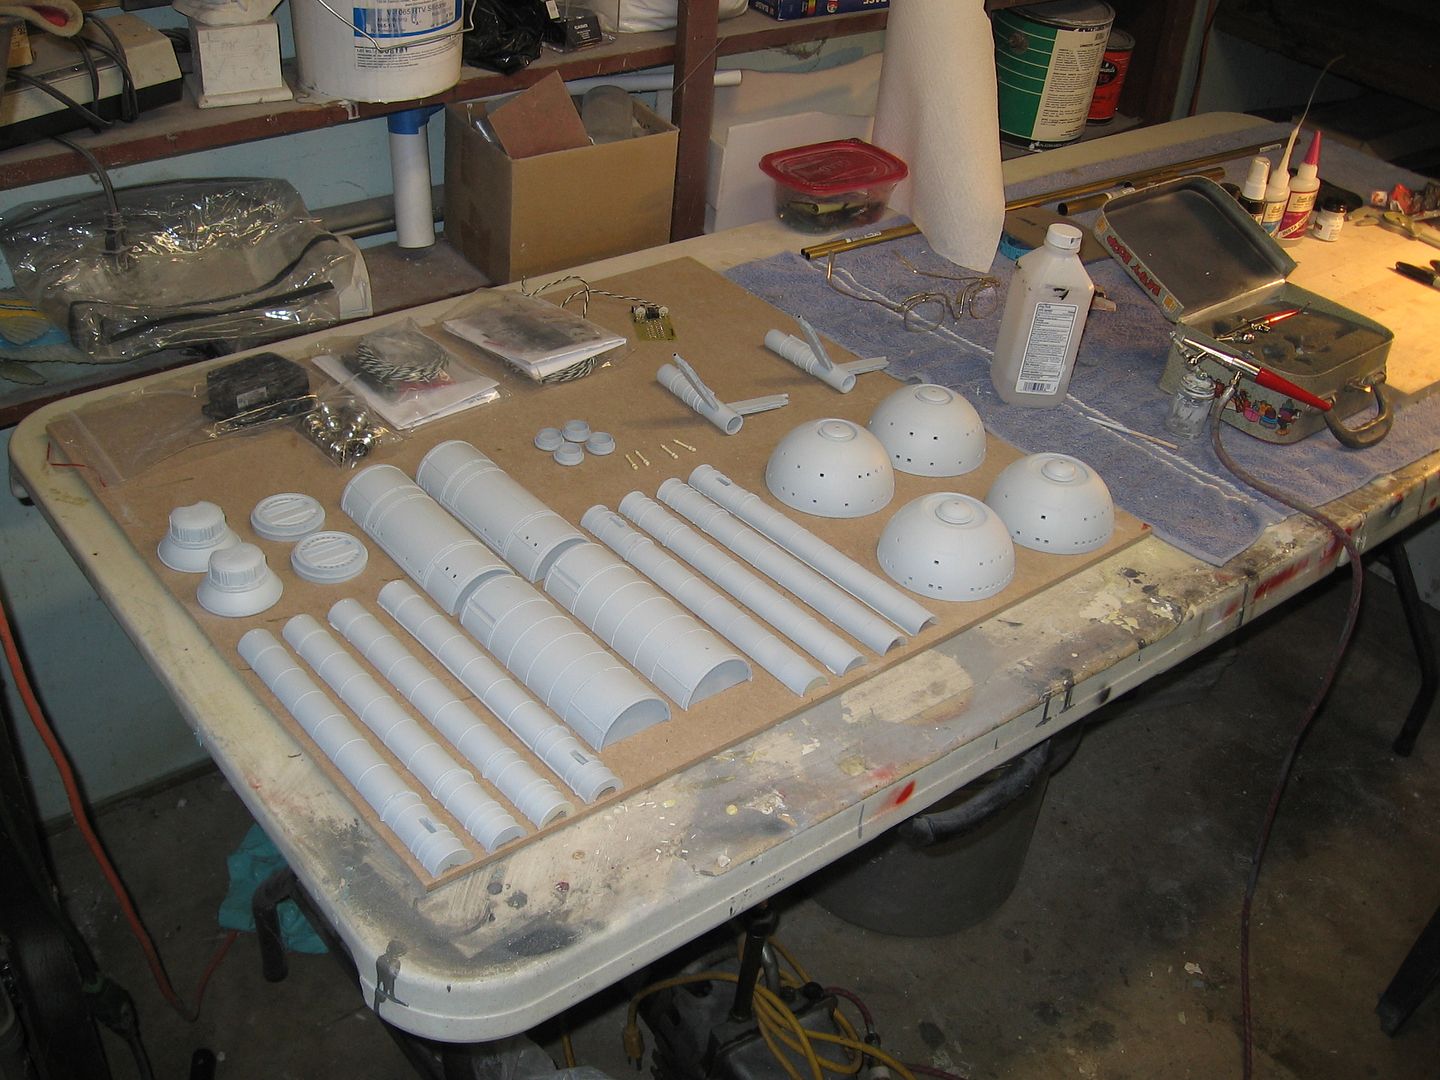
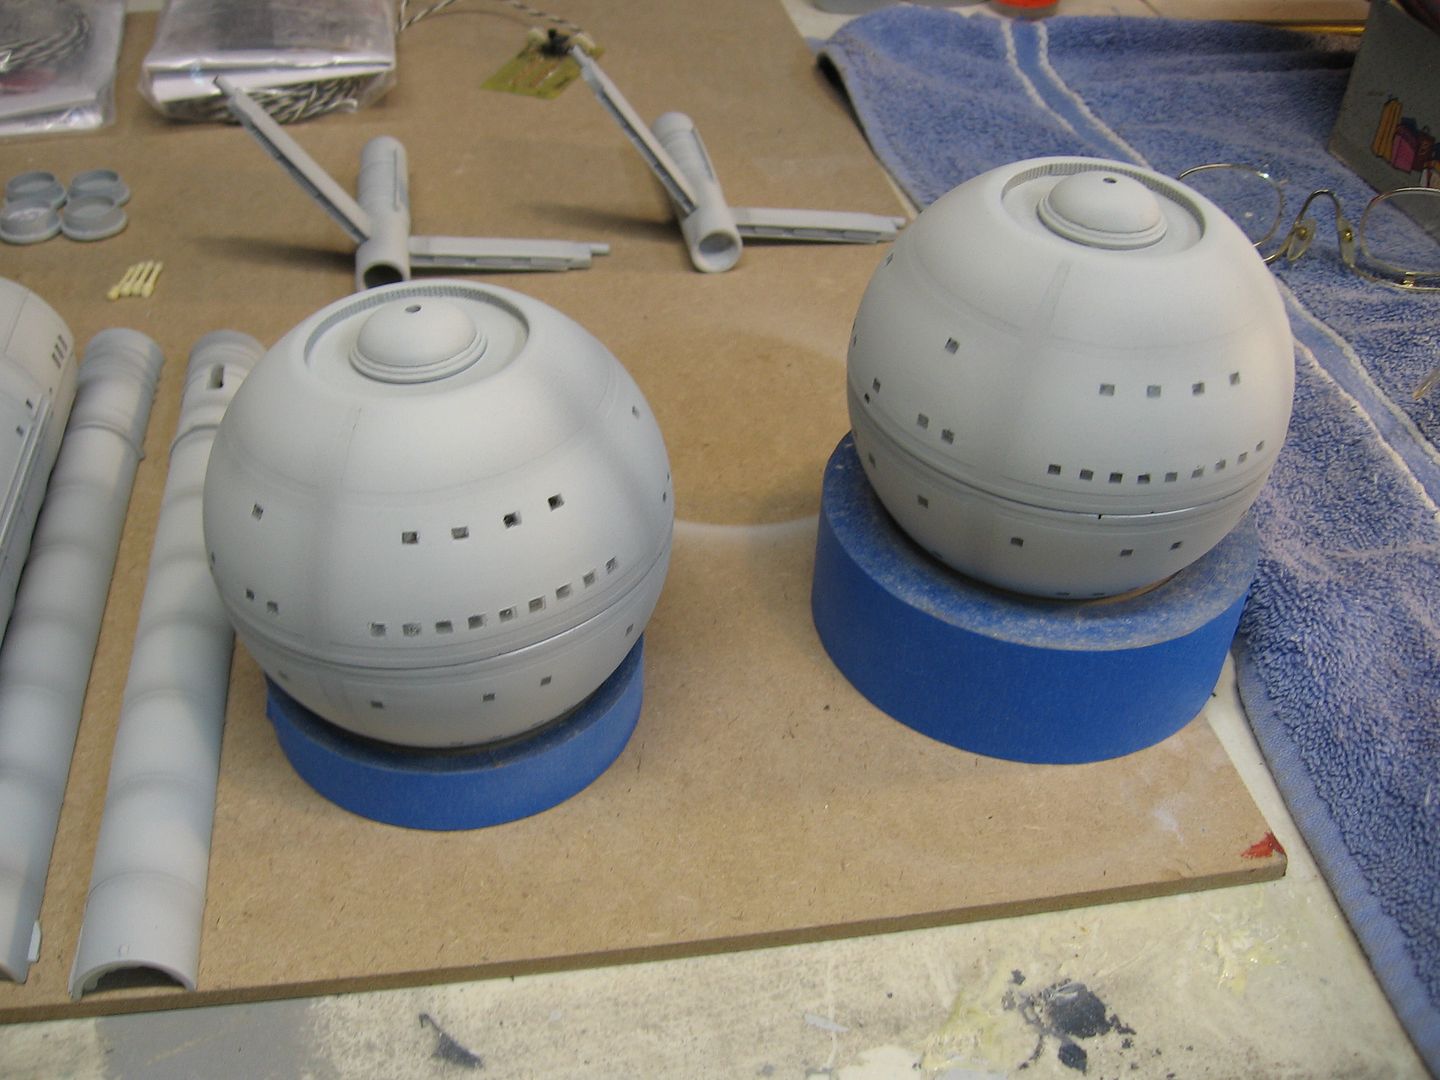
As for the lights Randy's kit include the soft warm white straw hat LEDs, real strobes and NAV lights. I say real as they run off a board that gives them the correct rates and brightness.

Steve
 
It would have been better if I would have spent a few days doing them perfect as I could. Then backing the windows with thin styrene and making a new mold. This way I'd have the deep cut windows with a thin back that would file out in a heart beat.

1. That's genius.

2. Could you do that with the master to begin with, saving a step?
 
Got both kits light proofed and tested. Trial fitted some parts of the third kit to see if it still plugs and plays. It does. There's no glue in the un-primered model. Just a nice tight fit.

All the windows are open on both models. Tomorrow I can start the actual build.

Steve

IMG_7148.jpg


White primer over the black primer.

IMG_7150.jpg


IMG_7151.jpg


This is one star hat warm white LED. This LED has a very wide angle. It's doing all the lighting alone.

IMG_7154.jpg


IMG_7158.jpg


IMG_7159.jpg


Look Mom no glue.

IMG_7155.jpg


Makes you want to build just looking at this table.
 
Last edited:
This has to be a record for the fastest kit ever produced. From master to finished casting was like a couple of weeks.
 
Wow, amazing work sir. Im an extreme amatuer at model building but I know cool when I see it. Your attention to detail is amazing. I had started doing my own scratchbuilt Daedalus but the the details you have are just over the moon. I dont know how much the kit will cost but I will make it happen to own one. Please put me down for at least one.

I wish you and your wife the best and speedy recovery thru the trials ahead. I work in the medical field and cant even imagine what you go thru. All the same, I wish you strength and unwavering hope.

Side note, I think if ENTERPRISE had used the Daedalus design and kept to TOS prequel history, I think she would have made it. Well, that and the storytelling. The premise was good but they went for the Akiraprise and to me that just made no sense. I did think that once the Xindi attacke, the Enterprise would get a neck modification allowing for a secondary hull for supplies and personnel to be attatched...would have worked perfectly for the evolution of the Jeffries design.


http://thumb17.webshots.net/t/73/173/4/14/74/2457414740096703357dtsFBr_th.jpg


PS Please let us know when you have a ballpark on the price. Art, in all it's forms, is worth the price.

Great work, keep moving forward.
 
Last edited:
Loved your use of the Ultracal for making those jackets. I expected it to be used as a solid poured block backing mold, but the pictures told the real story. I use that stuff at work frequently, but never realized it could be worked so nicely. I love learning new molding techniques, it seems there are so many different tricks. Thanks again for sharing, your threads are a real lesson.
 
You are welcome Bondo.

Today was spent preening and pointing up parts. Once the primer starts going on you find stuff you didn’t know was there. Garage kits=bubbles and voids. Those two Star Wars kits were full of them.

Corners of castings can be the worse. So I just make an L shape cut, add some styrene and blend it in.

I will include in the kit styrene strips and the metal siding styrene. You’ll find it handy for quick fixes and filling bubbles the right way without putty.

These are my first casting and they didn’t have many to fix. It can only get better in forth coming castings.

Tomorrow I can final sand and paint the actual hull color on. Then tape the windows and fill them with 30 minute epoxy. It doesn’t yellow so badly like 5 minute.

More tomorrow,

Steve


IMG_7177.jpg


IMG_7175.jpg


IMG_7171.jpg


IMG_7172.jpg


IMG_7174.jpg
 
Today I got all the preening done and the parts primered and painted light ghost gray.

Also did a windows test with a front two rows of the main ball. I’ll remove the tape in the morning.

Tomorrow will be windows and soldering-wiring the Voodoo FX boards. Thursday I should be able to start putting things together and it will go quickly from there.

Randy is working up a nice RGB bussard effect chip that I should see later this week. So for now I’ll leave the domes off so I can solder in the board later on.

Steve


IMG_7199.jpg


Everything painted and ready to assemble once I get the windows in.

IMG_7194.jpg


IMG_7188.jpg


IMG_7184.jpg


Drilling holes to fit the 3 mm NAV and strobe lights that will be installed later on. These are some of the pictures from the instructions.
 
So here’s the deal on the windows. Then I covered over the filed out windows with painters tape. Filled the windows in behind with 30 minute epoxy.

When I remove the tape I get a pretty flat surface. But I found that flat sanding the window really makes it flush with the hull.

Next I never have been that happy with the filled out windows. It’s very hard to make perfectly square. Well no problem there. After I flat sanded I made a perfect 1/8 the square tape piece and placed it over the window. A bit of primers through the air brush and a bit of the ghost gray. After the paint dries remove the tape and you have a perfectly square window. It will take longer to do this to all of them but well worth the final look. A bit of clear back over the window will bring back the gloss.

More tomorrow,

Steve


windowfix.jpg
 
OK I give up trying to get these windows perfect and have the models done by Christmas! Arrggg!
For the most part I’m happy with them and they look really great lighted. Seeing how I have to build two and get one on the net and in video to create a few sales I have to say good enough. But you guys when you build one don’t have to.

Best route.

Drill the windows out. File square the best you can. Place tape on the back side of the hull. That’s right. Because taping the outside and filling from the back creates voids no matter what you do.

It’s hit and miss. I’ve found adding the epoxy carefully on the outside works best. And it prevents leaks between the tape which I also got causing much pain to fix. If you get a little on the hull just smear it out with a finger and sand it flush later.

Then add the tape. Cut little squares of painters tape and place them back over the windows. Airbrush primer. Then airbrush the base paint and a little weathering while in the ball park like I did.
Remove the tape and you have a pretty good crisp window.

Now they are a bit dull like the dental acrylic gag on the CR big E. But once the clear goes on they clear up and look like windows again. And you will be putting on clear gloss for the decals and semi gloss later on.

Tomorrow. I will wire up all the lighting and start putting parts together. Finally!

Maybe I could get Azteck Dummy to make up some vinal 1/8 inch square stencils for the windows. They come out much better that way than the tape. I could include them in the kit or get them from him. Just a thought.

Steve

IMG_7217.jpg


Adding primer over the tape.

IMG_7220.jpg


IMG_7218.jpg


IMG_7222.jpg


IMG_7223.jpg
 
Status
Not open for further replies.
Back
Top