Nerf Gun Props? YES!

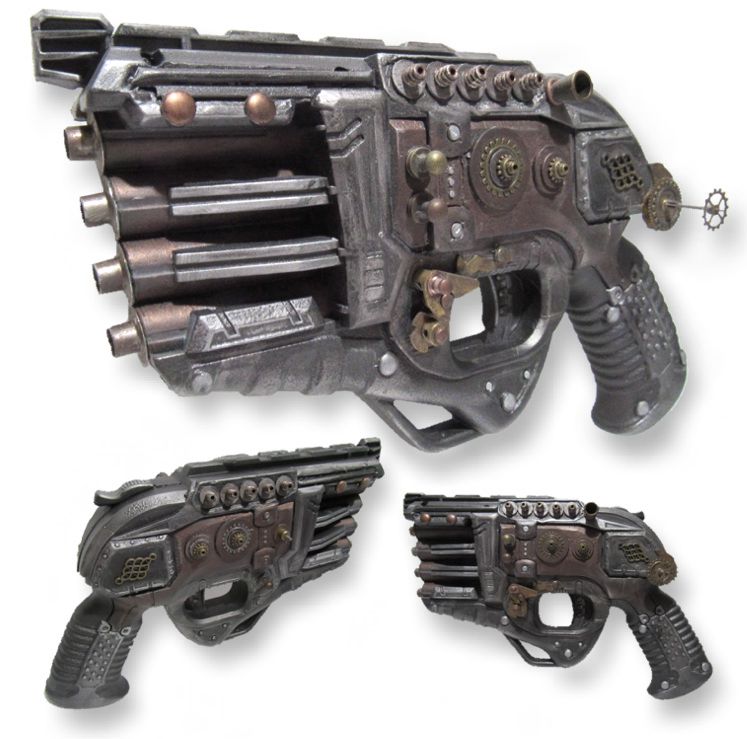
The moment a few people with very specific interests have been waiting for!

May I present the Nerf Mega Centurion BMF Assualt Rifle.

The paintjob may look complicated, but in fact I was able to do the bulk of the work over the space of a single weekend. Gotta love quick-drying paint ;)

4f0ZHwg.jpg


There's a lot going on here, so I've broken with tradition and made 2 sets of detail images:

WD8jWzM.jpg


z0Gghh9.jpg


And also a pic of the clip by itself - I can't express how happy I am with how this turned out - not in a way that I could type out in a forum anyway...

RQljcia.jpg


And a warts-and-all closeup of the holographic sight, which was commandeered from the Modulus range. I might have to get a few more of these - they sure look the business...

XCyJKs1.jpg


I hope it was worth the wait - thanks for looking :)
 
Hi all,

Just recently joined the RPF. I have a variety of prop interests but recently have been focusing on found parts ray guns and steampunk modded Nerfs. This is a project I recently completed, built from a Nerf Doomlands 2069 Persuader.

Steampunk%2BGun%2B002.jpg


It went through a few Bob Ross "happy accidents" but I'm generally pleased with the result. I've also used it as content for Hawkins Strongbox, a steampunk mythology blog I created a number of years ago and decided to recently resurrect. Take a look if you get a chance at www.hawkinsstrongbox.com.

Best--
Jeff
 
Last edited:
I am absolutely inspired by everyone on this thread and humbly submit my first Nerf paint job.

Nothing overly complex a lot of dry brushing and learning on the way. The scope is a scratch build from PVC pipe and EVA/craft foam.
I also modded the internals again a learning curve to increase range performance.

I now have a collection of blasters having picked up a job lot off eBay and look to tryout some of the advanced weathering techniques that have been featured in this thread.

Strongarm_1_SW.jpg Strongarm_2_SW.jpg
 
Excuse the double-post - I forgot I'd be posting this later in the day, but sooner than I thought....

My latest piece is an exploration of what steampunk tech would look like if it was found today - like it was discovered in a damp cupboard under the sink in a decrepit Victorian villa. Something like that anyway...

2xPCaei.jpg


I even went and painted all of the internal components as well, even though you really need a torch to see it - oh well...

ZPwsA6V.jpg


Rotting leather is hard - I'll need more practice, I think...
 
I finaly finished the stock of my nerf stormtrooper blaster but my spray-fu is wear and so the black turned milky white after coating it with matt clear coat. I still have no idea why this happened but I gueyy it might be because there was to much black color sprayed on.

This ghosting is a flaw found only in Matte clear coating. It's like the fish eye you get from the same issue while spraying gloss. It's all in your coat thickness and how close (or in this case far) you are from the piece. I have found that with rattle can matte clear coats, you REALLY have to go thin, but at the same time, be a little closer to the object. You have to keep about 6" away and do fast, even, "one shot" passes, starting off of the piece and spraying beyond. Now with gloss, you can spray more with every coat as it builds up, but with matte, it is IMPERATIVE that you keep it at light fast mist coats, all the way to the final coat. One single coat goes on too thick, whamo, milky white fog.
 
Edit: I have gone and done a proper website to feature all of my work, so I've moved the tutorial that was here onto my site. It was kinda in the wrong place to begin with anyway...

Check out Nerfmancer.com if you haven't already, and you'll find the advanced painting tutorials here.

Enjoy!
 
Last edited:
Hey quick question on paint chipping. I've tried the soap technique and it worked quite well. However I'd like a bit more control, but the masking fluid I could find is designed for watercolours and as a result, it's very thin. Is there anything else you'd suggest?

I think I have some skin-safe silicone around here somewhere, so was thinking that might actually work.

The brand I use is Winsor & Newton Water Colour Colourless Art Masking Fluid - it is very thin and watery by nature, but once dry it's utterly impregnable. My biggest problem with it is that it can be very difficult to see where it has been applied already, so next time I need to buy some I'm going to investigate whether there's a coloured version...

I'm afraid I'm not much help with other suggestions, as I've only used this one brand so far - but do let us know how the silicone goes if you use it.
 
Yeah I saw it in the shop but didn't buy it because I thought it wouldn't work!

So I tried a couple of techniques; the 'soap' method (on the green side) and the 'hairspray' method on the sand side. To be honest both techniques really need an airbrush, so I've gone out and bought one. :thumbsup

FullSizeRender 4.jpgFullSizeRender 10.jpgFullSizeRender 8.jpgFullSizeRender 5.jpg
 
Actually, both those techniques are looking fantastic - I'd never even heard of the soap method until you mentioned it here.

If it's not too much trouble, could you please share a few details on preparation and execution?
 
Actually, both those techniques are looking fantastic - I'd never even heard of the soap method until you mentioned it here.

If it's not too much trouble, could you please share a few details on preparation and execution?

Yeah sure!

These are actually the first two things I've painted in like 25 years, so please keep in mind that I'm still well in the (re)learning phase.

I use acrylics exclusively. Undercoat is sprayed Citadel 'Chaos Black' but for my next one I might use 'Leadbelcher'.

I have a small but growing collection of Citadel and Vallejo acrylics, which I brush on but I'll start airbrushing some bits once my airbrush gets here and I get used to it.

For the paint chipping, there's two techniques I tried:

Soap Technique - rub a bar of soap on corners and any bits that you don't want paint to adhere to. Wash it off after your top coat has thoroughly dried.
Hairspray Technique - spray hairspray over your base layer after it's dried. After that's dry, paint your topcoat over the top. Once that's dry, moisten your top coat with a bit of water, and with a slightly stiffer brush, start working over the areas you want the paint to come off. You can 'encourage' areas by scratching them with a wooden skewer or similar. Just follow the tutorials on YouTube, it's pretty straight-forward (if somewhat miraculous).

Drybrushing:

I saw a technique on YouTube where a woman almost exclusively only drybrushes. I mean, literally everything. So I'm experimenting with layered drybrushing where you get lighter and lighter with each application. That's what I did for the copper section on the blaster pictured earlier. It's a great way to bring out subtle details.

Effing Up:

For adding dirt and grime, I'm currently using Citadel 'Nuln Oil' and Vallejo 'Streaking Grime' Environment acrylic. I add in small amounts of different colour acrylics to vary the color and opacity. I love the Vallejo Environment acrylics! Will definitely be getting more.
I just rub paint in the creases and either wipe it off with tissue, or dab it with a sponge. It's not hard, it just takes a bit of courage :)

My challenge with my next model is to show some restraint. I think the sandy coloured side of the blaster above is just taking it a bit too far.

Next project is a Hammershot, so Vim, I'll be using your example of a few pages ago as inspiration!
 
Last edited:
Oh! Mig Jimenez has a range of chipping fluids. Might go and check those out.A

Also interesting to know that he uses enamels for streaking effects, whether it's grime or rust. Which makes sense because it doesn't dry as quickly and remains workable and blendable with thinners for longer.
 
Last edited:
Thanks for that wgdesign, I'm keen to try both of those out soon. I do quite like the hairspray technique - it gives the metal an almost galvanised look, and it really does look authentically chipped. The soap leaves everything very clean looking, ironically. Not to say that's bad in any way - only it's a very different look - quite similar to the masking fluid in fact.

Can't wait to see your hammershot! I have a Retaliator on the boil, but making slow progress though. Only just started filing off the warning guff...
 
Last edited by a moderator:

Your message may be considered spam for the following reasons:

If you wish to reply despite these issues, check the box below before replying.
Be aware that malicious compliance may result in more severe penalties.
Back
Top