You are using an out of date browser. It may not display this or other websites correctly.
You should upgrade or use an alternative browser.
You should upgrade or use an alternative browser.
Jedifyfe's HIC build Han in Carbonite for the lay person
- Thread starter Jedifyfe
- Start date
Indeed that looks fabulous Brad... And perhaps you can enlighten me . . . why the Han Solo in Carbonite prop is so popular to own and recreate?
Chaim
Thank you. It's just one of those iconic props from Empire. It's a piece of art along with a prop. It also makes me feel like Jabba the Hutt. LOL
Rustoleum Matte Nickel as a base
black acrylic wash (rubbed in really well)
mists of Krylon Stainless Steel, Krylon Brushed Caramel Matte
the frame is Matte Nickel base
Mists of Rustoleum Granite primer, Krylon stainless steel
Brad your HIC has a great finish.
Could you explain how you did it in a bit more detail?
How you did the wash, the "rub", etc.
I have had mixed results with washes and am not familiar with what you mean by "rubbing"
Thanks
Tom
OldKen
Master Member
First off, I agree with the color(s).
Nailed it.
Second, the texture of the "carbonite" that you blended in looks perfect. Would love to see what all you did there. Definately a one o' these days project for me!
Third... Where the hell is this thing going to go??? Your office display space has ceased to be!
Nailed it.
Second, the texture of the "carbonite" that you blended in looks perfect. Would love to see what all you did there. Definately a one o' these days project for me!
Third... Where the hell is this thing going to go??? Your office display space has ceased to be!
@jameth1971
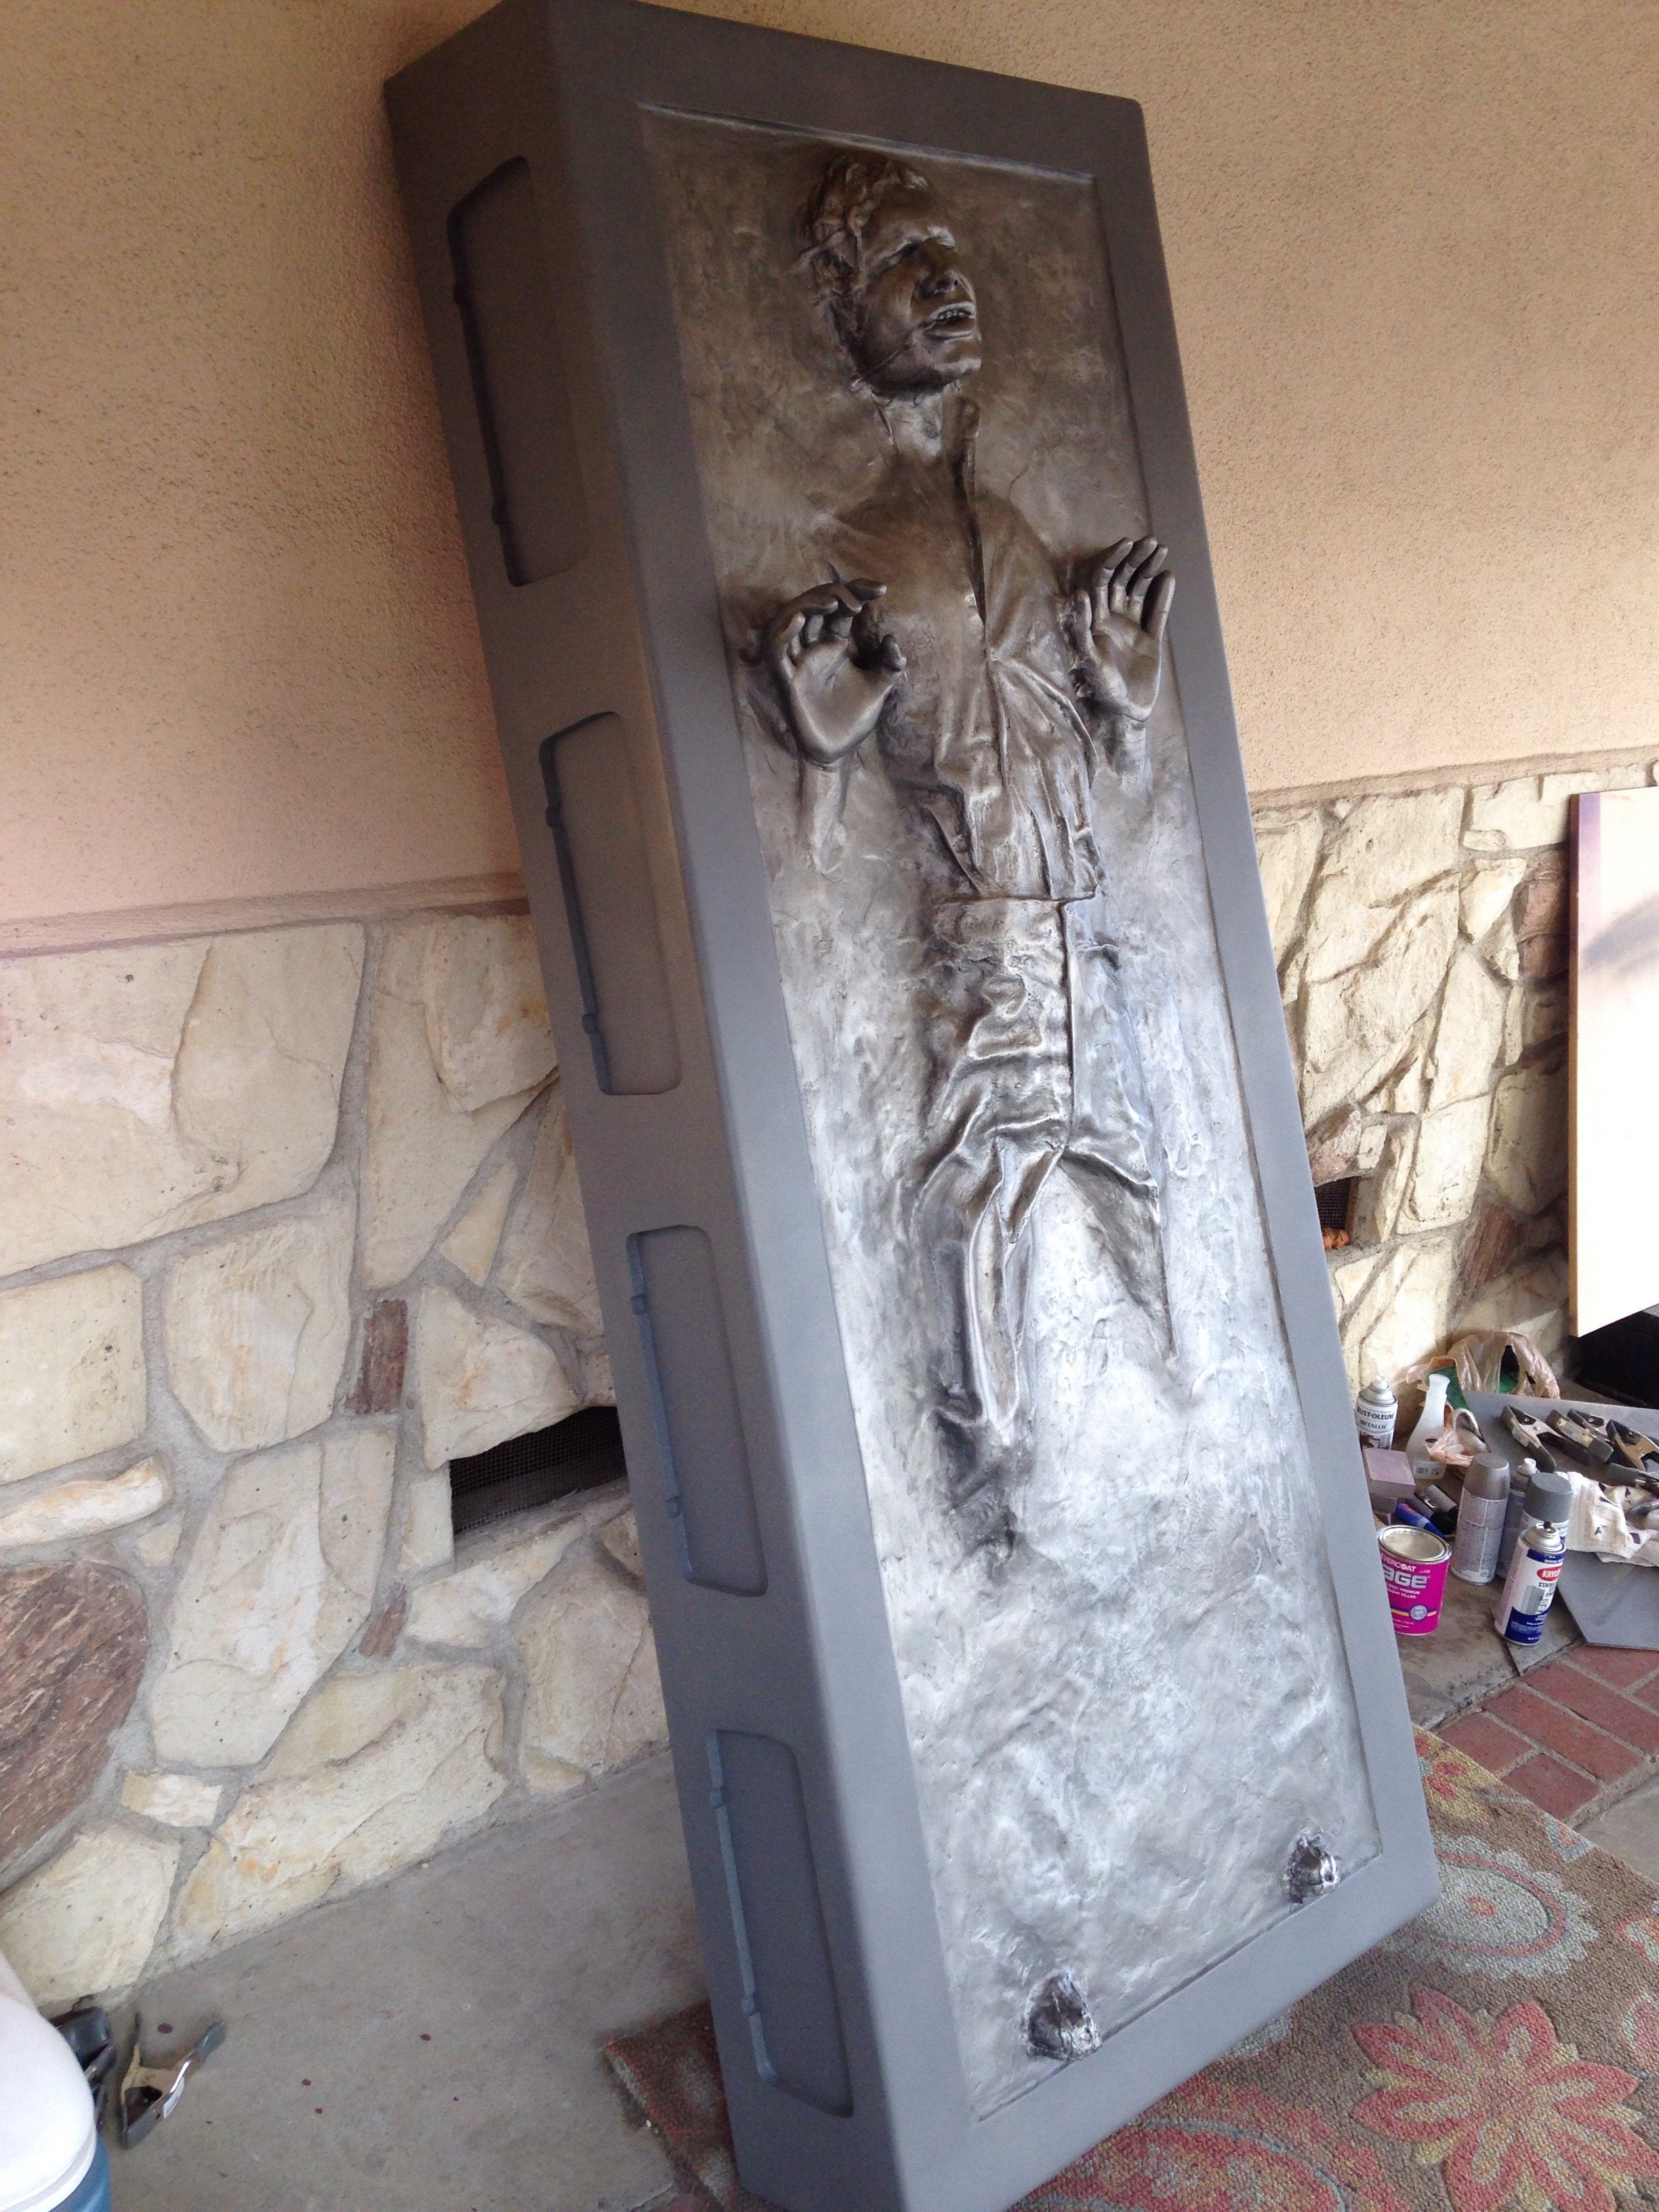
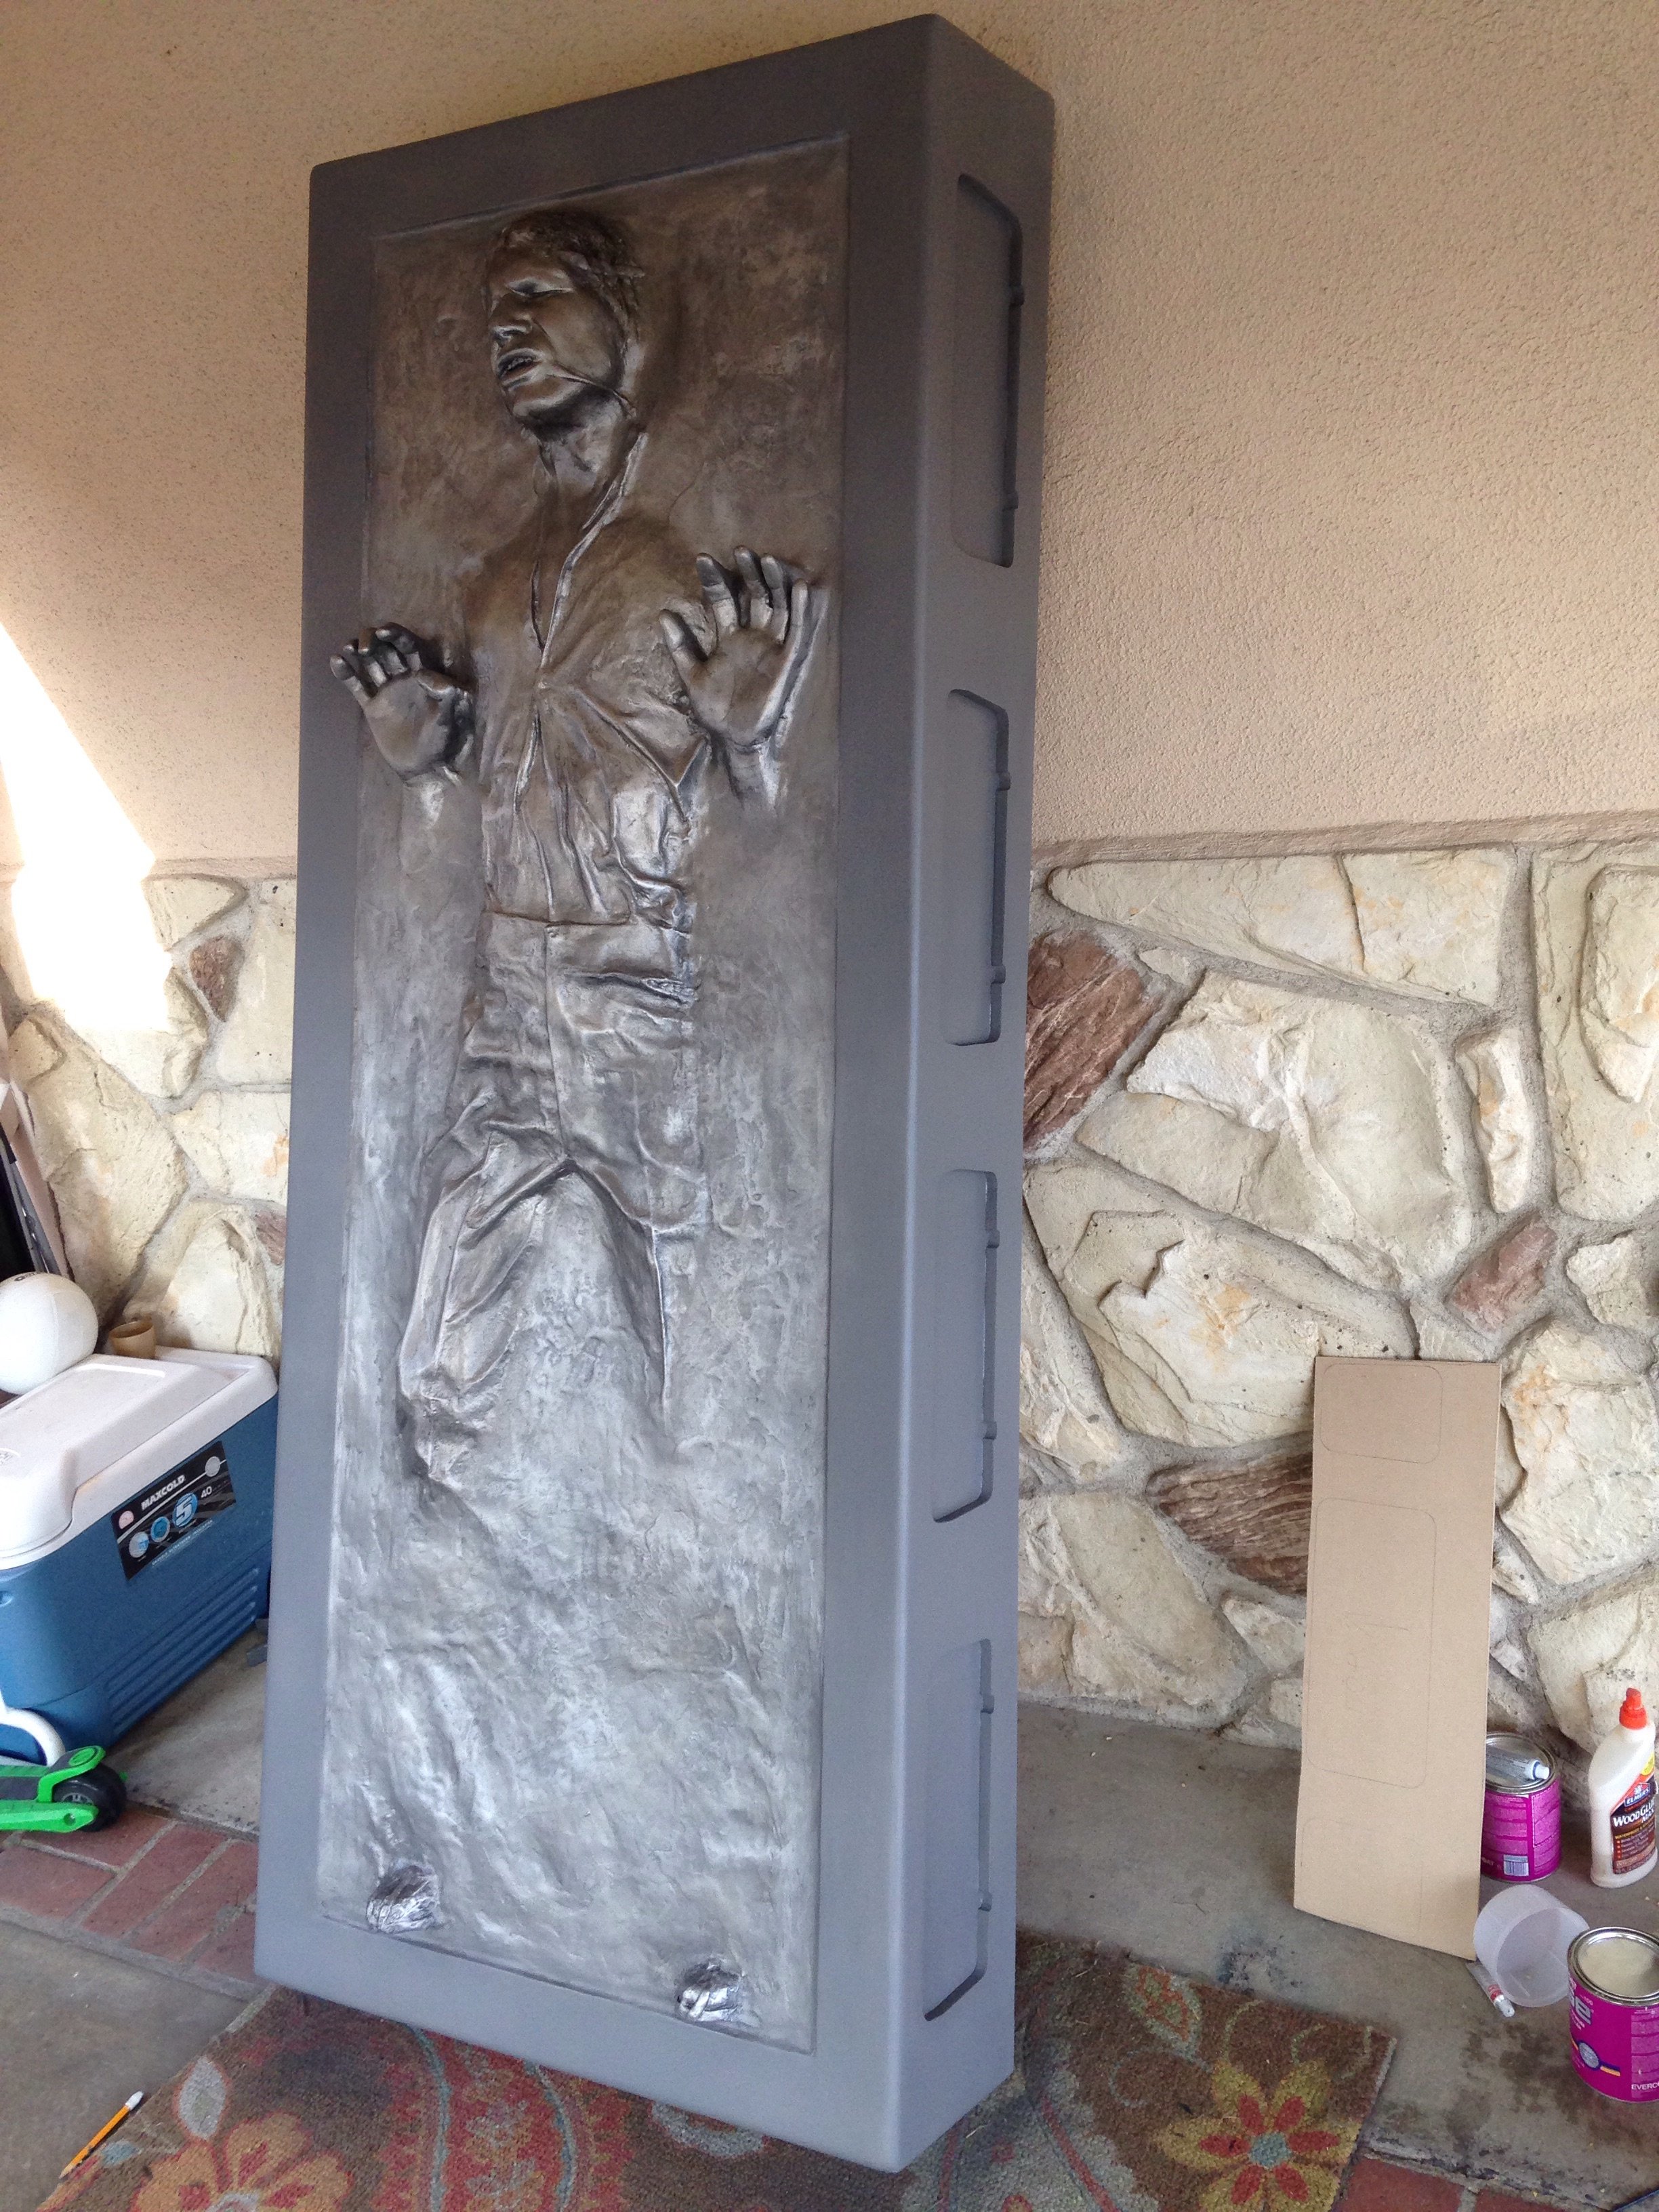
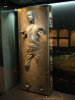
First I sprayed a vase coat of the Rustoleum Nickel and let that dry for a day. Then I took acrylic black paint, thinned it out a little with nail polish remover. Using a paper towel, I rubbed the black acrylic all over Han. Rubbing it into all the crevices and pits. I let that dry for a few minutes, then took a clean paper towel and used the nail polish remover to wipe away the excess. As I was doing that I would keep rubbing the acrylic washed areas until the black was less pronounced. I had to repeat it on certain areas a little more than others because of the varying textures of Han and the carbonite. Then I would hit it with light mists of the Krylon Stainless Steel. Lastly I would mist it in various areas with the Krylon Brushed Caramel color. I would step back and assess it every so often to make sure it was looking even. I hope that makes sense.
Today i glued the interior wood side panels in place. I will be copying another members bottom and top recesses with center vents and jet repulsor nossles.
Attachments

Last edited:
First off, I agree with the color(s).
Nailed it.
Second, the texture of the "carbonite" that you blended in looks perfect. Would love to see what all you did there. Definately a one o' these days project for me!
Third... Where the hell is this thing going to go??? Your office display space has ceased to be!
Thanks Buddy. I posted what I did with the paint. The texture is a mixture of bondo and wood glue layers.
As for where it is going to...lol. That is the mystery. I have no idea.
@jameth1971
First I sprayed a vase coat of the Rustoleum Nickel and let that dry for a day. Then I took acrylic black paint, thinned it out a little with nail polish remover. Using a paper towel, I rubbed the black acrylic all over Han. Rubbing it into all the crevices and pits. I let that dry for a few minutes, then took a clean paper towel and used the nail polish remover to wipe away the excess. As I was doing that I would keep rubbing the acrylic washed areas until the black was less pronounced. I had to repeat it on certain areas a little more than others because of the varying textures of Han and the carbonite. Then I would hit it with light mists of the Krylon Stainless Steel. Lastly I would mist it in various areas with the Krylon Brushed Caramel color. I would step back and assess it every so often to make sure it was looking even. I hope that makes sense.
Today i glued the interior wood side panels in place. I will be copying another members bottom and top recesses with center vents and jet repulsor nossles.
http://www.therpf.com/attachment.php?attachmentid=441788&stc=1http://www.therpf.com/attachment.php?attachmentid=441789&stc=1http://www.therpf.com/attachment.php?attachmentid=441790&stc=1
Yes, that all makes sense. Thanks so much.
It's looking incredible.
Thanks again
Tom

And I will likely copy YOUR top and bottom recesses... so keep a good build log! heh.
Will do. I believe it was Azheat's top/bottom recesses that I'll be copying. Lol


Center vents and repulsors are done. I will add some black paint for weathering. The idea for the vents and repulsors goes to @Azheat
View attachment 442529View attachment 442530View attachment 442531View attachment 442532View attachment 442533
What are you using for the repulsors?
What are you using for the repulsors?
The round outer rings are insulating bushings from Home Depot. The inside "fan" is styrene that I cut and the center piece is the top of a sprinkler head.


The round outer rings are insulating bushings from Home Depot. The inside "fan" is styrene that I cut and the center piece is the top of a sprinkler head.
Is this top section SA or made up???
- - - Updated - - -
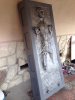
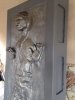
Han's final resting place. Side panels and electronics will finish him up.
View attachment 442995View attachment 442996
That looks awesome. Ya don't need a window anyway. I have never had one in a display room/office not blocked. The wall space is too valuable.
Similar threads
- Replies
- 8
- Views
- 851
- Replies
- 3
- Views
- 528
- Replies
- 13
- Views
- 1,541
- Replies
- 6
- Views
- 768
- Replies
- 58
- Views
- 5,000