You are using an out of date browser. It may not display this or other websites correctly.
You should upgrade or use an alternative browser.
You should upgrade or use an alternative browser.
1:1 Millennium Falcon Cockpit Replica - Group Build
- Thread starter SteveStarkiller
- Start date
BigBigDave
Active Member
This is a live camera down the road at Hollywood and Highland where the Solo premiere is happening tonight. The local news is saying it's a "life-sized" Falcon, but a quick look at a worker near the cockpit says it's 2/3 scale at best. Still a fun thing to look at, as are the past stills further down the page. https://www.earthcam.com/usa/california/losangeles/hollywoodblvd/?cam=hollywoodblvd
So... sorry if I've now ruined anyone's productivity for the day...
So... sorry if I've now ruined anyone's productivity for the day...
This is a live camera down the road at Hollywood and Highland where the Solo premiere is happening tonight. The local news is saying it's a "life-sized" Falcon, but a quick look at a worker near the cockpit says it's 2/3 scale at best. Still a fun thing to look at, as are the past stills further down the page. https://www.earthcam.com/usa/california/losangeles/hollywoodblvd/?cam=hollywoodblvd
So... sorry if I've now ruined anyone's productivity for the day...
LOL! WOW... That's really cool! Thanks for the link!
Makes ya think... 4 movies, 5-7 cockpits and 2 Falcons within 4 years. I'm going on 6 years and no completed cockpit yet. What am I doing wrong?
")
BigBigDave
Active Member
You're welcome!LOL! WOW... That's really cool! Thanks for the link!
Makes ya think... 4 movies, 5-7 cockpits and 2 Falcons within 4 years. I'm going on 6 years and no completed cockpit yet. What am I doing wrong?
I think the big thing you're doing is wrong is not having a crew of hundreds and unlimited funding. But that's just my opinion.
IzzyMel
Sr Member
Well Sofaking01,
After 265hrs of printing and several days of converting and slicing files. I think we have it. Thanks to Joshua's Maruska's NAV Chair file. I used the STEP file from his Nav chair and I converted over to an STL file and had to fix a few errors in the mesh when it converted. so here it is.... Held together with electrical tape.
 Untitled by Izzy Mel, on Flickr
 Untitled by Izzy Mel, on Flickr
 Untitled by Izzy Mel, on Flickr
 Untitled by Izzy Mel, on Flickr
 Untitled by Izzy Mel, on Flickr
After 265hrs of printing and several days of converting and slicing files. I think we have it. Thanks to Joshua's Maruska's NAV Chair file. I used the STEP file from his Nav chair and I converted over to an STL file and had to fix a few errors in the mesh when it converted. so here it is.... Held together with electrical tape.
Untitled by Izzy Mel, on FlickrUntitled by Izzy Mel, on FlickrUntitled by Izzy Mel, on FlickrUntitled by Izzy Mel, on FlickrUntitled by Izzy Mel, on Flickr
Last edited:
hi sofa regarding you decals, my daughter in law works for a company here in the uk that can print on sticky back vinyl, she has just supplied me with some white matt vinyl, I’m not exactly sure what you need or what she can do, but I know she can do almost anything, if you can PM me we could talk, firstly what file type would you be using and I can check to see if can use your filesHi Gang,
I need some help!!!!! There are many "red" and "red on white" symbols throughout the cockpit that I need to print as decals then put in place. Does anybody know a successful way to print these at home or know a reputable/cheap vendor who is able to print them?
I have all the files ready and I have had zero success printing, sealing etc... Naturally, I've destroyed any and all failures! lol
Any help would be awesome!
Ben
wow very nice, clean it up and recast that mother, save hours and hours of printing, congrats to the man behind the initial drawing they’ve turned out greatWell Sofaking01,
After 265hrs of printing and several days of converting and slicing files. I think we have it. Thanks to Joshua's Maruska's NAV Chair file. I used the STEP file from his Nav chair and I converted over to an STL file and had to fix a few errors in the mesh when it converted. so here it is.... Held together with electrical tape.
https://farm1.staticflickr.com/903/41125456305_91af2b10e6_c.jpgUntitled by Izzy Mel, on Flickr
https://farm1.staticflickr.com/977/28153028738_143808eb78_c.jpgUntitled by Izzy Mel, on Flickr
https://farm1.staticflickr.com/905/40218198600_22f3196125_c.jpgUntitled by Izzy Mel, on Flickr
https://farm1.staticflickr.com/909/41125456205_6e9d0a7ae3_c.jpgUntitled by Izzy Mel, on Flickr
https://farm1.staticflickr.com/955/41125456405_9654447985_c.jpgUntitled by Izzy Mel, on Flickr
ive spoken to my daughter in law and she can print in sticky vinyl and it can be cut to your shape design she works with Encapsulated postscript vector. Used for corel and photoshop (EPS) !!Hi Gang,
I need some help!!!!! There are many "red" and "red on white" symbols throughout the cockpit that I need to print as decals then put in place. Does anybody know a successful way to print these at home or know a reputable/cheap vendor who is able to print them?
I have all the files ready and I have had zero success printing, sealing etc... Naturally, I've destroyed any and all failures! lol
Any help would be awesome!
if that means anything to you ( Klingon to me !! ) or she can trace and redraw your design
you know now where I am if you need me
Ben
Well Sofaking01,
After 265hrs of printing and several days of converting and slicing files. I think we have it. Thanks to Joshua's Maruska's NAV Chair file. I used the STEP file from his Nav chair and I converted over to an STL file and had to fix a few errors in the mesh when it converted. so here it is.... Held together with electrical tape.
https://farm1.staticflickr.com/903/41125456305_91af2b10e6_c.jpgUntitled by Izzy Mel, on Flickr
https://farm1.staticflickr.com/977/28153028738_143808eb78_c.jpgUntitled by Izzy Mel, on Flickr
https://farm1.staticflickr.com/905/40218198600_22f3196125_c.jpgUntitled by Izzy Mel, on Flickr
https://farm1.staticflickr.com/909/41125456205_6e9d0a7ae3_c.jpgUntitled by Izzy Mel, on Flickr
https://farm1.staticflickr.com/955/41125456405_9654447985_c.jpgUntitled by Izzy Mel, on Flickr
That is the most beautiful nav chair accessory I have ever seen! I cannot wait to get my grubby hands on it!
Found item identified! Burger King kid's meal milk lid! I was so tickled when I saw your greeblie bin in the interview. I had to show my wife that collecting all this "garbage" does pay off!
I love these lids, I've got several iterations of items to fill the interior to give them the Star Wars look.


I love these lids, I've got several iterations of items to fill the interior to give them the Star Wars look.
Hi Gang,
Last weekend "Wired" came out to interview me and Jake and take lots of video of the project! I am SO THRILLED to announce that the article dropped this morning and they did a wonderful job making us and the project look good - that's quite a task!
A HUGE thank you to Patrick and Wired for taking interest in the project and geeking out with us last weekend!
Link to Wired Obsessed Article
https://www.wired.com/story/fan-building-millennium-falcon/
More important, a HUGE thanks to Jake, Daniel, Iz, Scot, Samantha, Wavey, Grant, Fuzz, Stinson and the rest of the gang and all of you RPFers who have made this entire project come to life. You guys and gals are my heroes! Thank you so much for your continued support!
May the 4th Be with You!
Attachments
ive spoken to my daughter in law and she can print in sticky vinyl and it can be cut to your shape design she works with Encapsulated postscript vector. Used for corel and photoshop (EPS) !!
if that means anything to you ( Klingon to me !! ) or she can trace and redraw your design
you know now where I am if you need me
Ben
Hey B,
THANK YOU so much for the VERY generous offer! Fellow RPFer "Wimismith", who happens to live in the same city as the project, has kindly offered up the exact same service using the same material, etc. We're going to give this a shot and hope for total success!
Stand by!
- - - Updated - - -
Found item identified! Burger King kid's meal milk lid! I was so tickled when I saw your greeblie bin in the interview. I had to show my wife that collecting all this "garbage" does pay off!
I love these lids, I've got several iterations of items to fill the interior to give them the Star Wars look.
View attachment 816334View attachment 816335
Hey H,
I saved that lid for that EXACT reason. The details are amazing and would make an excellent greeblie! Whether they are bases of an engine, turn dial or a random part... they possibilities are endless.
This is a live camera down the road at Hollywood and Highland where the Solo premiere is happening tonight. The local news is saying it's a "life-sized" Falcon, but a quick look at a worker near the cockpit says it's 2/3 scale at best. Still a fun thing to look at, as are the past stills further down the page. https://www.earthcam.com/usa/california/losangeles/hollywoodblvd/?cam=hollywoodblvd
So... sorry if I've now ruined anyone's productivity for the day...
Turns out I can look at that for a quite some time!
Turns out I can look at that for a quite some time!
And down it comes...

Hi Gang,
LOTS of stuff going on this weekend! The heat and humidity are back... UGH...
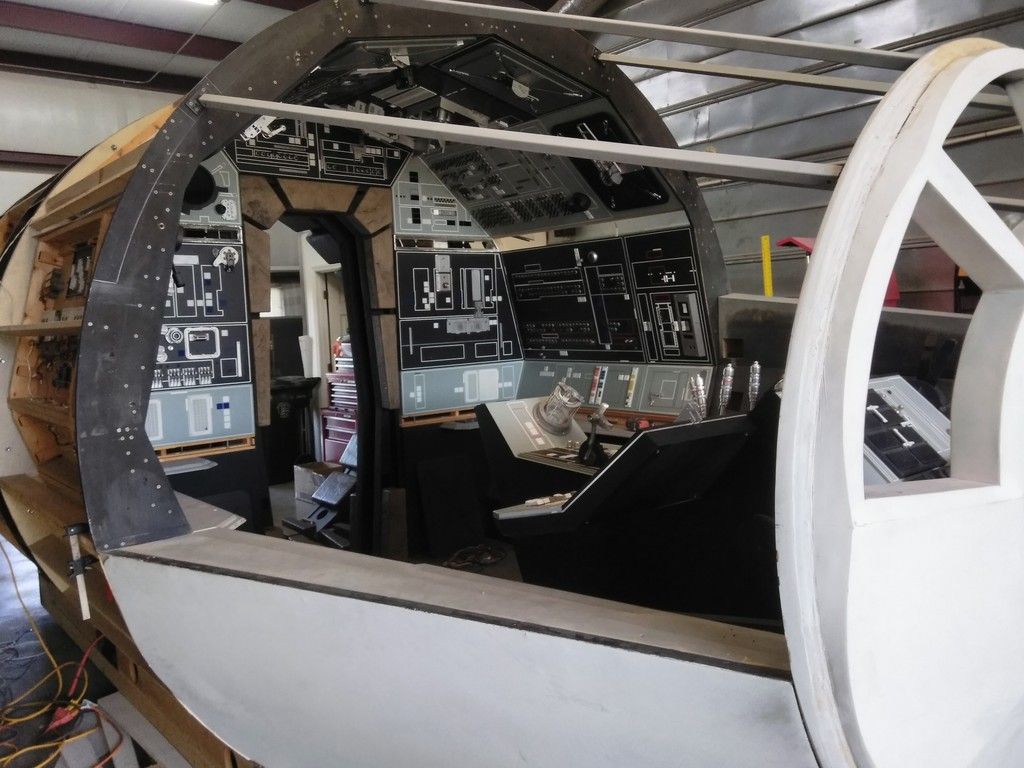
I decided to move away from working on the canopy in favor of getting some other more important things done before the Escape Velocity SciFi Convention at the end of May. No more babbling... Enjoy!
I took off the Volvo panels in prep for pin striping and greeblies!
Sanded off all the dust and prepped for paint

These are going home with me
I added some protection to the lower half of the console - she was getting really beaten up around the edges
Trim the excess
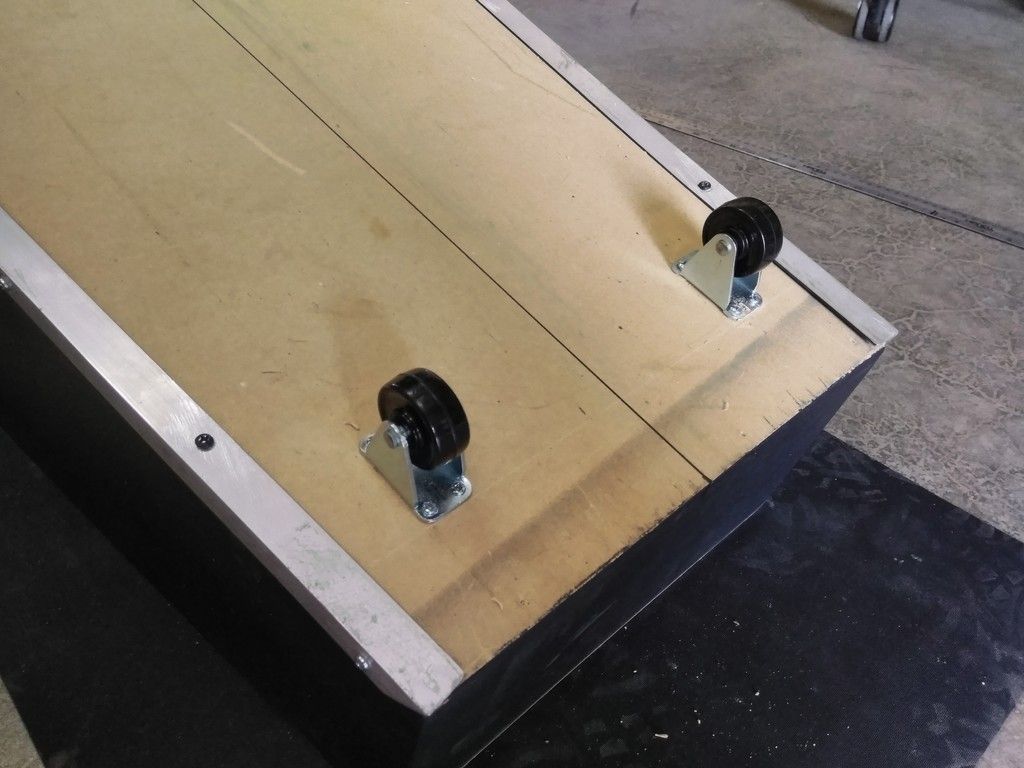
I then added casters - this will make it MUCH easier for people to get in and out of the seats as we will simply push the console forward and back allowing for more leg room during entry and exit
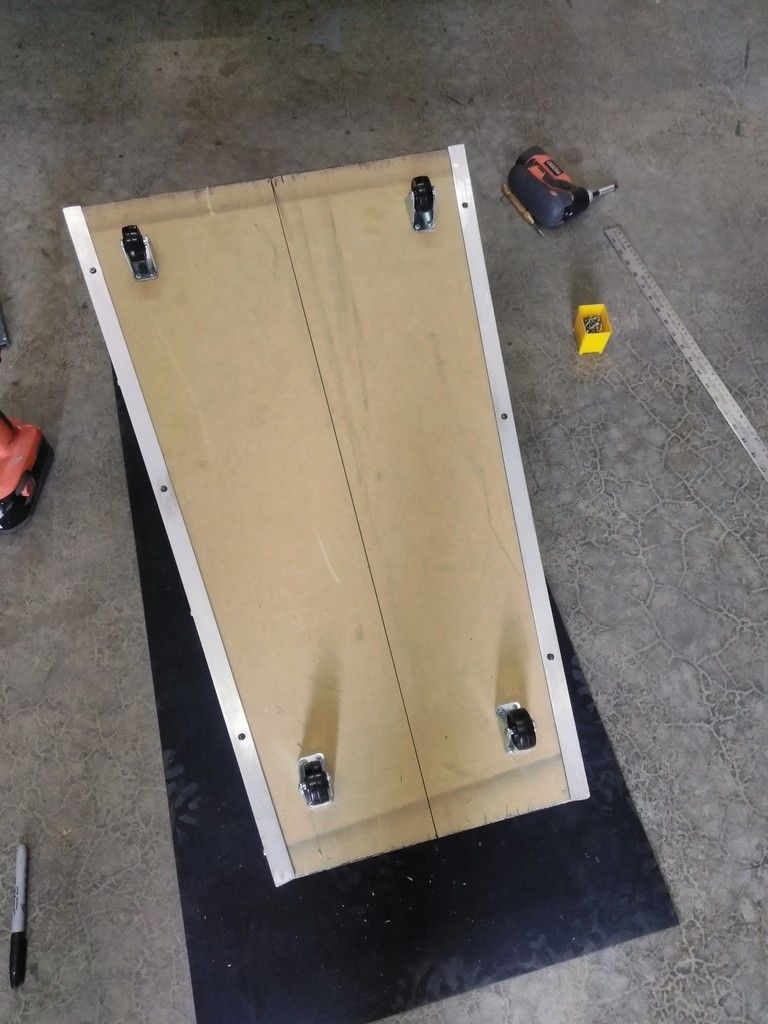
No swivel, just a simple back and forth motion. These will also fit inside a simple track with bump stops at both ends
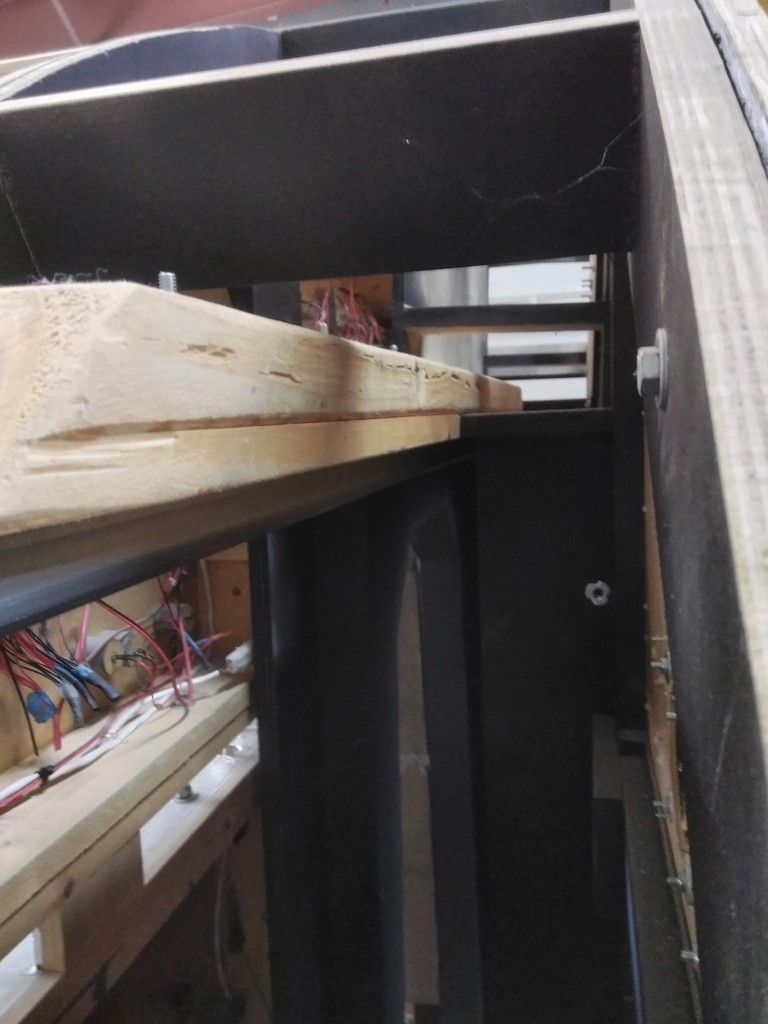
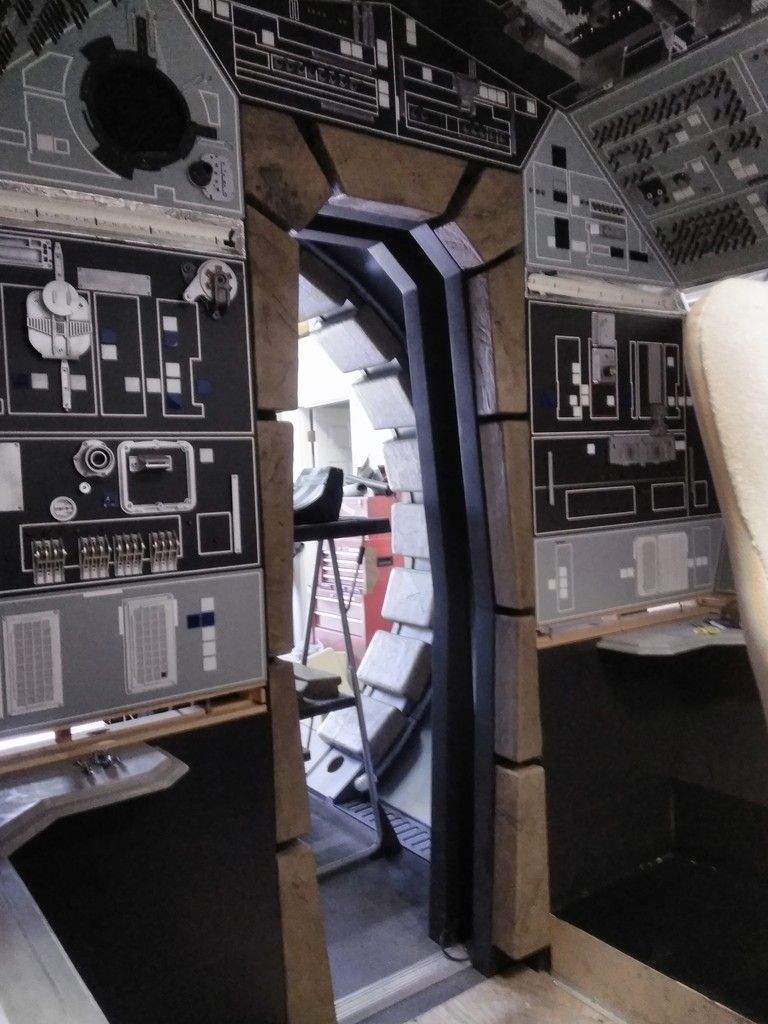
The door and door track are finally getting some attention
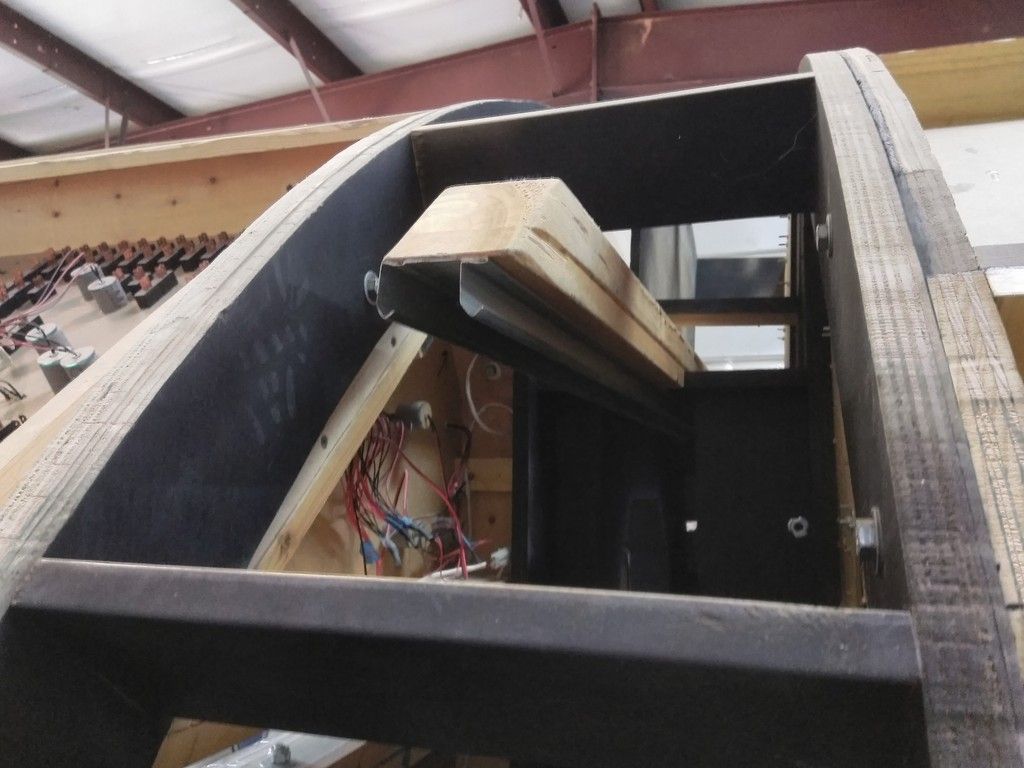
The door track has to be heavily mod'd to fit the new door frame - finish that up next week
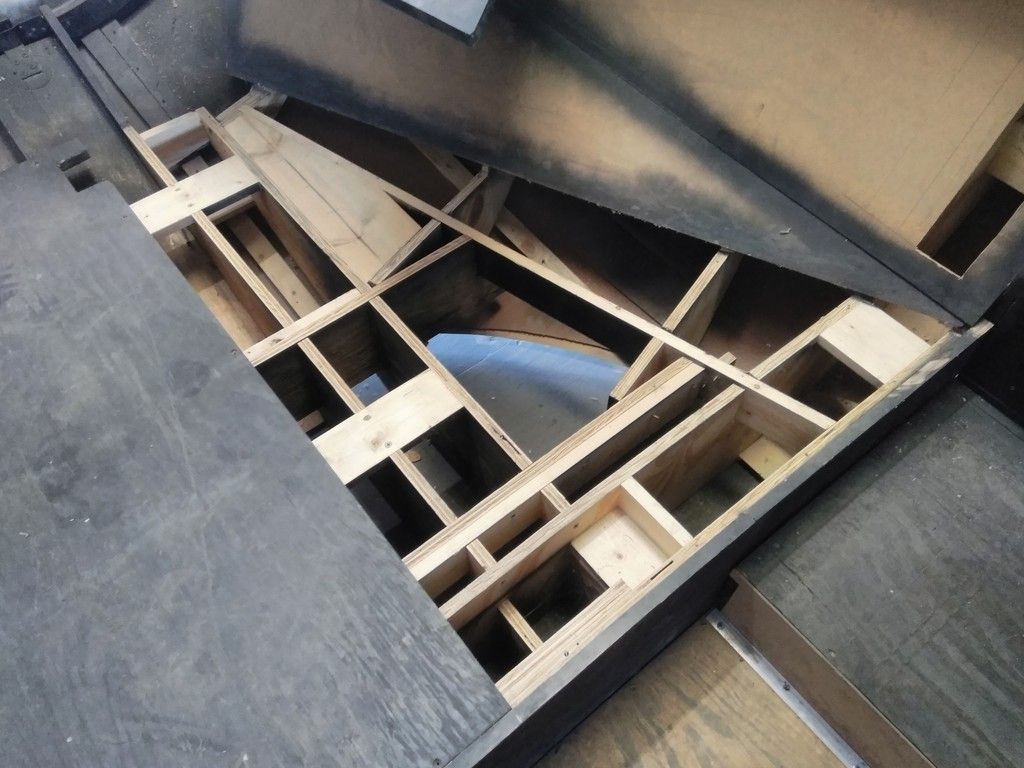
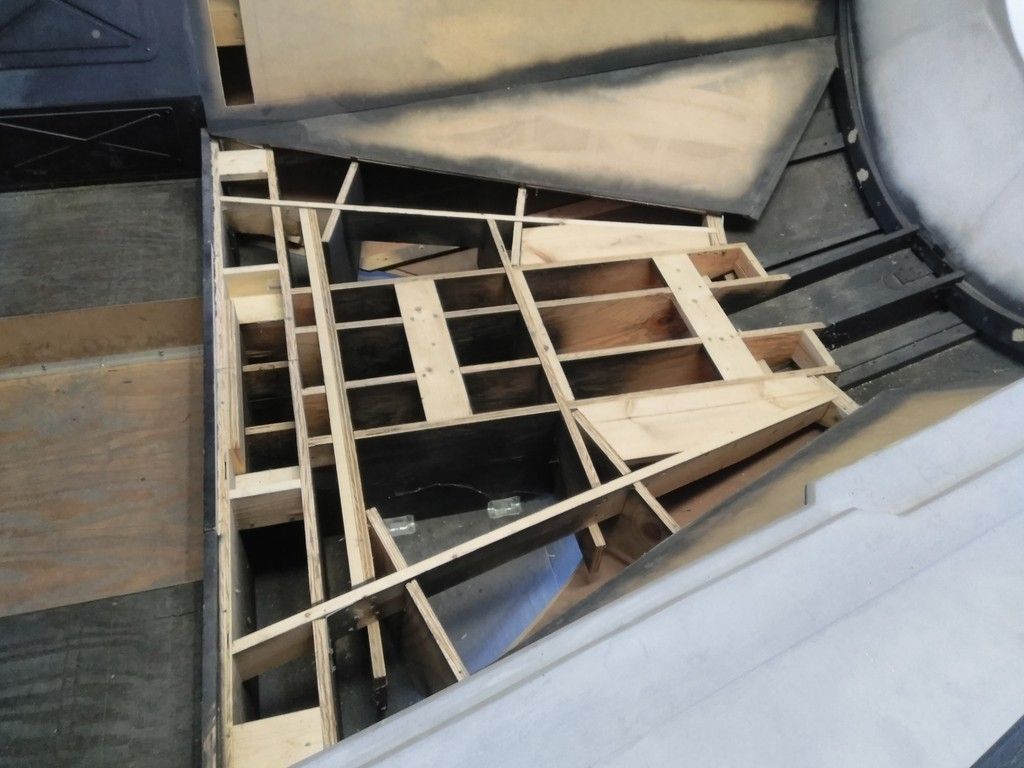
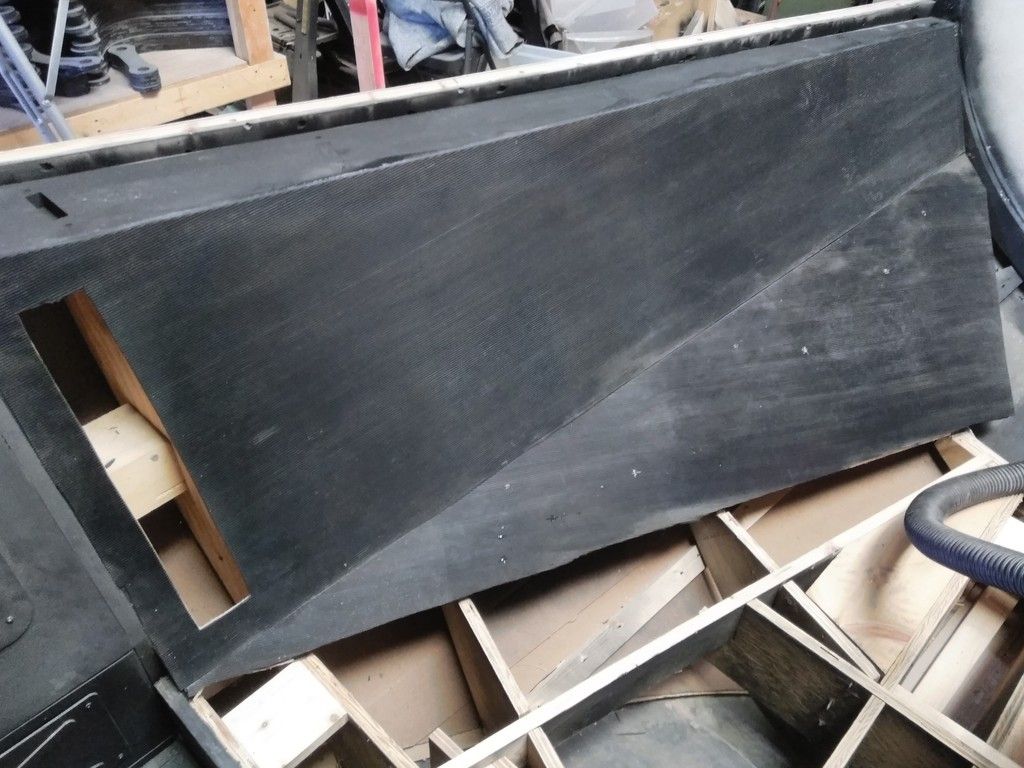
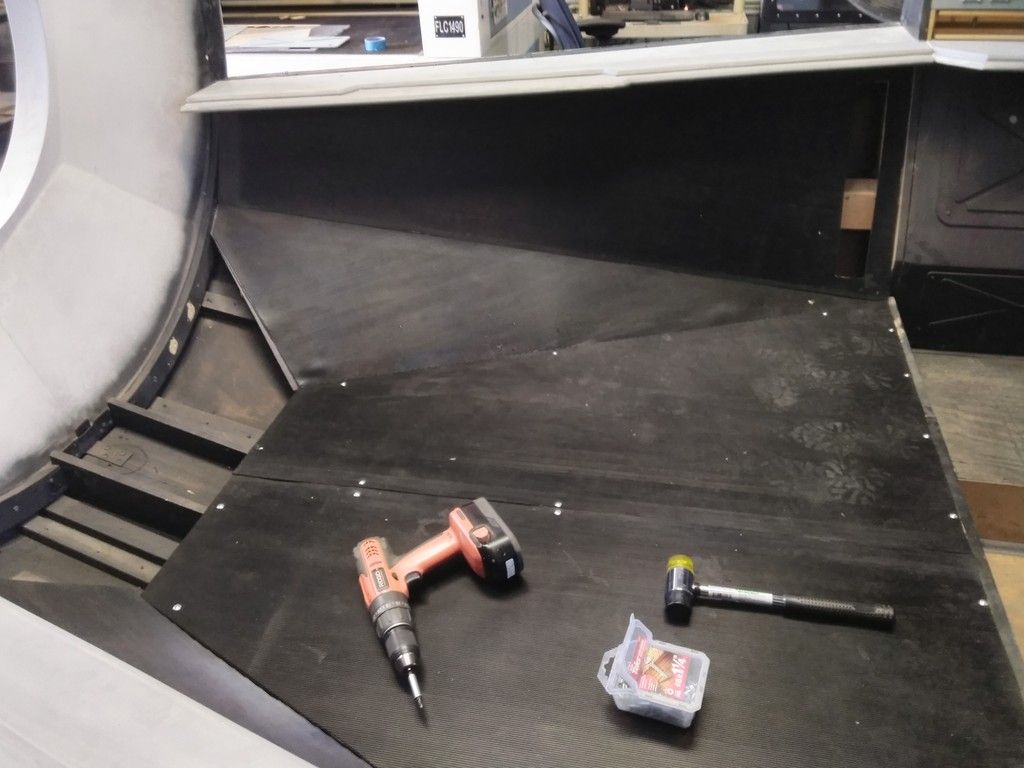
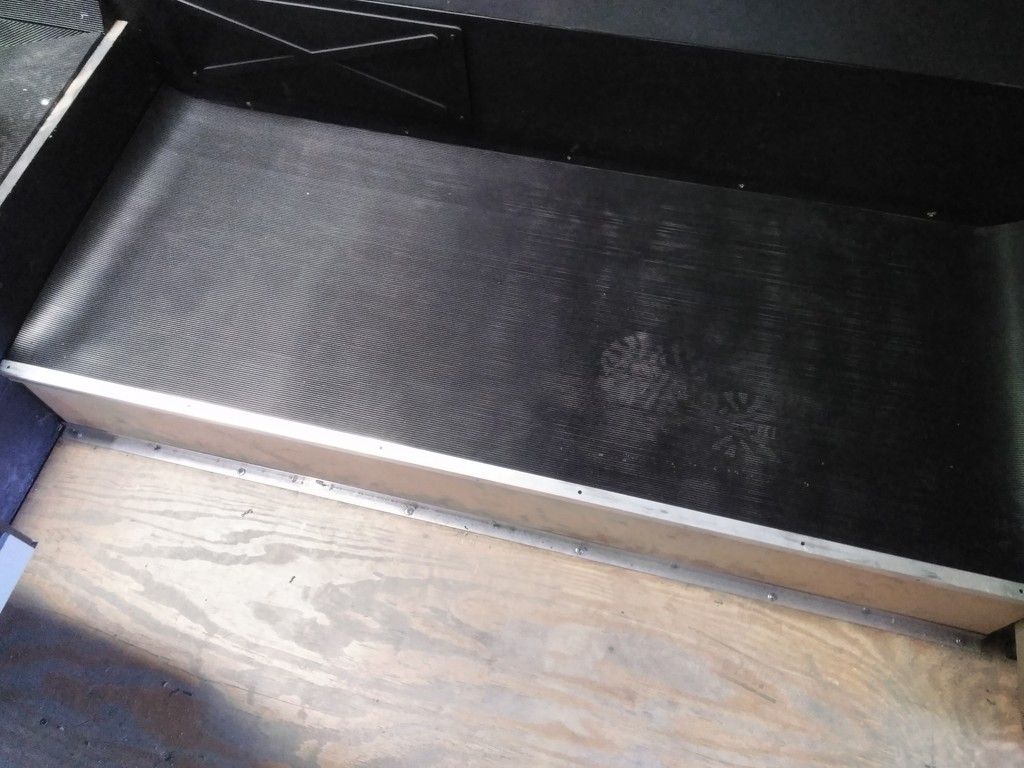
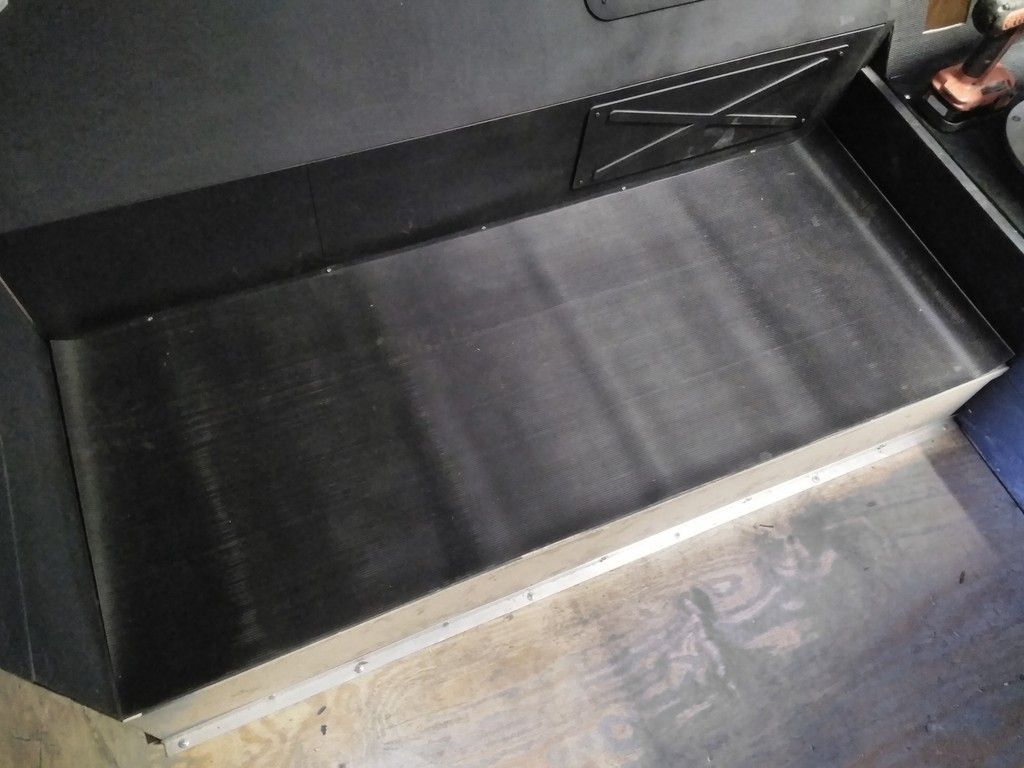
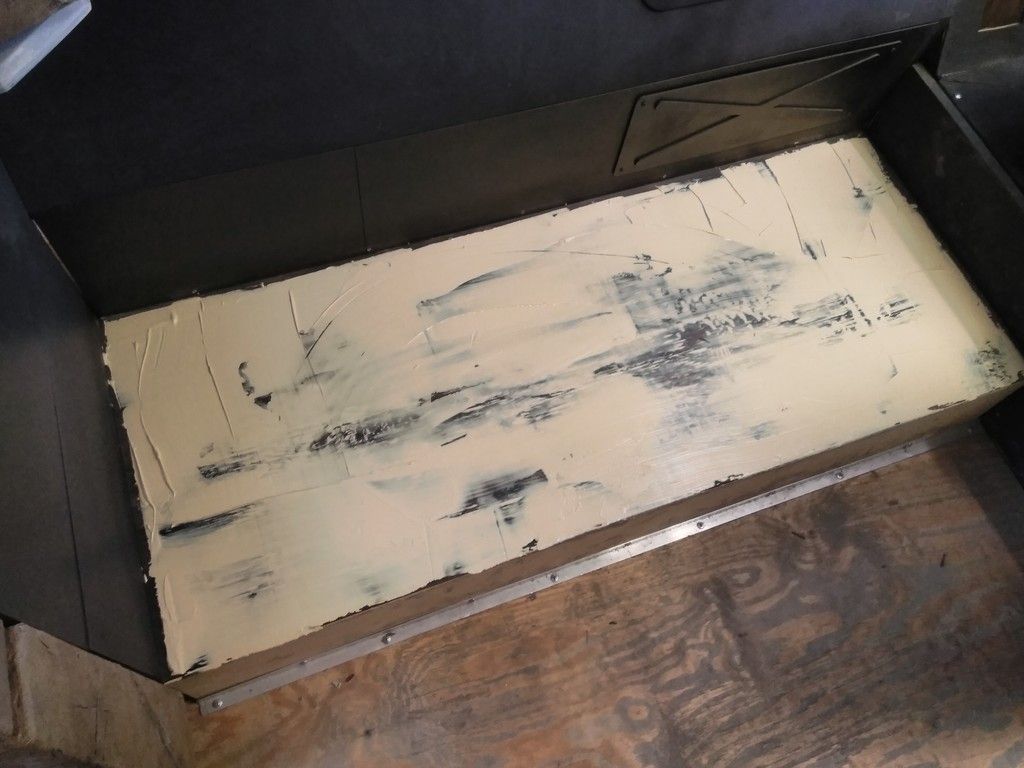
I pulled the main nose flooring up
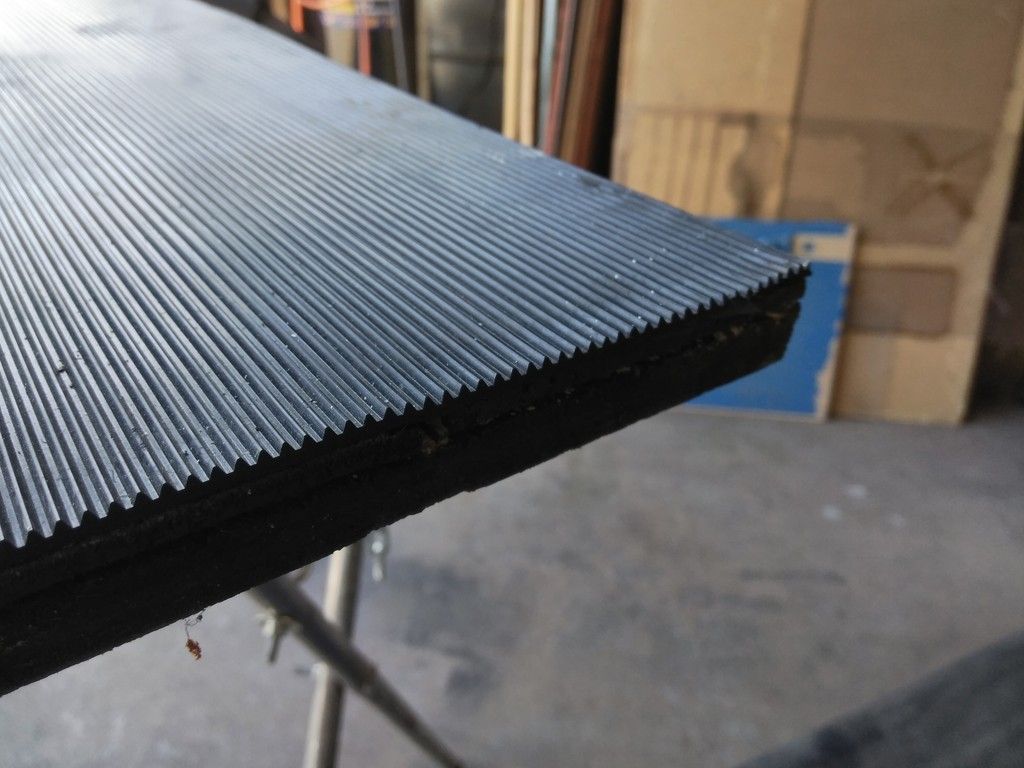
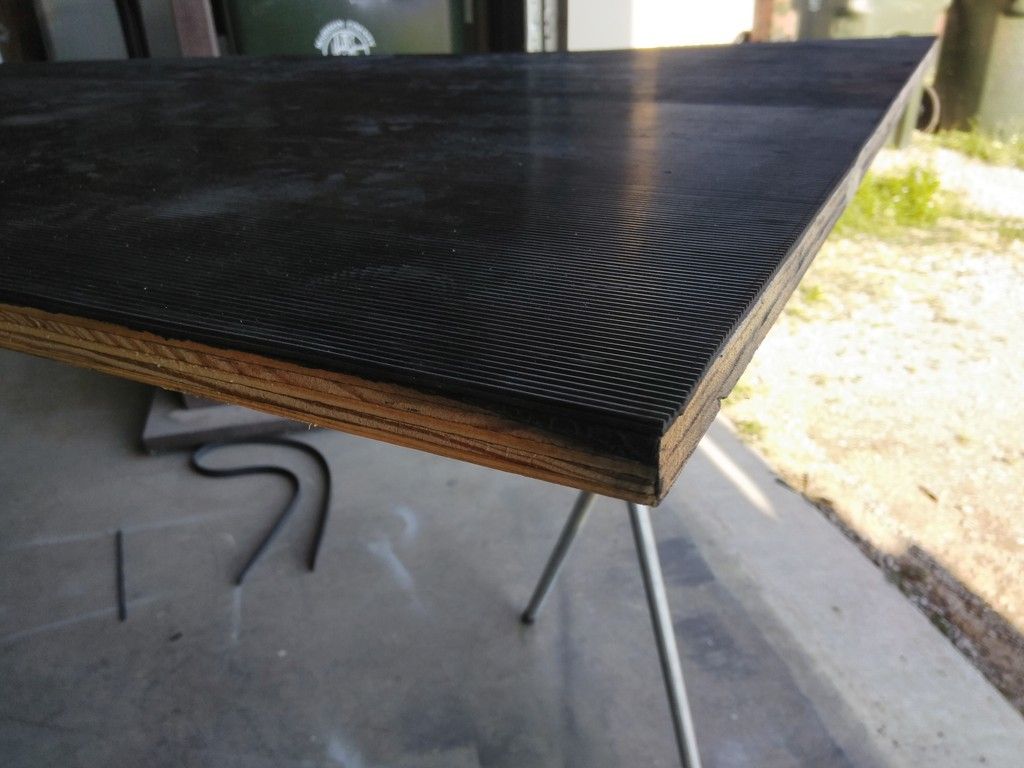
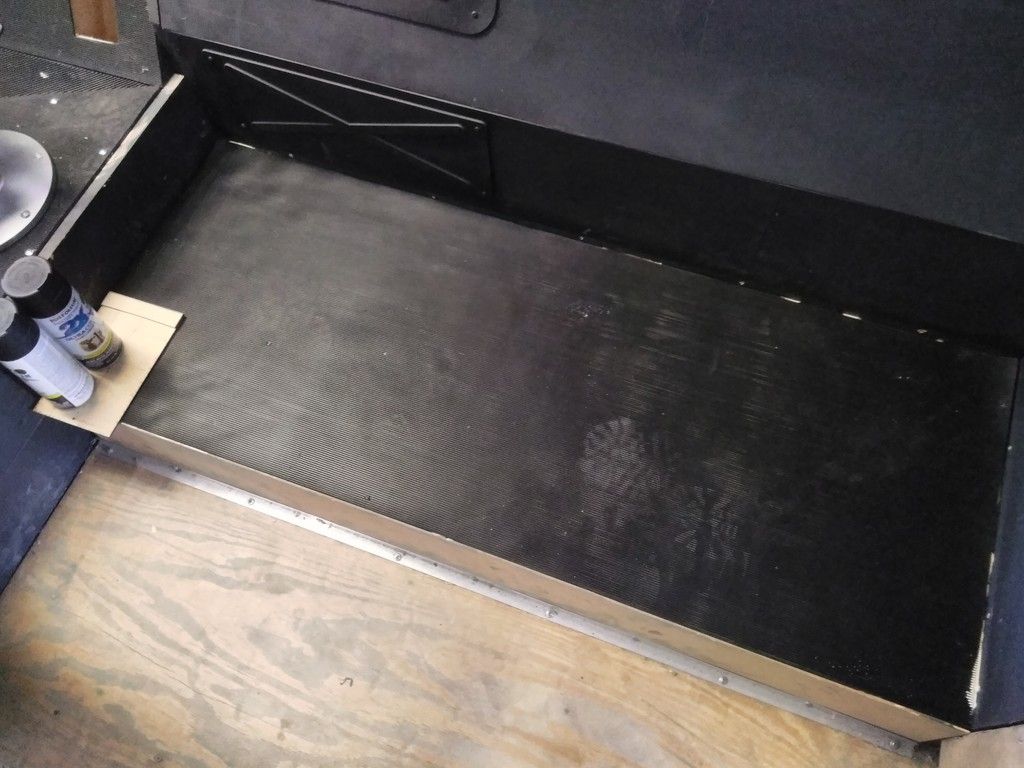
Adhered the corrugated rubber mat!

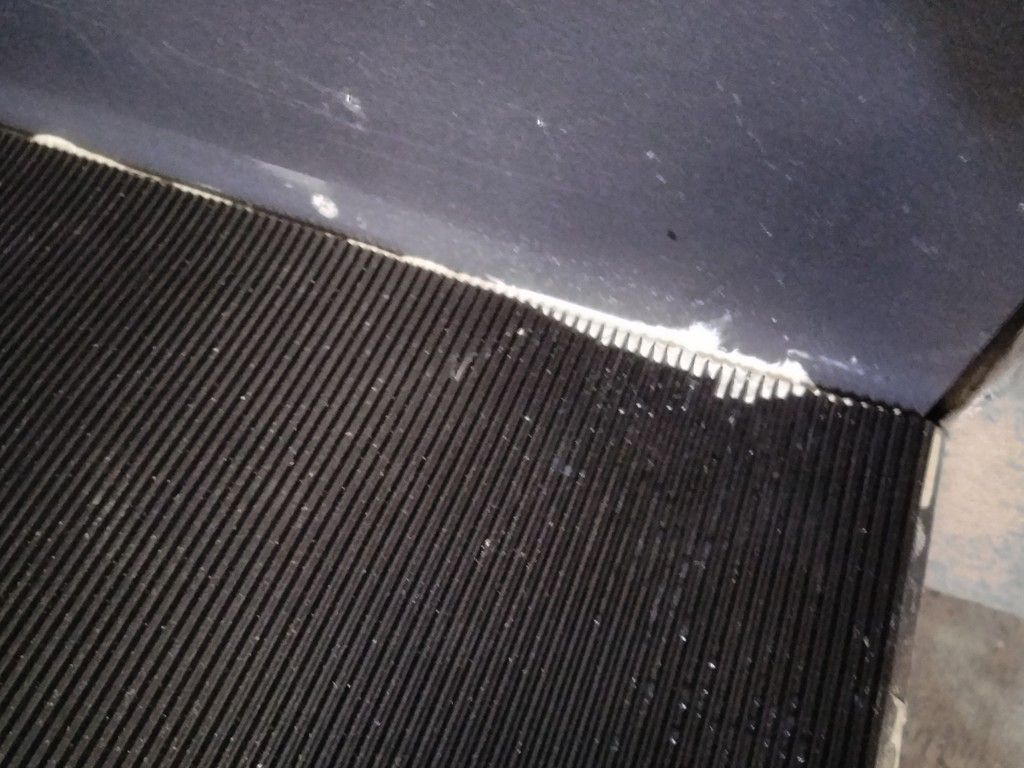
Trim the excess
Nice

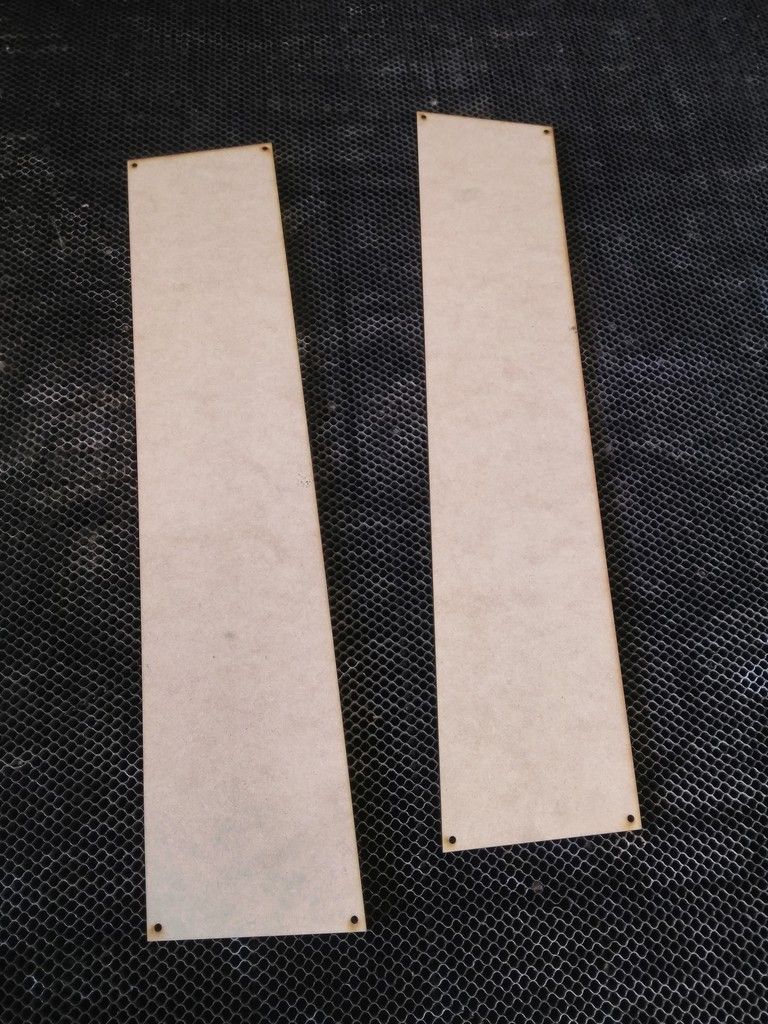
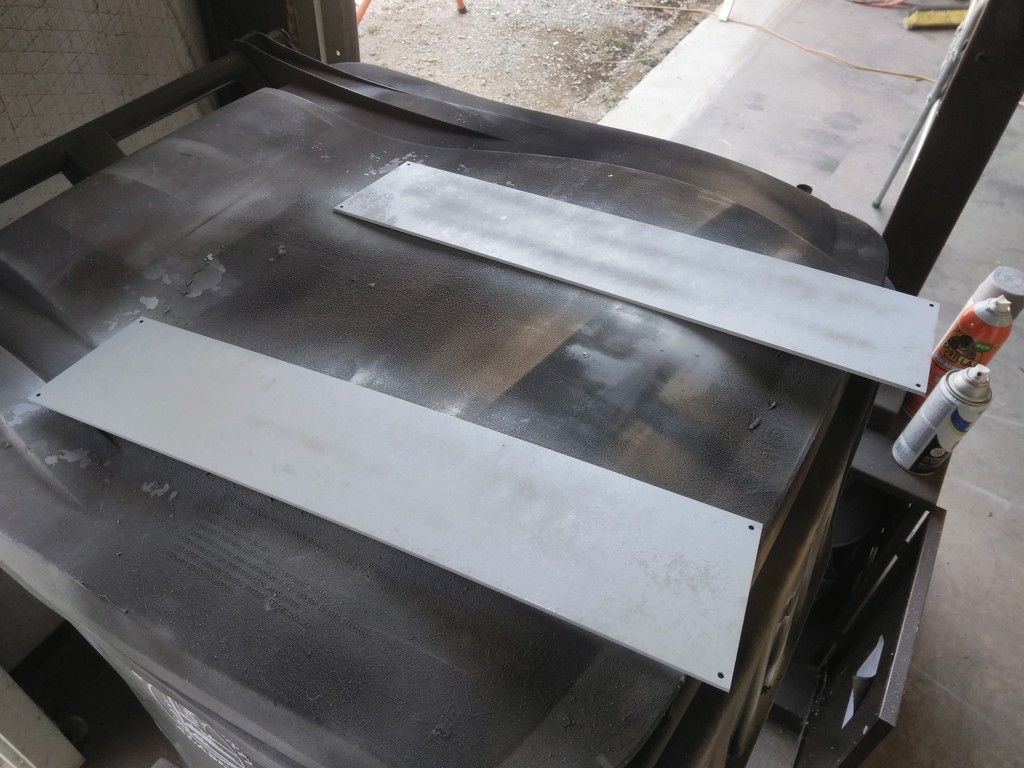
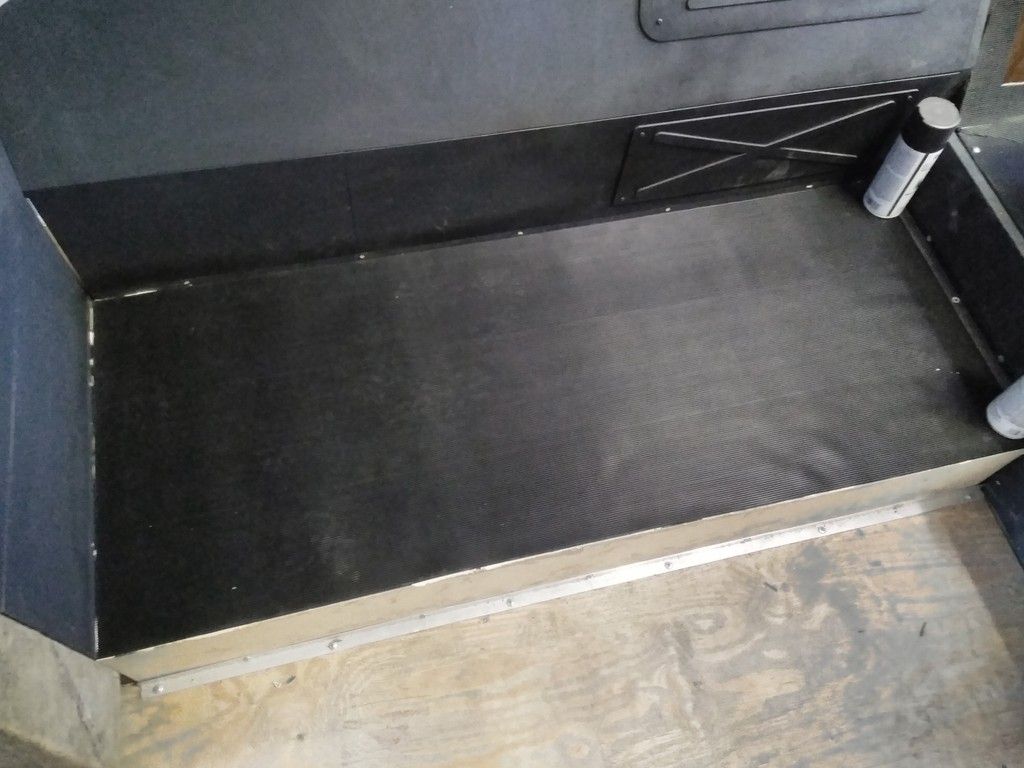
Adhered the nose mats - note the rectangular holes - these are access holes for the "nose to body" mounting points
Cover plates for the holes
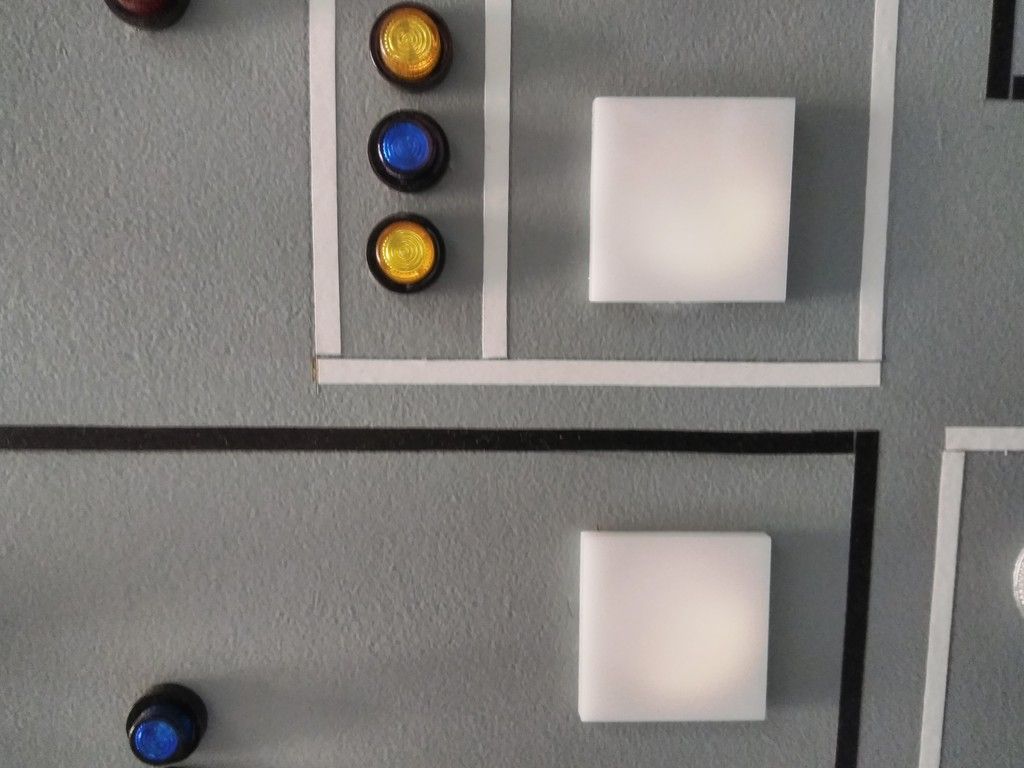
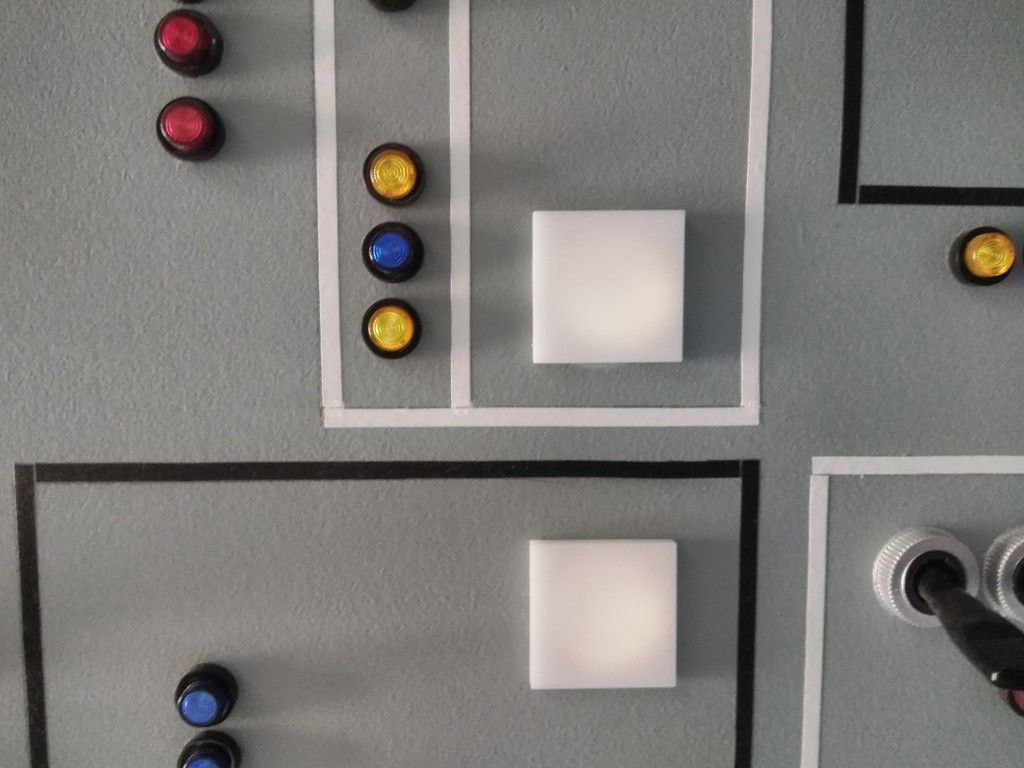
As many of you know I was able to remove the longer upper light bar housing(s) but I still needed a lip for the acrylic to lay against - I ripped some new edge pieces
Find and cut the correct angle

Test fit
Upper
Adhere into place
Chewie's side
Cover with aluminum foil tape to help reflect the LED backlight
Trim and even out the frosted acrylic
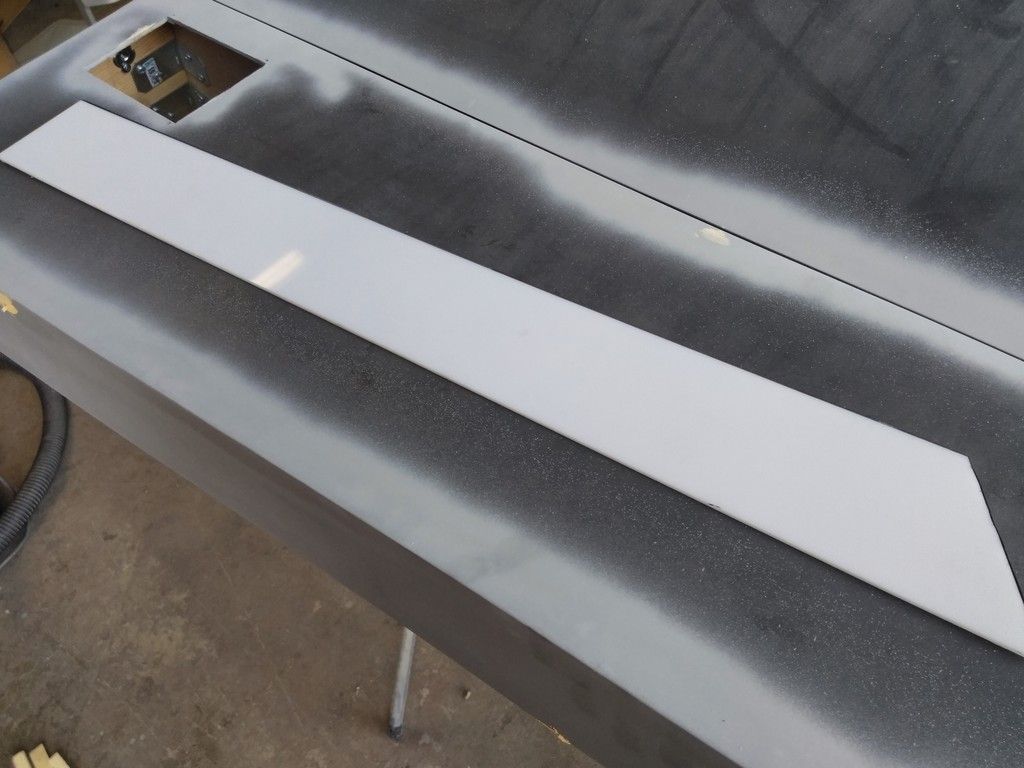
Dry fit into place - nice and snug!
Love that look!
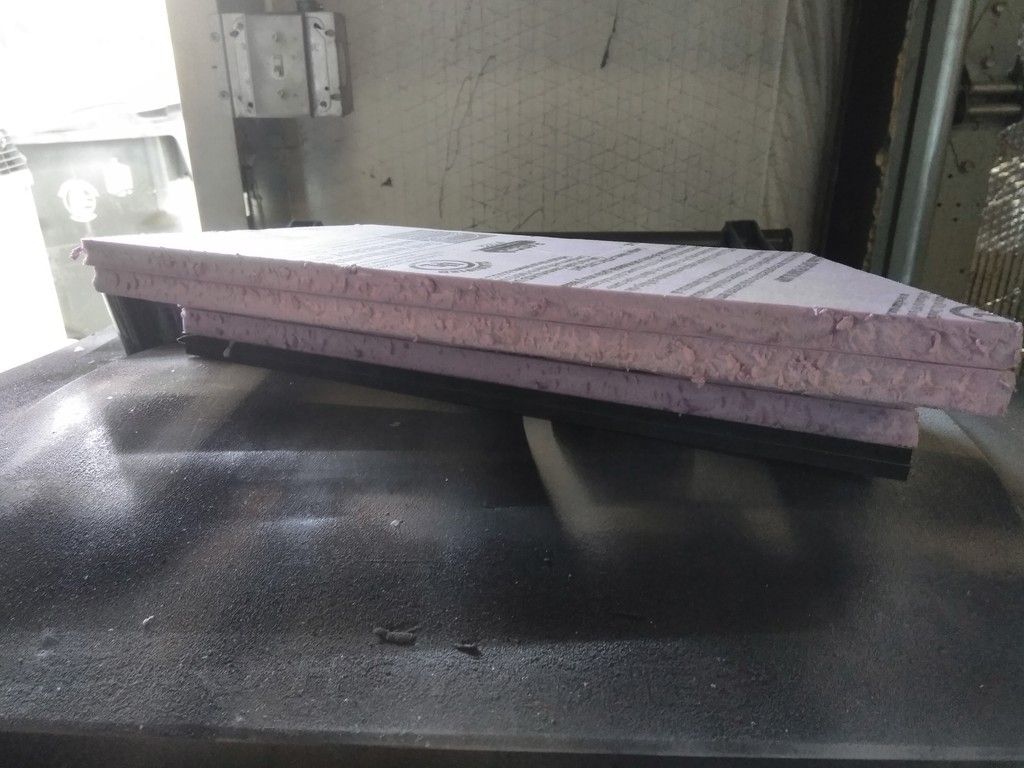
The door pads still needed to be worked on... UGH
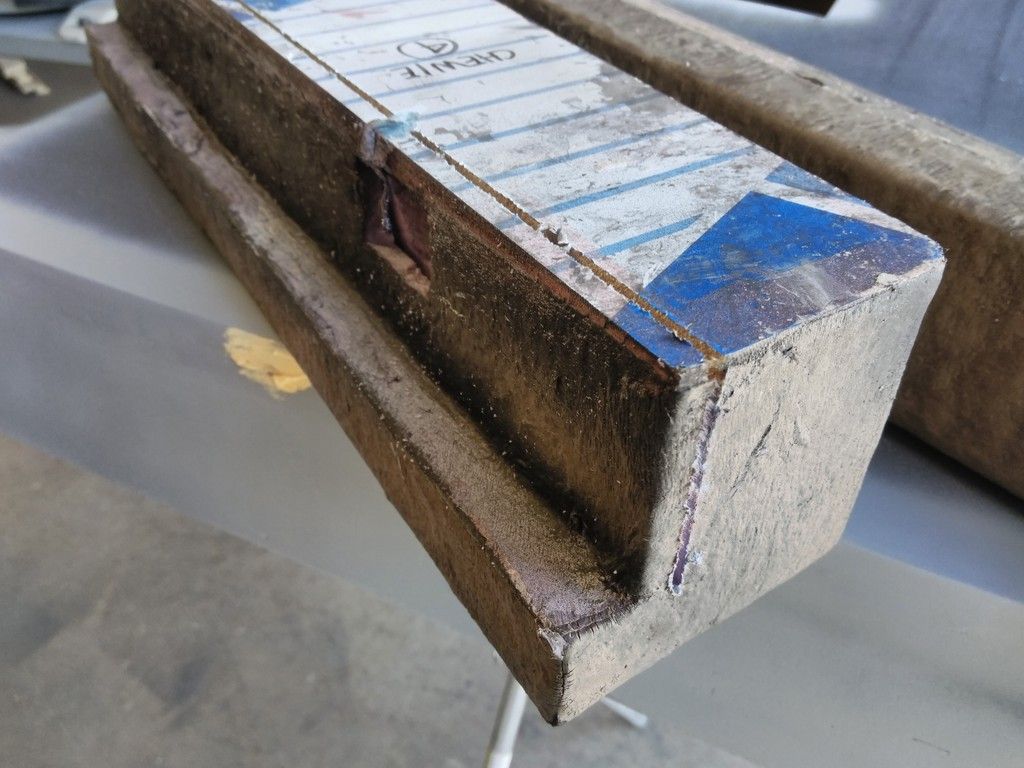
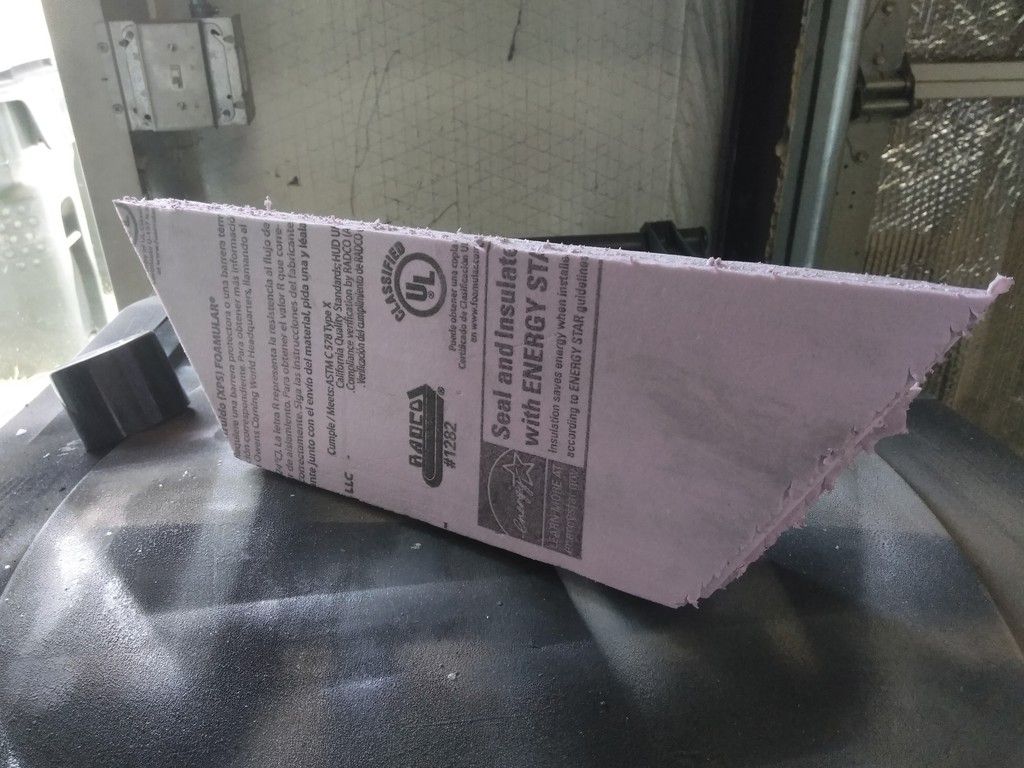
I had to trim / remove part of the interior side for a better fit against the door frame

The table saw really struggled with the foam!
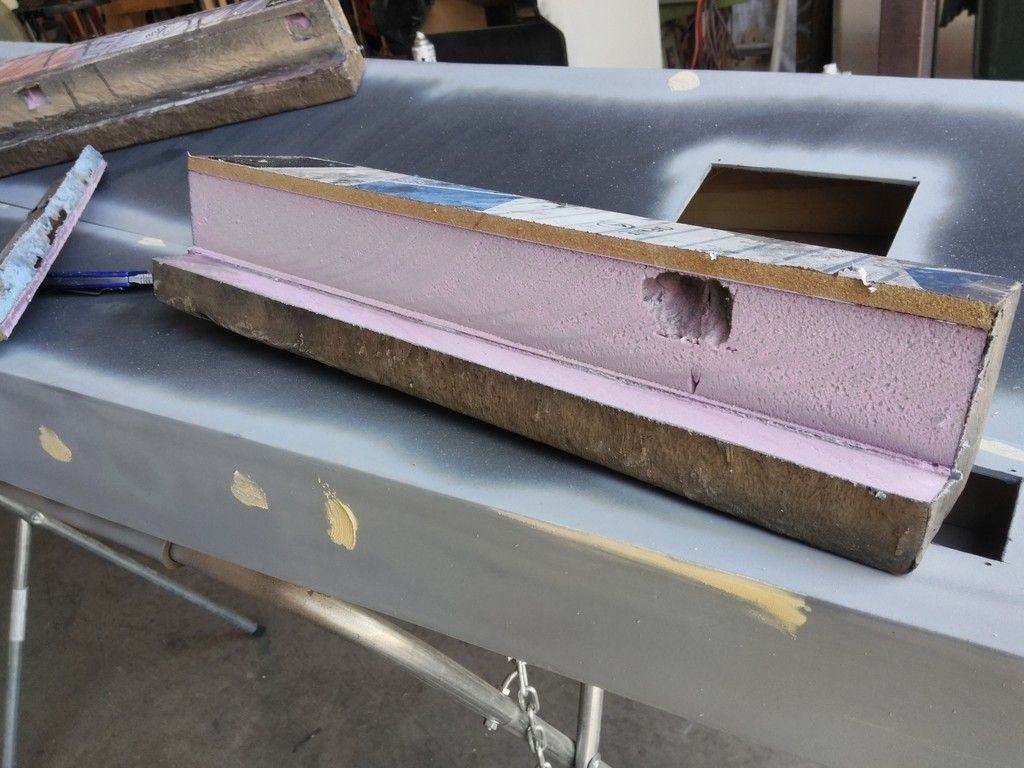
MUCH better!
Cockpit side is done!
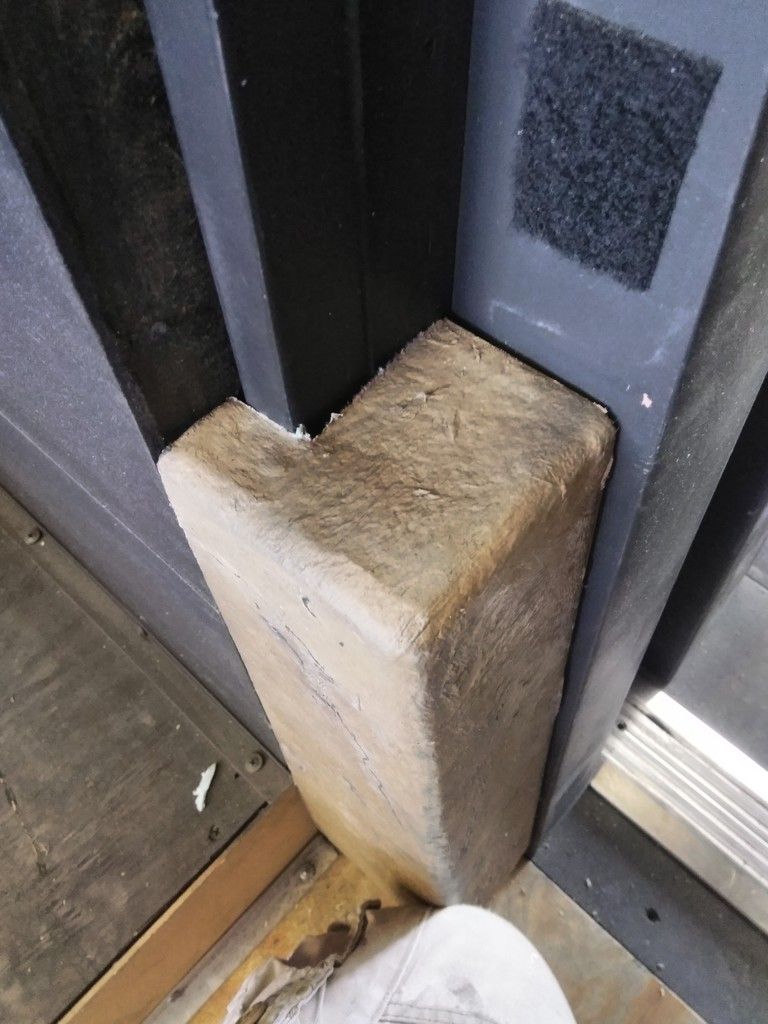
The original had small filler pads at the very bottom - debating whether to just extend the lower pads
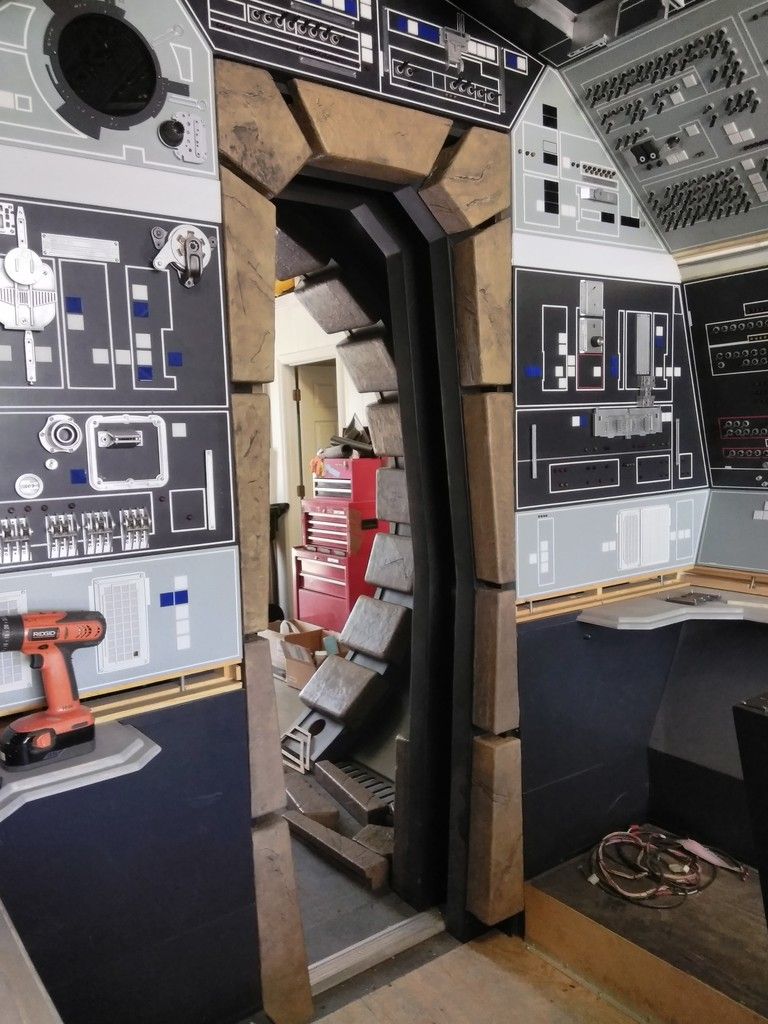
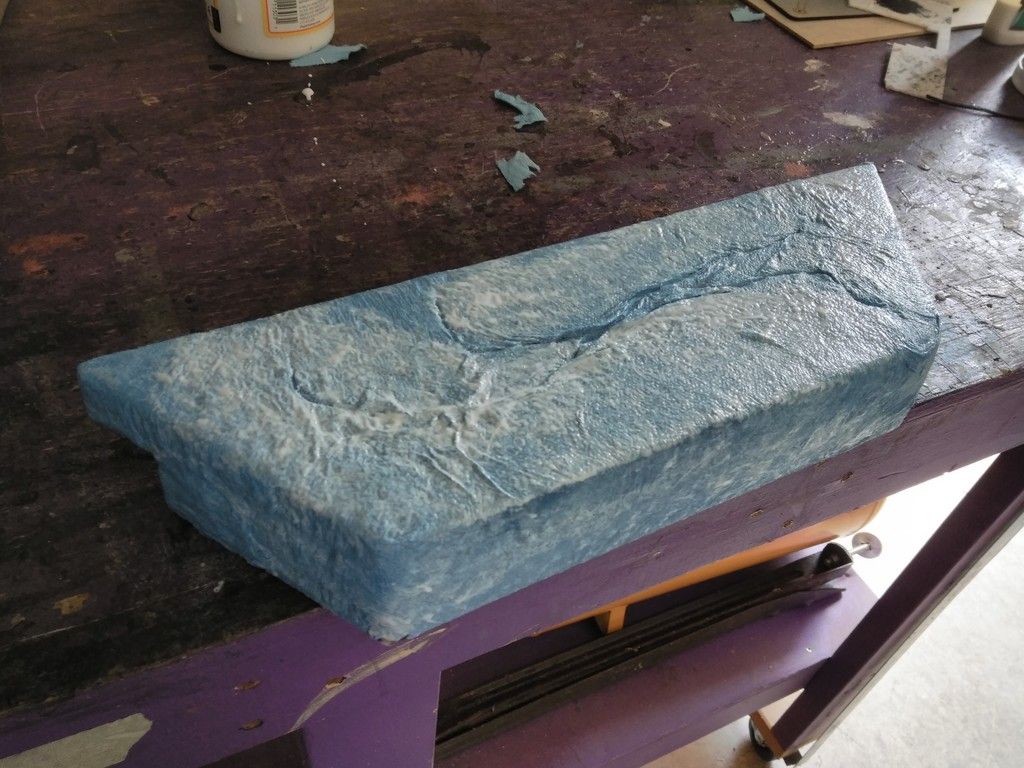
The cockpit entrance side didn't have the upper center pad - time to make one!
Broke out the Mod Podge and Shop Towels... the heat and humidity was WAY up this weekend. Humidity makes everything horrible!
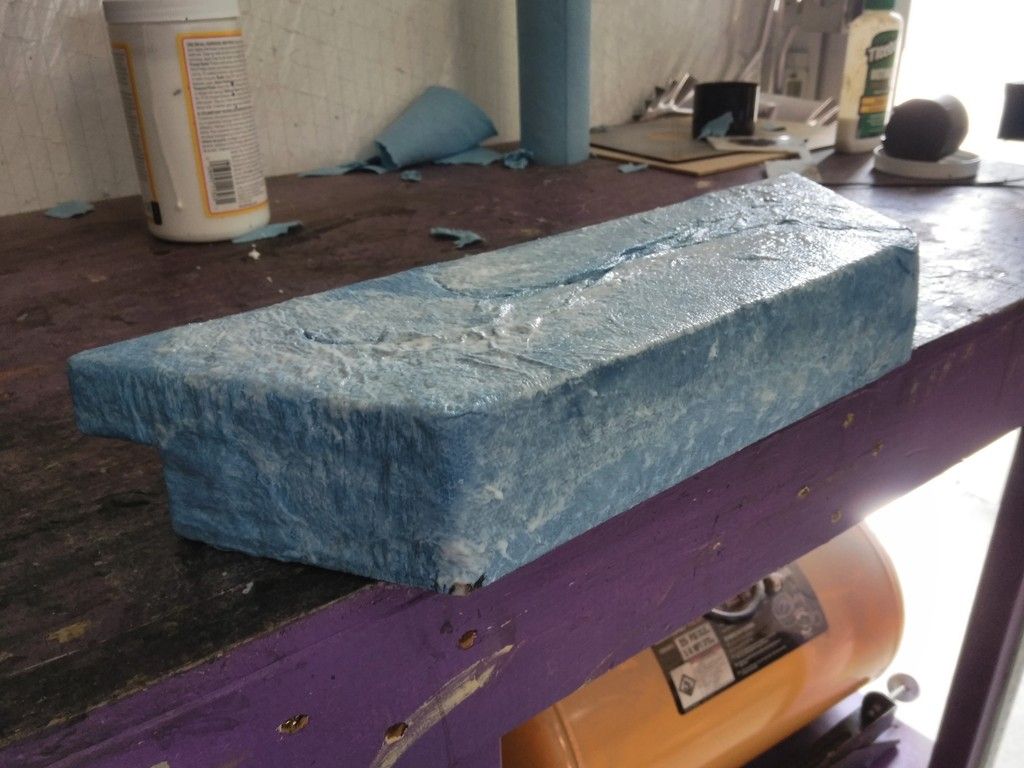
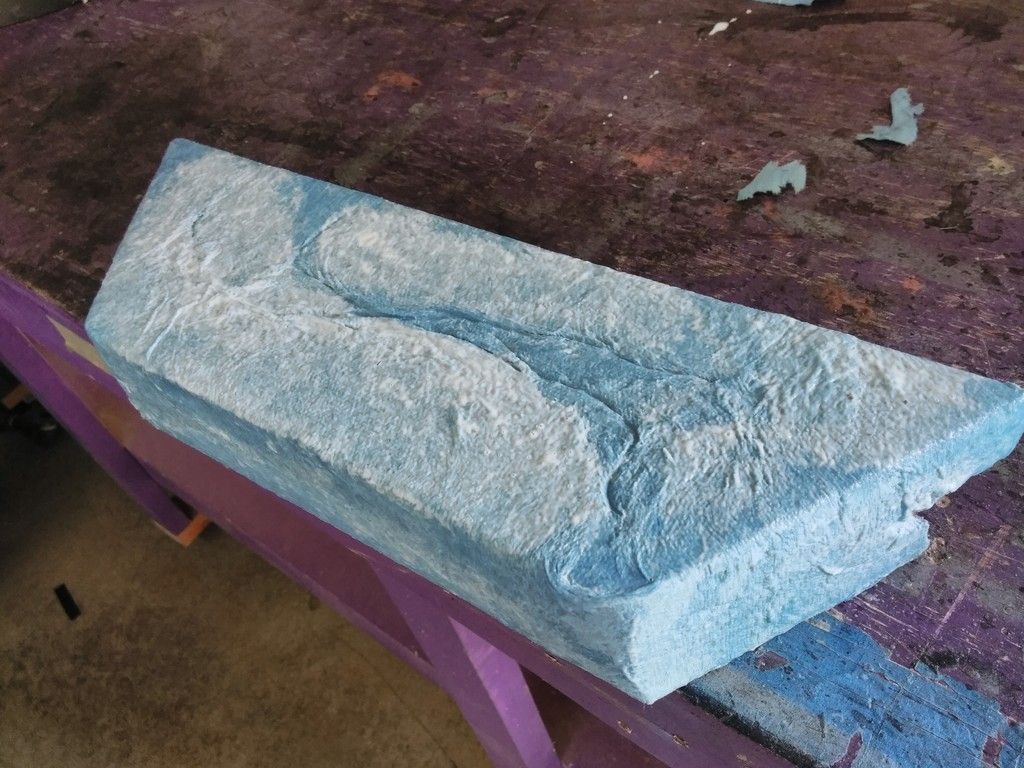
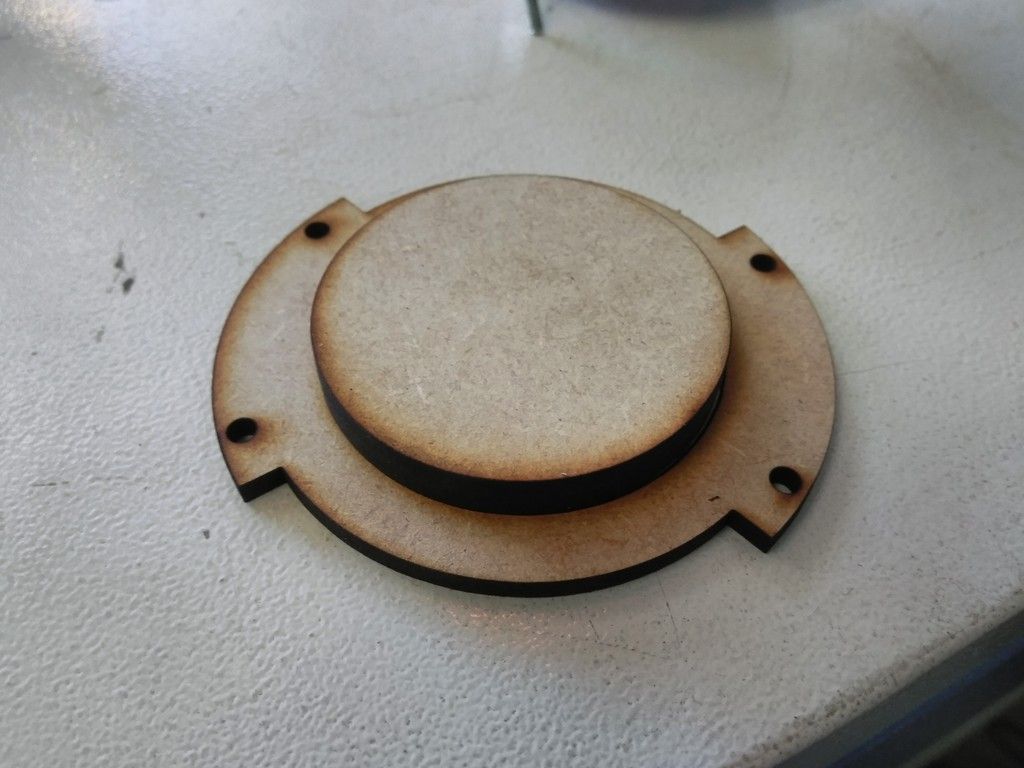
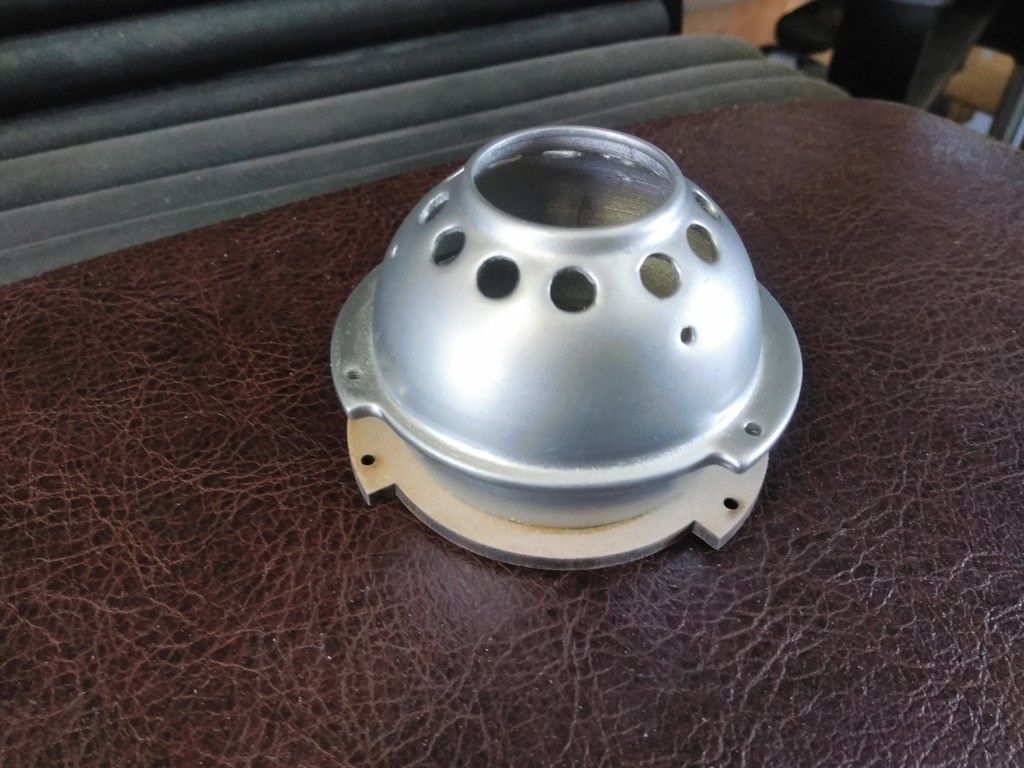
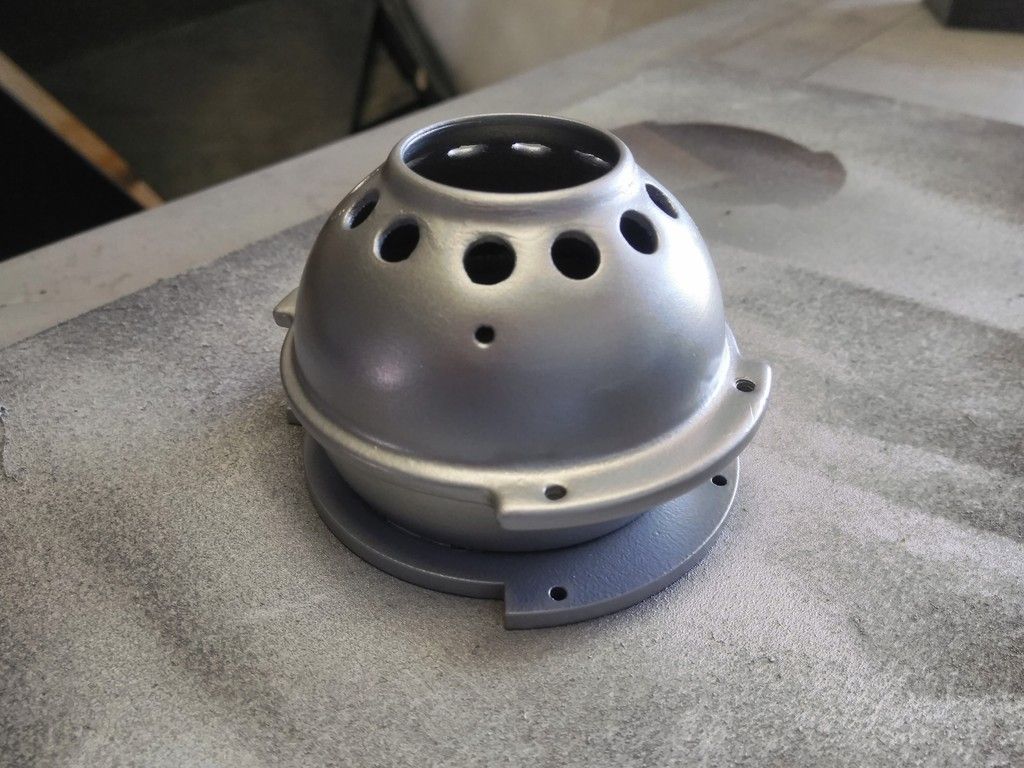
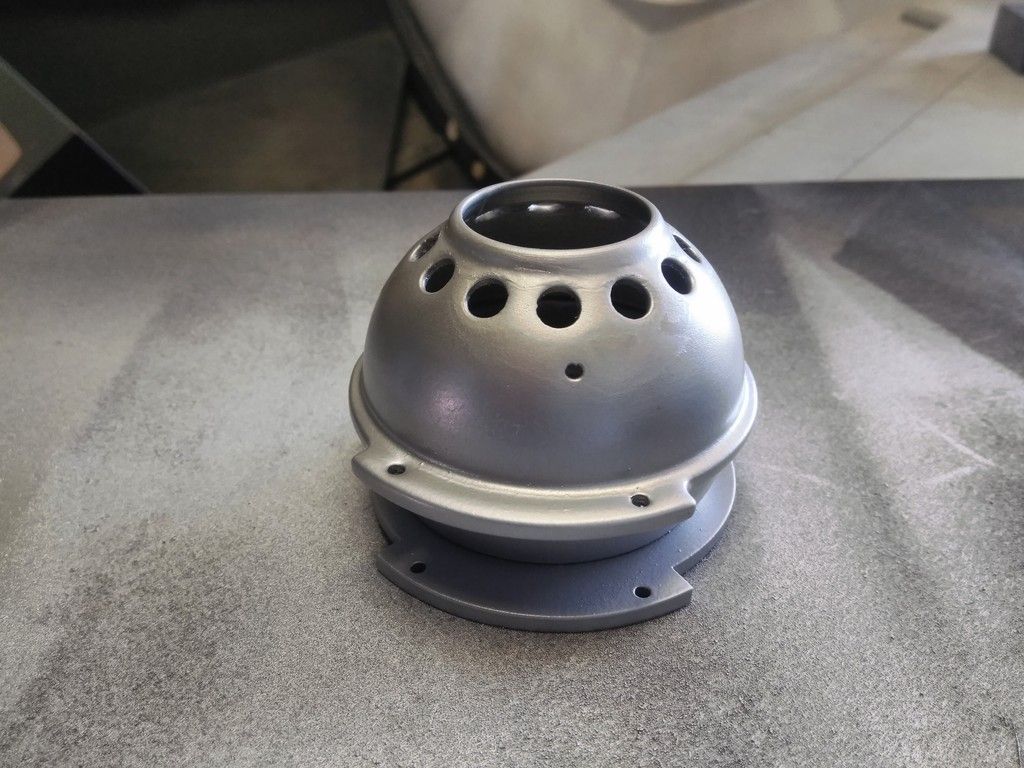
The Vickers Viscount Overhead Vent greeblie has been bothering me for years! I dont how the original designers mounted them to the console so it was time to put my thinking cap on.
Designed a new base which mirrored the basic shape
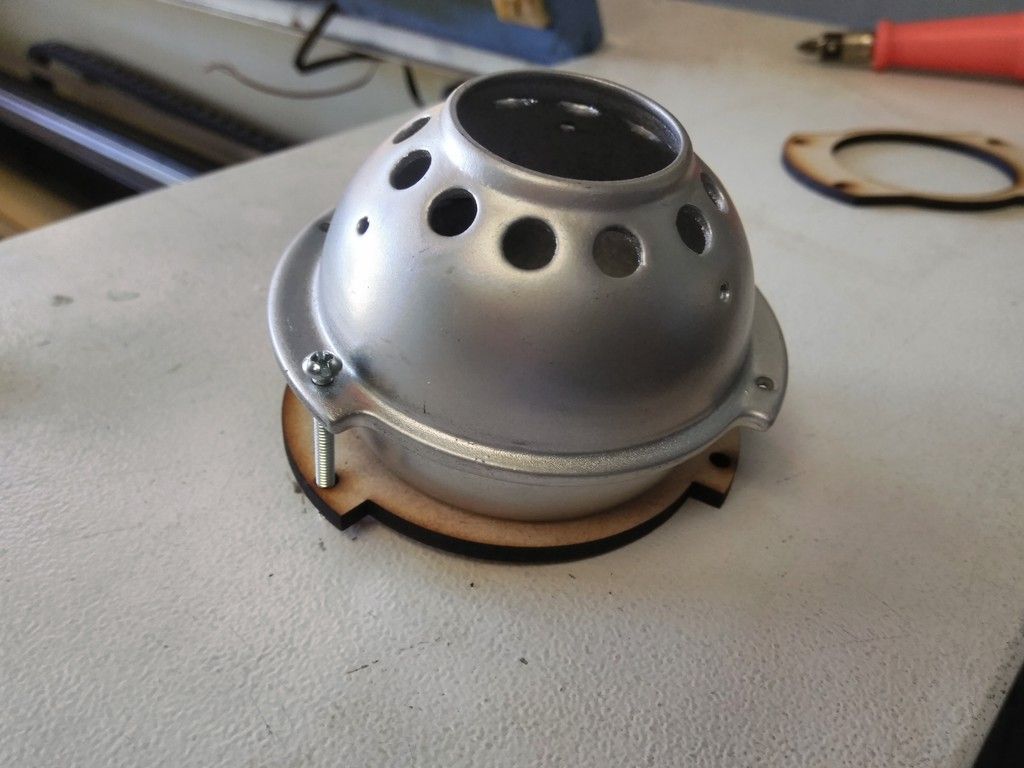
The vent will be adhered to the base using E6000
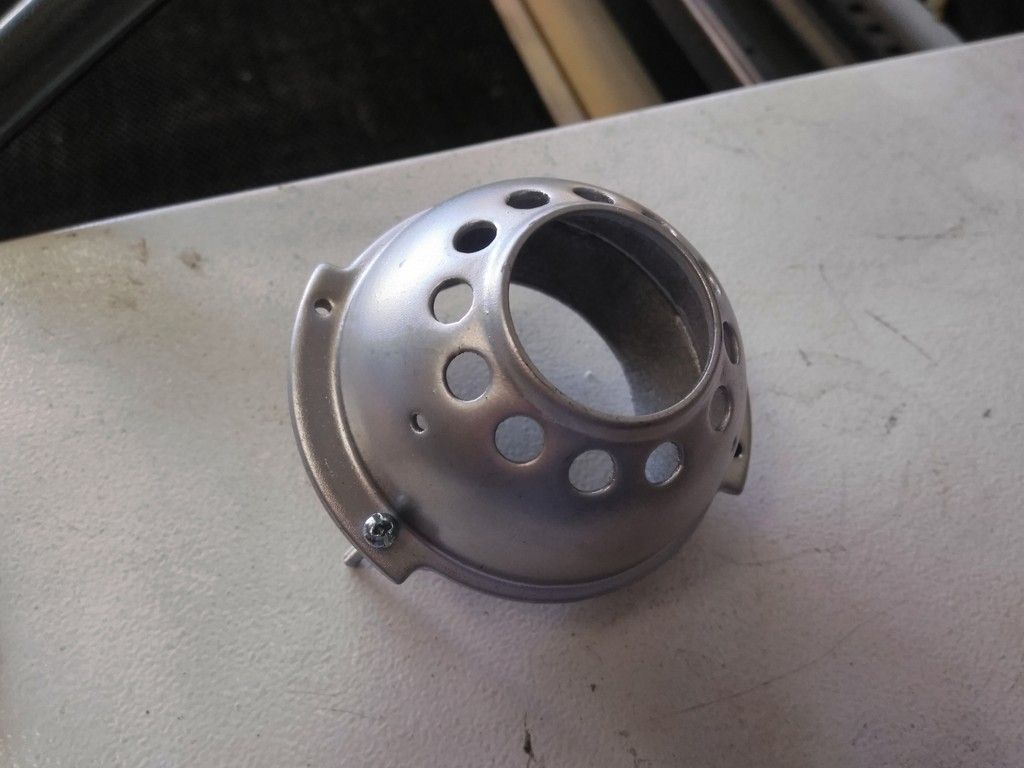
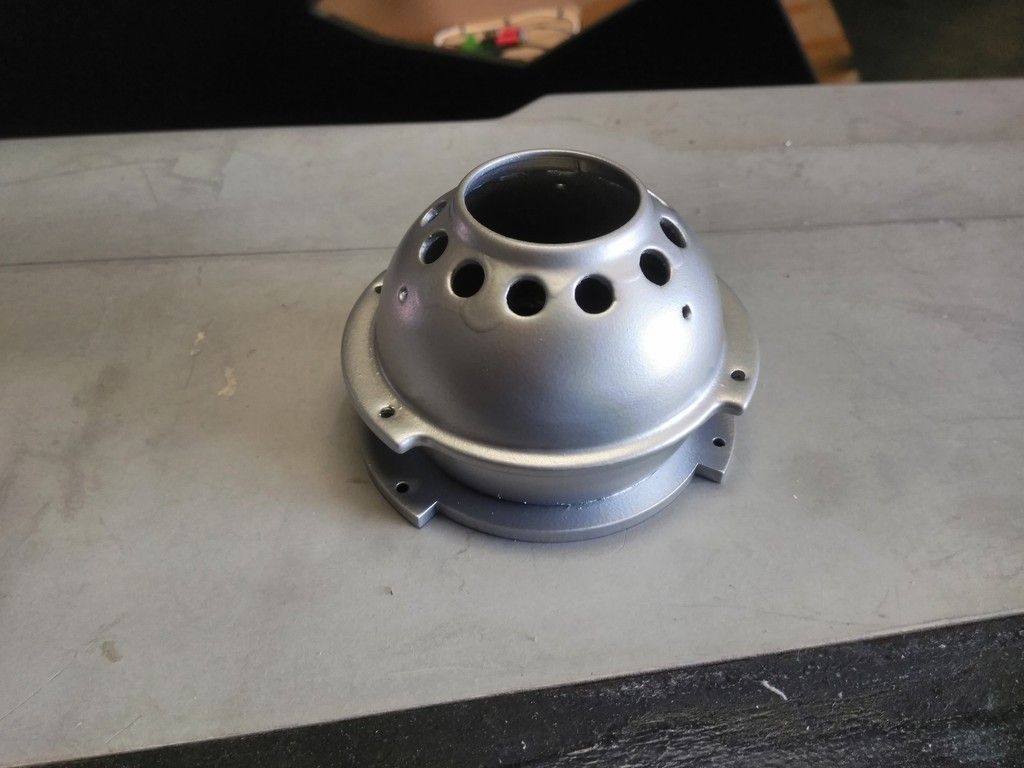
Sanded
Primed & Painted... UGH... DRIPS
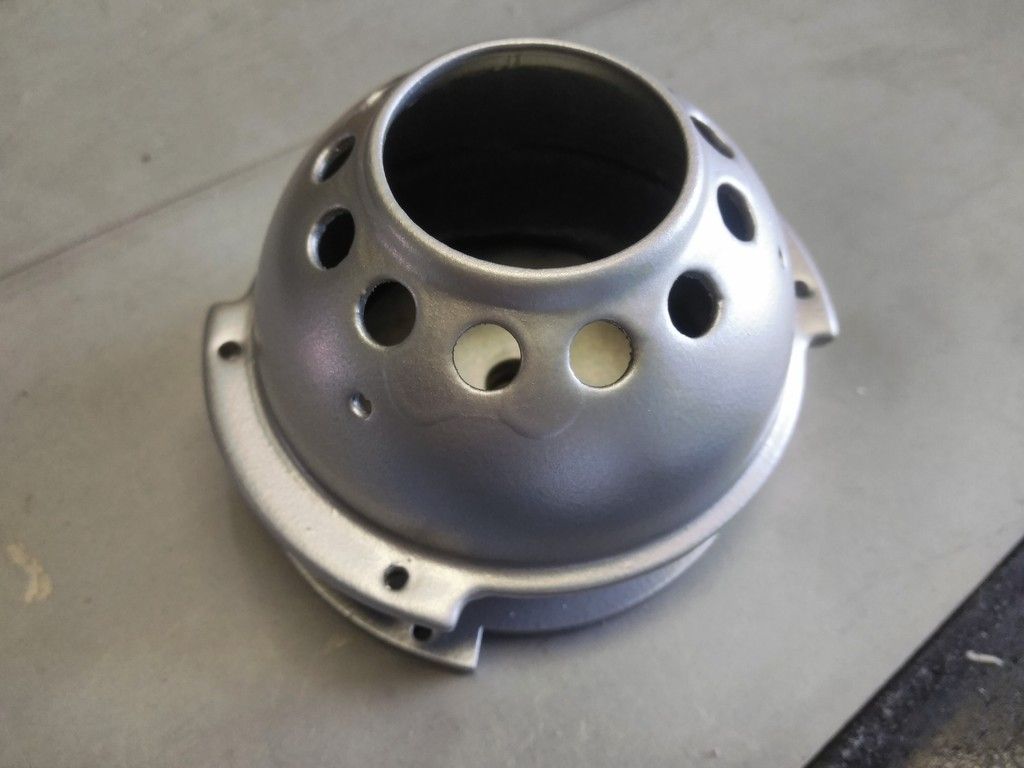
Start over
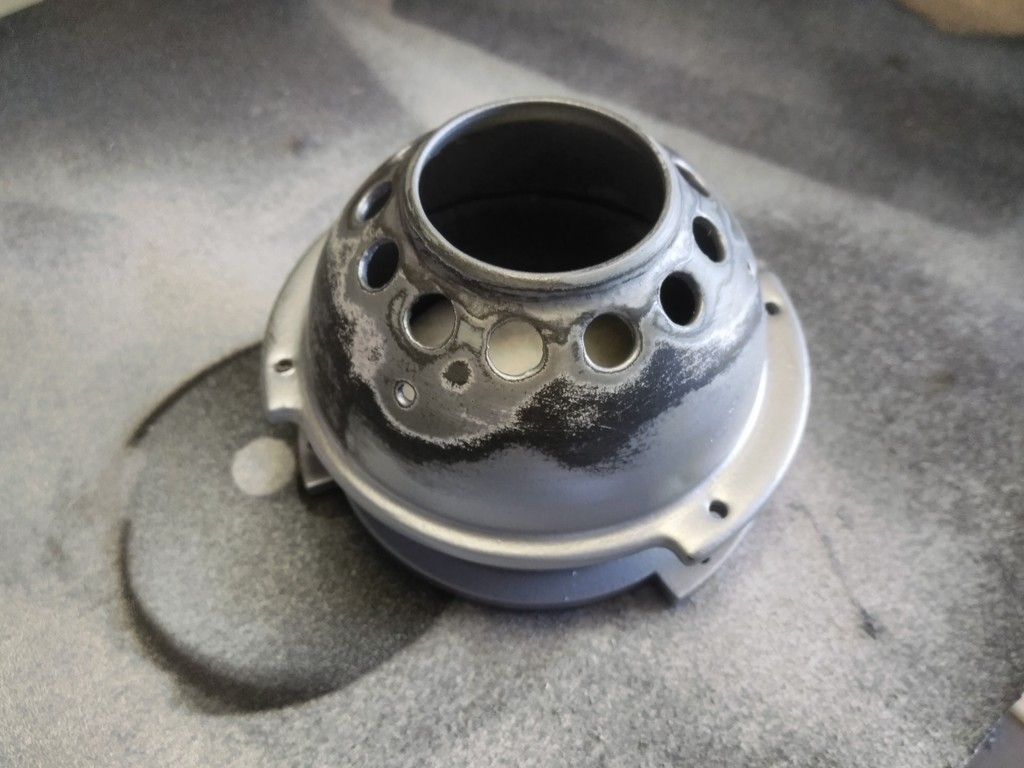
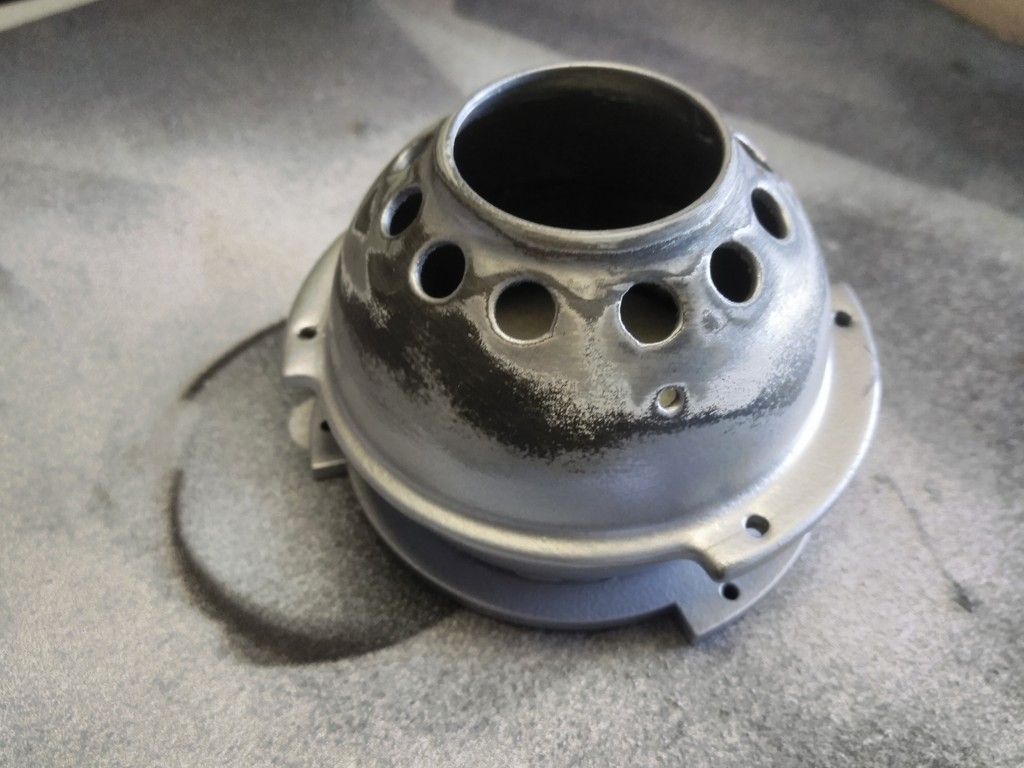
Still some drips... Start Over!
Jake stopped by and continued wiring
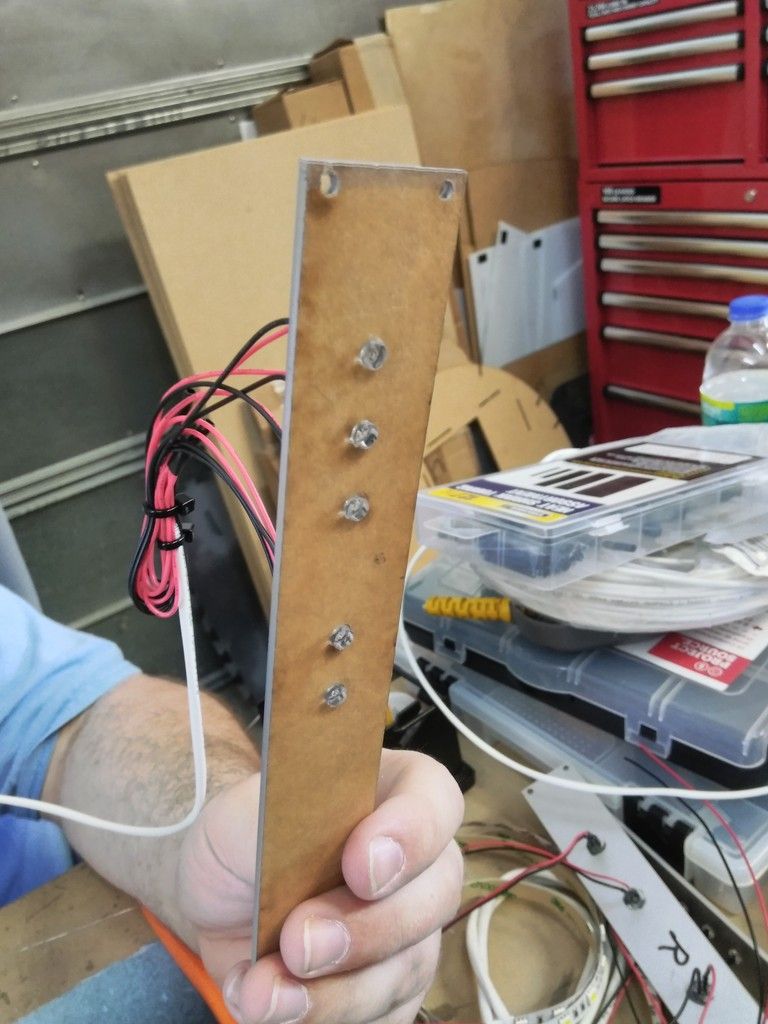
These interesting LED strips will go...
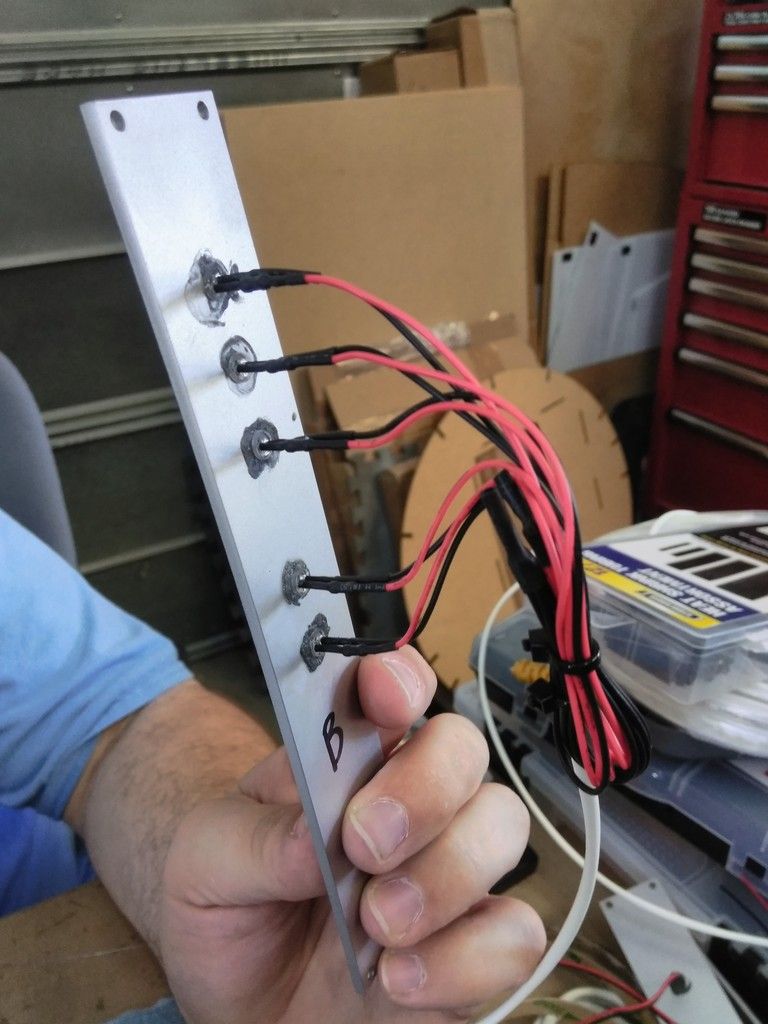
Here on Han's side
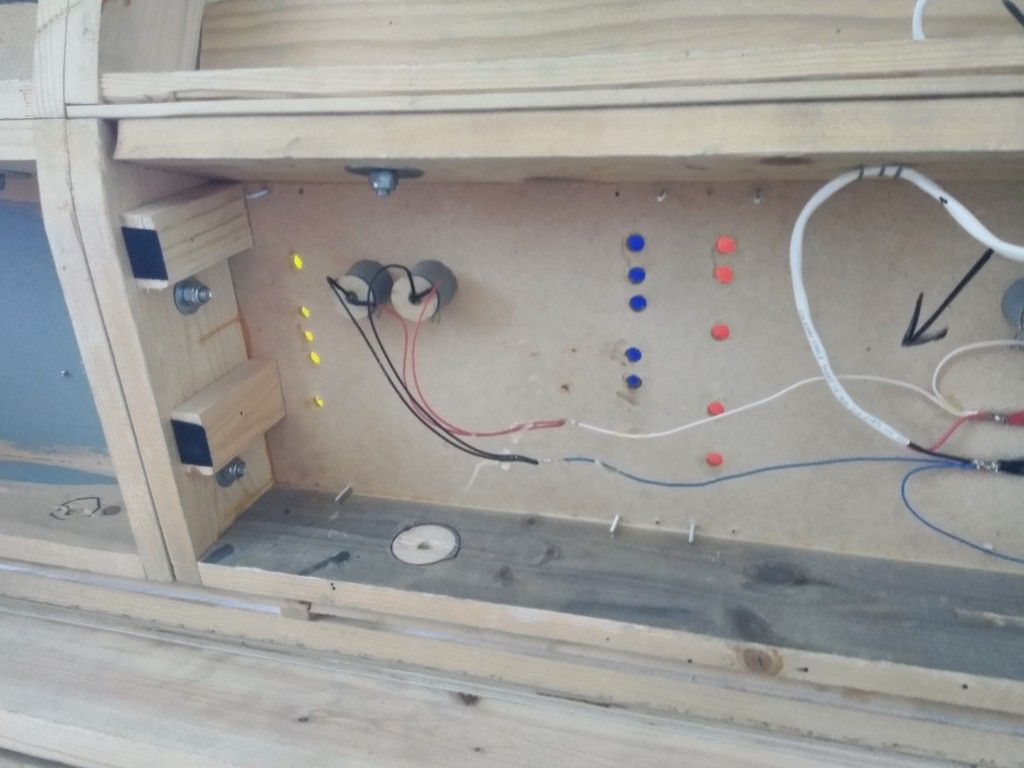
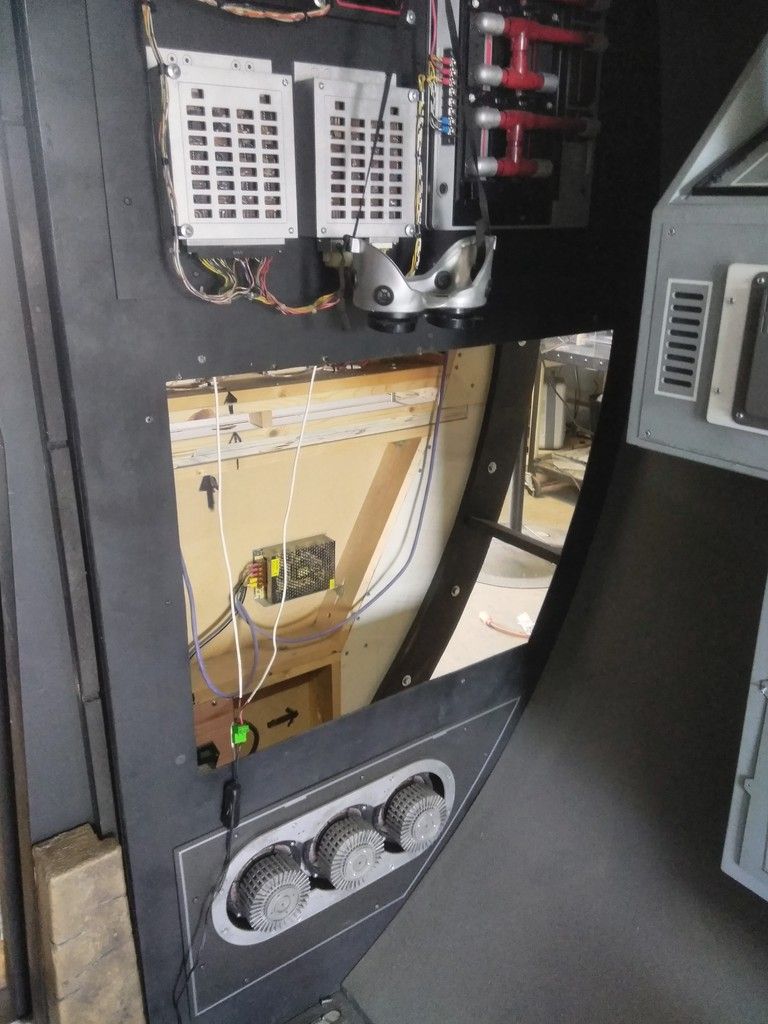
Gaining access to all the wiring to figure some issues and the light bars!
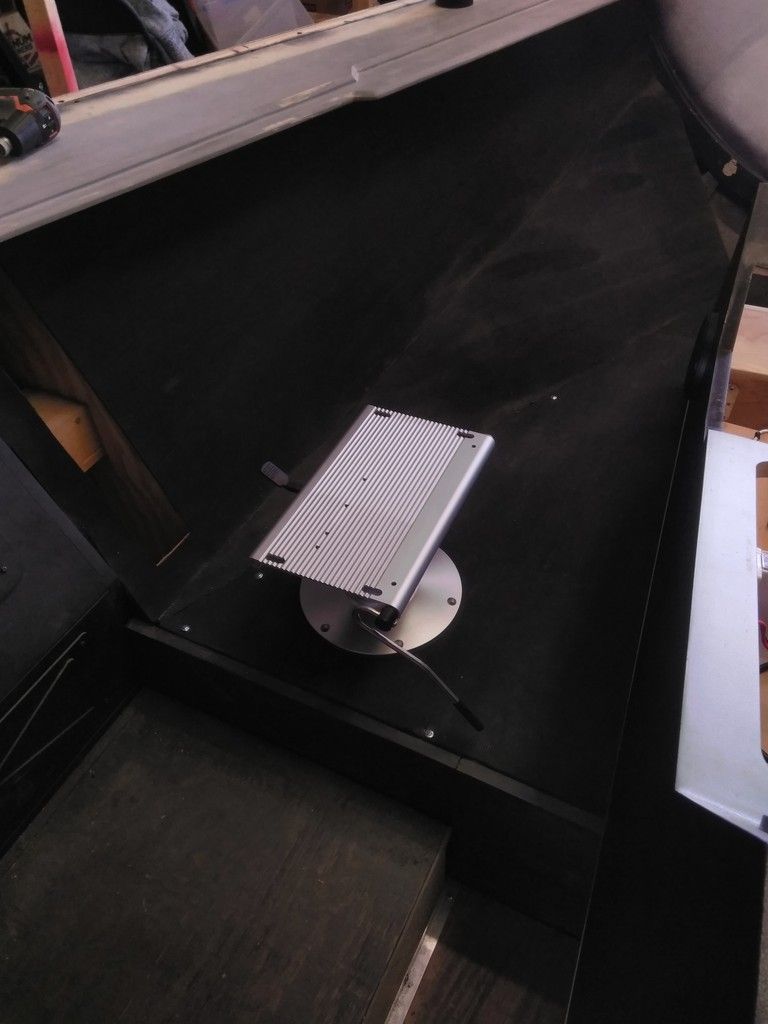
These are the new seat posts!
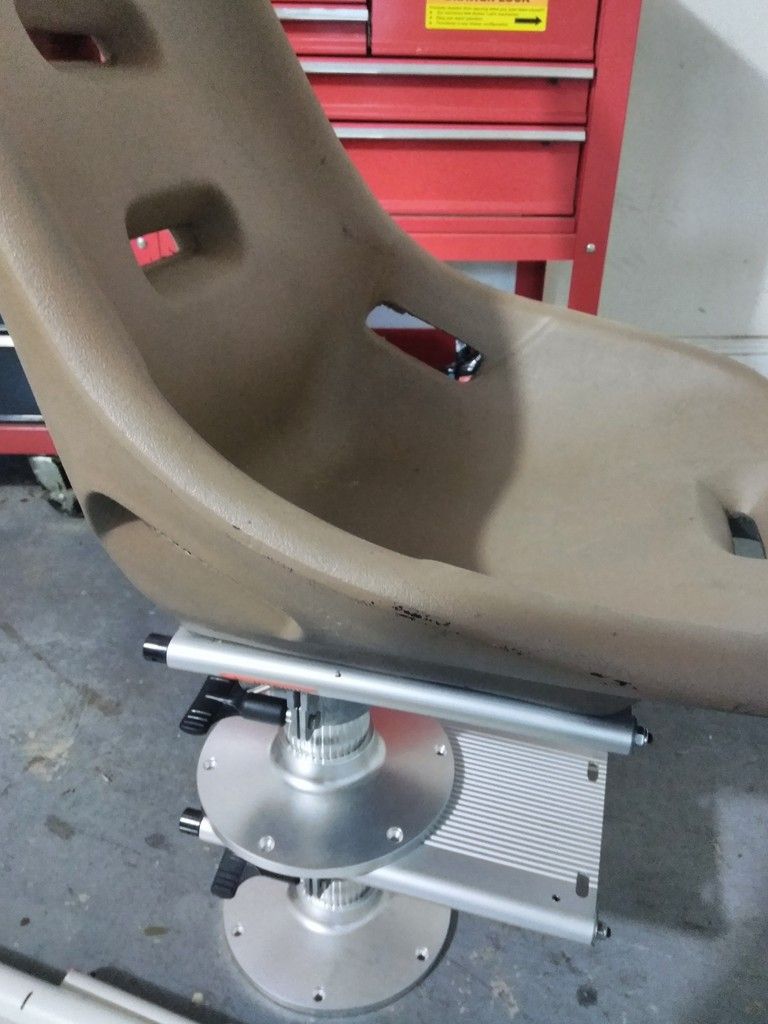
They both slide and swivel (one is stacked upon the other)
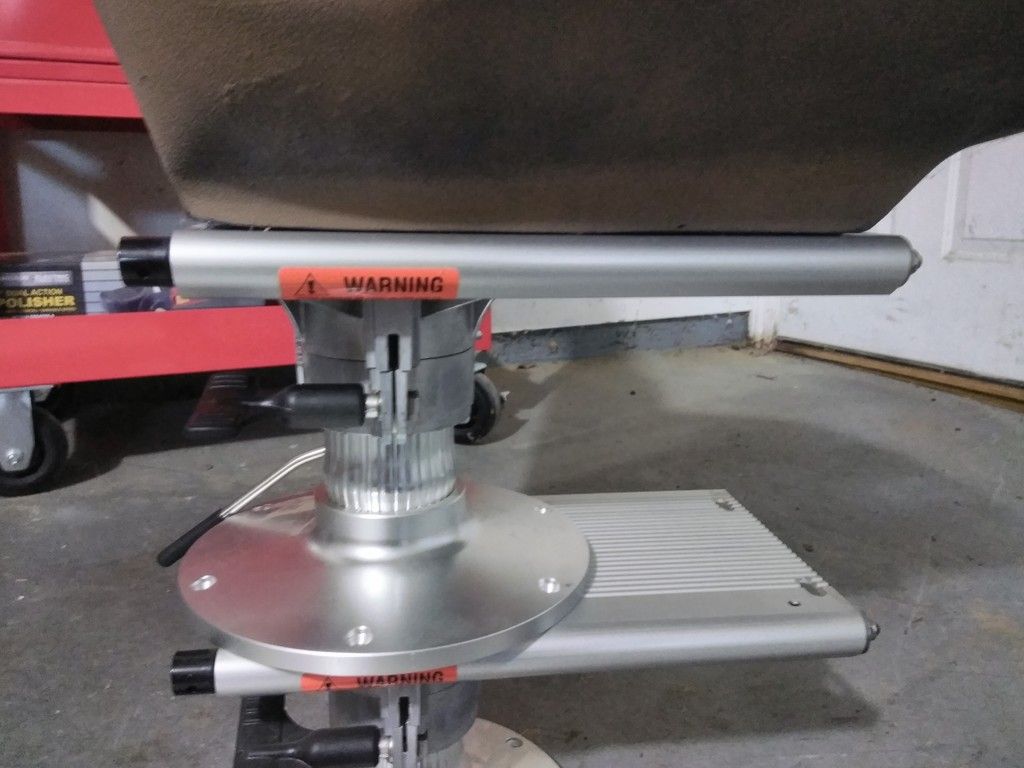
Near perfect fit but the holes didn't align... No biggie!
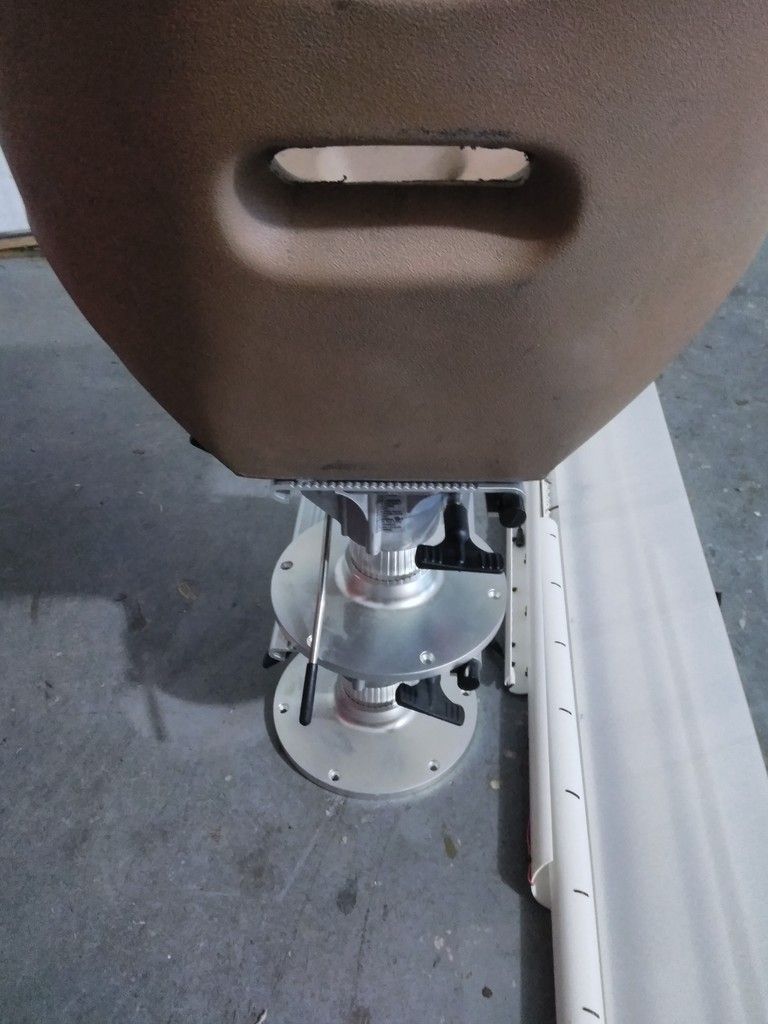
Basic position
I found this old CB
Cut to fit - just need to mount
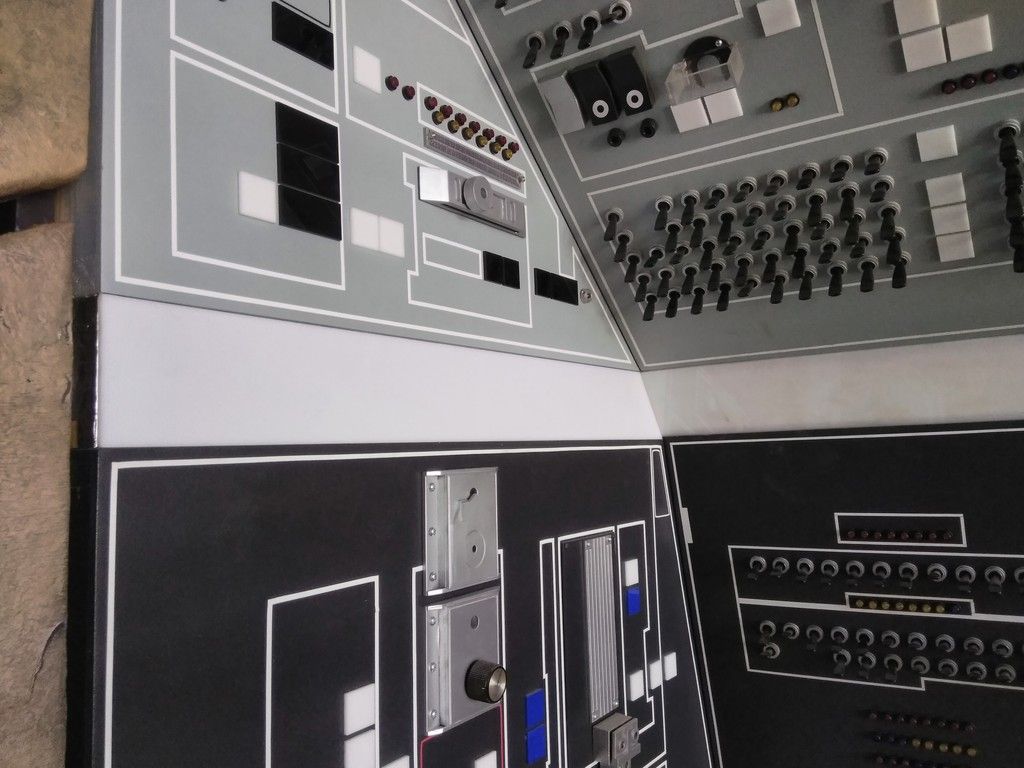
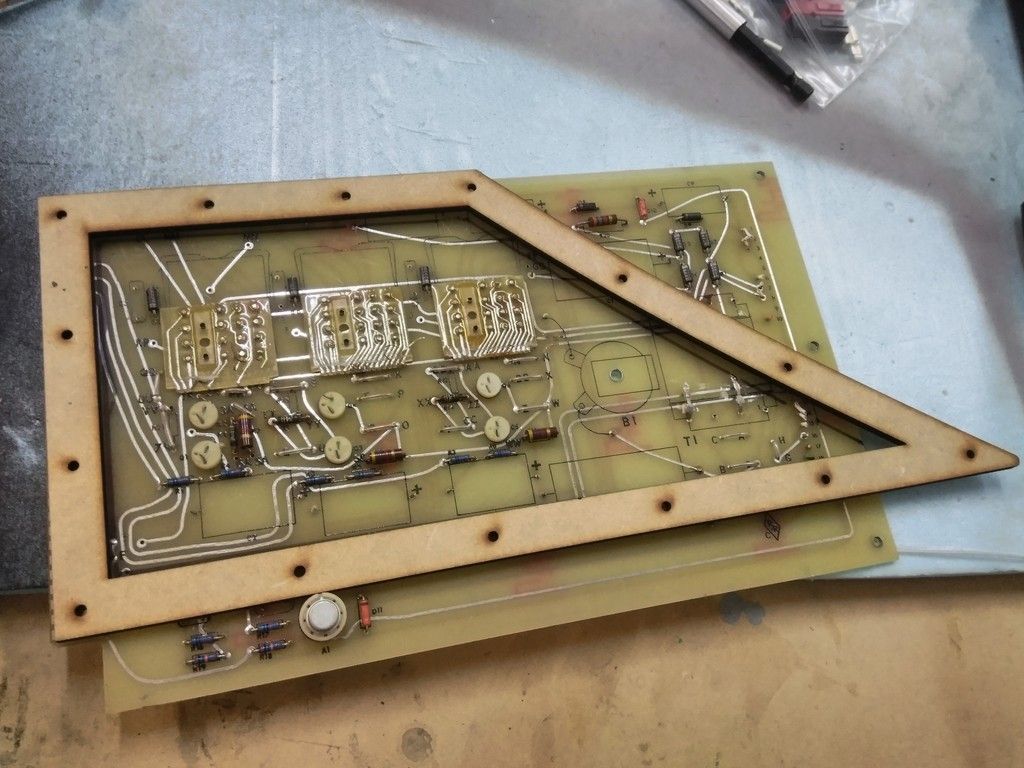
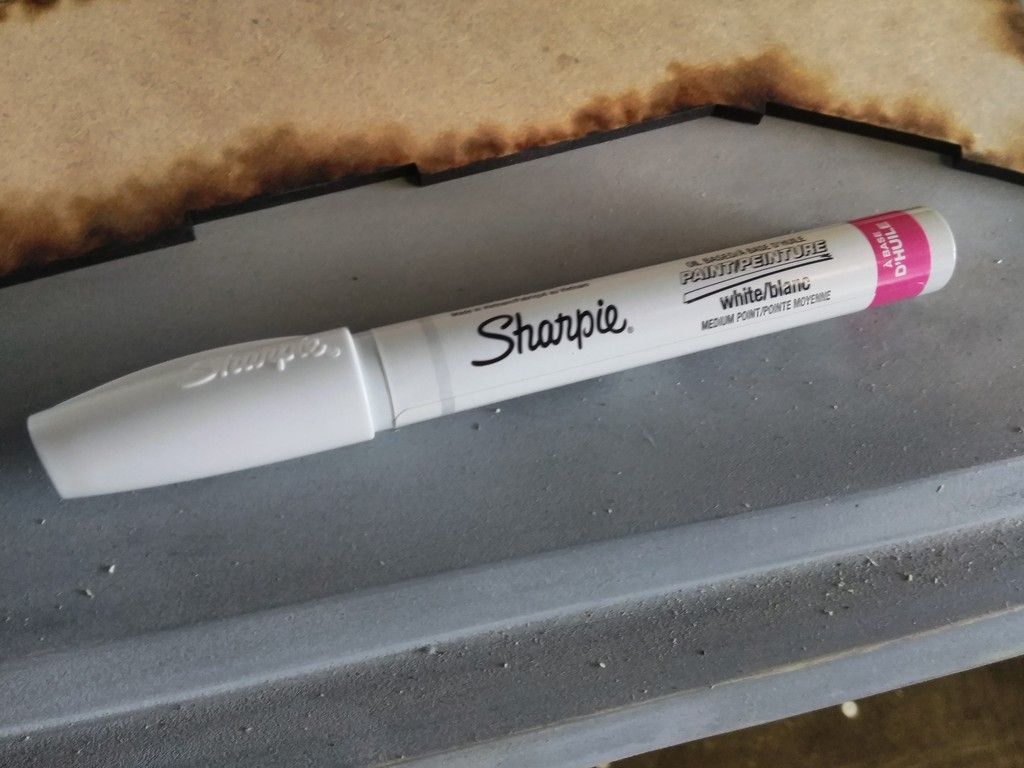
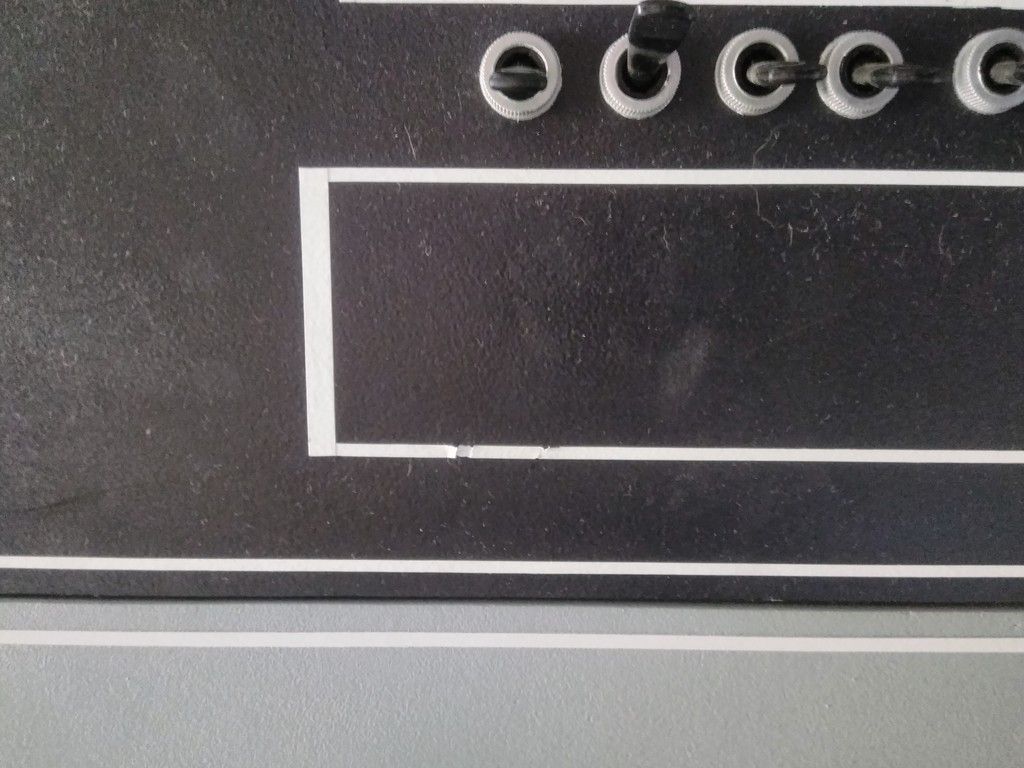
Another thing that had been bothering for a LONG time were the pin stripes on some of the "oldest" panels. Several of the stripes have spread apart creating UGLY gaps... Time to fix! Break out the white Paint Sharpie
Before
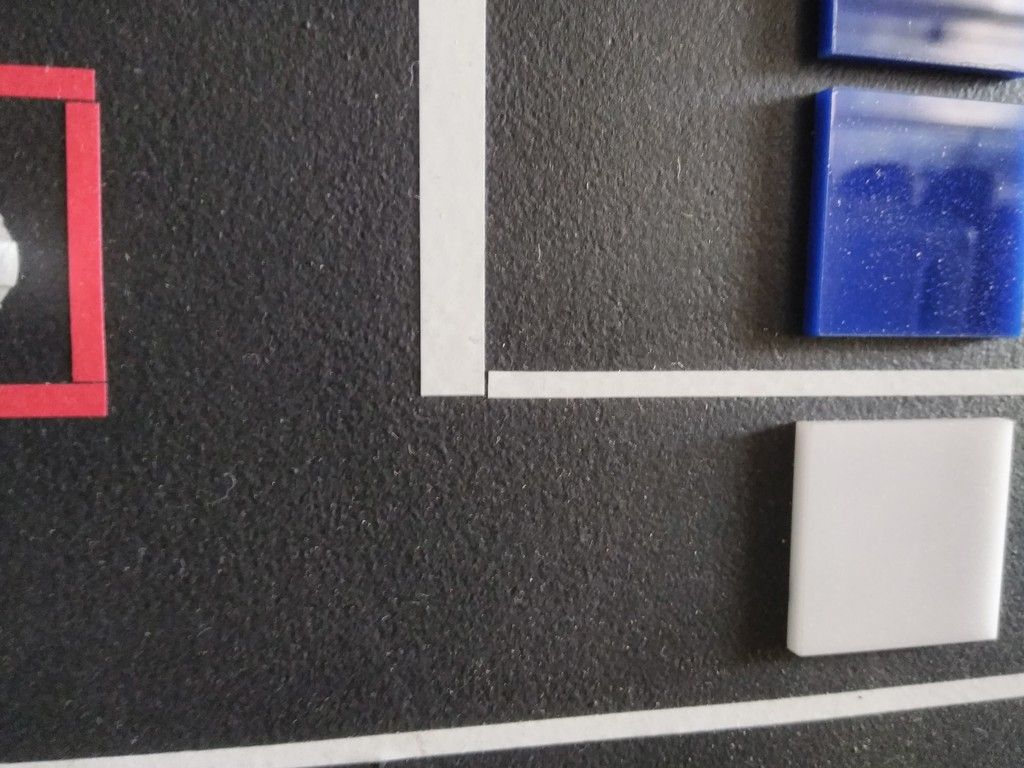
After - 1st of several passes (looks like I need Red too!)
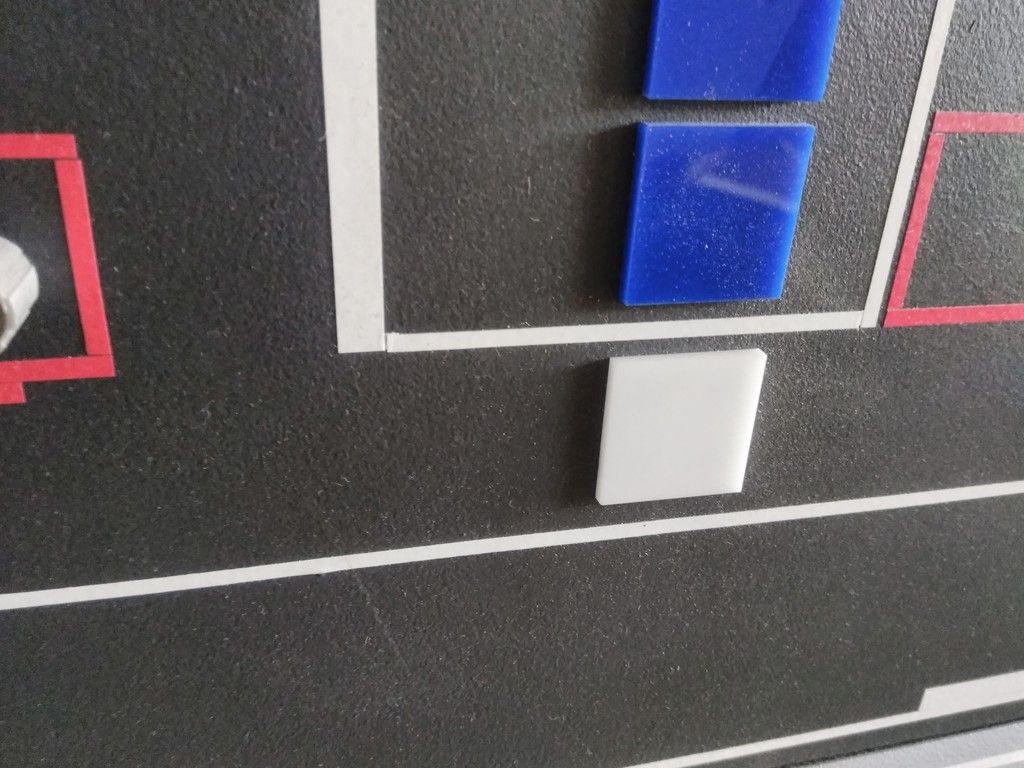
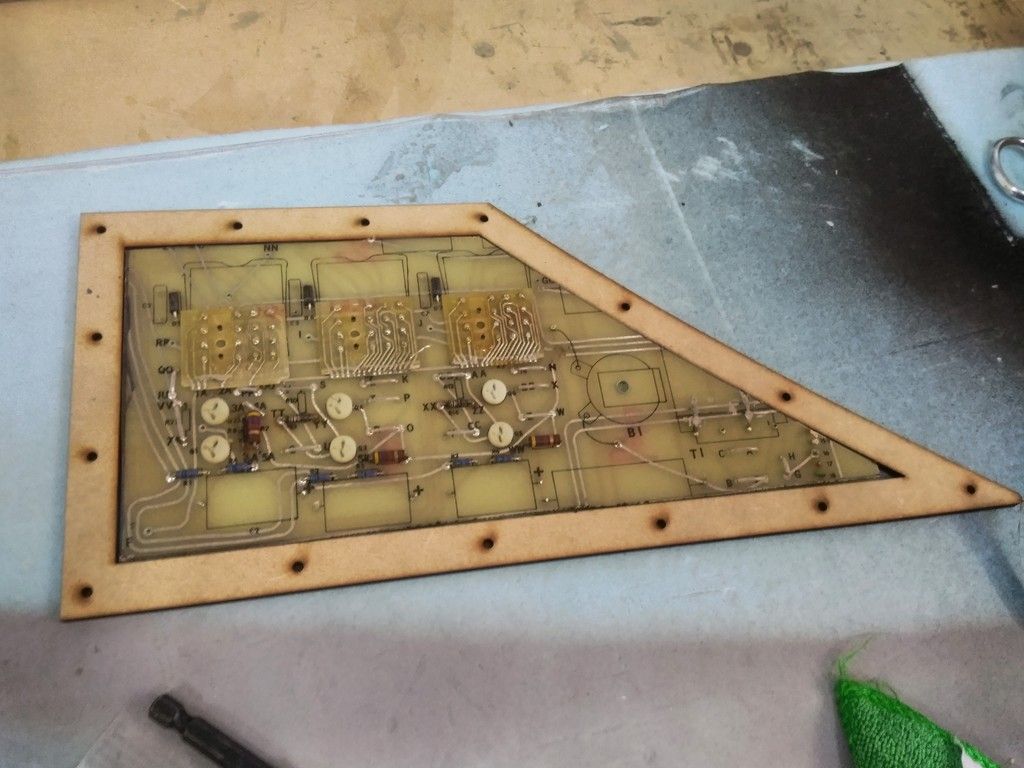
Before
A little bit better...
Before
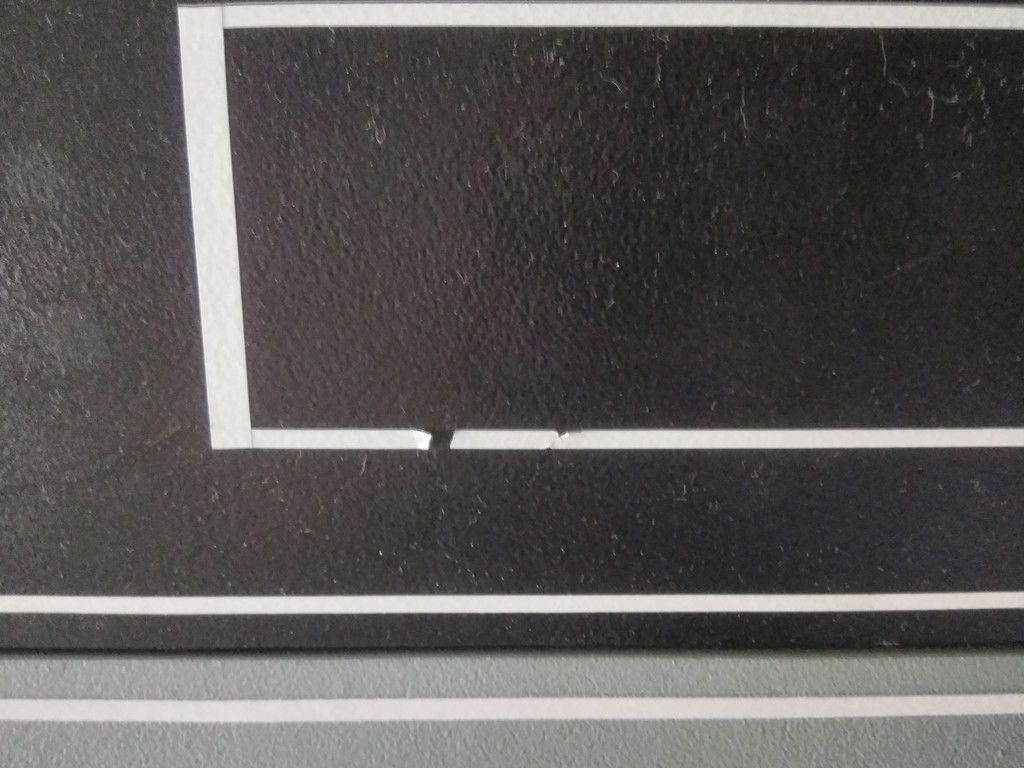
After... This process took about an hour or so.
I continued my corrugated floor mat adventures and cut these to fit the main nav chair platforms
Lay the adhesive...
Weigh down the edges
UGH... I was so miserable in the heat it seemed like everything was going wrong
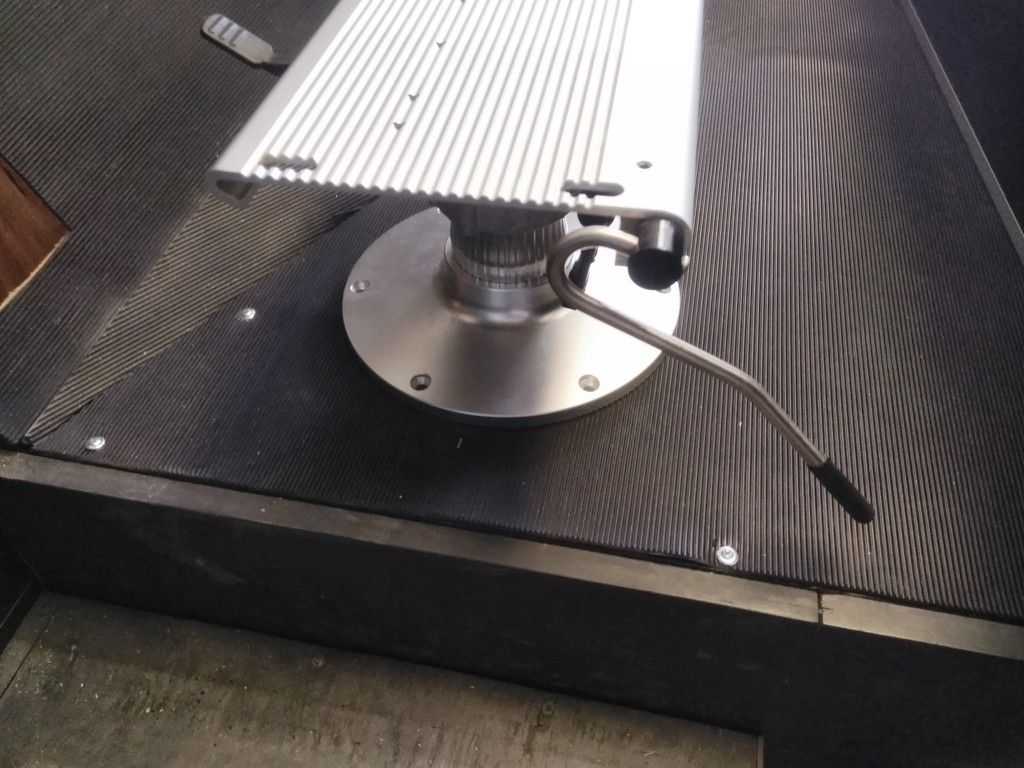
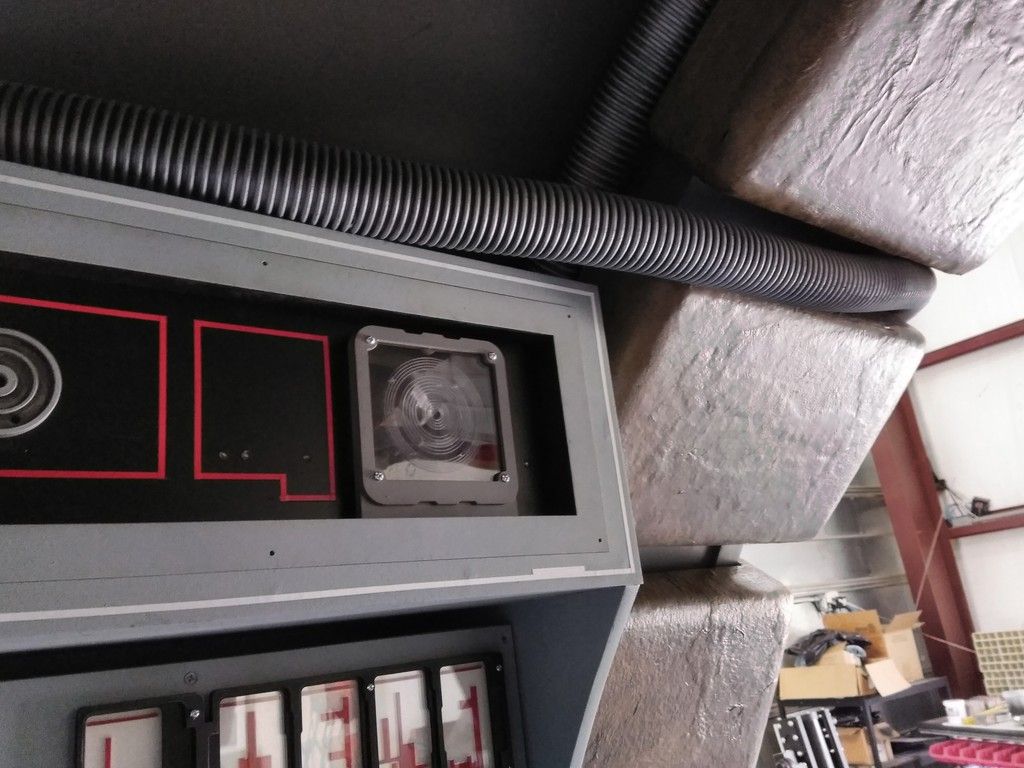
About a year ago my neighbor tossed away / gave me an old pool vacuum hose. I FINALLY painted it
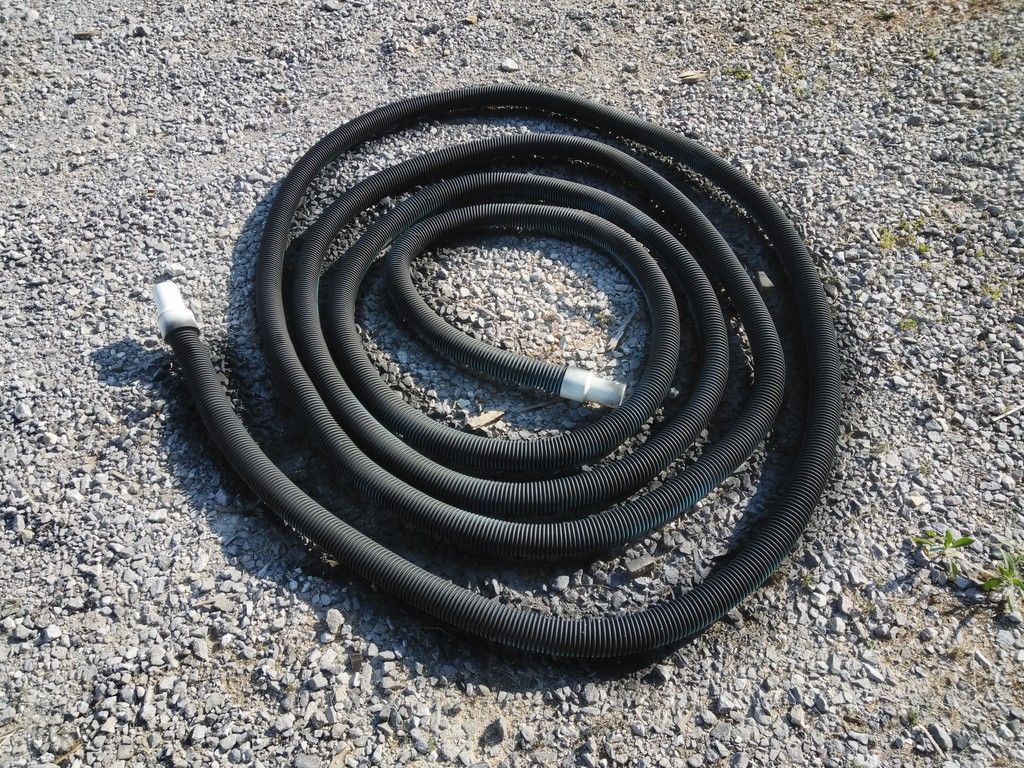
After adding silver paint I cut the ends off
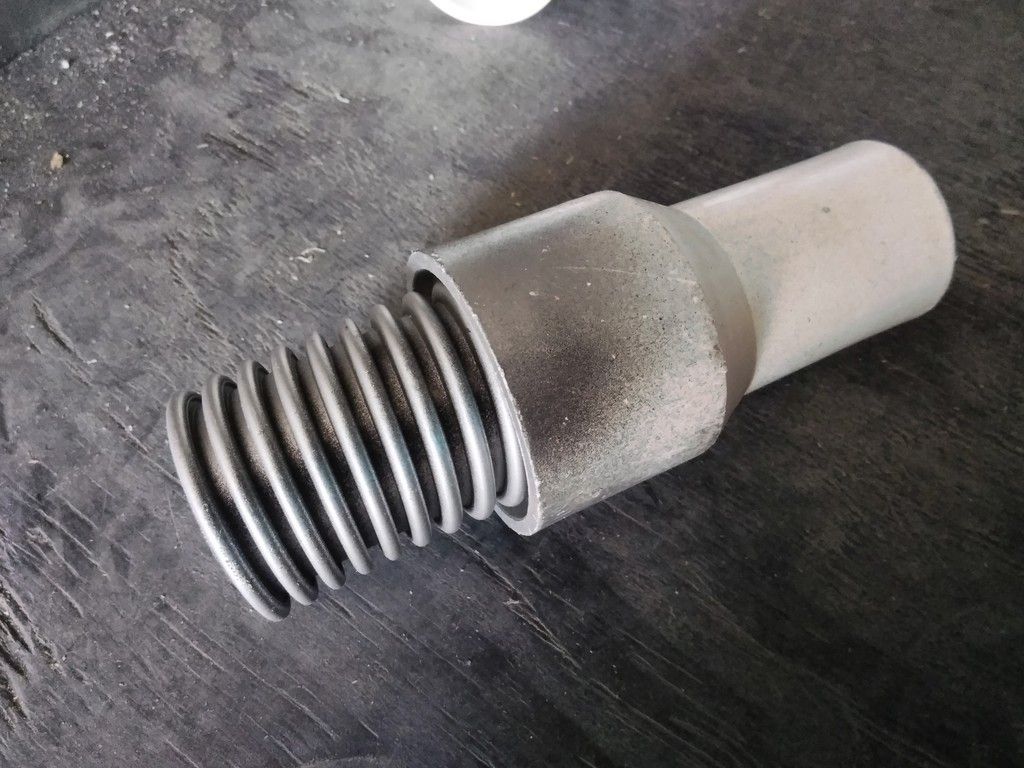
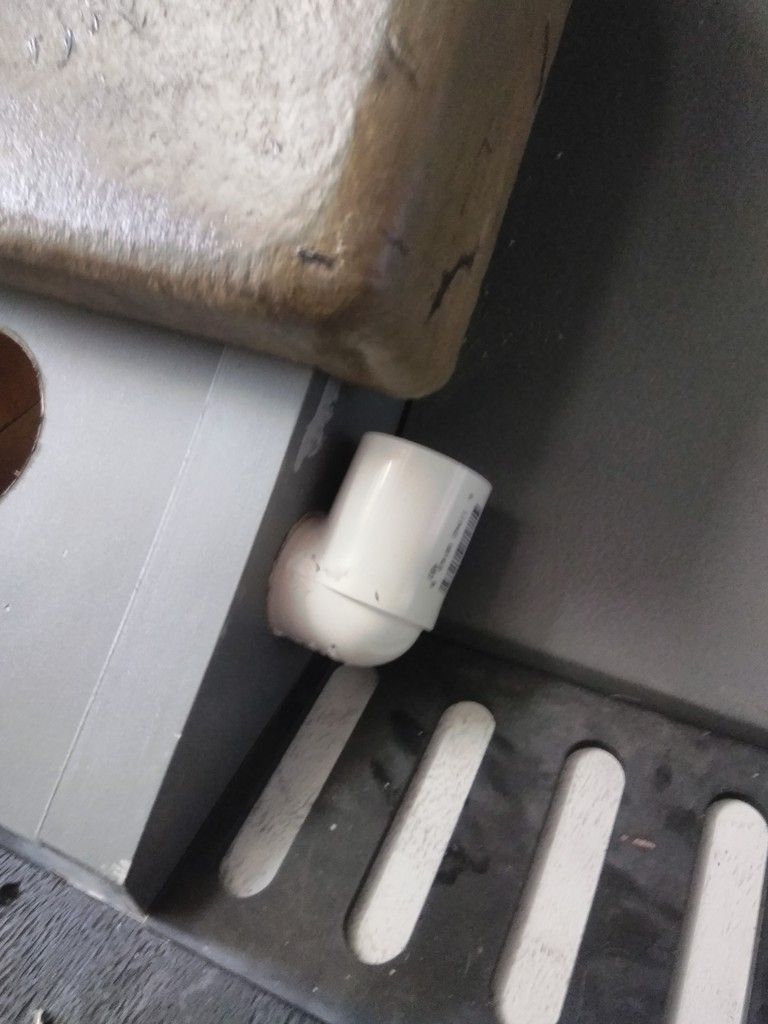
Got a 90 degree PVC elbow - the hose fit PERFECT!
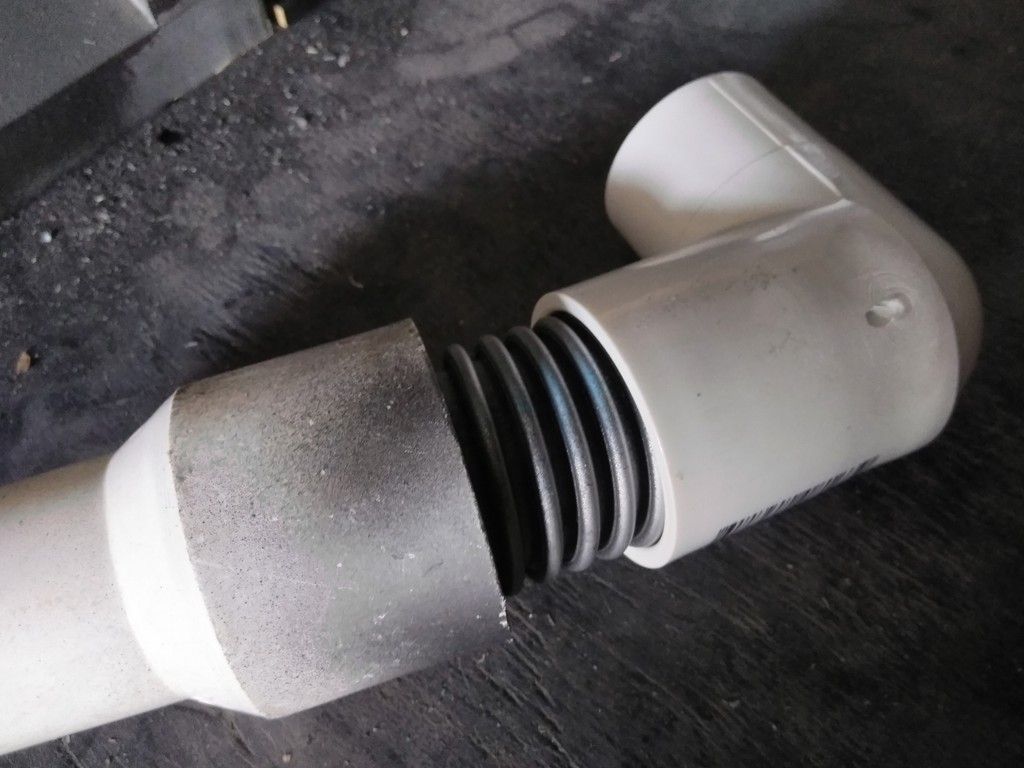
Test fit / location
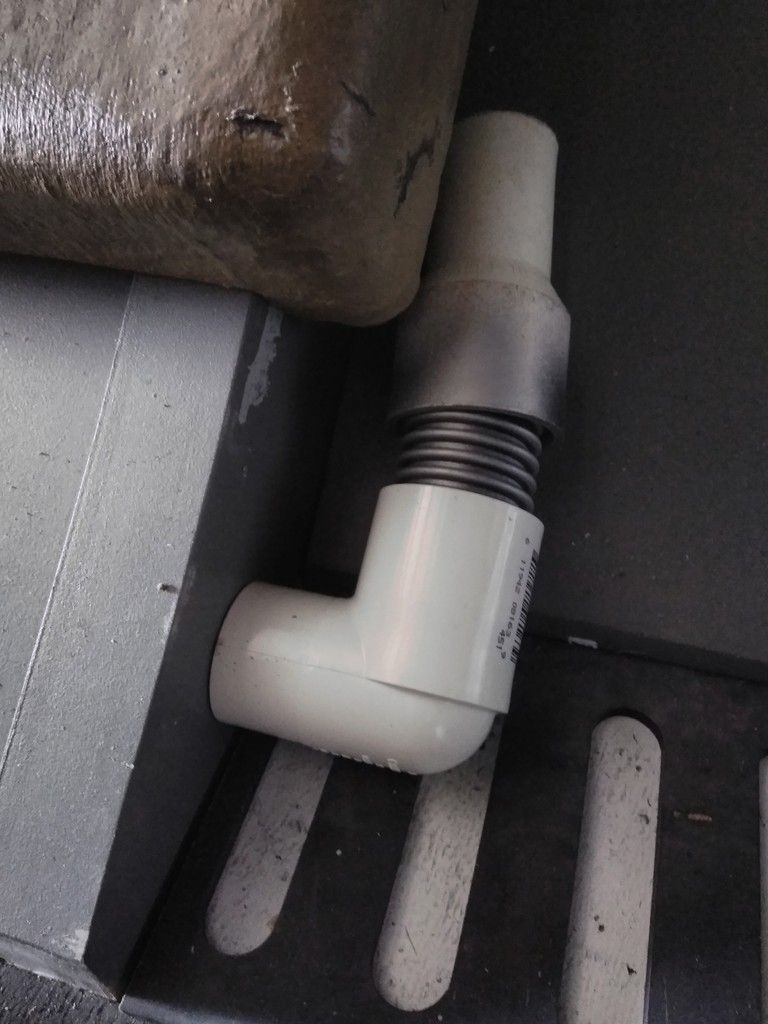
Cut the hole
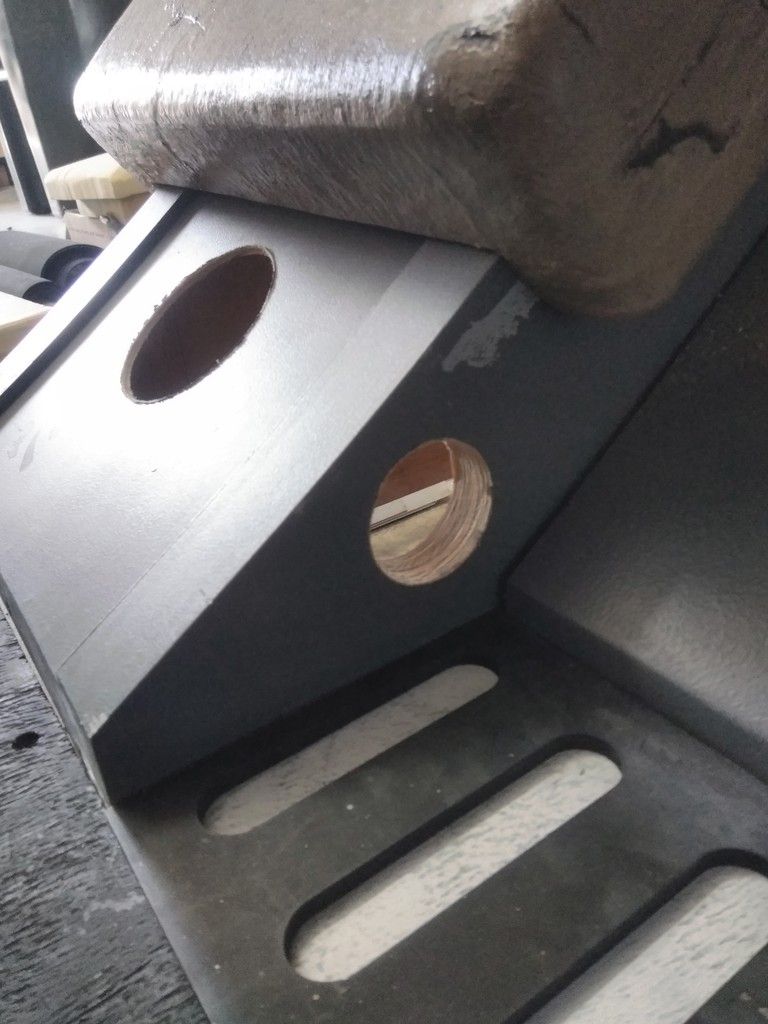
Dry fit - I'll keep in place with a PVC "coupler" on the interior side
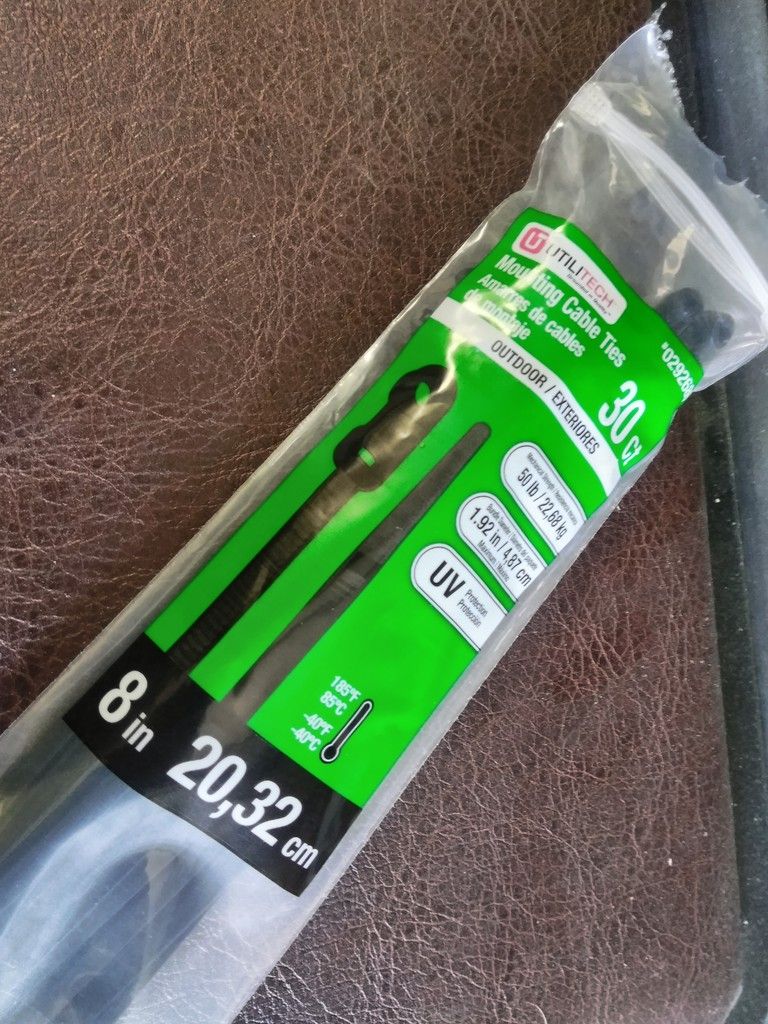
Got some mounting cable ties
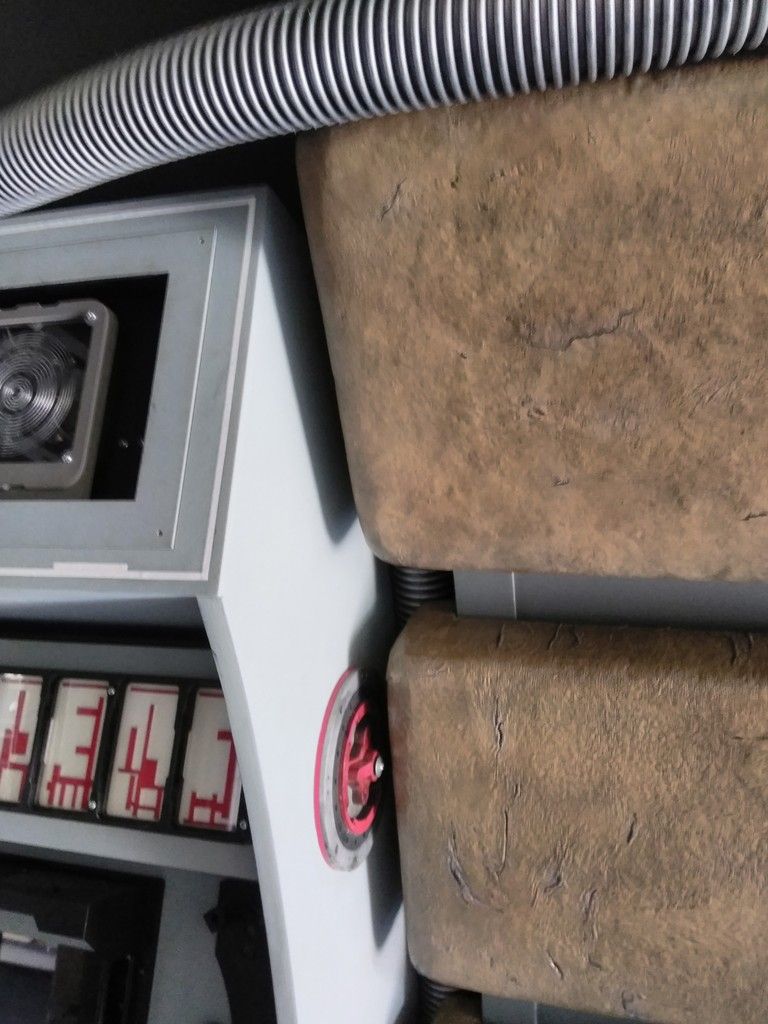
Insert the hose and then run up and around the interior side of the corridor ring above the pads!
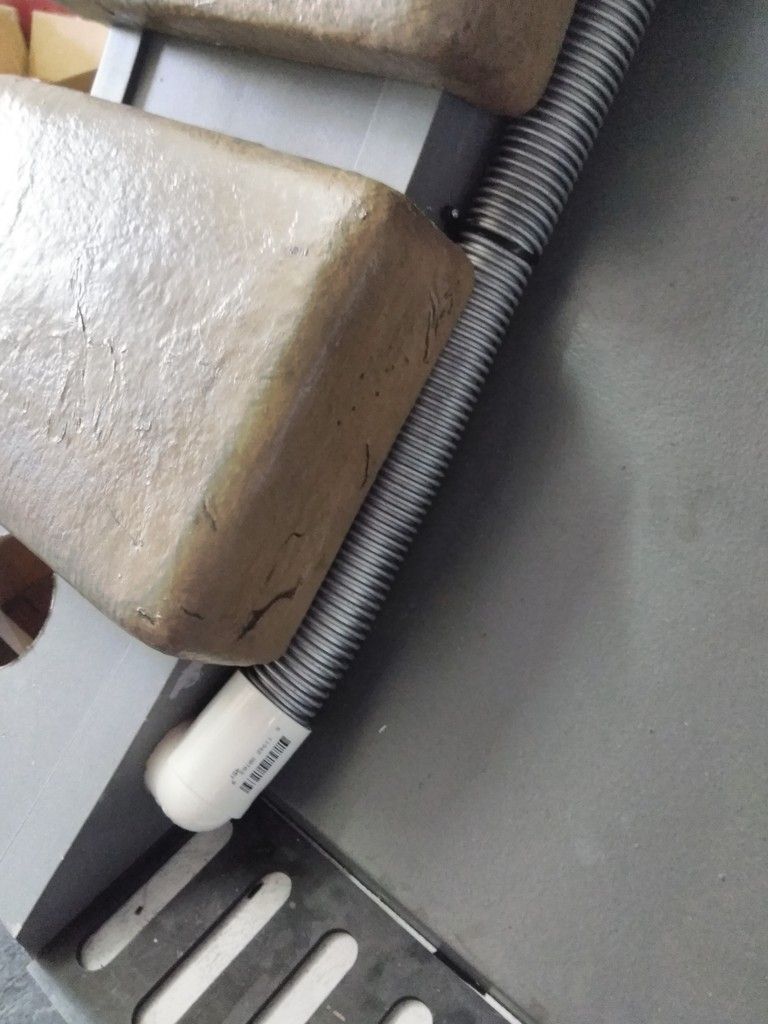
It was a perfect fit!
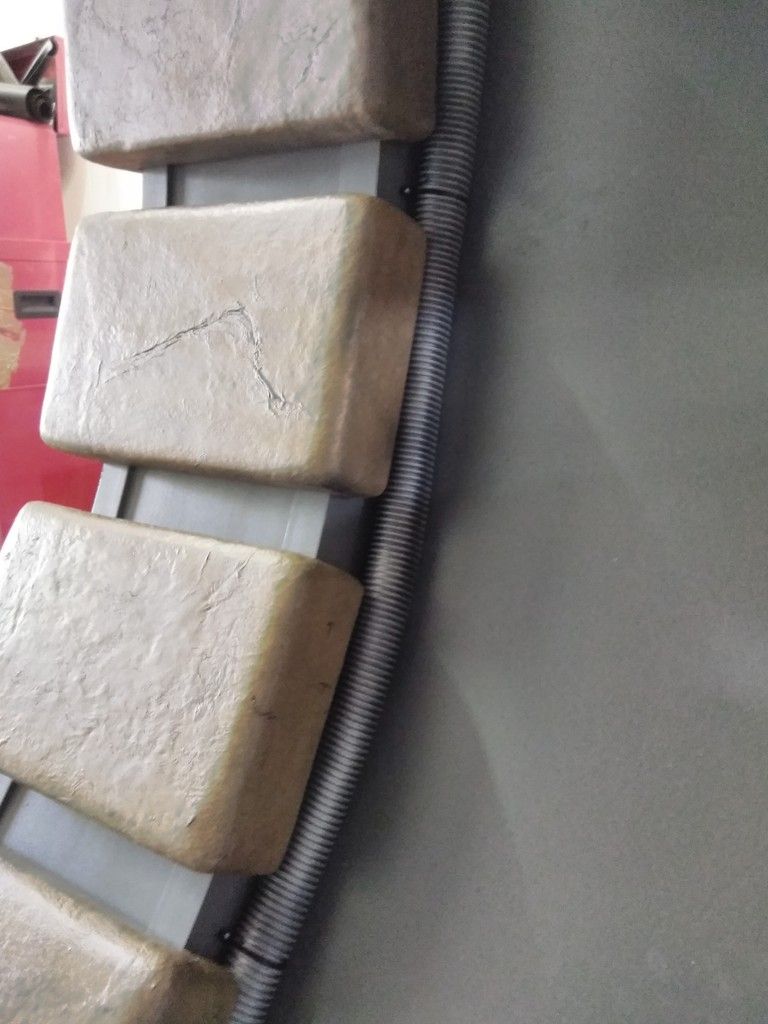
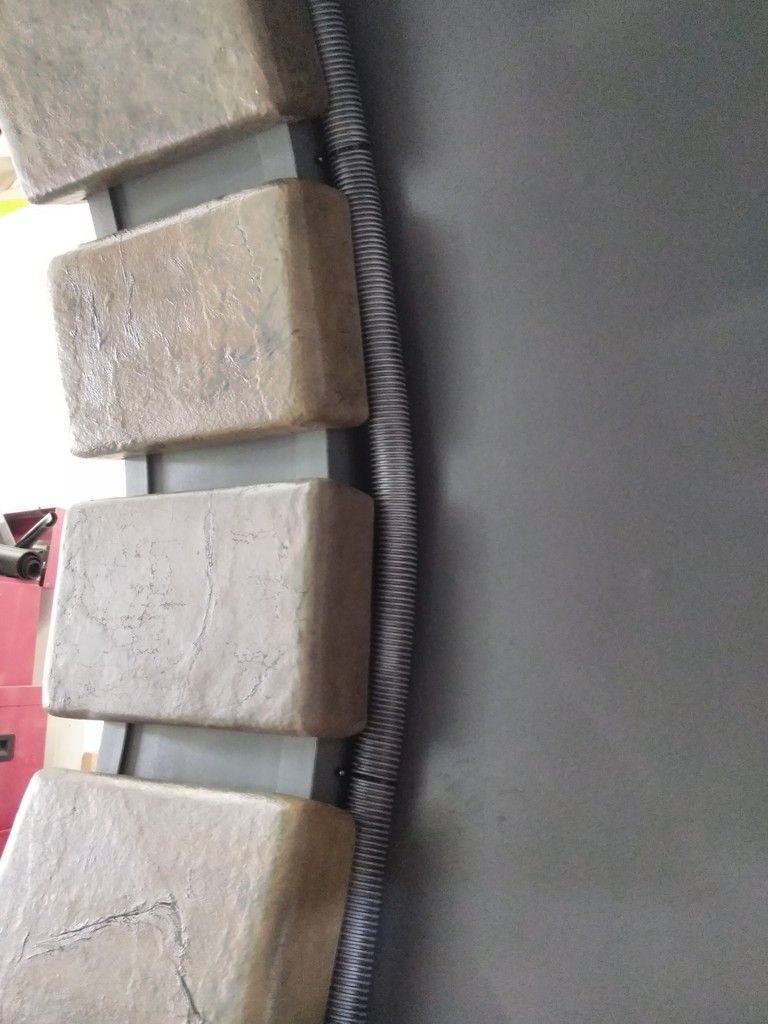
I had about 10 feet of extra hose that I started to have fun! Just testing some ideas
You can just see the hose behind the pad
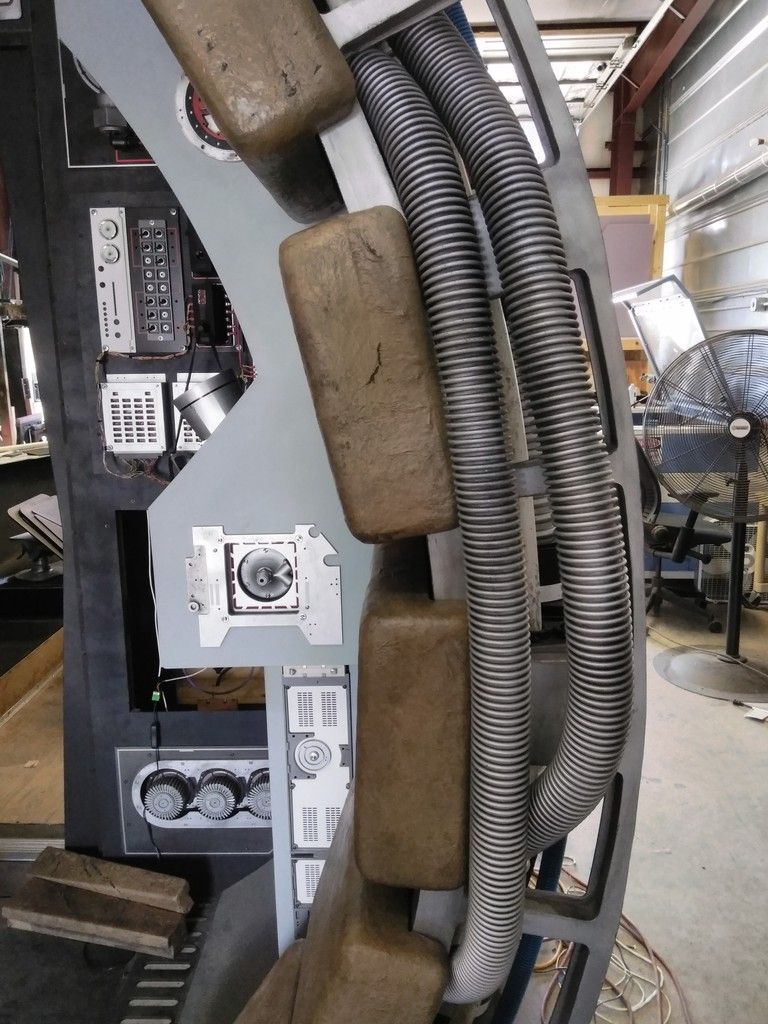
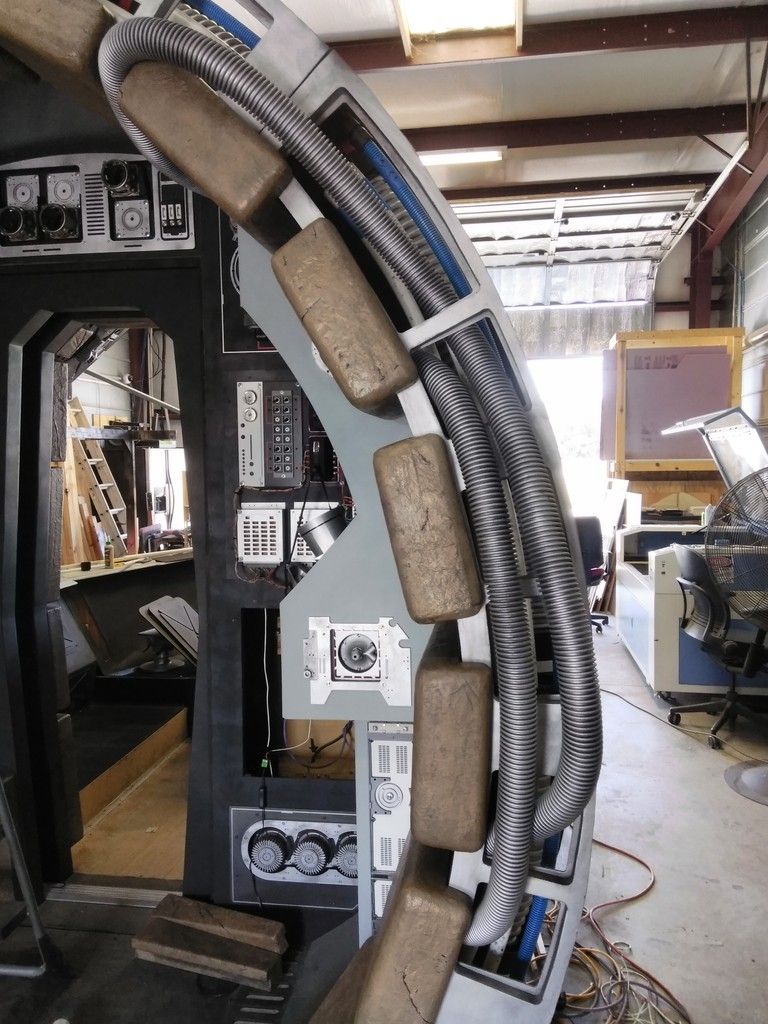
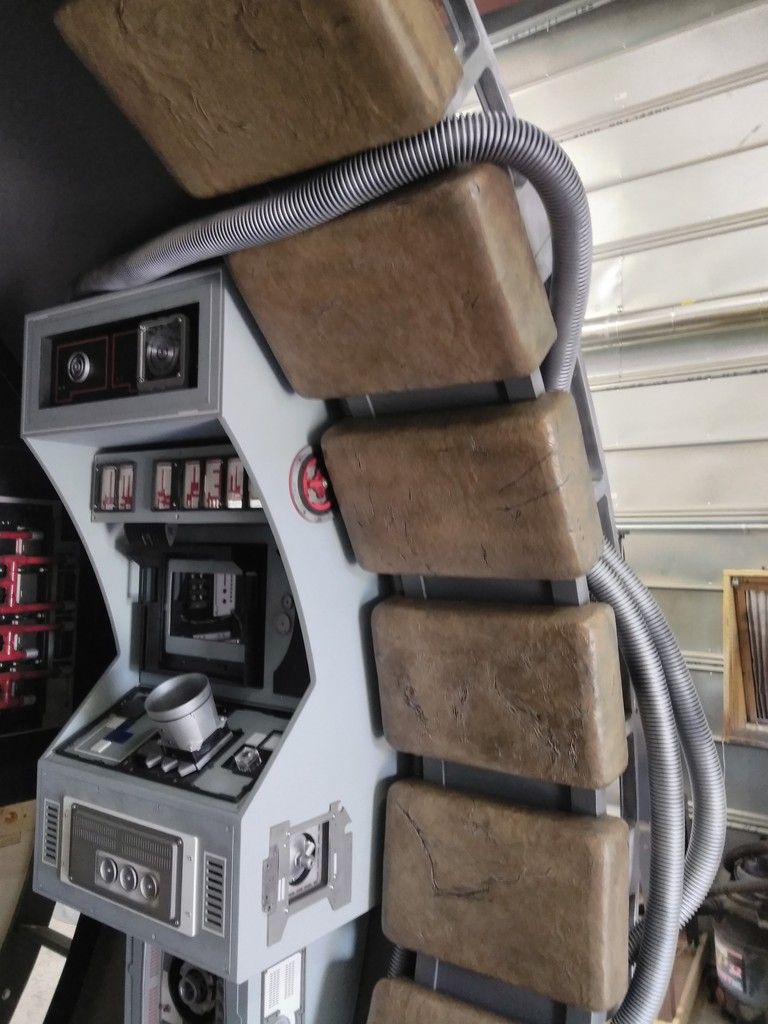
OH MAN... the humidity is such a show stopper. I did not get as far as I would have liked. BUT...
This is...
Where We Are!
Stay Tuned! More to Follow!
LOTS of stuff going on this weekend! The heat and humidity are back... UGH...
I decided to move away from working on the canopy in favor of getting some other more important things done before the Escape Velocity SciFi Convention at the end of May. No more babbling... Enjoy!
I took off the Volvo panels in prep for pin striping and greeblies!
Sanded off all the dust and prepped for paint
These are going home with me
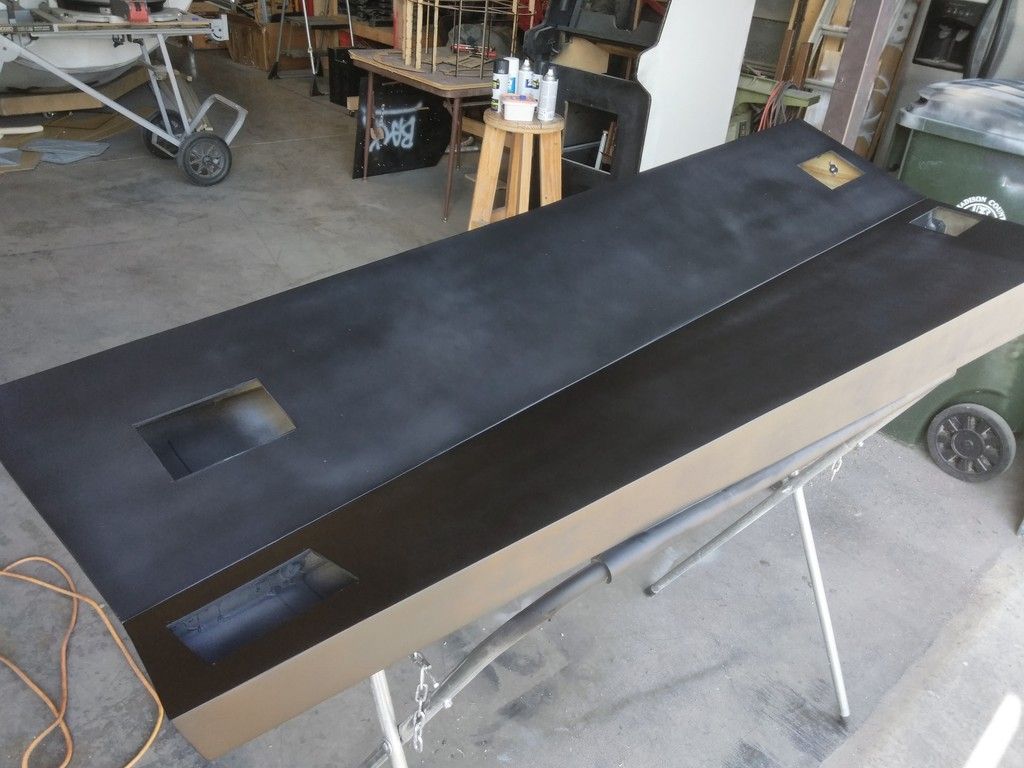
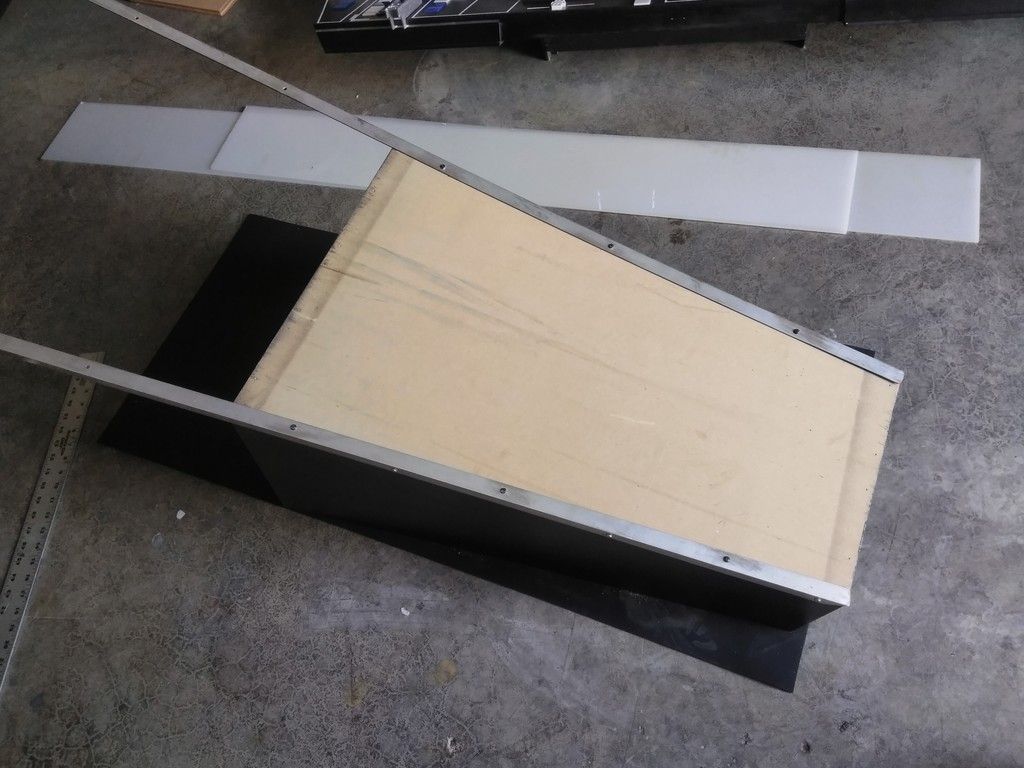
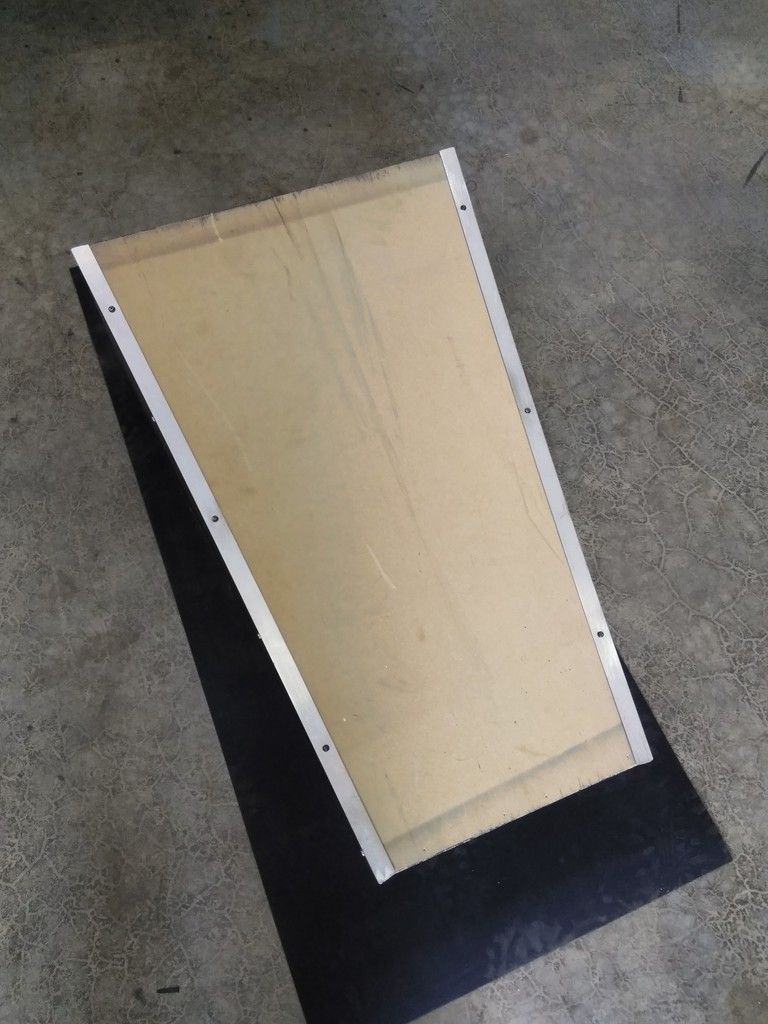
I added some protection to the lower half of the console - she was getting really beaten up around the edges
Trim the excess
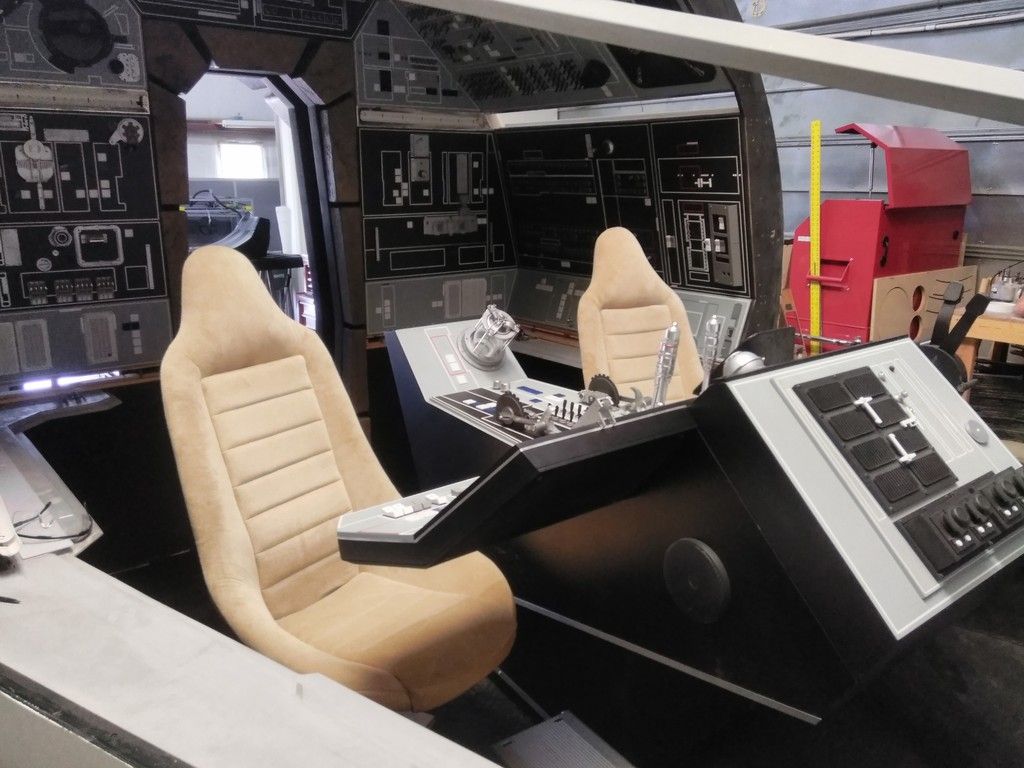
I then added casters - this will make it MUCH easier for people to get in and out of the seats as we will simply push the console forward and back allowing for more leg room during entry and exit
No swivel, just a simple back and forth motion. These will also fit inside a simple track with bump stops at both ends
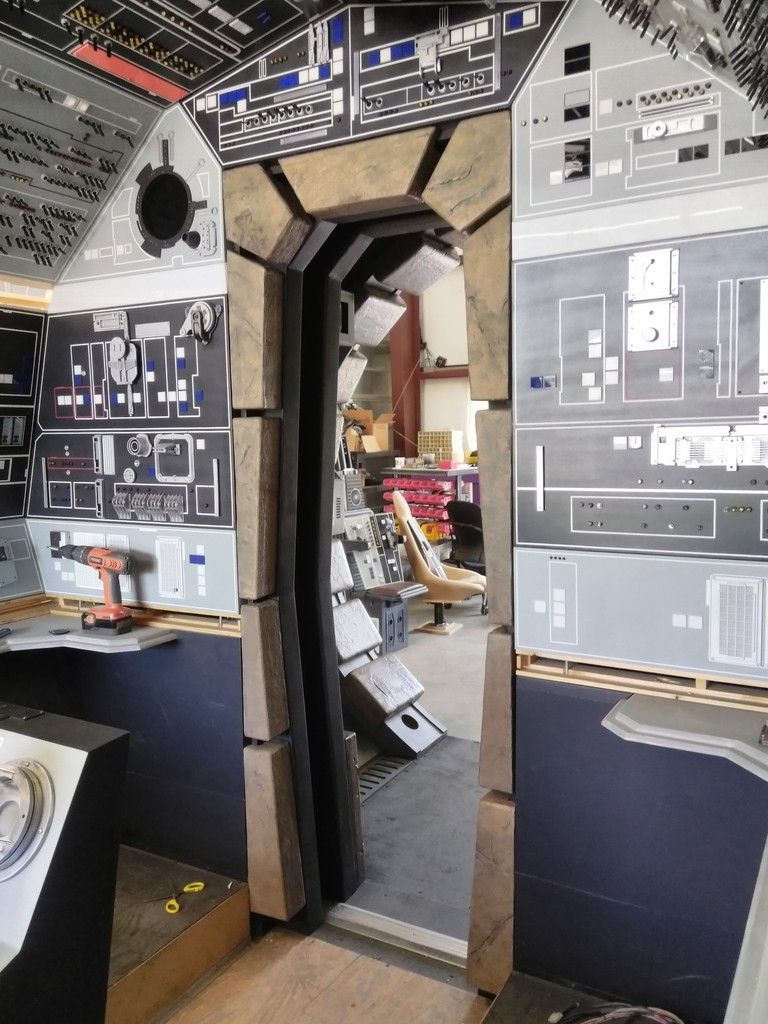
The door and door track are finally getting some attention
The door track has to be heavily mod'd to fit the new door frame - finish that up next week
I pulled the main nose flooring up
Adhered the corrugated rubber mat!
Trim the excess
Nice
Adhered the nose mats - note the rectangular holes - these are access holes for the "nose to body" mounting points
Cover plates for the holes
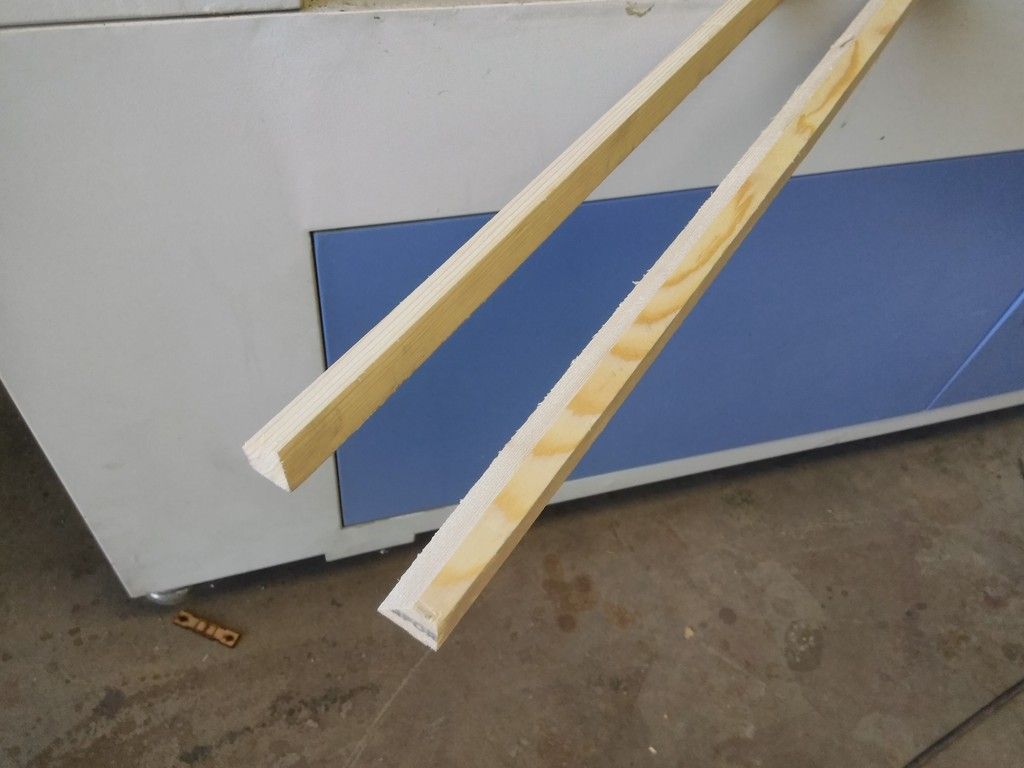
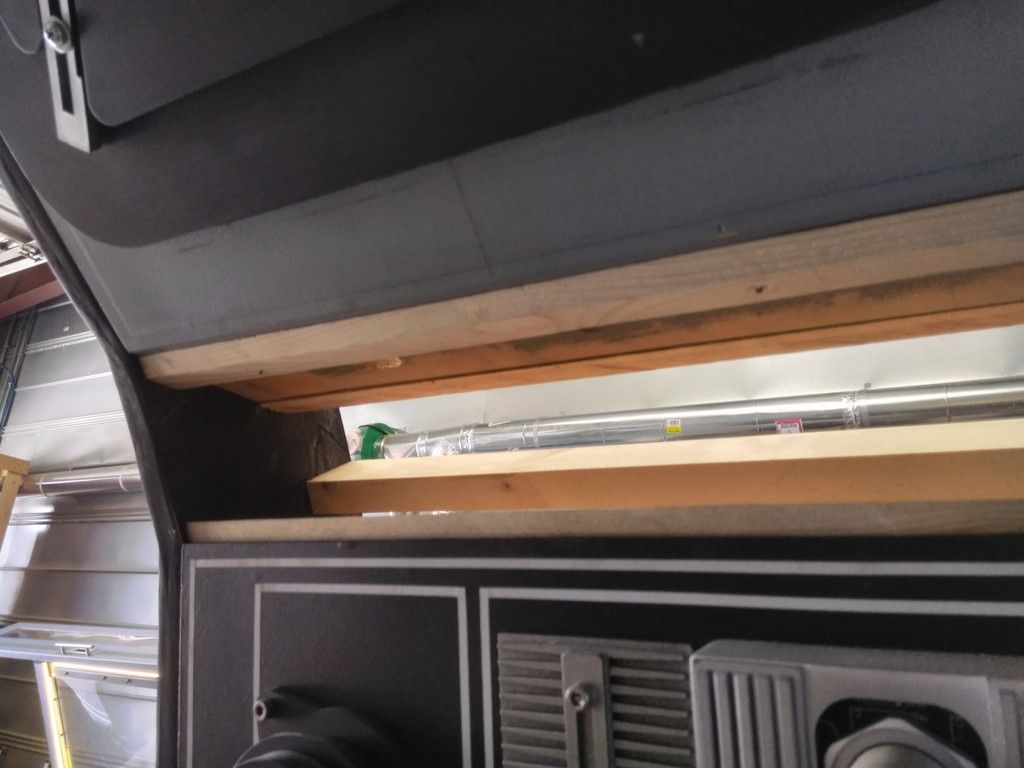
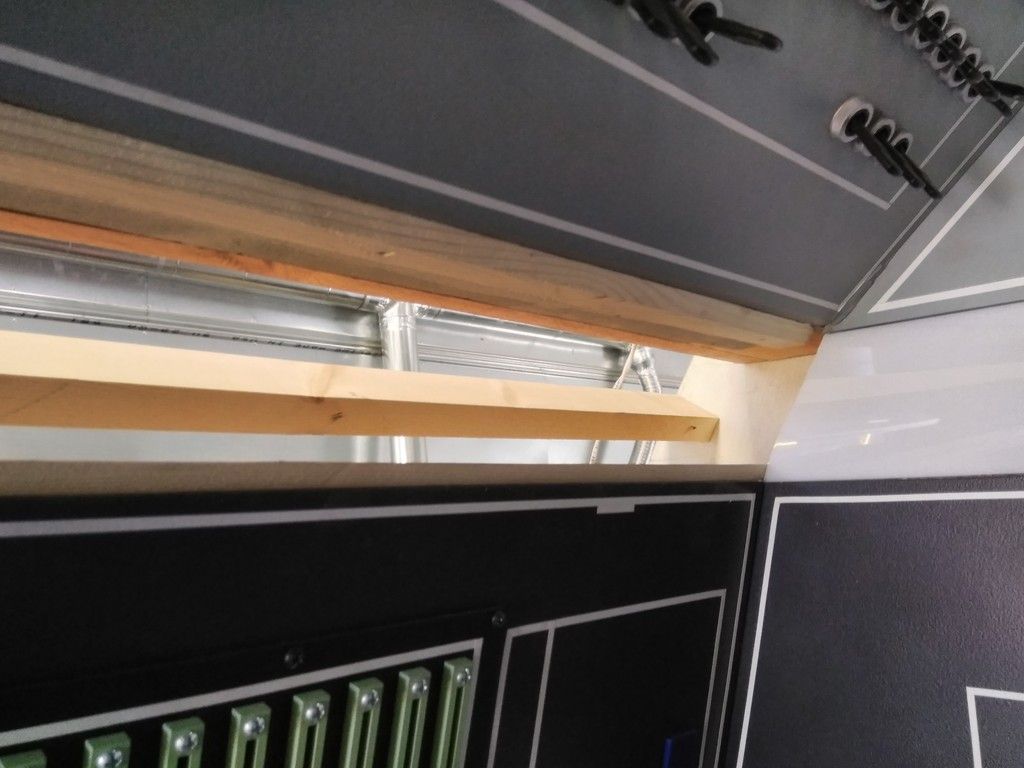
As many of you know I was able to remove the longer upper light bar housing(s) but I still needed a lip for the acrylic to lay against - I ripped some new edge pieces
Find and cut the correct angle
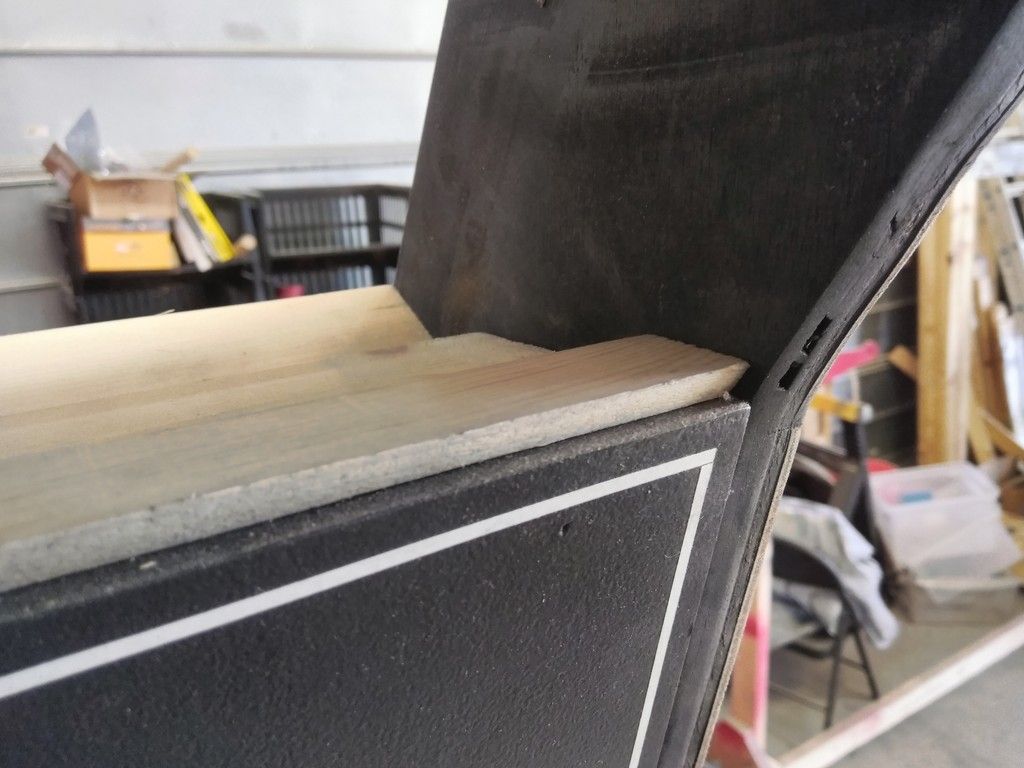
Test fit
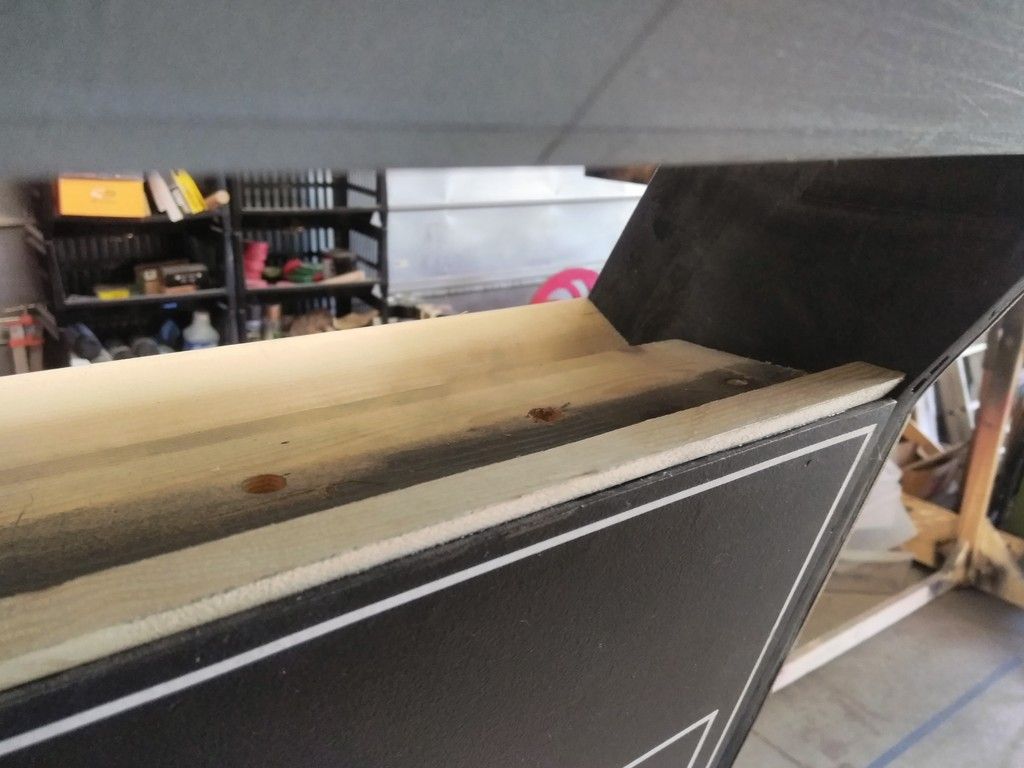
Upper
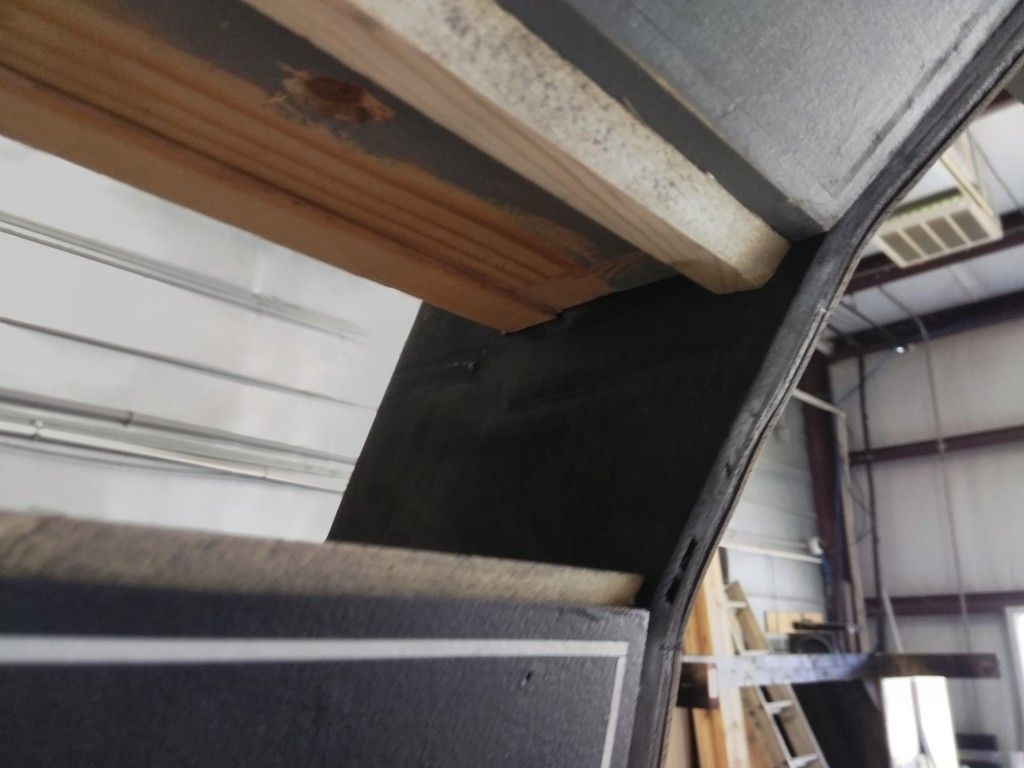
Adhere into place
Chewie's side
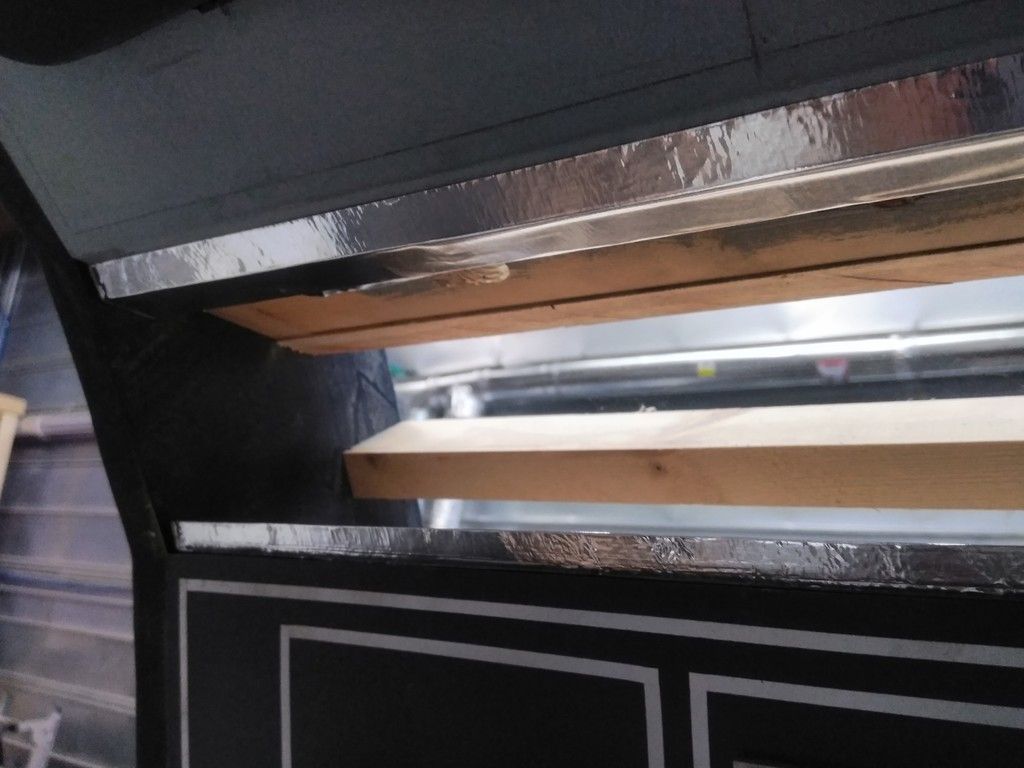
Cover with aluminum foil tape to help reflect the LED backlight
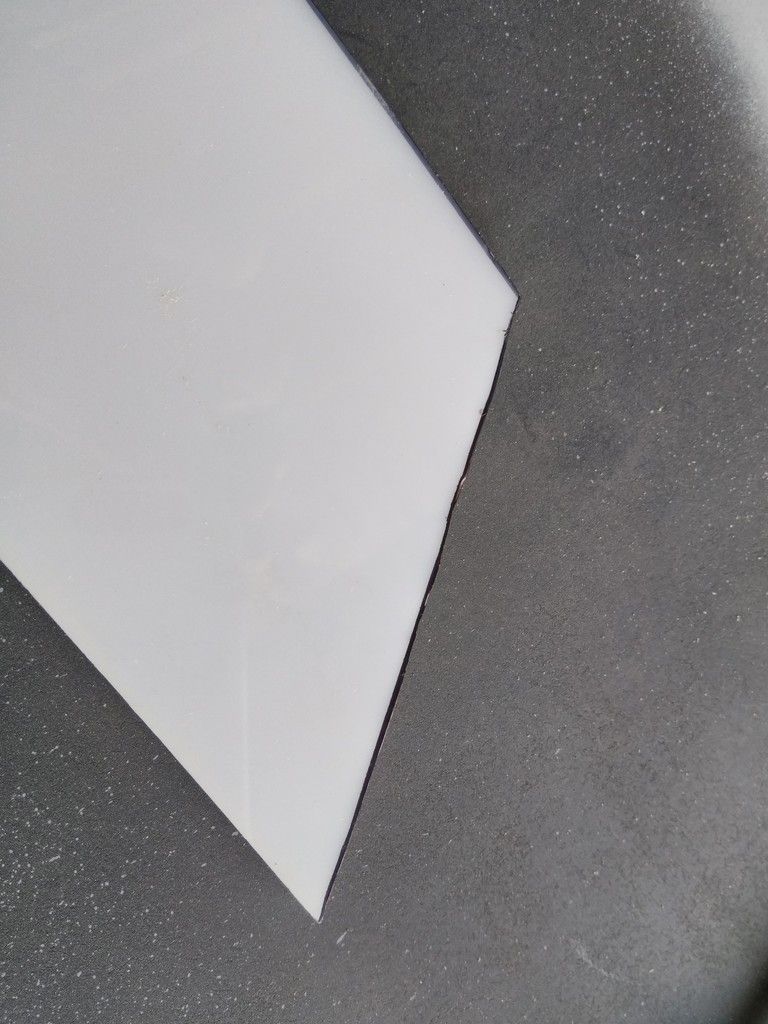
Trim and even out the frosted acrylic
Dry fit into place - nice and snug!
Love that look!
The door pads still needed to be worked on... UGH
I had to trim / remove part of the interior side for a better fit against the door frame
The table saw really struggled with the foam!
MUCH better!
Cockpit side is done!
The original had small filler pads at the very bottom - debating whether to just extend the lower pads
The cockpit entrance side didn't have the upper center pad - time to make one!
Broke out the Mod Podge and Shop Towels... the heat and humidity was WAY up this weekend. Humidity makes everything horrible!
The Vickers Viscount Overhead Vent greeblie has been bothering me for years! I dont how the original designers mounted them to the console so it was time to put my thinking cap on.
Designed a new base which mirrored the basic shape
The vent will be adhered to the base using E6000
Sanded
Primed & Painted... UGH... DRIPS
Start over
Still some drips... Start Over!
Jake stopped by and continued wiring
These interesting LED strips will go...
Here on Han's side
Gaining access to all the wiring to figure some issues and the light bars!
These are the new seat posts!
They both slide and swivel (one is stacked upon the other)
Near perfect fit but the holes didn't align... No biggie!
Basic position
I found this old CB
Cut to fit - just need to mount
Another thing that had been bothering for a LONG time were the pin stripes on some of the "oldest" panels. Several of the stripes have spread apart creating UGLY gaps... Time to fix! Break out the white Paint Sharpie
Before
After - 1st of several passes (looks like I need Red too!)
Before
A little bit better...
Before
After... This process took about an hour or so.
I continued my corrugated floor mat adventures and cut these to fit the main nav chair platforms
Lay the adhesive...
Weigh down the edges
UGH... I was so miserable in the heat it seemed like everything was going wrong
About a year ago my neighbor tossed away / gave me an old pool vacuum hose. I FINALLY painted it
After adding silver paint I cut the ends off
Got a 90 degree PVC elbow - the hose fit PERFECT!
Test fit / location
Cut the hole
Dry fit - I'll keep in place with a PVC "coupler" on the interior side
Got some mounting cable ties
Insert the hose and then run up and around the interior side of the corridor ring above the pads!
It was a perfect fit!
I had about 10 feet of extra hose that I started to have fun! Just testing some ideas
You can just see the hose behind the pad
OH MAN... the humidity is such a show stopper. I did not get as far as I would have liked. BUT...
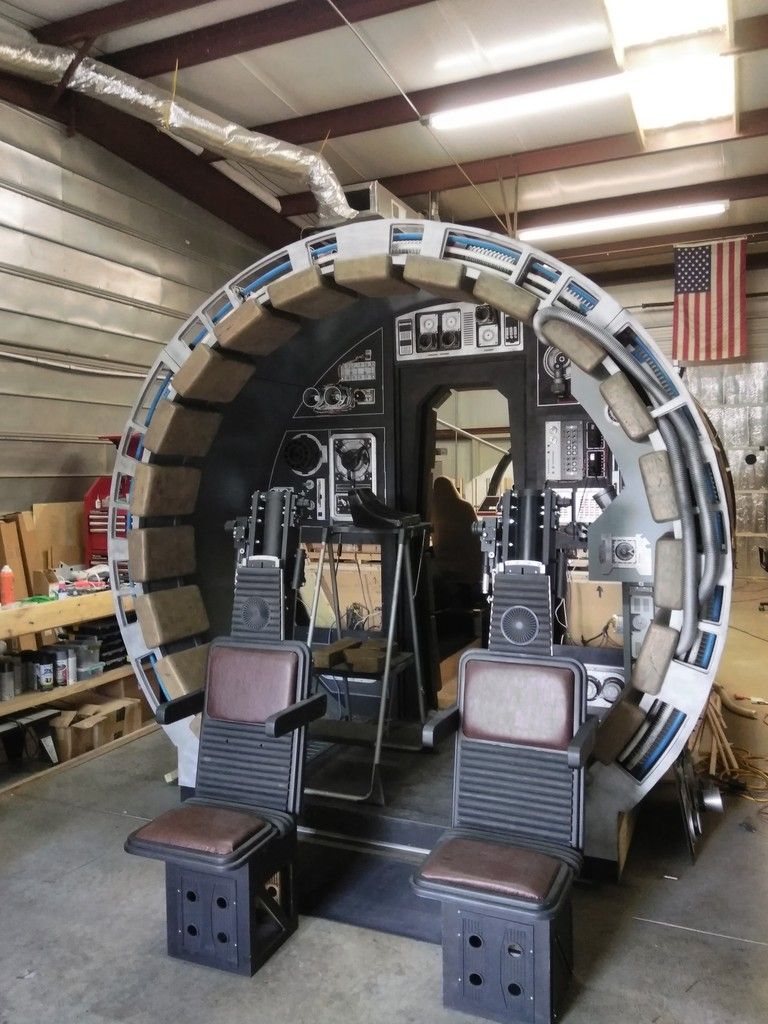
This is...
Where We Are!
Stay Tuned! More to Follow!
Last edited:
This looks so bloody awesome! [emoji108]
Lt Washburn
Sr Member
This might be one of my favorite updates in a long time! I don't want to be a bother and pester you to work on certain things, but part of me was like, "When is he going to do the light bars and the flooring?" every week. So it was cool to see them both worked on here! I really like the "taking care of odds and ends" stuff.
How much room is there to slide the console forward? Is it like inches, or a foot?
Interesting about the pin-stripes separating. I've seen a lot of pin-striping done where they overlap the corners and I wondered why they did that because it perceptibly added thickness. But it prevents this issue, so maybe that was the rationale.
The pool hoses look great.
You know, the whole thing will look awesome on display, but I hope that someone comes along and tells you it looks like a piece of junk, just so you can perfectly reply, "She may not look like much, but she's got it where it counts, kid. I've made a lot of special modifications myself."
So it was cool to see them both worked on here! I really like the "taking care of odds and ends" stuff.How much room is there to slide the console forward? Is it like inches, or a foot?
Interesting about the pin-stripes separating. I've seen a lot of pin-striping done where they overlap the corners and I wondered why they did that because it perceptibly added thickness. But it prevents this issue, so maybe that was the rationale.
The pool hoses look great.
You know, the whole thing will look awesome on display, but I hope that someone comes along and tells you it looks like a piece of junk, just so you can perfectly reply, "She may not look like much, but she's got it where it counts, kid. I've made a lot of special modifications myself."
Last edited by a moderator:
Similar threads
- Replies
- 2
- Views
- 859
- Replies
- 6
- Views
- 609
- Replies
- 8
- Views
- 549
- Replies
- 4
- Views
- 775
- Replies
- 4
- Views
- 2,304