Hey Gang,
Time for an update! Lots going on this long Memorial Day weekend! First, a huge thank to all who served and paid the ultimate sacrifice. You have my utmost respect and admiration.
Let's start the update with another little cool project. I debated whether to start a new thread but since it is part of the same project it made sense just leave it here.
")
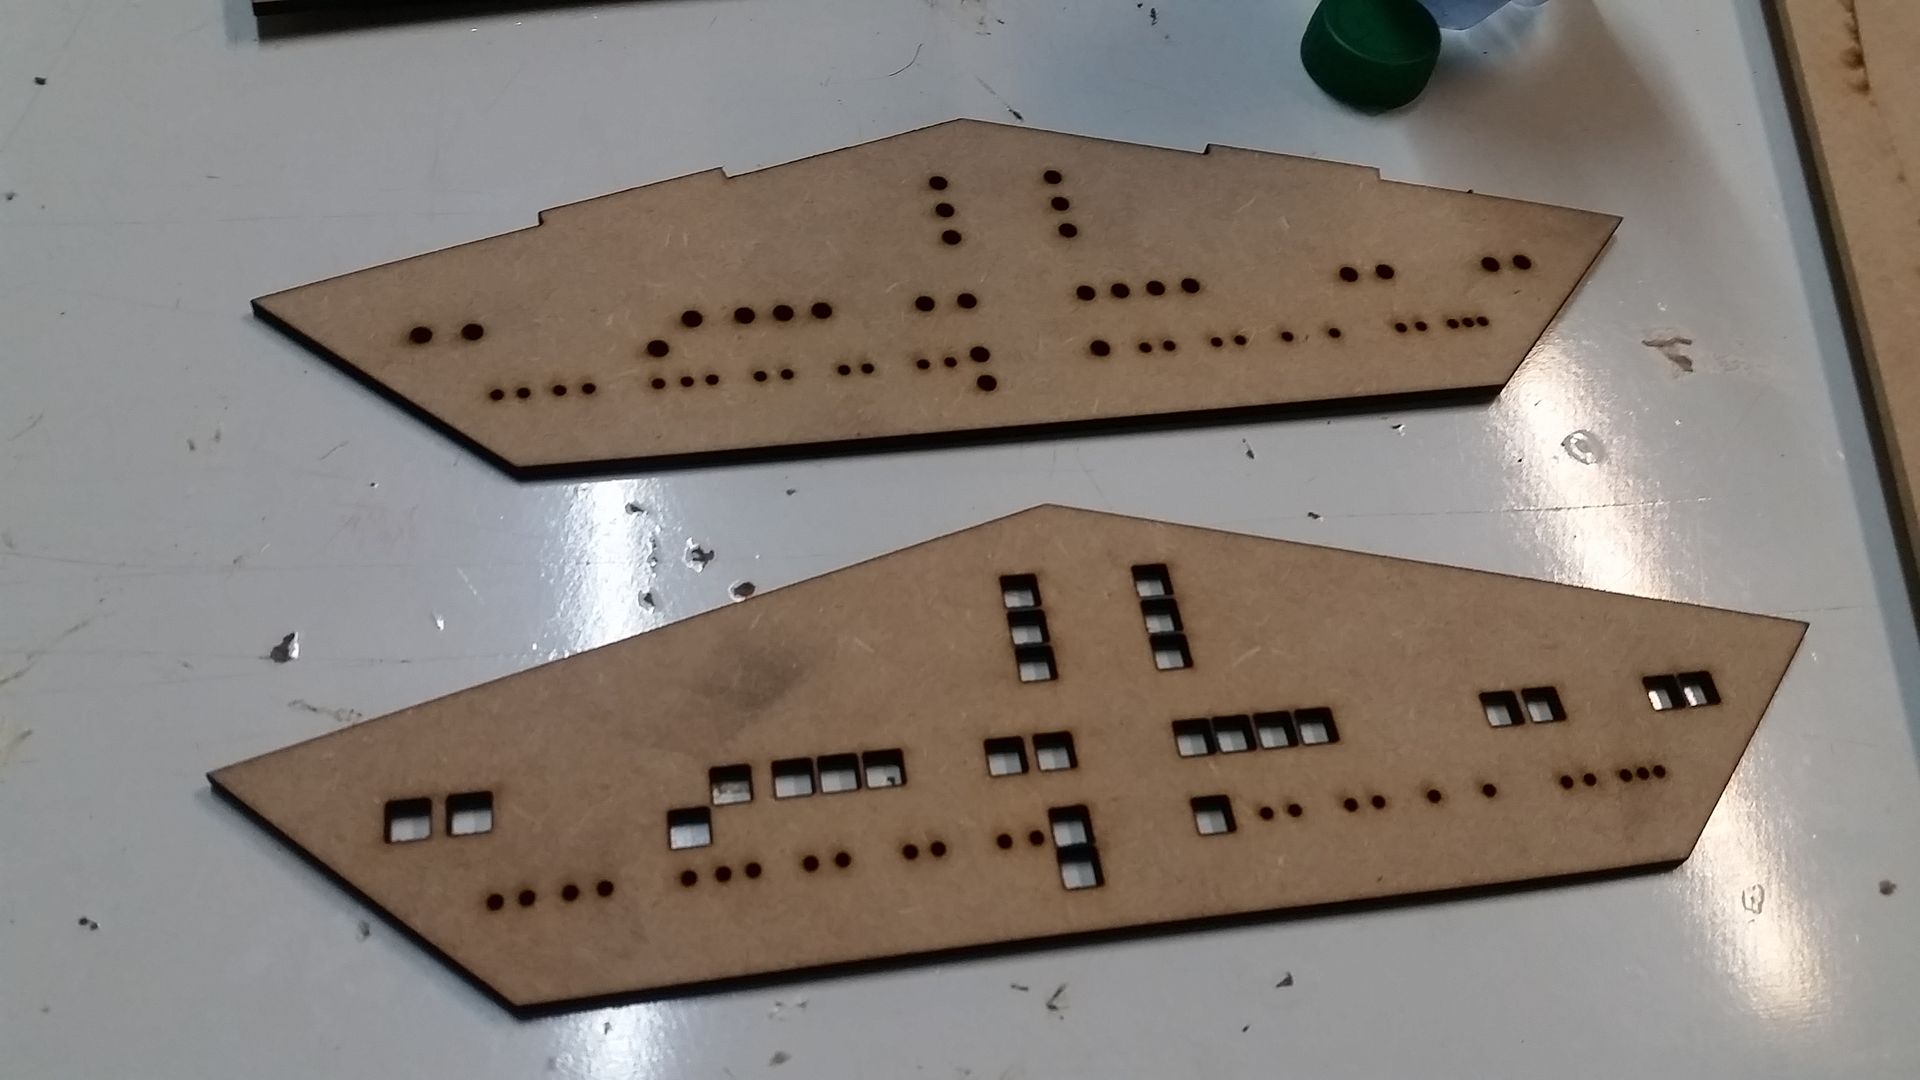
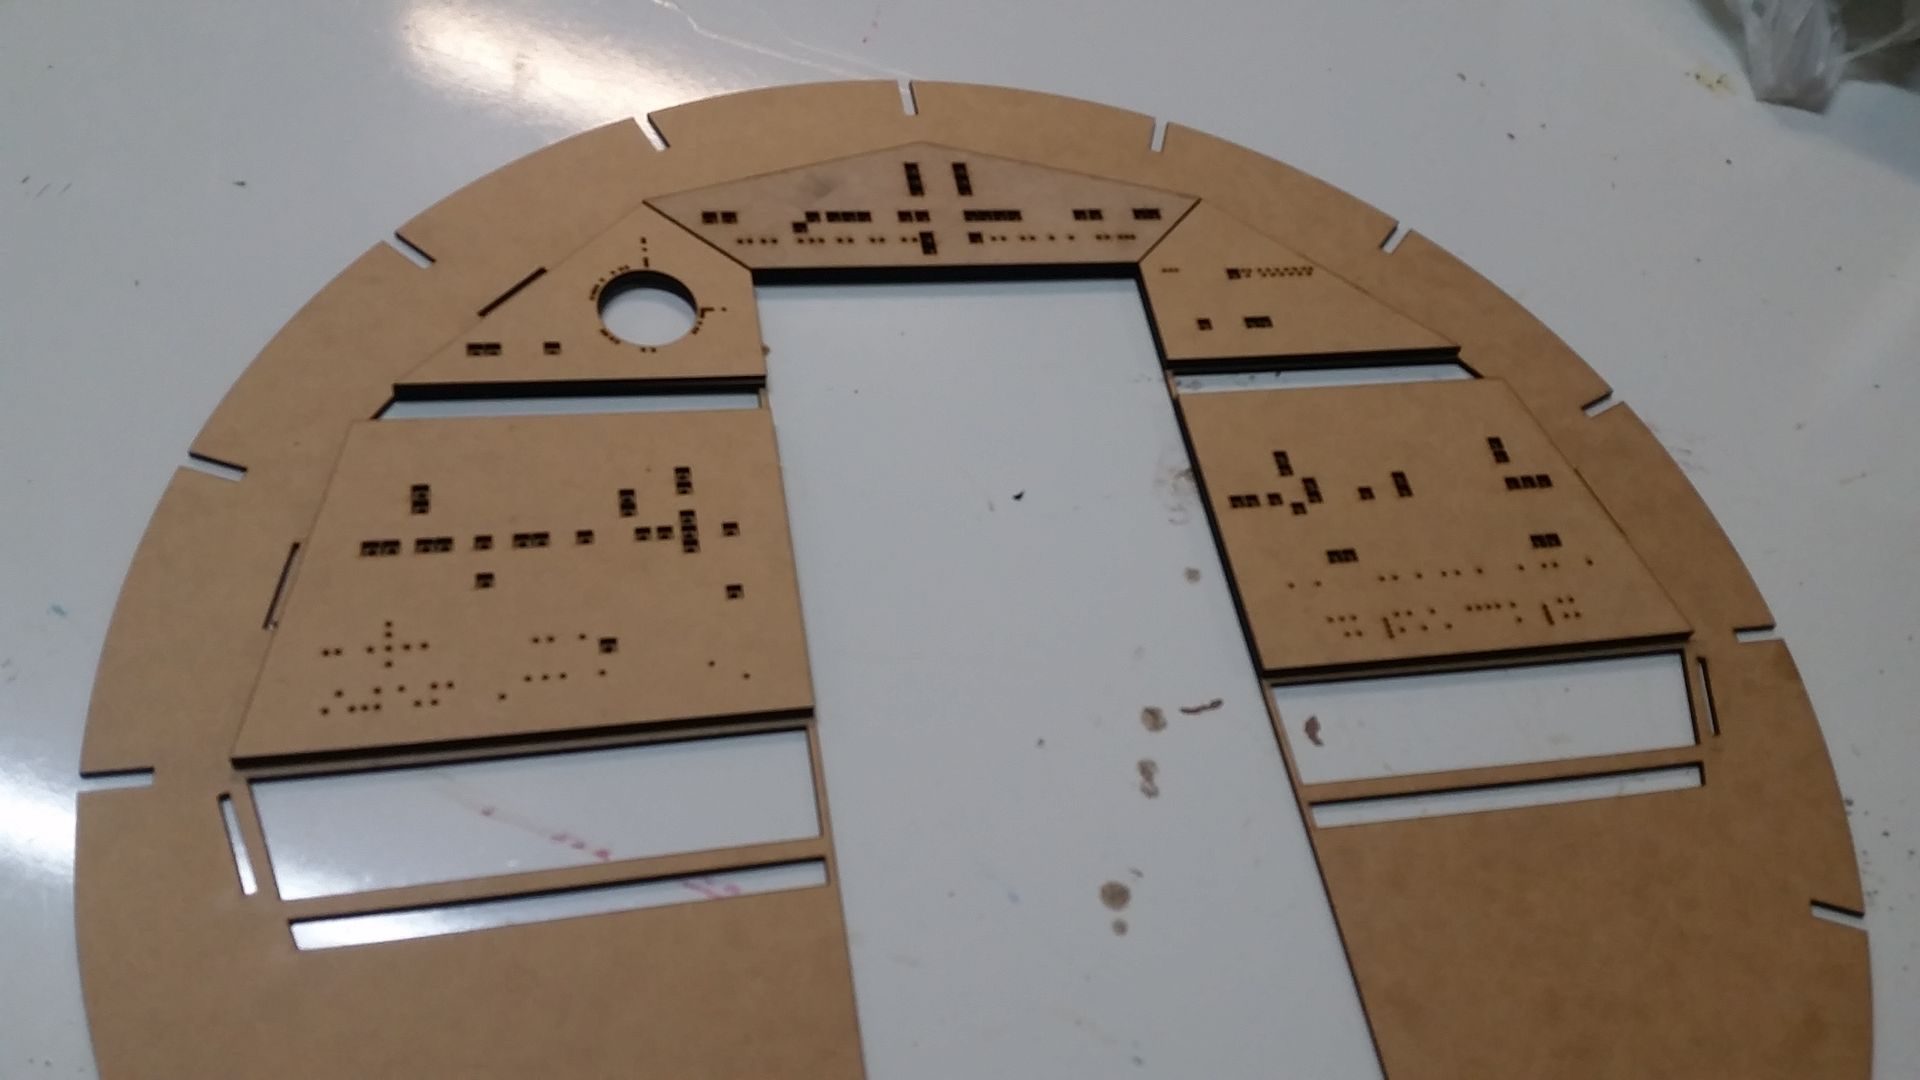
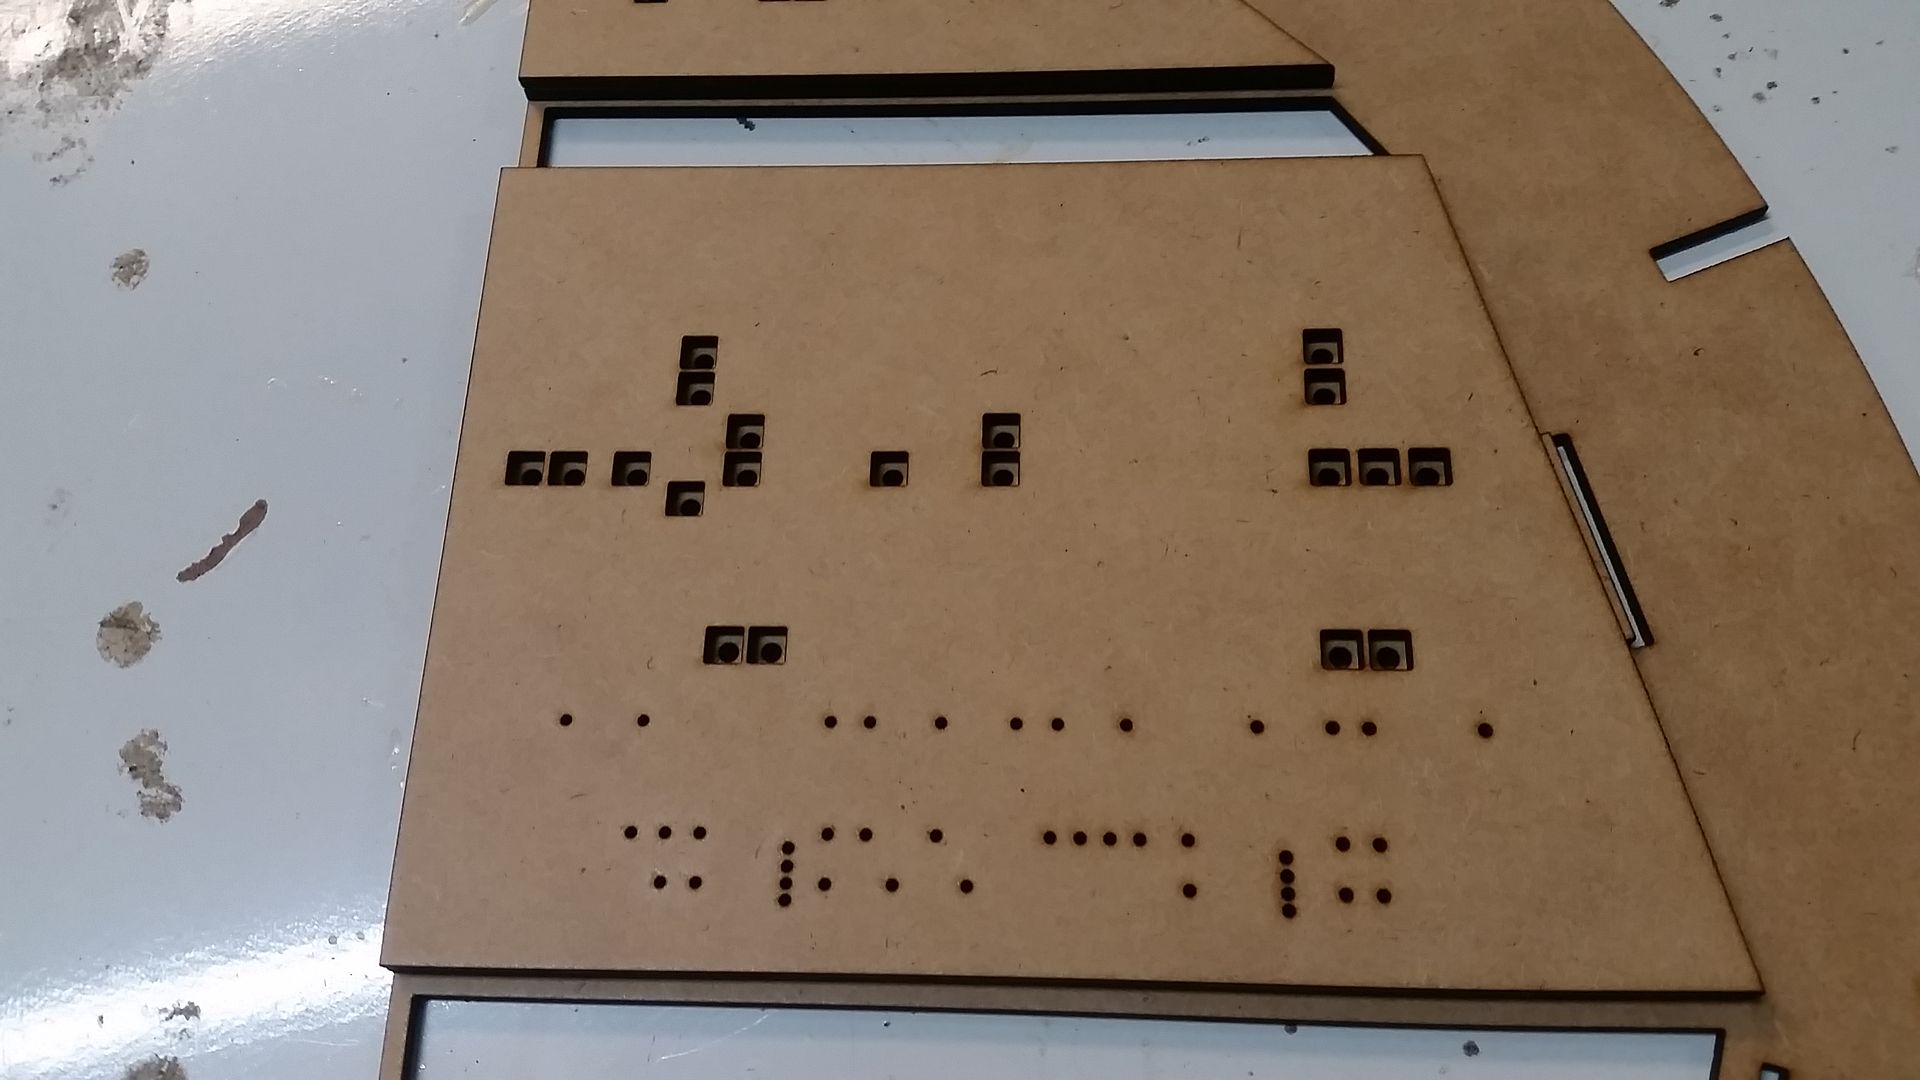
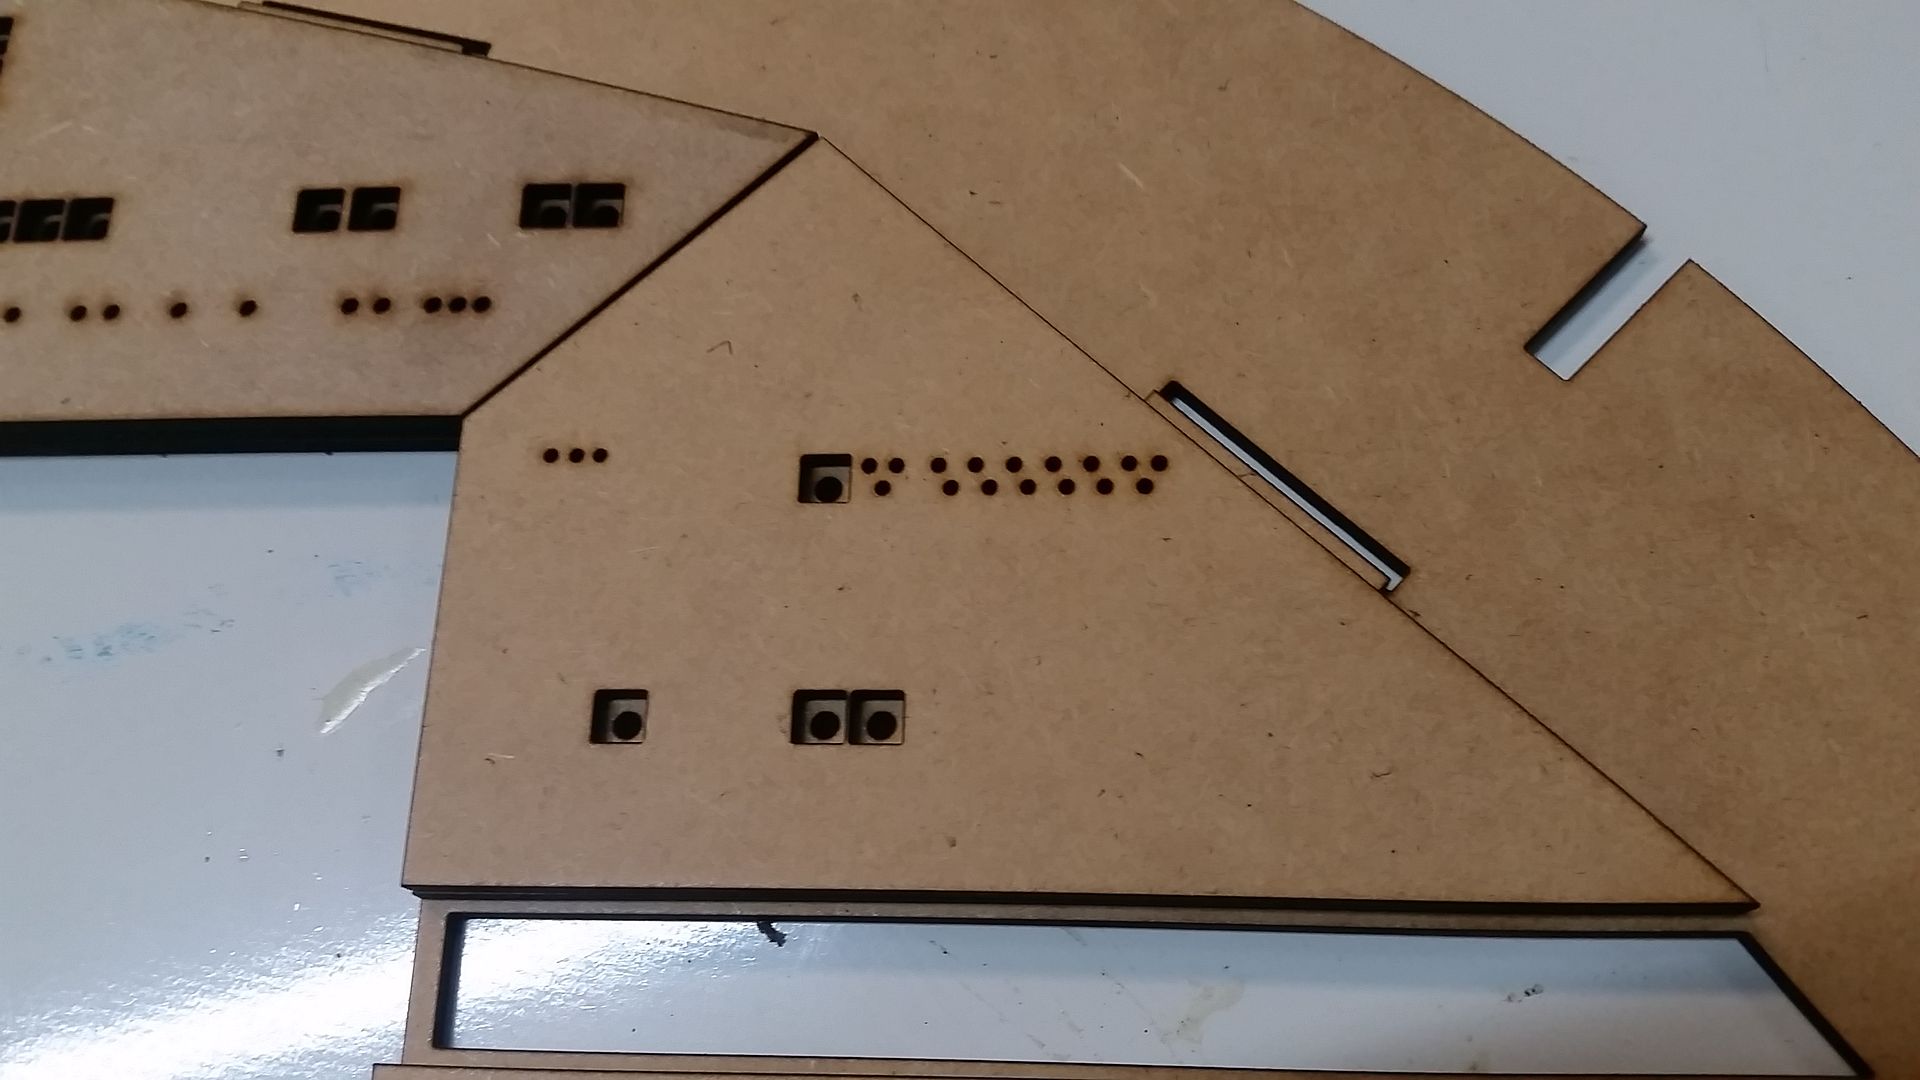
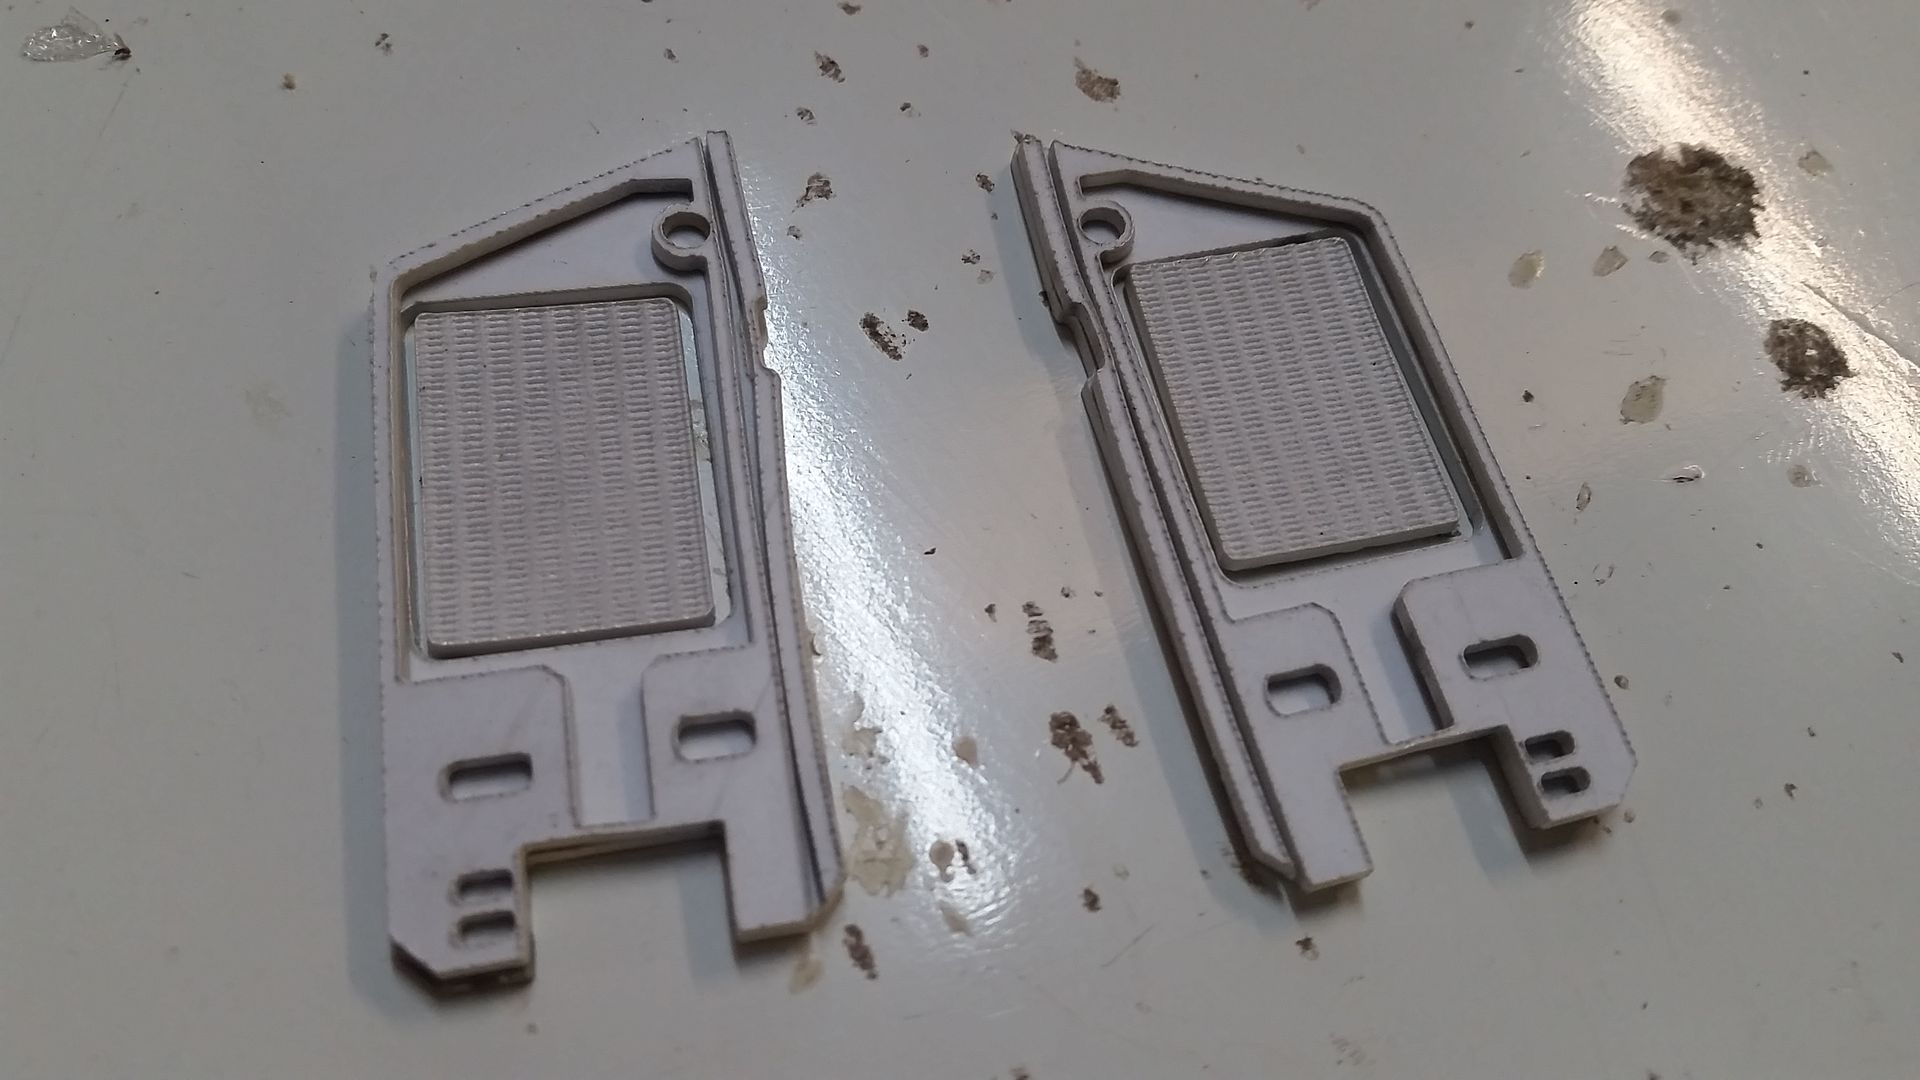
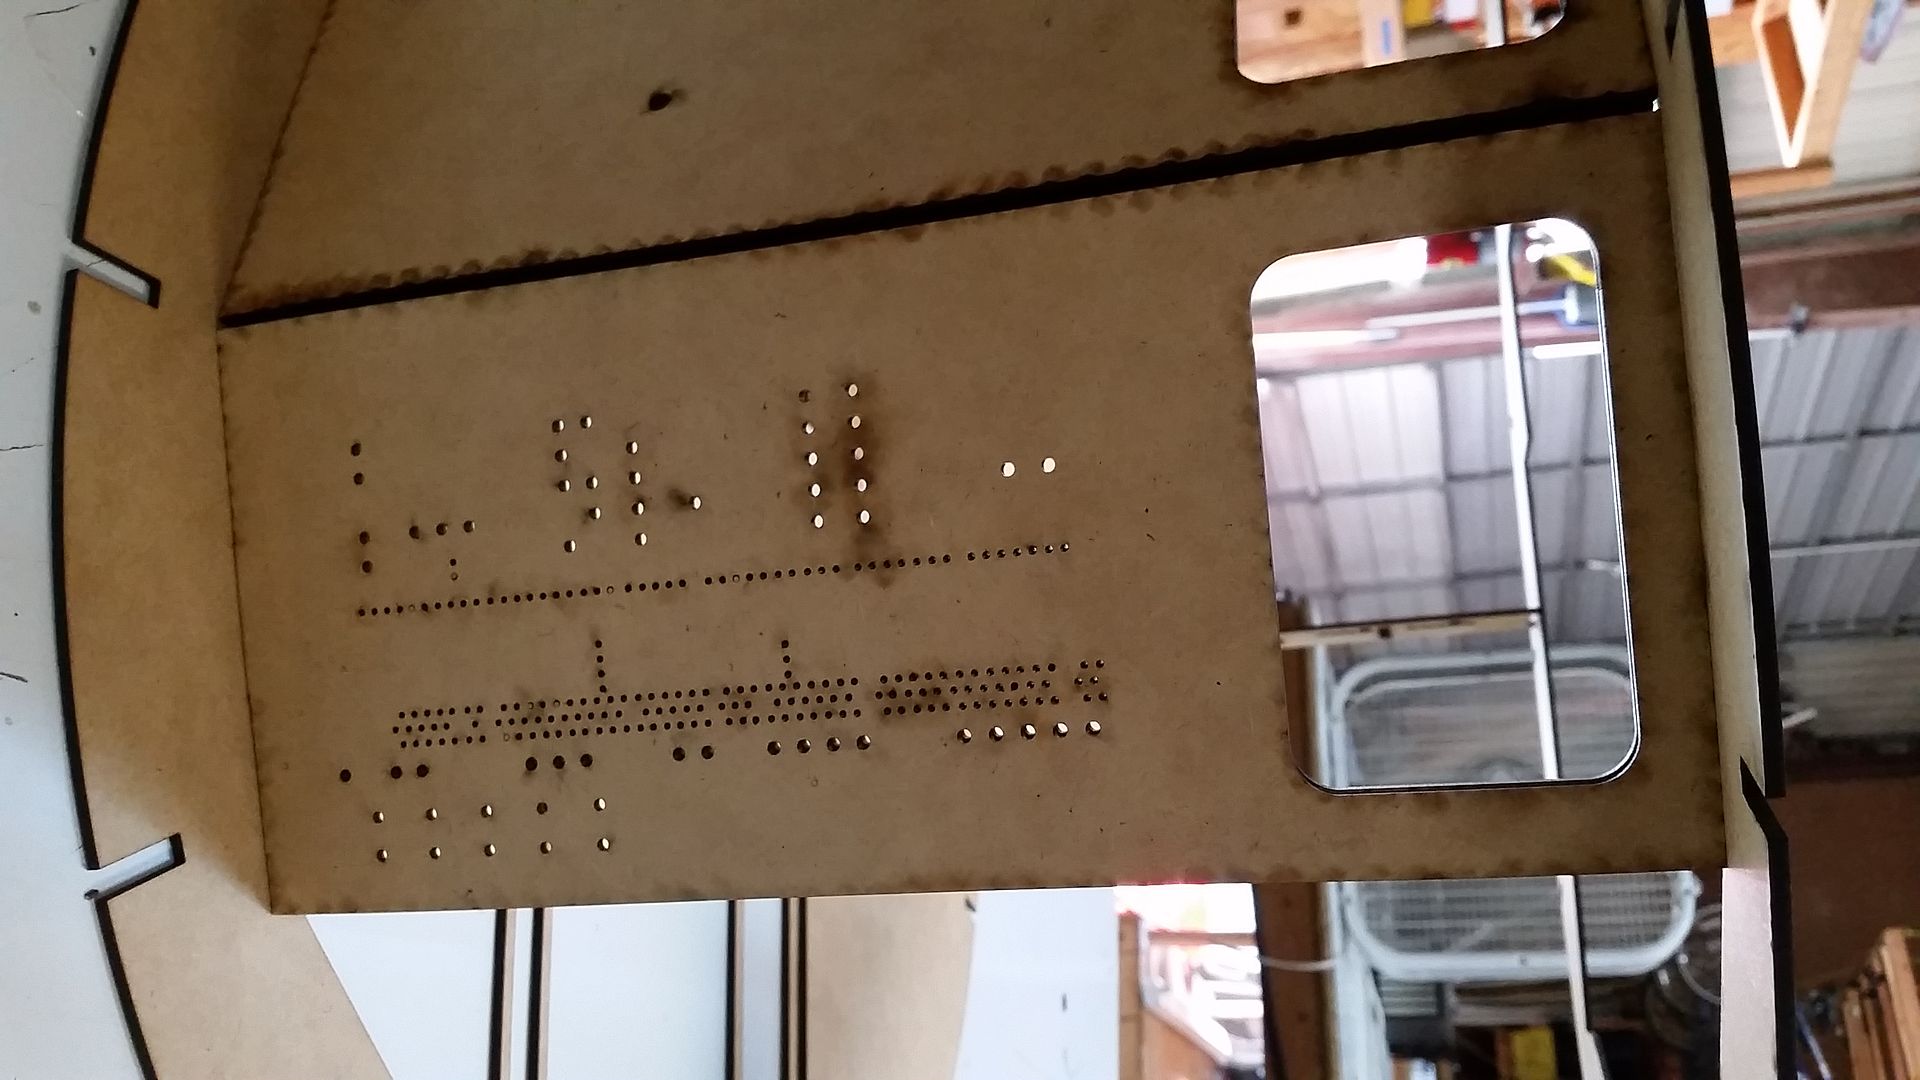
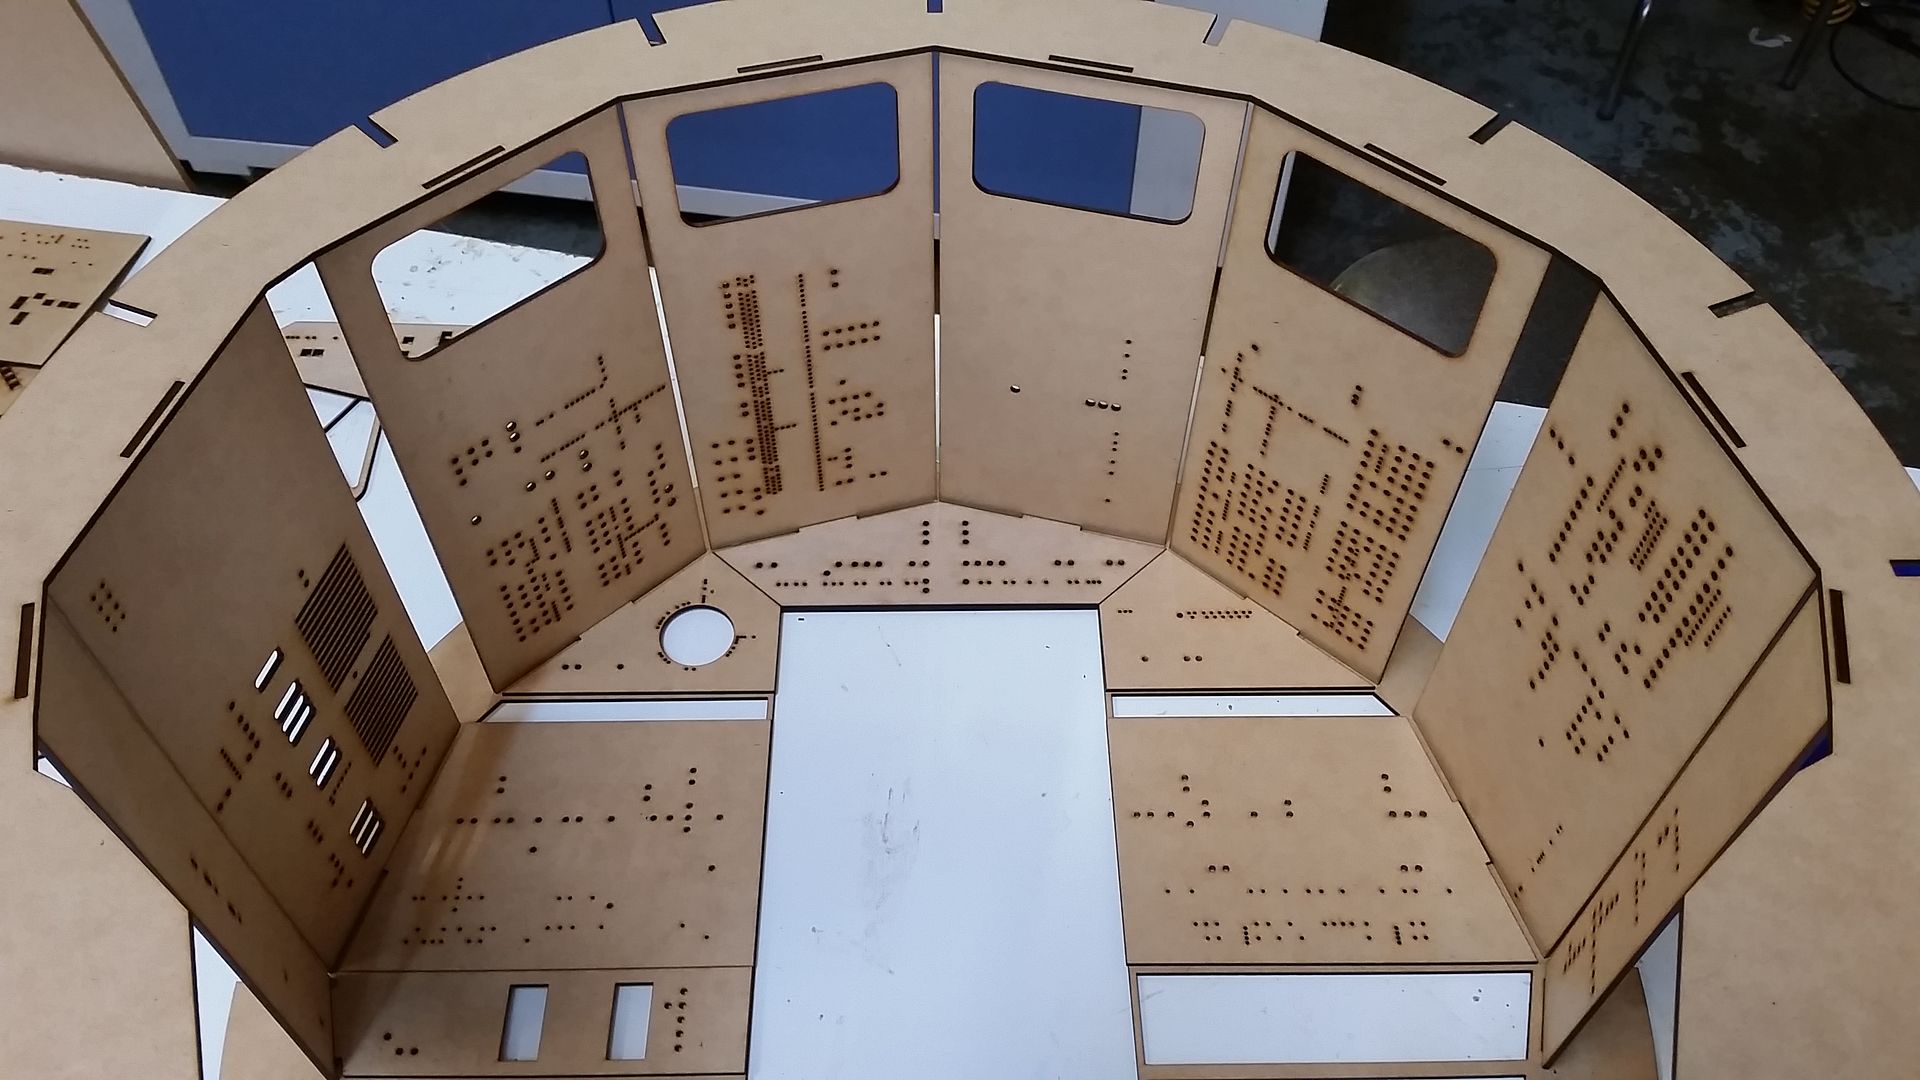
If you remember I've designed and laser cut a 1/4 scale version of the cockpit panels to see if doubling up the panels for both wiring and greeblies was solid approach for the next 1:1 scale cockpit. Well... I did a little bit more work. Enjoy!
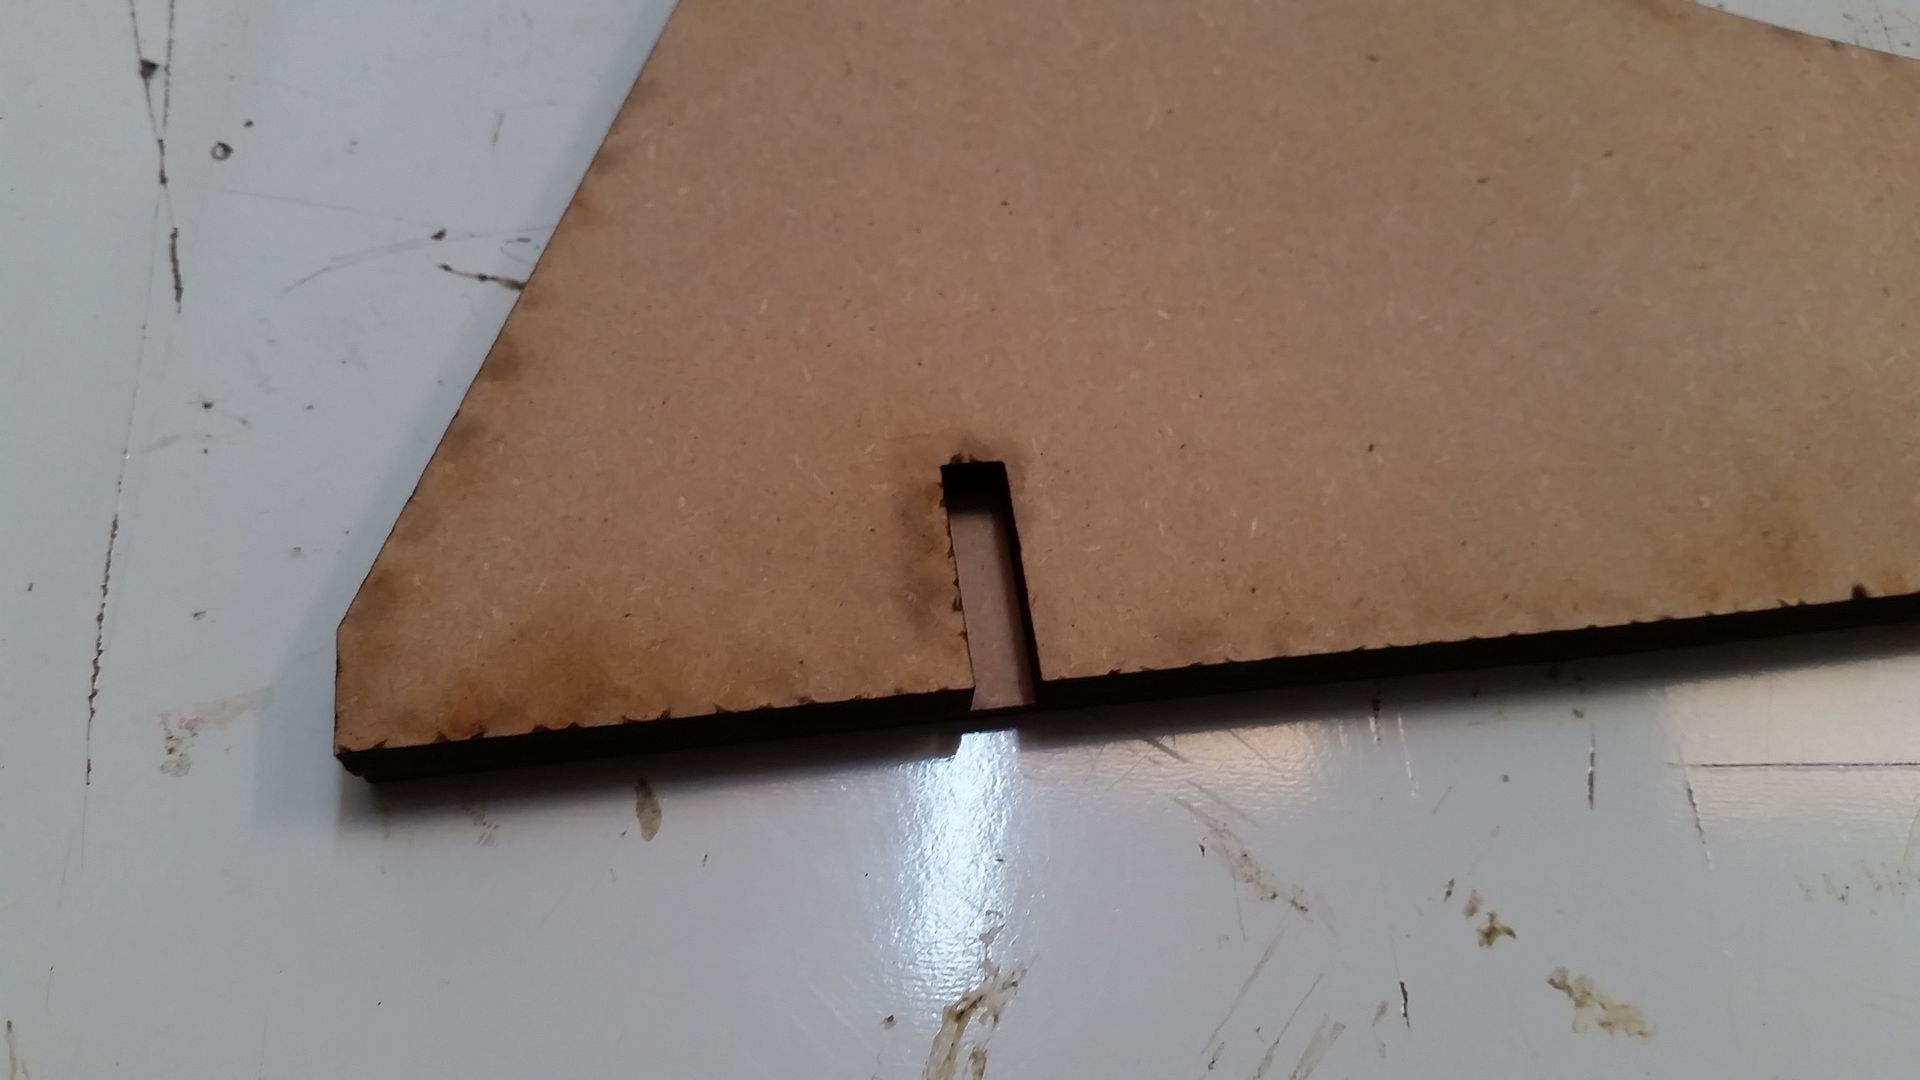
Added these tabs to the back panel
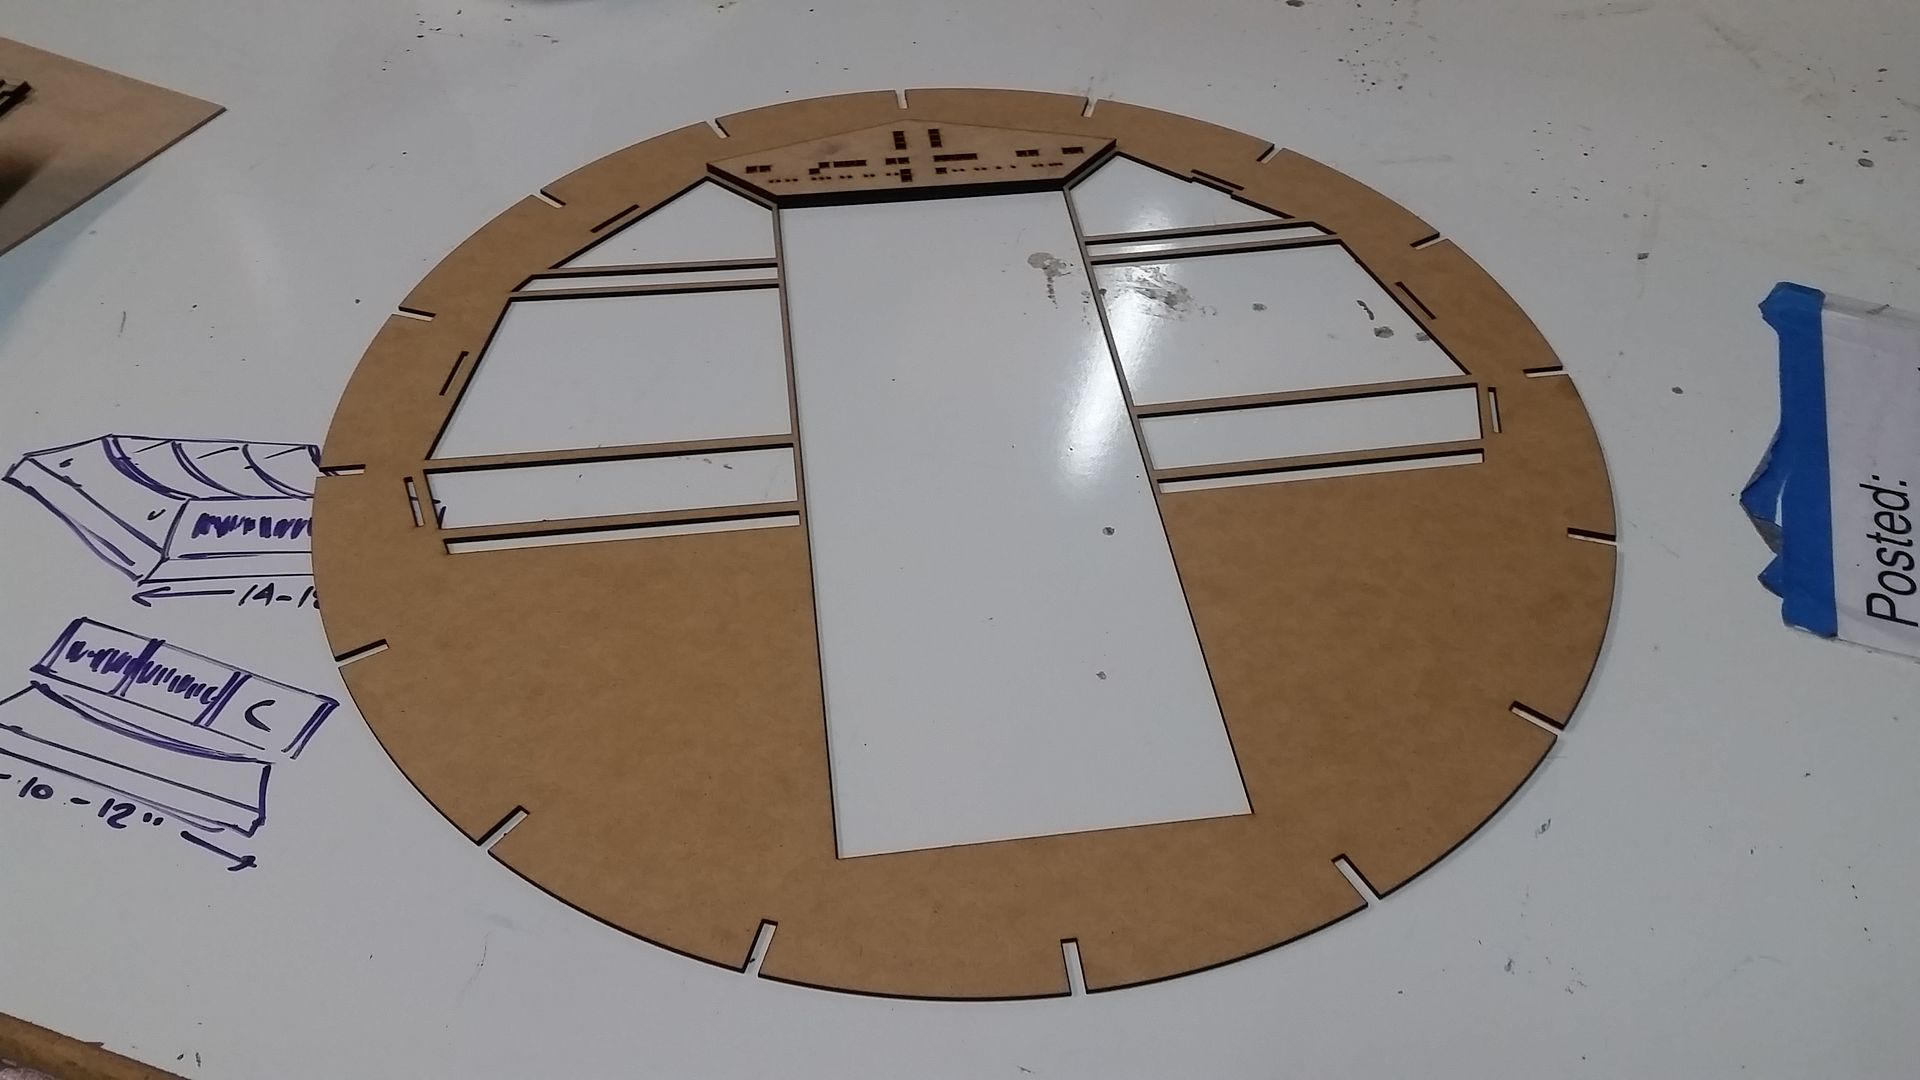
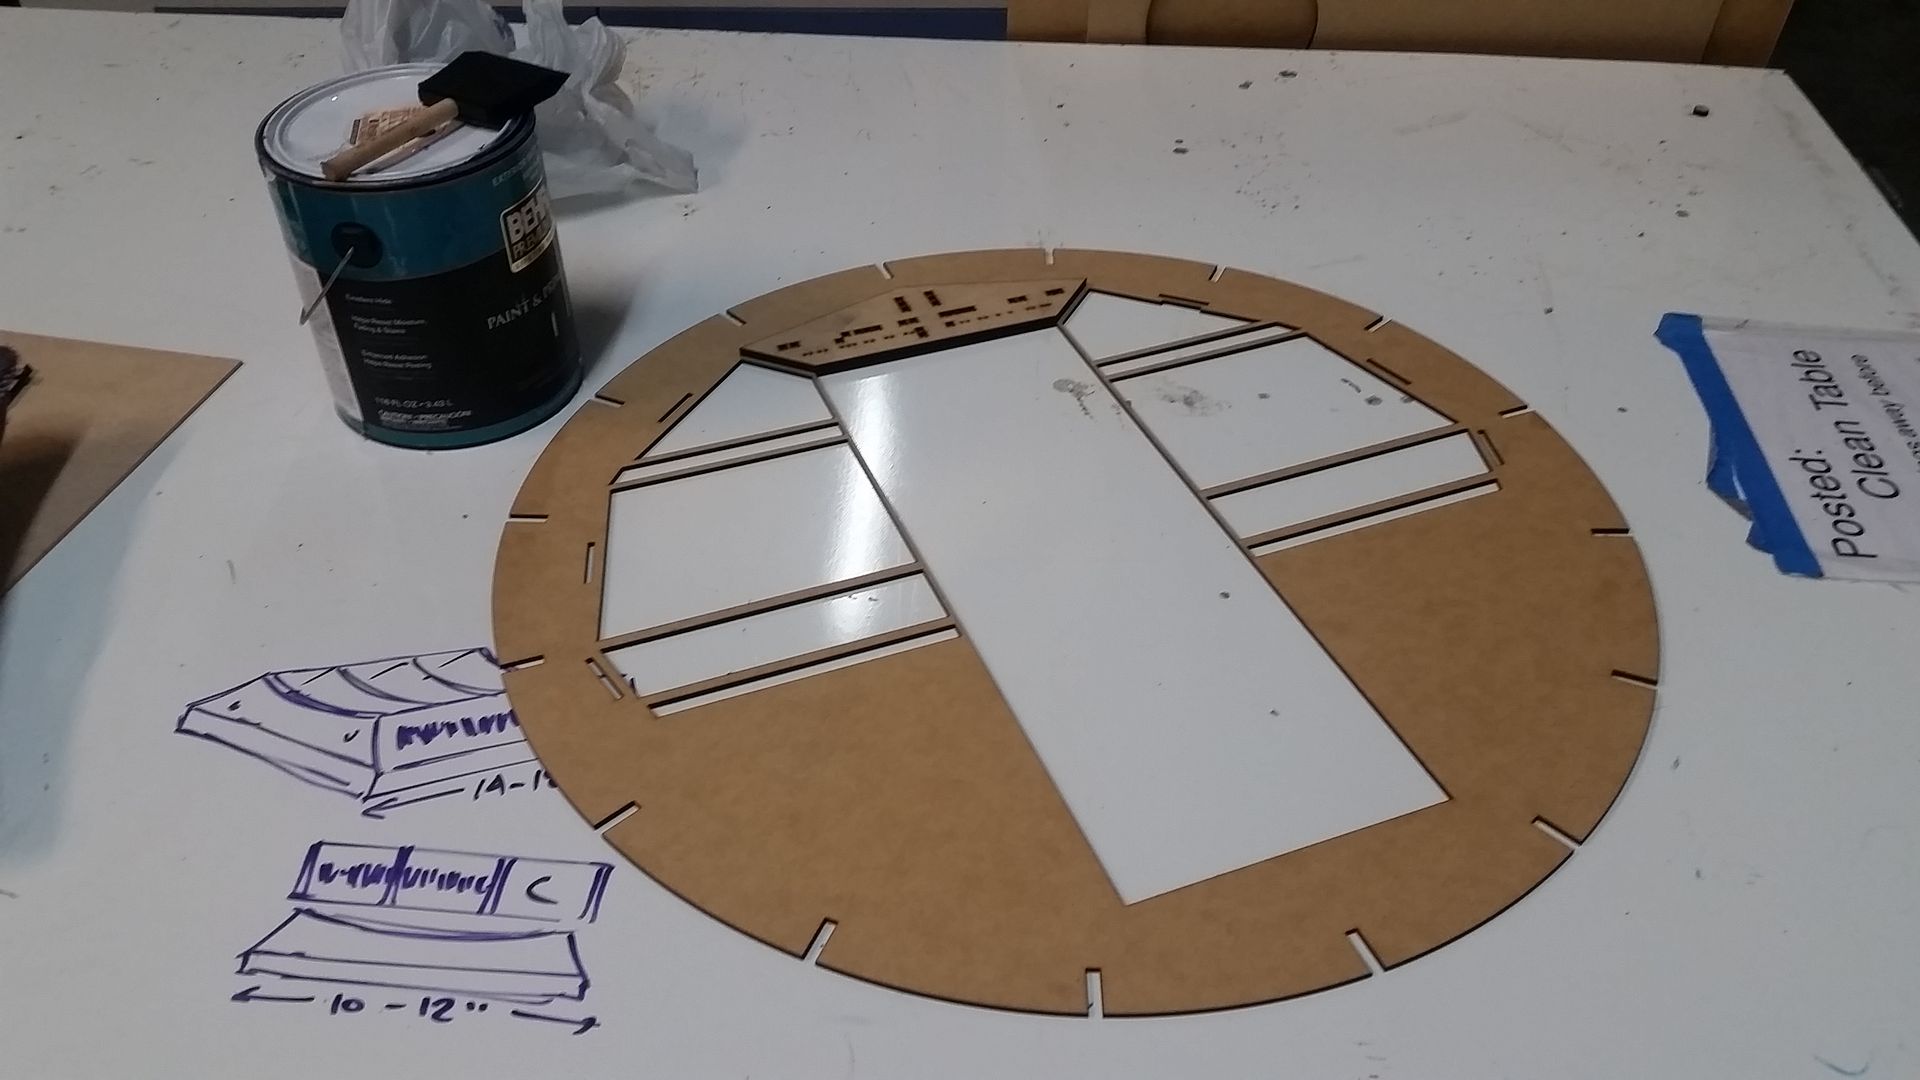
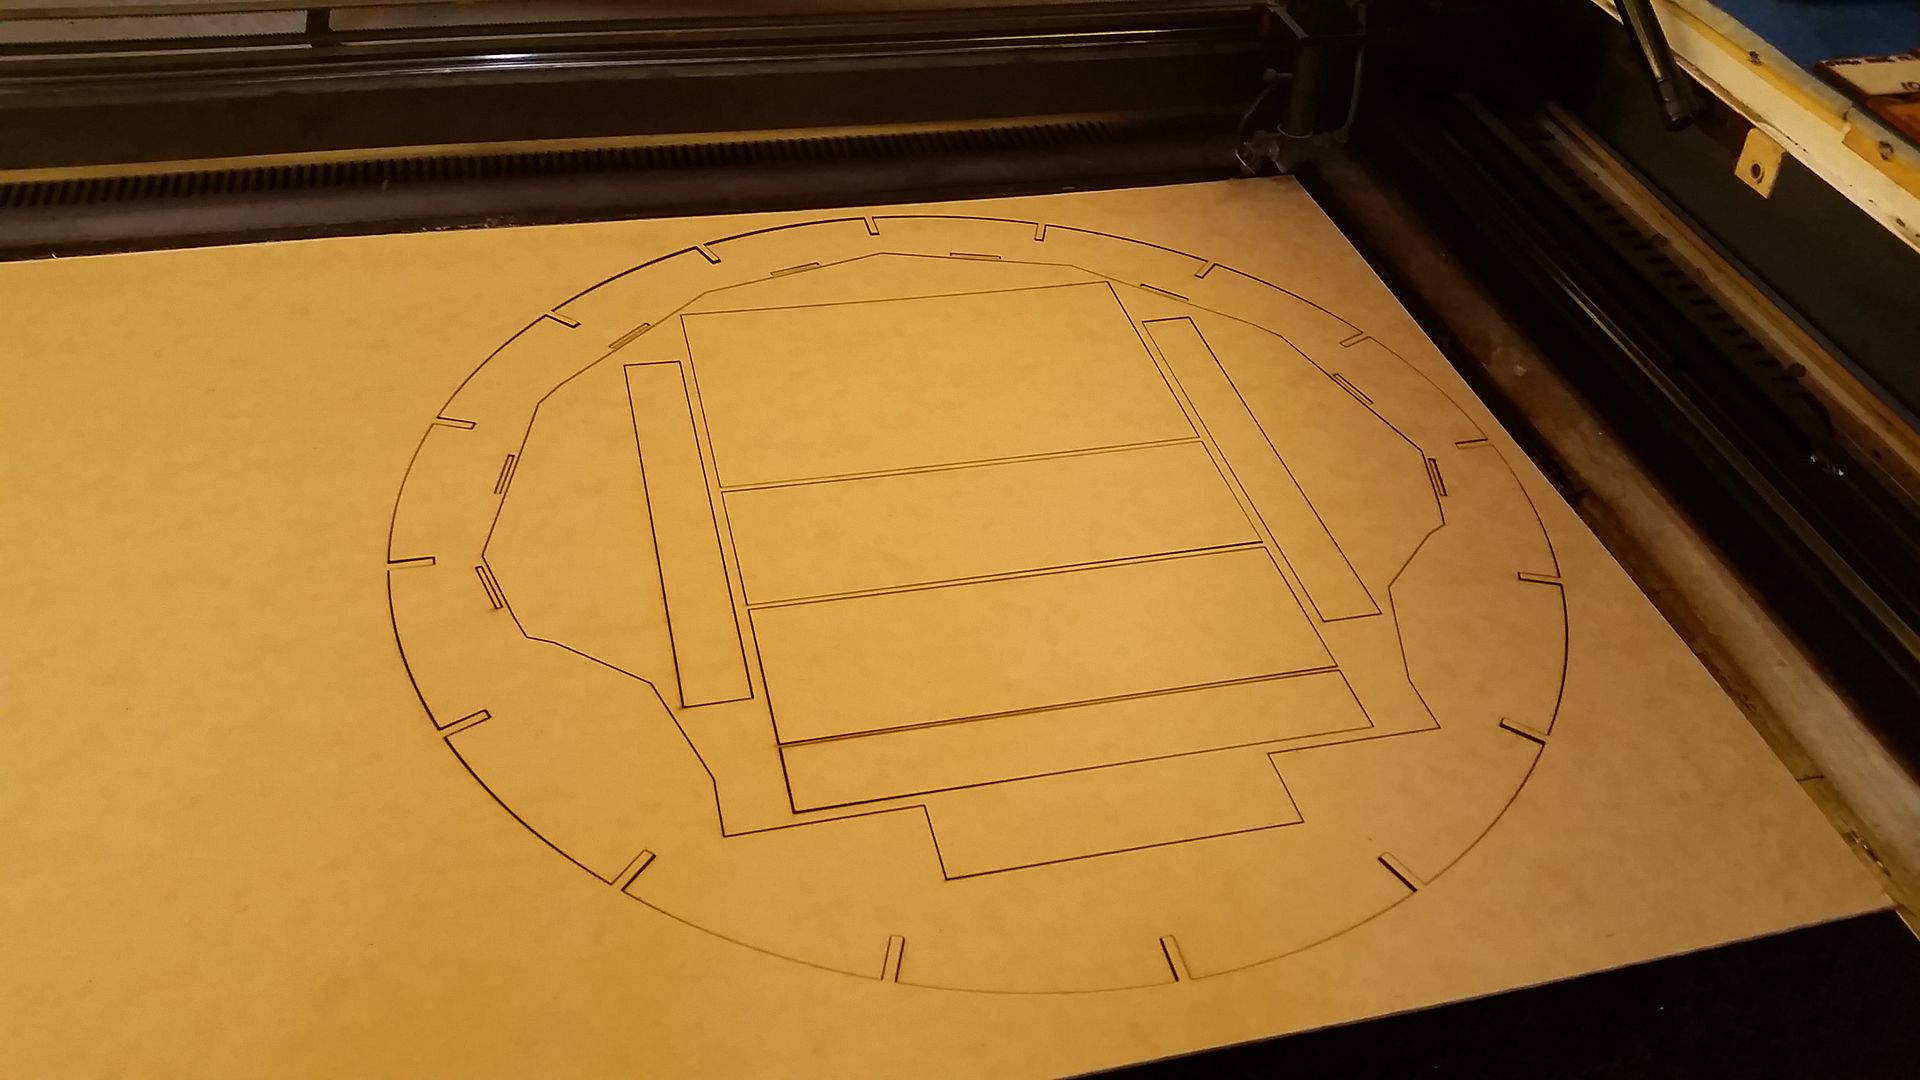
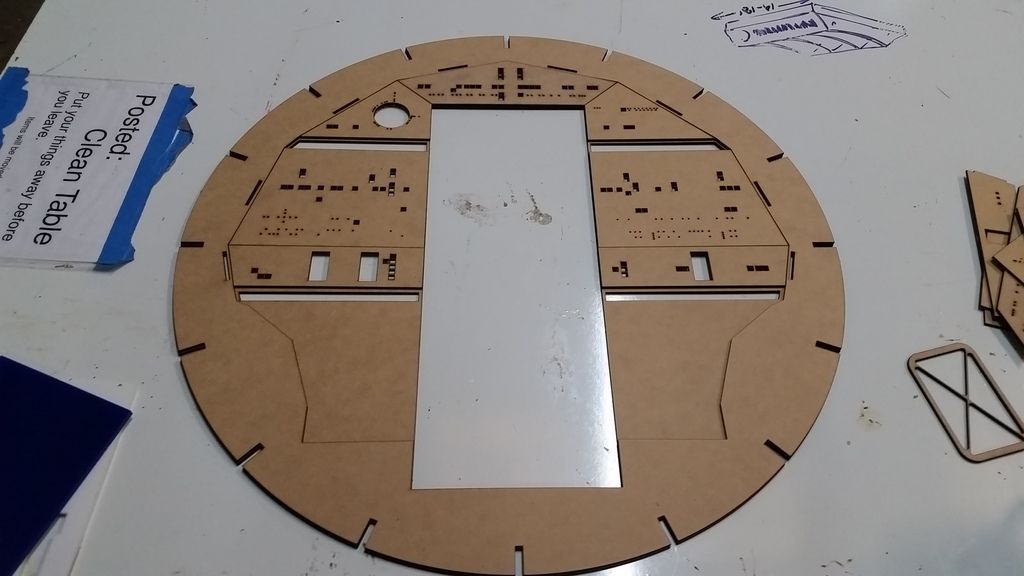
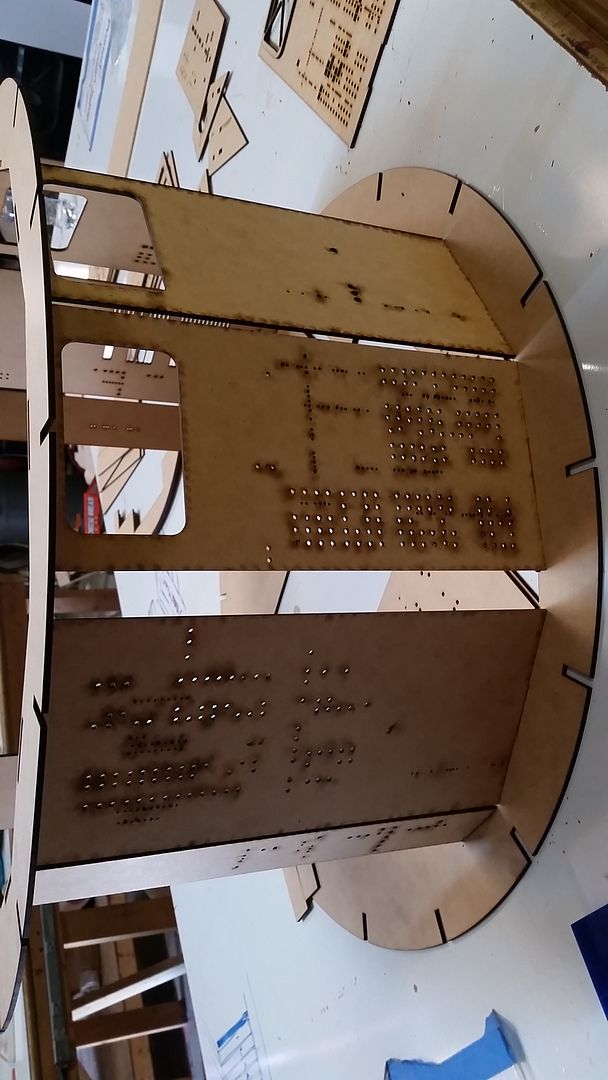
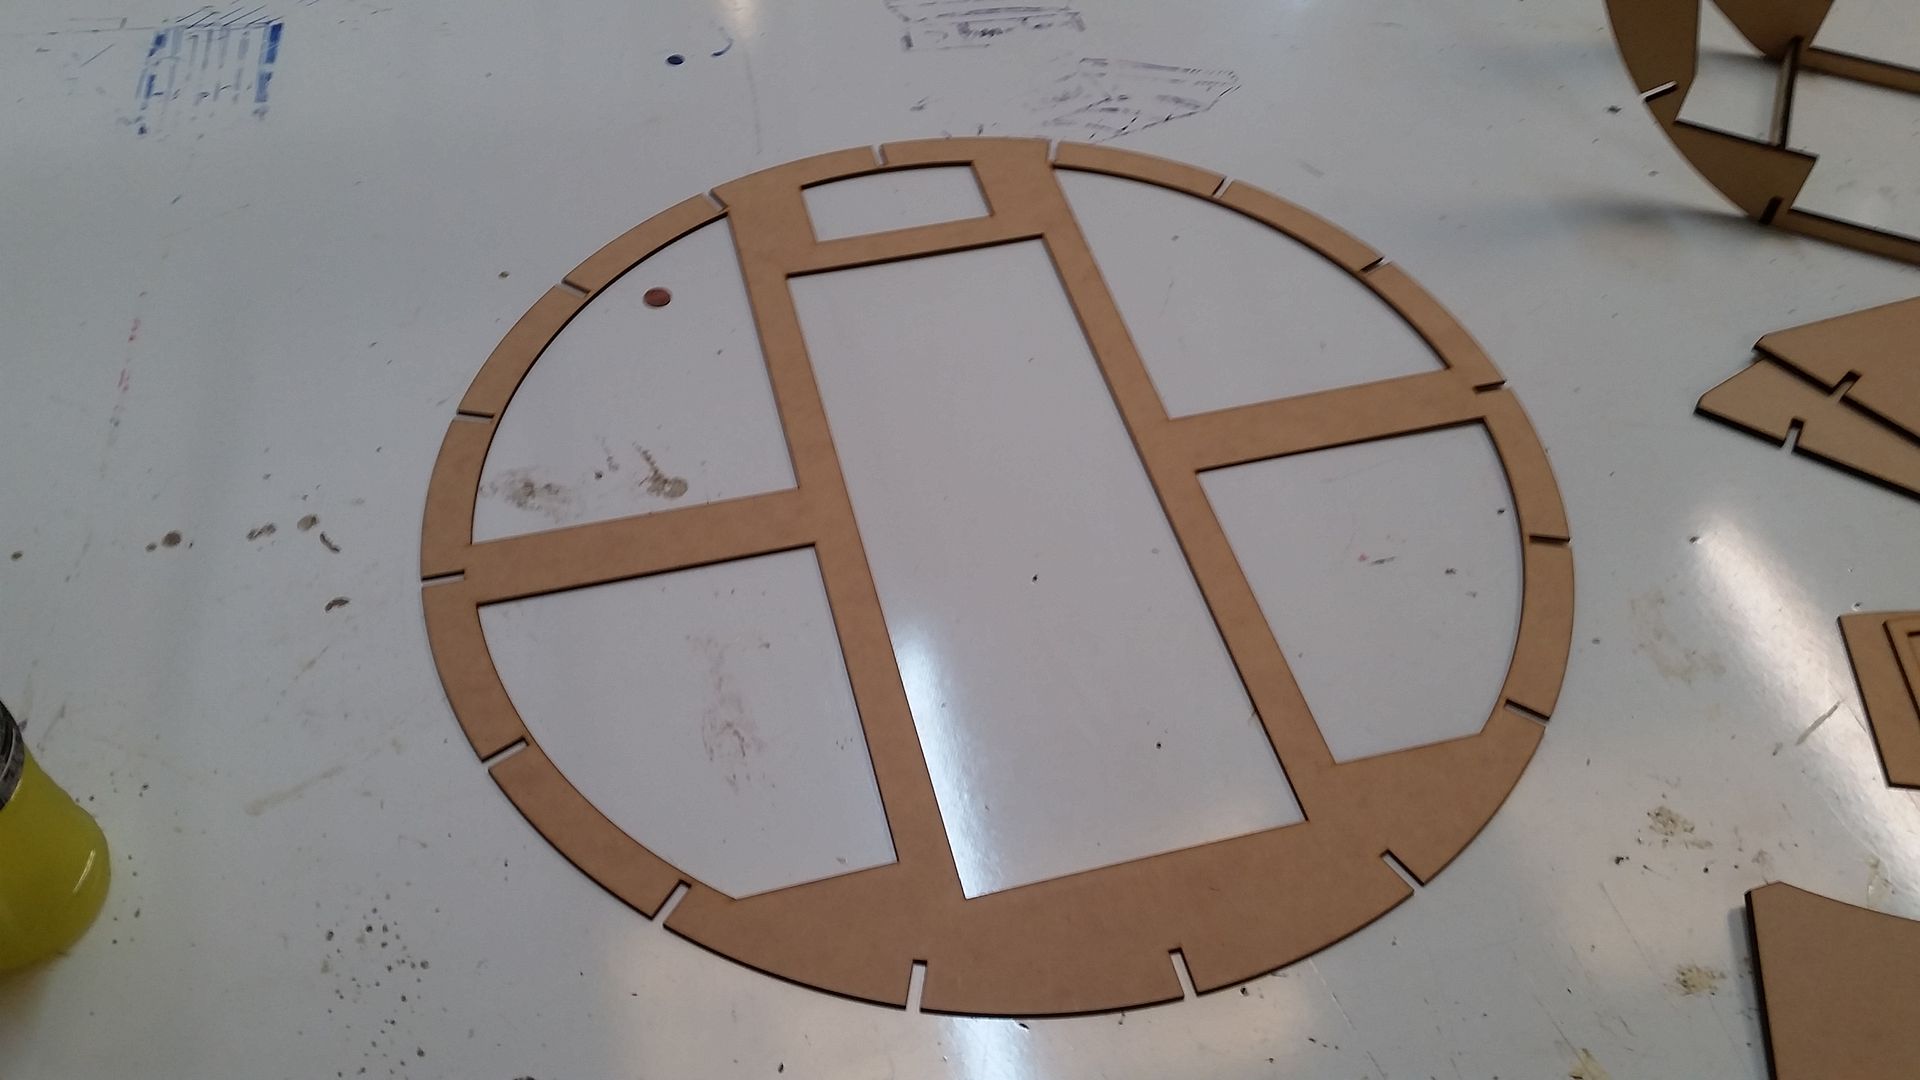
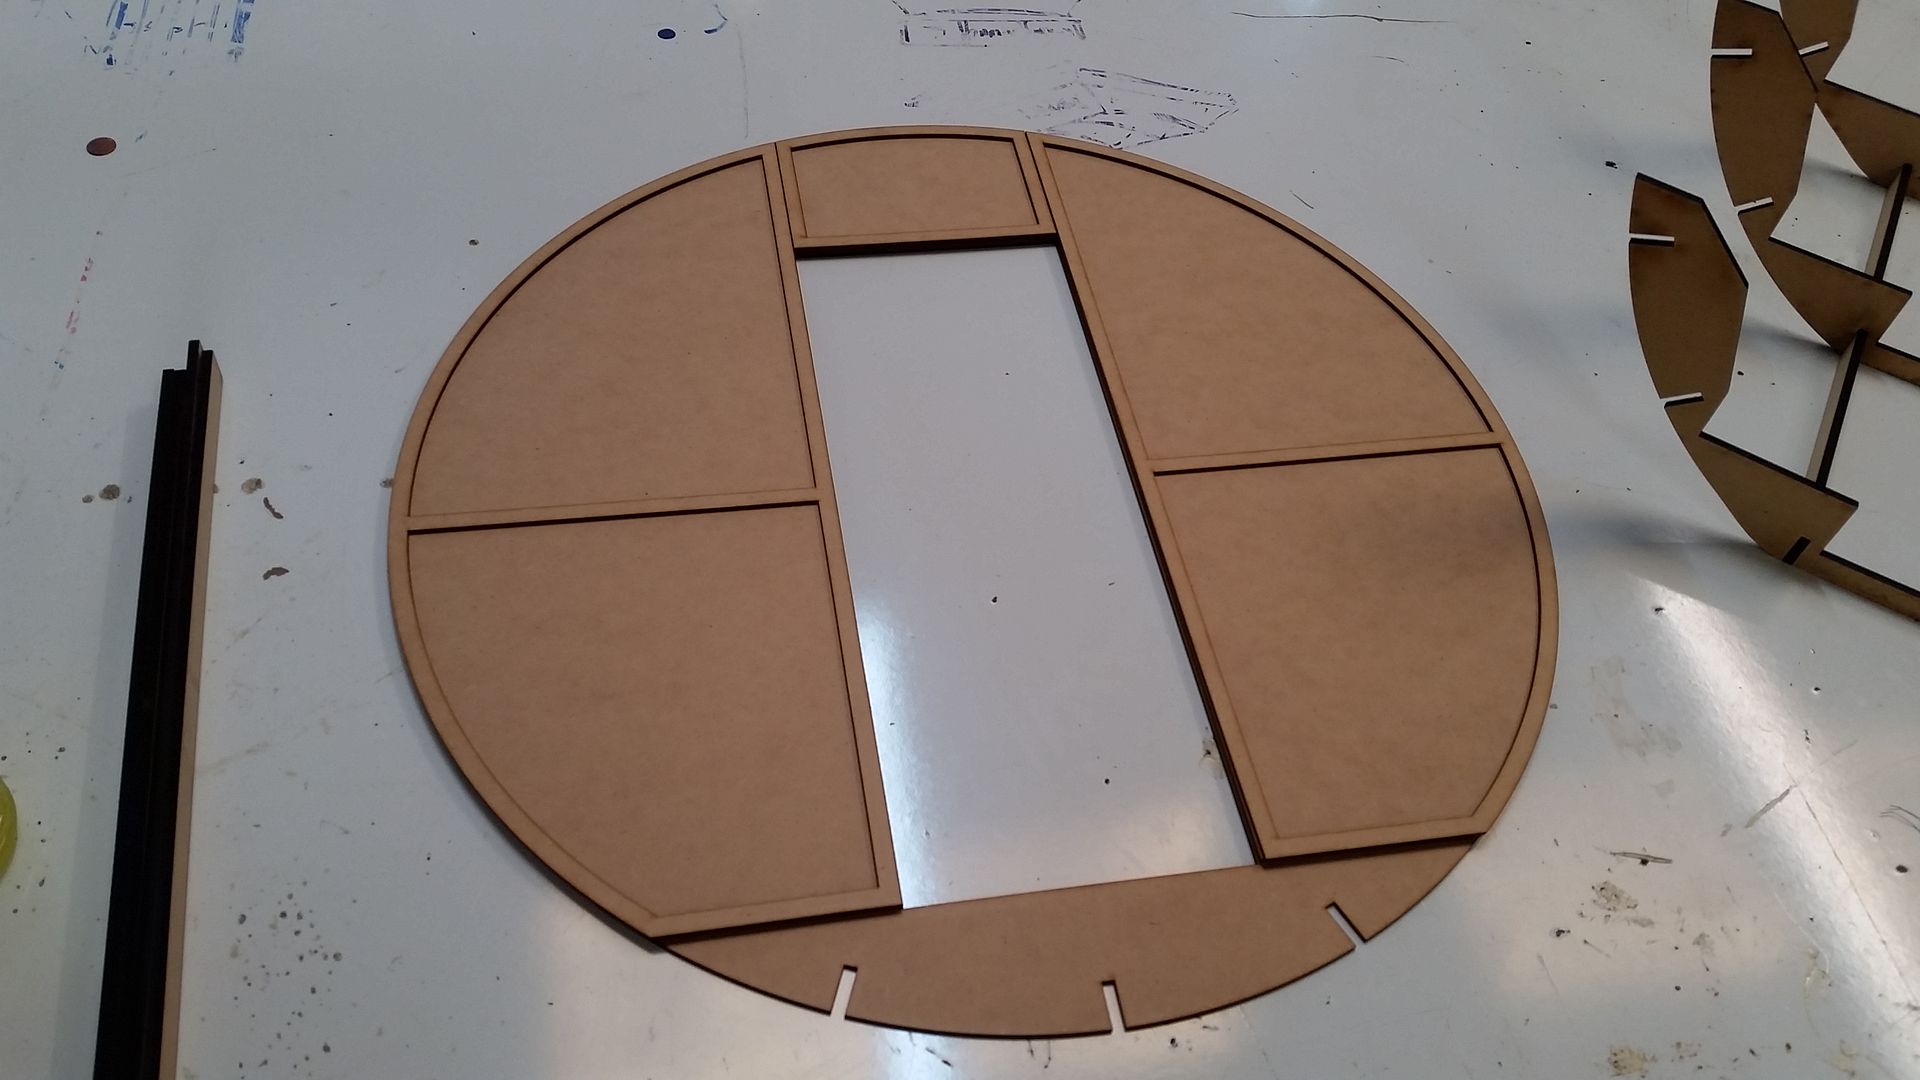
I then cut a 28" diam test back wall for the panel(s) to mount
Standard paint can for scale
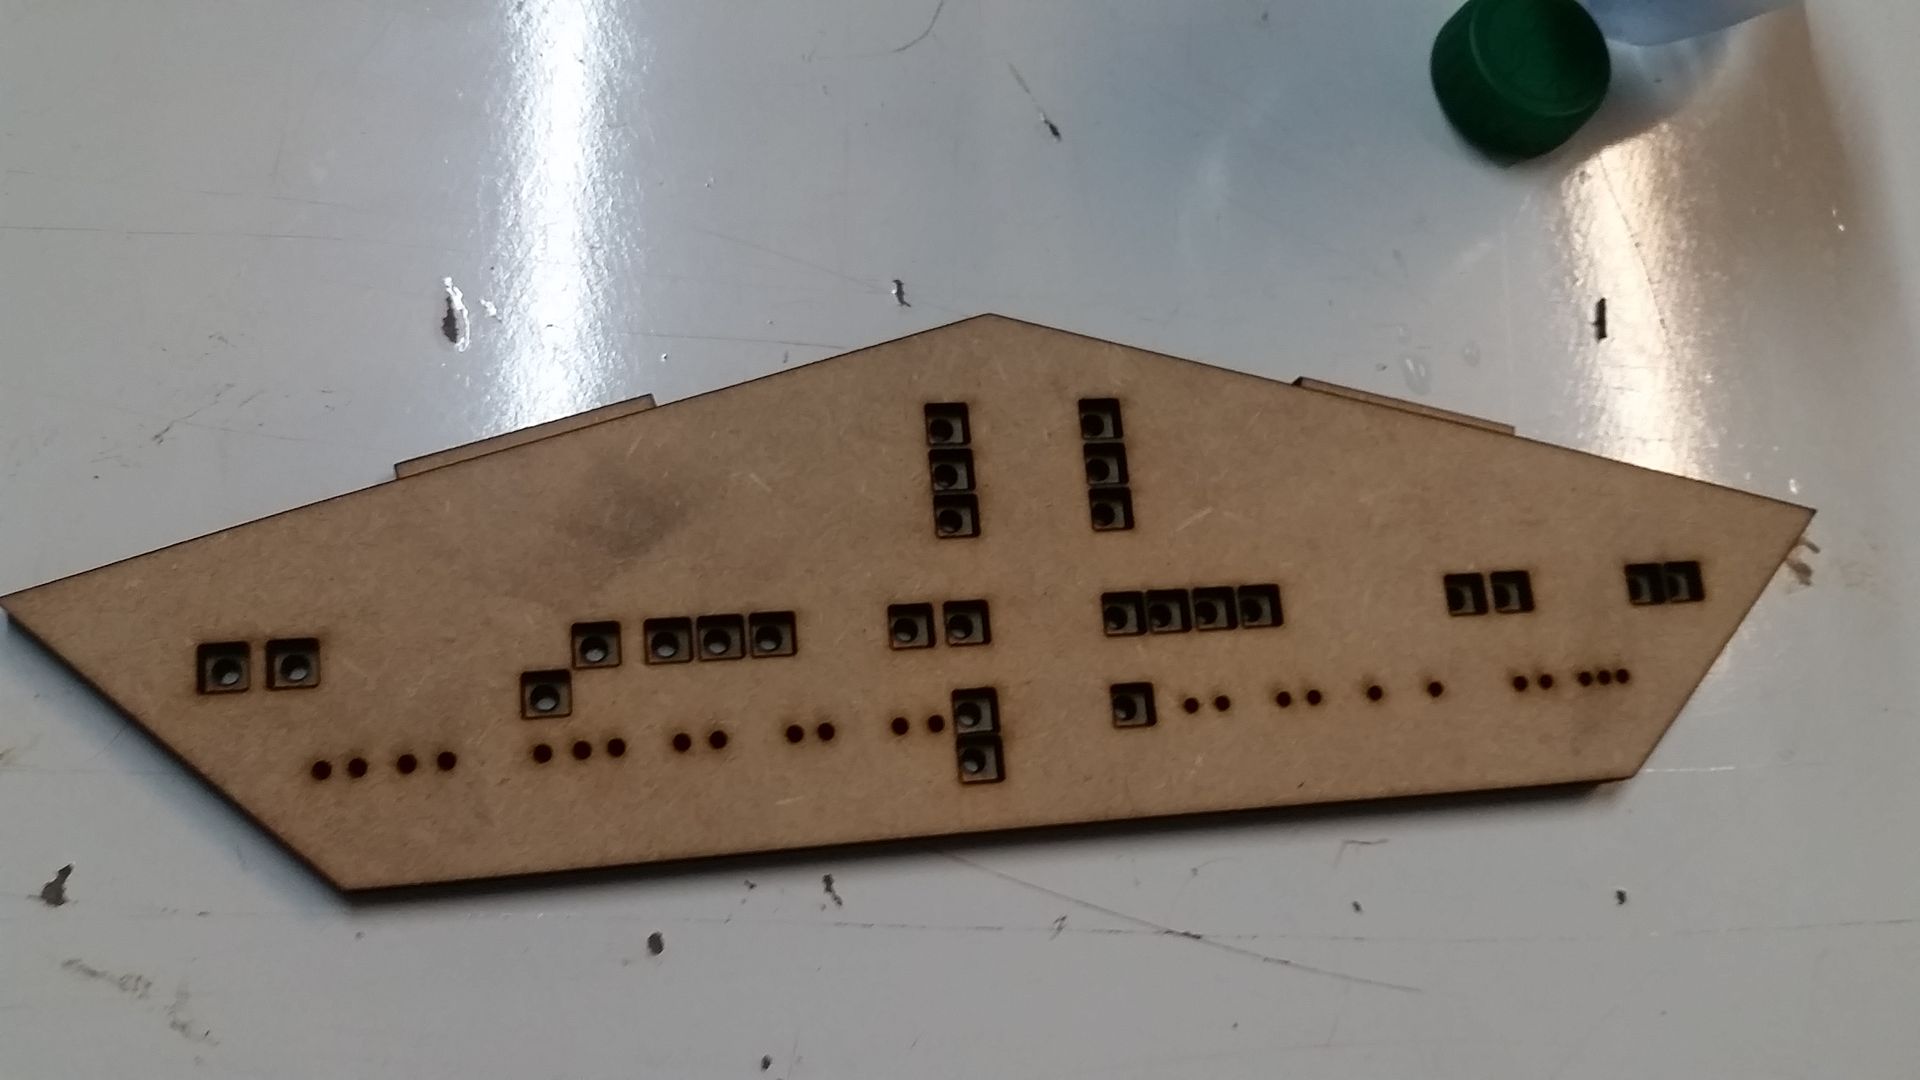
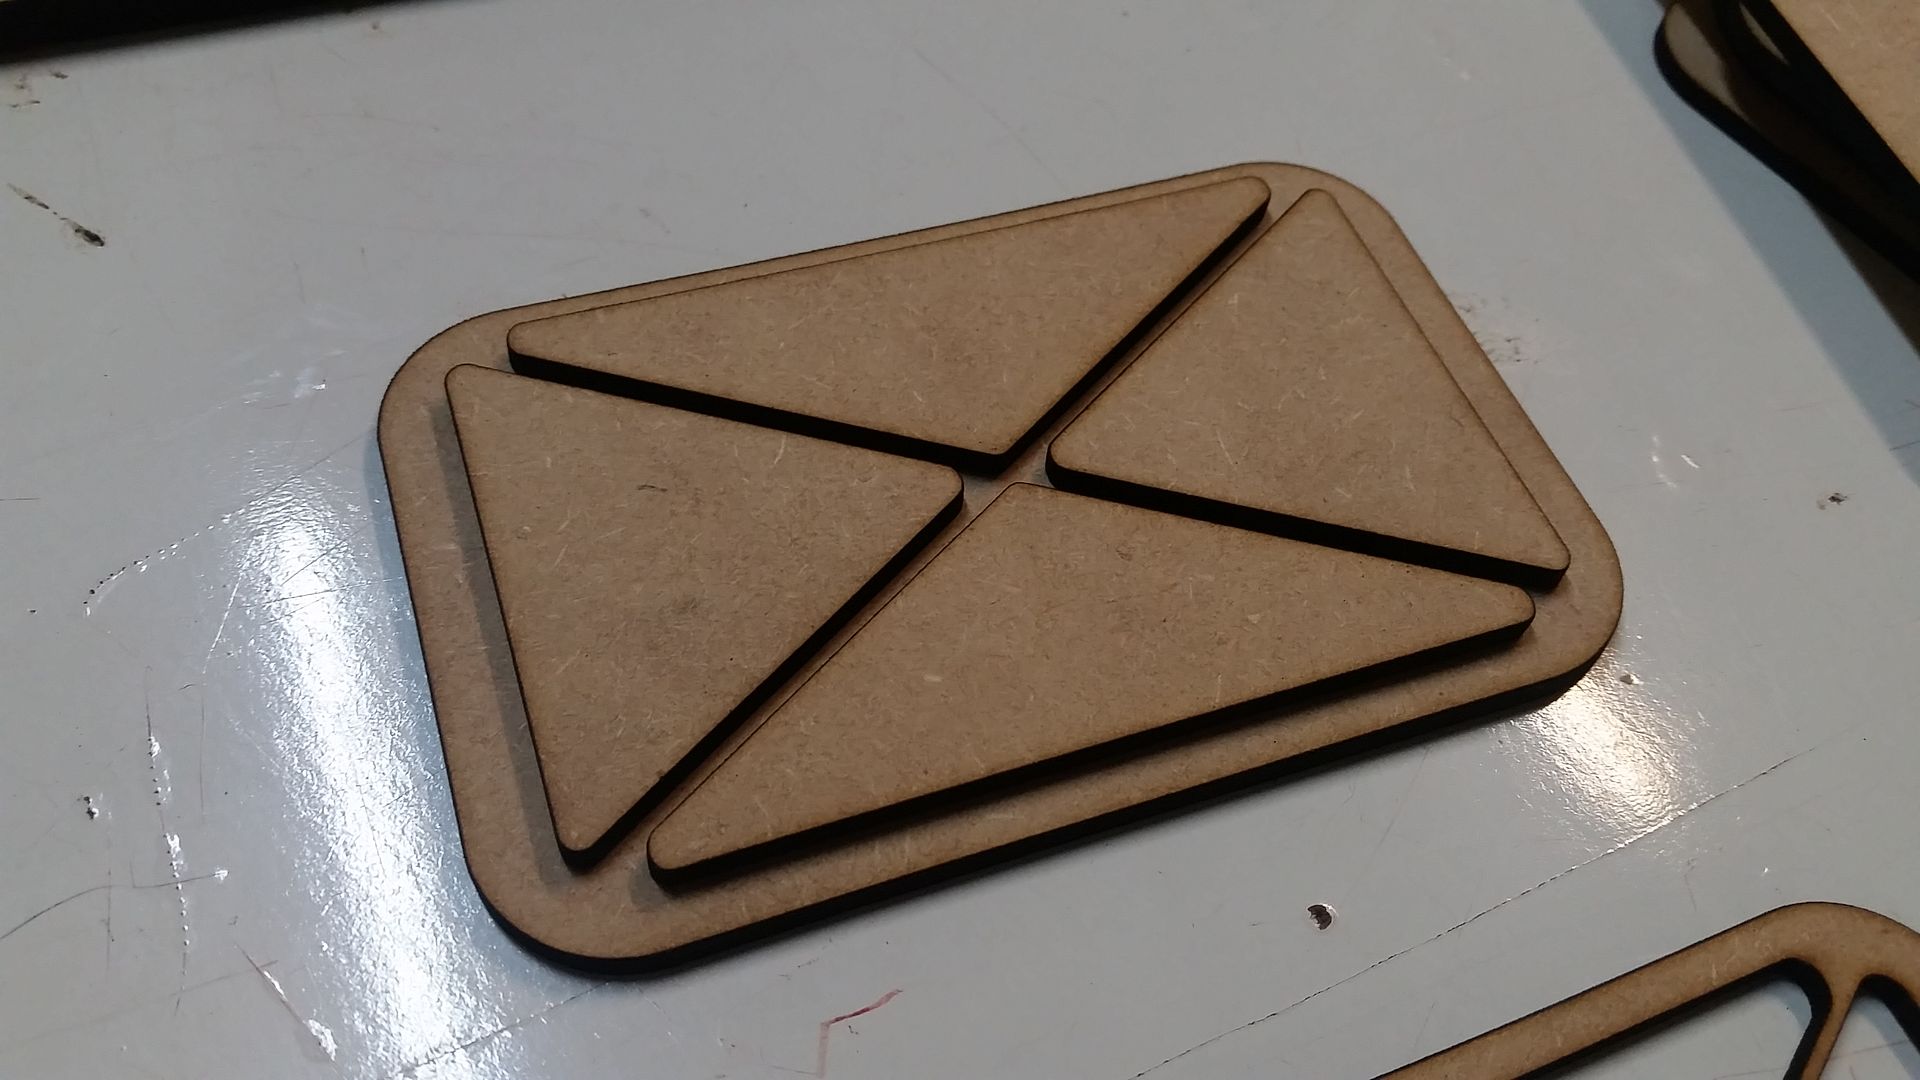
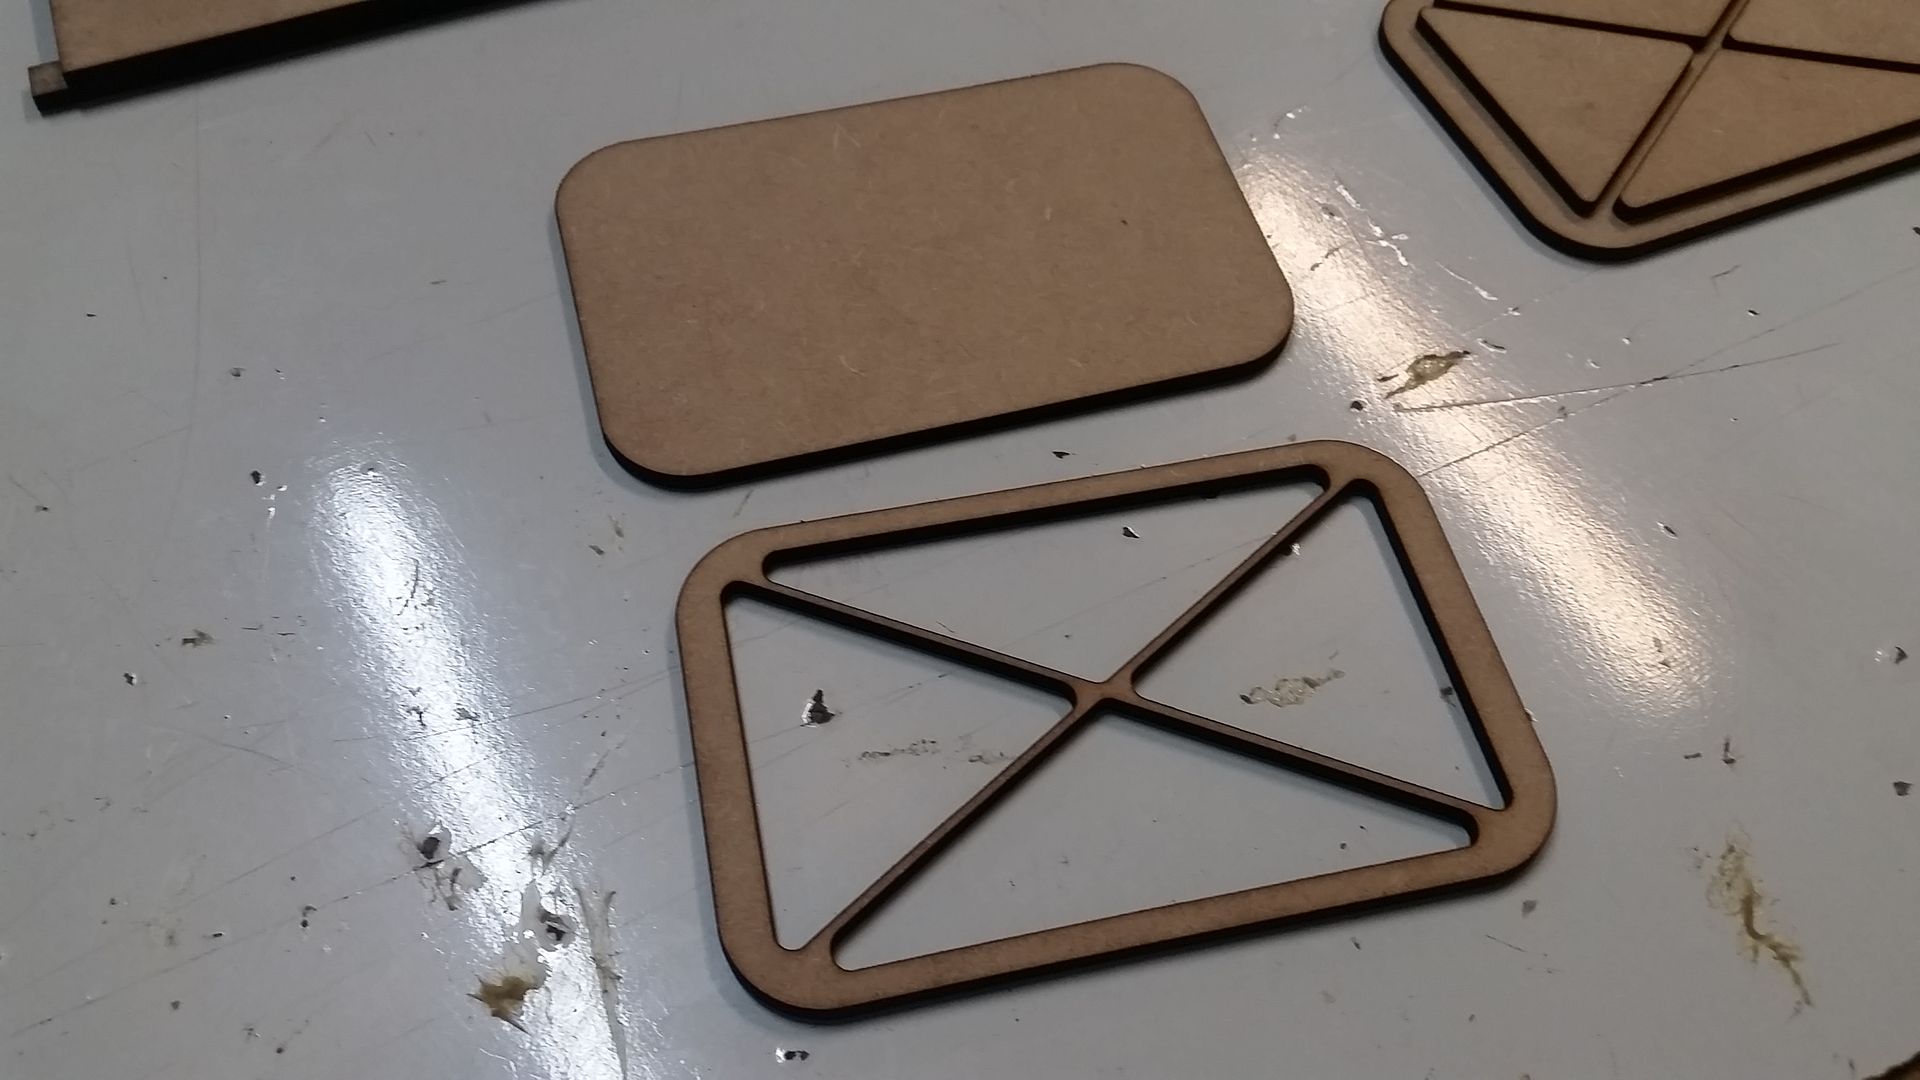
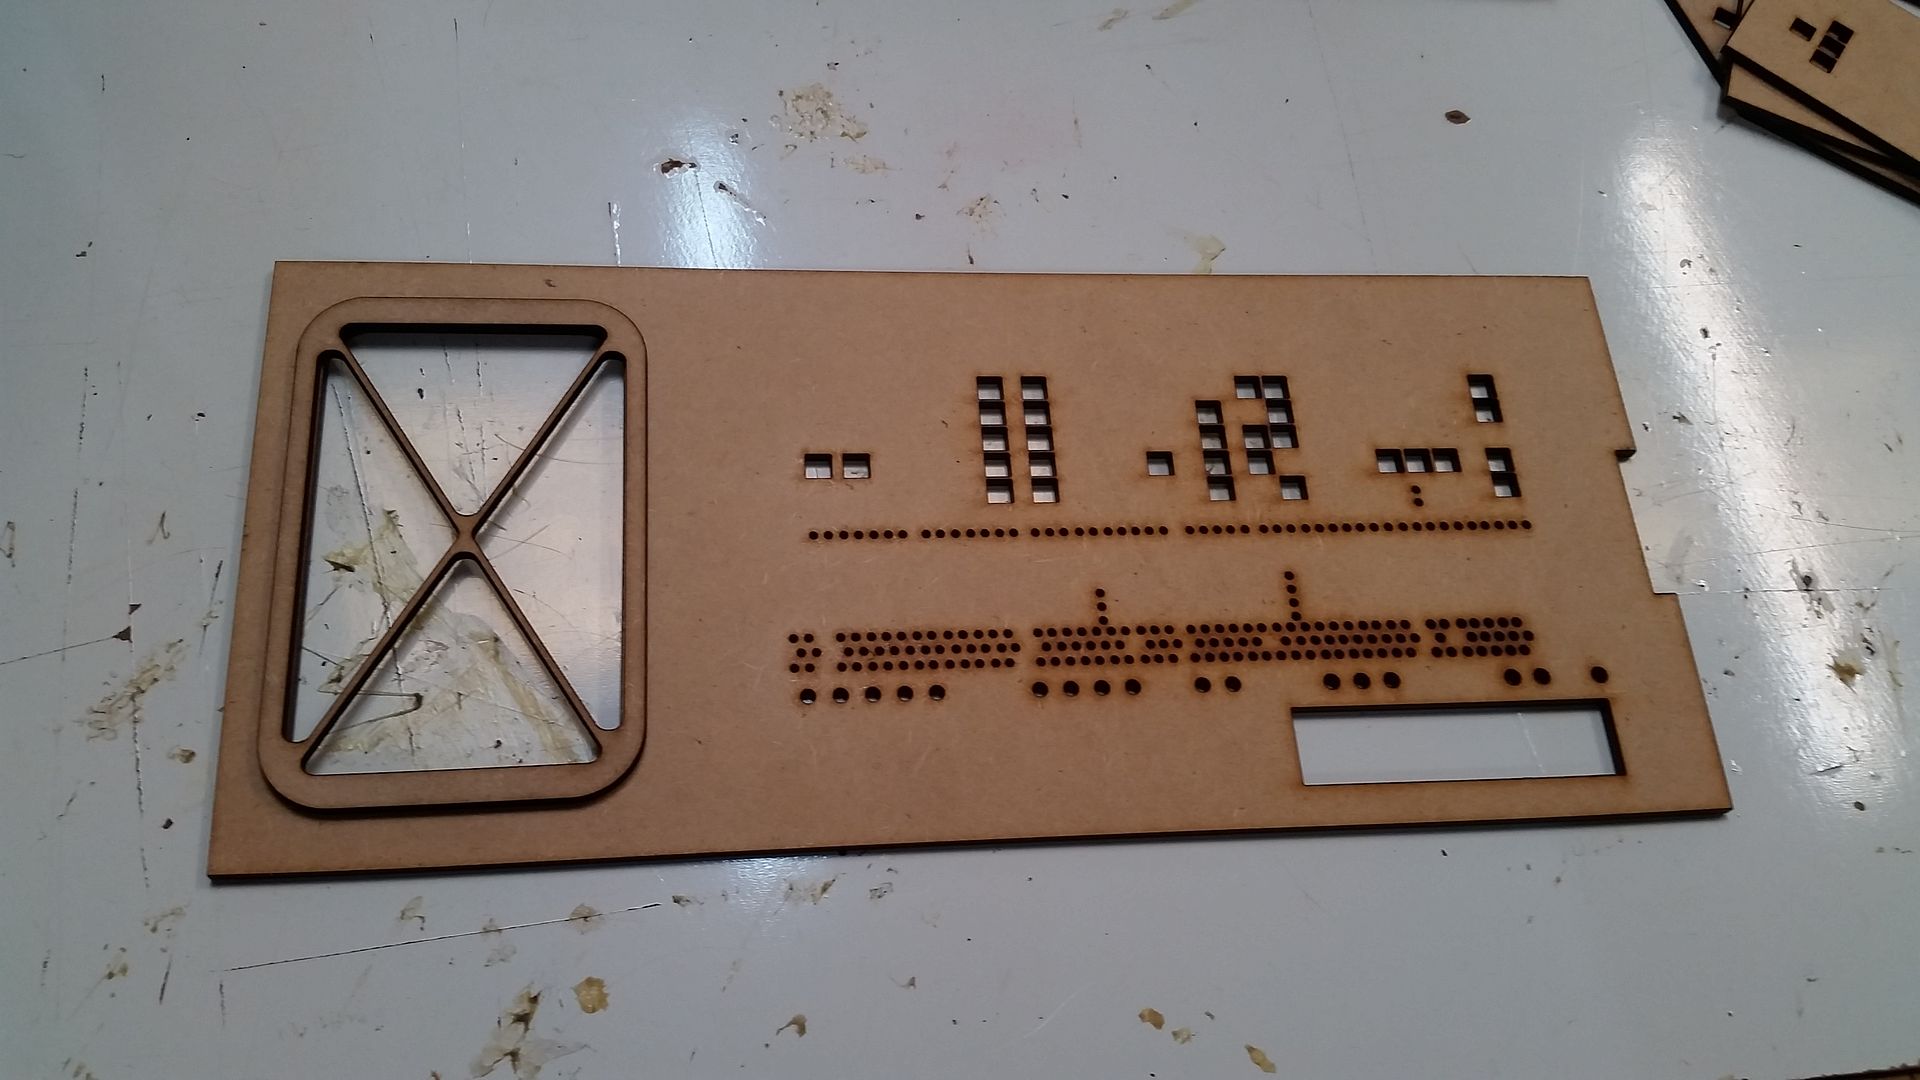
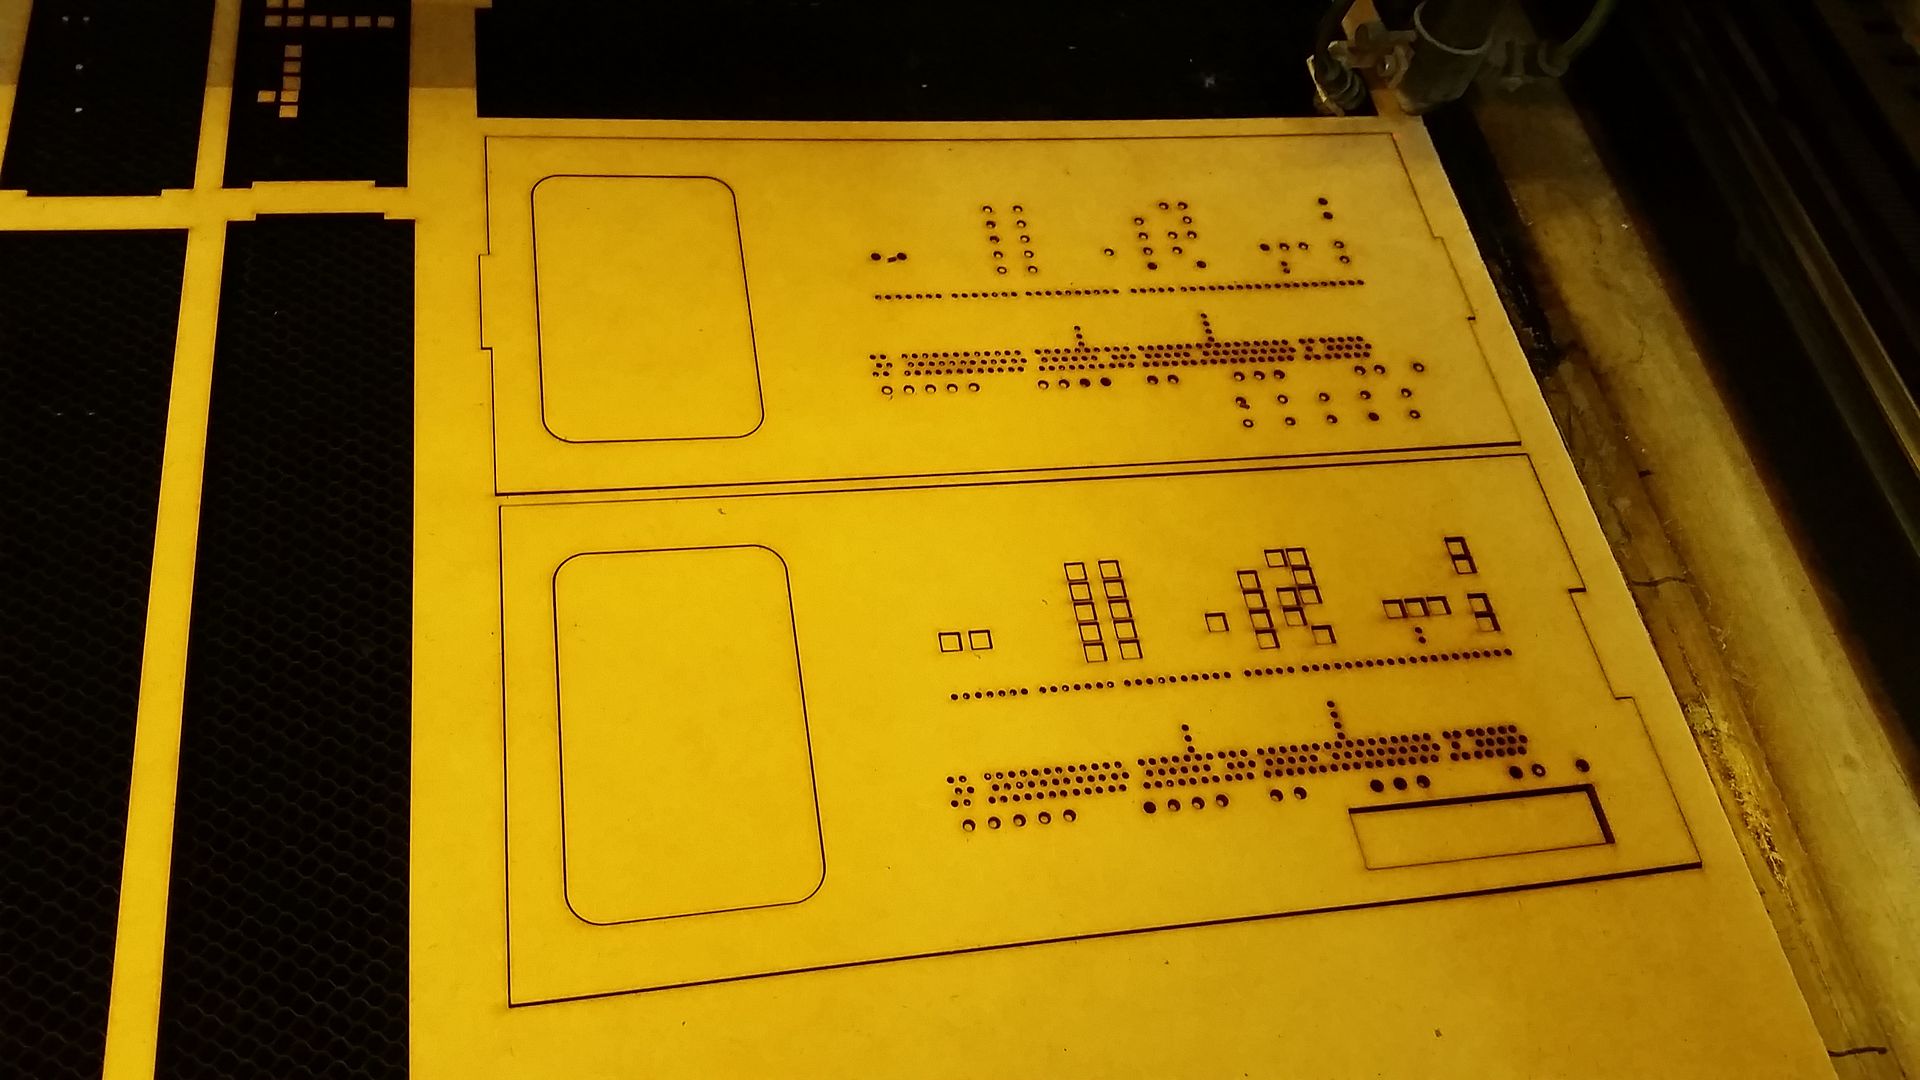
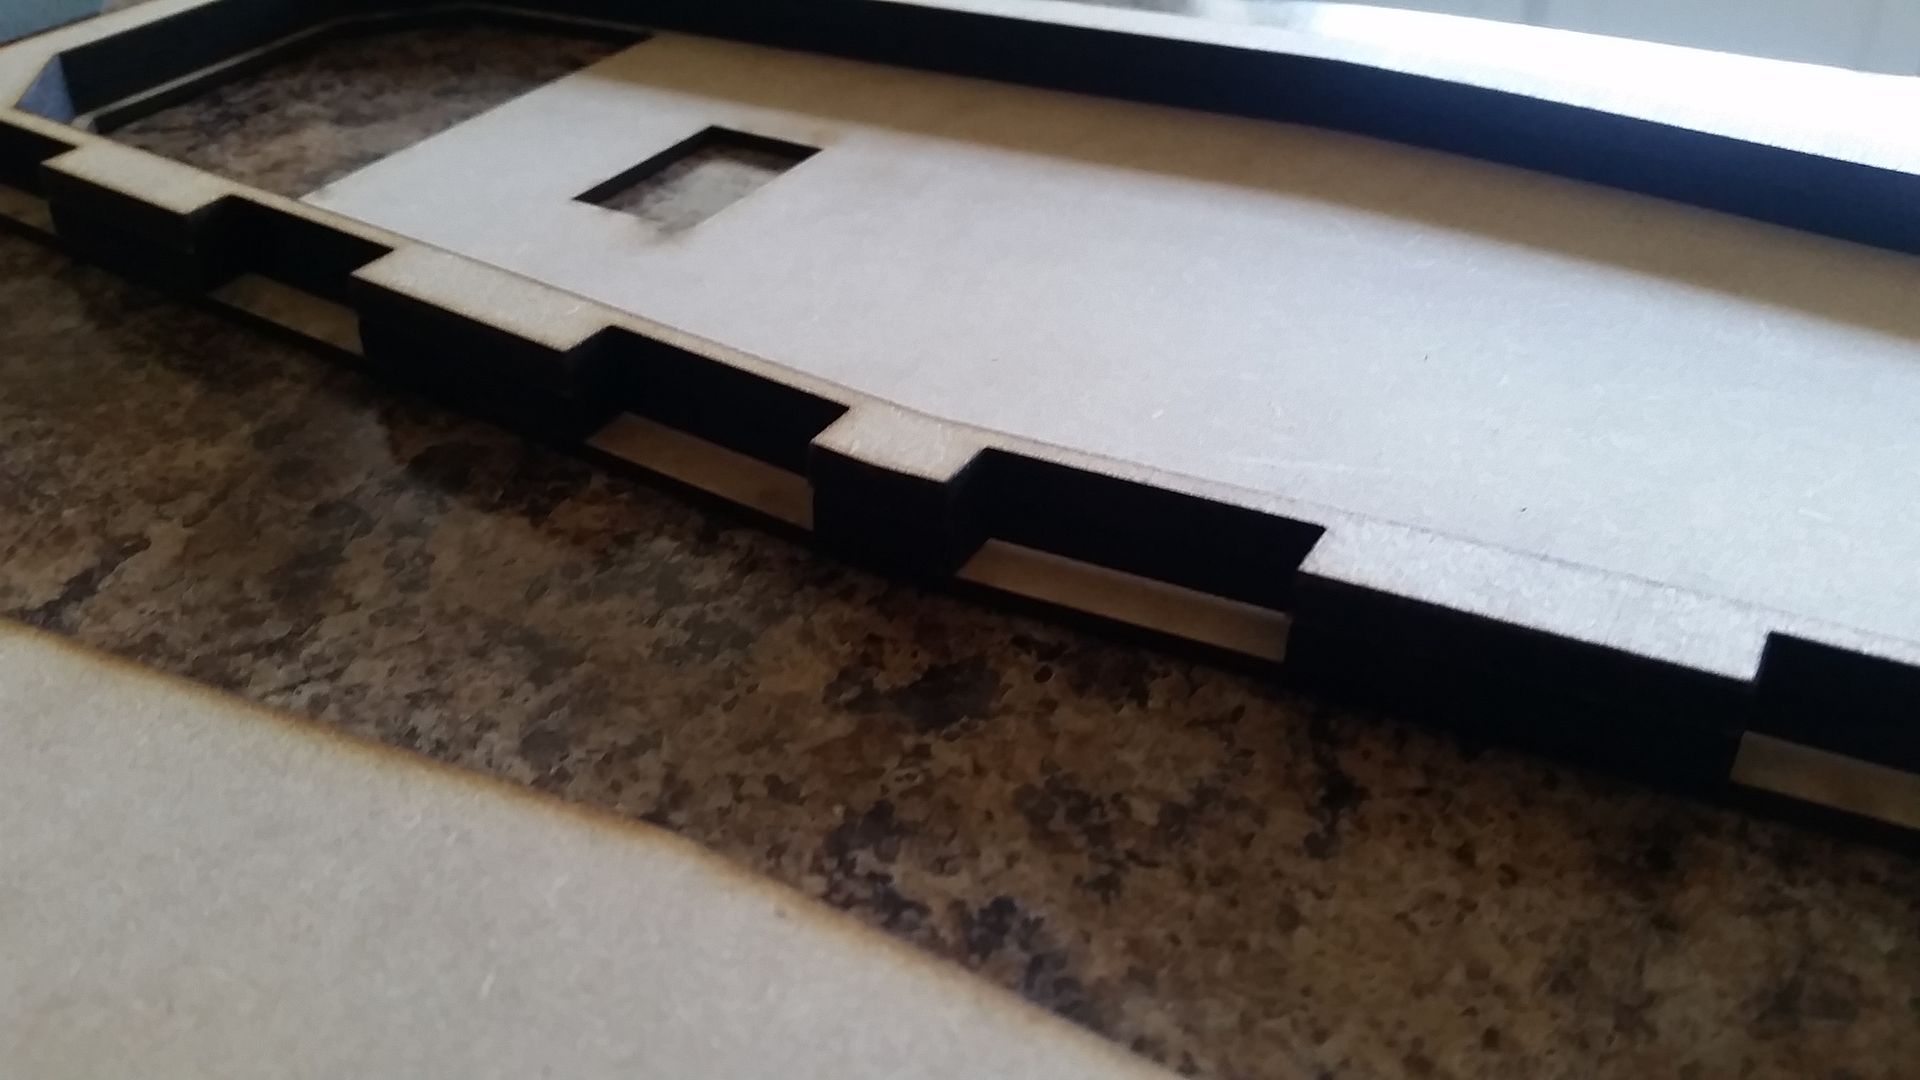
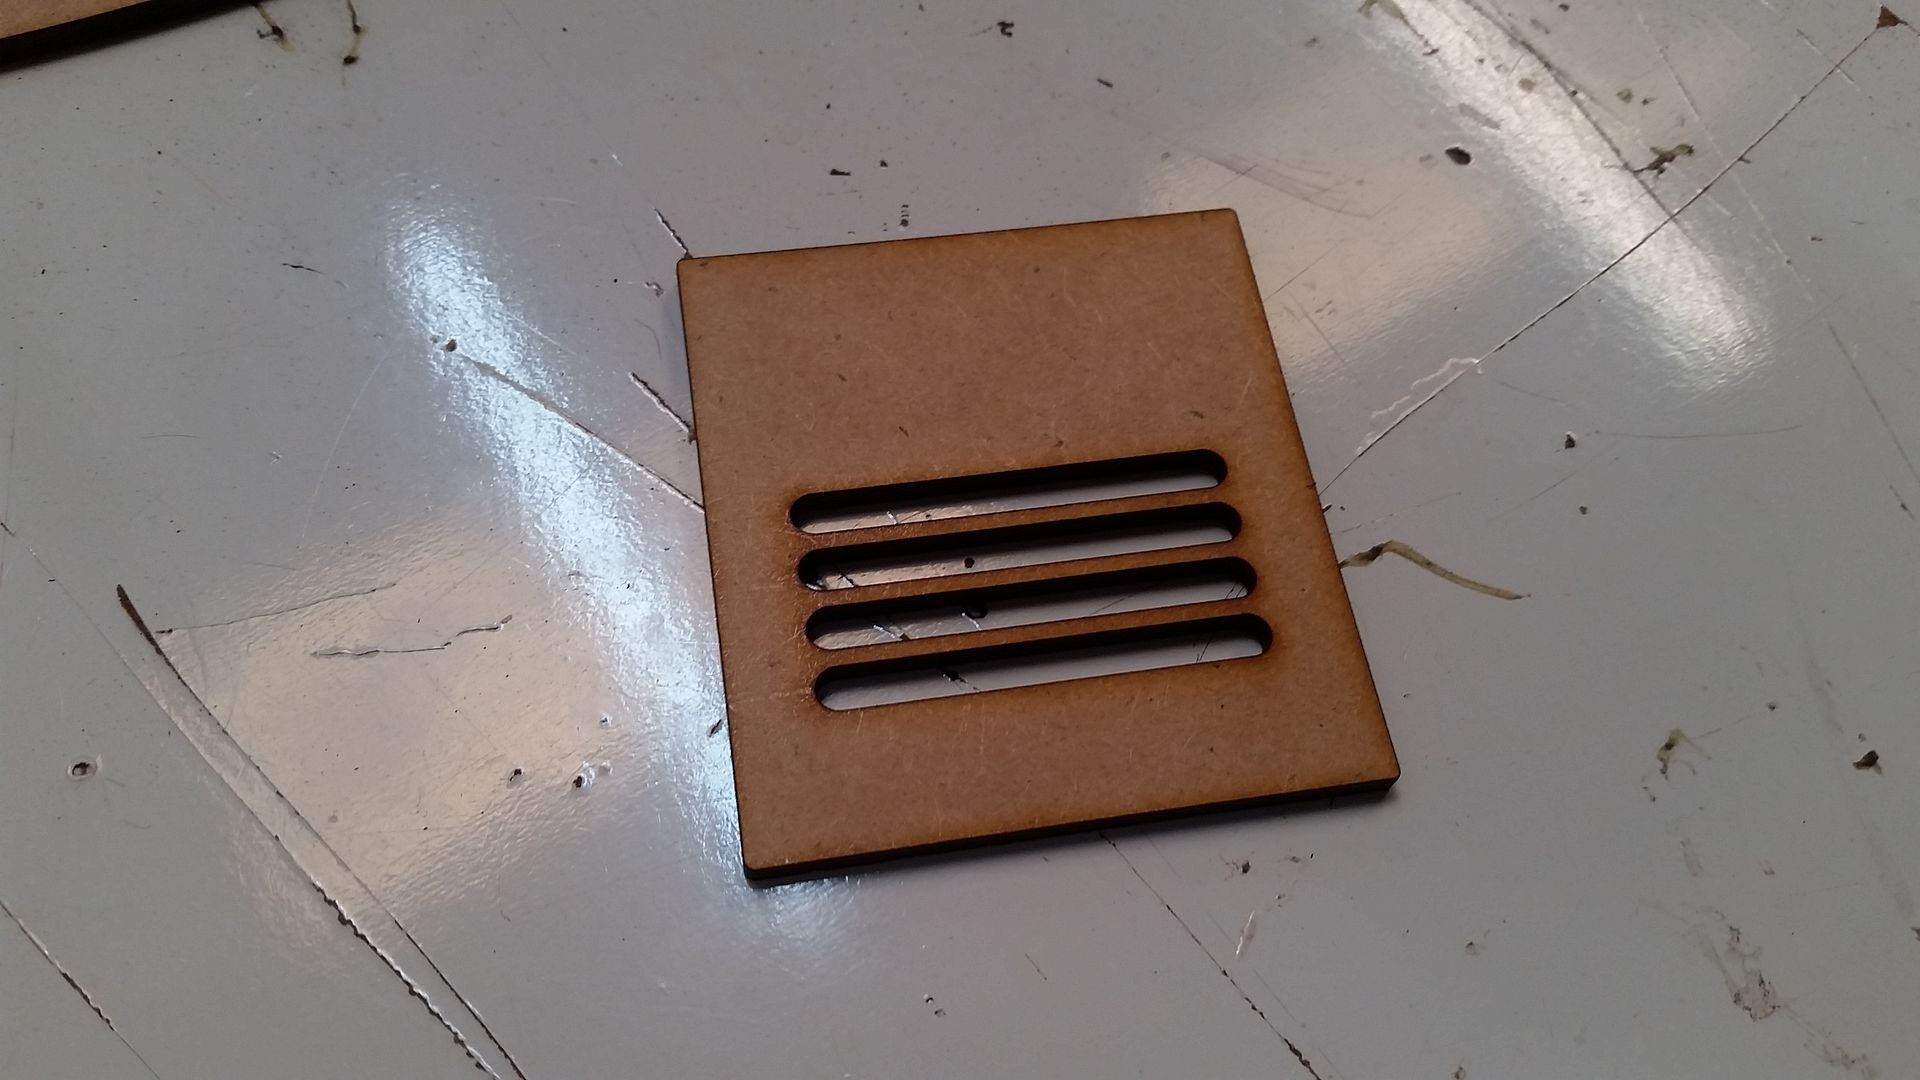
Getting carried away with this project I then cut scaled Ext Panel covers
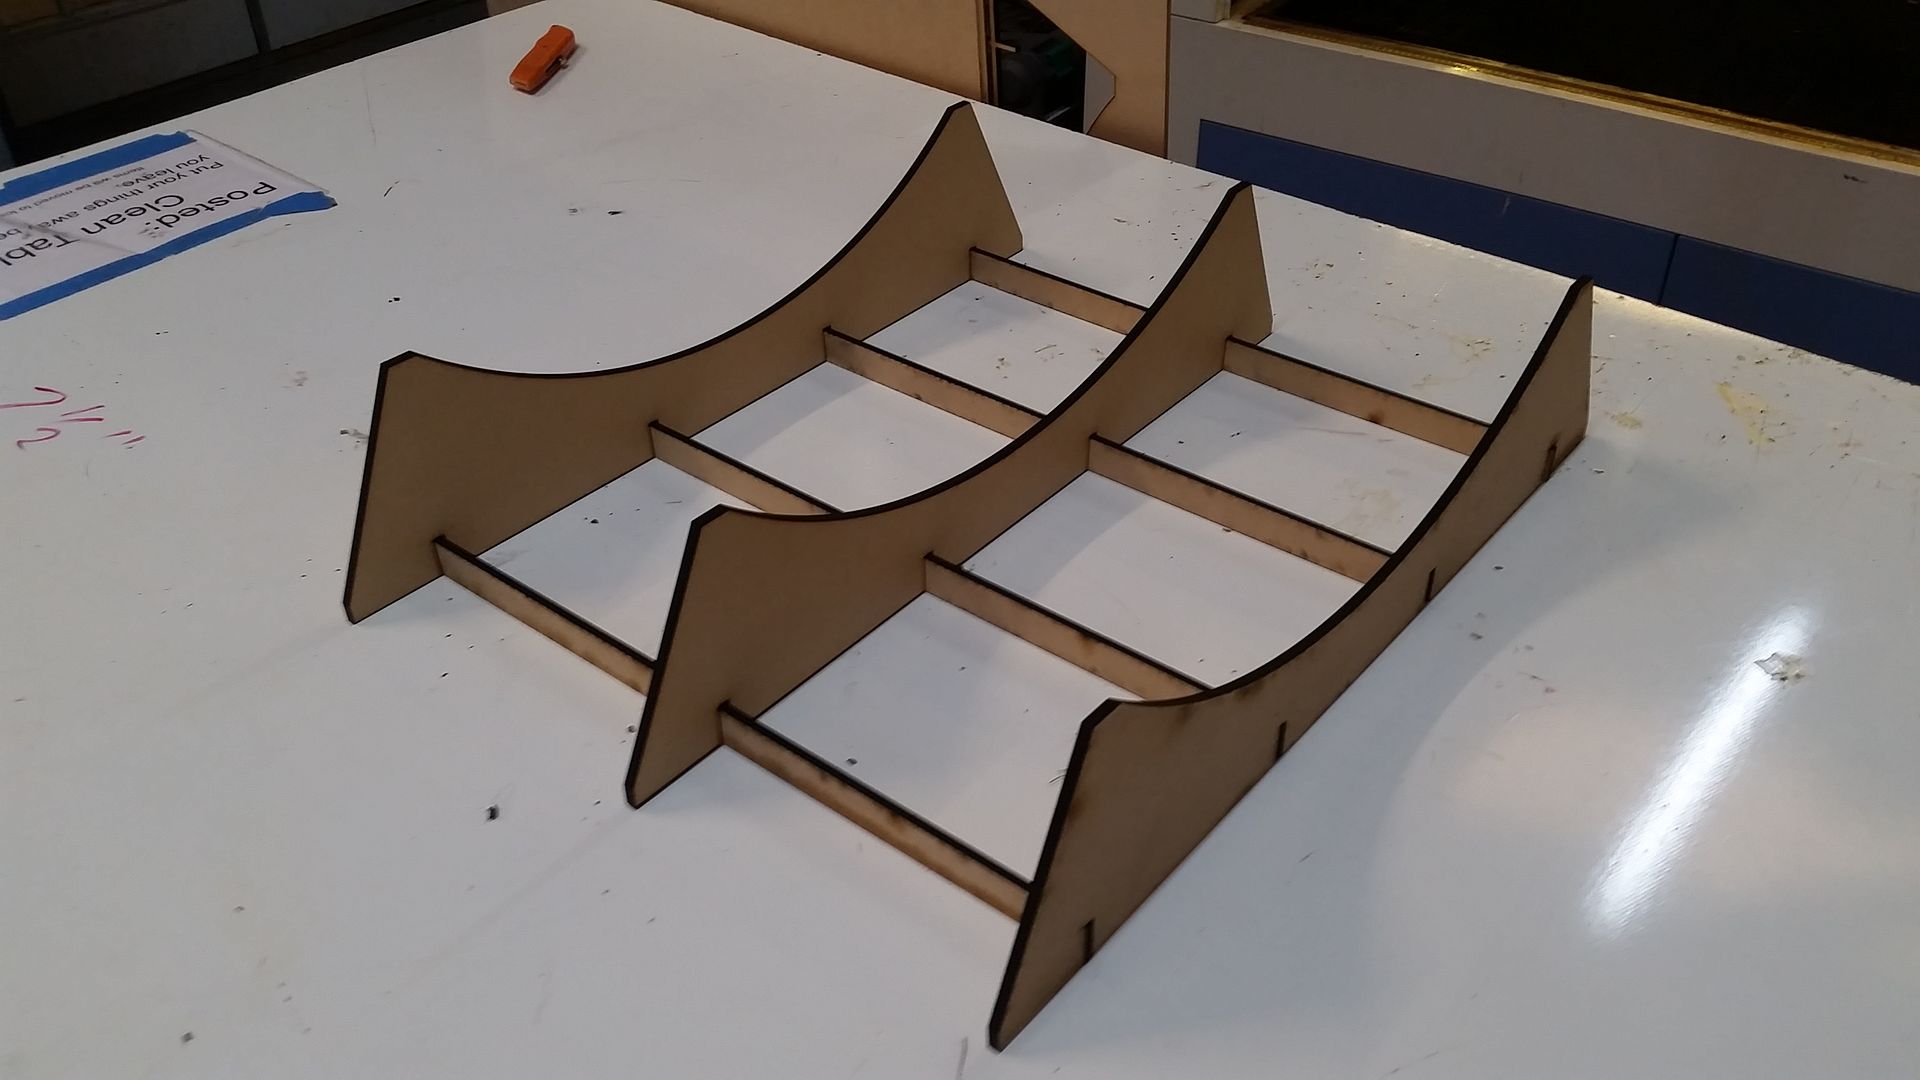
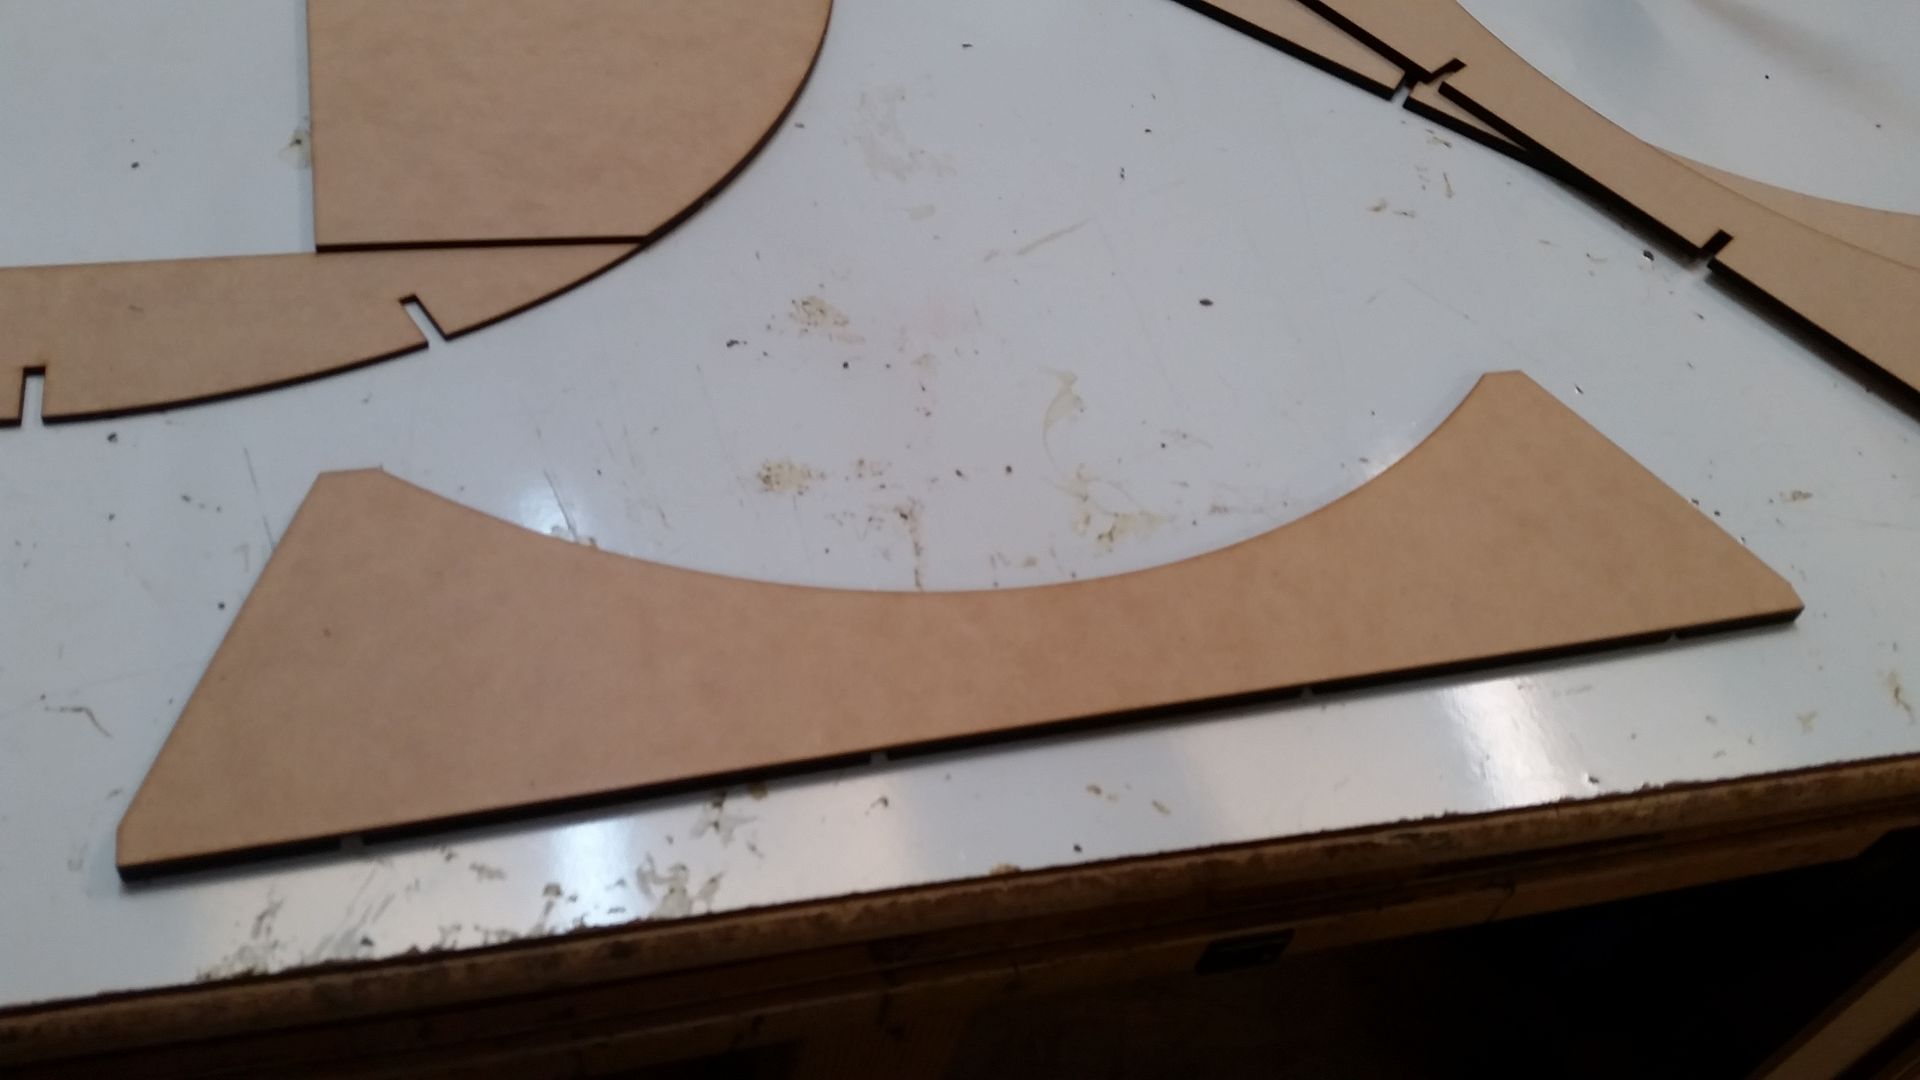
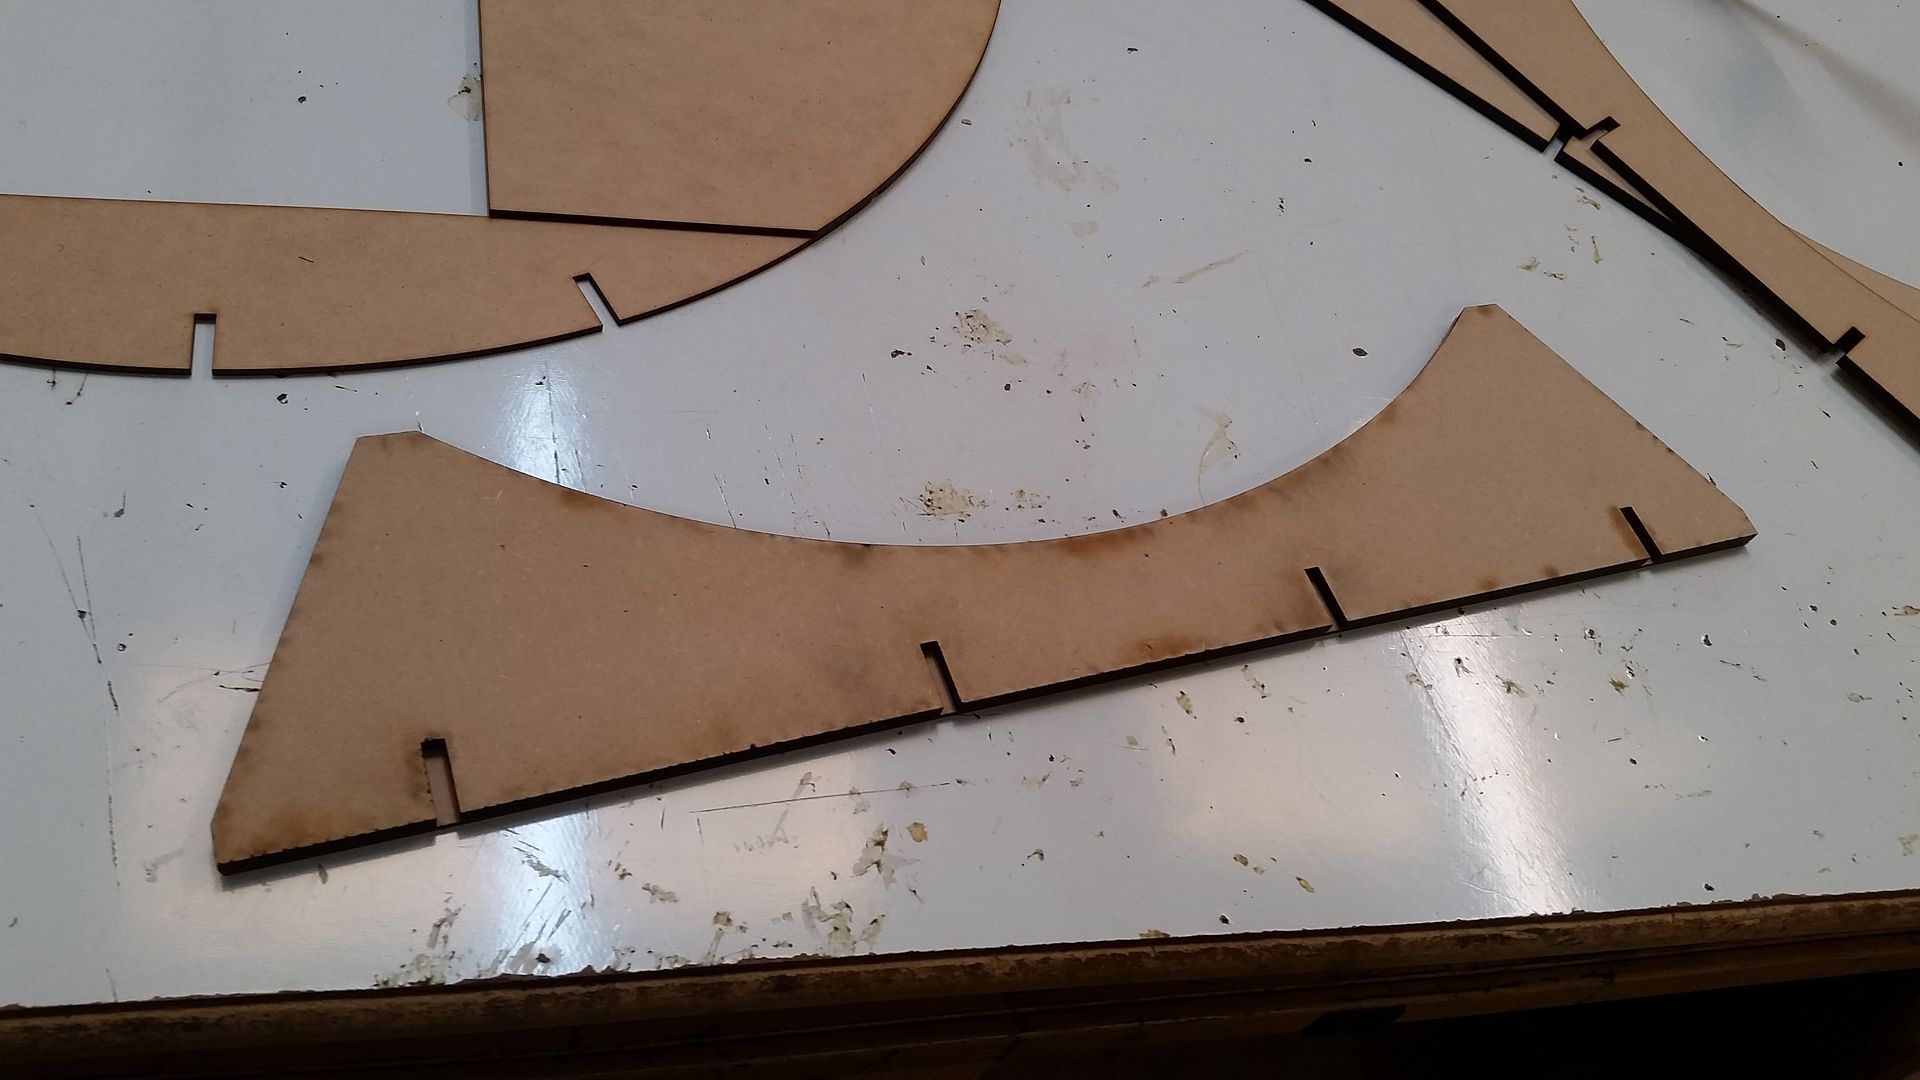
Blank and the template
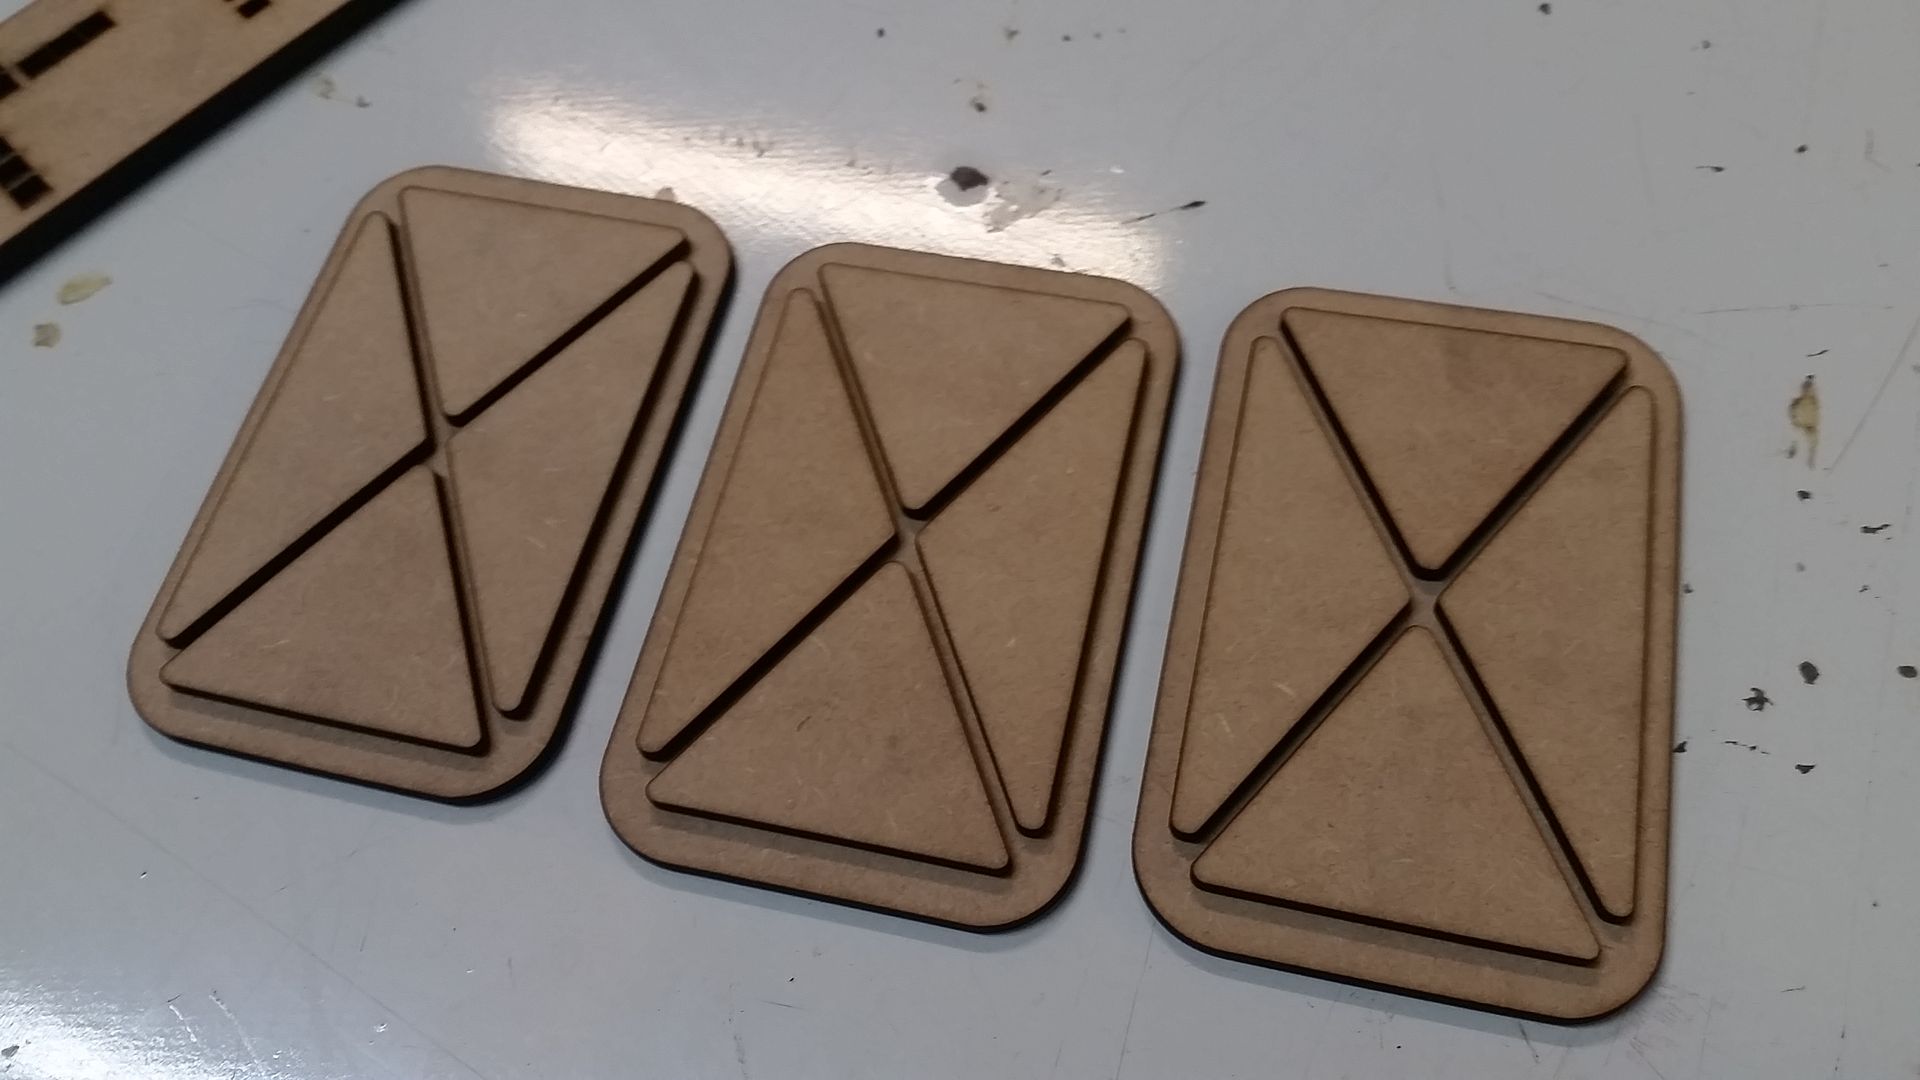
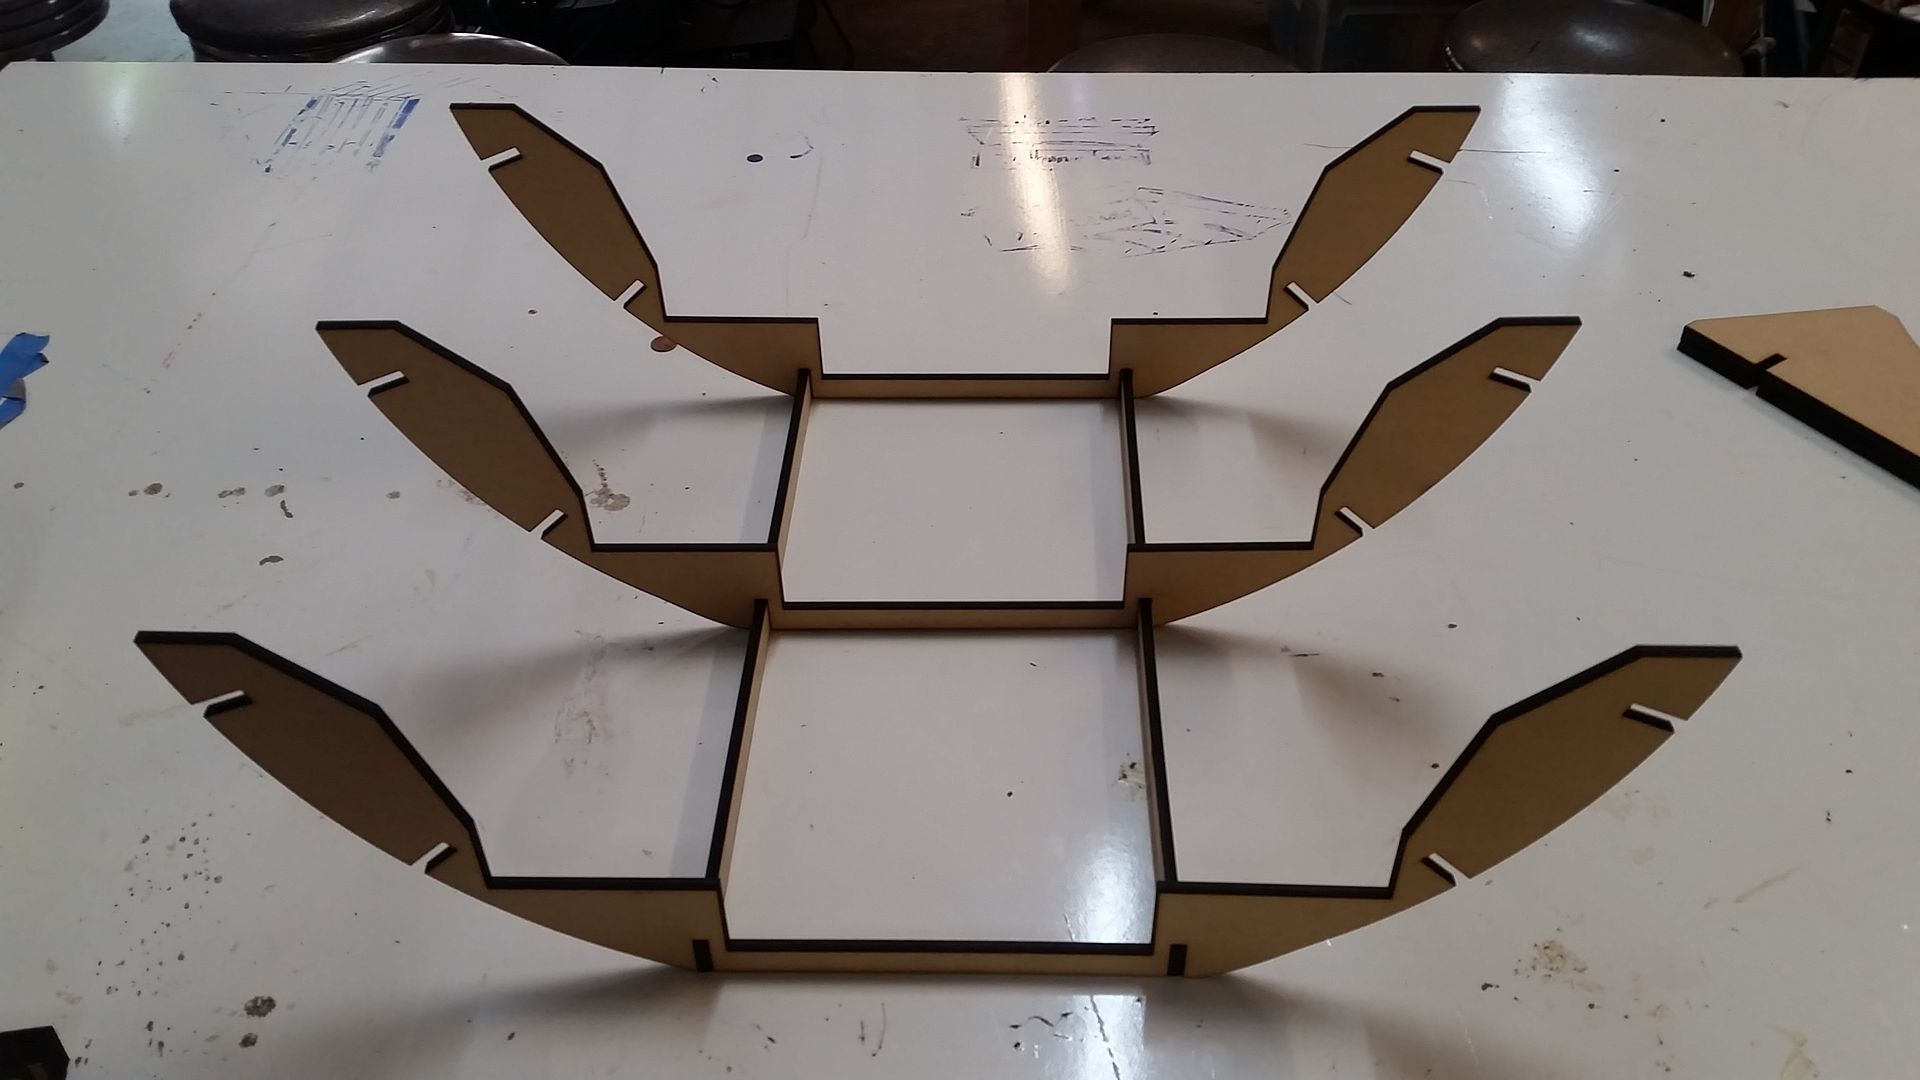
Risers
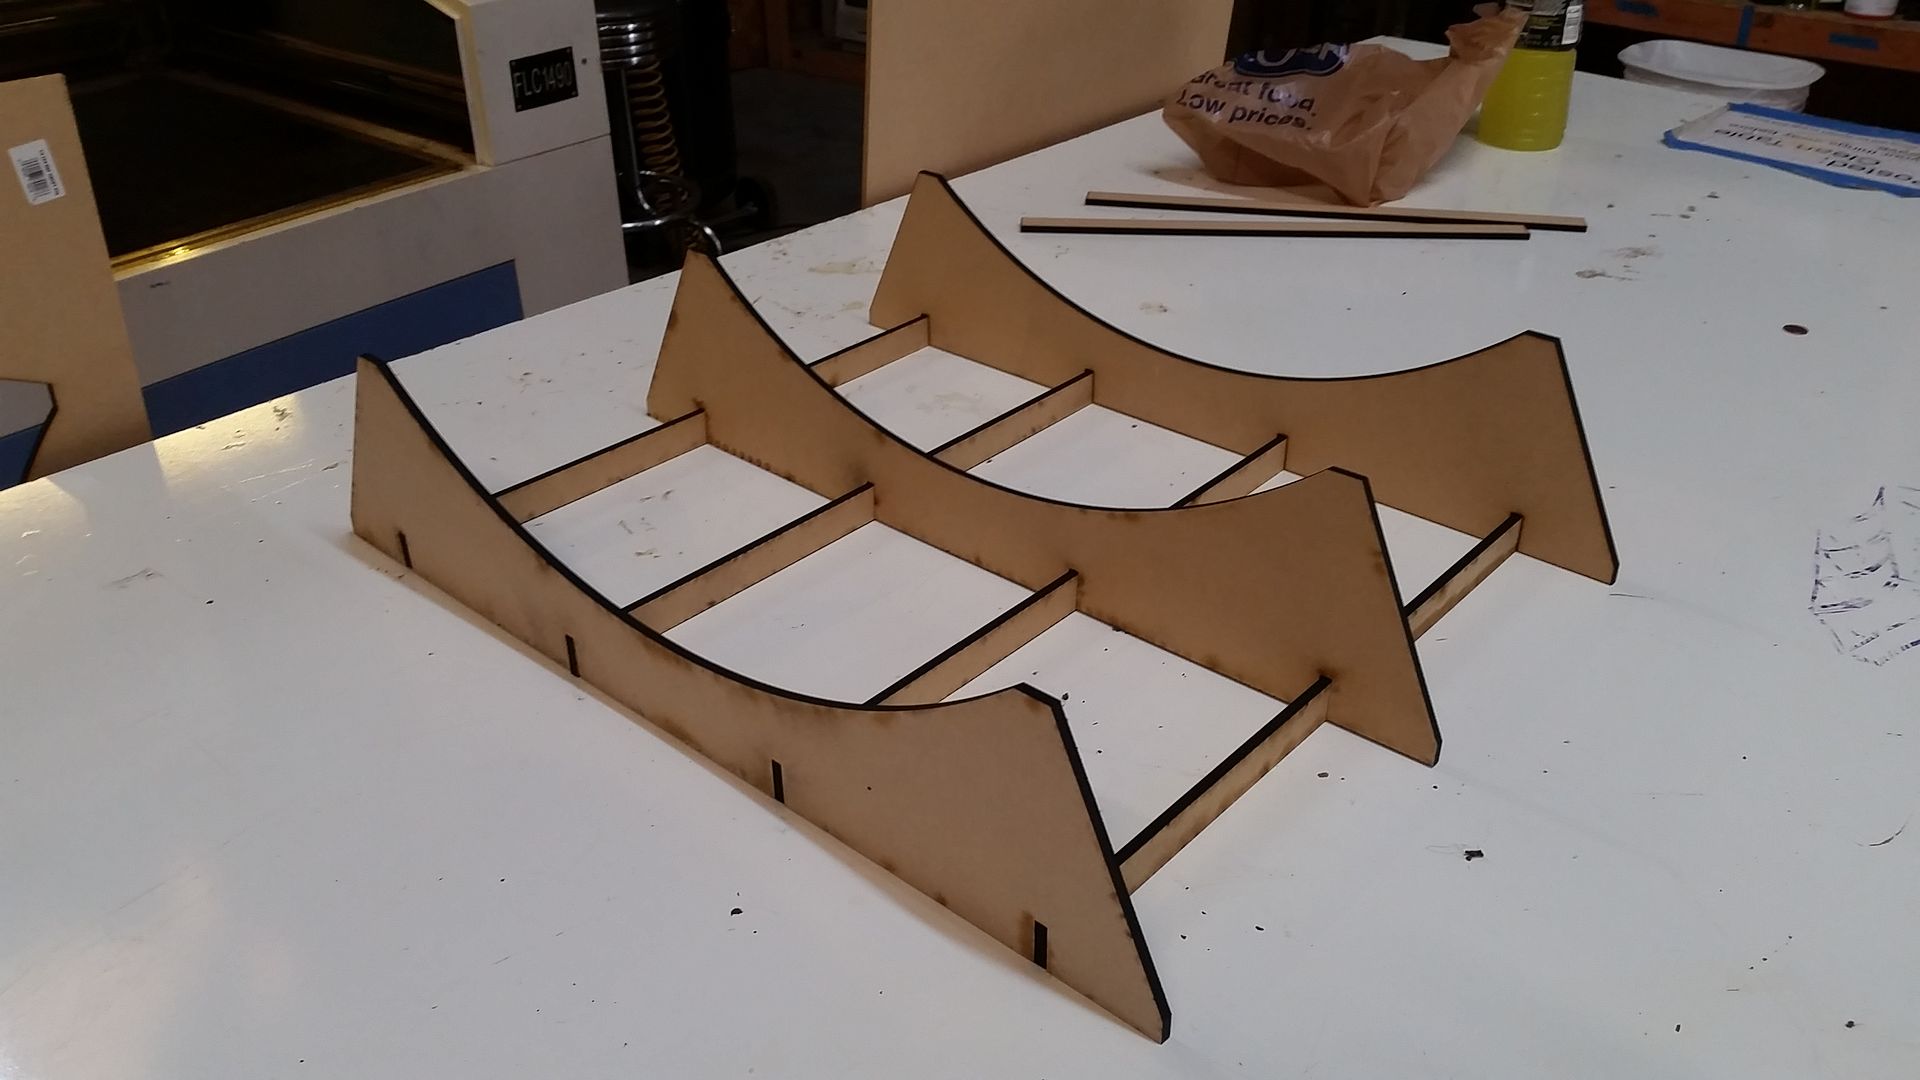
3 out of the 6 required for the cockpit
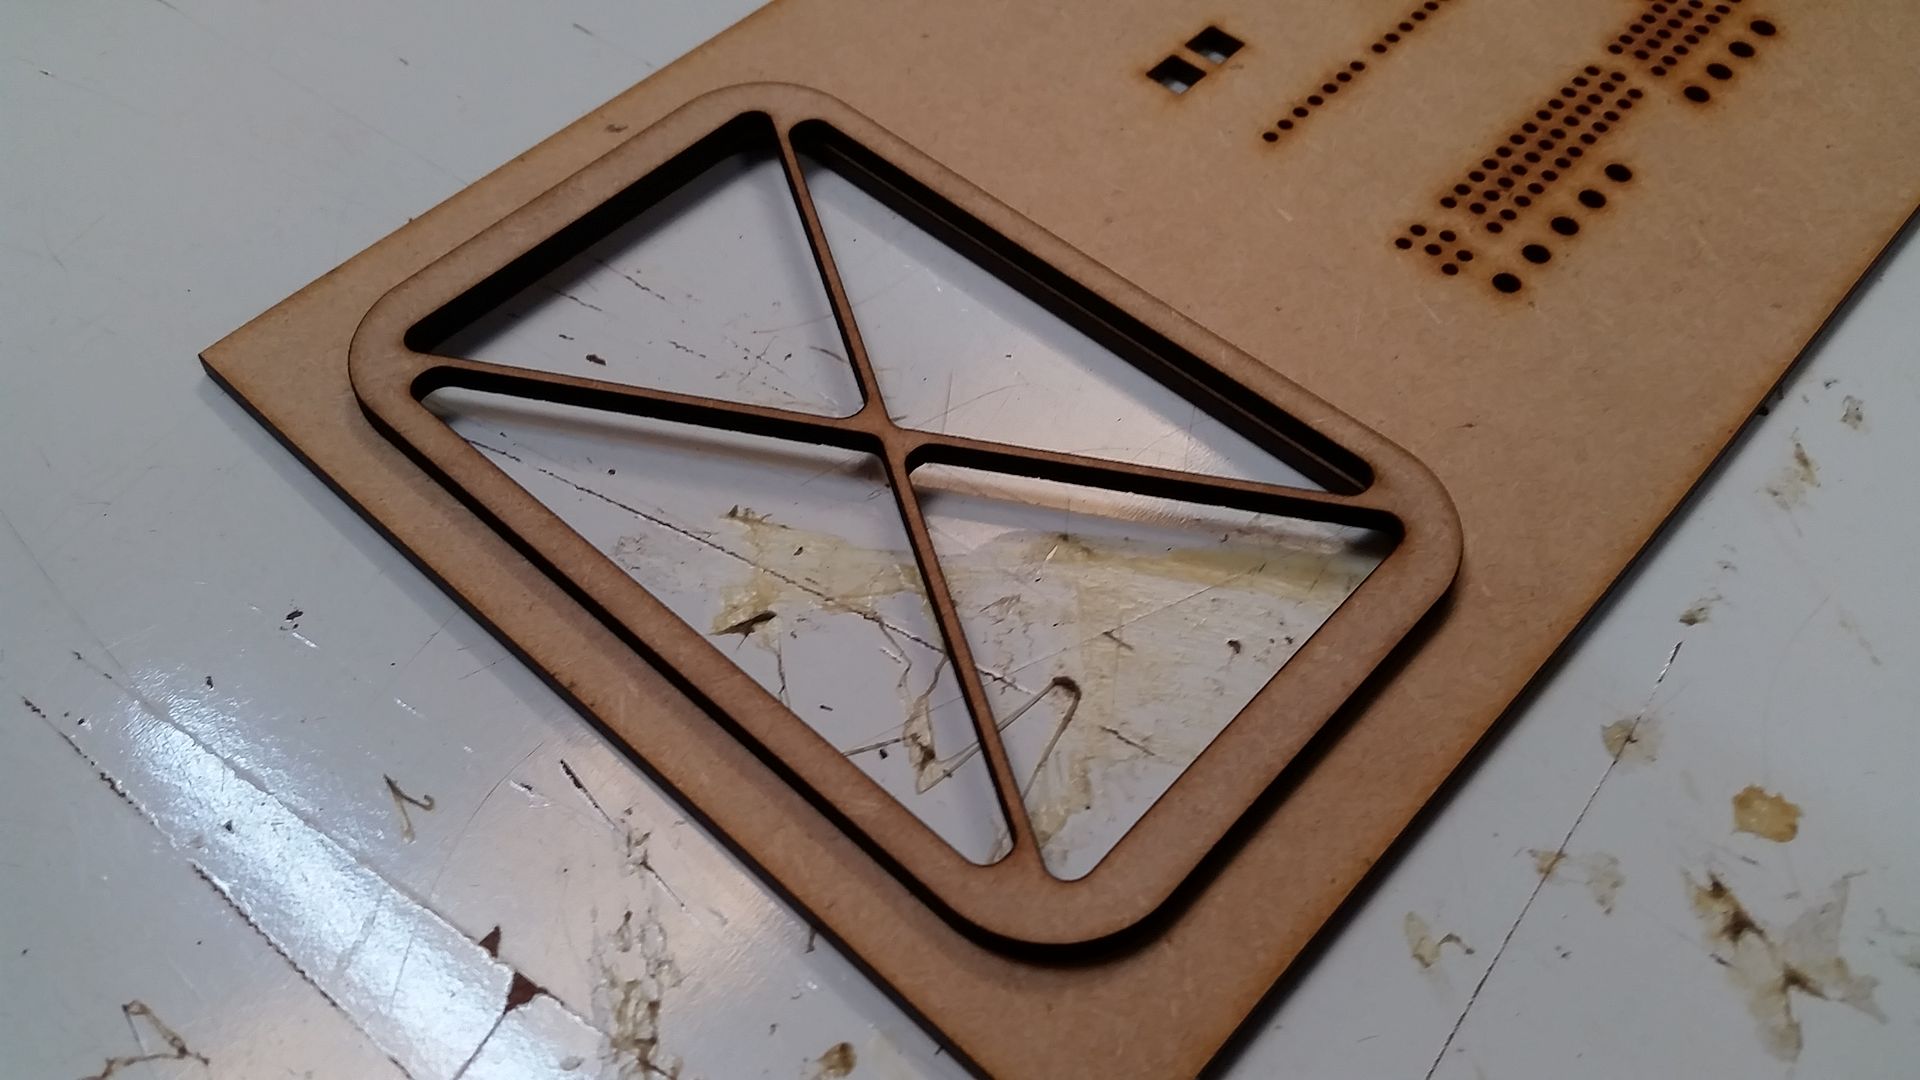
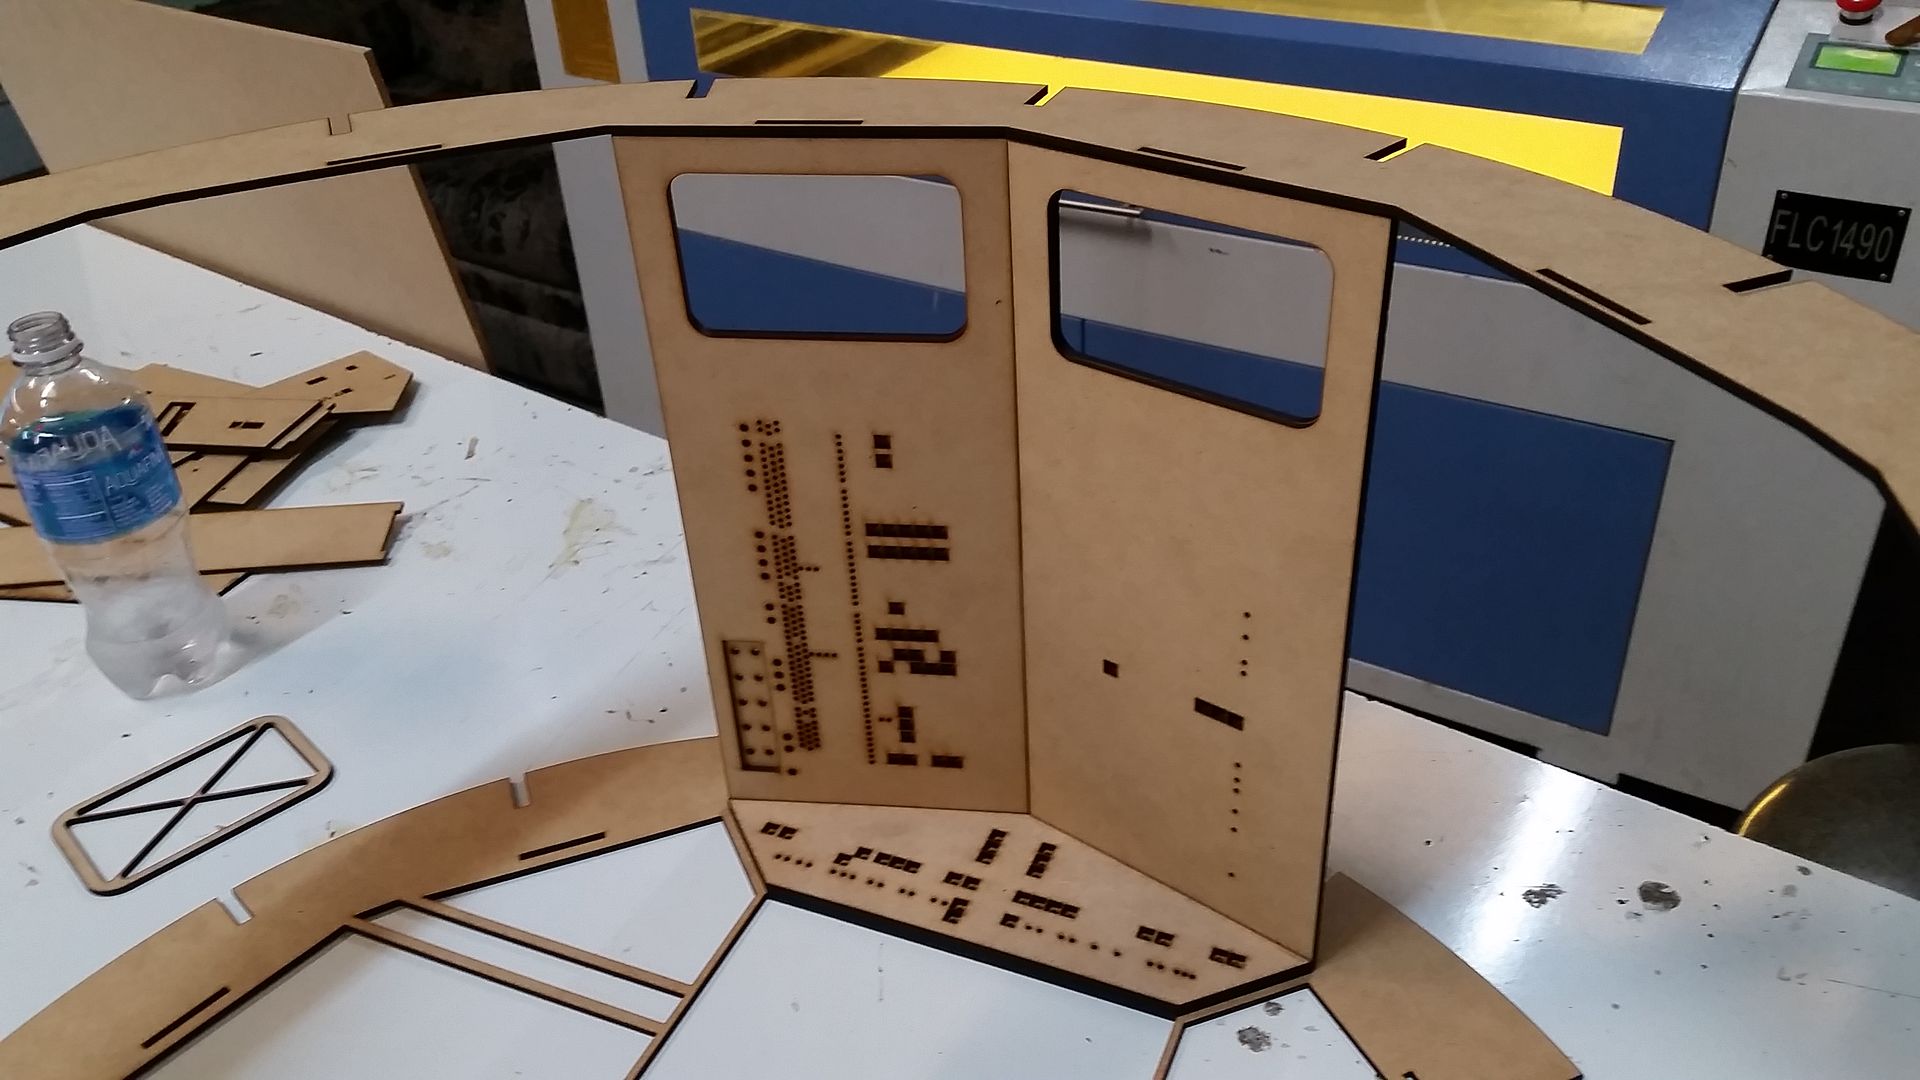
Basic shape
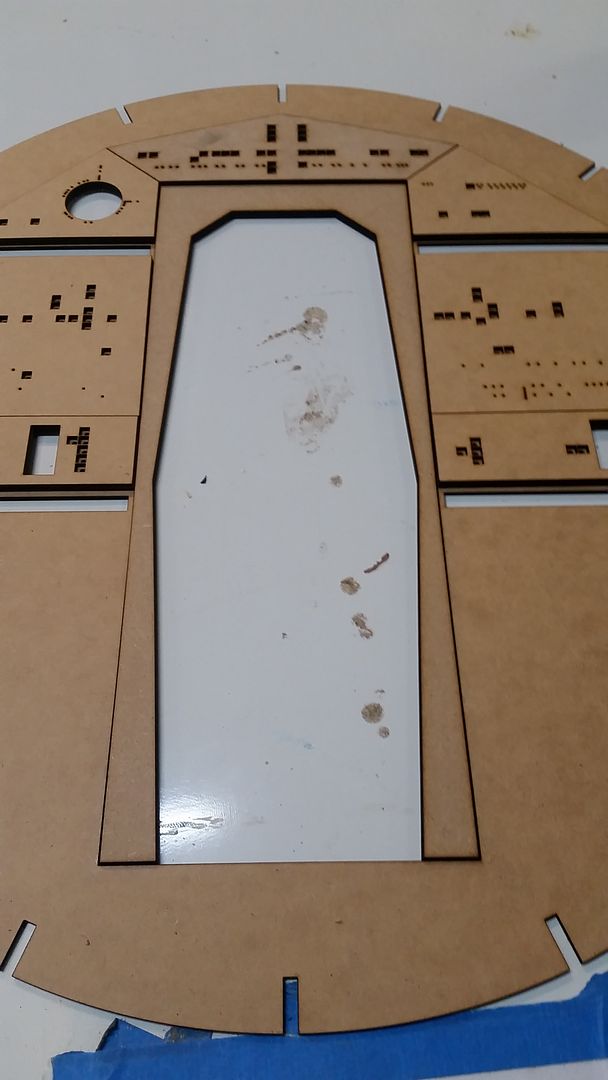
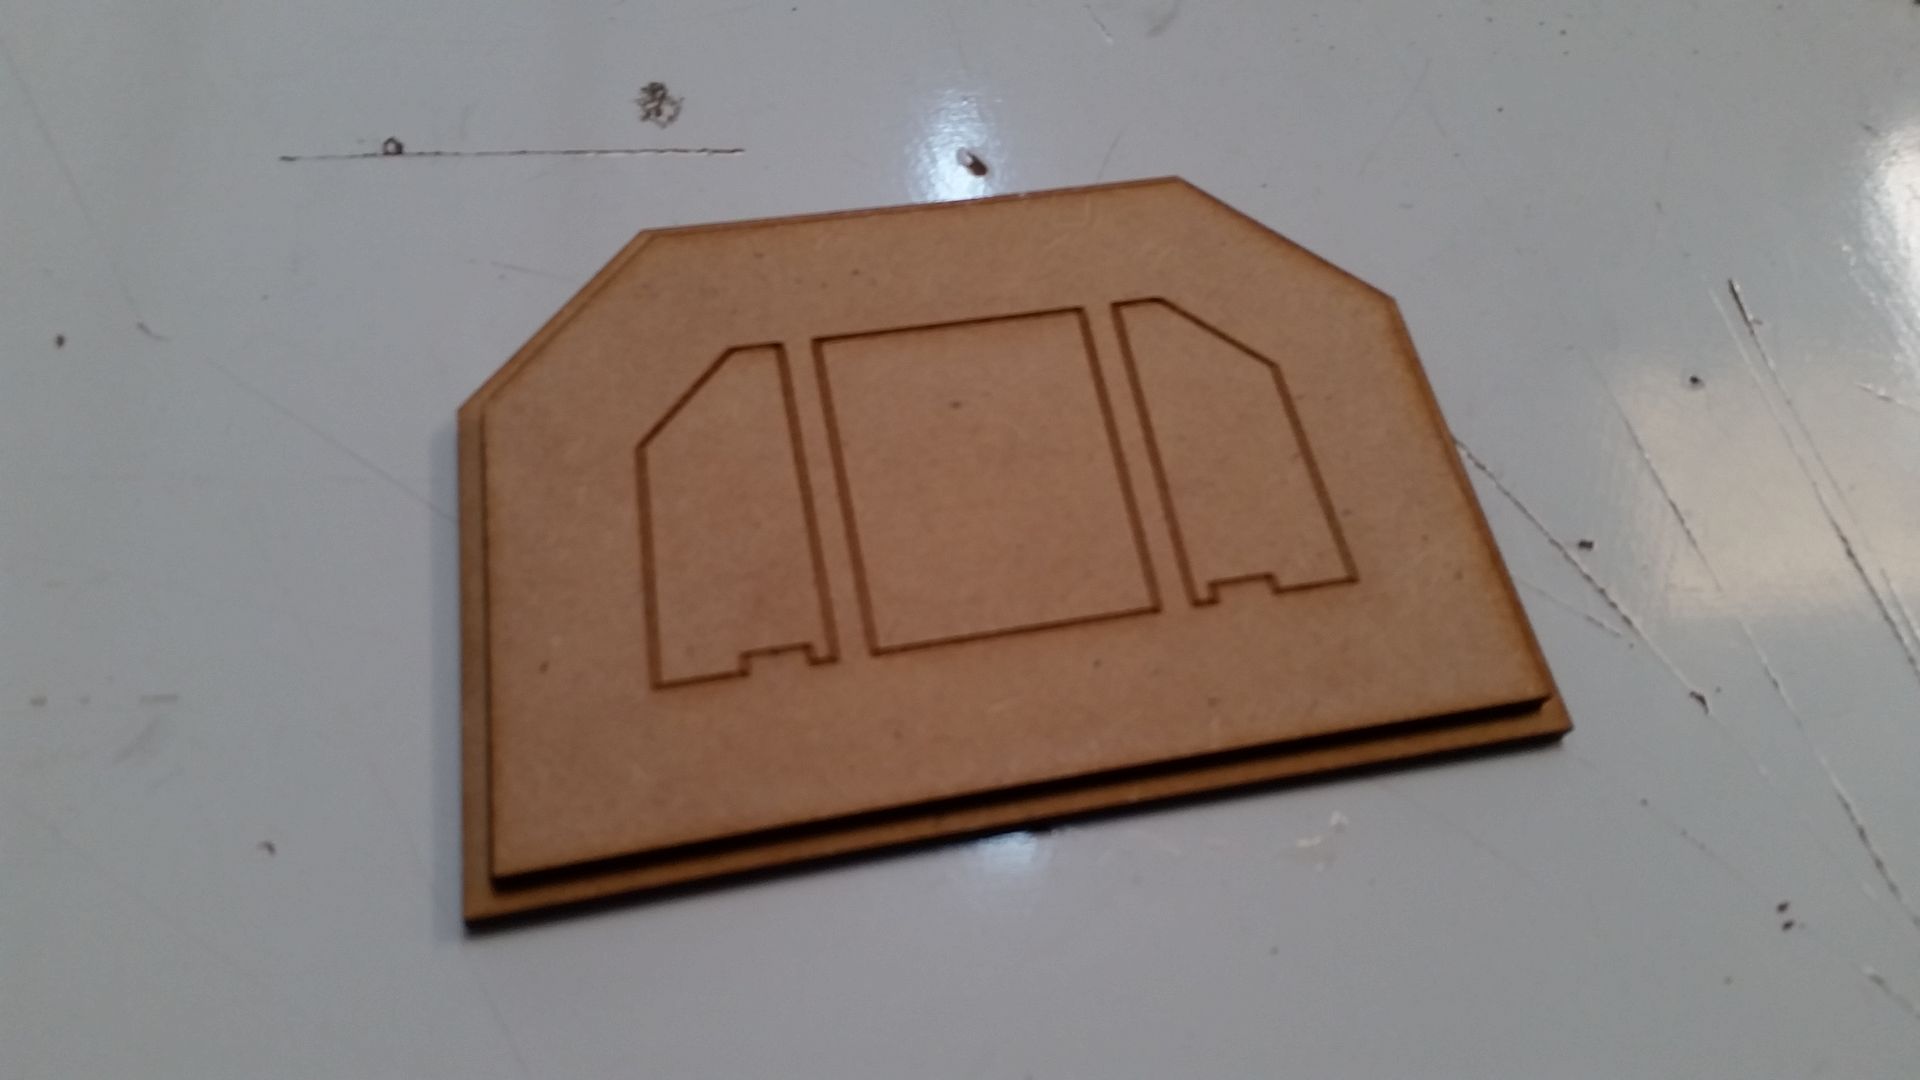
Door frame
Let's cut a few new practice greeblies from styrene...
We can do better!
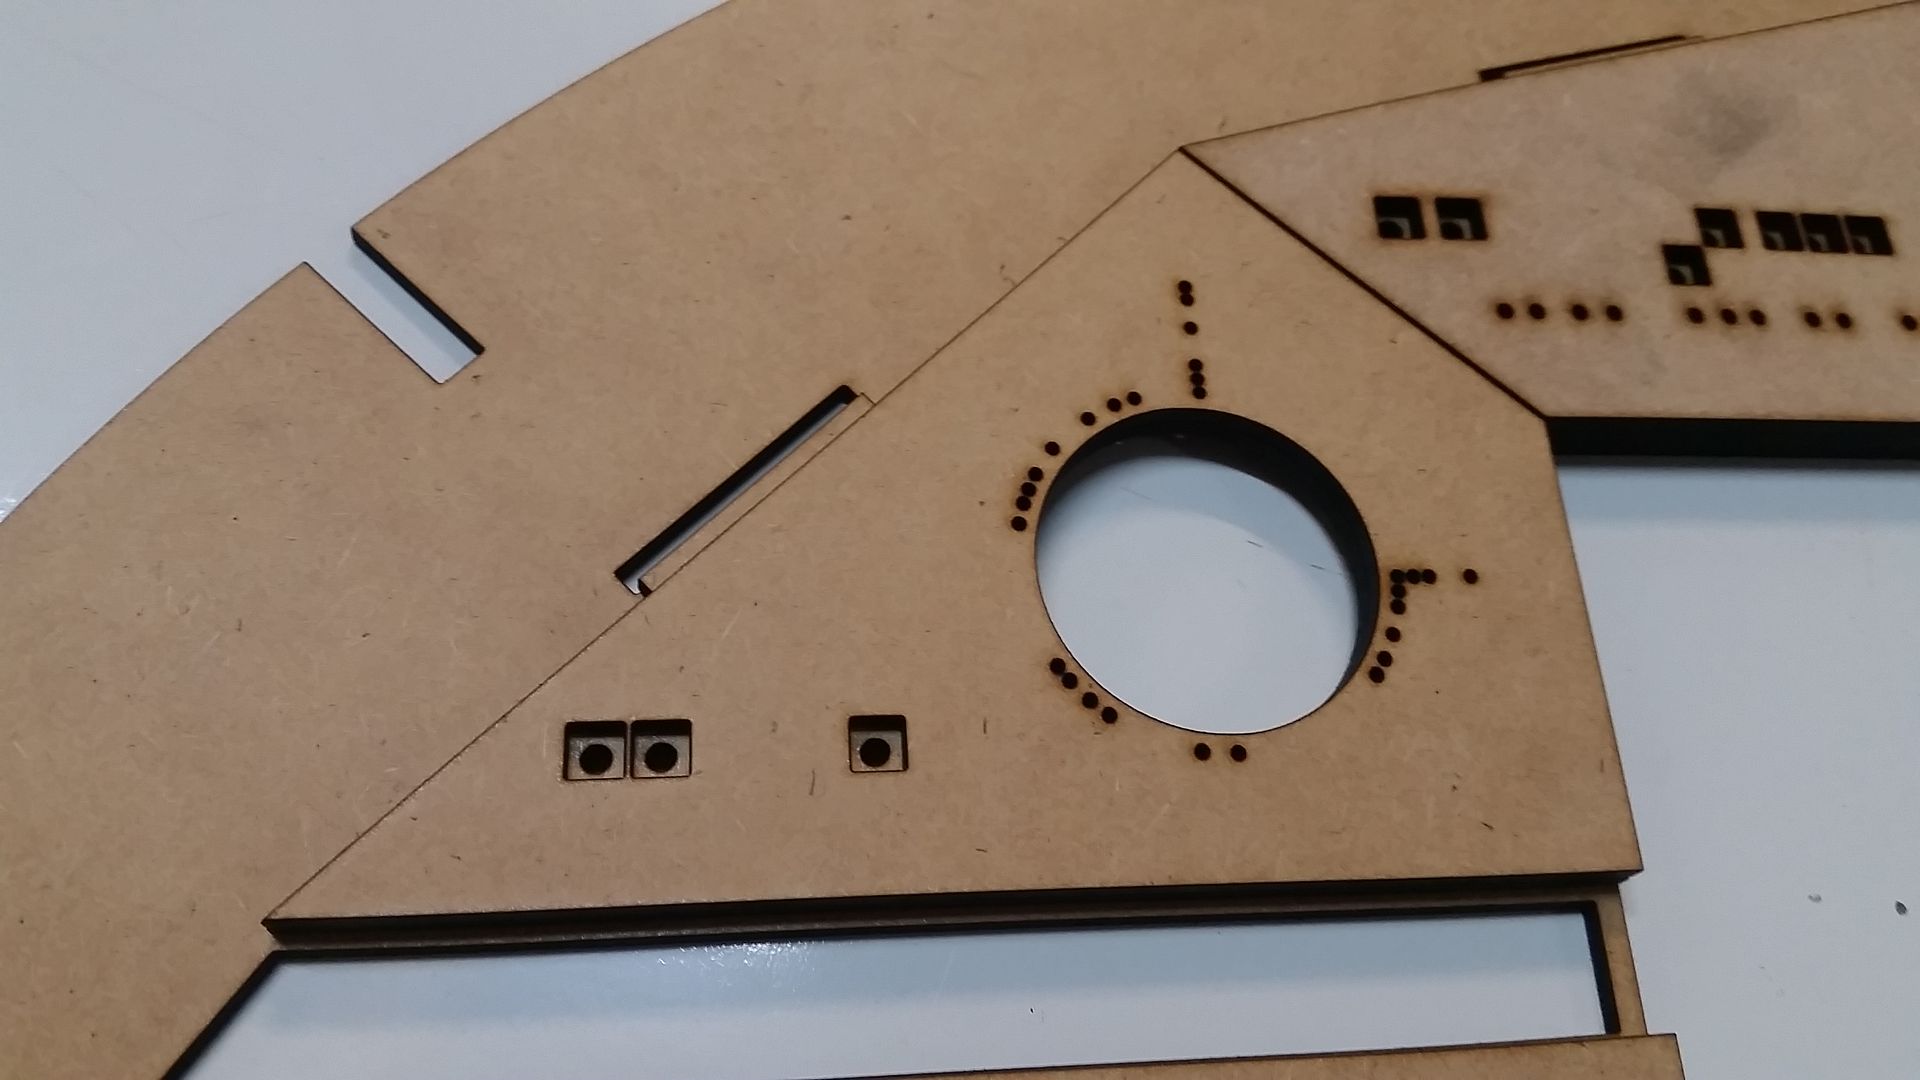
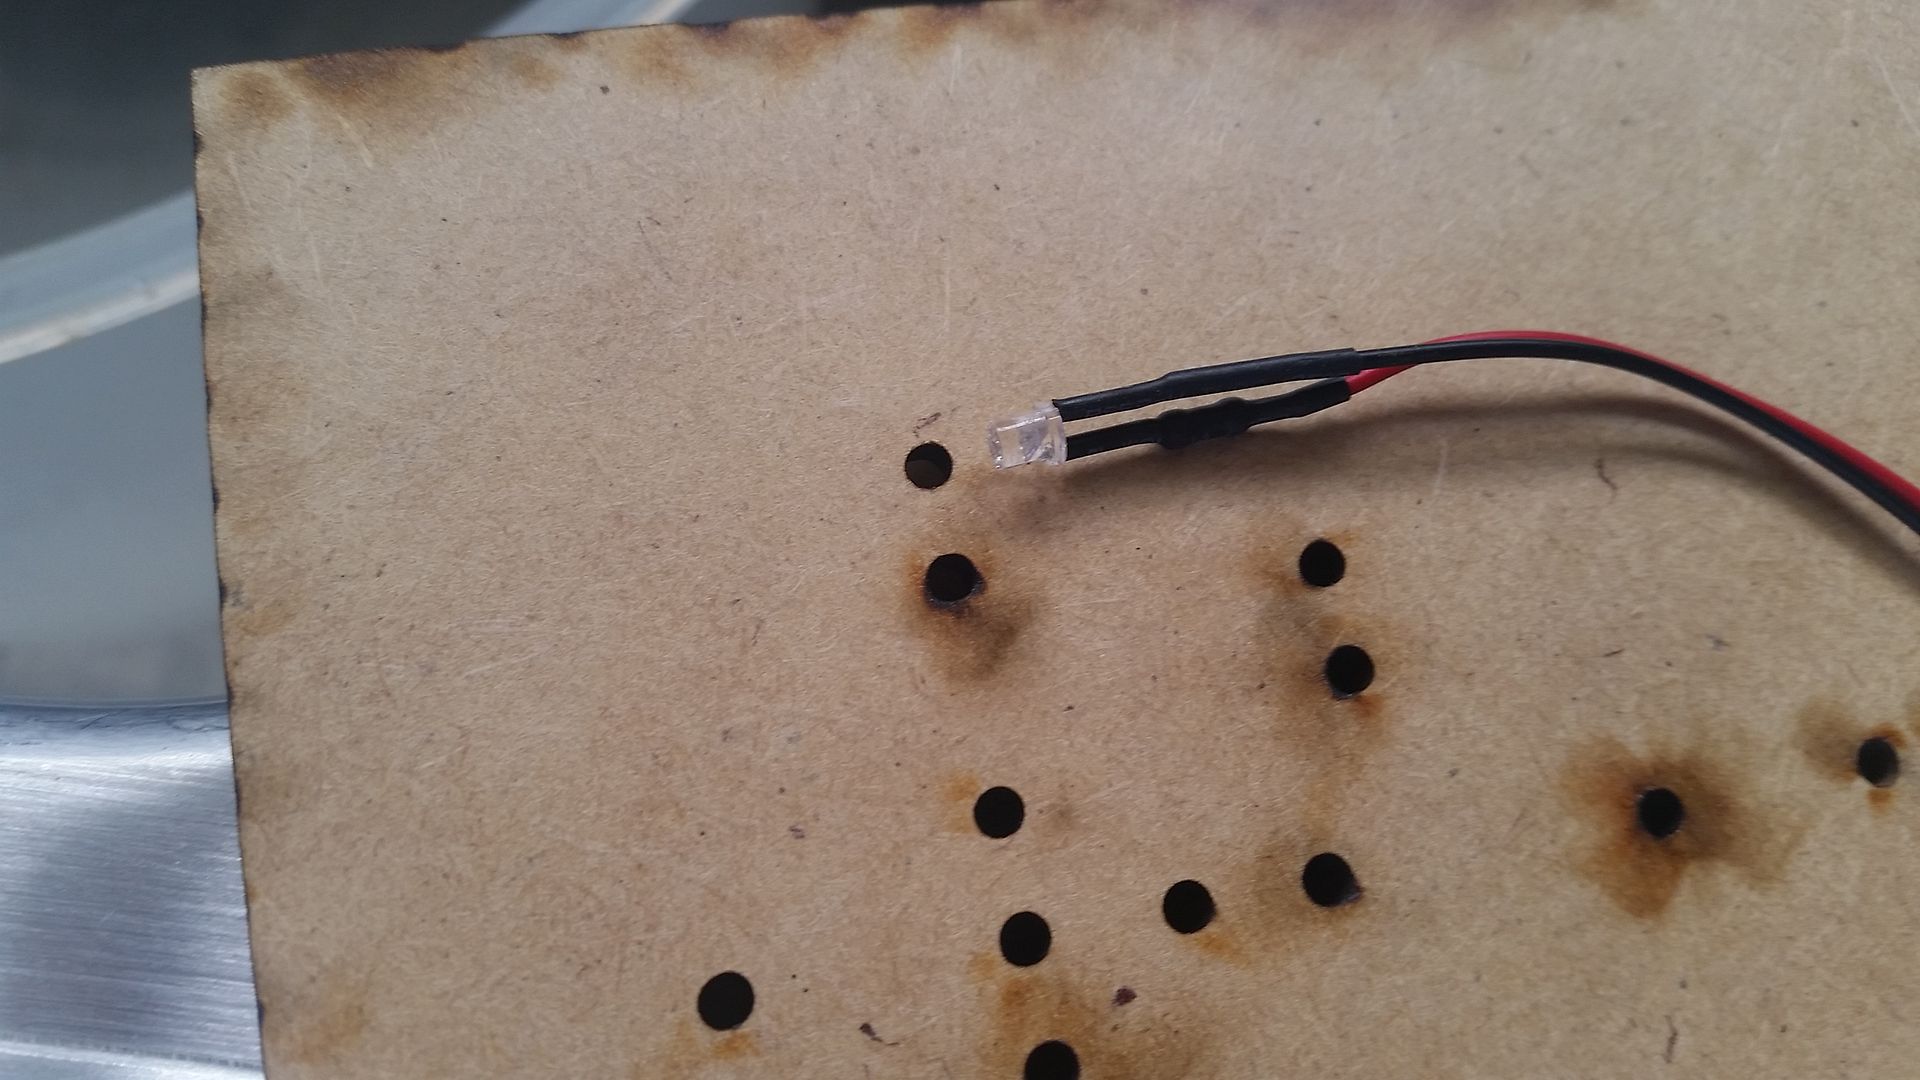
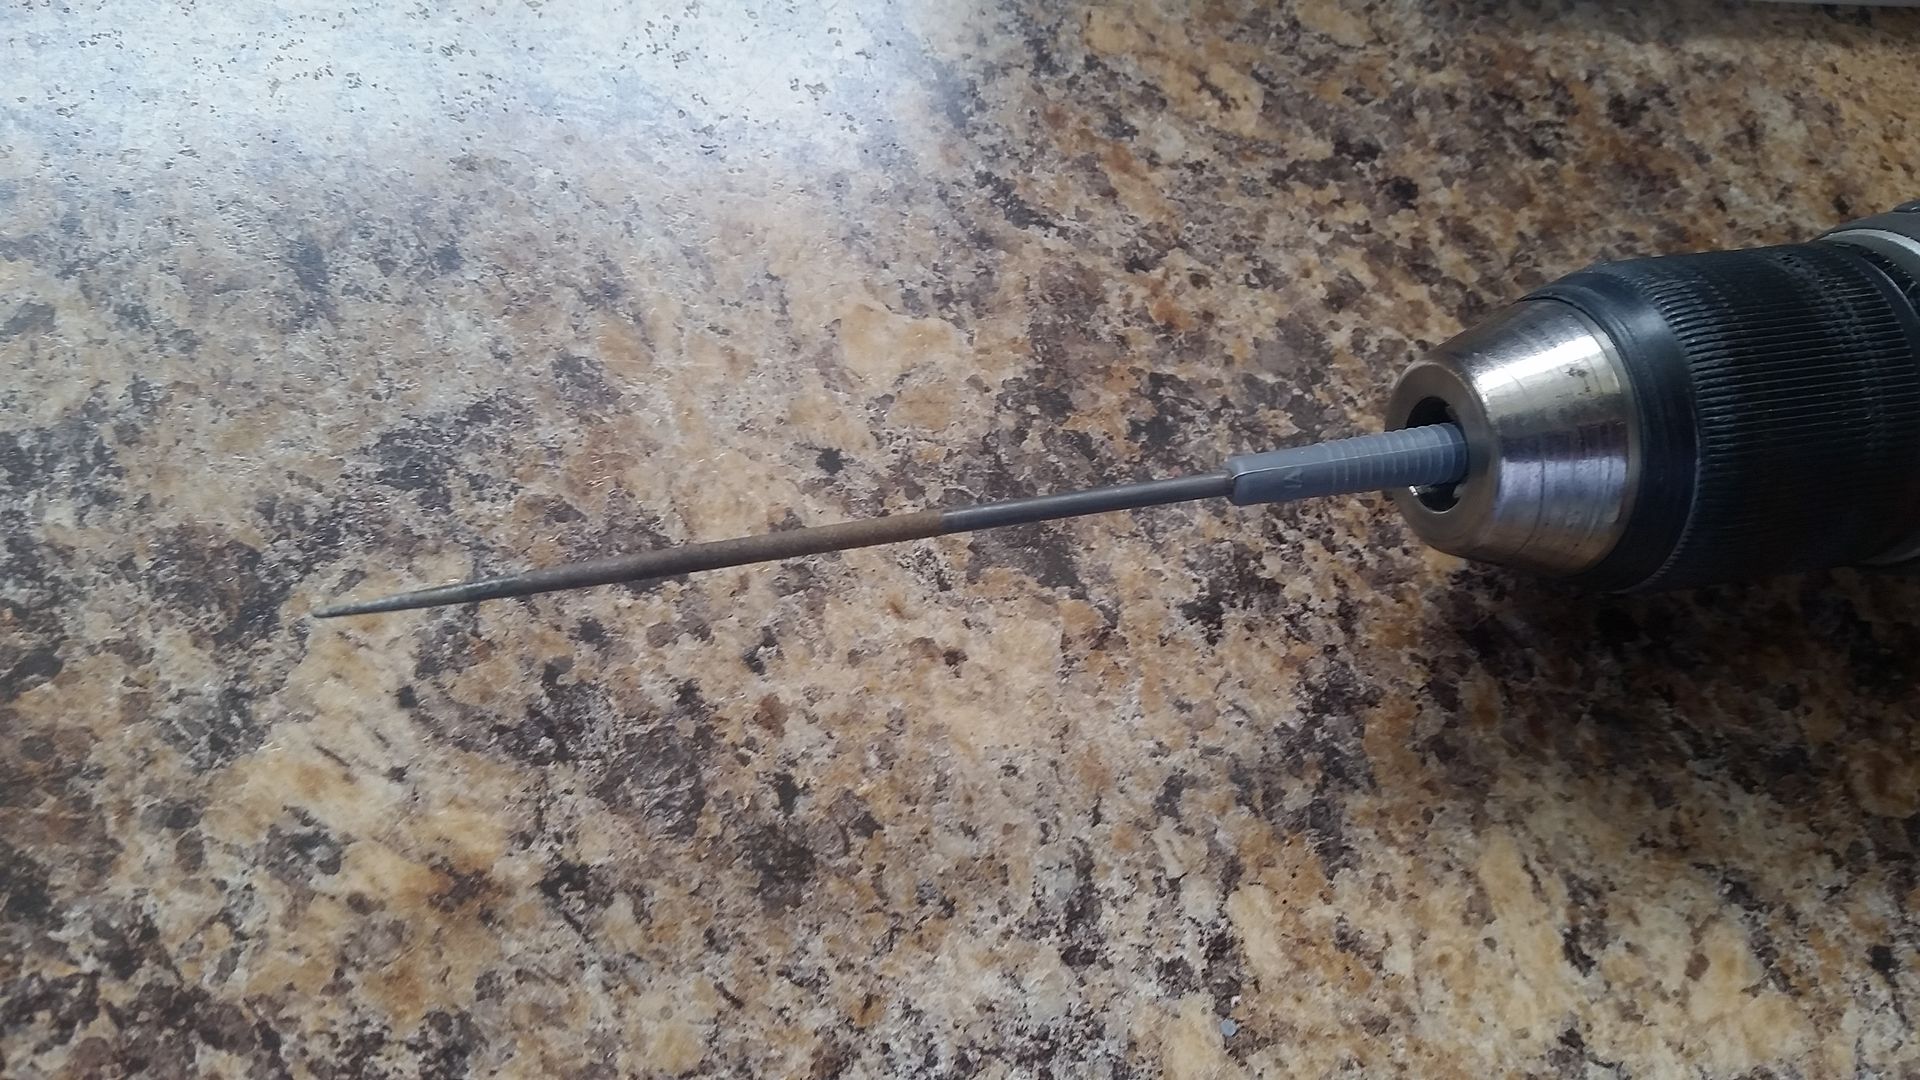
So let's see if this LED concept works! The idea is that the back panel will hold the LED in place
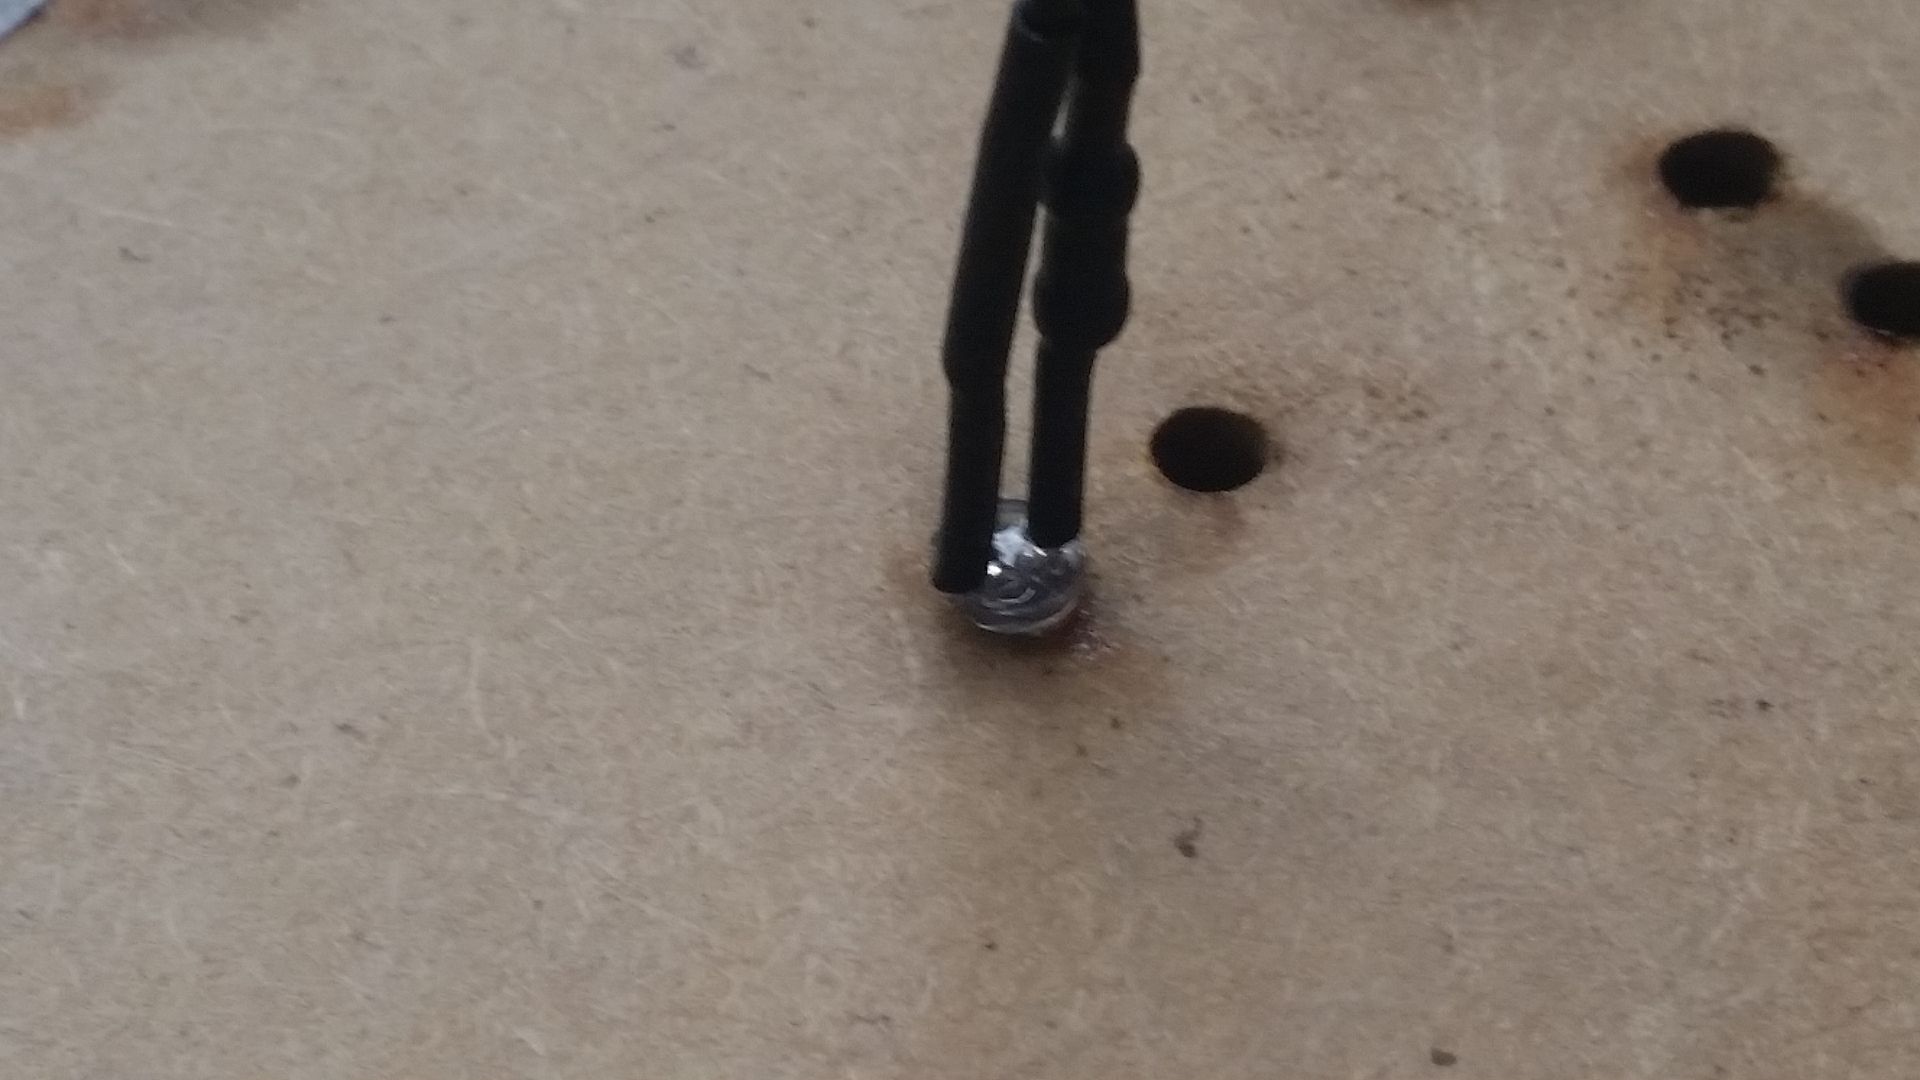
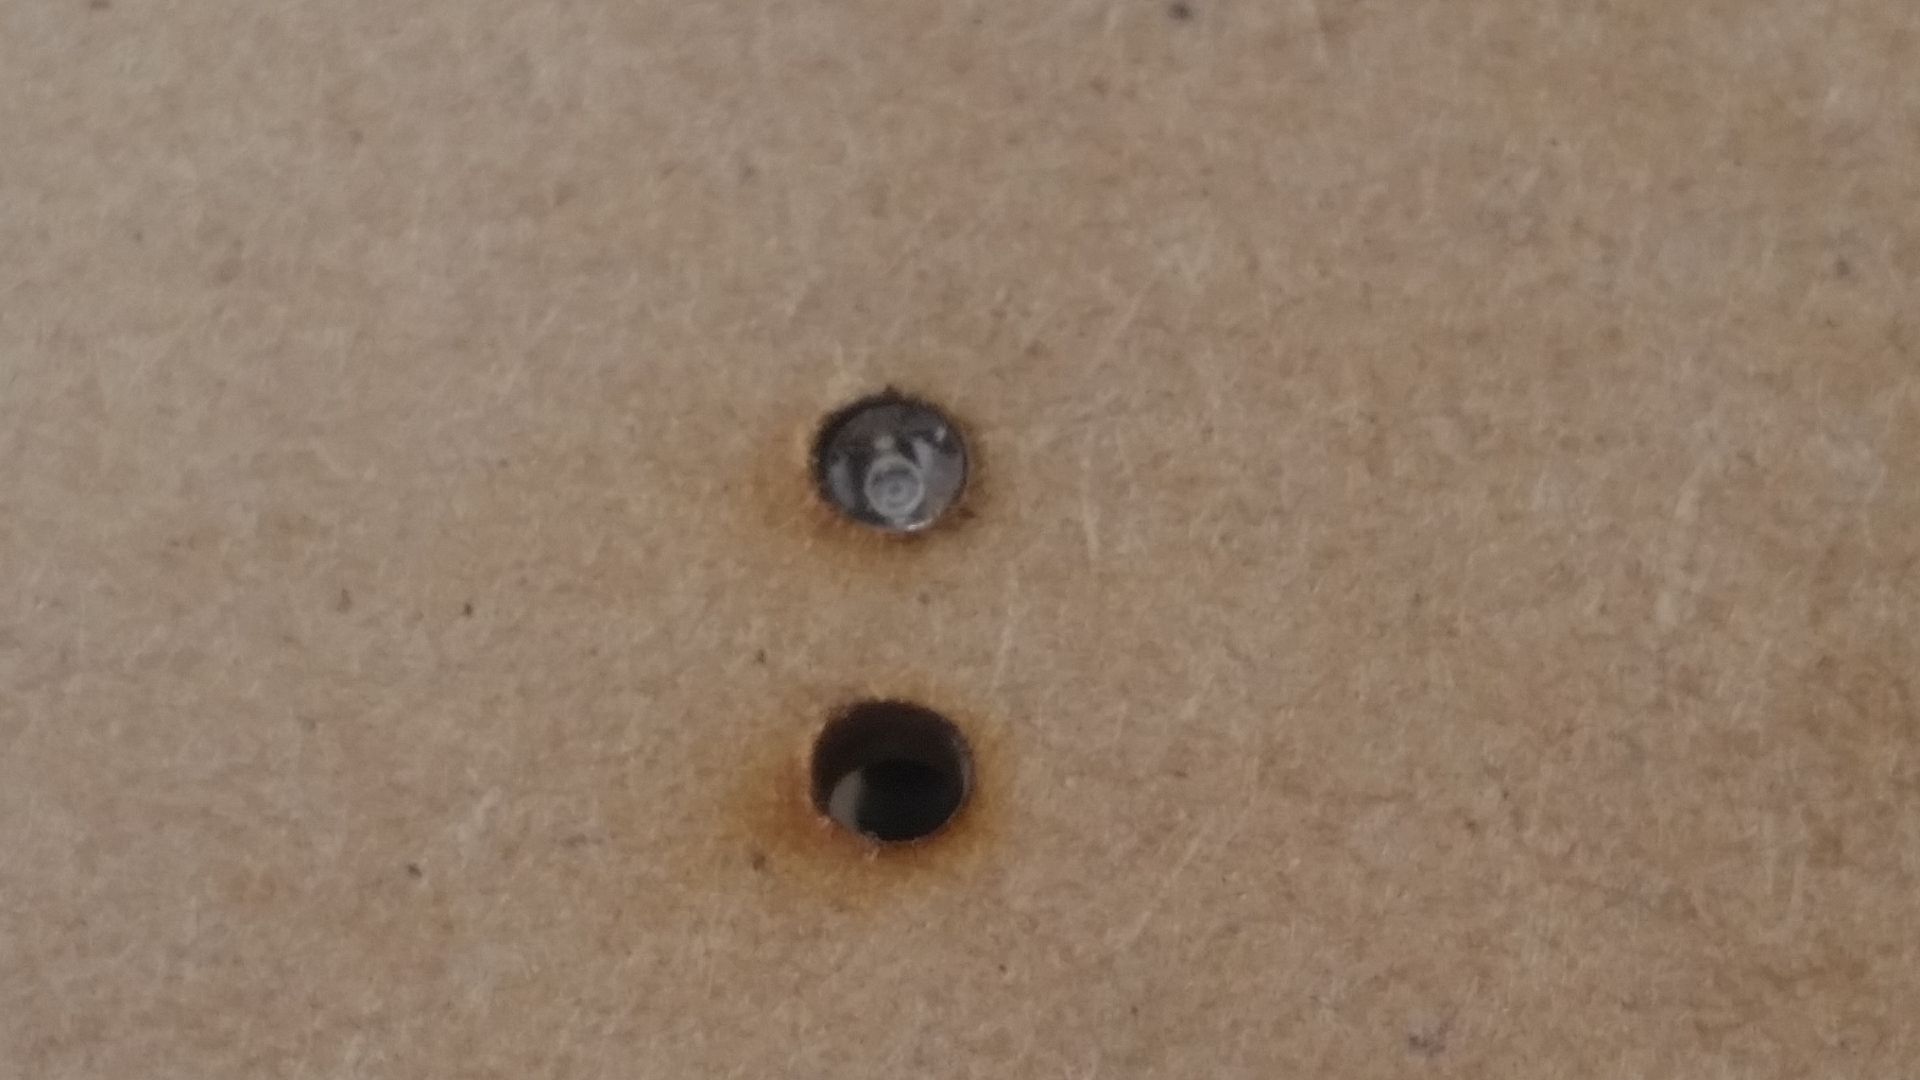
The holes were just a tad too small - the file is the near perfect and identical diam as the 3mm LED
Slipped right into place!
Flush with the other side!
OK... now I'm excited! Let's make this thing!
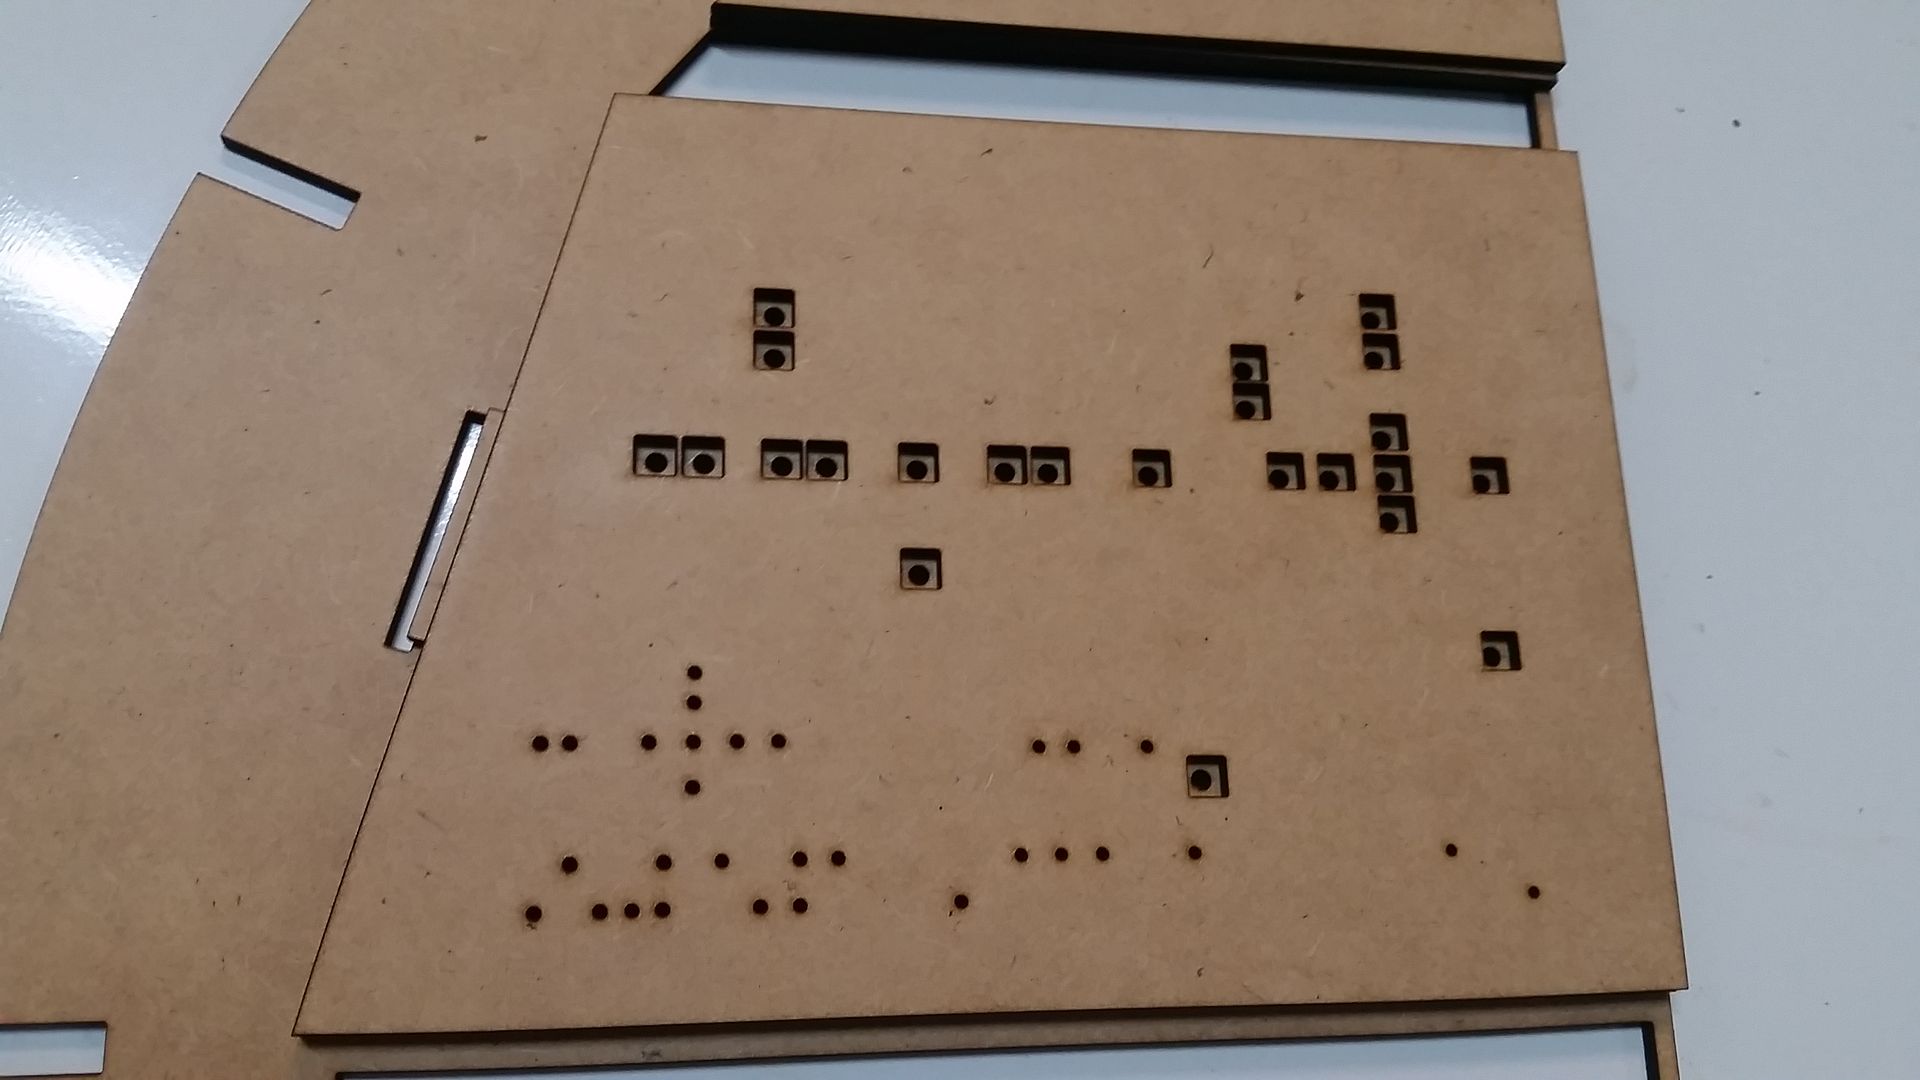
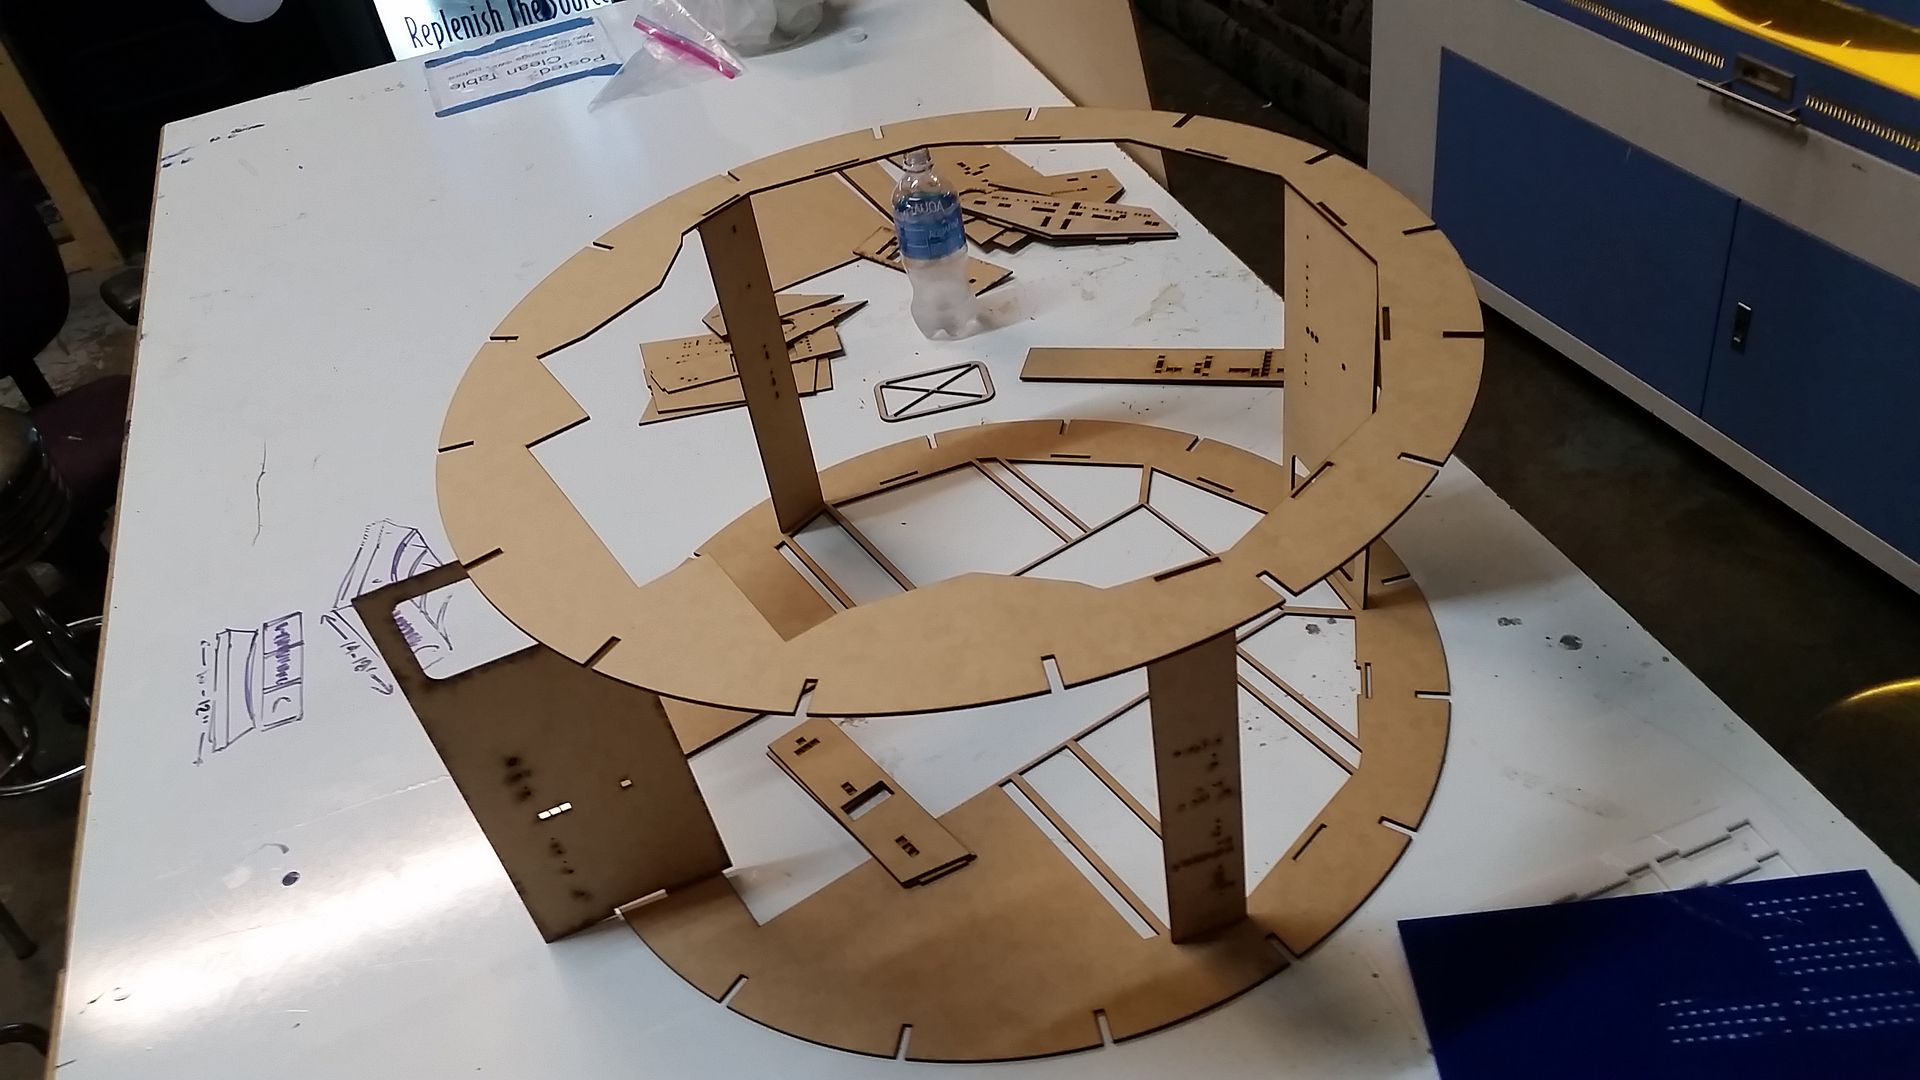
Remember... this is 28" in diam! The panels are 8.75" long!
That's going to be a LOT of LEDs and Fiber Optics!
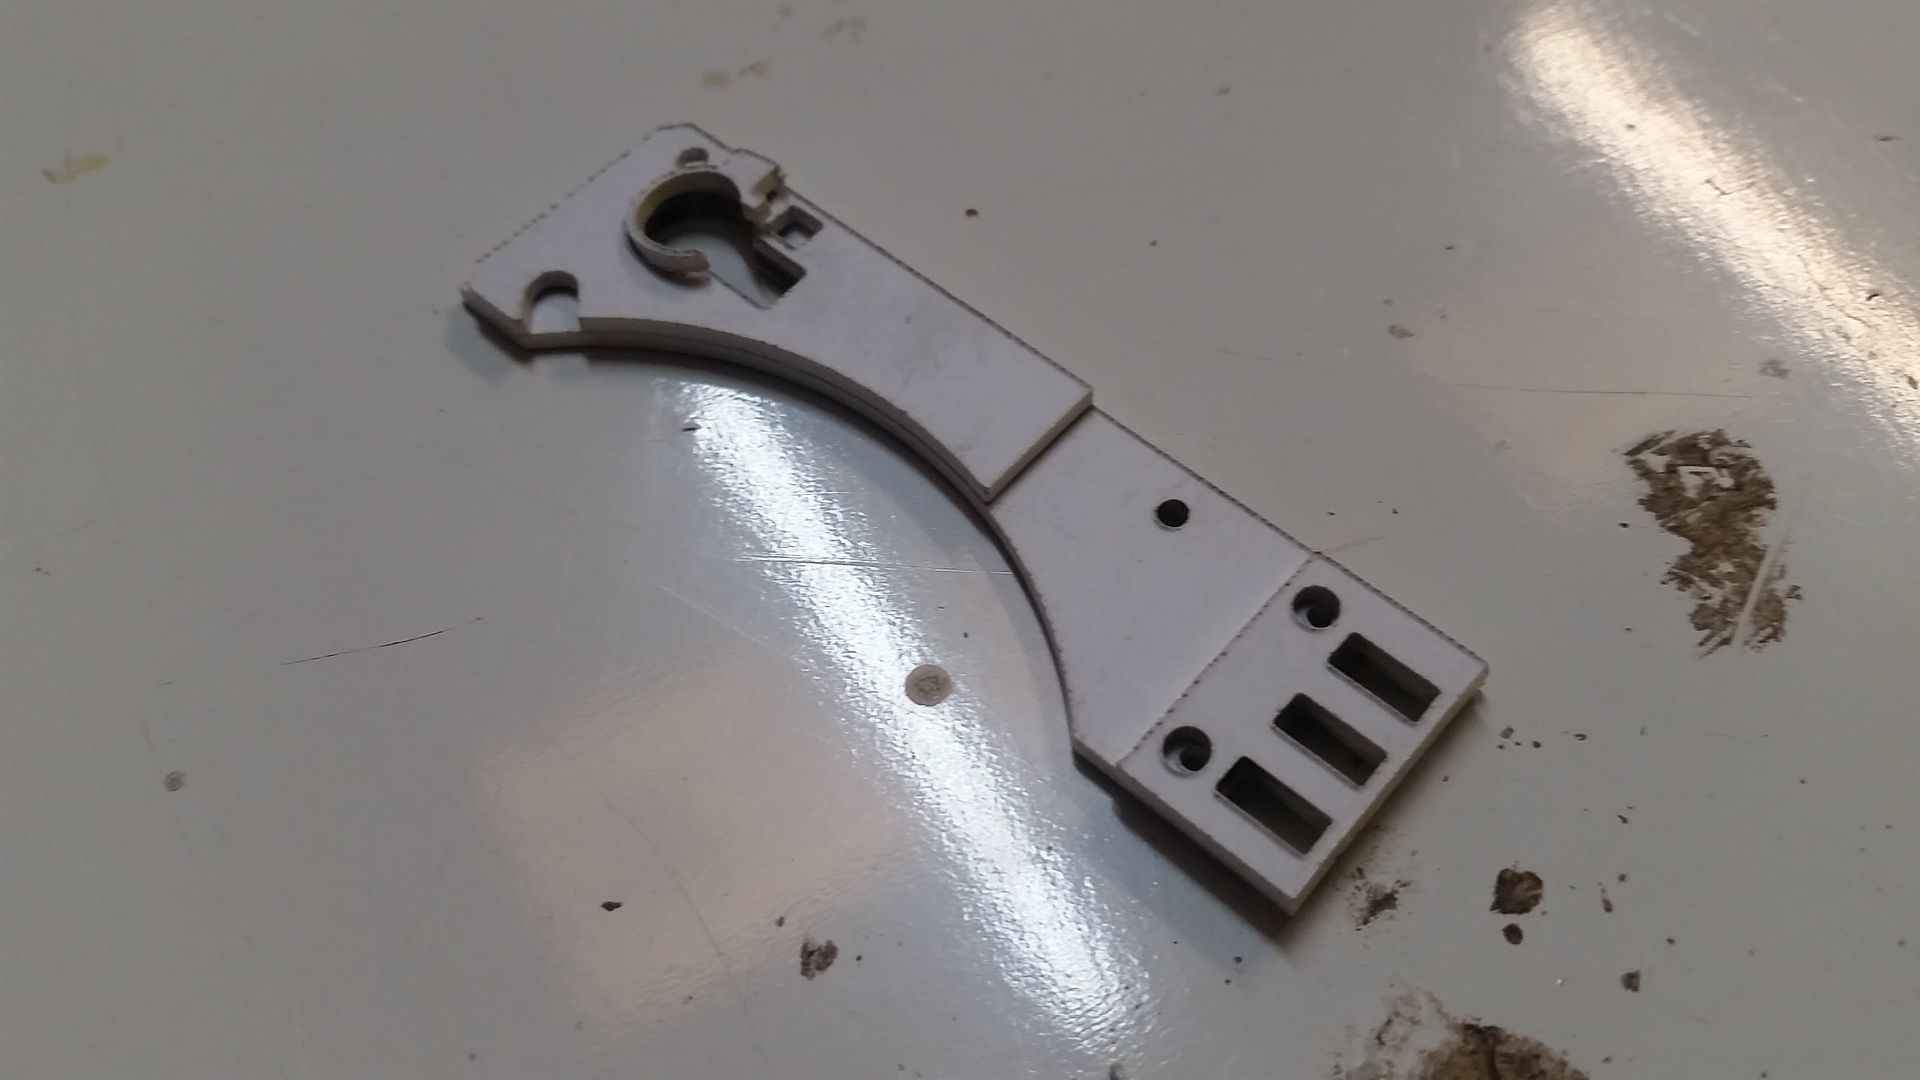
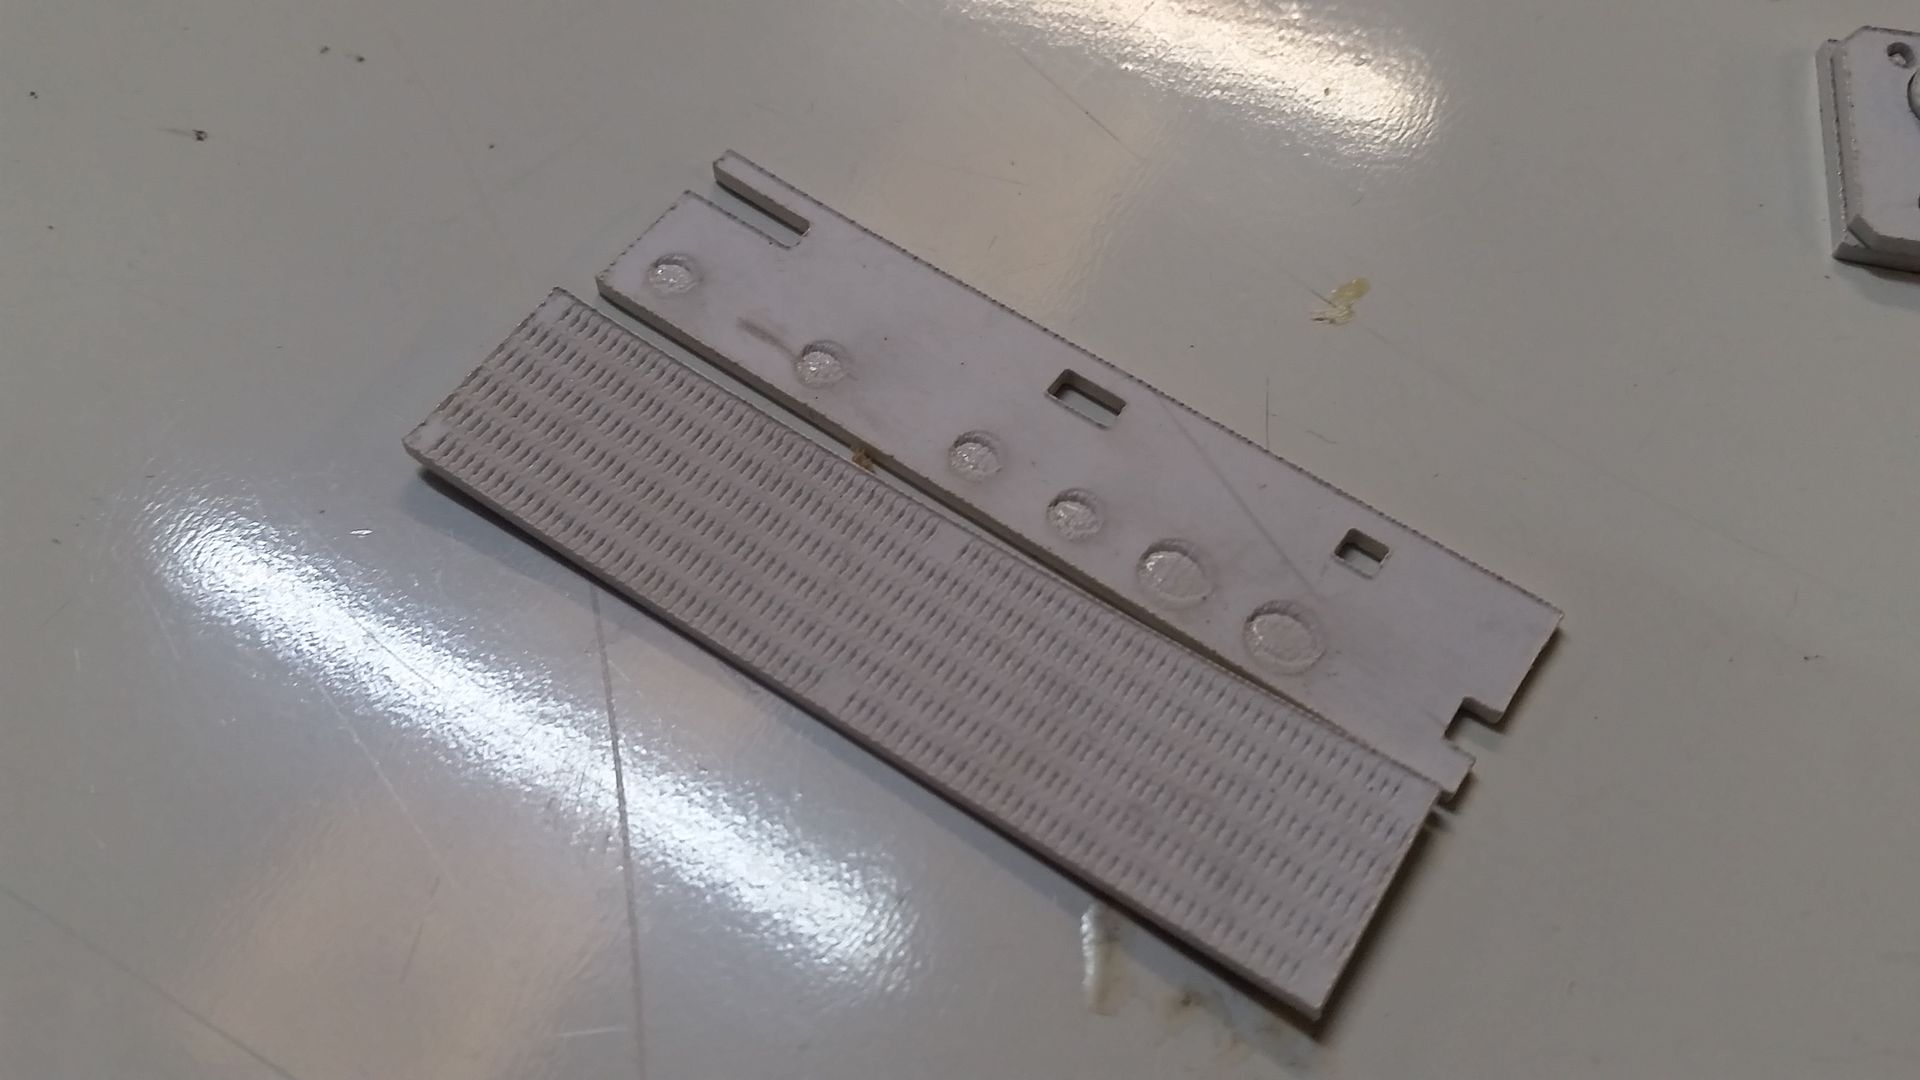
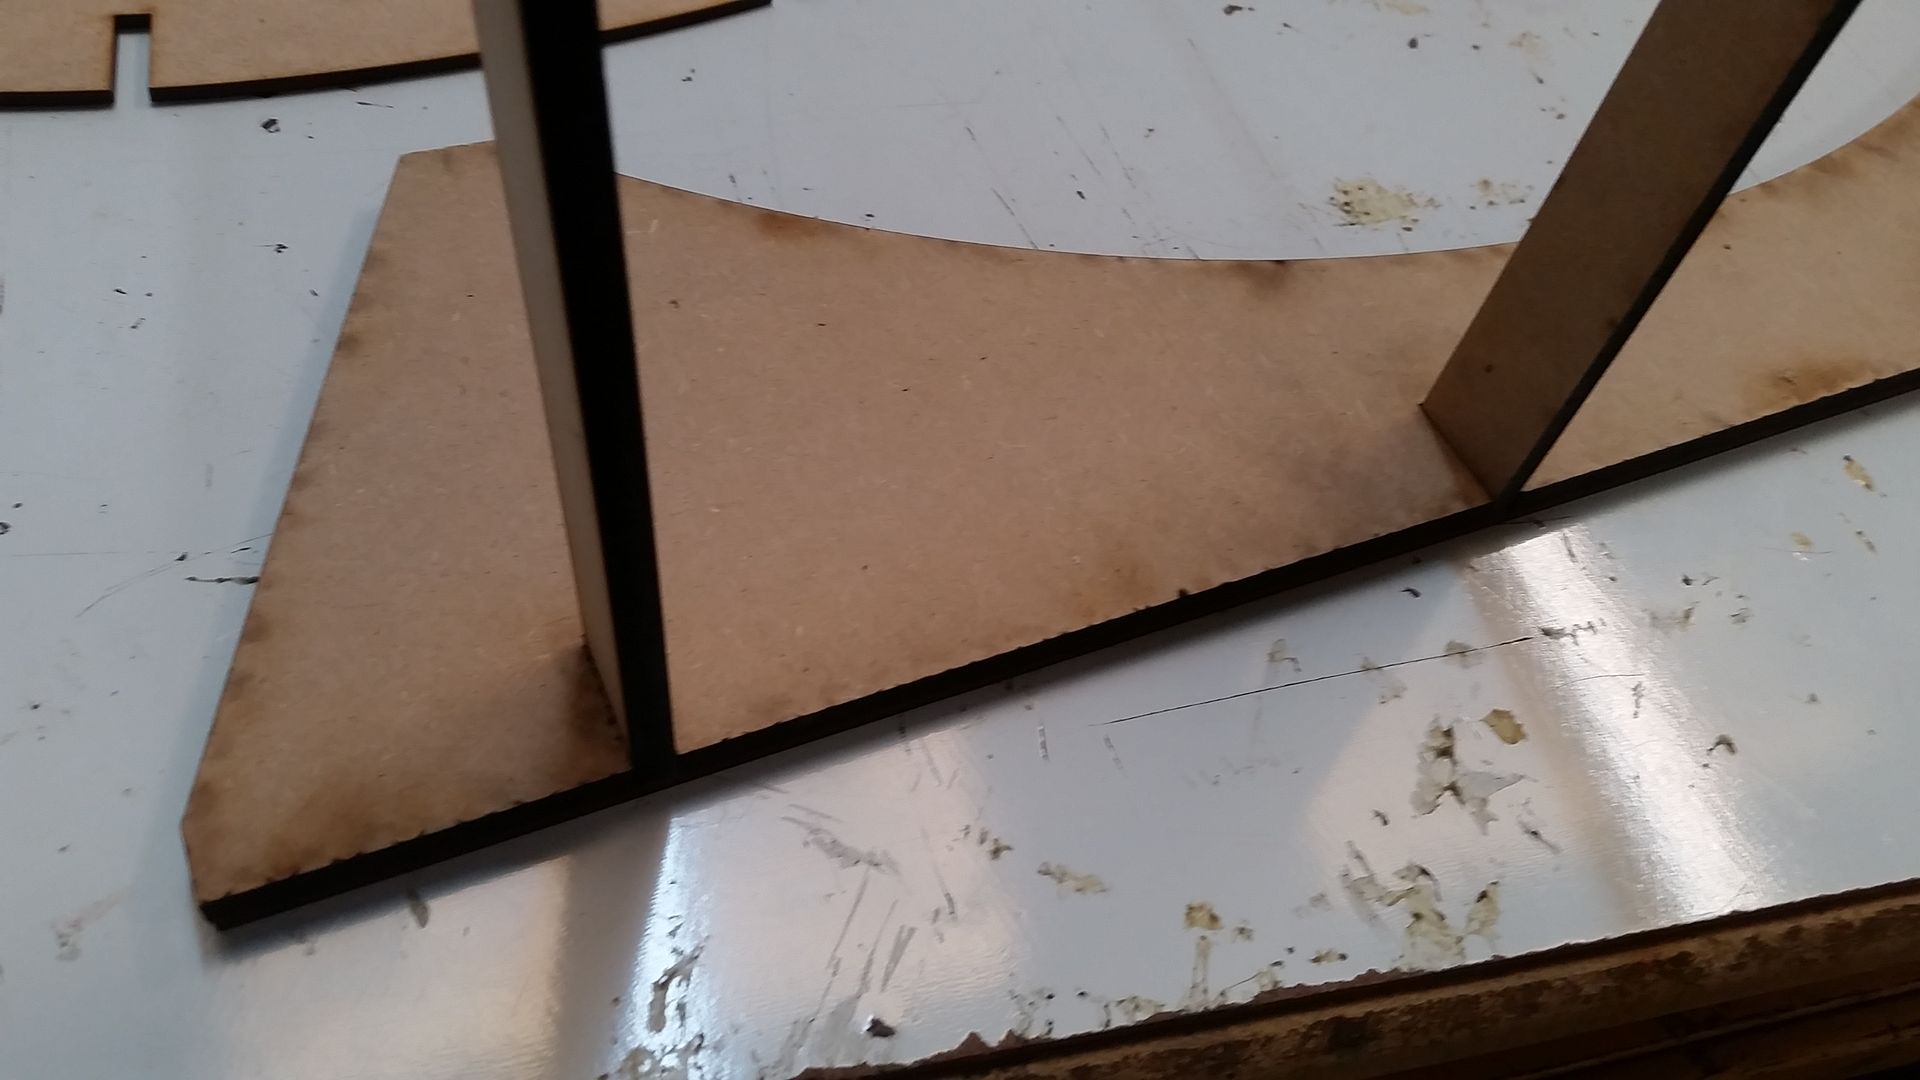
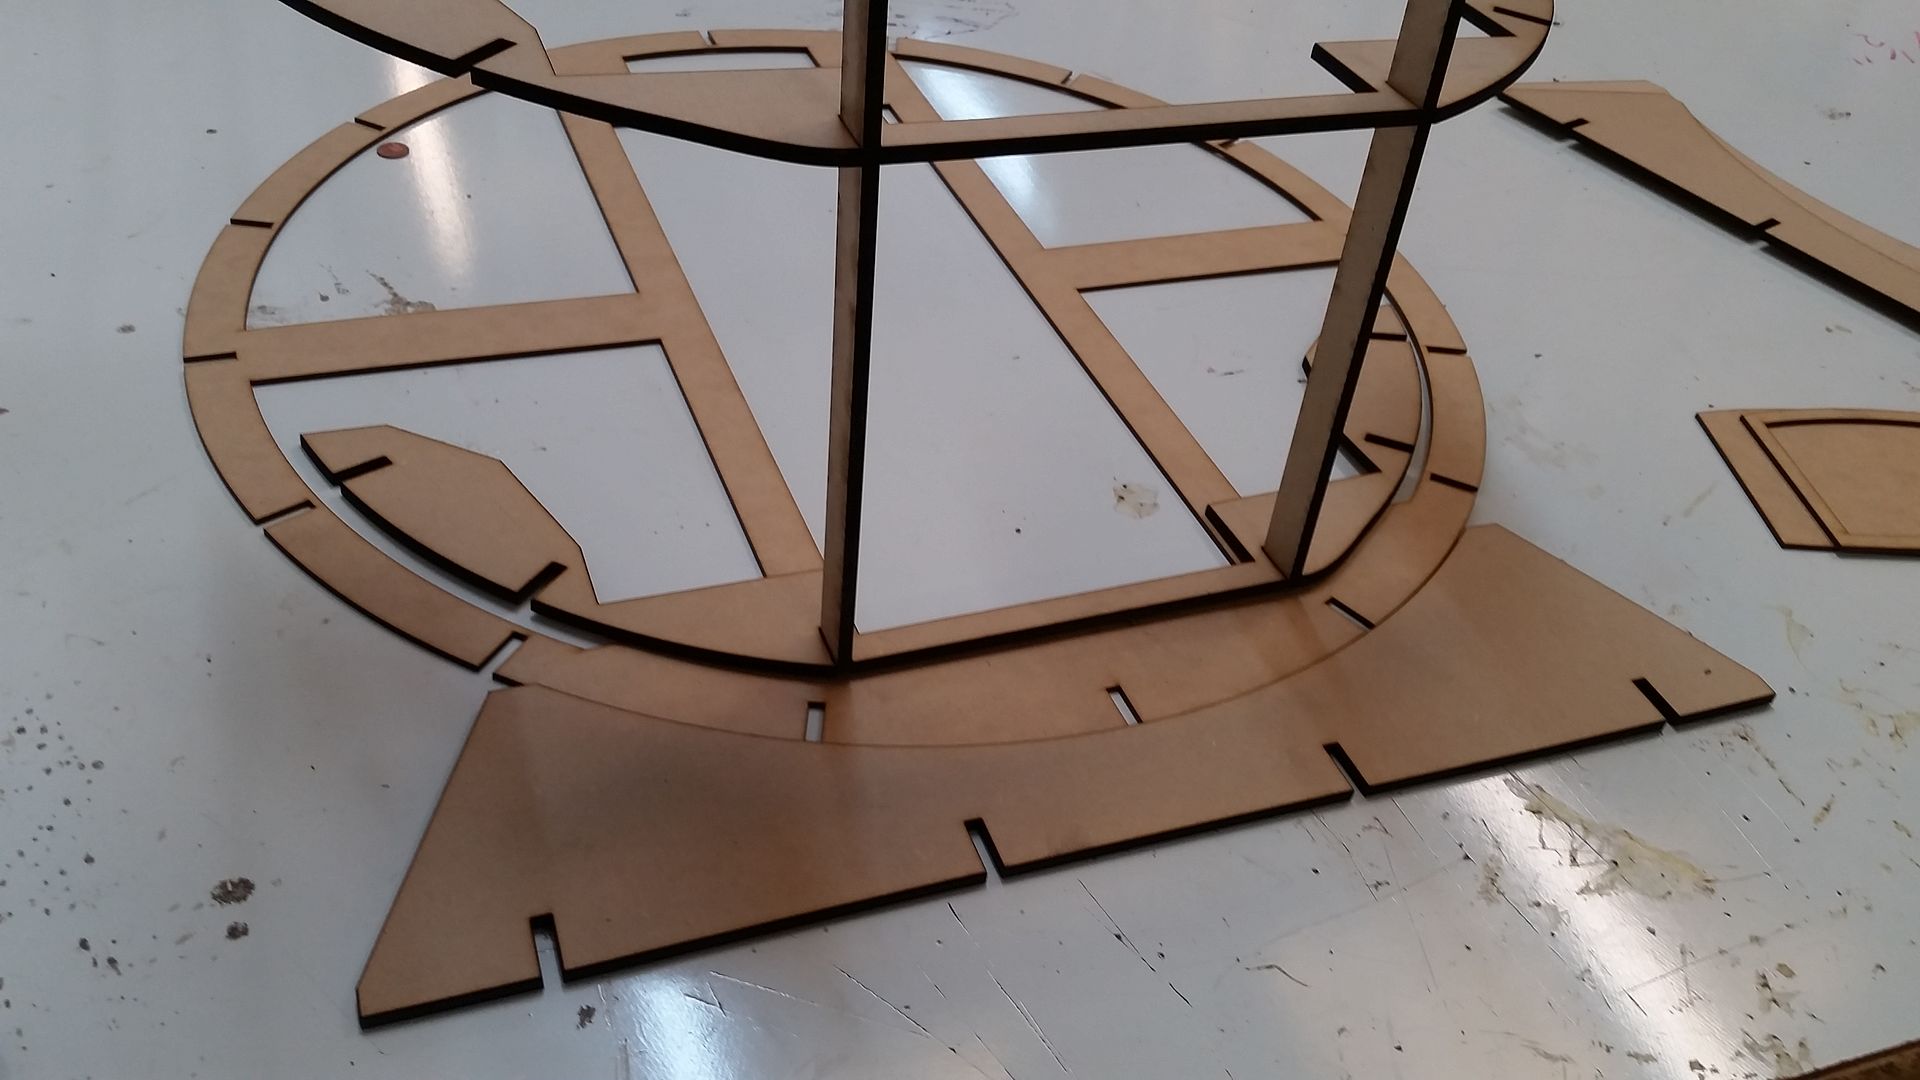
The two layers have tabs and inserts. They work with each other to support the frame and keep each panel in place - note the extension panel holes!
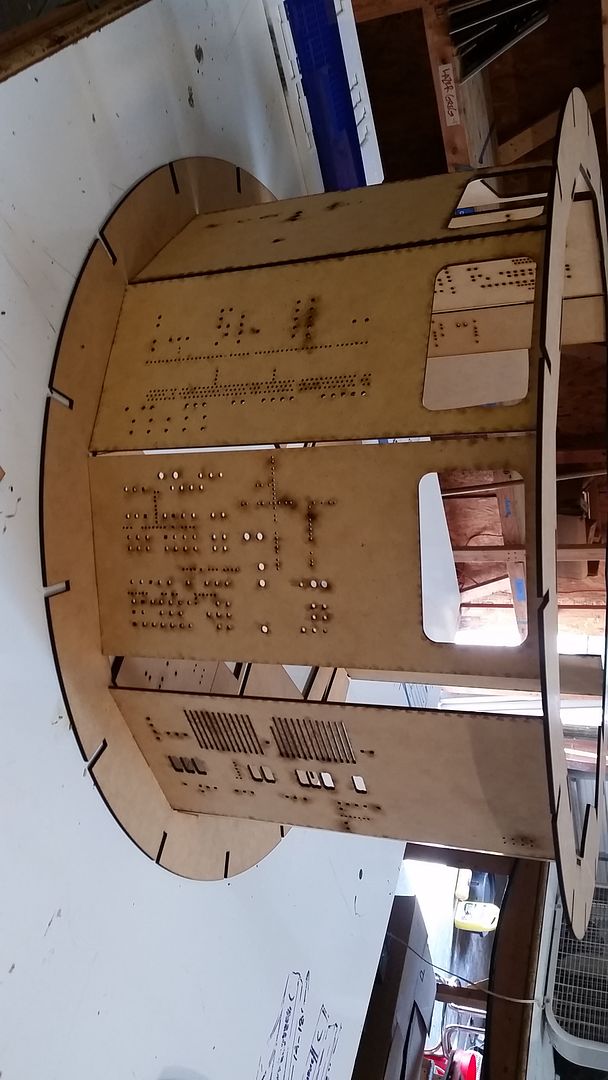
Back / Side View
Another
Yup... I've going to try to make the sliders... slide!
More door frames and door panel parts
The interior beauty shot! These are only the back panels.
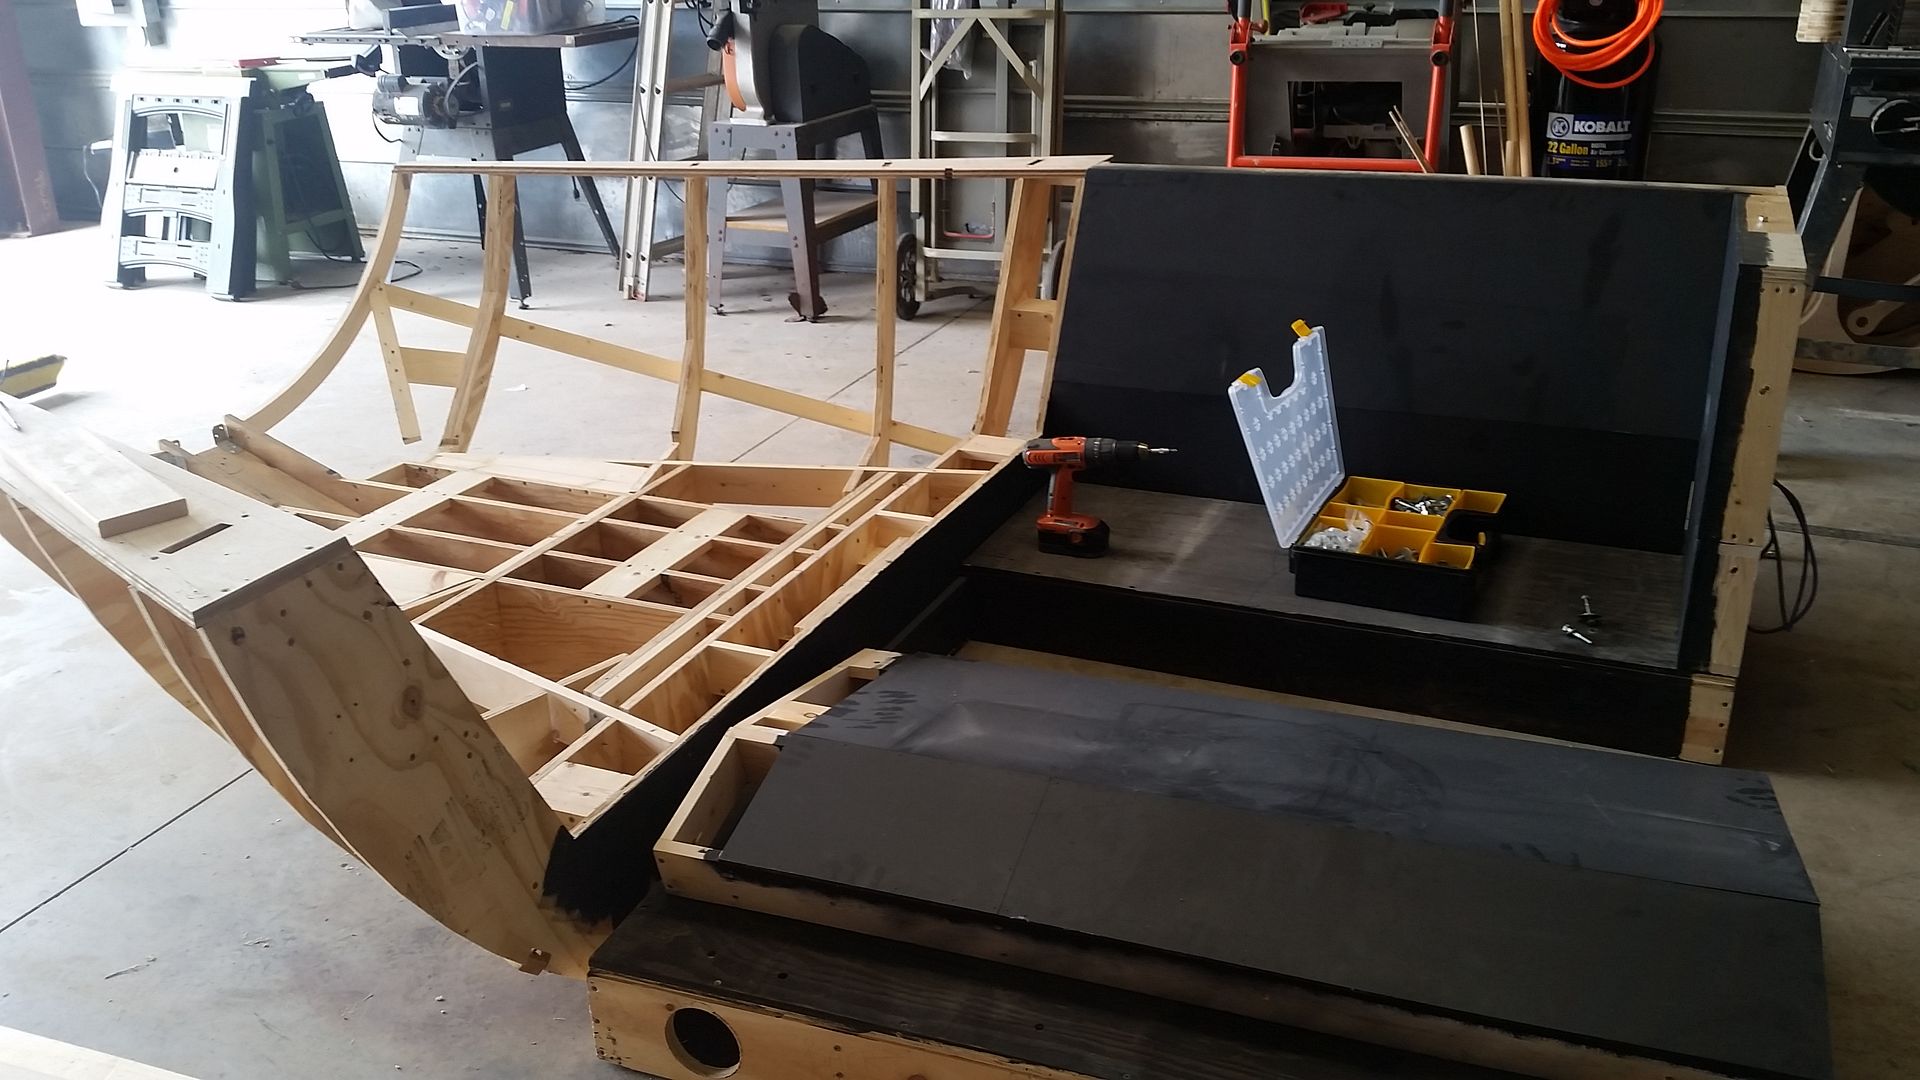
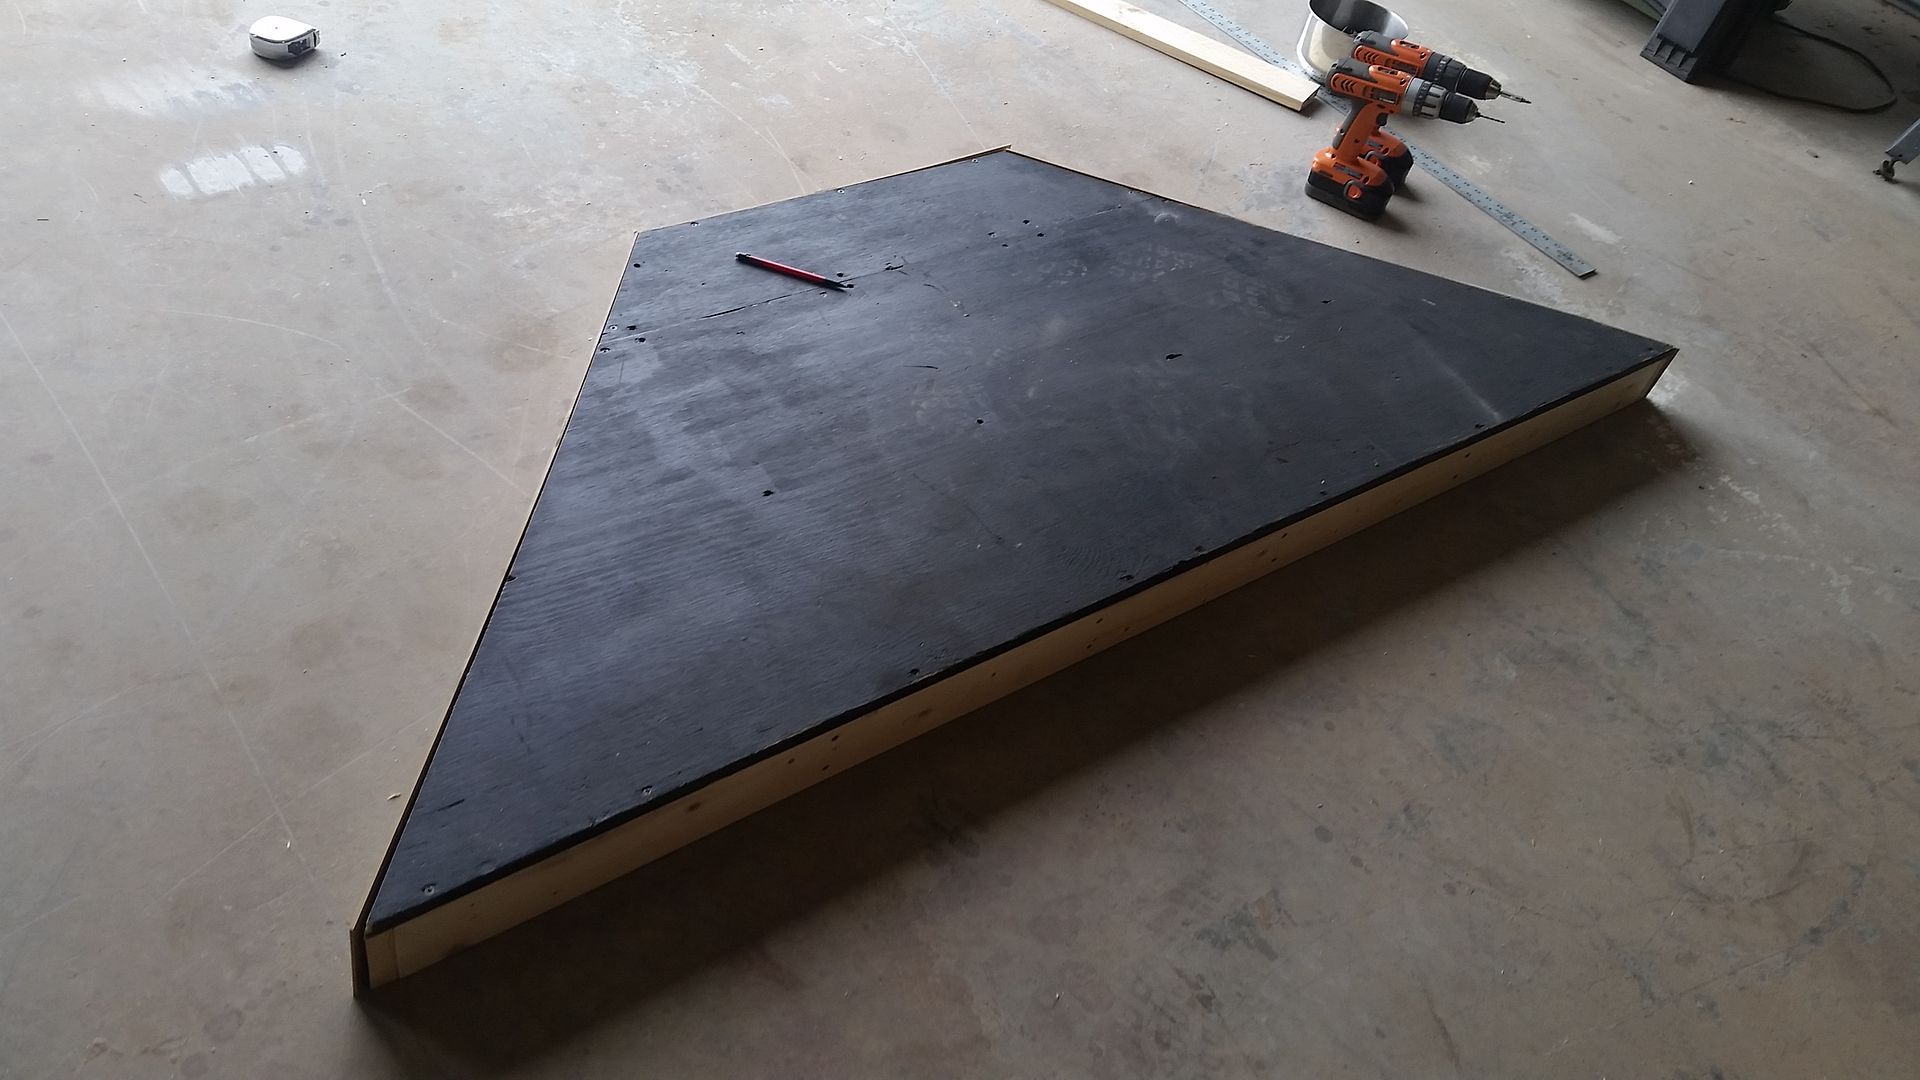
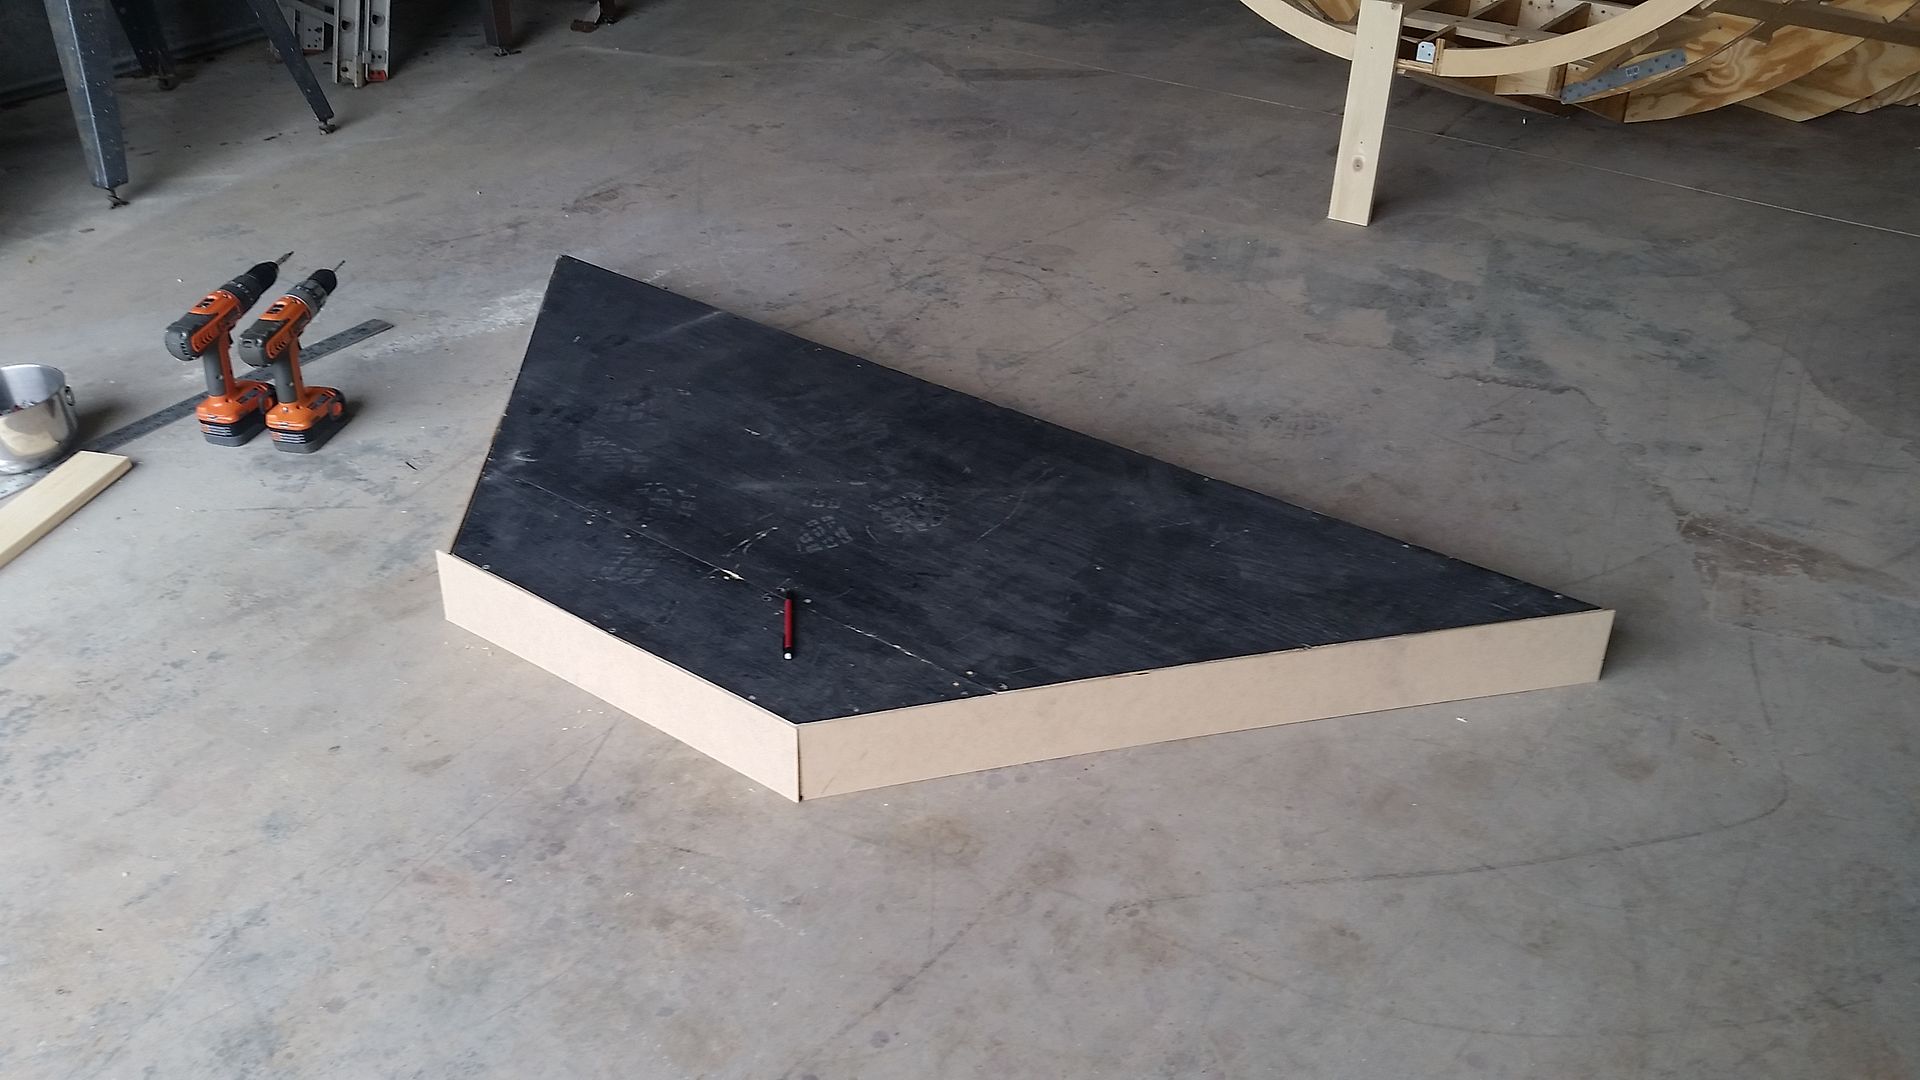
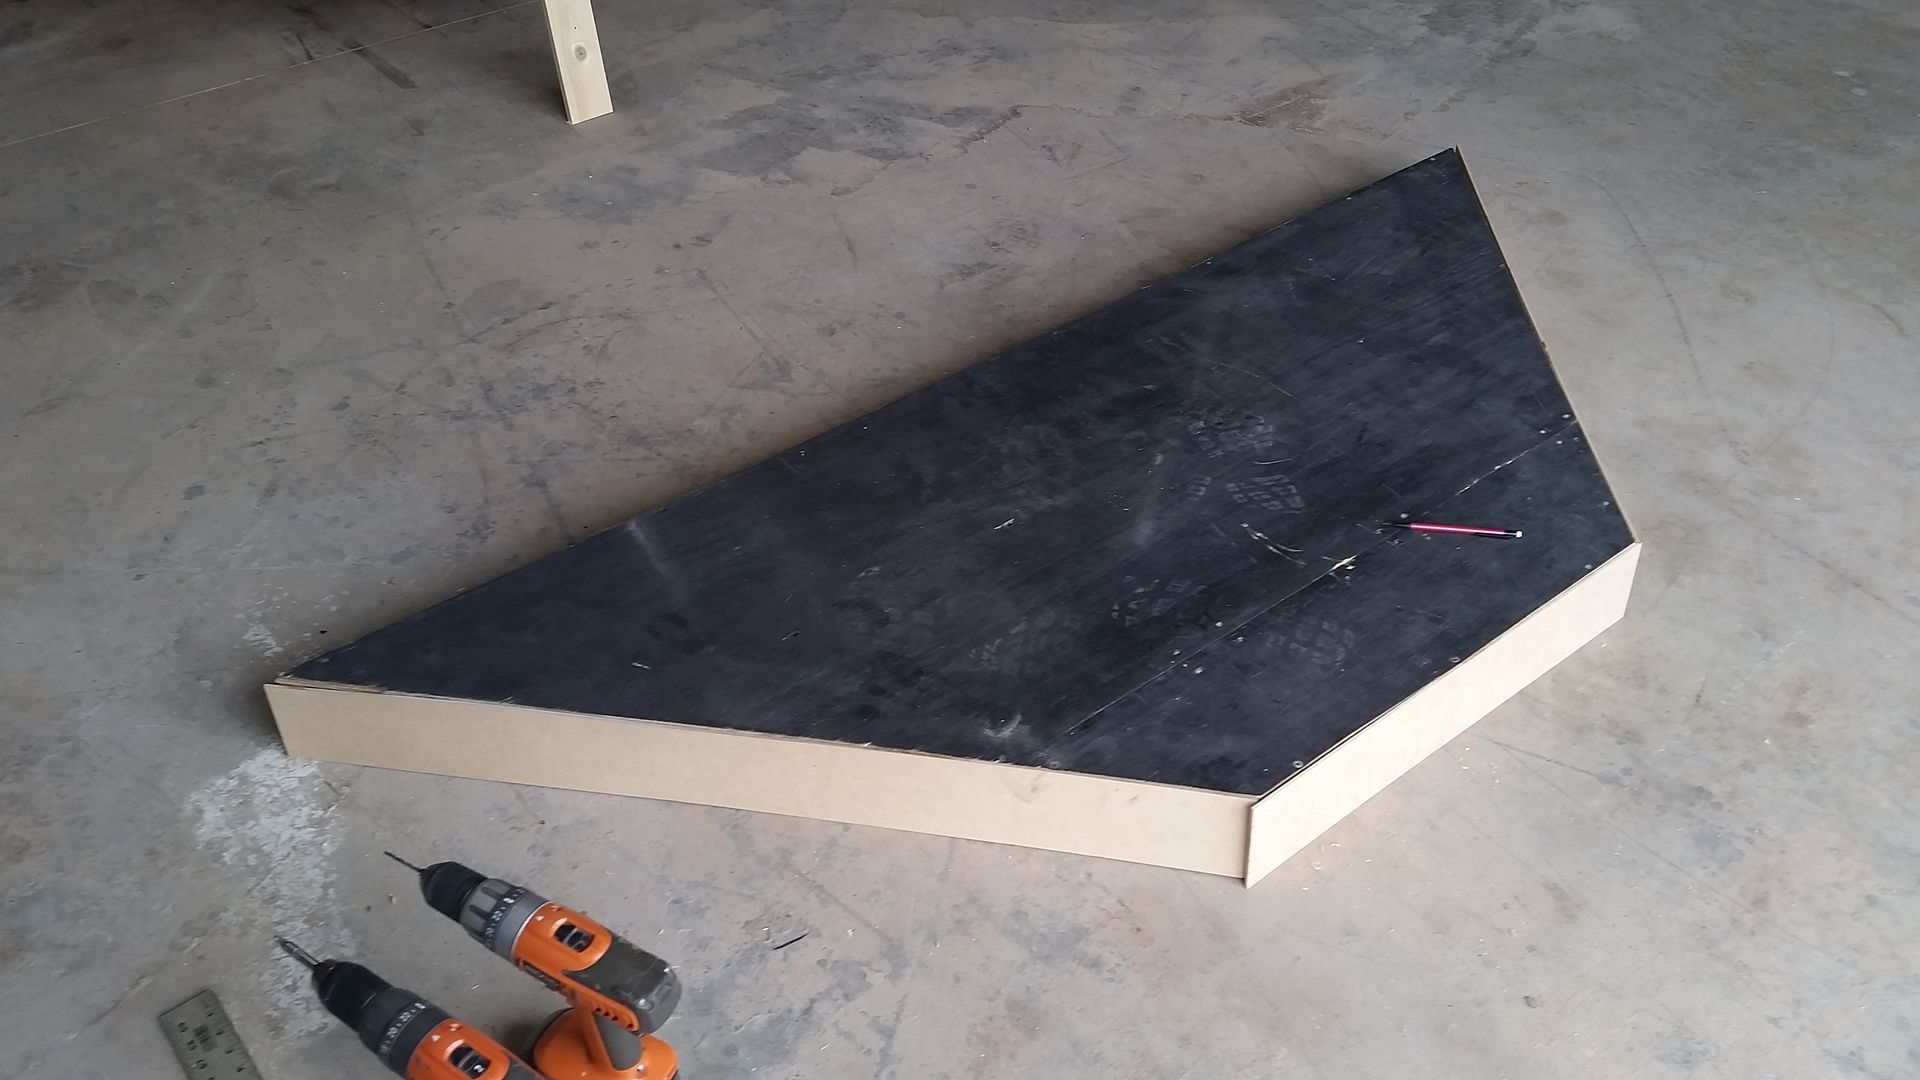
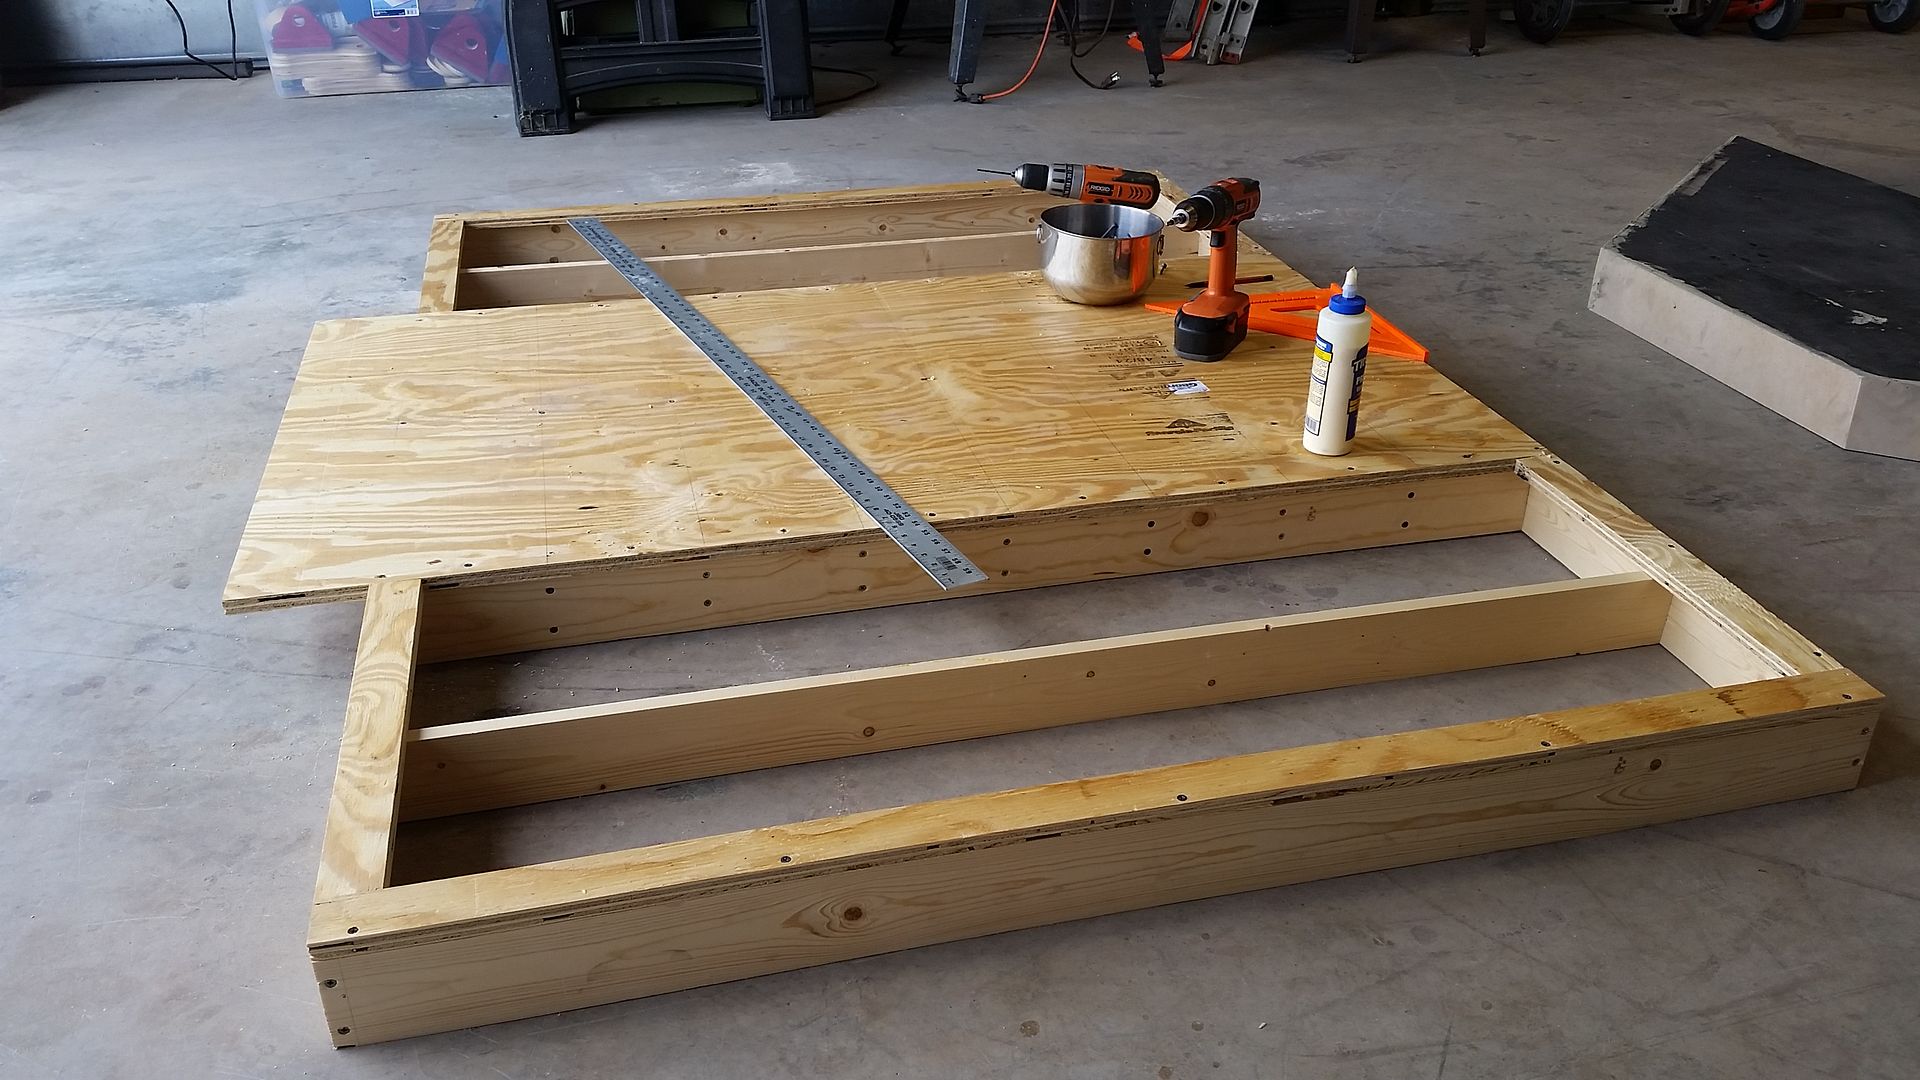
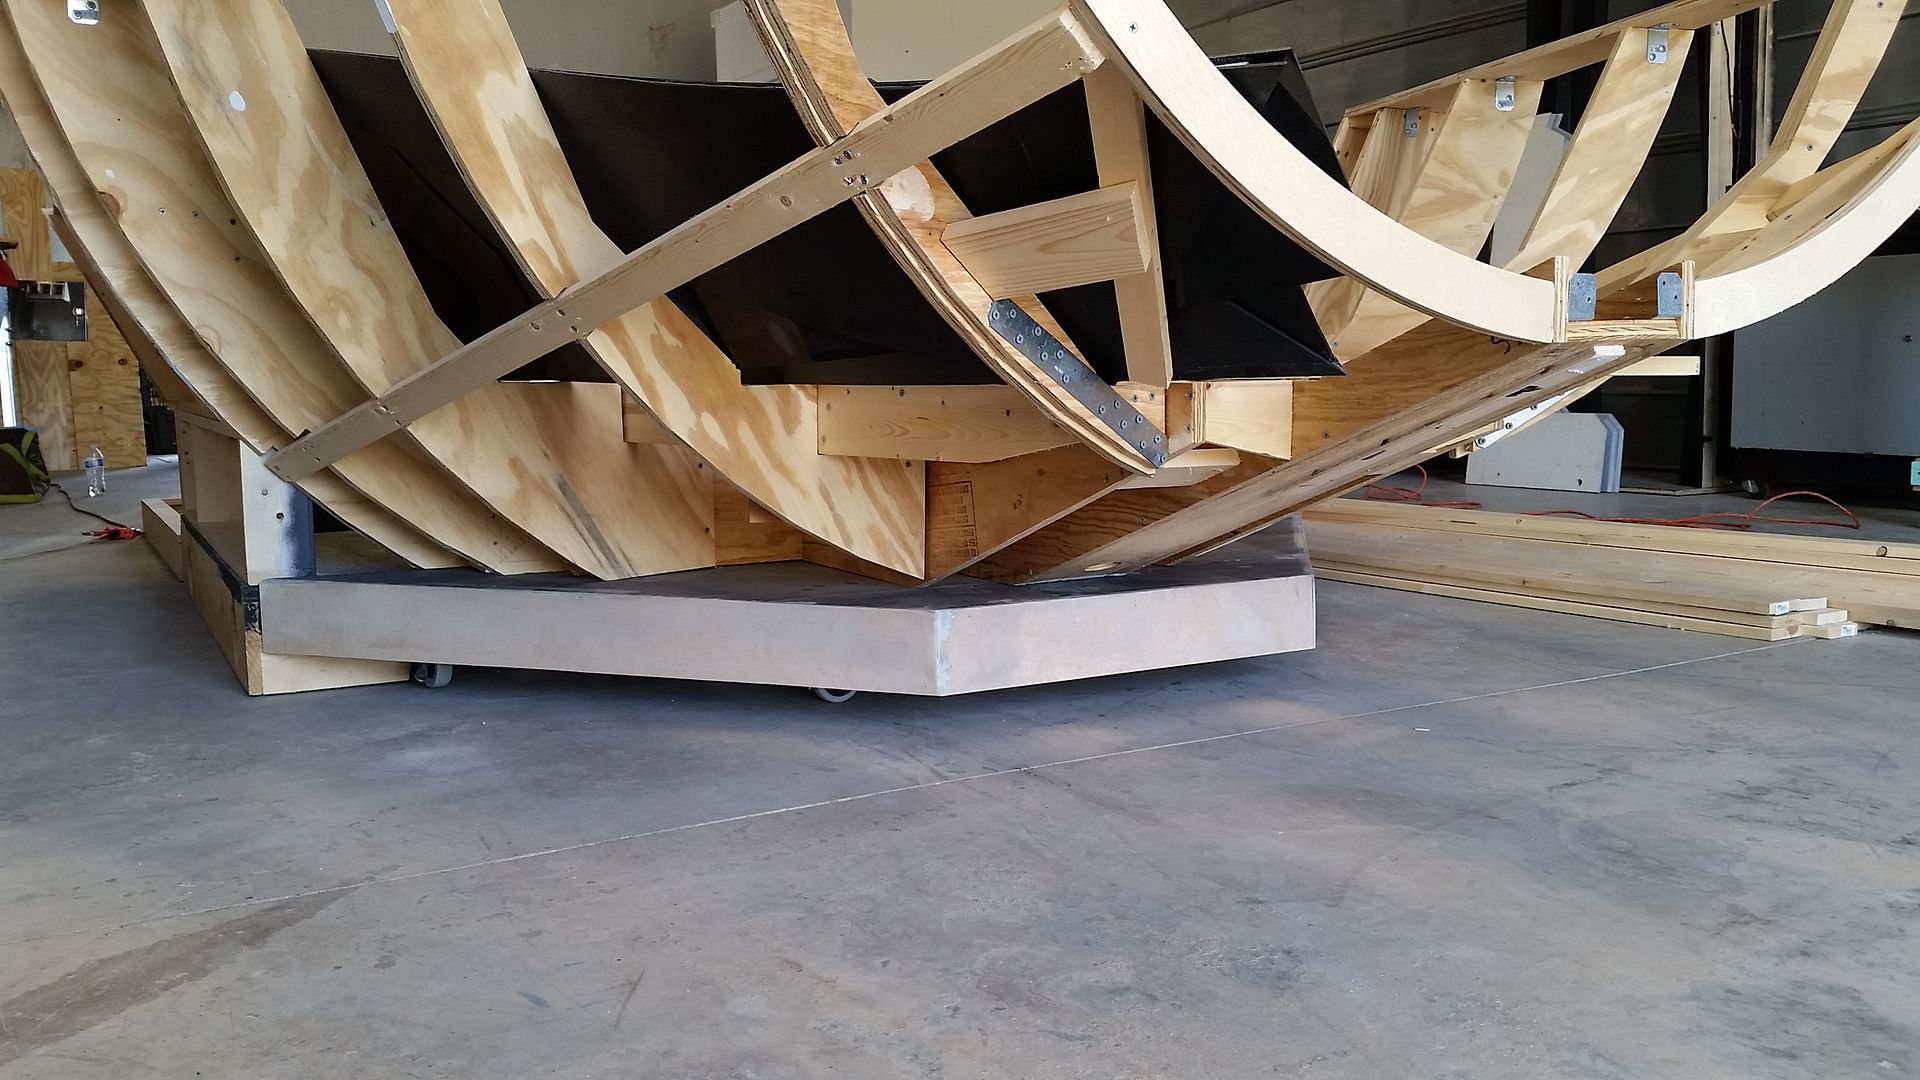
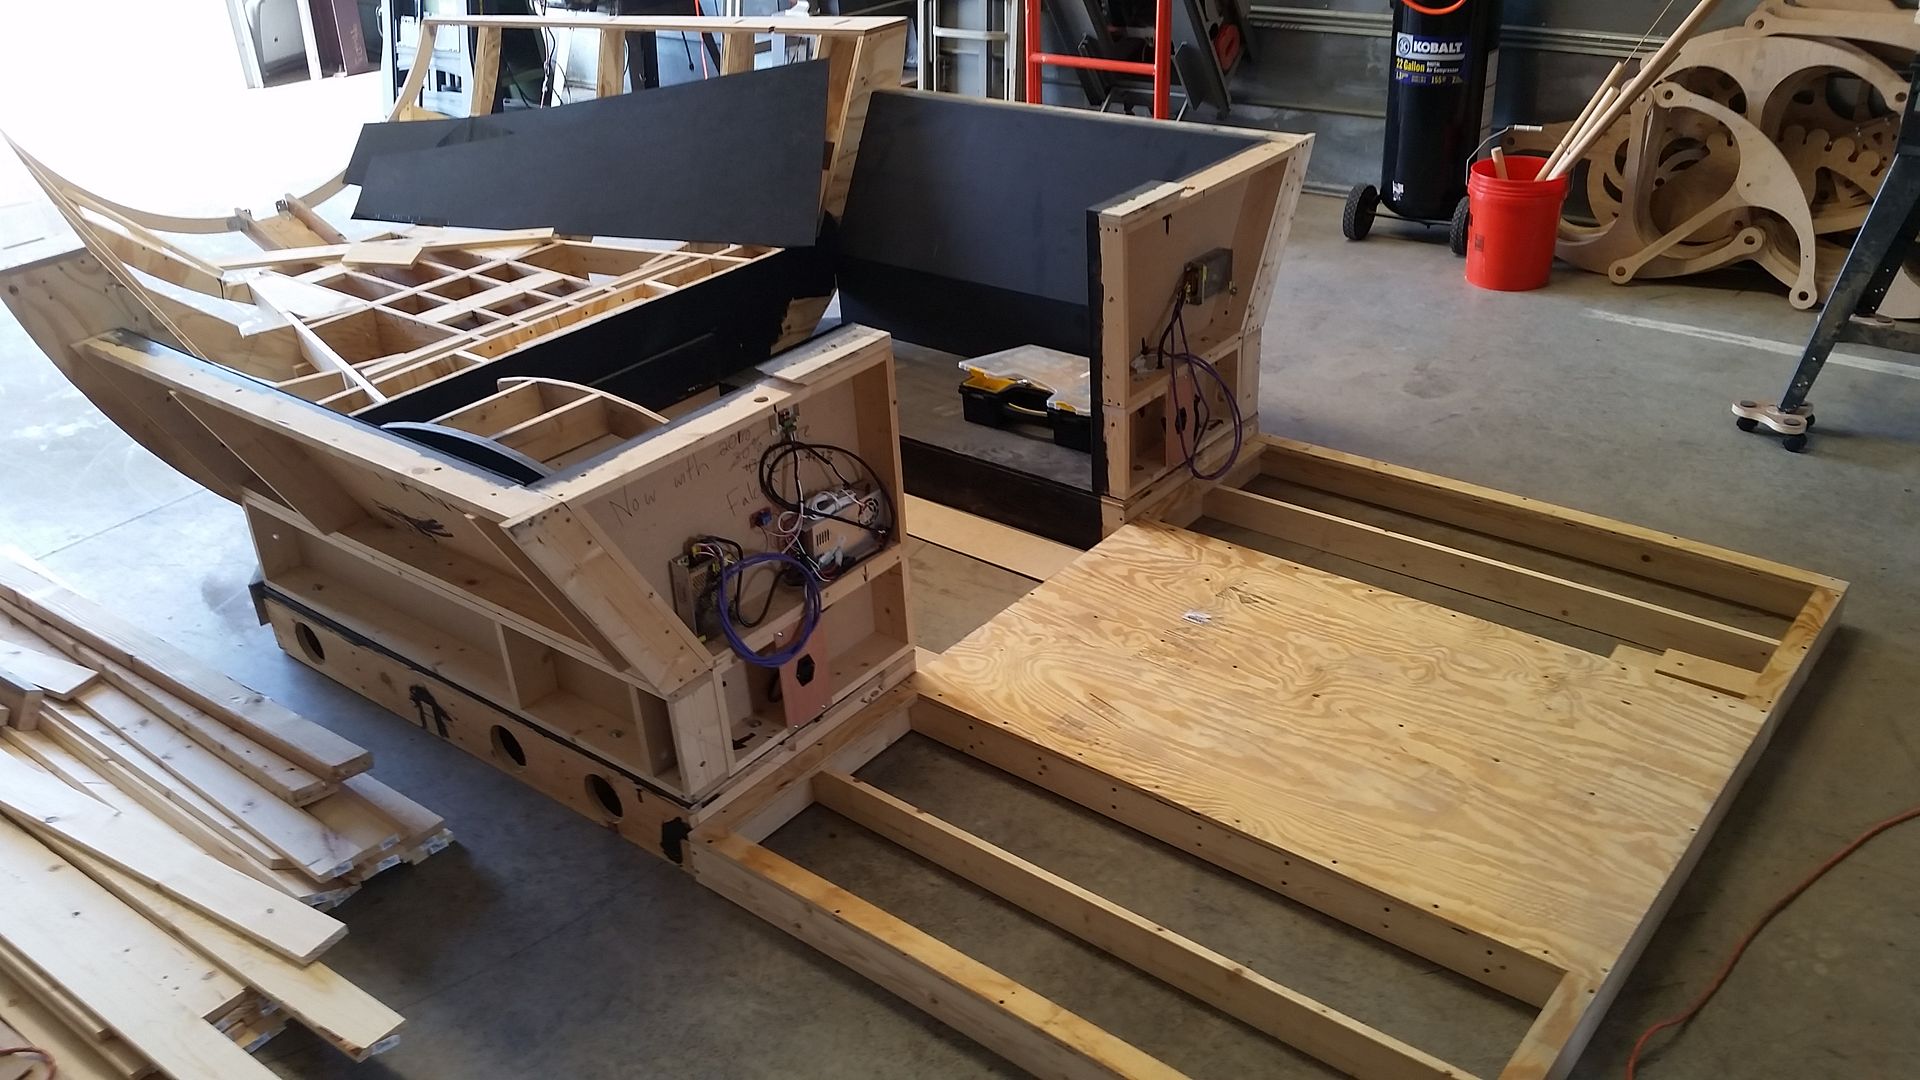
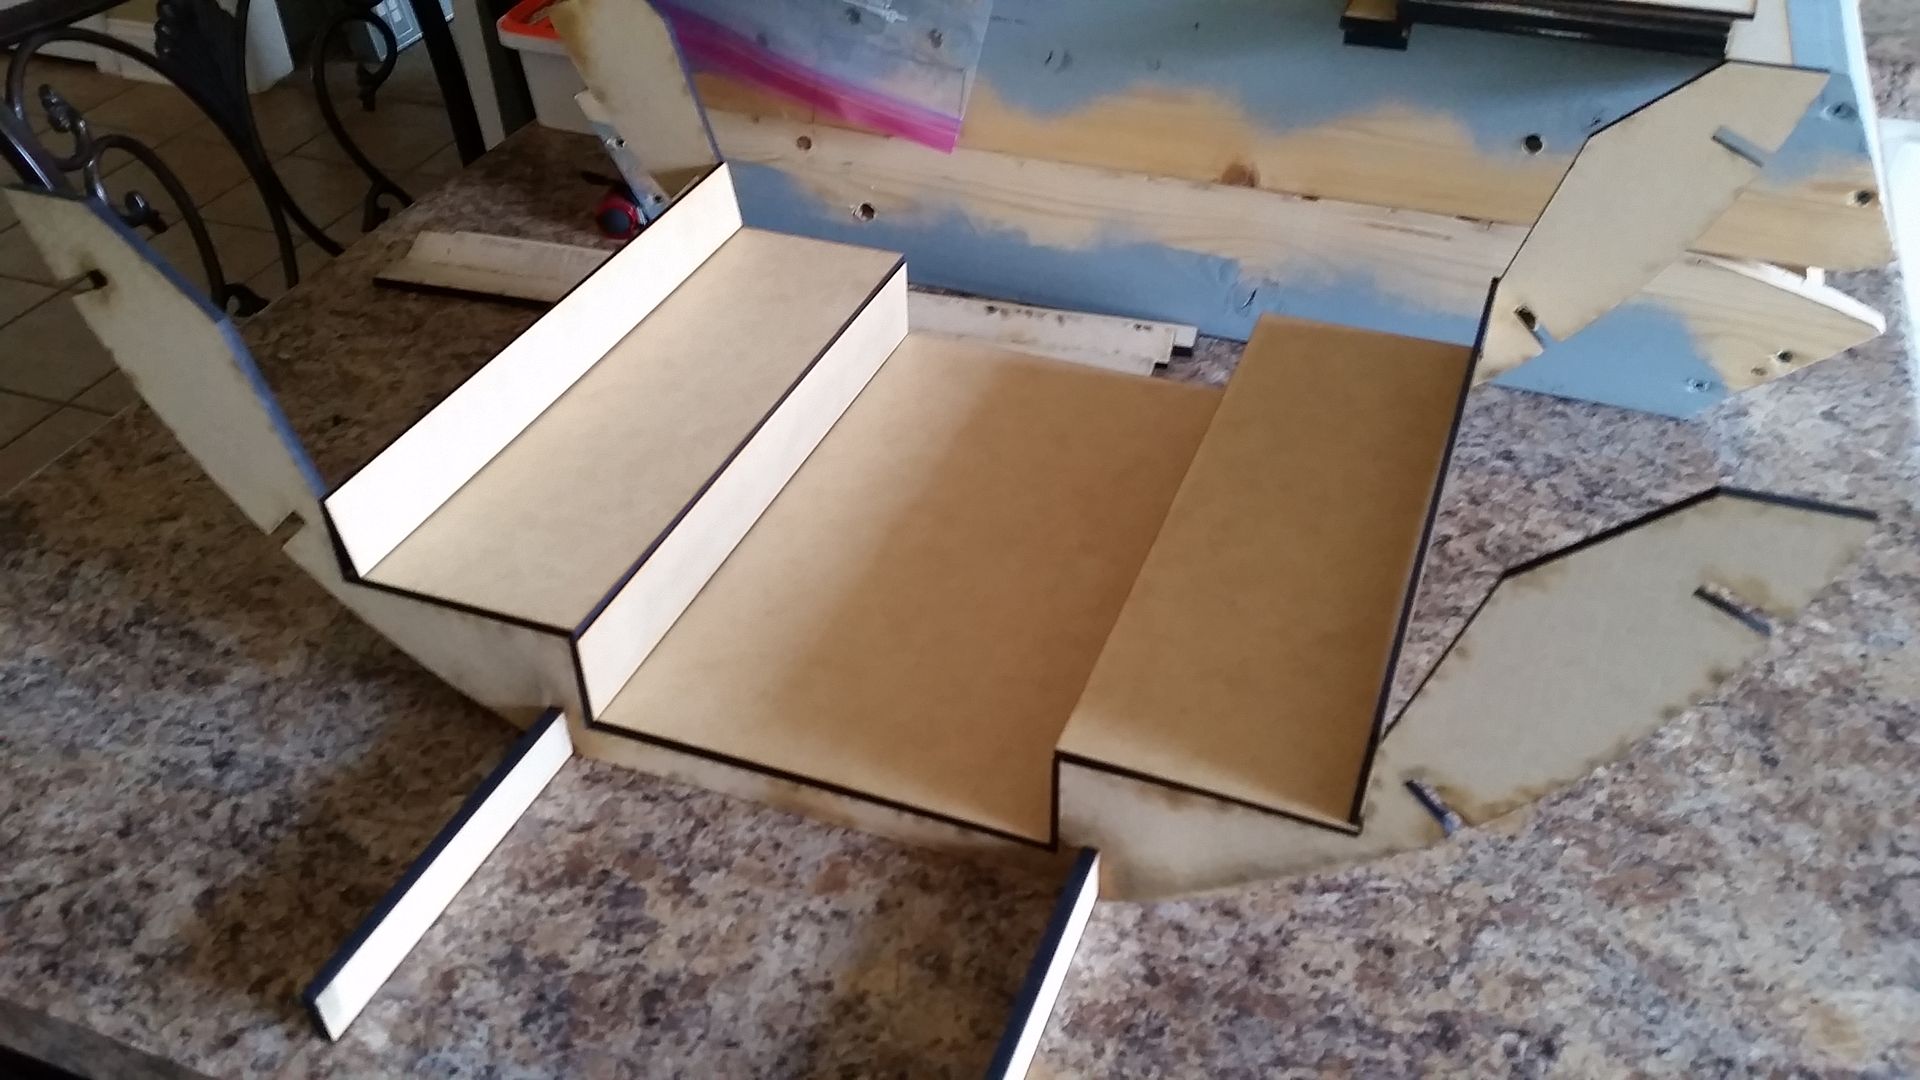
After all that, I jumped over to the warehouse / shop and got back to work on the new platforms! Time to get these panels and platforms working with each other!
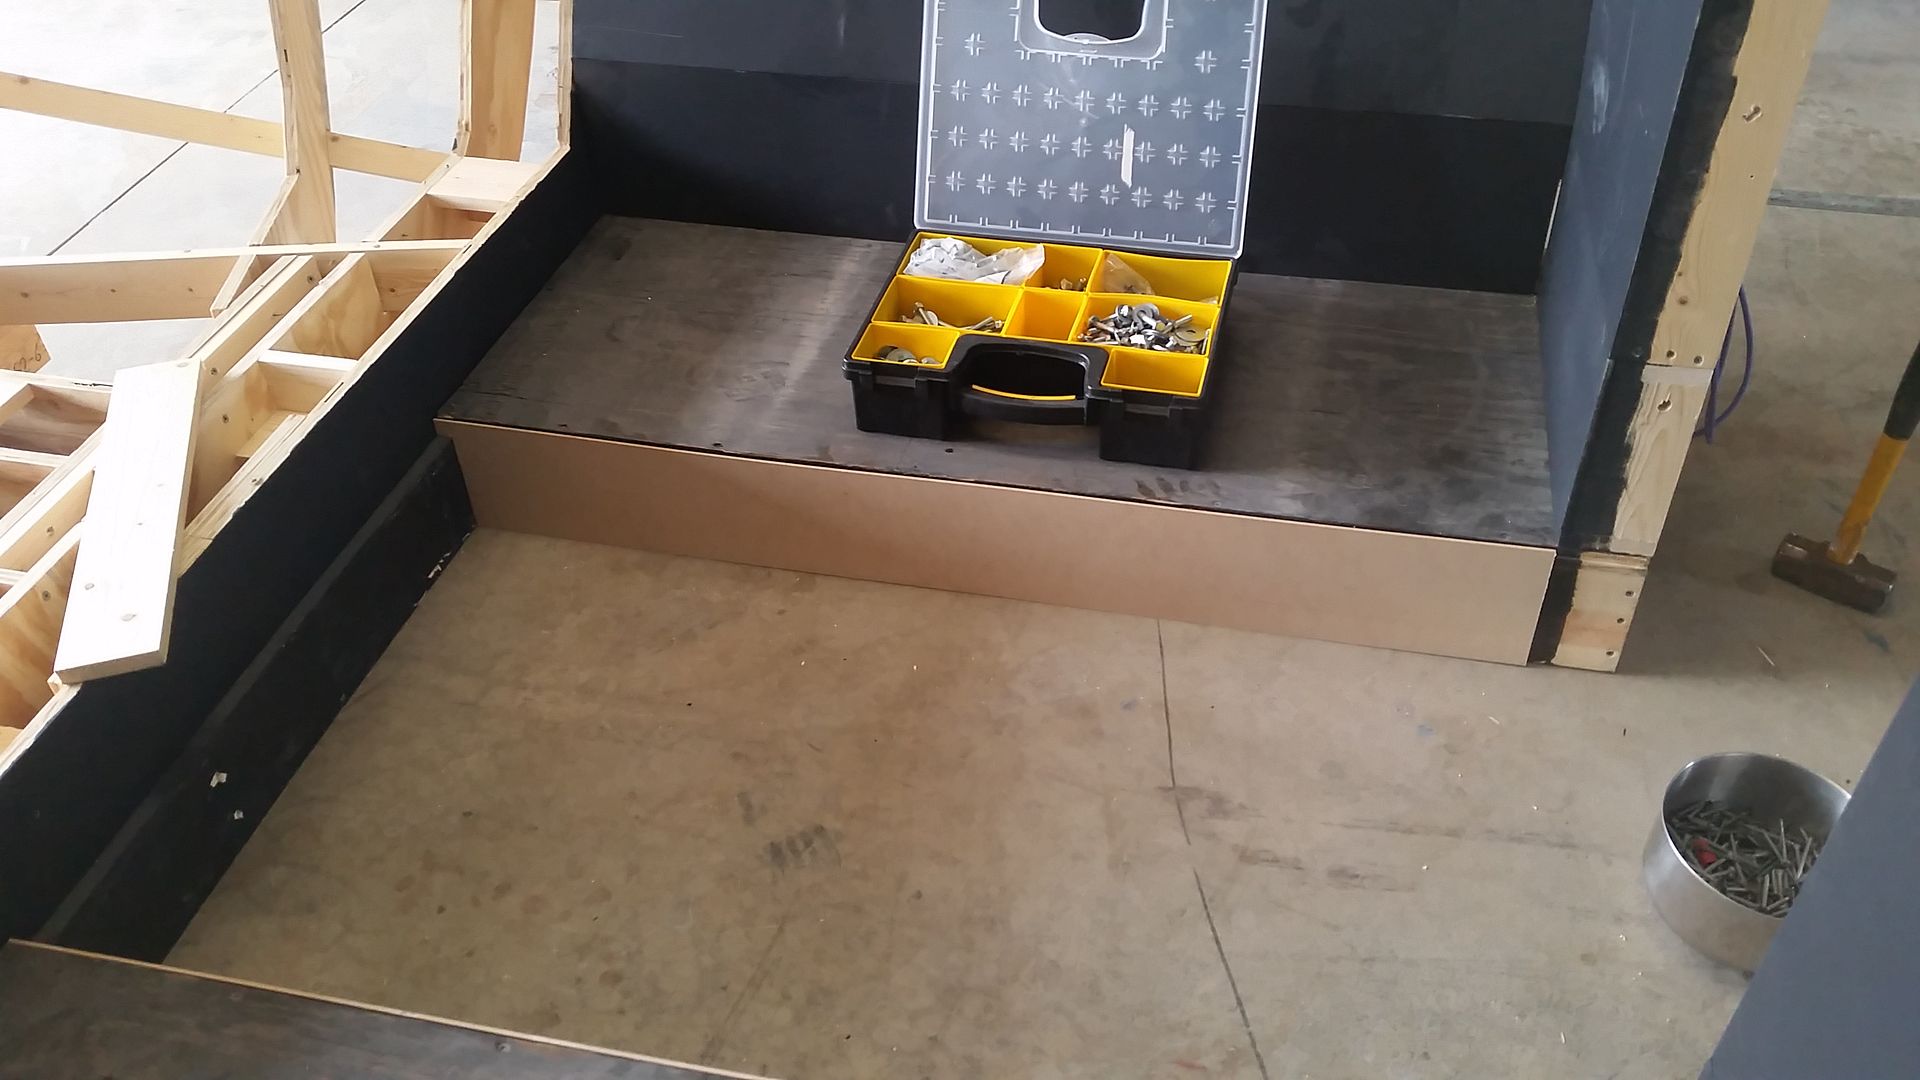
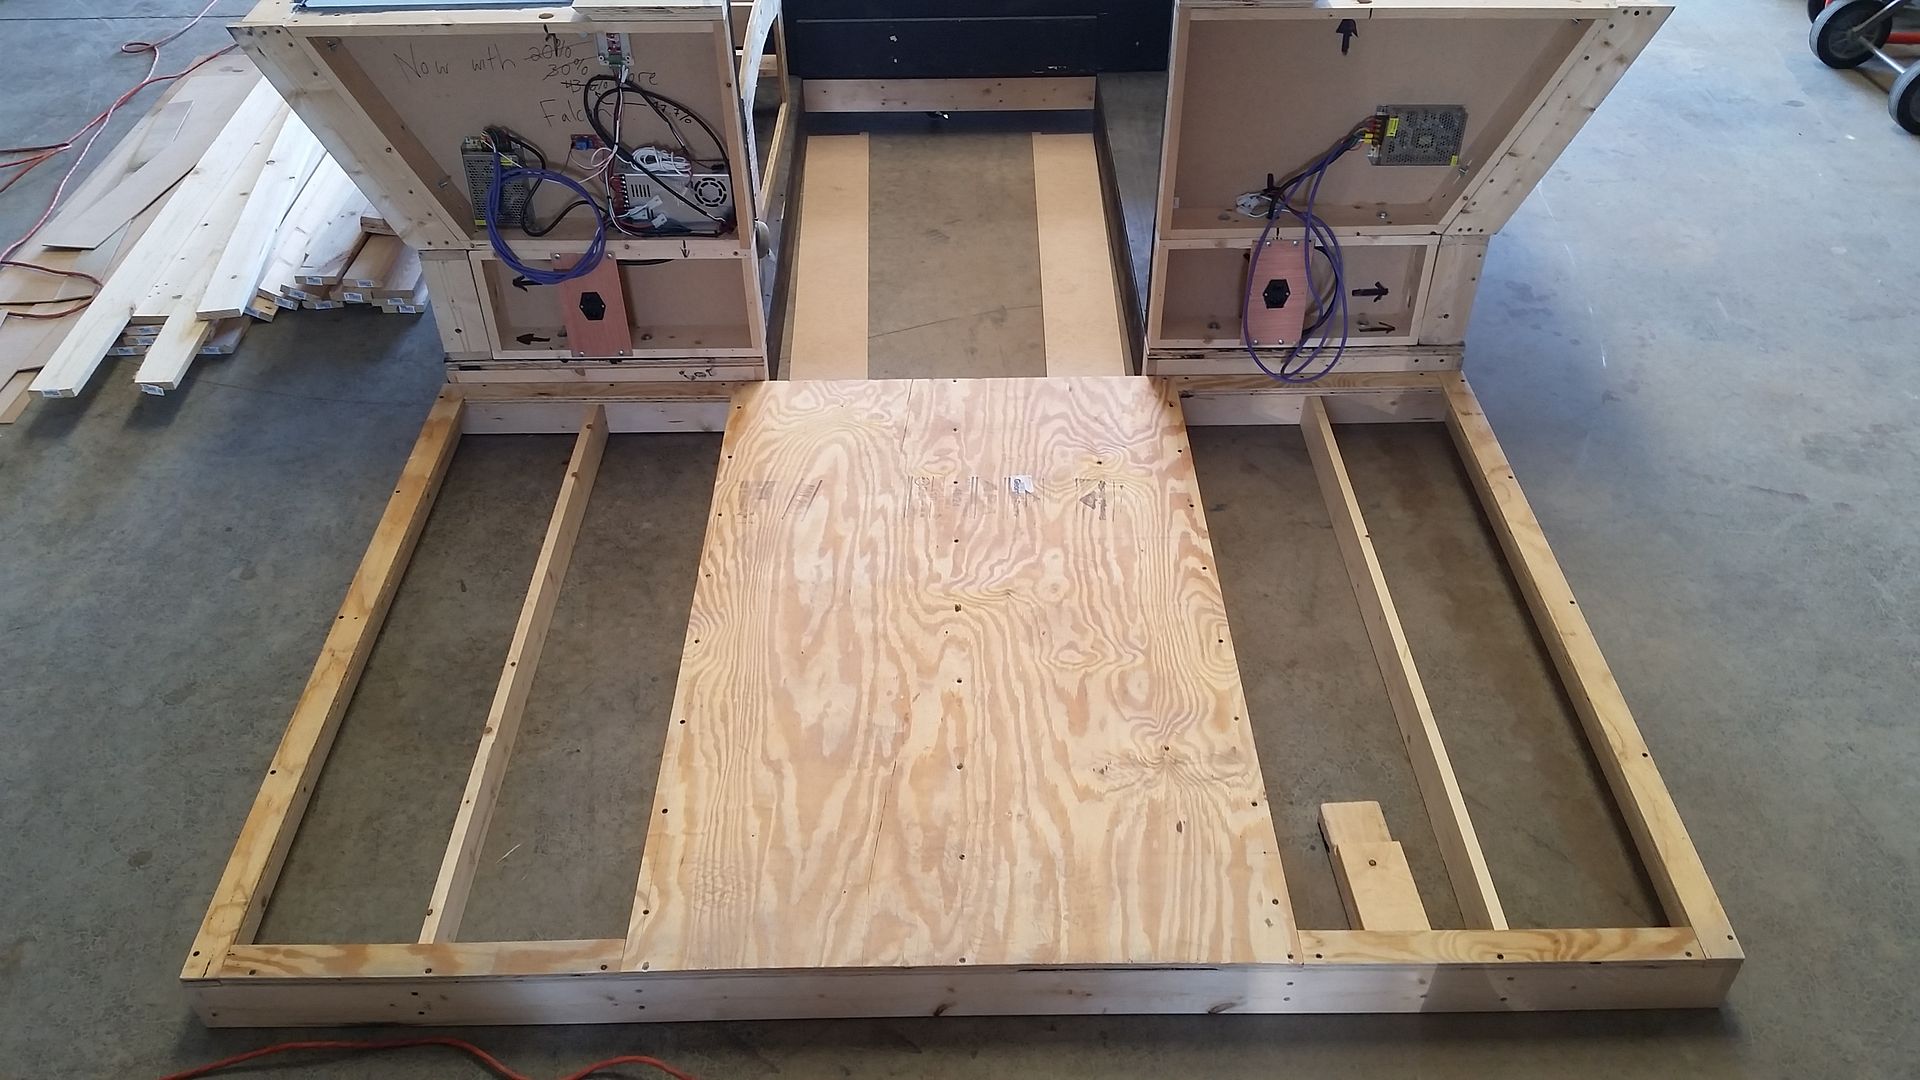
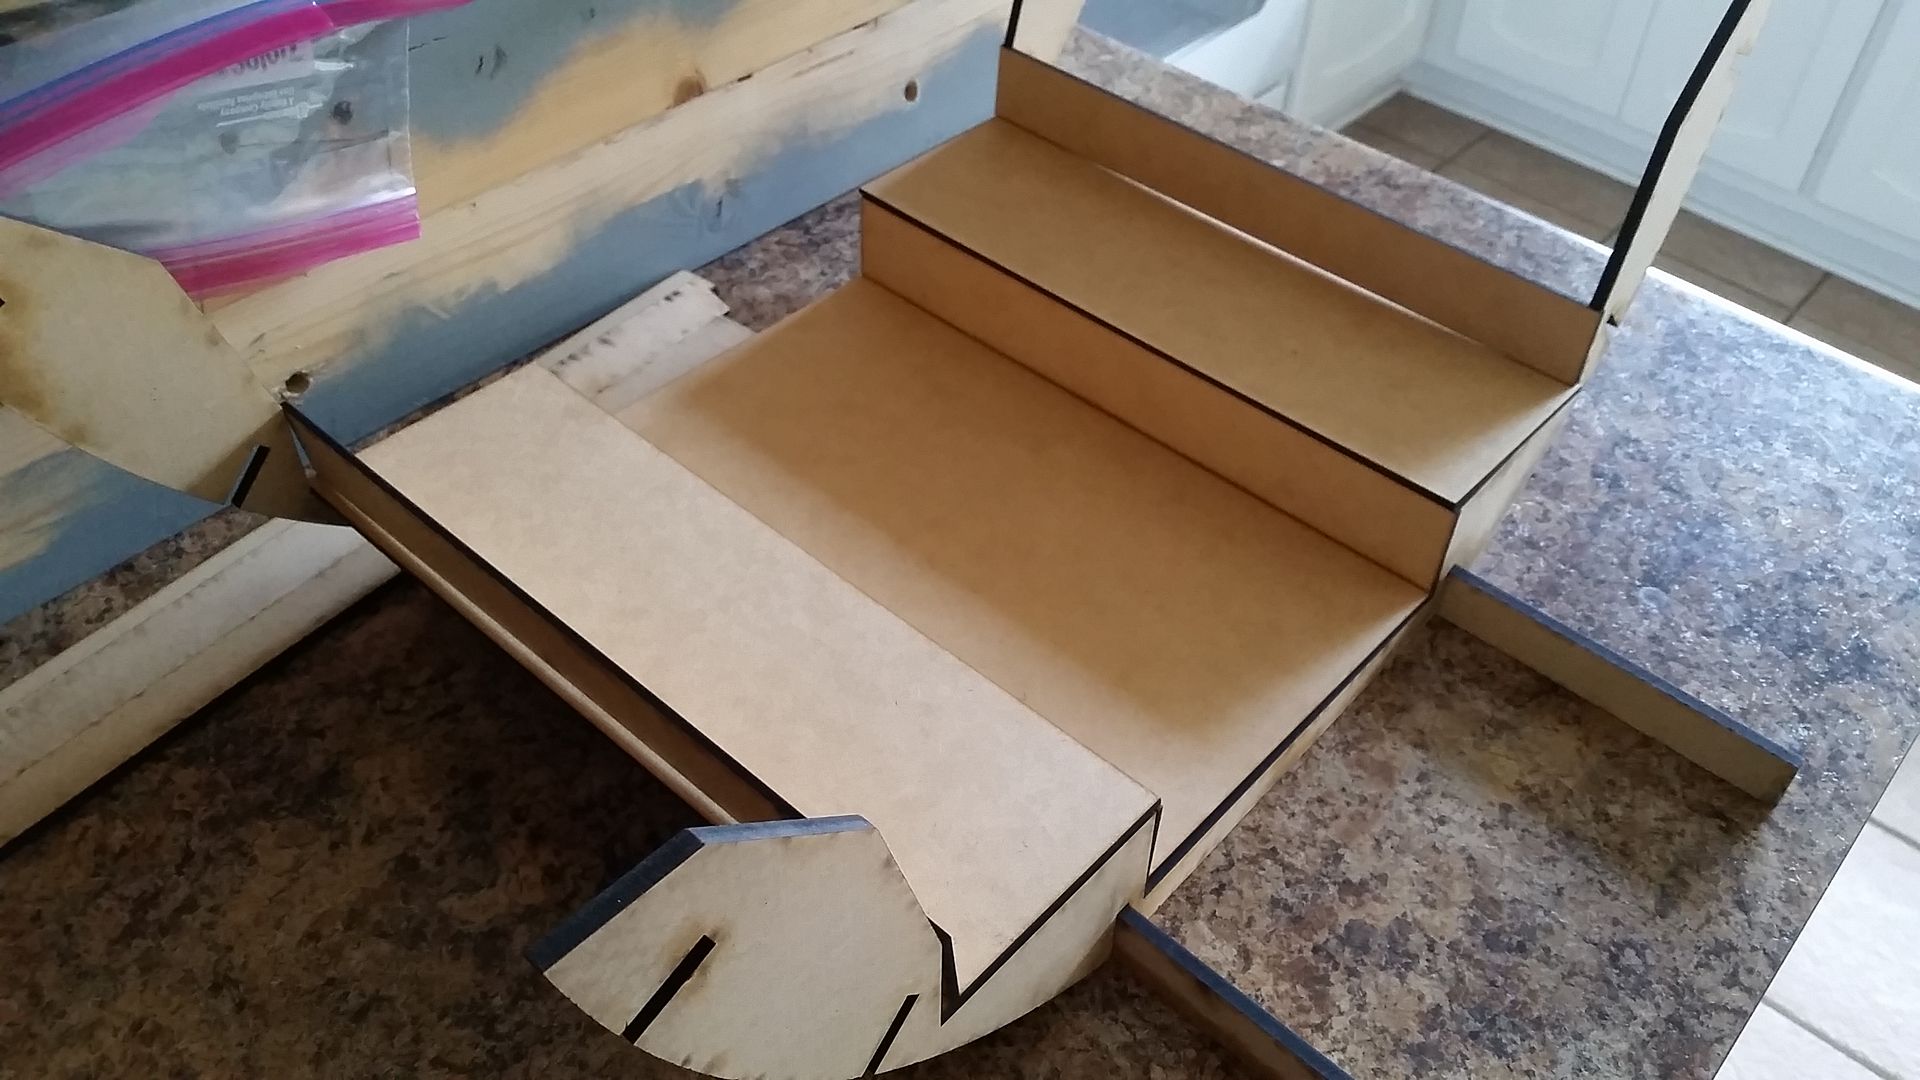
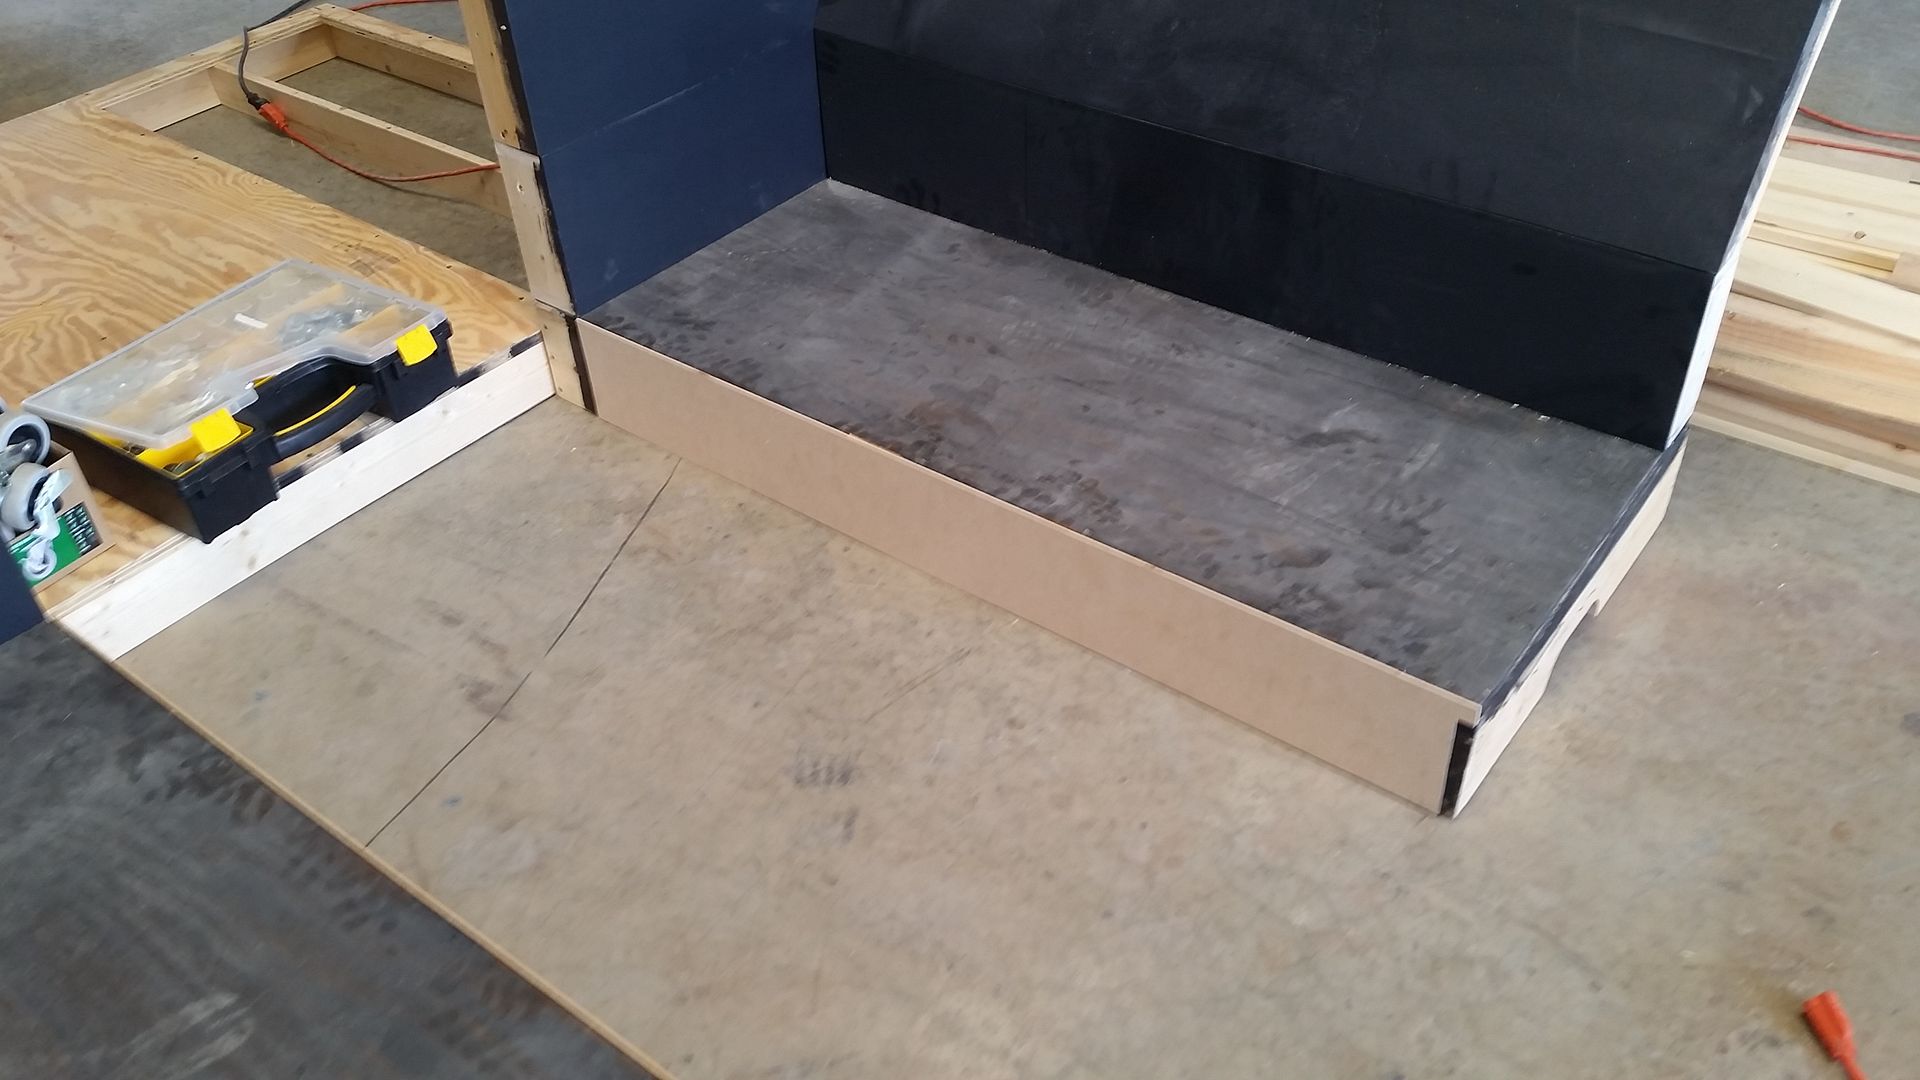
The exposed ply wood has been really bothering me! So everything is getting covered with either 1/8th inch MDF or the actual flooring material - coming soon!
Interior piece for the nav chair platform(s)
The walking surface will have a rubber mat similar to the EP VII version and the edges will have aluminum "L" molding to protect the edges
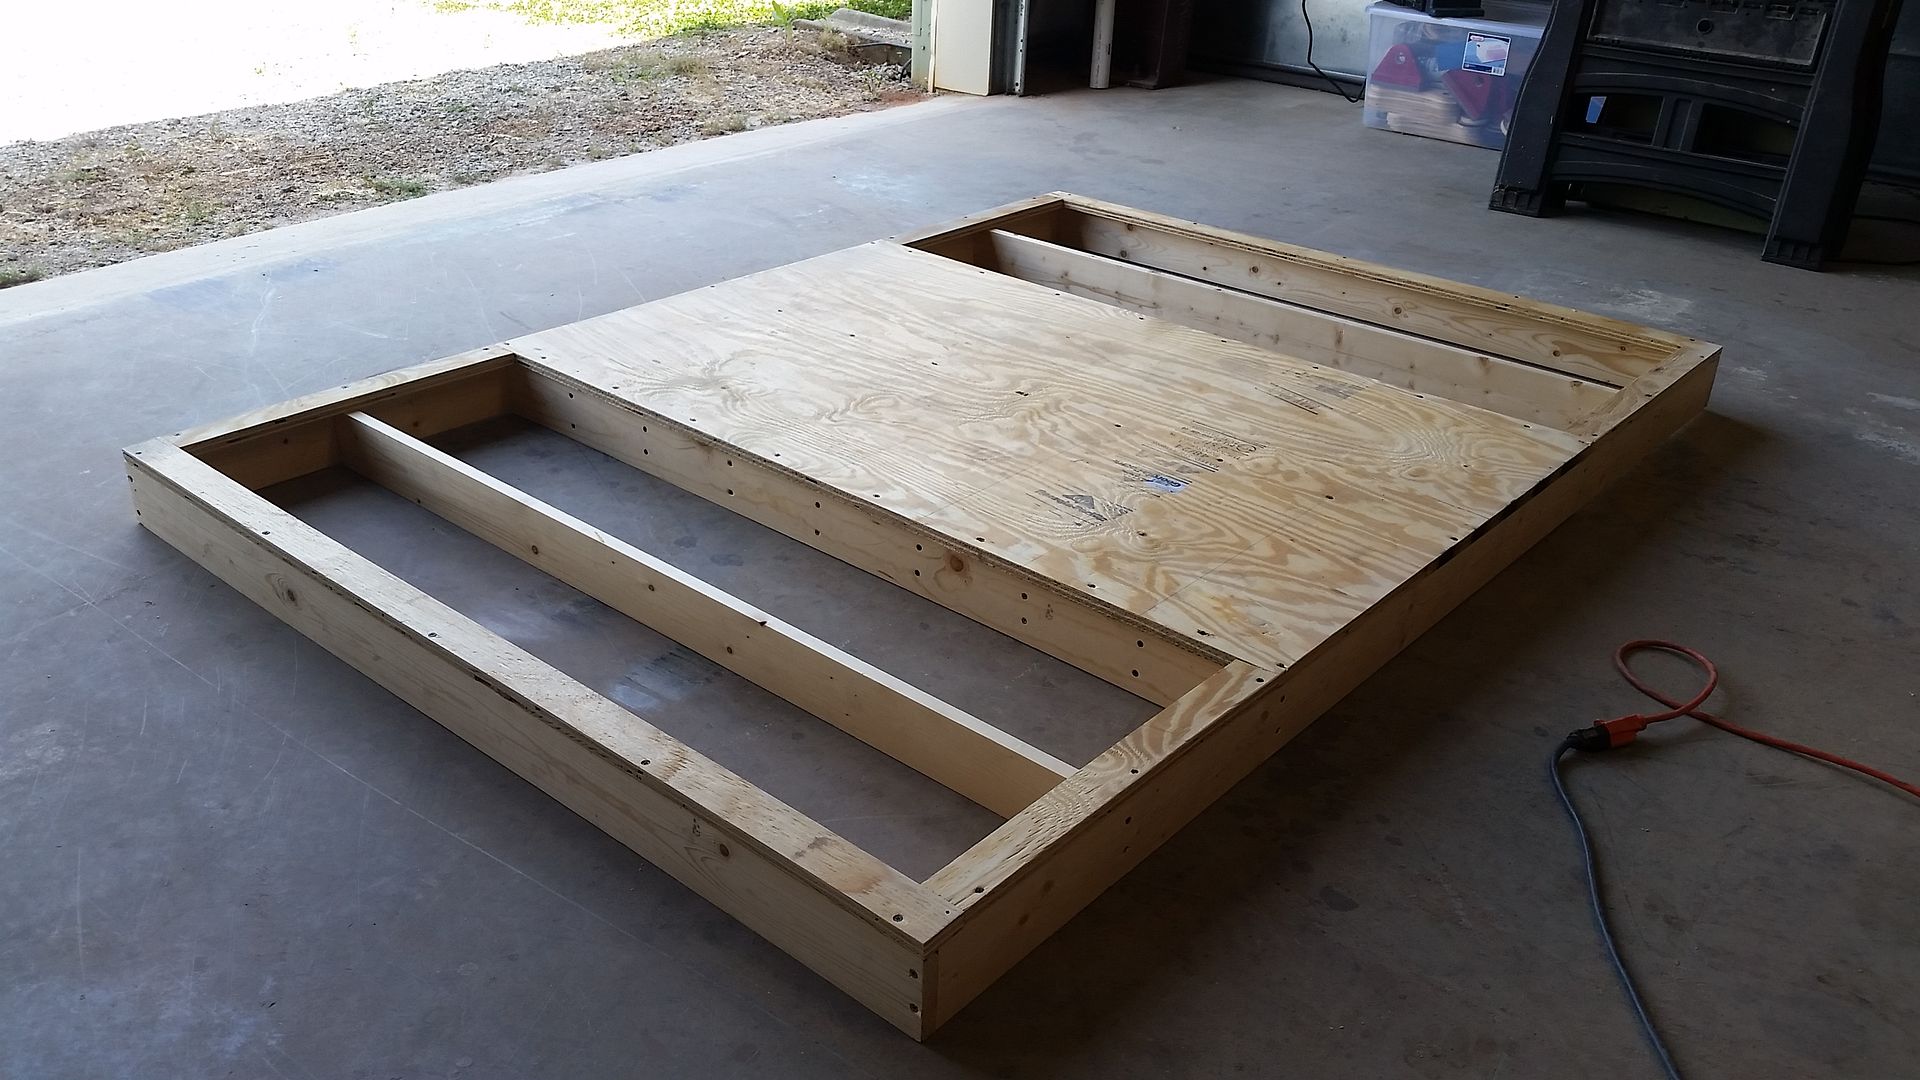
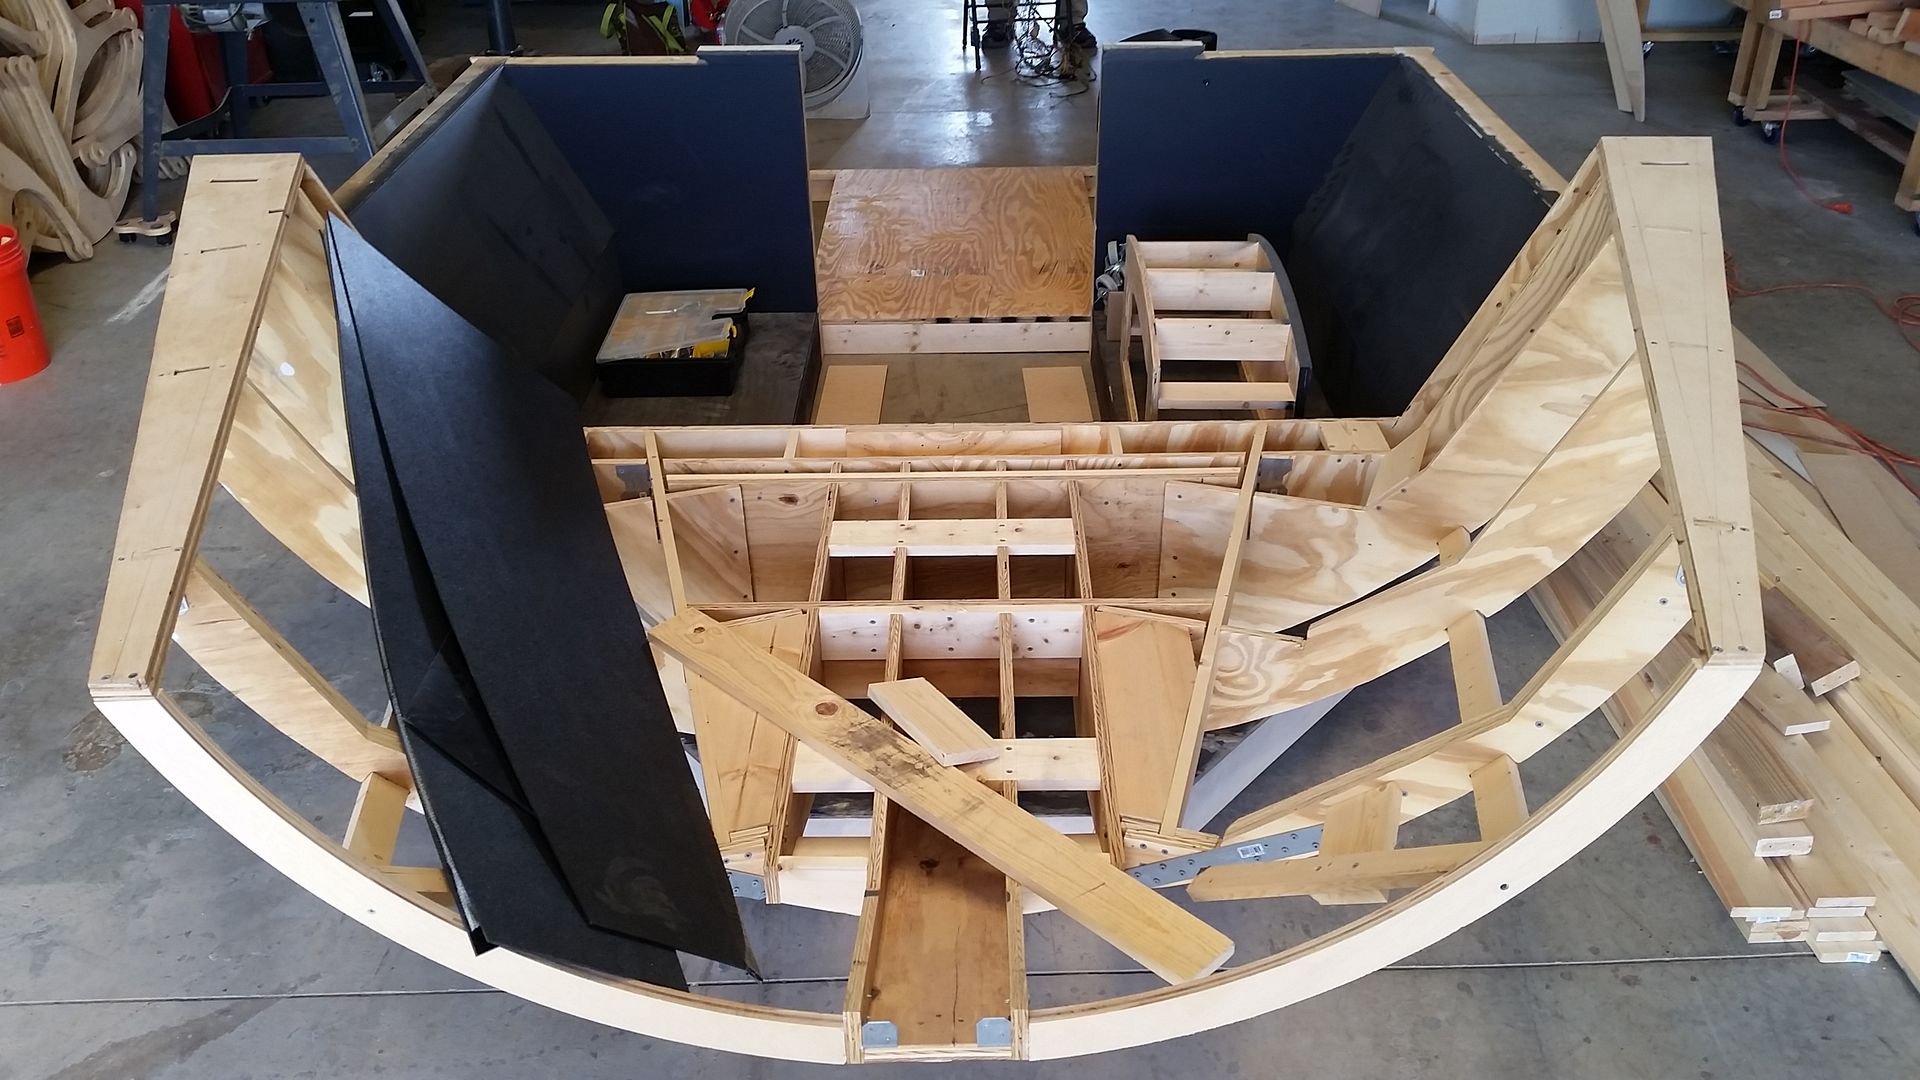
Covered the new nose platform - still twice as light as the previous version!
Once again, covered the exposed wood sides with MDF
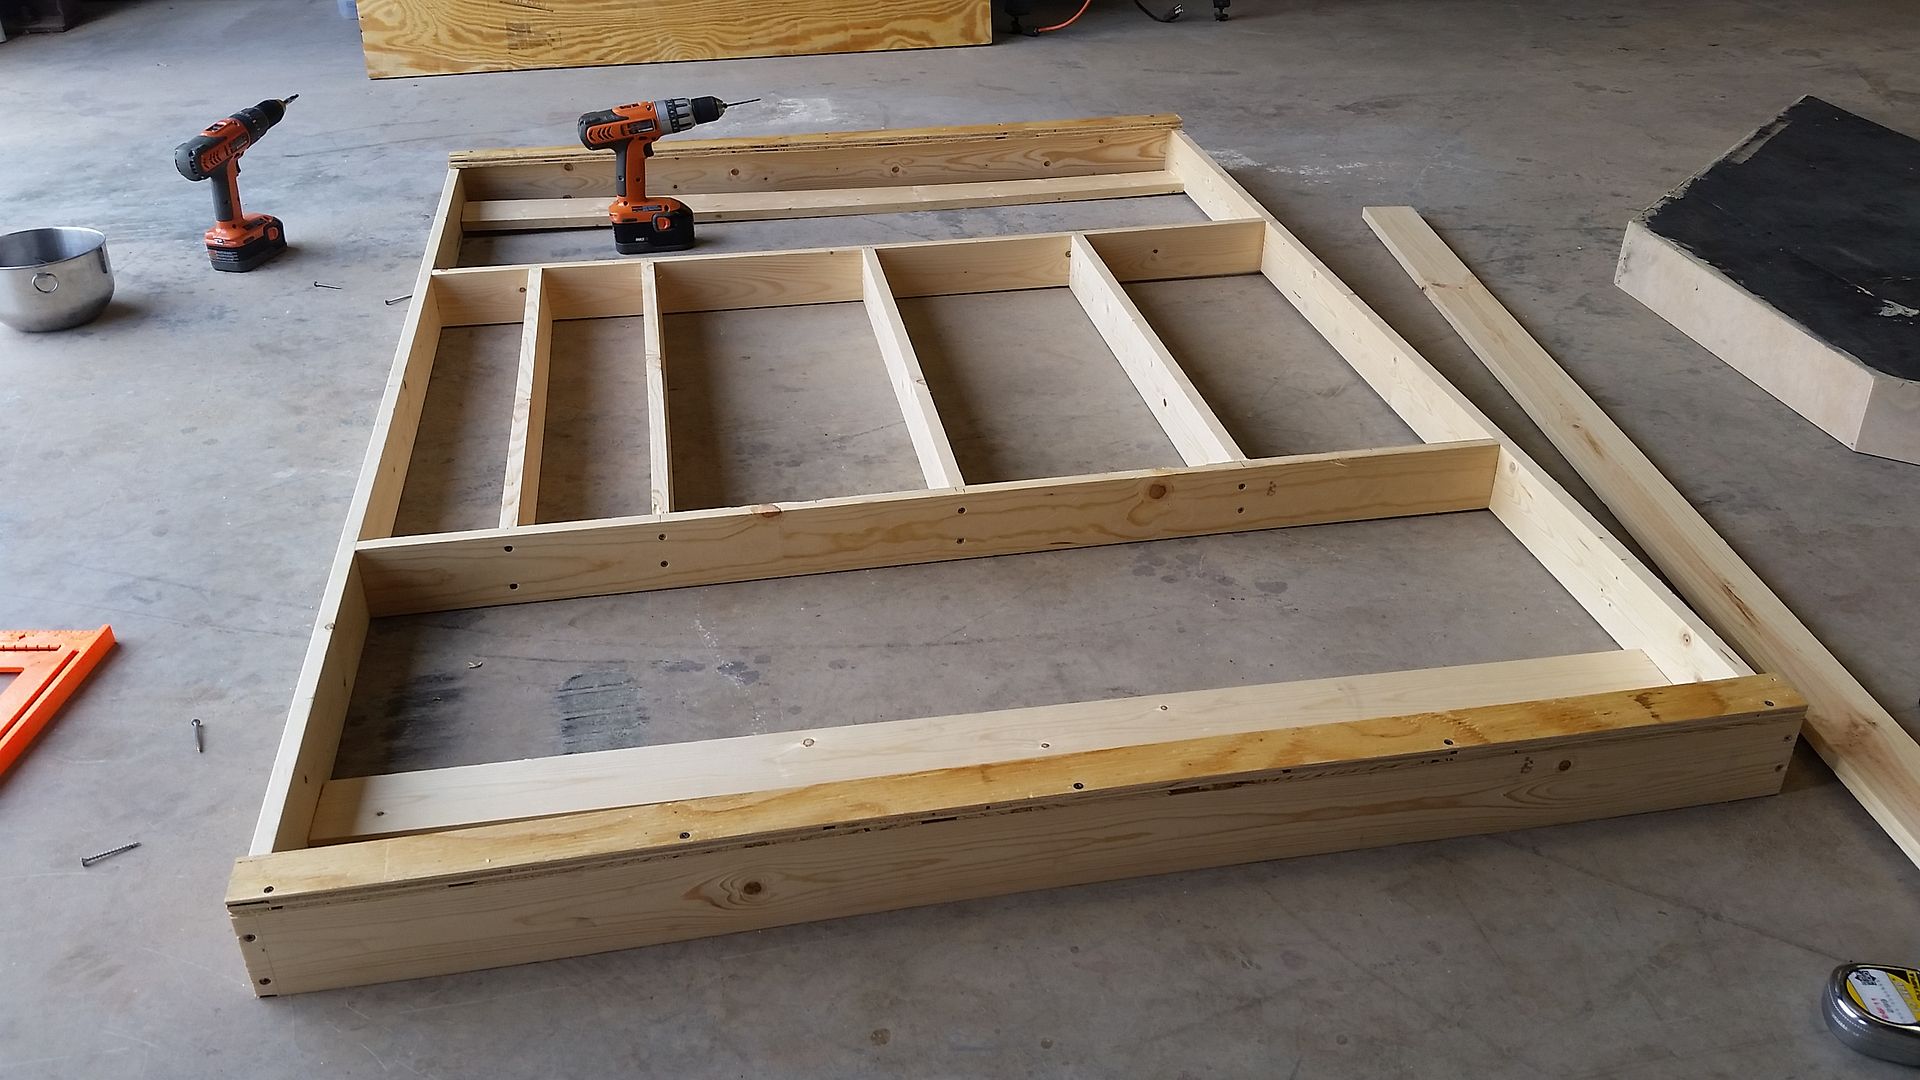
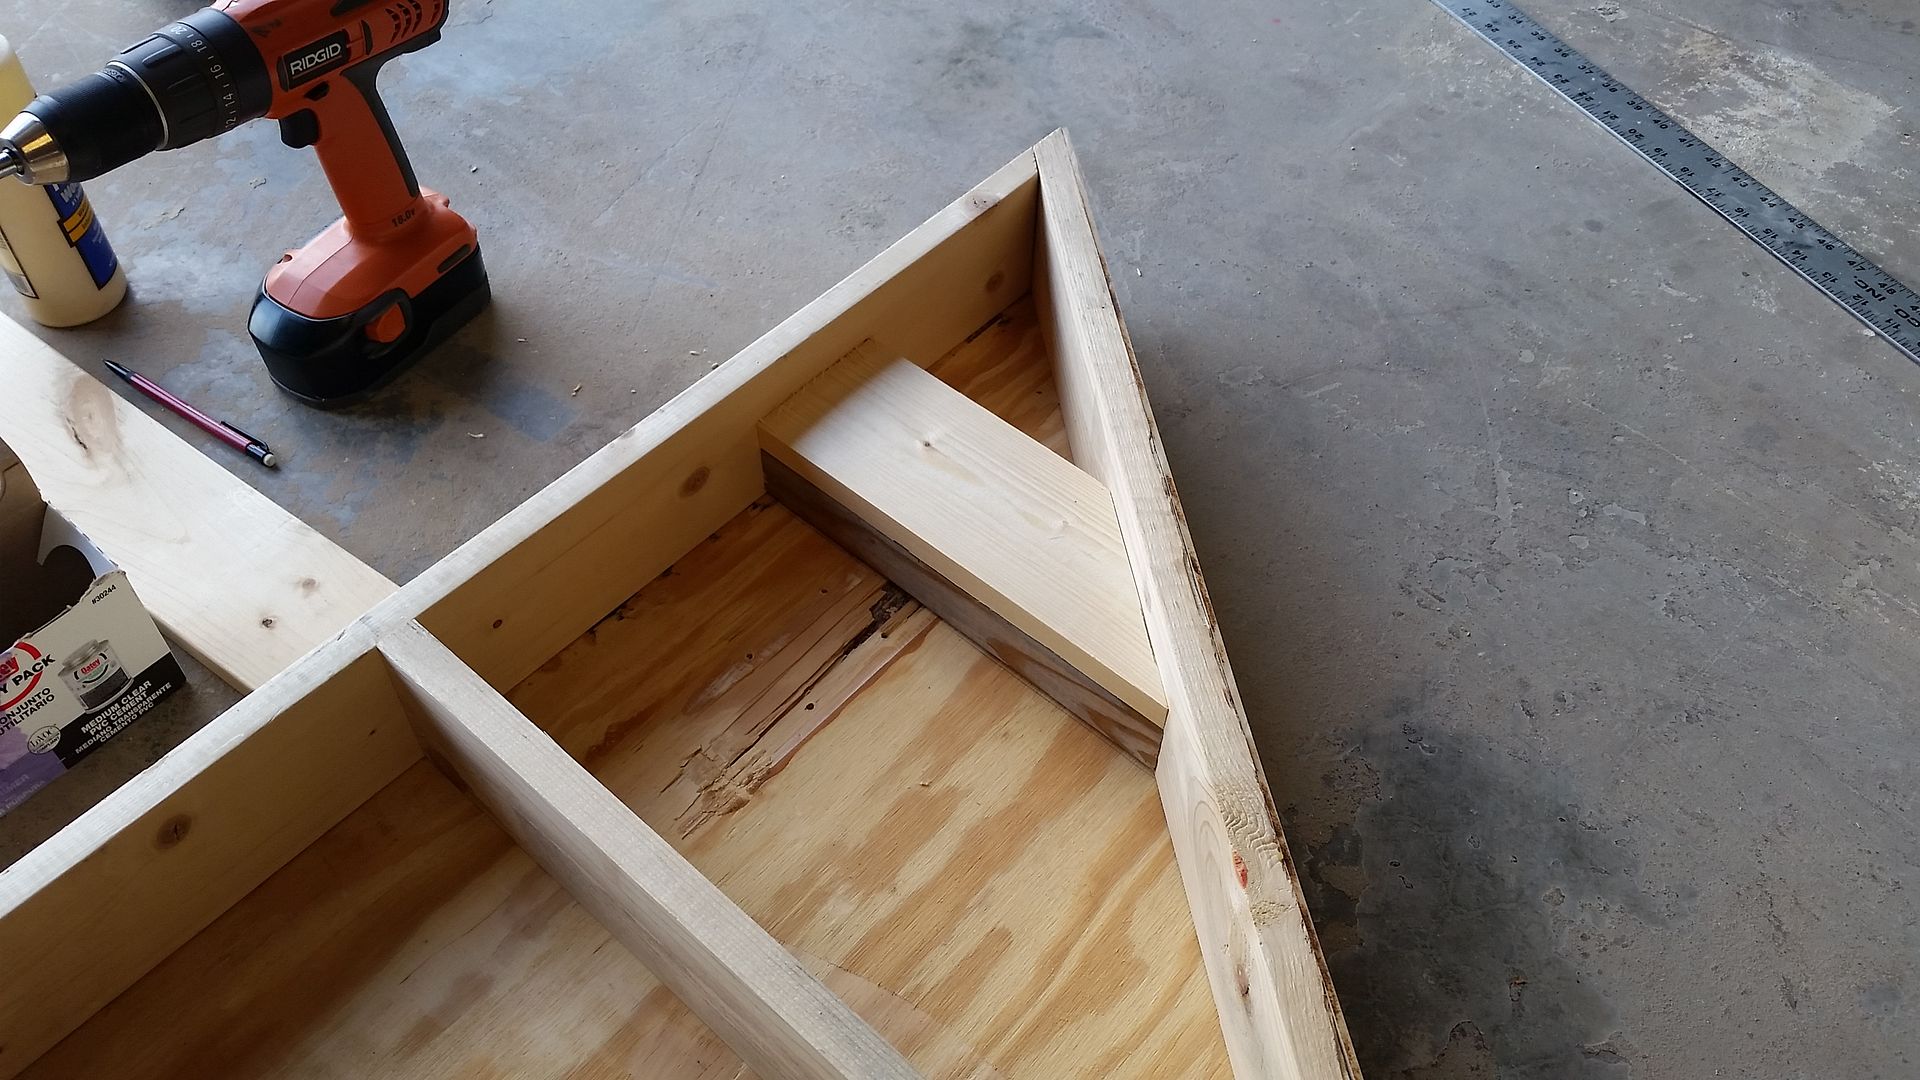
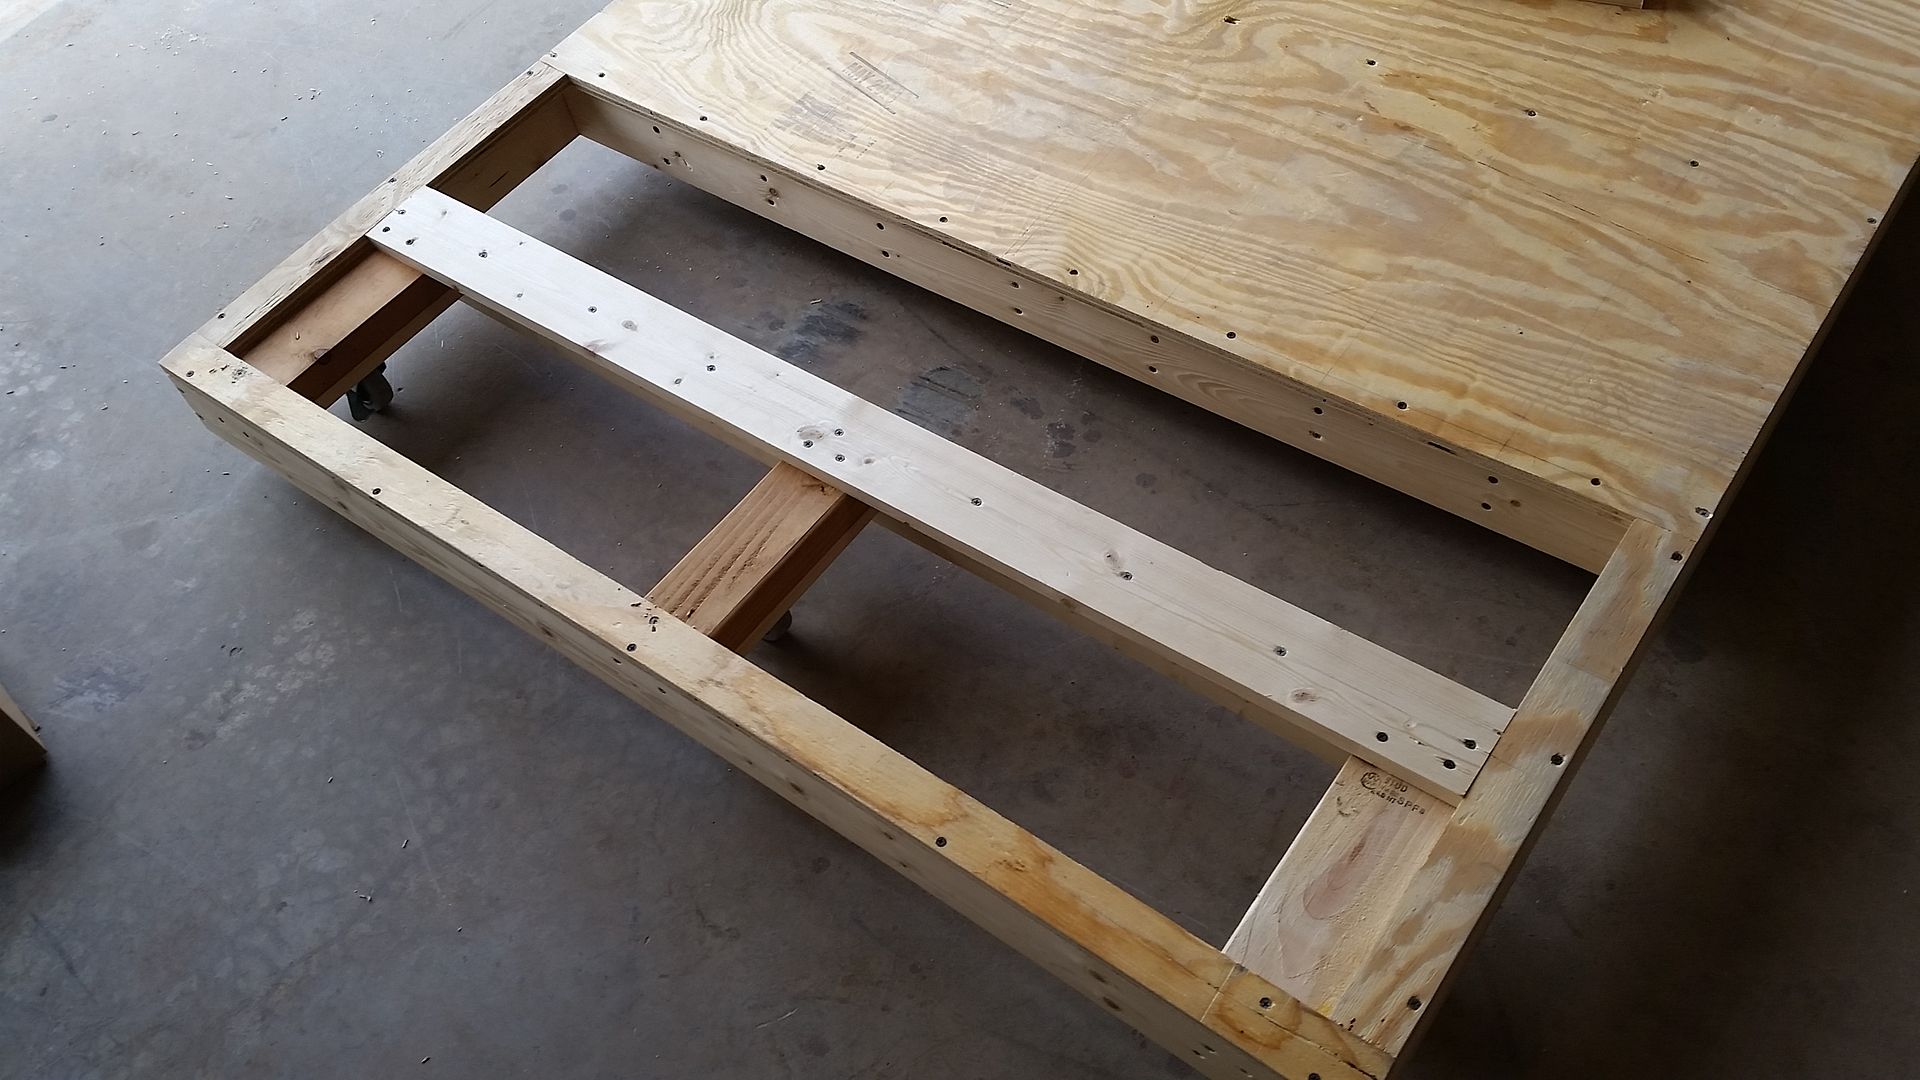
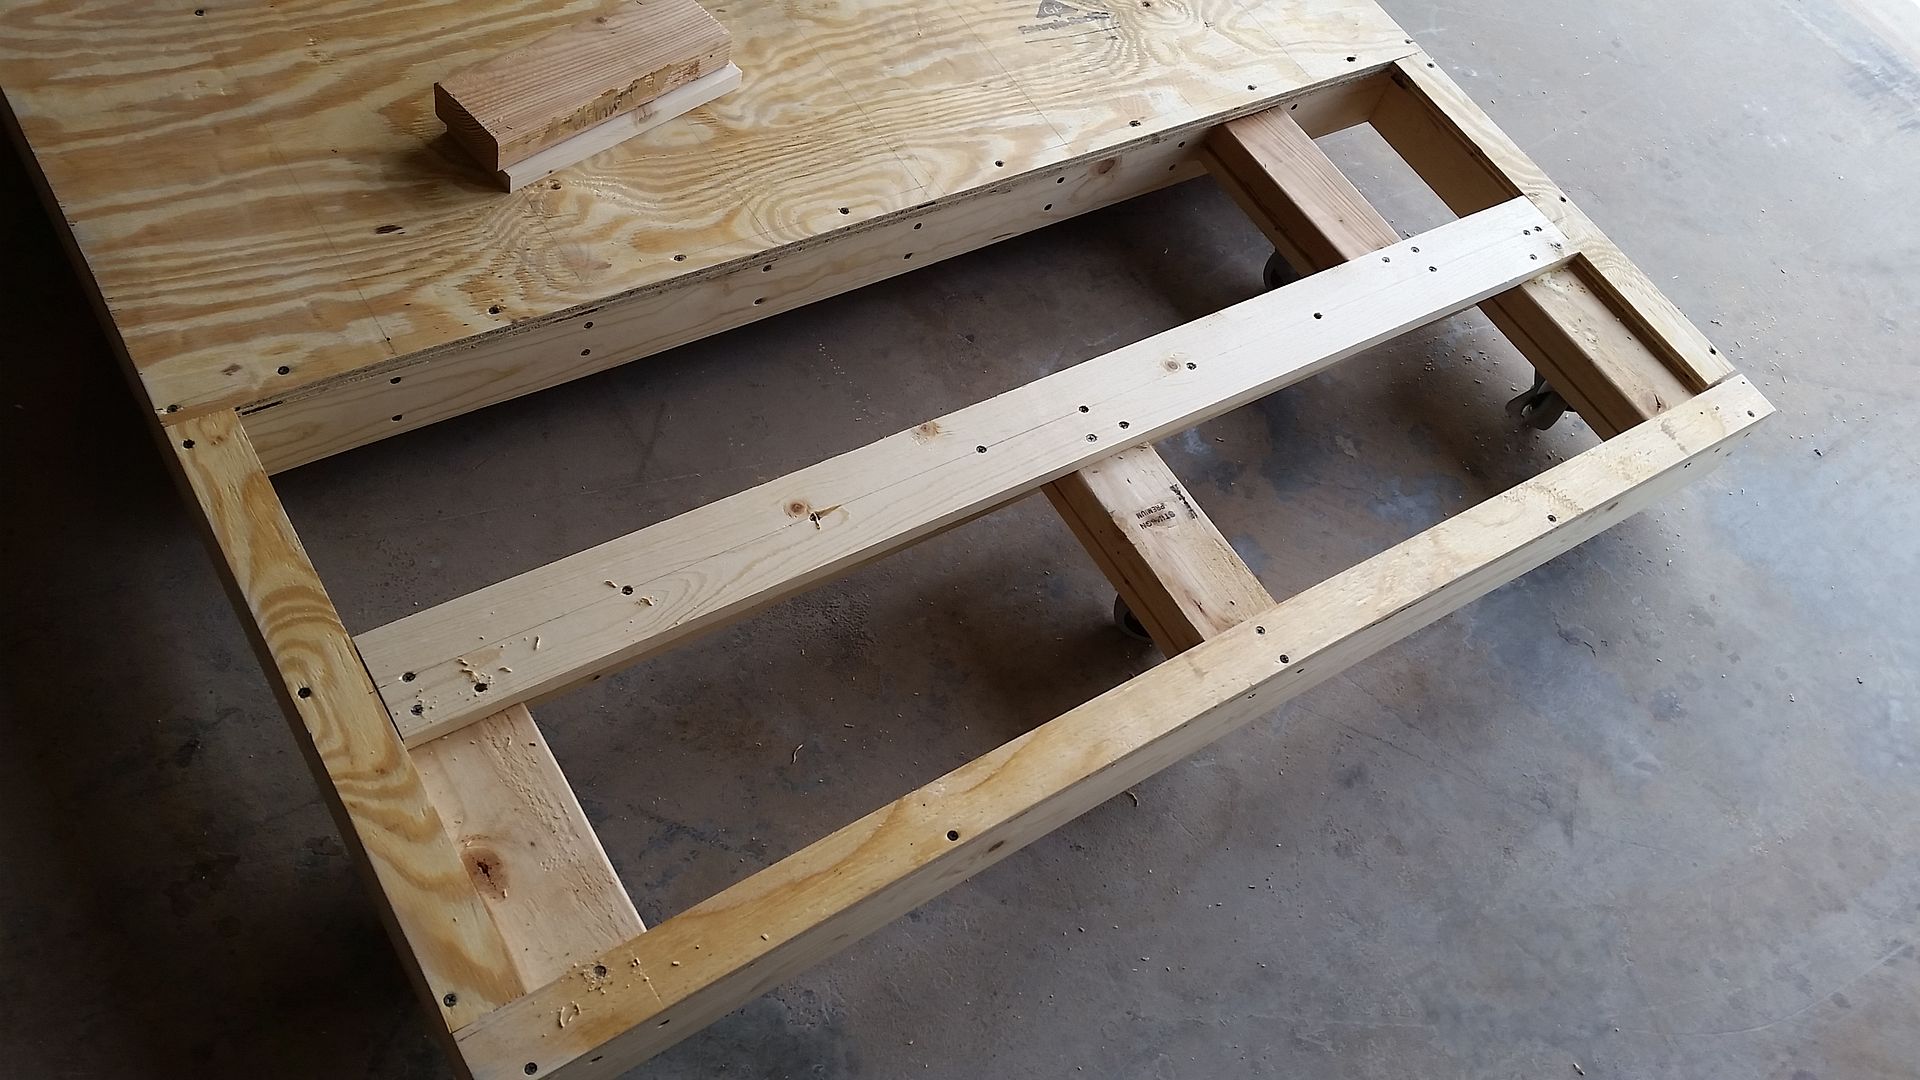
Added more supports to the main body platform along with the 3/4" ply
The center walking area will also receive the rubber mat
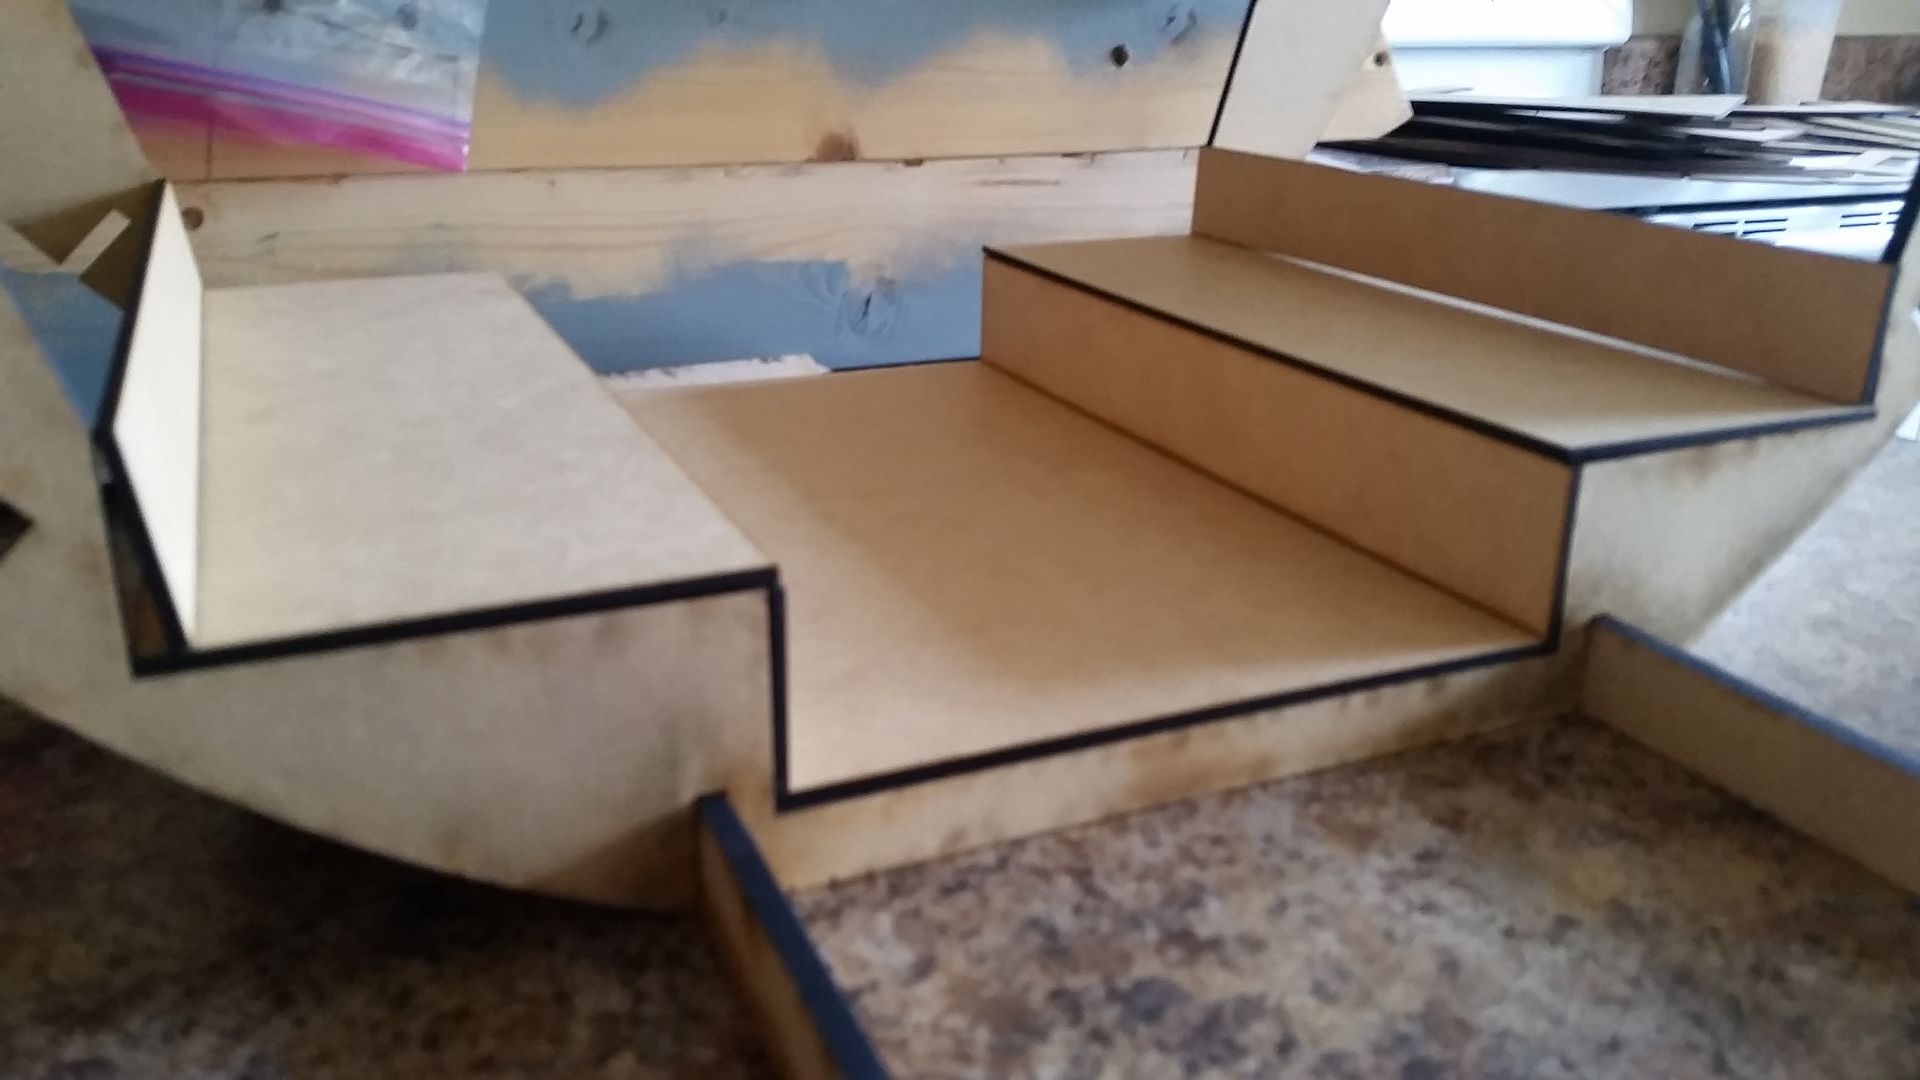
All trimmed out and ready
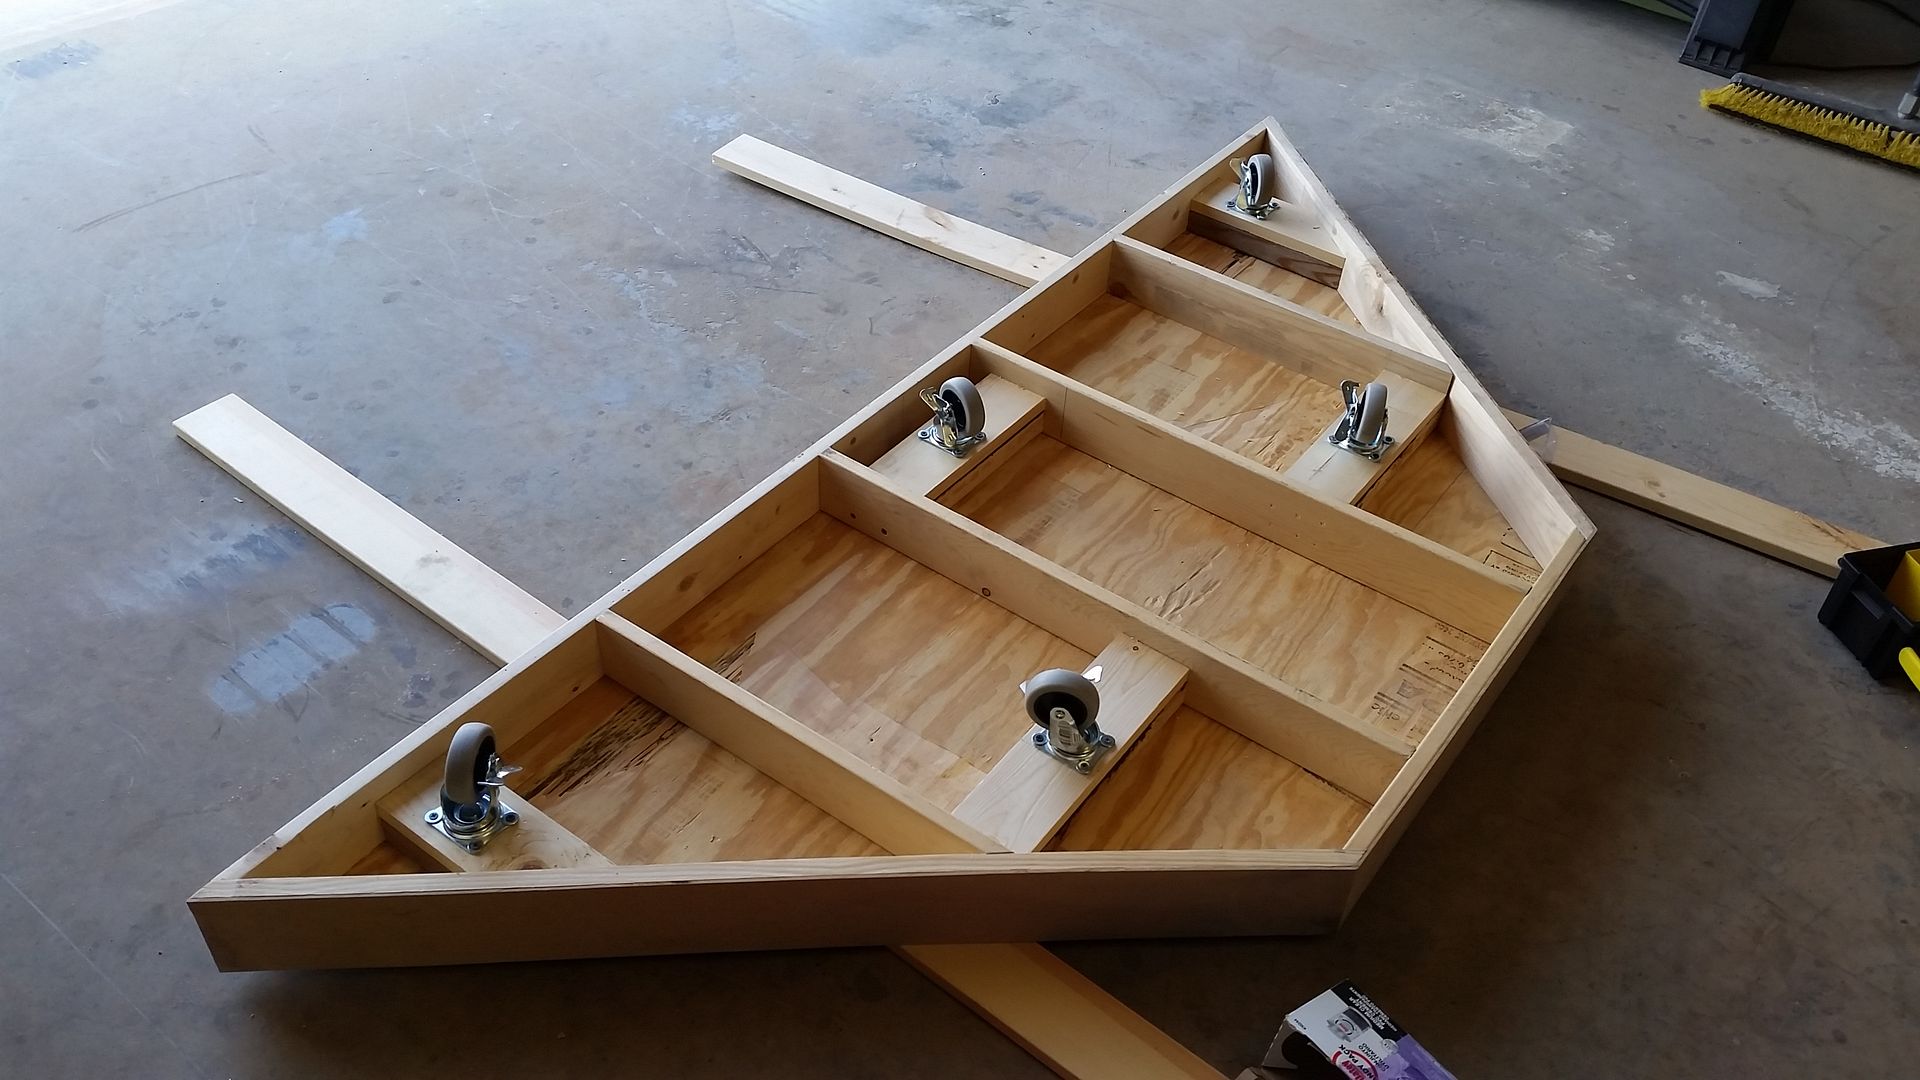
Time for some casters! At this point, the humidity was getting bad! Yup... summer time in Alabama
Need to add one more to the very front
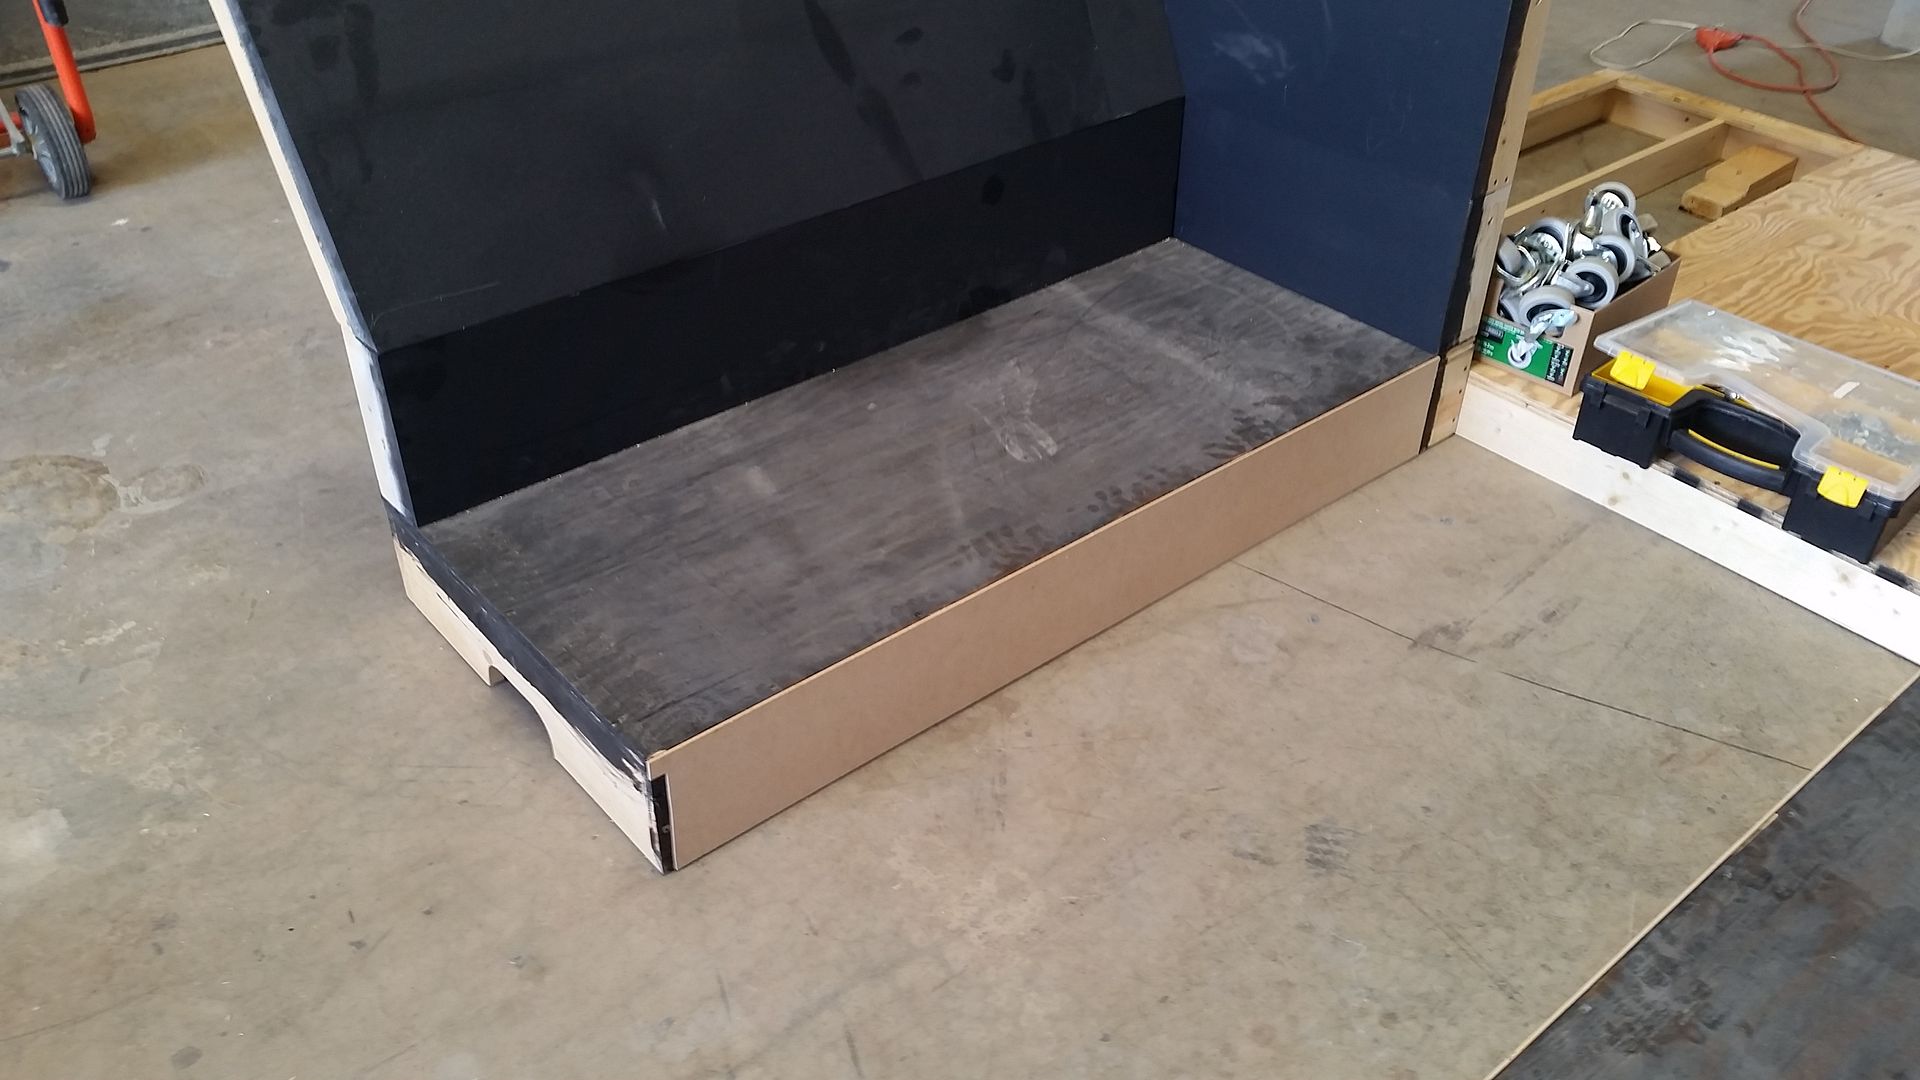
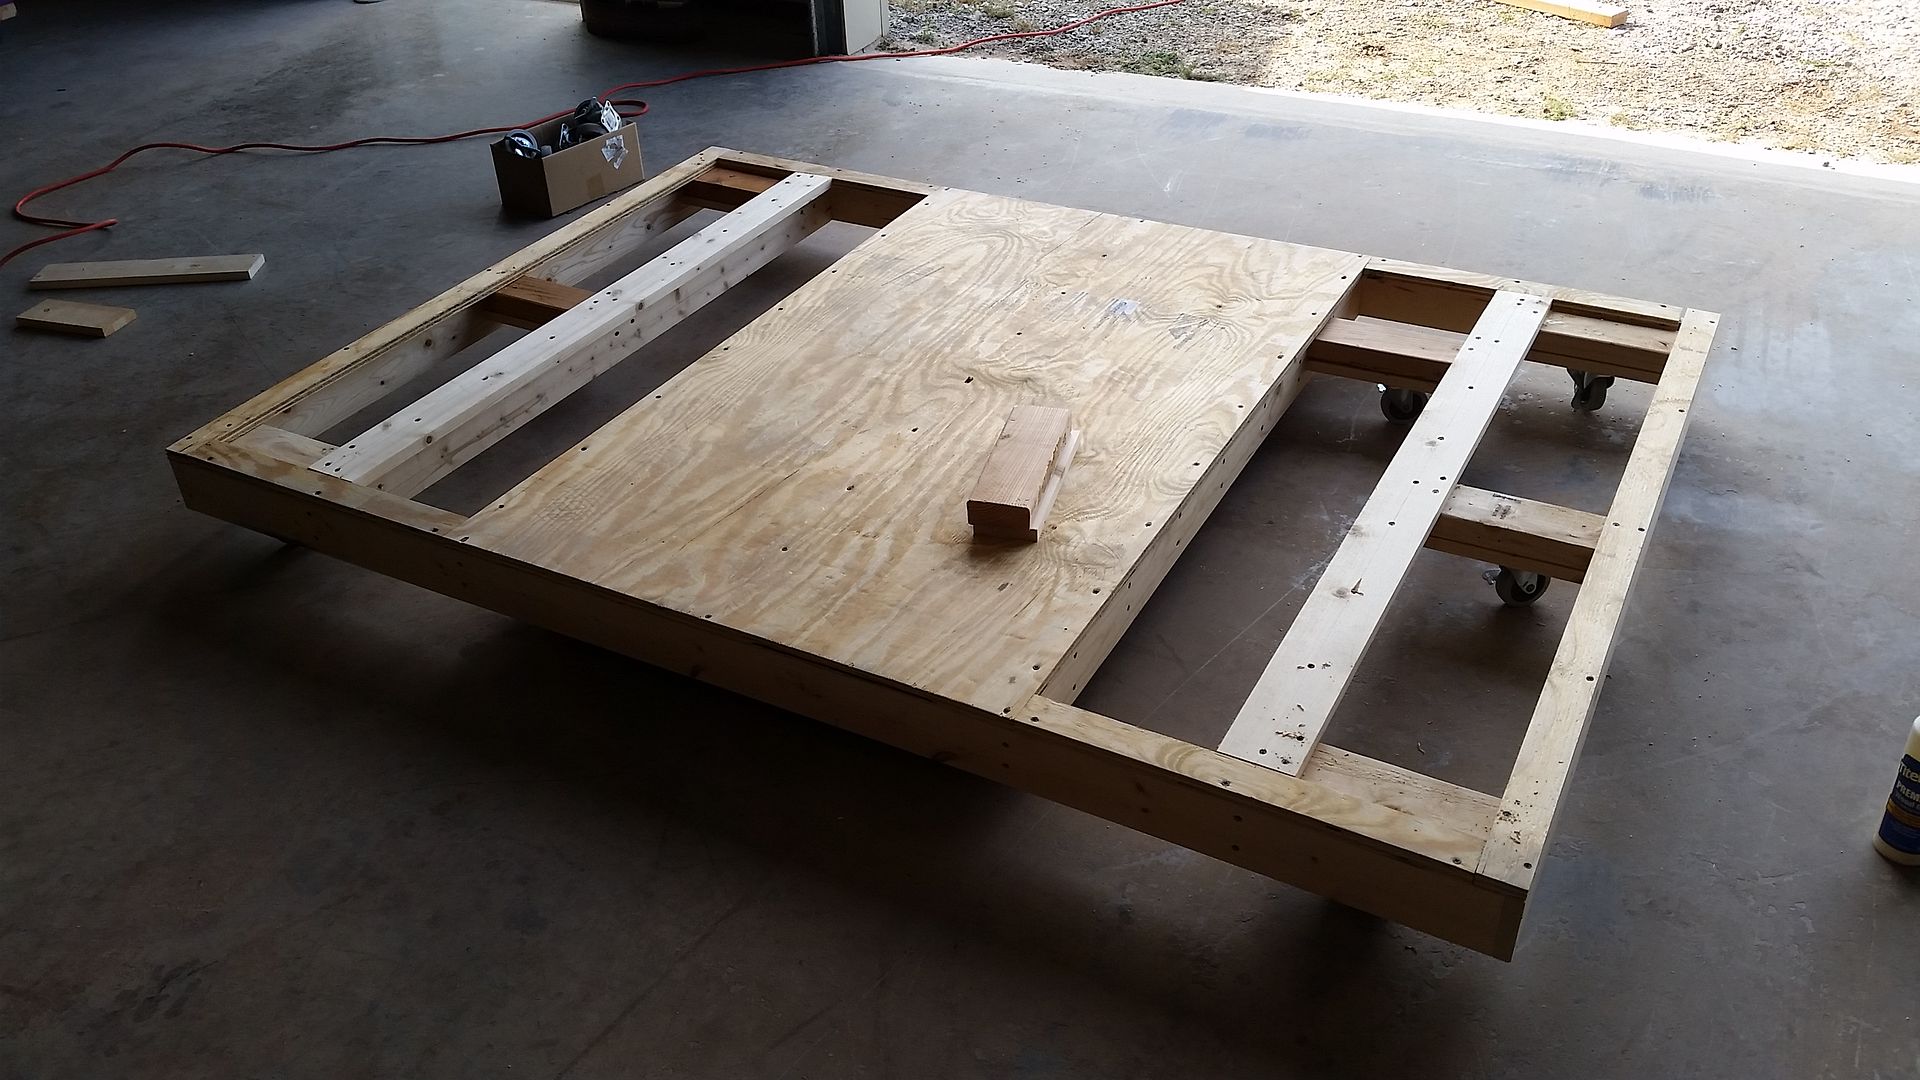
With the other platform gone, the shorter platform adds to the illusion that the nose is off the ground and in the air!
This is the main body platform but is also the basic size and depth of the cockpit entrance platform - I've decided against making most of the corridor as the the clock has begun to tick for our next show! This should give you an idea of the final size
Whew... More to Follow!