1:1 Millennium Falcon Cockpit Replica - Group Build

It has been FAR too long since I had time to stop by and well.... there went an hour and a half of my morning before I knew it! Time well spent! I knew when I saw the empty shop and the quarter scale project that I had missed some serious milestones and wow was I right! Those pics are what it's all about! Fans who put that level of effort into their cosplay getting to sit aboard a cockpit designed and built by fans with just as much (ok after 6 years lets be honest, a whole lot more) effort is just beautiful! Wish I could have been there to see all that! Im loving the quarter scale build too, but I am SO excited for you and for this thread that she's finally off to get skinned! Hard to believe after all this time that the end of the tunnel is quickly approaching! Thanks for sharing so much of this project with us Sofa! This really is inspiration at its finest!

Sent from my LGLS775 using Tapatalk
 
Man! To see all of this coming together is as fun as seeing the 1:1 cockpit come to life:eek:cool...as for the angled corridor: you've said too much or not enough:D; now you'll have to build it!!
 
Just seen your updates !! (Giggles like a girl)

Oh sofaking you mentioned the angled corridor !! You cannot unmention it now, you have to build it now, you could have a top 1/4 panel that’s removable and see inside with all the lights on, how cool would that be ?
 
It has been FAR too long since I had time to stop by and well.... there went an hour and a half of my morning before I knew it! Time well spent! I knew when I saw the empty shop and the quarter scale project that I had missed some serious milestones and wow was I right! Those pics are what it's all about! Fans who put that level of effort into their cosplay getting to sit aboard a cockpit designed and built by fans with just as much (ok after 6 years lets be honest, a whole lot more) effort is just beautiful! Wish I could have been there to see all that! Im loving the quarter scale build too, but I am SO excited for you and for this thread that she's finally off to get skinned! Hard to believe after all this time that the end of the tunnel is quickly approaching! Thanks for sharing so much of this project with us Sofa! This really is inspiration at its finest!

Sent from my LGLS775 using Tapatalk

Hey ST,

Thanks so much! Your continued support and kind words are what inspire me! Thank you!

Seeing and hanging out with the cosplayers, and seeing everything begin to finally tie together has been an absolute thrill! Just wait until we can get pics from the interior looking out the finished front window!

Can you believe its been 6 years? Its been a heck of a ride! But no light at the end of this tunnel. We're going to continue to build, have fun and geek out. If and when we actually finish the full scale MF... then we'll build a X-Wing... a Y-Wing... A-Wing, etc etc etc ;)

- - - Updated - - -

Better to add the angled corridor now, rather than wish you had later I say... ;)

Hey T,

We all know I'm going to do it. I'm actually going to fabricate both versions - one that matches the full scale build and the other with the extended corridor. Believe it not, the corridor is the easiest part of the entire 1/4 scale project. The pads might prove to be lots of "fun"...

- - - Updated - - -

Man! To see all of this coming together is as fun as seeing the 1:1 cockpit come to life:eek:cool...as for the angled corridor: you've said too much or not enough:D; now you'll have to build it!!

Agreed! I'm doing it! :)

I have had SO MUCH fun building the 1/4 scale. The door frame / housing / section was a real challenge. Next is the main body, corridor and nose. OH BOY... the nose... lol

- - - Updated - - -

Just seen your updates !! (Giggles like a girl)

Oh sofaking you mentioned the angled corridor !! You cannot unmention it now, you have to build it now, you could have a top 1/4 panel that’s removable and see inside with all the lights on, how cool would that be ?

LOL! That seems to be the overall feeling - I must build the corridor!

Not sure how I'm going to display the corridor. We have to be able to see inside the corridor. But I DEF want to create the exterior skin showing all the different greeblies, tubing and armor plating. I have an idea on how to get the best of both worlds.
 
You could instal an acrylic mirror at the end of the hall to give it a dimensional perspective. When you look through the canopy it would seem to keep going. Especially with a back lit floor.
 
You could instal an acrylic mirror at the end of the hall to give it a dimensional perspective. When you look through the canopy it would seem to keep going. Especially with a back lit floor.

Hey D,

I'm not exactly sure how or where I'm going to end the corridor but I might simply copy the end of the actual ESB corridor just as it meets the main corridor leading to the hull. There are some great little details I would really enjoy replicating.
 
Hi Gang...

Time for an update? Sure... This is a 2 Part update. Enjoy

Part I: Getting Things Aligned and Reinforced

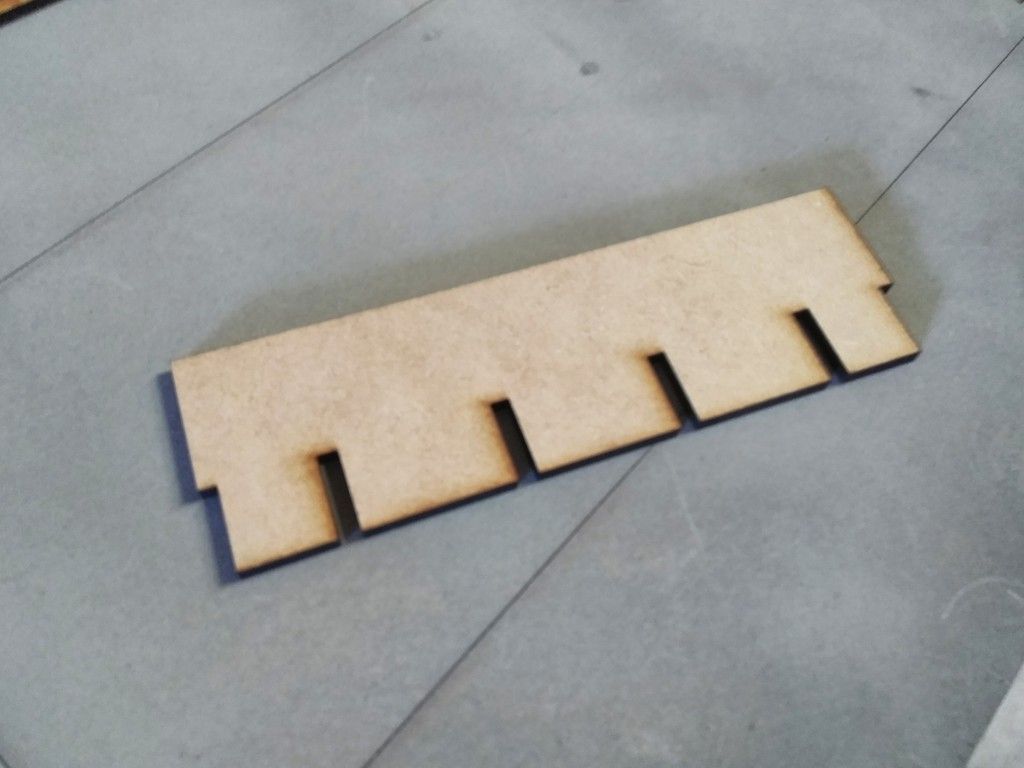
Started by creating a test joist for the 1/4 scale door housing
IMG_20180704_081317_zpscaqee42h.jpg


IMG_20180704_081343_zps4sozqbiw.jpg


Perfect!
IMG_20180704_081403_zpskcufnpfx.jpg


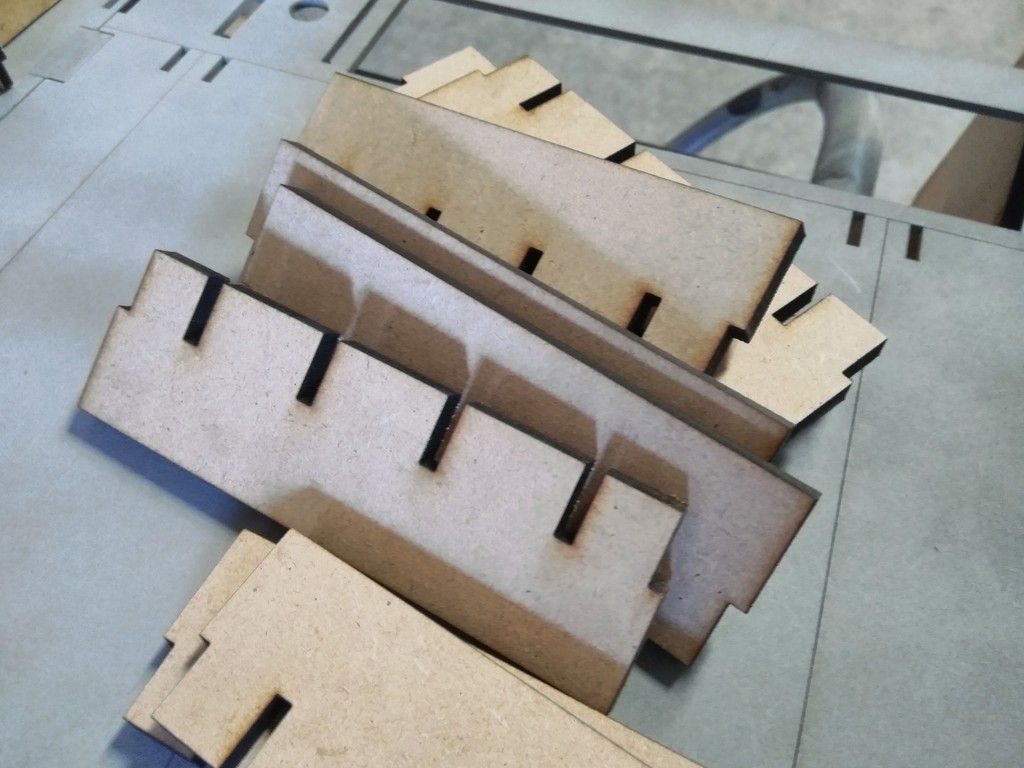
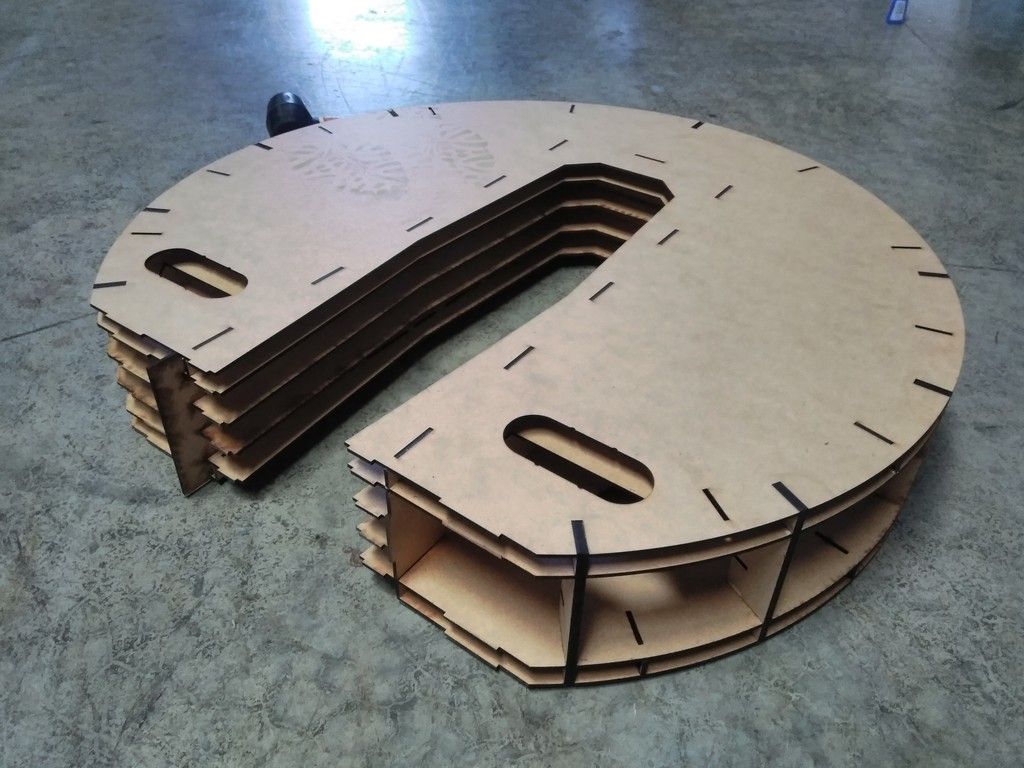
Now let's laser cut some 1/4" MDF joists
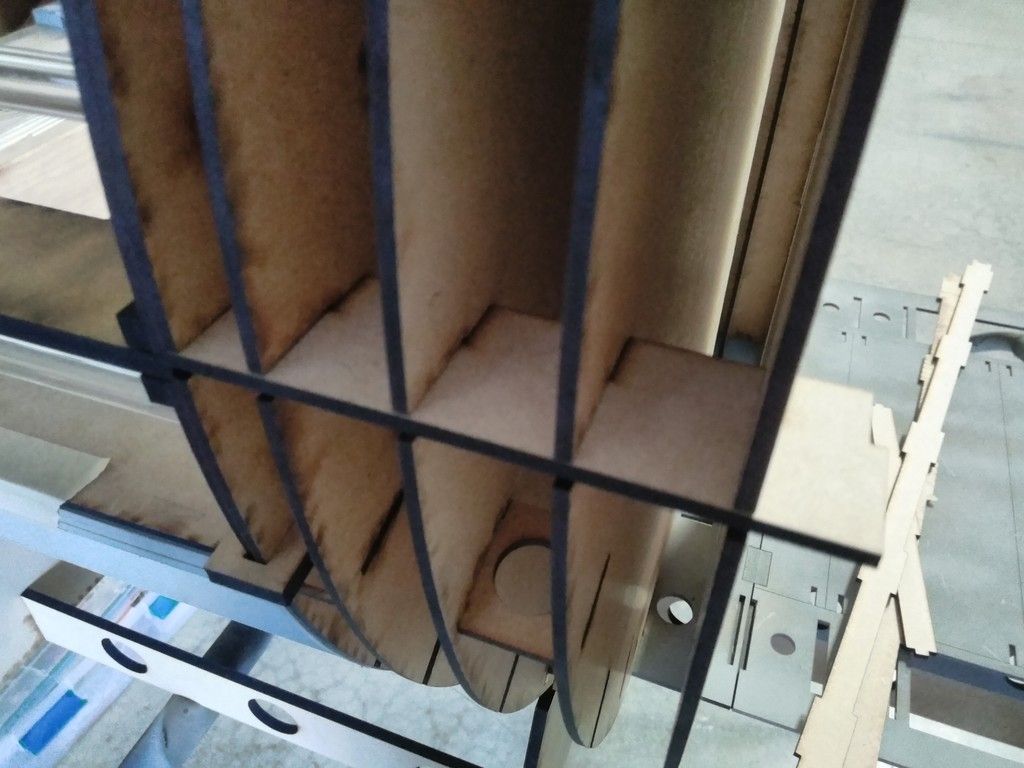
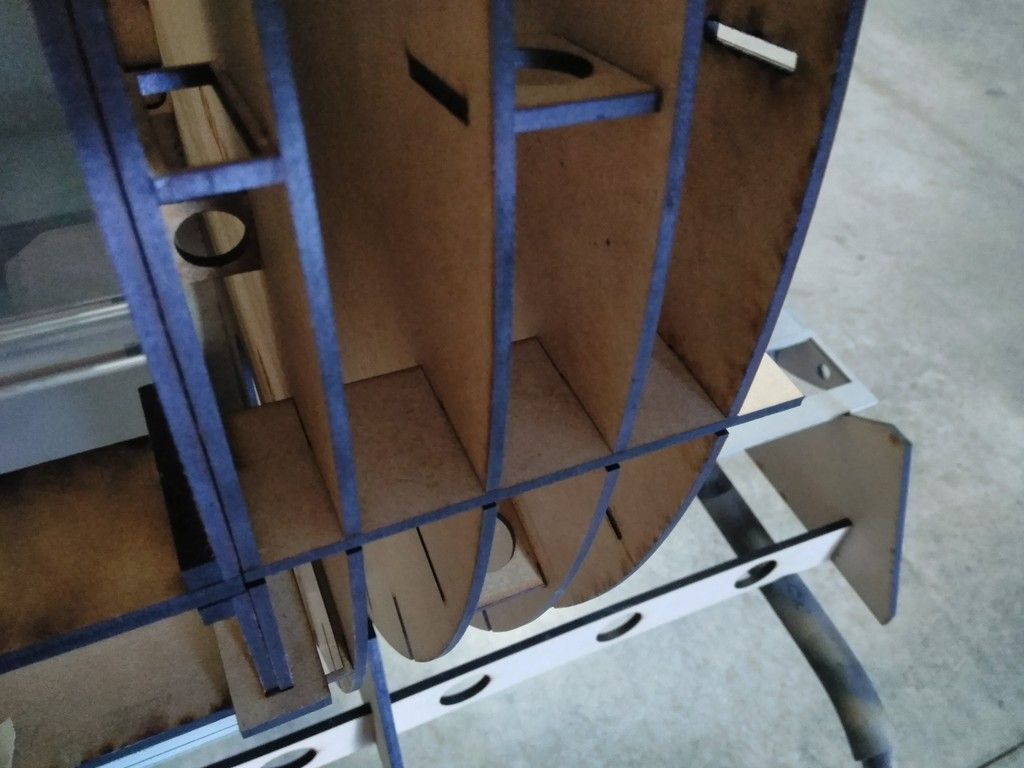
IMG_20180704_083907_zpsstbuvtuy.jpg


IMG_20180704_084237_zpslectcduo.jpg


IMG_20180704_084247_zpsbuaqmbtr.jpg


IMG_20180704_084407_zpsxotpvcxw.jpg


Layer upon layer...
IMG_20180704_094347_zpstadek5tr.jpg


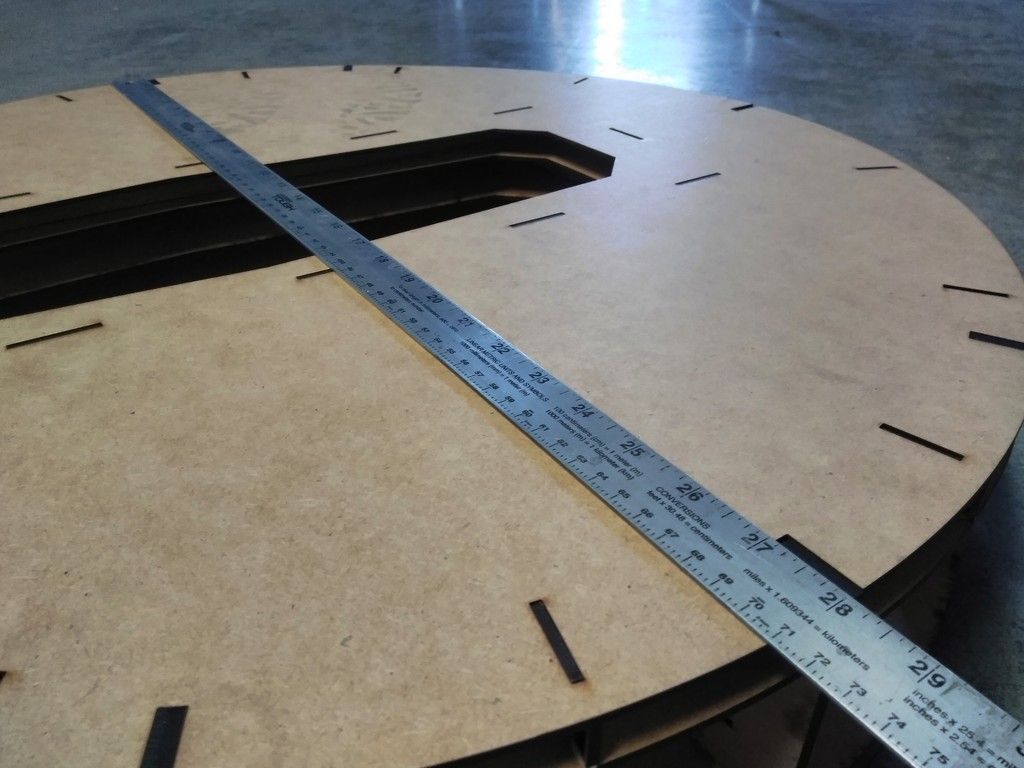
This was SO difficult to design because no matter what I did I had to make sure the door would still fit.
IMG_20180704_094358_zpsloboij4a.jpg


Still 28" wide
IMG_20180704_094438_zpsp3bajtrn.jpg


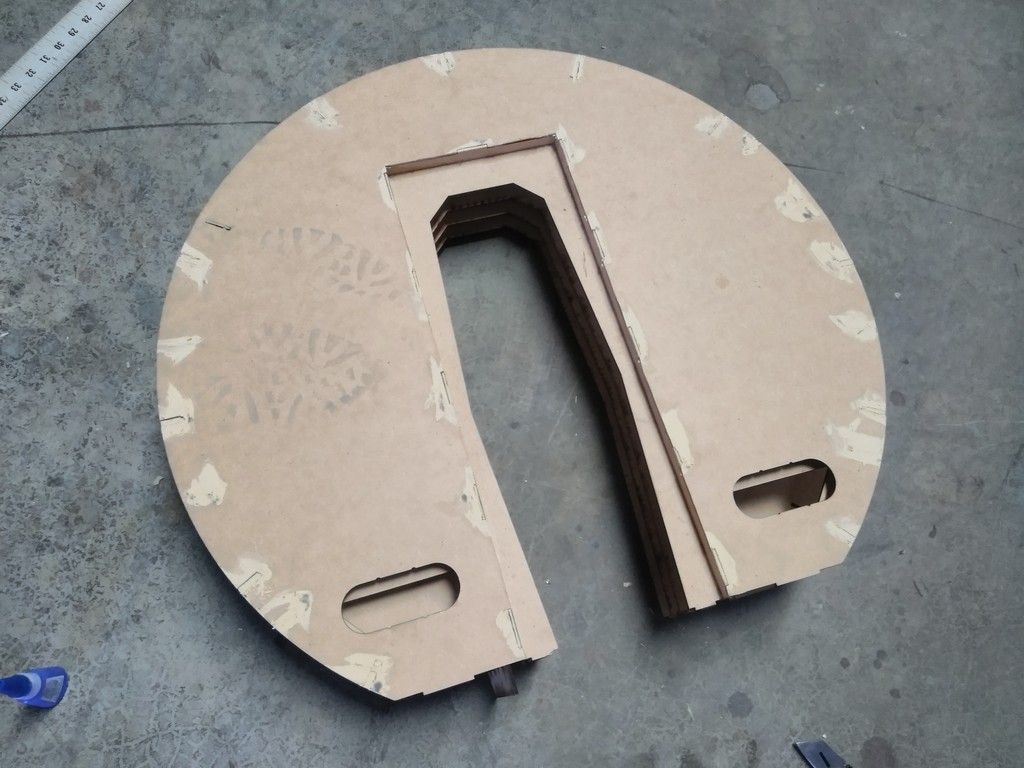
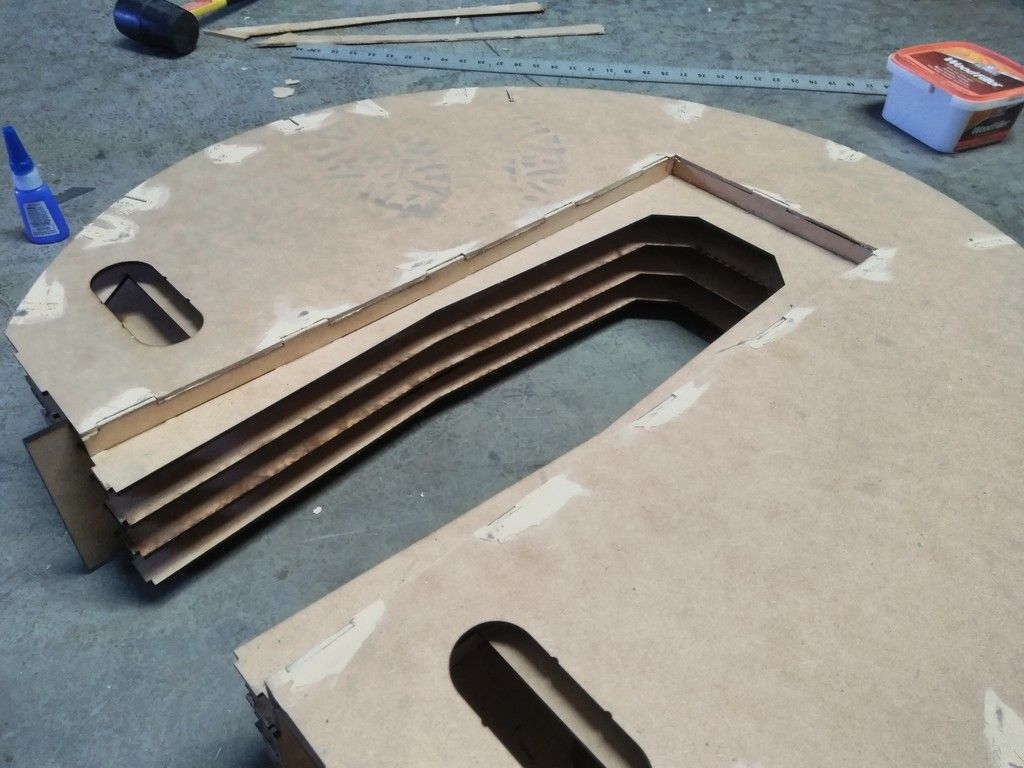
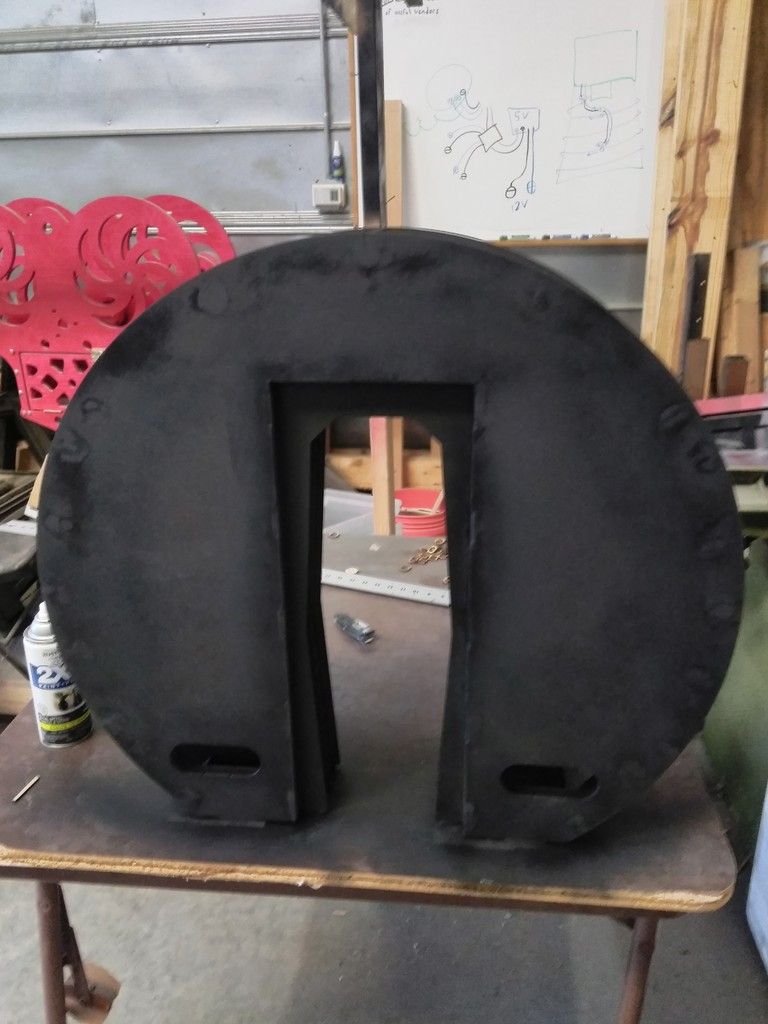
After a slight error and mod'ing the panel... we now have a complete door housing section
IMG_20180704_104726_zpssto307np.jpg


Filler added
IMG_20180704_104732_zpsurekyou3.jpg


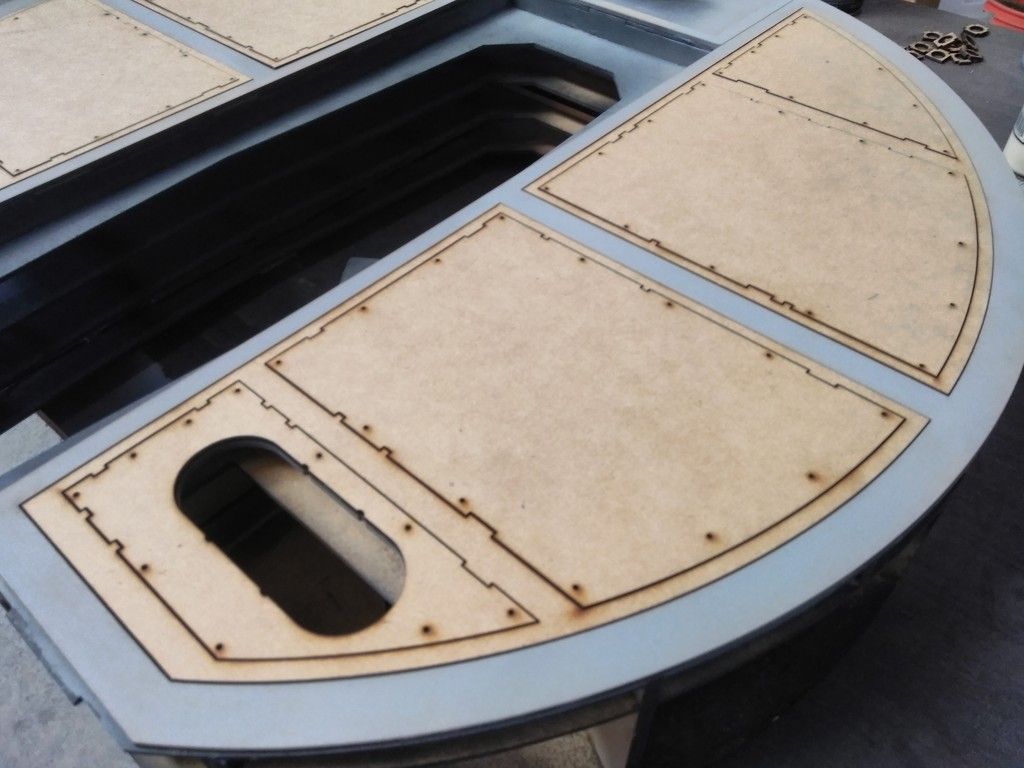
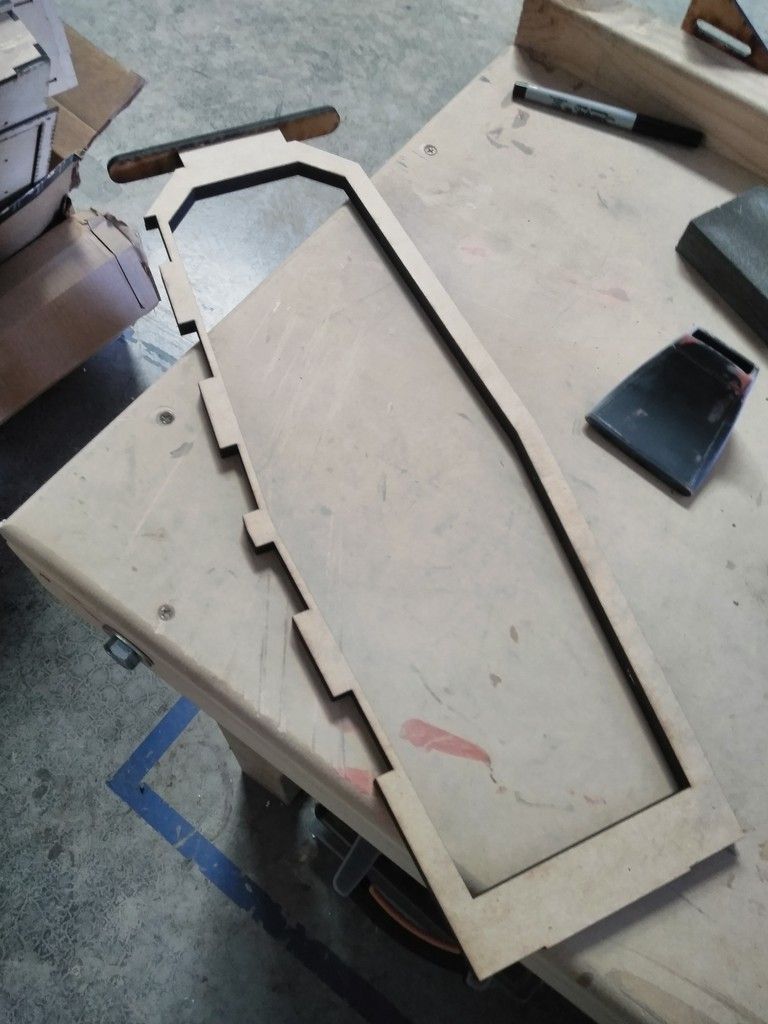
I laser cut the entrance trim pieces and panels - dry fit
IMG_20180704_110927_zpsbqw9mafd.jpg


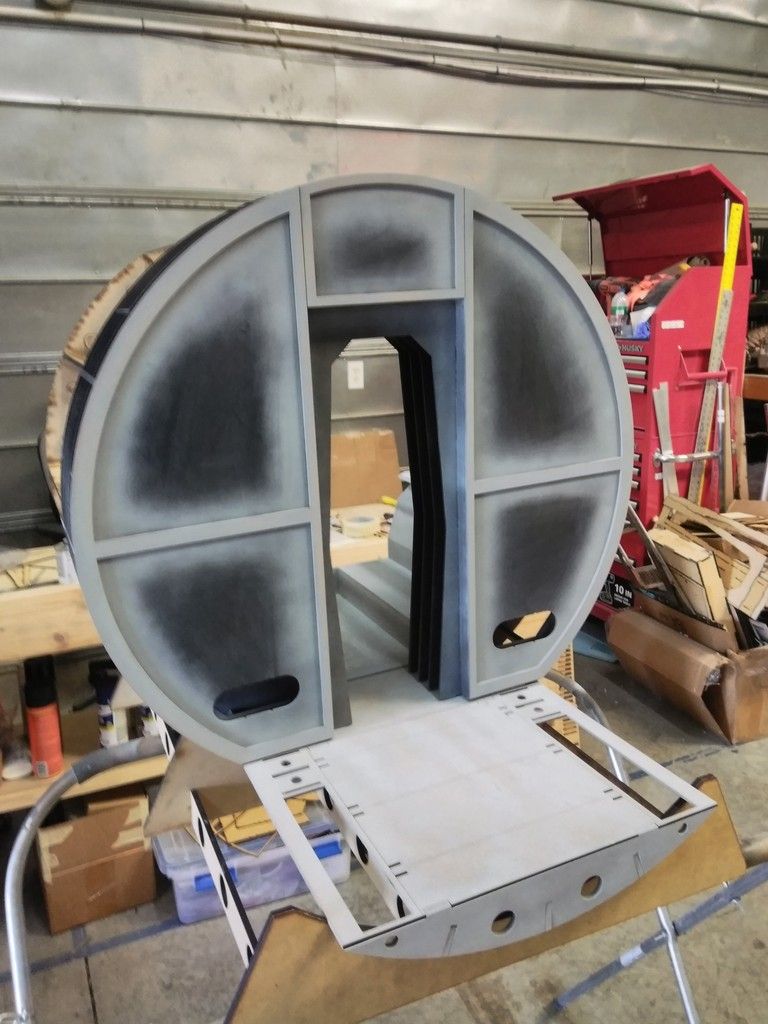
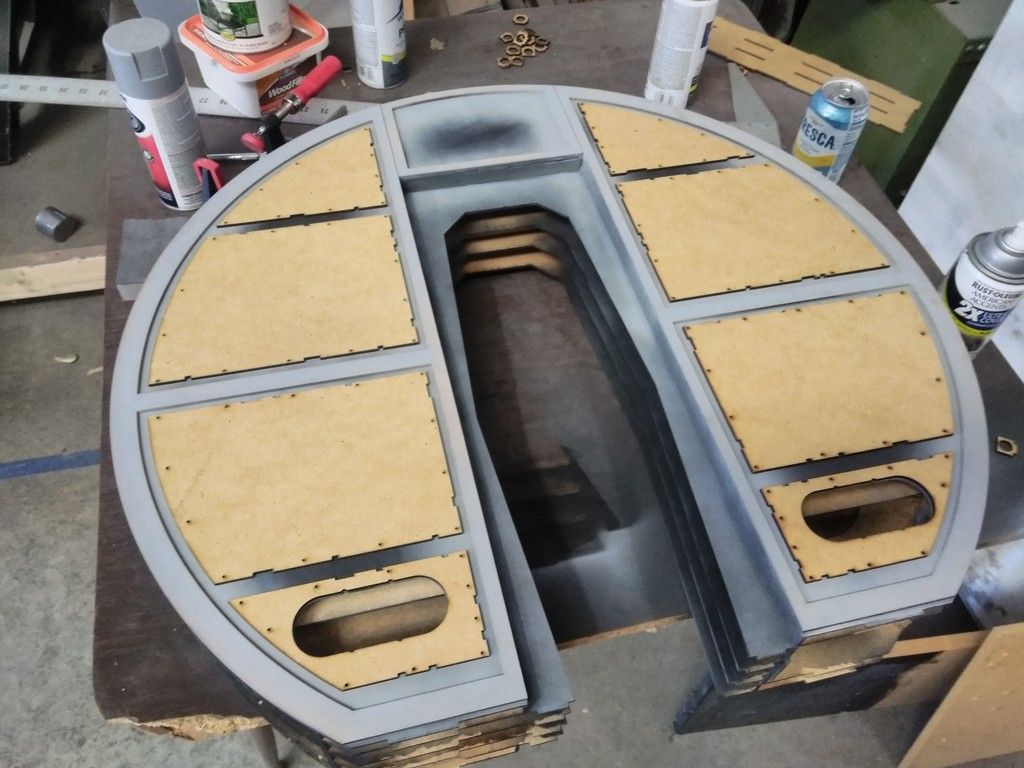
I sanded and painted the housing
IMG_20180705_073853_zpsxmchbjmd.jpg


IMG_20180705_073900_zps9wf9a0no.jpg


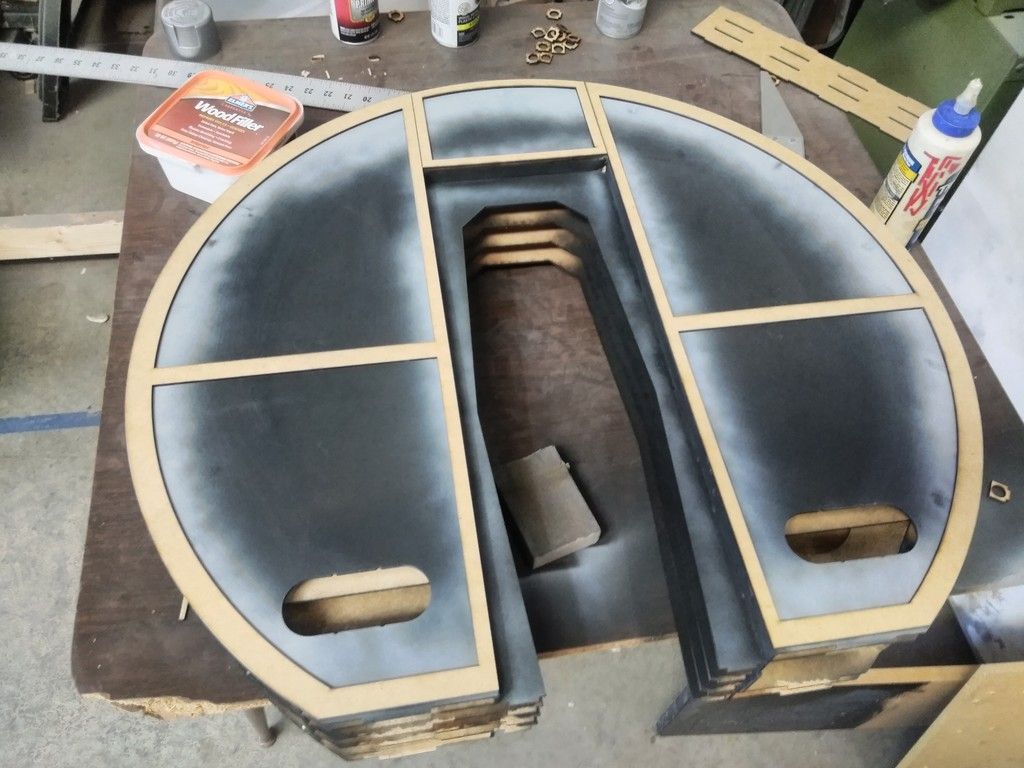
Dry fit the main trim pieces
IMG_20180705_082257_zpsyyvojaf8.jpg


IMG_20180704_164111_zpsxzvwyils.jpg


IMG_20180704_164118_zpsfzyugqcu.jpg


Adhered into position
IMG_20180705_082724_zpsbkkibqts.jpg


IMG_20180705_082729_zpshehmr9ib.jpg


IMG_20180705_082735_zpsve0i1khm.jpg


When I cut the main trim pieces I also cut the panels all at once. This gave me a perfect alignment tool/guide to use. Lay in place within the trim pieces
IMG_20180705_085911_zpssxicrxun.jpg


Adhere the panels
IMG_20180705_091509_zpscmljyu6h.jpg


IMG_20180705_091516_zpsrp02bzjo.jpg


IMG_20180705_091524_zpsc5wkguxj.jpg


Remove the guides
IMG_20180705_094338_zps9pcia80y.jpg


Primer
IMG_20180705_094511_zpse5562rnn.jpg


IMG_20180705_094522_zps0znkgu15.jpg


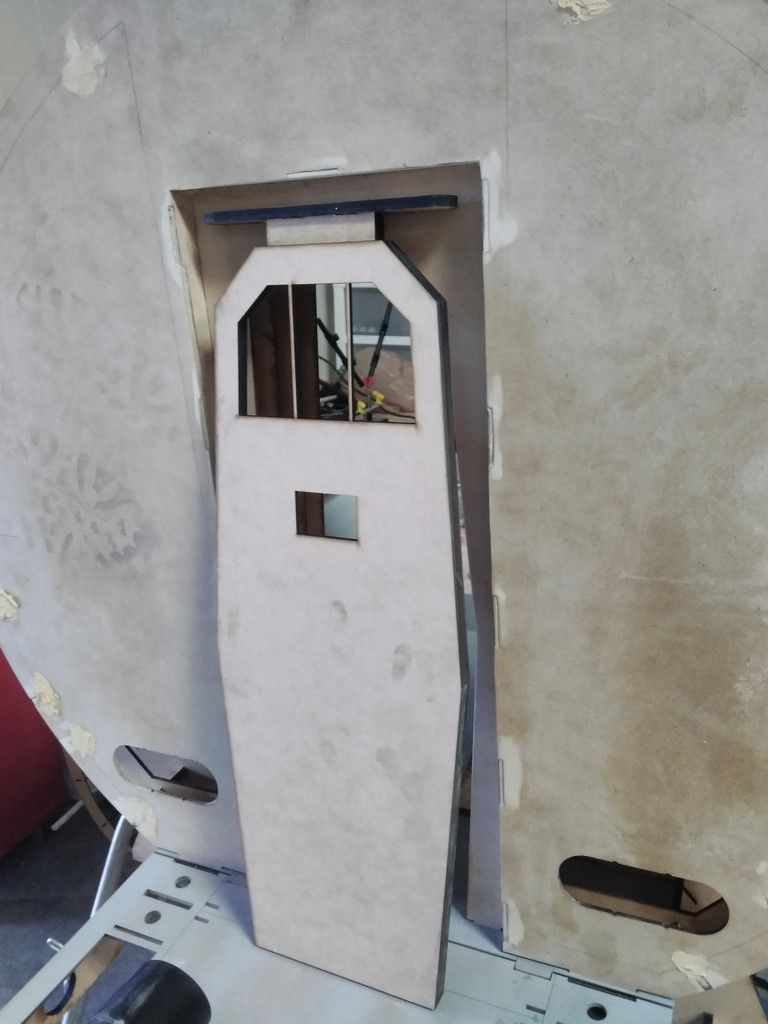
Let's jump to the door... Started with two 1/4" layers of MDF
IMG_20180704_134559_zps6eflrvmu.jpg


I added once "face" side to the basic frame (no greeblie details yet - I'm debating whether to add some LEDs to the door)
IMG_20180704_135652_zpsv9cptcyk.jpg


Back side to remain open for now
IMG_20180704_135705_zpsaauq7fmu.jpg


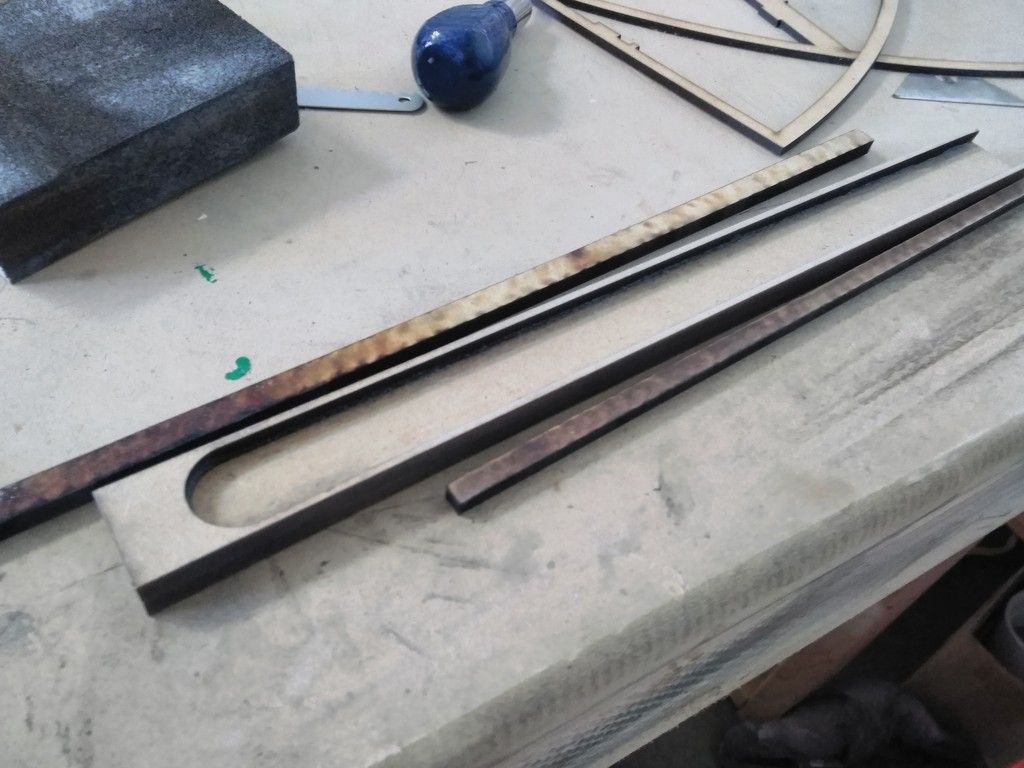
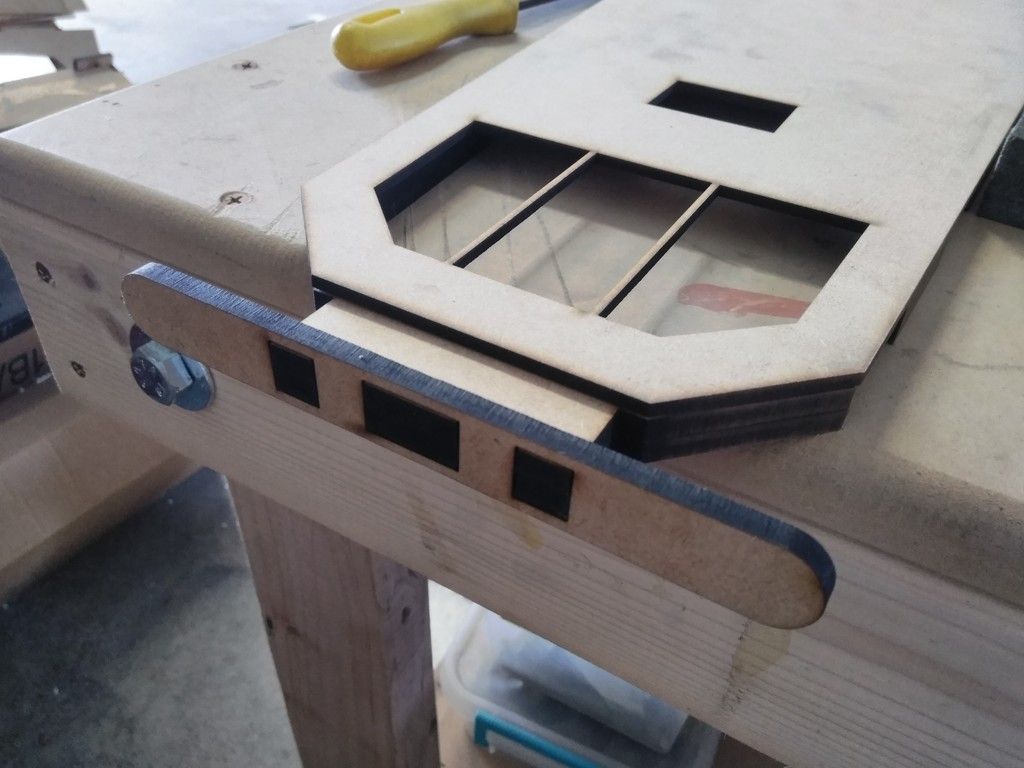
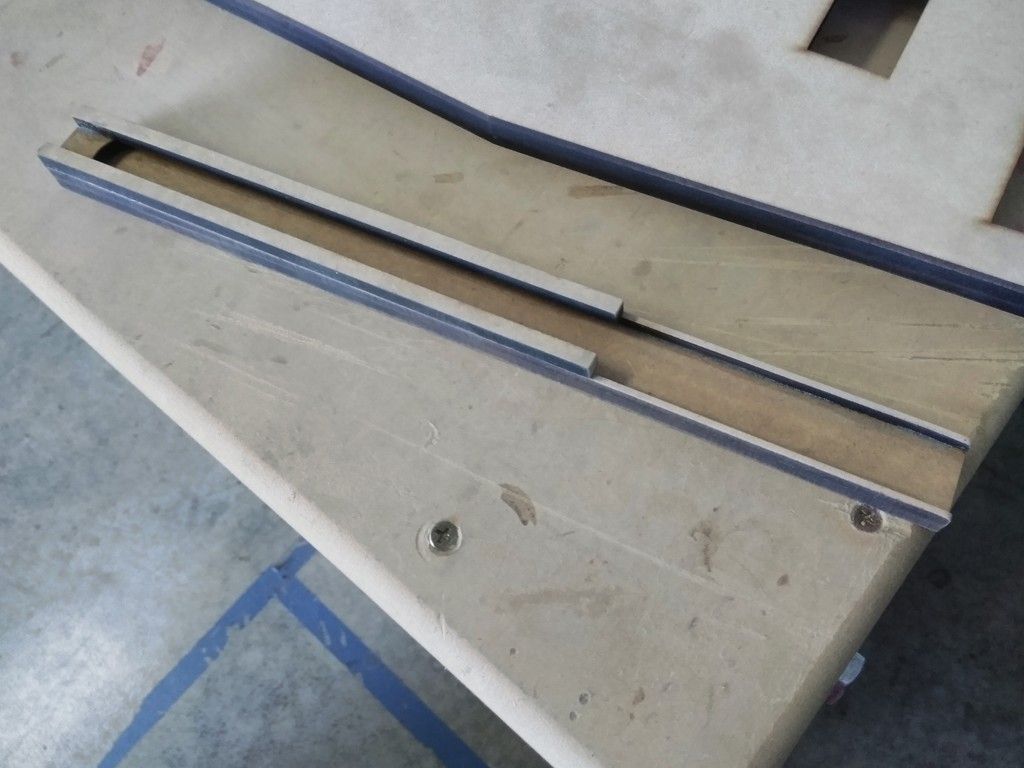
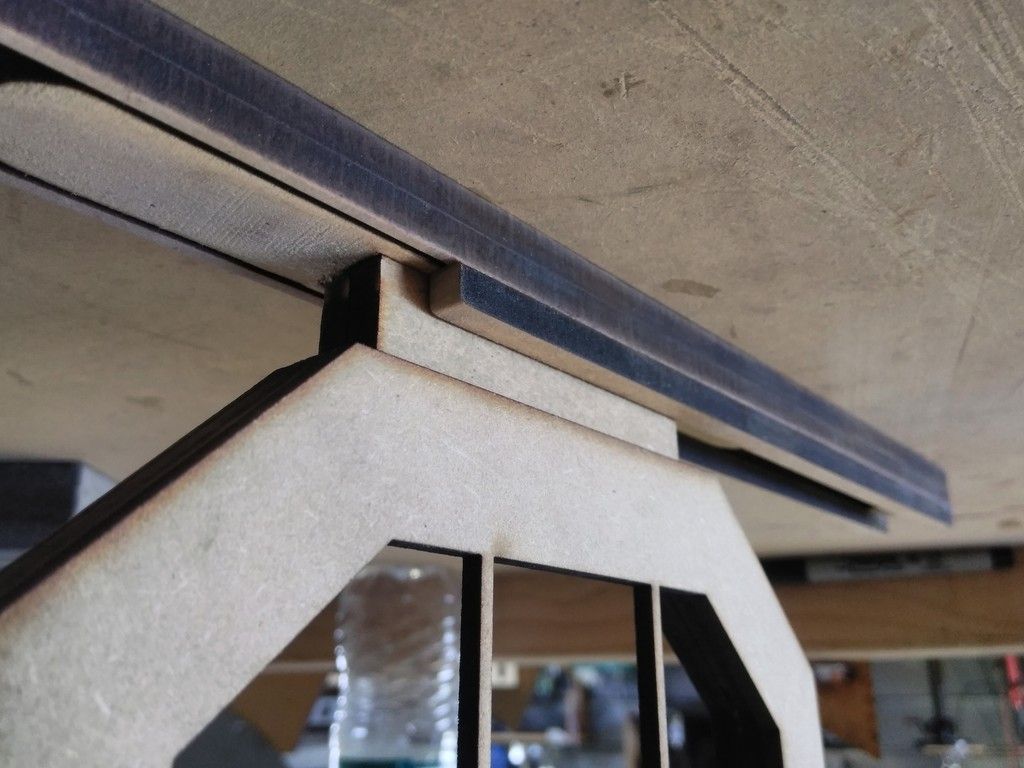
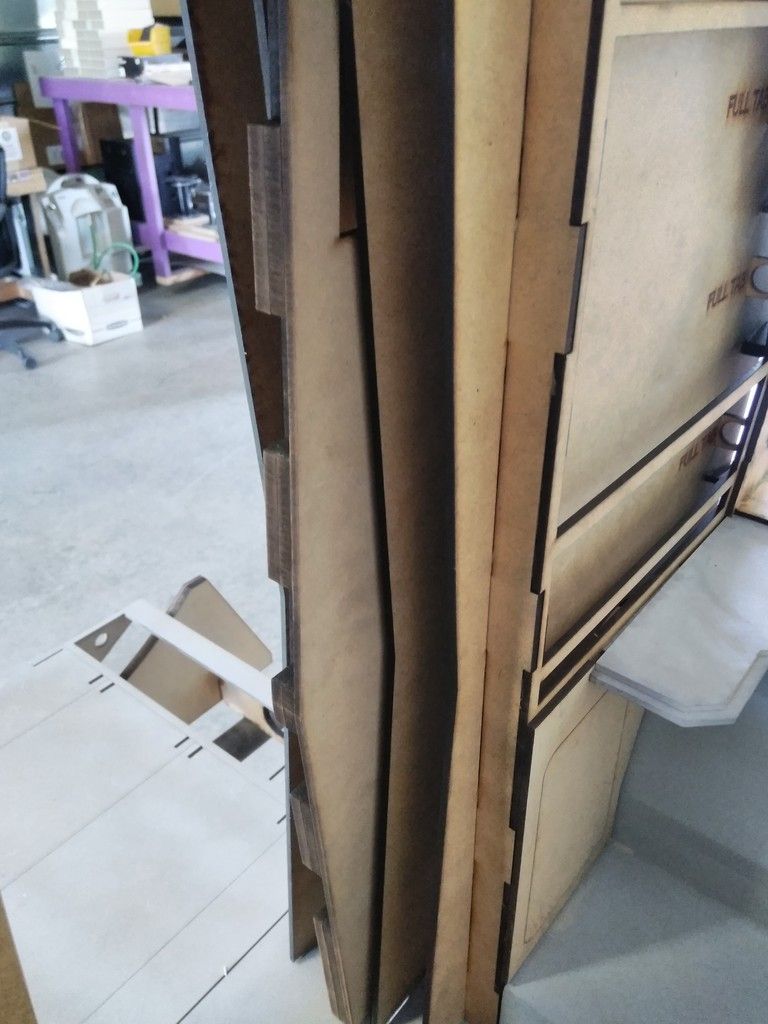
I then designed a track system for the door to slide open and close - very simple and basic
IMG_20180704_161423_zps7gpvzr3e.jpg


From the top of the door
IMG_20180704_161428_zpsobobv85r.jpg


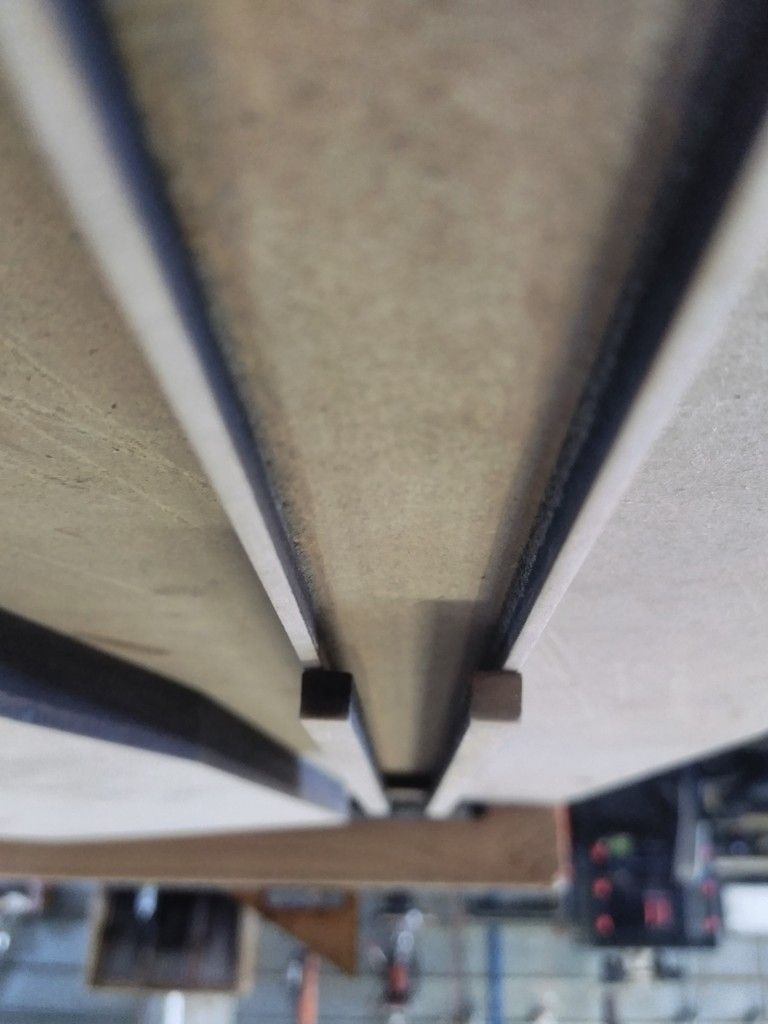
The top piece rests inside the track
IMG_20180704_161440_zpswnfhwonz.jpg


The track is then covered with two pieces of MDF on each side
IMG_20180704_162802_zps8gpzbf6j.jpg


That's the basic door track
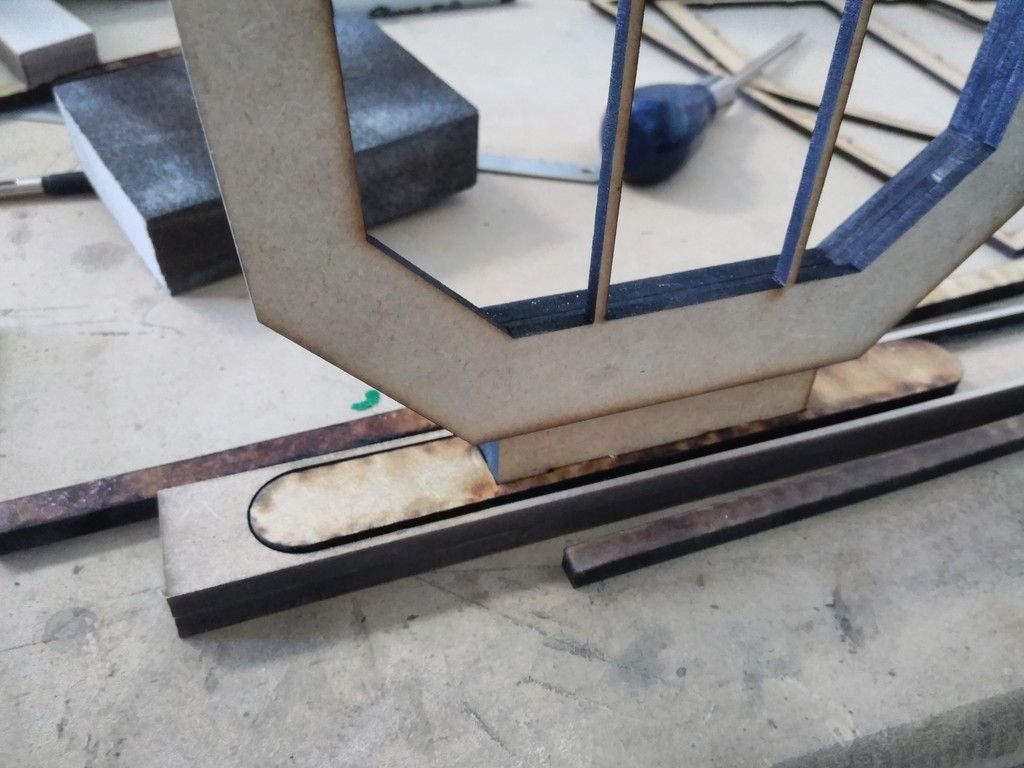
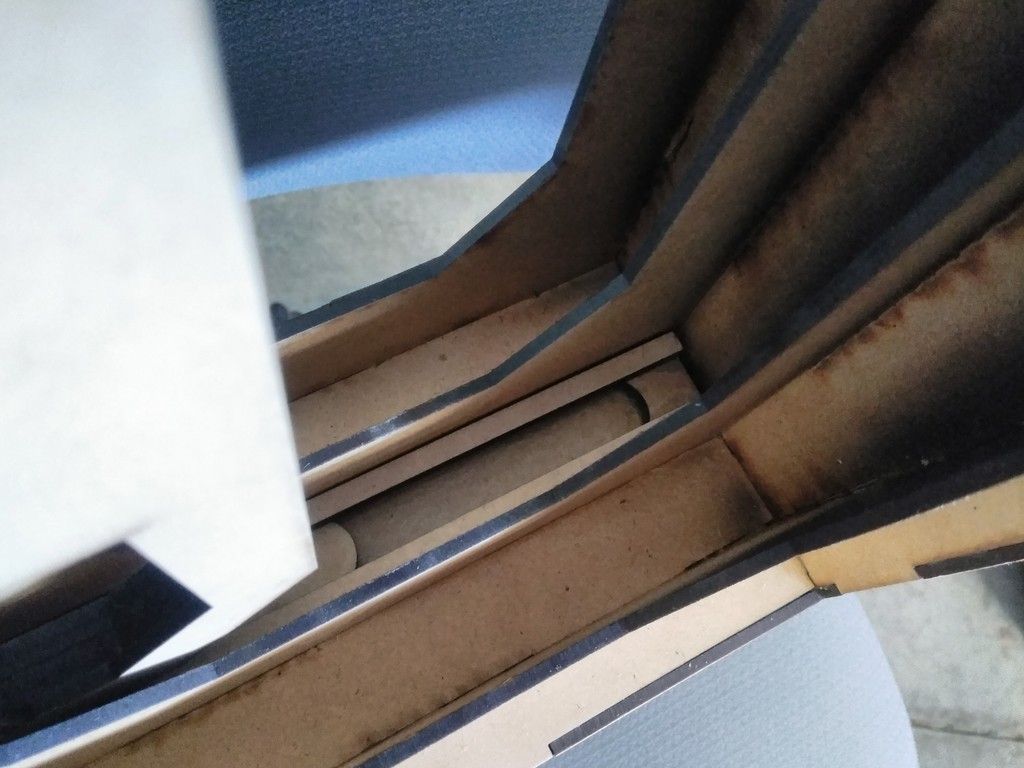
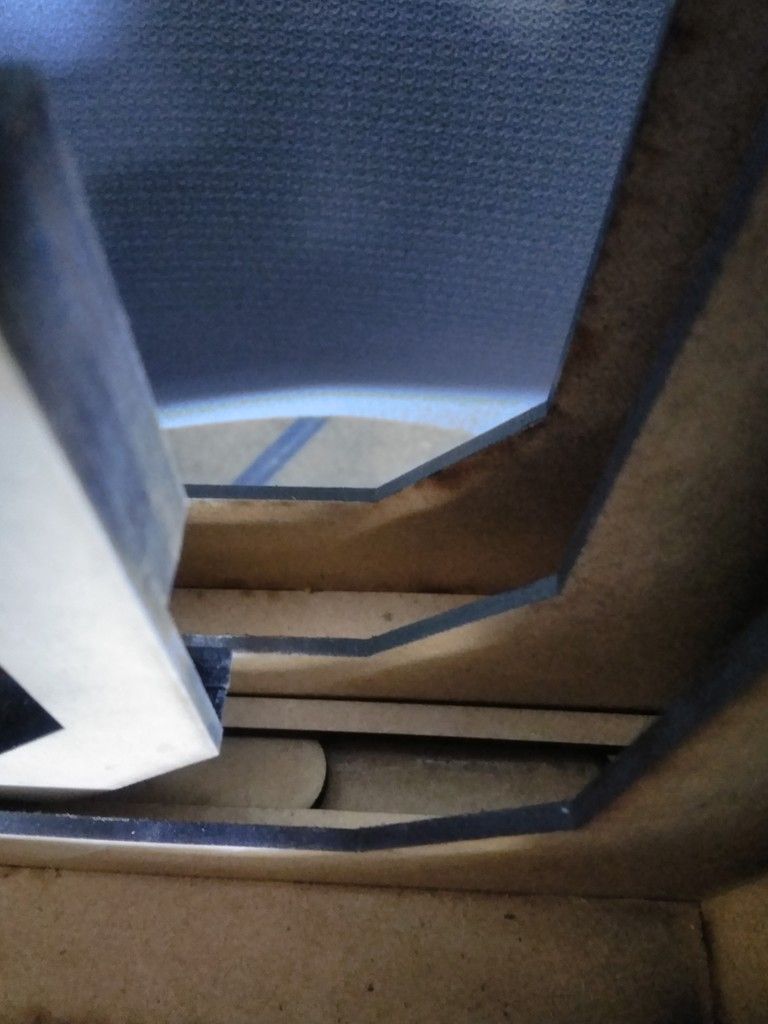
IMG_20180704_162808_zpsytjs4lta.jpg


Up close
IMG_20180704_162832_zps5lgt5jan.jpg


Track adhered into position - looking into the door housing
IMG_20180704_163208_zpsgdmcrhdf.jpg


Slides pretty well
IMG_20180704_163222_zpshqlrstxe.jpg


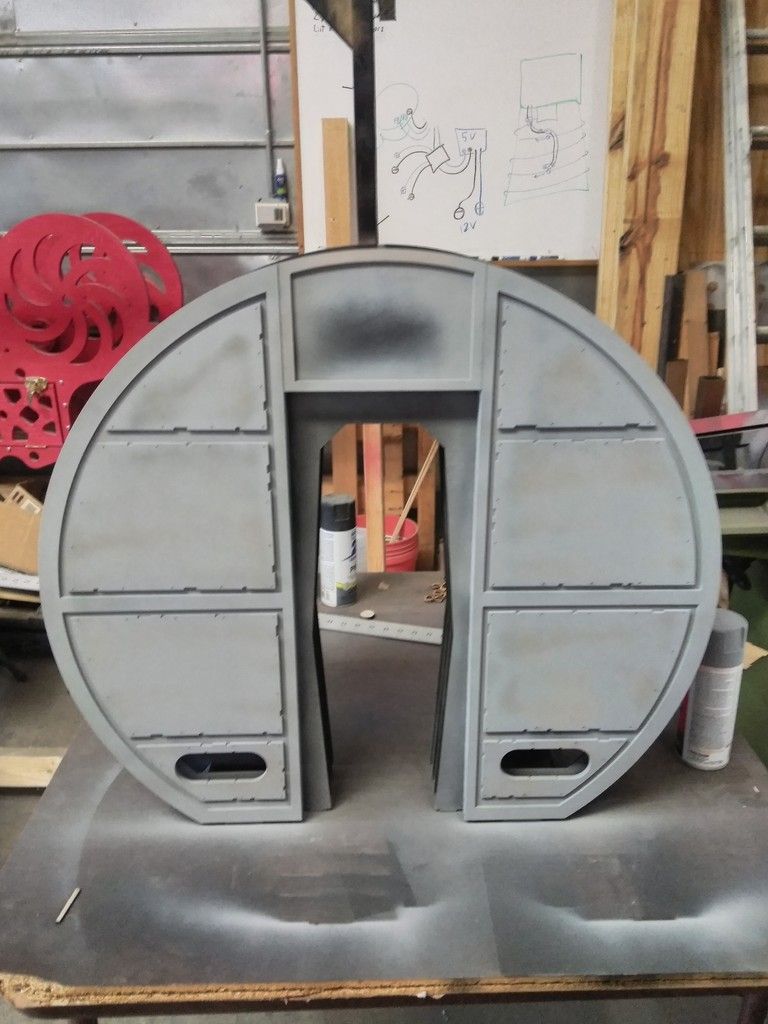
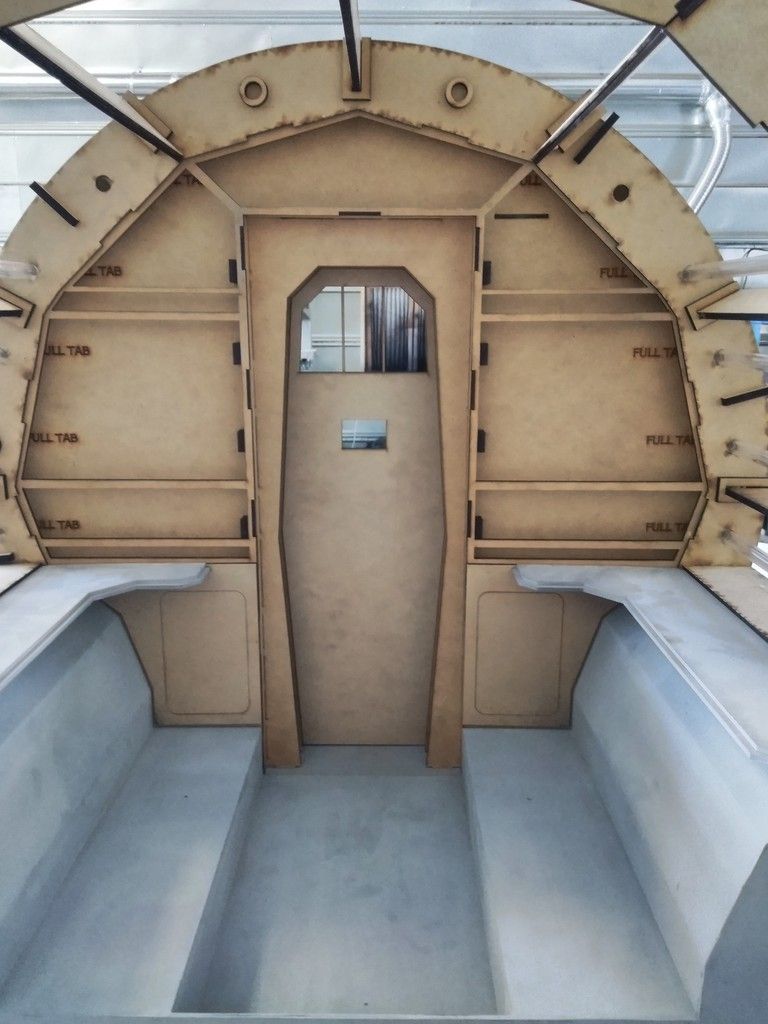
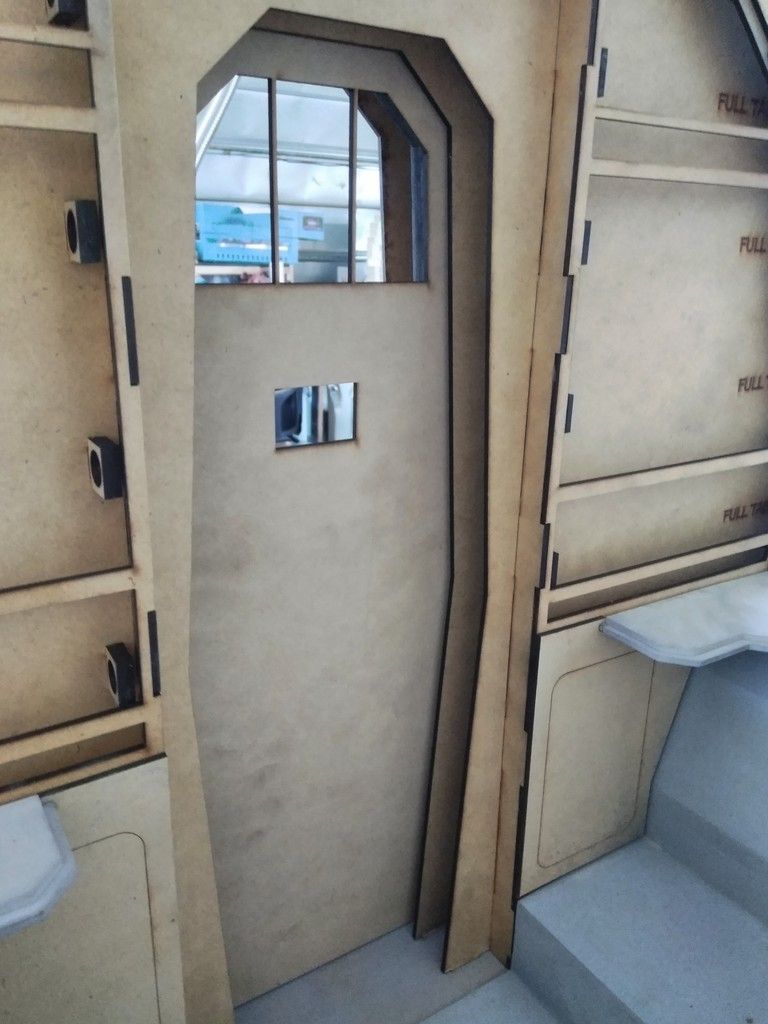
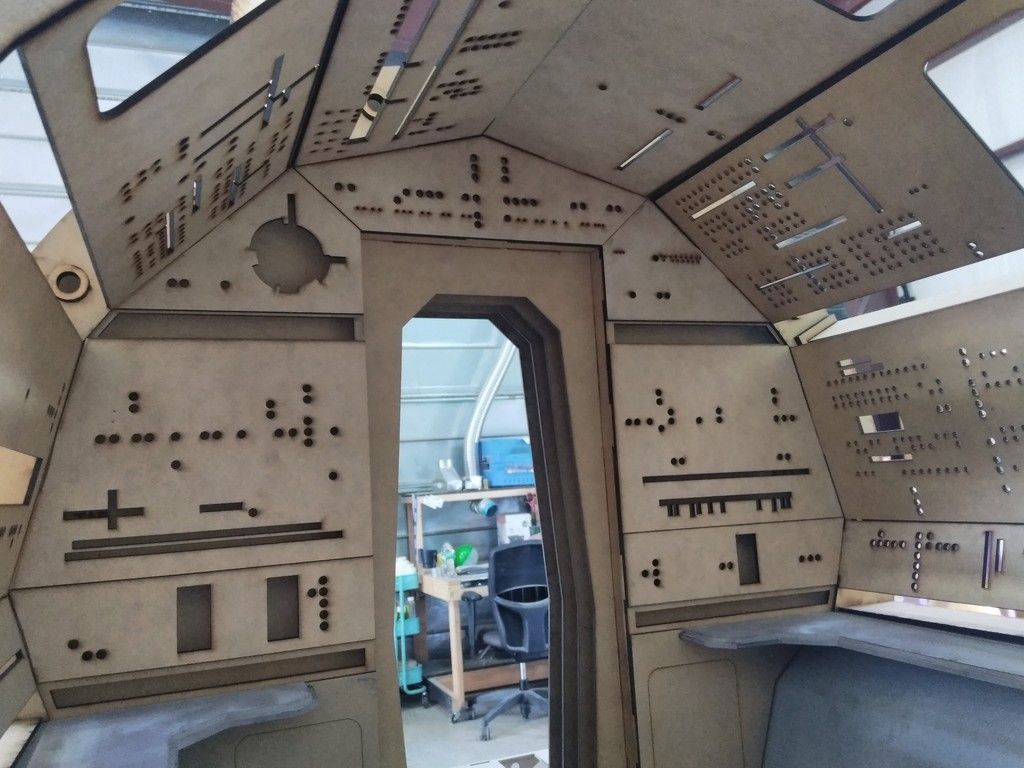
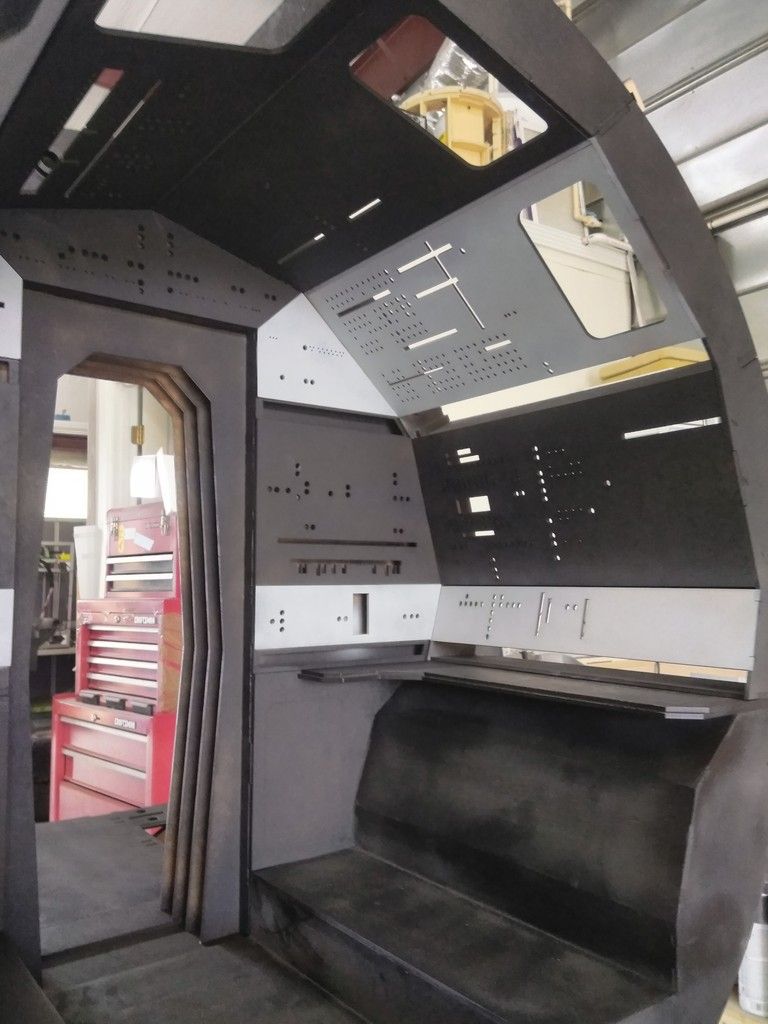
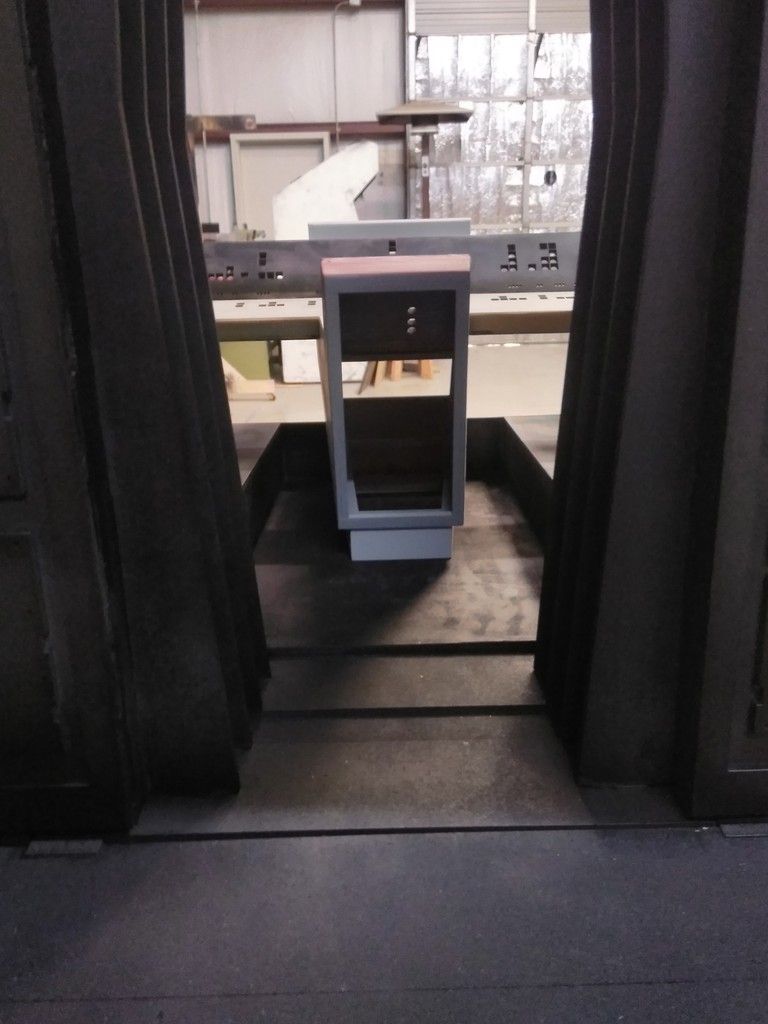
Cockpit side - with door!
IMG_20180704_163824_zpsfoercxec.jpg


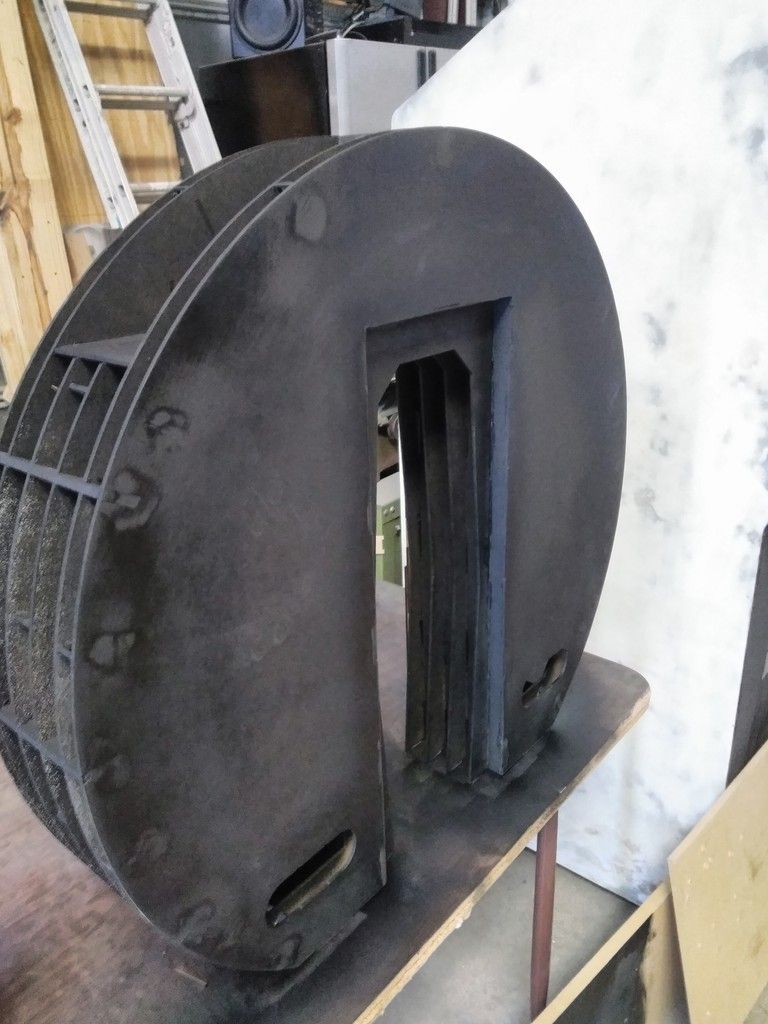
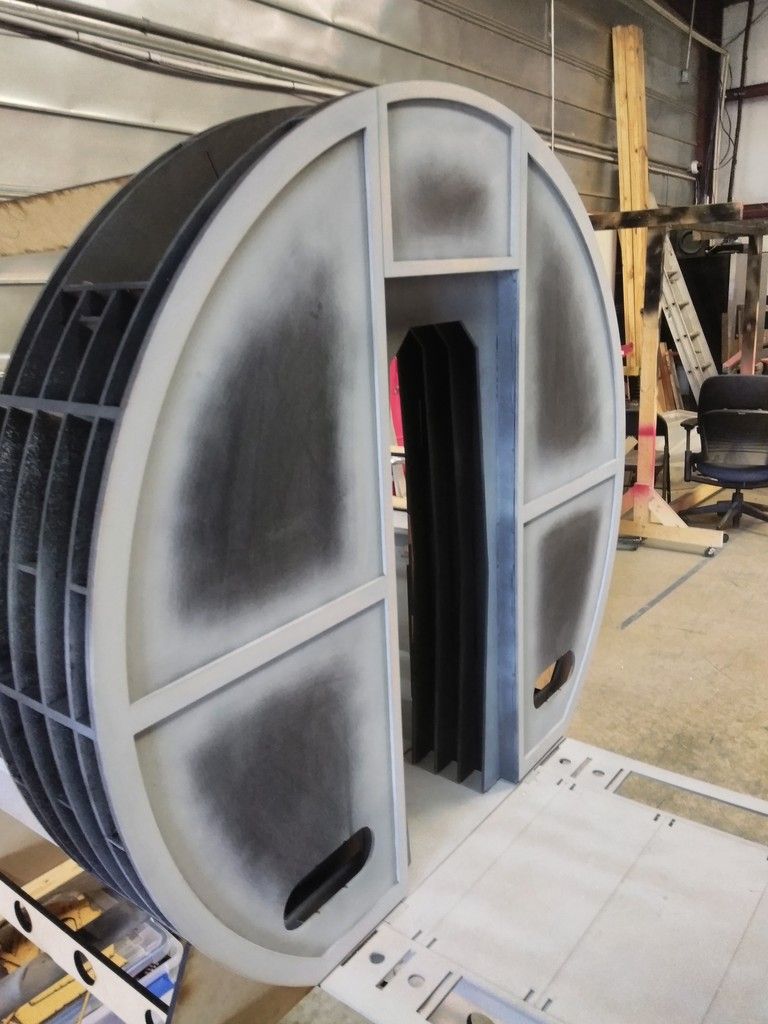
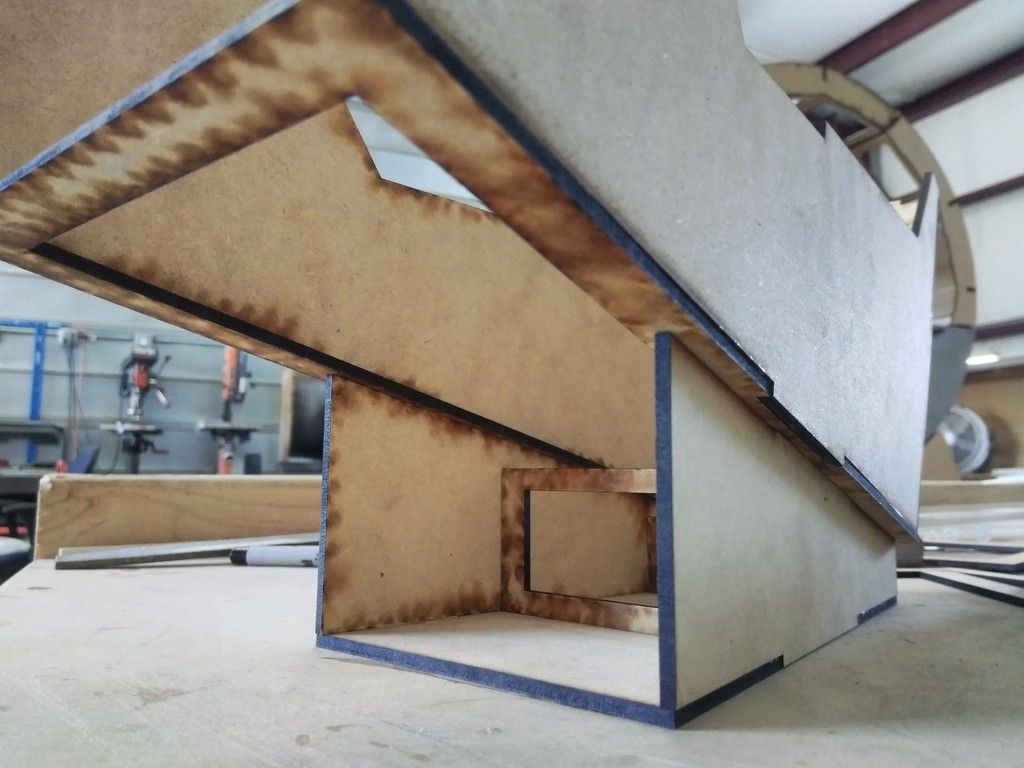
There are 6 individual large MDF pieces cut creating 5 different layers to the door housing. I had to increase the depth of the "Pad" and "Door" sections to allow for all the LED strips/wiring, acrylic tubes and the door to slide. I'm hoping the spacing will look ok
IMG_20180704_163834_zpsjiemp5mb.jpg


Because of the outer radius of the main cockpit body, the door doesn't open all the way
IMG_20180704_163932_zpszyxivnlq.jpg


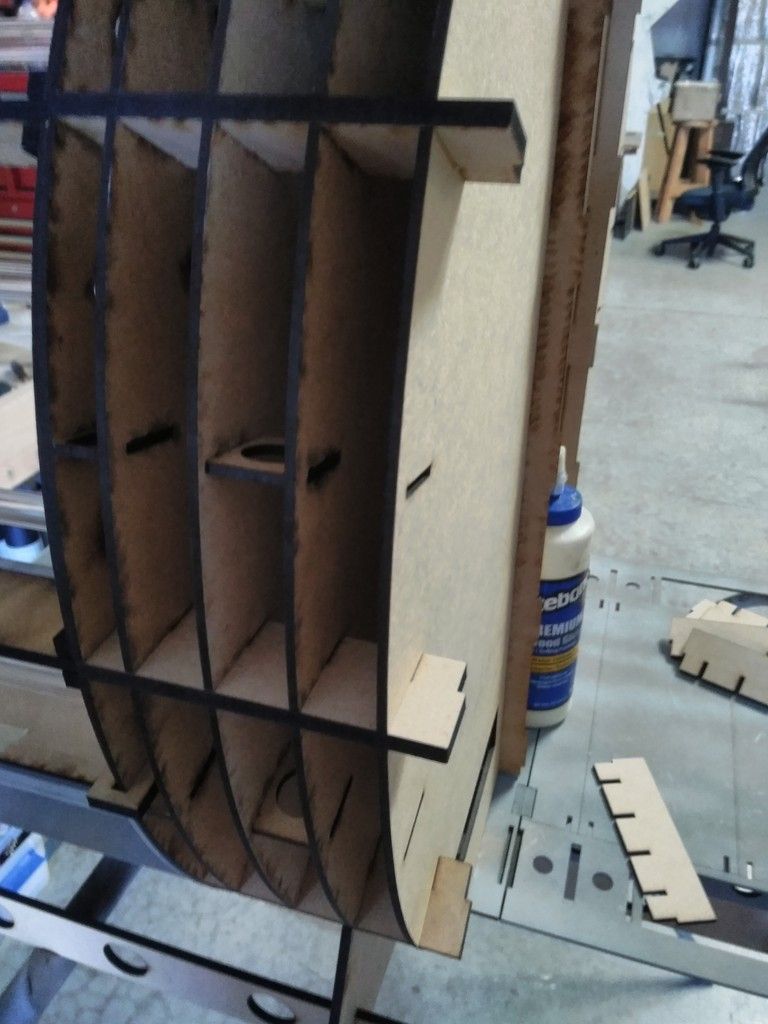
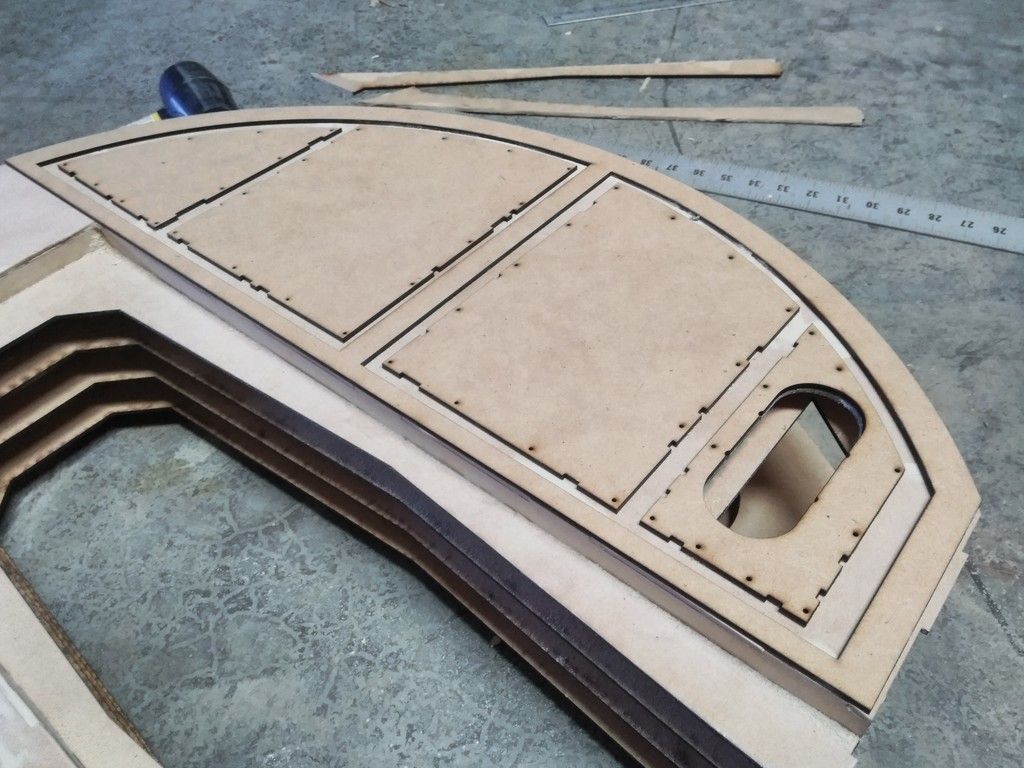
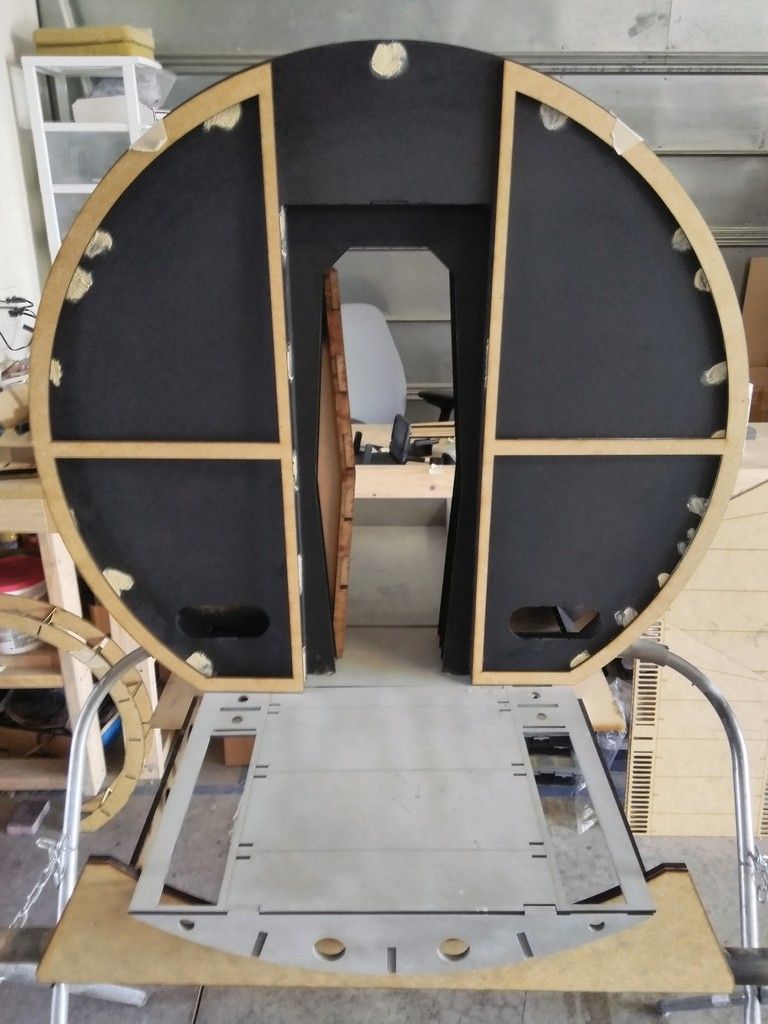
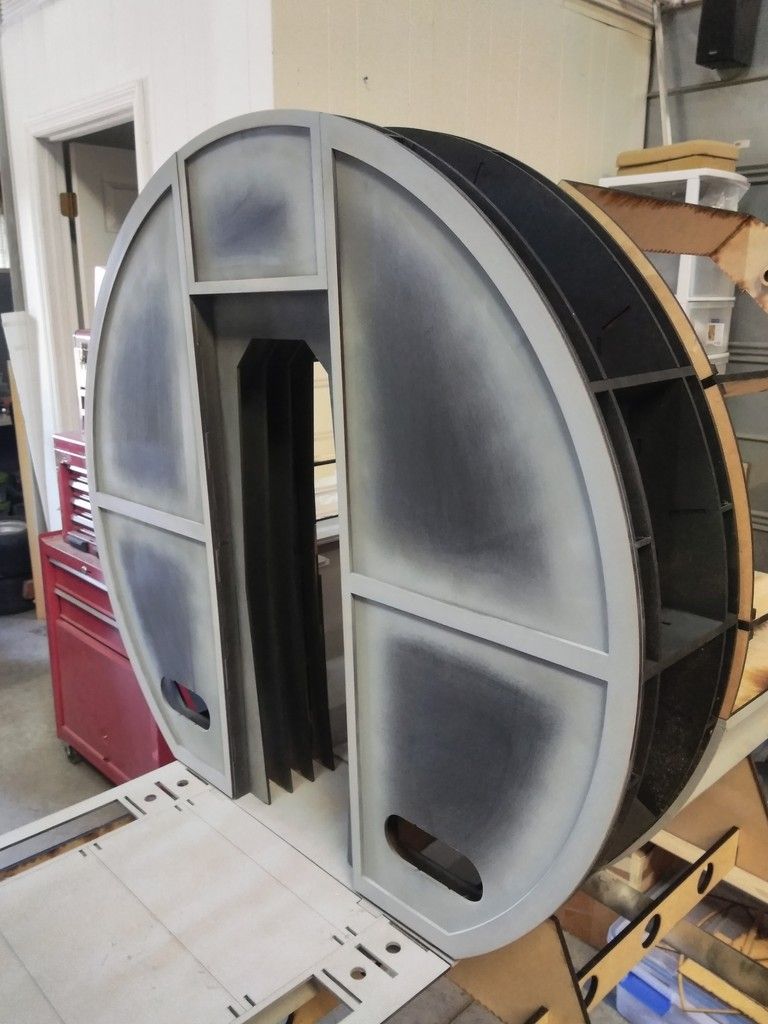
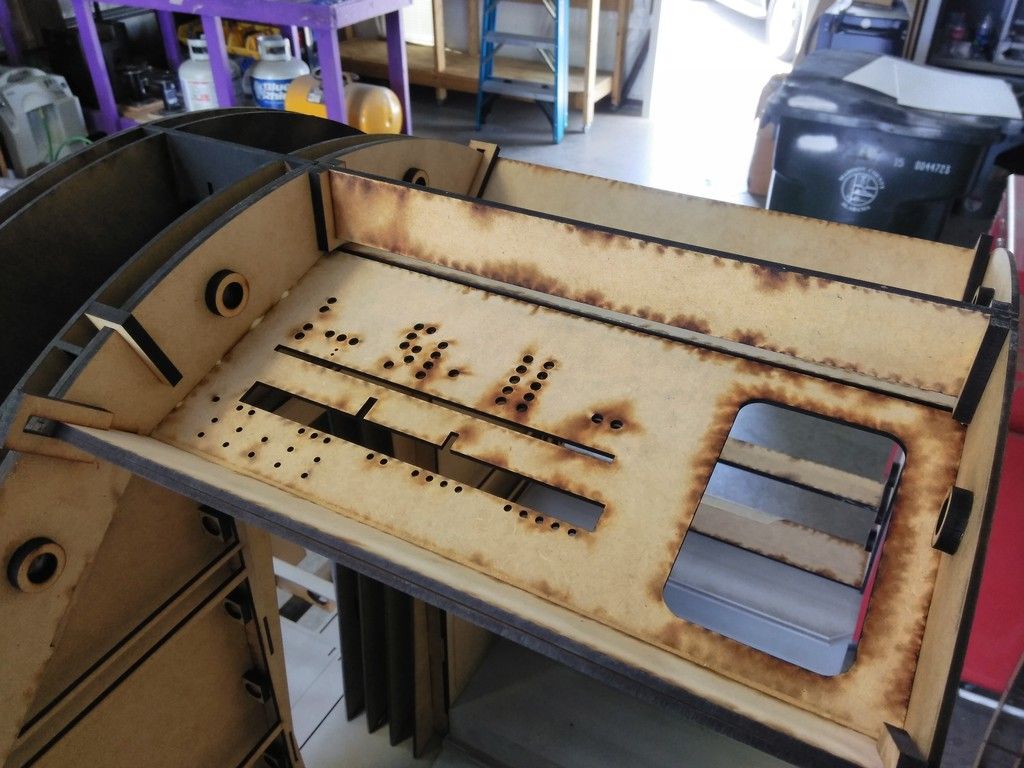
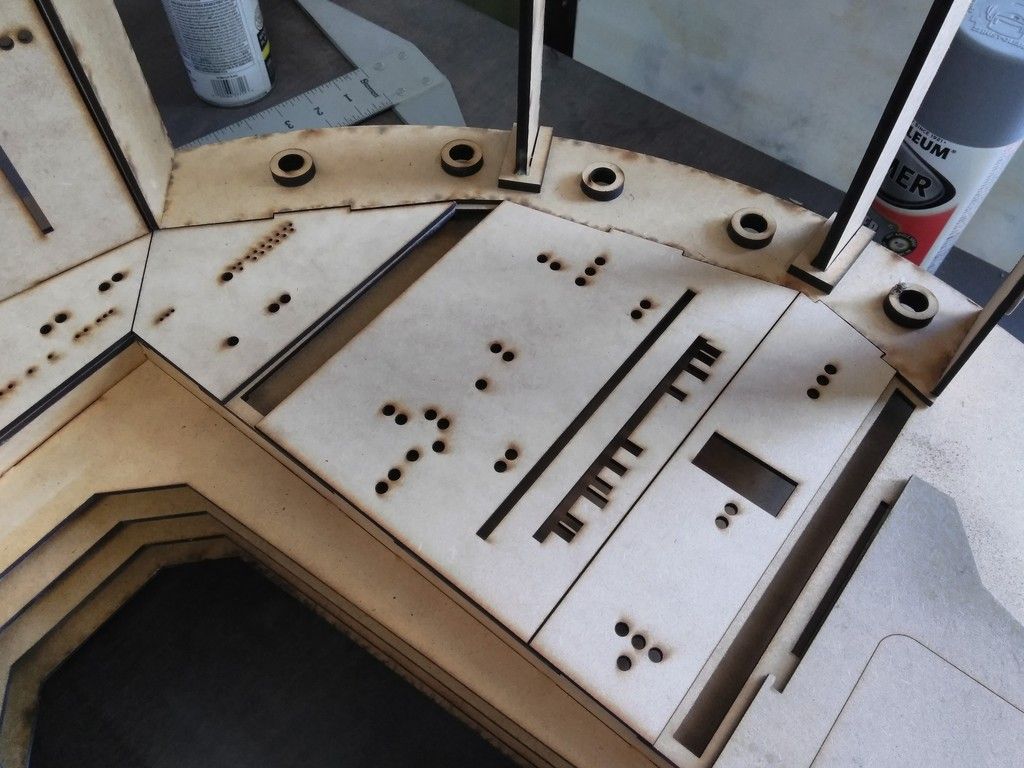
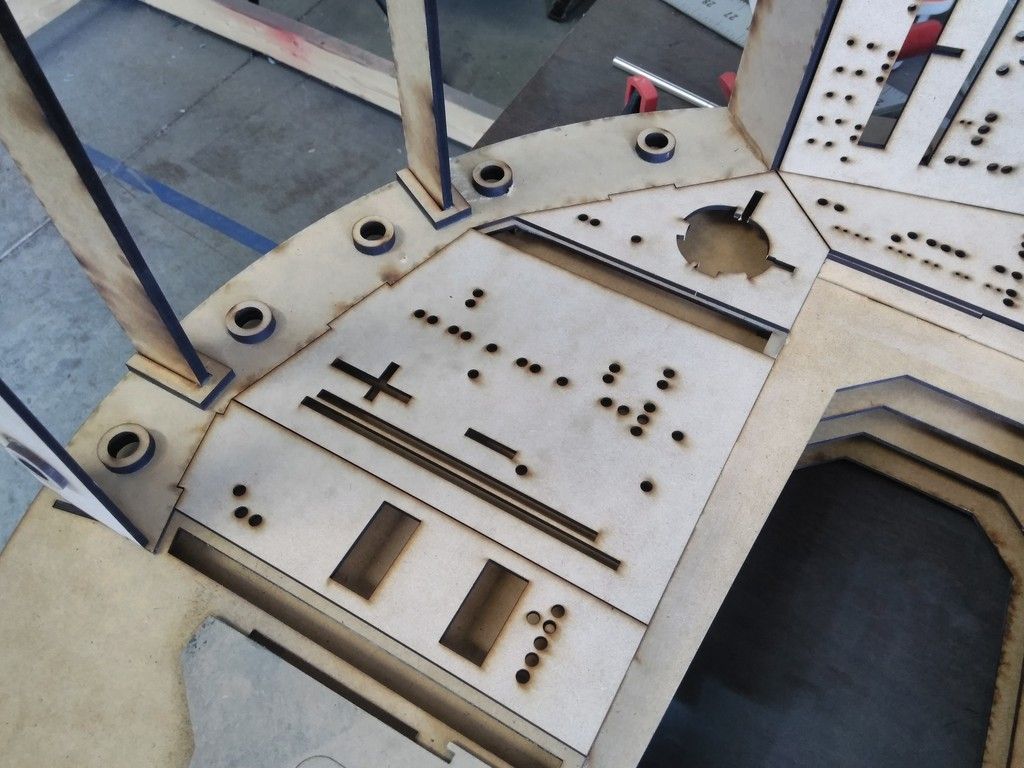
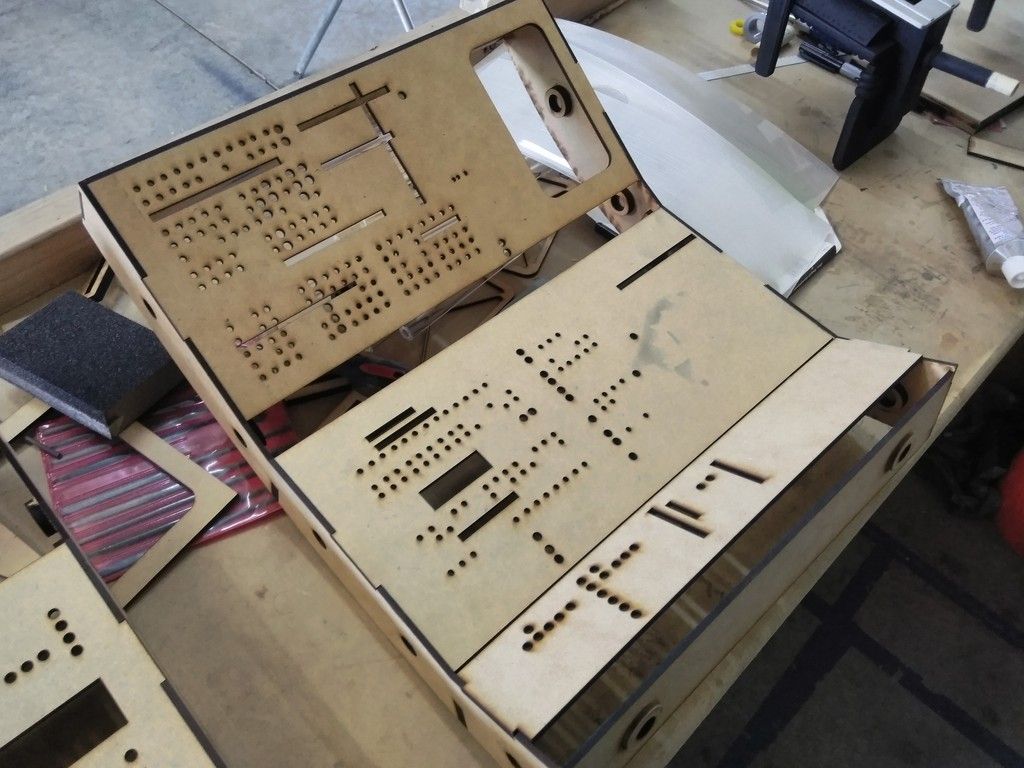
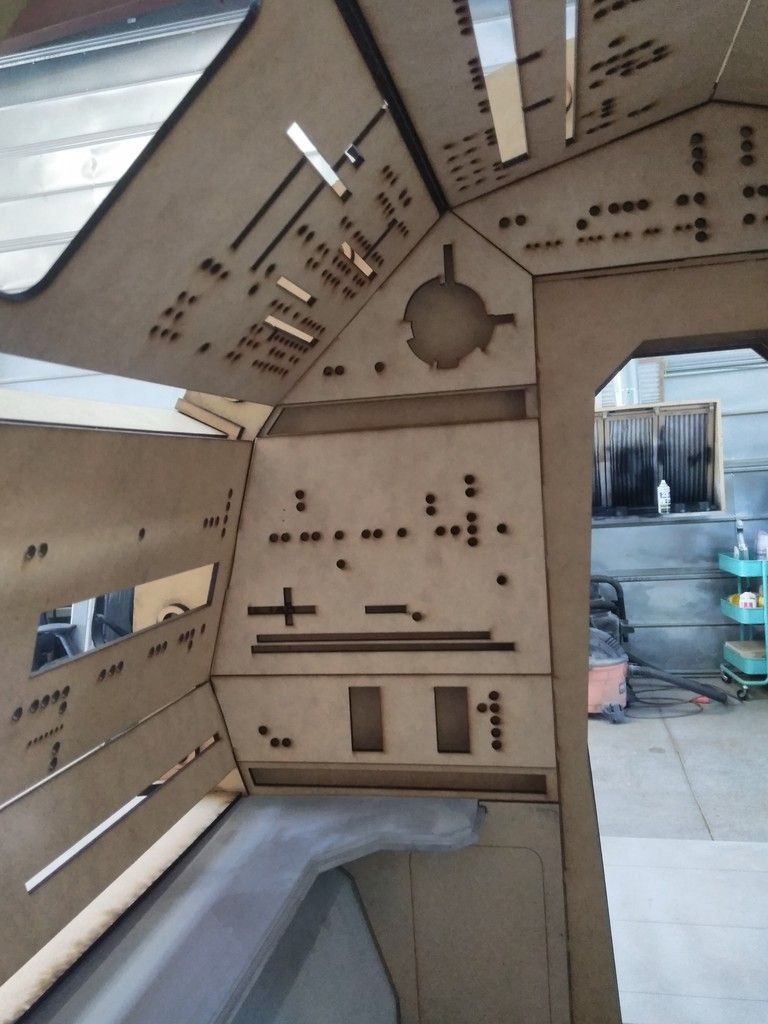
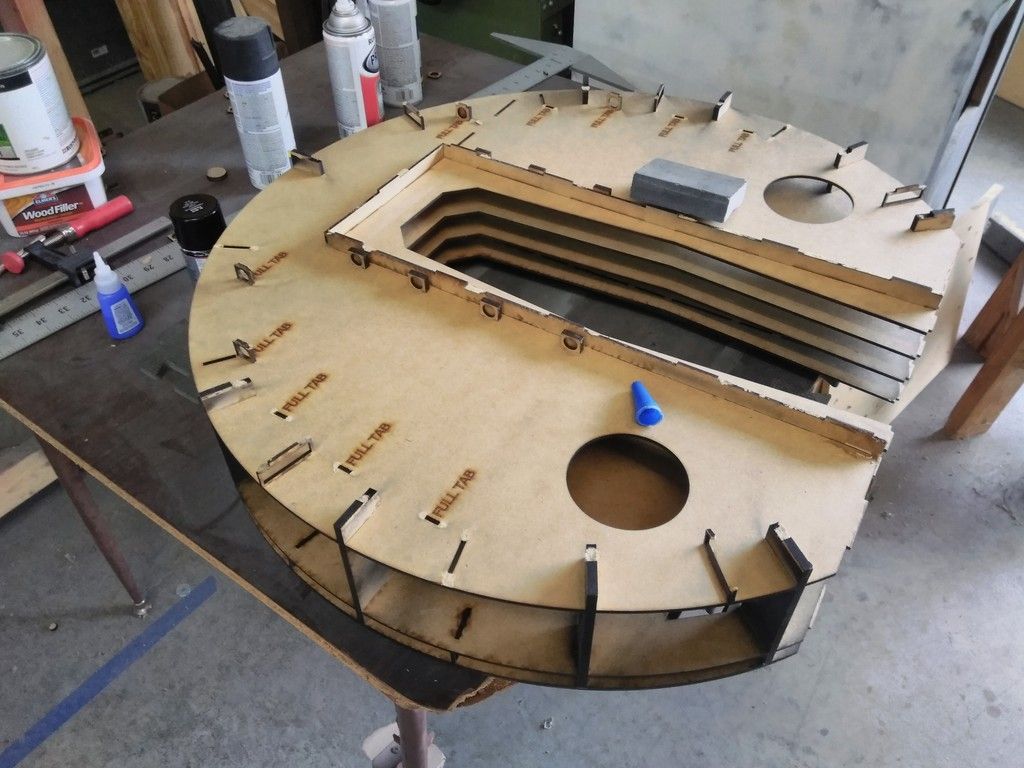
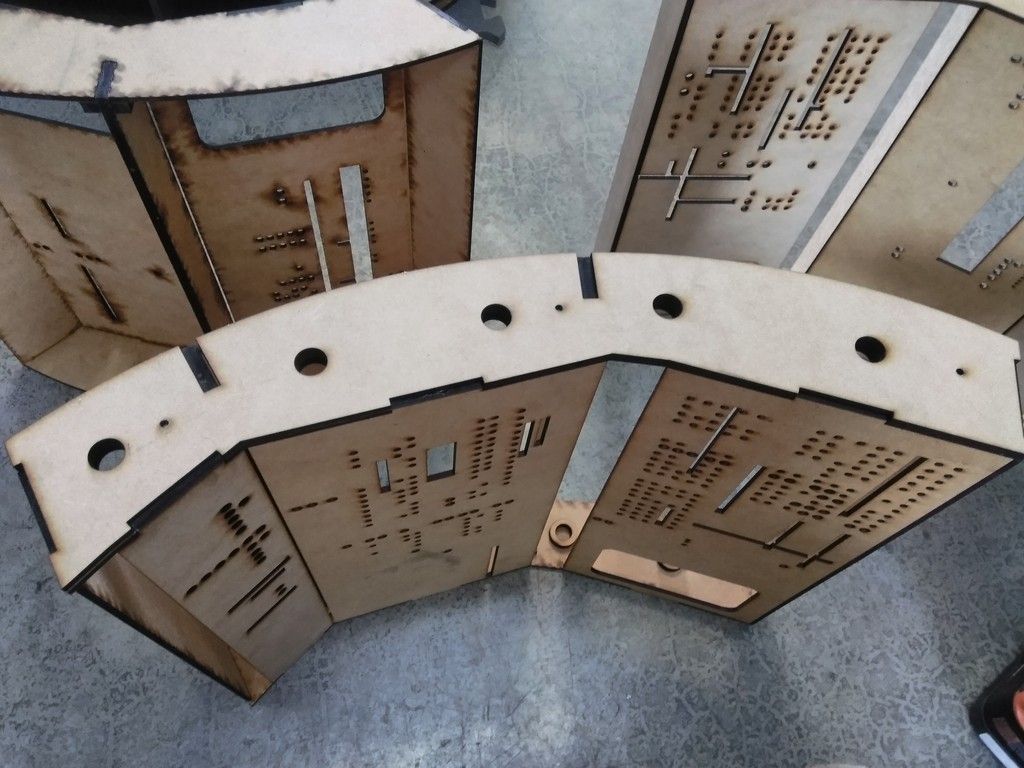
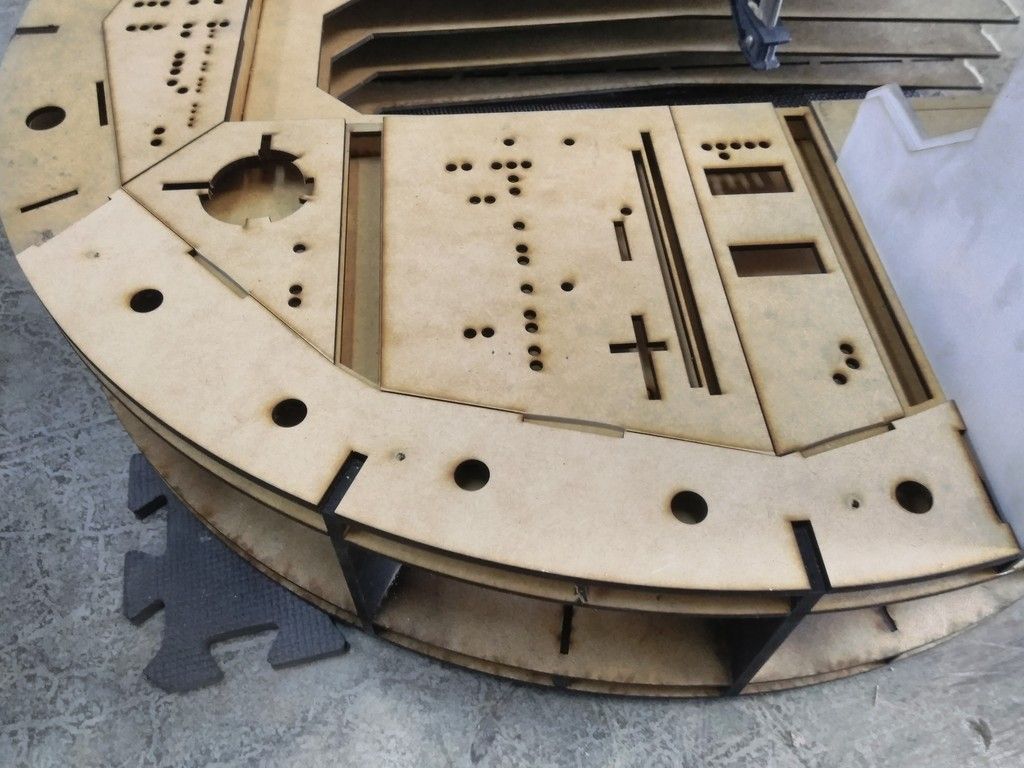
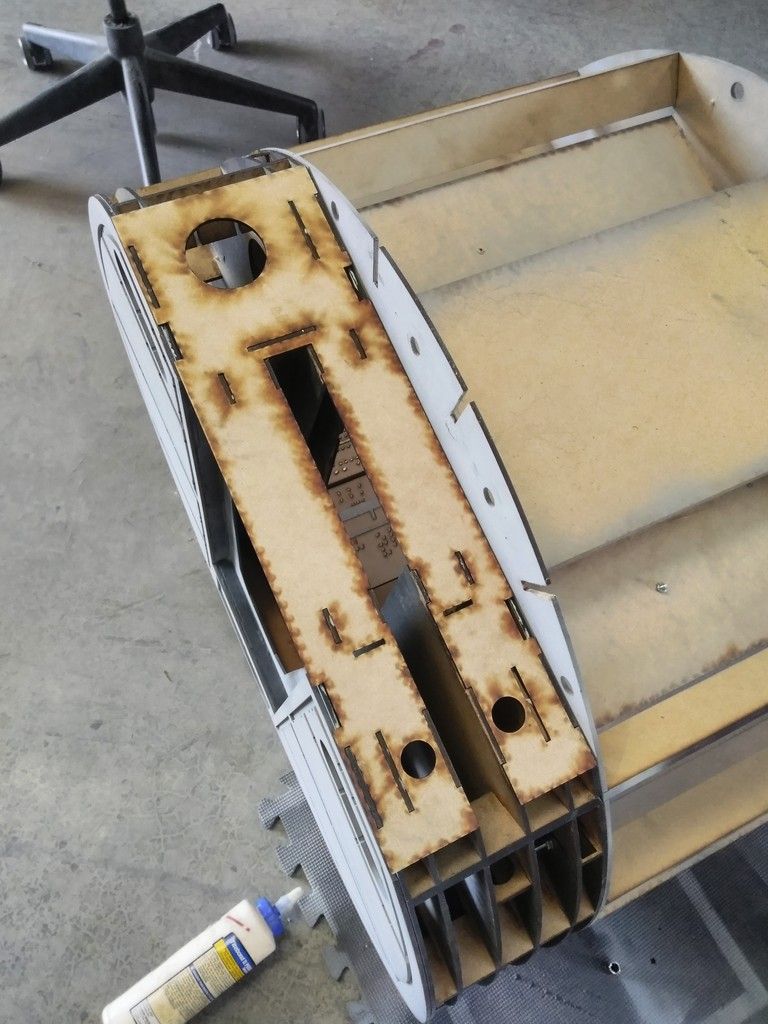
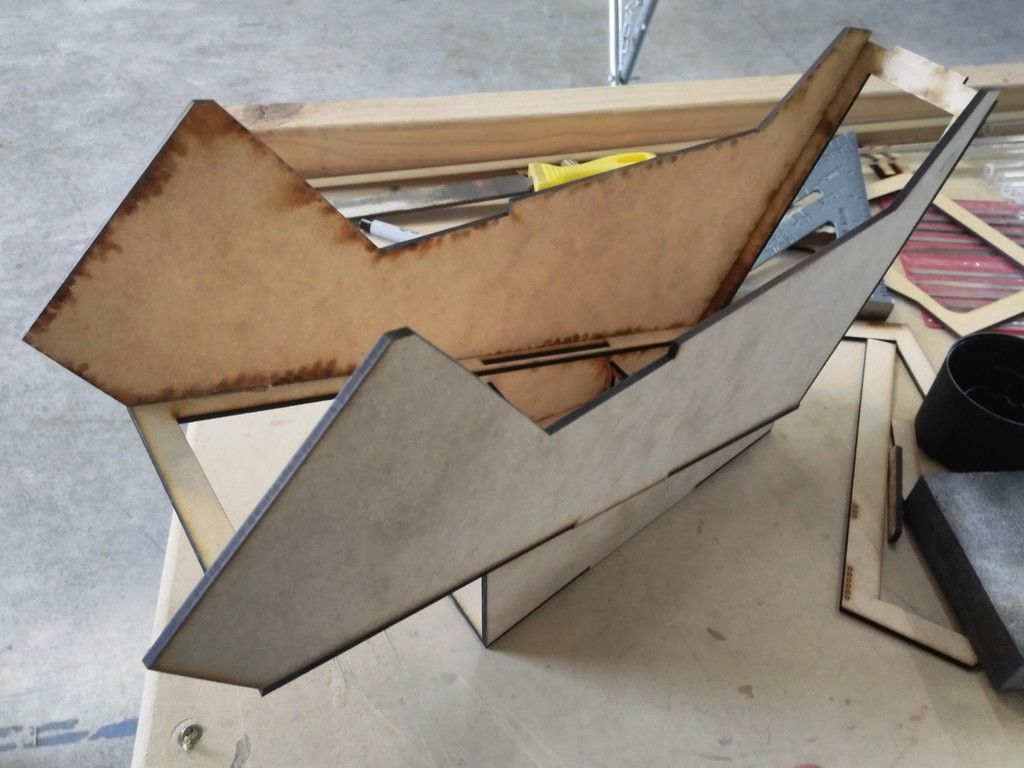
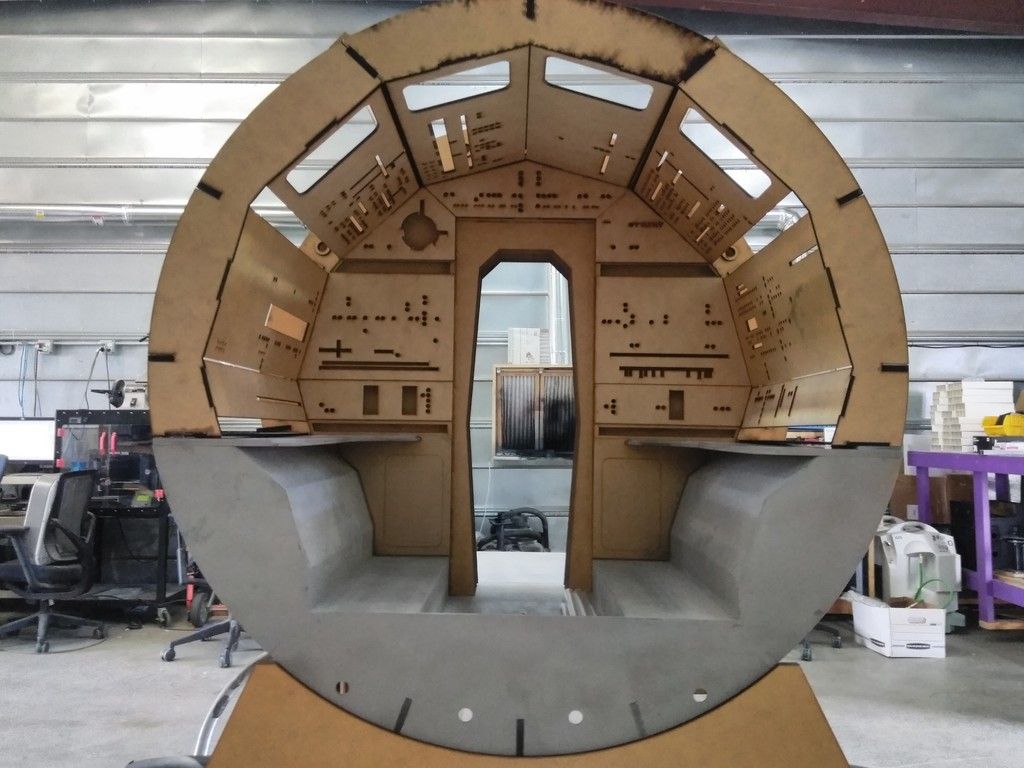
I then moved on to the main body panels
IMG_20180705_105545_zpscdfnksn6.jpg


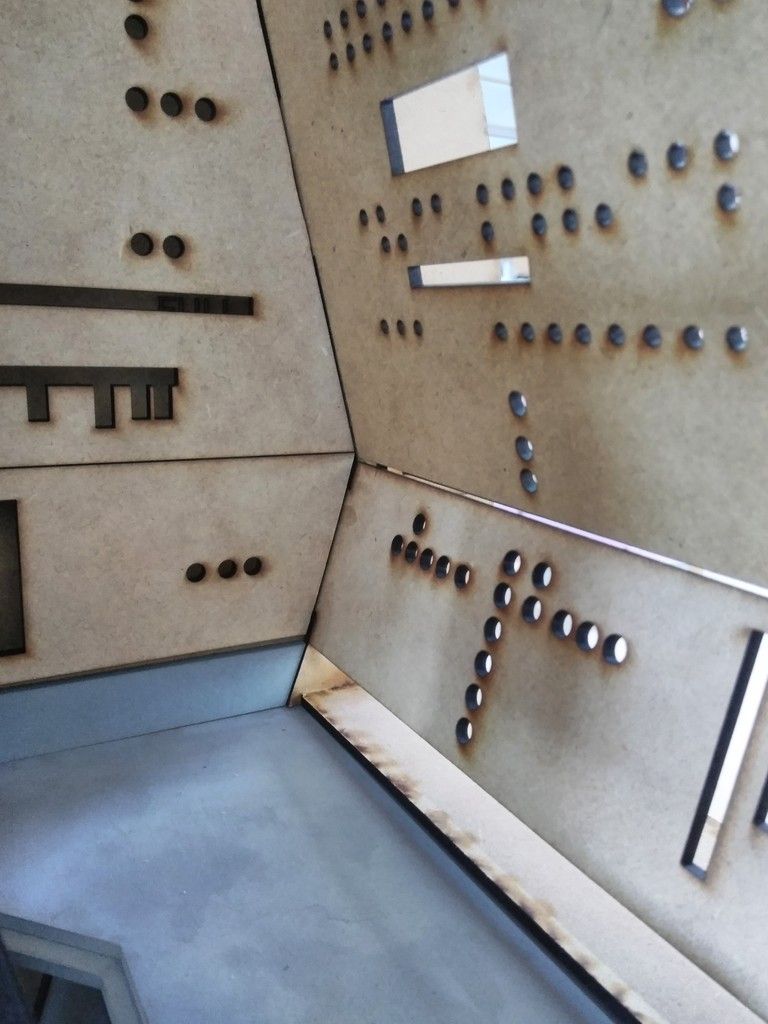
Let's get all these interior sub-panels laser cut and dry fit!
IMG_20180705_131502_zpsnglv2iam.jpg


WOW... everything still aligns!
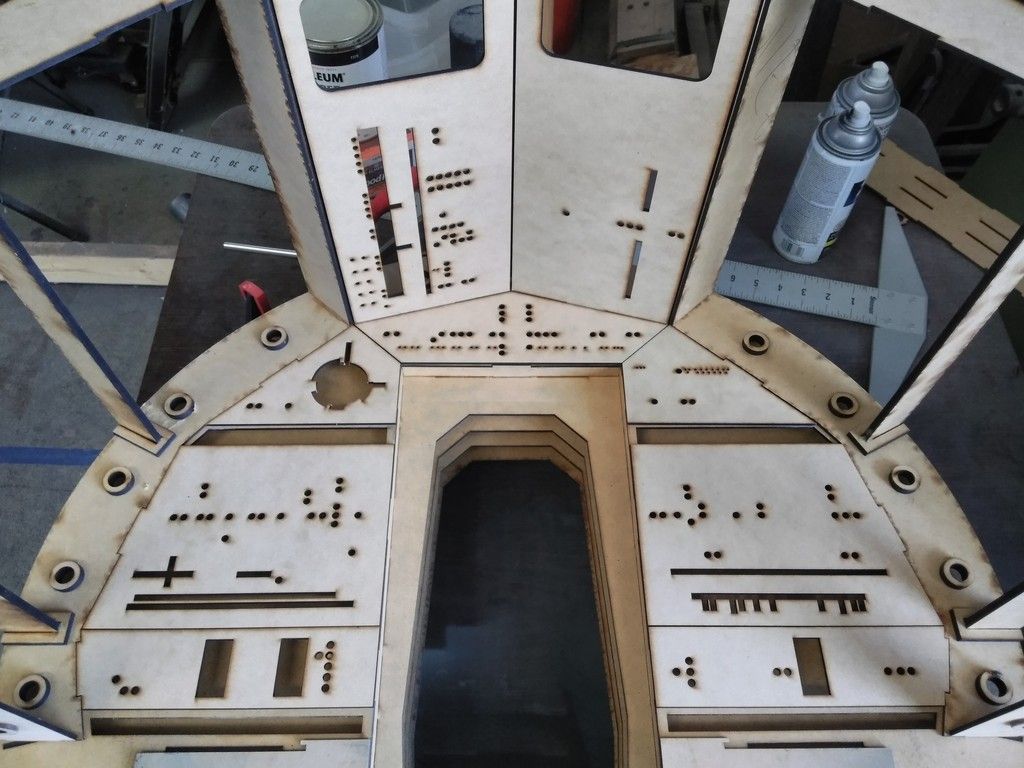
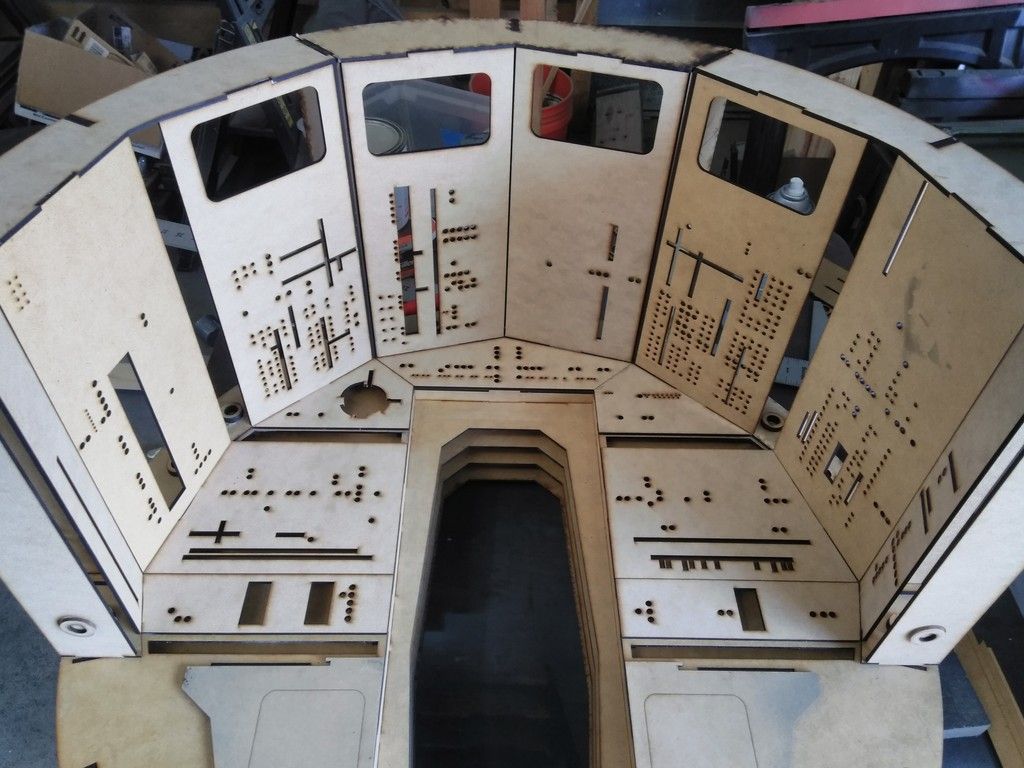
IMG_20180705_131507_zpsqdjz0ytr.jpg


IMG_20180705_131511_zpsanq5chmb.jpg


Adhering into place
IMG_20180705_142425_zpsp62jc7ka.jpg


IMG_20180705_142437_zps0j1uenvy.jpg


IMG_20180705_143441_zpsy1yucygx.jpg


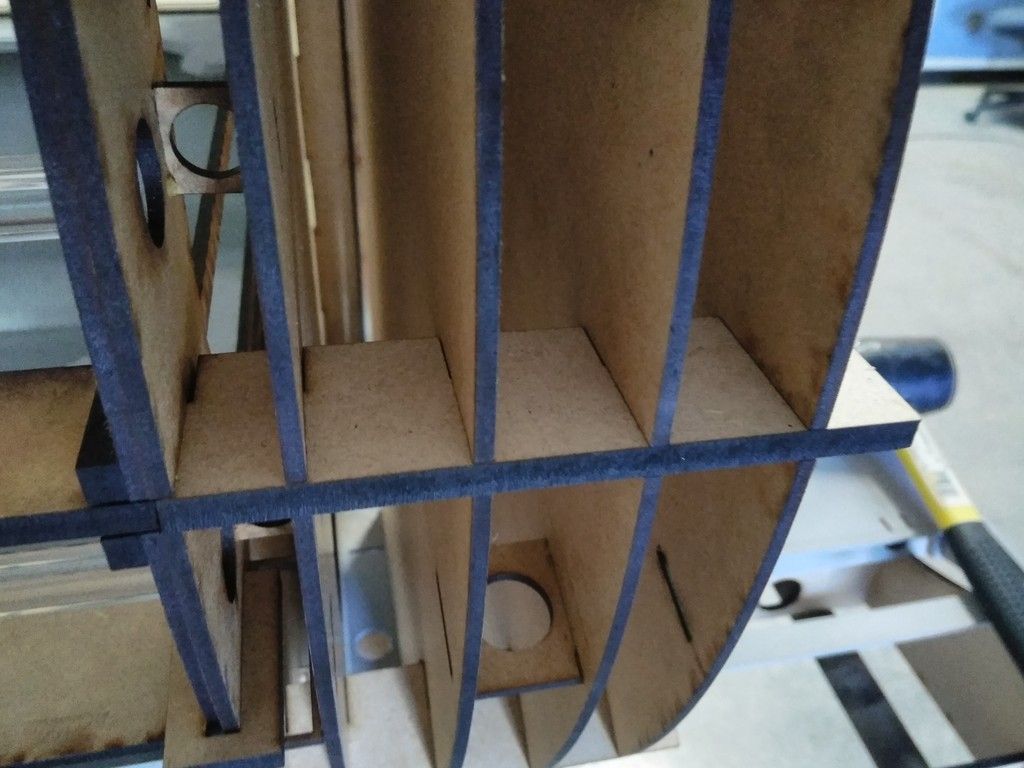
As difficult as it was to design and align everything... it's been a total blast!
IMG_20180705_150023_zpsktrkntaj.jpg


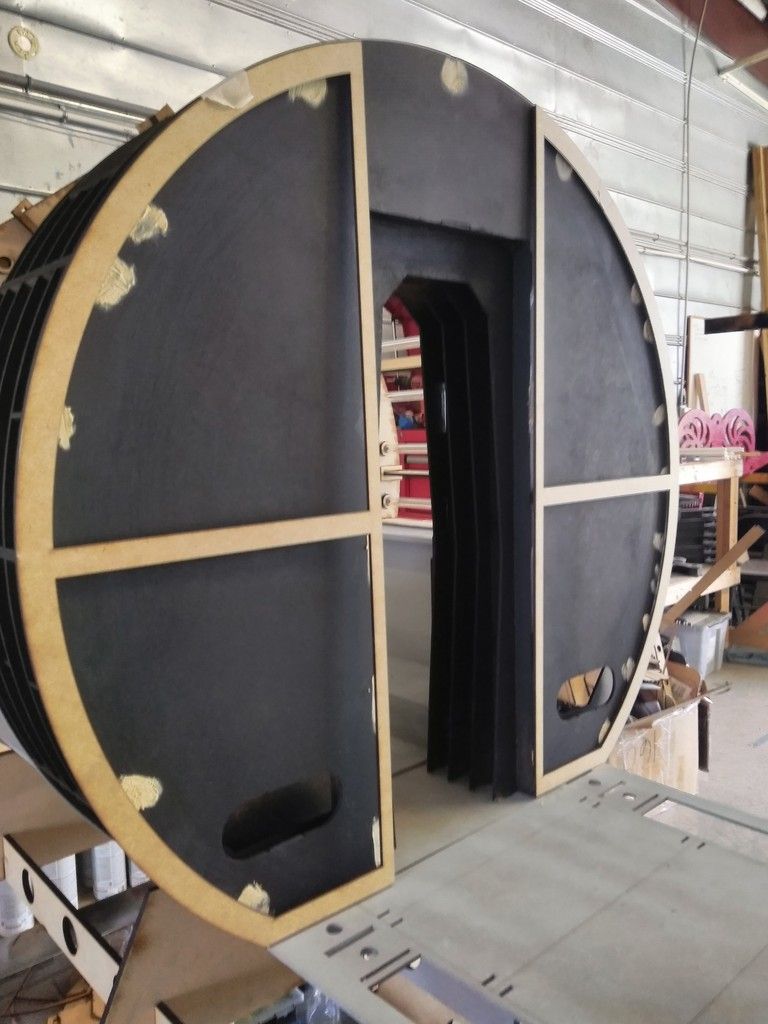
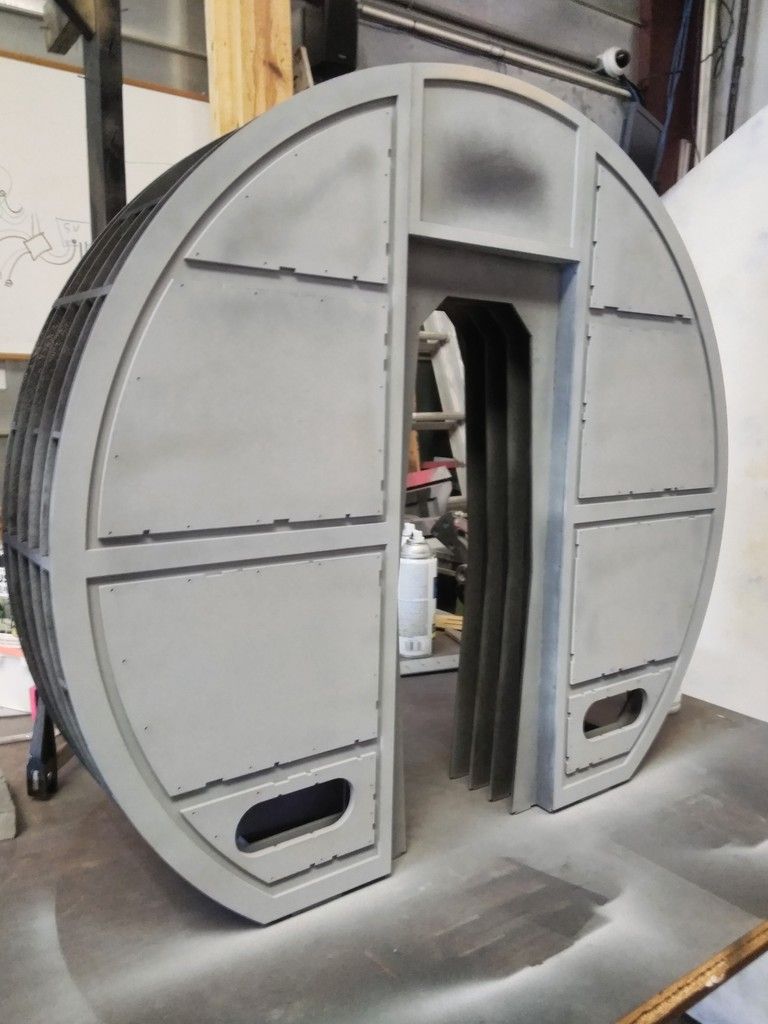
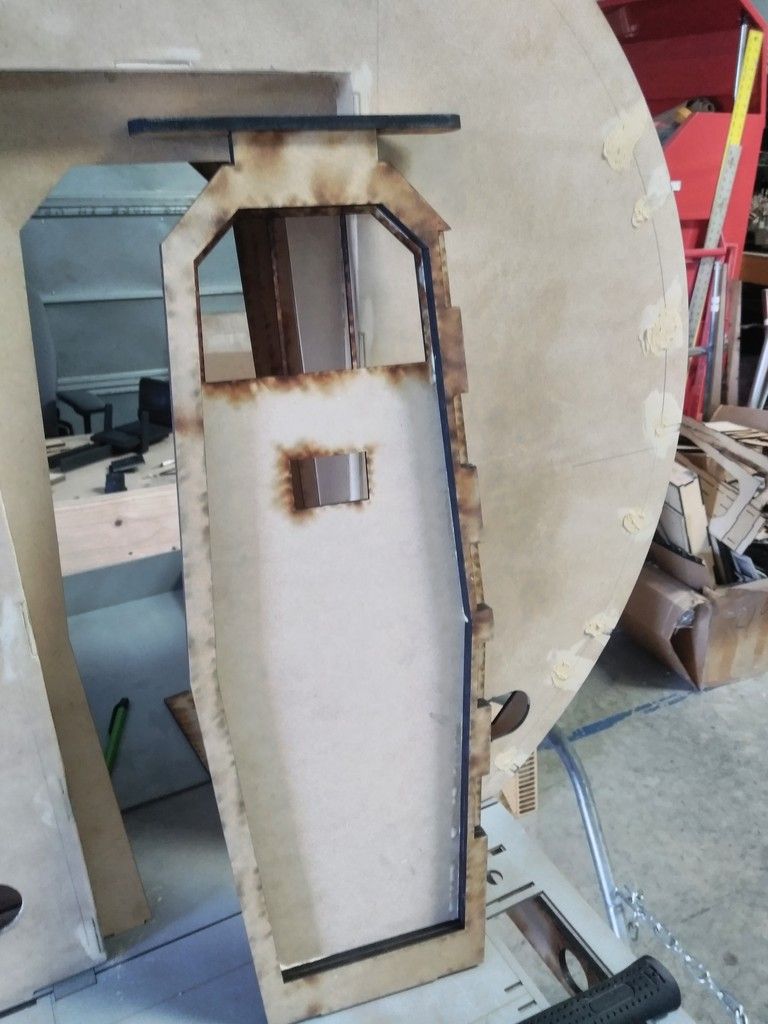
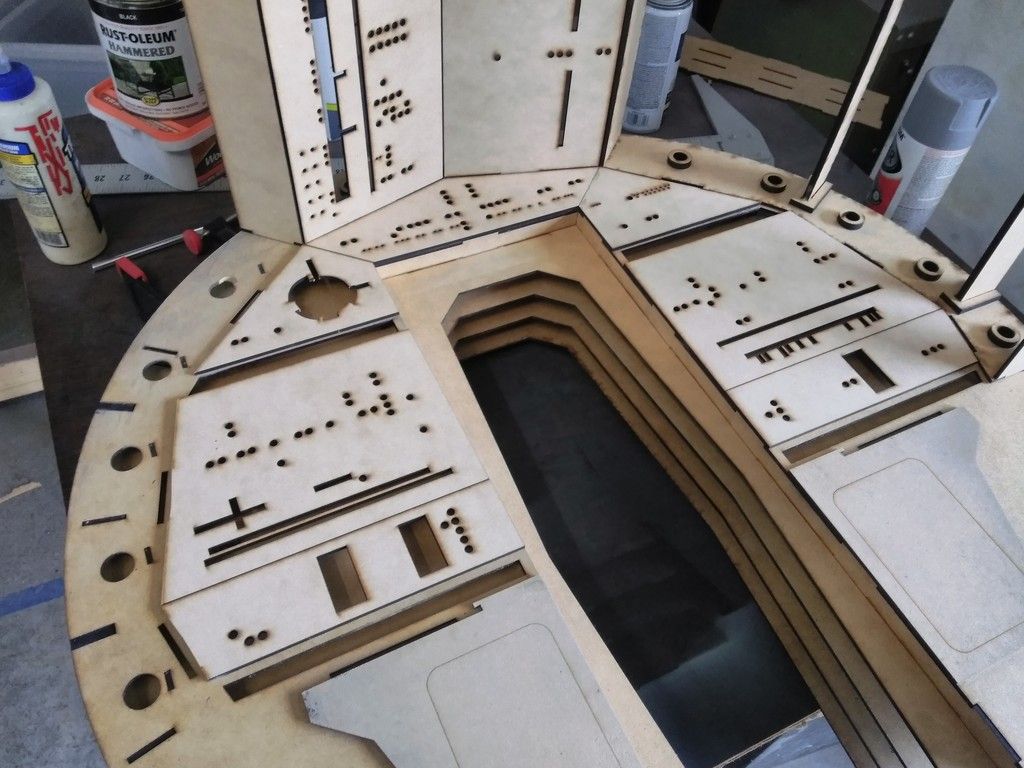
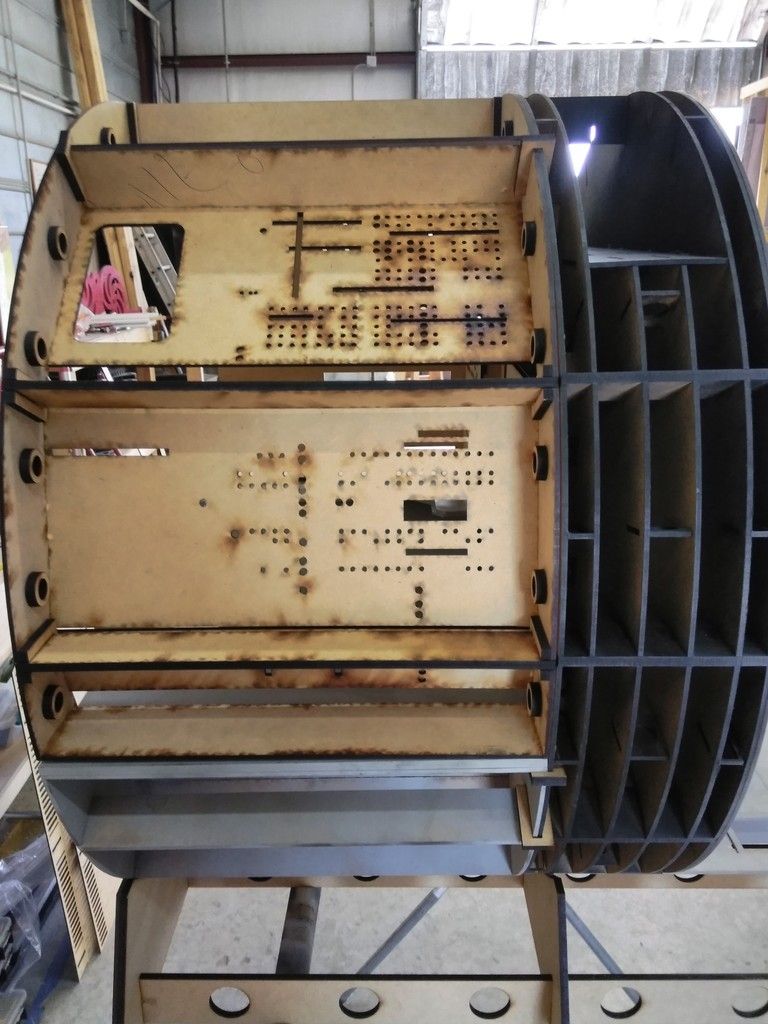
WOW... that looks familiar
IMG_20180705_151336_zpsg9tikiog.jpg


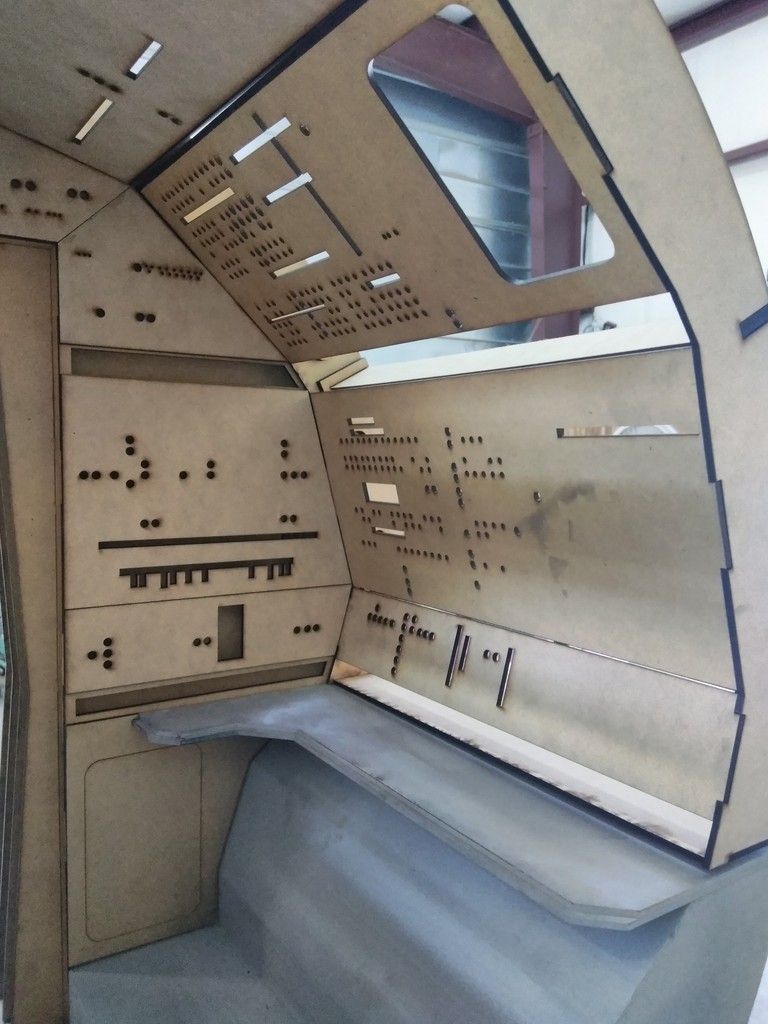
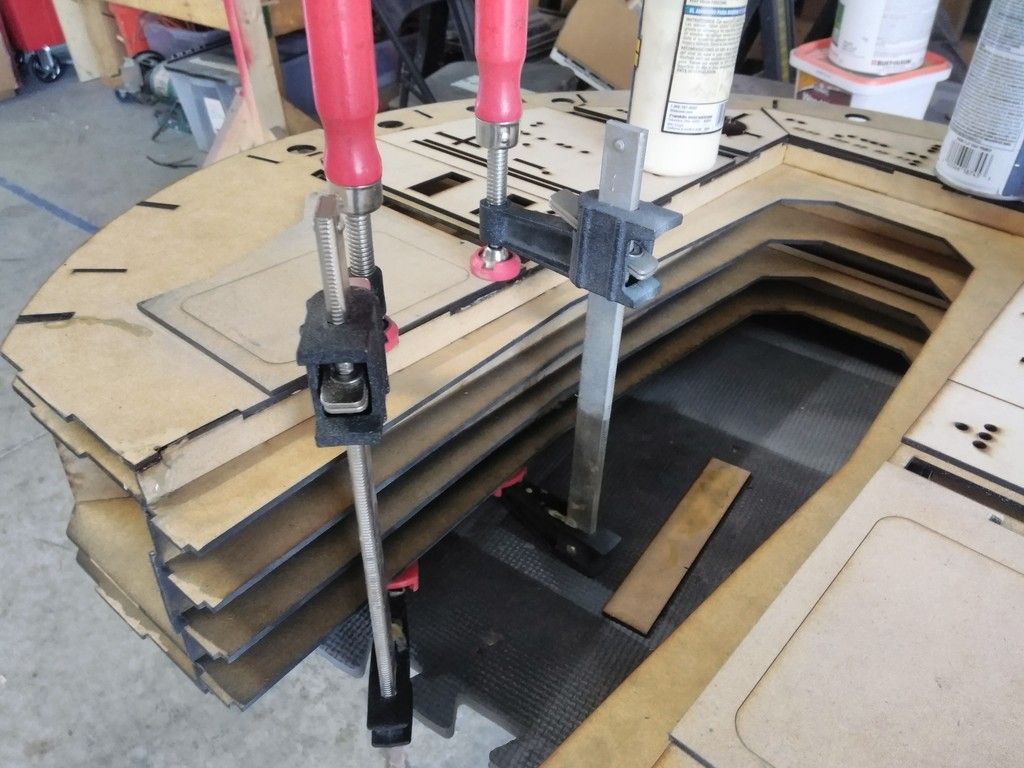
Note how gravity is ALREADY pulling parts off center
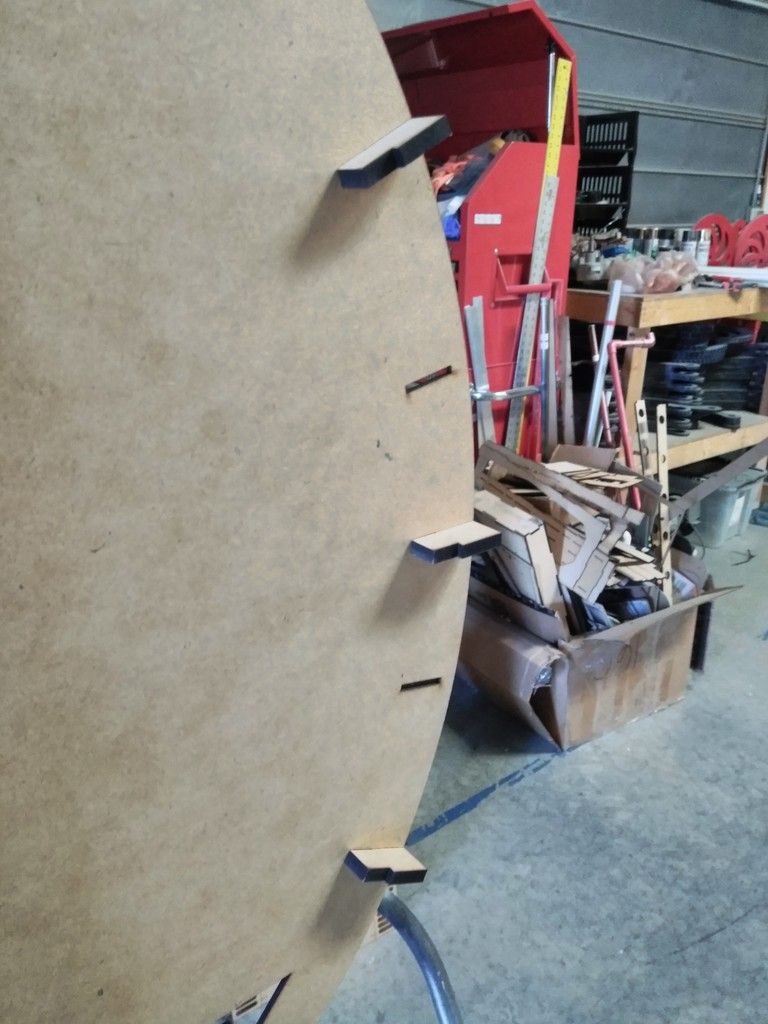
IMG_20180705_151343_zpseyq6u2c3.jpg


IMG_20180705_151348_zpsdy2cqntb.jpg


Side view
IMG_20180705_151409_zps9v89bins.jpg


IMG_20180705_151419_zpsvja8uepq.jpg


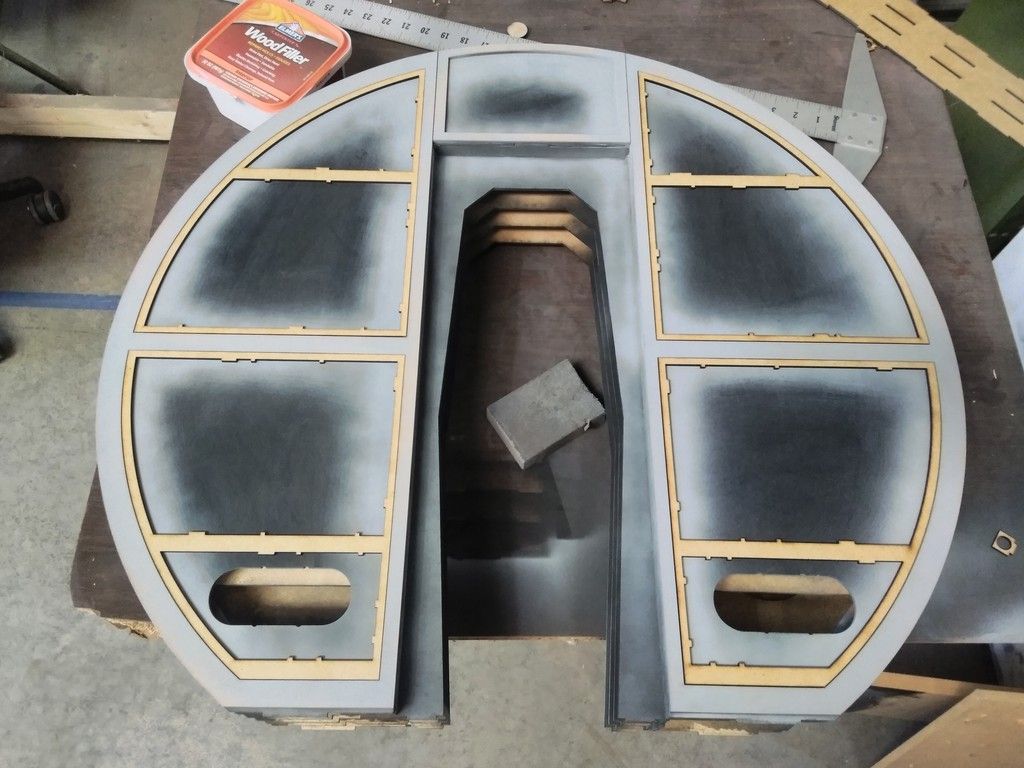
Panels are not aligning - turns out one of the main joists (going left to right) was cut too short
IMG_20180706_152733_zpszipfoc1m.jpg


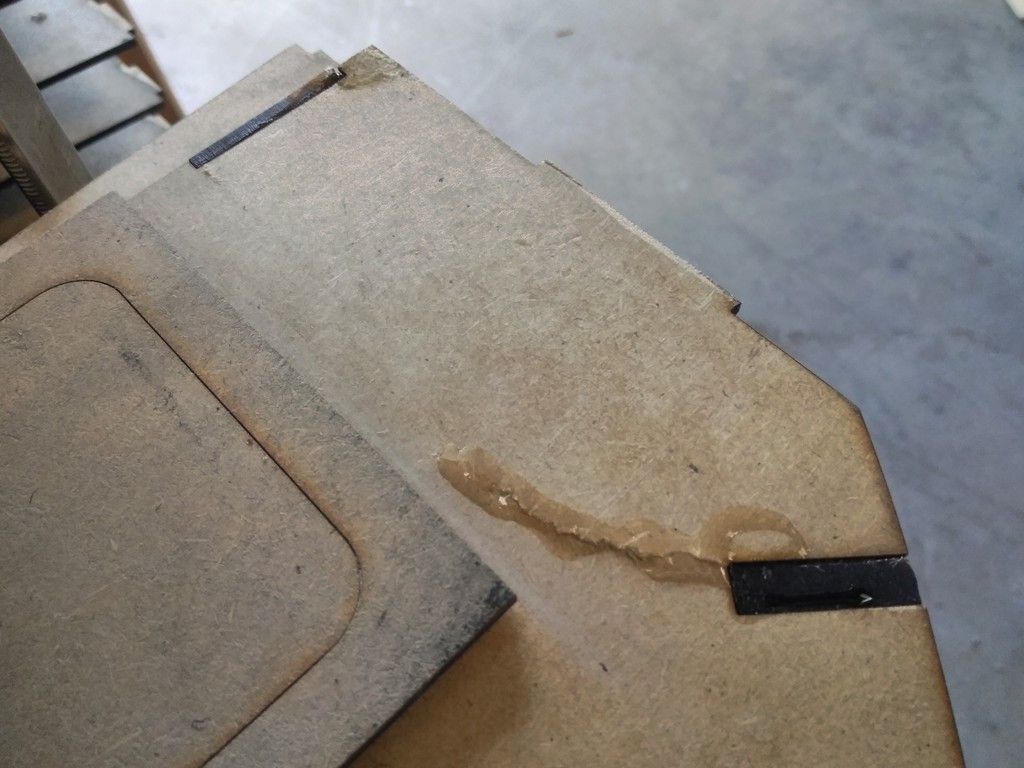
To make matters worse... the bay door was open and a rain storm came through creating a HUGE gust of wind and flipped the cockpit off the table... CRASH!!!
IMG_20180707_070356_zps6g6mlh4n.jpg


UGH
IMG_20180707_070409_zpsglcza7zw.jpg


OK... Shake it off, hunker down and get it fixed!
IMG_20180707_072220_zpsqtm4wtli.jpg


IMG_20180707_072236_zpsr7kjzwez.jpg


It seemed to good to be true... Things can't always go smoothly! ;)
IMG_20180707_072242_zpstempcafv.jpg


IMG_20180707_131451_zps4oob8lhc.jpg


IMG_20180707_131458_zpsfewx8jpw.jpg


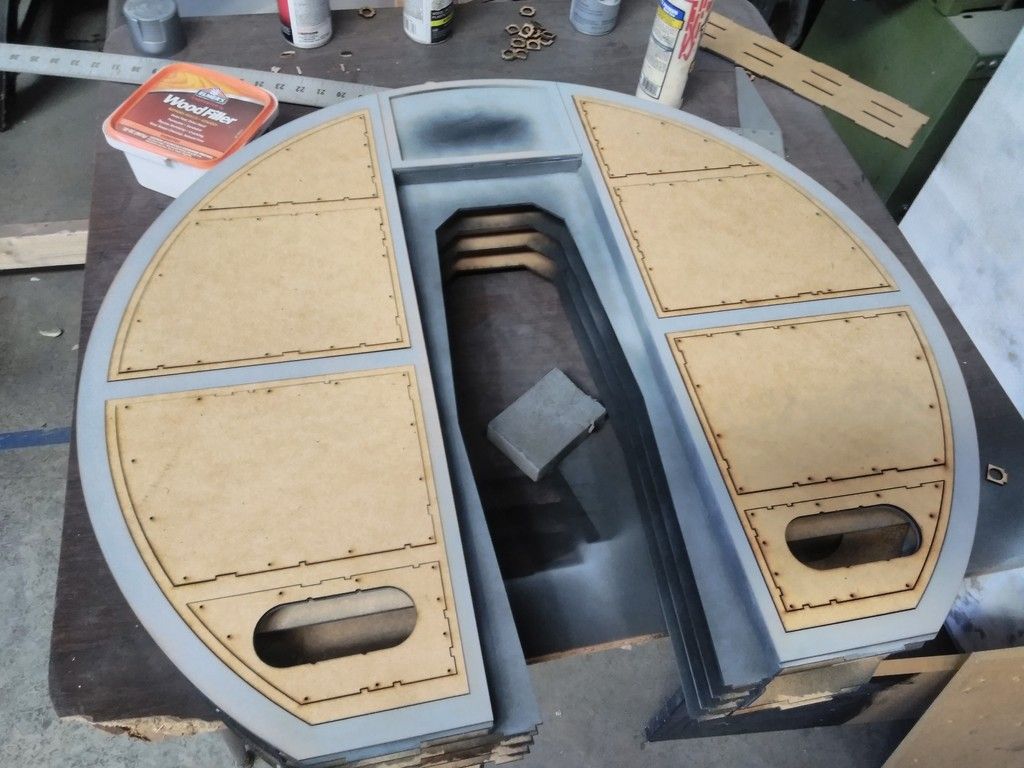
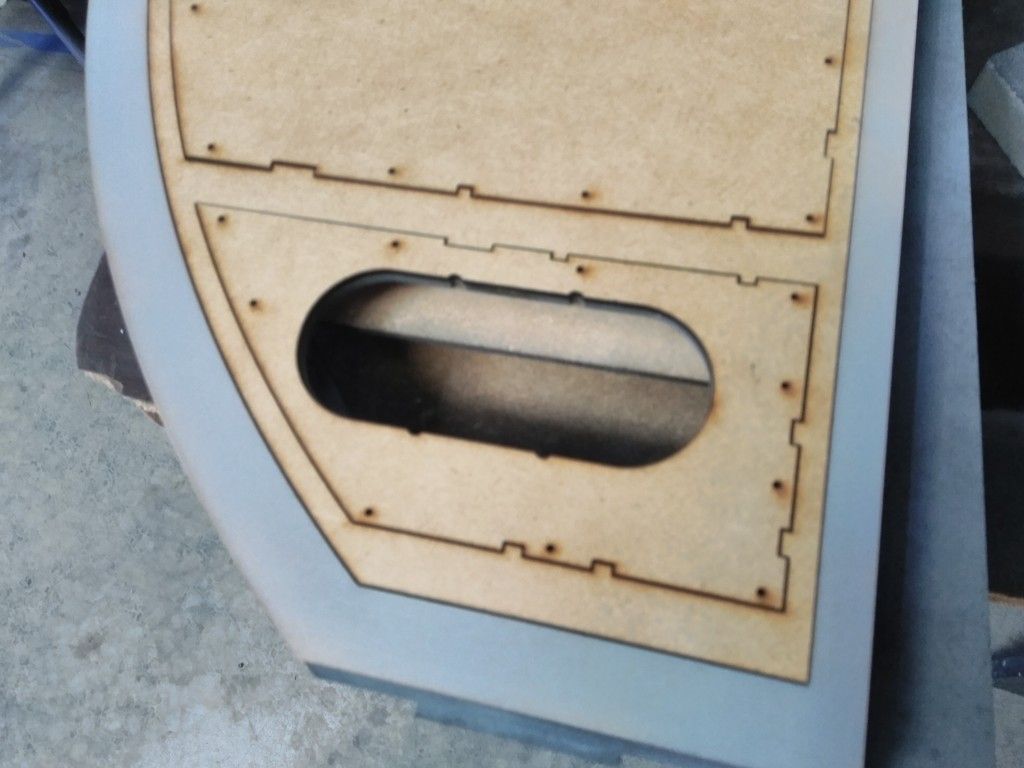
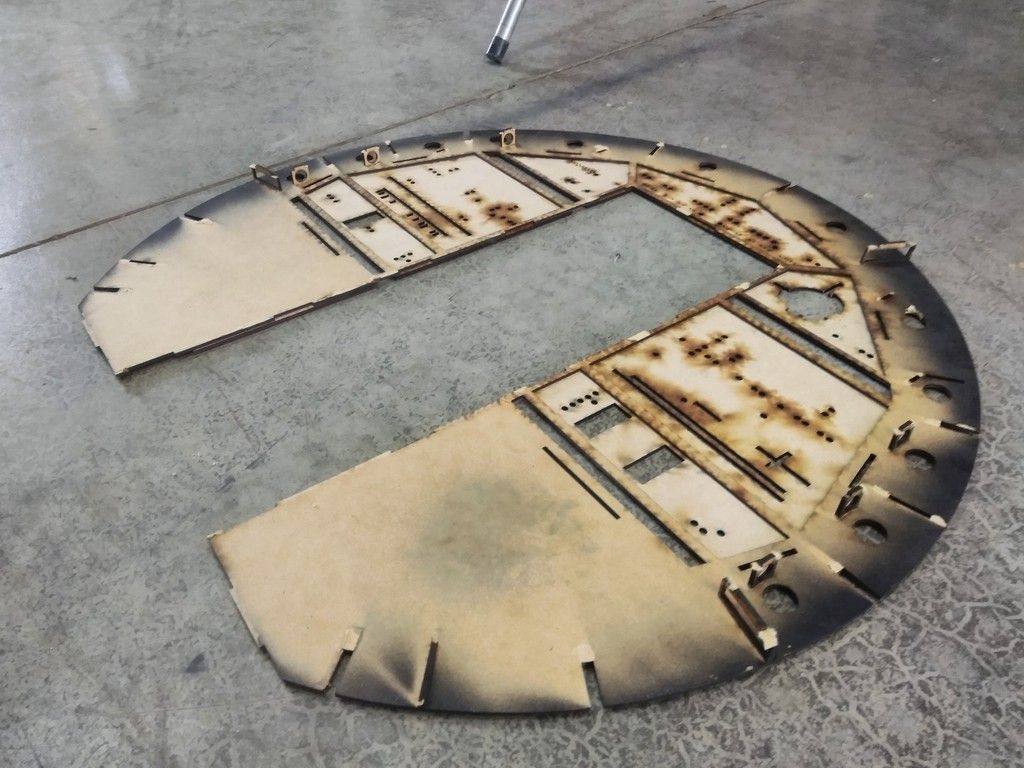
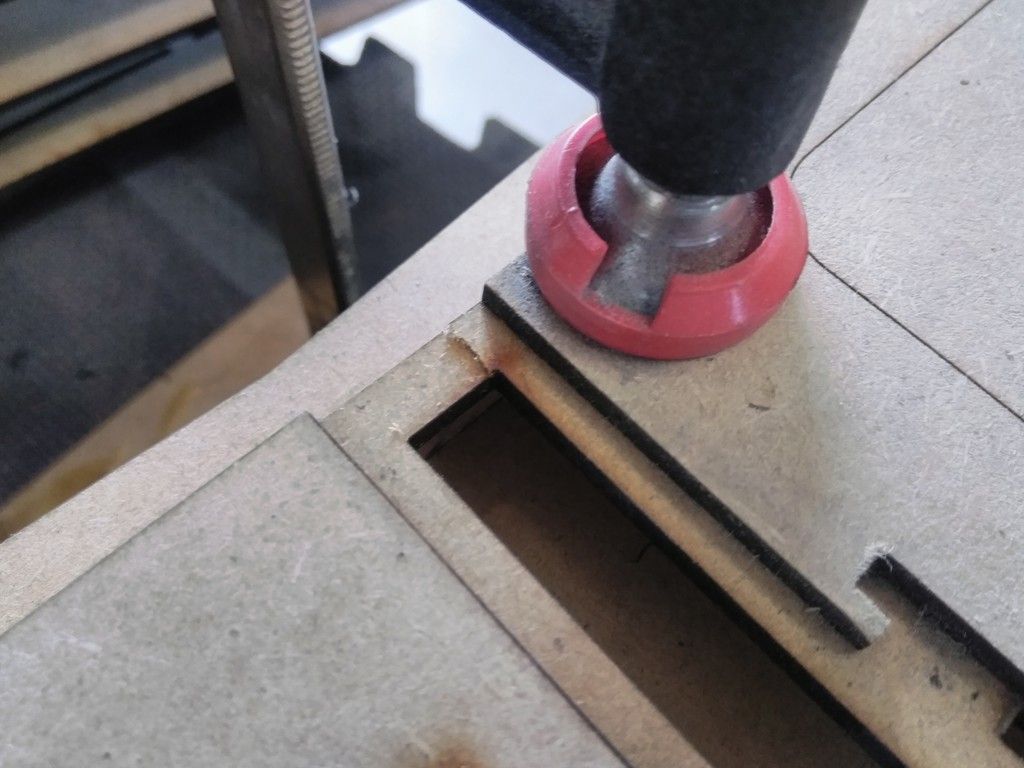
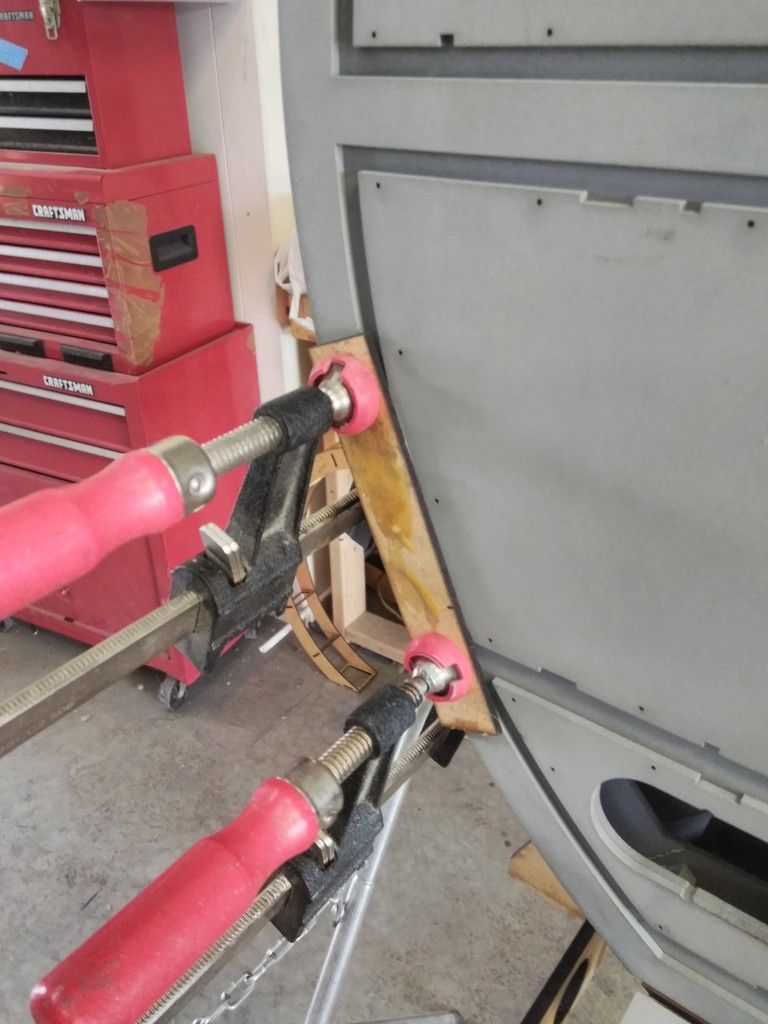
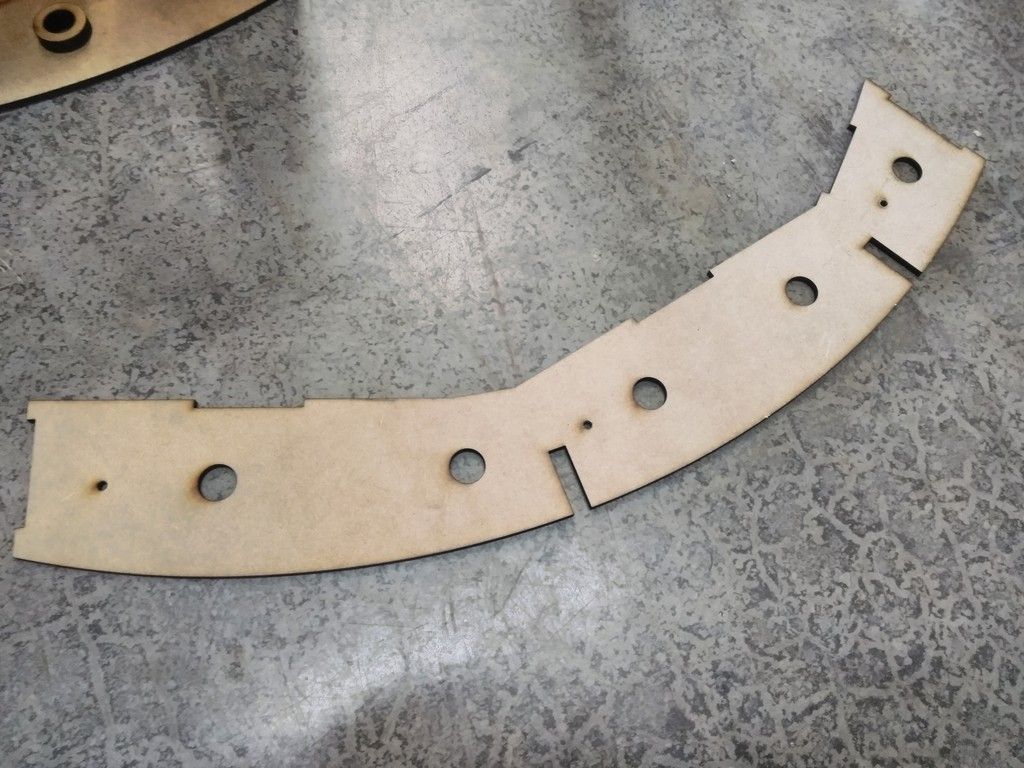
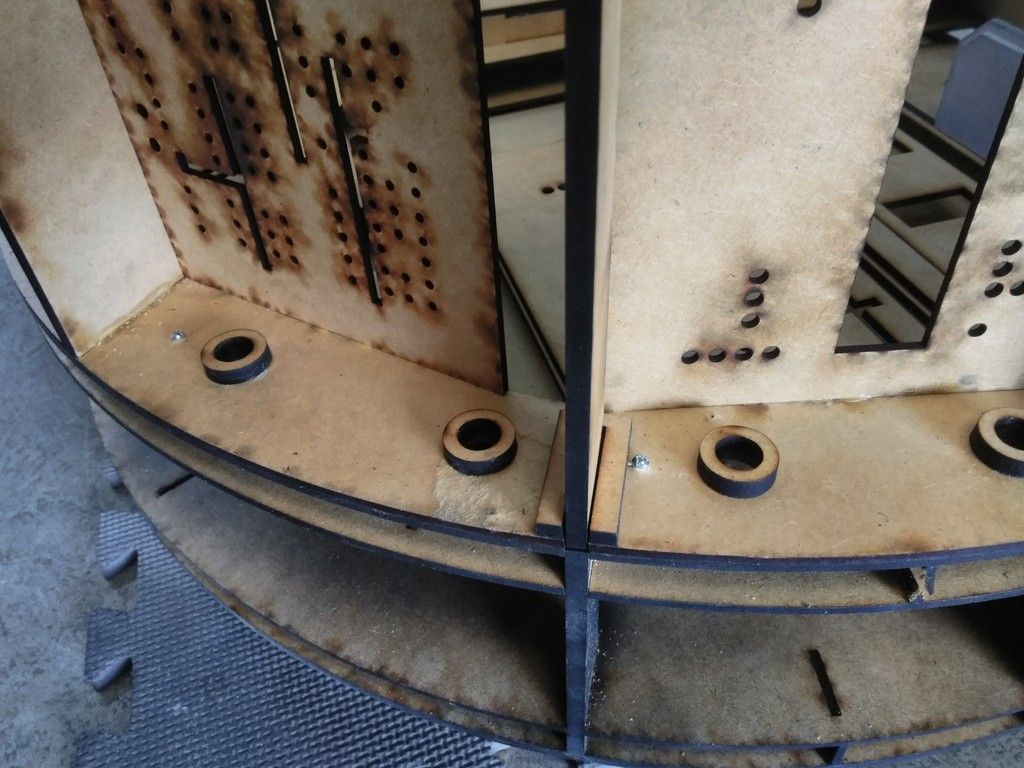
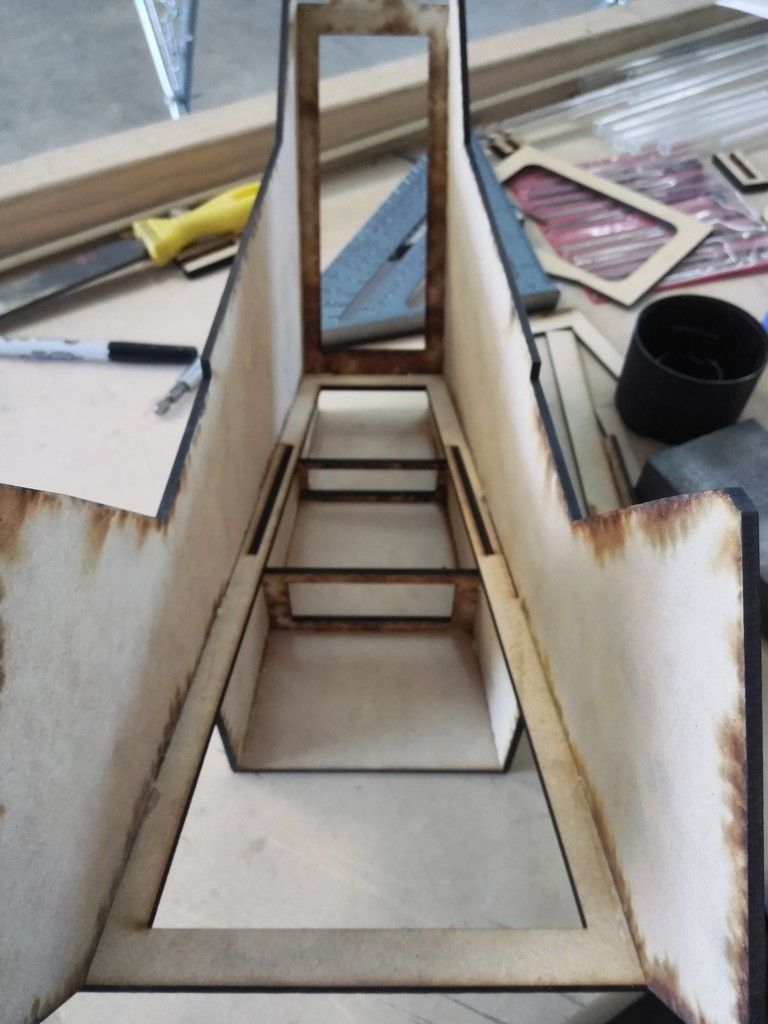
It was at that moment I thought "OK... time to bolt these parts together... tabs aren't enough". I designed a hole guide - note the smaller holes
IMG_20180707_083643_zps1onowiwz.jpg


Laid into place
IMG_20180707_083703_zpsvue2g9gs.jpg


Drilled the holes
IMG_20180707_083944_zpsd7nzonro.jpg


Temp screwed in the bolts
IMG_20180707_091332_zpsx2pjgxtj.jpg


IMG_20180707_091343_zpsjjifbsuk.jpg


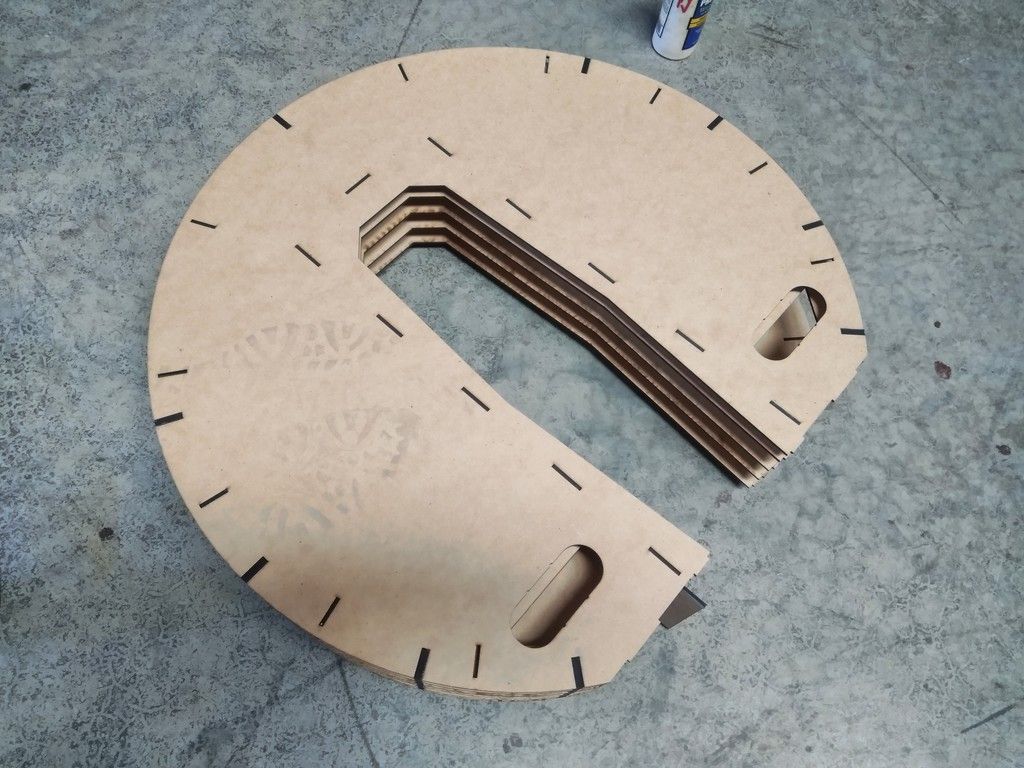
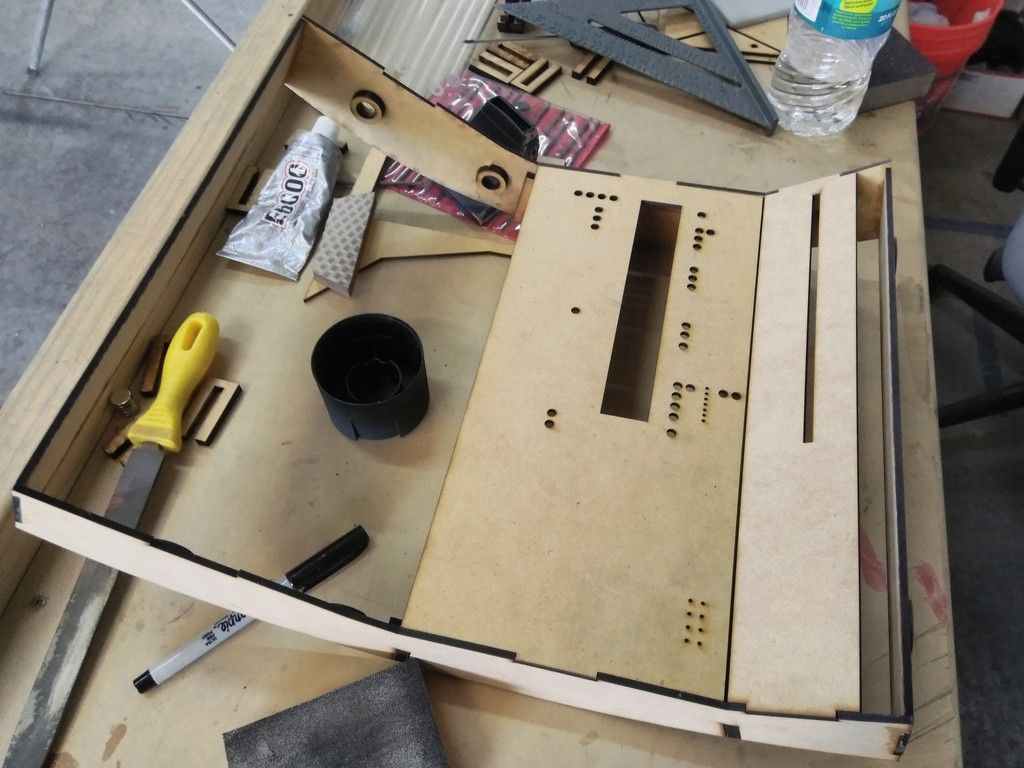
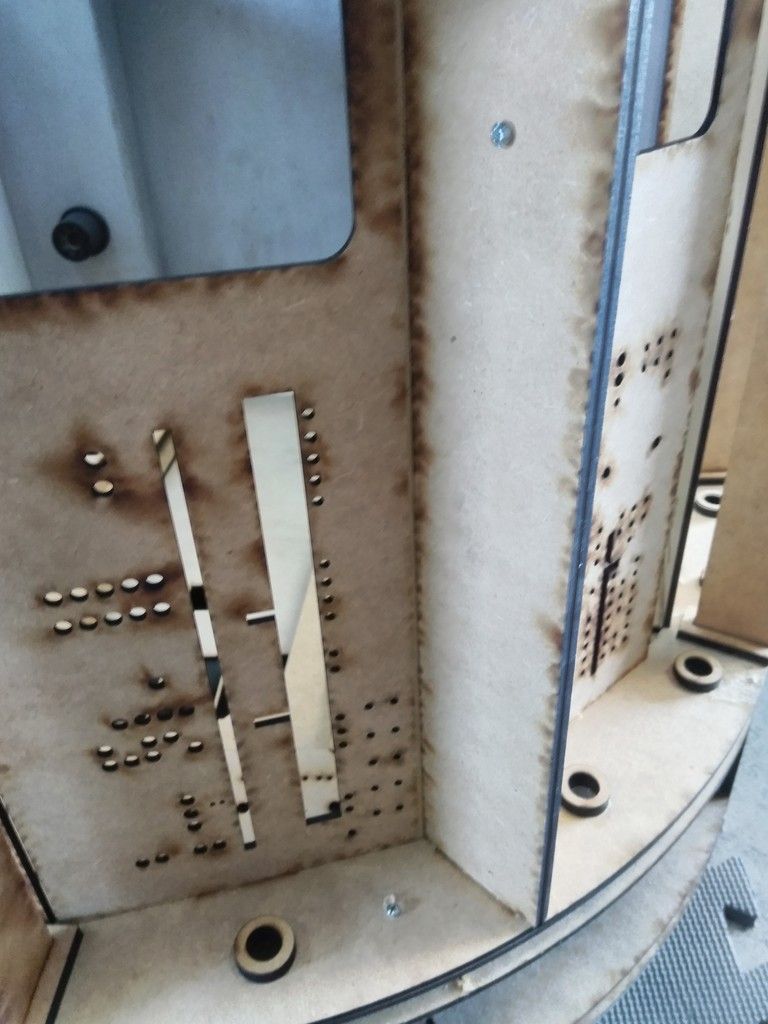
I then designed and laser cut a floor piece for the door frame housing / section. Note the LONG opening in the panel for the door to feed through and mount to the slider
IMG_20180707_103228_zpsnp5sjpjj.jpg


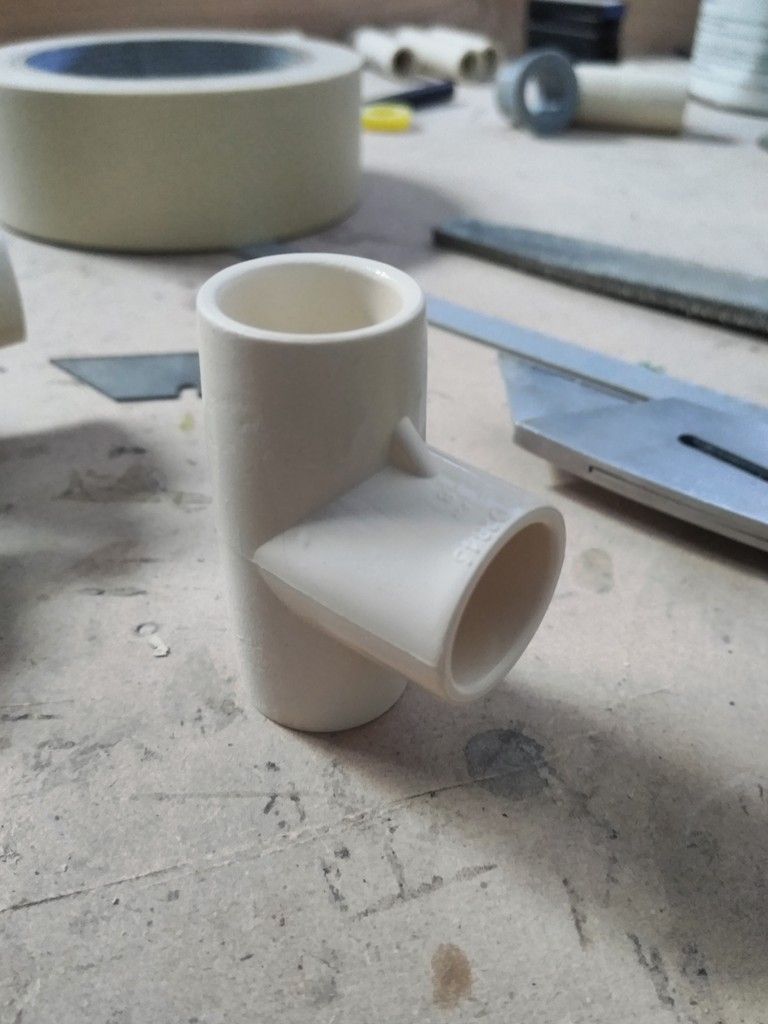
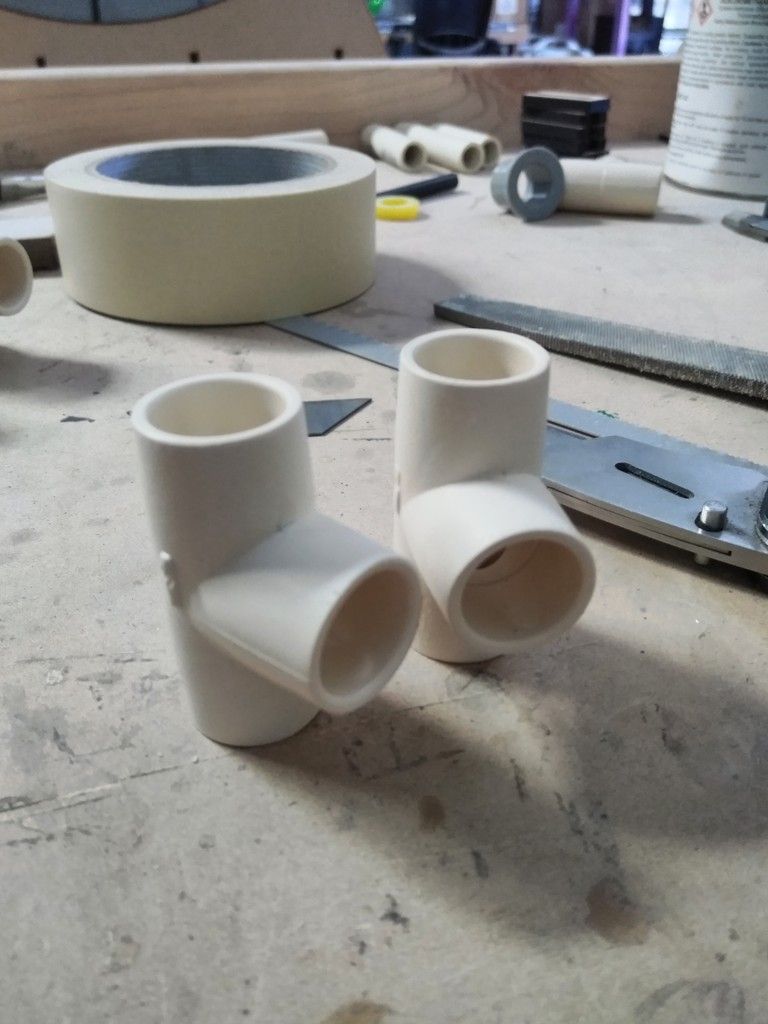
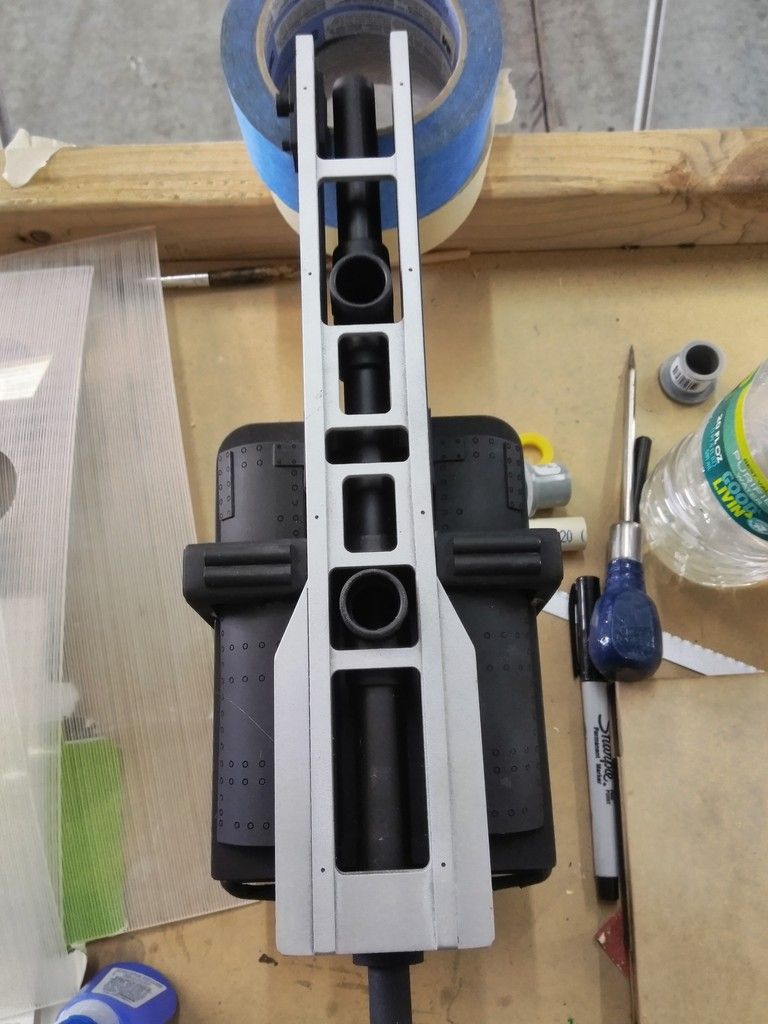
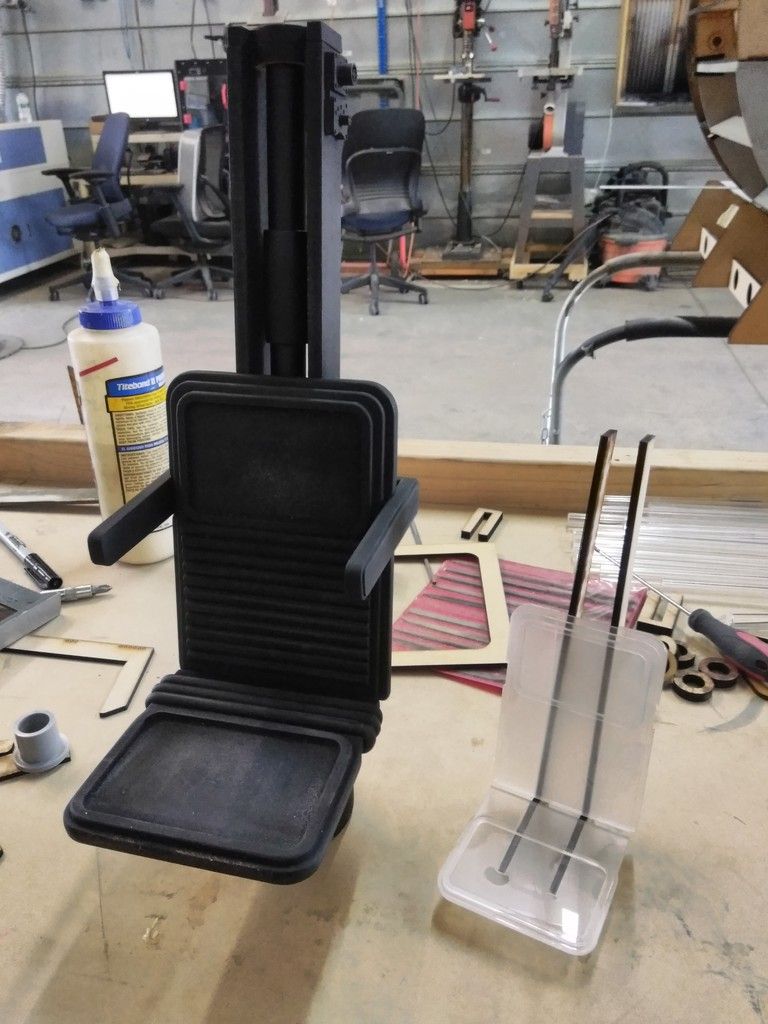
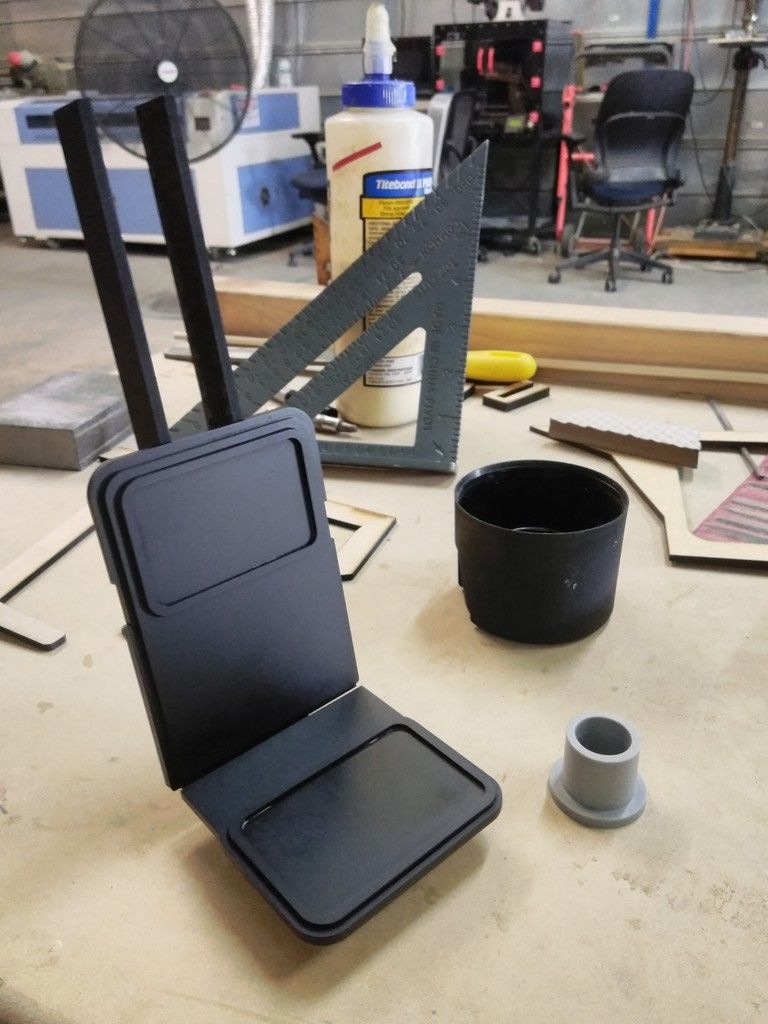
Since this is Part I... I did do a few other things. The nav chairs!
IMG_20180704_114448_zps2tnhrkel.jpg


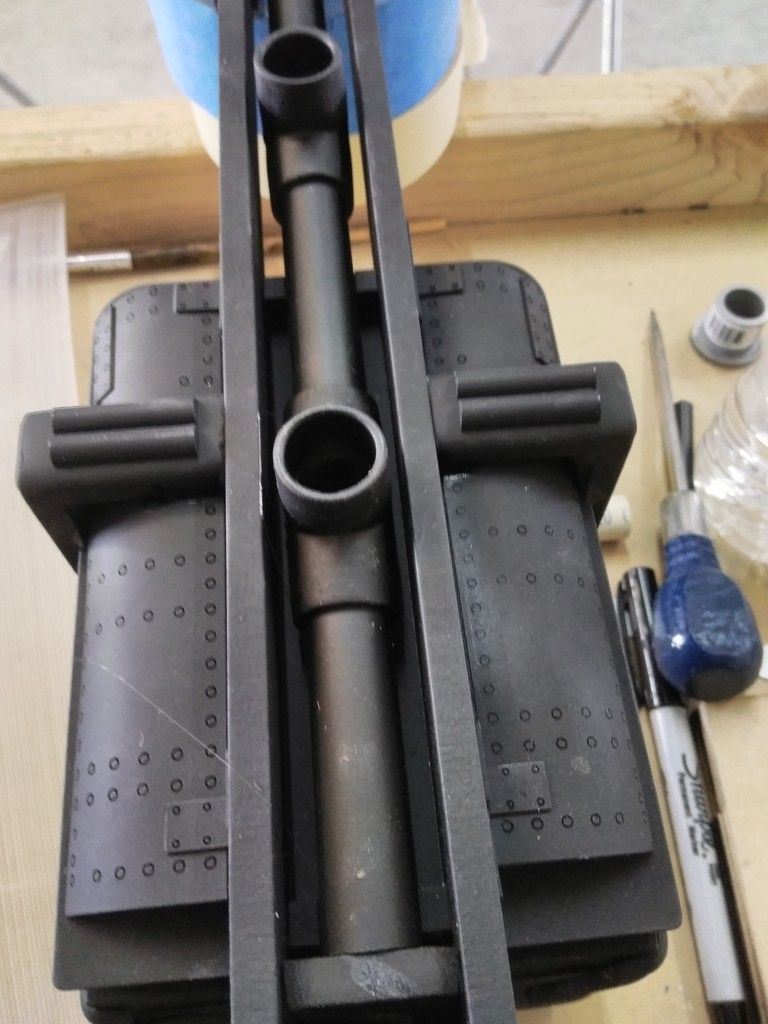
Knocked and sanded the raised lettering and details off the PVC parts
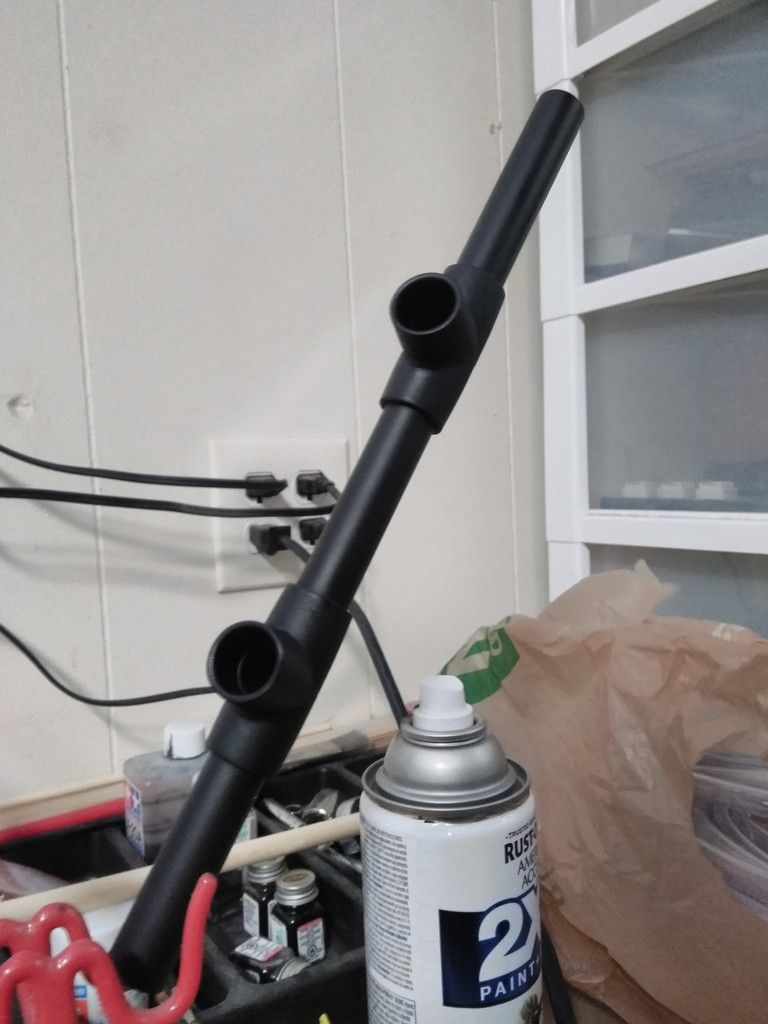
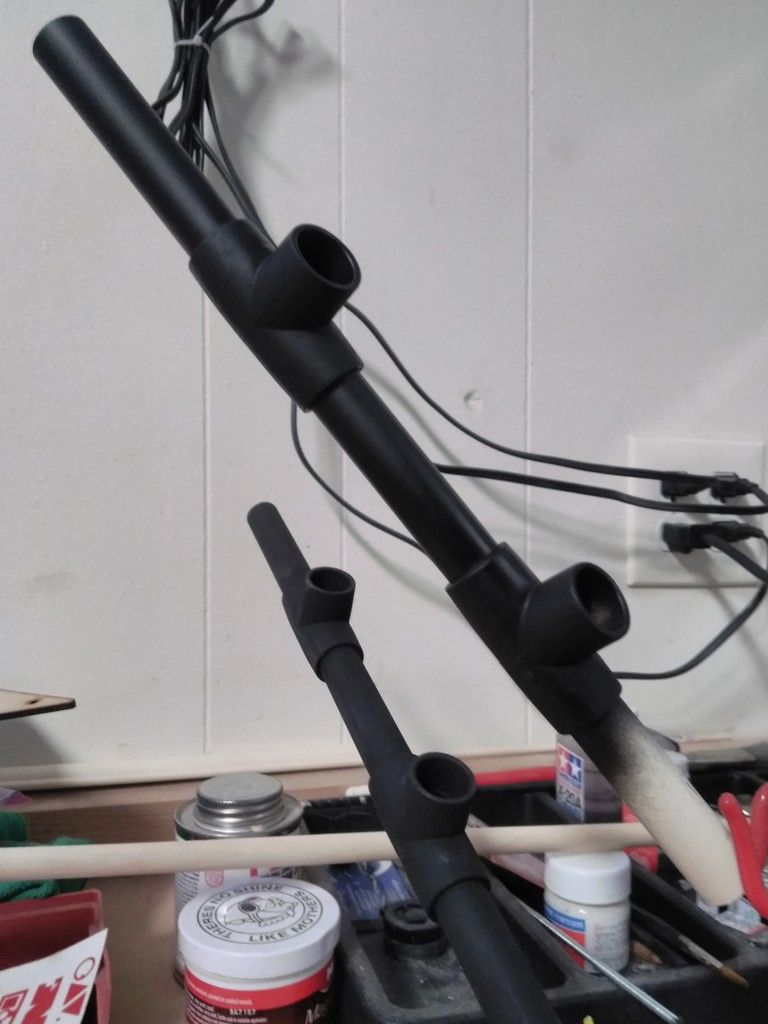
IMG_20180704_114500_zpszbewmrxg.jpg


Ejection tube
IMG_20180704_121511_zpsgtbgnycs.jpg


Tubes
IMG_20180704_121517_zpsfgi2m5l1.jpg


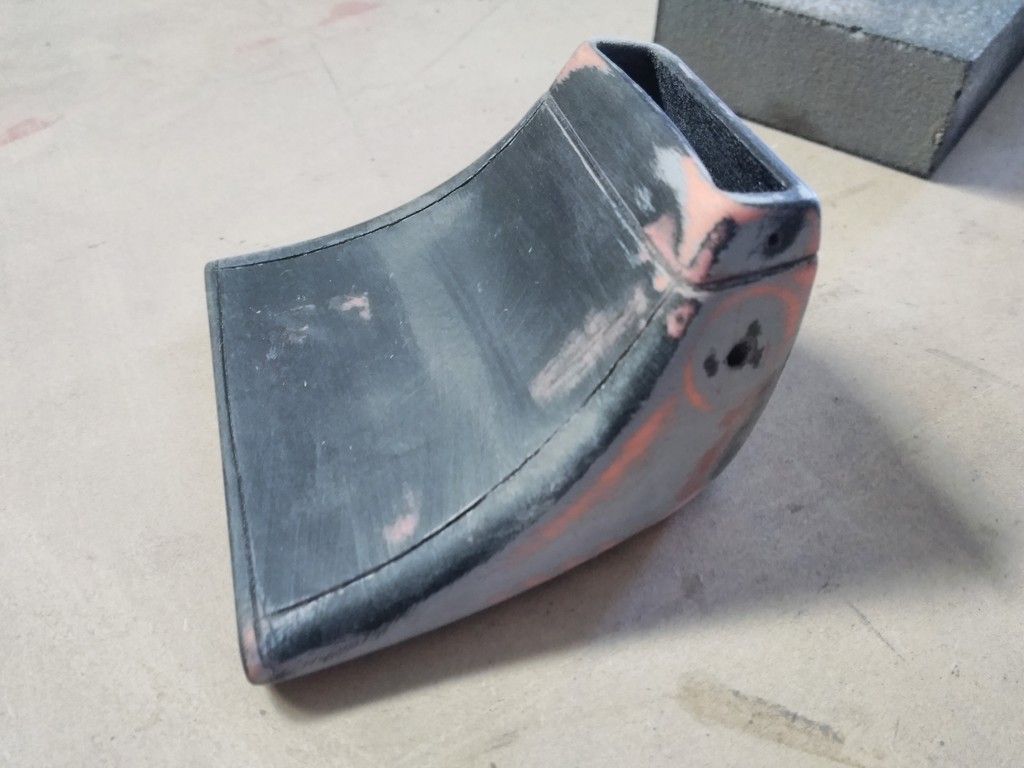
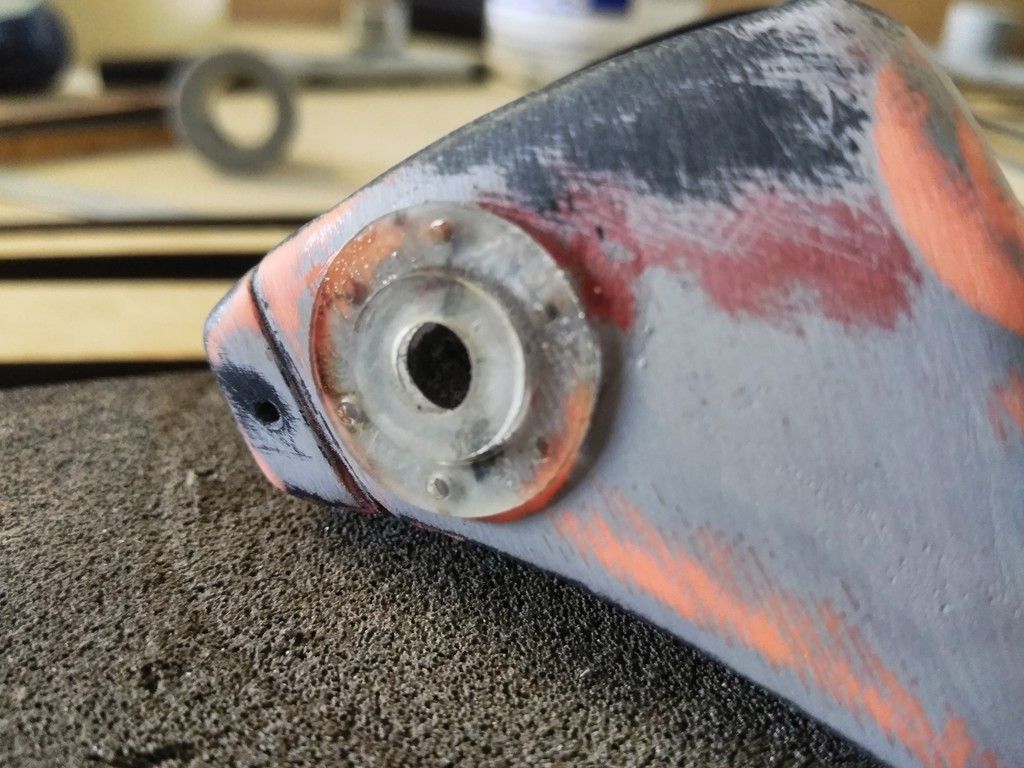
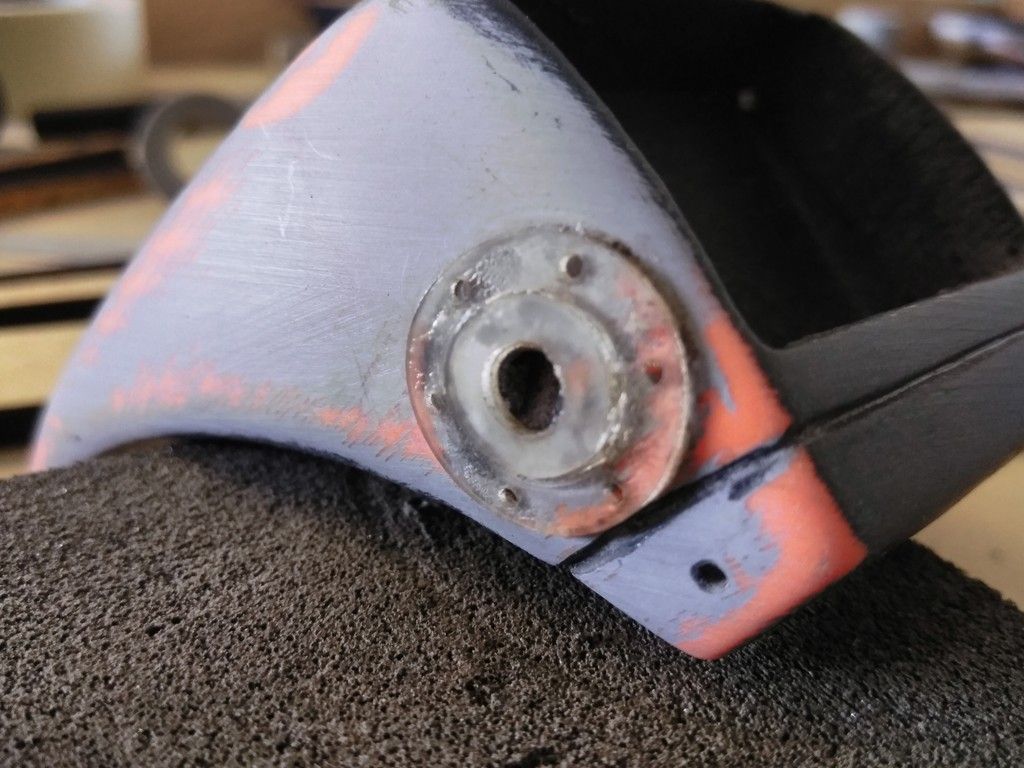
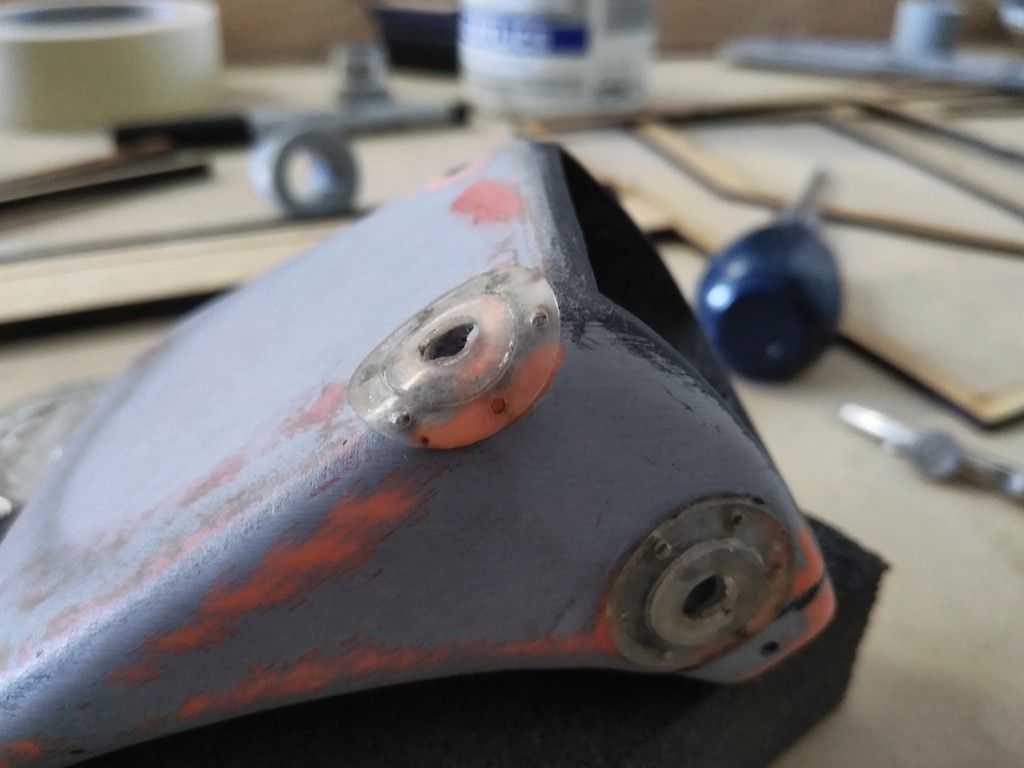
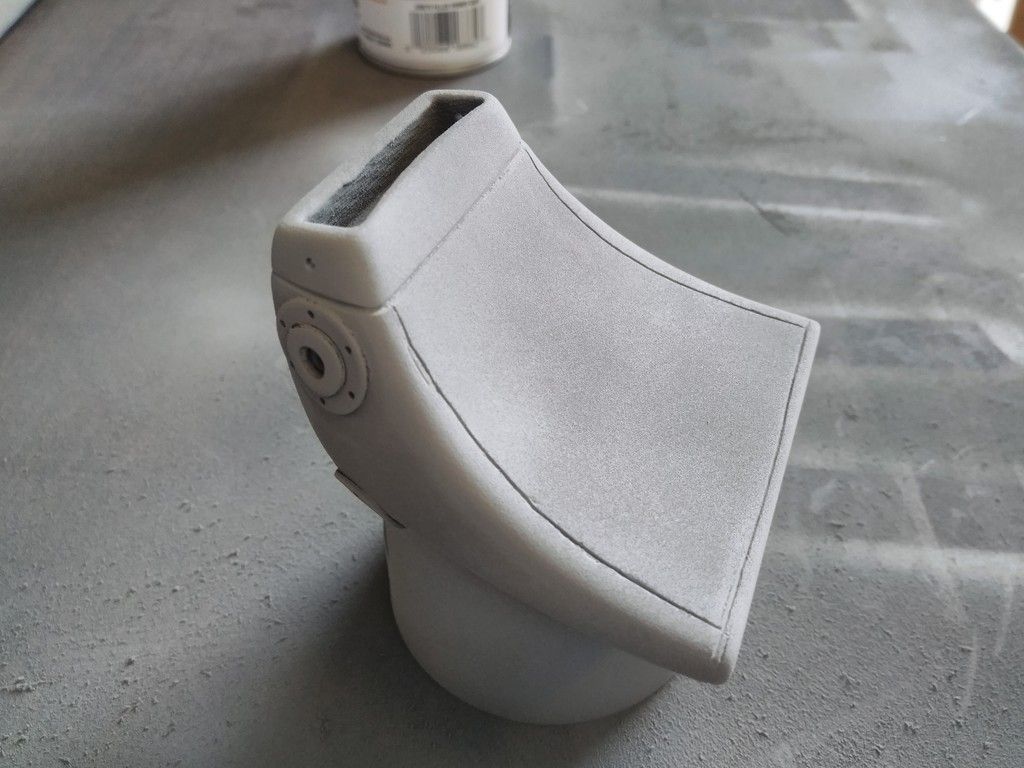
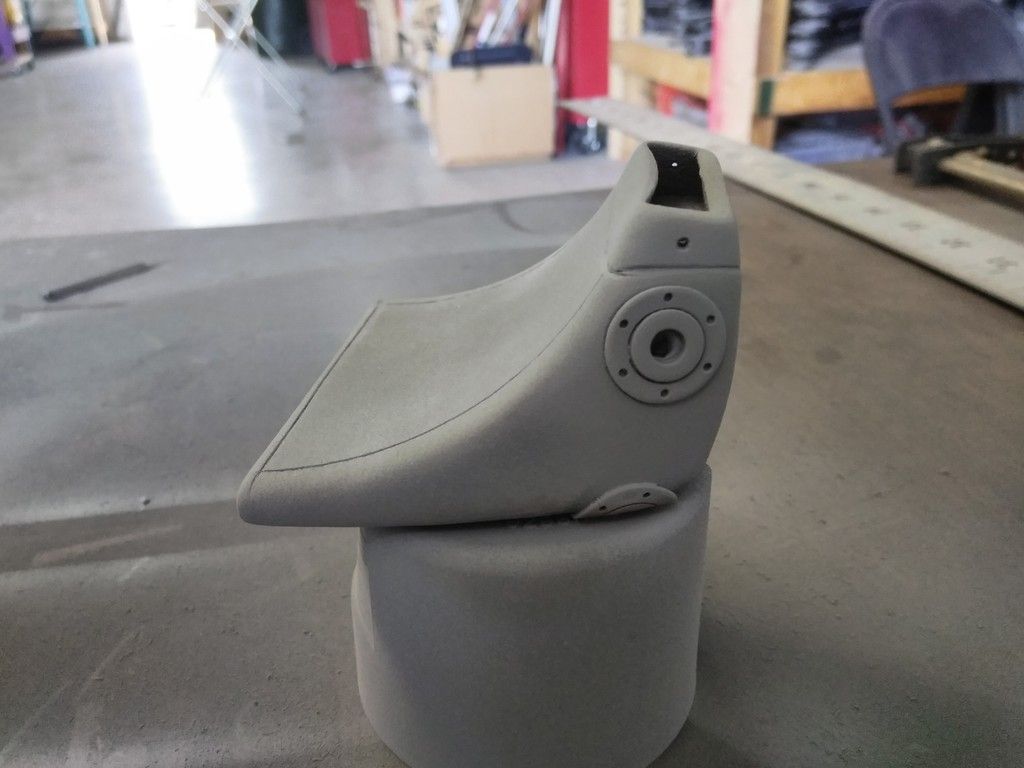
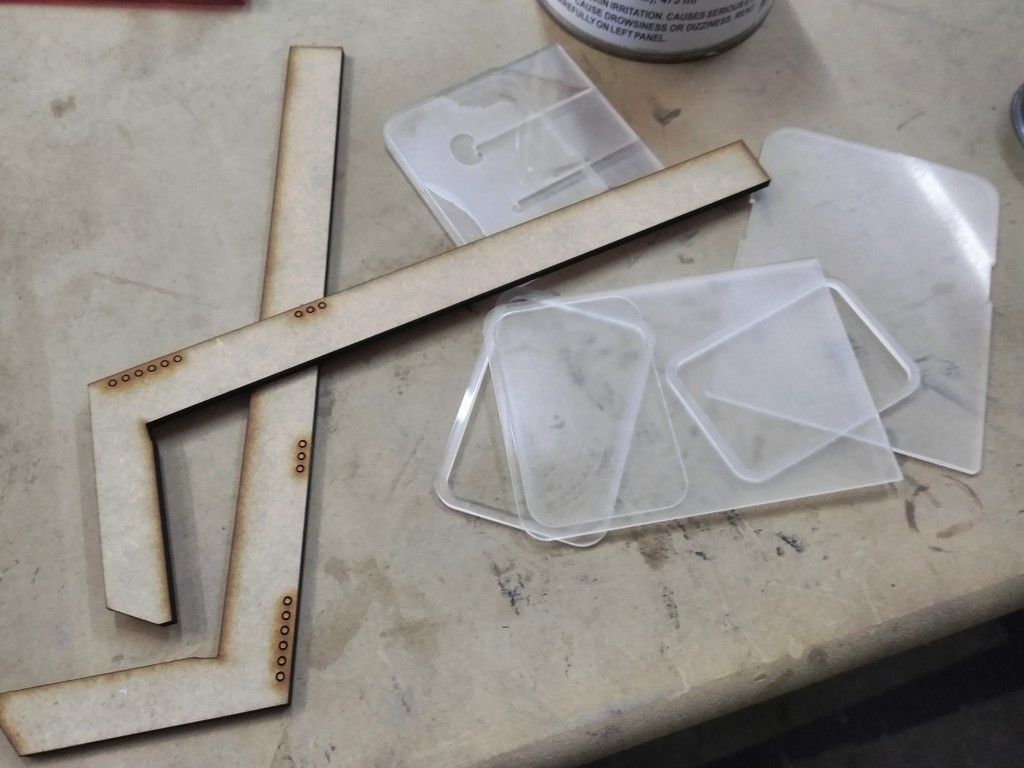
The head piece saw some major work!
IMG_20180704_121529_zpsbsxyaf5u.jpg


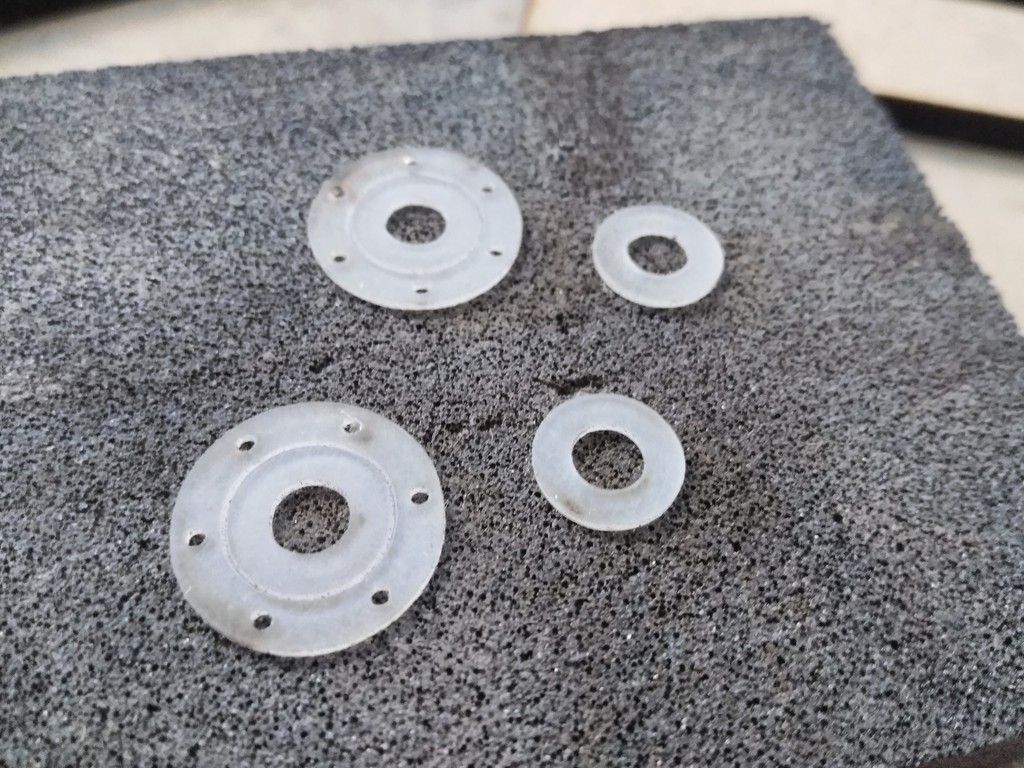
I designed and laser cut these 1/16th plexi parts
IMG_20180704_150626_zpsvufewt8h.jpg


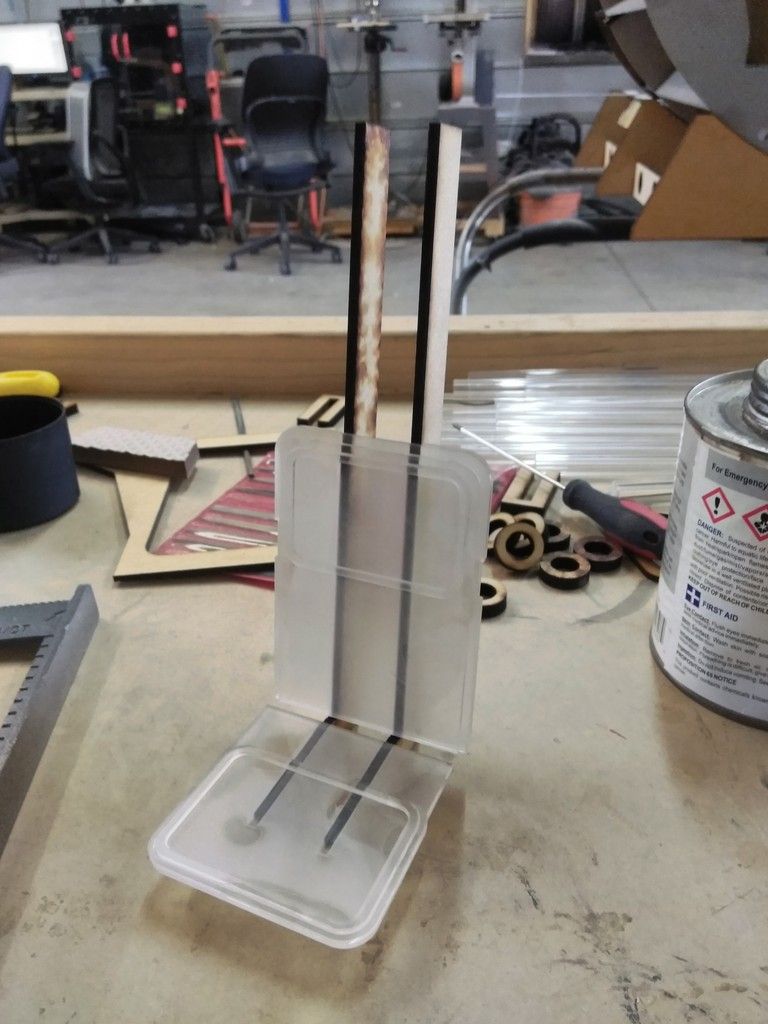
Used a heat gun to bend and mold to fit
IMG_20180704_151239_zpshwzjdwt6.jpg


IMG_20180704_151653_zpssugkgyv1.jpg


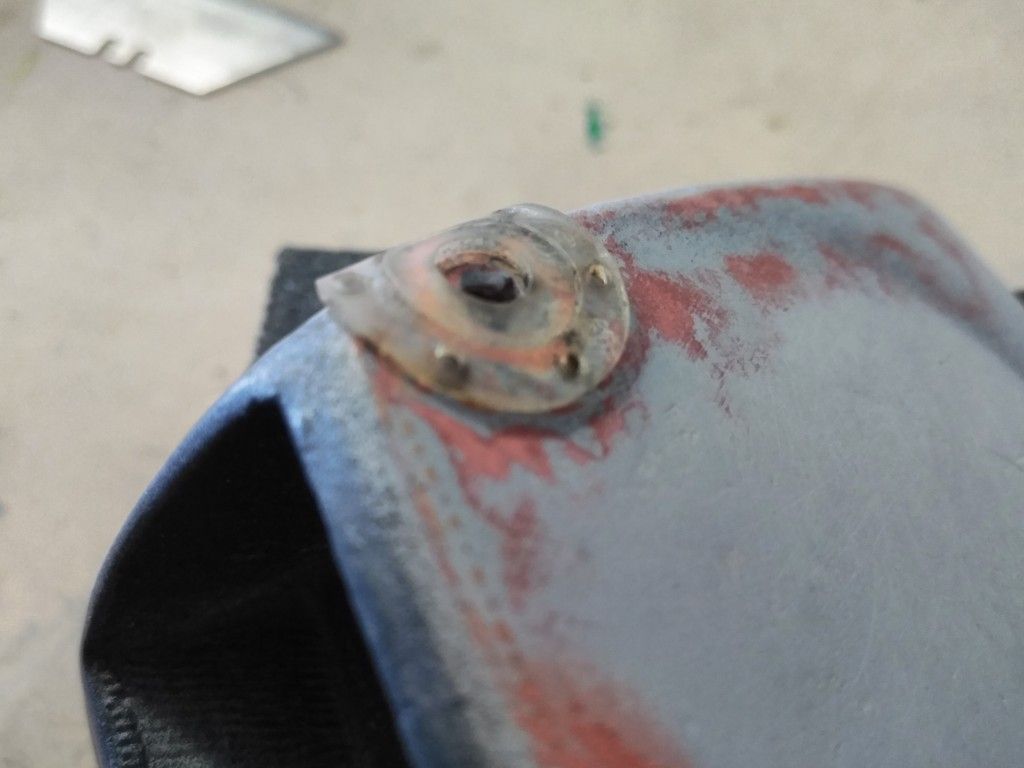
This one shifted during drying
IMG_20180704_151701_zpsmzecfizo.jpg


I had so much fun doing these
IMG_20180704_152147_zpsnw8z2gj1.jpg


IMG_20180704_152211_zpsrh8otnyo.jpg


IMG_20180704_152859_zpsxo5e5cny.jpg


IMG_20180704_152912_zps9bnjgmtz.jpg


IMG_20180706_094510_zpsuqjyhh2f.jpg


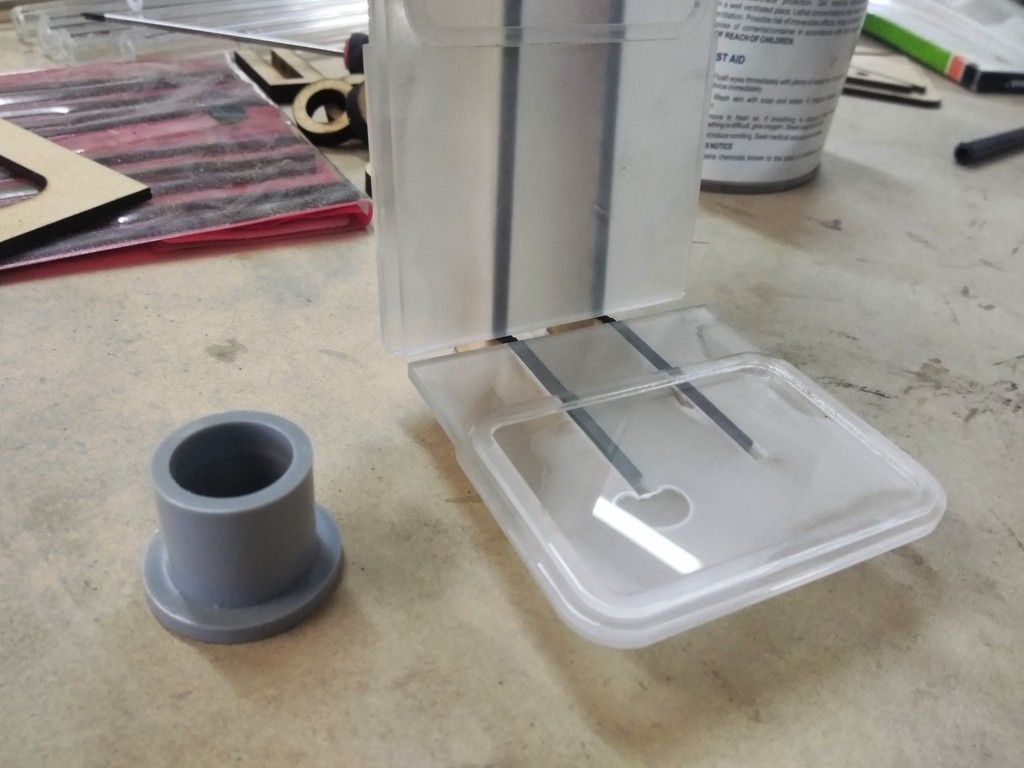
Still lots of work to do on those little stray cut lines
IMG_20180706_094521_zpsrrwu7uzn.jpg


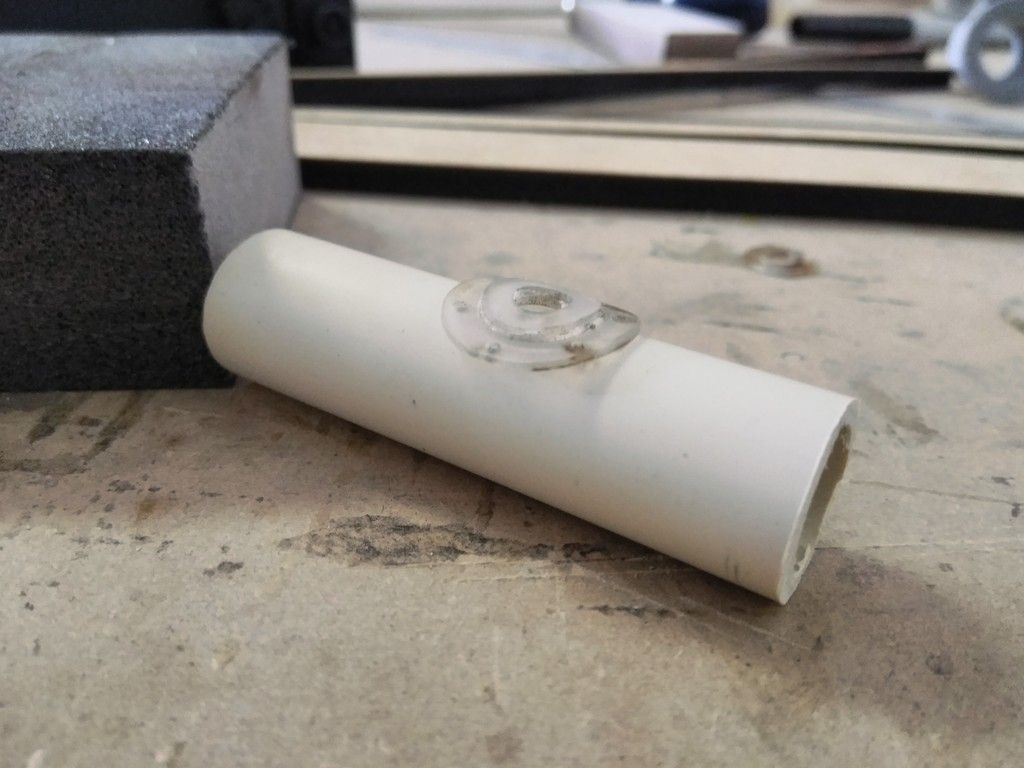
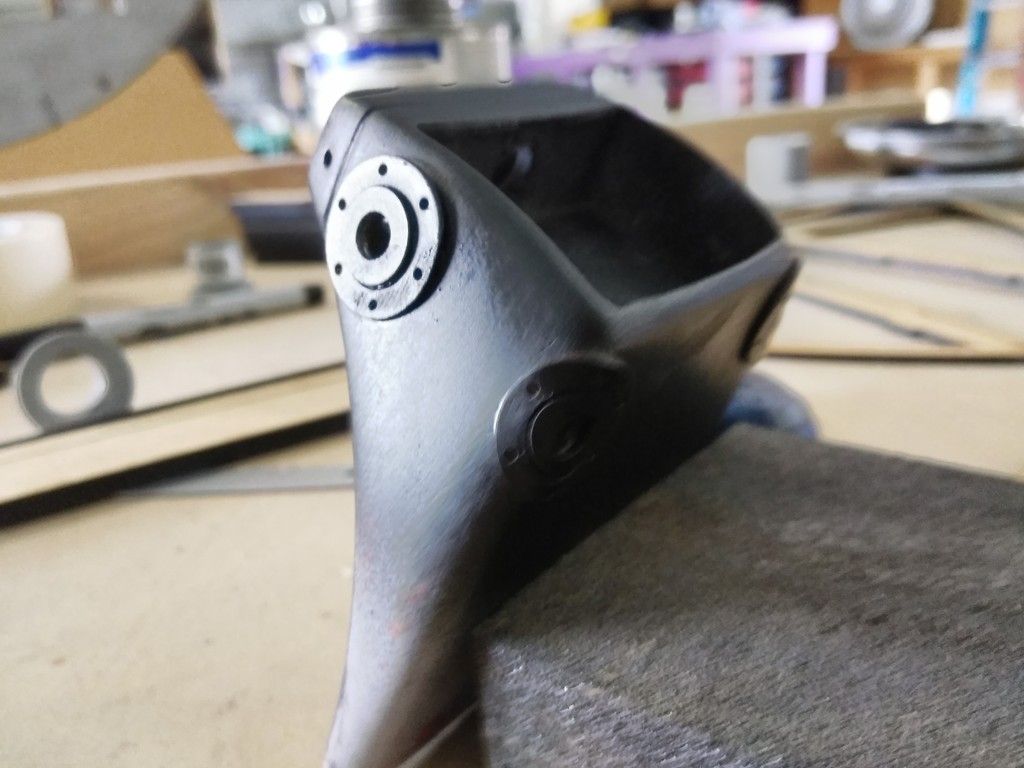
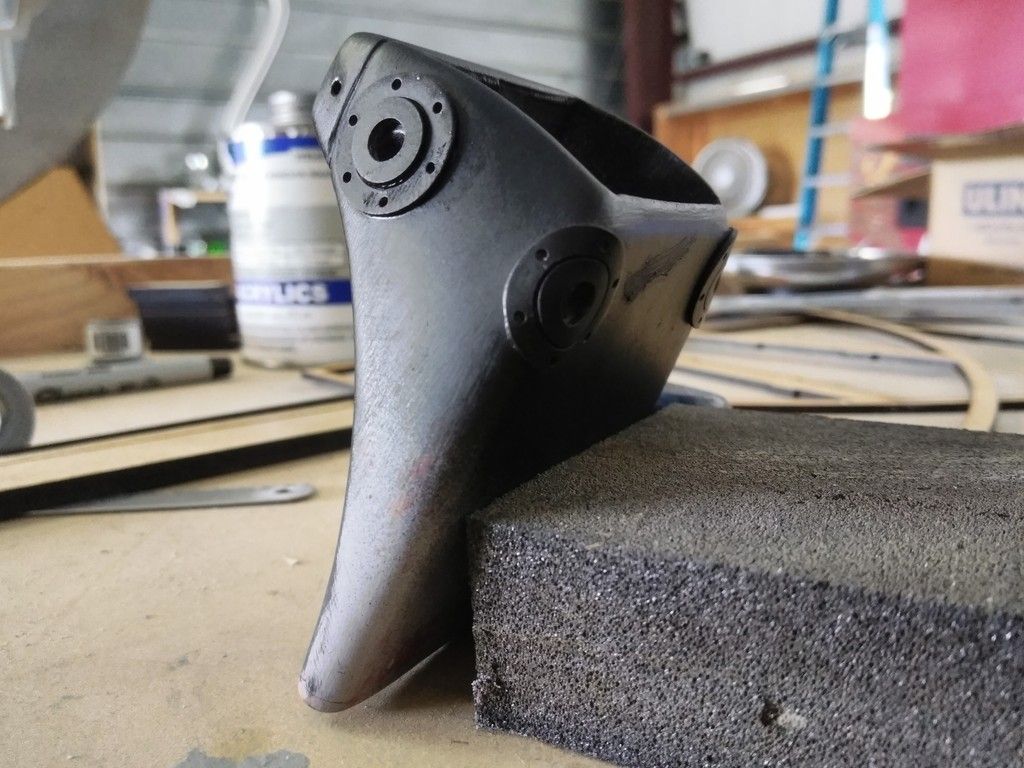
Tube is now adhered in place
IMG_20180705_142952_zpsxctcltvh.jpg


The silver back plate will be the LAST piece to be adhered into position
IMG_20180705_143005_zpsllz3e0xy.jpg


IMG_20180705_143323_zpscevjdpfy.jpg


As many of you know, fellow RPFer Izzy and I are working VERY closely together on both the 1/4 scale and a new 1/6th scale version of the cockpit! I did a practice "run" of the nav chair
IMG_20180705_154810_zpsxmnwoh4d.jpg


IMG_20180705_155732_zpsxjfvocln.jpg


Chair base
IMG_20180705_155752_zpsbu1lgkli.jpg


Hi Lil Buddy!
IMG_20180705_155844_zpsz57ywz9n.jpg


IMG_20180705_160714_zpsiopclfon.jpg


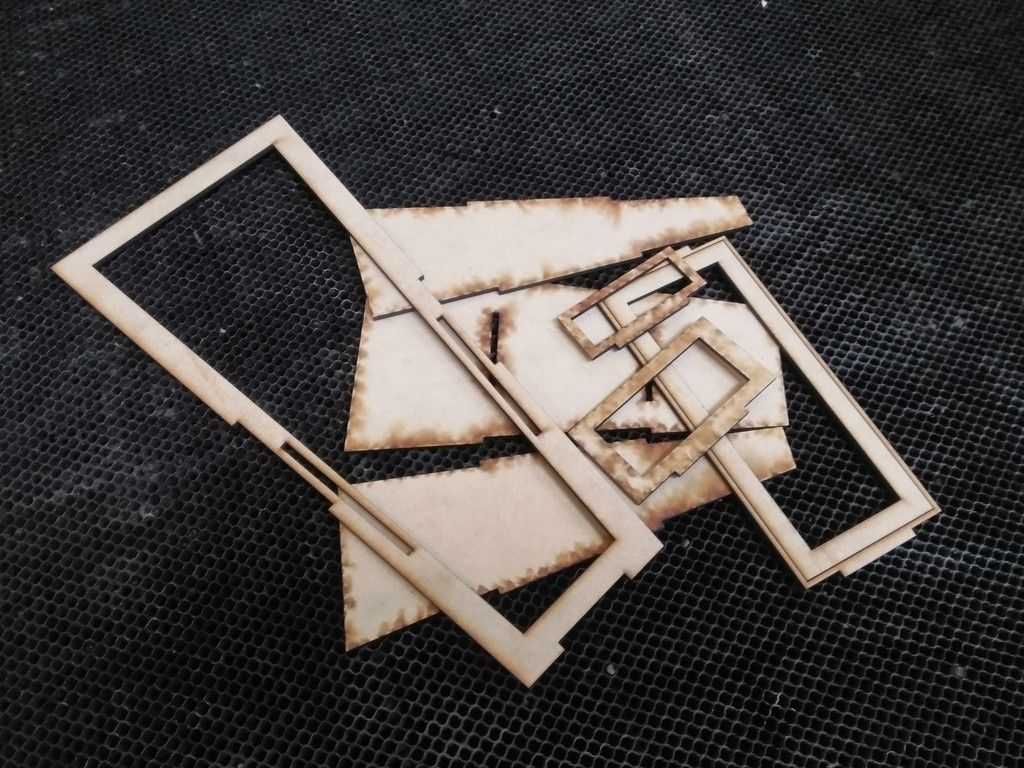
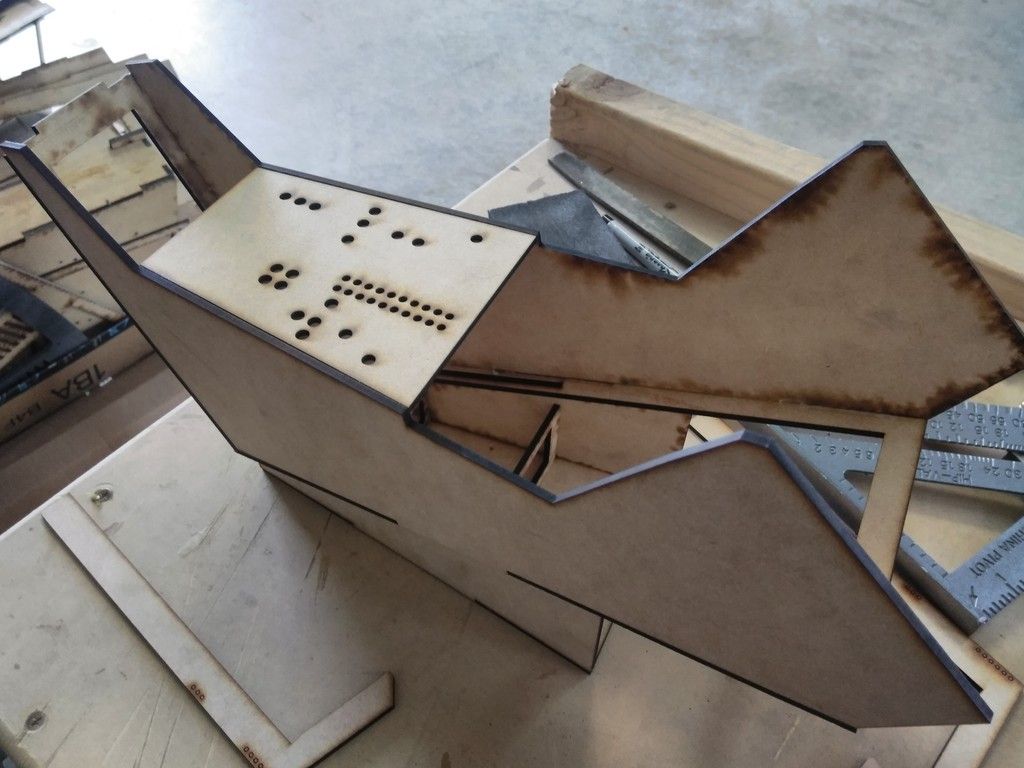
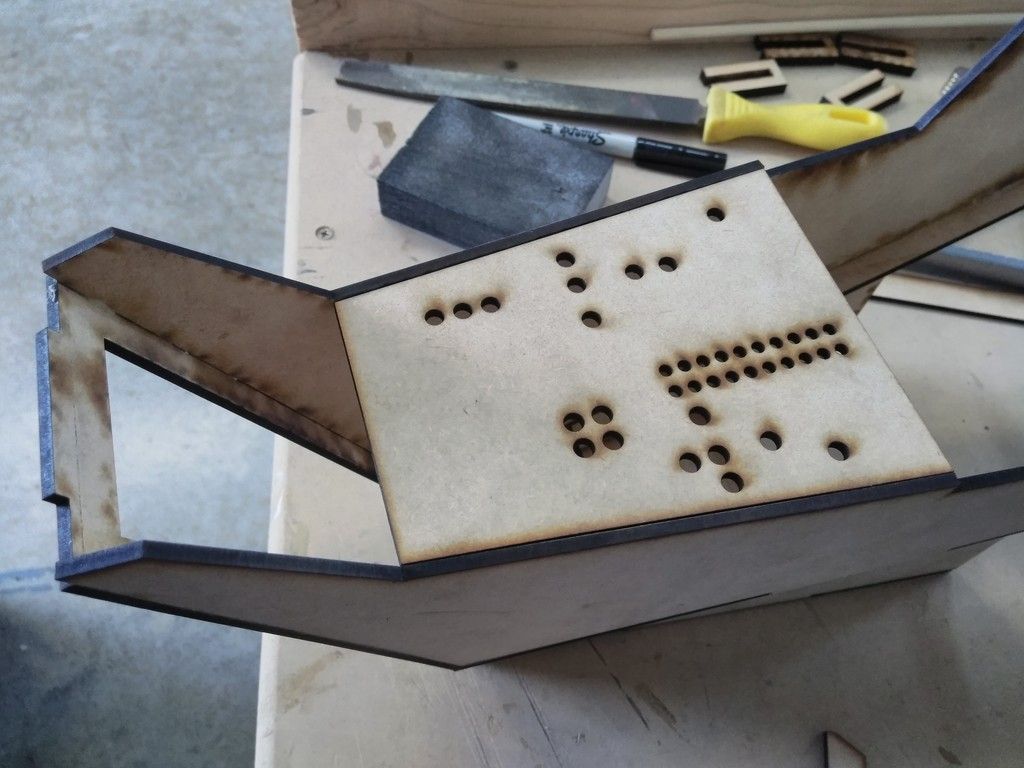
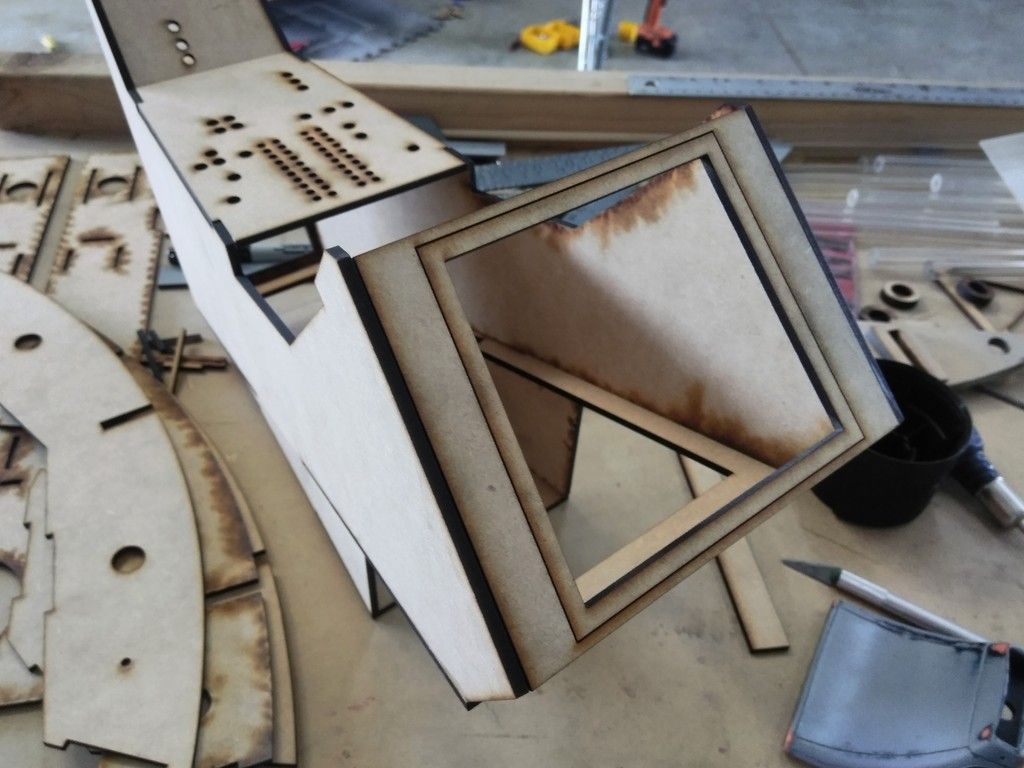
Finally... I started this little project
IMG_20180706_083306_zpswsjcw5uc.jpg


Sure looks familiar
IMG_20180706_083429_zpsxqo53kin.jpg


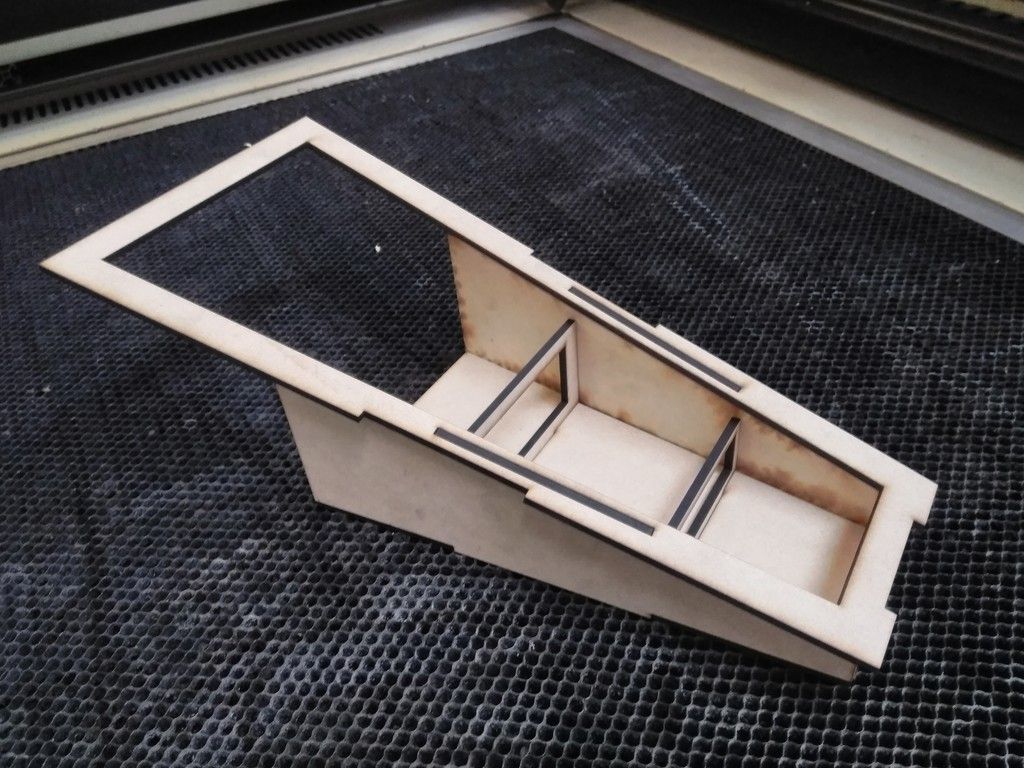
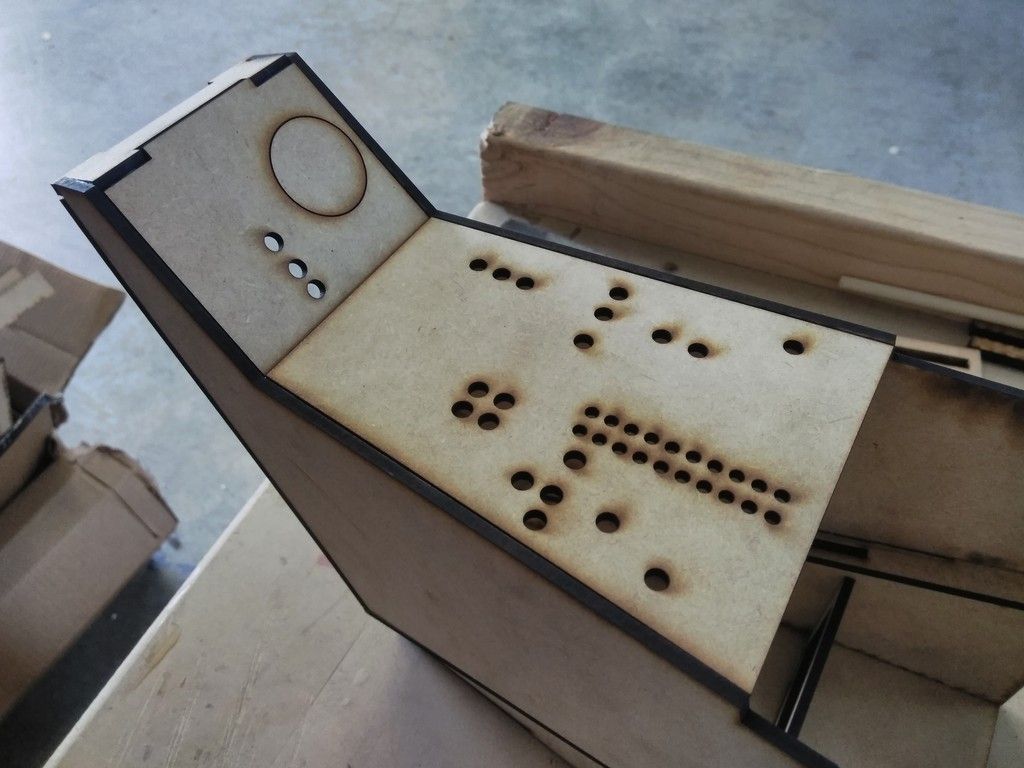
Hey now... we have the beginnings of a 1/4 scale console!
IMG_20180706_095413_zpsah3bnqcs.jpg


IMG_20180706_095421_zpsqvgrzmeo.jpg


IMG_20180706_095427_zps0rog3lhm.jpg


If you notice, there aren't a lot of tabs. I'm trying to make the exterior side of the console as smooth as possible
IMG_20180706_152714_zps9tlk48lt.jpg


The armrest panel will see MAJOR changes in Part II
IMG_20180706_152720_zpscrlelfga.jpg


IMG_20180706_160223_zpsiciulahz.jpg


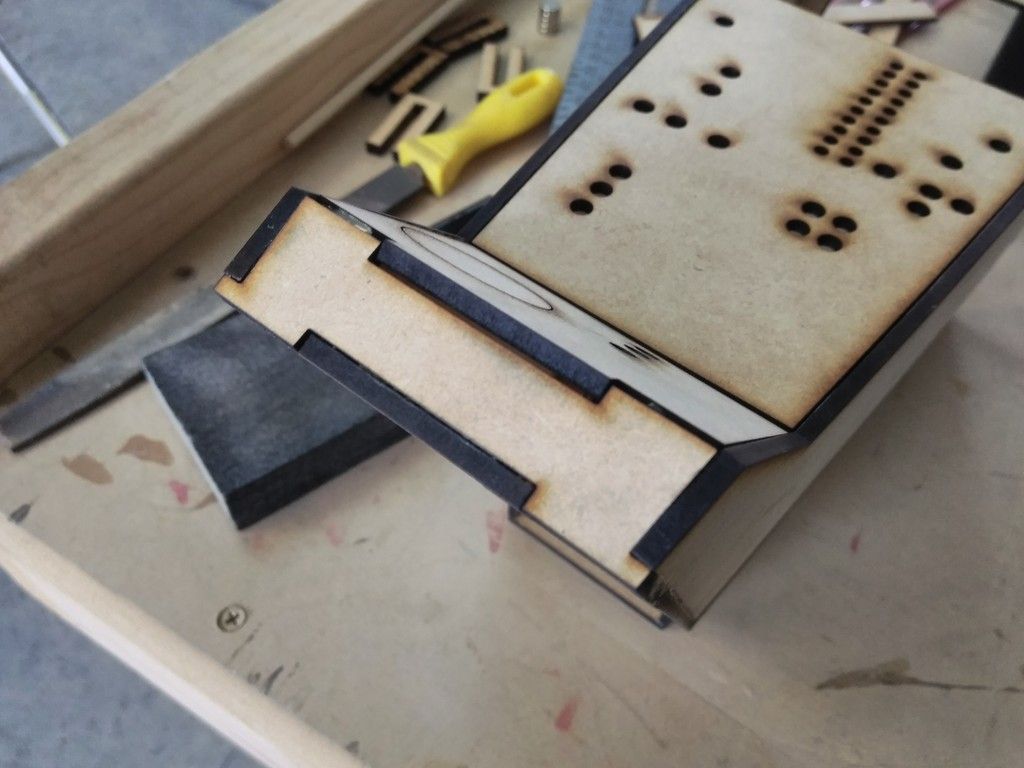
This area of the console NEEDED tabs in order to make all these flat areas fit together
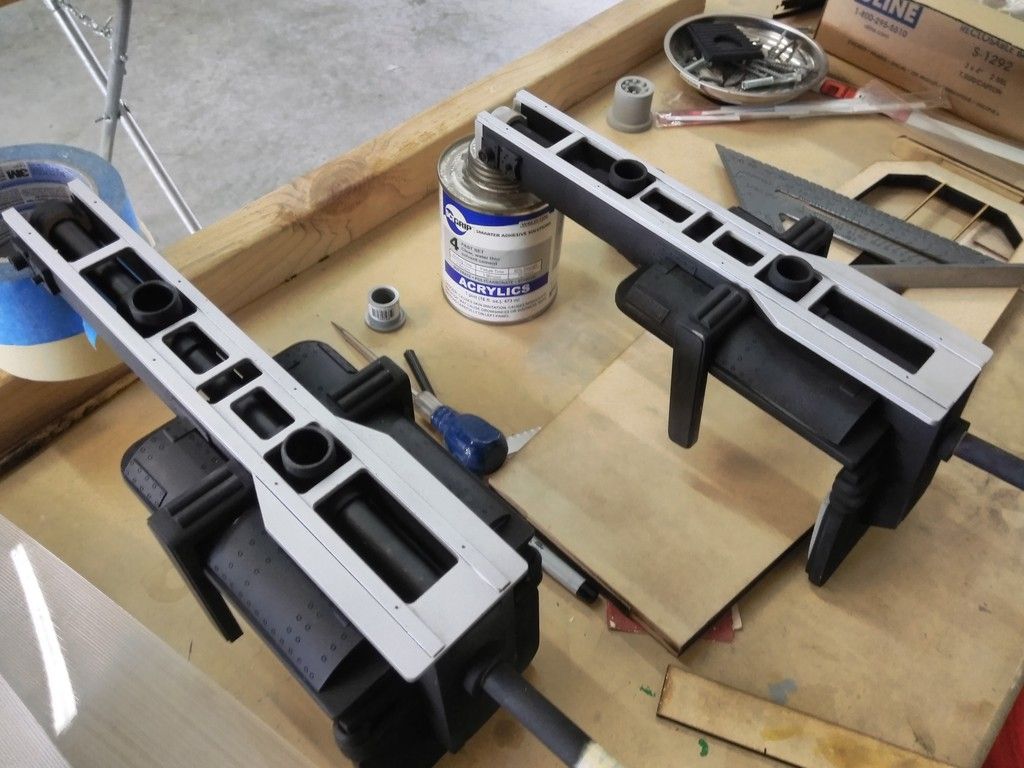
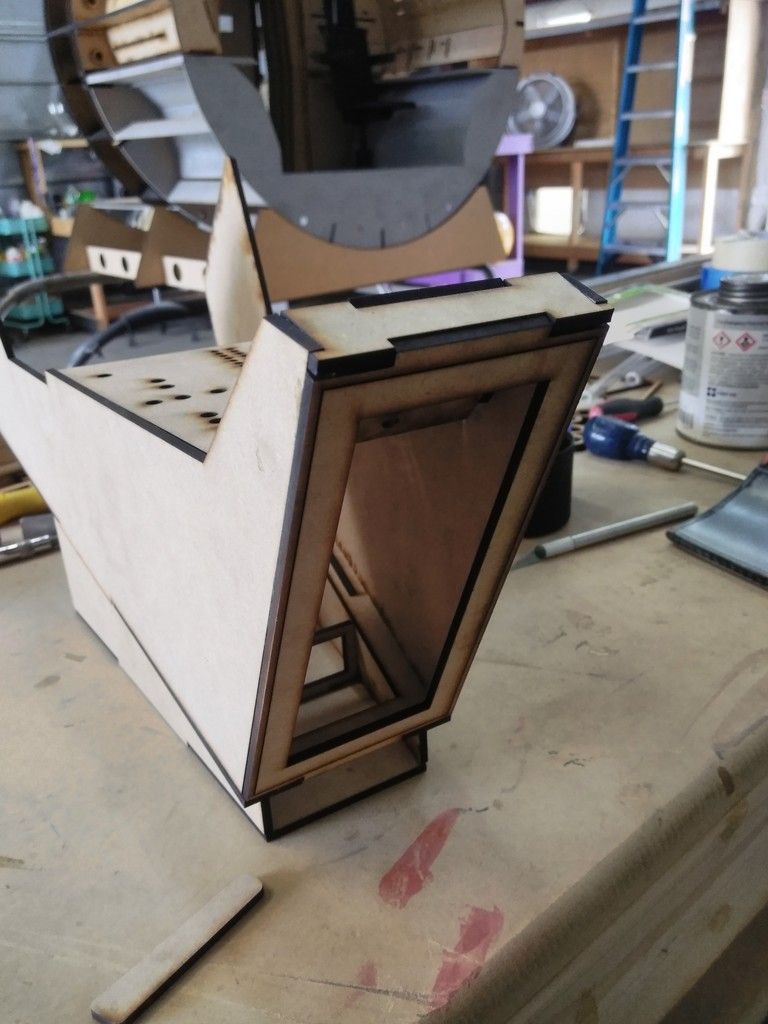
IMG_20180706_160230_zpswzsyh1r2.jpg


IMG_20180706_160236_zpsurgpkhgq.jpg


Front panel added
IMG_20180707_114714_zpsh9u4ndnu.jpg


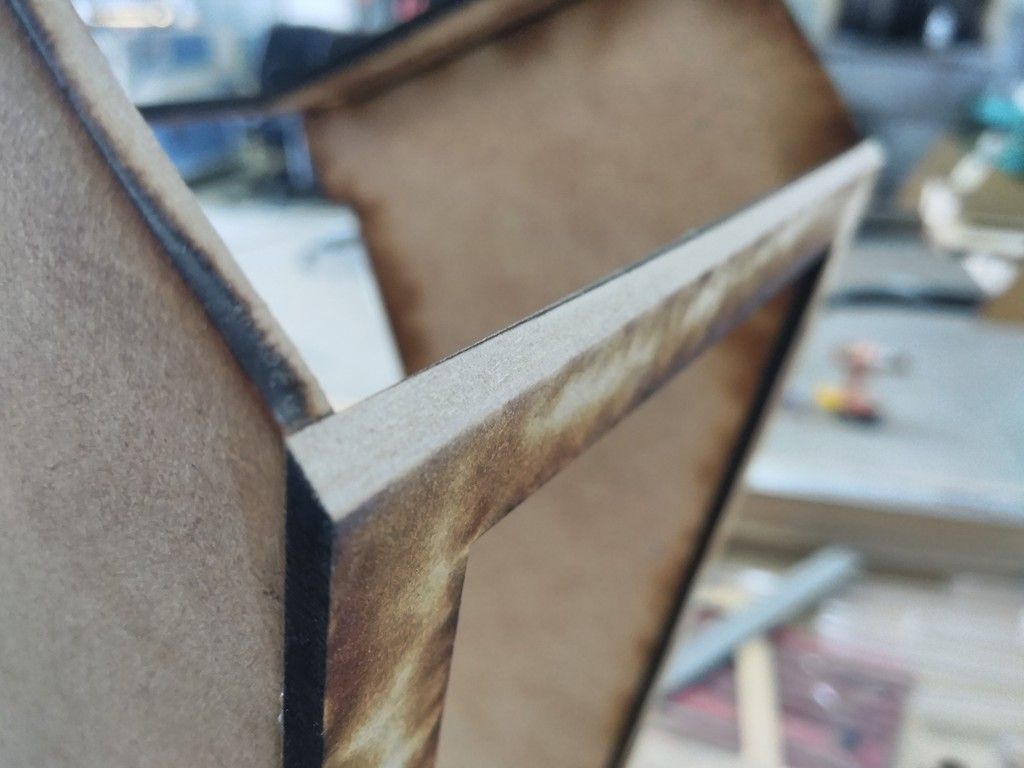
Broke out the belt sander and had some fun with these edges
IMG_20180707_115423_zpsvjh6lhff.jpg


IMG_20180707_115431_zpsky40bnoa.jpg


And this is where we are...
IMG_20180705_153247_zps3hbdb3al.jpg


Part II Coming!

Sneak Peak... 1/4 scale cockpit panels primed. I swear it feels like I'm looking into the full scale cockpit! :)
IMG_20180708_142011_zps38nc1ivb.jpg


More to follow so stay tuned!
 
Last edited:
Your 1/4 scale cockpit is such a beautiful piece of engineering. Nothing short of genius. It's amazing and mind-boggling and I can't wait to see more updates! Incredible work! :love
 
Hello there,

If we knew what would happen with just a little console in your bedroom.and now you're still making another one!! Huh?

So funny to look at where you are now 400+ pages later... and yes the 1/4 scale looks like the big one!! Excited for the part 2!!!

Cheers!!

Eric
 
:eek Jaw dropping! Brilliant as always.

And how many years did it take you to get to this point in 1:1 scale...? Maybe you went about this all bass-ackwards. Design model first THEN... Lol, just ribbing ya.
 
Wow, indeed...looks like a 1:1 scale. Beautiful job Sofa; then again: you're a Pro when it comes to building the MF cockpit.
(btw, did you receive my PM?)
 
Your 1/4 scale cockpit is such a beautiful piece of engineering. Nothing short of genius. It's amazing and mind-boggling and I can't wait to see more updates! Incredible work! :love

Hi R,

Thanks so much! The build has been a total blast. Glad you're enjoying it as much as I am. I can't get over how fast its going by compared to the full scale. :)

- - - Updated - - -

Hello there,

If we knew what would happen with just a little console in your bedroom.and now you're still making another one!! Huh?

So funny to look at where you are now 400+ pages later... and yes the 1/4 scale looks like the big one!! Excited for the part 2!!!

Cheers!!

Eric

Hey E,

Thanks! Can you believe it? As you said, all this started with just the console. Now 400+ pages later we have a full scale cockpit, a quad laser some nav chairs and now a 1:4 scale AND 1:6 scale cockpit in the works. Doesn't look like I'll be stopping anytime soon! ;)

- - - Updated - - -

:eek Jaw dropping! Brilliant as always.

And how many years did it take you to get to this point in 1:1 scale...? Maybe you went about this all bass-ackwards. Design model first THEN... Lol, just ribbing ya.

Thanks so much, K!

LOL!!! I've been thinking about that exact thing. It took 6+ years to get where I am with the 1:1 scale and just a few weeks with the 1:4 scale. I think you're right. Start small, then work my way up to the full scale version. And that give me an idea!!!! ;)

- - - Updated - - -

I can just imagine why the Hot Toys version was gonna be 3K!

Sent from my Starfleet-issue communicator

After all the design work and "redo's" I've had to do... I think 3-5K is a fair price. But I dont think Hot Toys is making the cockpit available for sale?

- - - Updated - - -

Wow, indeed...looks like a 1:1 scale. Beautiful job Sofa; then again: you're a Pro when it comes to building the MF cockpit.
(btw, did you receive my PM?)

As always, thank you for the kind words, J! You've always been a HUGE supporter! :)

Check your mail - I sent you a follow up PM a few days ago

- - - Updated - - -

1:4 scale. 1:1 enjoyment.

LOL! So long as you guys are having fun... So am I!

- - - Updated - - -

I'm tuned, I'M TUNED!

Tonight! Part II
 

Your message may be considered spam for the following reasons:

If you wish to reply despite these issues, check the box below before replying.
Be aware that malicious compliance may result in more severe penalties.
Back
Top