MadBlake
Active Member
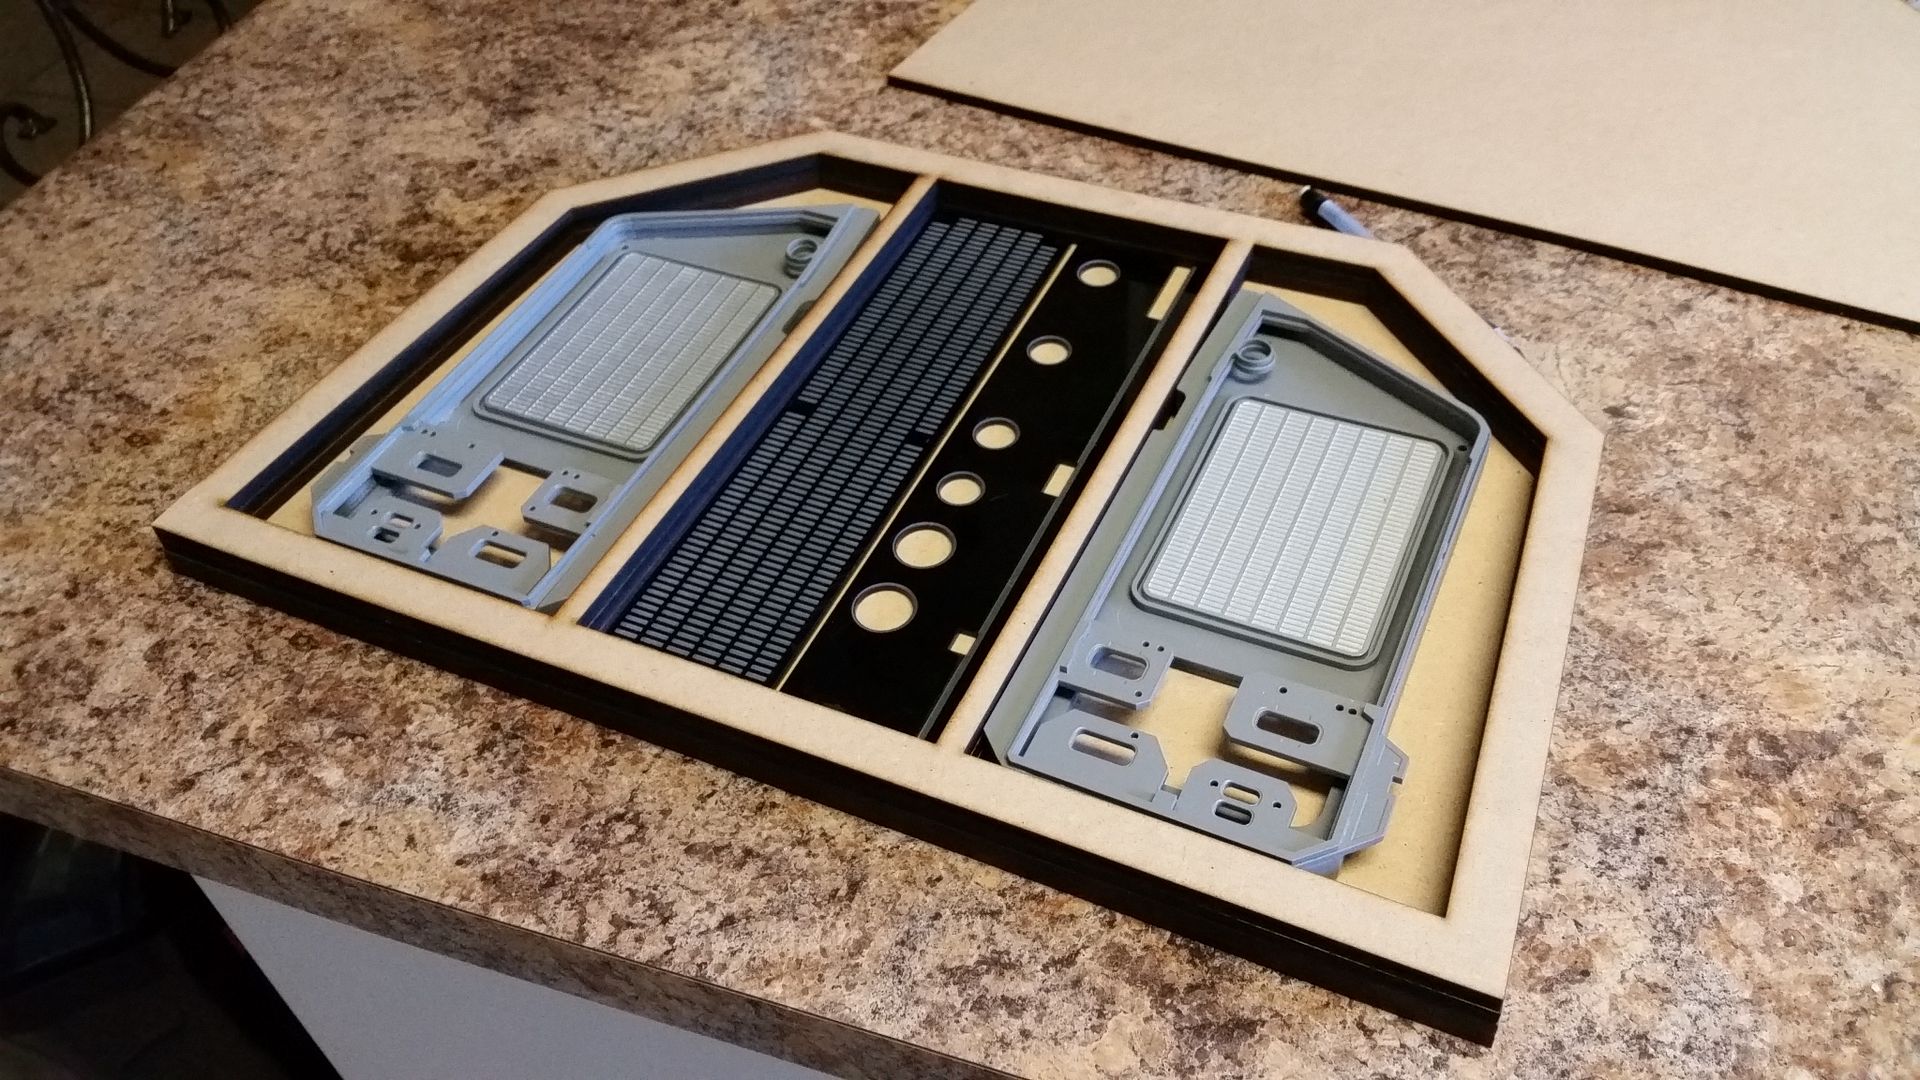
The Only reason I'm able to get out of bed and go to work on Monday's is knowing I can come to work and check out the past weeks progress on this thread. Also I am never short of sheer amazement every time, which helps me get thru the rest of my week haha! Great job SofaKing01 keep up the great progress!!!
Last edited by a moderator:
")