Hylian Shield Zelda

BLACKULA727

Active Member
RPF PREMIUM MEMBER
Hello all! It’s been a while since I’ve had something worth posting.
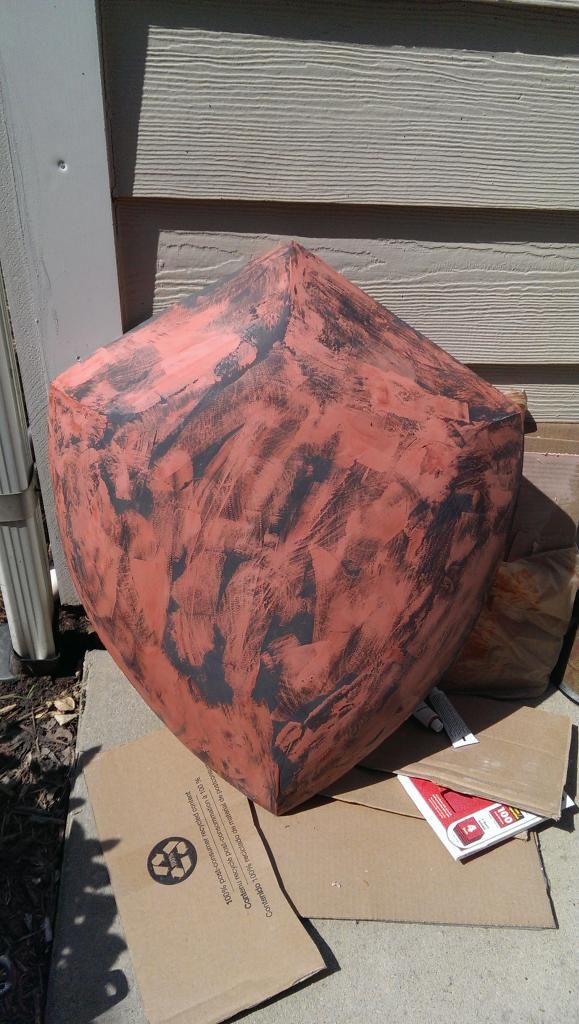
I started working on this shield mid September and now I’m coming to the end of it. It’s isn’t suppose to be 100% game accurate and is more so based on my own interpretation. I hope you like it :)

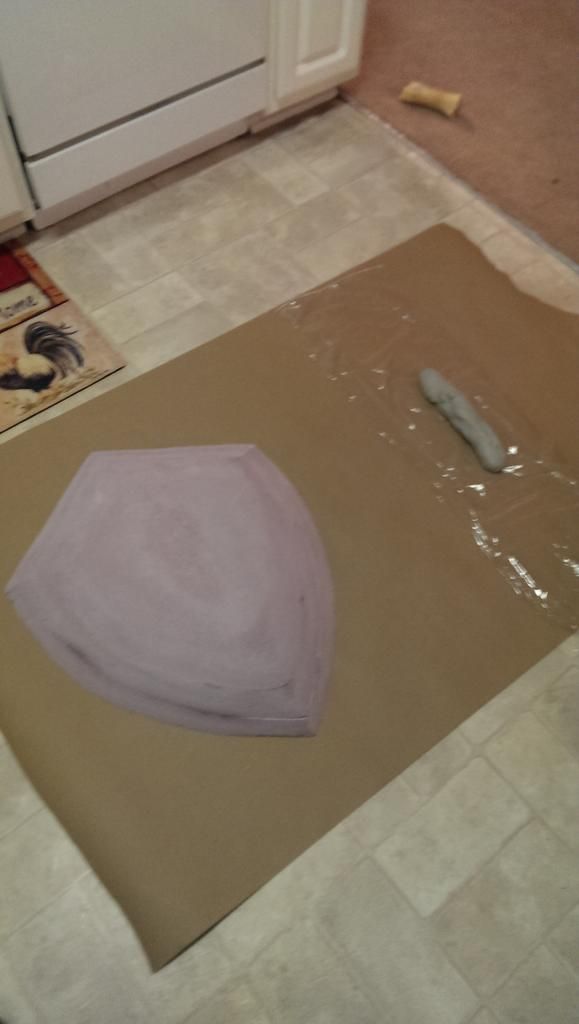
I started out with a bit of foam and carved and shaped it to the basic shape.


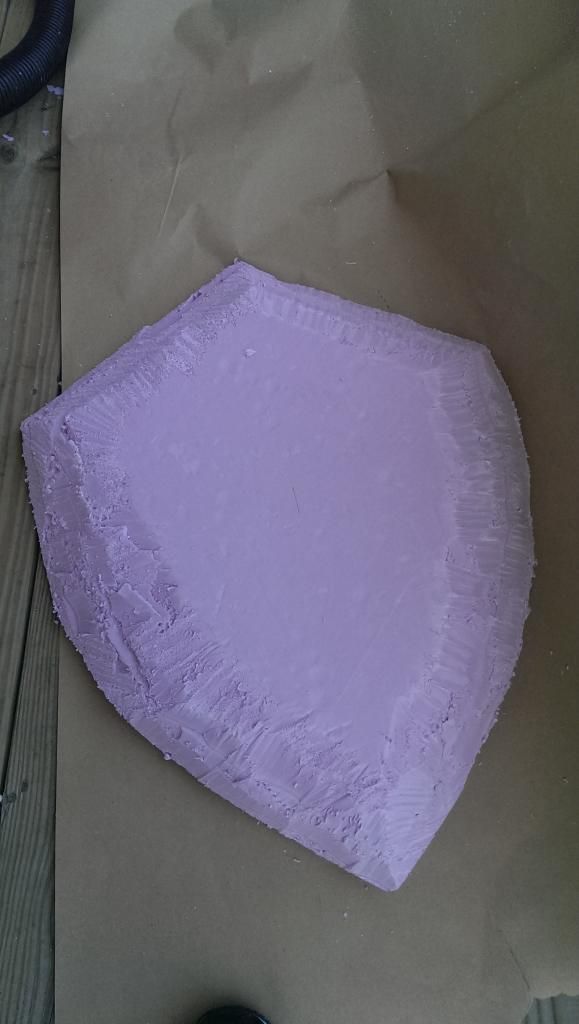
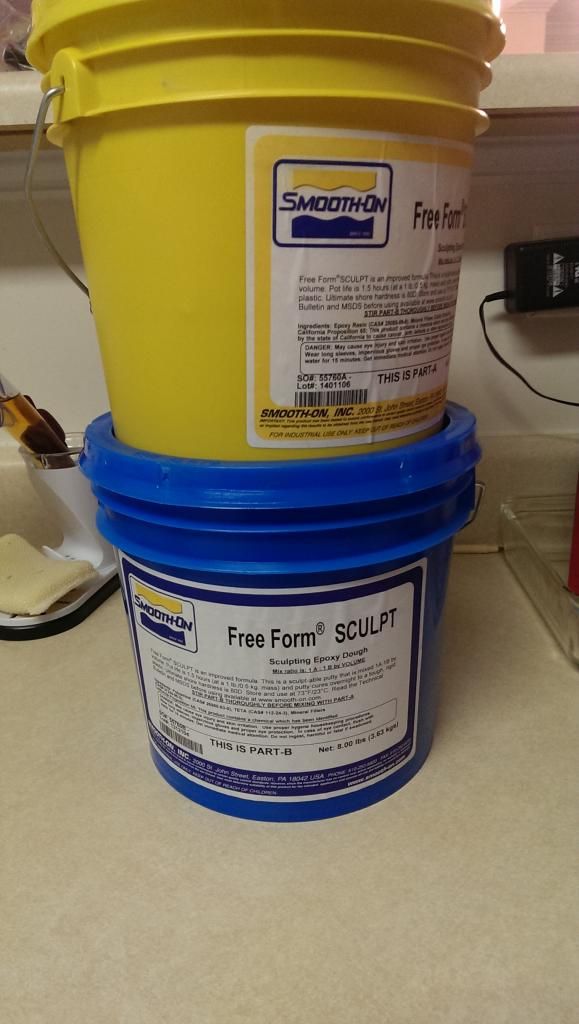
I then used free-form sculpt to cover the whole form:


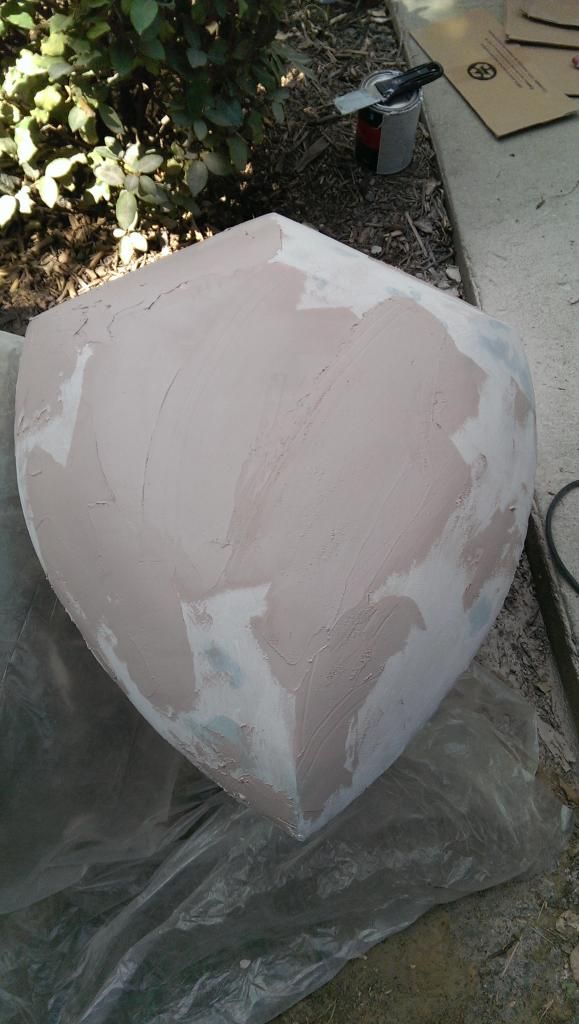
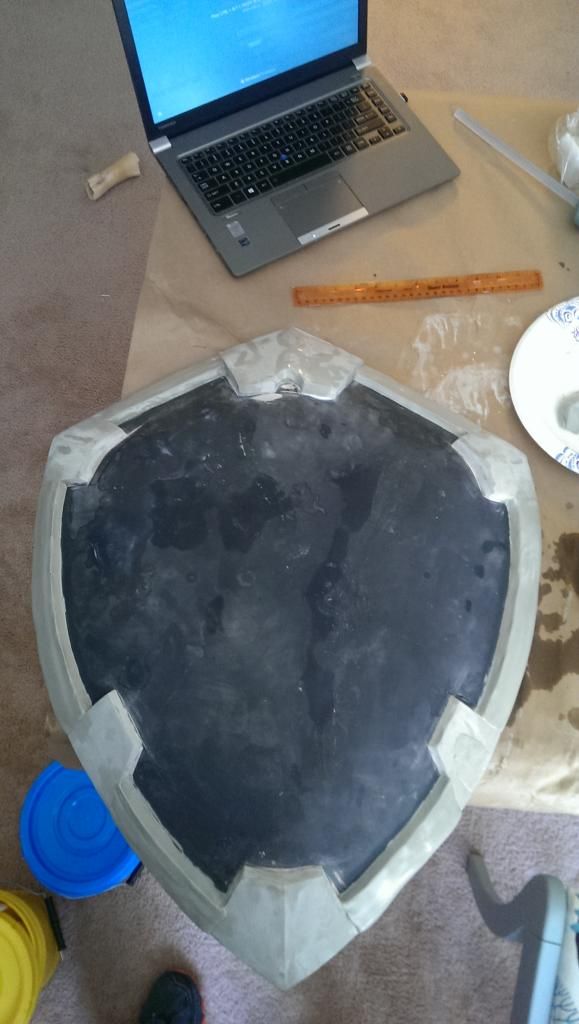
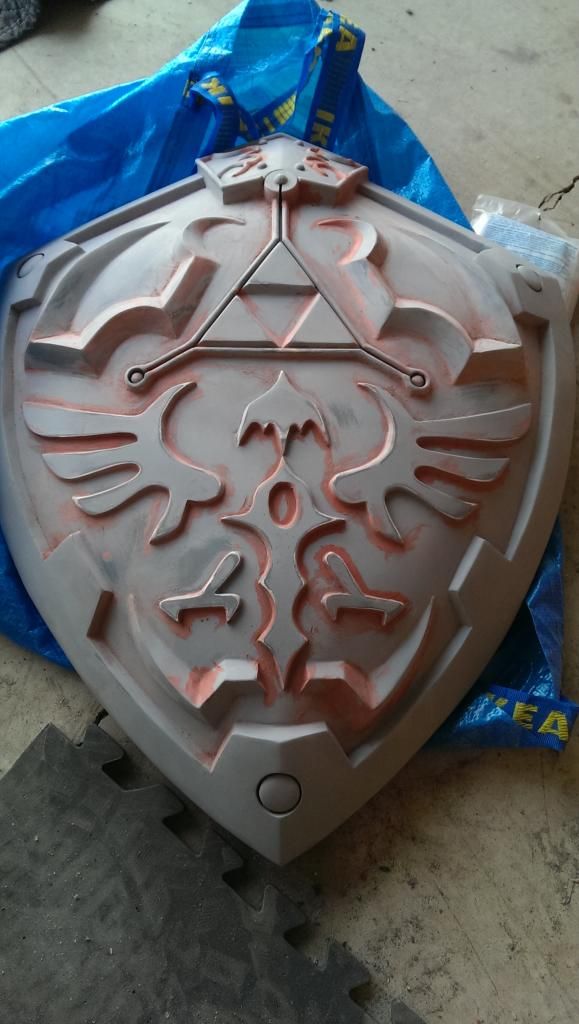
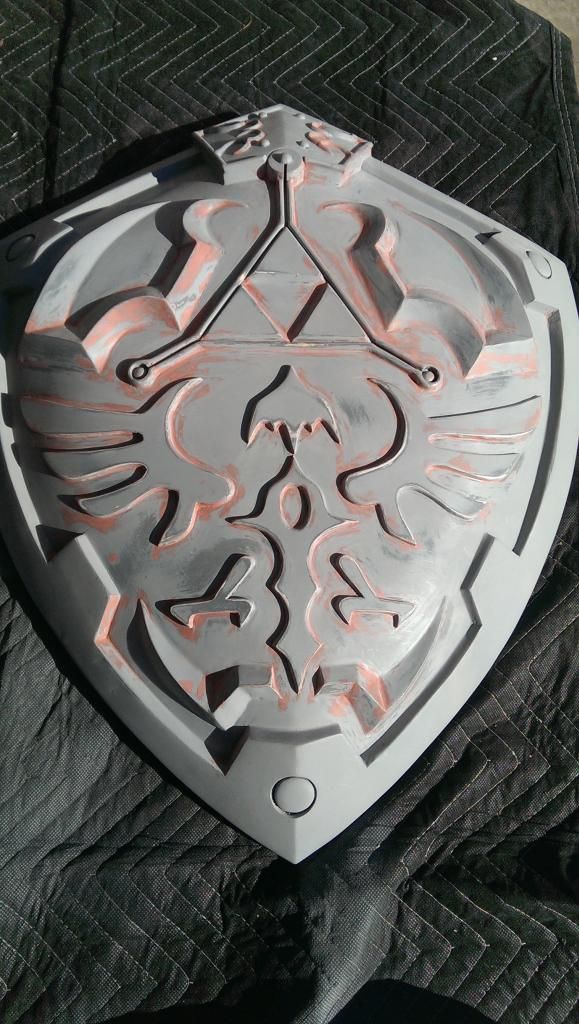
I followed all that with body filler and spot putty to make it smooth.


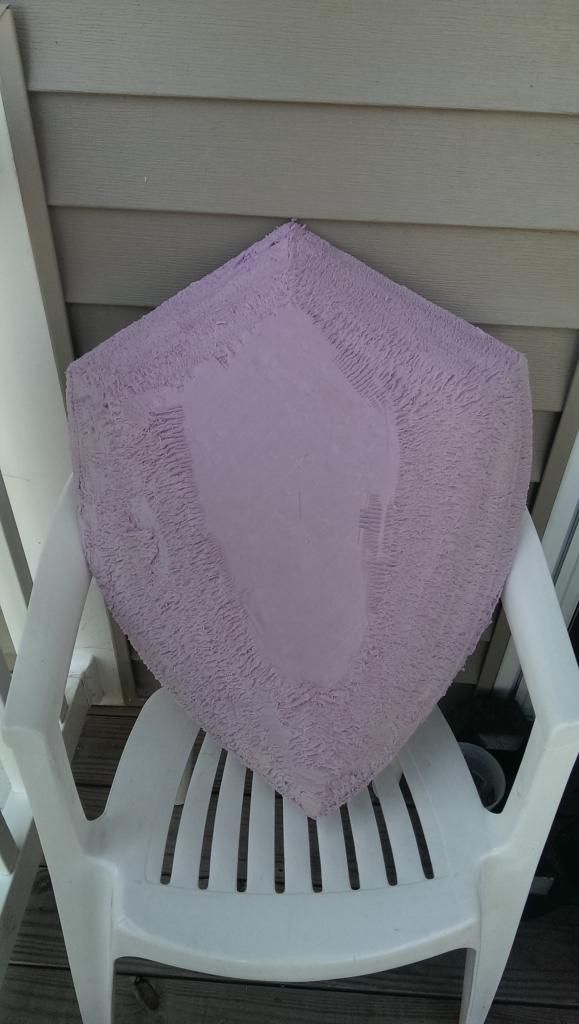
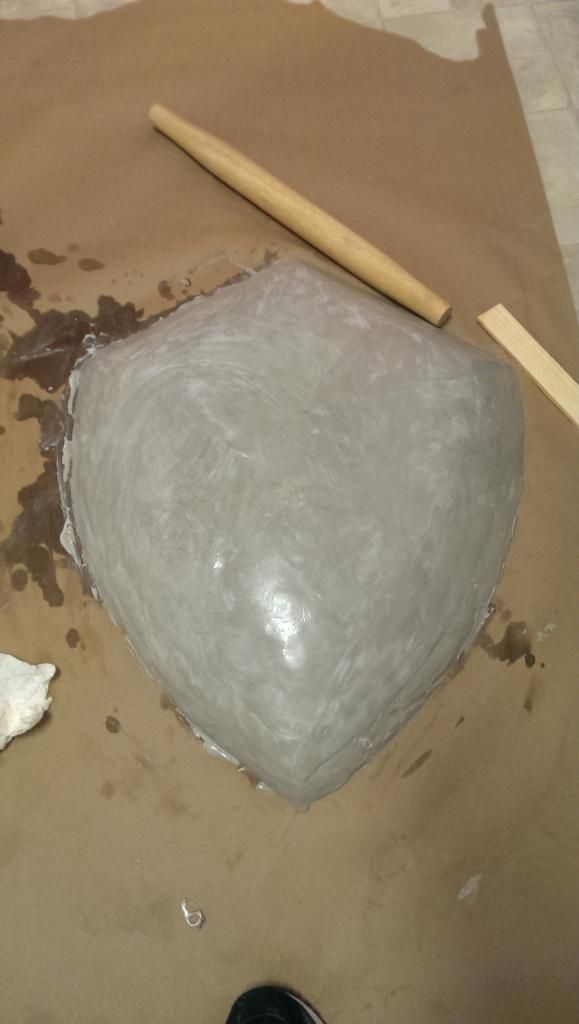
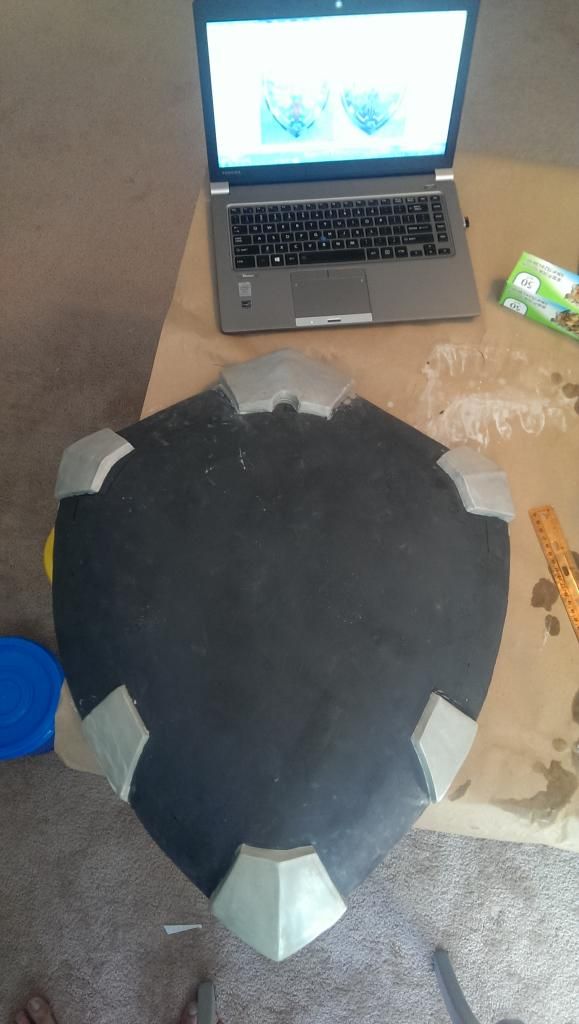
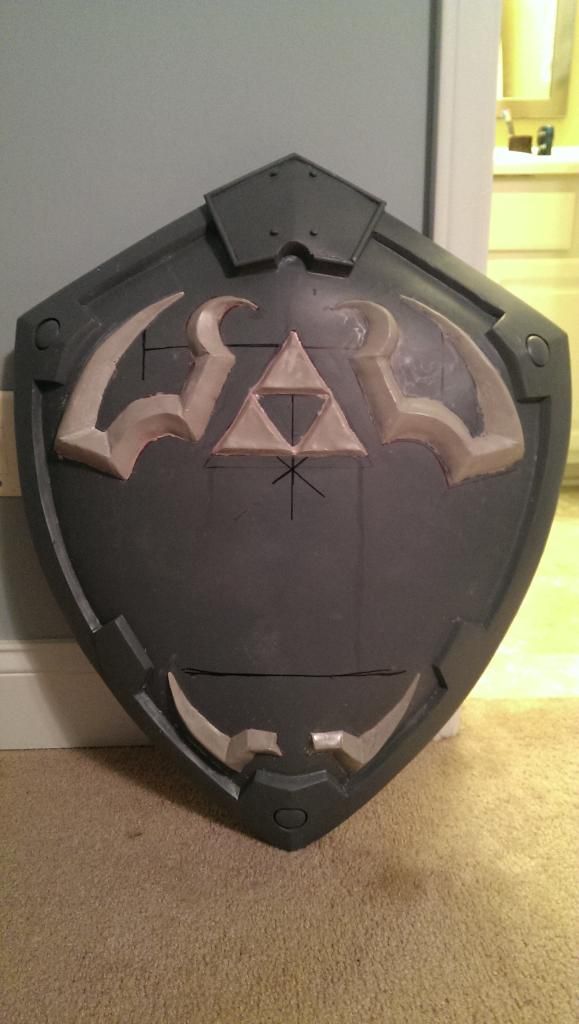
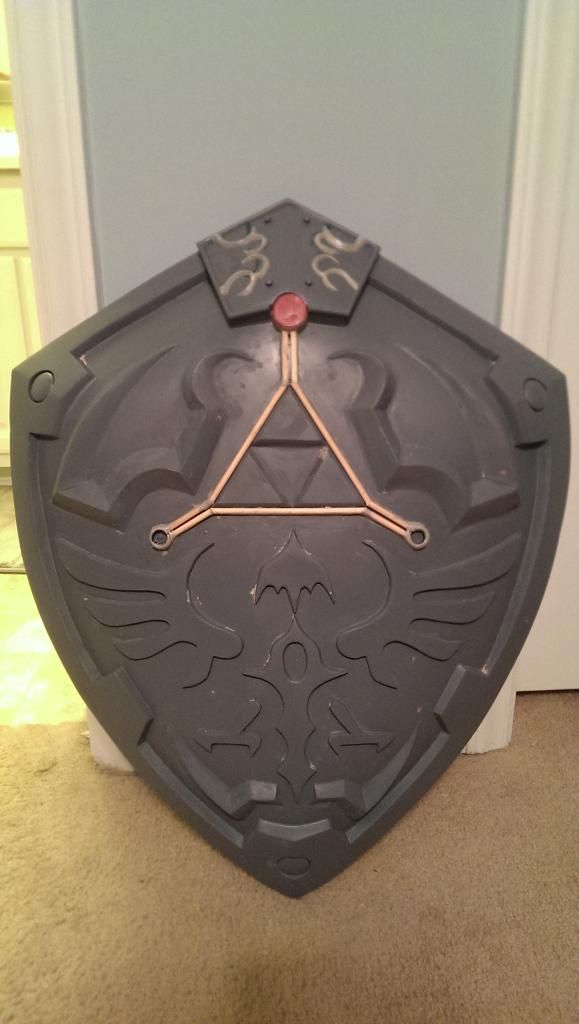
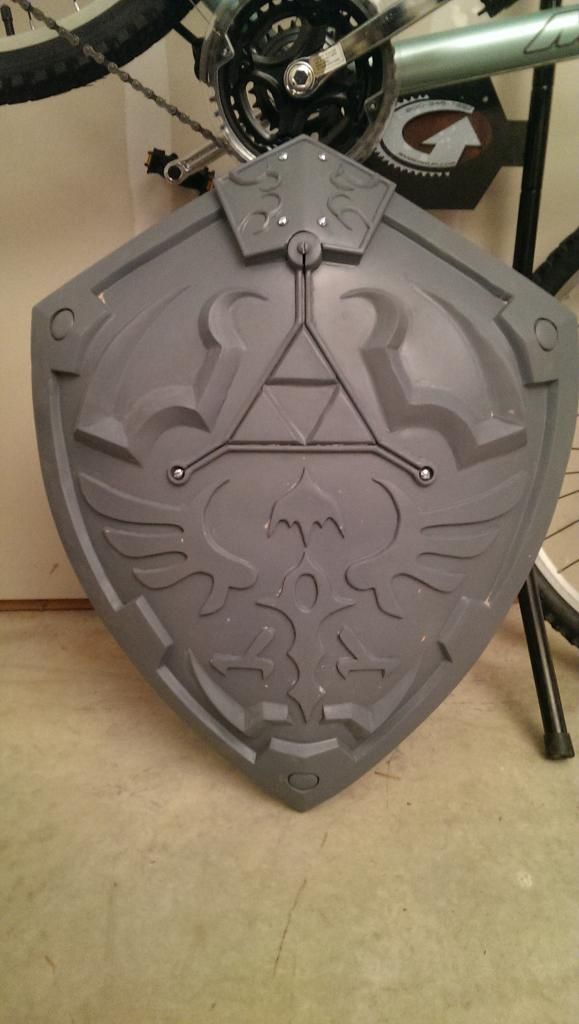
Then I sculpted the rest of the shields parts with additional free form.


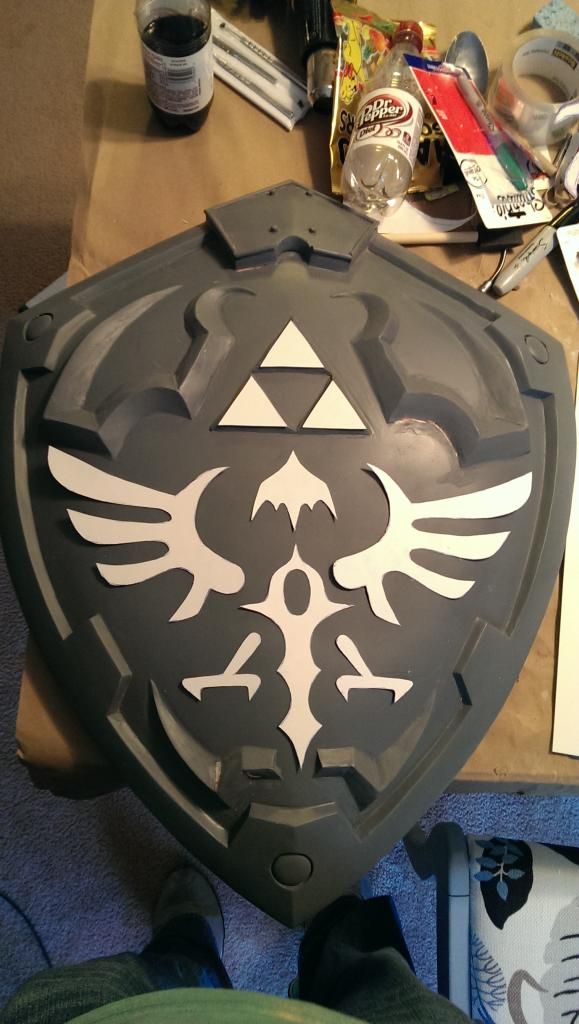
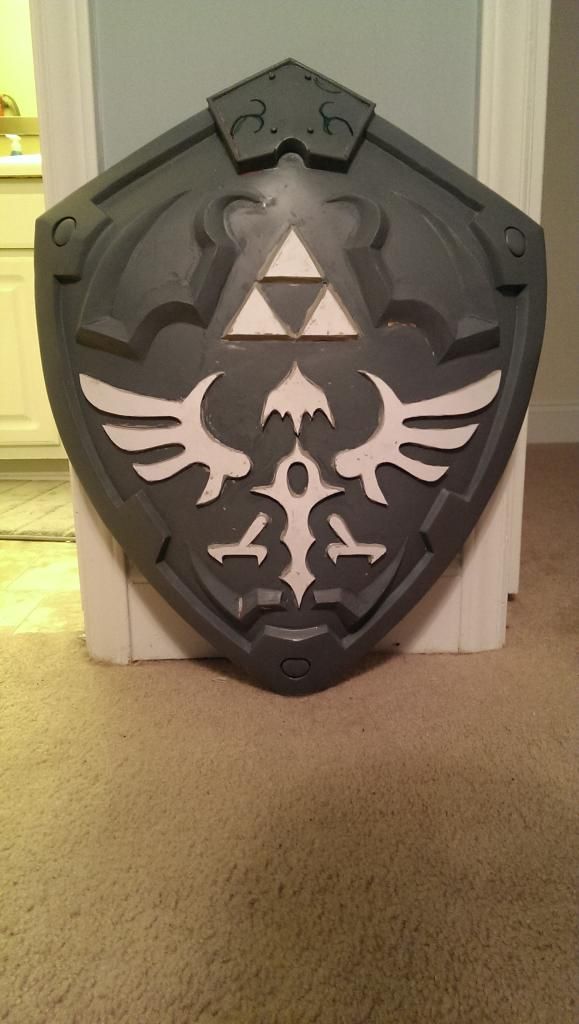
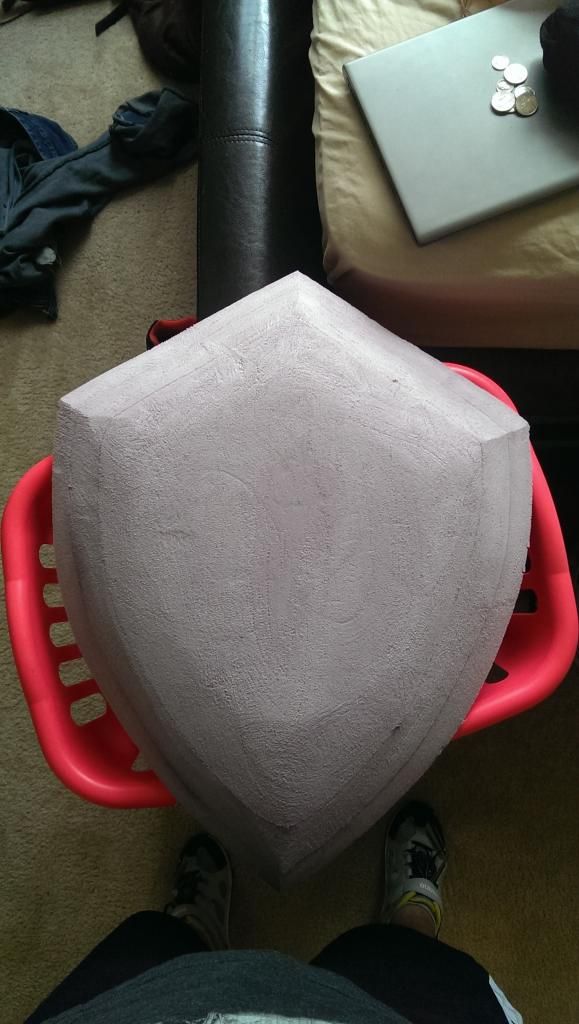
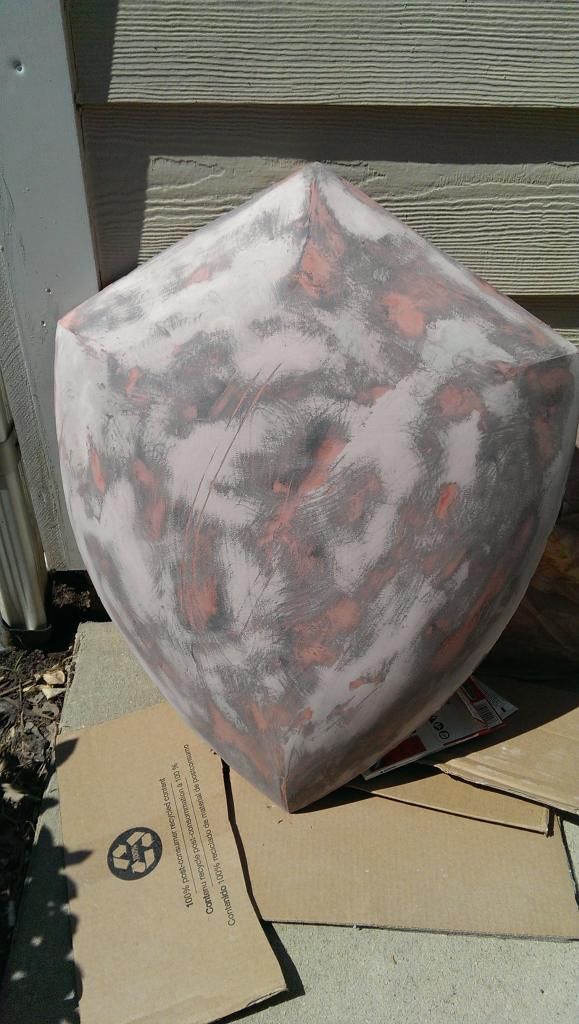
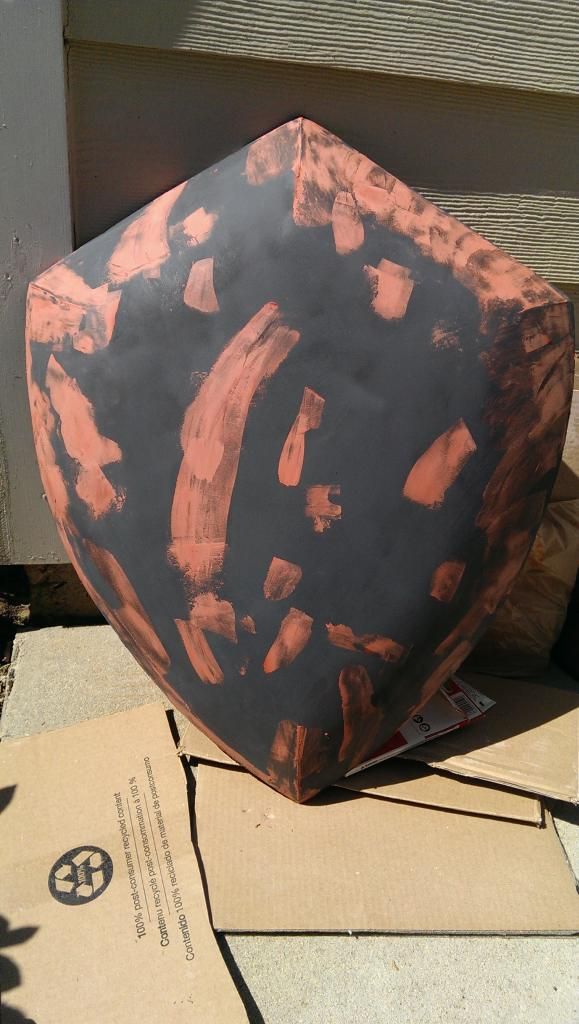
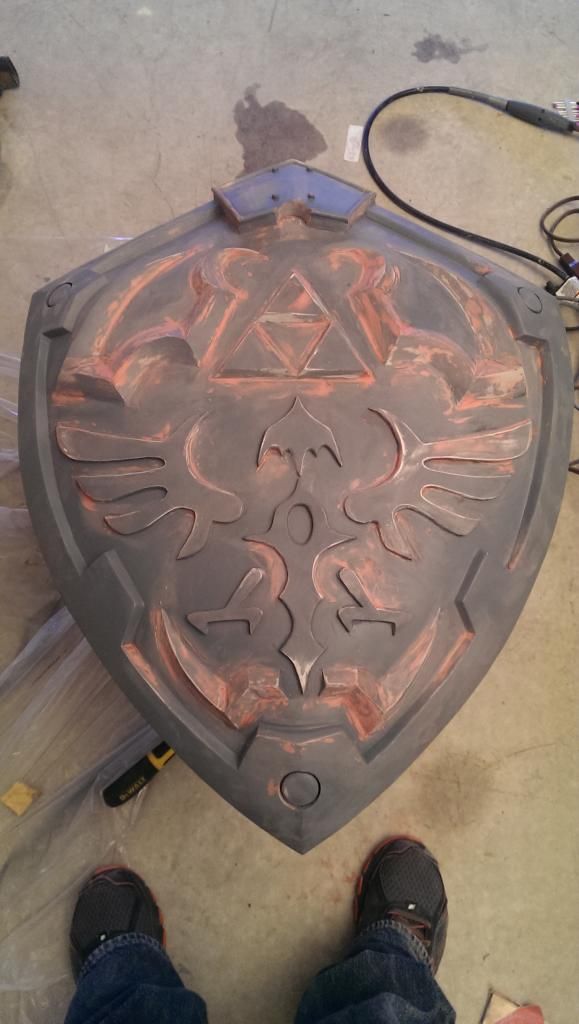
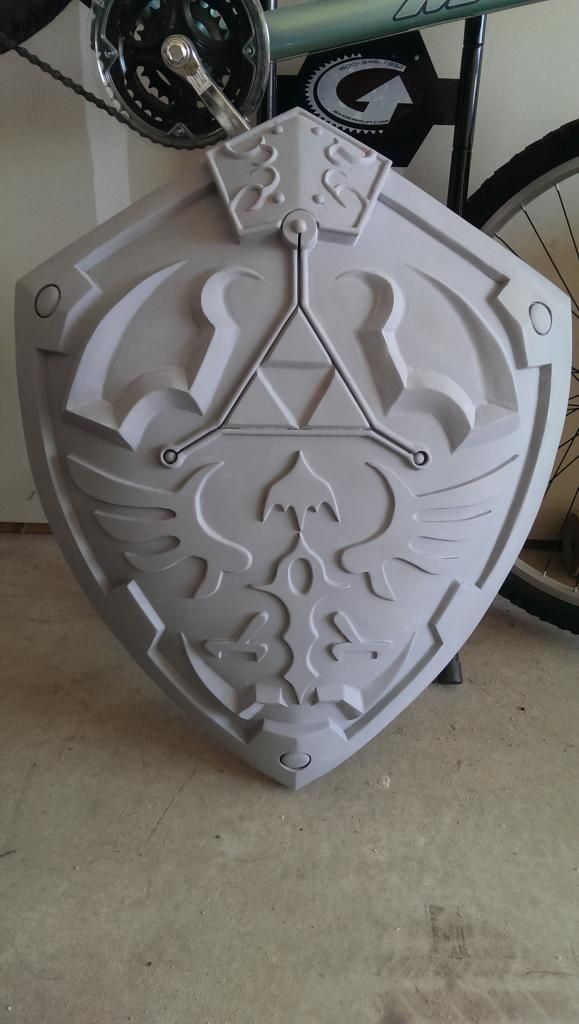
Here it is now after much body work and sanding….priming…filling….repeat


I am planning to mold it so I can make a shield for each of my two kids and maybe make some available.

Let me know what you think.

Thanks for viewing!

-Tony
 
I really like it. I make medieval shields for reënactment myself and am a bit of a historical shield buff, but I really like the different zelda shields. I'll be probably making a historical accurate version, when I figure out what which shield it will be.

Im really interested in the finished shield, keep is updated please.

-R-
 
Wow! thank you all for the kind words. I'm currently in the middle of molding it. I will post pictures of the molding process later so everyone can see how I make my molds. Thanks again!

-Tony
 
Great job Tony!!!! Nice job documenting the process too! I'd be interested in a casting if you make them available.
 
Good morning all!


First, I want to thank everyone for the awesome comments. It means a lot to me that you like the progress thus far. I truly do appreciate the kind words.


Second, Molding time!


So…I still need to put the jacket on it. I couldn’t wait though, so here are some pics of the rubber going down.


Setup:


Rubber down/finished:


It took approximately 4 layers X 24oz (12oz part A & 12oz part B) pours of rebound 25 to achieve the desired thickness on the shield. One layer of straight rebound (NO thickening agent), 2 layers of thickened rebound (completely cover the whole thing). And, one final layer of straight rebound again (NO thickening agent).


I hope everyone enjoys this update. I look forward to showing the shell progress later.

Thanks again for viewing!


-Tony
 
Seriously can't wait to see more on this.

Ask and you shall receive….lol

So....whats inside the silikon tower you have in the last picture...
C:\Users\IBM_AD~1\AppData\Local\Temp\msohtmlclip1\01\clip_image001.png

I was wondering the same thing

It’s a Halo Reach gauntlet armor piece I was working on (3d model/Cleaned it up/Mold it) Nothing to special, going to make a couple for an existing suit of mine. :)

This is incredible! Fantastic detail.

Thank you!

Well, without further delay, here is the results of the molding.
Creating the Jacket, I used Free form air by smooth on and mixed it following the directions that come with the product and rolled it out to ½ inch thickness and covered the entire silicone mold. I then waited over night for the material to harden and made a quick casting. The casting is made from Urethane resin and fiberglass cloth for added strength. I’ll post a finished one shortly.


Working with the Free Form Air:


Demolding and first casting:


I hope you like it.

Thanks for viewing!

-Tony
 
This thread is more than 9 years old.

Your message may be considered spam for the following reasons:

  1. This thread hasn't been active in some time. A new post in this thread might not contribute constructively to this discussion after so long.
If you wish to reply despite these issues, check the box below before replying.
Be aware that malicious compliance may result in more severe penalties.
Back
Top