Junk Pilot
Sr Member
That is really one of the nicest MPC builds I've seen.
")
Awesome! It's coming together nicely!
That is really one of the nicest MPC builds I've seen.
Looks killer! I really like the weathering
Robert

Looking good! I love the subtle weathering. I was a bit heavy handed on my first one.
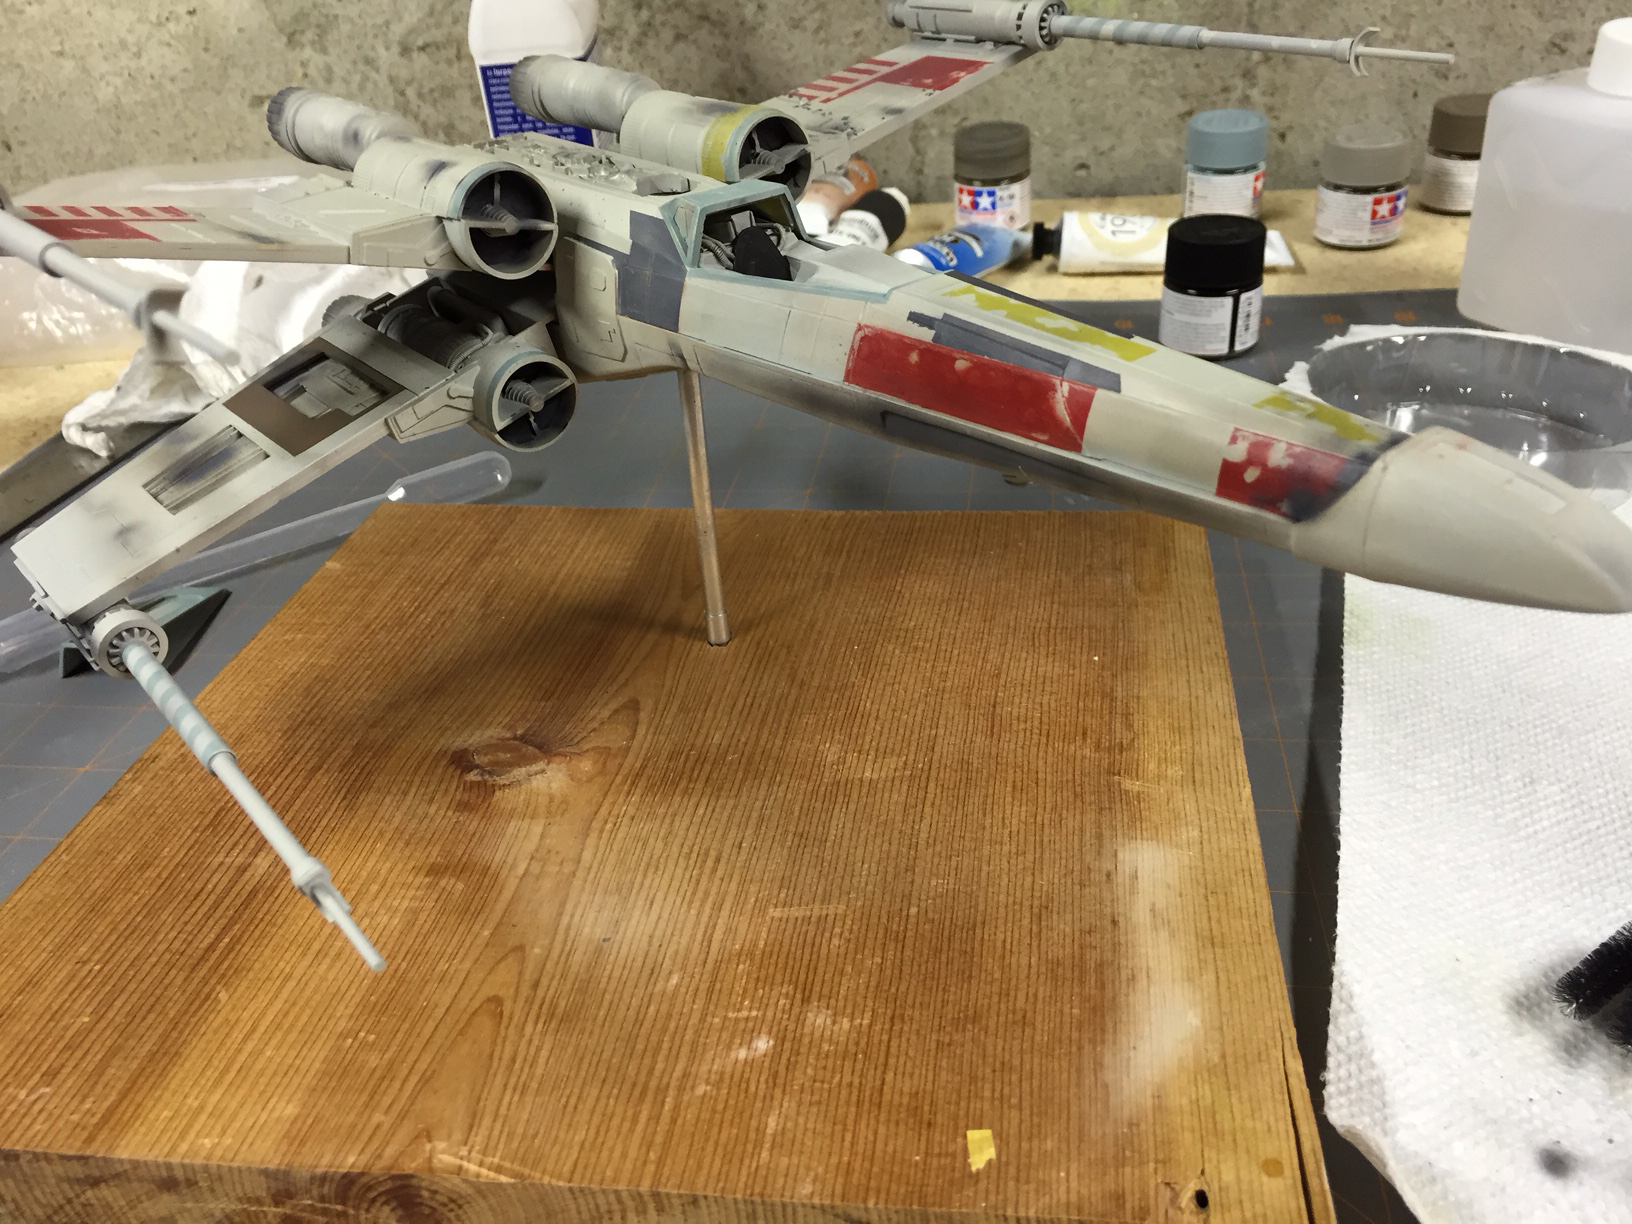
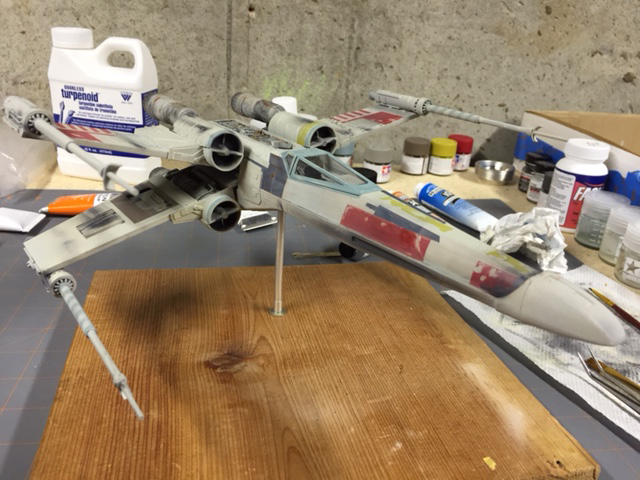
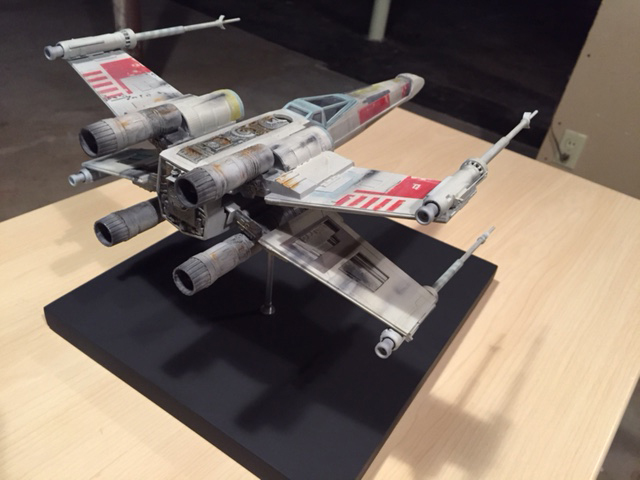
Here's a little teaser of what I've been up to lately...
View attachment 406361
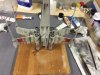
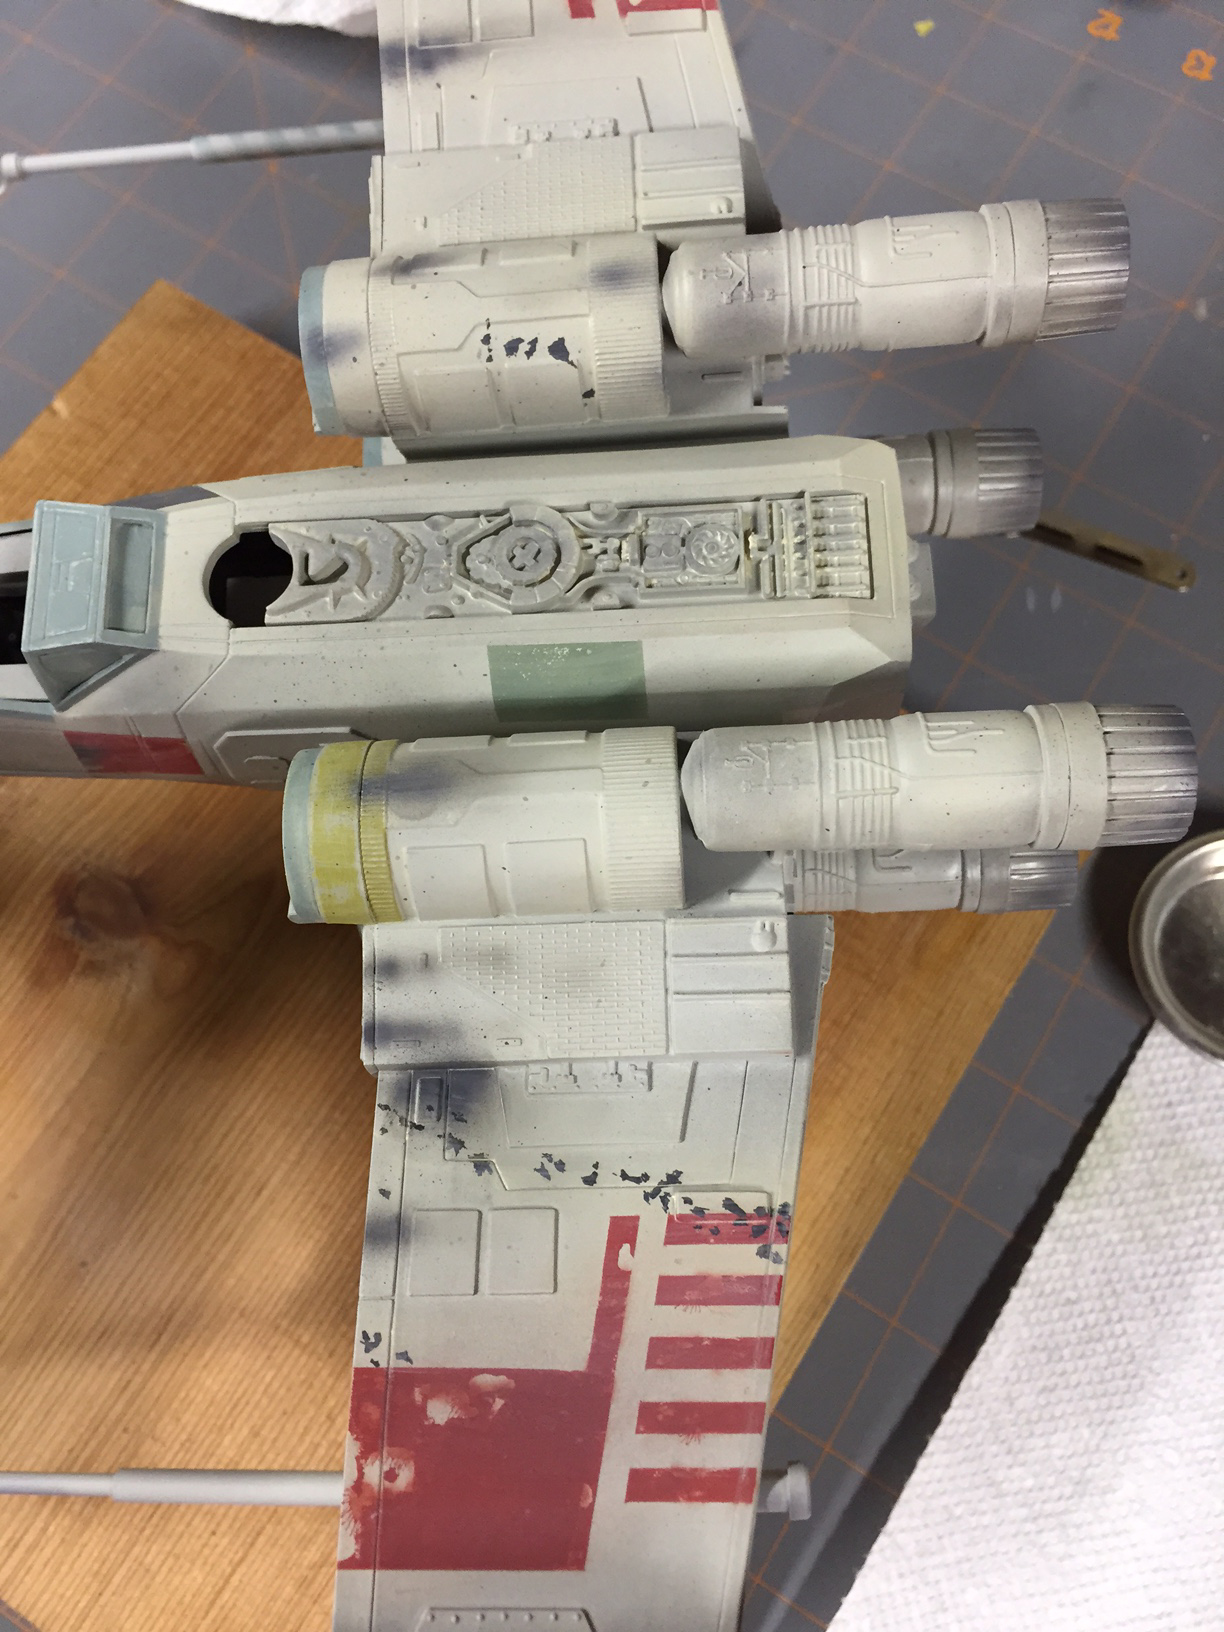
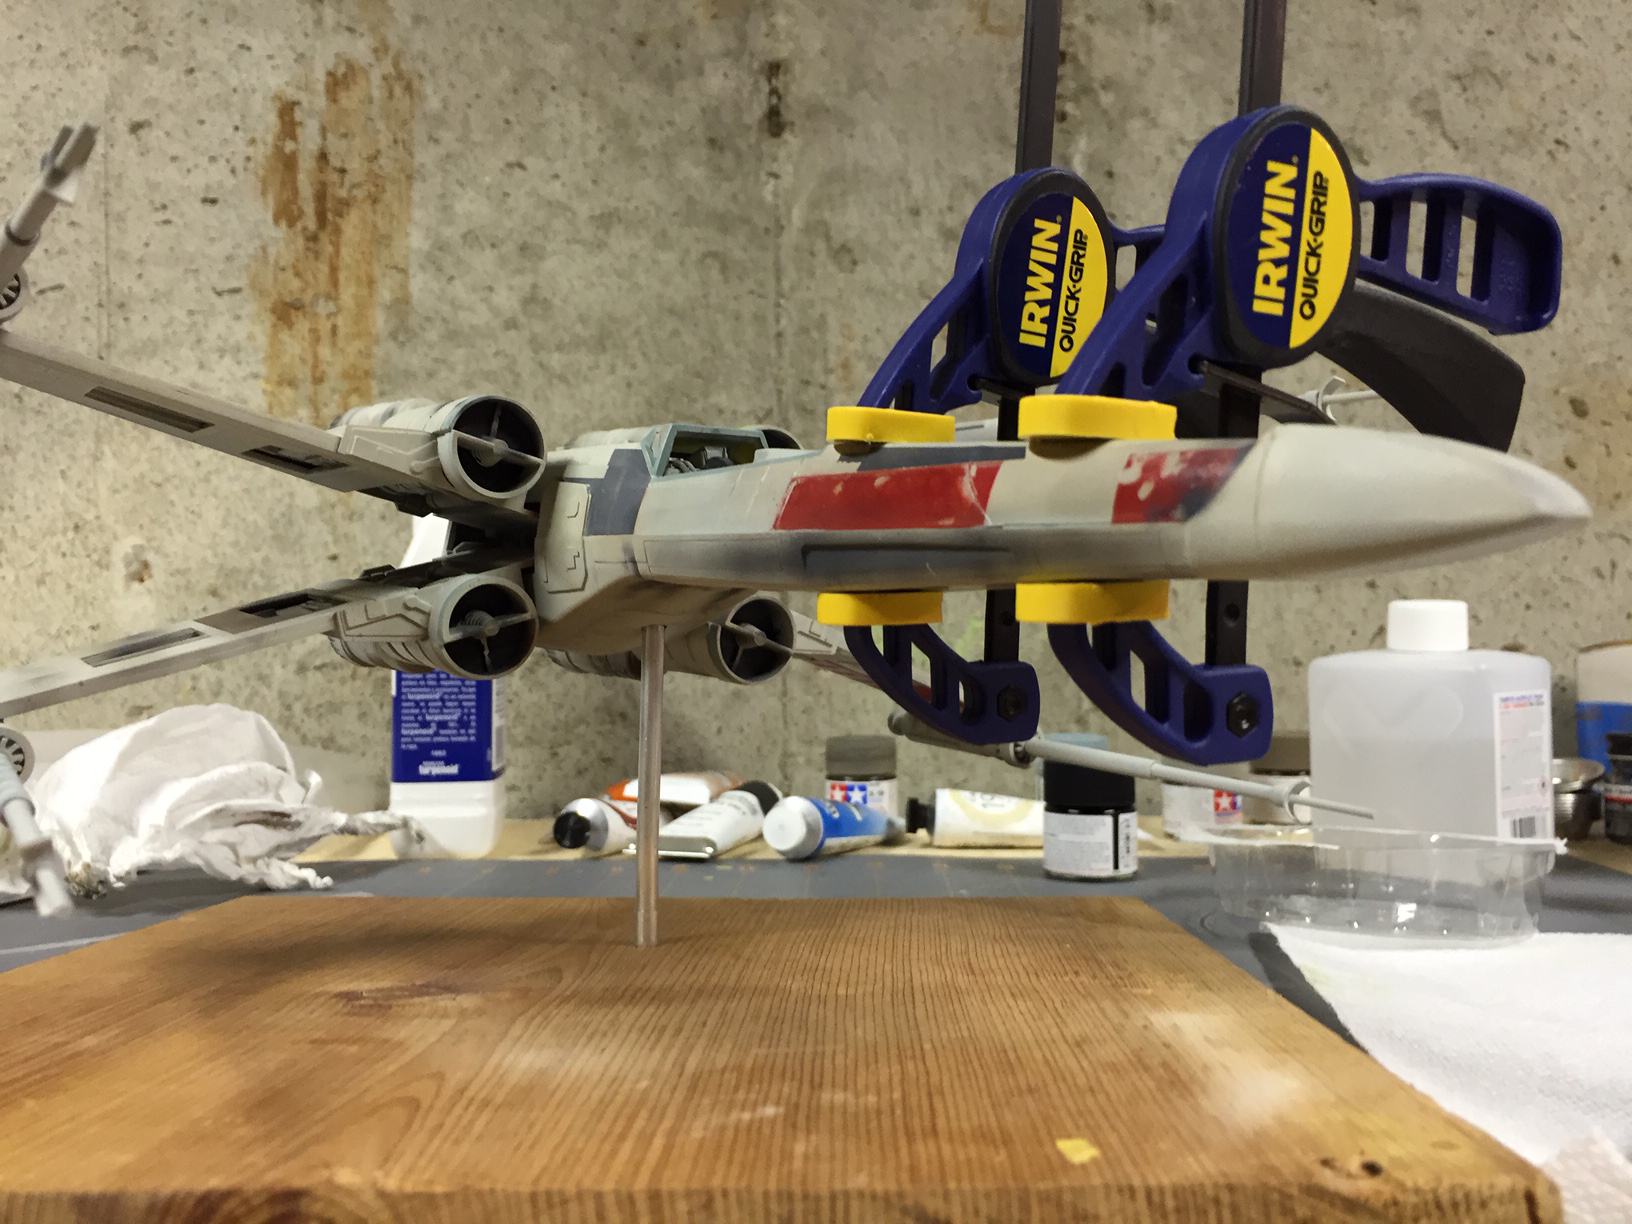
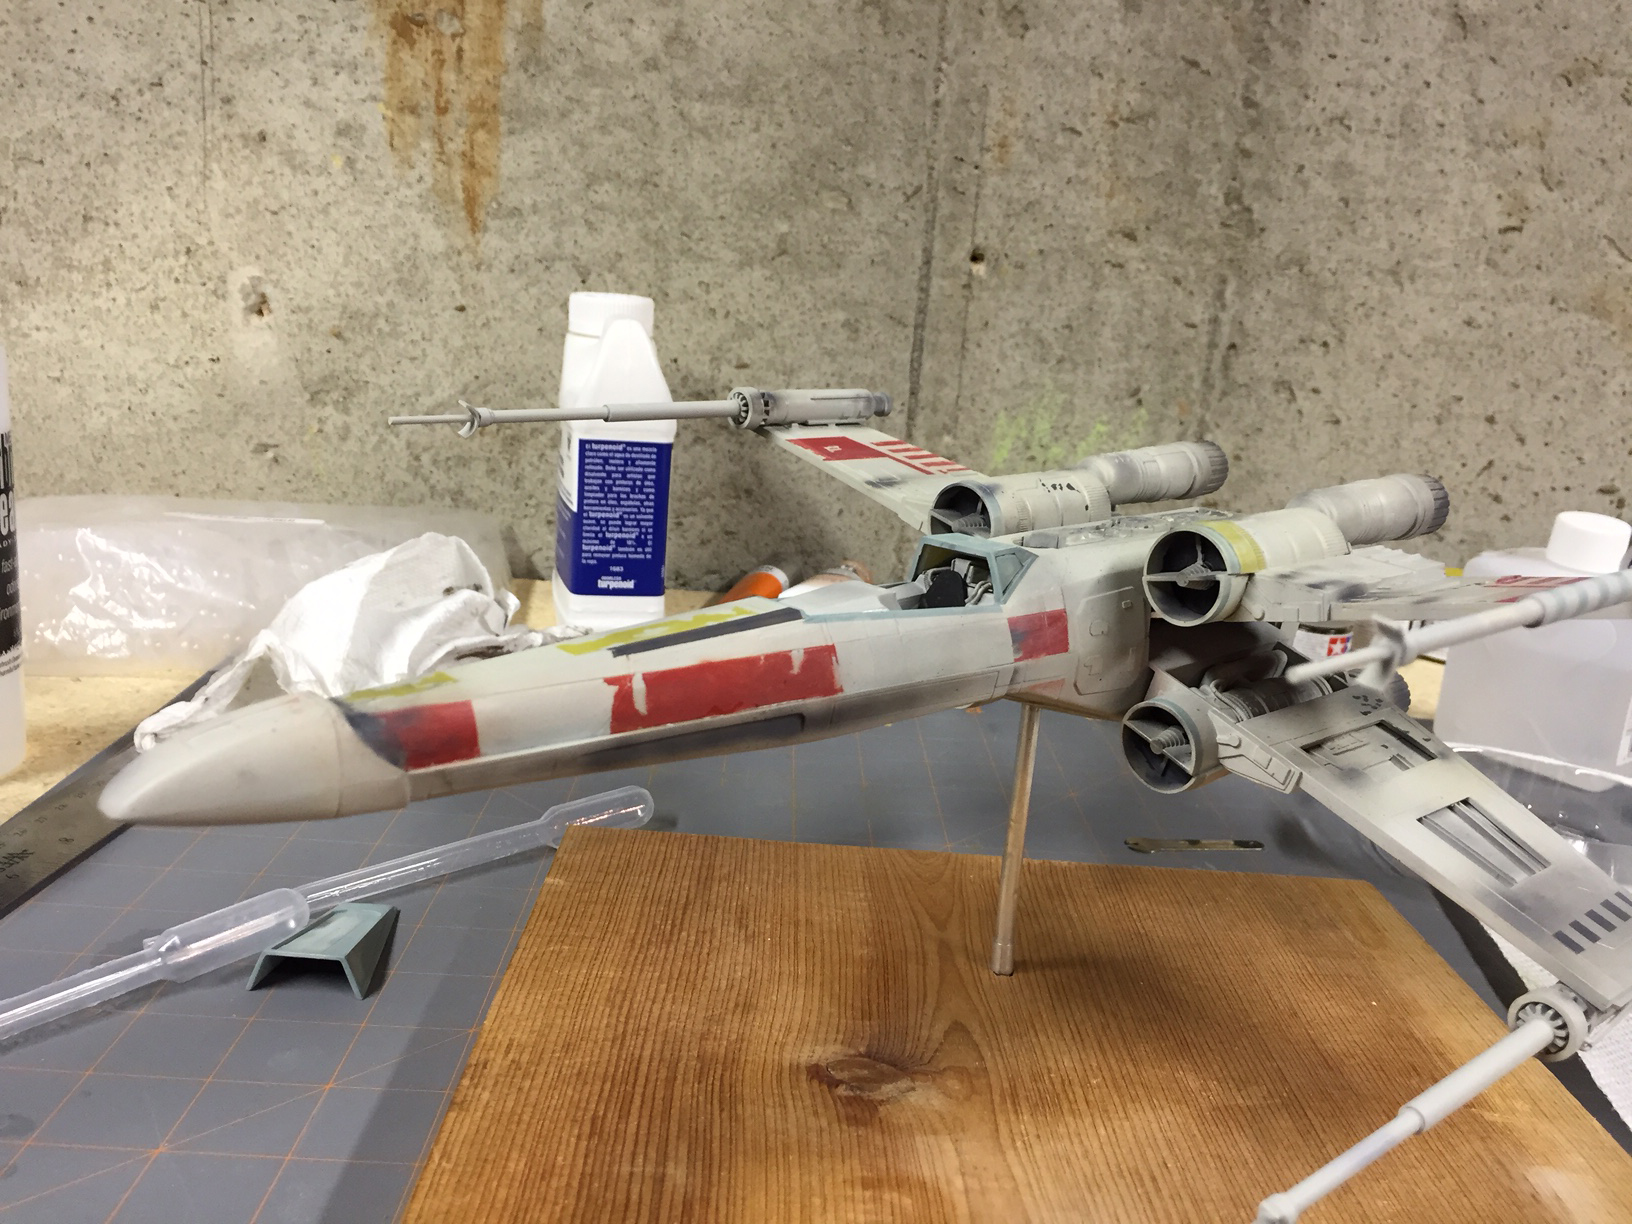
Another MPC X-Wing, but this time with the Blue Leader paint scheme. Not wanting to hijack or anything, but just something I noticed with this one: I primed it with white first, and then applied the Camo Gray. It appears a LOT lighter than my last one, which didn't get the primer. Maybe the weathering will gray it up a bit. We'll see.
SB
These MPC kits can really come together nicely, especially with a pro paint job like yours. Great job!

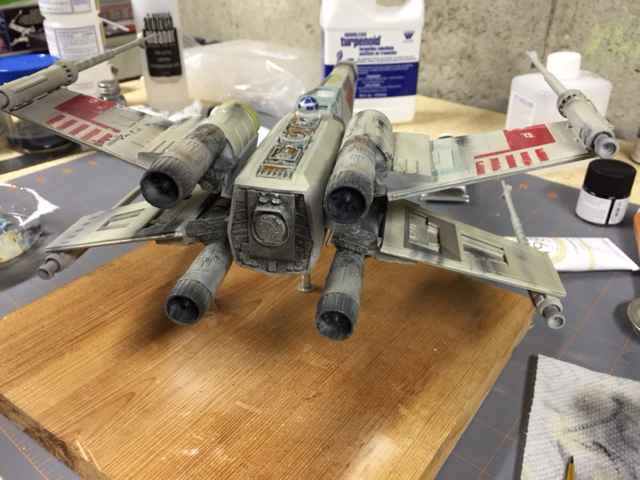
Wow! This really really has turned our great! Loving the attention to detail from the reference and the blaster marks and weathering are fantastic! Did you seal the model before going on with the oils or just wipe each panel with spirit and then oil dots and blend straight on to the paint work? Looking forward to weathering my FM 1/72 but a little worried I'm going to ruin my work so far (which has gone well for my first model in over 25 years)