Hi Gang,
Time for an Update!
WOW! The heat and humidity is a killer. Hottest temps of the year so far and the humidity... well... its humidity. But I worked through it. Not as fast as I normally do but I did make some forward progress! Enjoy
")
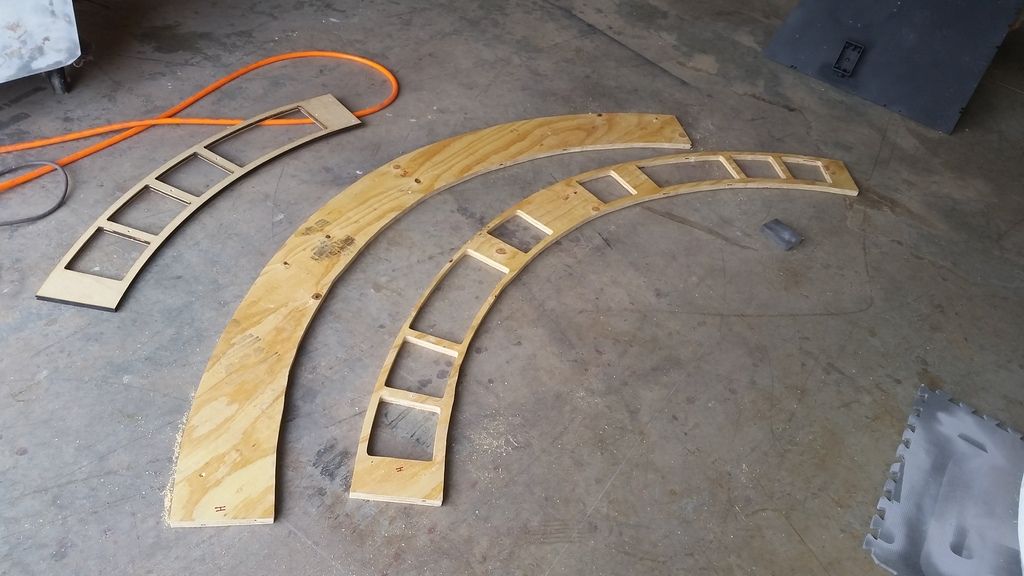
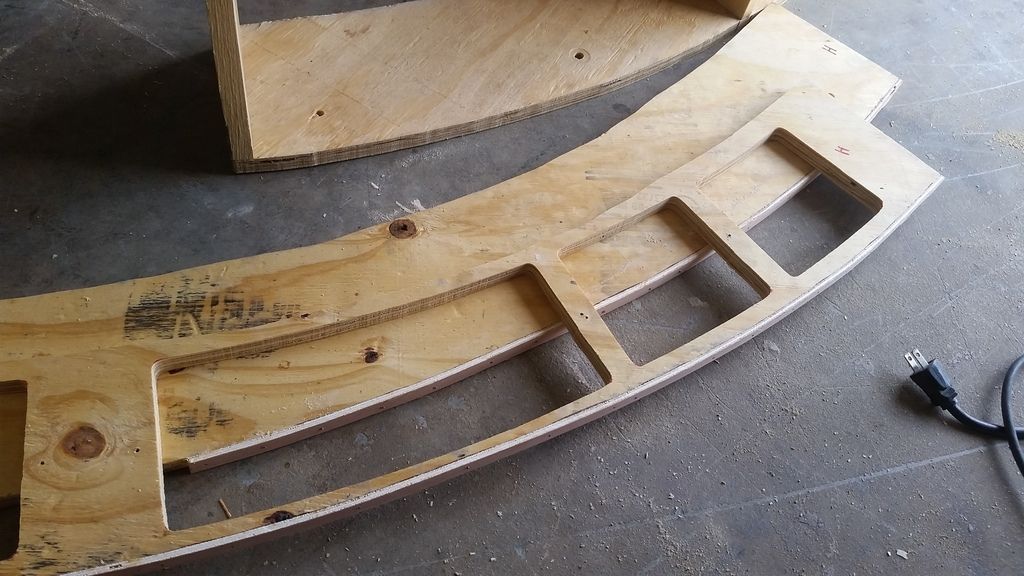
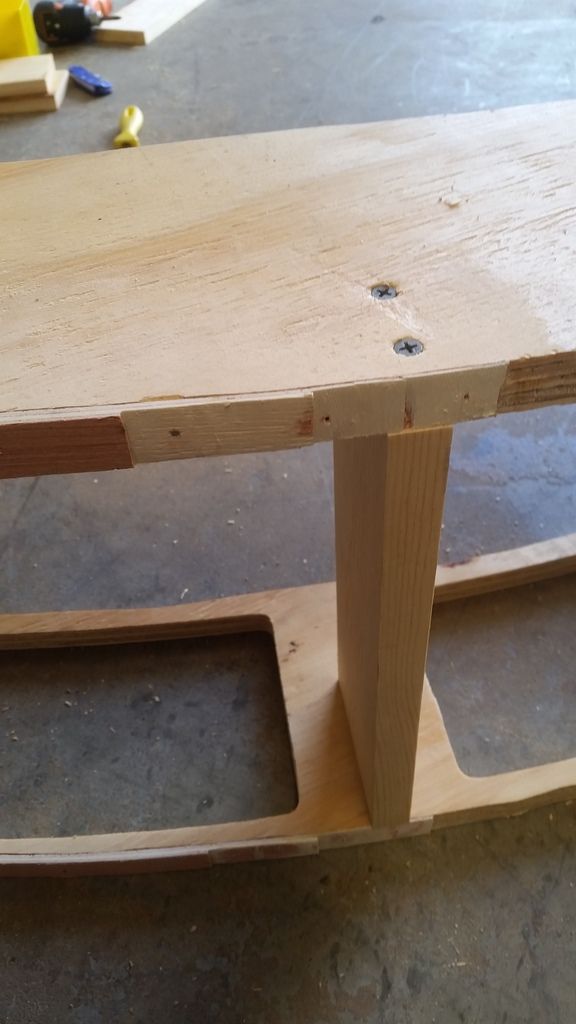
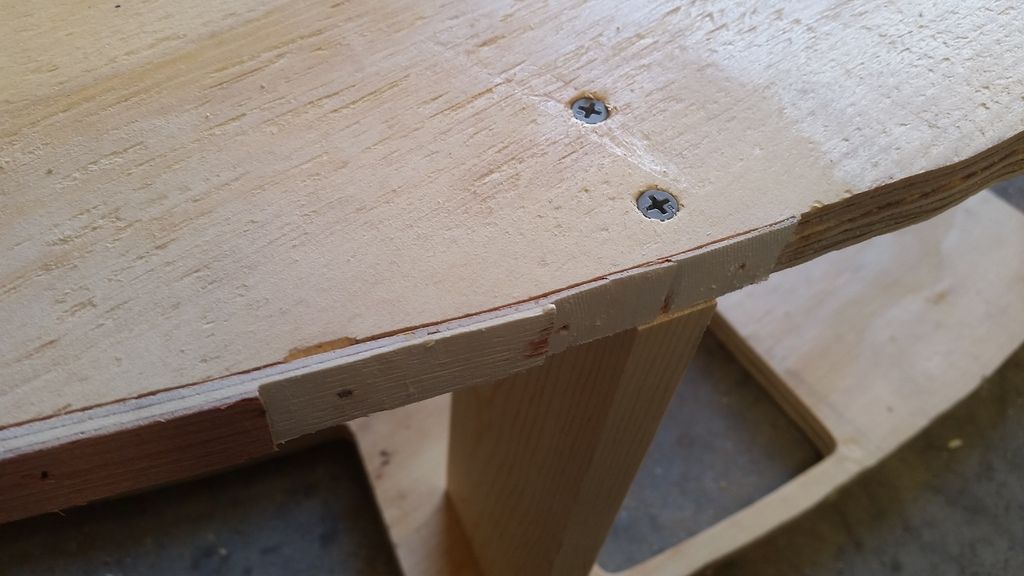
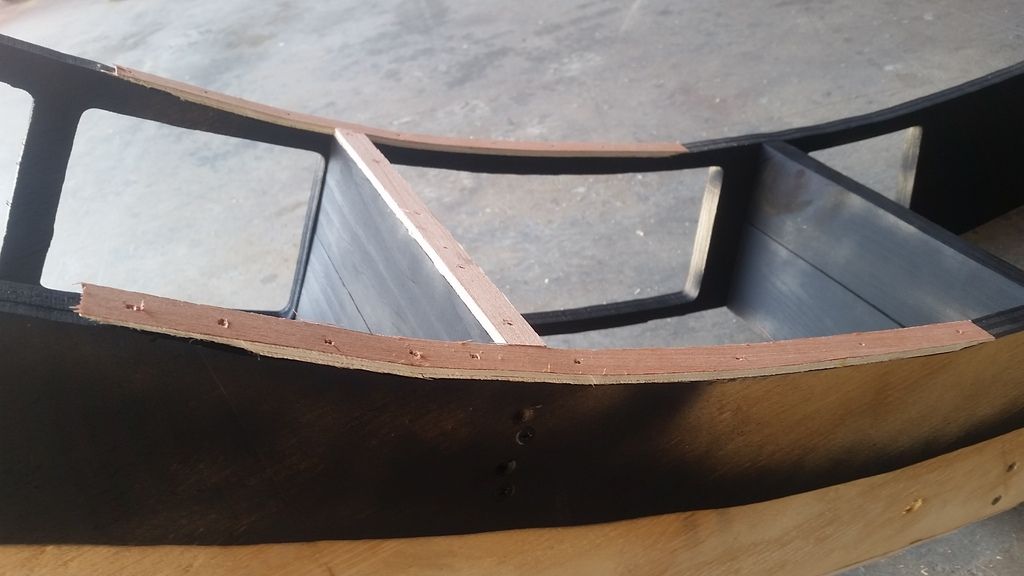
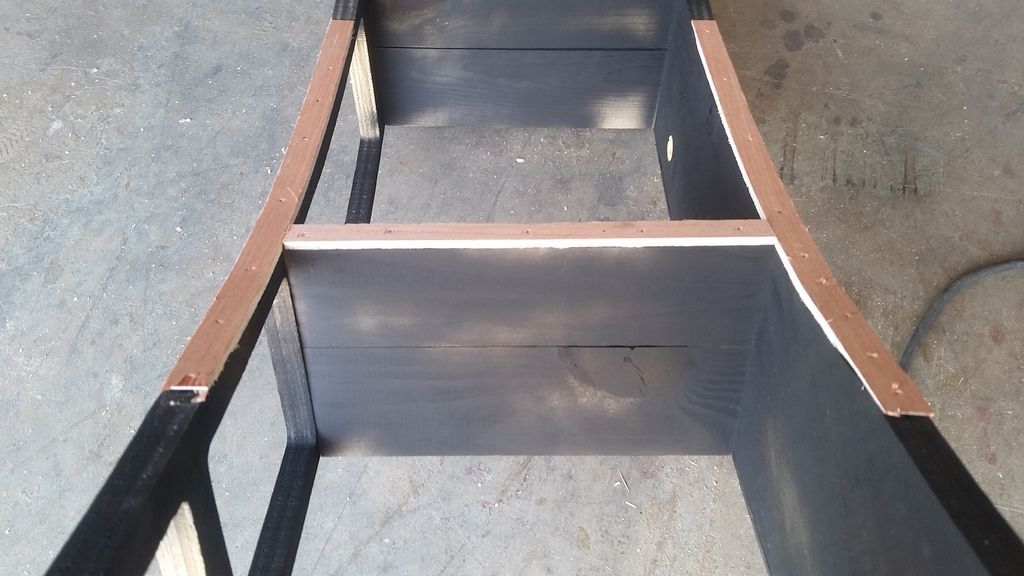
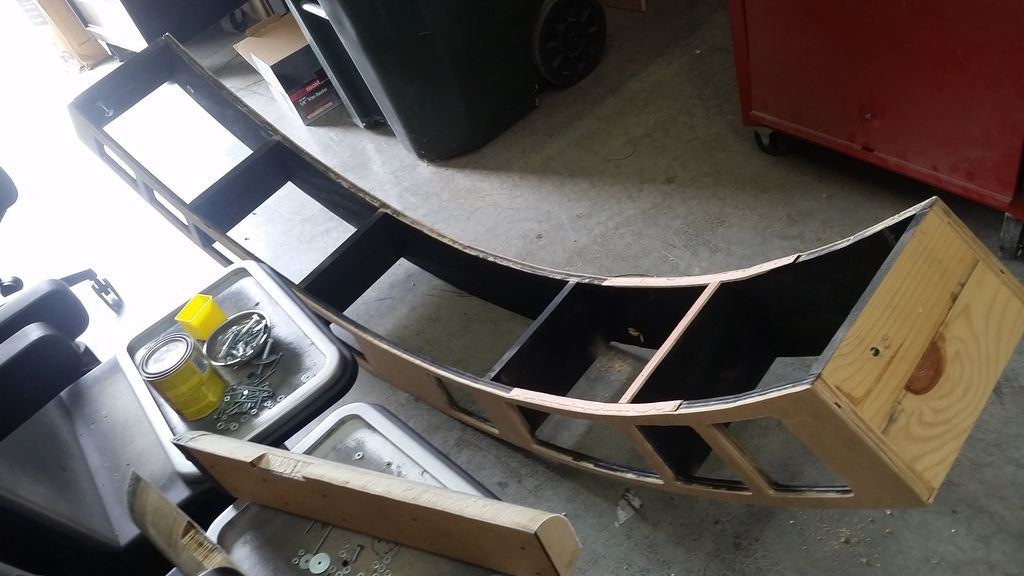
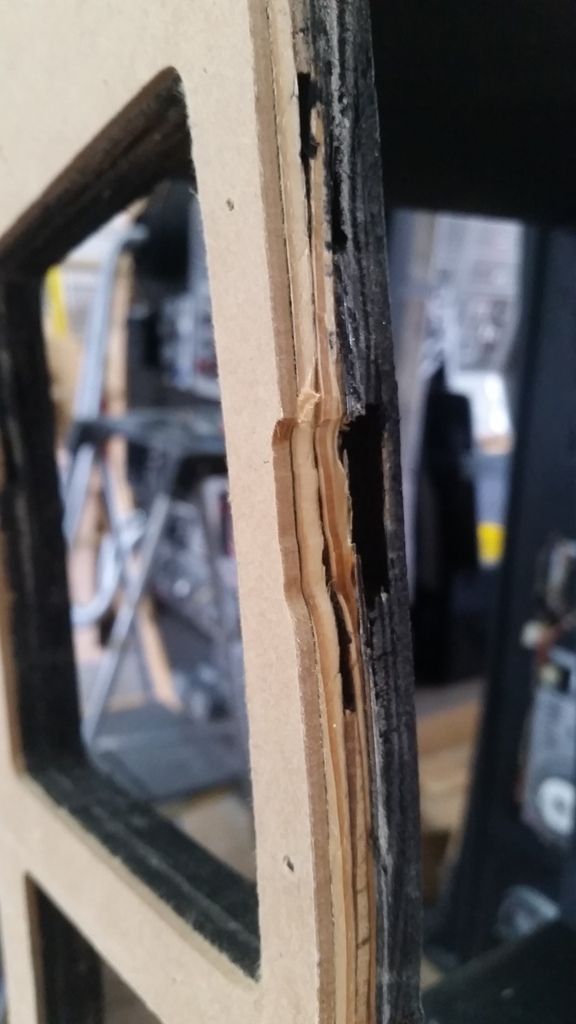
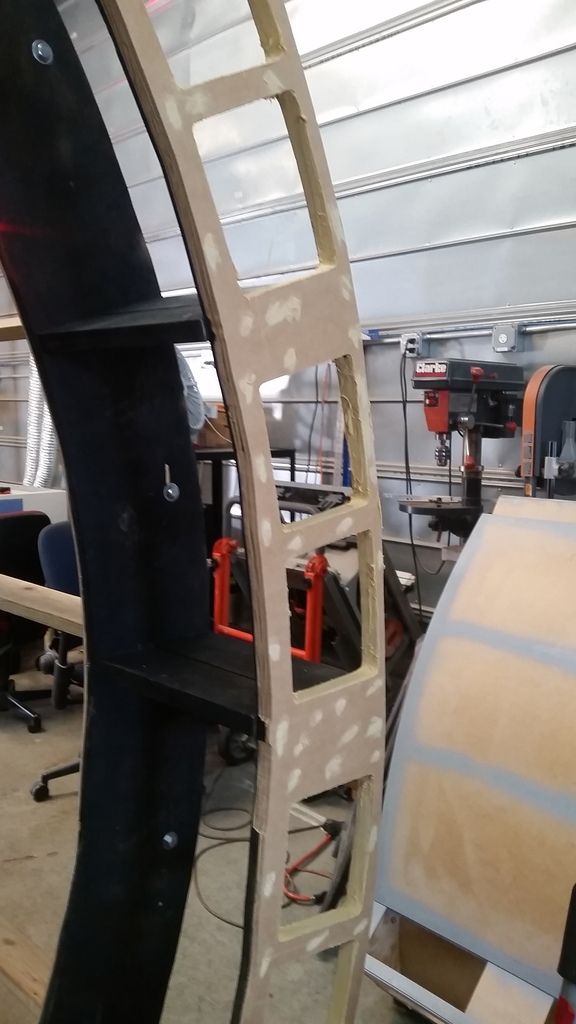
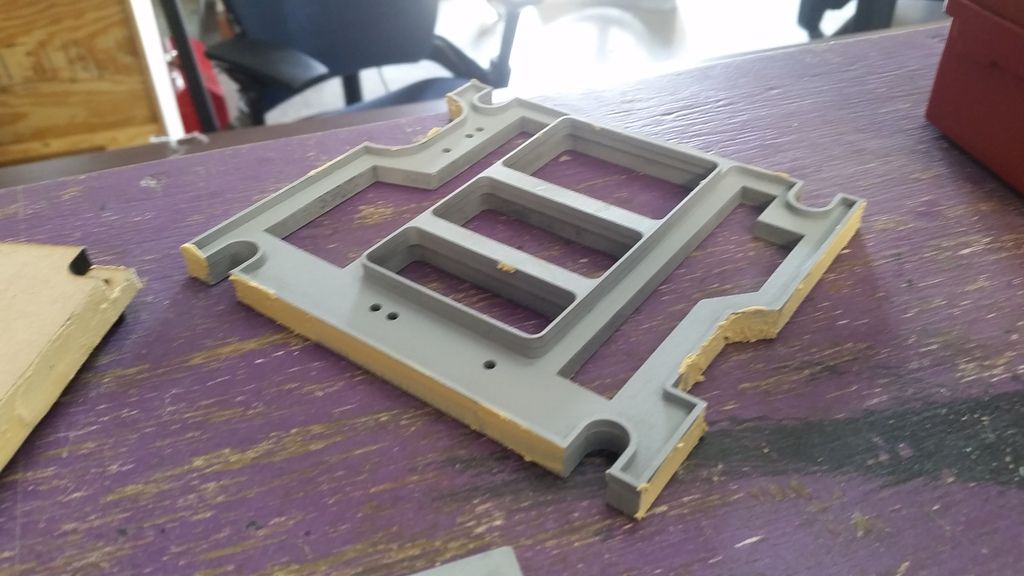
Fixed those fragile areas with filler strips
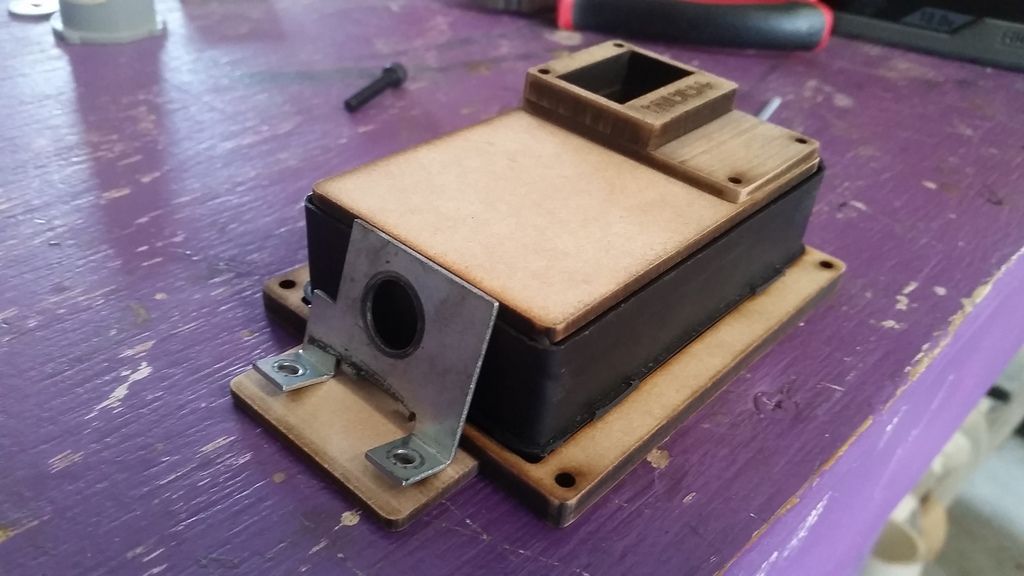
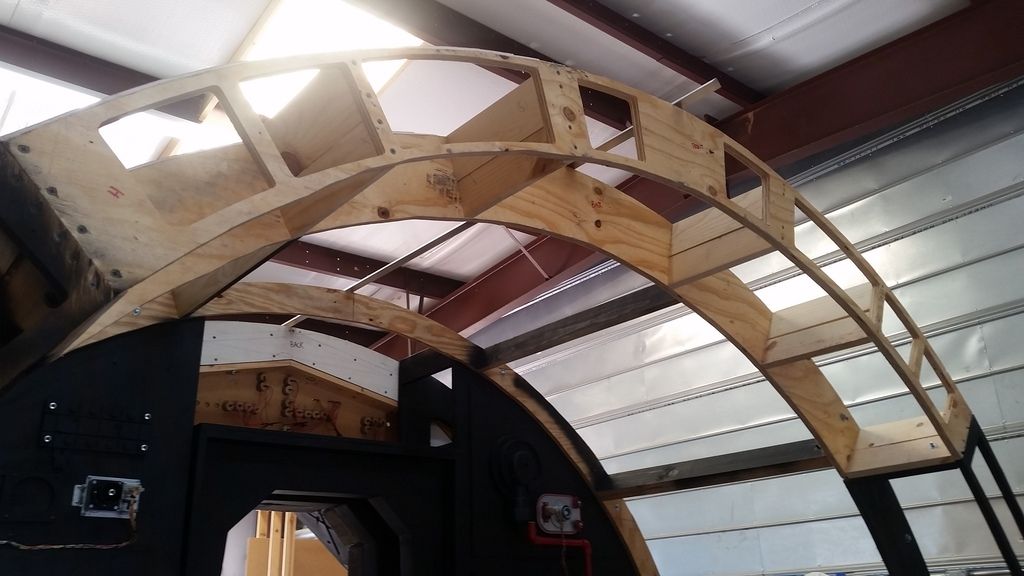
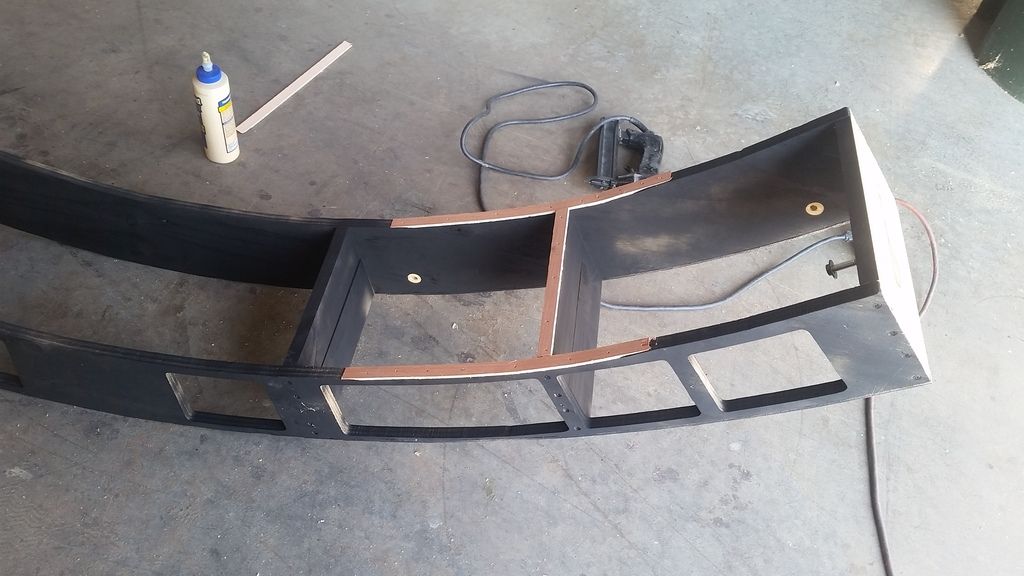
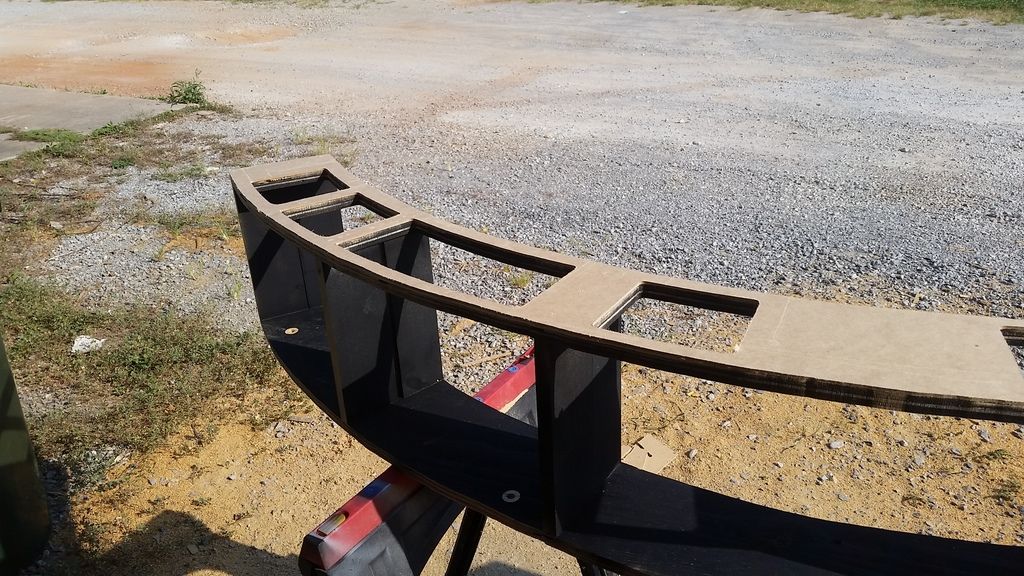
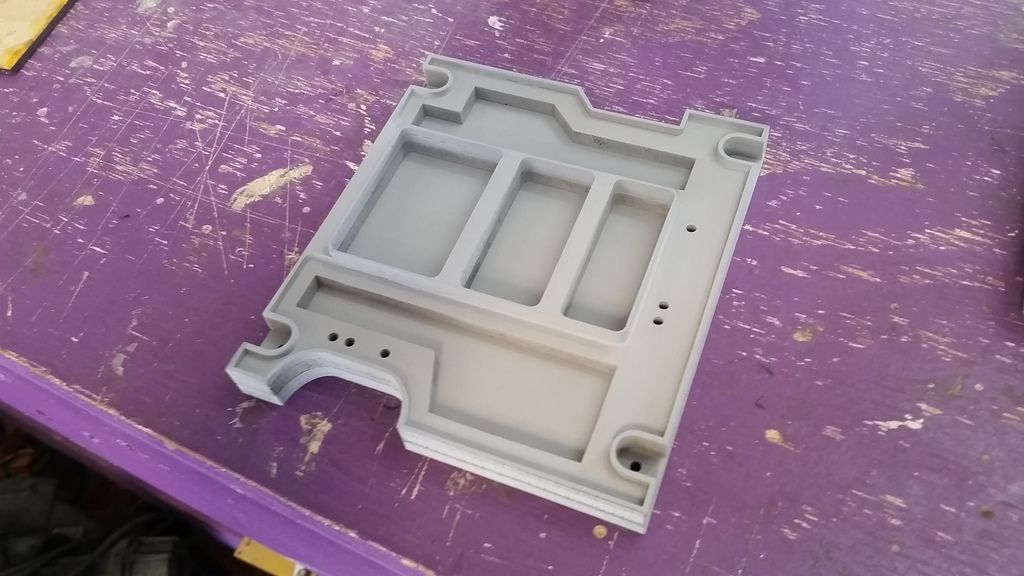
Finally added the MDF! Let's get that adhesive spread out
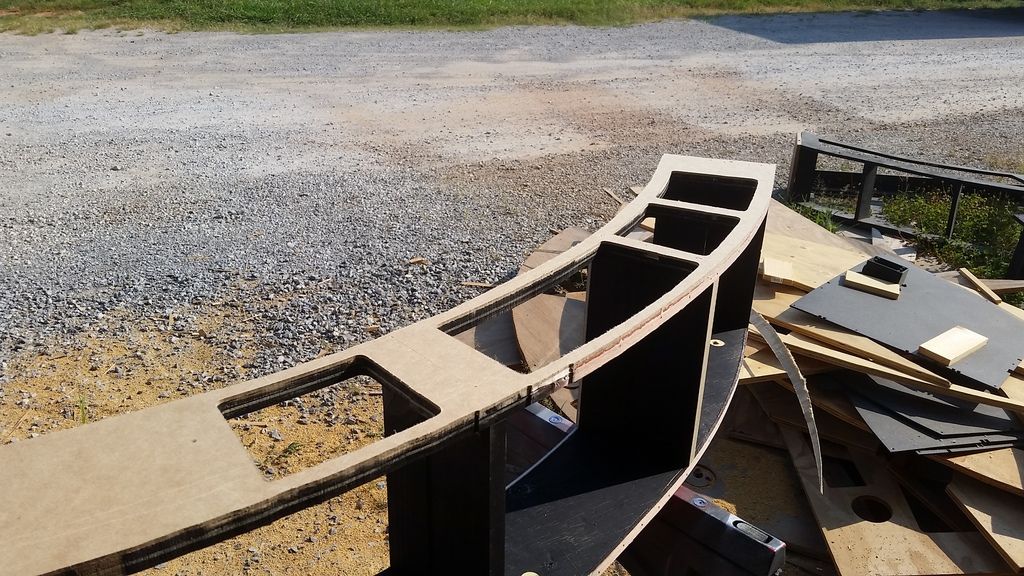
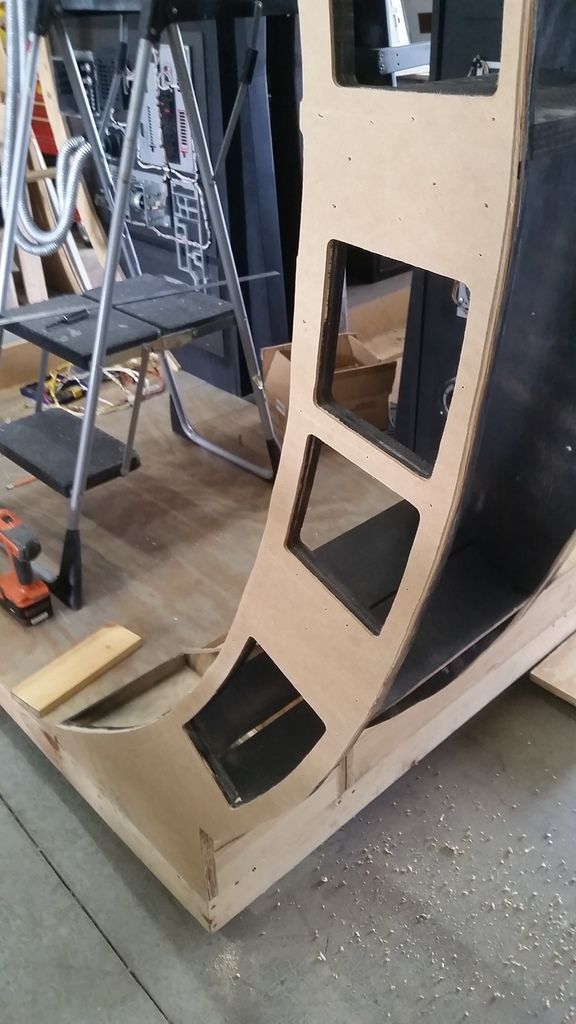
Routed out the holes/edges
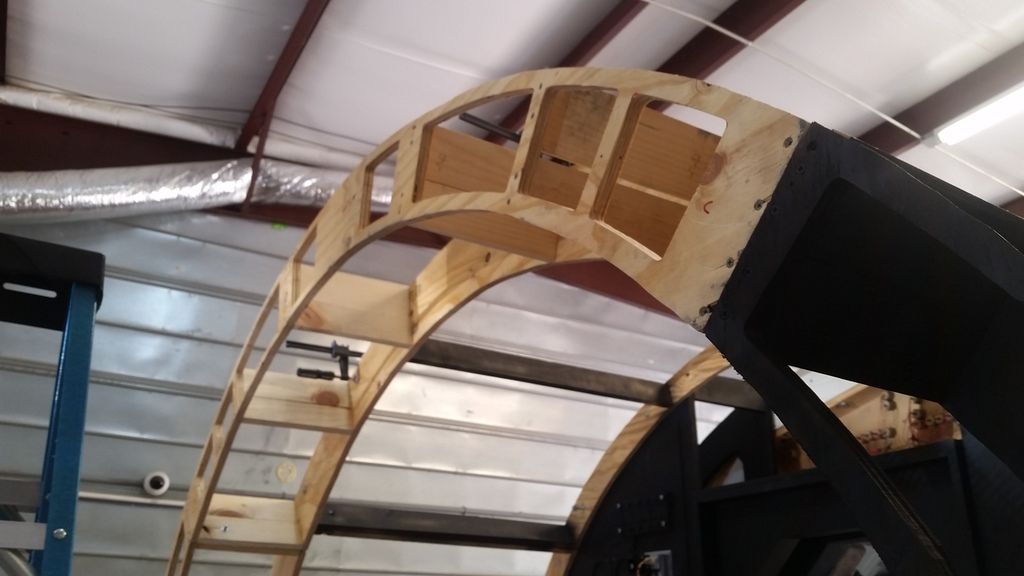
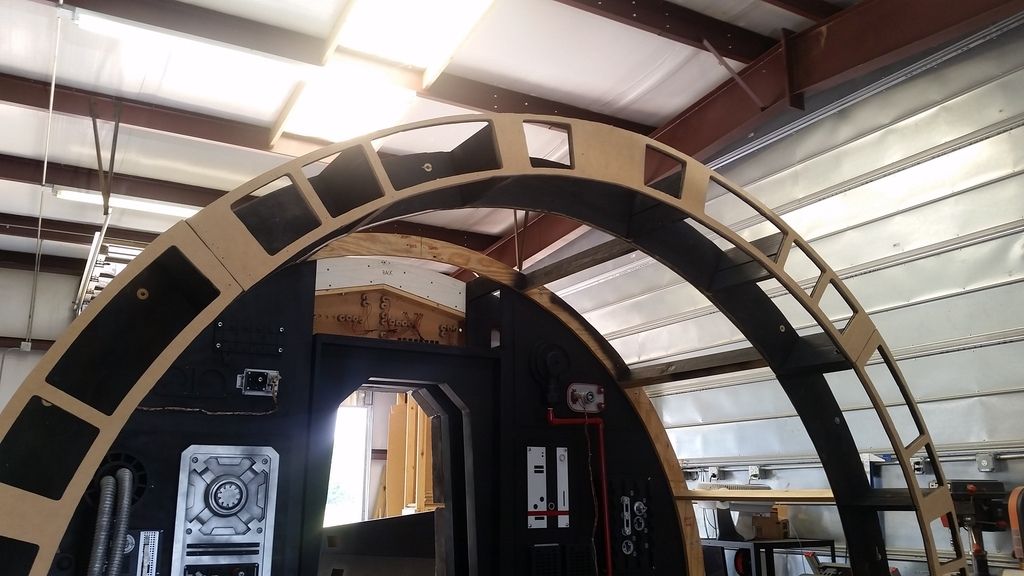
Top arch
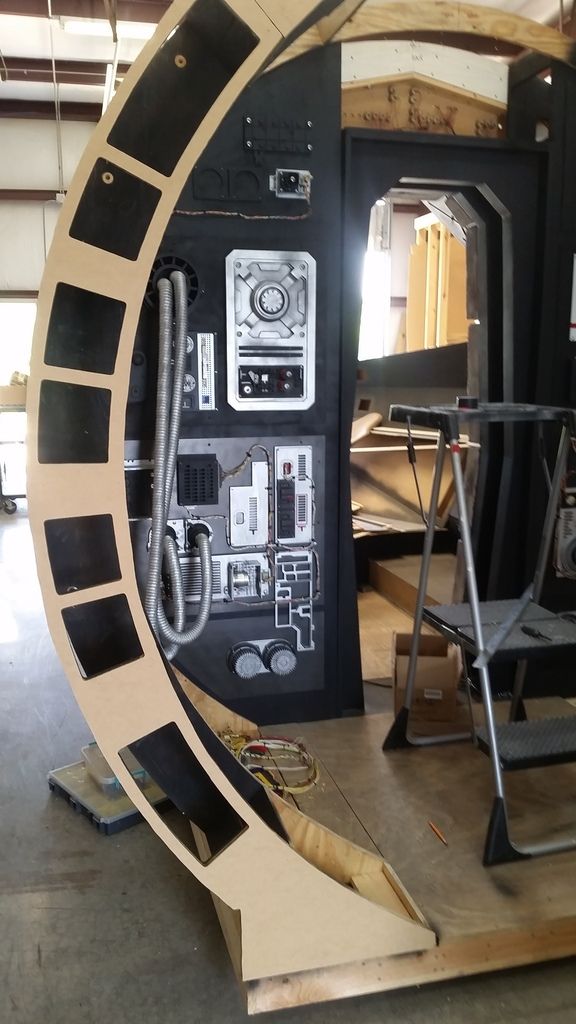
Chewie's side
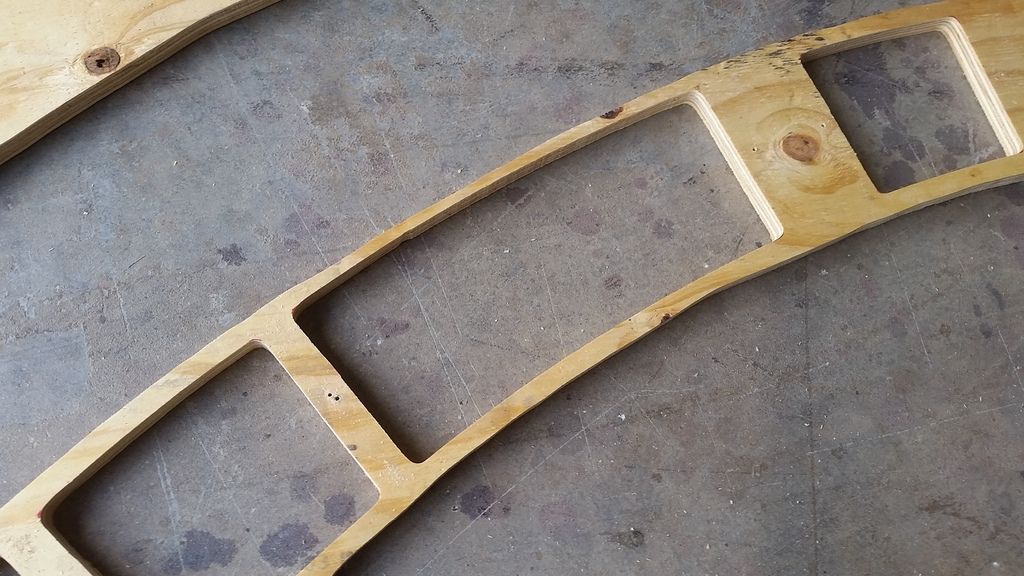
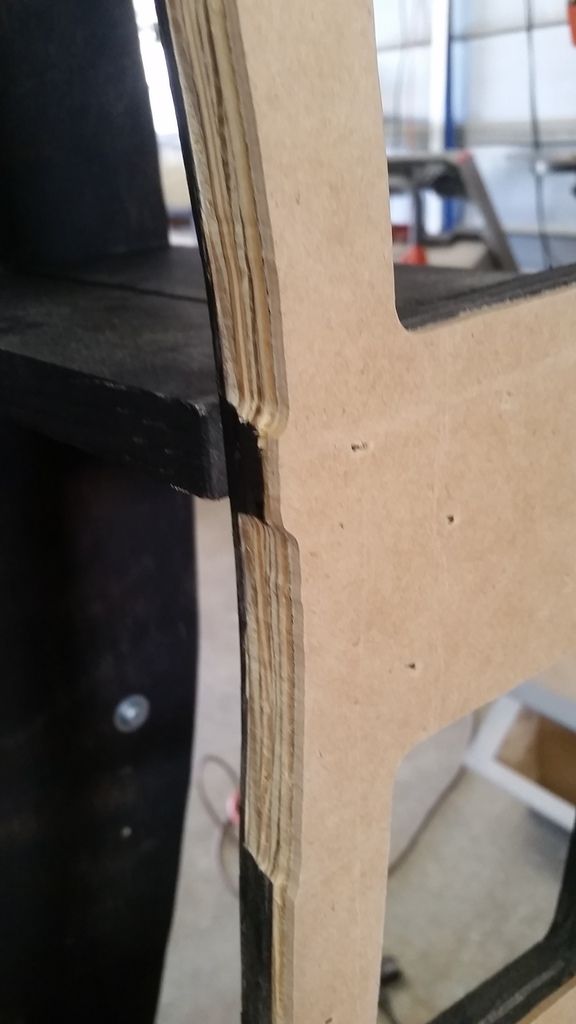
An UGH moment with the router
Holes/gaps in the layers of ply wreak havoc on the tracing bit!
Han's side
Still fits!
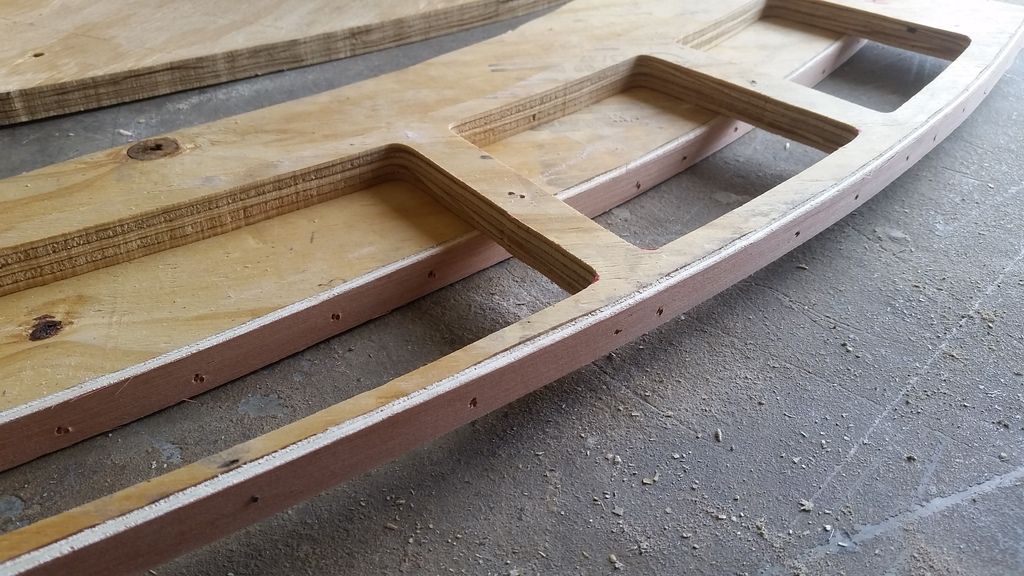
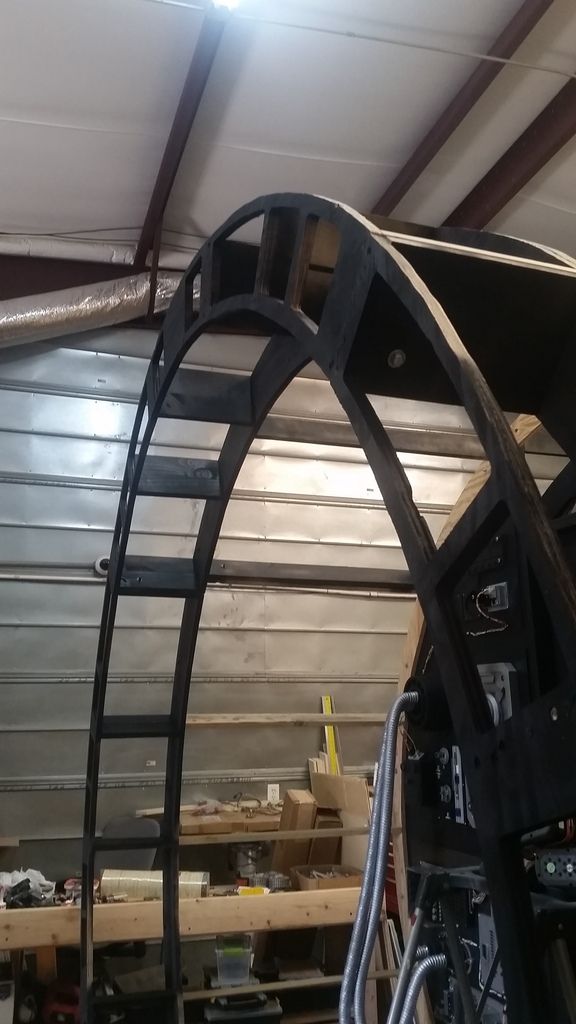
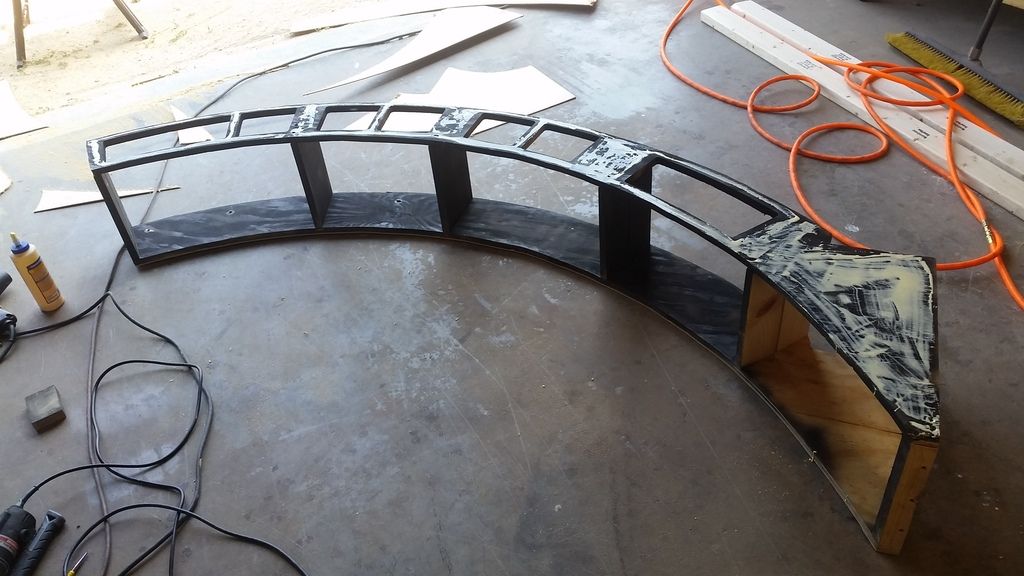
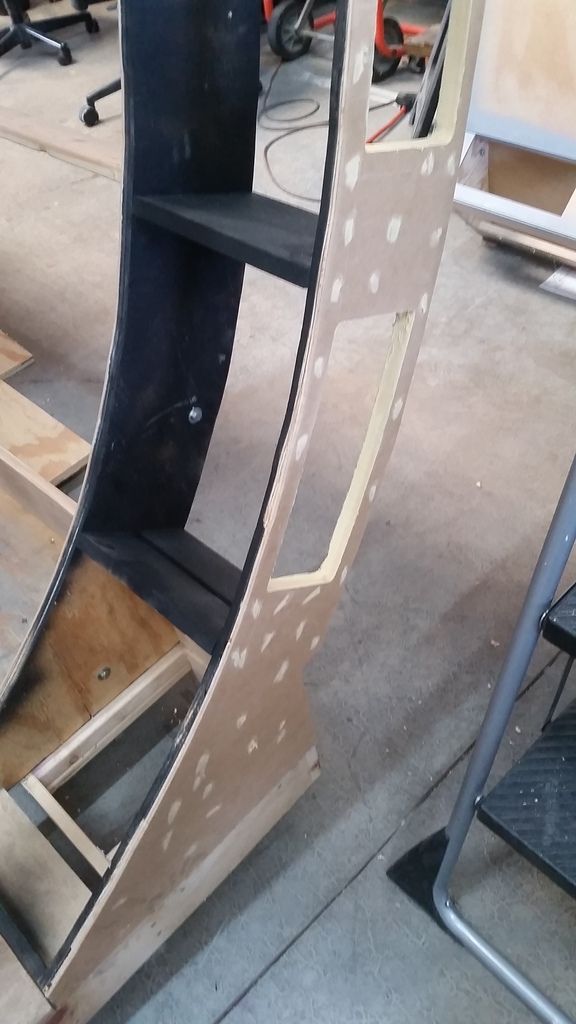
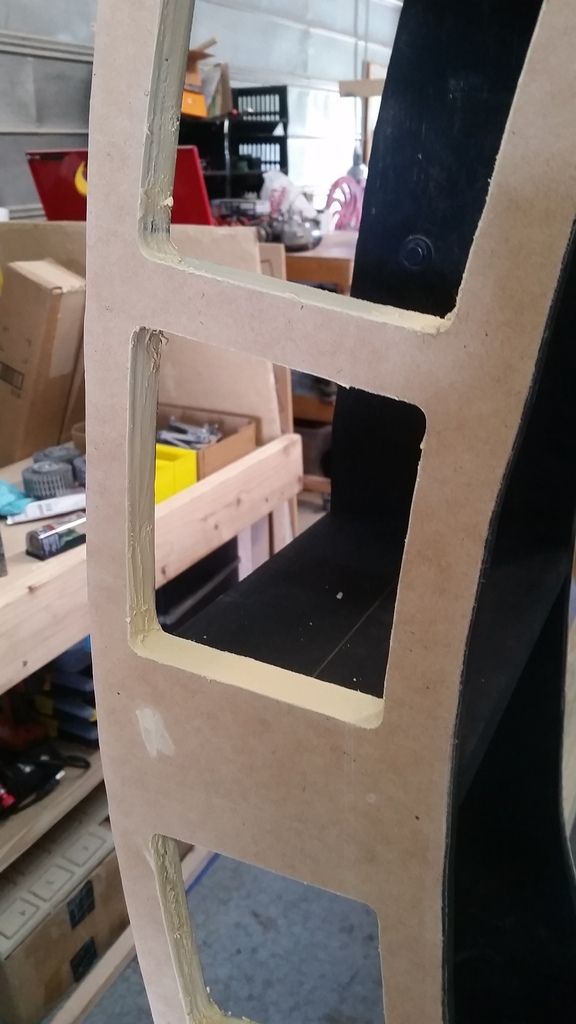
I then added the first layers of filler to the interior edges - oh joy
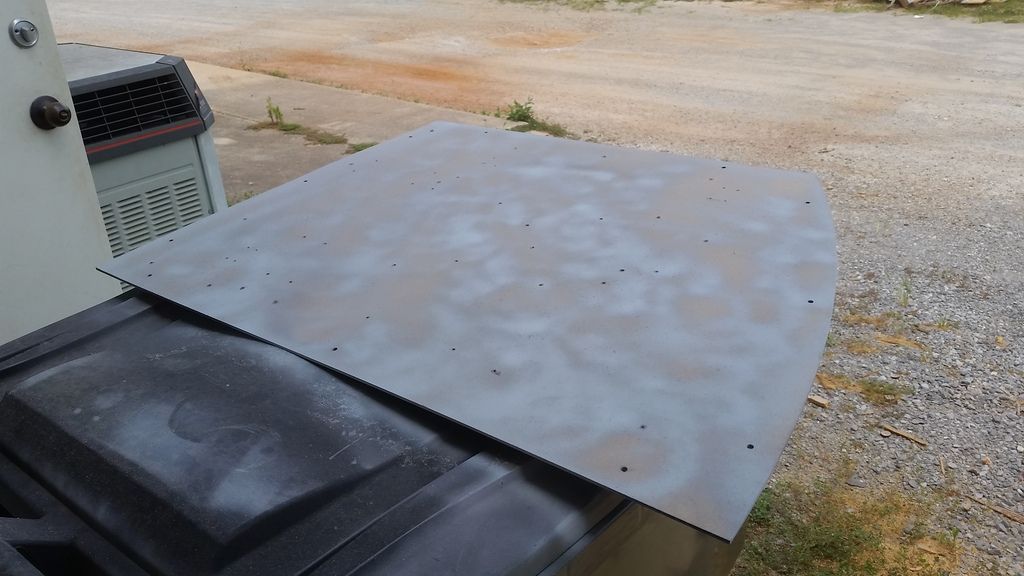
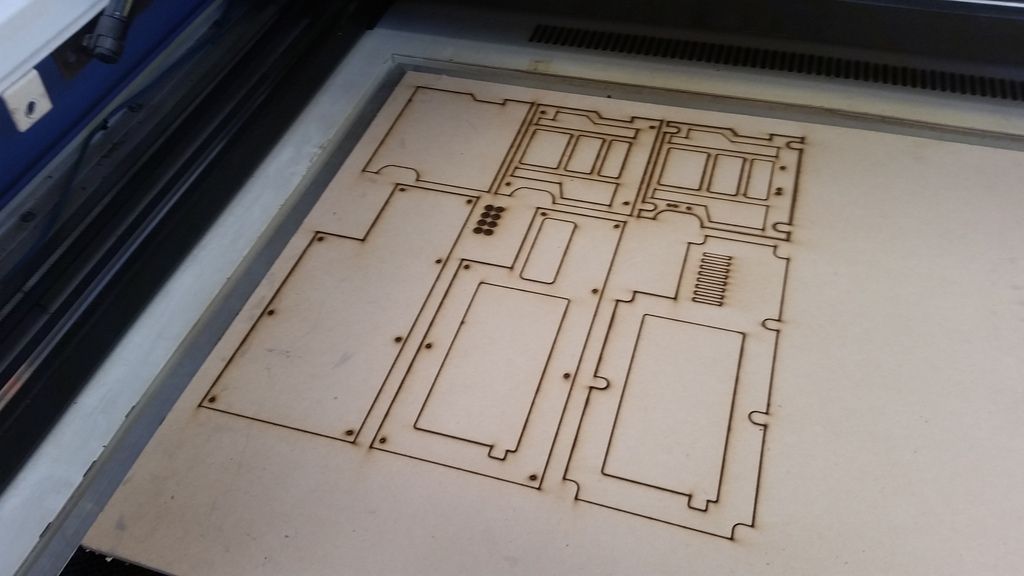
As the filler dried (it took minutes in this heat) it was time to design some new greeblies! This particular 2'x4' sheet of MDF that the local home improvement stores carry is complete garbage
Note how bad the edges are! No matter the laser cutter settings I couldnt get a clean cut
Shape looks good but those edges really bugged me!
I remember I had this guy laying around
UGH...
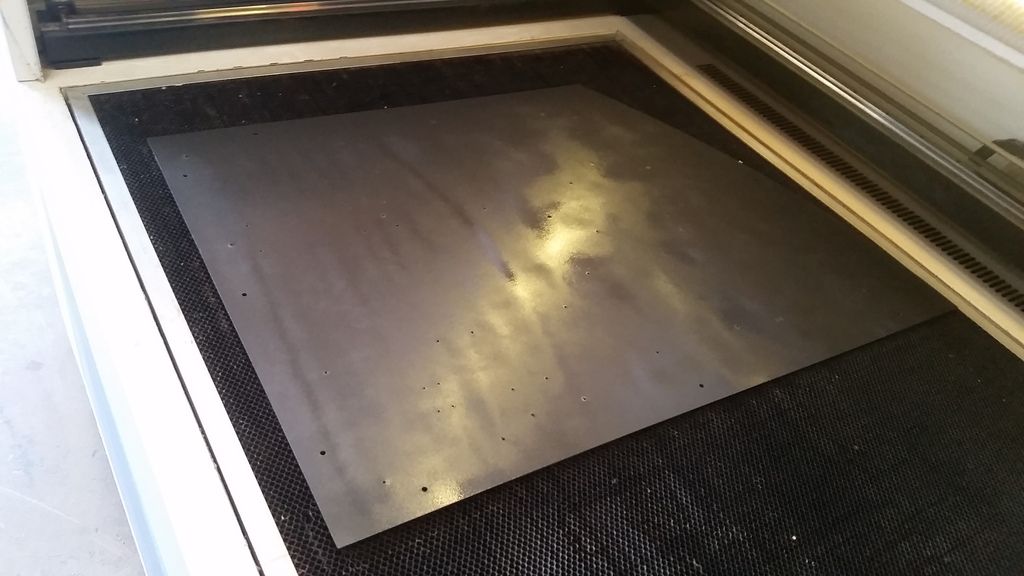
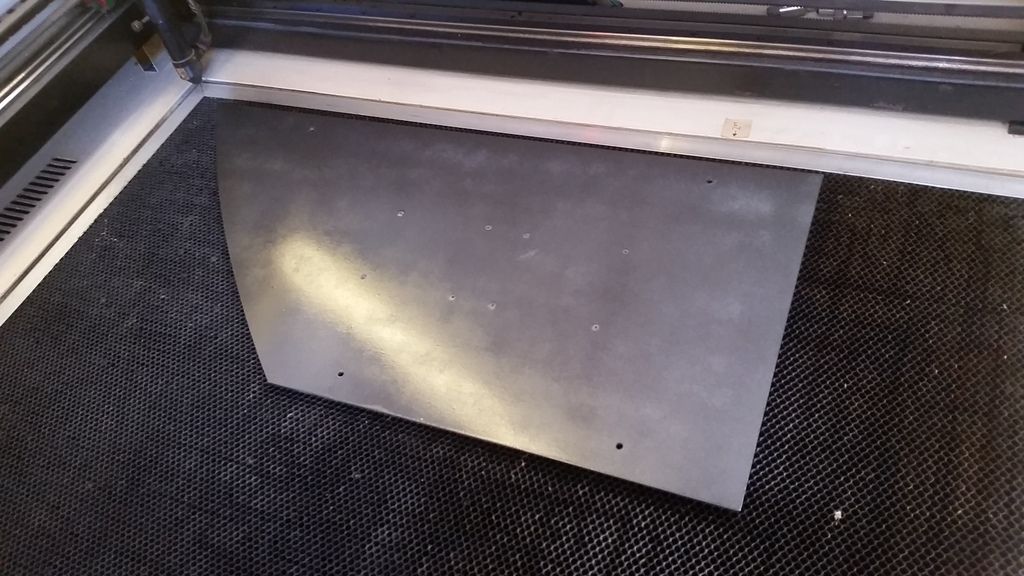
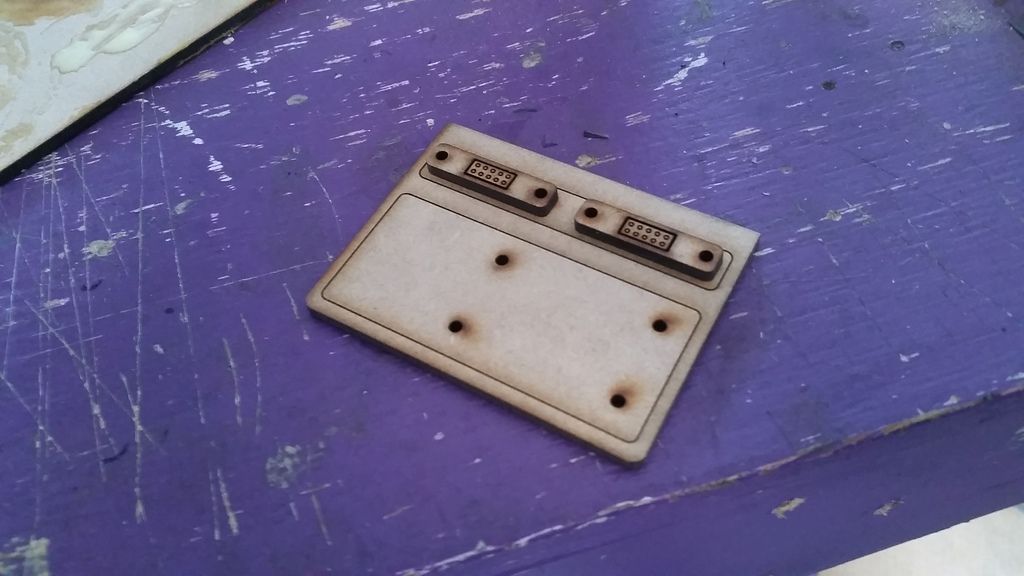
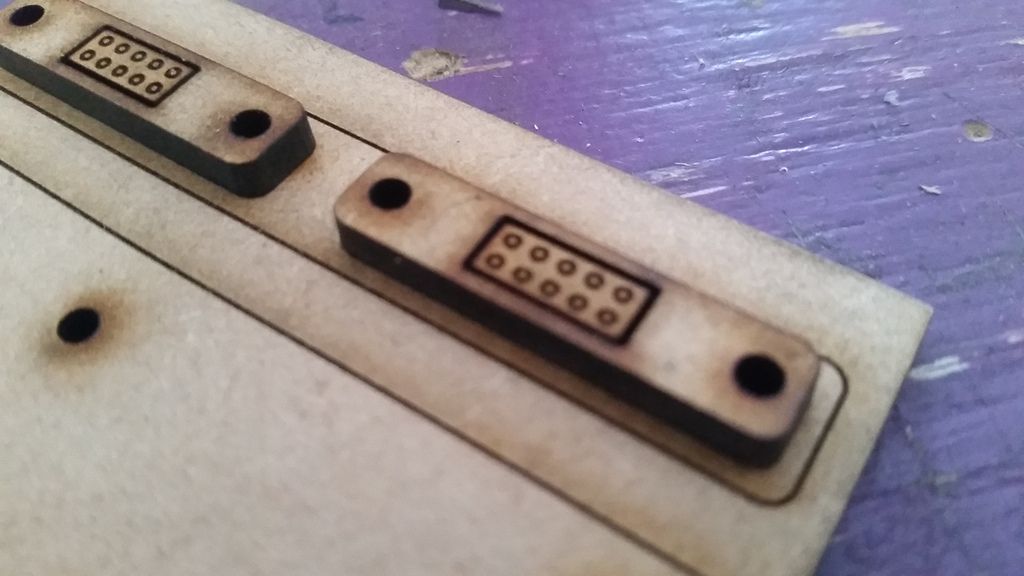
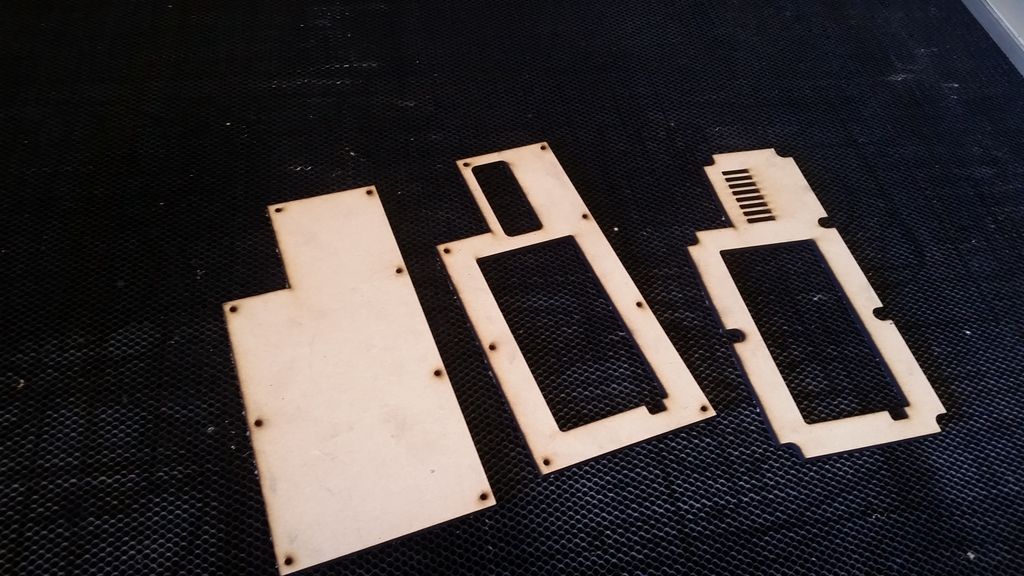
Funny thing... the home improvement store finally changed MDF distributors and I picked up a few new sheets of MDF. Look how clean those cuts are!
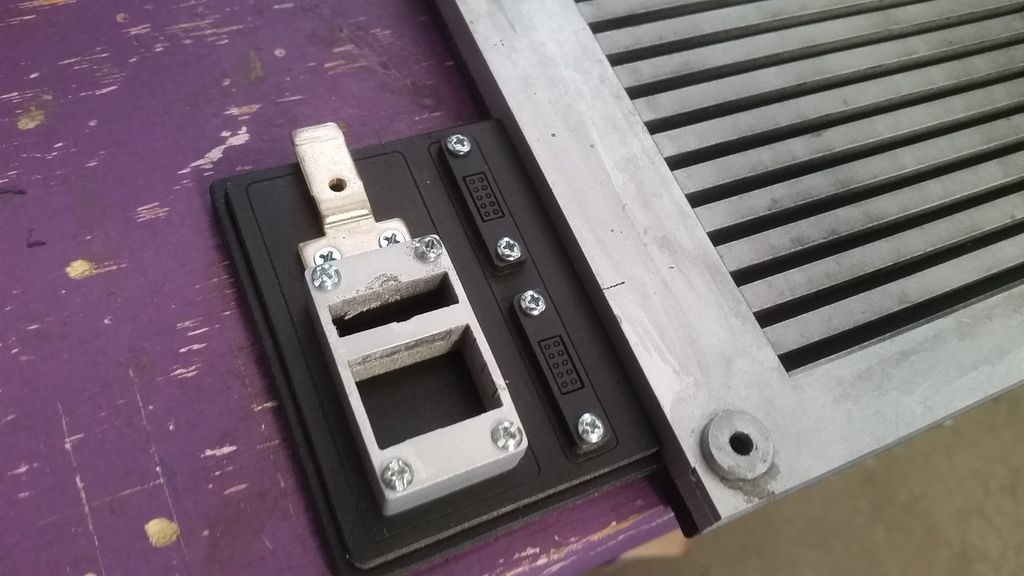
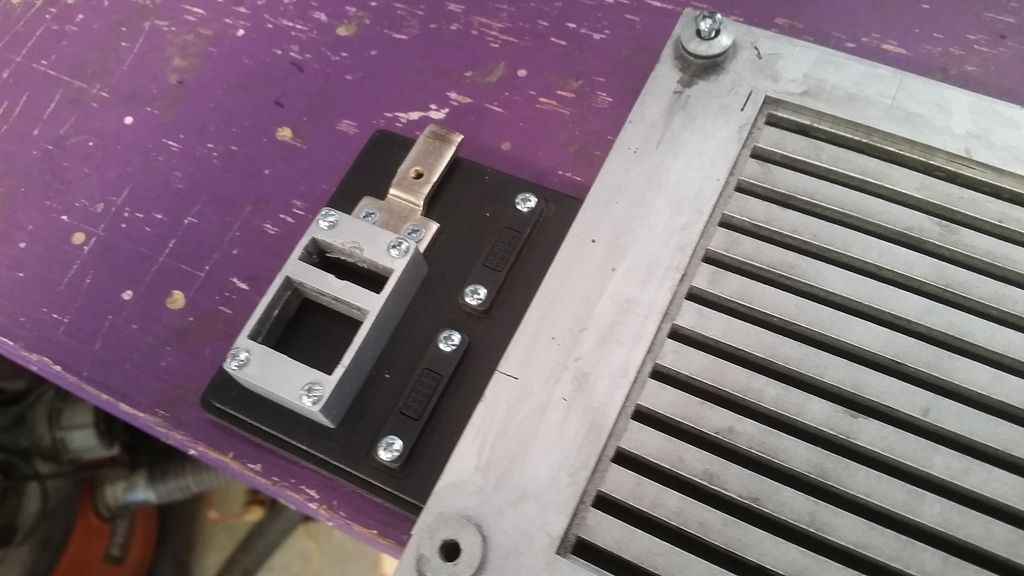
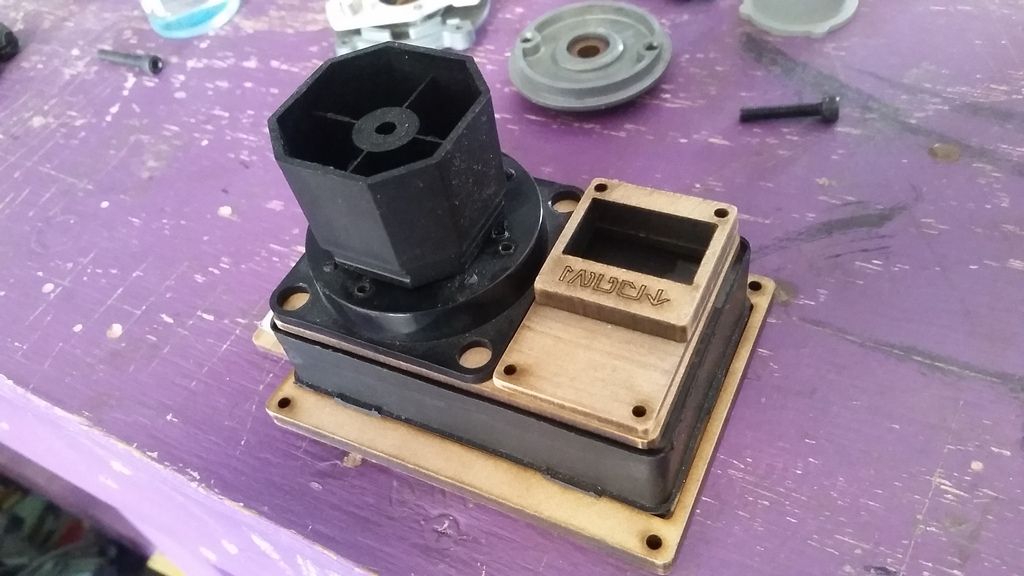
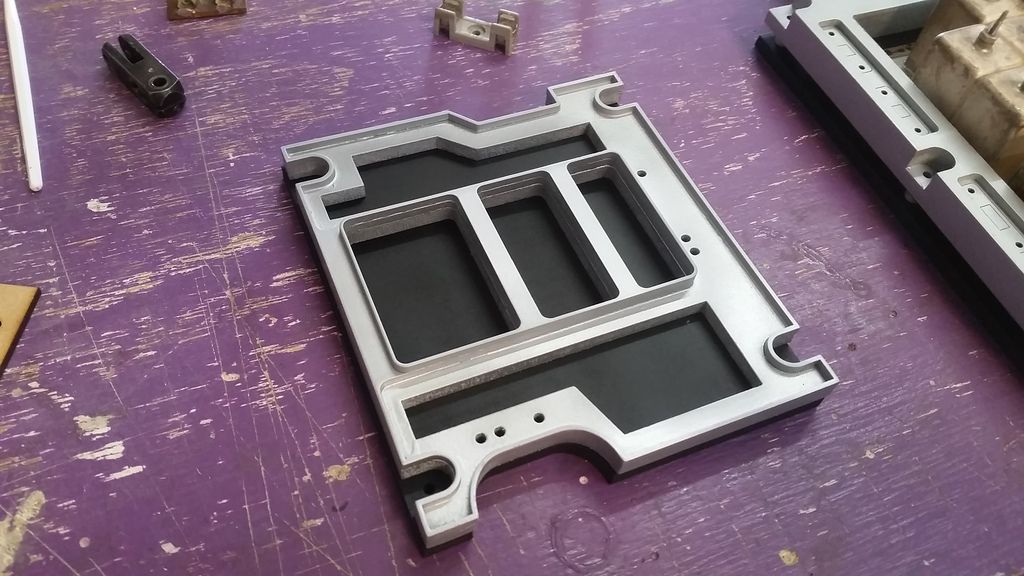
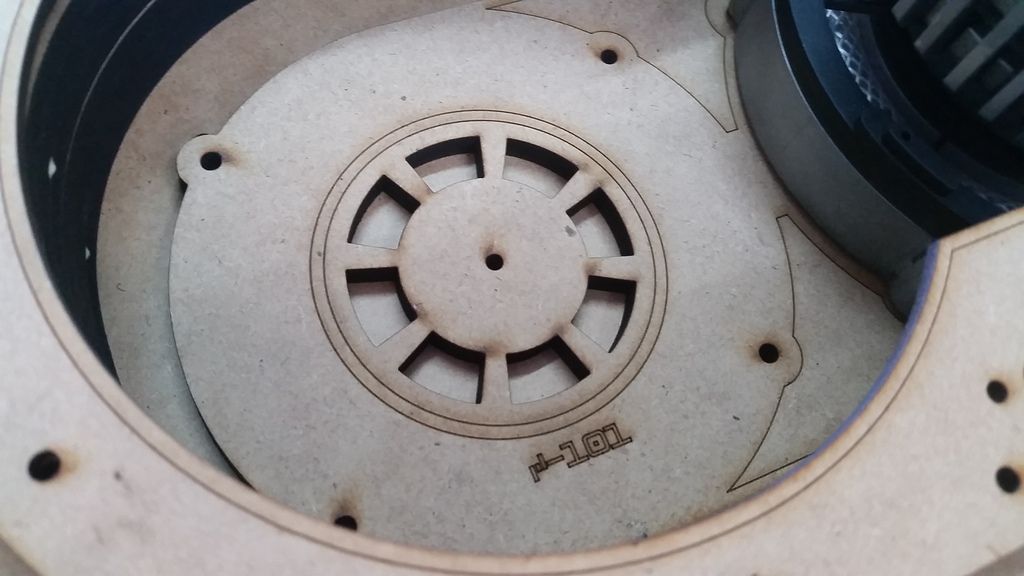
I spent a few moments redesigning a few areas of the greeblie as well. I wanted to add more visual interest
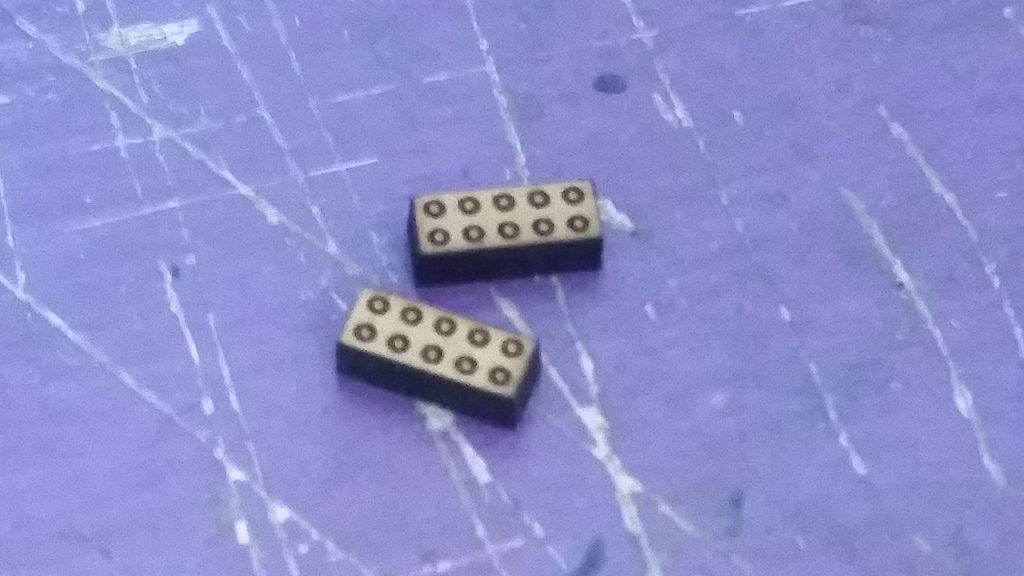
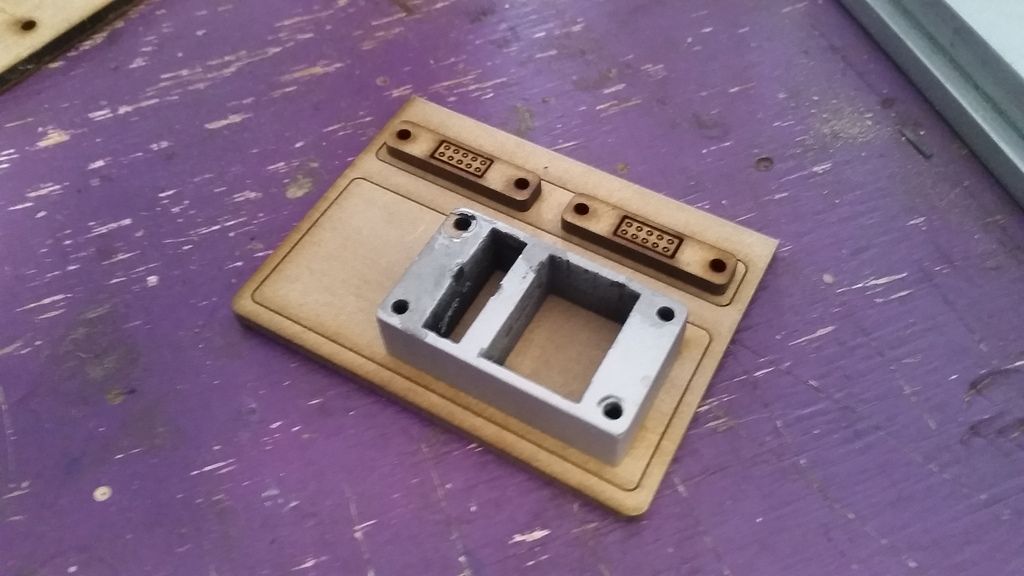
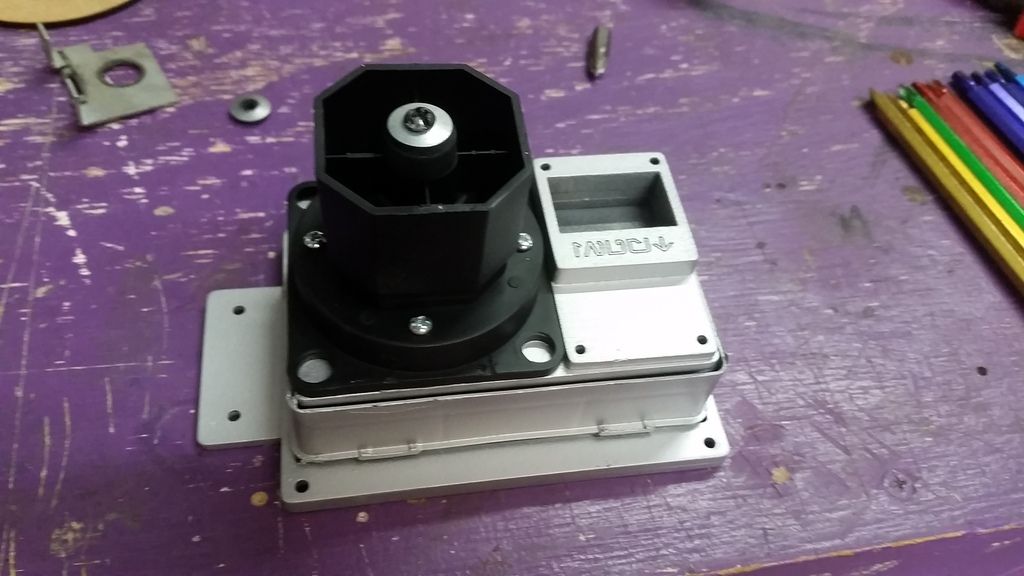
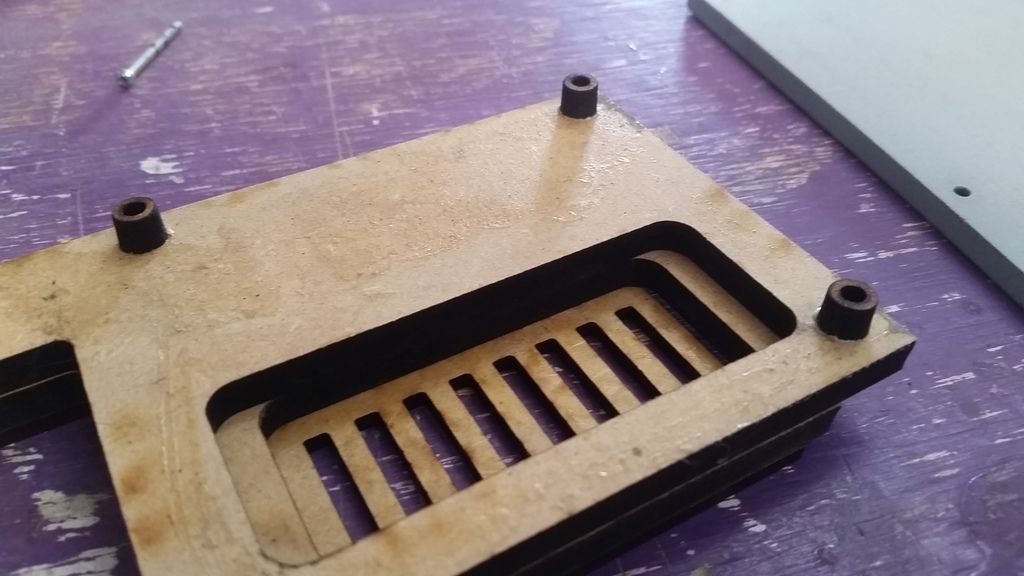
I added some laser cut stand-offs
The base will be painted black
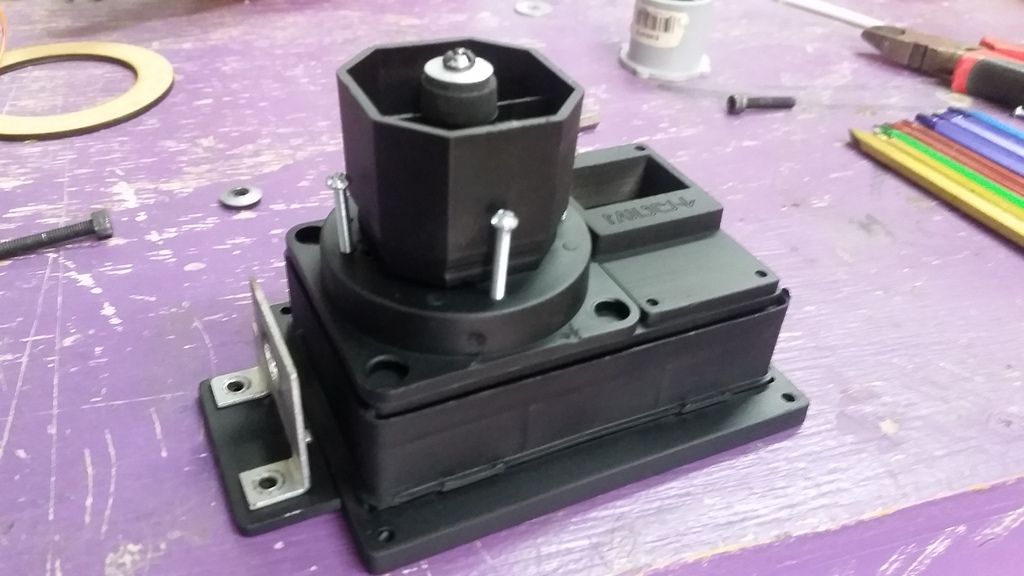
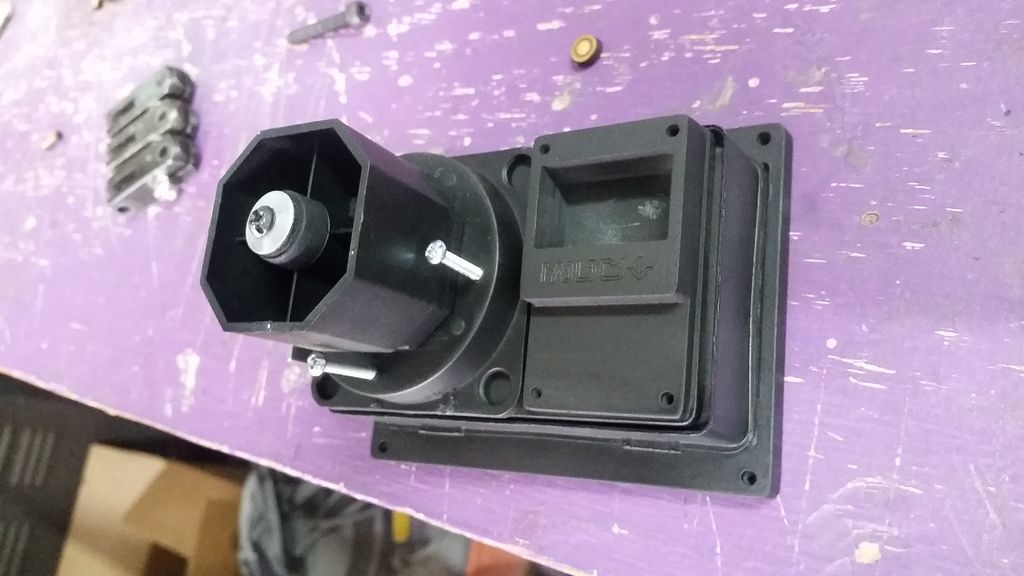
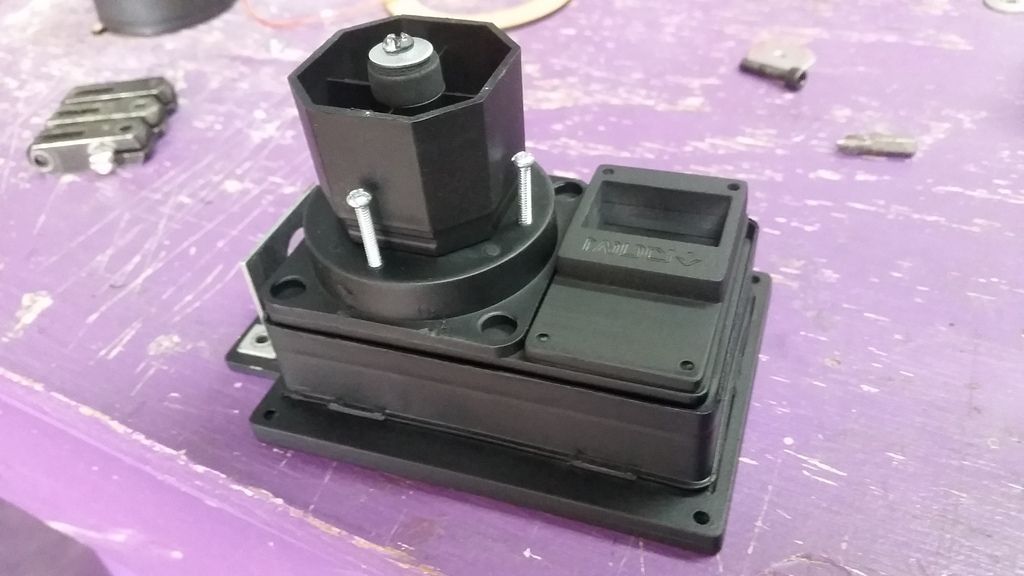
Another new greeblie
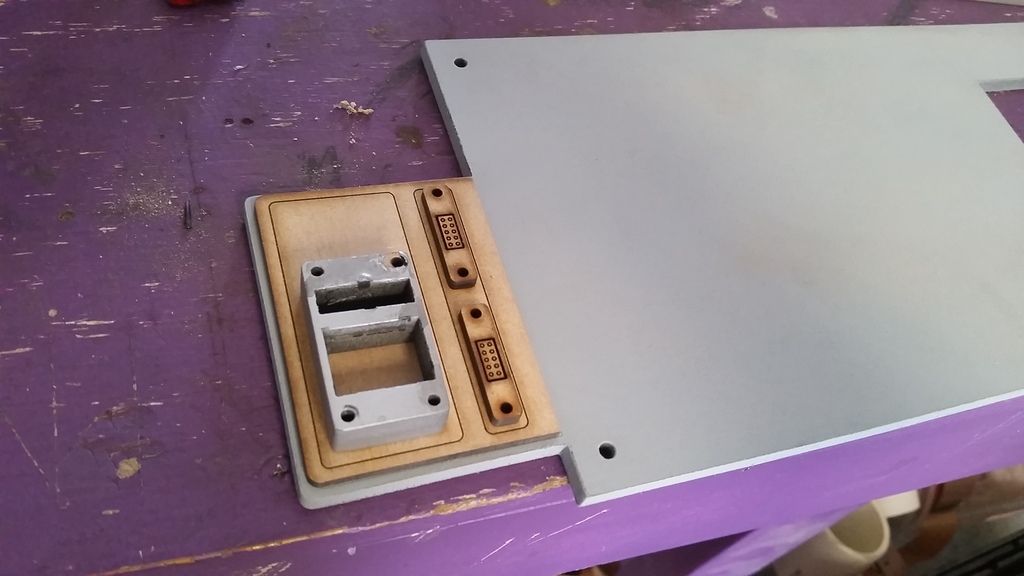
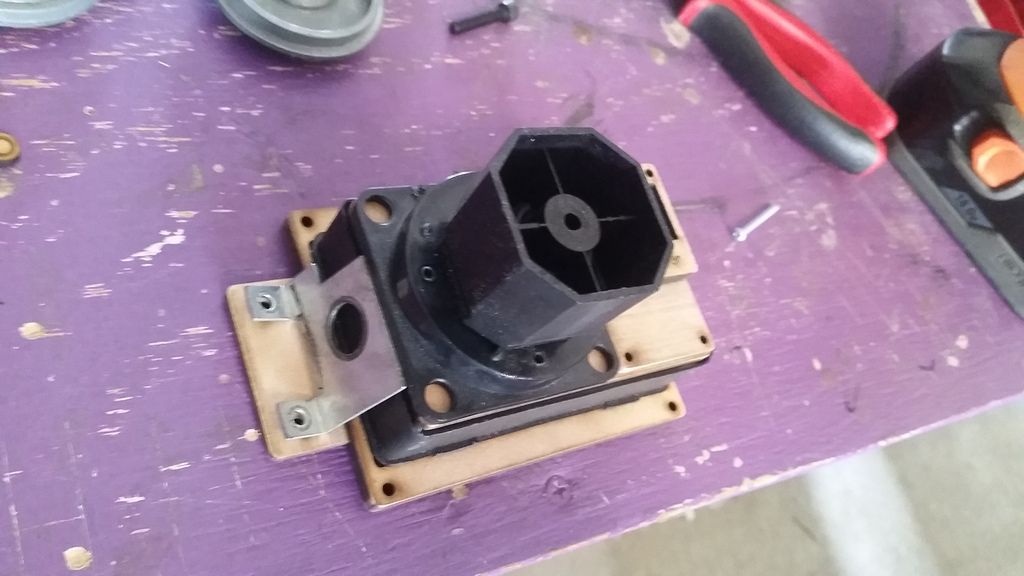
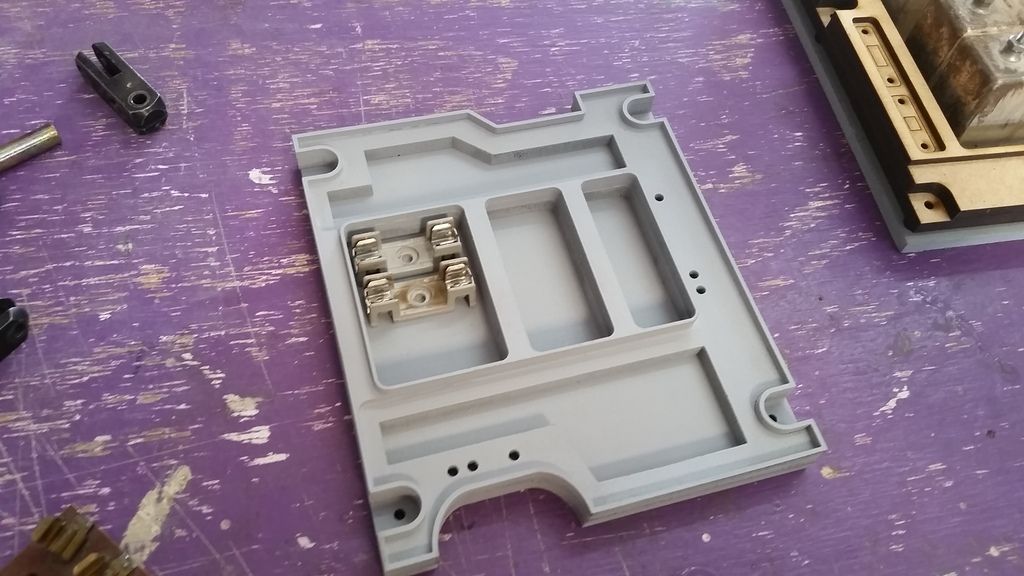
Trying out different configurations
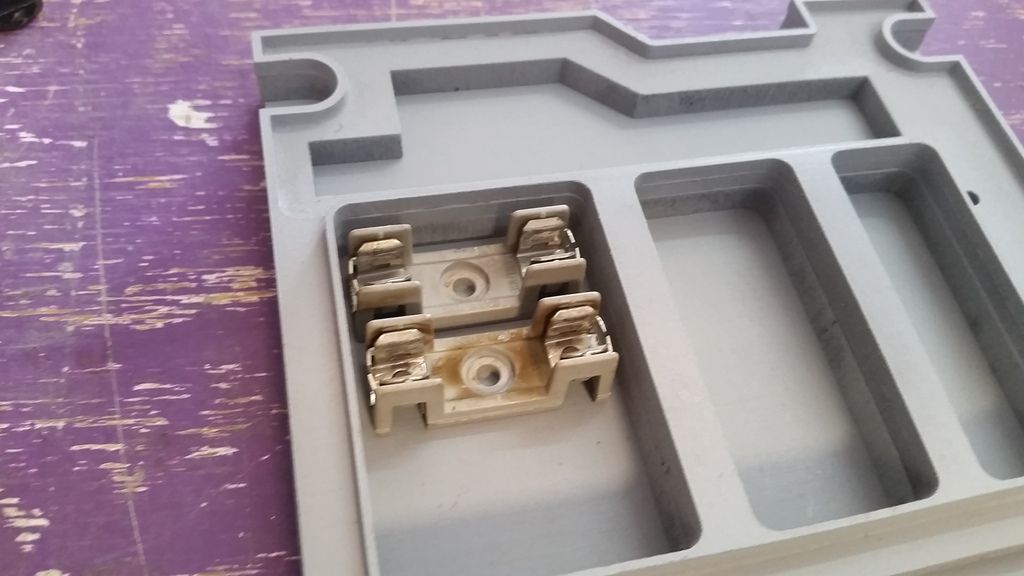
Old fuse holders?
Filler added to those already clean edges
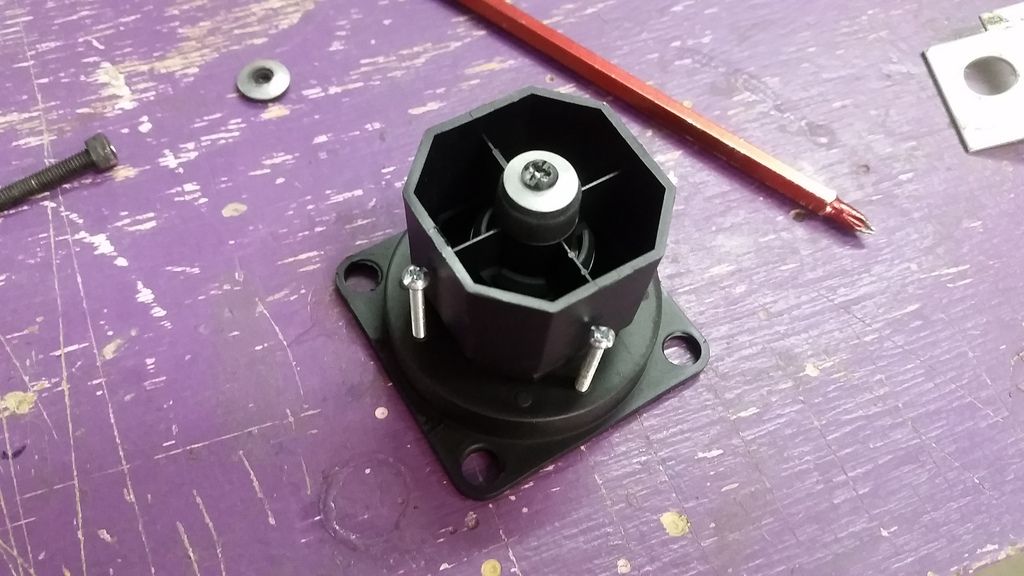
Lets get into some details
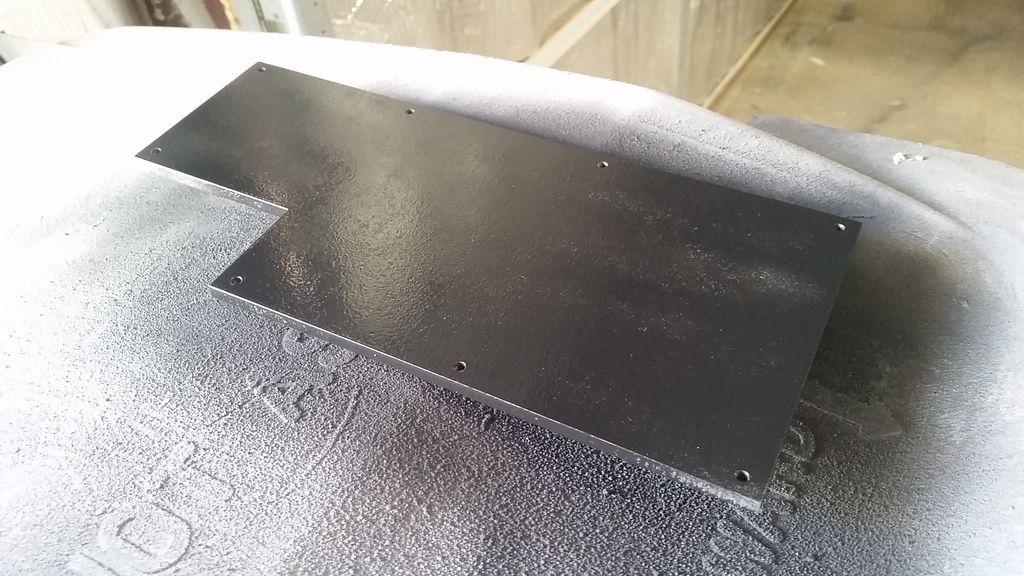
Still need to sand smooth and paint
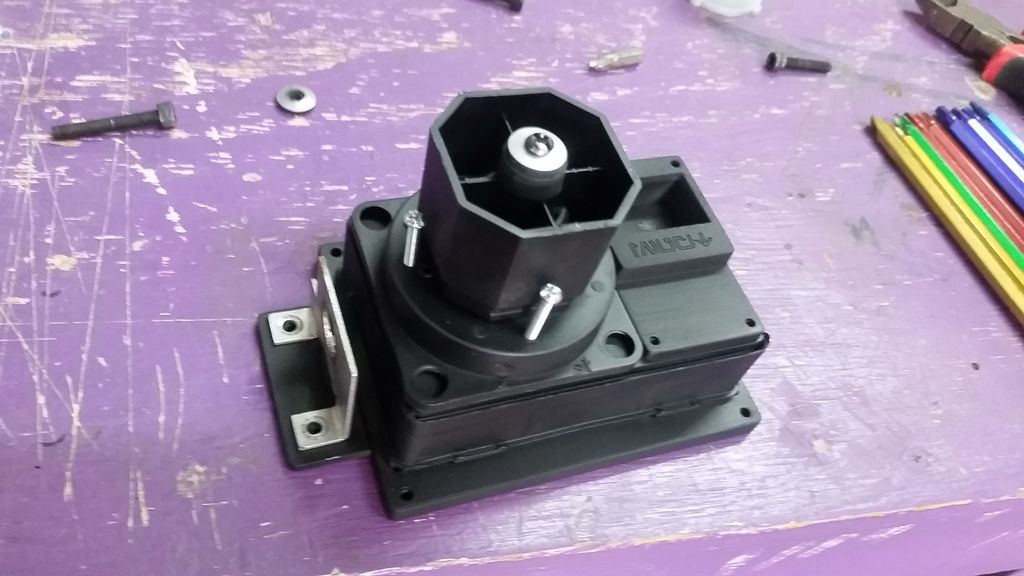
Primed and ready!
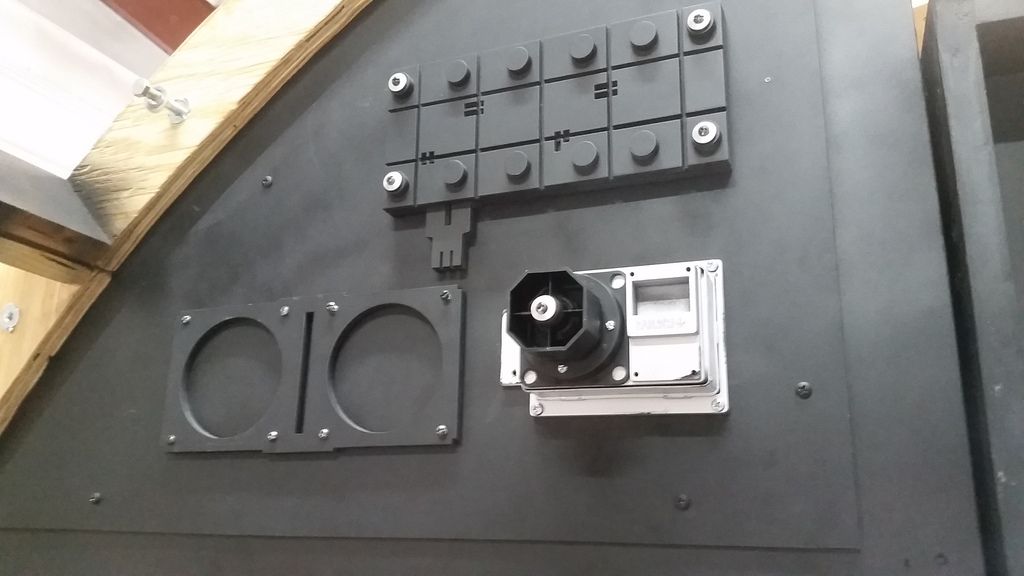
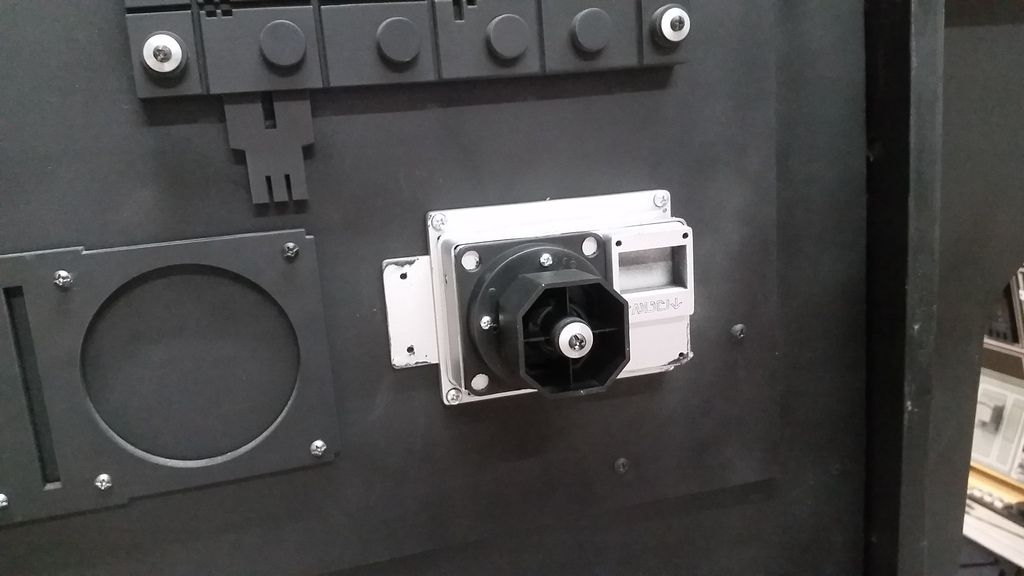
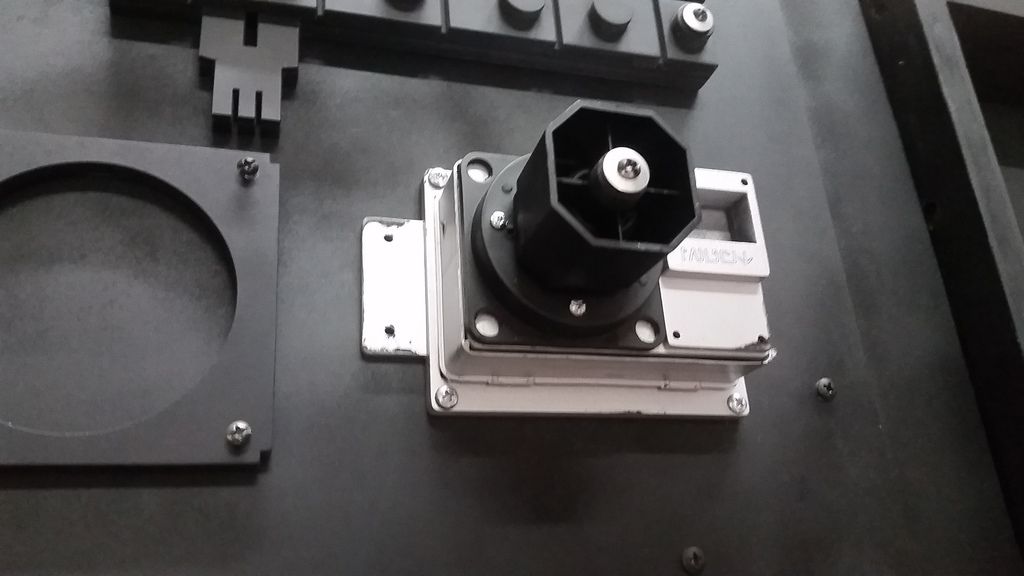
Ask and you shall receive!
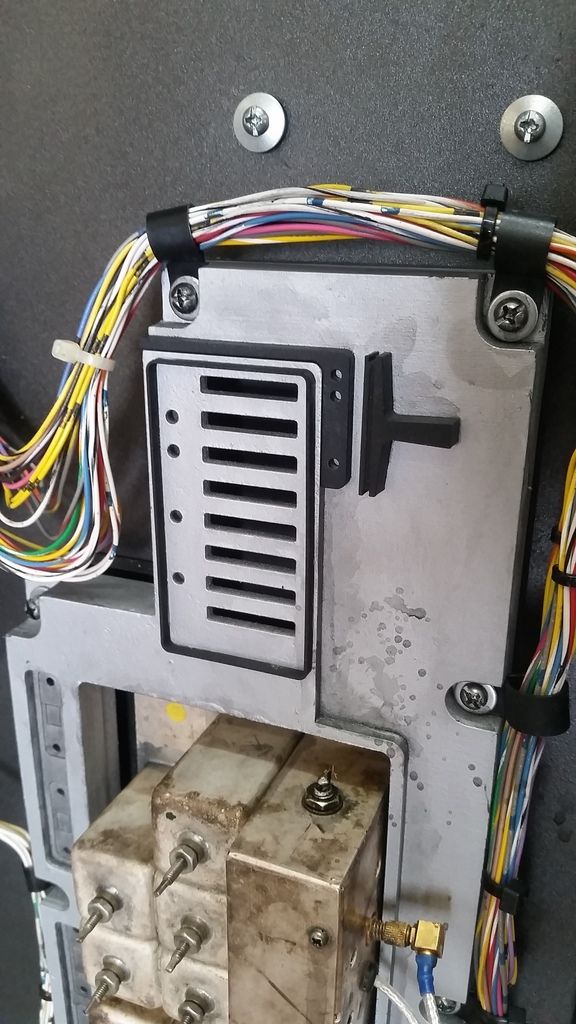
Mounted
Weathered!
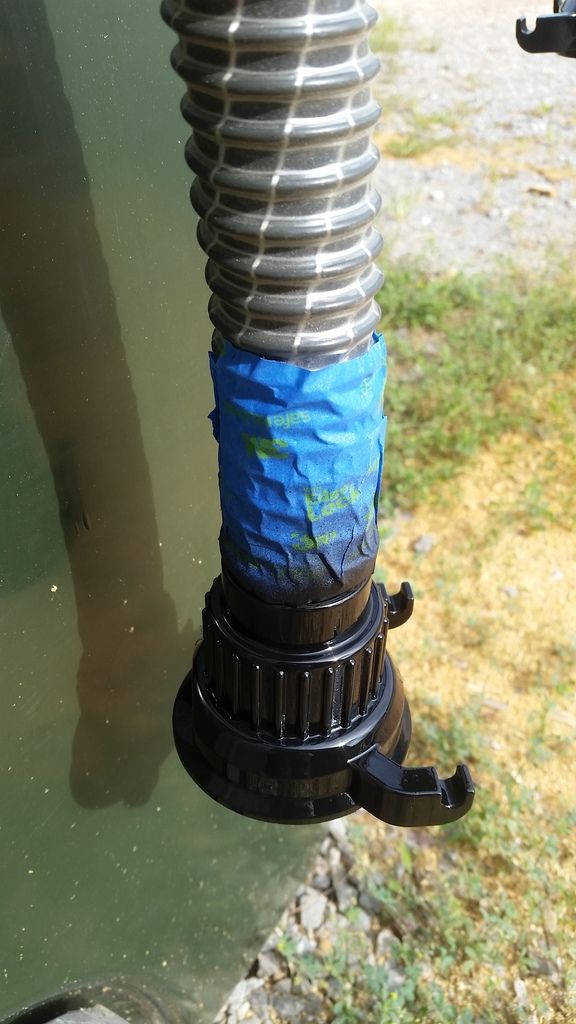
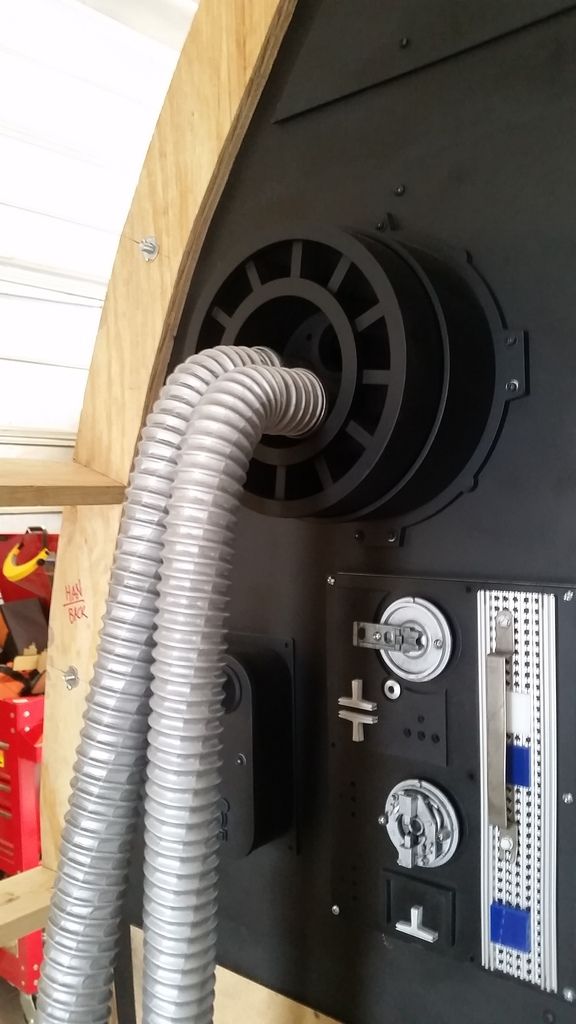
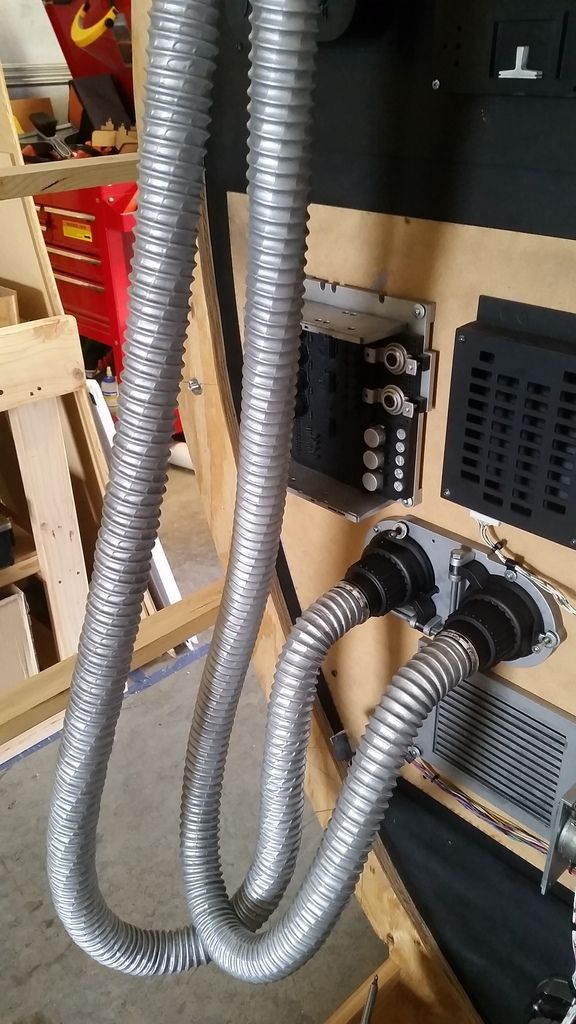
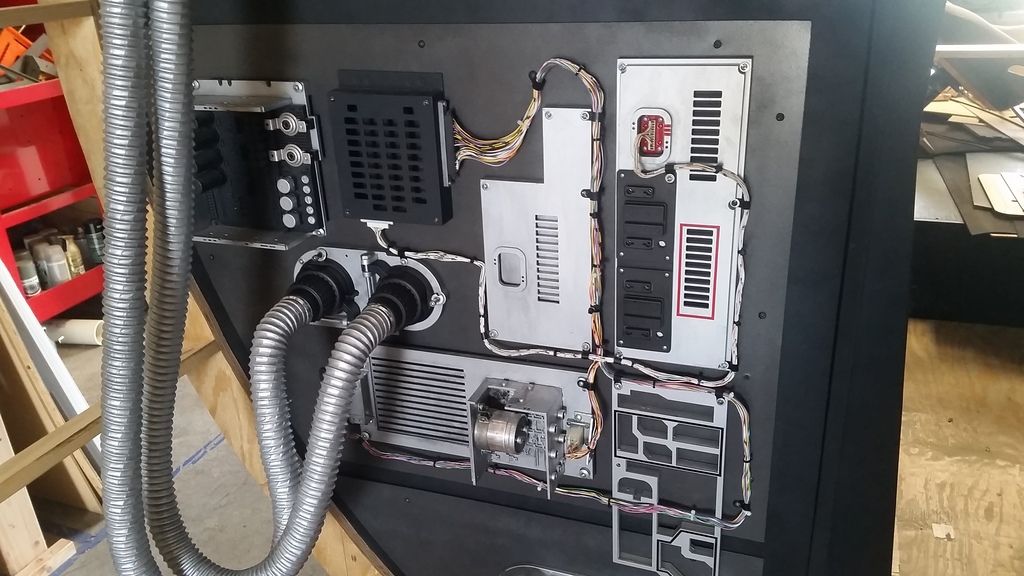
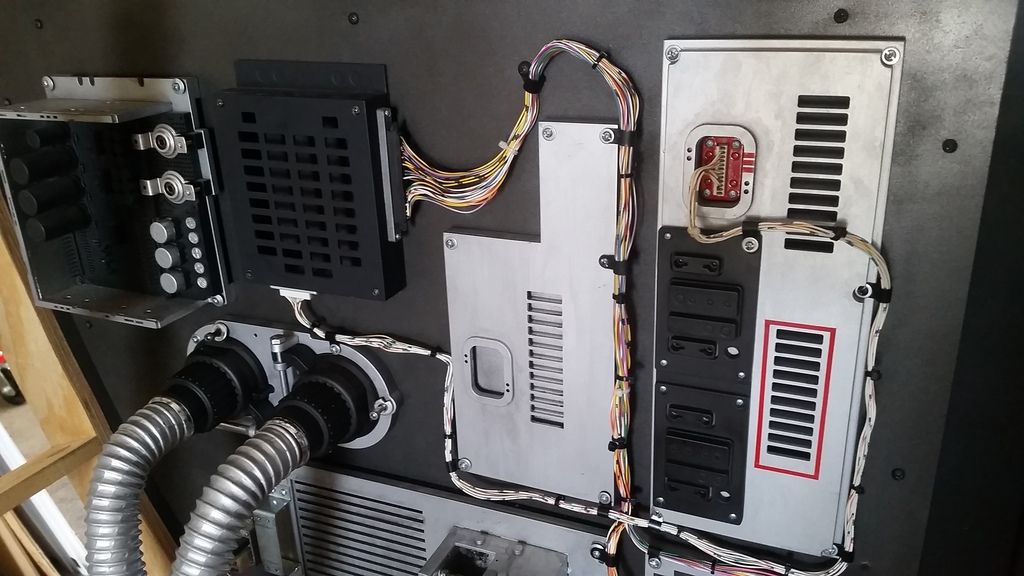
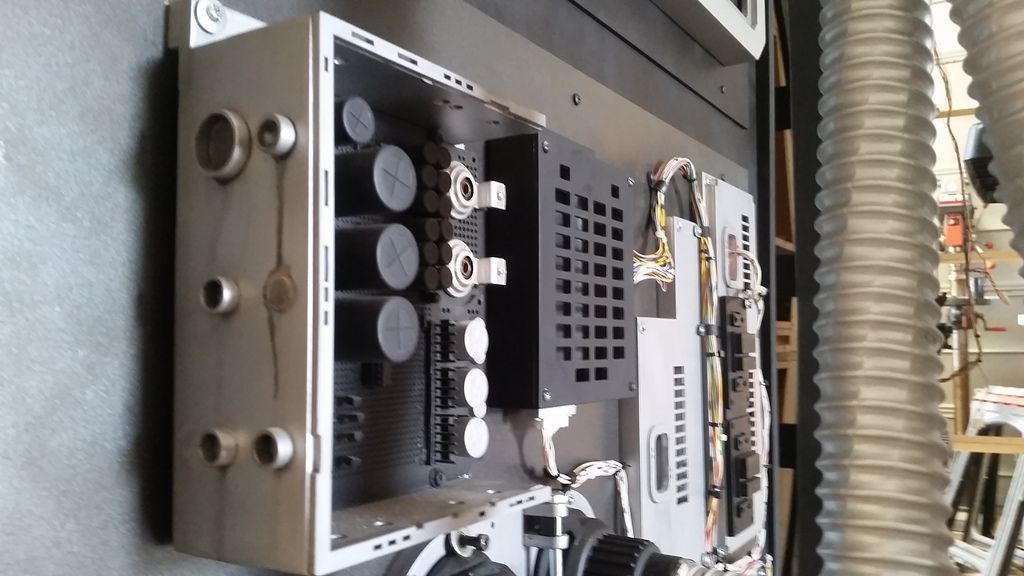
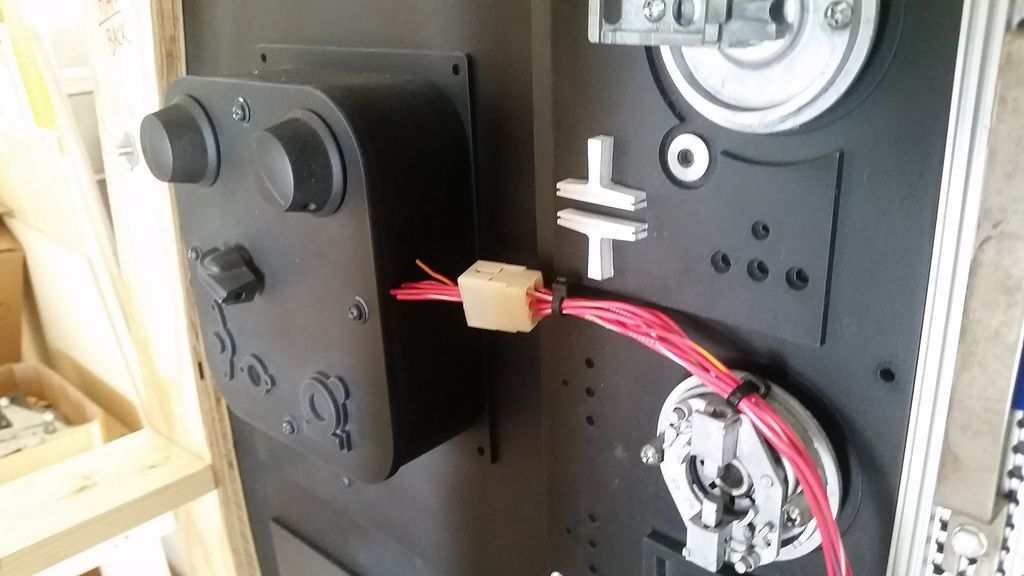
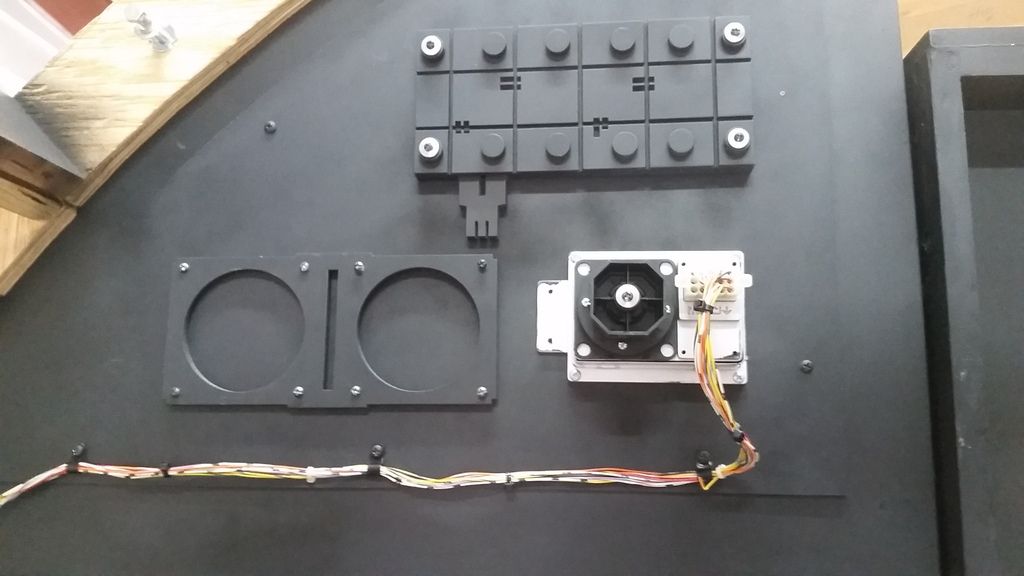
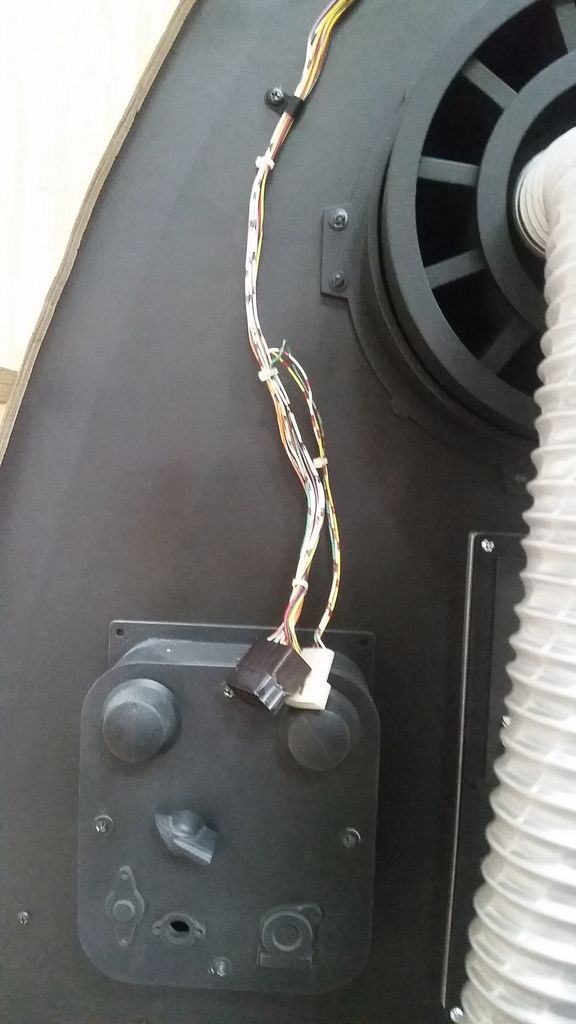
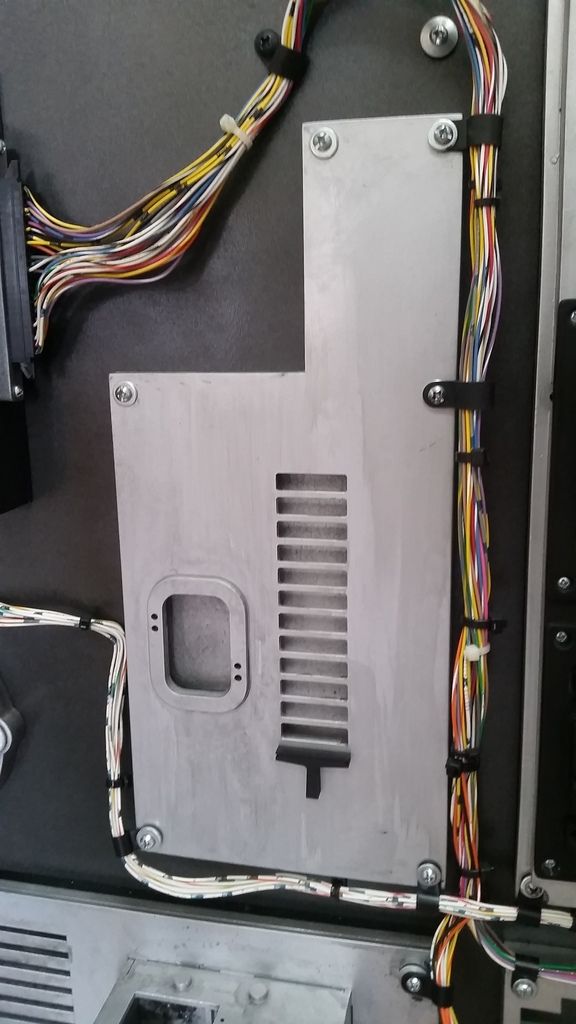
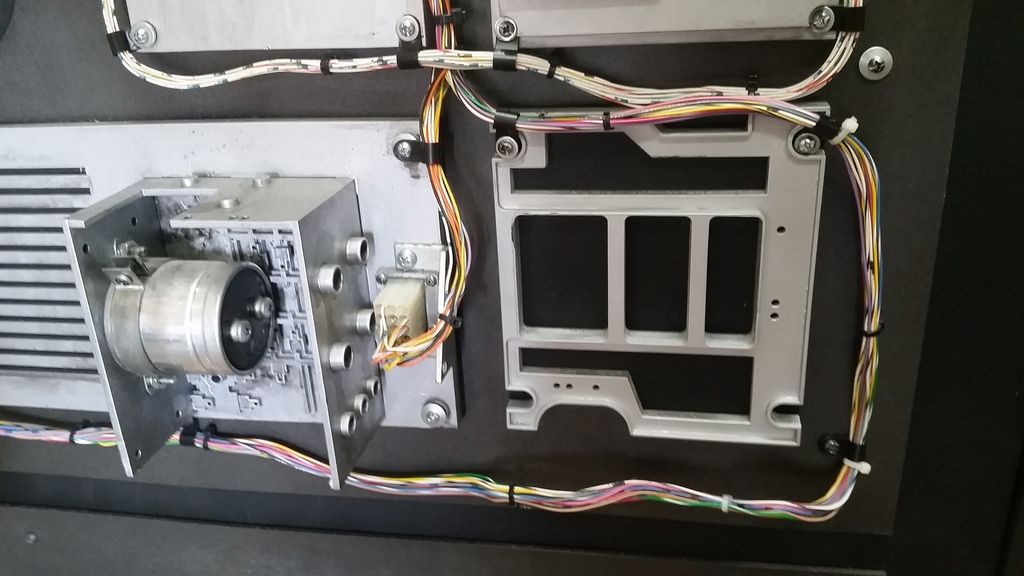
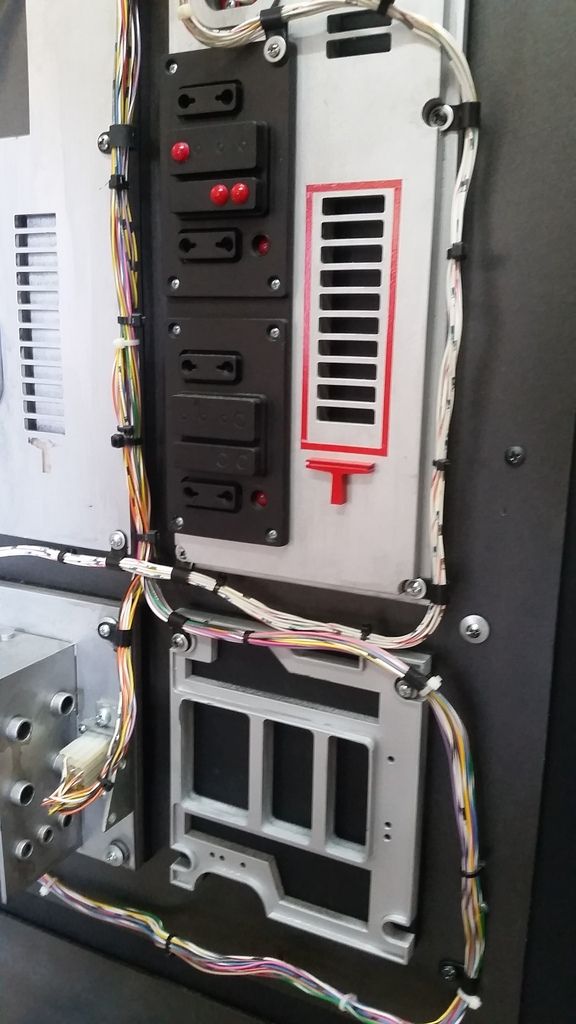
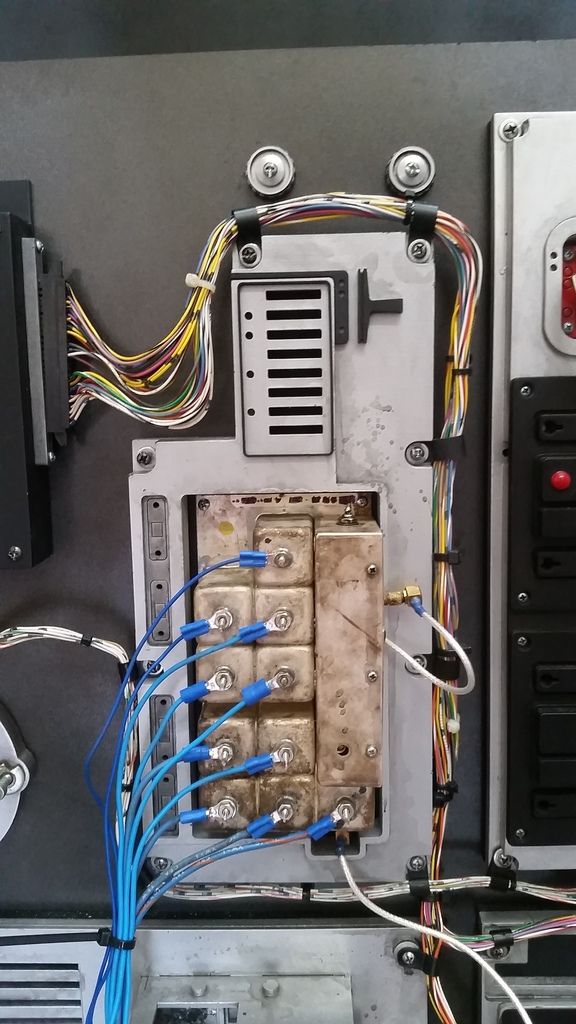
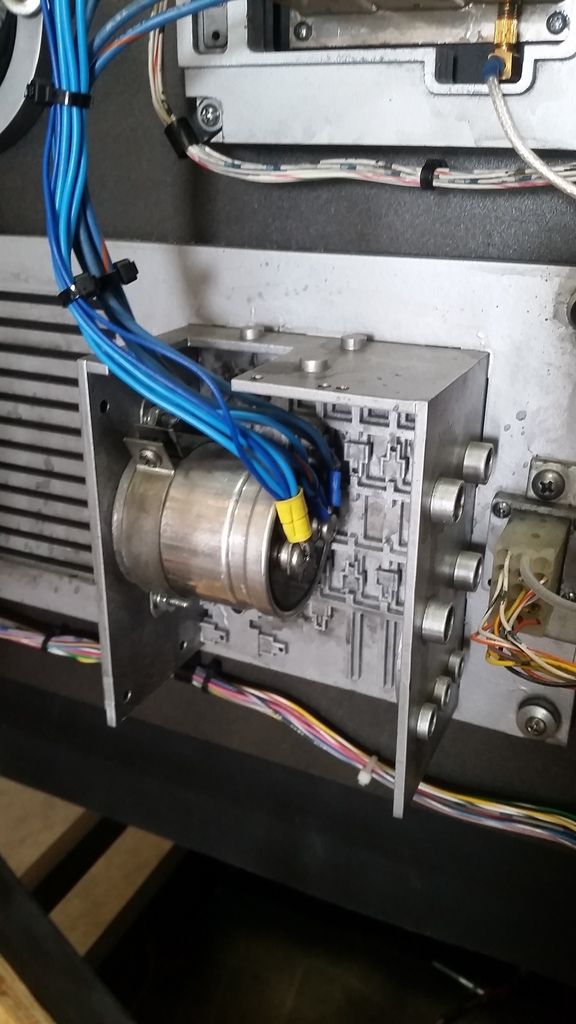
Readjusted the wiring harness and removed that annoying hump at the top
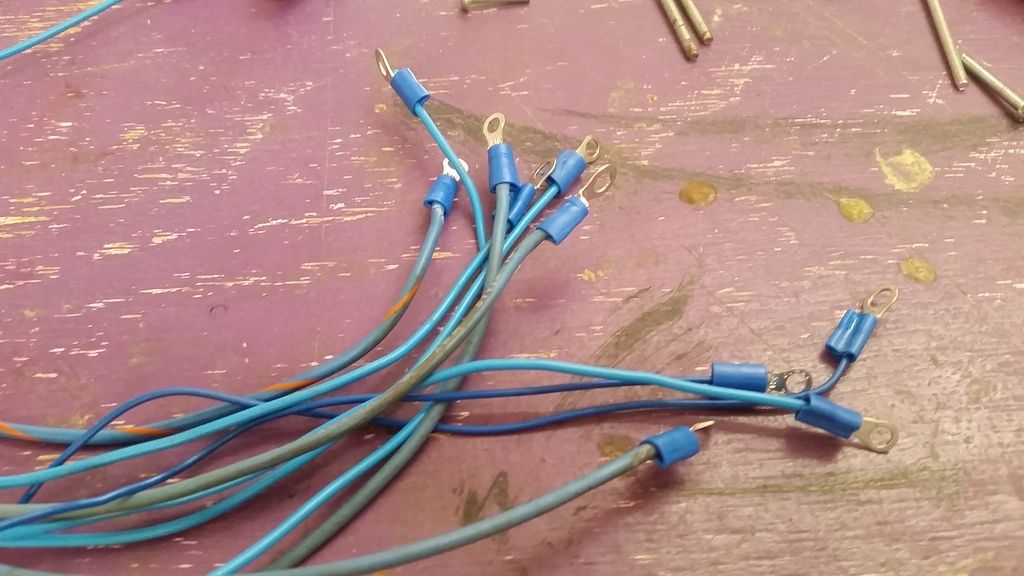
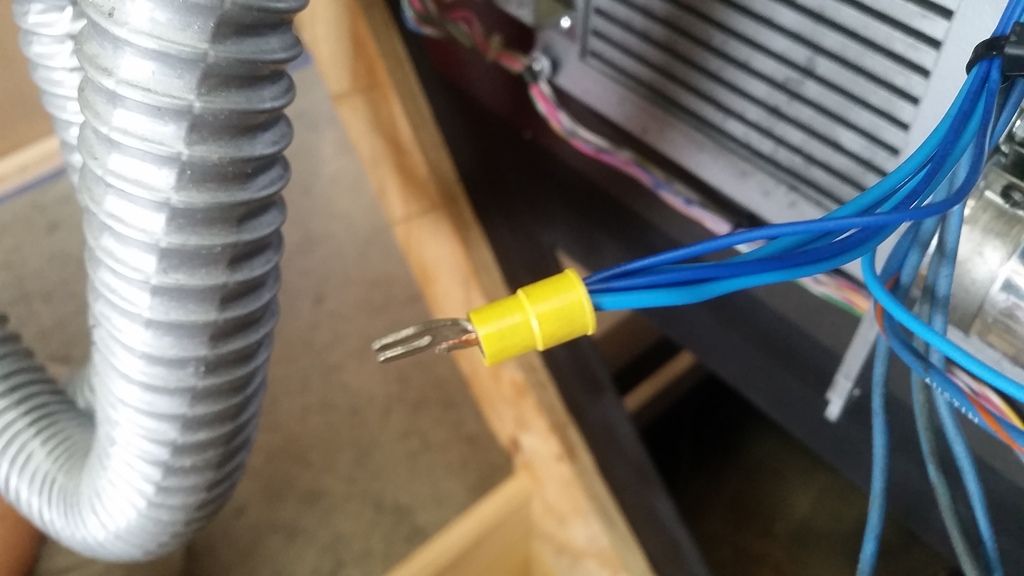
I then found some blue pinball wire and crimped some connectors to the ends - Thanks, Scott!
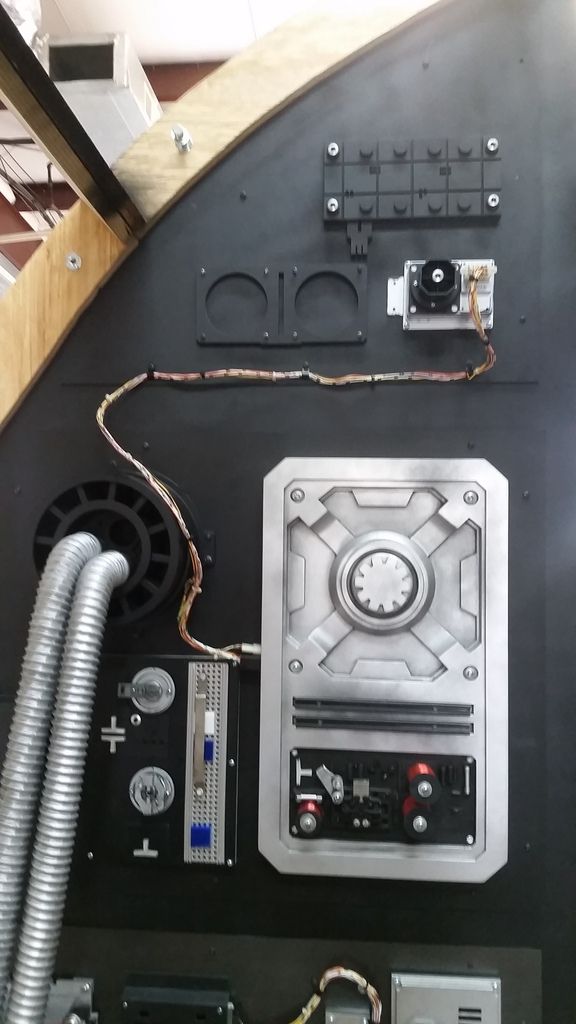
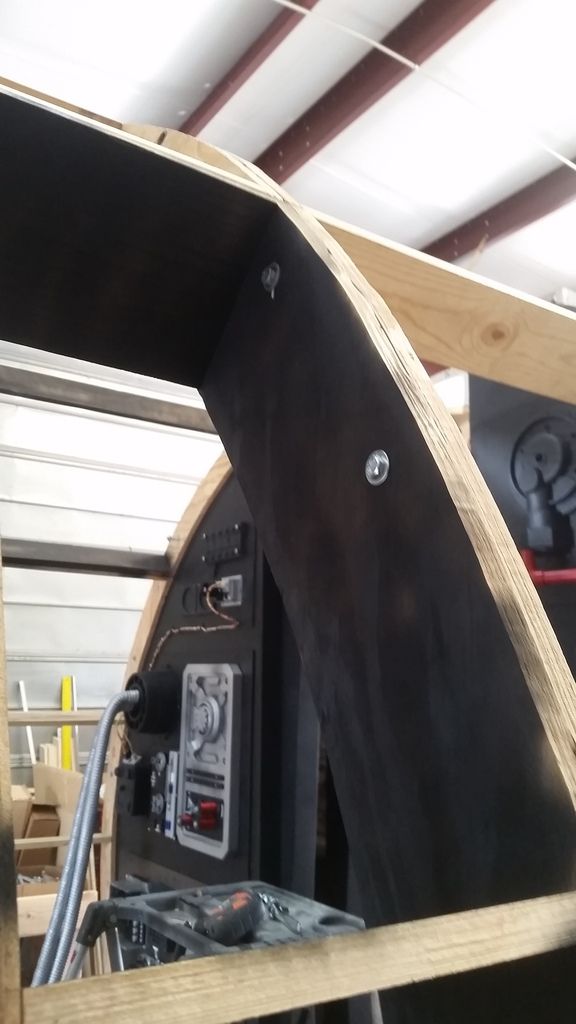
The two silver round greeblies are filling holes. I don't think I like them. Might need to design something to cover the holes?
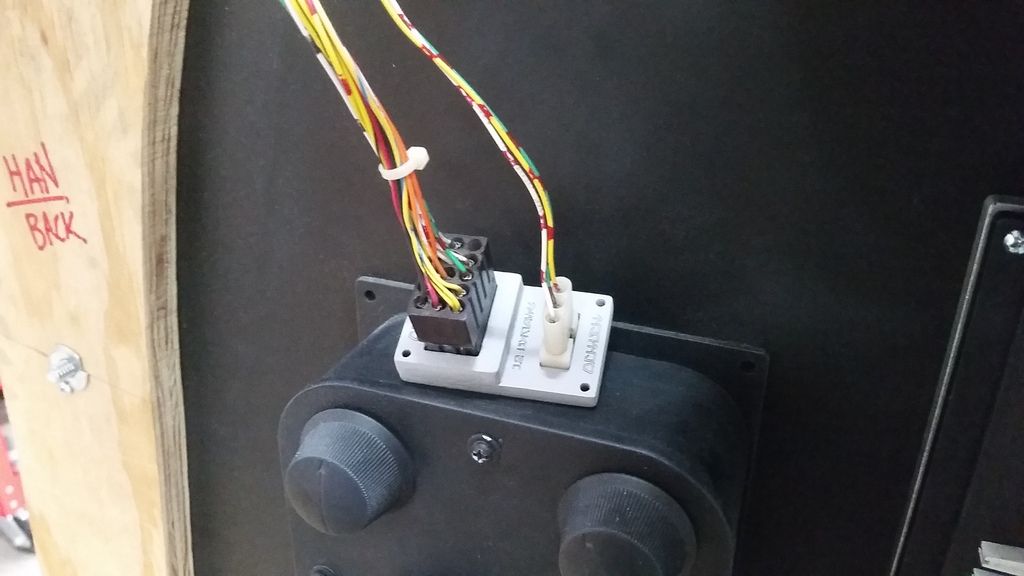
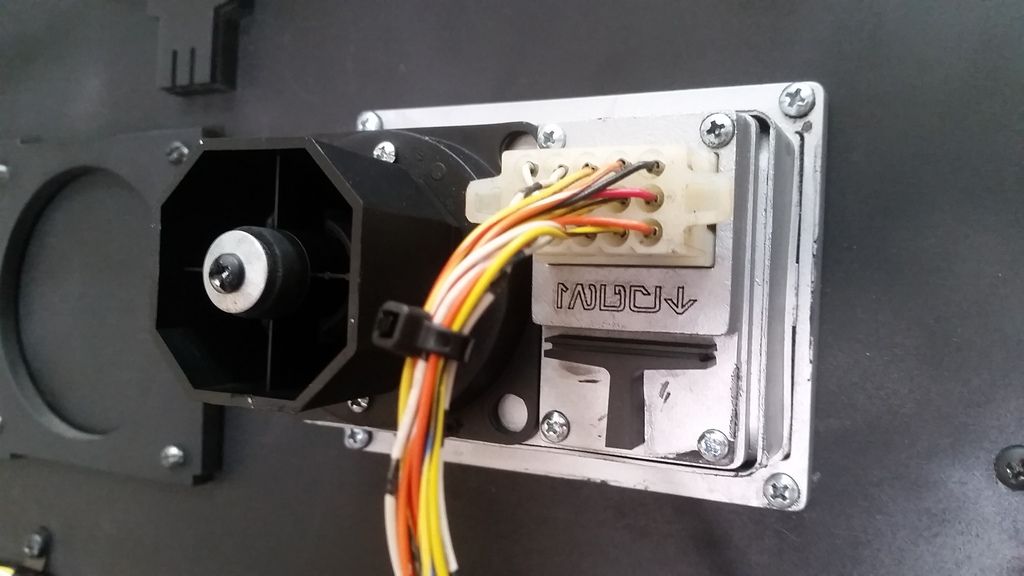
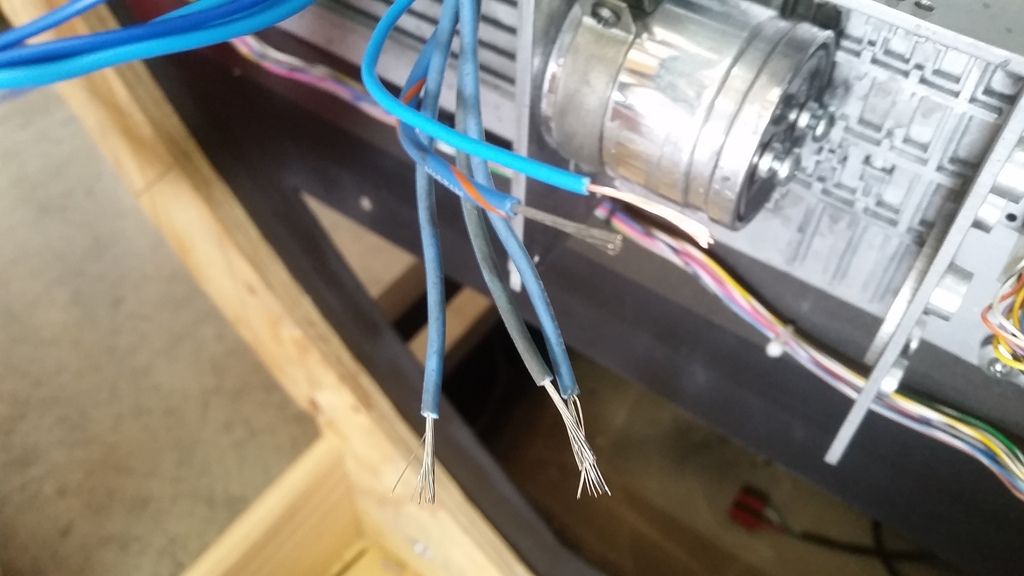
Stripped the other ends
More connectors
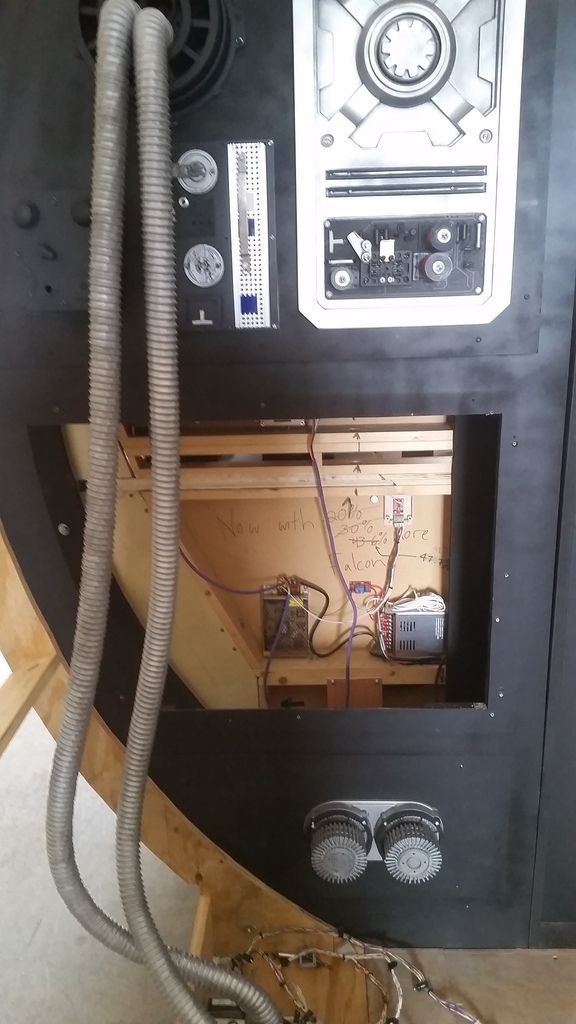
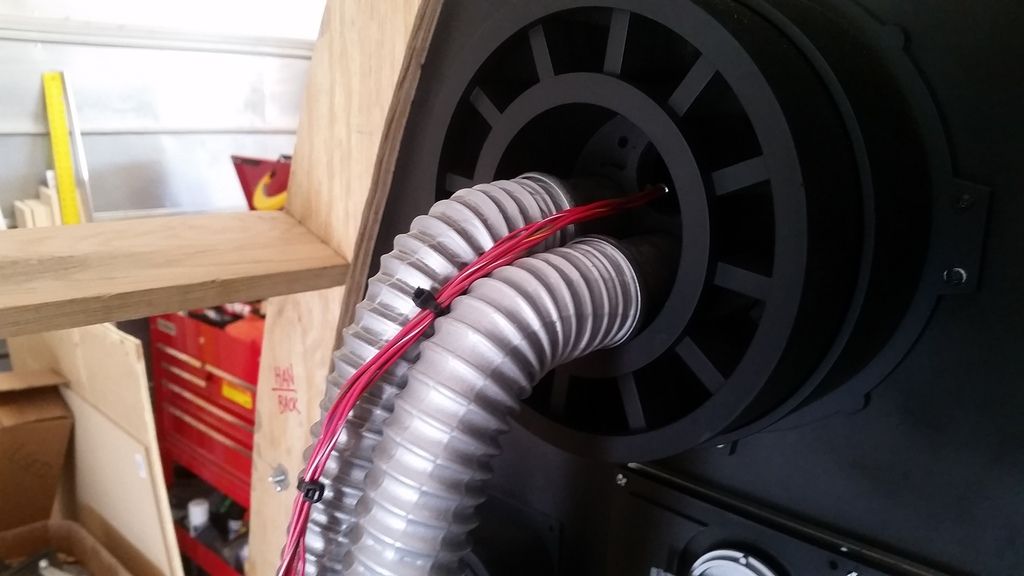
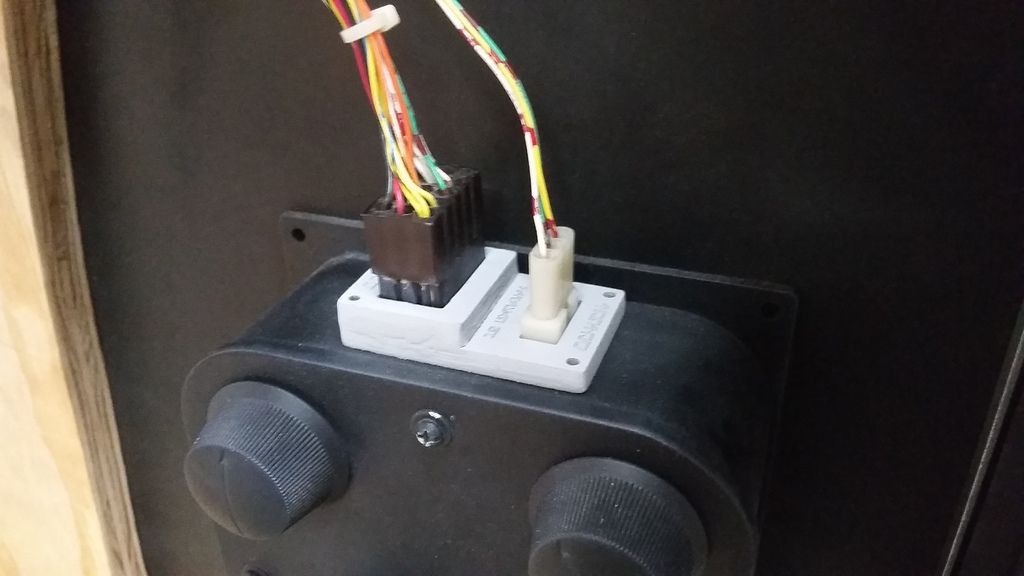
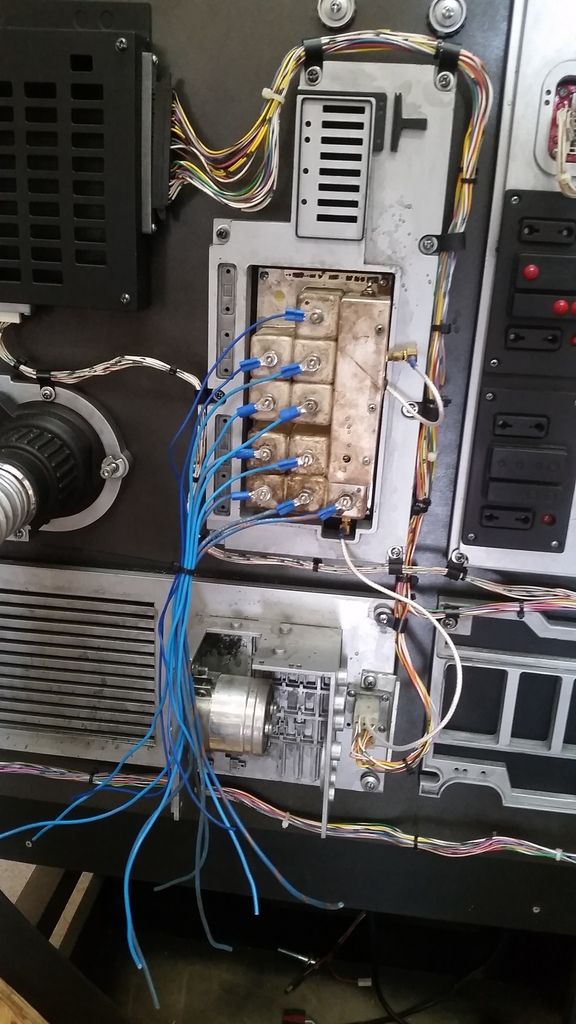
Love it!
I'm sure one if not a few wires will be pulled / yanked during shows!
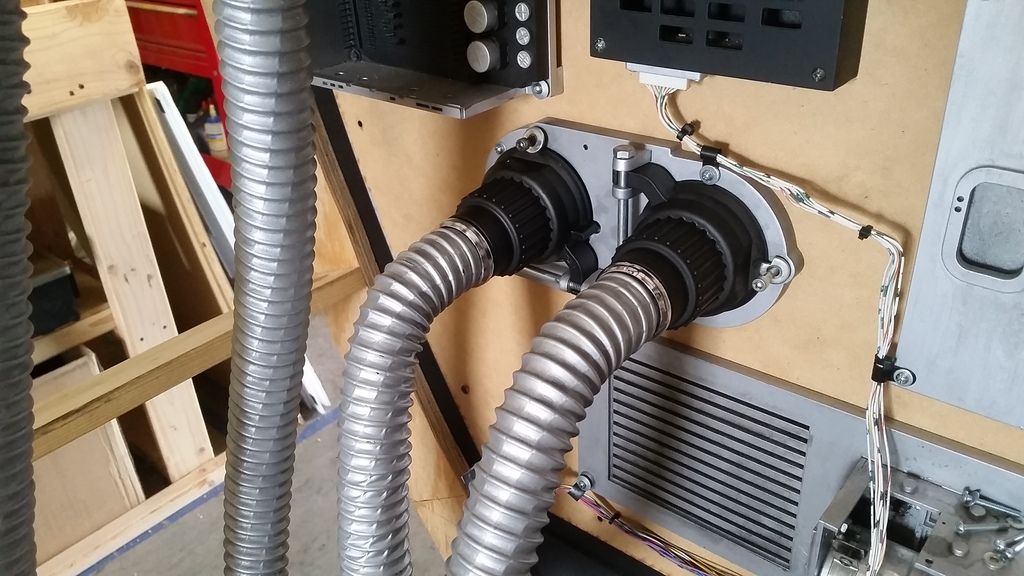
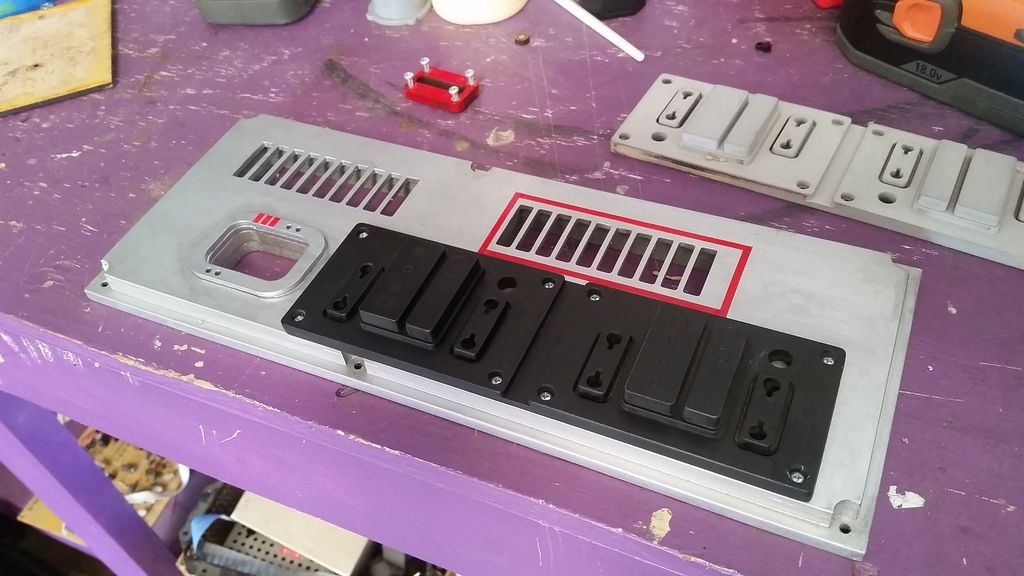
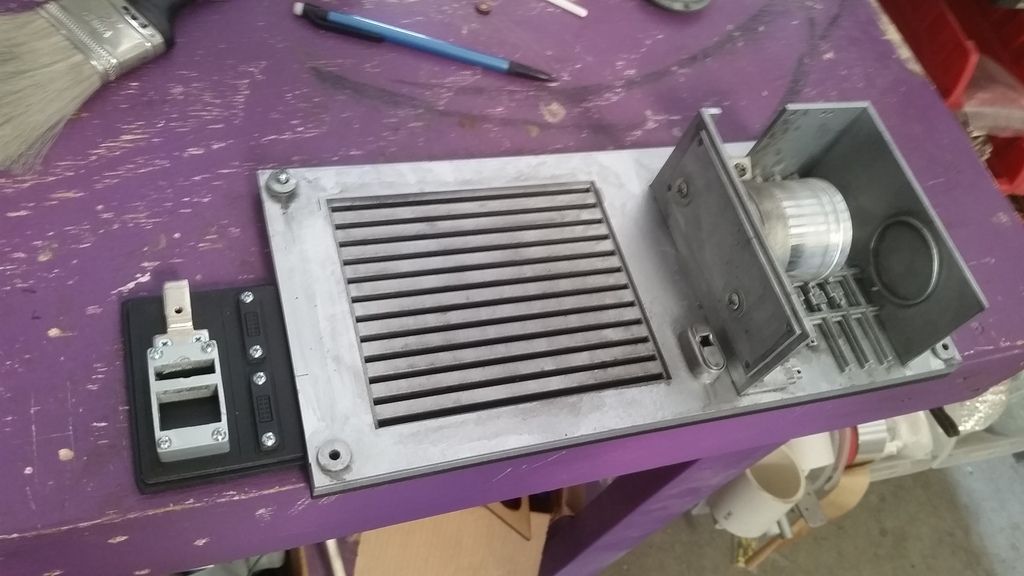
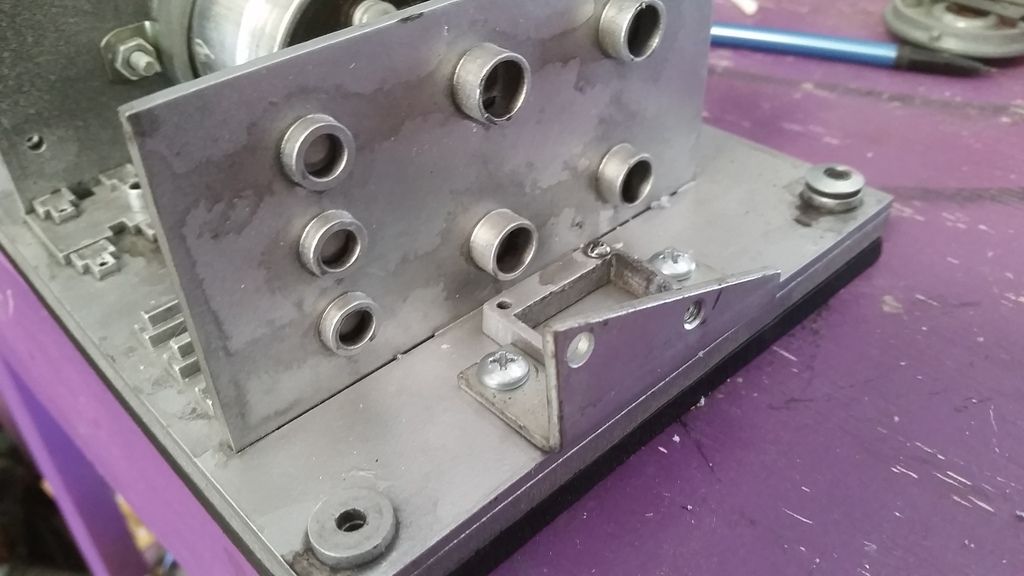
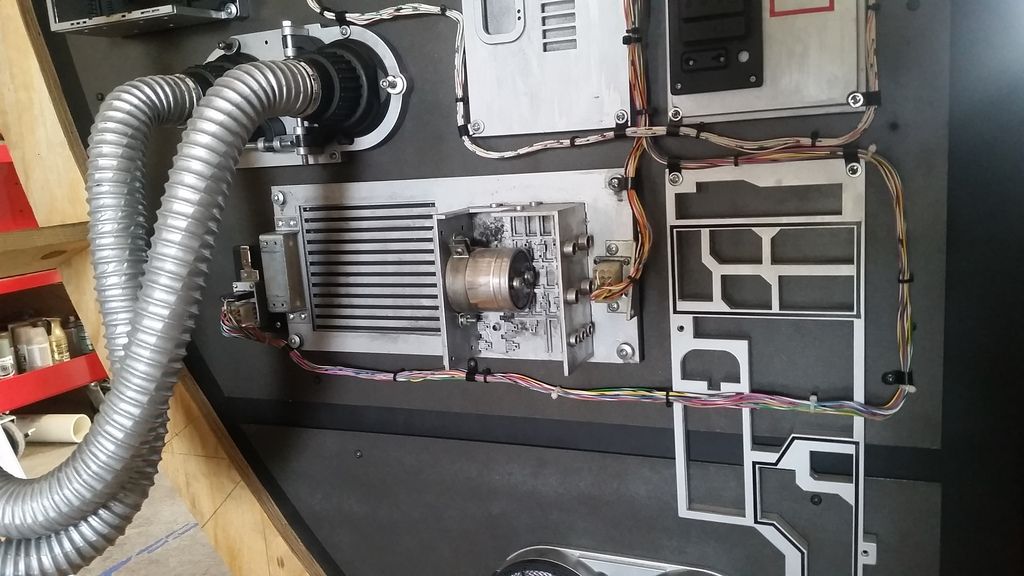
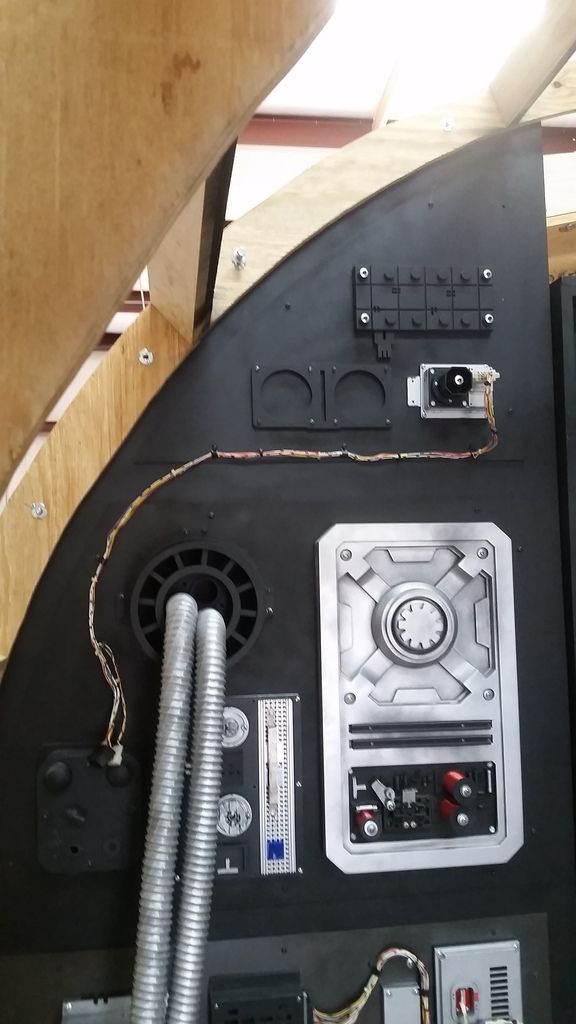
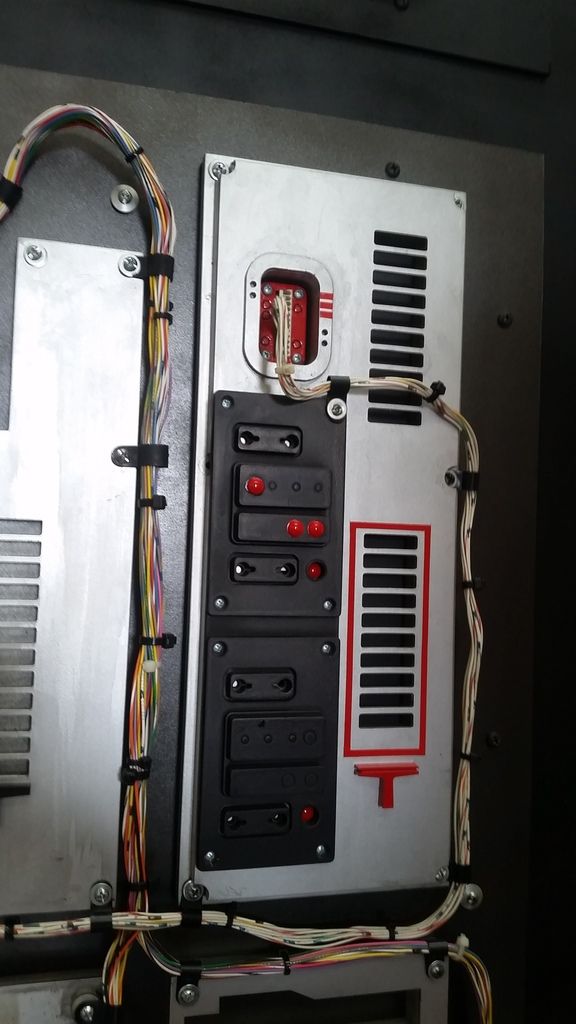
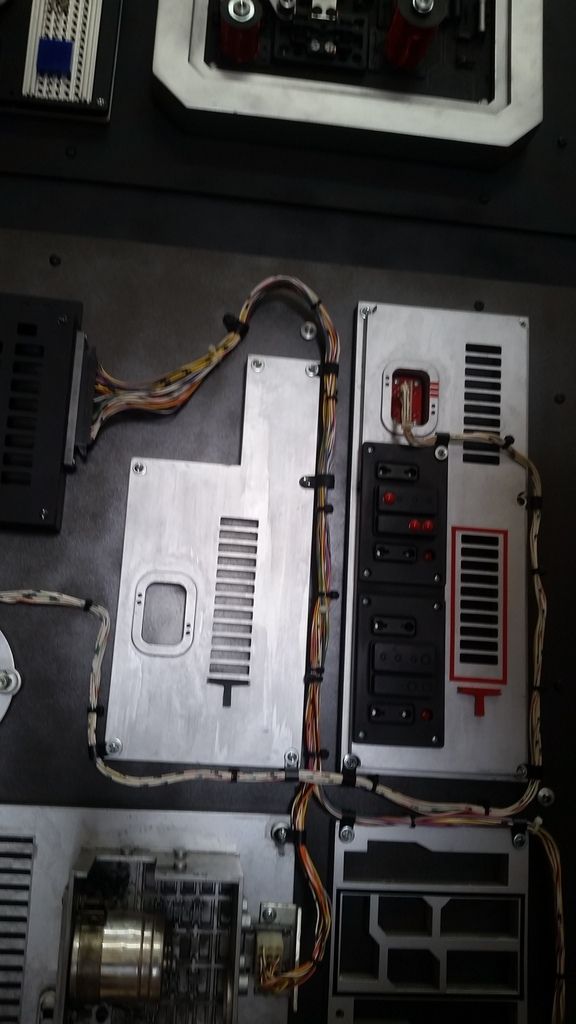
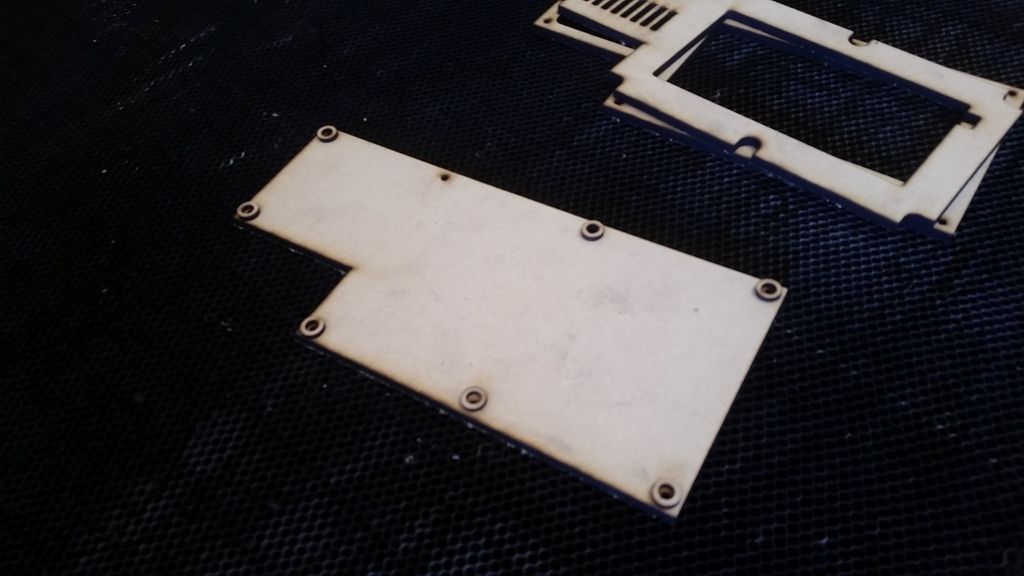
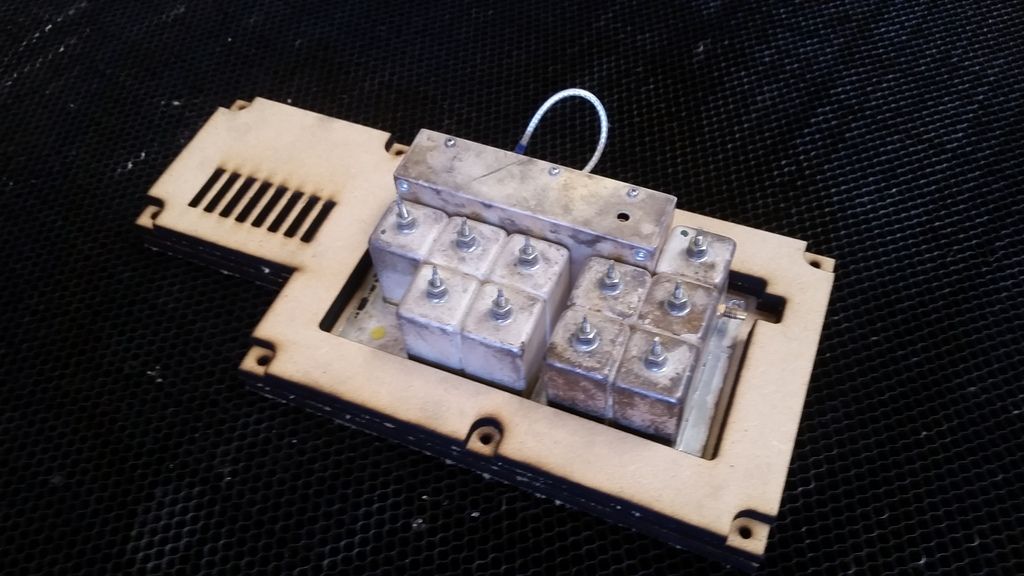
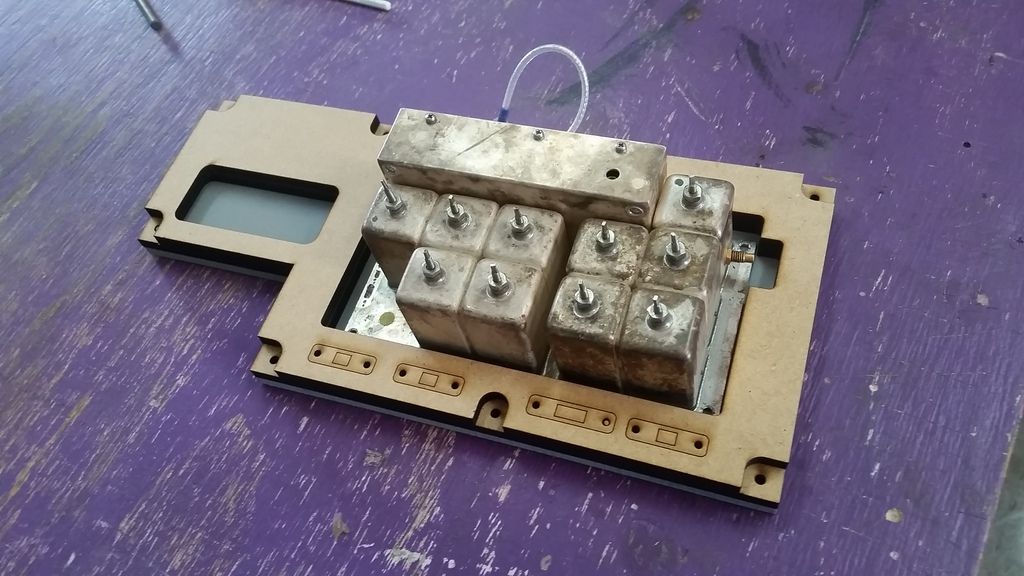
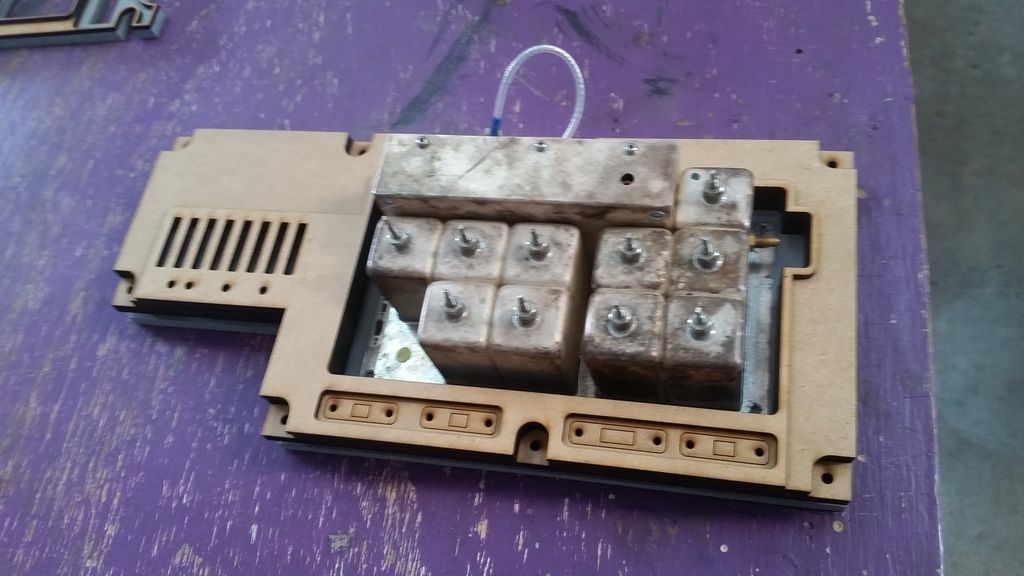
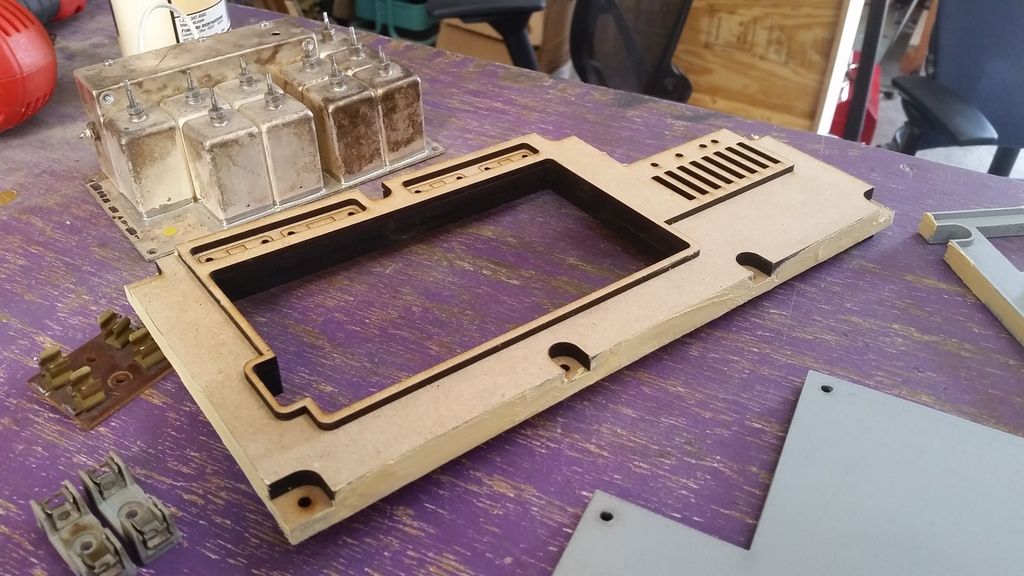
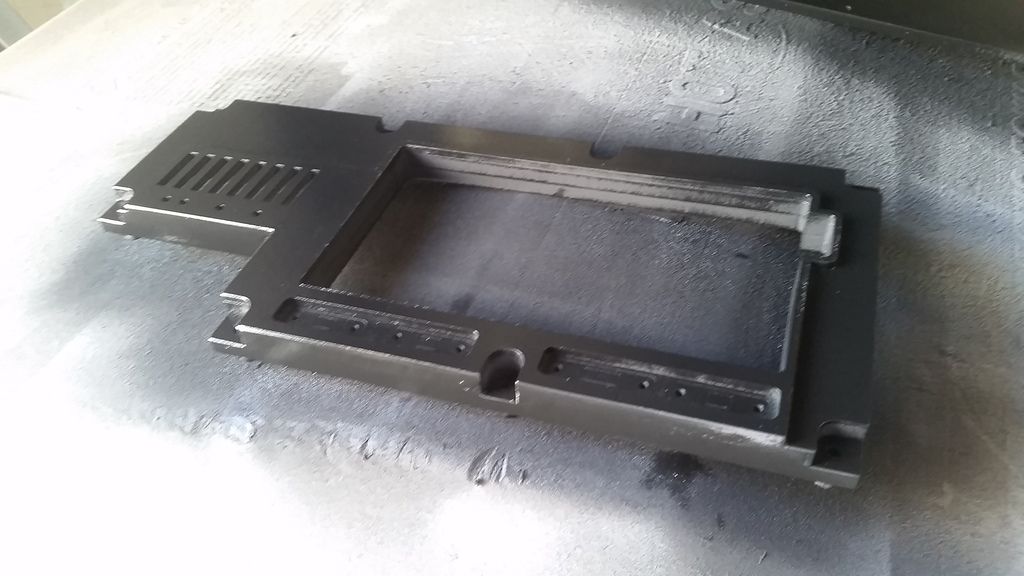
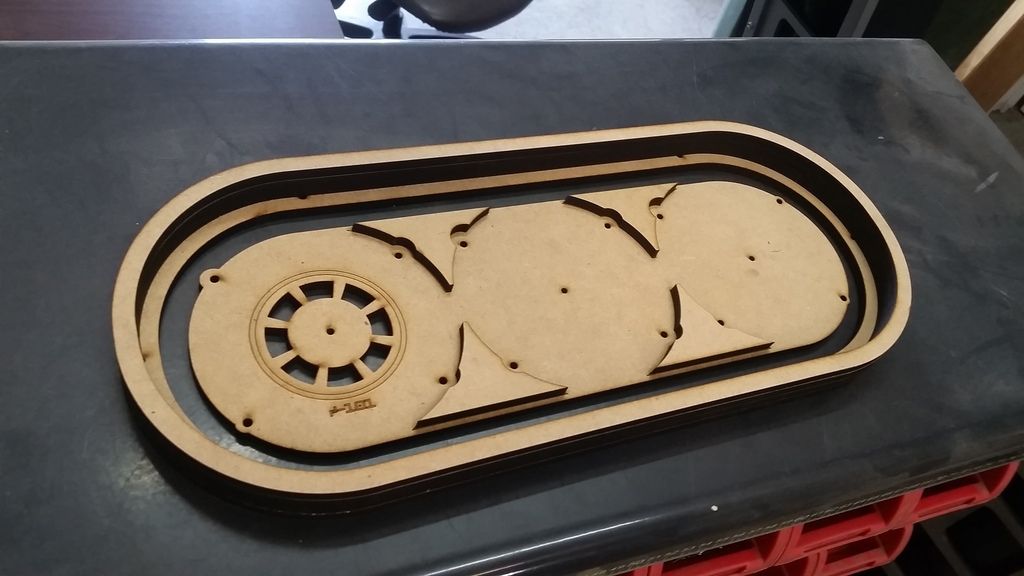
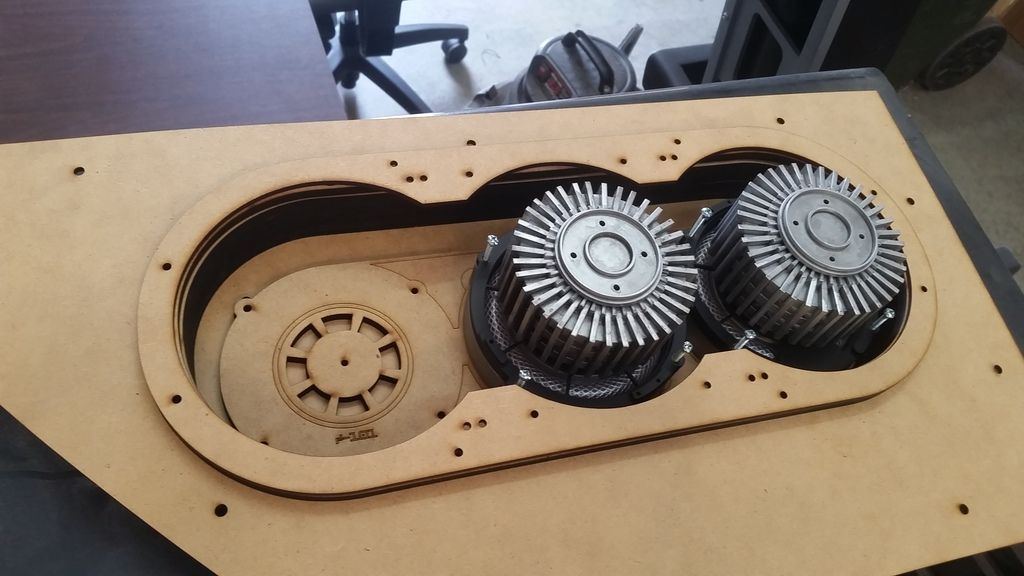
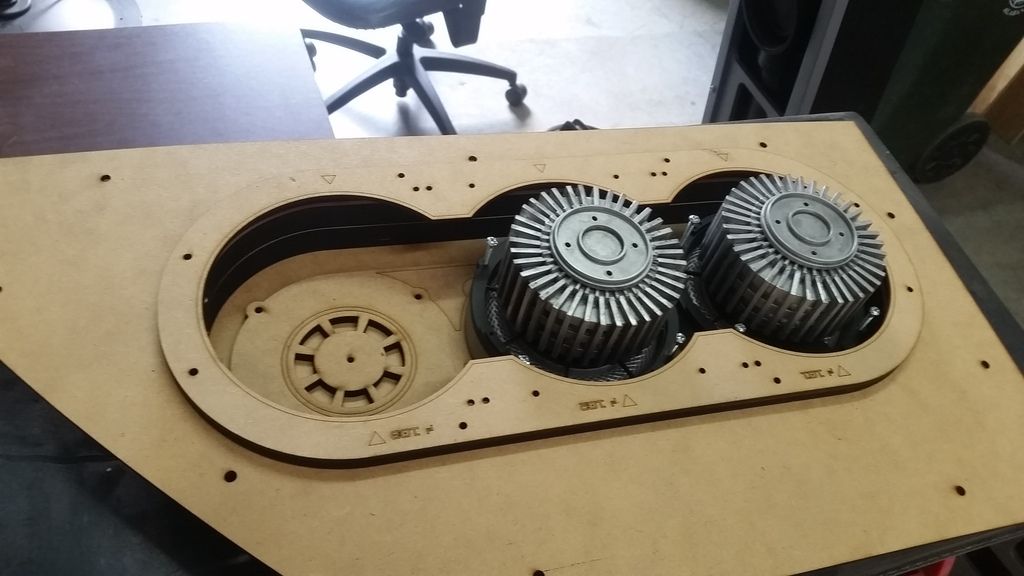
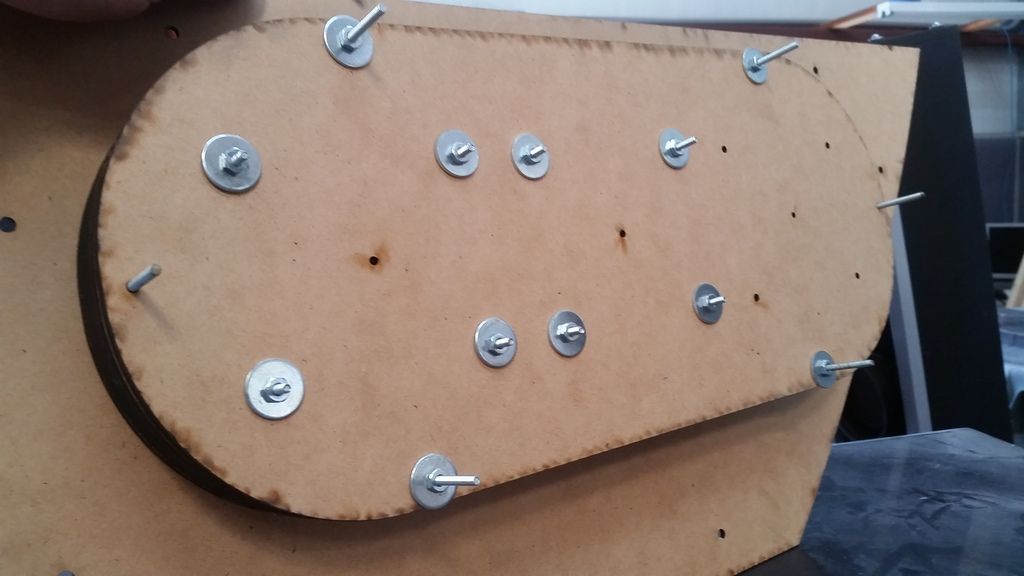
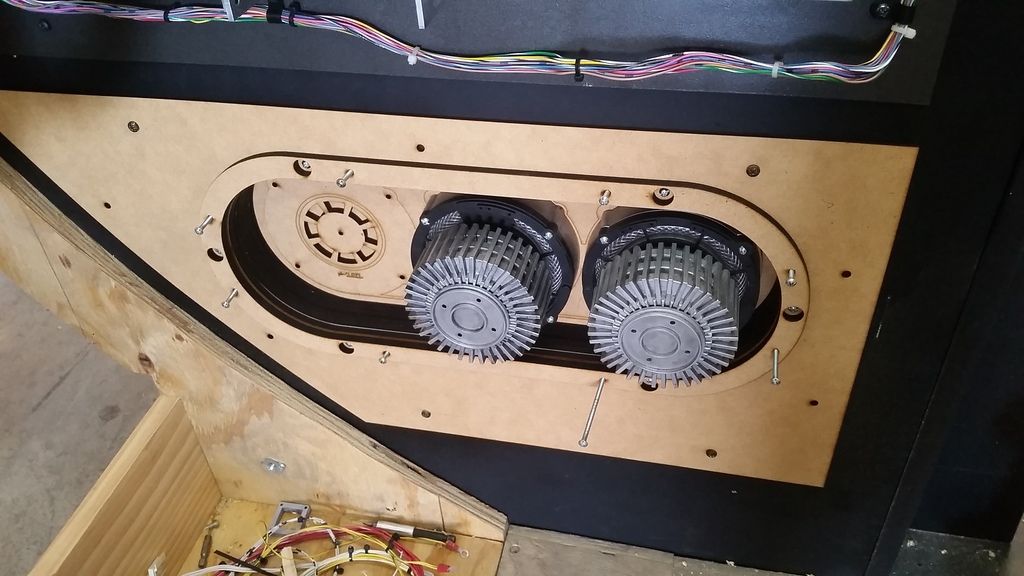
Finally... I wanted to address the two lower coil panels. I thought they were a bit boring. So...
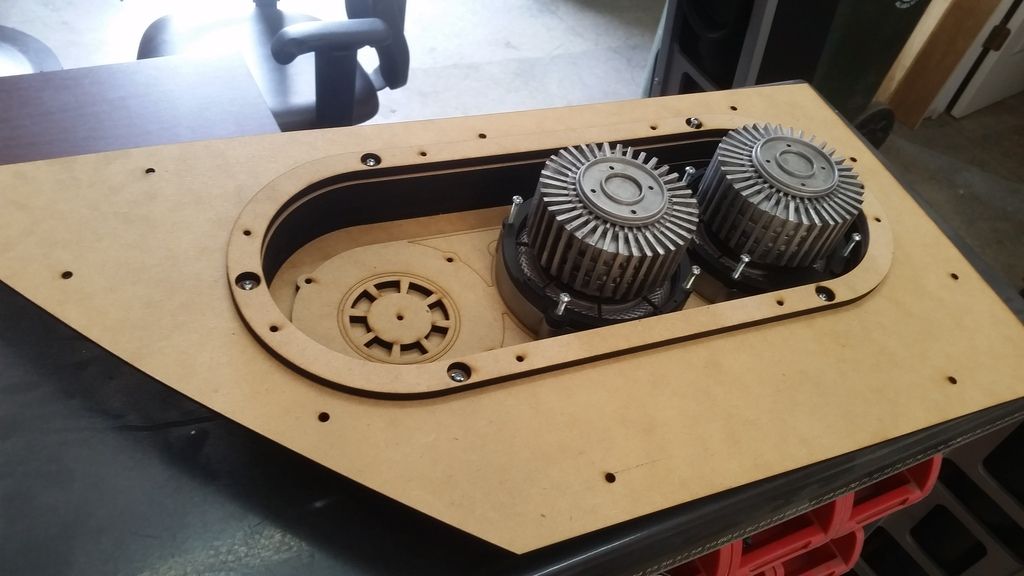
Each side will now give the appearance of 3 coils each
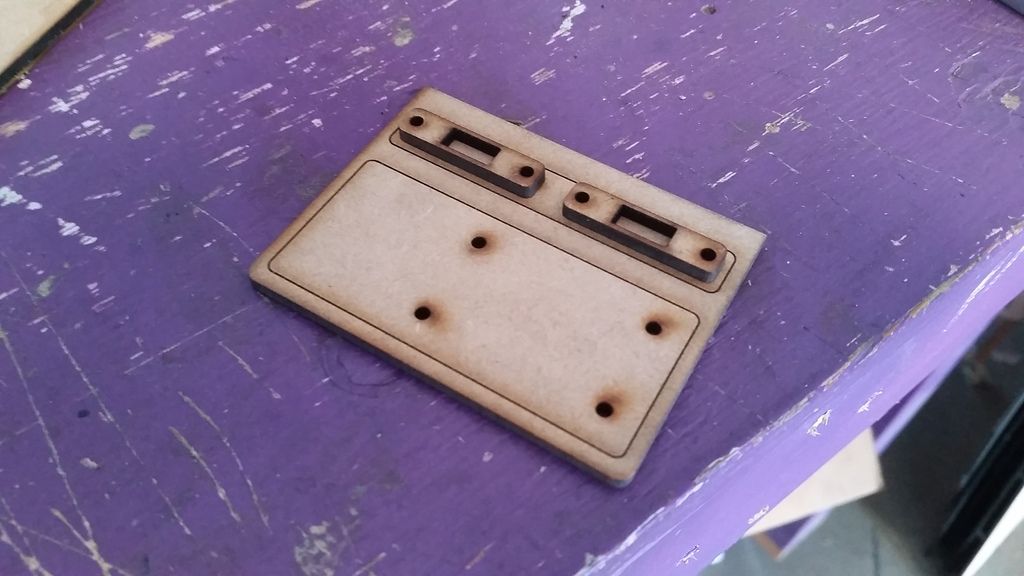
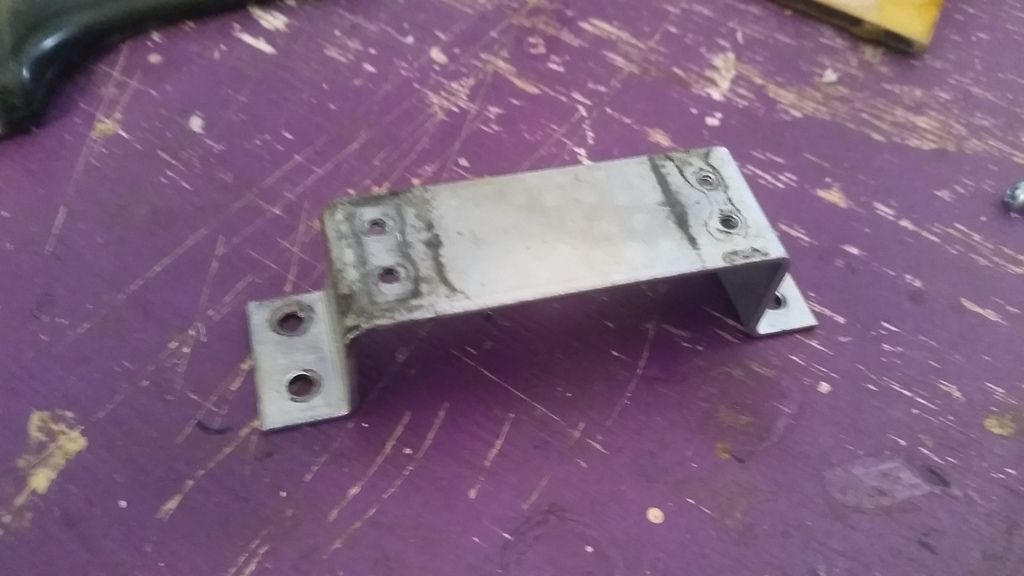
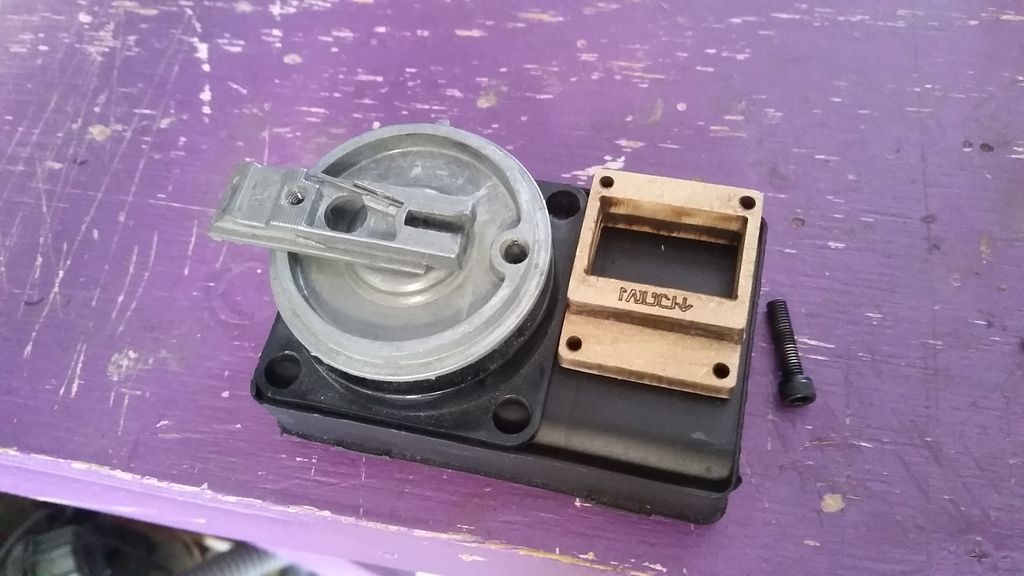
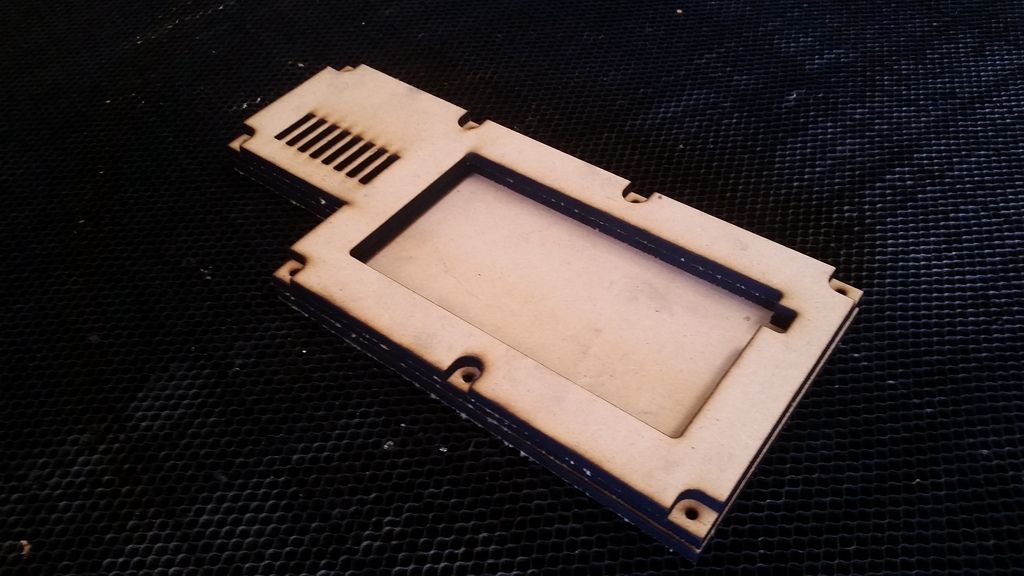
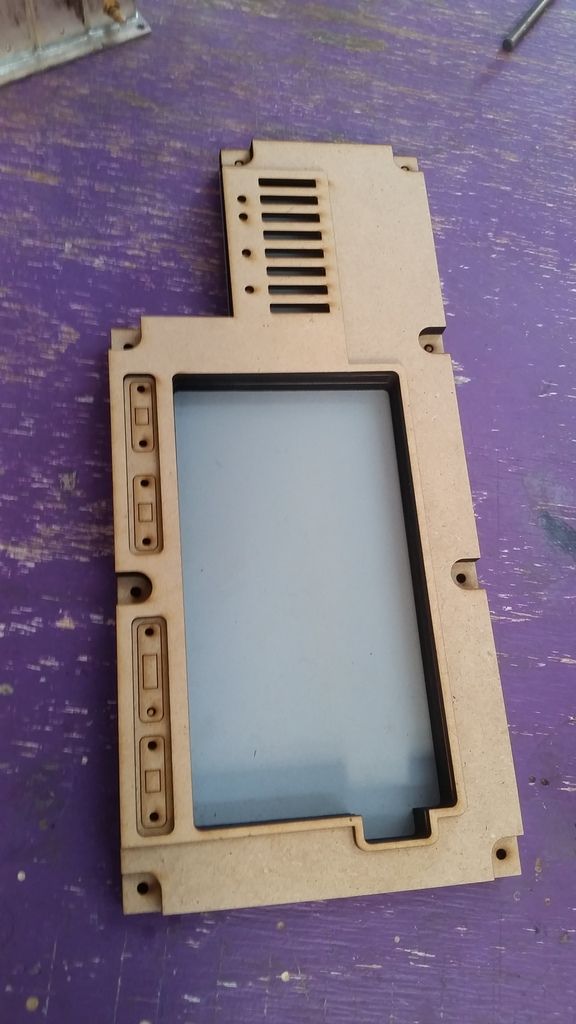
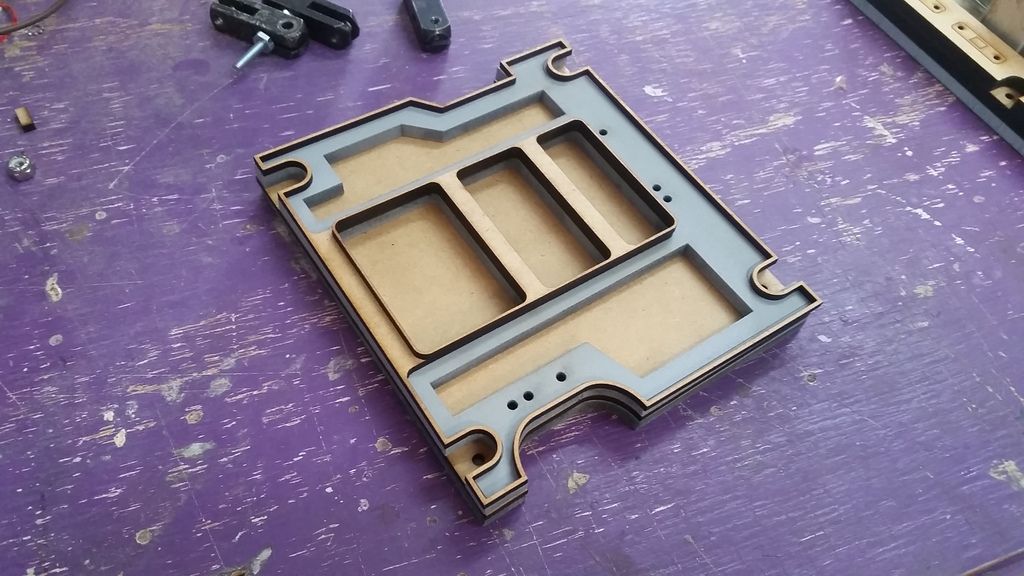
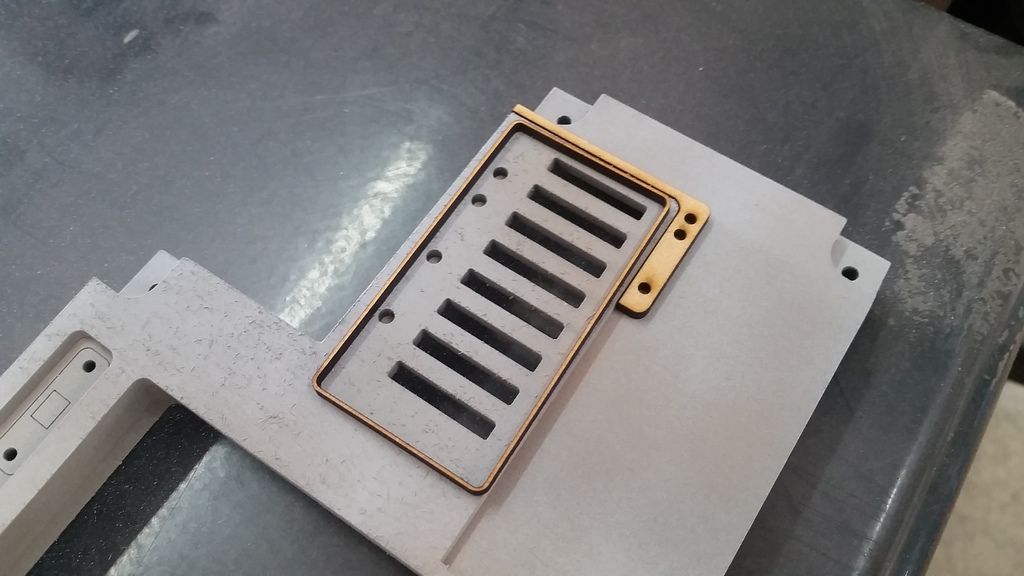
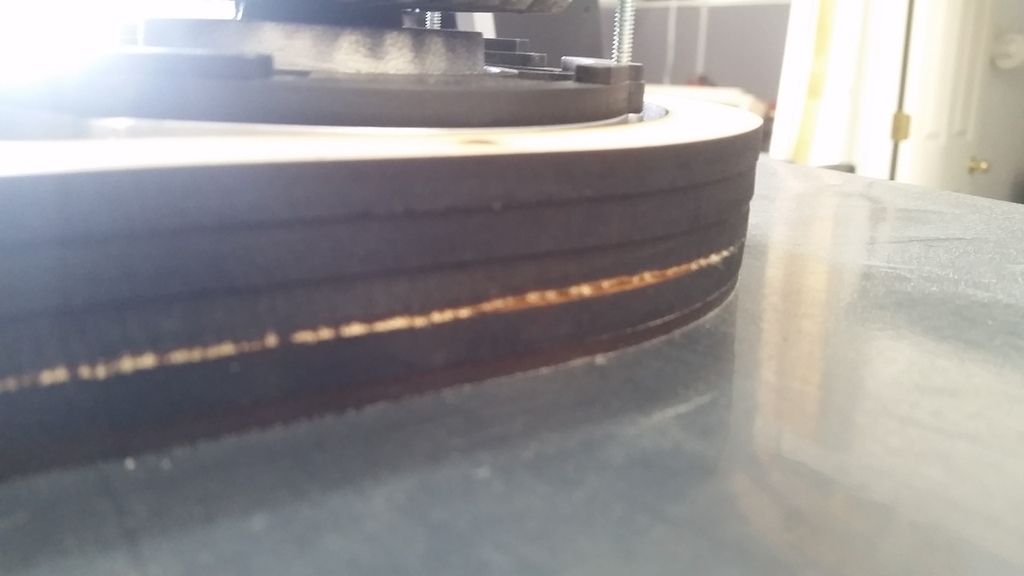
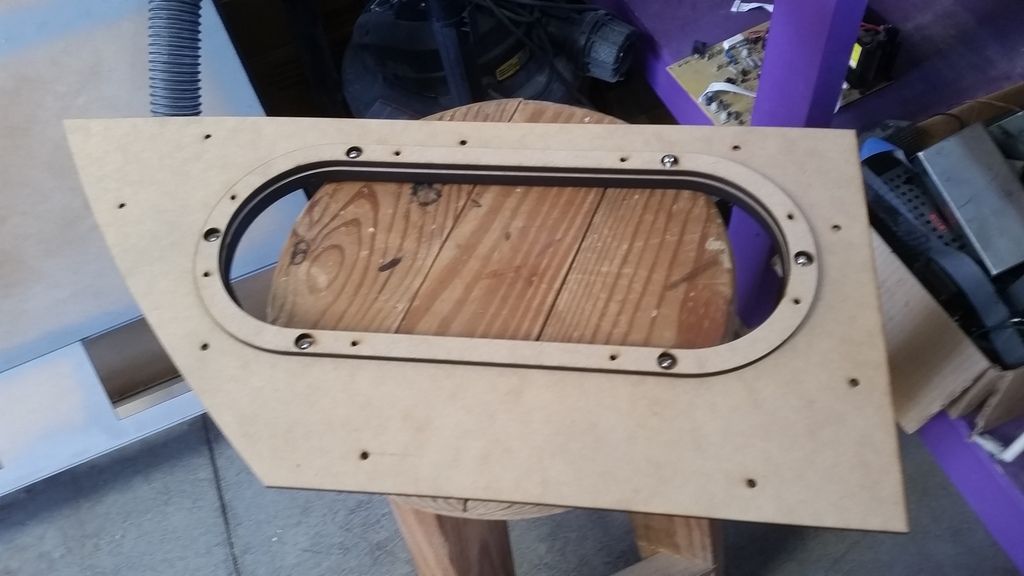
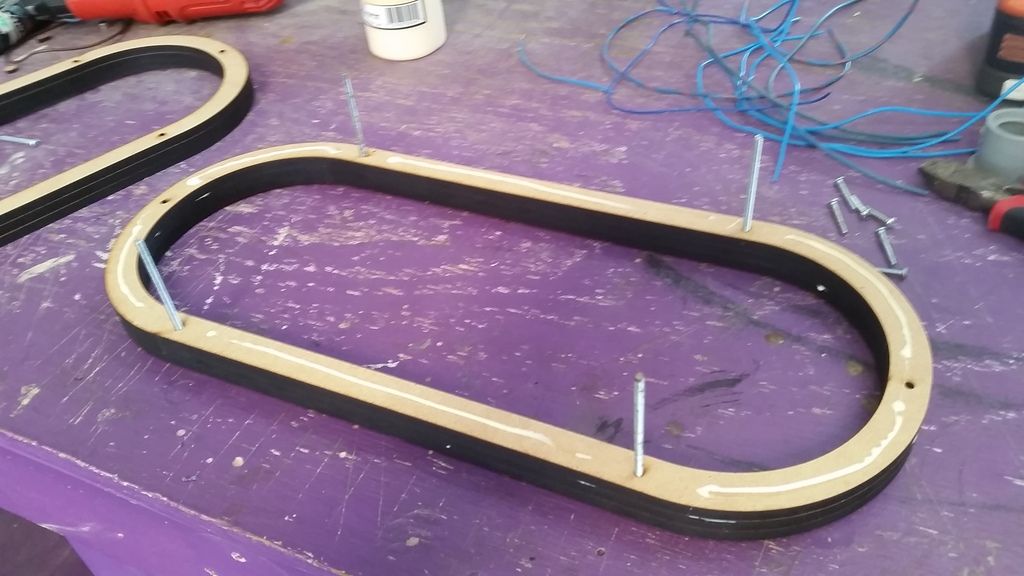
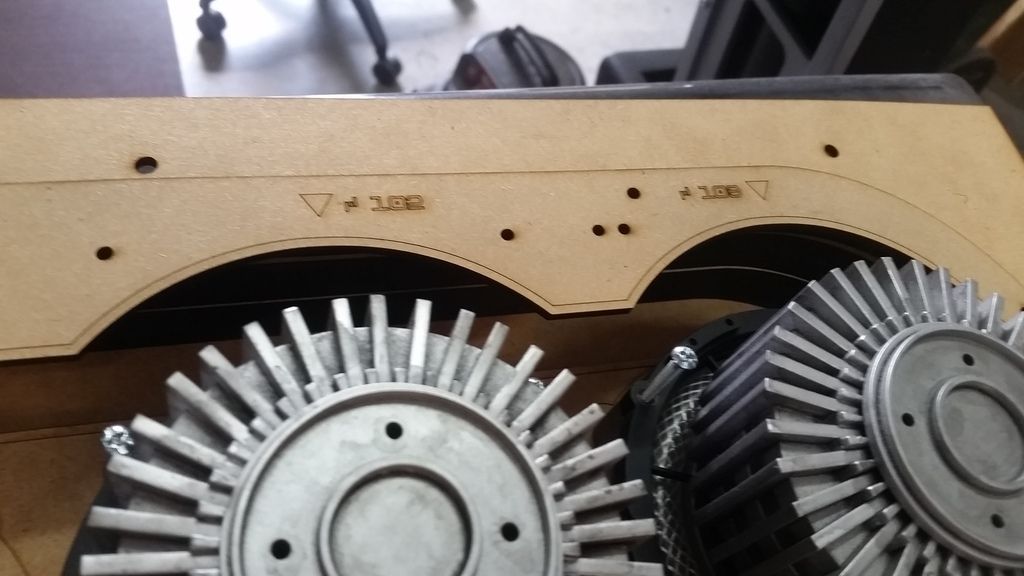
I designed and laser cut a 1" deep outer ring
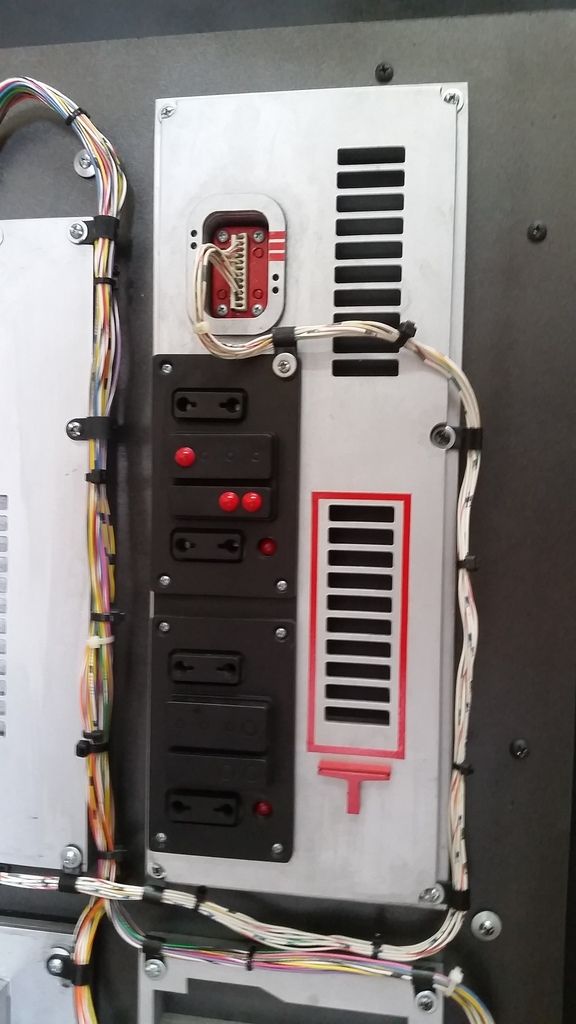
The new panel with trim plate
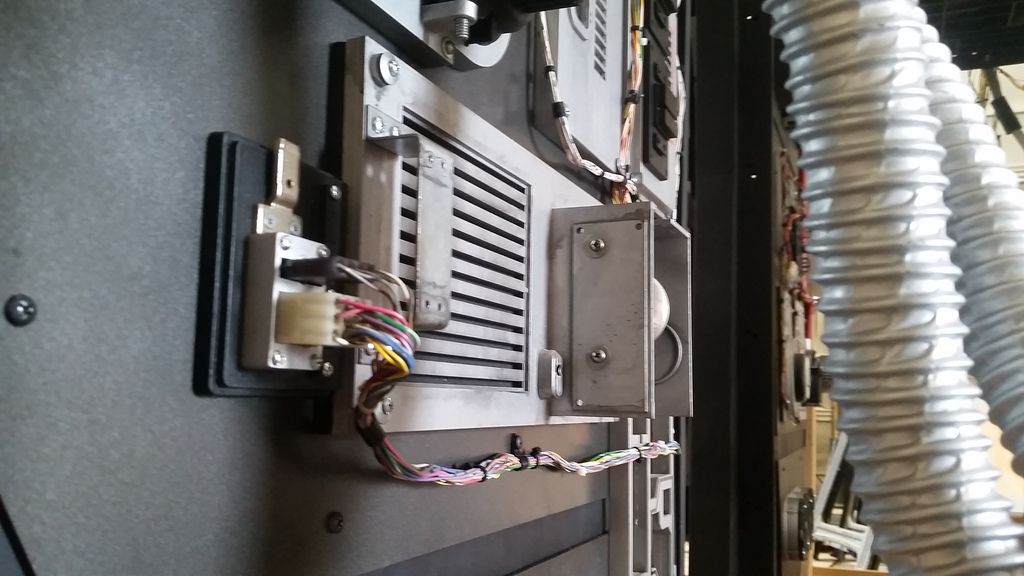
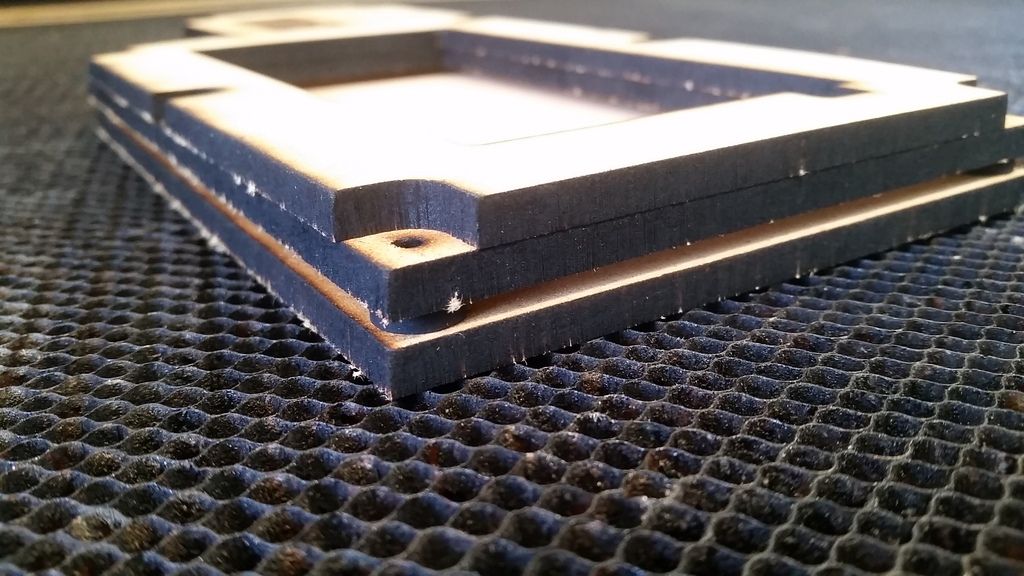
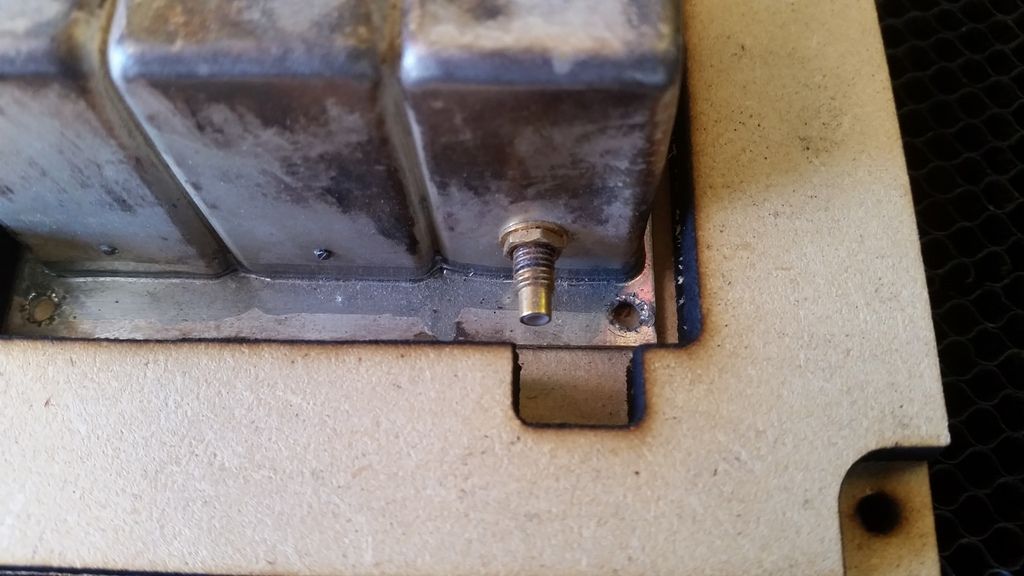
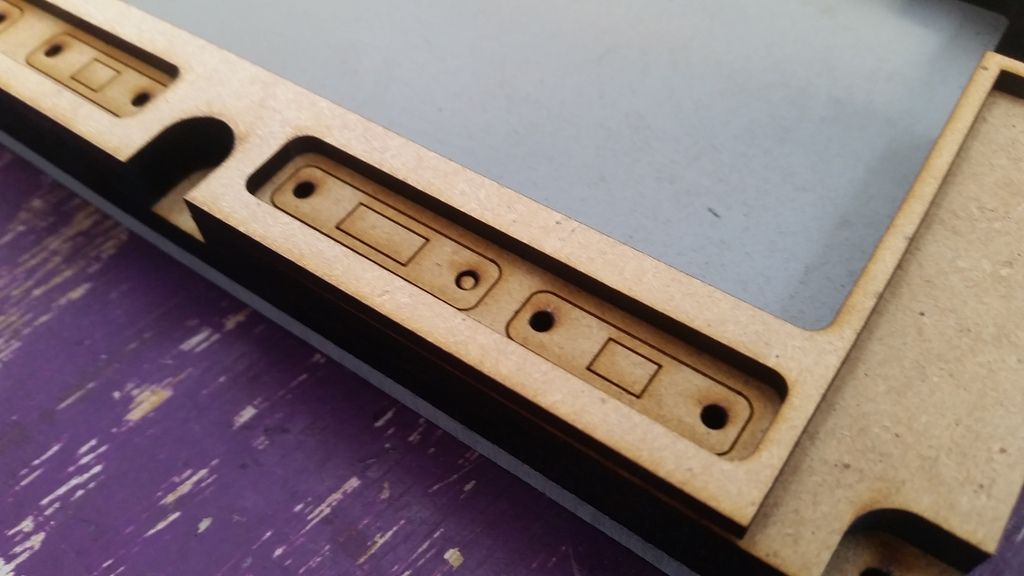
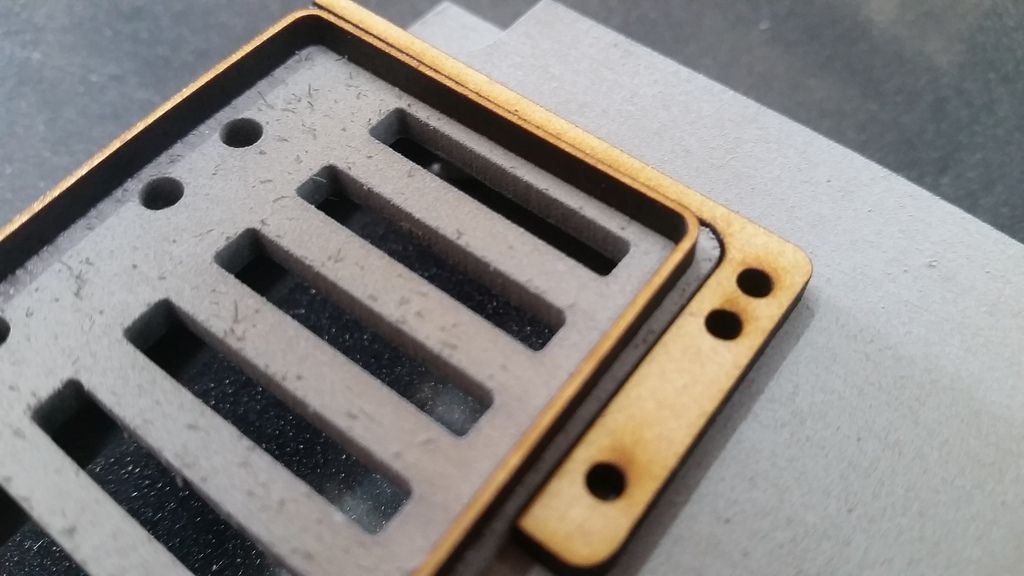
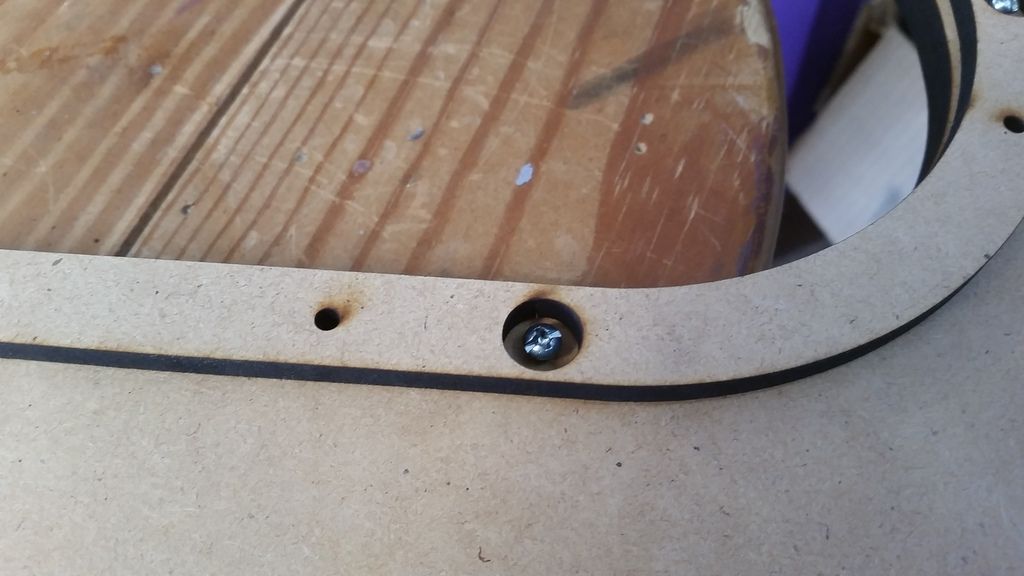
Mounting points to the outer ring are sunk
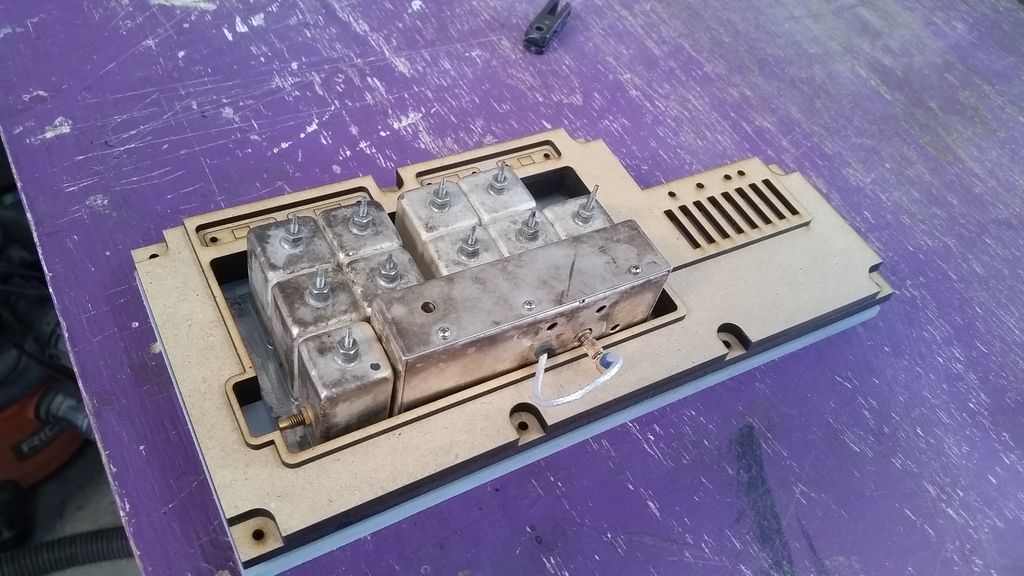
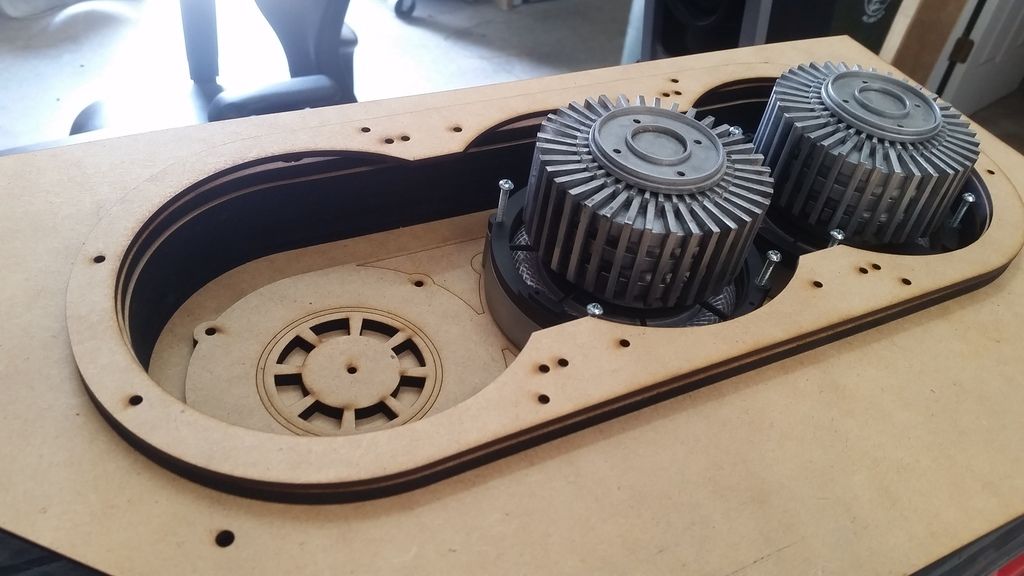
I countersunk the coils!
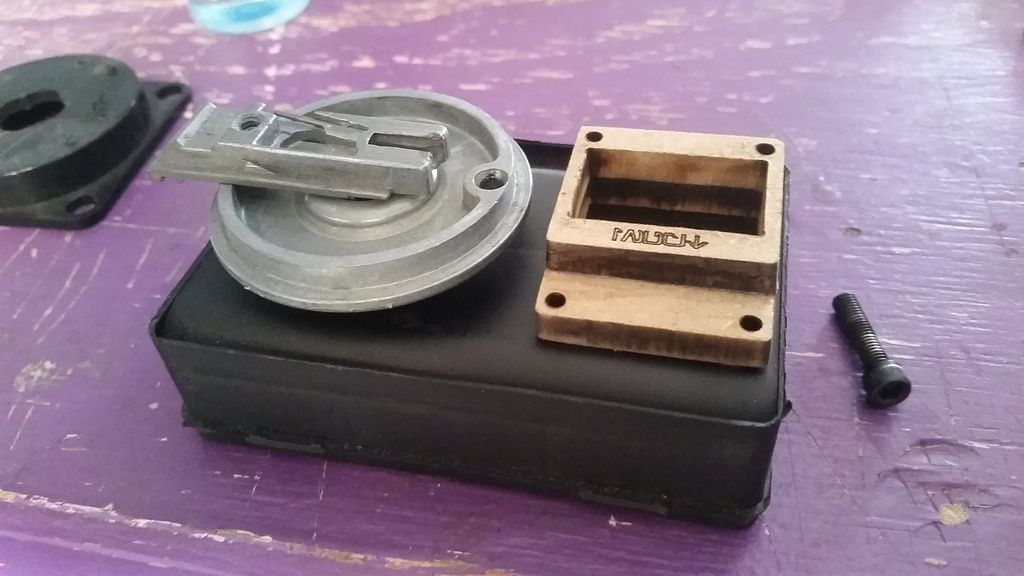
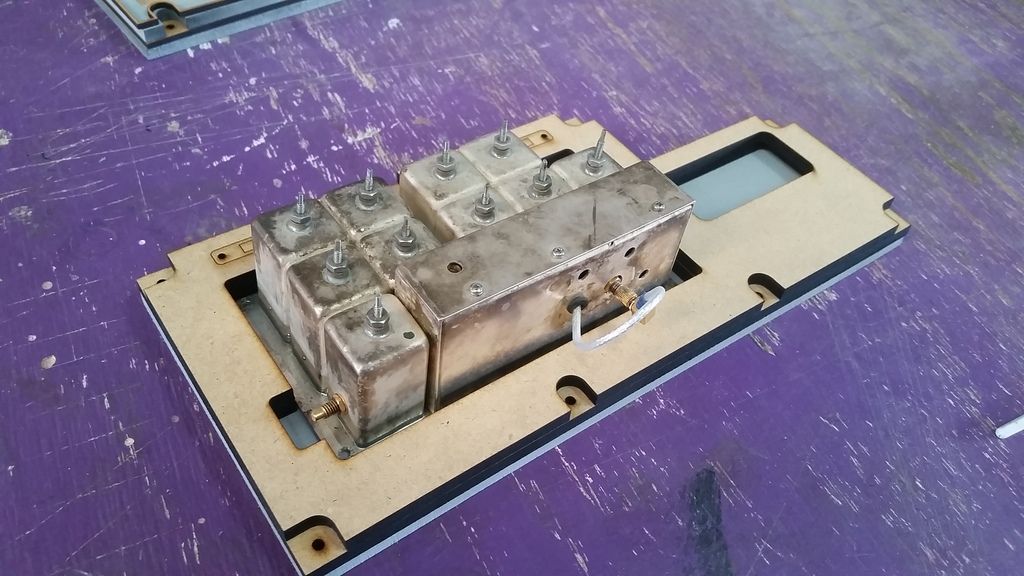
Trim piece in place (that wound up being redesigned)
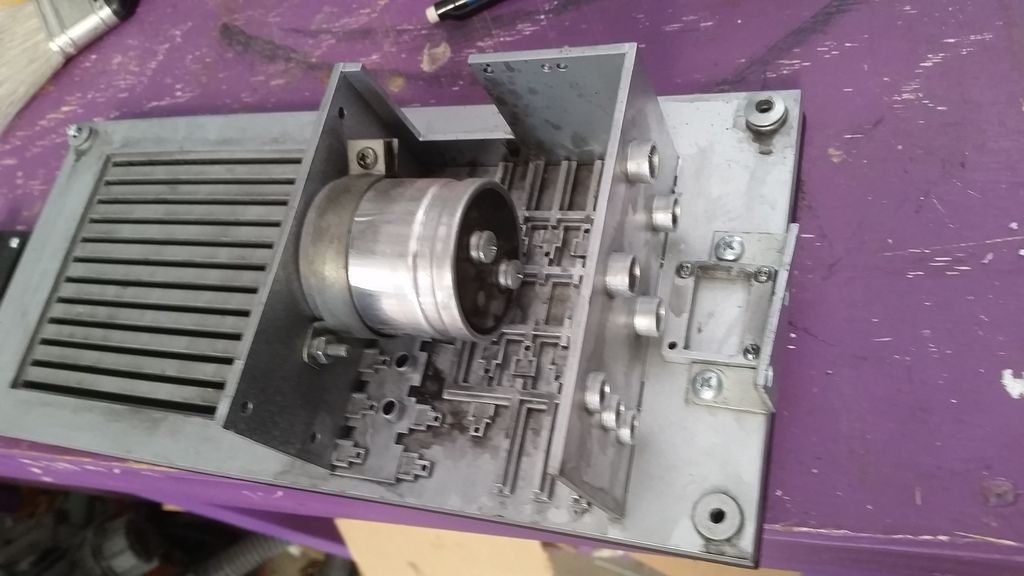
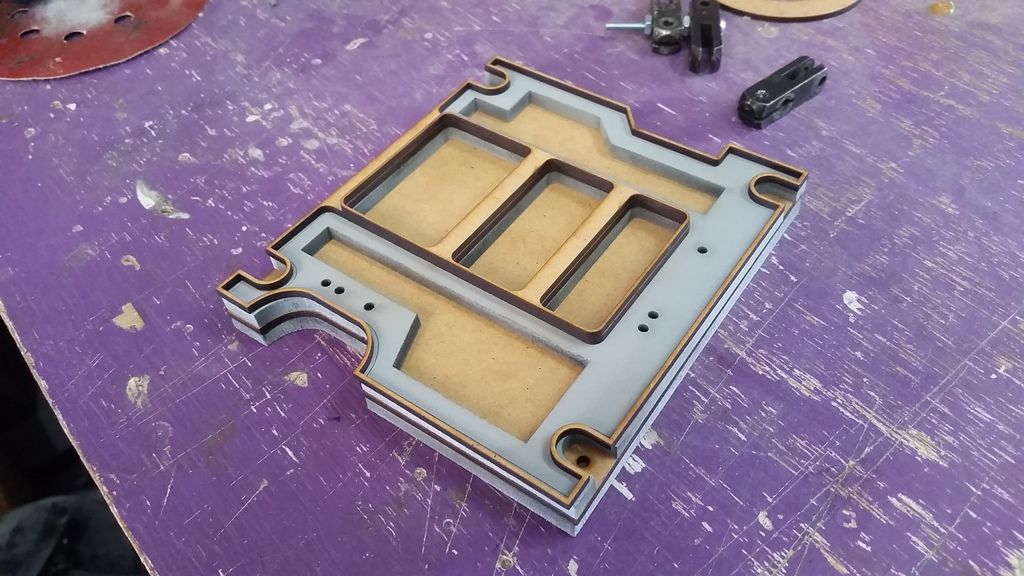
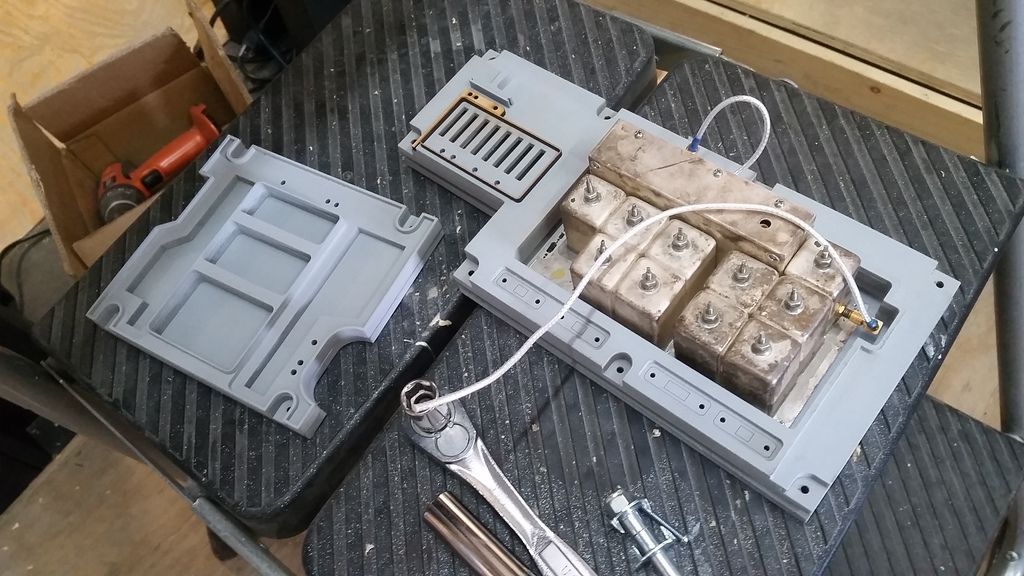
I adhered all the layers together
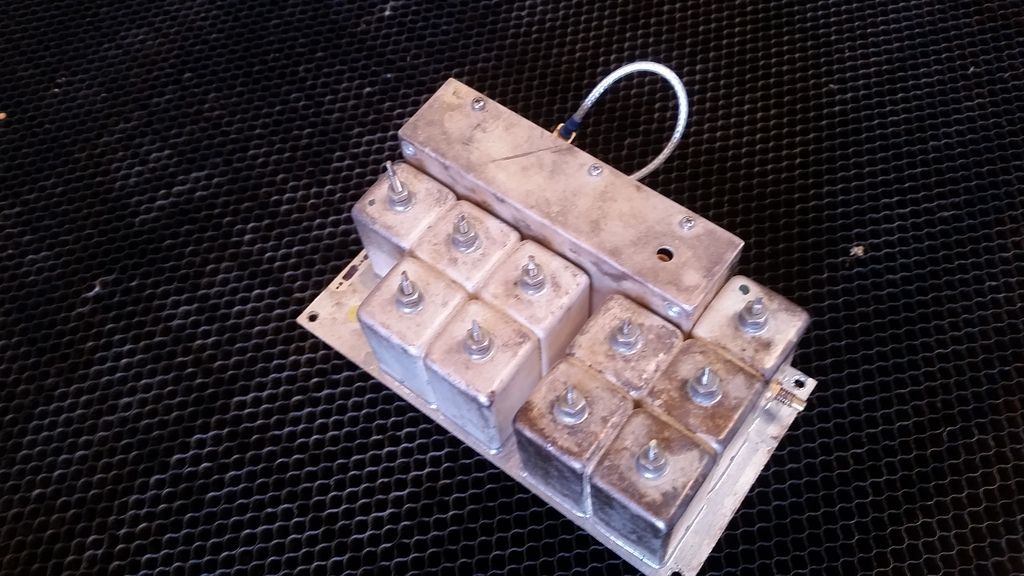
When dried I mounted to the panel with the new trim plate
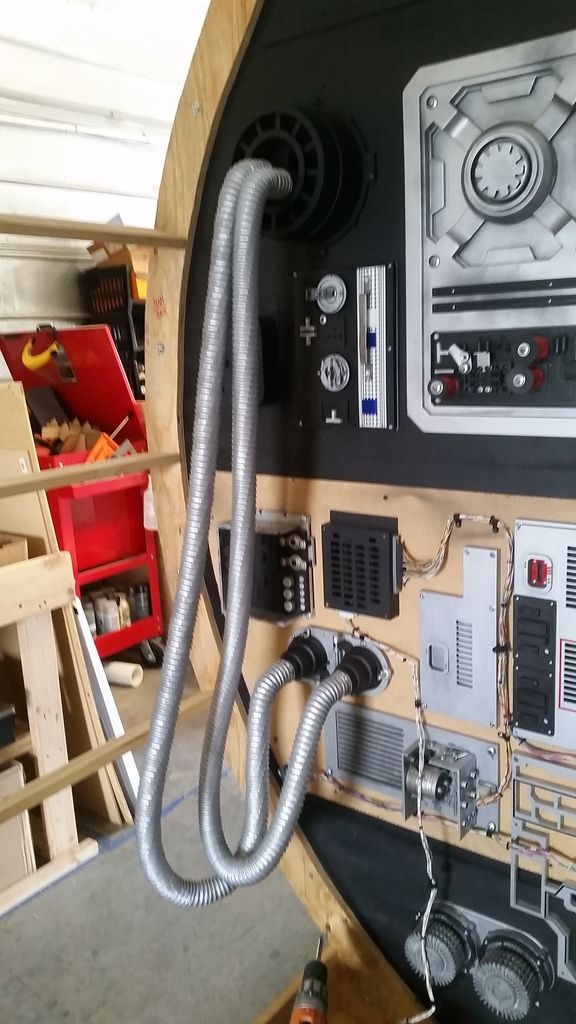
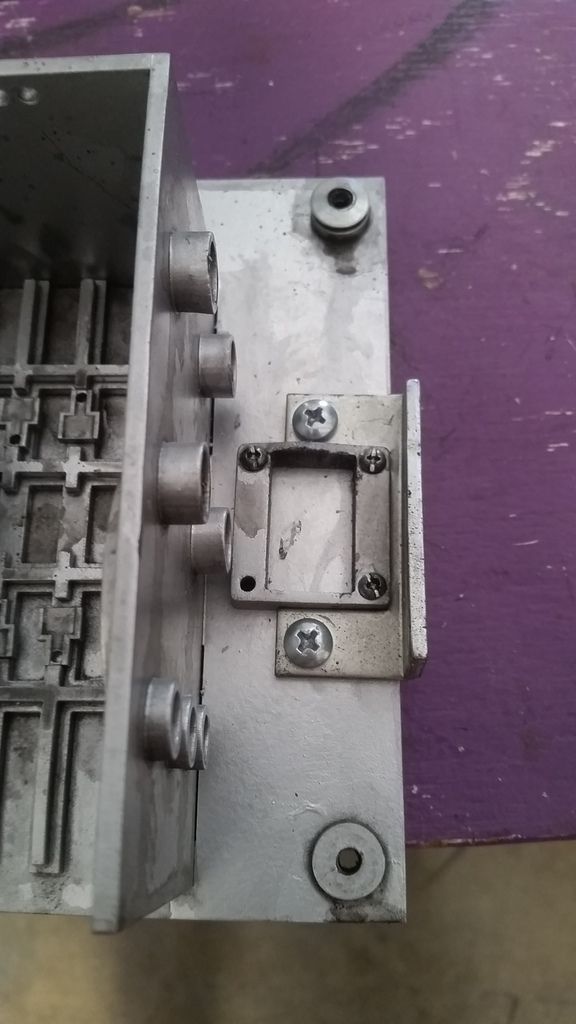
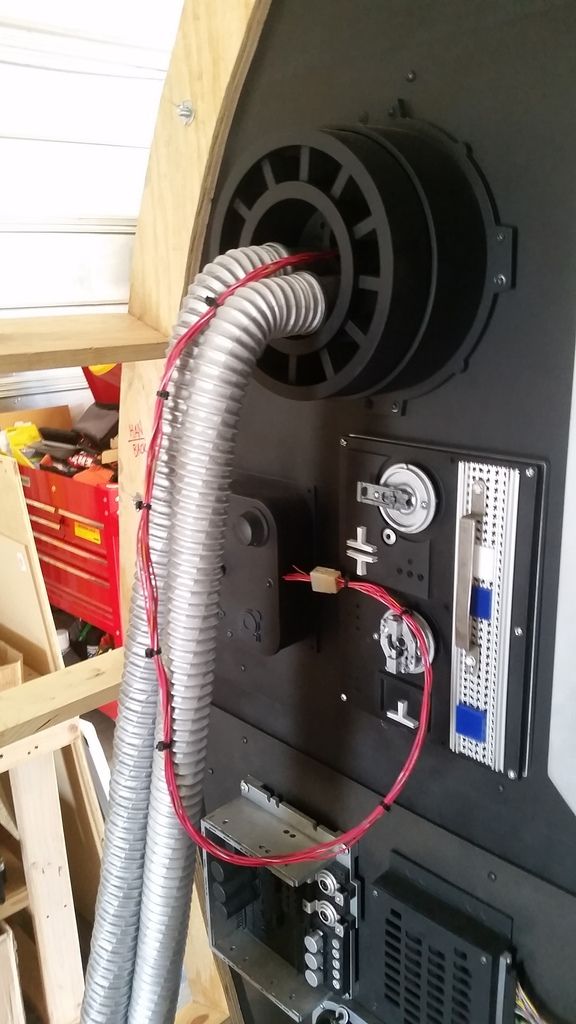
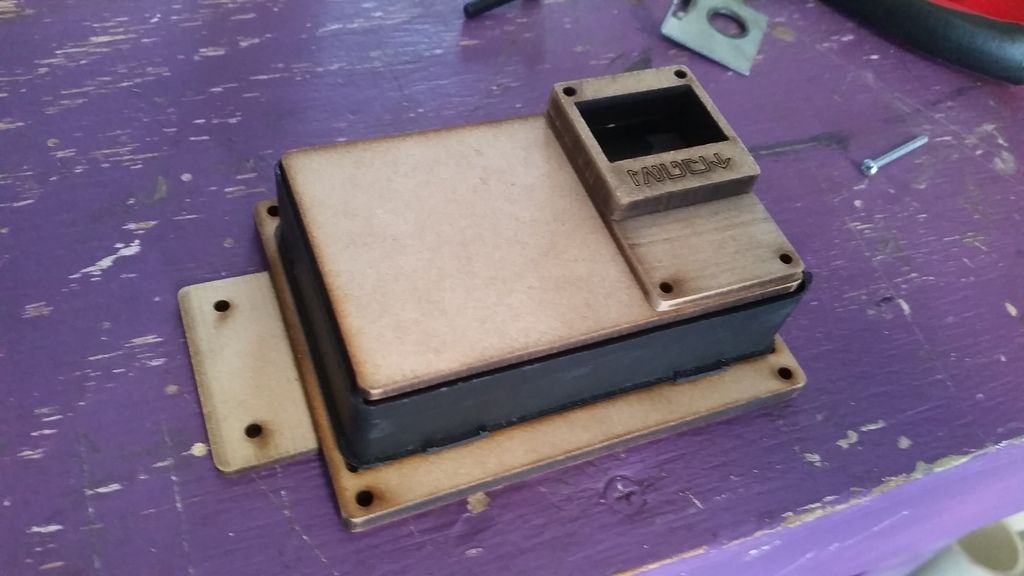
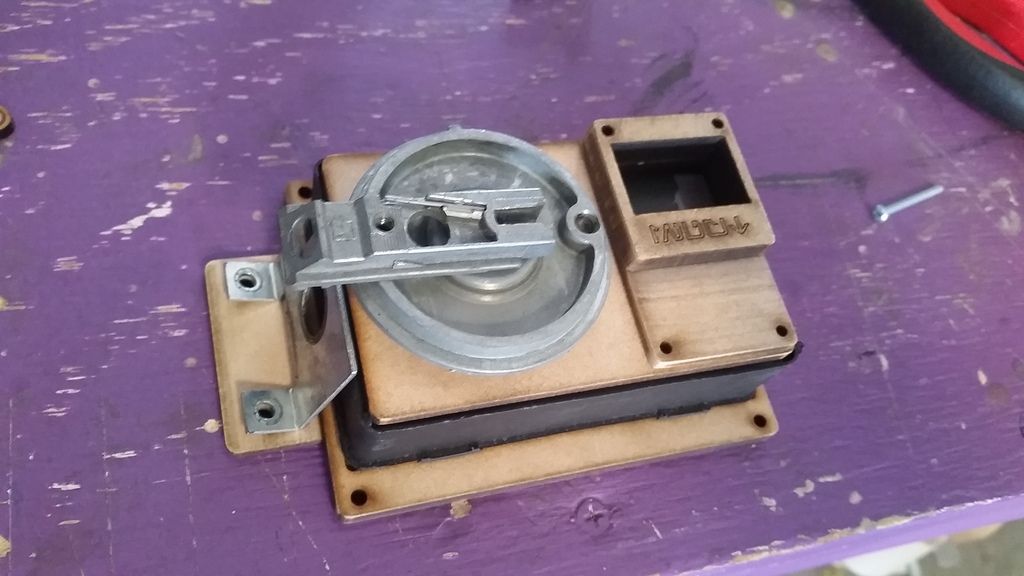
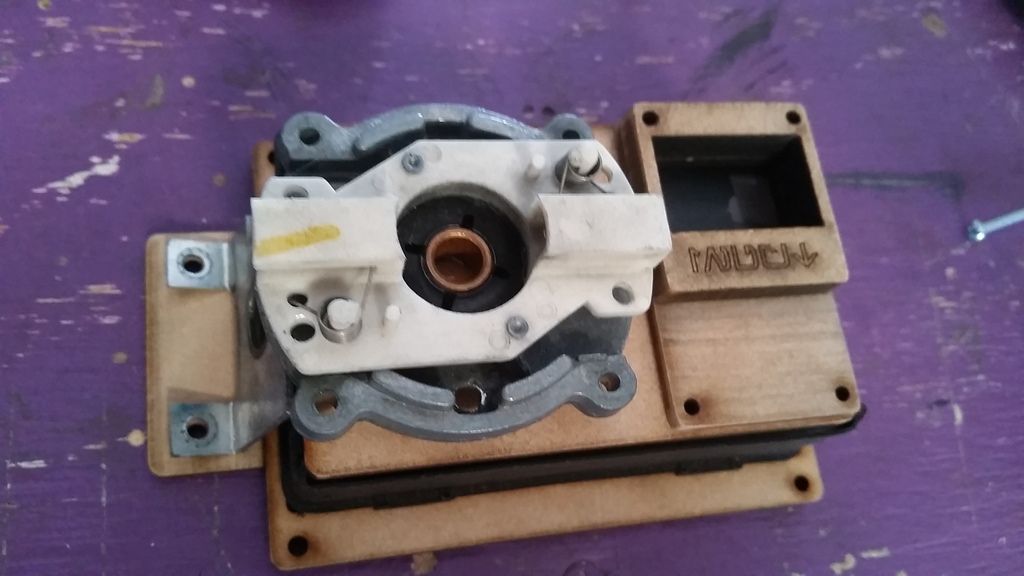
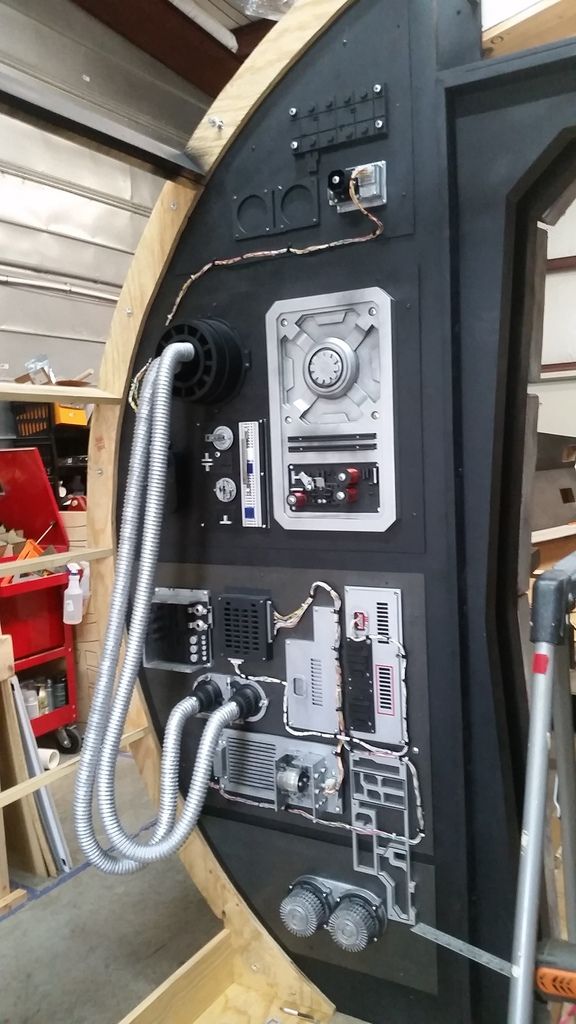
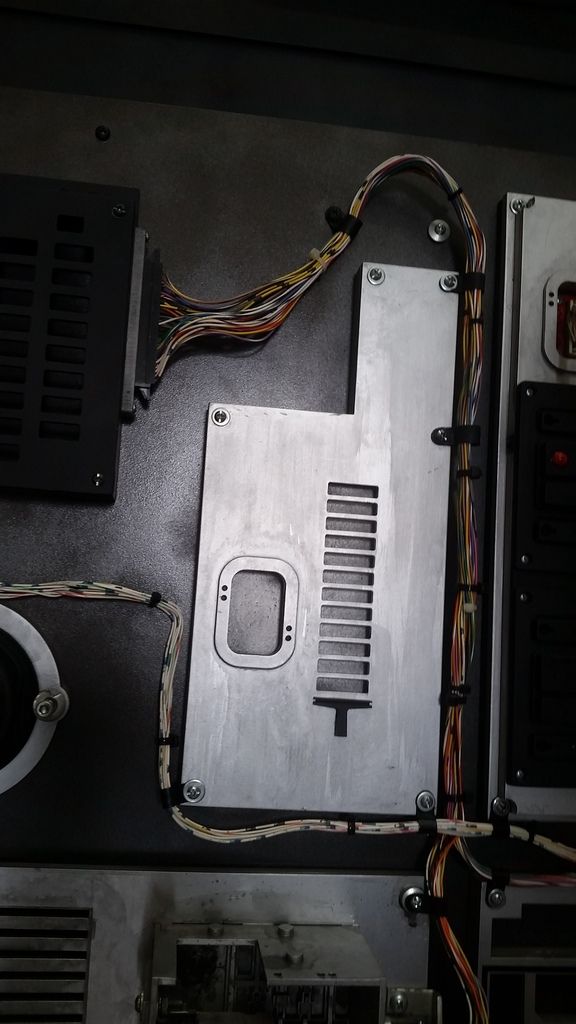
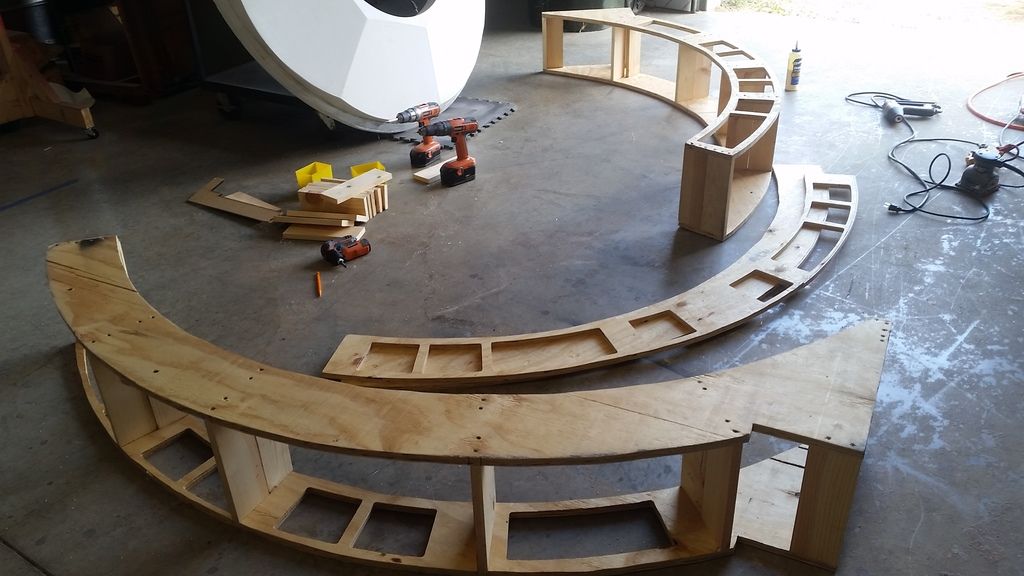
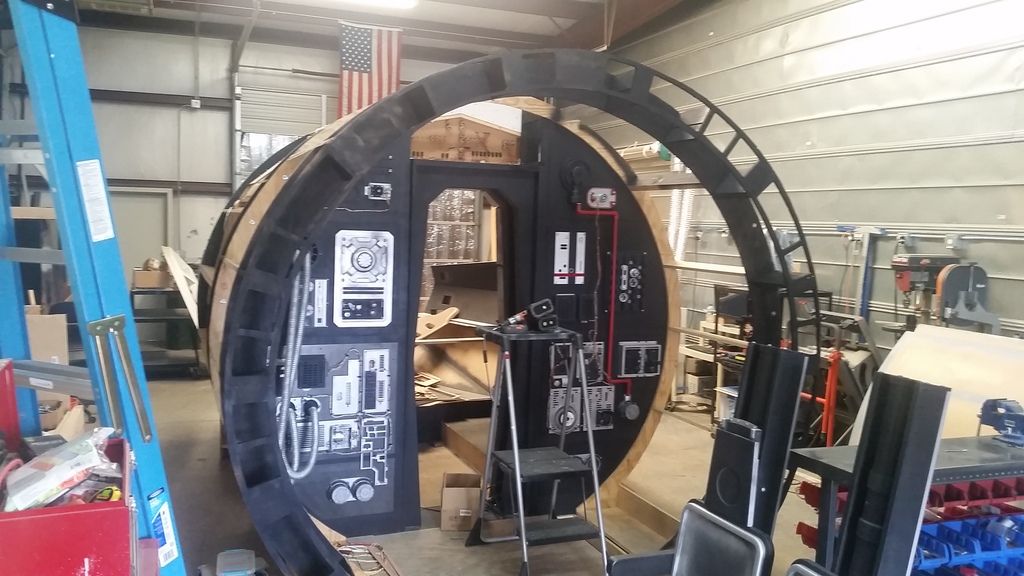
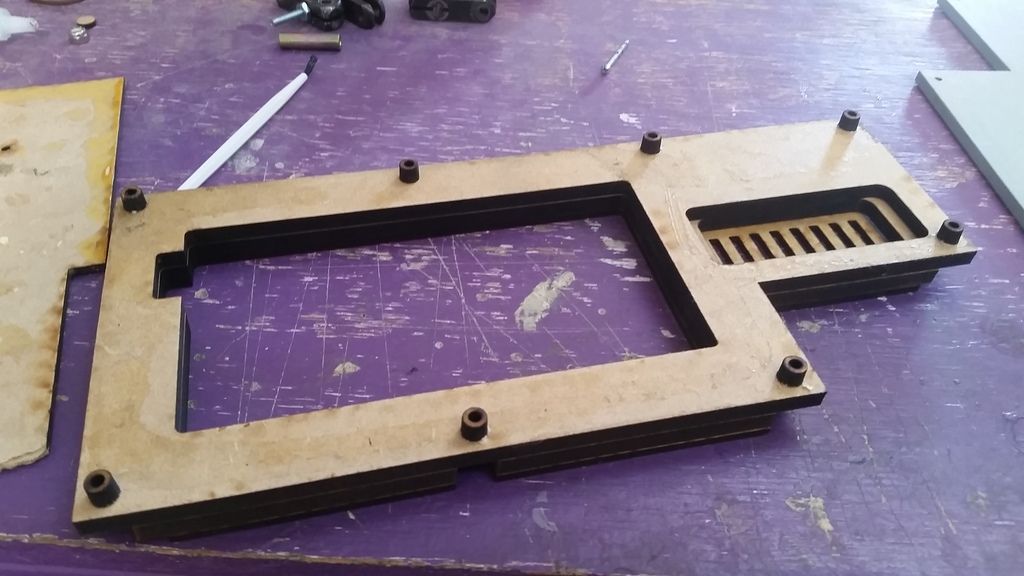
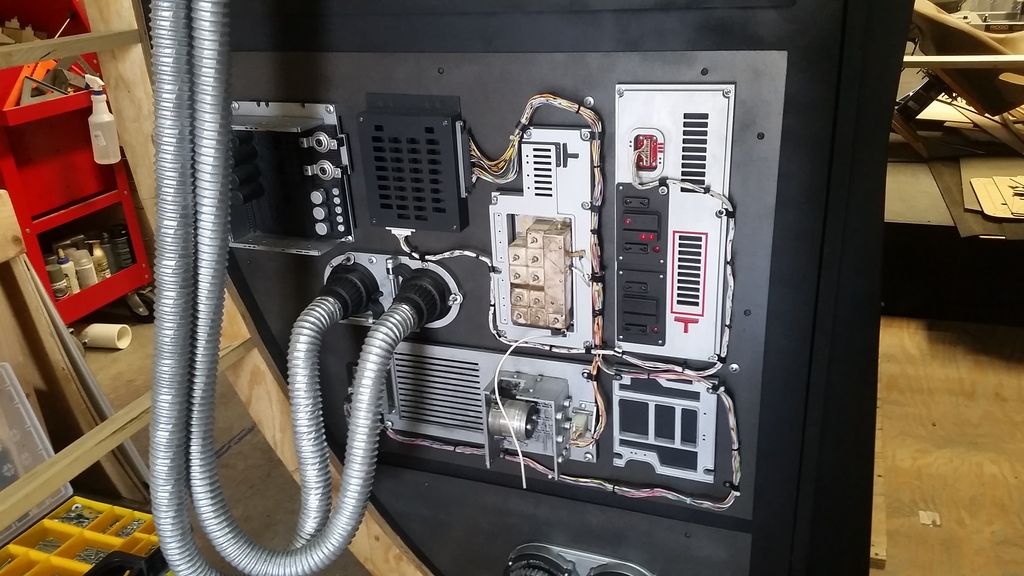
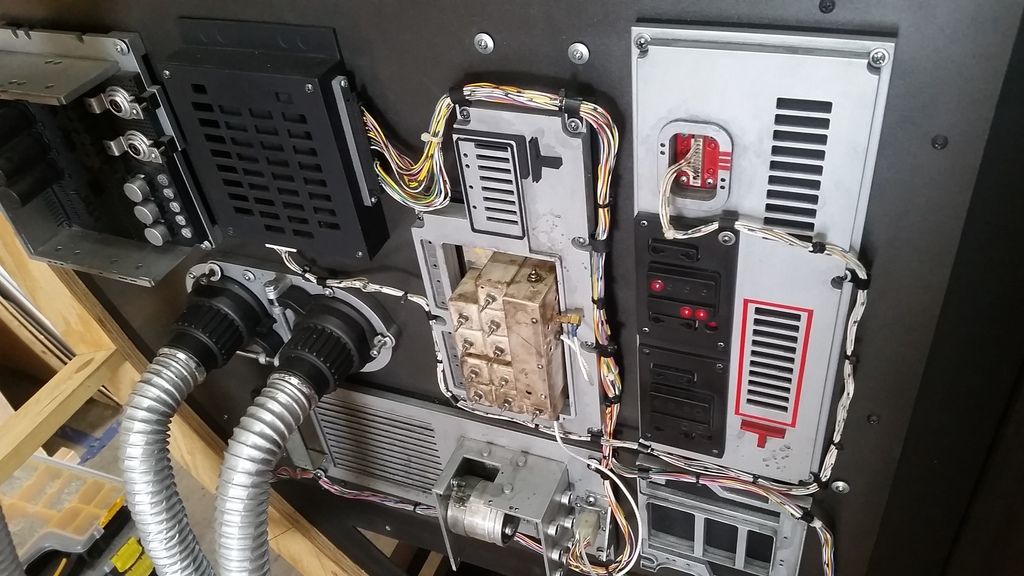
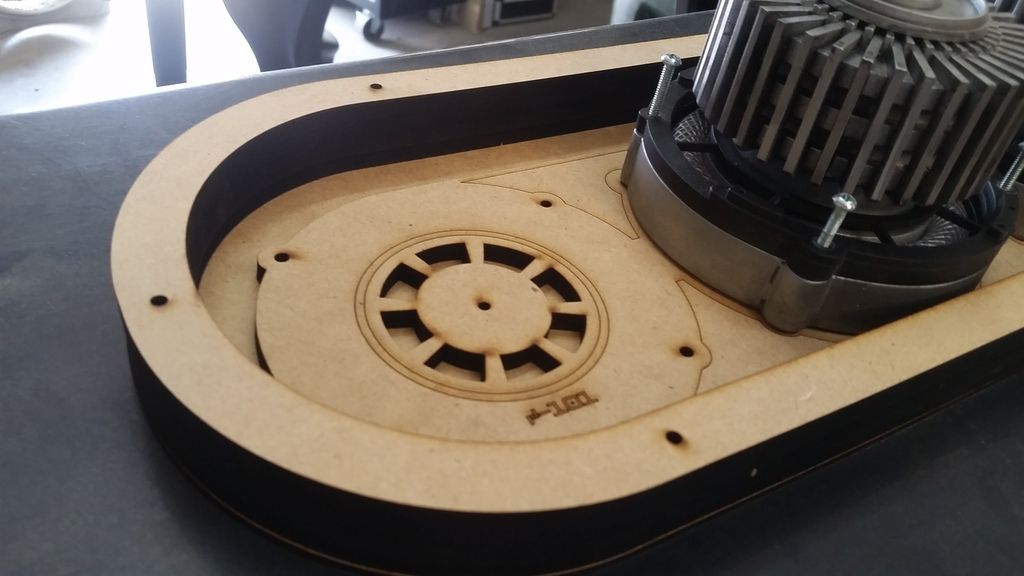
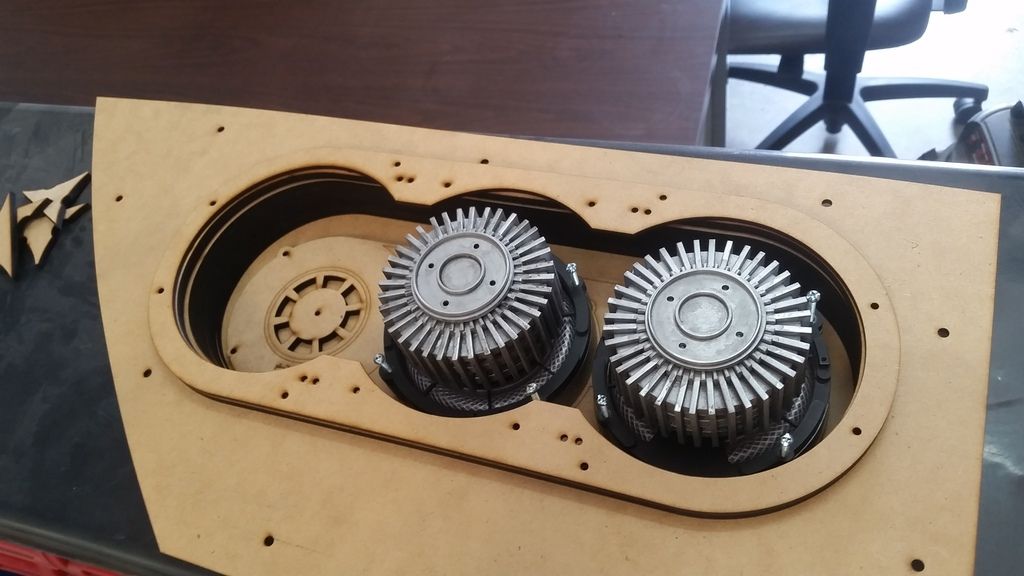
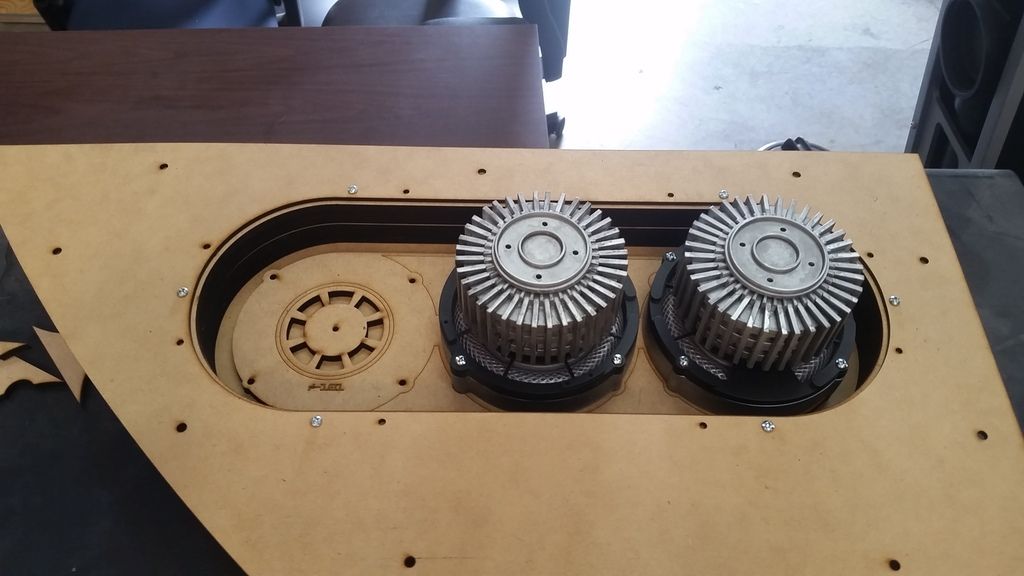
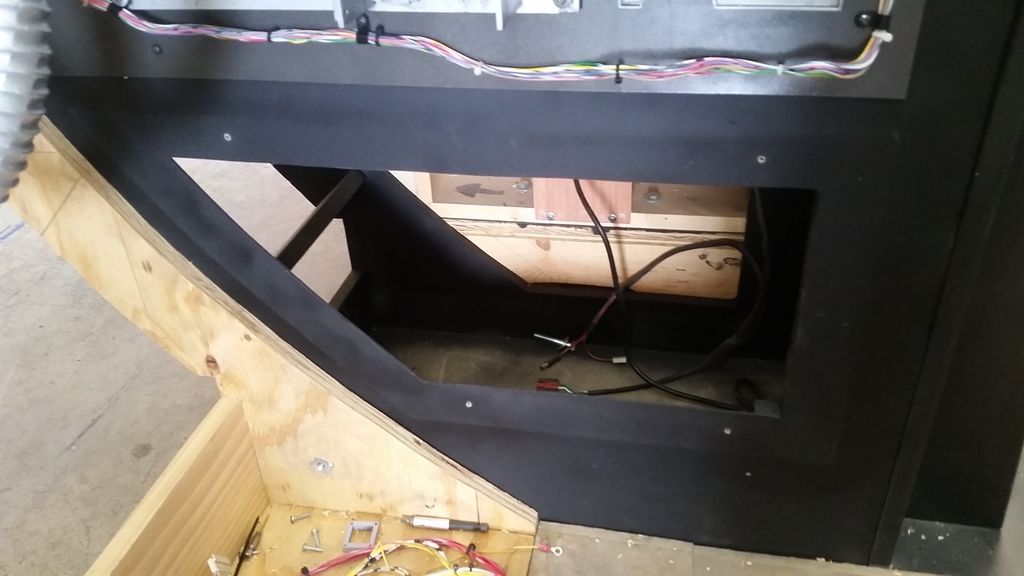
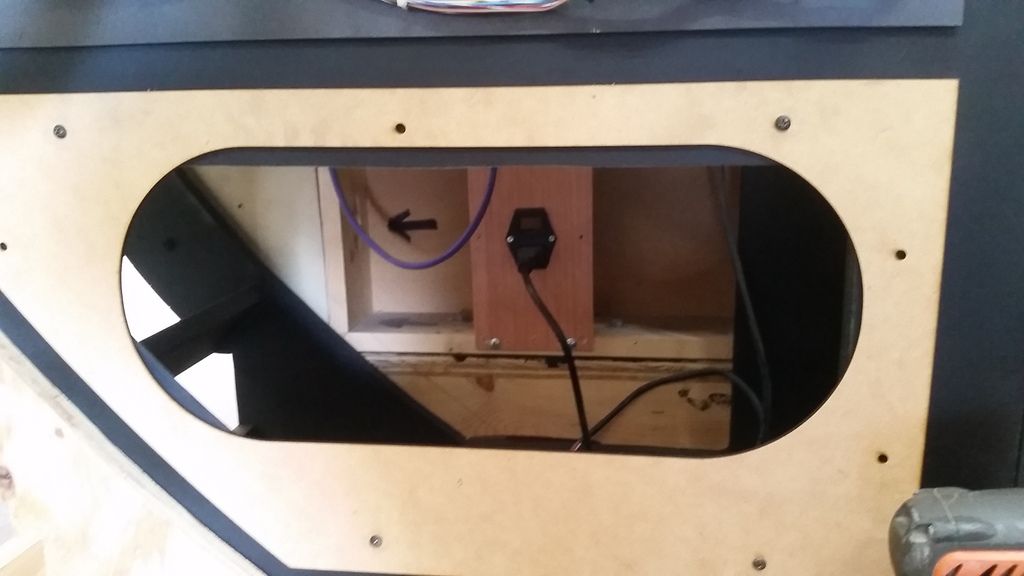
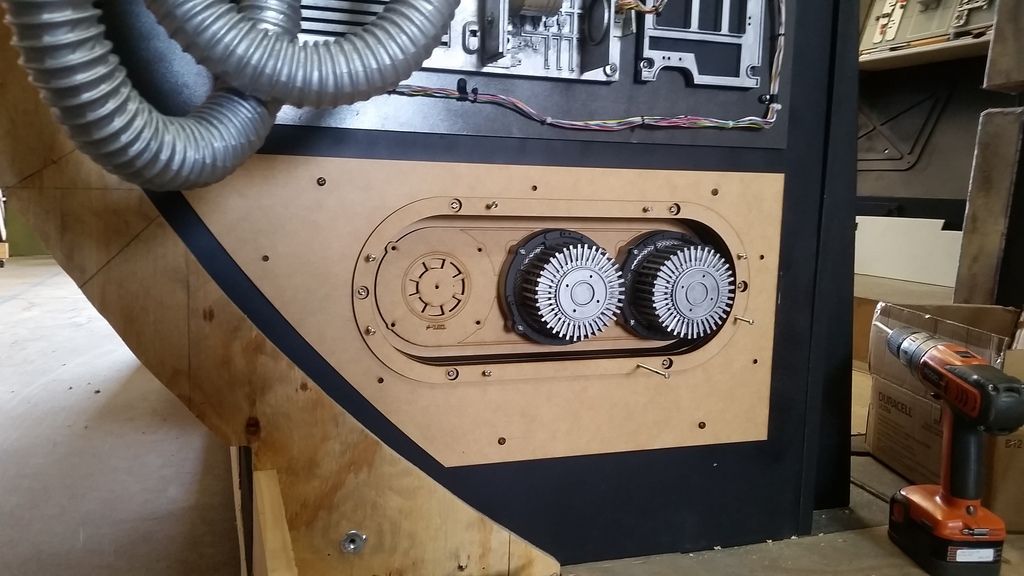
Time to dry fit everything together
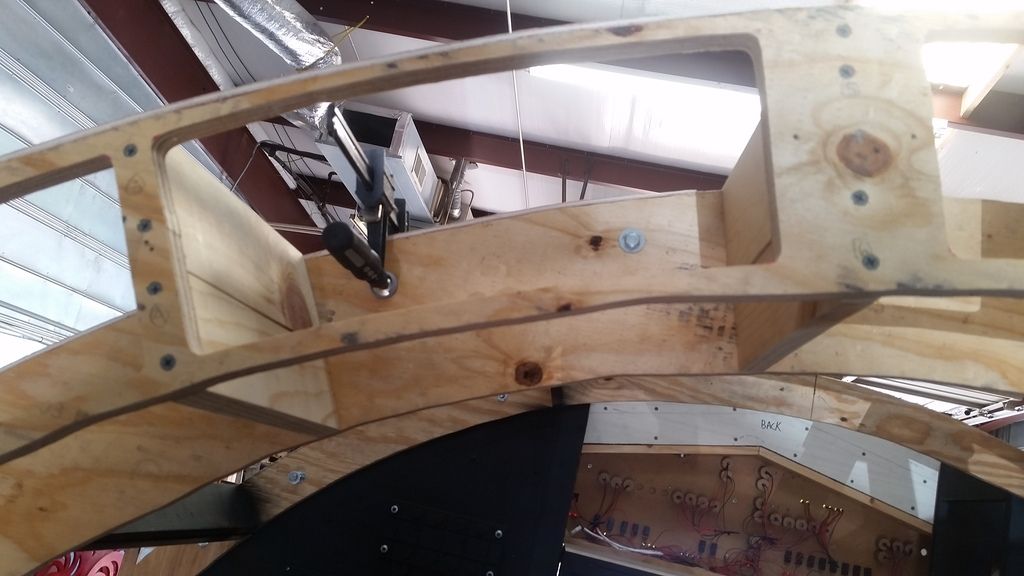
But is it going to fit?
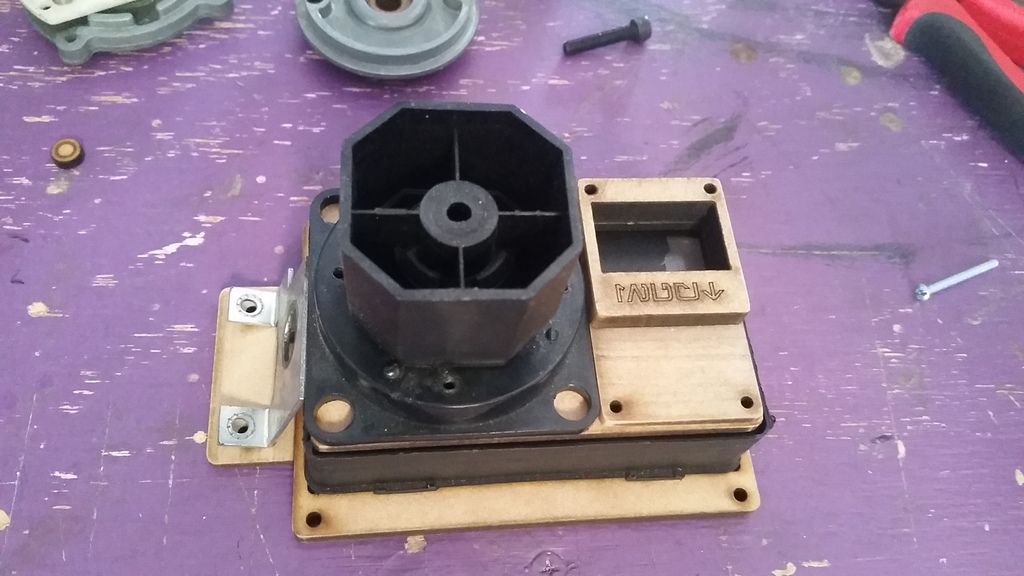
NOPE! I laser cut this template so I knew what material to remove
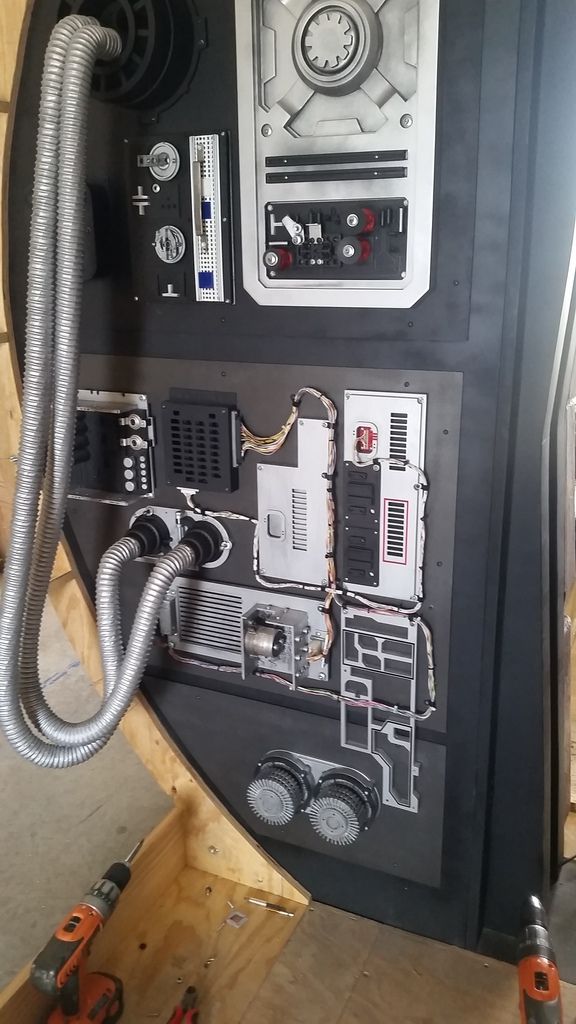
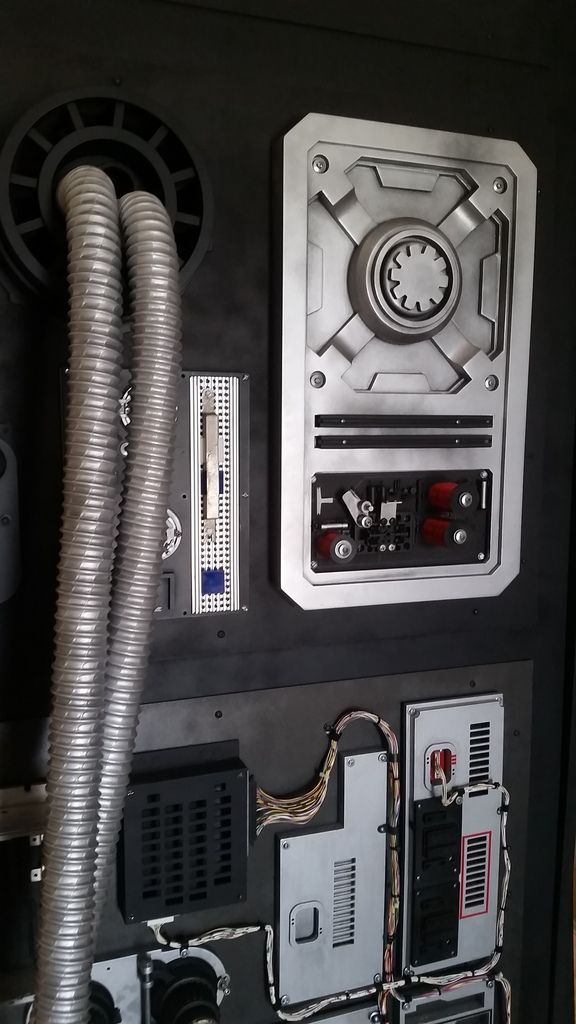
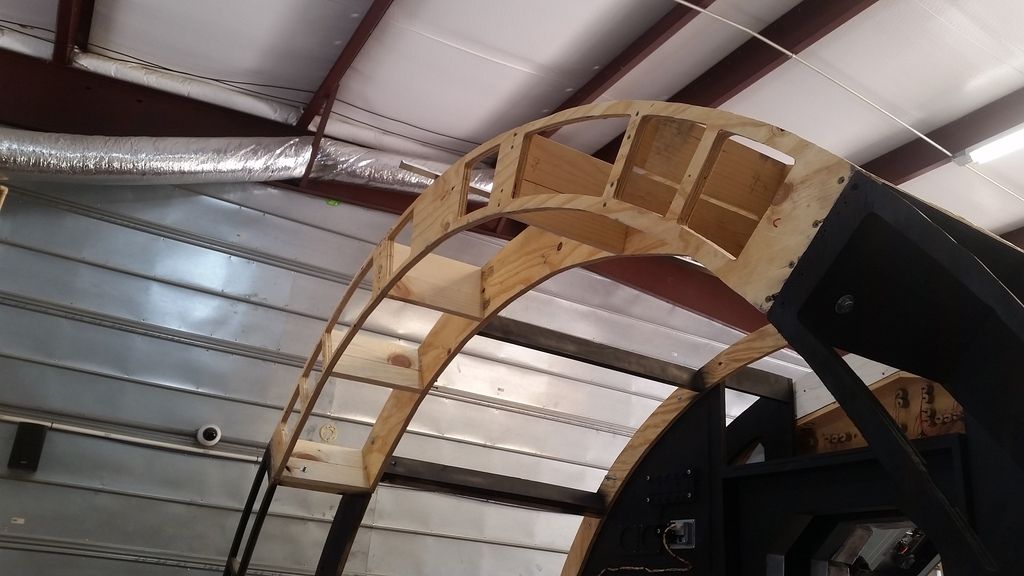
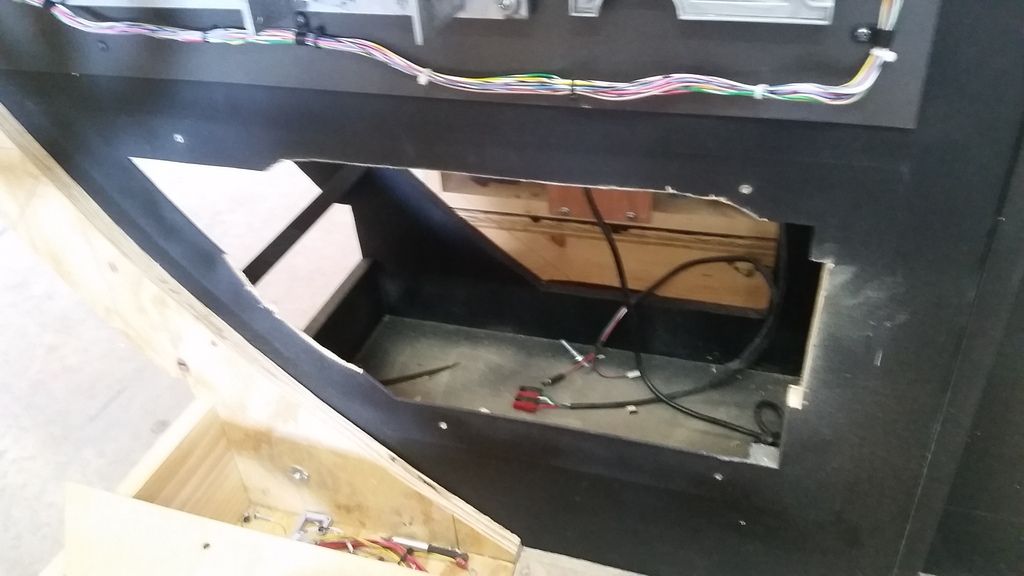
That looks so much better! I can't wait to finish it up!
And this is where we are...
More to Follow so Stay Tuned!