Hi Gang,
For all those patriots celebrating the 4th of July, Happy Birthday America!")
Time for the holiday weekend Update Part I
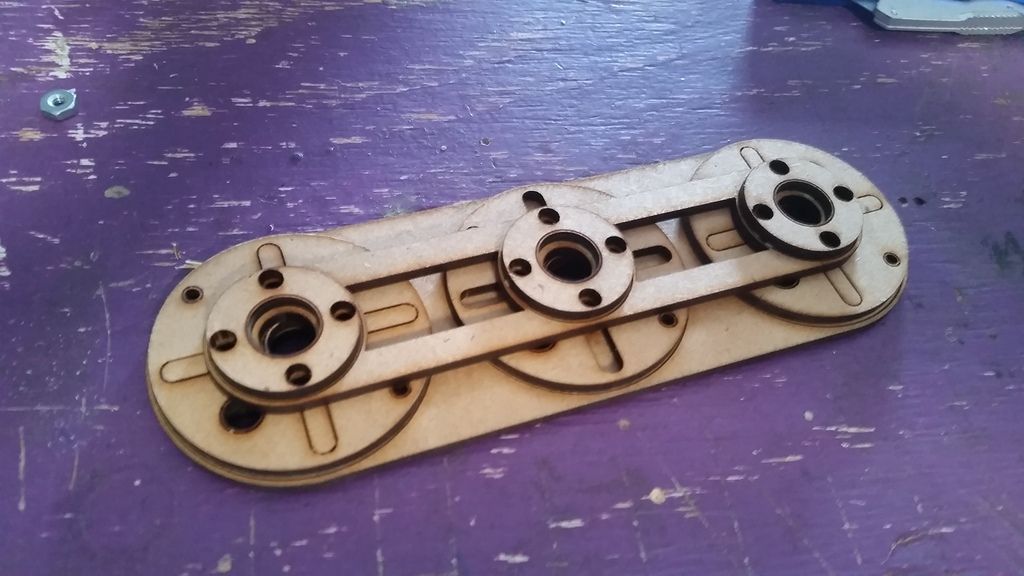
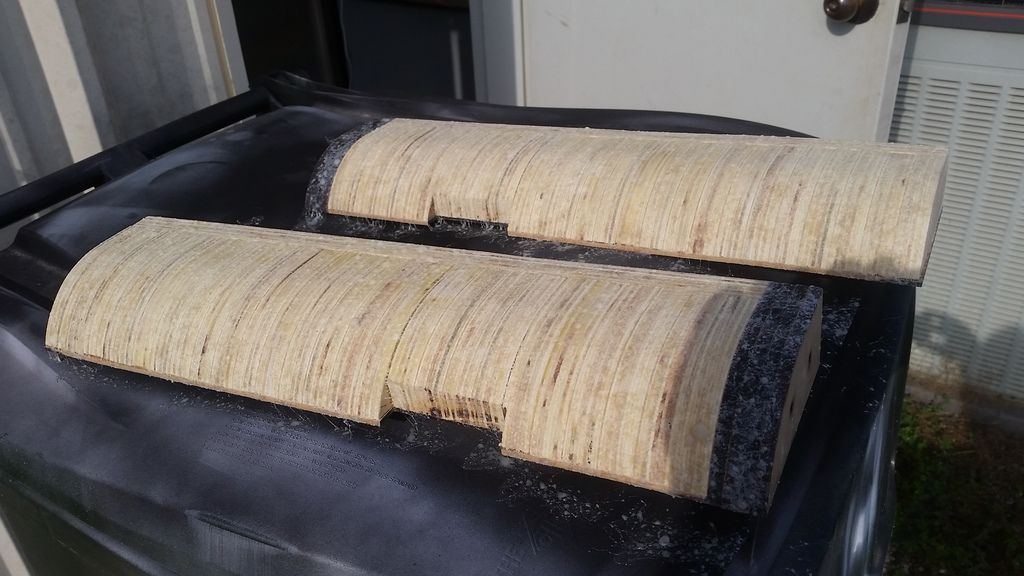
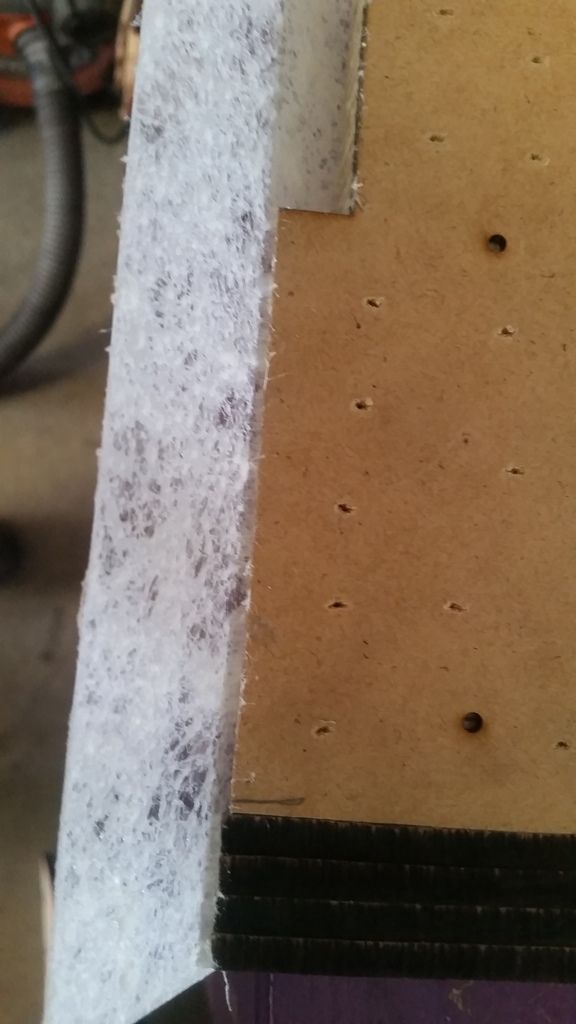
I laser cut these nav chair nacelle skins
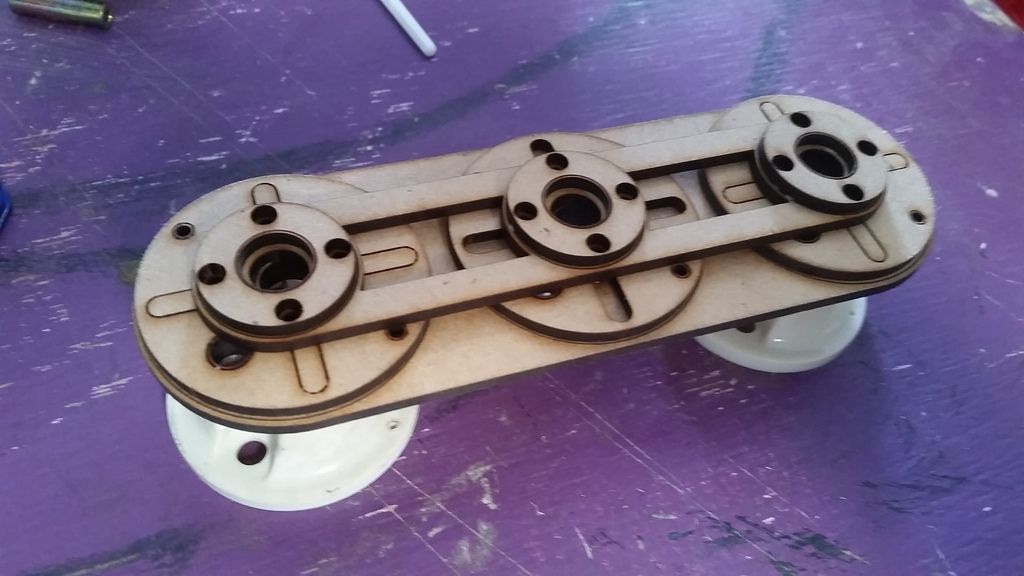
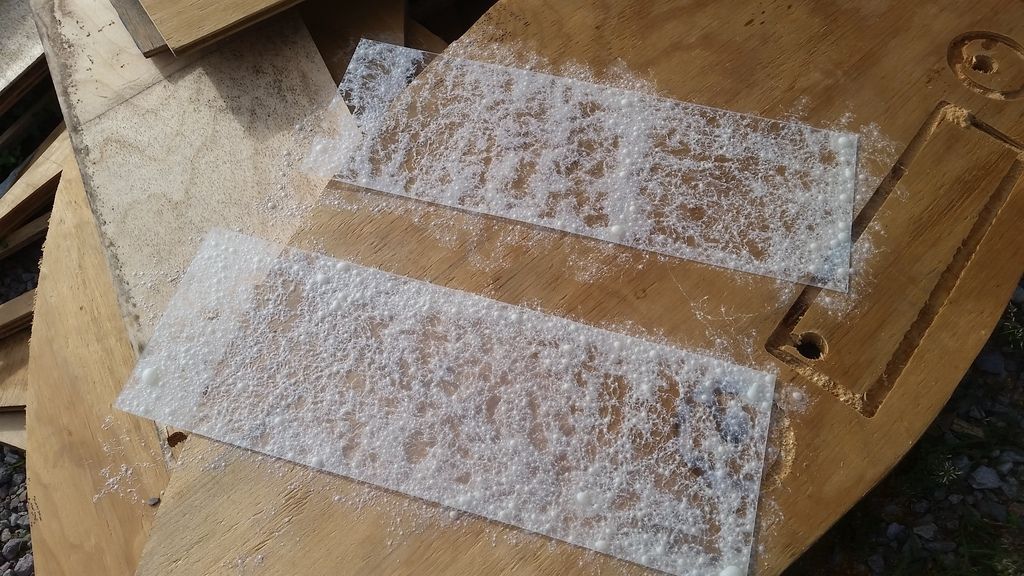
Sprayed adhesive
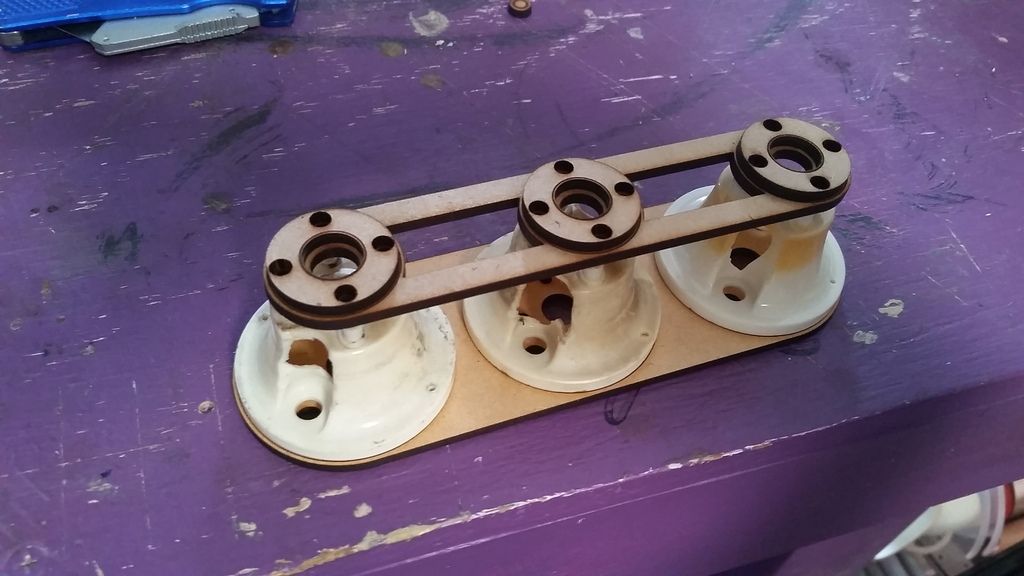
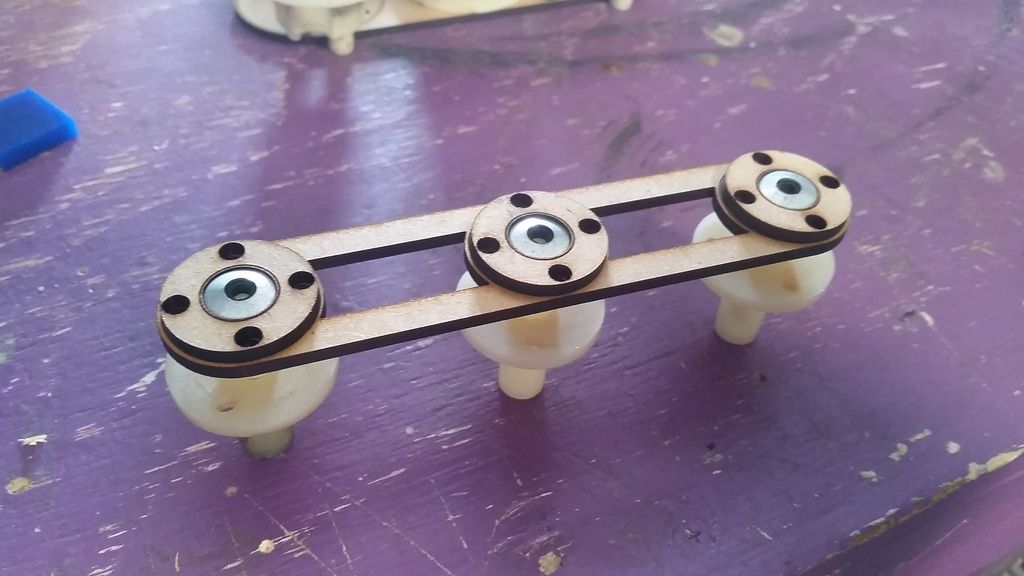
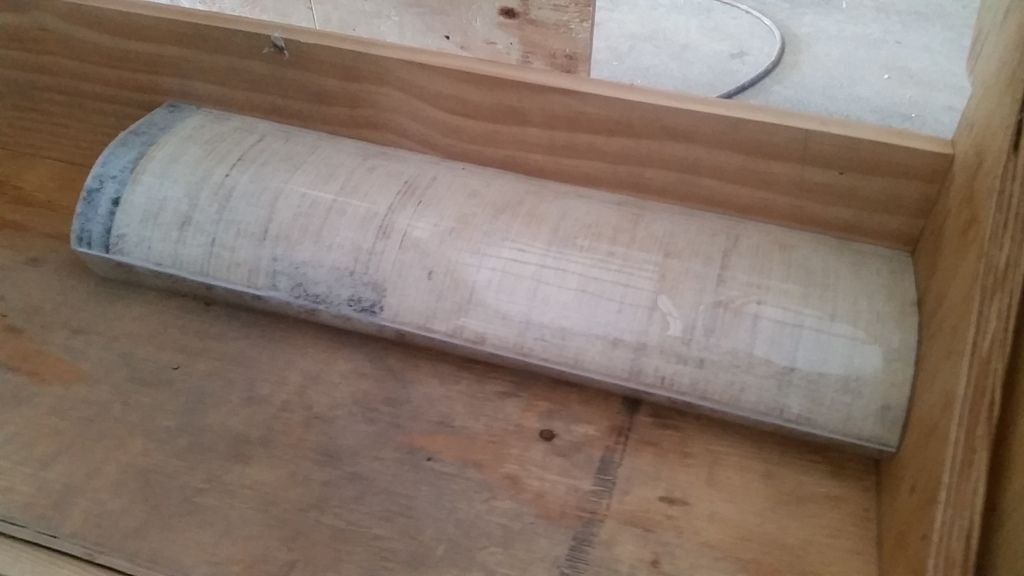
Then wrapped each nacelle

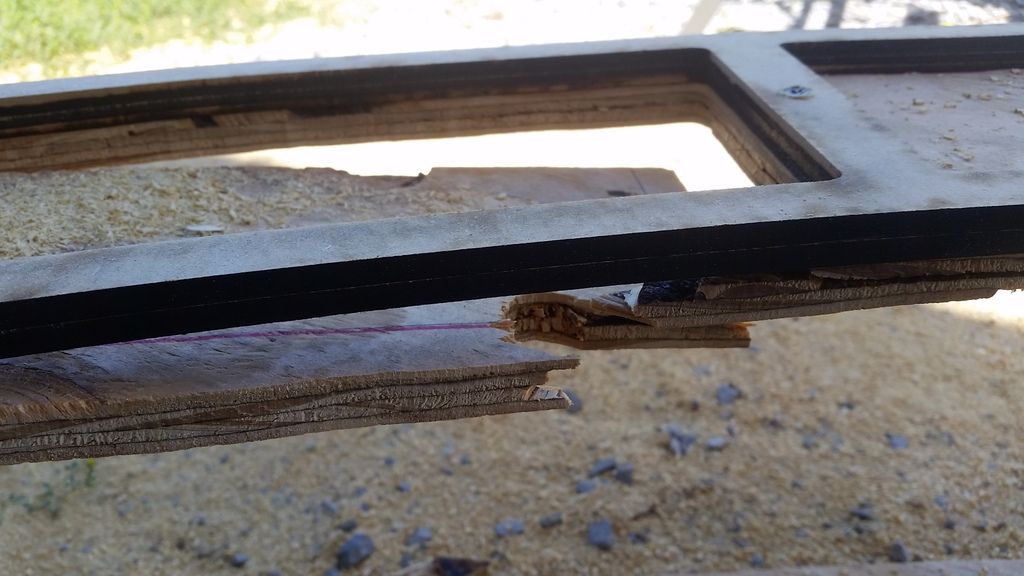
This edge is the area of most concern - the plexi wants to pop away from the edge
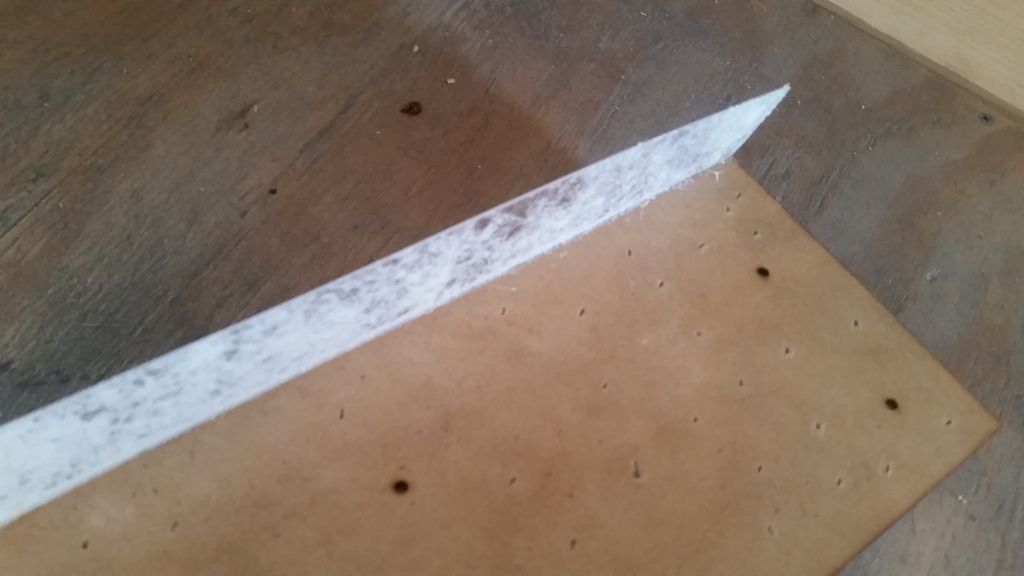
I bent the edges over and rested the nacelle on the actually edge - fingers crossed it works
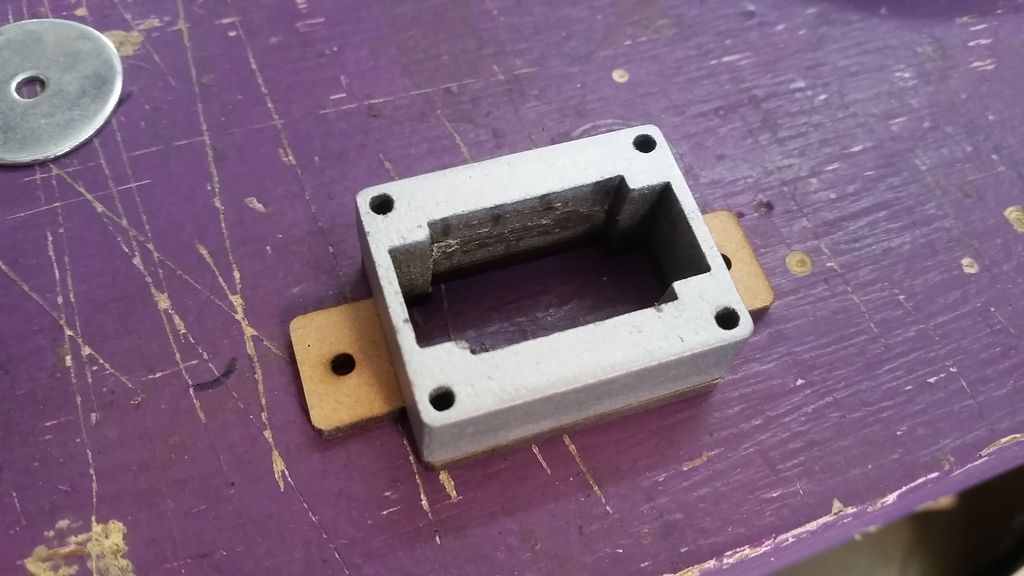
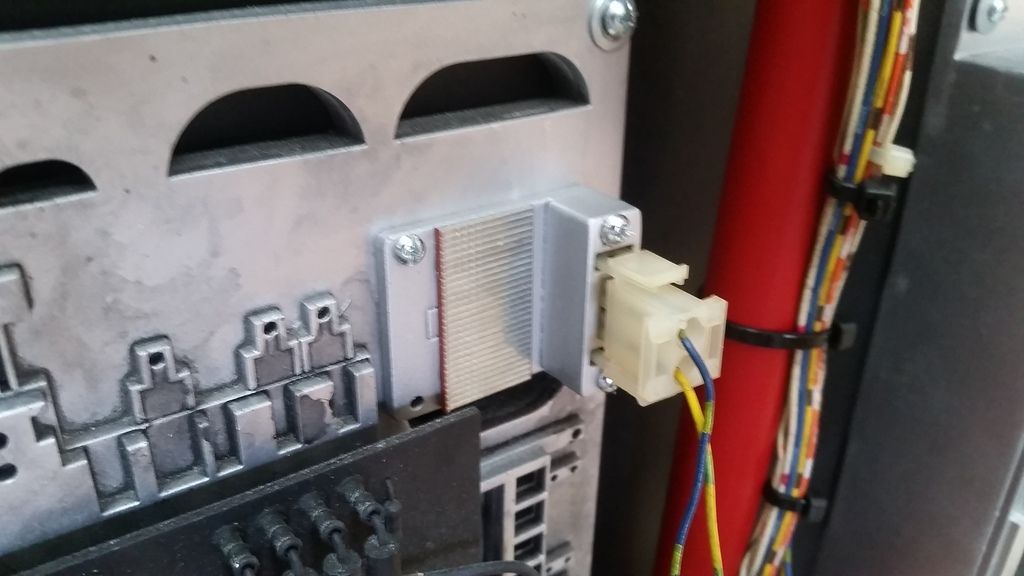
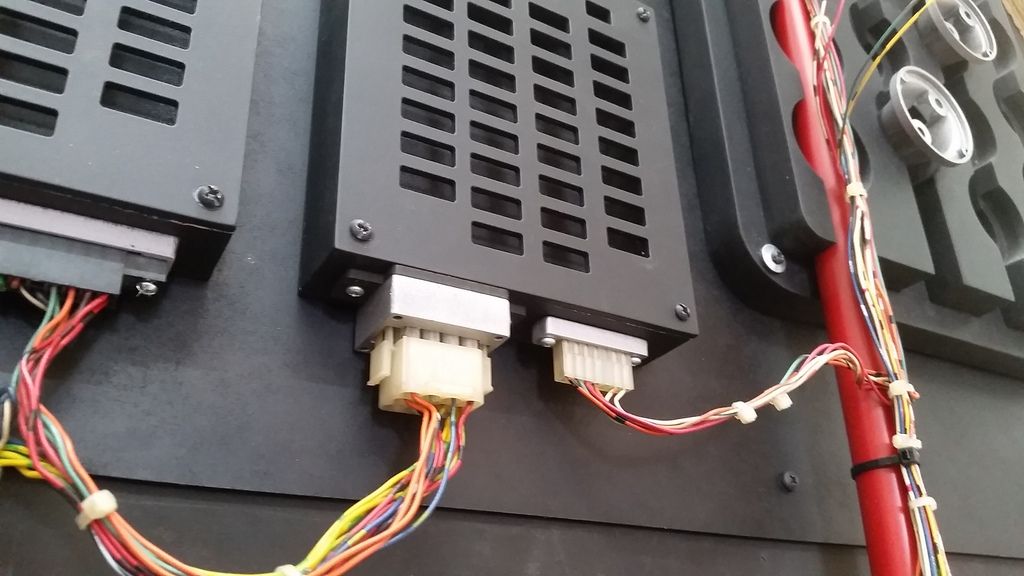
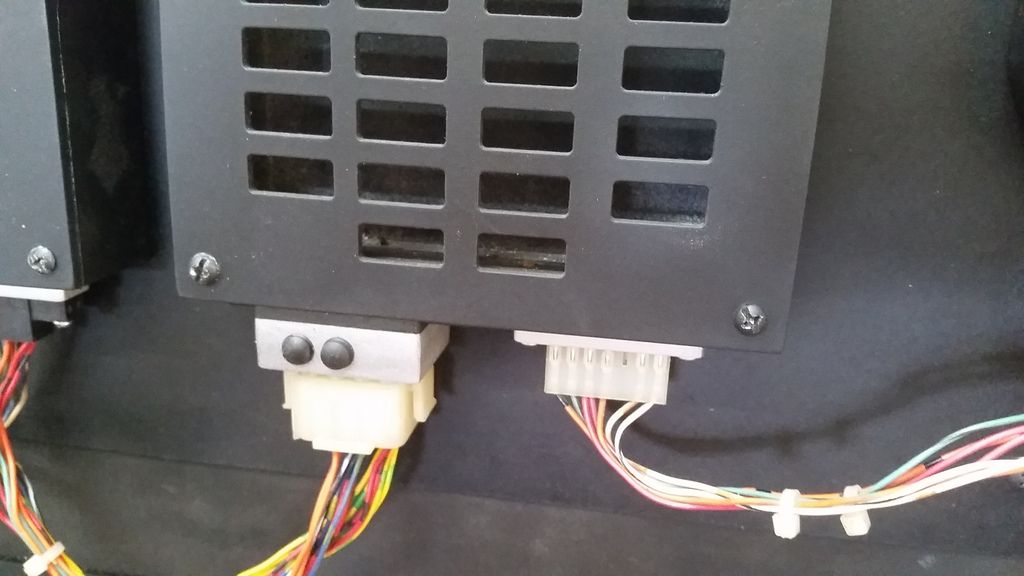
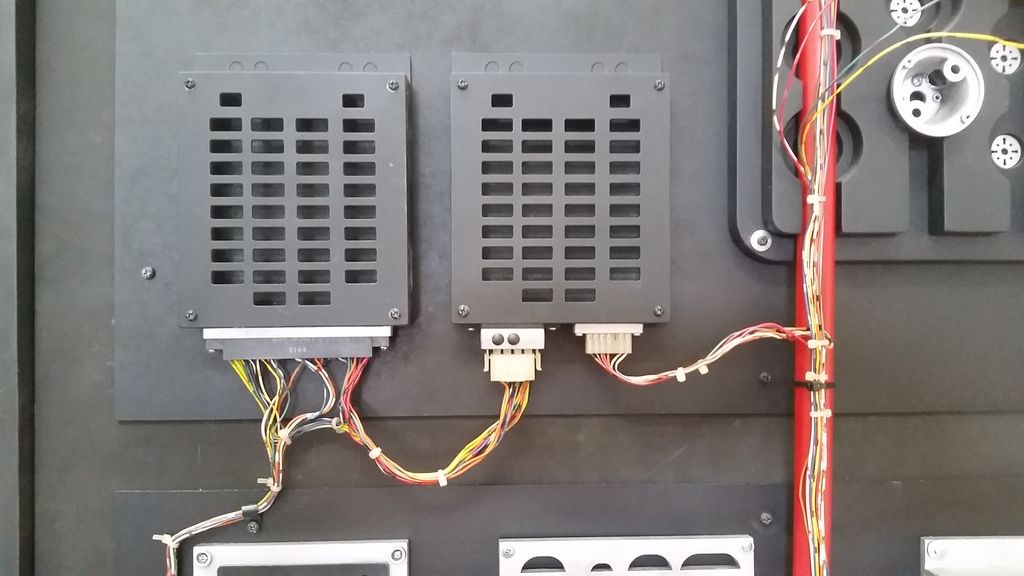
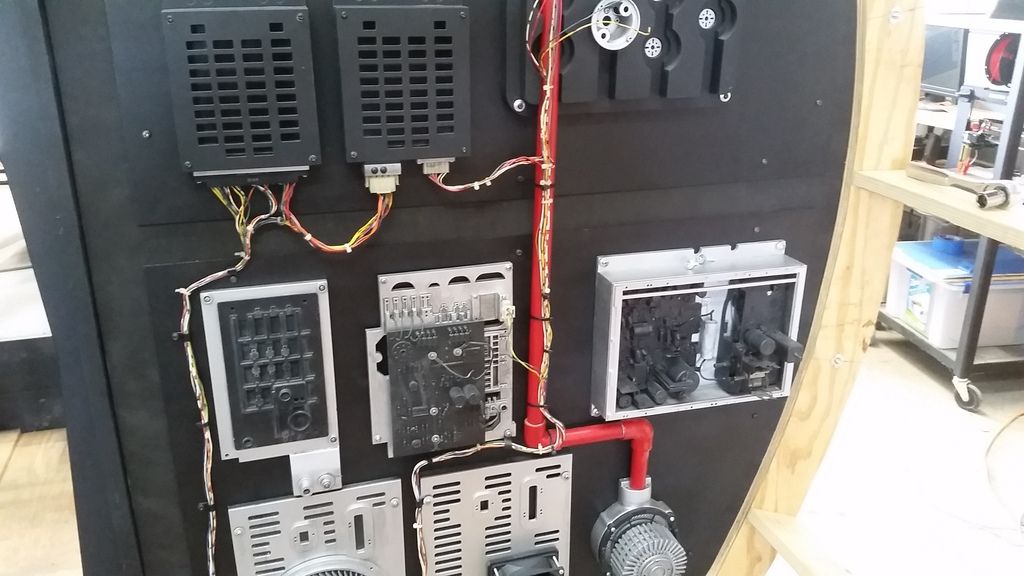
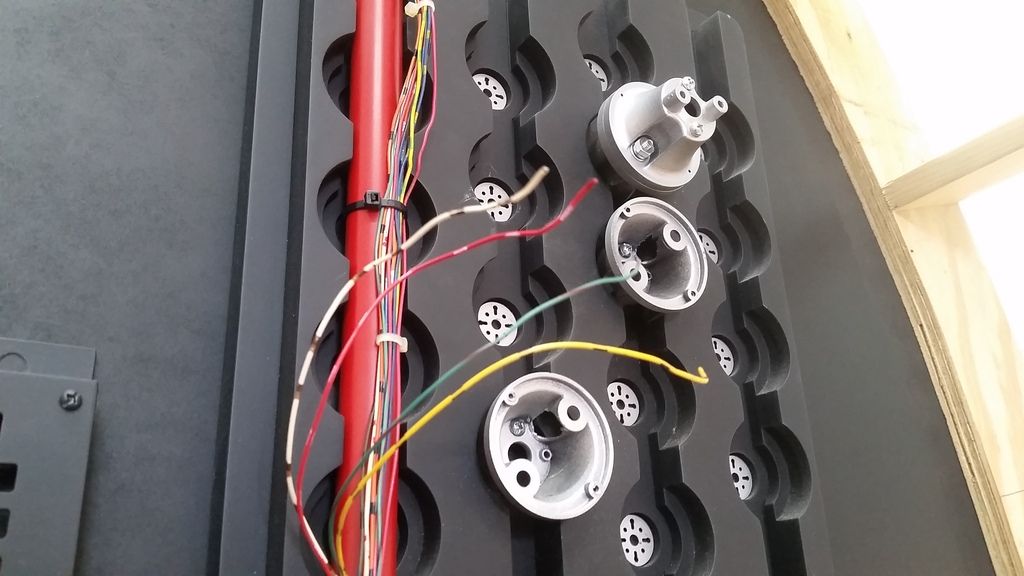
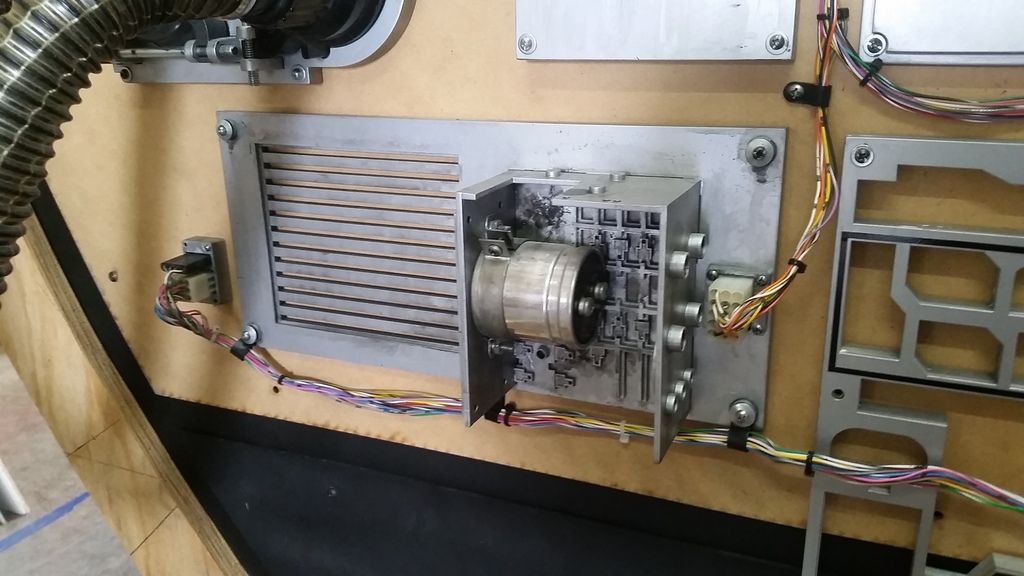
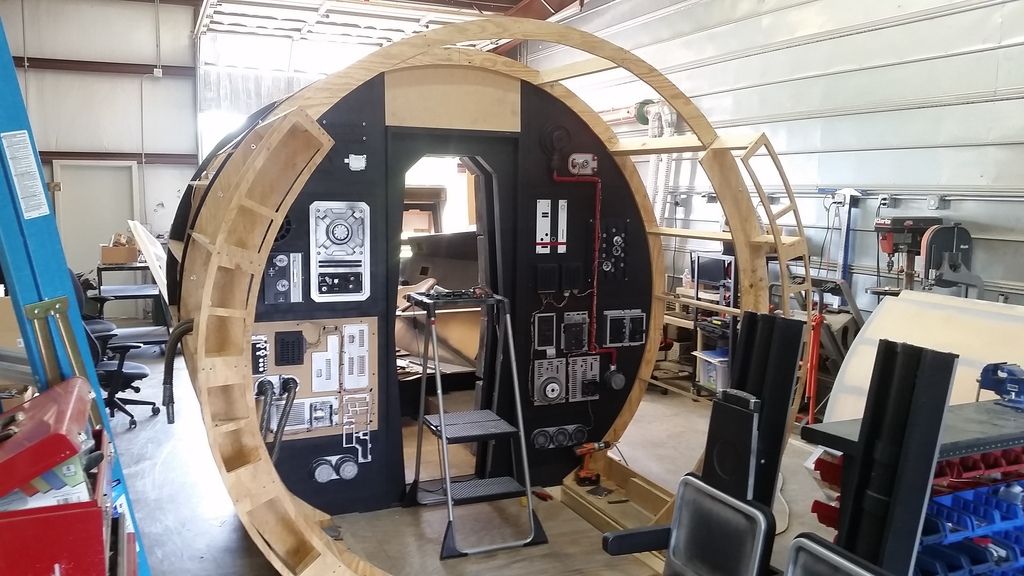
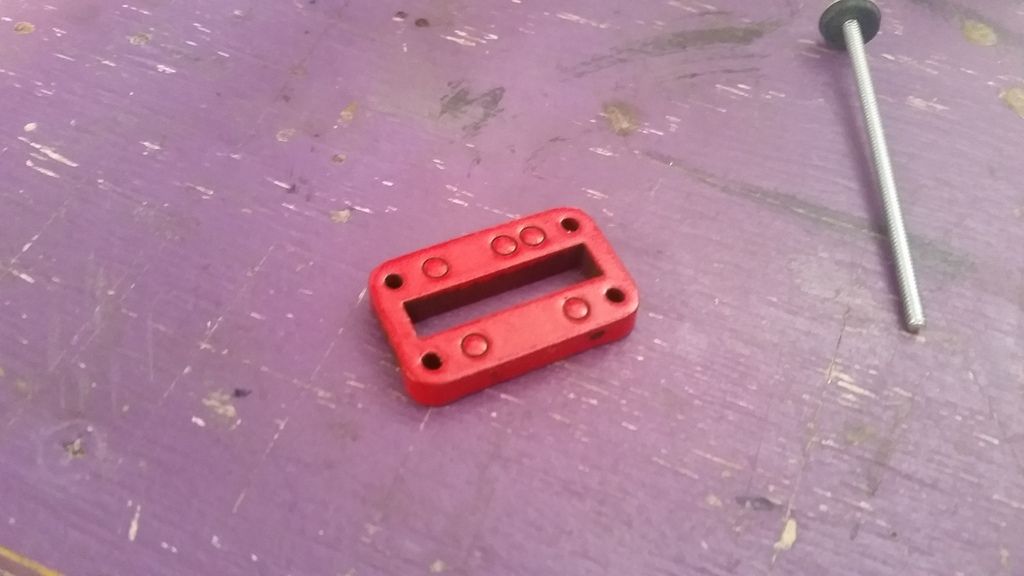
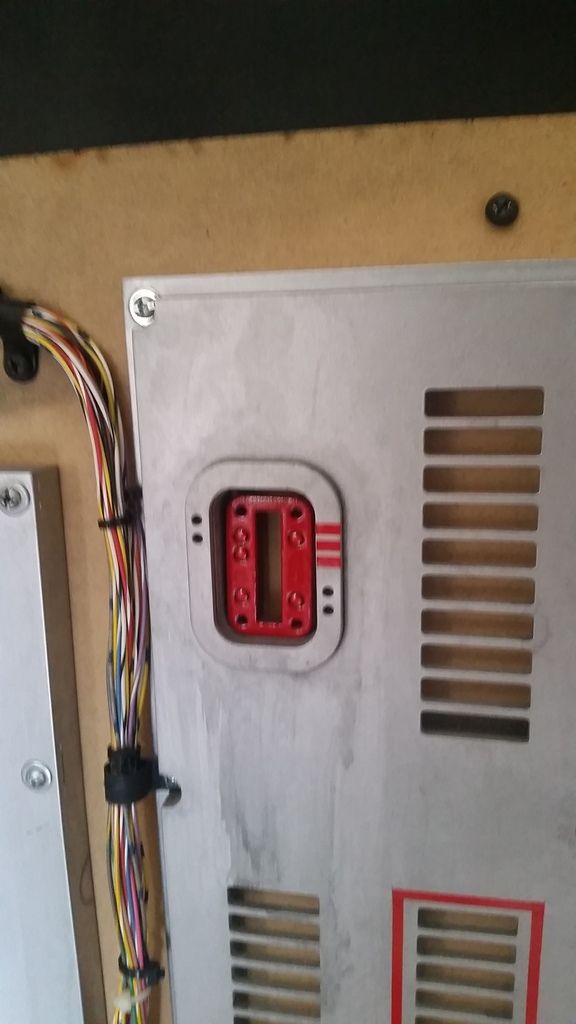
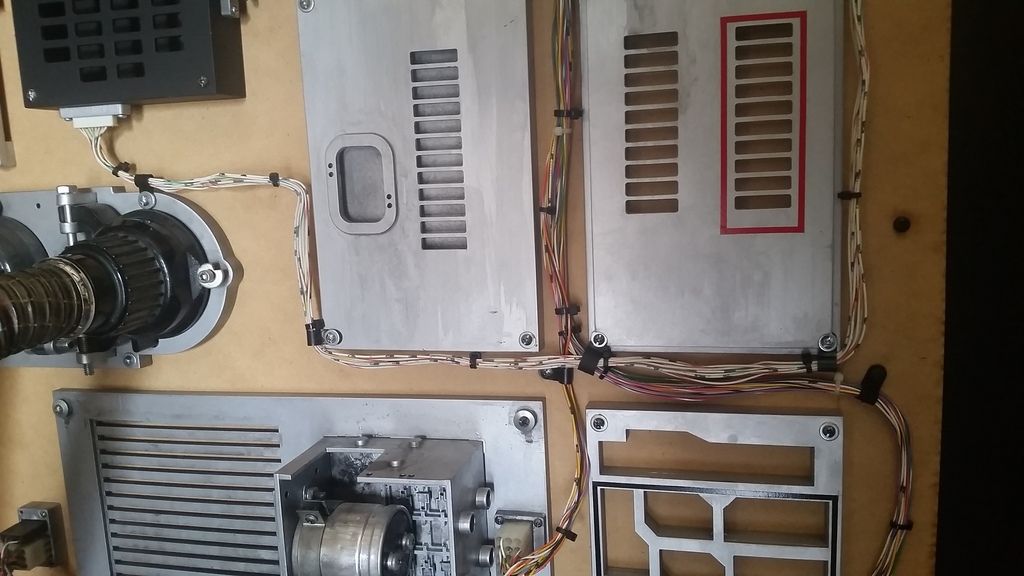
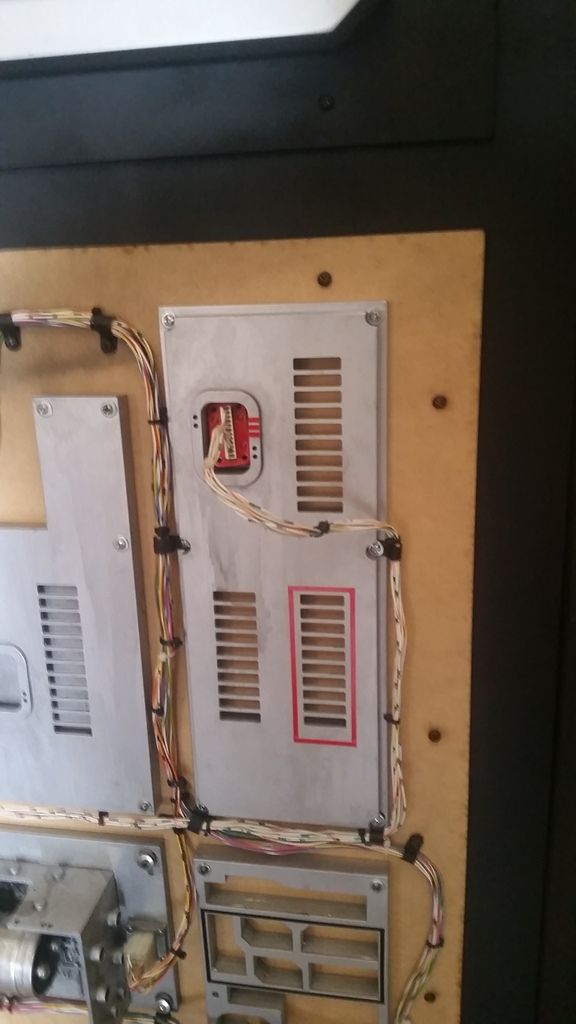
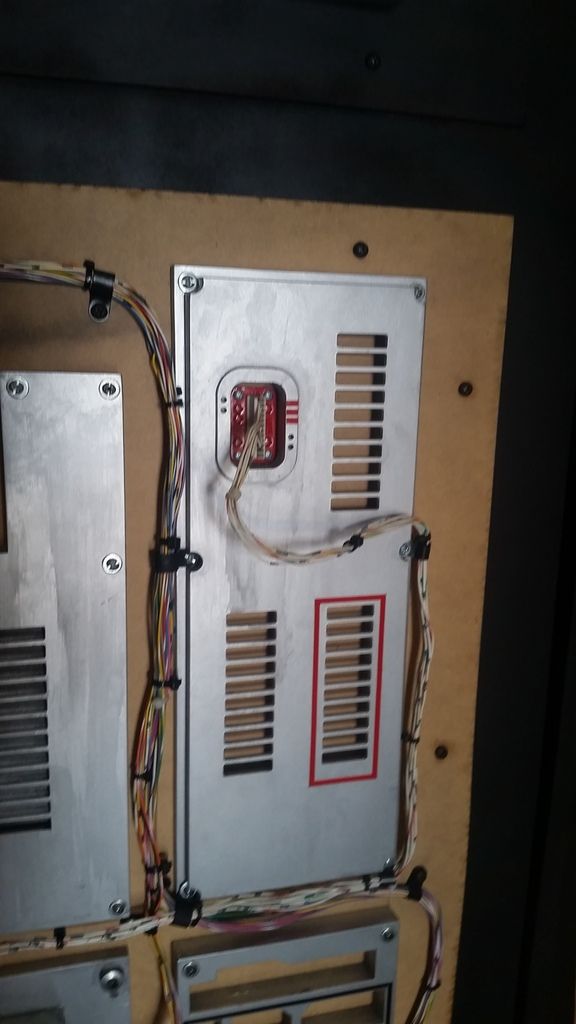
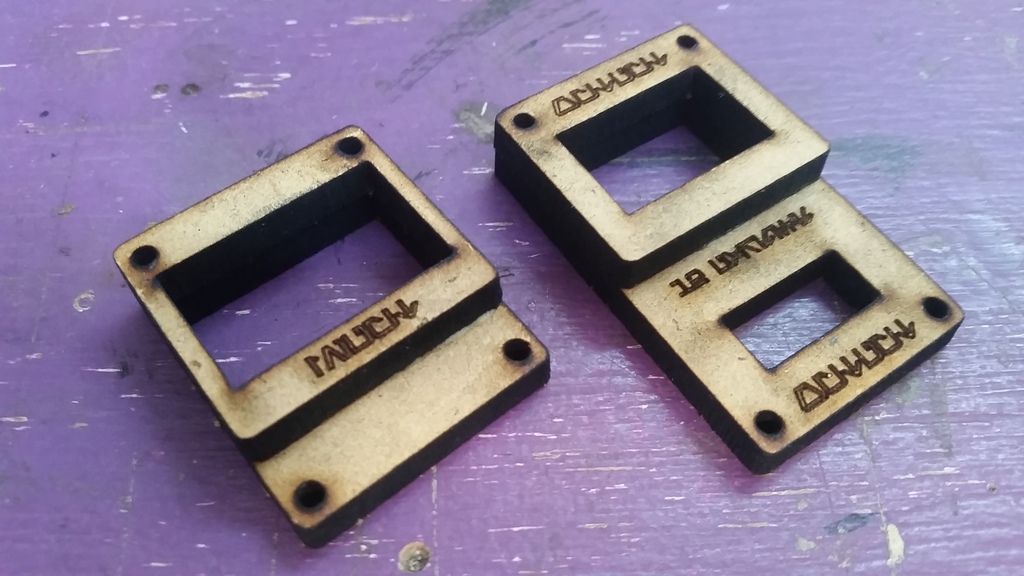
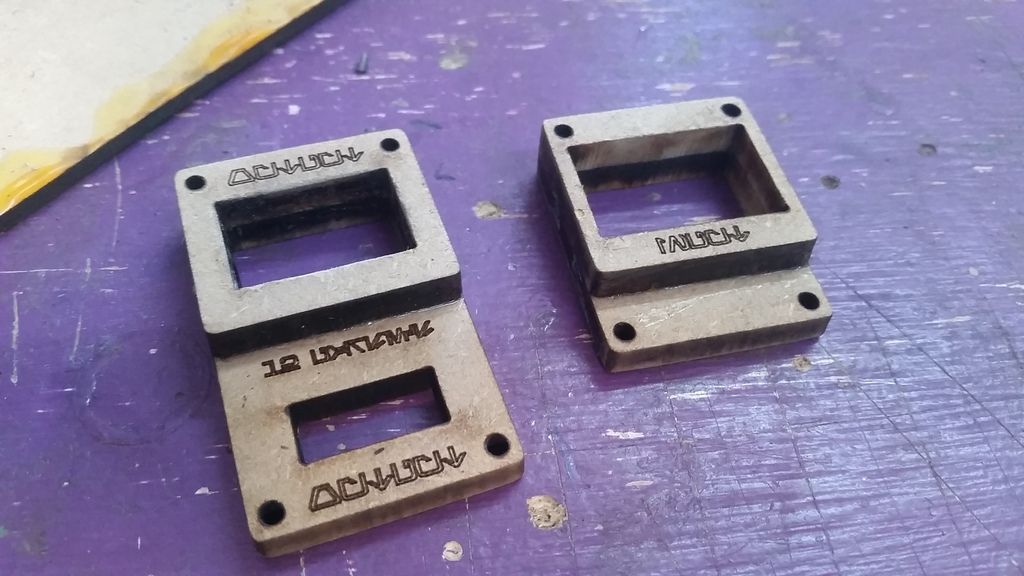
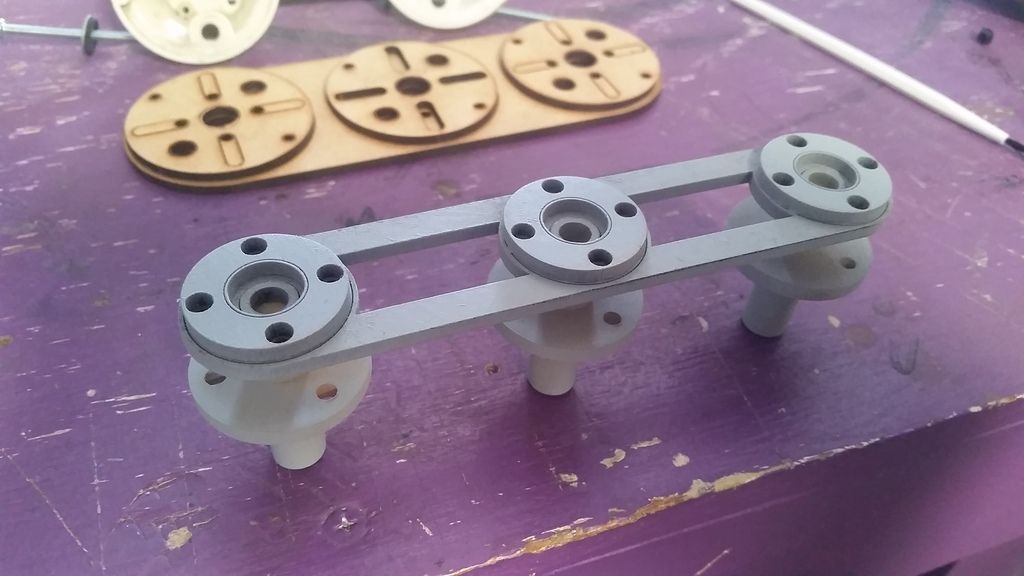
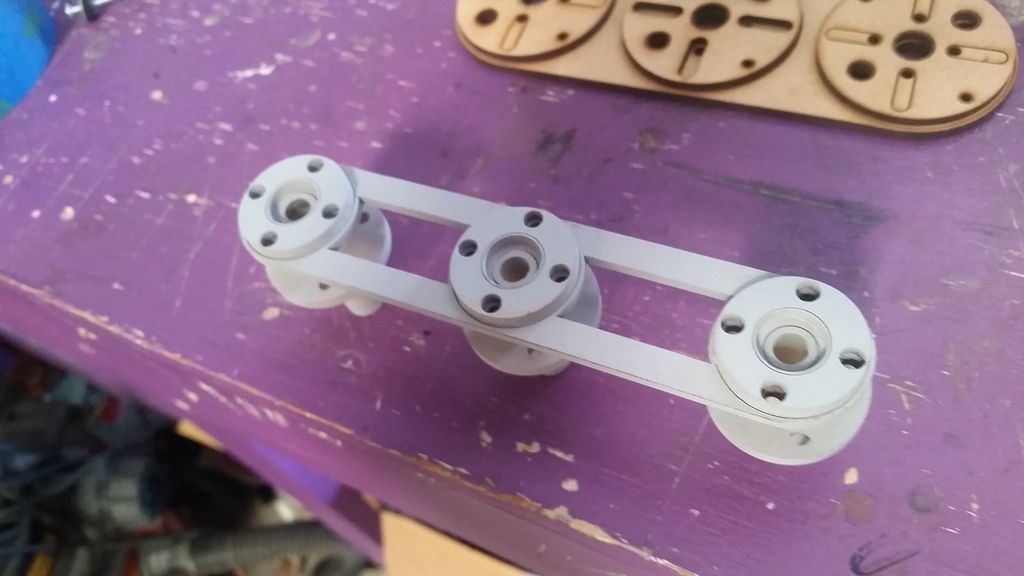
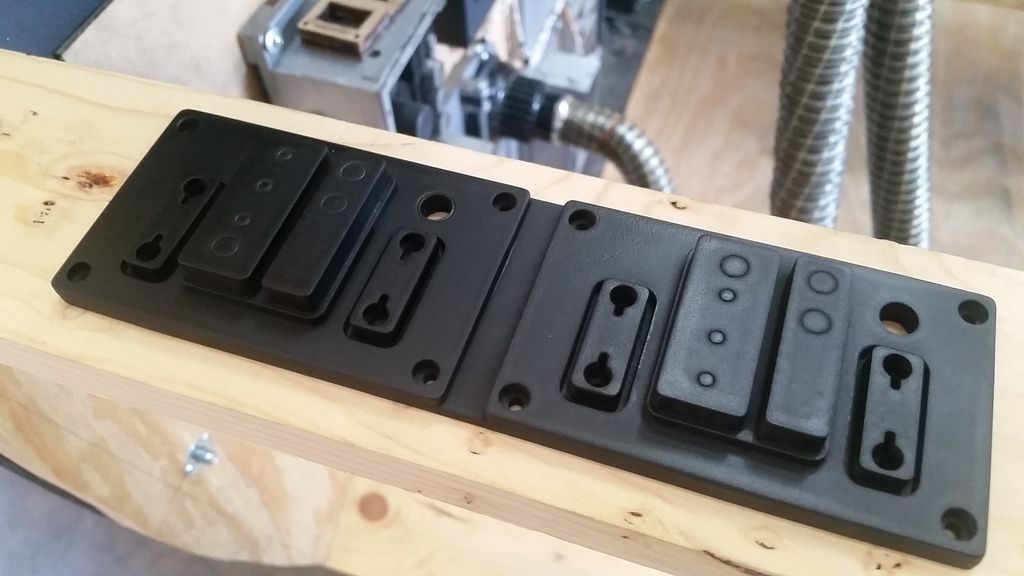
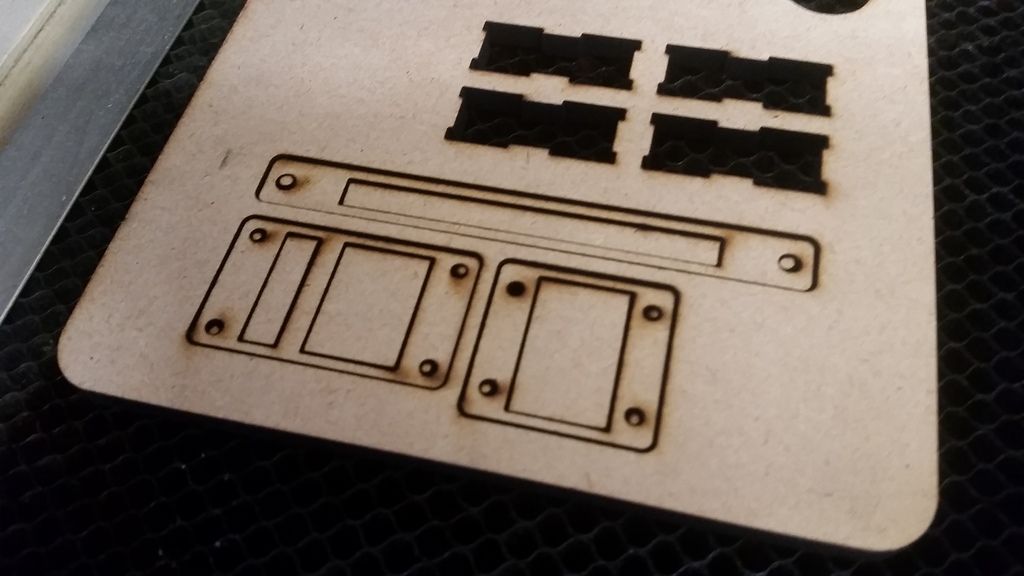
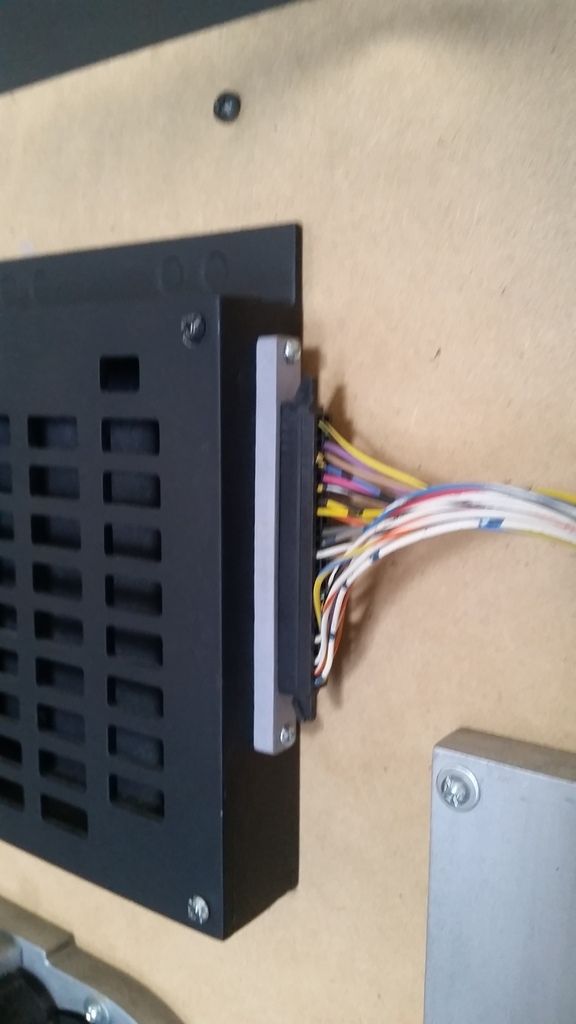
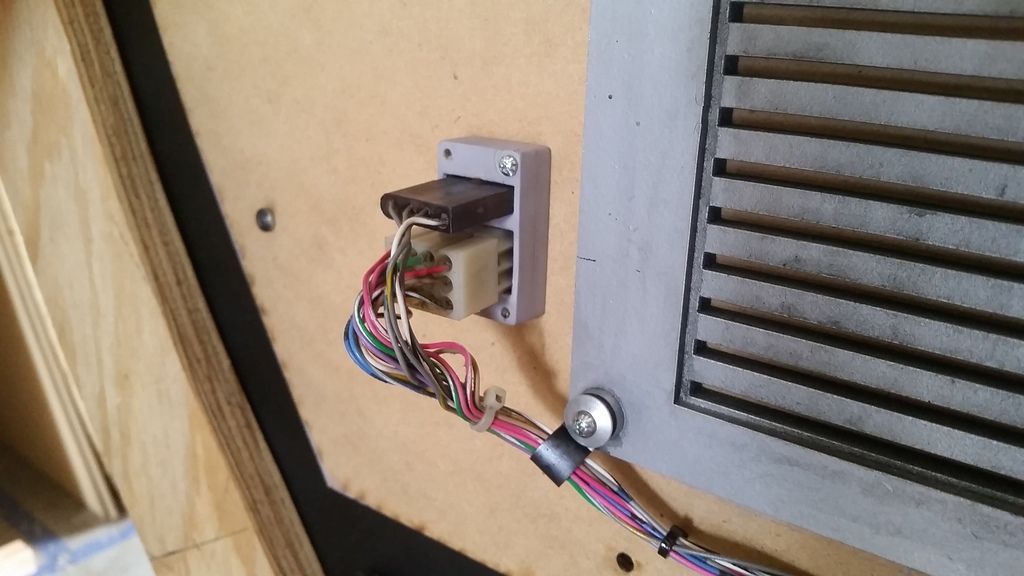
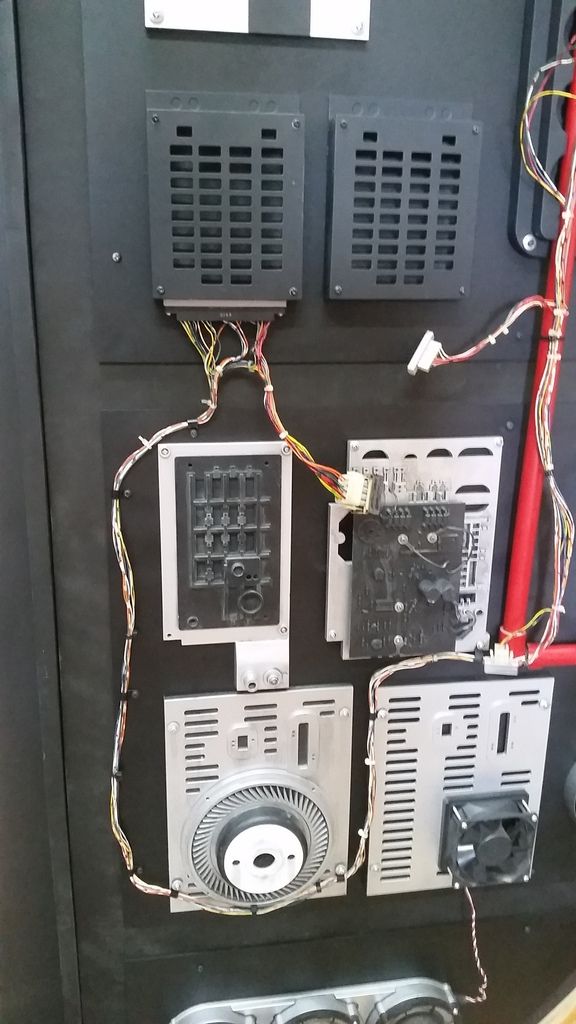
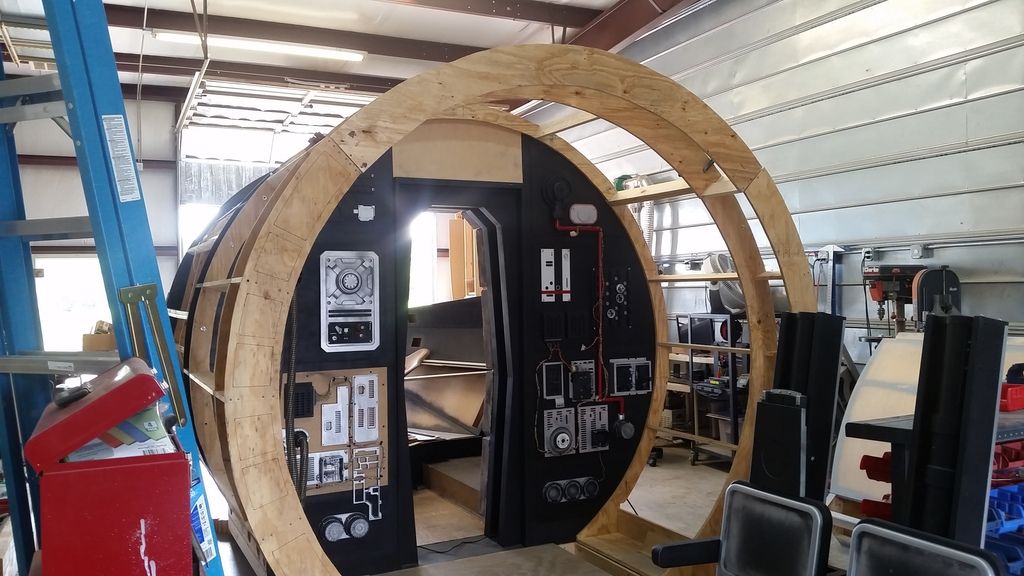
It was time to dress the cockpit entrance with all the saved wiring harnesses I've had lying around. So, I measured, designed and laser cut several different sized connectors that will mount to the entrance wall and greeblies
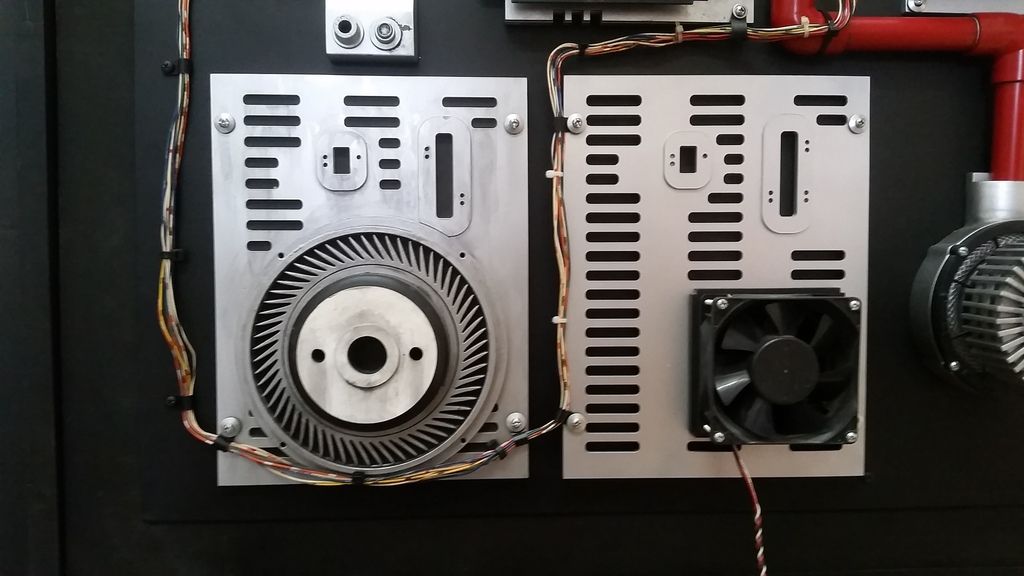
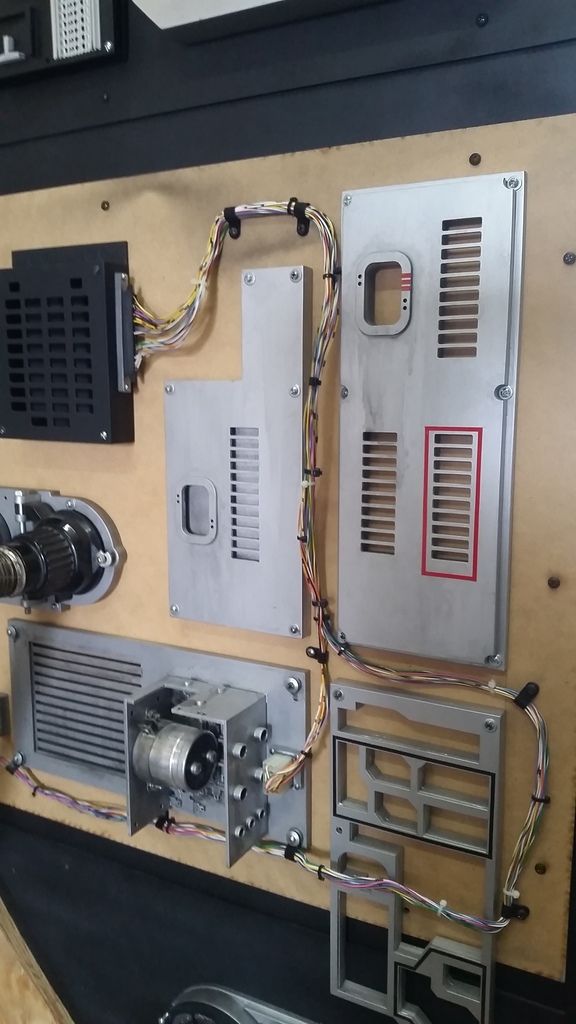
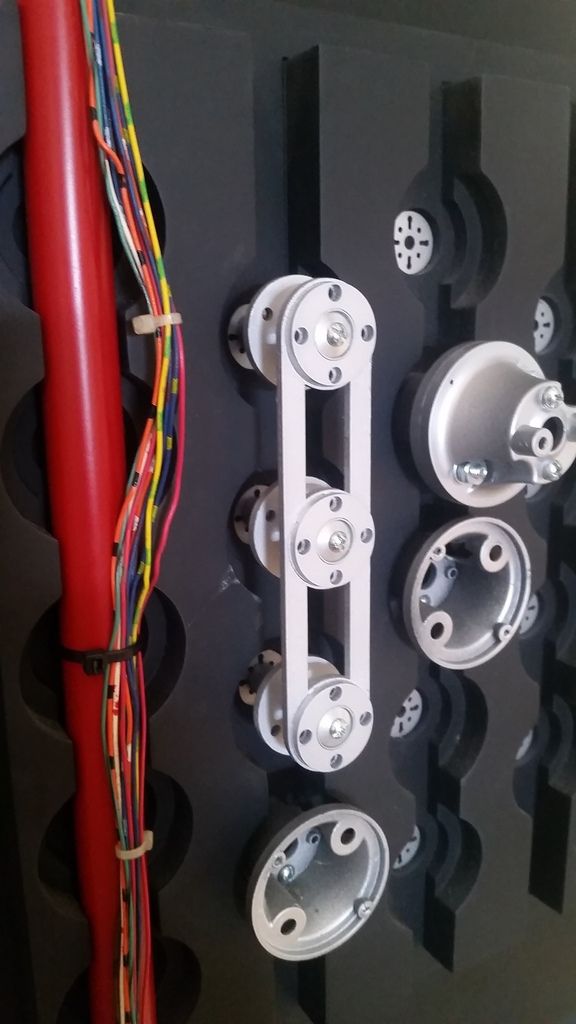
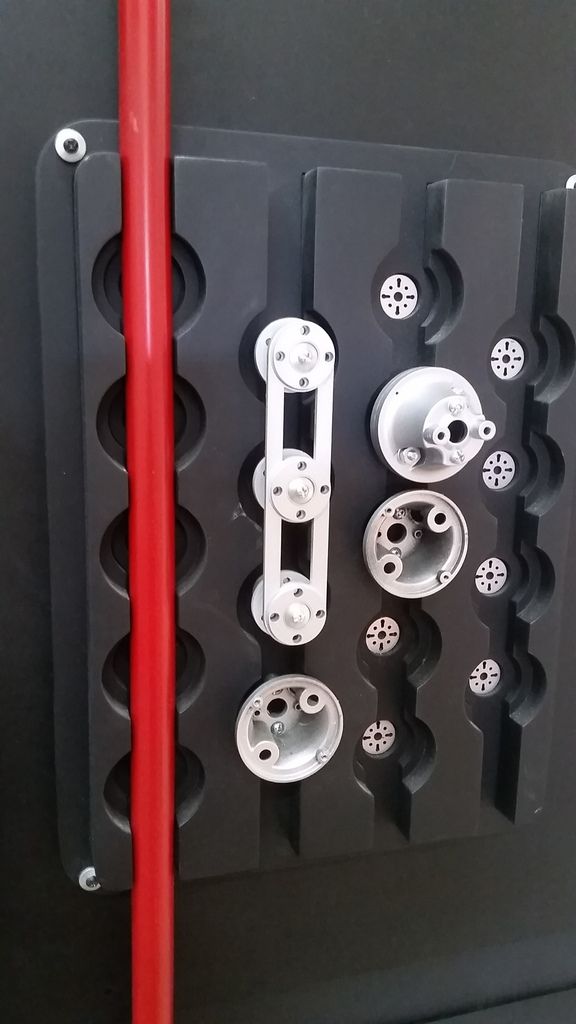
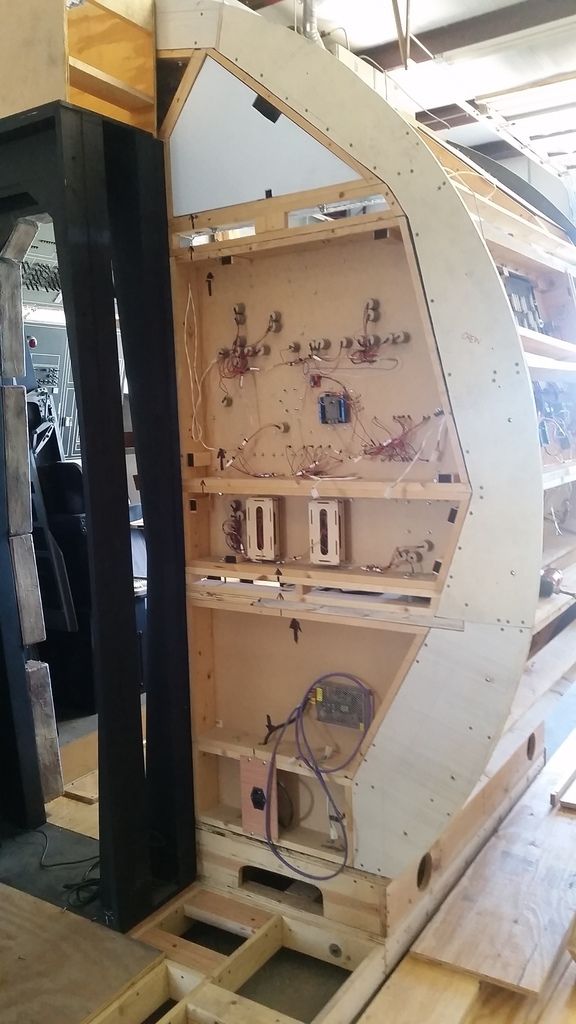
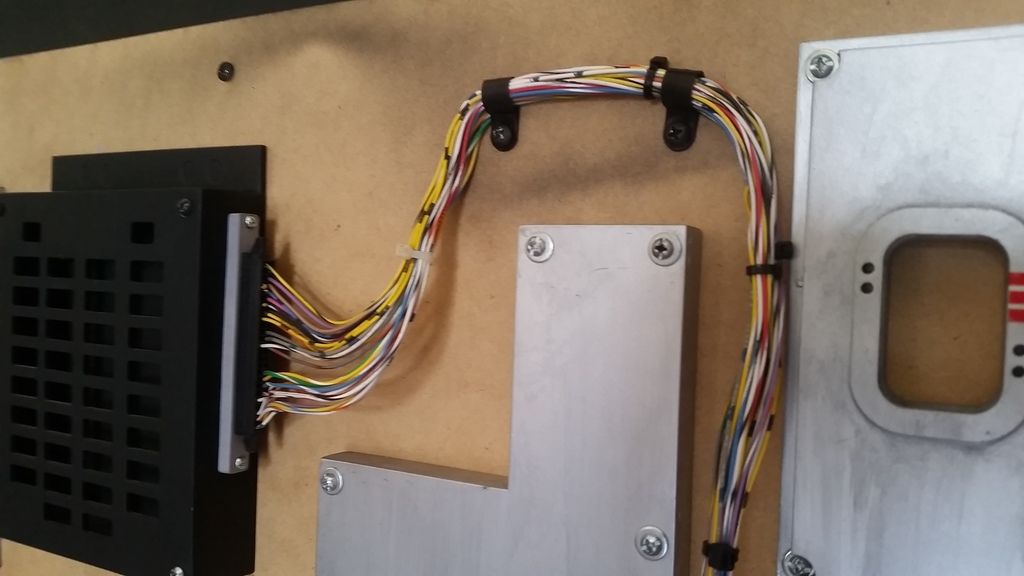
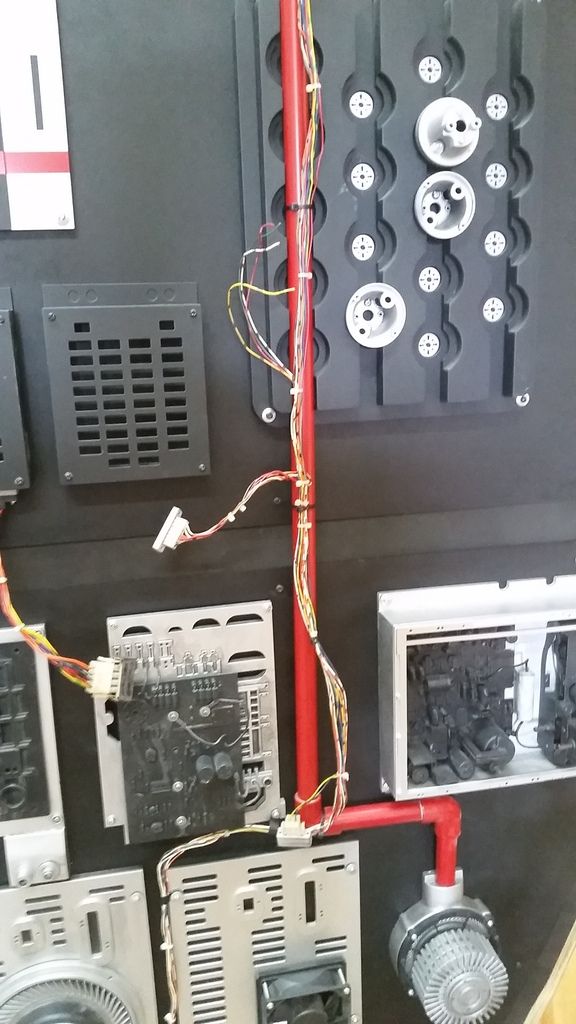
Dry fitting

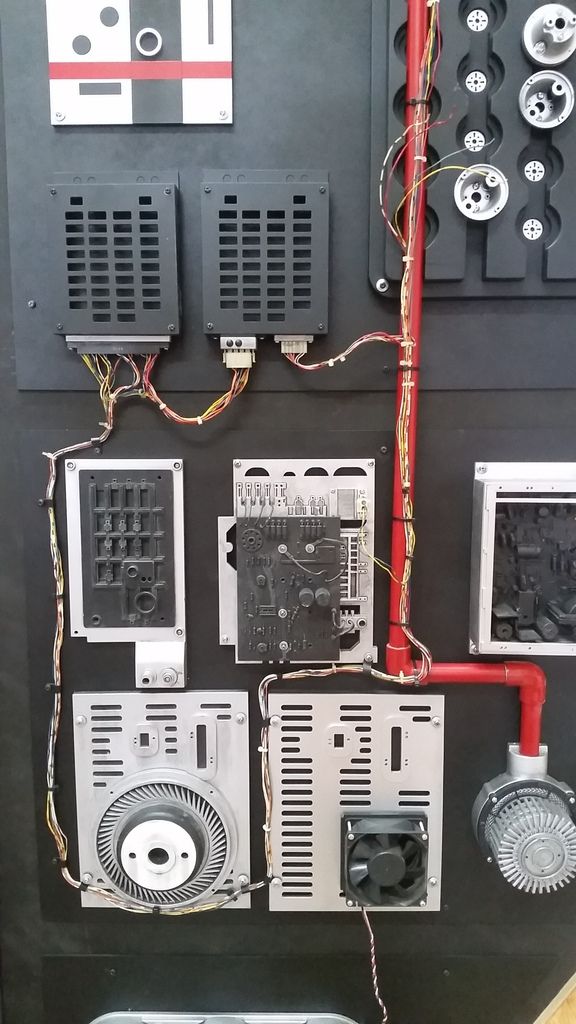
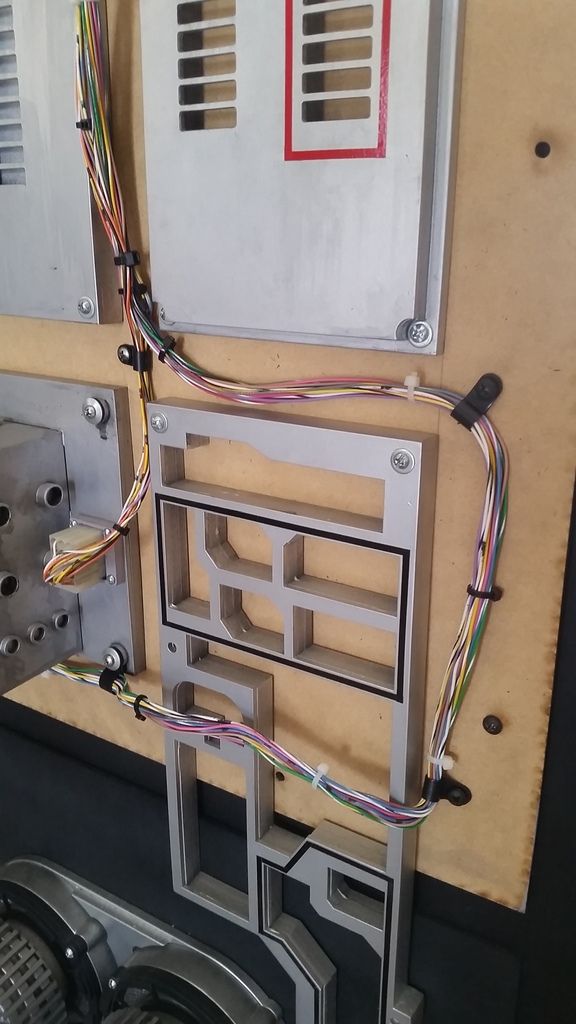
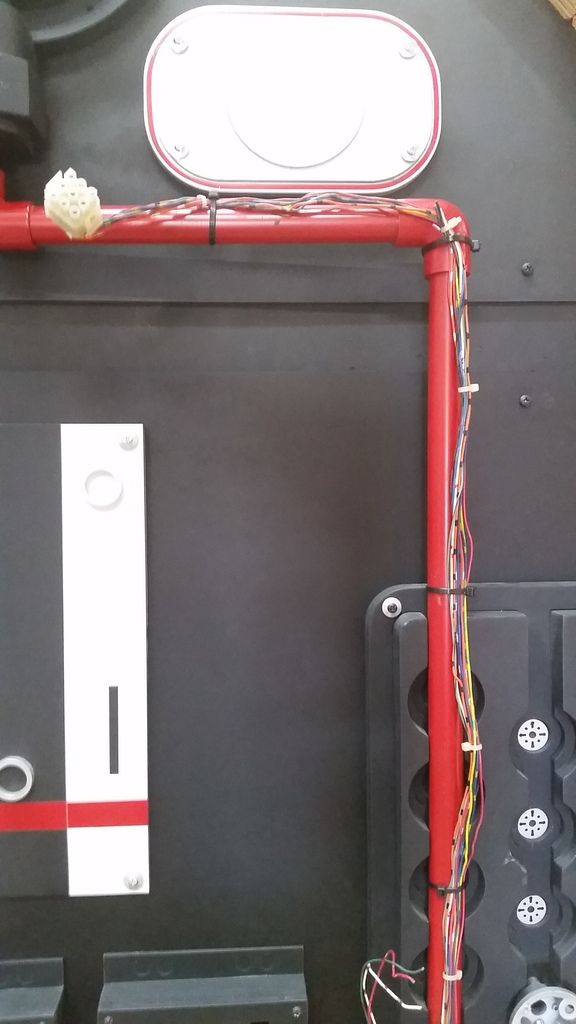
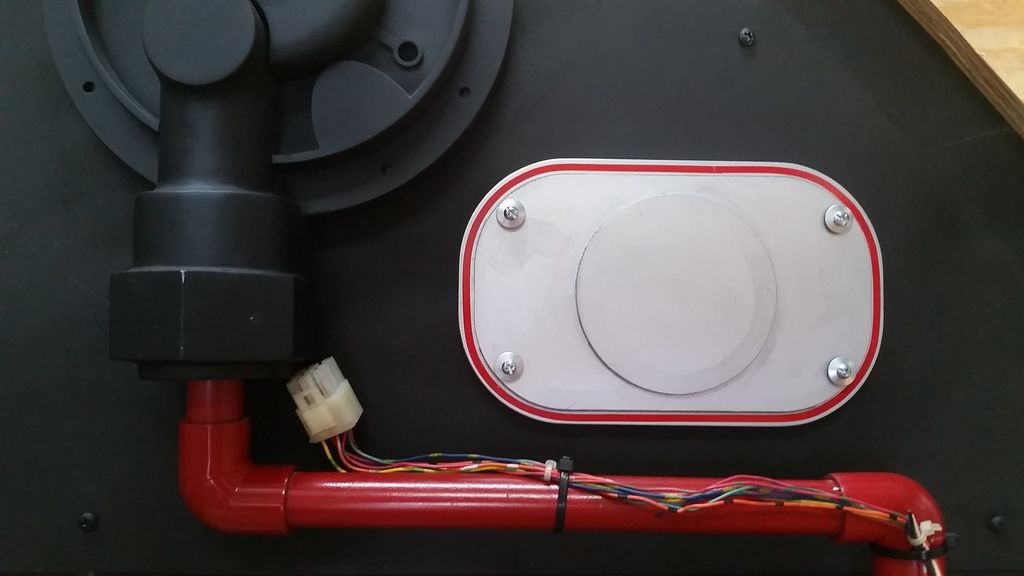
Love this image! Still need to paint that panel - I'm going to remove all the greeblies and spray paint (using a paint gun) the cockpit entrance frame and panels in one shot)

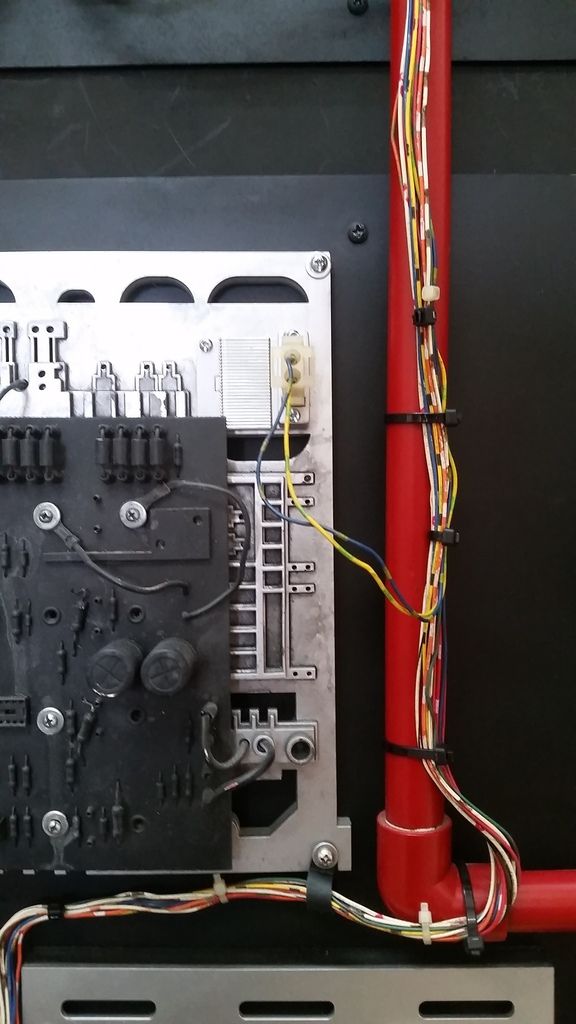
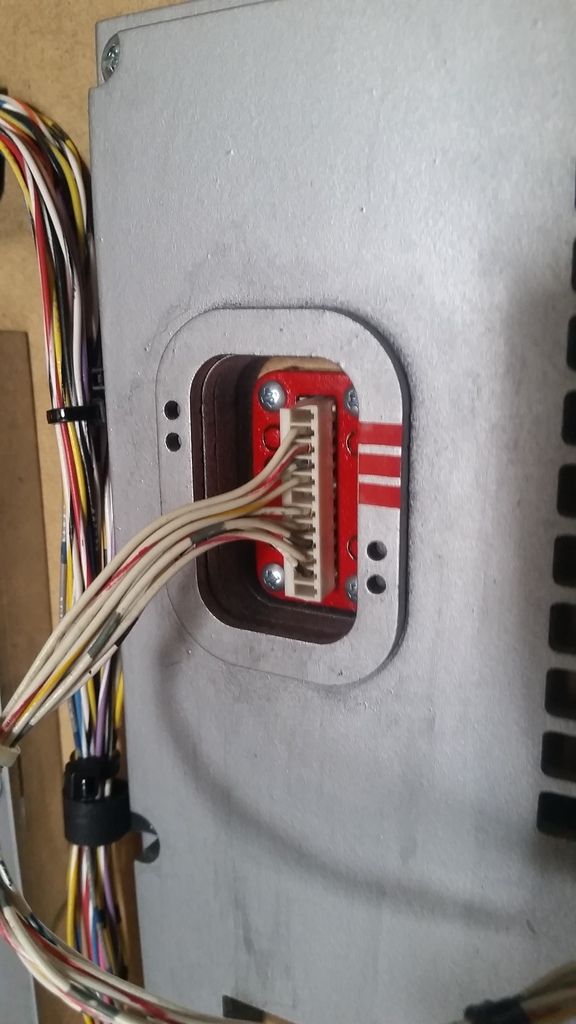
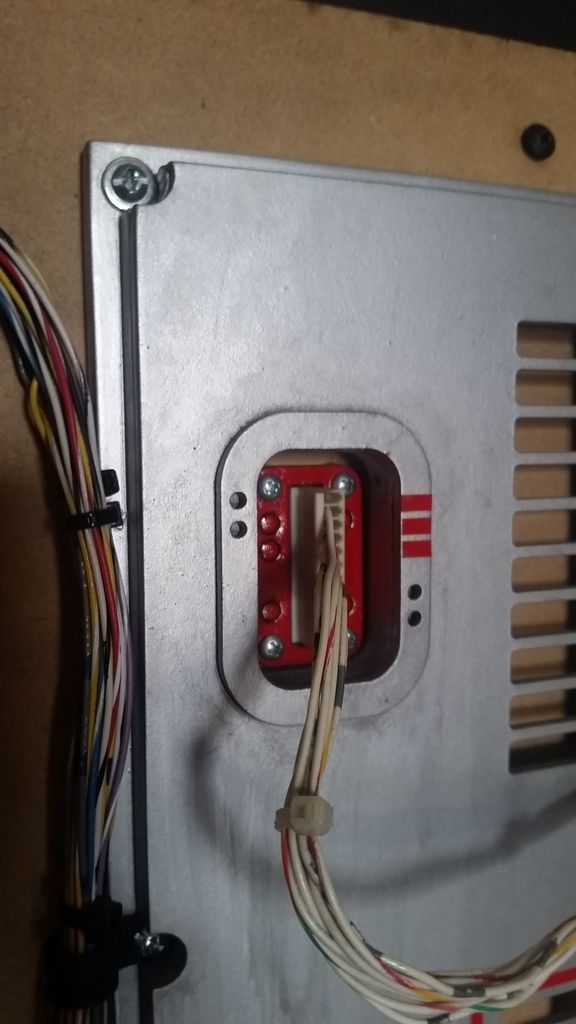
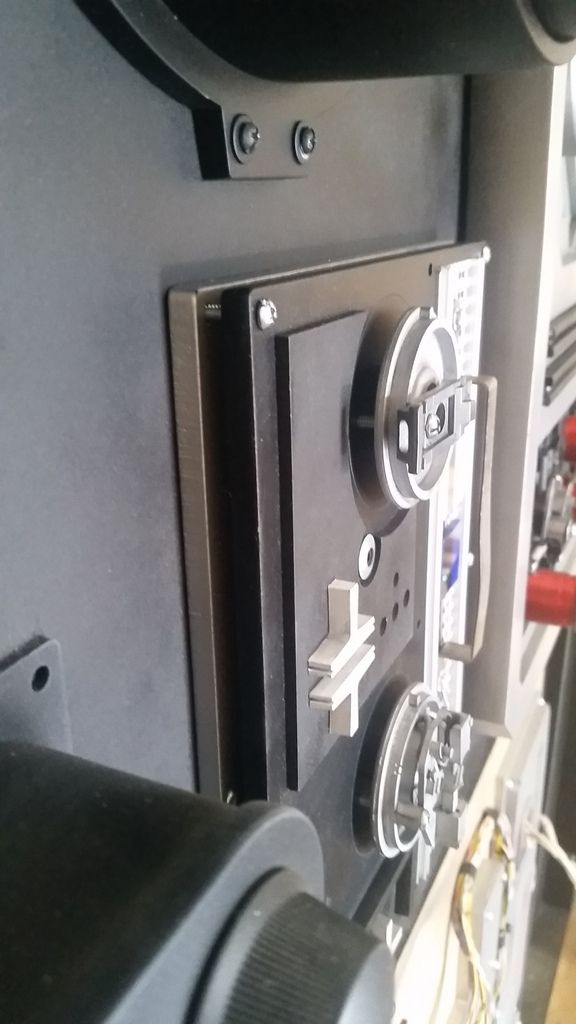
Chewie's side
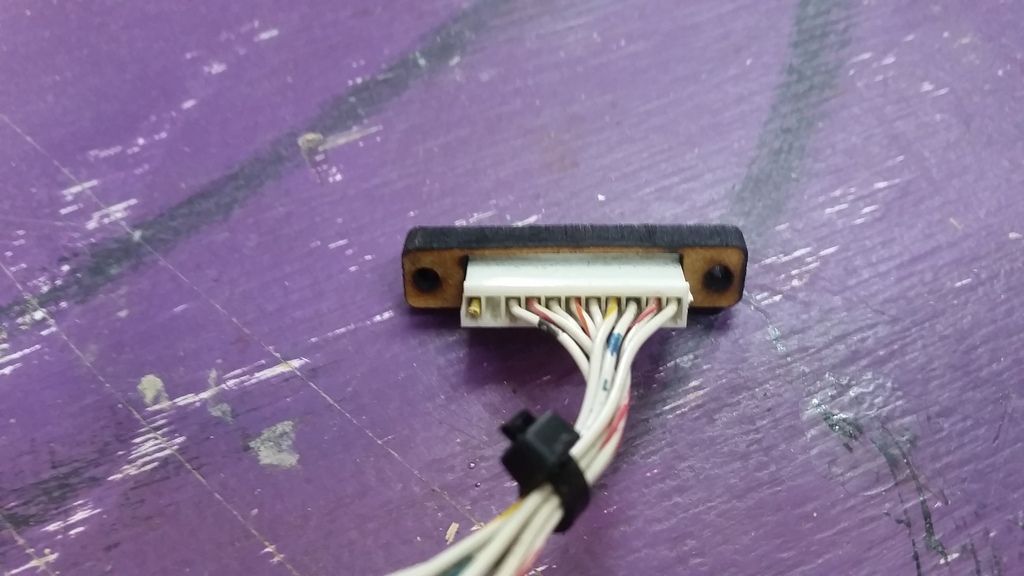
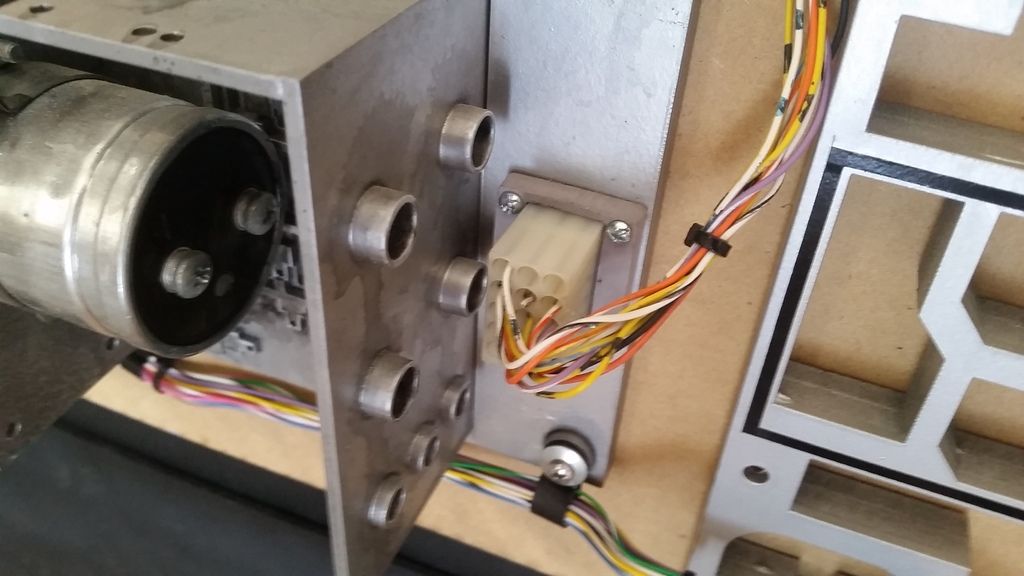
I'm not thrilled with the harness so I'm going to remove and start over - fortunately I used existing holes and zip ties
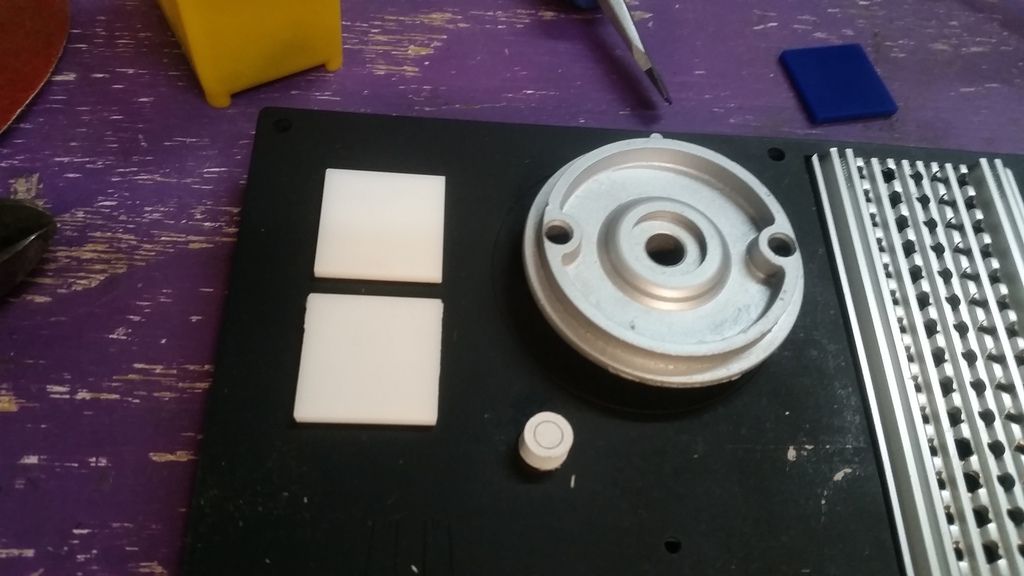
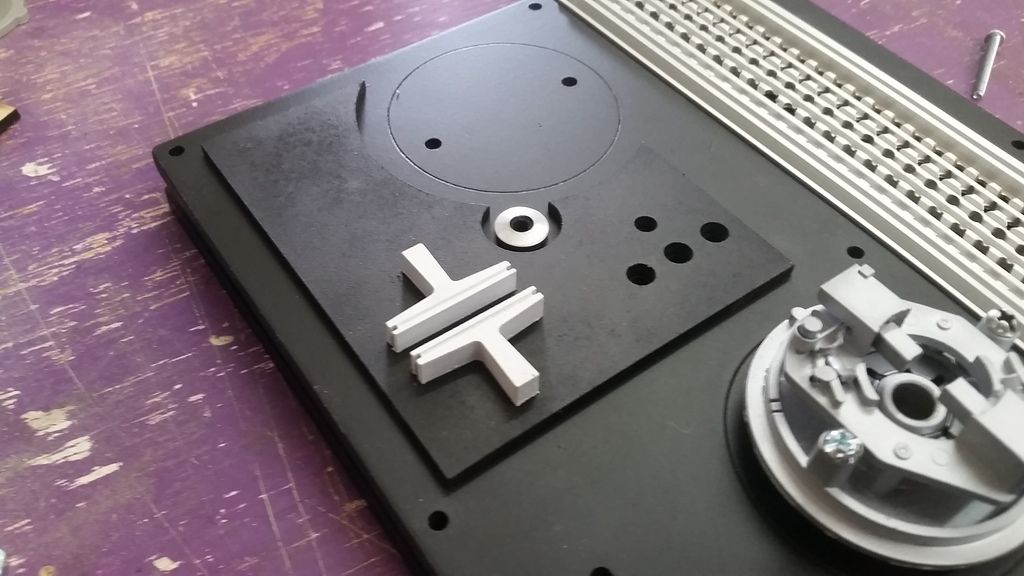
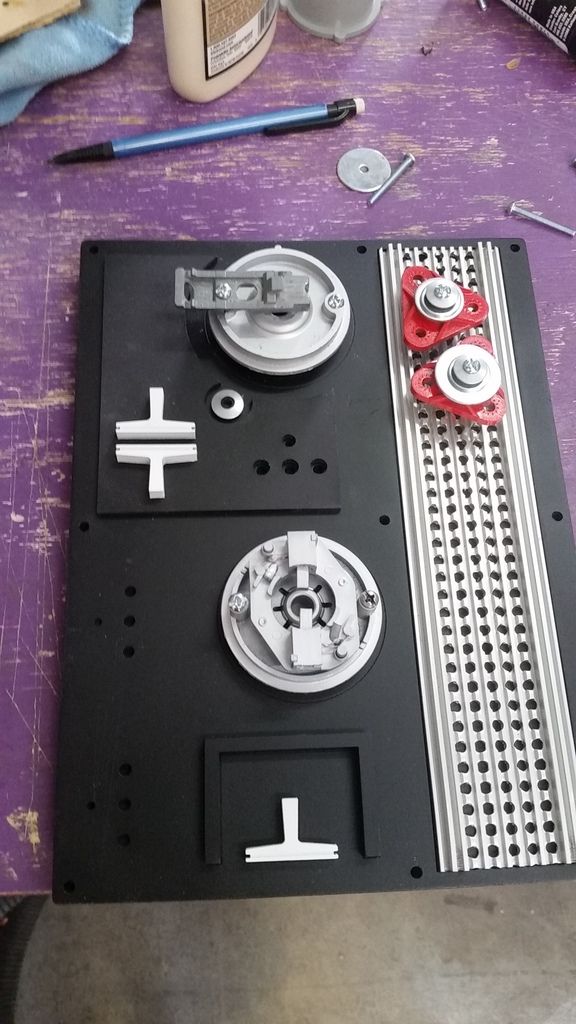
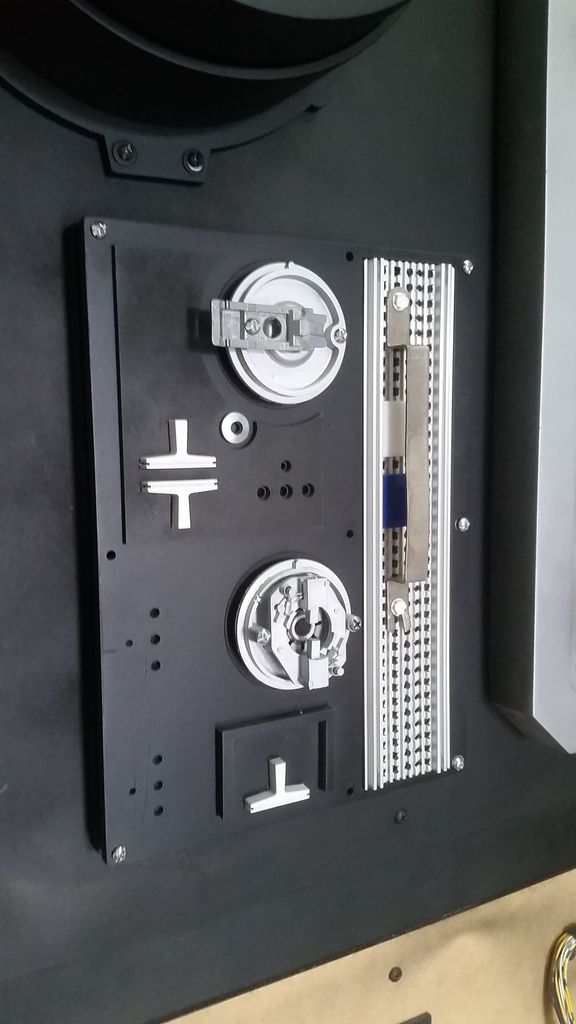
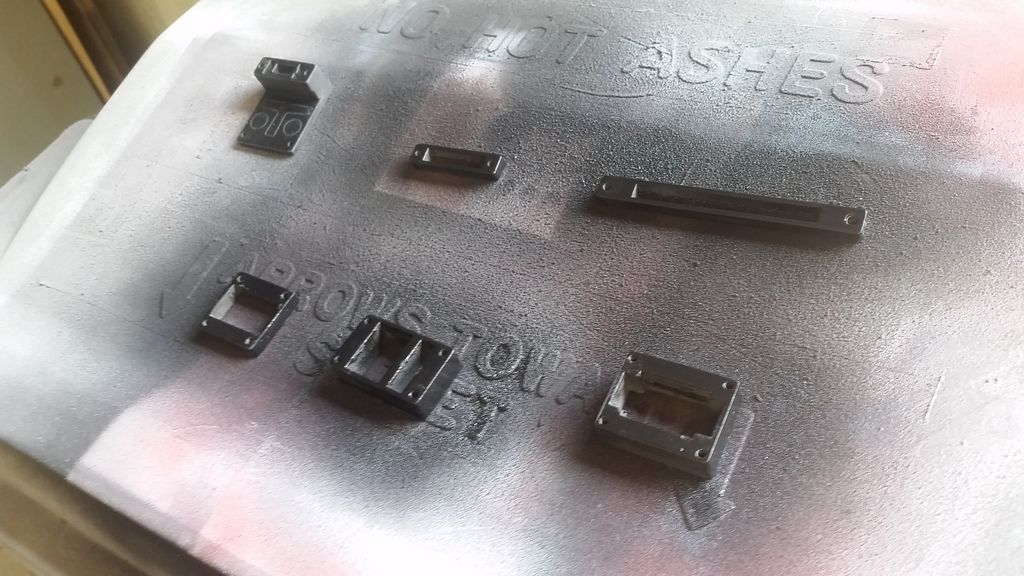
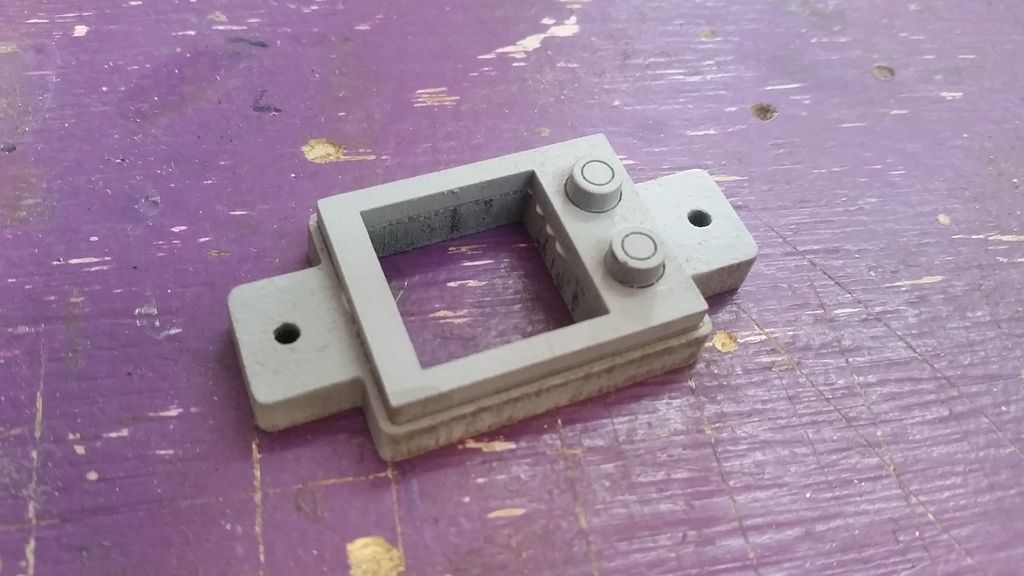
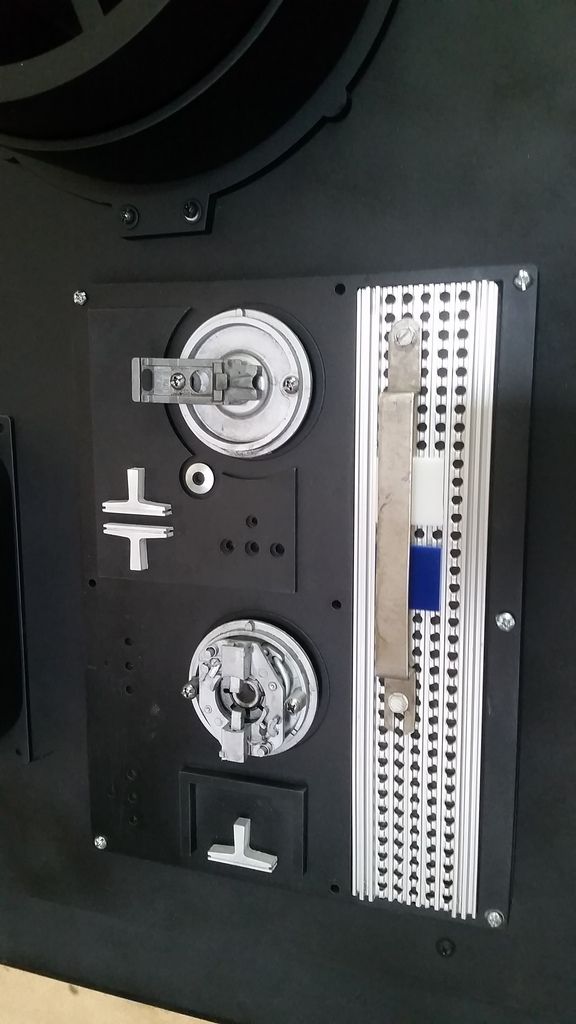
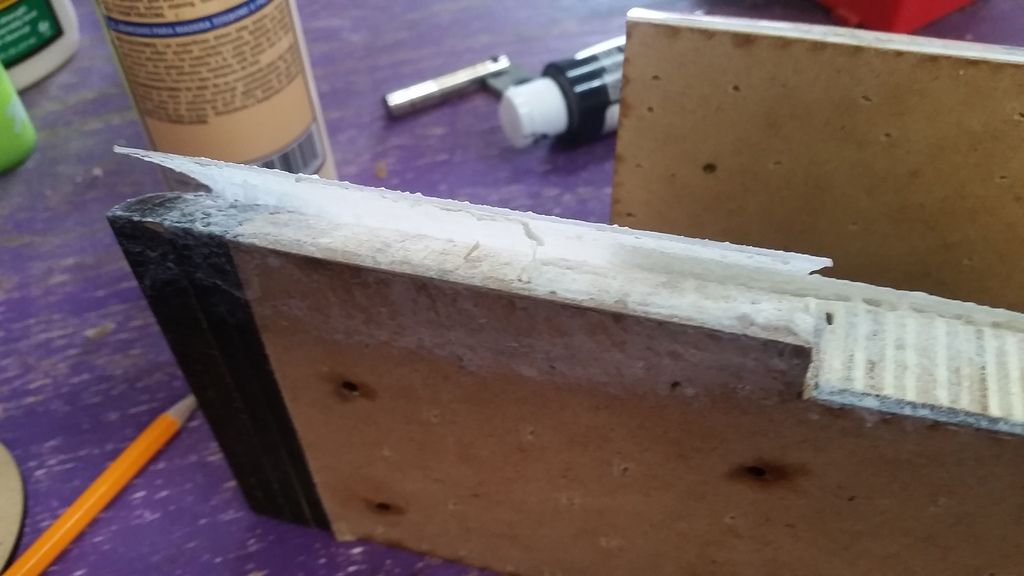
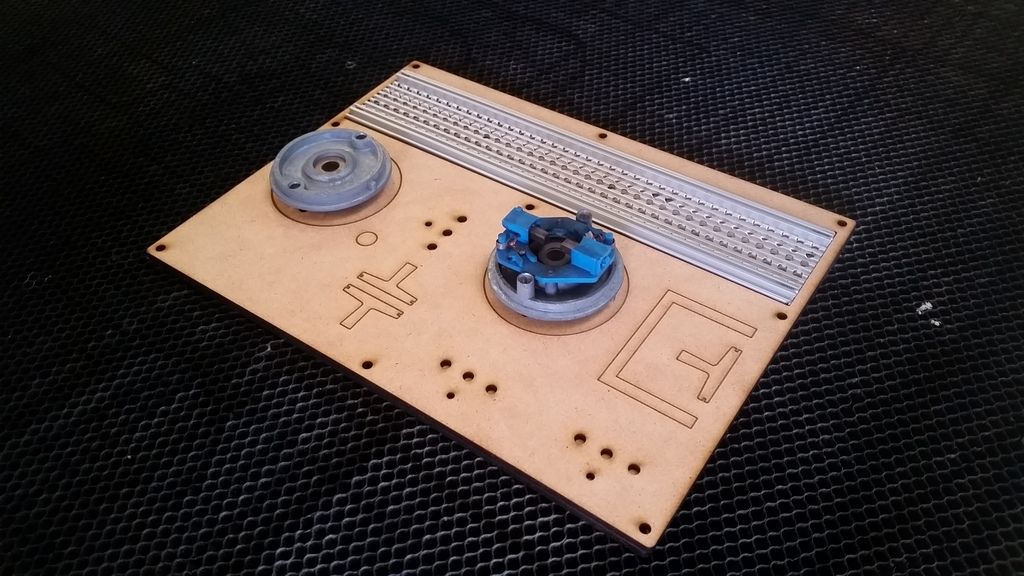
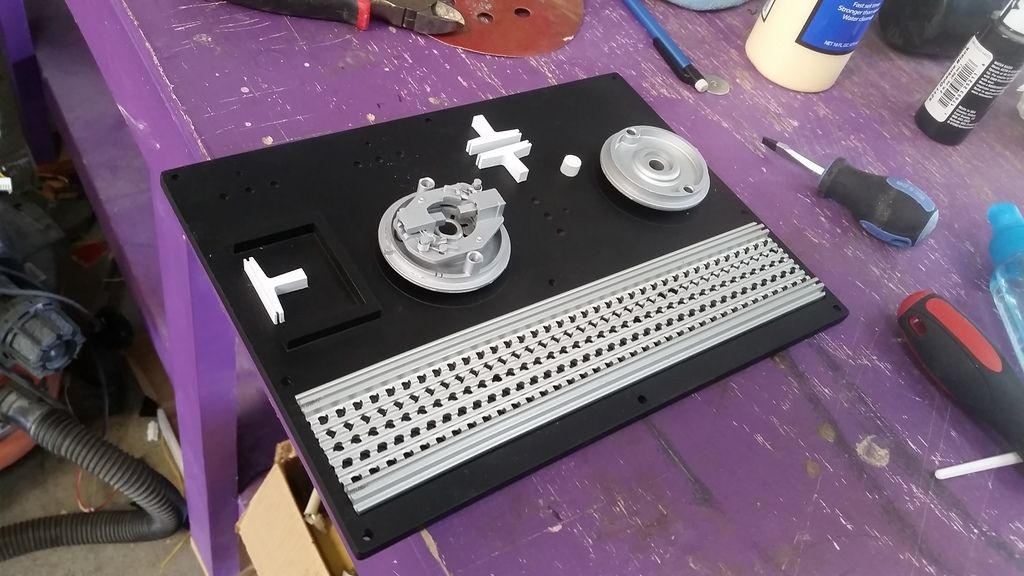
I then dug through the many greeblie boxes we have and wanted to create a few more greeblies to fill in some of the massive blank spaces on some of the panels. So, I took these...
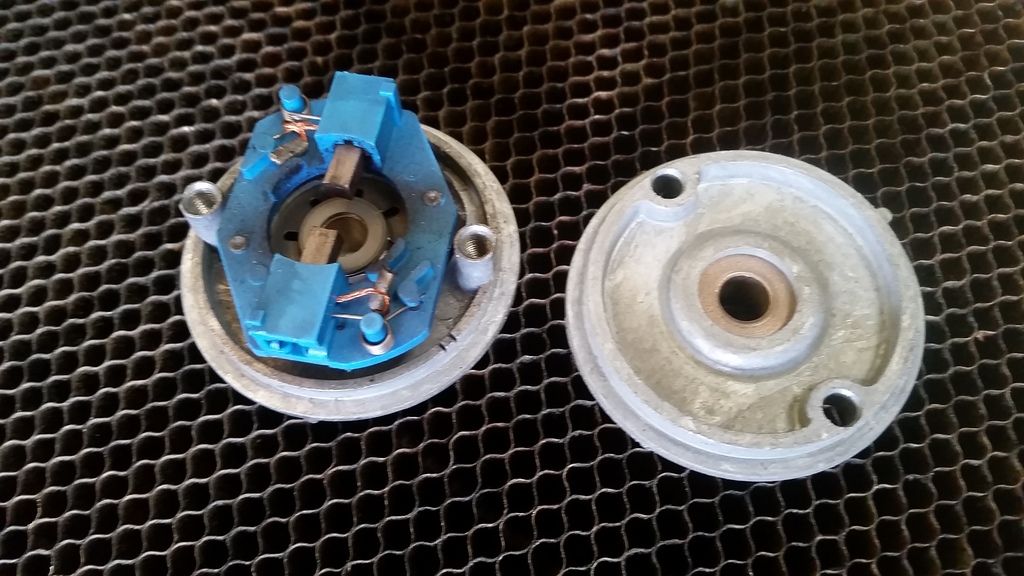
And this...
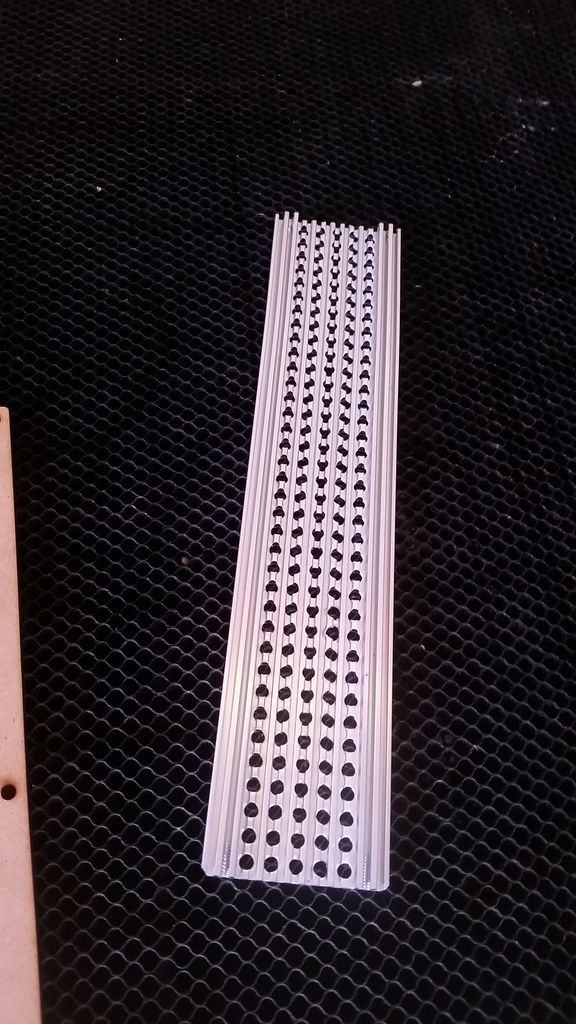
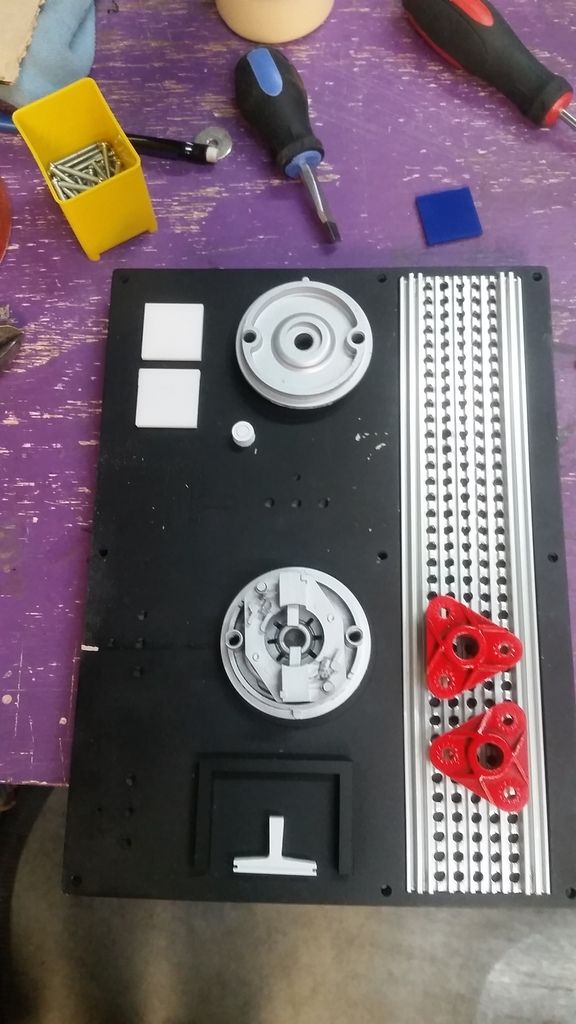
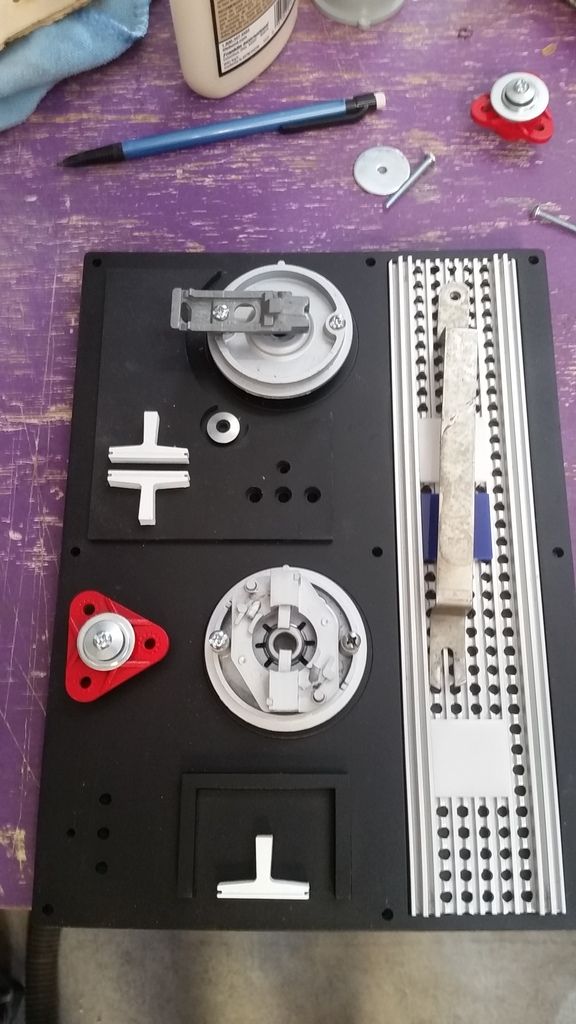
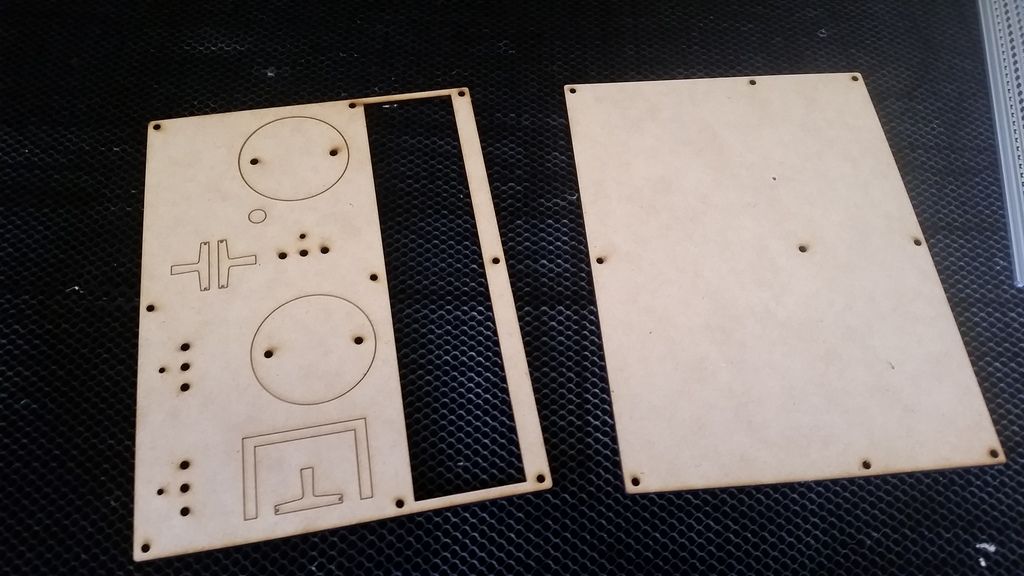
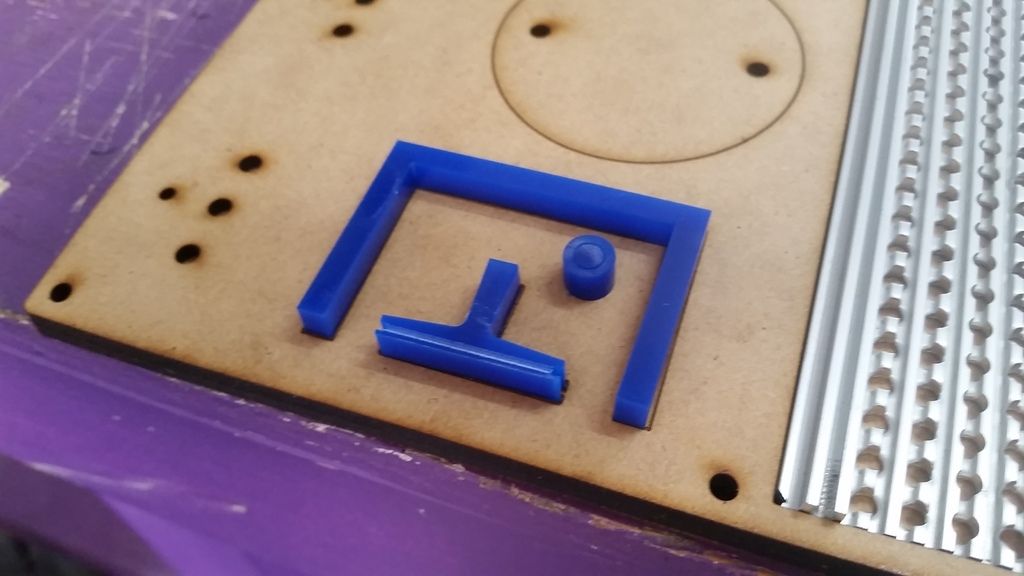
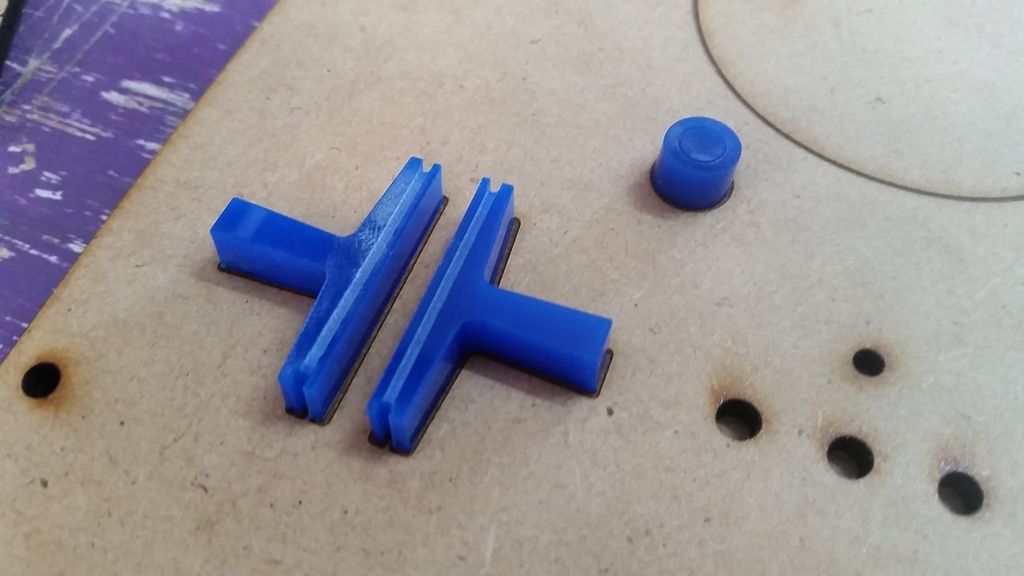
Designed and laser cut these...
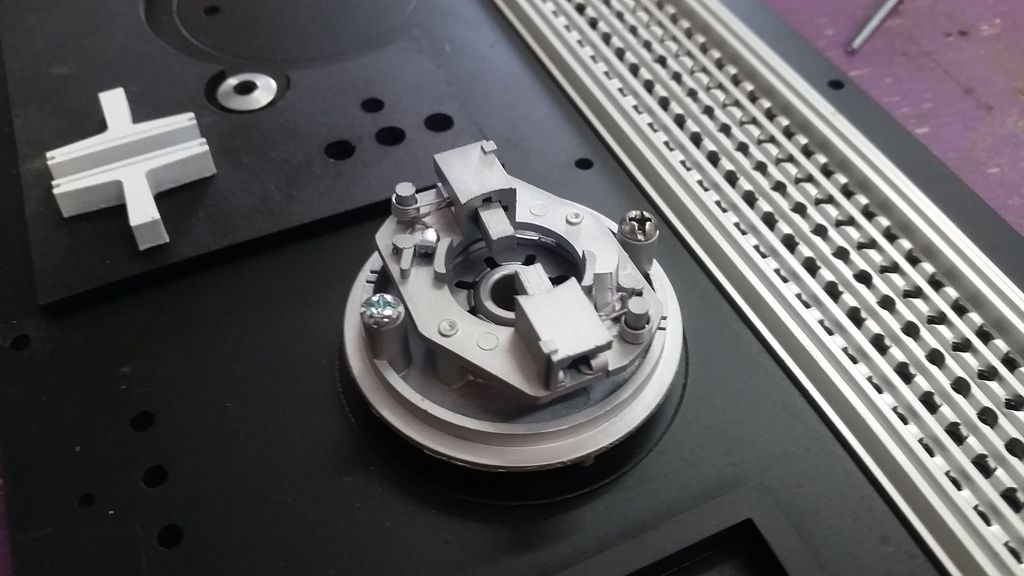
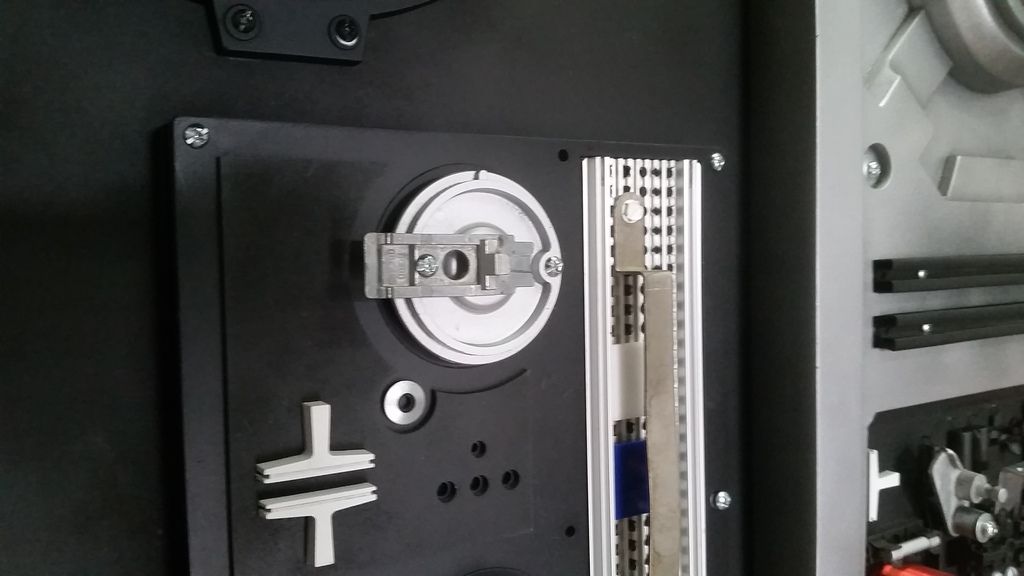
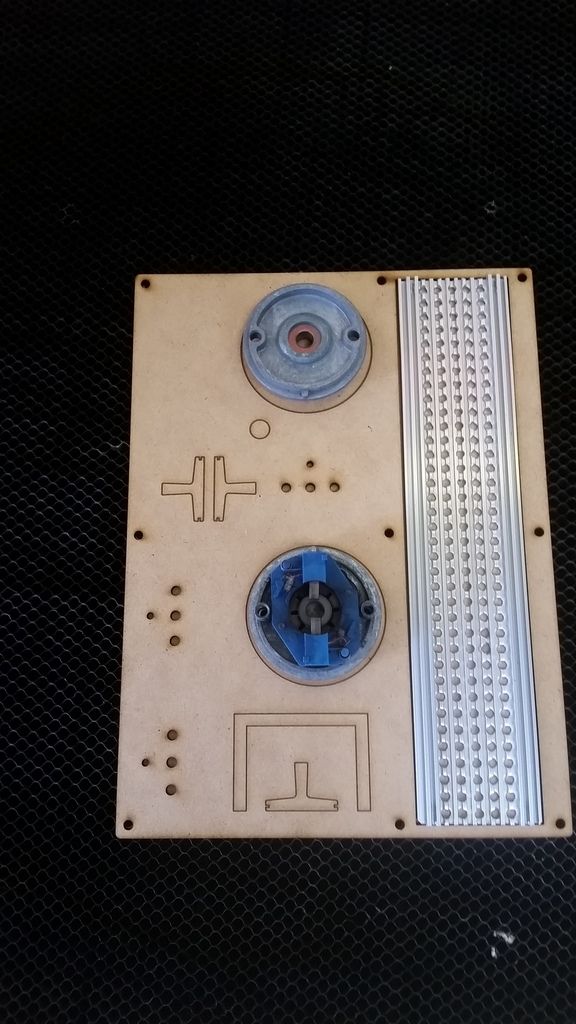
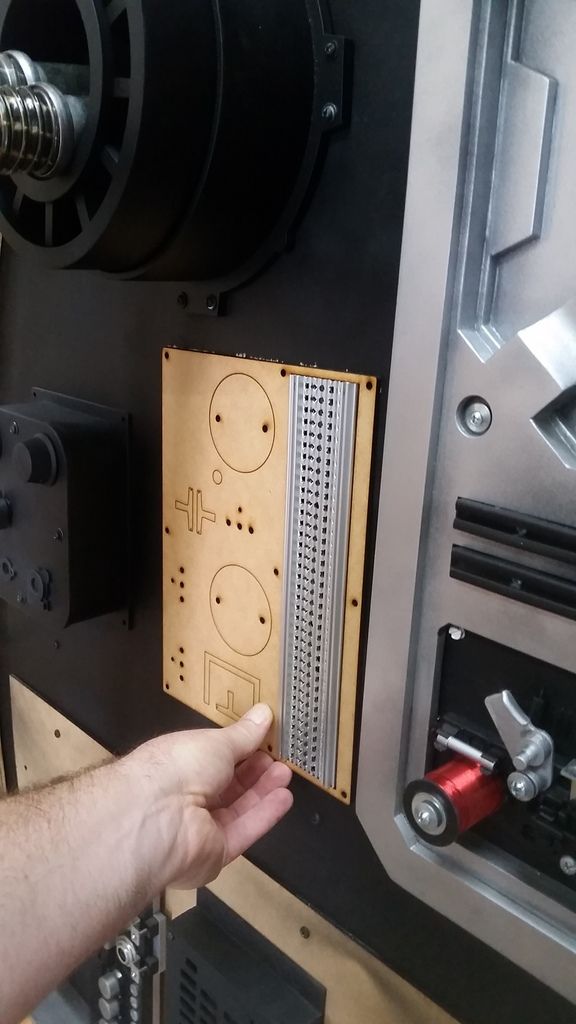
Started to dry fit
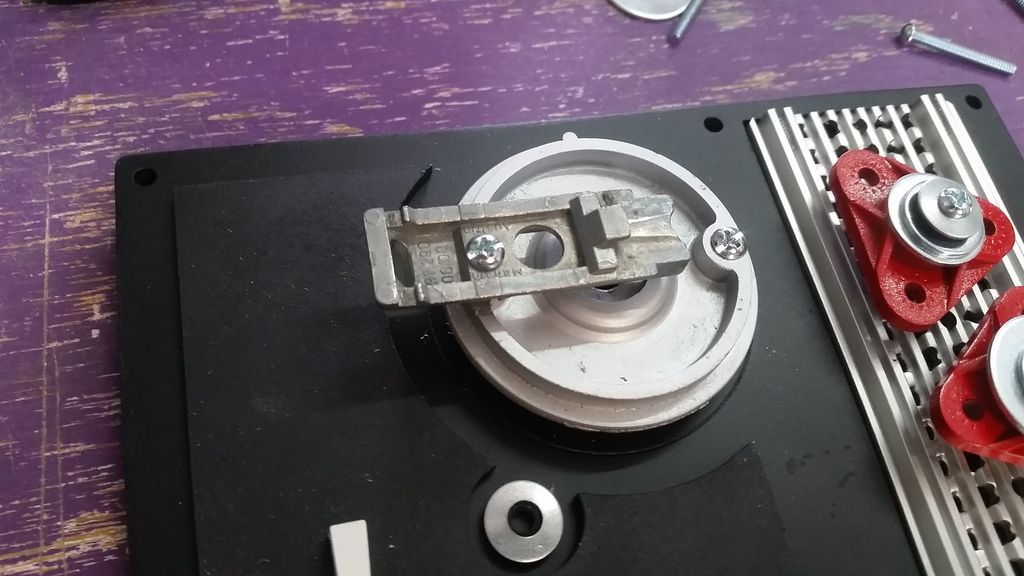
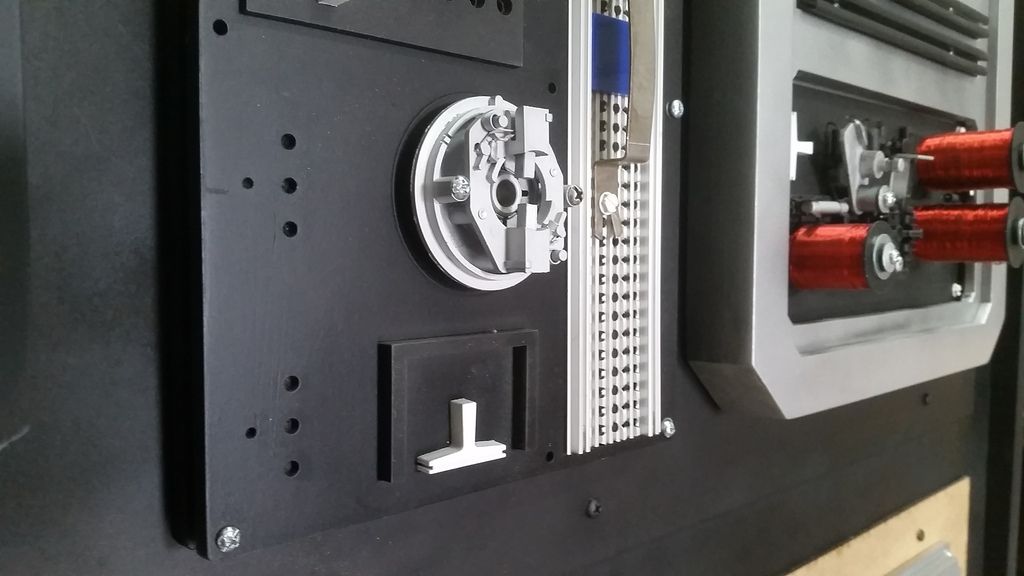
This panel will mount here
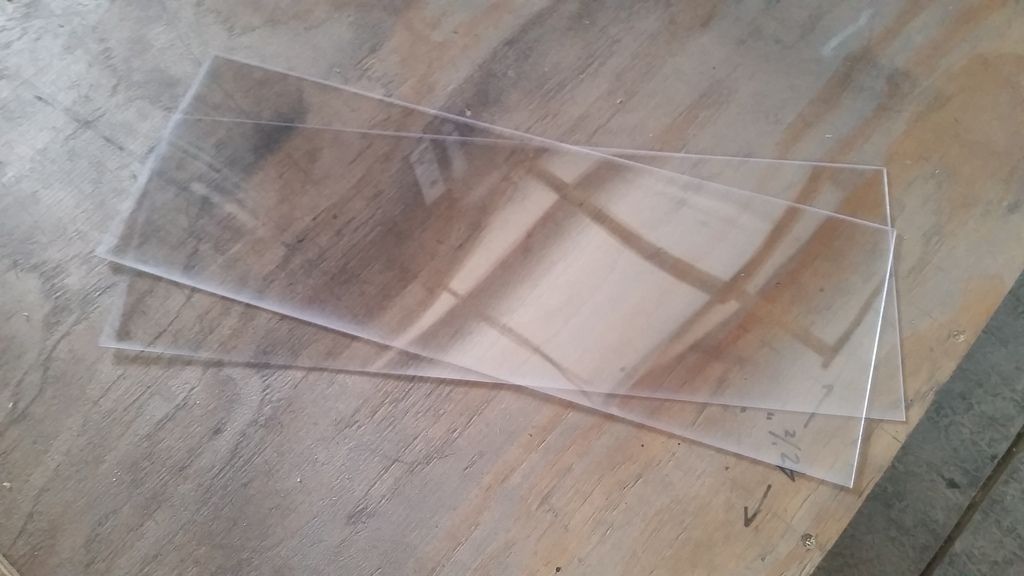
I then laser cut these acrylic pieces
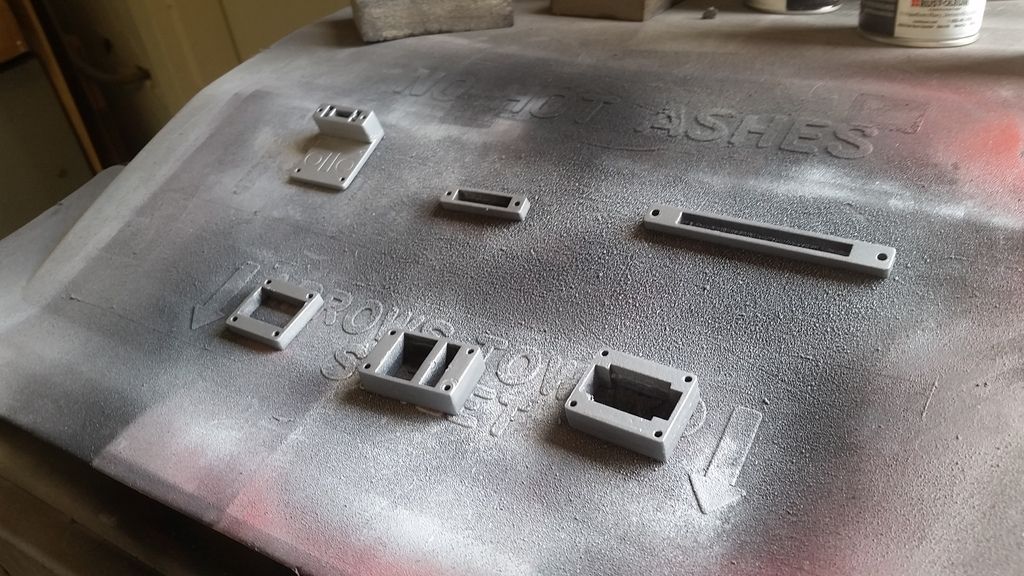
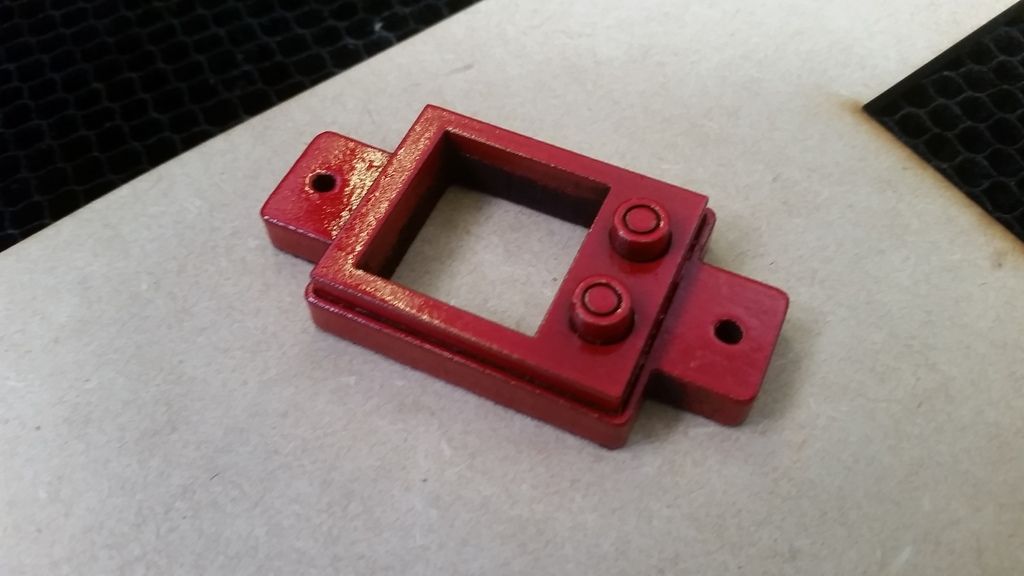
Added paint
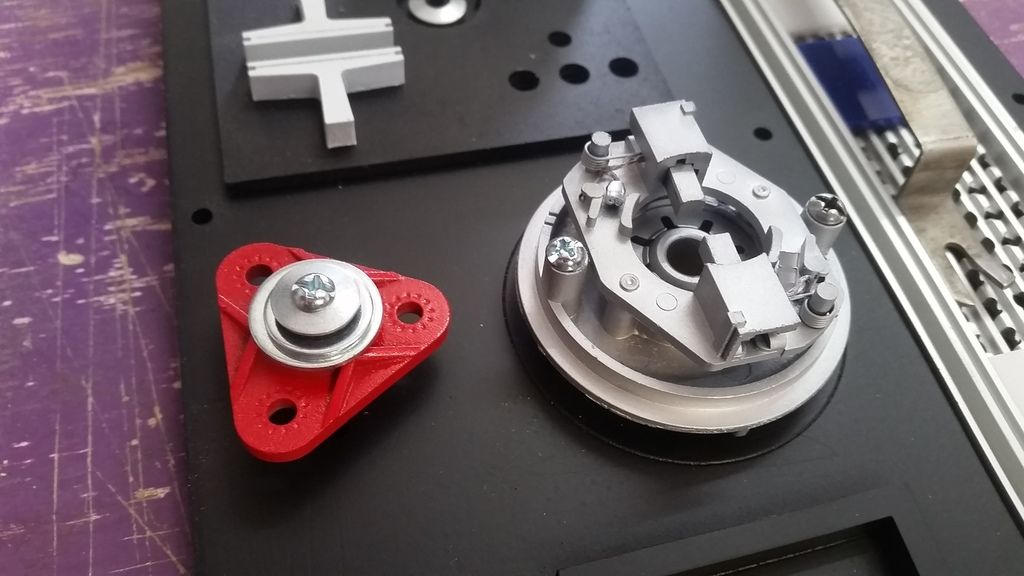
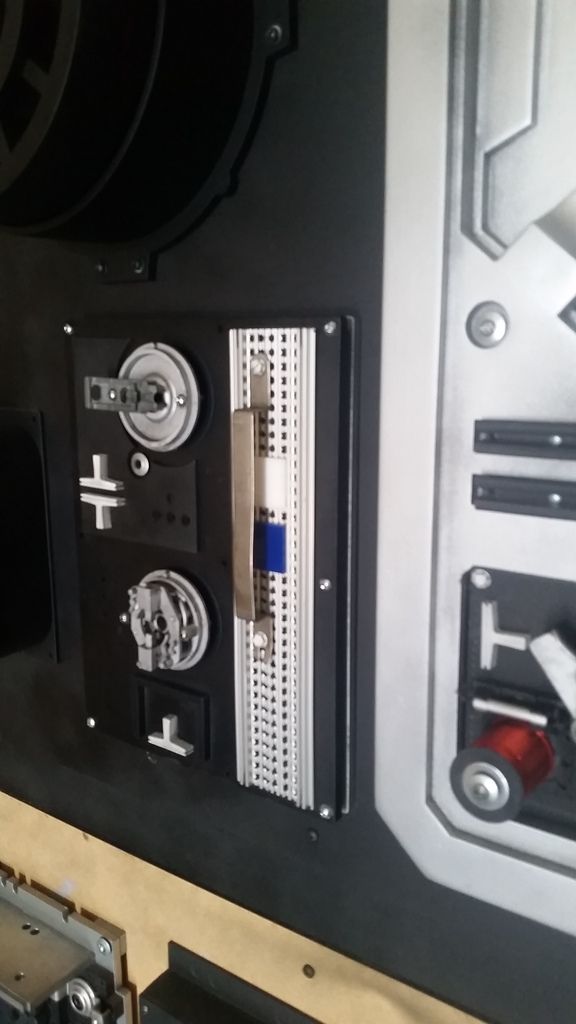
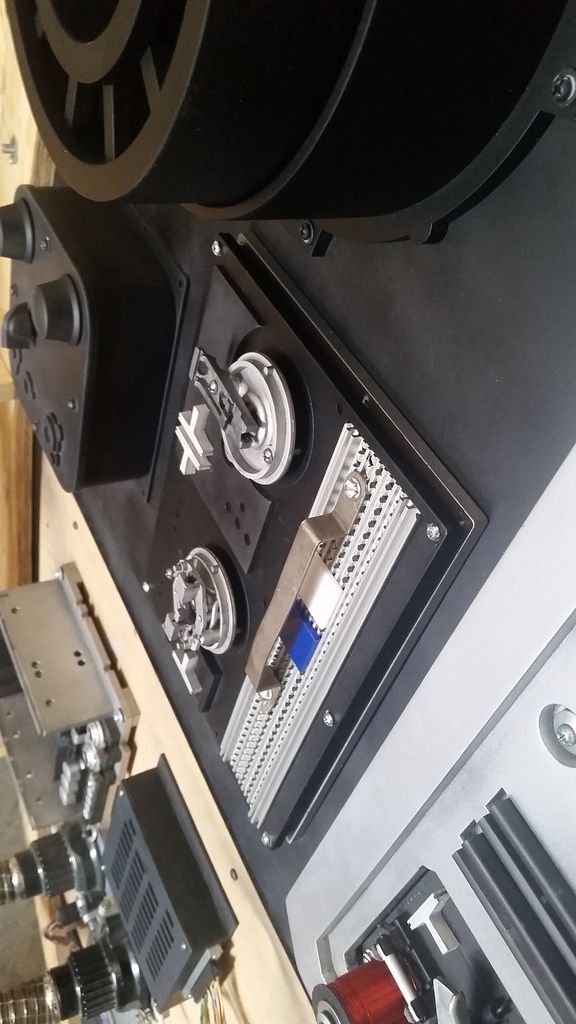
Love the detail
Primer
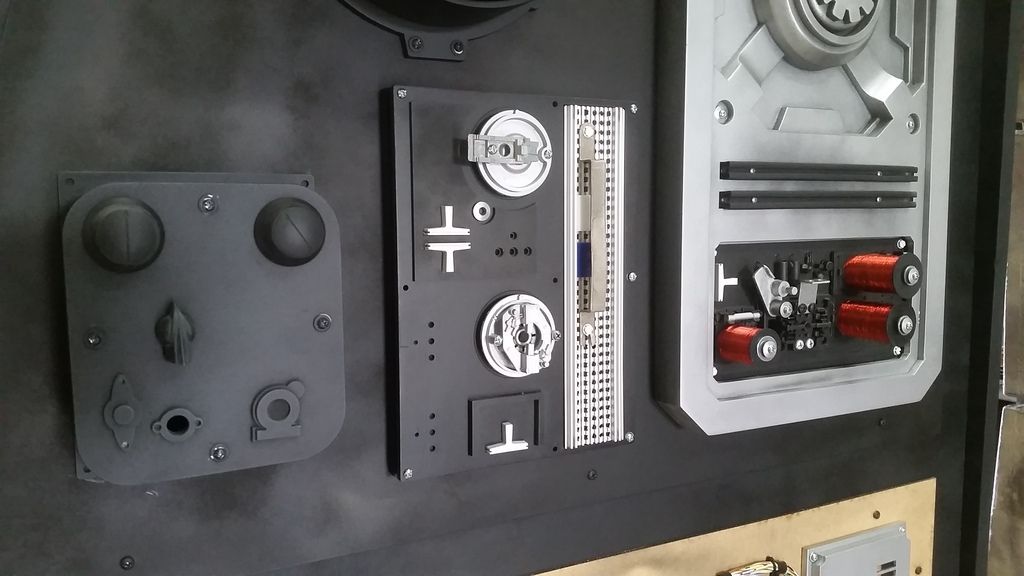
Another dry fit
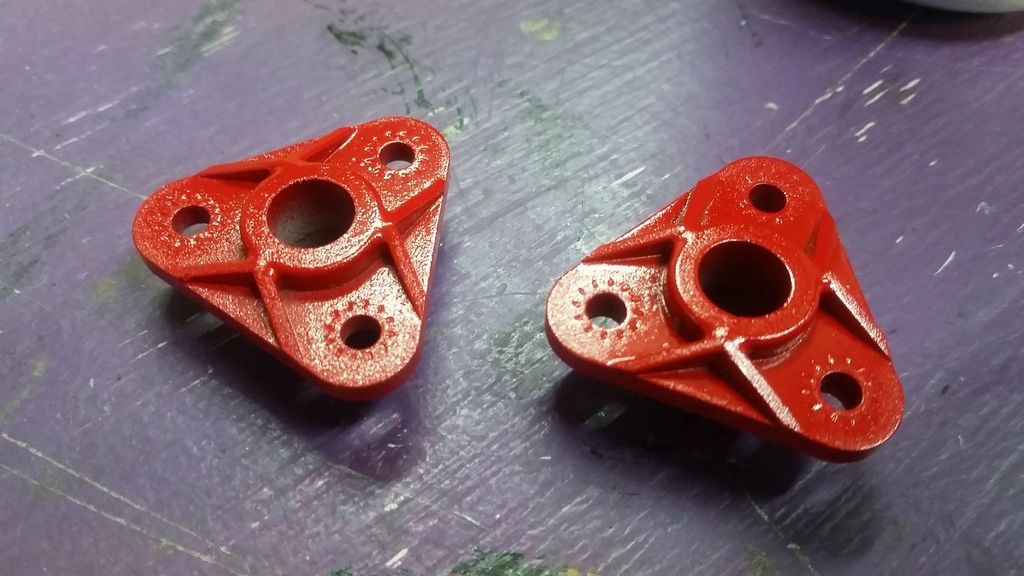
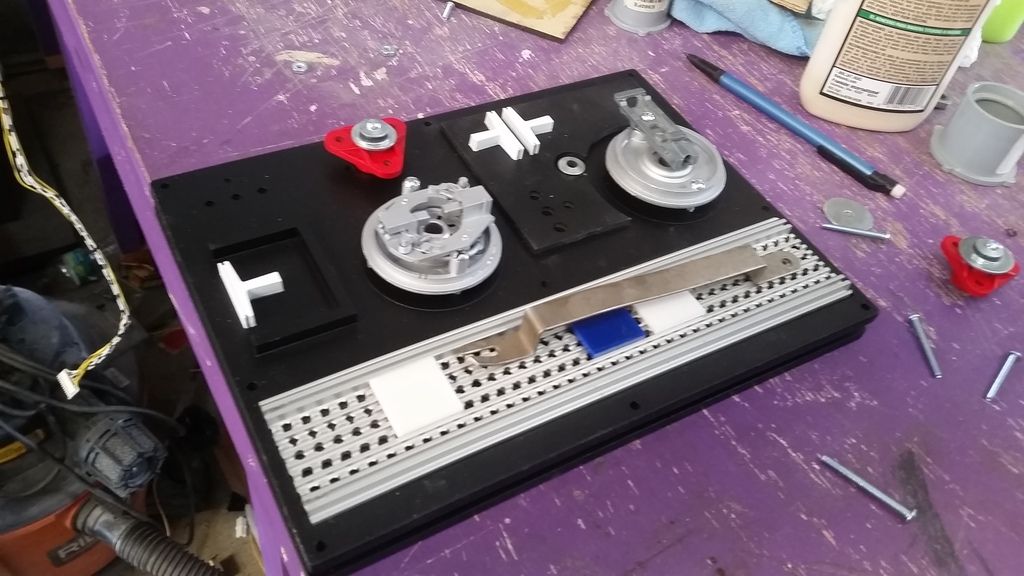
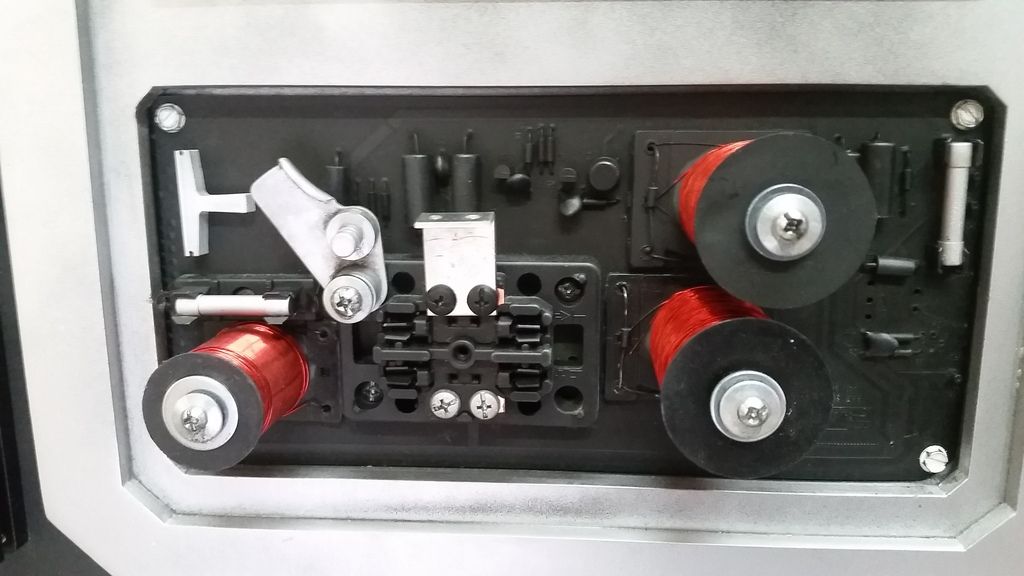
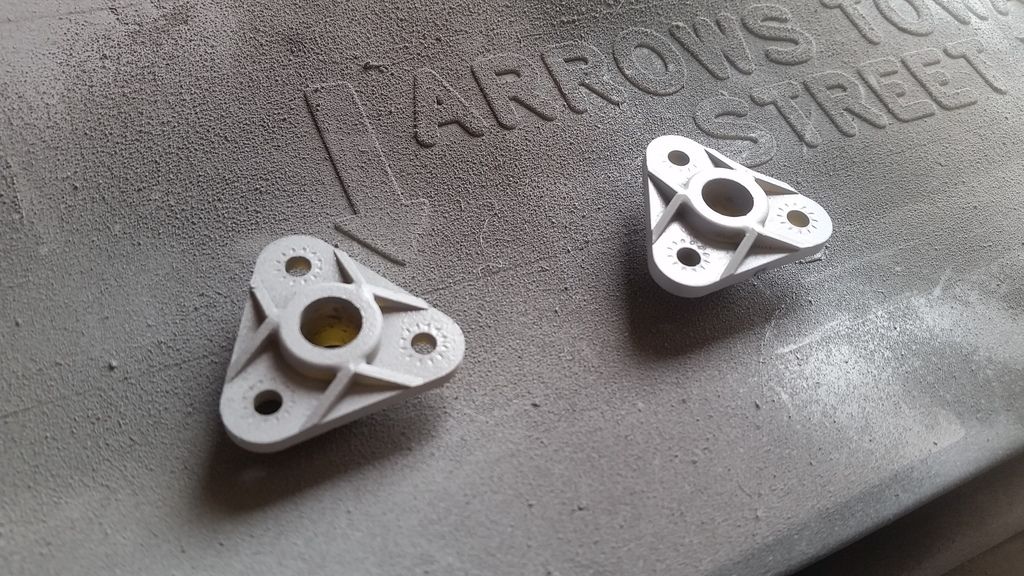
Dug through some more and found these
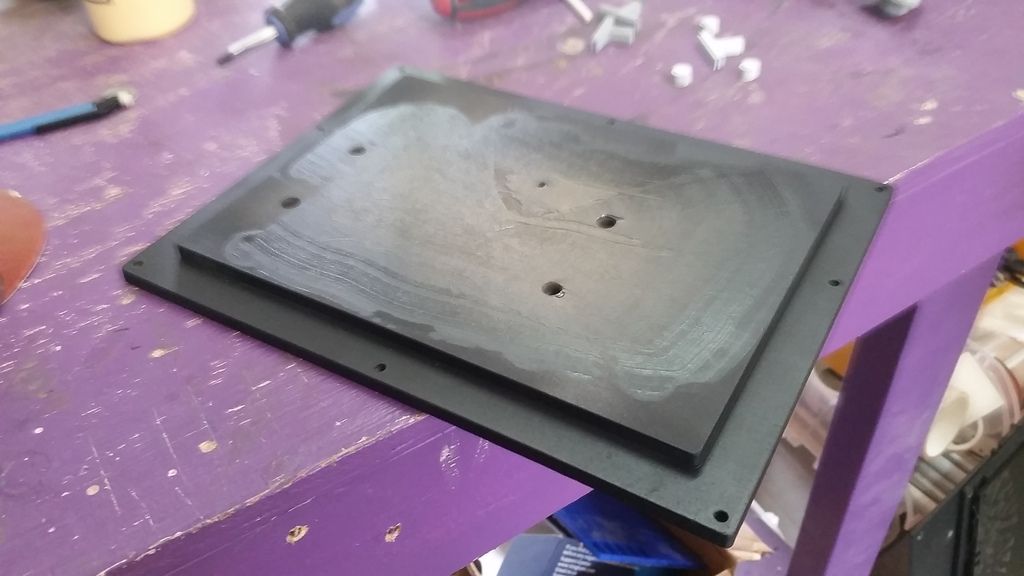
Finally, I created a base for the panel - I should have this finished up today!
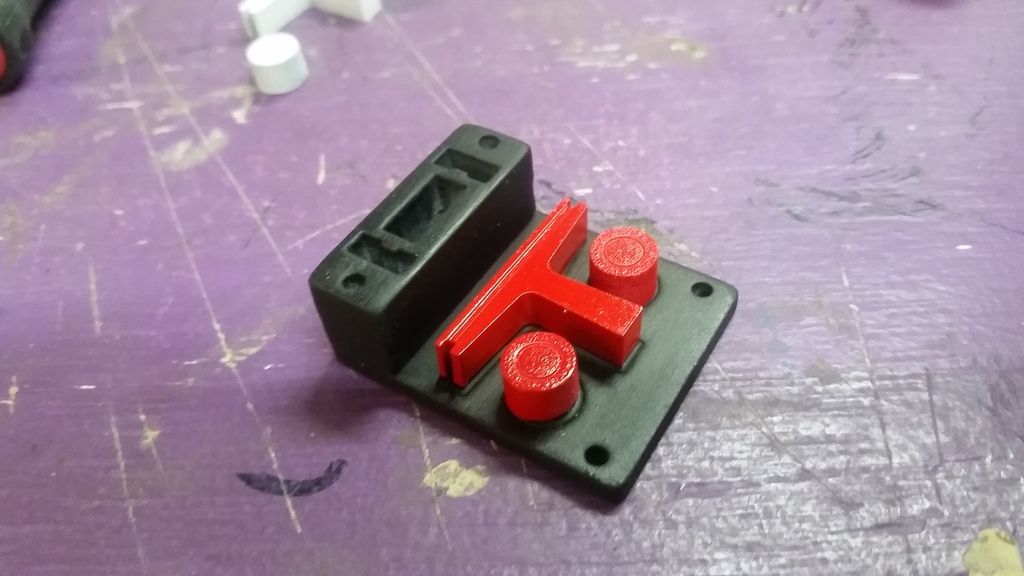
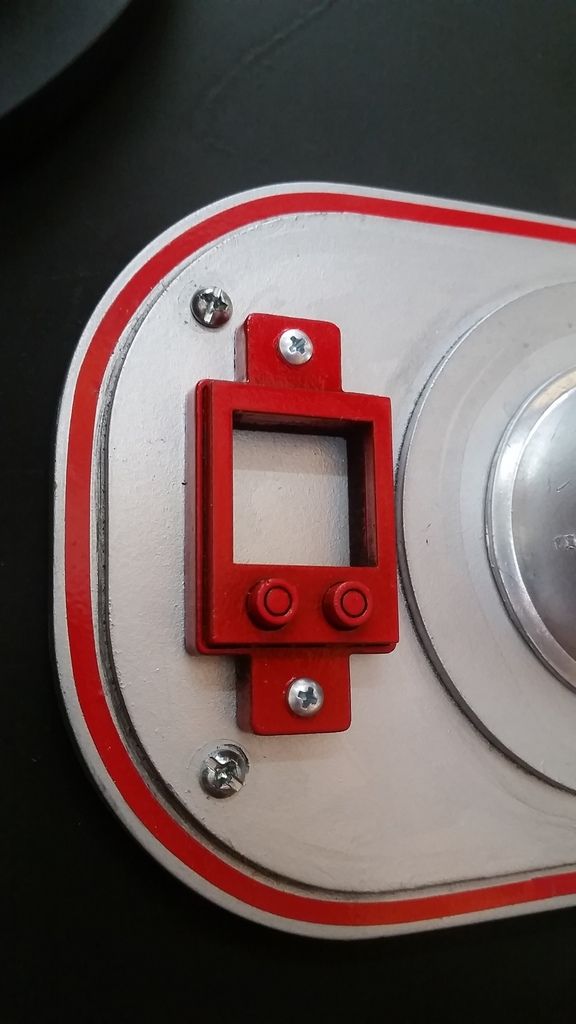
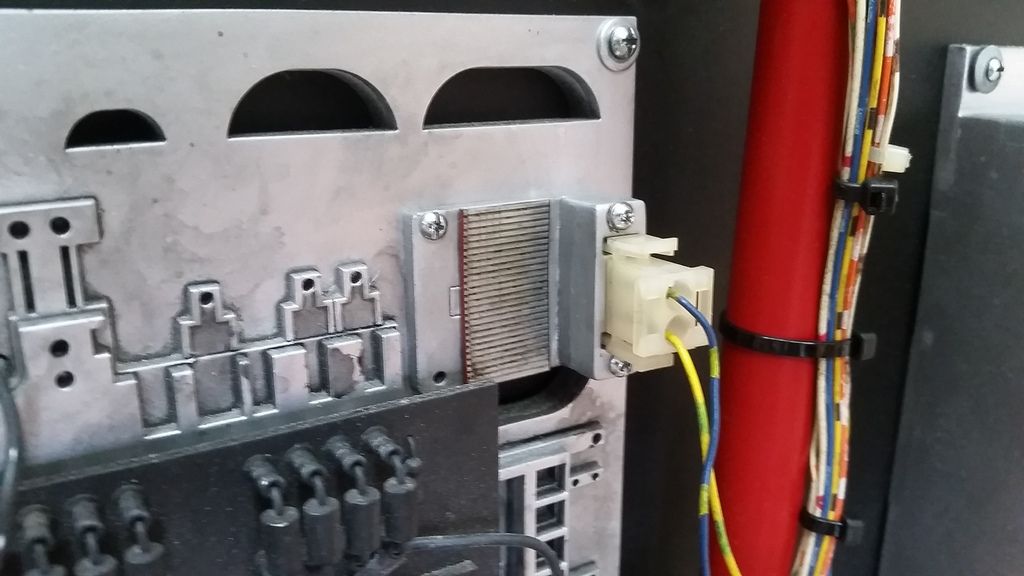
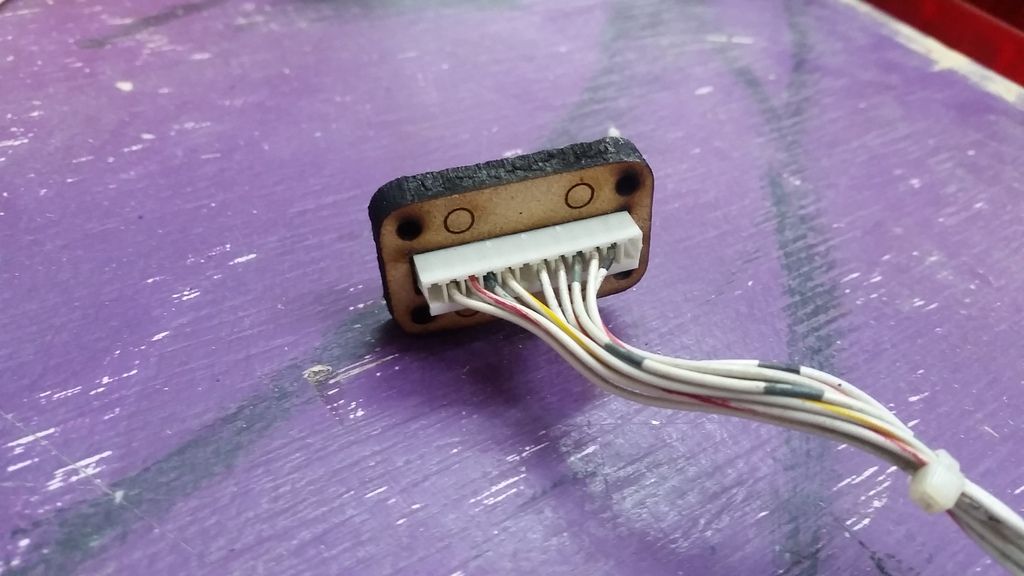
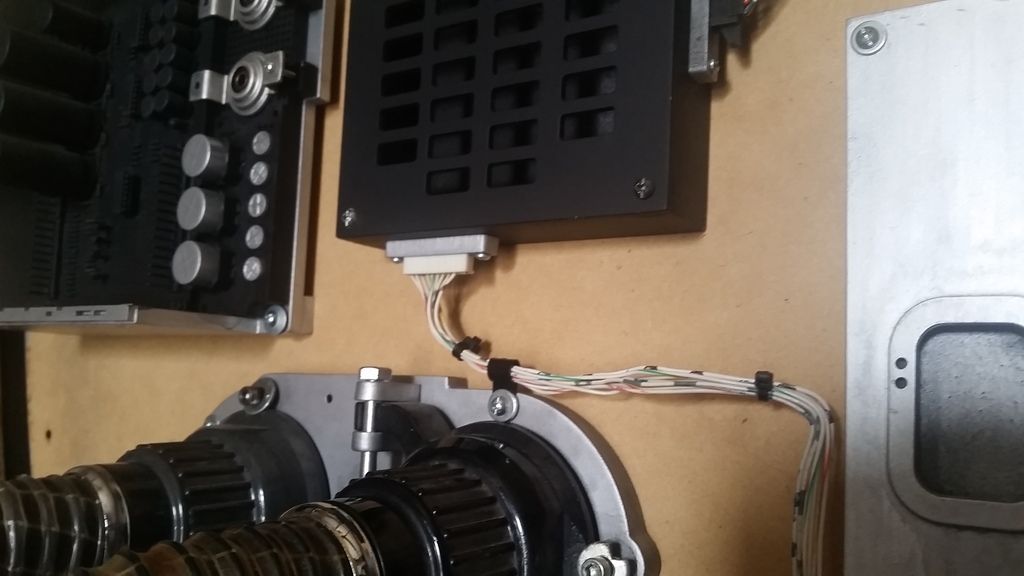
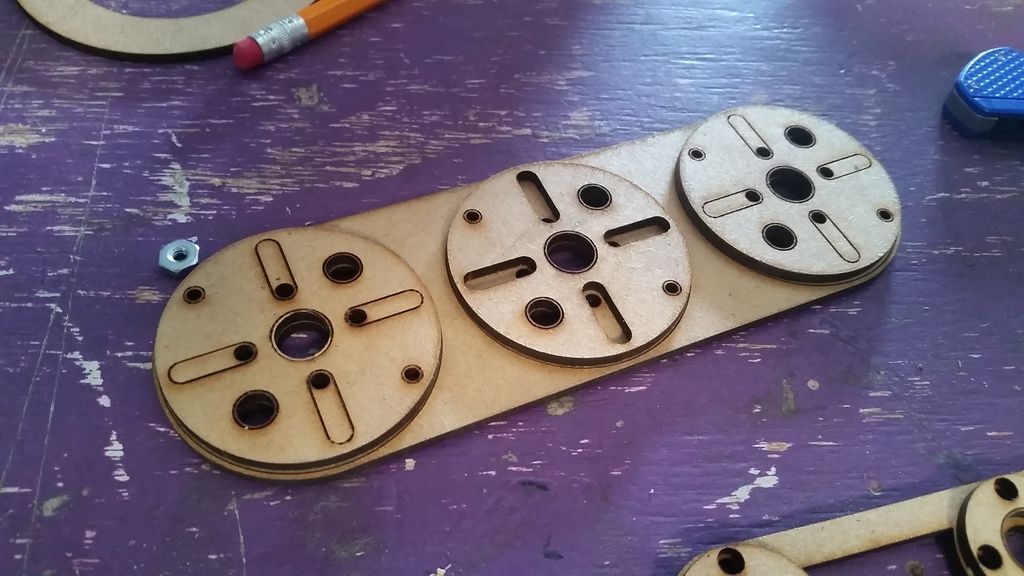
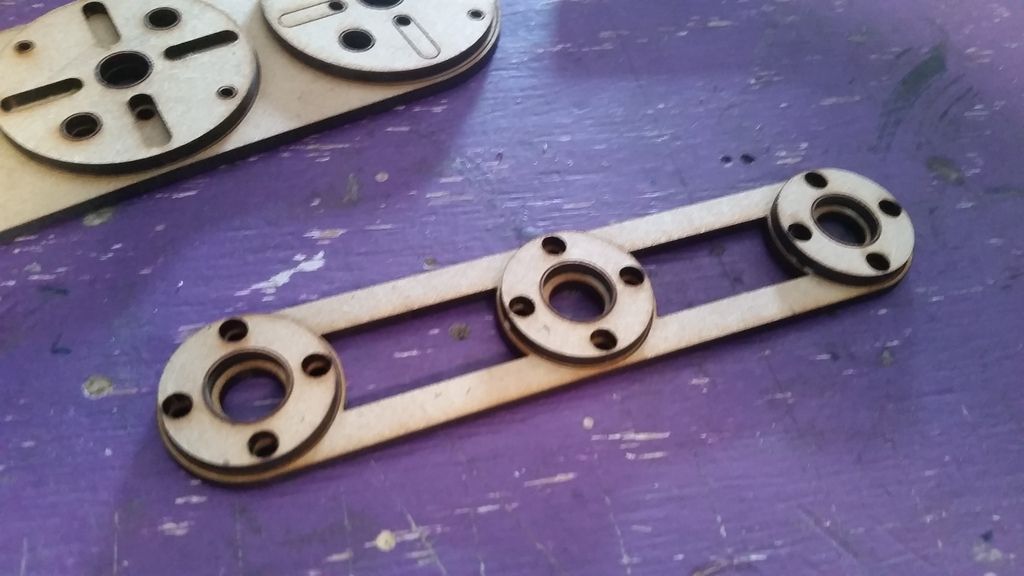
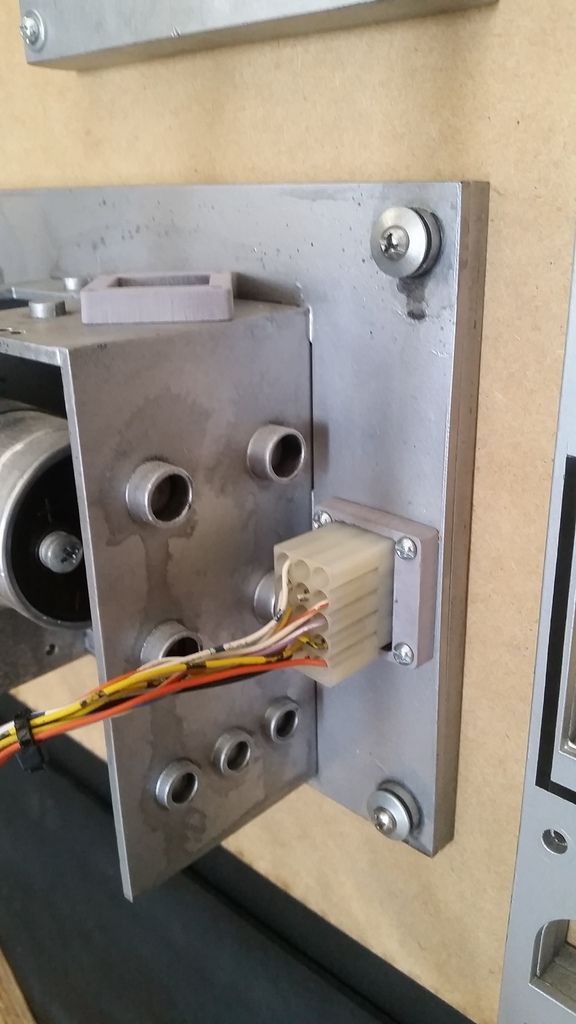
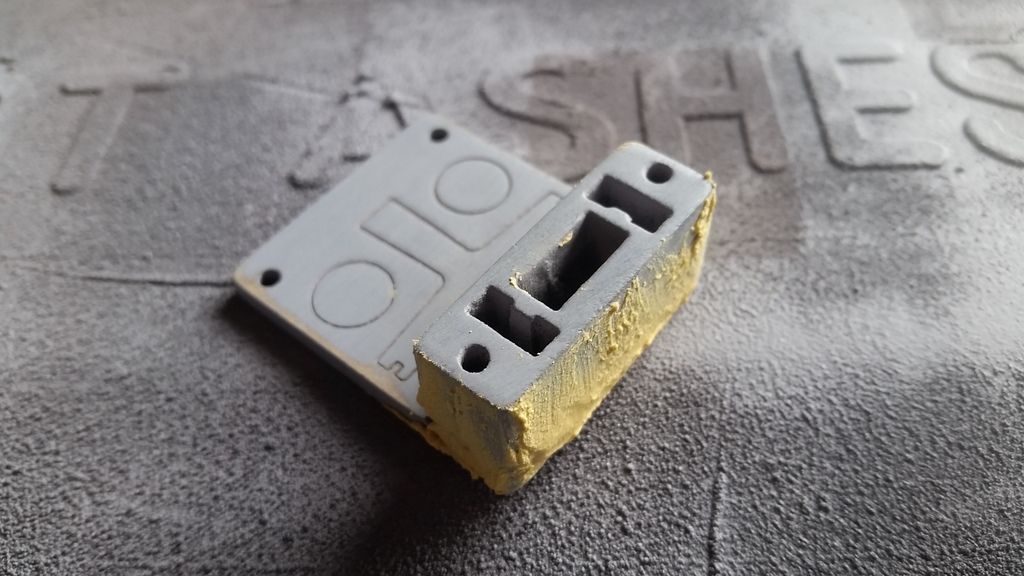
Then I jumped around... Another wire connector

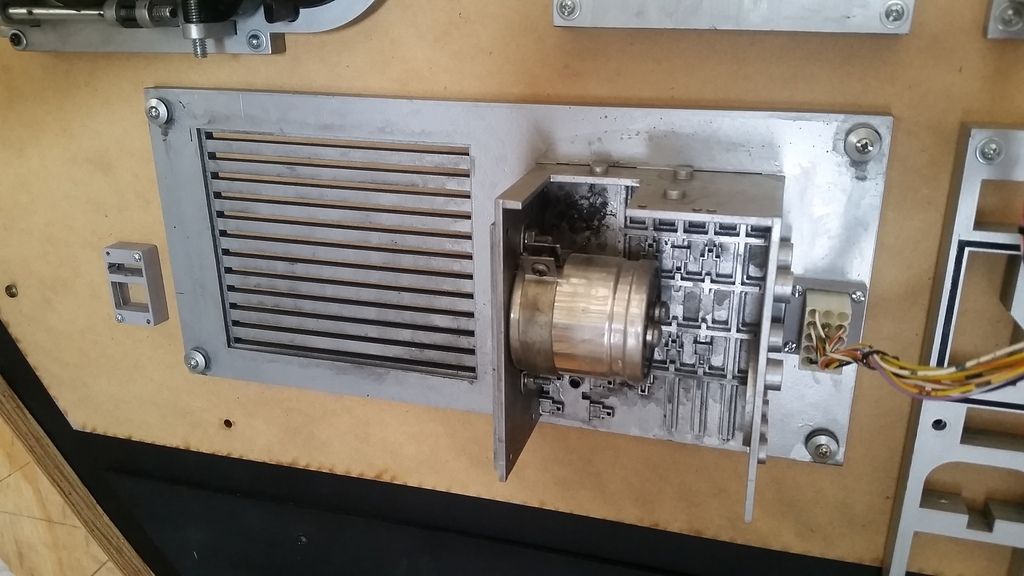
Another greeblie I created
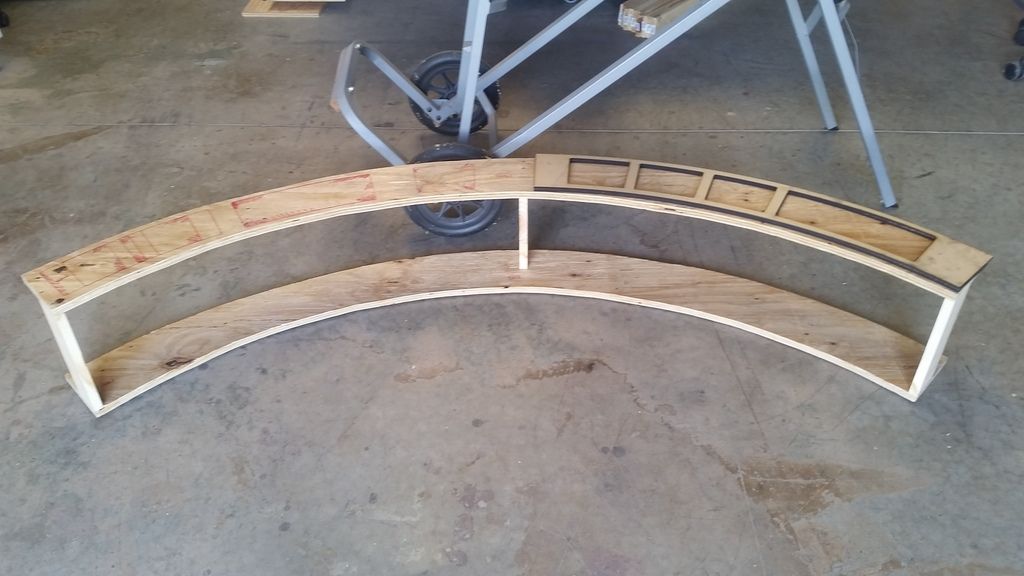
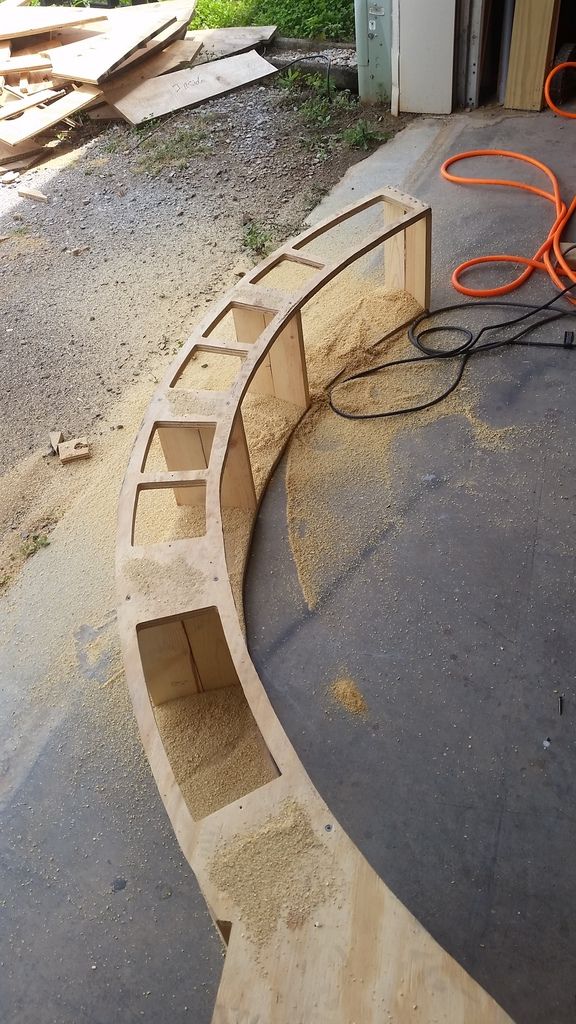
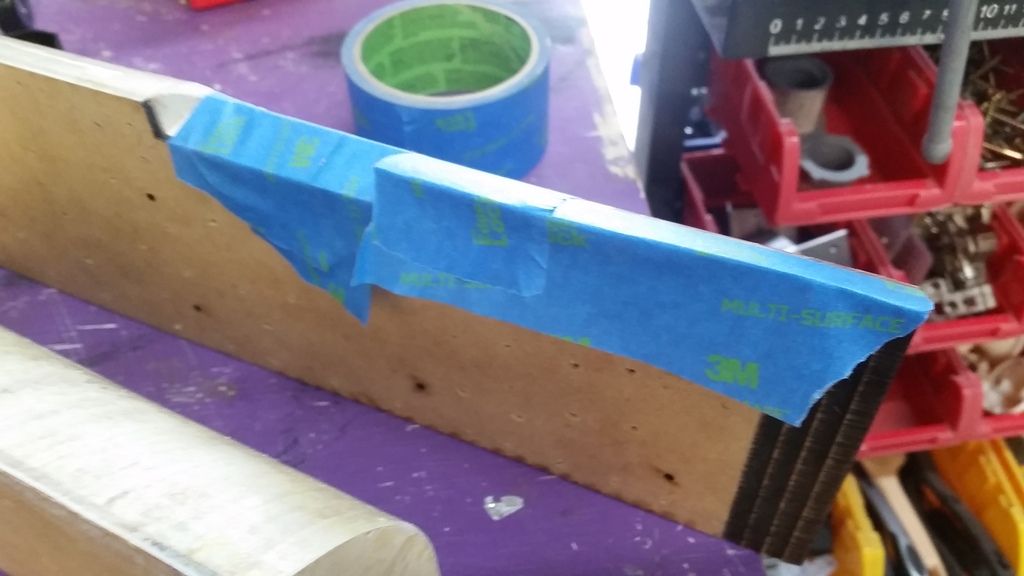
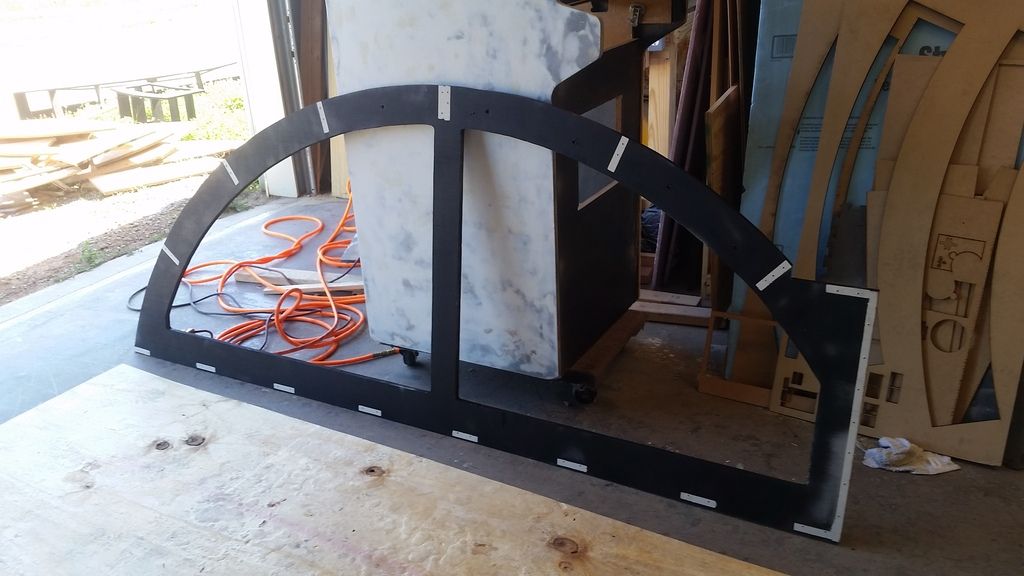
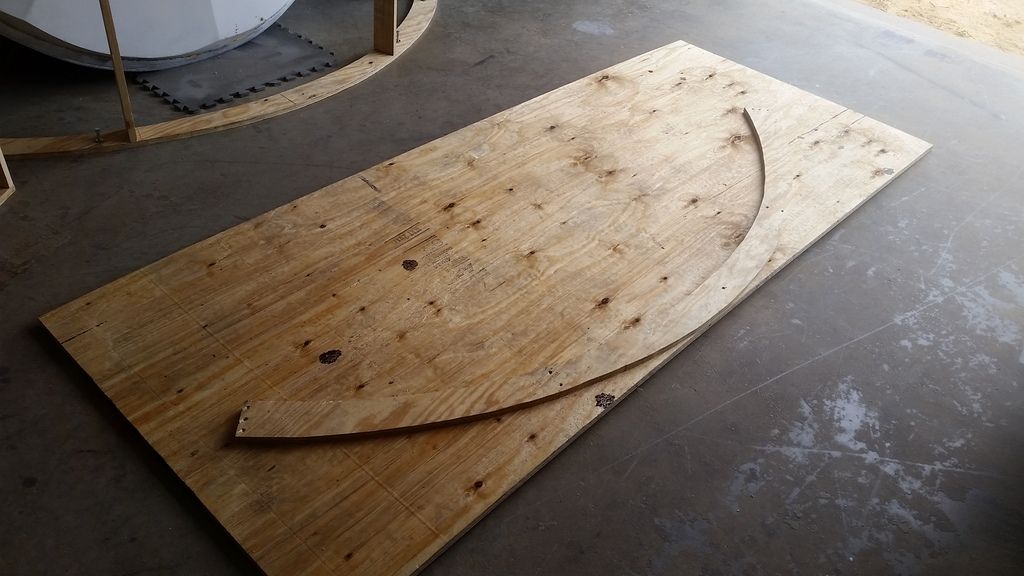
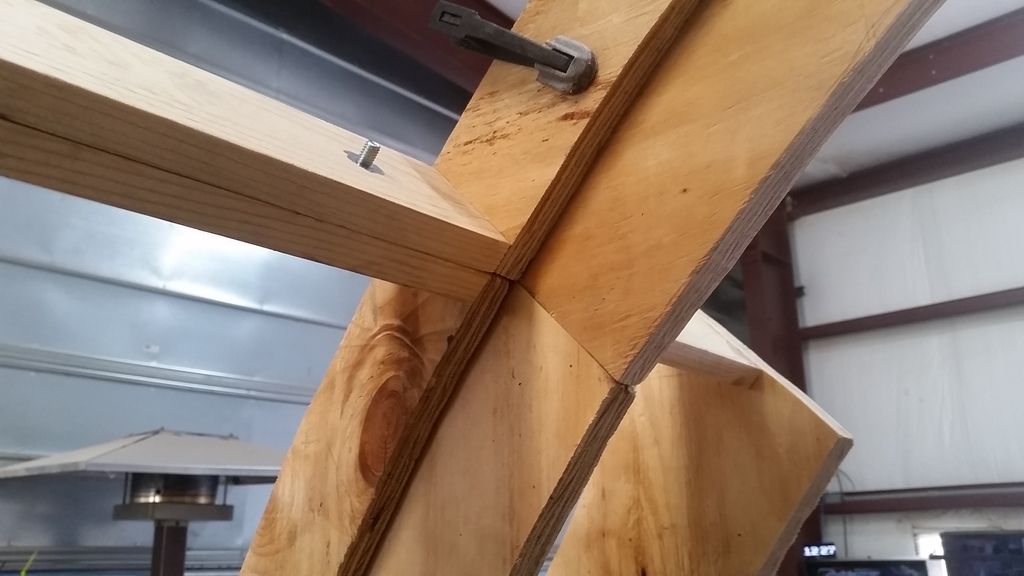
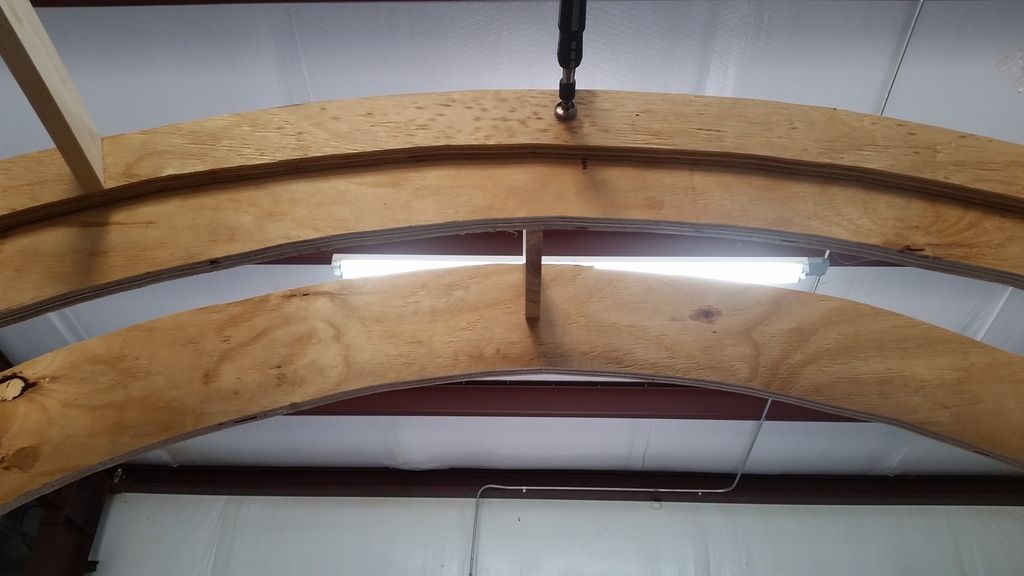
It was then time to get this LAST arch frame done!
Not sure how it happened but I was 1/2" off on one side?
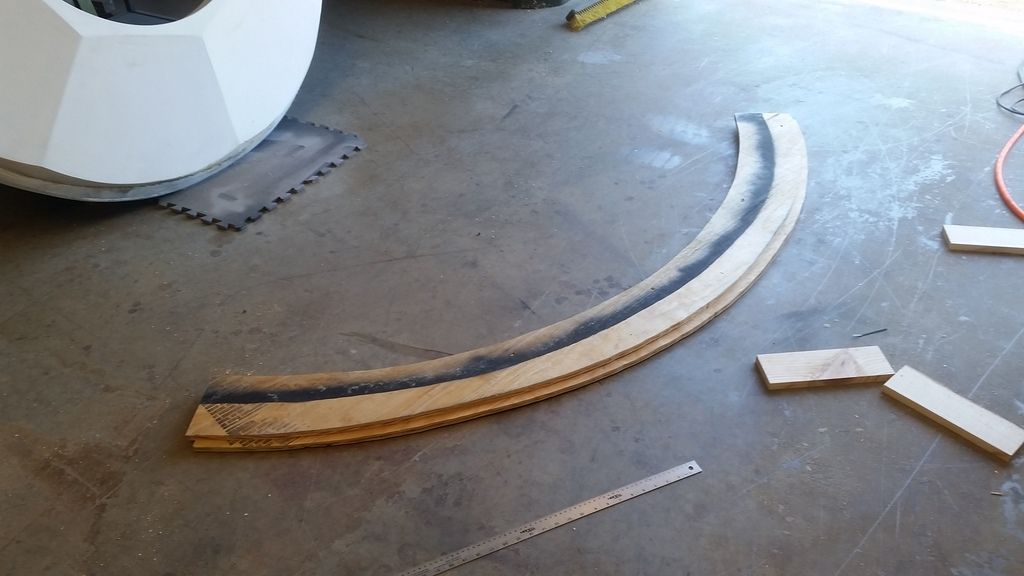
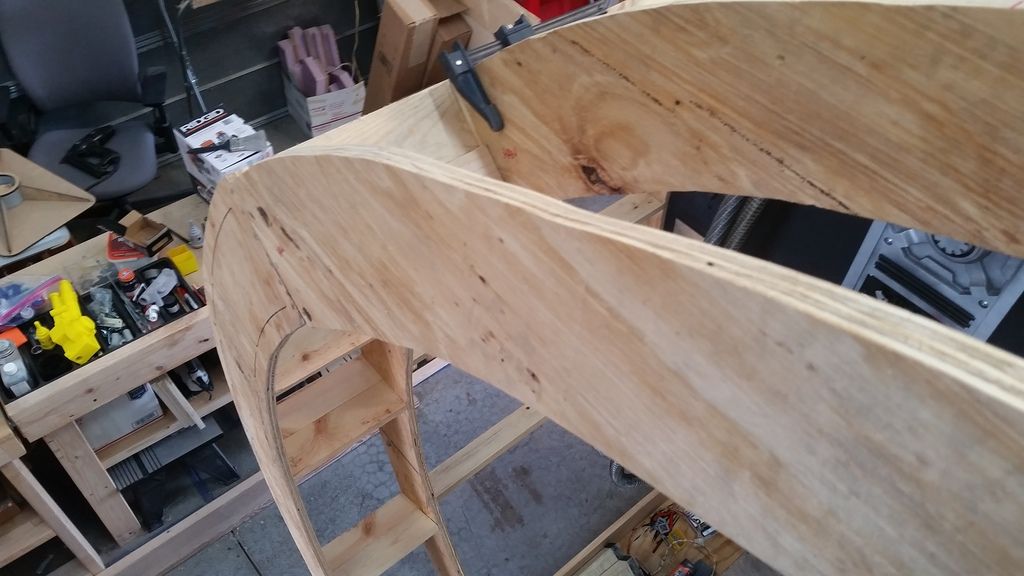
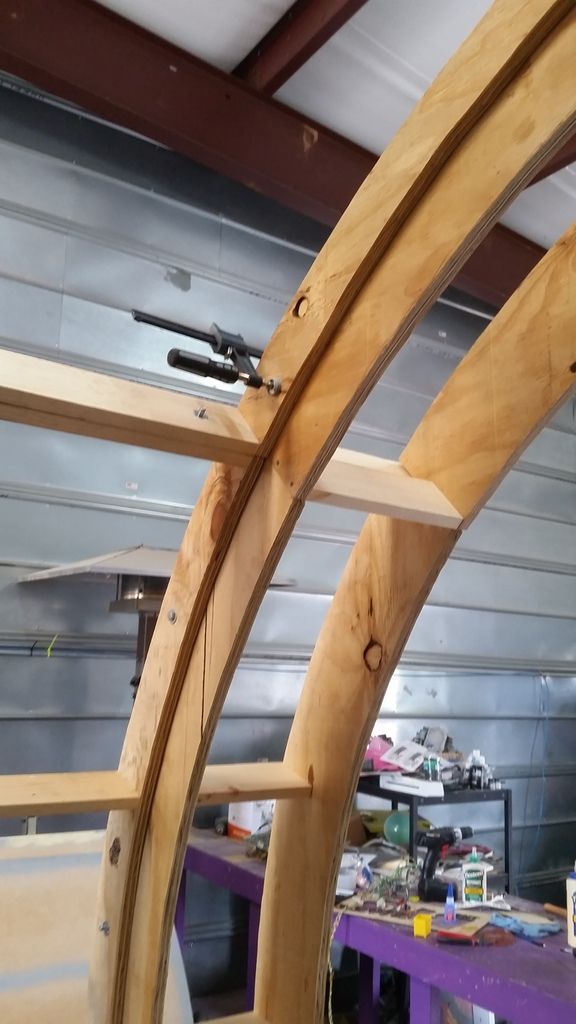
First panel cut and now fits
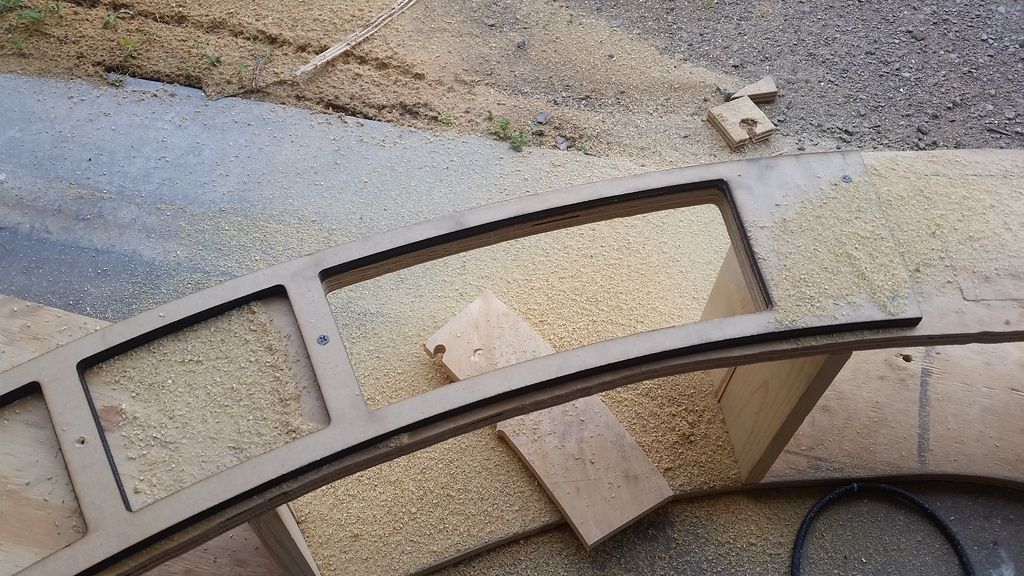
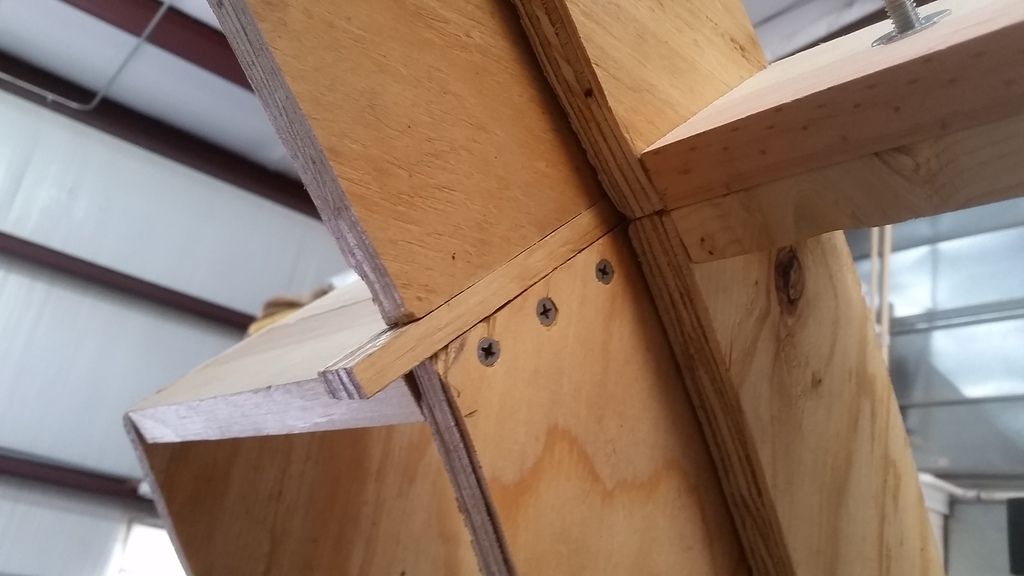
YUCK! Lots of dips and uneven cuts! I hate using the jig saw. I managed to break 4 tracing bits during this phase? But, she's framed
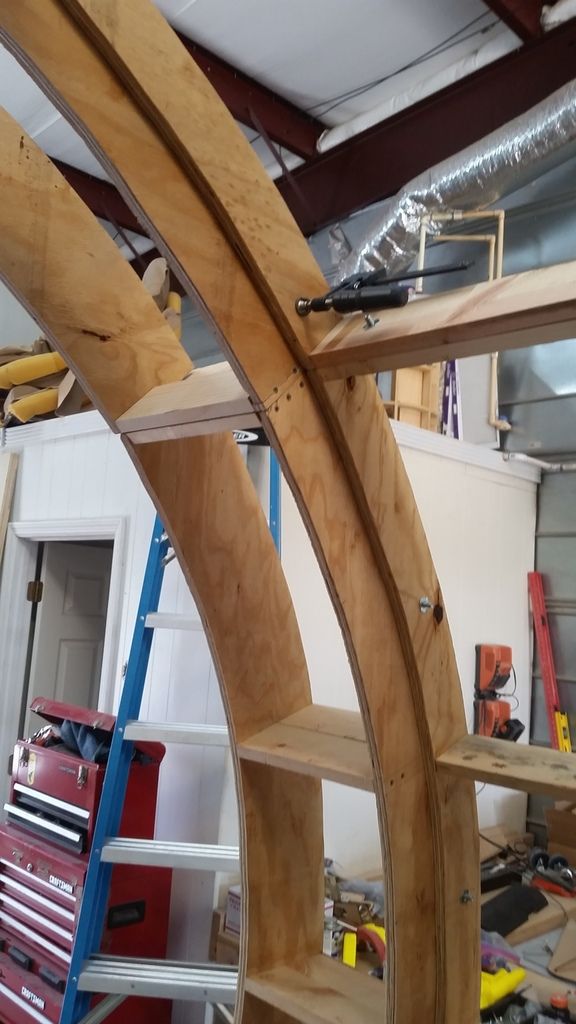
Need to finish adding the vertical supports
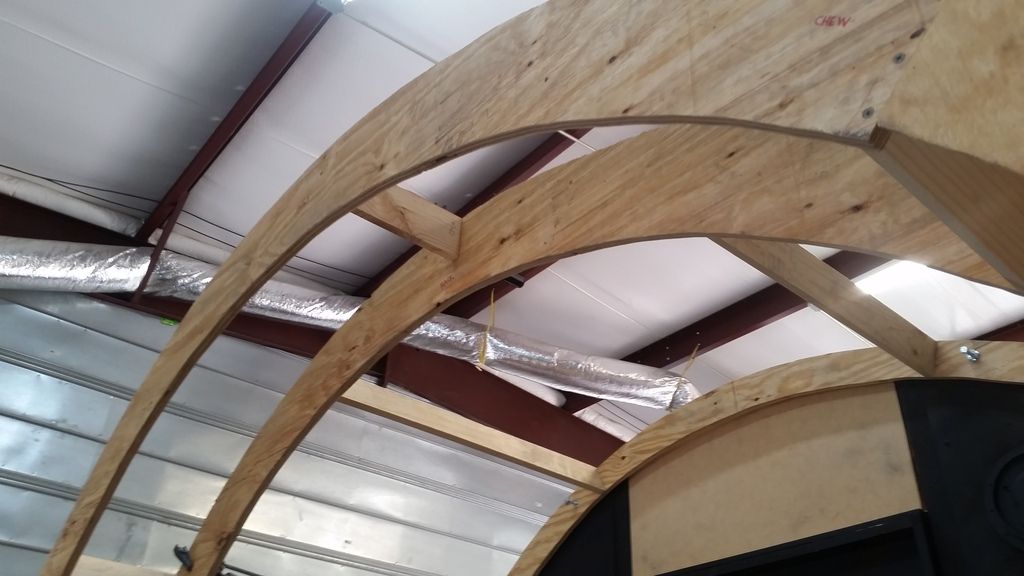
Trimmed up a LOT of these framed and got it more square
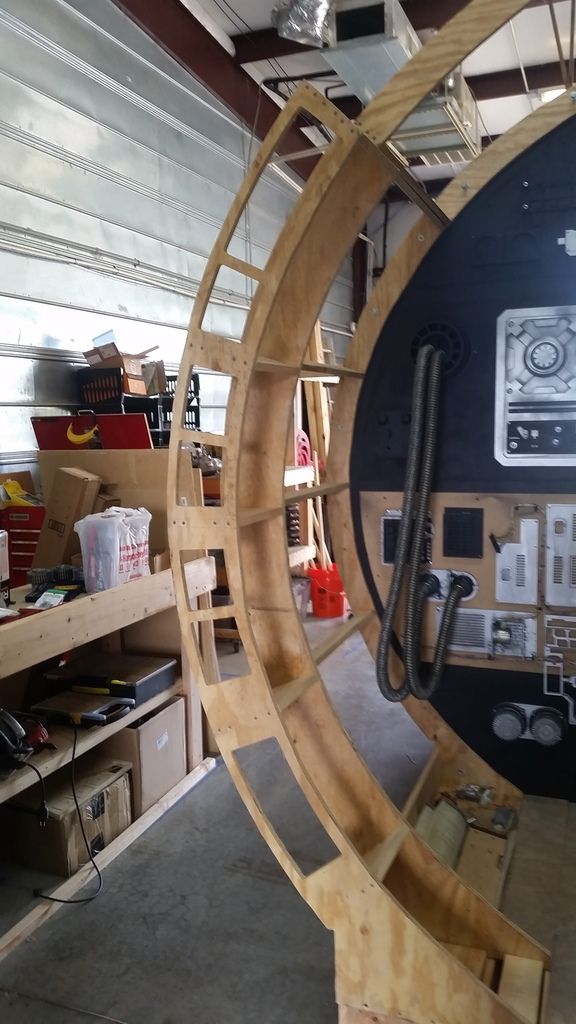
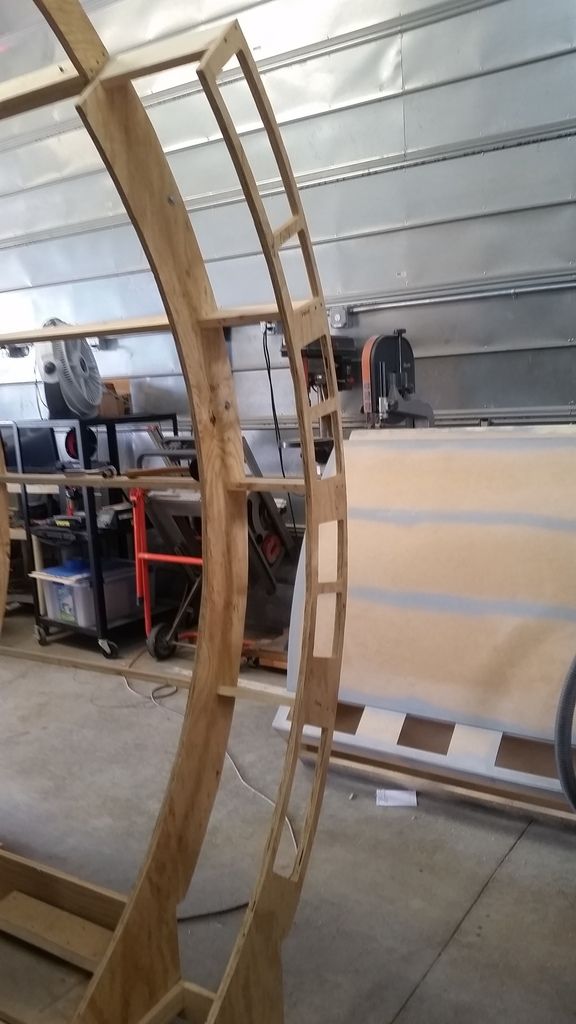
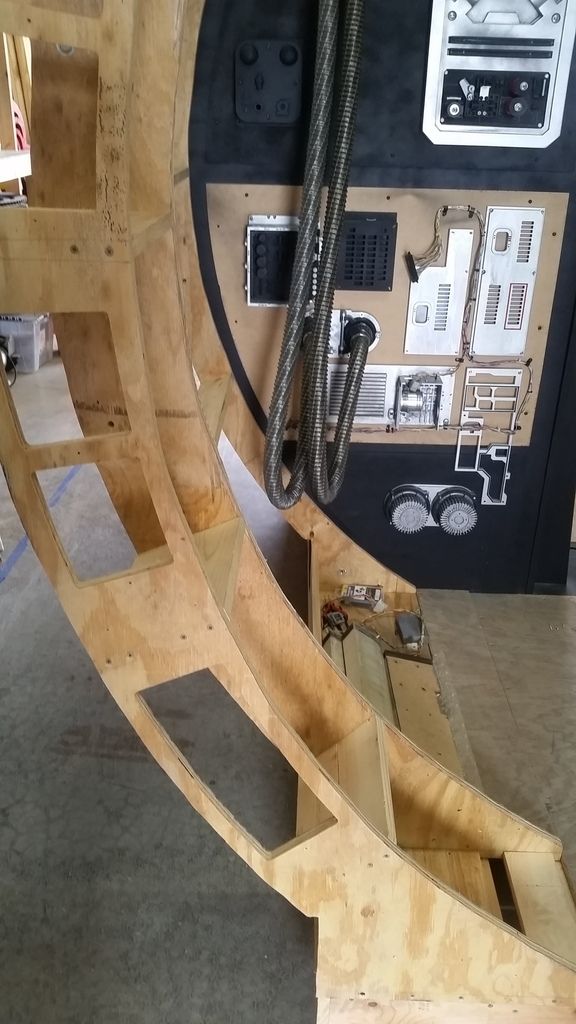
Top View
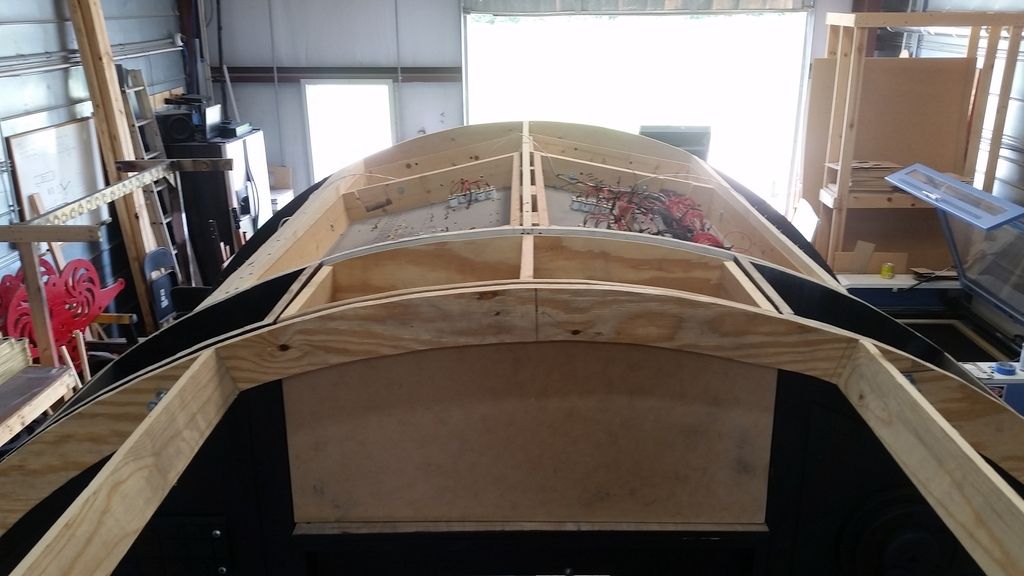
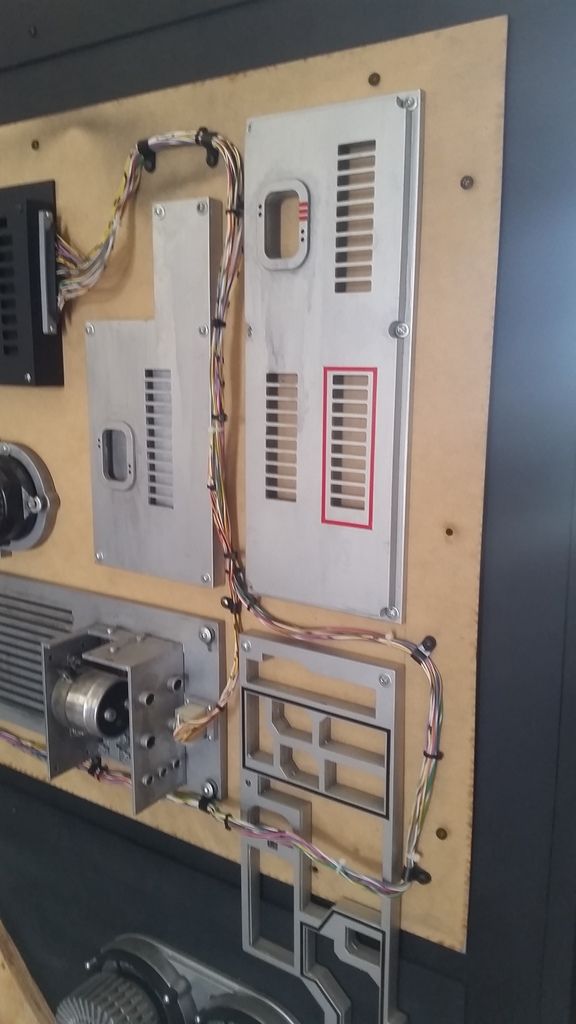
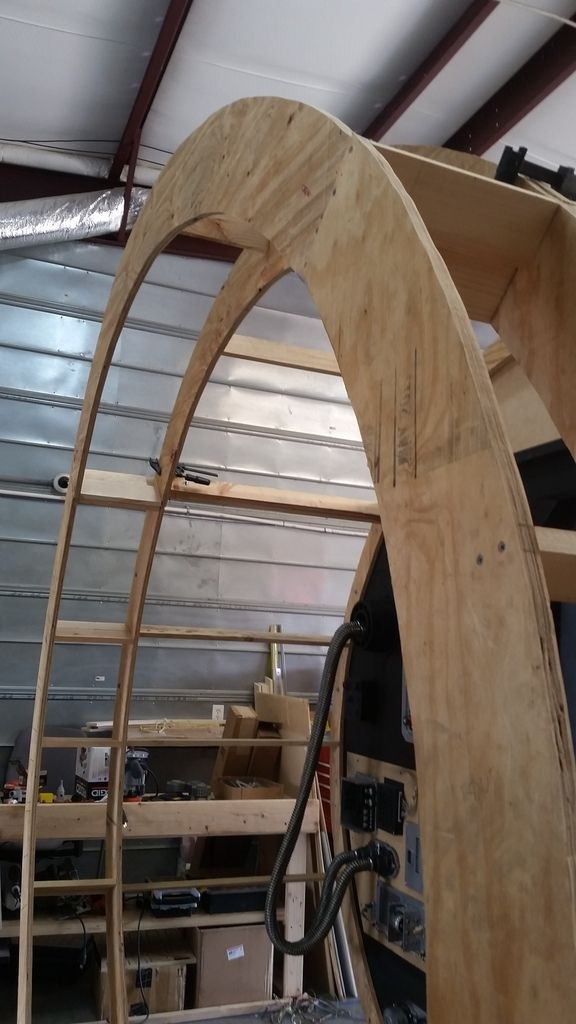
And this is where we are!
Stay Tuned! Part II Coming!
For all those patriots celebrating the 4th of July, Happy Birthday America!
Time for the holiday weekend Update Part I
I laser cut these nav chair nacelle skins
Sprayed adhesive
Then wrapped each nacelle
This edge is the area of most concern - the plexi wants to pop away from the edge
I bent the edges over and rested the nacelle on the actually edge - fingers crossed it works
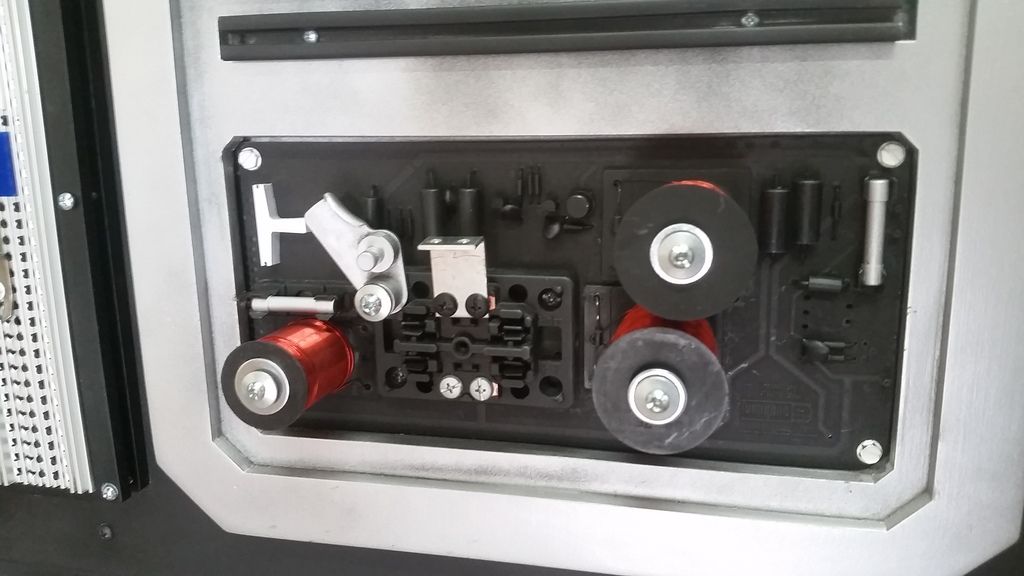
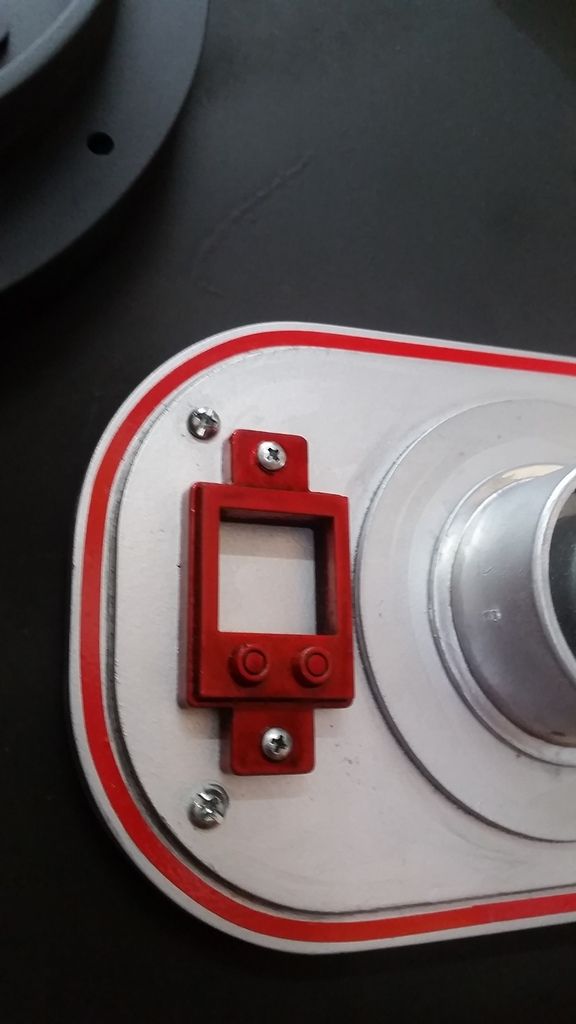
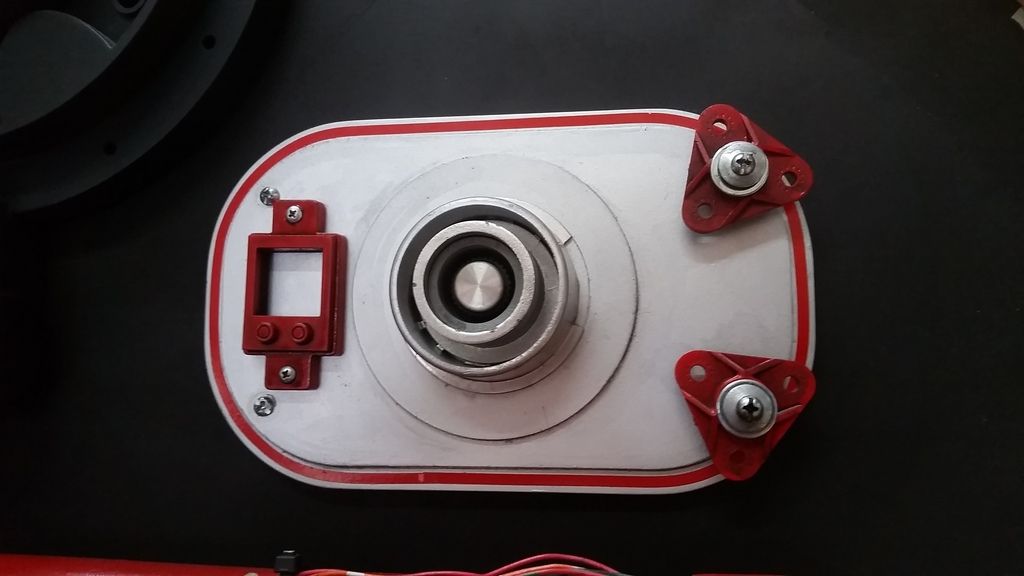
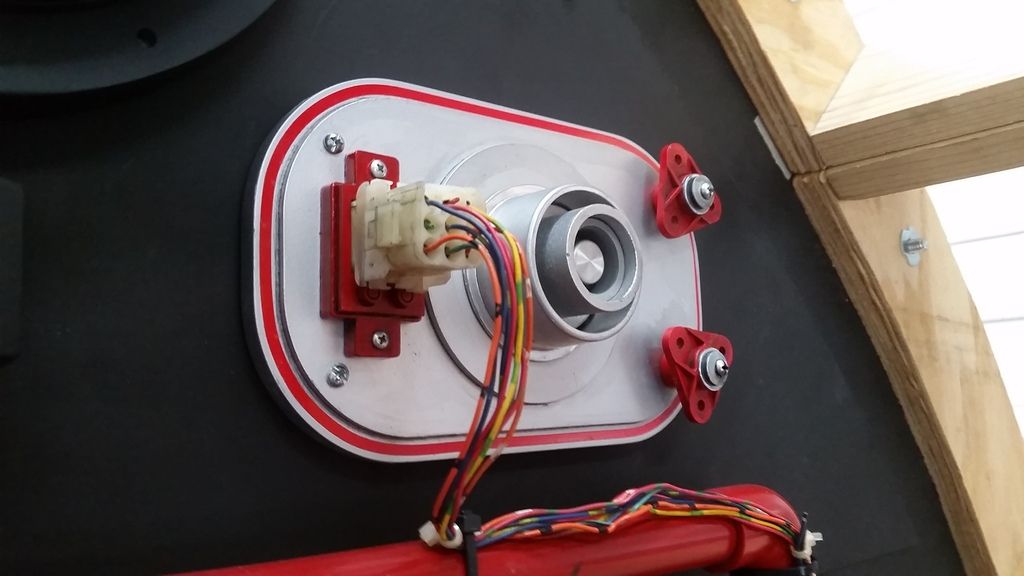
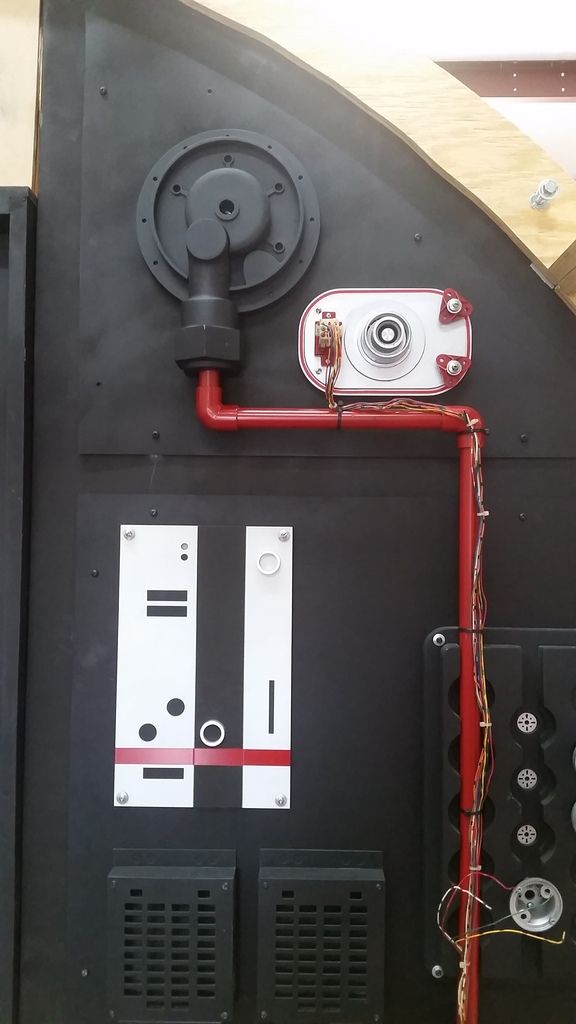
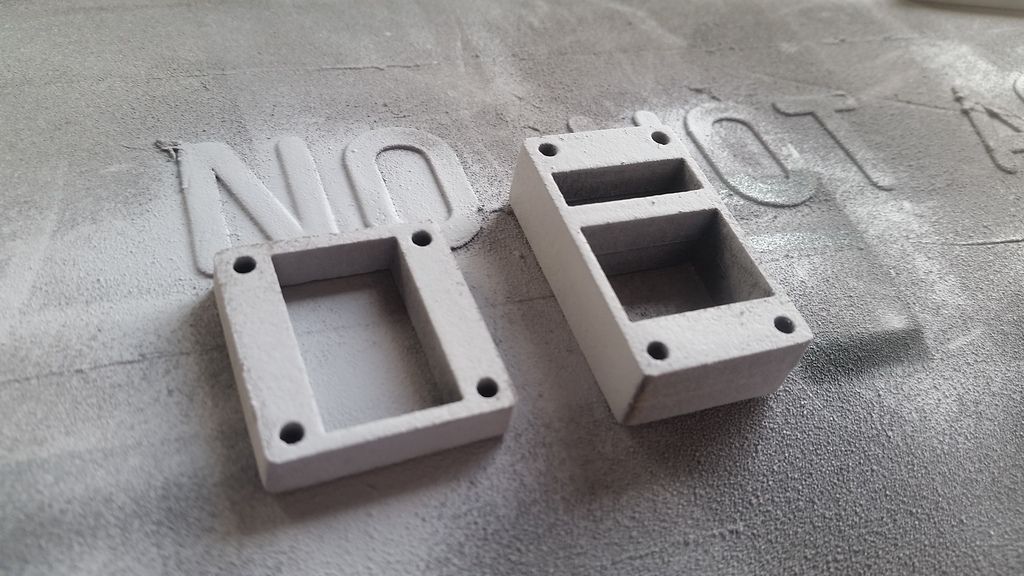
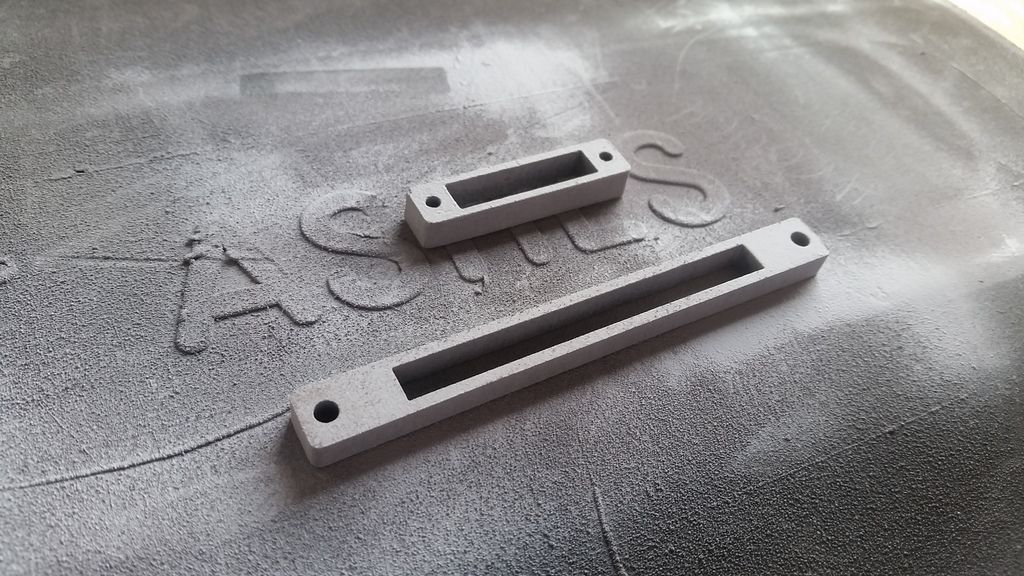
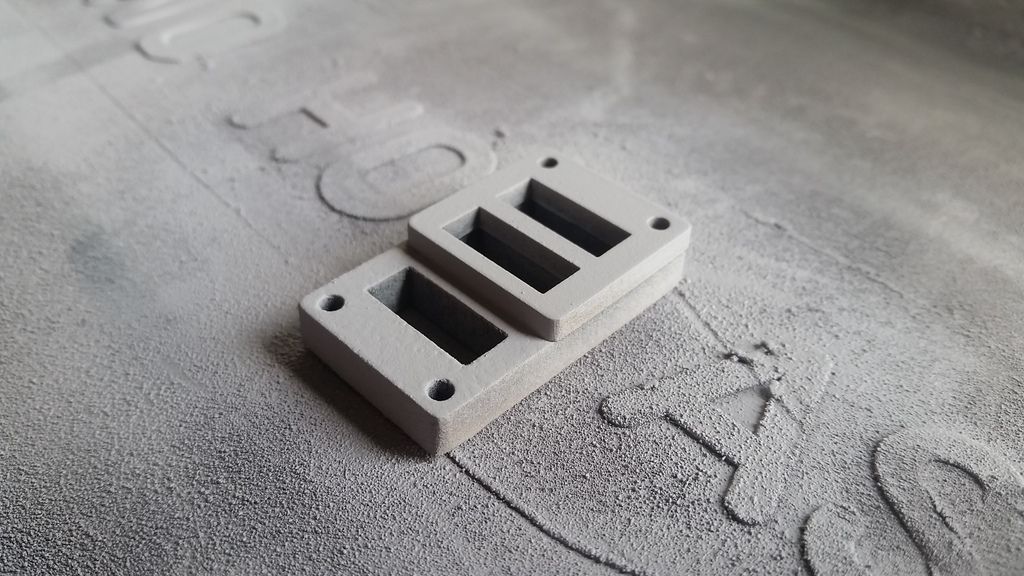
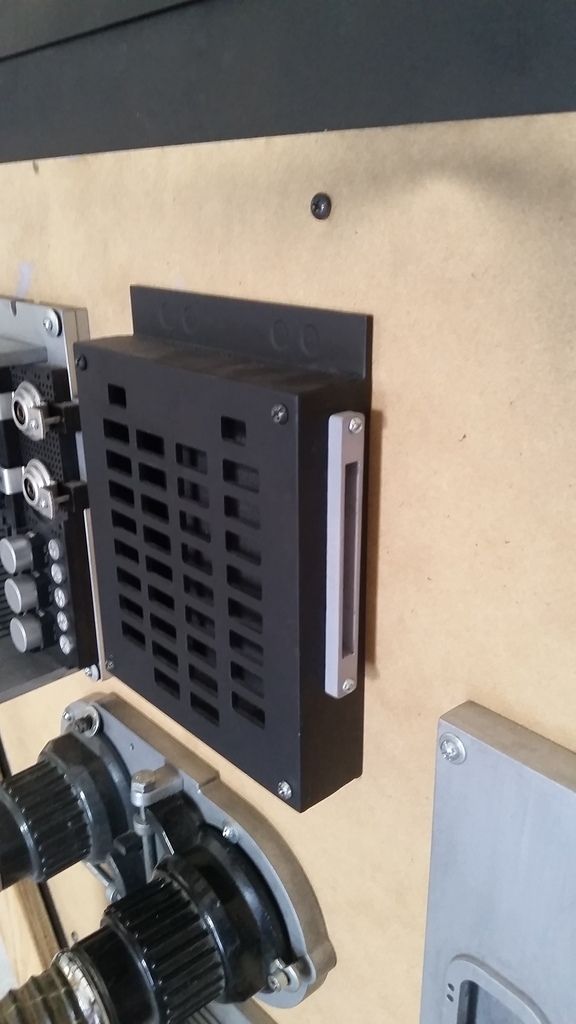
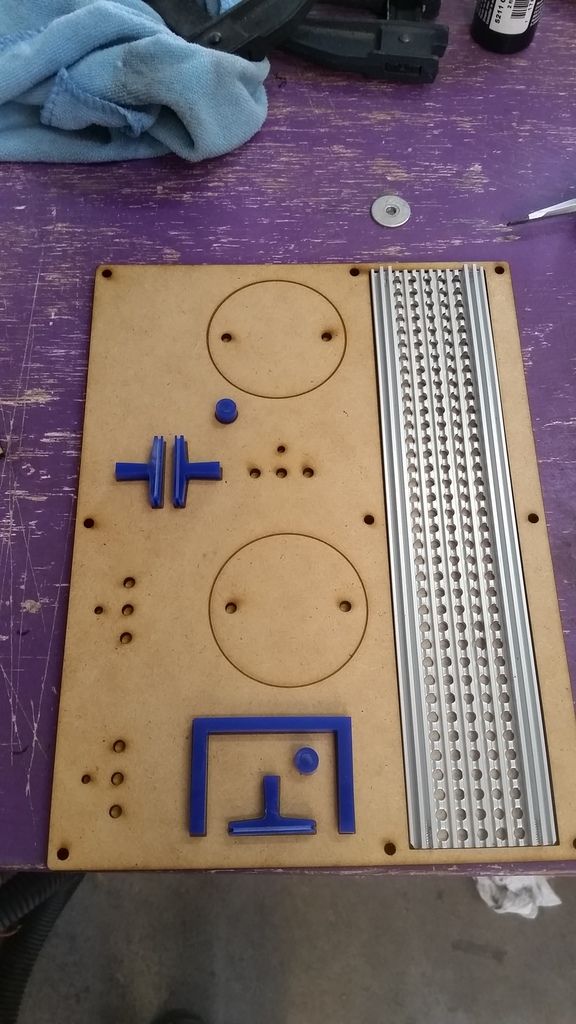
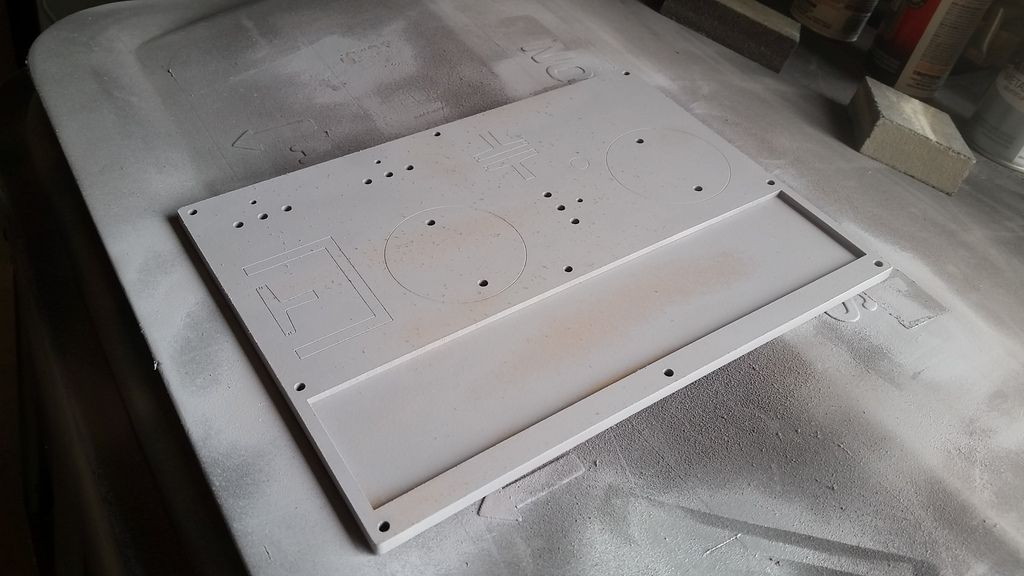
It was time to dress the cockpit entrance with all the saved wiring harnesses I've had lying around. So, I measured, designed and laser cut several different sized connectors that will mount to the entrance wall and greeblies
Dry fitting
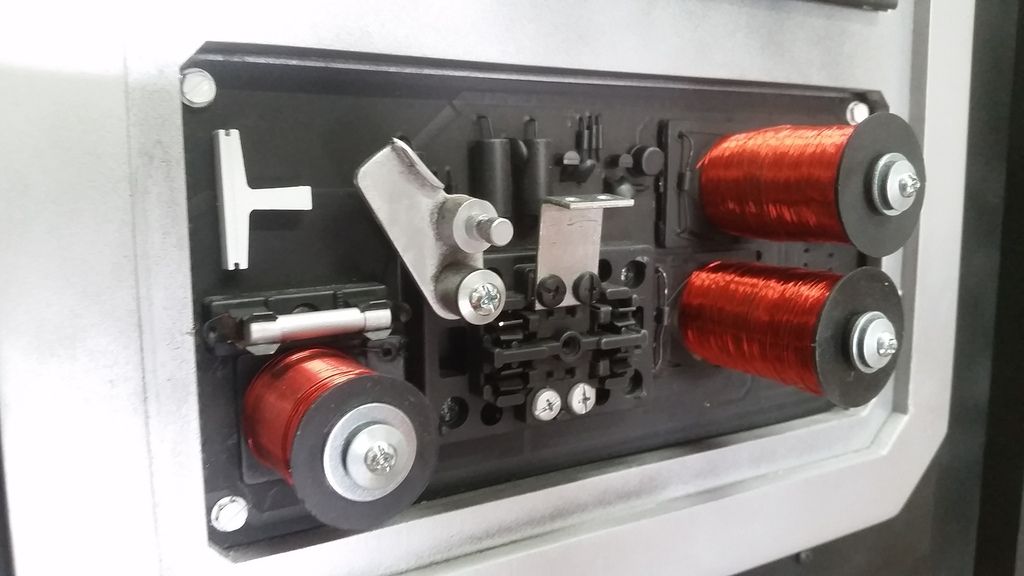
Love this image! Still need to paint that panel - I'm going to remove all the greeblies and spray paint (using a paint gun) the cockpit entrance frame and panels in one shot)
Chewie's side
I'm not thrilled with the harness so I'm going to remove and start over - fortunately I used existing holes and zip ties
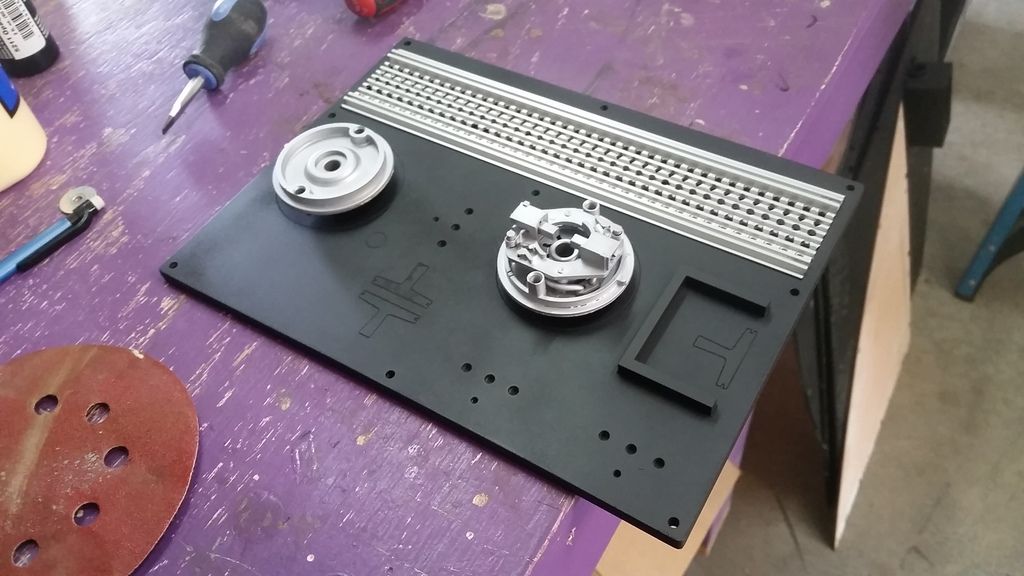
I then dug through the many greeblie boxes we have and wanted to create a few more greeblies to fill in some of the massive blank spaces on some of the panels. So, I took these...
And this...
Designed and laser cut these...
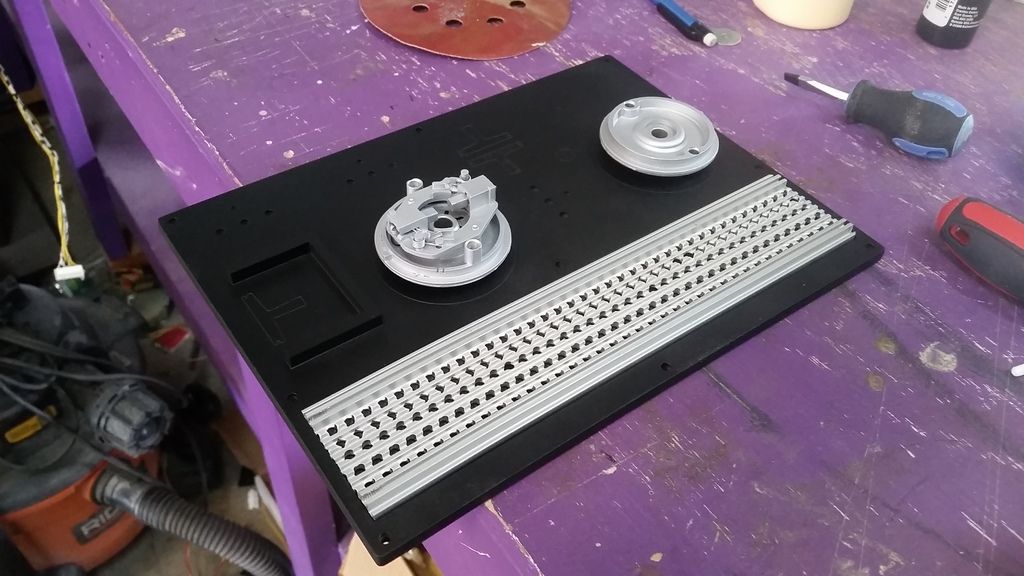
Started to dry fit
This panel will mount here
I then laser cut these acrylic pieces
Added paint
Love the detail
Primer
Another dry fit
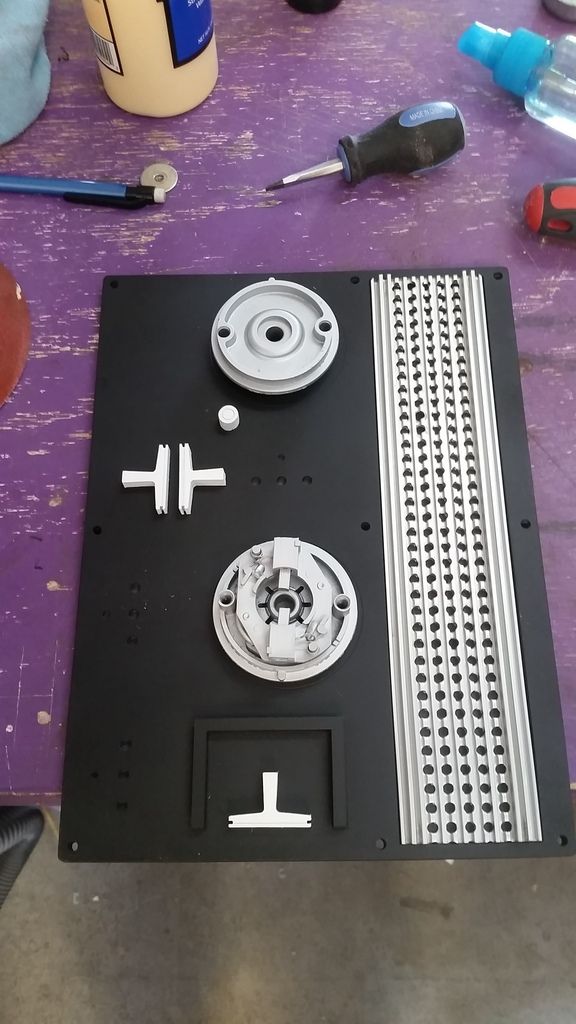
Dug through some more and found these
Finally, I created a base for the panel - I should have this finished up today!
Then I jumped around... Another wire connector
Another greeblie I created
It was then time to get this LAST arch frame done!
Not sure how it happened but I was 1/2" off on one side?
First panel cut and now fits
YUCK! Lots of dips and uneven cuts! I hate using the jig saw. I managed to break 4 tracing bits during this phase? But, she's framed
Need to finish adding the vertical supports
Trimmed up a LOT of these framed and got it more square
Top View
And this is where we are!
Stay Tuned! Part II Coming!