Hi Gang,
Part II! Enjoy
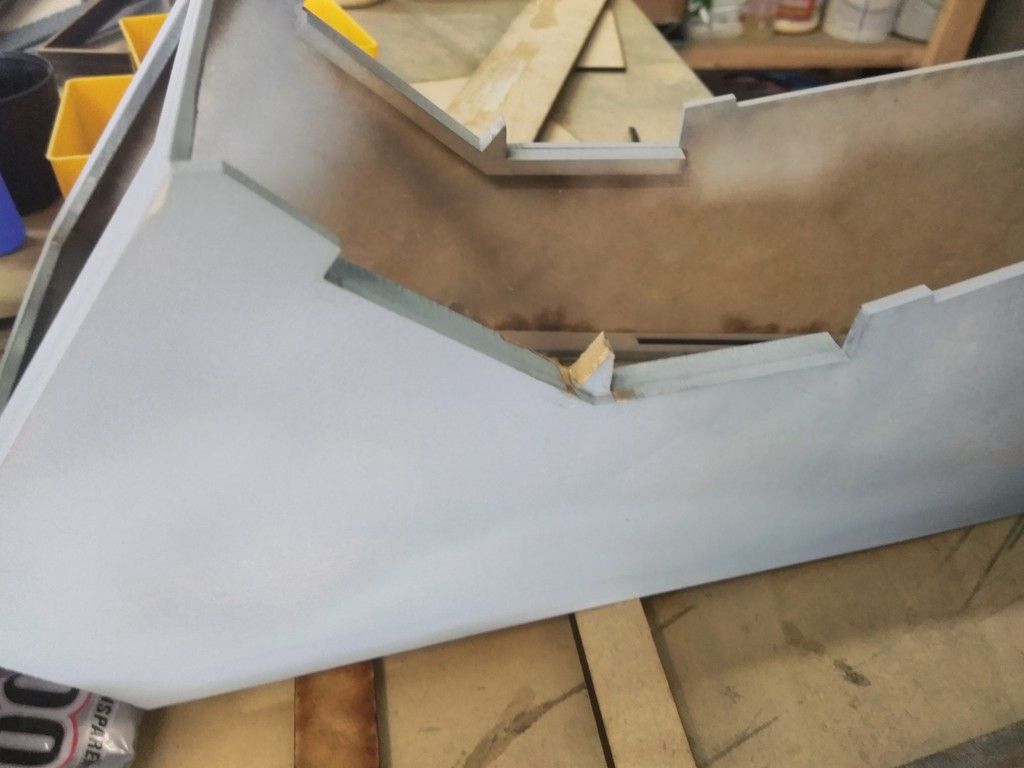
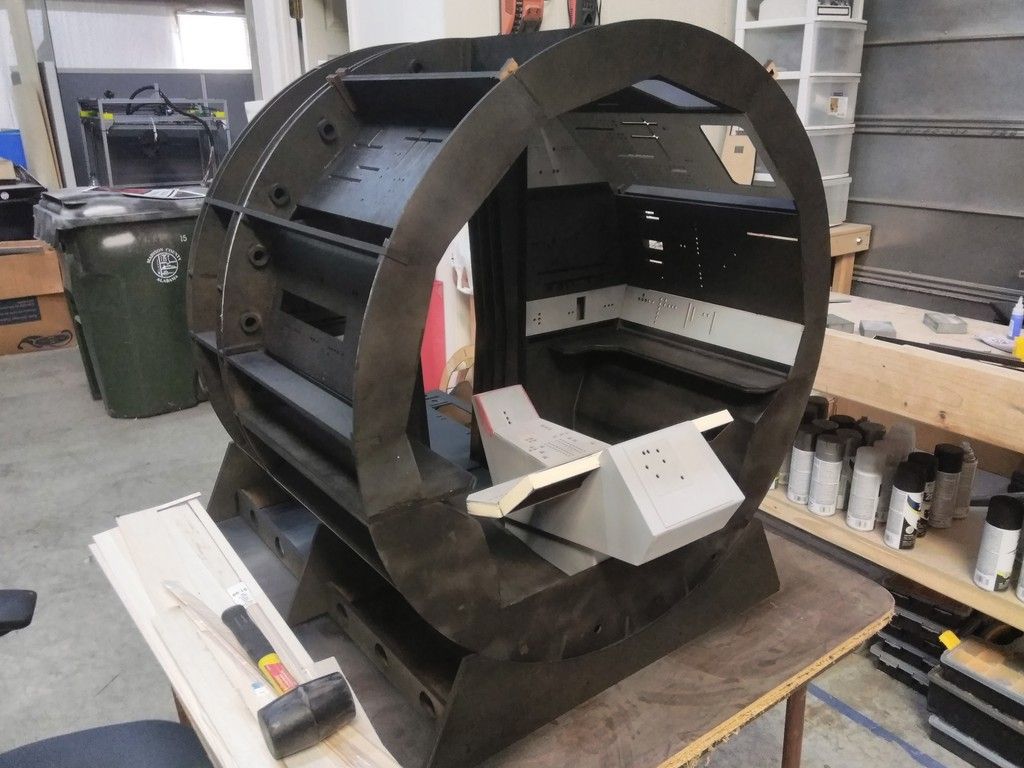
When the cockpit fell over I found a BUNCH of little cracks that will DEF need fixing
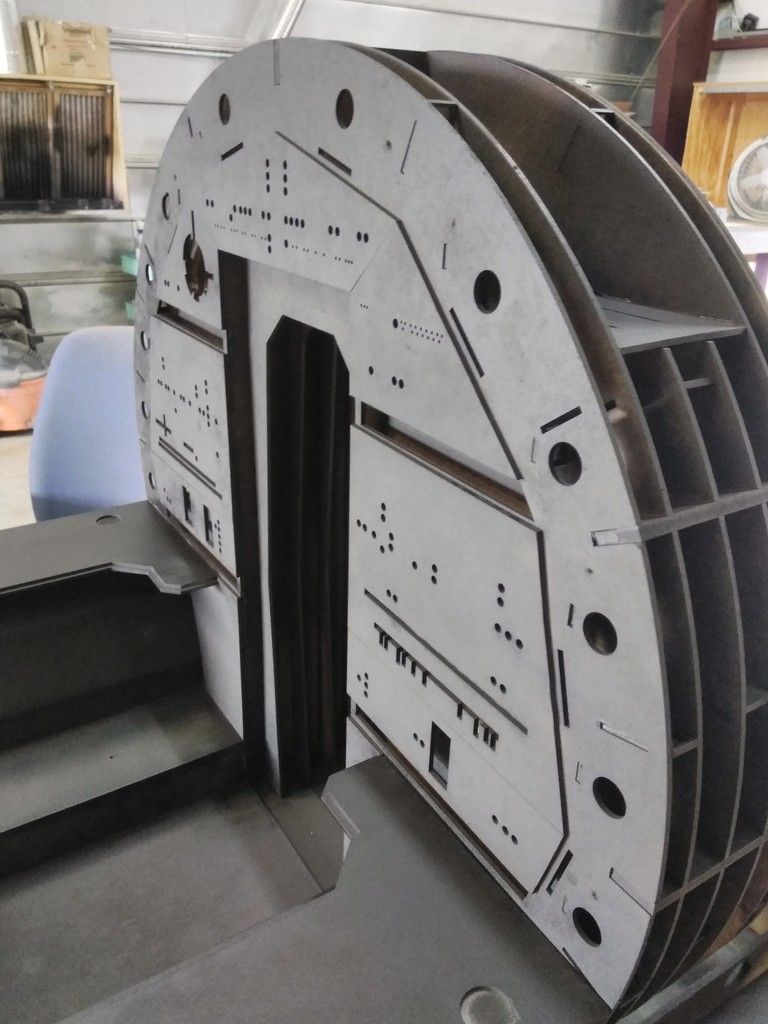
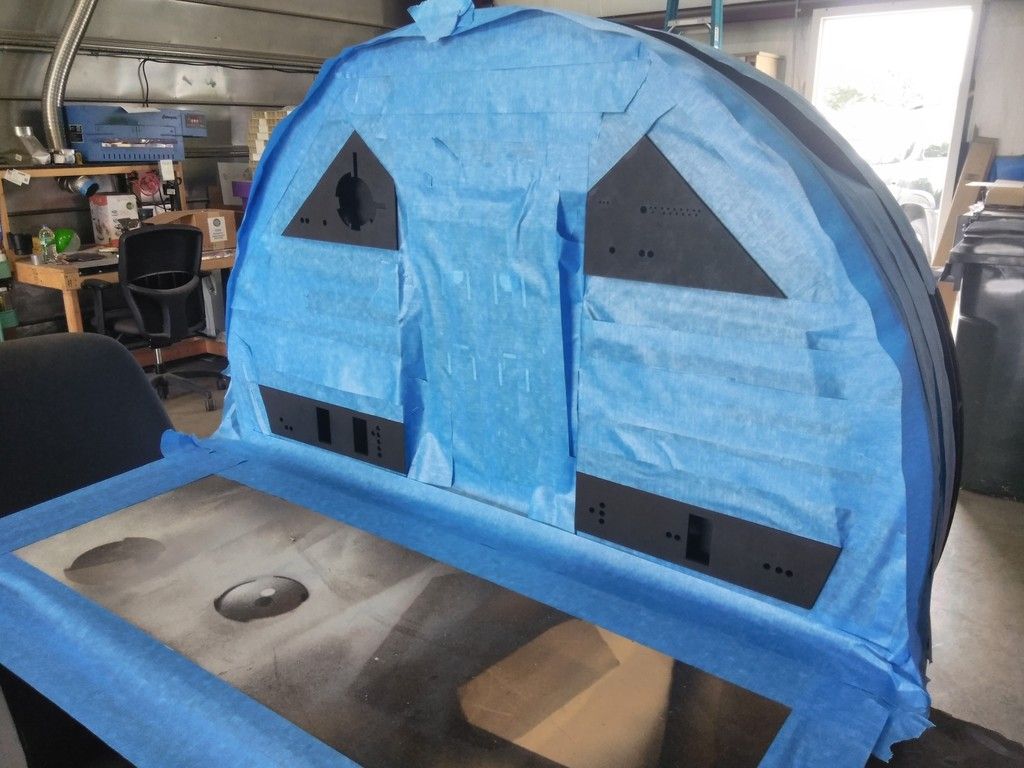
But... Let's move onto the panels. I sprayed a layer of black primer
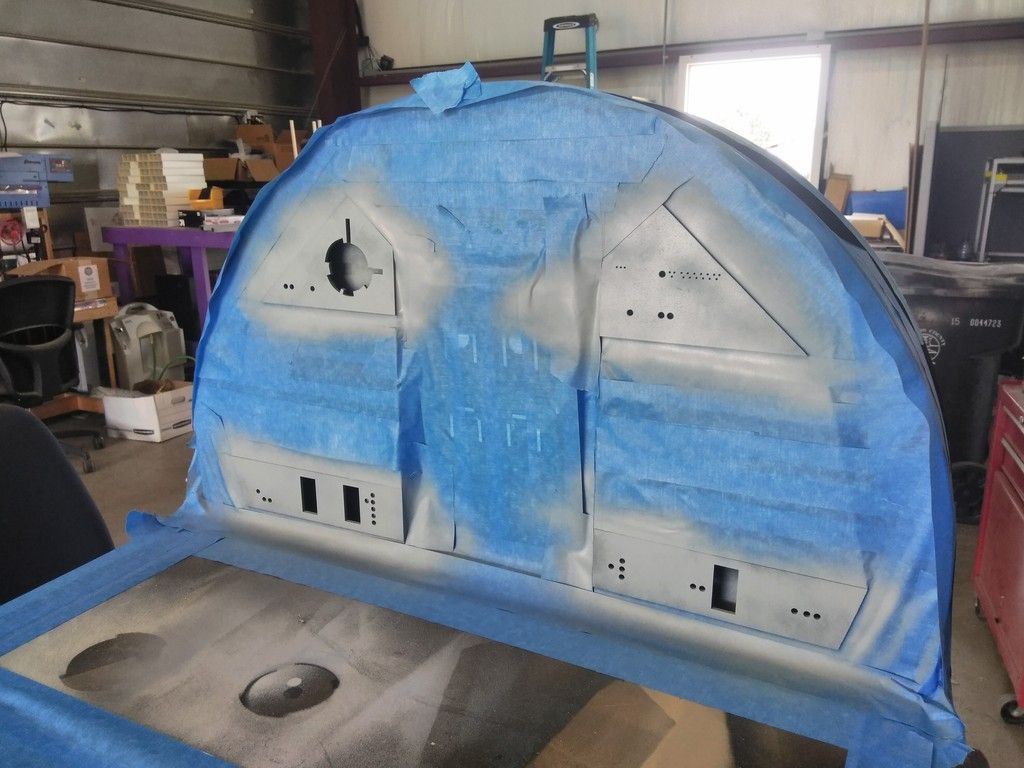
And grey primer
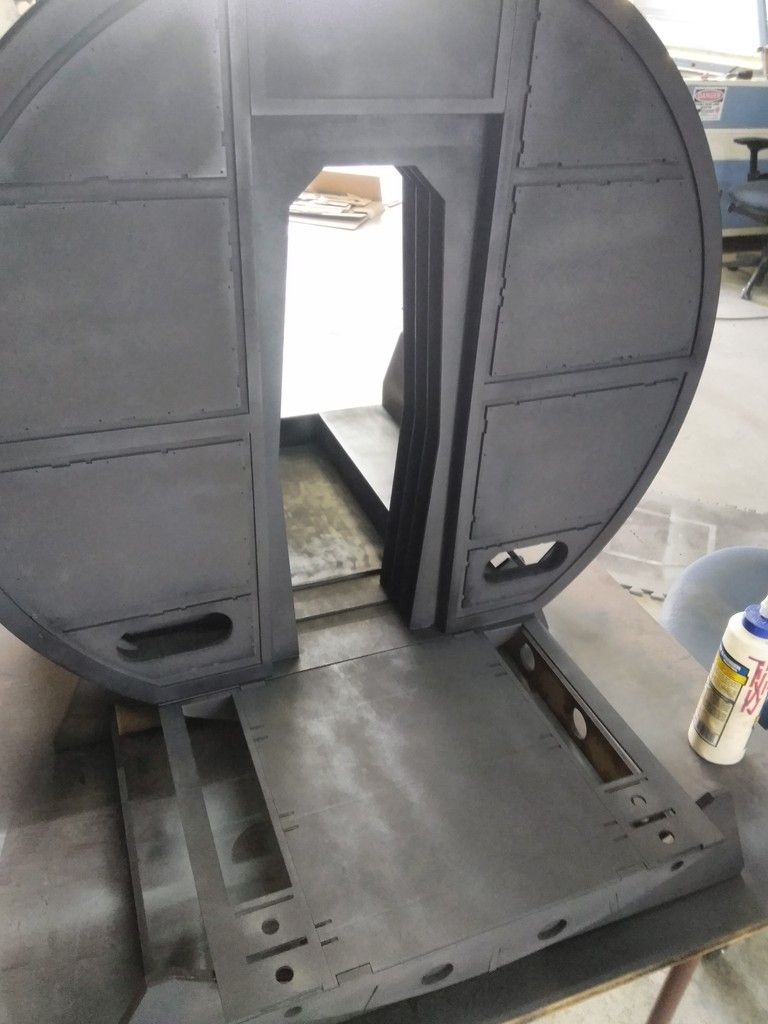
Painted the floor
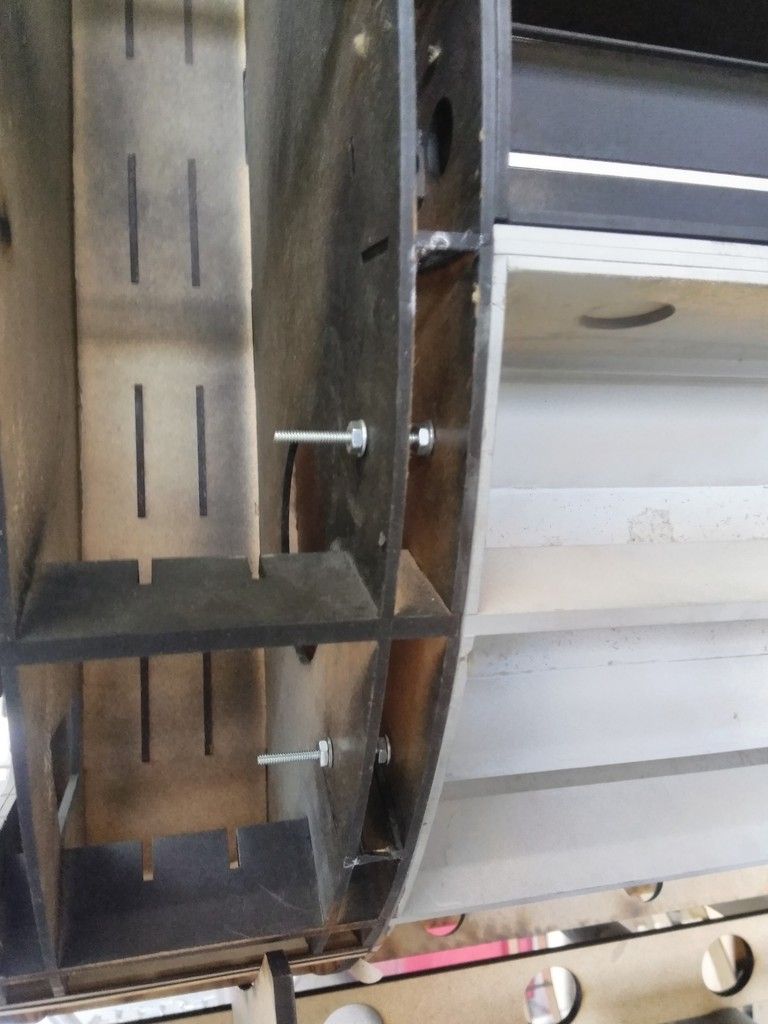
Larger bolts are now being used to hold the main body and door section together
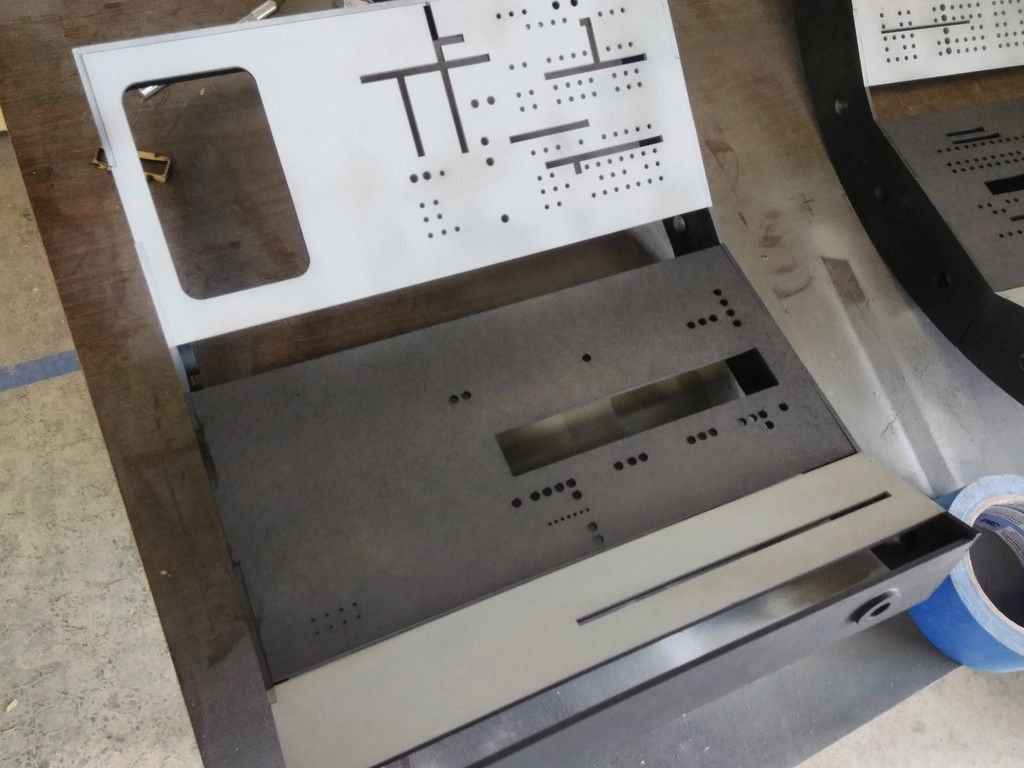
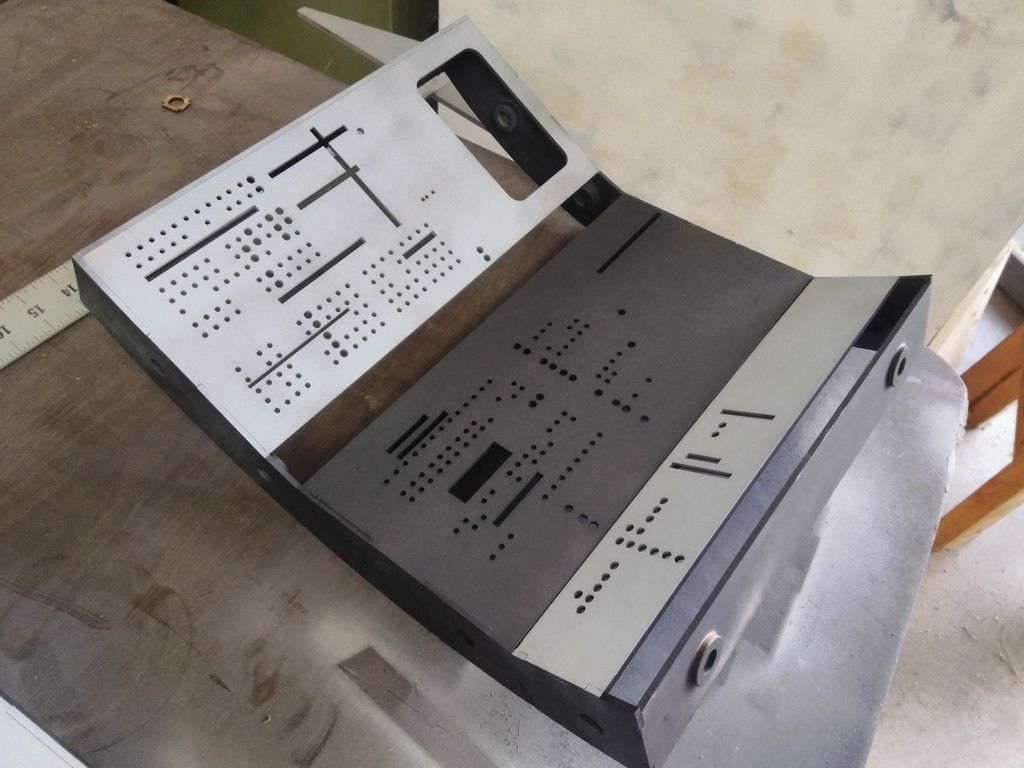
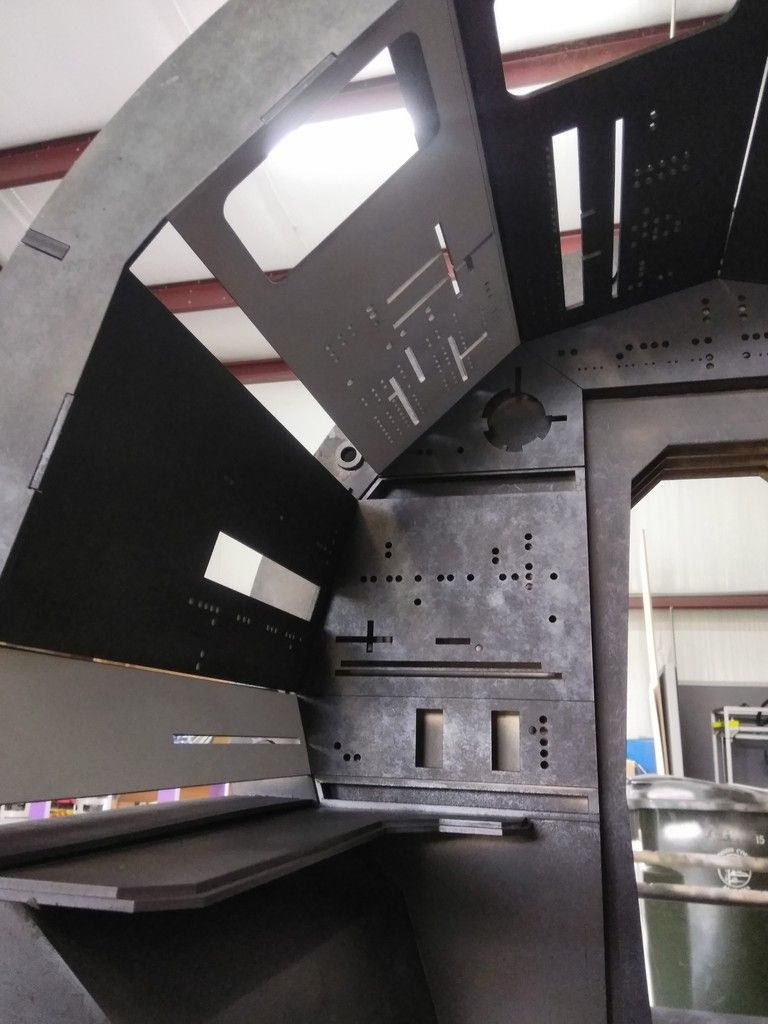
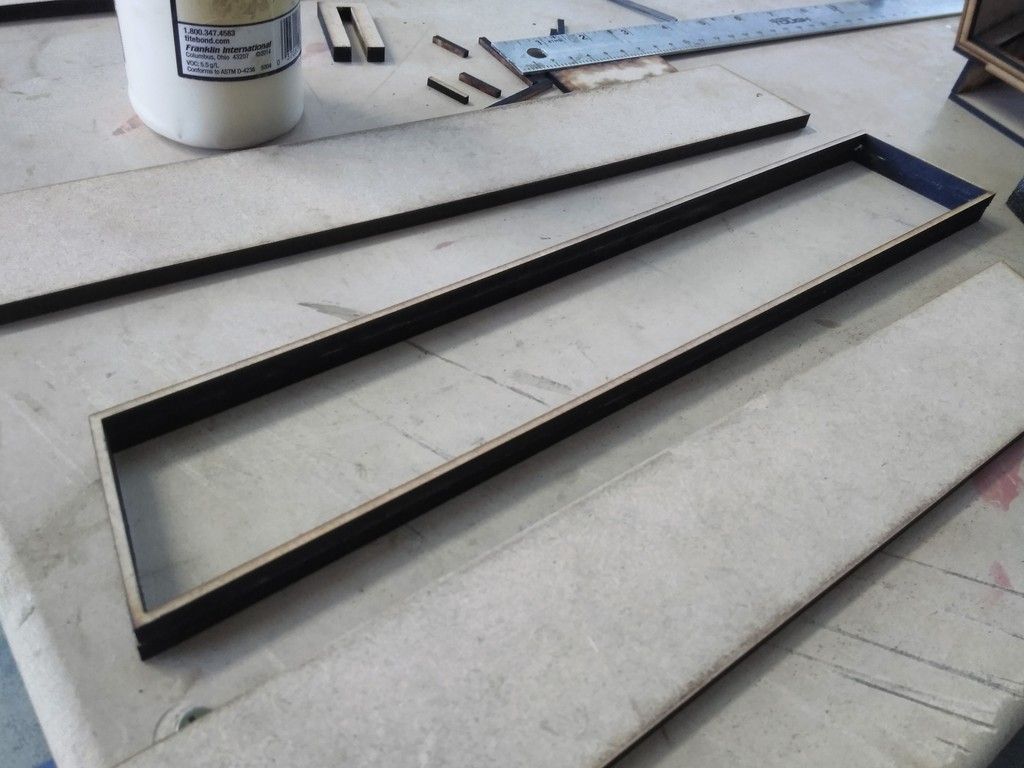
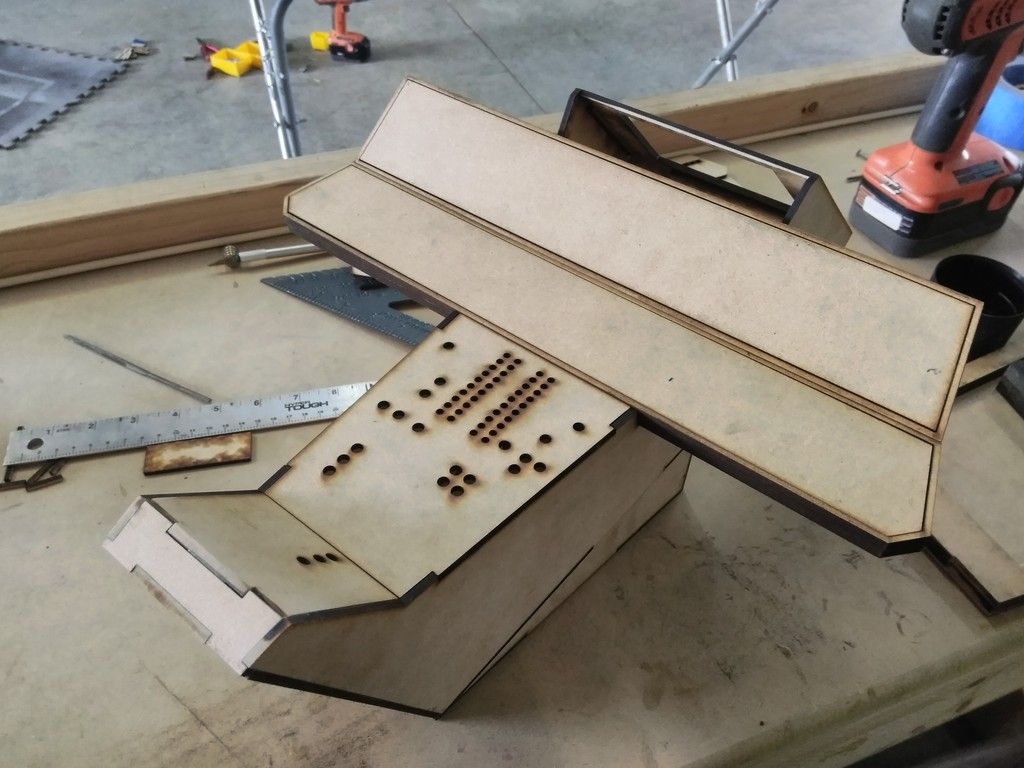
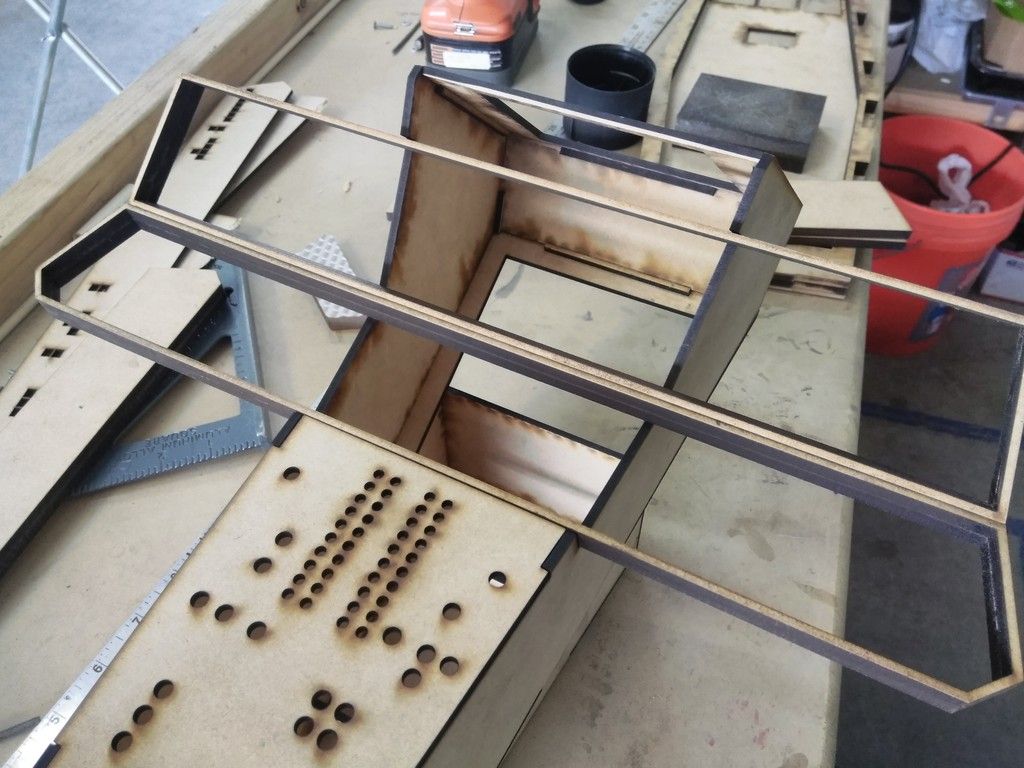
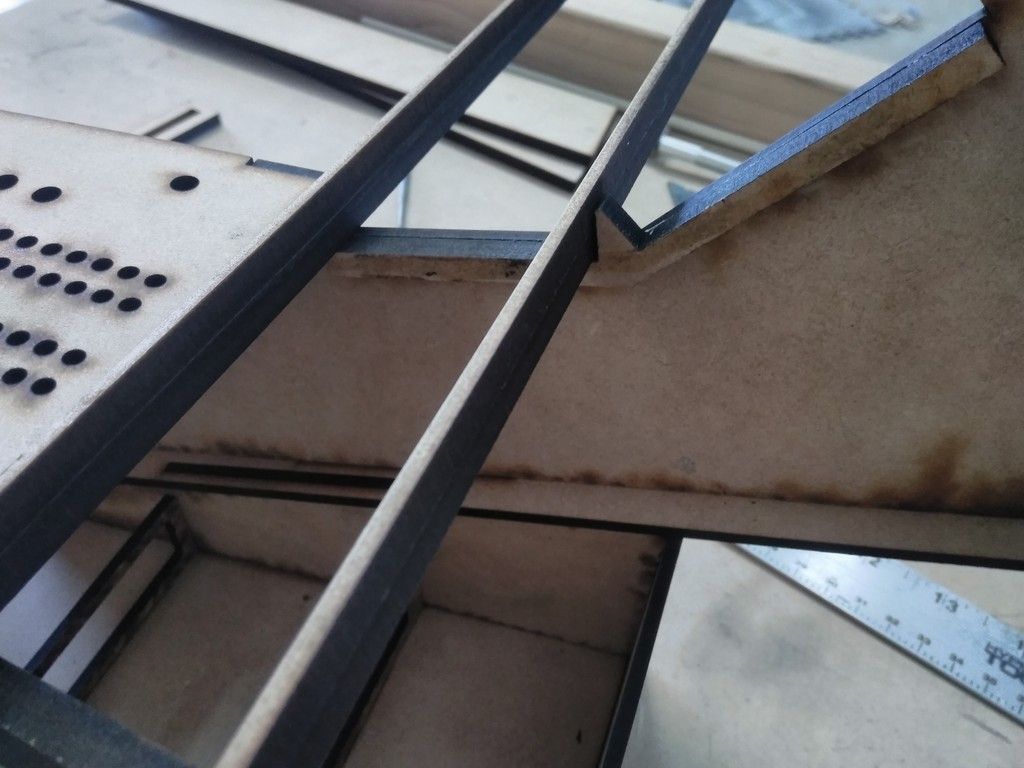
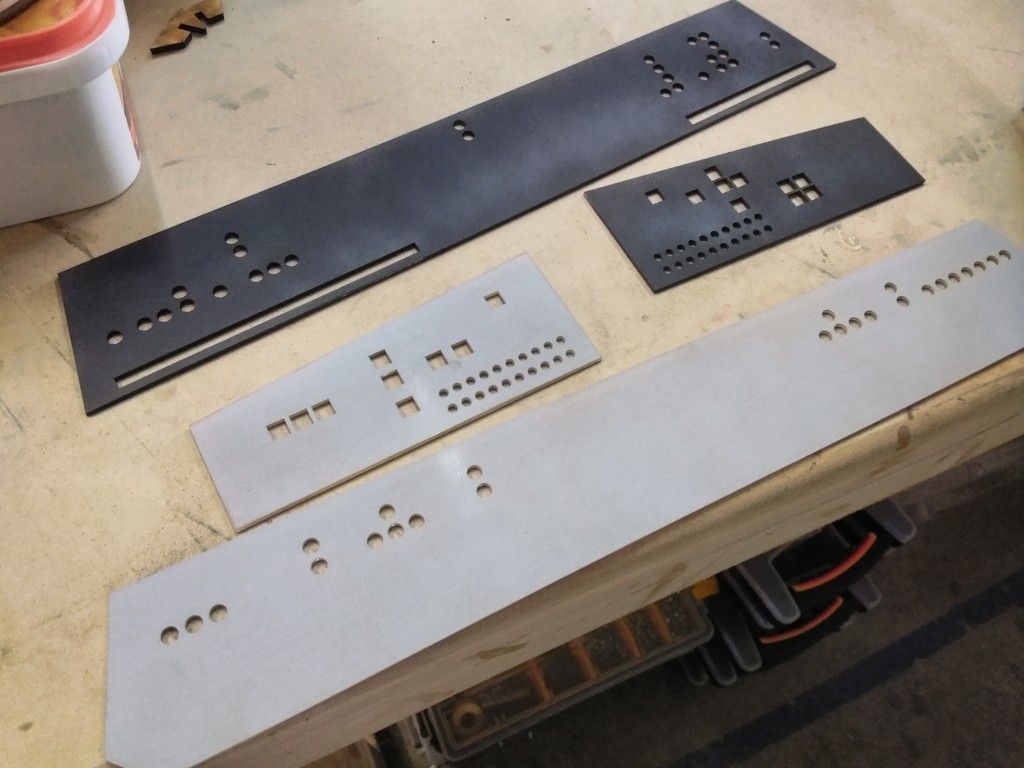
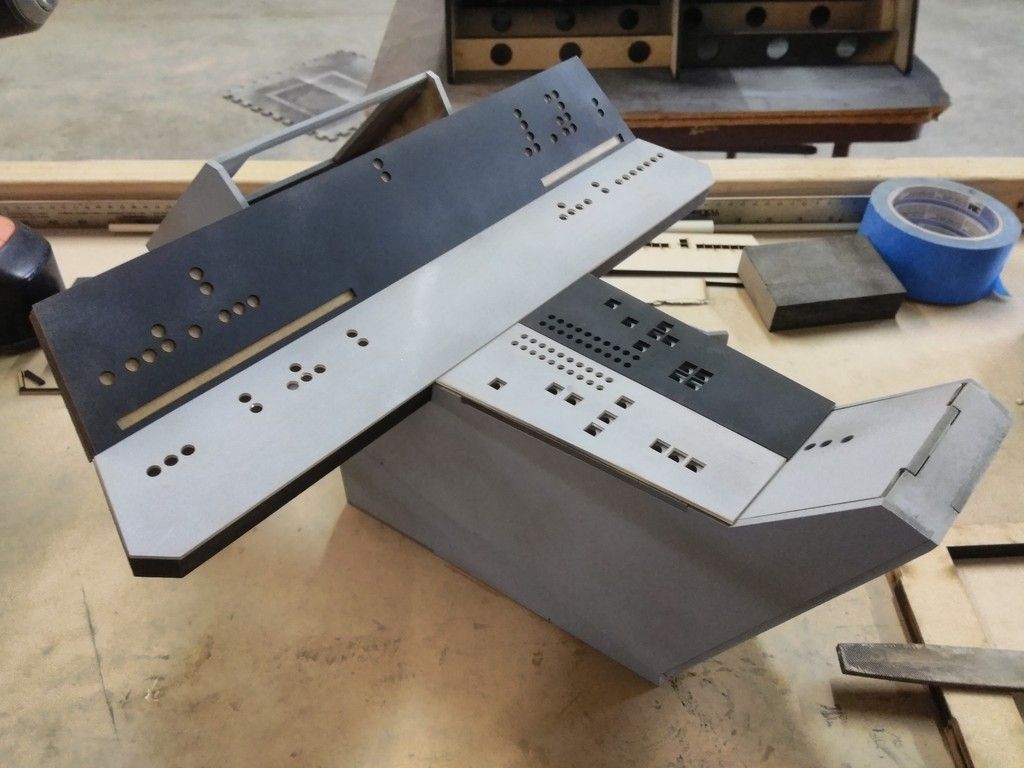
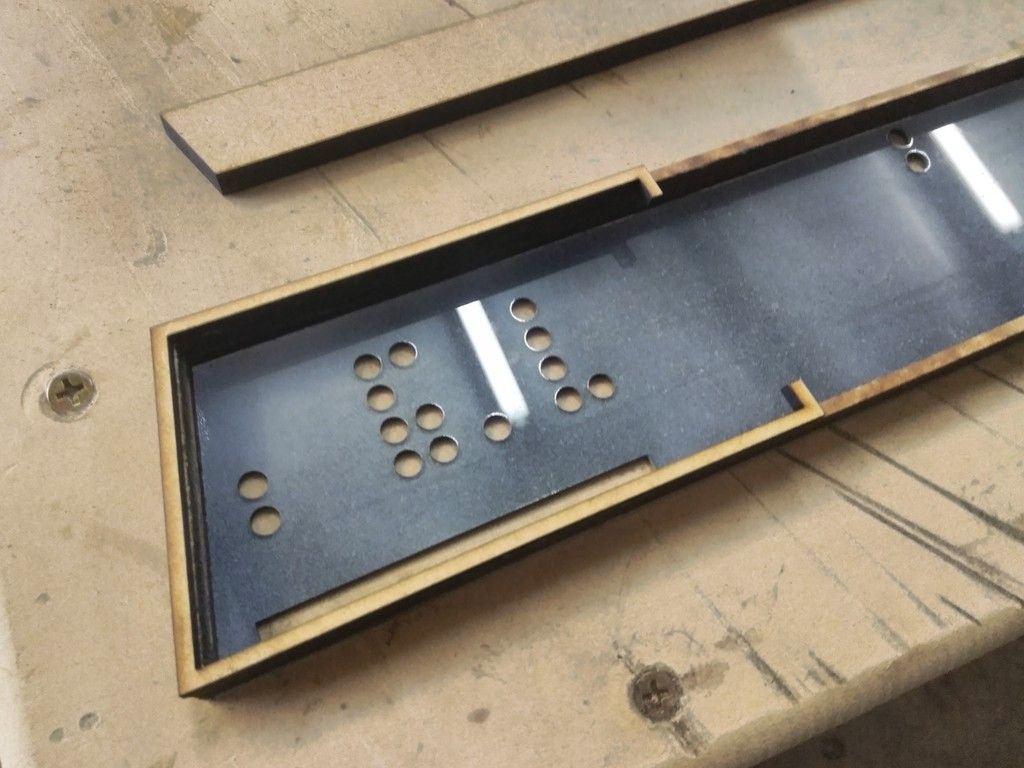
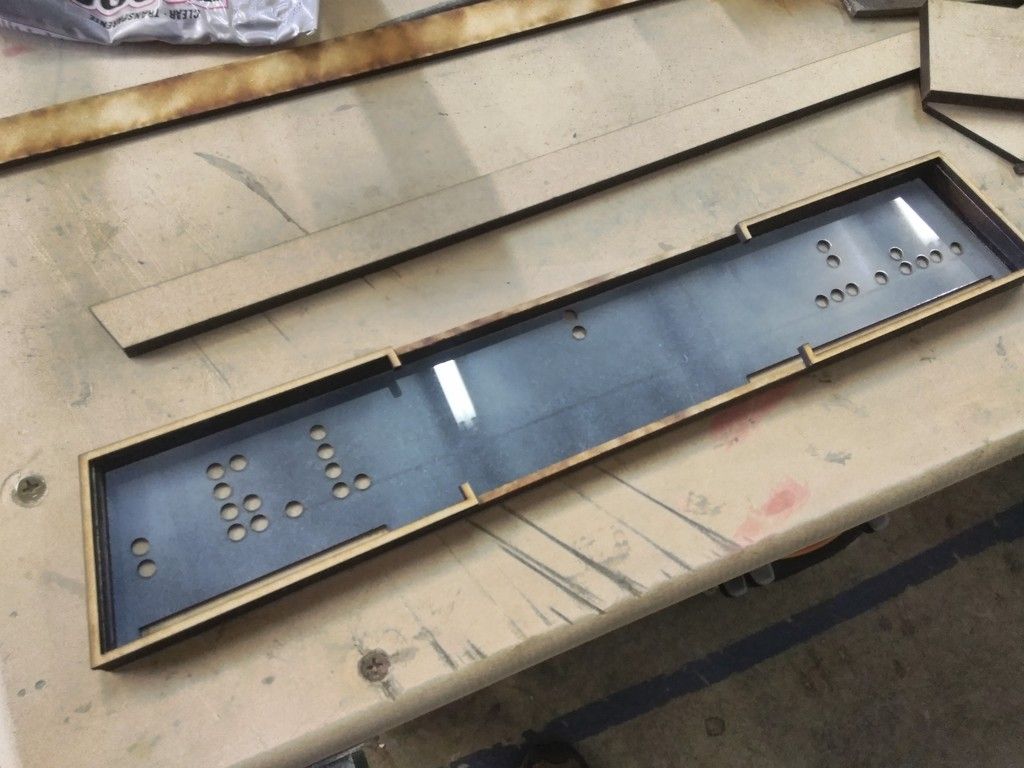
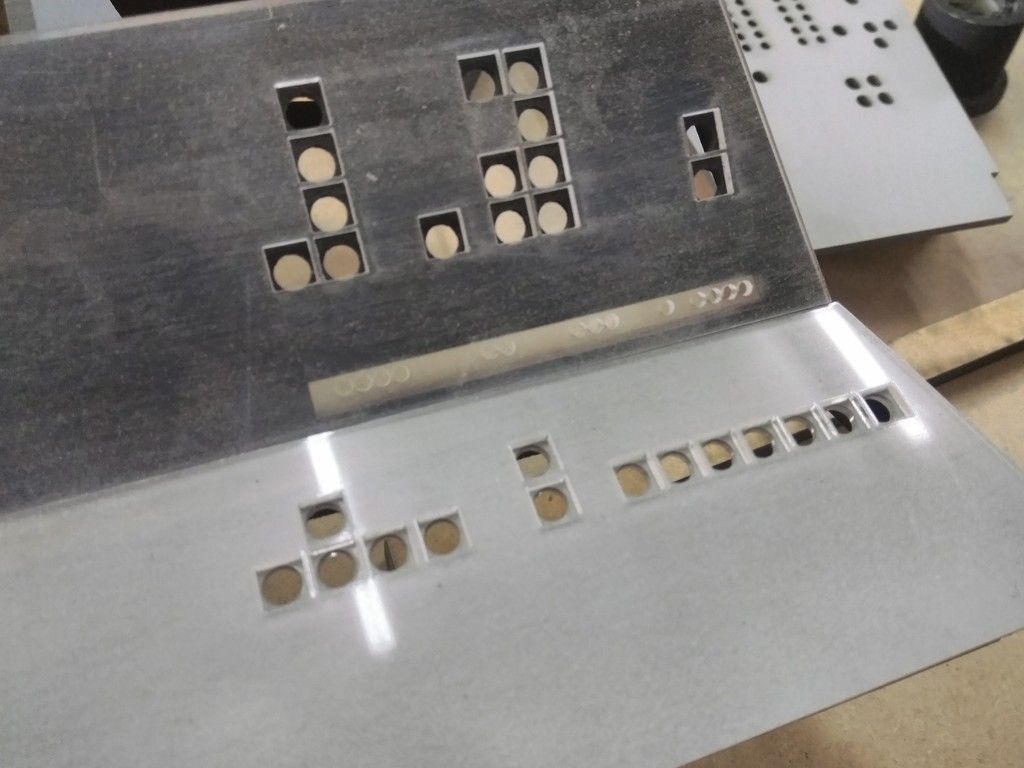
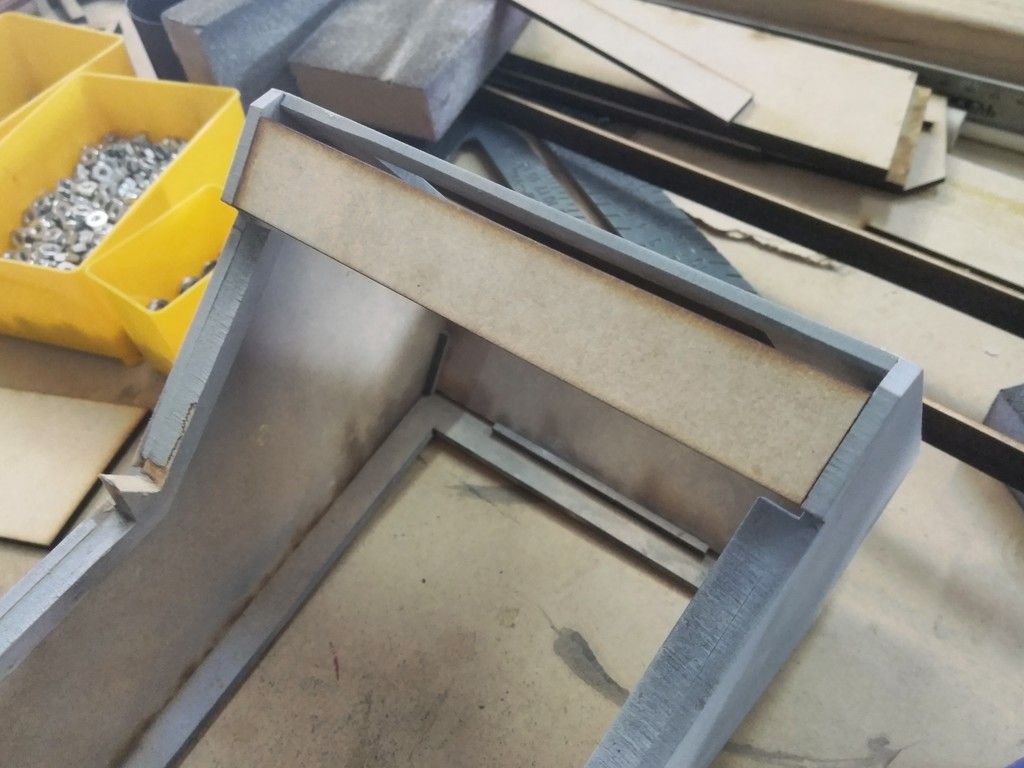
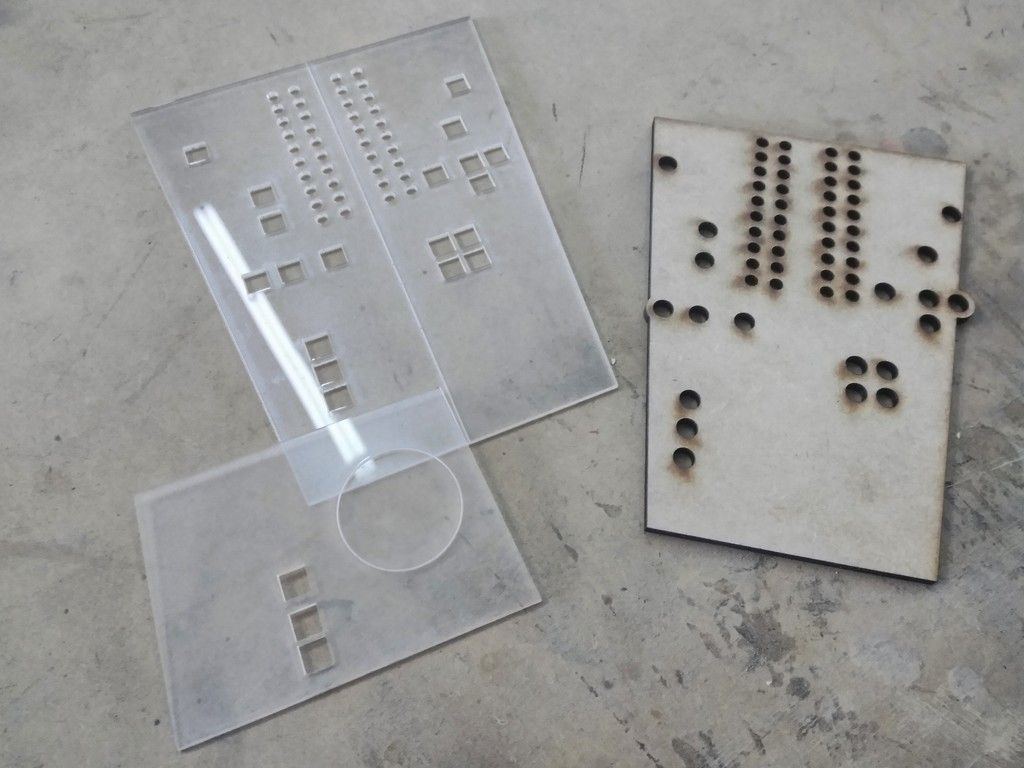
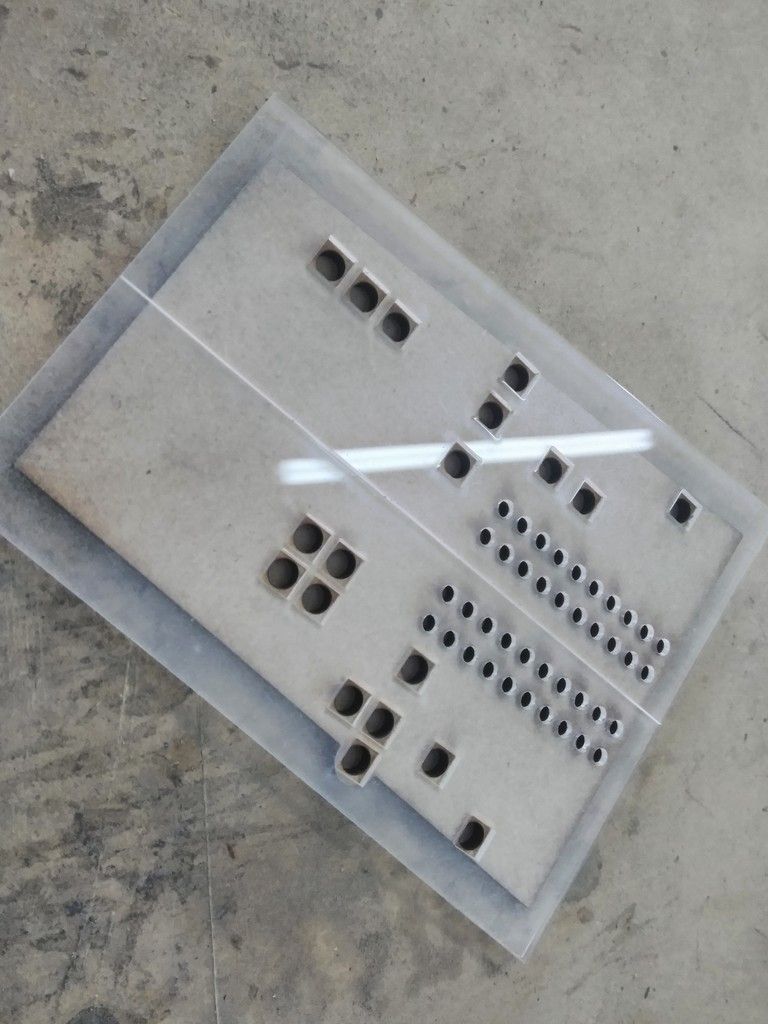
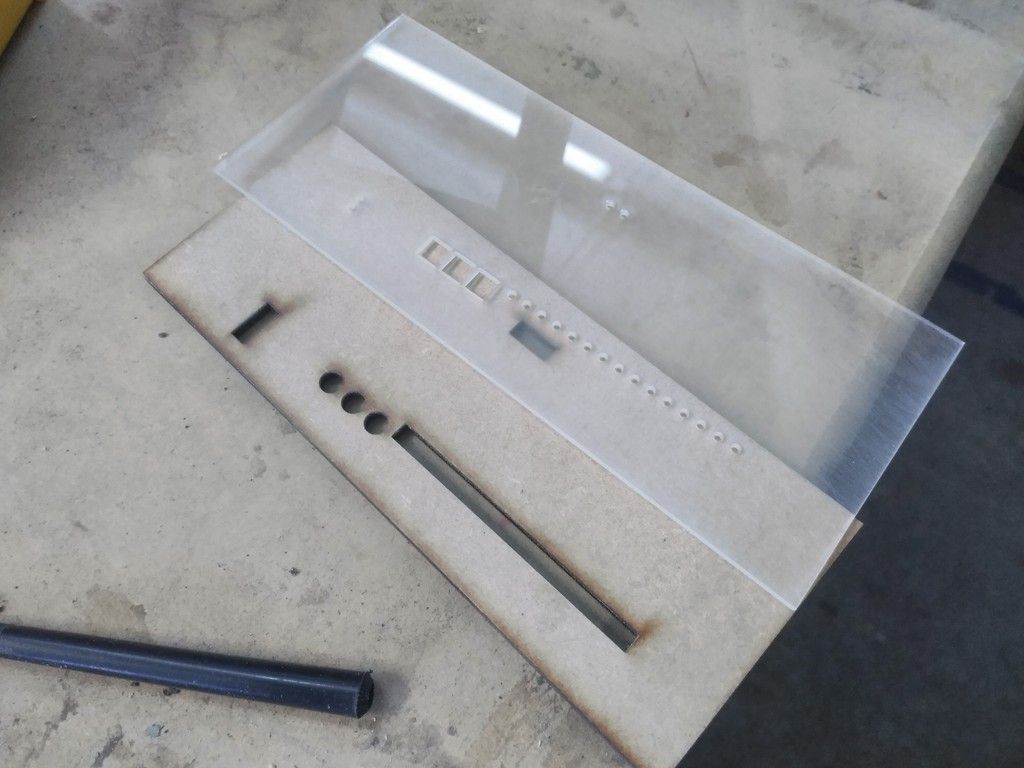
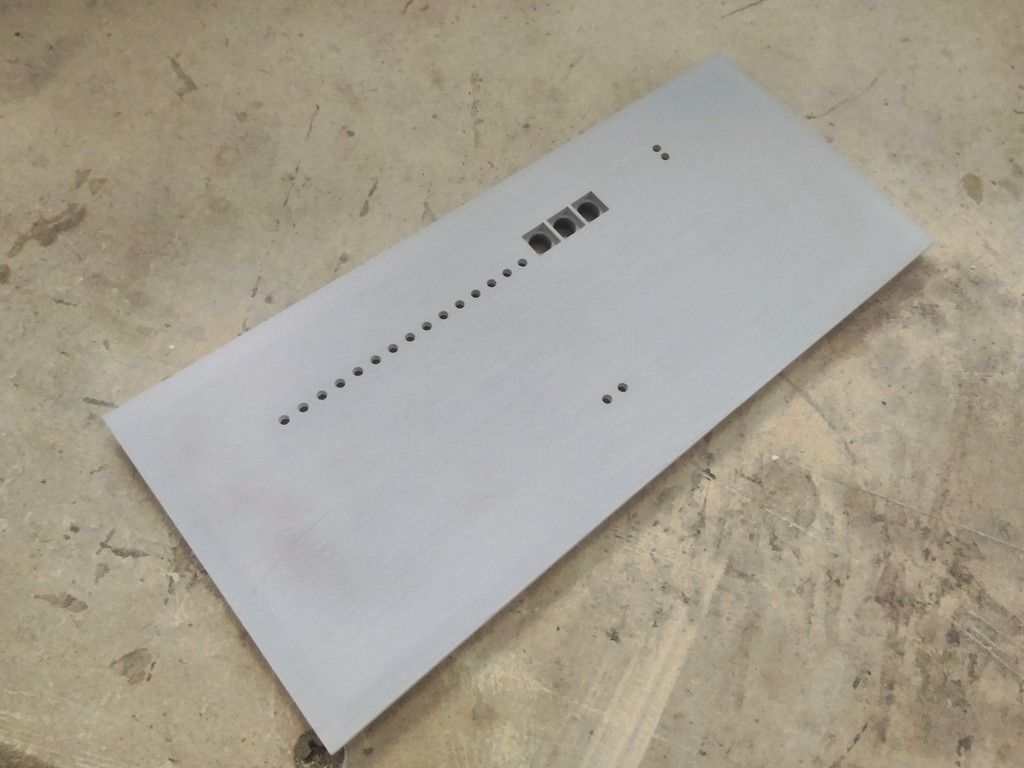
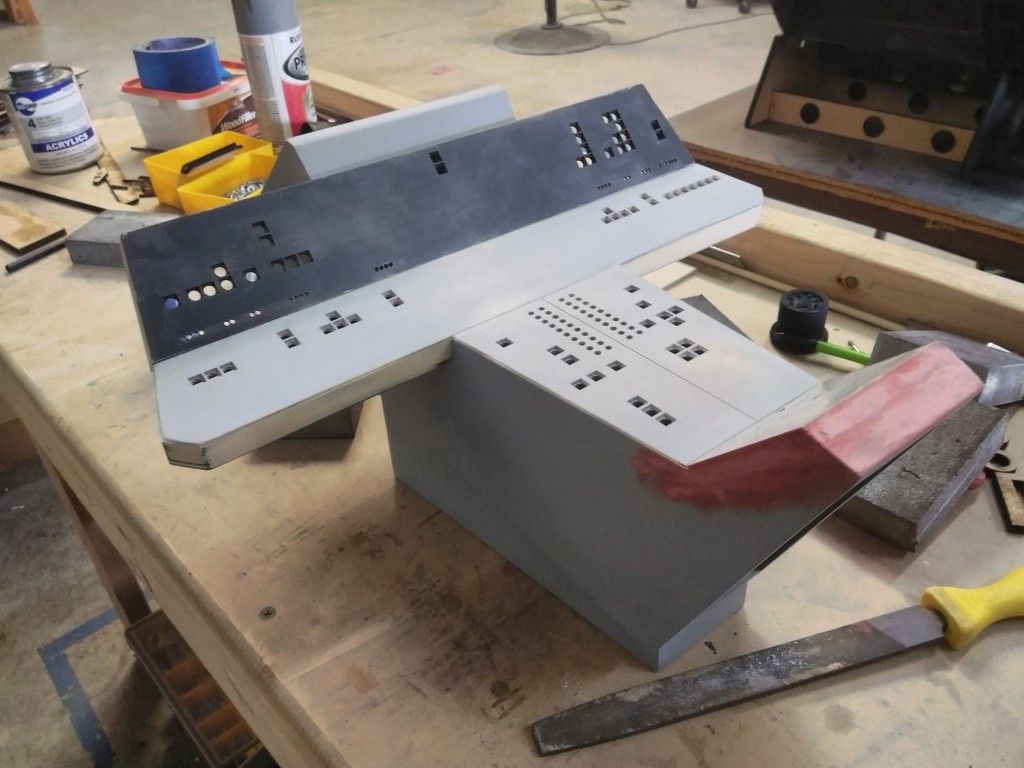
I then worked on the console - laser cut these upper panel parts
For those who have a laser cutter... save any/all interior pieces where the outer edges of your cut might be too thin to freely hand sand. Insert the interior pieces back into place and this gives a solid base in which to sand without breaking those delicate edges
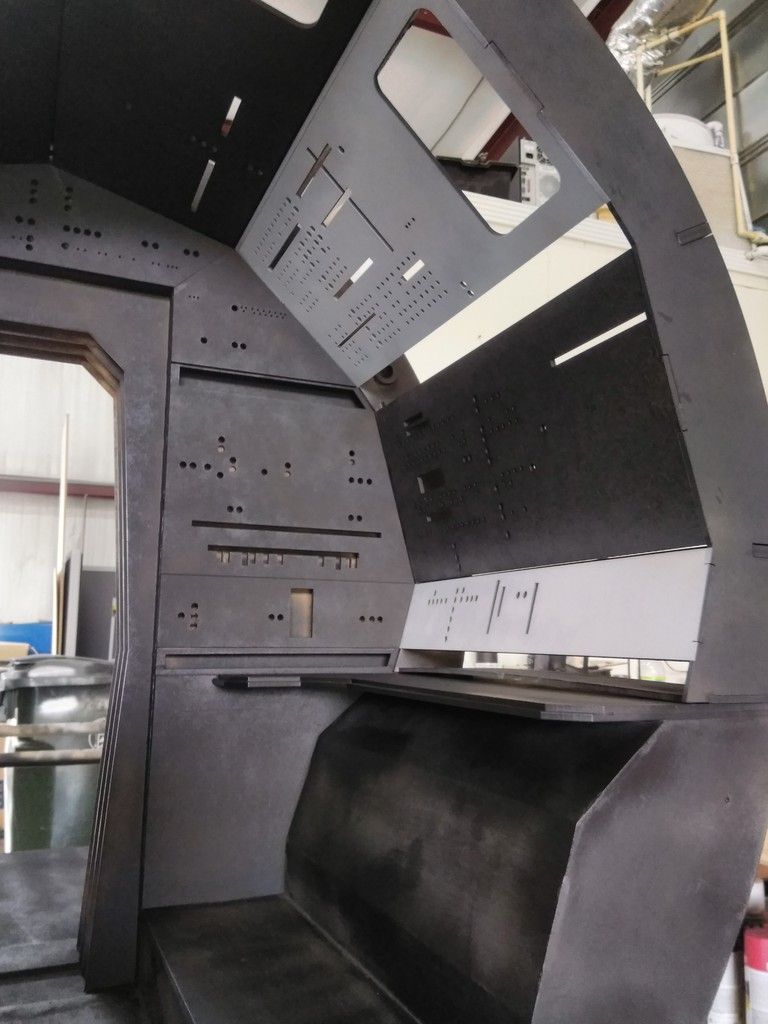
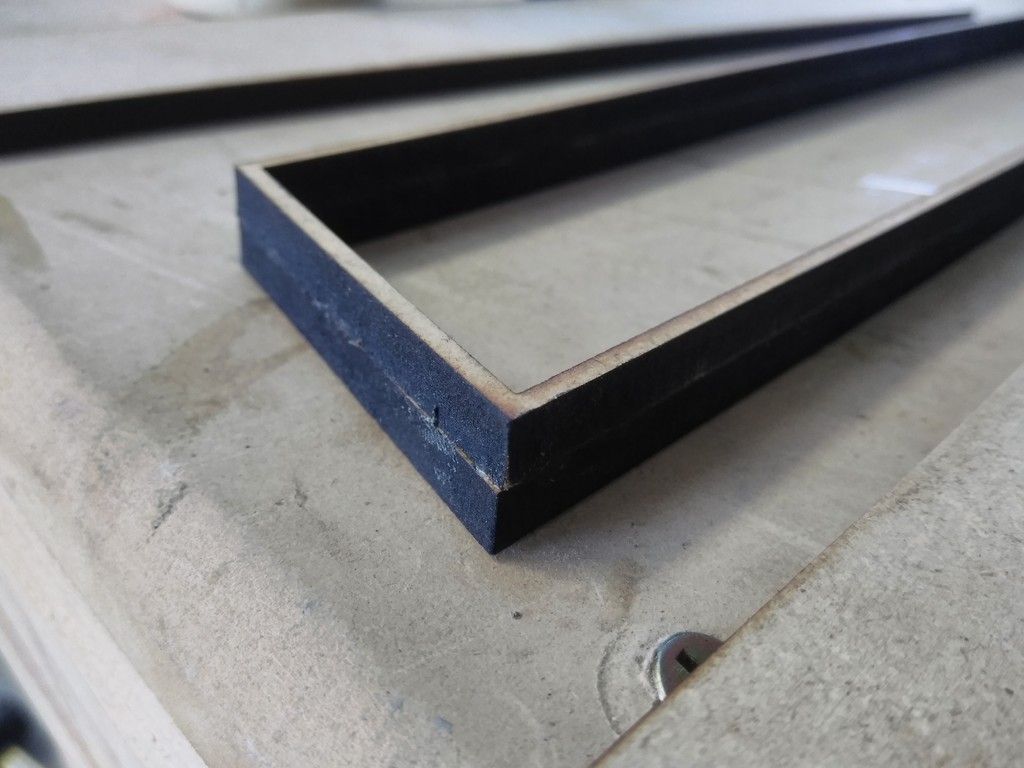
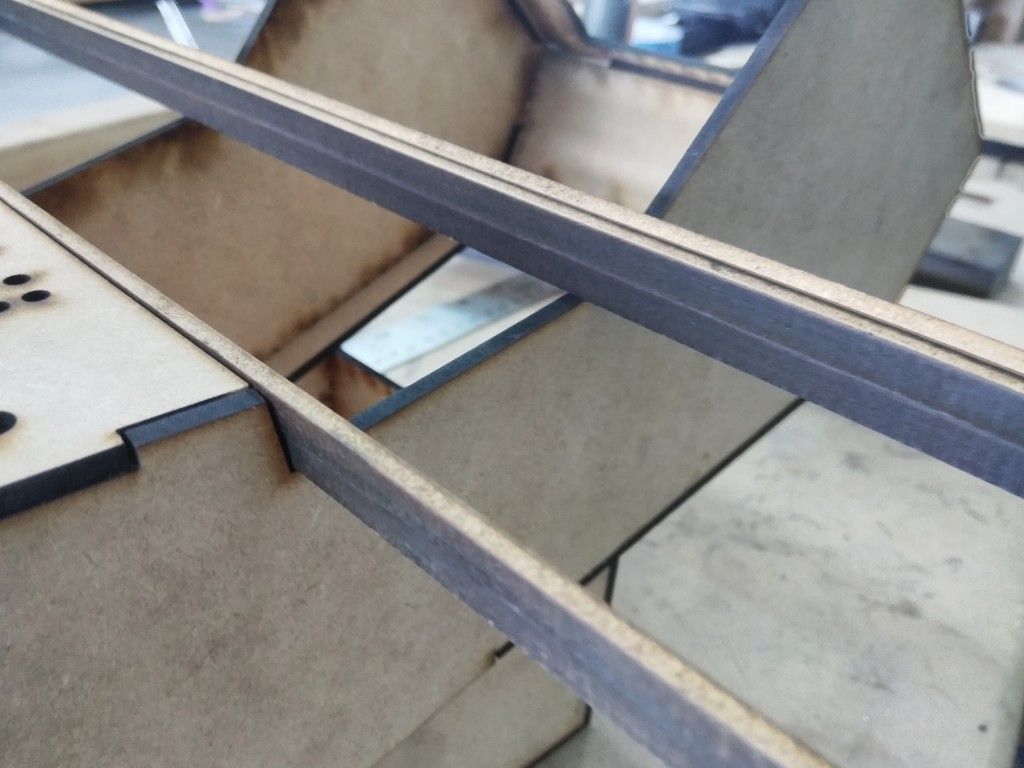
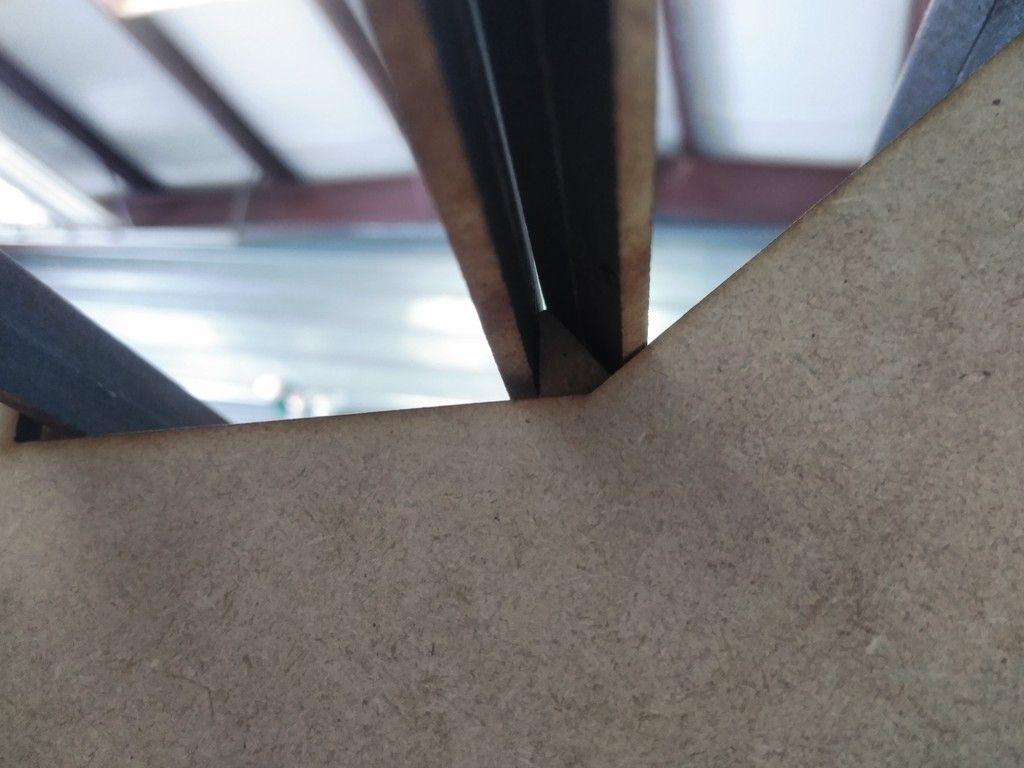
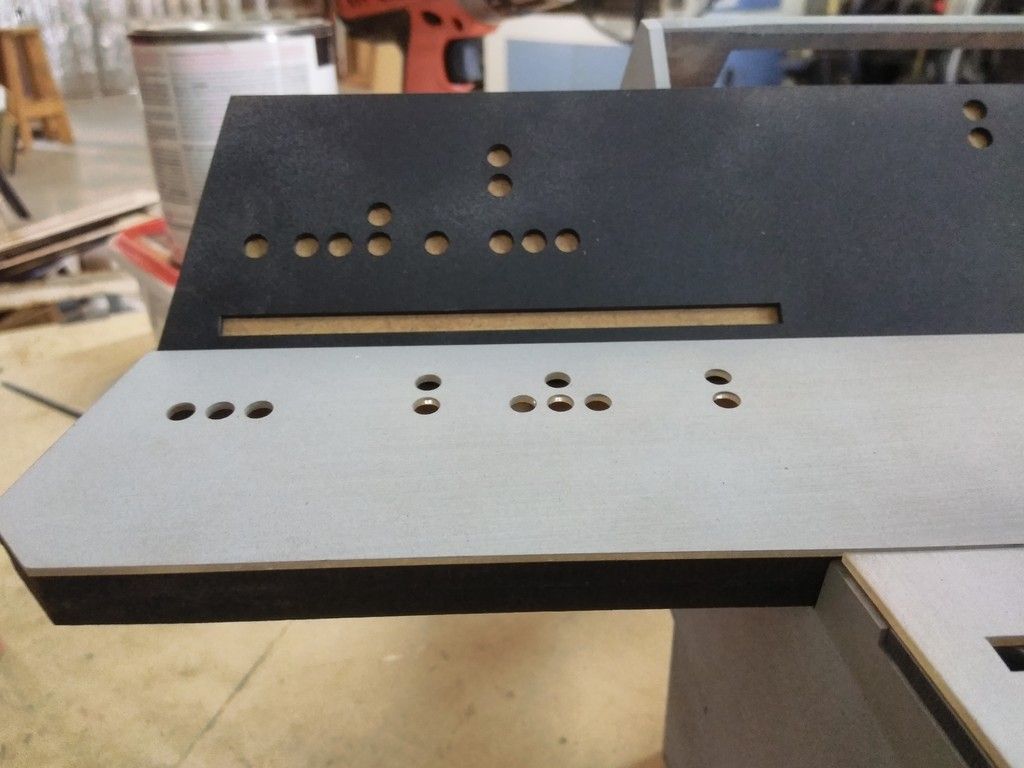
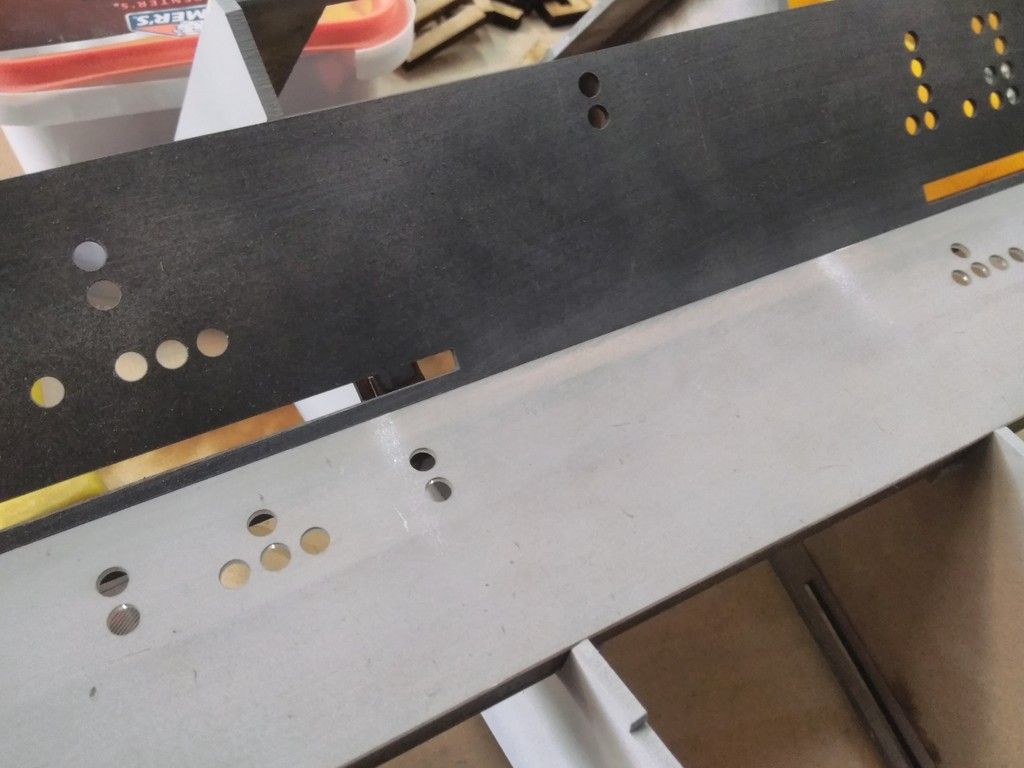
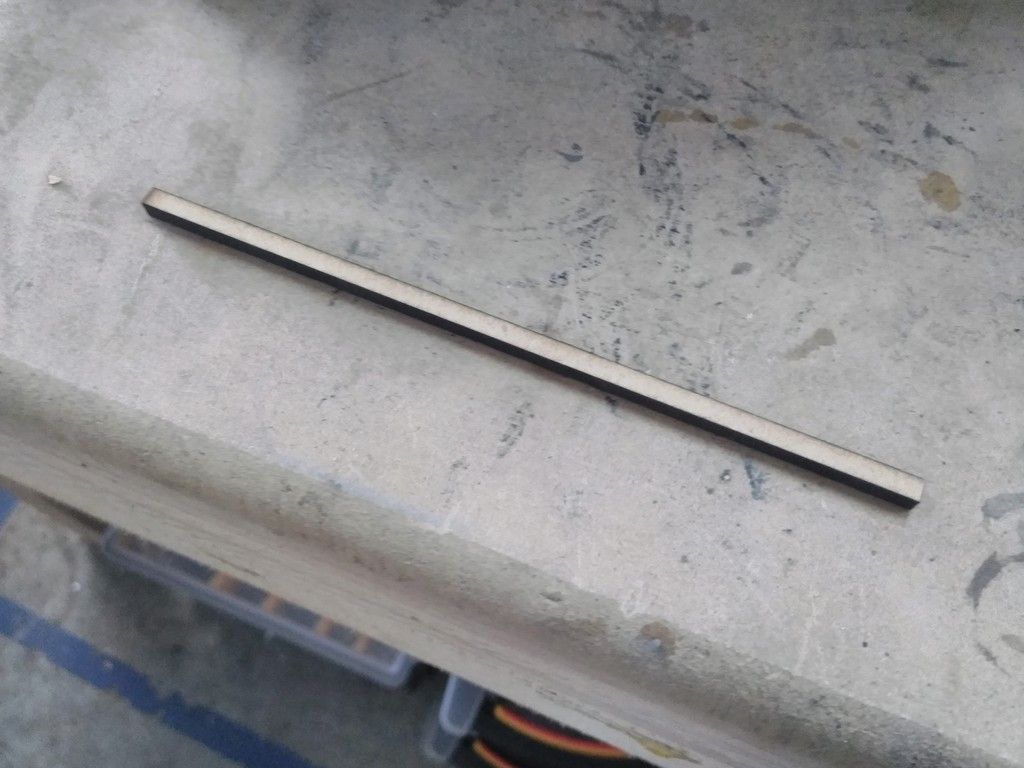
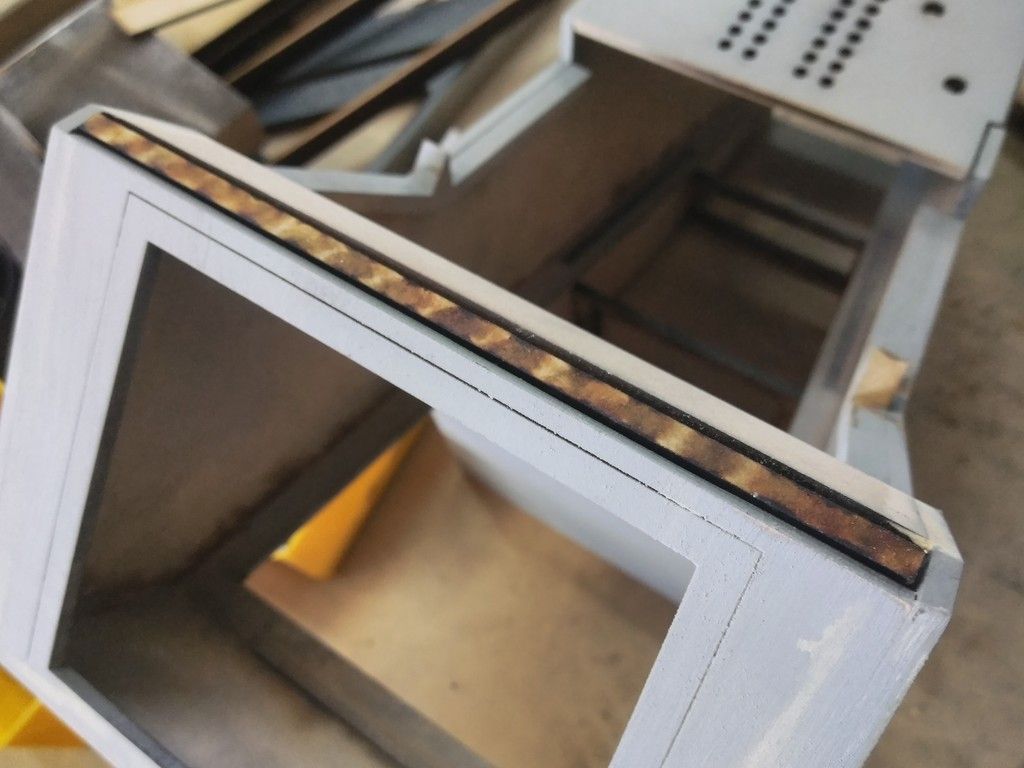
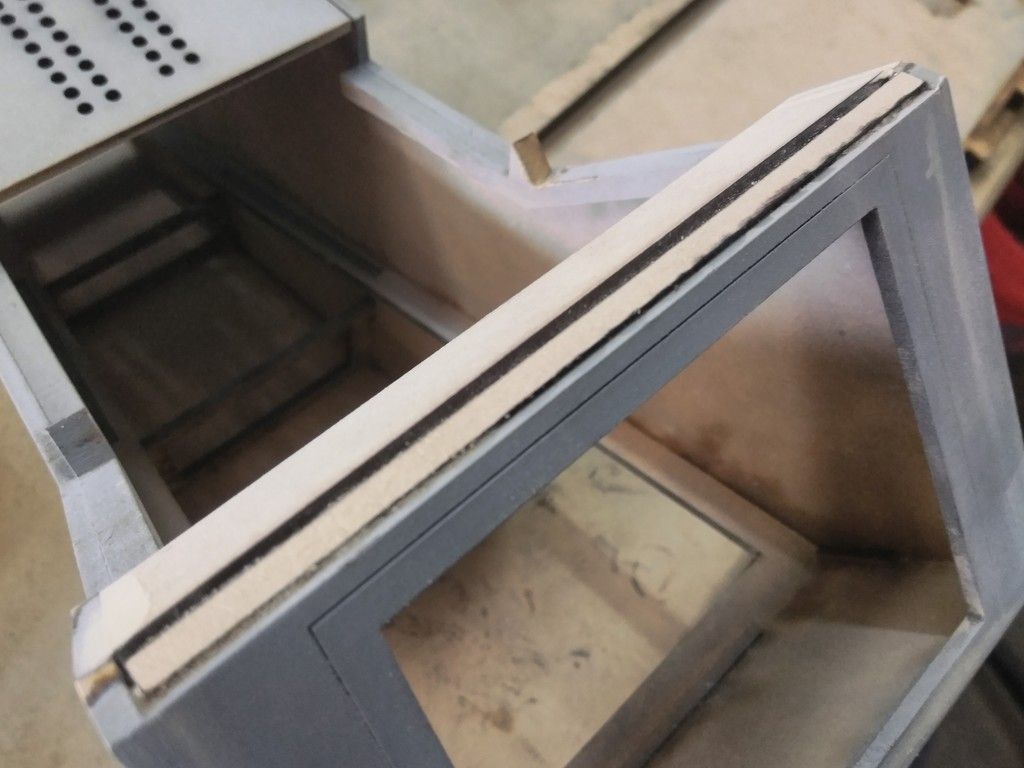
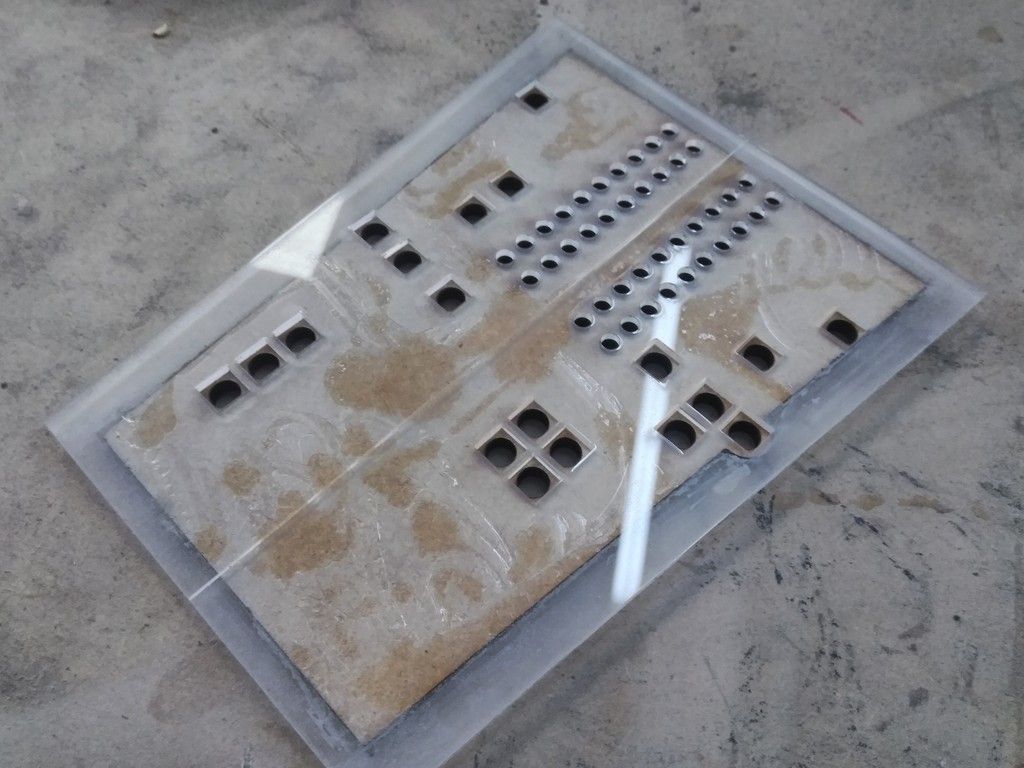
Lower and upper panel edges cut and in place
Perfect fit
Nice and snug
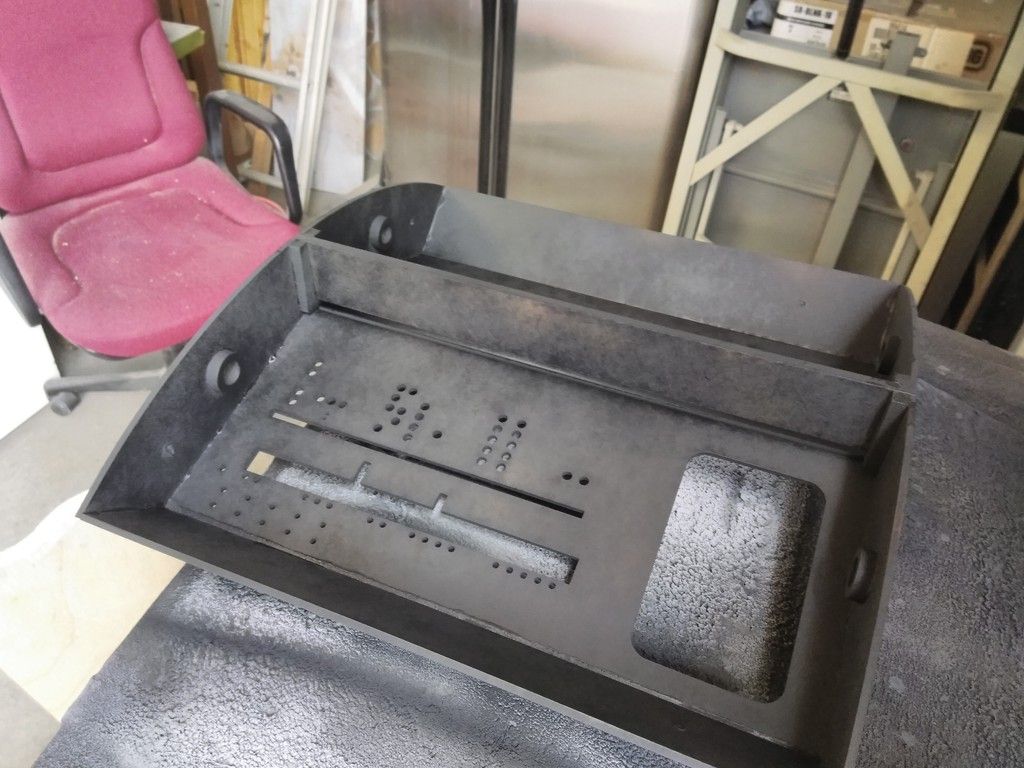
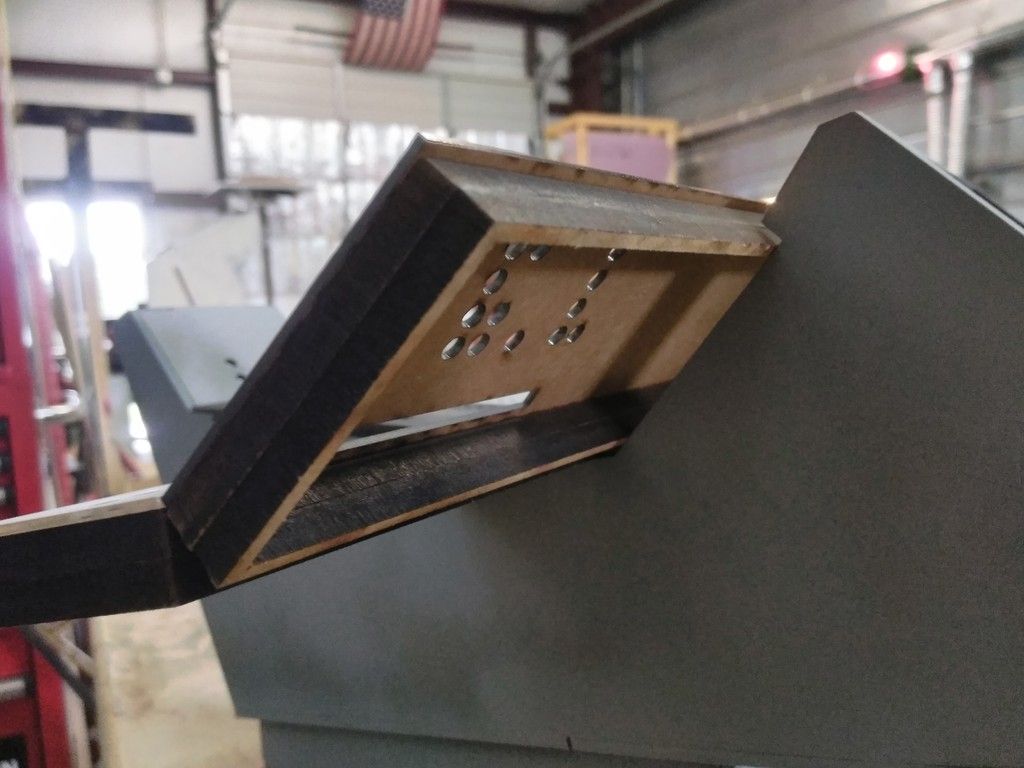
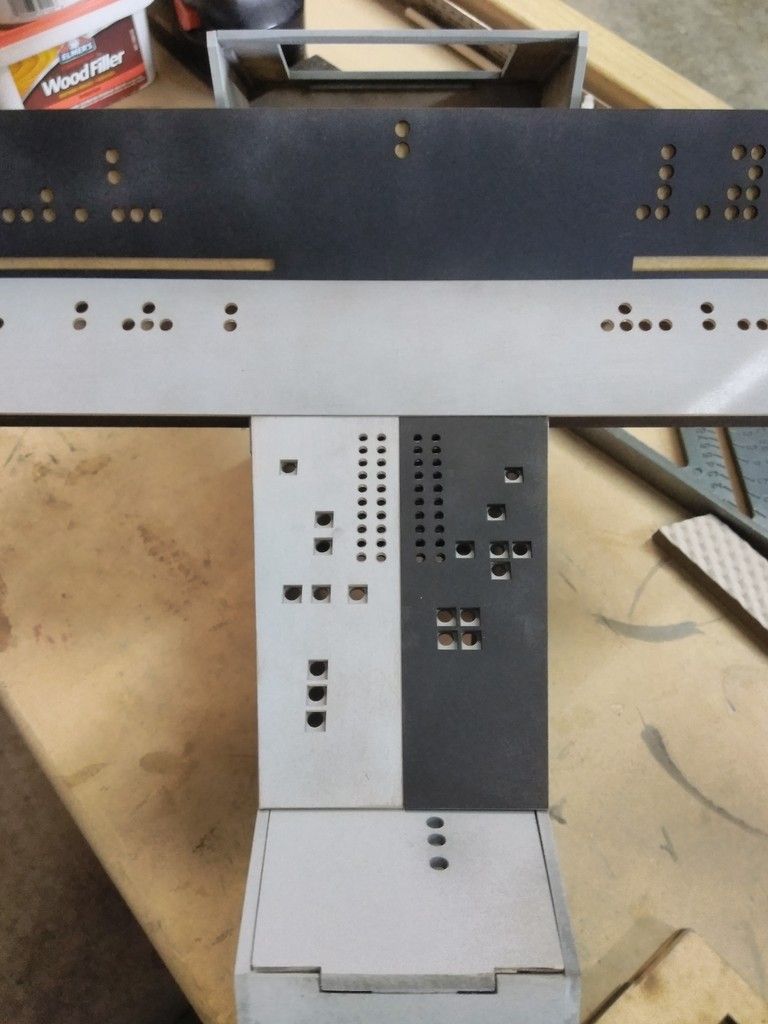
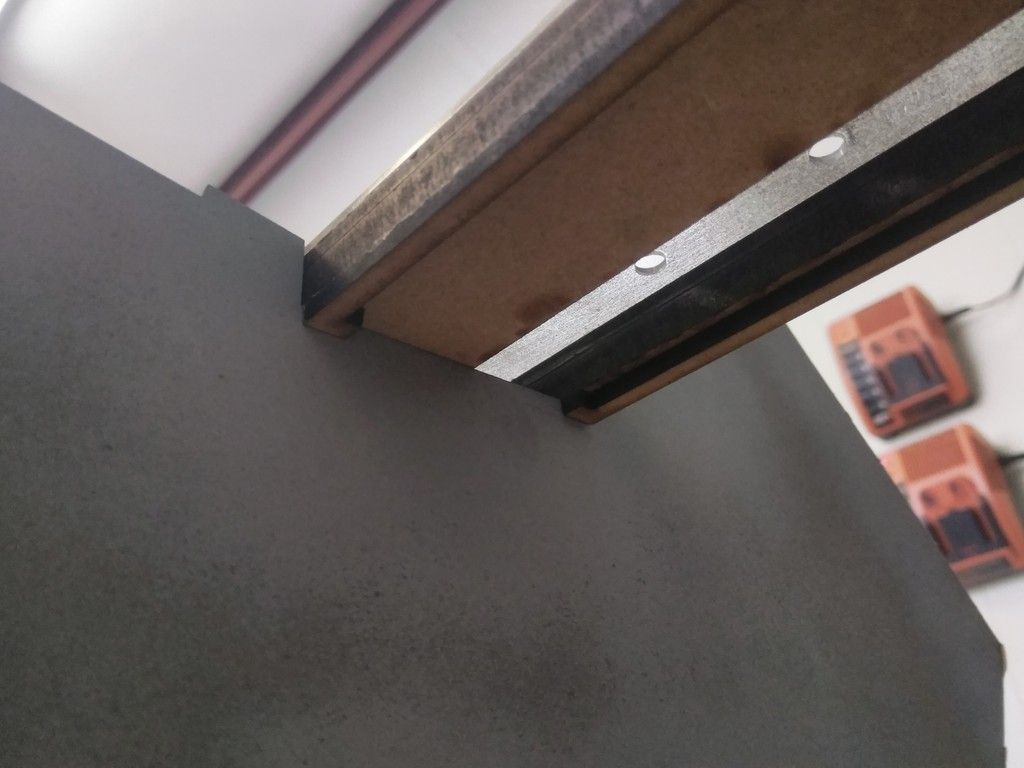
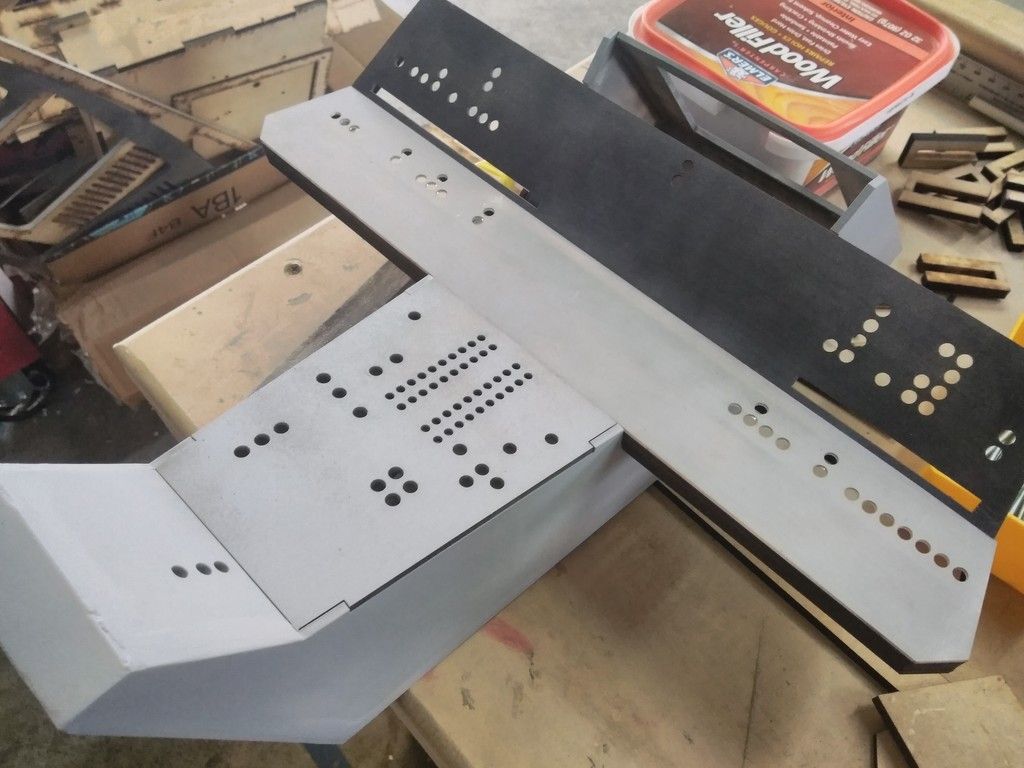
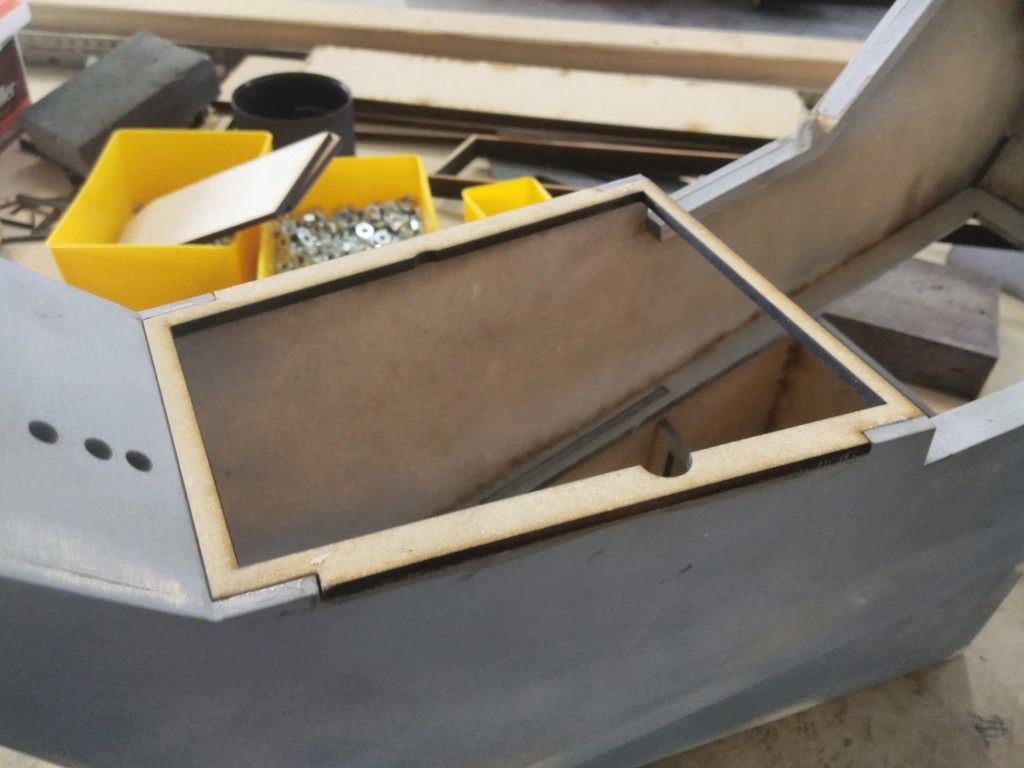
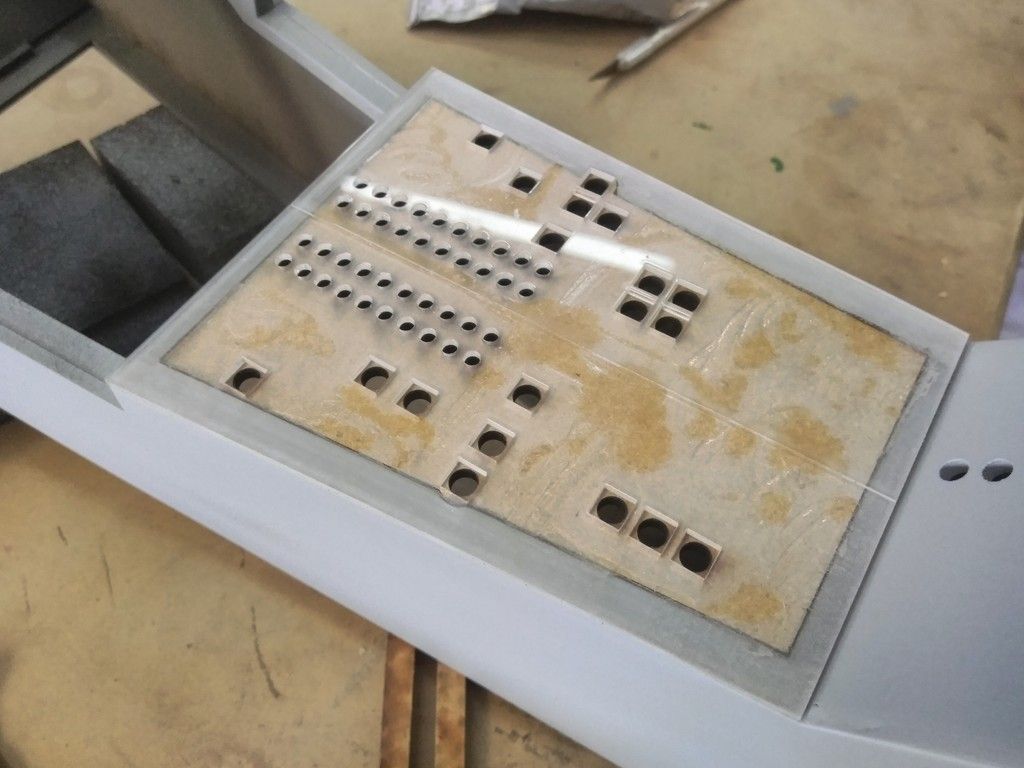
Removed the interior pieces - this is the space I have to play with for the electronics
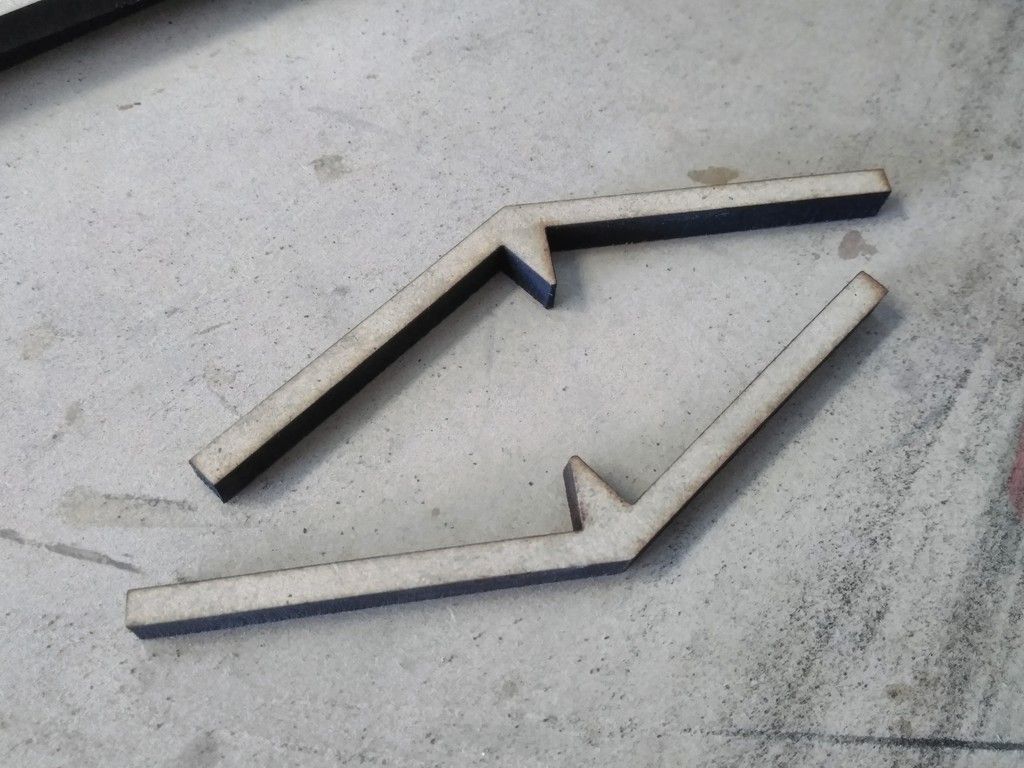
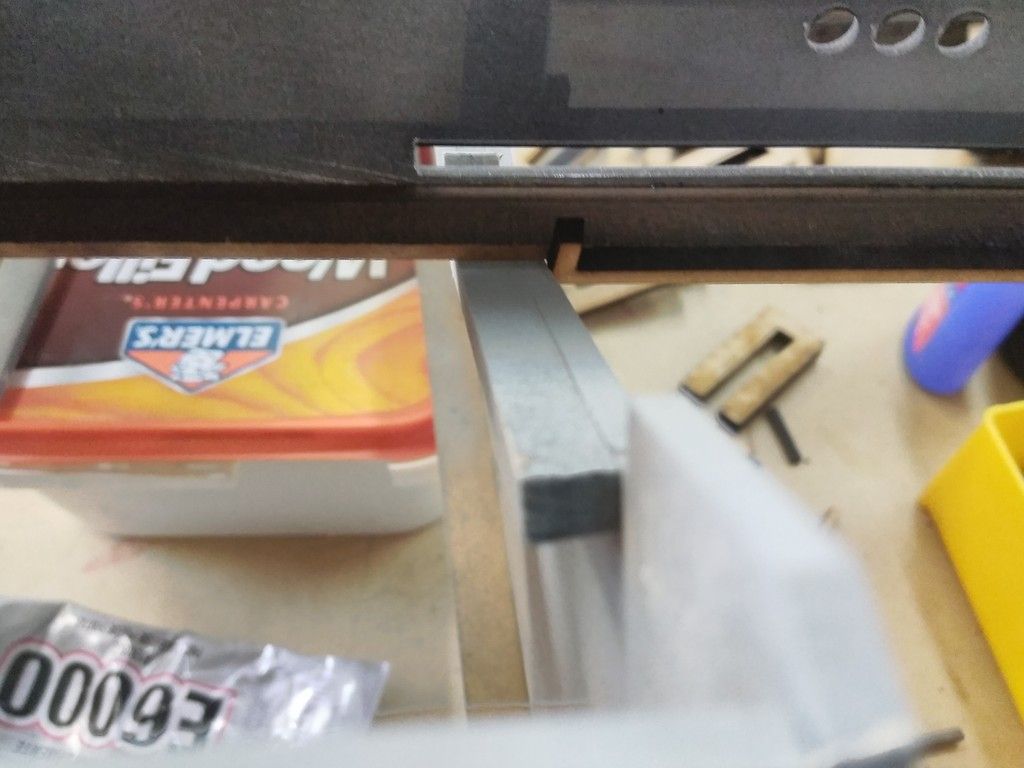
The instrument panels want to move around and stay misaligned. I laser cut these little pieces
Adhered them to the interior side of the console
When the panels go back they have a small shelf to rest and keep them from sliding up and down
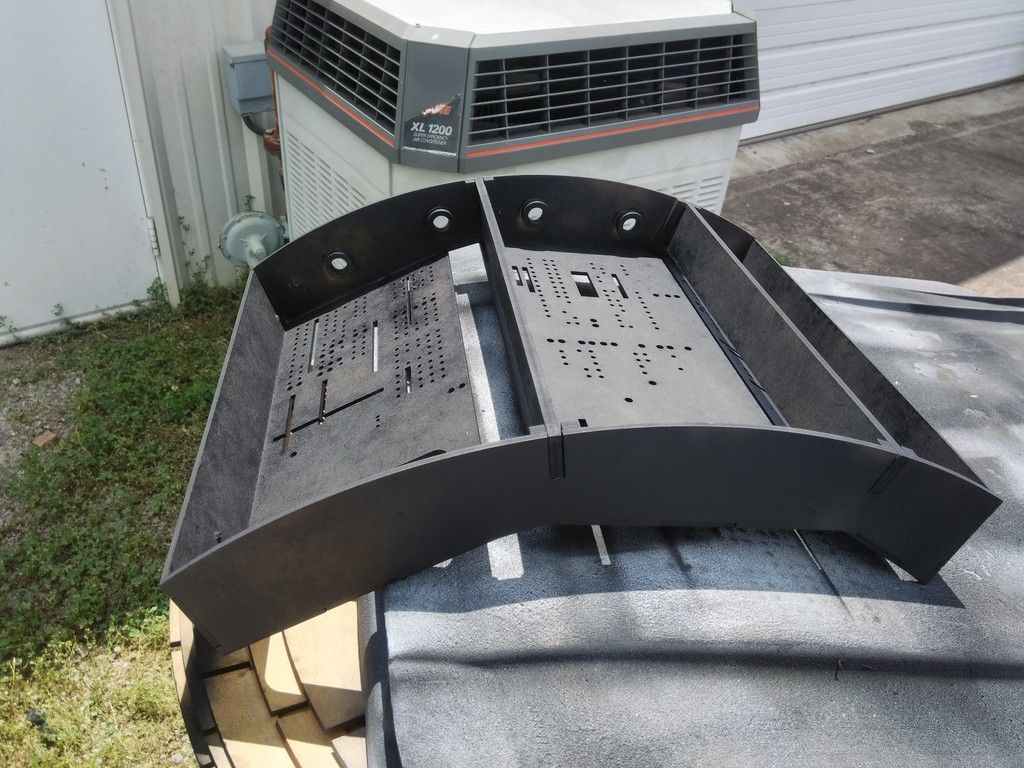
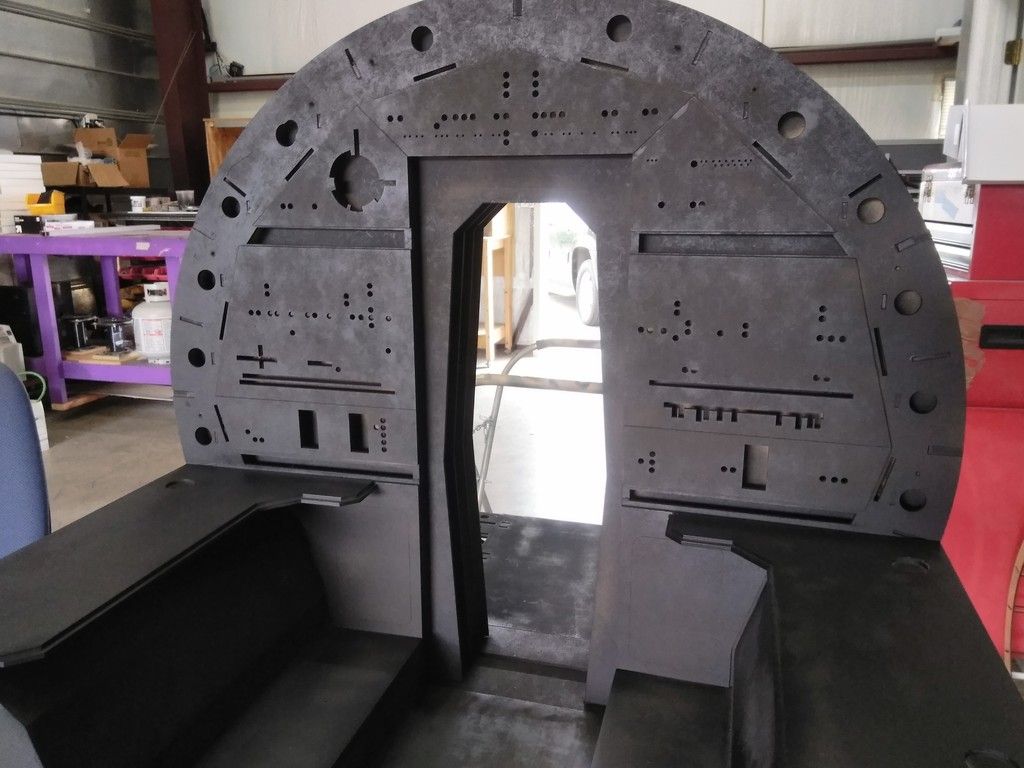
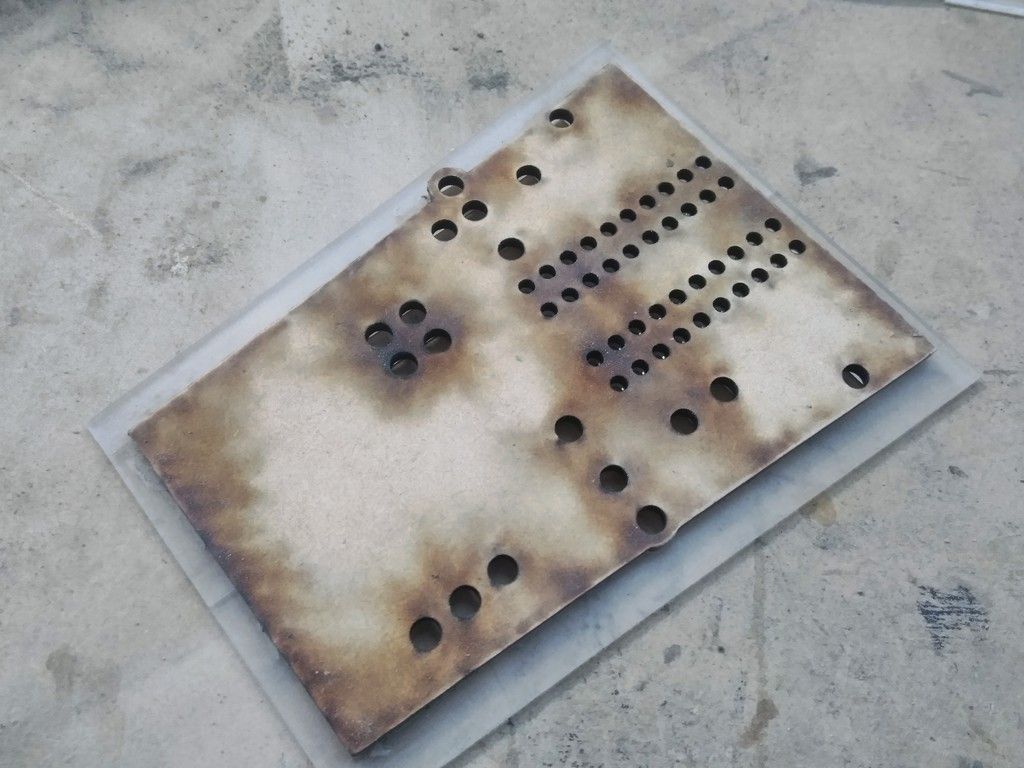
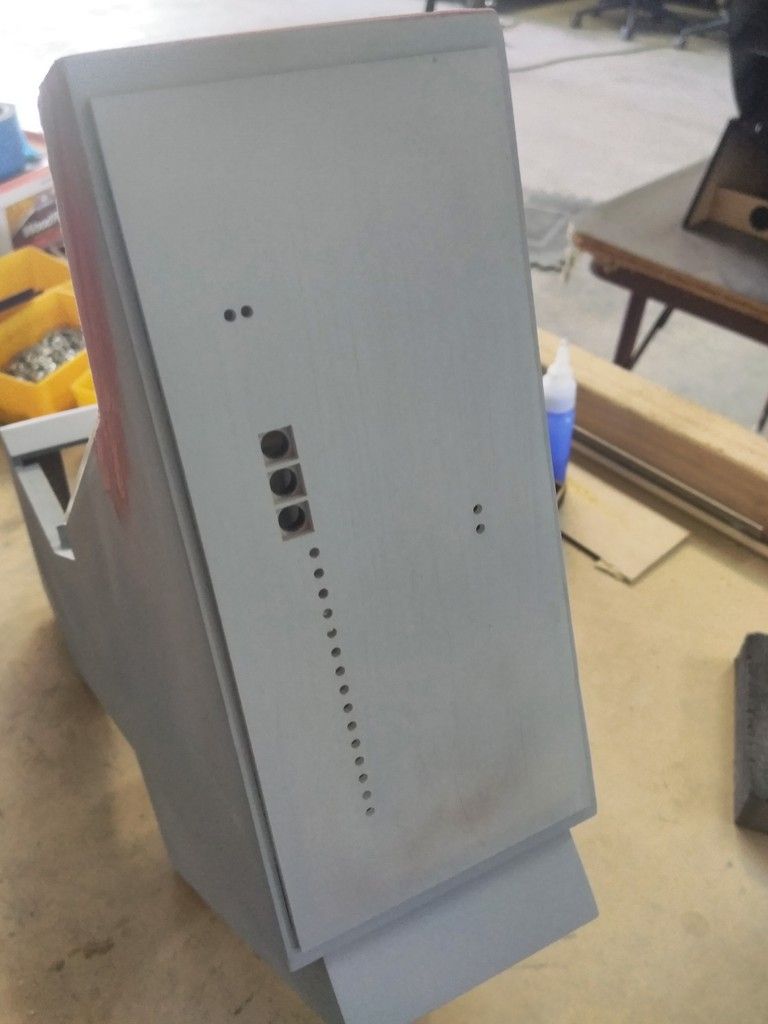
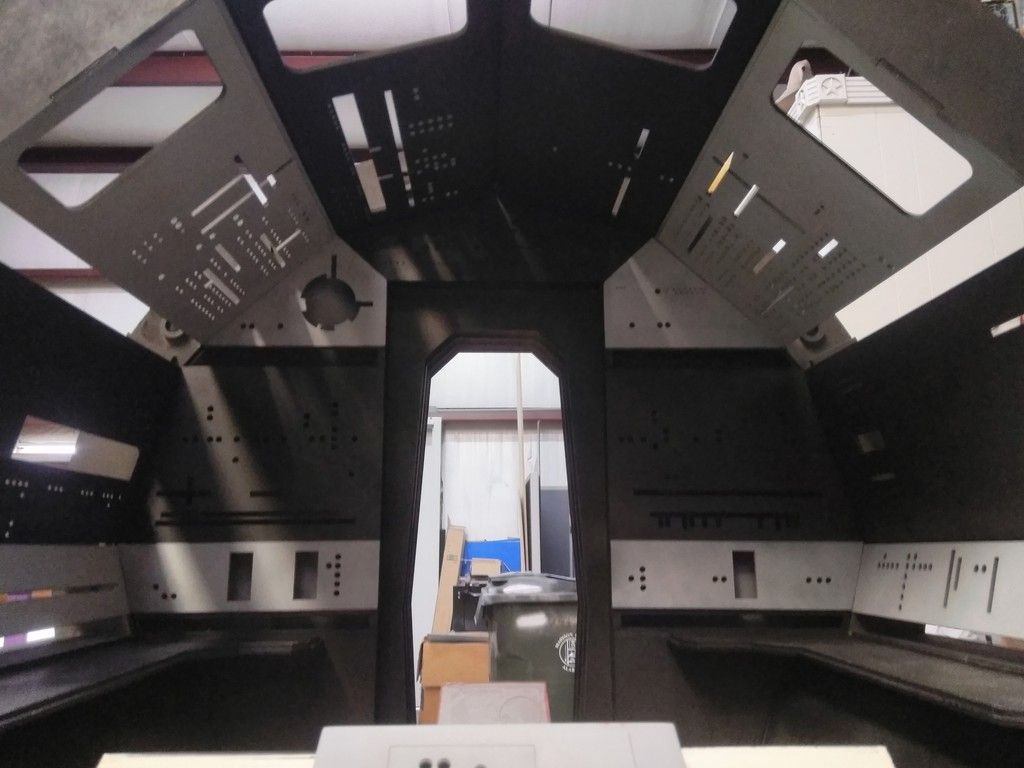
Primed the main body
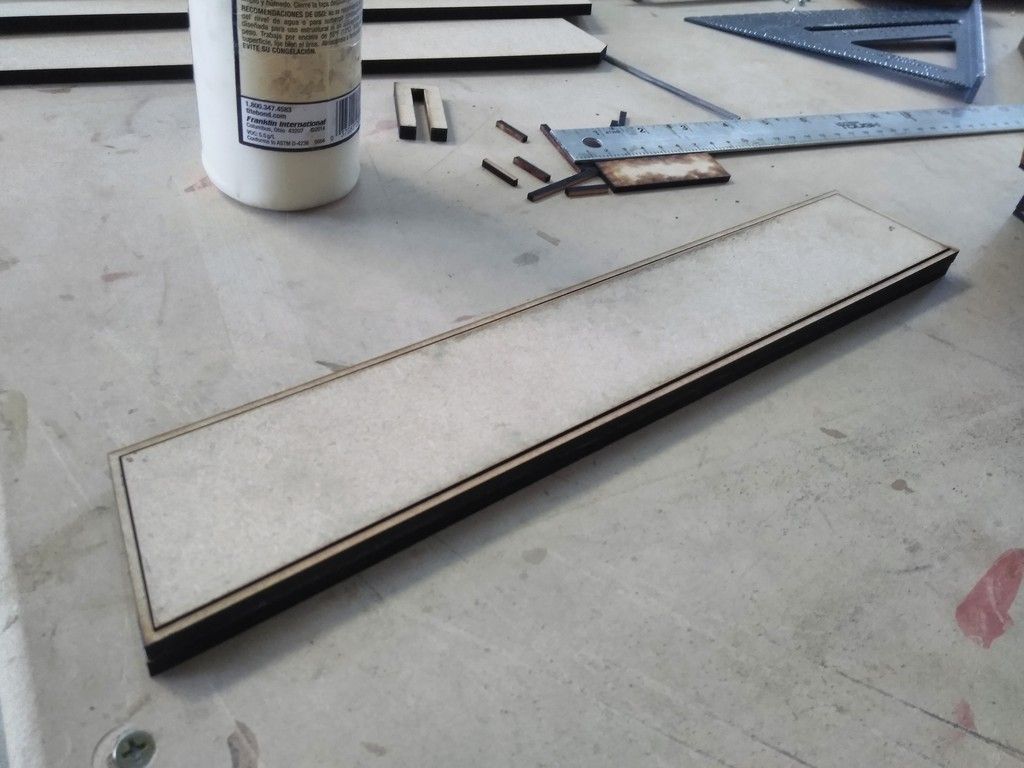
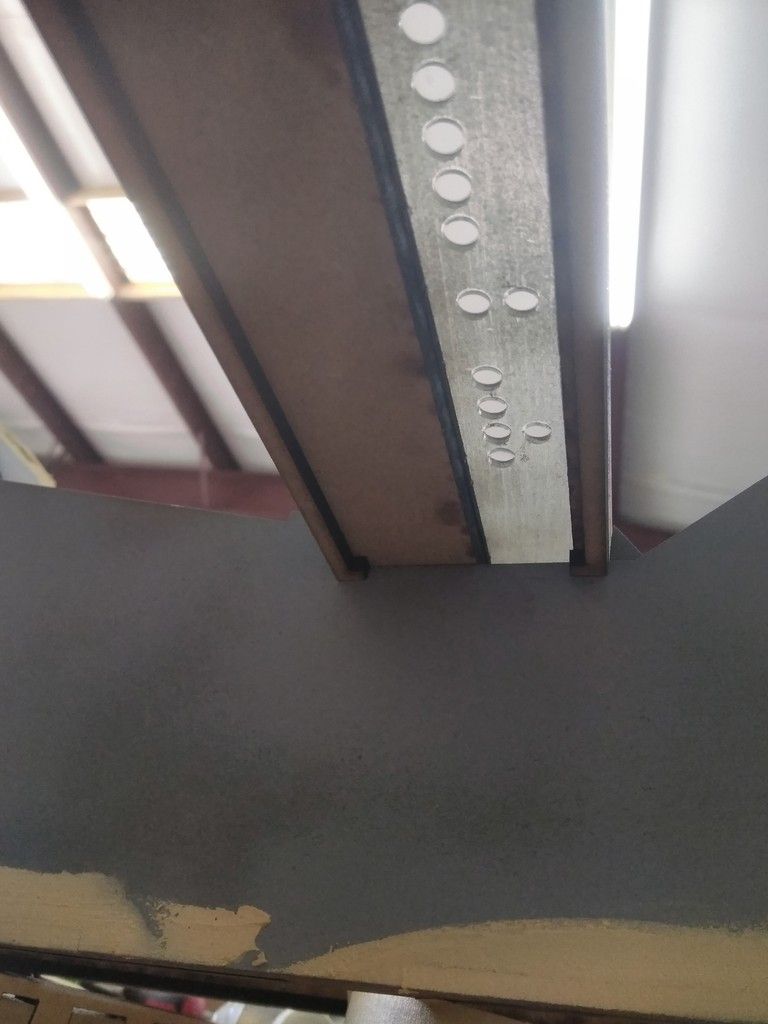
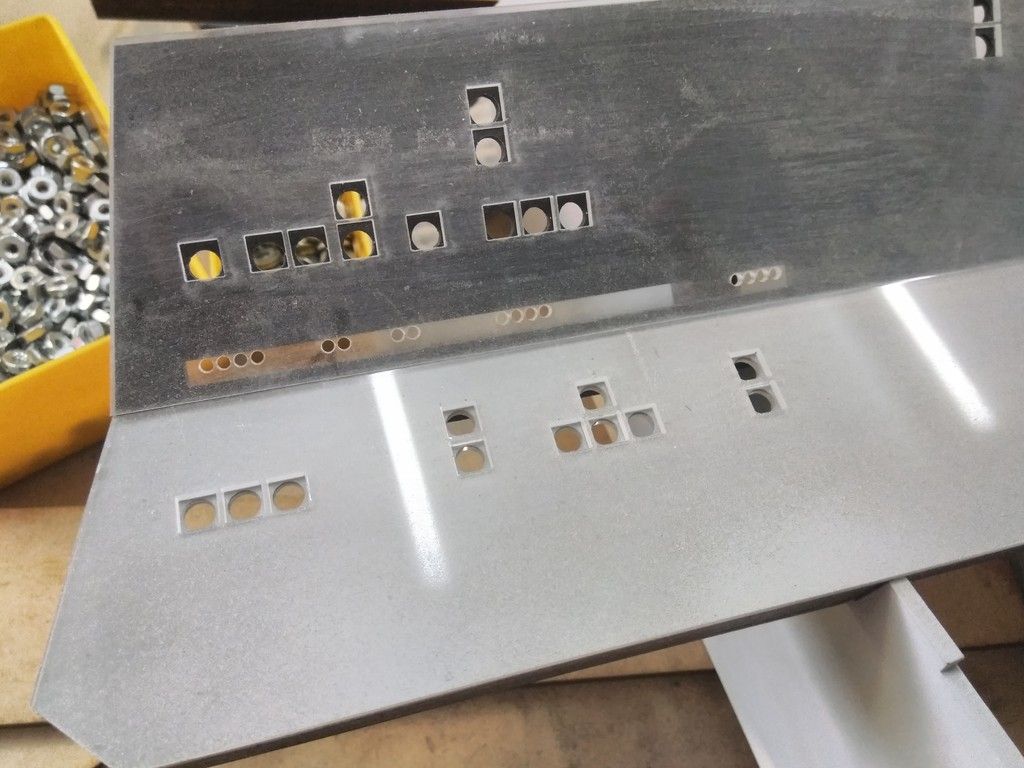
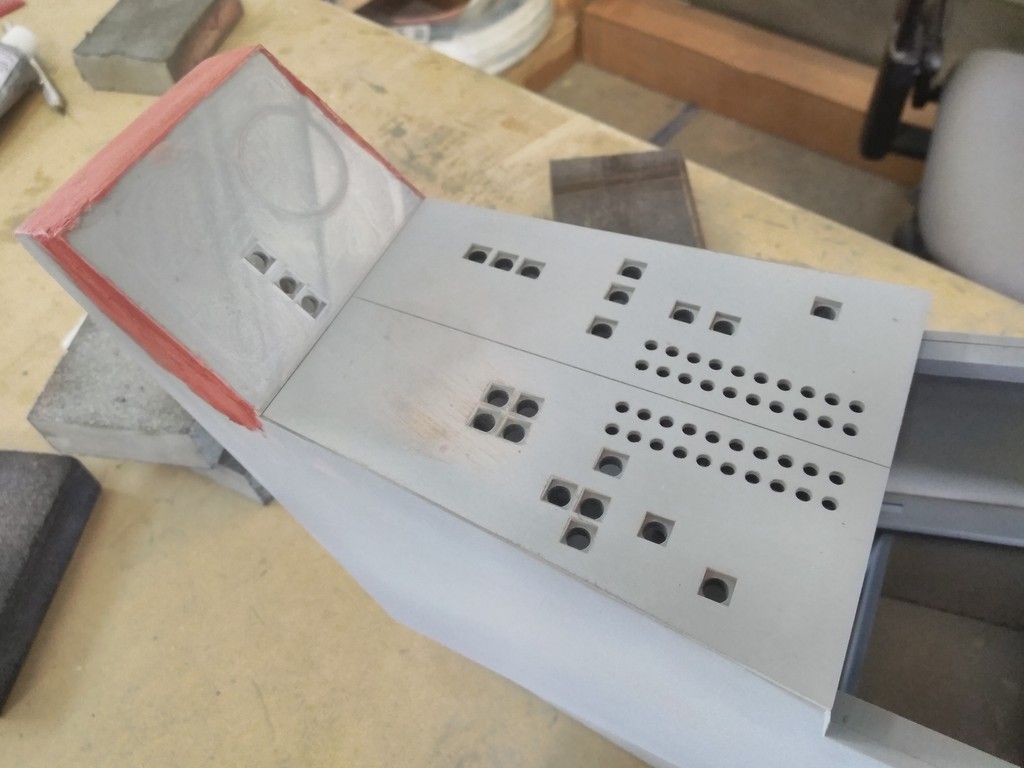
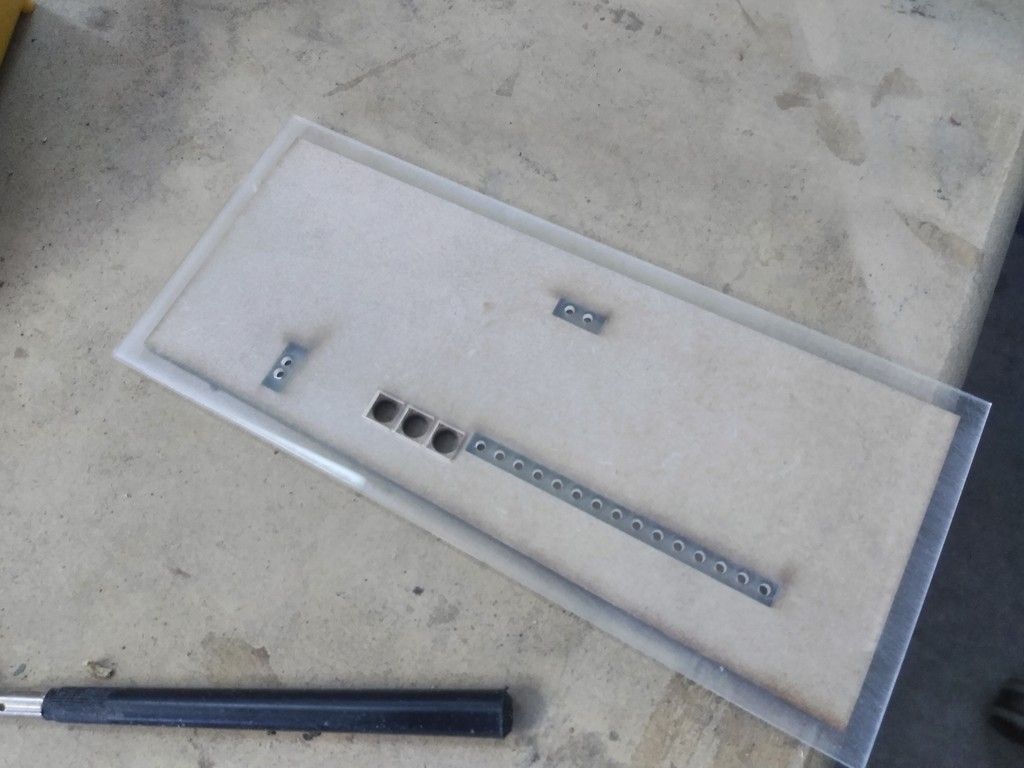
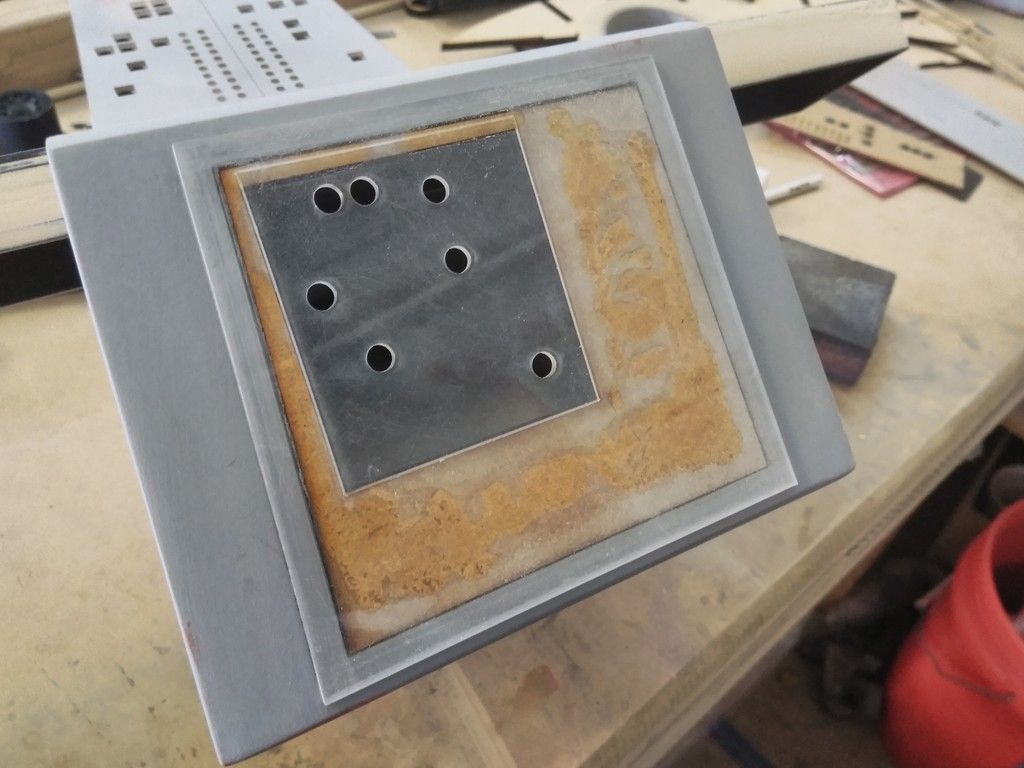
I then laser cut these 1/16th acrylic instrument panel "lower" and "upper" armrest panel faces
Dry fit
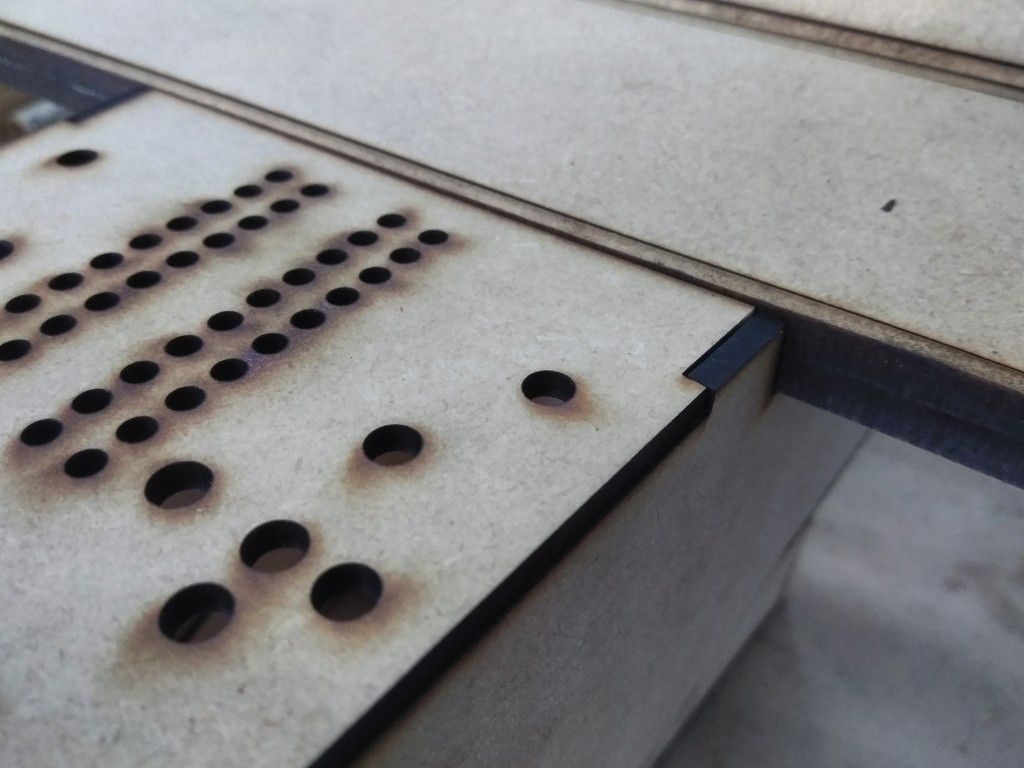
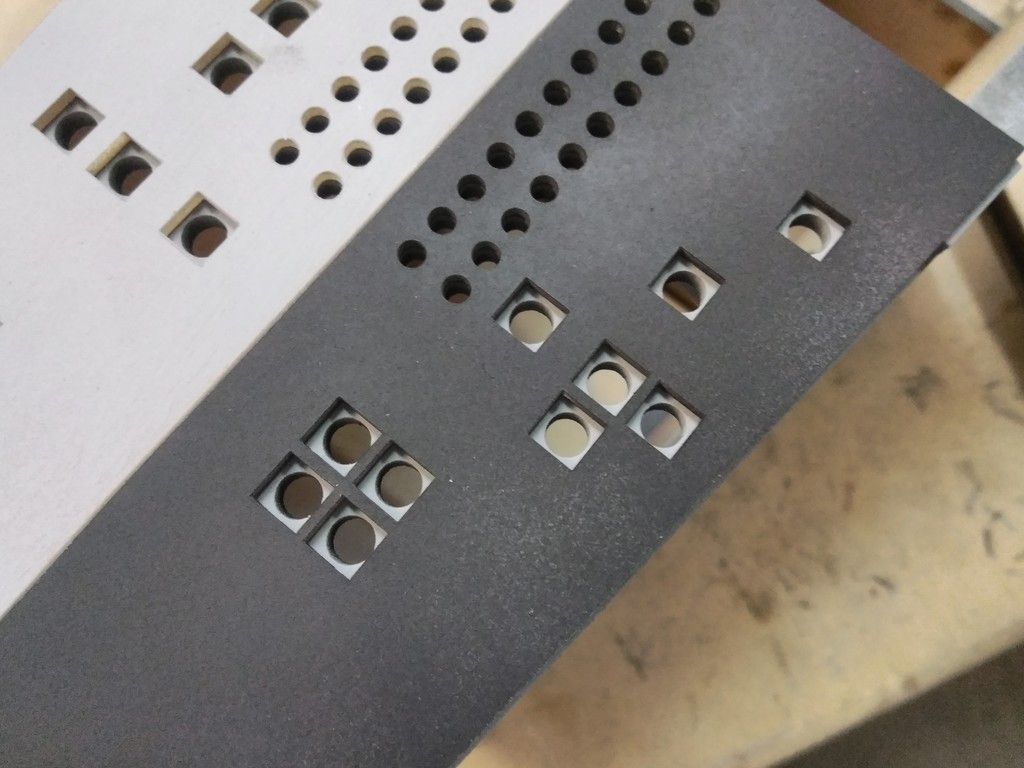
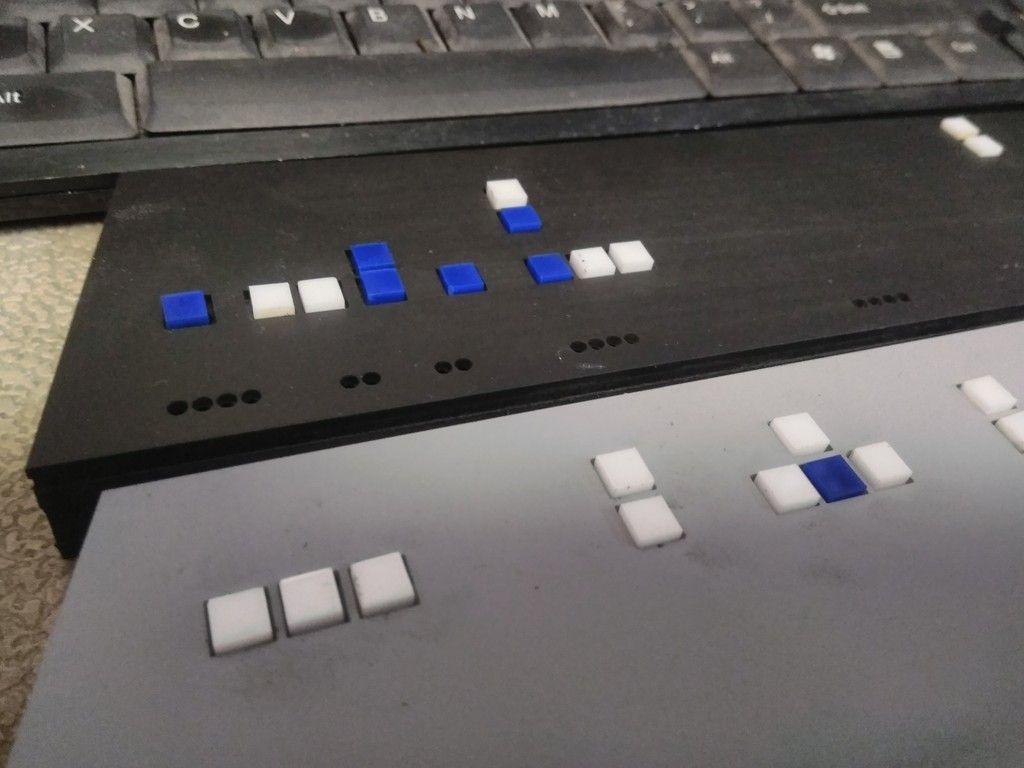
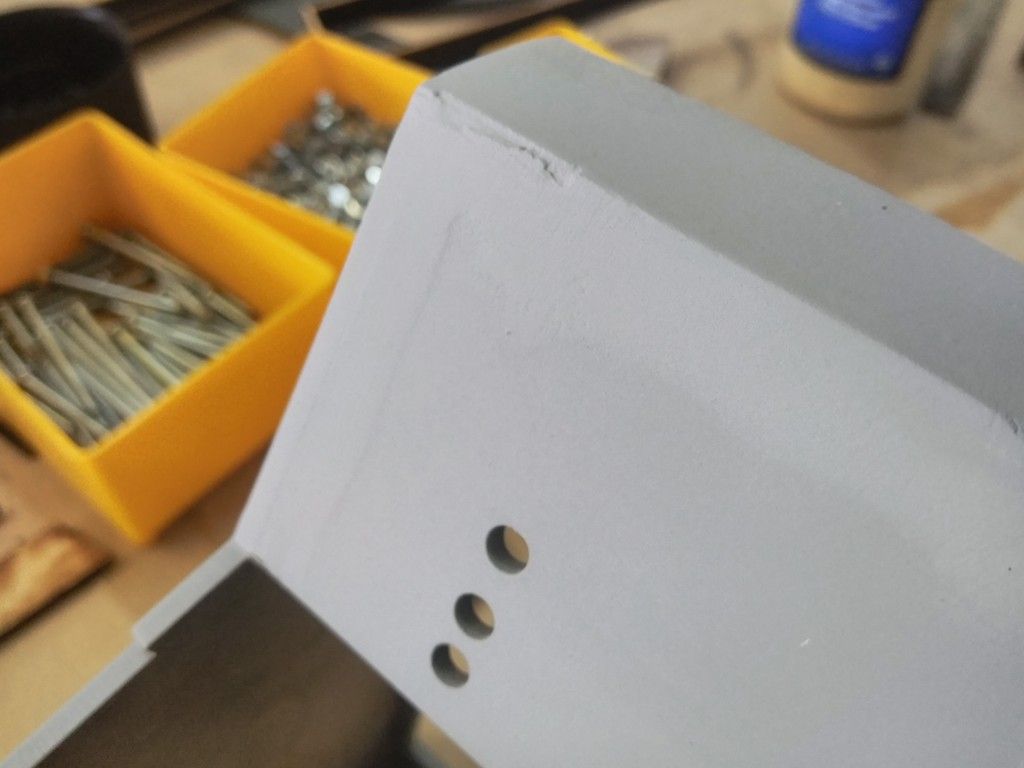
Note the holes for the illumination PLUS a simple guide to simply drop the blue and white tiles in place
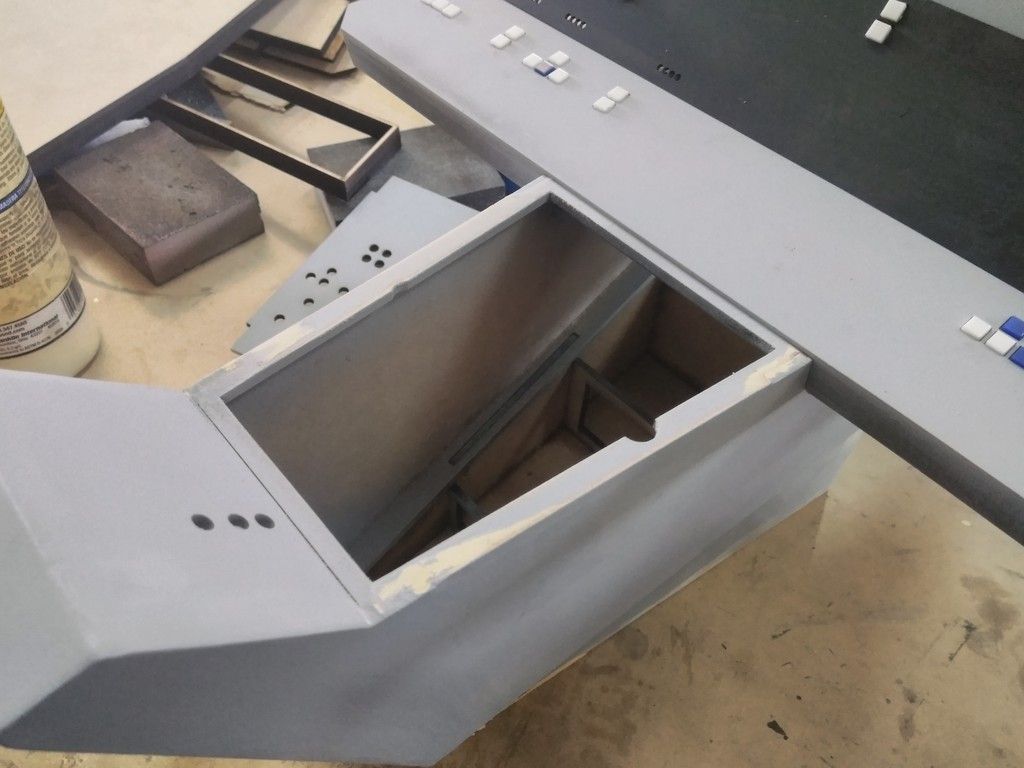
That working space gets tighter and tighter
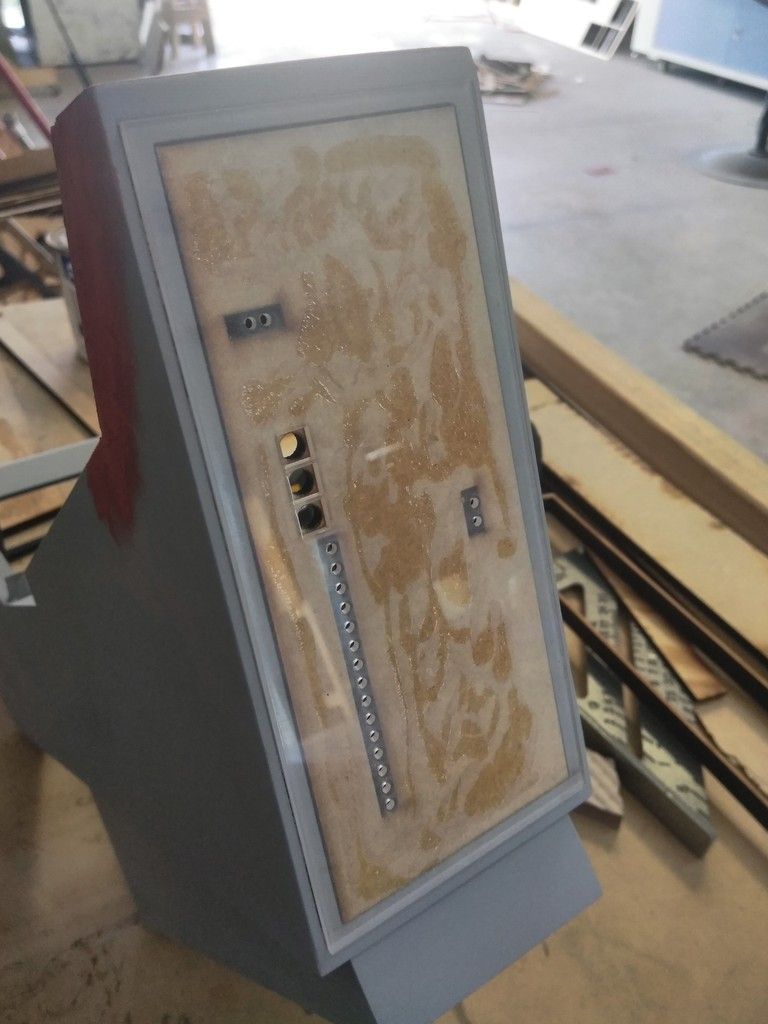
Adhered the 1/16th pieces to the instrument panels
I used the scrap interior pieces to help hold the shape and help keep the edges from deforming
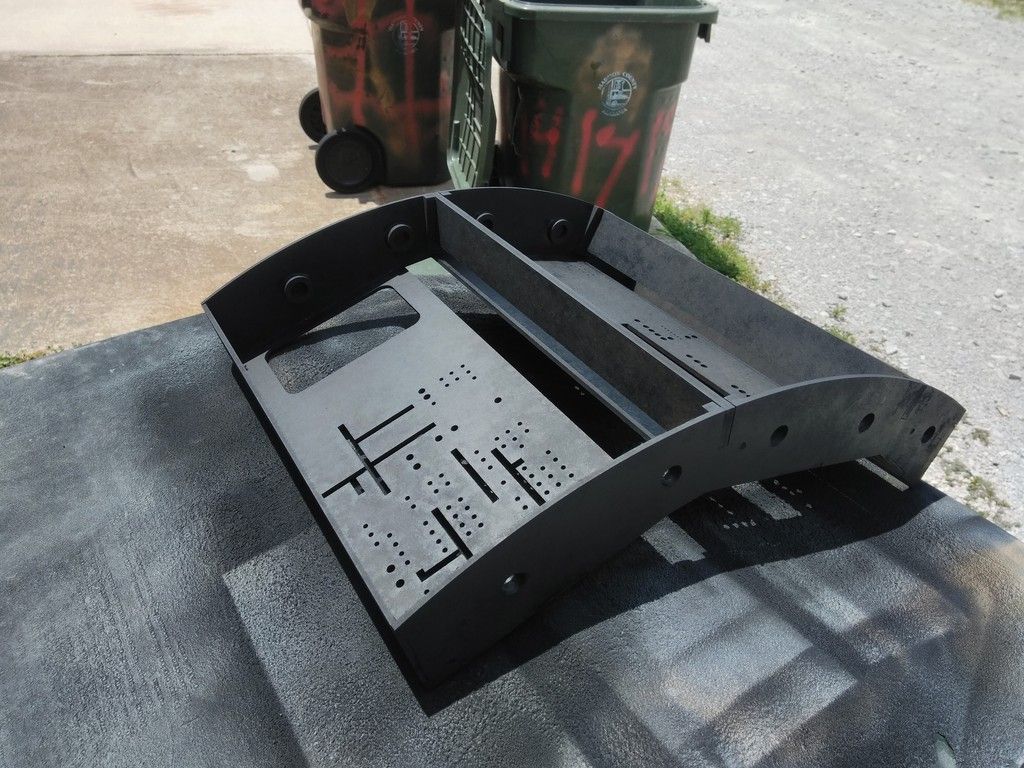
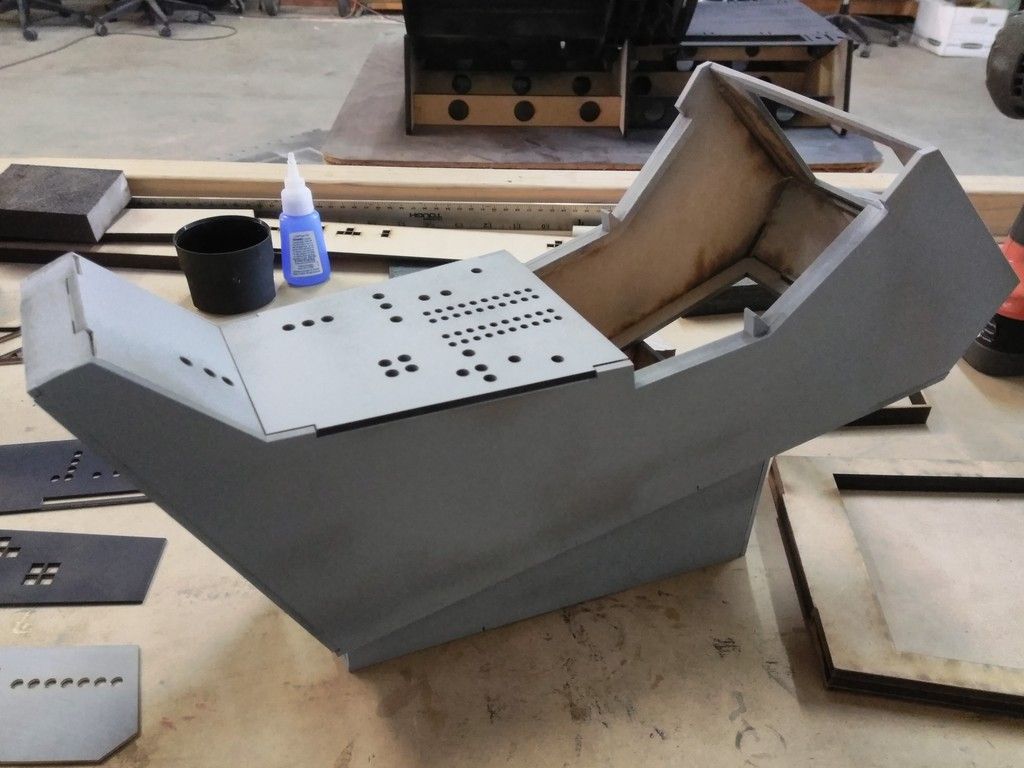
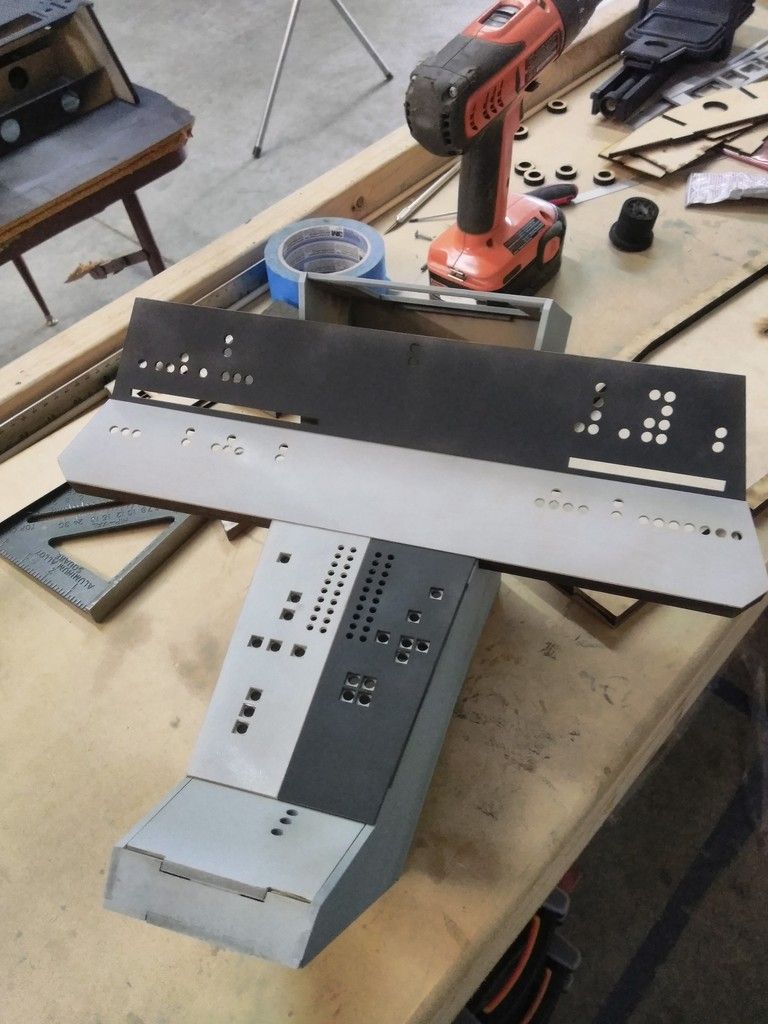
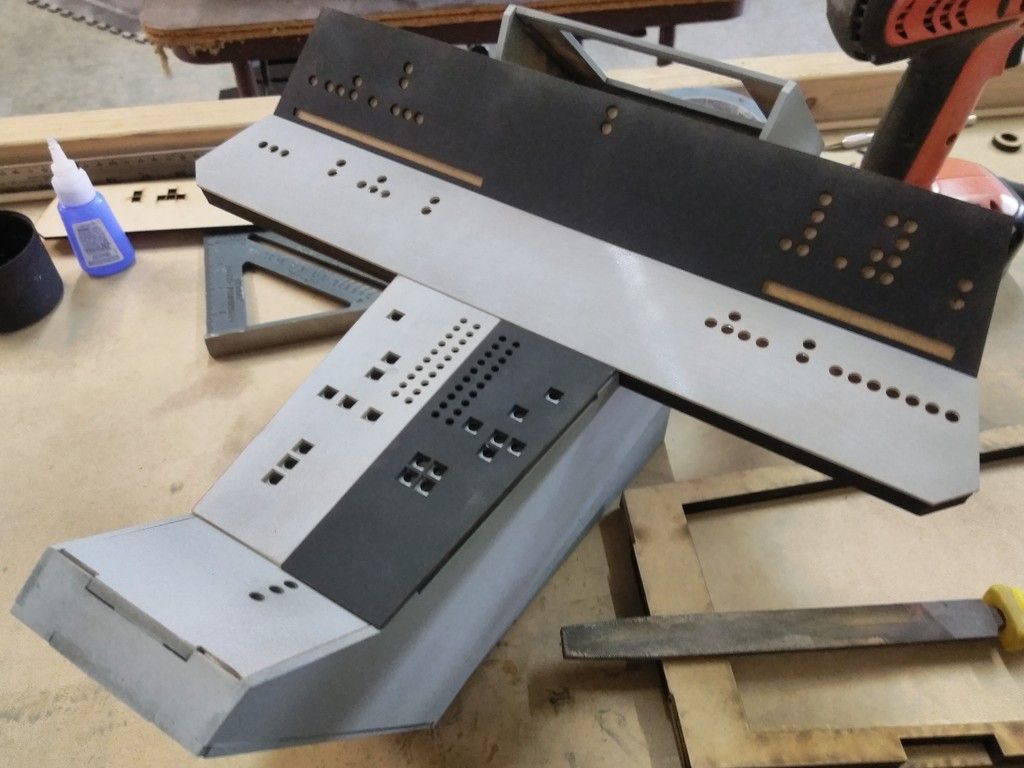
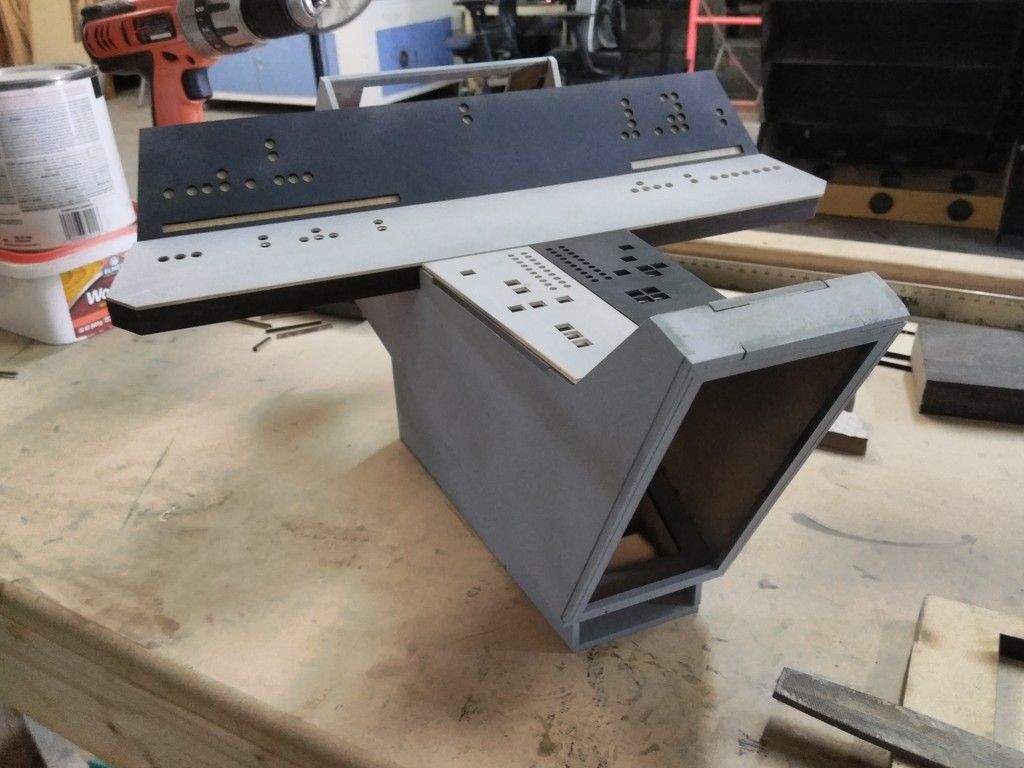
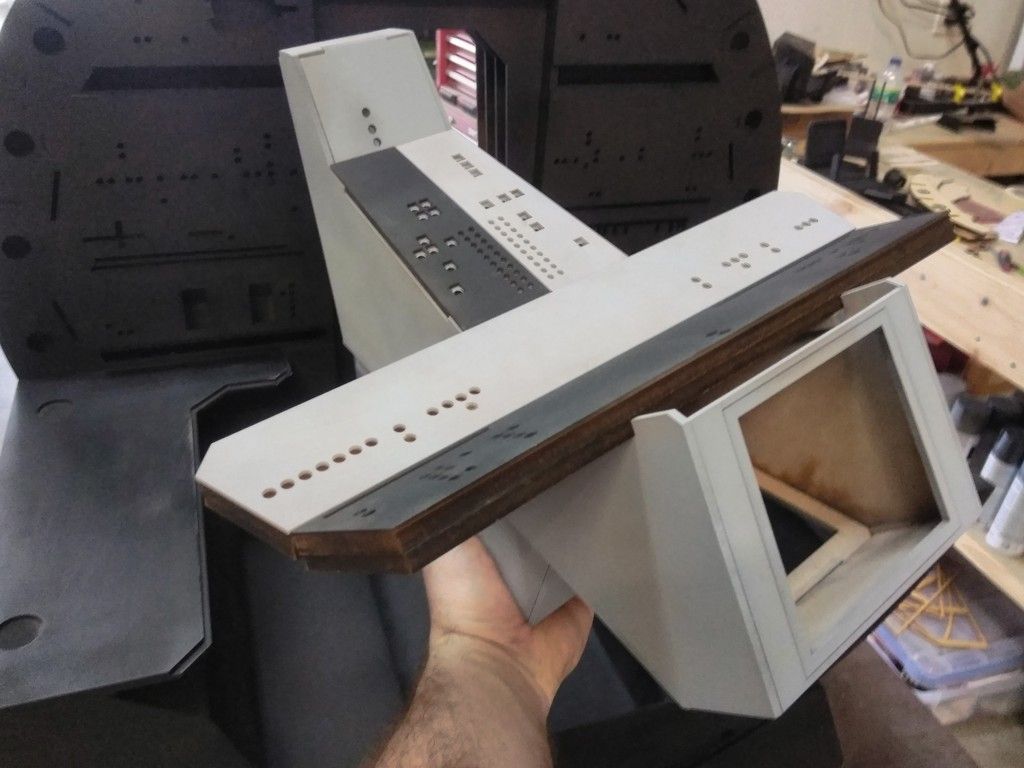
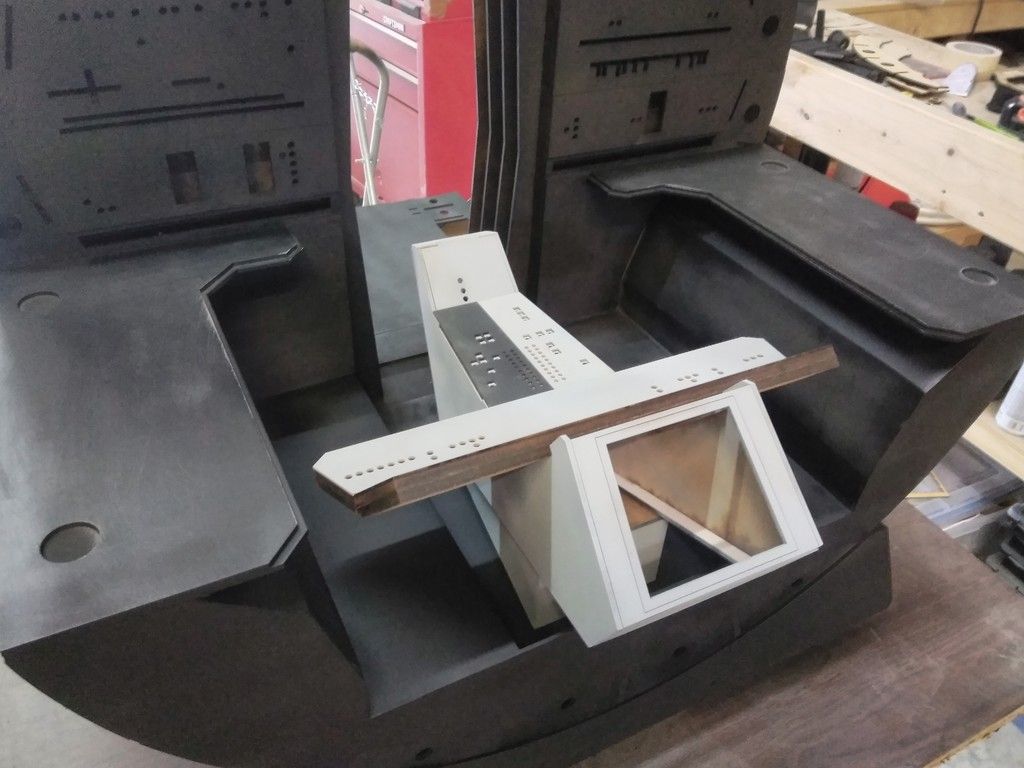
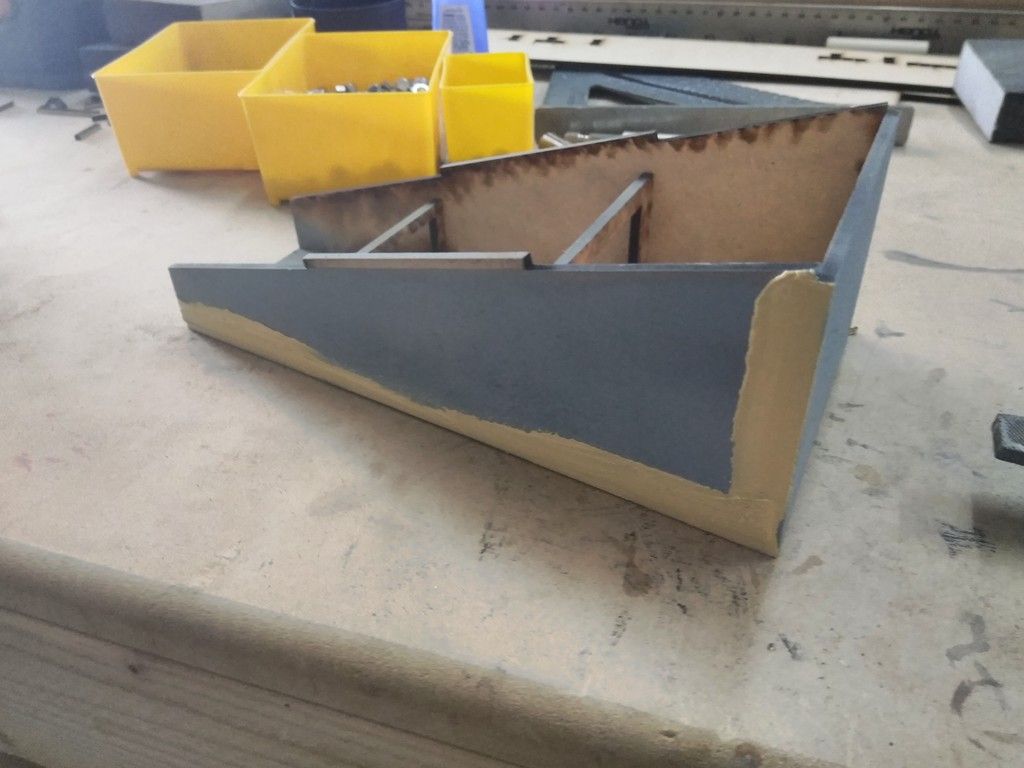
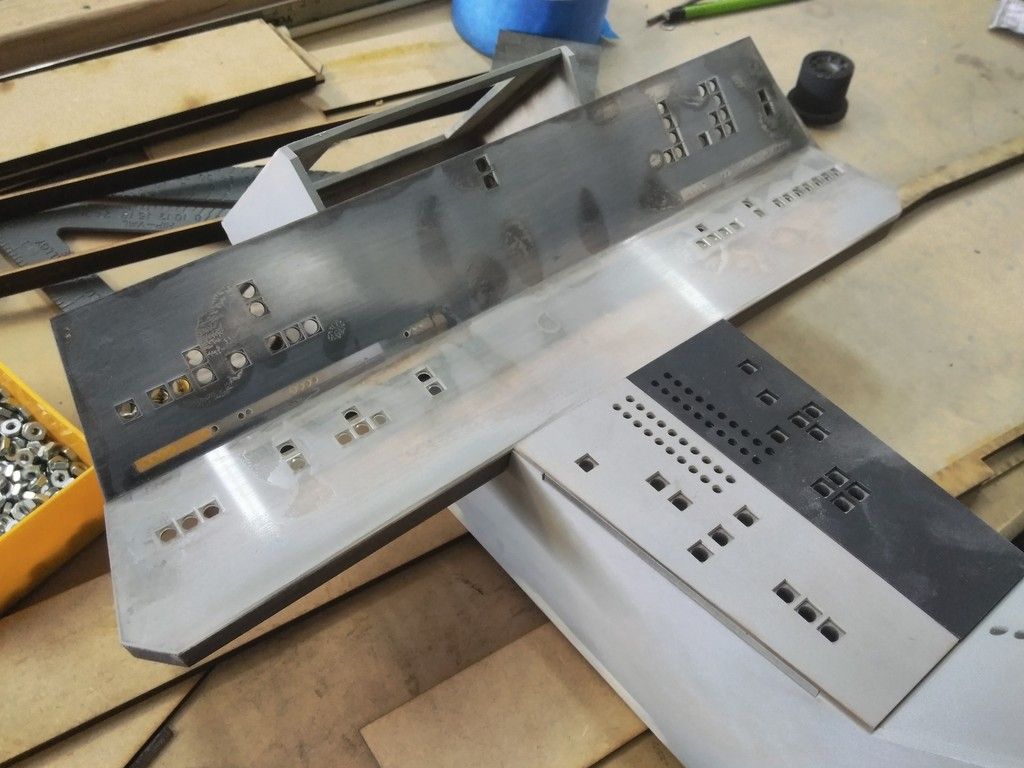
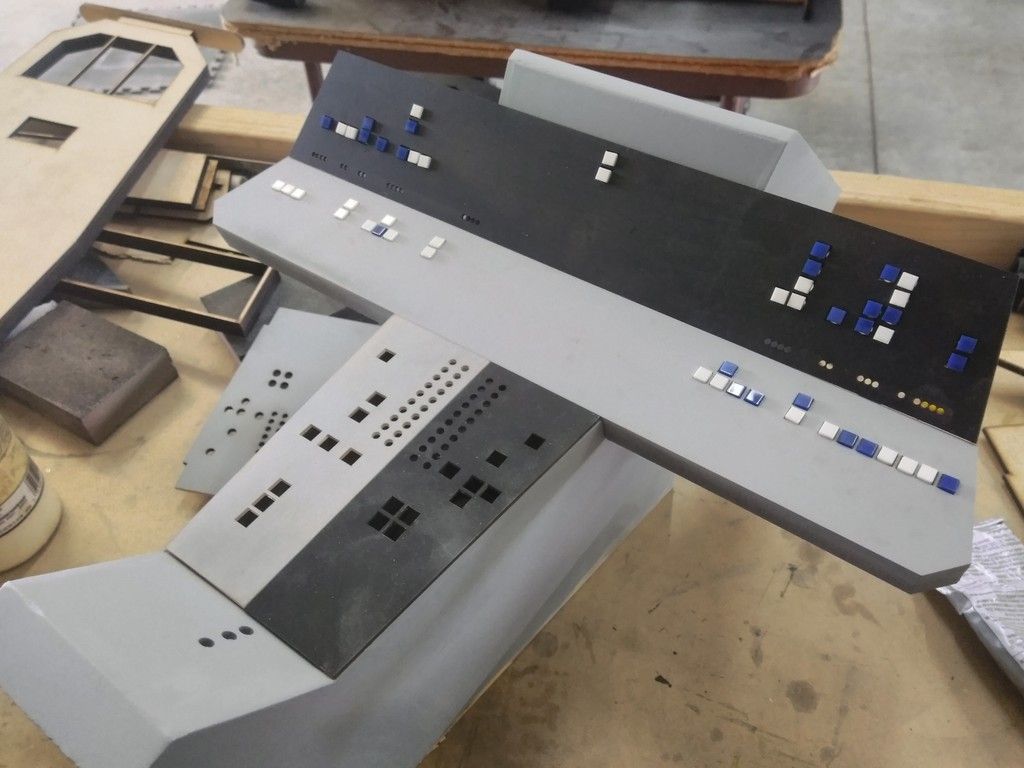
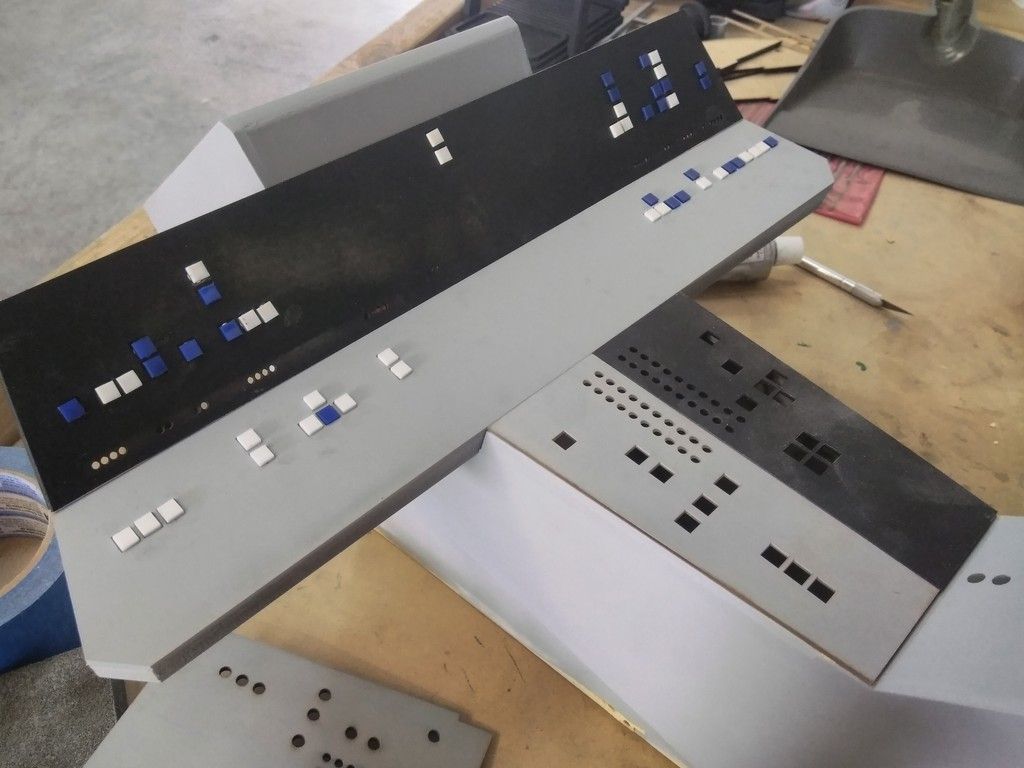
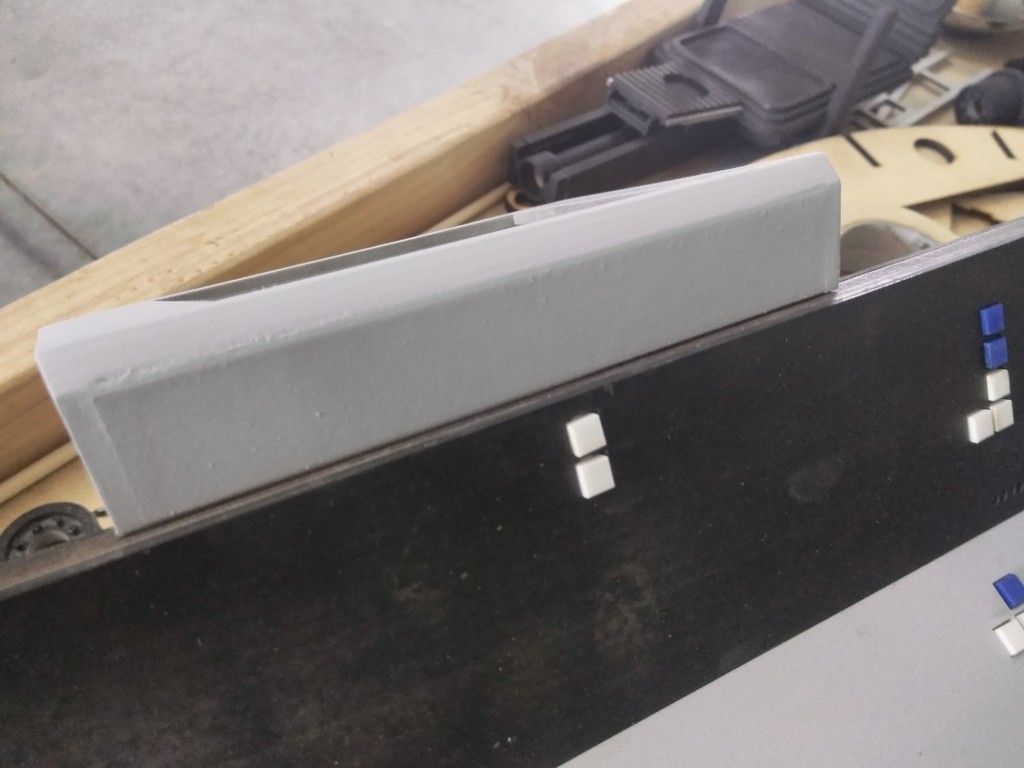
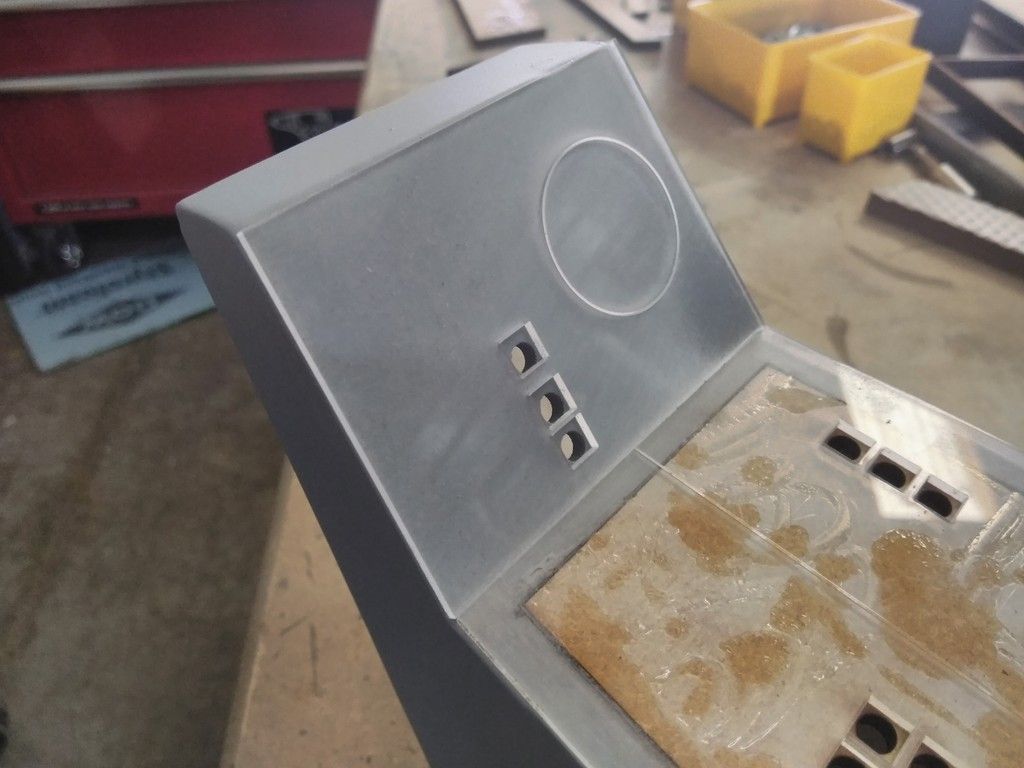
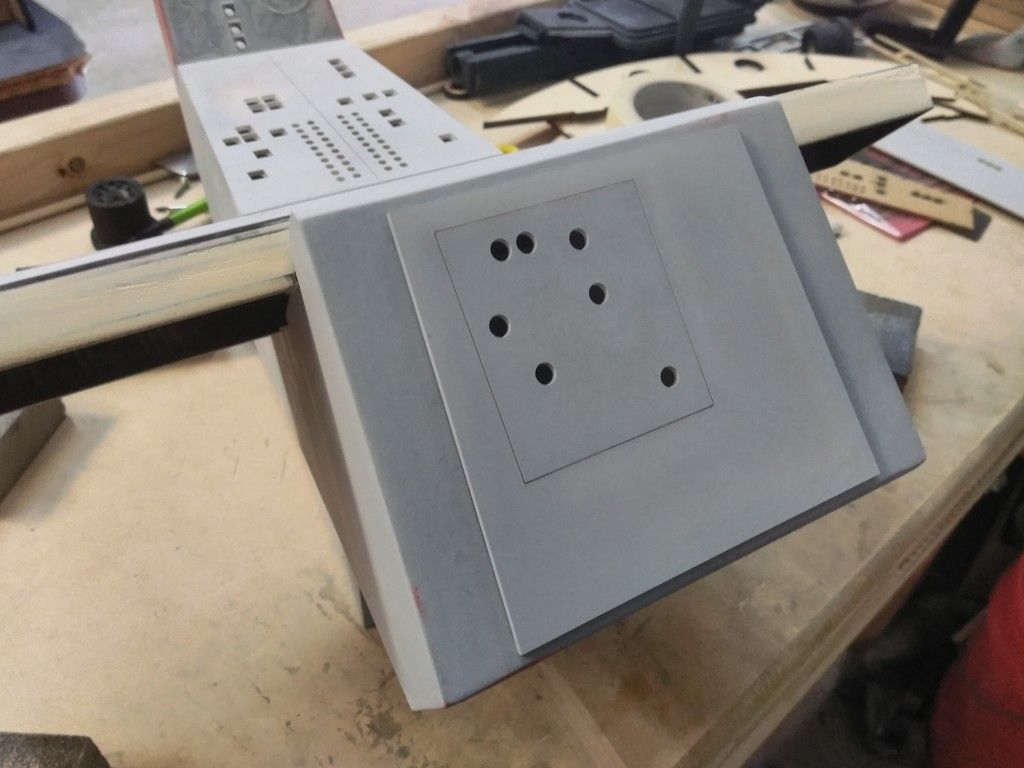
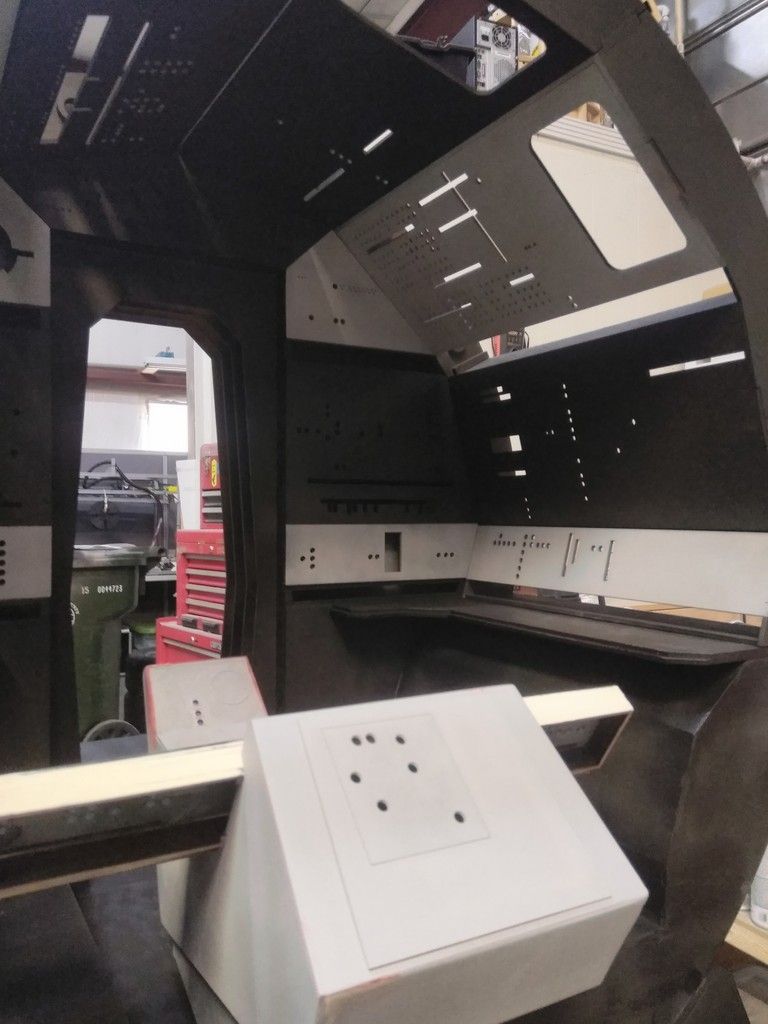
Now she's looking like a proper console
For scale... In my hand (before I painted the cockpit panels grey)
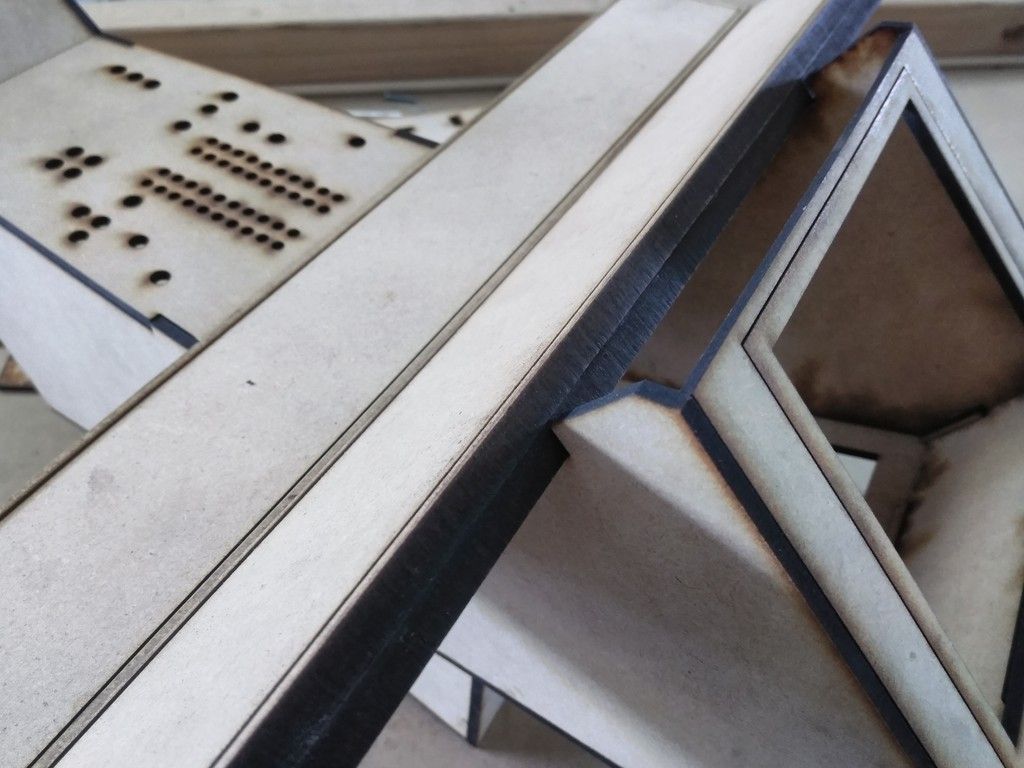
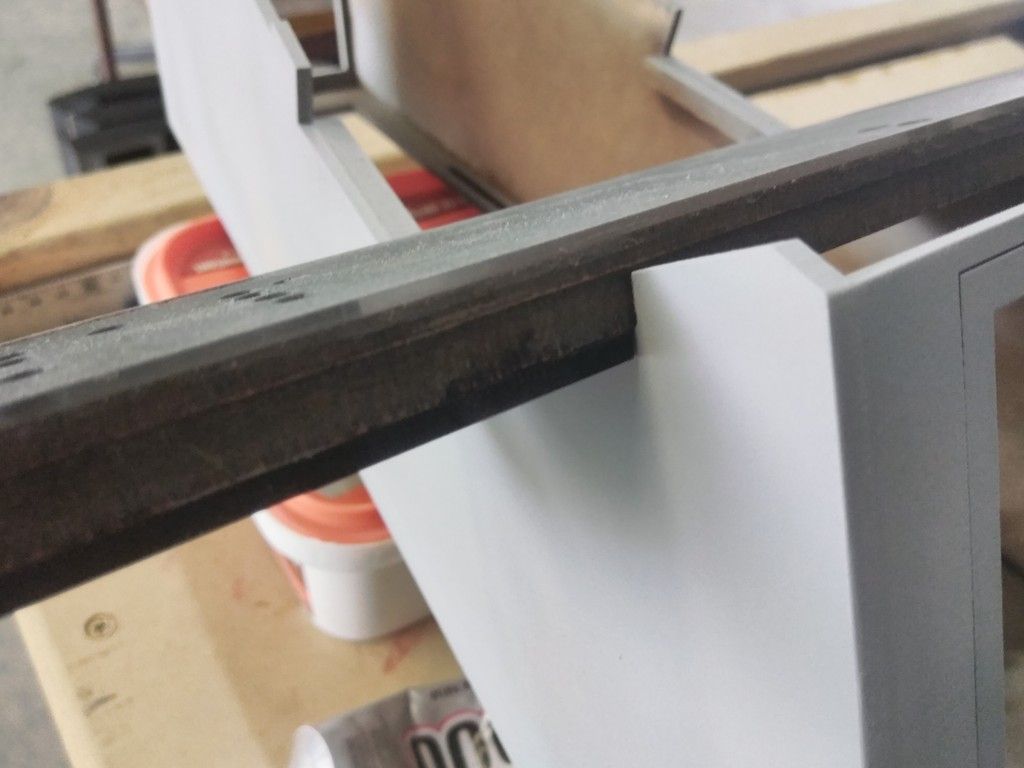
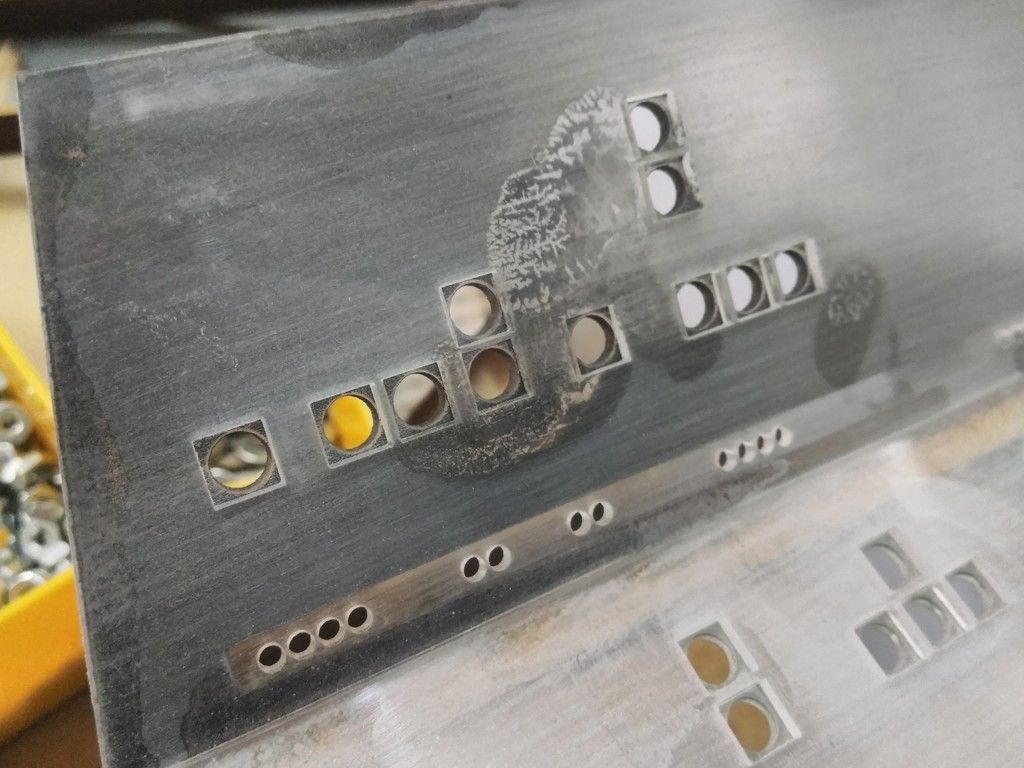
Time to get these edges cleaned up
Console base
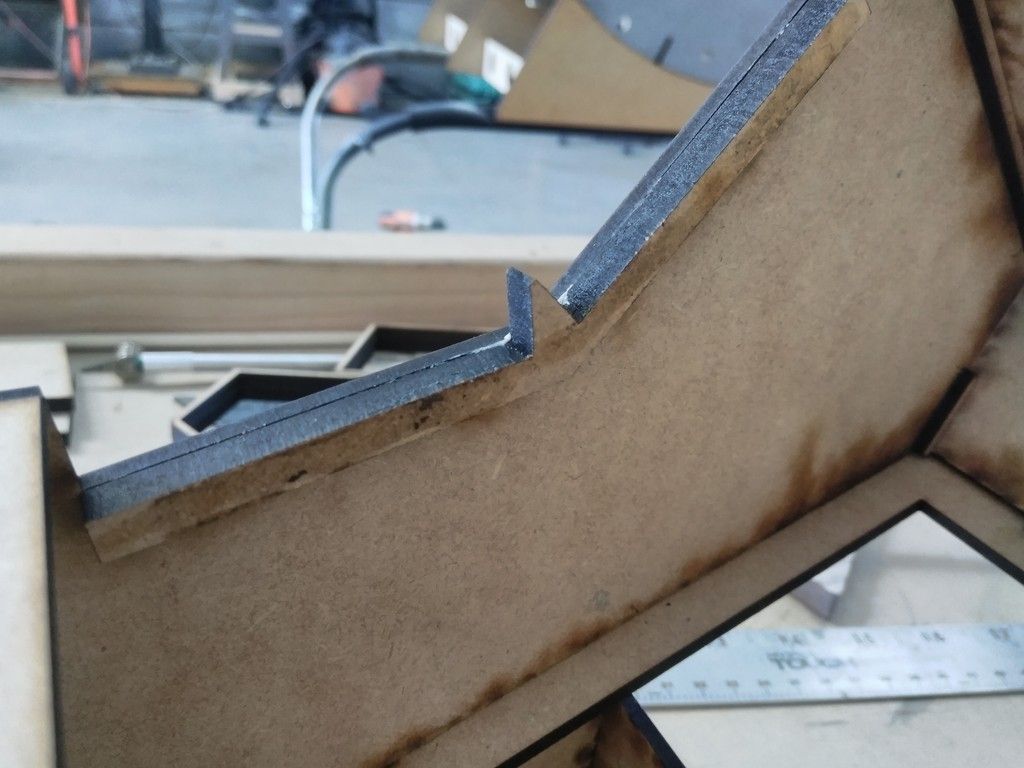
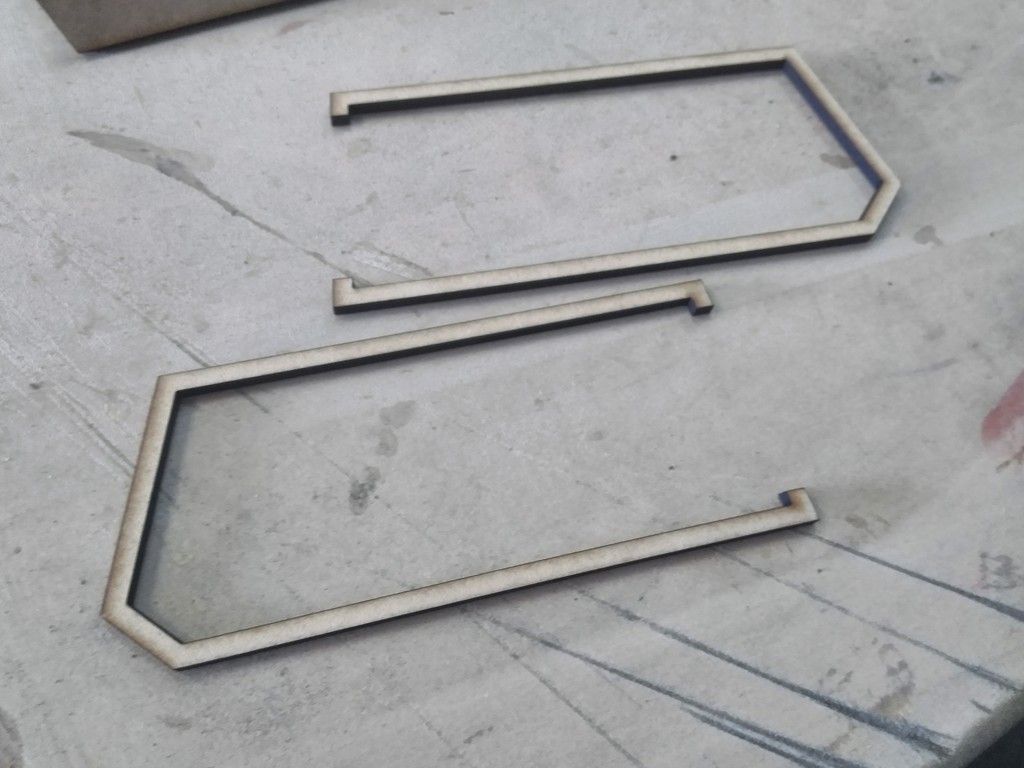
I designed and laser cut these outer edge trim pieces to help me locate center when I slide the instrument panels into position - also keeps them from sliding left to right
Adhered to the underside of the instrument panel
Nice and snug up against the edges
The cover panel will somehow be attached AND have the LED strip attached
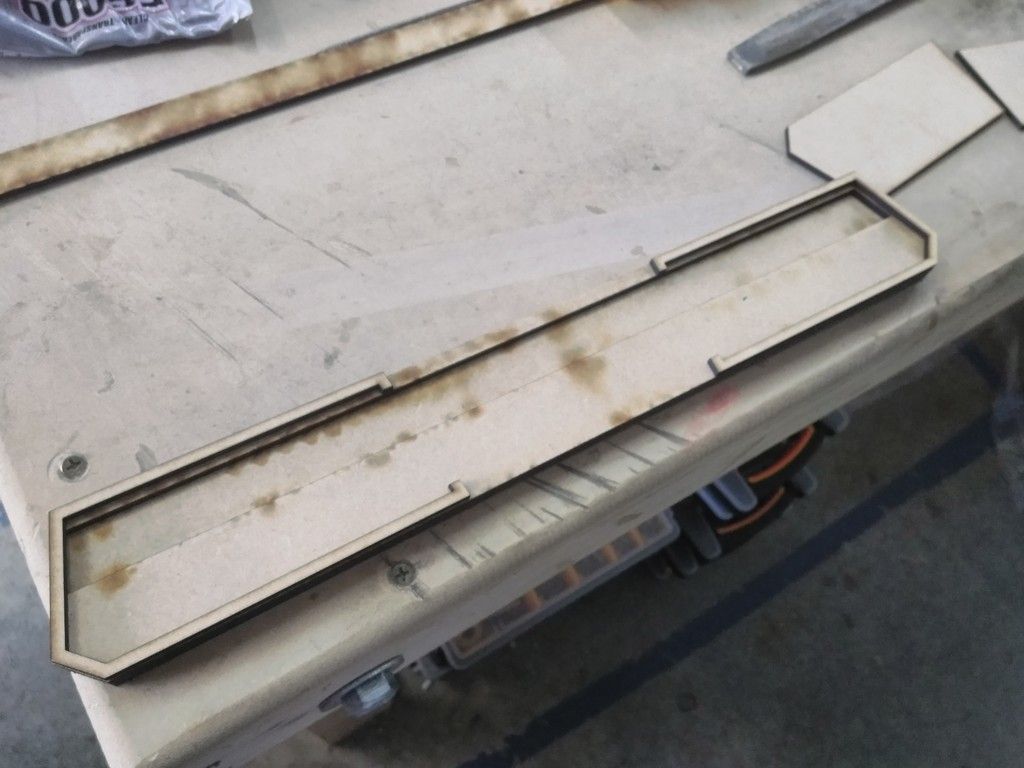
Upper instrument panel gets the same treatment
Snug fit
A little sanding to ensure fit and finish
Nice tight fit!
Time to add the upper panel face to the rest of the console - cut the upper panel face and dry fit
Adhered in place
Lets add the rest of these surface panels to the console
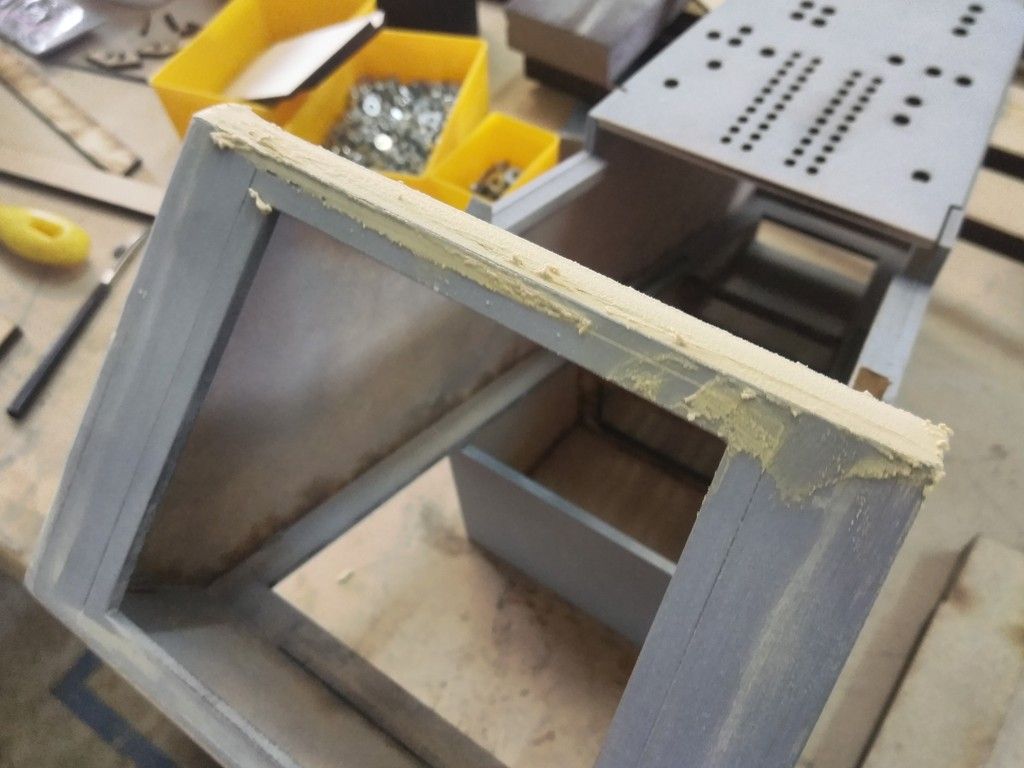
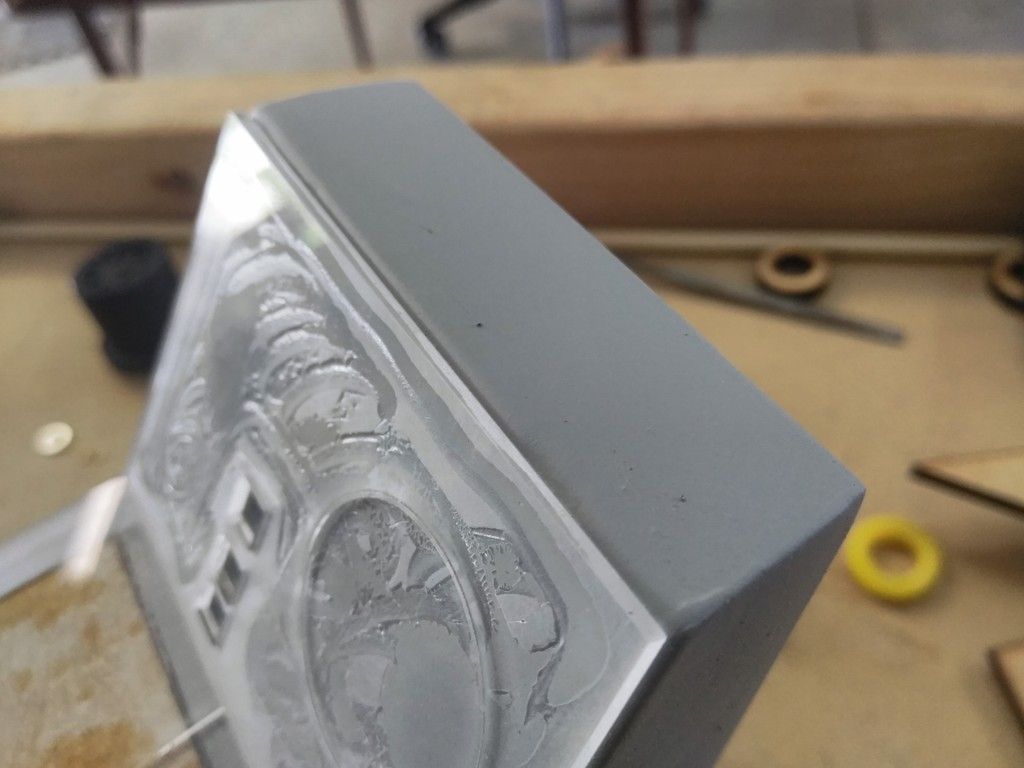
Sanded
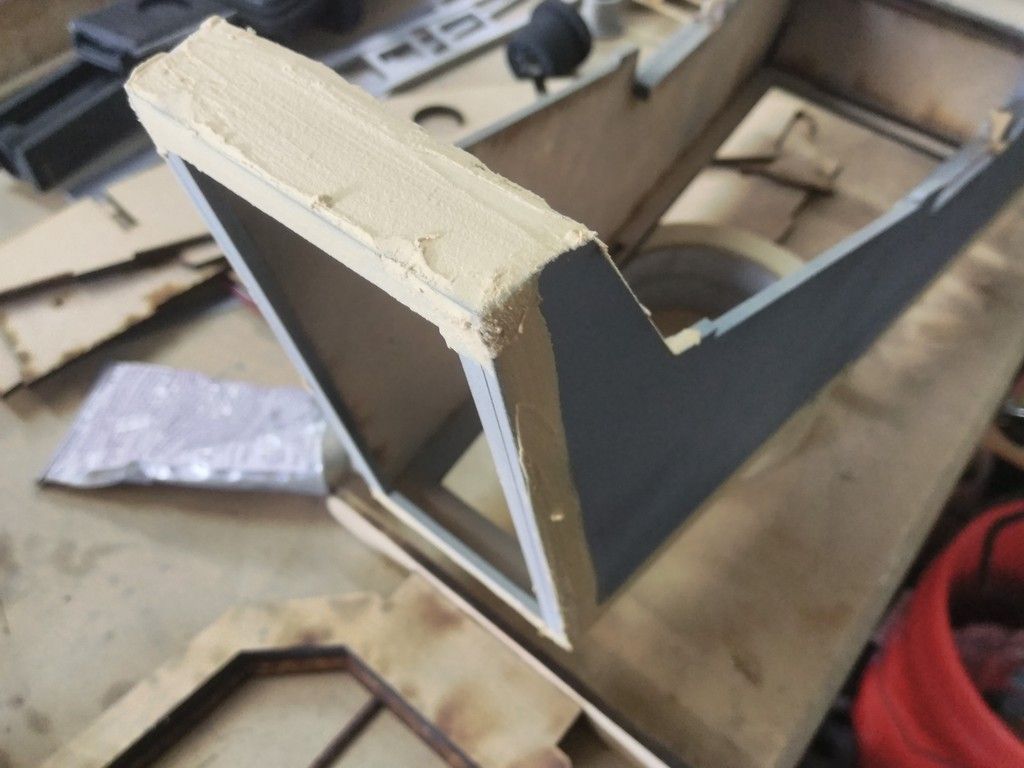
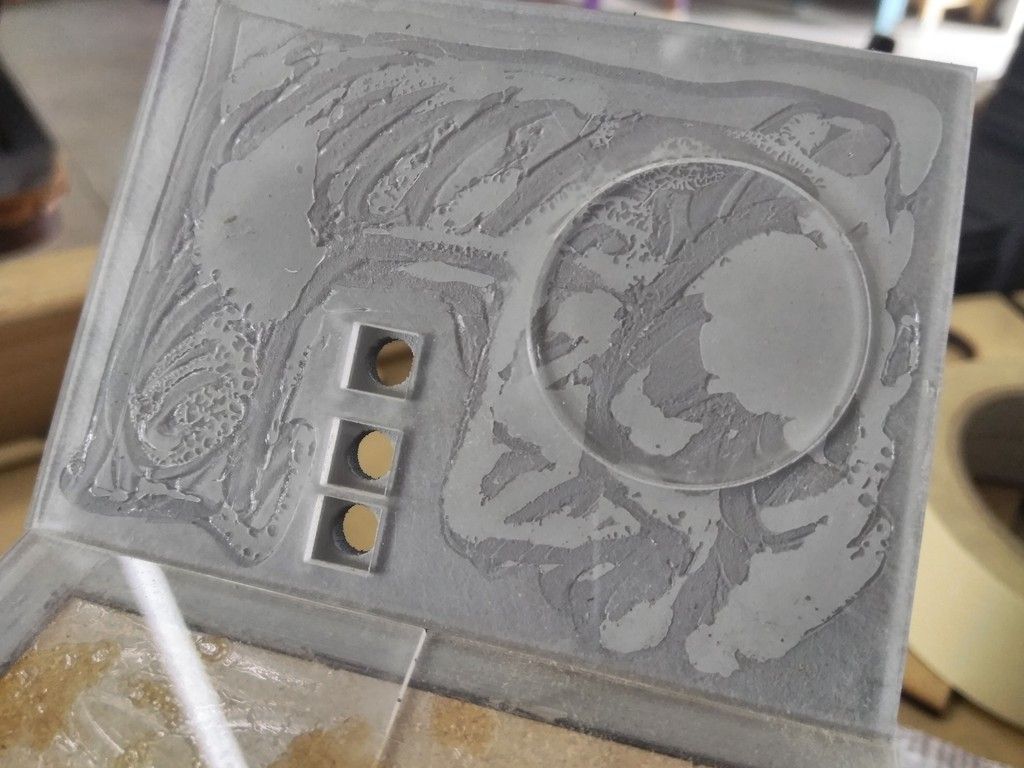
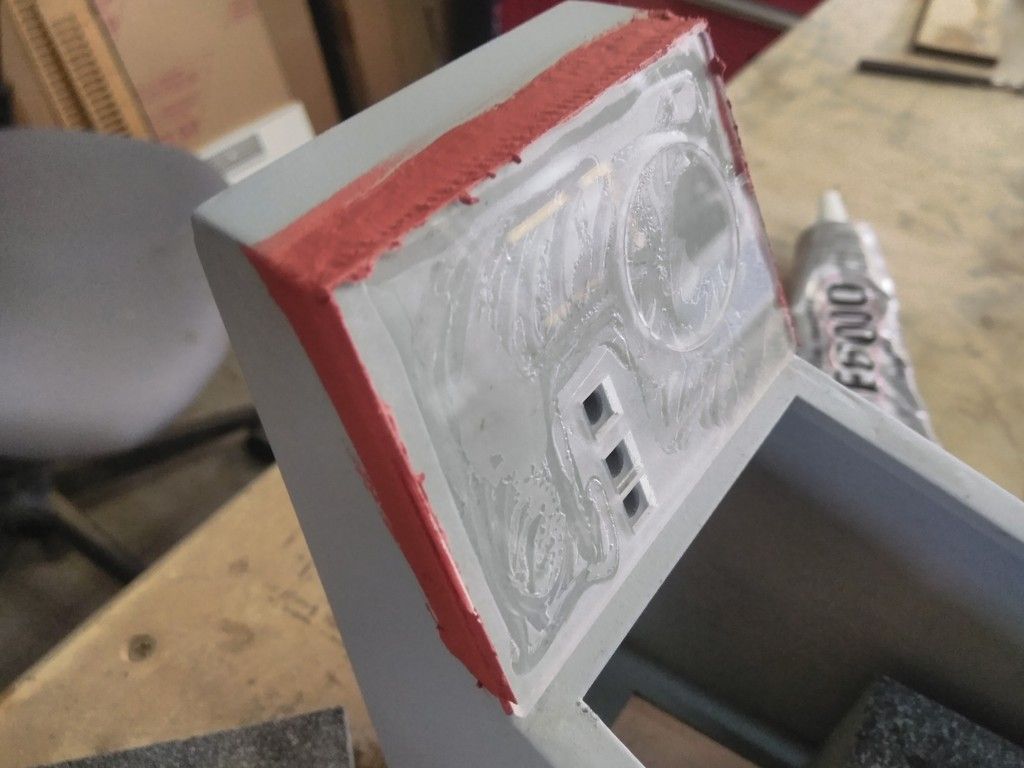
Ah... filler
1st round of sanding
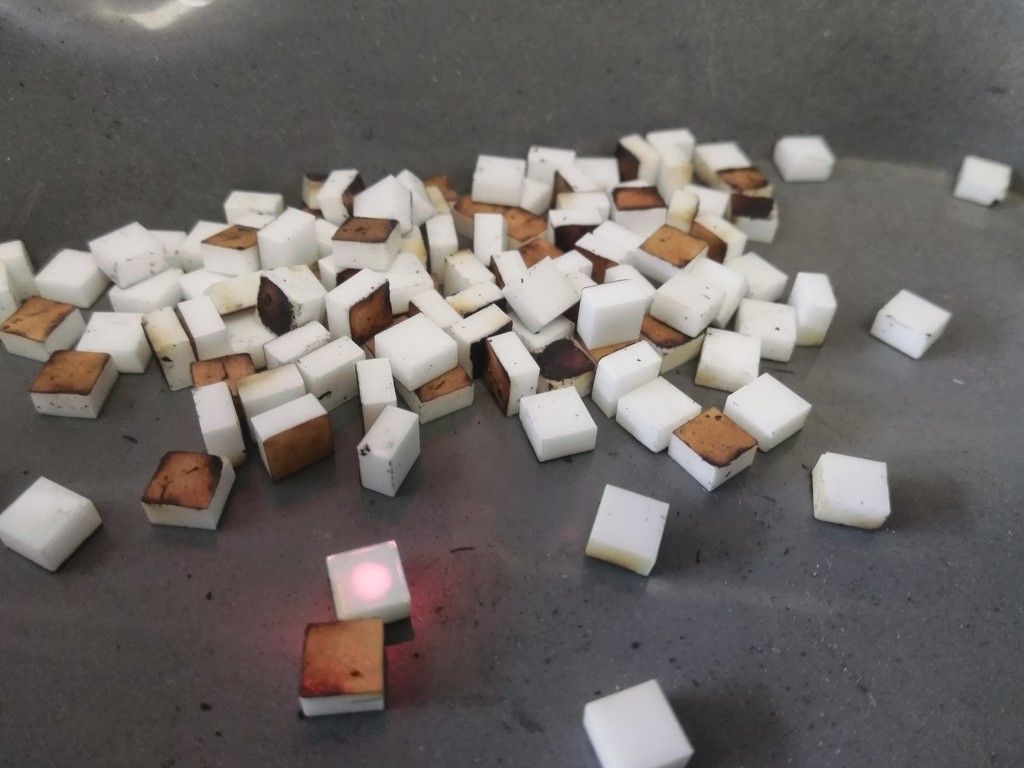
So... the upper instrument panel faces are 1/16th inch thick. I laser cut 1/8 inch acrylic into .25 inch square pieces
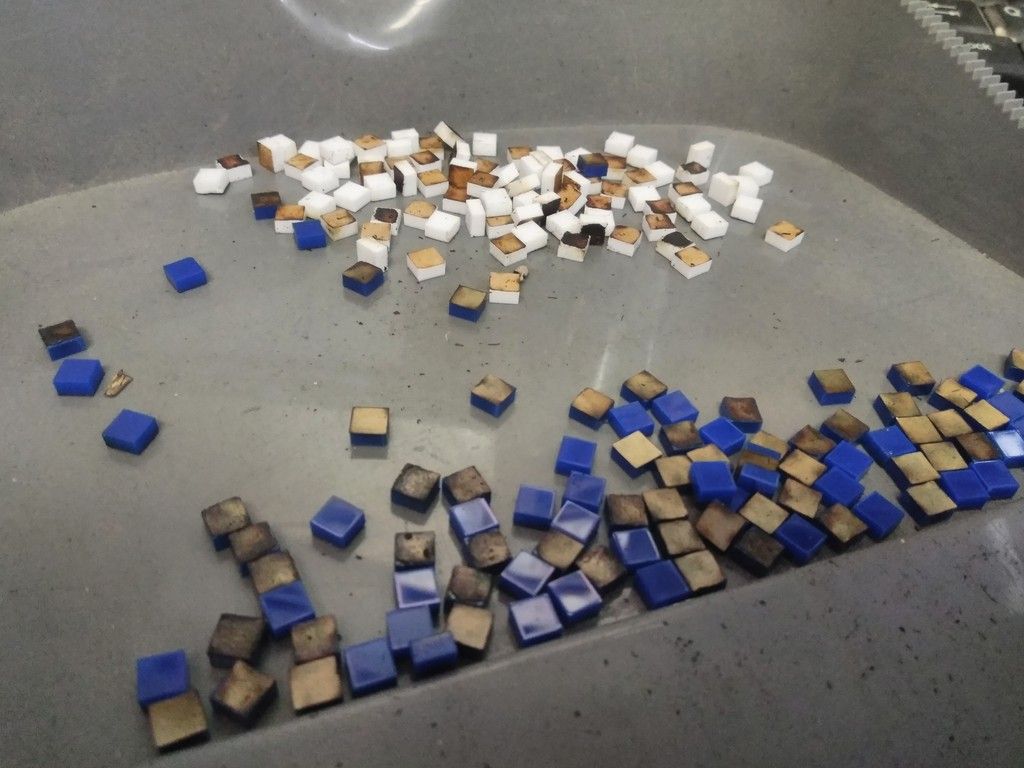
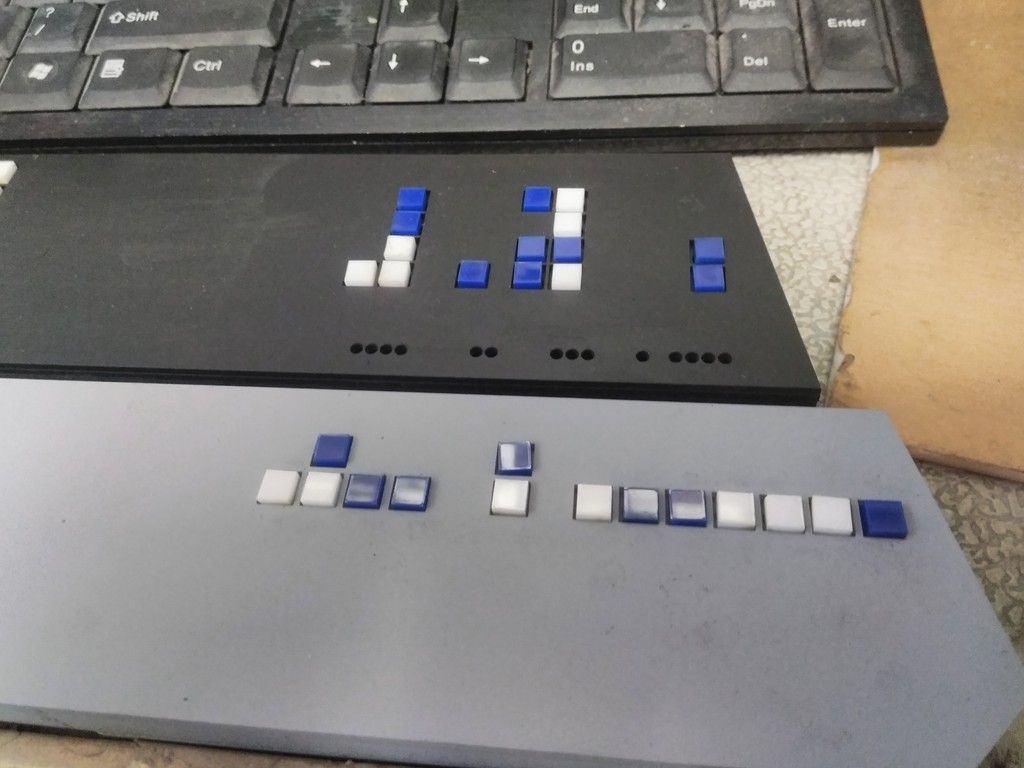
And did a dry fit of the blue and white tiles. Turns out that I need to laser cut them just a bit larger than .25" to fill in the small gaps and keep them straight
Note the wonky tile...
The armrest panel saw a MAJOR change - had to find a way to permanently adhere the panel, sand the tab on the side smooth but still have access to the wiring - I simply followed the full scale version and laser cut a trim piece with a large opening
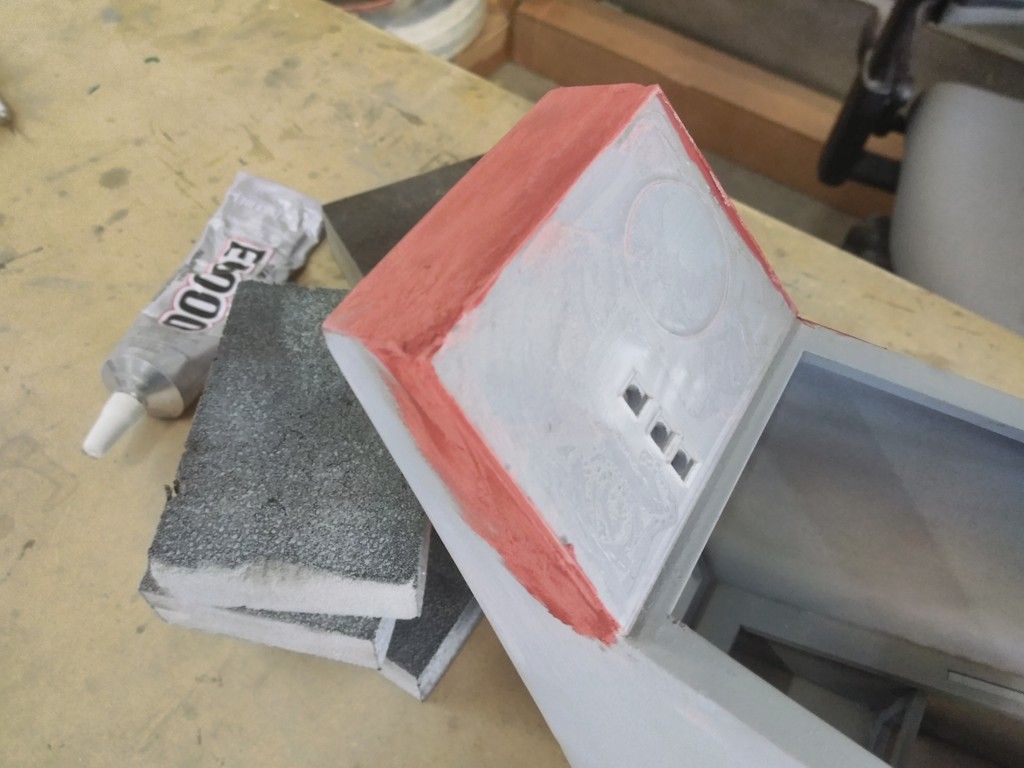
Filled and primed the armrest area
Laser cut these new armrest pieces
Adhered the 1/16th inch acrylic to the 1/8th inch MDF
Pops and stays right in place
Lets address this area
Added the 1/16th inch acrylic
Trimmed to fit and adhered to the panel with E-6000
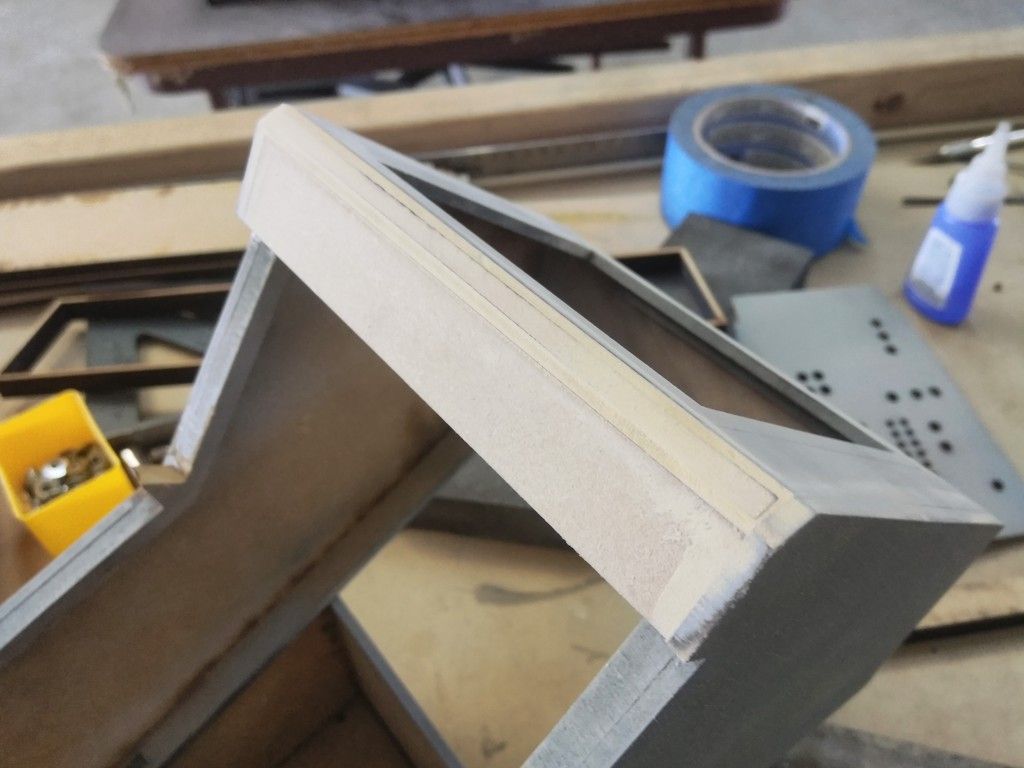
Gotta fill and sand that ugly edge
Filler
Light sanding
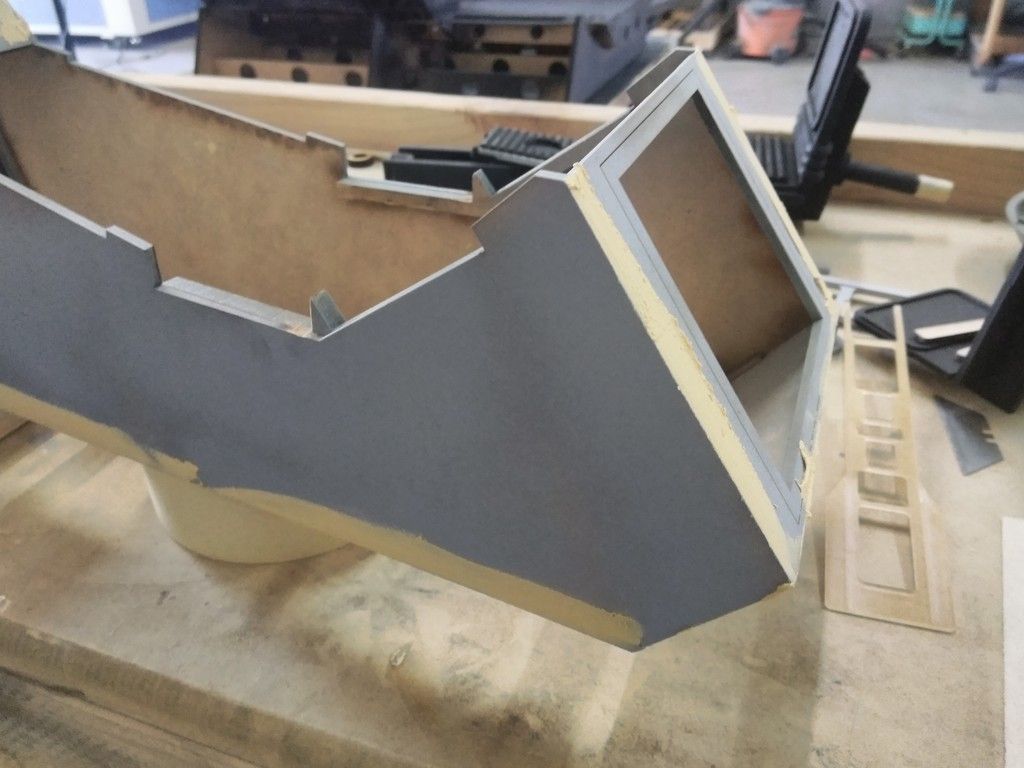
Back side vertical panel
Front nose panel
Can't wait to add all the greeblies!
Lots of filler to sand
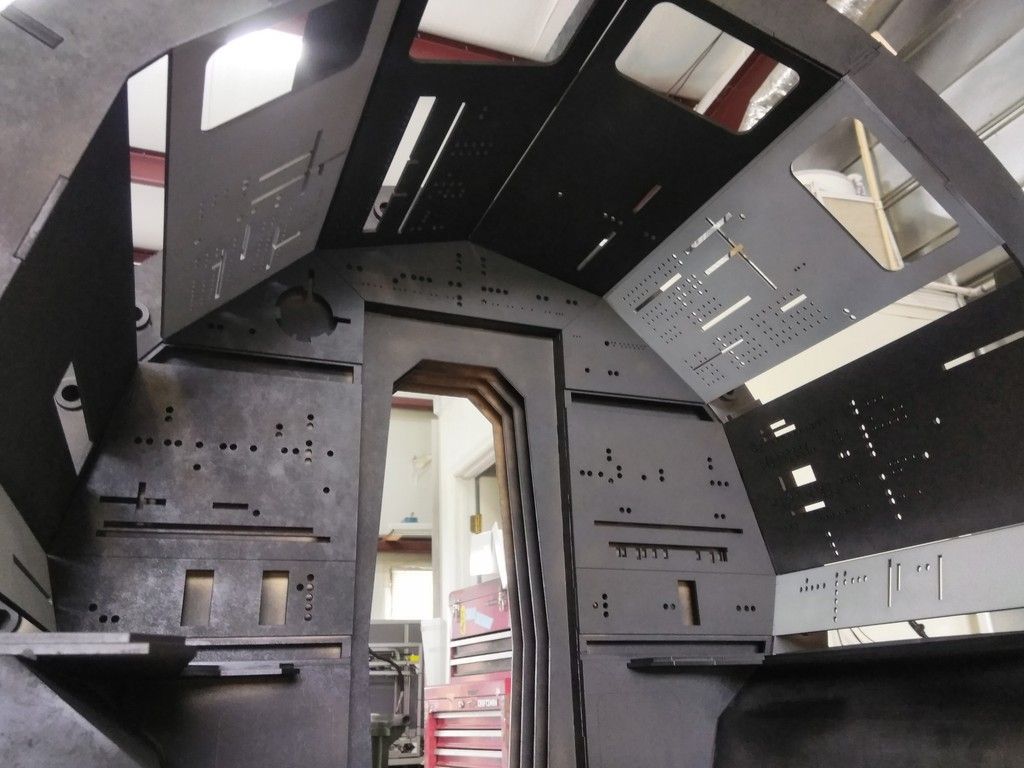
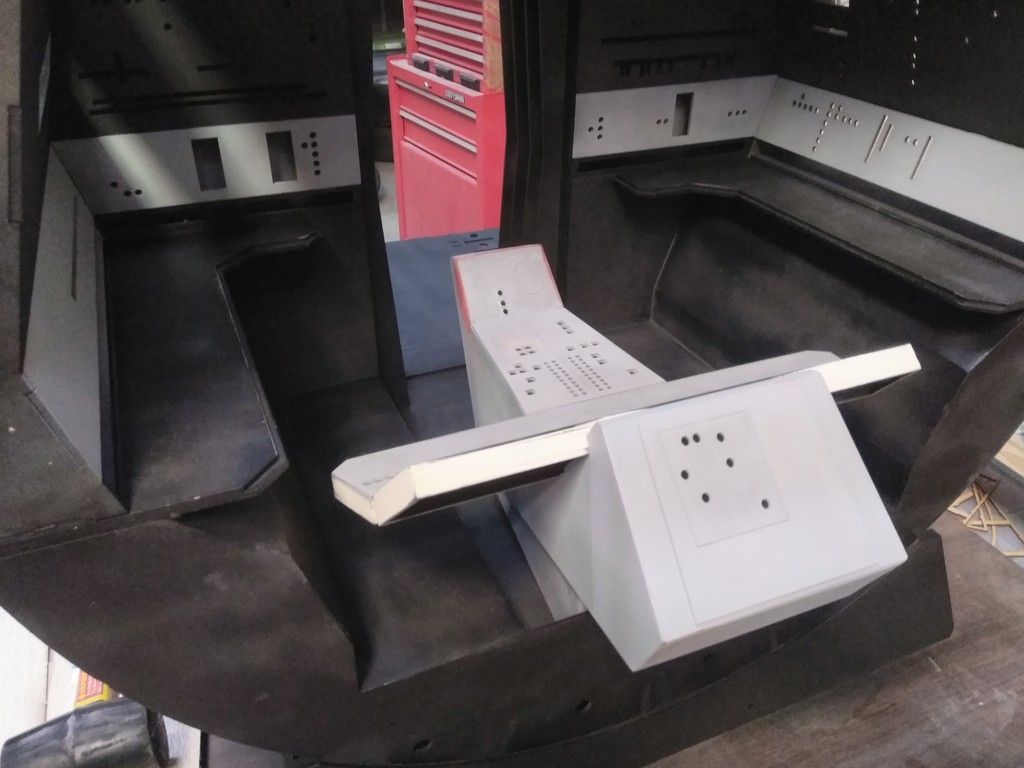
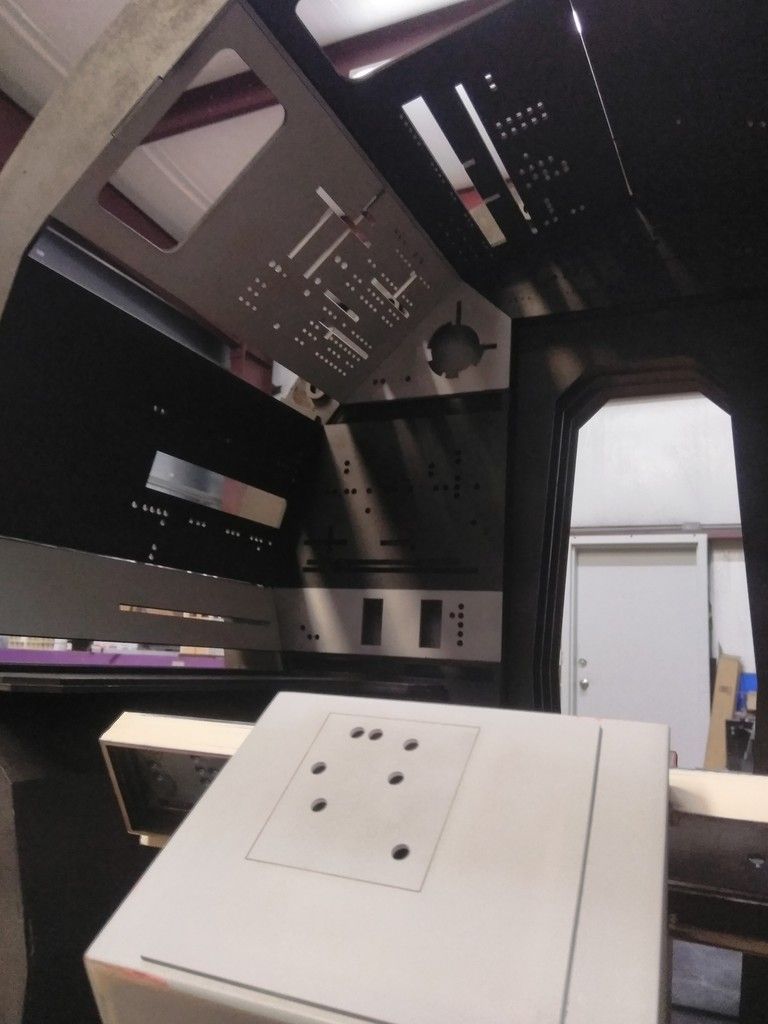
And this...
Is where we are!
Hope you guys/gals enjoyed Part II! I'm really excited to get back to the shop and get back to it!
More to follow!
")