Hi Gang,
The bitter cold has prevented a lot of forward progress but the weather broke and temps are back in the 50s! Here are a few updates...
")
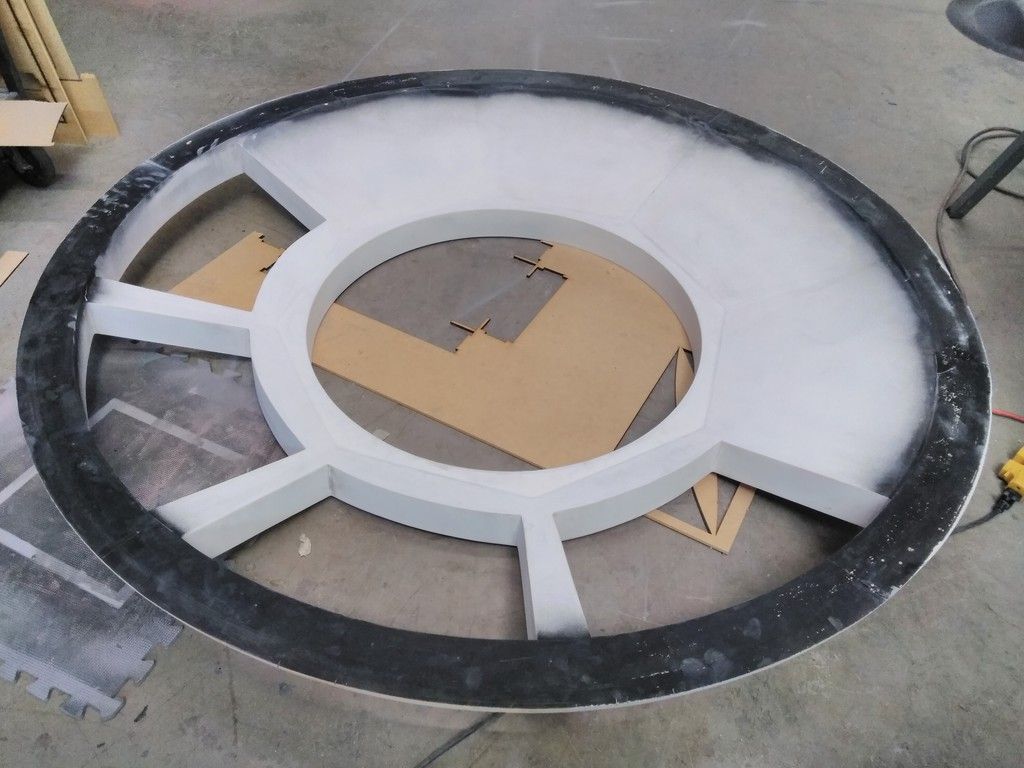
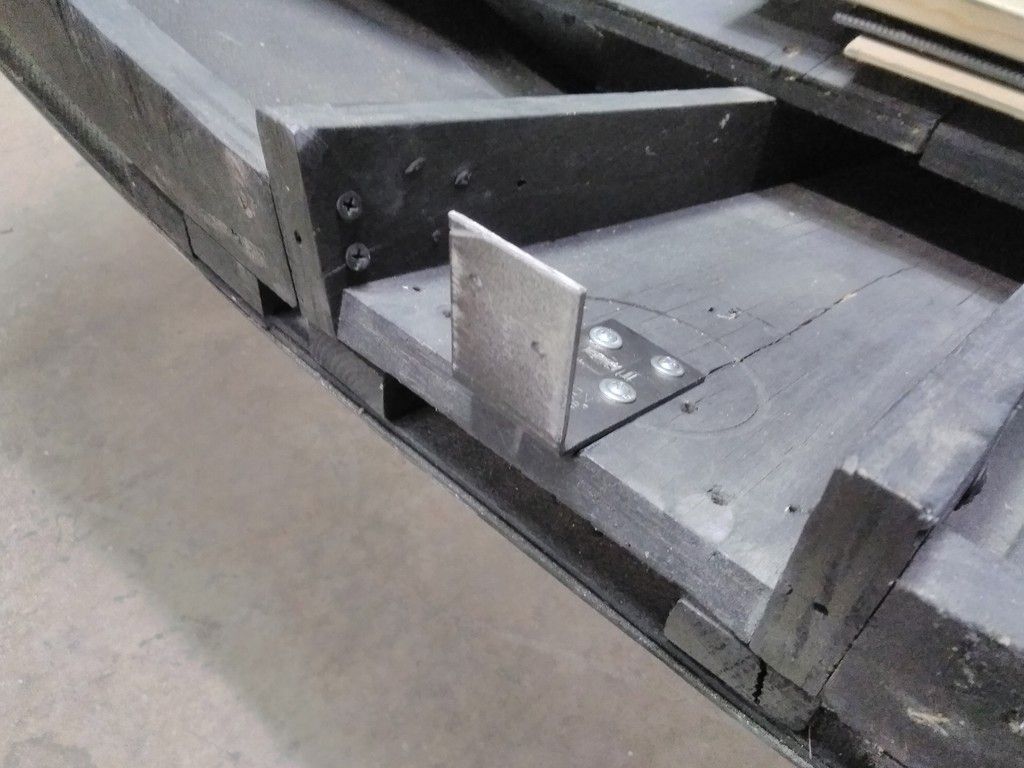
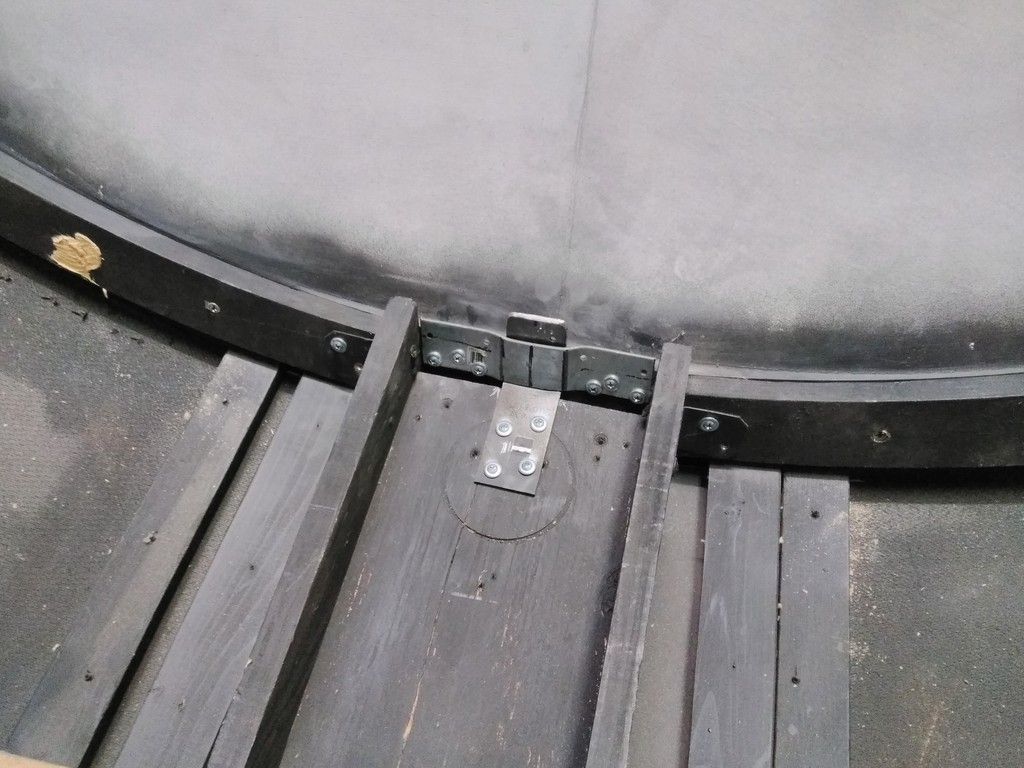
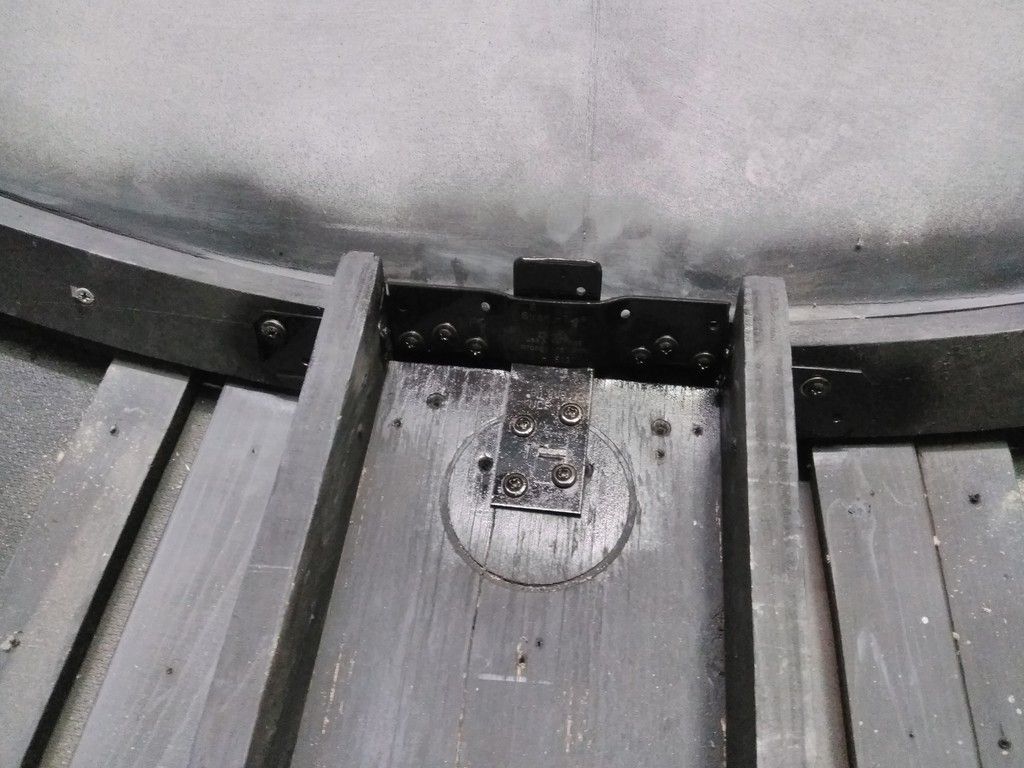
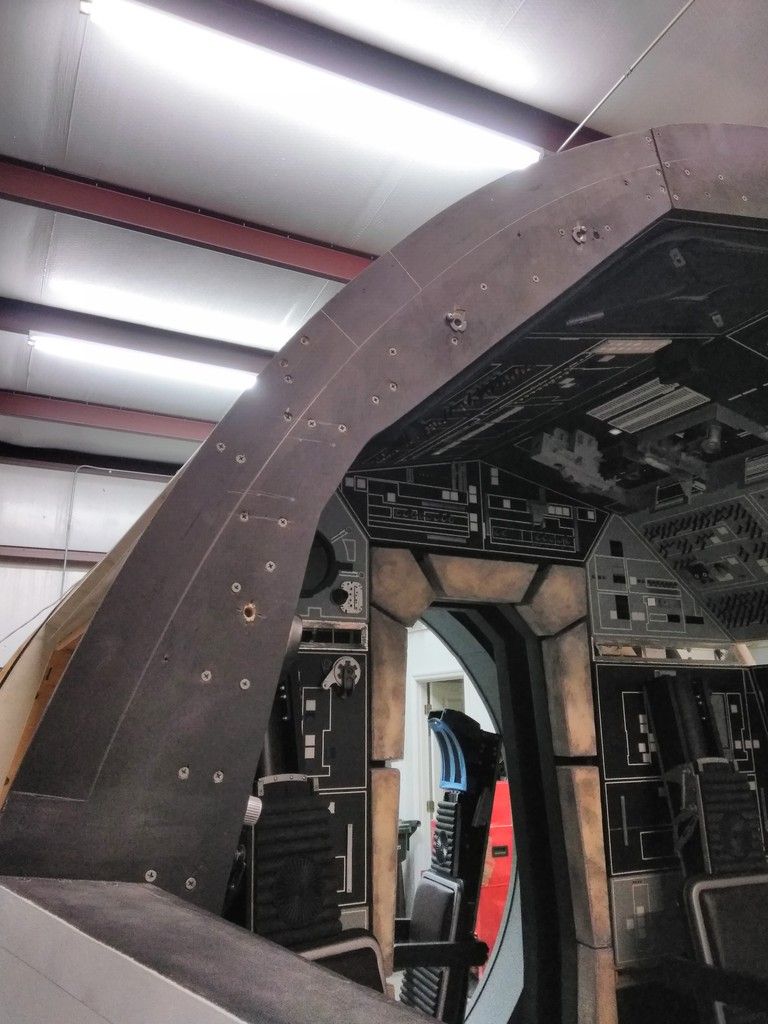
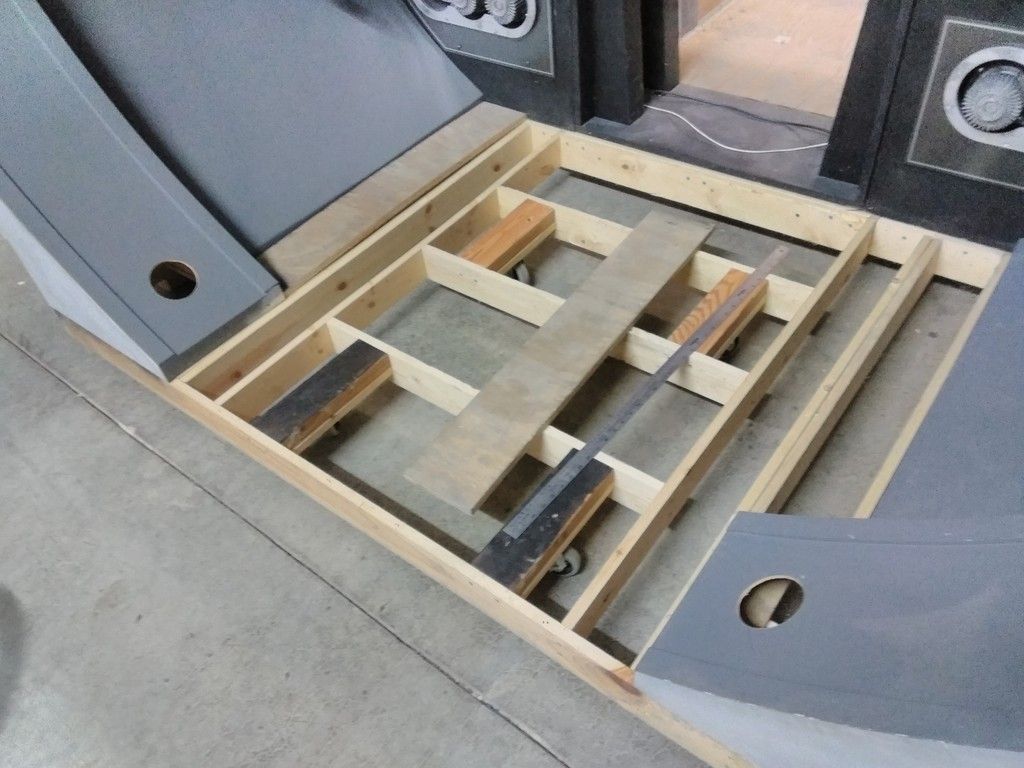
Daniel and I have been working on the window and we finally got around to creating a easier way to set the window in place before mounting
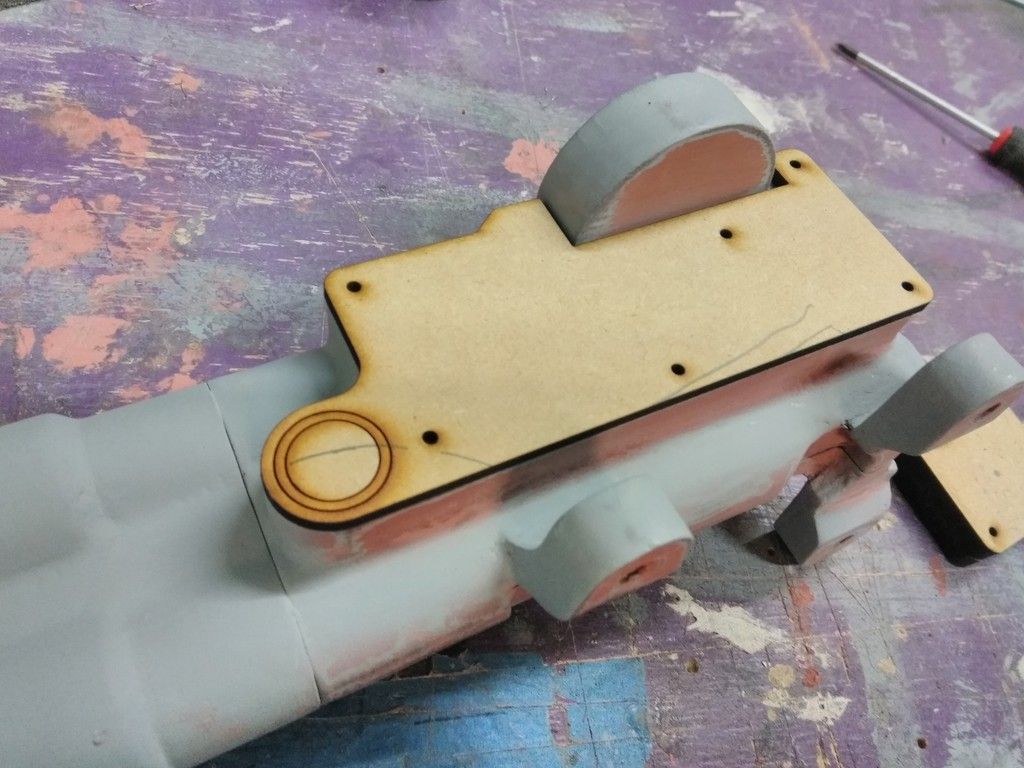
See these pencil lines? I wonder what these are?
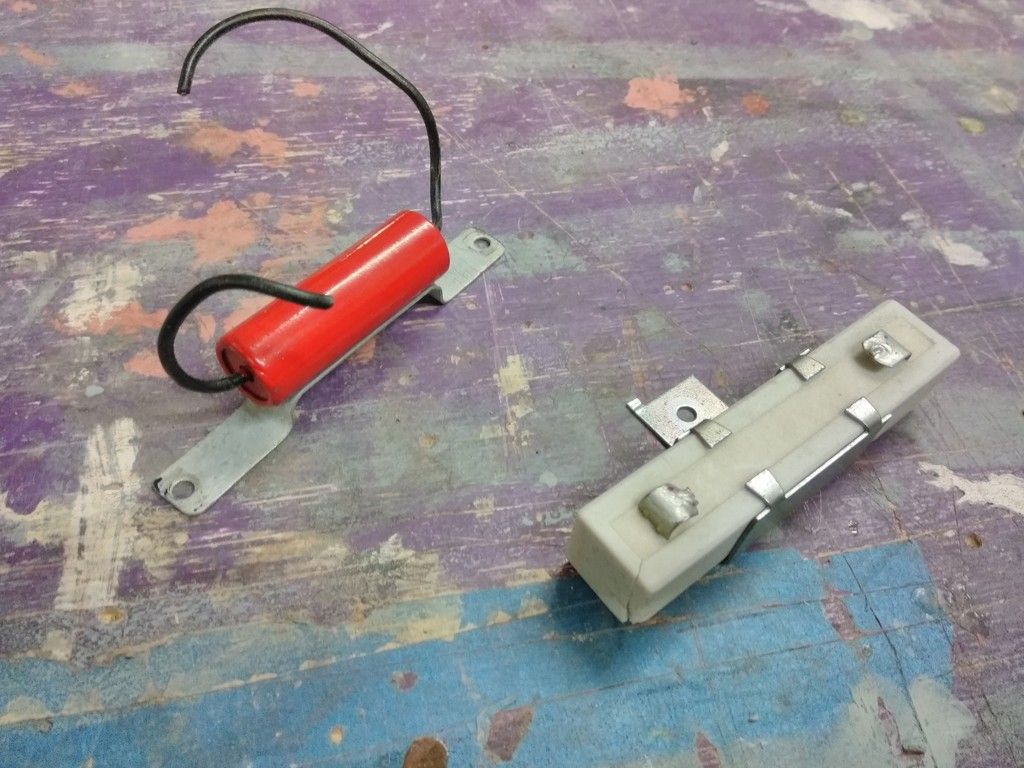
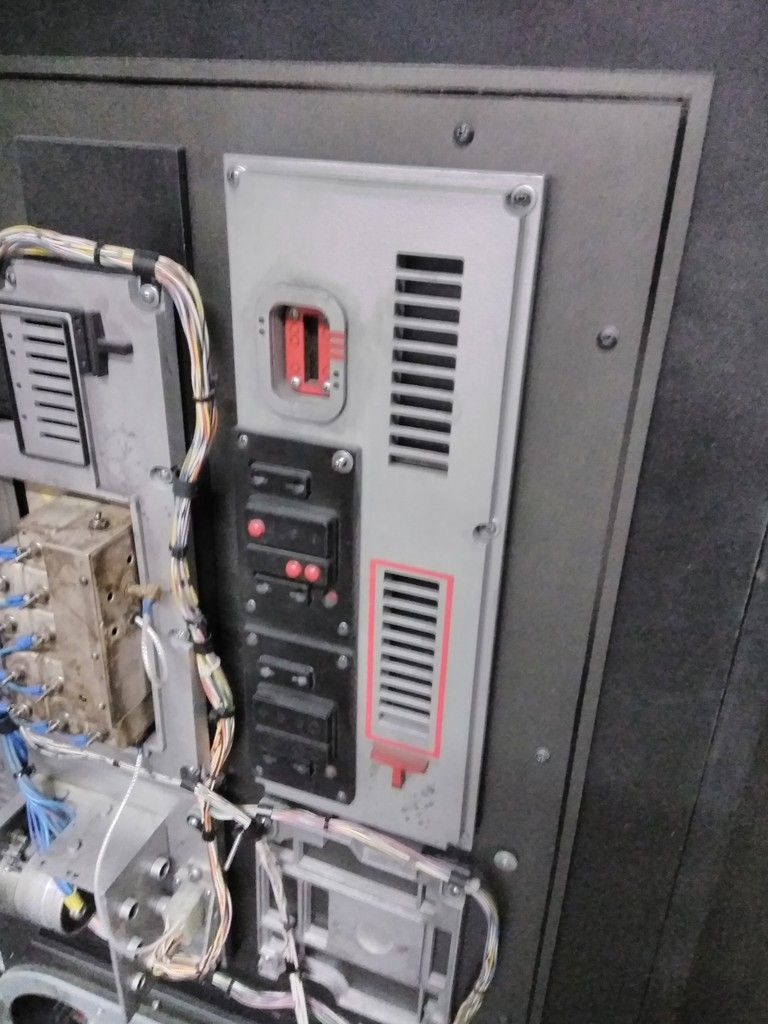
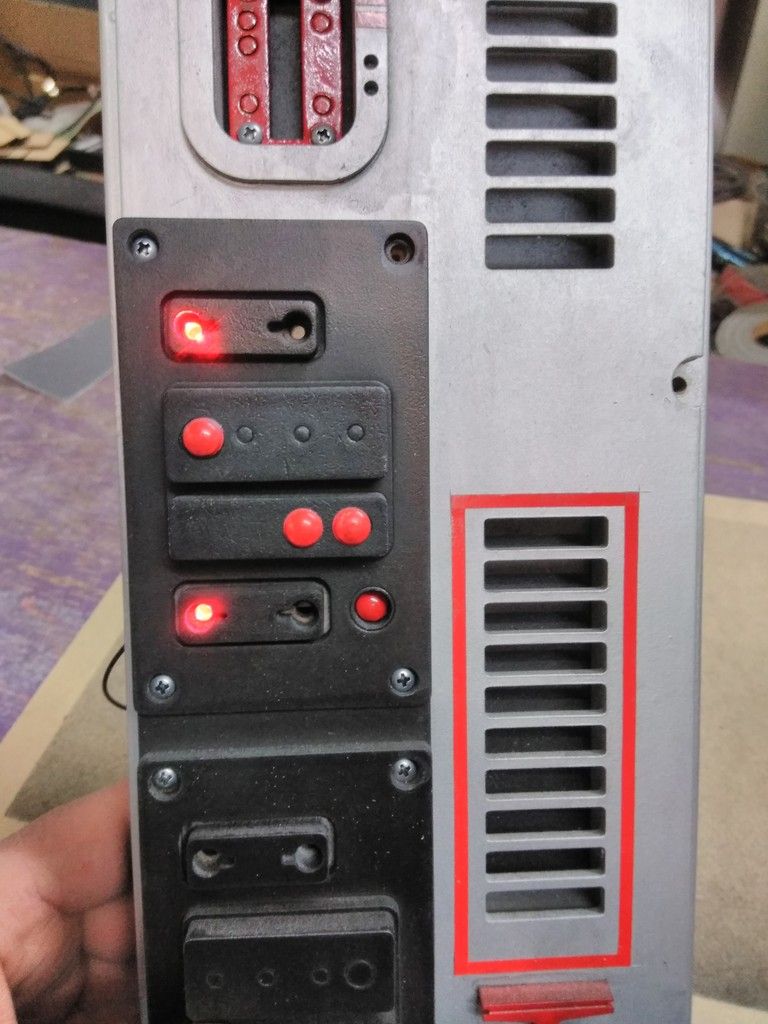
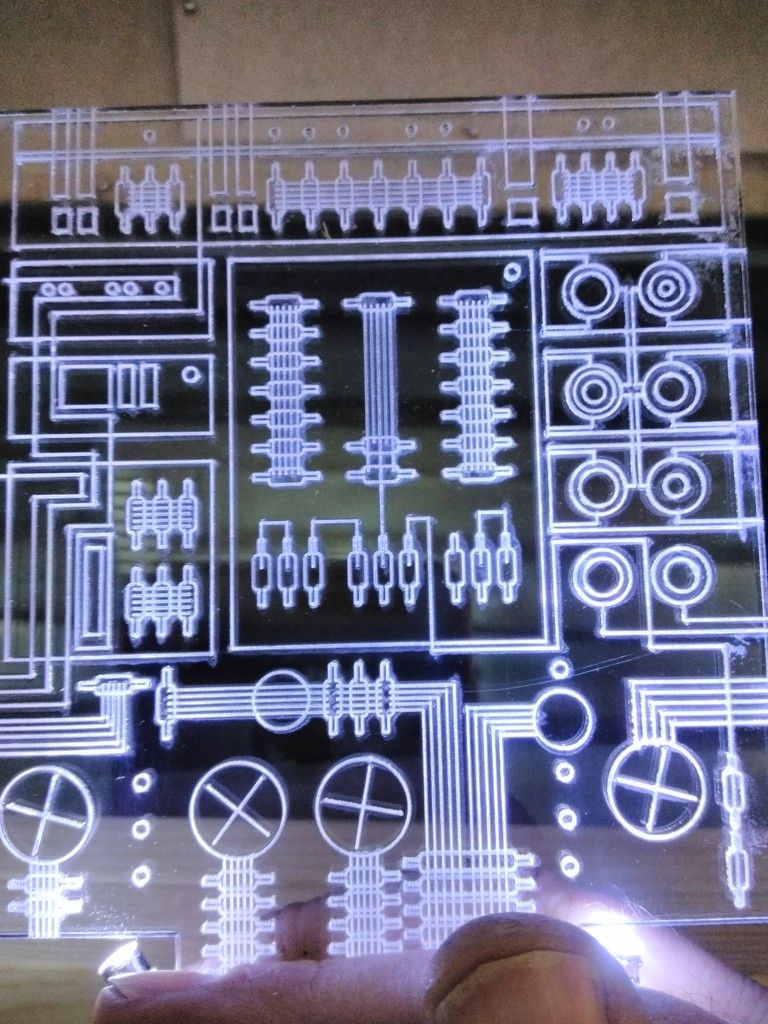
I really wanted to use these greeblies... Found a place for them!
Eh...
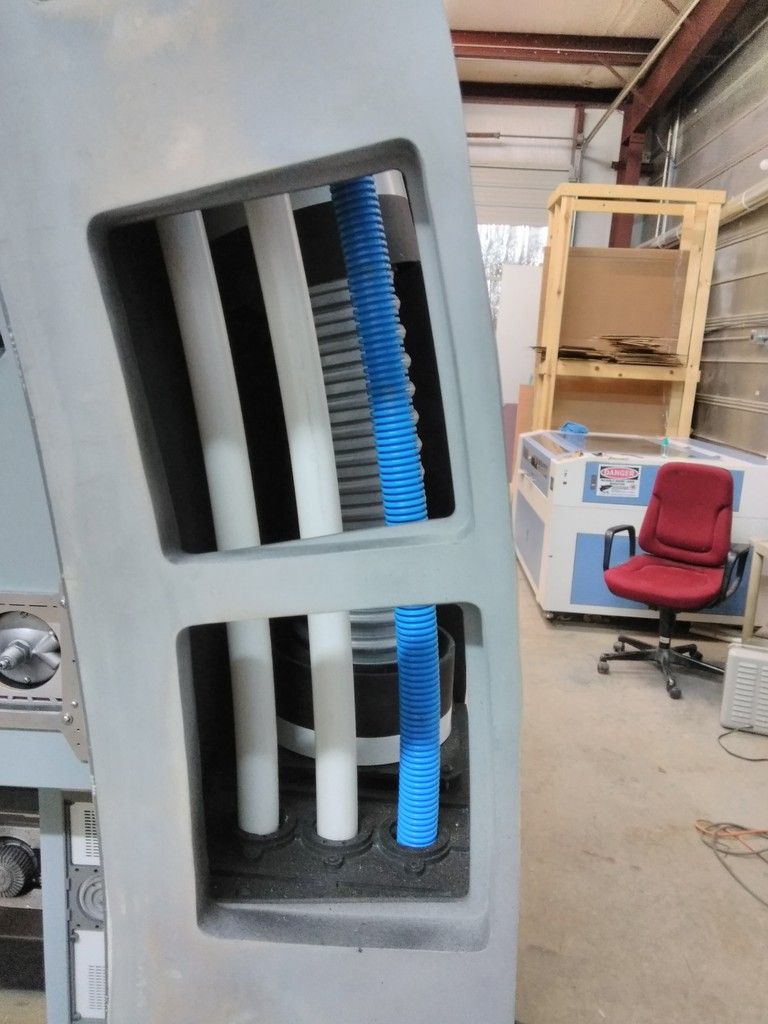
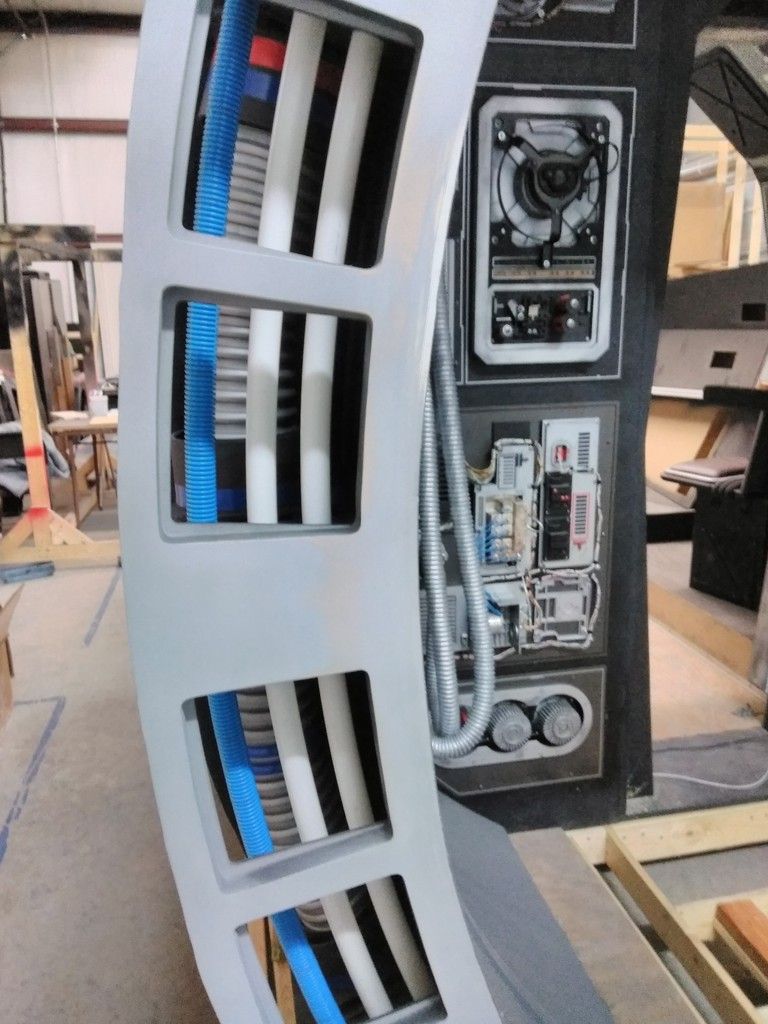
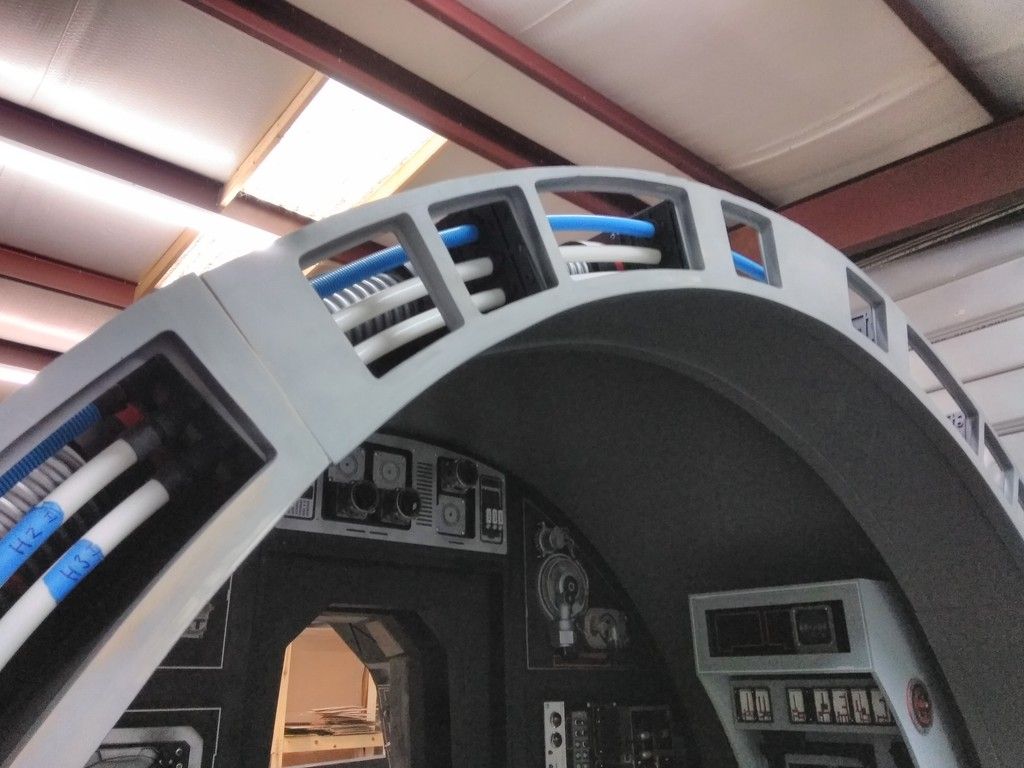
Got the hoses back in place
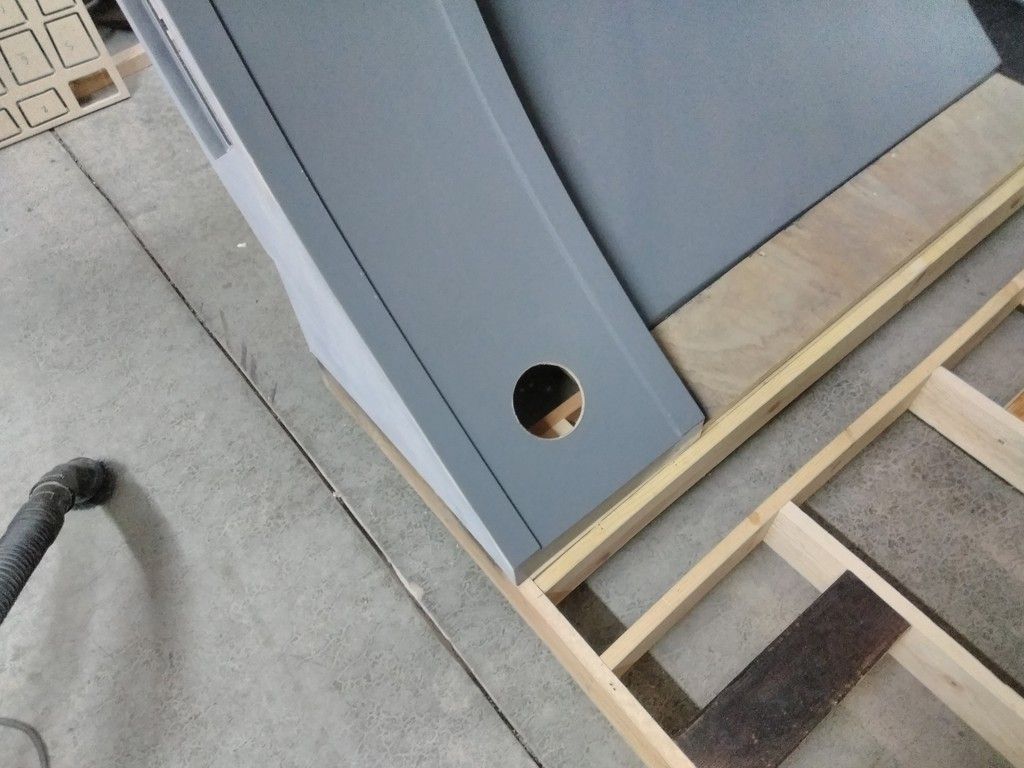
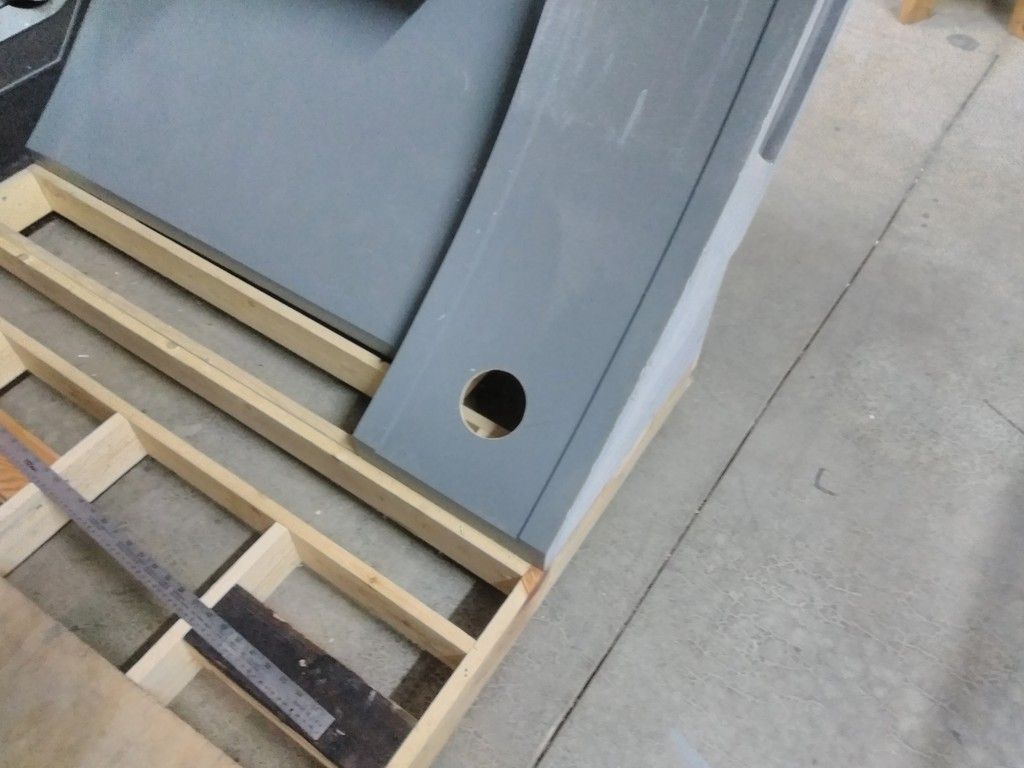
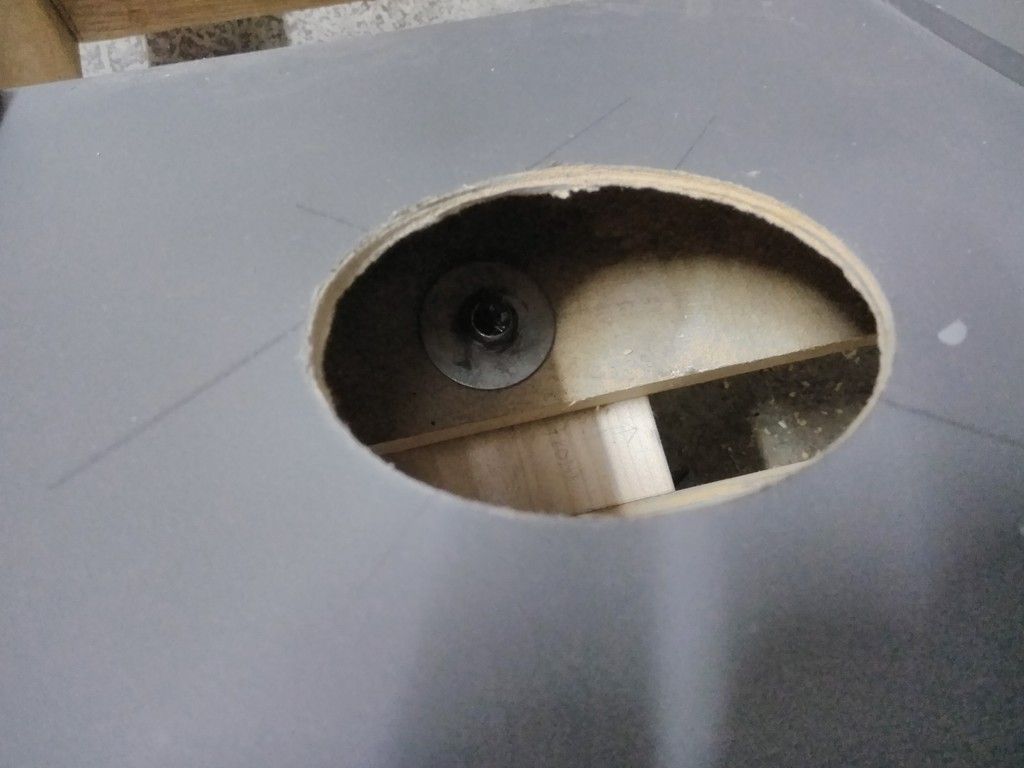
Drilled holes for easy bolt access
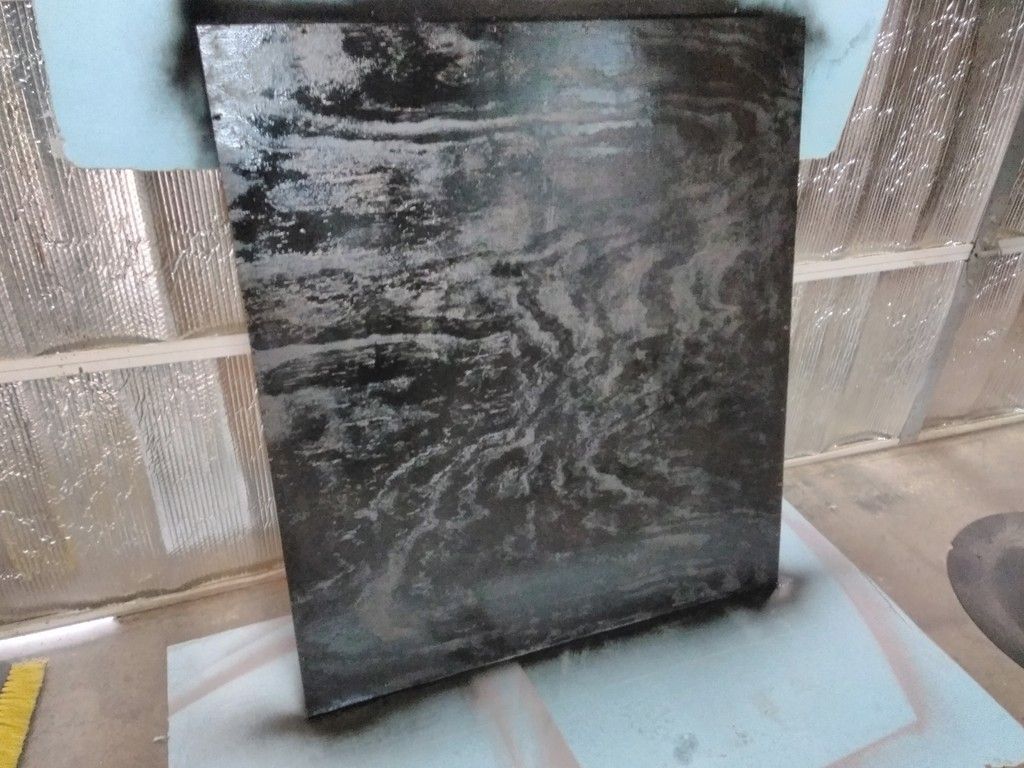
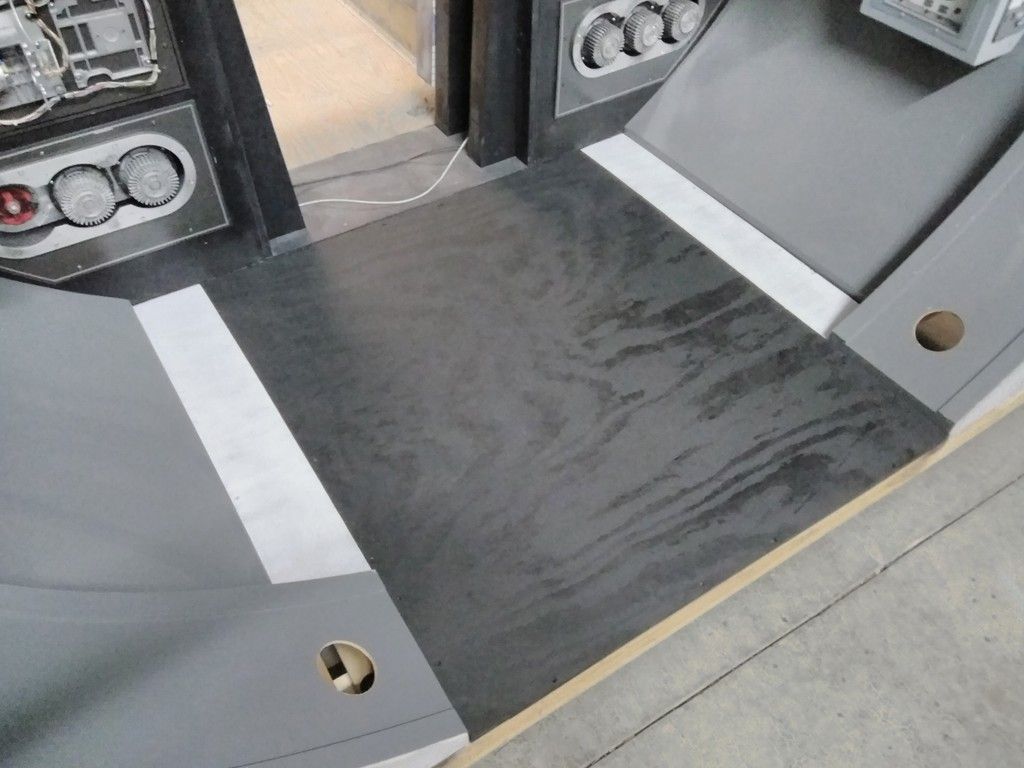
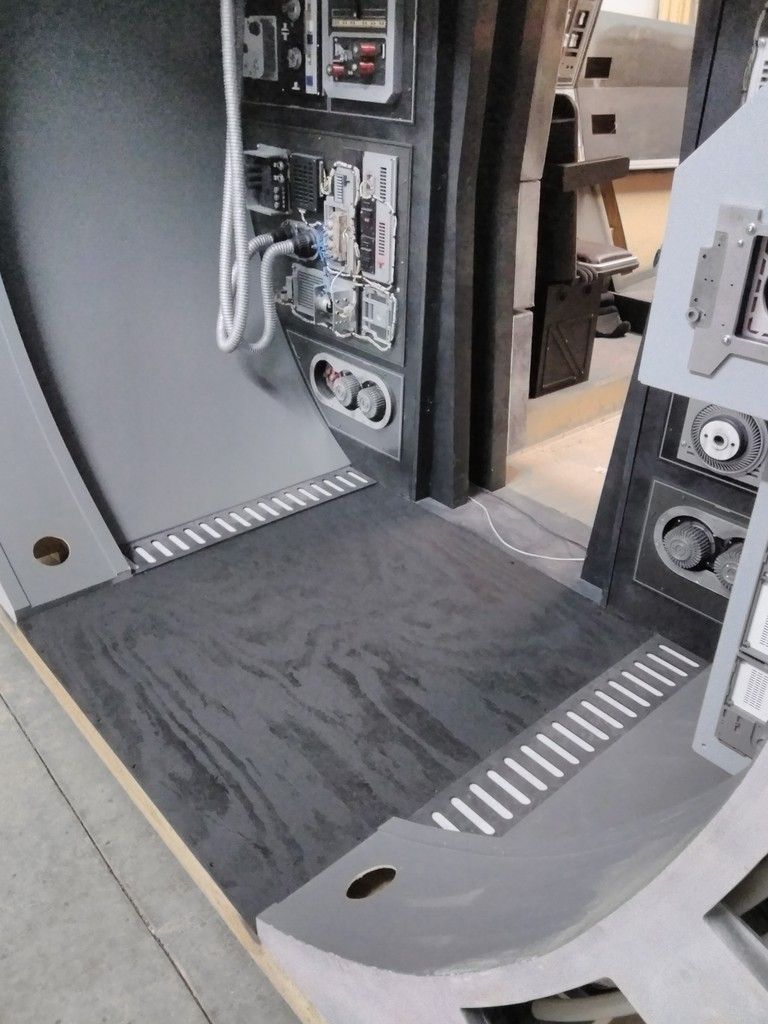
Painted the corridor floor black
Painted the sides white
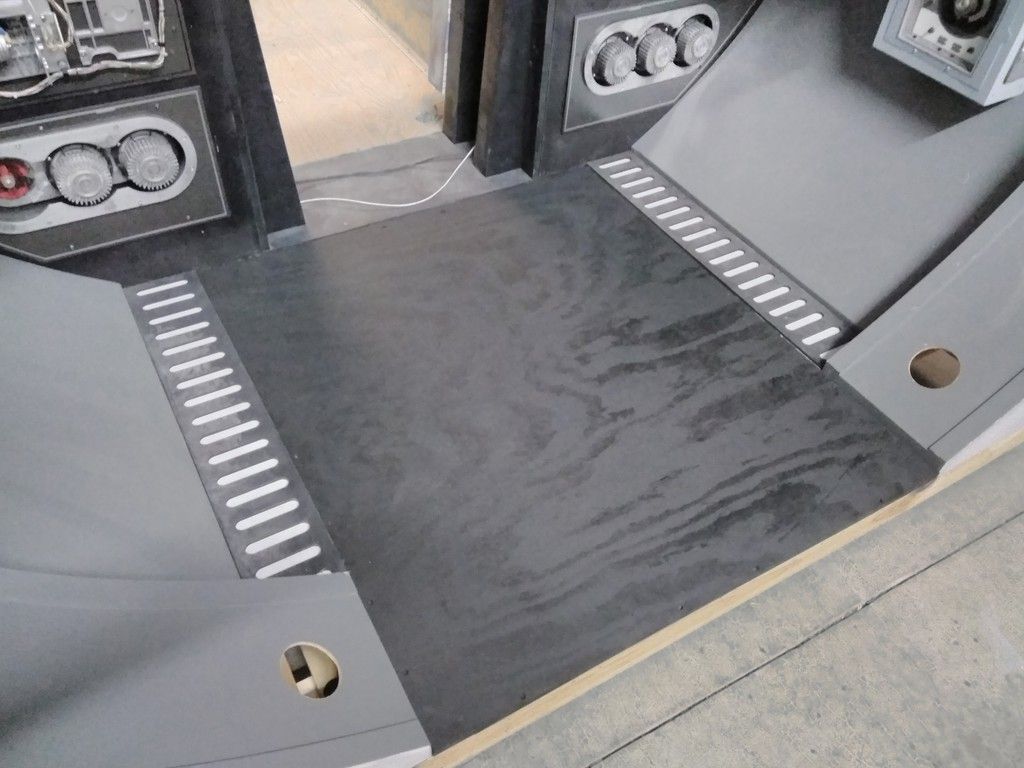
This gives an idea of the corridor floor lighting
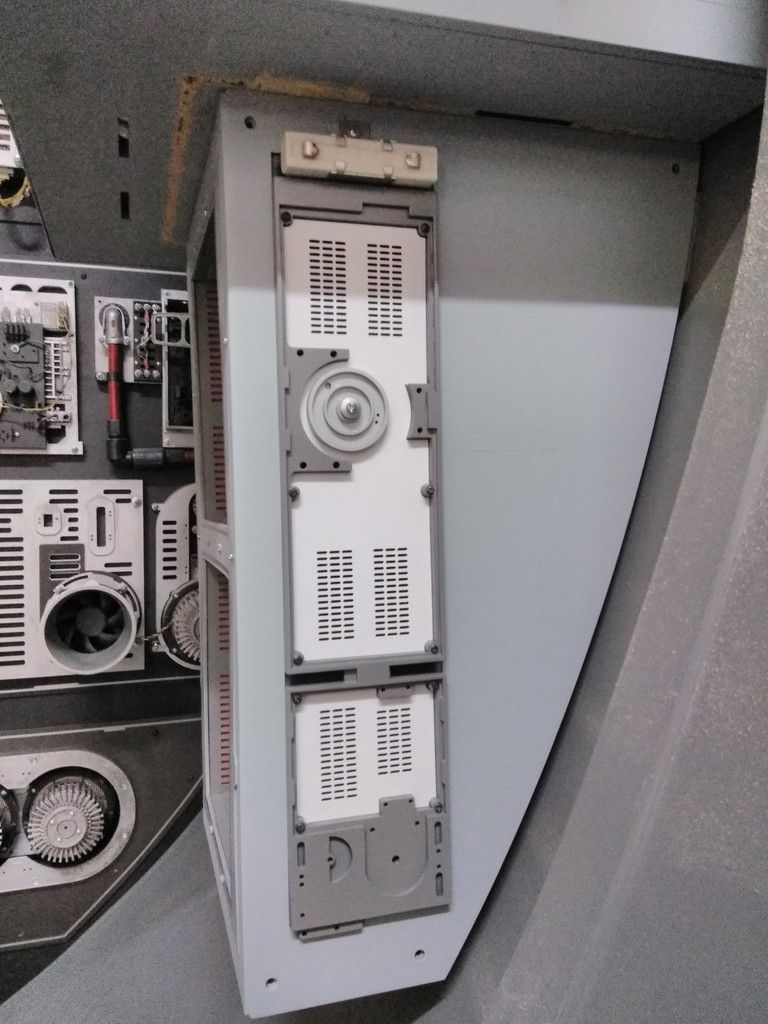
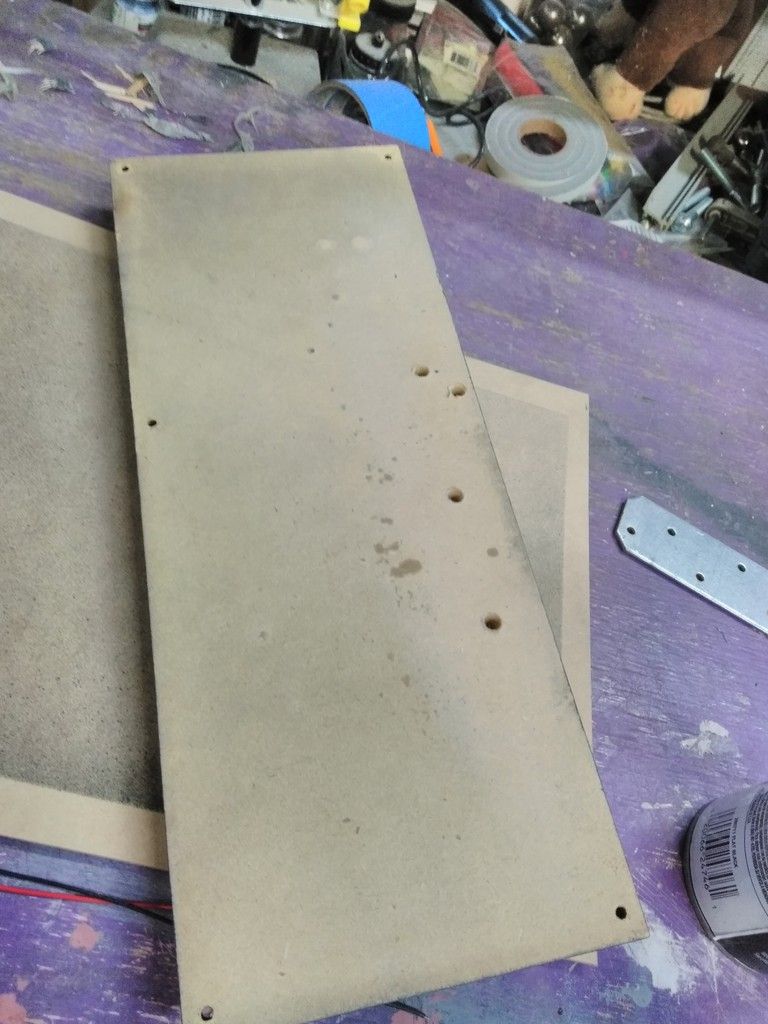
Drilled some holes in the back of this greeblie
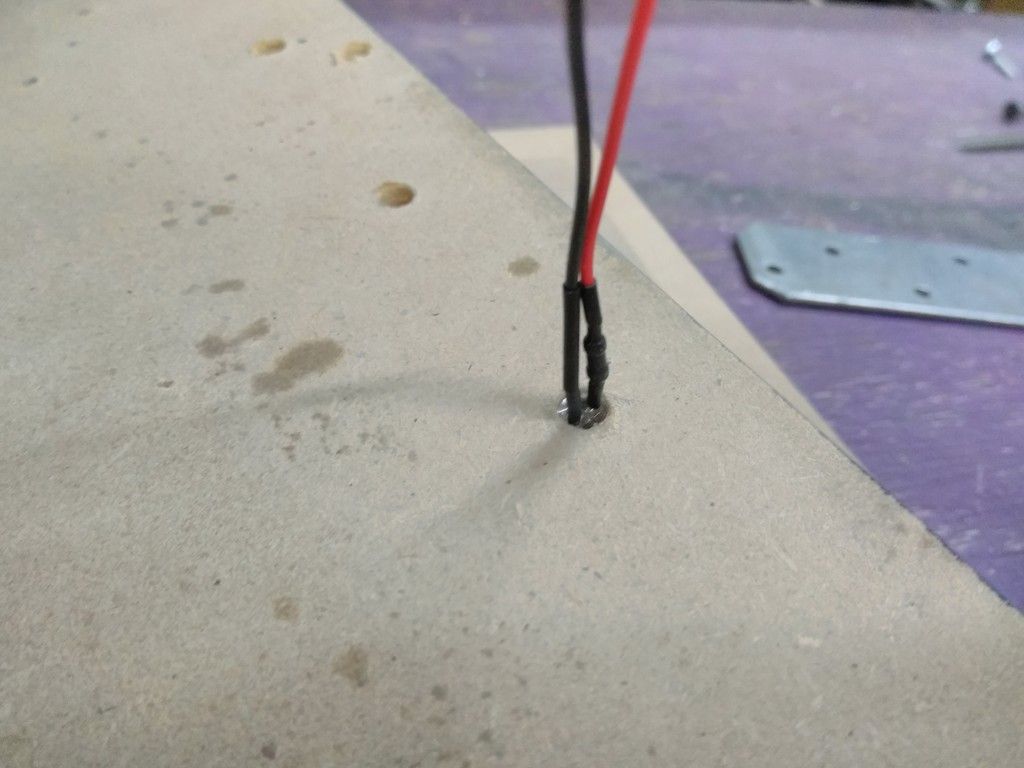
Adding some life to this greeblie
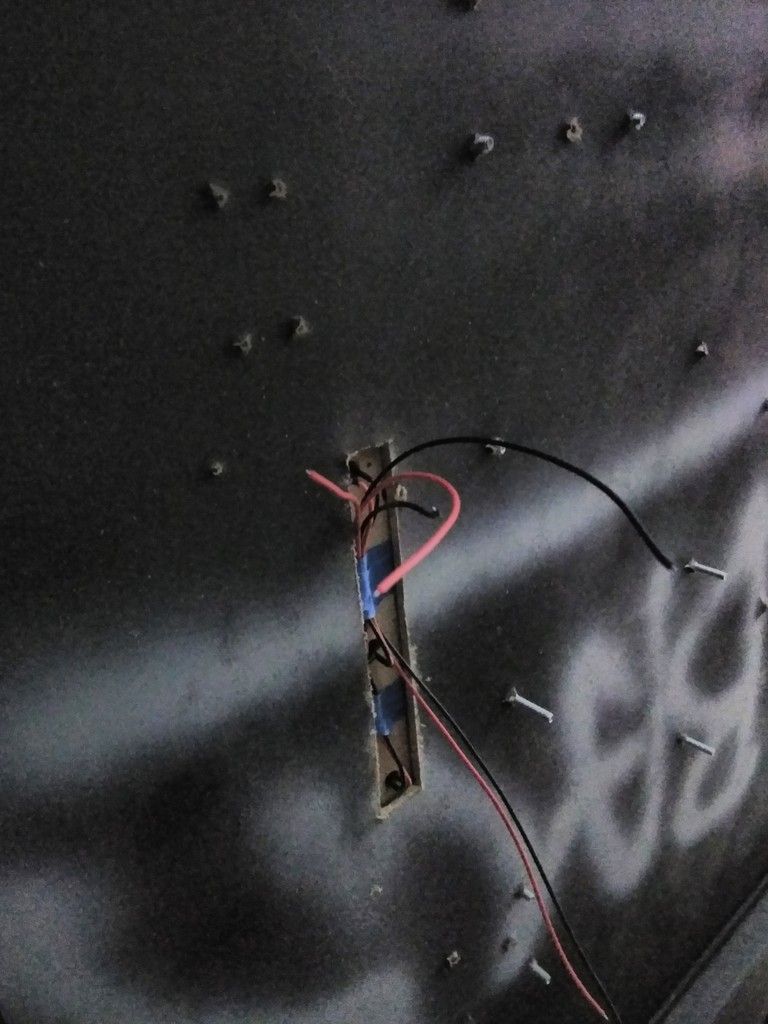
Mounted - back side shows wiring
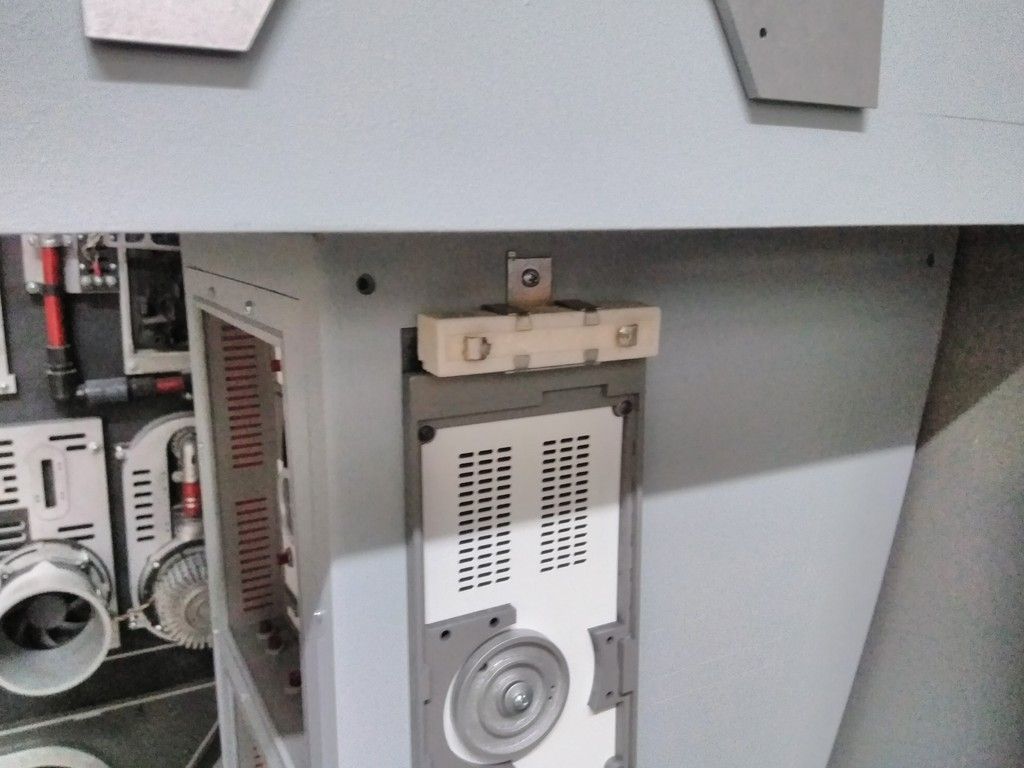
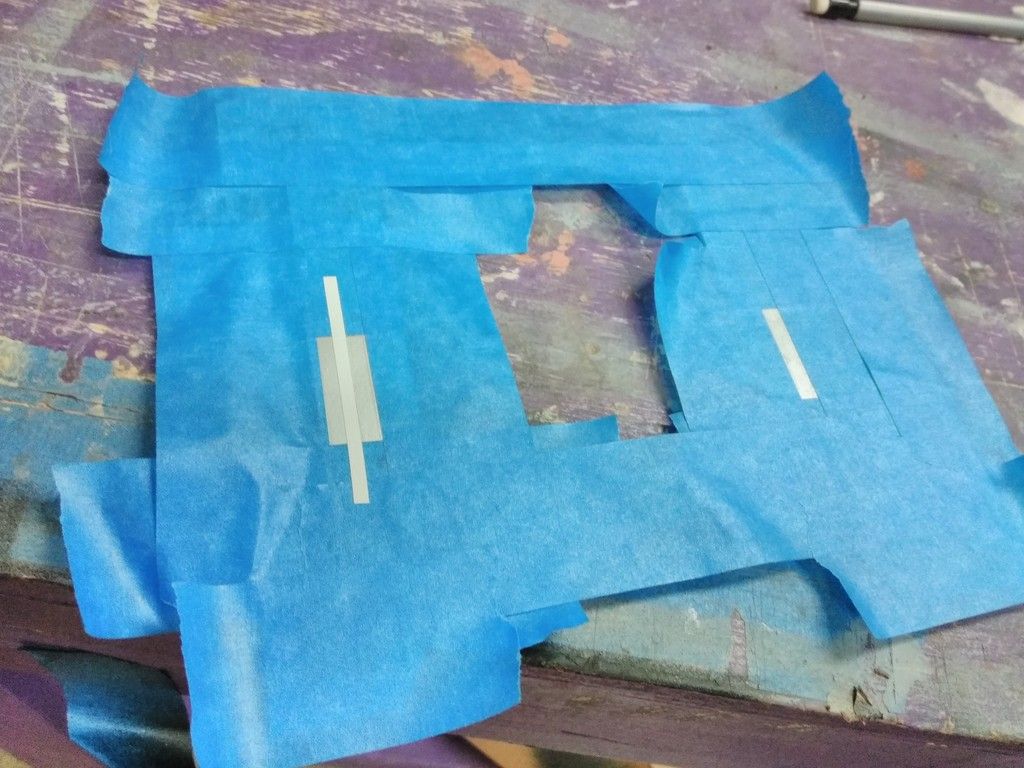
Taped off this greeblie
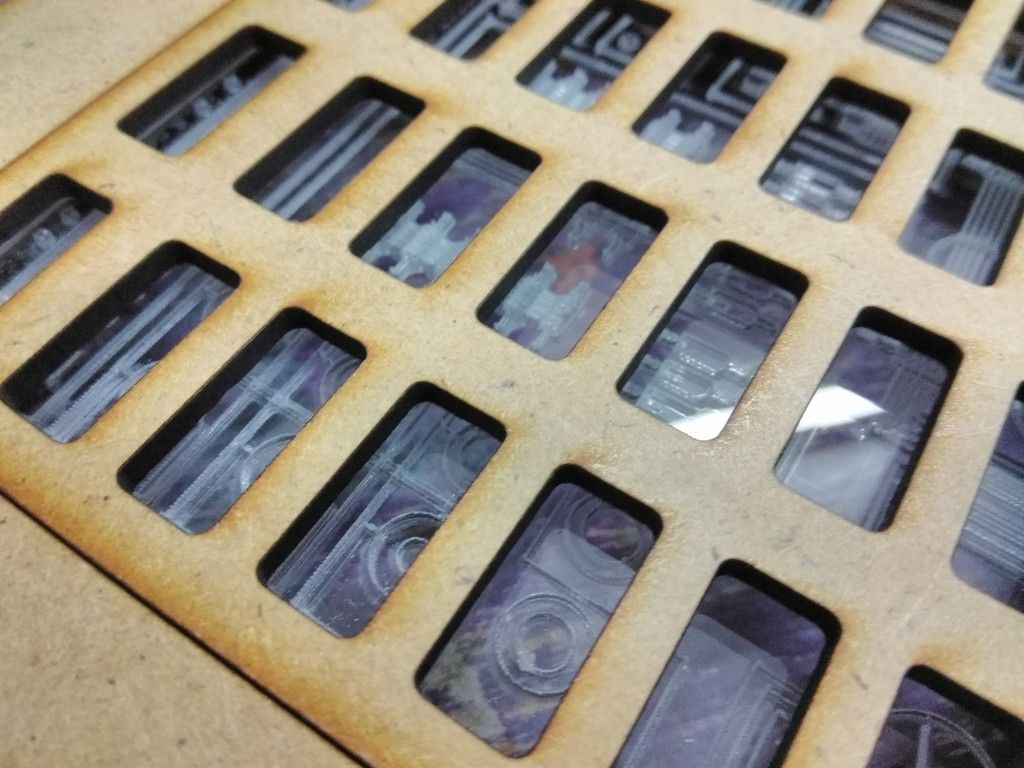
Its a simple addition but I love it
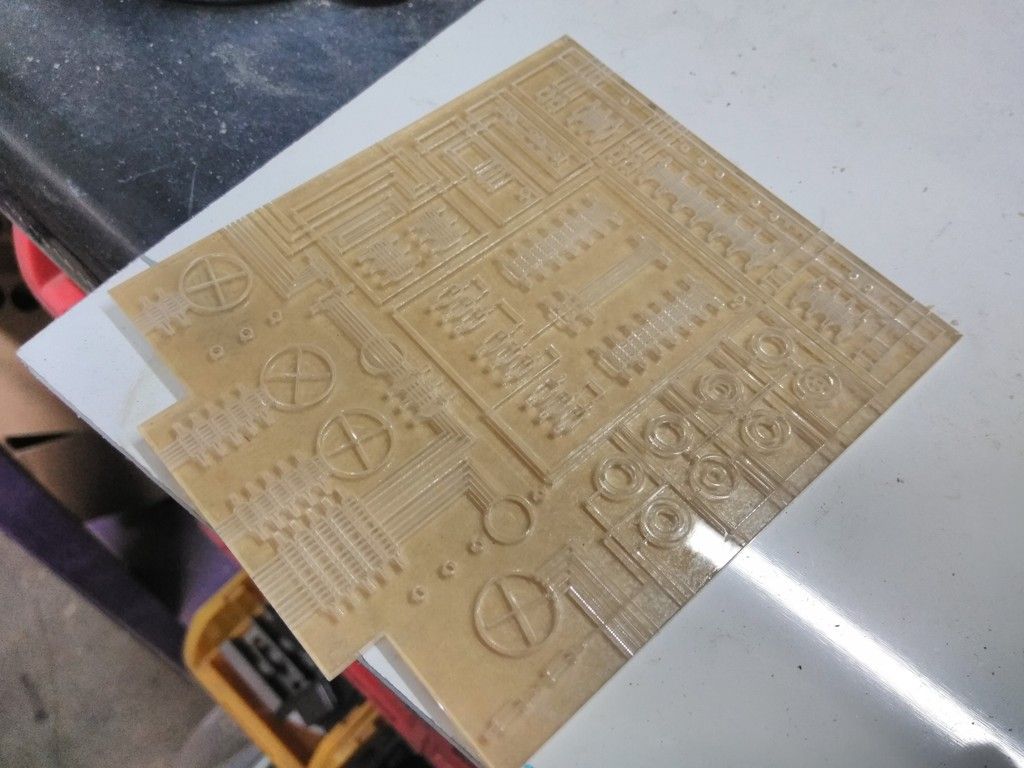
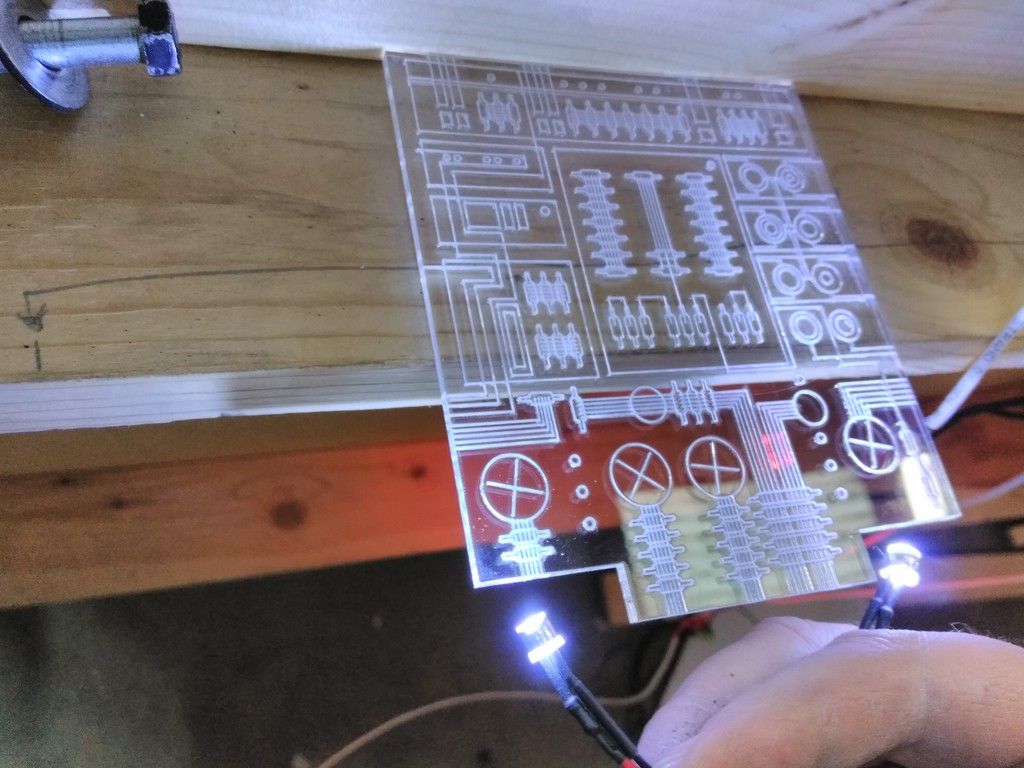
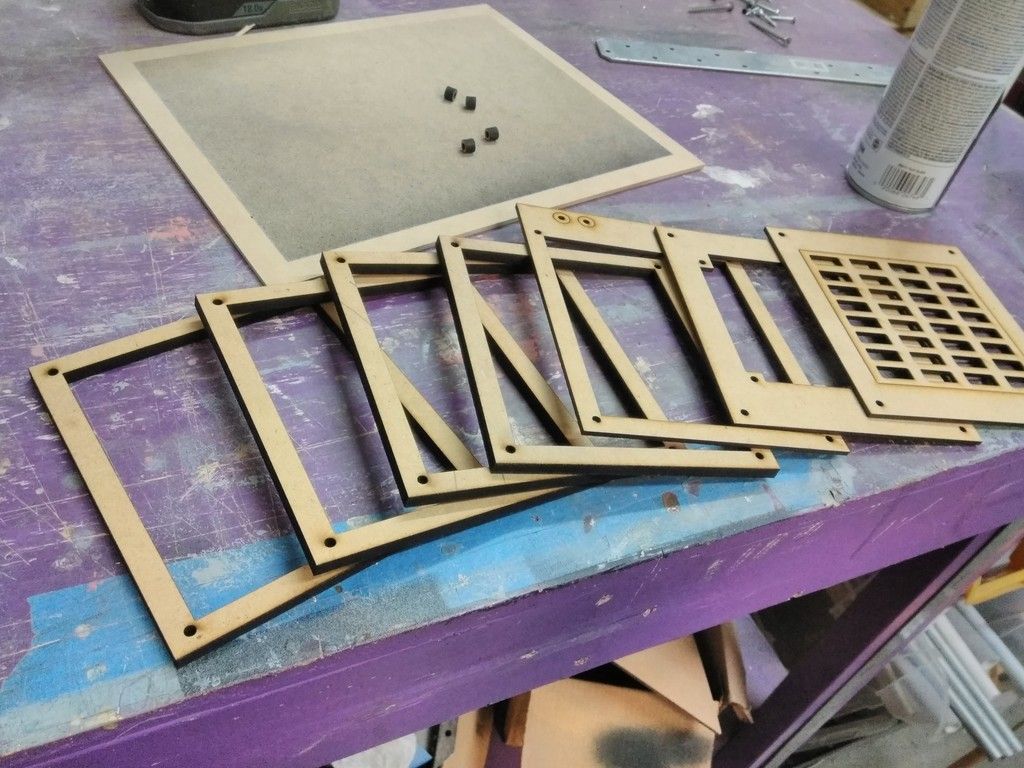
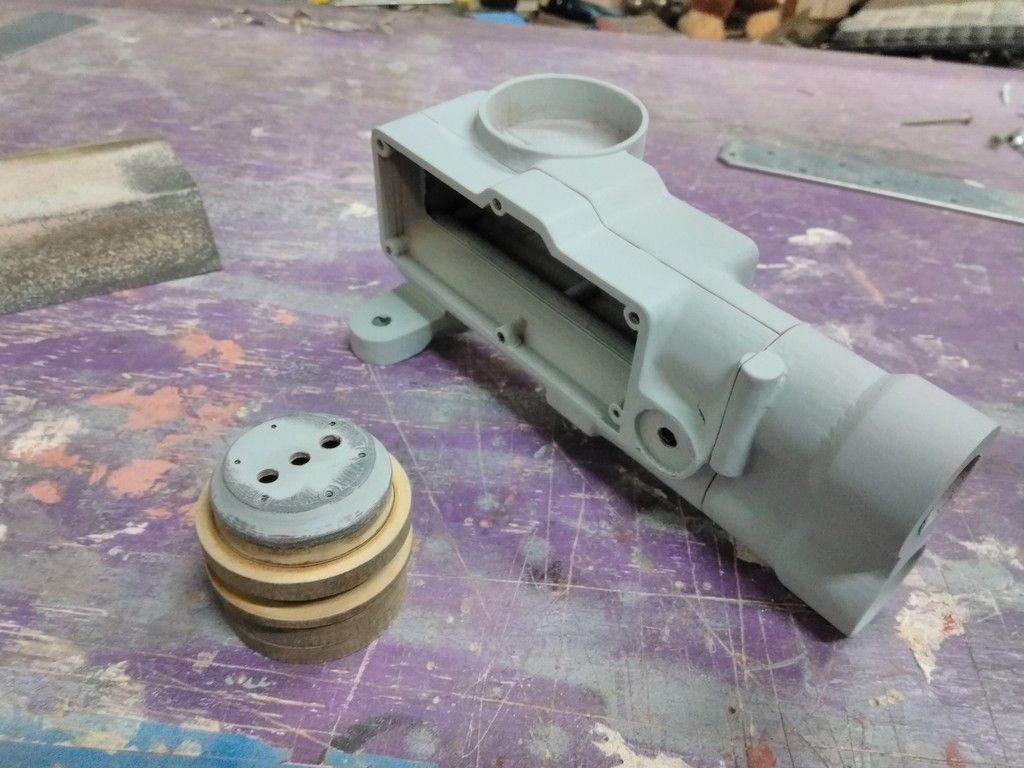
I laser cut this greeblie for a new silver box
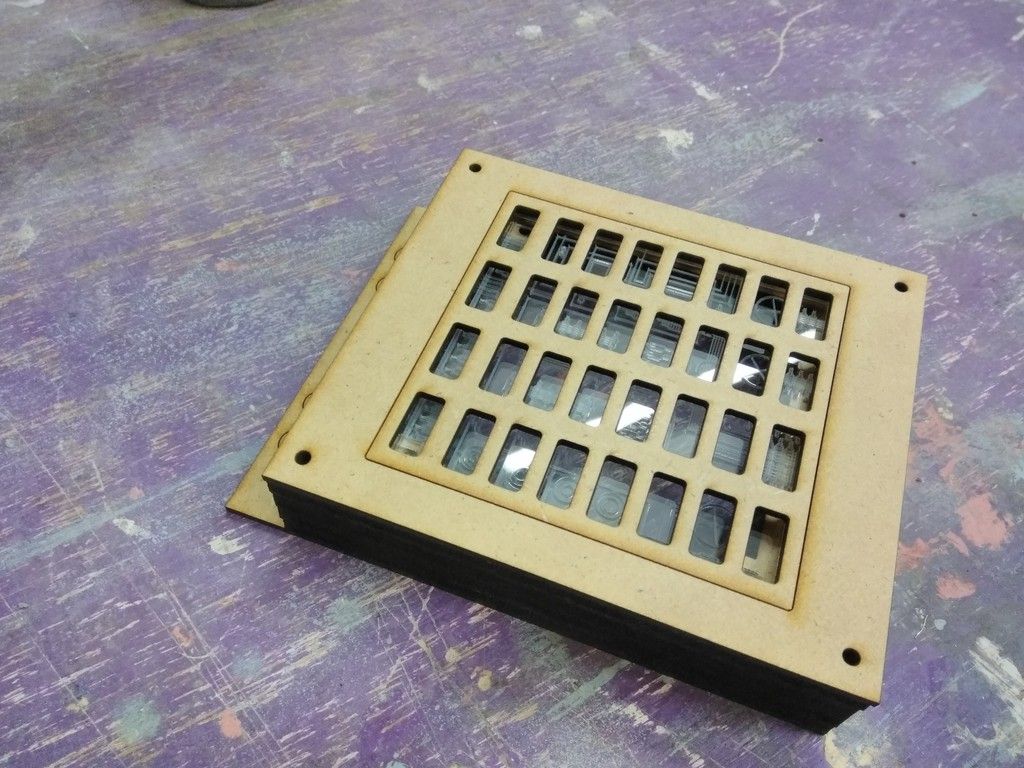
One of two layers
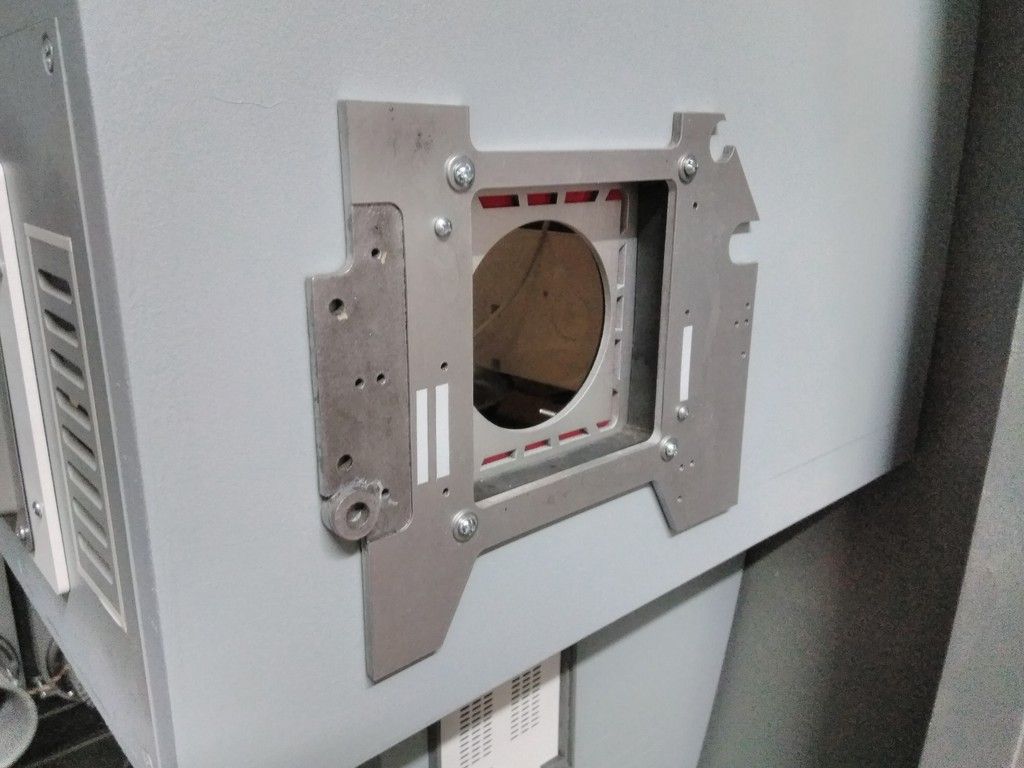
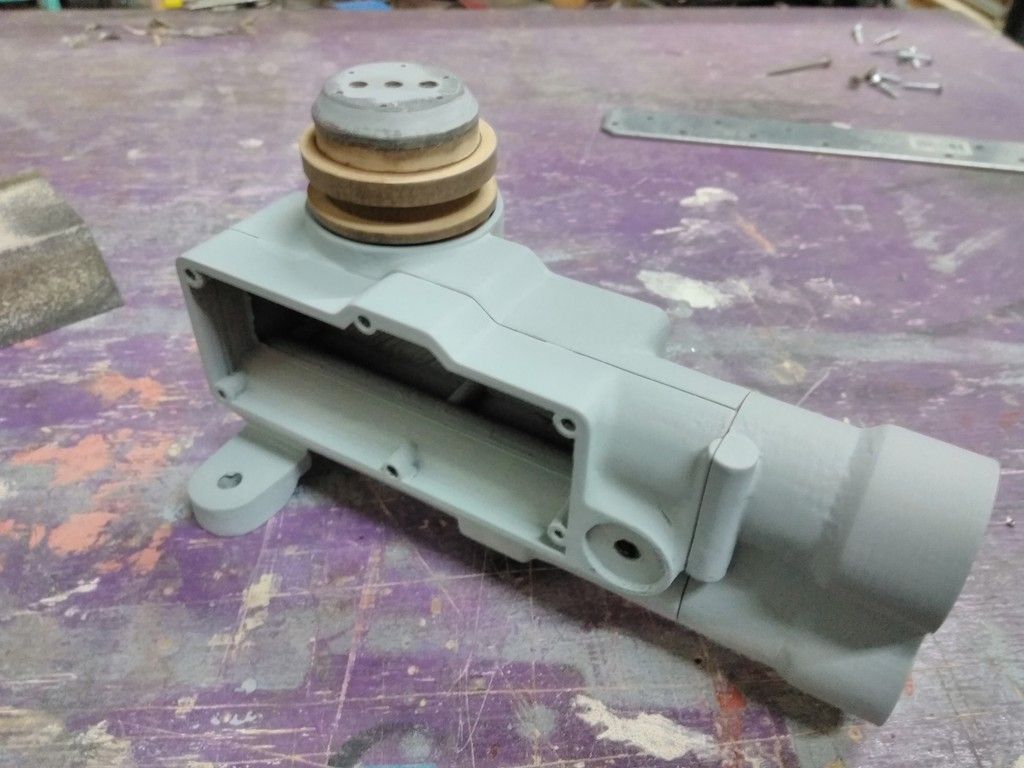
Housing
I then continued work on the TRM greeblie but I'll be handing this off to another for a future project
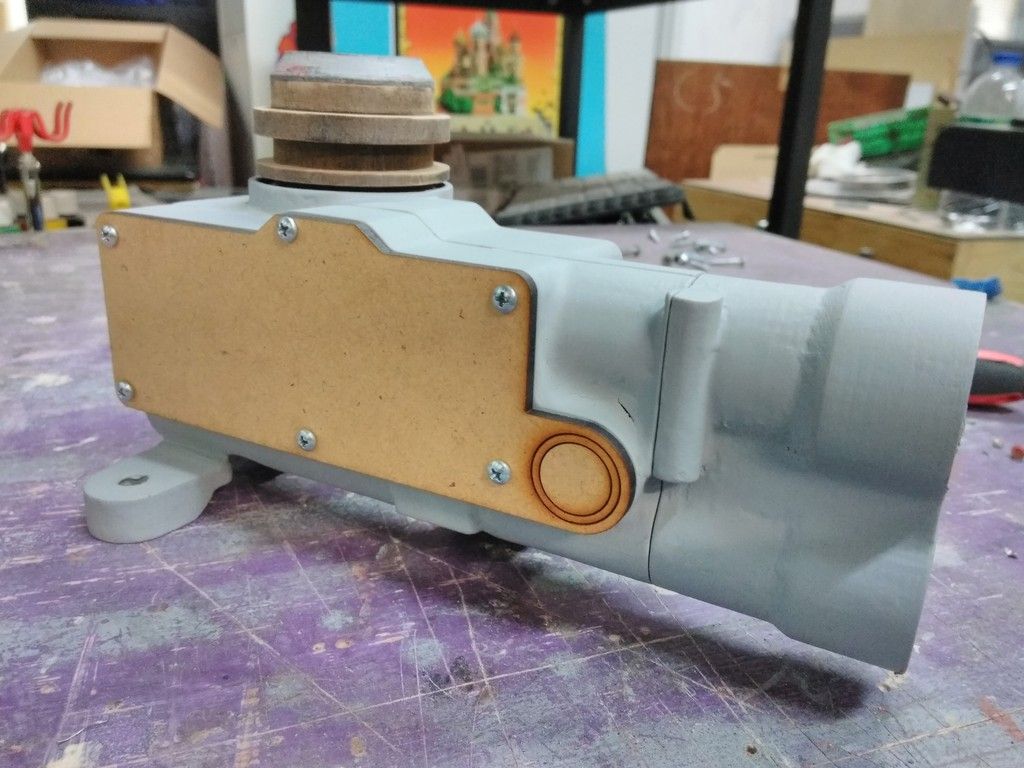
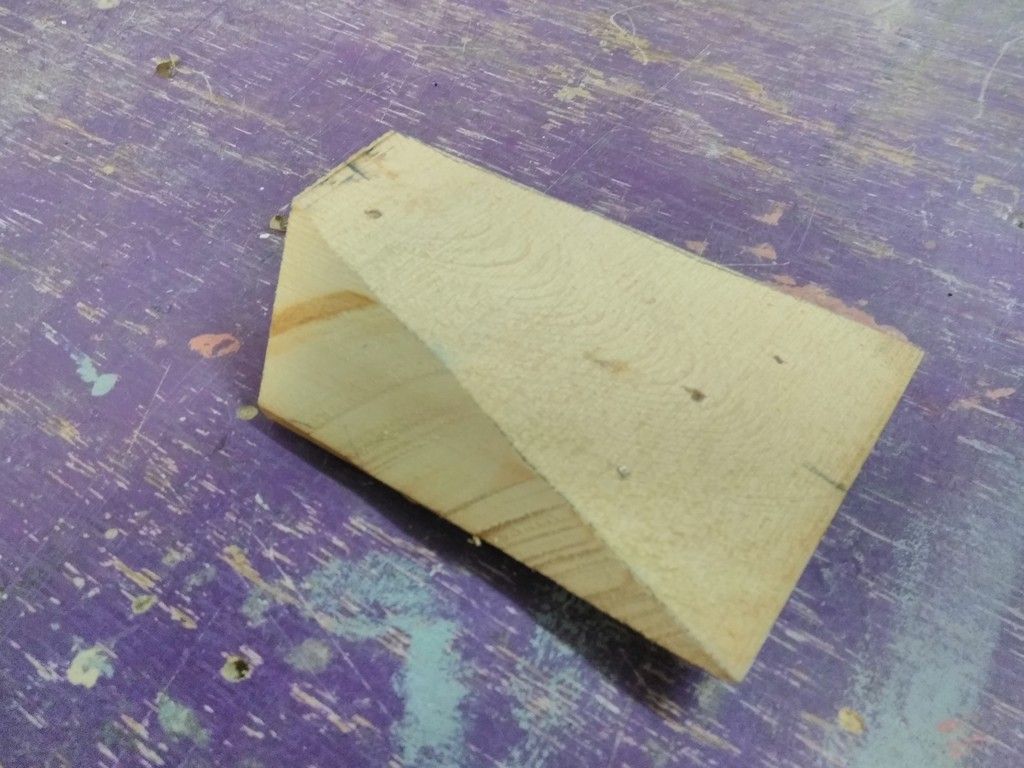
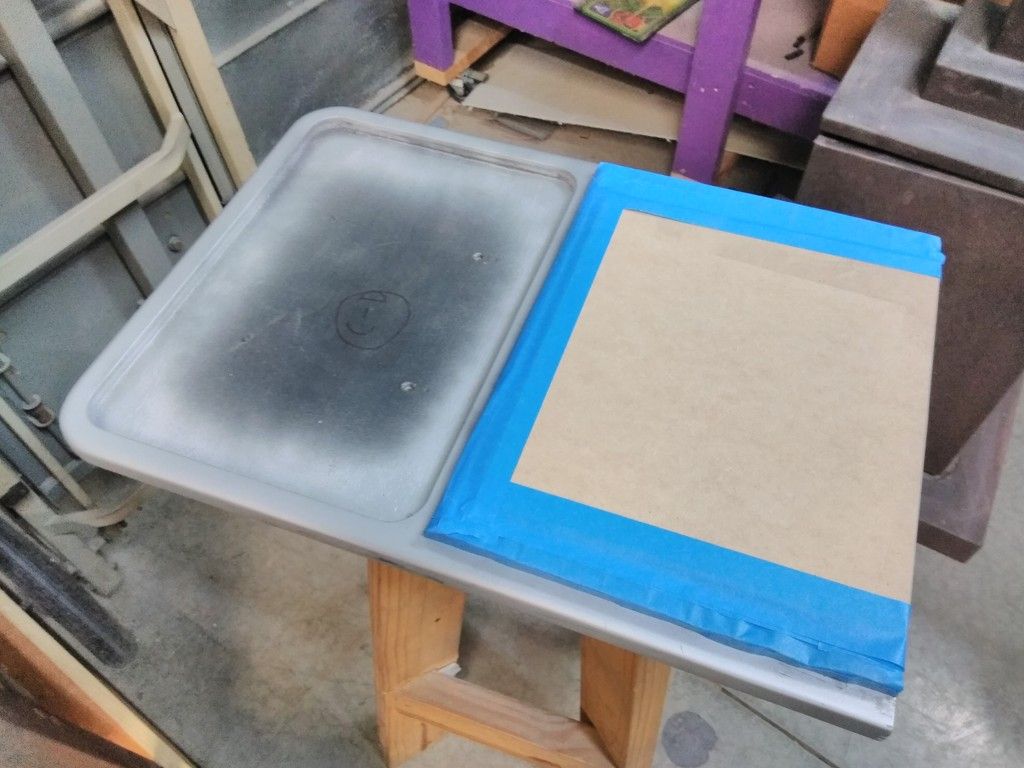
The 3D printer decided to quit on us so I improvised with some MDF
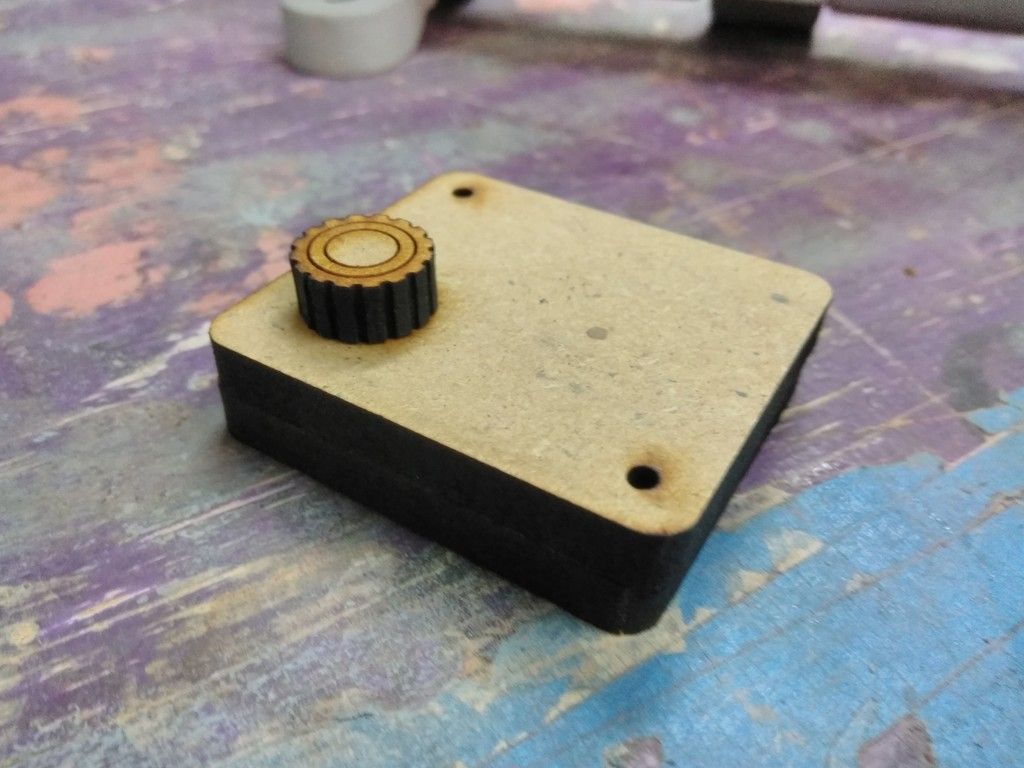
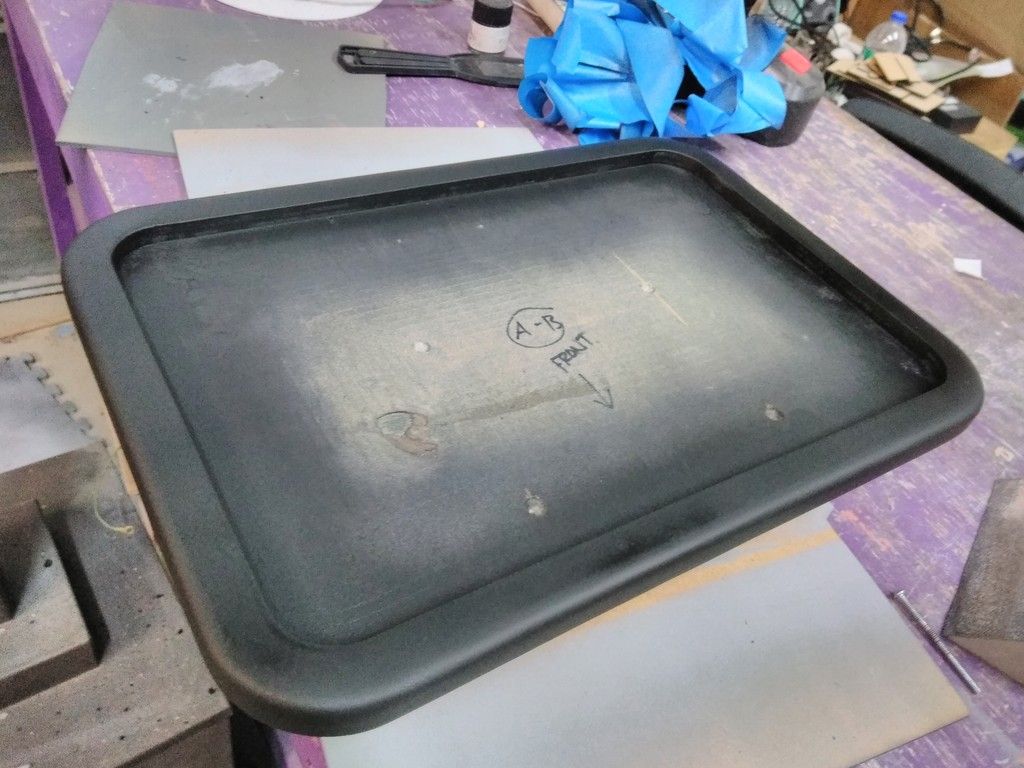
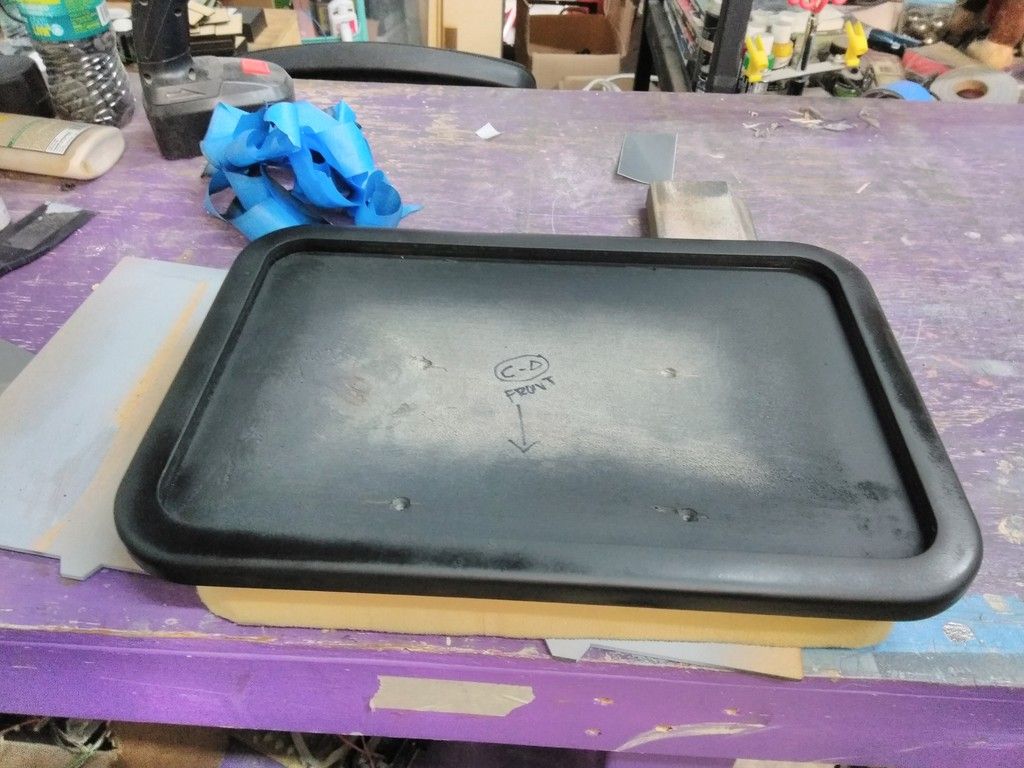
New lid
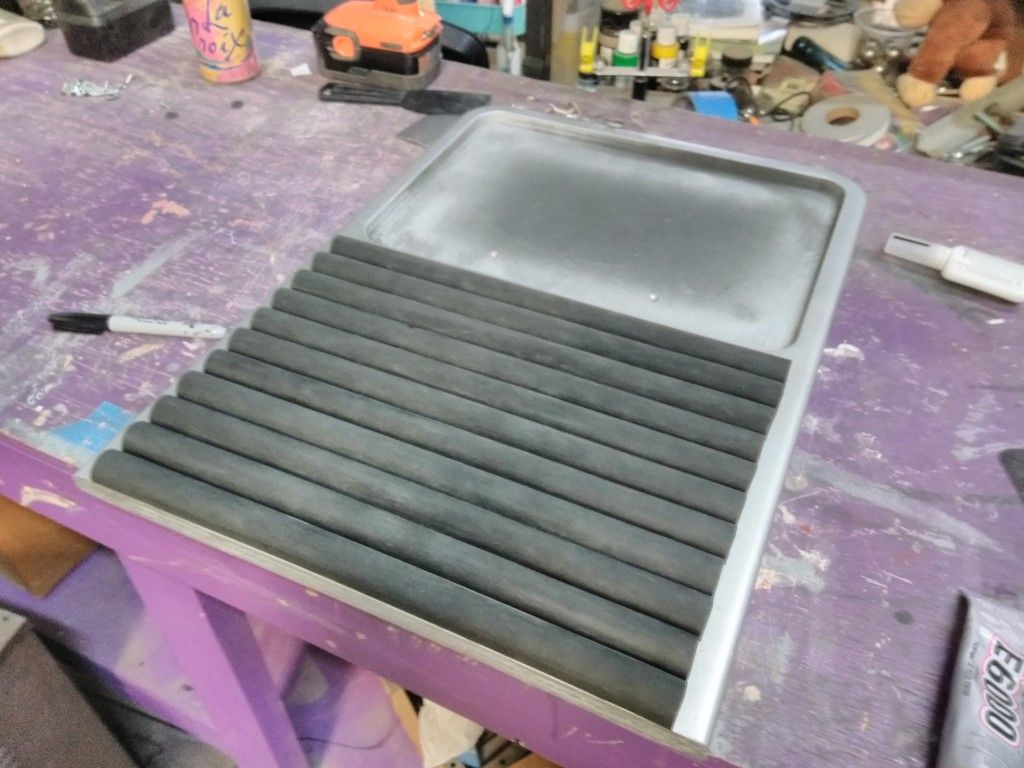
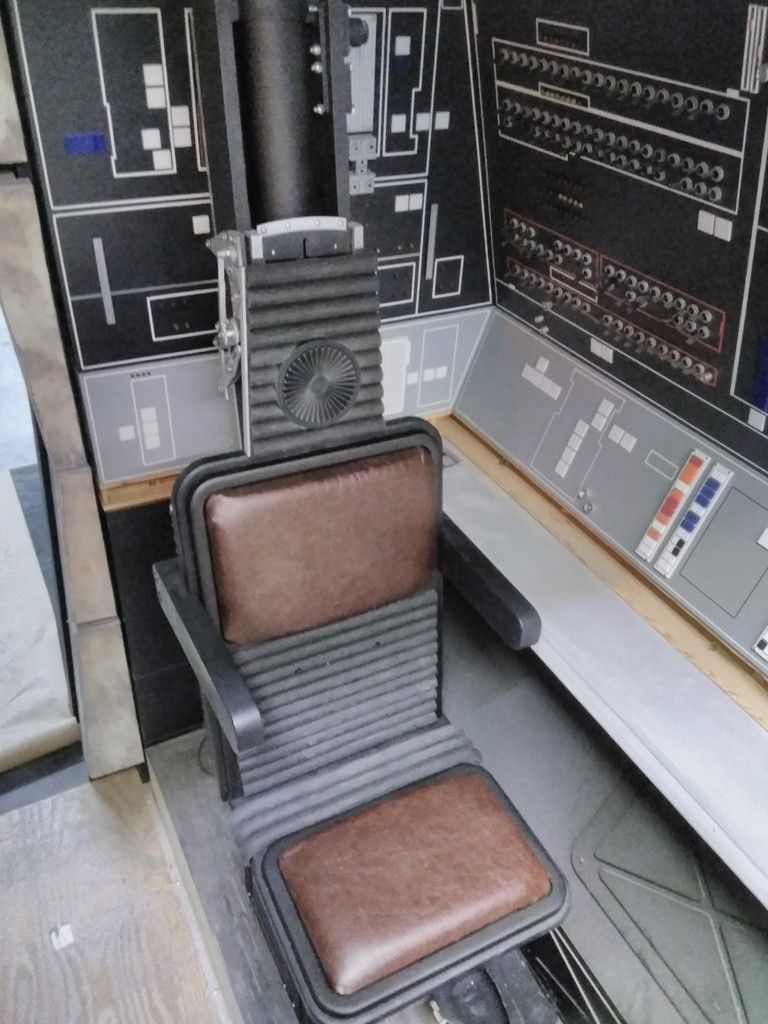
I decided to remove this bump in the nav chair
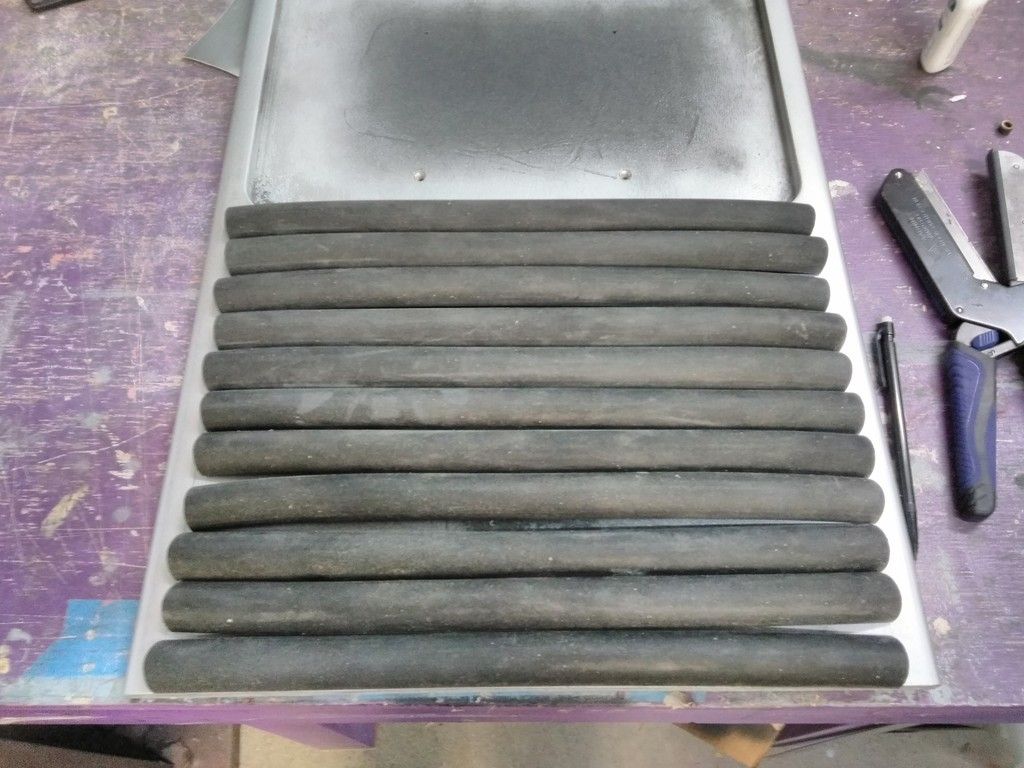
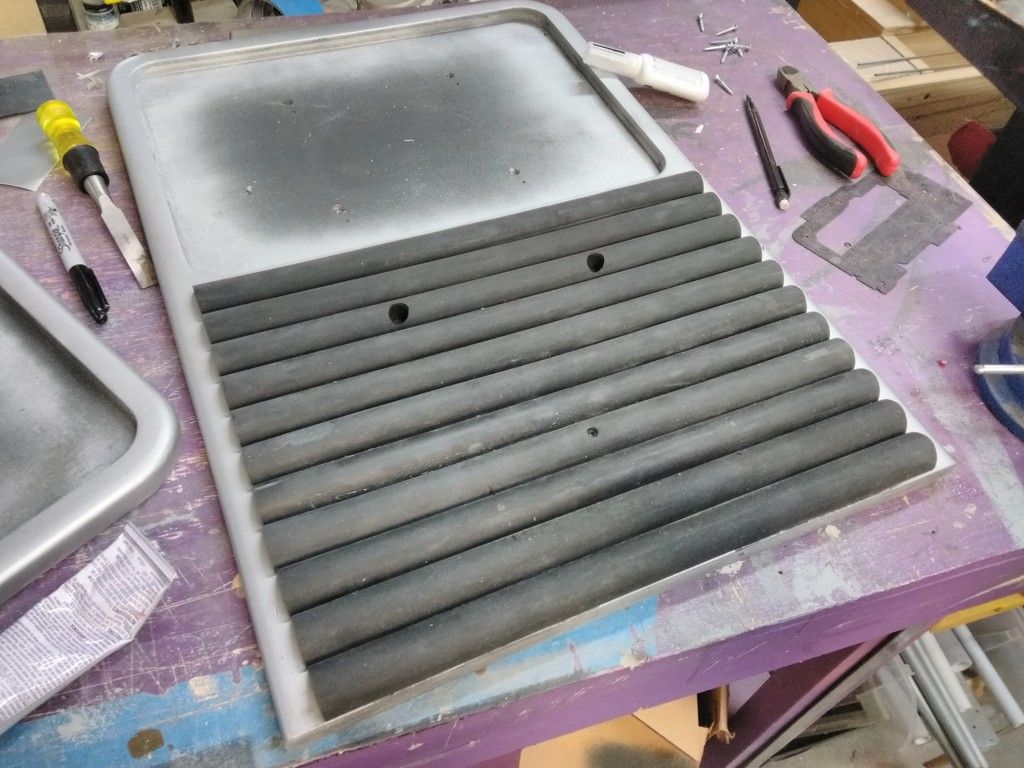
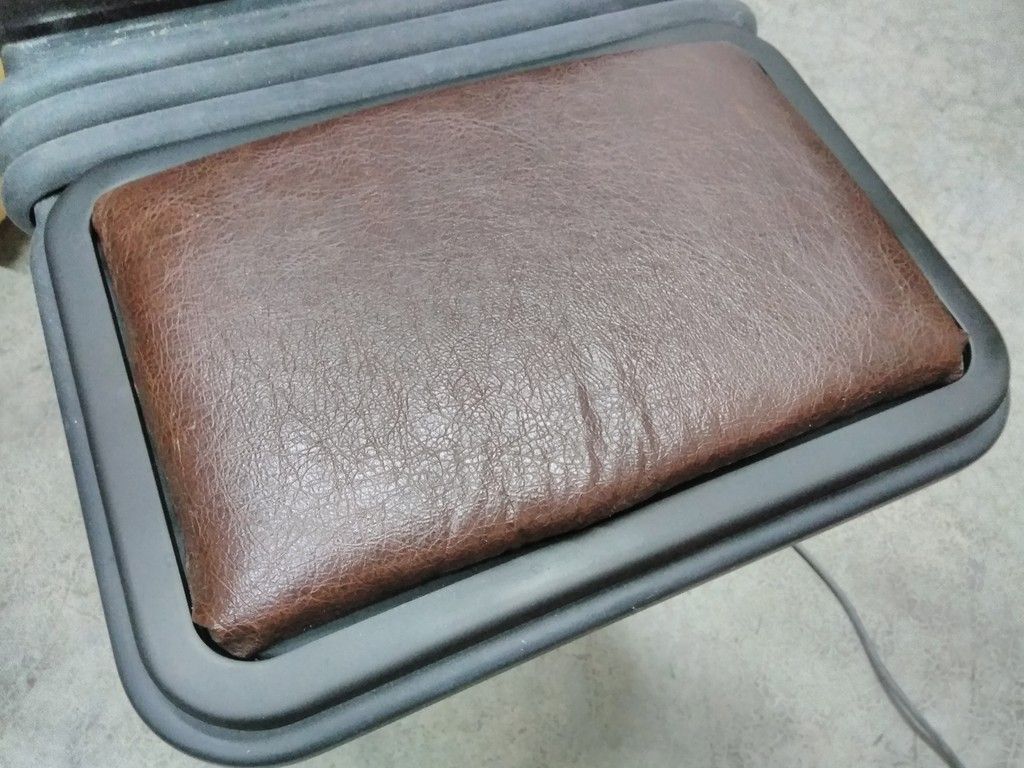
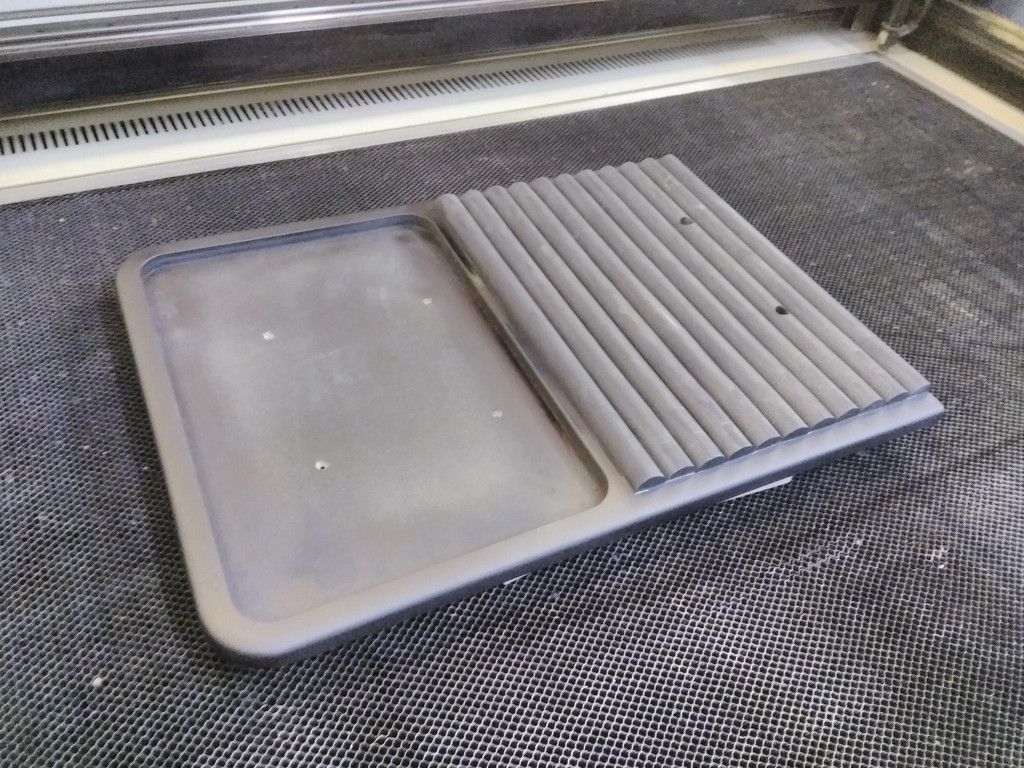
Finished up adhering the rubber molding
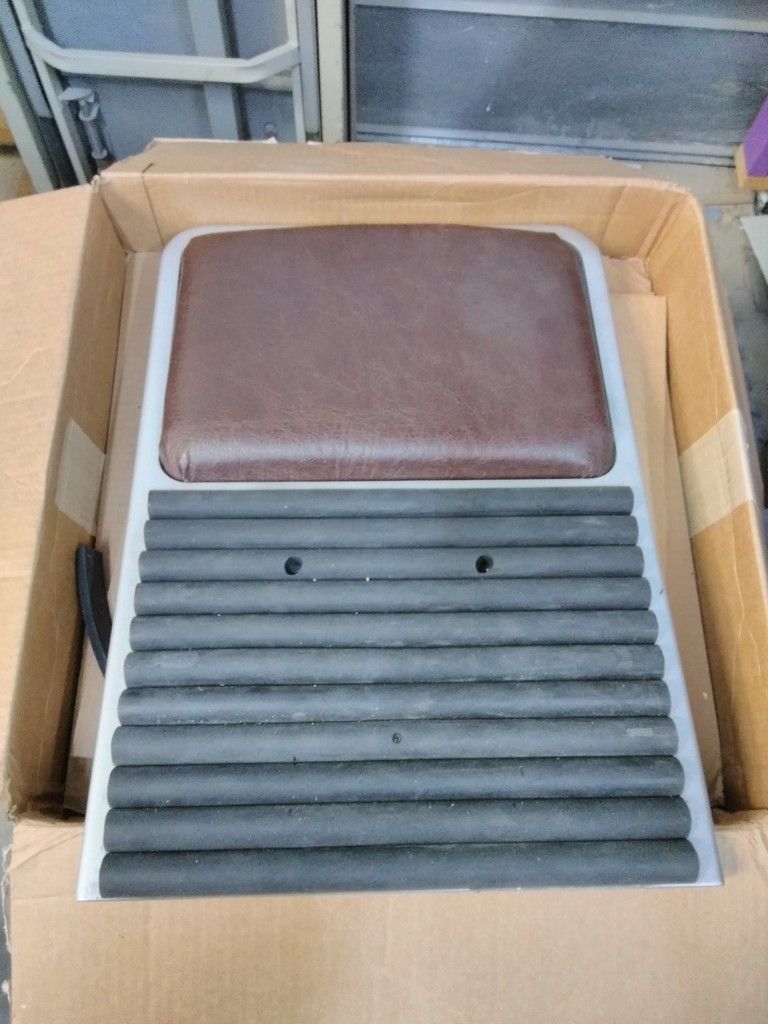
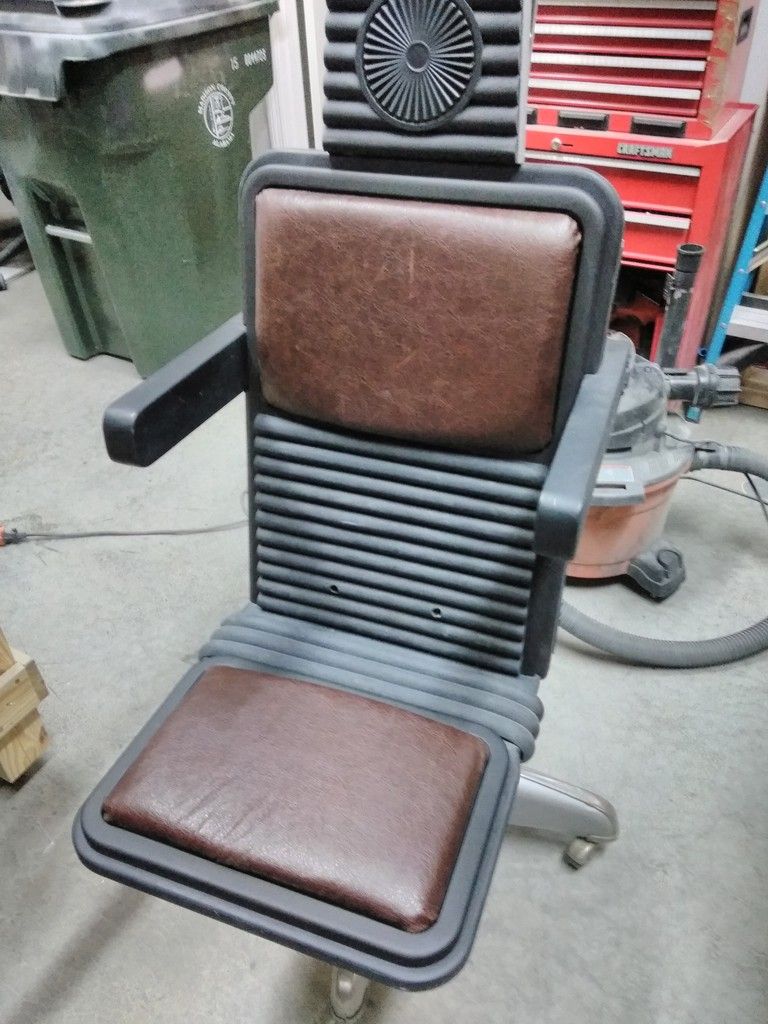
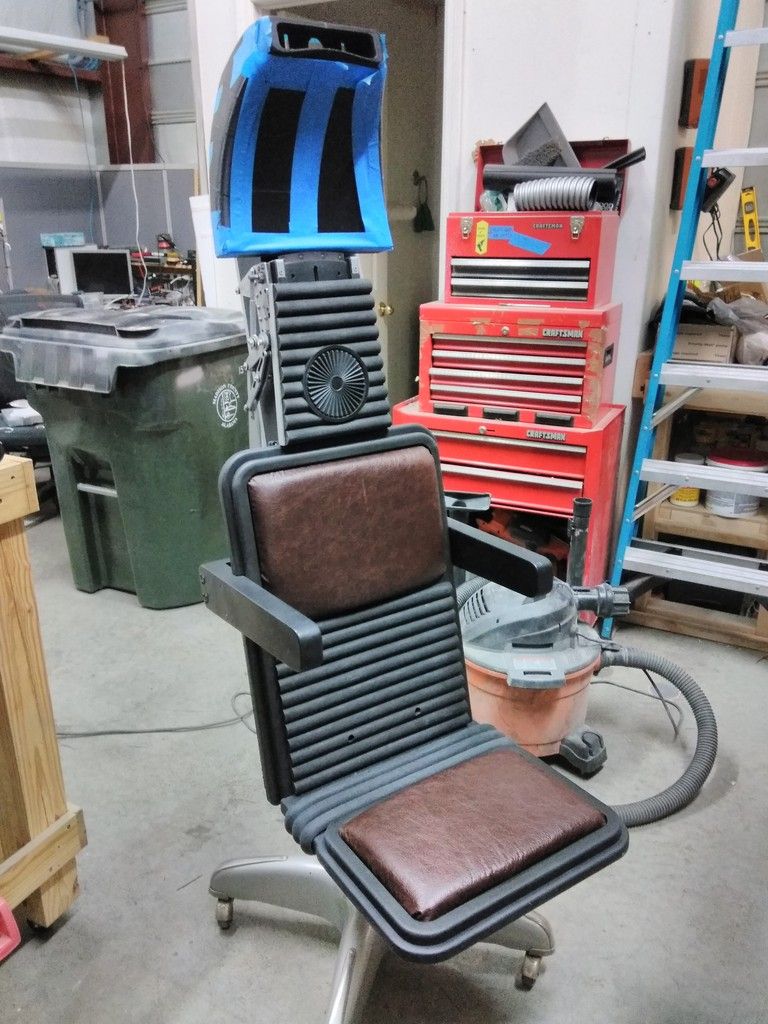
Going through photos I realized the trim around the chair pads are actually black! So I used my office chair as a test mule
Taped off the rubber molding and painted the back support
Oh yeah!
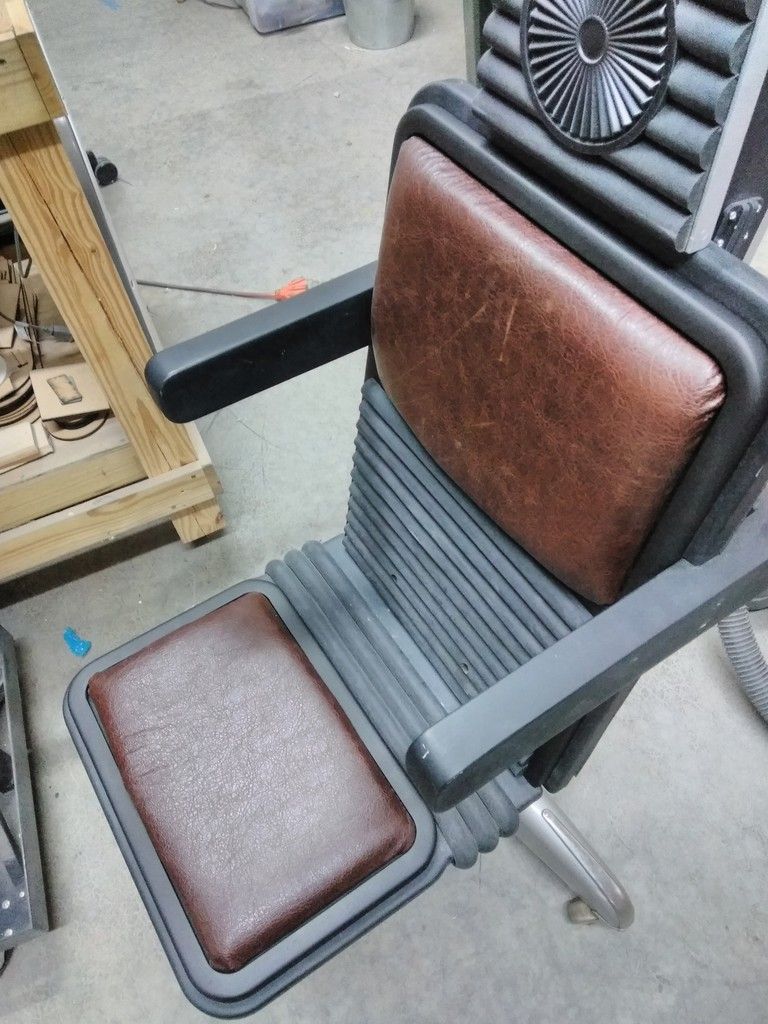
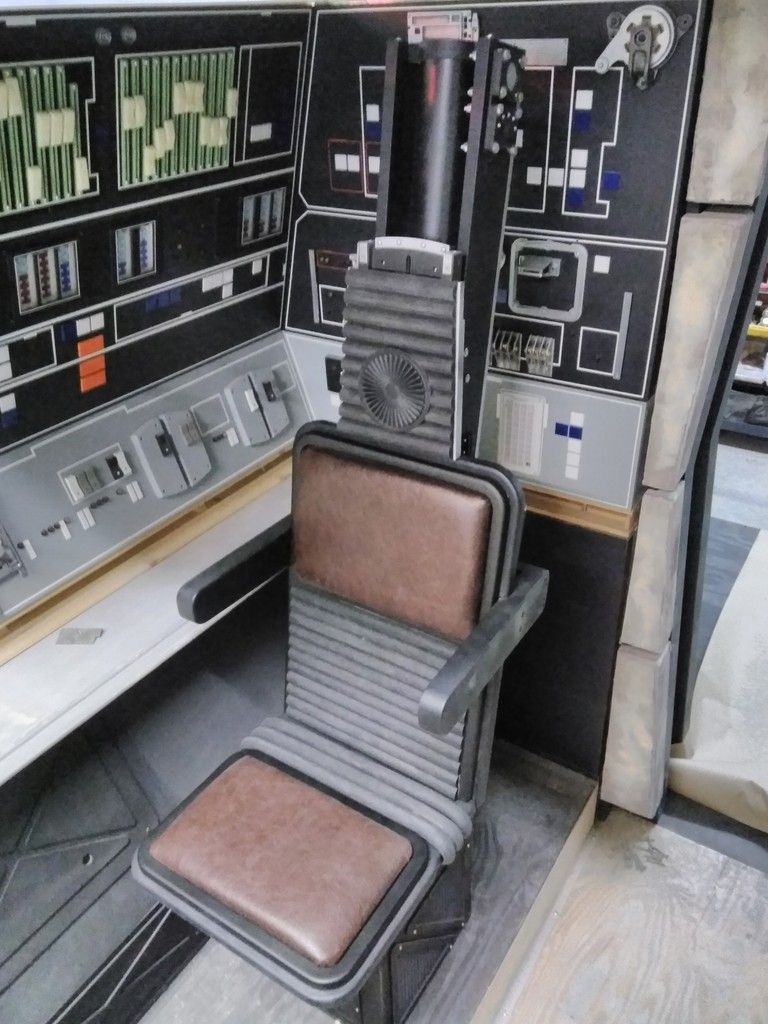
What a difference! And for the better! The contrast between the black and the silver was nice but this is screen accurate
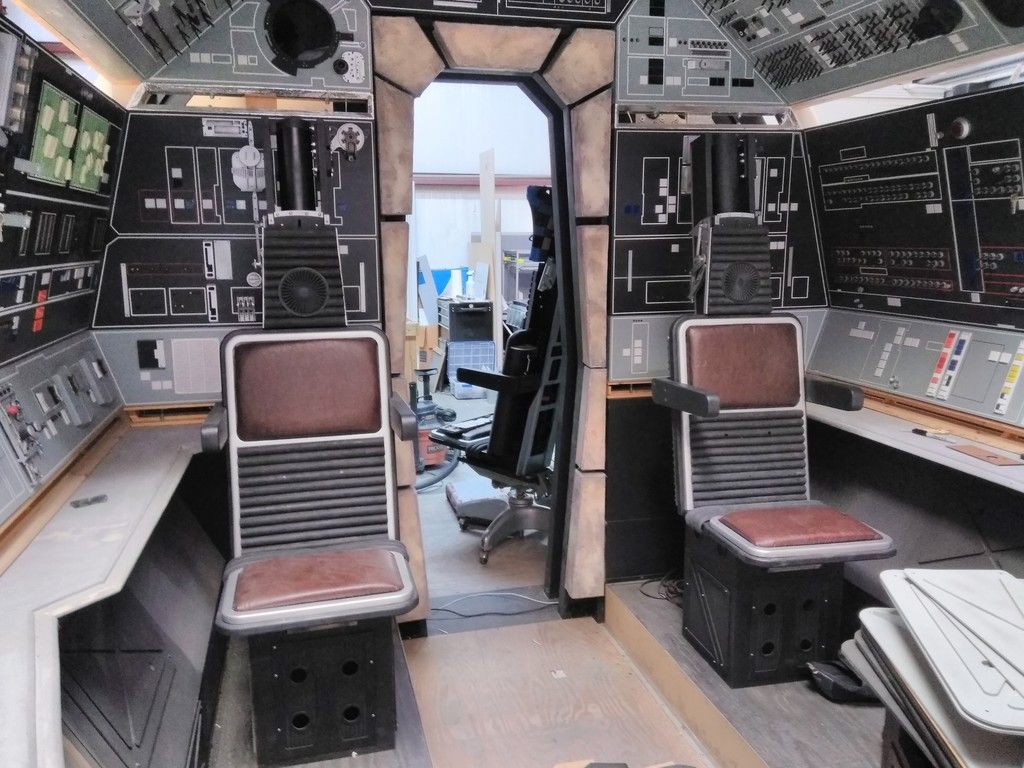
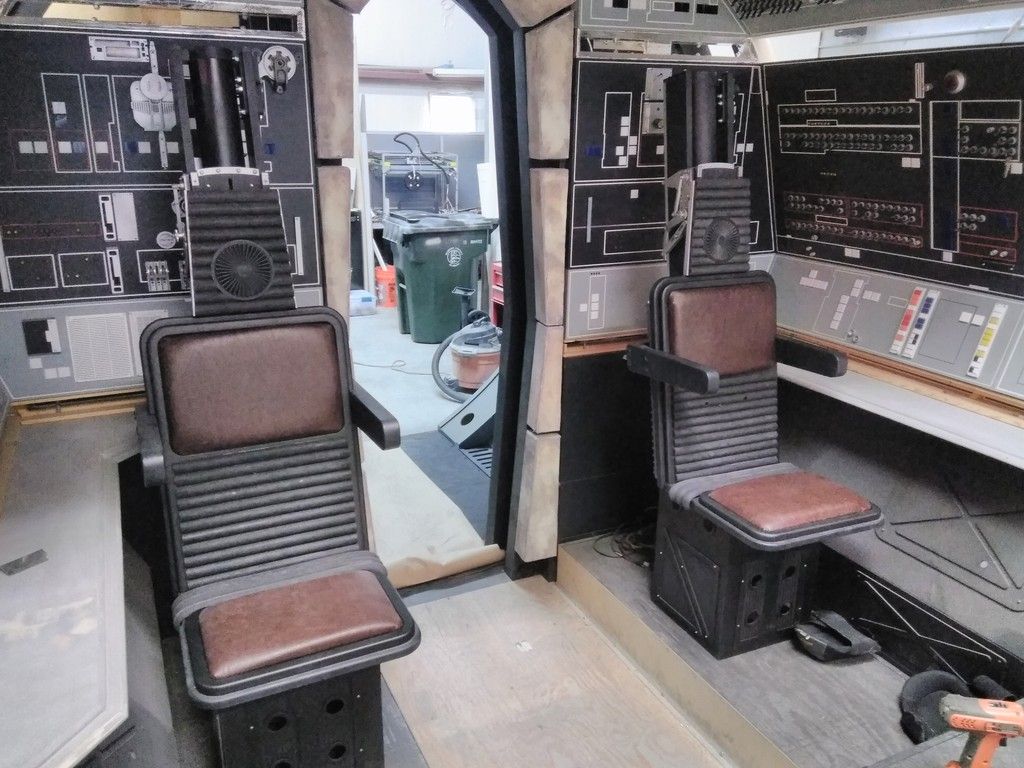
Jumped in and finished the other two chairs
That's where we are! More to Follow!