Operascot
Active Member
If the cannon room is a go, I have a sneaky suspicion a very accurate replica can be made based on a large amount of real parts and the ingenuity of all those working and following this project.
You're just guessing, Wavey
If the cannon room is a go, I have a sneaky suspicion a very accurate replica can be made based on a large amount of real parts and the ingenuity of all those working and following this project.
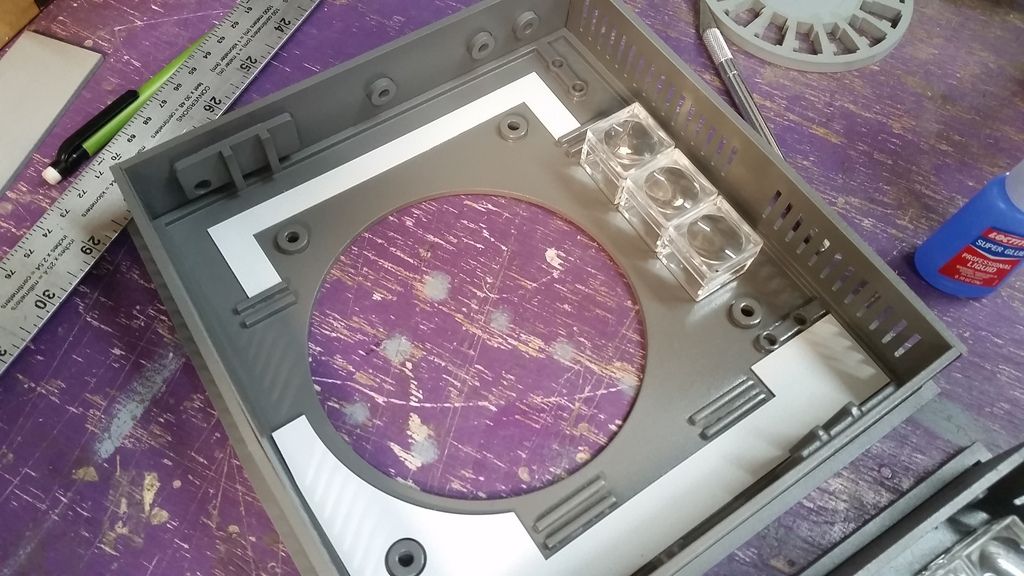
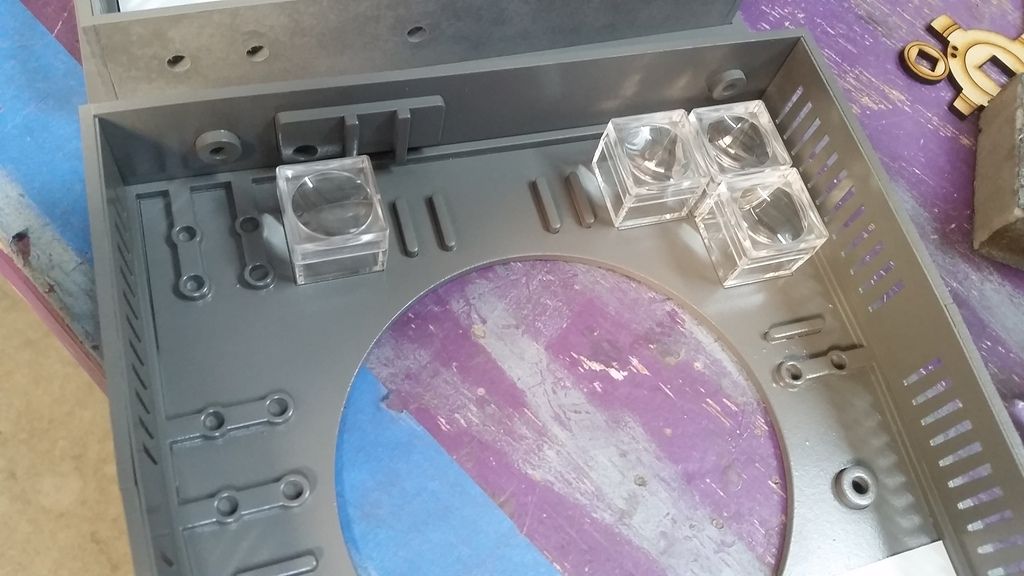
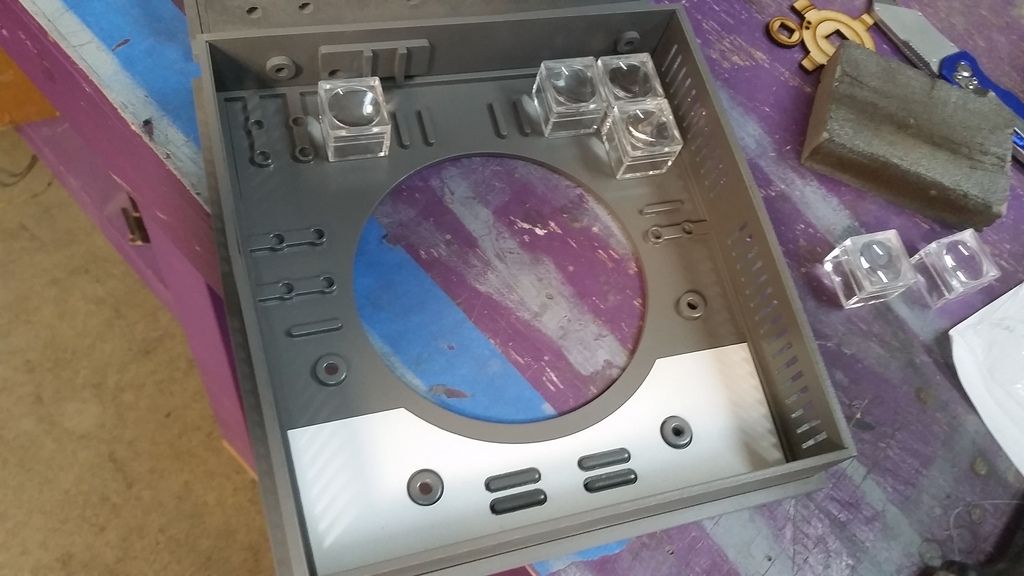
The chairs are fabulous one of the many parts I’ve enjoyed seeing being built from scratch, the best for me has to be the iconic look of the cockpit windows,
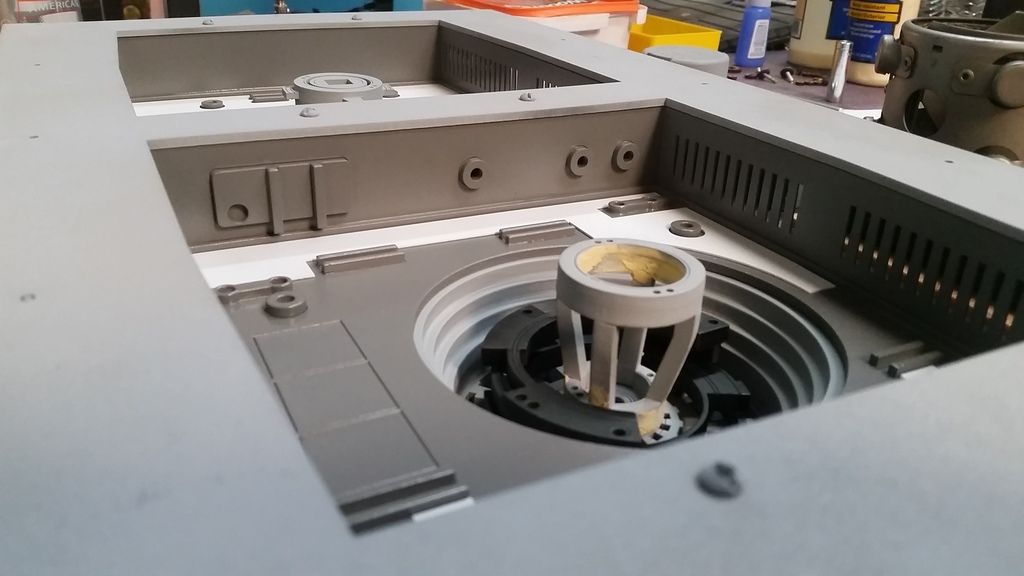
I’m also really looking forward to the gunner position build, many a time I’ve sat in a computer swivel chair and pretended to be in the gunner position !!! But many a time I’ve been told off by the wife “because I might break it “ ( spoil sport ) why can’t women stay in touch with there inner child ?
")
If the cannon room is a go, I have a sneaky suspicion a very accurate replica can be made based on a large amount of real parts and the ingenuity of all those working and following this project.
You're just guessing, Wavey
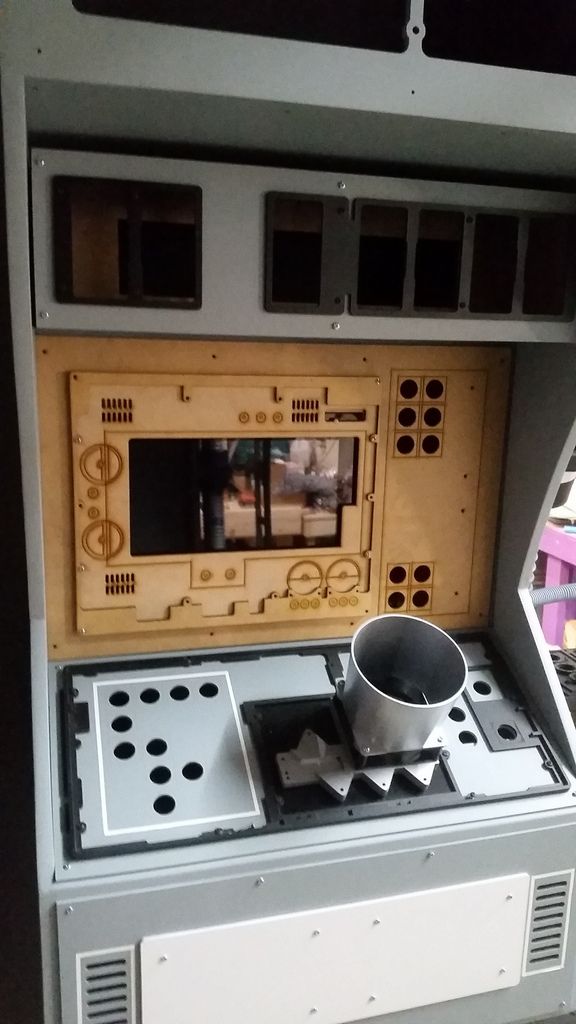
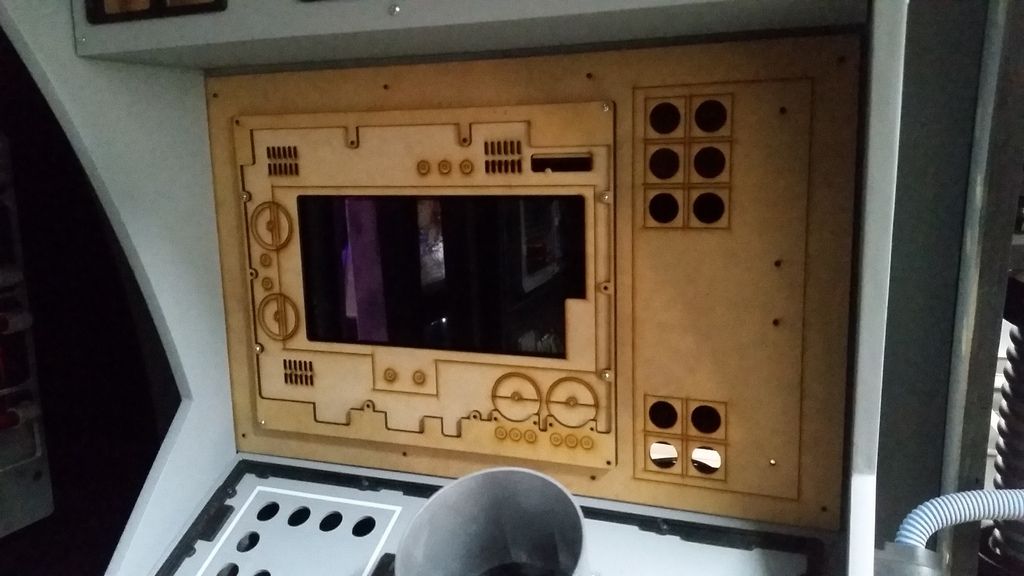
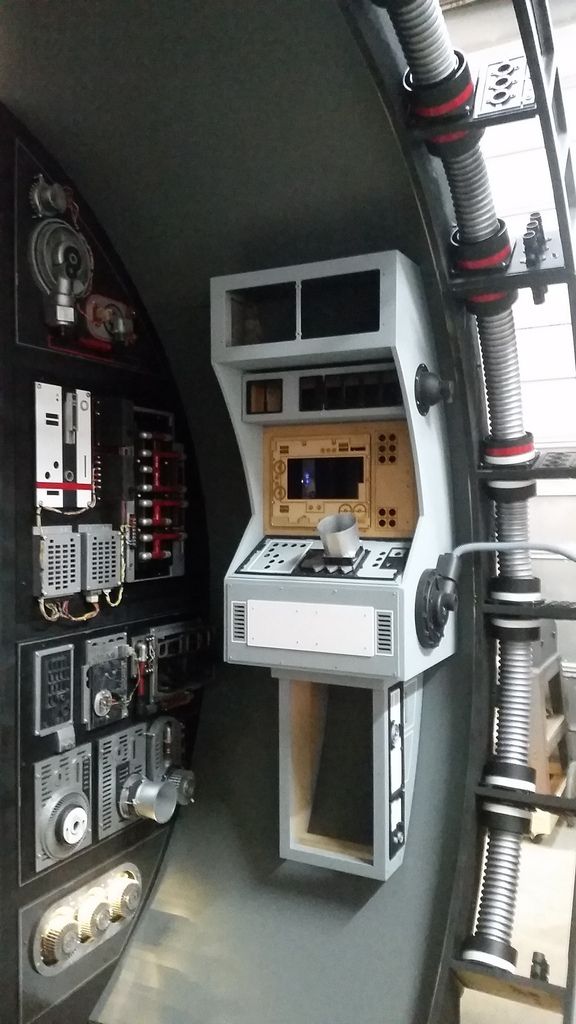
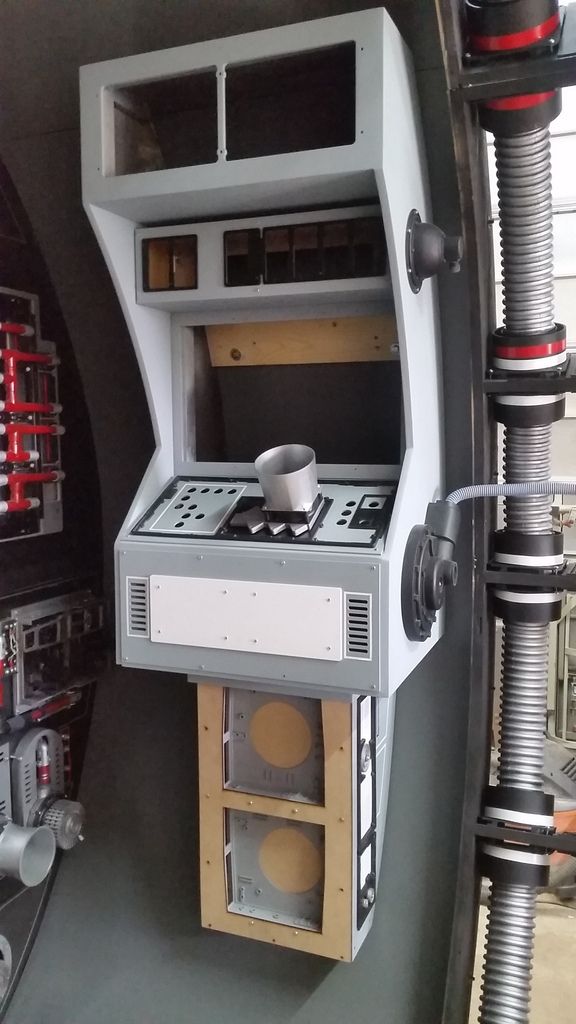
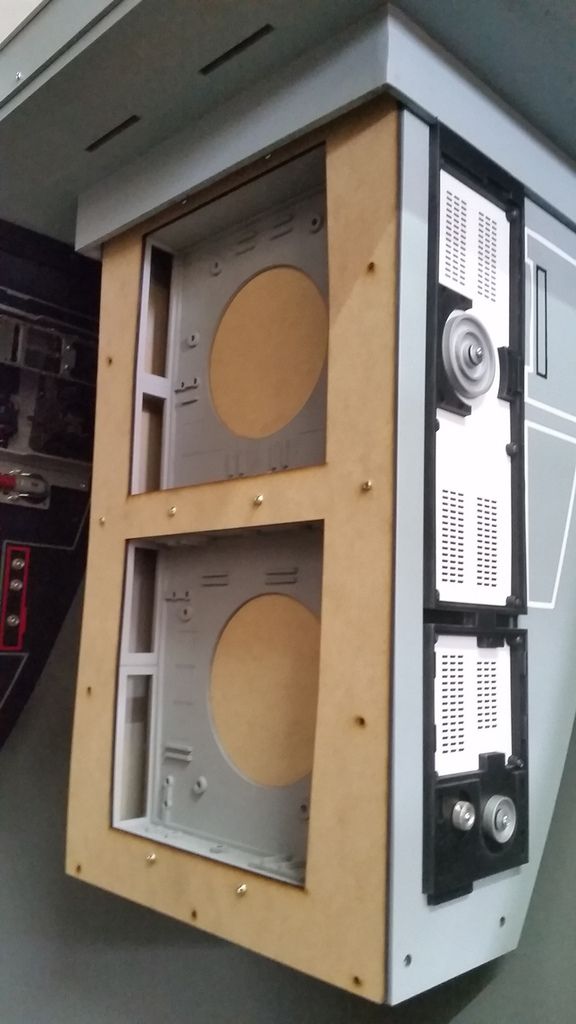
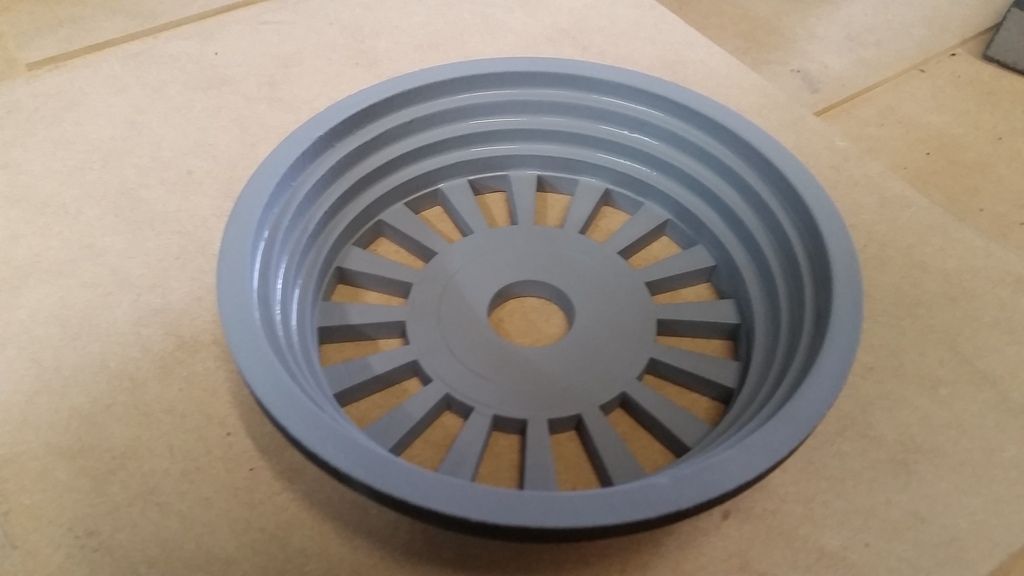
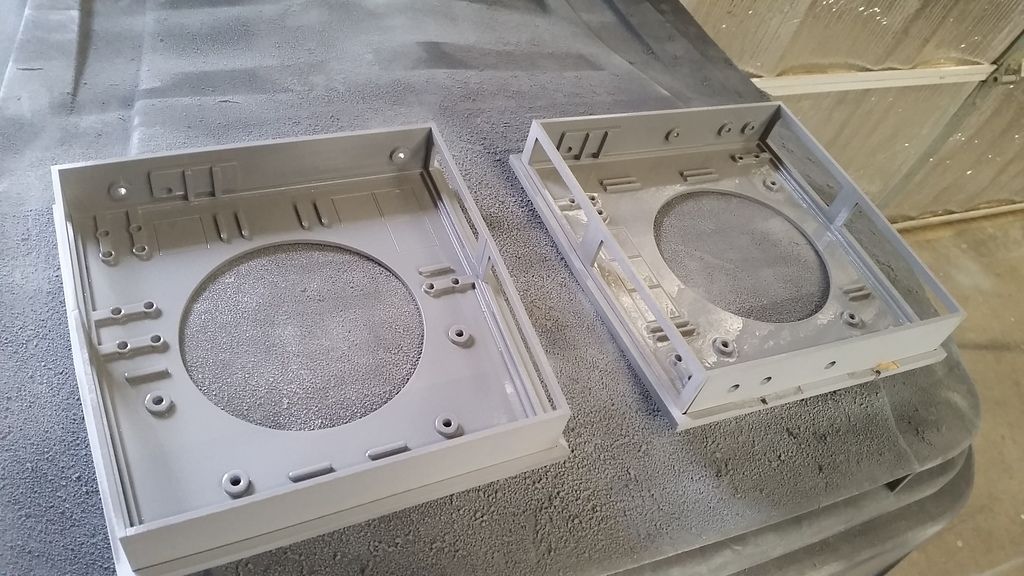
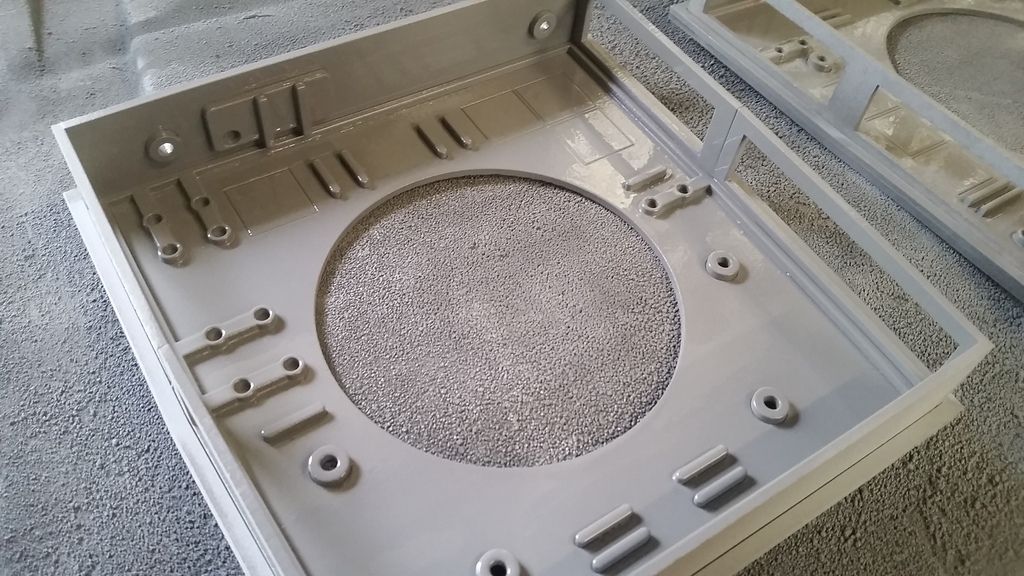
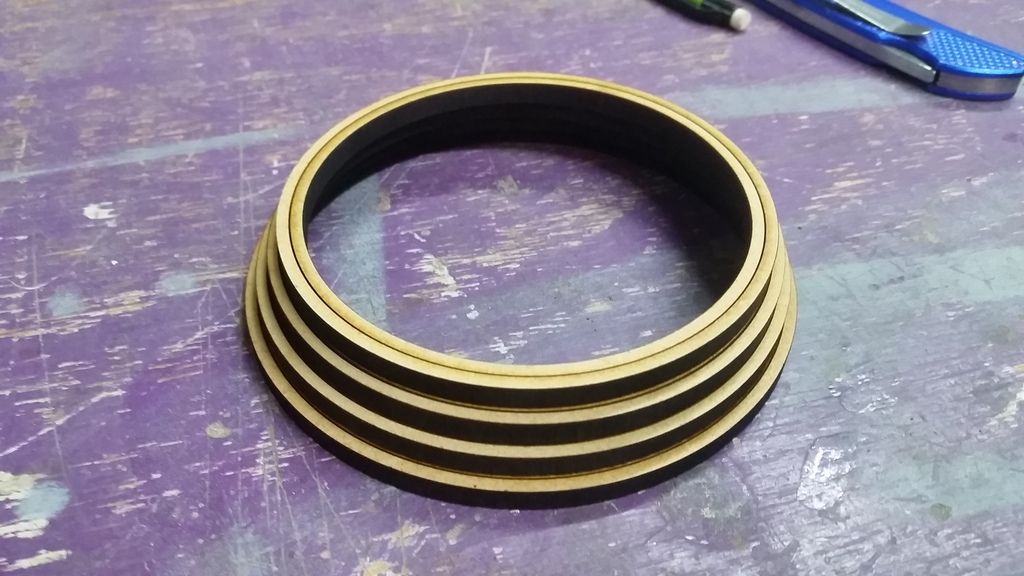
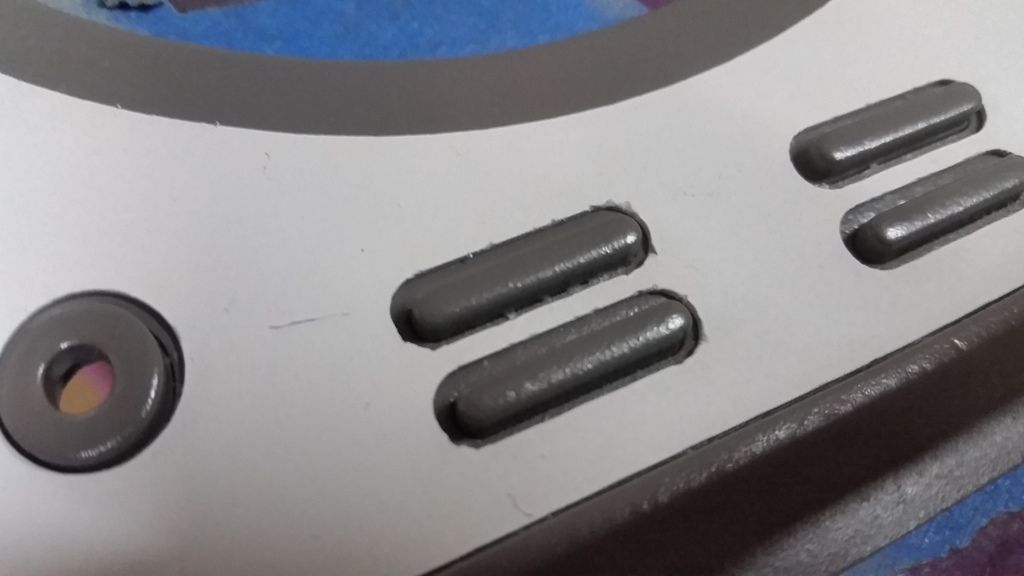
Yep, those Nav chairs are going to rock for sure (love the piping details, btw). Just the addition of those rubber parts are making a whole lot of diff!
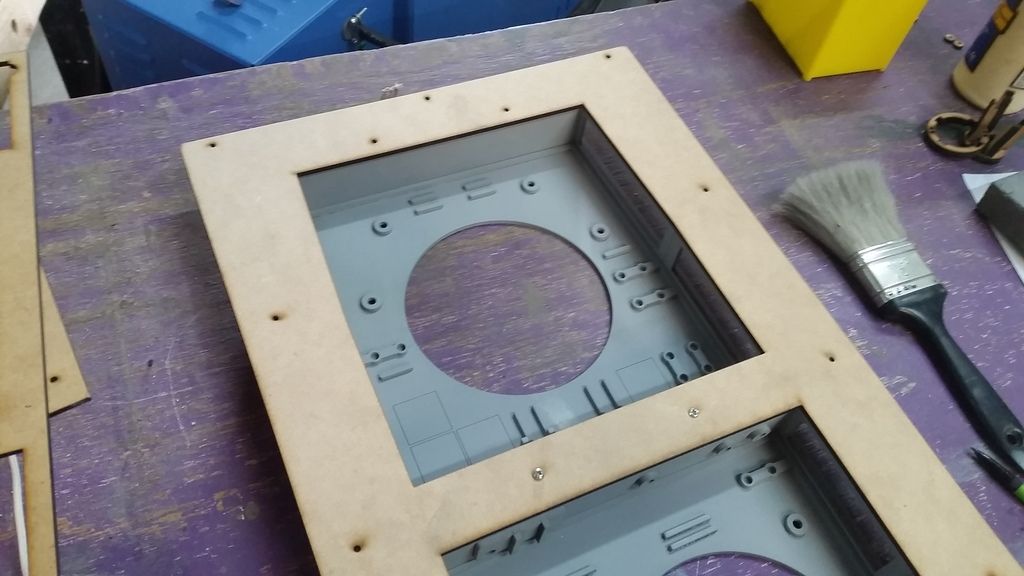
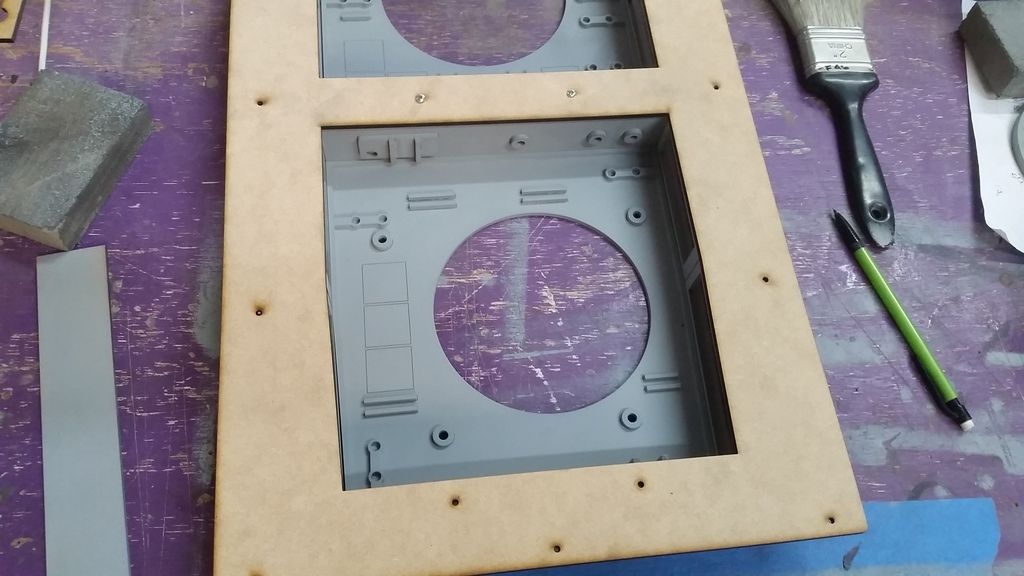
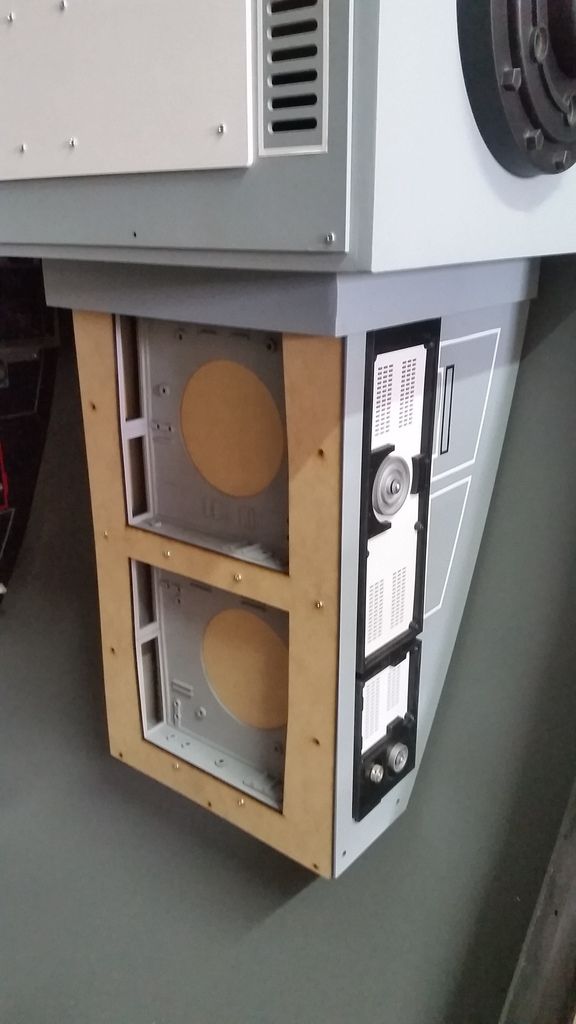
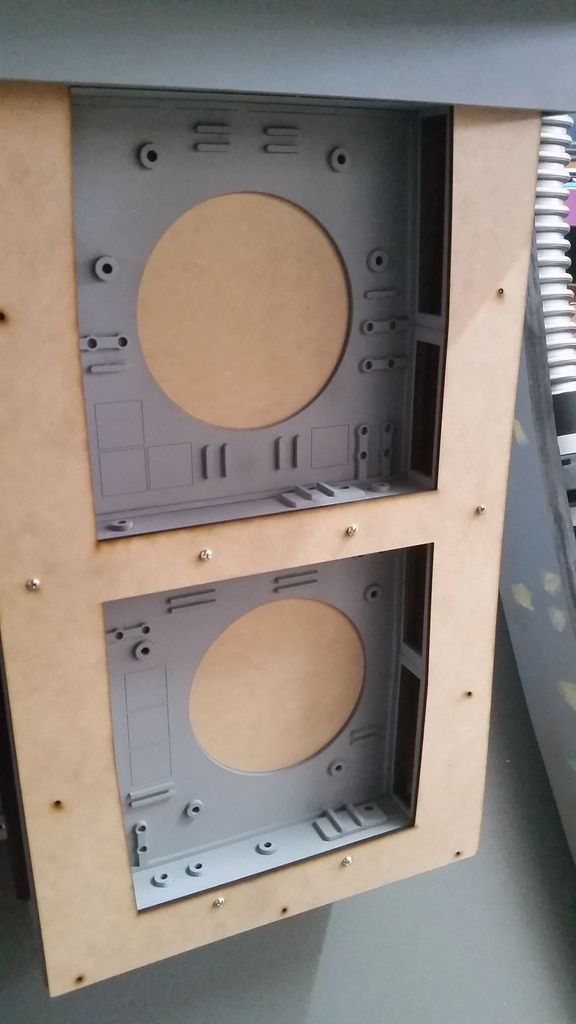
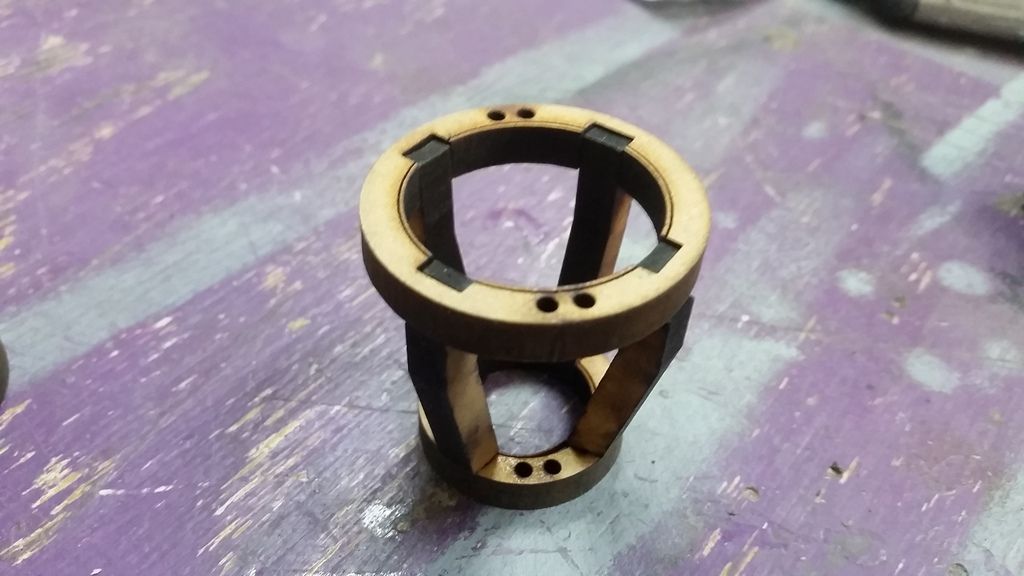
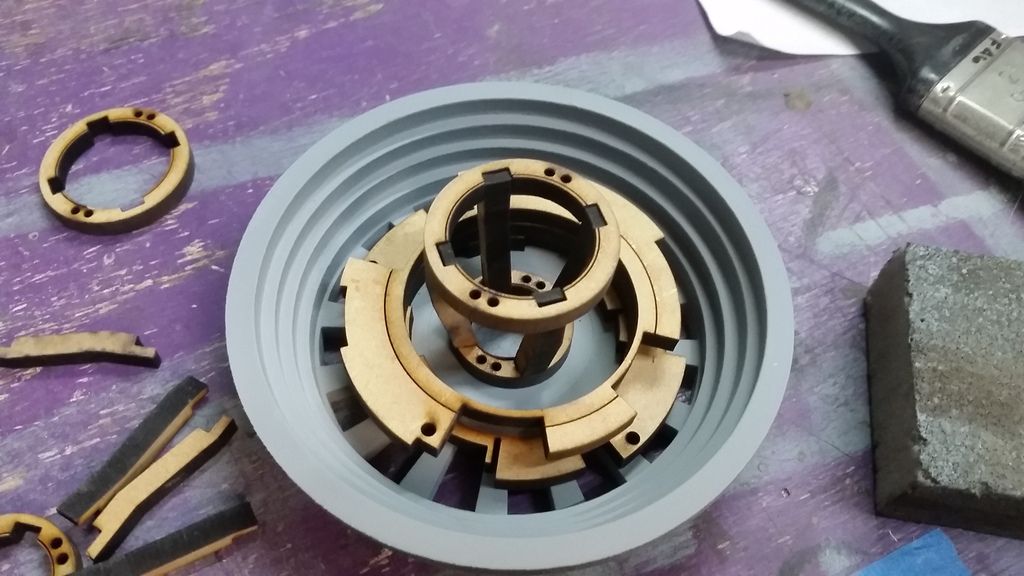
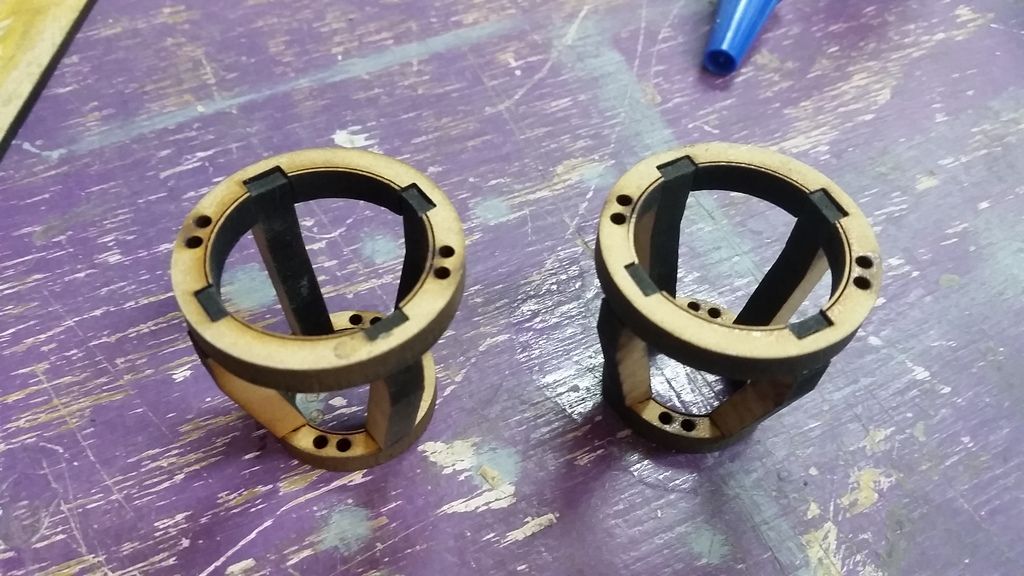
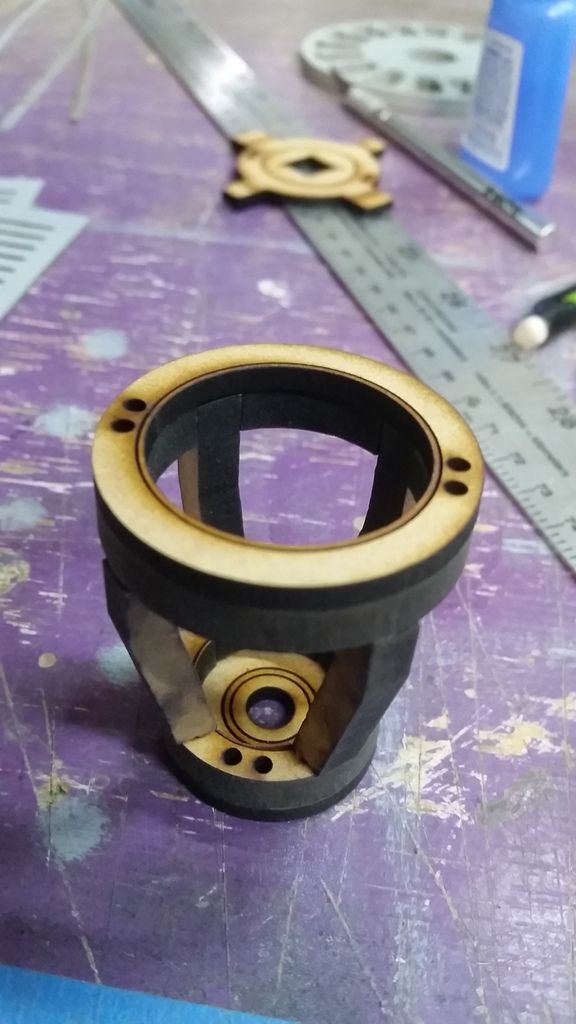
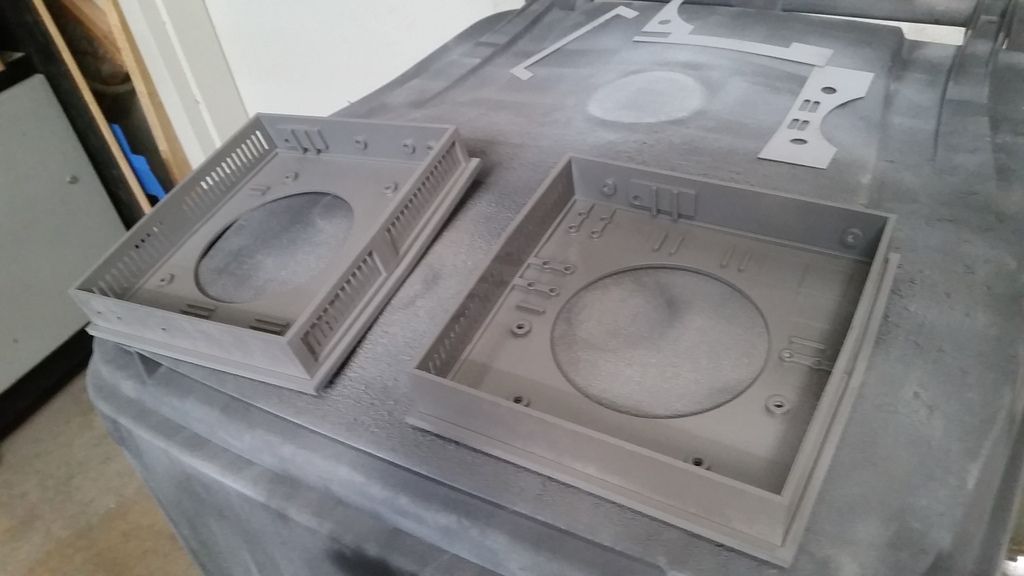
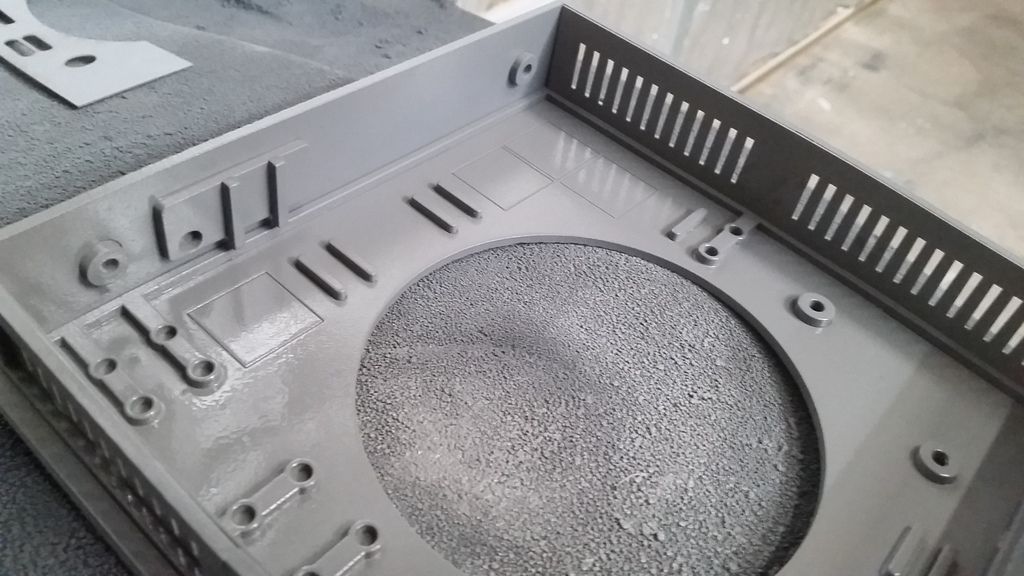
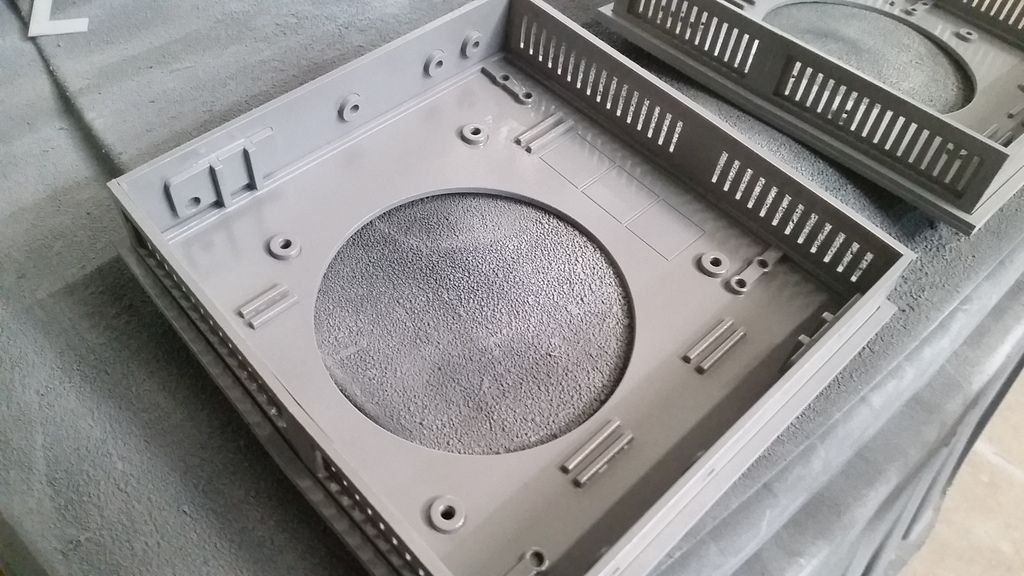
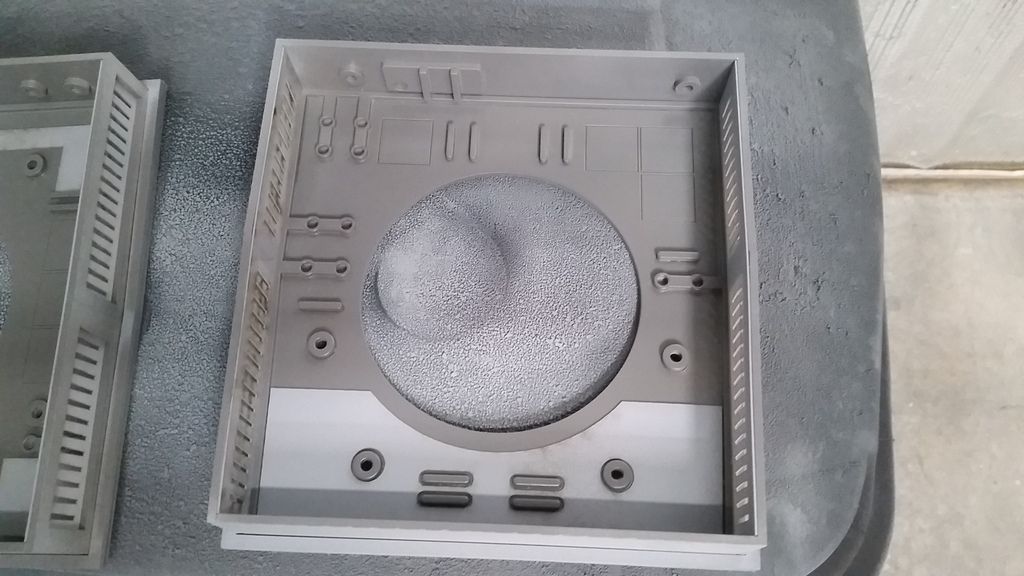
Hey Gang,
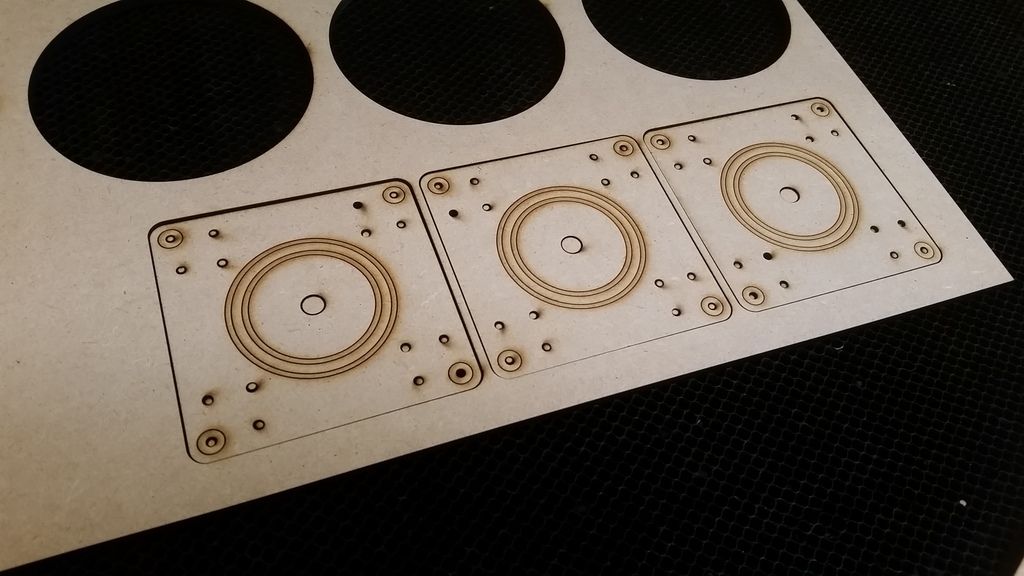
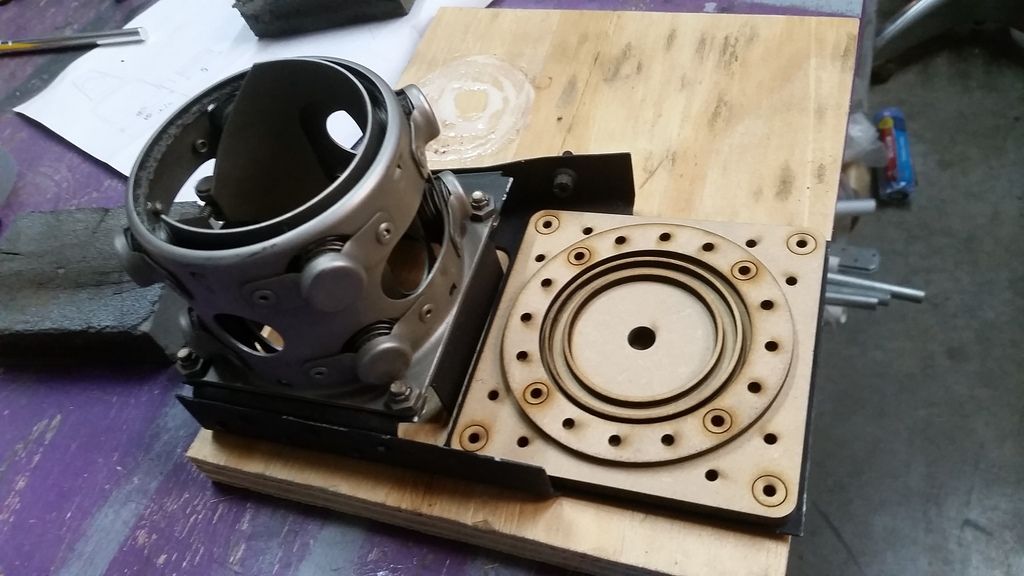
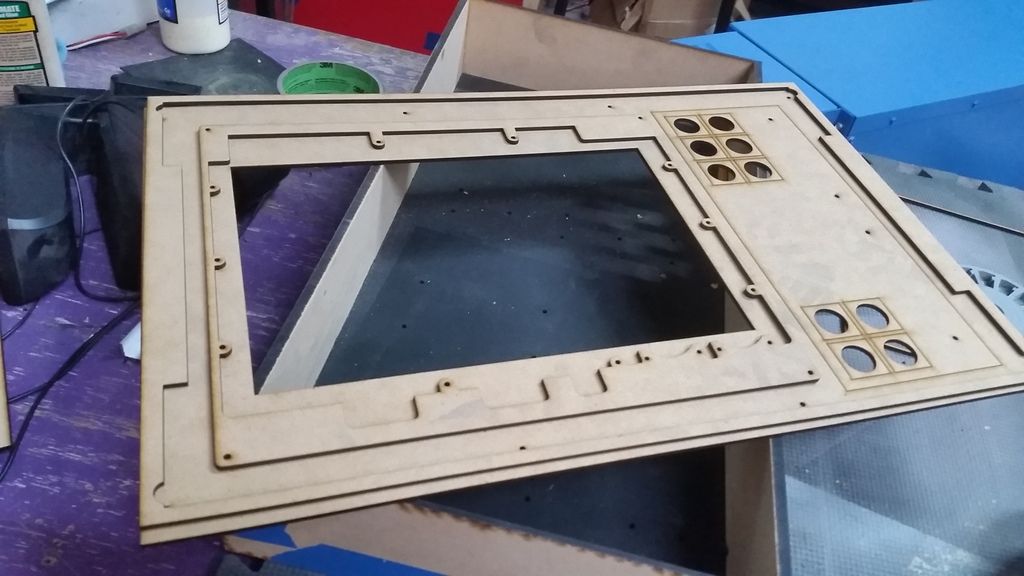
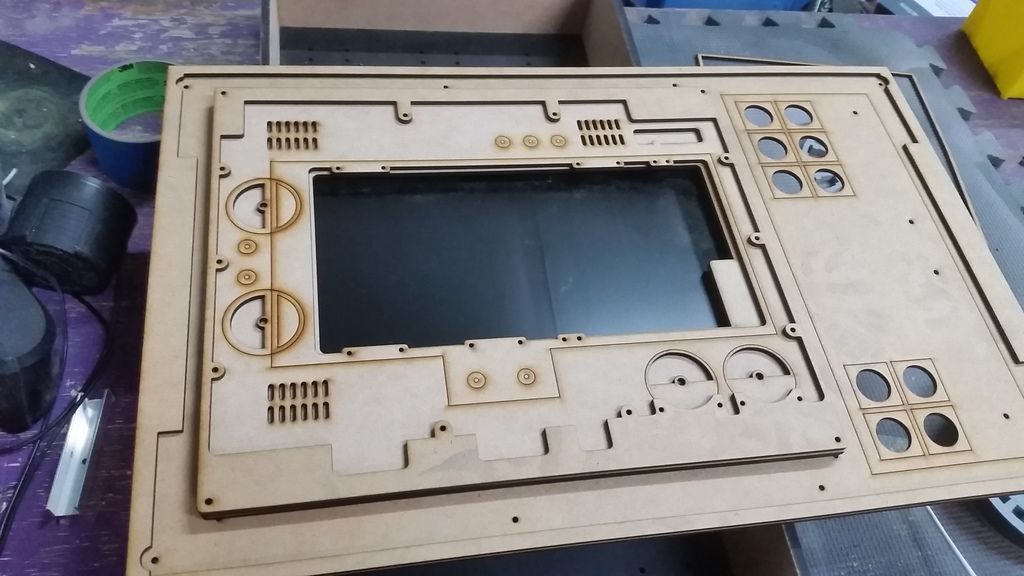
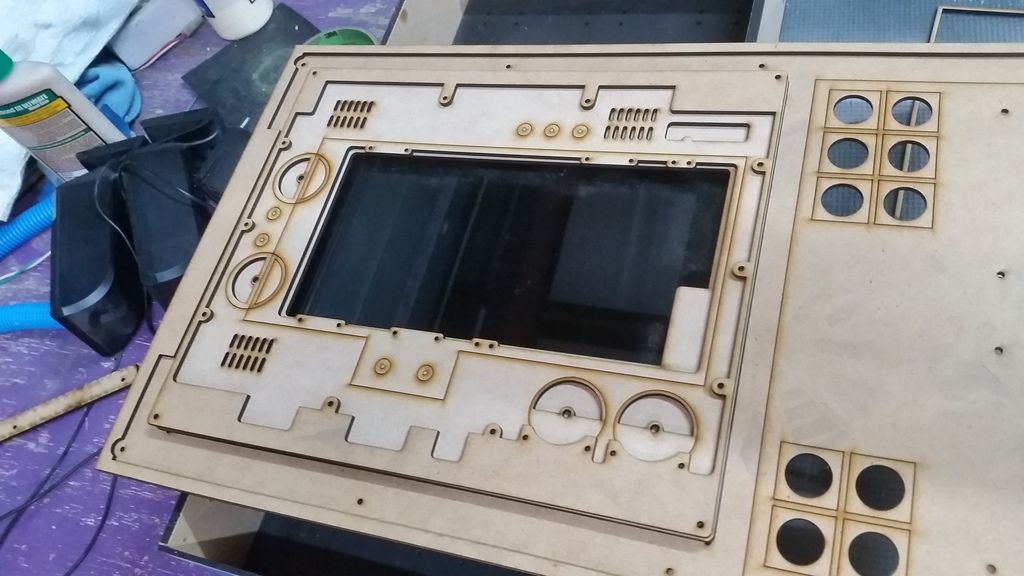
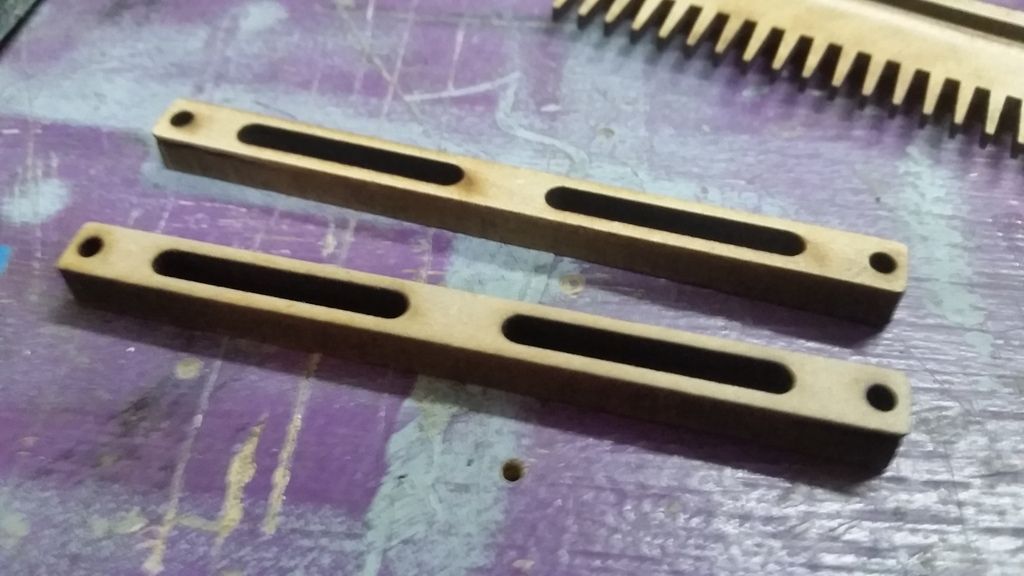
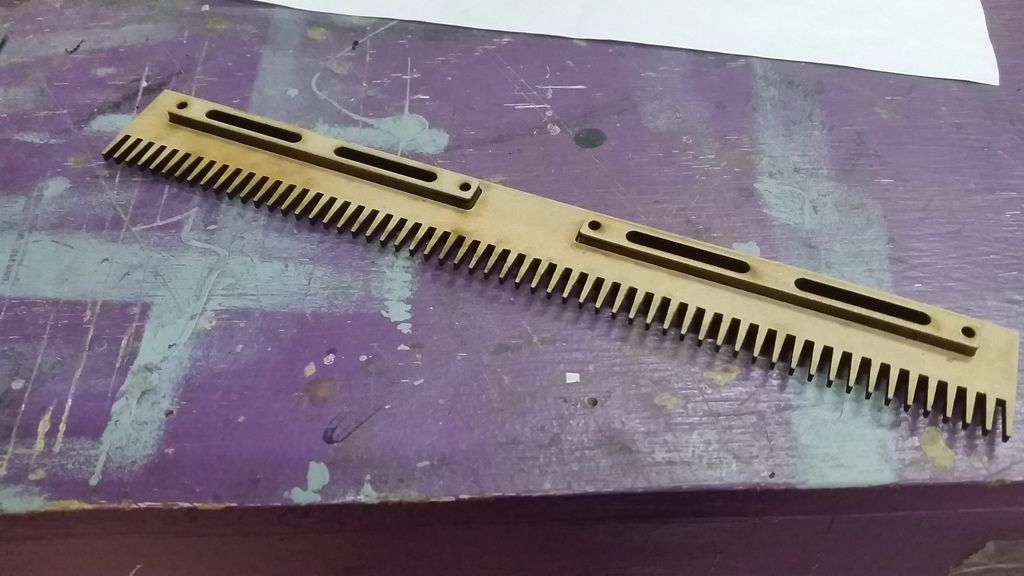
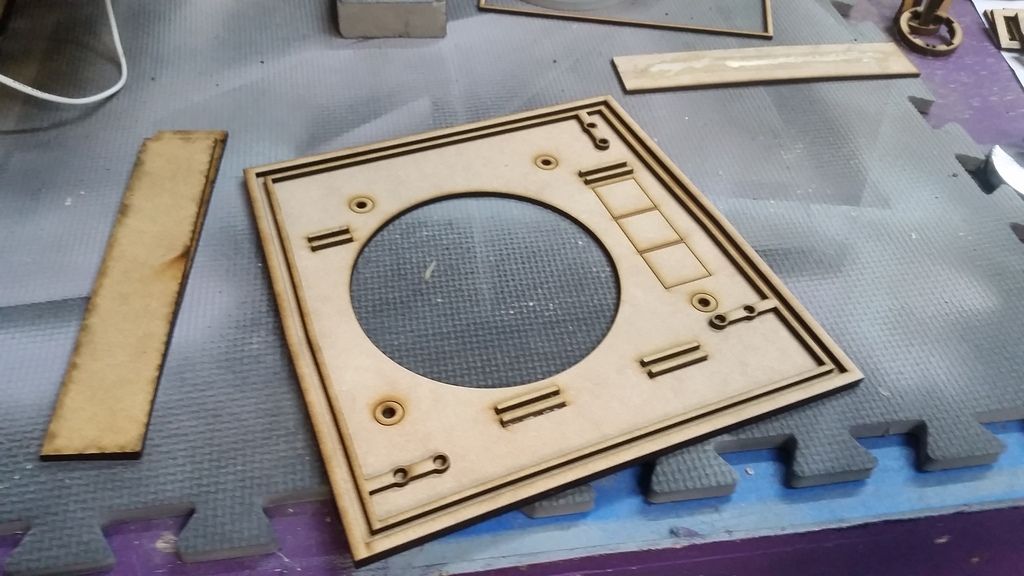
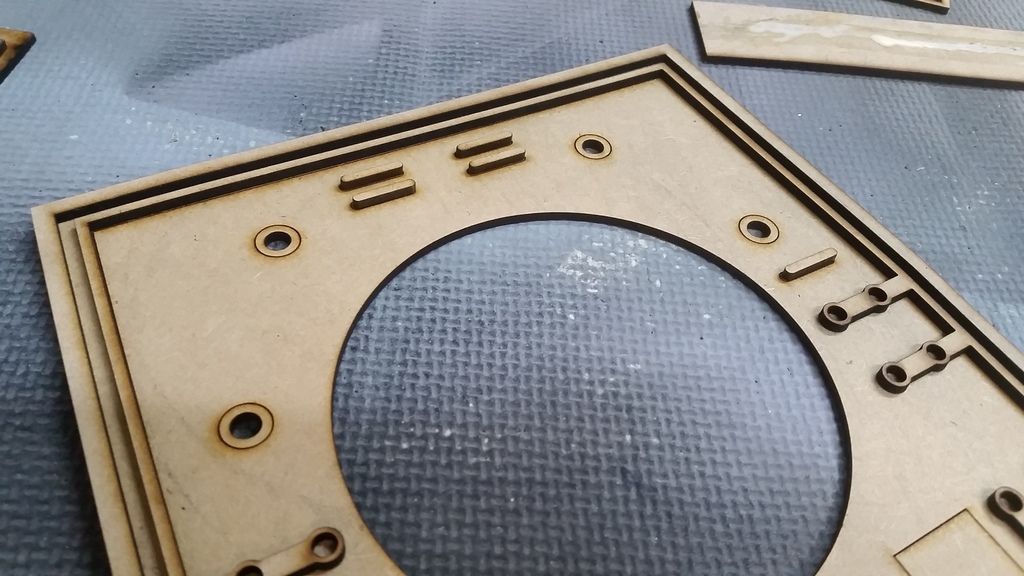
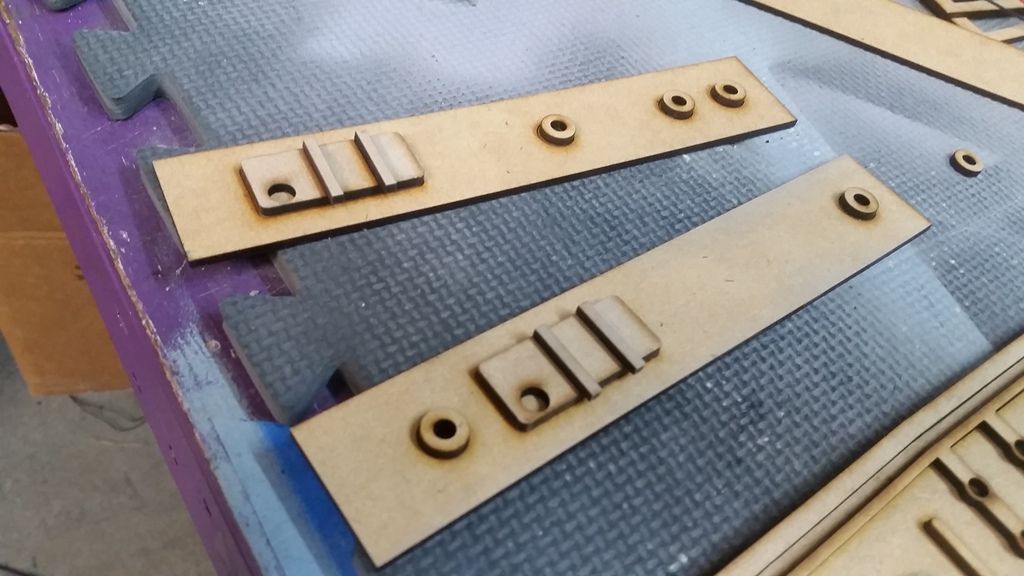
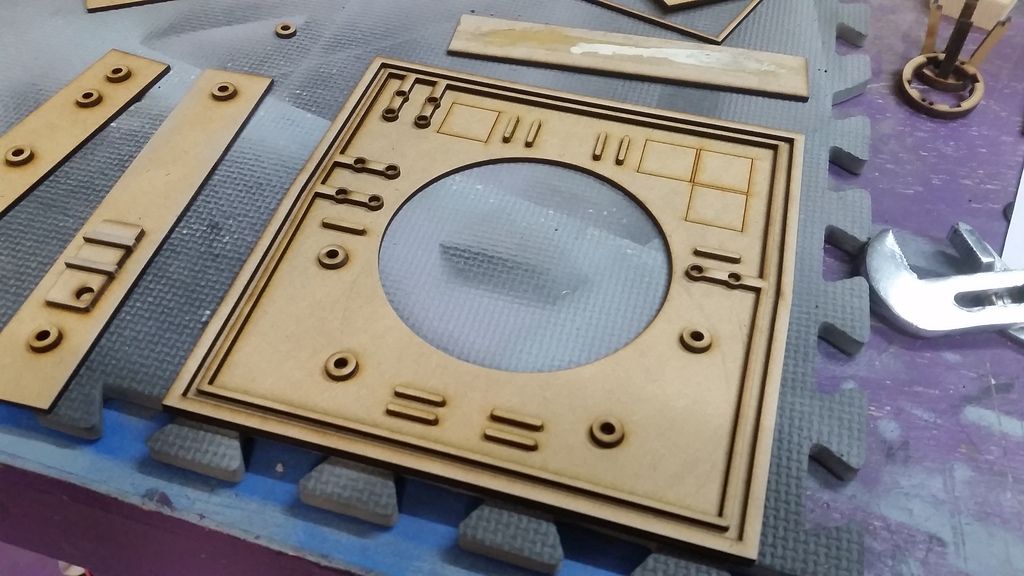
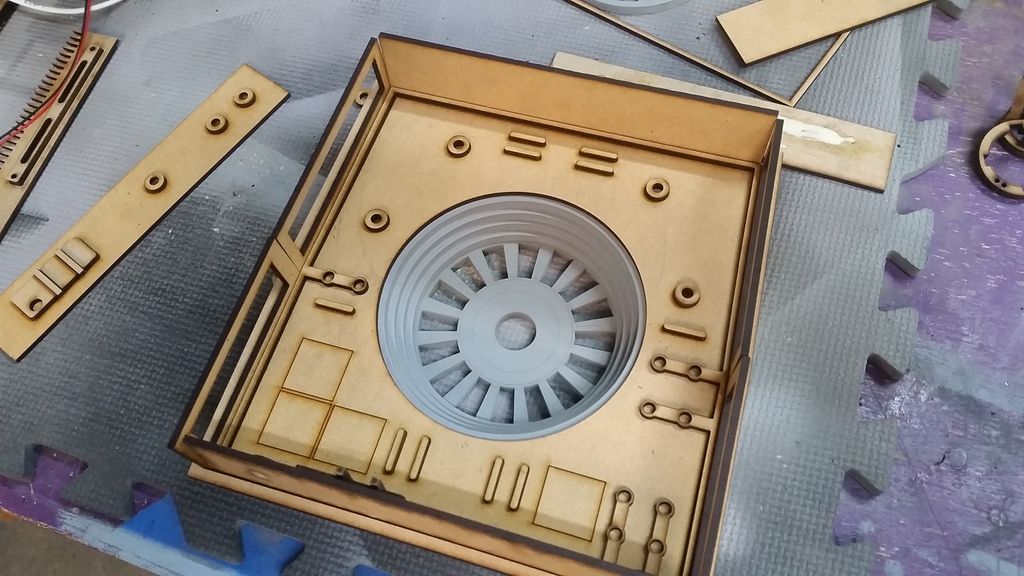
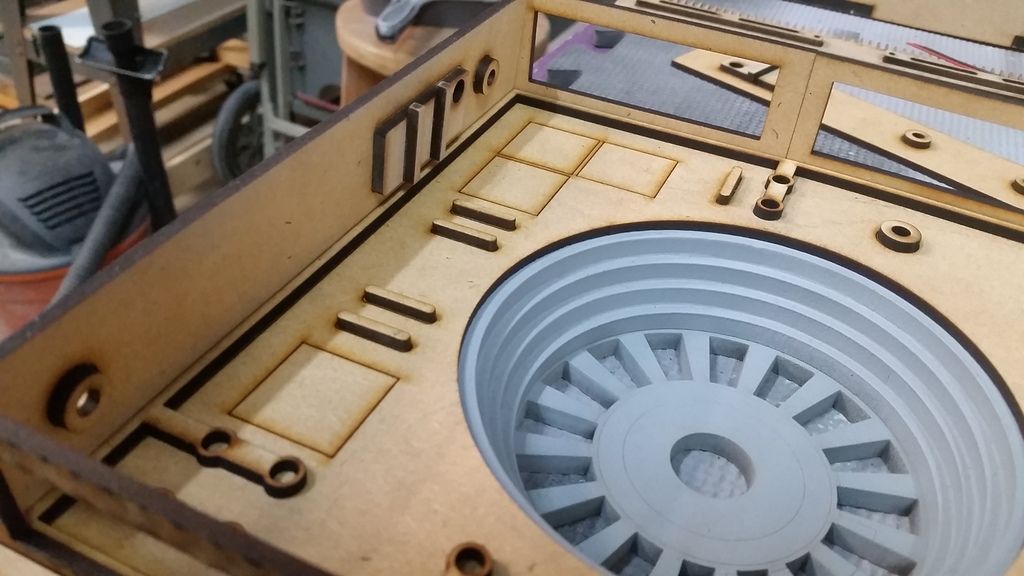
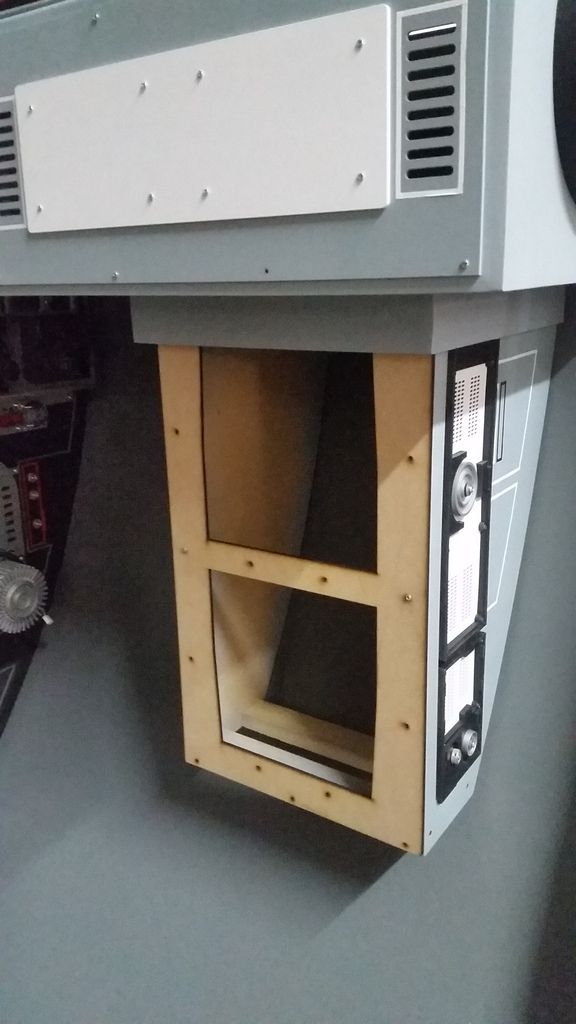
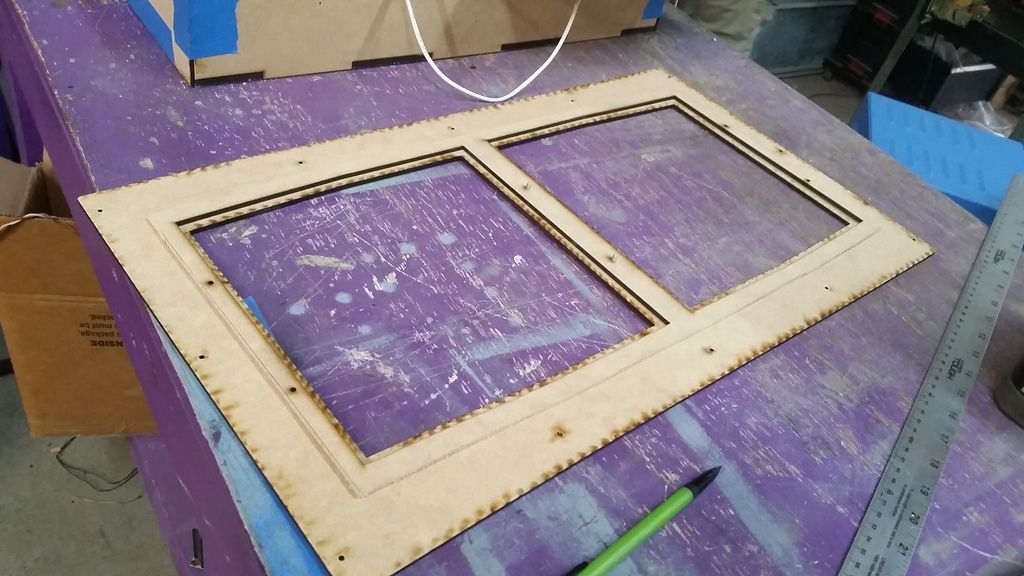
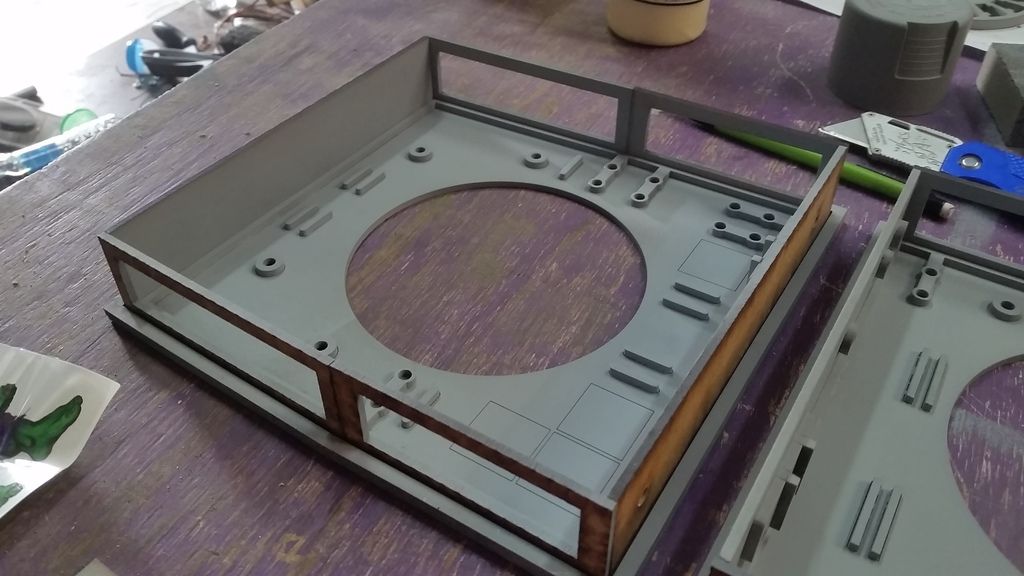
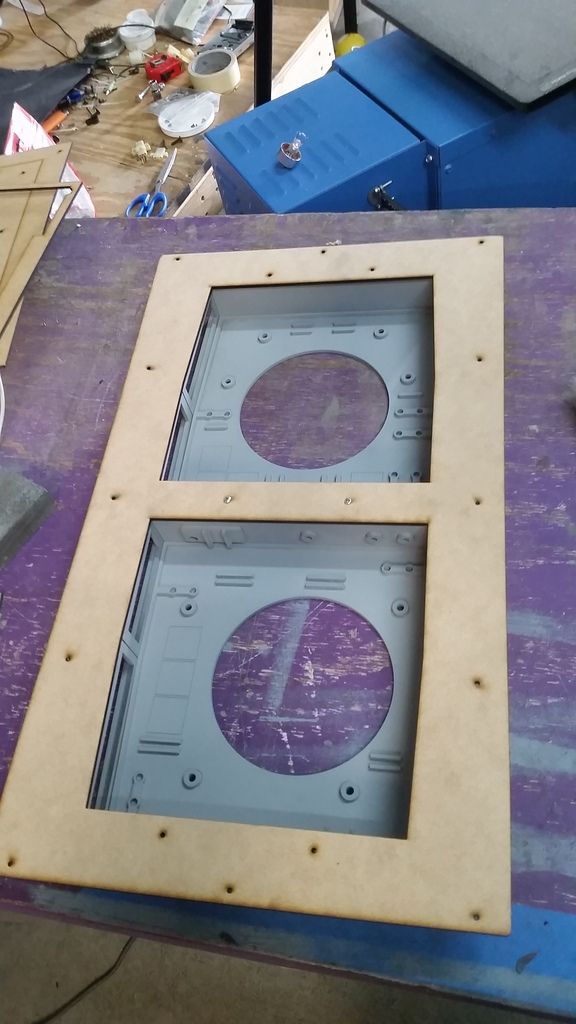
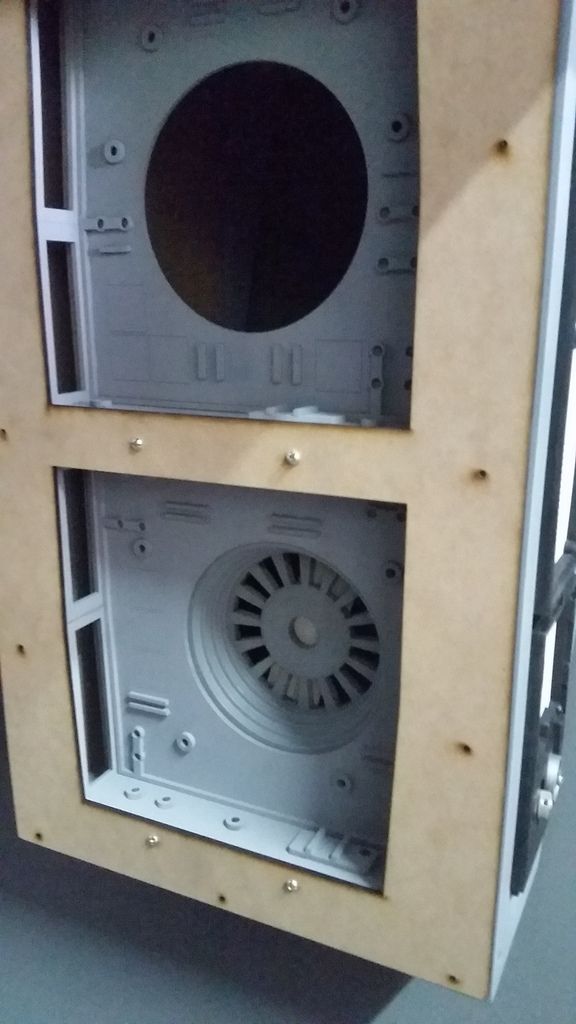
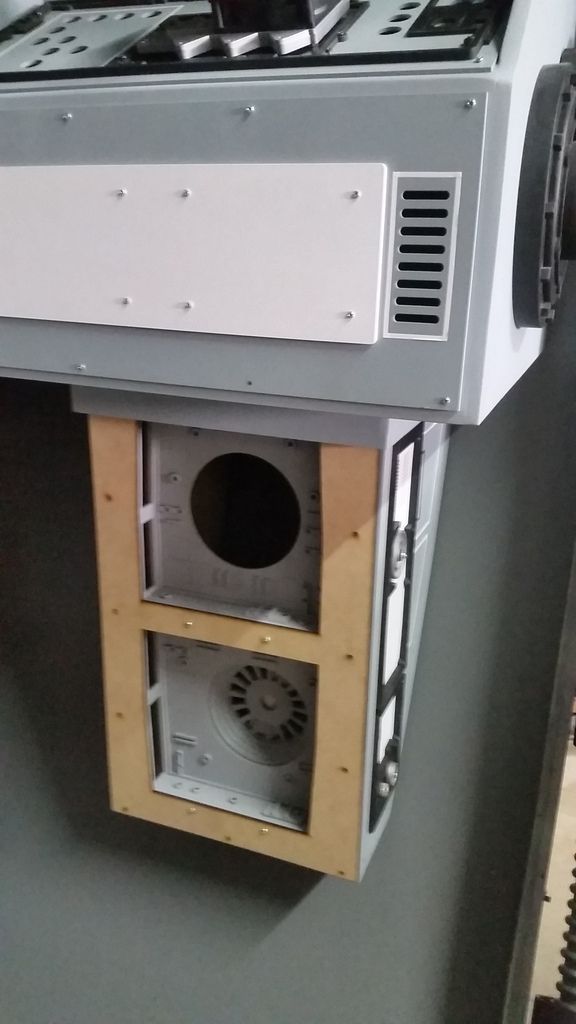
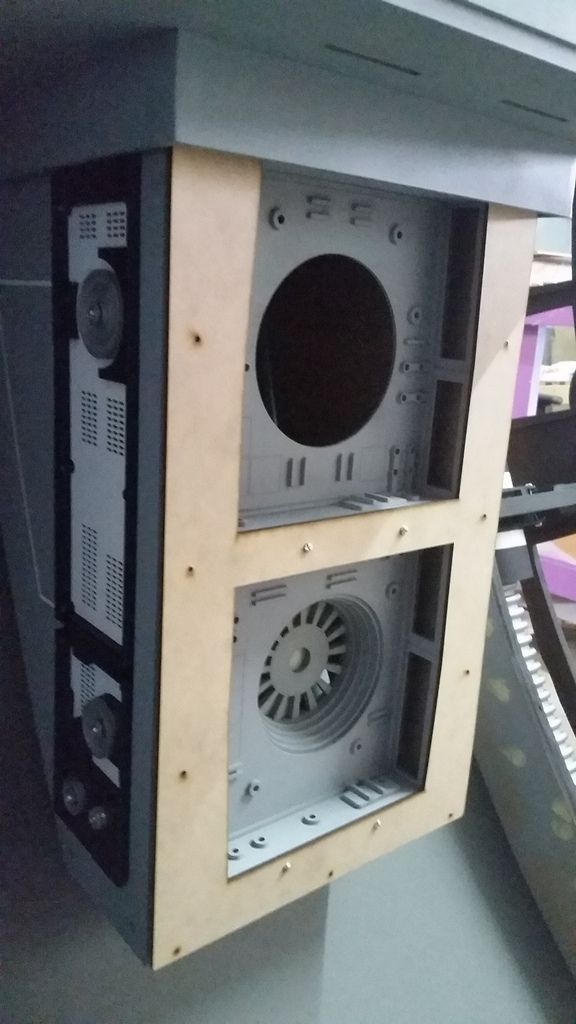
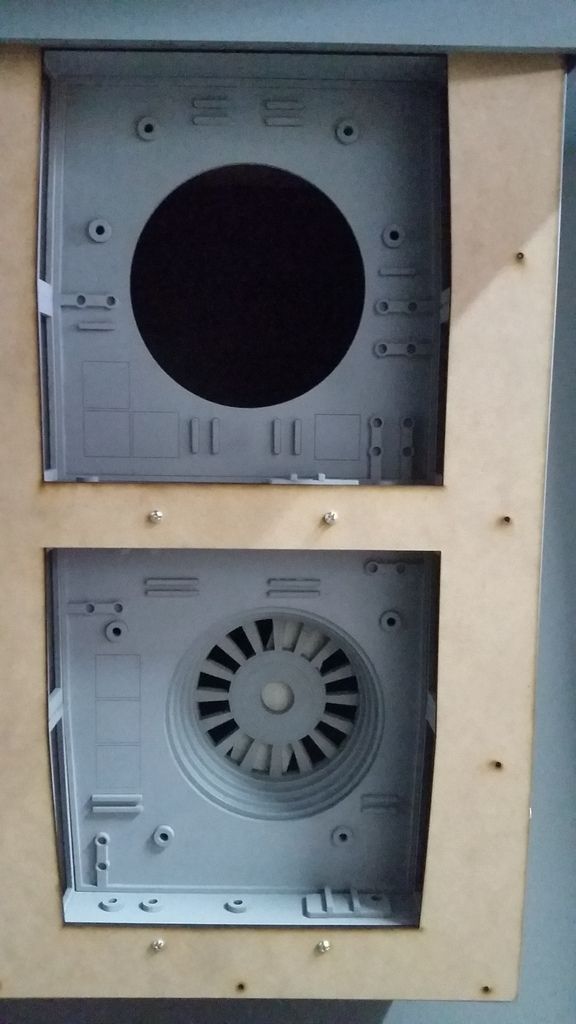
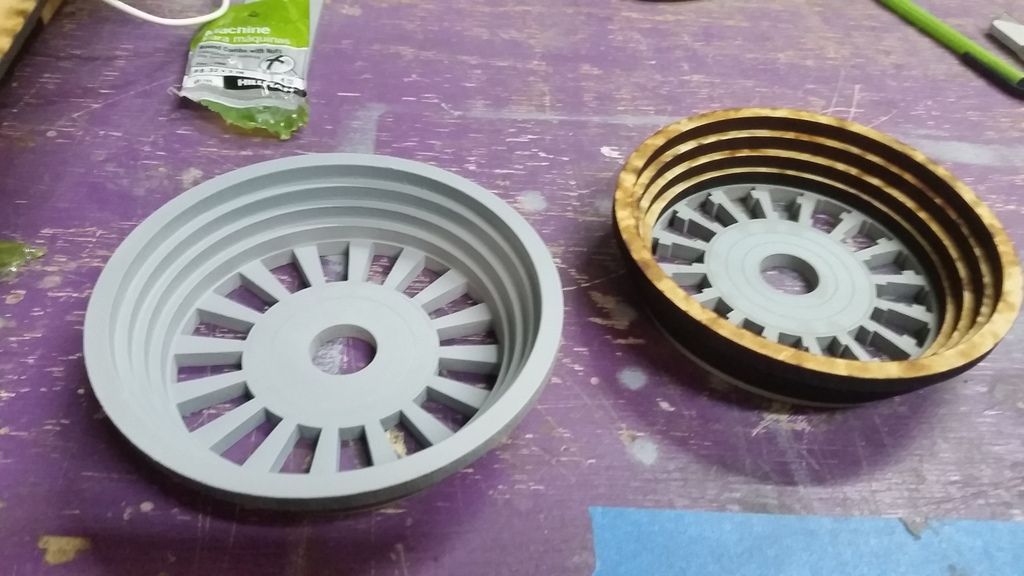
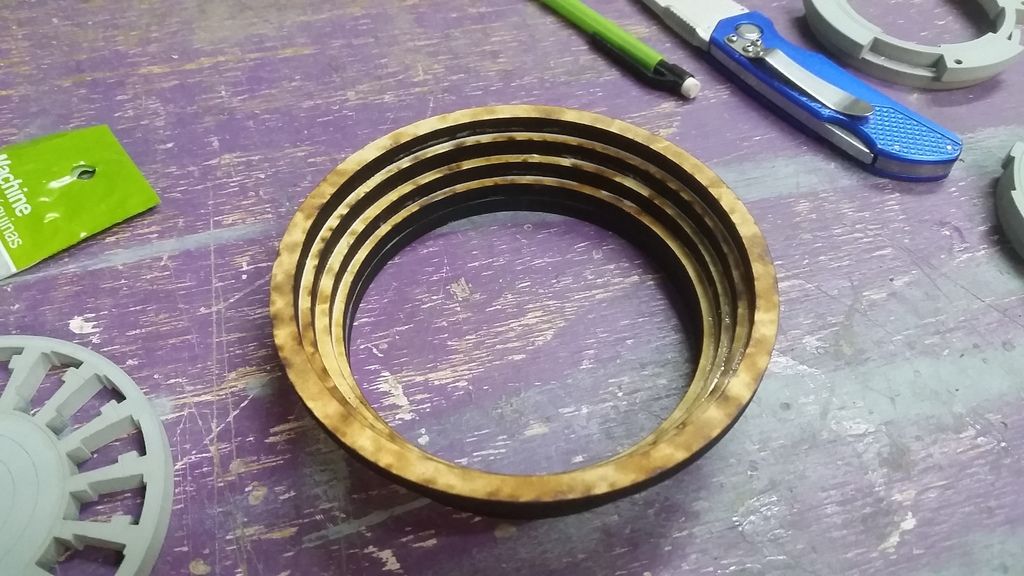
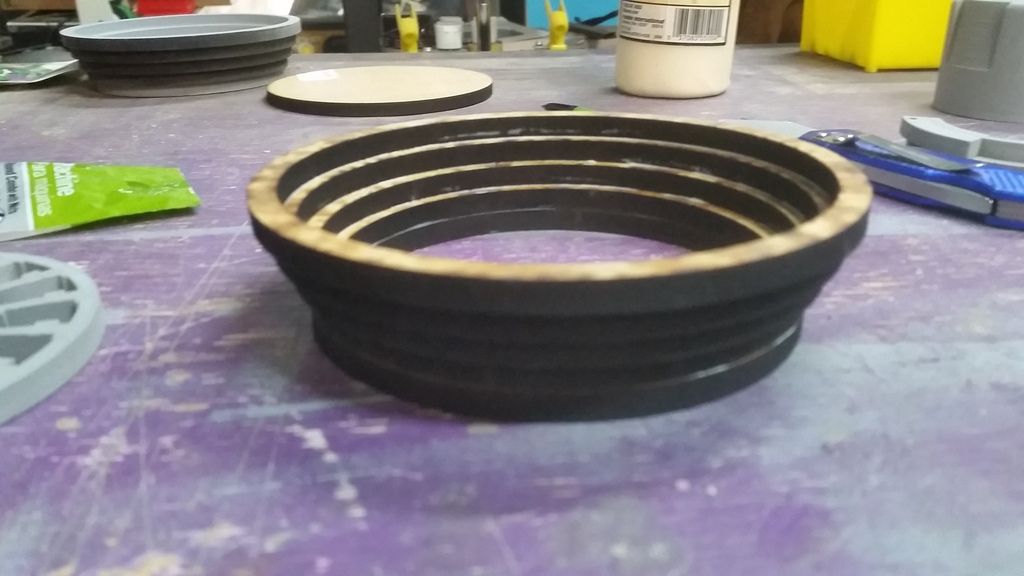
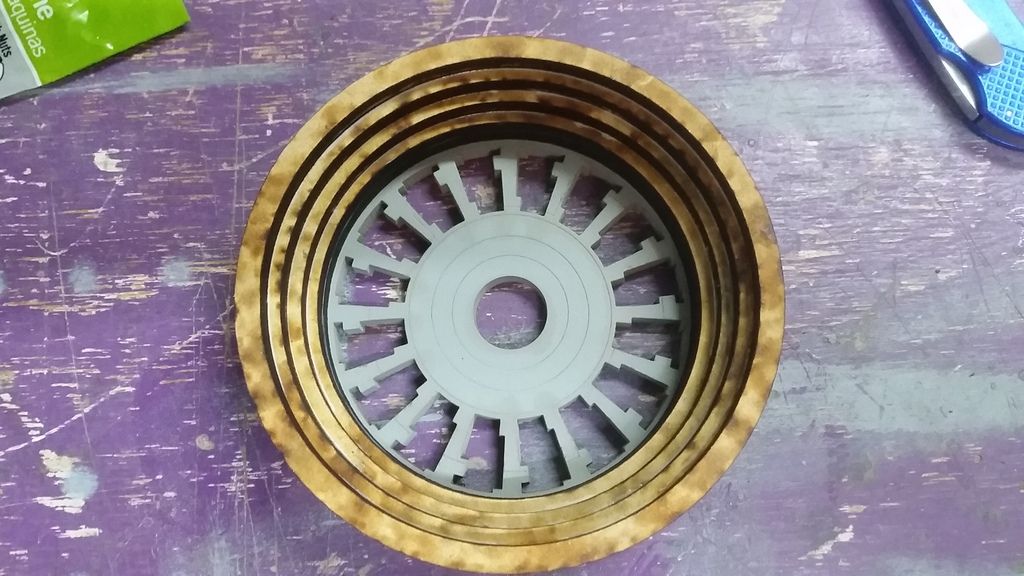
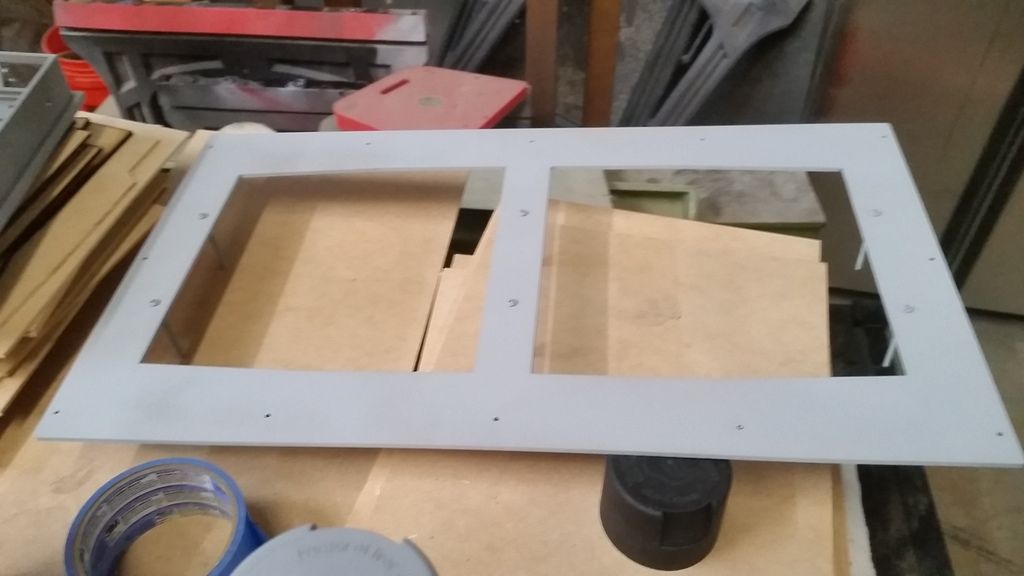
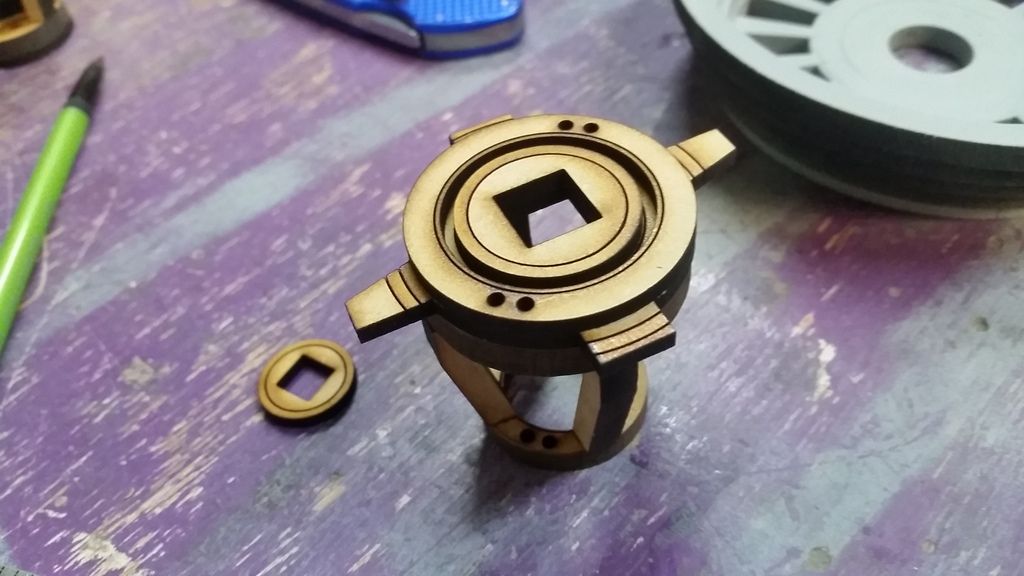
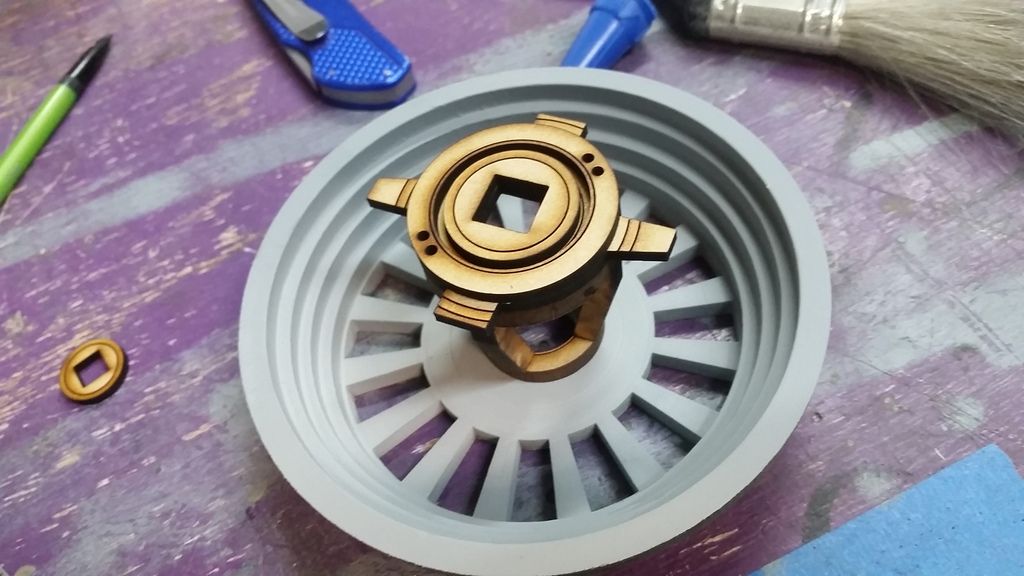
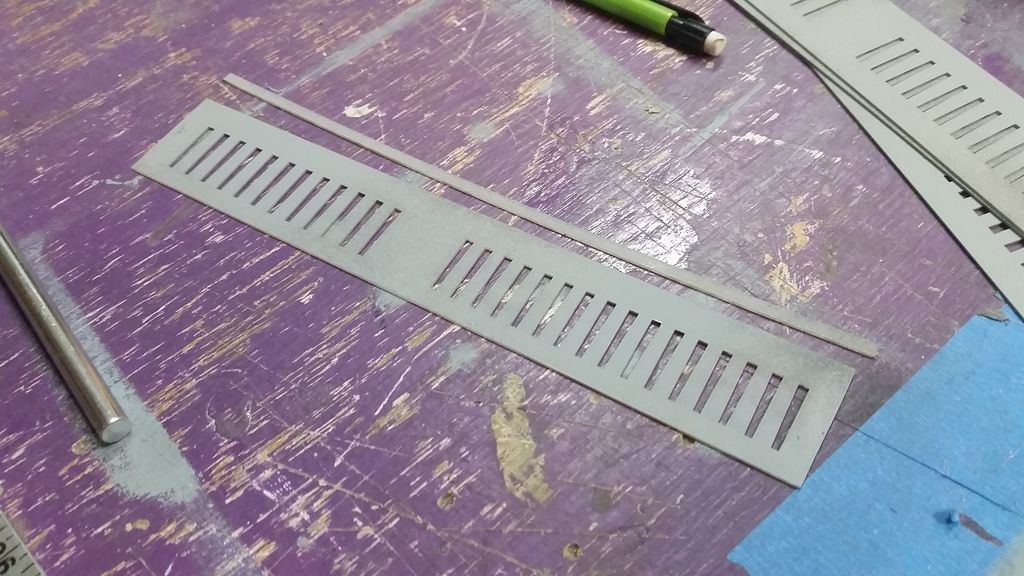
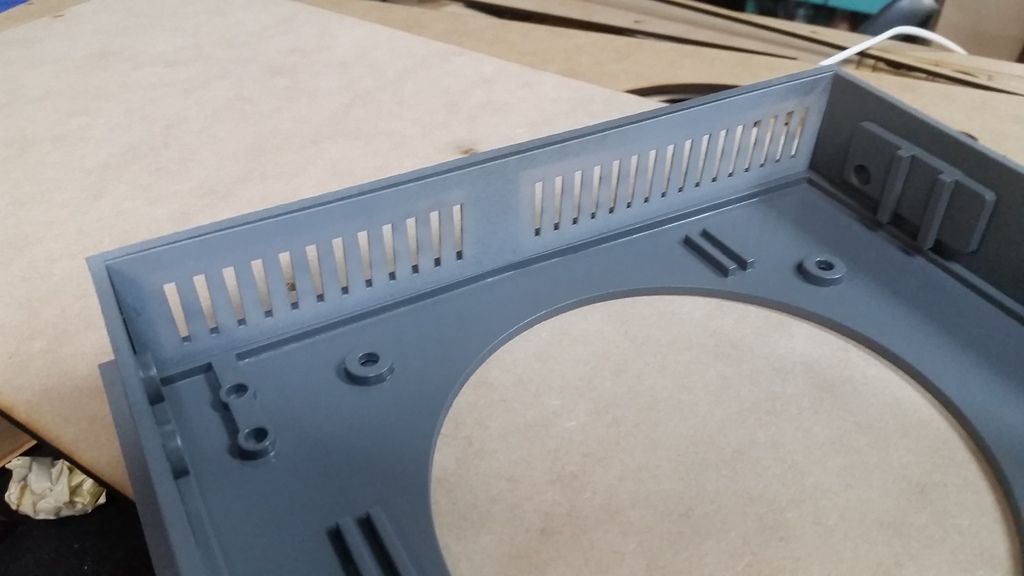
GREAT NEWS! The laser cutter power supply finally arrived!
You're just guessing, Wavey
BRB - doorbell
This is amazing. Love looking through this thread.
This build is insane.Well done or far!
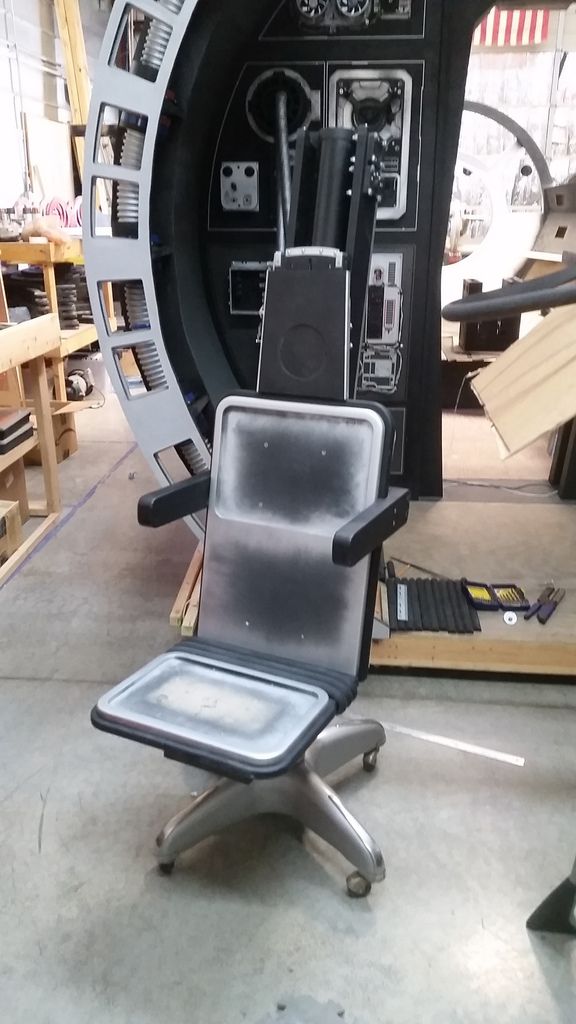

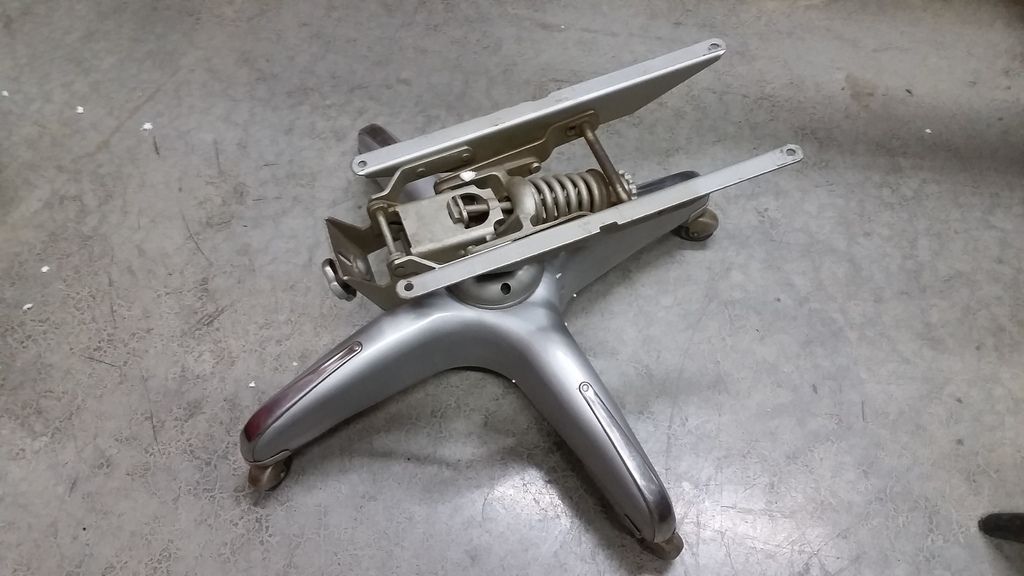
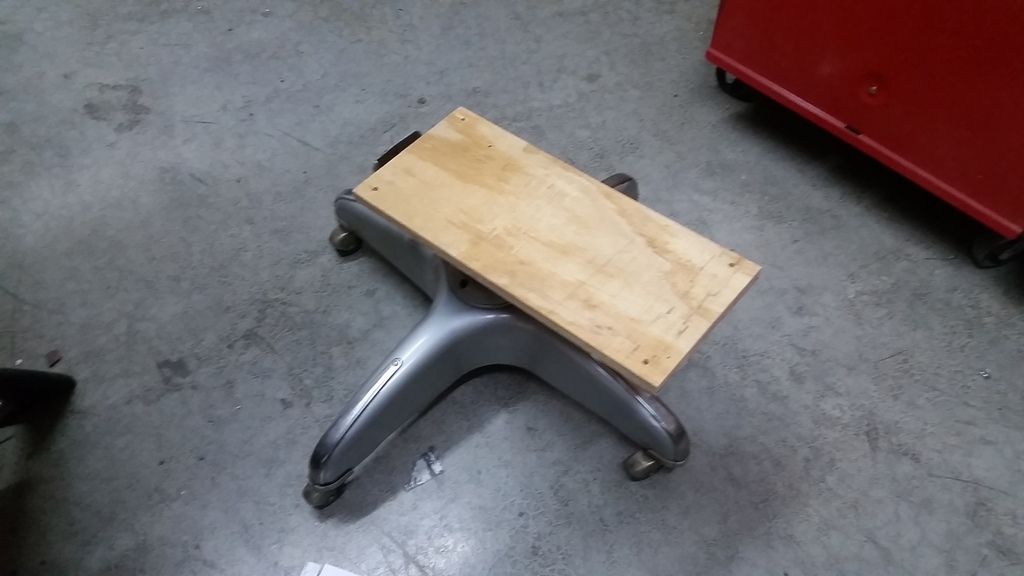
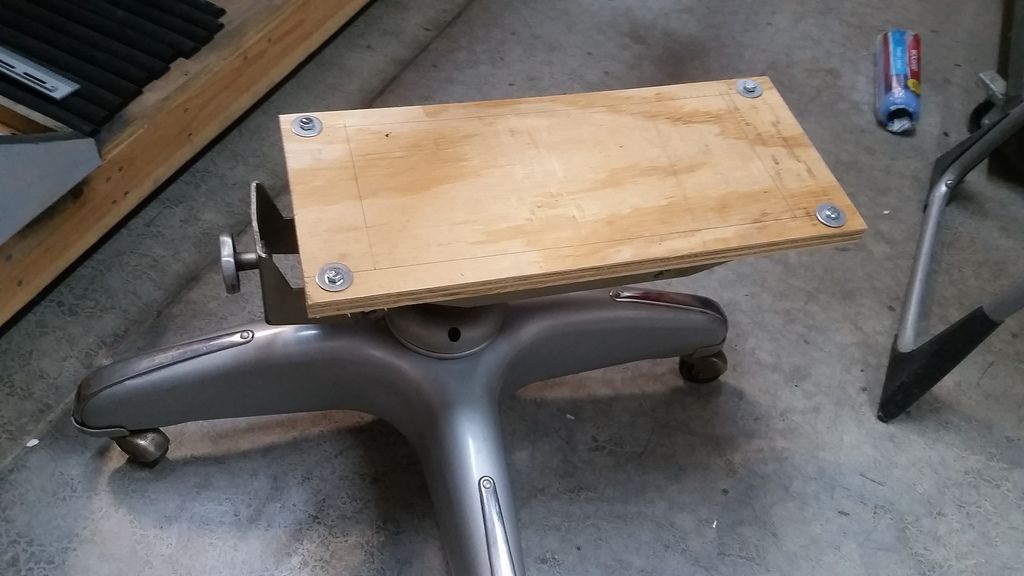


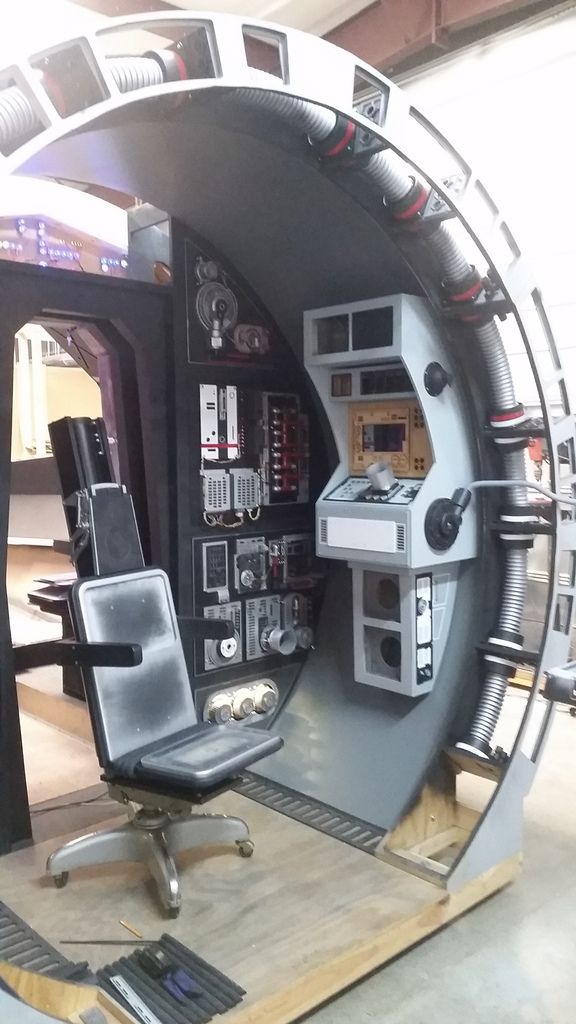
Er...eh, I'm not sure that chair is screen accurate.
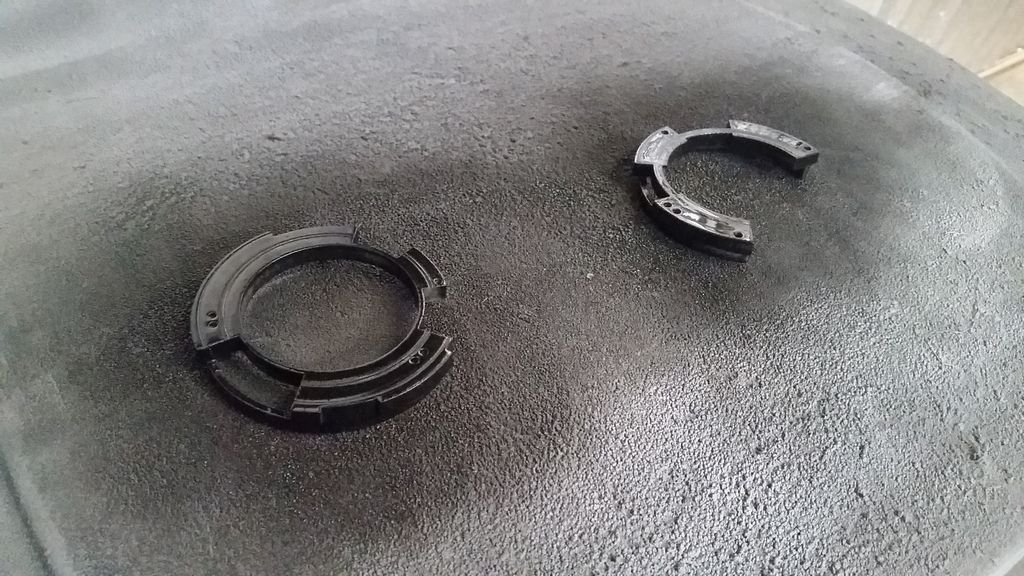
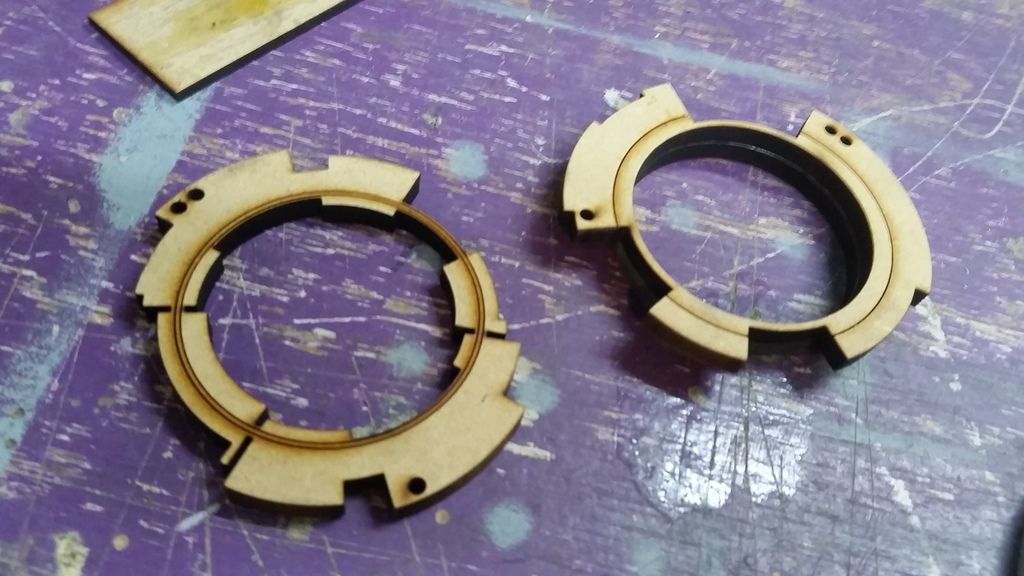
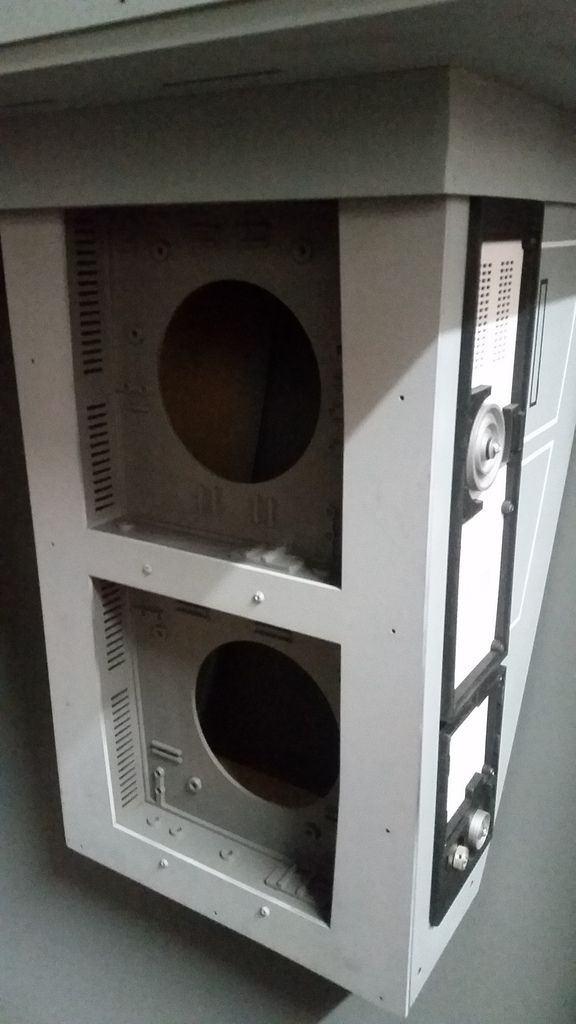
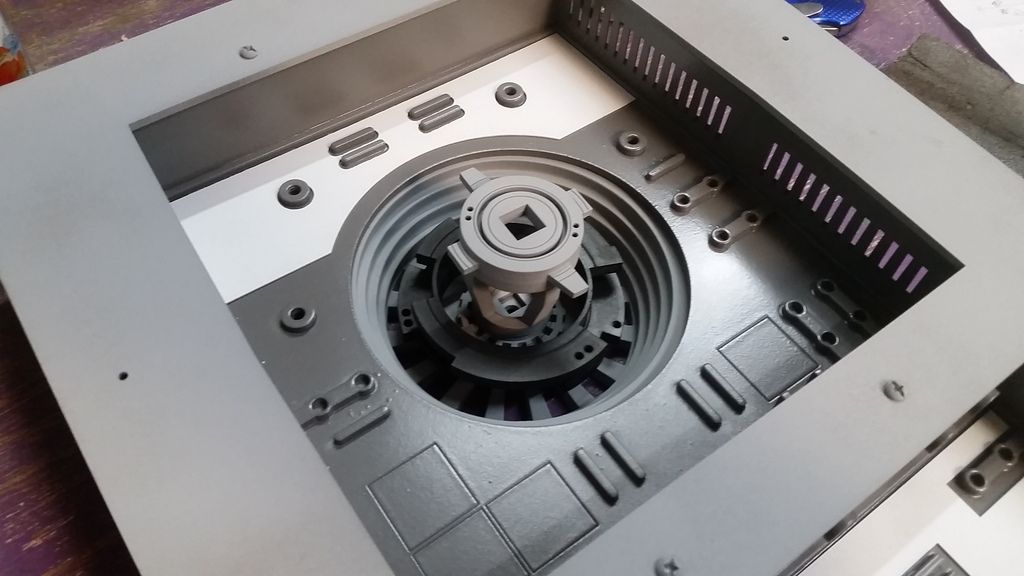
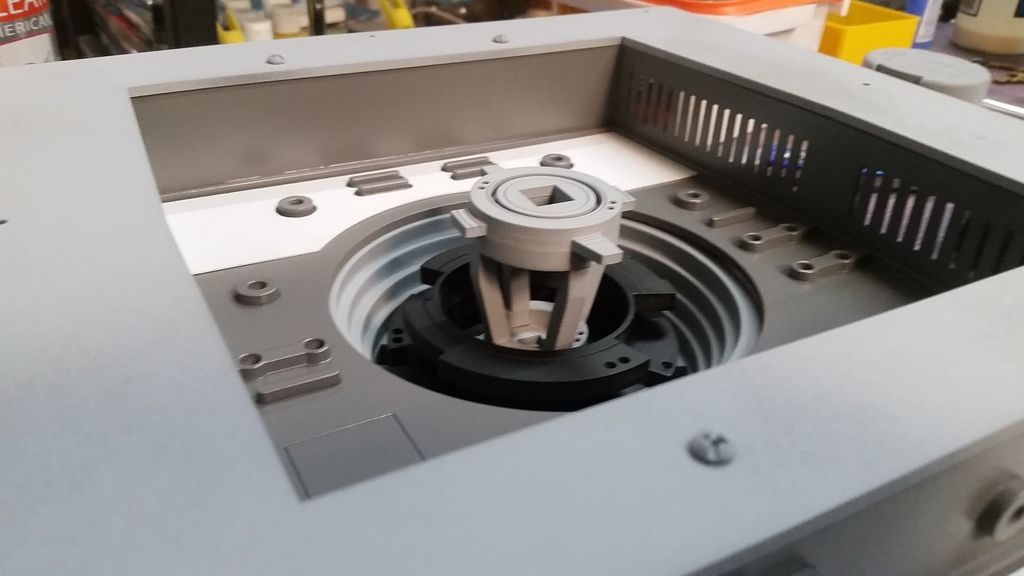
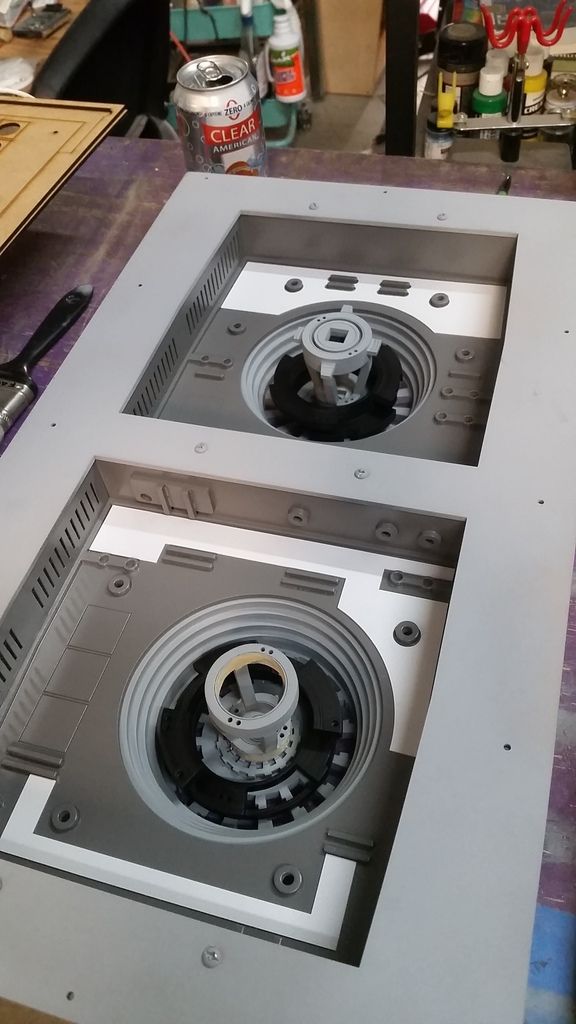
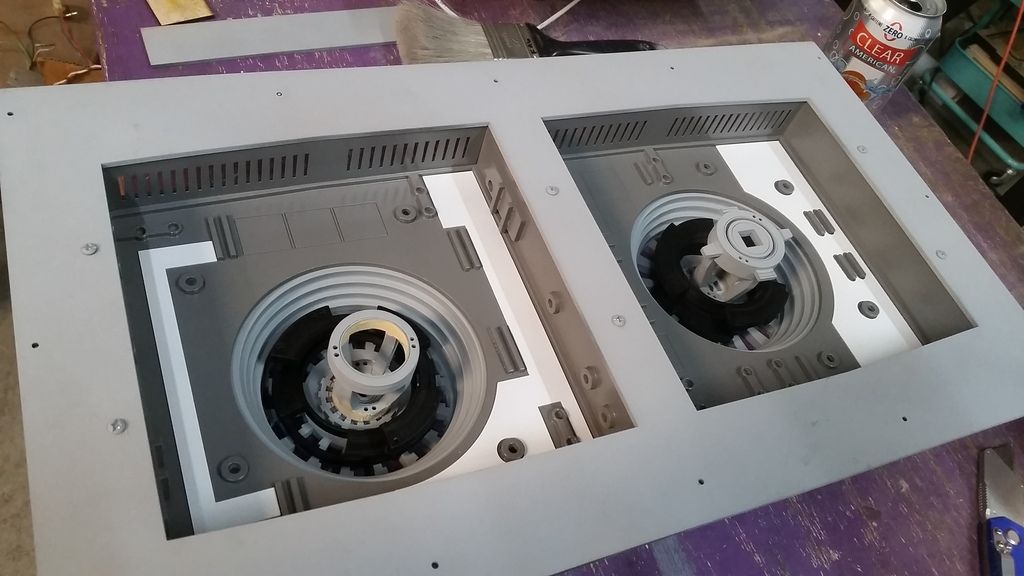
Have you thought about putting servos behind the droid socket to make it turn? I feel like it wouldnt be *that* much more work [emoji12]
Sent from my iPhone using Tapatalk
amazing , how many of you in the building team?