Hi Gang,
Time for the end of the weekend update! I lost a lot of steam near the end of Sunday - just too tired. Also spent a LOT of time sitting in front of the PC working out new designs for the new corridor panel. So... away we go!
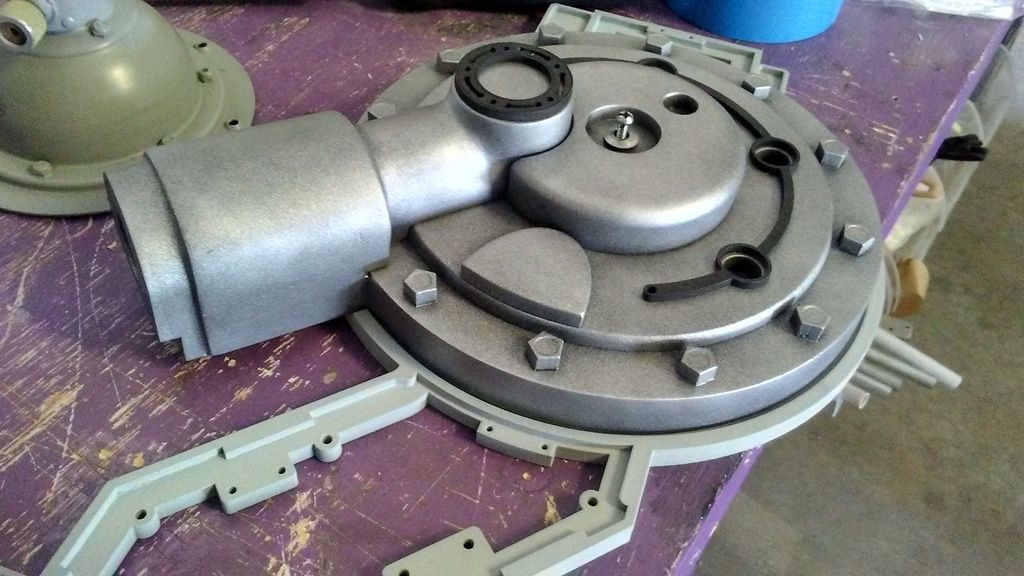
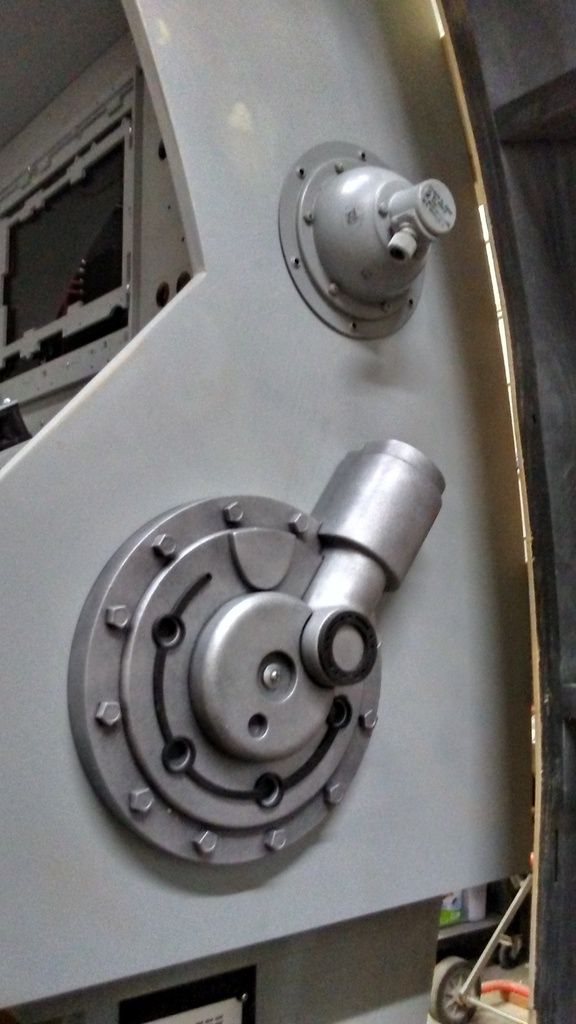
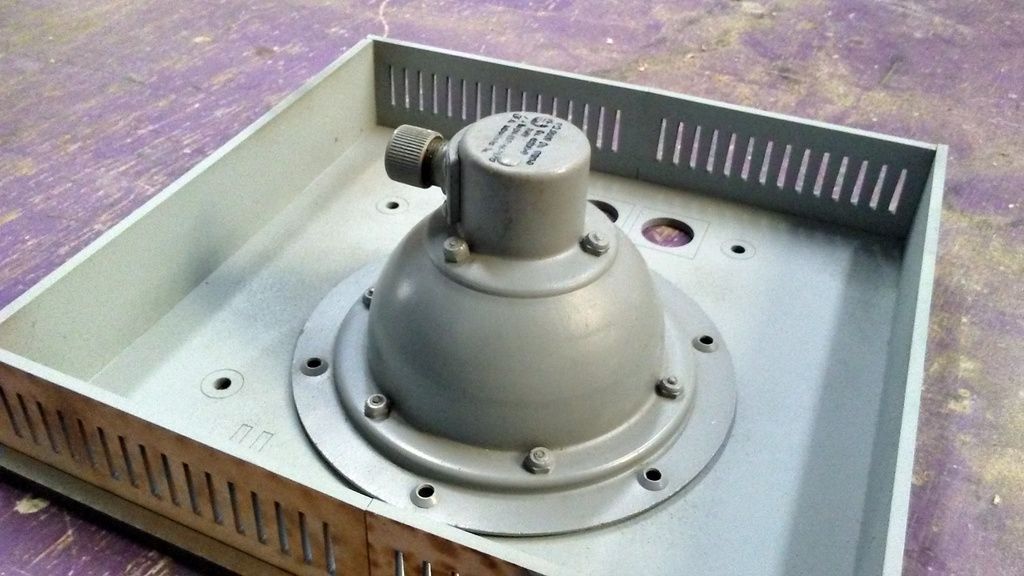
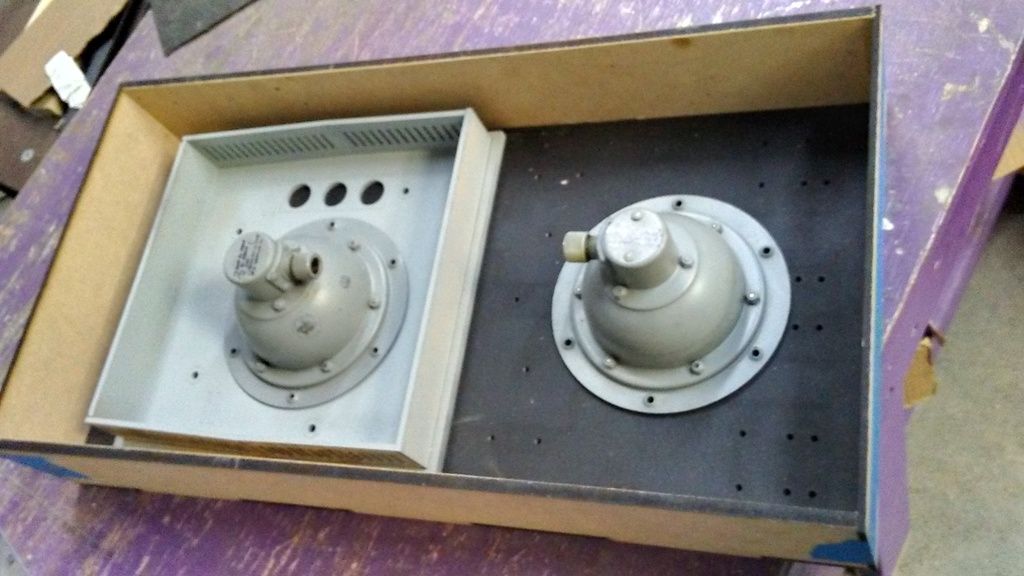
As much as I liked this greeblie I decided to scrap it in place of a more simplistic approach tot he panel
Before I made the decision I mod'd it so the fuel greeblie would fit
I had the idea to include these greeblies as well
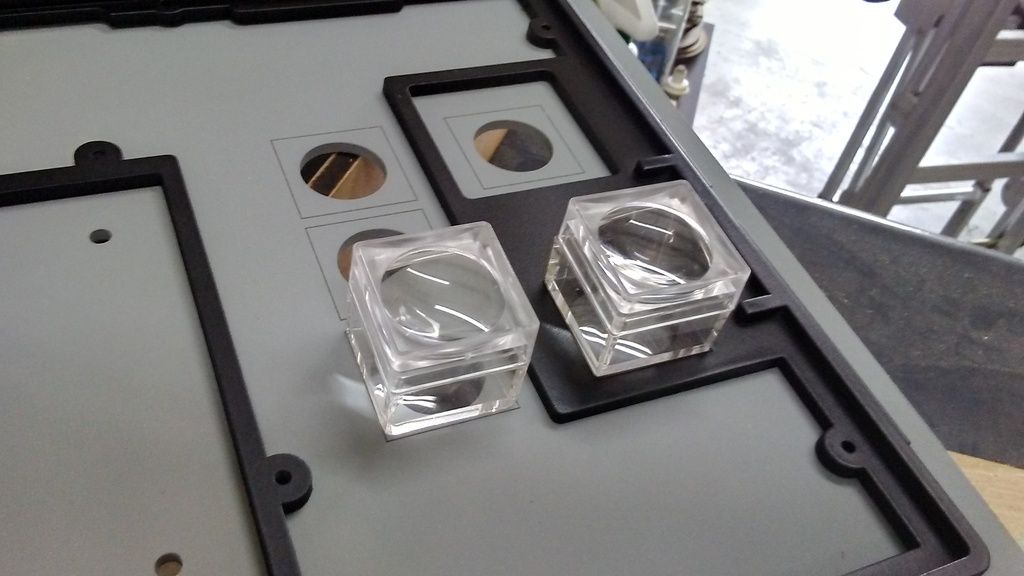
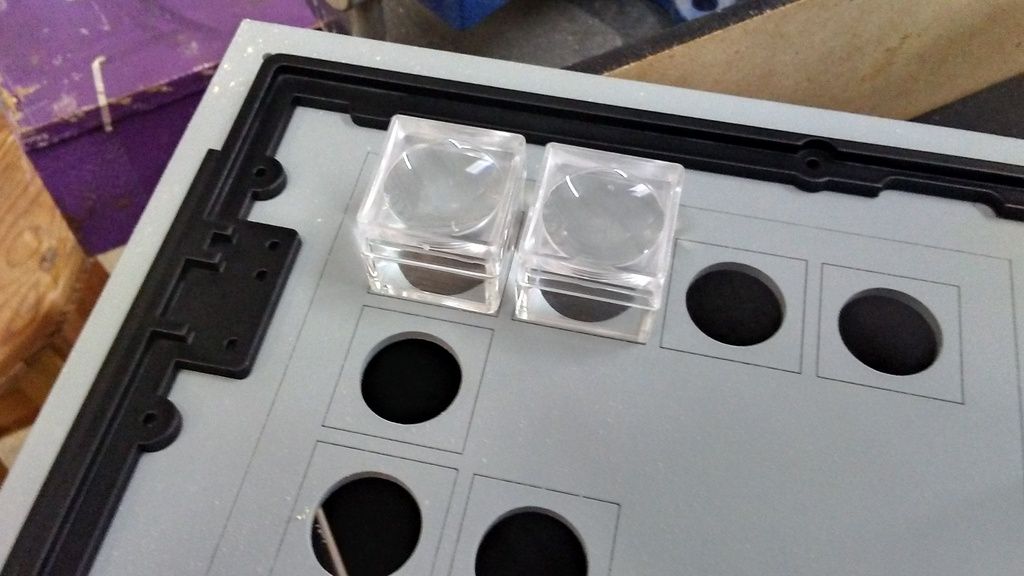
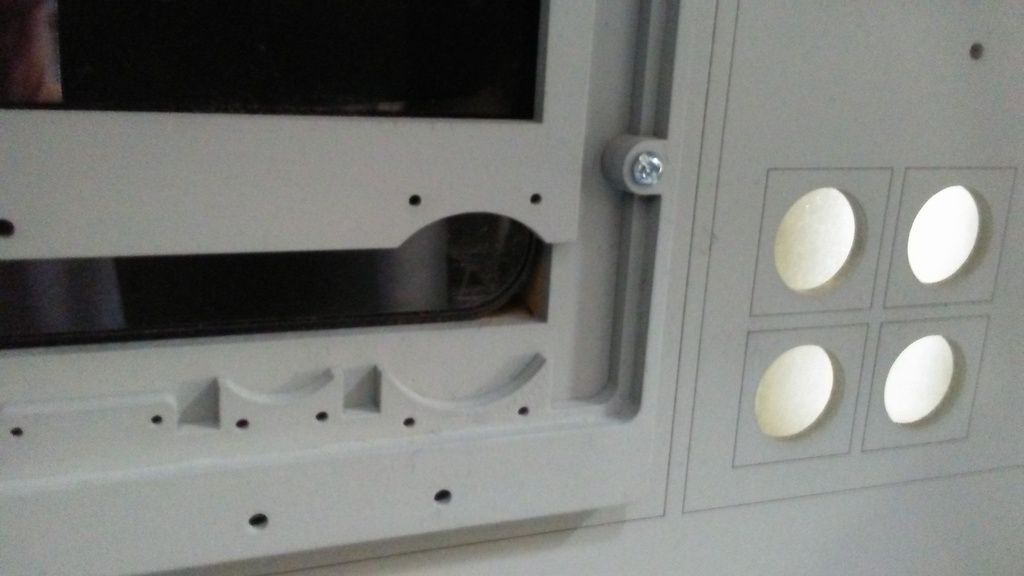
Another common greeblie throughout the SW universe are these little magnifying boxes! So, I picked up a few
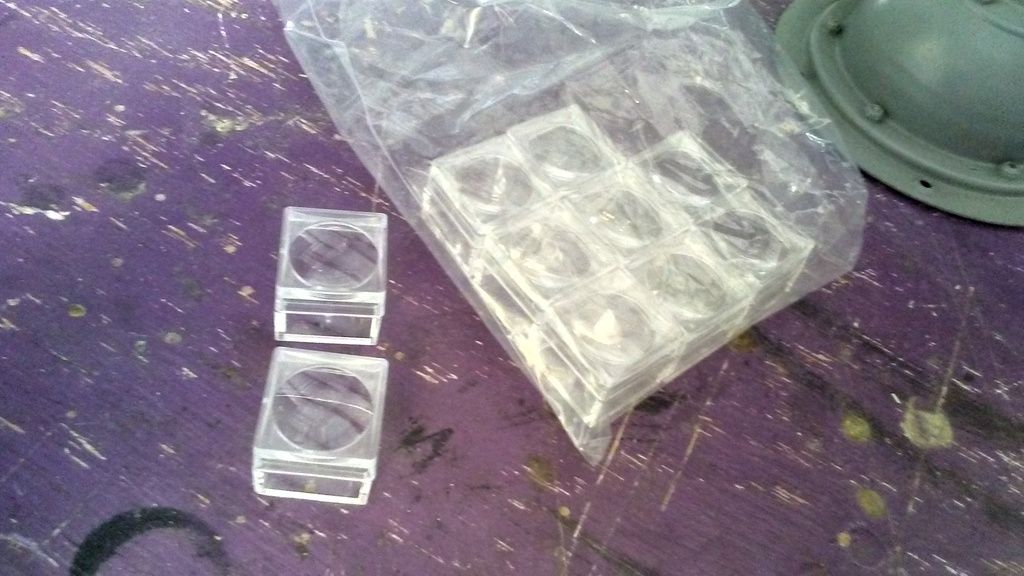
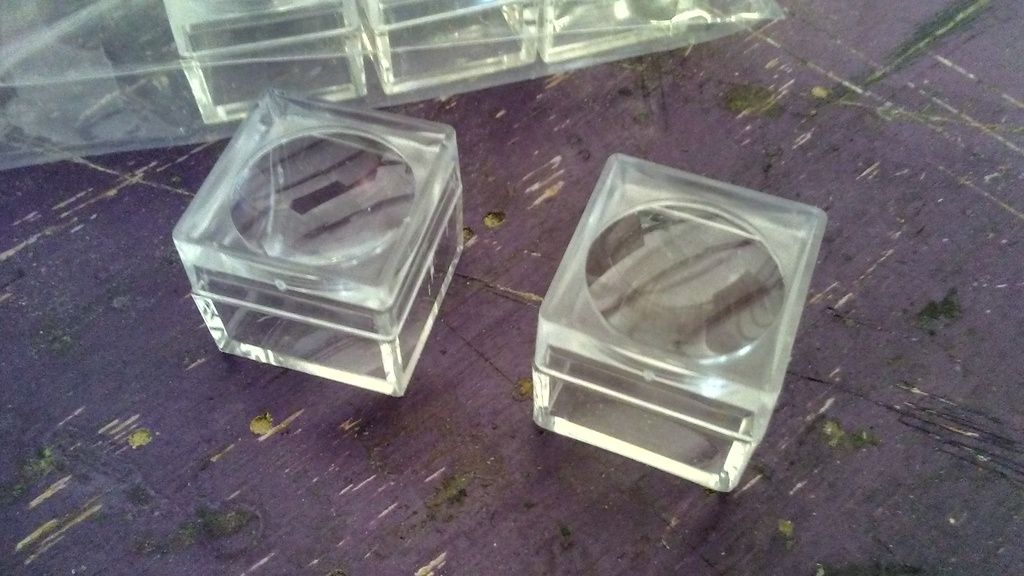
They look so awesome!
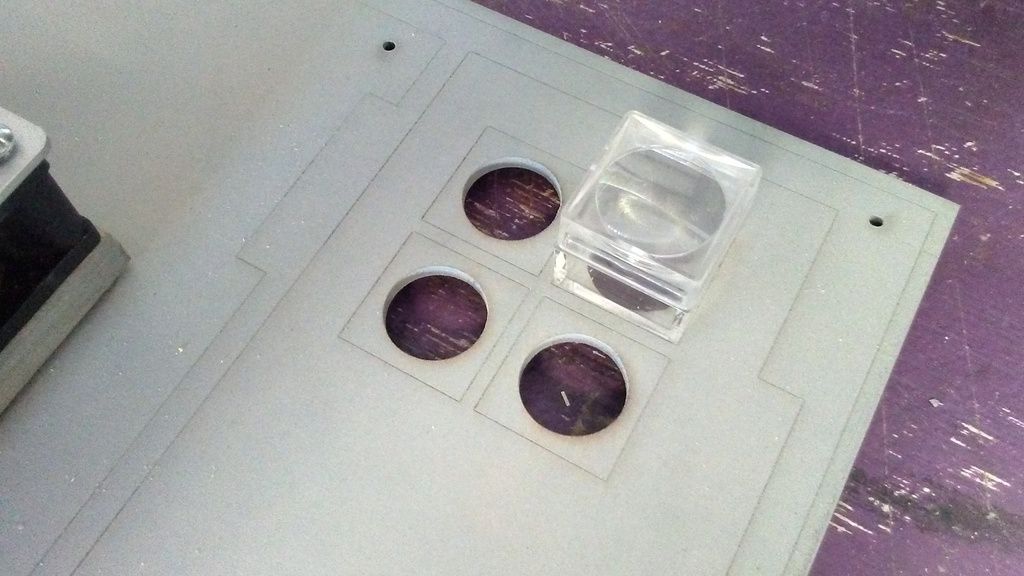
Painted the interior screens white

It was time for a new direction... Again... As I mentioned, there was a lot of time spent at the PC

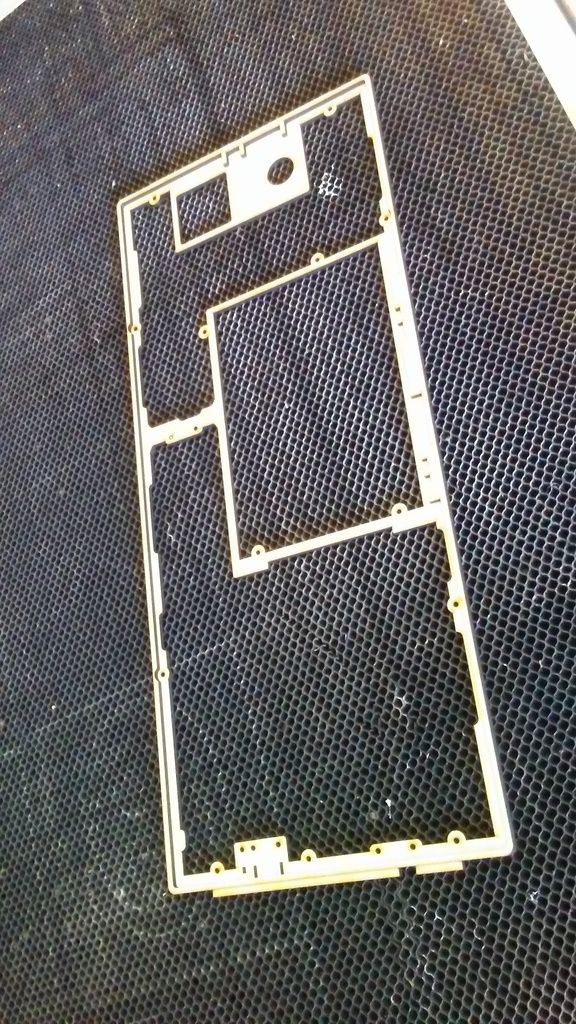
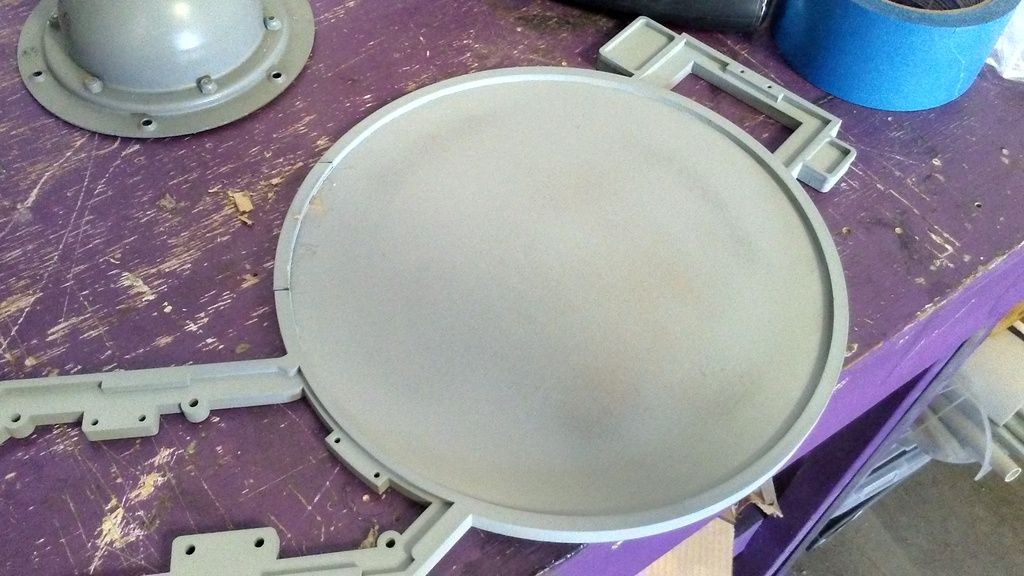
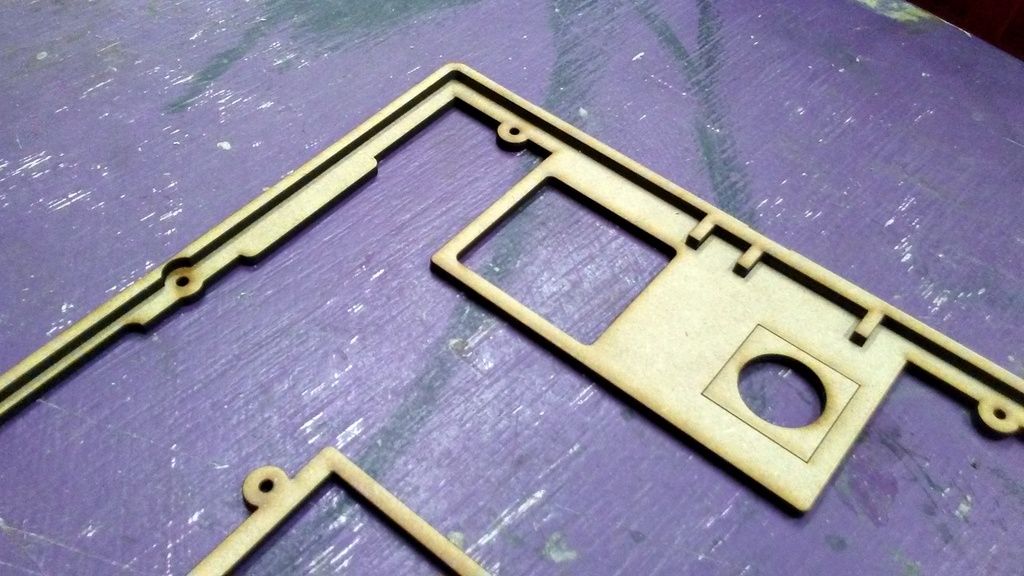
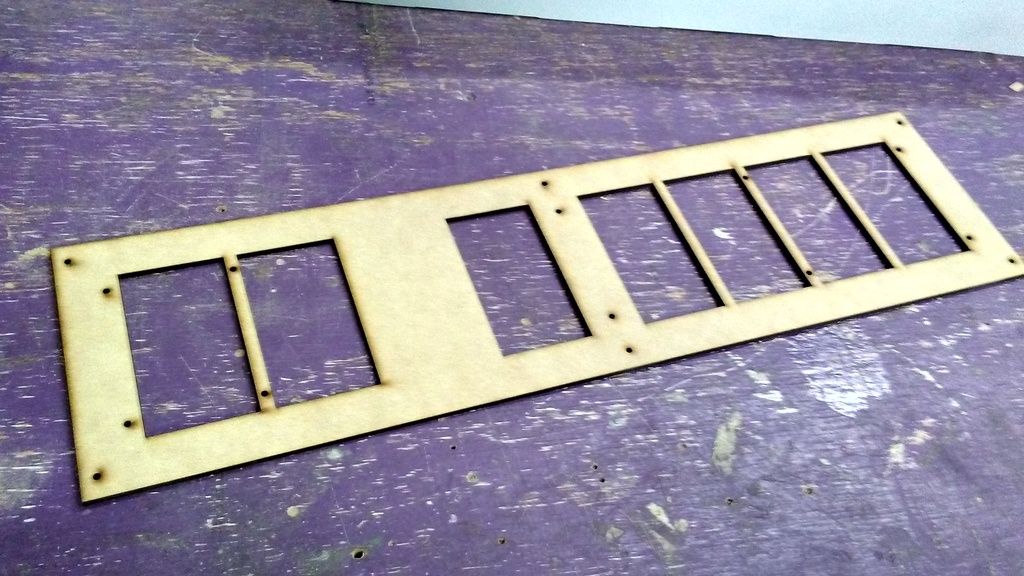
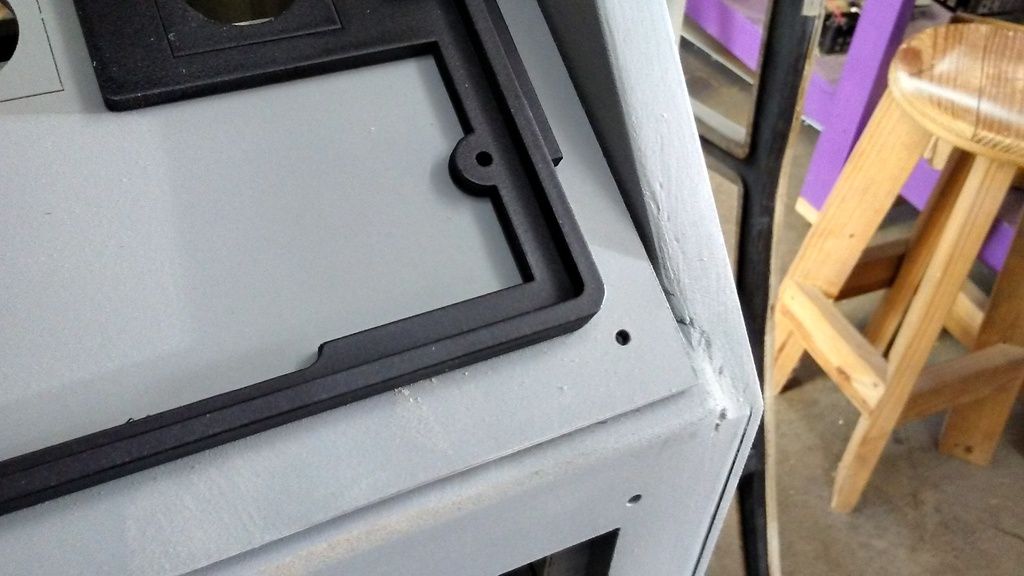
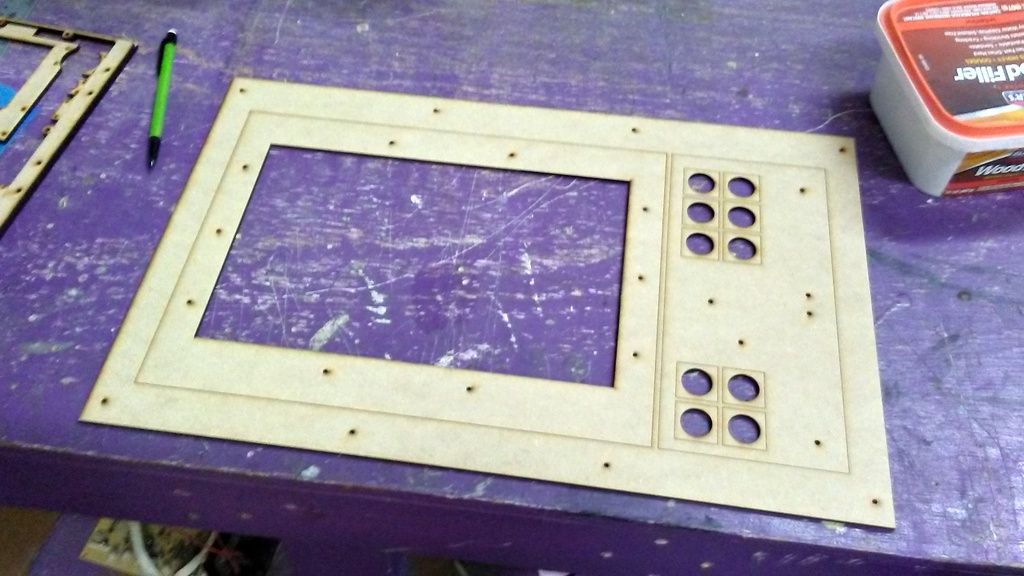
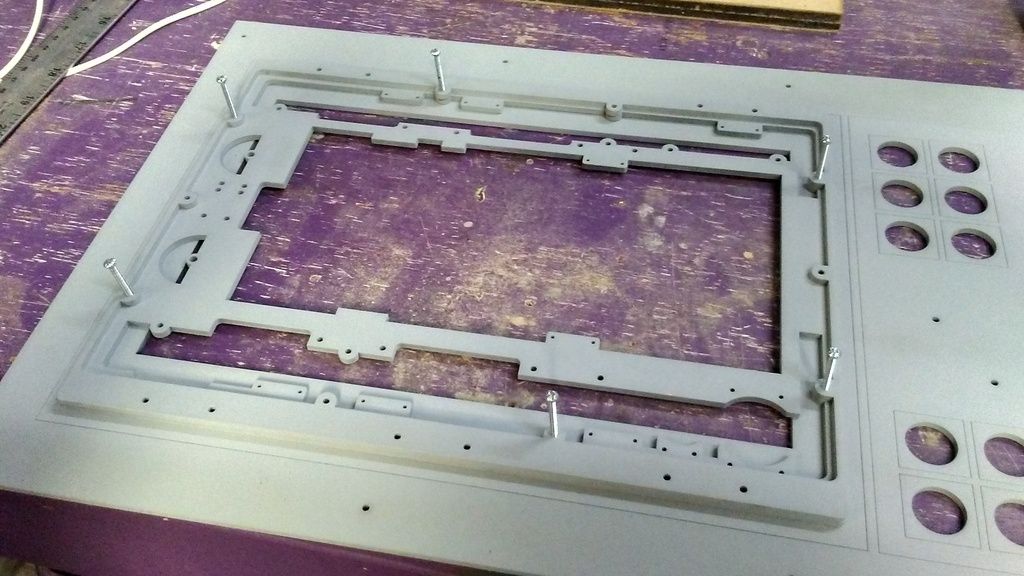
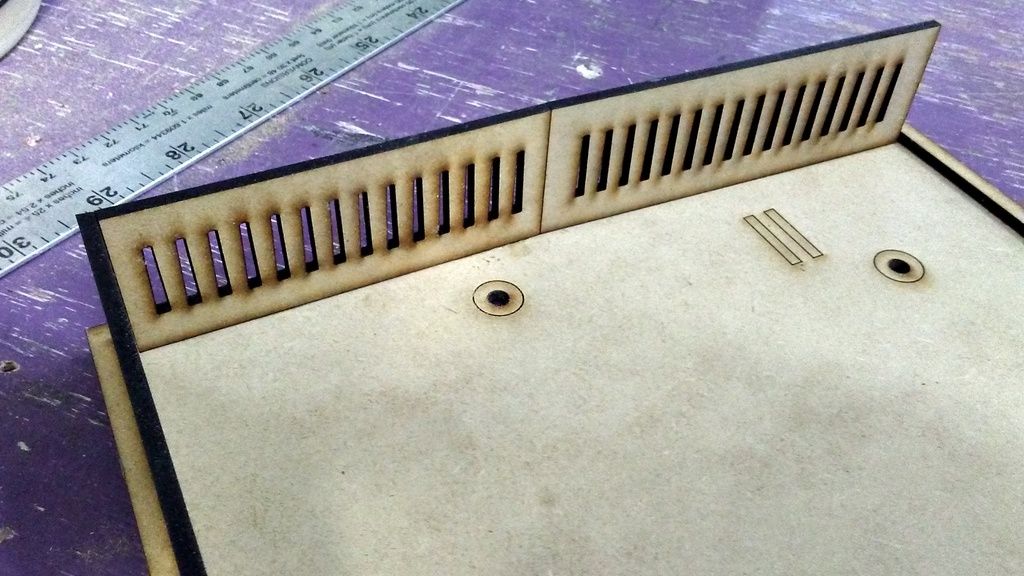
The new trim piece sitting on top of the old panel... need a new panel!

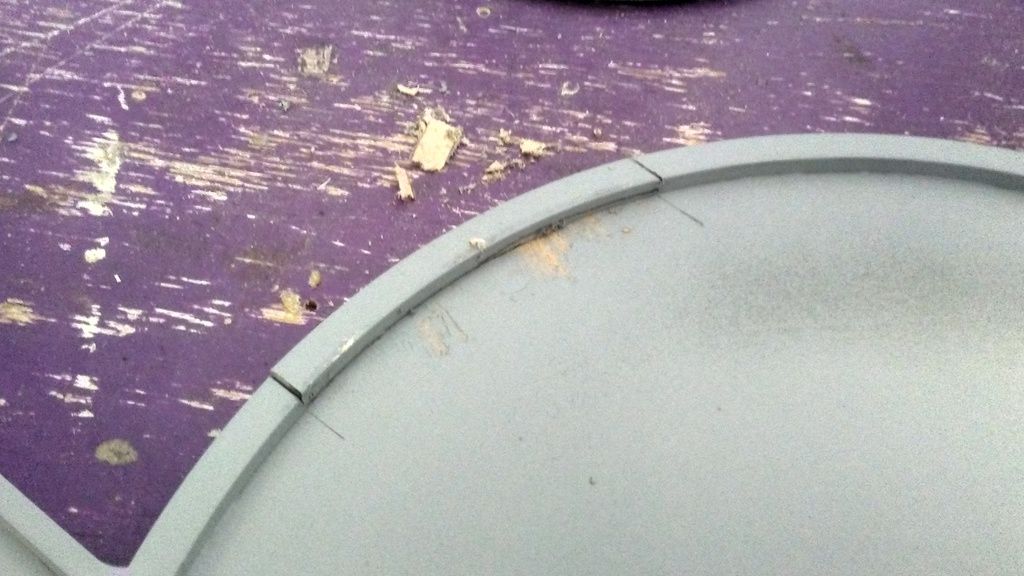
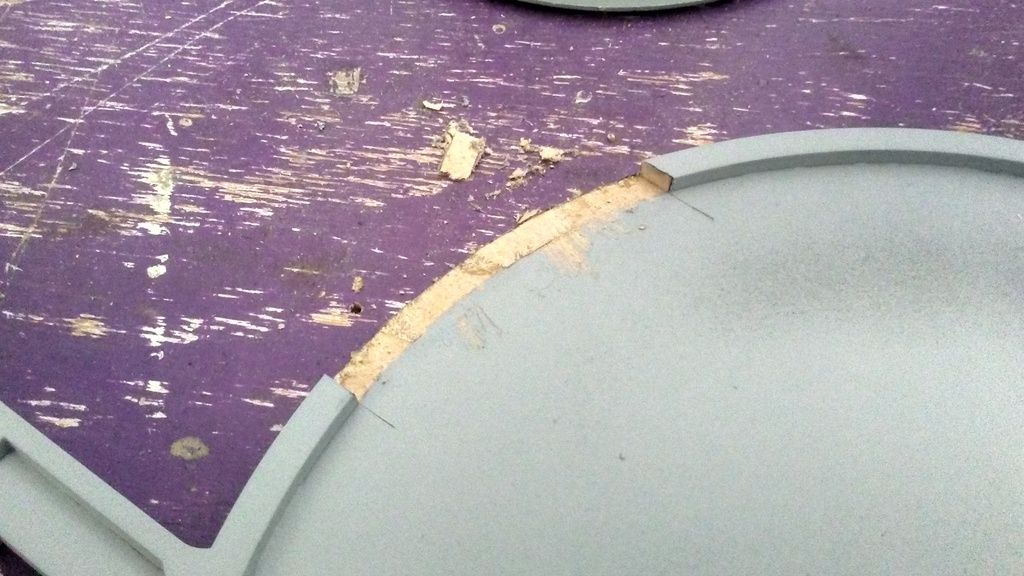
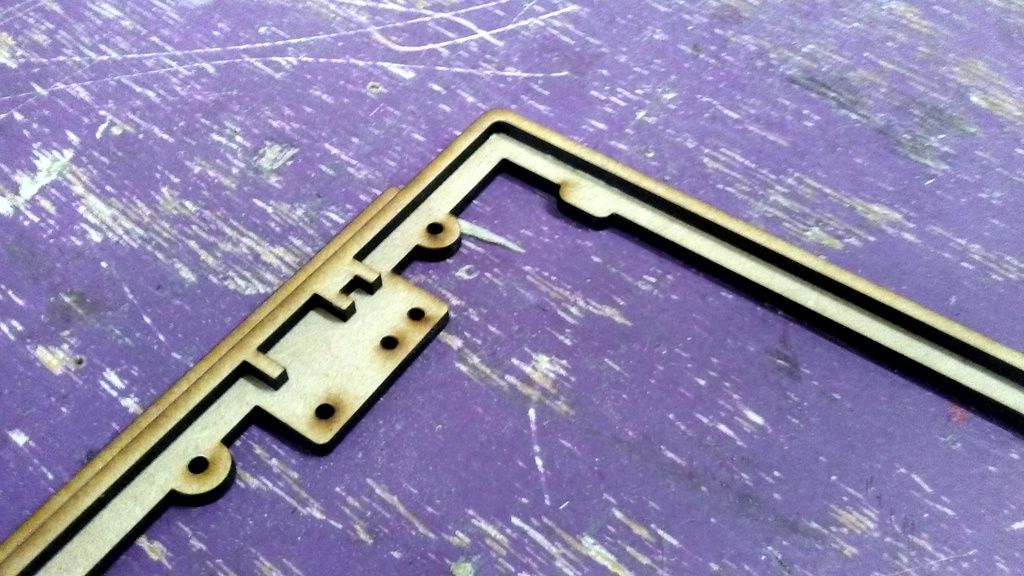
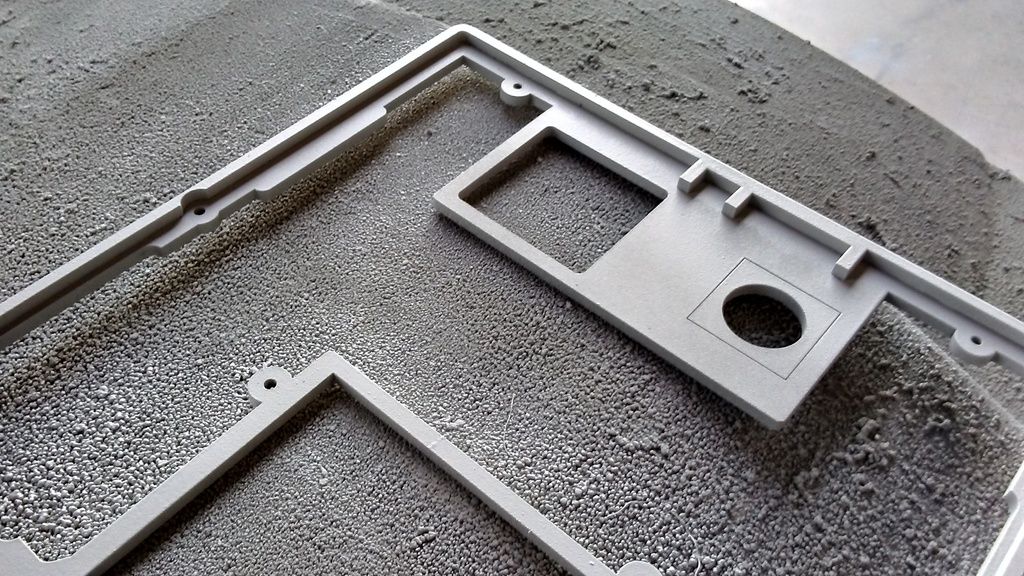
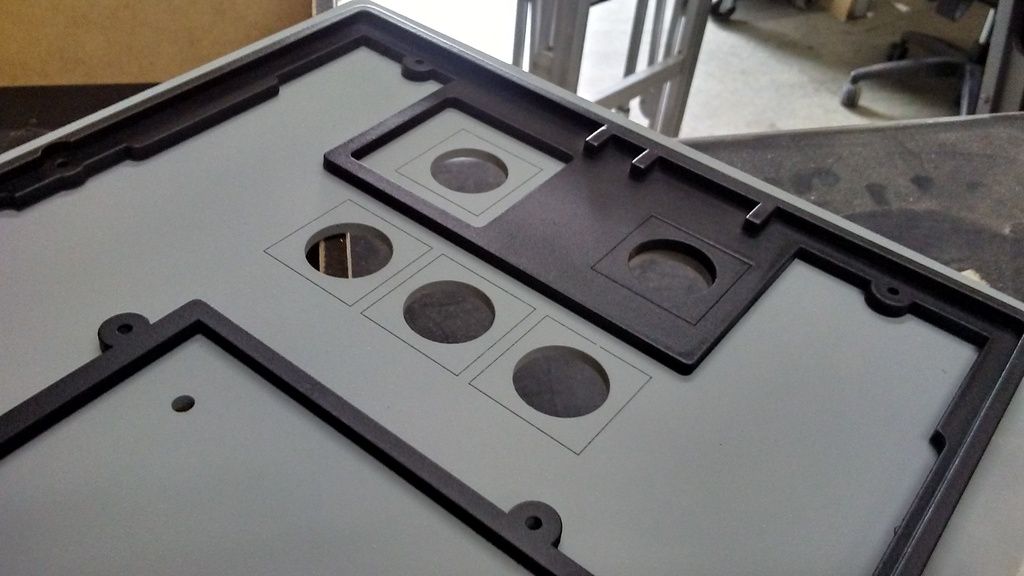
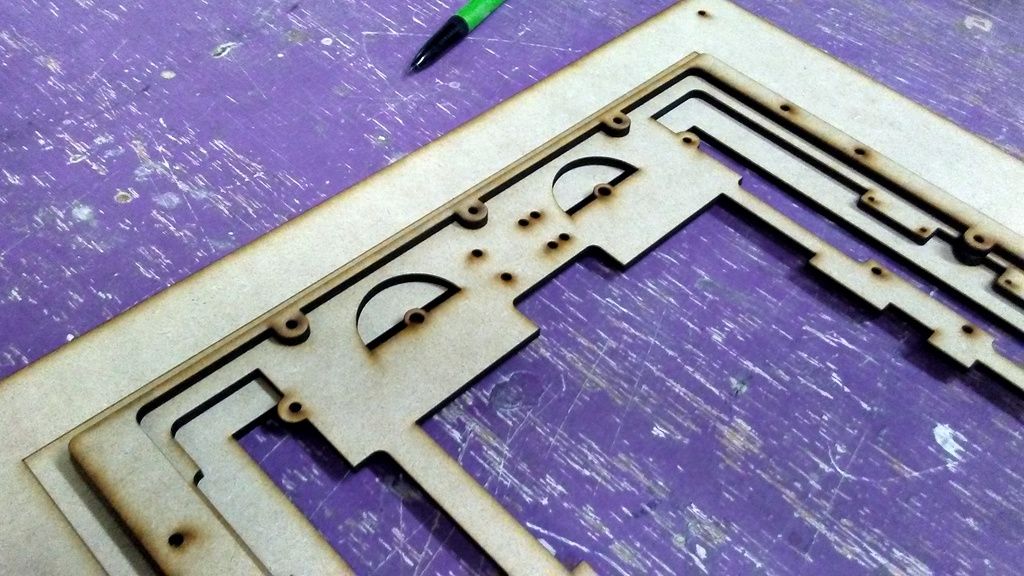
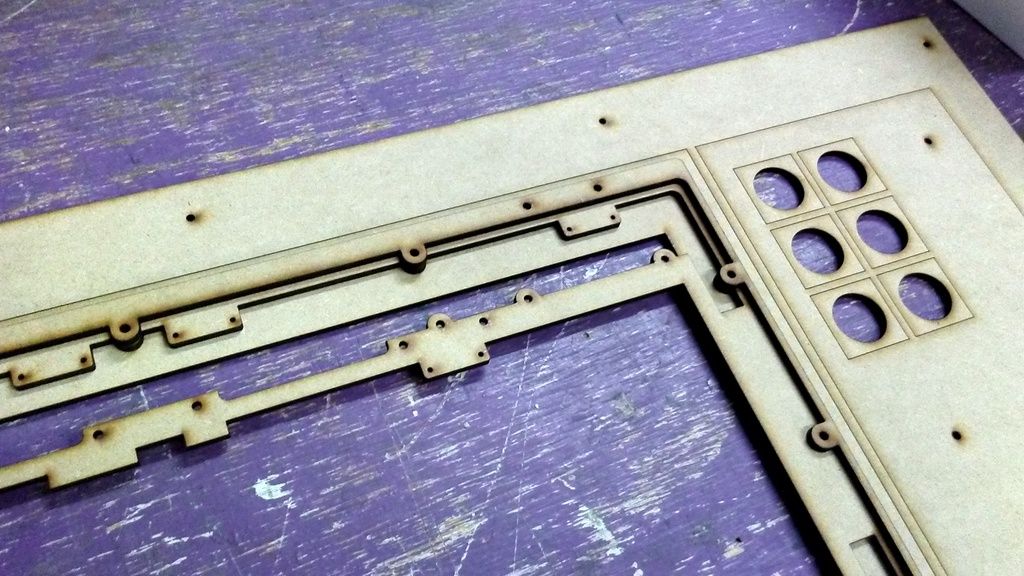
Details
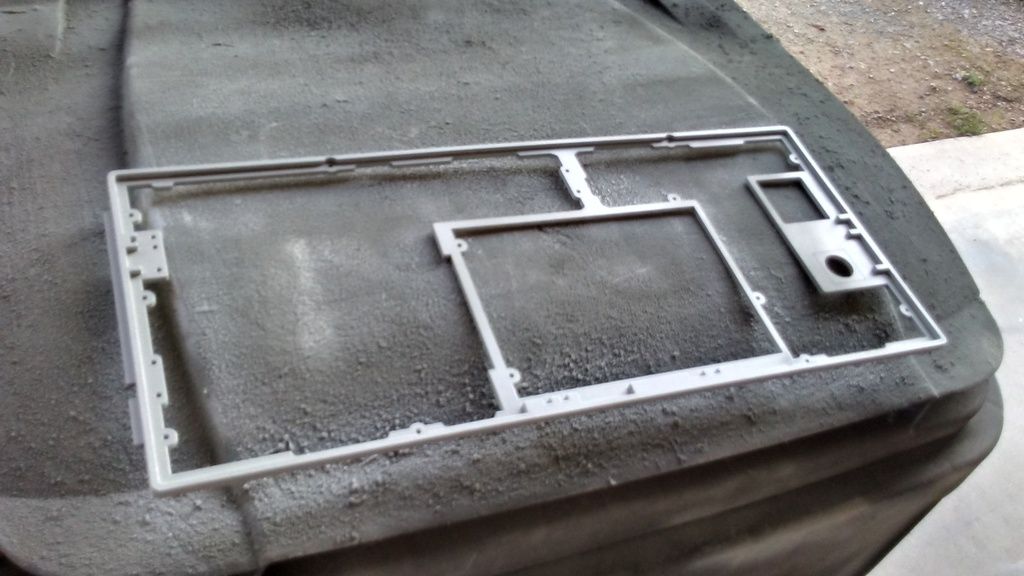
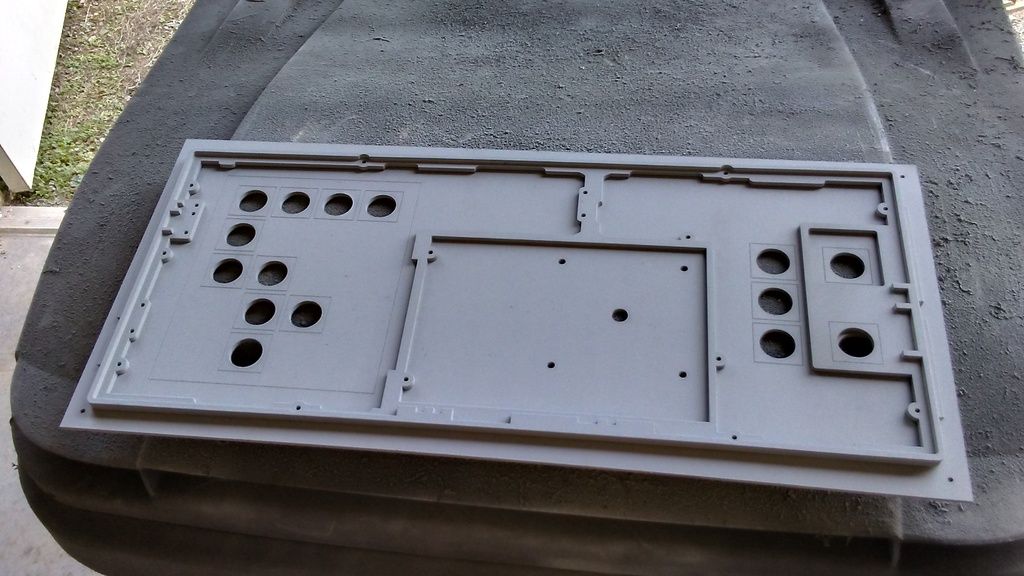
Primer
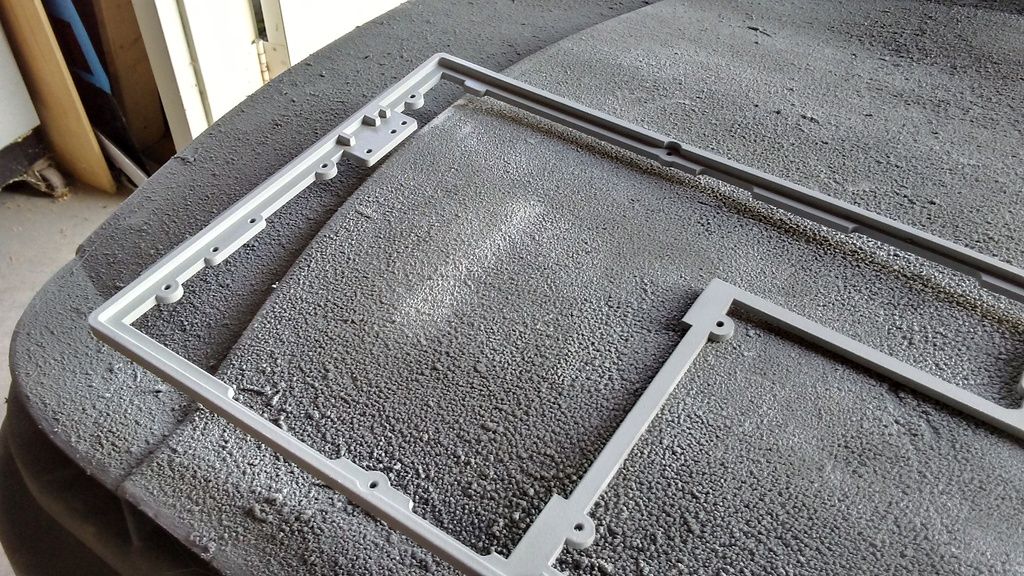
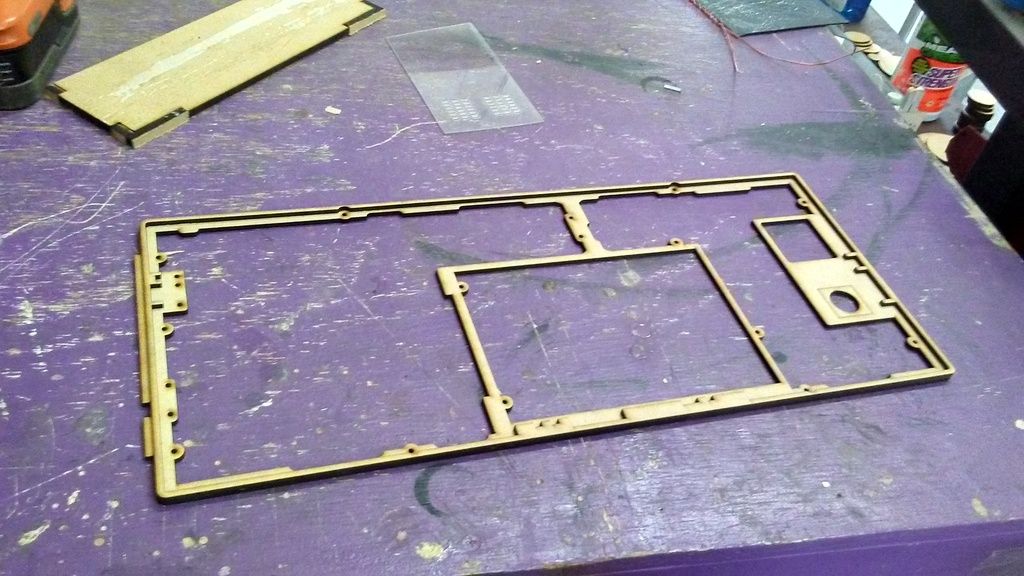
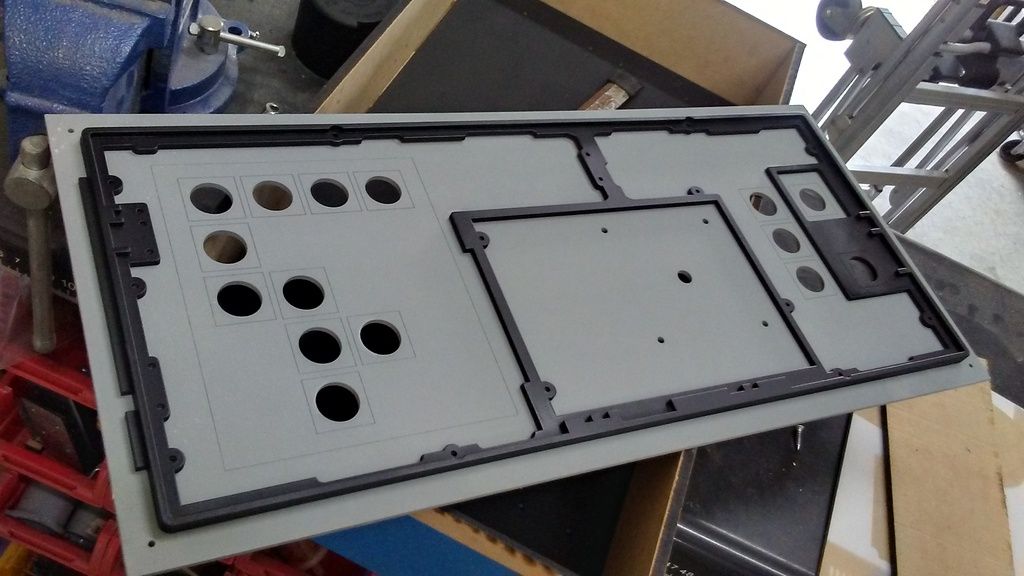
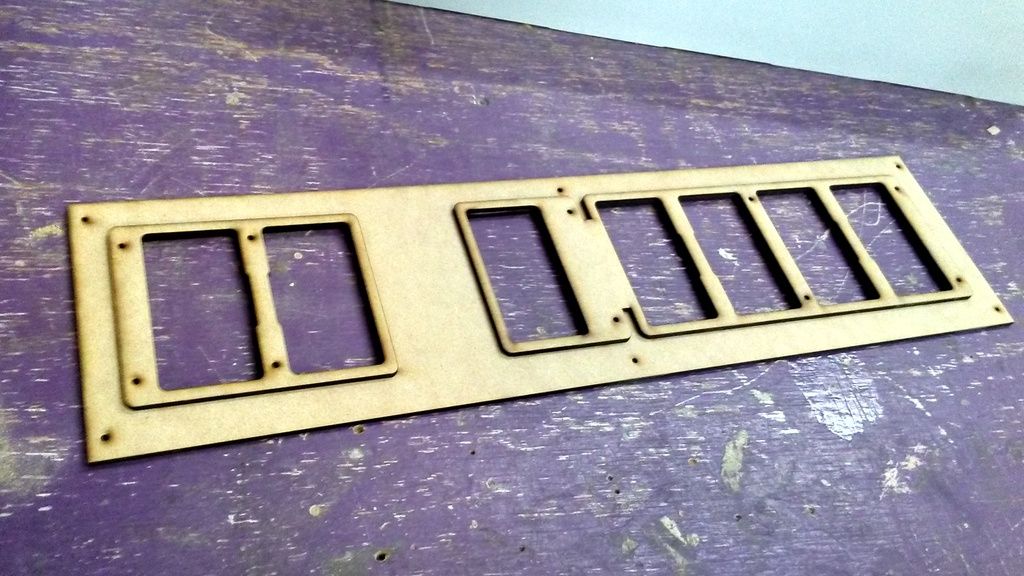
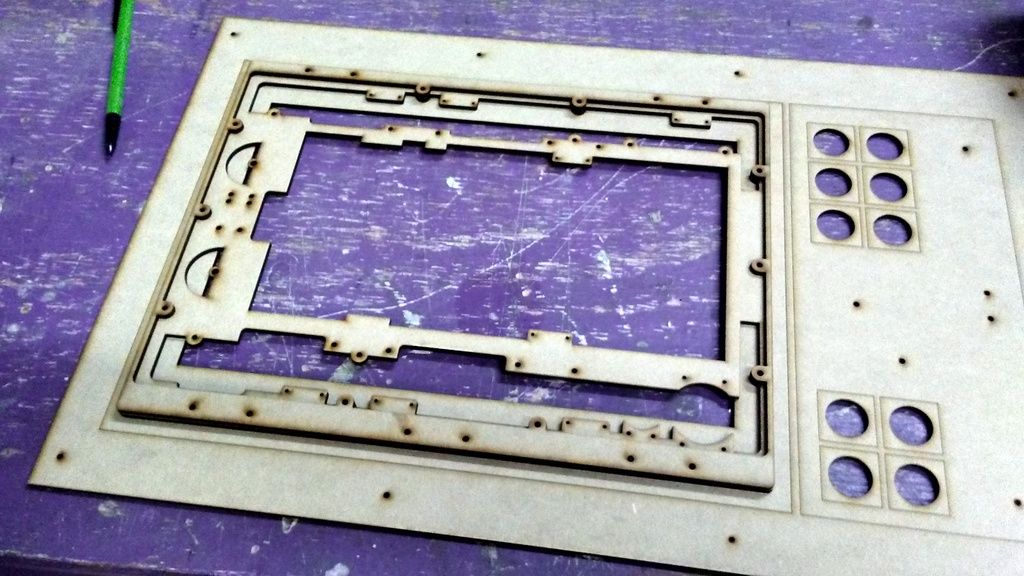
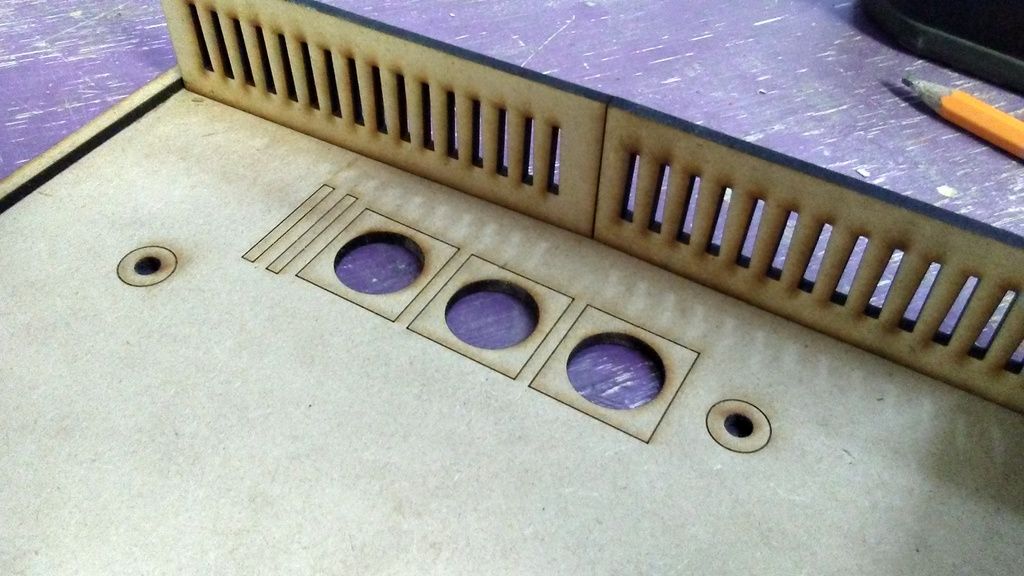
Trim piece sitting on new panel
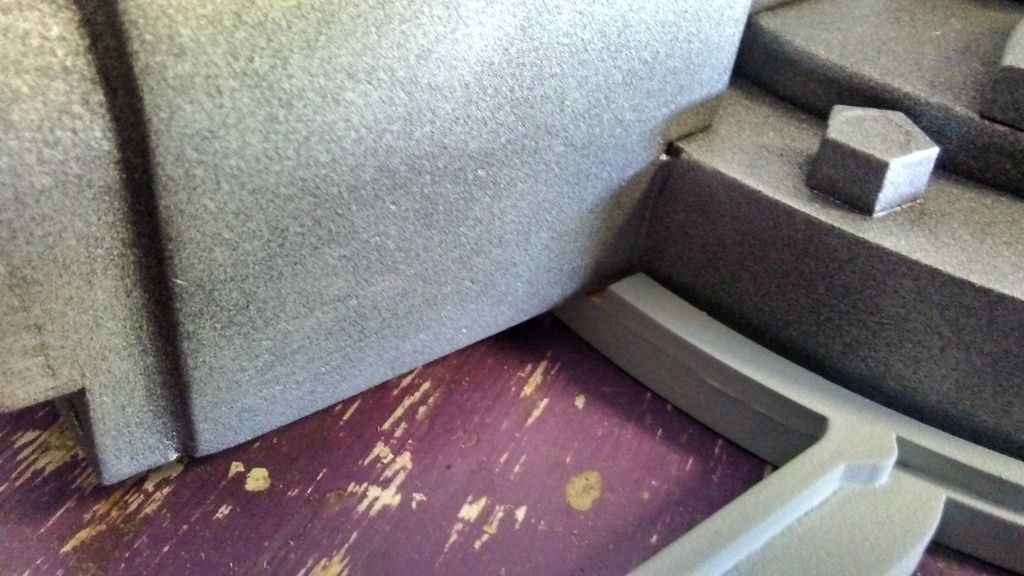
Paint!
Love it!
Not sure of the exact usage of these boxes just yet
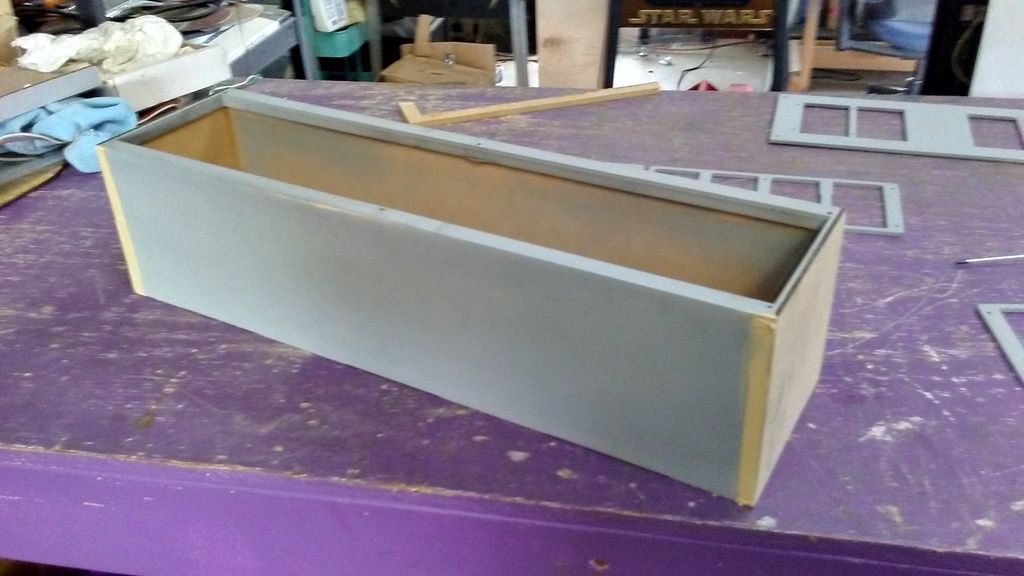
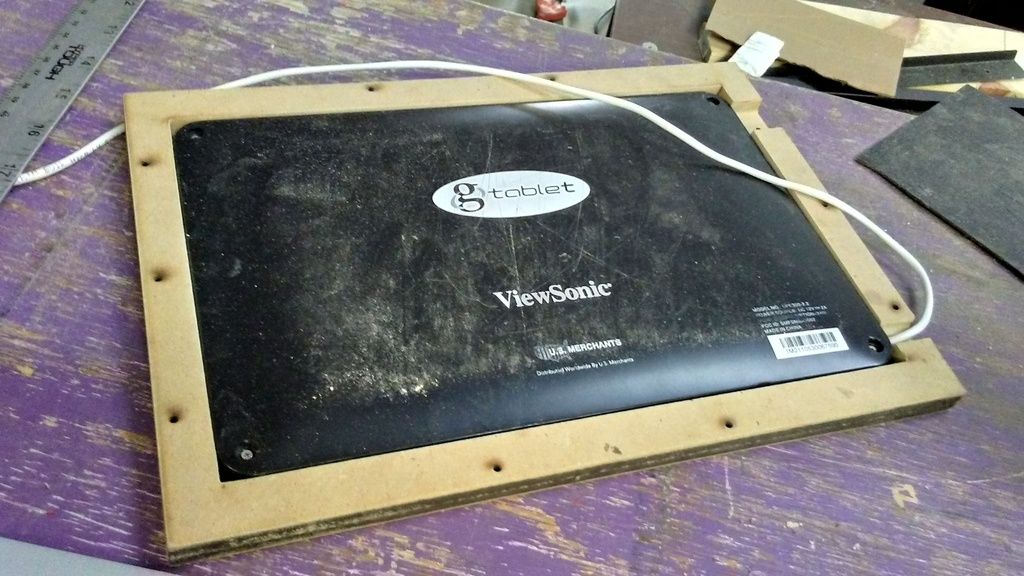
A new "team member", Grant, from Nashville stopped by to help out for a few hours. He got his hands dirty mod'ing the display box
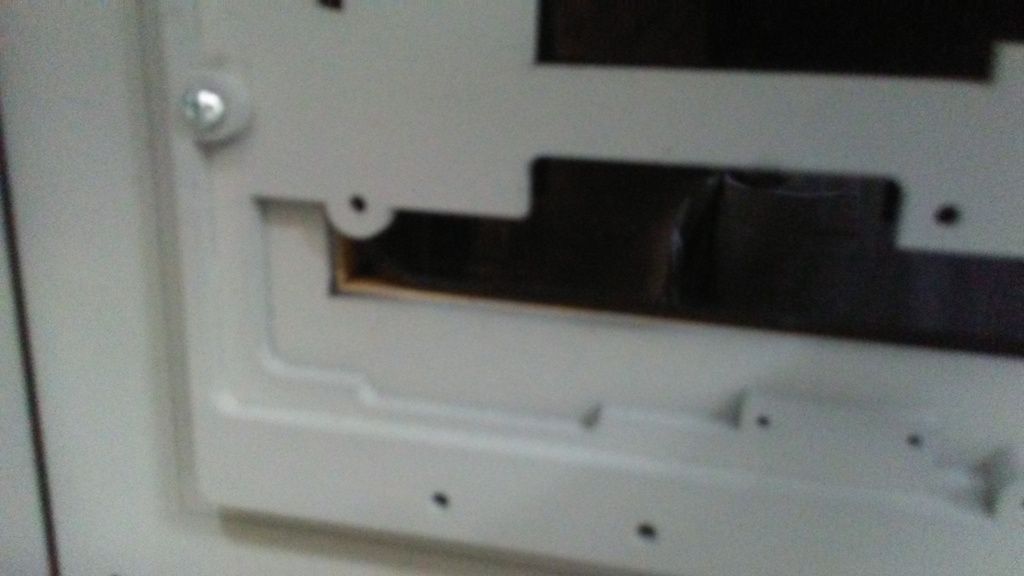
Cut the edges off the boxes and added thinner 1/8" material to make room for a few improvements to the corridor panel
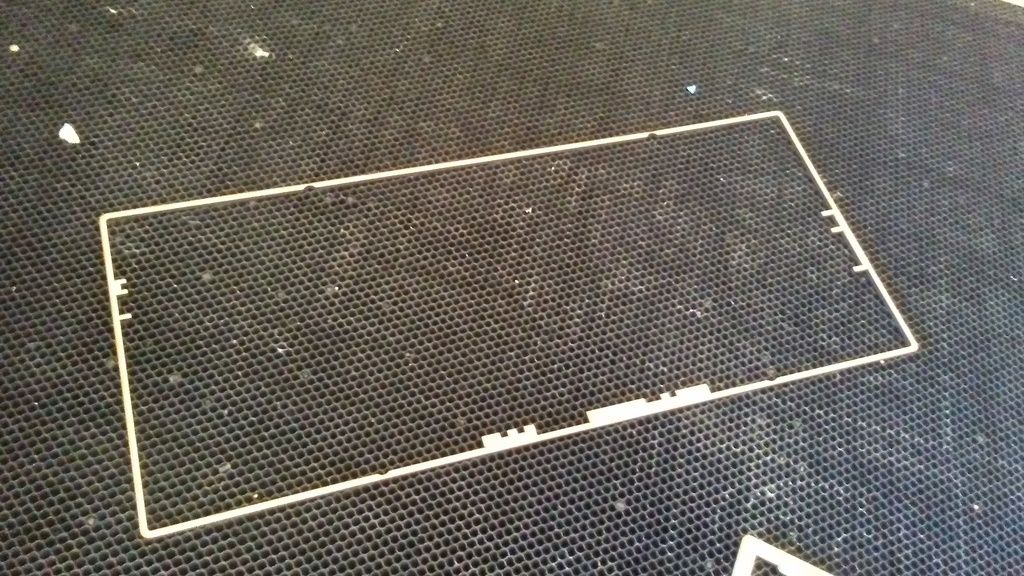
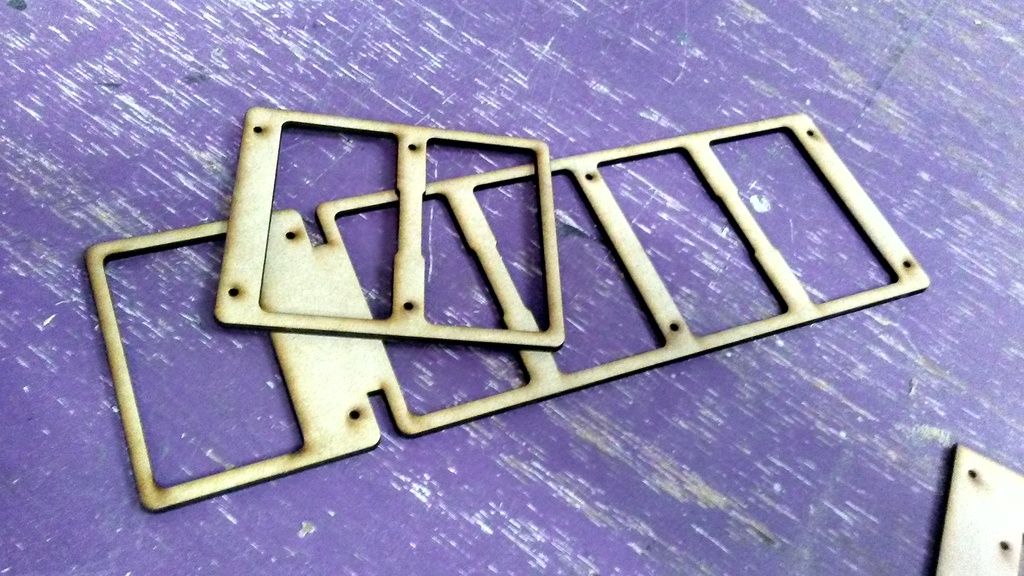
New trim pieces
This might look familiar!")
Filler
Primer
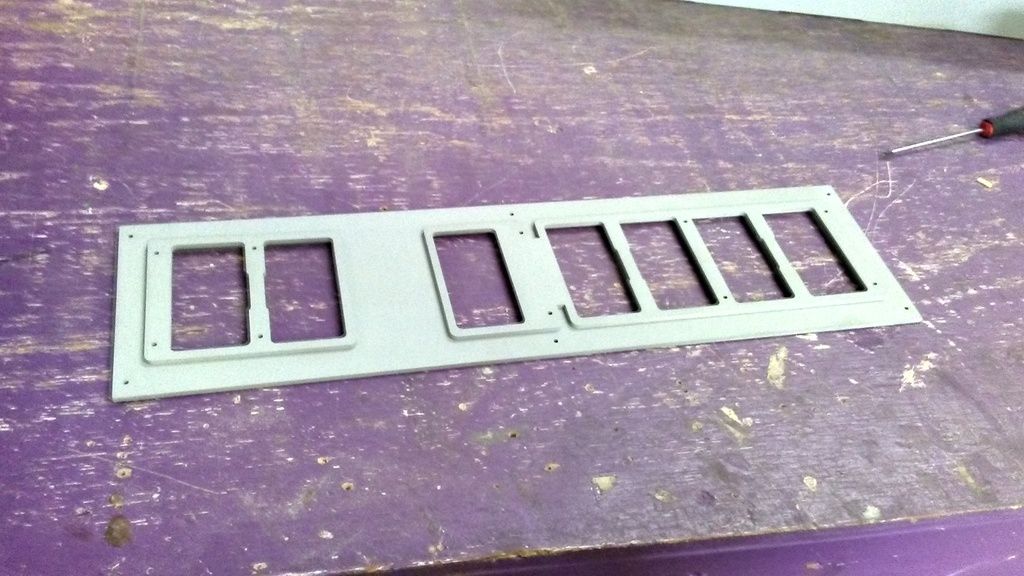
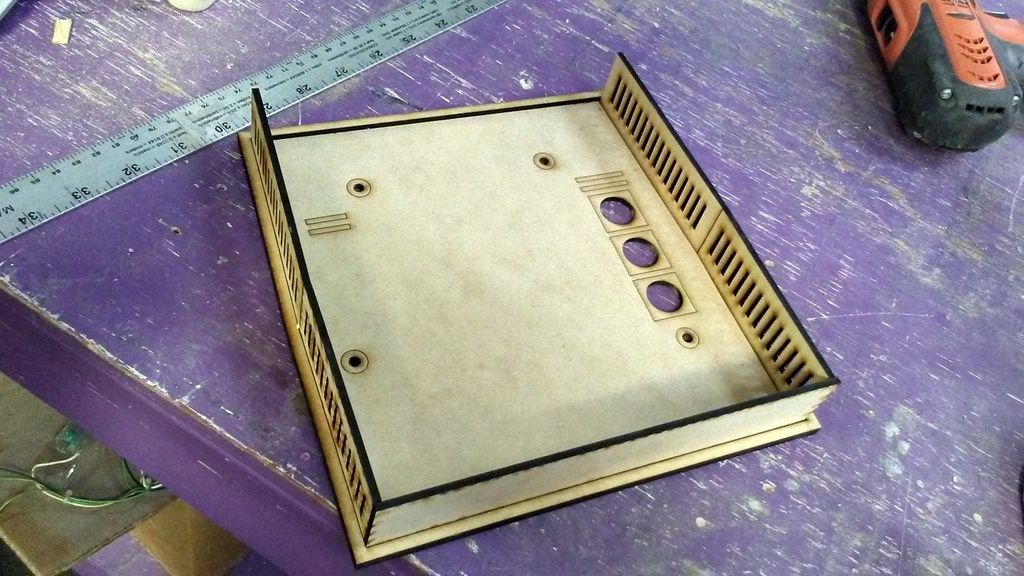
I laser cut these pieces to fill in a space on the new corridor panel. Needless to say these filler pieces fought me and Grant the entire way!

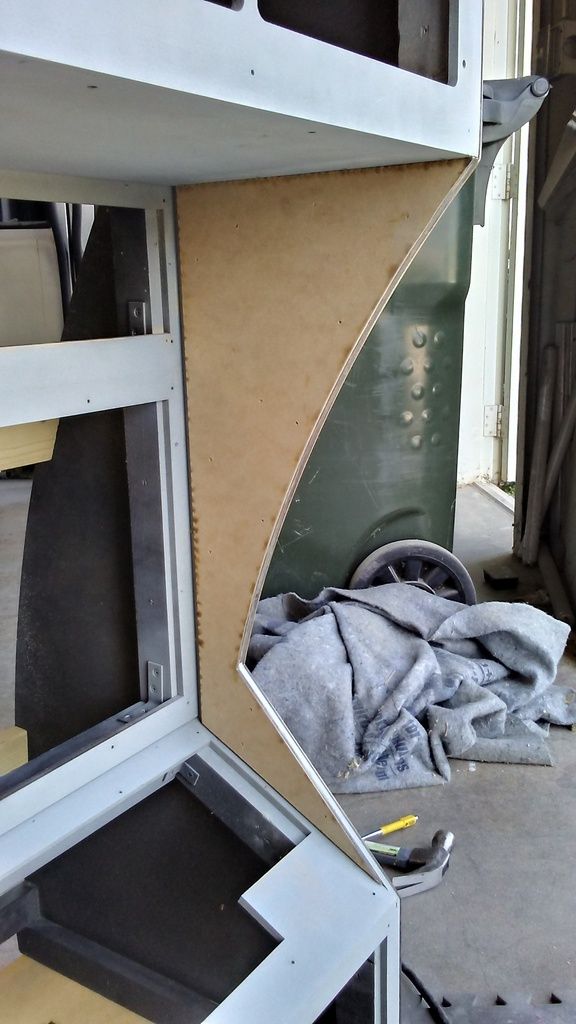
I laser cut a new side panel! The interior side matches the curve of the outer edge. I like this much better
After a good fight we finally got it nailed into position!
That curve makes all the difference in the world
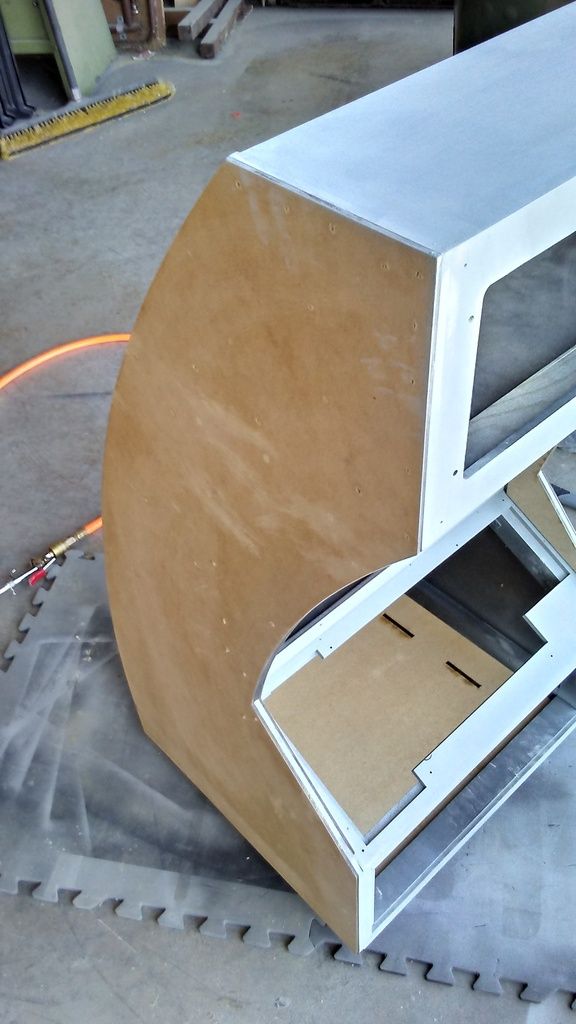
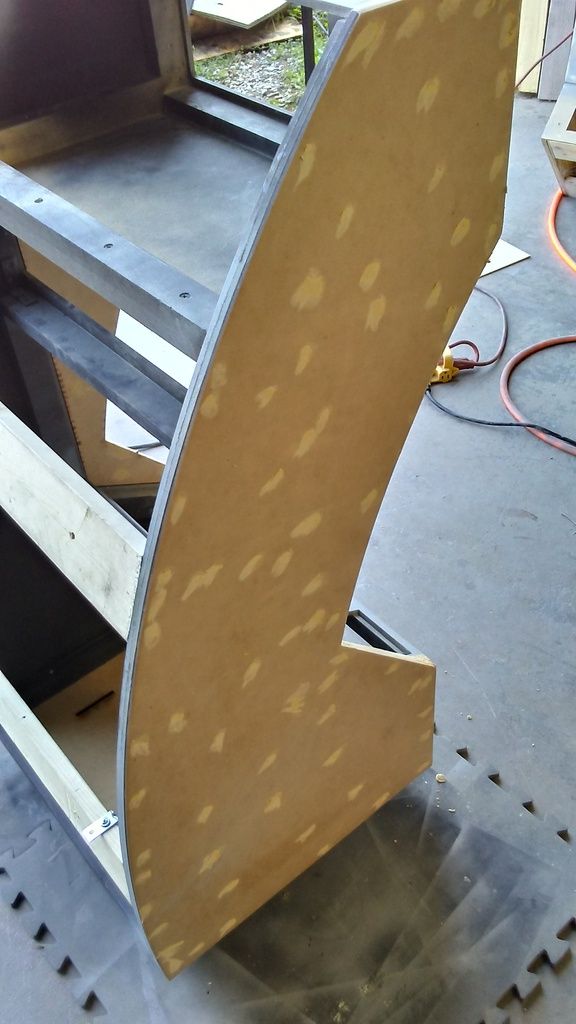
Lots of brads means lots of sanding and filler and more sanding
Primer!
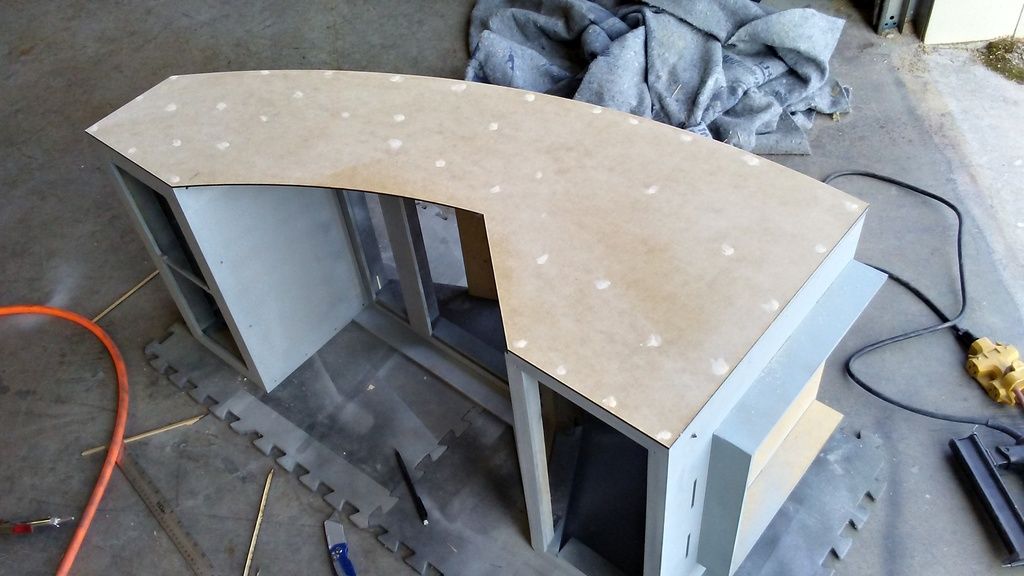
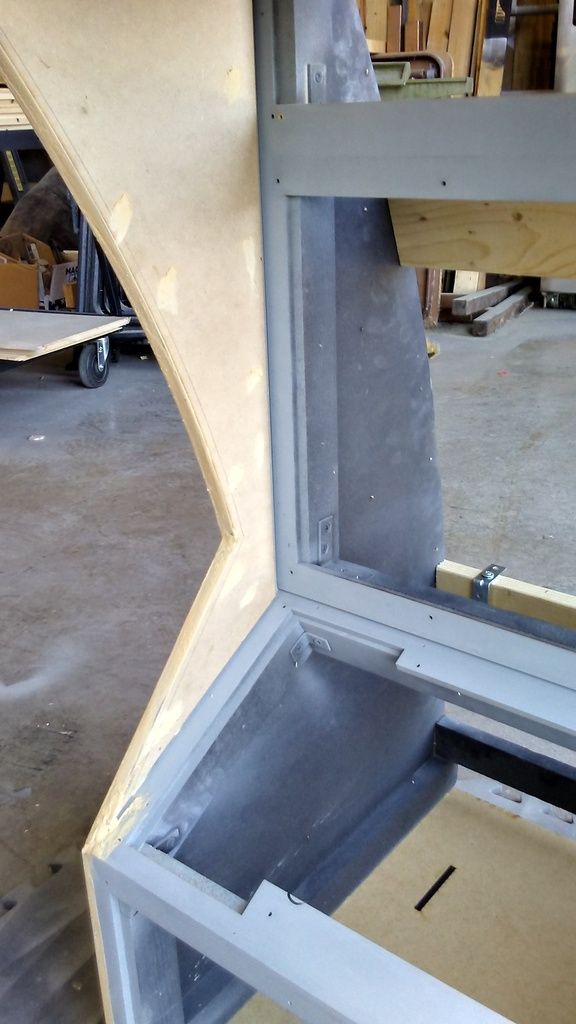
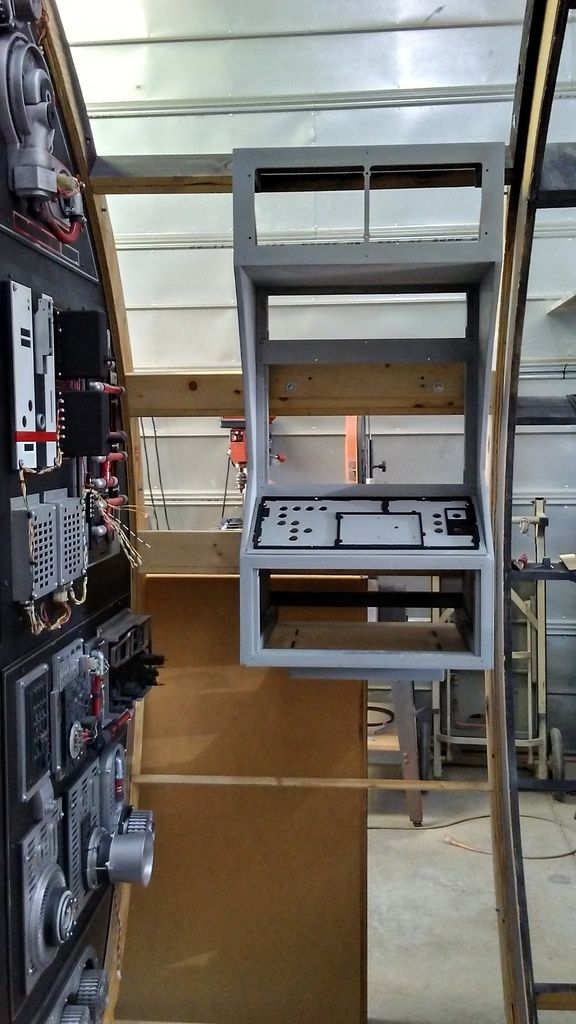
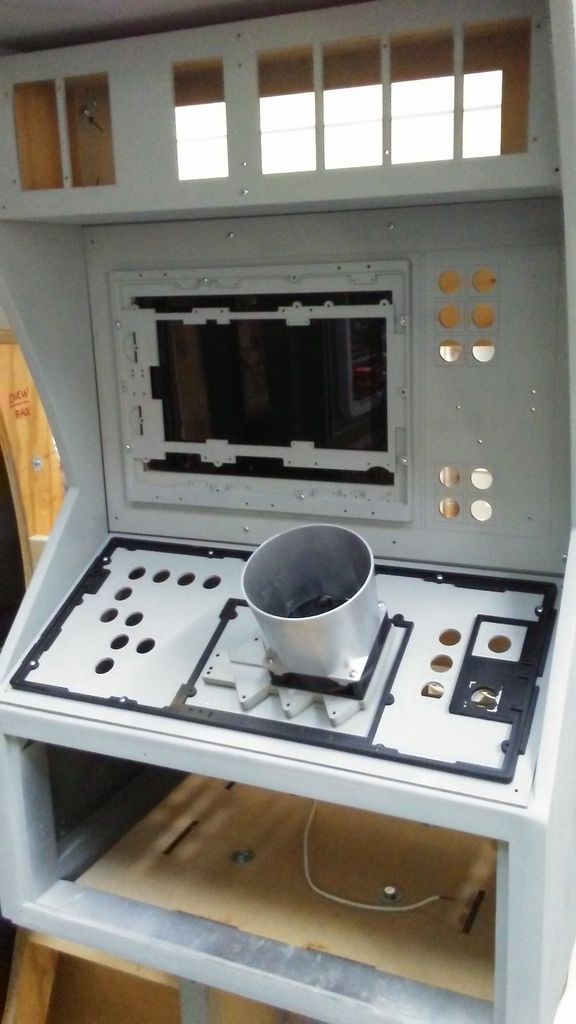
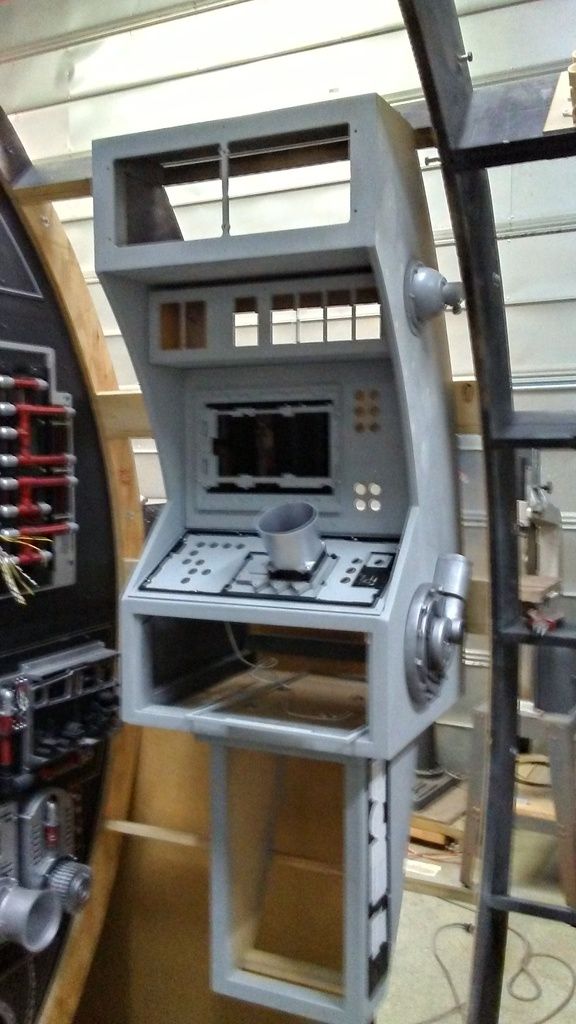
I then rehung the panel in its new position! Thanks to Daniel and Josh!
Nice gap between the panel and the corridor ring
Lots of space and access to the greeblies
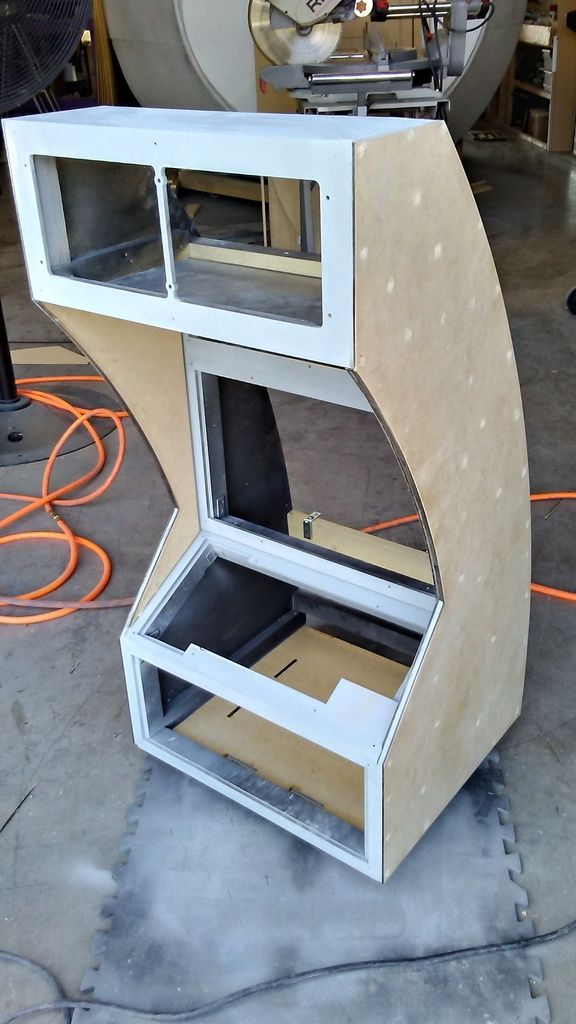
Backside

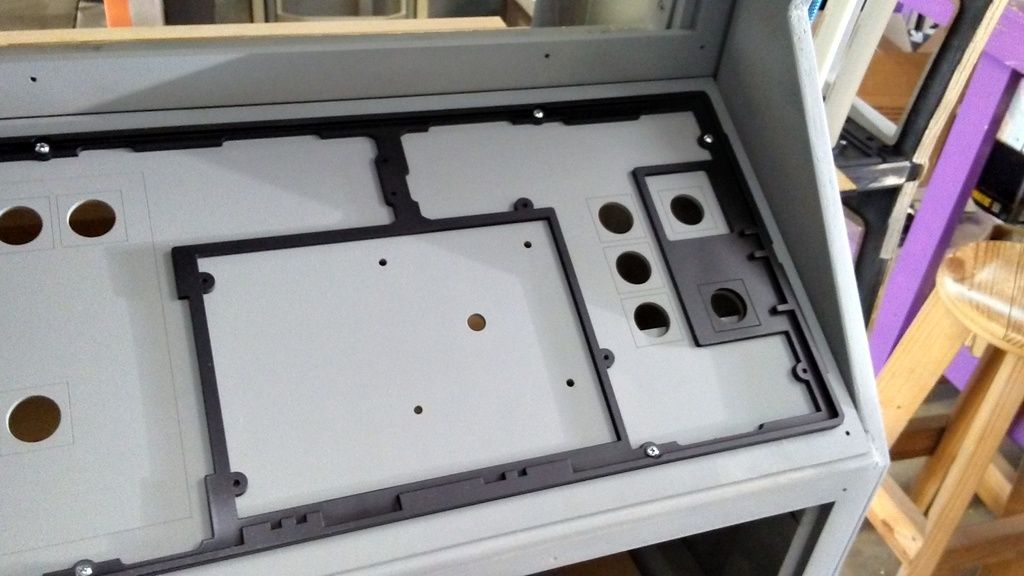
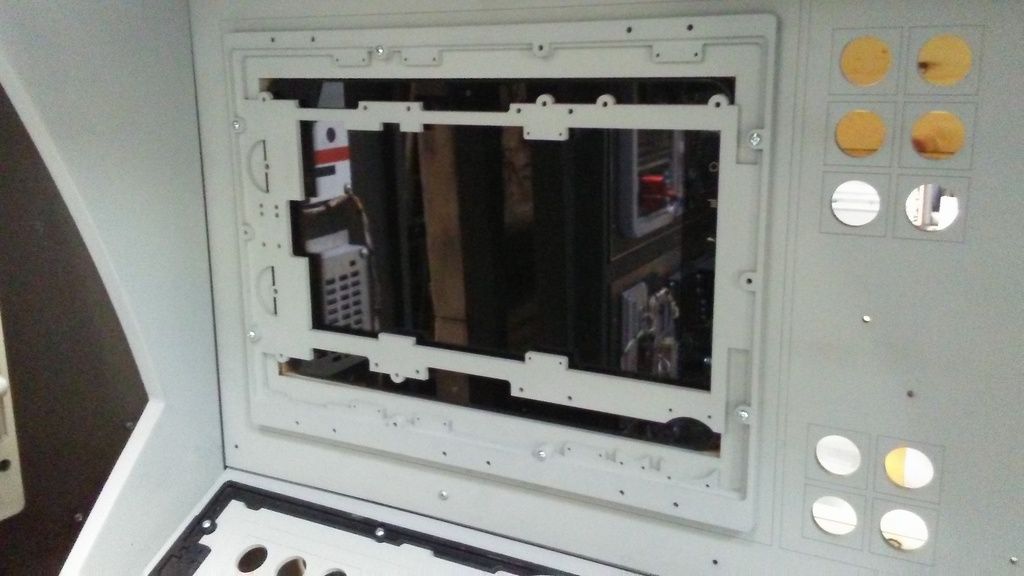
I then put the new panel in place
YUCK! Lots of clean up and sanding still to do
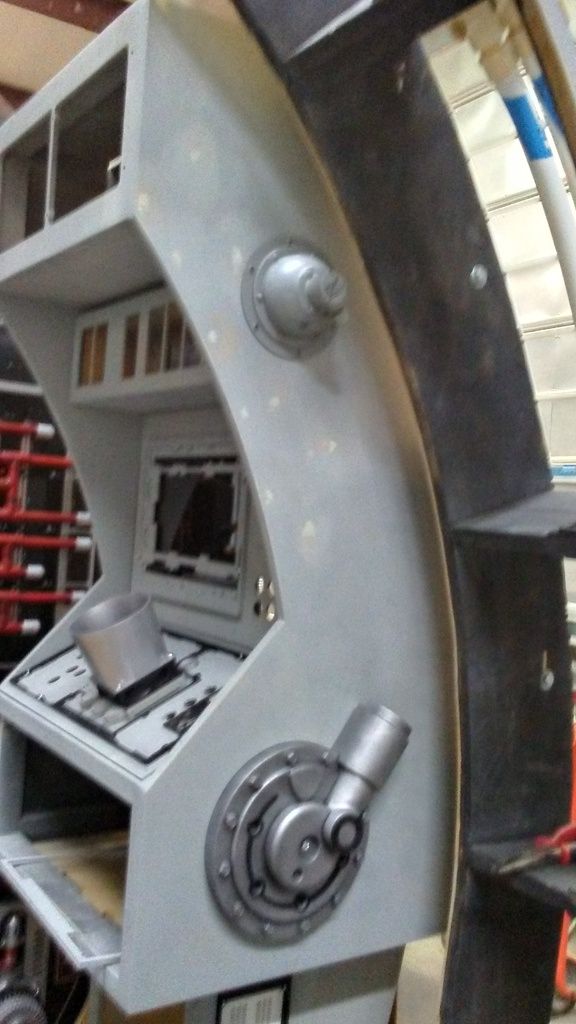
Straight on view
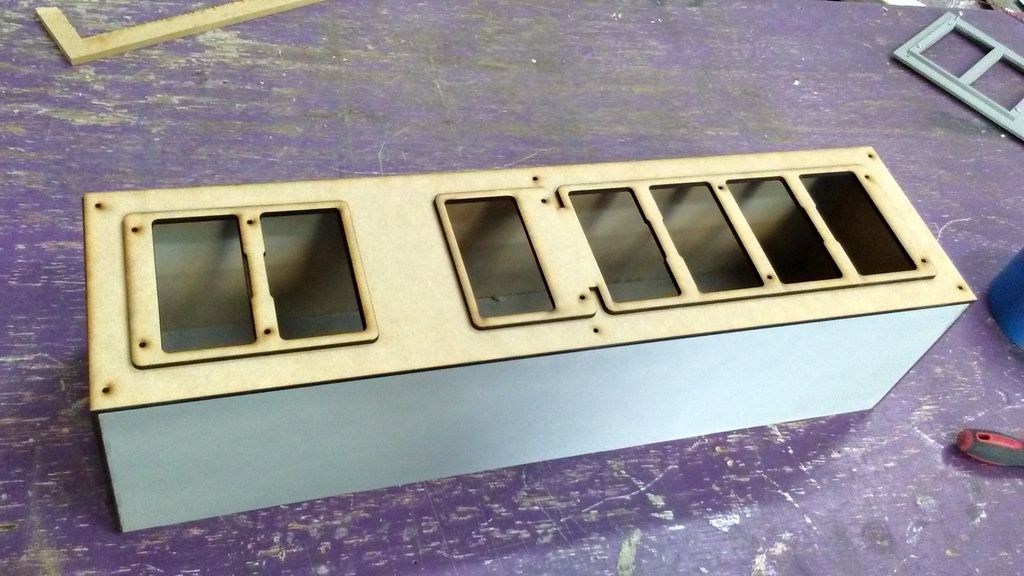
Dry fitting
Fits nice and snug
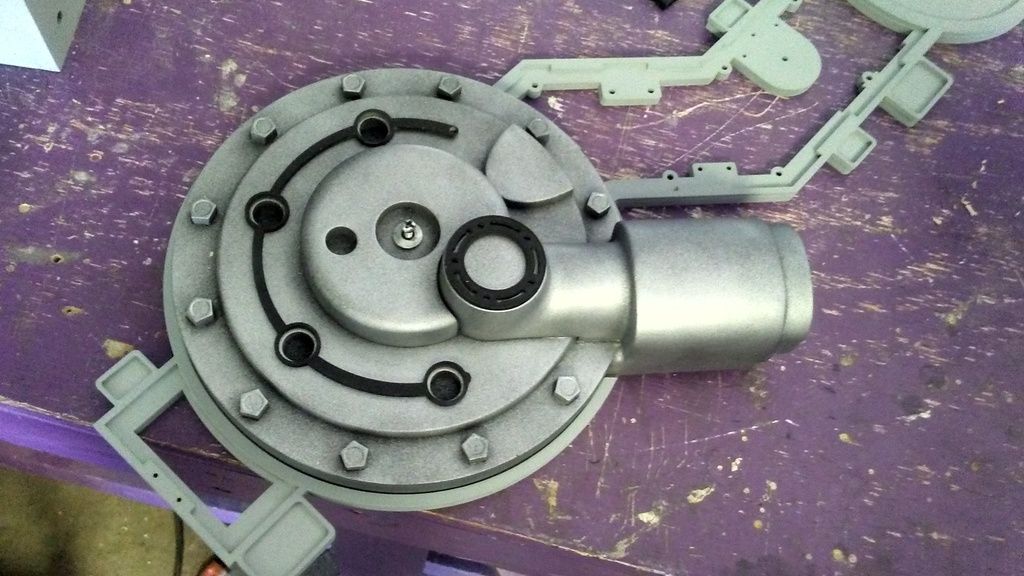
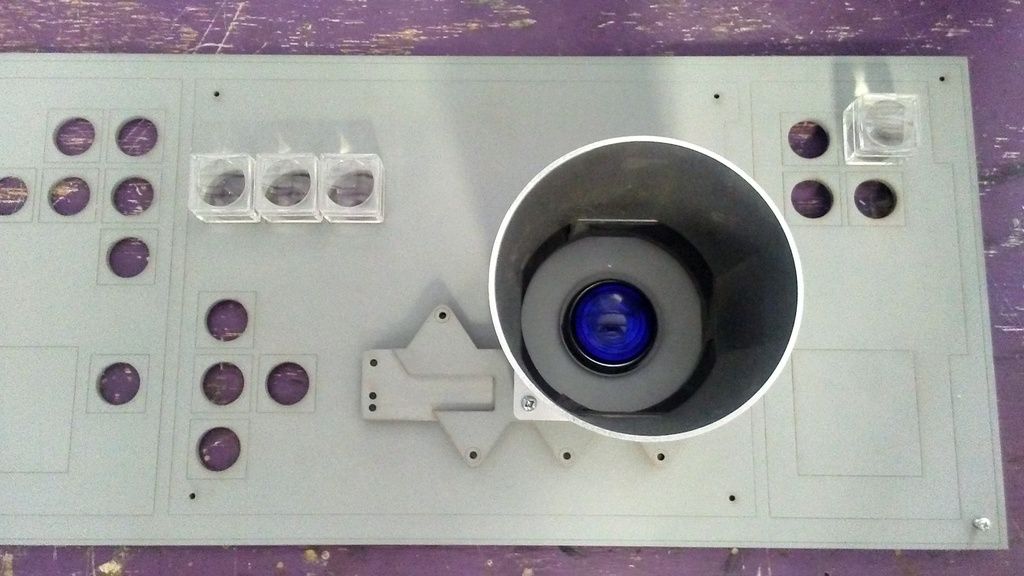
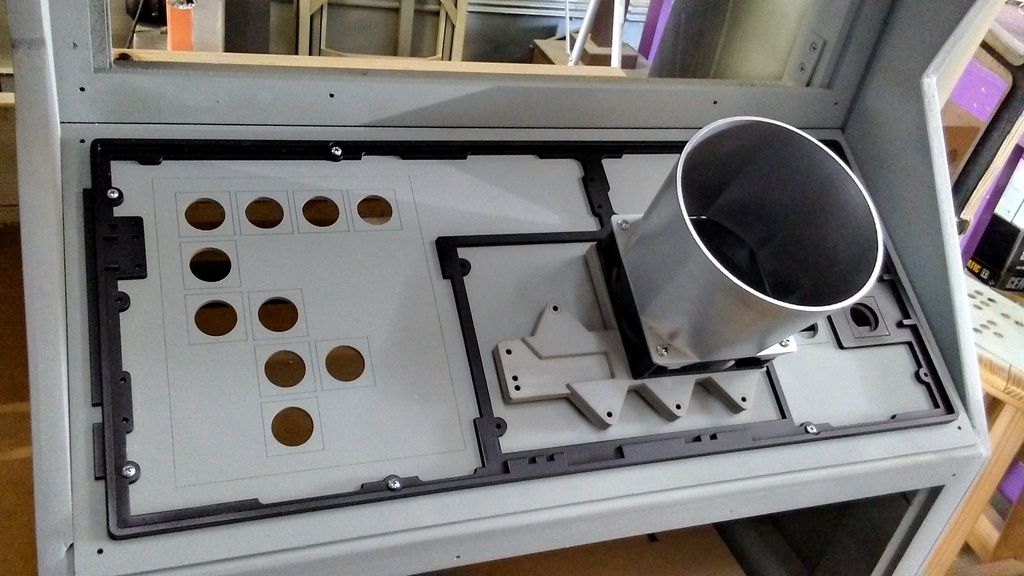
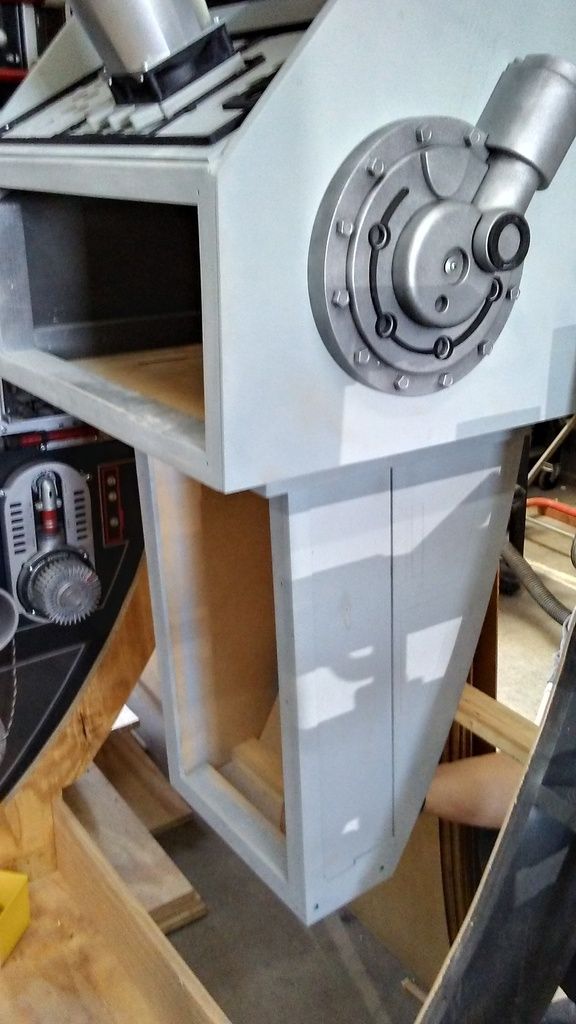
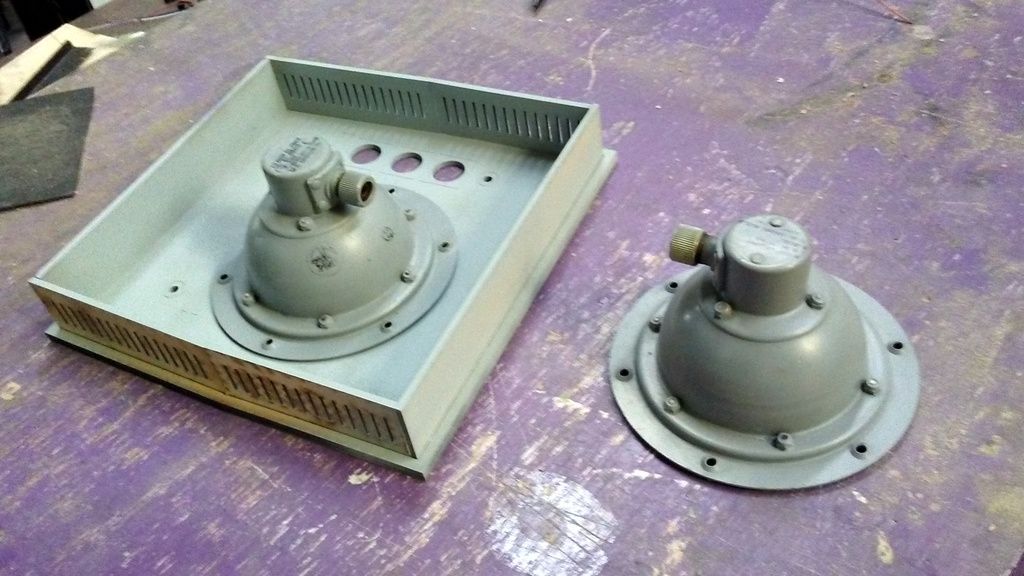
I think the fuel greeblie looks much better without the surrounding greeblies
Time for more filler
After sanding
A little bit better
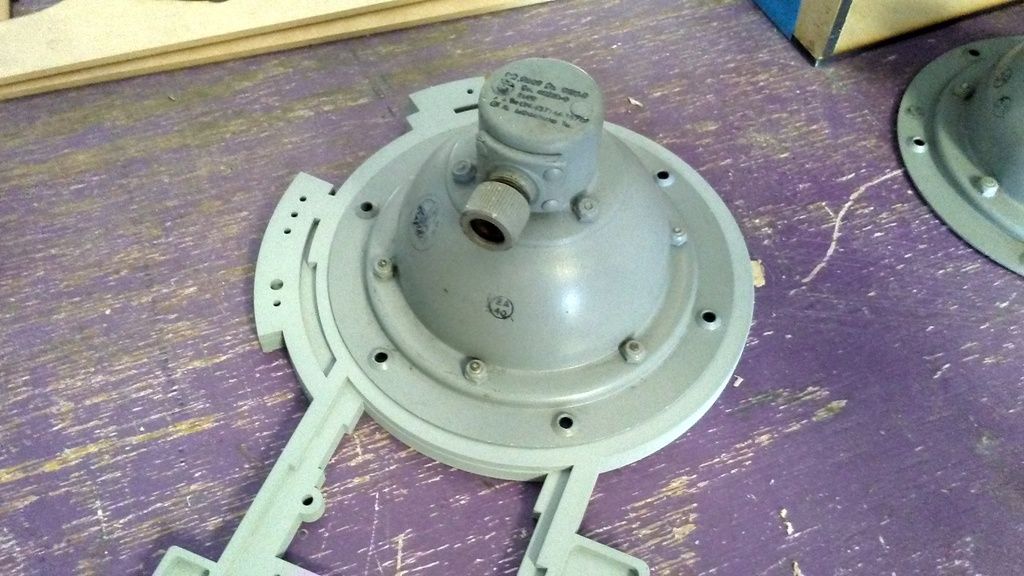
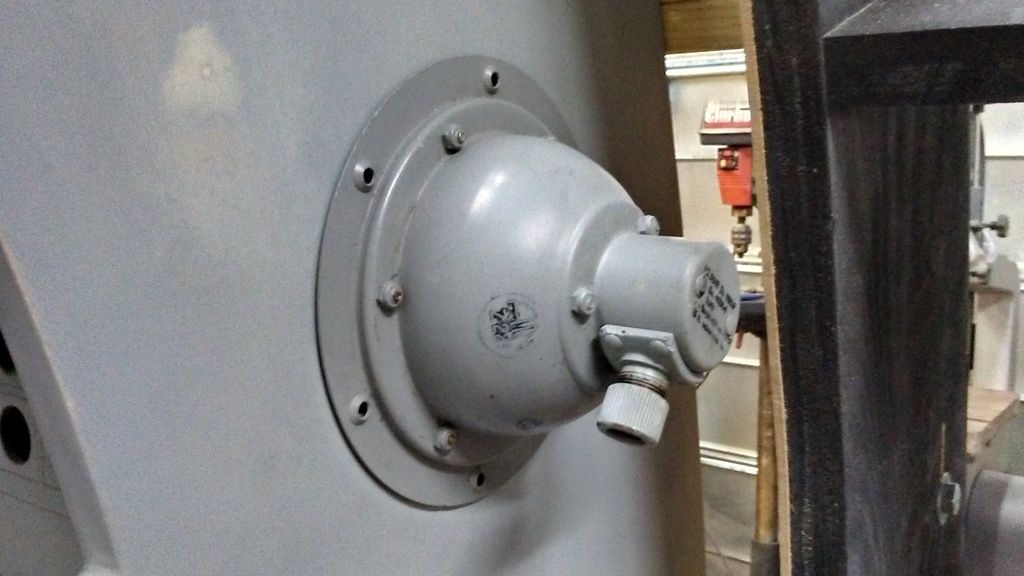
Now what about this little guy?
Daniel holding the new lower panel in place
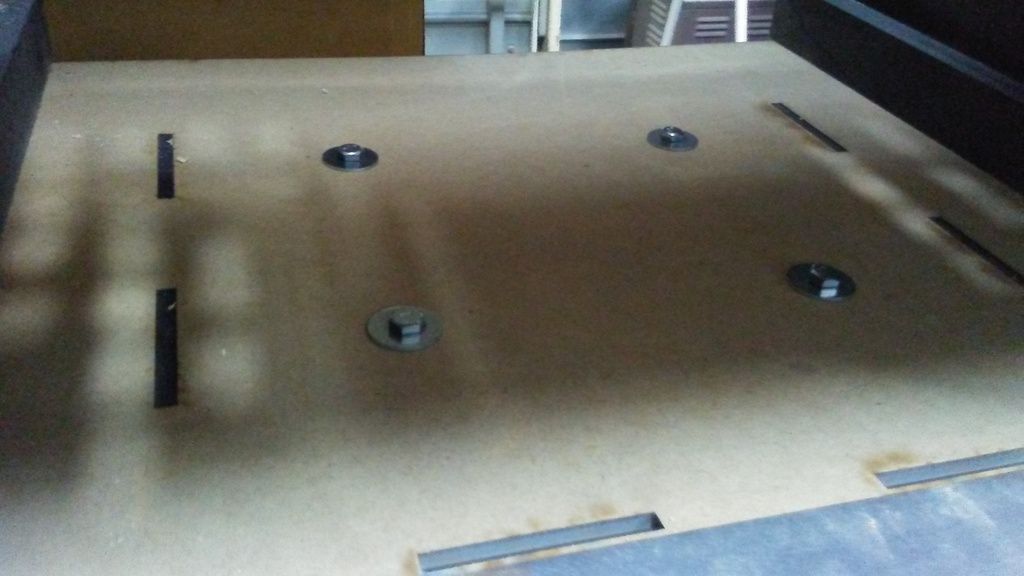
Time to get him mounted! Drilled the mounting holes
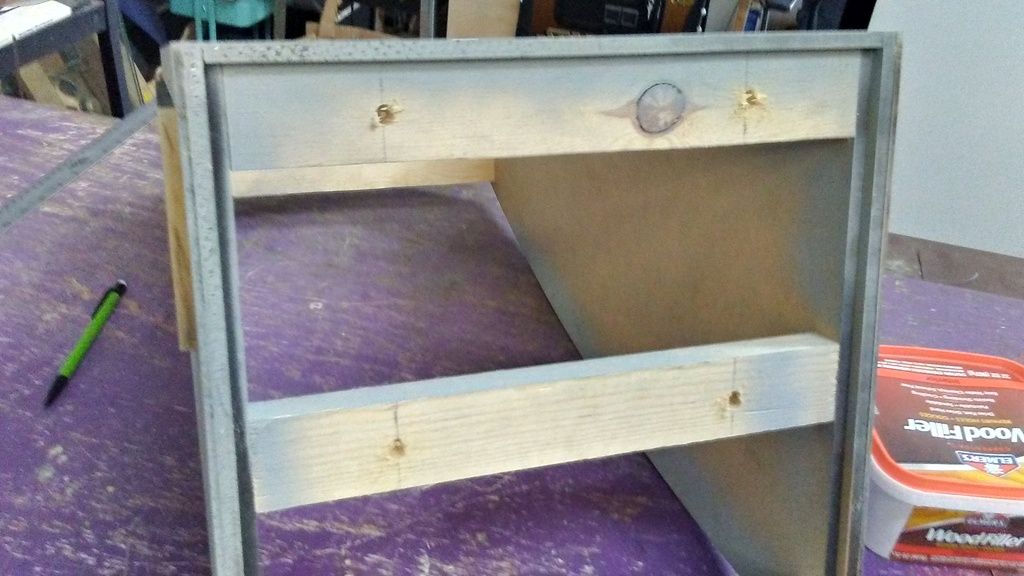
More holes
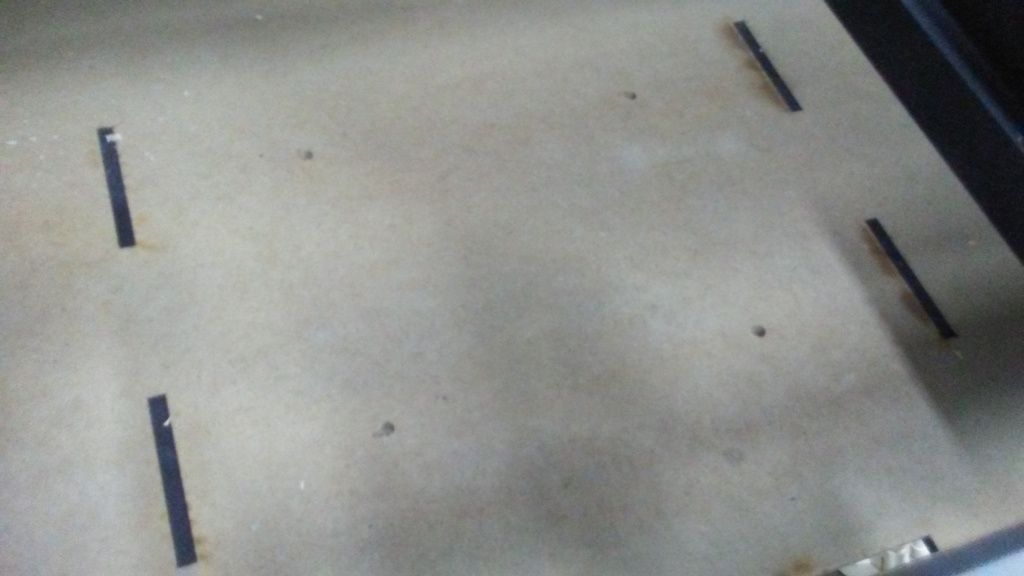
Bolts, Washers and "T" Nuts...
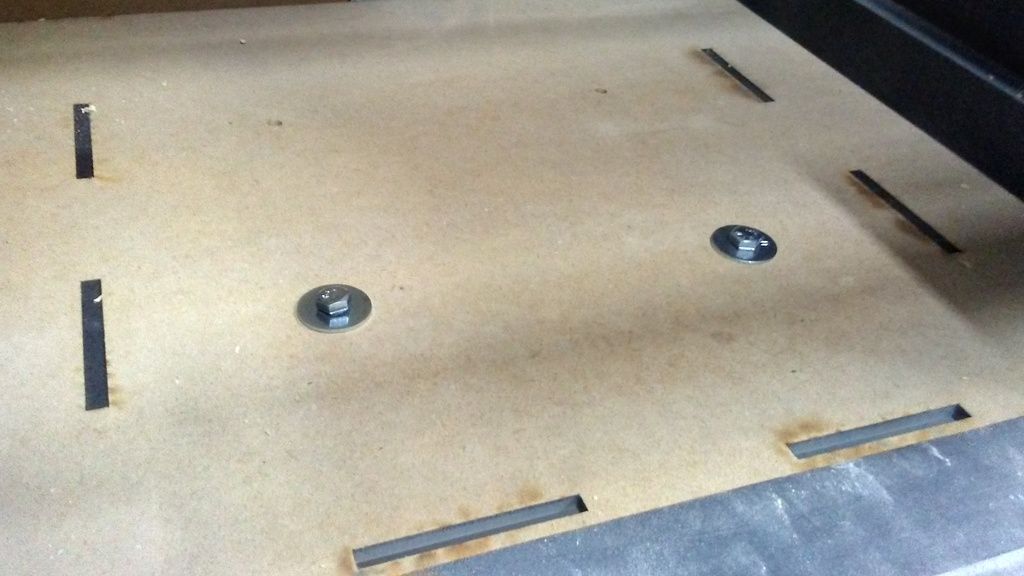
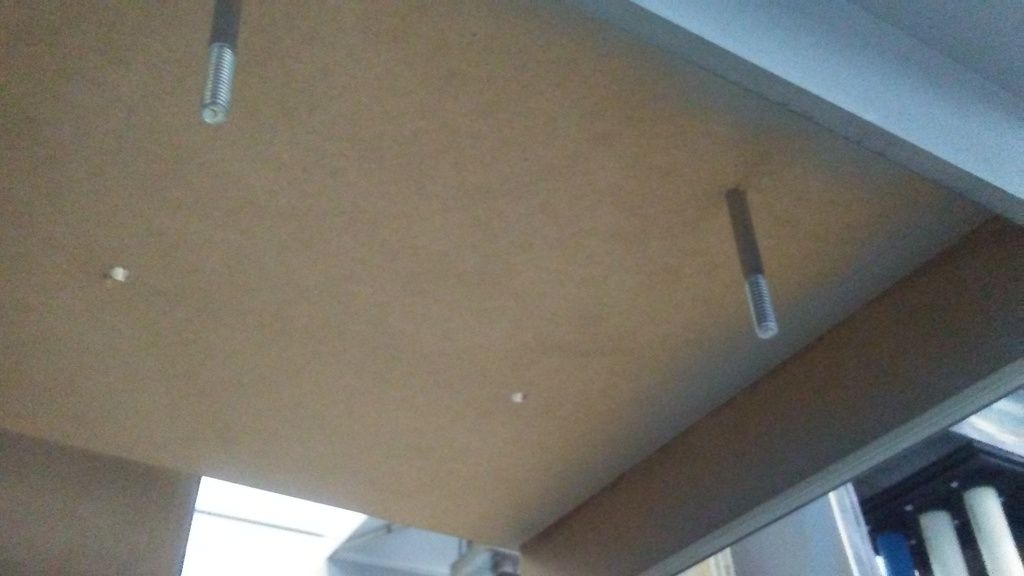
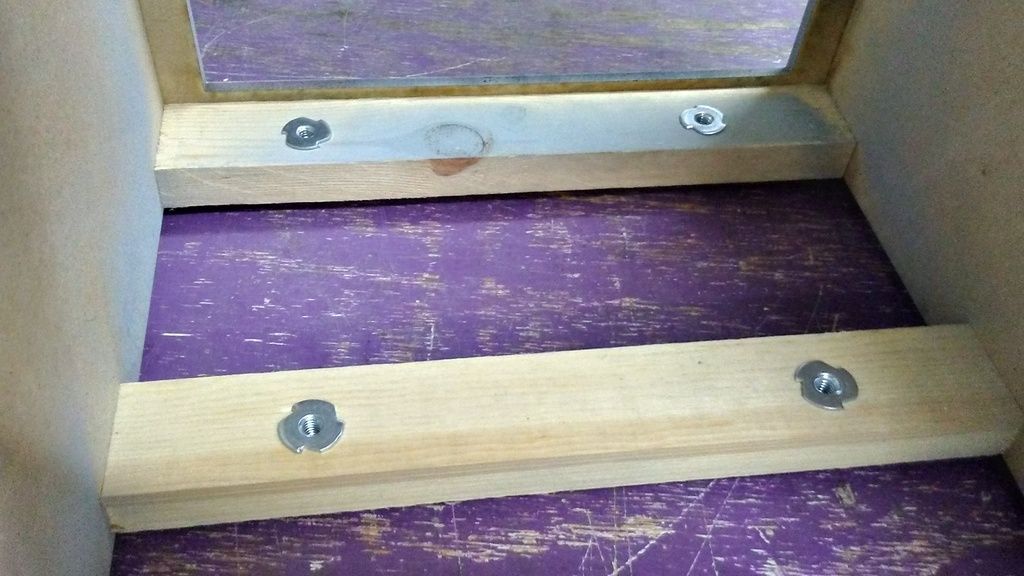
OH MY!
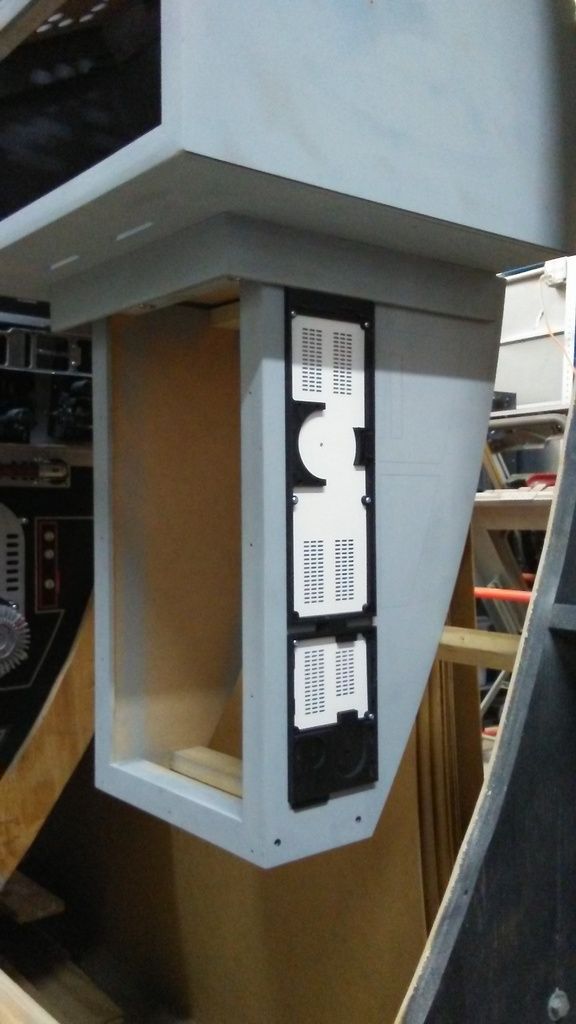
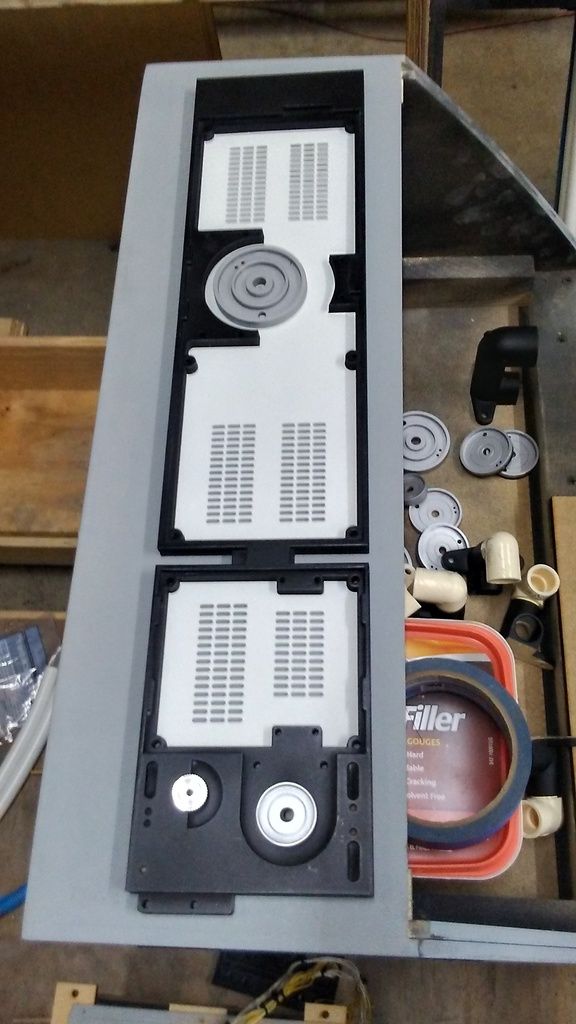
Another NEW panel. Looks like a microwave door!
New upper trim pieces
Primered! But why a new panel?
We now have a touch pad!
Mounted!
As cool as this looks I actually cut out the wrong parts so this whole panel has to be redone... again... :facepalm This is when I realized I was too tired
Not supposed to see the actual pad! WHOOPS
I dont know why these pics look so terrible!?
Remember these guys?
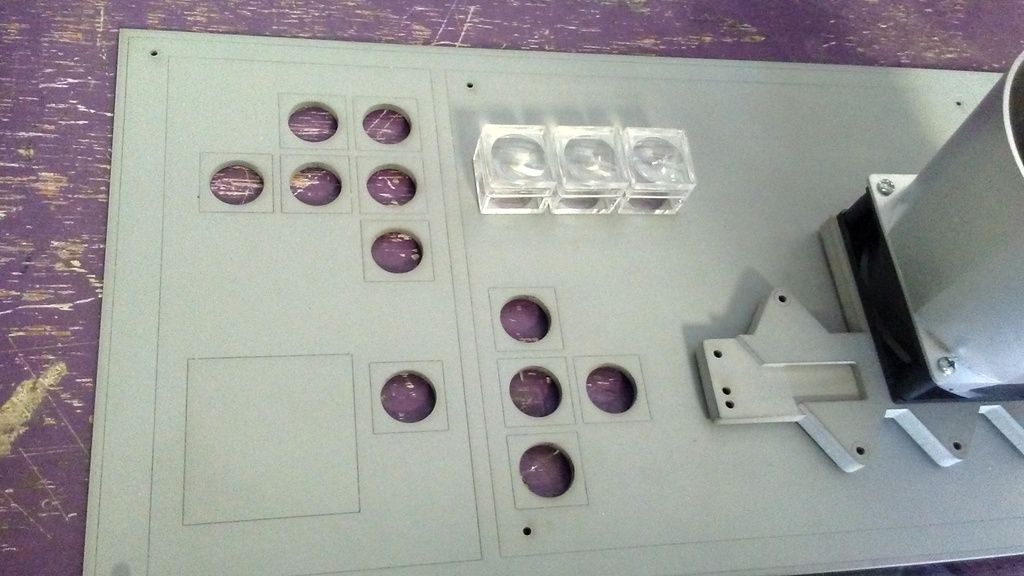
The original idea I had was to do this sort of configuration - keep it simple
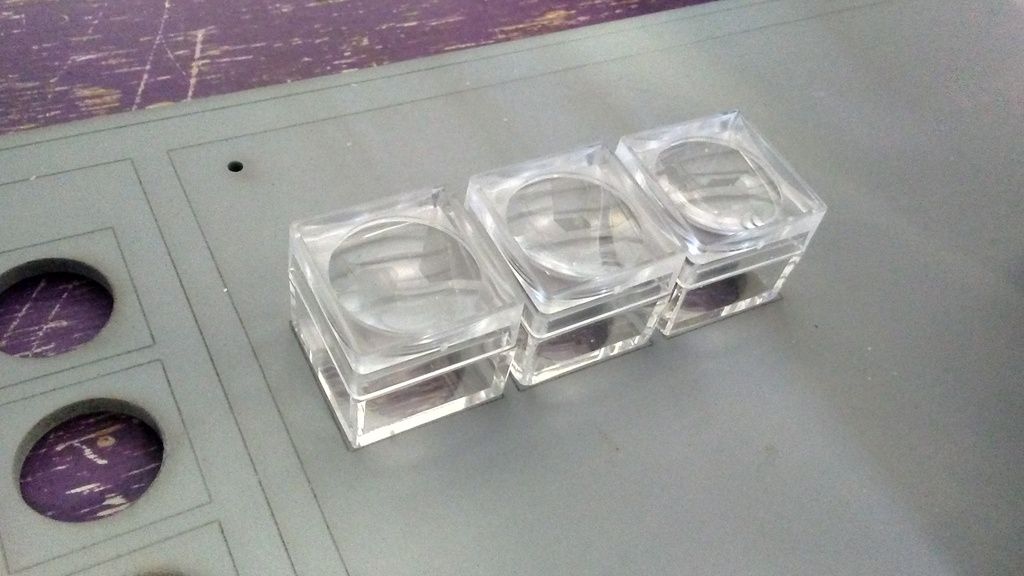
Or maybe up high?
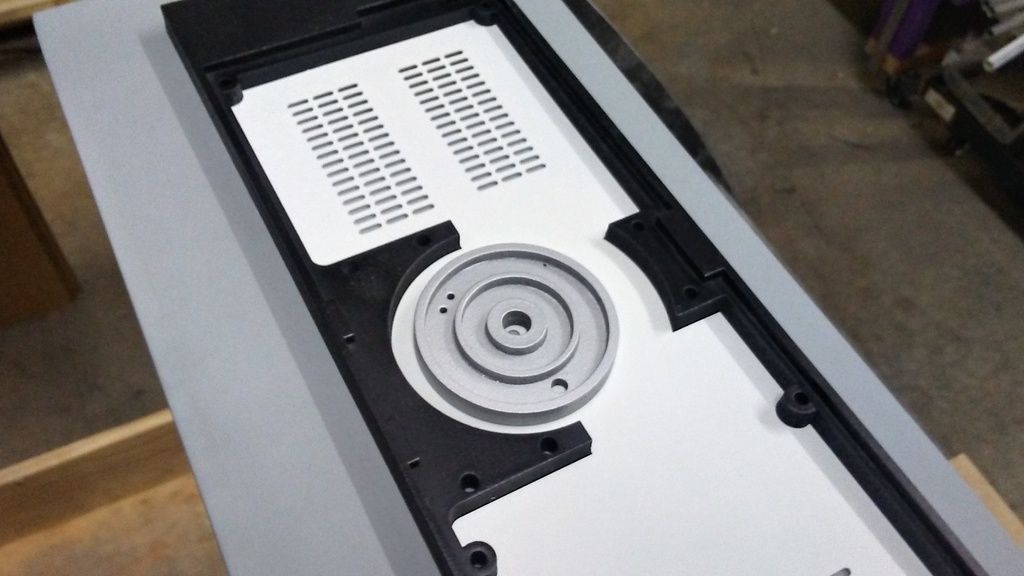
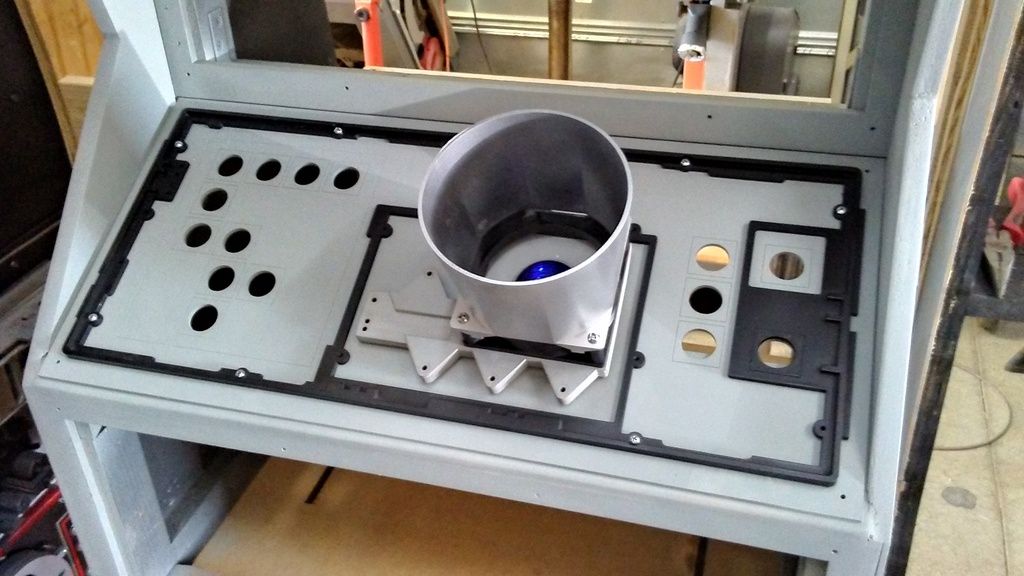
Finally, I went round and round with what to add to the interior of the lower panel. Then it dawned on me... A droid socket! So I started to design a new socket surround based on the Bespin hallway socket we see in ESB
This is JUST a rough mock up
I didn't get far enough to cut the actual socket but I played around with some ideas


Again! Lousy pics! Sorry, gang! The idea is to have two sockets inserted into the panel. I think it will work
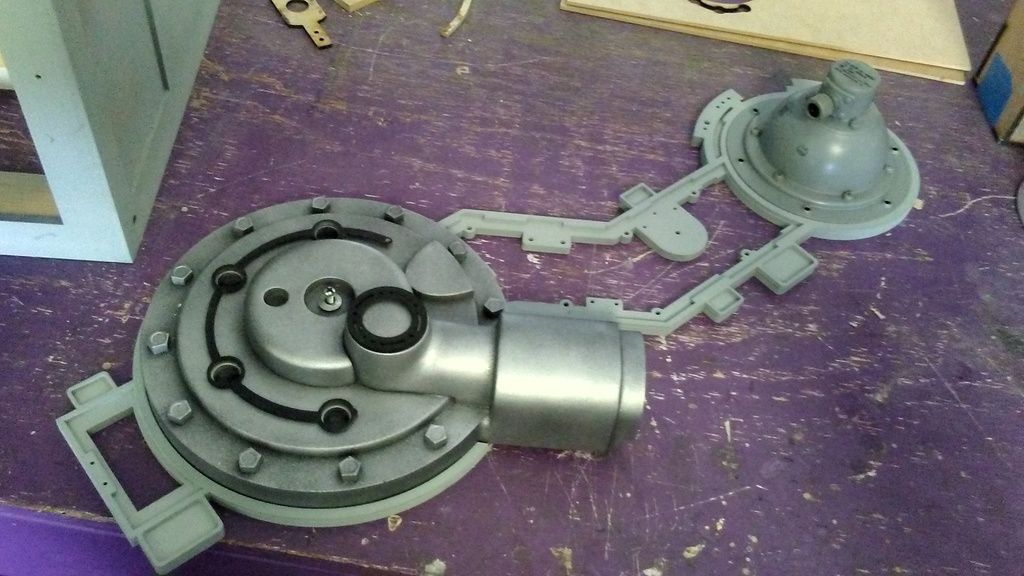
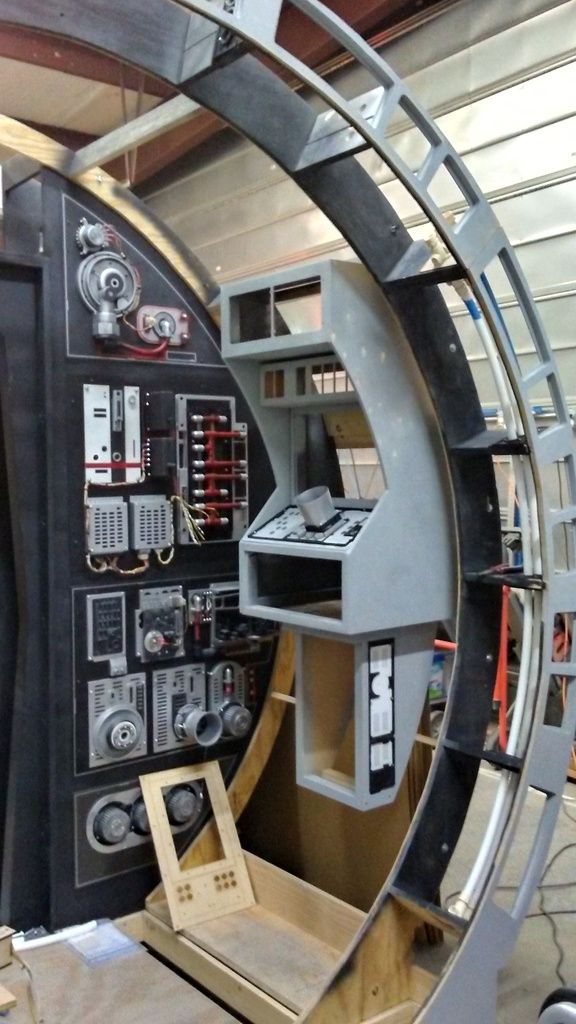
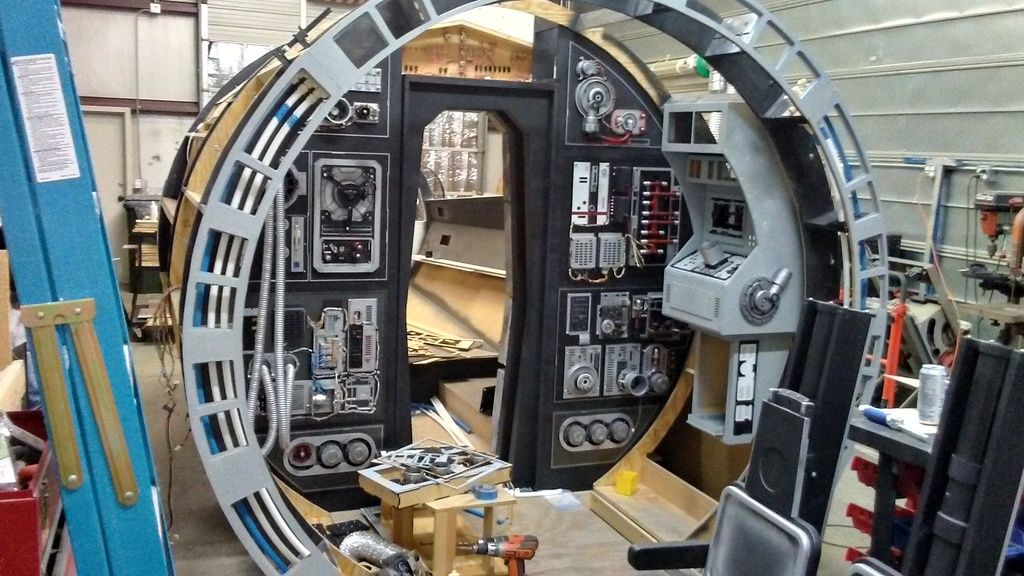
And this...
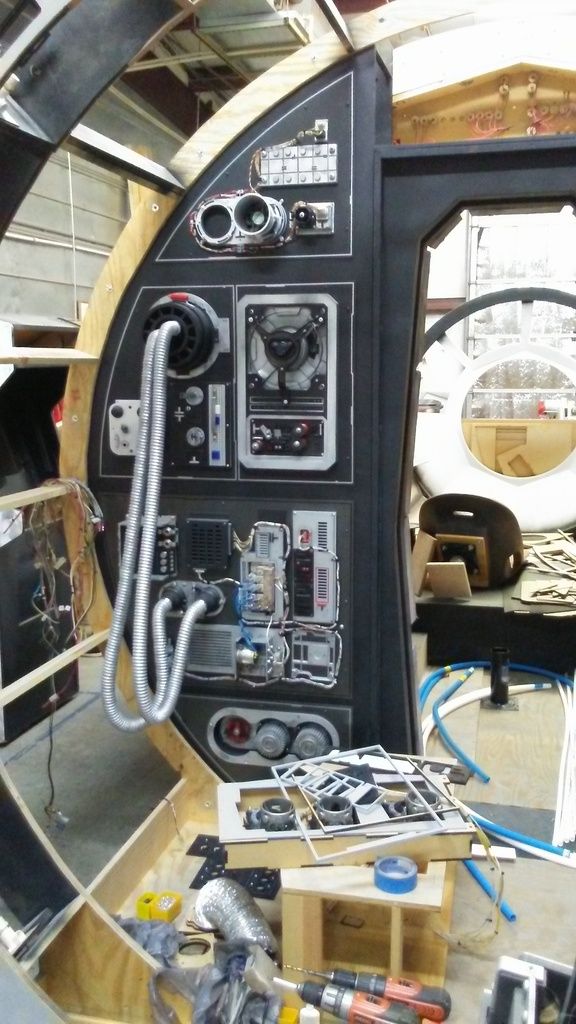
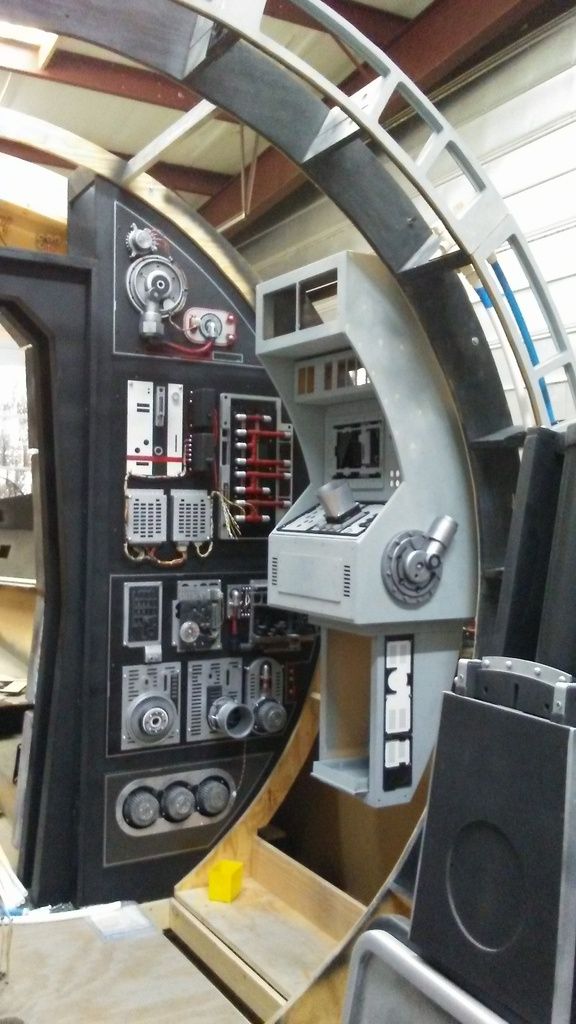
Is where we are!
A HUGE thank you to Grant, Daniel and Josh for their continued support and help over the weekend! Also, sorry for the bad photos. I just got a new phone and I'm REALLY surprised how bad the images are. I'll go back to older phone for pics.
More to Follow!
Time for the end of the weekend update! I lost a lot of steam near the end of Sunday - just too tired. Also spent a LOT of time sitting in front of the PC working out new designs for the new corridor panel. So... away we go!
As much as I liked this greeblie I decided to scrap it in place of a more simplistic approach tot he panel
Before I made the decision I mod'd it so the fuel greeblie would fit
I had the idea to include these greeblies as well
Another common greeblie throughout the SW universe are these little magnifying boxes! So, I picked up a few
They look so awesome!
Painted the interior screens white
It was time for a new direction... Again... As I mentioned, there was a lot of time spent at the PC
The new trim piece sitting on top of the old panel... need a new panel!
Details
Primer
Trim piece sitting on new panel
Paint!
Love it!
Not sure of the exact usage of these boxes just yet
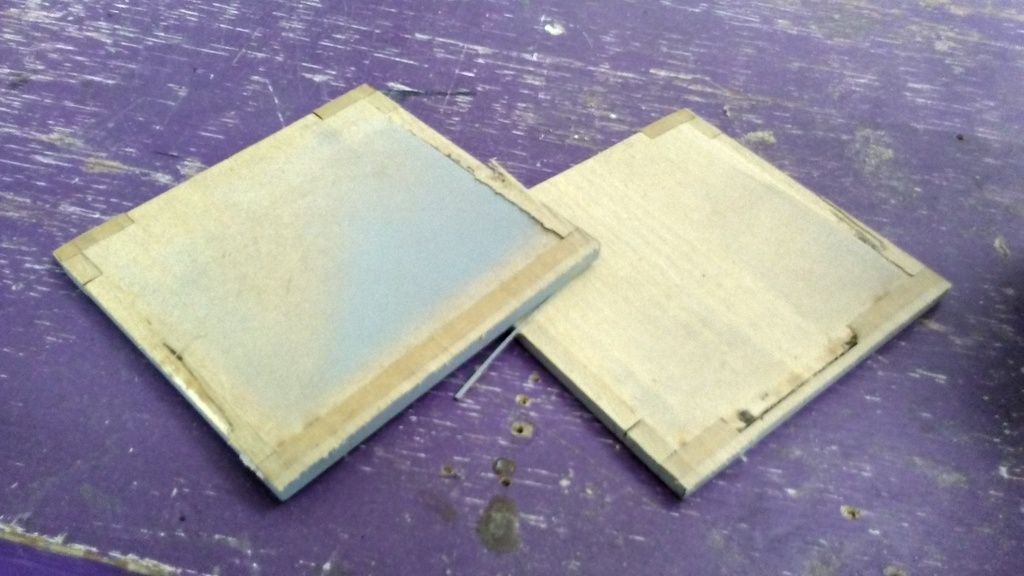
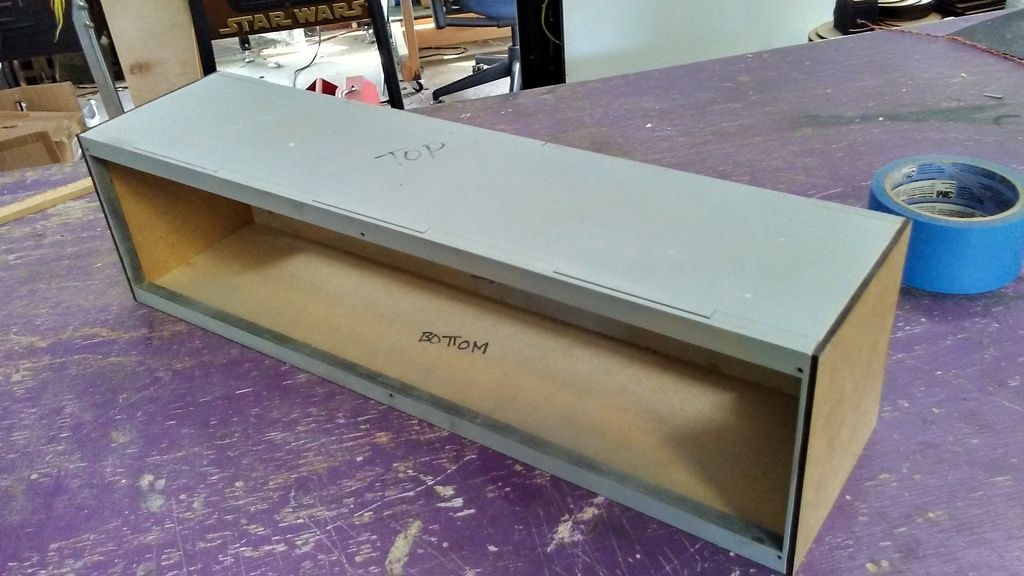
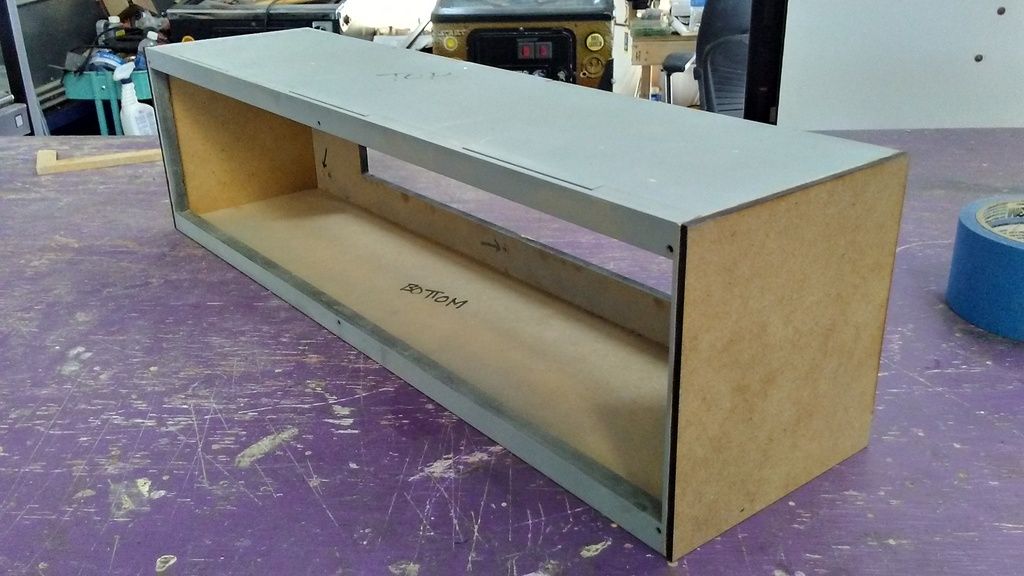
A new "team member", Grant, from Nashville stopped by to help out for a few hours. He got his hands dirty mod'ing the display box
Cut the edges off the boxes and added thinner 1/8" material to make room for a few improvements to the corridor panel
New trim pieces
This might look familiar!
Filler
Primer
I laser cut these pieces to fill in a space on the new corridor panel. Needless to say these filler pieces fought me and Grant the entire way!
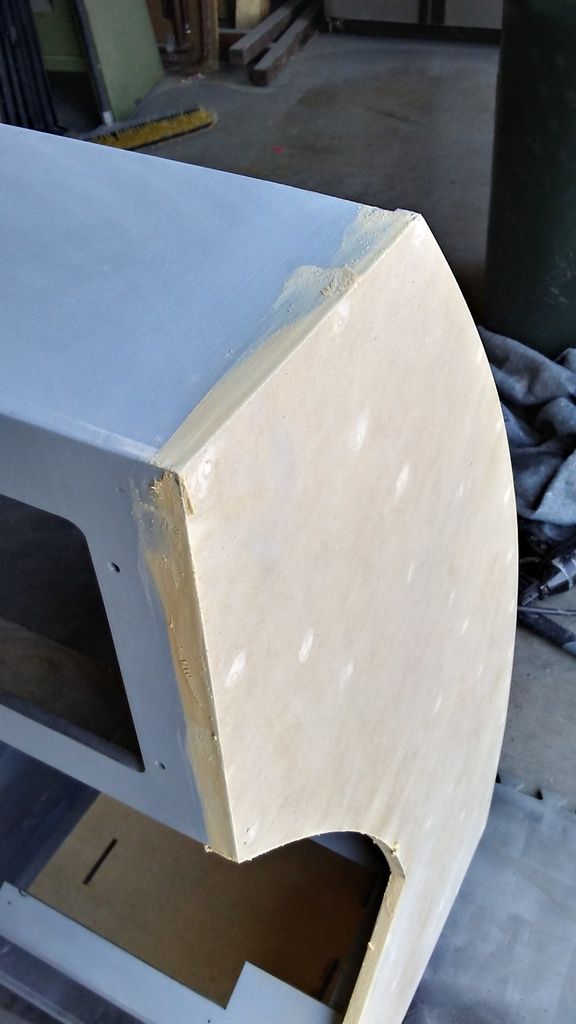
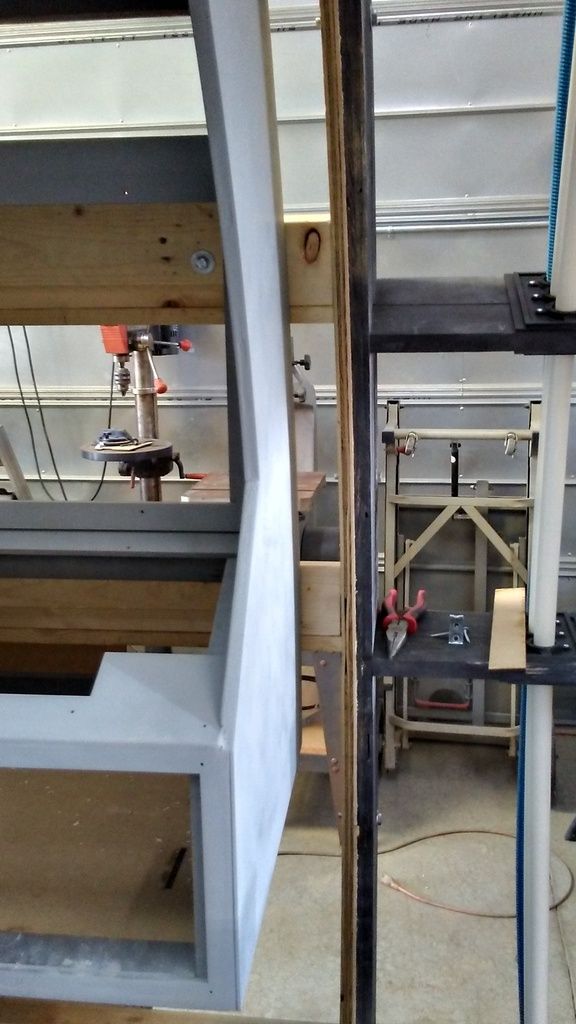
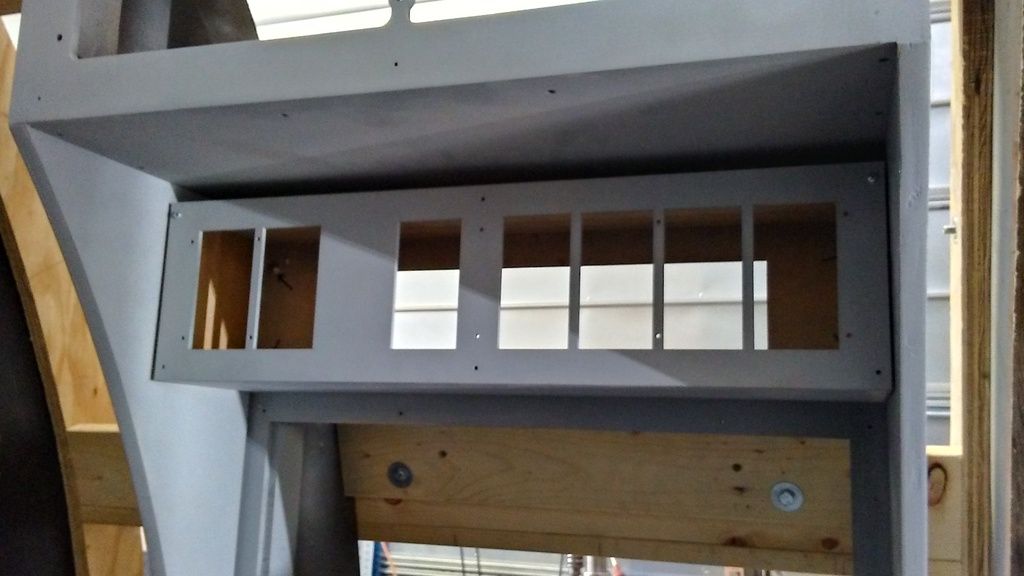
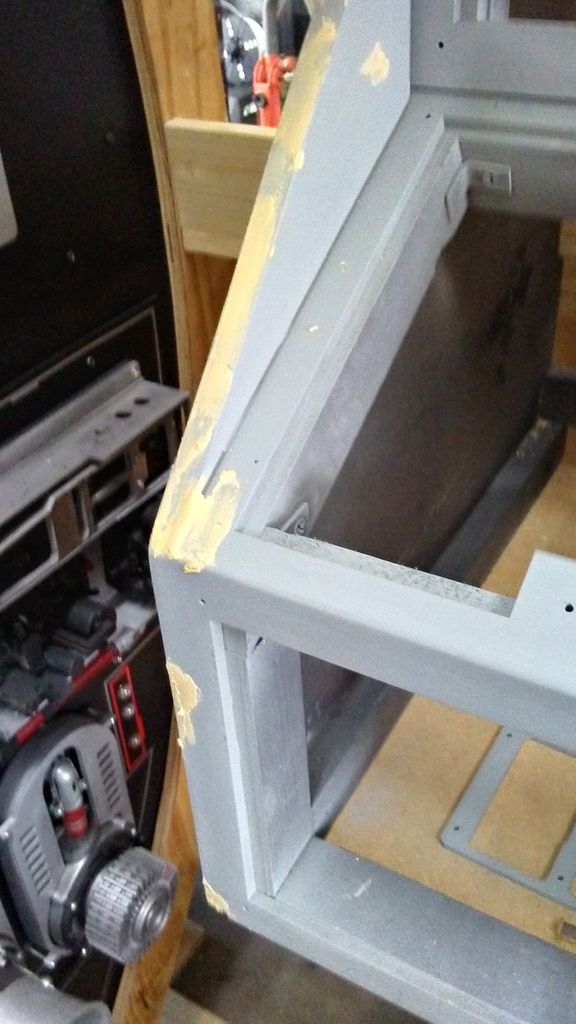
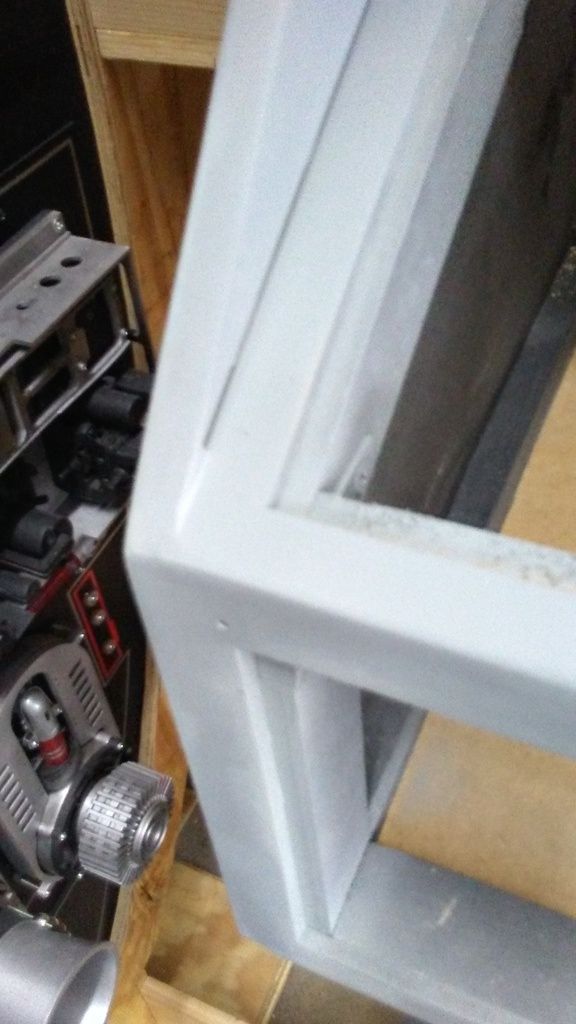
I laser cut a new side panel! The interior side matches the curve of the outer edge. I like this much better
After a good fight we finally got it nailed into position!
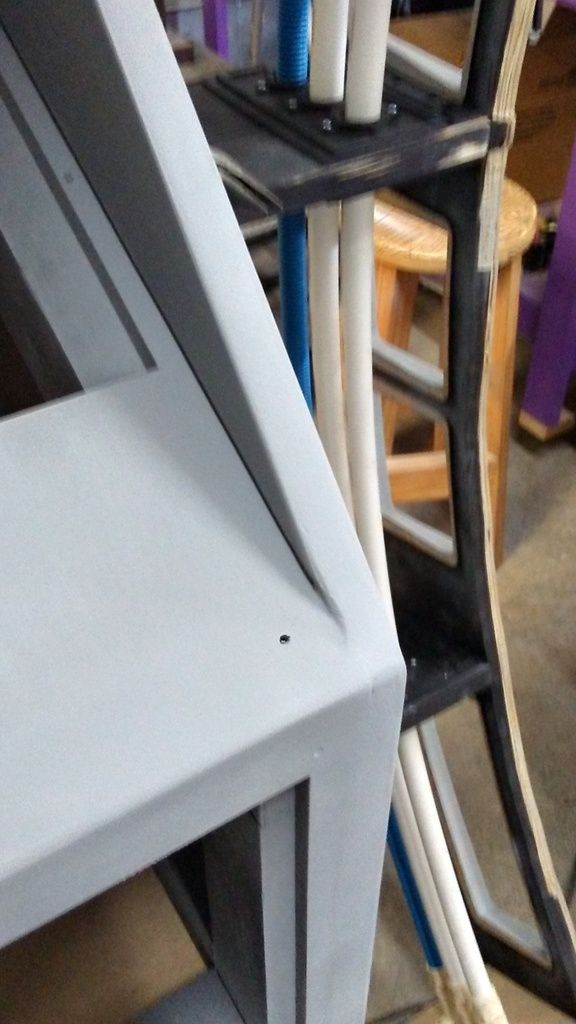
That curve makes all the difference in the world
Lots of brads means lots of sanding and filler and more sanding
Primer!
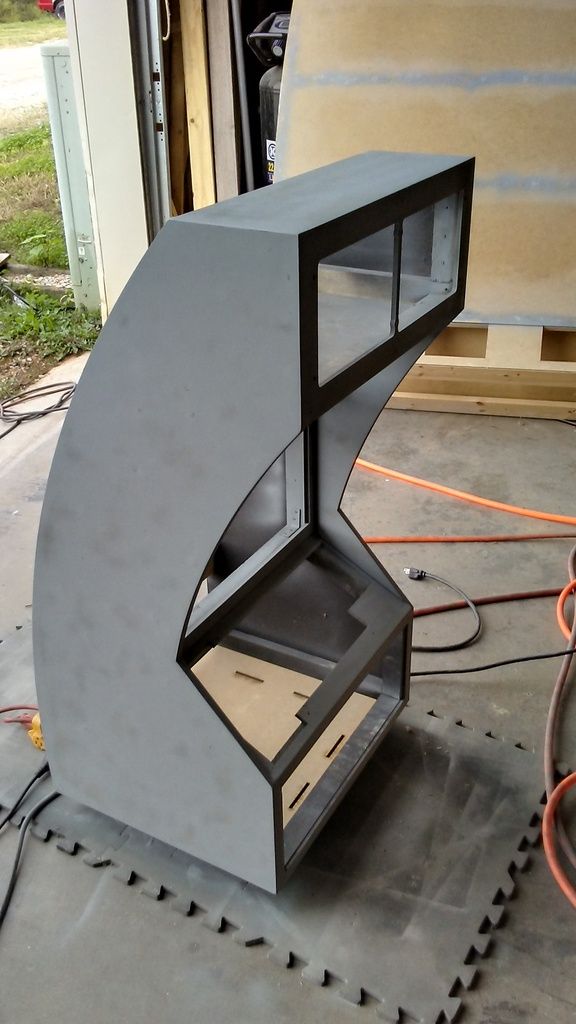
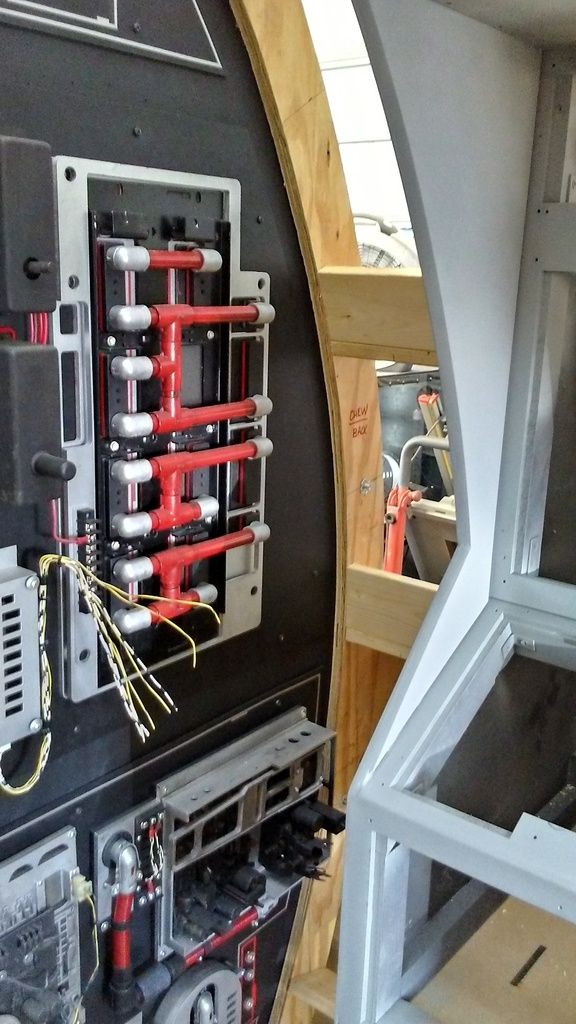
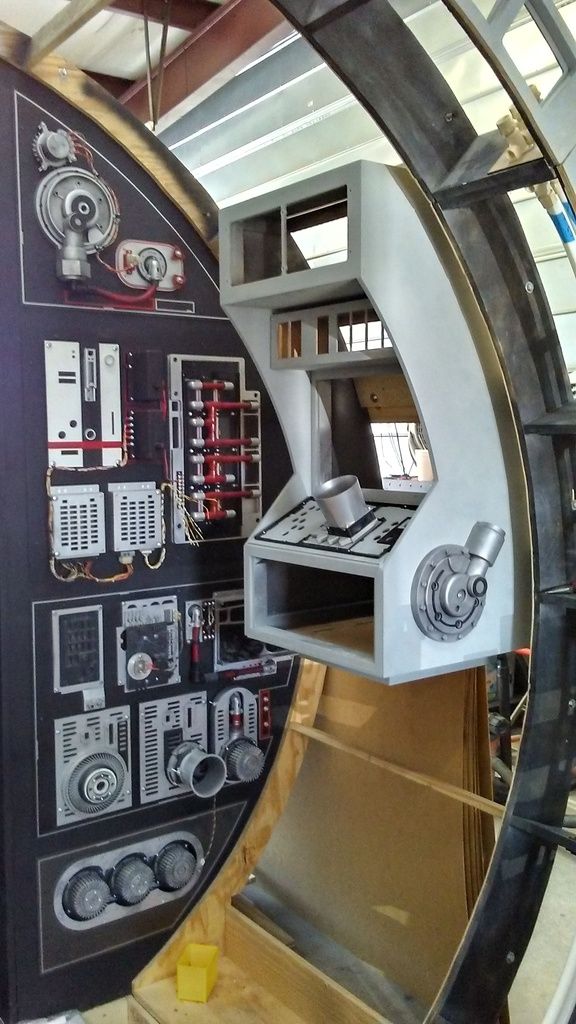
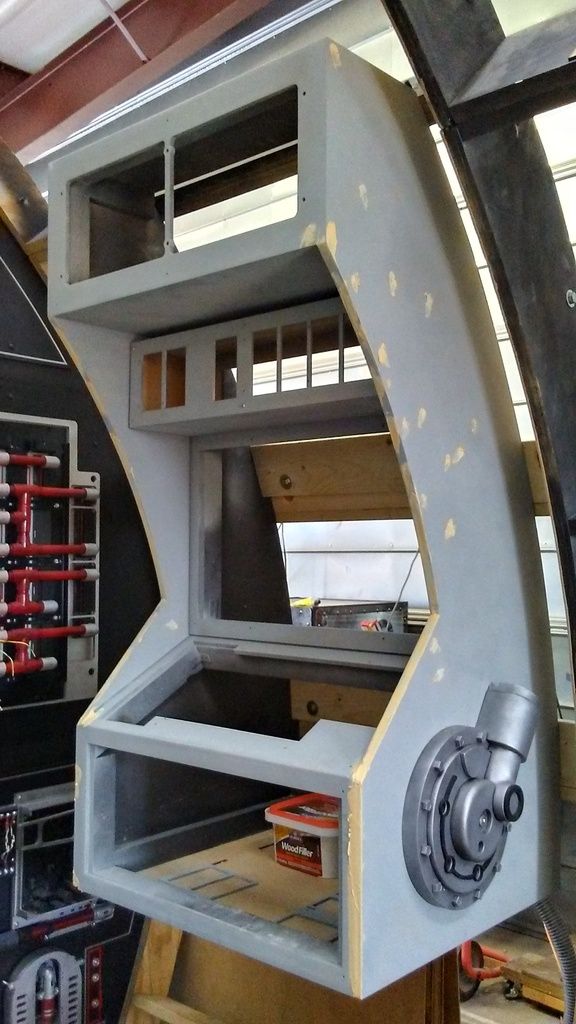
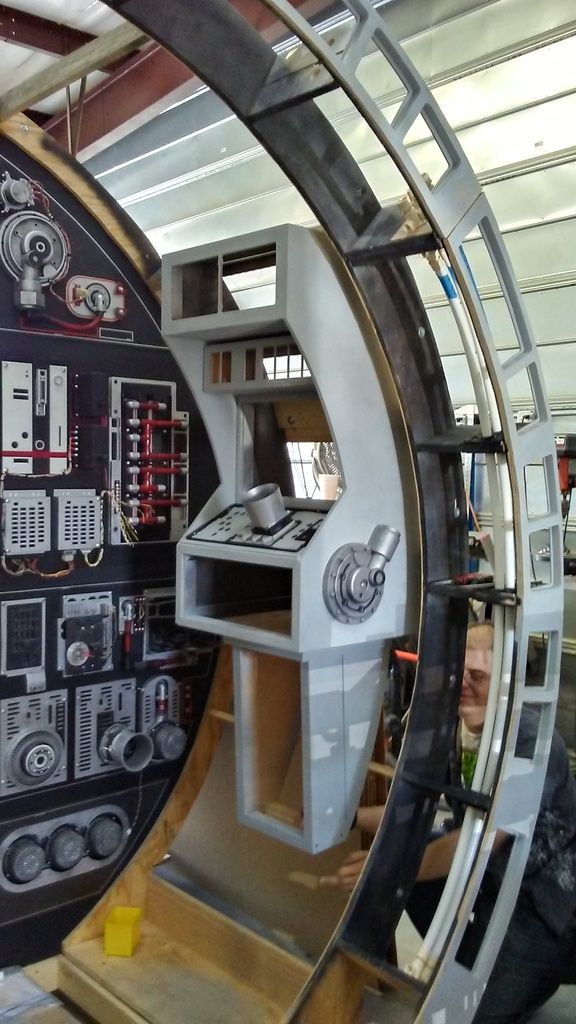
I then rehung the panel in its new position! Thanks to Daniel and Josh!
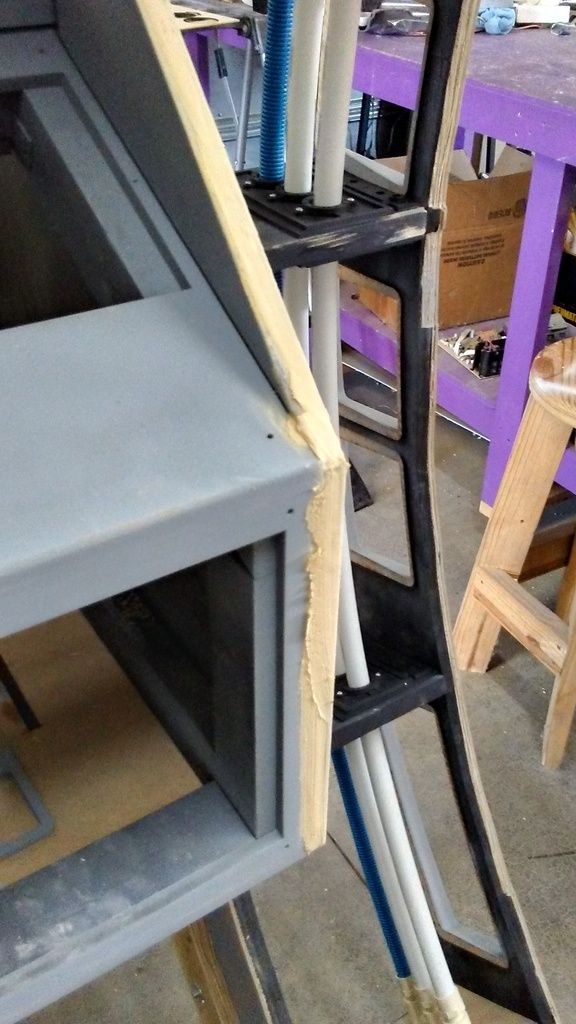
Nice gap between the panel and the corridor ring
Lots of space and access to the greeblies
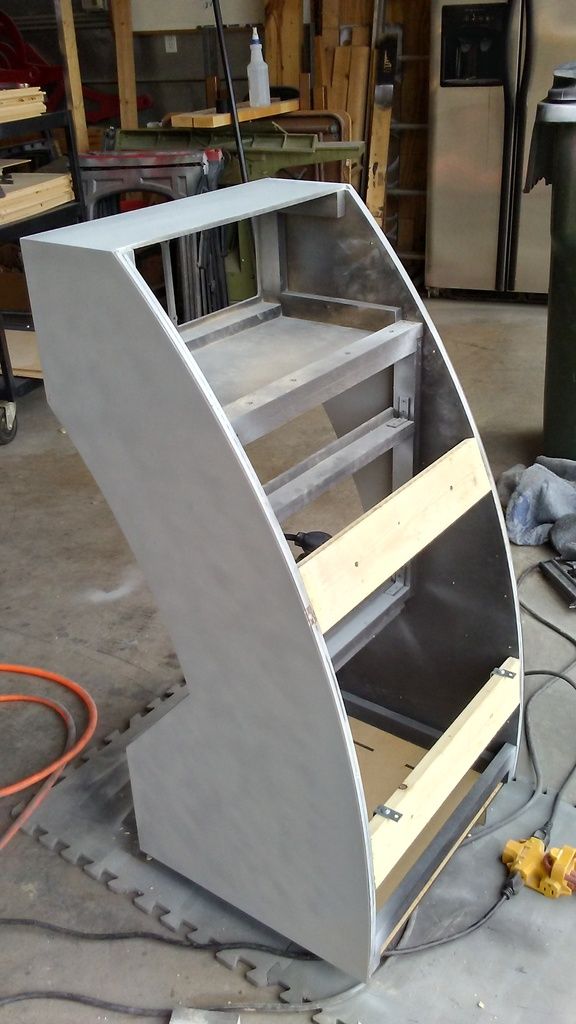
Backside
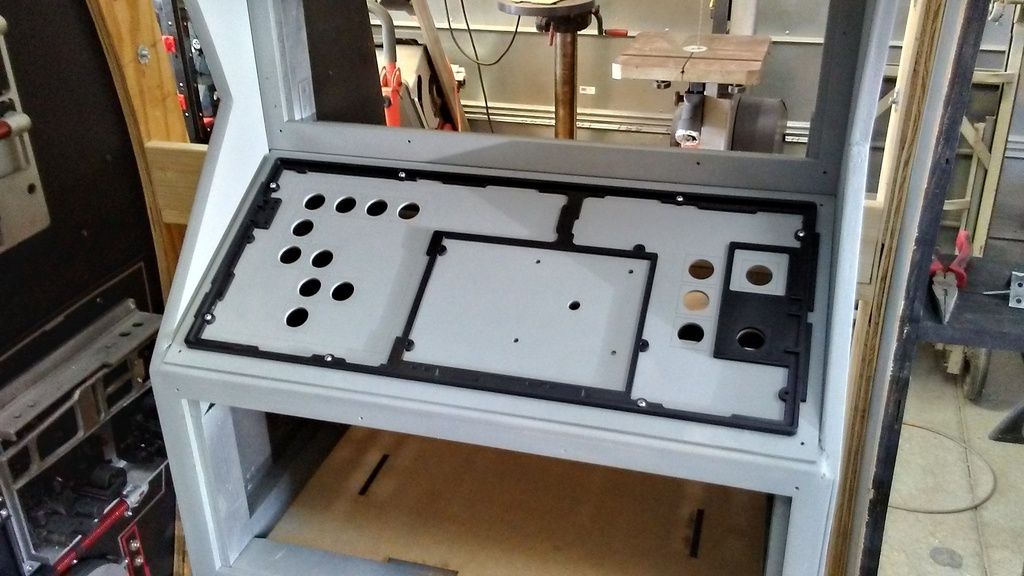
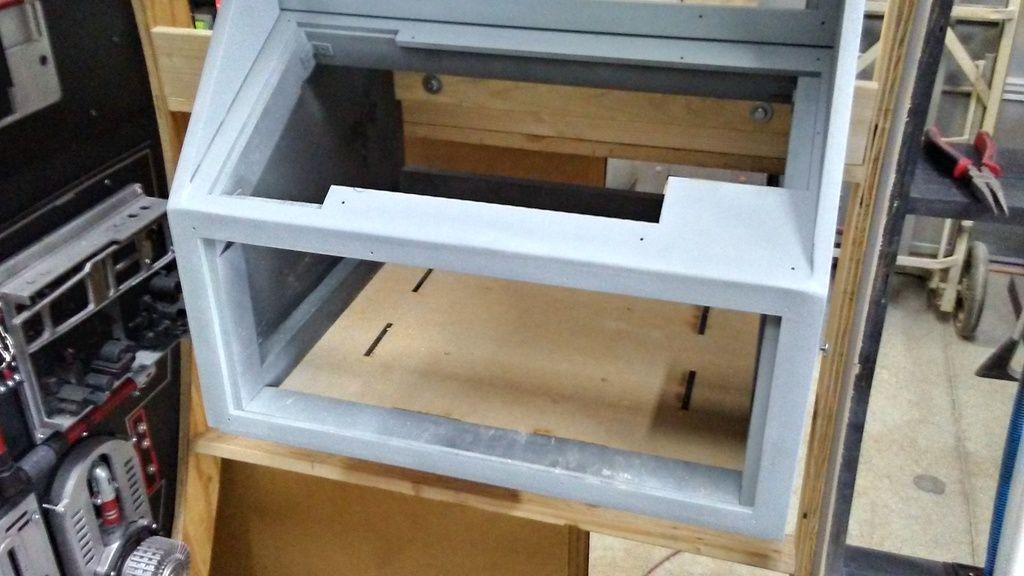
I then put the new panel in place
YUCK! Lots of clean up and sanding still to do
Straight on view
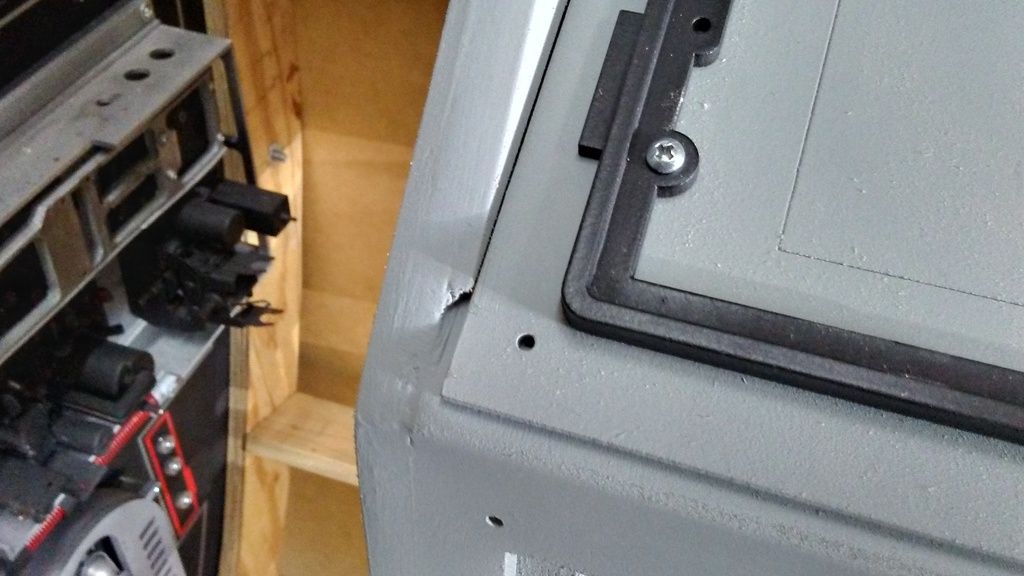
Dry fitting
Fits nice and snug
I think the fuel greeblie looks much better without the surrounding greeblies
Time for more filler
After sanding
A little bit better
Now what about this little guy?
Daniel holding the new lower panel in place
Time to get him mounted! Drilled the mounting holes
More holes
Bolts, Washers and "T" Nuts...
OH MY!
Another NEW panel. Looks like a microwave door!
New upper trim pieces
Primered! But why a new panel?
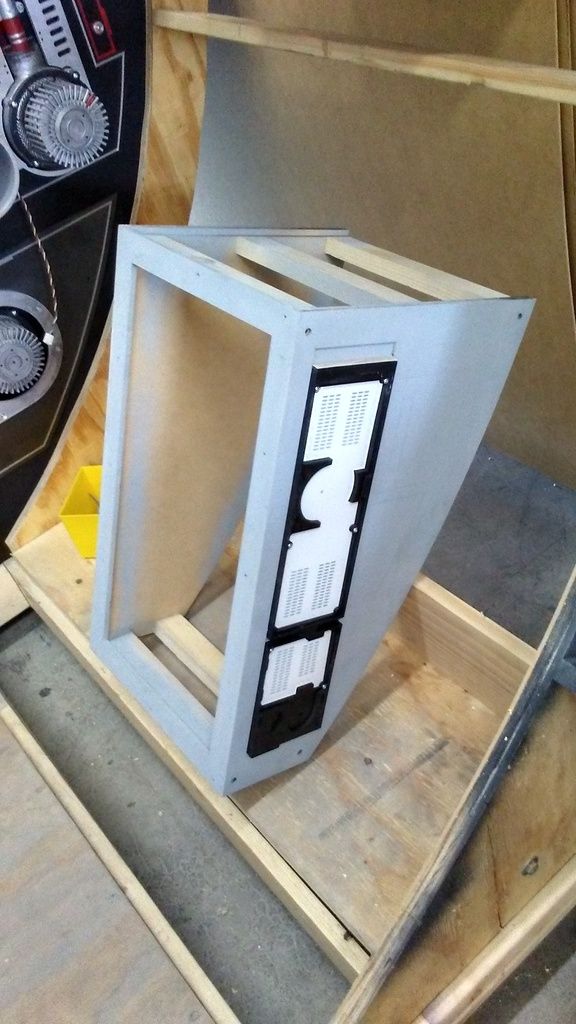
We now have a touch pad!
Mounted!
As cool as this looks I actually cut out the wrong parts so this whole panel has to be redone... again... :facepalm This is when I realized I was too tired
Not supposed to see the actual pad! WHOOPS
I dont know why these pics look so terrible!?
Remember these guys?
The original idea I had was to do this sort of configuration - keep it simple
Or maybe up high?
Finally, I went round and round with what to add to the interior of the lower panel. Then it dawned on me... A droid socket! So I started to design a new socket surround based on the Bespin hallway socket we see in ESB
This is JUST a rough mock up
I didn't get far enough to cut the actual socket but I played around with some ideas
Again! Lousy pics! Sorry, gang! The idea is to have two sockets inserted into the panel. I think it will work
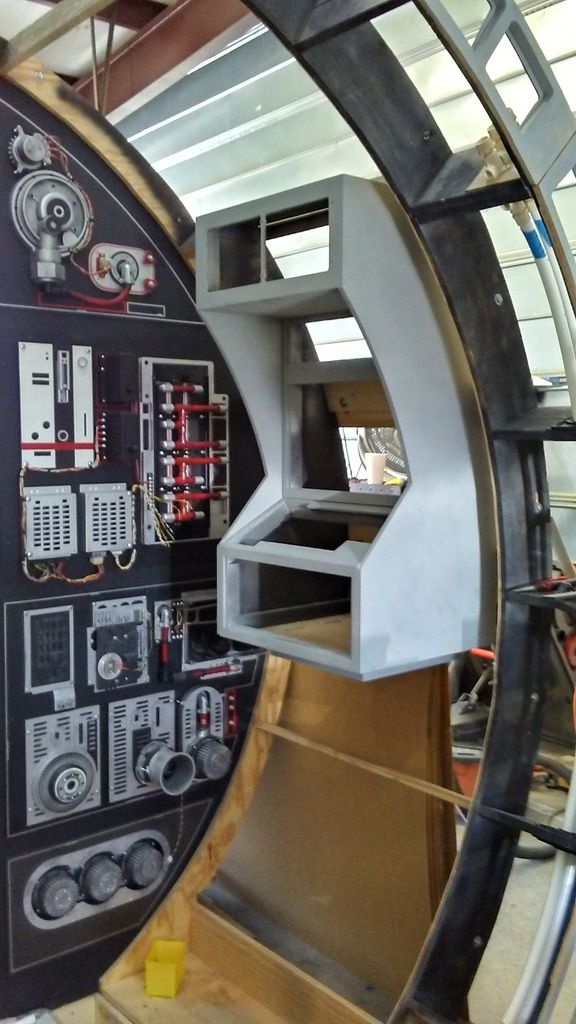
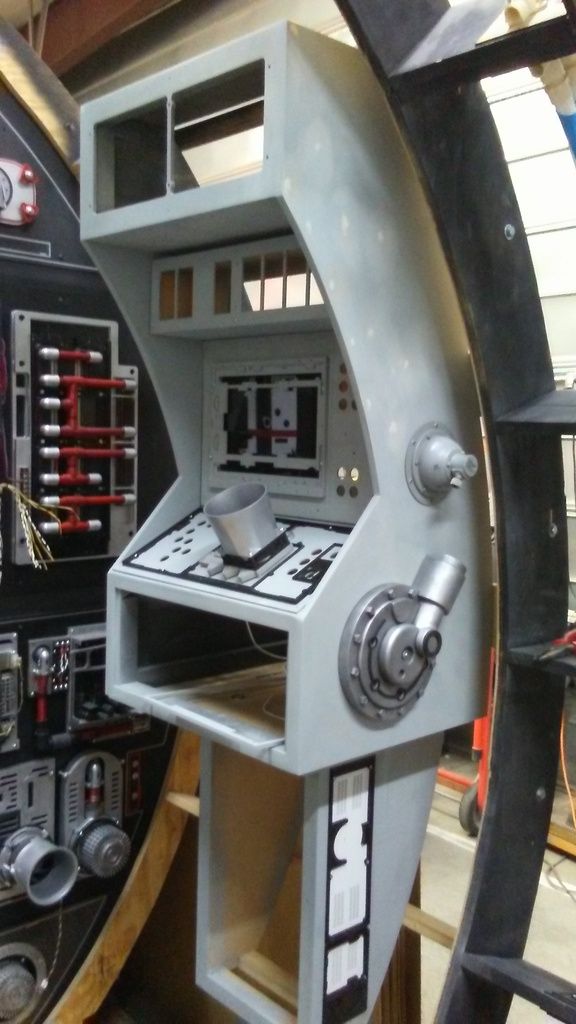
And this...
Is where we are!
A HUGE thank you to Grant, Daniel and Josh for their continued support and help over the weekend! Also, sorry for the bad photos. I just got a new phone and I'm REALLY surprised how bad the images are. I'll go back to older phone for pics.
More to Follow!
Last edited:
