Hi Gang,
Time for the "End of the Weekend" update! It was a beautiful weekend! Low humidity and low temps, I took total advantage.
")
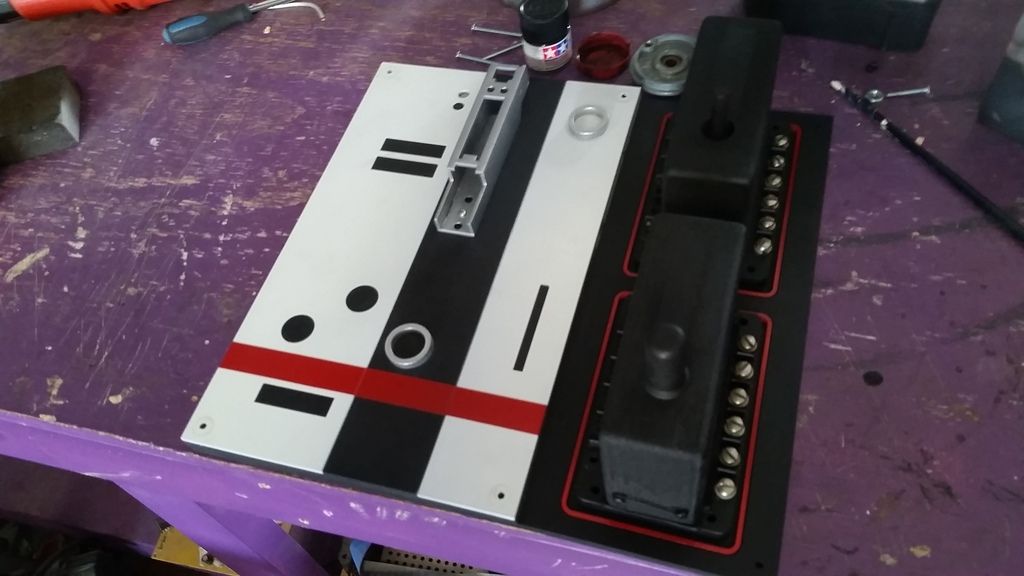
As you all can tell I've been redesigning some of the cockpit entrance greeblies. Some simple mods all the way to a complete redesign. I carried that inspiration into the weekend. Enjoy!
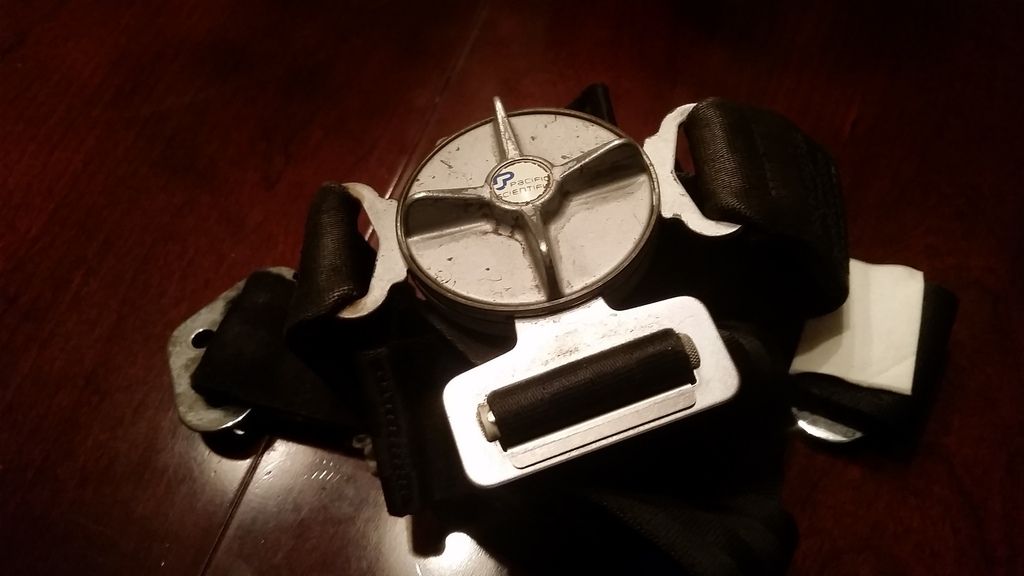
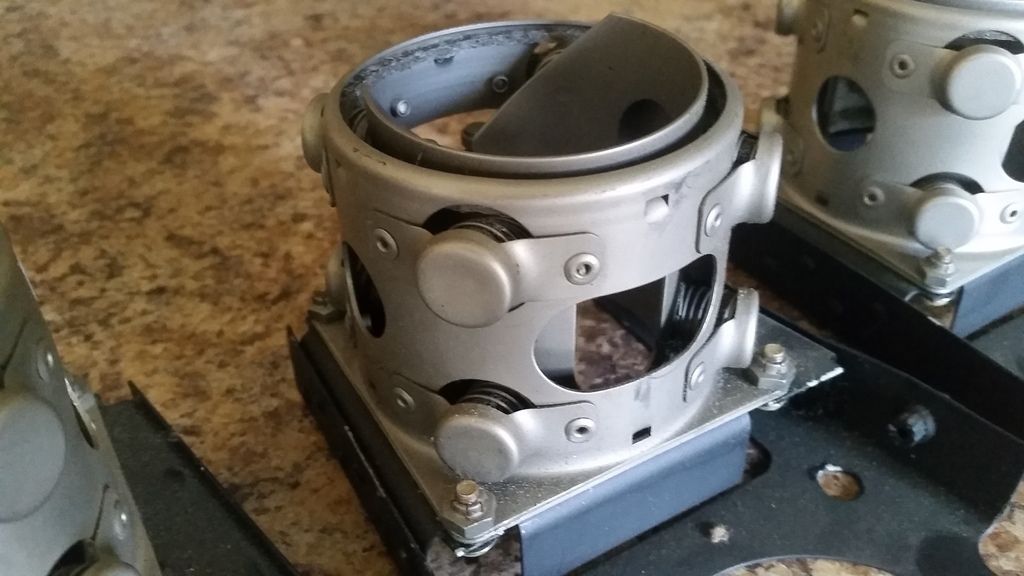
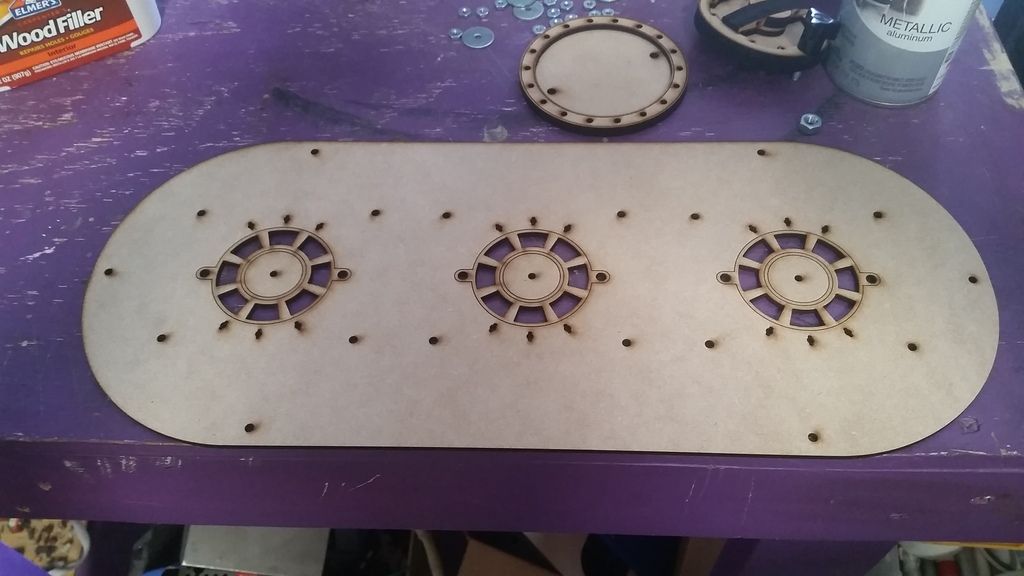
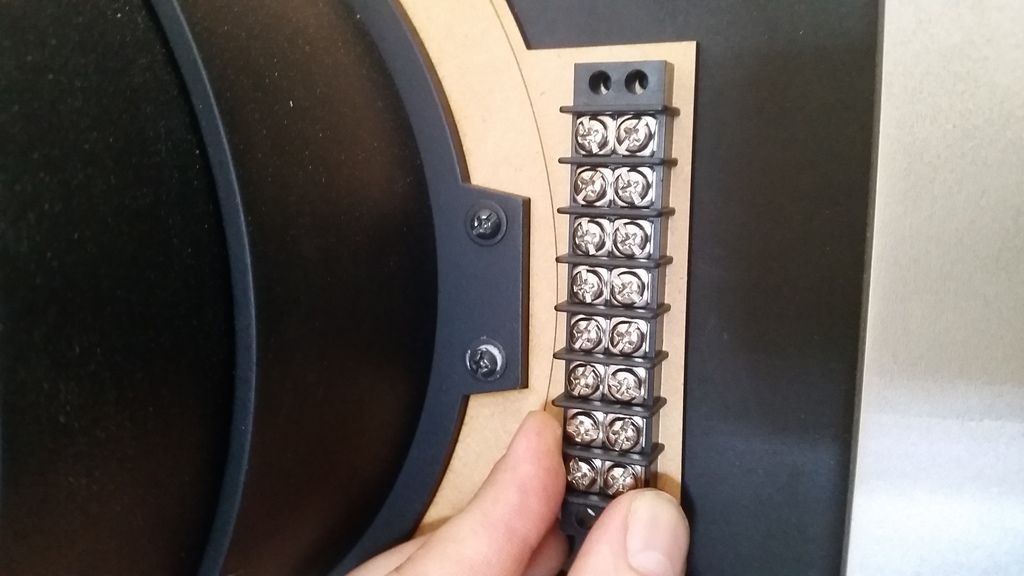
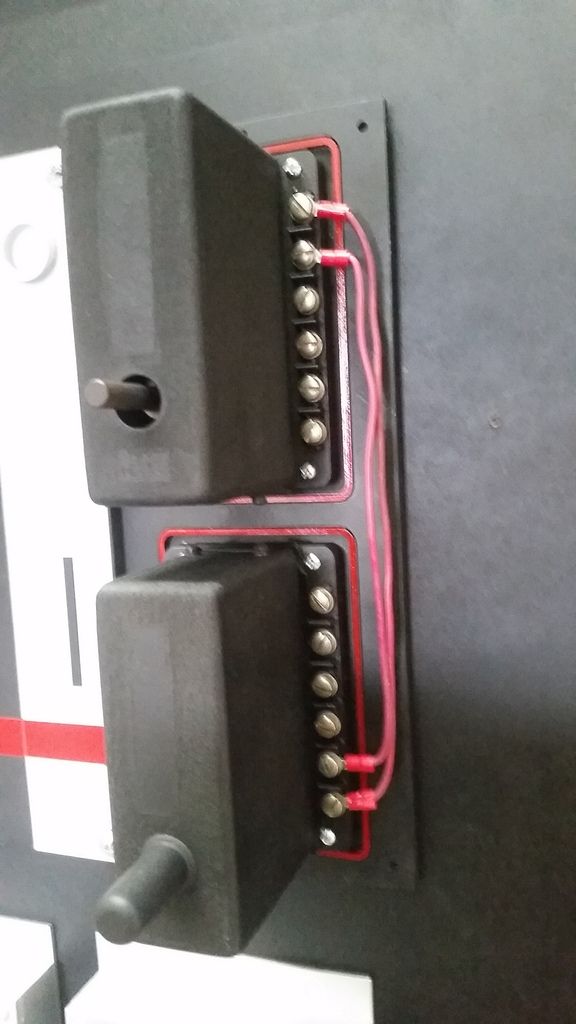
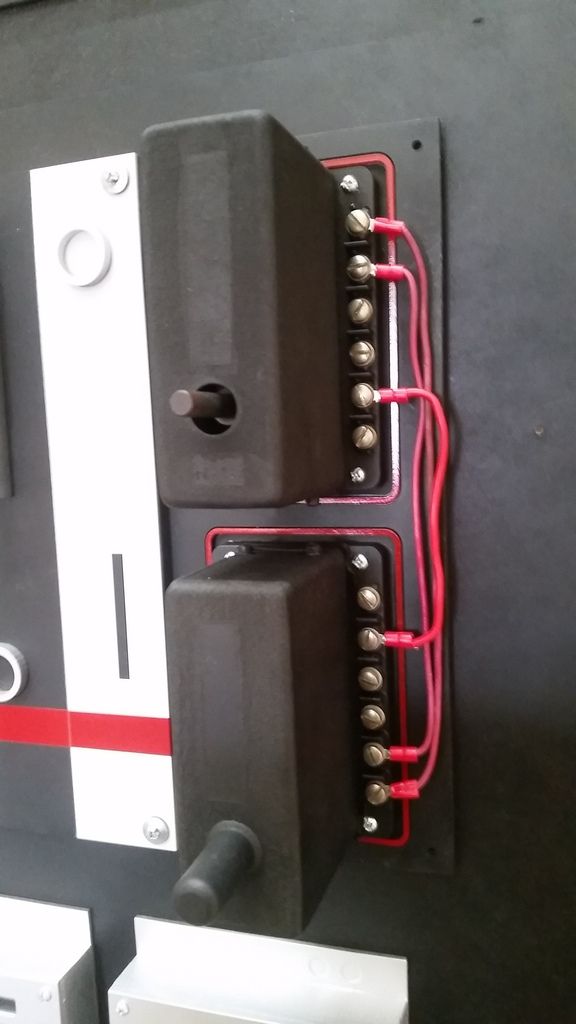
I had some idea for the coil packs. I wanted to show an exposed connector. So the designing and laser cutting began
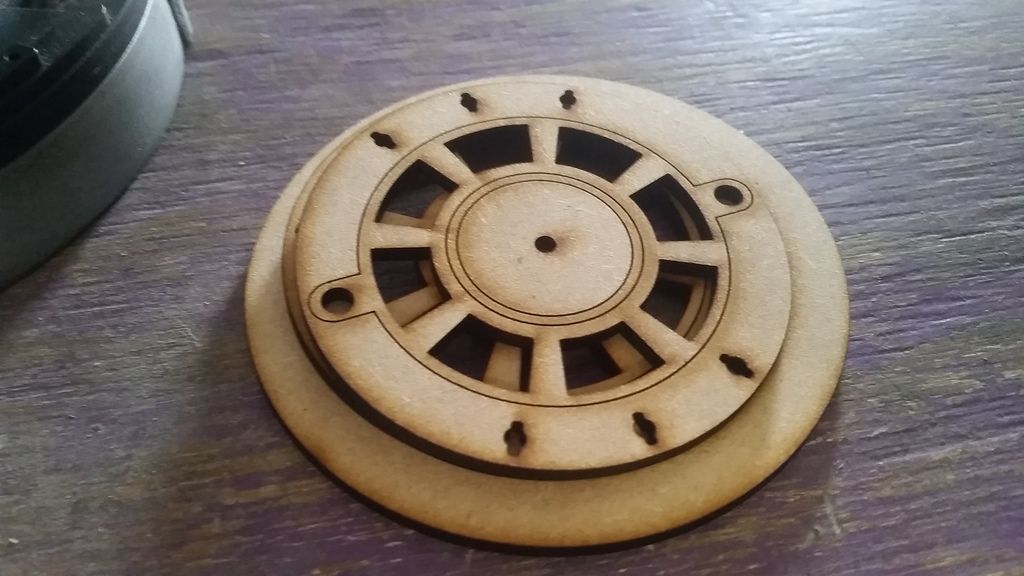
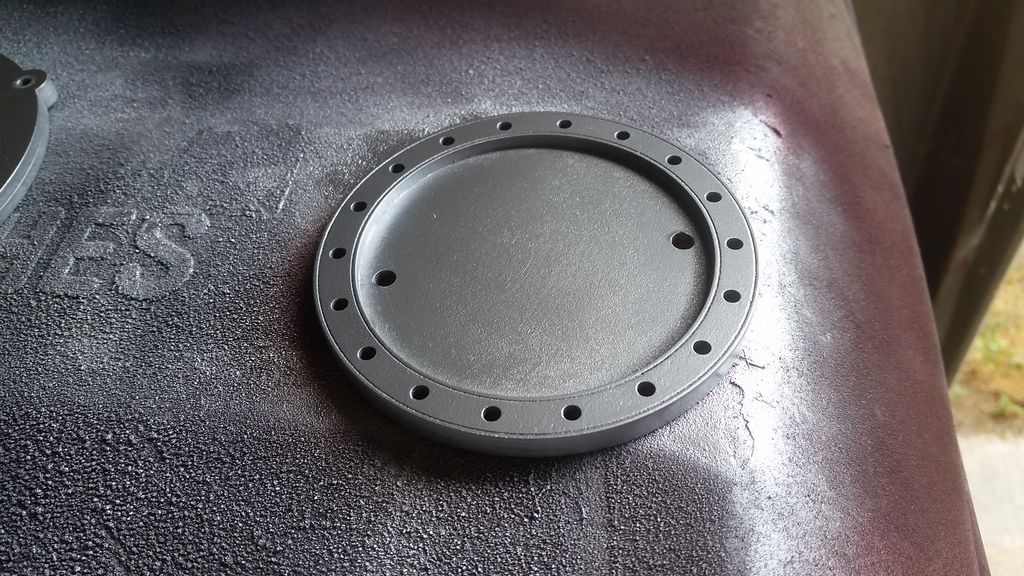
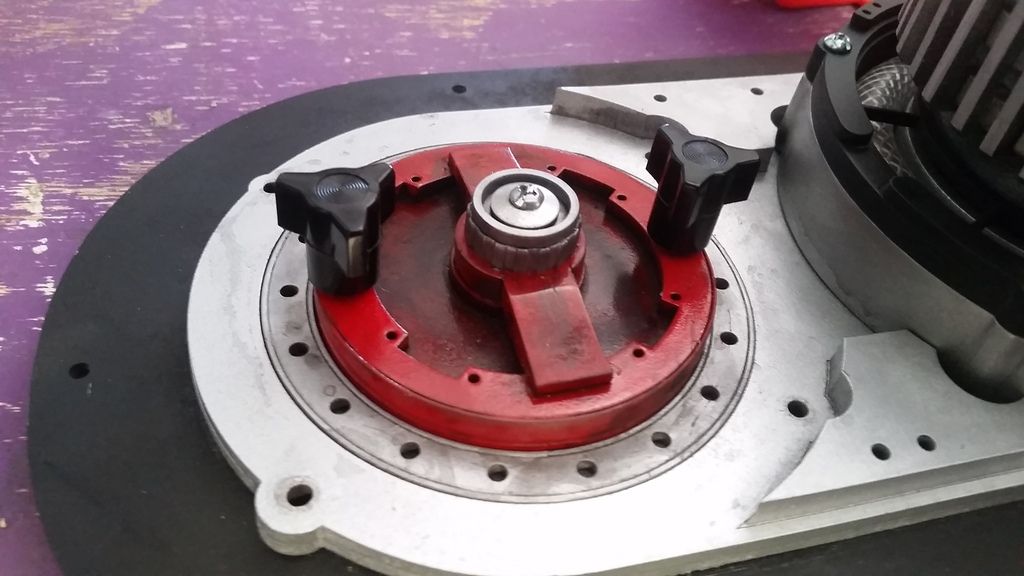
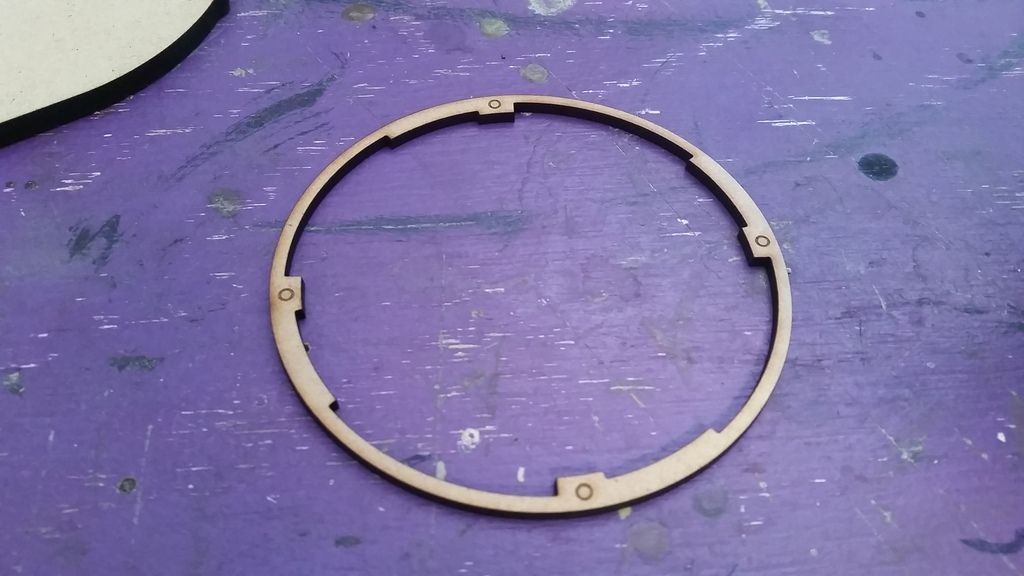
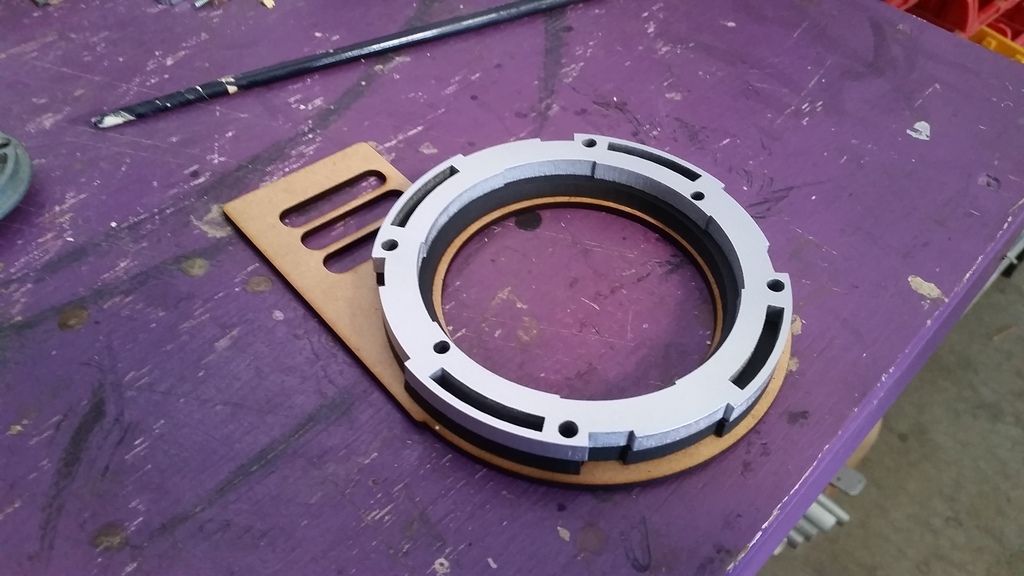
Trim plate
I tossed around a few ideas the better part of Saturday morning then came up with cutting the connector holes in each coil area - I wasn't sure exactly which coil I wanted removed
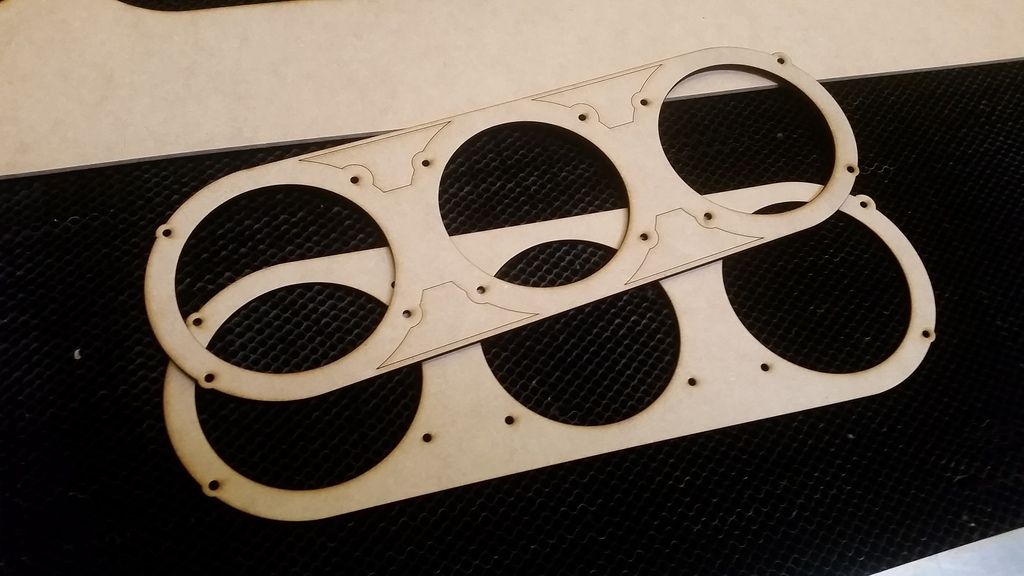
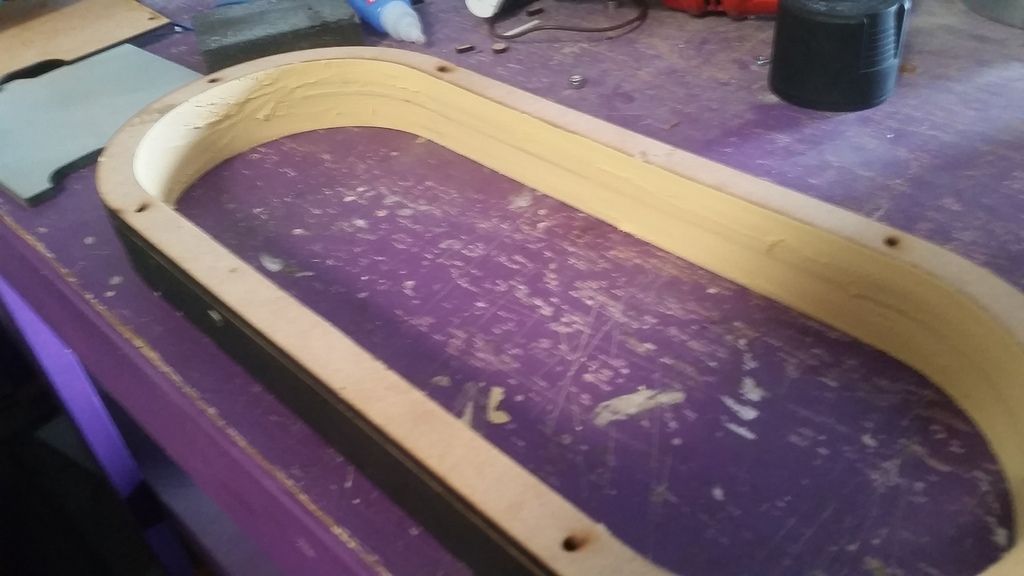
Housing - filler
Paint
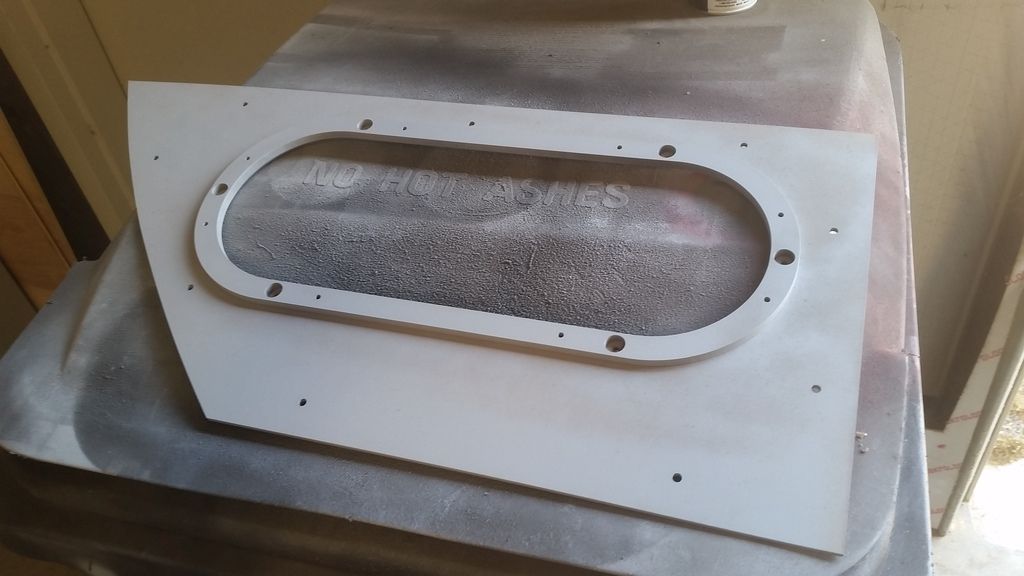
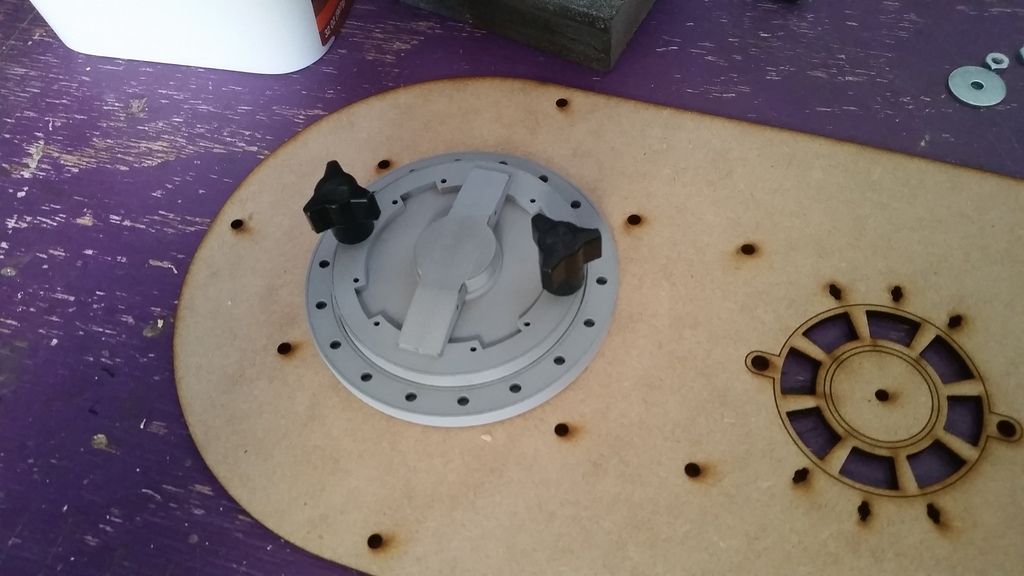
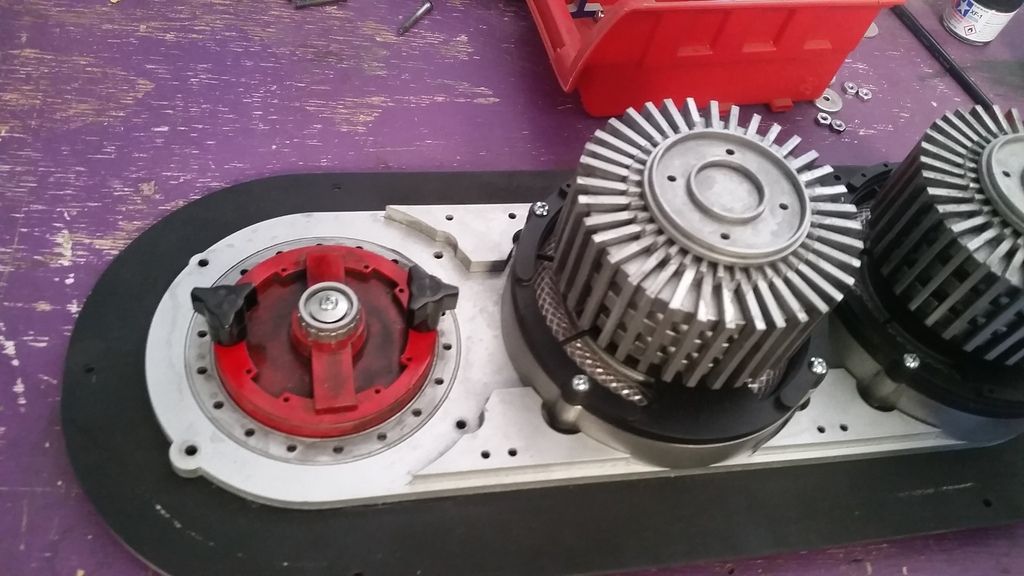
Base plate
Painted and together
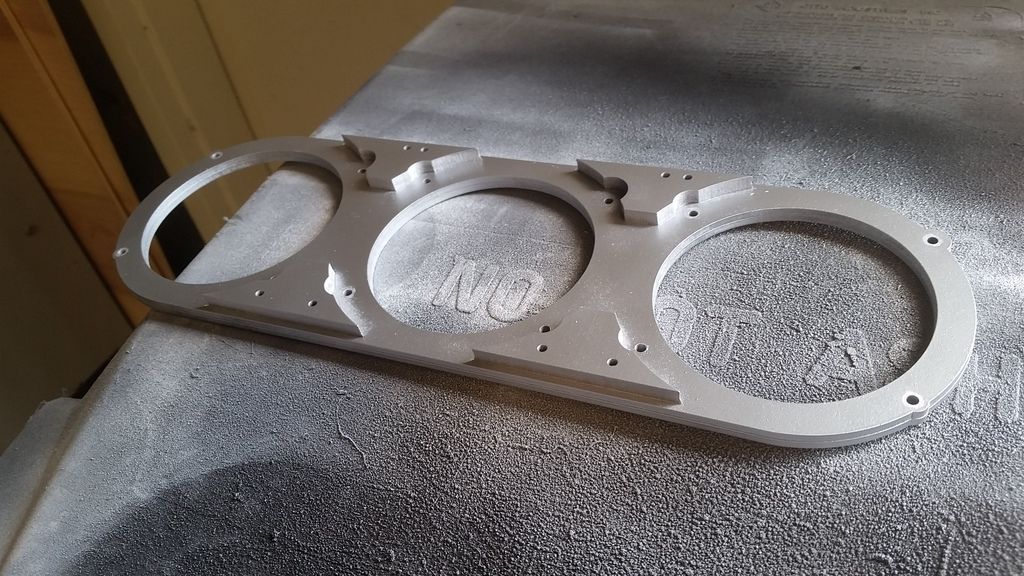
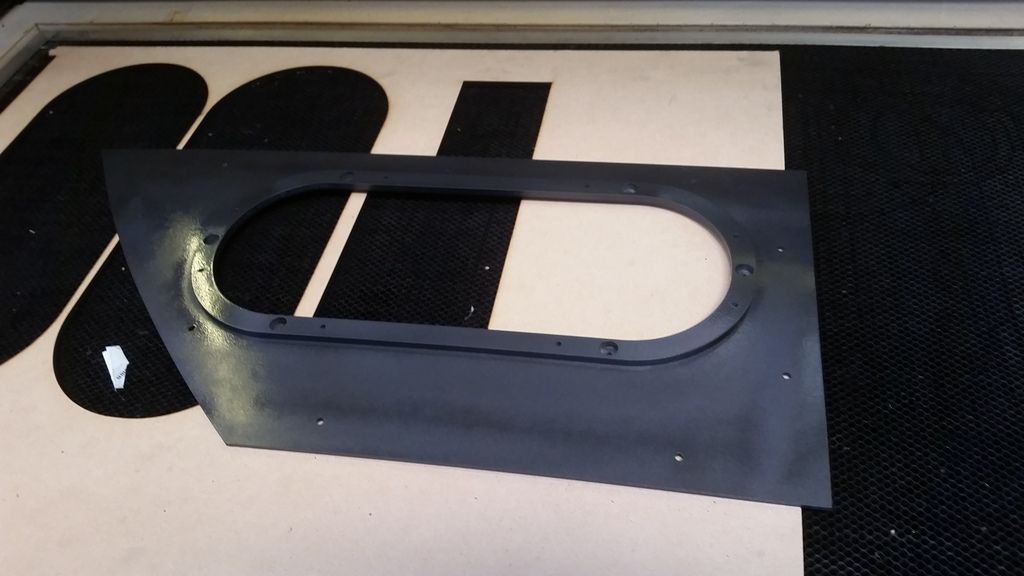
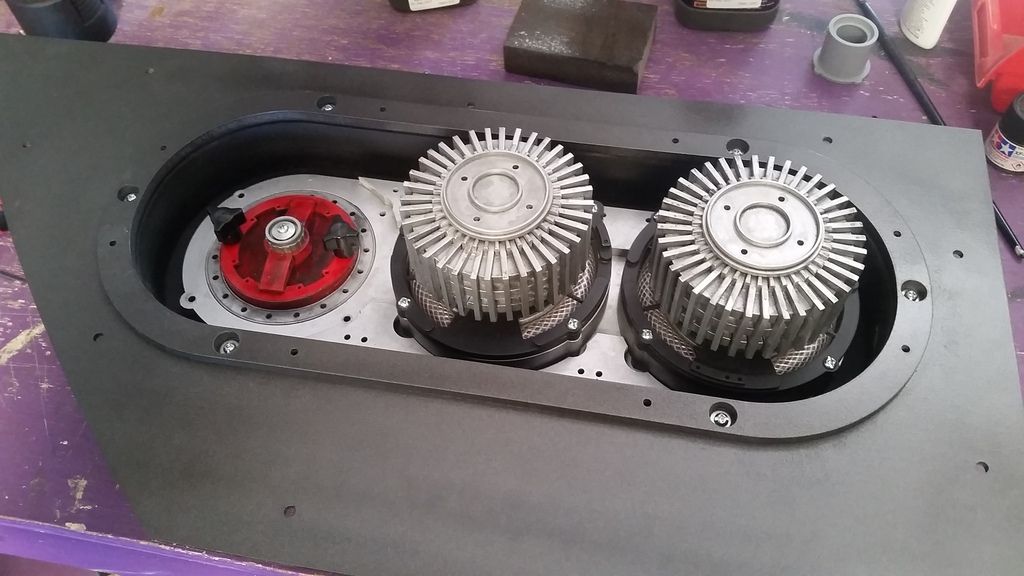
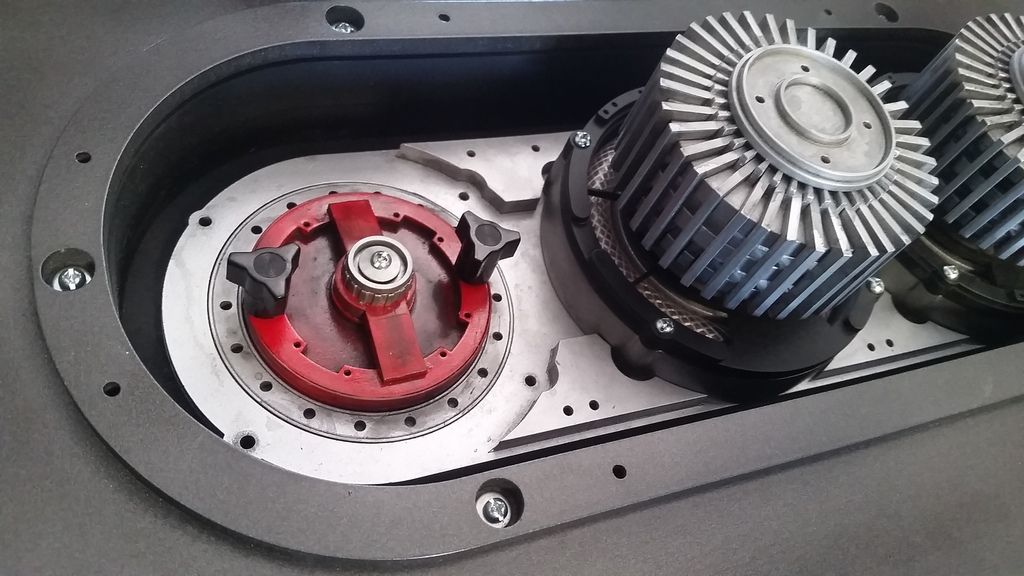
Main panel
Paint
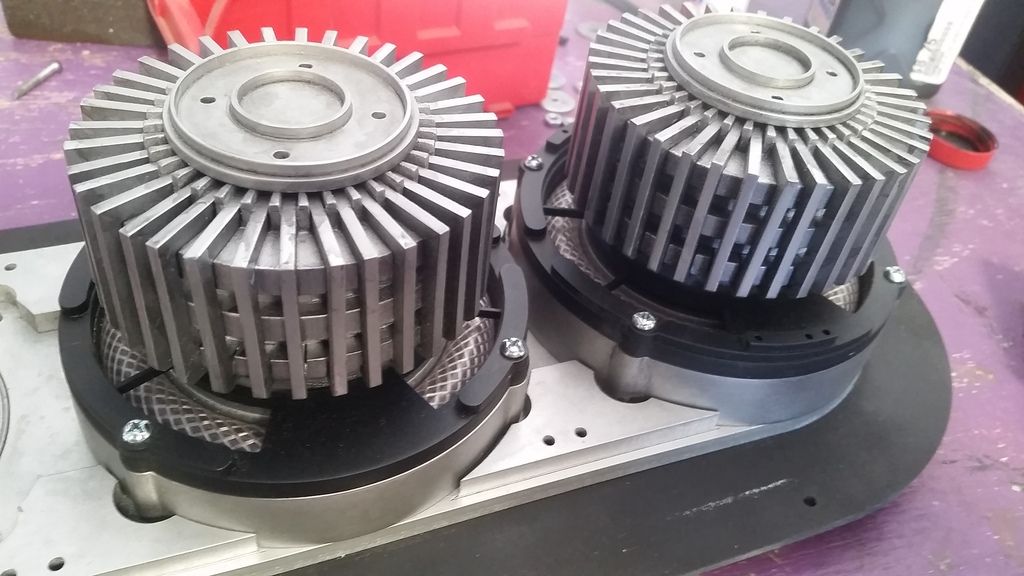
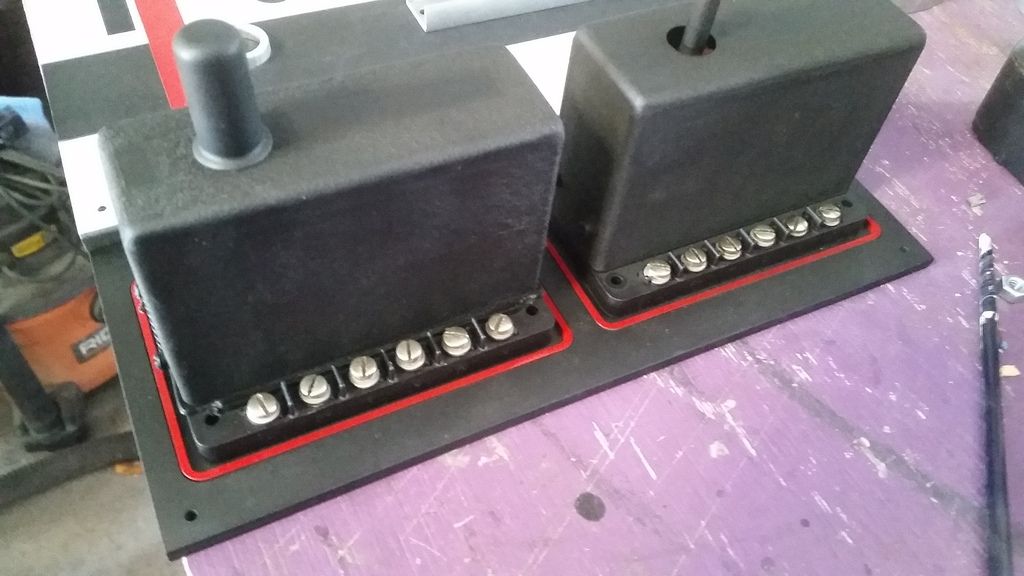
Coils mounted to the base plate
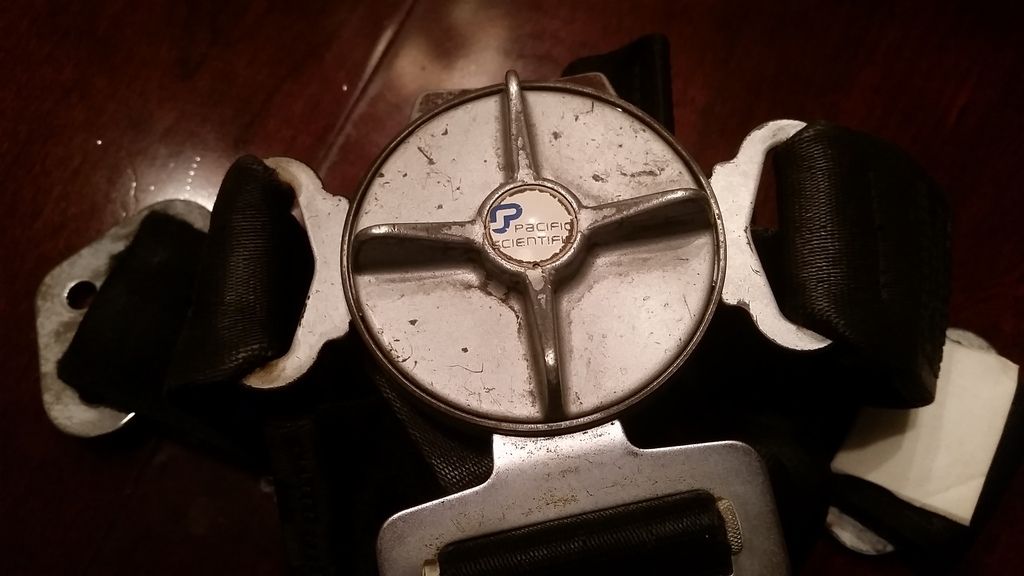
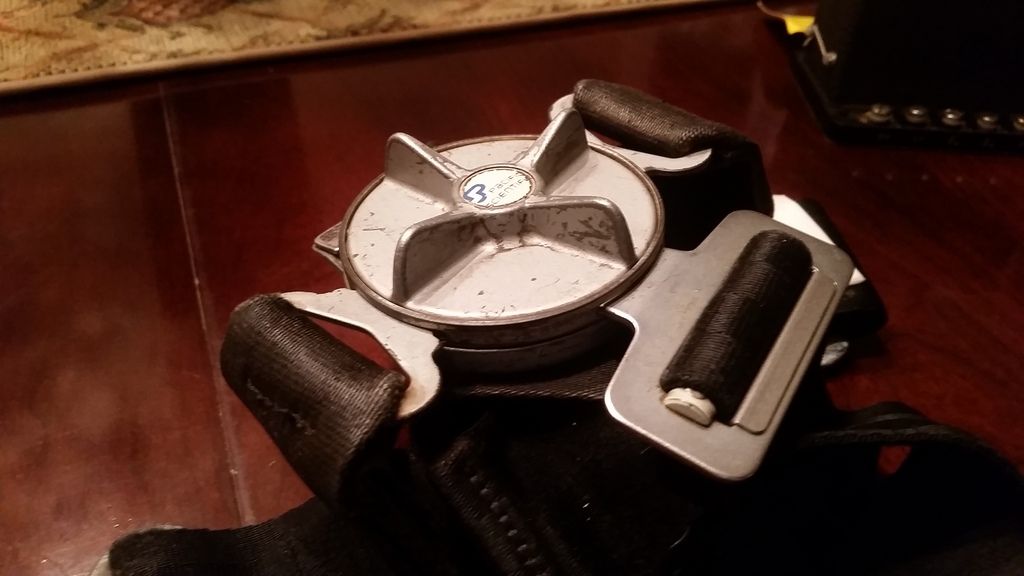
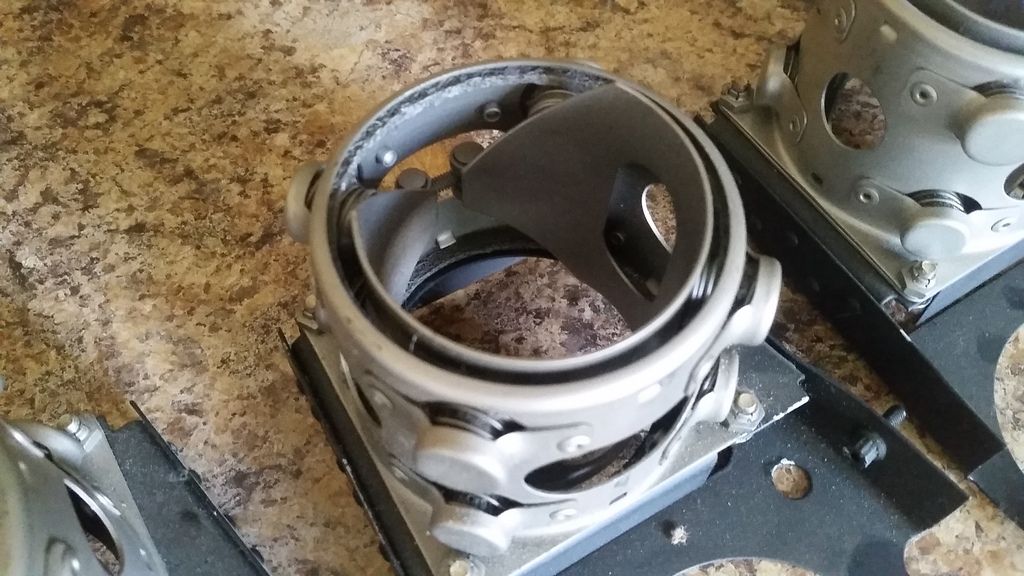
Then I had an idea... Instead of an exposed connector why not create a removable cover plate. So after several sketches I designed and laser cut this
Found some old knobs
Basic shape - now lets sand and prime everything!
Adding paint
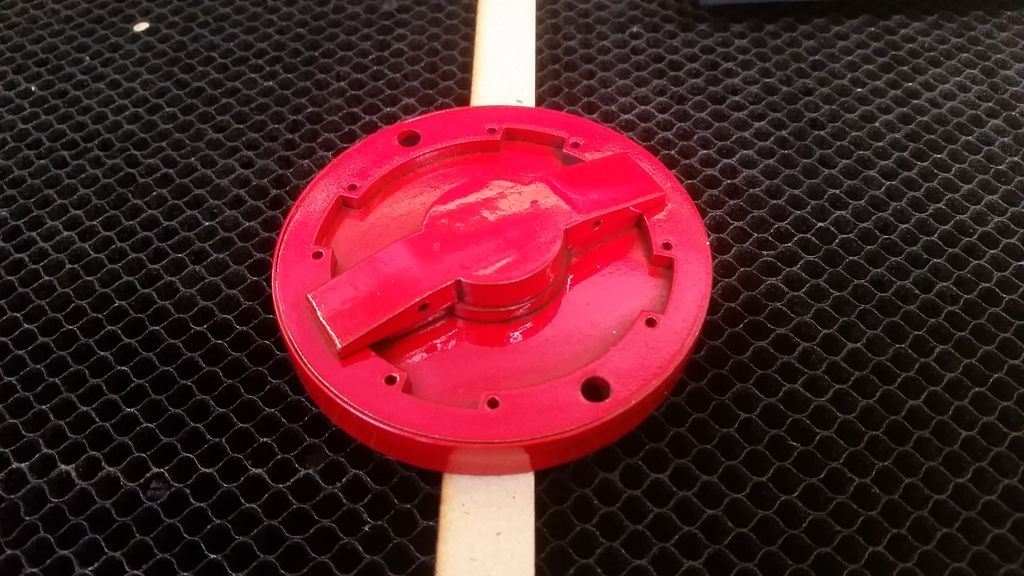
WOW! That's very RED
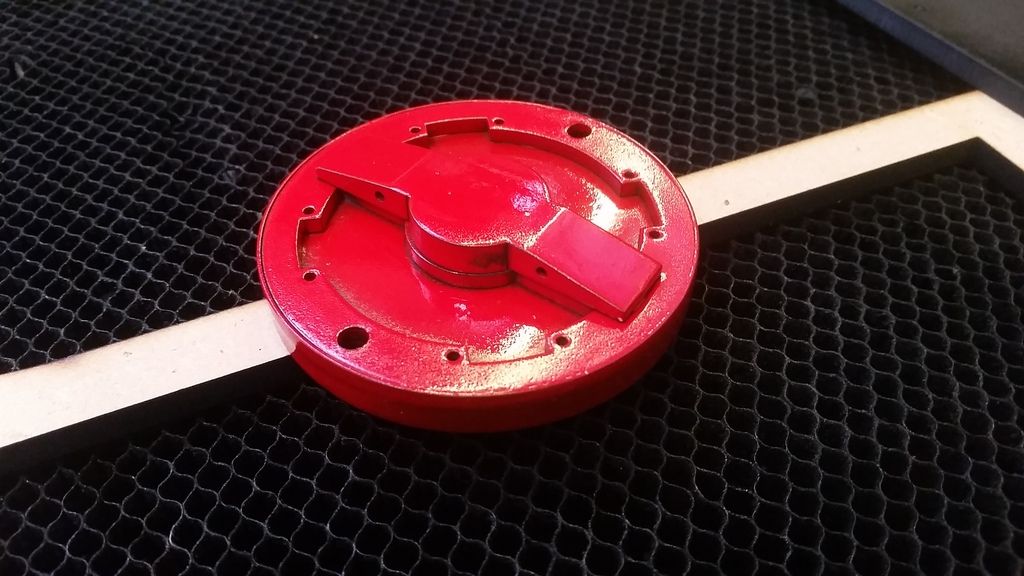
Basic look and feel
1st layer of weathering
Add more
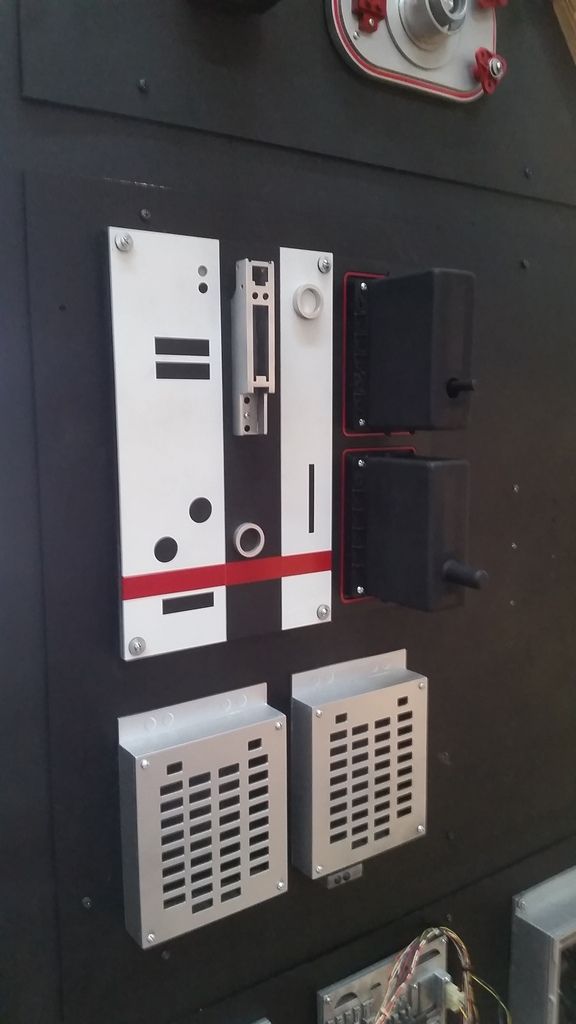
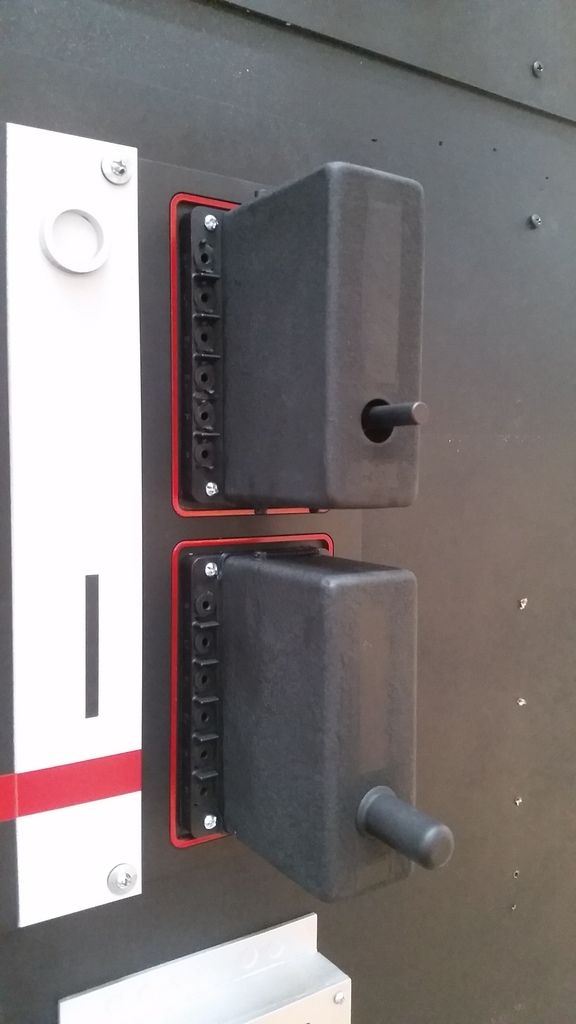
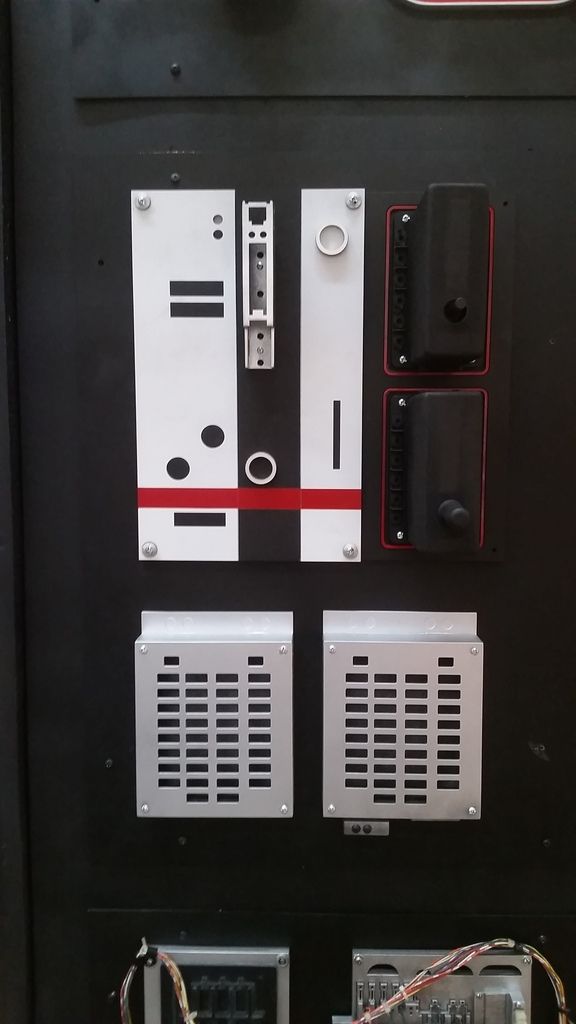
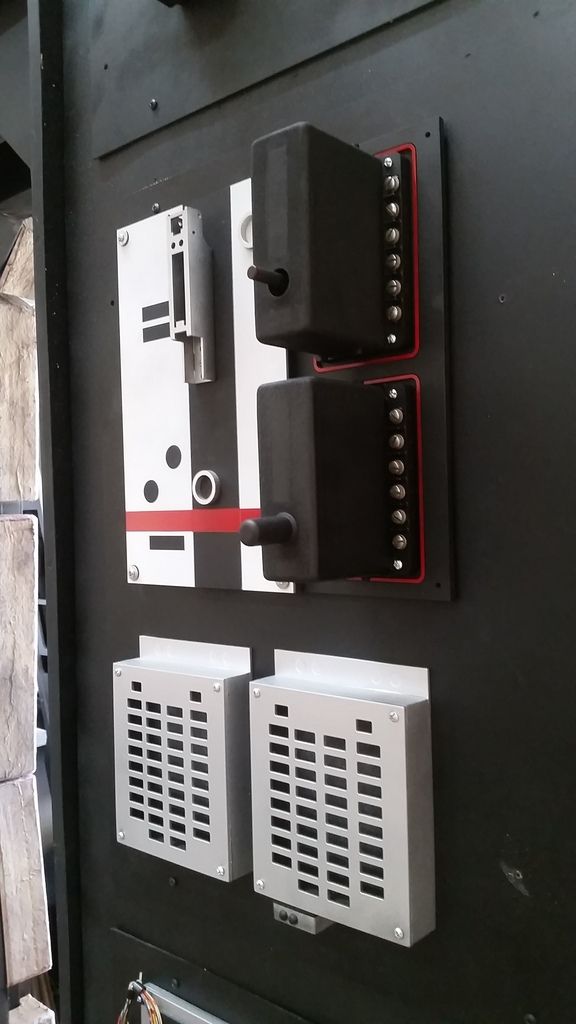
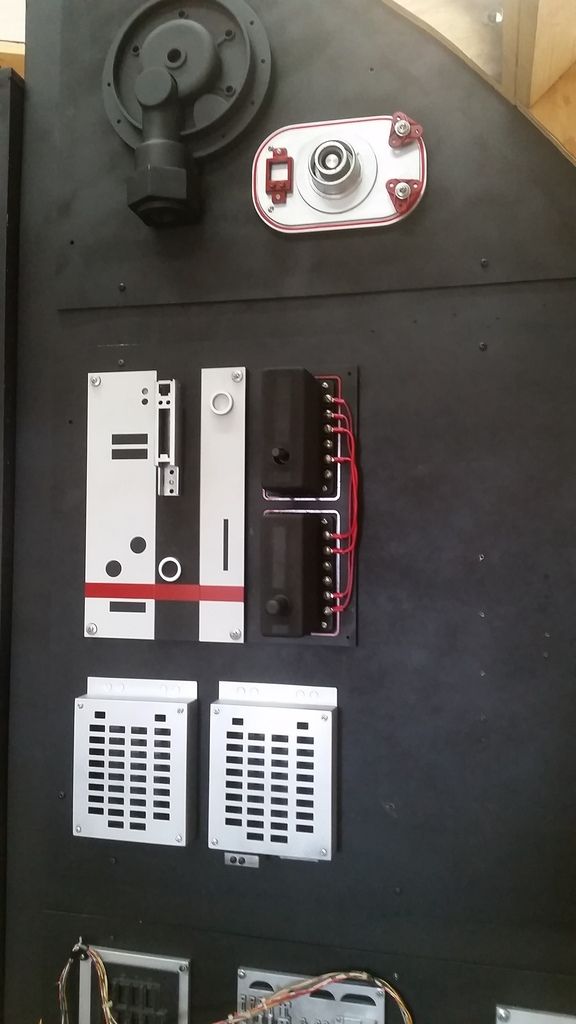
Mounted!
Added the new trim plate - primer
Black
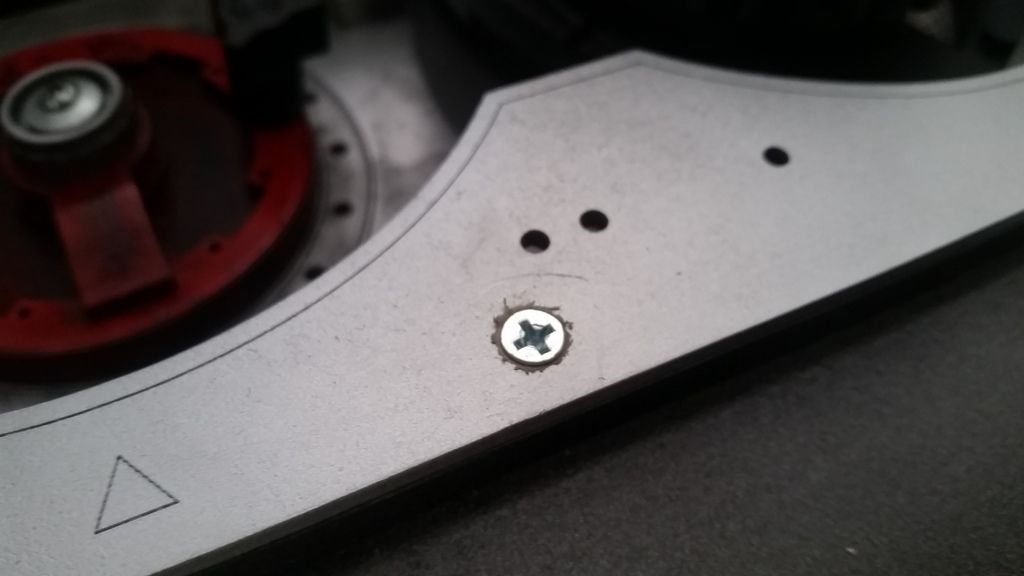
Silver added. I also counter sunk the screws
Mounted
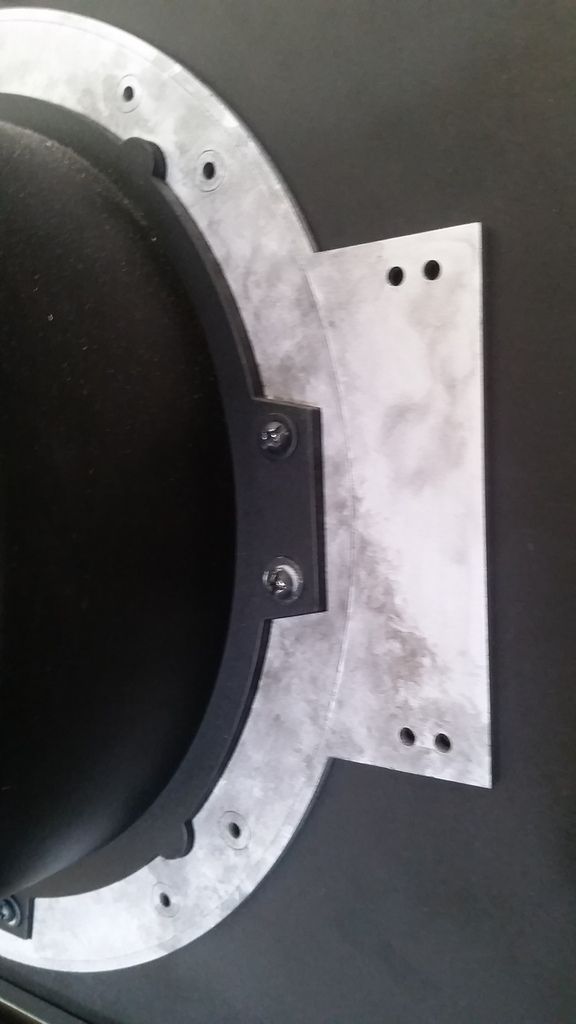
Another greeblie redo - nah... I think I'm going to get away from the text
New design - Primer
Painted and weathered
Mounted - didn't add the circular greeblie yet
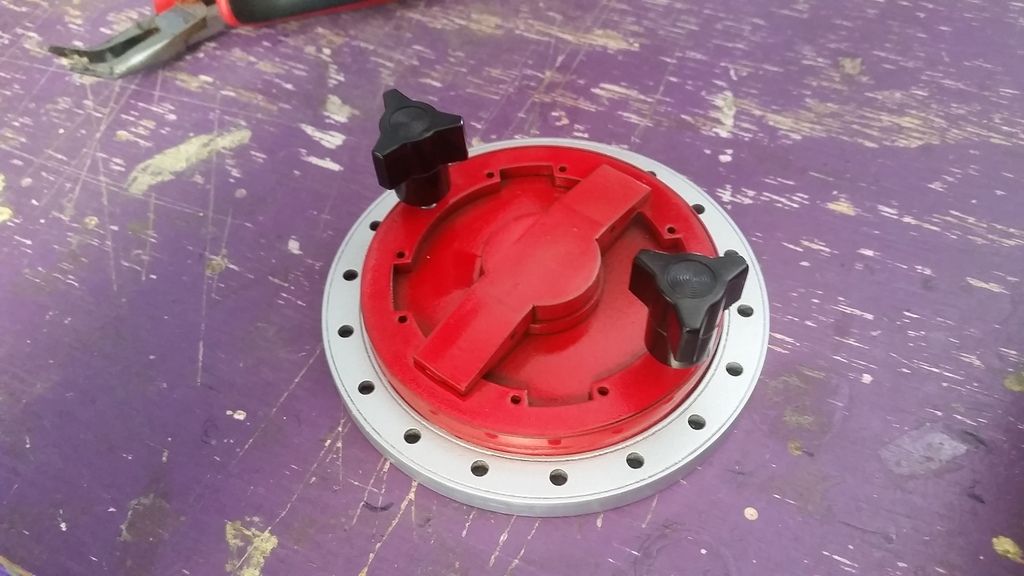
Another greeblie I thought needing a facelift... I designed 2 different trim plates to go around the hose connector
Option 1
Option 2 - I liked this guy best
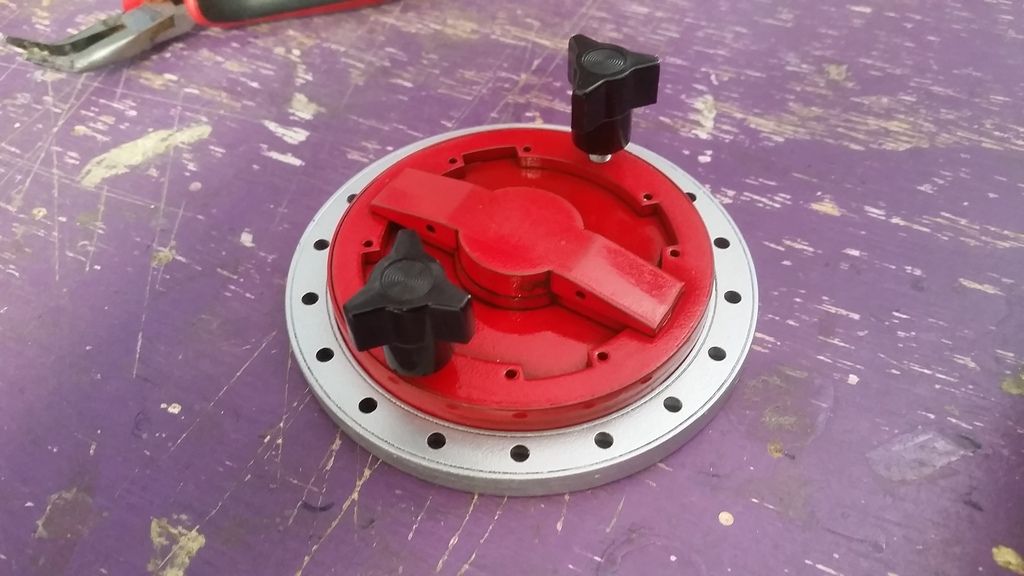
Considering adding this
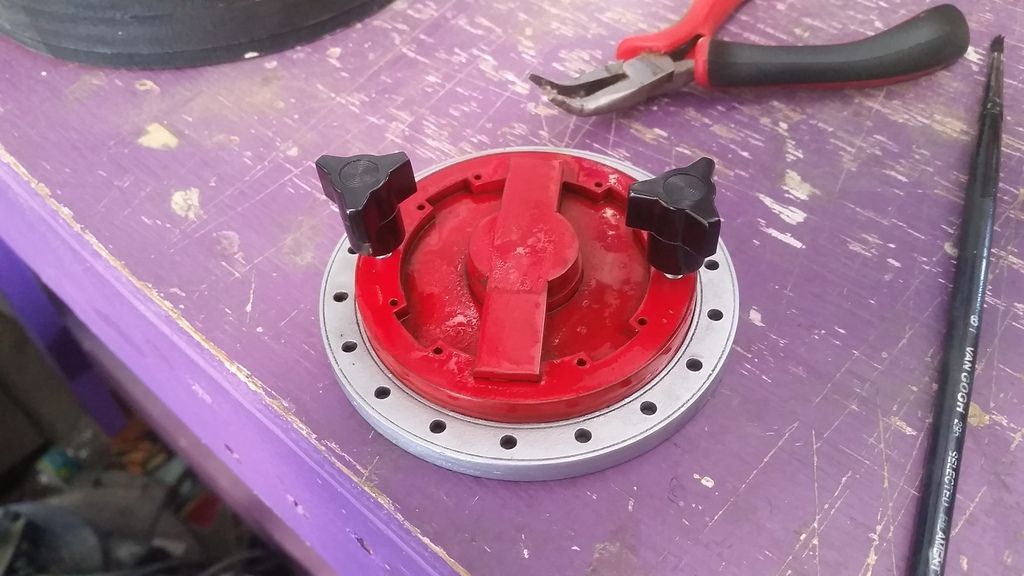
Paint
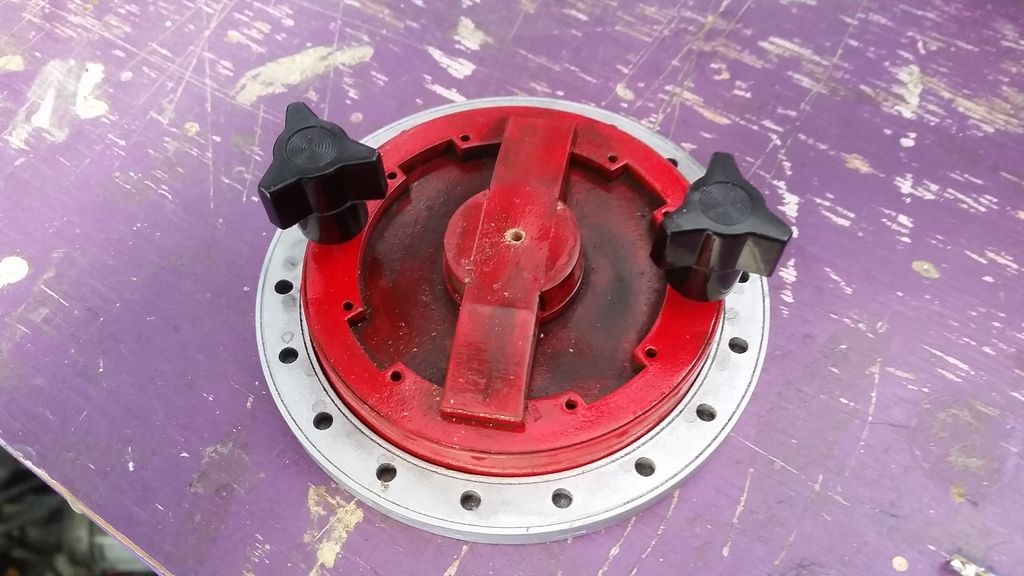
And weathering
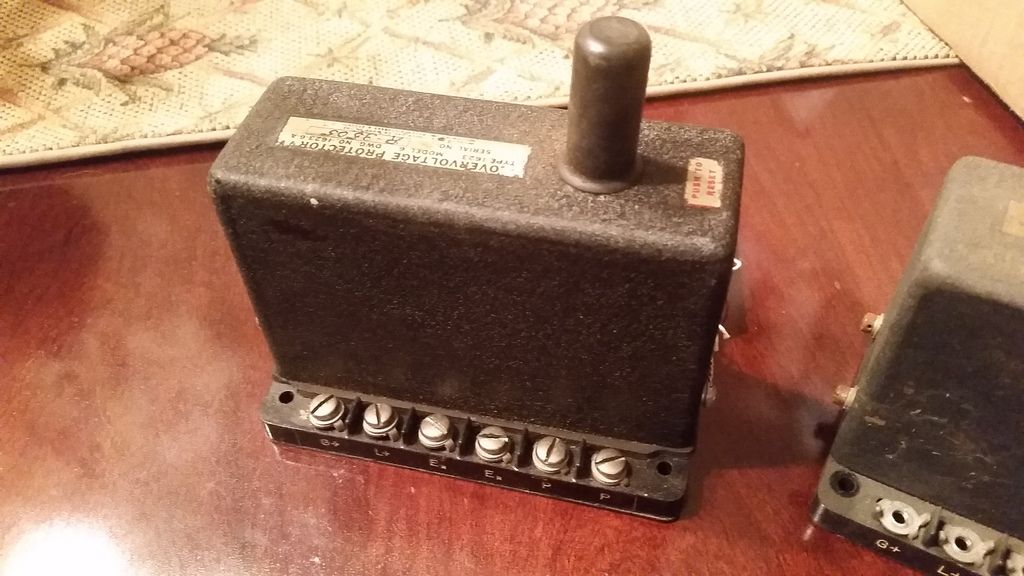
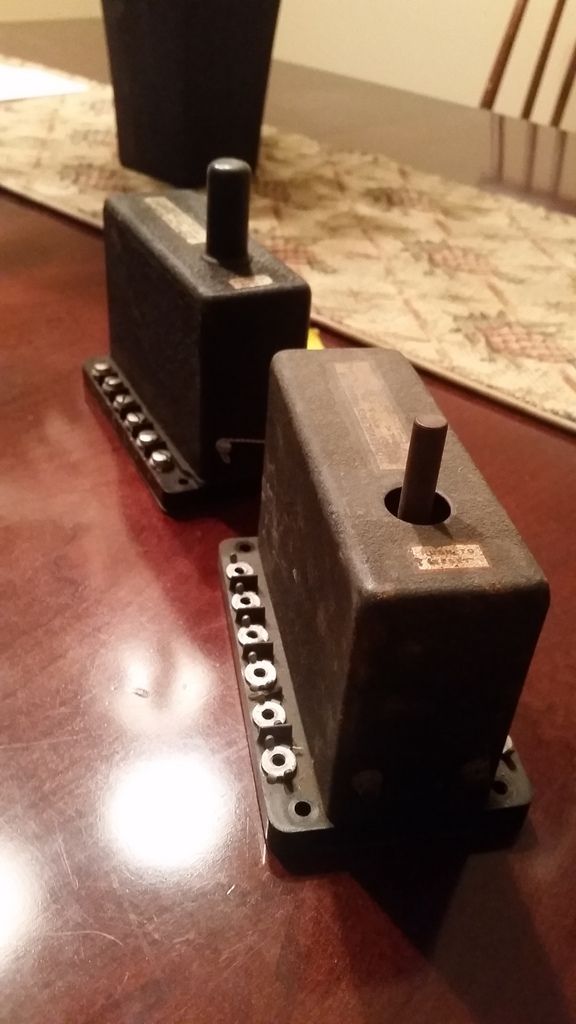
Tough to see
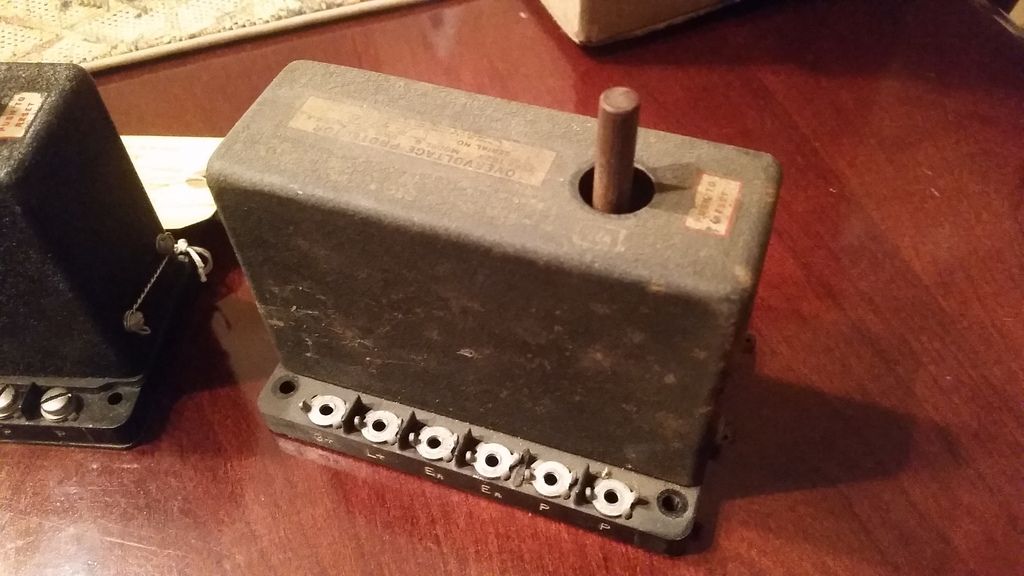
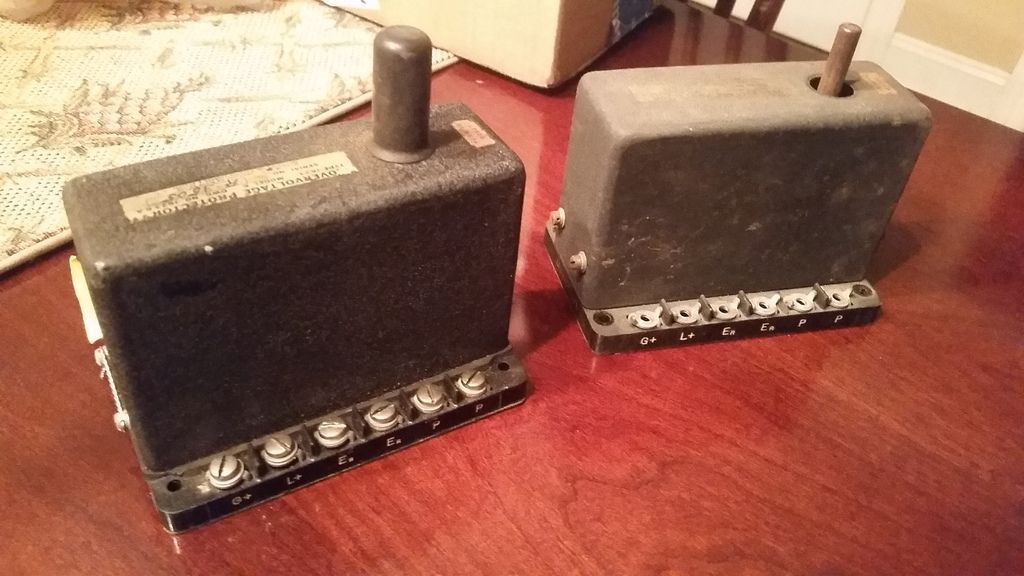
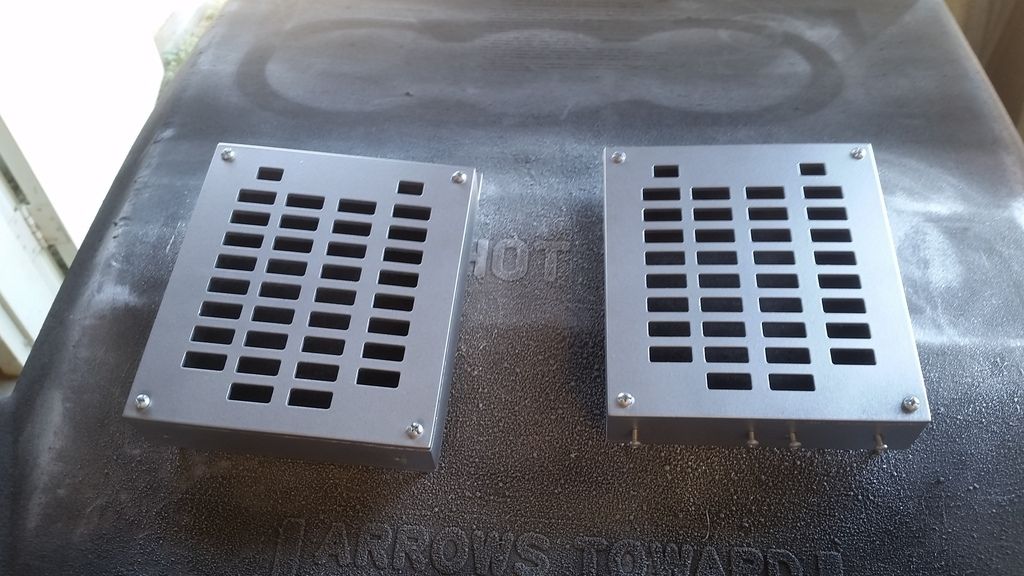
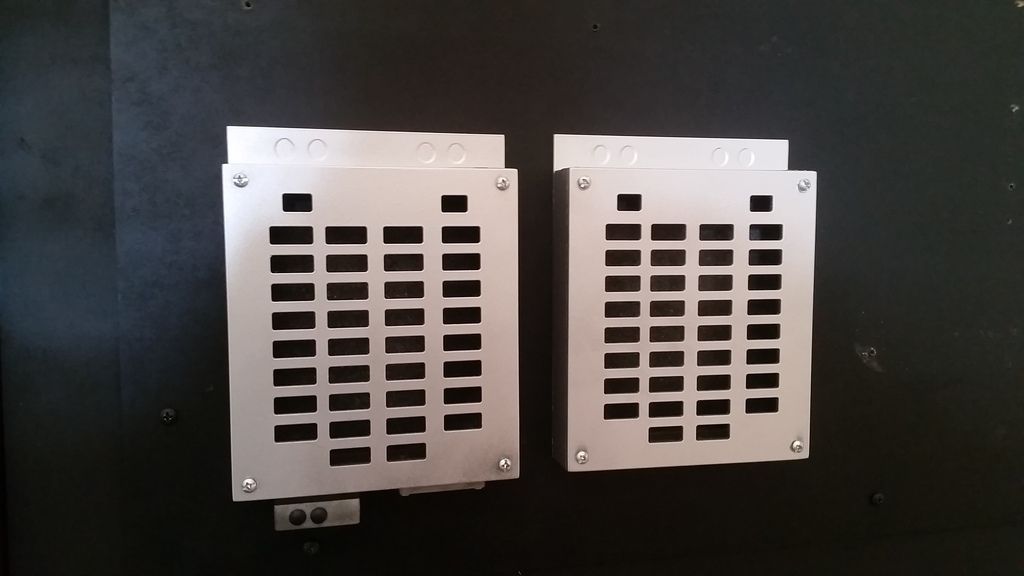
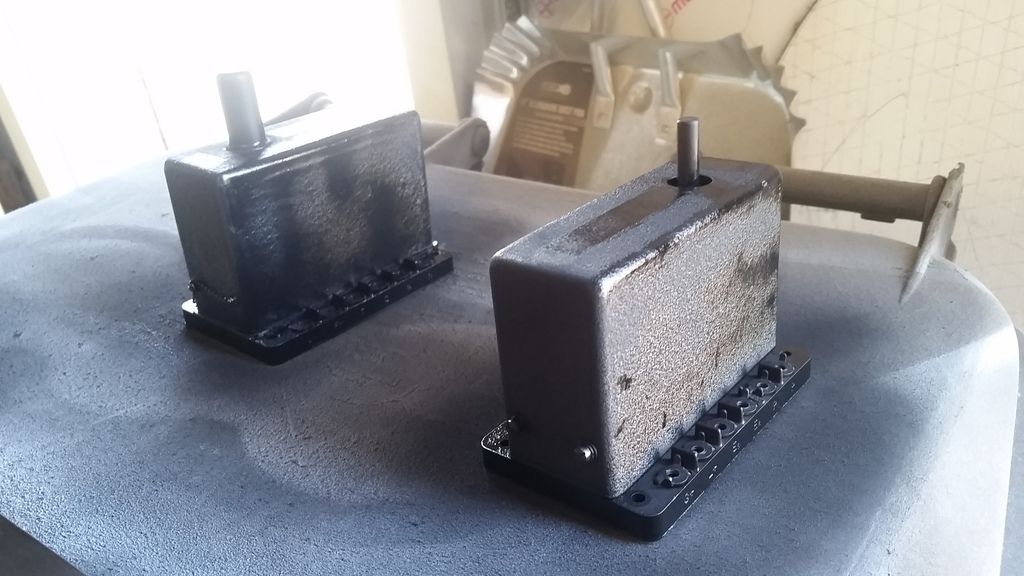
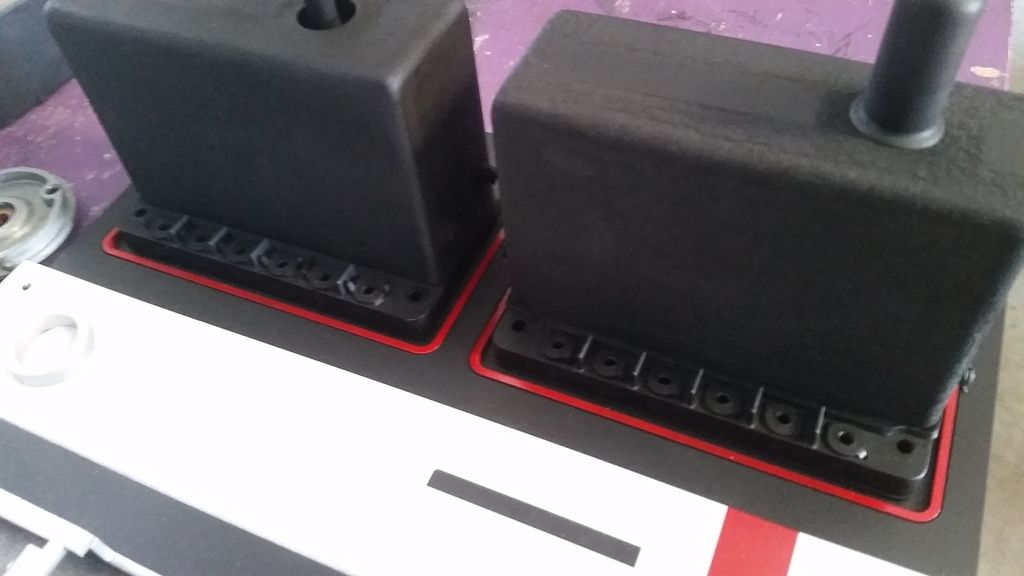
I painted these two boxes silver again. I thought they were getting lost against the black
Better!
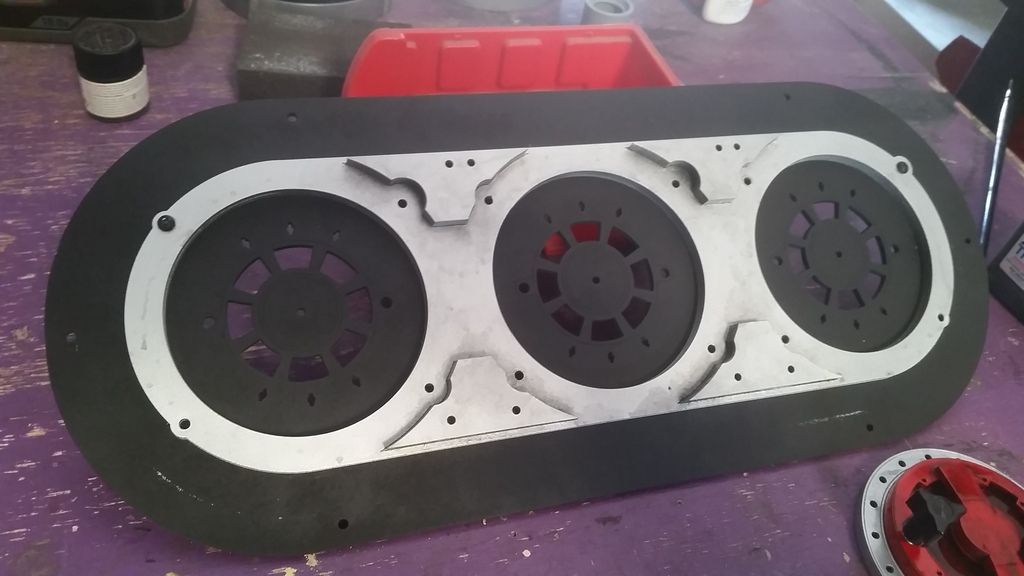
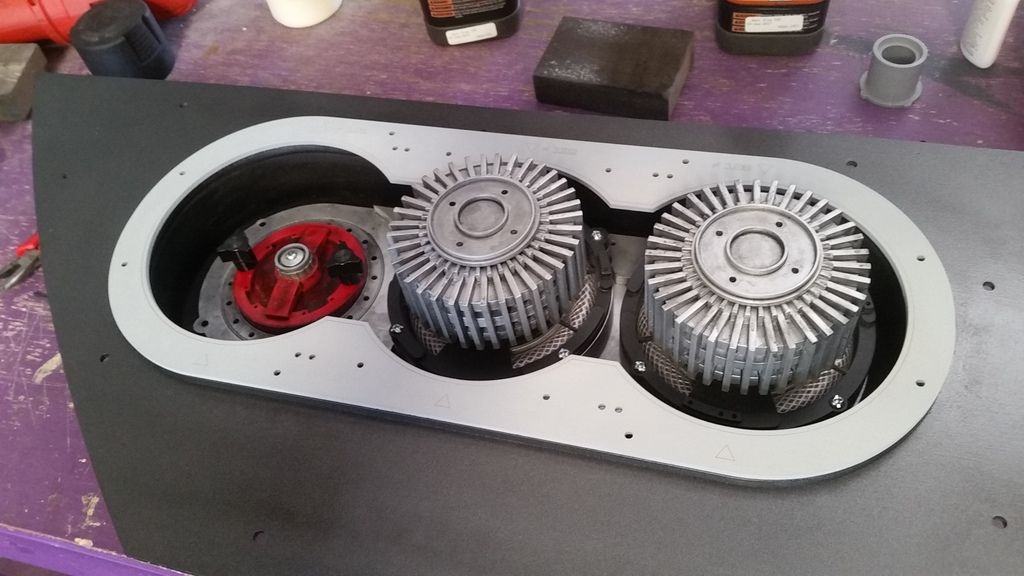
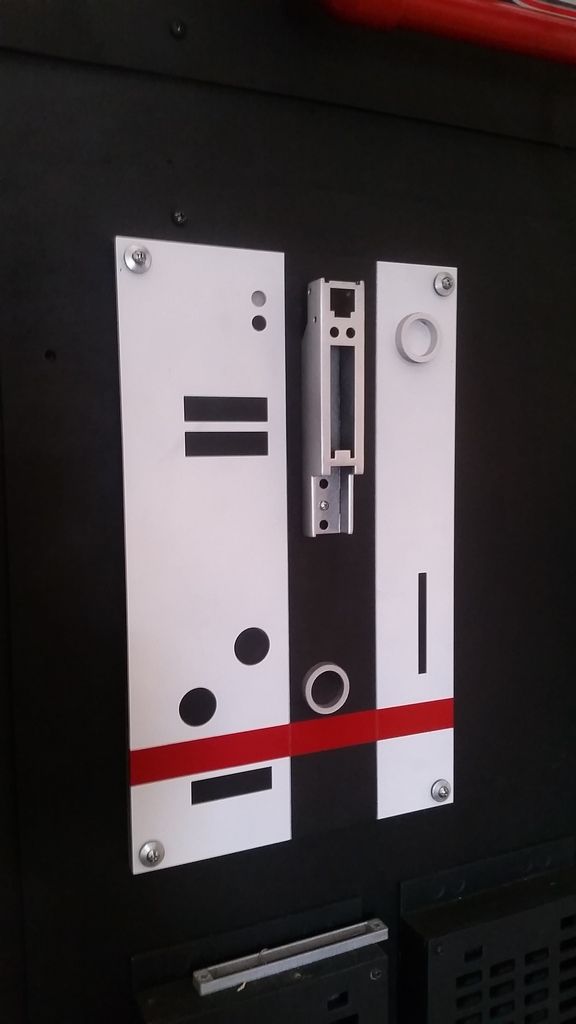
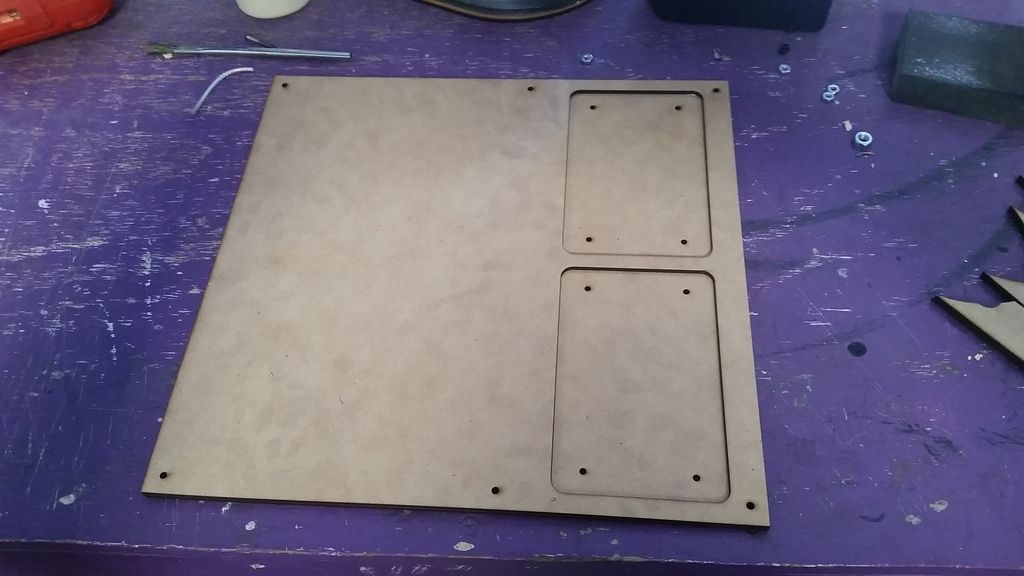
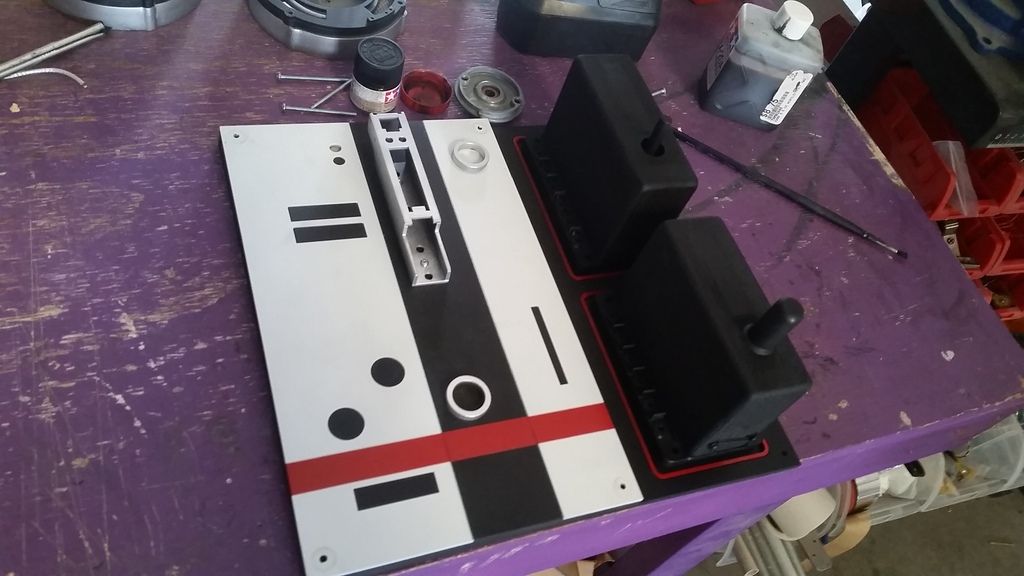
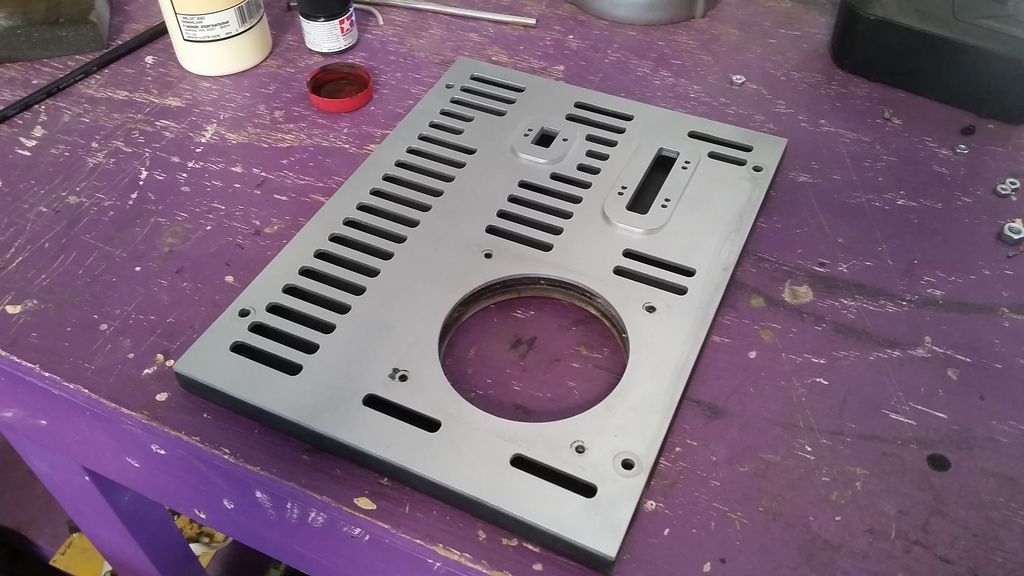
I thought this panel a bit boring as well
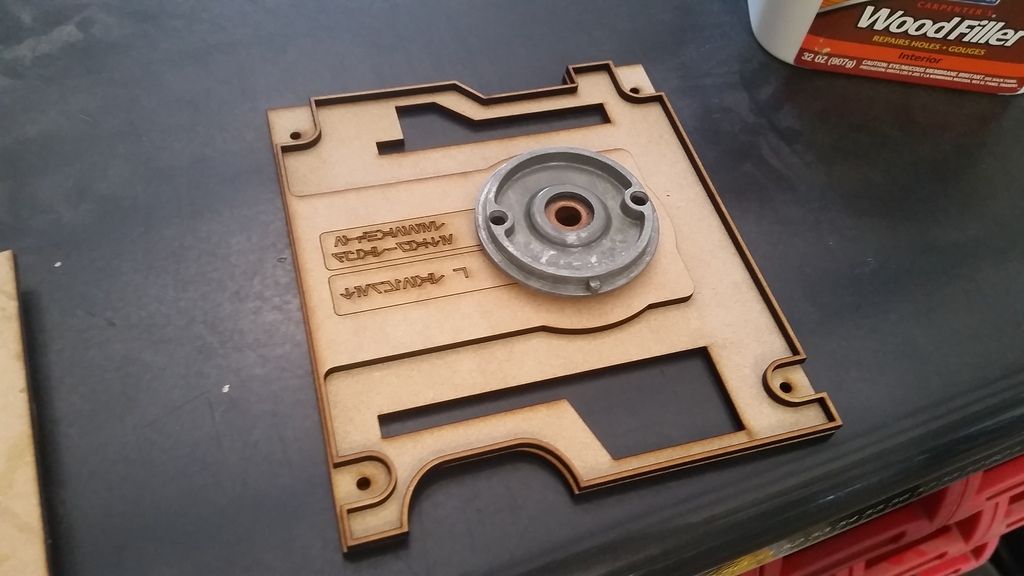
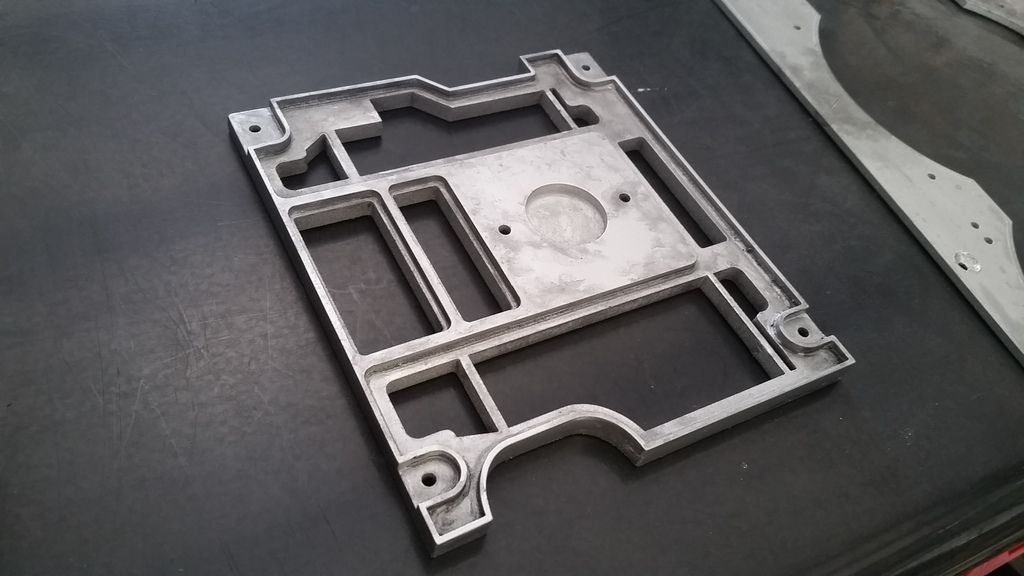
Laser cut a new base plate
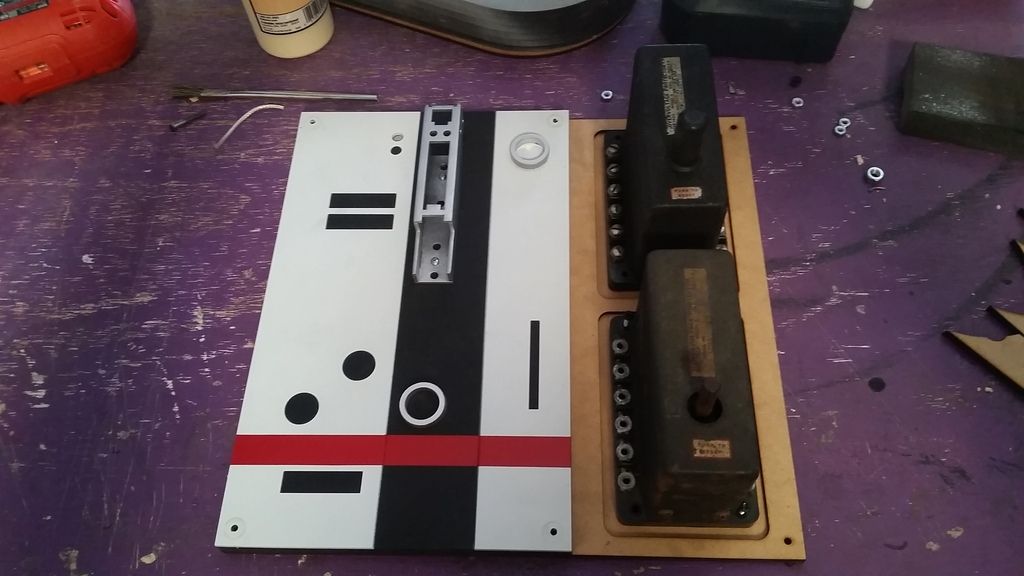
Basic layout
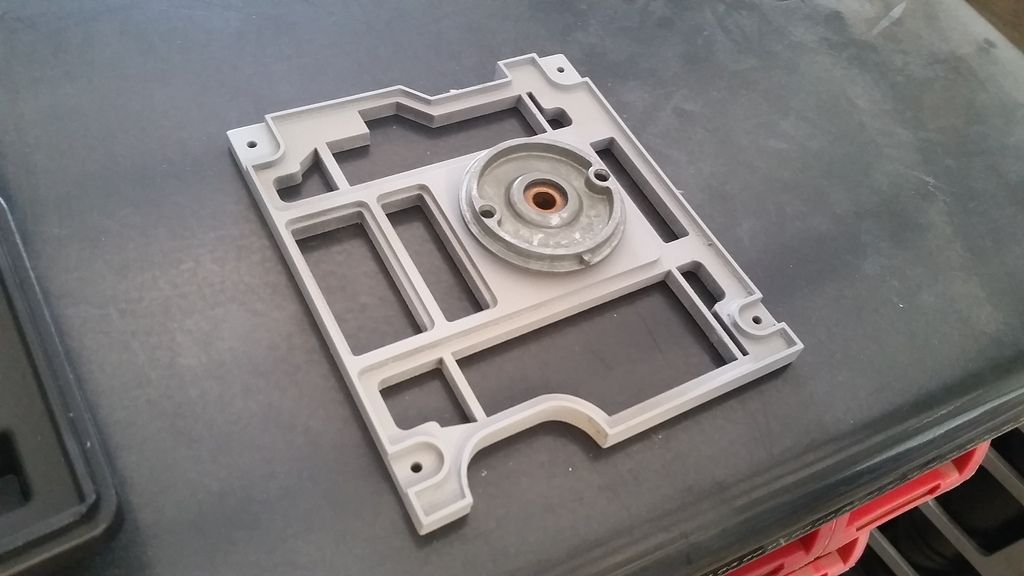
Cleaned and added paint (I hated to cover the natural patina on the real world parts but there was a LOT of writing I had to hide)
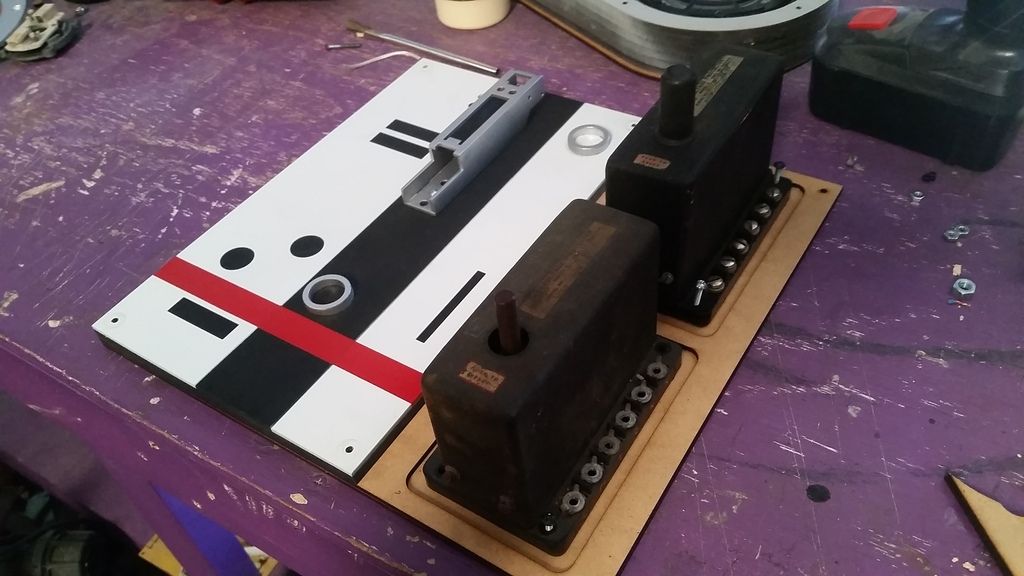
All painted!
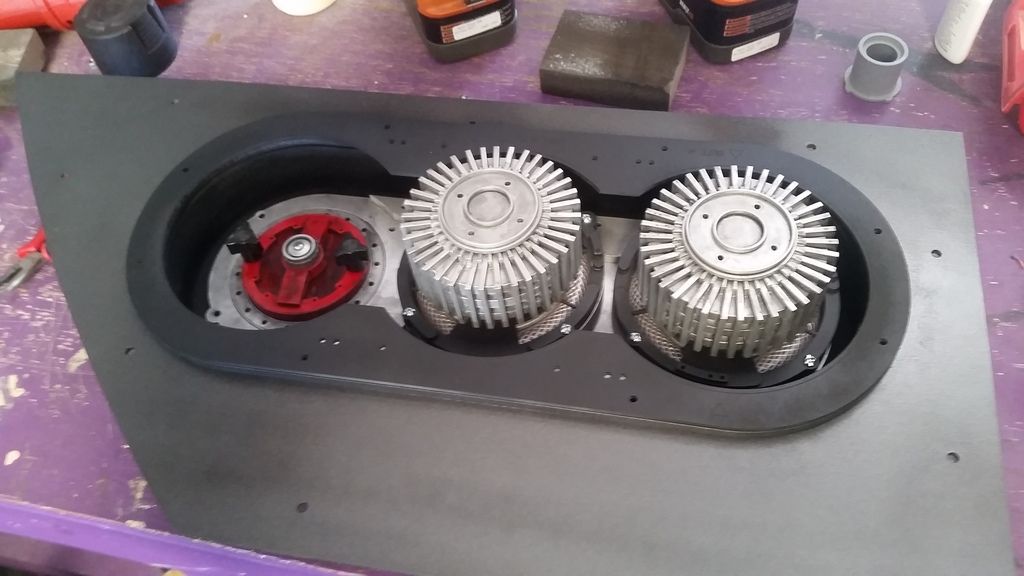
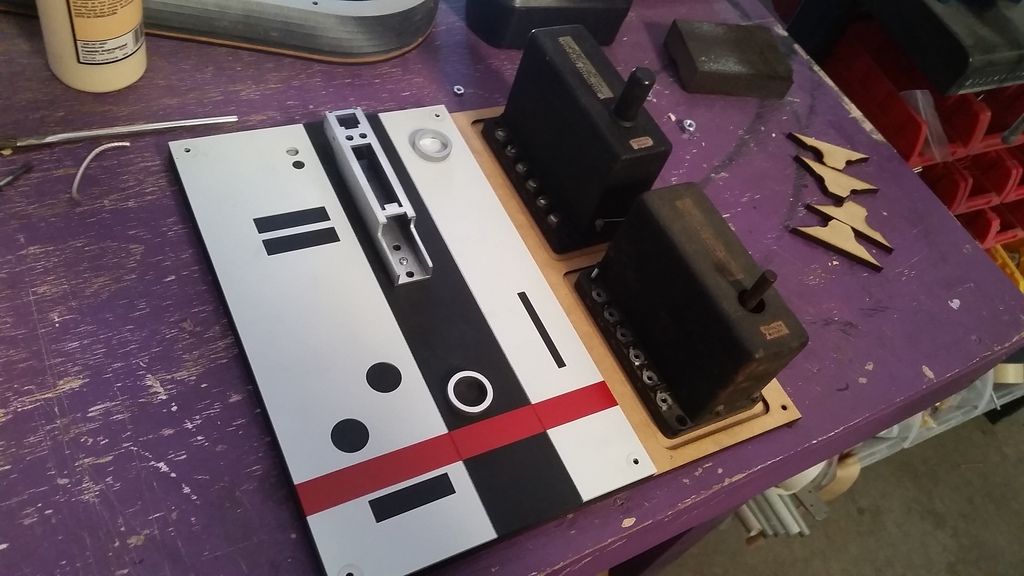
HMMMM Add some wires?
Mounted
Going to add some cockpit inspired decals to the tops - more on those later
I like it against the silver boxes
A bit boring...
Add some wires? Maybe?
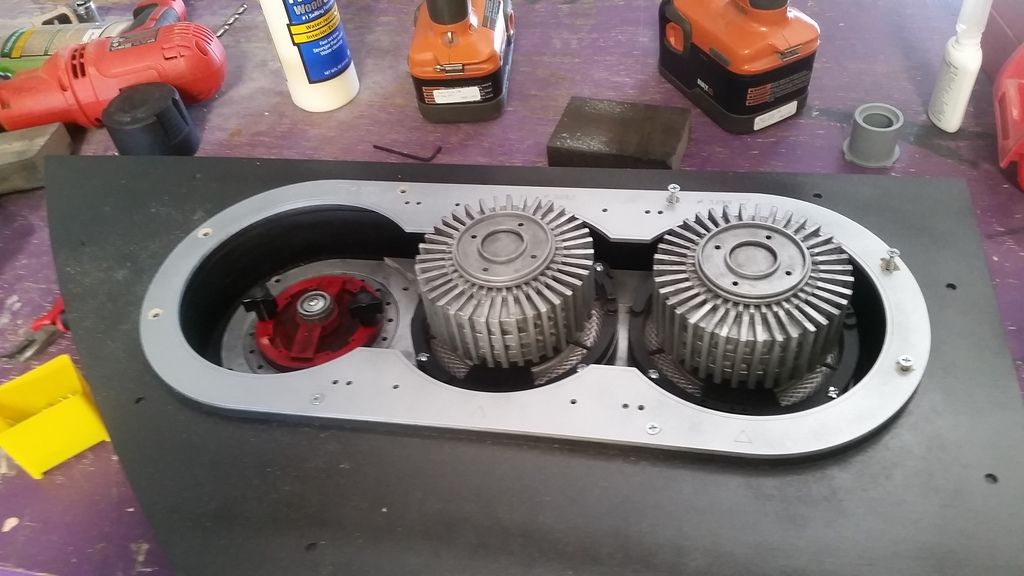
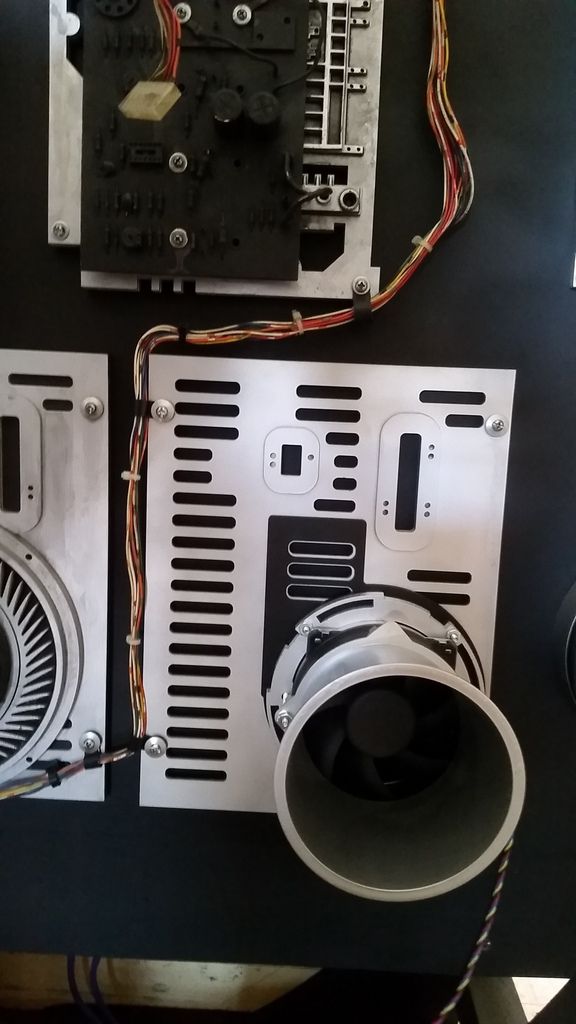
Second coil getting some attention
Might add a few things on the interior to help make the coils pop
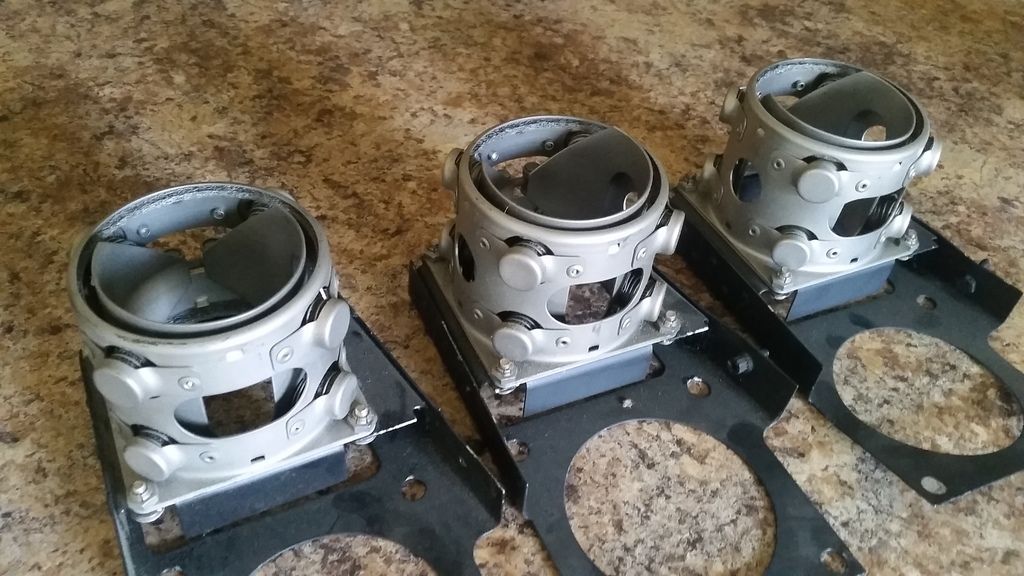
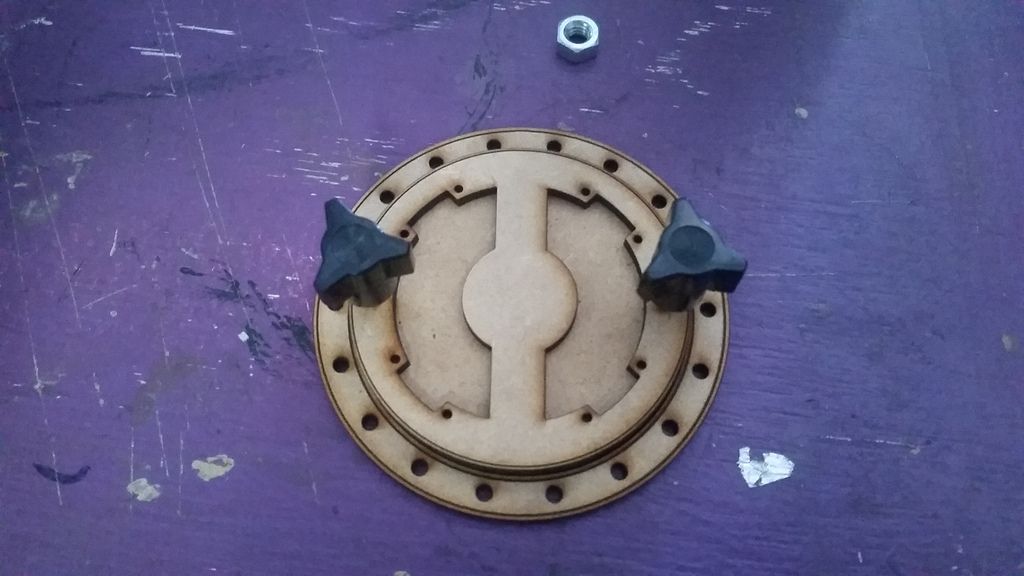
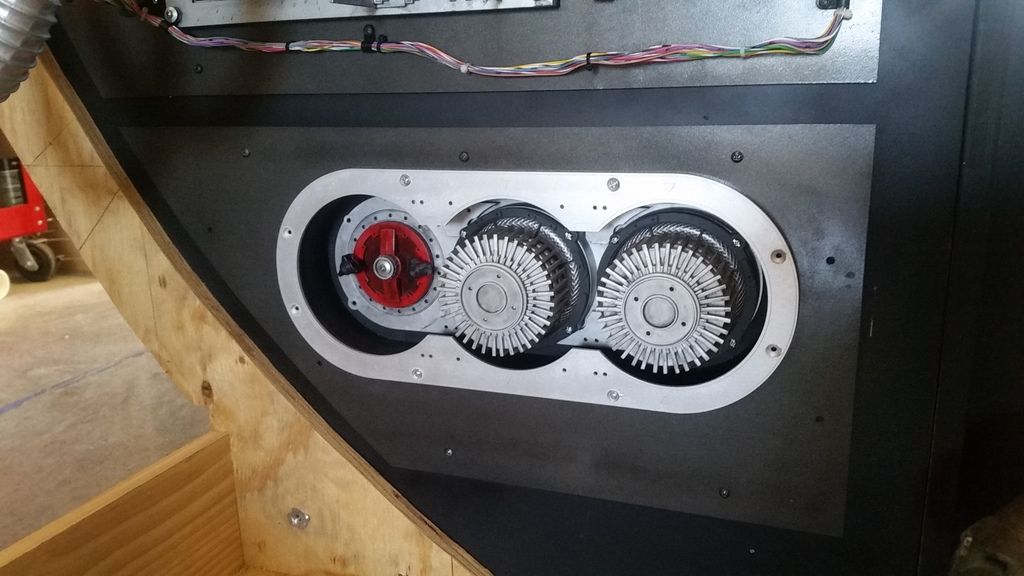
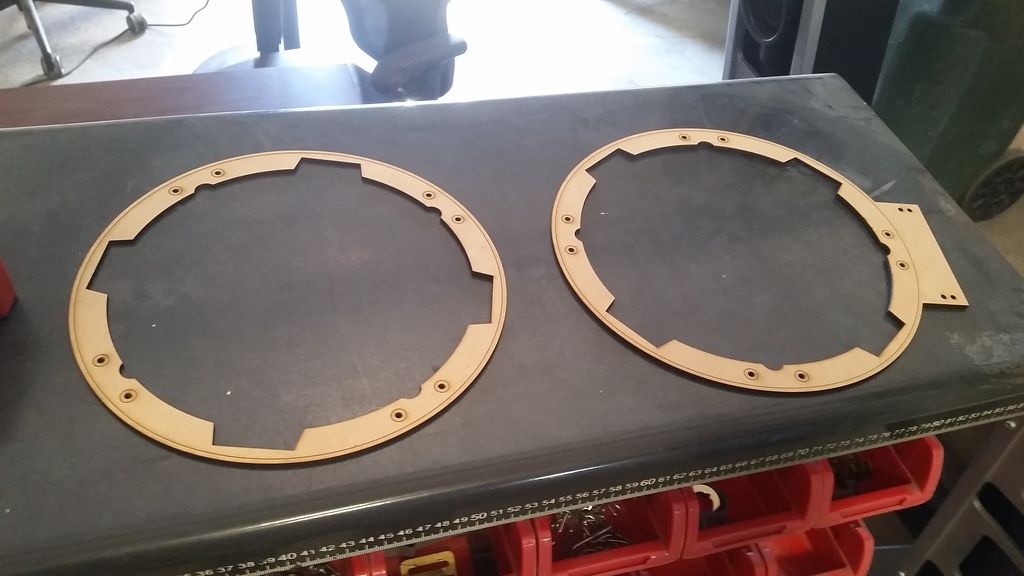
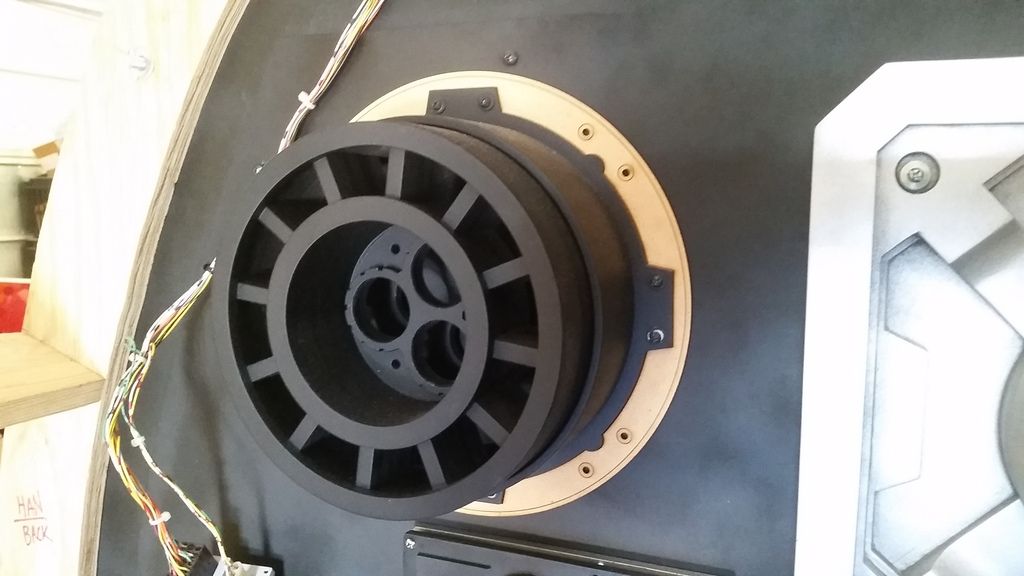
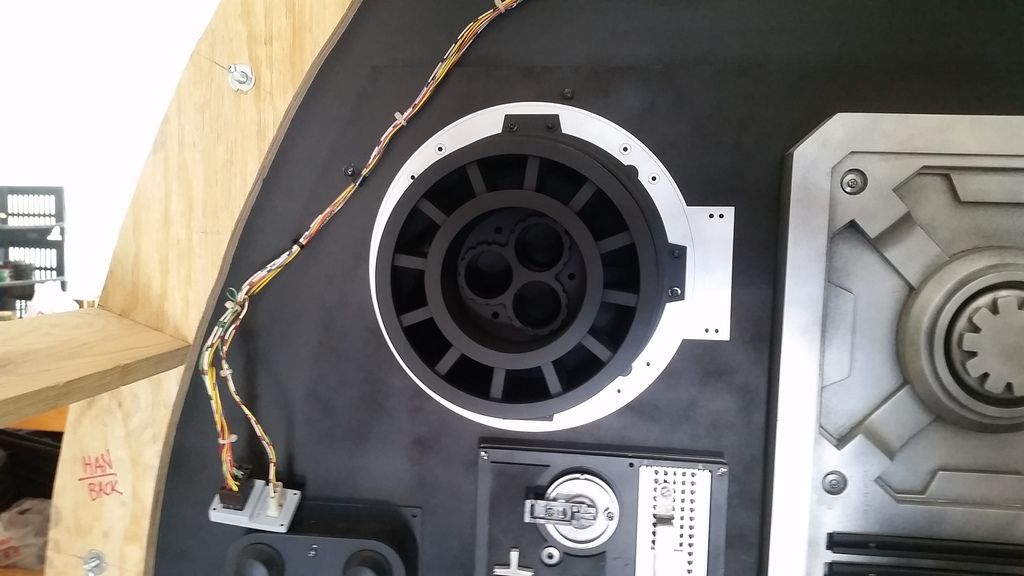
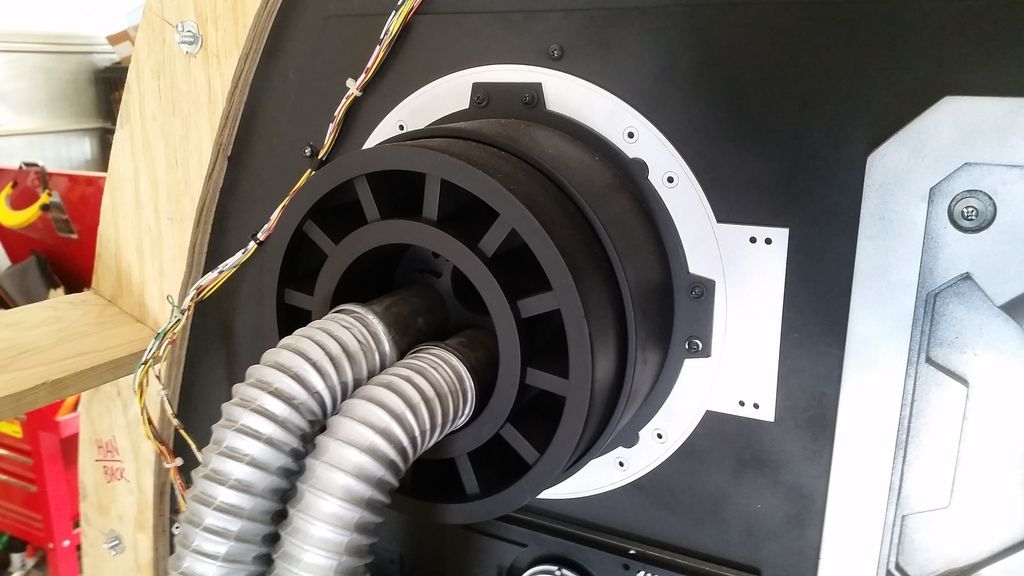
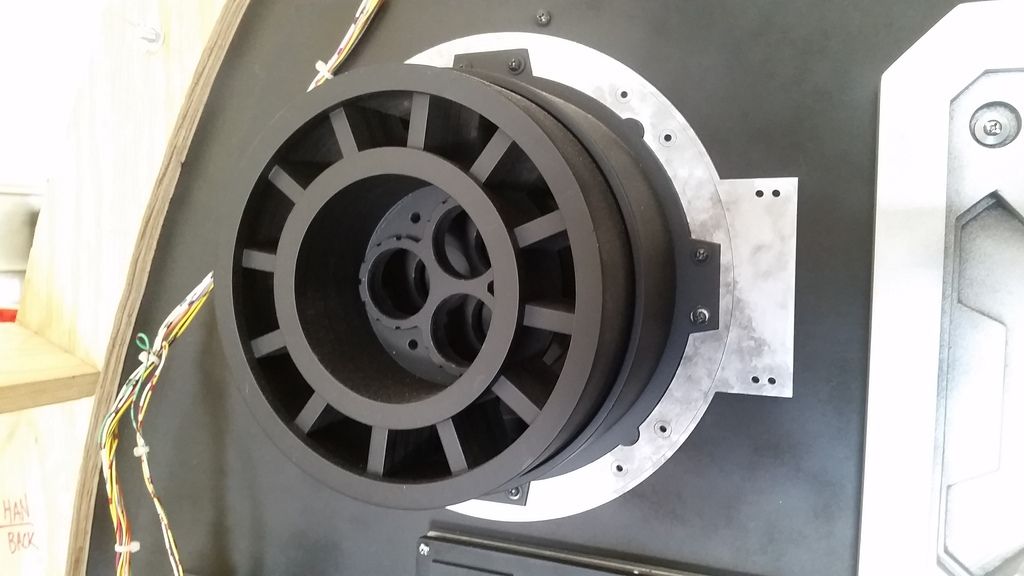
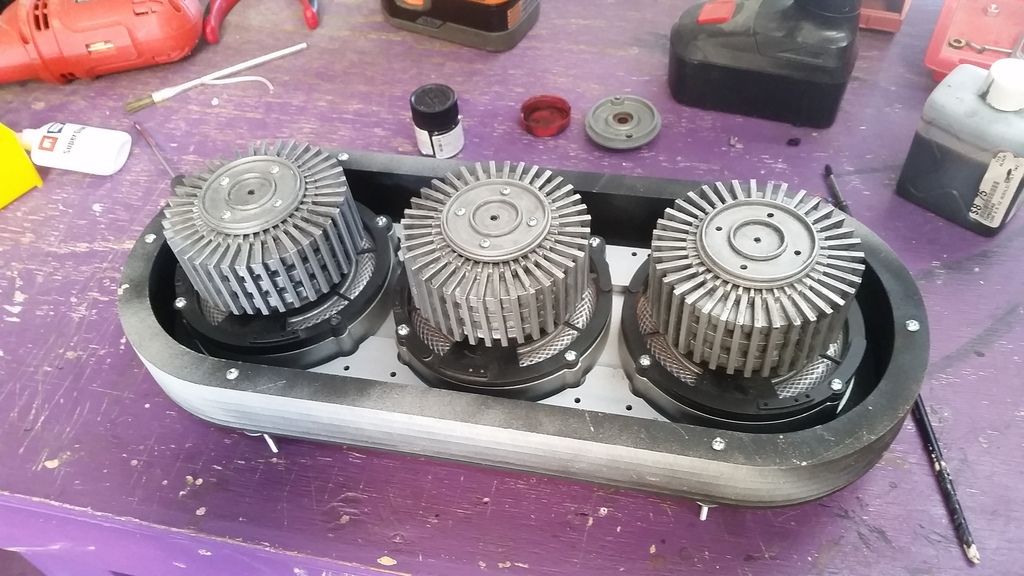
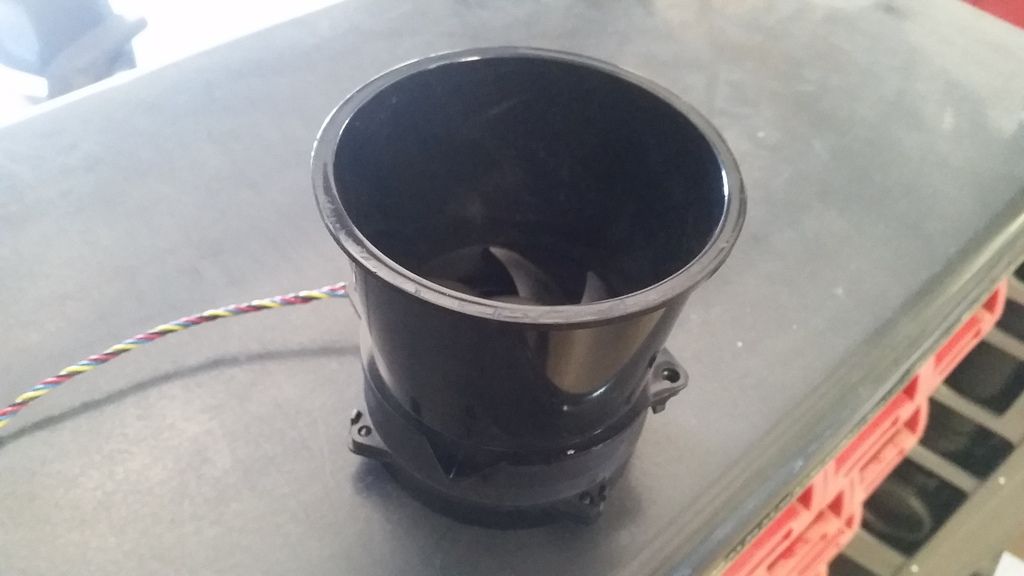
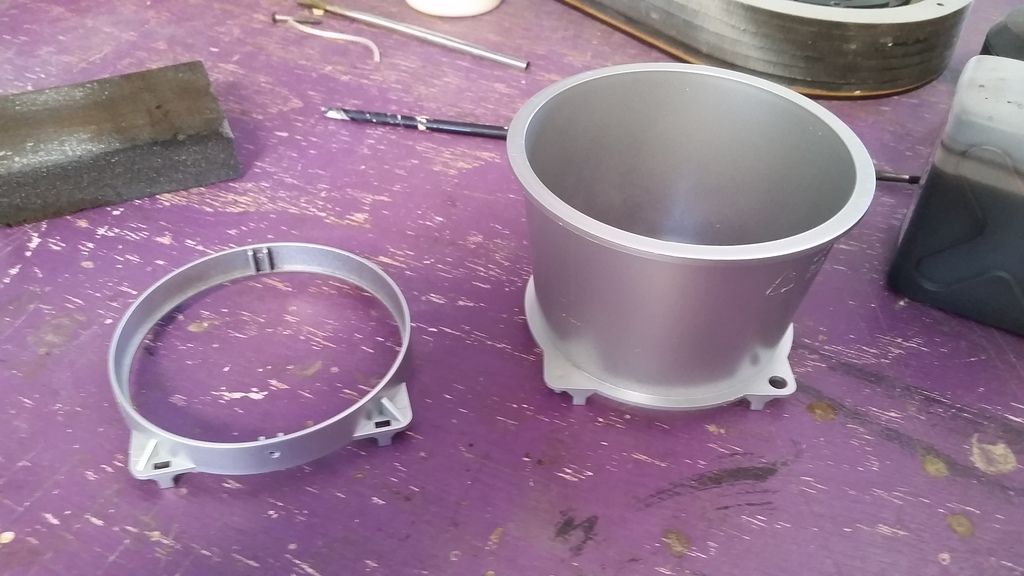
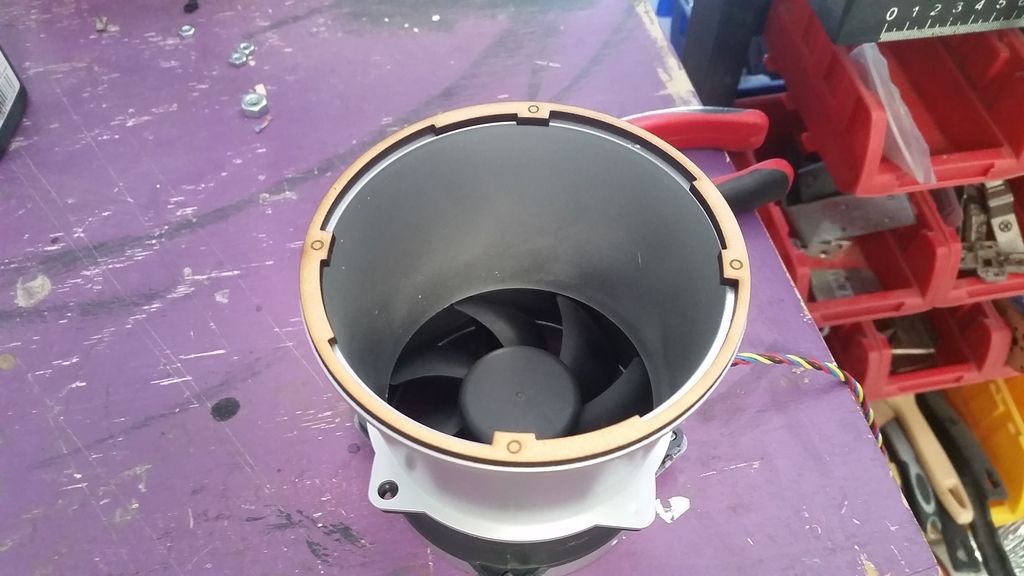
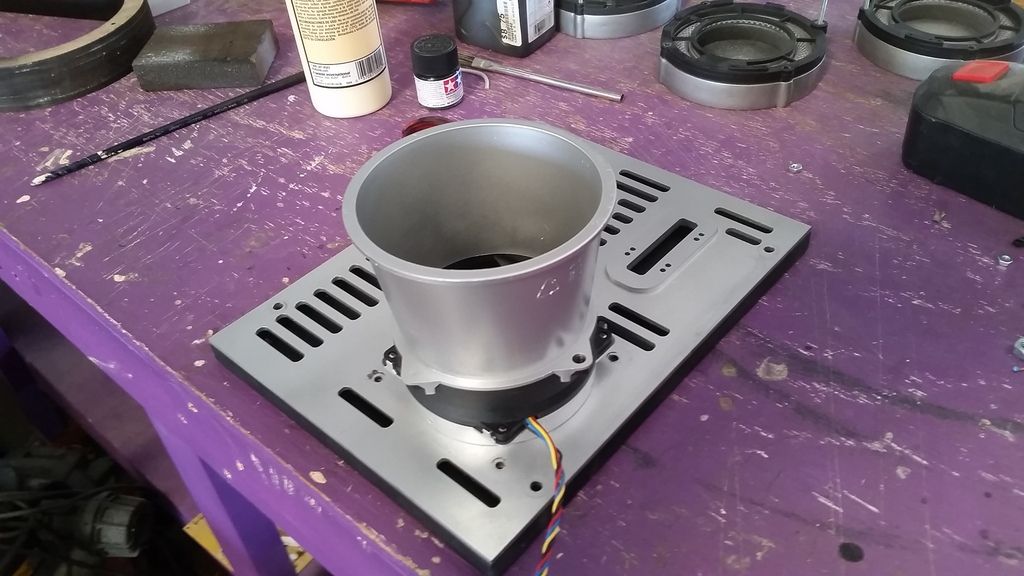
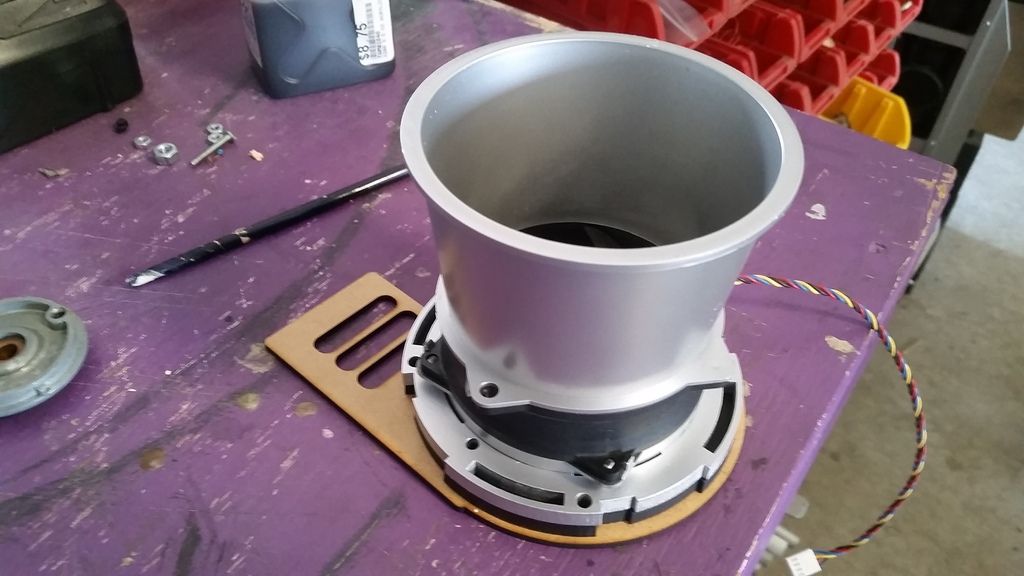
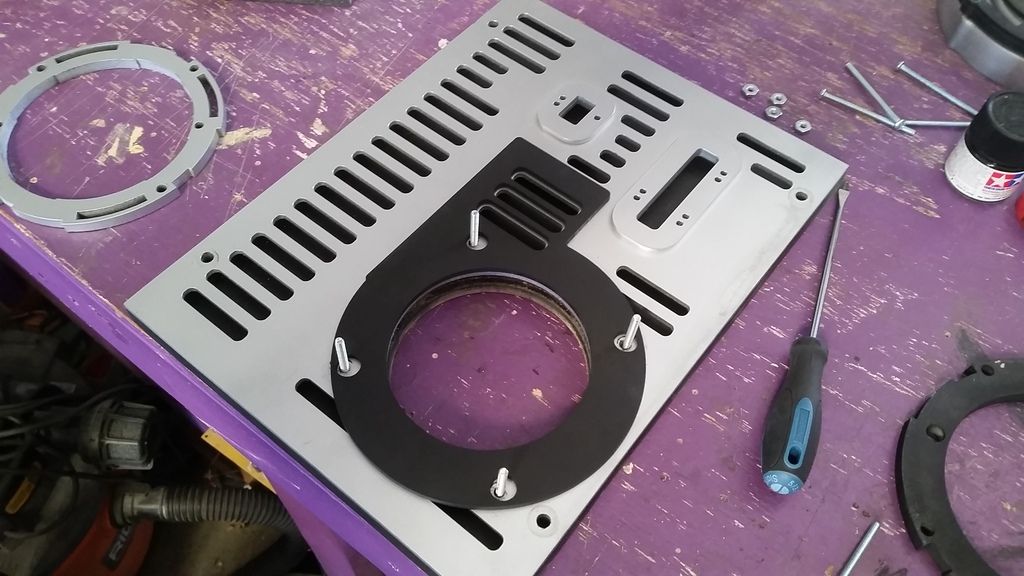
Finally... I picked up one of these heat sink cooling fans with a cone. We have 3 fans that will be pulling hot air from behind the entrance wall. I wanted to do something fun with it
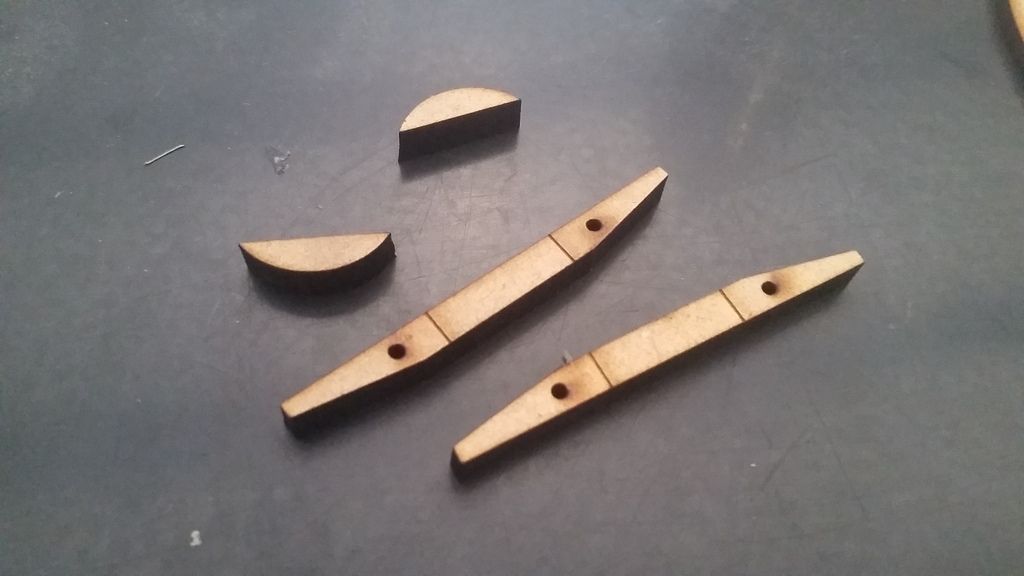
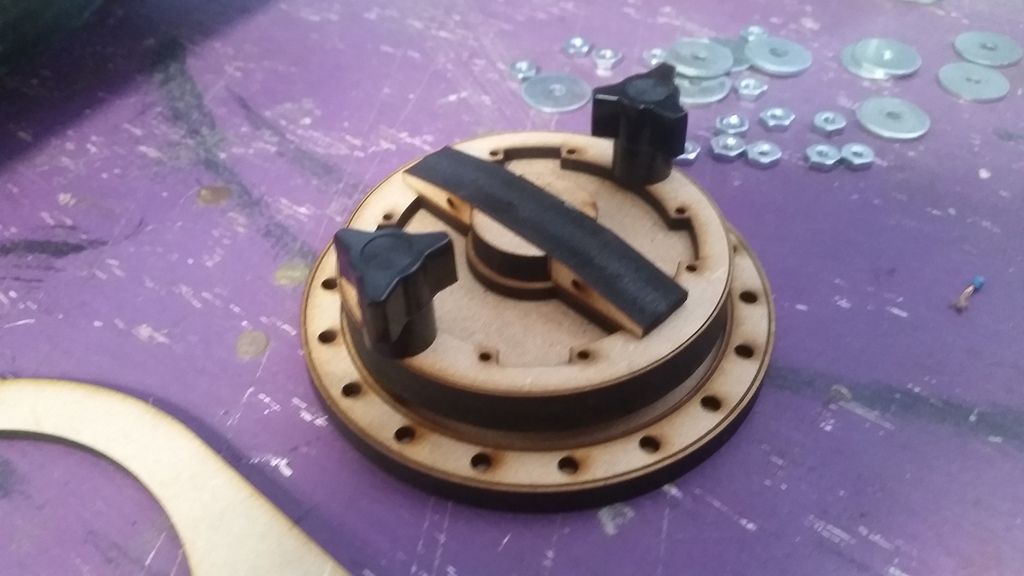
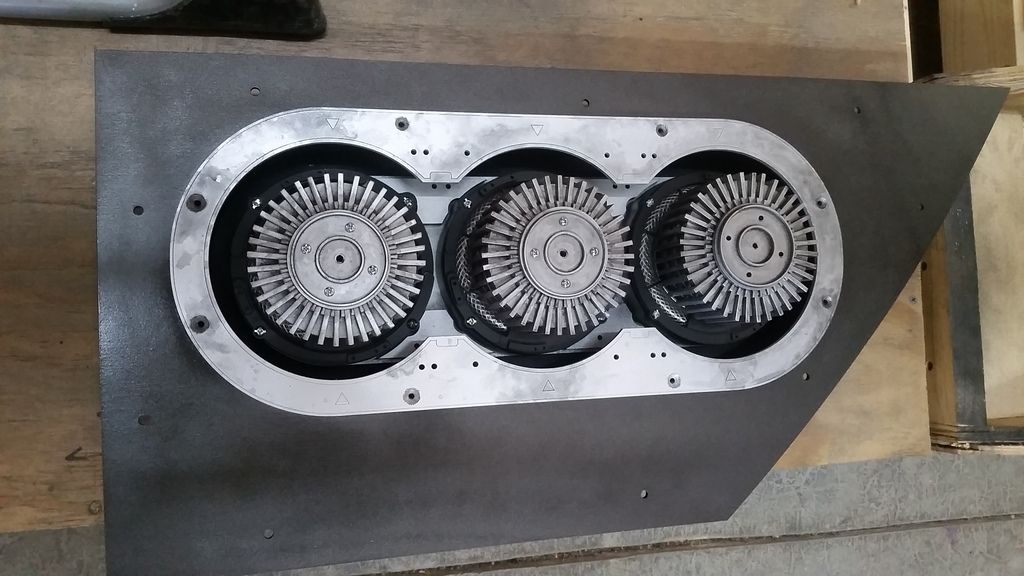
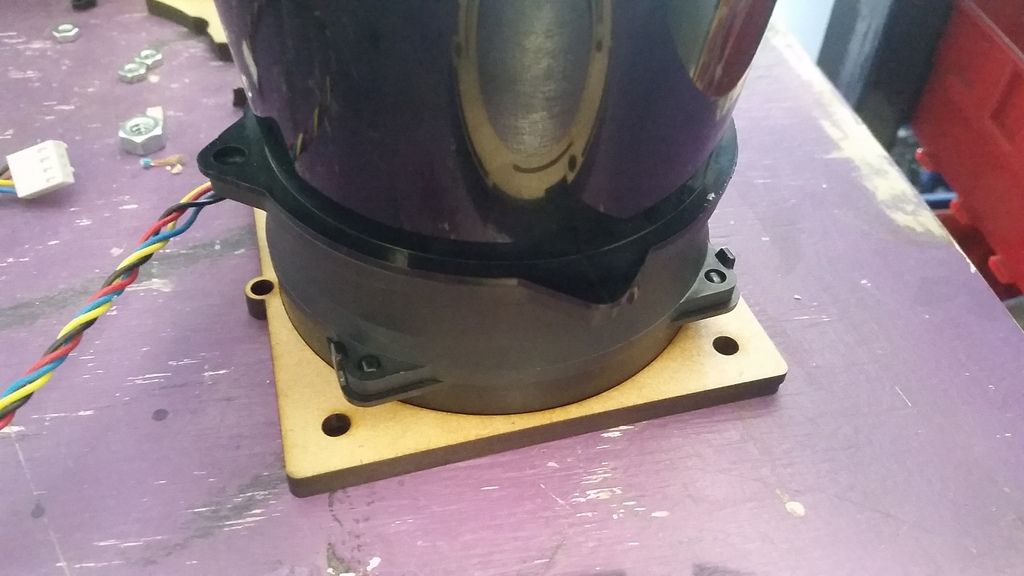
Figuring out different mounting plates - BORING!
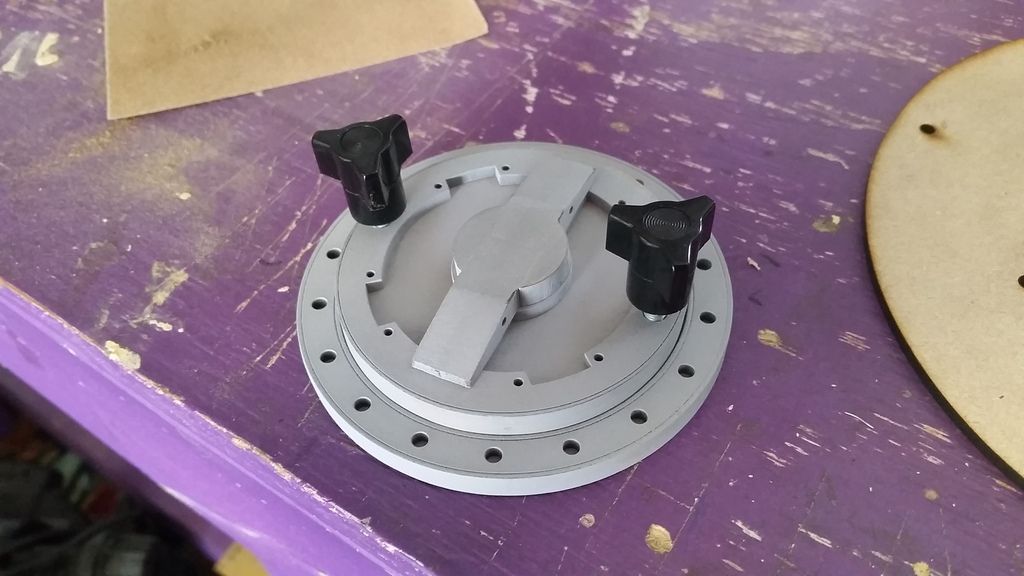
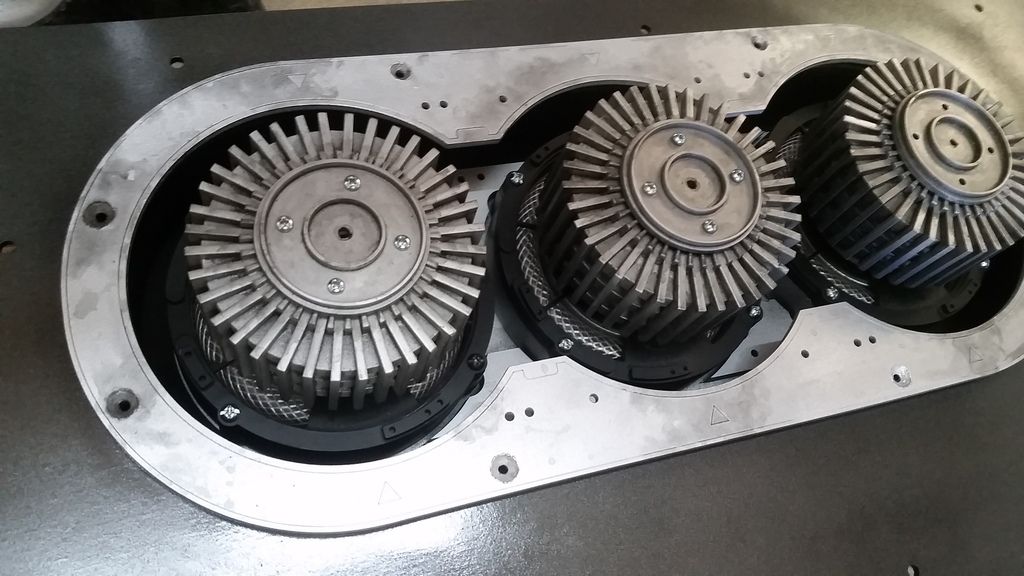
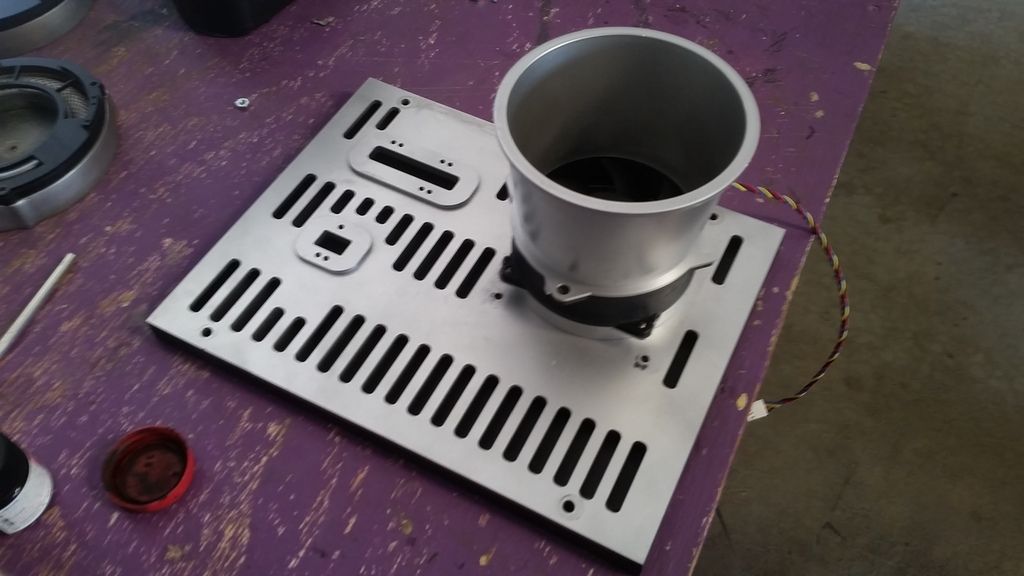
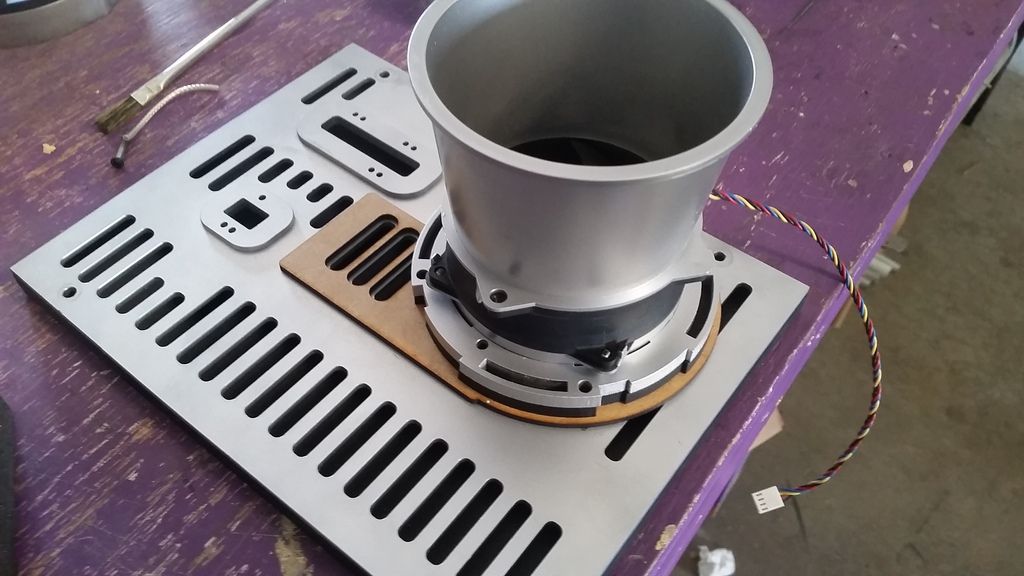
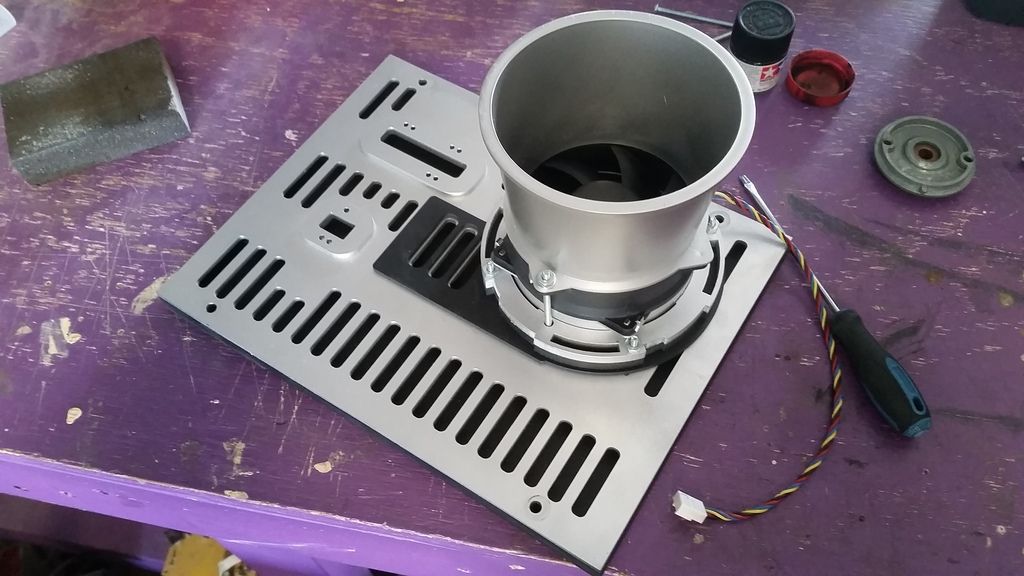
That's BETTER!
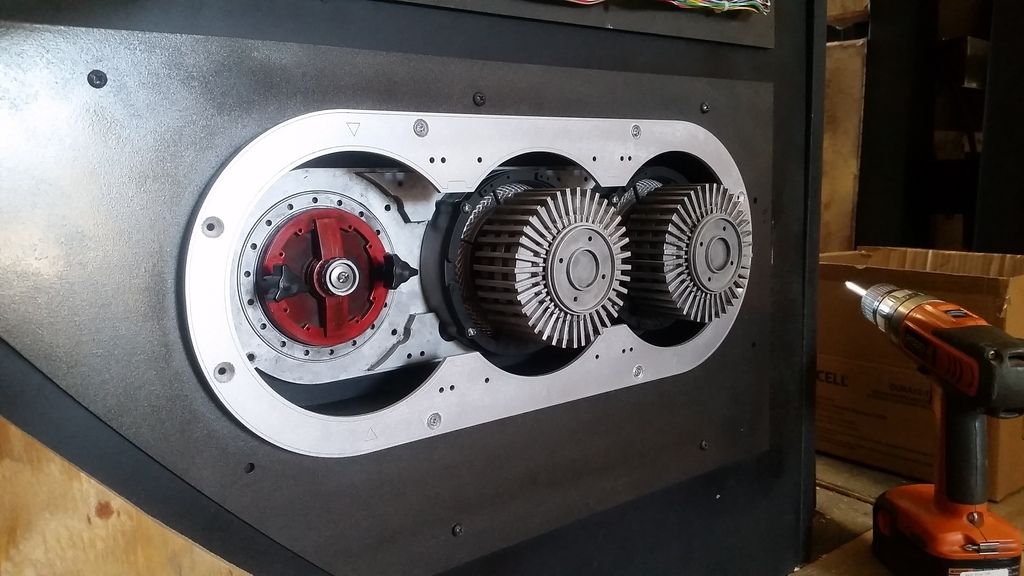
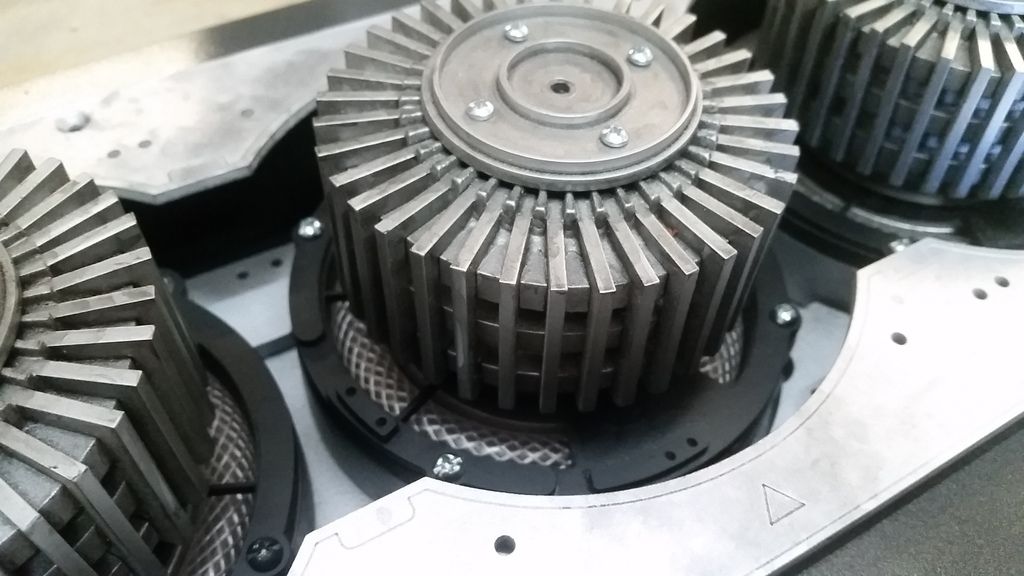
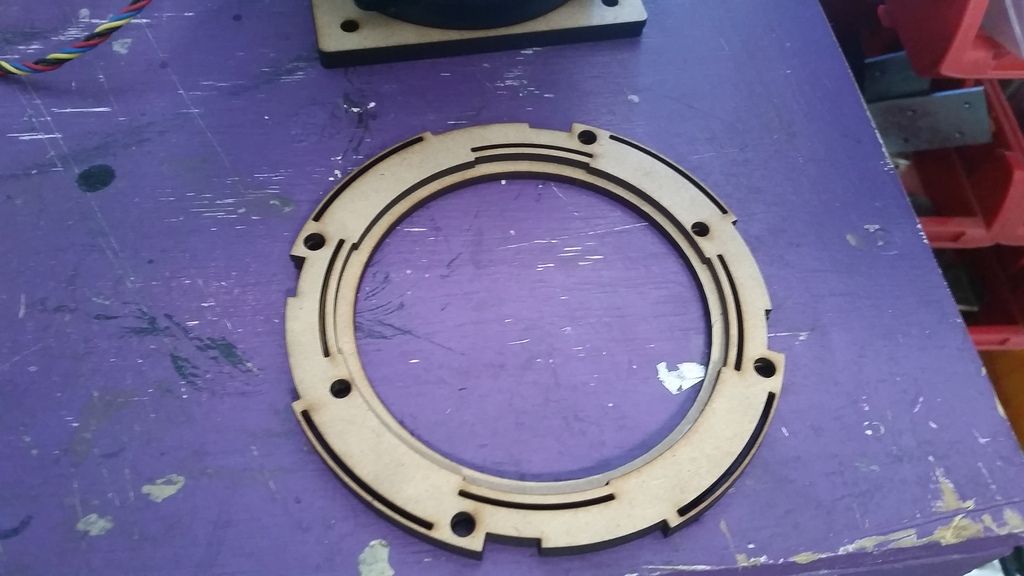
Top and bottom plate primed
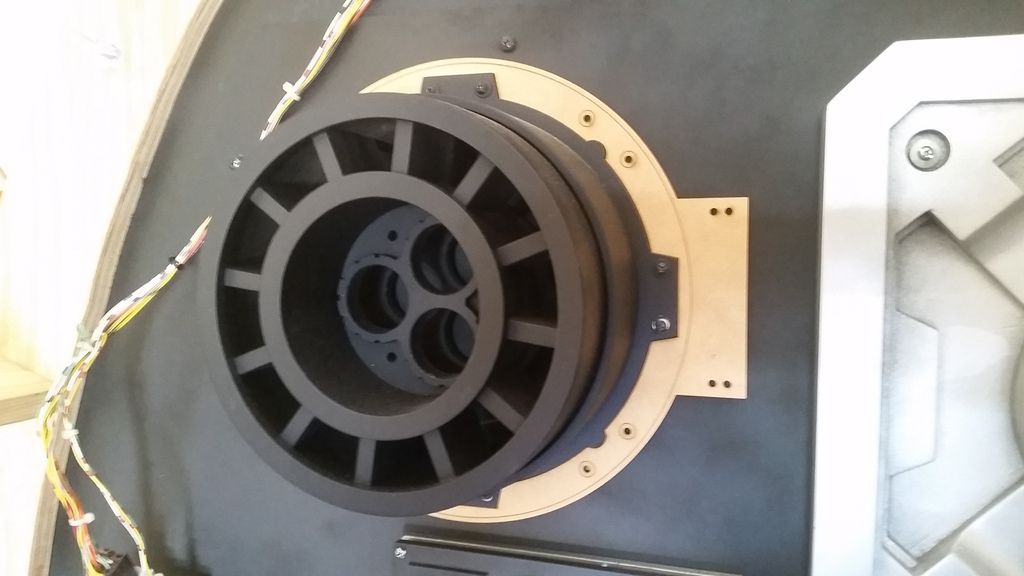
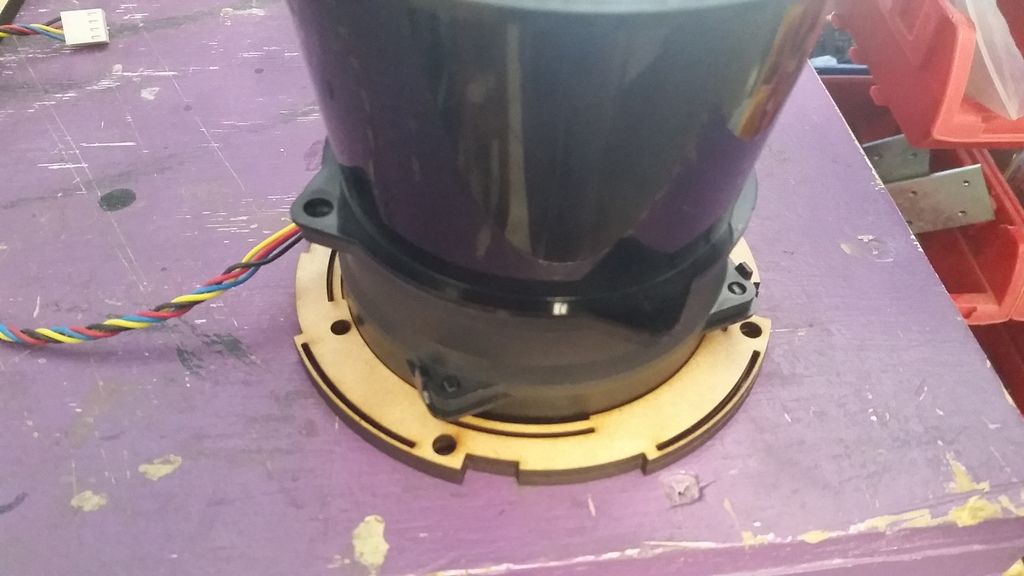
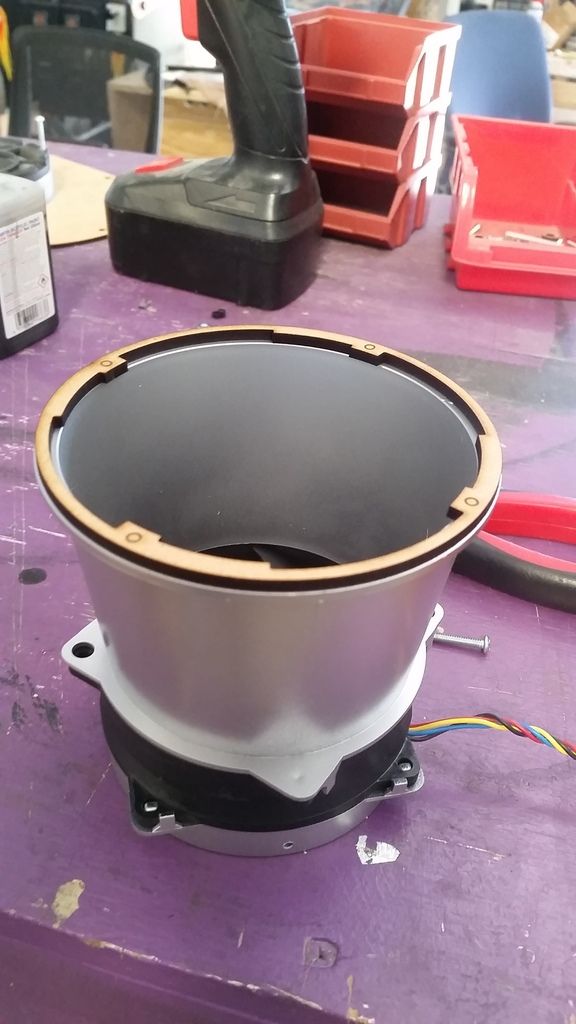
Painted parts of the cone
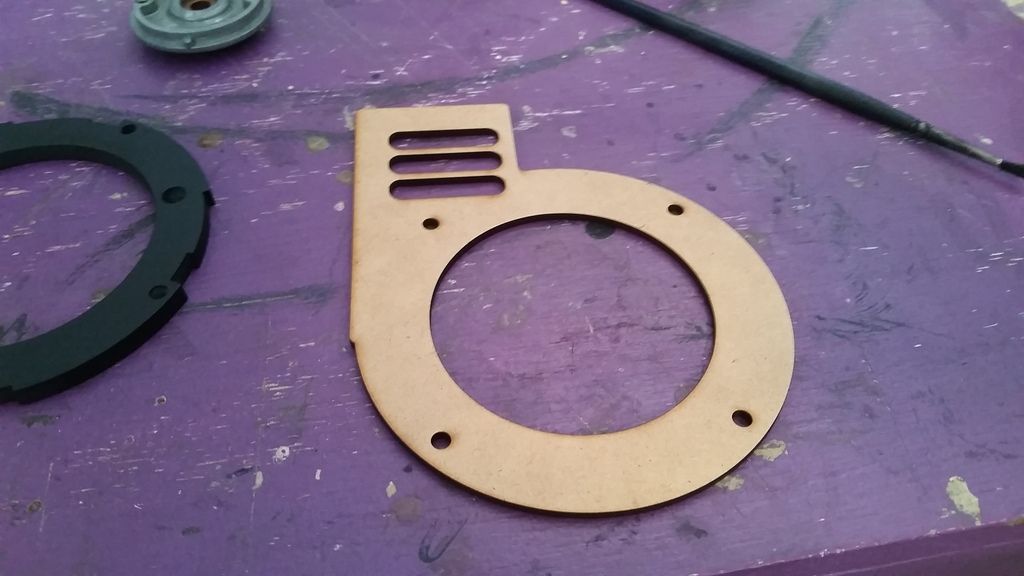
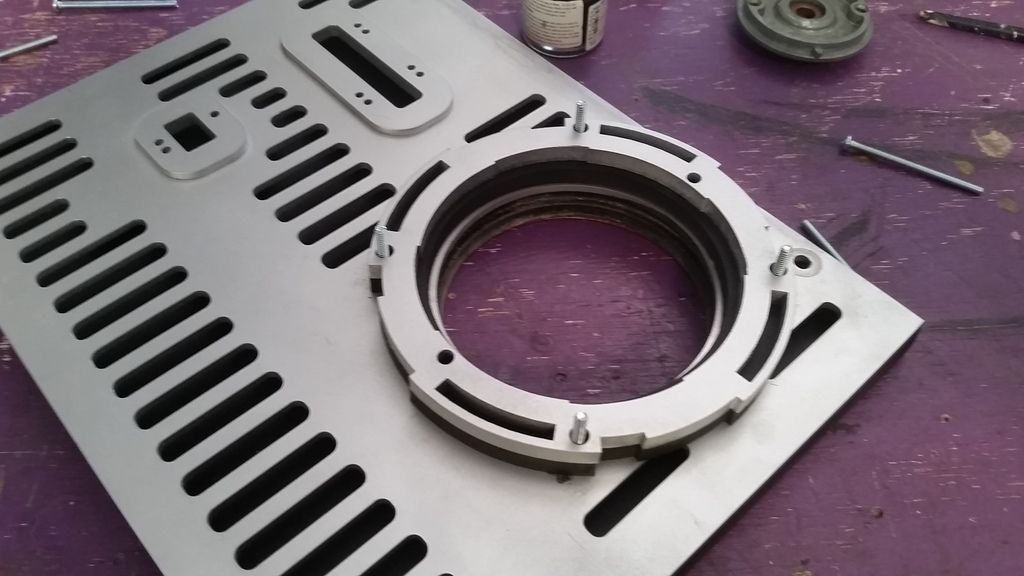
Not sure about this trim piece
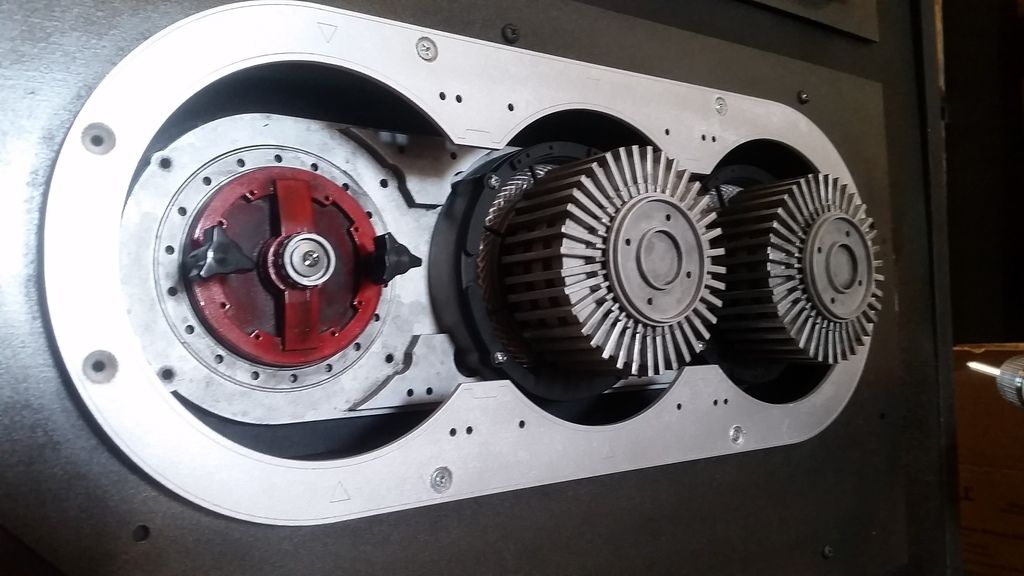
Vent panel
Basic position
Another trim piece
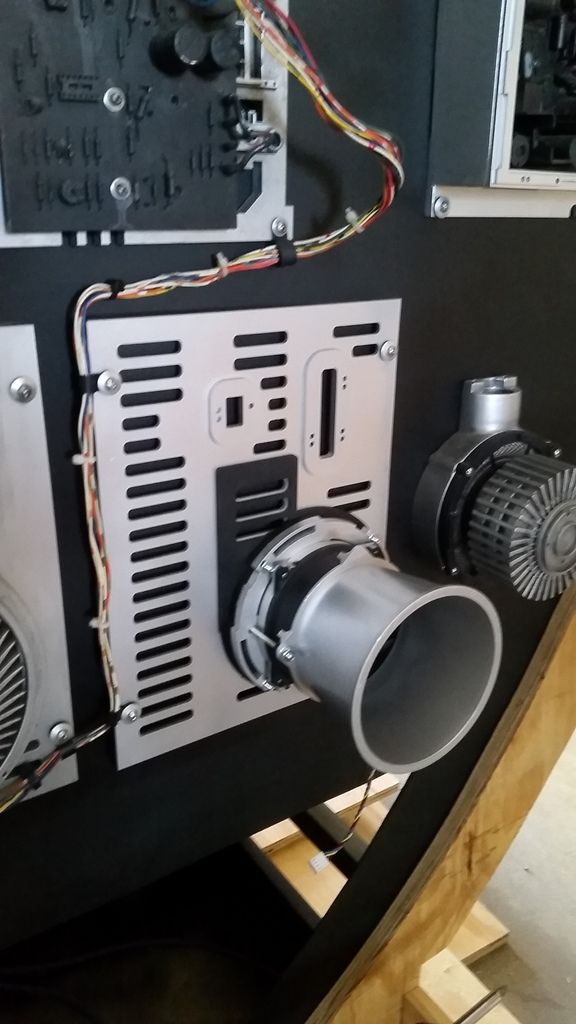
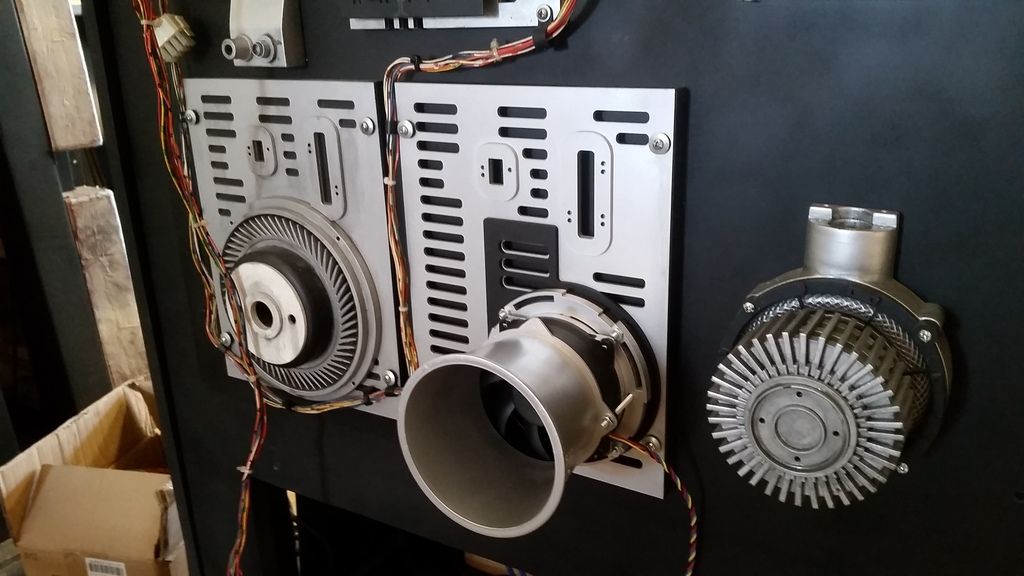
After paint its time to mount everything together
Still have to weather and add some Star Wars'esque elements
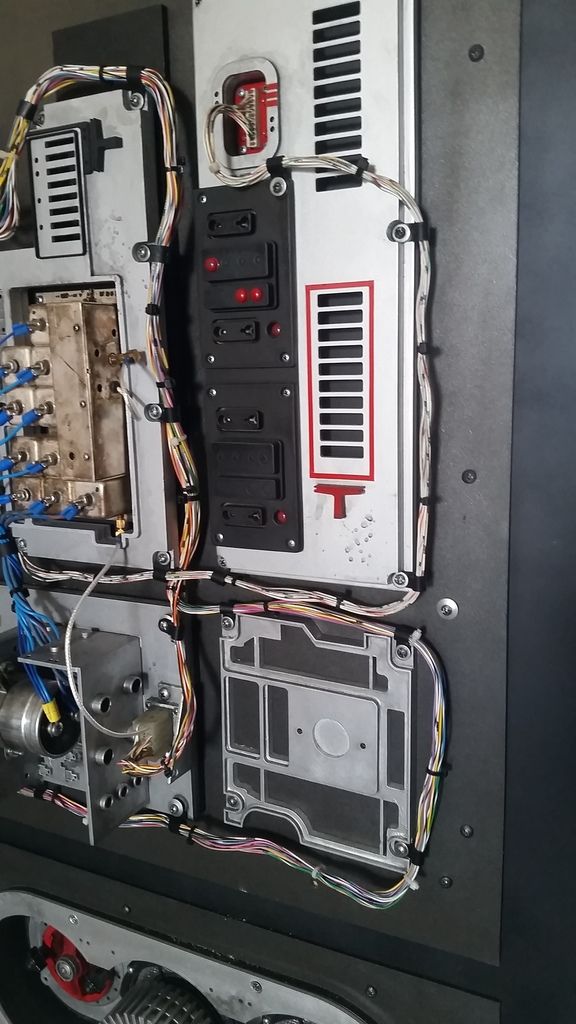
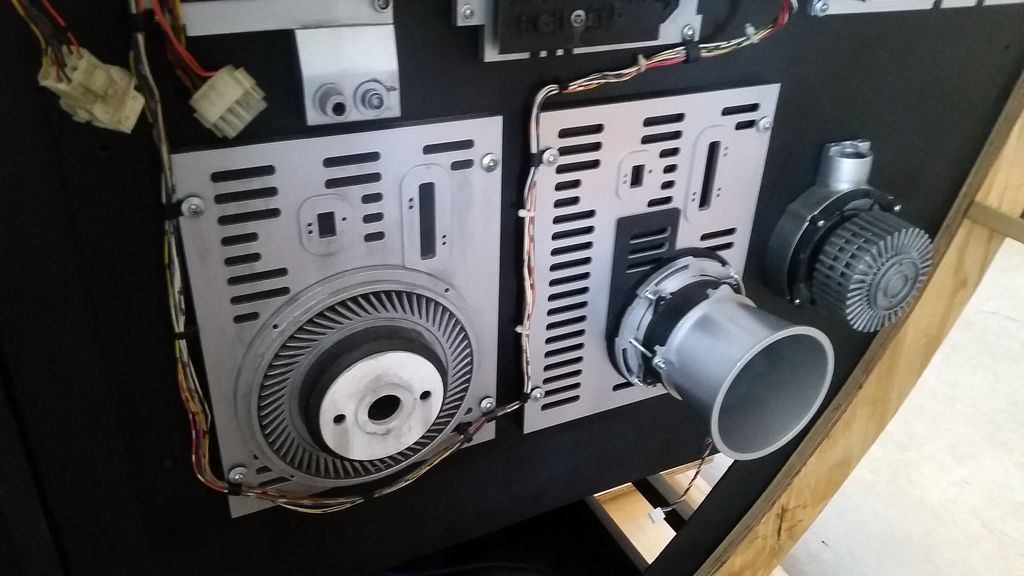
I have to redo the wiring harness on this side as well... UGH Also, I think these panels need to have the same pin stripe treatment as the cockpit panels
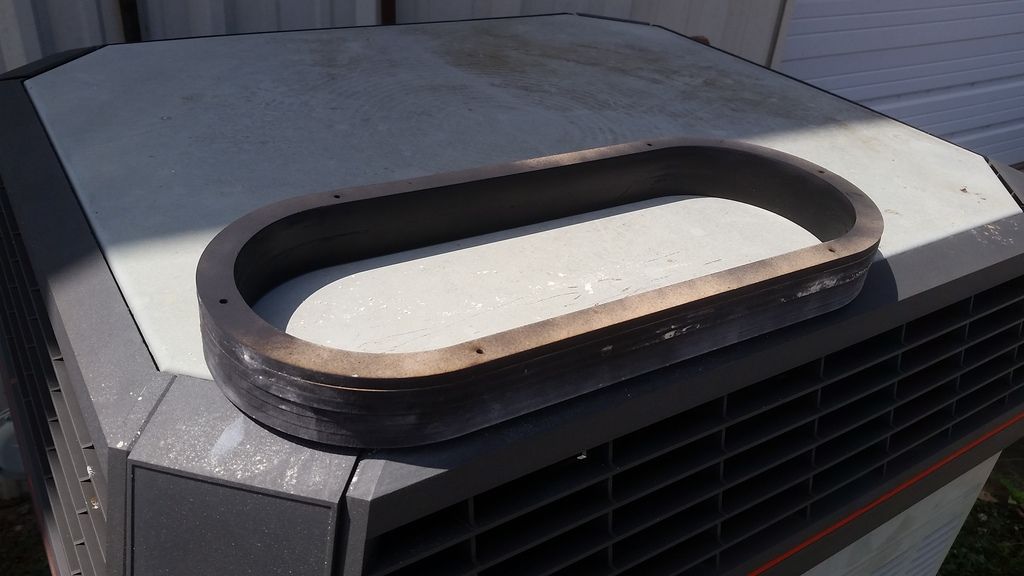
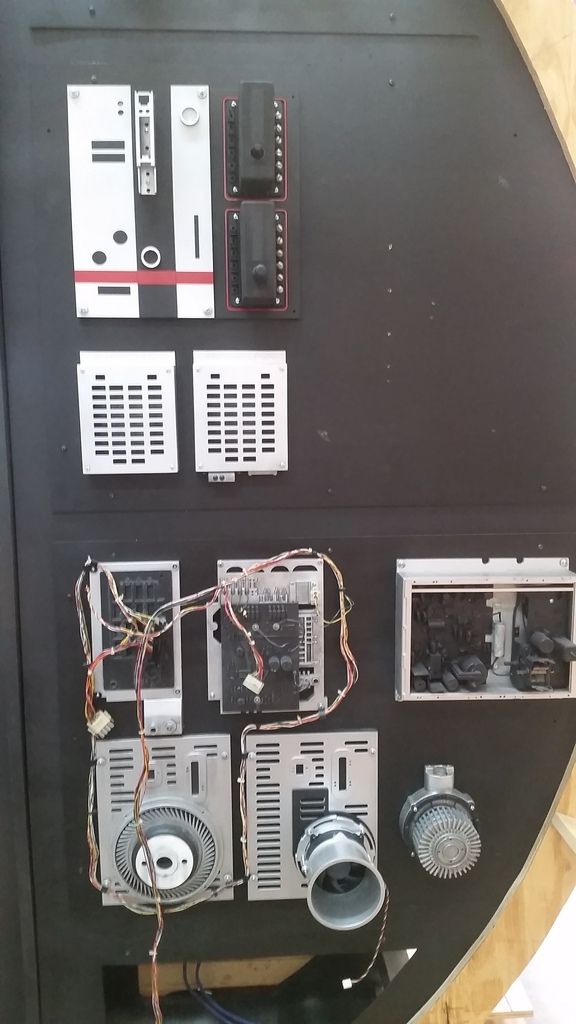
Now... what to do with this guy?
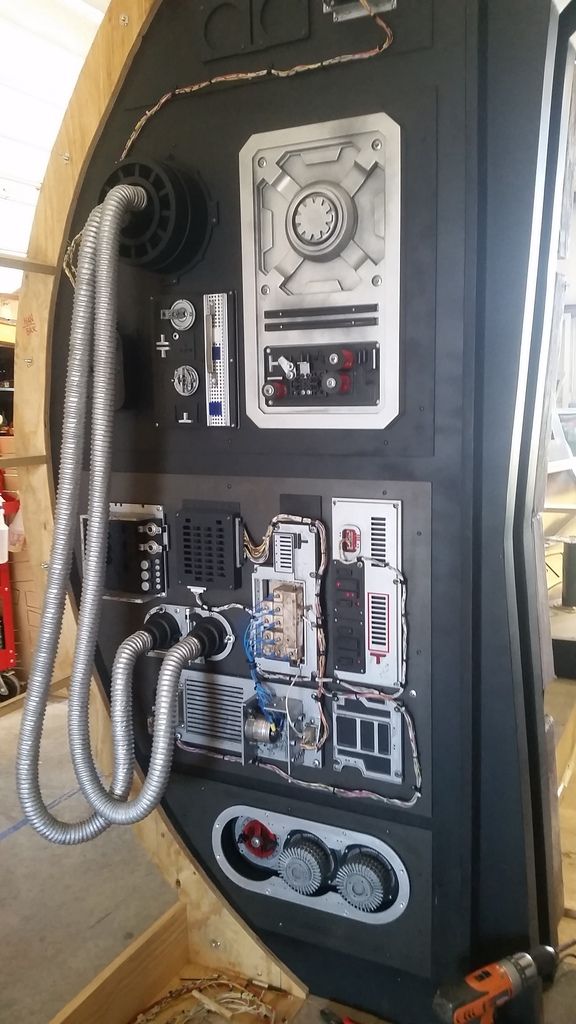
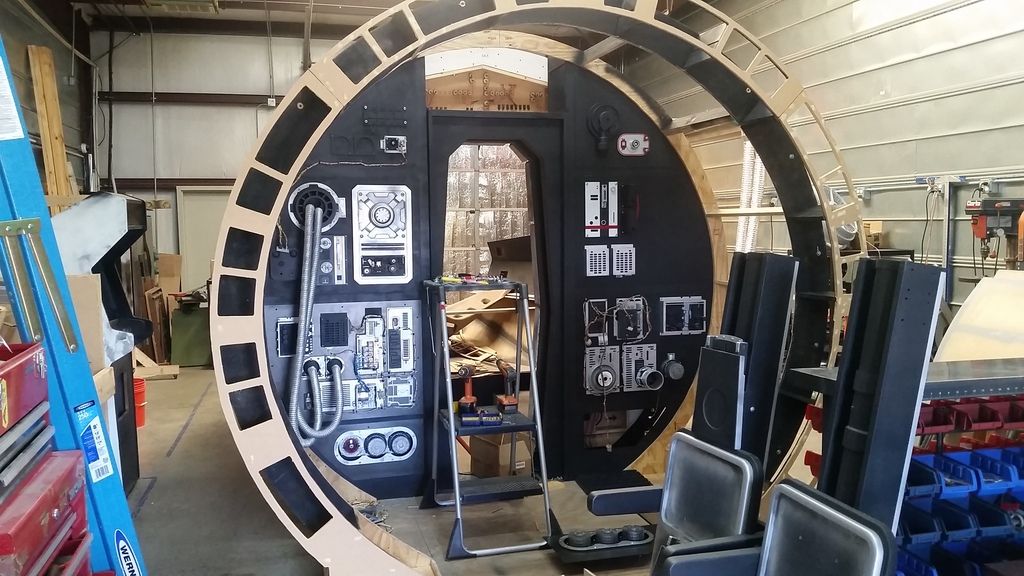
And this is where we are!
Stay Tuned! More to Follow!