The Nylon Gag MK2 F1 Magneto Skimmer

Your work is awesome, as always. Thanks for sharing... I know you are always trying to one-up yourself and I was wondering if you knew of a paint technique that would give the appearance of carbon fiber to apply to your racer. I think it would add a little "stock car" feel that would would make it more relatable to racing. It just popped into my head. It isn't a critique, I promise. I currently could not achieve your work. Take care! :)
 
Scale auto modellers often use sheets of carbon fiber decals to get the weave, or, for a less accuracte look, you can simulate it by spraying a grey through mesh over a black basecoat.

Scale Motorsport have a decent range but I'm sure there are lots of other suppliers.

Edit to add: I don't think it's needed though. I reckon the future motorsports industry will have developed all sorts of new super-light high-strength materials and compounds, so carbon fibre will be old hat. They'll be using it on the equivalent of cheap hatchbacks :)
 
Last edited:
Ello,

Think i have a paint job in m ind that does have some carbon fiber in it , i do already have a sheet of 1/12th scale carbon, but we will have to see as everything is very fexible and fluid

But........


Sand and fill and sand and fill and sand and fill............oh, and i cut the nose off.


well not completely


Had another idea for the front wing, so you have to go with the flow, still not sure......


Picture%2520501.jpg


Picture%2520503.jpg


Picture%2520508.jpg


Sand and fill and sand and fill and sand and fill............


Picture%2520509.jpg


Wanted to add a last kicker to the cockpit rim, can you guess what its from?

Picture%2520513.jpg


Hollowed out the back so we can see the details a bit better

Picture%2520515.jpg


Added another layer of interest
Picture%2520517.jpg


Still have work to do on the underside

Picture%2520523.jpg


My old faithful voddy spout for one of the outside variable height magneto repeller nozzles

Picture%2520519.jpg


Added some blend tubes and then started to build up the top rear fairing

Picture%2520524.jpg


Picture%2520525.jpg


Fill and wait

Picture%2520526.jpg


Full 360

Picture%2520528.jpg


Picture%2520529.jpg


Picture%2520530.jpg


Picture%2520532.jpg


Picture%2520535.jpg


Picture%2520538.jpg


And thats about it,
stay tuned
take care
Gag
 
Evenin all,
Thanks for stopping by and commenting guys,
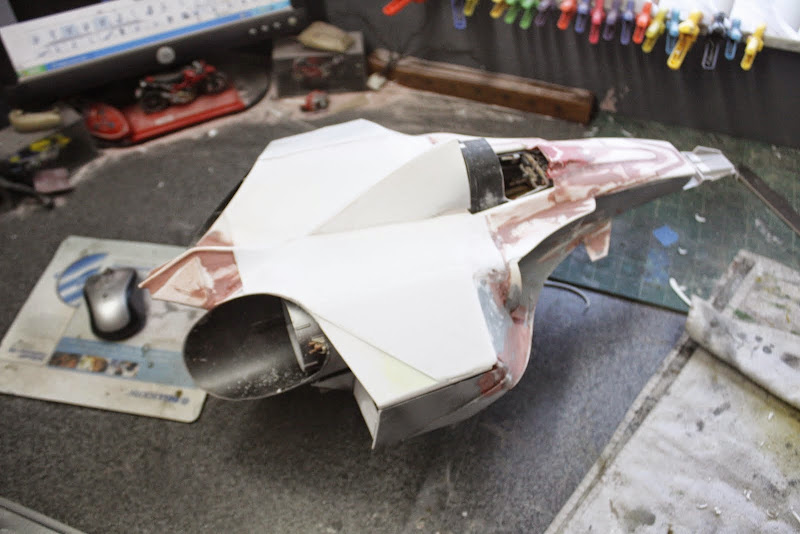
I managed 10 hours at the bench over the weekend (busy wife) and did quite a lot of work on the final body shape
Still trying to figure out the rear wing and the front wing, but i think i know what to do with the front
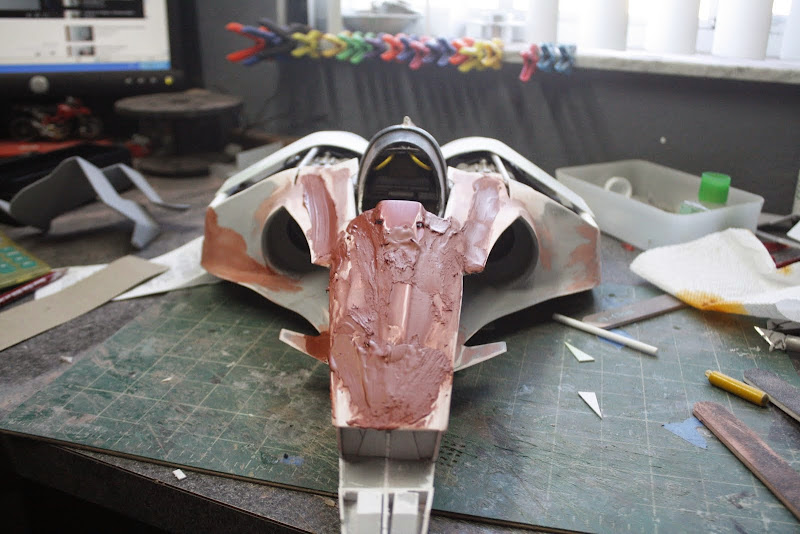
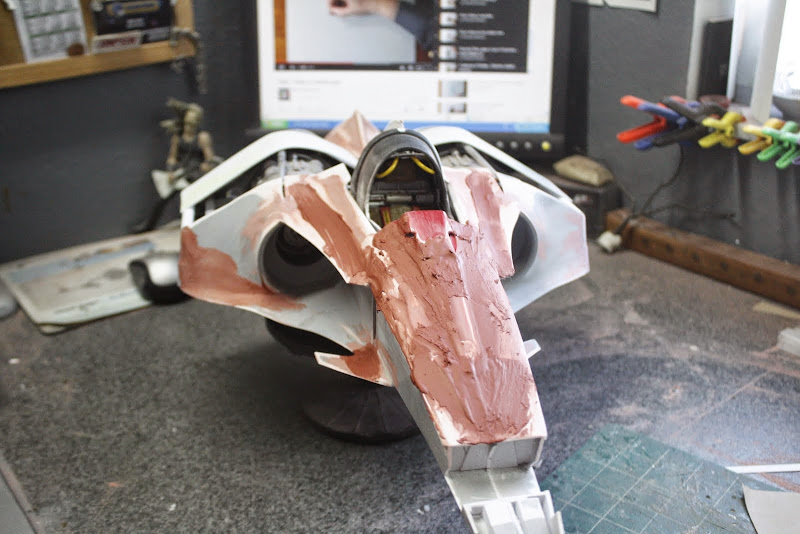
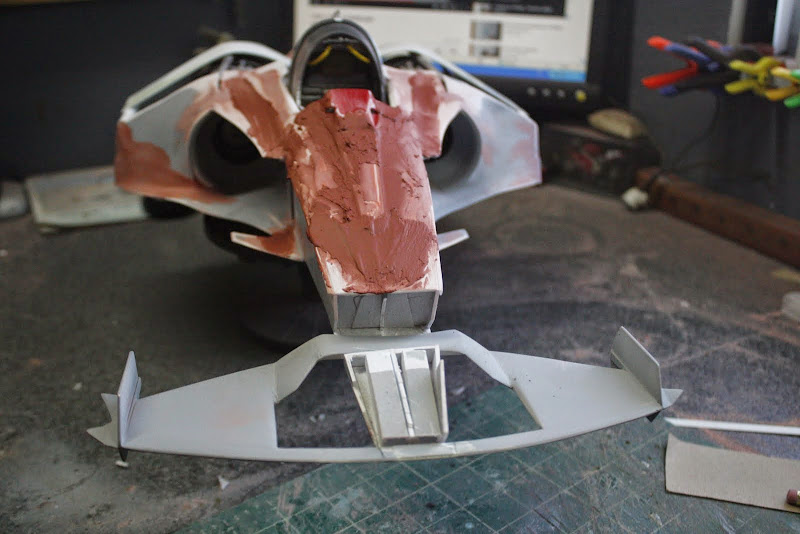
The nose itself area is still a WIP.......

Sand, fill, sand, fill...............


stuff%2520001.jpg


stuff%2520006.jpg


stuff%2520007.jpg


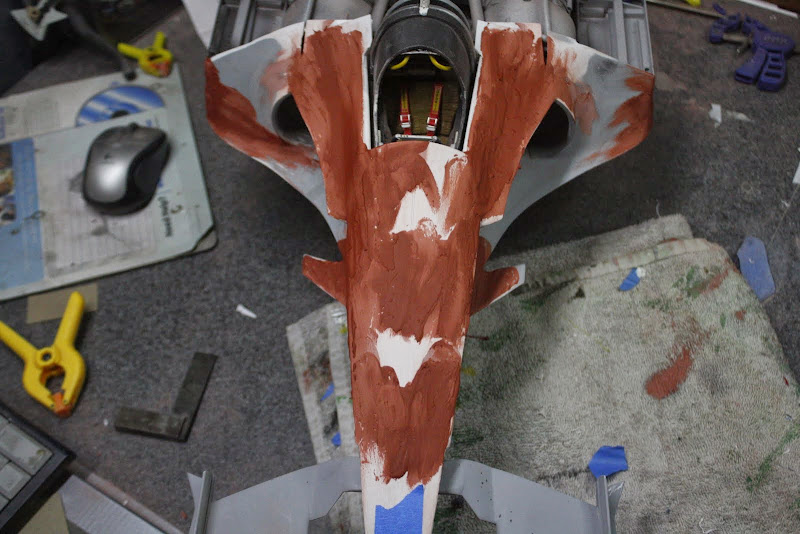
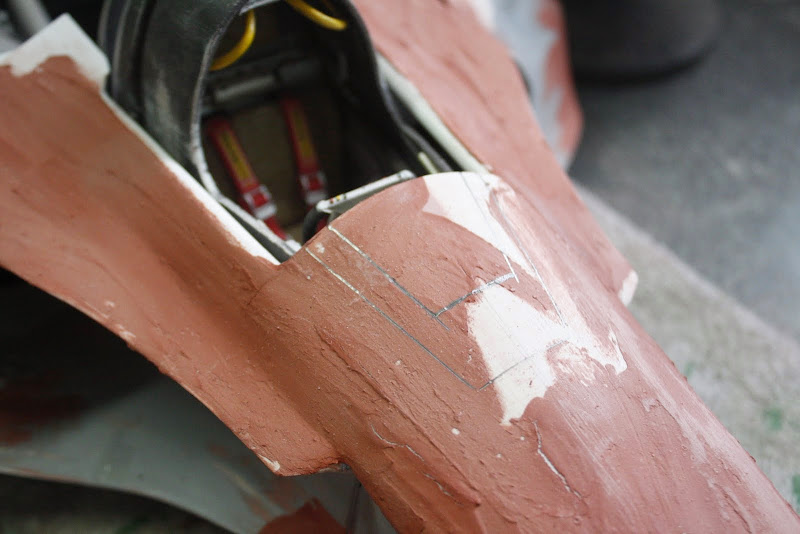
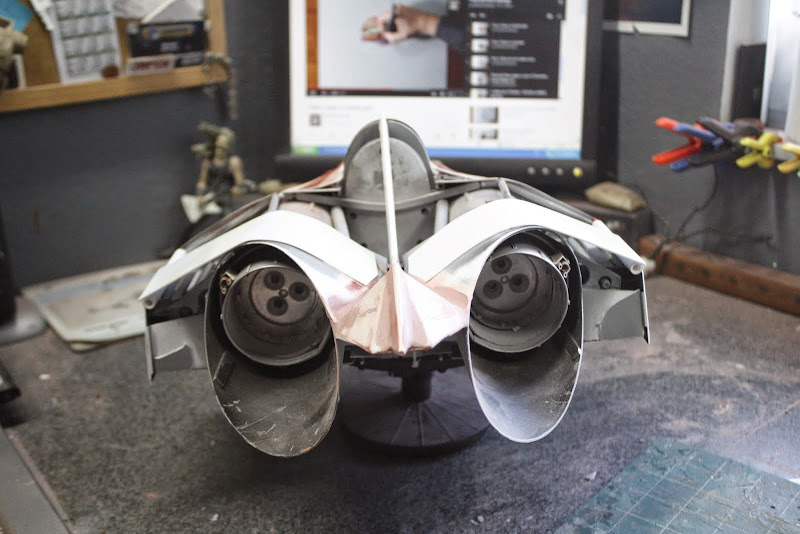
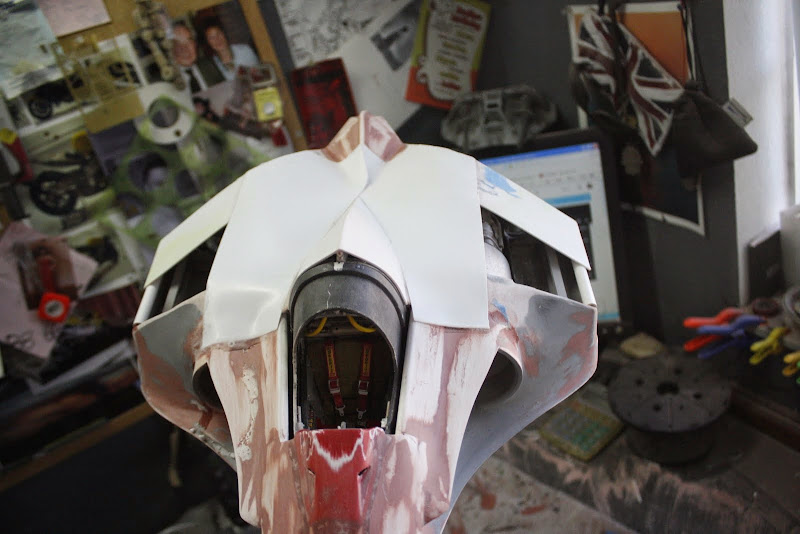
Started on the area behind the cockpit and the blend into the impact structure which is at the back


stuff%2520003.jpg


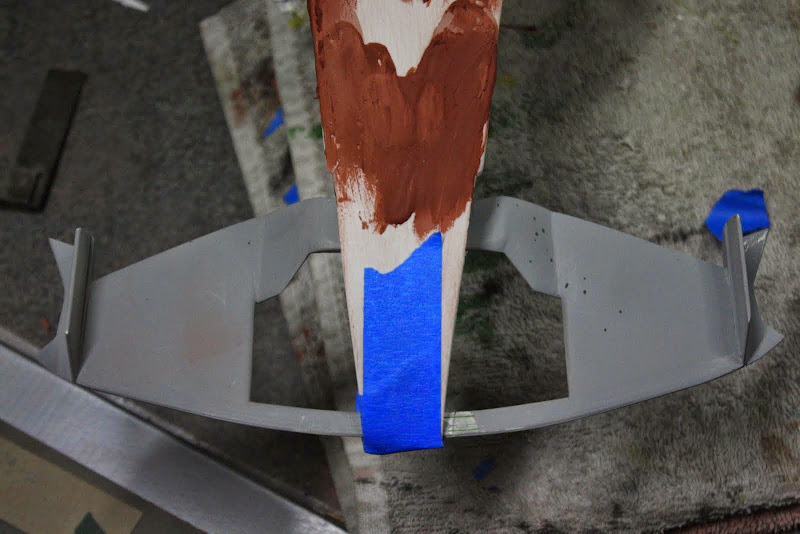
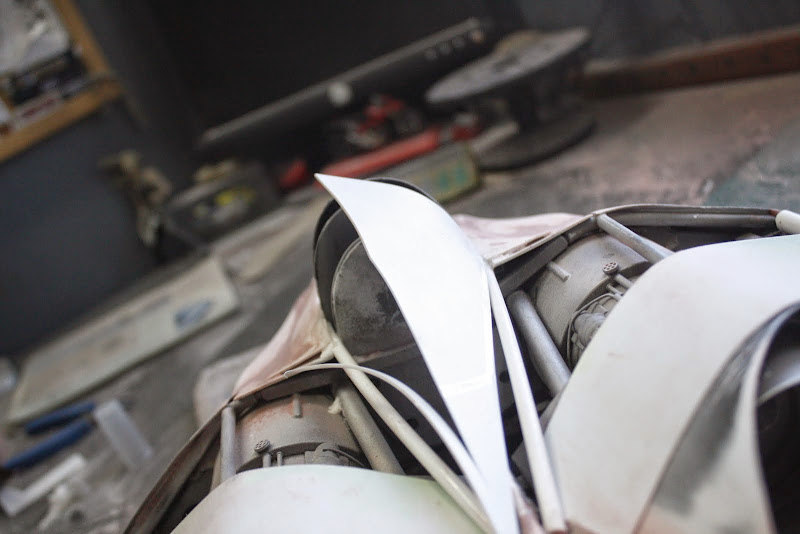
I had installed two rods extending from the outer cockpit walls to the center at the back, they had a nice flowing curve to them these were for suppport

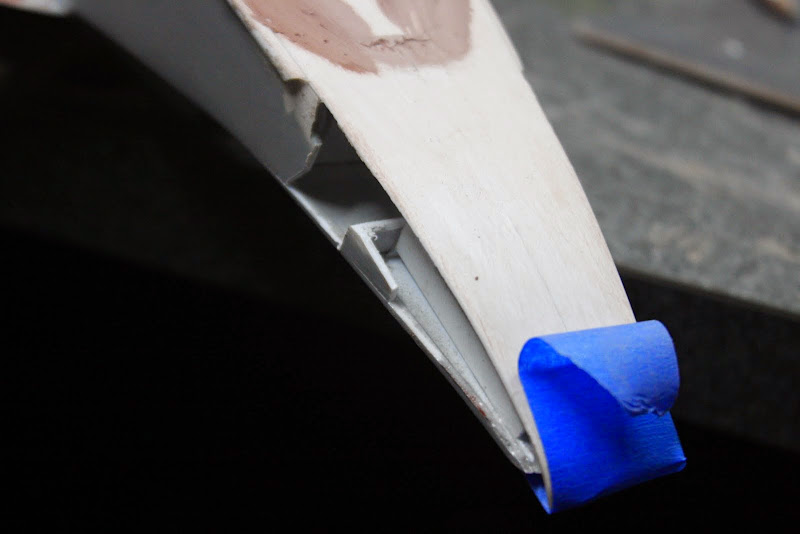
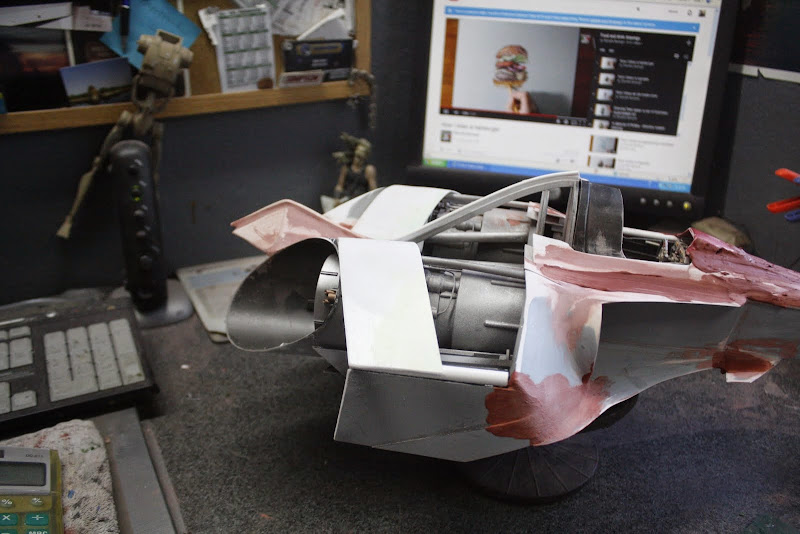
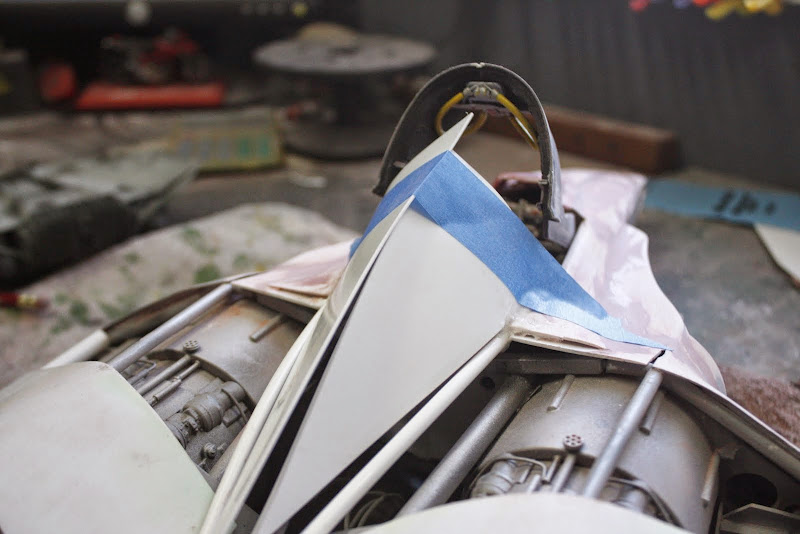
I bent over the 1mm (0.039") sheet and glued it to the central profile support and the cockpit curve and the back central area

stuff%2520010.jpg


After sanding the edge flush, i did the same on the other side

stuff%2520011.jpg


After a rough whittling with me #11

stuff%2520015.jpg


After some shaping

stuff%2520019.jpg


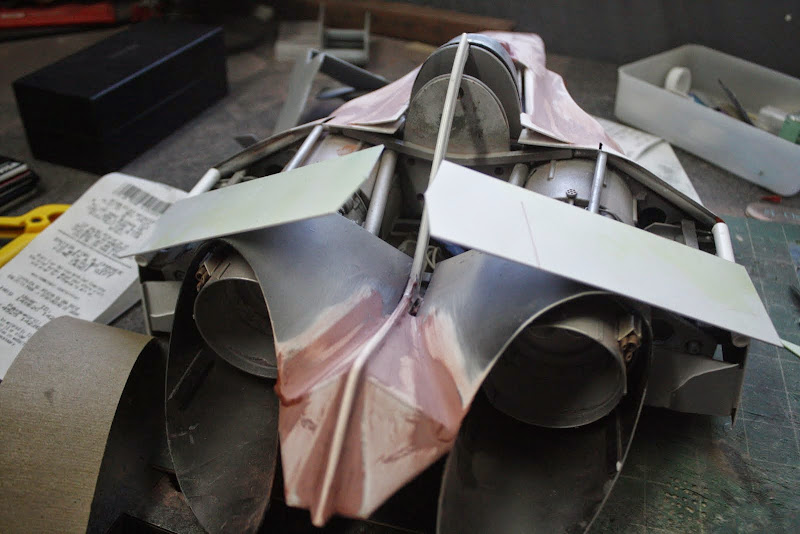
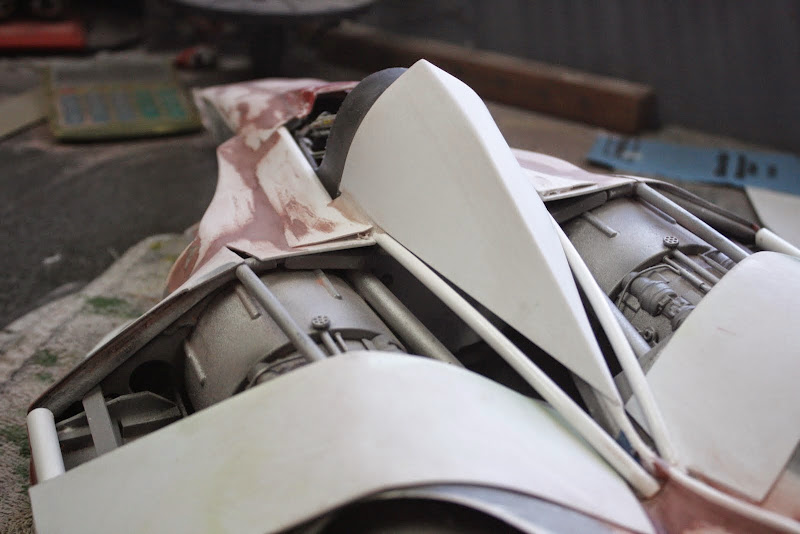
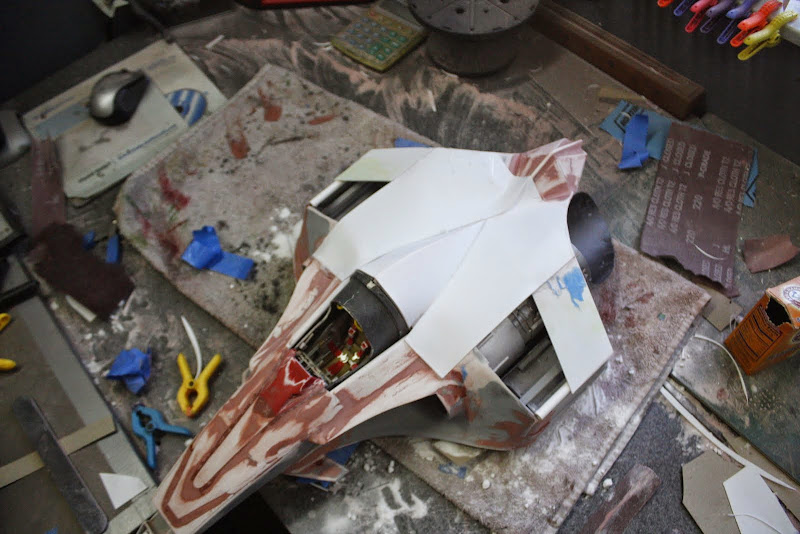
Forced, with a heat gun, two pieces of 1mm just to fill the large gap

stuff%2520022.jpg


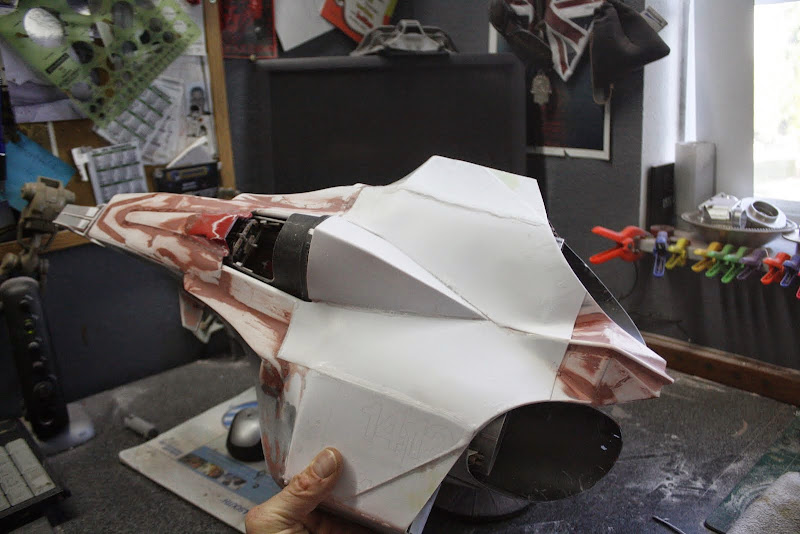
Then i skinned the inner contour with 0.5mm(0.020") sheet, letting it just flow into the area and covering a large slit in the front intake area

stuff%2520023.jpg


After trimming, side two.

stuff%2520025.jpg


Needs a bit of tweeking but its close

stuff%2520028.jpg


stuff%2520029.jpg


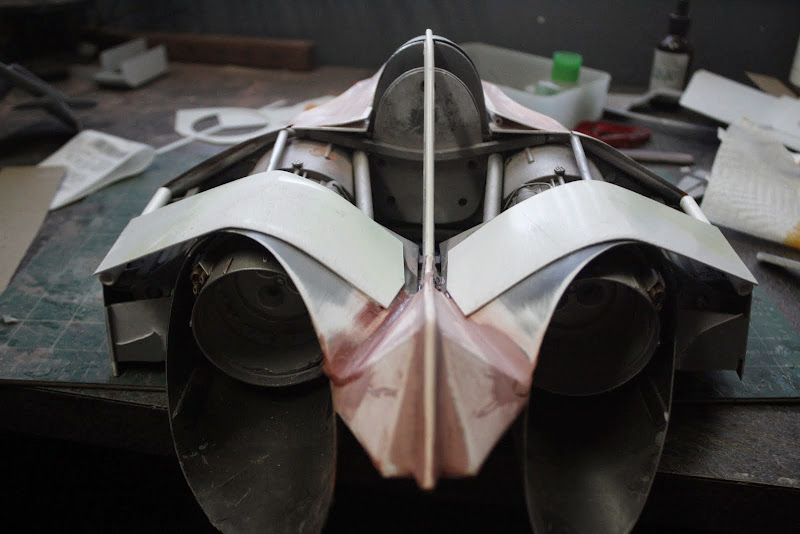
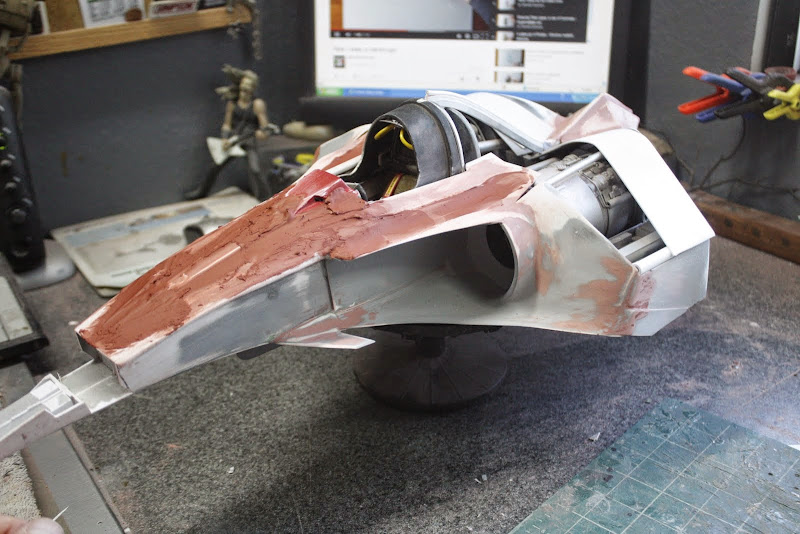
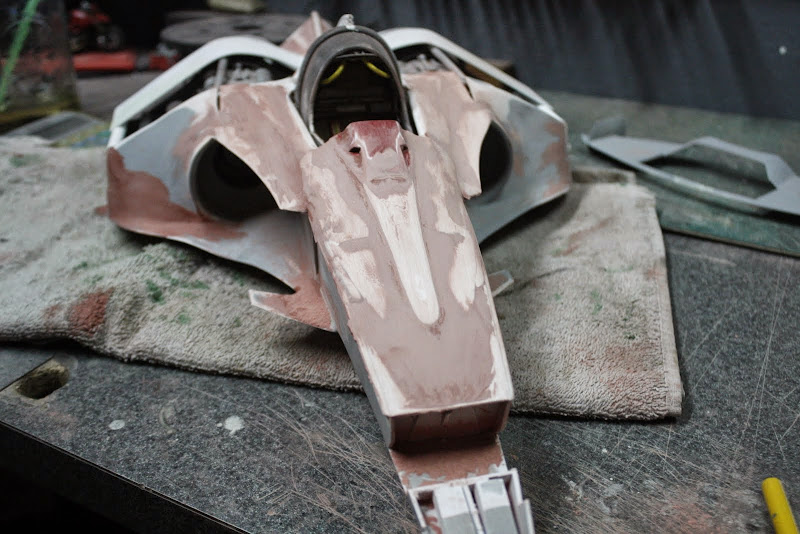
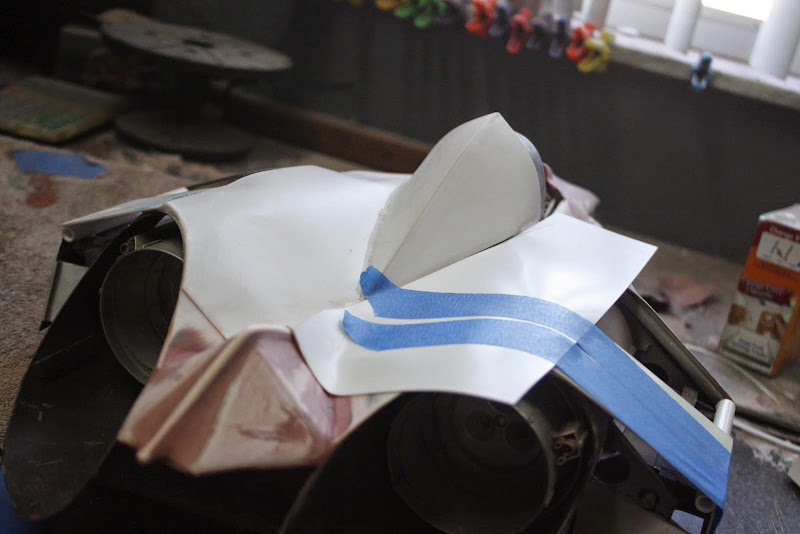
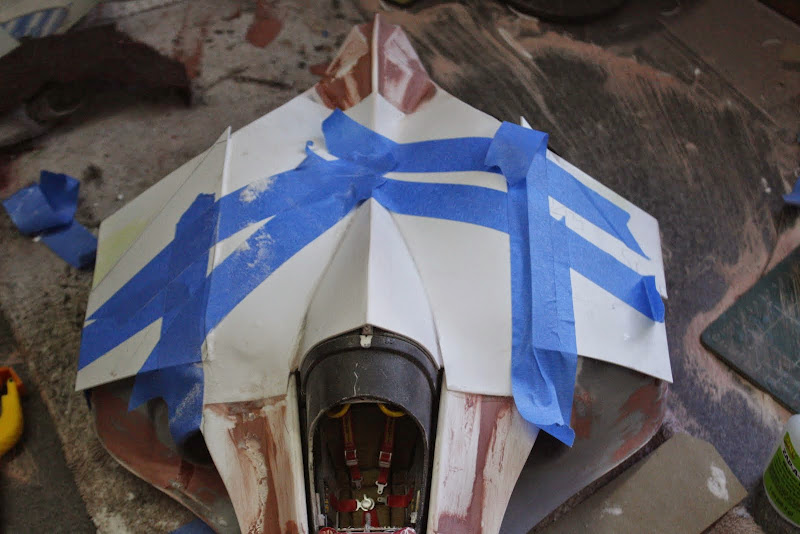
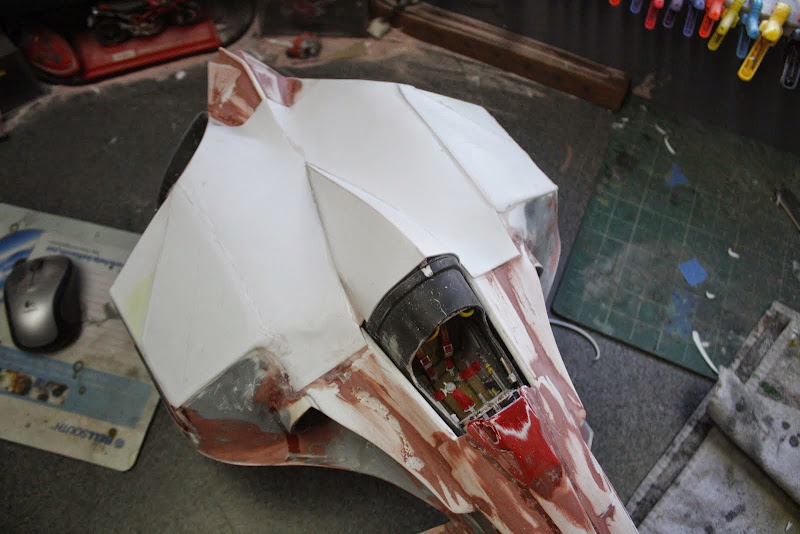
Back to the 1mm for the front panels, large overlap to be sanded back and filled later


stuff%2520030.jpg


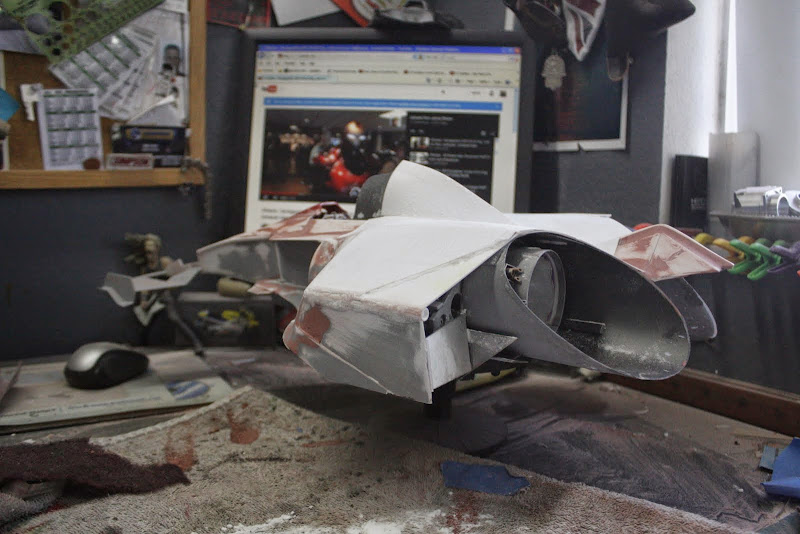
Basic left side shaping

stuff%2520032.jpg


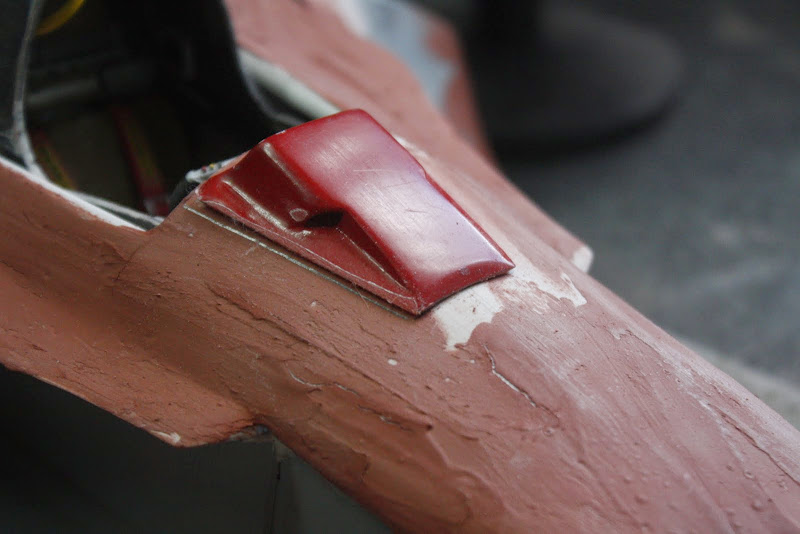
Just this small recess at the back to fill next
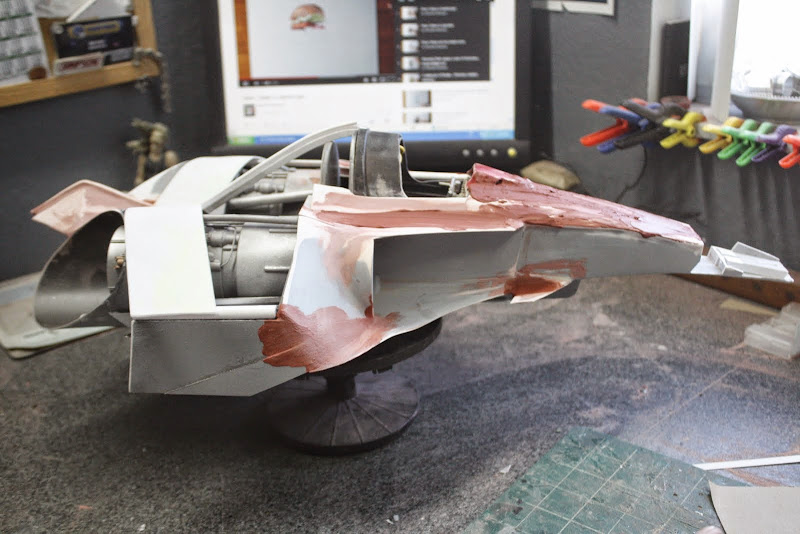
stuff%2520034.jpg


Top profile

stuff%2520044.jpg


stuff%2520040.jpg


stuff%2520050.jpg


stuff%2520046.jpg


stuff%2520051.jpg


Filled and ready for sanding, but thats next time
Stay tuned
Take care friends
Gagsterman
 
I love the direction you're taking this. And amazed that you are keeping the cockpit clean. :lol I'd have that on-lock down with tape ALL THE TIME
 
Wow, this is shaping up very nicely. :thumbsup

stuff 032.jpg
"Windows XP has reached end-of-life. Please upgrade to a less stable version of Windows." :lol

Cheers
Eddie
 
Hey Gag glad I found this thread here...
SMA seems to have a bit of a problem to sort out
Keep 'er goin' bud
Happy New Year
Cheers
 
Subscribed , brilliant , I started my own scratchbuilt fighter over 12 years ago , your posts are inspiring me to resume that fighter again. Thanks
 
"Bump" Mr Gag, are you still working this gem? I know your hand and wrist were under some reconstruction. Just checking in to see if this great model is still on your radar.

thanks
 
This thread is more than 7 years old.

Your message may be considered spam for the following reasons:

  1. This thread hasn't been active in some time. A new post in this thread might not contribute constructively to this discussion after so long.
If you wish to reply despite these issues, check the box below before replying.
Be aware that malicious compliance may result in more severe penalties.
Back
Top