Thanks a lot for your kind words...
And well the little surprise is something that V1and V2 (no to mention V3) did not have, a way to install switches to activate etc.
Changes made to V4 are:
1. Added the threaded portion to eliminate the coupler. To achieve this I had to change the Led housing to a 1" one instead of the original TCCS piece. I also made inner channels for the wires.
2. Modified the cutout detail portion to match the inner core details from the hasbro fx saber batery holder.
3. Added the side screw to be printed, but can be changed to holes if you guys think that reals screws might look better.
4. Added holes for the red and blue outer wires so you dont have to drill them.
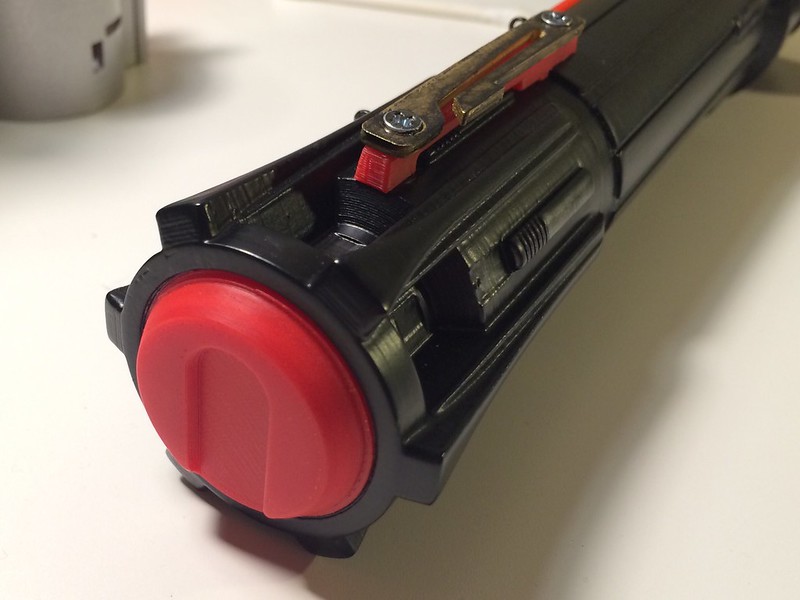
5. Last but not least I made a back door to add push buttons or a slide switch to activate. (ok that was the little surprize) There is a removable piece that gets secured by a screw and this way you can add the switches easily.
pics
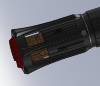
Front view
Cross section, red arrow shows the pocket for an 8-32 nut to help secure the blade. Blue arrow is the hole used to screw the back door to the emmiter. Green arrows show the two holes to be used with small set screws to secure the LED housing.
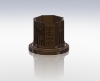
Back view, green arrow shows the new pocket for the back door.
This shows the back door cover with the push buttons.
These views show the LED housing and the internal wire channels.
So i think it is ready for a print test... Thanks.

")