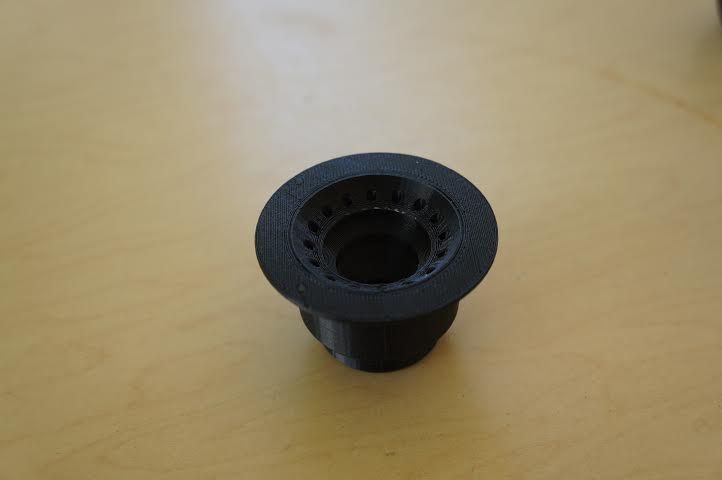
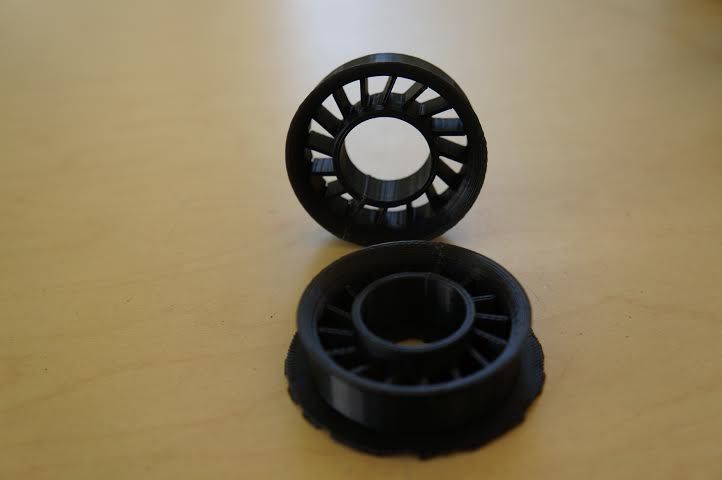
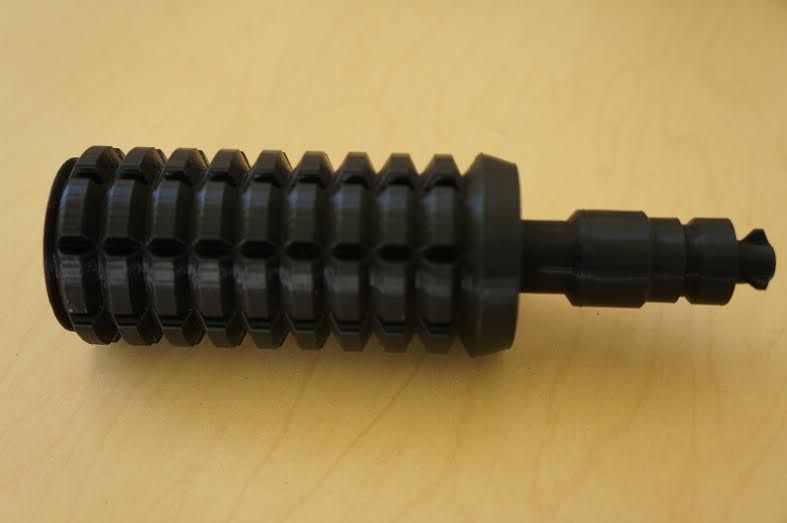
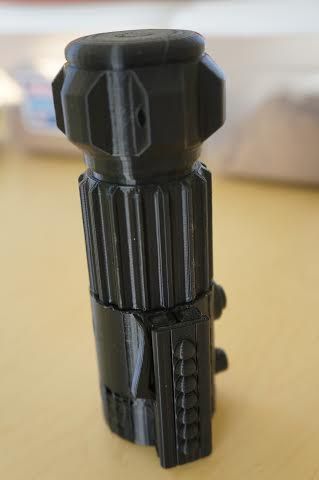
3D printed Obi-wan Lightsaber

Okay, I'm just going to say it... As great as the paint jobs on these sabers have been, something just bugs me: The PAINTED pommels. Might I suggest a solution? Run, don't walk, to your nearest hobby shop and pick up some Bare Metal Foil (Ultra Bright Chrome, if they have it). It's like silver leaf, only it's already adhesive backed. All you have to do is put in place and burnish it (rub it down). In the absence of that, try actual silver leaf, which is generally more available (though it may require a separate application of adhesive).

I've used it on several hardware pommels, and it looks pretty good. While it may not stand up to a side by side comparison with actual chrome, it's perfectly suited to a weathered saber. So check it out. Once you've done it, you'll wonder how you lived without it.
 
I've used it on several hardware pommels, and it looks pretty good. While it may not stand up to a side by side comparison with actual chrome, it's perfectly suited to a weathered saber. So check it out. Once you've done it, you'll wonder how you lived without it.

I am not an expert on lightsabers, but why would you want the pummel to be less weathered looking than the clamp & emitter parts since they would be of the same material?
 
Valcrow, on the new design for the pin and switch, I've gotten a couple of great switch parts now, still having some problems with the pin, it's on me this time though, the pin keeps coming off the buildplate, I'm working with my printer settings to see if I can dial the temps in.
 
I am not an expert on lightsabers, but why would you want the pummel to be less weathered looking than the clamp & emitter parts since they would be of the same material?

Well, on the Tunisia version of the saber, where the emitter is virtually black, the pommel is still chrome (even if it is a bit worn). My philosophy for a weathered Obi ANH is a heavily weathered emitter (carbonized?) due it's proximity to the blade, a slightly dulled clamp due to hand contact, and a chrome pommel because it sees the least contact. But that's just what I think... Your mileage may vary.
 
Valcrow, on the new design for the pin and switch, I've gotten a couple of great switch parts now, still having some problems with the pin, it's on me this time though, the pin keeps coming off the buildplate, I'm working with my printer settings to see if I can dial the temps in.

You should print with a brim to ensure that the pin part sticks. I would also drop the temperature as much as you can afford, and slow the speed down to 50% (~25mm/s) if you're having issues.
 
Amazing paint job to begin with .. but I must also state that the design of the saber is sheer beauty.

I learned a lot about making complex interlocking parts just by printing this baby, and will learn more so when I have time to study the models better.

It is a little more difficult when it is a high res stl model, but still learning a lot of tolerances and locking.

A big THANK YOU for putting the files up!

I will draw a lot of inspiration and things I've learned from your saber when I finish modelling the Luke ROTJ Light Saber for my droid! ;)

//Micke
 
Almost done, I finally got a good print of the pin and switch, just need to get them painted. I did a solid paint job, no weathering, but I did use plasticdip on the grip to give a actual rubber grip feeling to it.

10600574_10152579238381142_7340936904870789124_n (1).jpg
 
Hey Valcrow, I just wanted to say thanks for being awesome and sharing this with the community! I haven't got my hands on it yet, but my print is finished and I can't wait to start cleaning it and get it ready for paint!


Valcrow,
Any chance of making your airbrush station available for printing? It is sweet.

The airbrush station is really shoddy right now so not available for public consumption yet. I had to torch the thing and bend it in order for it to work right. I only needed one so I didn't bother fixing the 3D model. I'll probably fix it at some point though, lots of people asking.

Amazing paint job to begin with .. but I must also state that the design of the saber is sheer beauty.

I learned a lot about making complex interlocking parts just by printing this baby, and will learn more so when I have time to study the models better.

It is a little more difficult when it is a high res stl model, but still learning a lot of tolerances and locking.

A big THANK YOU for putting the files up!

I will draw a lot of inspiration and things I've learned from your saber when I finish modelling the Luke ROTJ Light Saber for my droid! ;)

//Micke

Thanks! I'm glad someone noticed the design bits. :p that part is actually the most challenging, most people just look at how it looks at the end. But I spent the most time and brainpower balancing the printability and edge quality with the fact that it can all snap together.

I wrote an article here about it specifically: https://www.ultimaker.com/blogs/news/2014/07/02/3d-printed-lightsaber-design-philosophy Hopefully it will add to the knowledge base of FDM design. There seems to be a lack of specific design information on FDM printing.

You may also enjoy my newest thing, although not so much star wars related, this is far more complex than the complex version of the lightsaber. Files are also free.
http://www.redicubricks.com/3d-printed-ducati-1199-superbike-on-the-ultimaker/

Be sure to post pictures of your Saber when done! :p


Almost done, I finally got a good print of the pin and switch, just need to get them painted. I did a solid paint job, no weathering, but I did use plasticdip on the grip to give a actual rubber grip feeling to it.

Looks great! really clean print! I'm glad the pin worked for you, that one was a pain.


And thanks everyone else for the kind words and encouragement! It's really cool and crazy how something like this can perpetuate.. We're literally sharing physical objects with strangers!
 
Inspirational this, man. When I next have the chance, I'll be neatening up my work area, getting a small desk, some new gear, and I will be taking my prints further! Love this. Great work.
 
Though I realise your OB1 saber is still a work in progress, still I'd like to point out that the hole for the D-ring should not align with the clamp ... rather like so :

http://i833.photobucket.com/albums/zz258/Sym-Cha/ObiWanANHSaber2.jpg

Chaim

Yep, thanks for the heads up! :) I've been checking out real parts and metal replica versions of the saber as well as photos of the original to see how I want to paint and weather mine and I noticed that I needed to fix that particular detail.
 
Now that NASA has sent a 3D printer to the International Space Station I think I know the first thing the astronauts are going to print!
 
I finally got started painting mine after some sanding and wood filler. :D

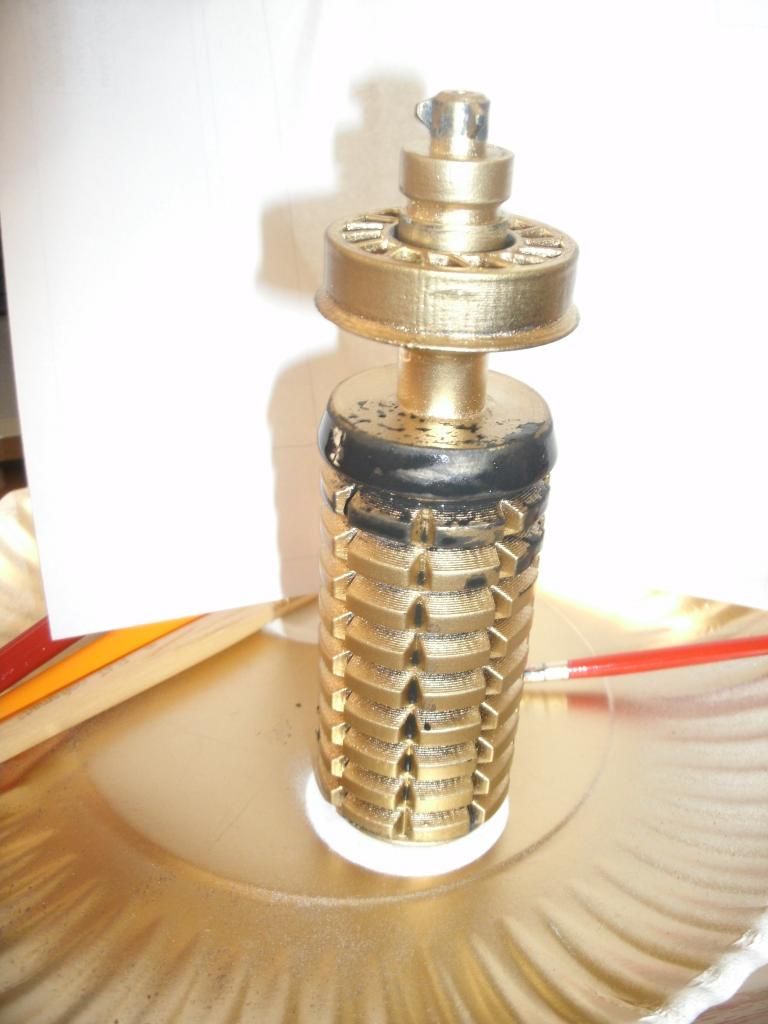
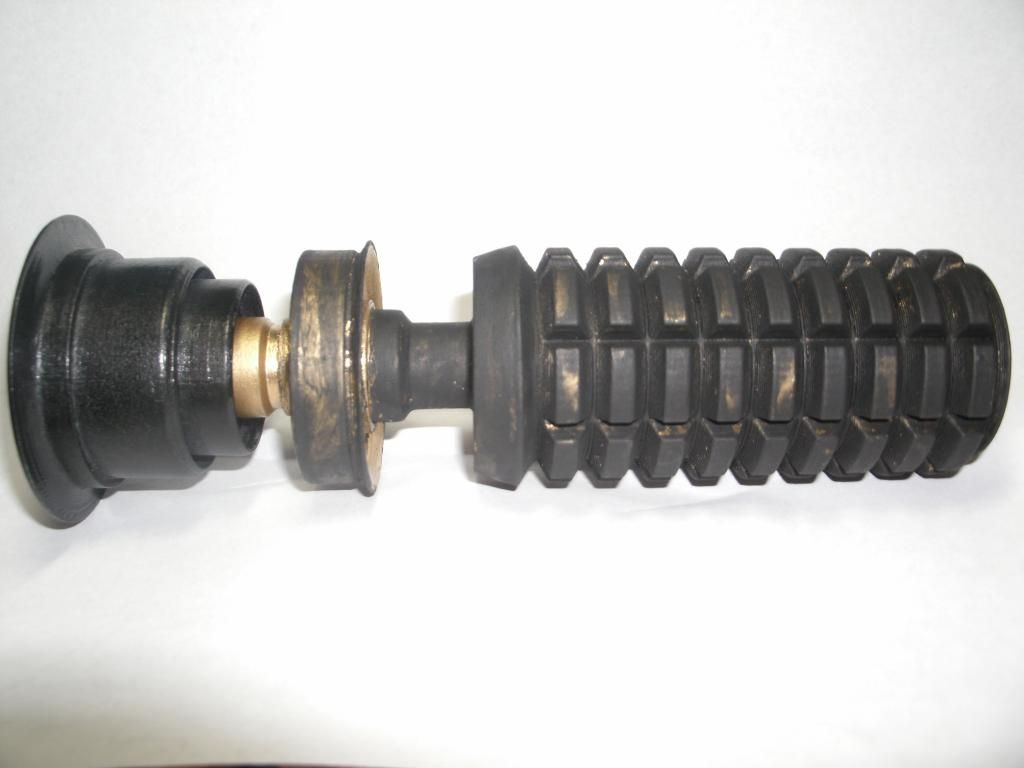
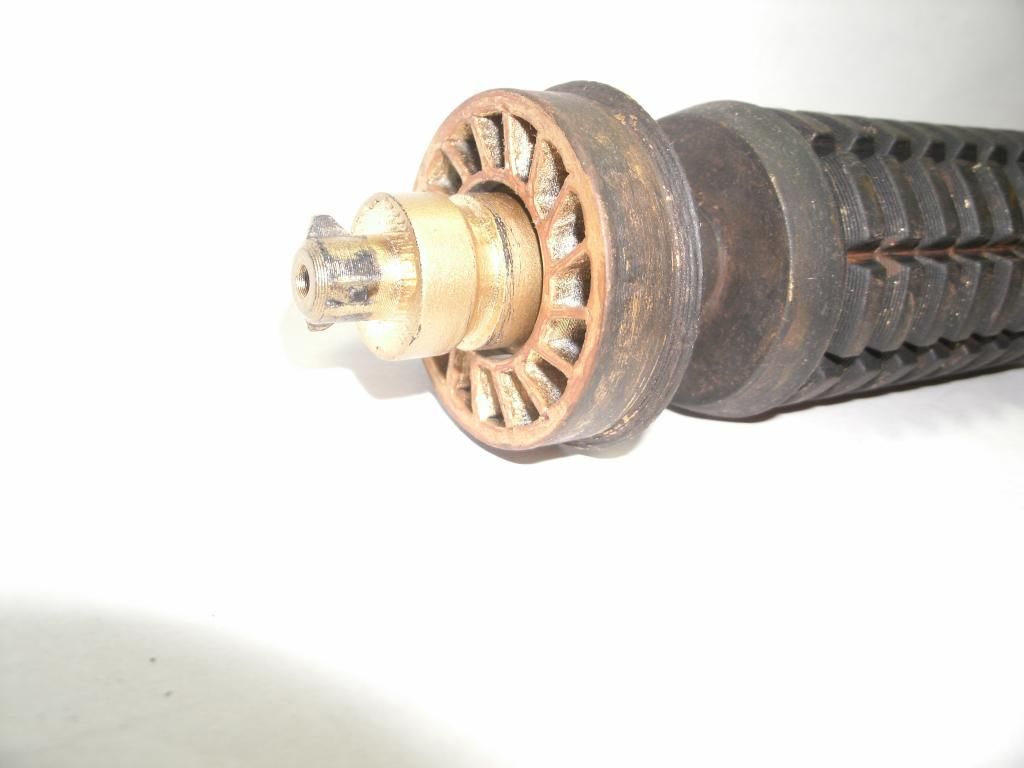
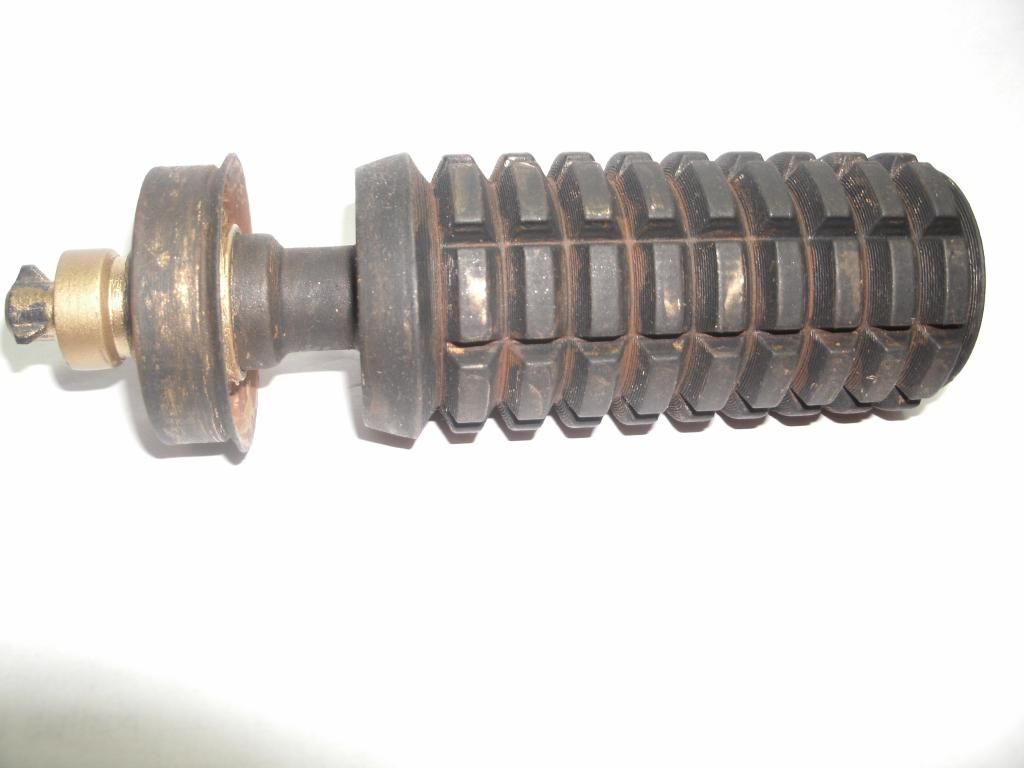
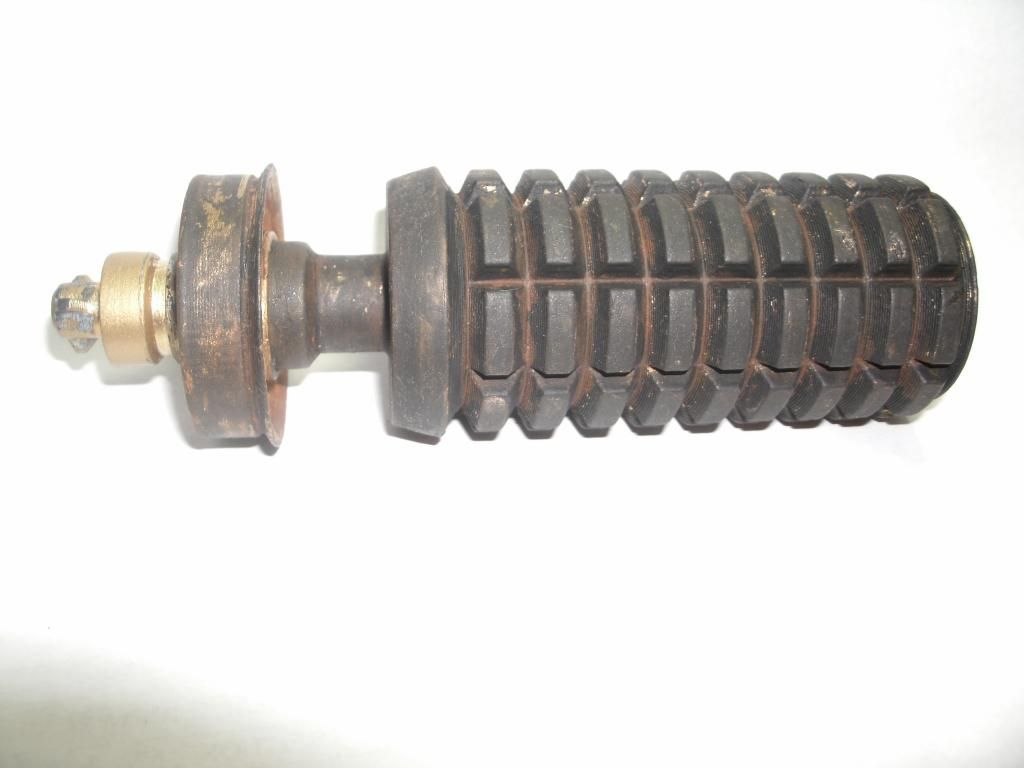
I'm starting on the grenade section. I wanted to have a reasonable approximation of the real thing, so I painted it gloss black, then gold, then applied some watered down black acrylic paint over most of it.


Then I went though with even more watered down burnt umber and sienna and did a wash on all of the surfaces, leaving it heavier in the grooves. I sort of like the touch it adds, but I'm also not big on rusty looking props. Beat to hell is great, but something about rust just bugs me, so that particular detail may or may not last...


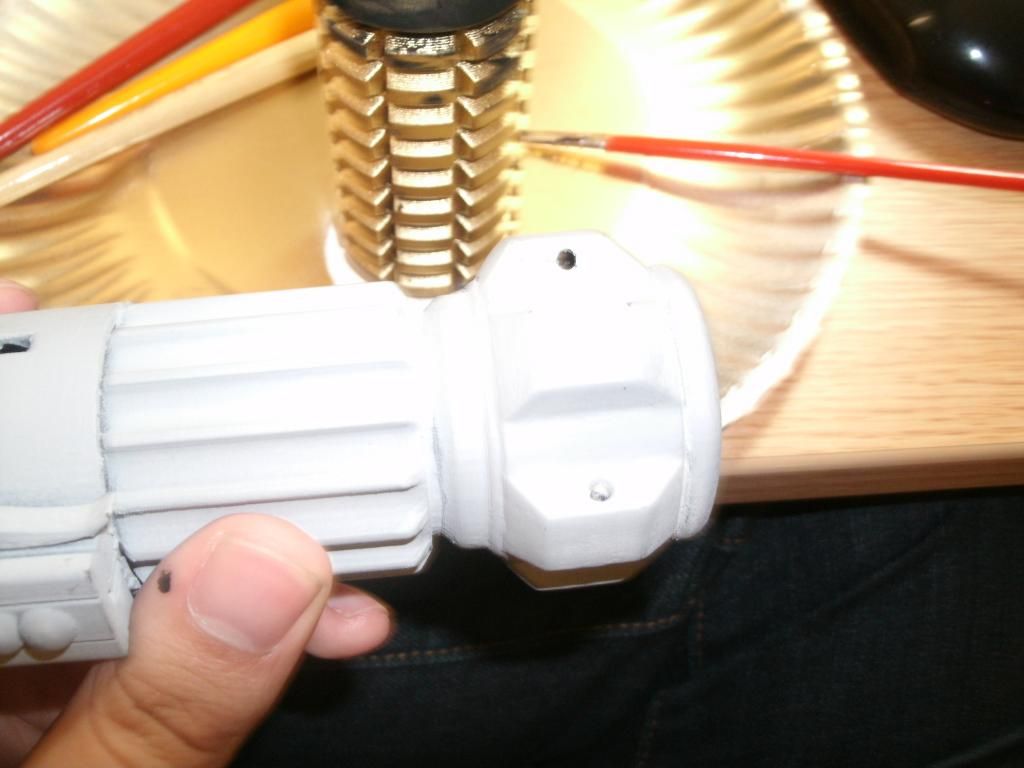
And Sym-Cha can take pleasure in knowing that I put a hole in the correct cube on the pommel. :p (Still need to fill the other one though)

 
This thread is more than 6 years old.

Your message may be considered spam for the following reasons:

  1. This thread hasn't been active in some time. A new post in this thread might not contribute constructively to this discussion after so long.
If you wish to reply despite these issues, check the box below before replying.
Be aware that malicious compliance may result in more severe penalties.
Back
Top