2-1B Surgical Droid

small update, been waiting for something to arrive from hong kong to include with the packages but they have not arrived and doesn't look like they will either.

i have been casting up more 2-1b parts, my resin has been used up just in time for the cold weather, had a bit of a rush on.

vac forming the necks shouldn't be affected by the temp like my resin would be so i had to get this done since there were more customers than available parts. i am aiming to start shipping out neck upgrade kits by the end of the month. i will be ordering more boxes and stuff maybe some more plastic. i just hope the limited space on my vac platen wont give me too much grief, i can't be arsed building a new one.

i will put a junkyard thread up when they are ready.i will also put this info in my signature in case you miss it. if i have time i may try and do a finished head so you guys can see what they look like done.

ladies and gentlemen,

Mr Conway Twitty...................
 
Great work!!! Please stick me down for one. Finished my " little" project and I want to get both the droids done. Got some where to put them now at least .
 
Not sure what the protocol is here zorg but I'd love to get a neck from you once your ready. Add me to the list, if there is one. Got the head from you a while back and been keeping a keen eye on this thread. Awesome work. Cheers from a fellow Scotsman in Melbourne :)
 
Last edited by a moderator:
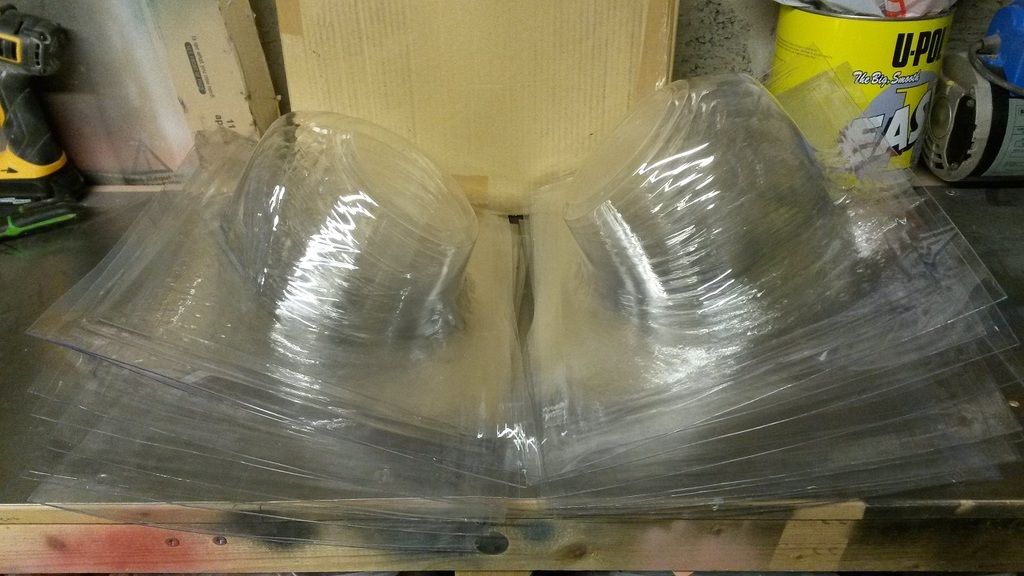
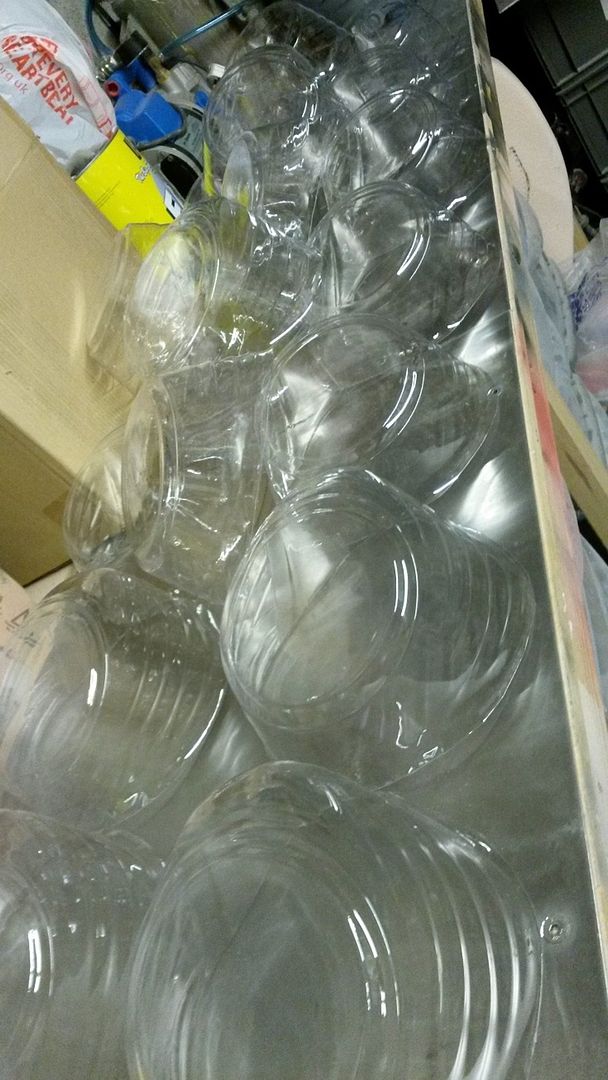
okay chaps, i've been busy.
i will probably have to order more plastic but i will wait and see how many of you want upgrade parts for your 2-1b heads.
i have been fiddling around with a spare neck trying to see what problems there might be and to give advice on fitment from what i have found.

please read carefully the points i make. it will make life easier for you.
i have test fitted every neck into a casting to make sure it fits and the visible portion is okay. there may or may not be some additional trimming required.
it depends on how fussy you are.
measure twice cut once, there are no "spares" if you **** up!
to put a neck into the head casting it needs squashed length ways and the rear part inserted into the head first followed by the front.
take care not to scratch the plastic against the resin of the head. you could put tape on it on the outside to protect it while you fine tune the fitment.
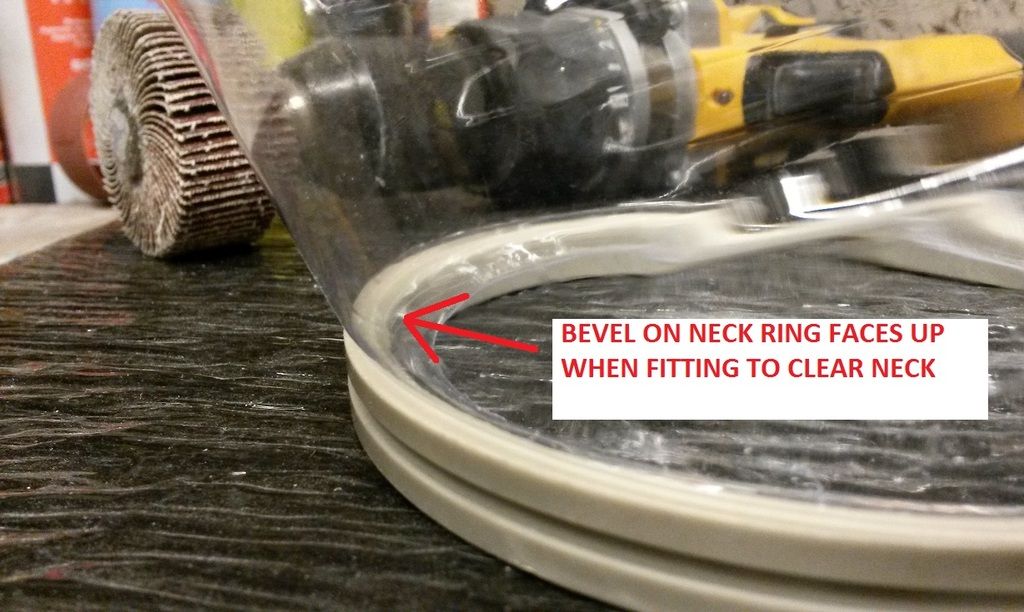
it looks like the neck ring will have to go on last due to the clear neck having to be squished to fit it inside the head. this is my advice but its your choice what you do.
as you can see the neck it very flexible

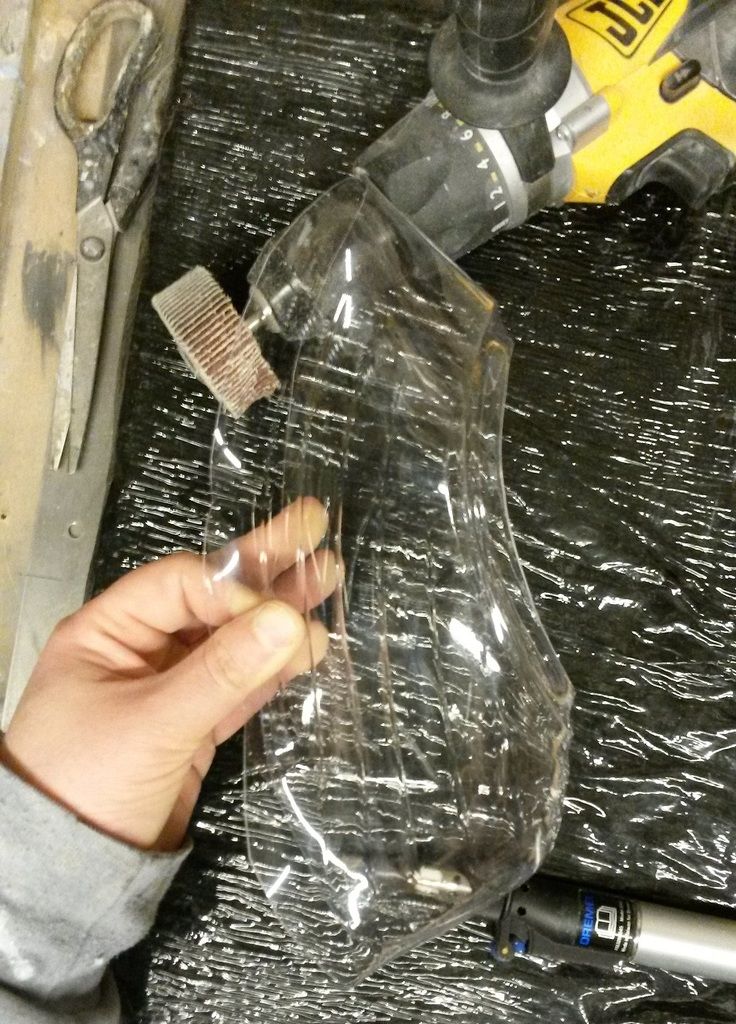
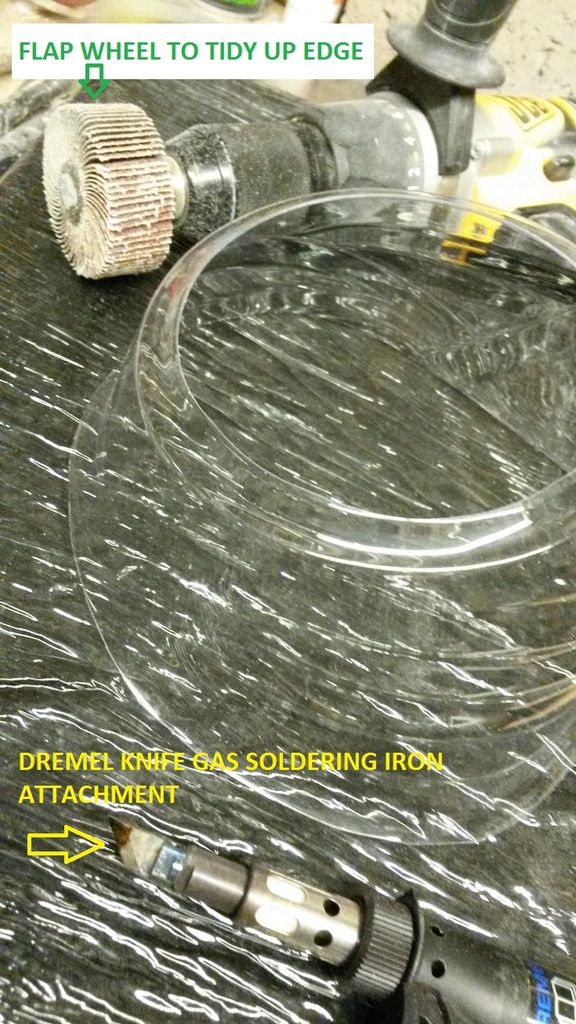
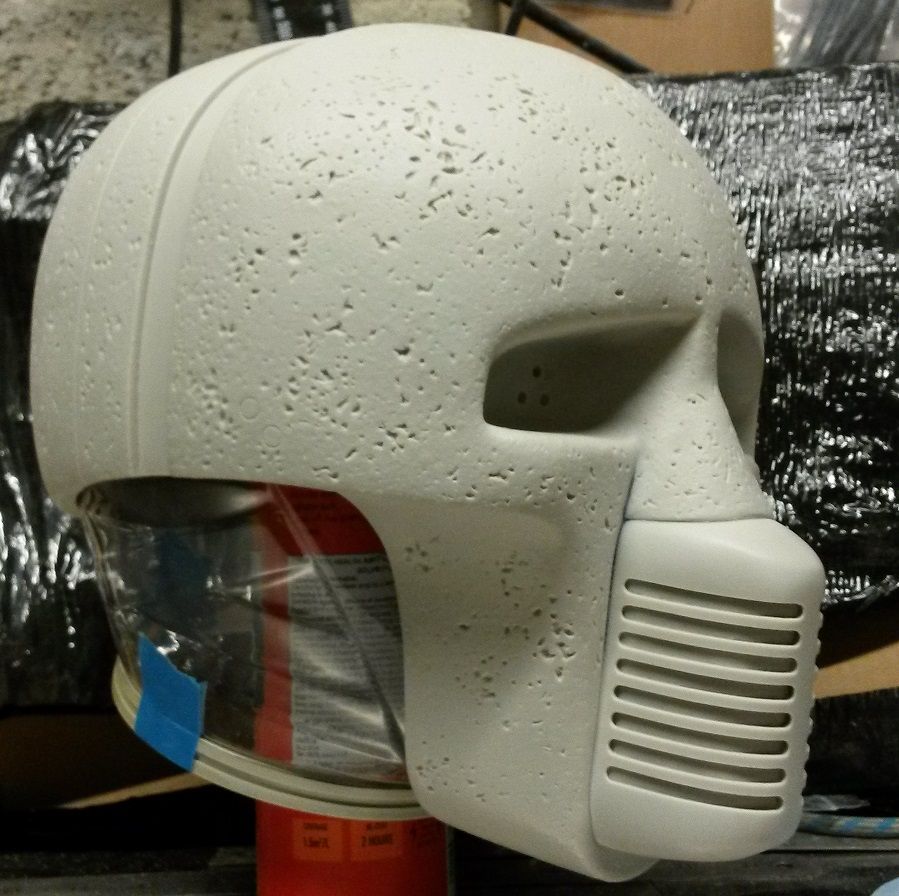
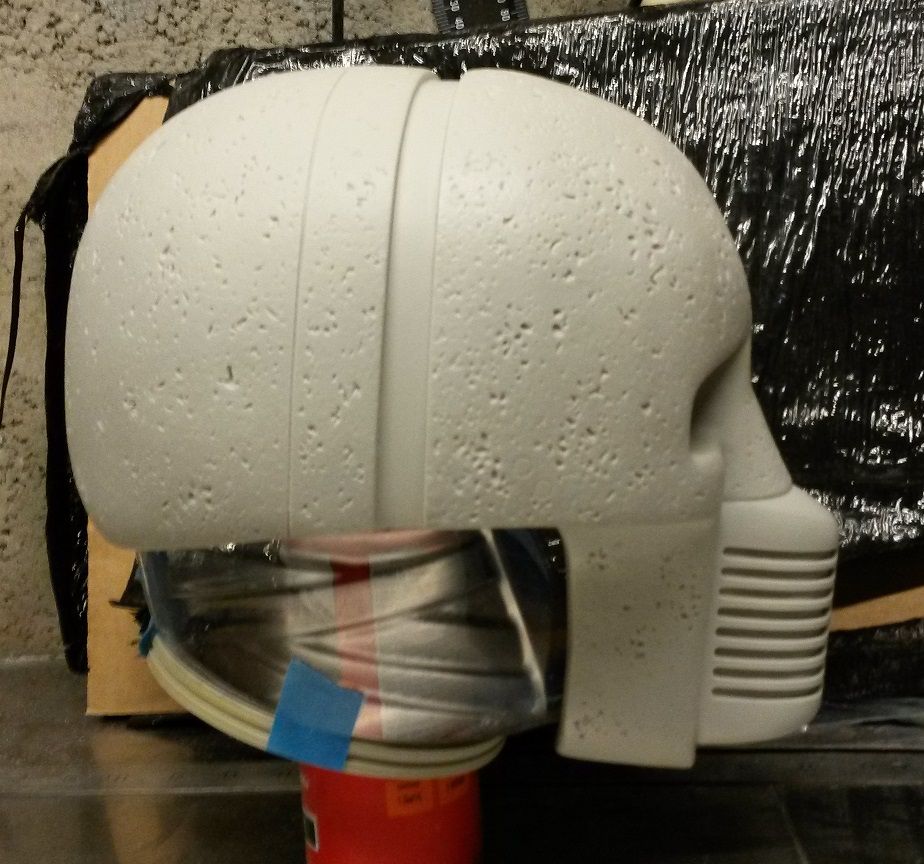
i cut out the hole around the base using a knife attachment on my gas soldering iron, it really was easy doing it this way, the edge was tidied up using a flap wheel pictured.
cut it out to the size i did it, there is some material left to bond the neck ring to the plastic this way.


final fitment at the rear you are trying to get approx 25-28mm in depth as pictured.

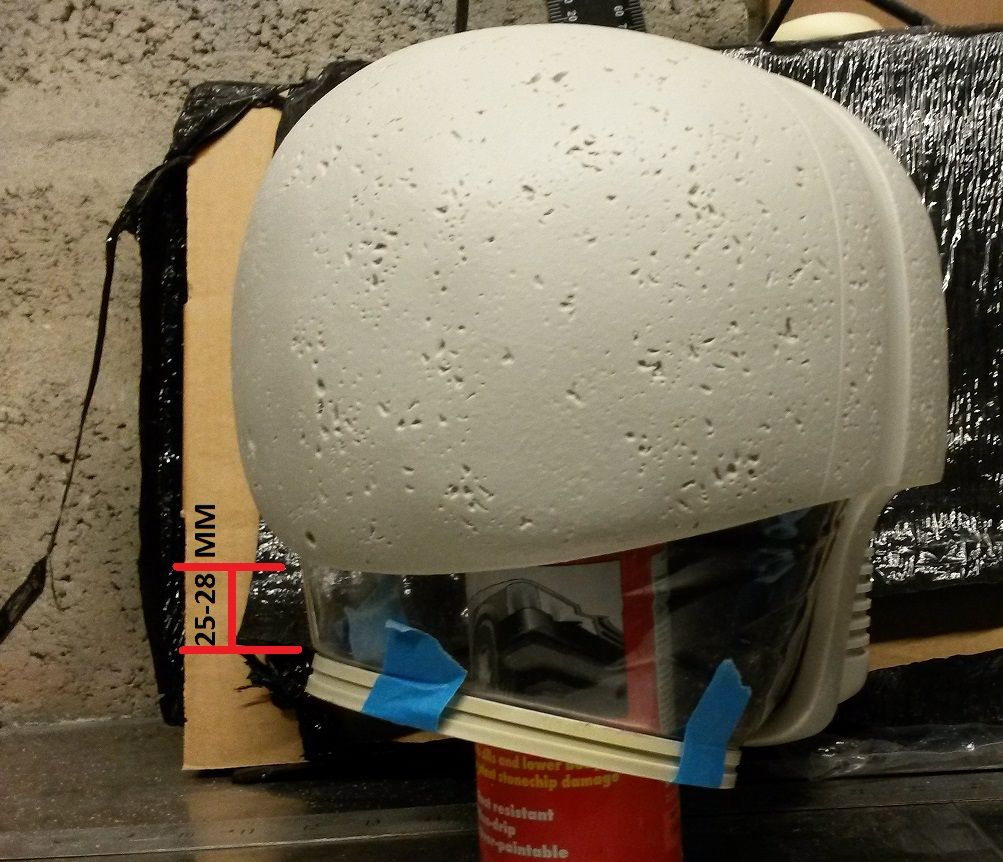
again as before the neck pictured below is just hanging in the casting, its not fitted in any way so it is off in some places.
i think i have a solution for the fitting of the neck inside the casting but i will need to try it first and will update you all on my findings.
i also sanded down all the neck rings to the correct height as i thought it might be a bit awkward if you didn't have a belt sander.

hope you like the pics.


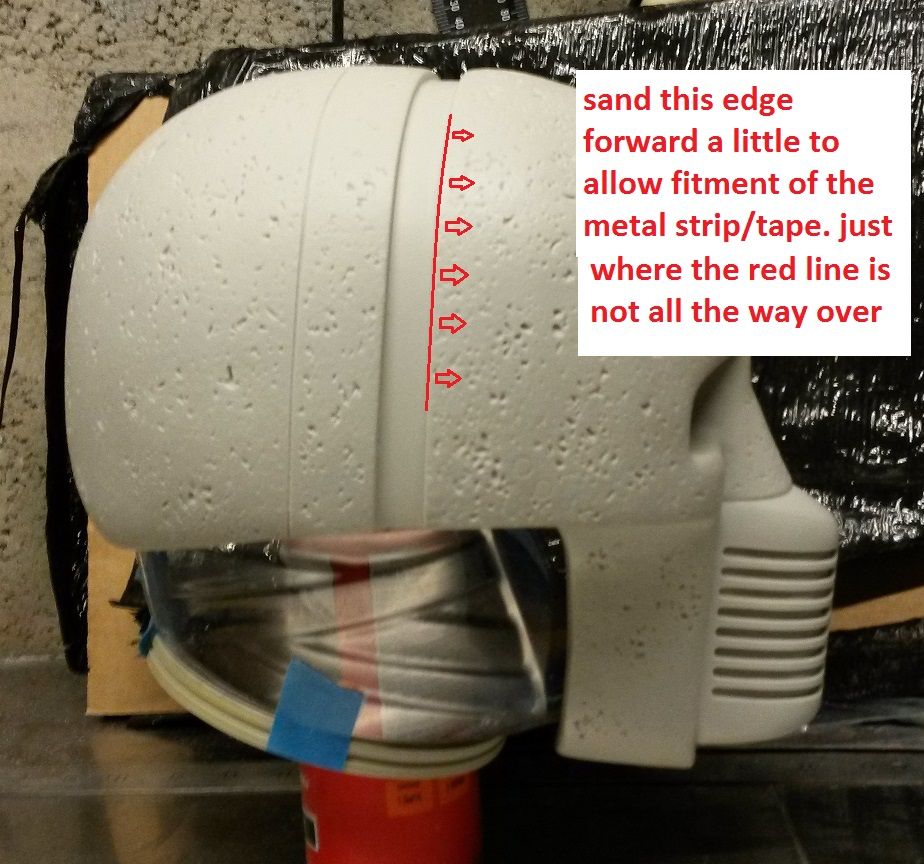
forgot to add, where test fitting the metal tape i found it a little tight on the red line pictured below, you risk bending the tape trying to force it in the space, very little needs to be taken away, there is a spare piece of metal tape included so you can use for test fitting etc.

junkyard thread will be up next few days probably. still waiting on stuff to arrive.
 
Last edited:
got these in the mail at last, a 100% do it upgrade. looks so much better than paint
they will be included but if you don't want them please say.


just waiting on shipping boxes. before i can start rolling these upgrade kits out.
 
ok, here you go.
as you can see they are not true spikes
http://img.photobucket.com/albums/v689/zorg-industries/spikes_zps44d58db0.jpg

i was going to try some aluminium tape across the alice band instead of silver paint. you catch ma drift?

the bacta droid head also has 2 metal eye tubes inbetween the 3 leds on each eye. its hard to make out but they are there.

Just ask the Studio Scale geeks :)

look to me like the Plastruct lamp shades that was also used on a ton of the Studio models for ESB
 
I am aware of the lamp shades but all the ones I found are too big. The 2 on the sides of the droid are pretty small and have in my opinion a different side profile to the plastuct items. Happy to be proved wrong though. Thanks for posting
 
ahhh ... have to admit I only judged it on the pics ... at work so not possible to do any measurements .... as far as I can see the smalles lamp shade type b from Plastruct has a diametre of 4mm ( 5/32" )

... and I sooo need to get one of these kits one day :D
 
hmmm, i didn't find any that went that small, do you have any links to the smaller shades?

i don't have measurements just now on hand but i was using the bars and slots on the mouth part as a rough guesstimate on the sizing.

what put me off also was the pic on the side of a han panel that looks like it has similar pieces, the profiles look different, but hey i'm no expert on studio scale stuff.

i would really like to get hold of the correct items to include in kits.
 
This thread is more than 7 years old.

Your message may be considered spam for the following reasons:

  1. This thread hasn't been active in some time. A new post in this thread might not contribute constructively to this discussion after so long.
If you wish to reply despite these issues, check the box below before replying.
Be aware that malicious compliance may result in more severe penalties.
Back
Top