Hi Gang,
Time for the "End of the LONG Weekend Update"
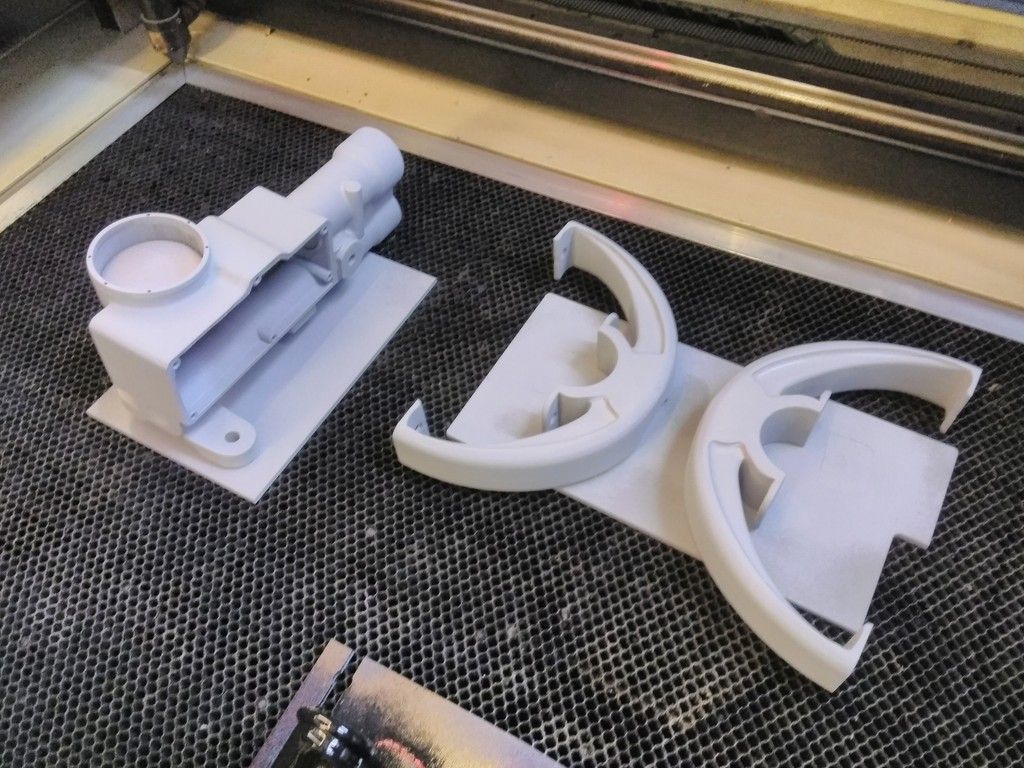
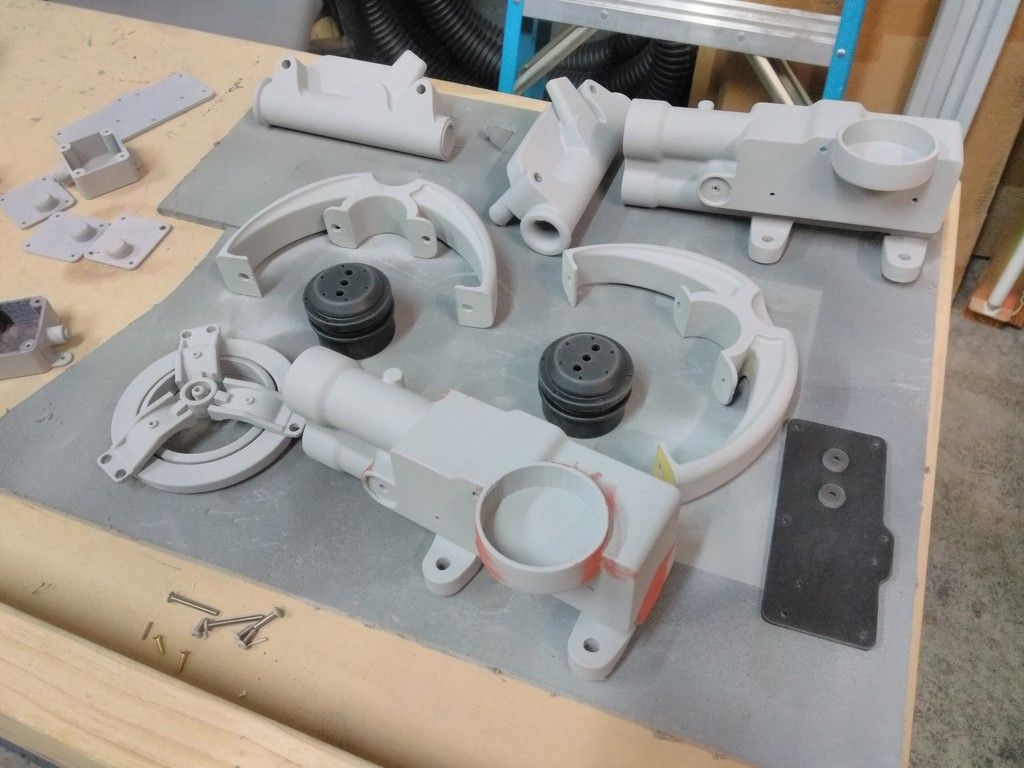
I focused most of, if not all, my attention on the nav chairs this weekend. A HUGE THANK YOU to Iz for taking the time print the all the nav chair parts (and a few others). ENJOY!
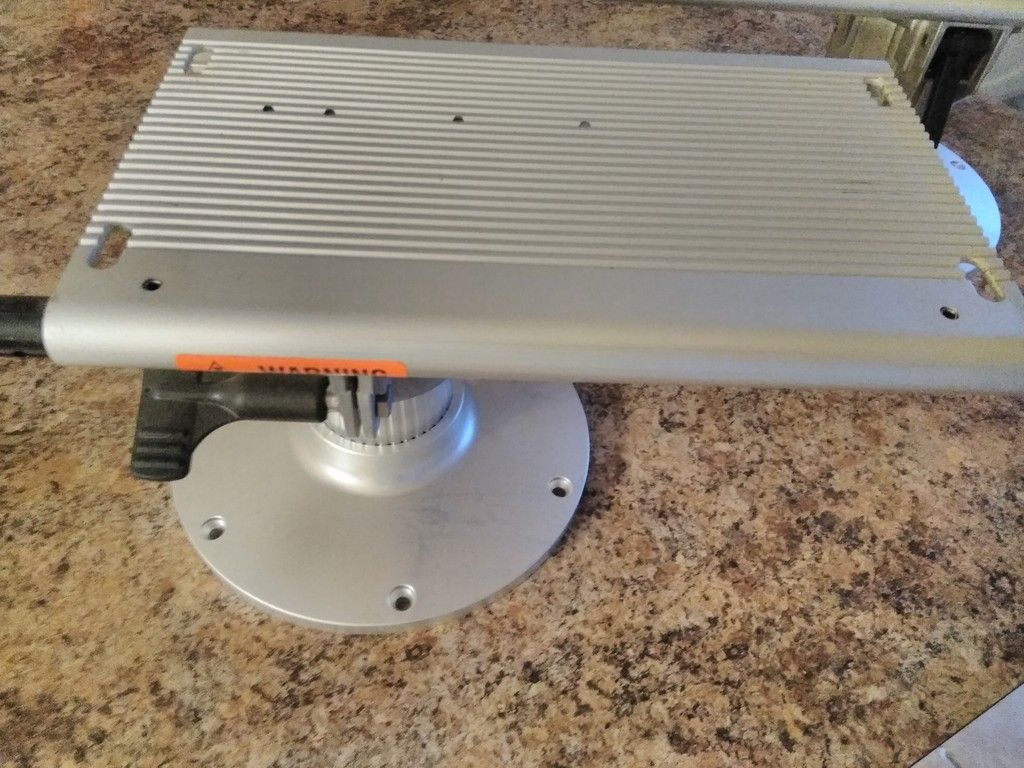
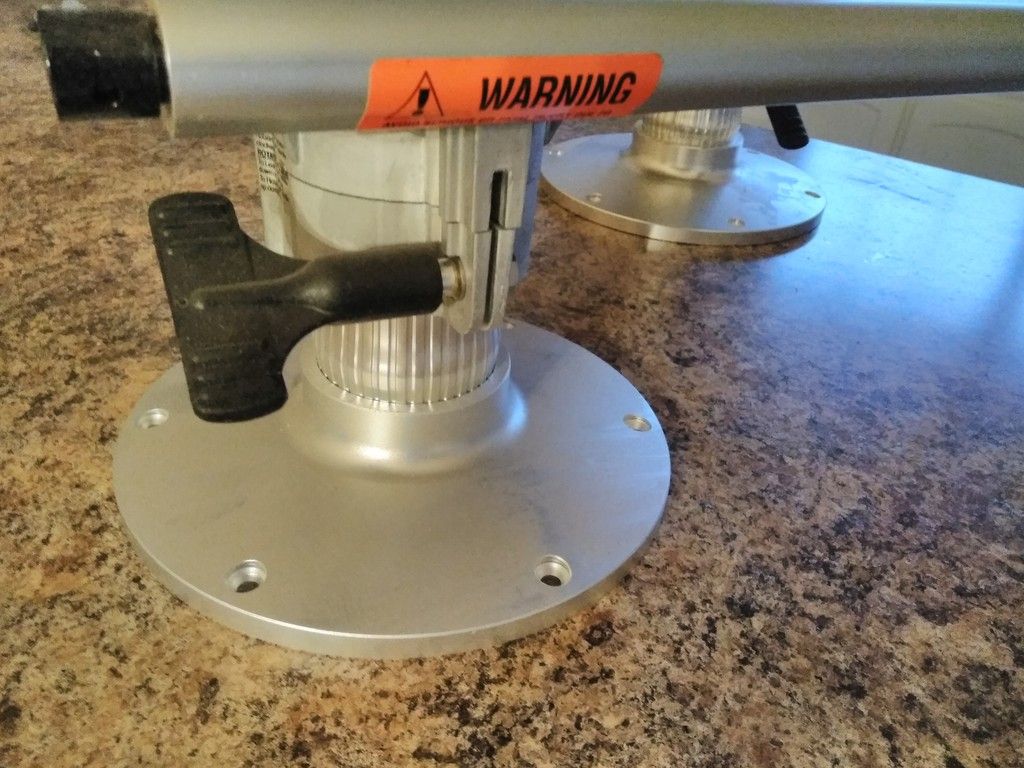
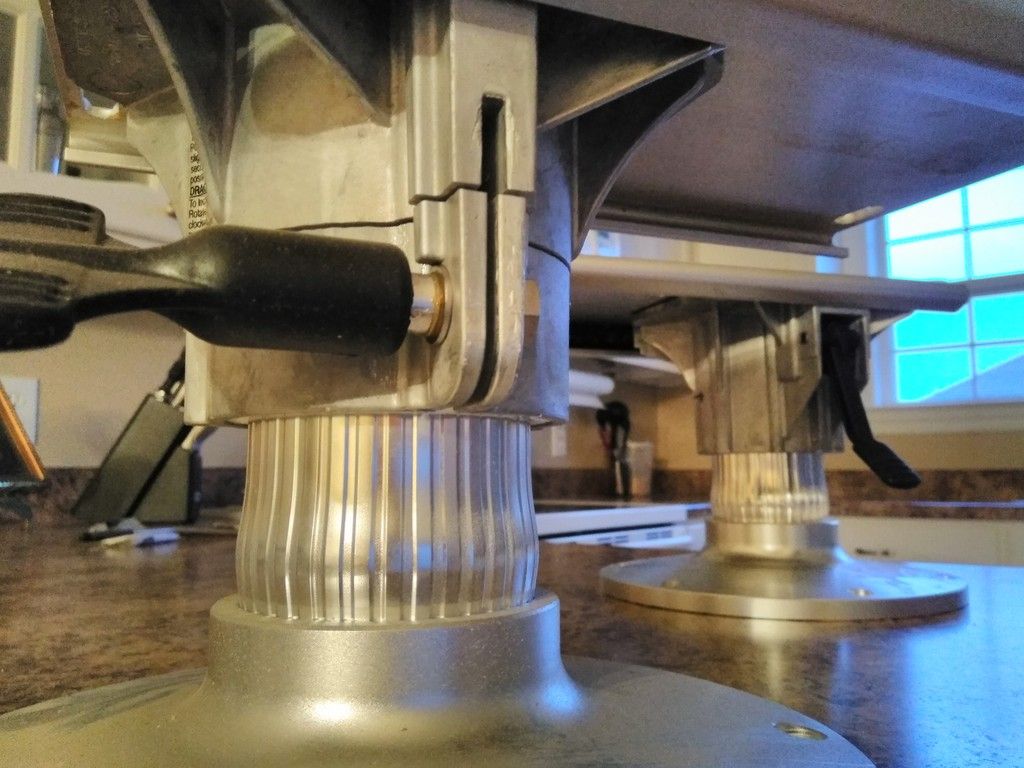
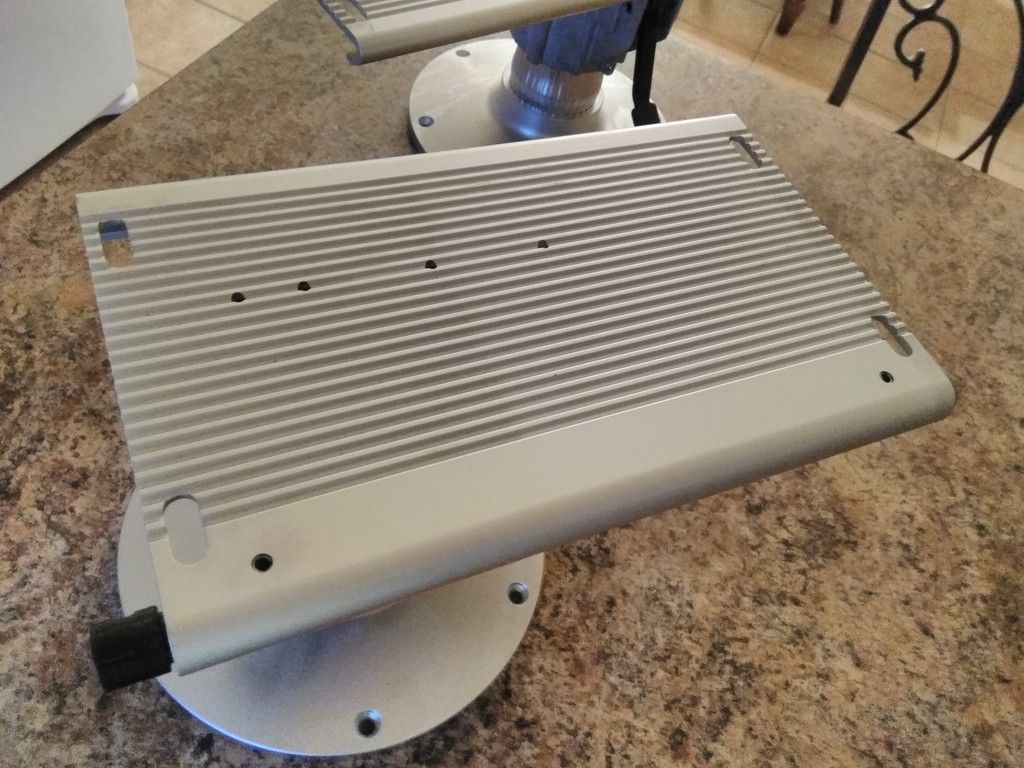
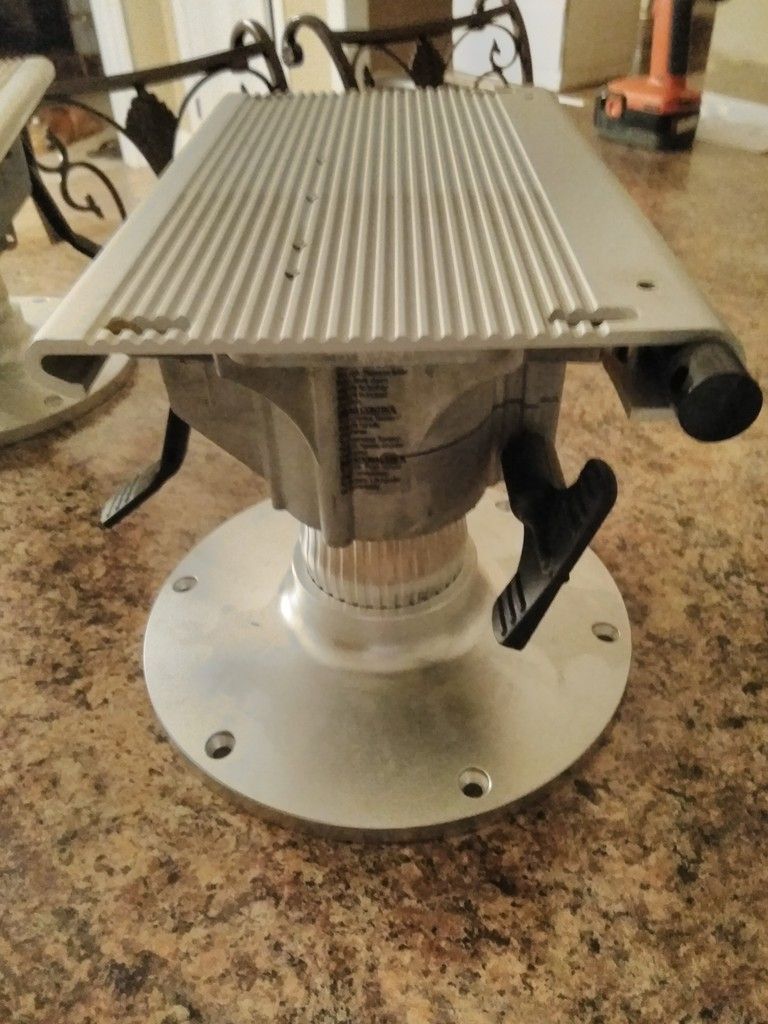
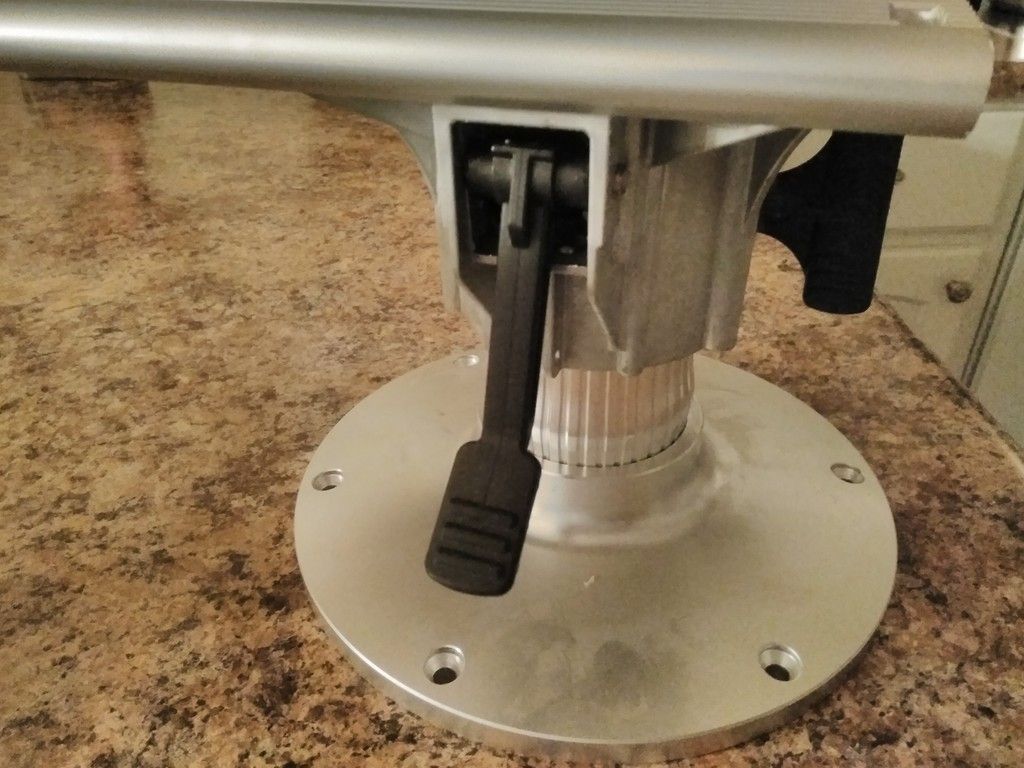
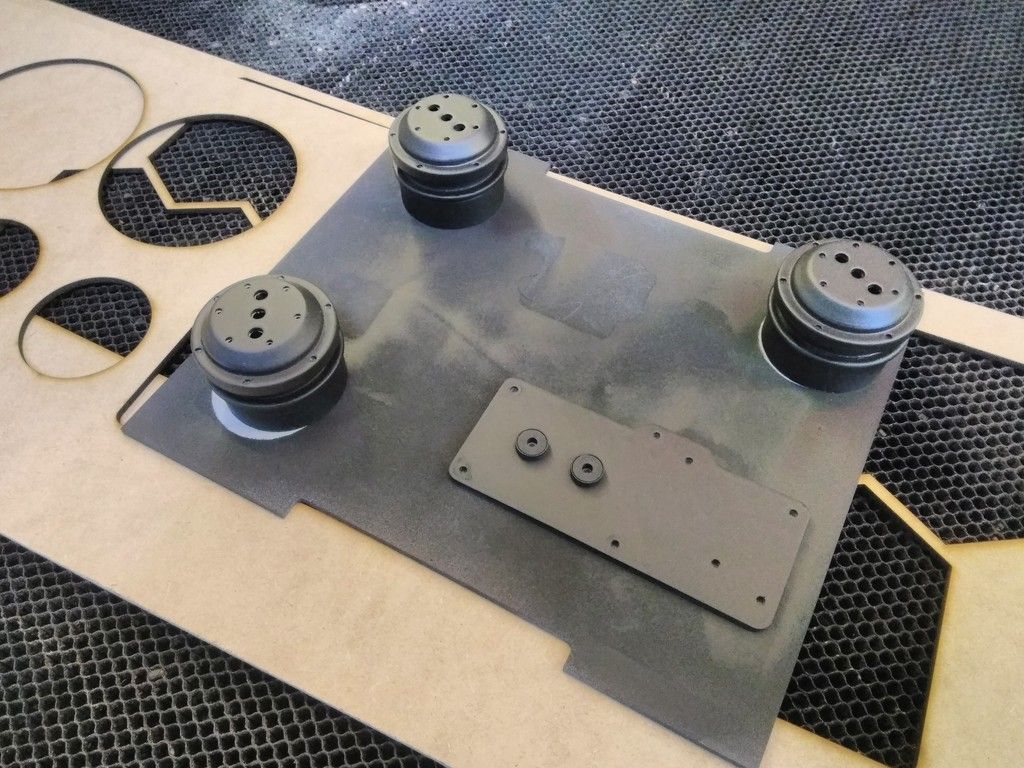
But first... new seat pedestals for the captain chairs arrived! These both slide and swivel.
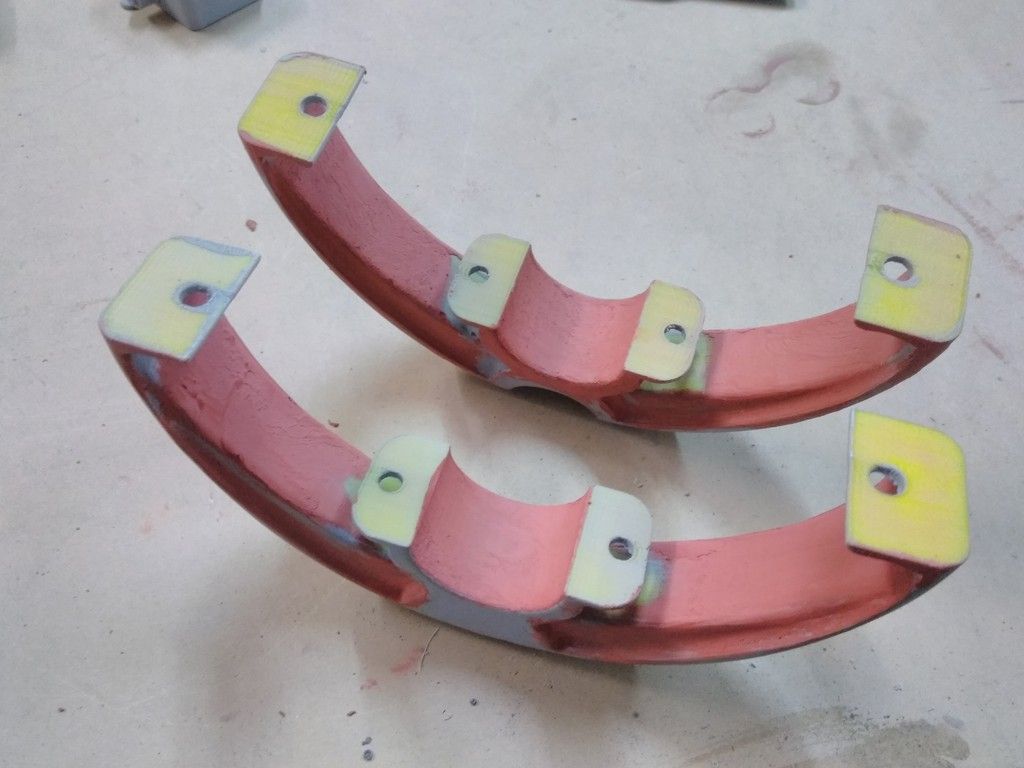
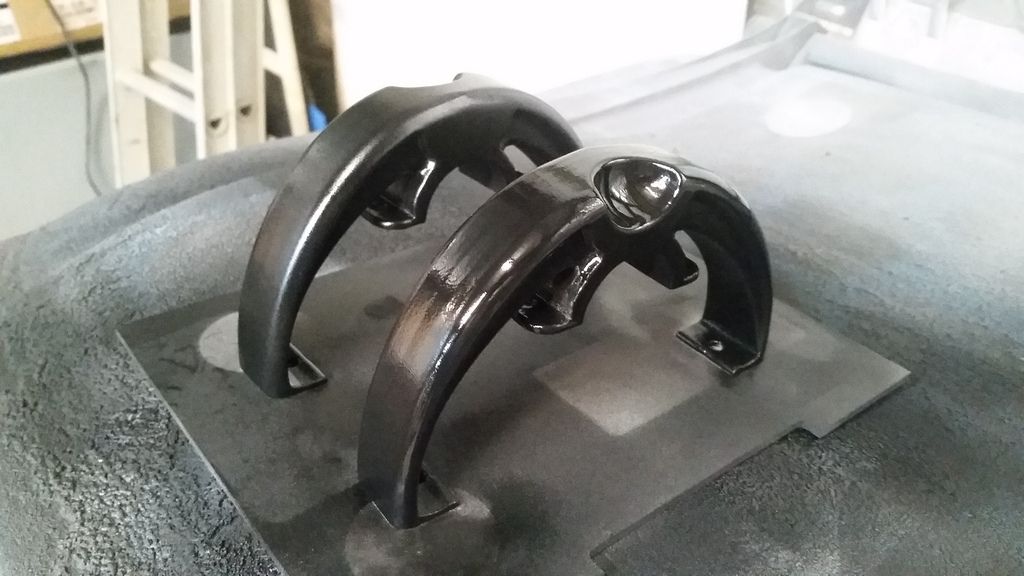
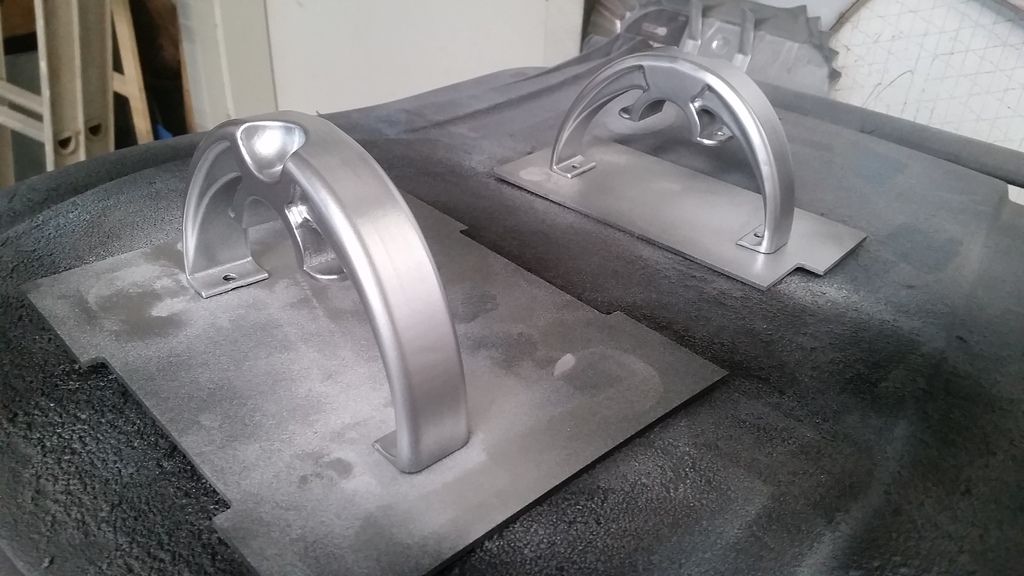
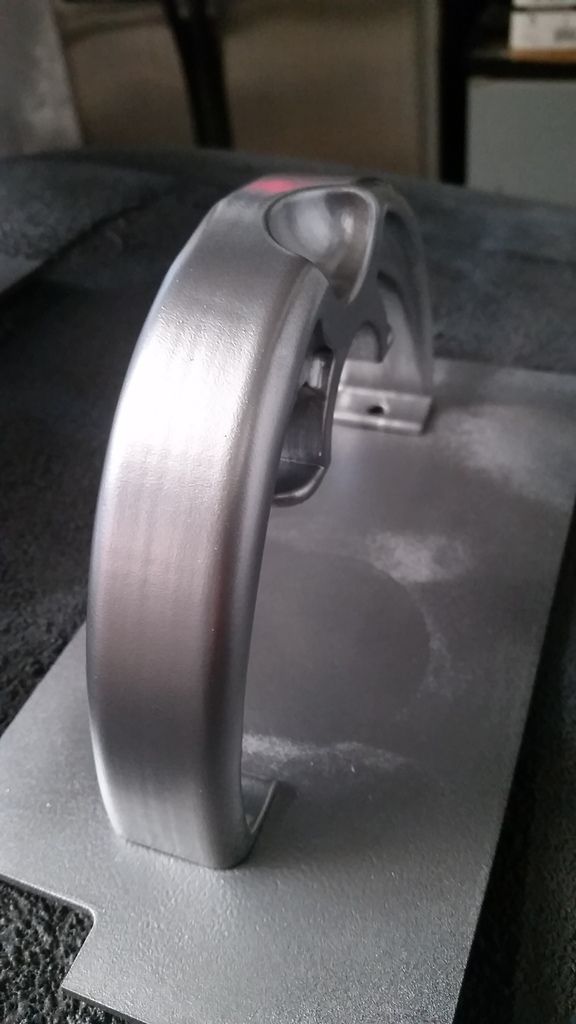
I was able to finally knock out the canopy grab handles
Primer
Two coats added
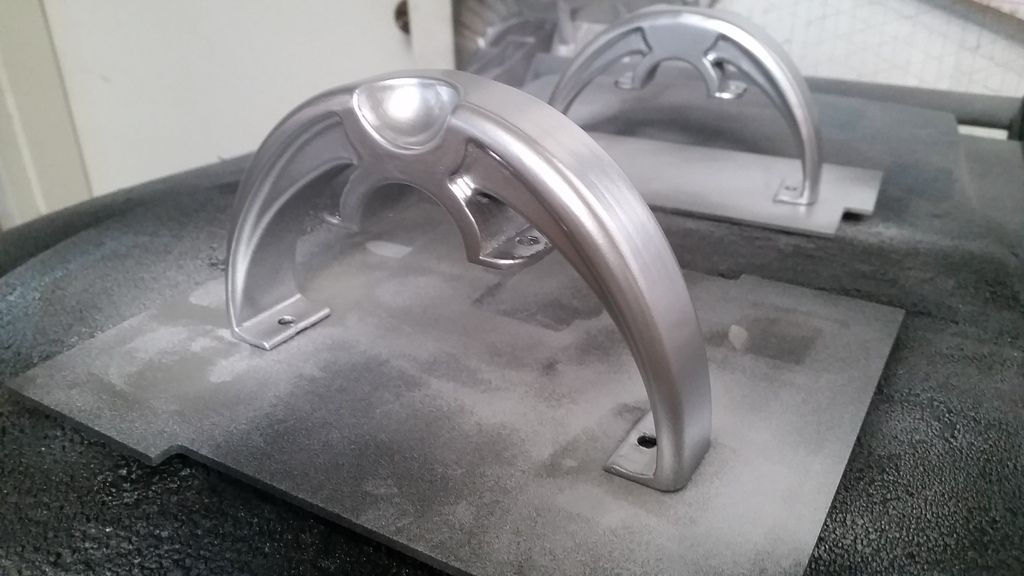
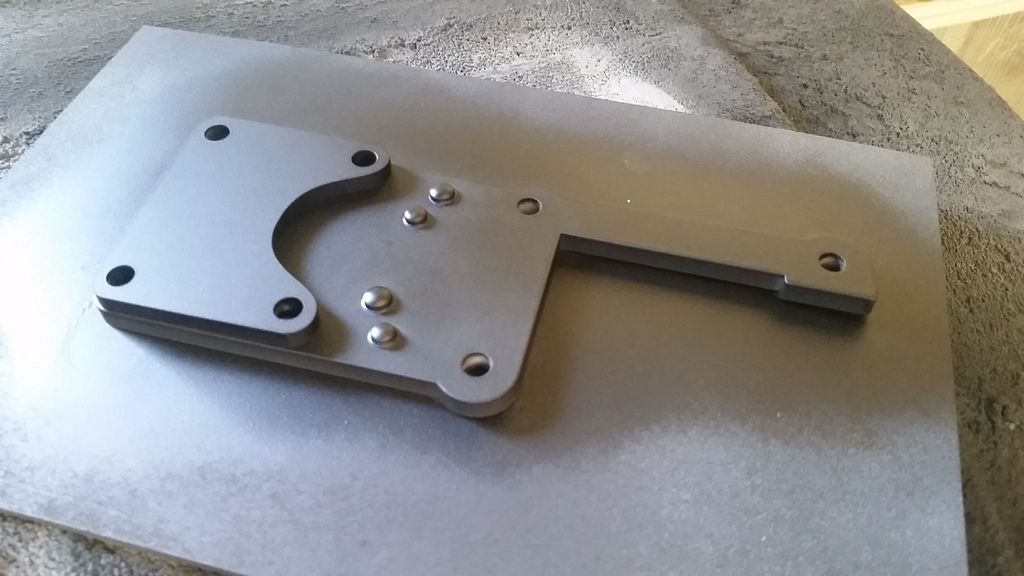
Silver
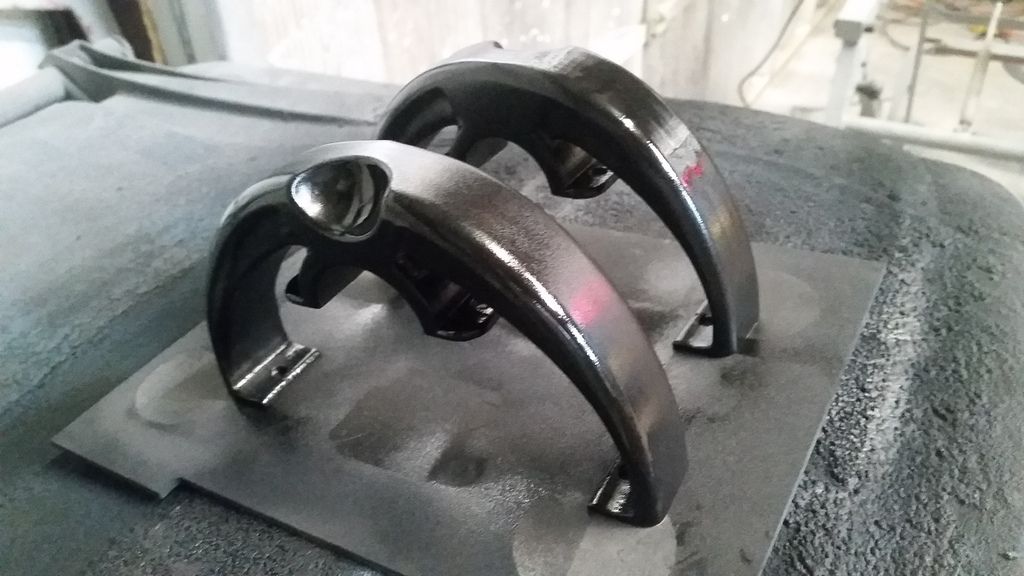
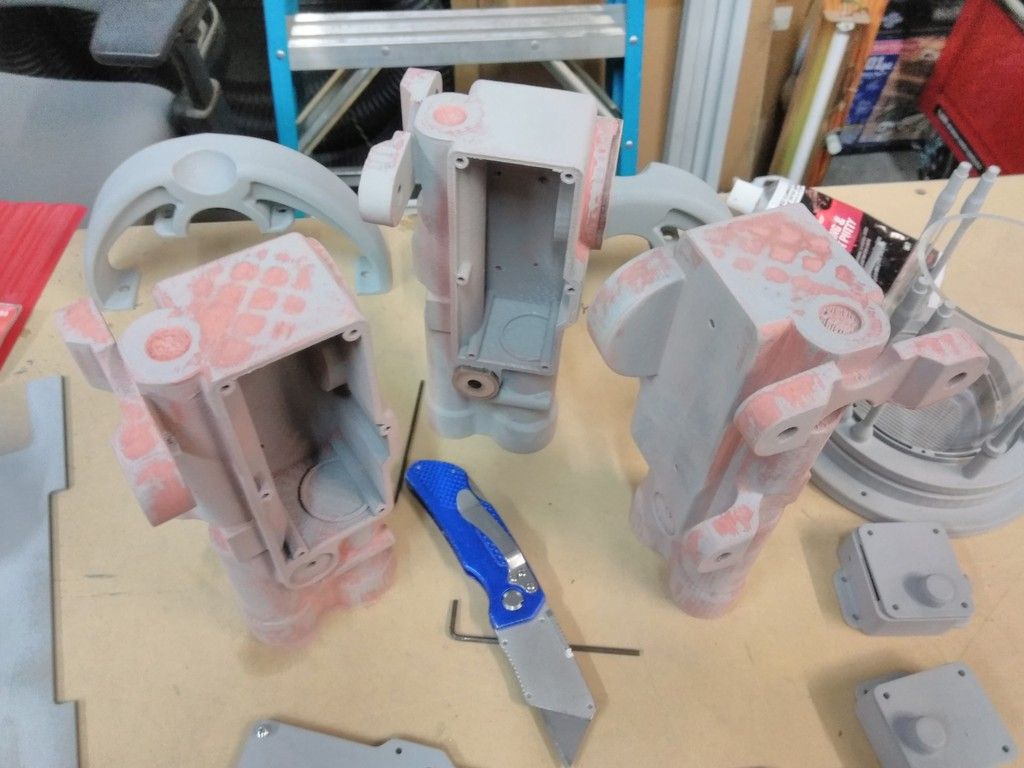
And let the sanding, priming, sanding, etc begin!
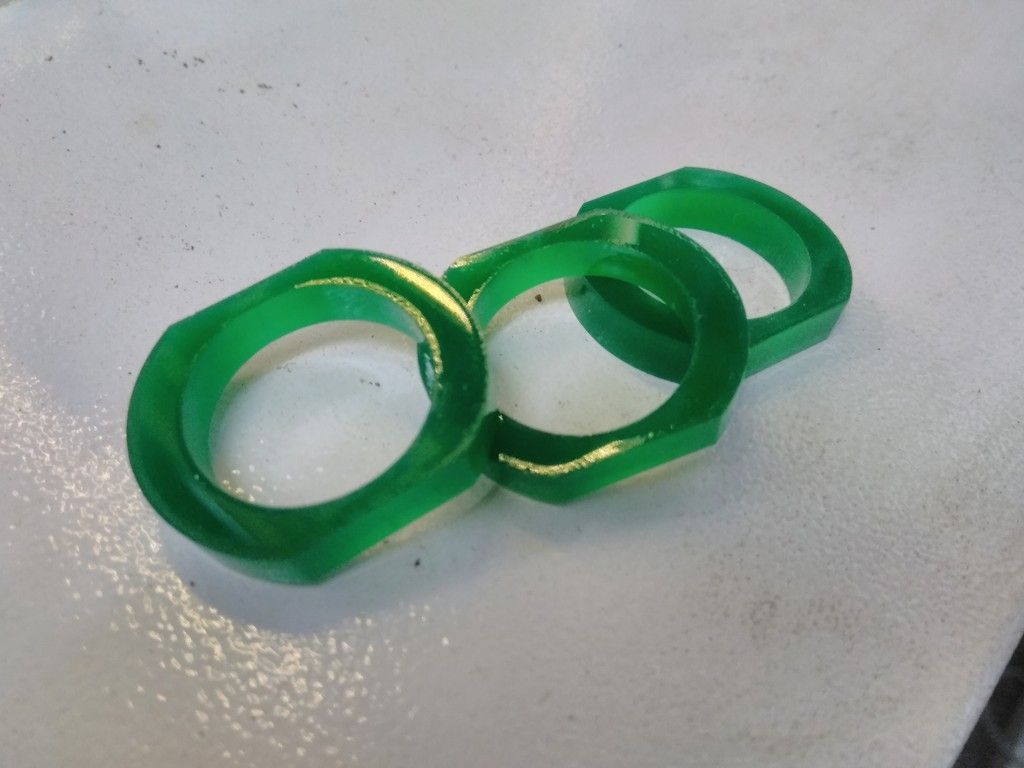
I was able to spray a little bit of paint on these finished parts
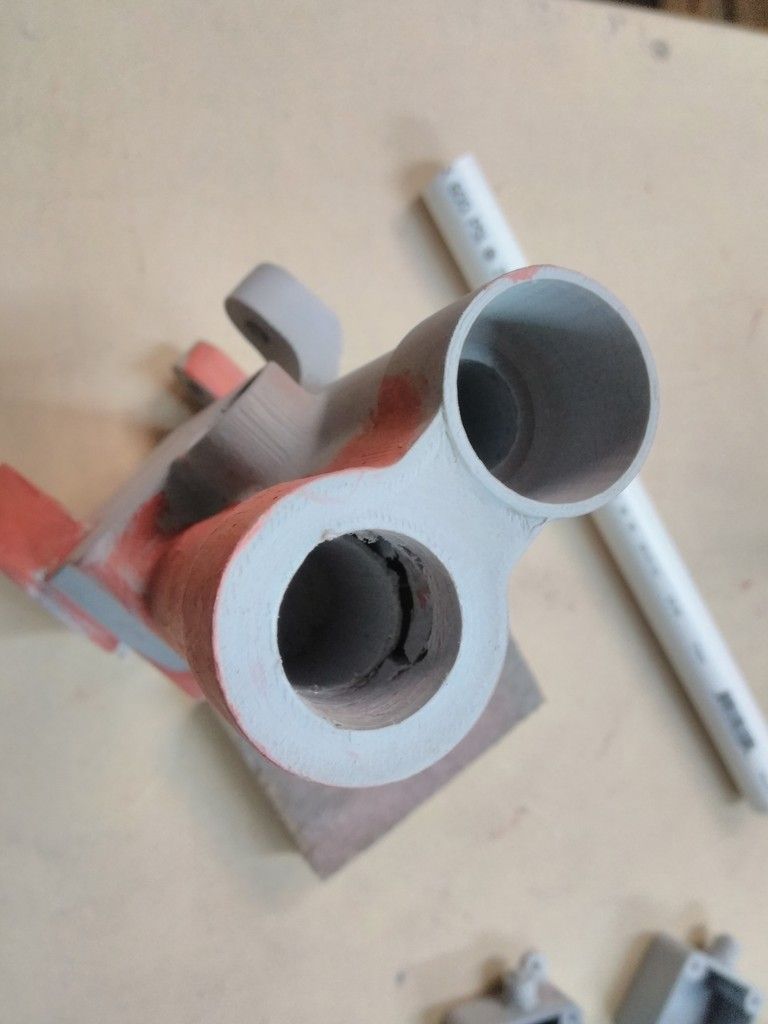
Cut a riser
Filler
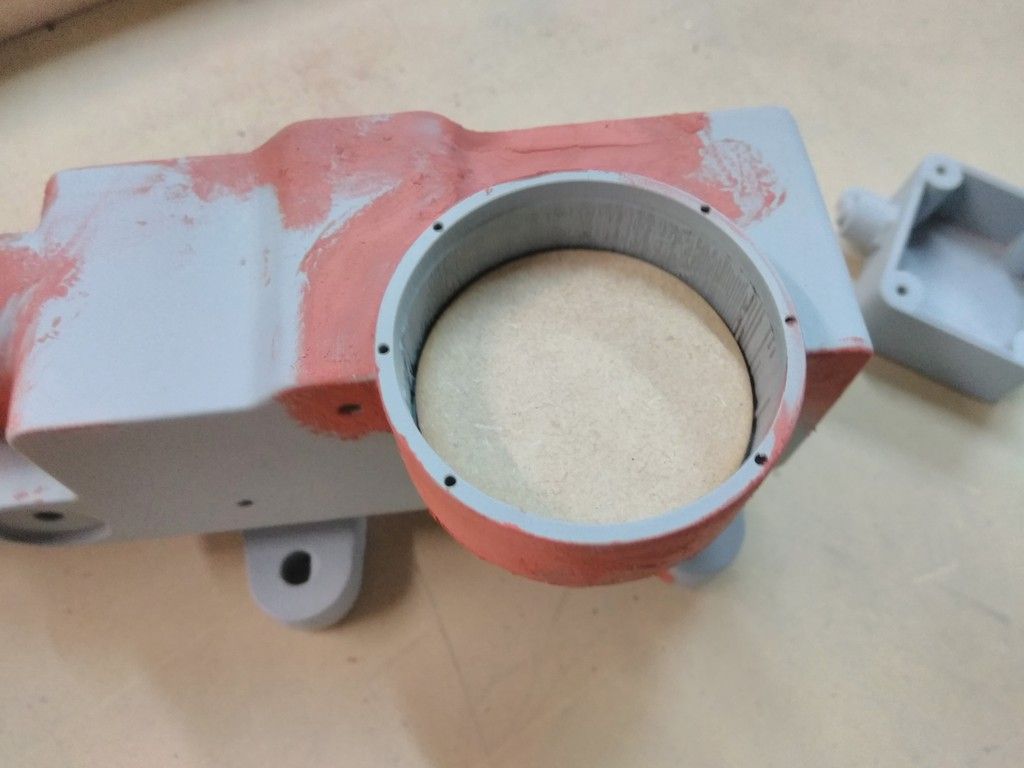
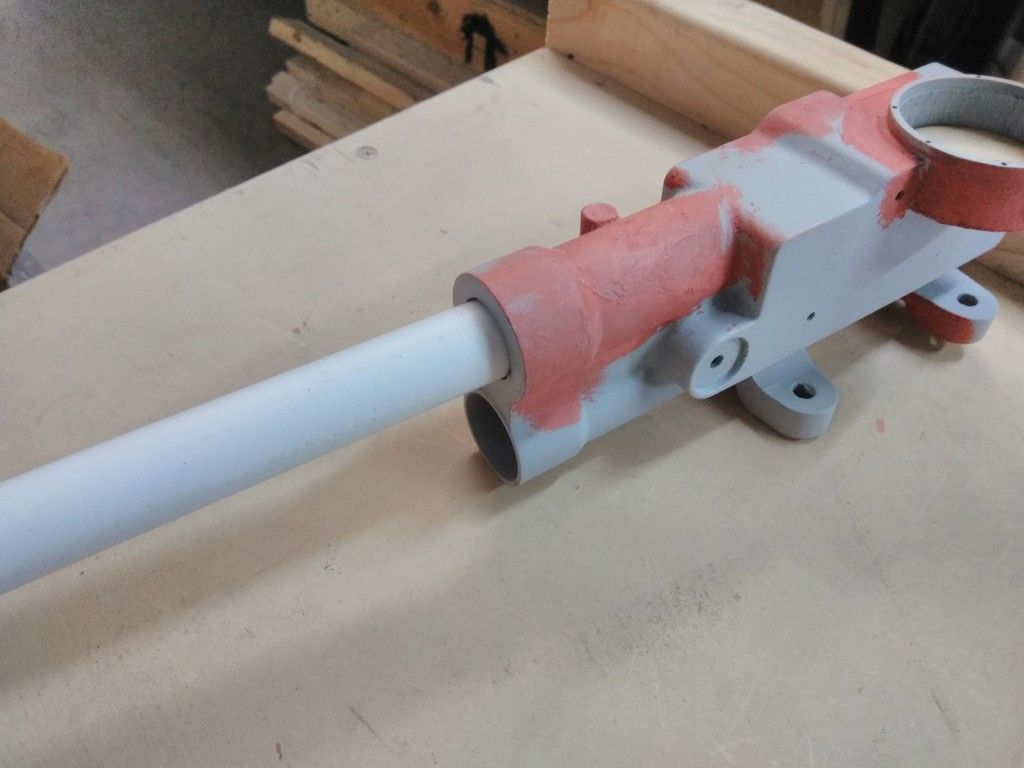
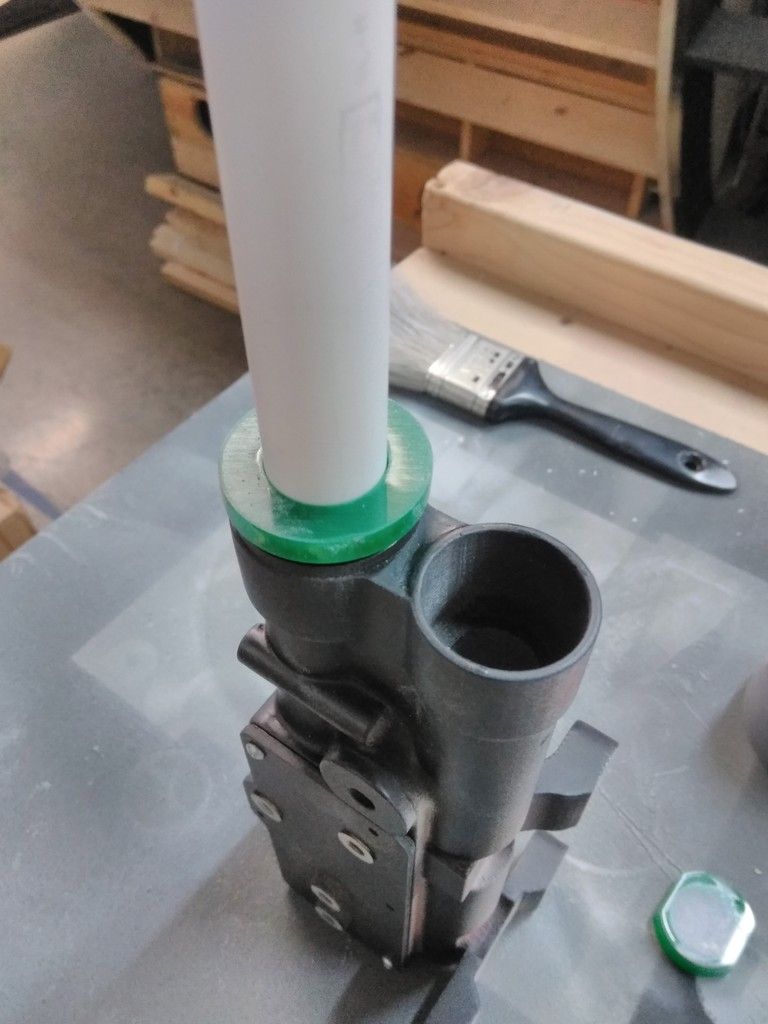
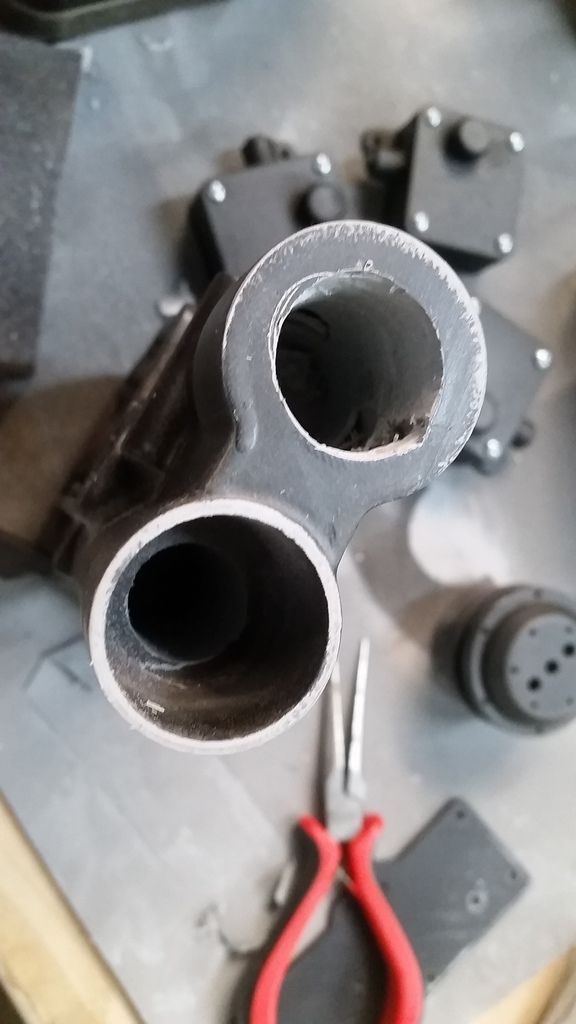
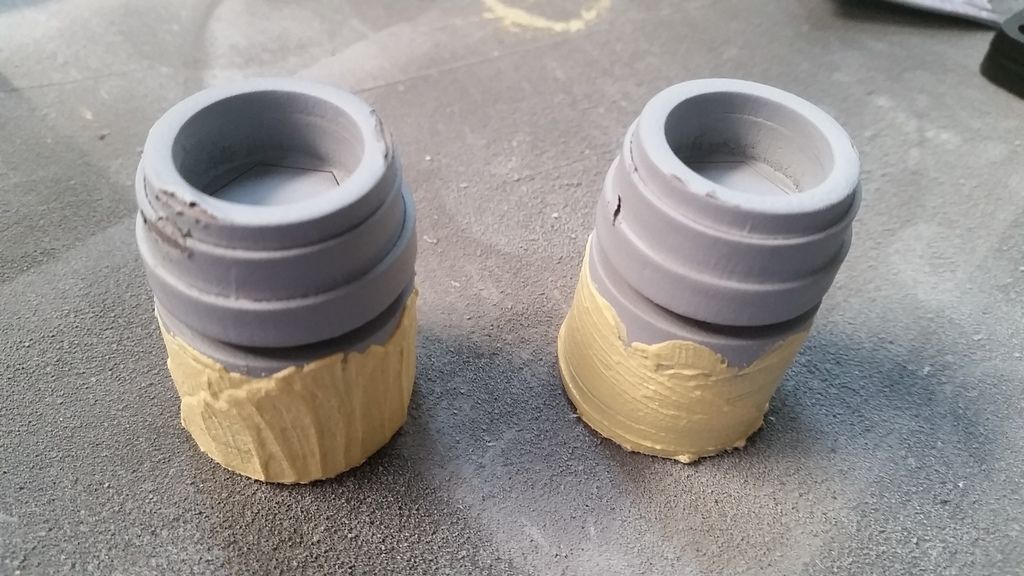
More filler and widening the hole for the PVC pipe to fit
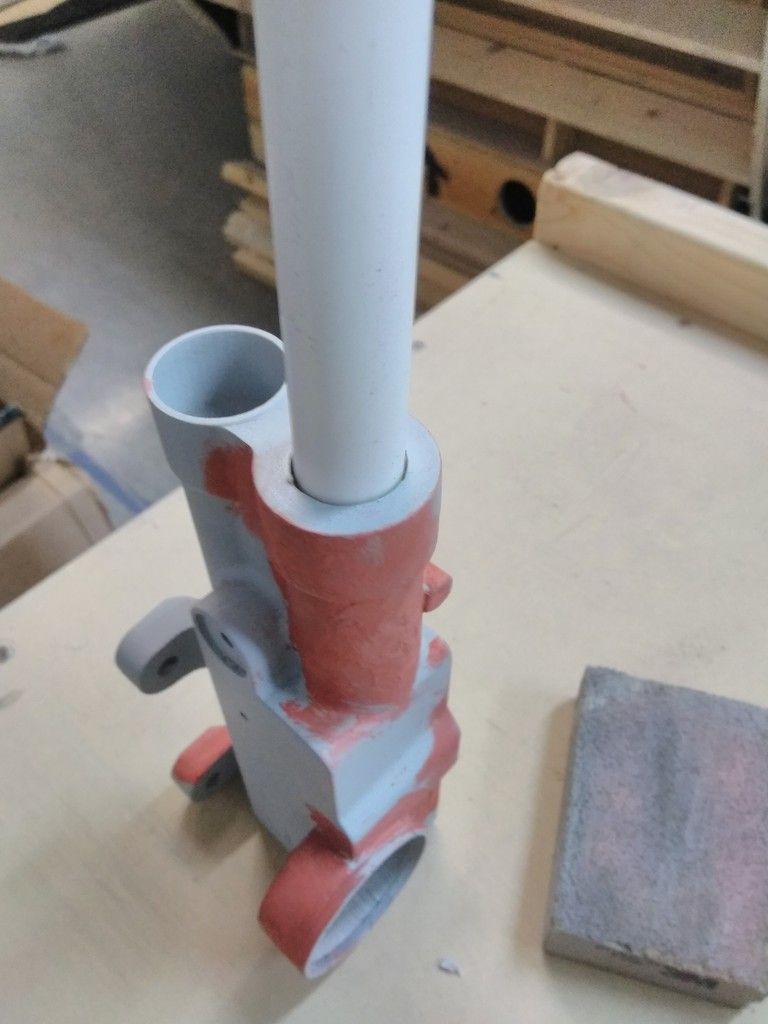
Test fitting the PVC
Lots to do
The sanding went on and on and on...
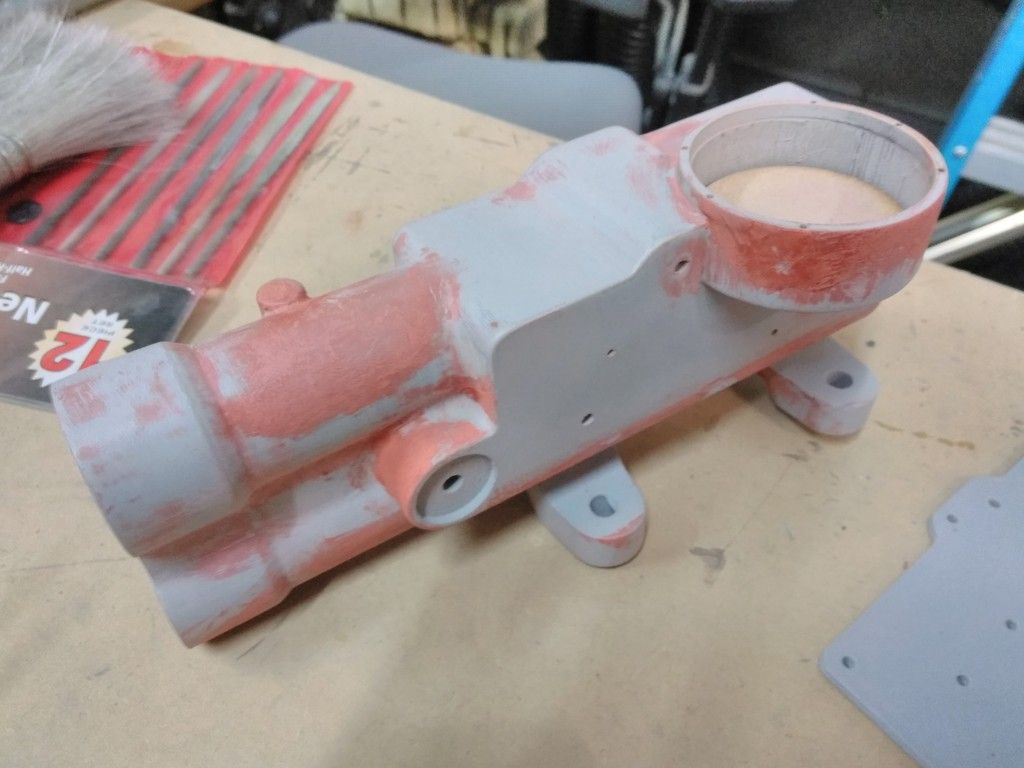
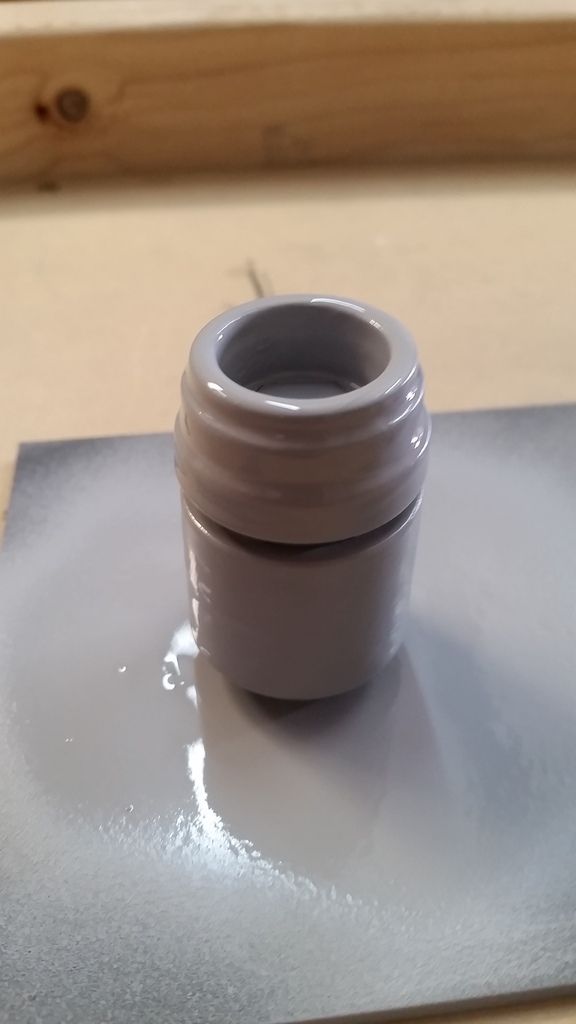
Finally! Color!
3D prints are amazing but the amount of prep work to get rid of the visible layers is VERY time consuming
As the paint dries it was time to cut some details
This is the fun part of the build... The Details!
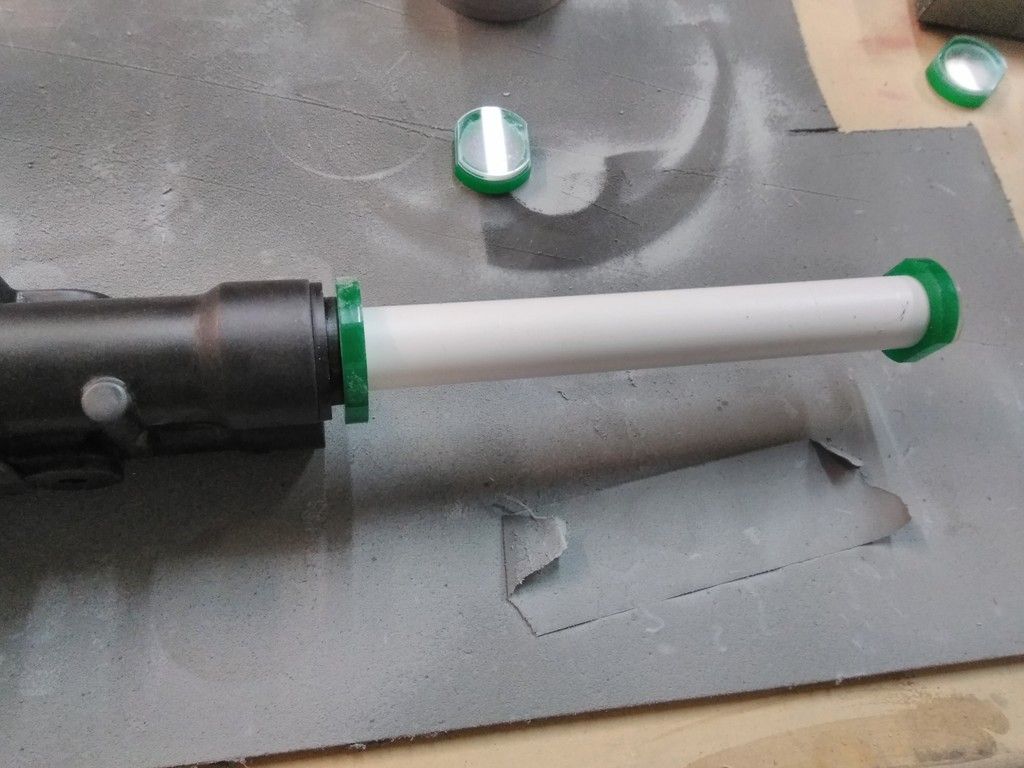
Dry fitting
NOT final length
Slowly putting it all together
Simple weathering
More details
EWE... gotta sand smooth
Details
Hanging out to dry
More details
Cutting down to fit
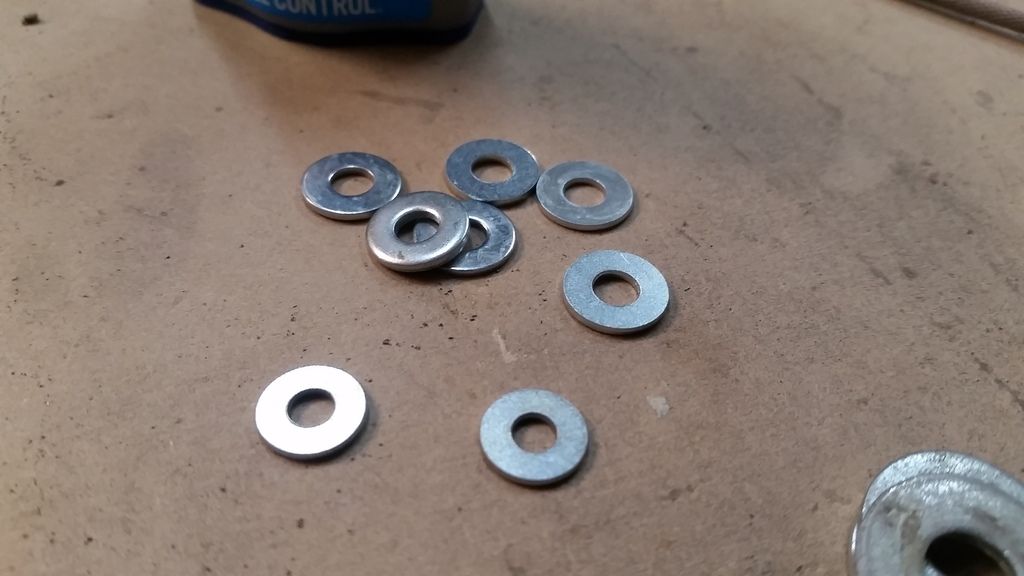
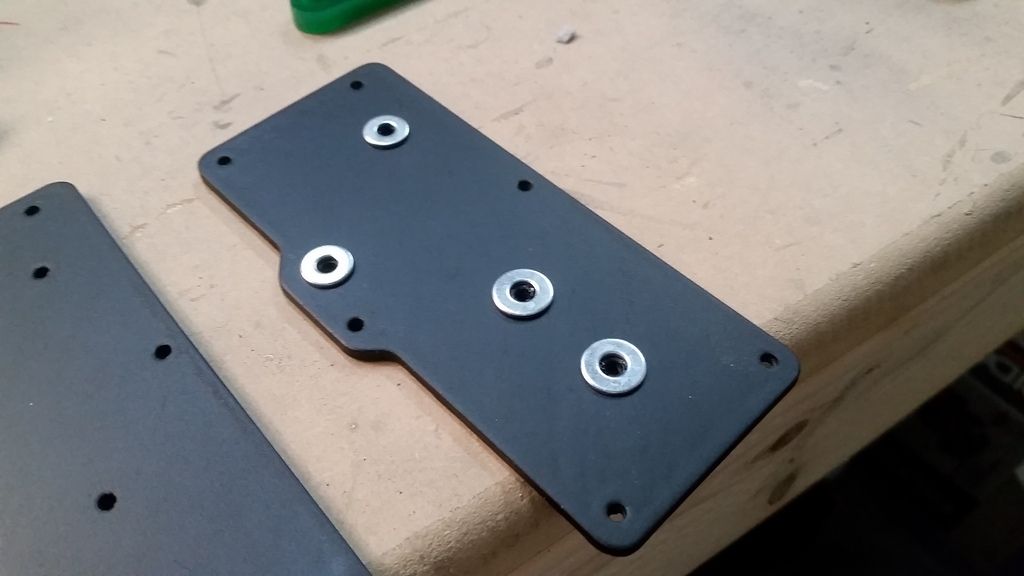
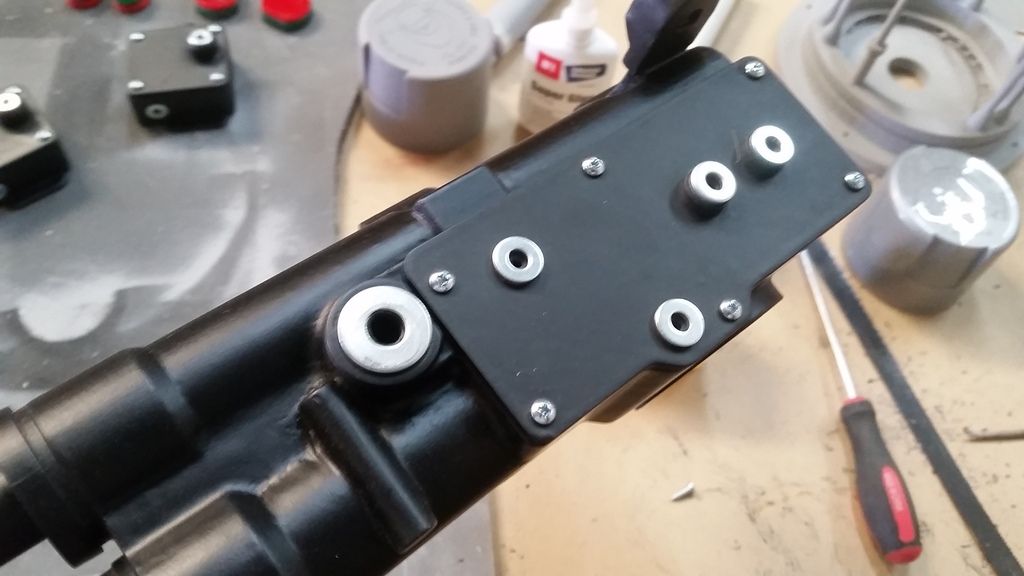
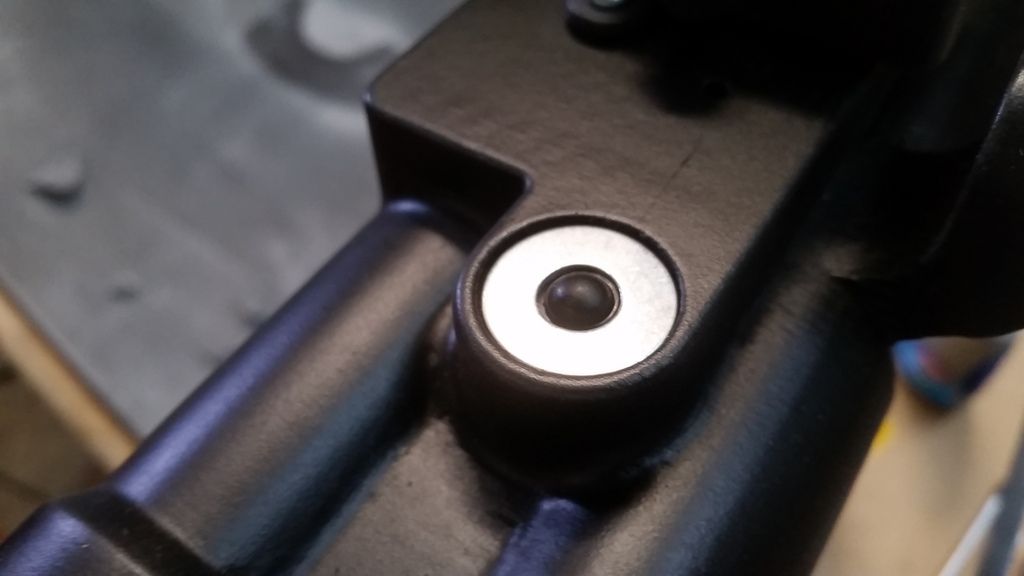
Time to add some real world details. Grabbed some washers...
Applied accordingly
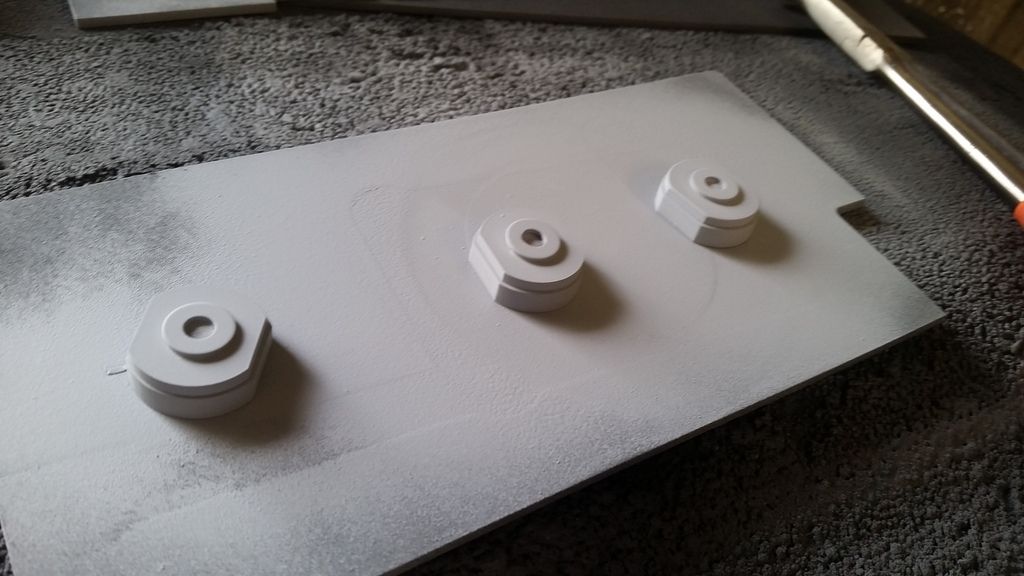
Primer
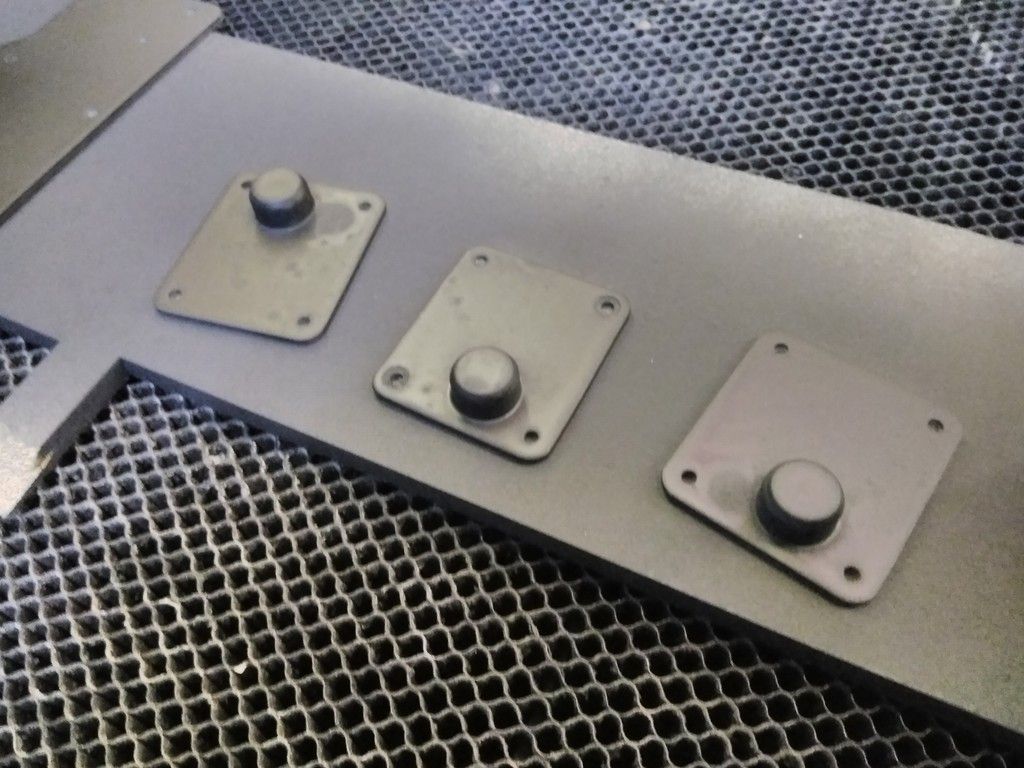
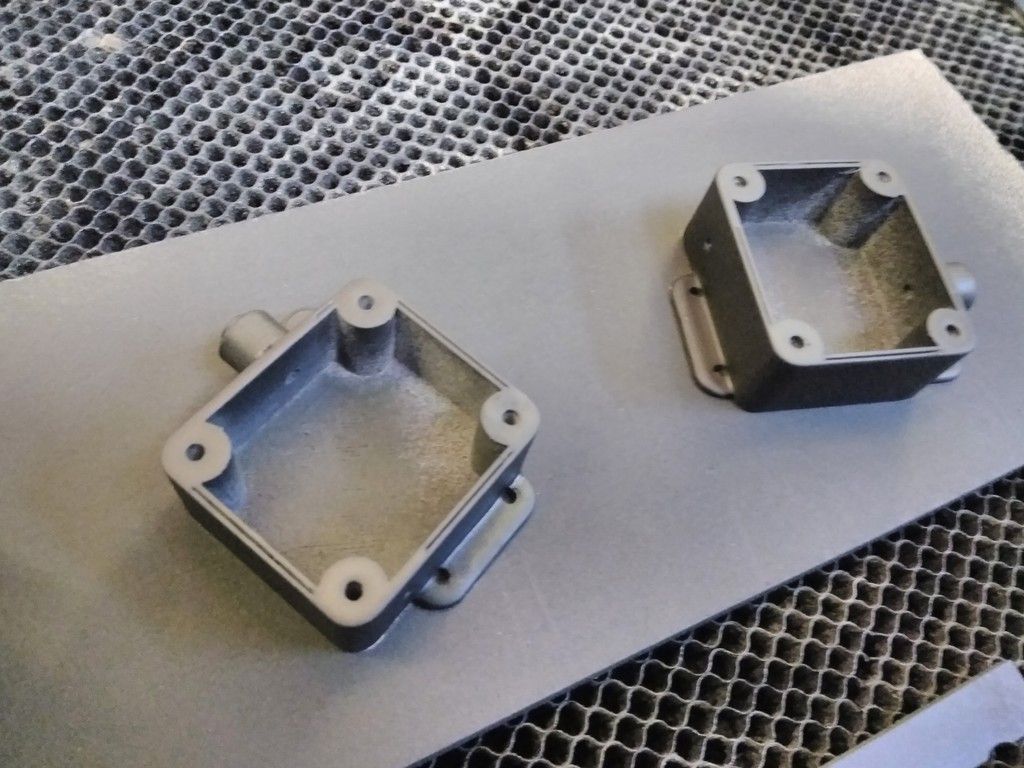
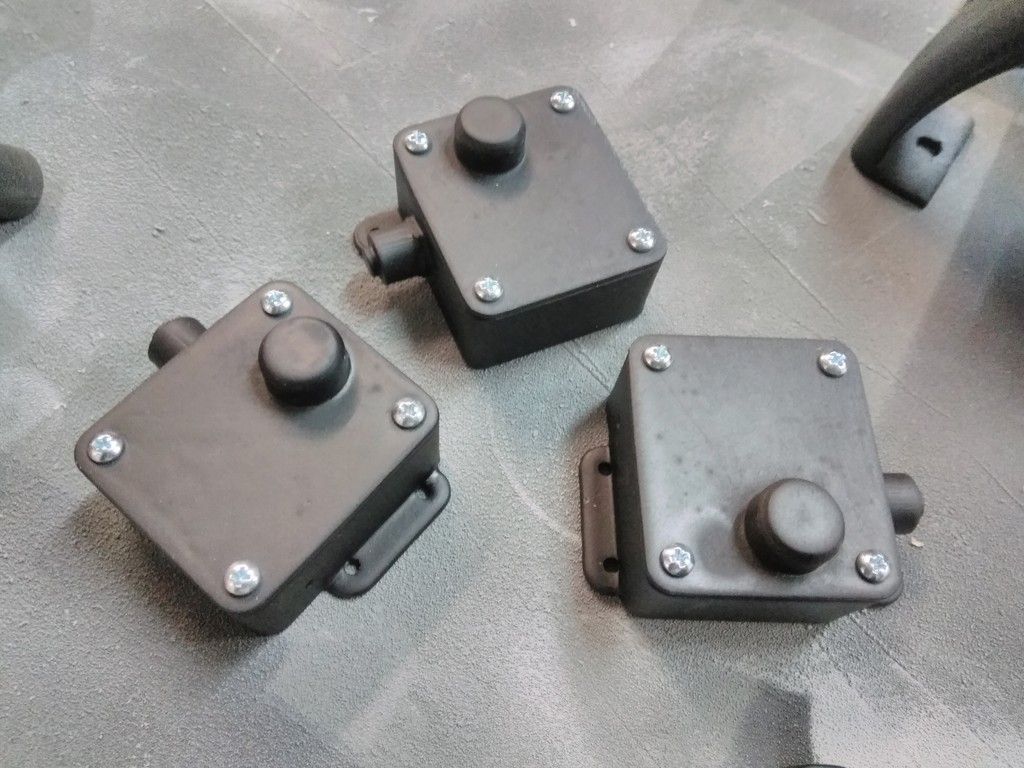
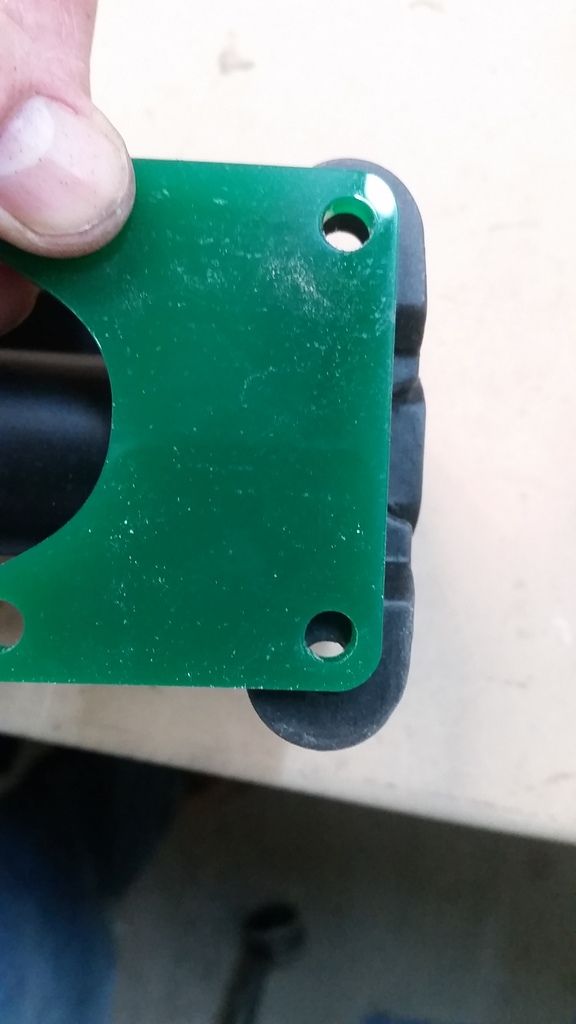
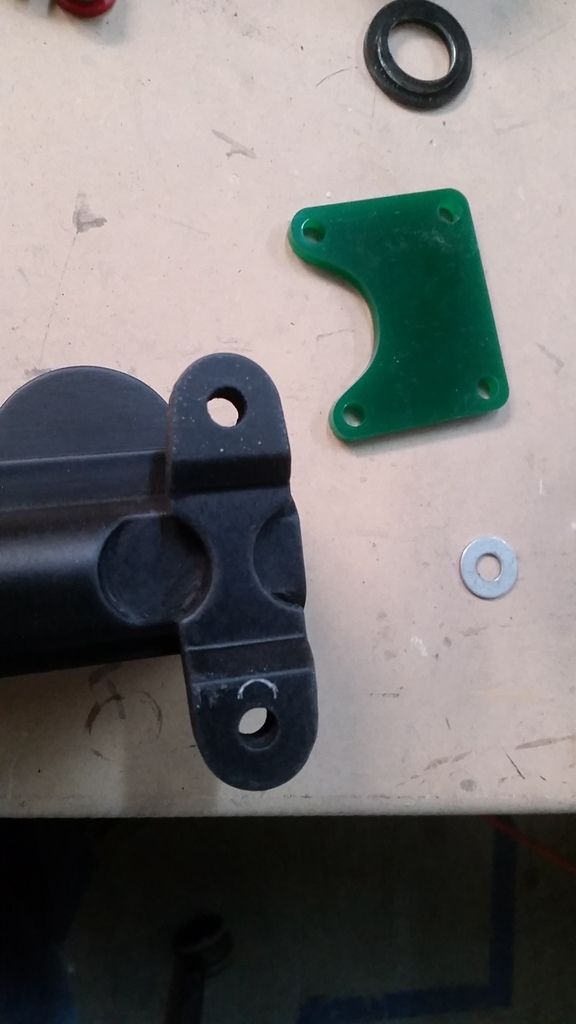
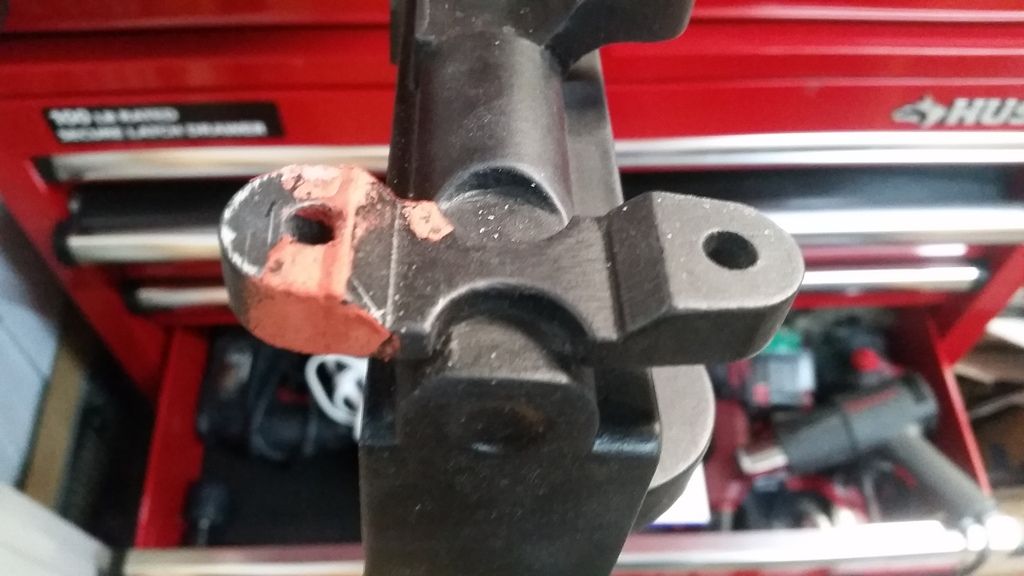
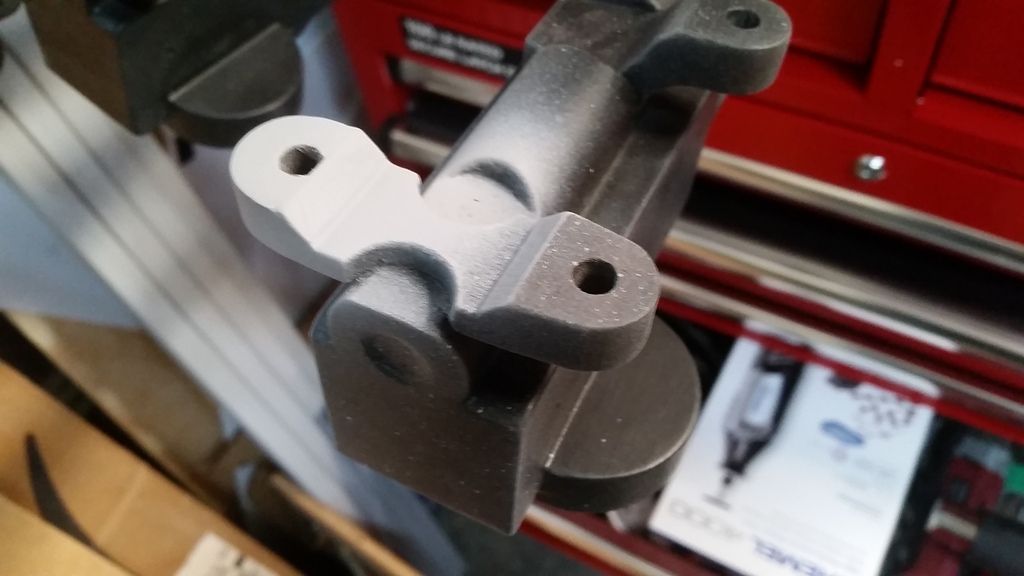
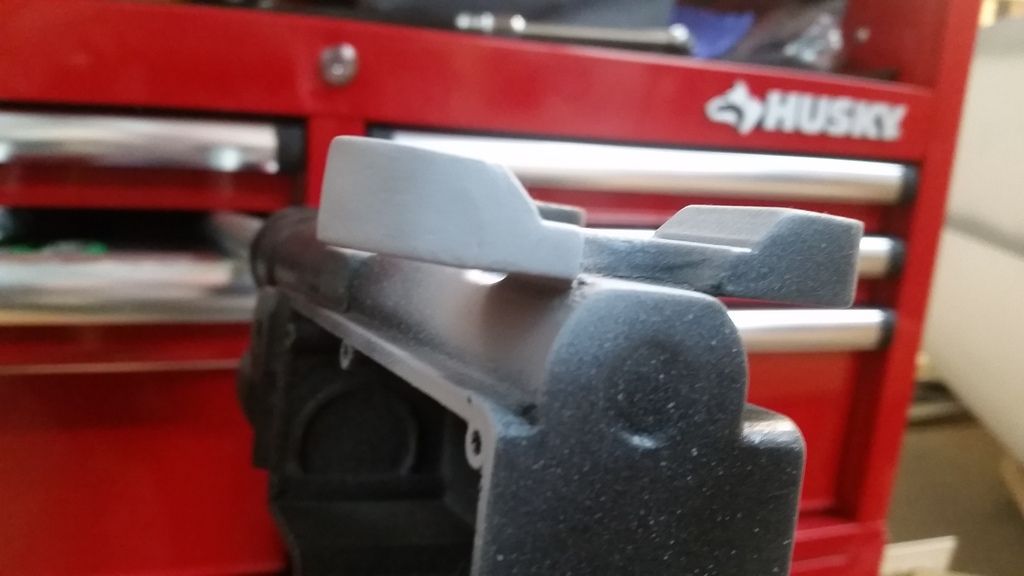
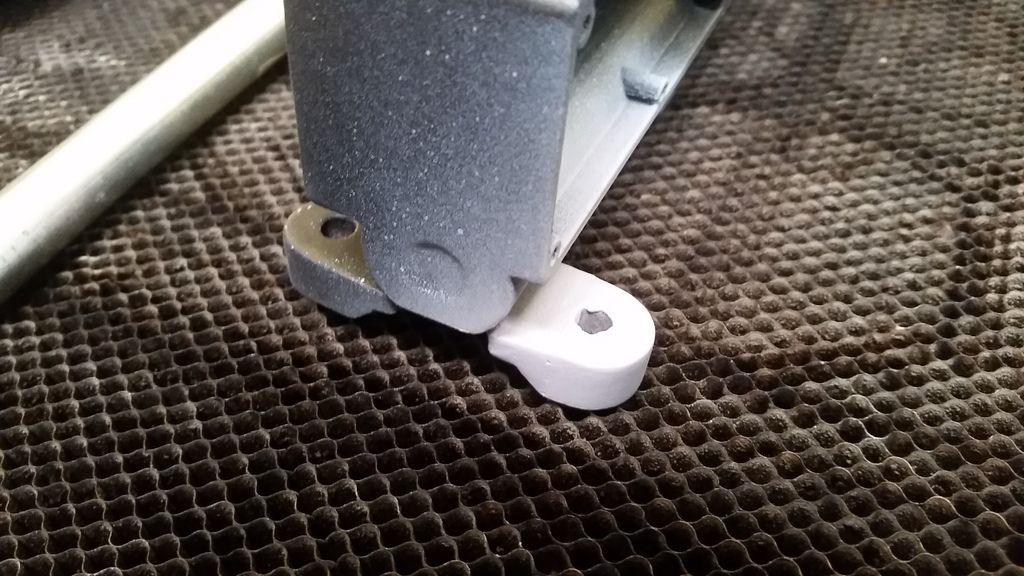
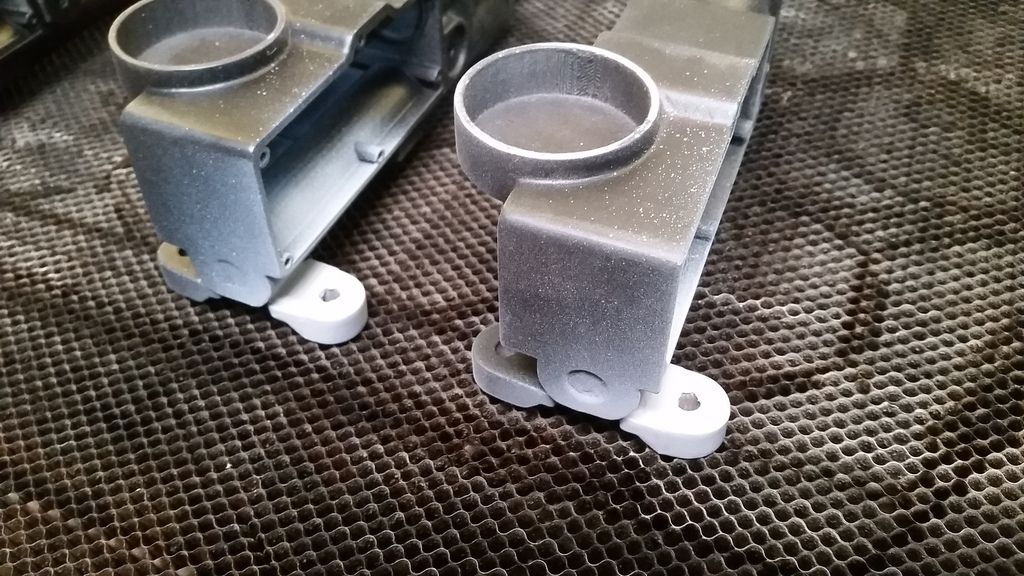
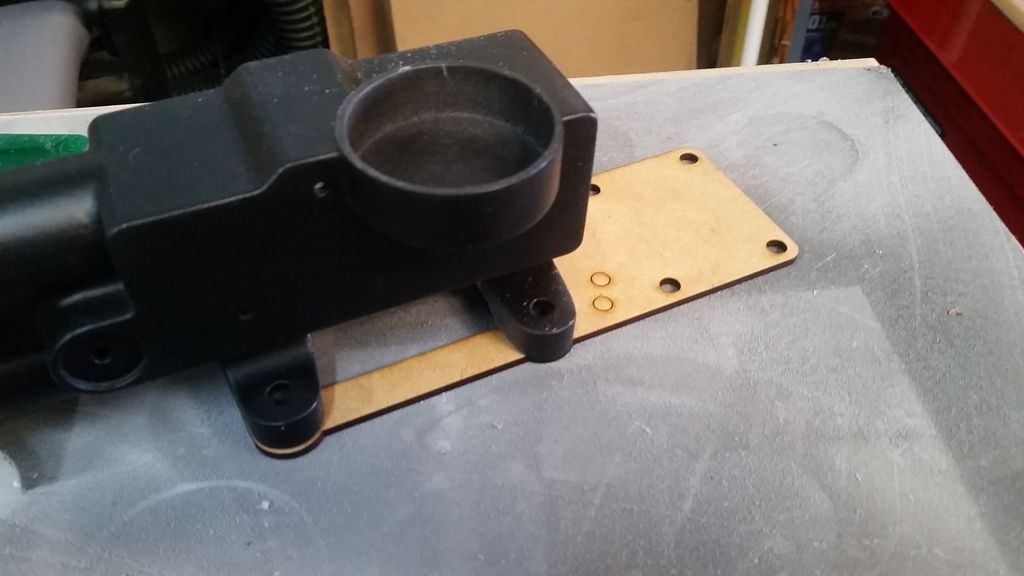
An UGH moment... I realized that the mounting holes for the TRM (Time Release Mechanism) were not aligned so I had to do a bit of cosmetic surgery
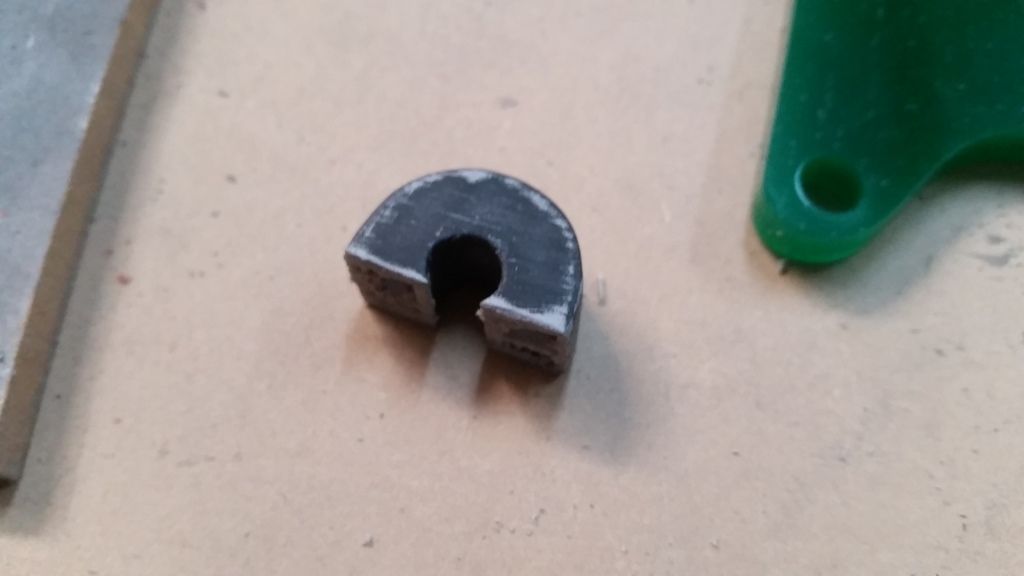
Mark the hole
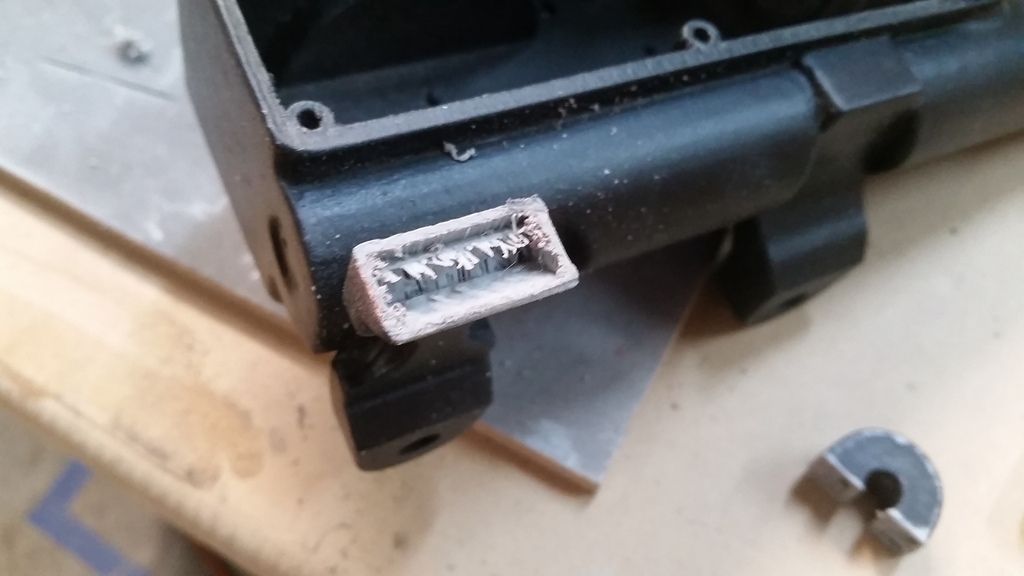
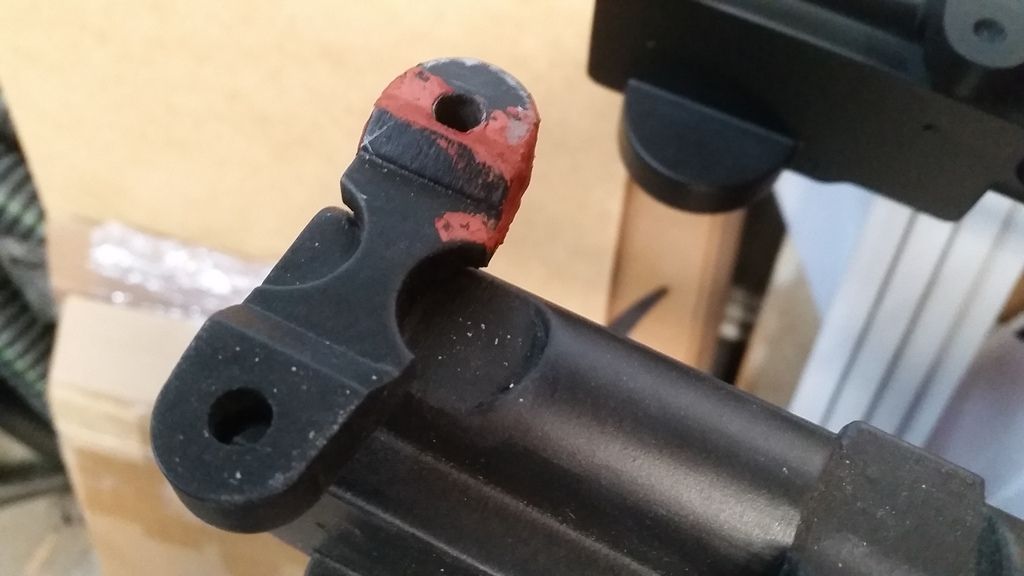
1 of 2 cuts to remove material
Adhere back together and add filler
Perfect!
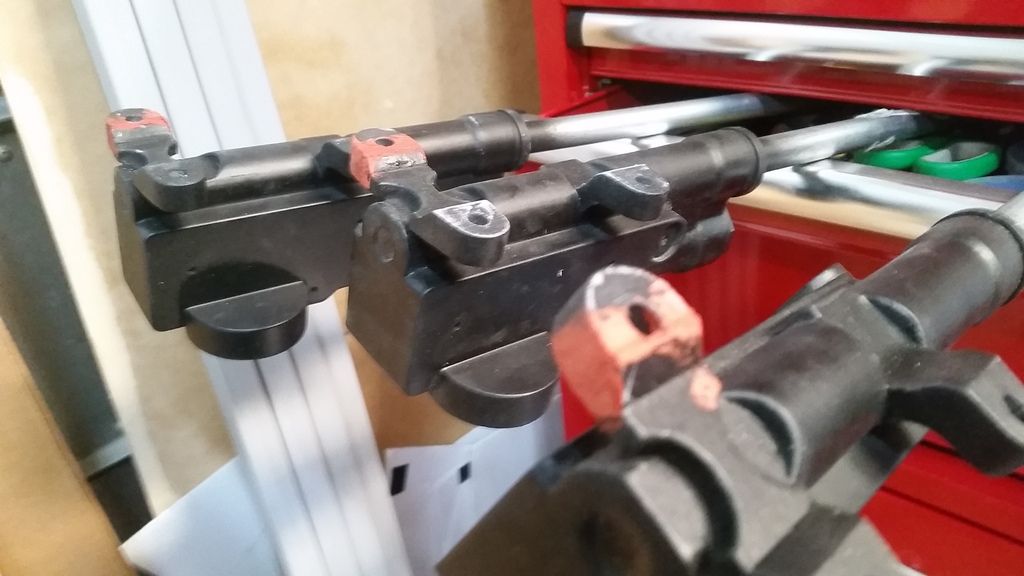
All 3 had to be mod'd
After sanding smooth I added more primer / filler
Gotta let it all dry
Needs a bit more attention
Perfect!
A bit more work on these guys
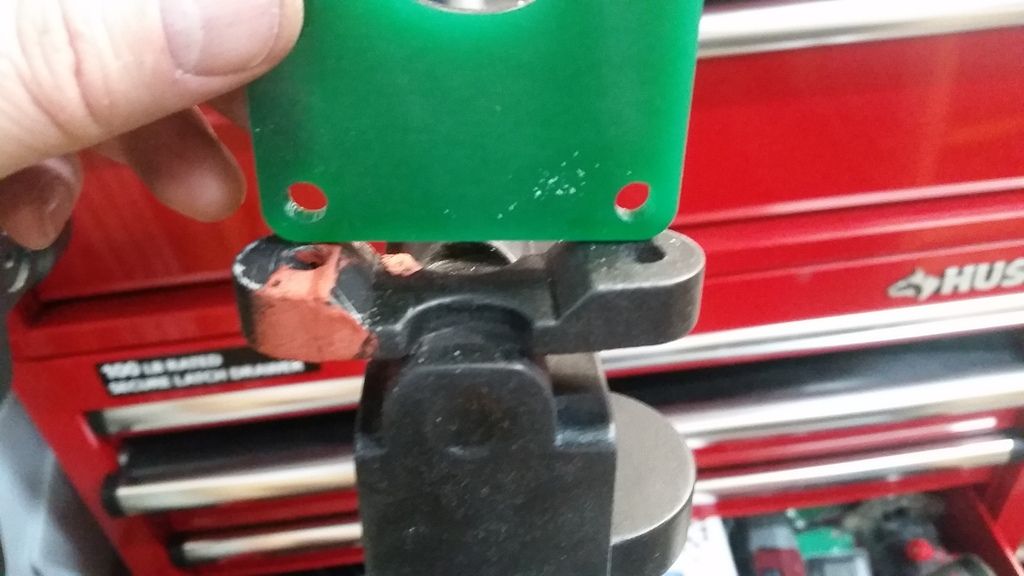
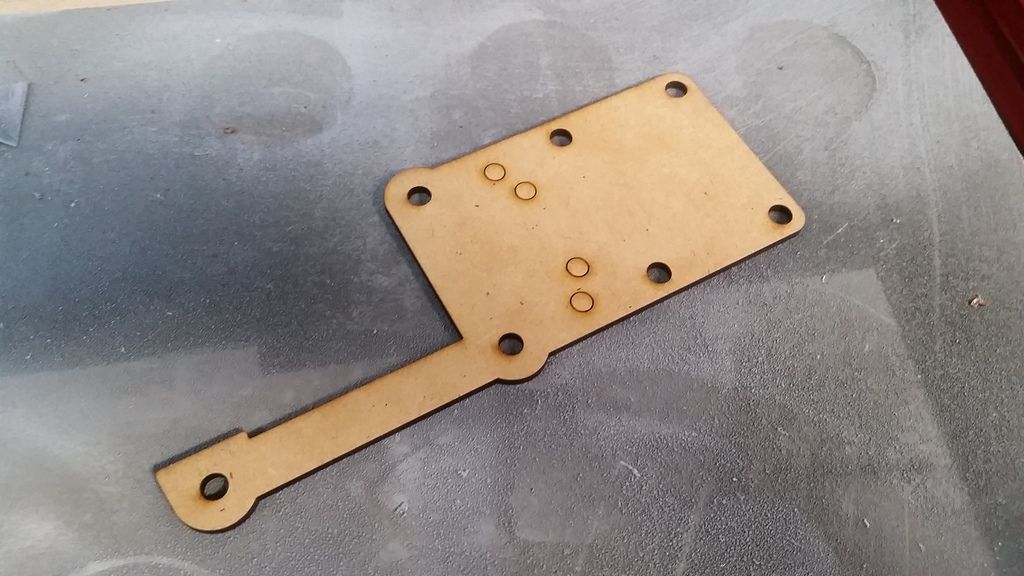
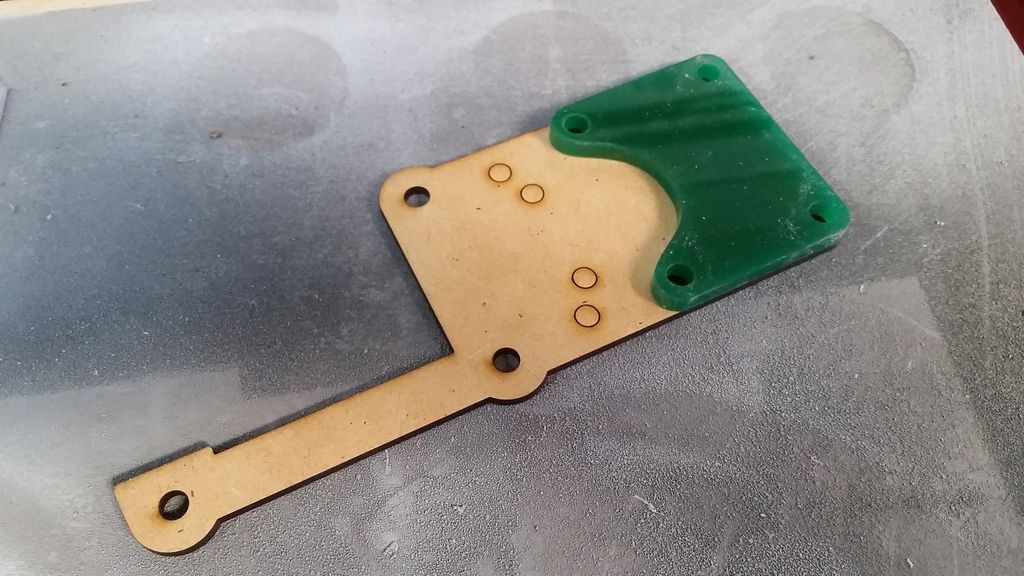
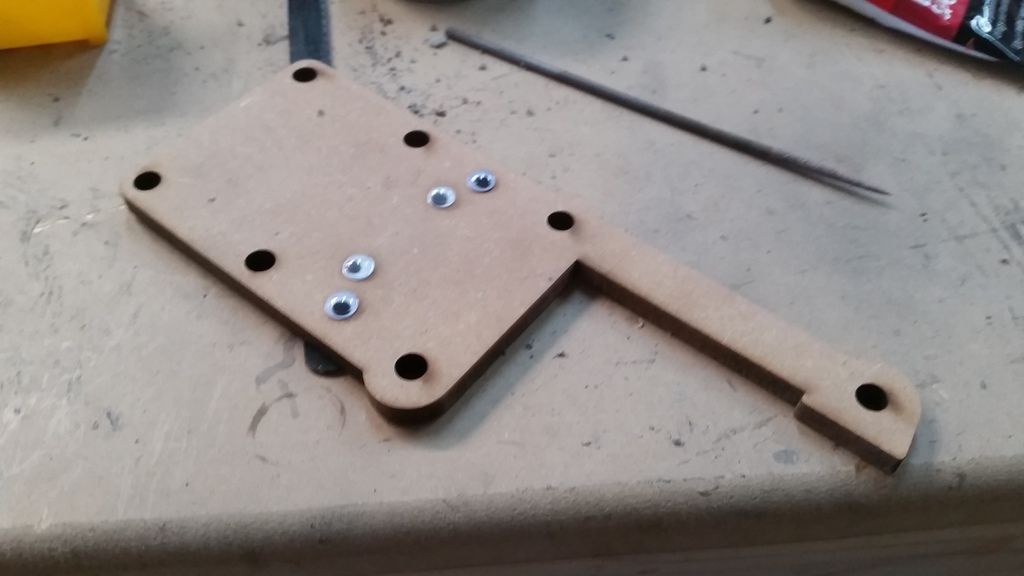
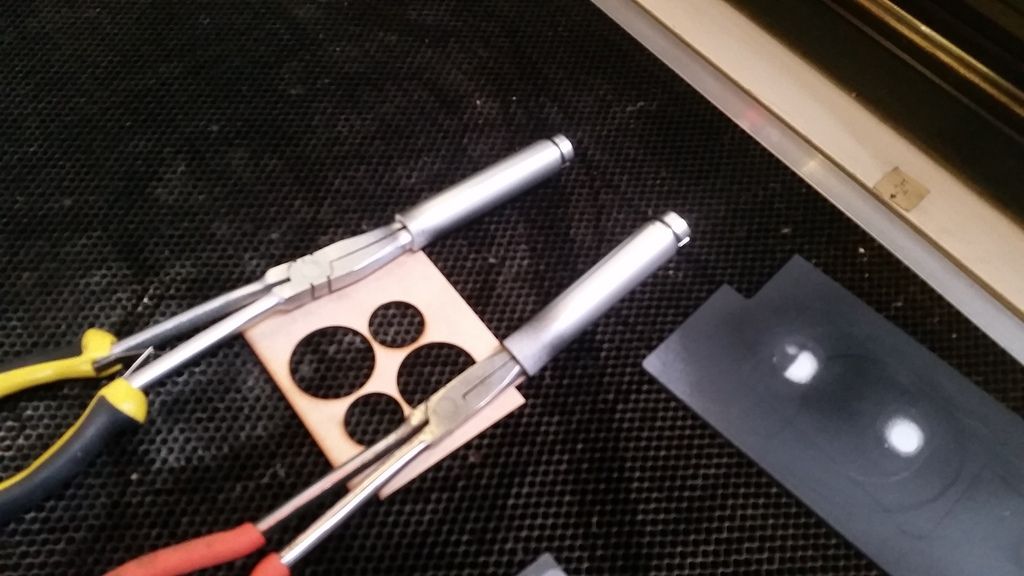
I then designed and laser cut the TRM mounting template
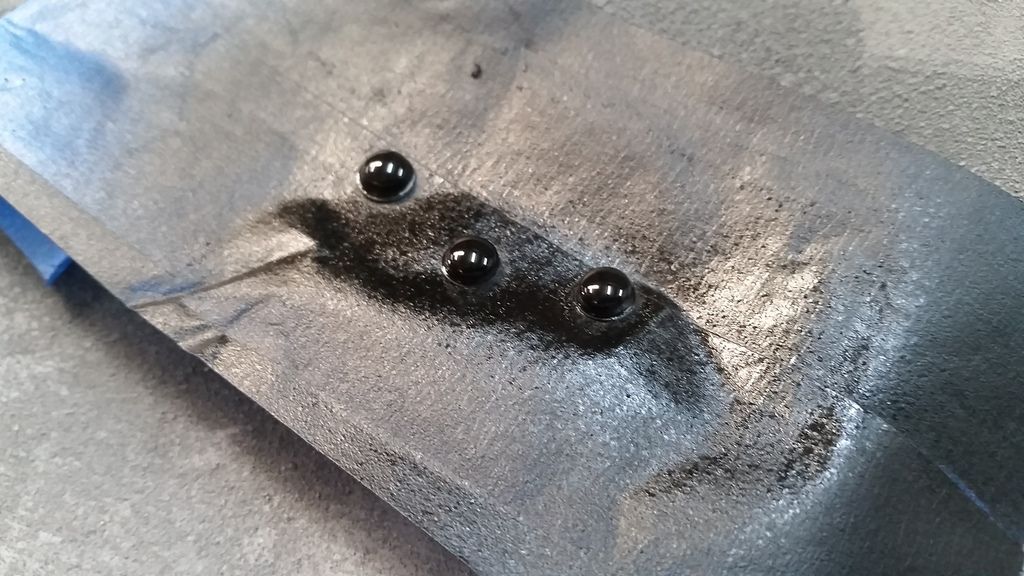
Adding a few more details... Painted some Googly Eyes
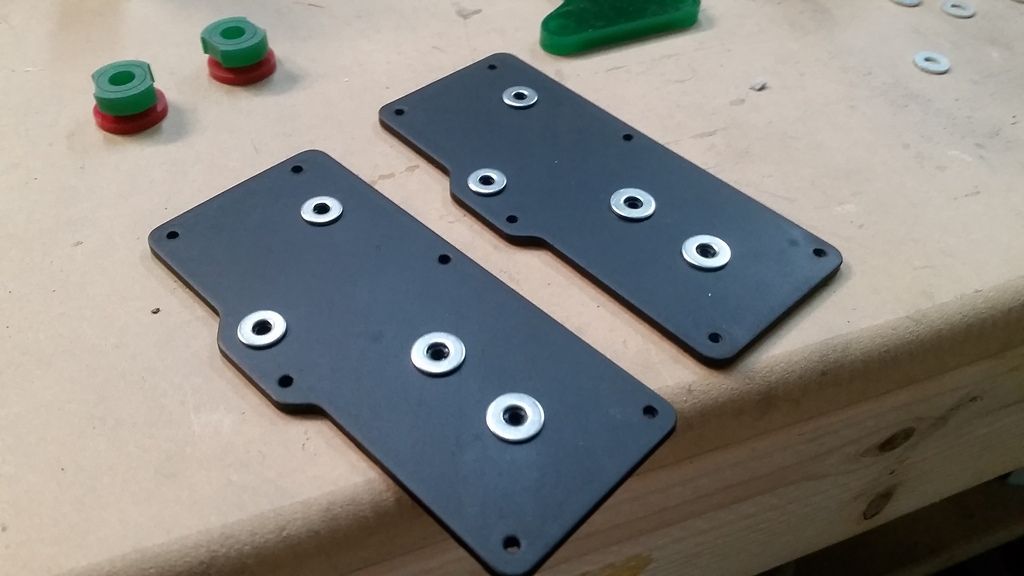
Added more washers
Eye added
Cut the holes!
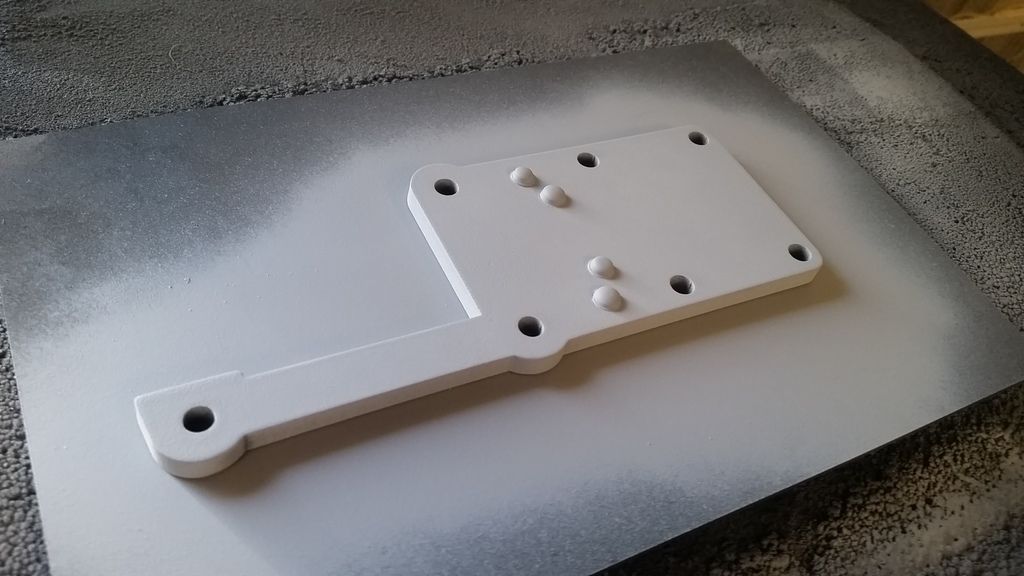
I then cut a new mounting bracket from 1/4" MDF and added the Googly Eye Rivets
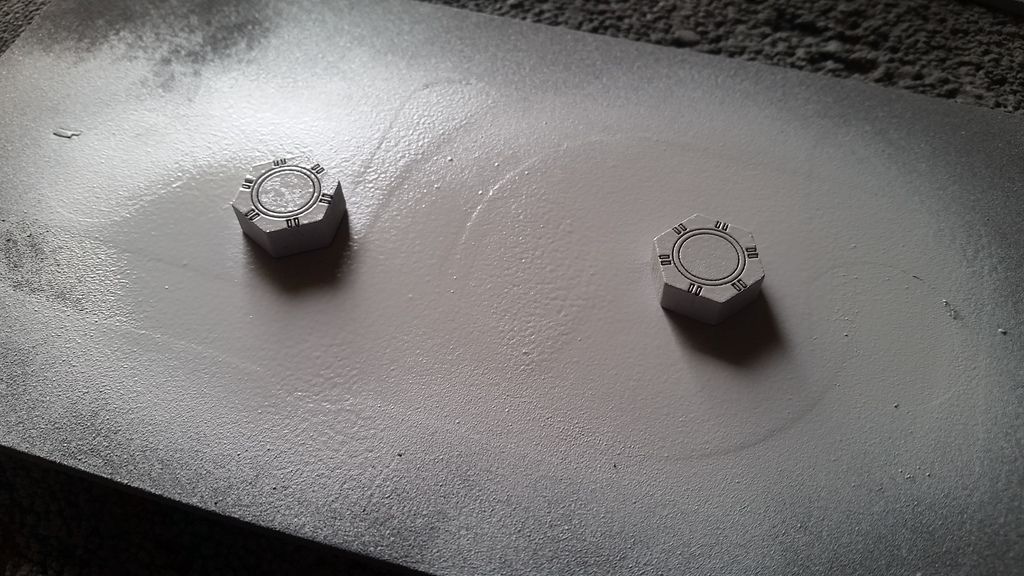
Primer
Paint
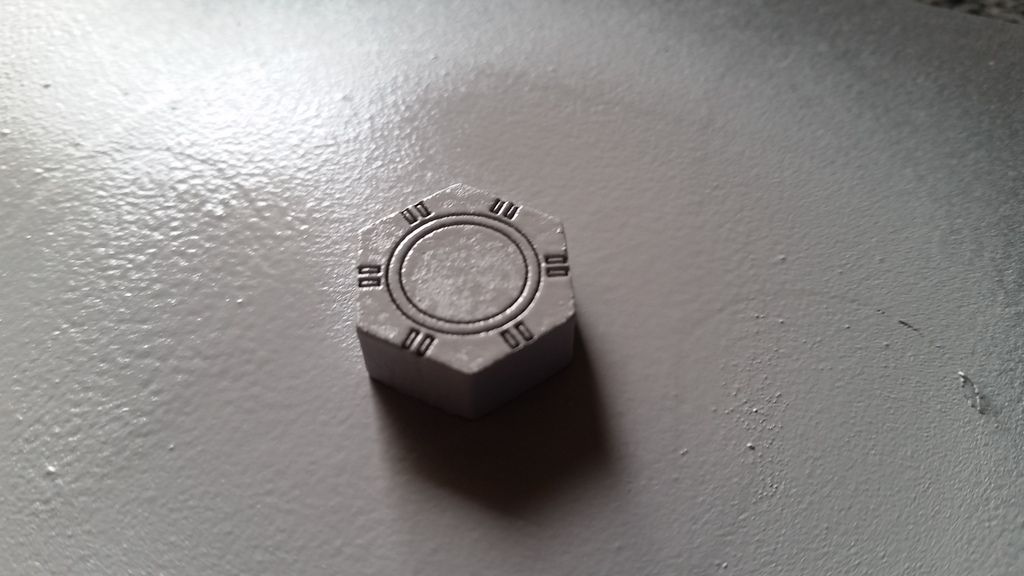
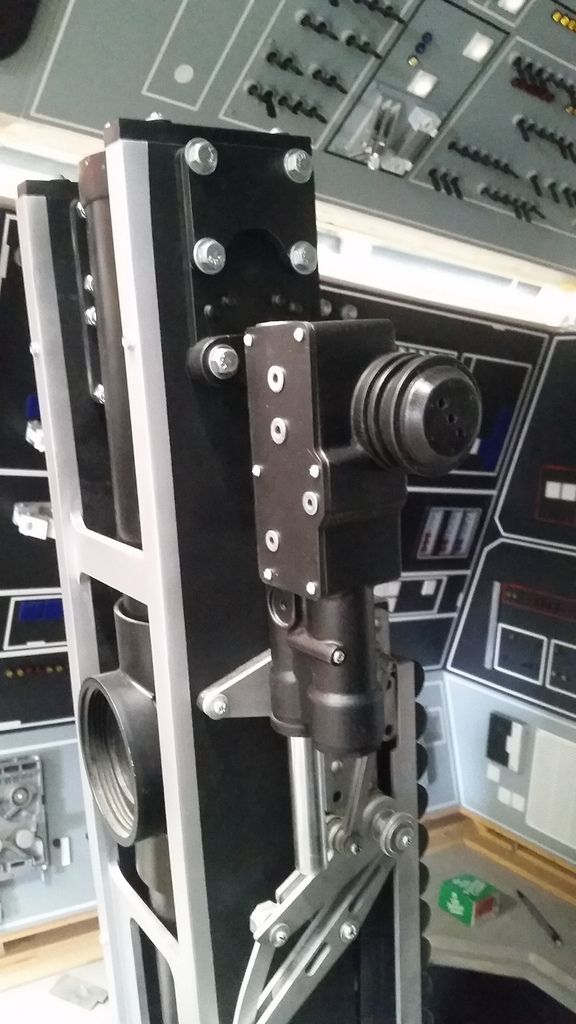
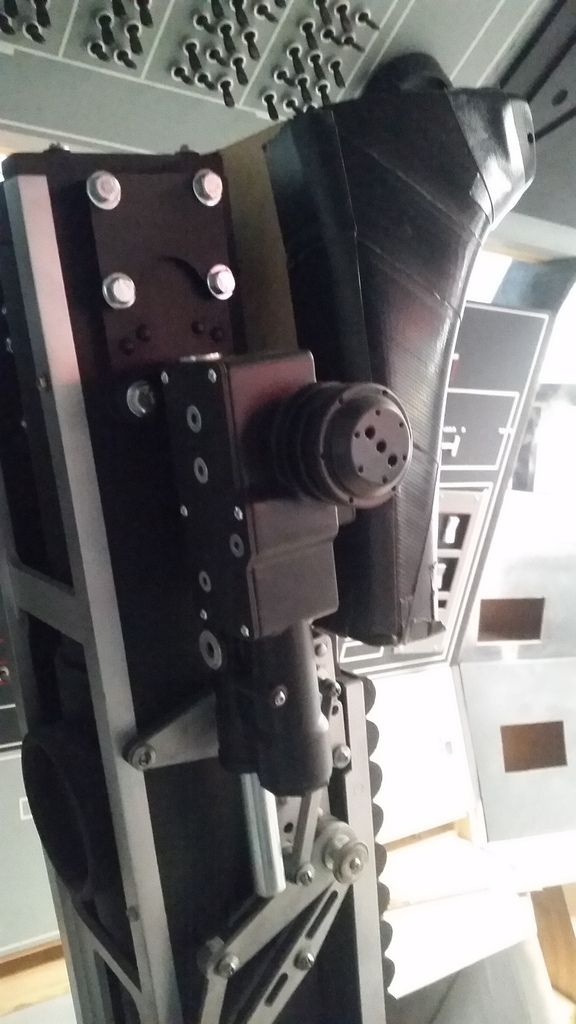
Mounted!
Love it!
Getting all the details added
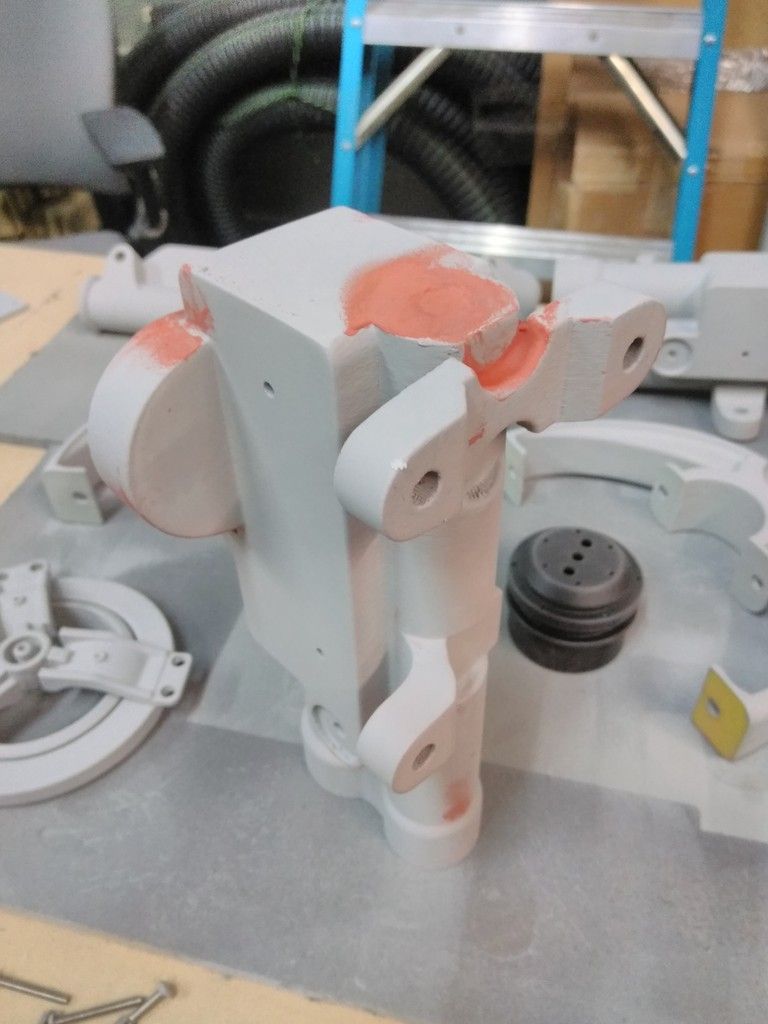
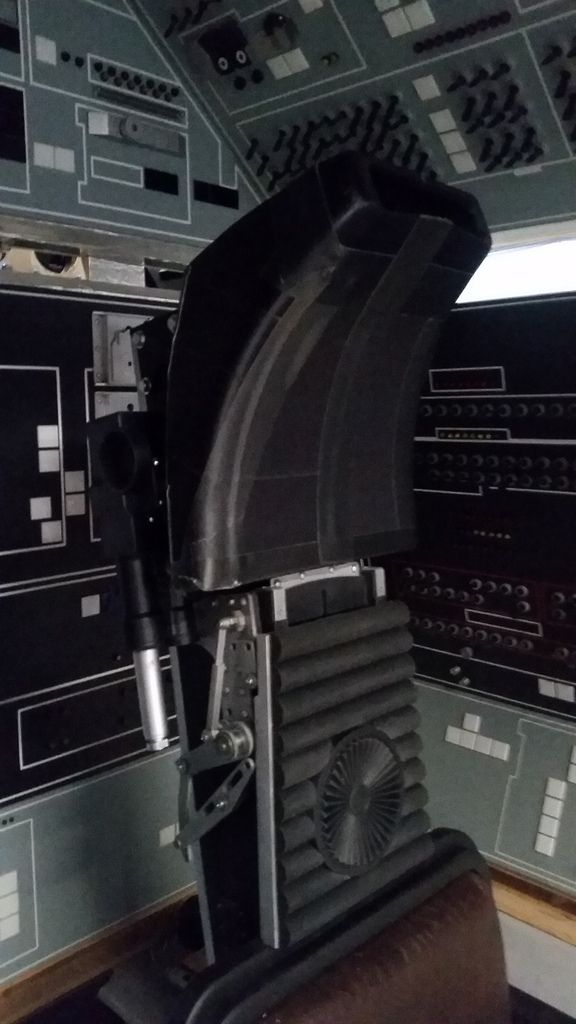
Added the headrest for effect
The headrest is going to mount almost 1" away from the frame to make room for the TRM
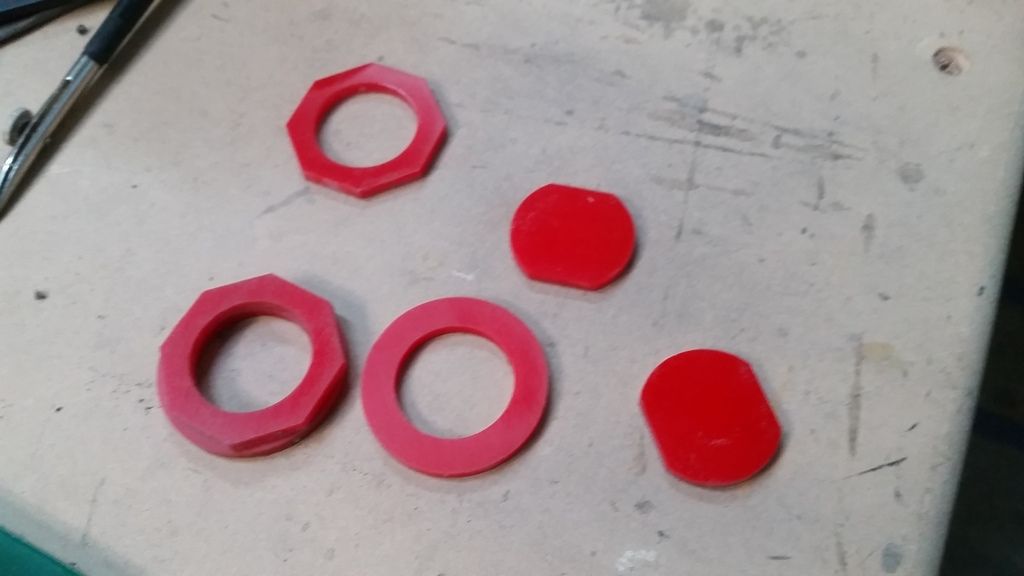
I was going to mold this part but decided to fabricate the remaining two
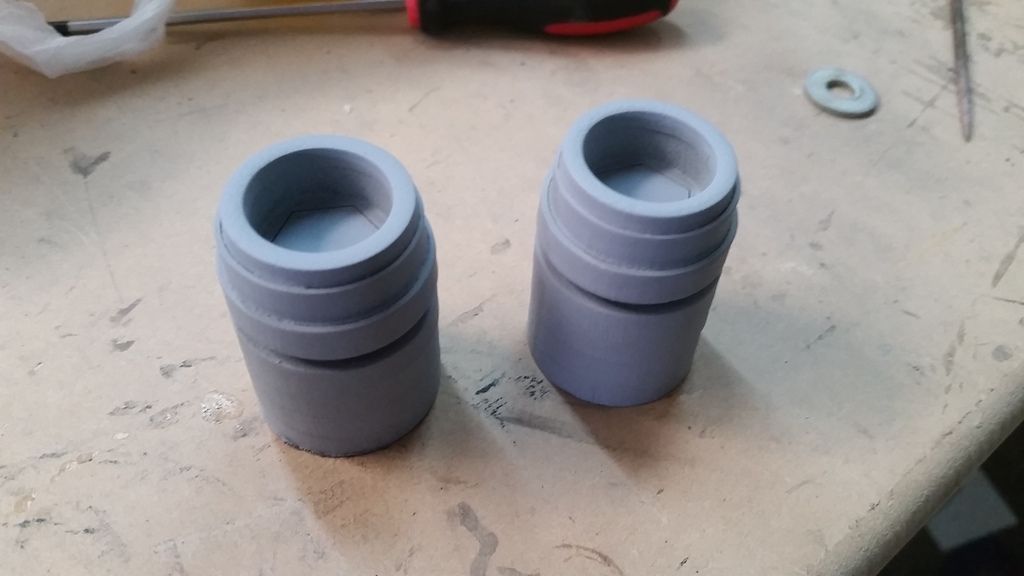
Sanded and awaiting primer
Primer Filler
Grabbed it a bit too soon and smeared the primer... :facepalm
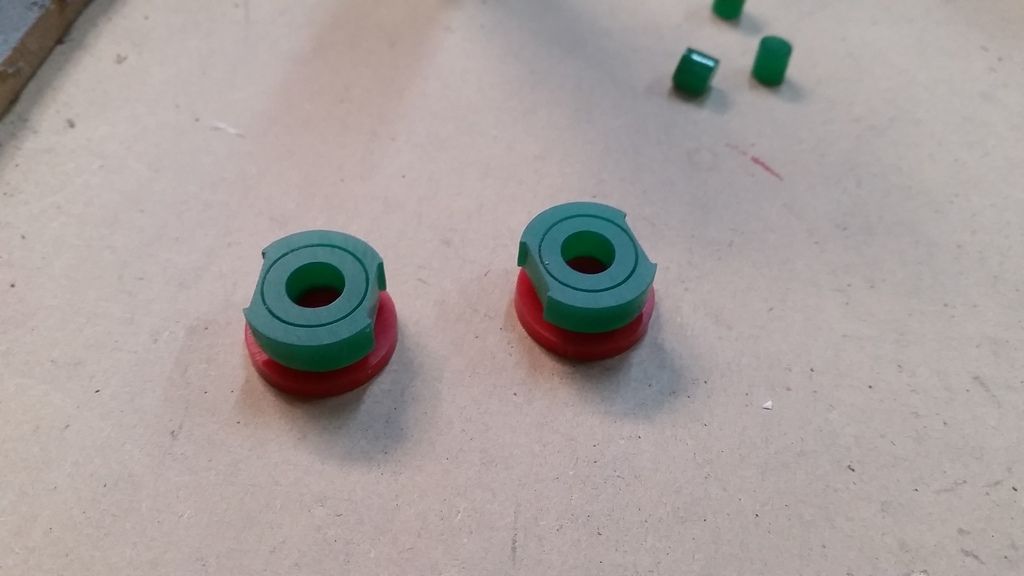
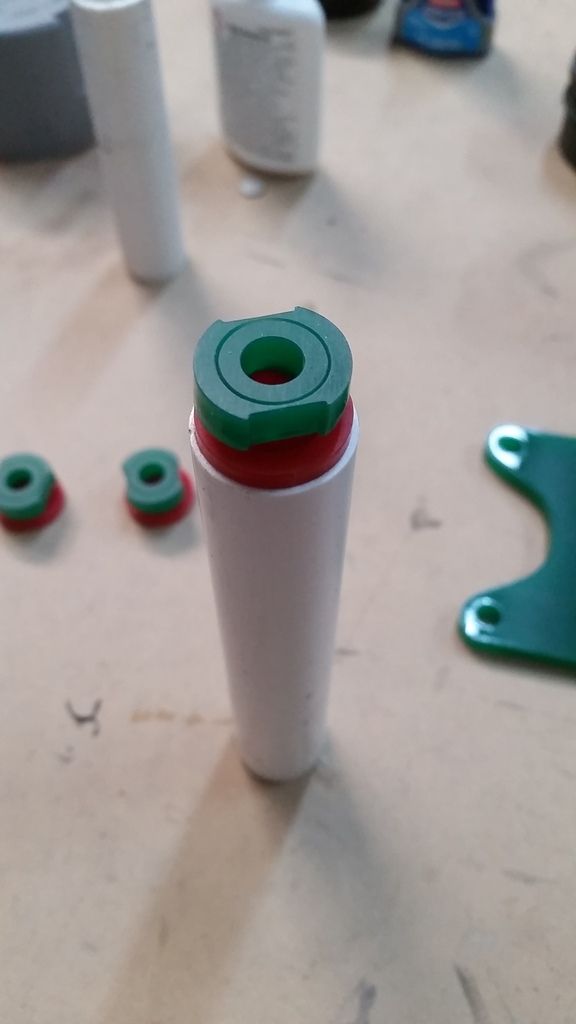
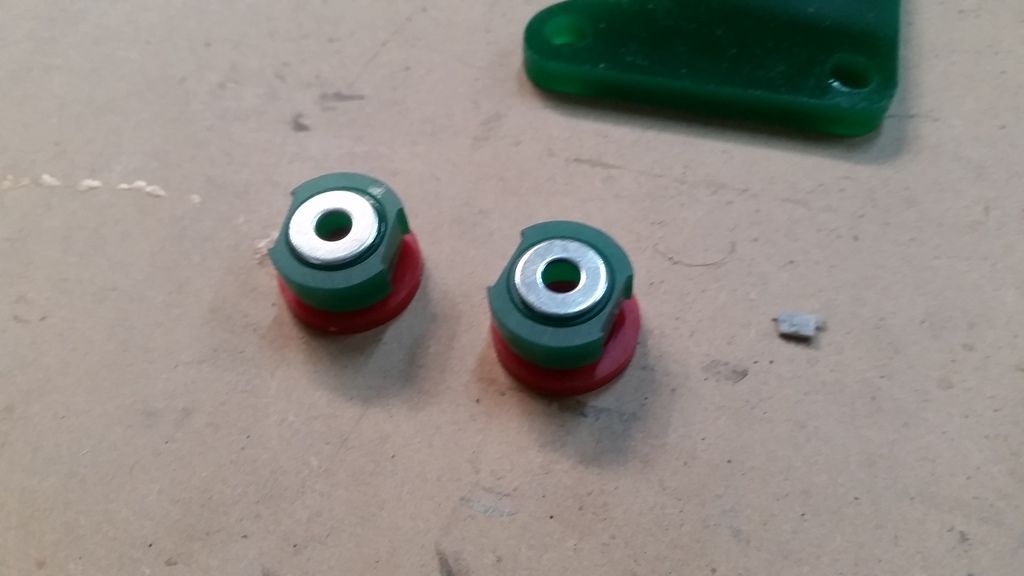
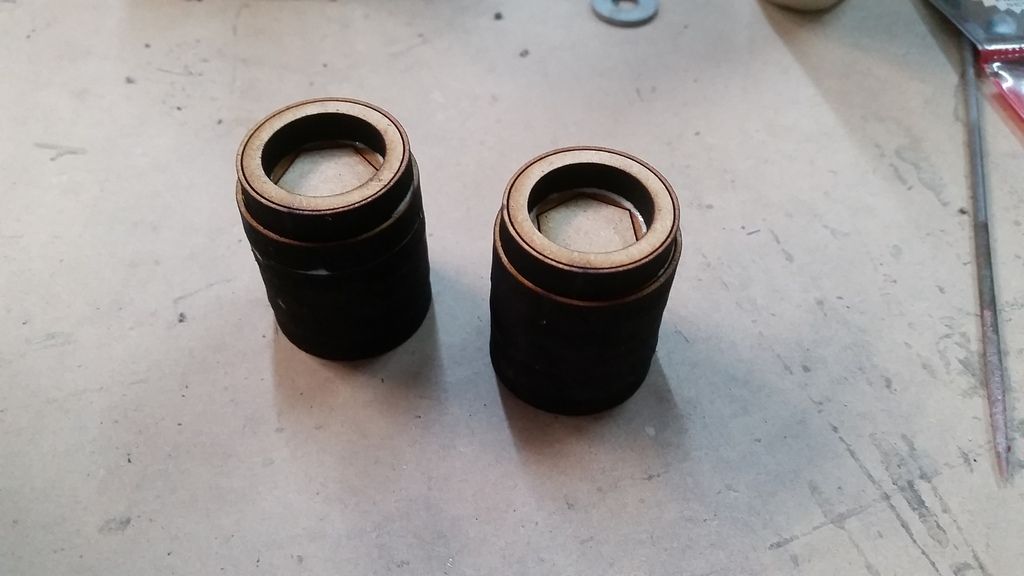
Small nut - these rest on the inside of the top of the cylinder
Let those dry
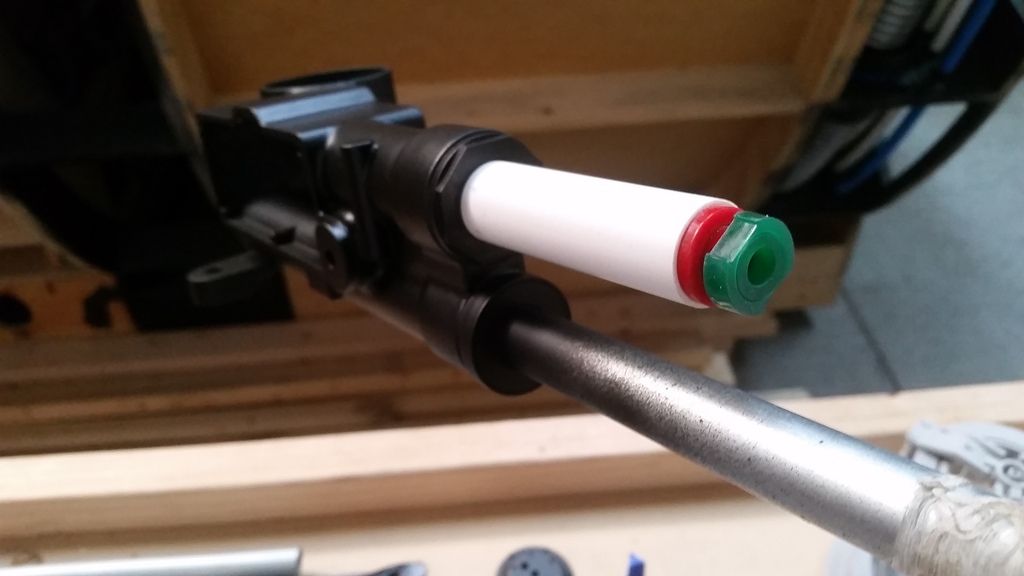
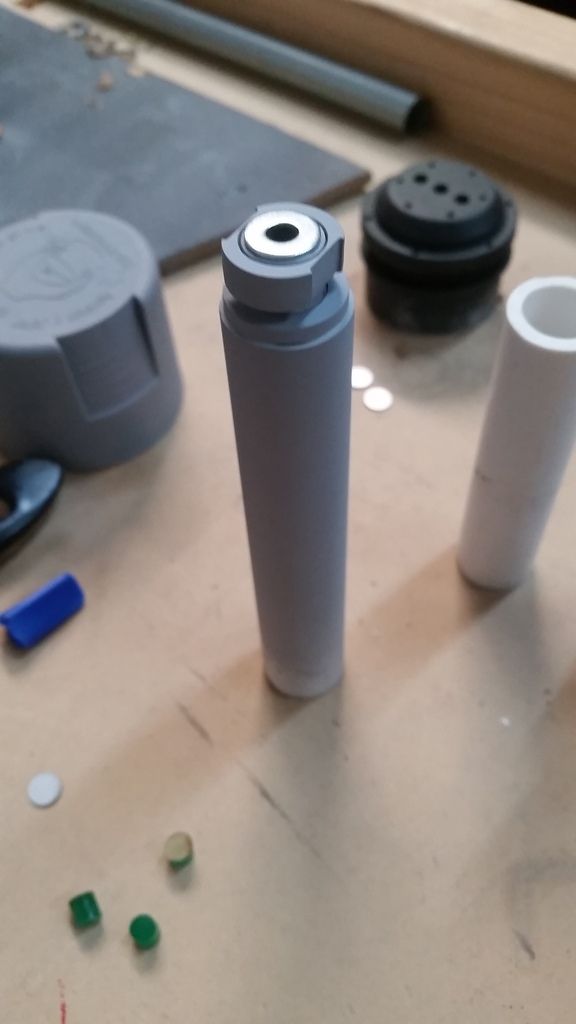
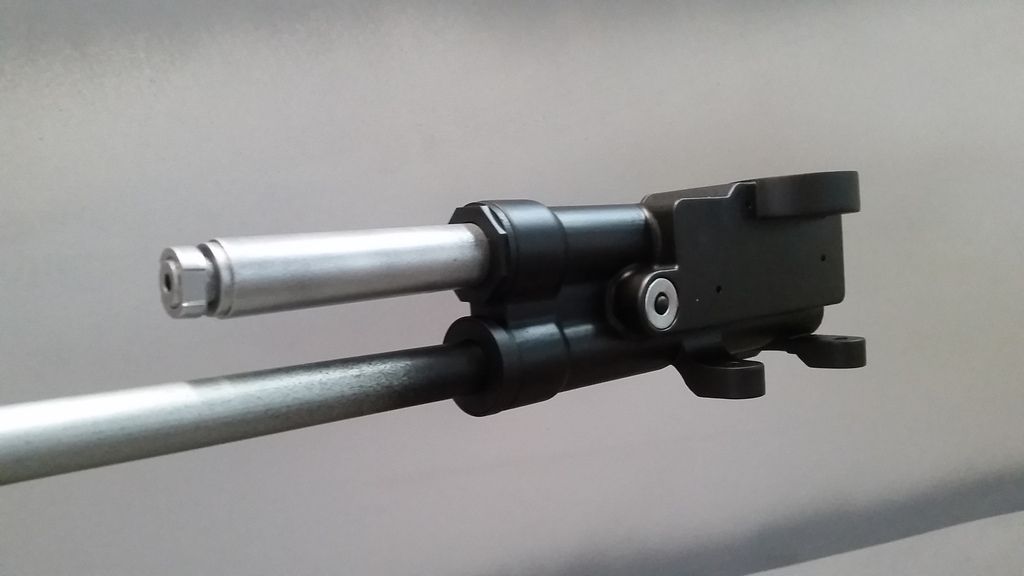
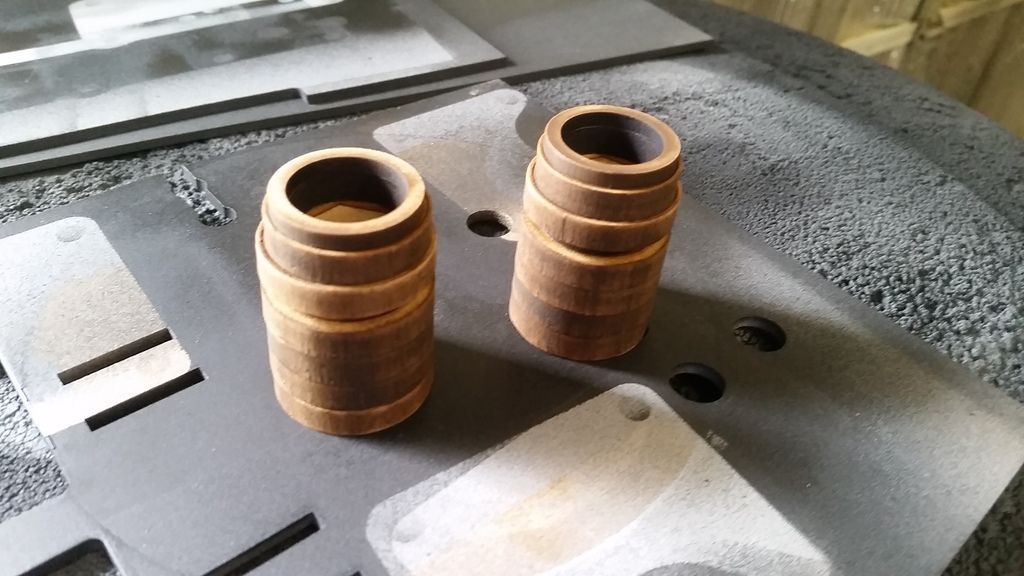
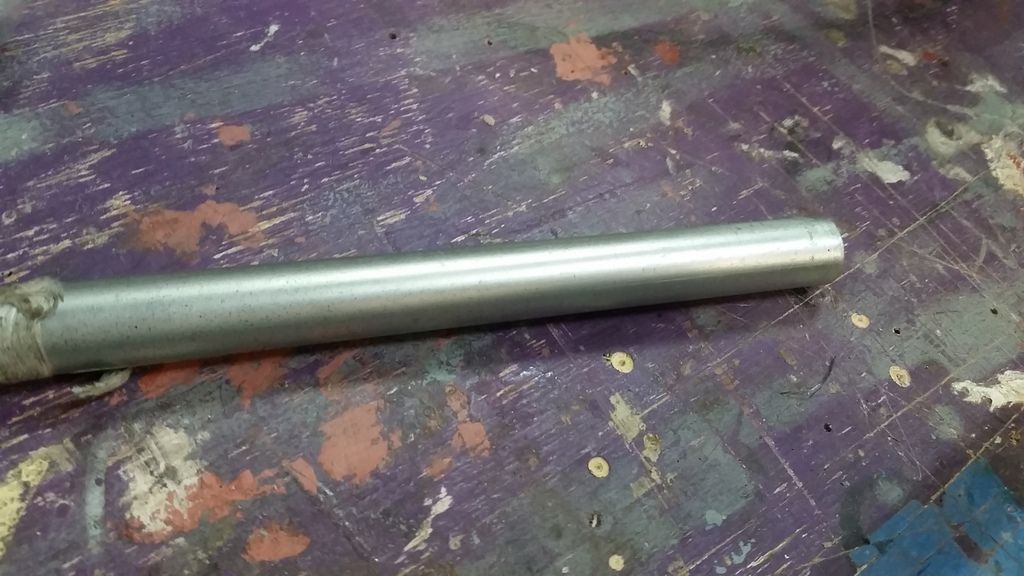
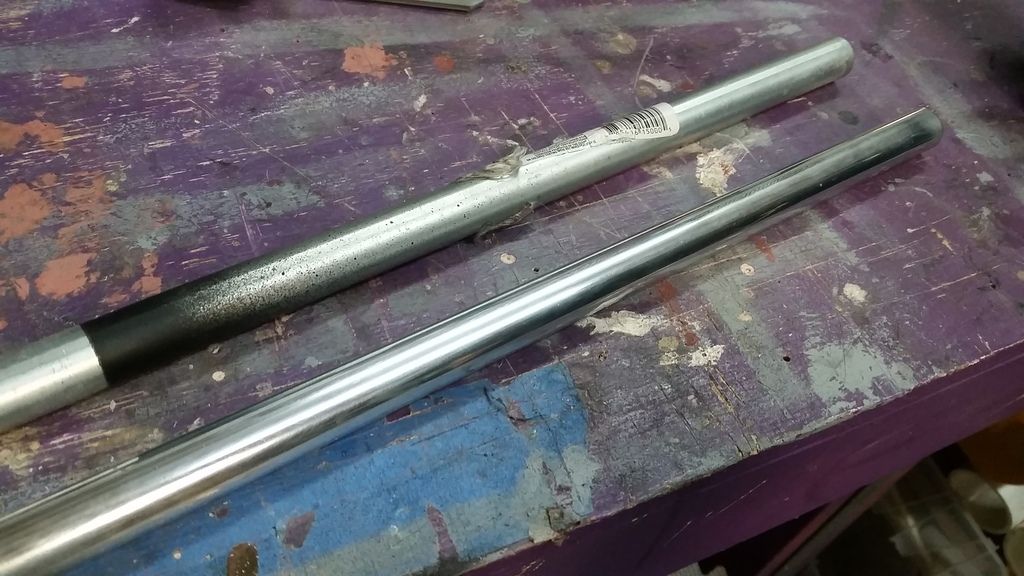
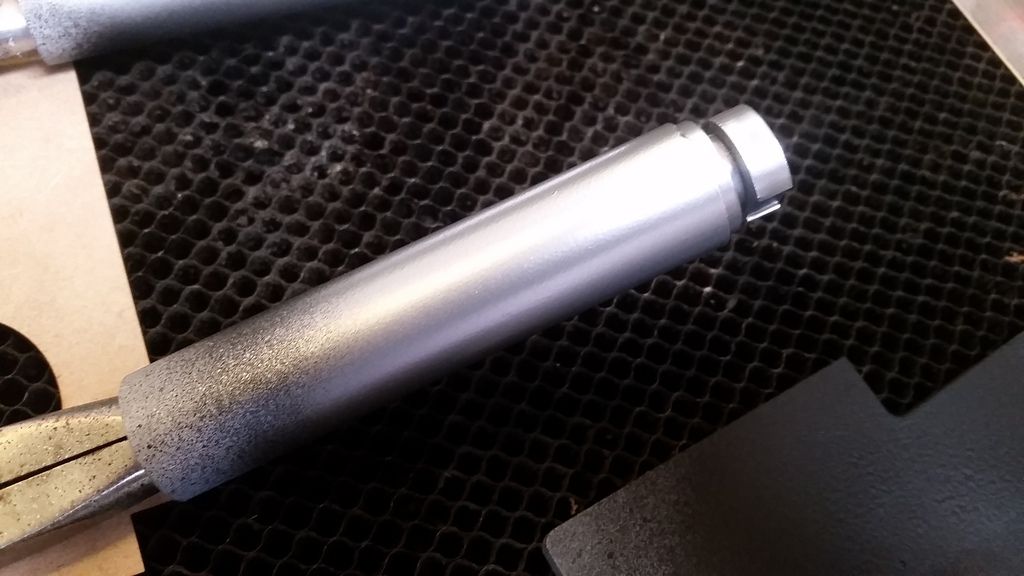
I then took this extra pipe I had
Spent about 1/2 hour with some metal polish
Shiny
Shiny pipe end caps
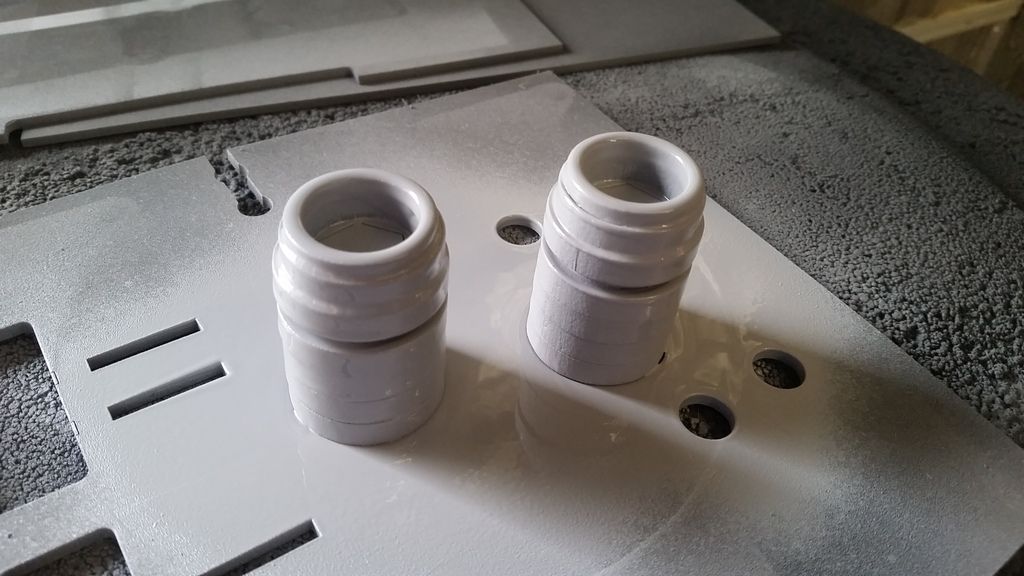
More primer
GRRRRRR
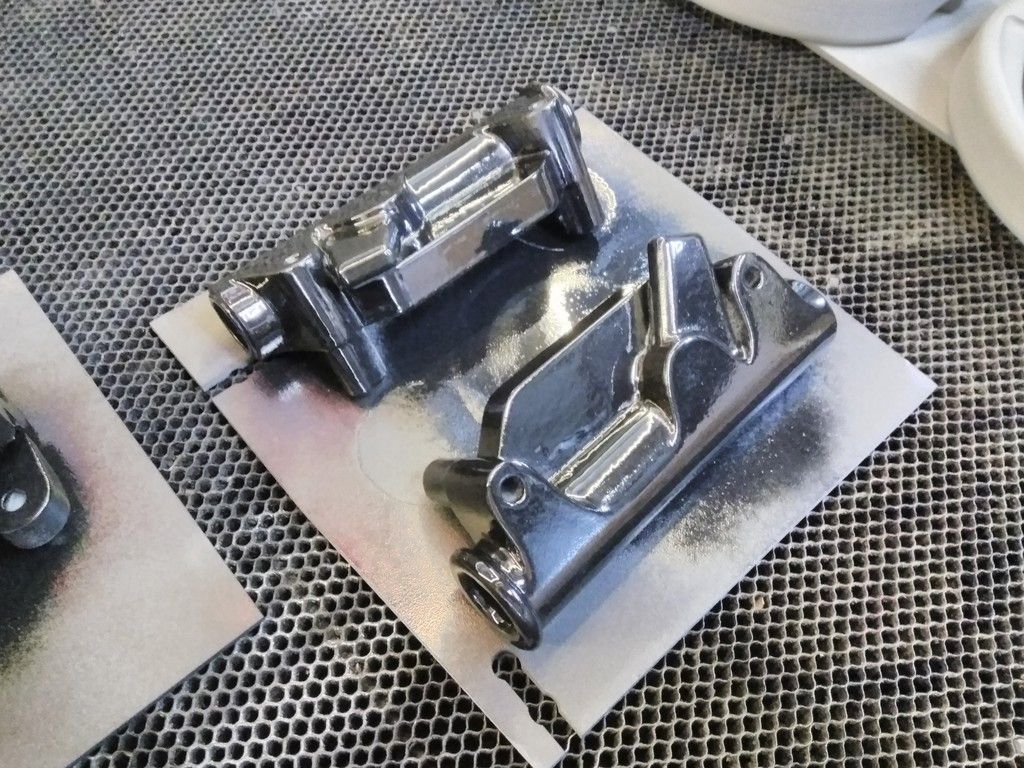
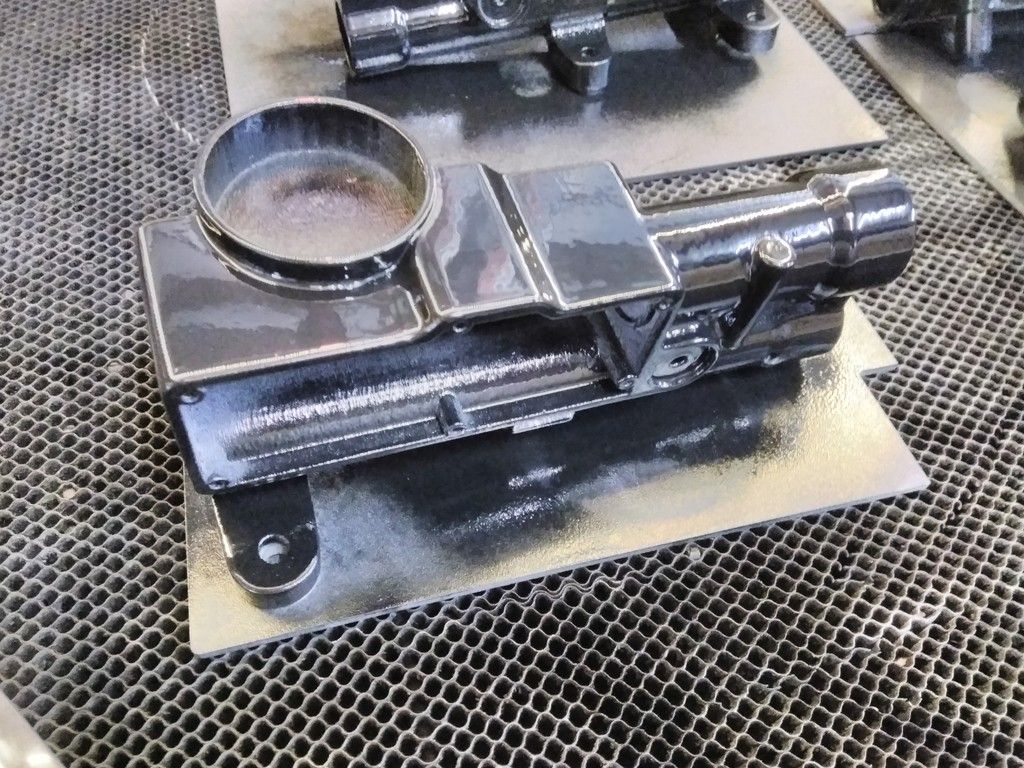
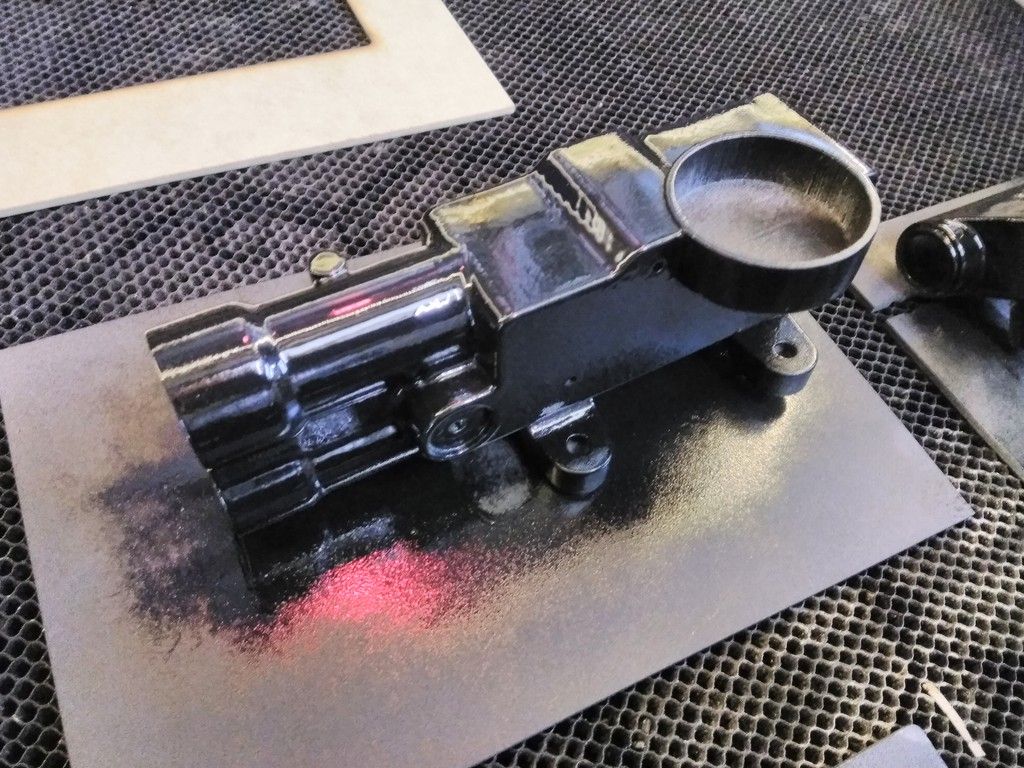
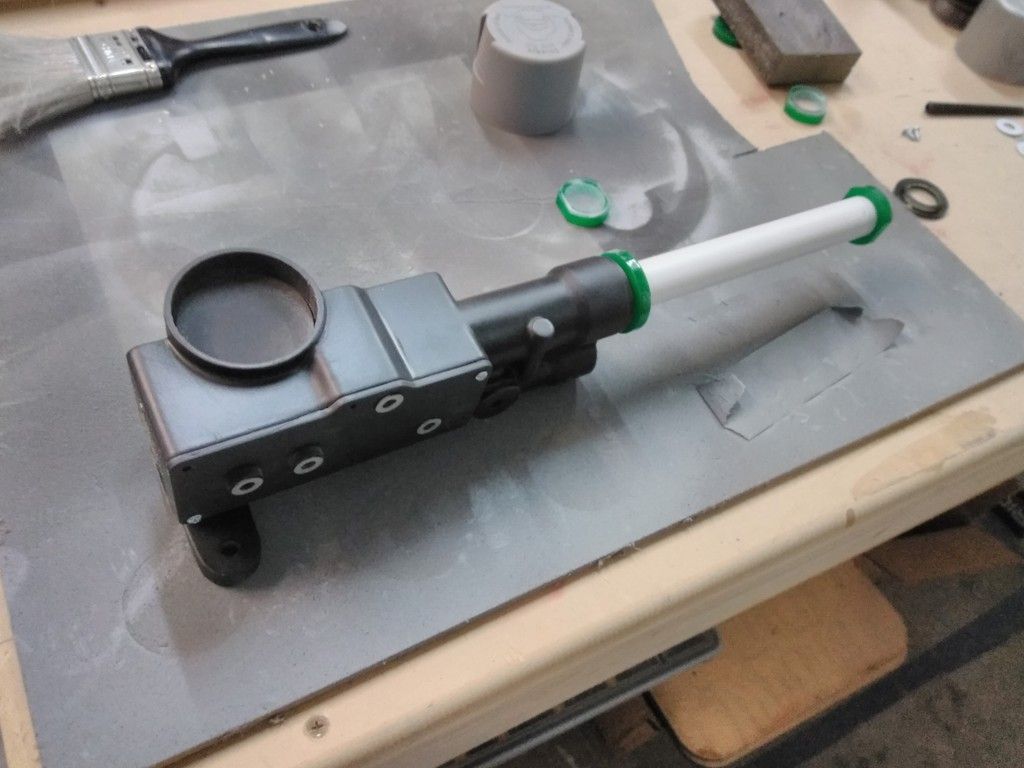
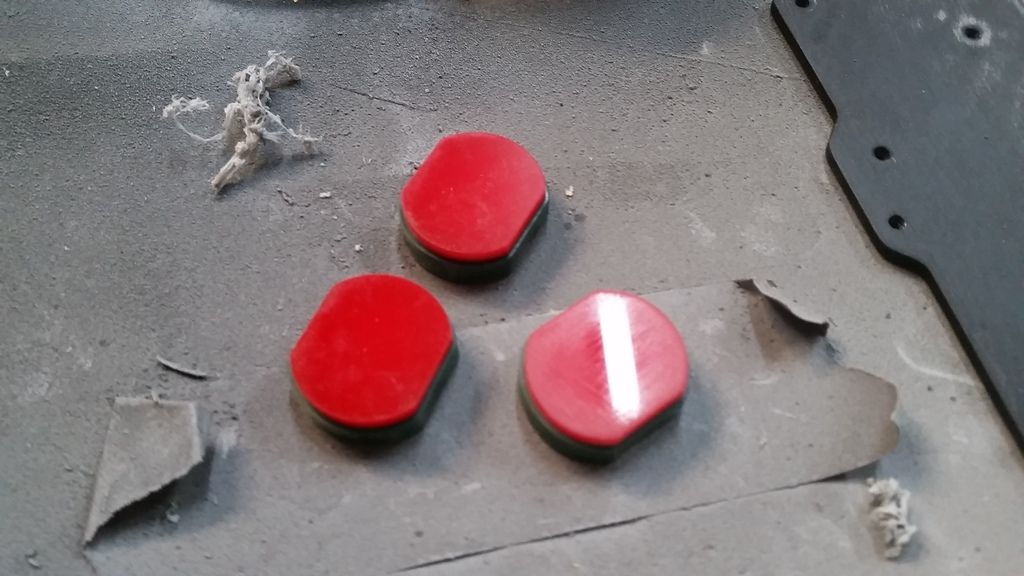
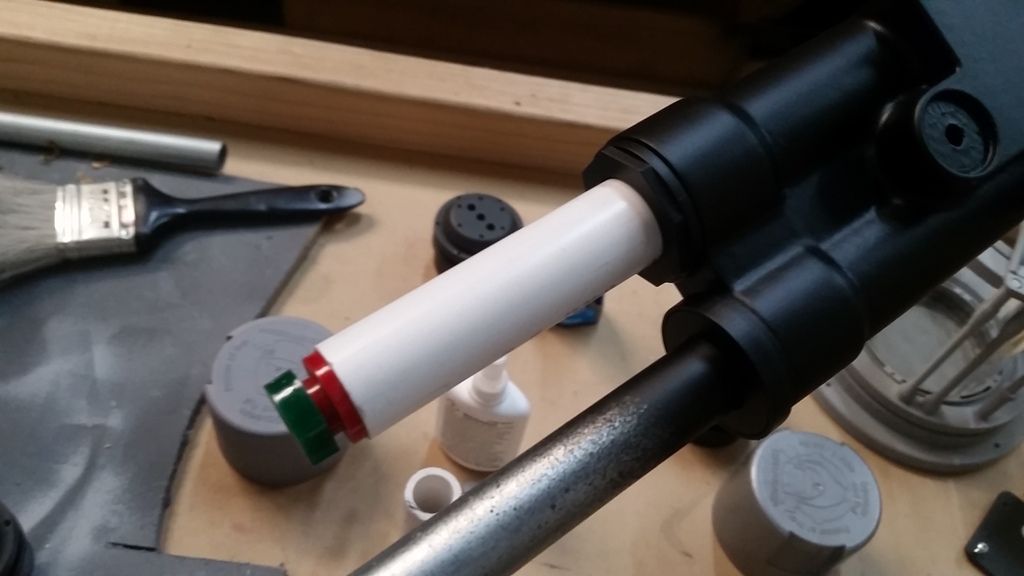
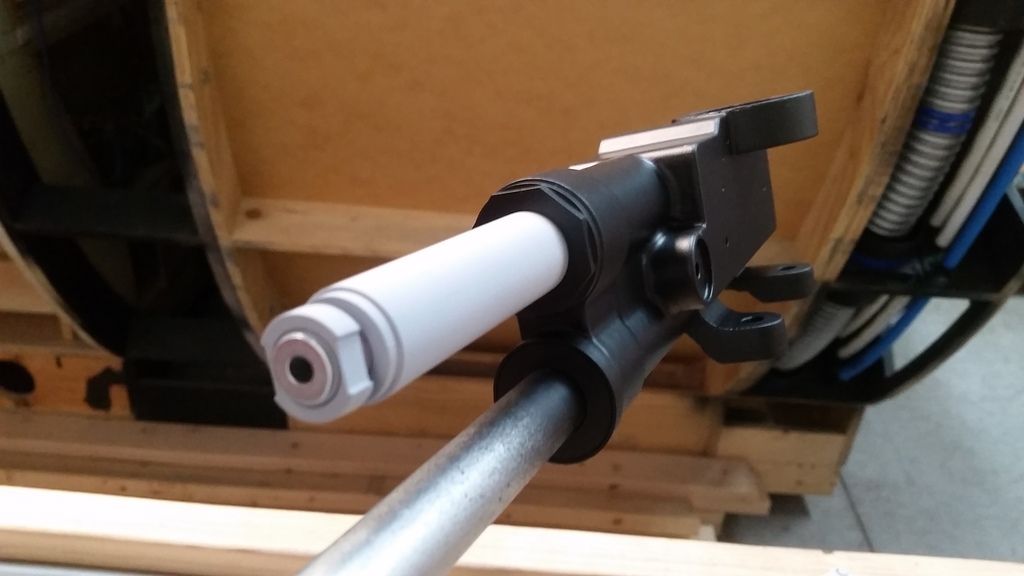
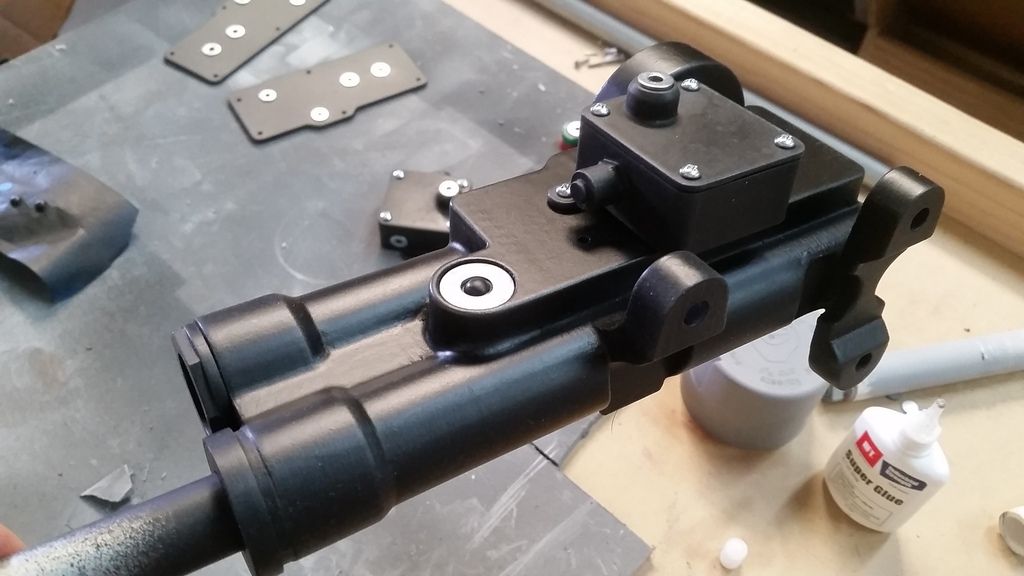
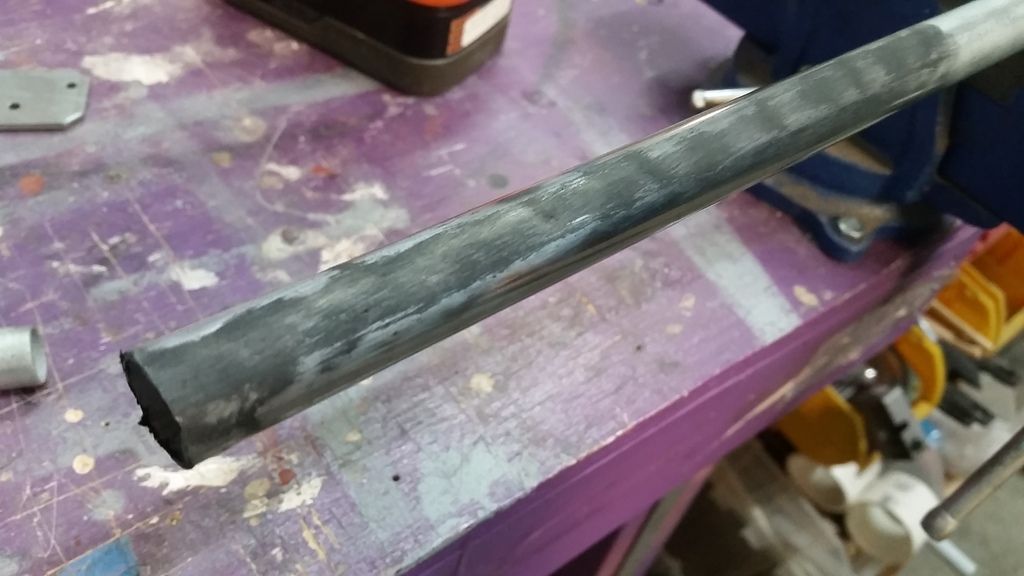
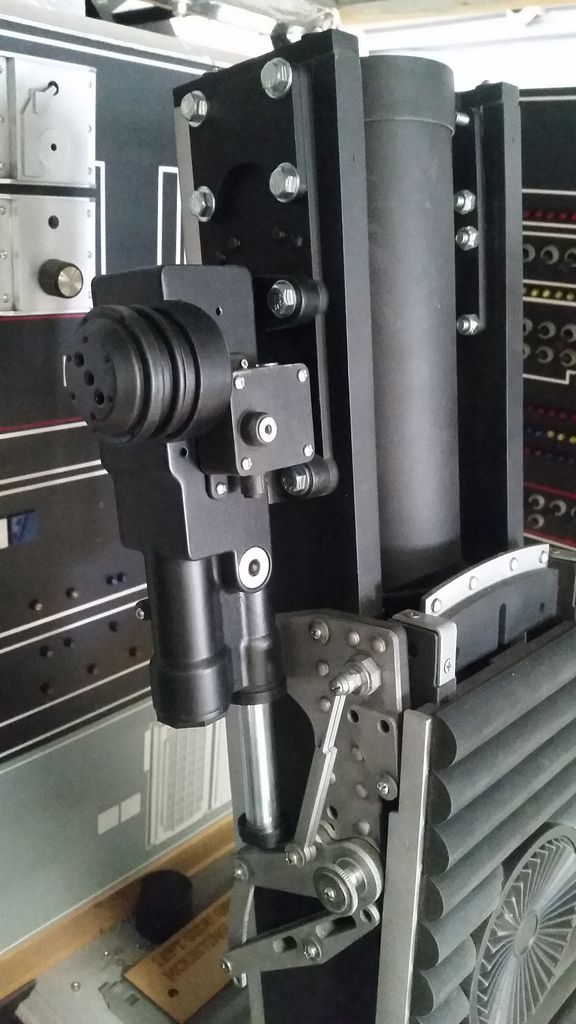
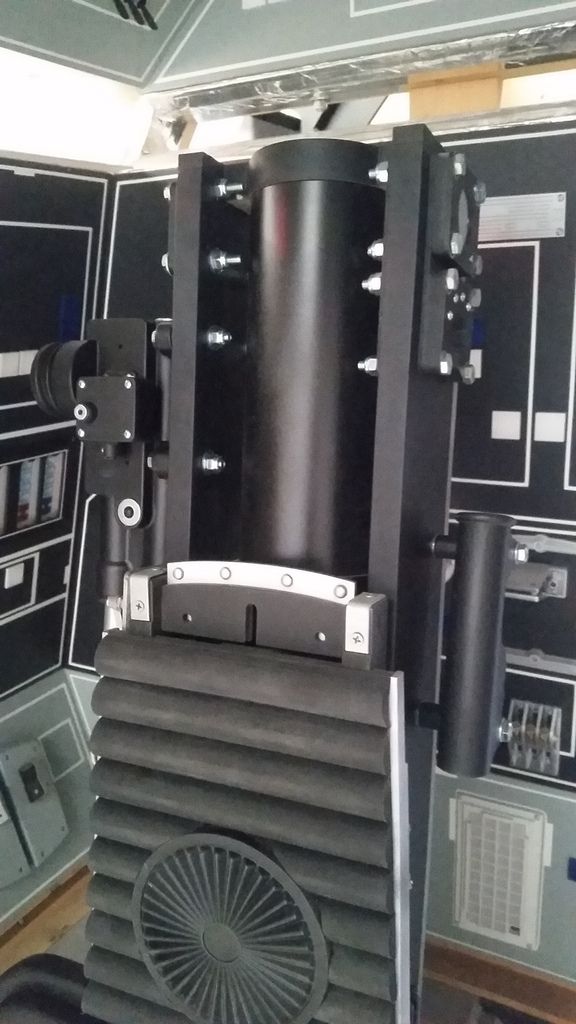
Close to Final! And finally adhered the black cylinder in place!
Cap added
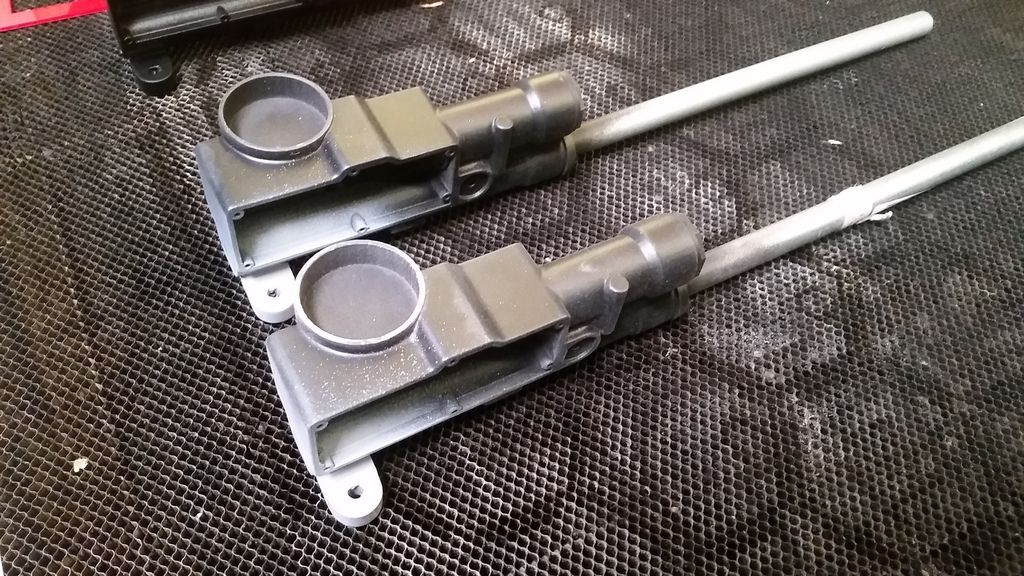
Silver finally added to these guys
Added
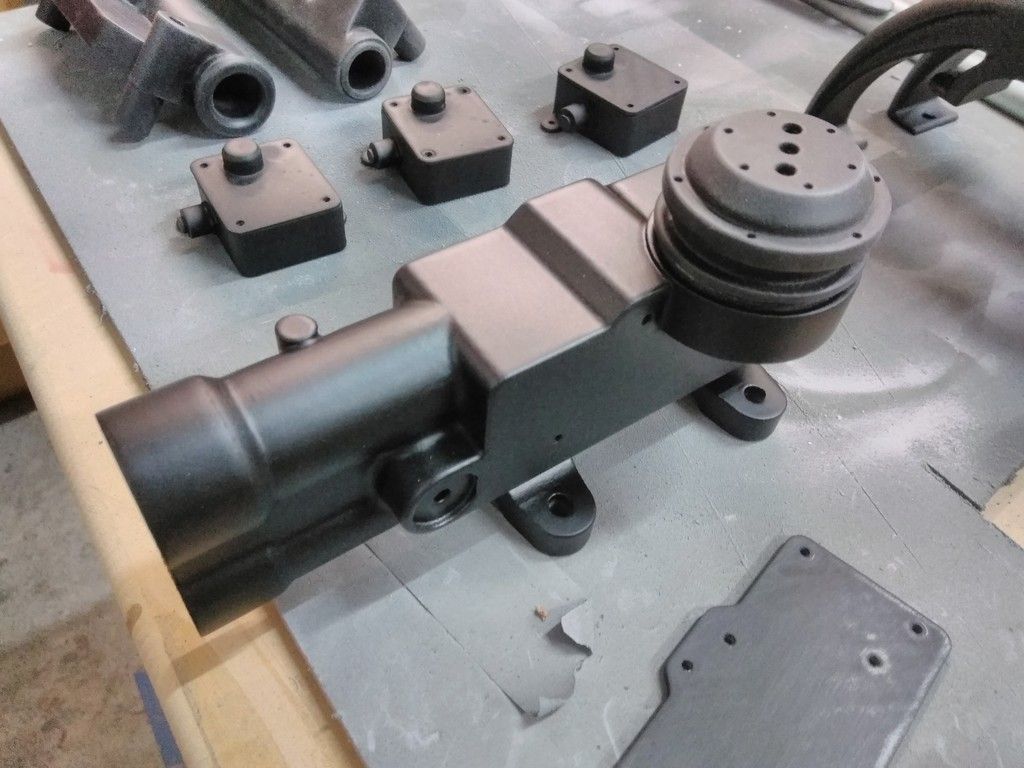
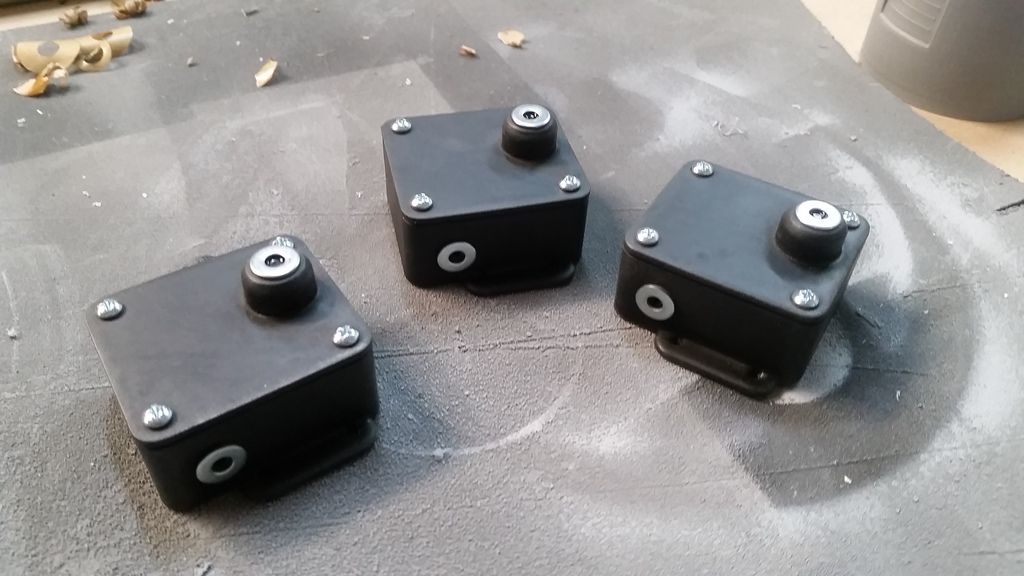
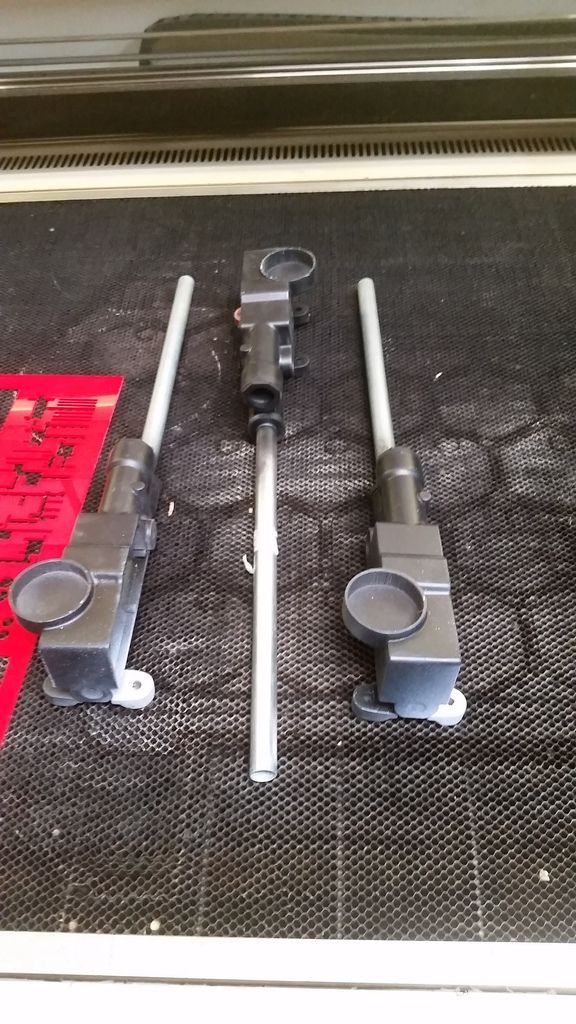
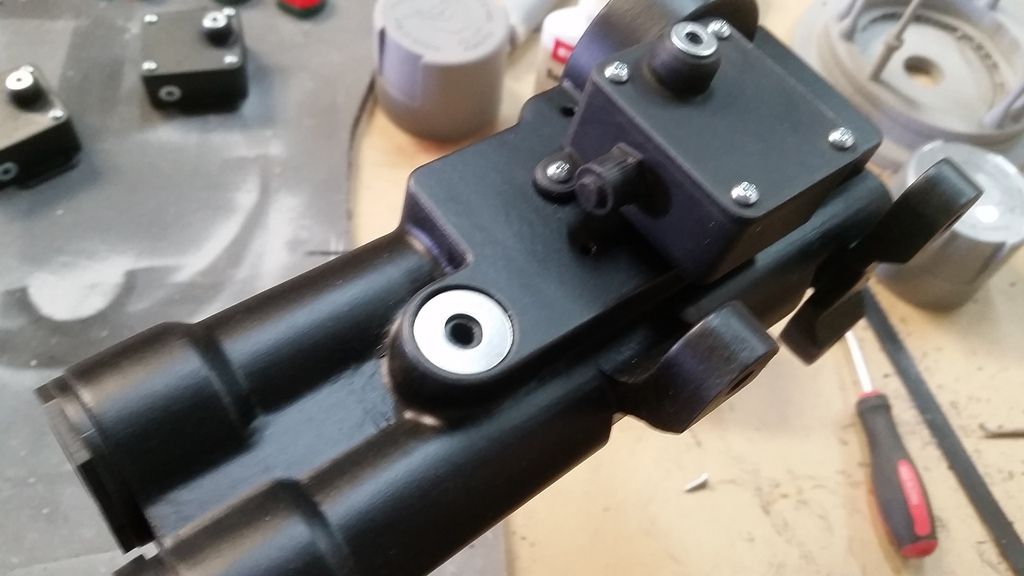
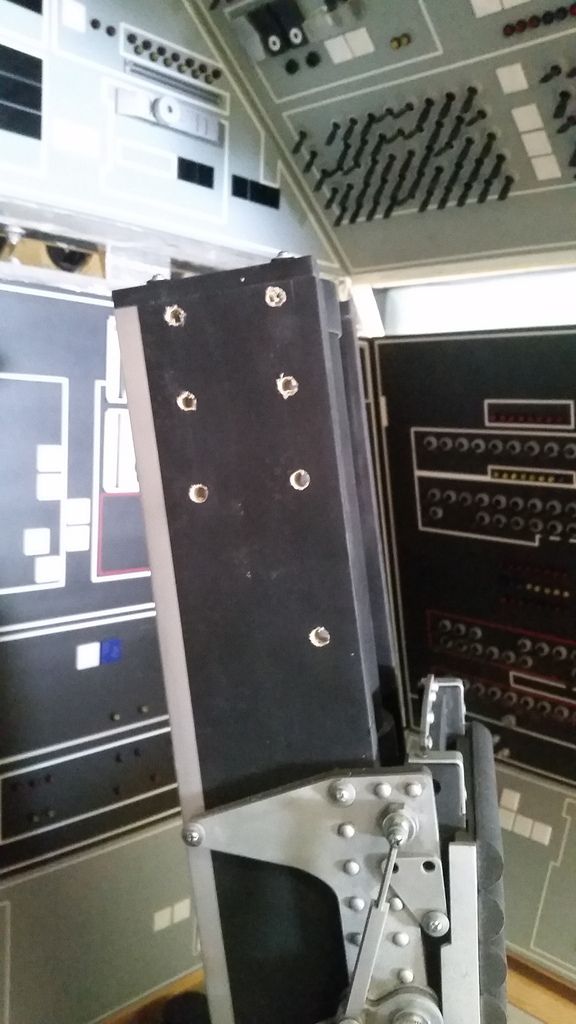
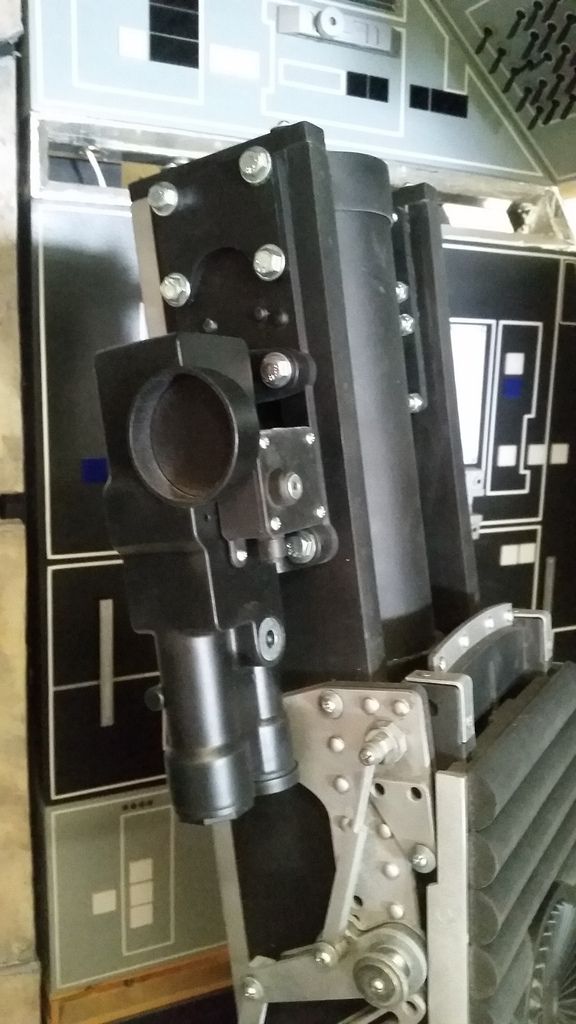
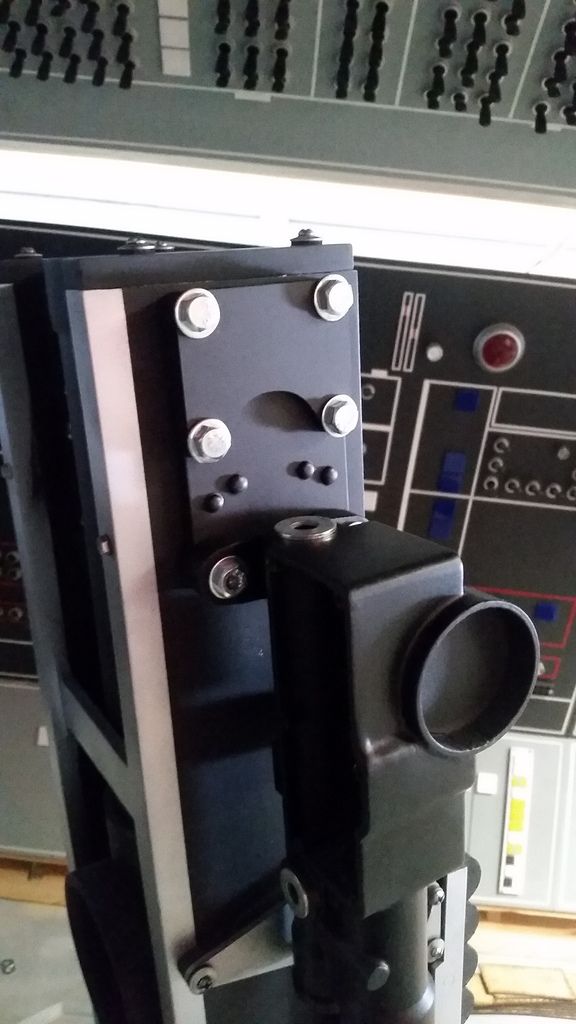
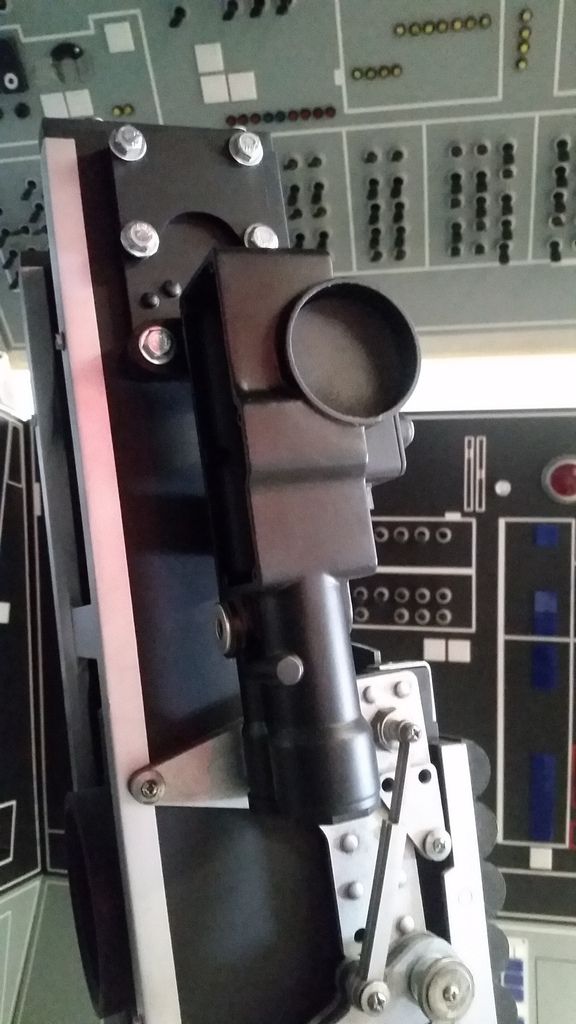
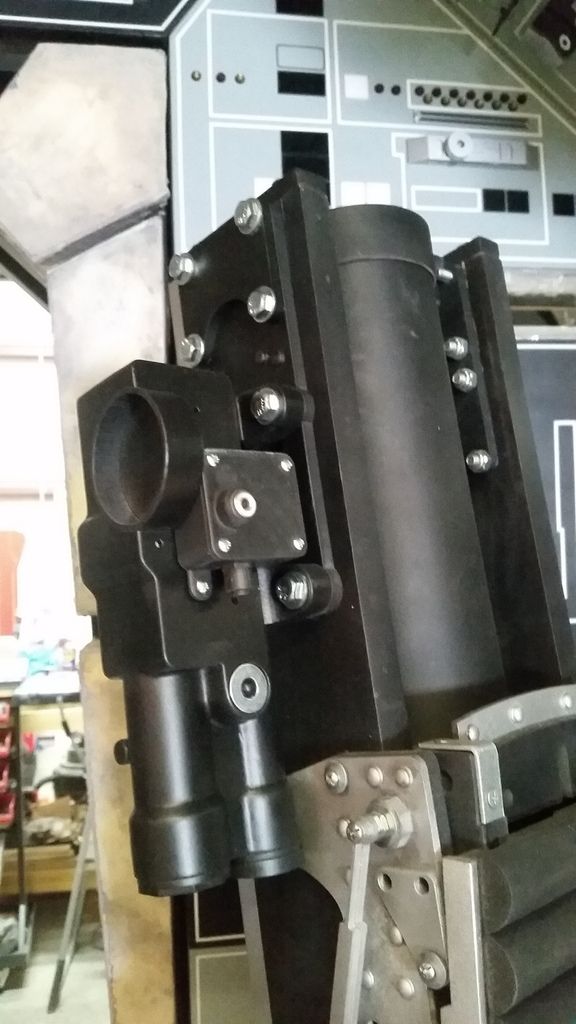
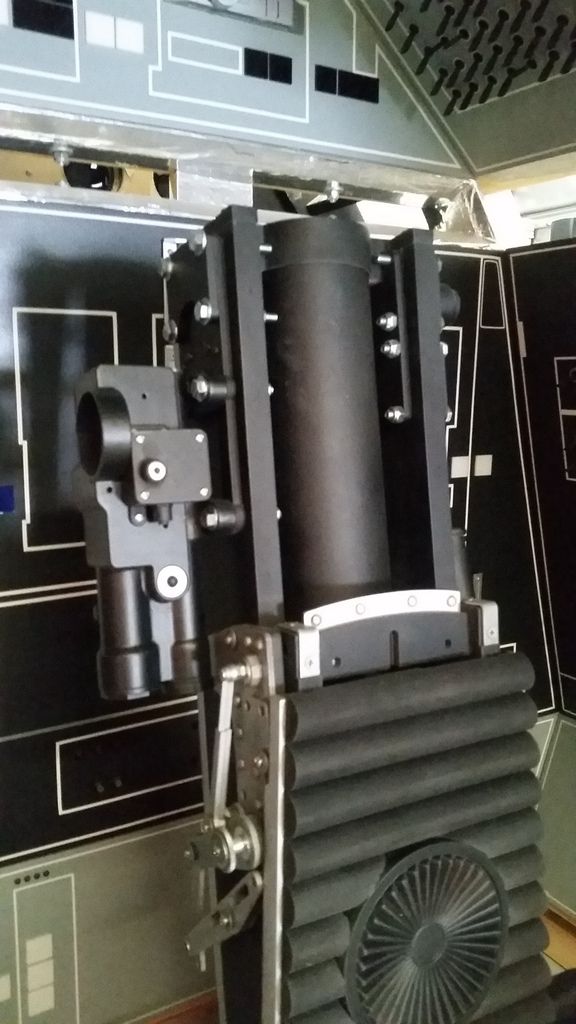
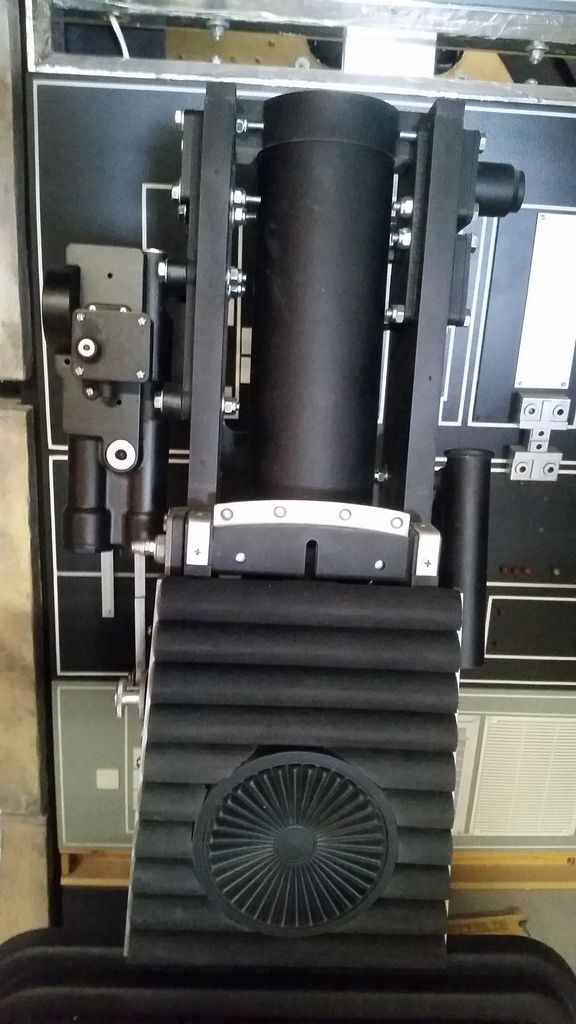
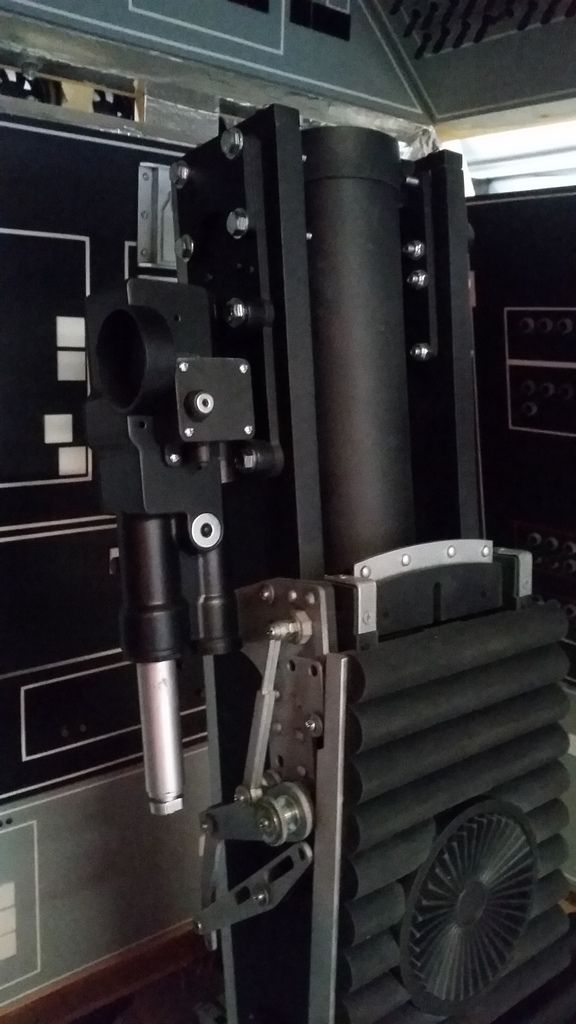
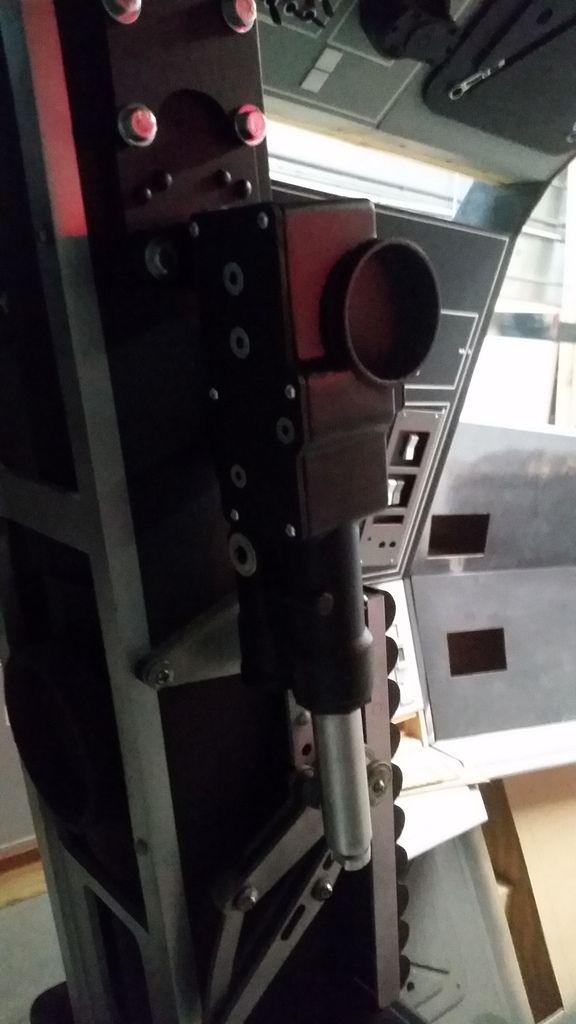
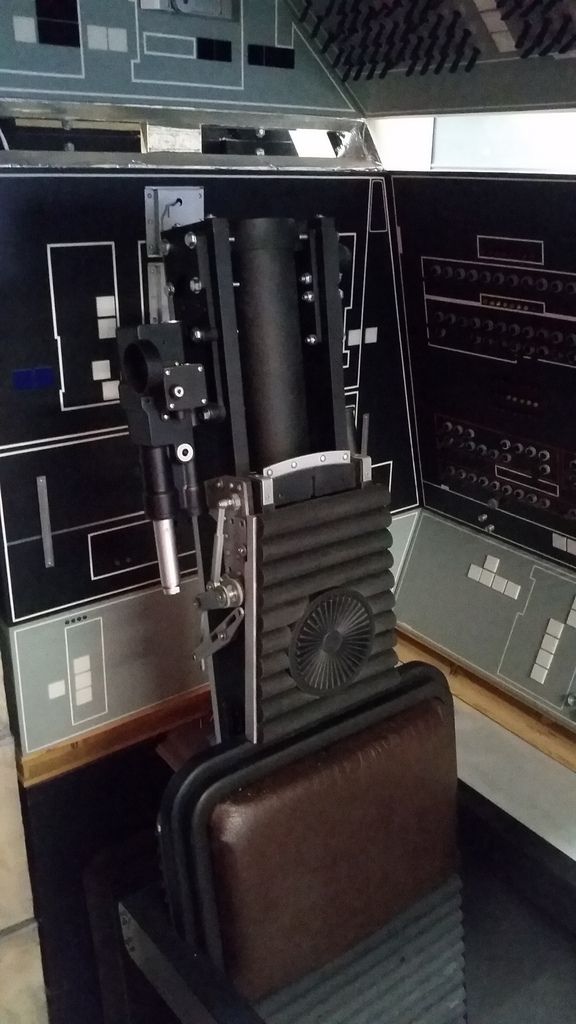
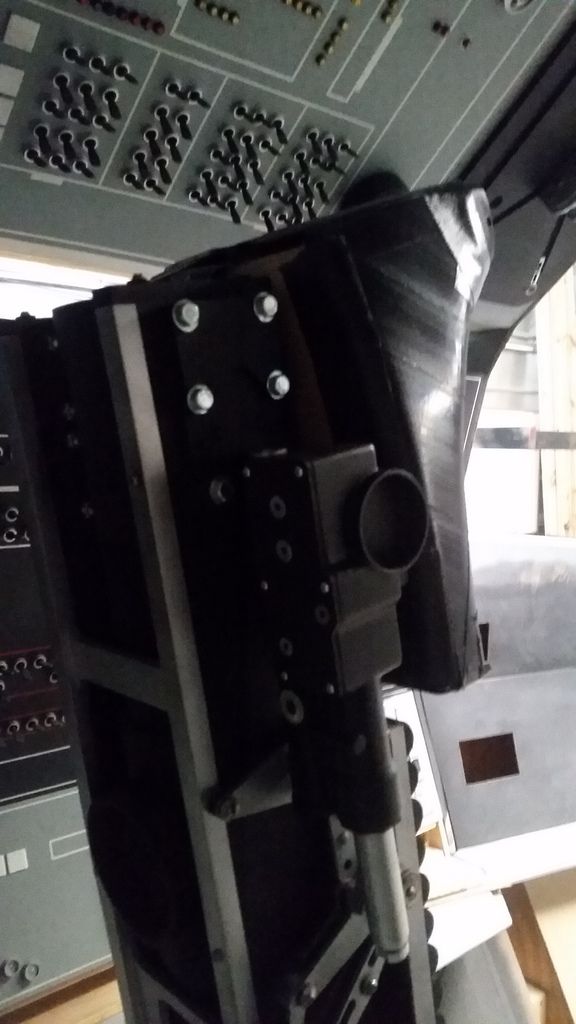
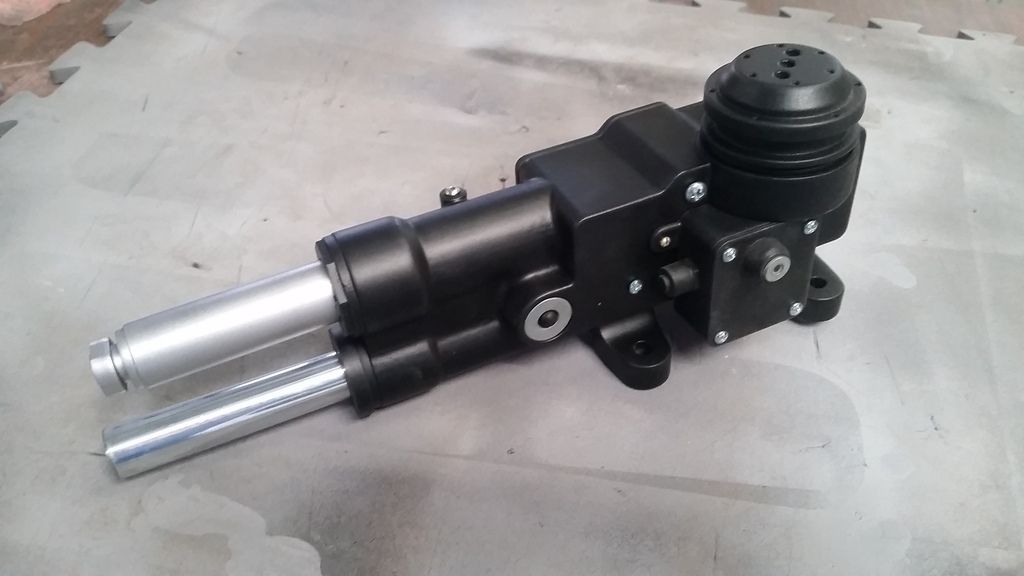
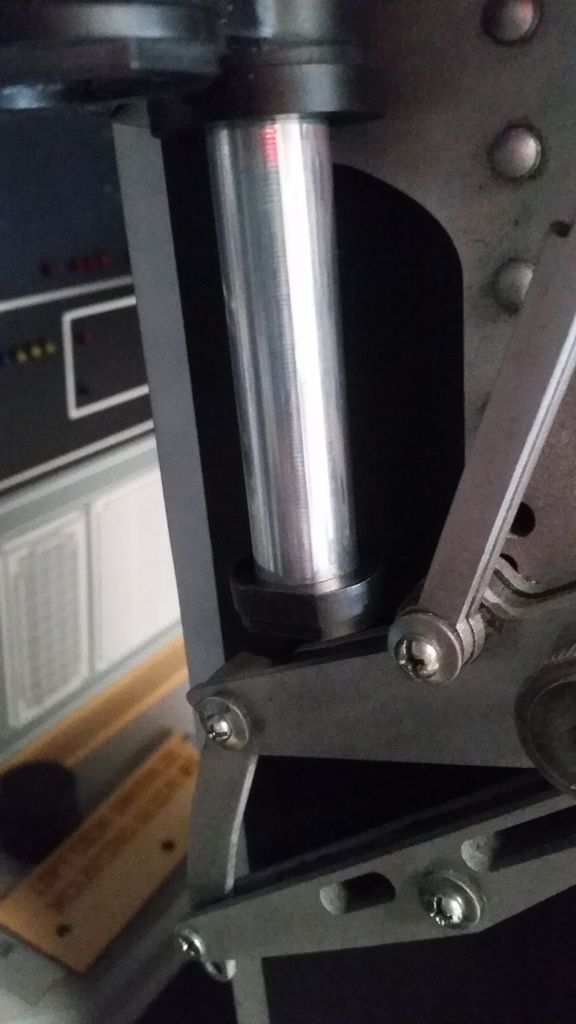
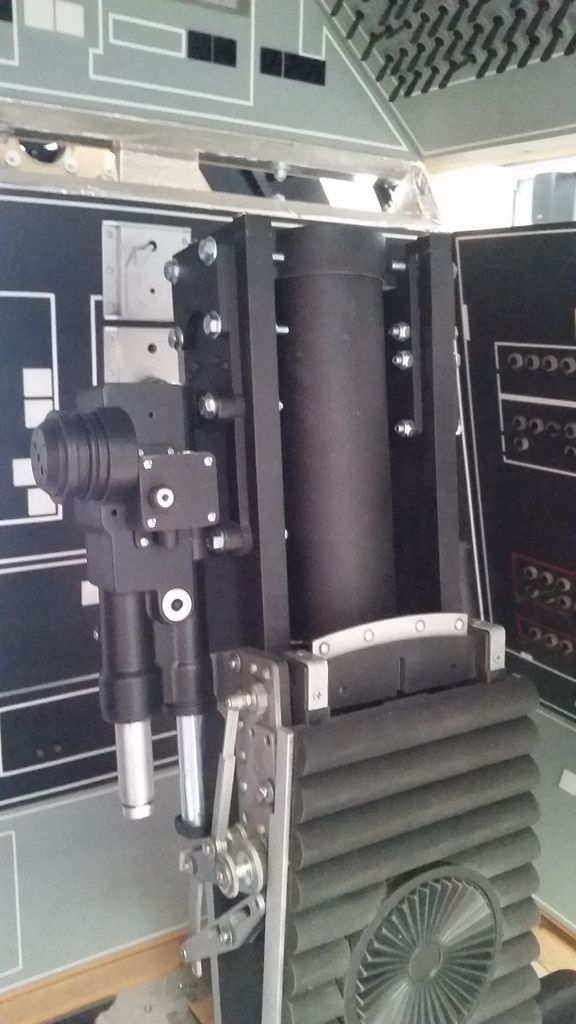
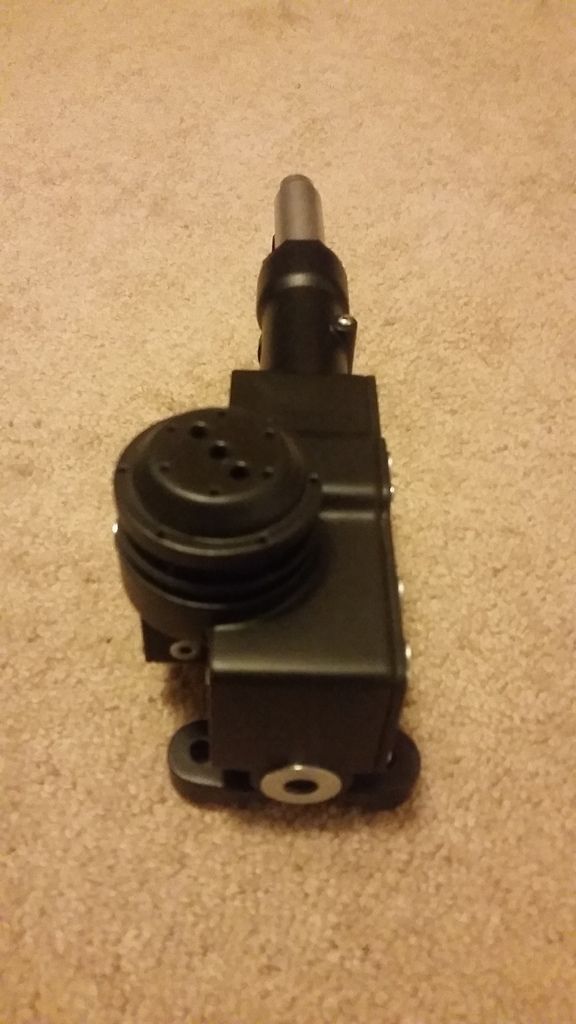
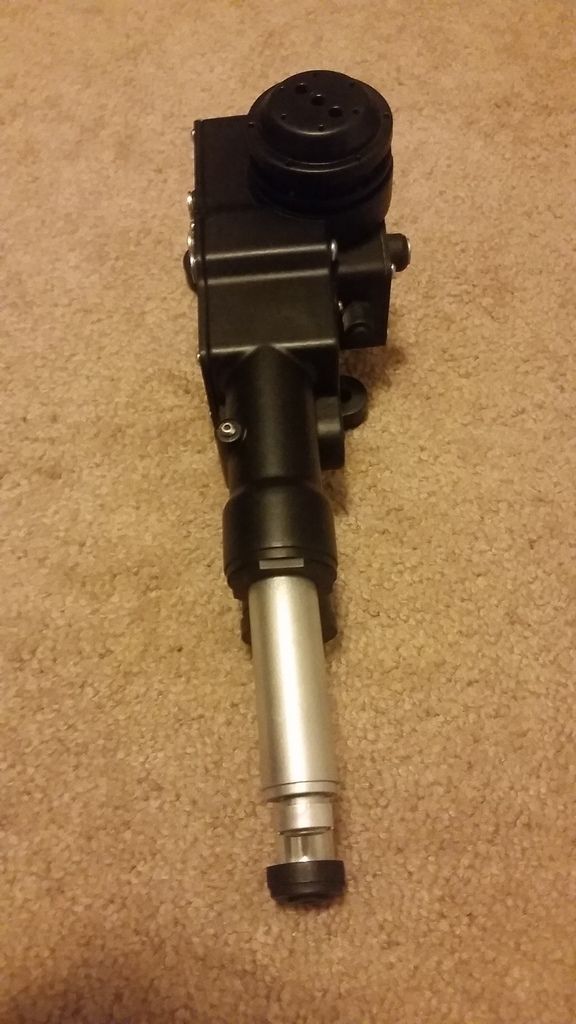
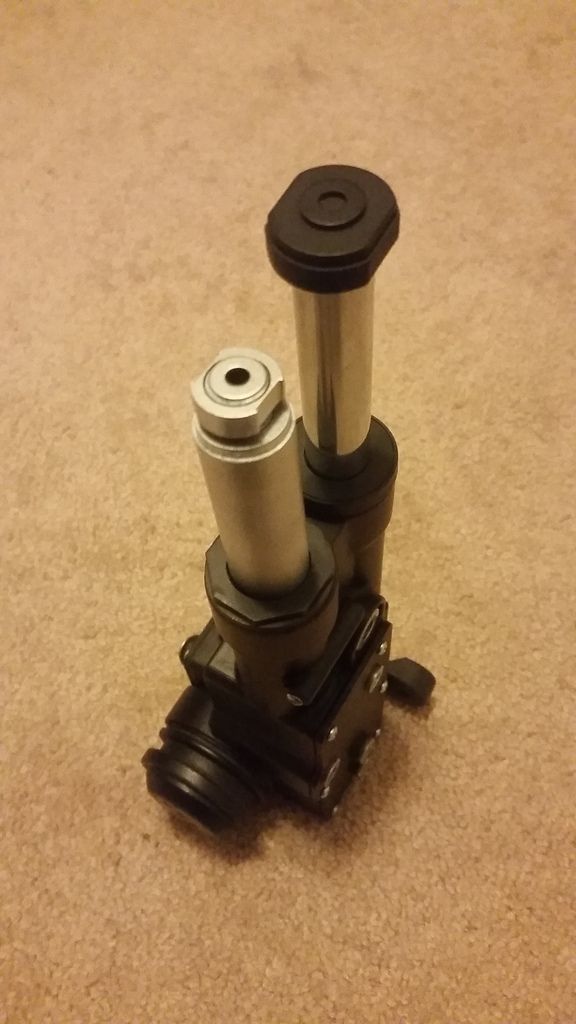
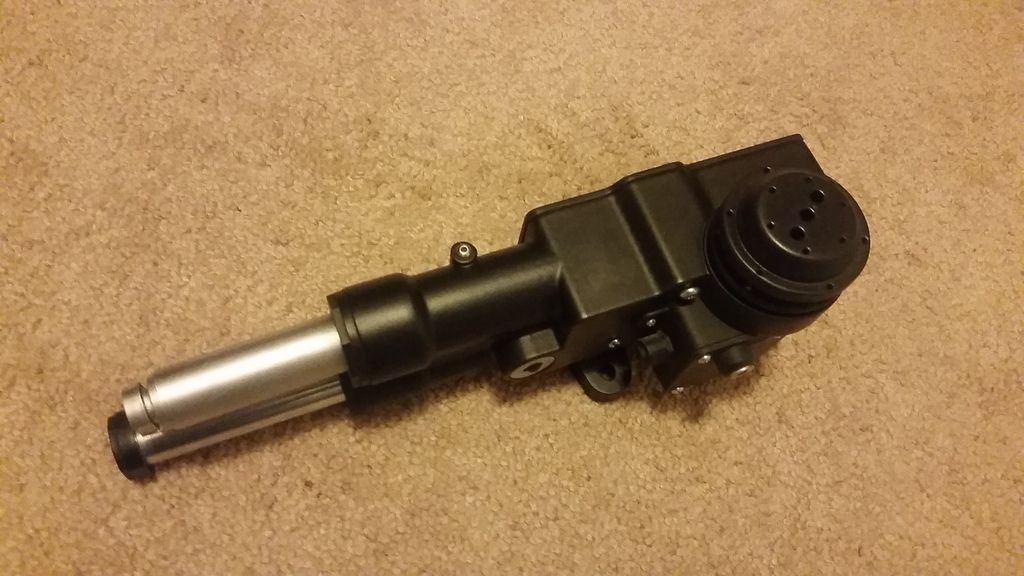
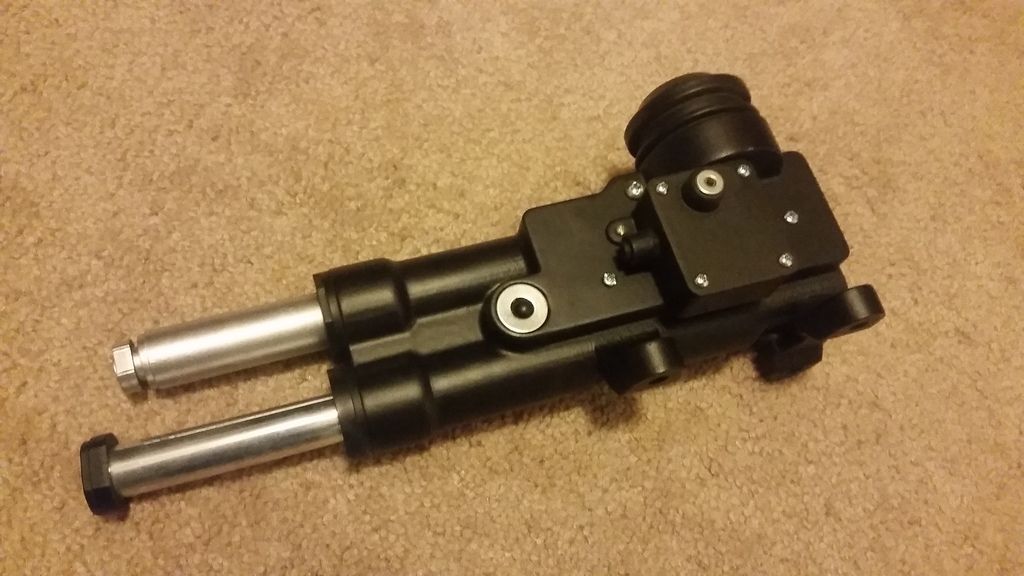
And this is where we are!
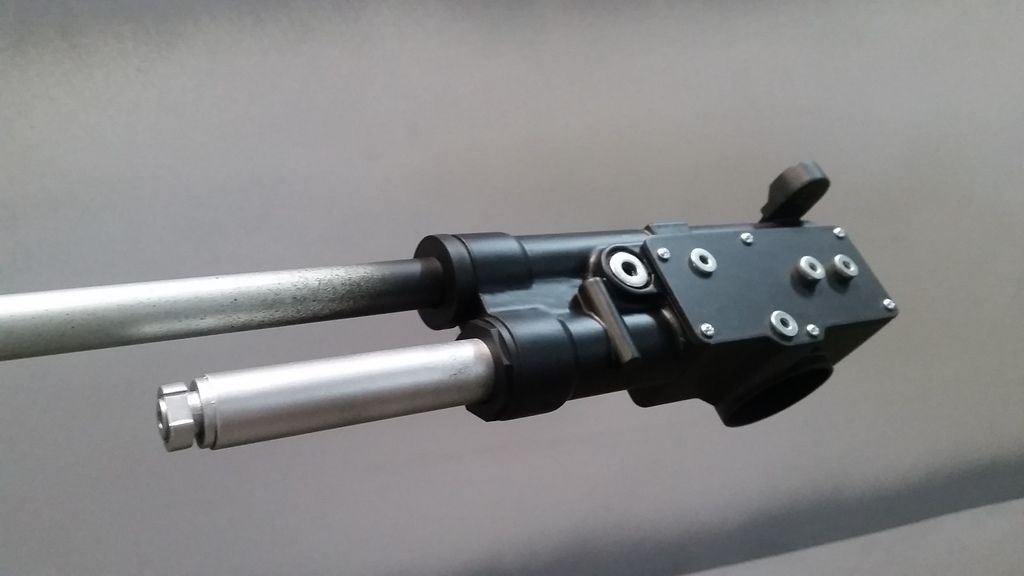
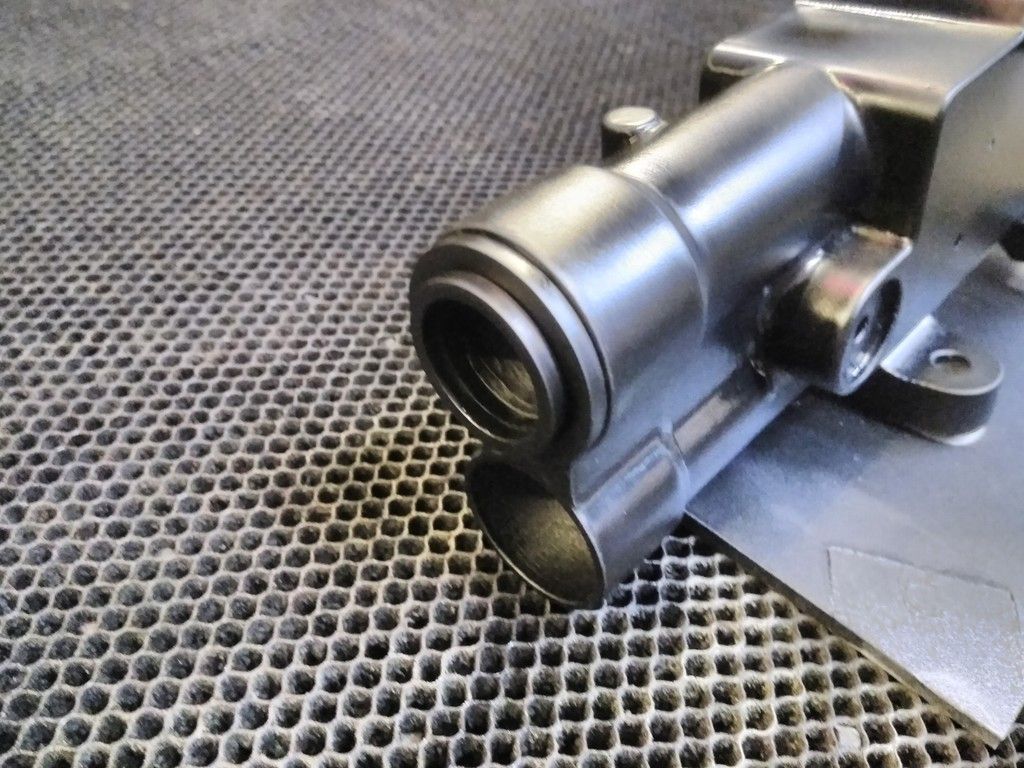
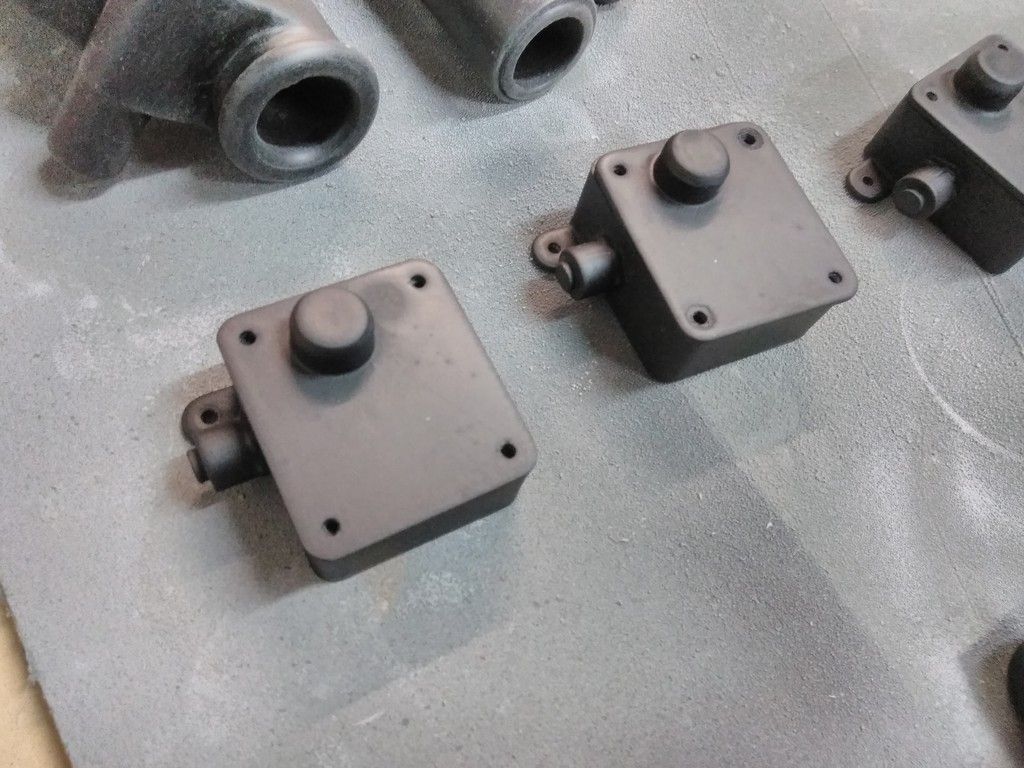
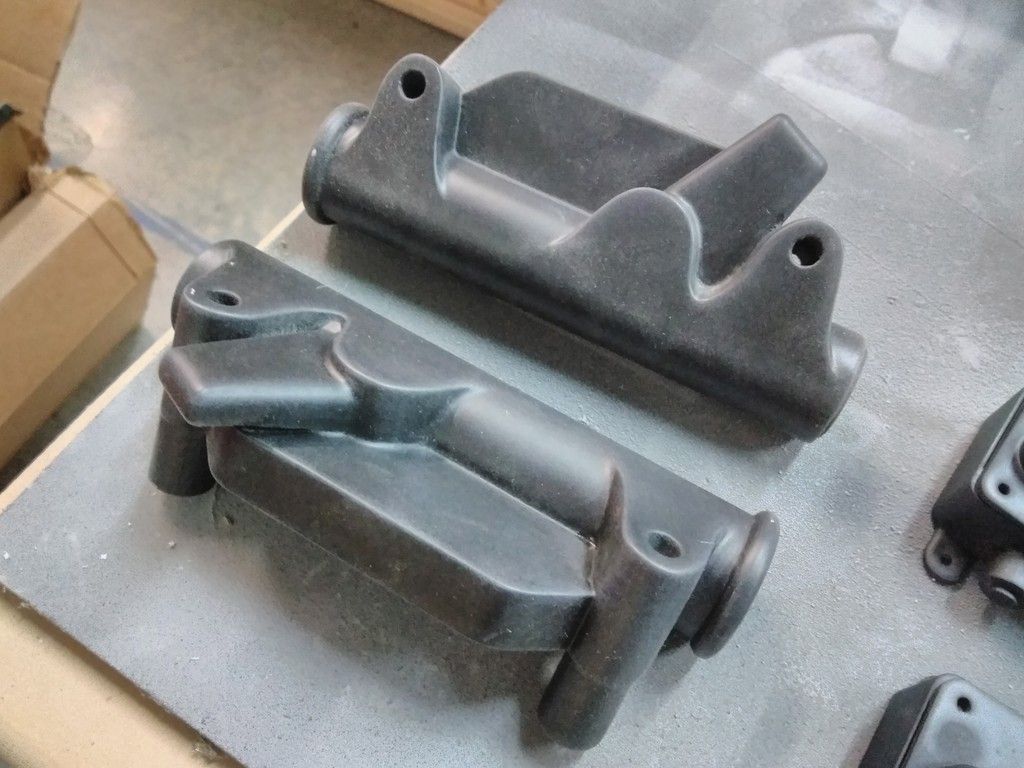
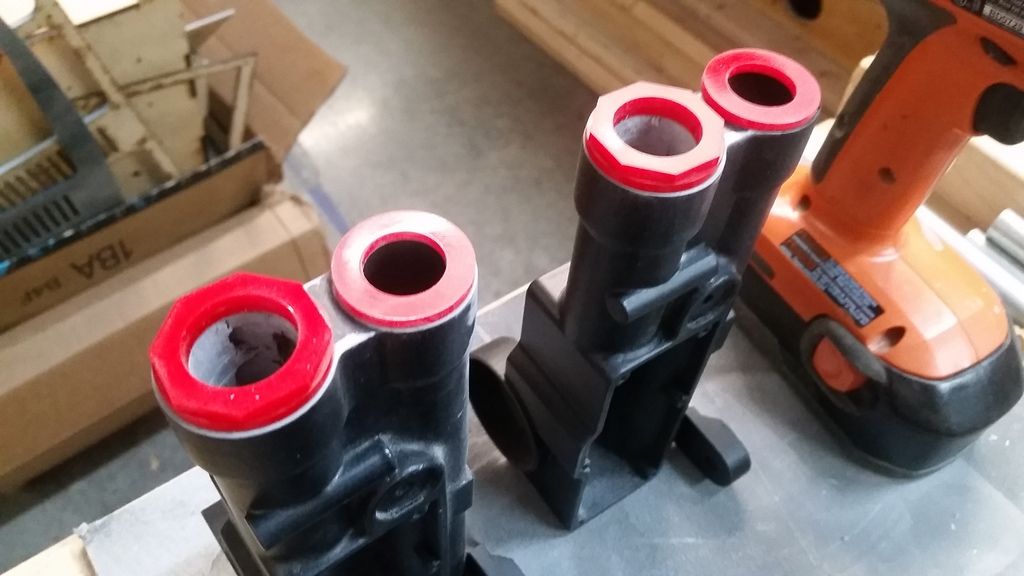
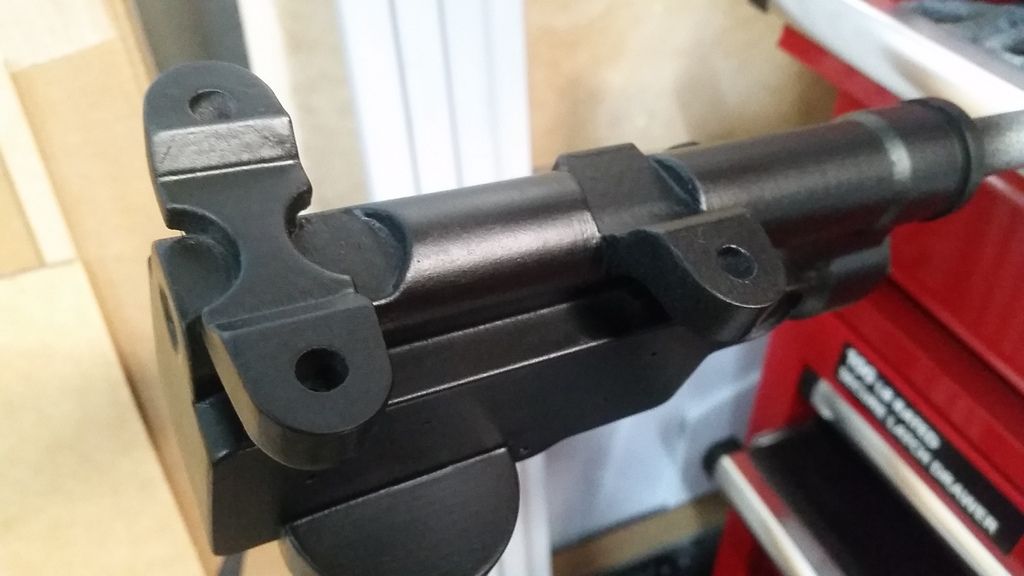
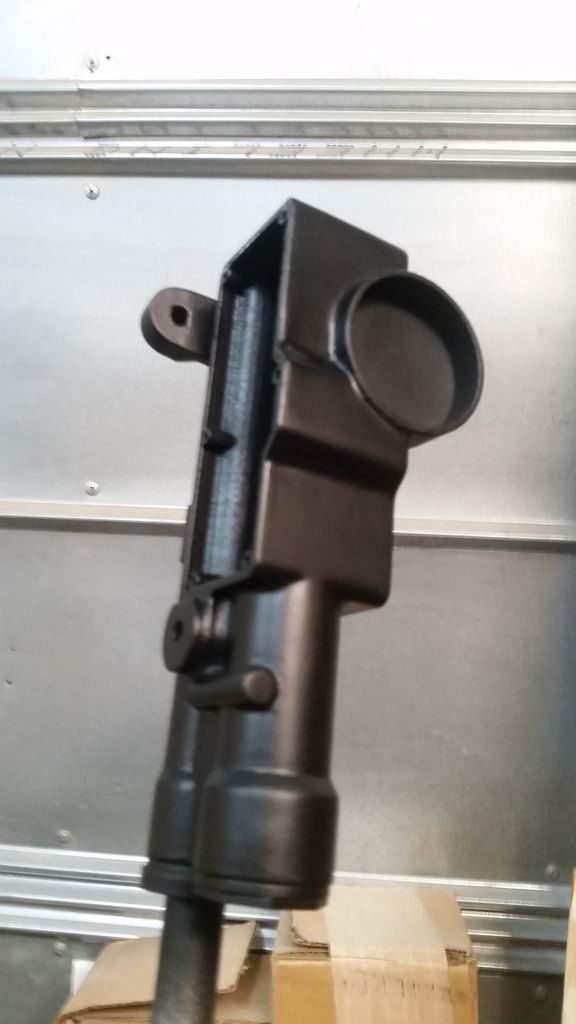
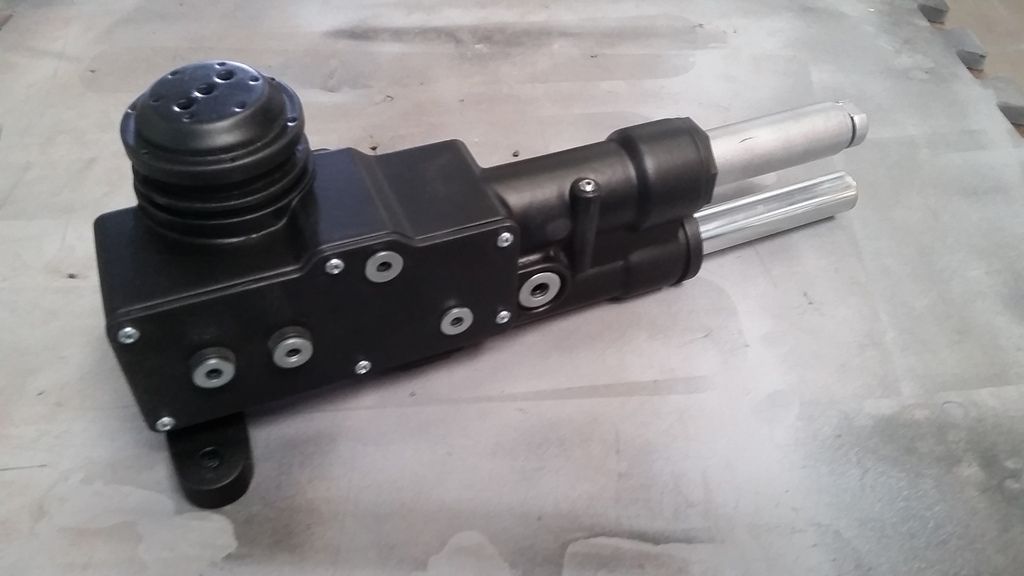
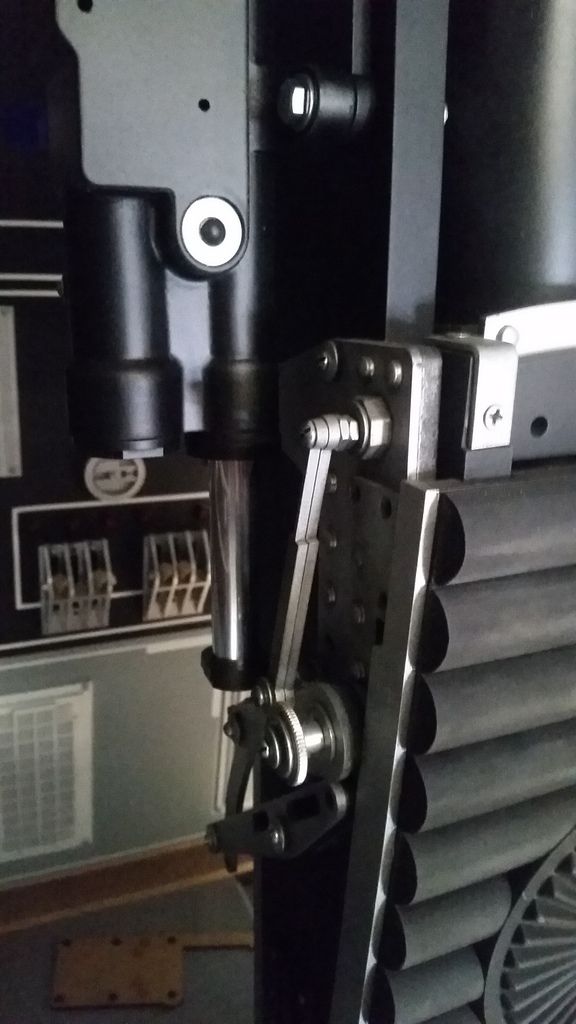
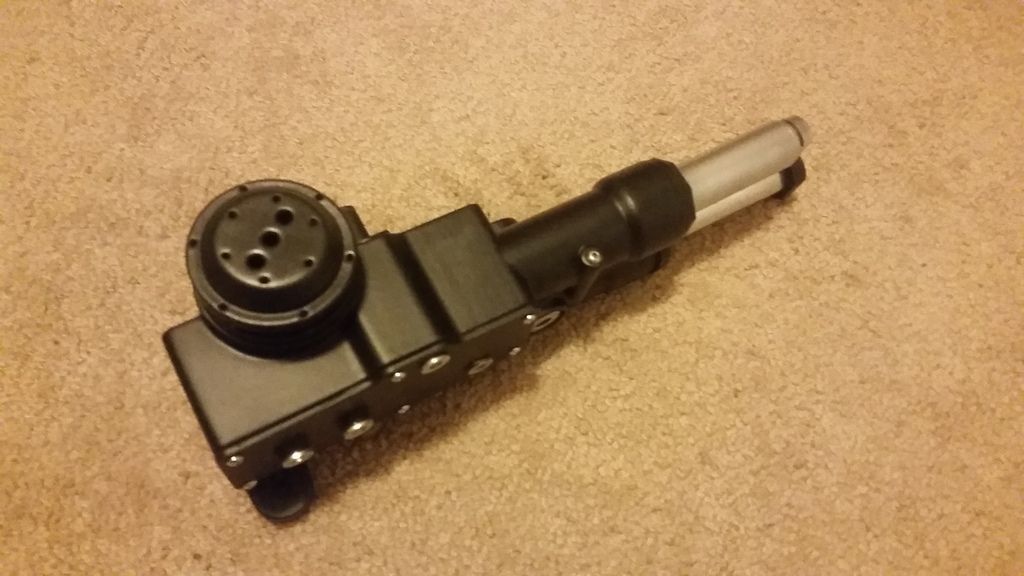
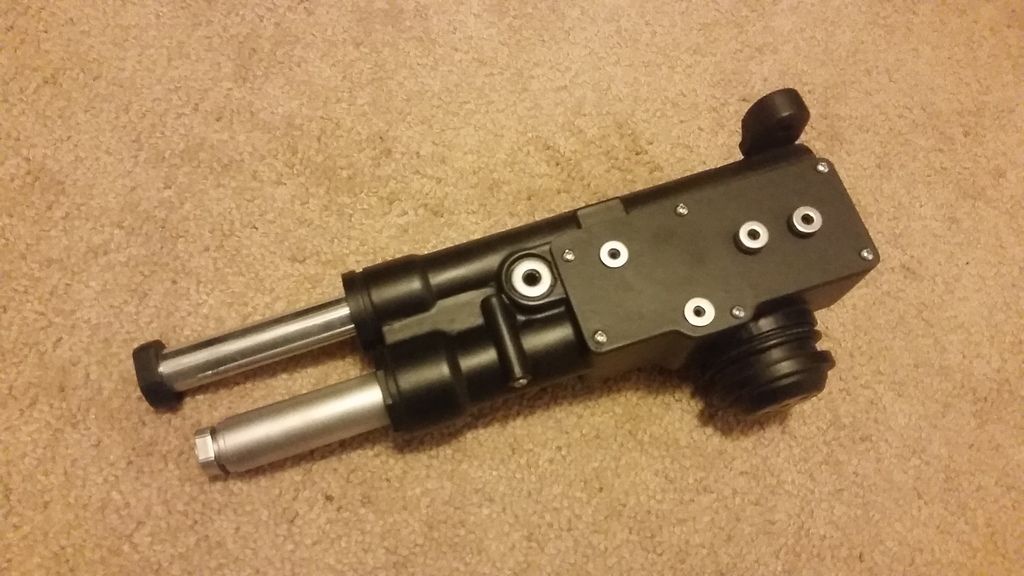
Here are some close up images of the TRM(s)
I have to adjust the PVC pipe - slightly skewed
Another HUGE Thank You to Izzy for his continued hard work and support on these 3D printed parts!
NOTE: Realized on Sunday that my phone has been randomly deleting camera images minutes after saving. 30+ photos from this weekends adventure are simply gone. Had to go back to an old phone. Going to get an actual digital camera. I'll take more images of the areas I completed.
VERY frustrating.
More to Follow!
")
 Untitled by Izzy Mel, on Flickr
 Untitled by Izzy Mel, on Flickr
 Untitled by Izzy Mel, on Flickr
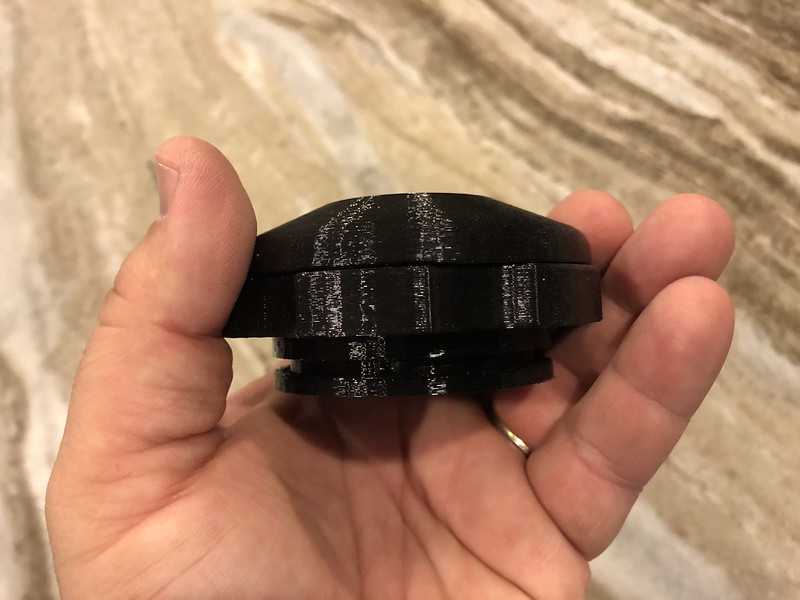 Untitled by Izzy Mel, on Flickr
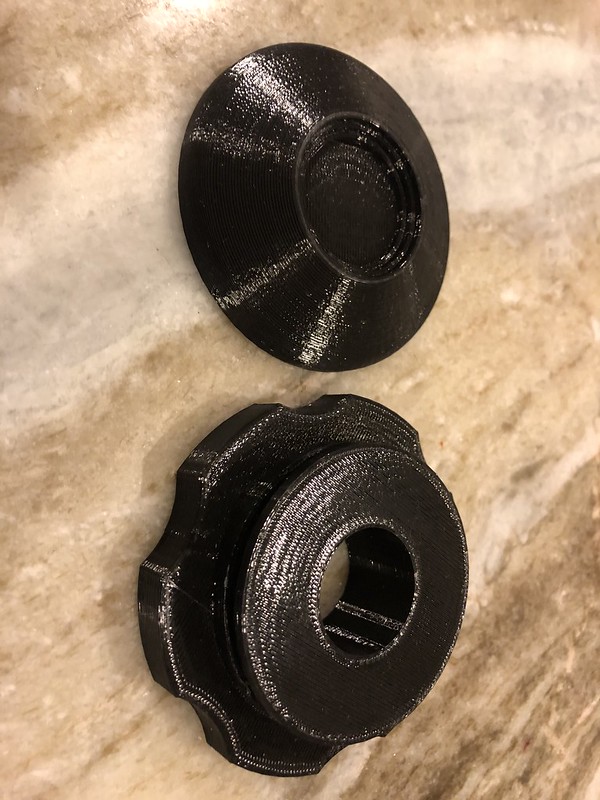 Untitled by Izzy Mel, on Flickr
 Untitled by Izzy Mel, on Flickr
 Untitled by Izzy Mel, on Flickr
 Untitled by Izzy Mel, on Flickr
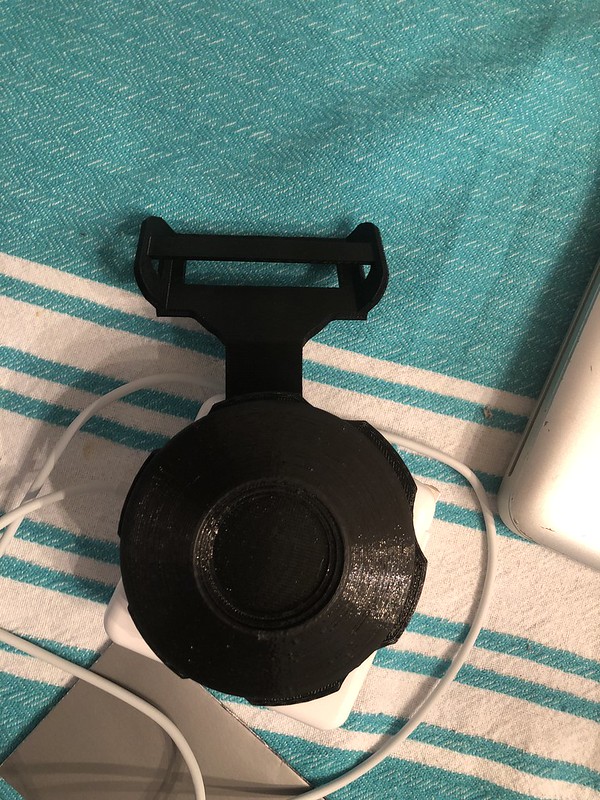
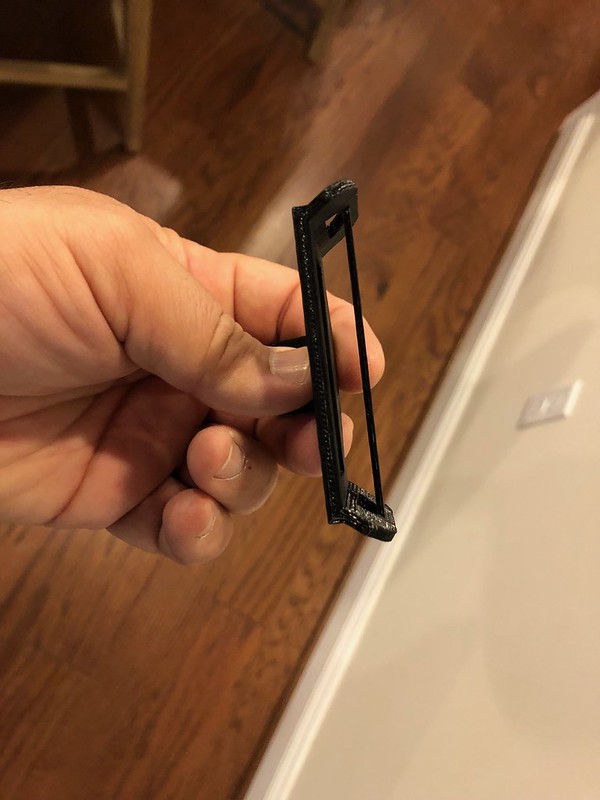 Buckle latch for Falcon harness. by Izzy Mel, on Flickr
 Untitled by Izzy Mel, on Flickr