You are using an out of date browser. It may not display this or other websites correctly.
You should upgrade or use an alternative browser.
You should upgrade or use an alternative browser.
1:1 Millennium Falcon Cockpit Replica - Group Build
- Thread starter SteveStarkiller
- Start date

Hi Gang,
My apologies for not responding to the posts... I've been a bit busy.")
Enjoy Weekend Update Part I of ?
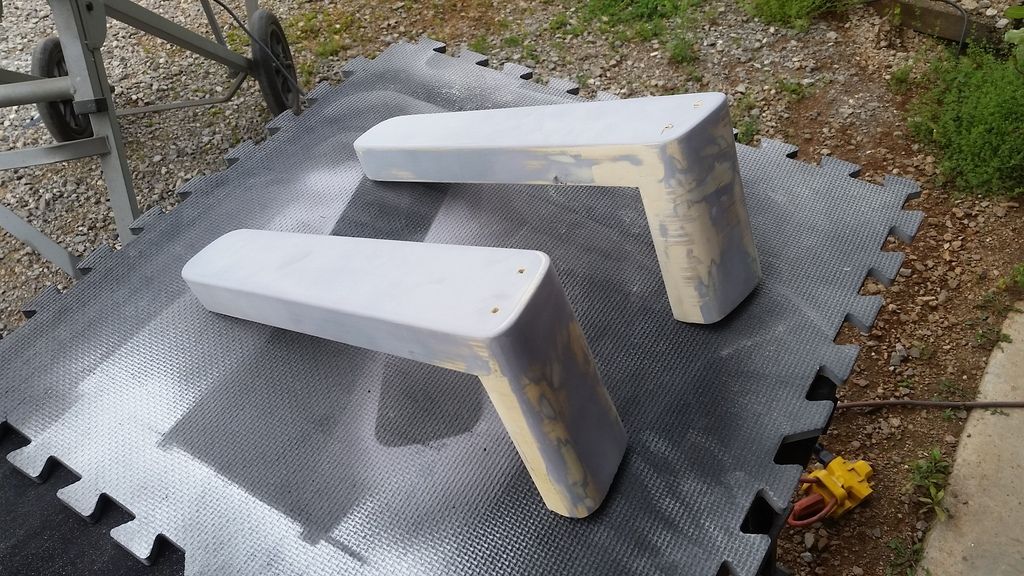
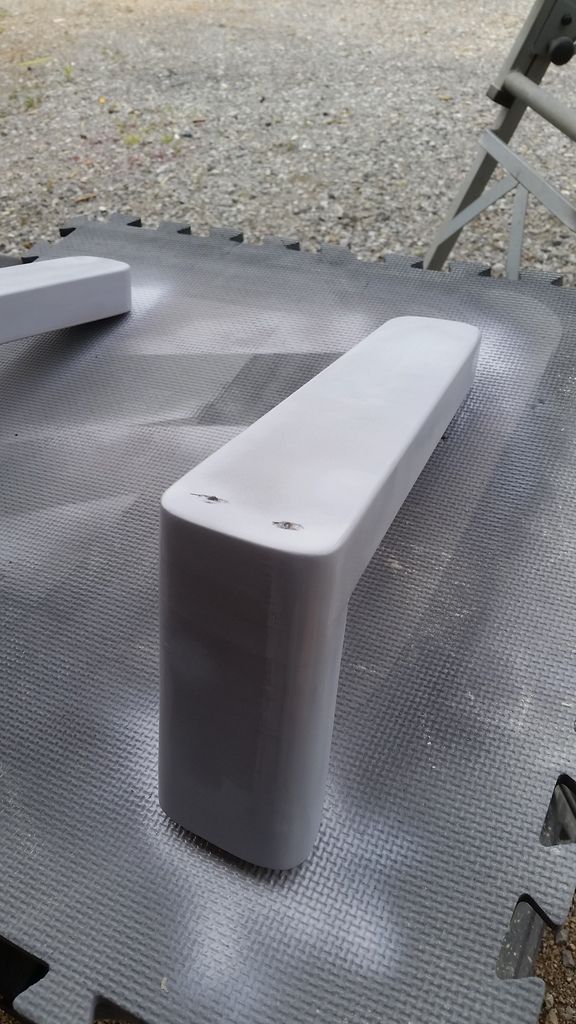
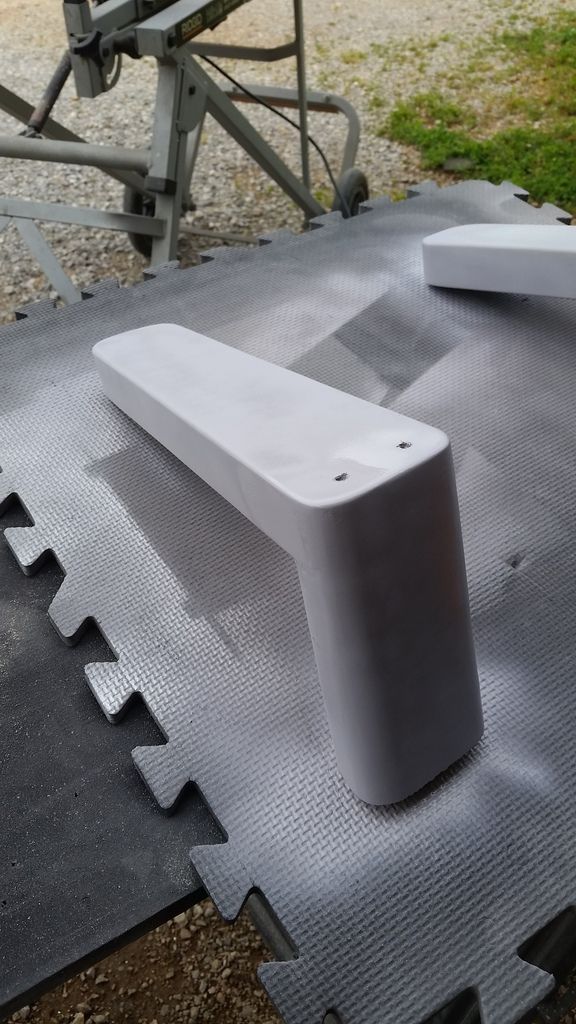
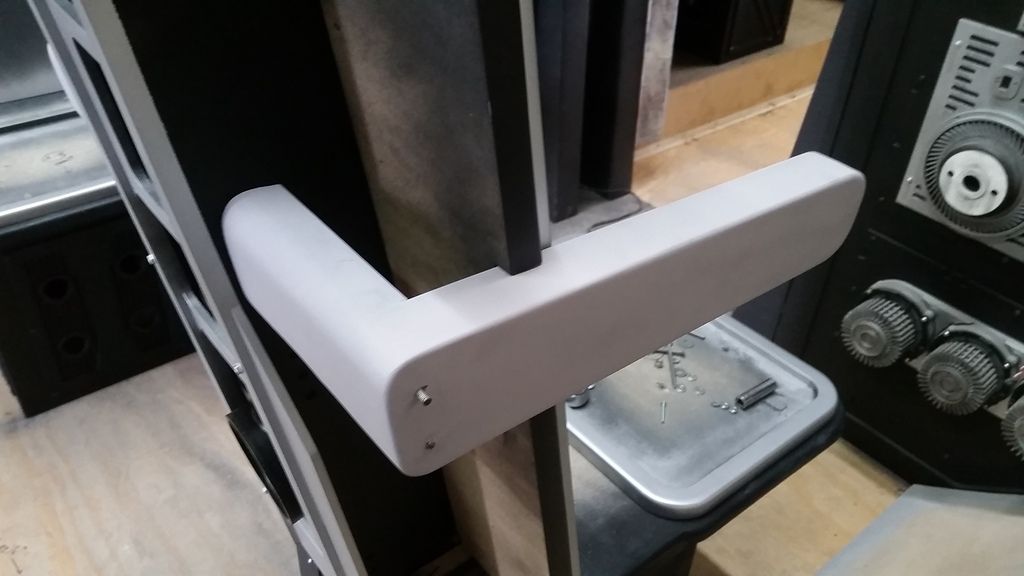
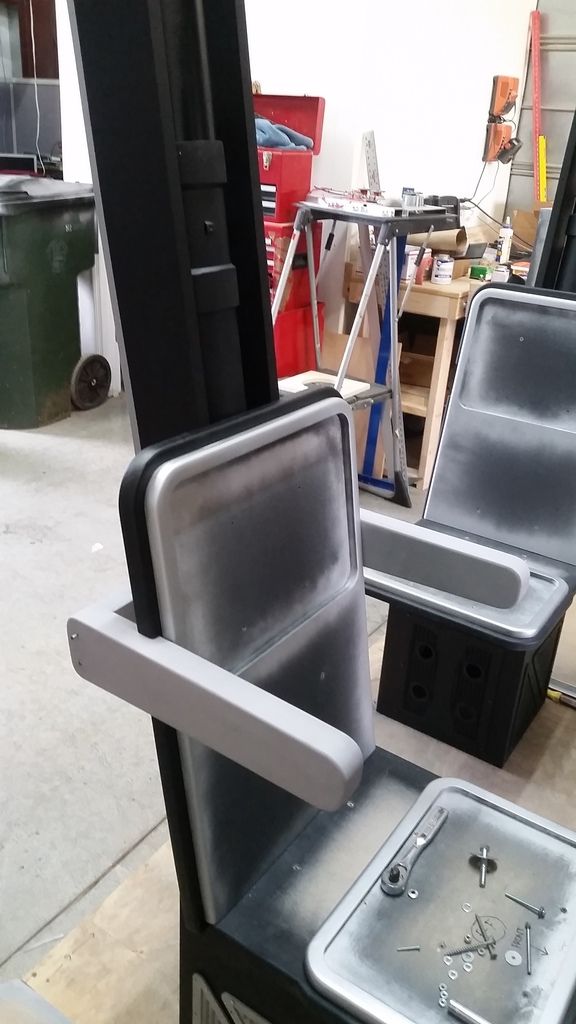
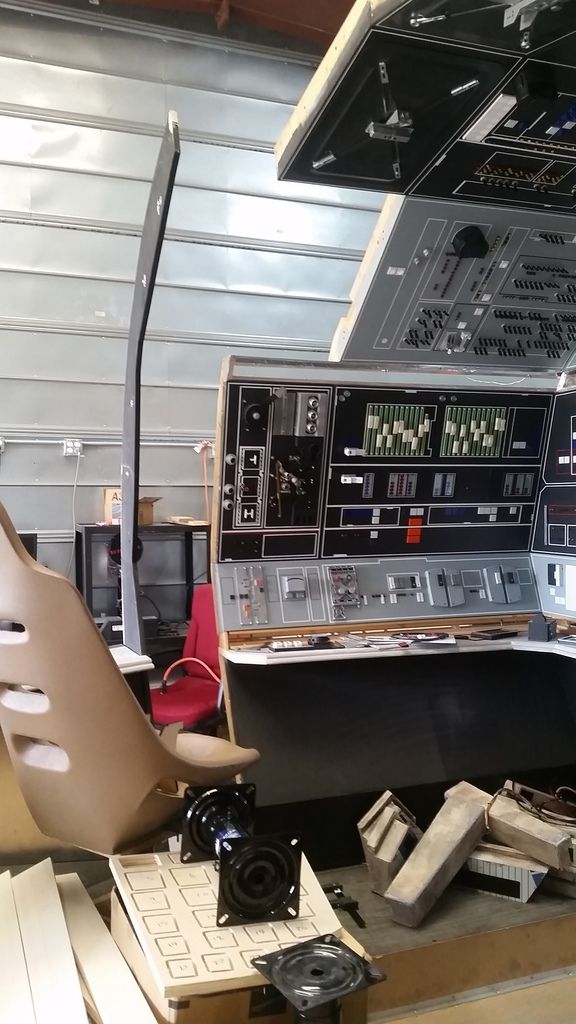
Almost finished mounting the armrests. But still a lot sanding and cosmetic work to do
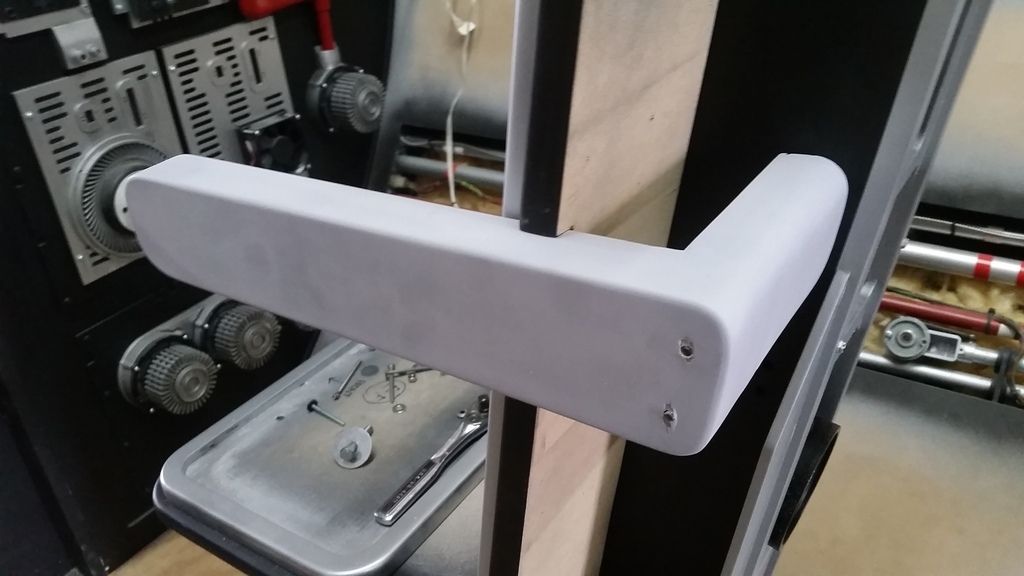
I ran out of threaded rod... :facepalm
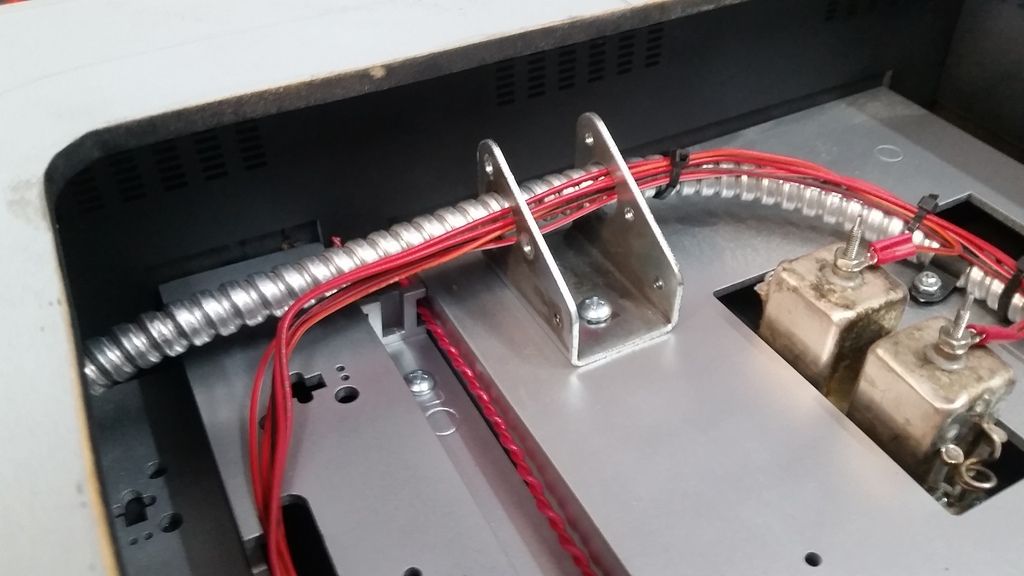
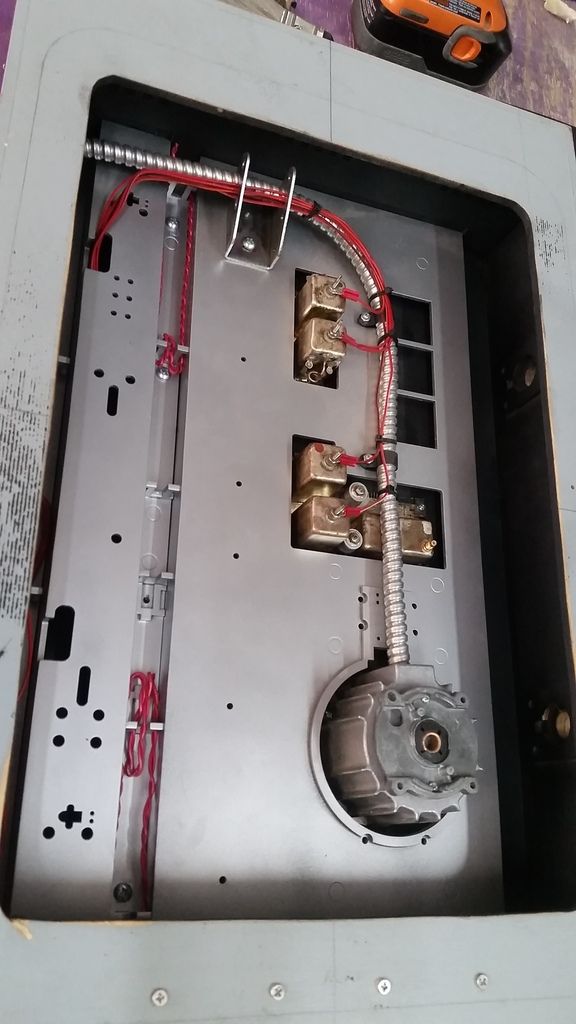
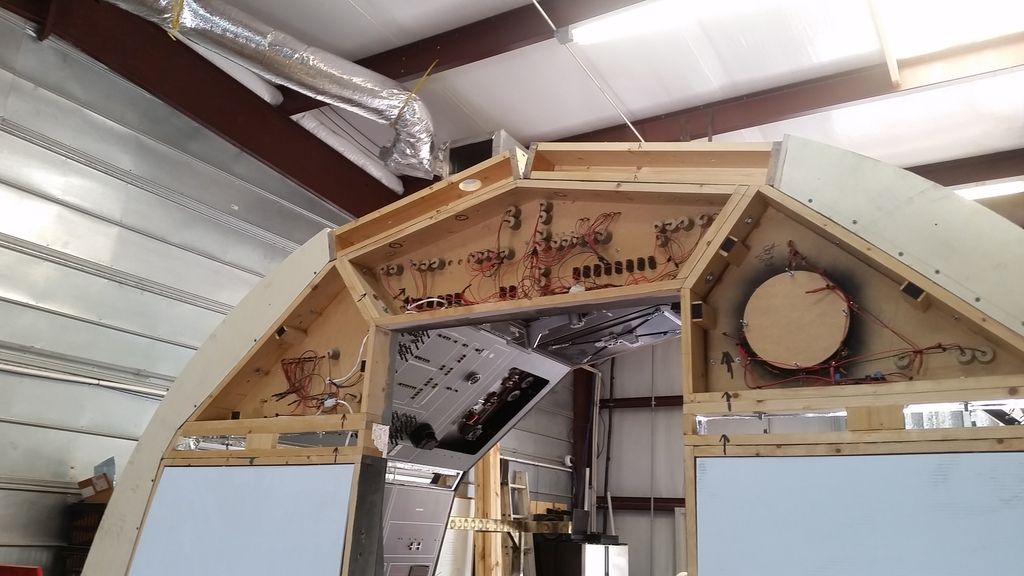
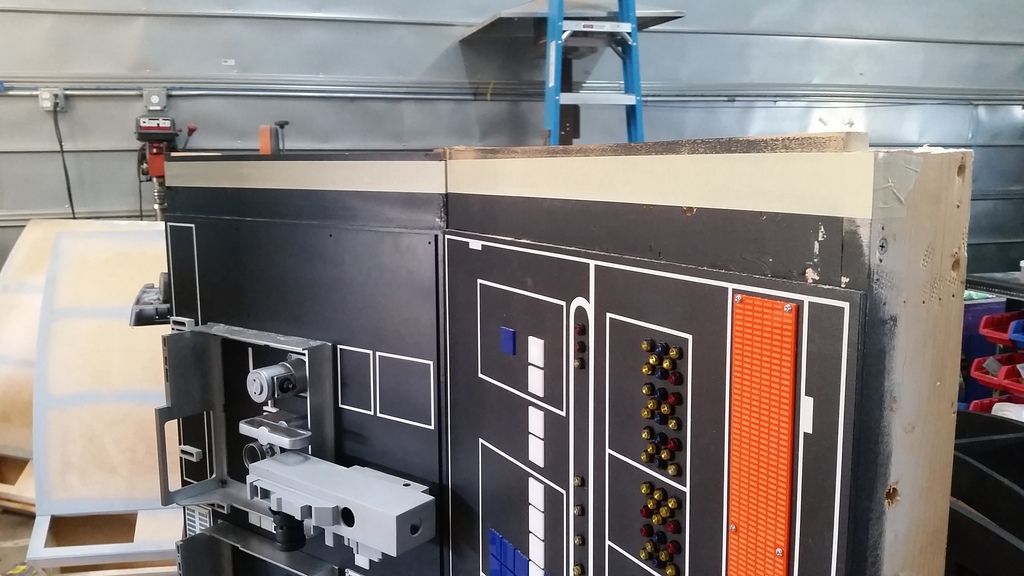
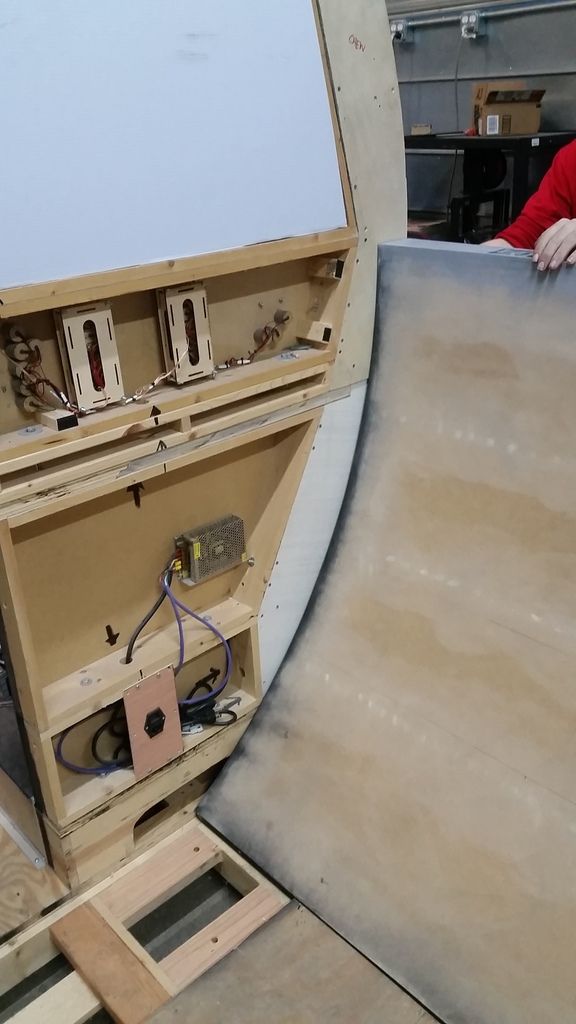
I FINALLY finished up the interior of the access panel on Han's side
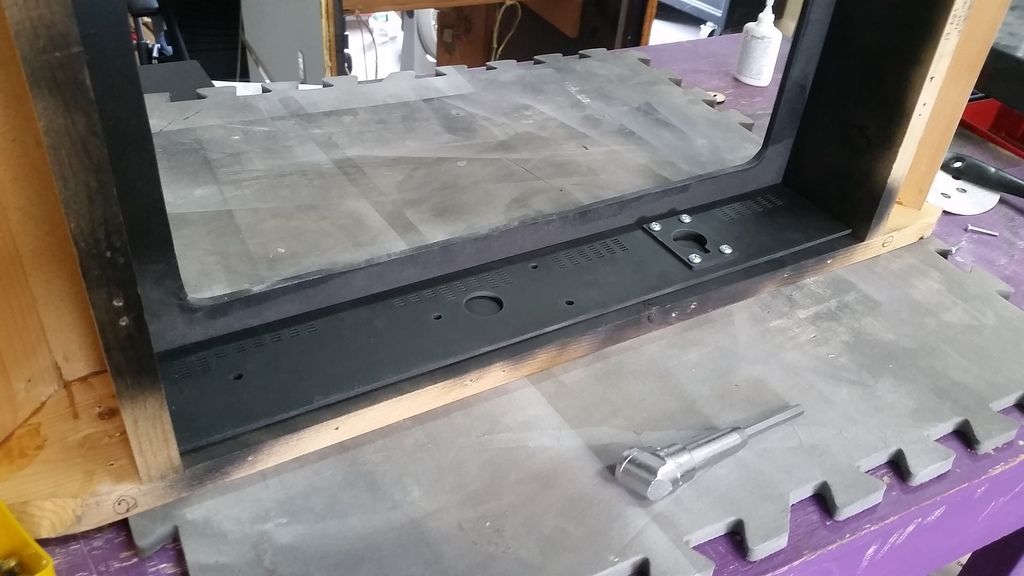
Found this larger silver part in our greeblie box and thought it looked the part
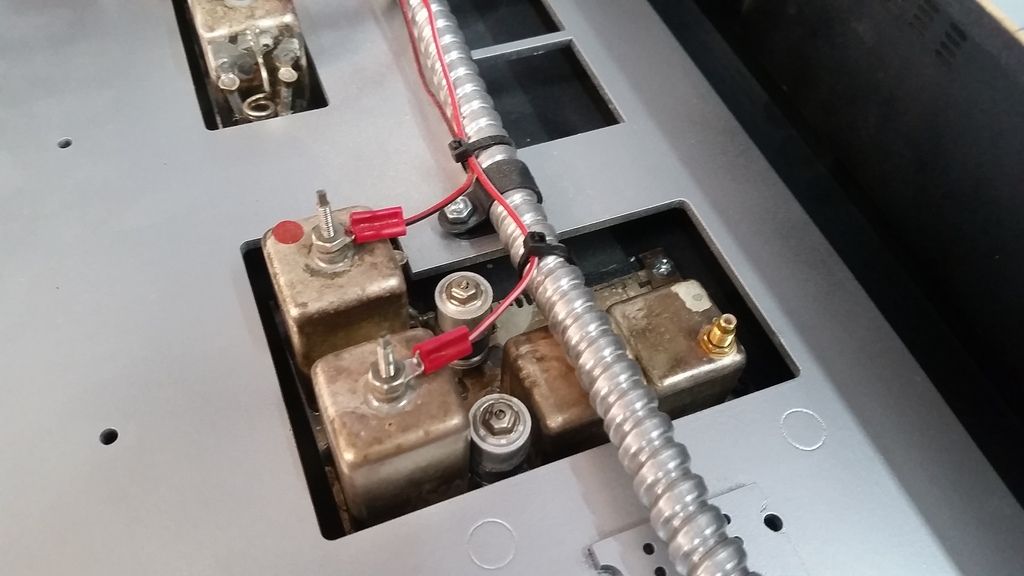
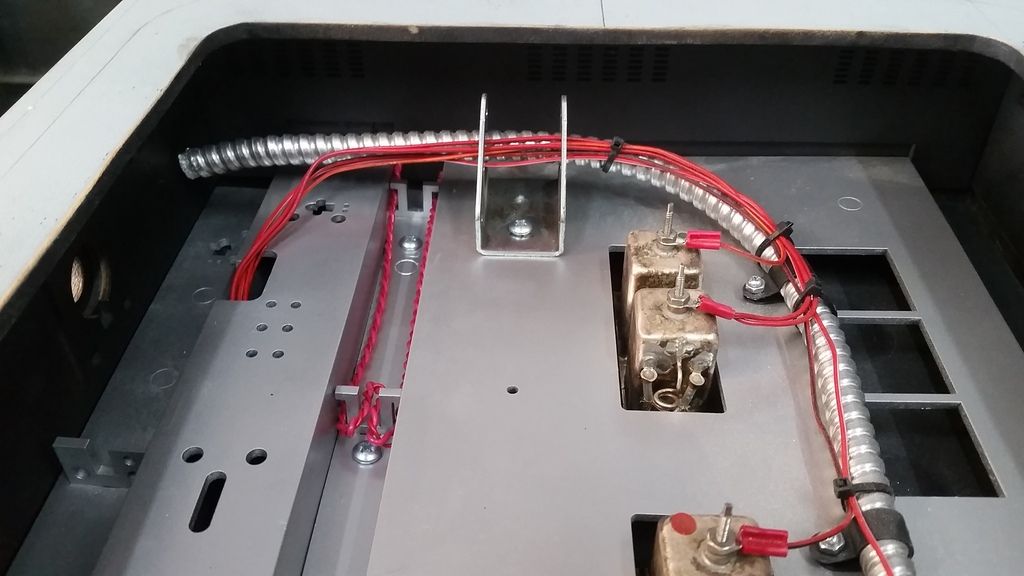
Found another cool looking greeblie
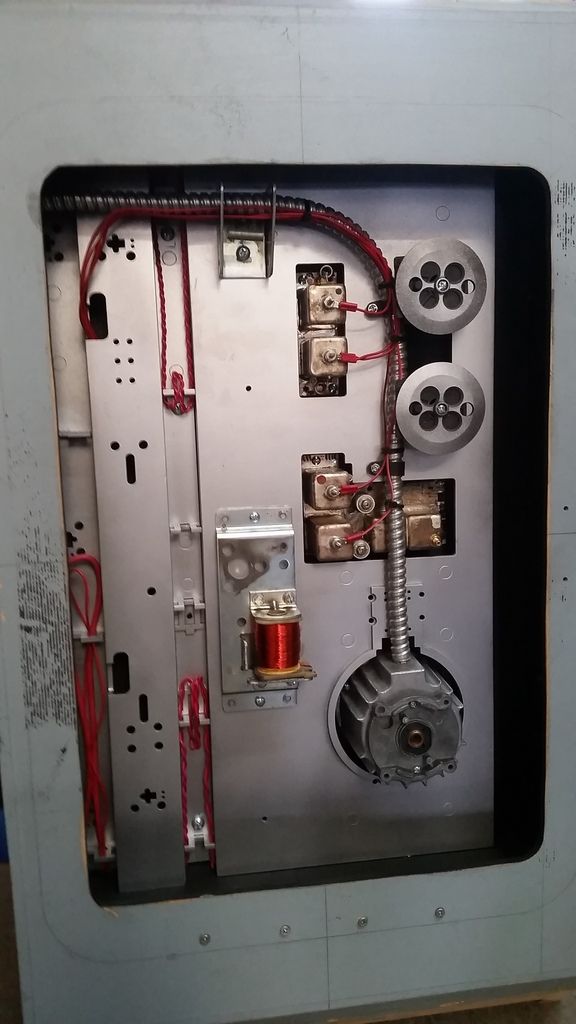

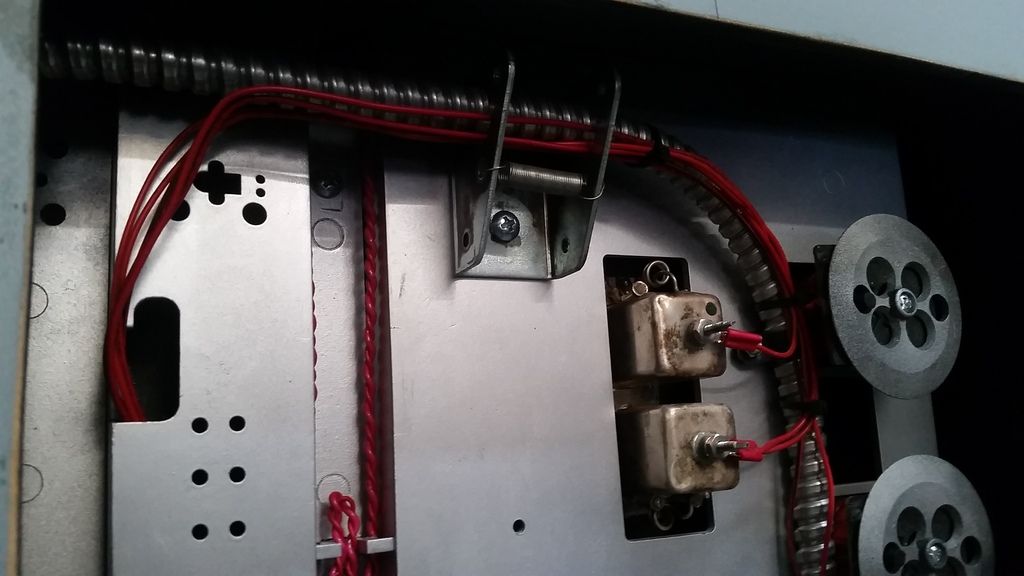
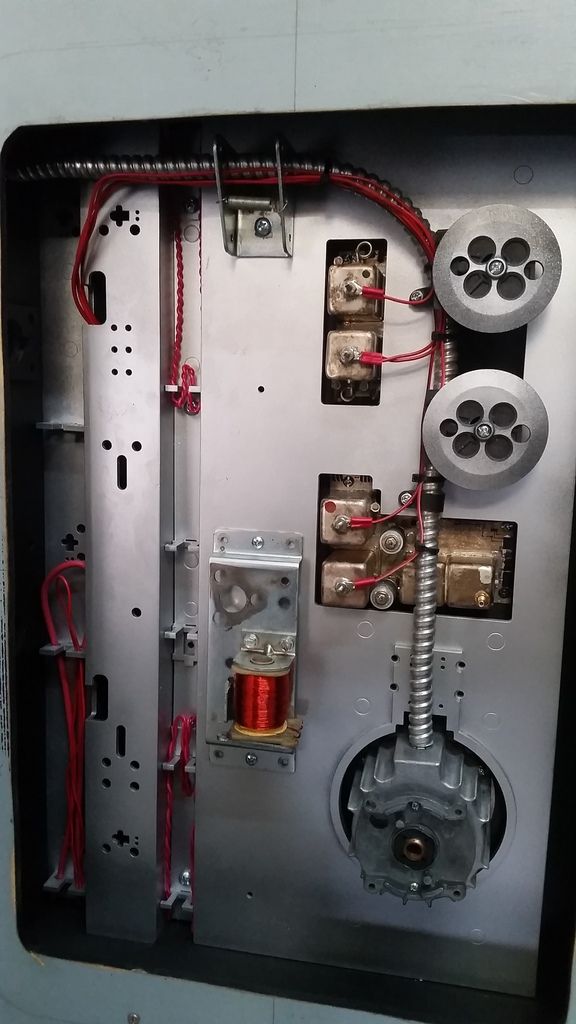
Found this old pinball light bulb holder
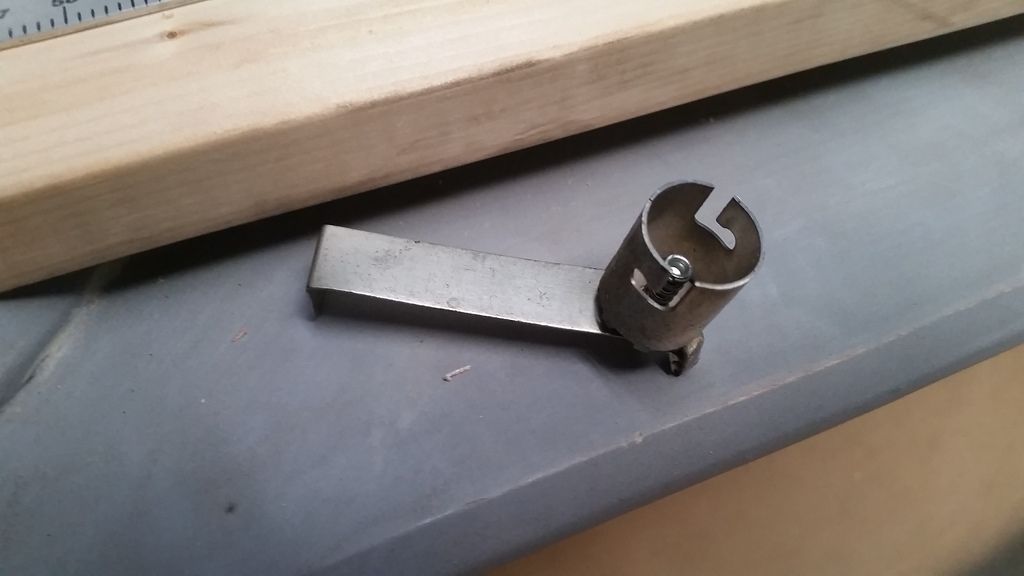
PERFECT fit
I'm going to dress the area with a few more greeblies then call this panel finished!
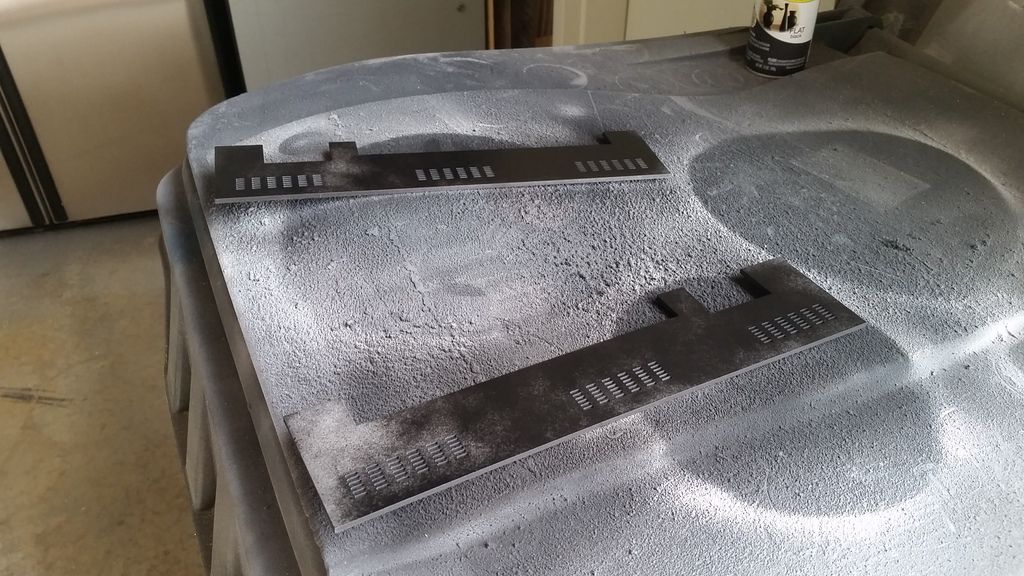
The new upper panel covers finally getting some attention
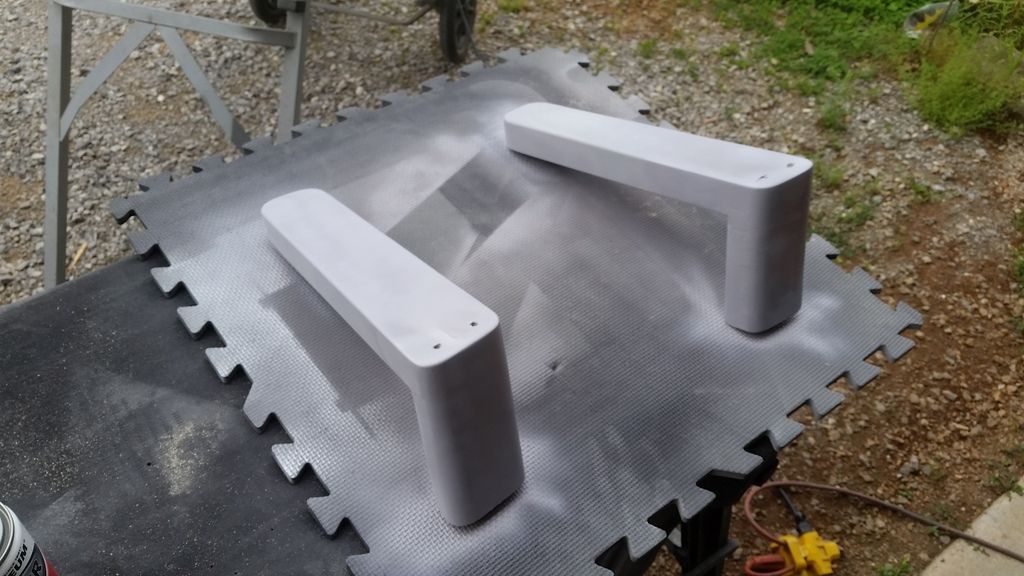
Primer
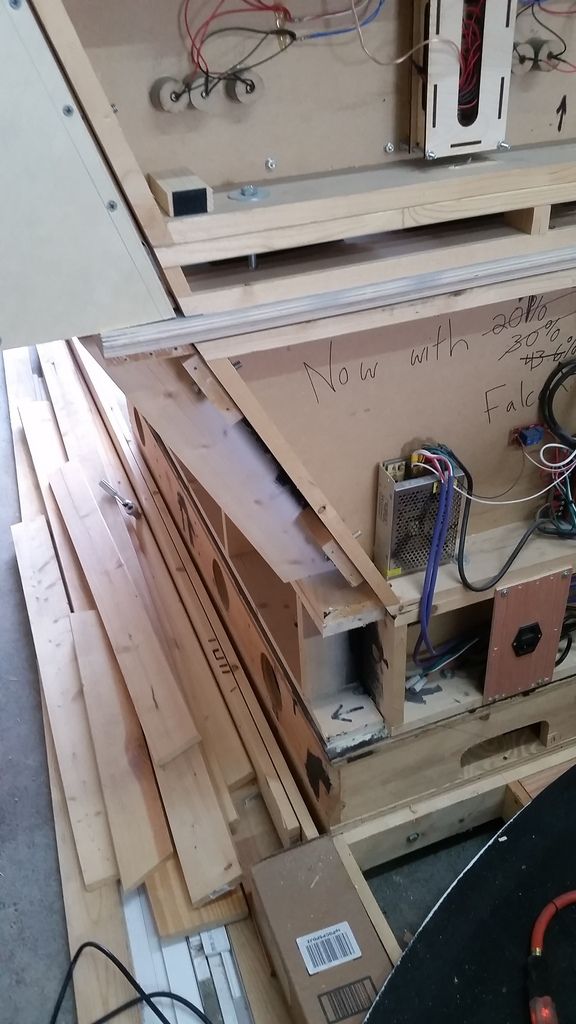
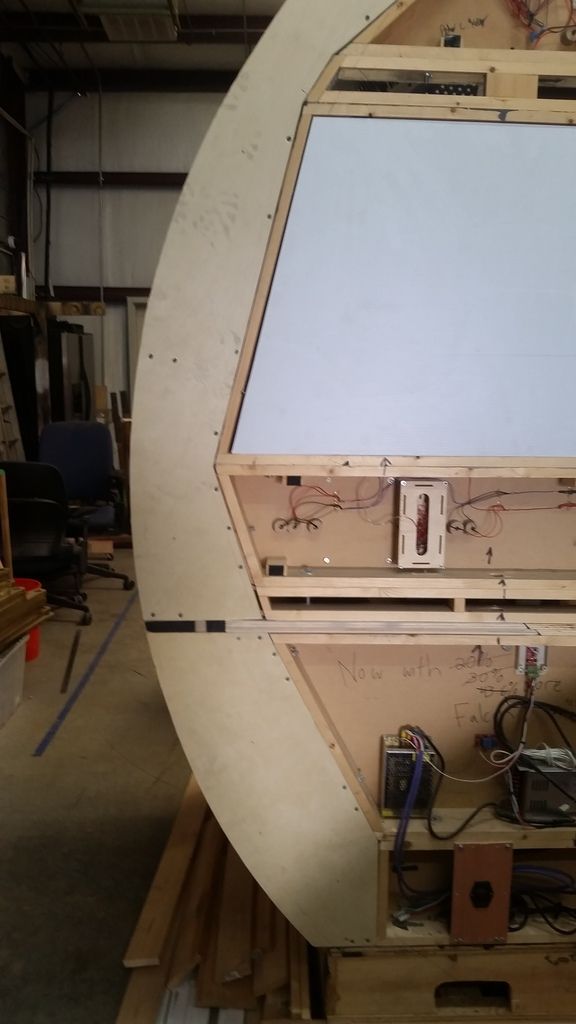
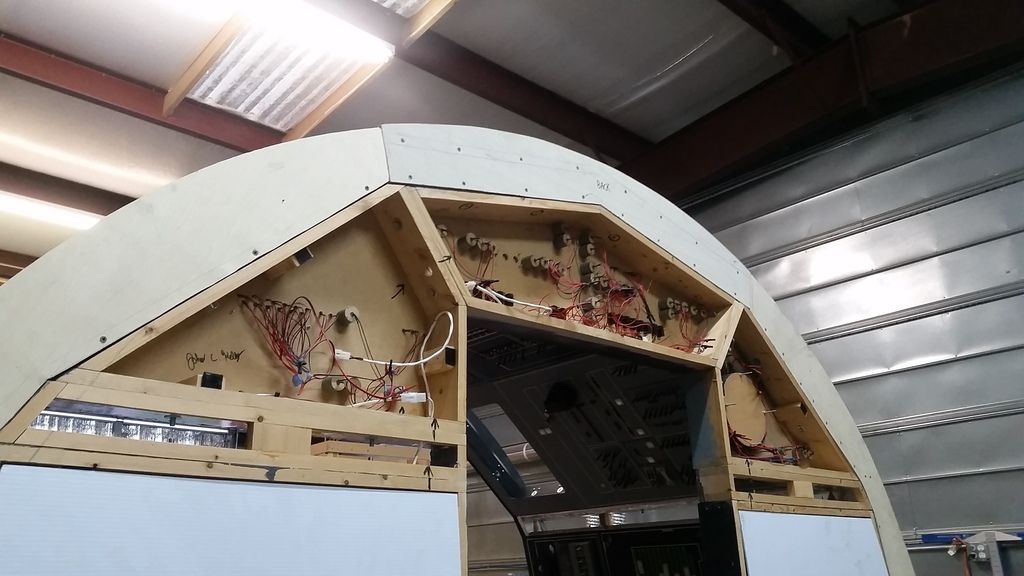
And now the reason for being... Let the chaos begin!
So what's going on? All these extra back pieces are being removed...


All these back pieces served to box the ends of the panels so they could rest on the back wall
Now... there's a new purpose!

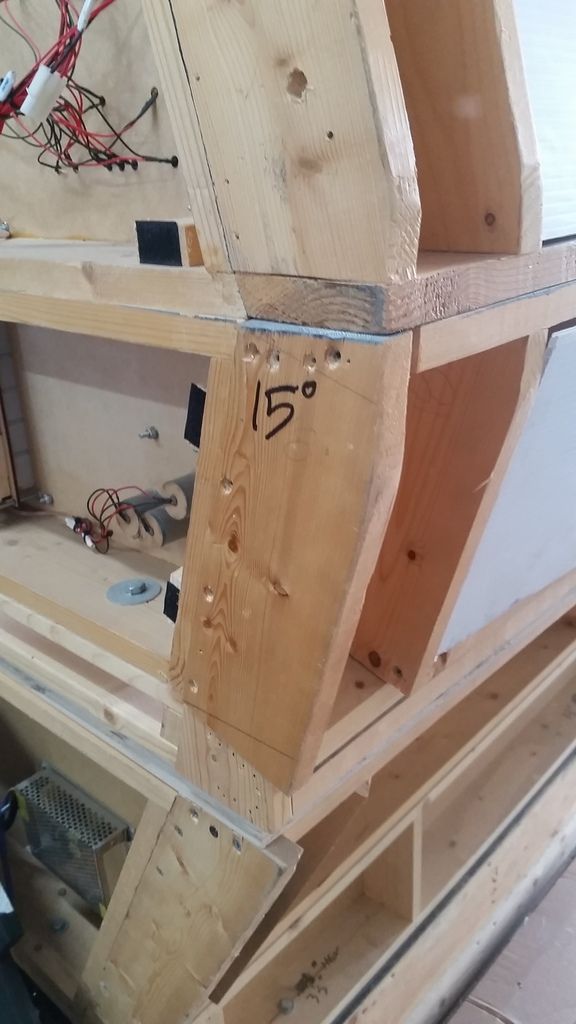
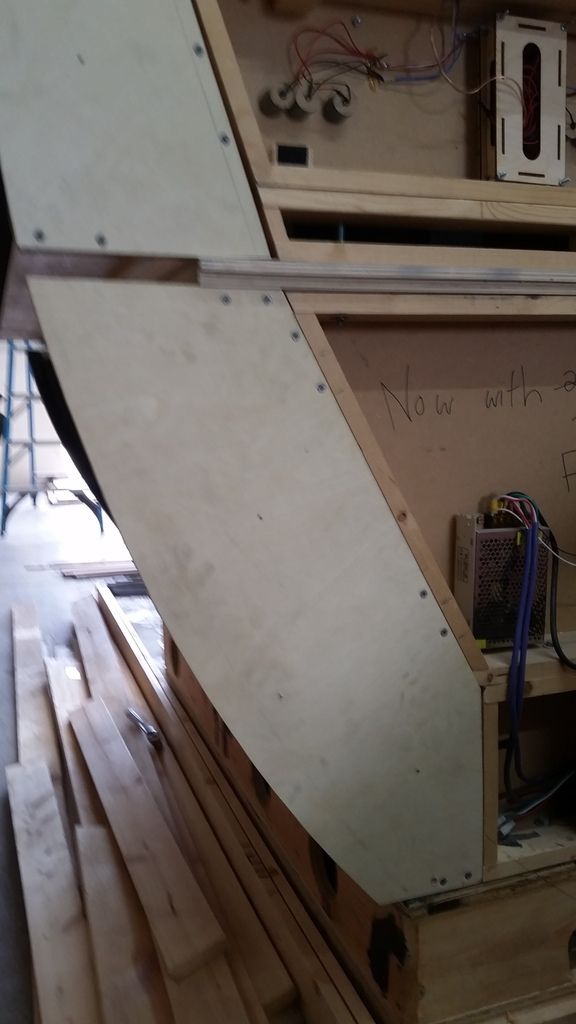
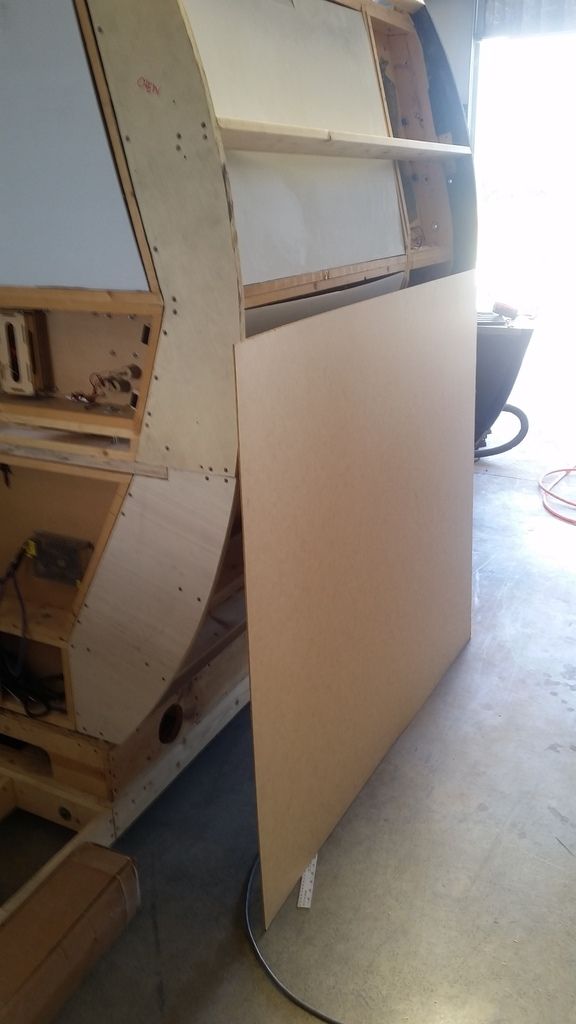
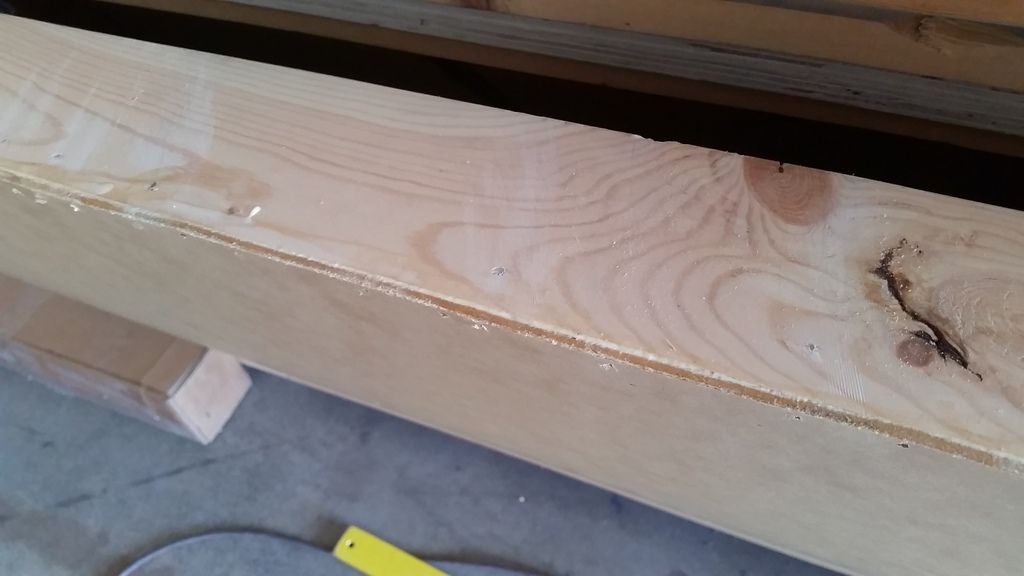
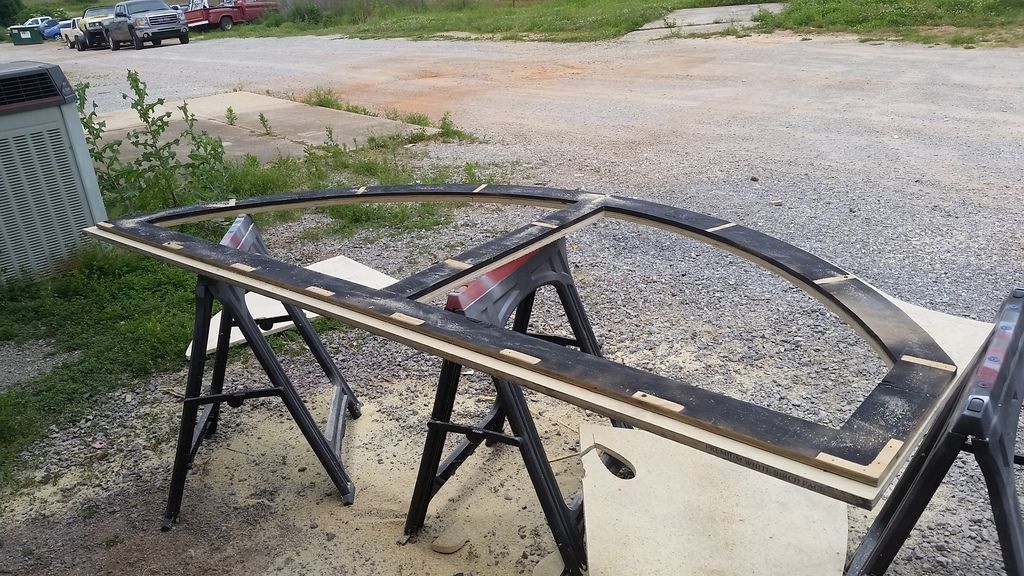
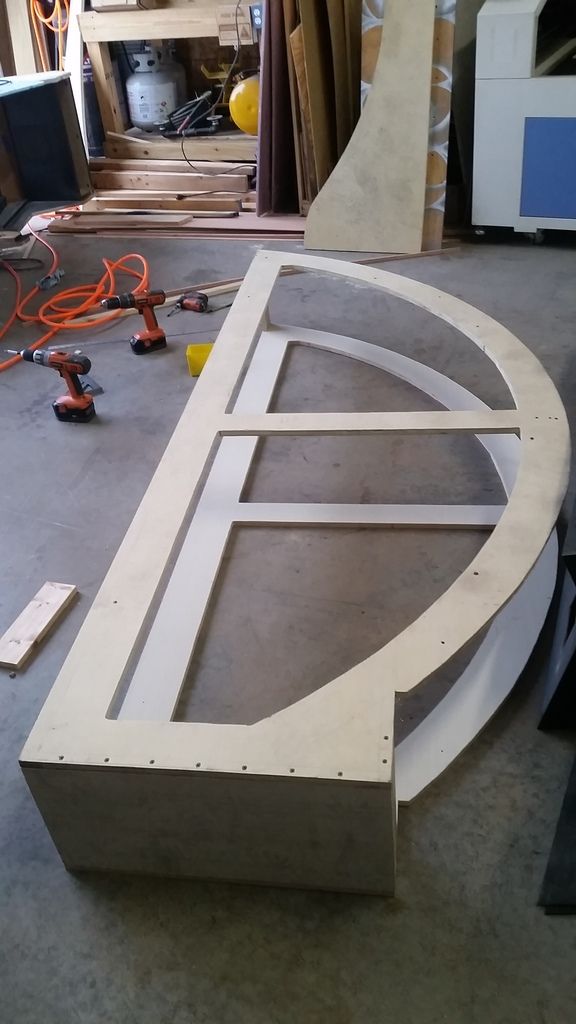
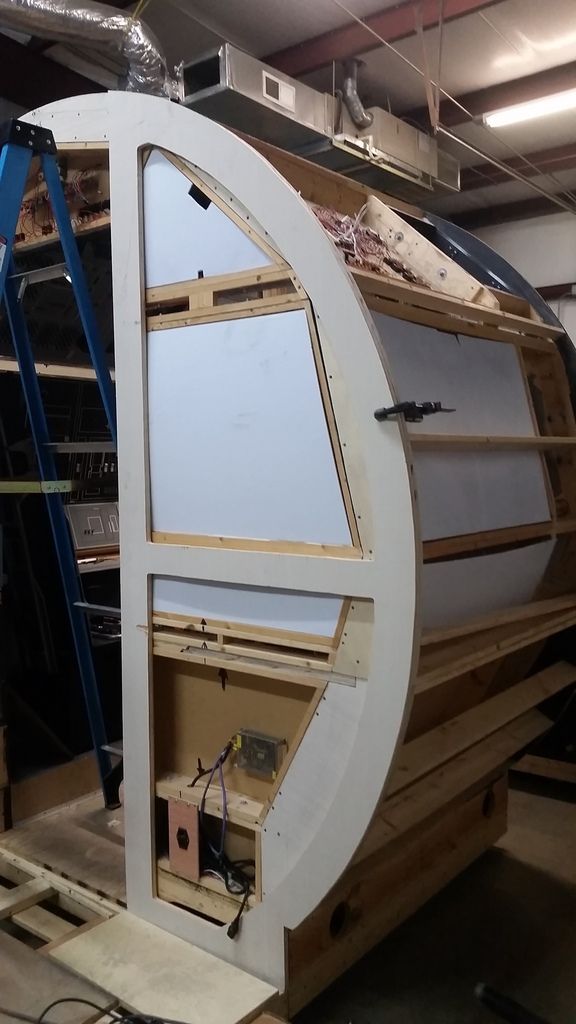
With all that tear down finally behind me... I cut the two front vertical arches in half. This will act as a new panel side. For what?
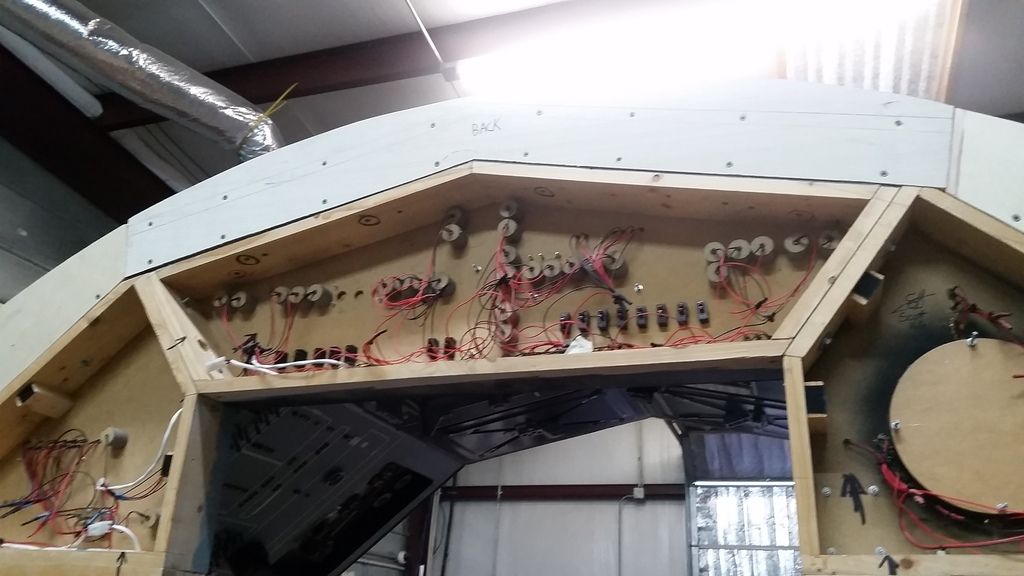
All those pieces are being replaced with a new arch piece that will essentially create one LARGER panel and do something MUCH more important
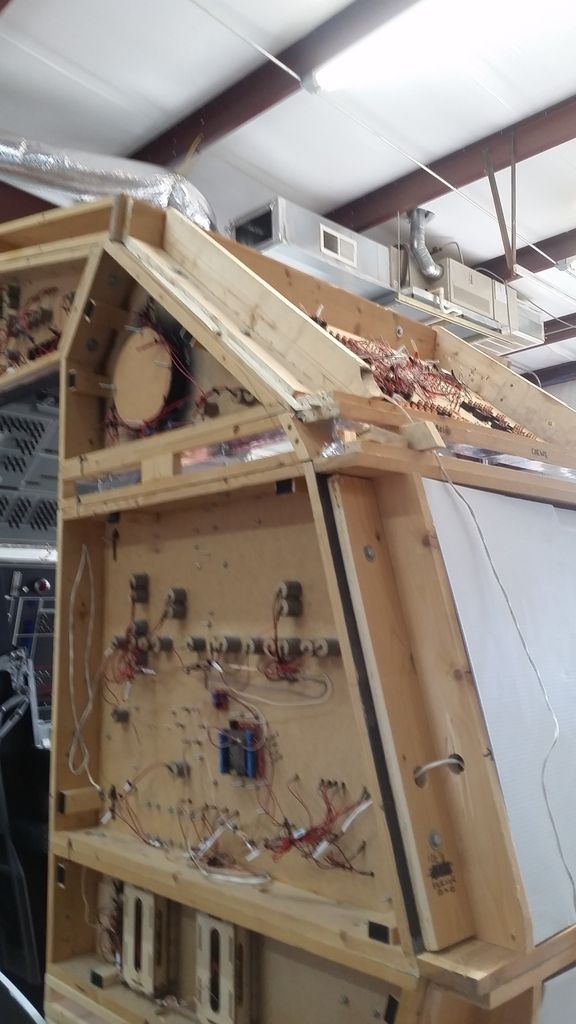
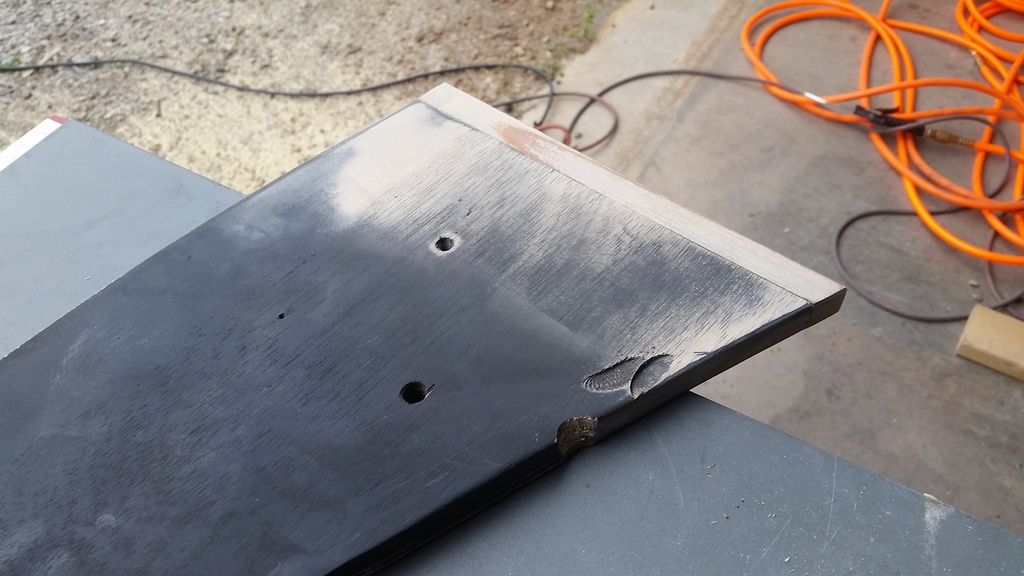
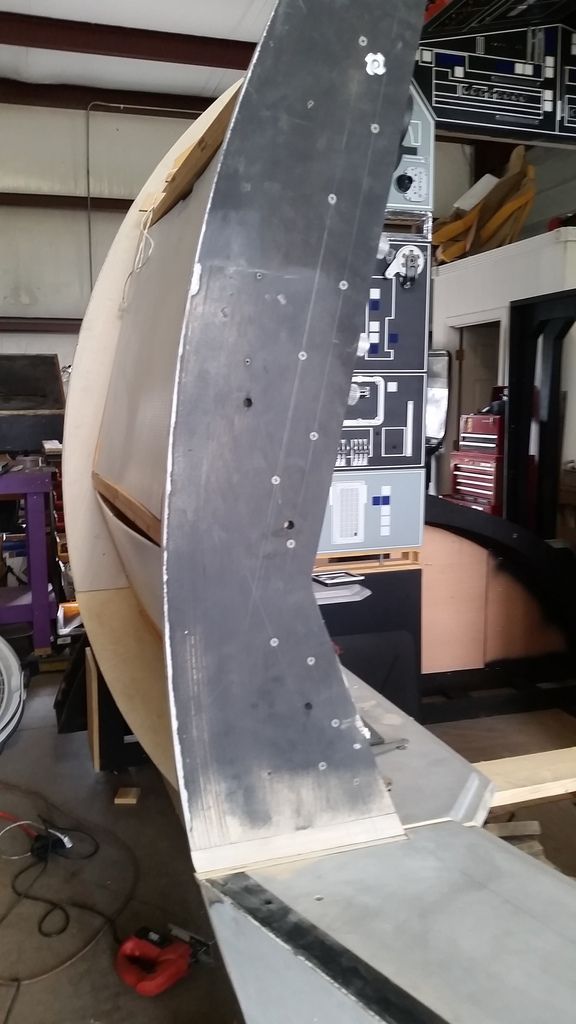
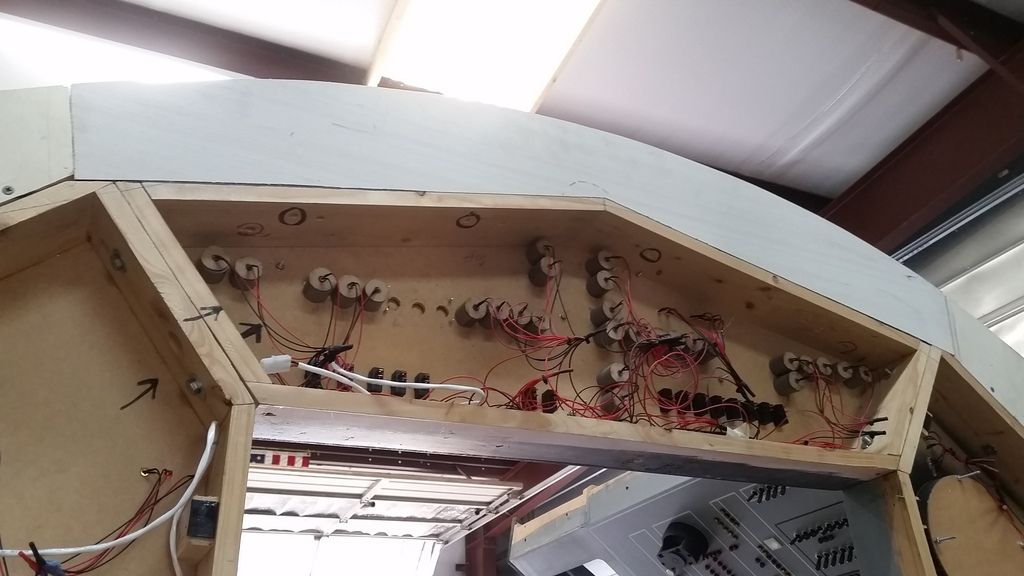
I used a router tracing bit to cut the back arch and then mod'd it fit - the warping has been massive over these last few years!
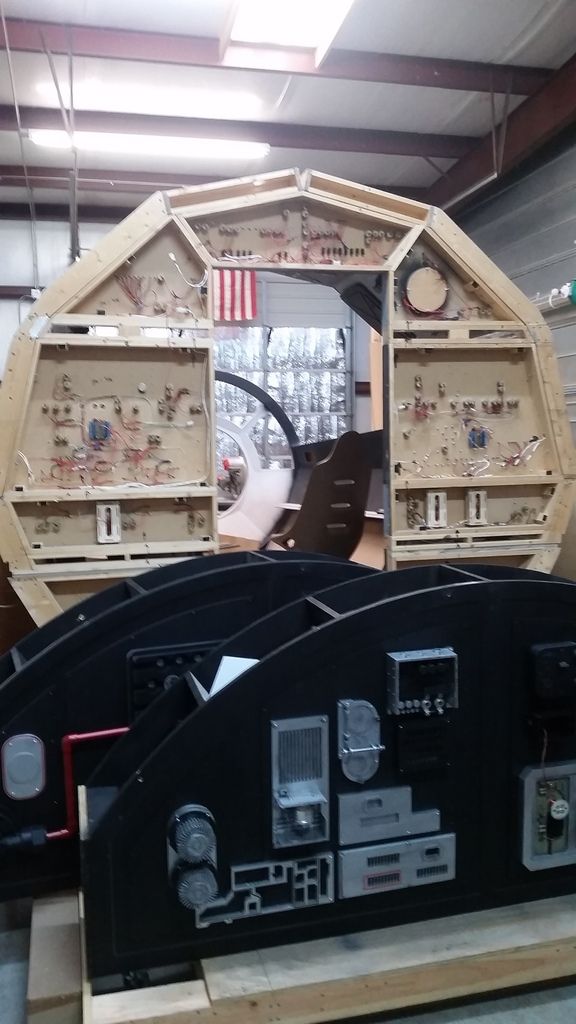
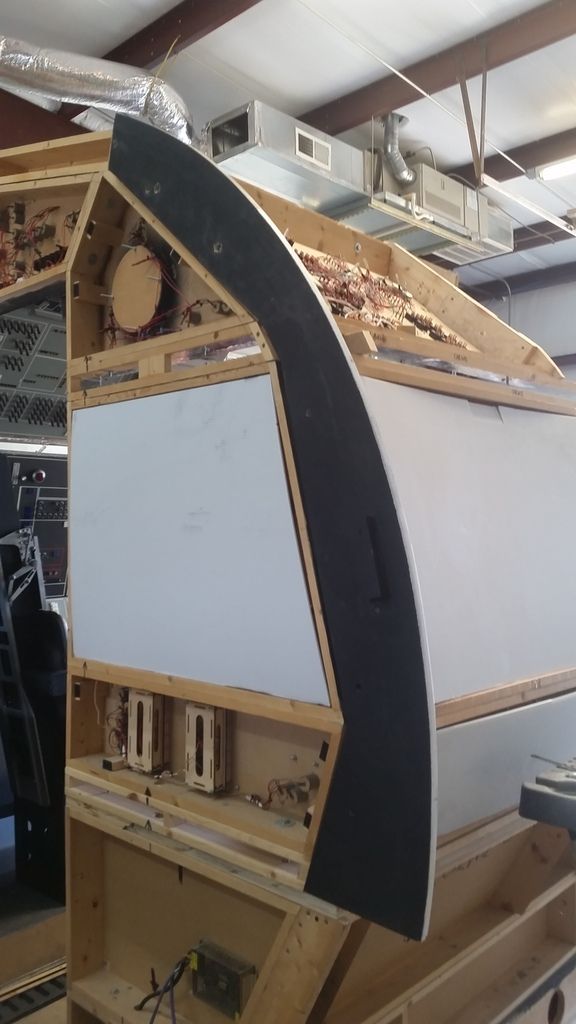
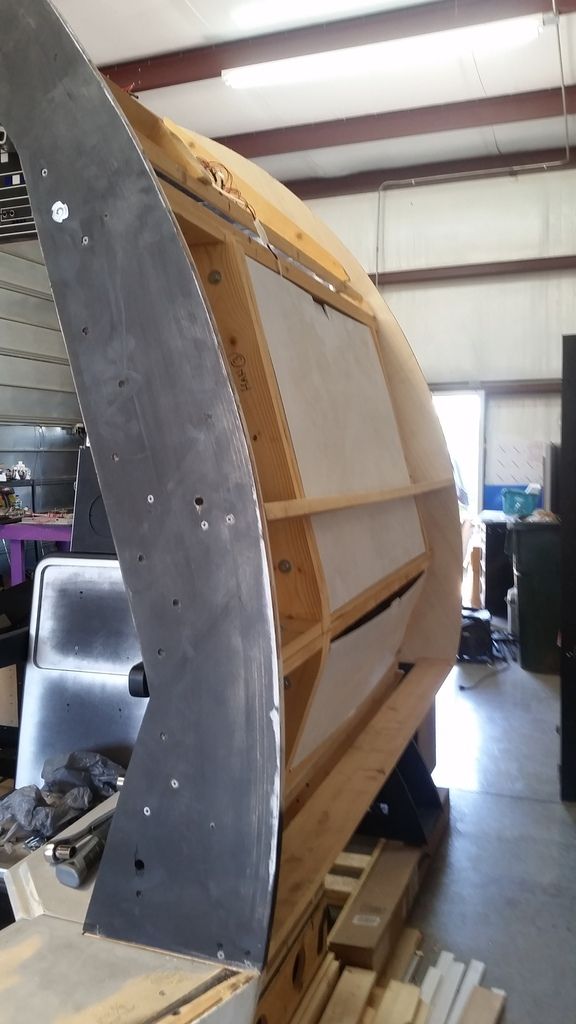
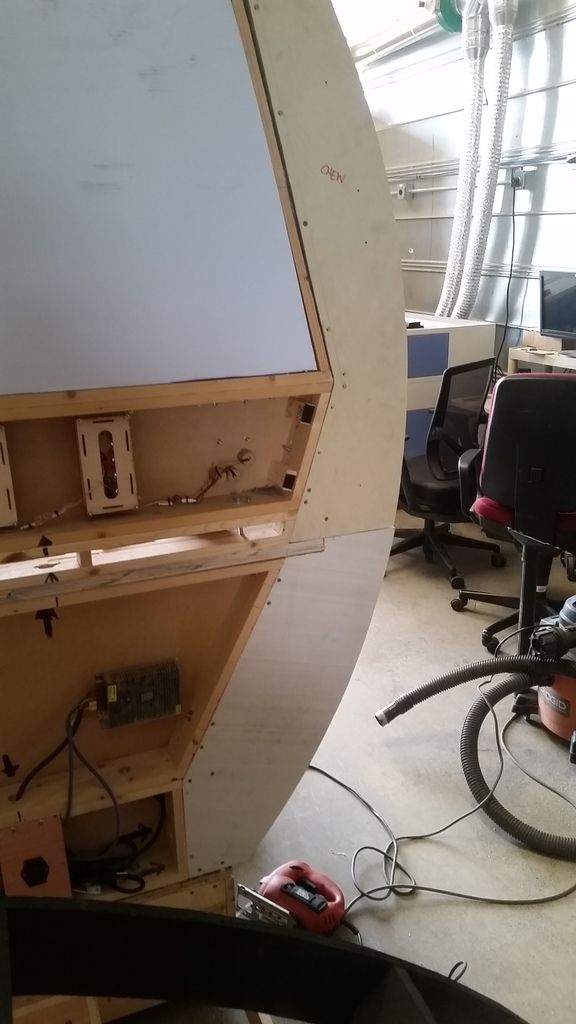
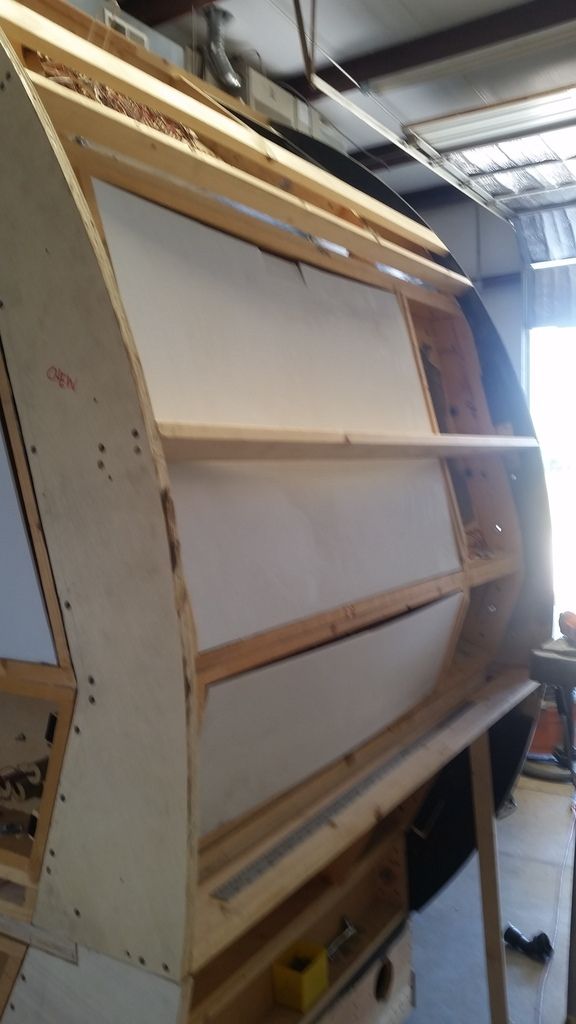
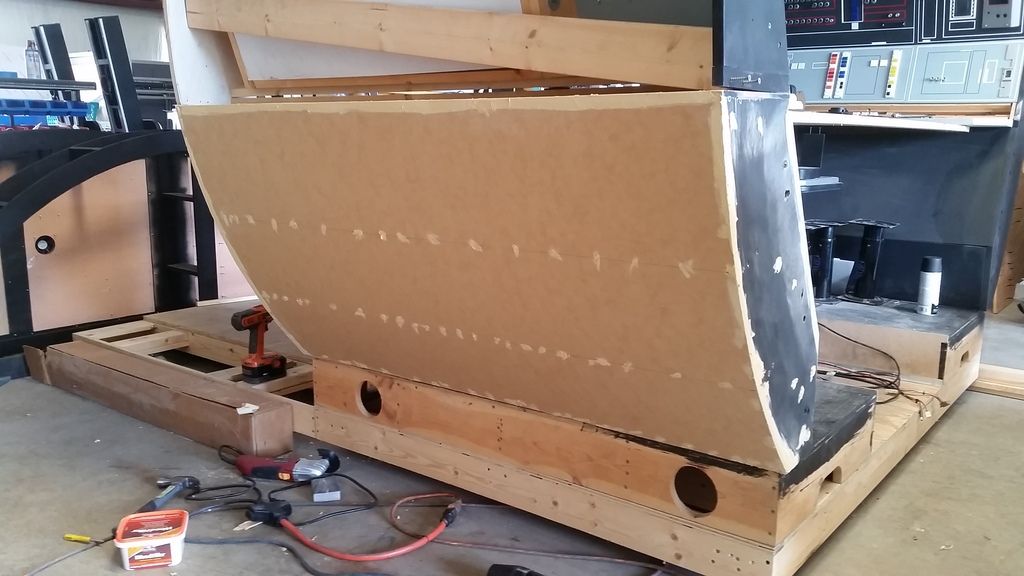
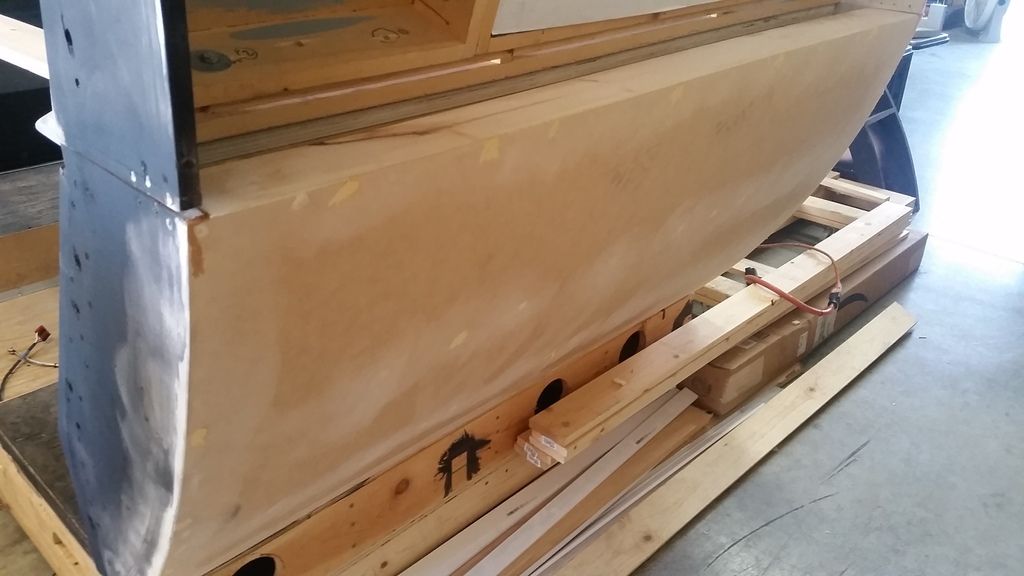
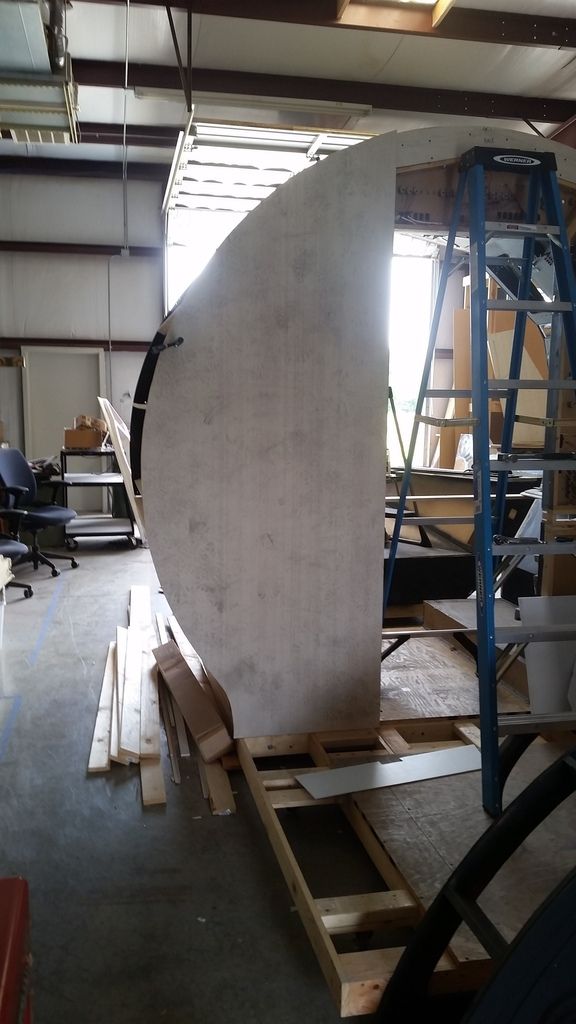
Can you see it yet?
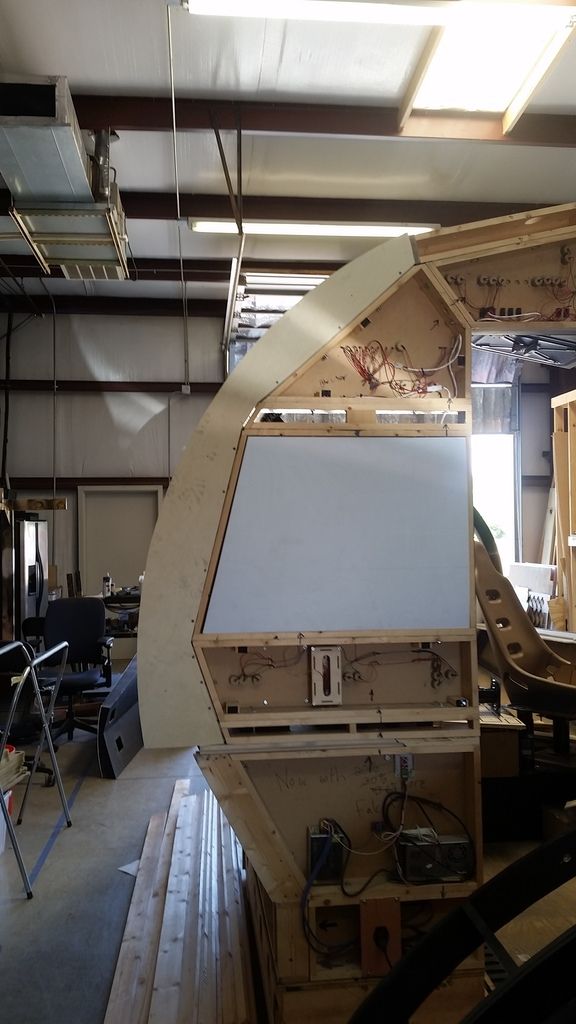
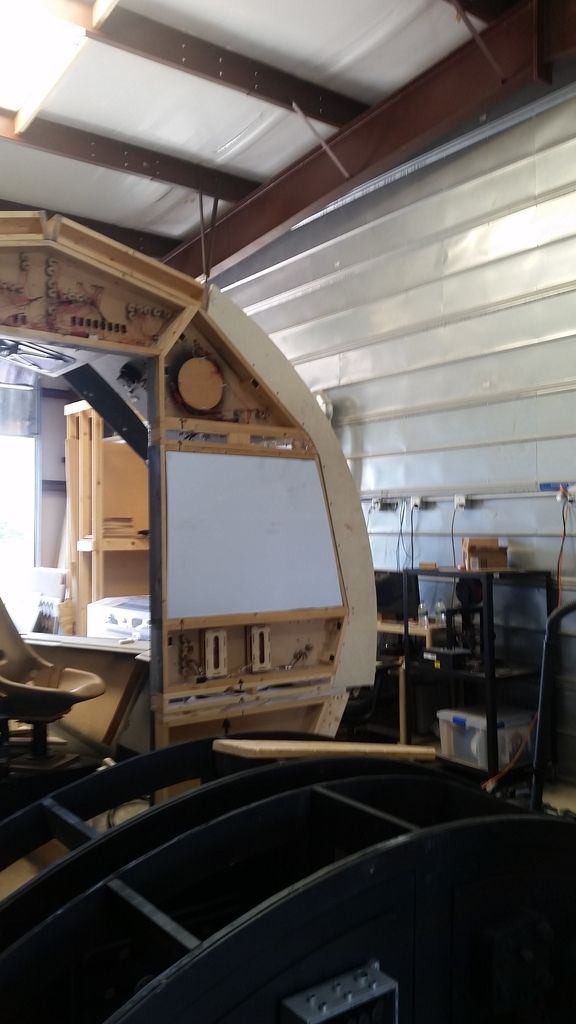
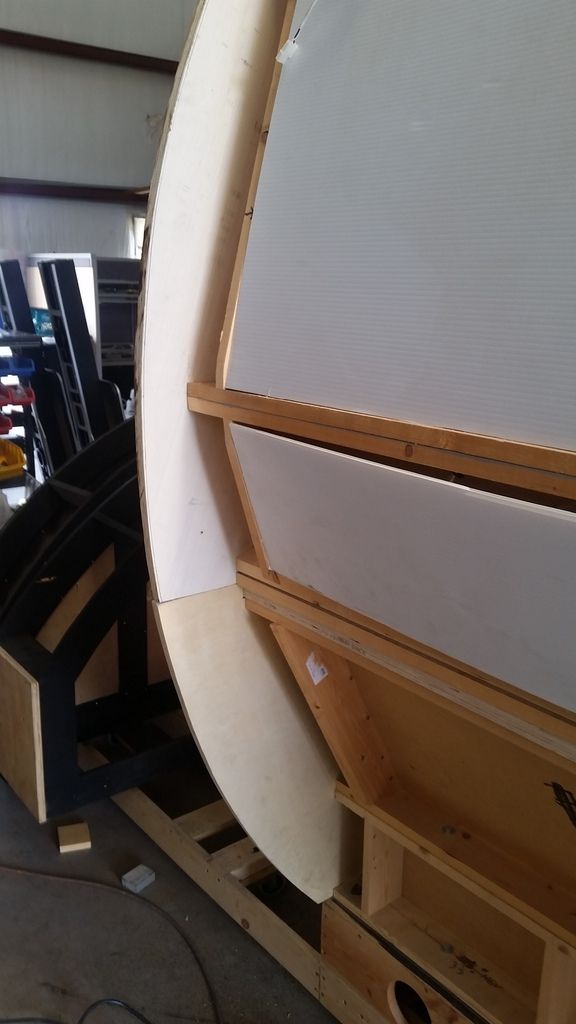
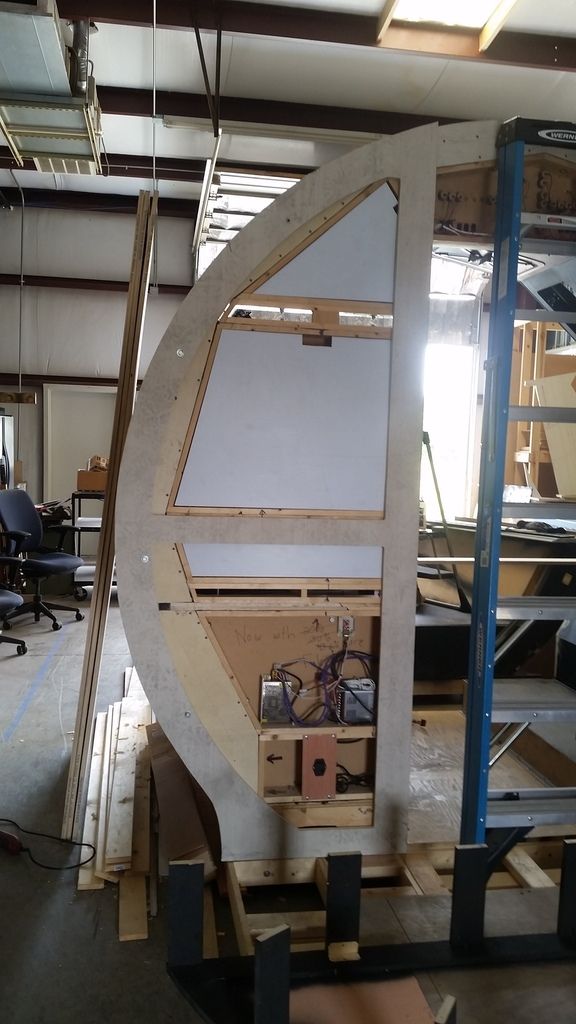
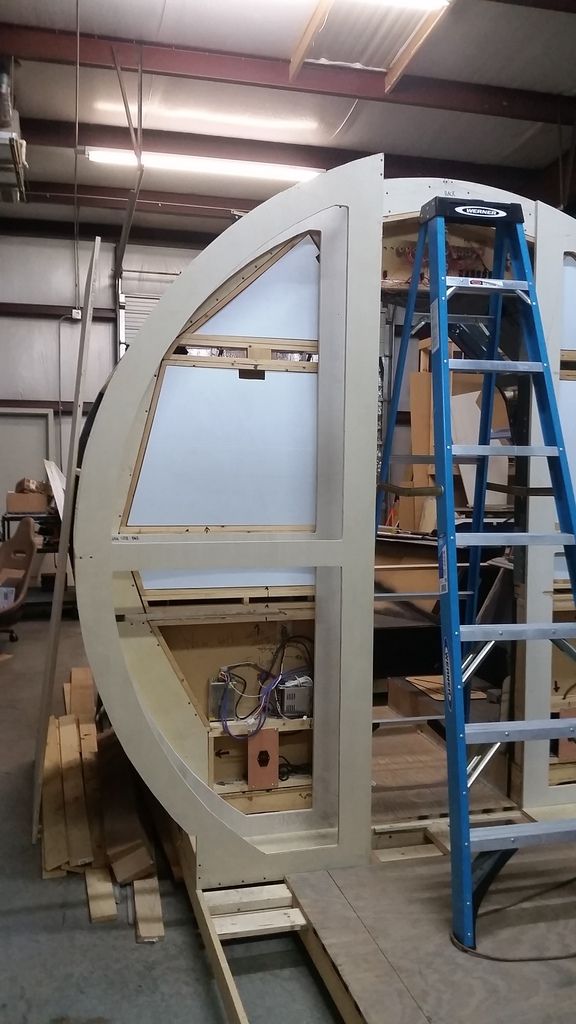
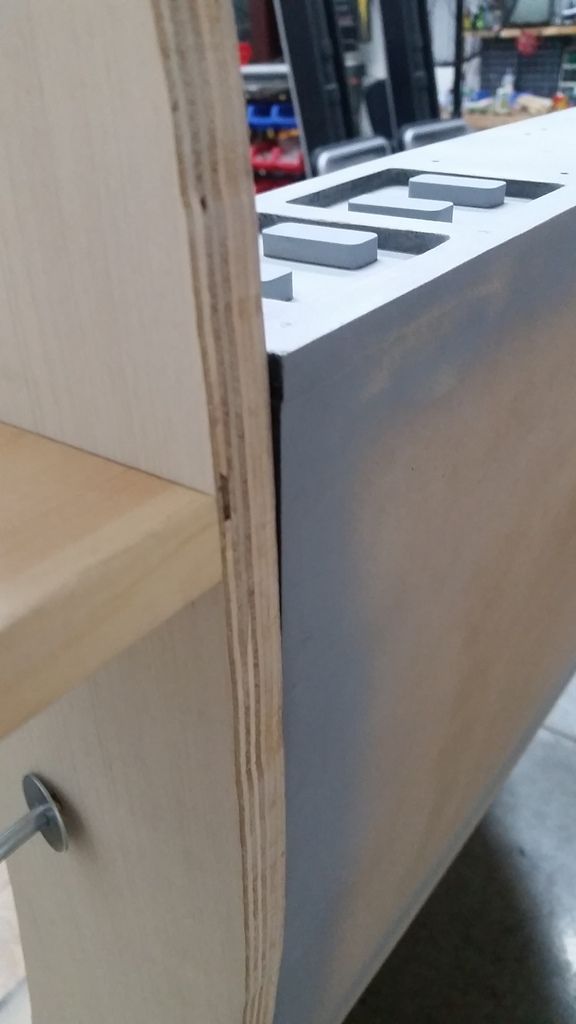
Now you can begin to see the outer edge! This will make it MUCH easier to skin and make the cockpit more modular and easy to transport
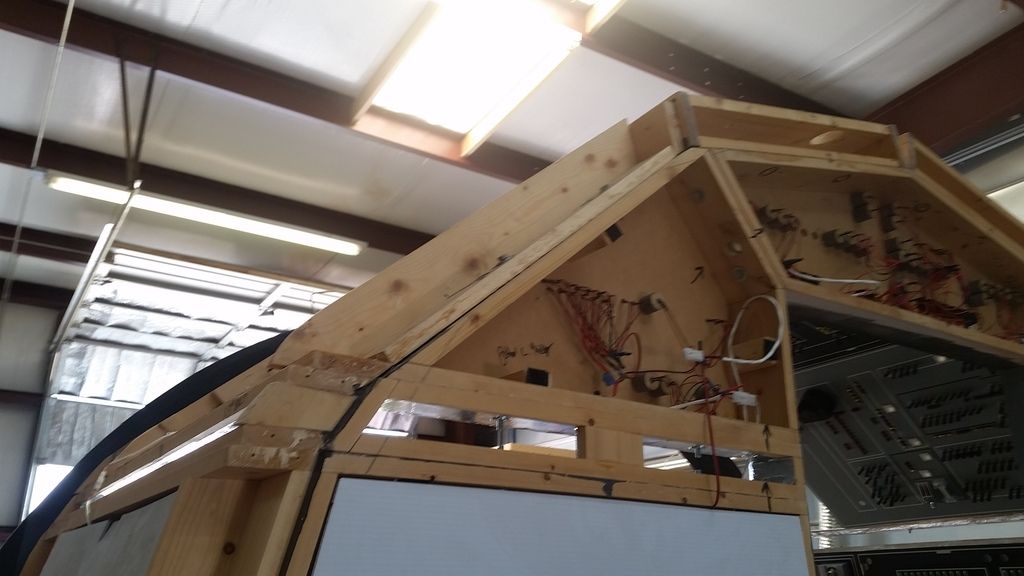
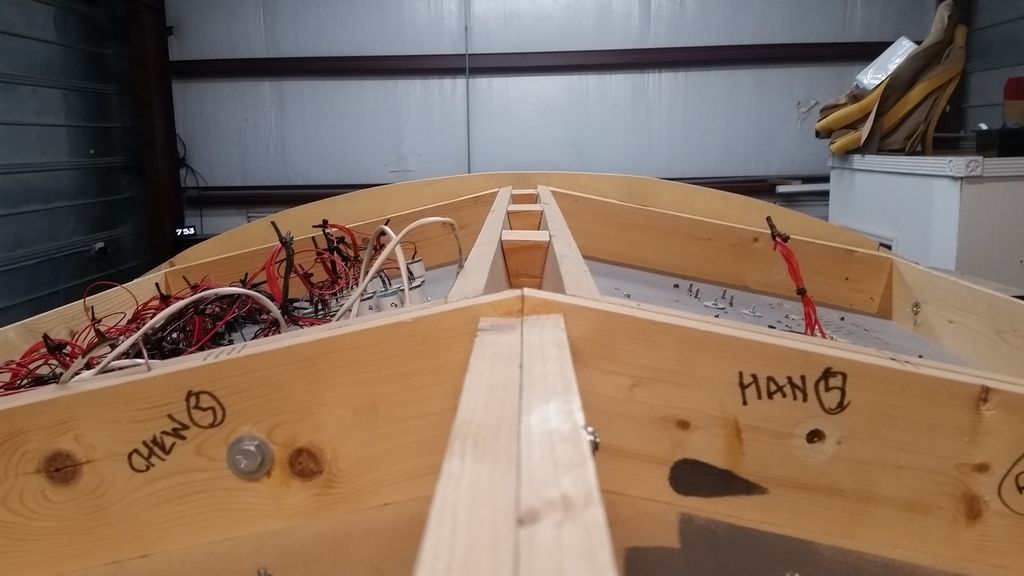
The hardest part has been making sure the front and back arches align. I dont think it's going to be perfect merely because of the warping and I've modding this particular cockpit 7 times! I promise this is the last!
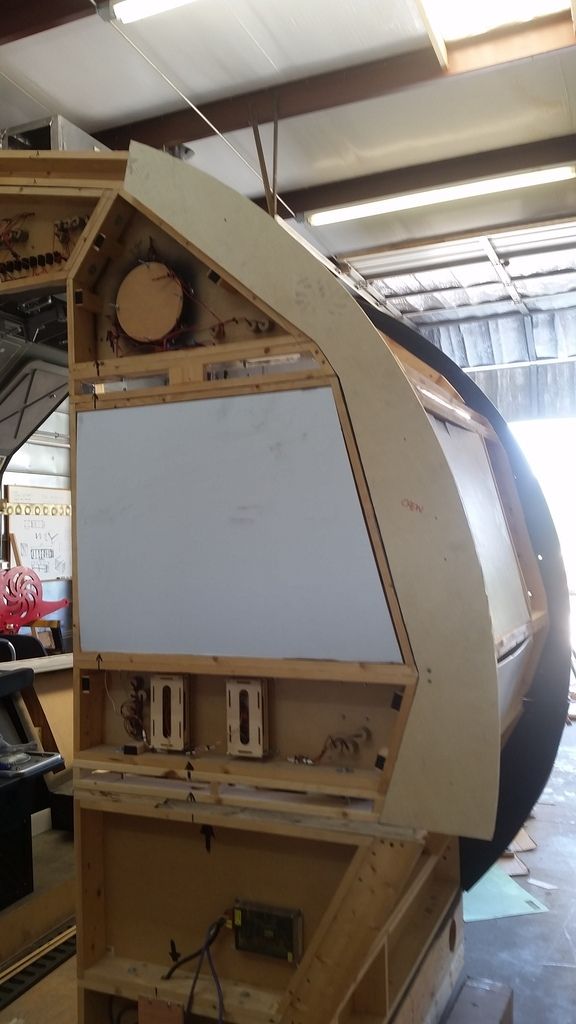
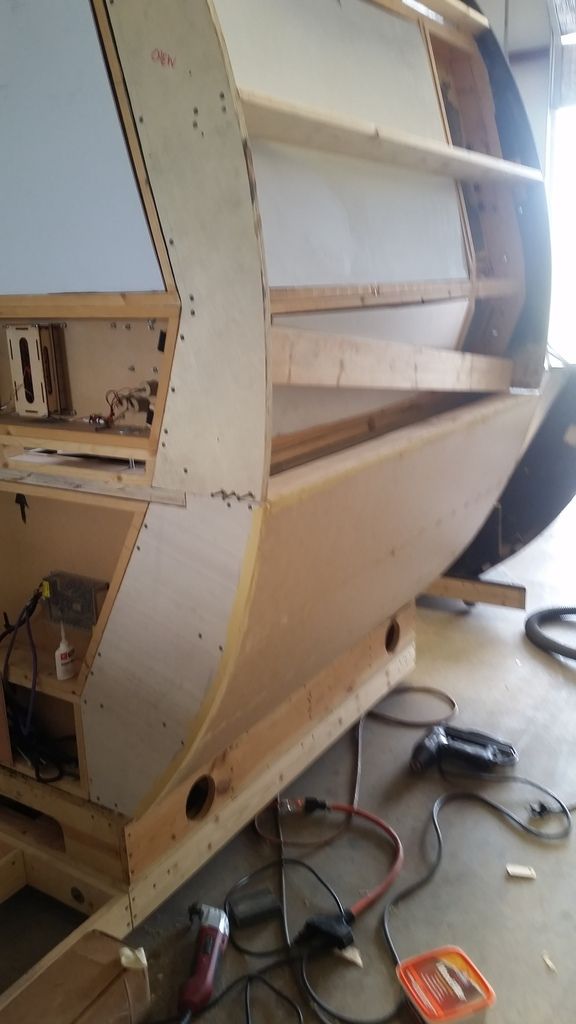
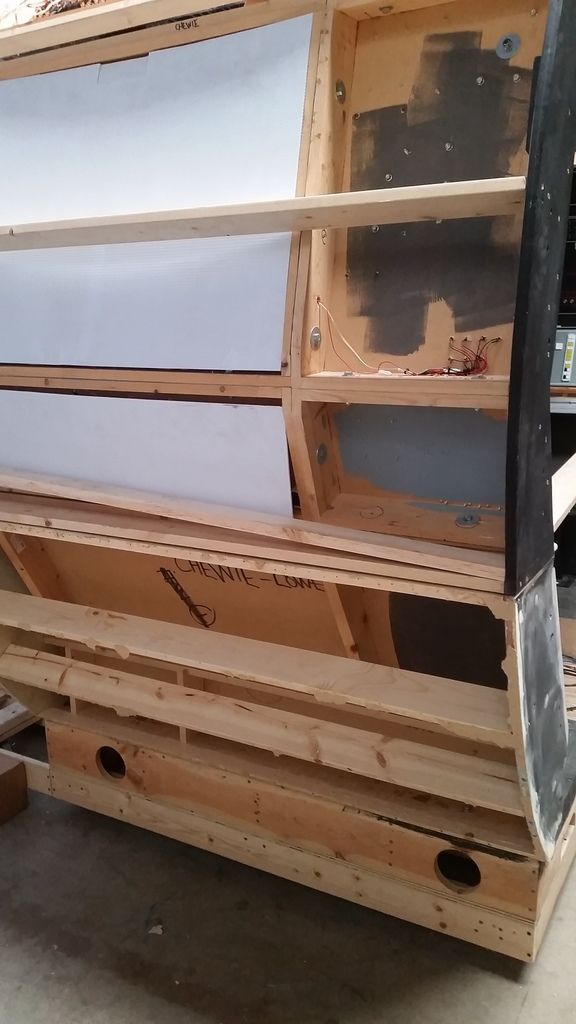
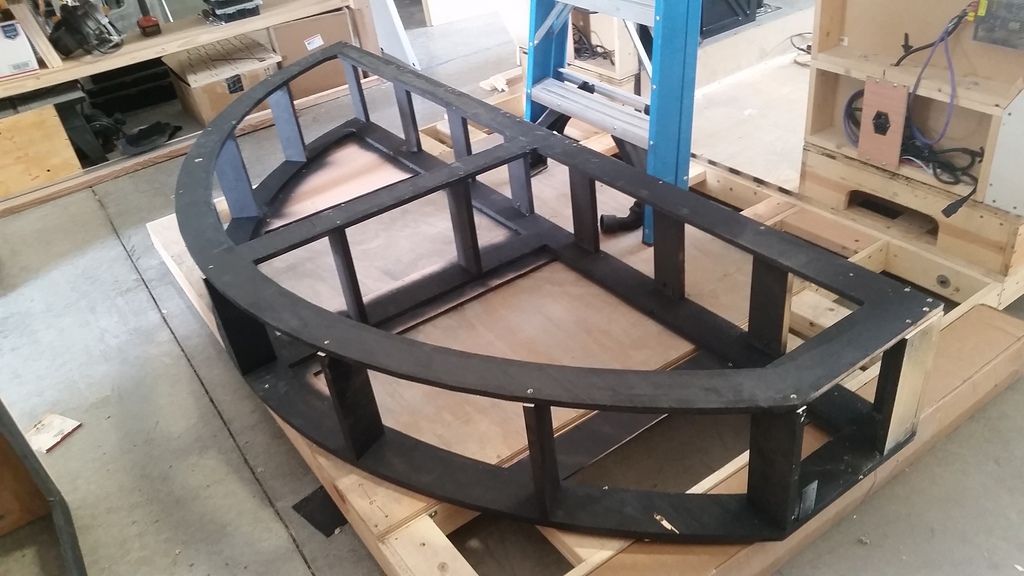
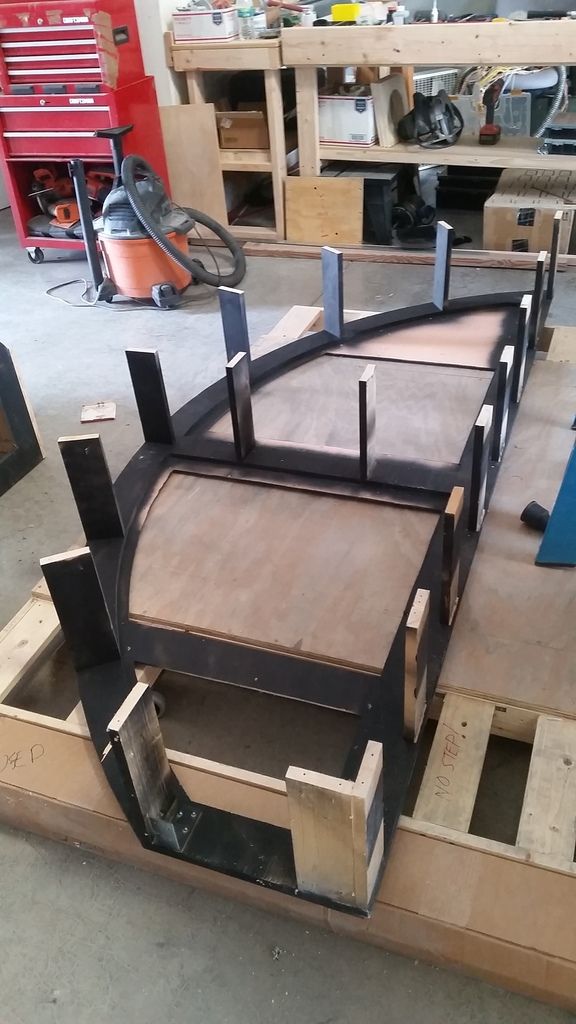
Framing has begun!
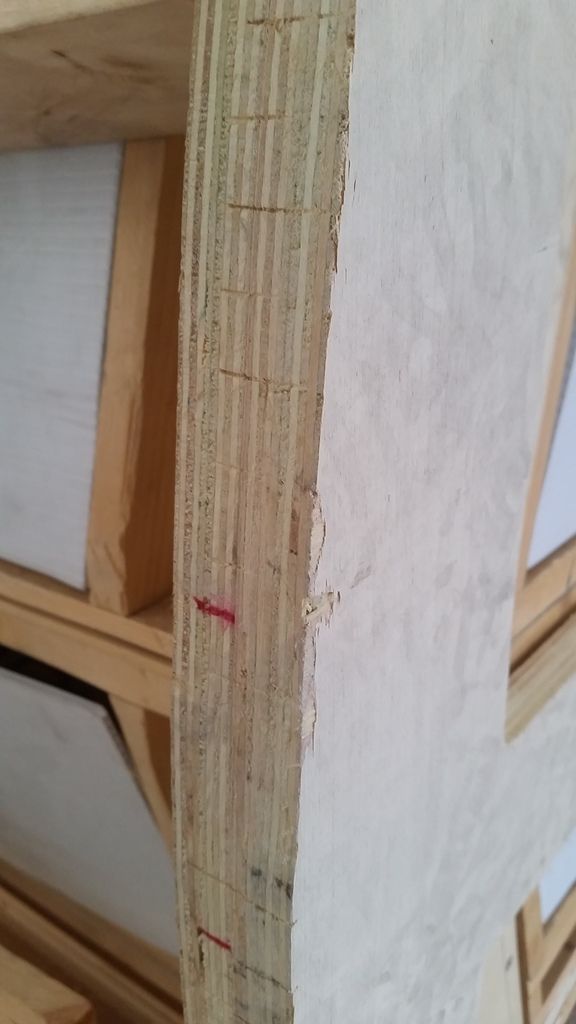
Each arch piece had to be fixed and mod'd in order to fit and marry up all the other panels
The router bit I was using went belly up and jumped the wood - dang bearing!
Now for the lower arches
Blurry... sorry
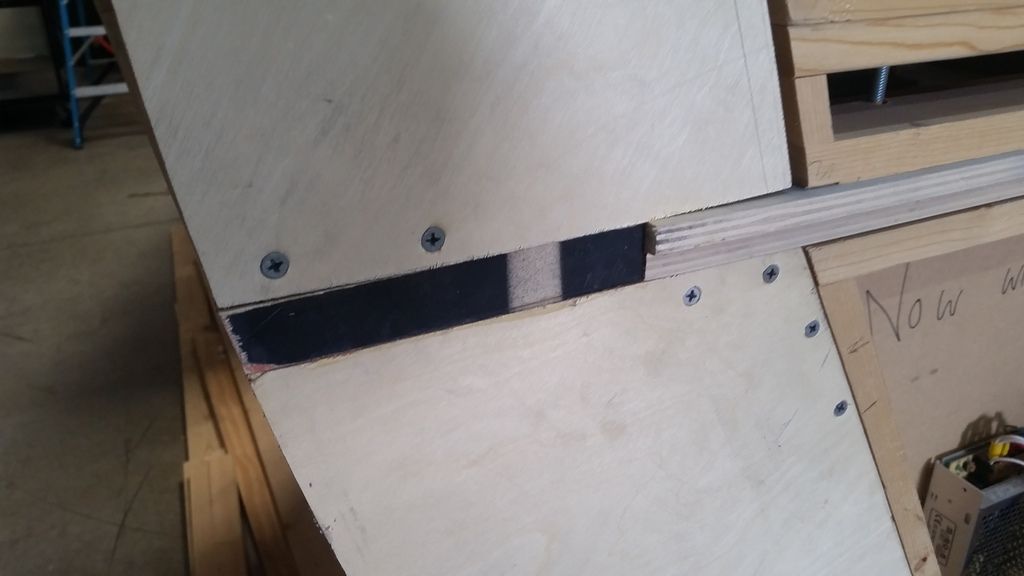
I had to create a filler piece (in black)
After buying a new router bit I traced and mod'd Chewie's side
Another fix
Perfect!
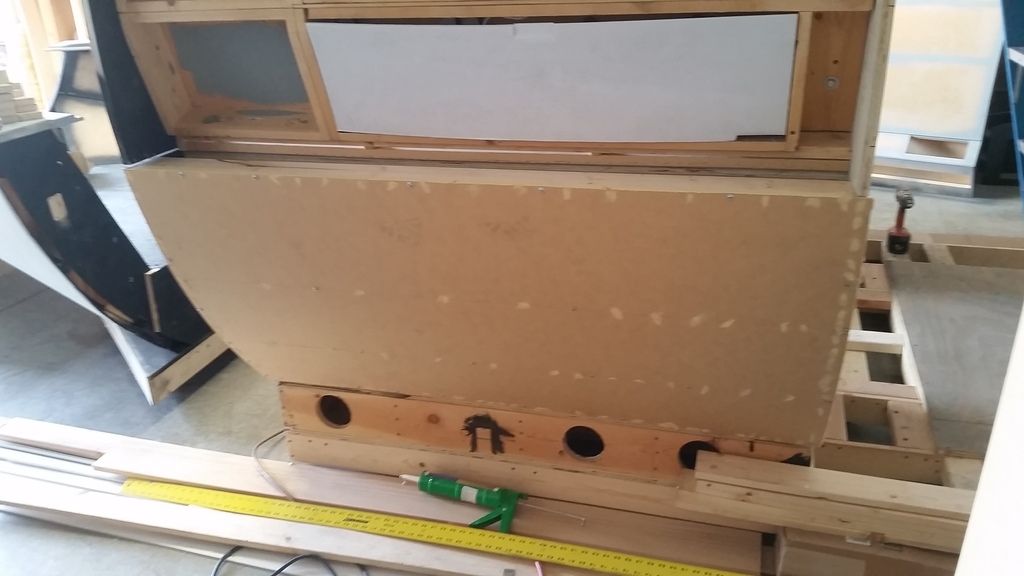
This arch gave me a few issues!
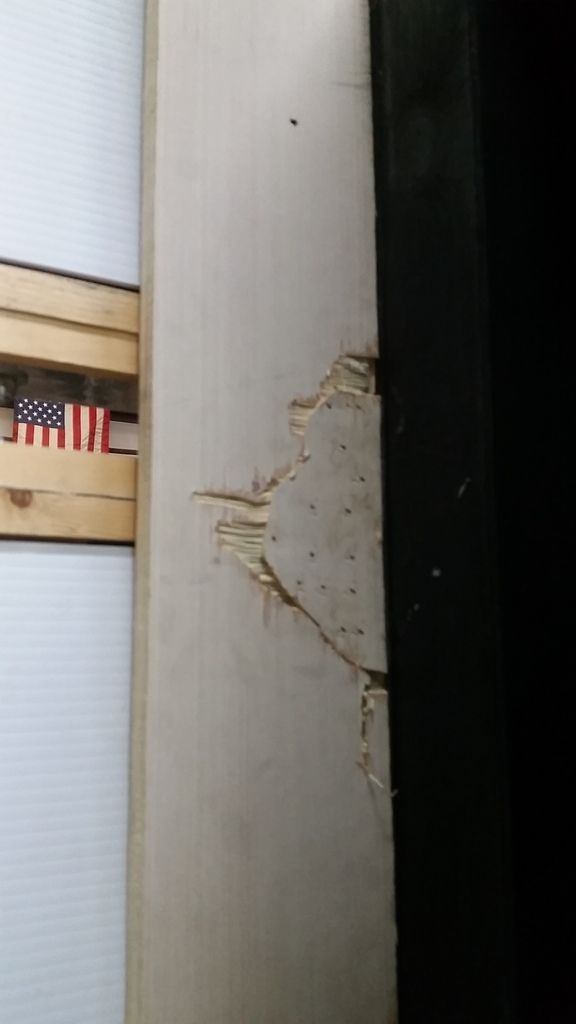
I had to do a LOT of trimming so these panels would all fit together in the new box frame - BEFORE
After
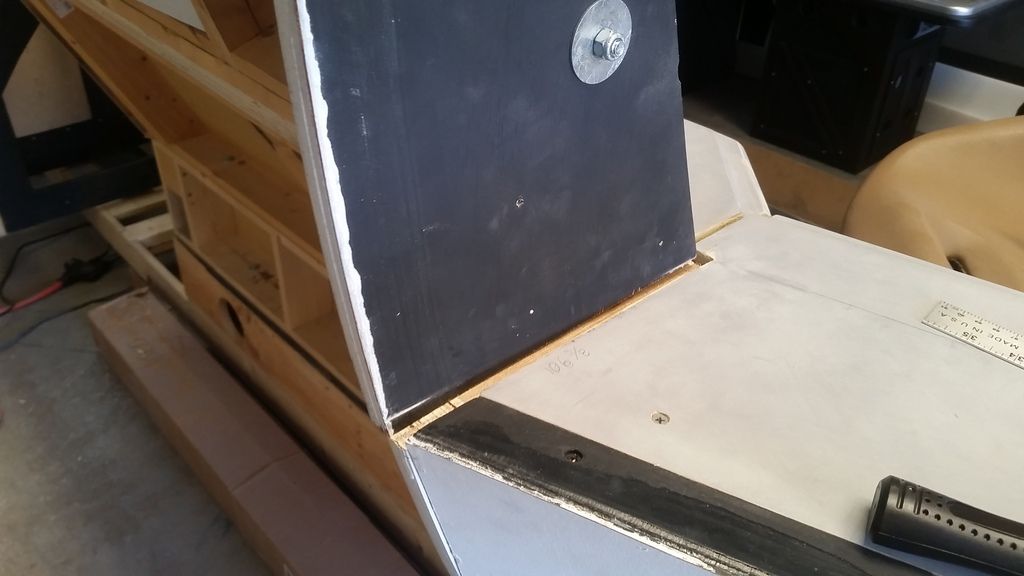
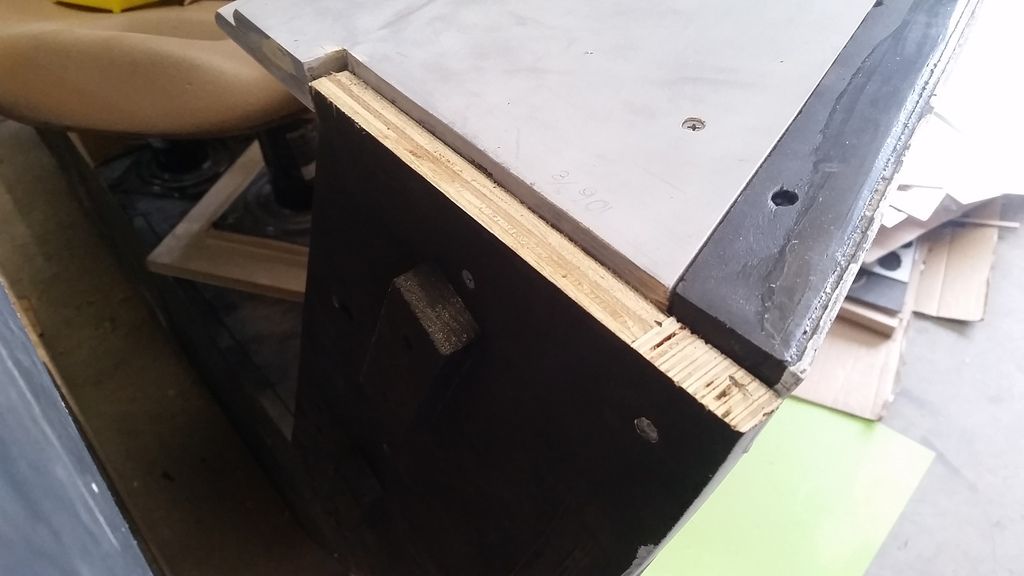
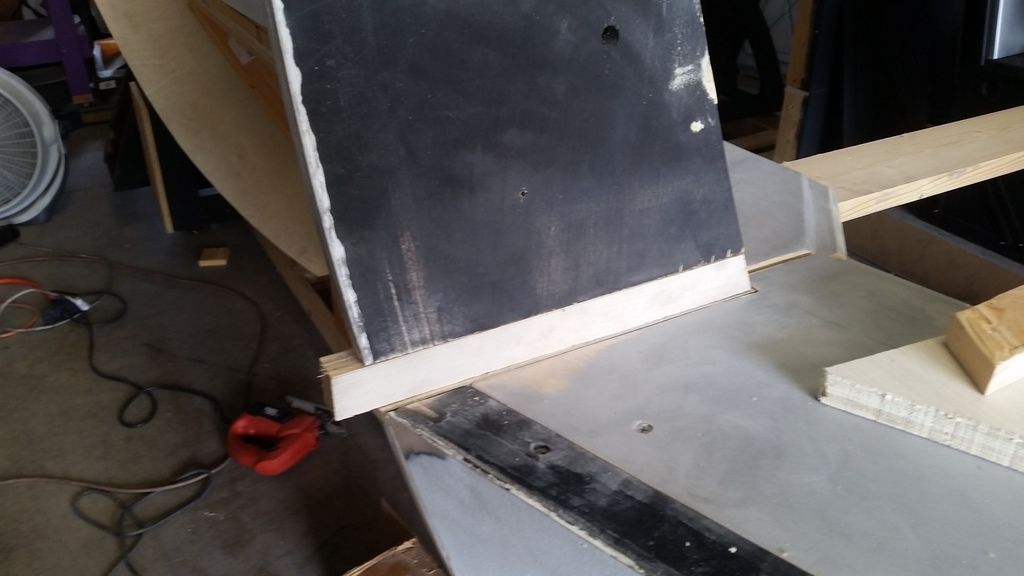
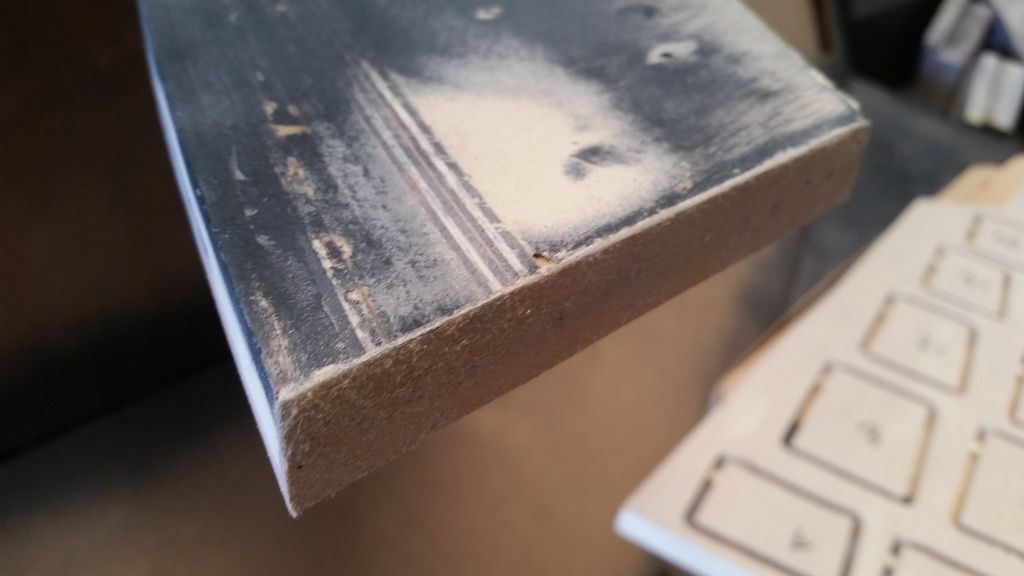
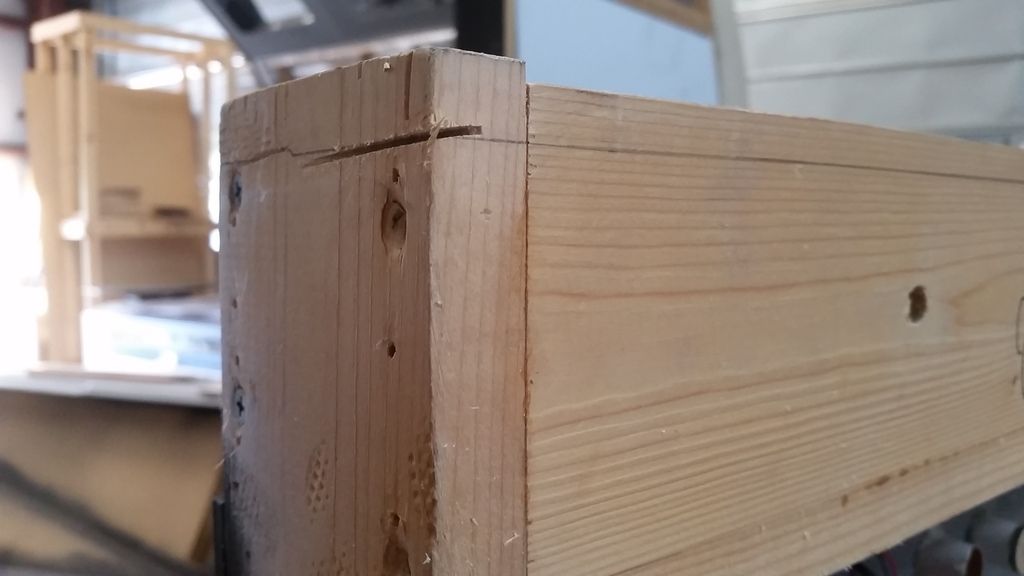
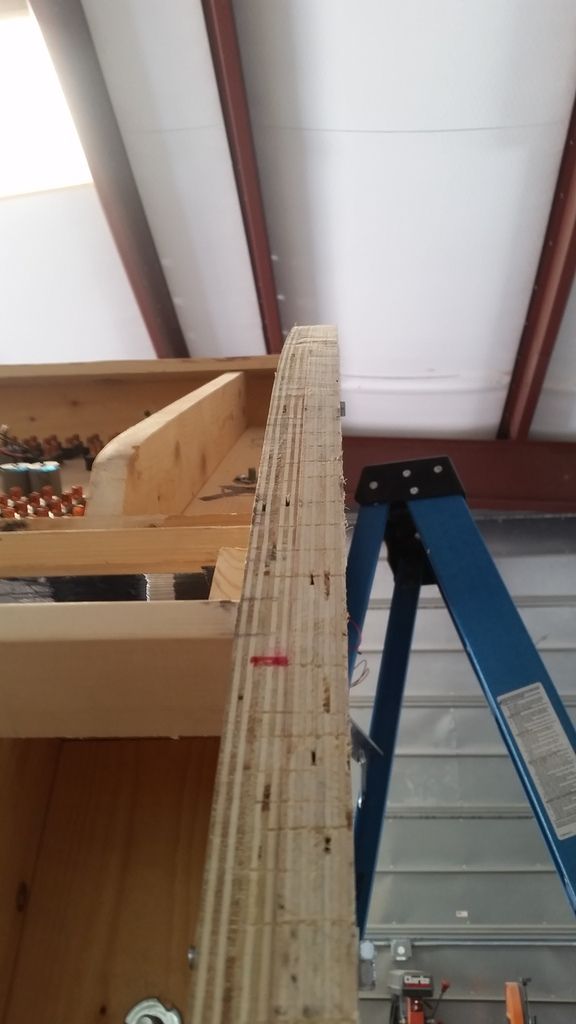
It was finally time for the main top arch! I laser cut this small piece
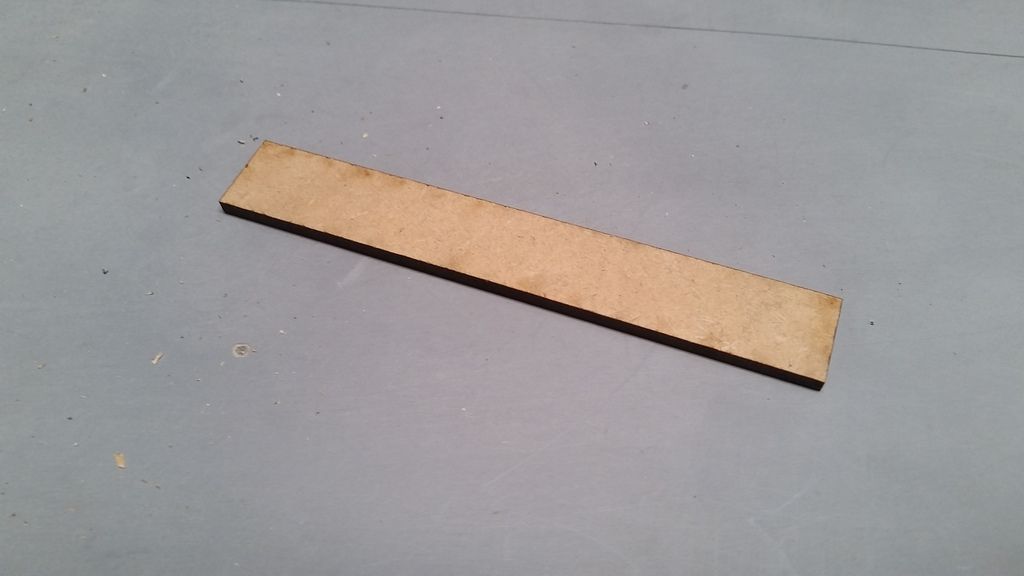
I adhered in place and then used a file (no sand paper) to sand down to fit - the file kept the edge flat and straight
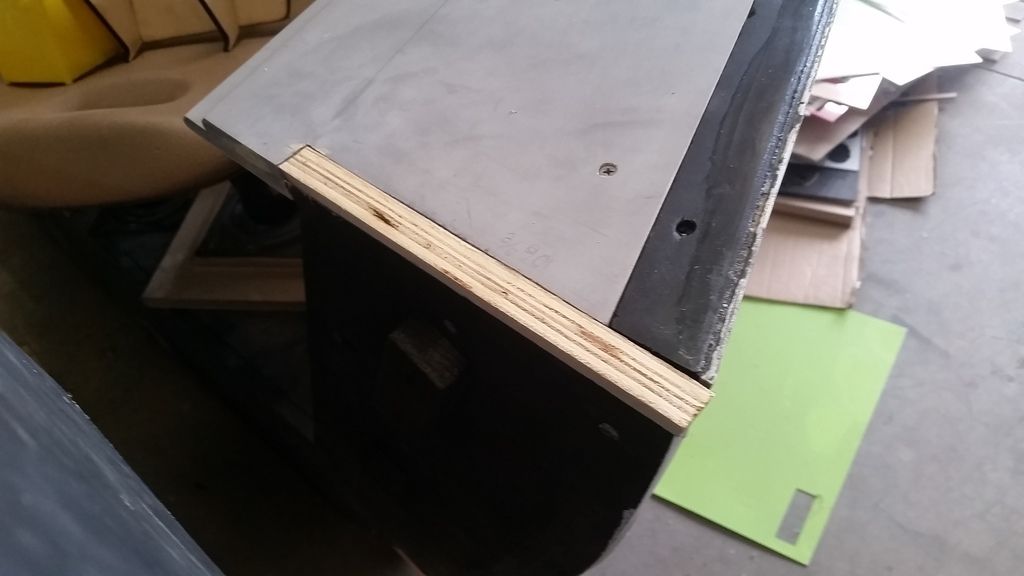
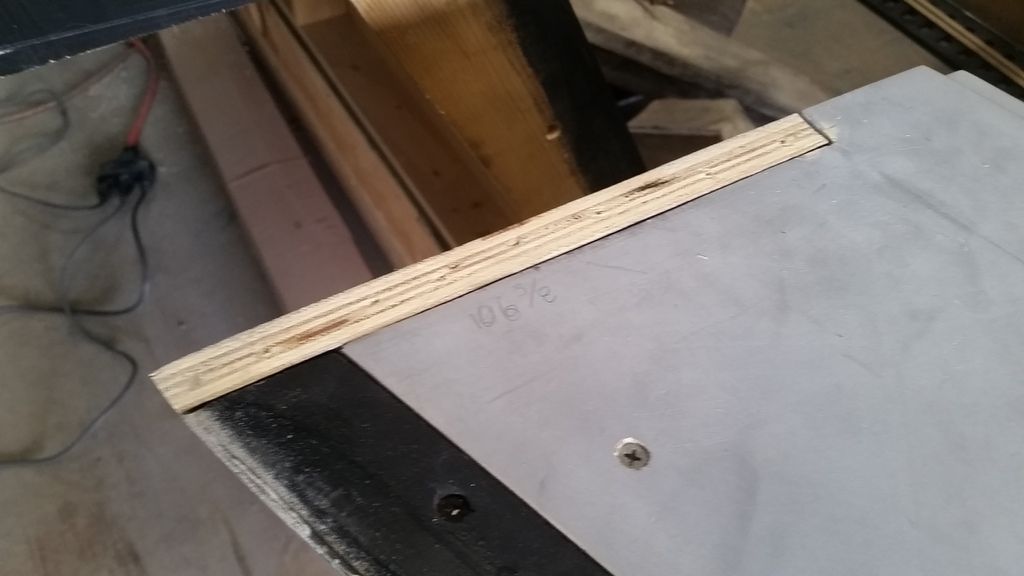
1st Pass
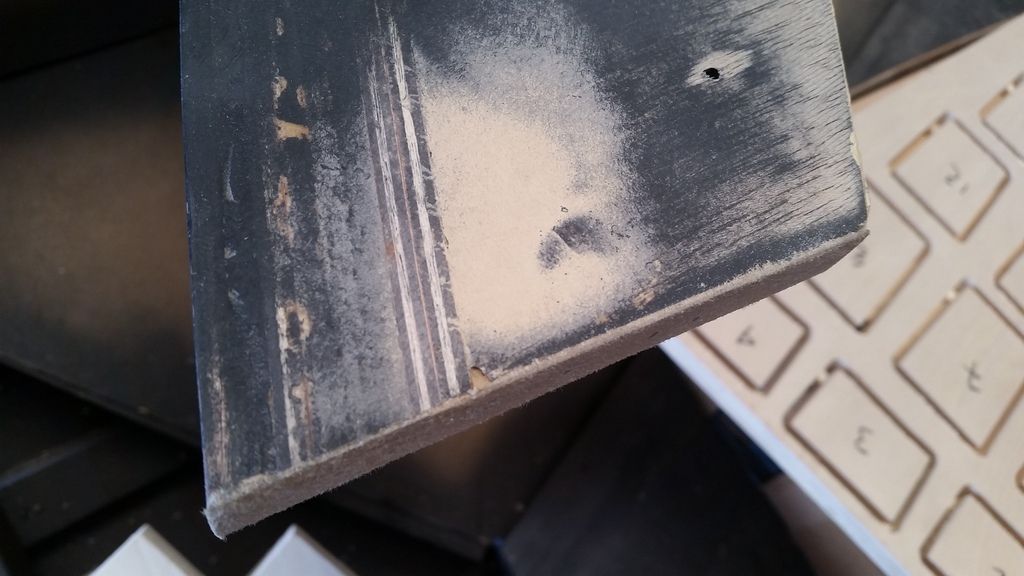
2nd Pass
Final Pass
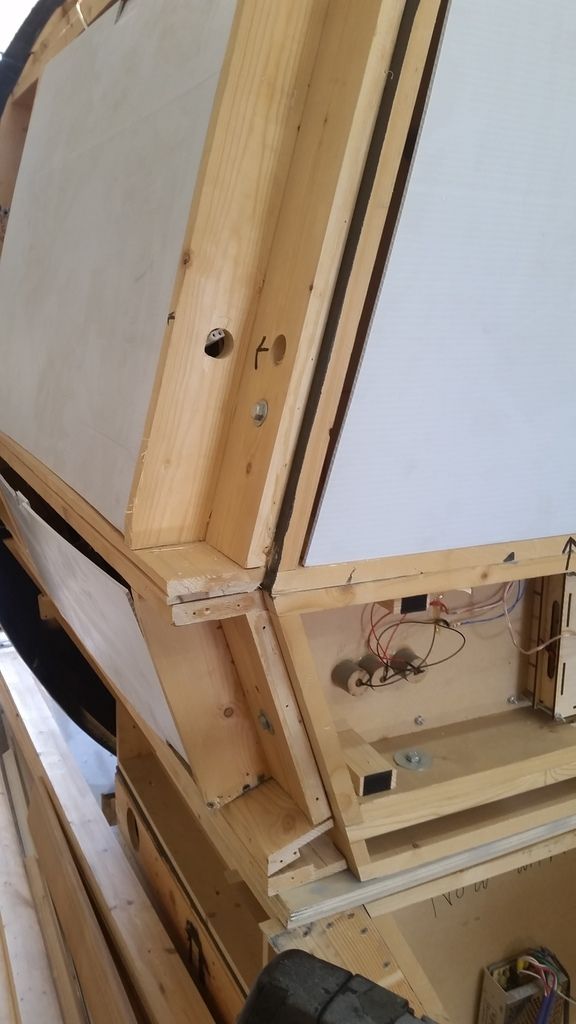
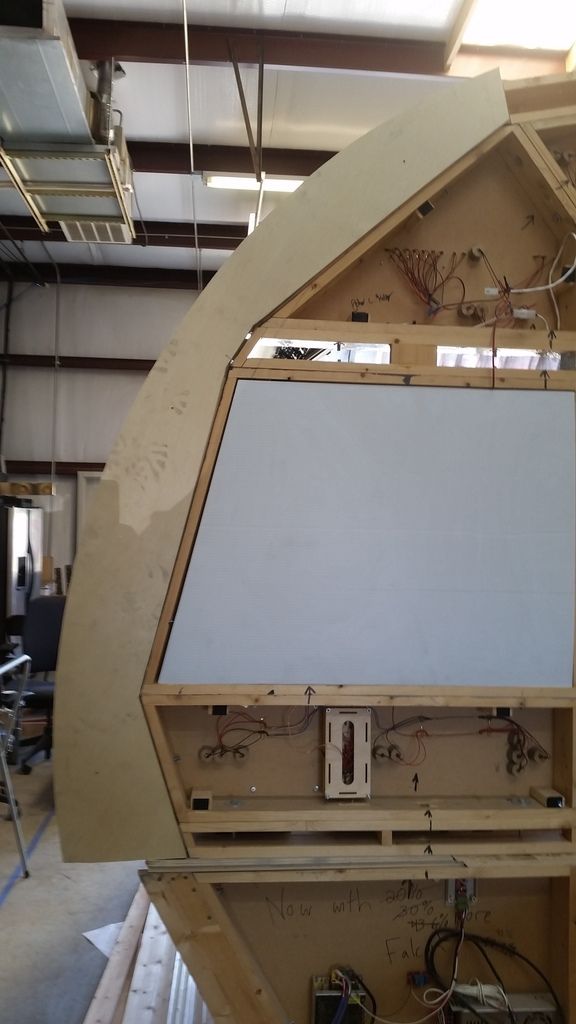
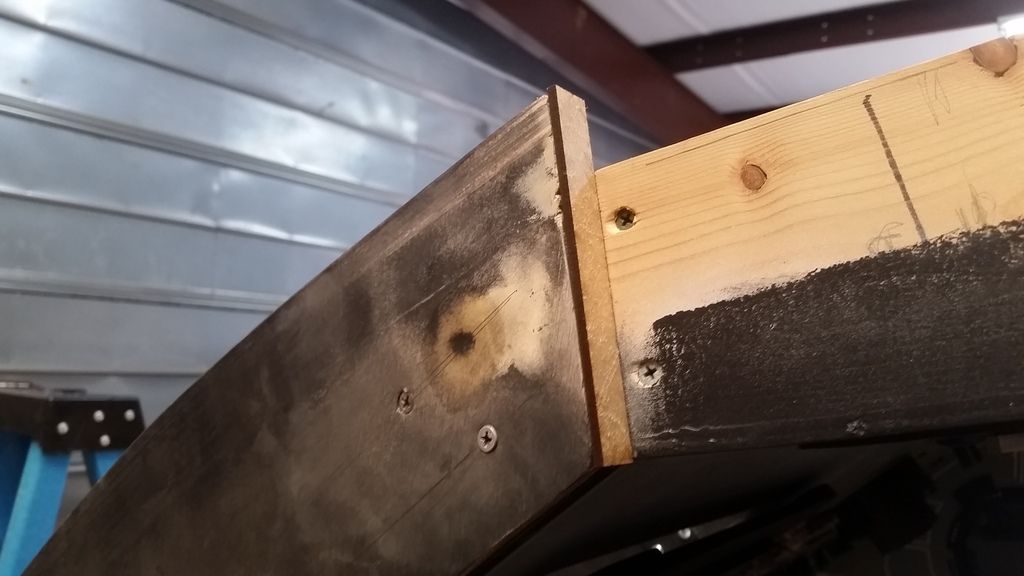
Upper arch piece now fits perfectly! She is solid as a rock!
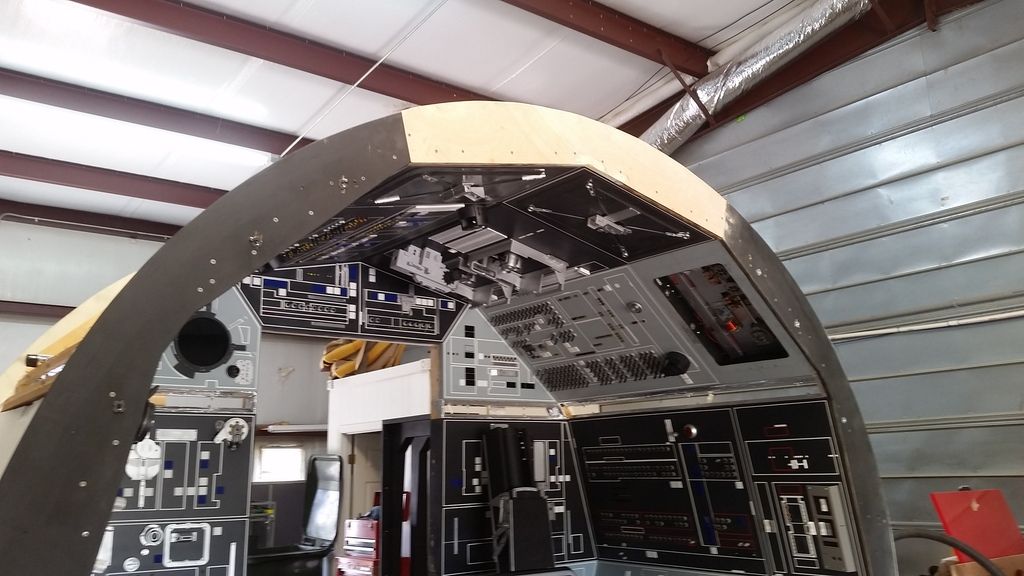
I have to trace this piece and then box in the upper two panels and then... we can finally start to skin this beast!
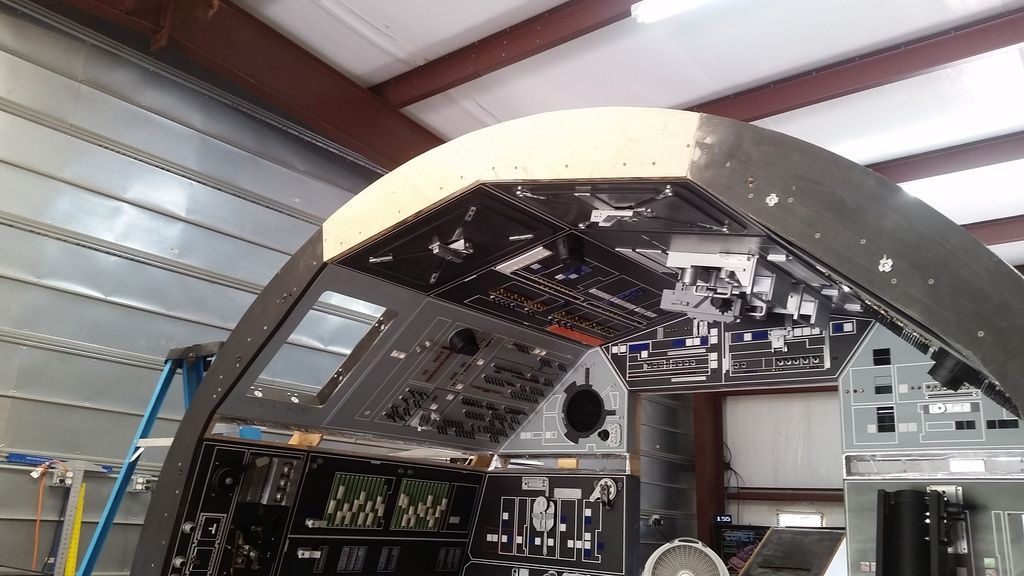
Back arch getting a filler piece

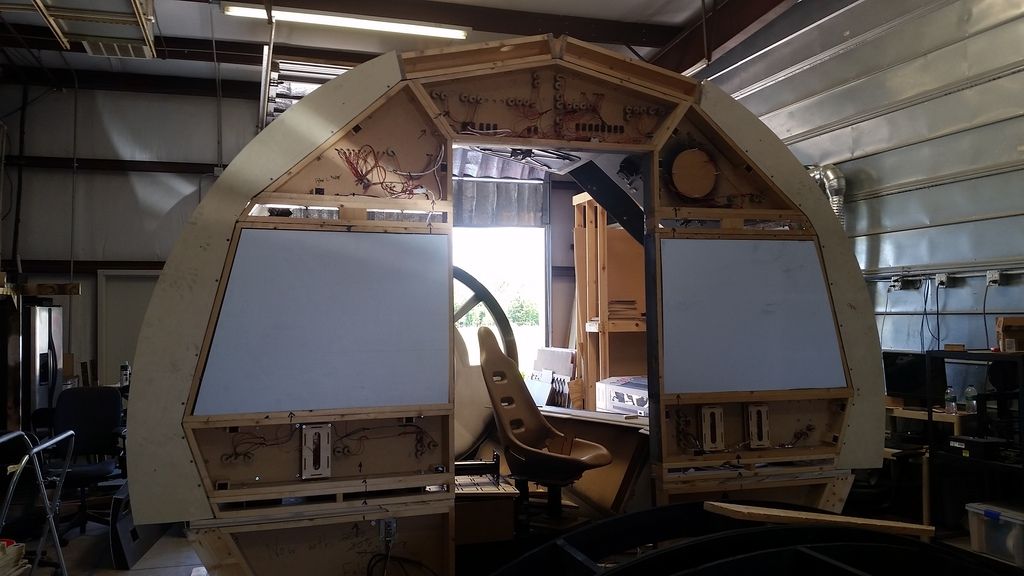
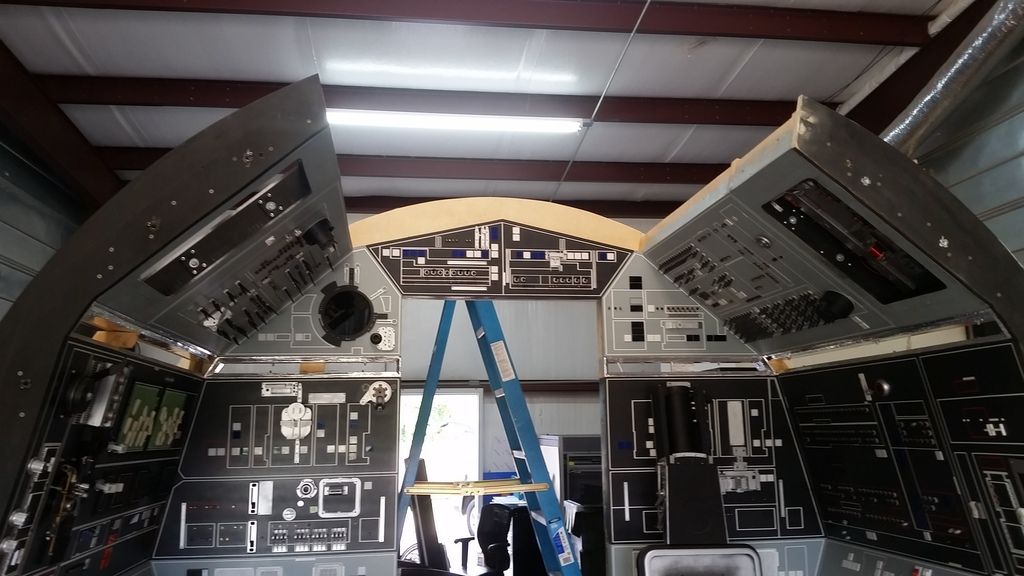
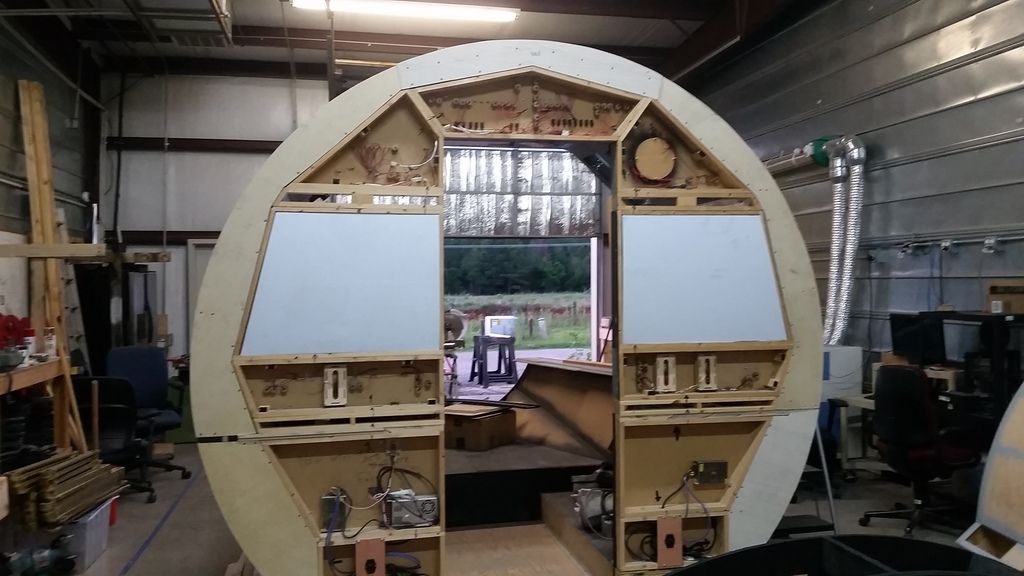
And this is where we are... The two upper panels are going to be a challenge to add the arch because they were not built the same way as the other. I have to think this through...
Stay Tuned for Part II!
My apologies for not responding to the posts... I've been a bit busy.
Enjoy Weekend Update Part I of ?
Almost finished mounting the armrests. But still a lot sanding and cosmetic work to do
I ran out of threaded rod... :facepalm
I FINALLY finished up the interior of the access panel on Han's side
Found this larger silver part in our greeblie box and thought it looked the part
Found another cool looking greeblie
Found this old pinball light bulb holder
PERFECT fit
I'm going to dress the area with a few more greeblies then call this panel finished!
The new upper panel covers finally getting some attention
Primer
And now the reason for being... Let the chaos begin!
So what's going on? All these extra back pieces are being removed...
All these back pieces served to box the ends of the panels so they could rest on the back wall
Now... there's a new purpose!
With all that tear down finally behind me... I cut the two front vertical arches in half. This will act as a new panel side. For what?
All those pieces are being replaced with a new arch piece that will essentially create one LARGER panel and do something MUCH more important
I used a router tracing bit to cut the back arch and then mod'd it fit - the warping has been massive over these last few years!
Can you see it yet?
Now you can begin to see the outer edge! This will make it MUCH easier to skin and make the cockpit more modular and easy to transport
The hardest part has been making sure the front and back arches align. I dont think it's going to be perfect merely because of the warping and I've modding this particular cockpit 7 times! I promise this is the last!
Framing has begun!
Each arch piece had to be fixed and mod'd in order to fit and marry up all the other panels
The router bit I was using went belly up and jumped the wood - dang bearing!
Now for the lower arches
Blurry... sorry
I had to create a filler piece (in black)
After buying a new router bit I traced and mod'd Chewie's side
Another fix
Perfect!
This arch gave me a few issues!
I had to do a LOT of trimming so these panels would all fit together in the new box frame - BEFORE
After
It was finally time for the main top arch! I laser cut this small piece
I adhered in place and then used a file (no sand paper) to sand down to fit - the file kept the edge flat and straight
1st Pass
2nd Pass
Final Pass
Upper arch piece now fits perfectly! She is solid as a rock!
I have to trace this piece and then box in the upper two panels and then... we can finally start to skin this beast!
Back arch getting a filler piece
And this is where we are... The two upper panels are going to be a challenge to add the arch because they were not built the same way as the other. I have to think this through...
Stay Tuned for Part II!
Last edited:
All I am gonna say is, I love Rey.
View attachment 731953
Rey will never fill the shoes of Han Solo. Just my opinion. Jyn Erso on the other hand, could have, but too late now for a re-think of the characters, or actresses portraying them. A discussion for a different board anyway...
Hi Gang,
I promise I'll answer all the posts!
For now... Enjoy Update Part II
I didn't take too many photos as I was trying to get all the panel edges to align, doing a LOT of cosmetic work, etc etc etc...
Panels getting the first of a few coats of black
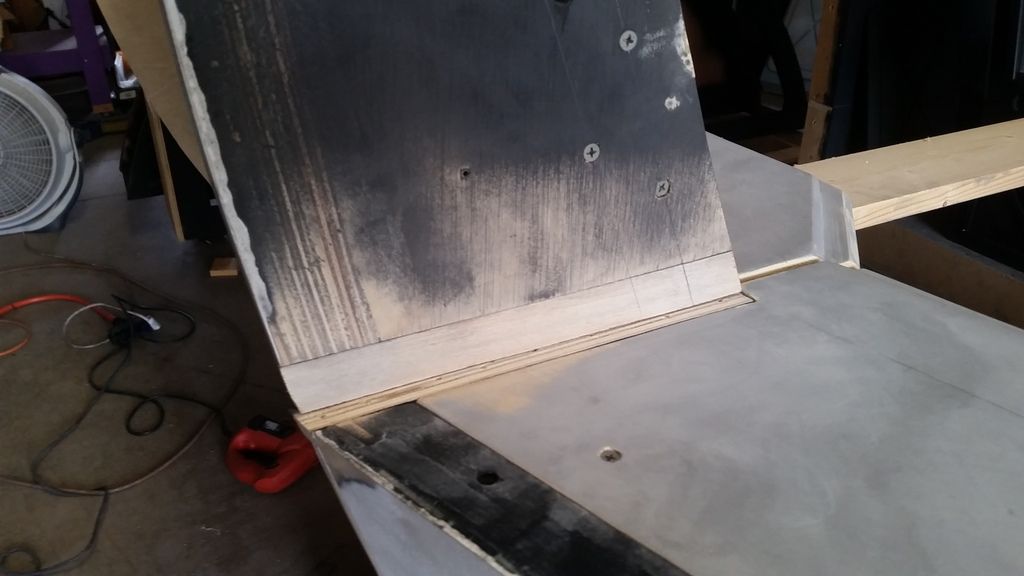
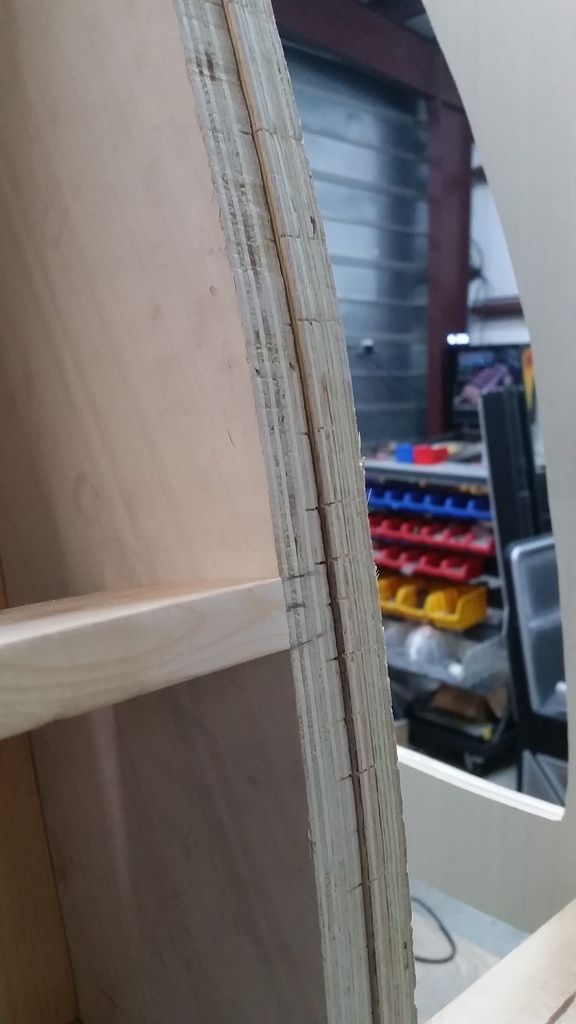
Using the arch for the top panels as a guide, I routed the new back arch
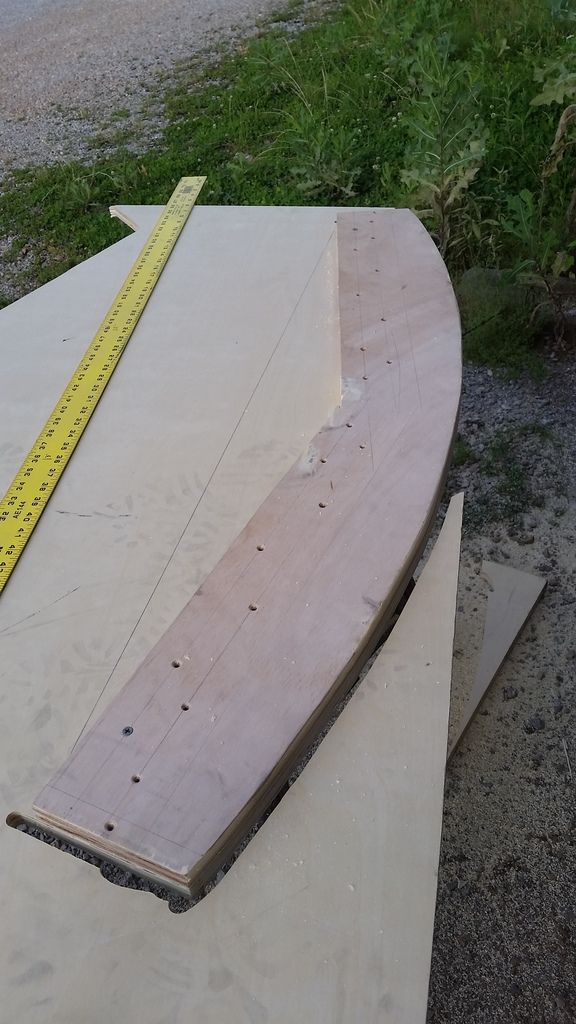
Dry fit into place
After doing some thinking I broke out the oscillator tool and removed the necessary material to incorporate the new arch (the jig saw didn't work too well!)
Used simple tape as a guide line and then removed everything above the tape
I then screwed the new arch into the panels and placed the panel back into position. Did it fit? BINGO!
A little bit of trim work and she's done!
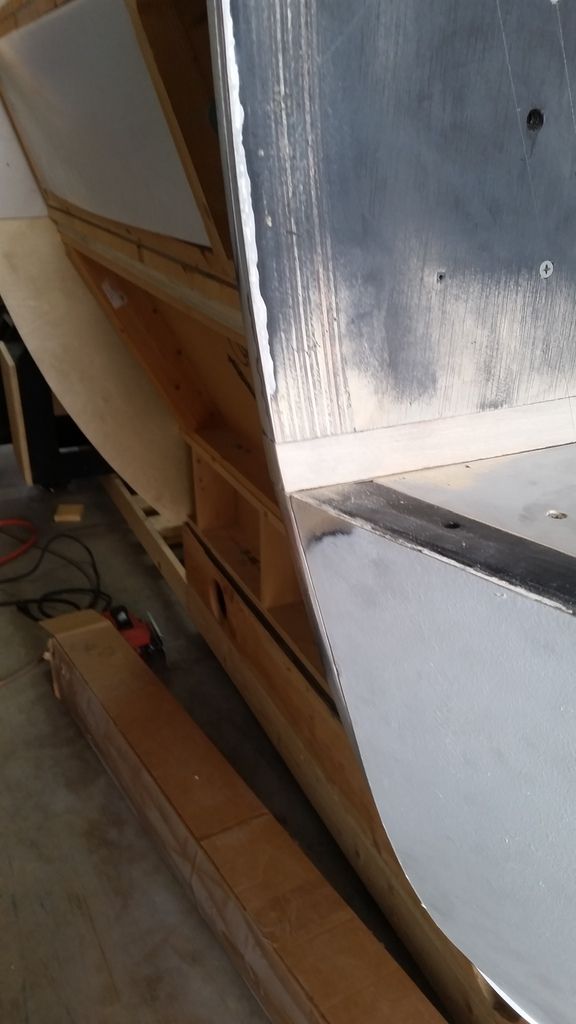
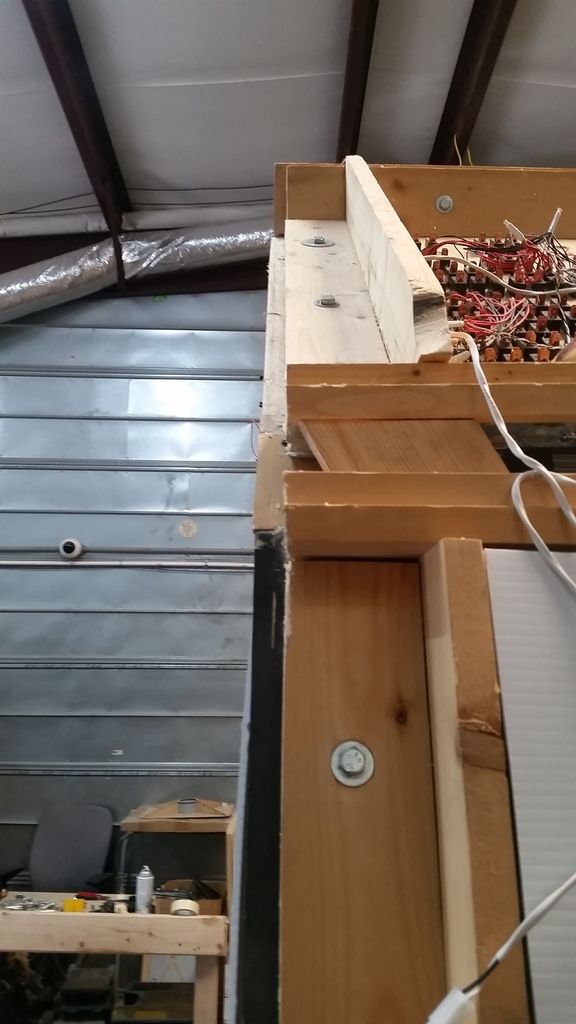
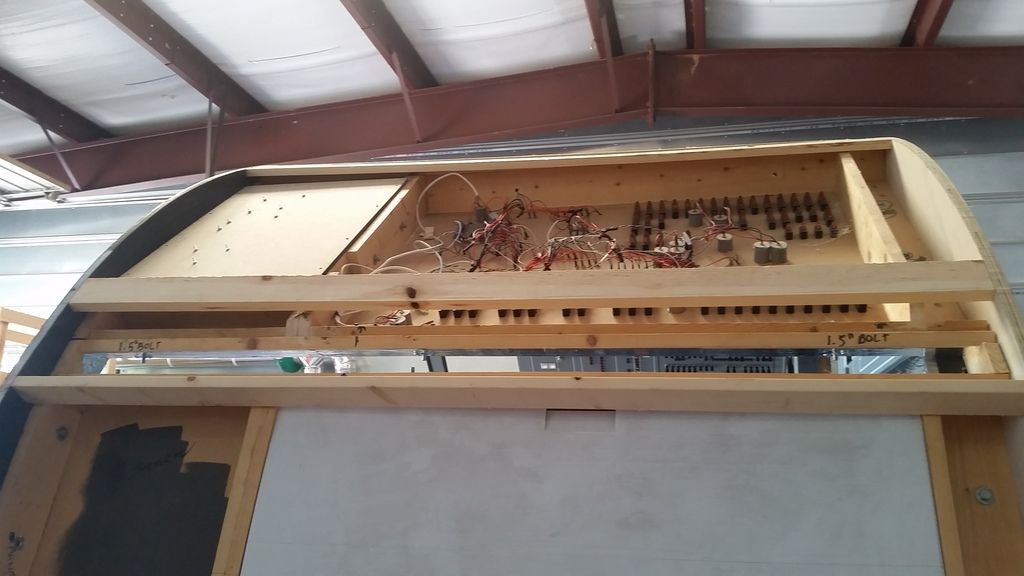
Looking front to back - now I have to create all the frame pieces!
Here's the real test... Do the corridor pieces align with the new outer edge?
ALMOST PERFECT!
Slight overhang...
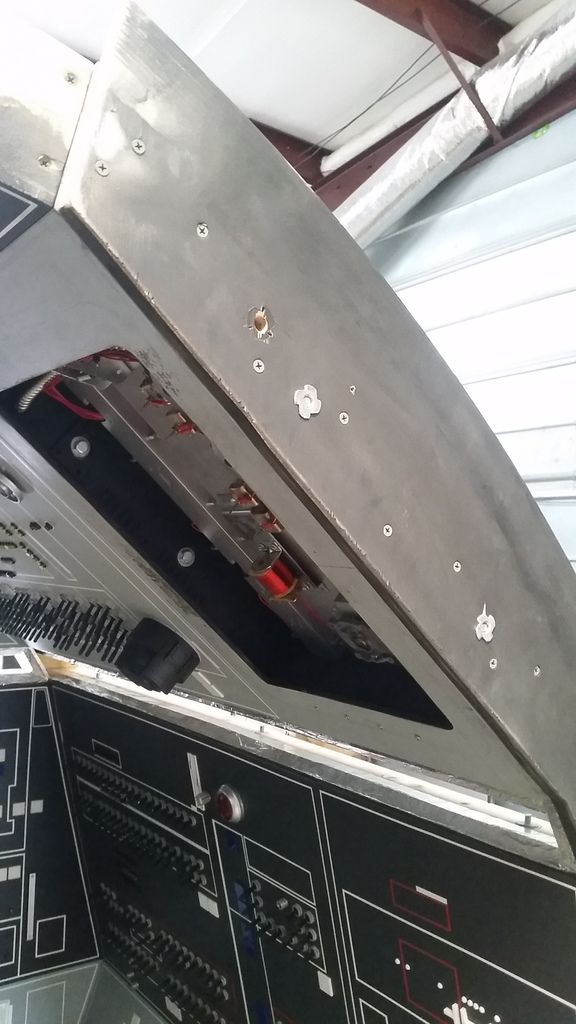
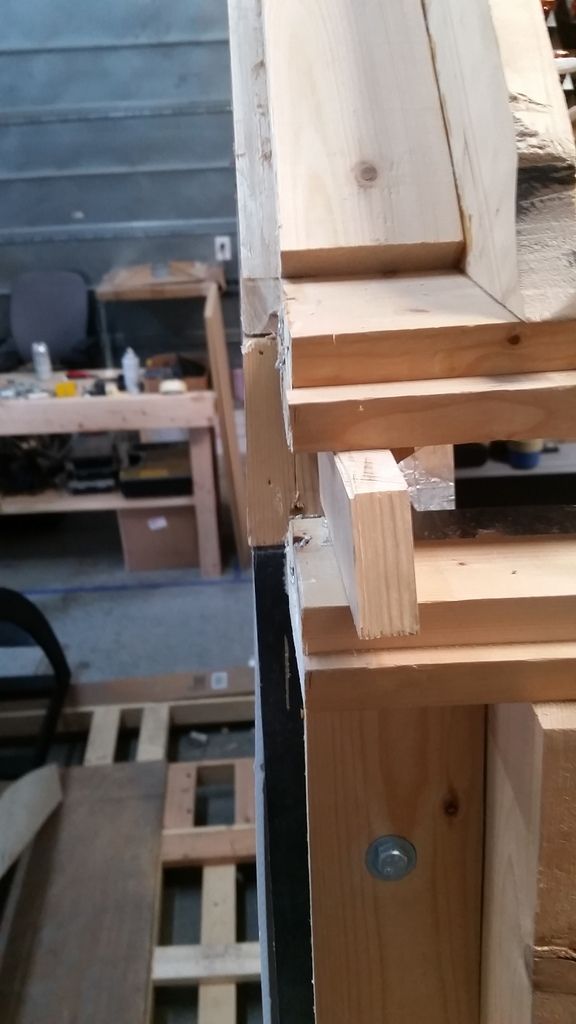
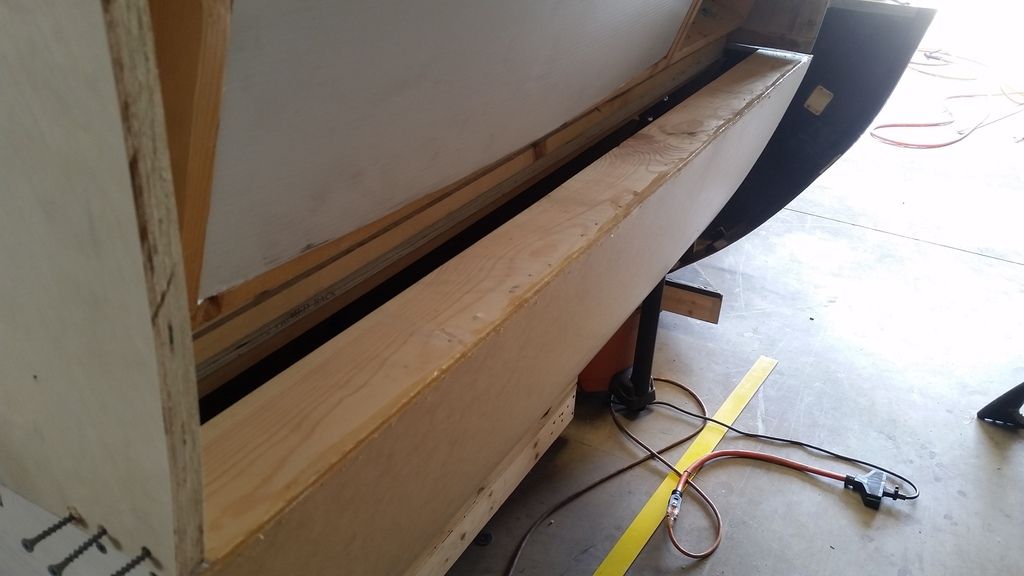
Odd photo... You're looking at the very bottom of the nav chair platform. I'm adding the framing pieces from the bottom up
The transition from body to nose required a LOT of cosmetic work so I decided to knock that out

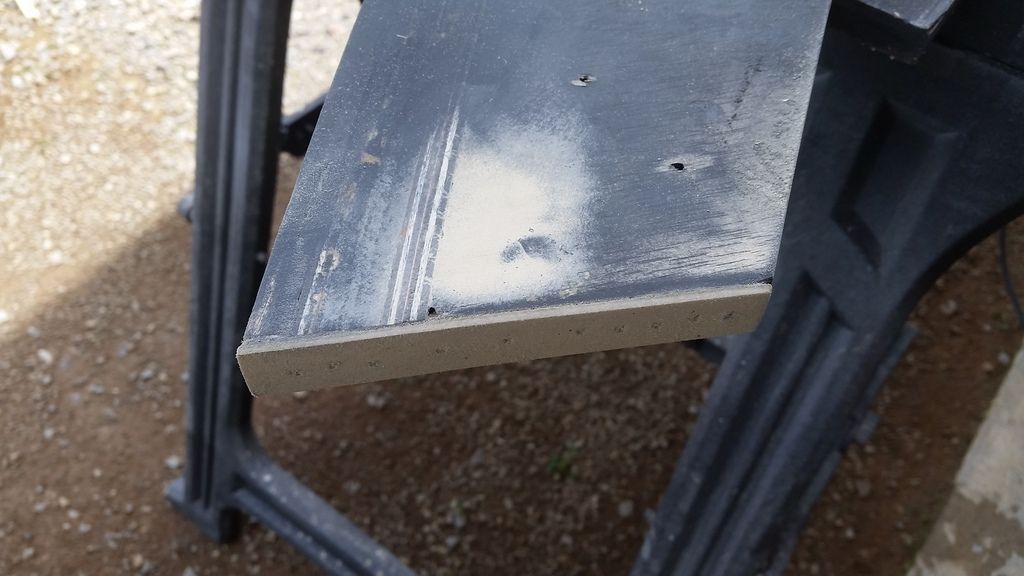
Filler! Go away!
More filler

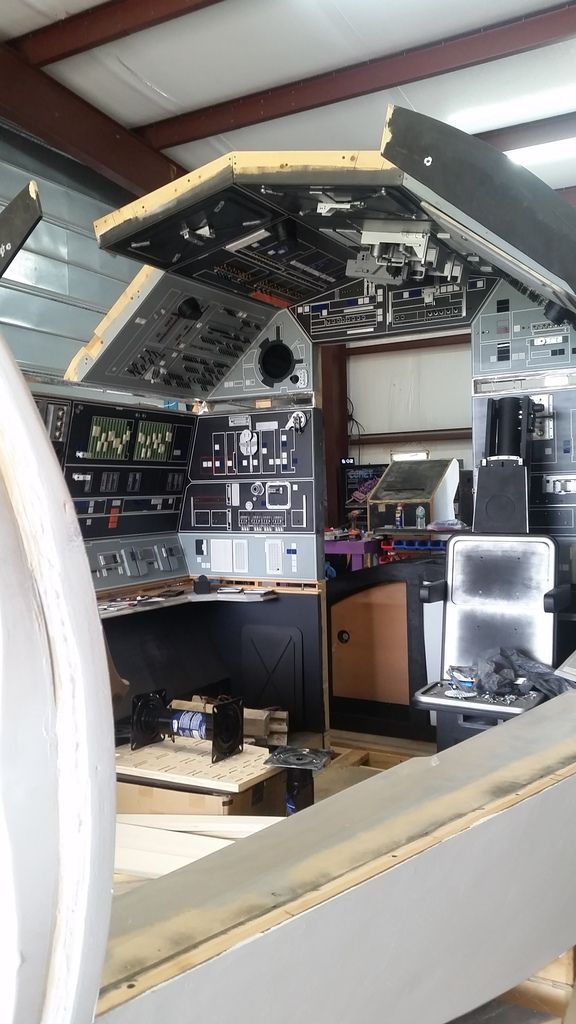
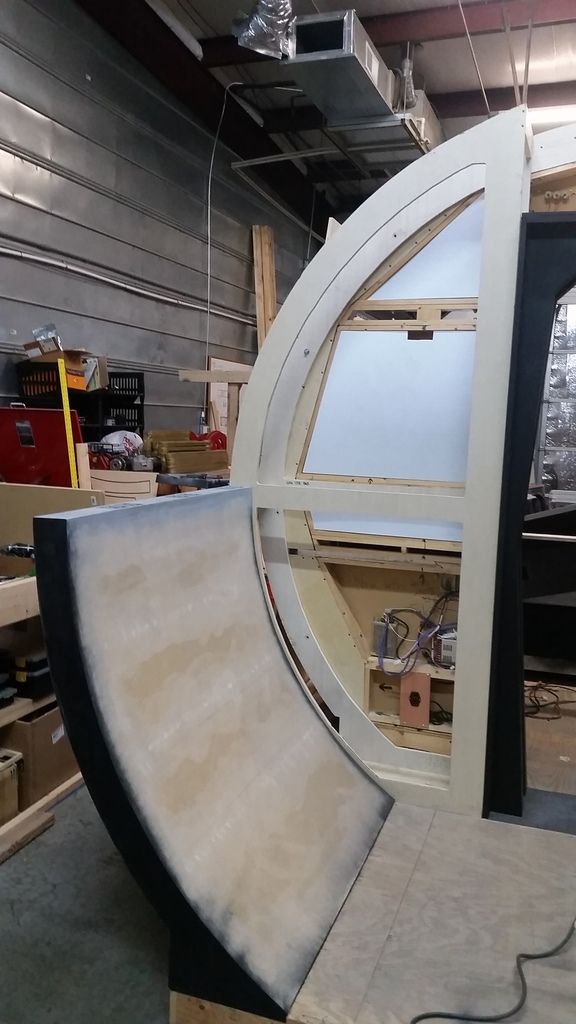
And this is where we are!
Stay Tuned! Part III Coming!
I promise I'll answer all the posts!
For now... Enjoy Update Part II
I didn't take too many photos as I was trying to get all the panel edges to align, doing a LOT of cosmetic work, etc etc etc...
Panels getting the first of a few coats of black
Using the arch for the top panels as a guide, I routed the new back arch
Dry fit into place
After doing some thinking I broke out the oscillator tool and removed the necessary material to incorporate the new arch (the jig saw didn't work too well!)
Used simple tape as a guide line and then removed everything above the tape
I then screwed the new arch into the panels and placed the panel back into position. Did it fit? BINGO!
A little bit of trim work and she's done!
Looking front to back - now I have to create all the frame pieces!
Here's the real test... Do the corridor pieces align with the new outer edge?
ALMOST PERFECT!
Slight overhang...
Odd photo... You're looking at the very bottom of the nav chair platform. I'm adding the framing pieces from the bottom up
The transition from body to nose required a LOT of cosmetic work so I decided to knock that out
Filler! Go away!
More filler
And this is where we are!
Stay Tuned! Part III Coming!
Last edited:
CJ 617
Sr Member
Always great fun, to catch up with the latest updates on this project! The Nav chairs look amazing and are really coming together and so close to finish. Keep up the excellent work!!
You are making all us Falcon fans very proud to see this project, coming along with such amazing attention to detail!
You are making all us Falcon fans very proud to see this project, coming along with such amazing attention to detail!
rubble
Active Member
MMMMMM, looking so good SK.
I might have missed it, but how are you attaching the panels to the frame? Could you potentially use a panel to cross the hallway to cockpit to hide the transition? You may be way ahead of me by this stage though.
Part III please ASAP. Loving all these update as usual.
I might have missed it, but how are you attaching the panels to the frame? Could you potentially use a panel to cross the hallway to cockpit to hide the transition? You may be way ahead of me by this stage though.
Part III please ASAP. Loving all these update as usual.
Hi Gang,
Update Part III
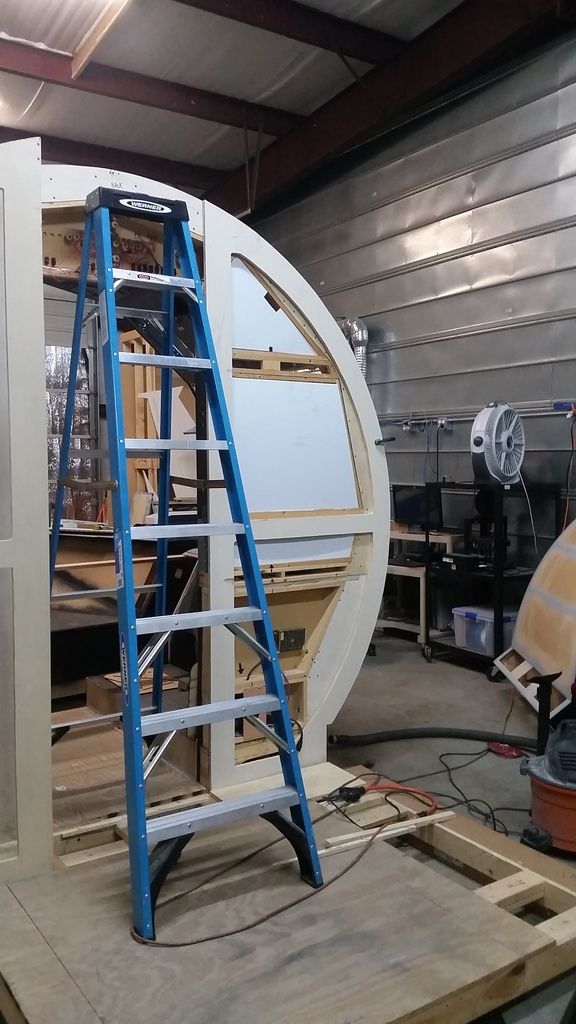
Again... I didn't take too many pics as I was up and down the ladder taking measurements most of the morning for all the frame pieces. Kinda boring...
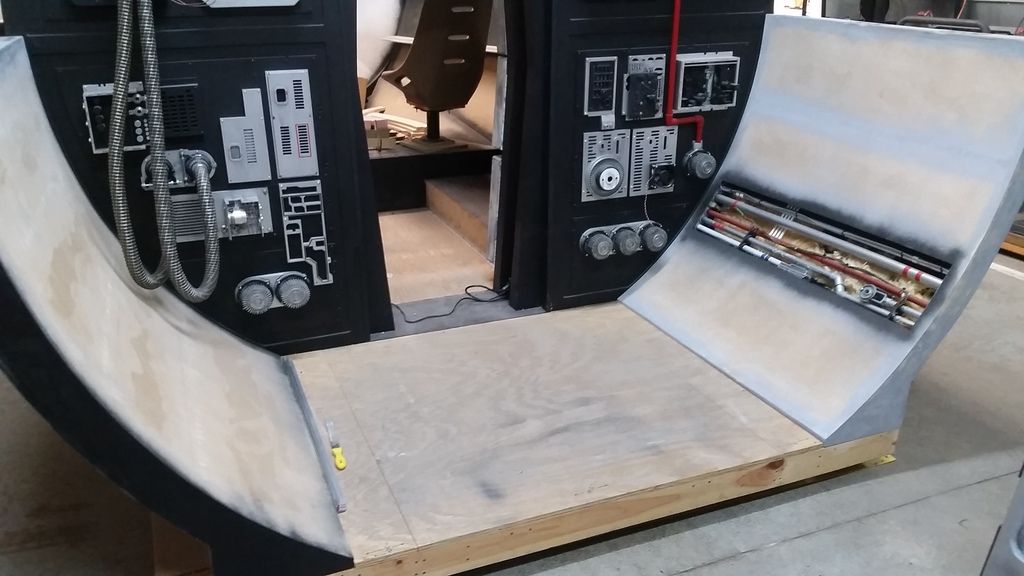
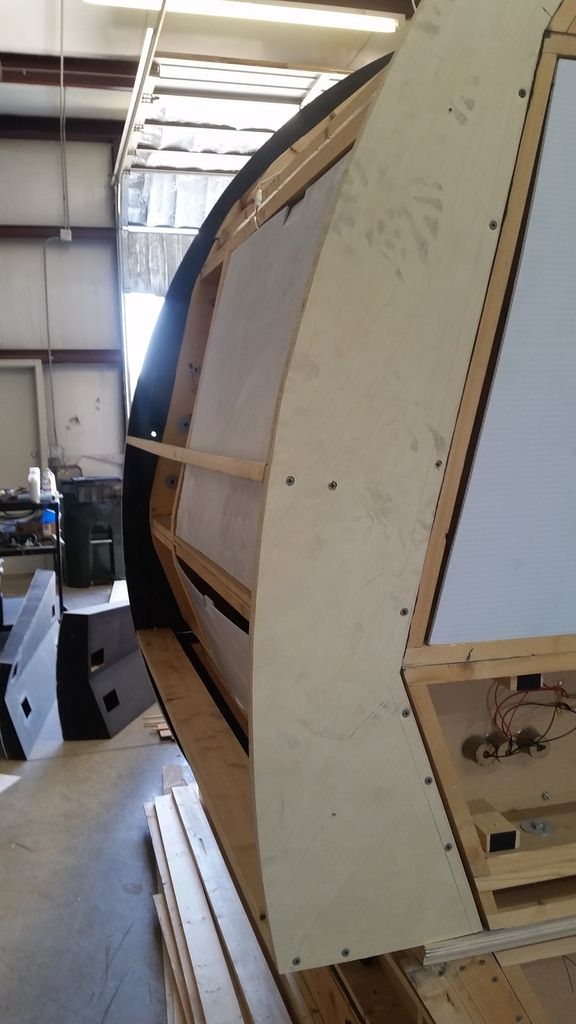
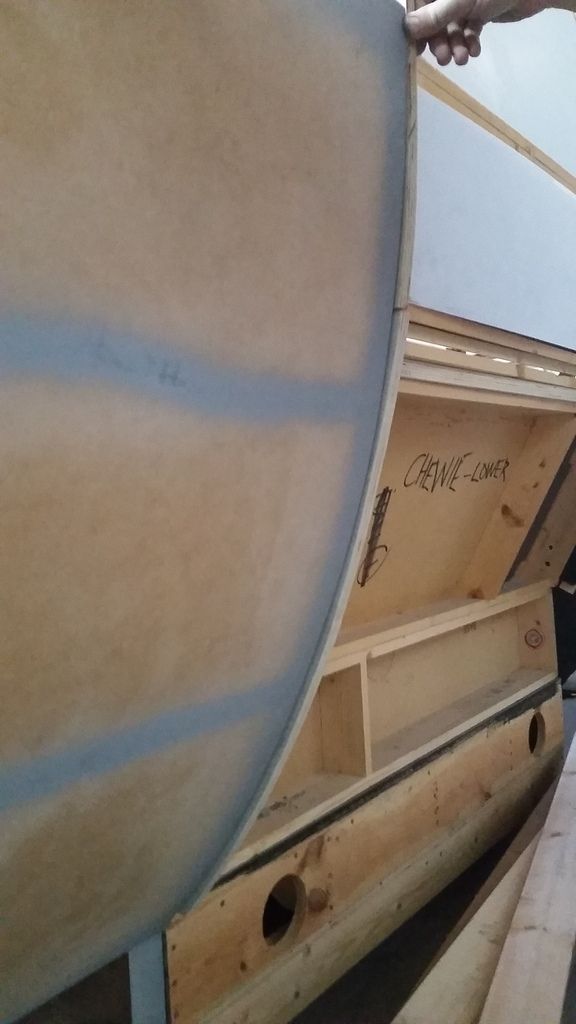
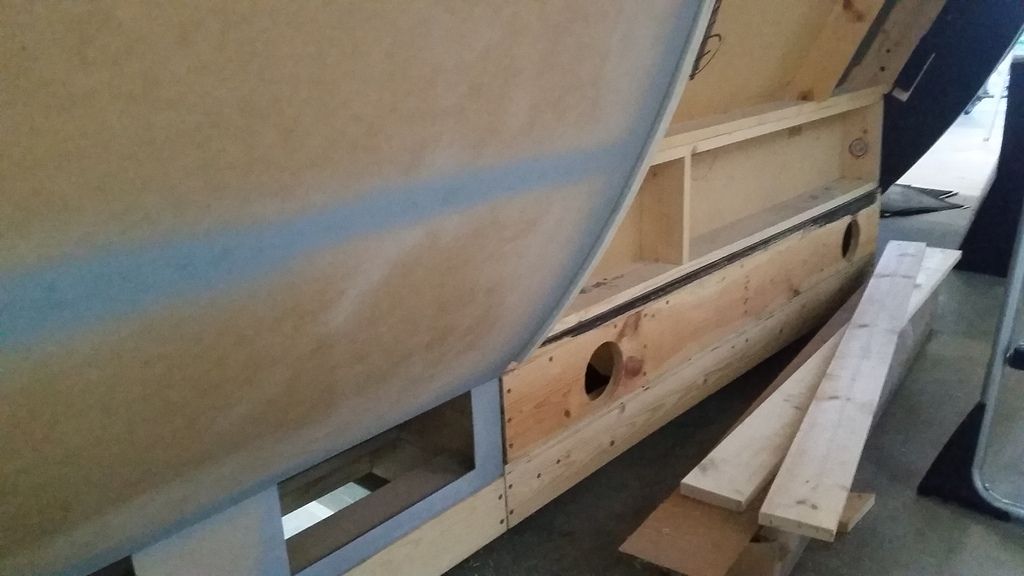
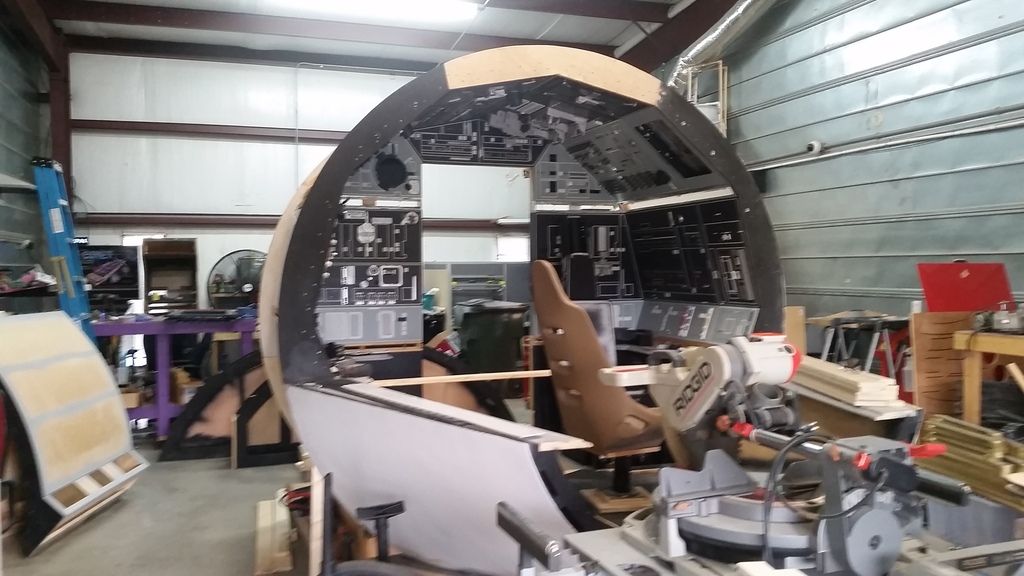
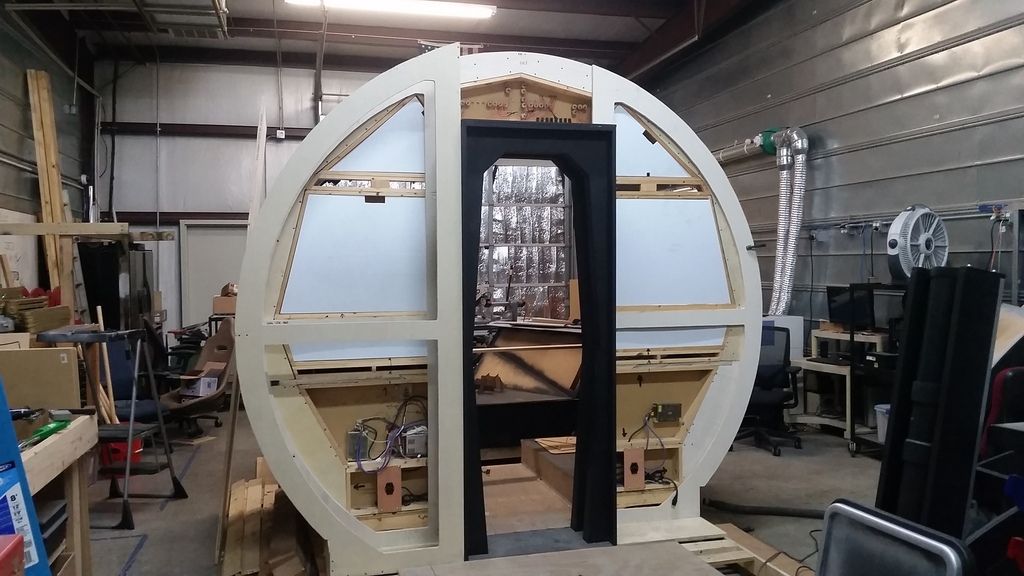
The framing is done! I think its time we show some skin!

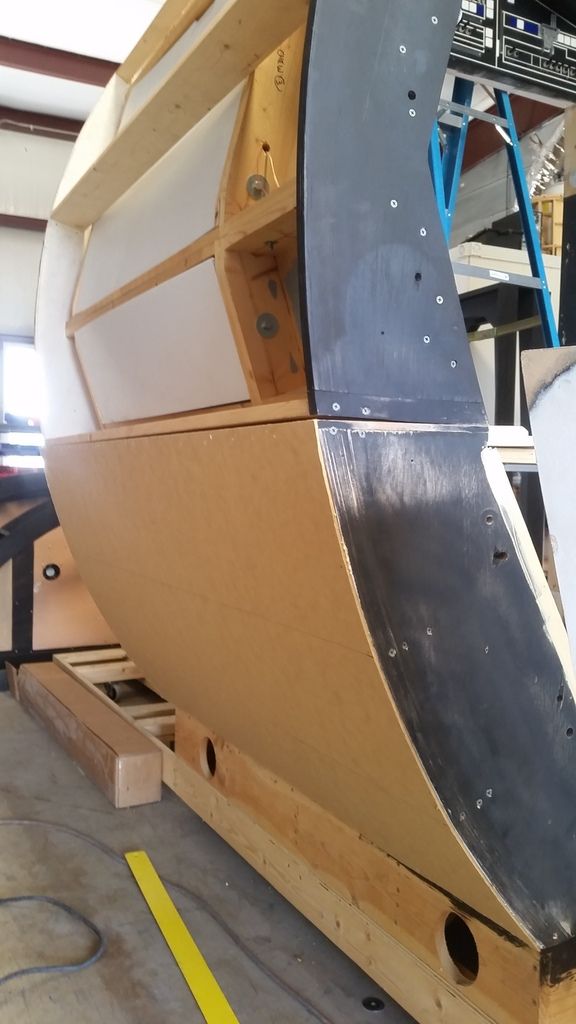
Both Han and Chewie's lower side panels are skinned!
A HUGE thanks to Scott for helping me with the skin!
Stay Tuned for Part IV!
Update Part III
Again... I didn't take too many pics as I was up and down the ladder taking measurements most of the morning for all the frame pieces. Kinda boring...
The framing is done! I think its time we show some skin!
Both Han and Chewie's lower side panels are skinned!
A HUGE thanks to Scott for helping me with the skin!
Stay Tuned for Part IV!
mattkelly
Well-Known Member
Man, the progress is coming fast and furious now! As always, you continue to amaze all of us here!
Side note: this past weekend, I finally finished tacking down the molding in my basement guest room. As I was putting in some wood filler, I nearly grabbed my phone for before and after shots! What have you done to my brain, Sofa??
Side note: this past weekend, I finally finished tacking down the molding in my basement guest room. As I was putting in some wood filler, I nearly grabbed my phone for before and after shots! What have you done to my brain, Sofa??

Ever since that guy posted photos of his real ejection seat, I've been wondering if anyone will attempt to, in a sense, re-manufacture it. There are lot of hobbyists with metal-working skills. After all, we've seen metal R2-D2s and other projects that were done "for real". These chairs looks relatively achievable, with basic metal forms and rivets. Does anyone know of a project to do a chair in actual metal?
Hwy LT,
That would be awesome! I would be first in line to say "dang... that's too expensive for me!"
- - - Updated - - -
Really late on reporting this, Sofaking, but the letters in your Aurebesh text on the nacelle caps are backwards.
Hey TG,
Actually, the font has been "Right Justified". It looks backwards but its not. I triple checked! lol
- - - Updated - - -
I know of the pictures you refer, and these are kind of new, not from that batch, if you look at the original scenery from those rascals it was not like what we see here, this is a new place, and the pictures are fairly new....awesome to work on that!!
HMMMMM... It does look a little closer to the "tree" but I wonder if its just the angle of the image?
- - - Updated - - -
Chalk it up to 3-fingered alien slave labor on a 3rd world planet with barely a school in sight. All they do is make nav chairs all day long. Han doesn't care if they can't spell.
LOL! Exactly
Hey! on this site: https://sites.google.com/site/millenniumfalconnotes/the-sets I found some back info on the seats: "The seats are a prominent example of the reuse of found items. The pilot and copilot seats, for example, are apparently largely unmodified car seats. Some sources claim they were from a 1970s Porsche, whereas other sources claim they were custom auto seats made by Cobra. The two rear seats, with their distinctive high backs and headrests, are heavily altered jumpseats from a British fighter plane (specifically Martin Baker Mk IV ejection seats from an RAF de Havilland Sea Venom), adorned with additional details, such as circular radial-patterned 1970s Tupperware lids."
Hey BK,
We think the originals are/were Huntmaster seats specifically found in the UK. I actually have a set of the Huntmaster but they way too small. If these are the originals then designers heavily mod'd them both in height and width. We're not going to go that route with these. We'll simple cover them to match and use for the standalone console.
You are correct on the MB Mk IV ejection seat. TOUGH TO FIND but if you do... they are NOT cheap! The head piece is the most iconic part of the chair. I hope ours turns out!
- - - Updated - - -
The ejection seats are a semi gloss black - FYI
Now he tells me...
I'm going to keep the flat black for now. I like the contrast between the frame and the tube. When I build the second set of chairs for cockpit V2 I'll def go the semi-gloss route. There are a LOT of things I'm going to do differently the next time around.
- - - Updated - - -
View attachment 731953
Rey will never fill the shoes of Han Solo as new owner of the Falcon. Just my opinion. Jyn Erso on the other hand, could have, but too late now for a re-think of the characters, or actresses portraying them. A discussion for a different board anyway...
Hey T,
I dont think she was really meant to fill Han's shoes as much as maybe she is to simply carry on? I think she's more of a cross between both Han and Luke. We'll DEF find out more in a few months!
Last edited by a moderator:
Wow Sofa...I thought, for a moment, that you were removing these pieces to make her lighter (you know, maybe doing the K. Run in less than 12 P.
Hey J,
There has been a LOT of forward progress this past week and I have 3 more days to get back to where I was before I started! I'm close! I'm actually making the cockpit modular for easy setup and tear down. It's something I've been wanting to do and trying to figure HOW to do for quite some time. I'm hoping for high 10s maybe a 11 parsecs!
- - - Updated - - -
How wide is the cockpit exactly?
Hey D,
The cockpit is approx 108" wide at the center!
- - - Updated - - -
You know, if you didn't take so much pictures you might have been finished by now ! just kidding
I wish I could hop on over and help.
I think you need to receive the "best documented RPF project" award
Hey X,
LOL! I promise... maybe 2 or 3 pics from now on!
Thanks for the offer! I can use all the help I can get! I think there are more talented and deserving folks than me! That's for sure! But thank you for the very kind words!
- - - Updated - - -
Looking very good Sofa!!
Thank you, my friend! Still 3 days to go!
- - - Updated - - -
Always great fun, to catch up with the latest updates on this project! The Nav chairs look amazing and are really coming together and so close to finish. Keep up the excellent work!!
You are making all us Falcon fans very proud to see this project, coming along with such amazing attention to detail!
Hey CJ,
Thank you so much for the kind words and continued support! It's that attention to detail that, in my opinion, has become my own worst enemy! Evrytime I see something new or something that is slightly off my first reaction is to fix it, rebuild it, redesign it, etc etc etc. But if I'm going to do it... hey, let's do it right!
- - - Updated - - -
MMMMMM, looking so good SK.
I might have missed it, but how are you attaching the panels to the frame? Could you potentially use a panel to cross the hallway to cockpit to hide the transition? You may be way ahead of me by this stage though.
Part III please ASAP. Loving all these update as usual.
Hey R,
Which panels are you referring? I can go into detail to explain exactly what I'm doing.
Man, the progress is coming fast and furious now! As always, you continue to amaze all of us here!
Side note: this past weekend, I finally finished tacking down the molding in my basement guest room. As I was putting in some wood filler, I nearly grabbed my phone for before and after shots! What have you done to my brain, Sofa??
Hey M,
A few weeks ago I told myself to hunker down and get past these few hurdles that have been slowing you down. The biggest has been integrating the new arches into the existing panels. I'm really happy with how easy it actually it was and how I knocked out the basic structure in 3 days. The last few days have been spent cleaning up edges, correcting past and current mistakes, etc...
LOL! That's funny! I've caught myself doing that with misc things as well. Glad I could be of some influence! I think?
- - - Updated - - -
This doesn't look like any part of the Falcon, does it? New pic from the Han Solo movie set... EDIT: I looked, and I think it's from the left side of the nav console.
View attachment 733121
Hey T,
You are correct, it's the left side of the nav computer. Looks like the MF might make an appearance! I'm really looking forward to this movie!
Hi Gang,
Update Part IV!
I realized this morning that I got a little ahead of myself and skinned the lower panels a bit prematurely. That's ok... At least I'm still excited! There are a HOST of things I still need to do to include fixing wiring, rearranging the bolts and "T" nuts along with rebuilding the back wall so all the outer edges/arches align.
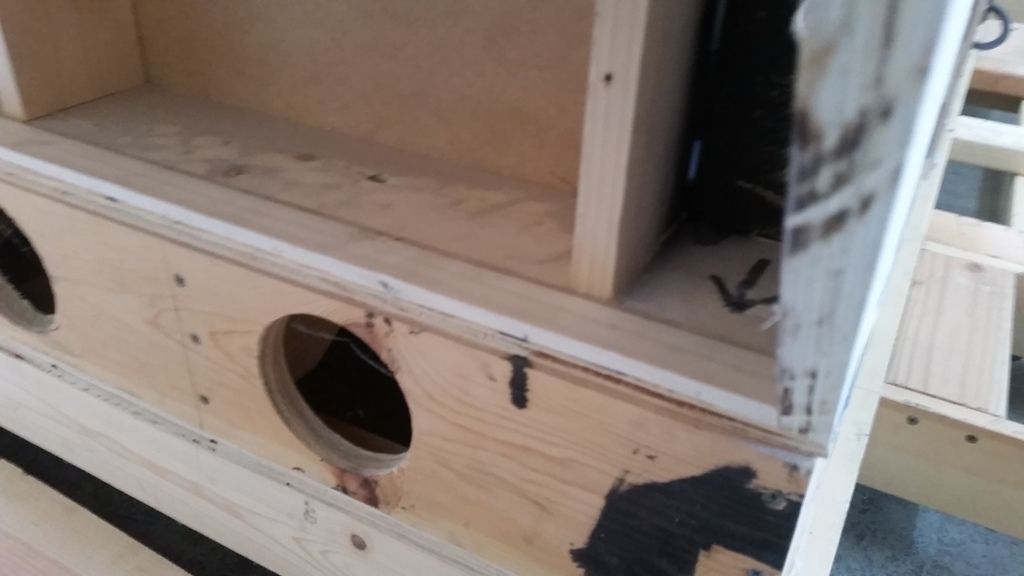
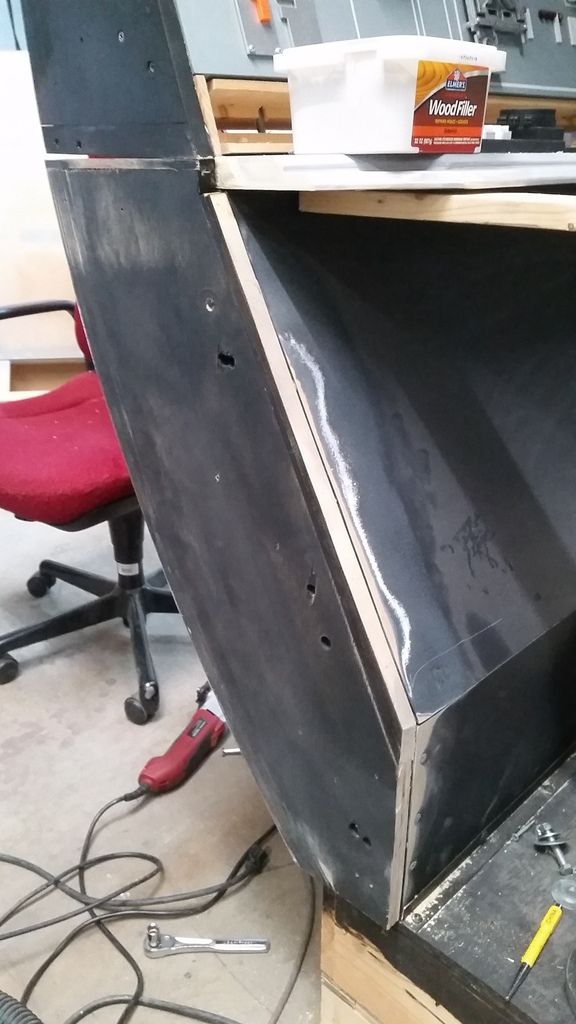
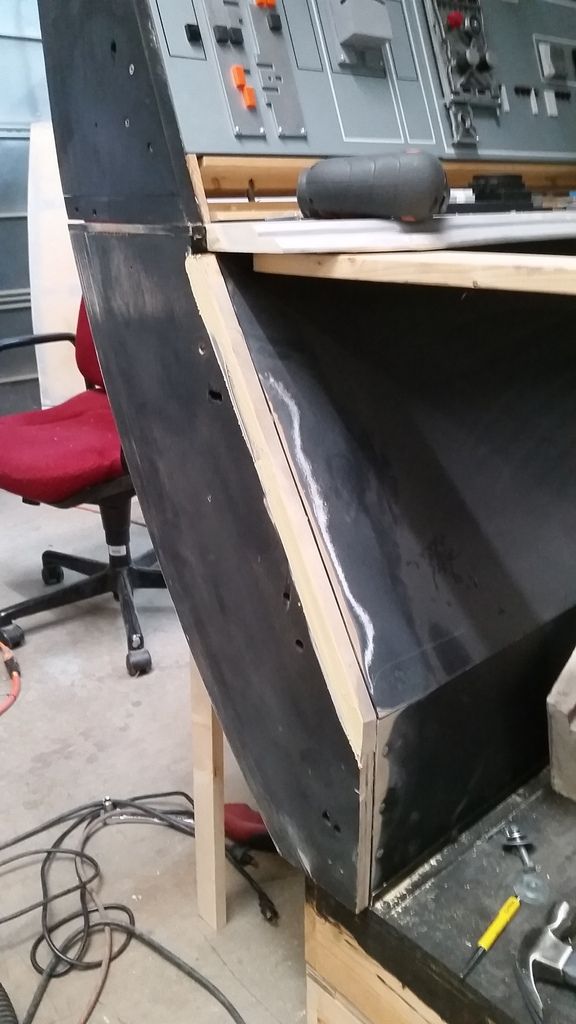
There was a LOT of cosmetic work that had to be done as well. I removed this extra piece of the shelf that has been sticking out
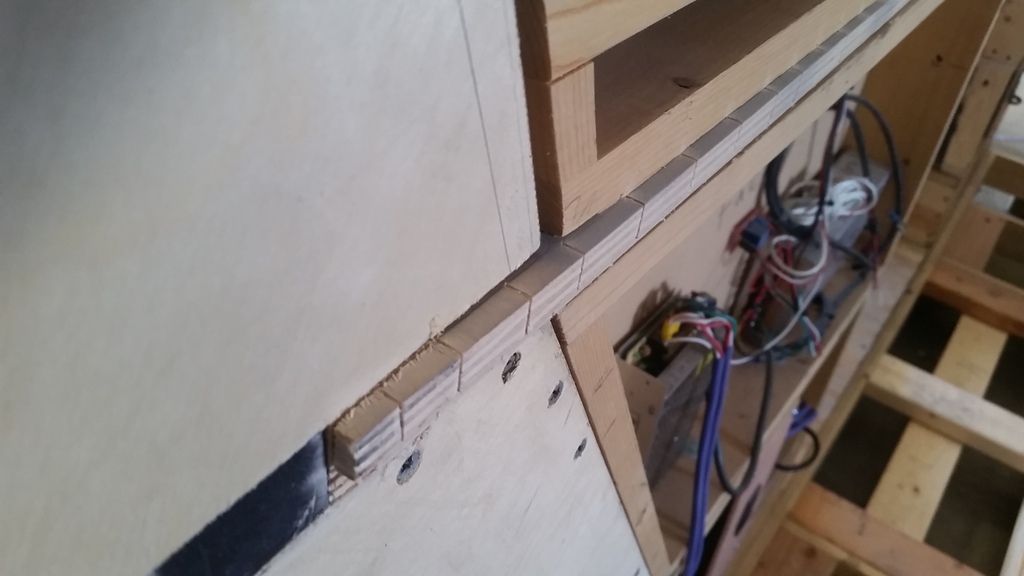
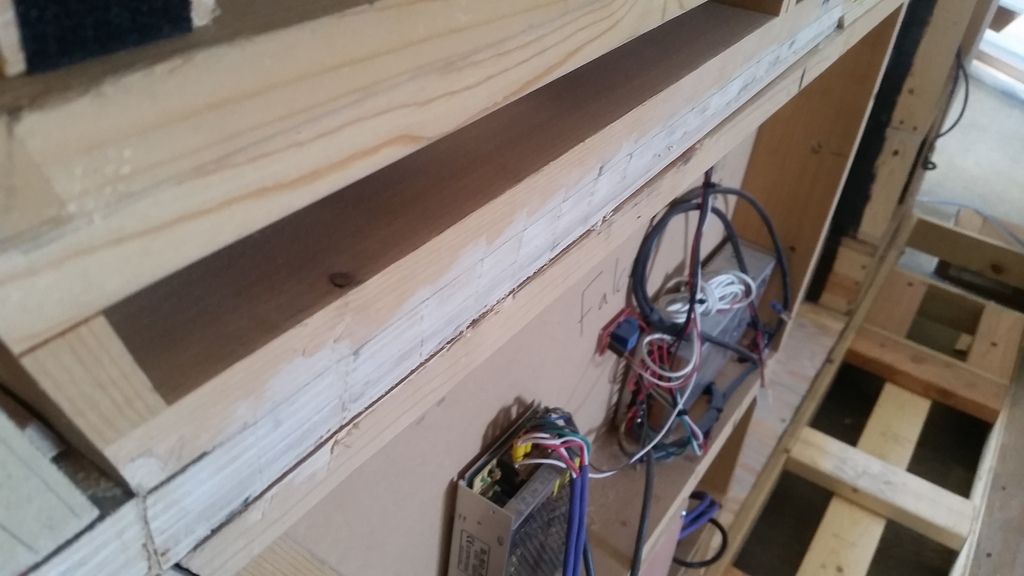
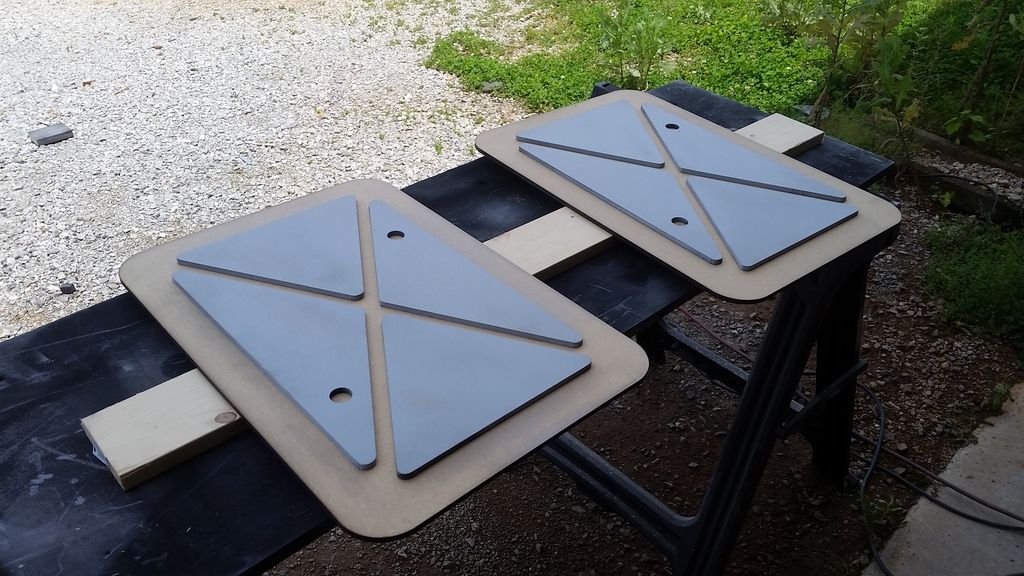
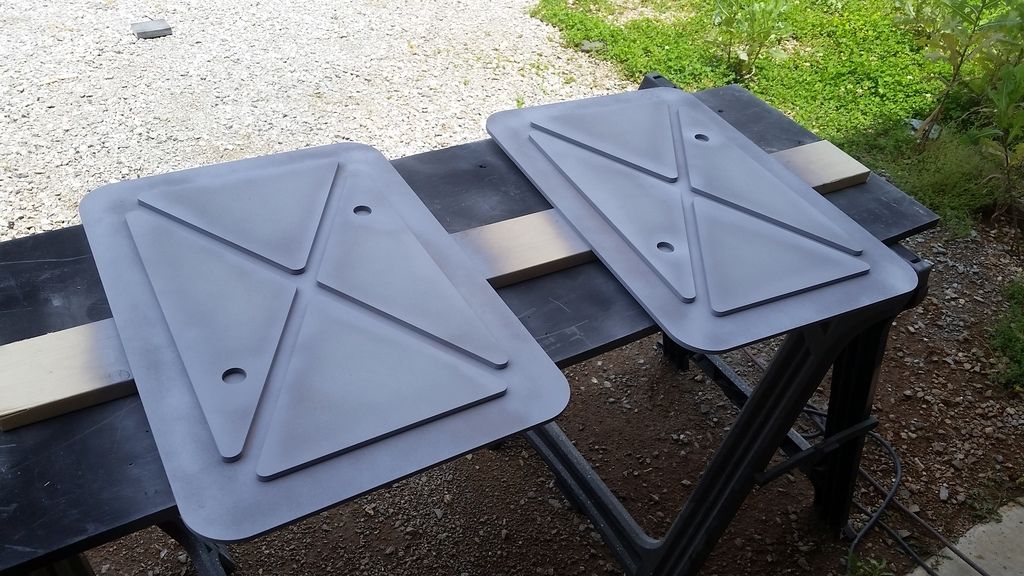
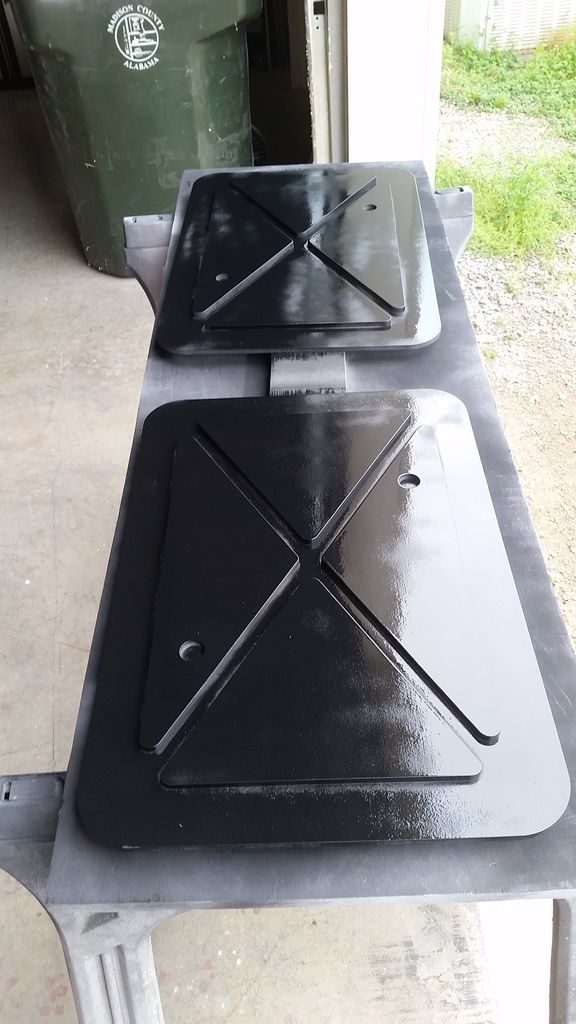
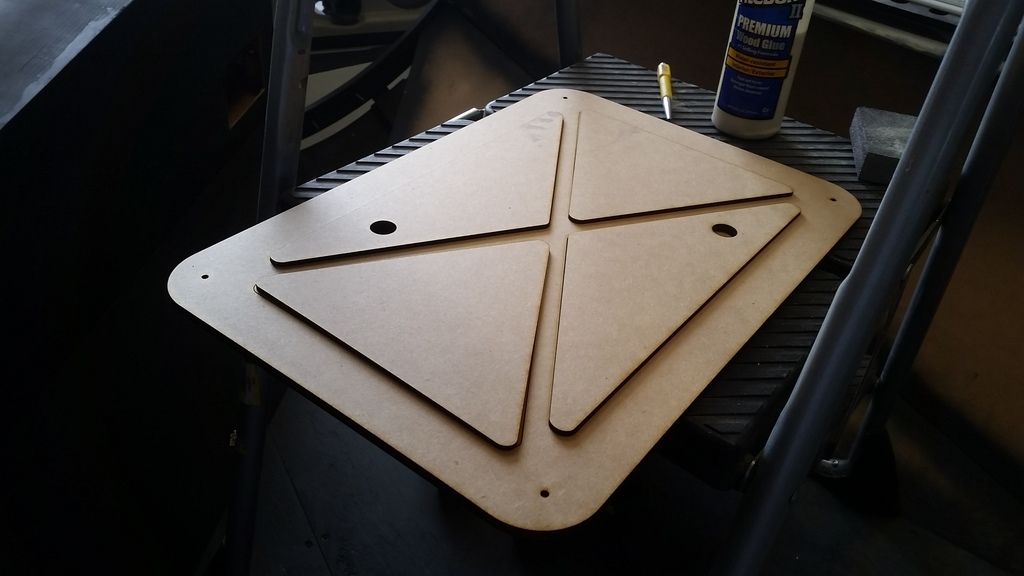
One issue to skinning those panels is HOW the heck do I mount everything if the panels are covered up? I designed a smaller access cover that will mount to both panels below the shelf
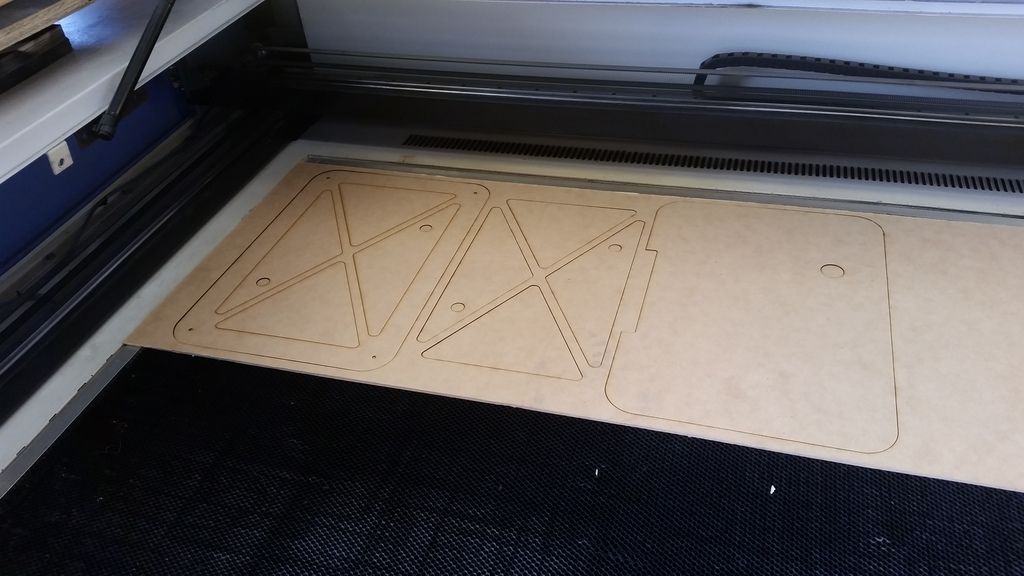
These will either have a magnet or the same "hinge" style as the upper access panels. I think the magnet approach might be better. I still need to design a template that I'll use to cut the hole into the panel
I carefully removed the lower skins (set them aside for later) UGH
After
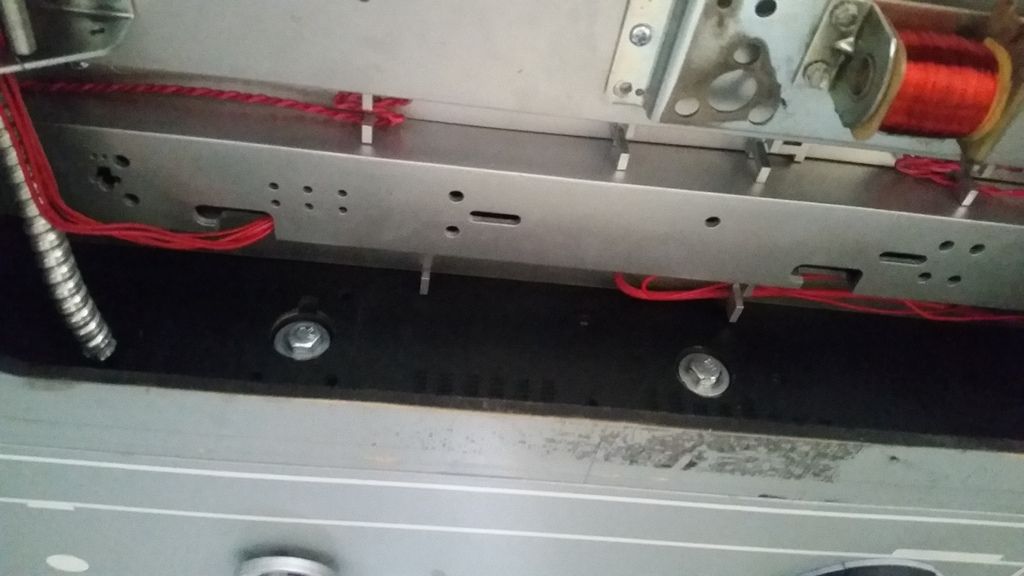
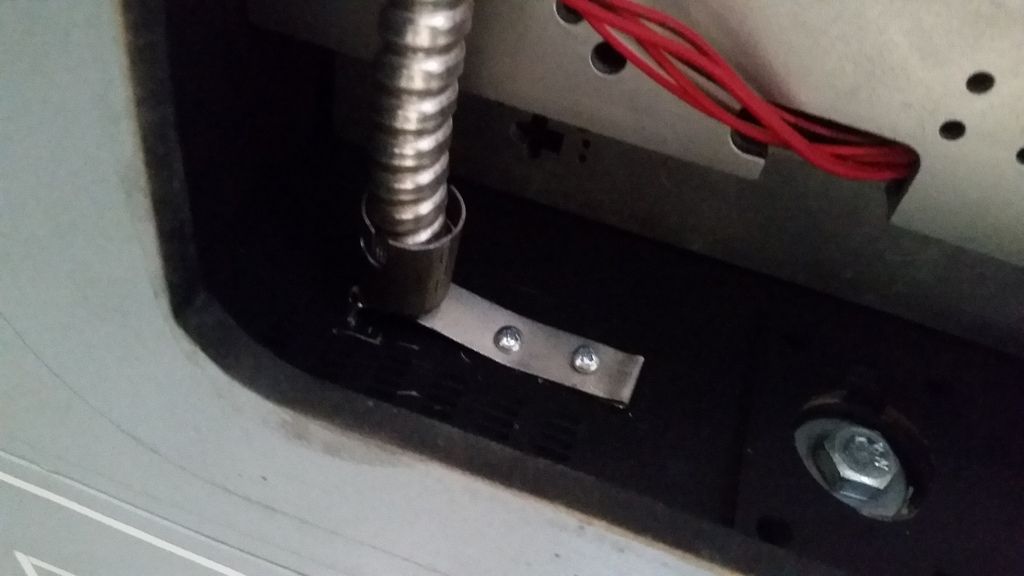
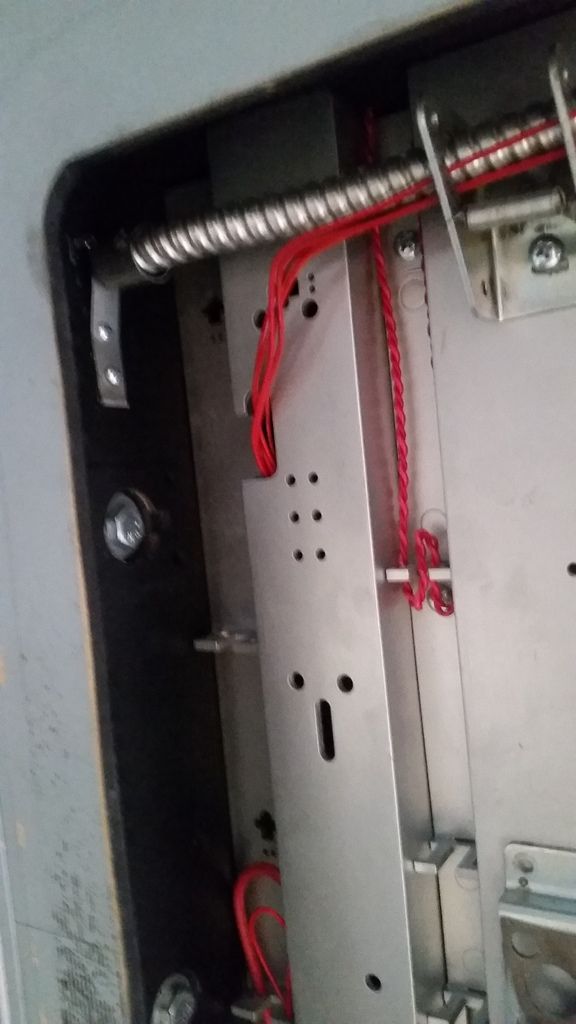
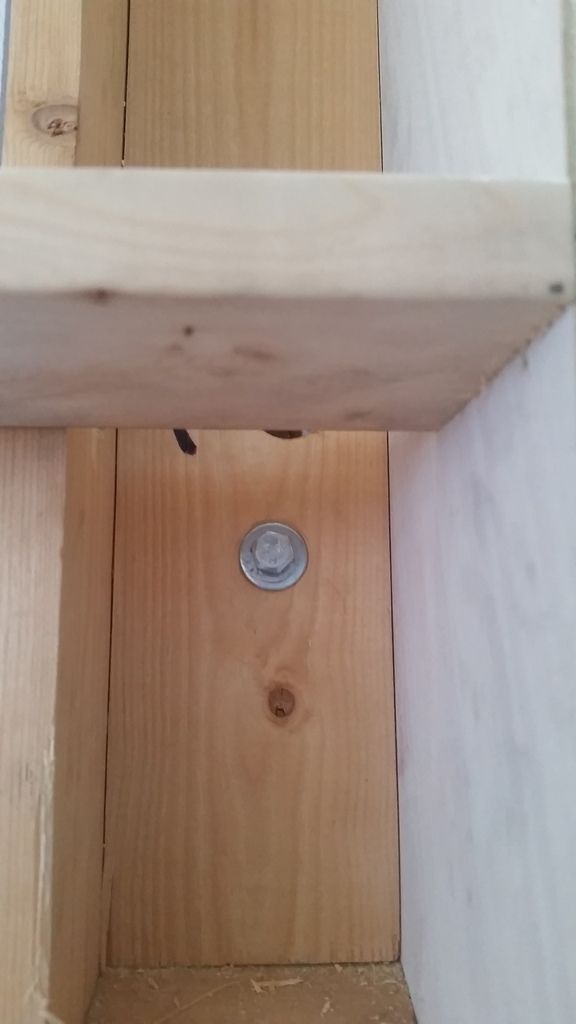
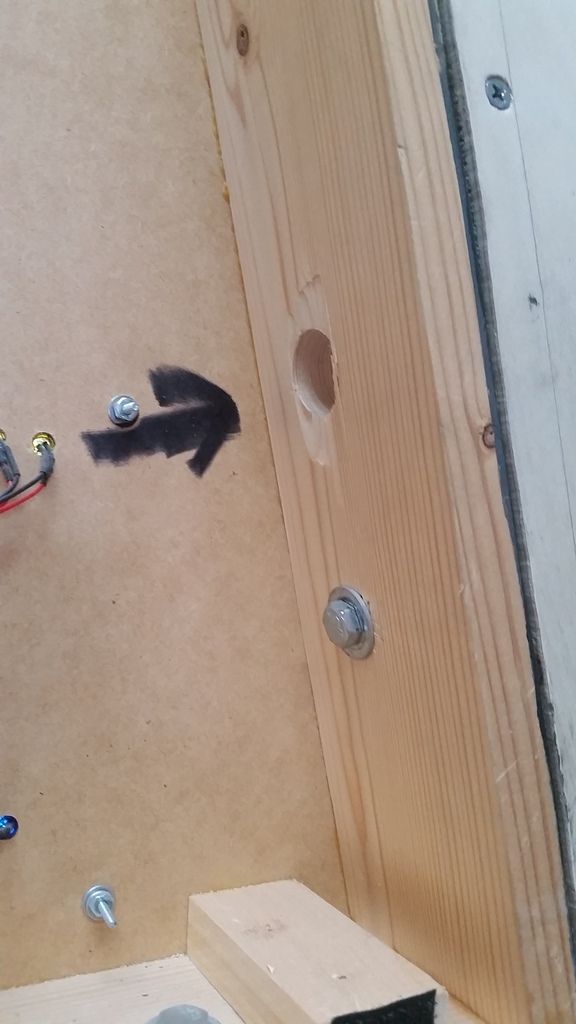
Time to reverse these bolts and "T" Nuts - this is from the skinned side! No access at all
 ''
''
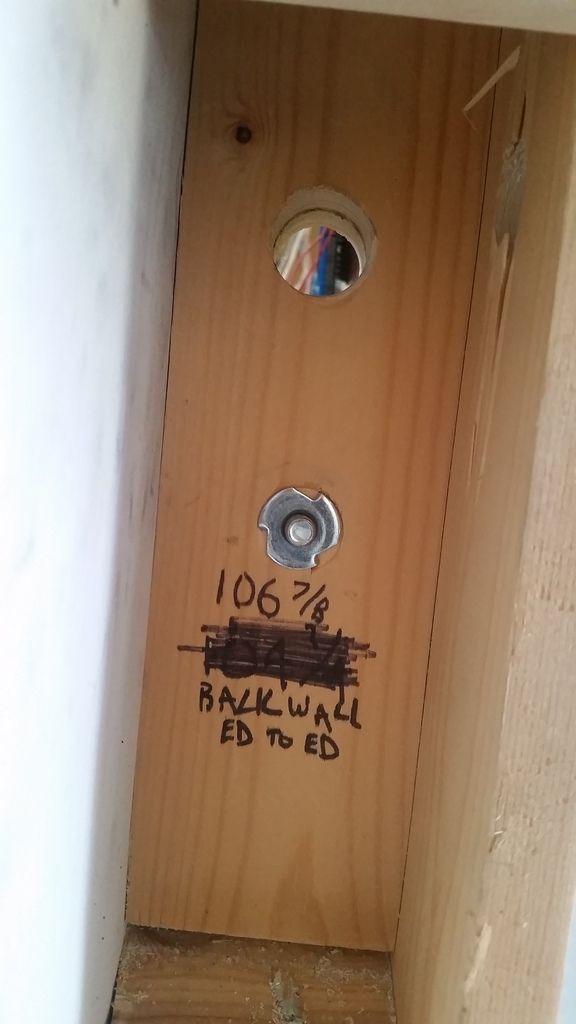
Now they are all reversed and easy to mount
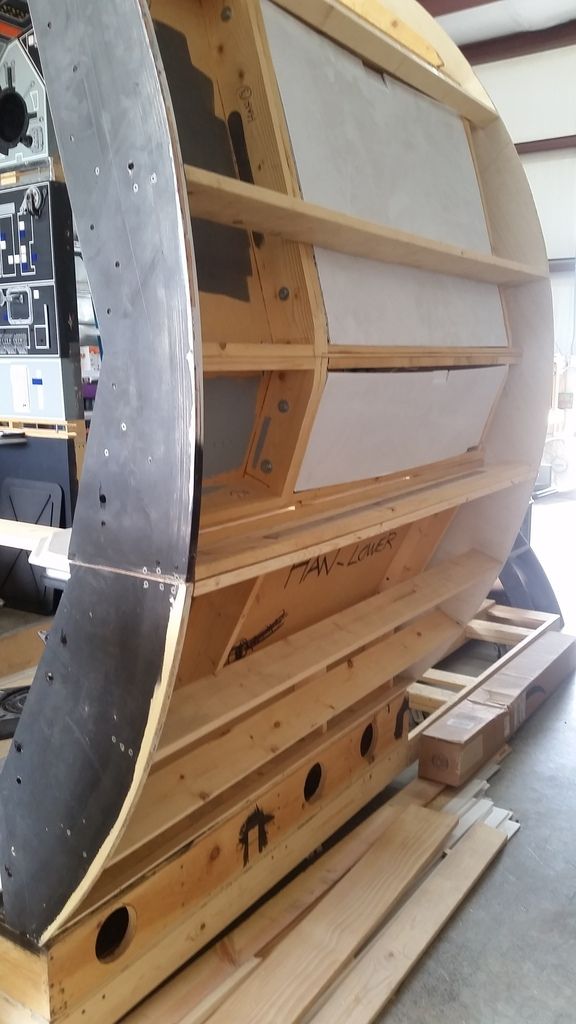
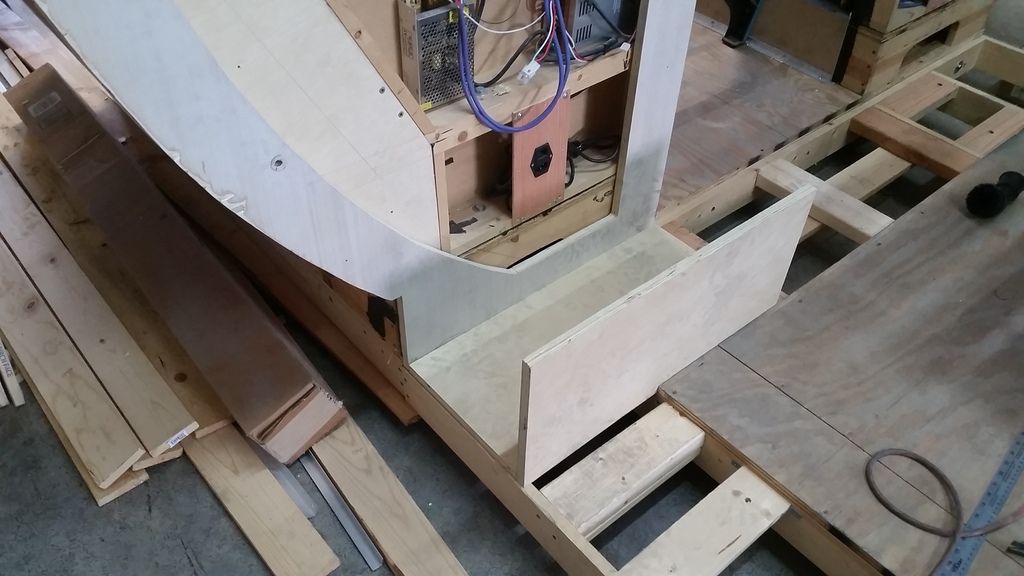
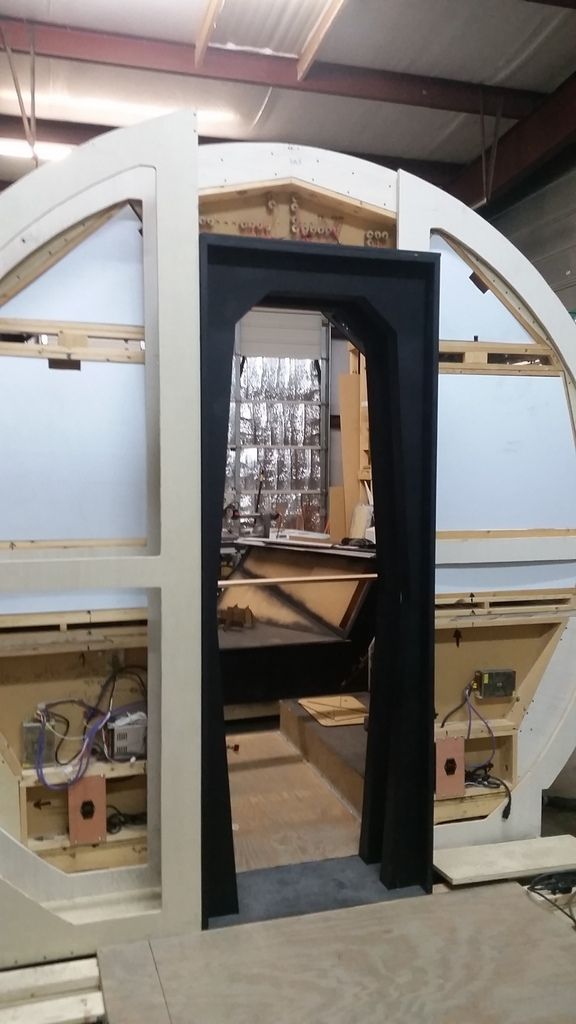
I then picked up a few sheets of ply and started on the "New" cockpit entrance / door housing
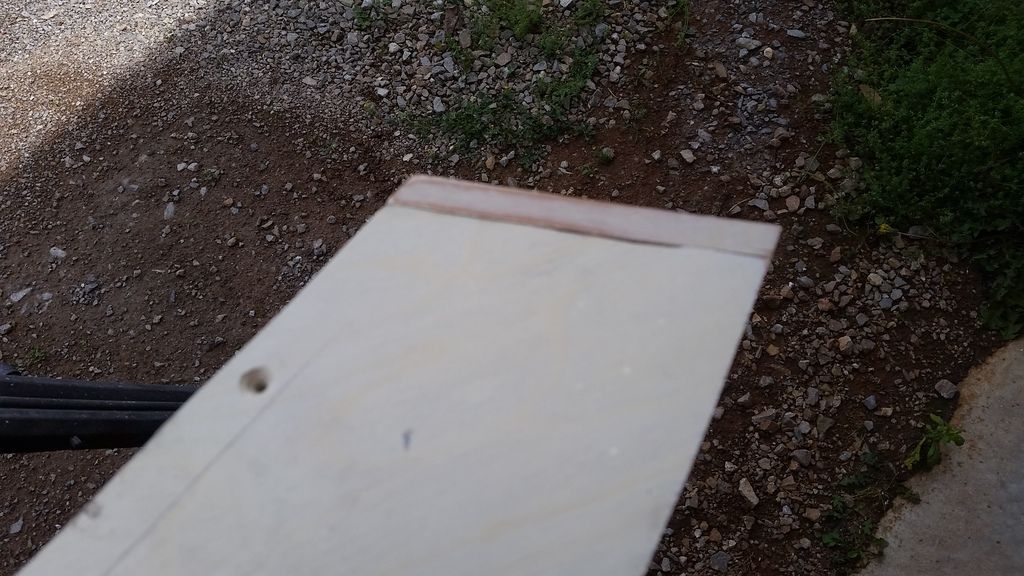
I used the old one as a template
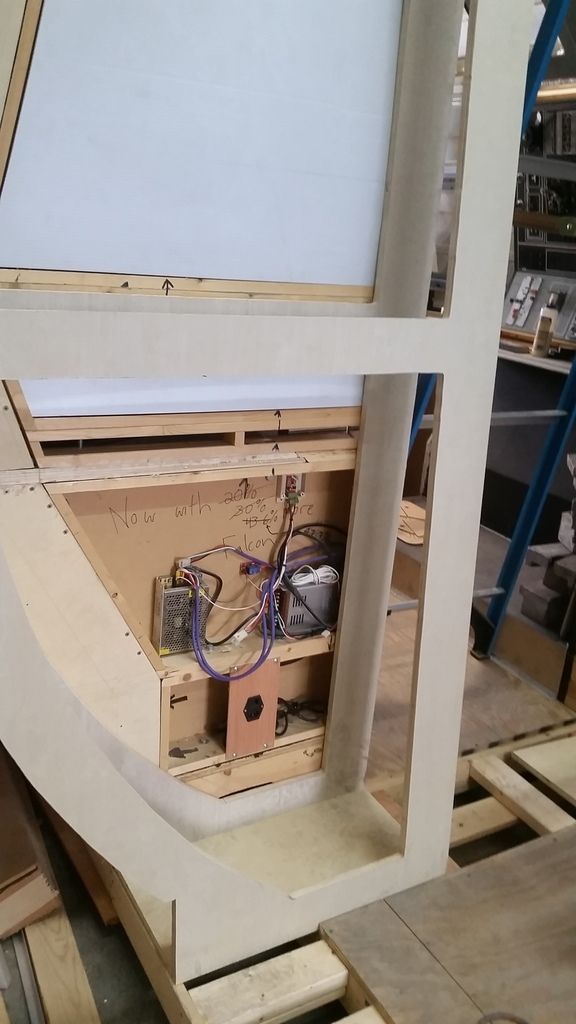
Cut out the middle area so we still have access to the back wall wiring
Tough to see but its now temp mounted in place
Perfectly aligns with the new panel arches!
Creating the base for the cockpit entrance frame
Framing
Started Chewie's side
During all this fun my router finally quit on me in a nice puff of smoke after years of faithful service... and then the new tracing bit i JUST bought exploded on me! UGH
UH OH... I forgot to add the door! Does everything still fit?
It does now! Warping warping warping...
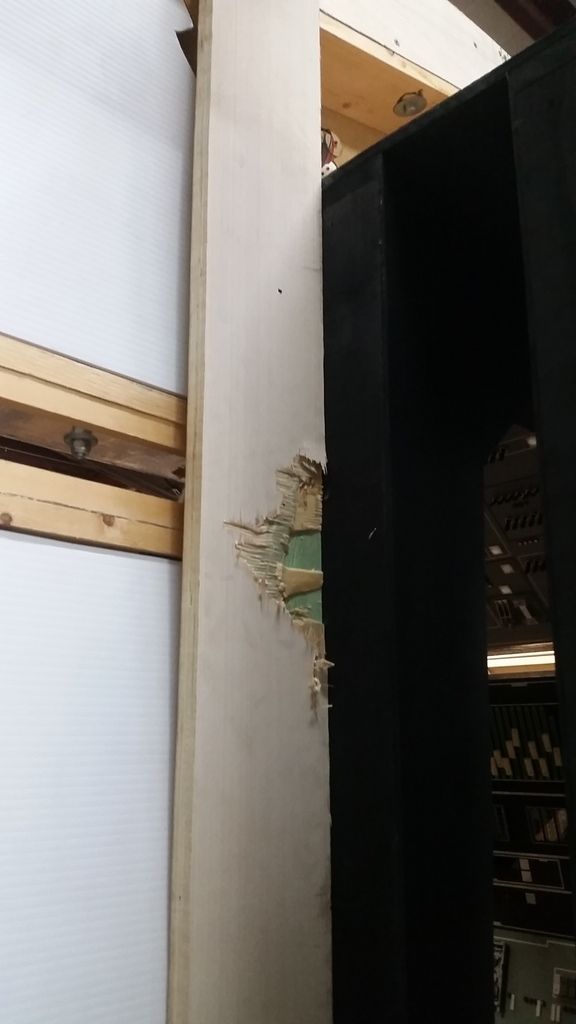
Easy patch up
The door frame pushed the new framing out just a bit... I'll fix tomorrow morning with some 60 grit sandpaper!
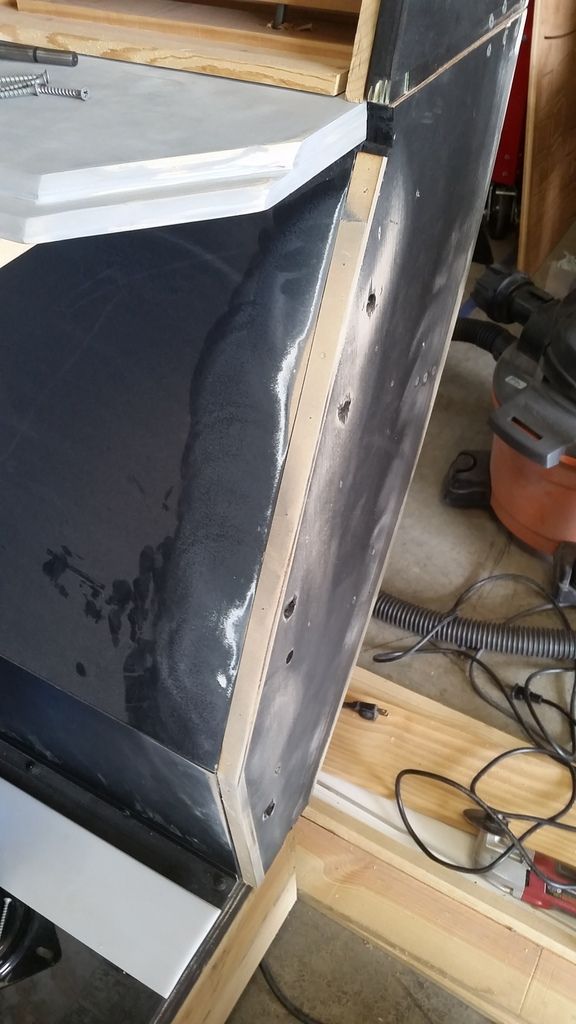
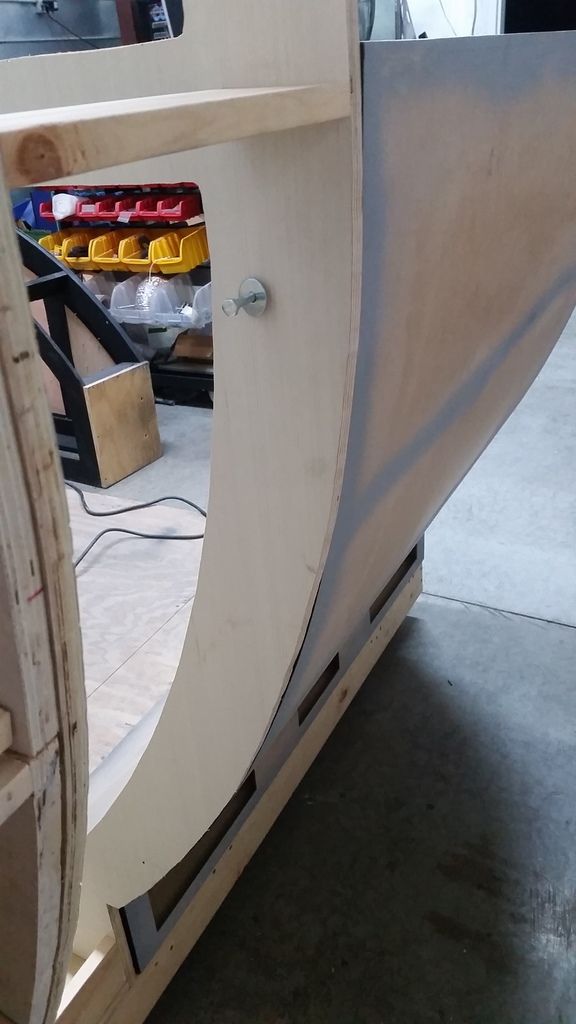
The biggest test of all... Do the half panels fit?
Almost perfect! It will require an additional 1/8" layer of MDF to match up with the new arches
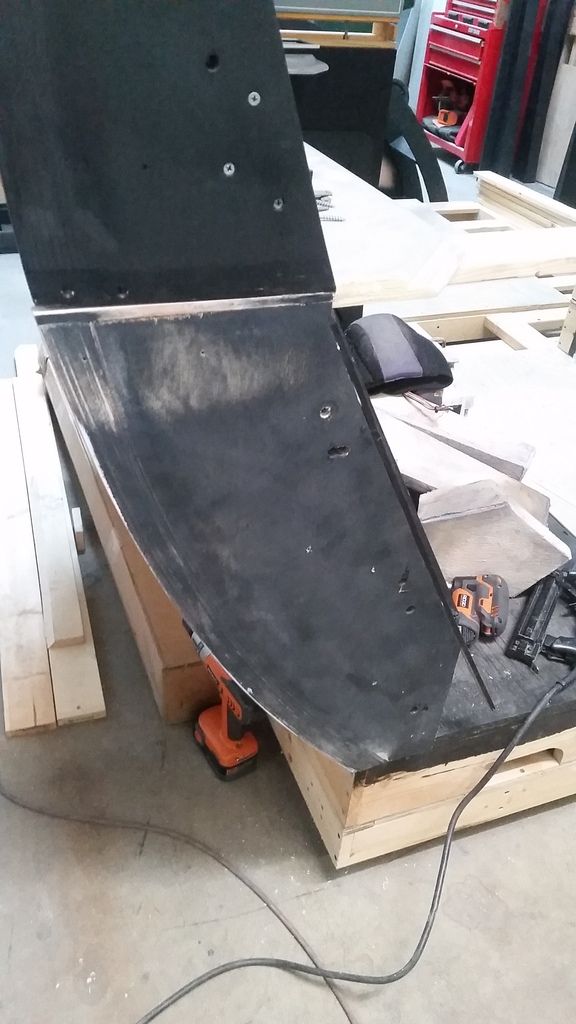
And this is where we are...
Stay Tuned for Part V!
I have 3 more days to jump as many hurdles as possible! Fingers crossed!
Update Part IV!
I realized this morning that I got a little ahead of myself and skinned the lower panels a bit prematurely. That's ok... At least I'm still excited! There are a HOST of things I still need to do to include fixing wiring, rearranging the bolts and "T" nuts along with rebuilding the back wall so all the outer edges/arches align.
There was a LOT of cosmetic work that had to be done as well. I removed this extra piece of the shelf that has been sticking out
One issue to skinning those panels is HOW the heck do I mount everything if the panels are covered up? I designed a smaller access cover that will mount to both panels below the shelf
These will either have a magnet or the same "hinge" style as the upper access panels. I think the magnet approach might be better. I still need to design a template that I'll use to cut the hole into the panel
I carefully removed the lower skins (set them aside for later) UGH
After
Time to reverse these bolts and "T" Nuts - this is from the skinned side! No access at all
Now they are all reversed and easy to mount
I then picked up a few sheets of ply and started on the "New" cockpit entrance / door housing
I used the old one as a template
Cut out the middle area so we still have access to the back wall wiring
Tough to see but its now temp mounted in place
Perfectly aligns with the new panel arches!
Creating the base for the cockpit entrance frame
Framing
Started Chewie's side
During all this fun my router finally quit on me in a nice puff of smoke after years of faithful service... and then the new tracing bit i JUST bought exploded on me! UGH
UH OH... I forgot to add the door! Does everything still fit?
It does now!
Warping warping warping...
Easy patch up
The door frame pushed the new framing out just a bit... I'll fix tomorrow morning with some 60 grit sandpaper!
The biggest test of all... Do the half panels fit?
Almost perfect! It will require an additional 1/8" layer of MDF to match up with the new arches
And this is where we are...
Stay Tuned for Part V!
I have 3 more days to jump as many hurdles as possible! Fingers crossed!
Last edited:
Similar threads
- Replies
- 2
- Views
- 862
- Replies
- 6
- Views
- 623
- Replies
- 8
- Views
- 554
- Replies
- 8
- Views
- 935
- Replies
- 4
- Views
- 2,325