The main reason for the slow down: I bought a new car and am modding that currently,
check out my guides if you happen to have a Subaru Forester. I will run out of mods on that soon. It has also been insanely good weather for the past few weeks here in Texas, and so I have been spending most my time on the car and working outside my house and garage. Gotta do that stuff before it gets hot.
---------------------
So Udoo has released their "
open roadmap"
They list Android alpha release as sometime in Q1 (They are already a month late from their original date). They aren't releasing a Arduino IDE until Q2, and there are a lot of issues like getting WIFI to work in Ubuntu. Effectively you can't do much with a Udoo Neo unless the developers have tried it first, or you are a hardcore Freescale programmer.
It looks like I should have stuck to my guns like I said early in the project and "Not used newly released, or unsupported boards"
So, here is the new plan:
Build the Pip-Boy without the Android O/S. Go back to the Beaglebone Black and Ubuntu. Instead create a real-world functional Pip-Boy. It will still be far better than that product advertisement version of the Pip-Boy that Adafruit put out.
Any in-game functionality could be added later by using Java or Python. There are two separate Pip-Boy companion apps out there that can run in Linux. This one is the most promising:
http://www.nexusmods.com/fallout4/mods/4664/?
--------------------
I have ordered the last of my prototype electronics parts, so currently I just need to get time to start prototyping the circuits.
The mechanical BOM is also now effectively finalized. I am now working to organize it and get a better price estimate.
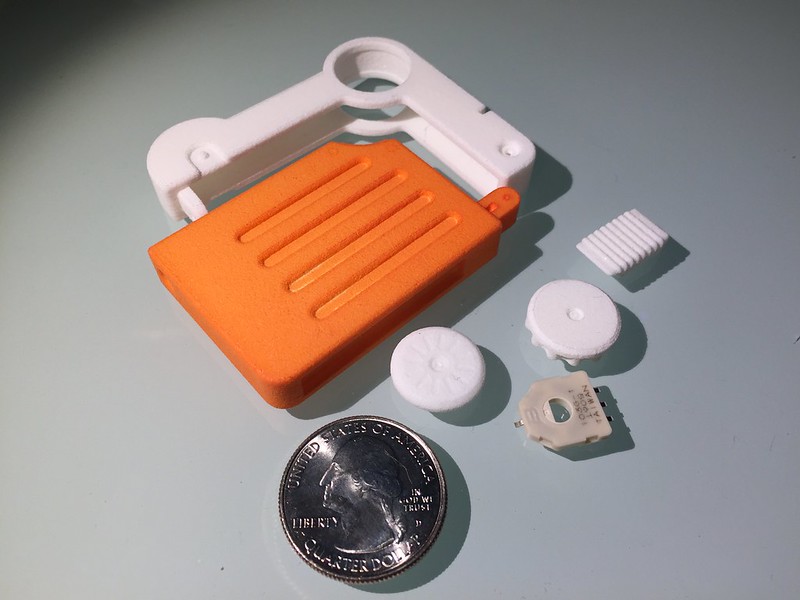
The only part I don't have a hard source for is the tiny watch hand for the Rad Gauge. It needs to be 5mm long, black with a 0.64mm hole. I have scoured every watch part website I can find but haven't found a good match. It may need to be laser cut from a thin sheet of steel. I think that a plastic cut piece will end up warping.
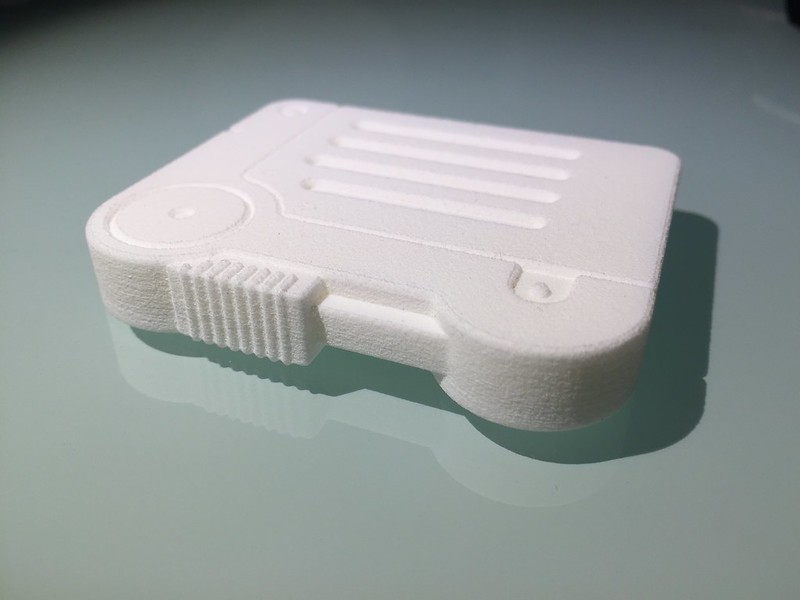
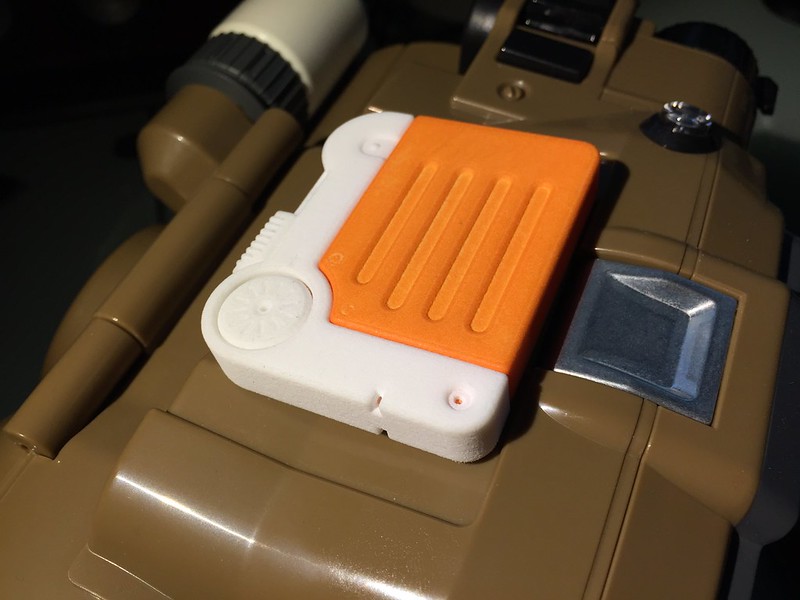
Also, my work has approved the purchase of a Ultimaker 2 for prototyping. I will be able to use it for personal projects also. If it works well enough I may adapt the Pip-Boy for FDM printing, but my experience still says that SLS printing will make it work the best. I hate the idea of splitting up and gluing together lots of little bit, when a SLS 3D printer can output a part with everything already attached.
Otherwise the current estimate from Shapeways for all the 3D printed parts is $400. That is with one holotape ($44) and without the stand. ($70)
")