Sith Lord
Well-Known Member
Combining my love of Star Wars and RC Cars, the MSE-6 had to happen! I picked up an ABS shell that had been sitting in a mates cupboard for years. Originally from a seller on WhiteArmour, but TBH it was rubbish, so I ditched it and went with plan B - 2mm Styrene.
Edited: Markus asked a question below, which I forgot to mention - The true 1:1 scale of these droids is about 22inches long (558mm). I've opted to scale it down around 80% - 18inches (457mm) for two reasons - 1: it fits the scale of a modern RC car heaps better. My choice for cars below has the perfect width for an 80% build and 2: the greeblies I've got coming have been designed for an 80% build also.
It's fairly big in person at nearly half a metre, and considering there are hardly any around (none in my Garrison), I don't think I'll get any "Geez, it looks small" comments.
One sheet of Styrene
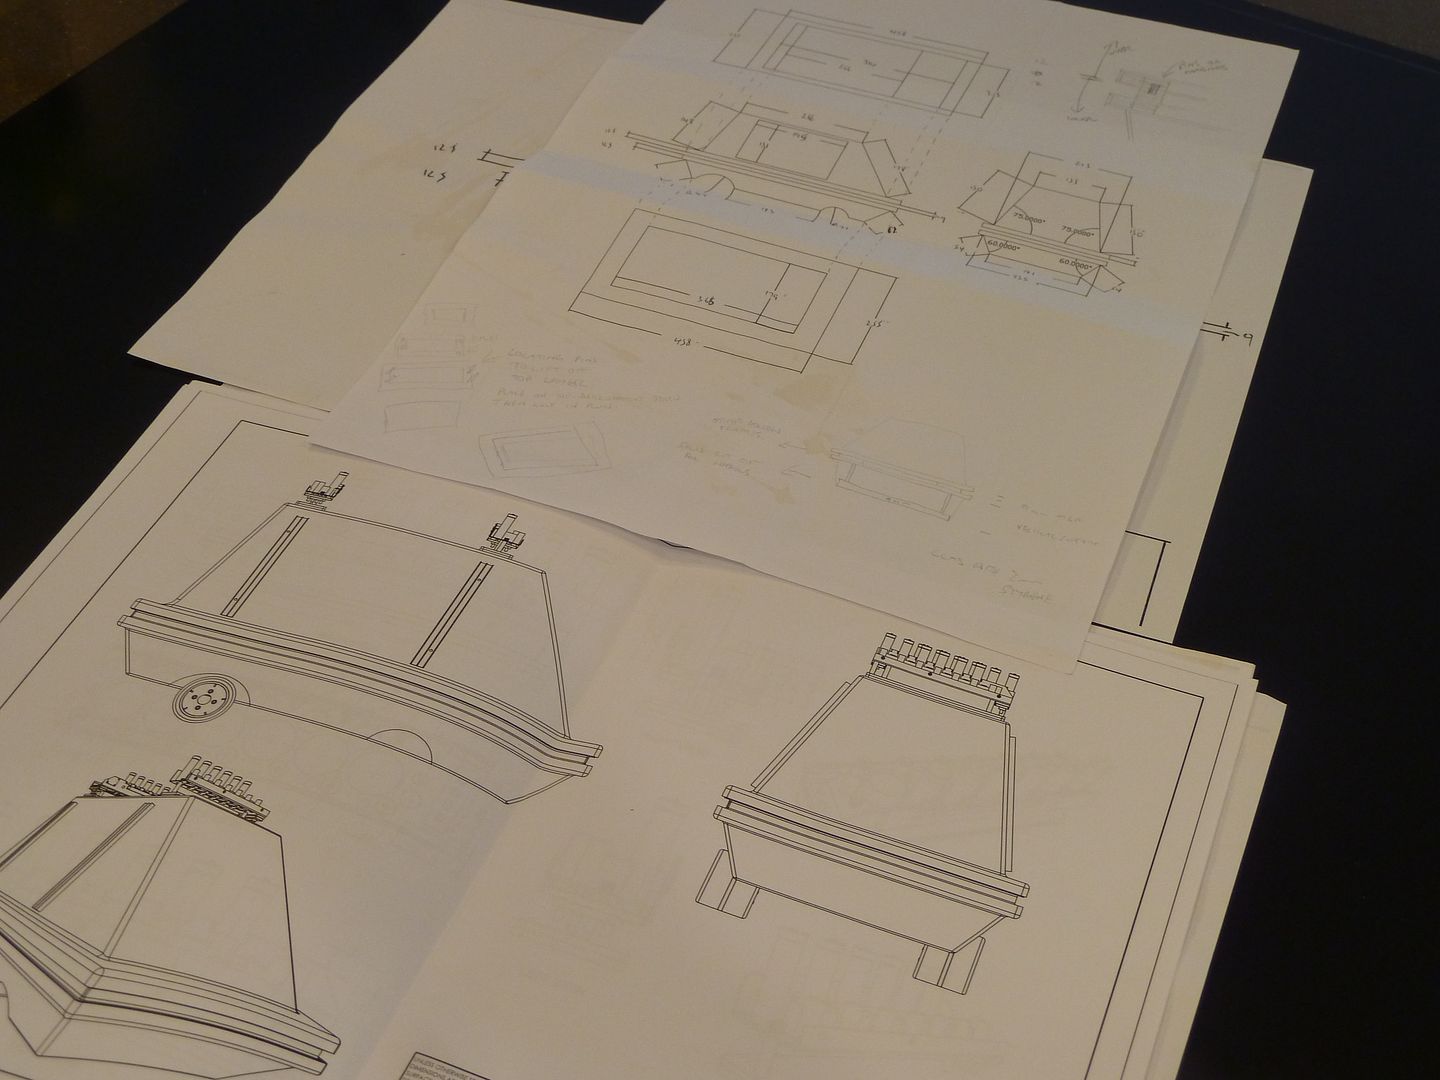
A set of plans courtesy of the Mouse Builders Yahoo group
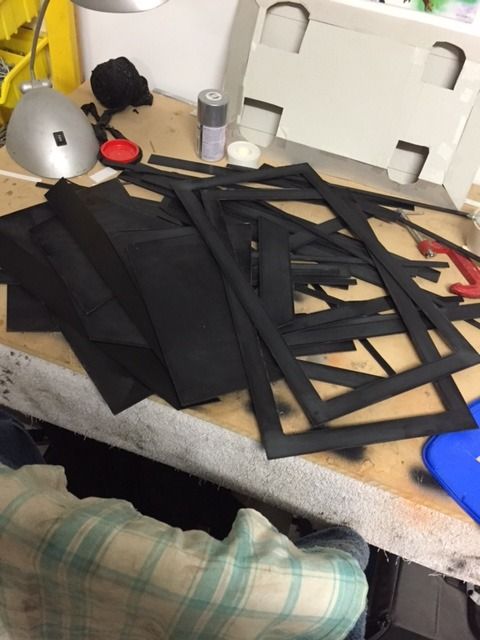
A bunch of cut up styrene
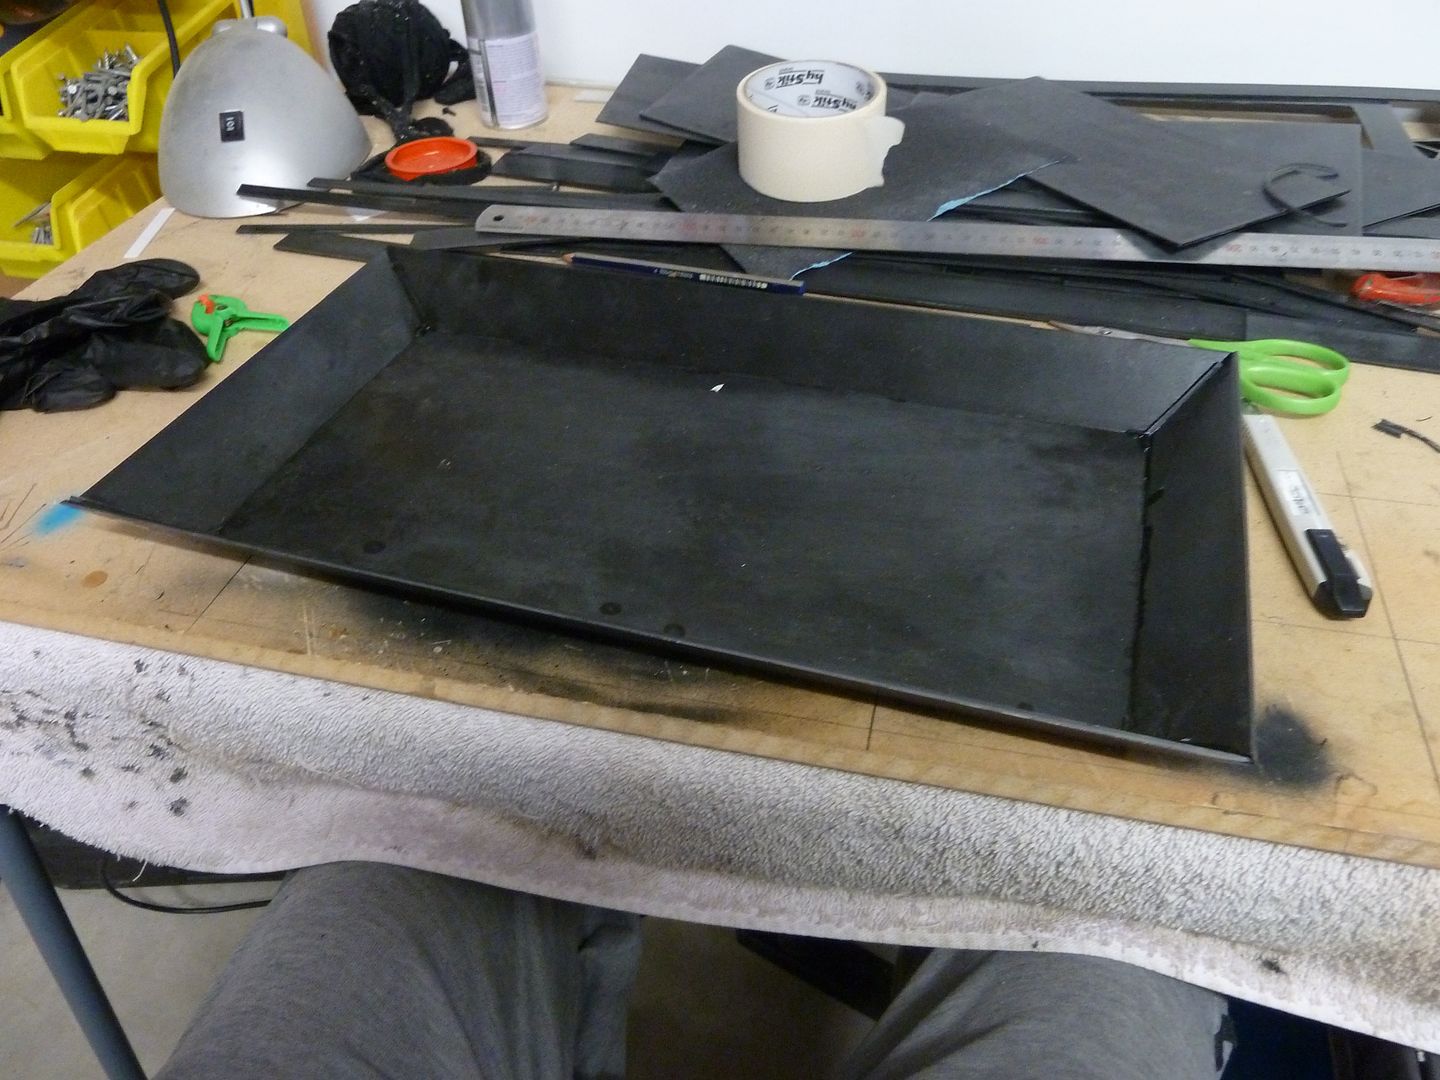
The base under way
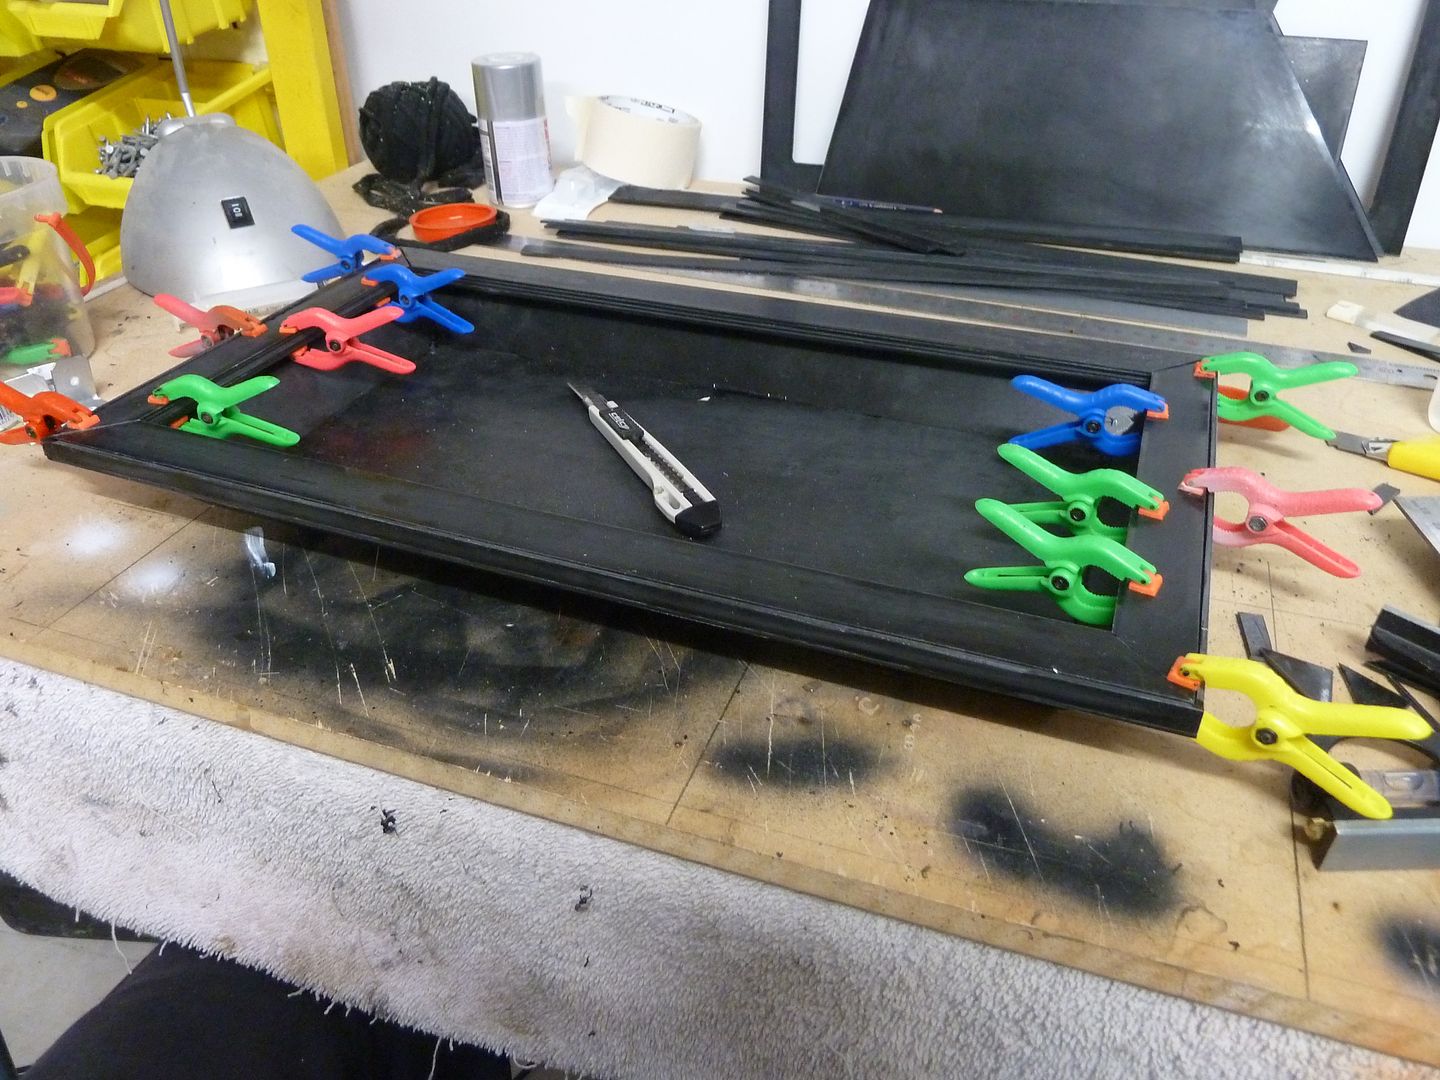
The base building up. Lots of laminating sheets of styrene together to get the desired height
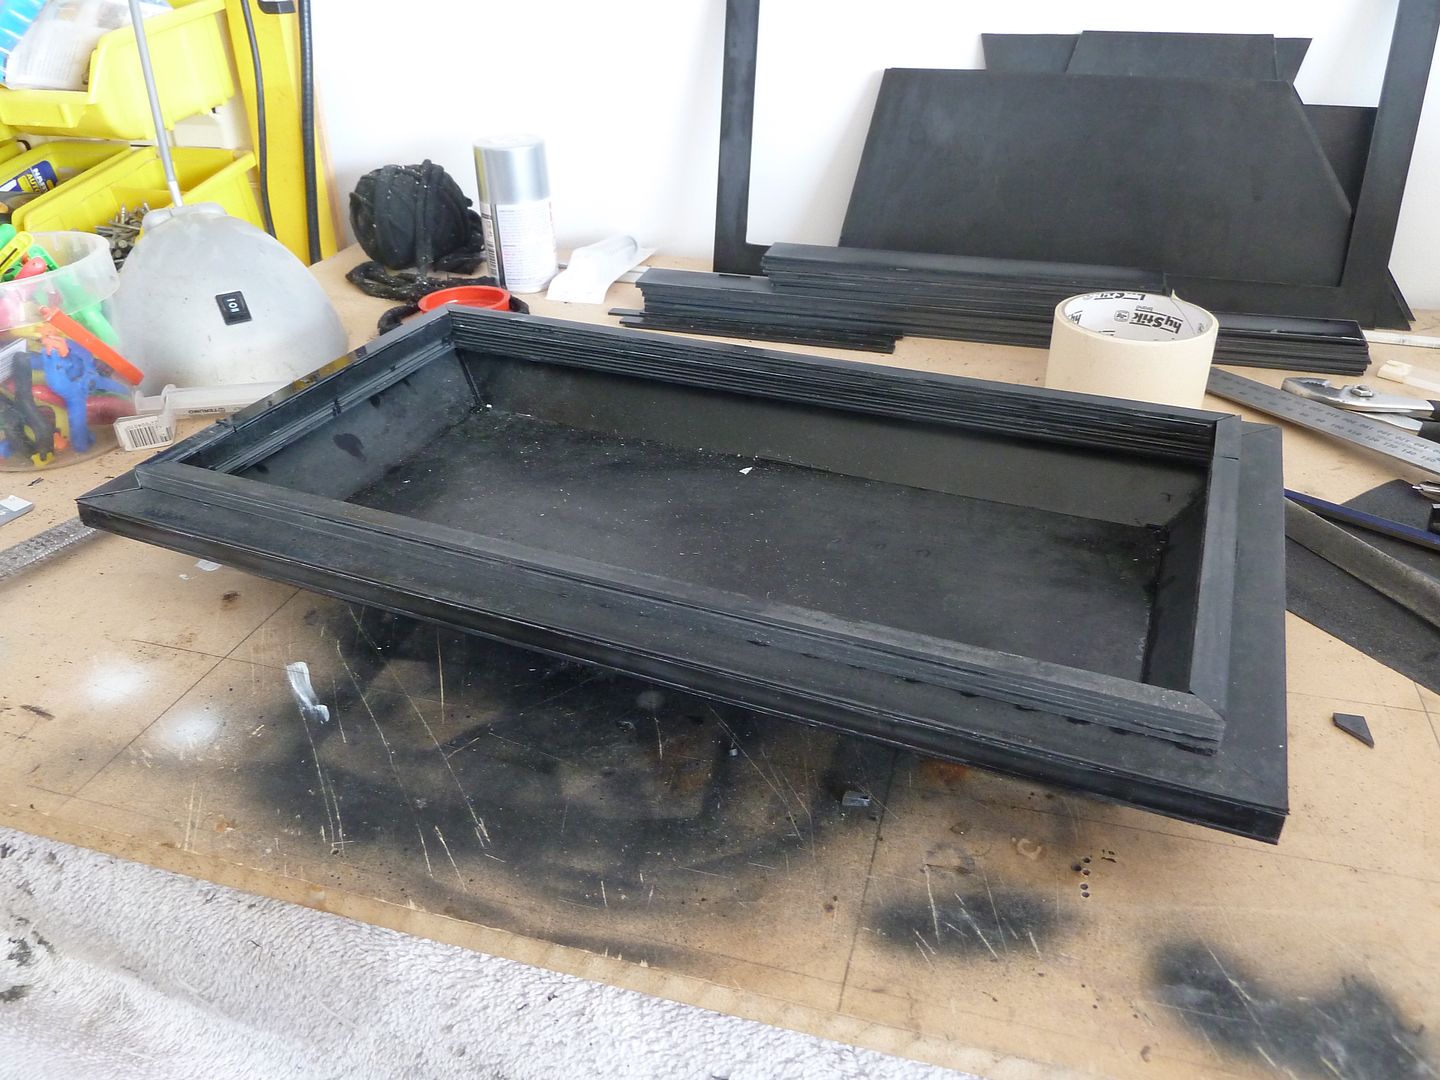
Base done
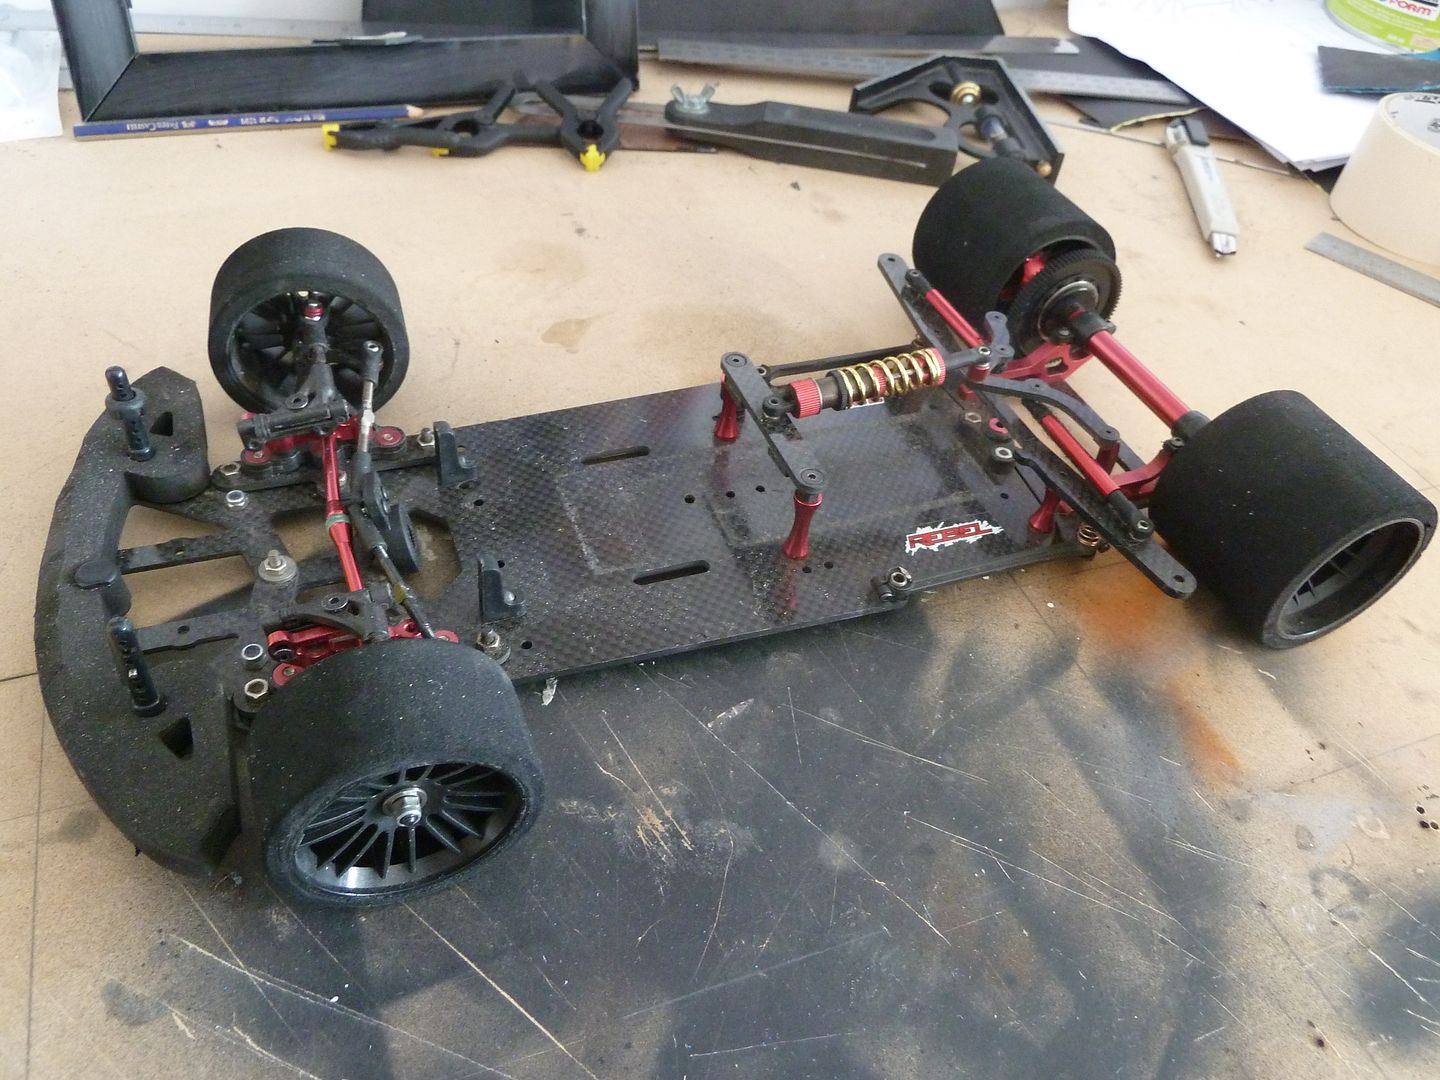
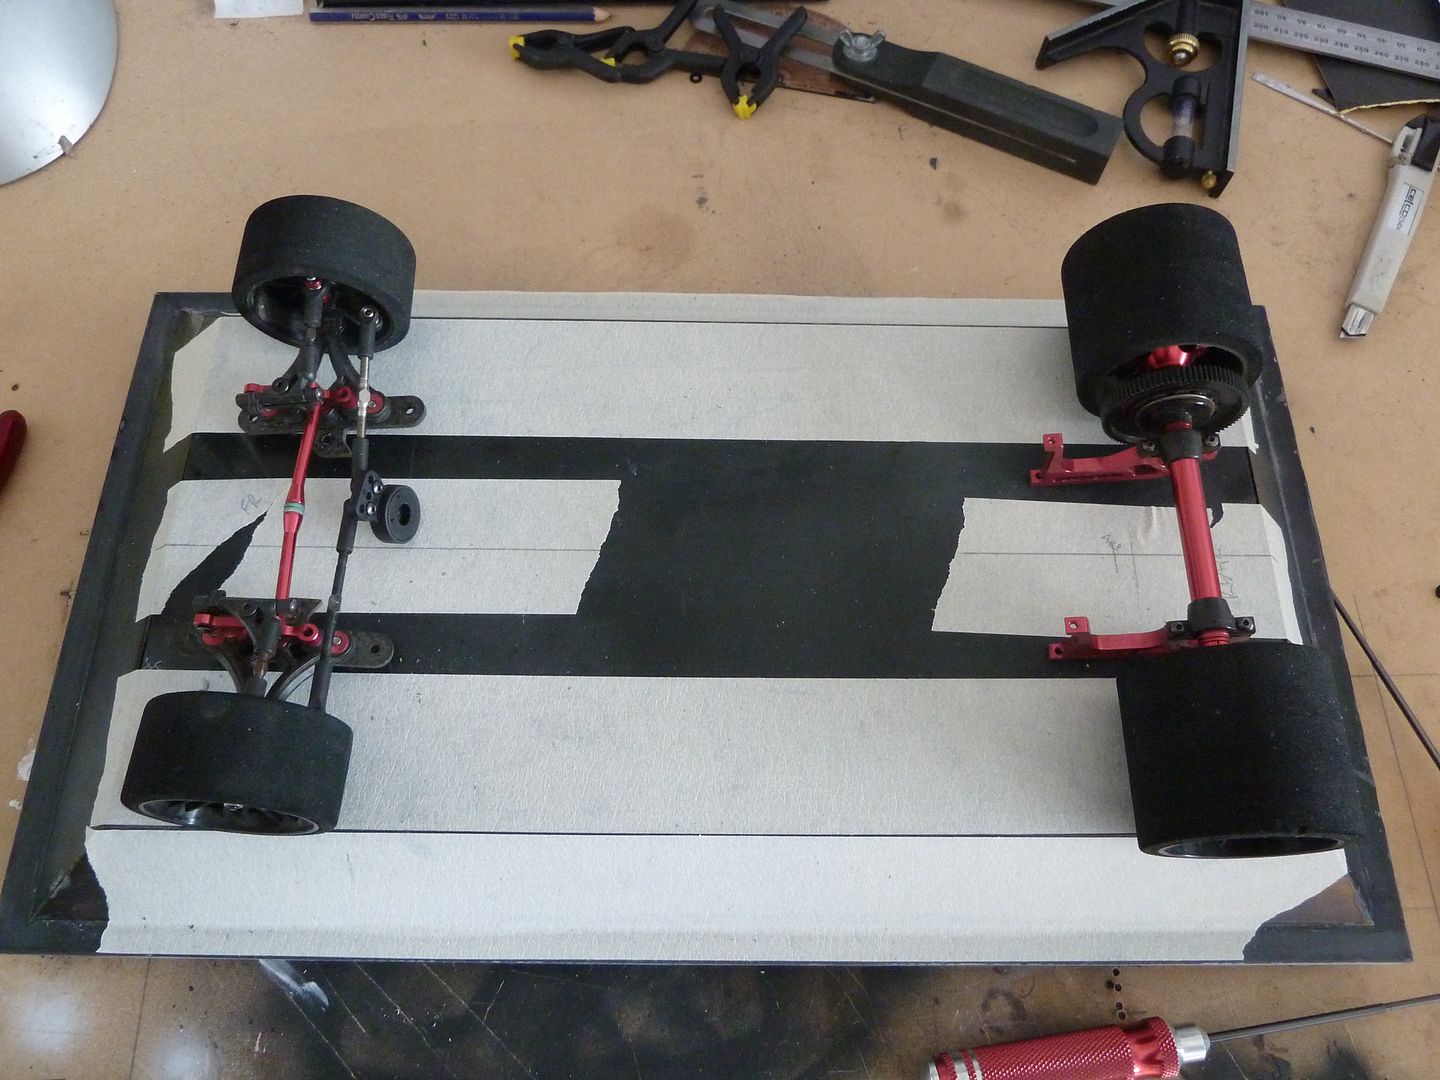
The donor RC car
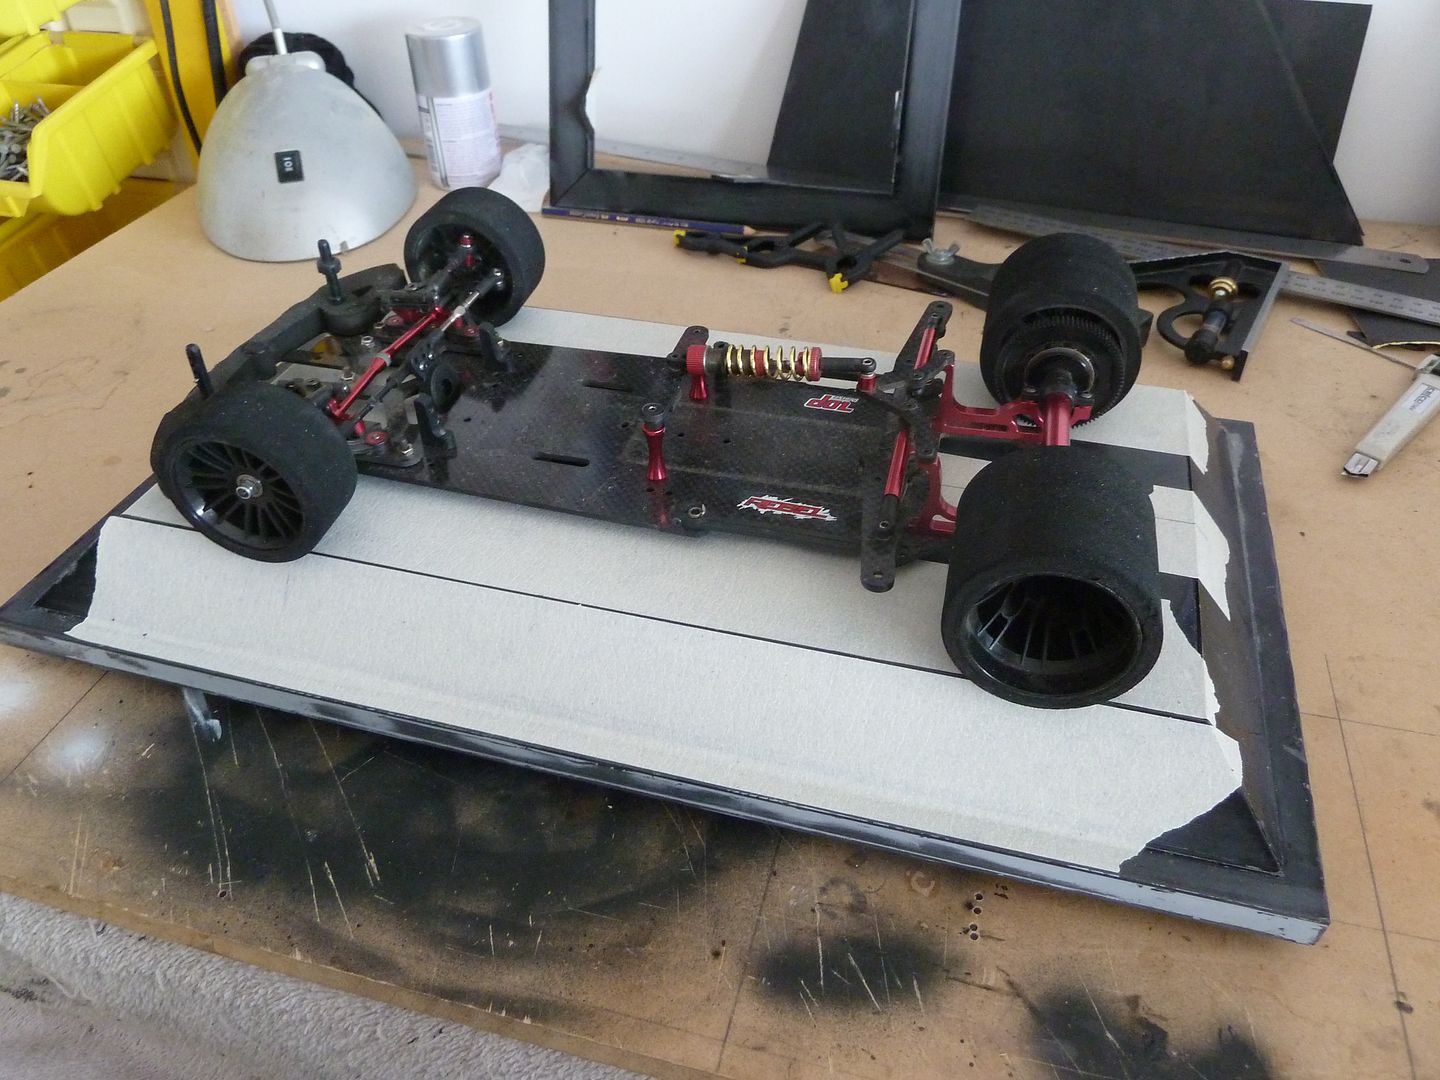
Should go about here somewhere
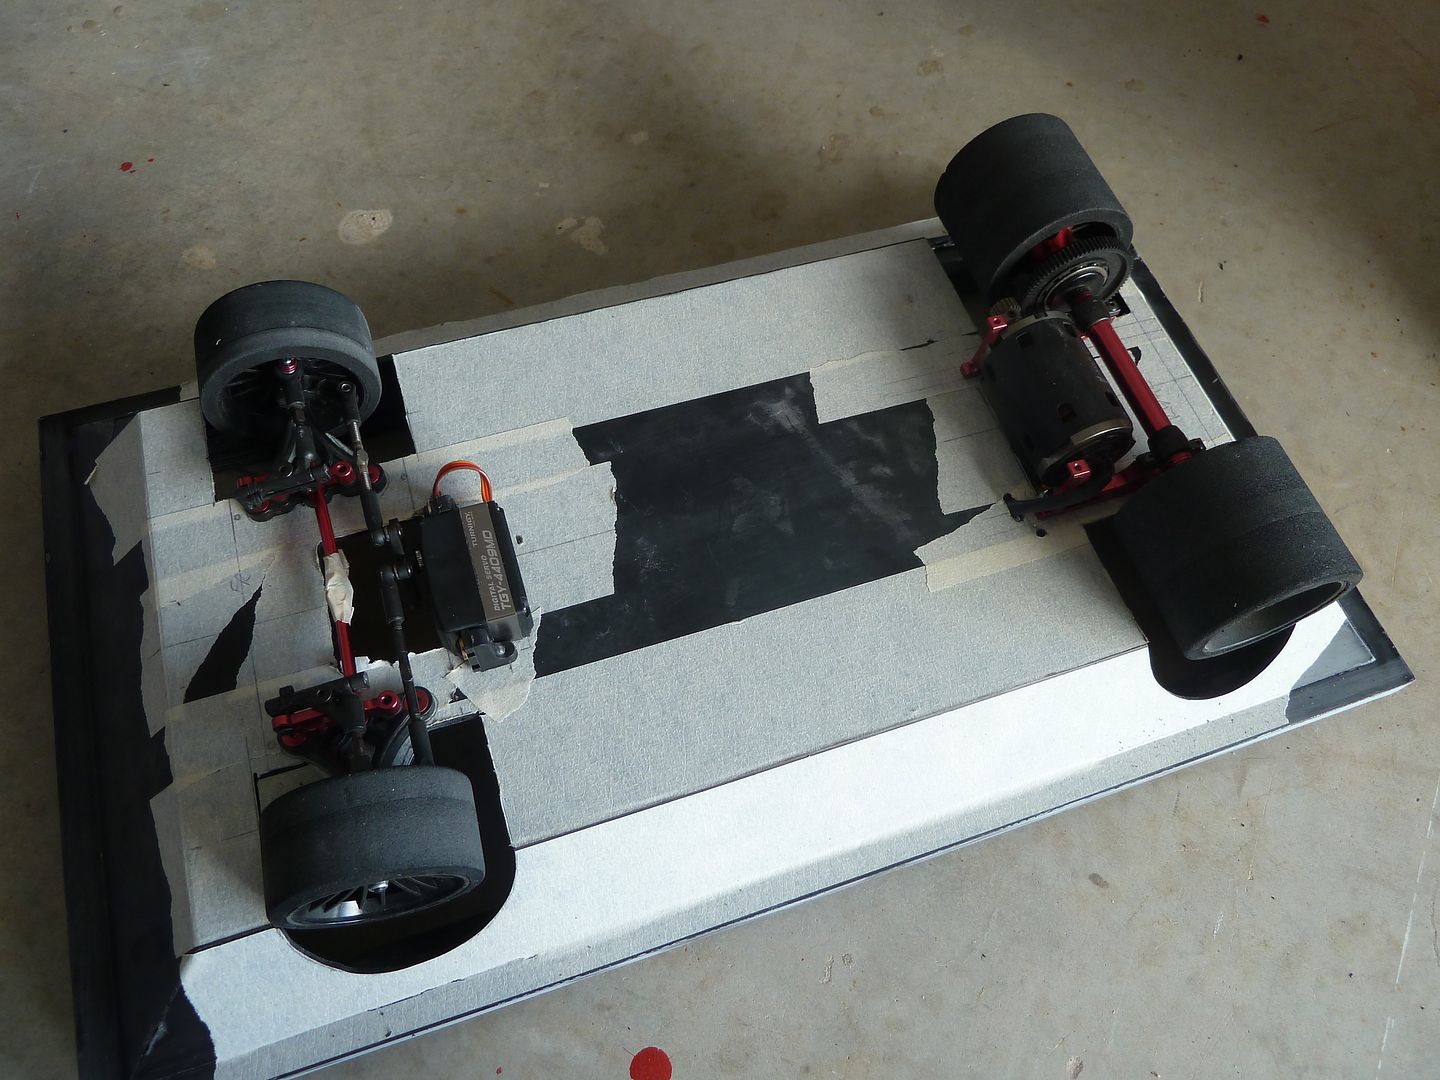
Basically pulled the front steering/suspension and the rear axle/differential off the chassis to mount them separately where I needed to, adjusting the stock wheelbase marginally. Excuse the masking tape. Pitfalls of using black styrene!
Wheel arches cut
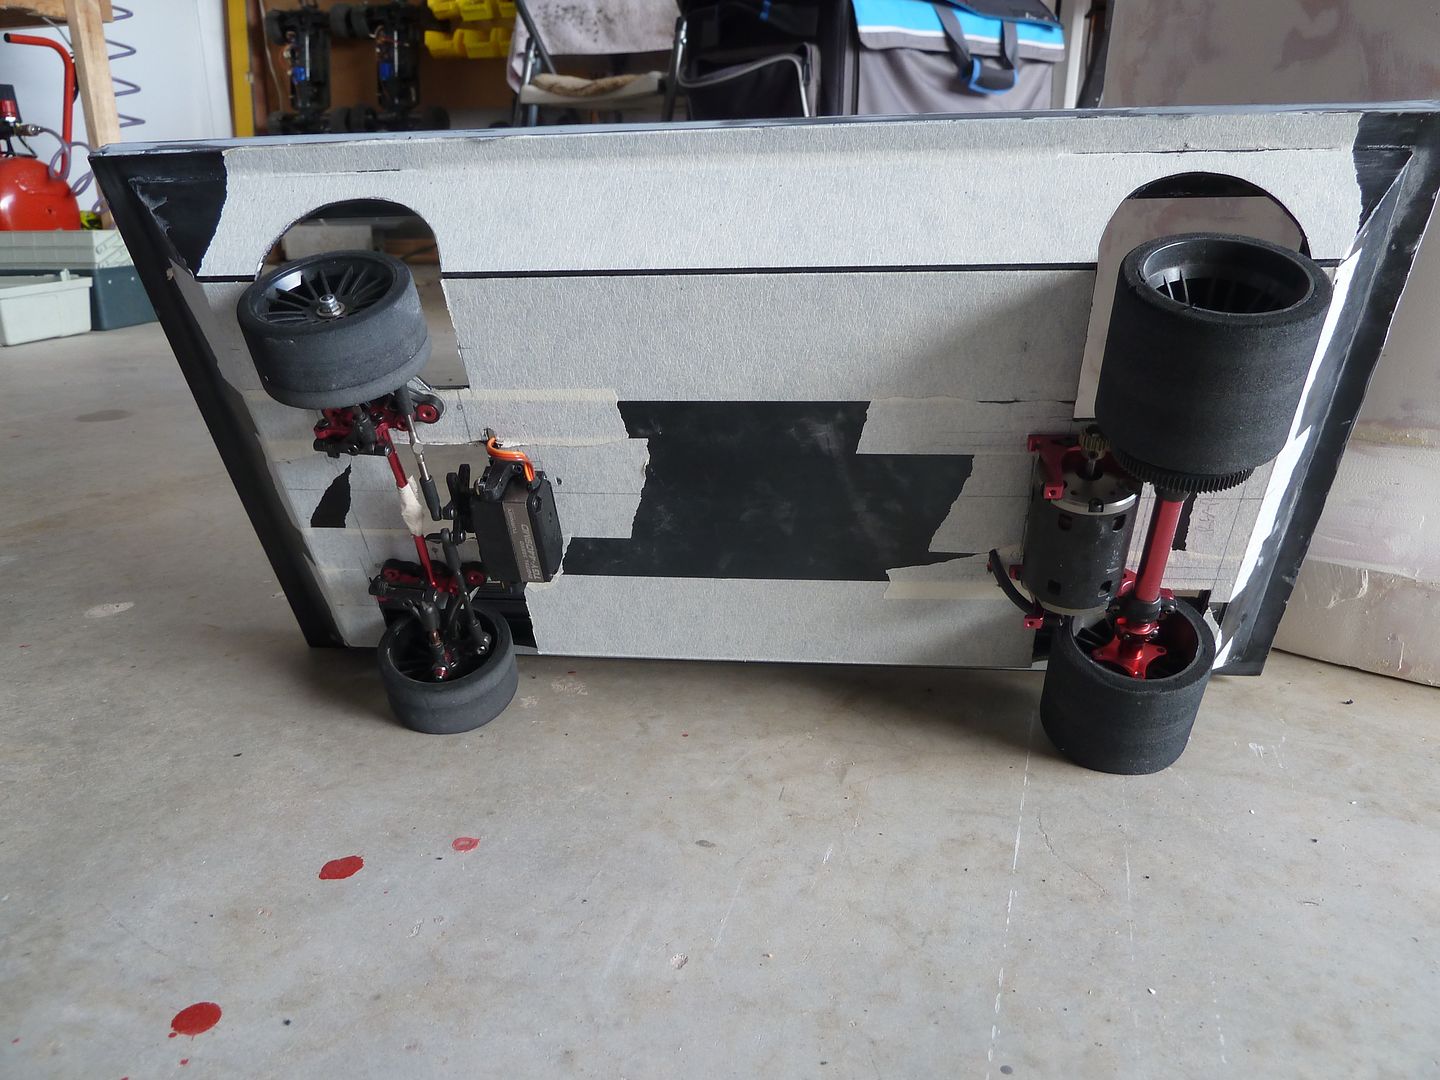
Steering servo and motor underneath. Inside probably would have been nicer, but the way the aluminium chassis components are, this way is easier.
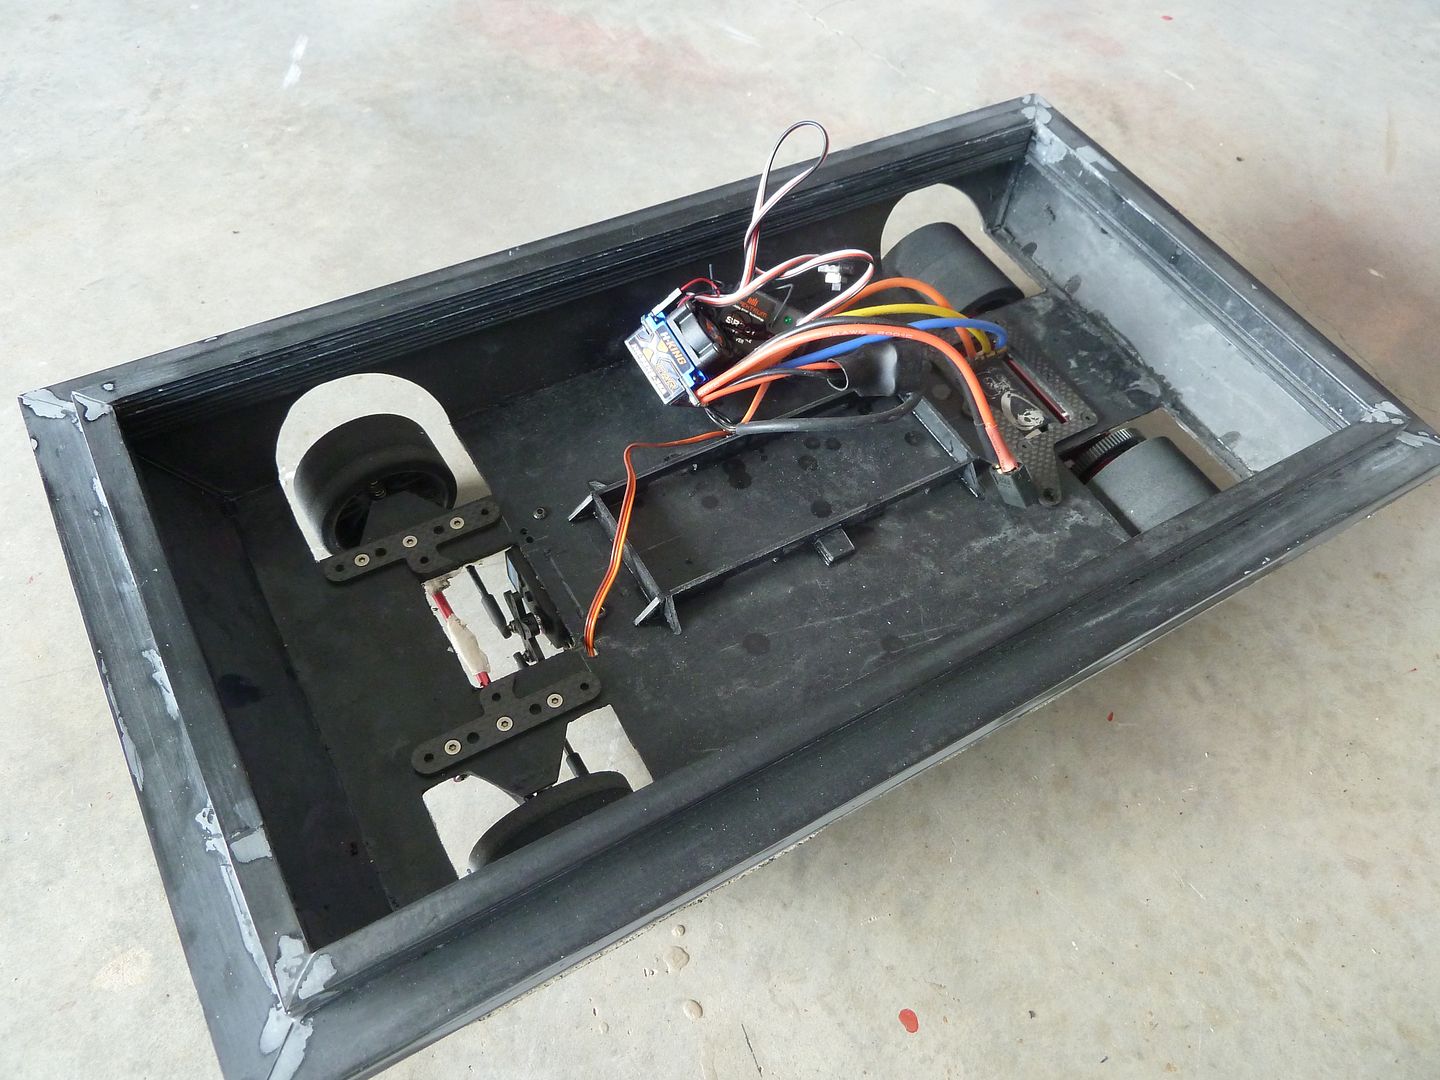
Electronic Speed Controller (ESC), servo wires, motor wires and receiver sitting there. Just loosely for now as it will all need to come out when I putty and paint.
To be continued....
Edited: Markus asked a question below, which I forgot to mention - The true 1:1 scale of these droids is about 22inches long (558mm). I've opted to scale it down around 80% - 18inches (457mm) for two reasons - 1: it fits the scale of a modern RC car heaps better. My choice for cars below has the perfect width for an 80% build and 2: the greeblies I've got coming have been designed for an 80% build also.
It's fairly big in person at nearly half a metre, and considering there are hardly any around (none in my Garrison), I don't think I'll get any "Geez, it looks small" comments.
One sheet of Styrene

A set of plans courtesy of the Mouse Builders Yahoo group

A bunch of cut up styrene

The base under way

The base building up. Lots of laminating sheets of styrene together to get the desired height

Base done

The donor RC car

Should go about here somewhere

Basically pulled the front steering/suspension and the rear axle/differential off the chassis to mount them separately where I needed to, adjusting the stock wheelbase marginally. Excuse the masking tape. Pitfalls of using black styrene!

Wheel arches cut

Steering servo and motor underneath. Inside probably would have been nicer, but the way the aluminium chassis components are, this way is easier.

Electronic Speed Controller (ESC), servo wires, motor wires and receiver sitting there. Just loosely for now as it will all need to come out when I putty and paint.

To be continued....
Last edited:


